Old Photo Restoration and Framing
by DAZMAKER in Design > Photography
11105 Views, 141 Favorites, 0 Comments
Old Photo Restoration and Framing
today we will restore an old photograph, normally the photographs that we restore date from the time when photography was analog, and in black and white, photographs that are about to fade or that due to the passage of time have scratches and tears, today I will teach you how to do it step by step and with conventional software/apps even for free online use
Supplies
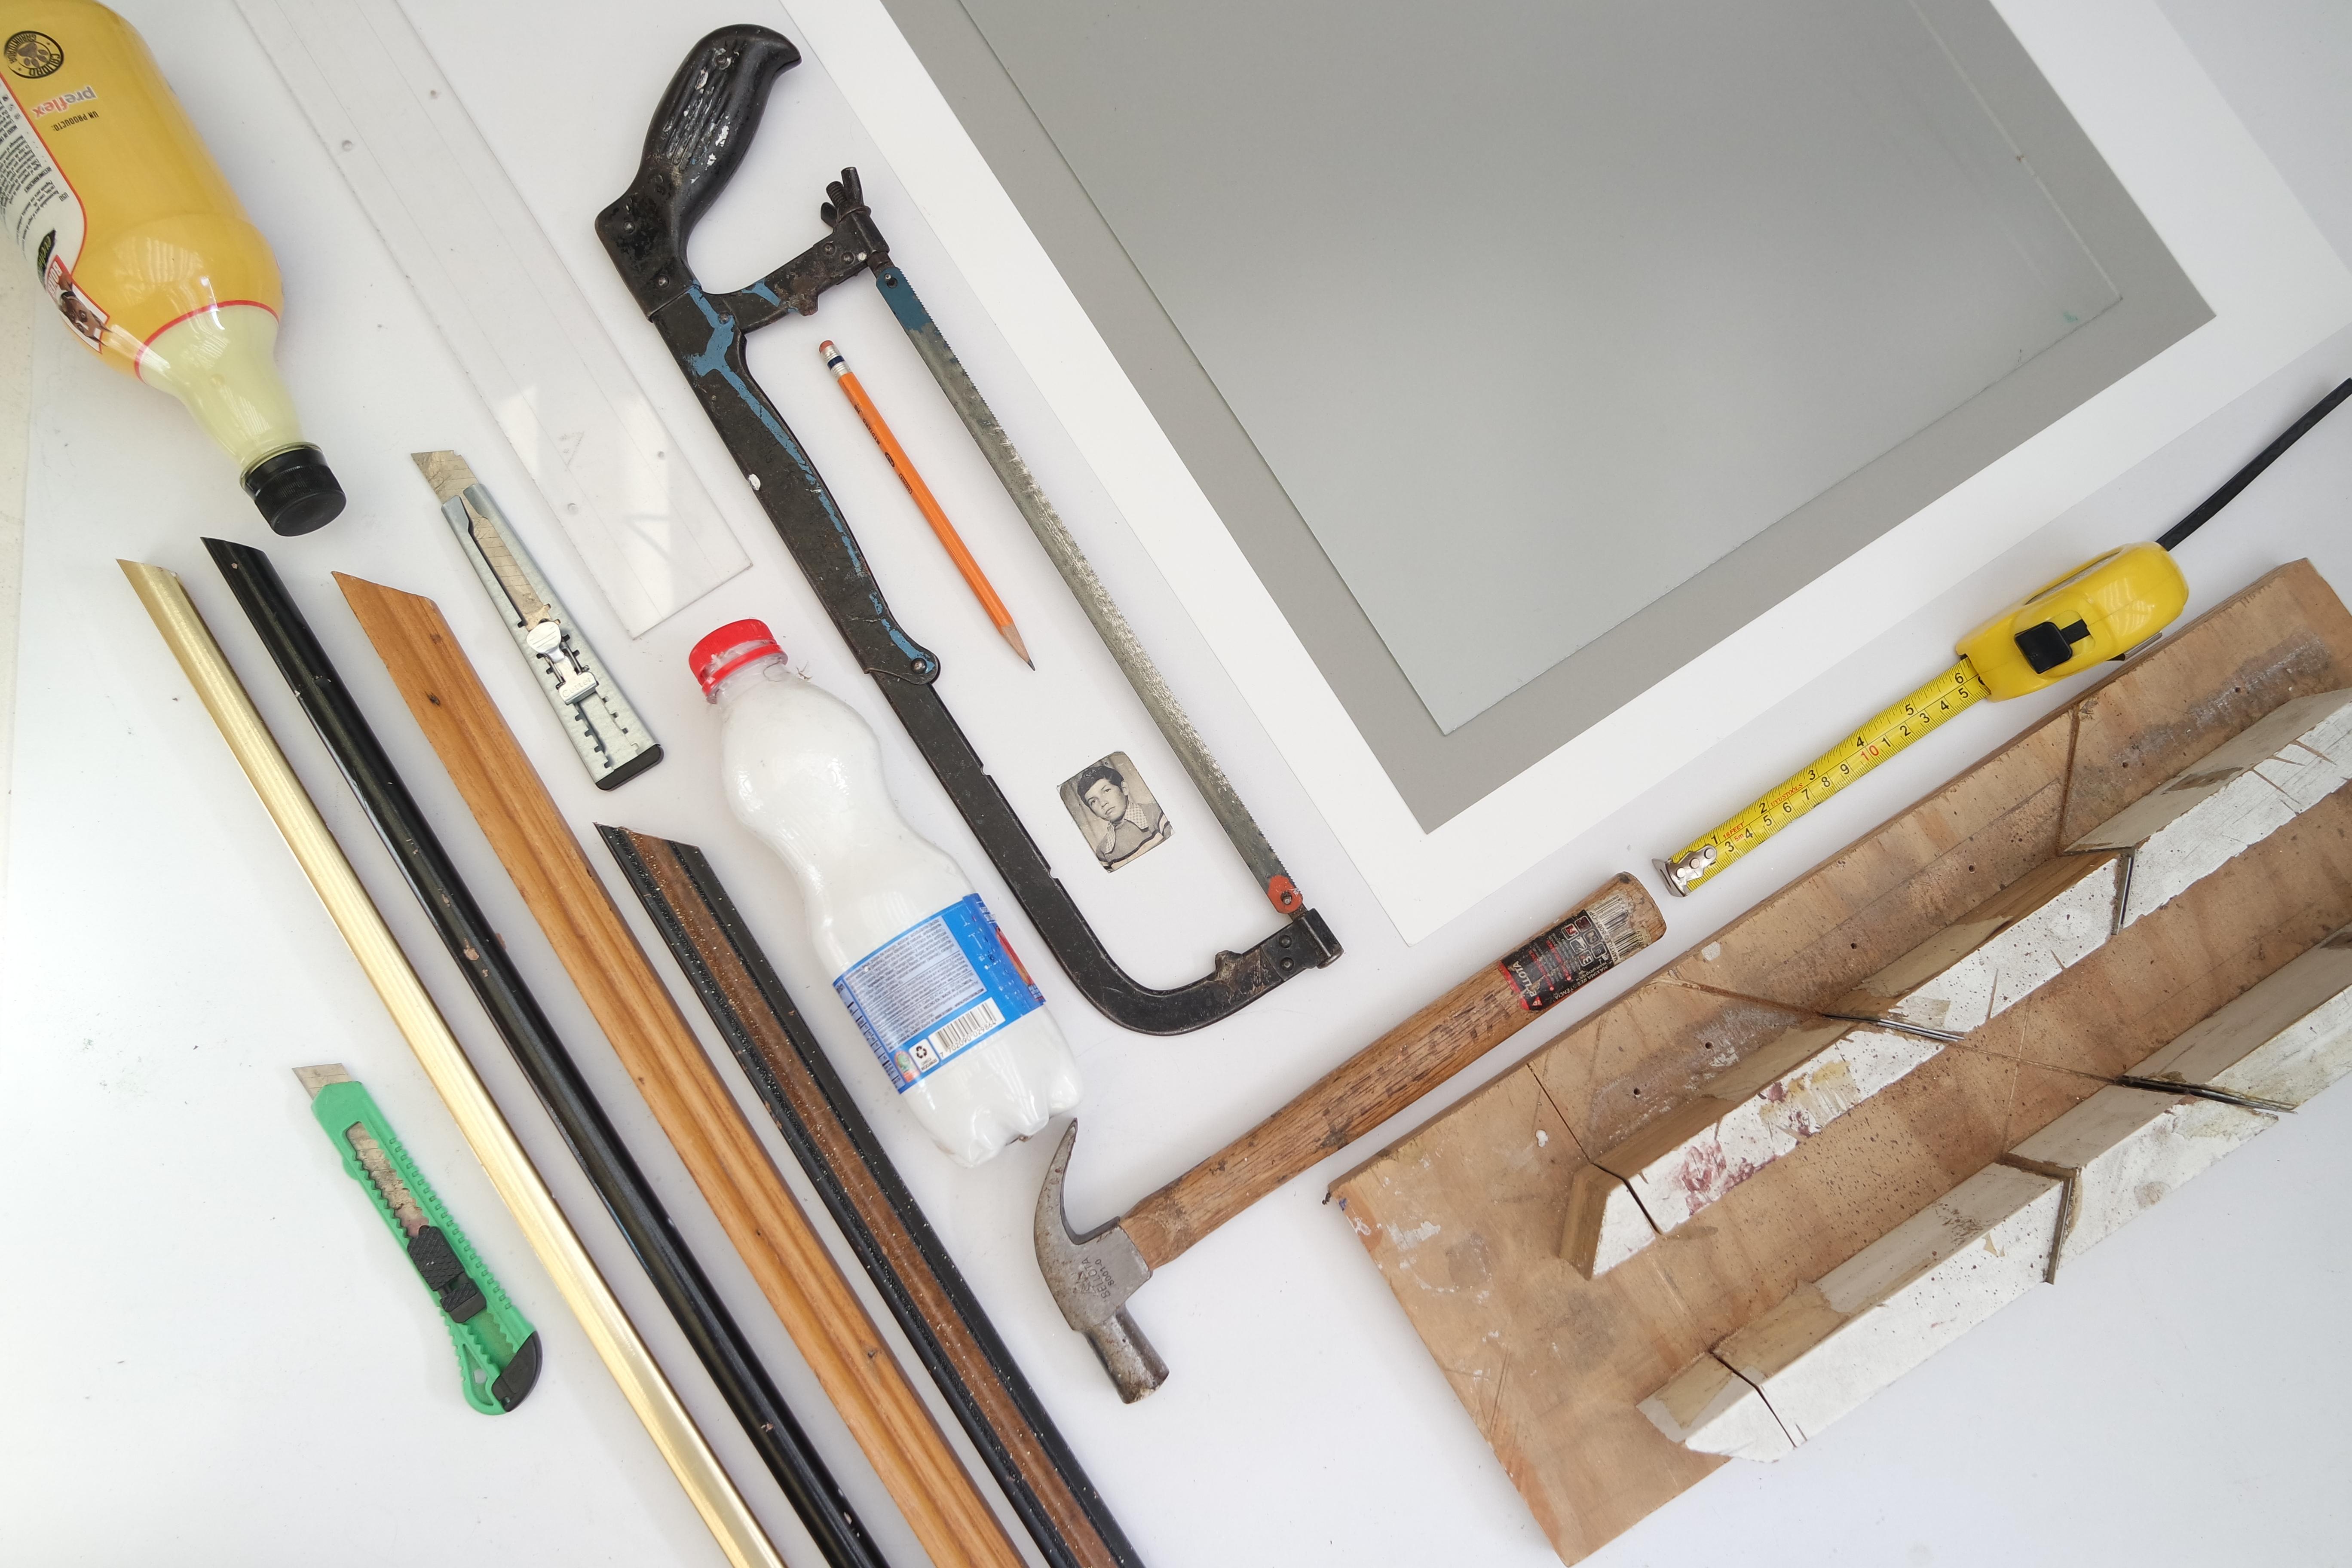
- Old picture
- Ruler or measuring tape
- Wood frames
- Hacksaw
- Miter Box 45 degree or Protractor
- Hammer
- Cola
- Cutter
- Contact Cement
- Pencil
- Colored paper
- Cardboard
- Tape
- Glass
- Wi-Fi for apps use
- V-nails for framing
- Sawtooth Hanger
- Digital Edition Software, Kryta, Photoshop, etc.
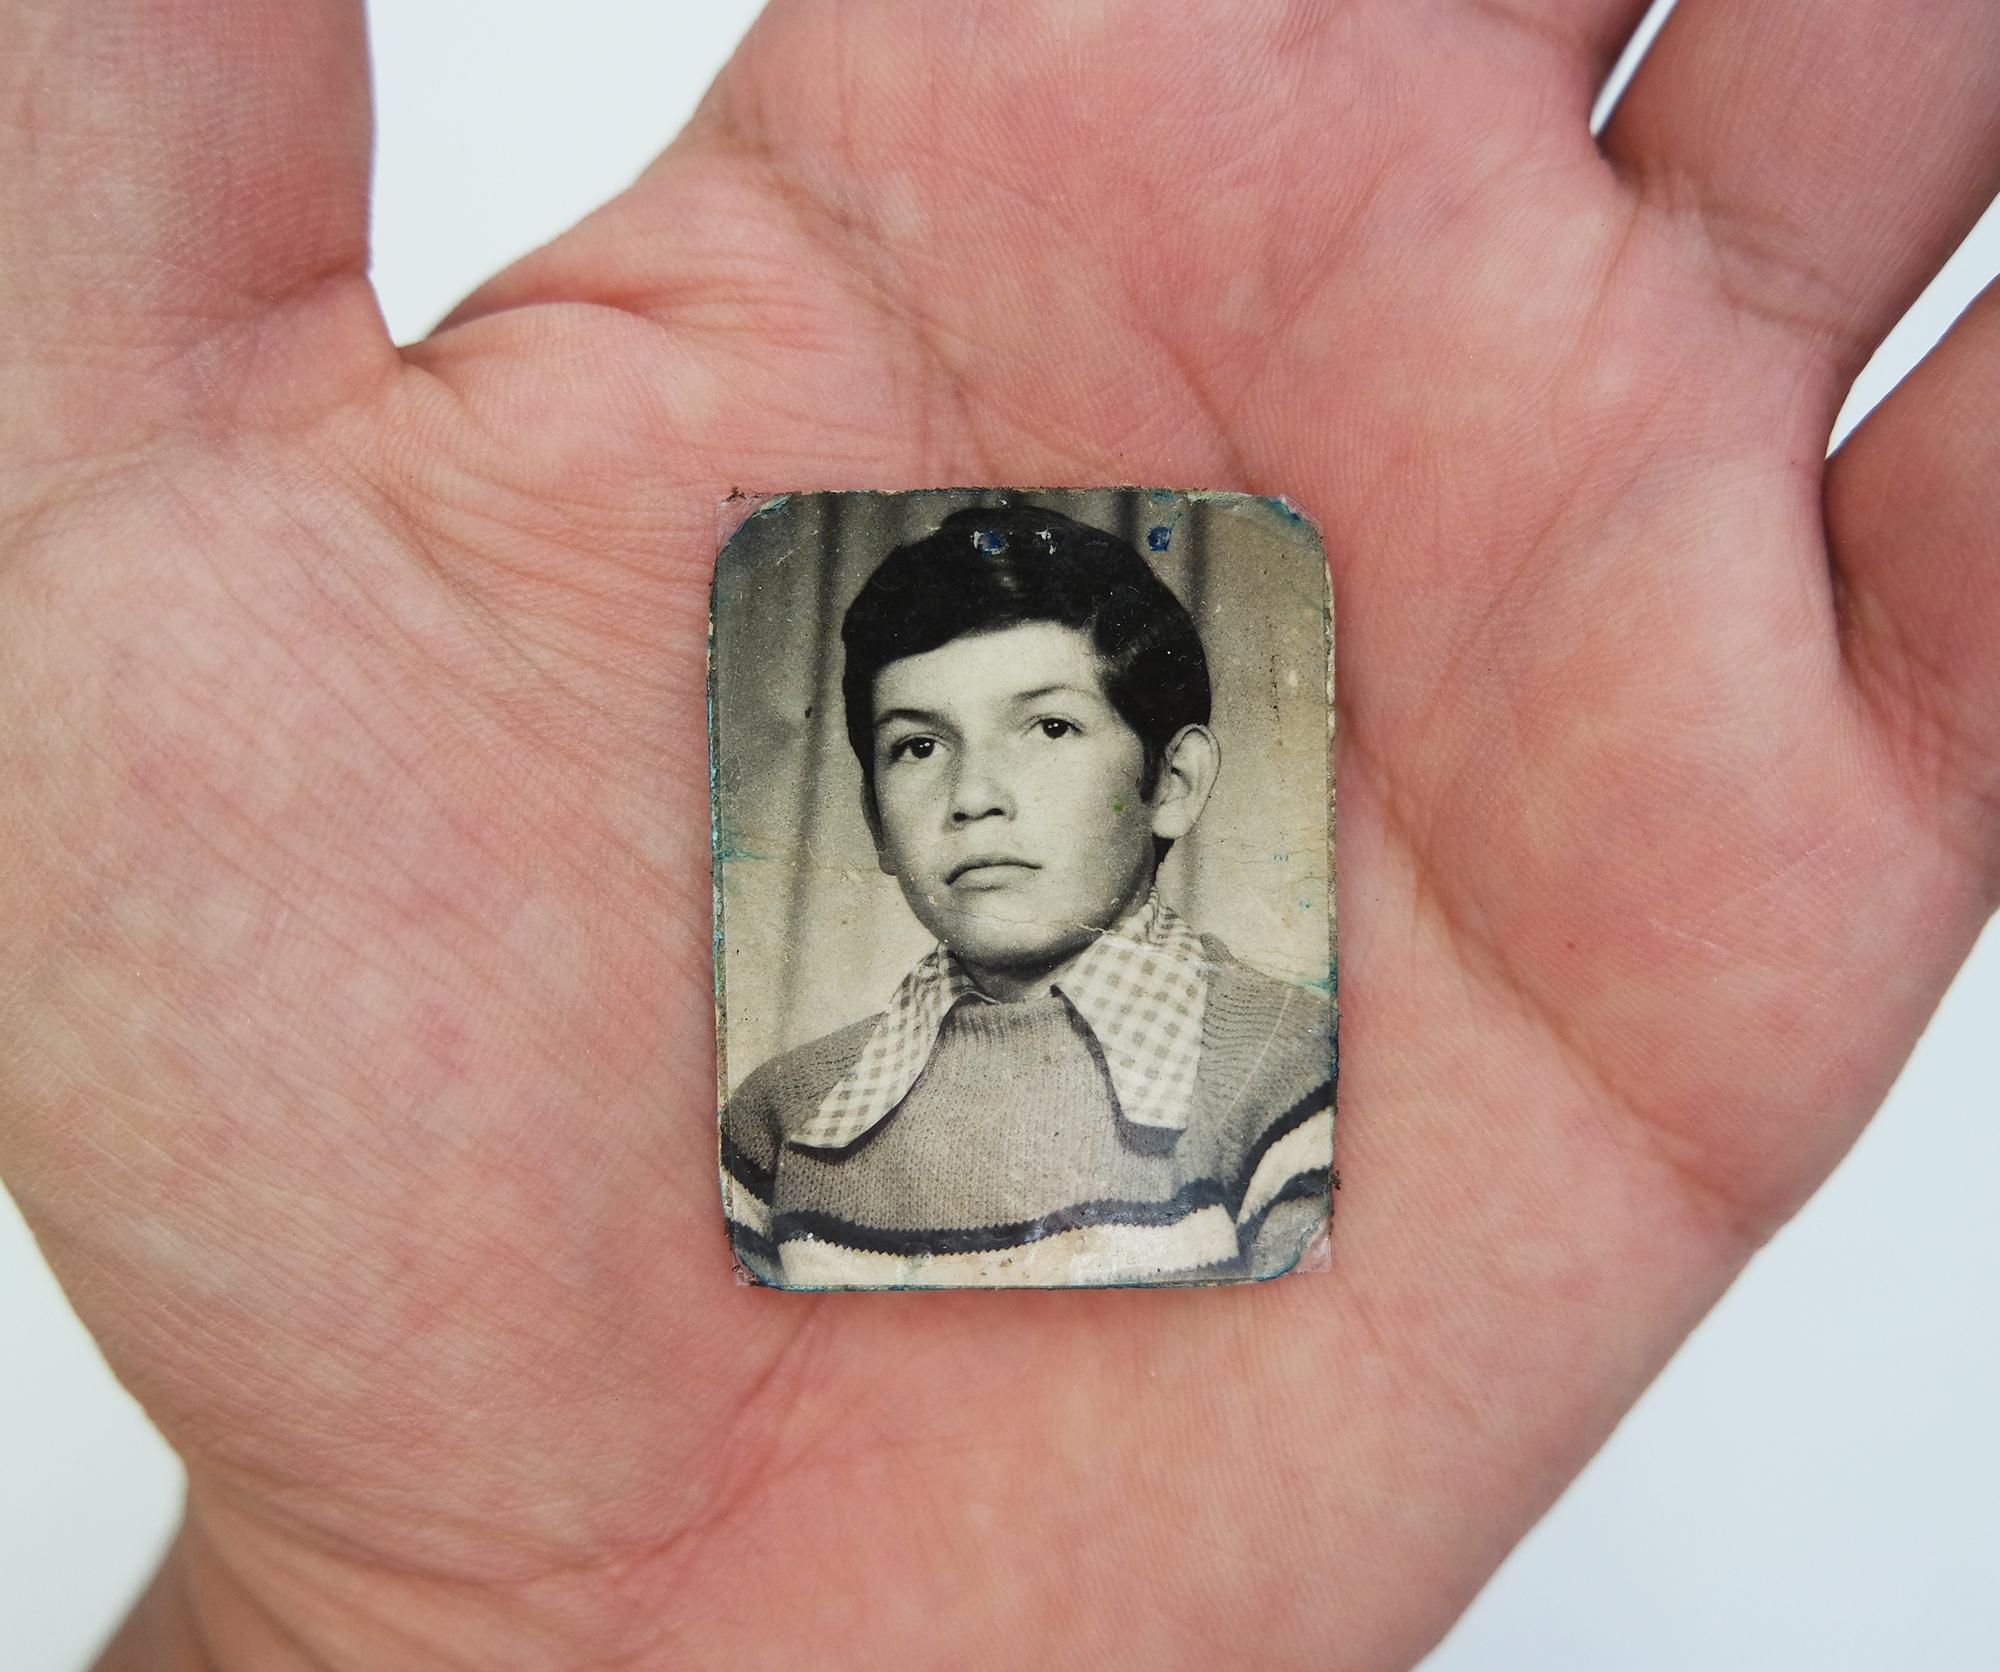
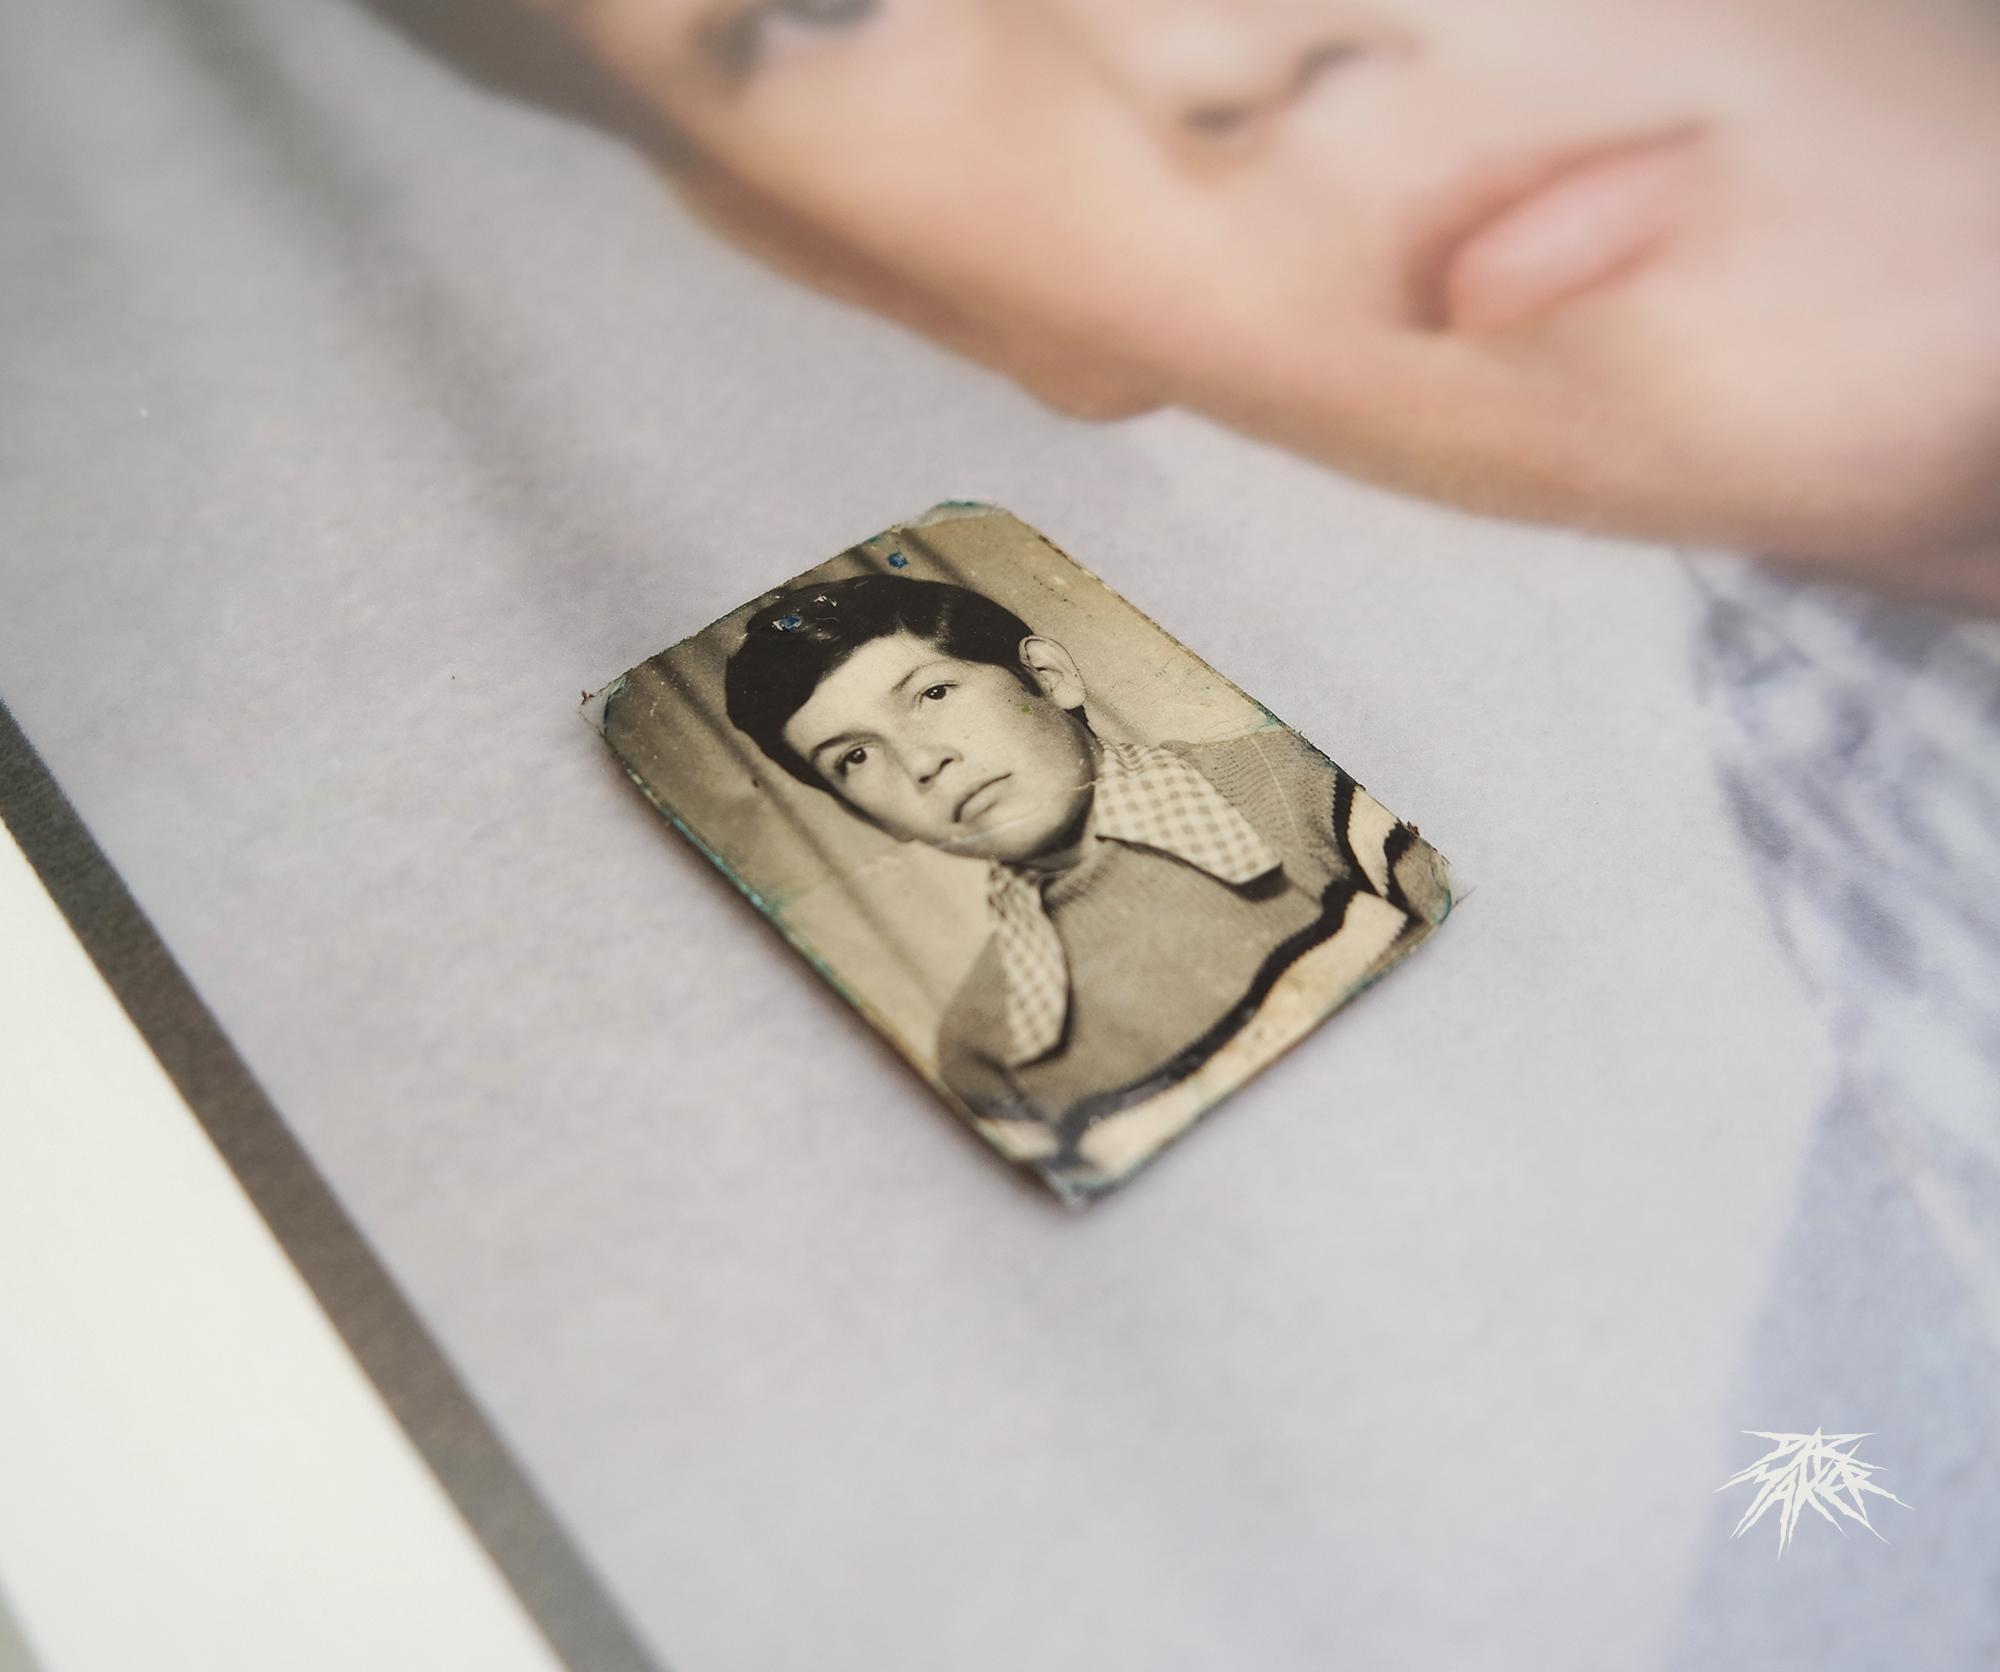
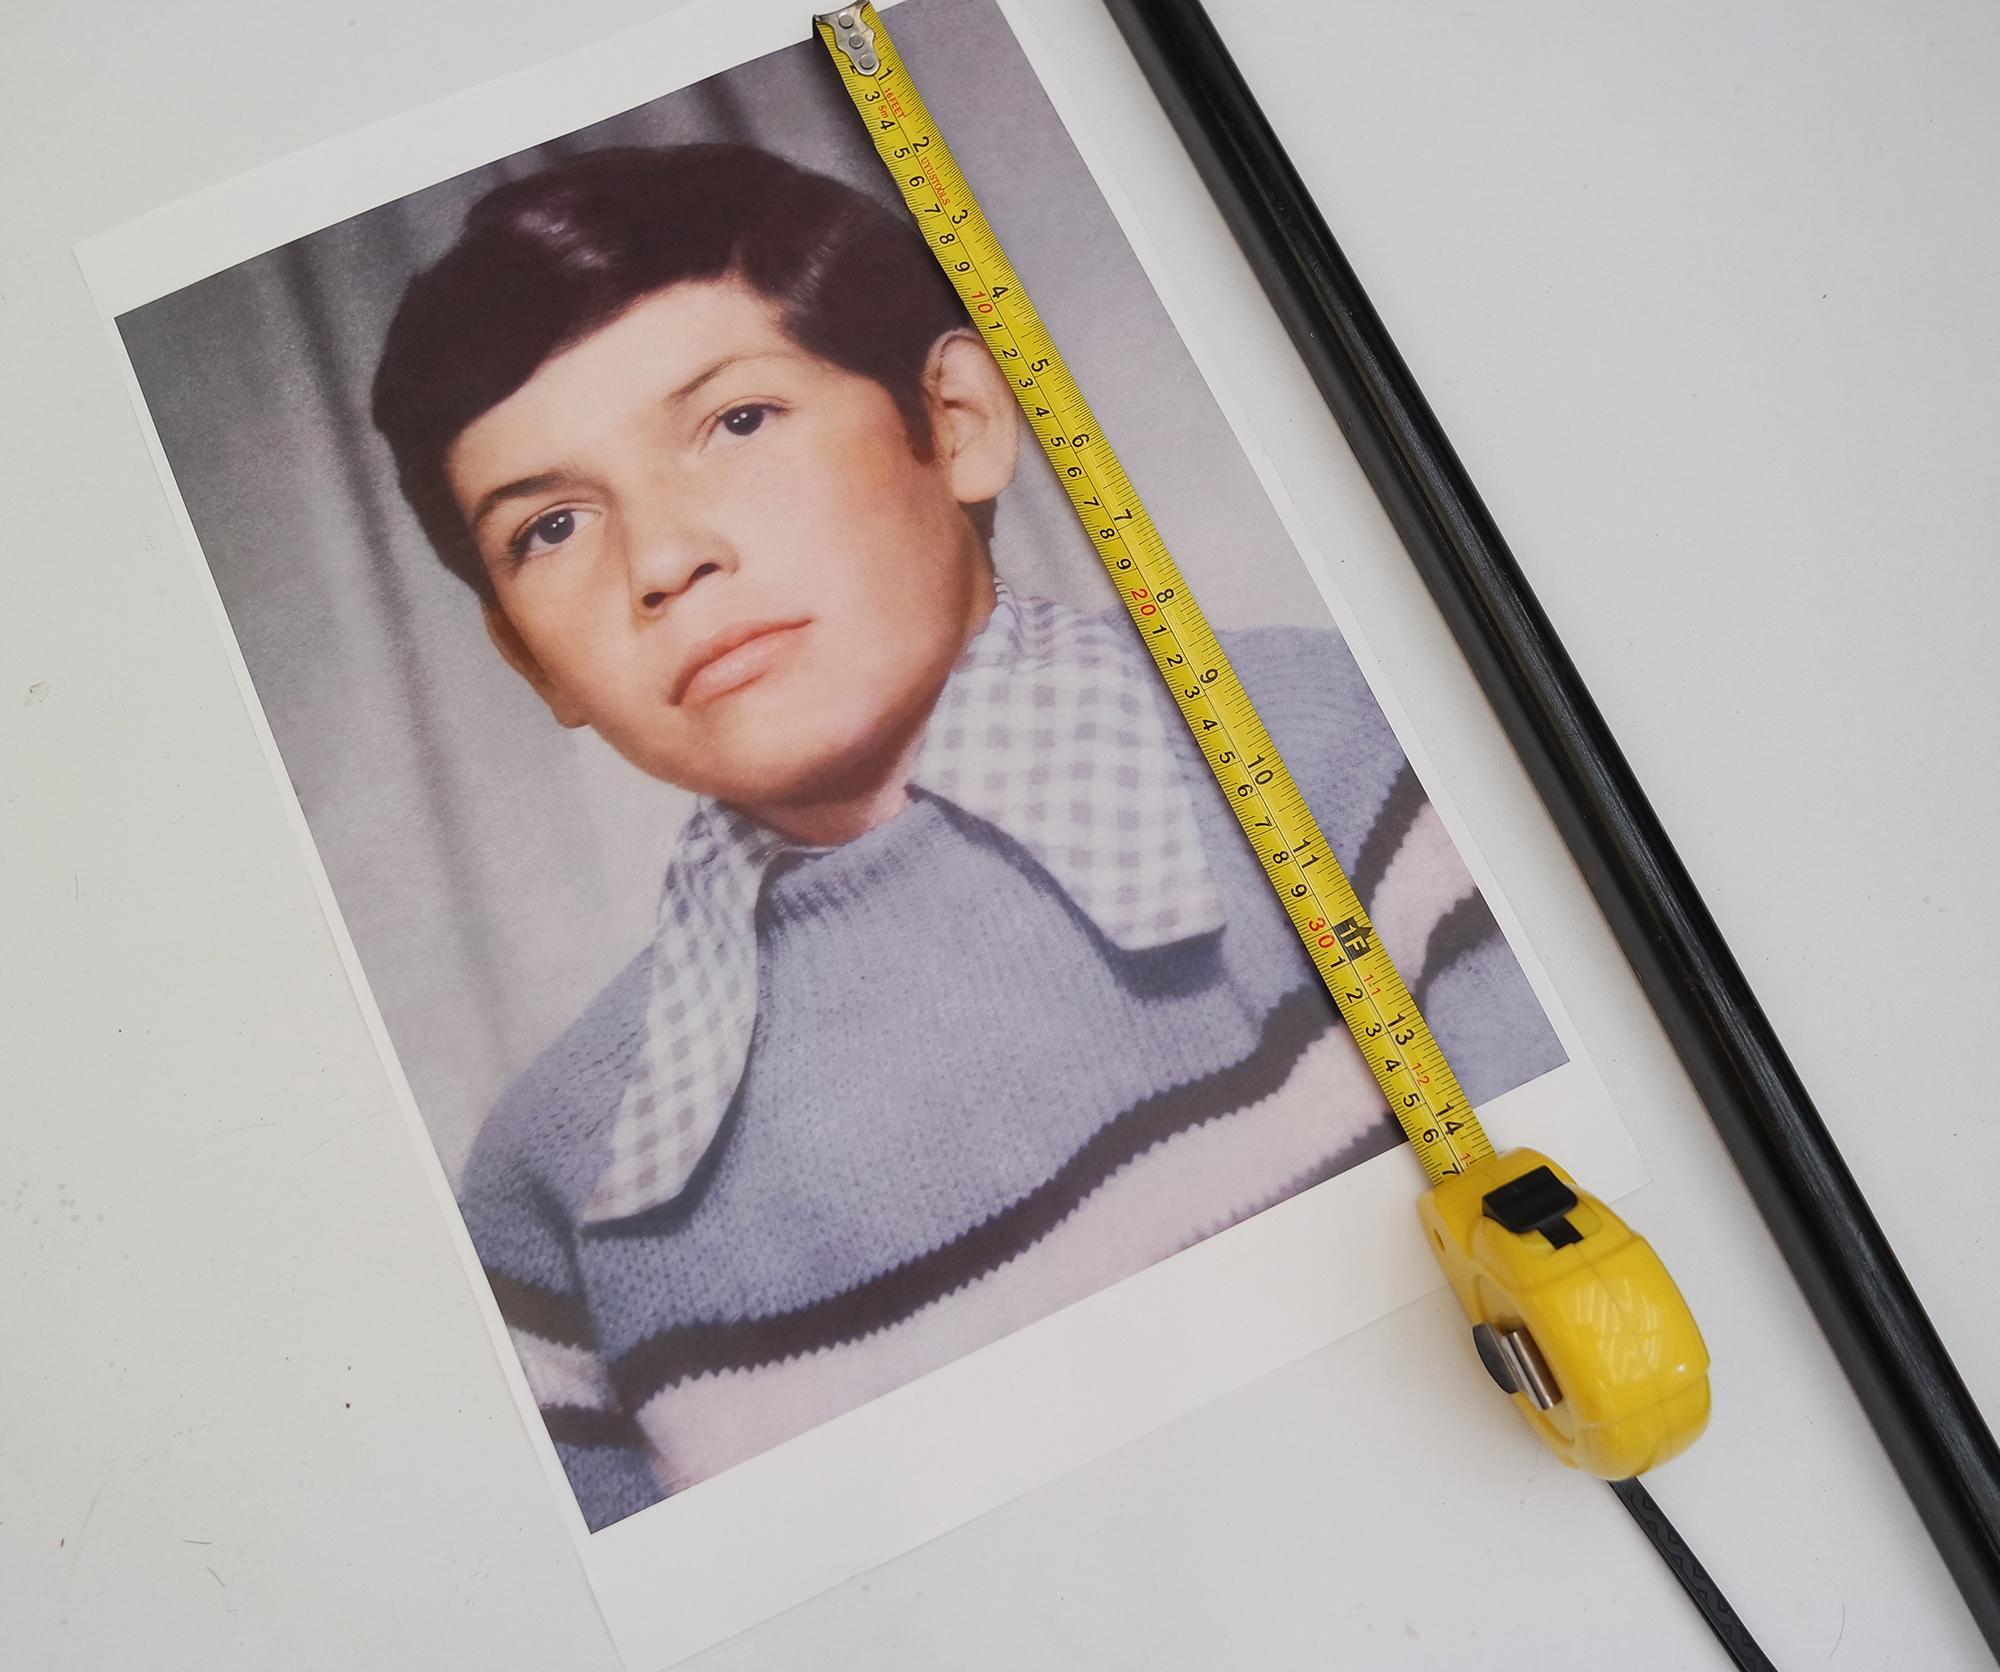
Select Your Photo

In my case I chose the old photo of an uncle, He told me that it was the oldest photo he had, curiously in which he appears younger. So I decided that I would restore it and not only that, I would frame it as a gift for him.
Scanning
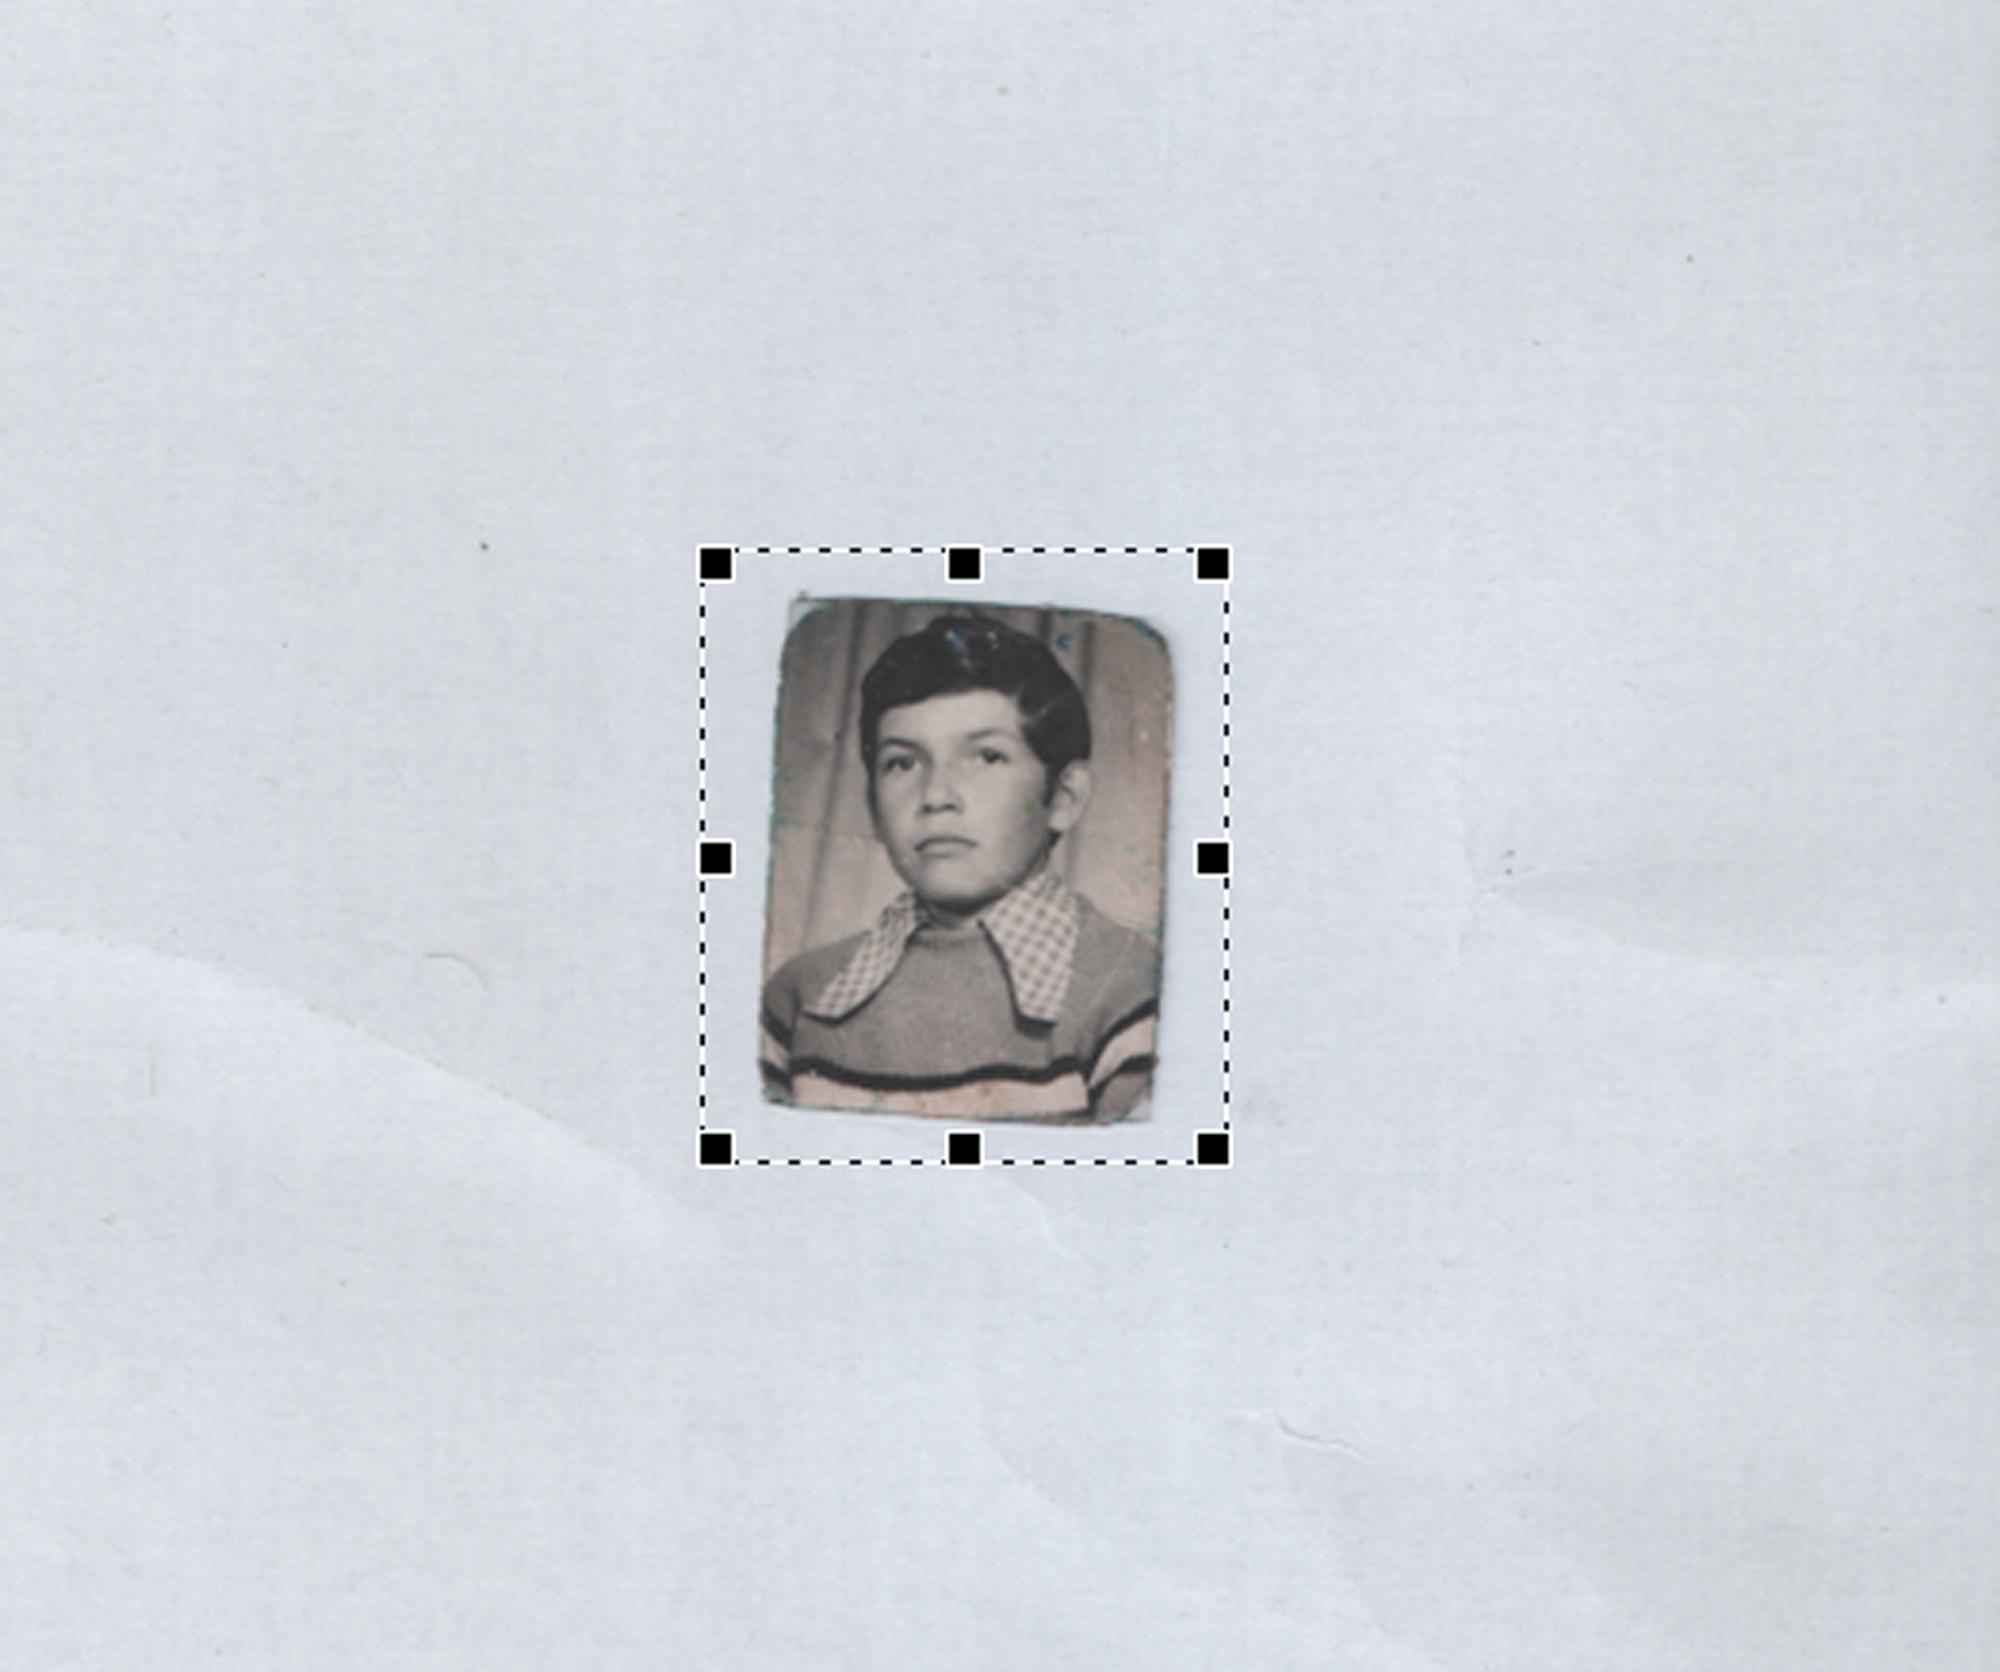
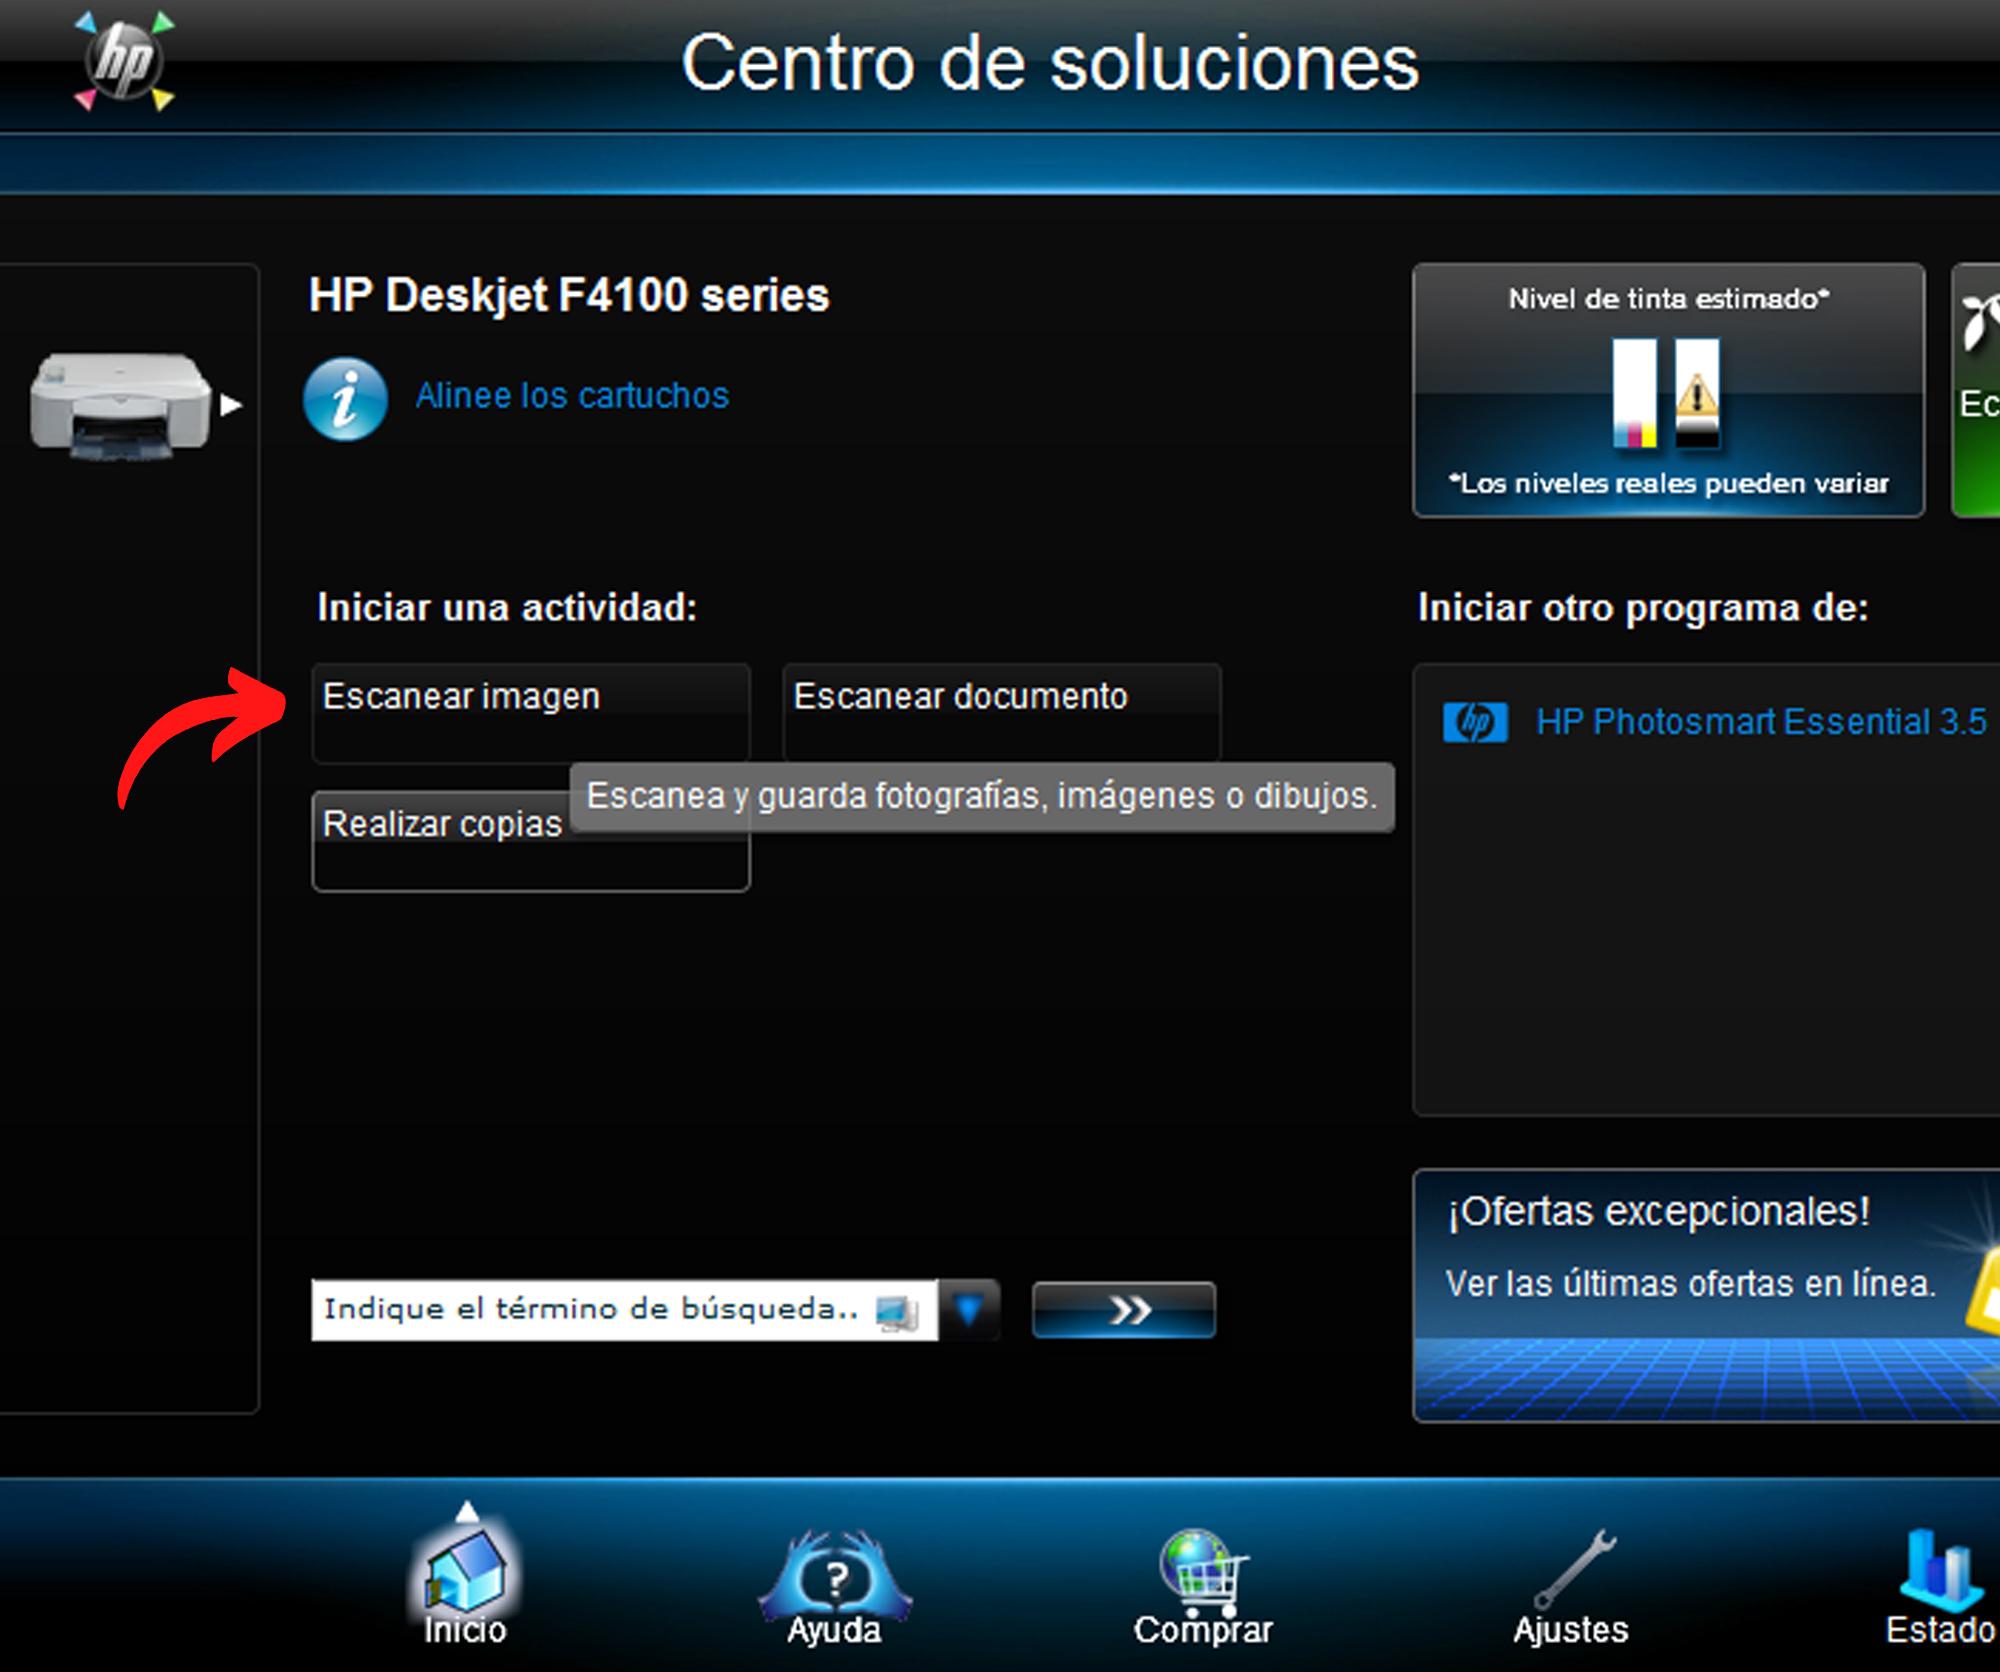
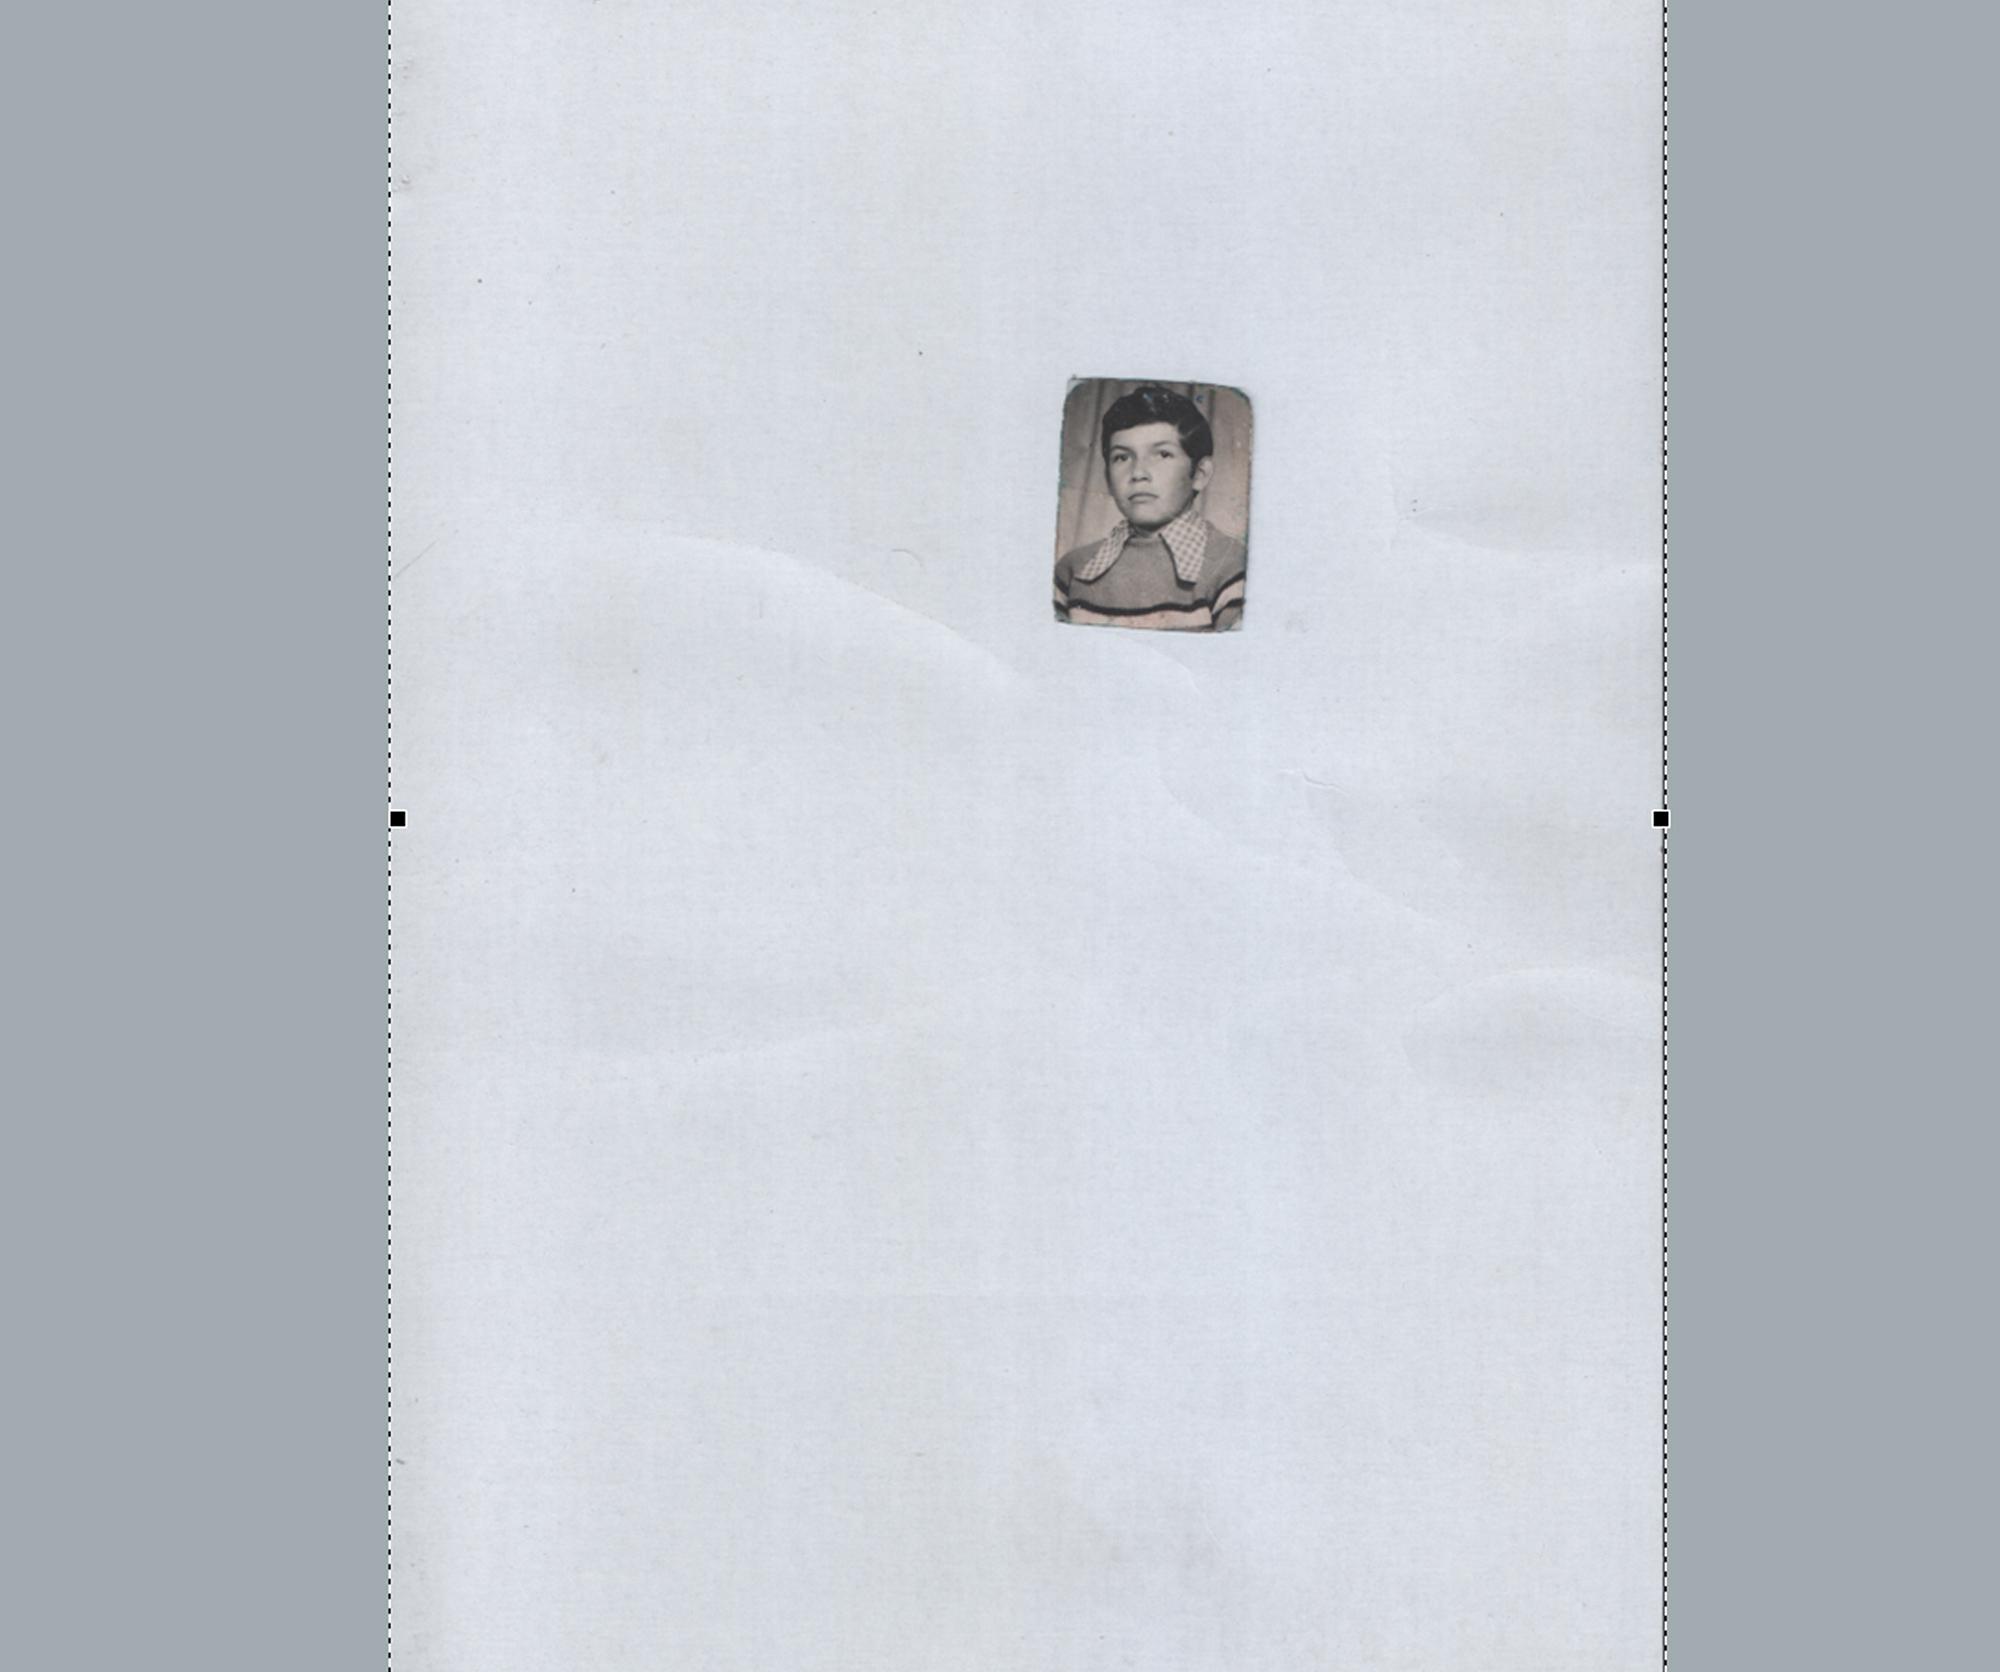
First of all we must digitize the image, for this we will use our scanner, normally each scanner comes with its specific software so in this step I will show the steps to follow with my software in your case the guidelines should be similar,
After scanning select specific area to speed up scanning speed in high resolution.
Resolution
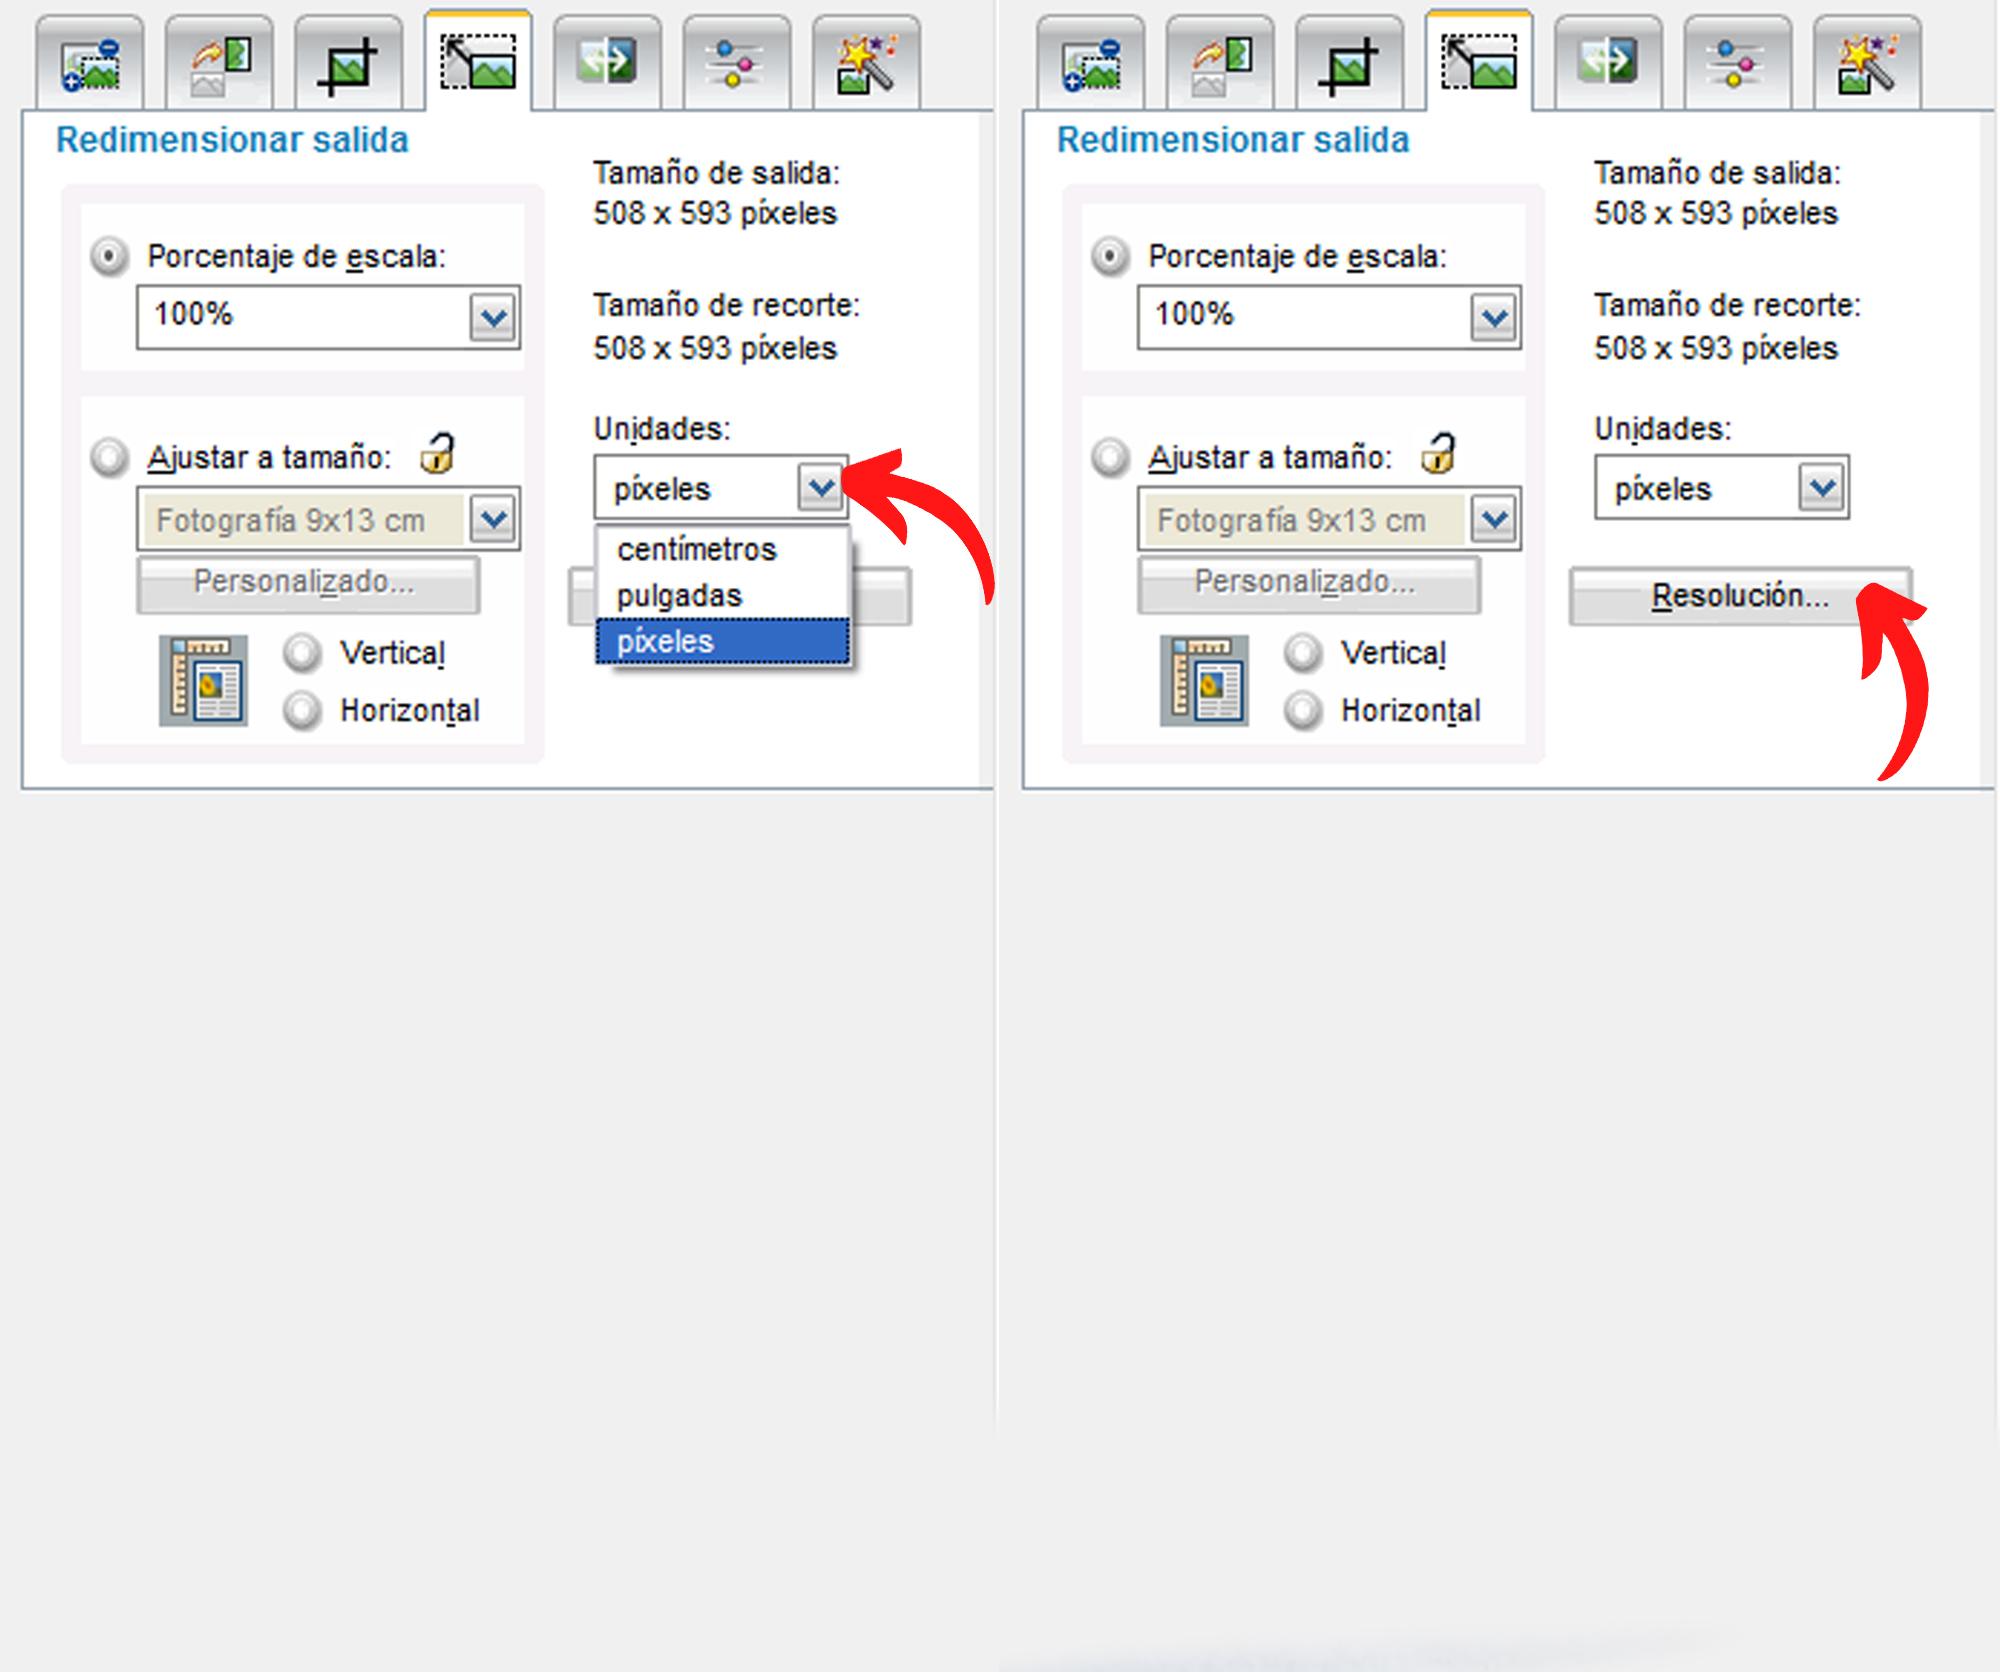
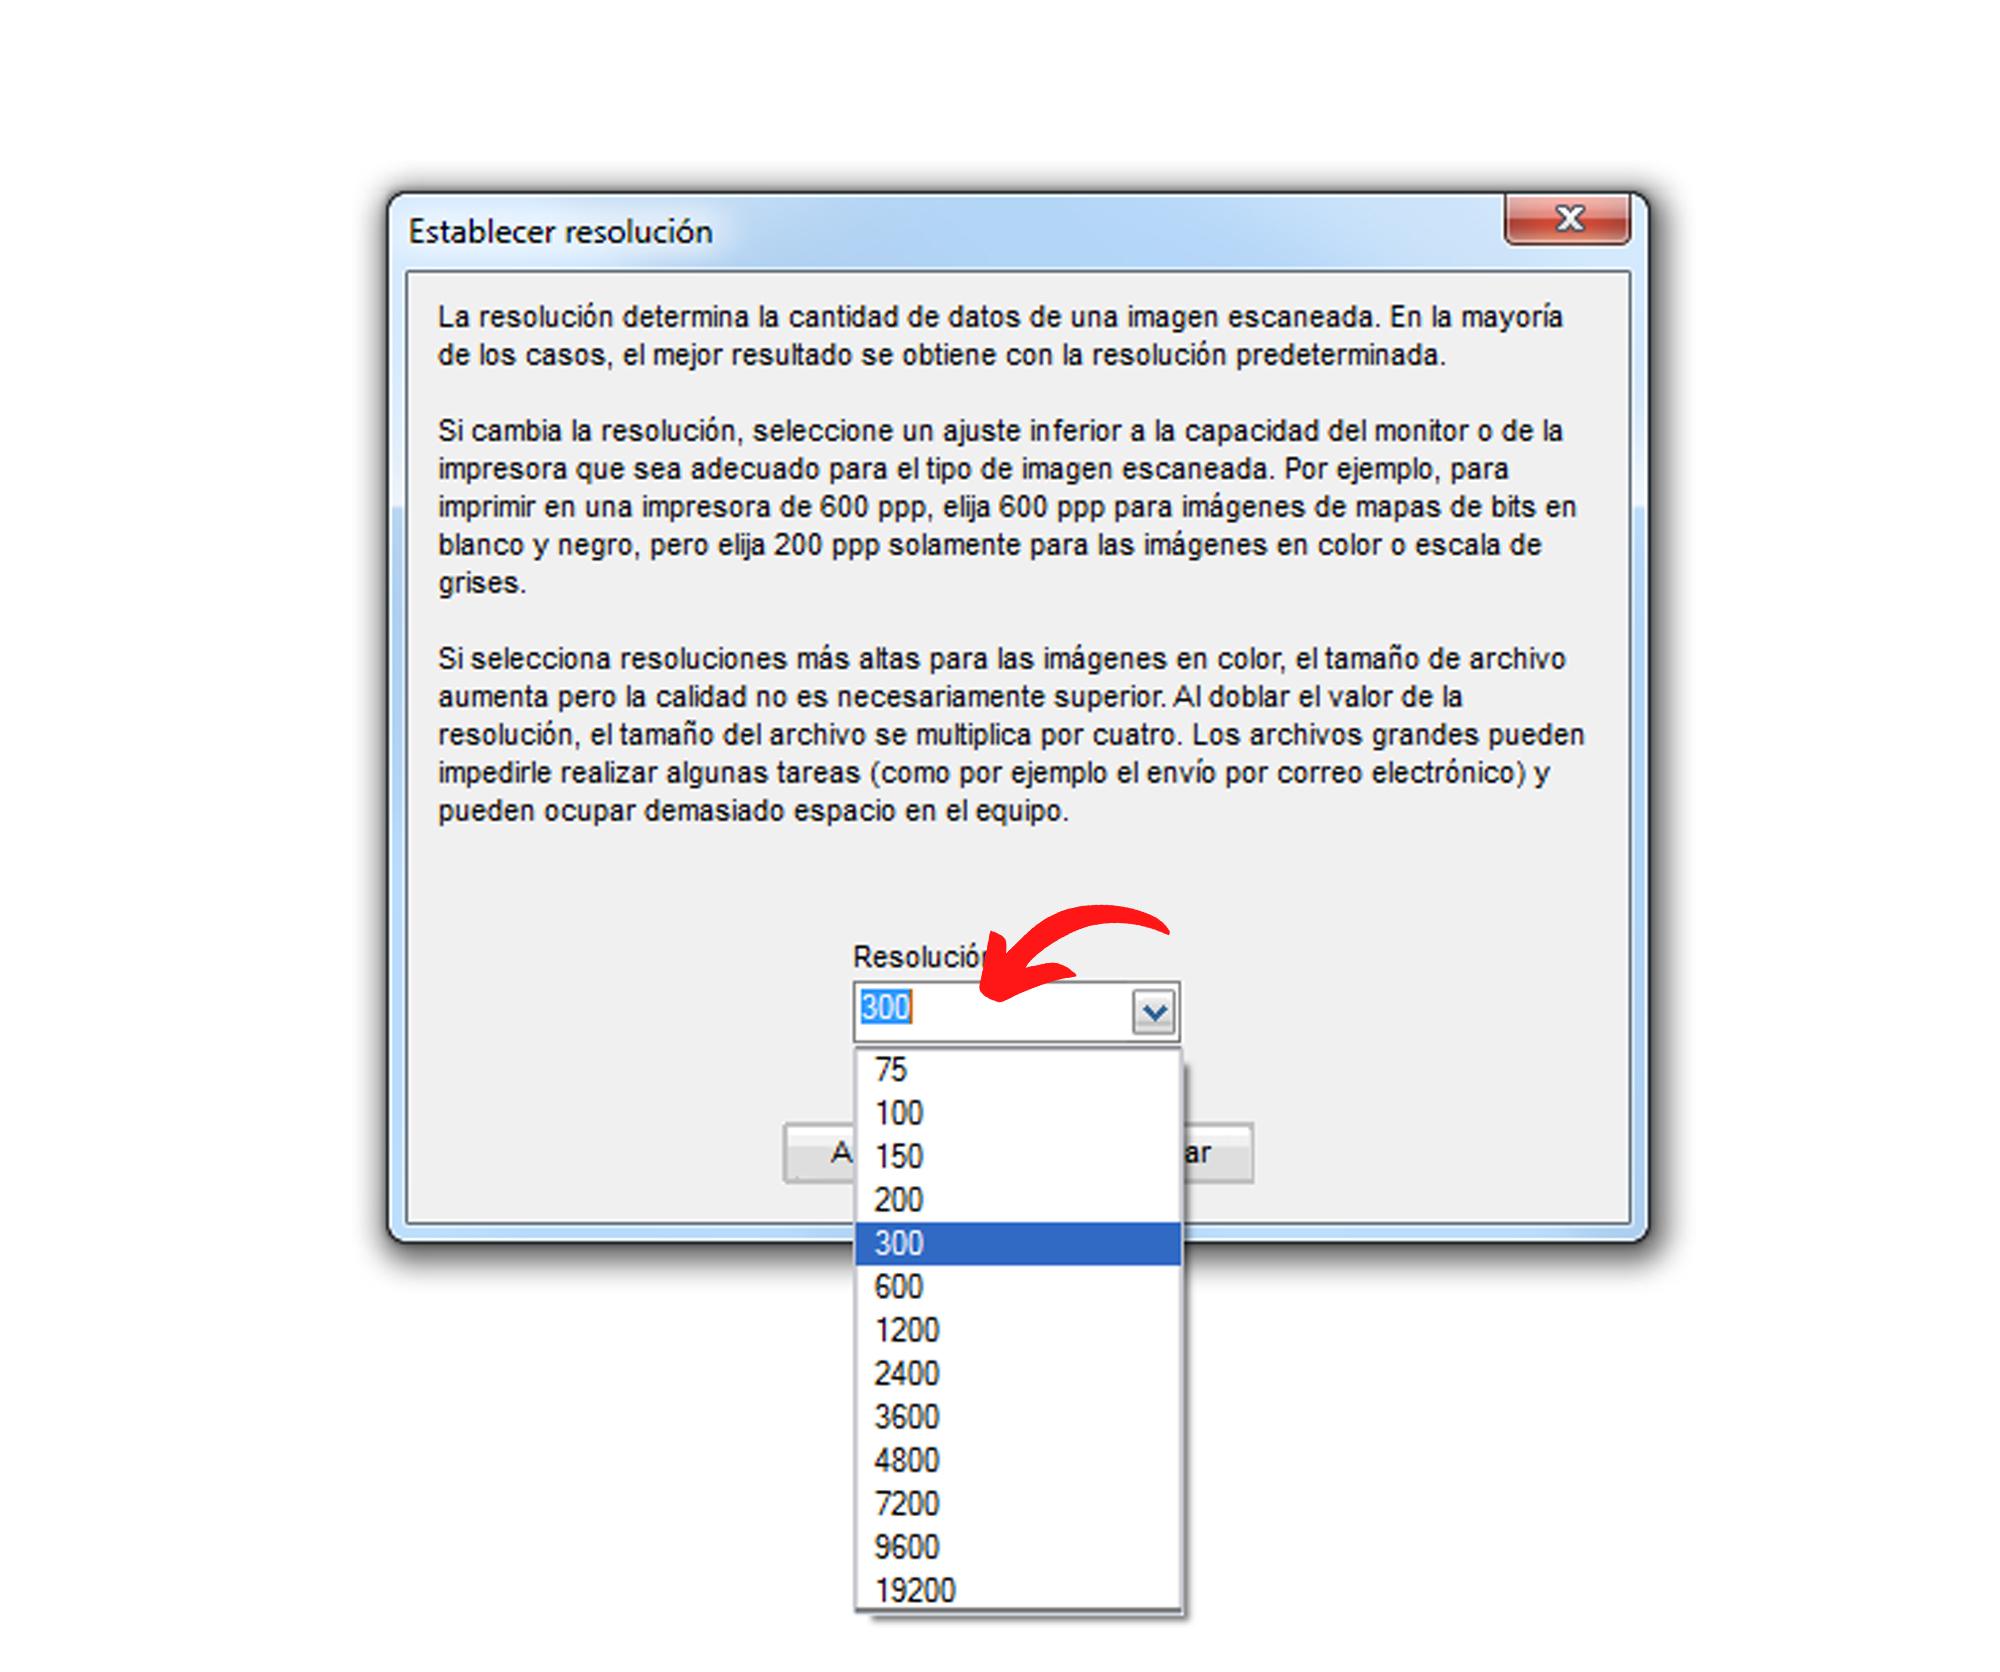
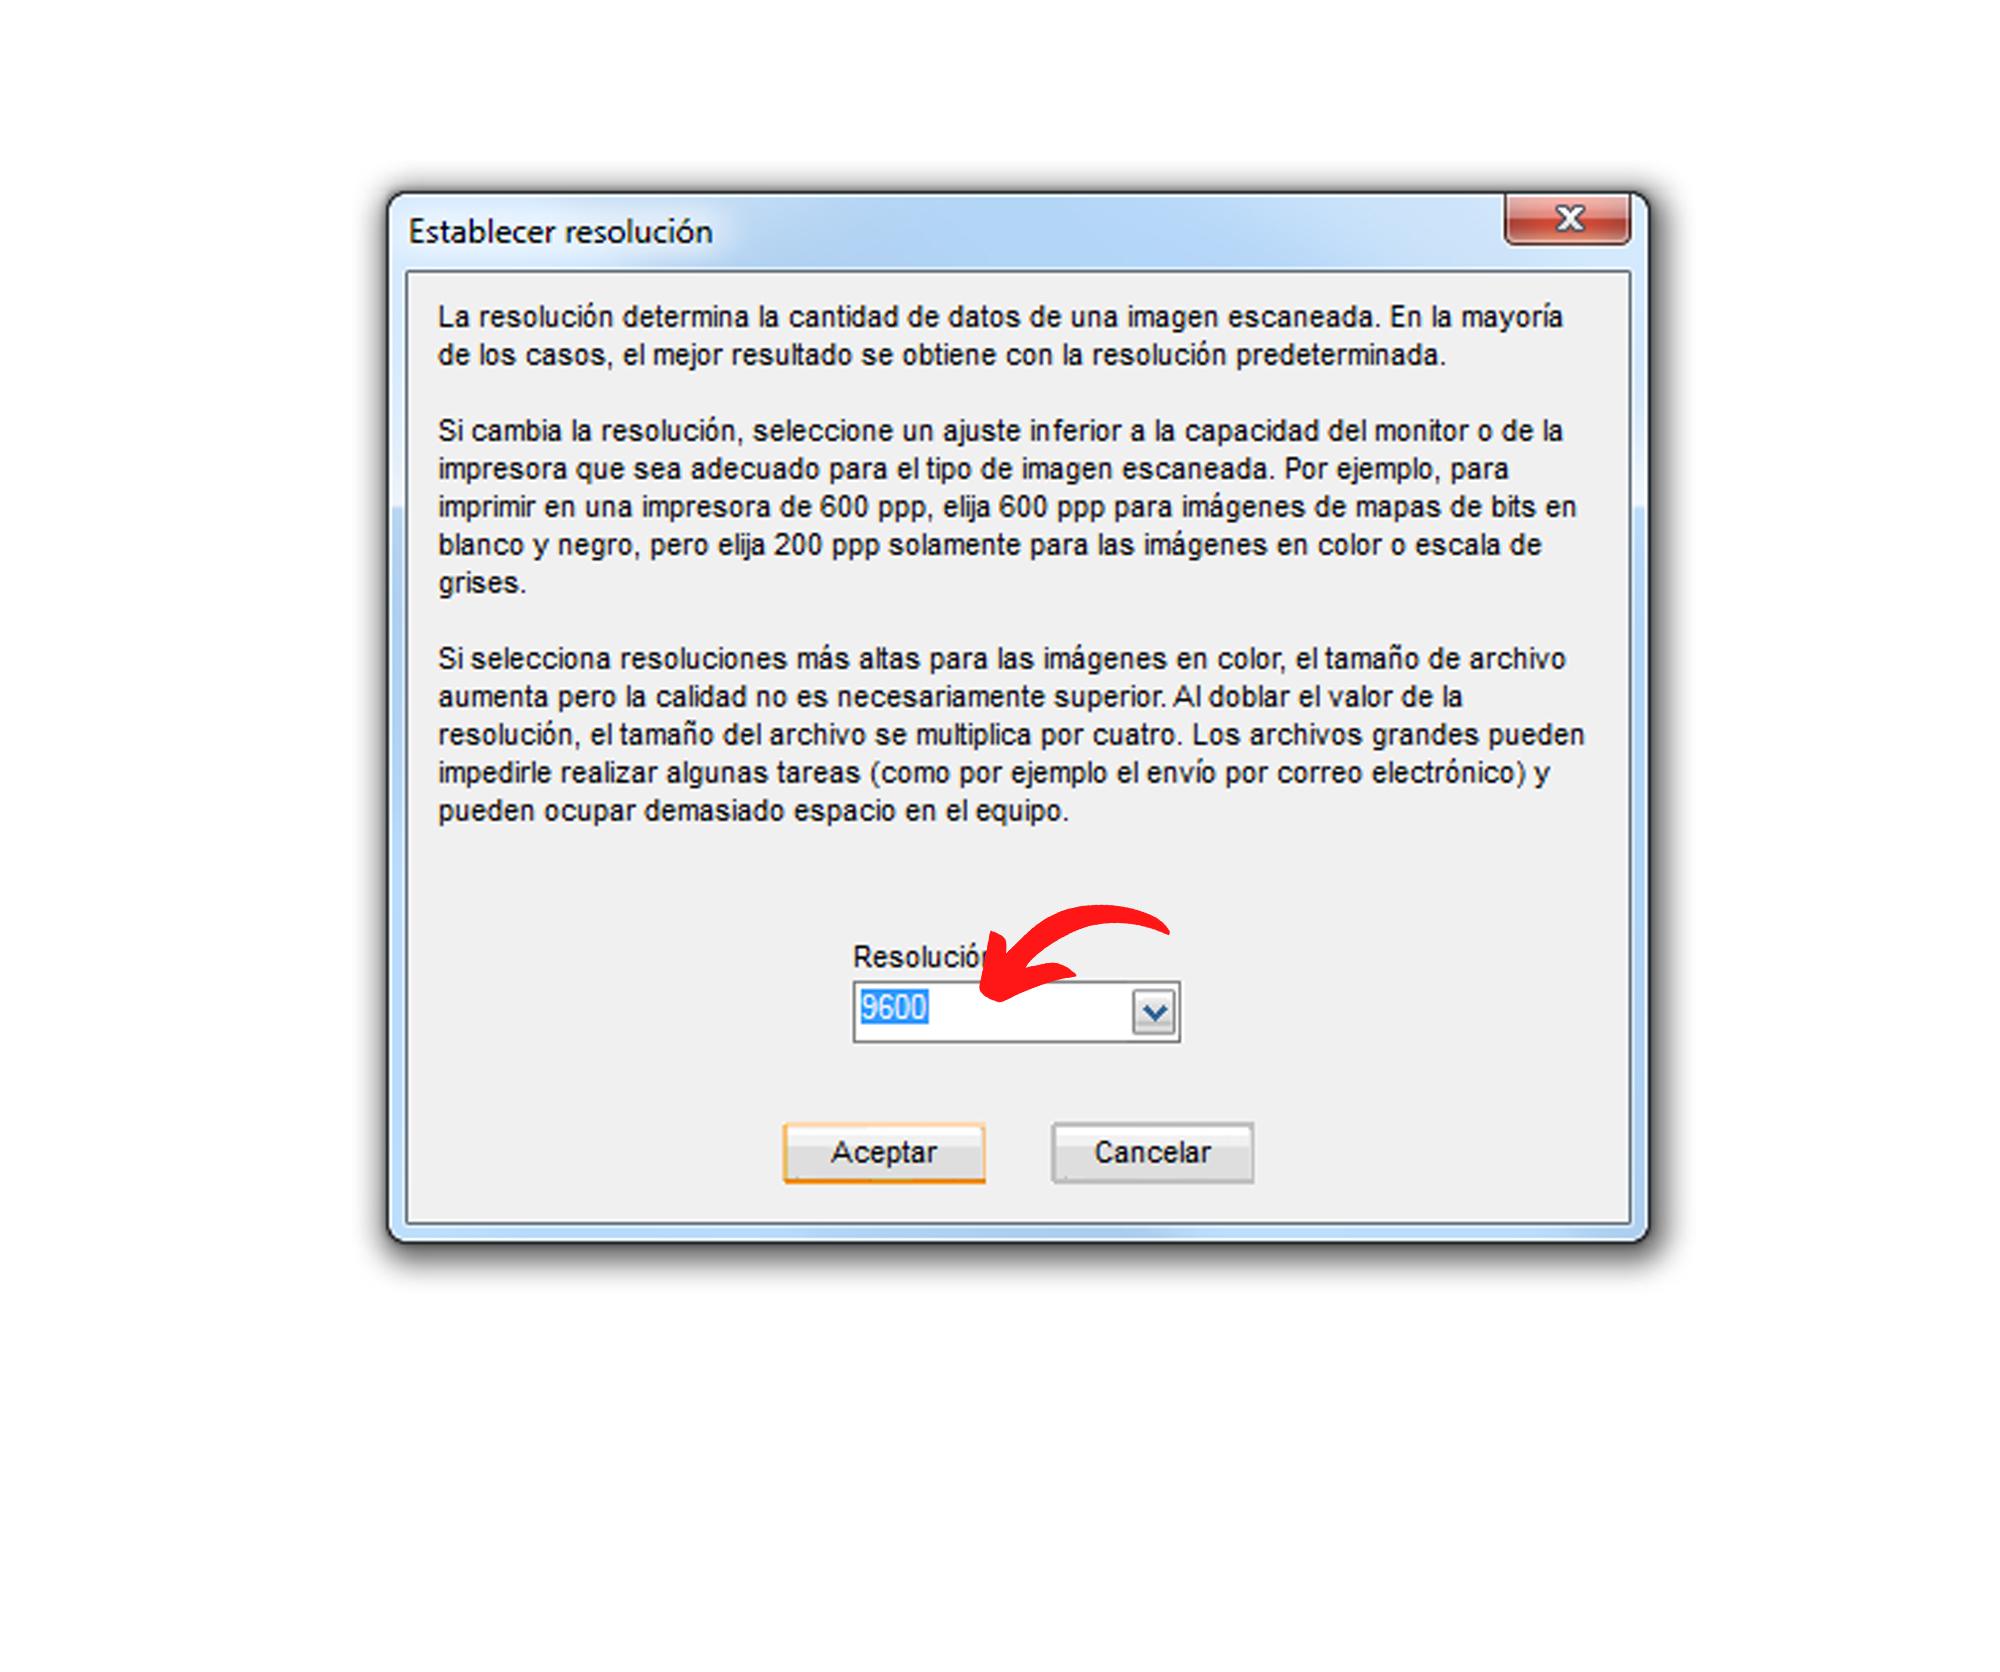
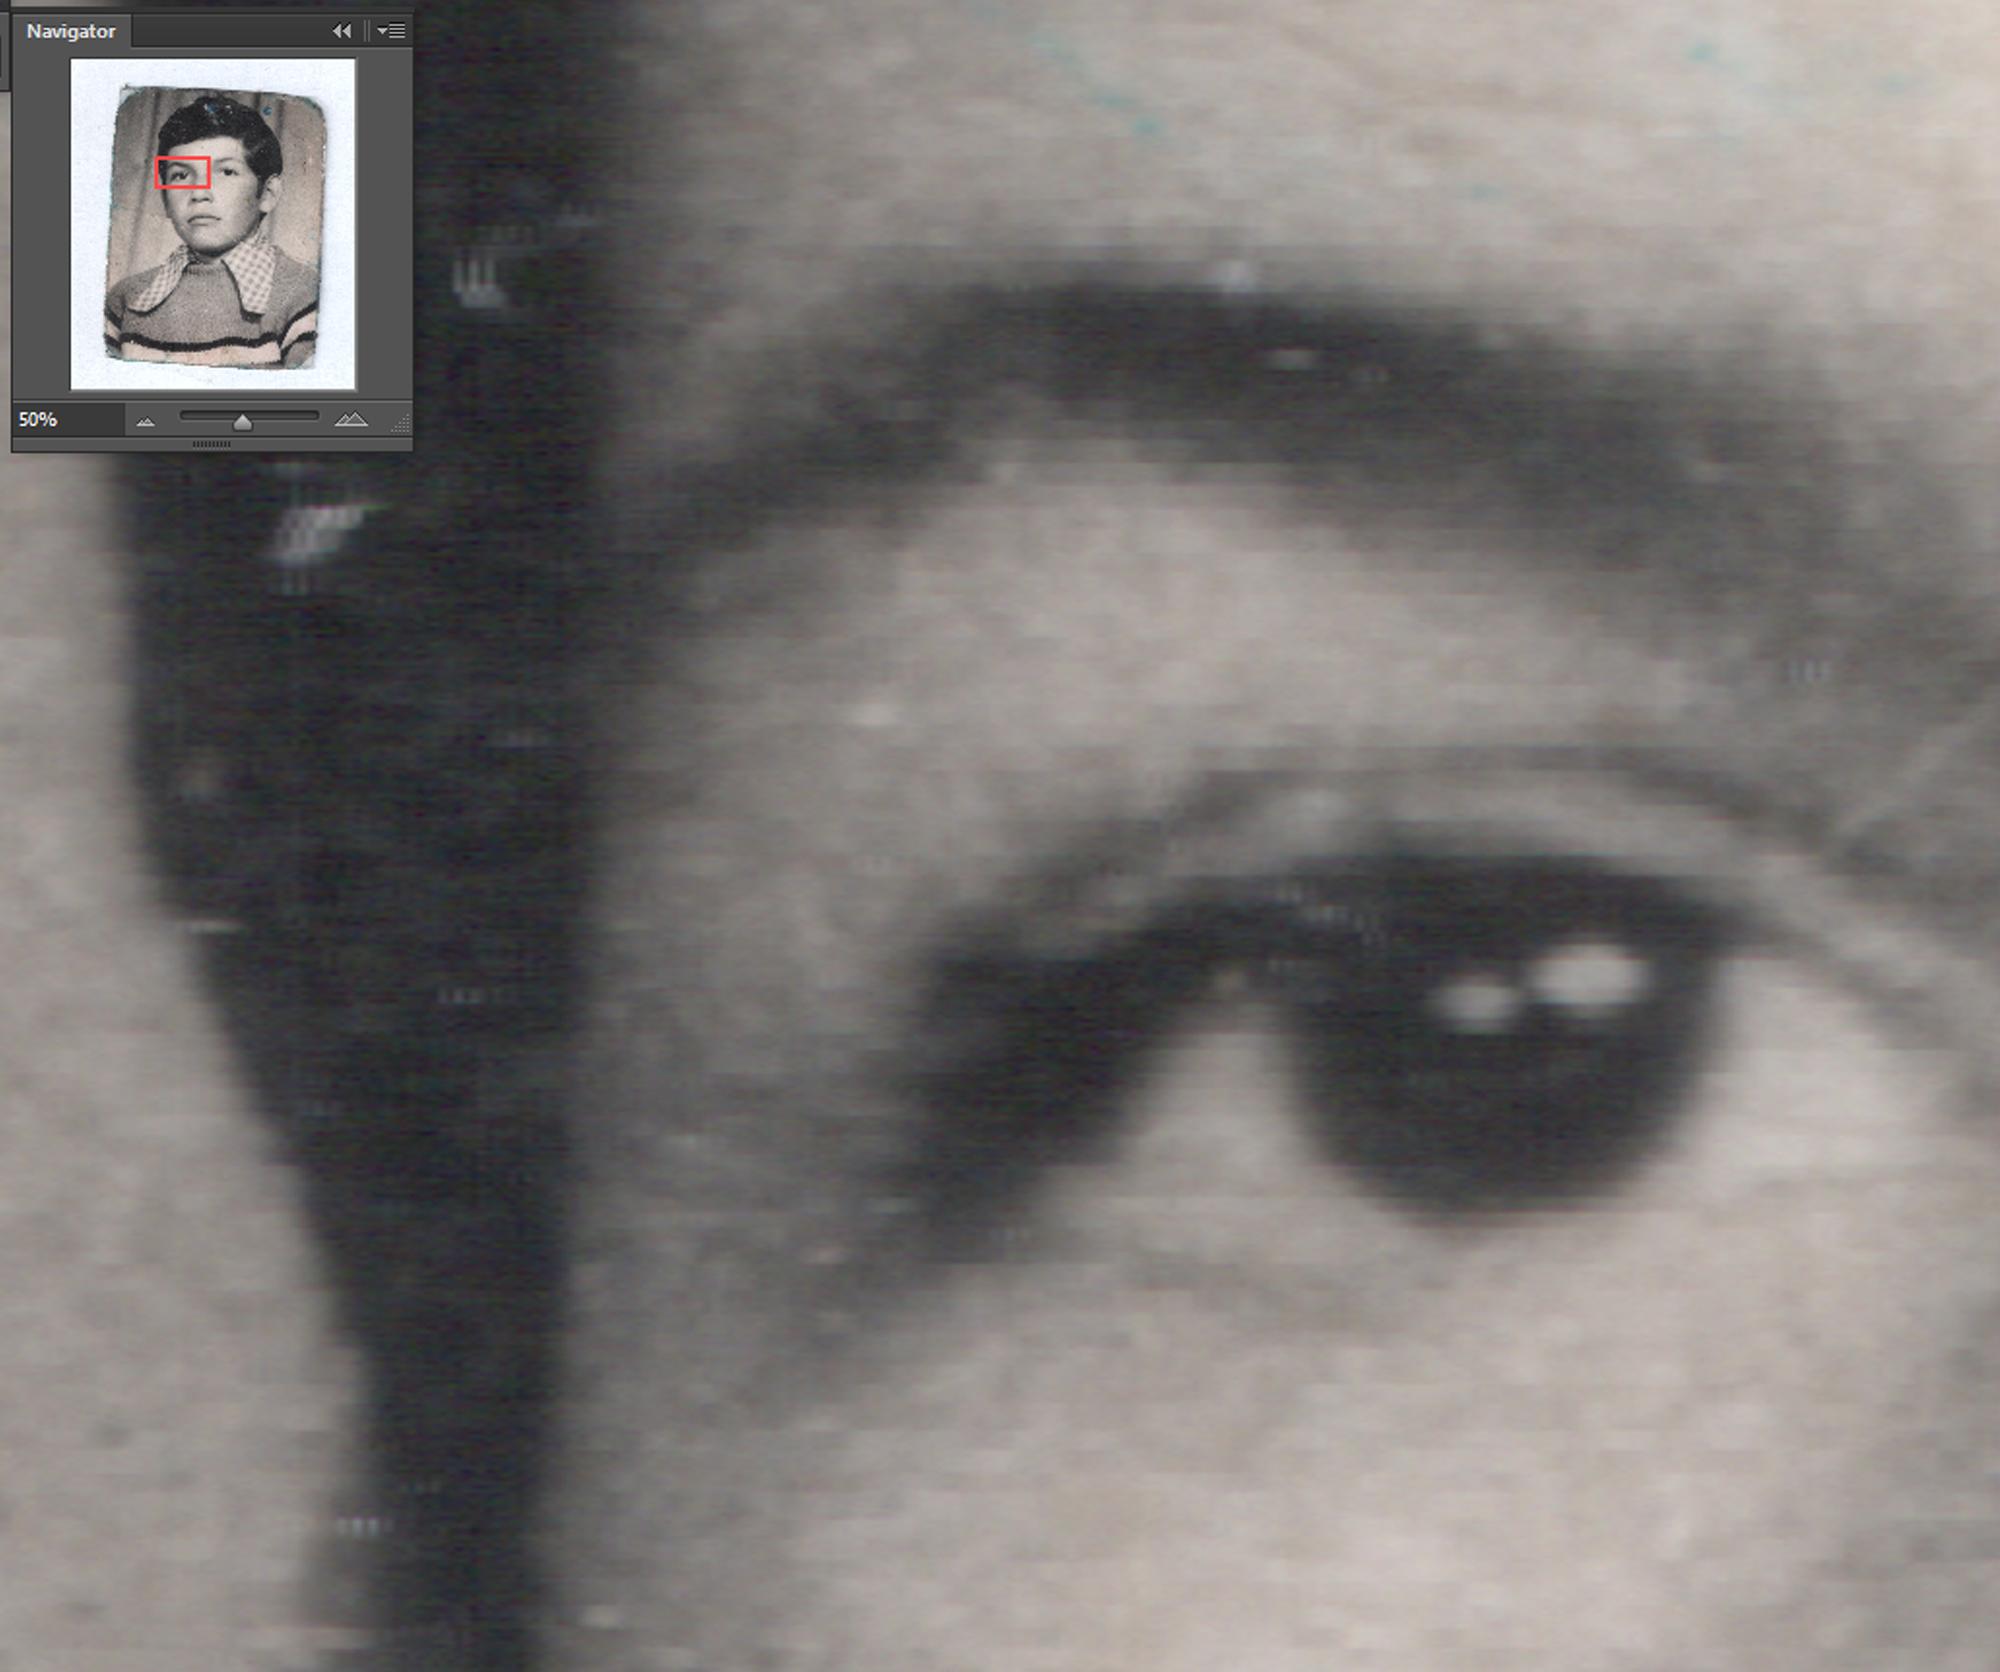
After scanning the image and selecting the area, we will find a special menu to modify the image configuration, the ideal is to scan the image in the best possible quality.
Check the images and in the resolution section select the largest number of pixels that can be digitized by your scanner model.
Open in a Editor Software
After we have our image in high quality, we proceed to export it to any editing program of our choice.
In my case I will use Photoshop, but you are free to use any, there are several free ones that have a lot of potential.
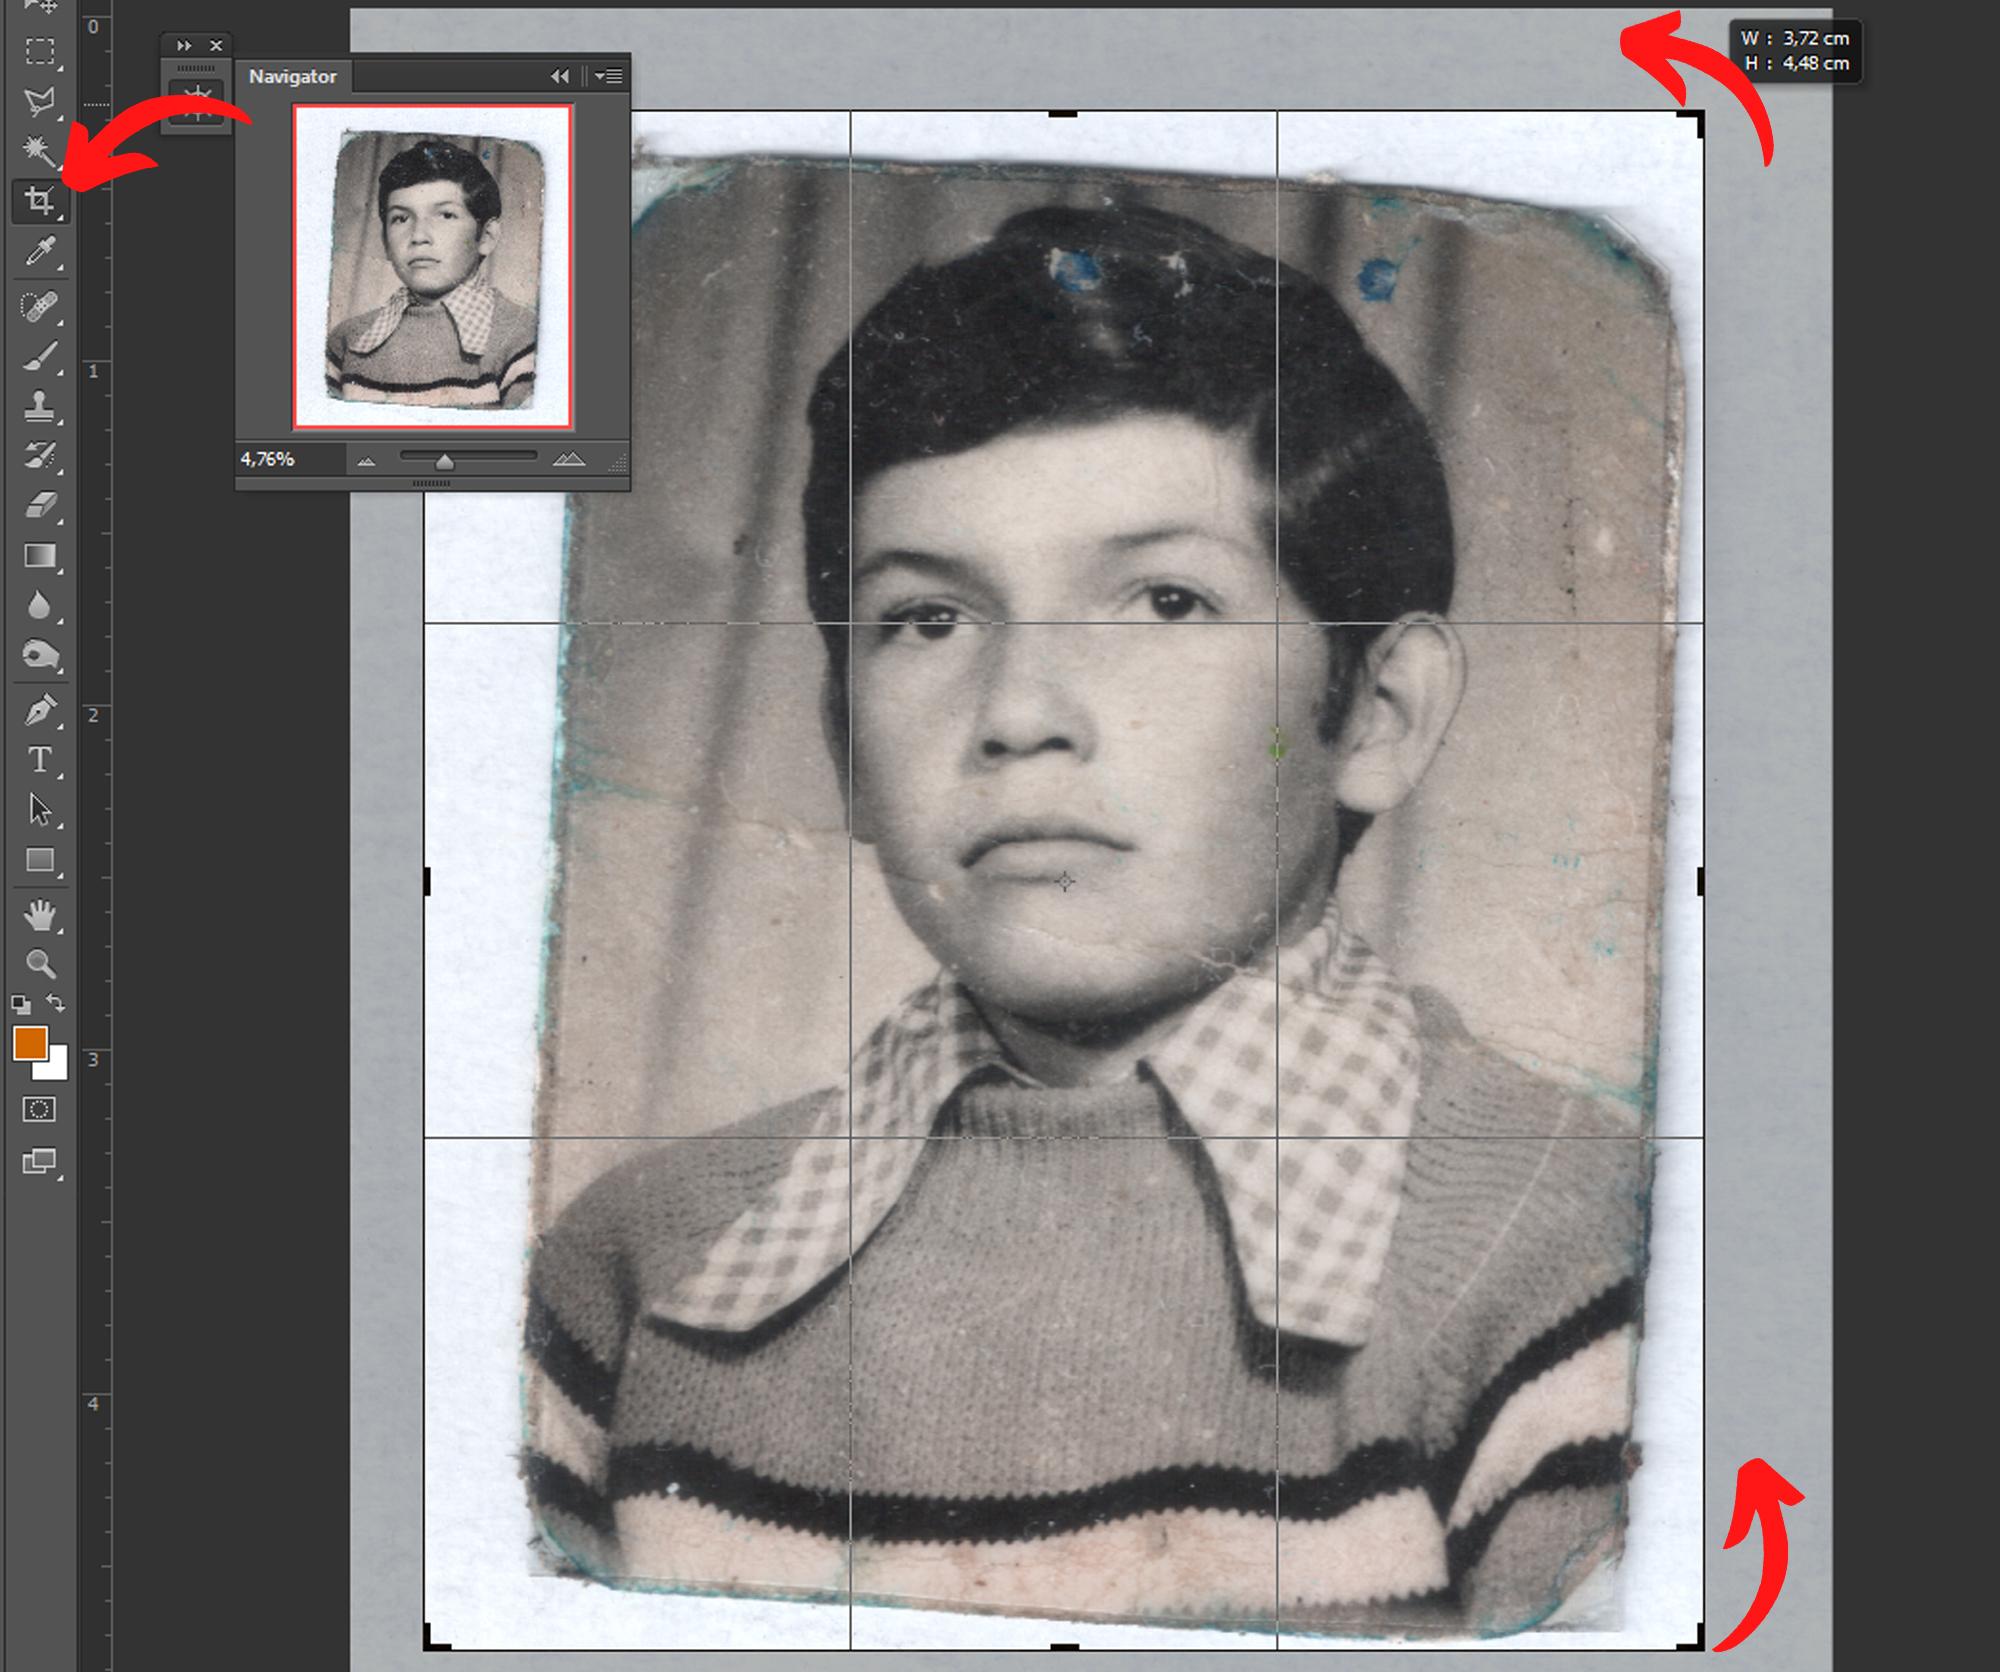
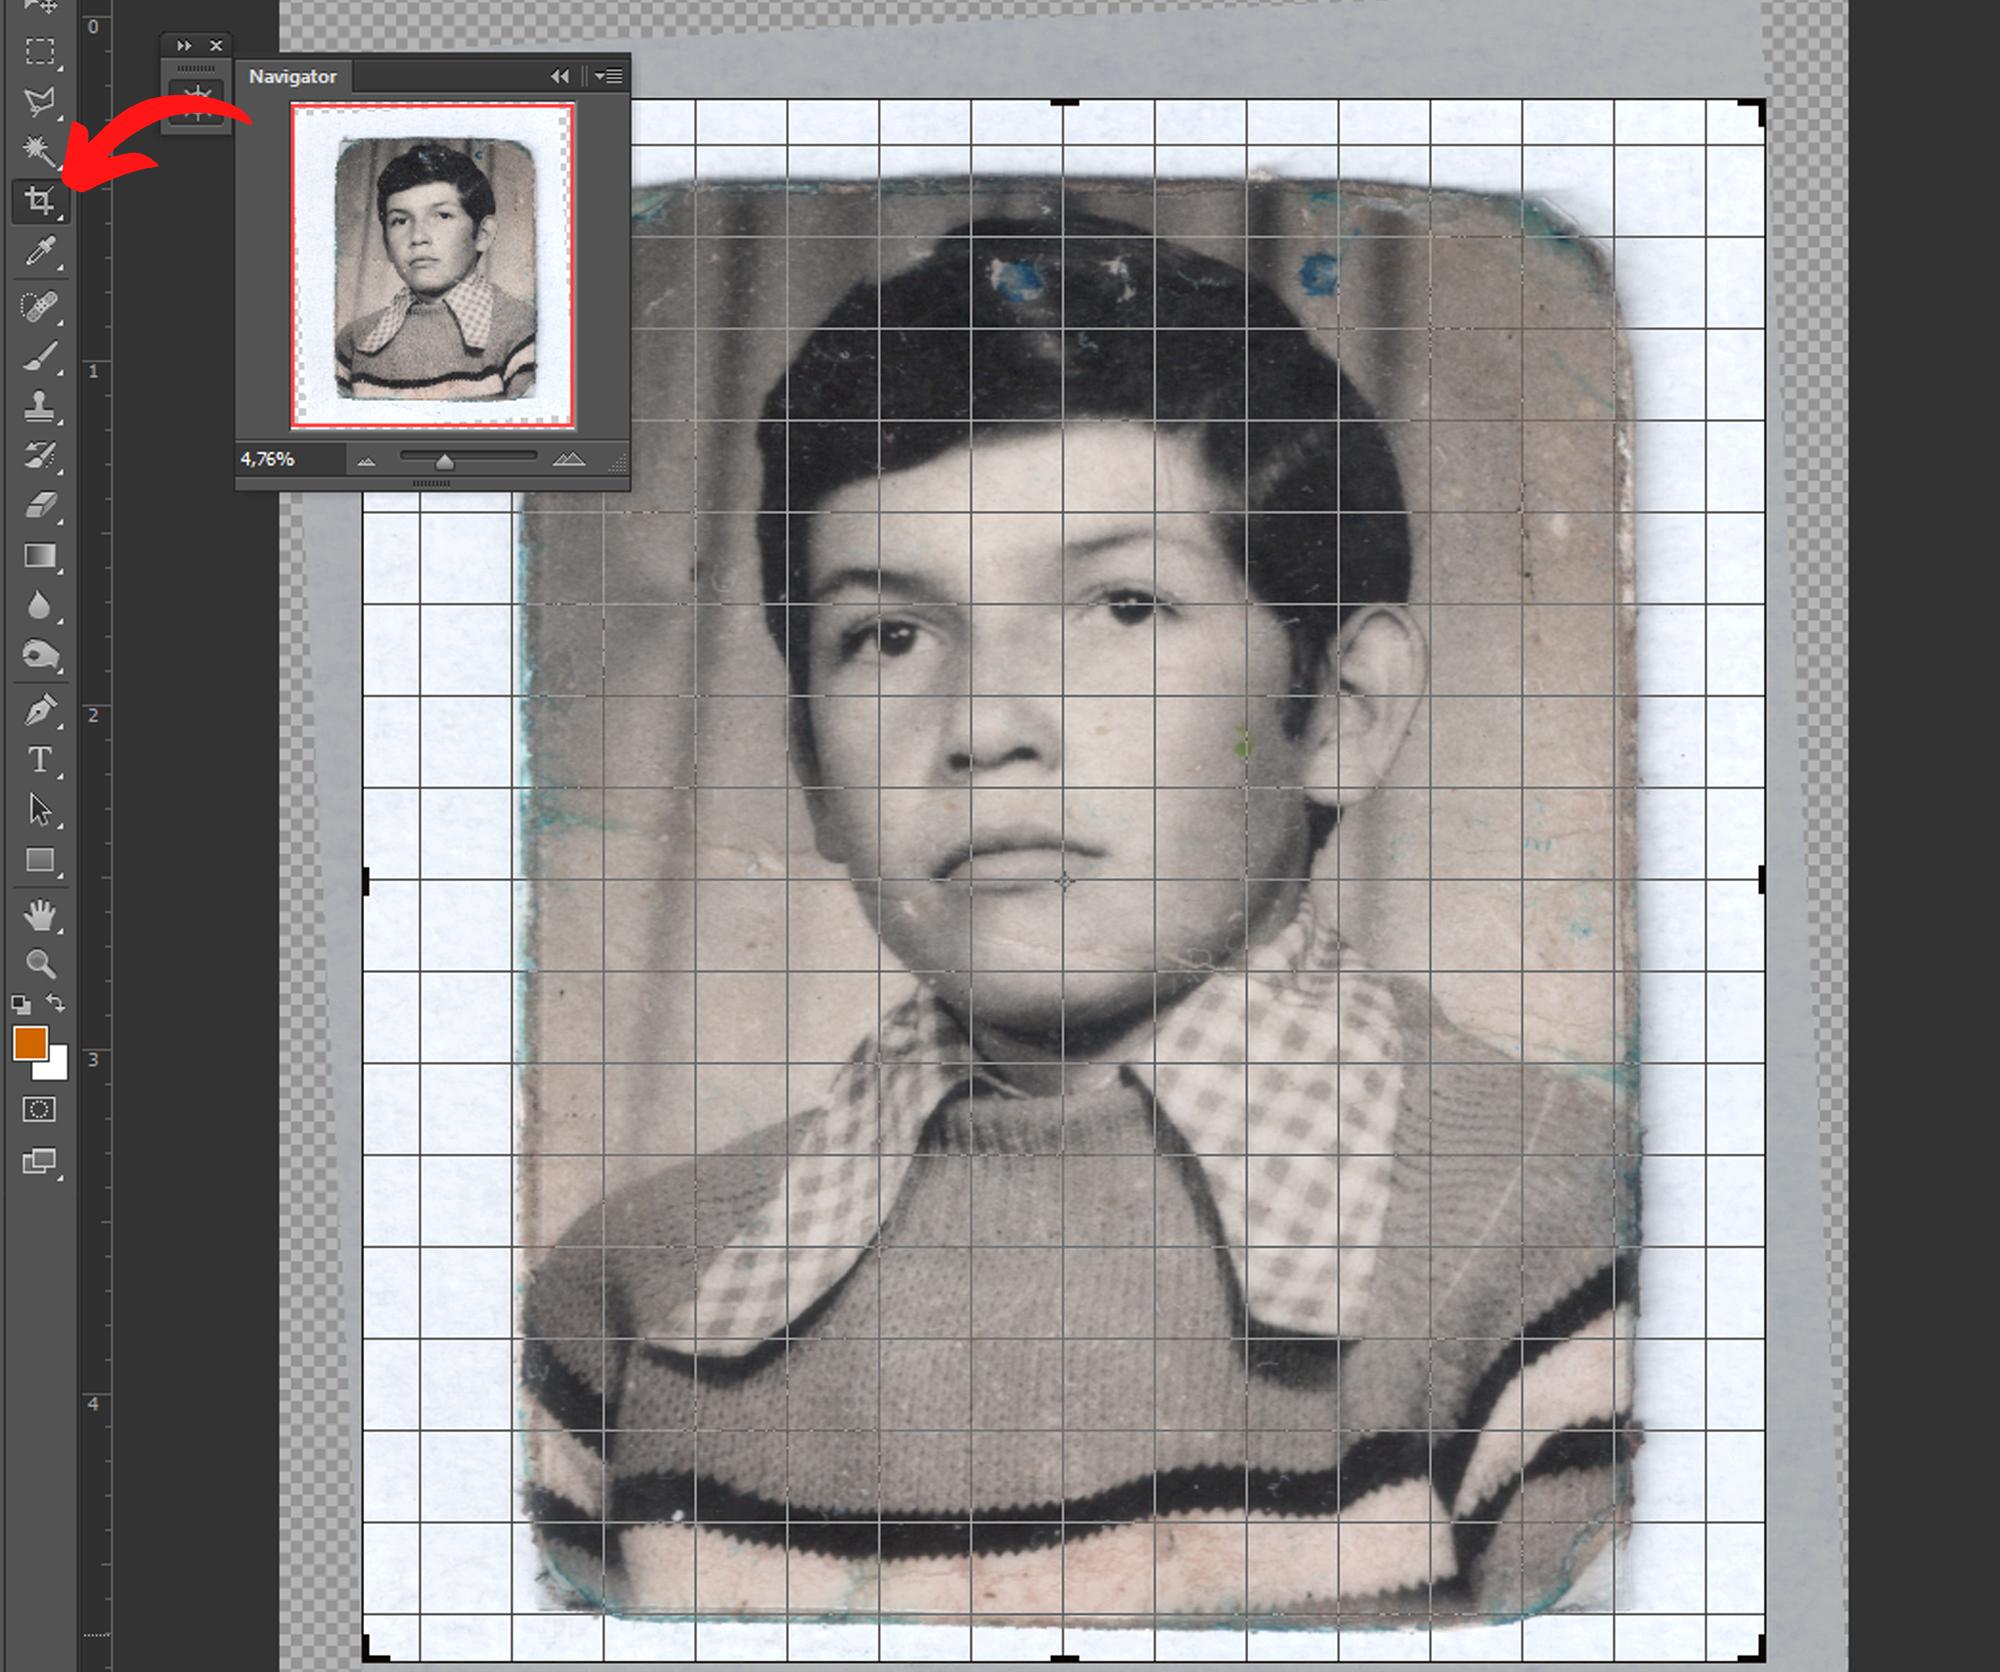
The first thing we will do is straighten our image for which we will use the crop tool according to the scan and the direction in which it is located we will rotate it to leave it straight.
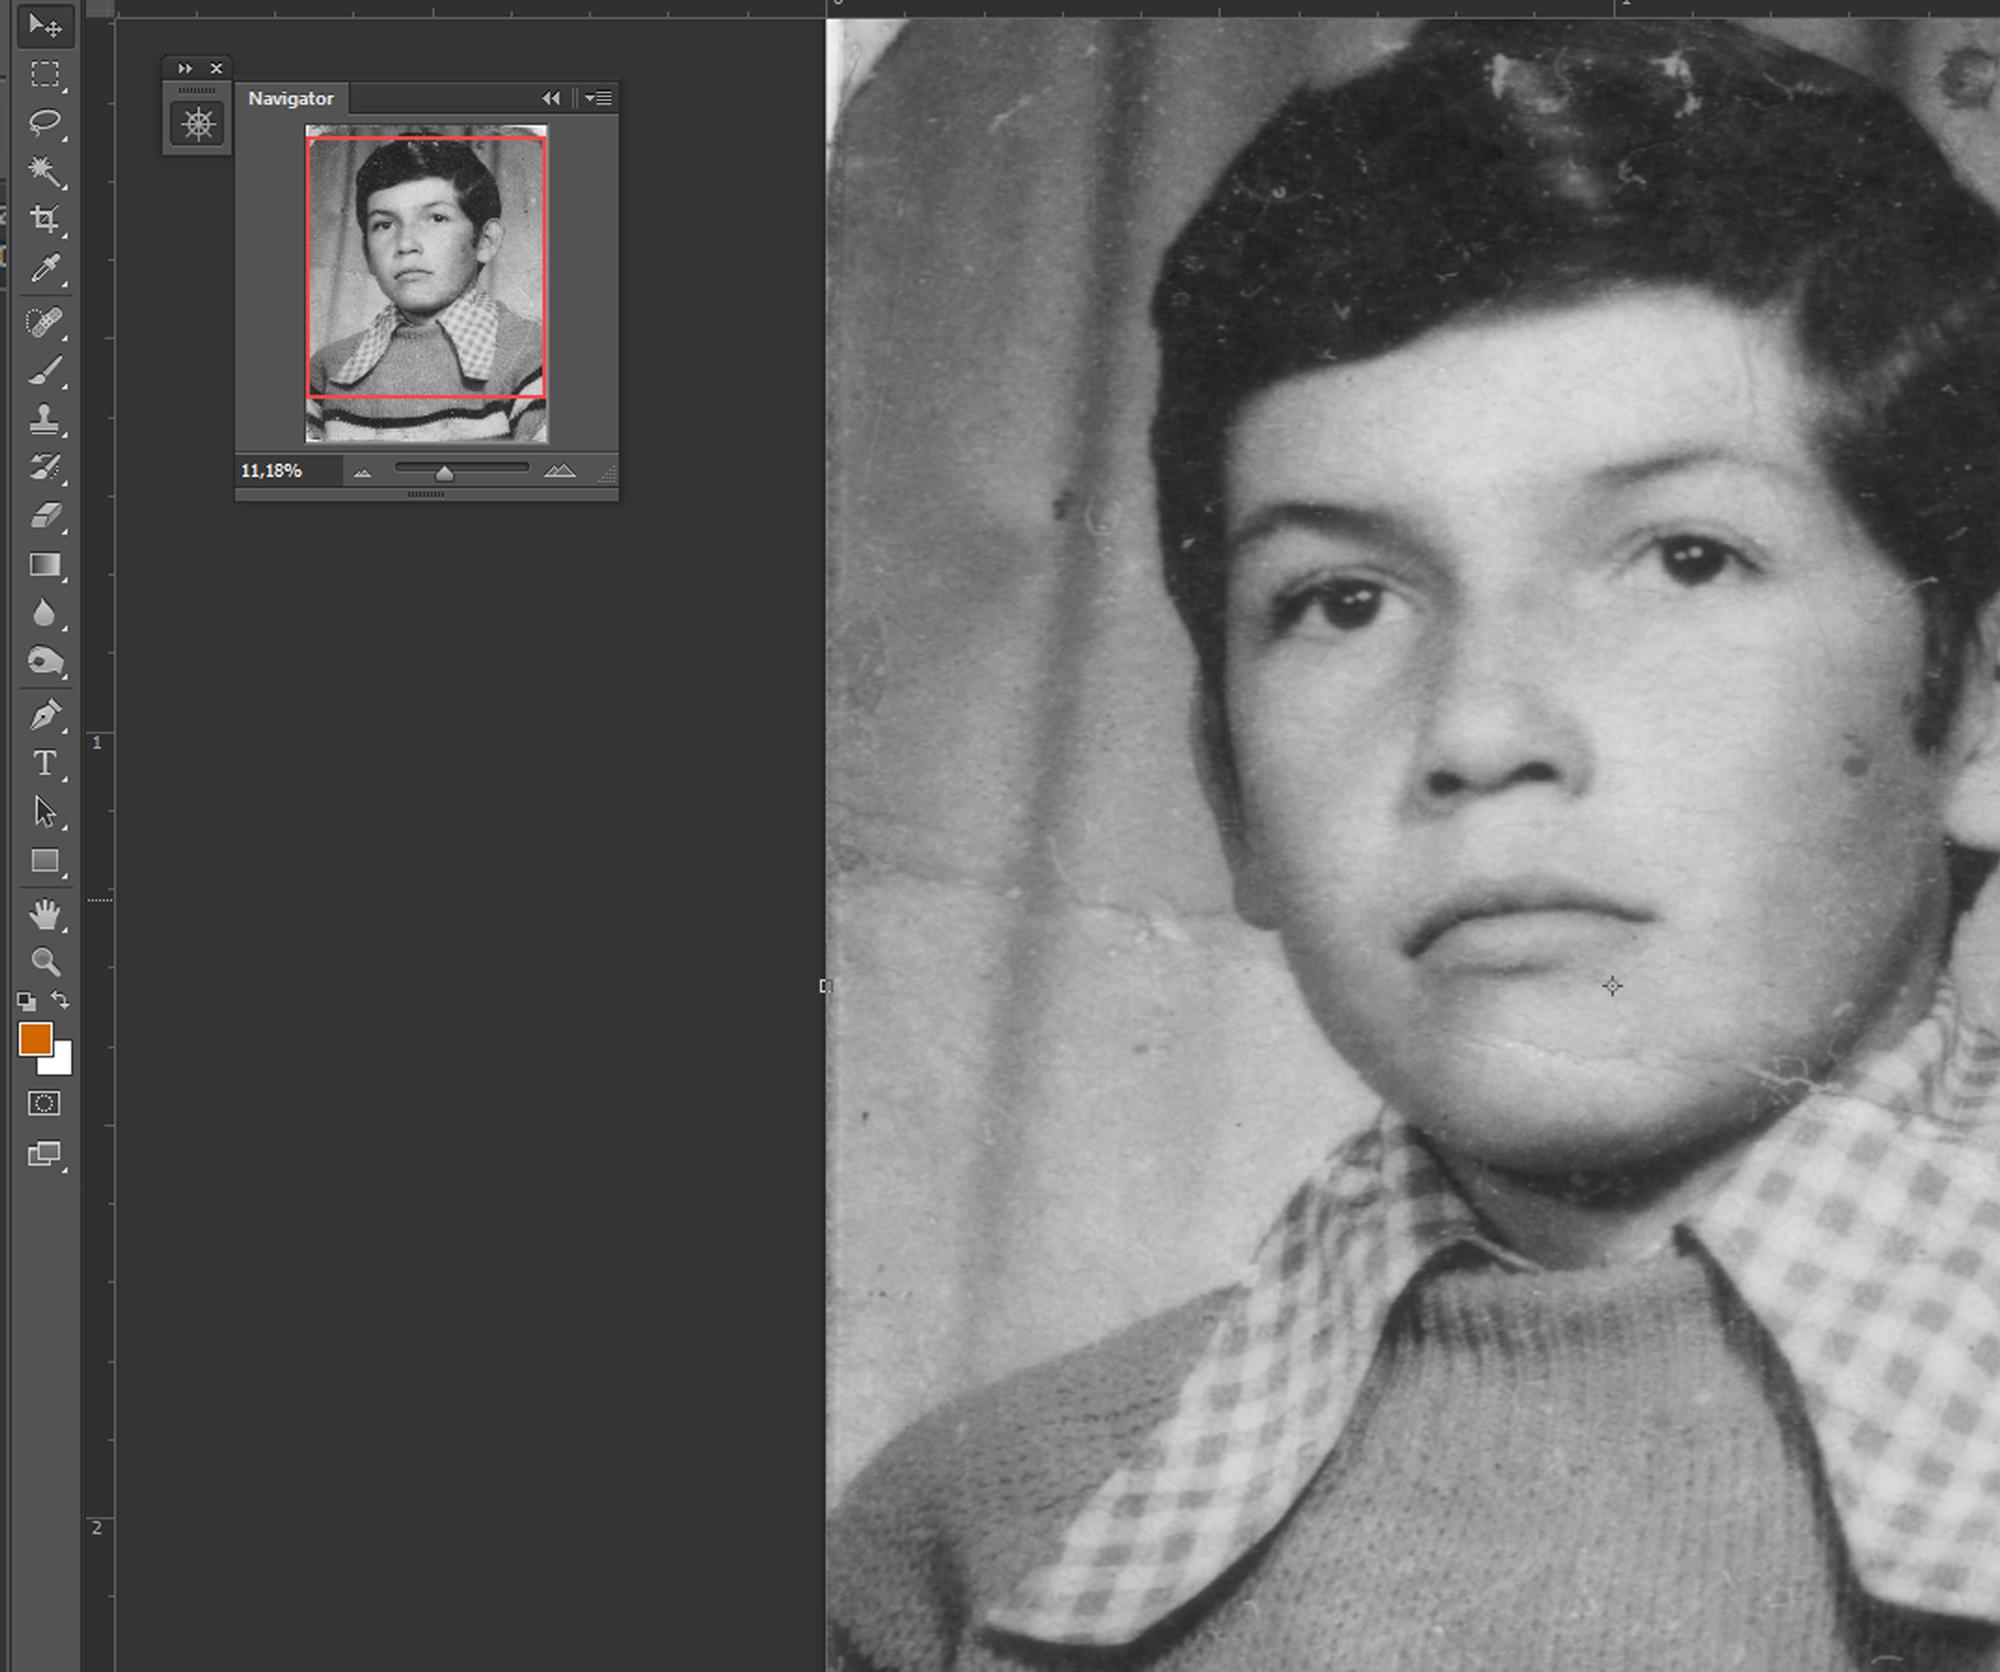
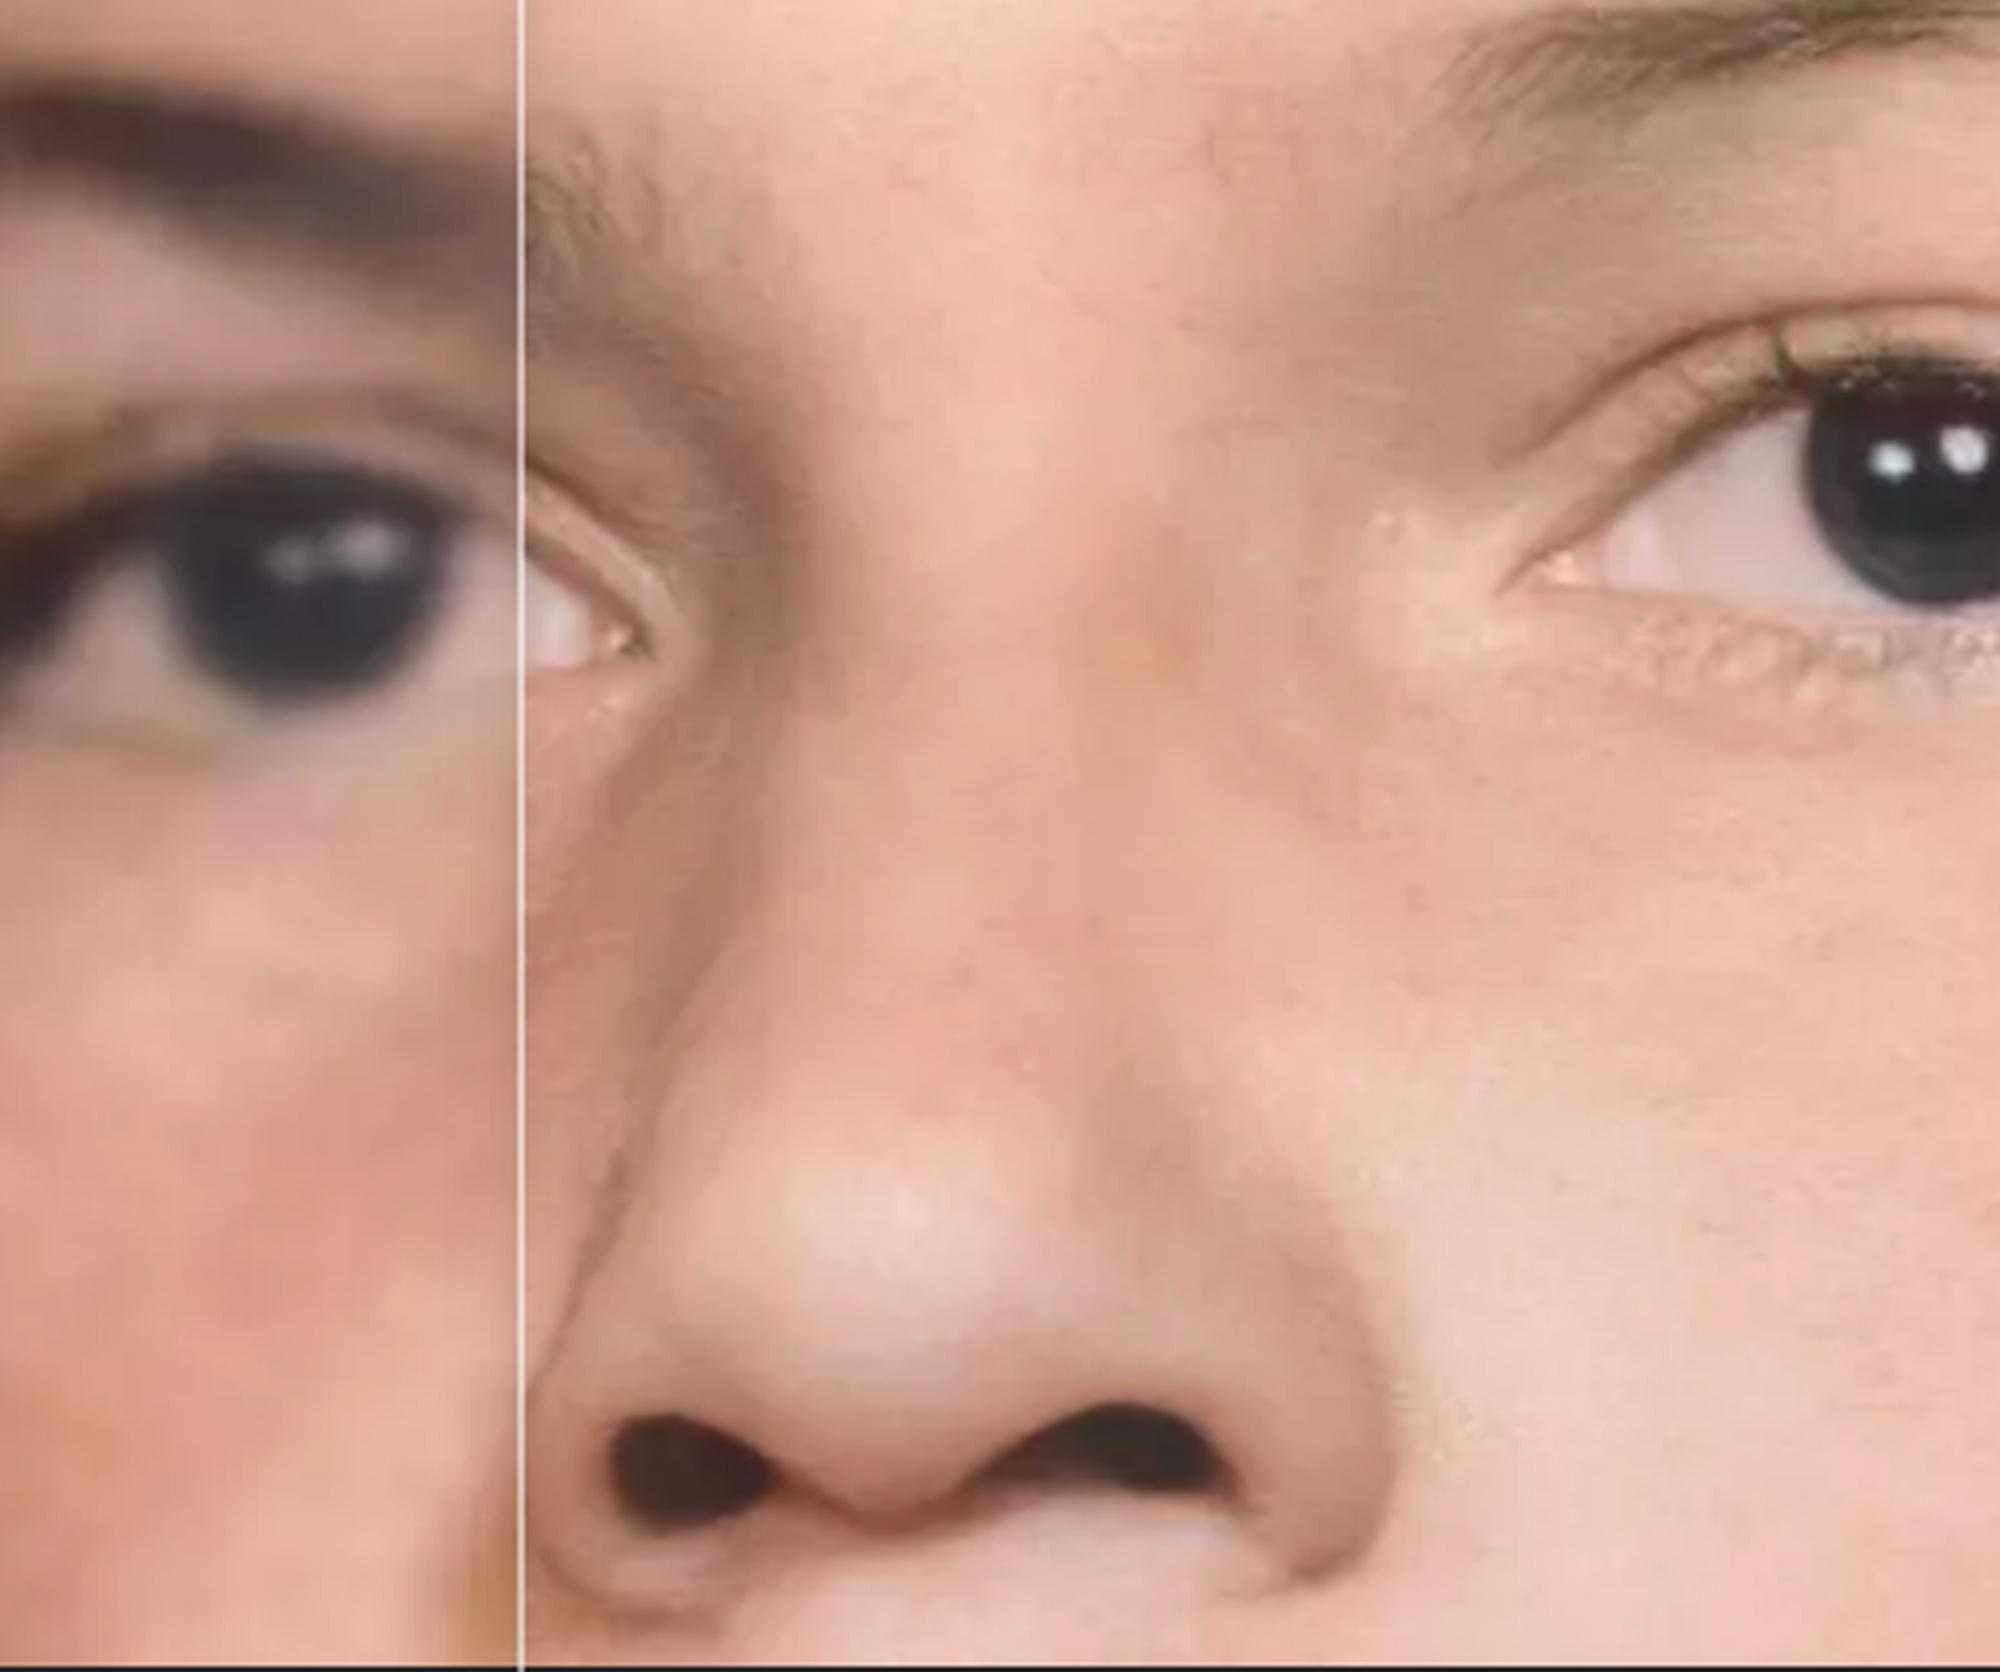
Spot Healing Tool
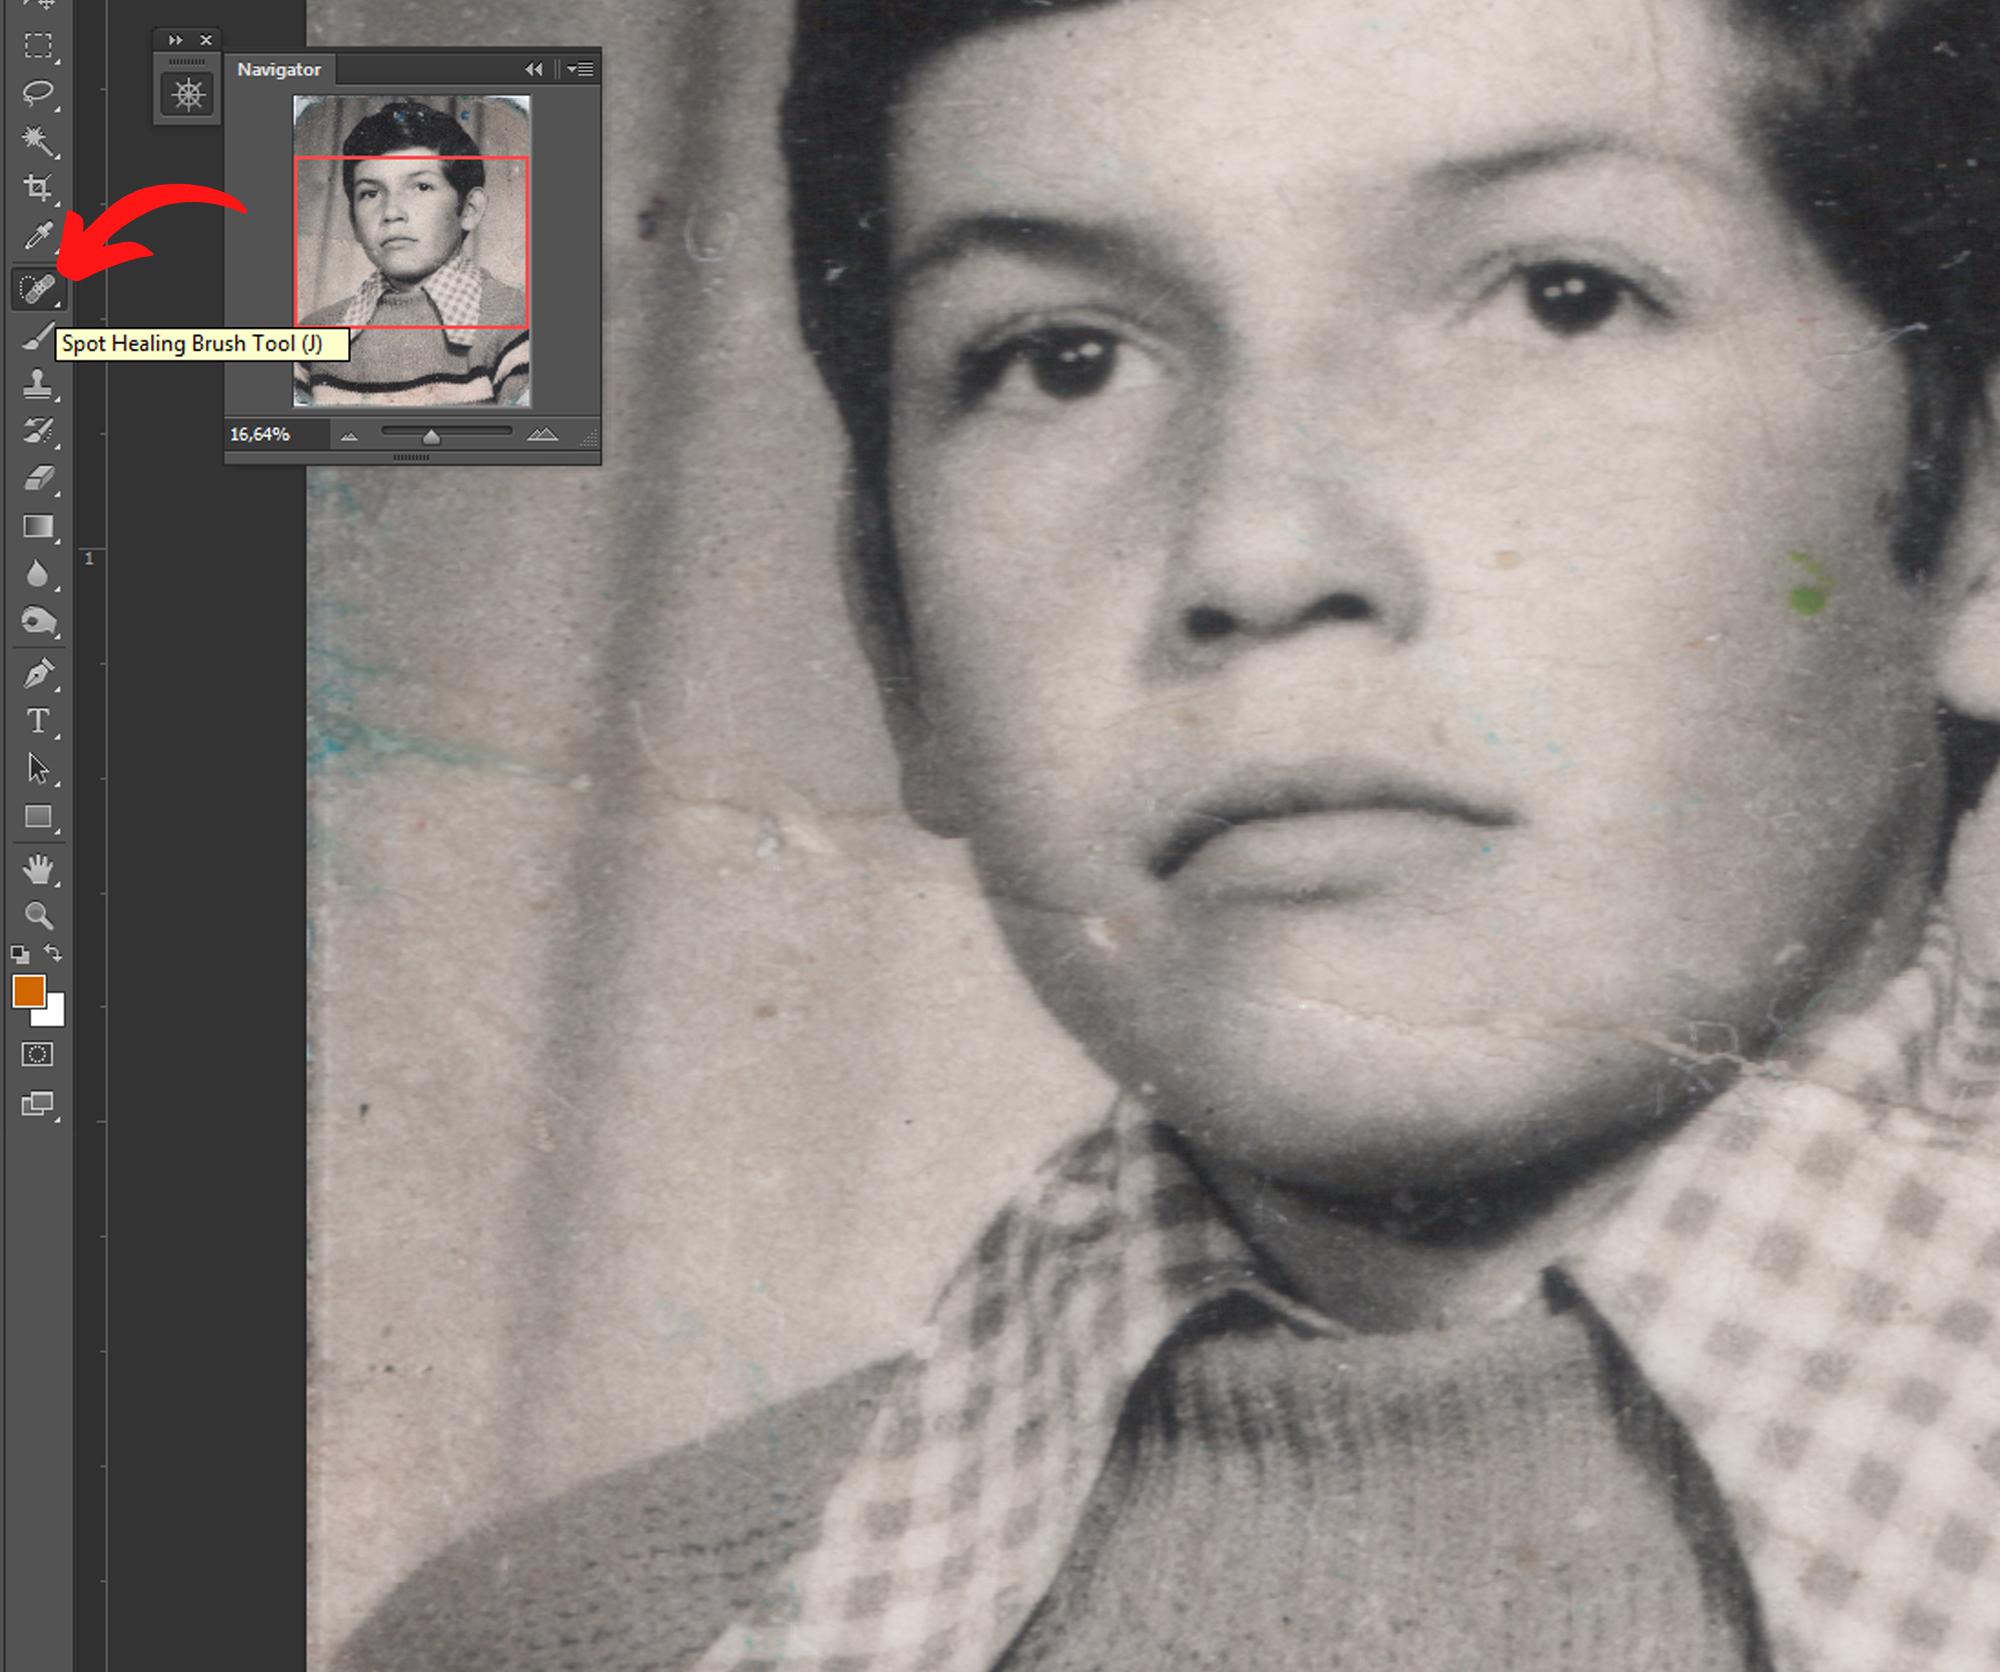
After straightening the photo it is time to remove the scratches and match the skin, the coat, the hair and the background in my case, for that we will use the spot healing tool.
we will use quick touches, in the areas where there are scratches or anomalies.
It can also help in certain cases with the clone stamp tool, which takes a sample from somewhere to simulate it in the area where there are scratches.
Color Correction
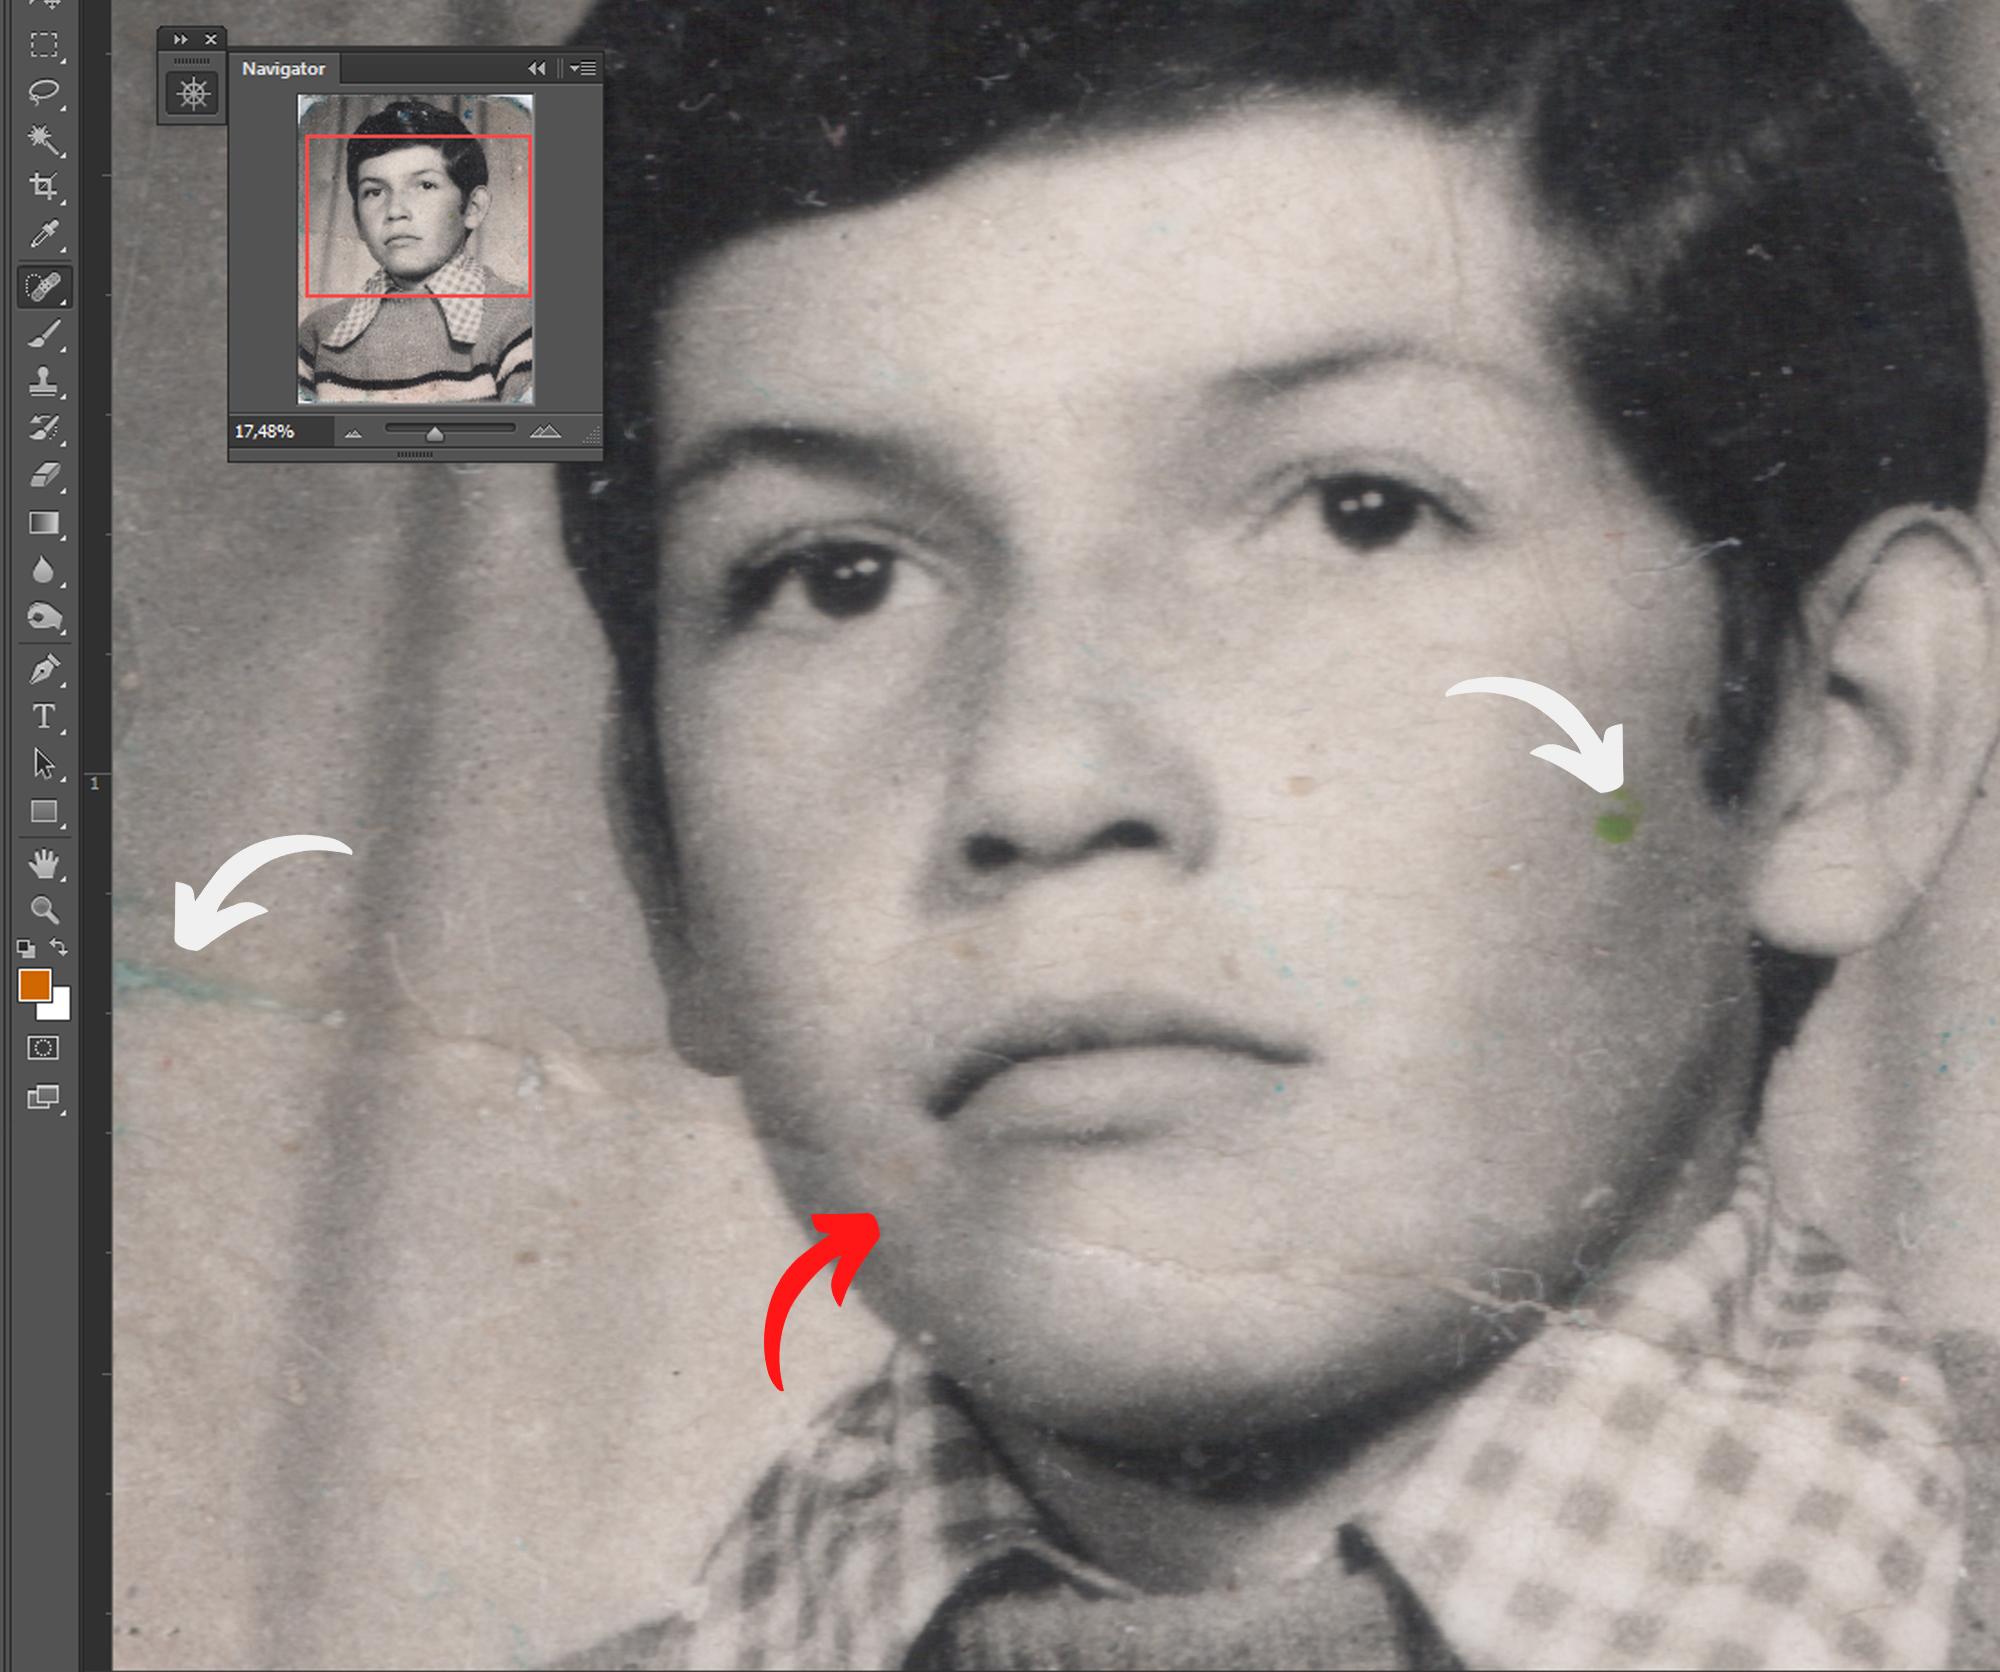
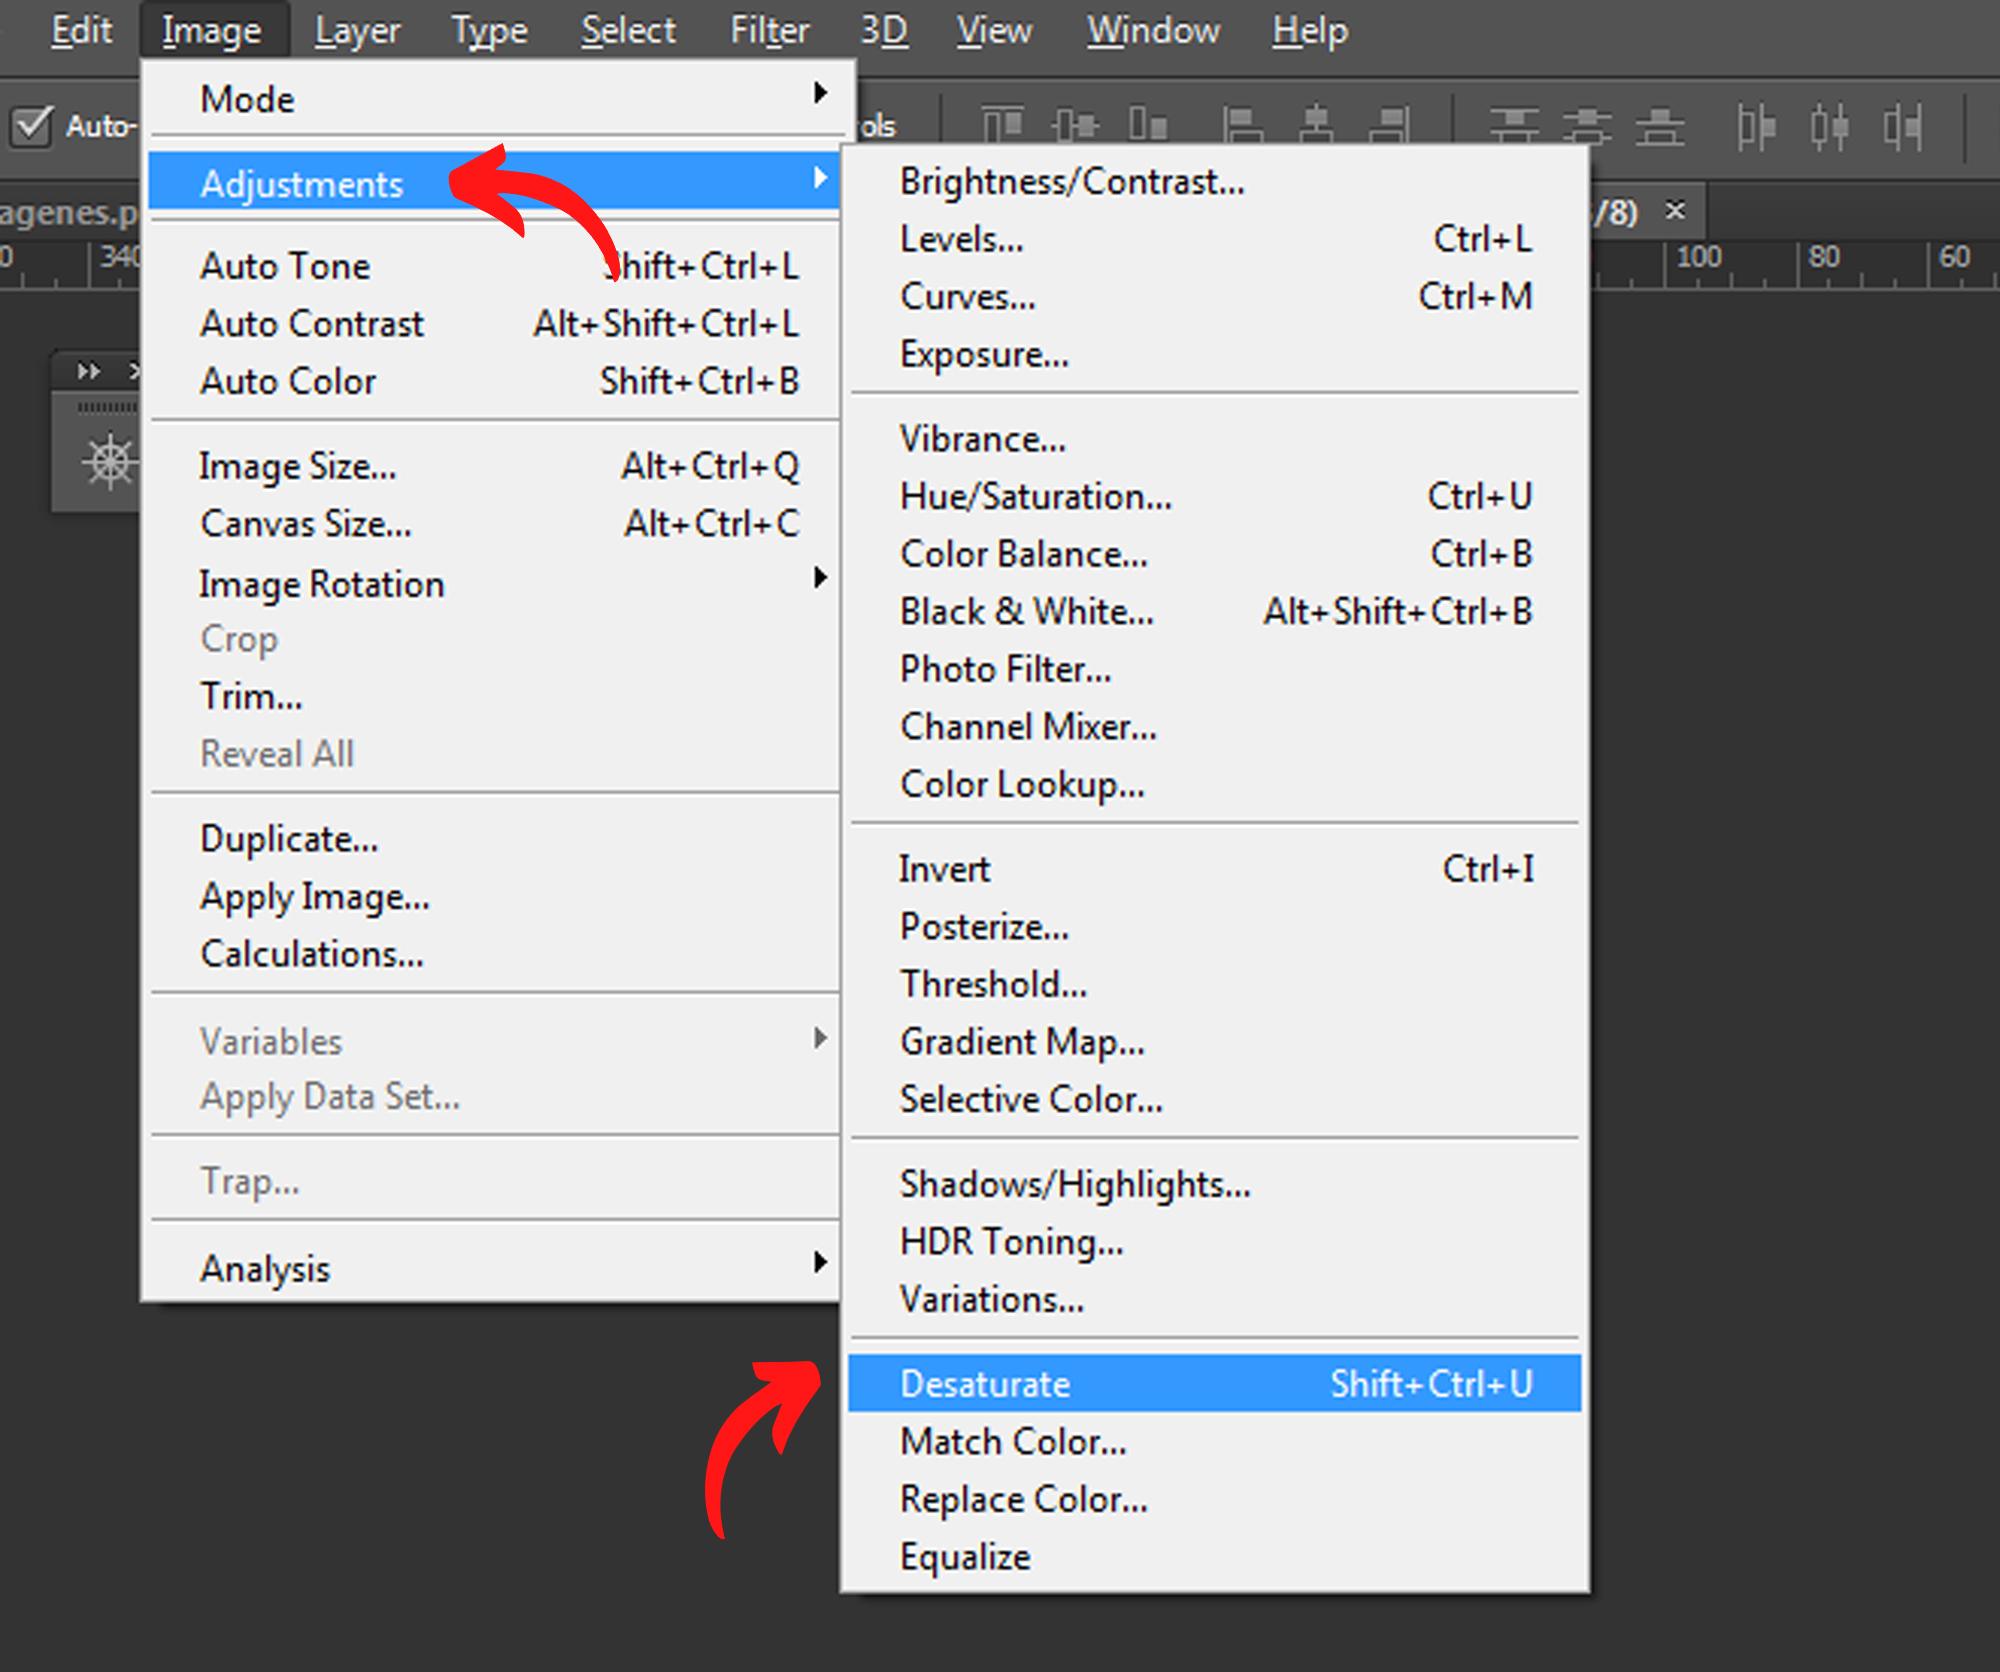
When we scan the Photo we can notice that some tones of other colors can be perceived, so I recommend desaturating the photo to have a black and white balance that is easier to correct.
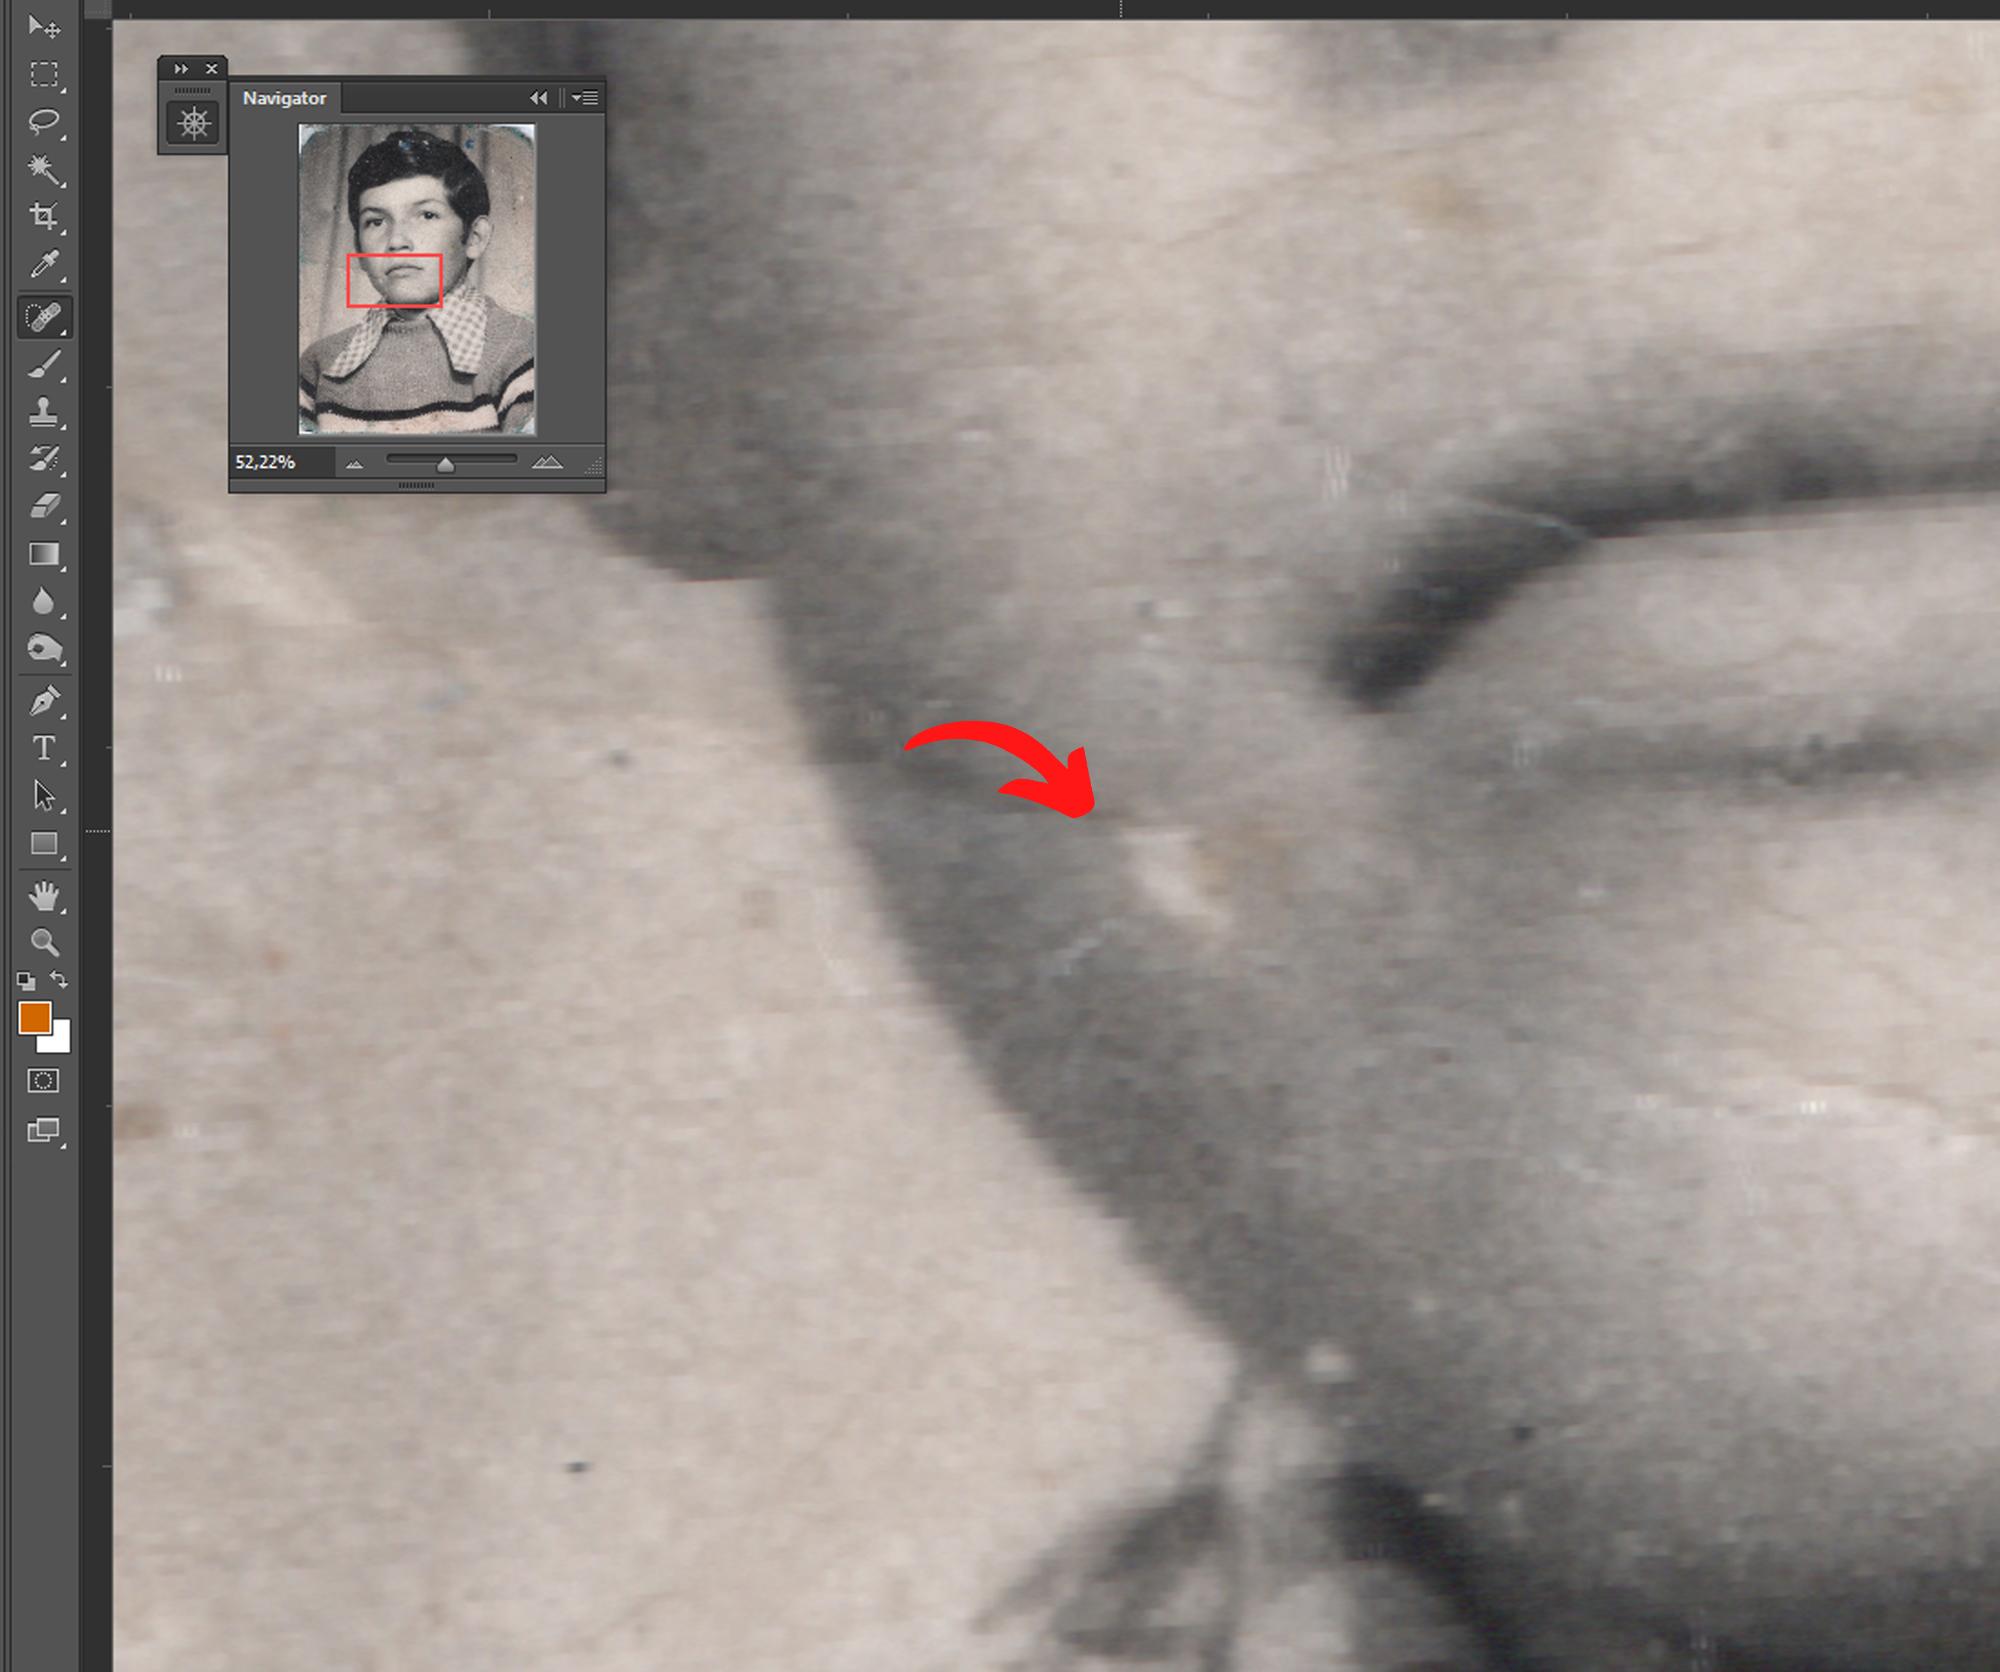
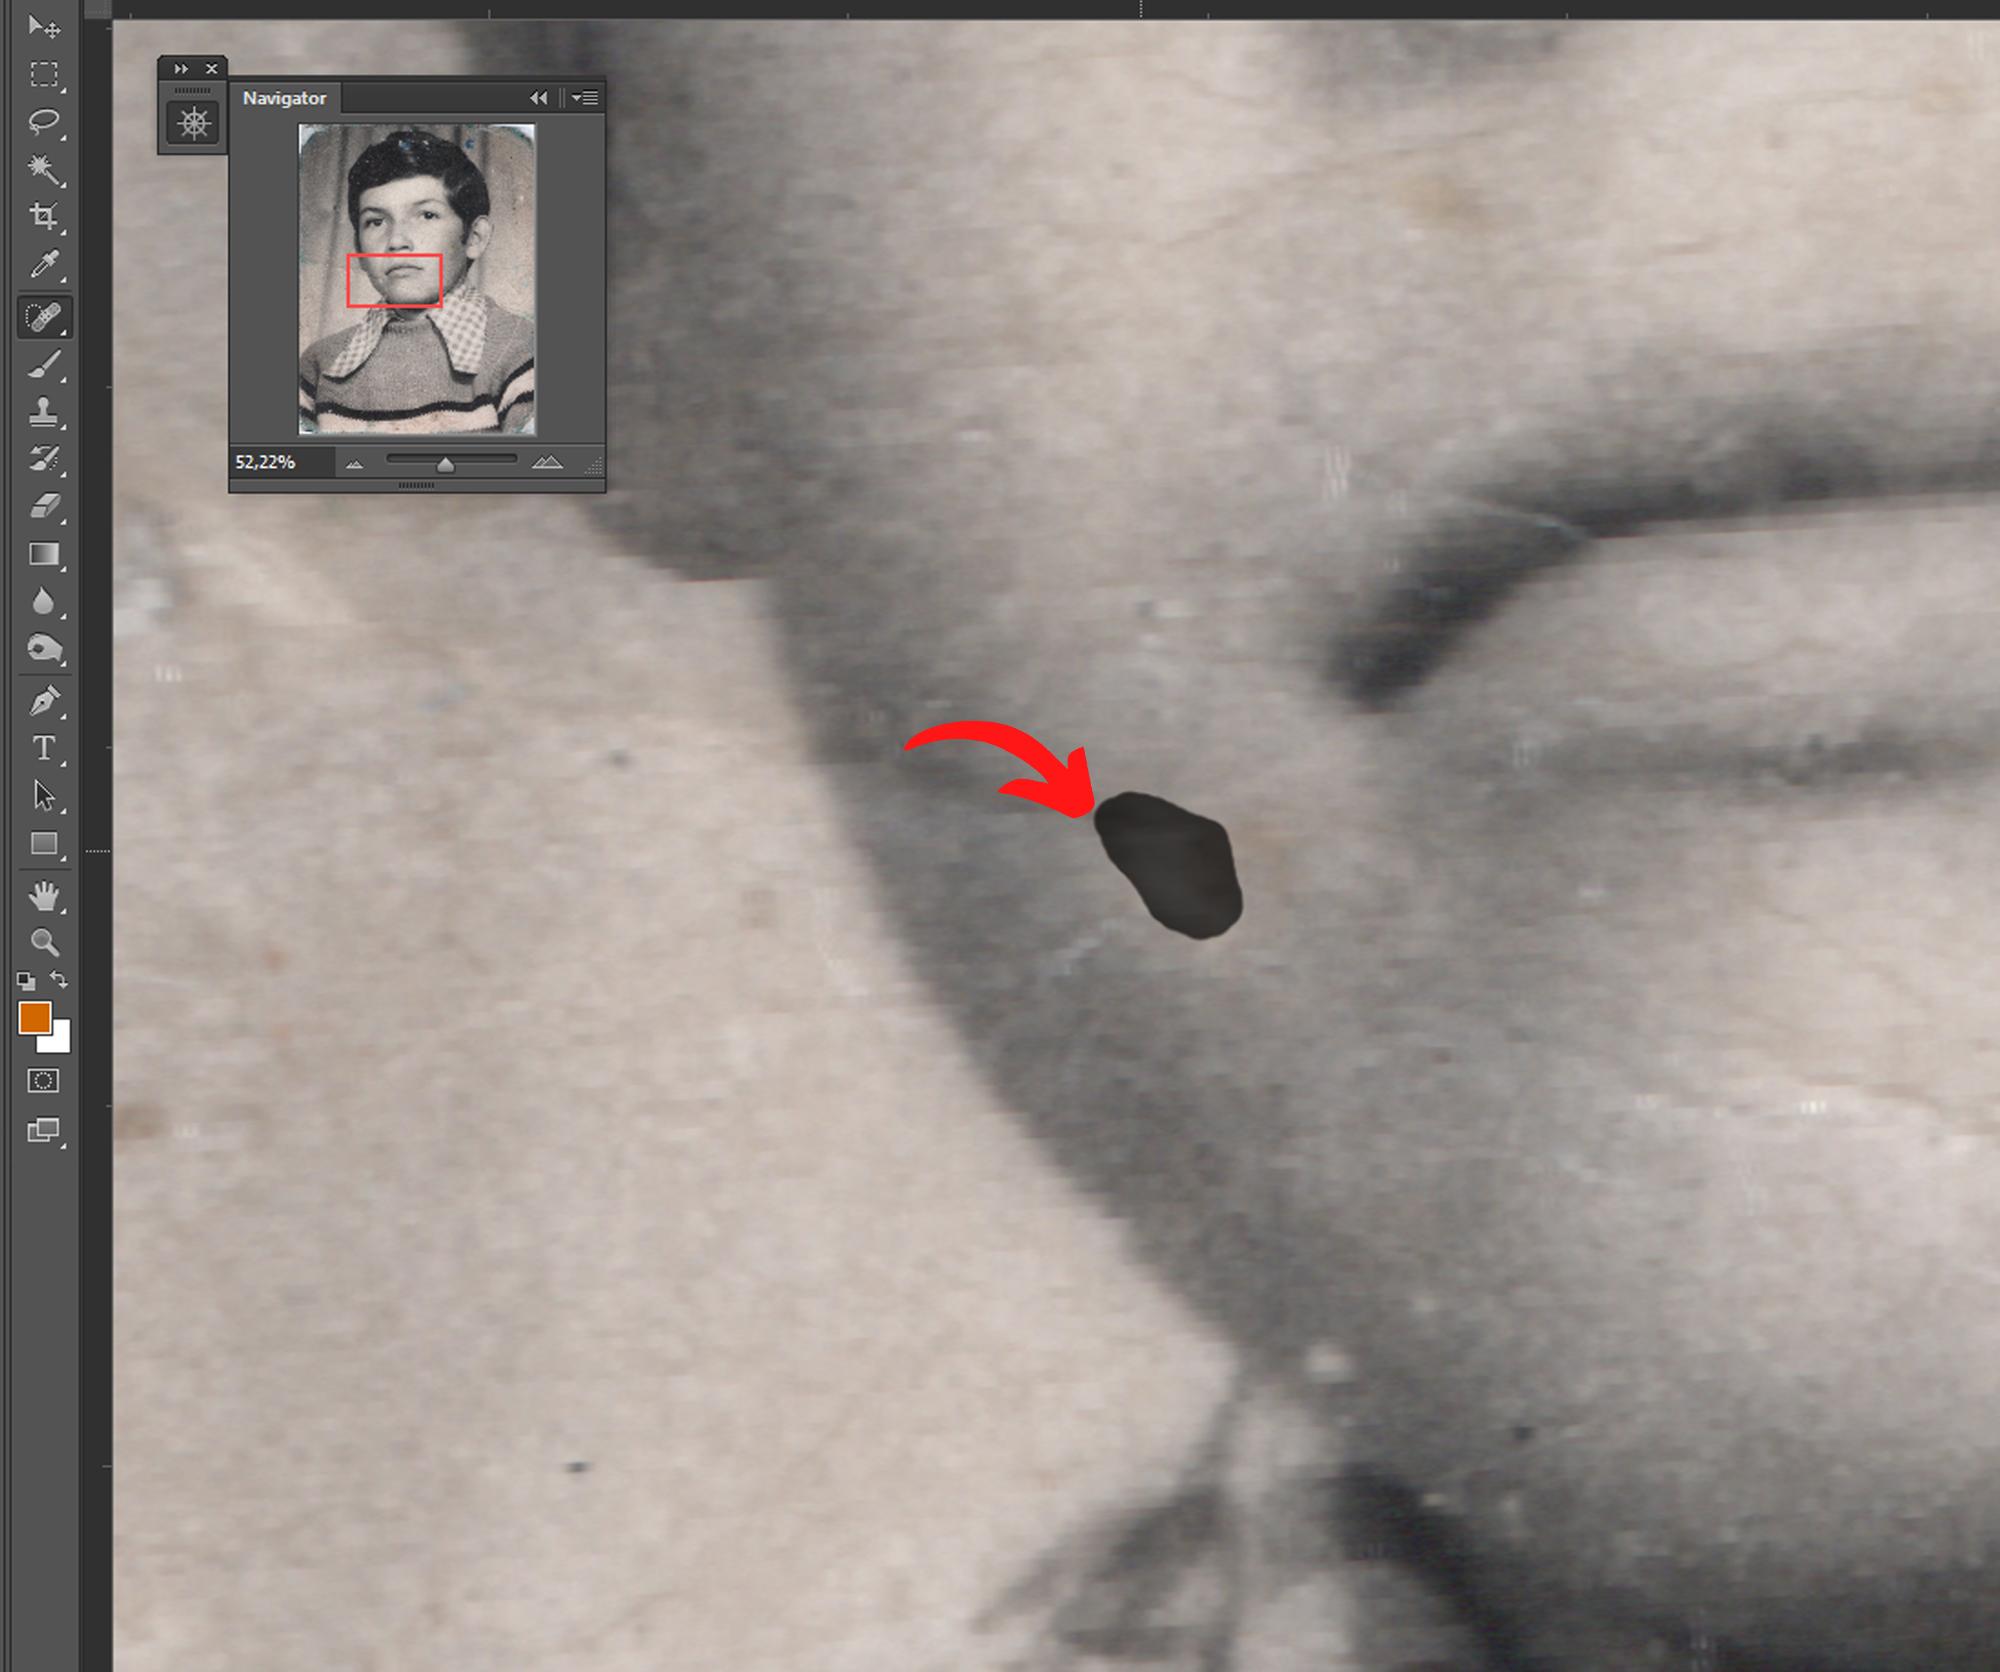
Spot Healing Tricks
A trick that can work in some cases is to make lines that cover an entire area with the spot healing tool, I recommend not to abuse this technique and use it according to the result it can give
In places where the texture is complex it can generate strange shapes.
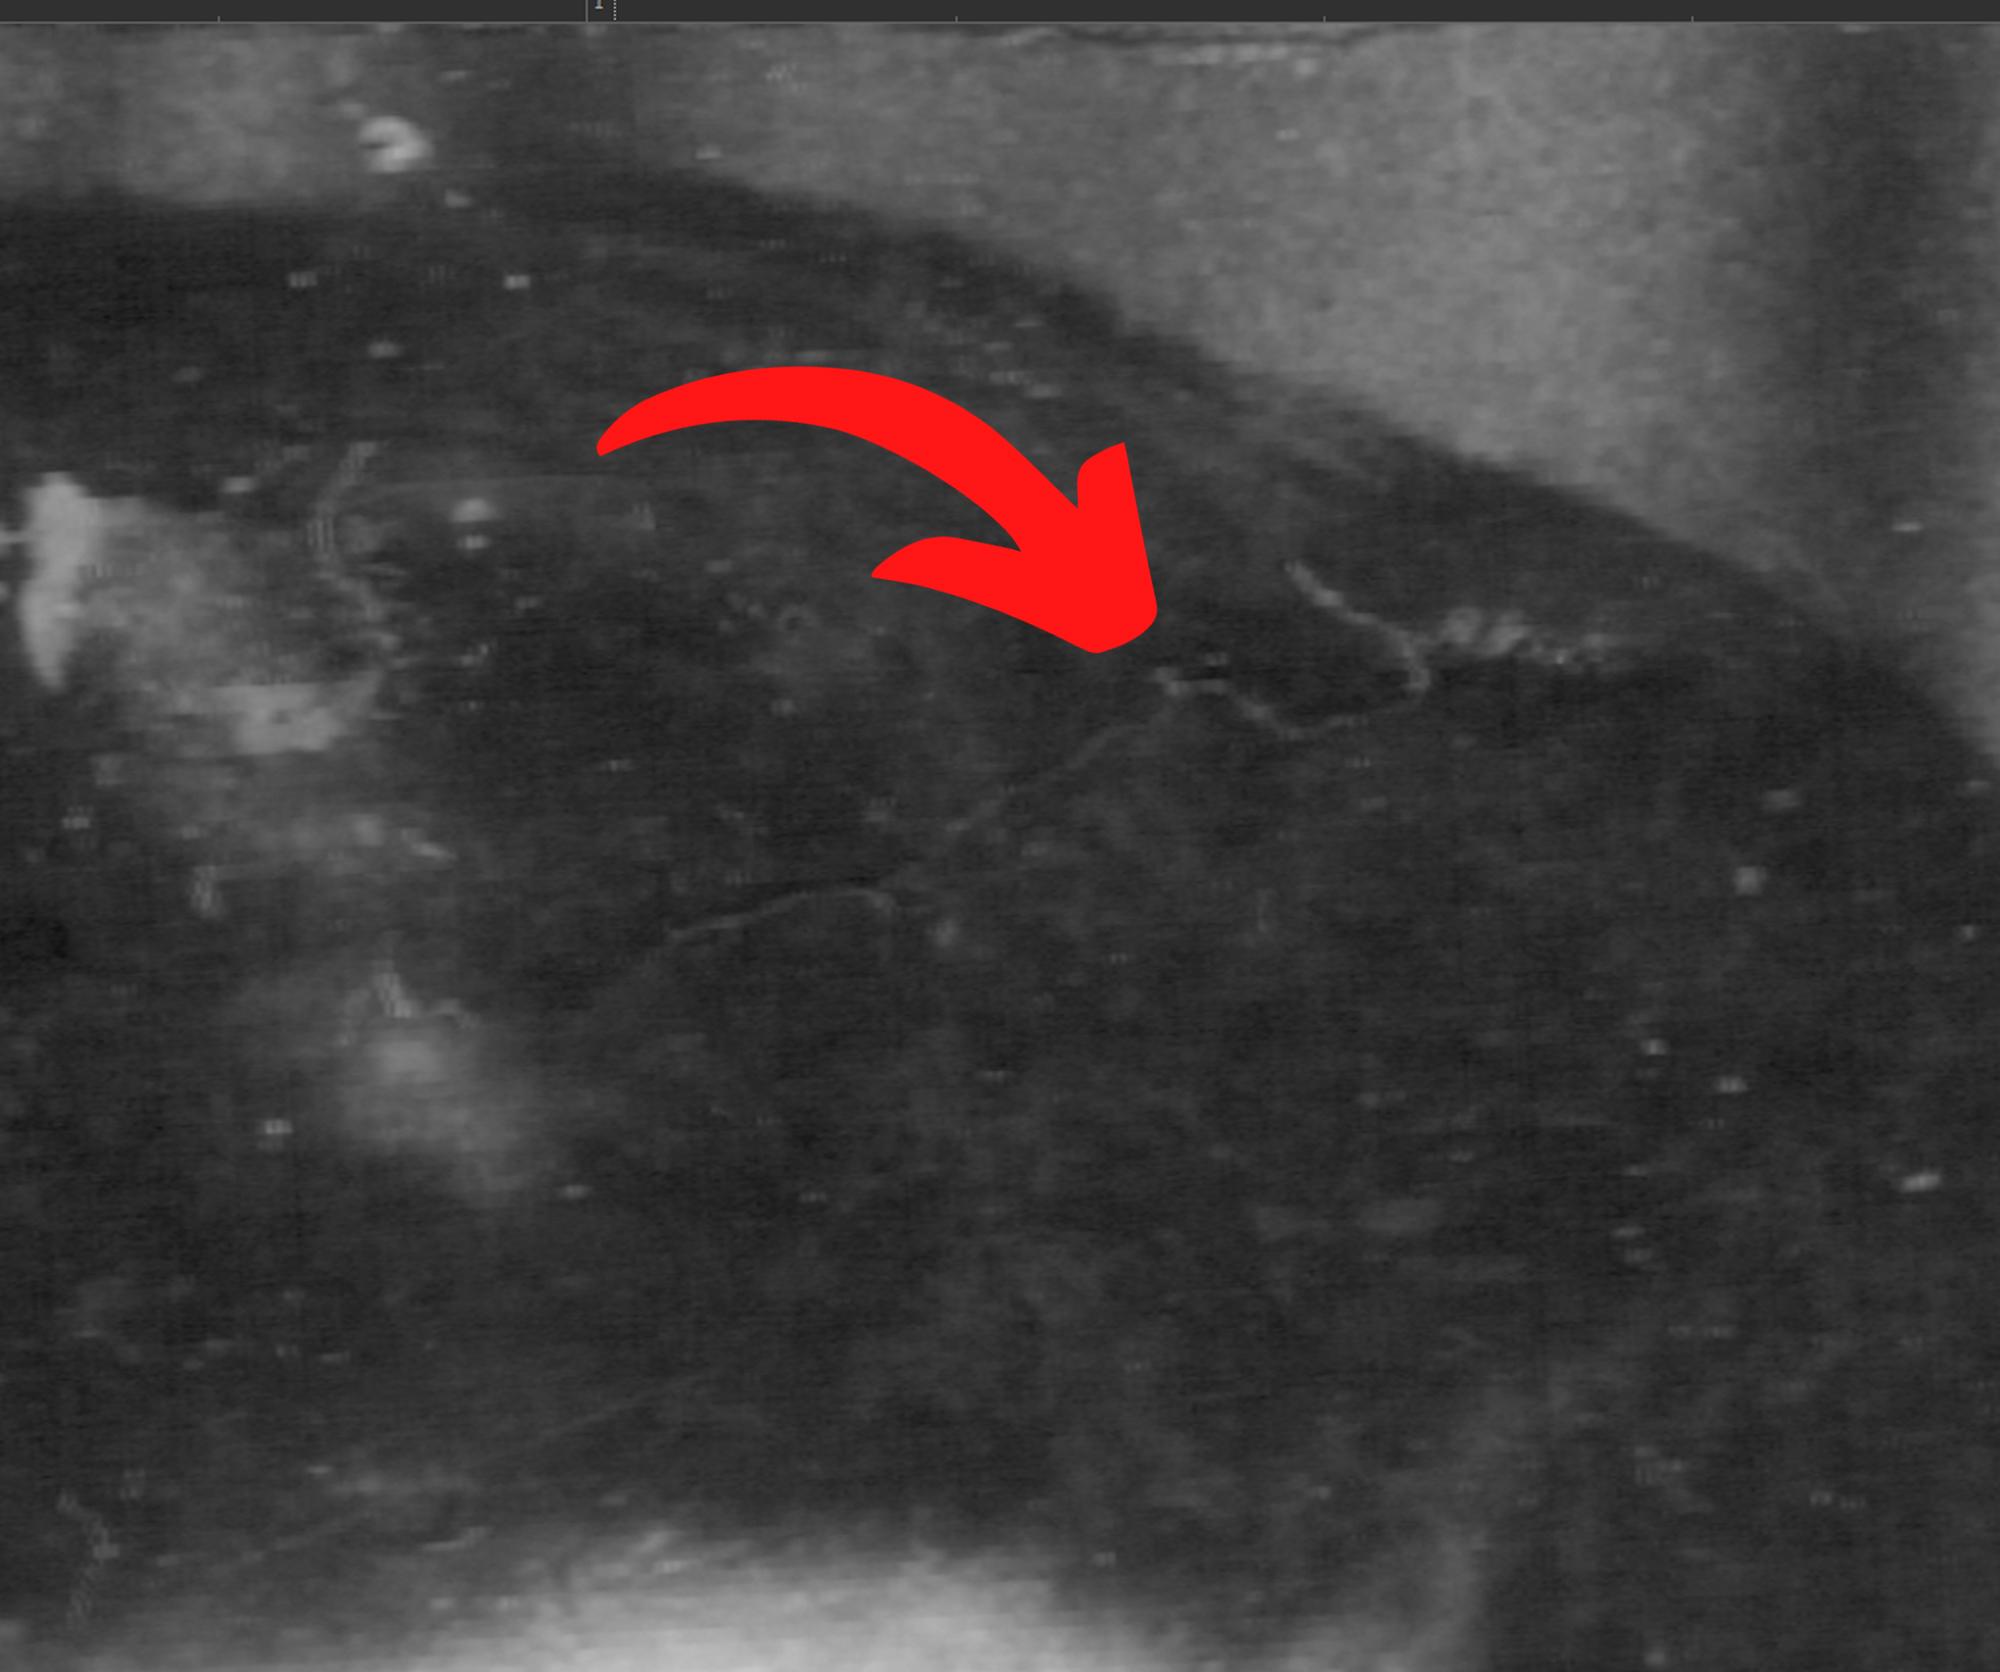
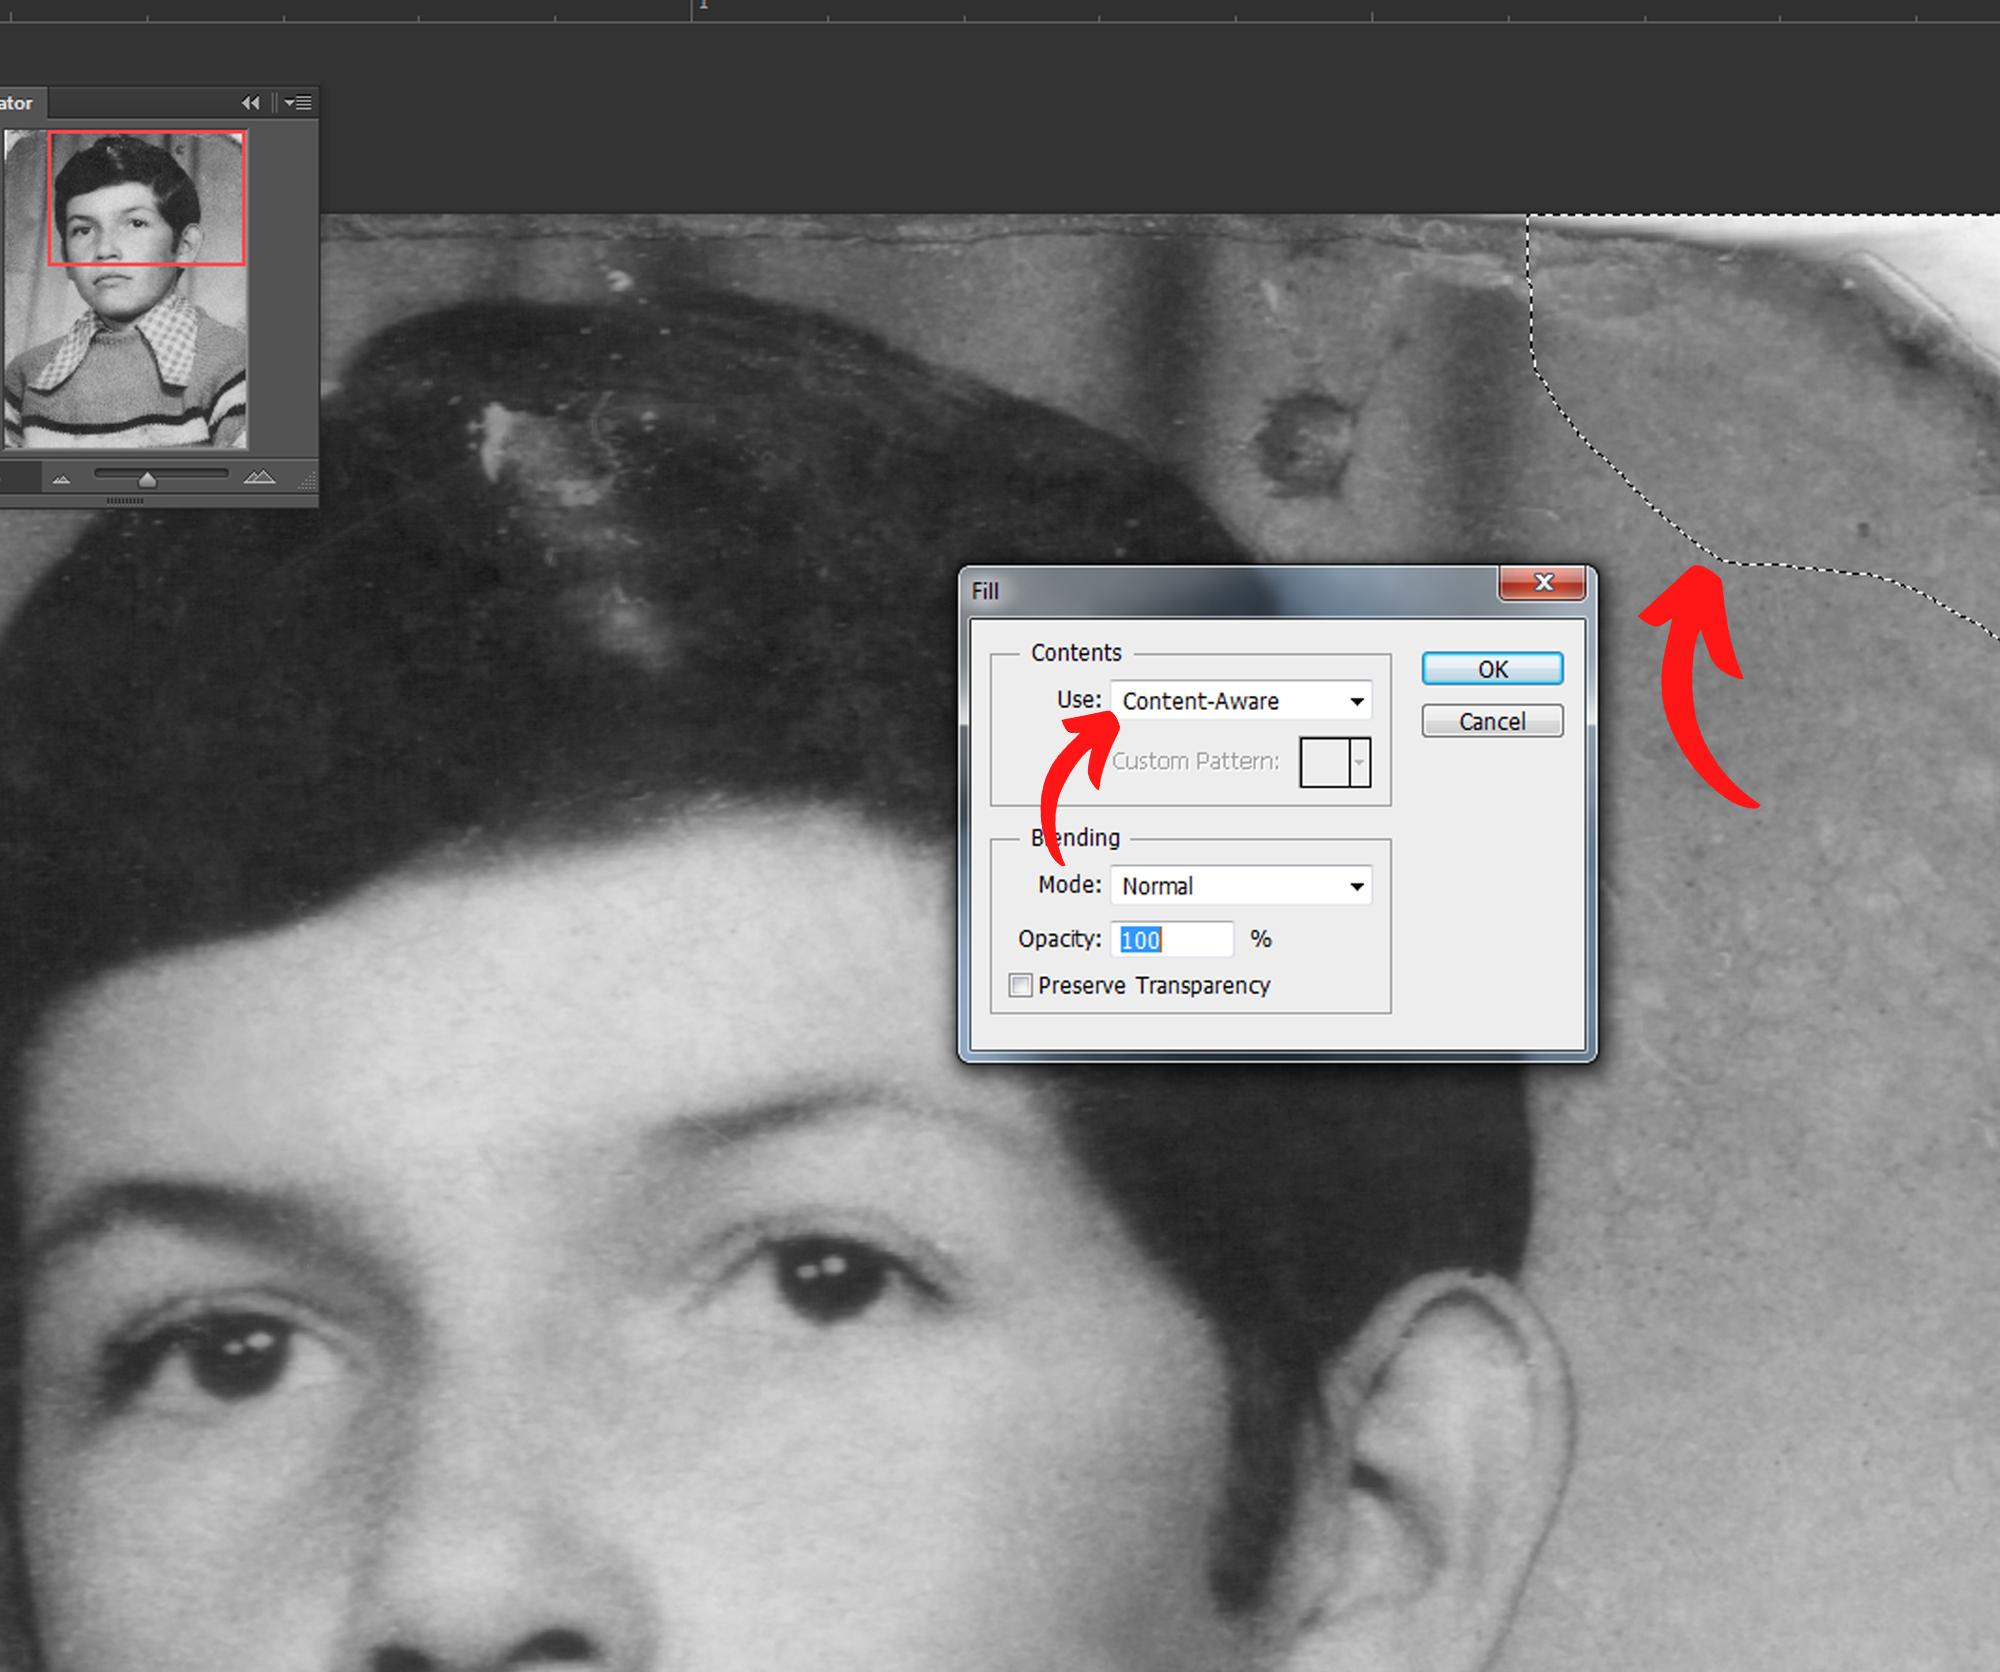
Fill by Content Aware
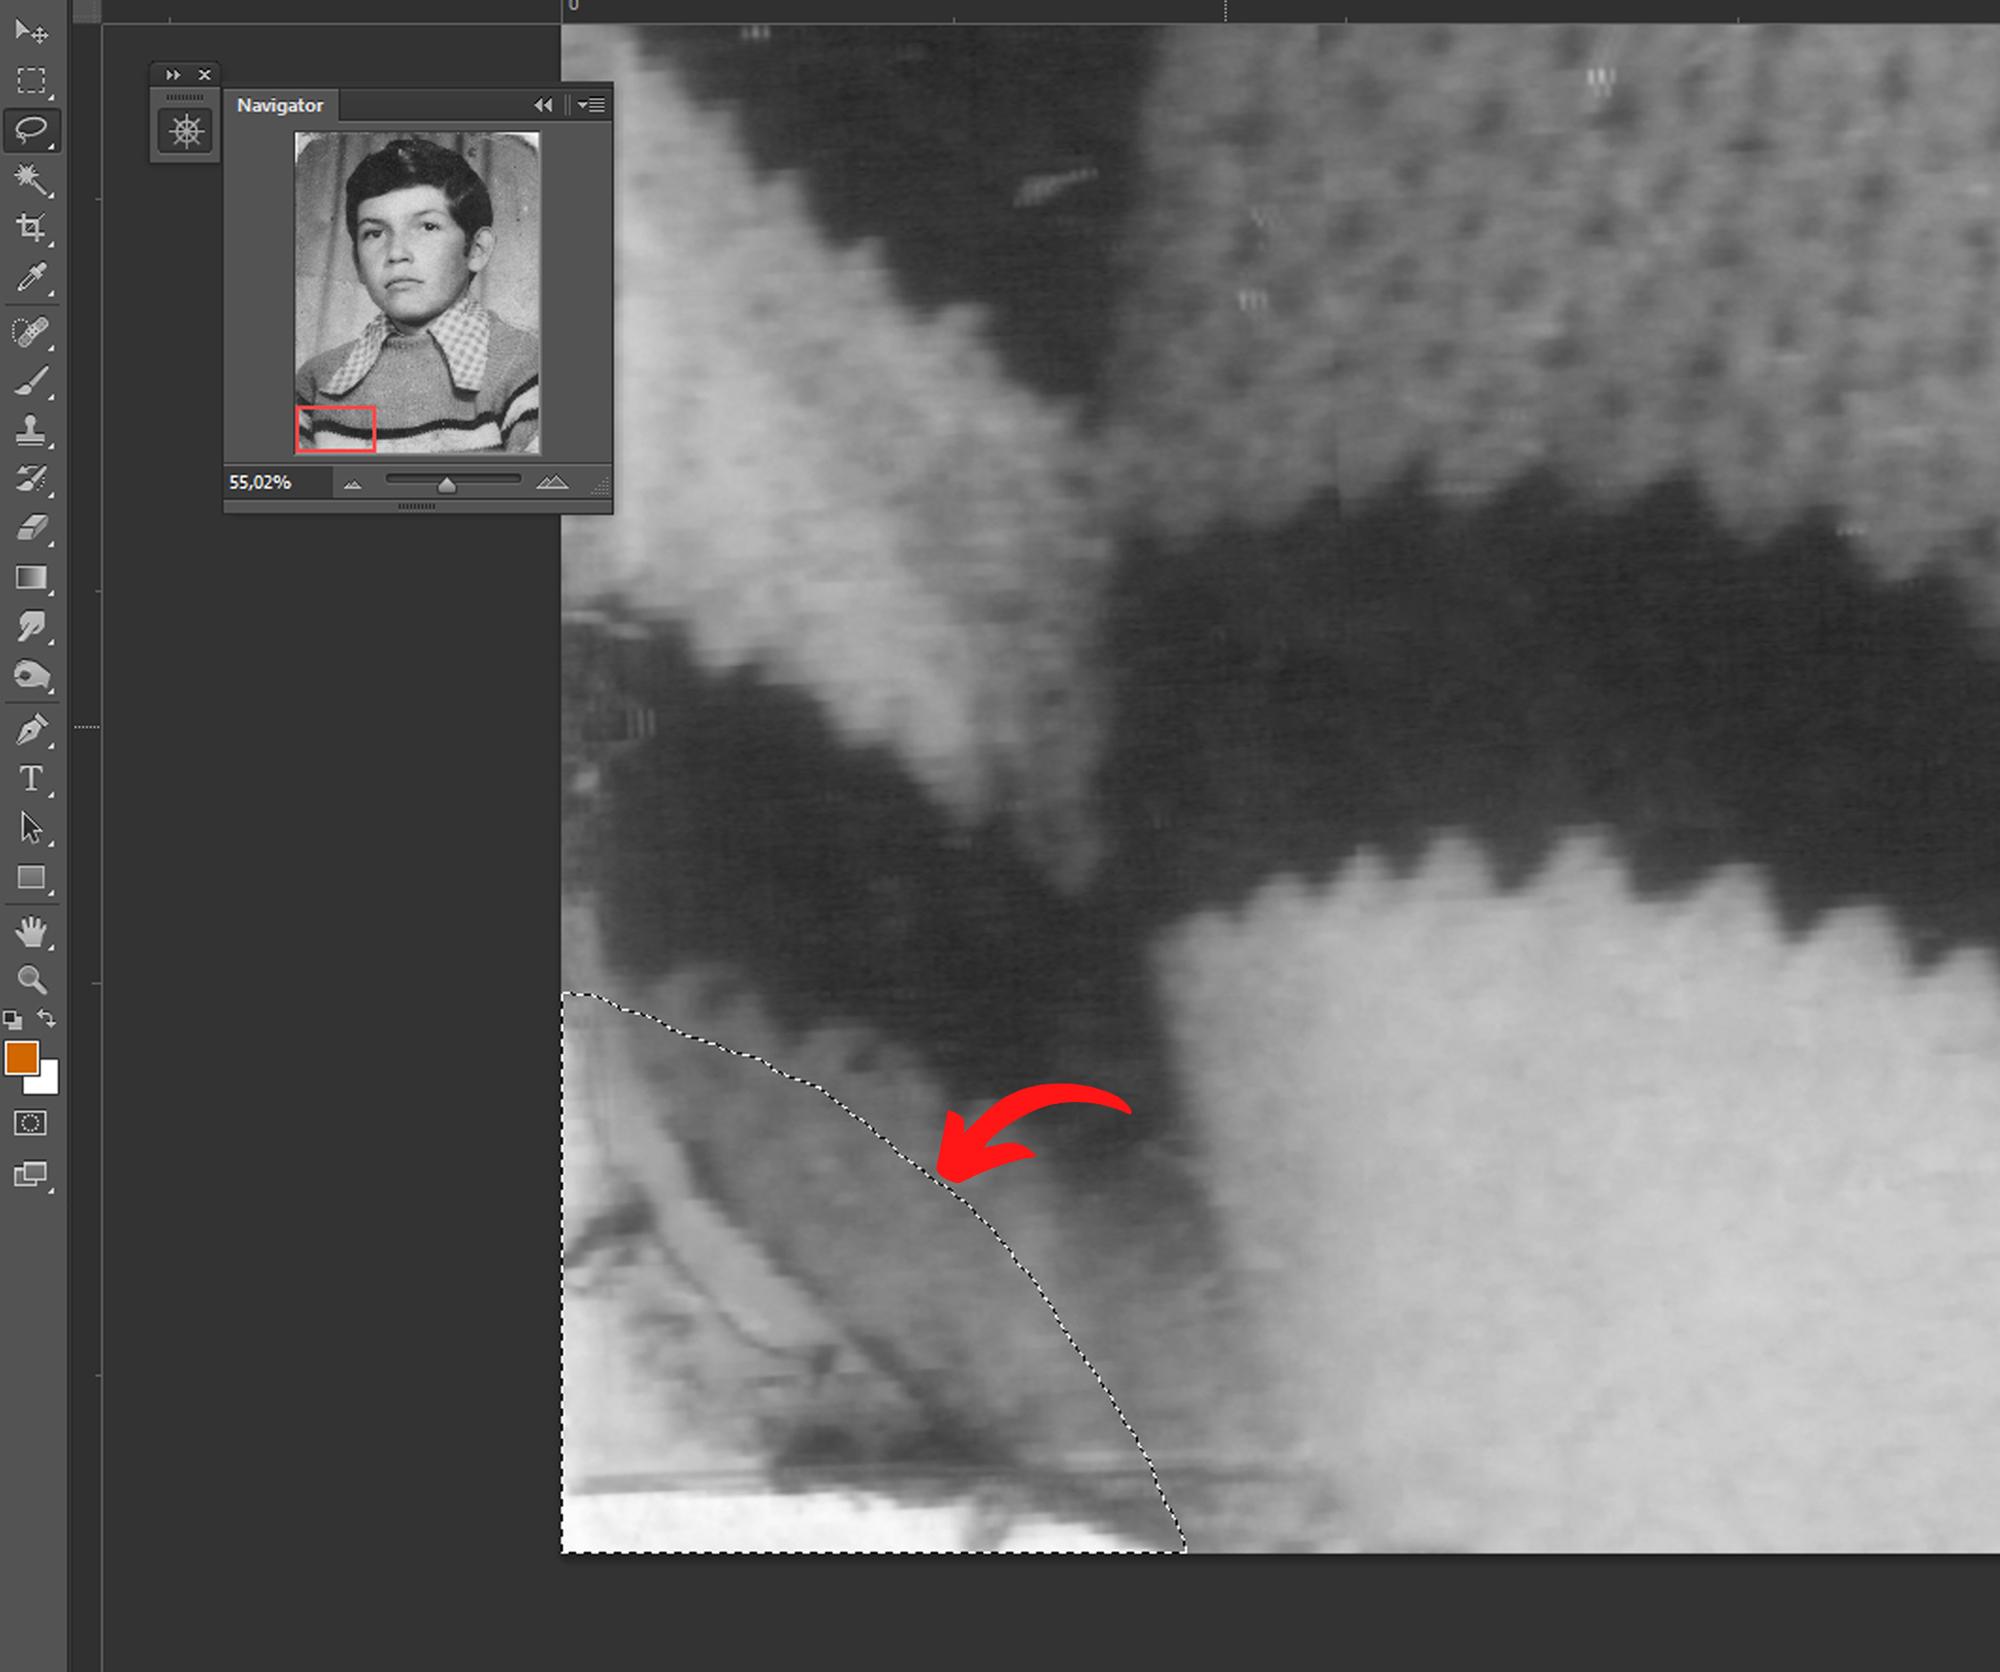
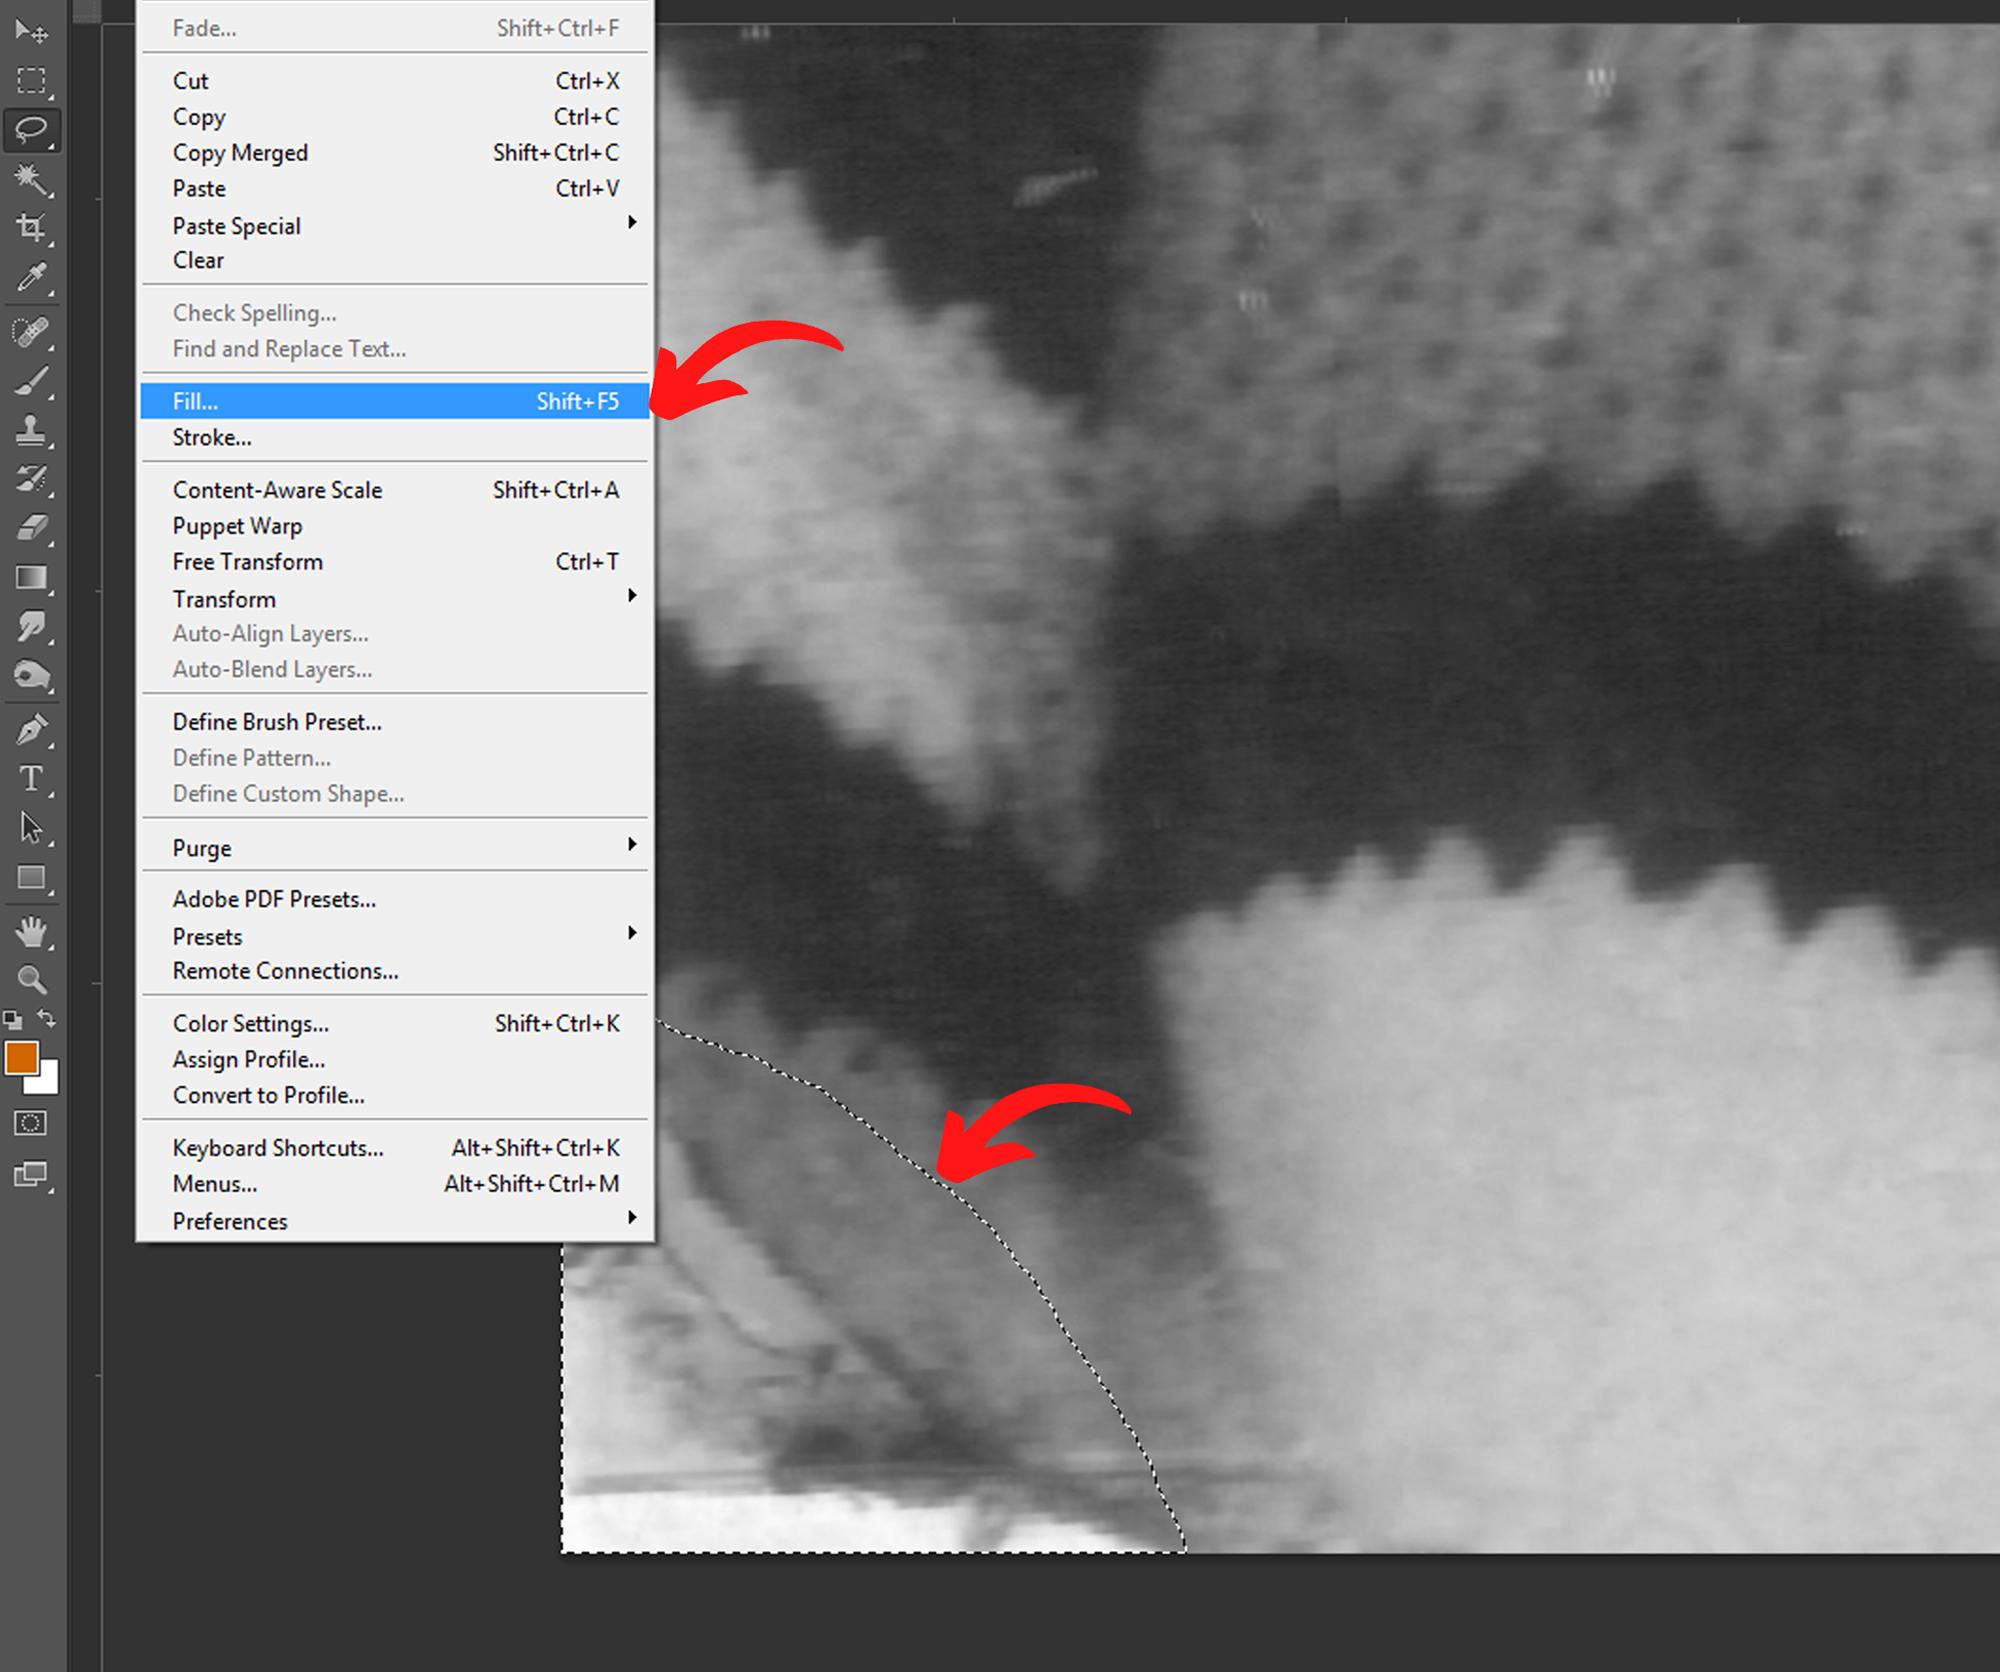
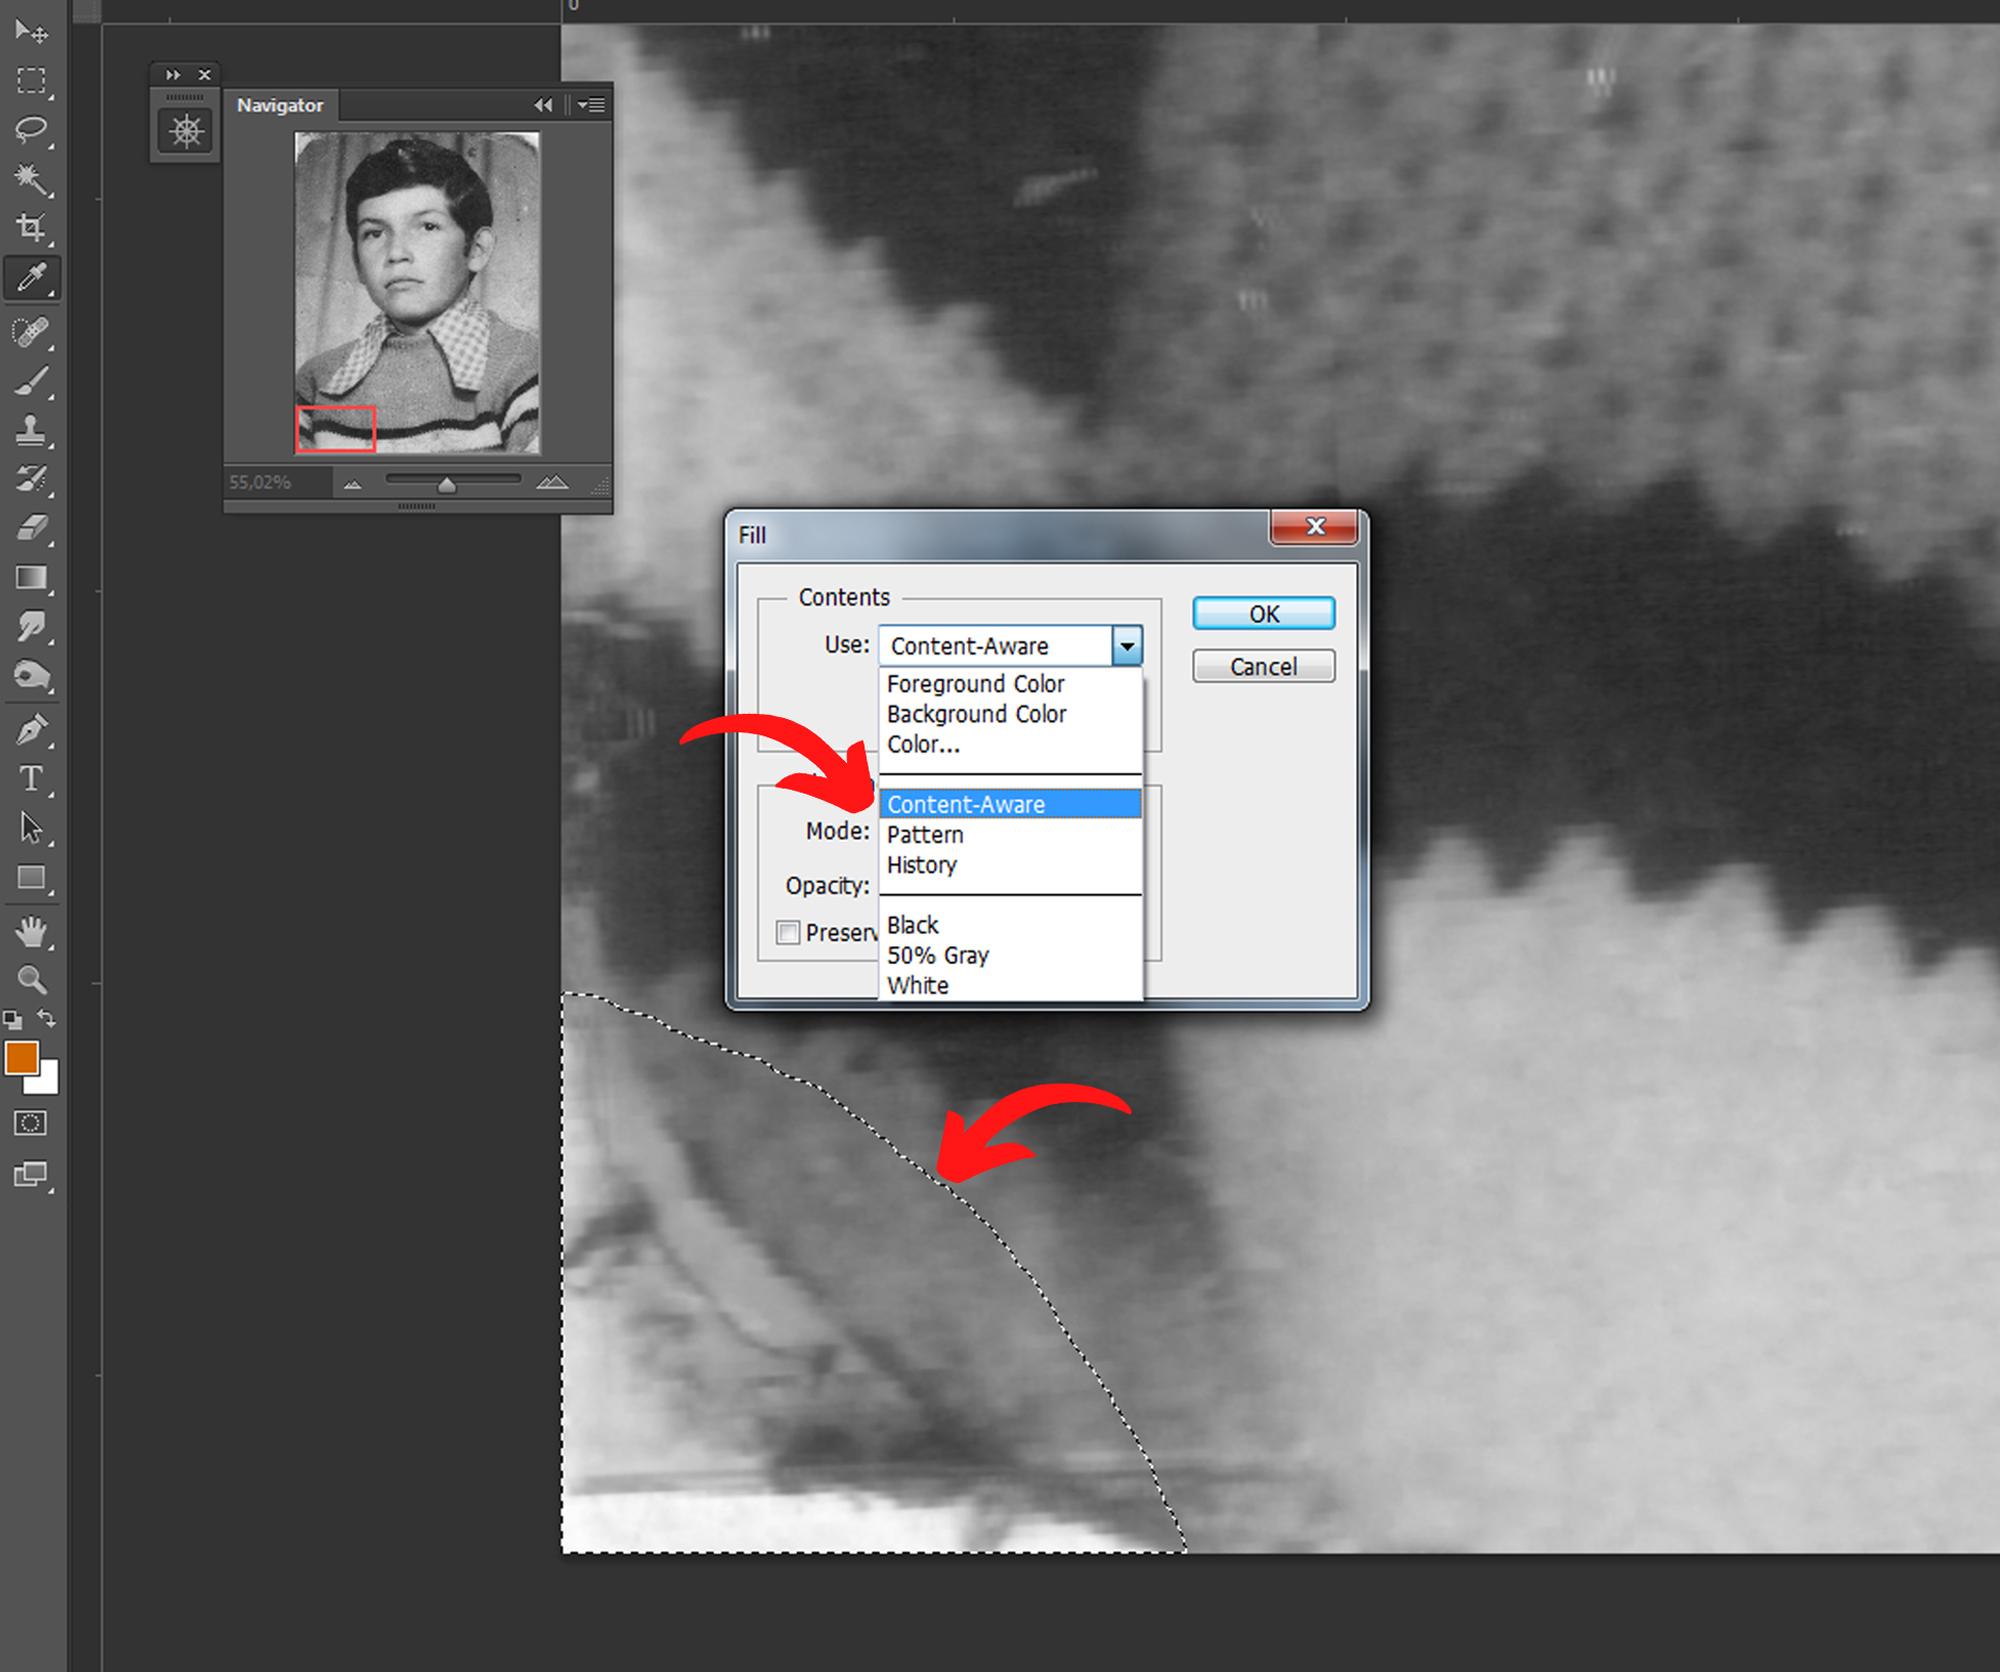
Another trick that can work in some cases is the use of the fill by content aware tool
As you can see in the images in the worn part, by making a selection and choosing the fill by content aware tool you can get good results, but you have to be careful and always check the results because sometimes when there are a lot of textures strange shapes are generated.
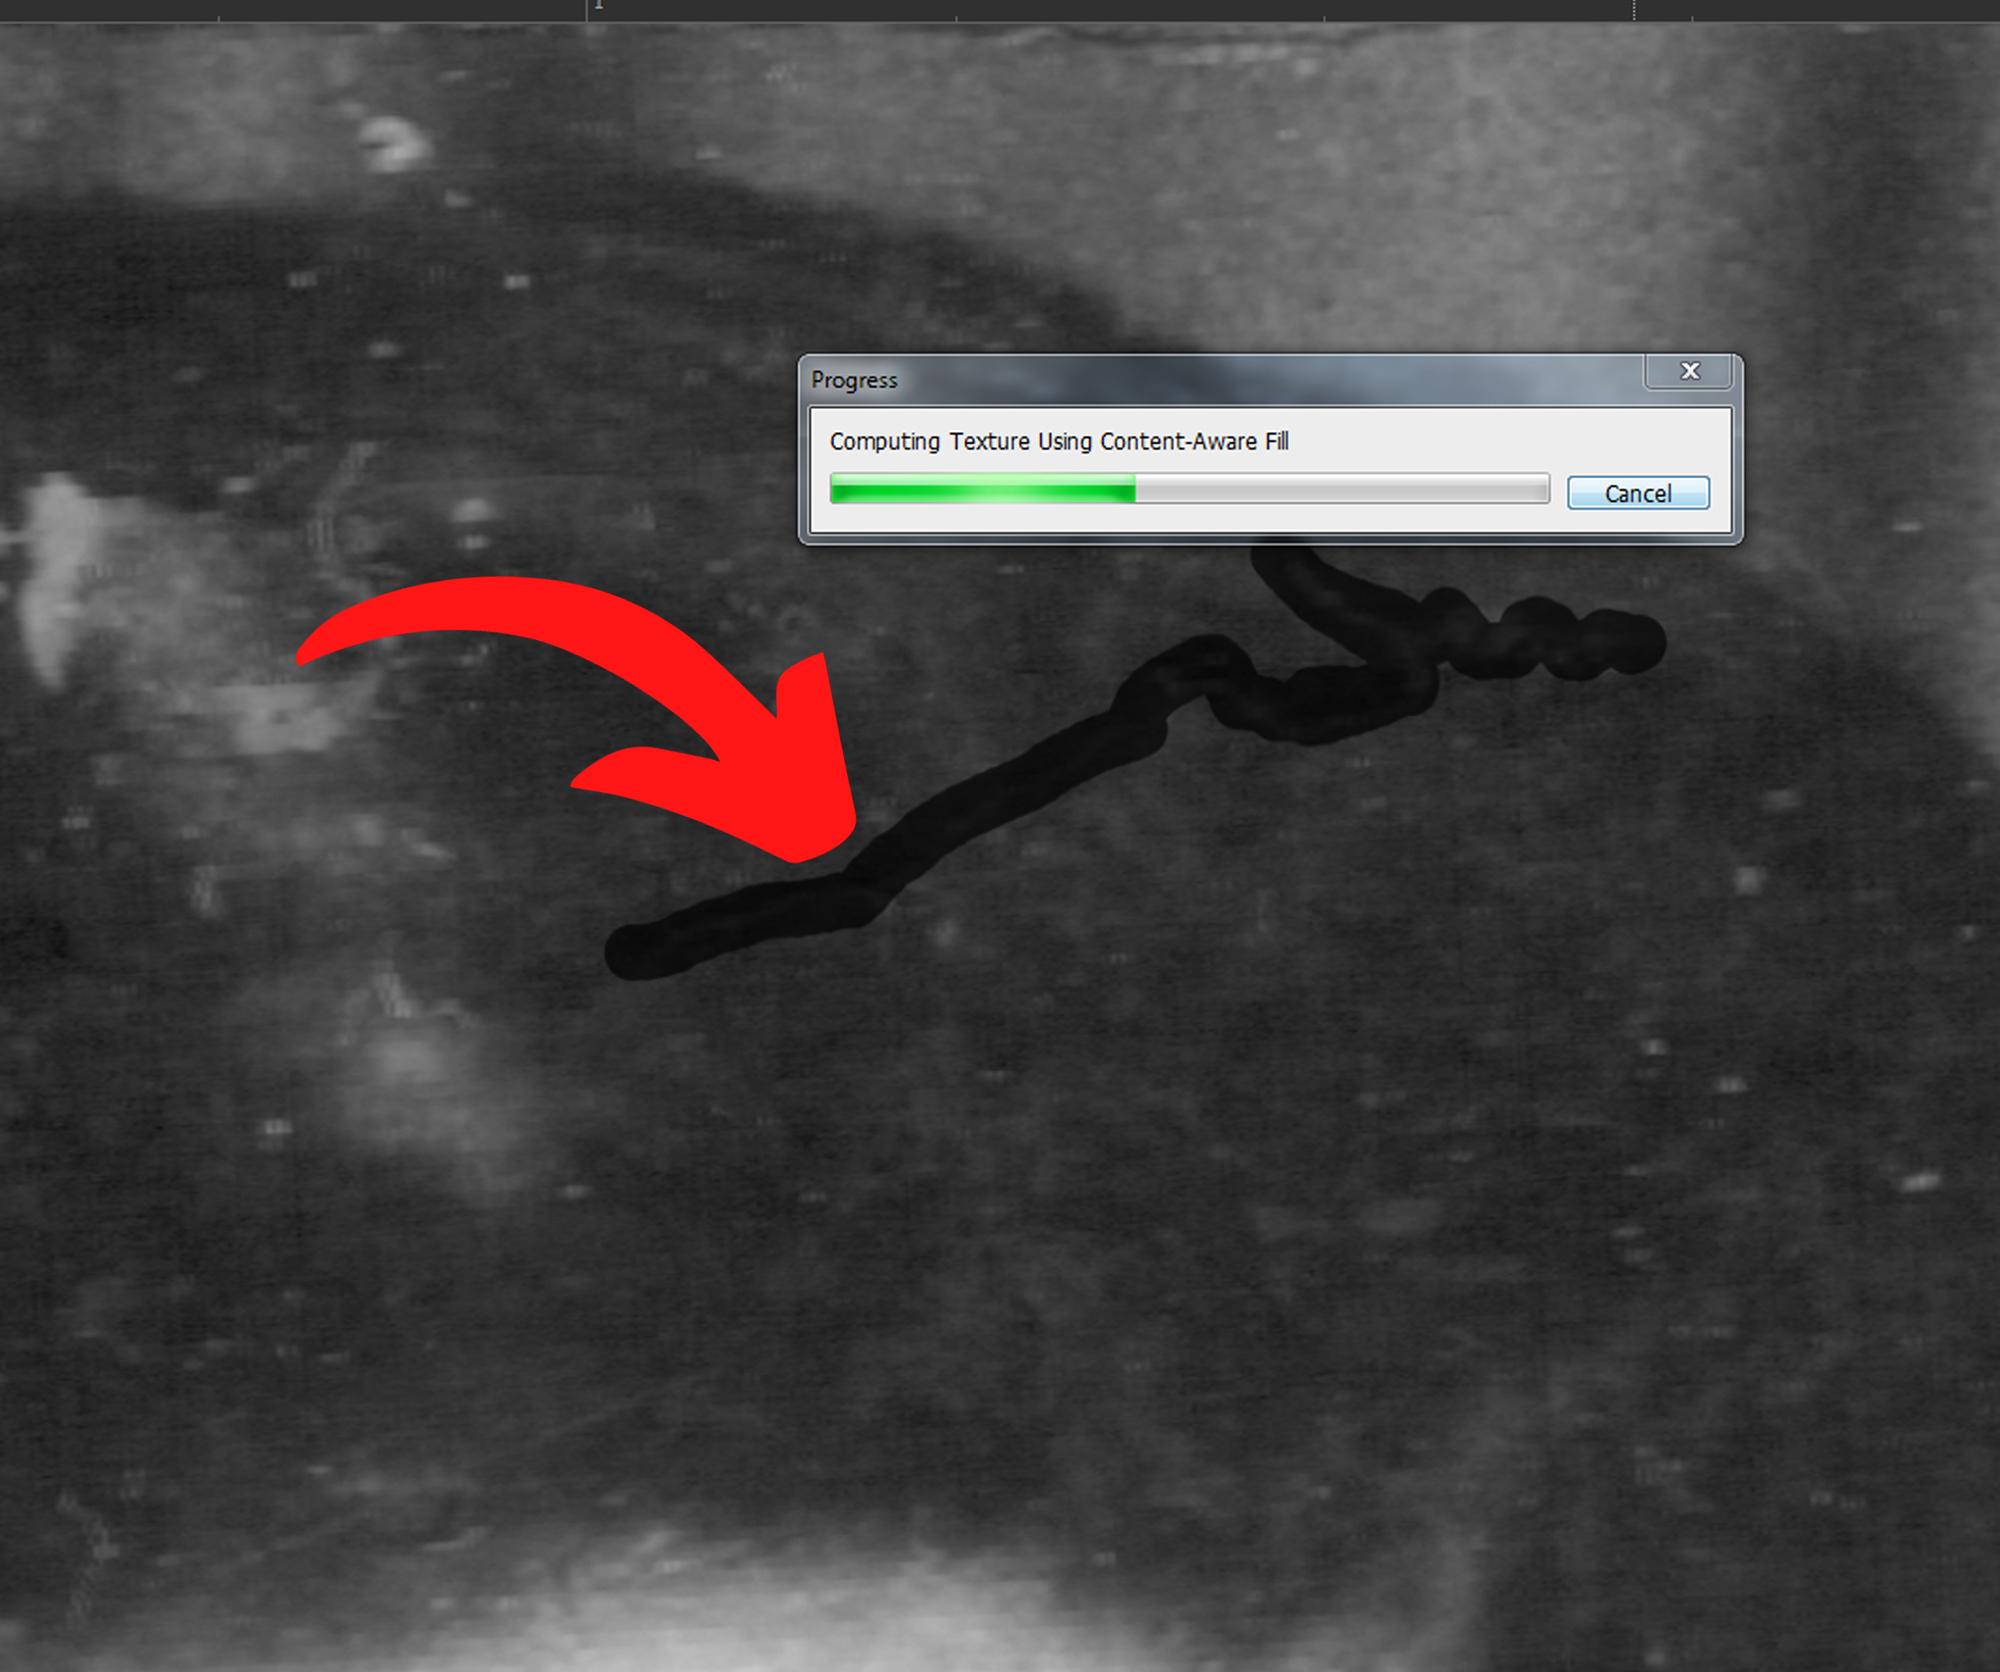
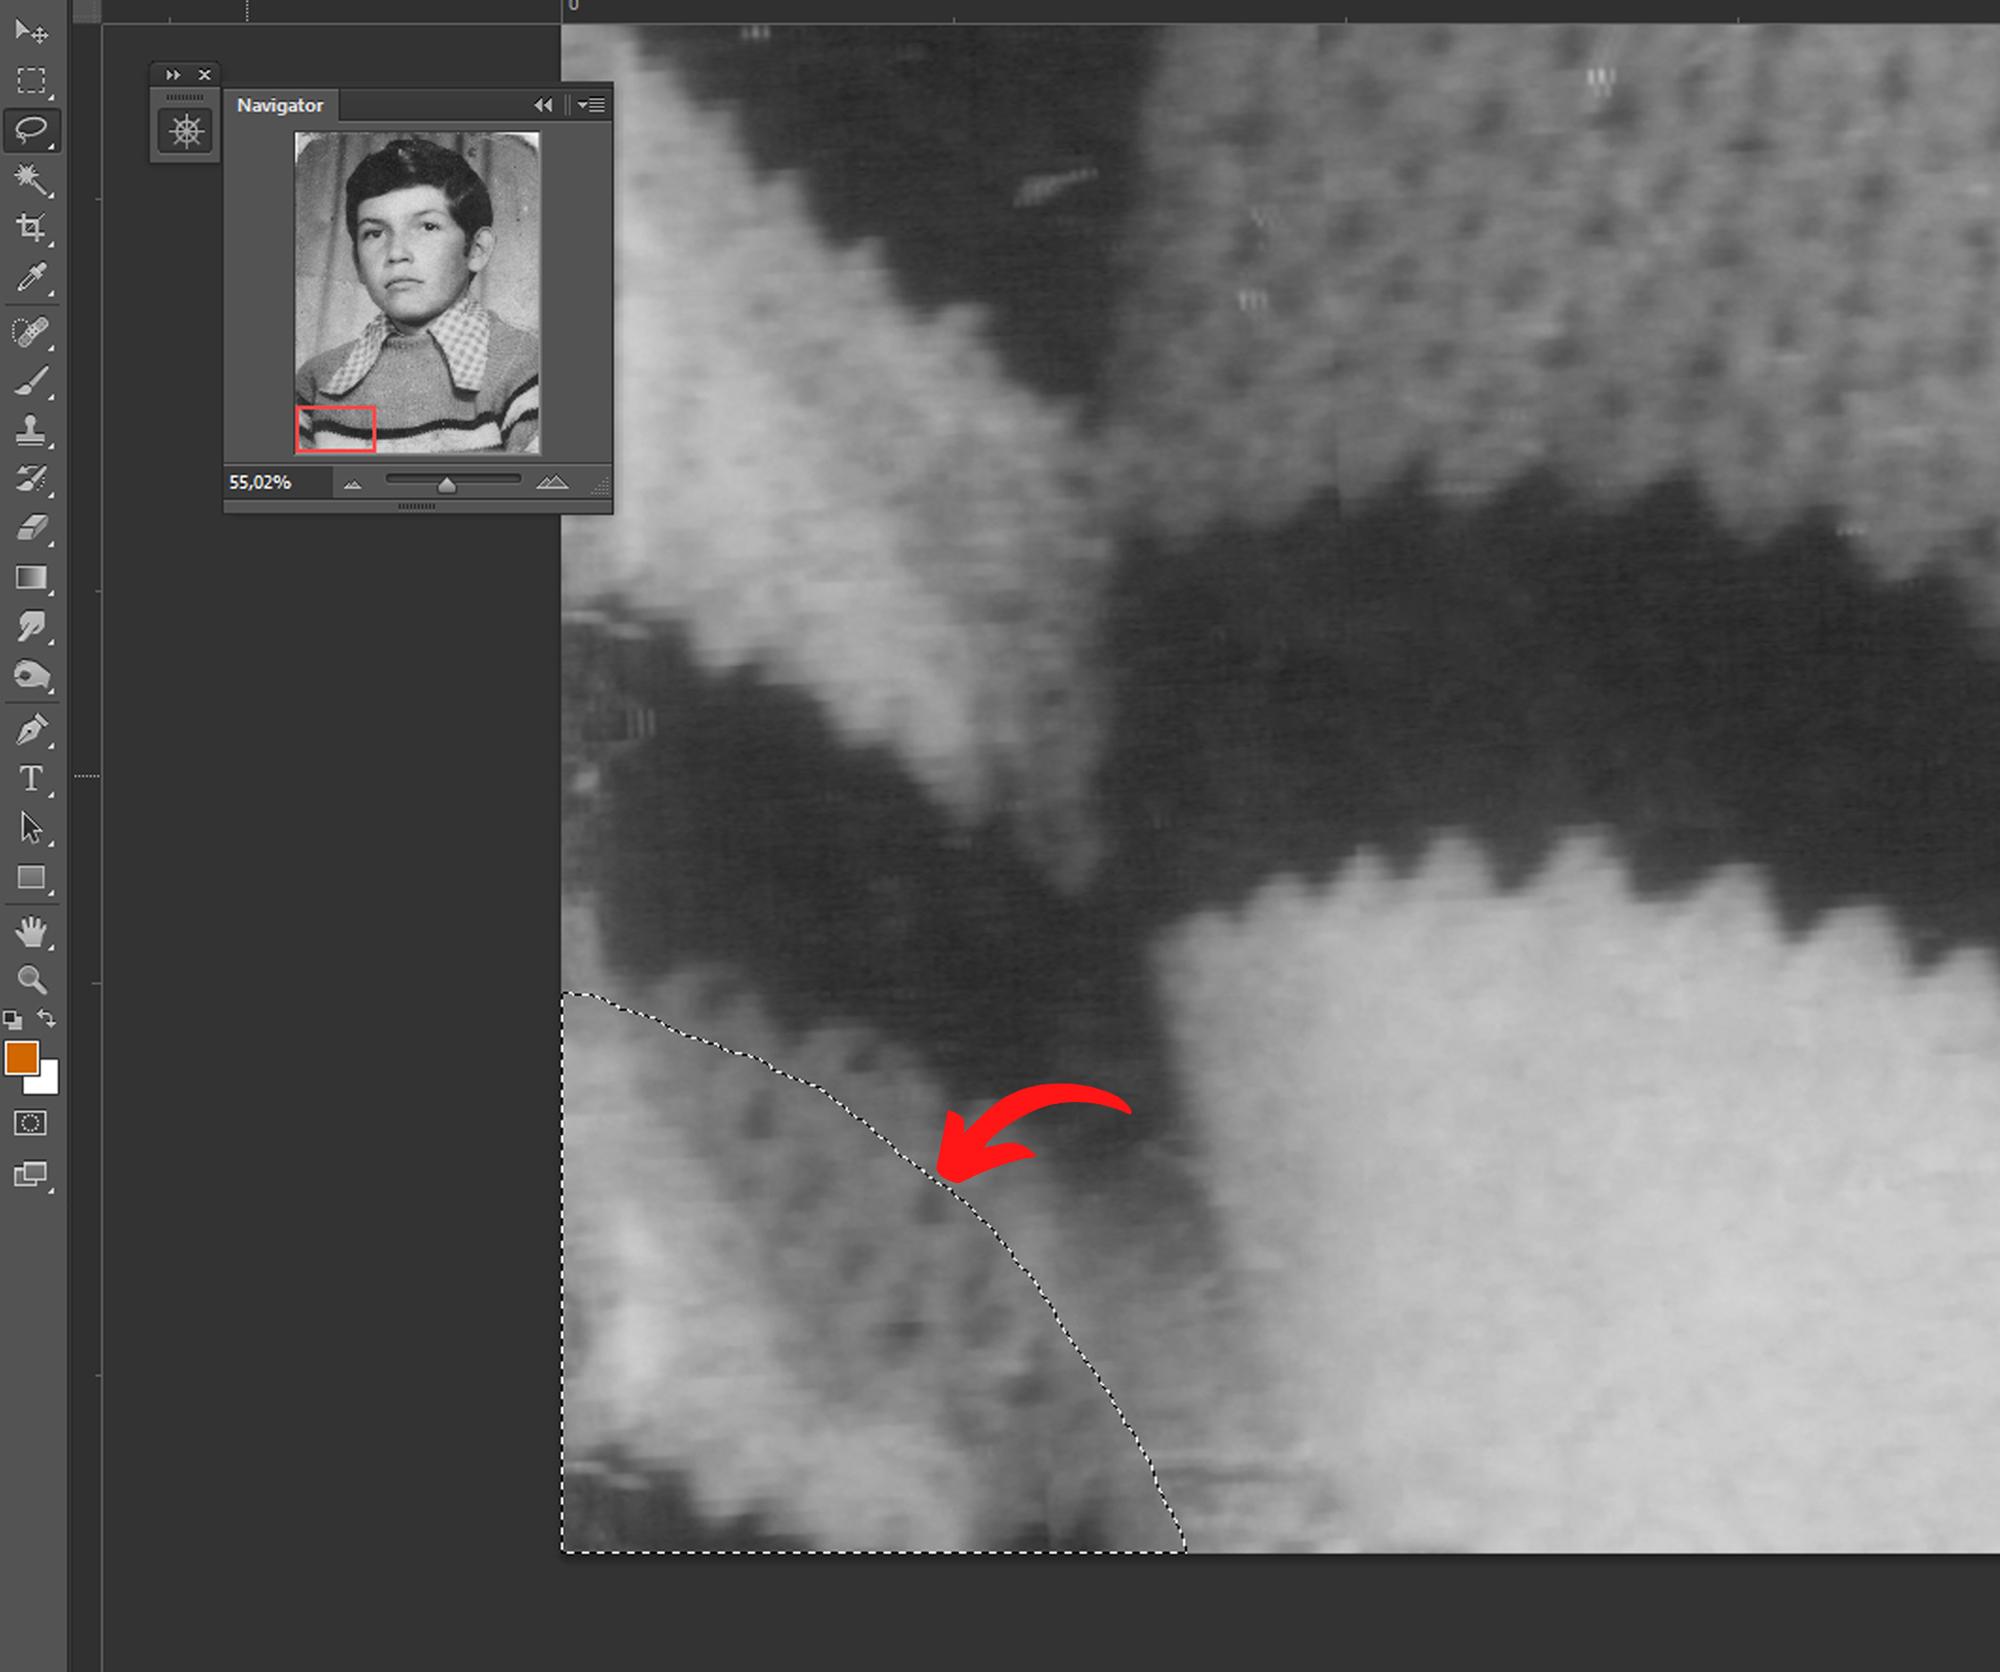
Content Aware Correct
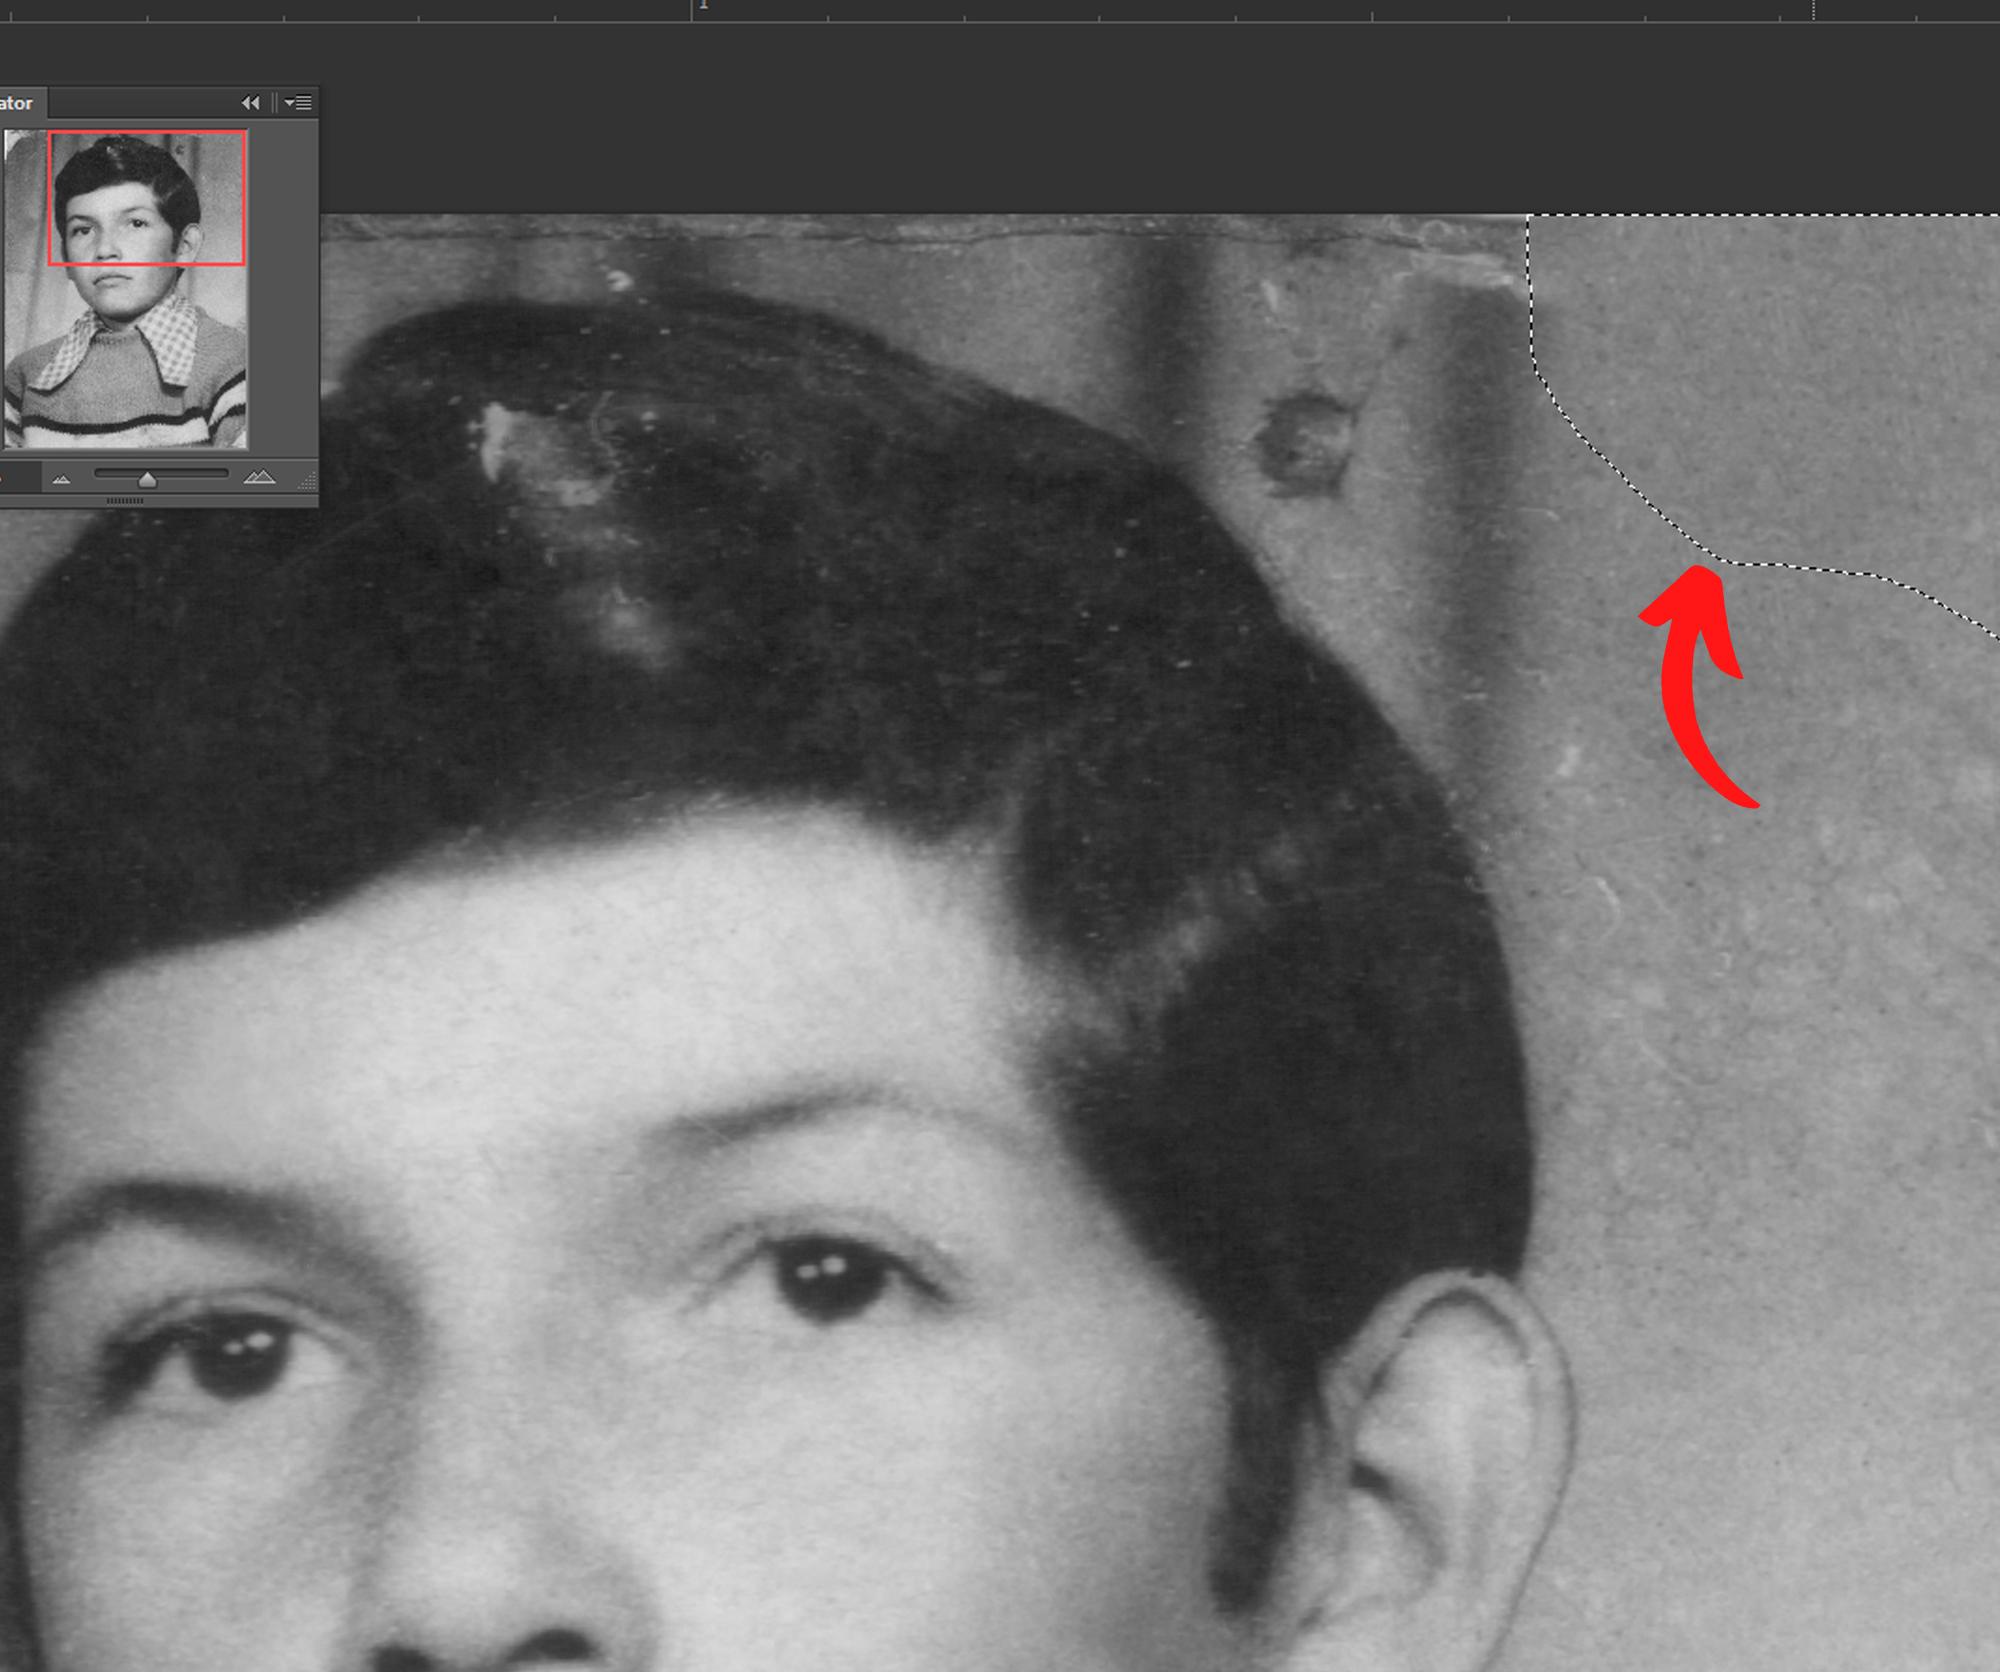
Here is a perfect example of how the content aware fill tool can give great results, blending the background correctly with the worn part.
Full Retouch
After cleaning all the scratches we will get a clean black and white picture but with some noise so we will use some helps to smooth it out.
Image Colorization
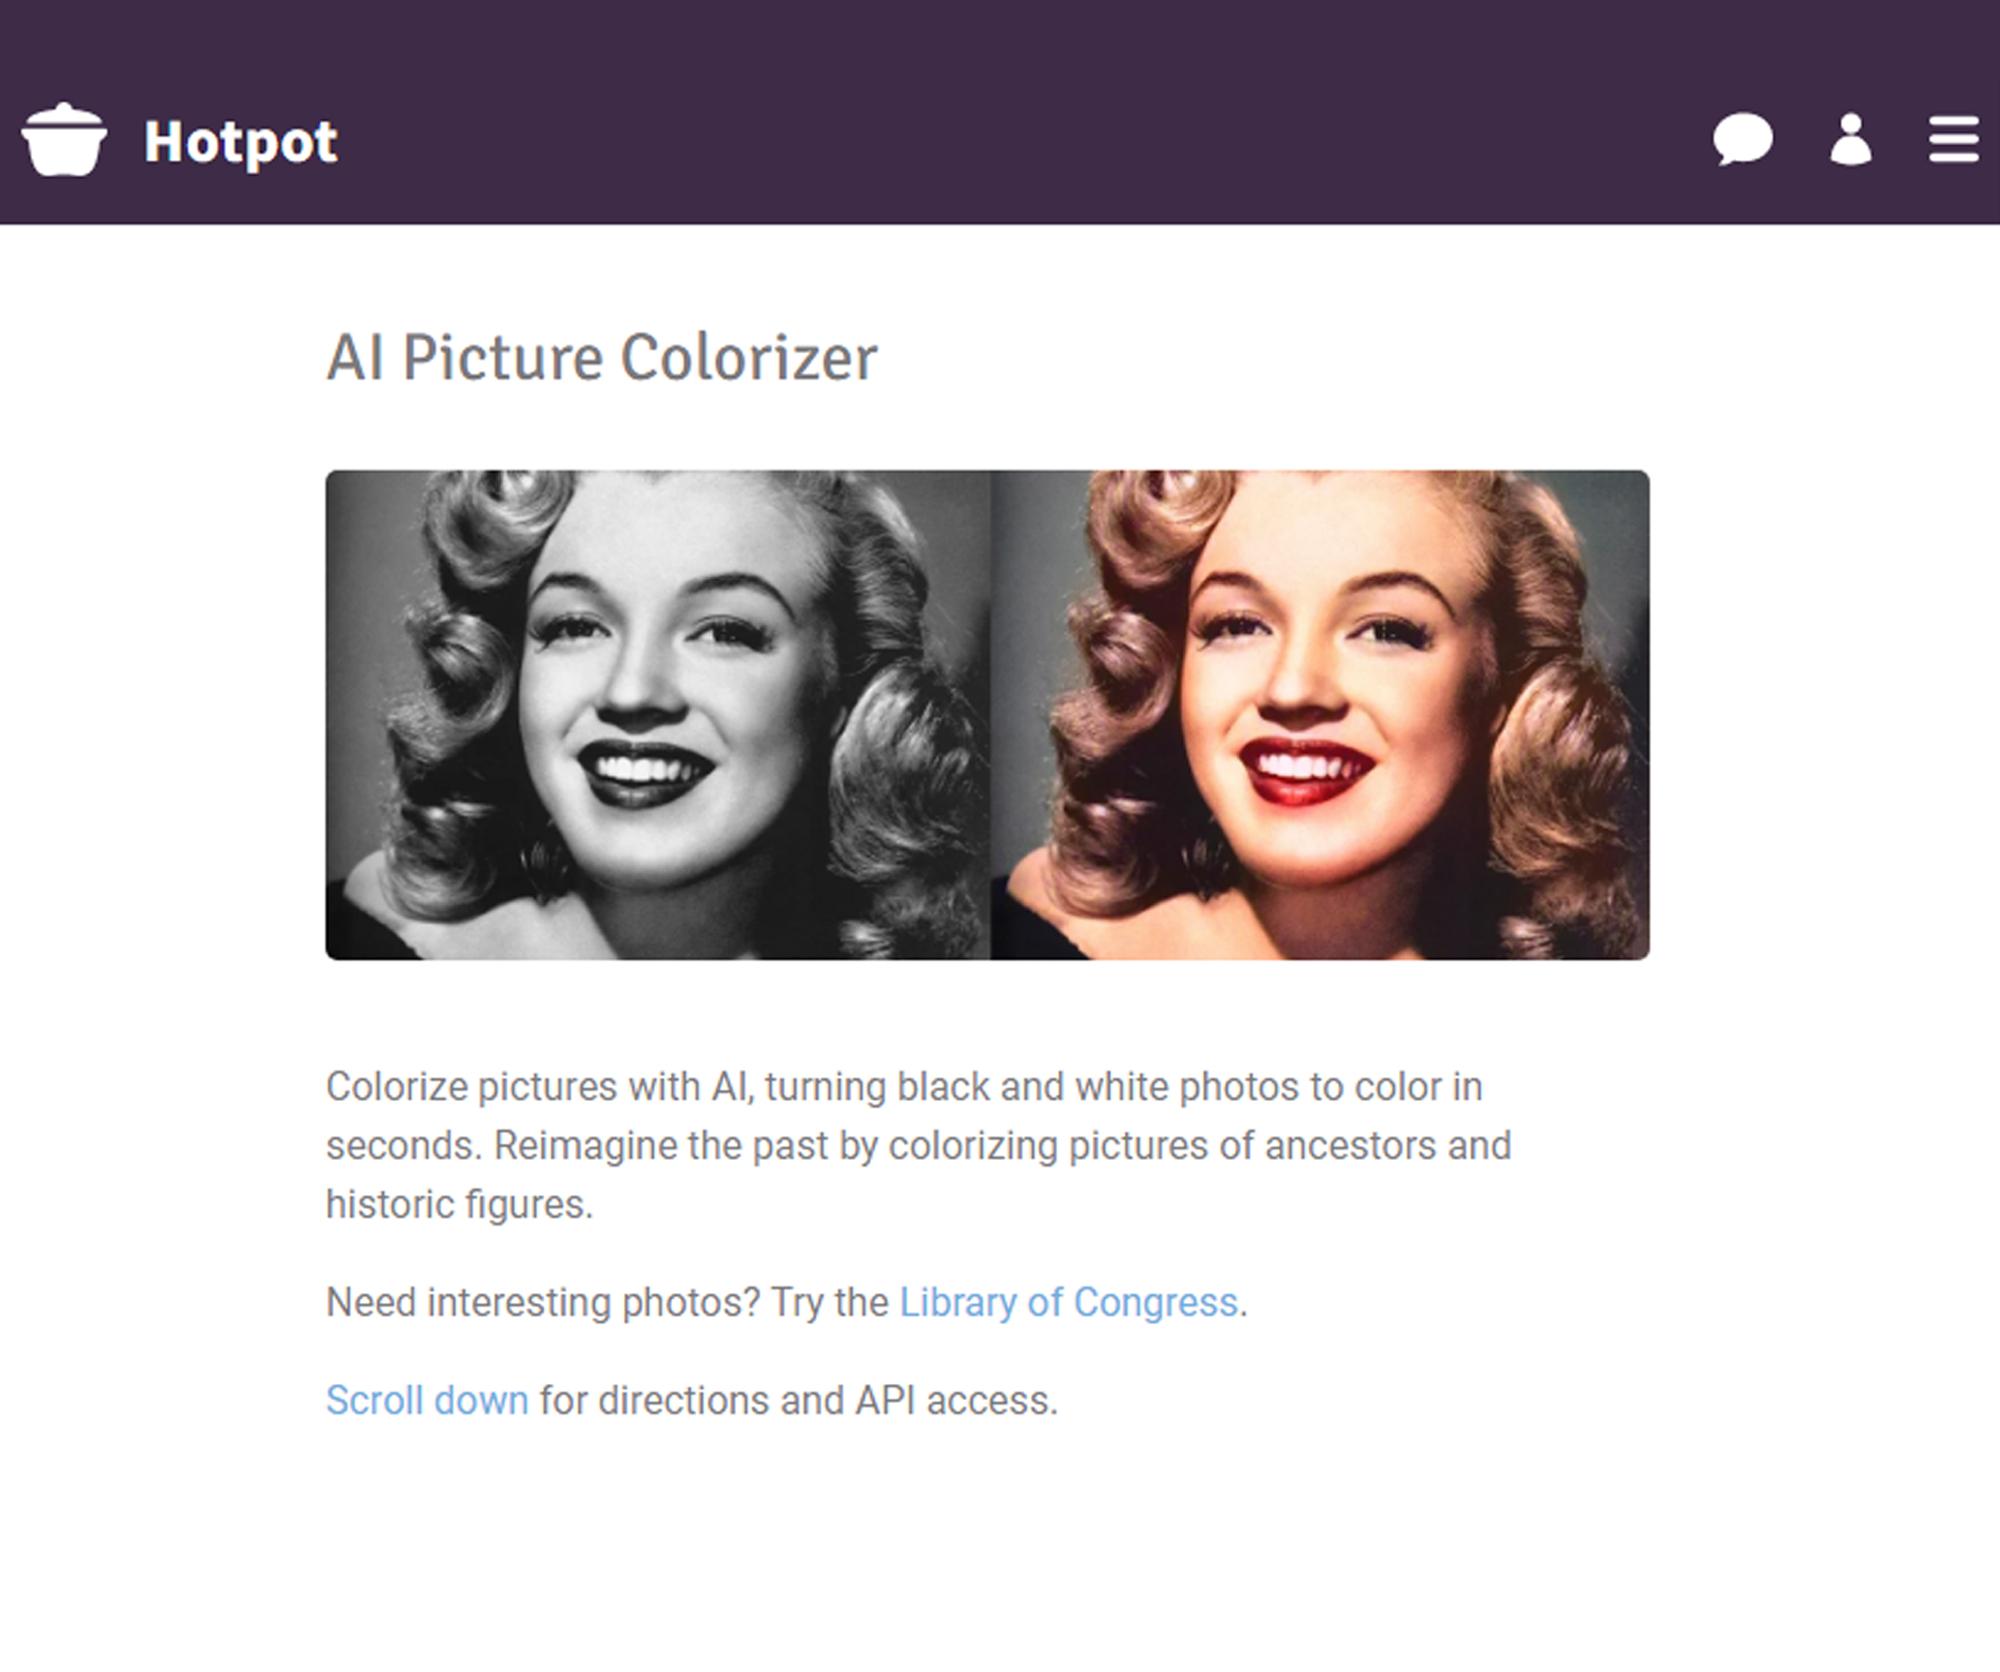
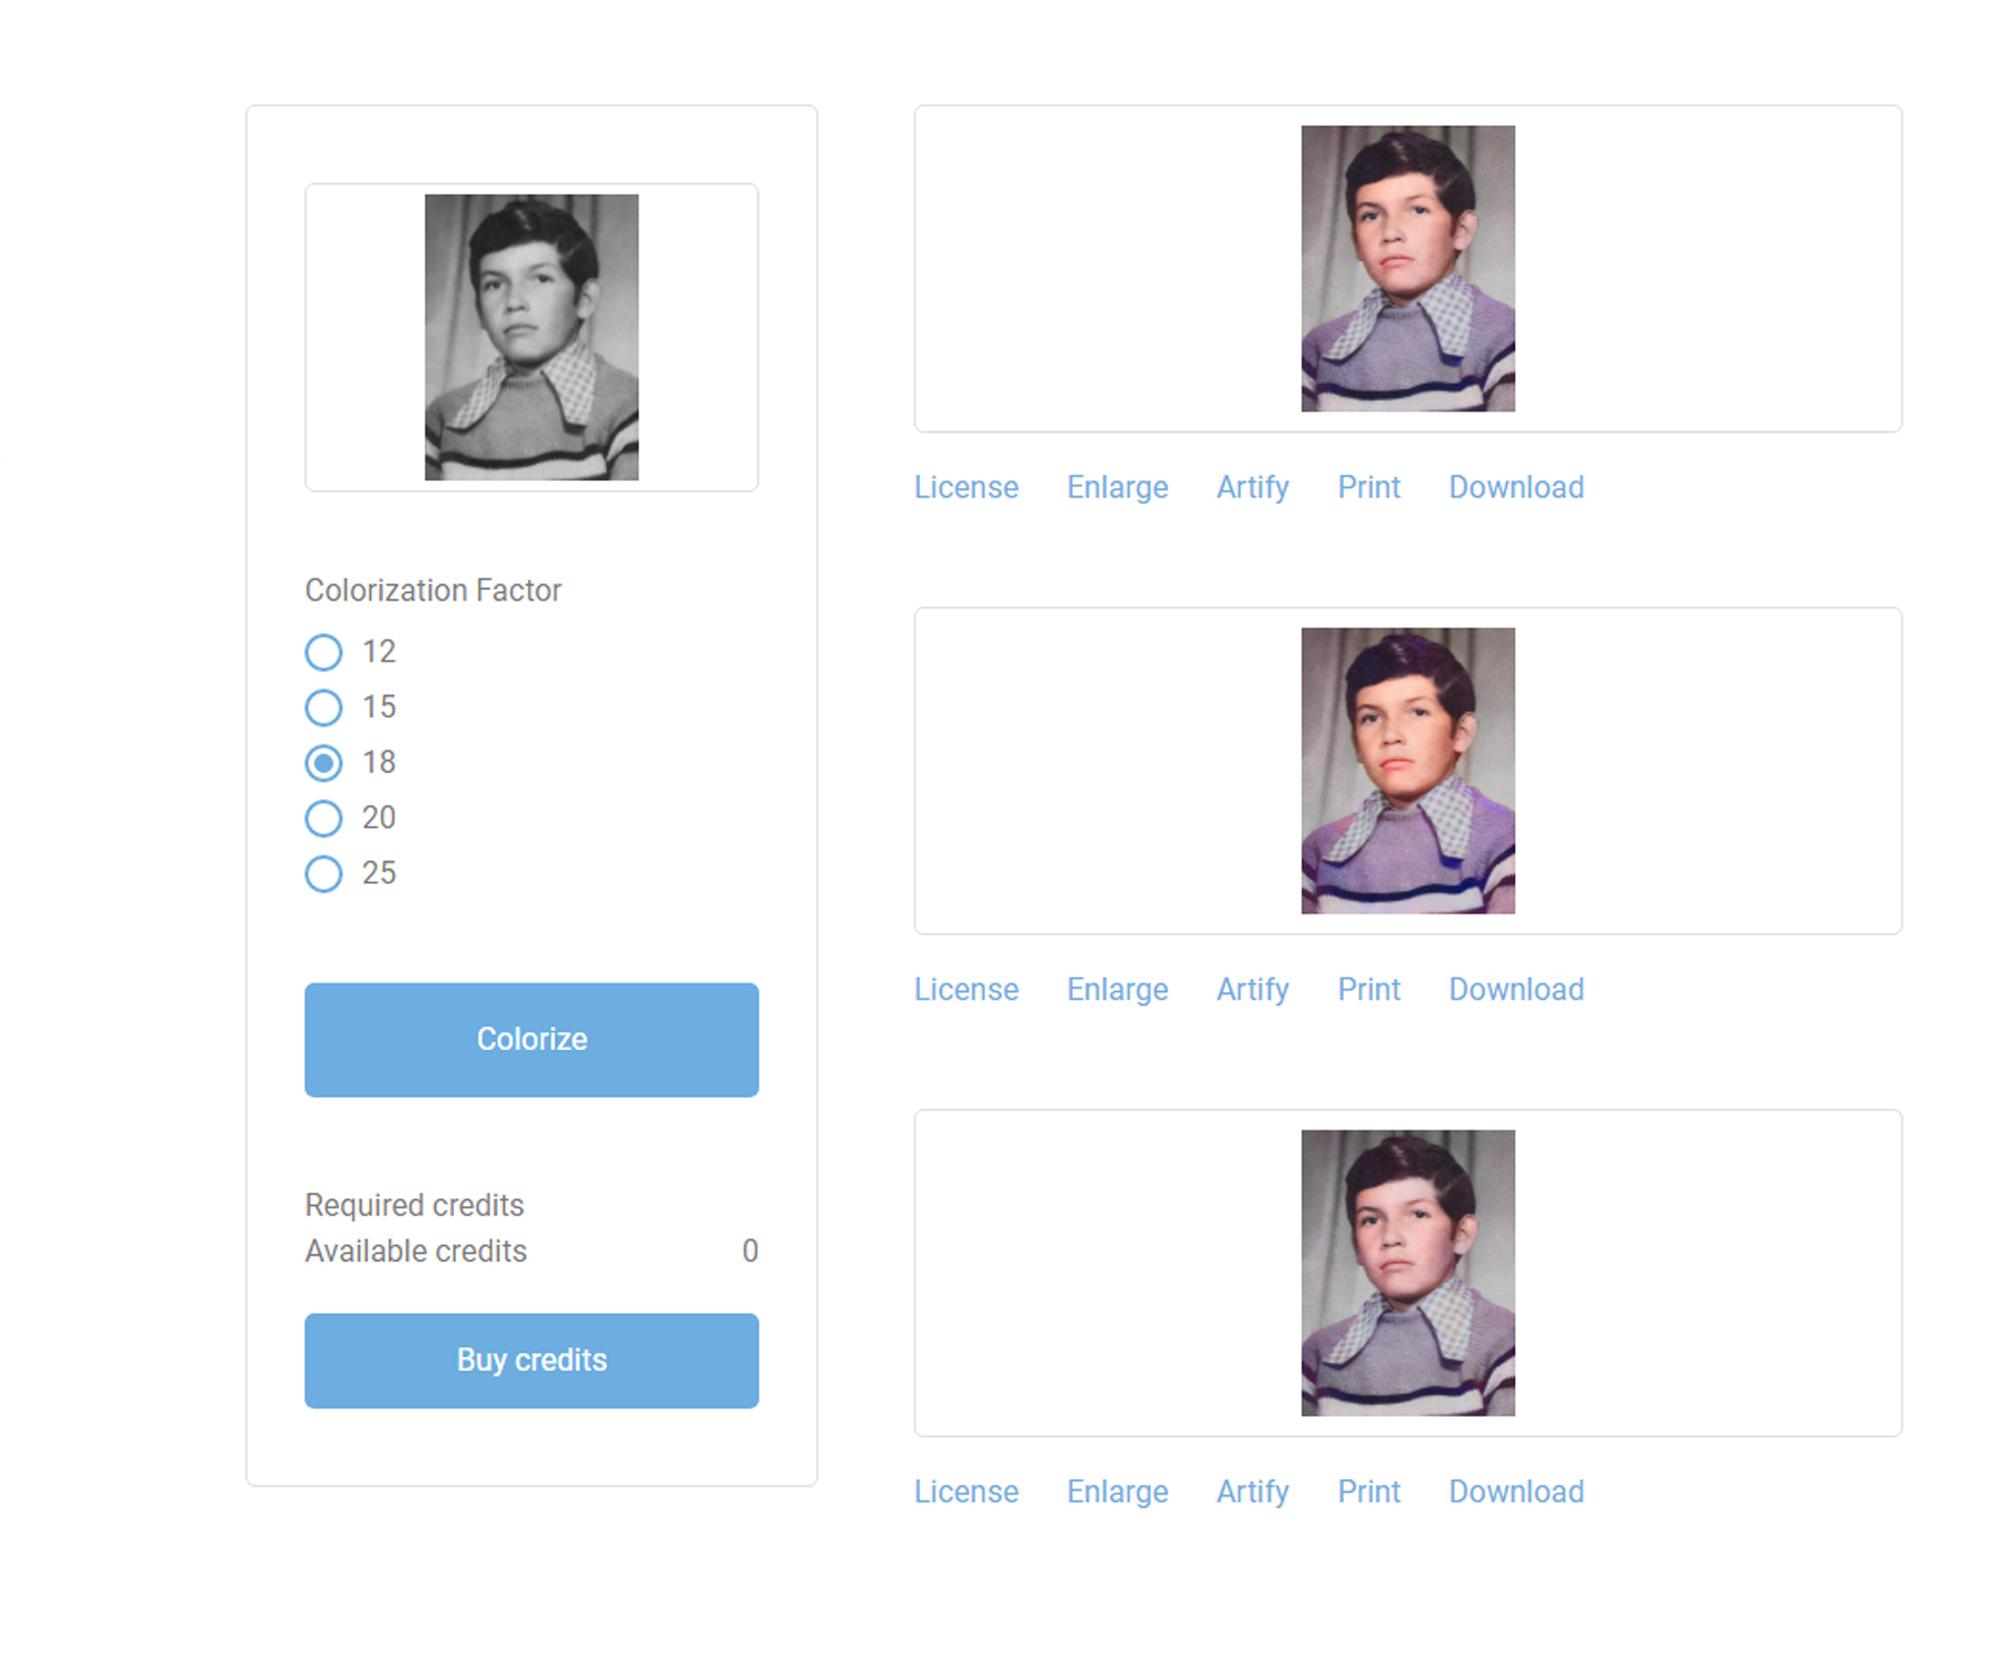
Now we will find a way to give color to our photo, in my case I did not want it to be only black and white, I also wanted it to have life by filling it with color, but how to know the colors? with the help of an AI we will try to find out.
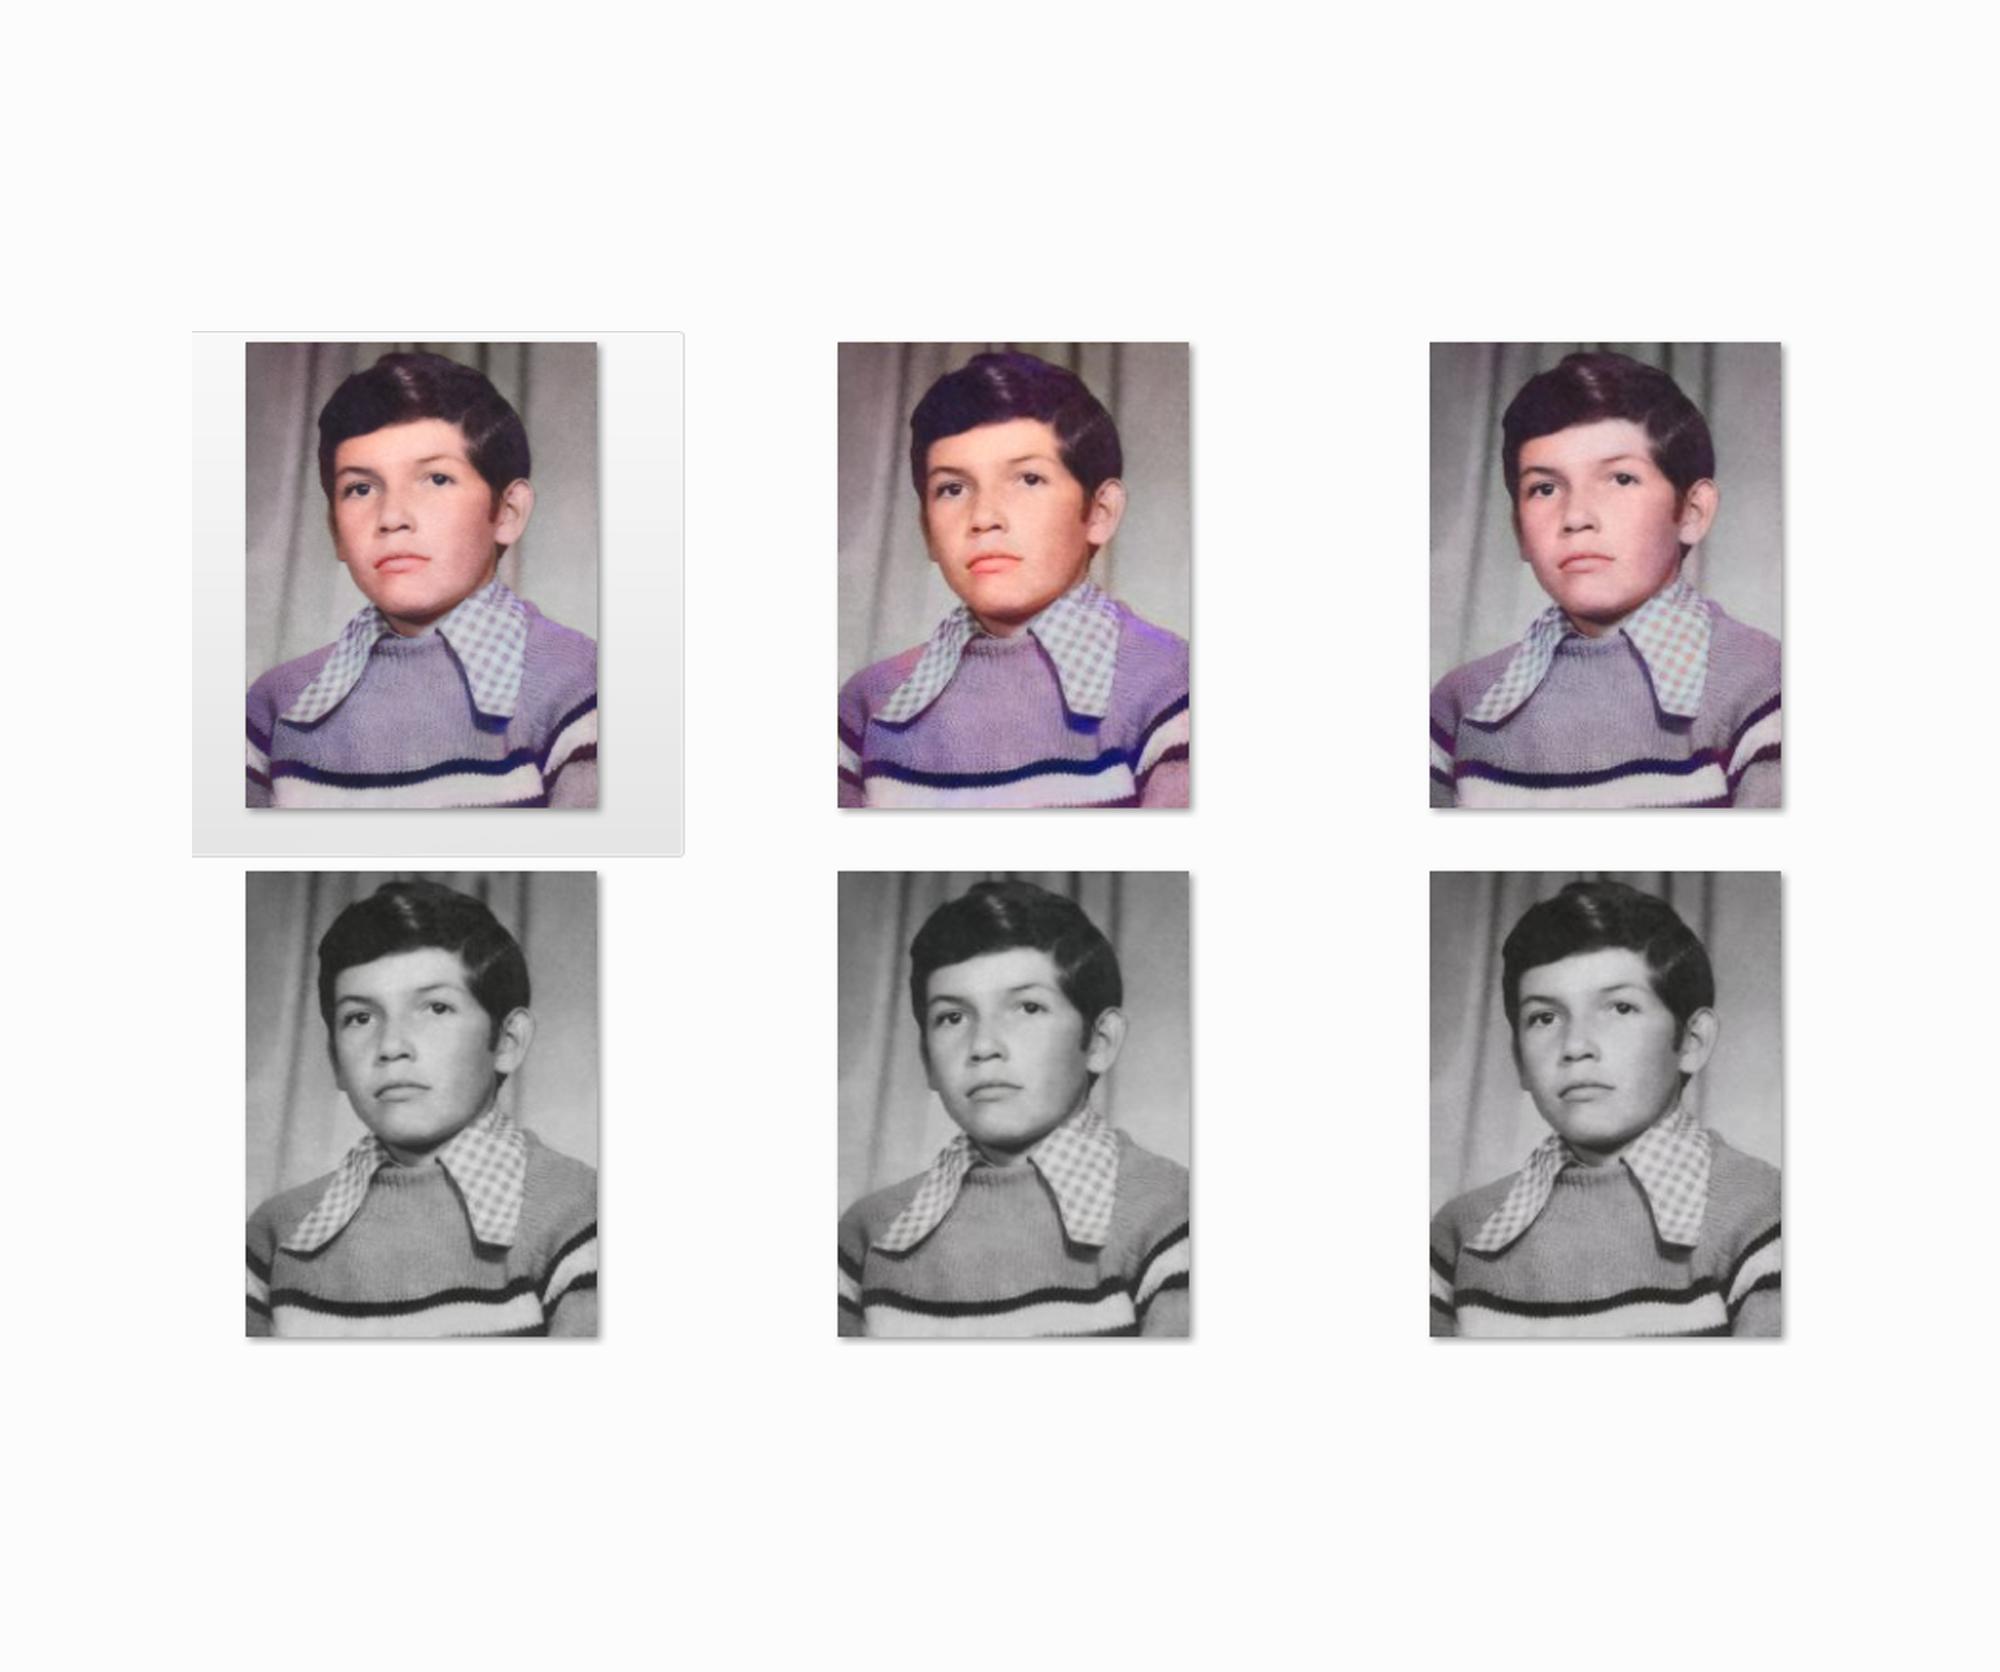
With the help of an online AI we will find out those colors, you just have to go to the site: HOTPOT and upload a photo, the site is quite intuitive and will give you several options to approximate the colors of the image since it is based on gray tones.
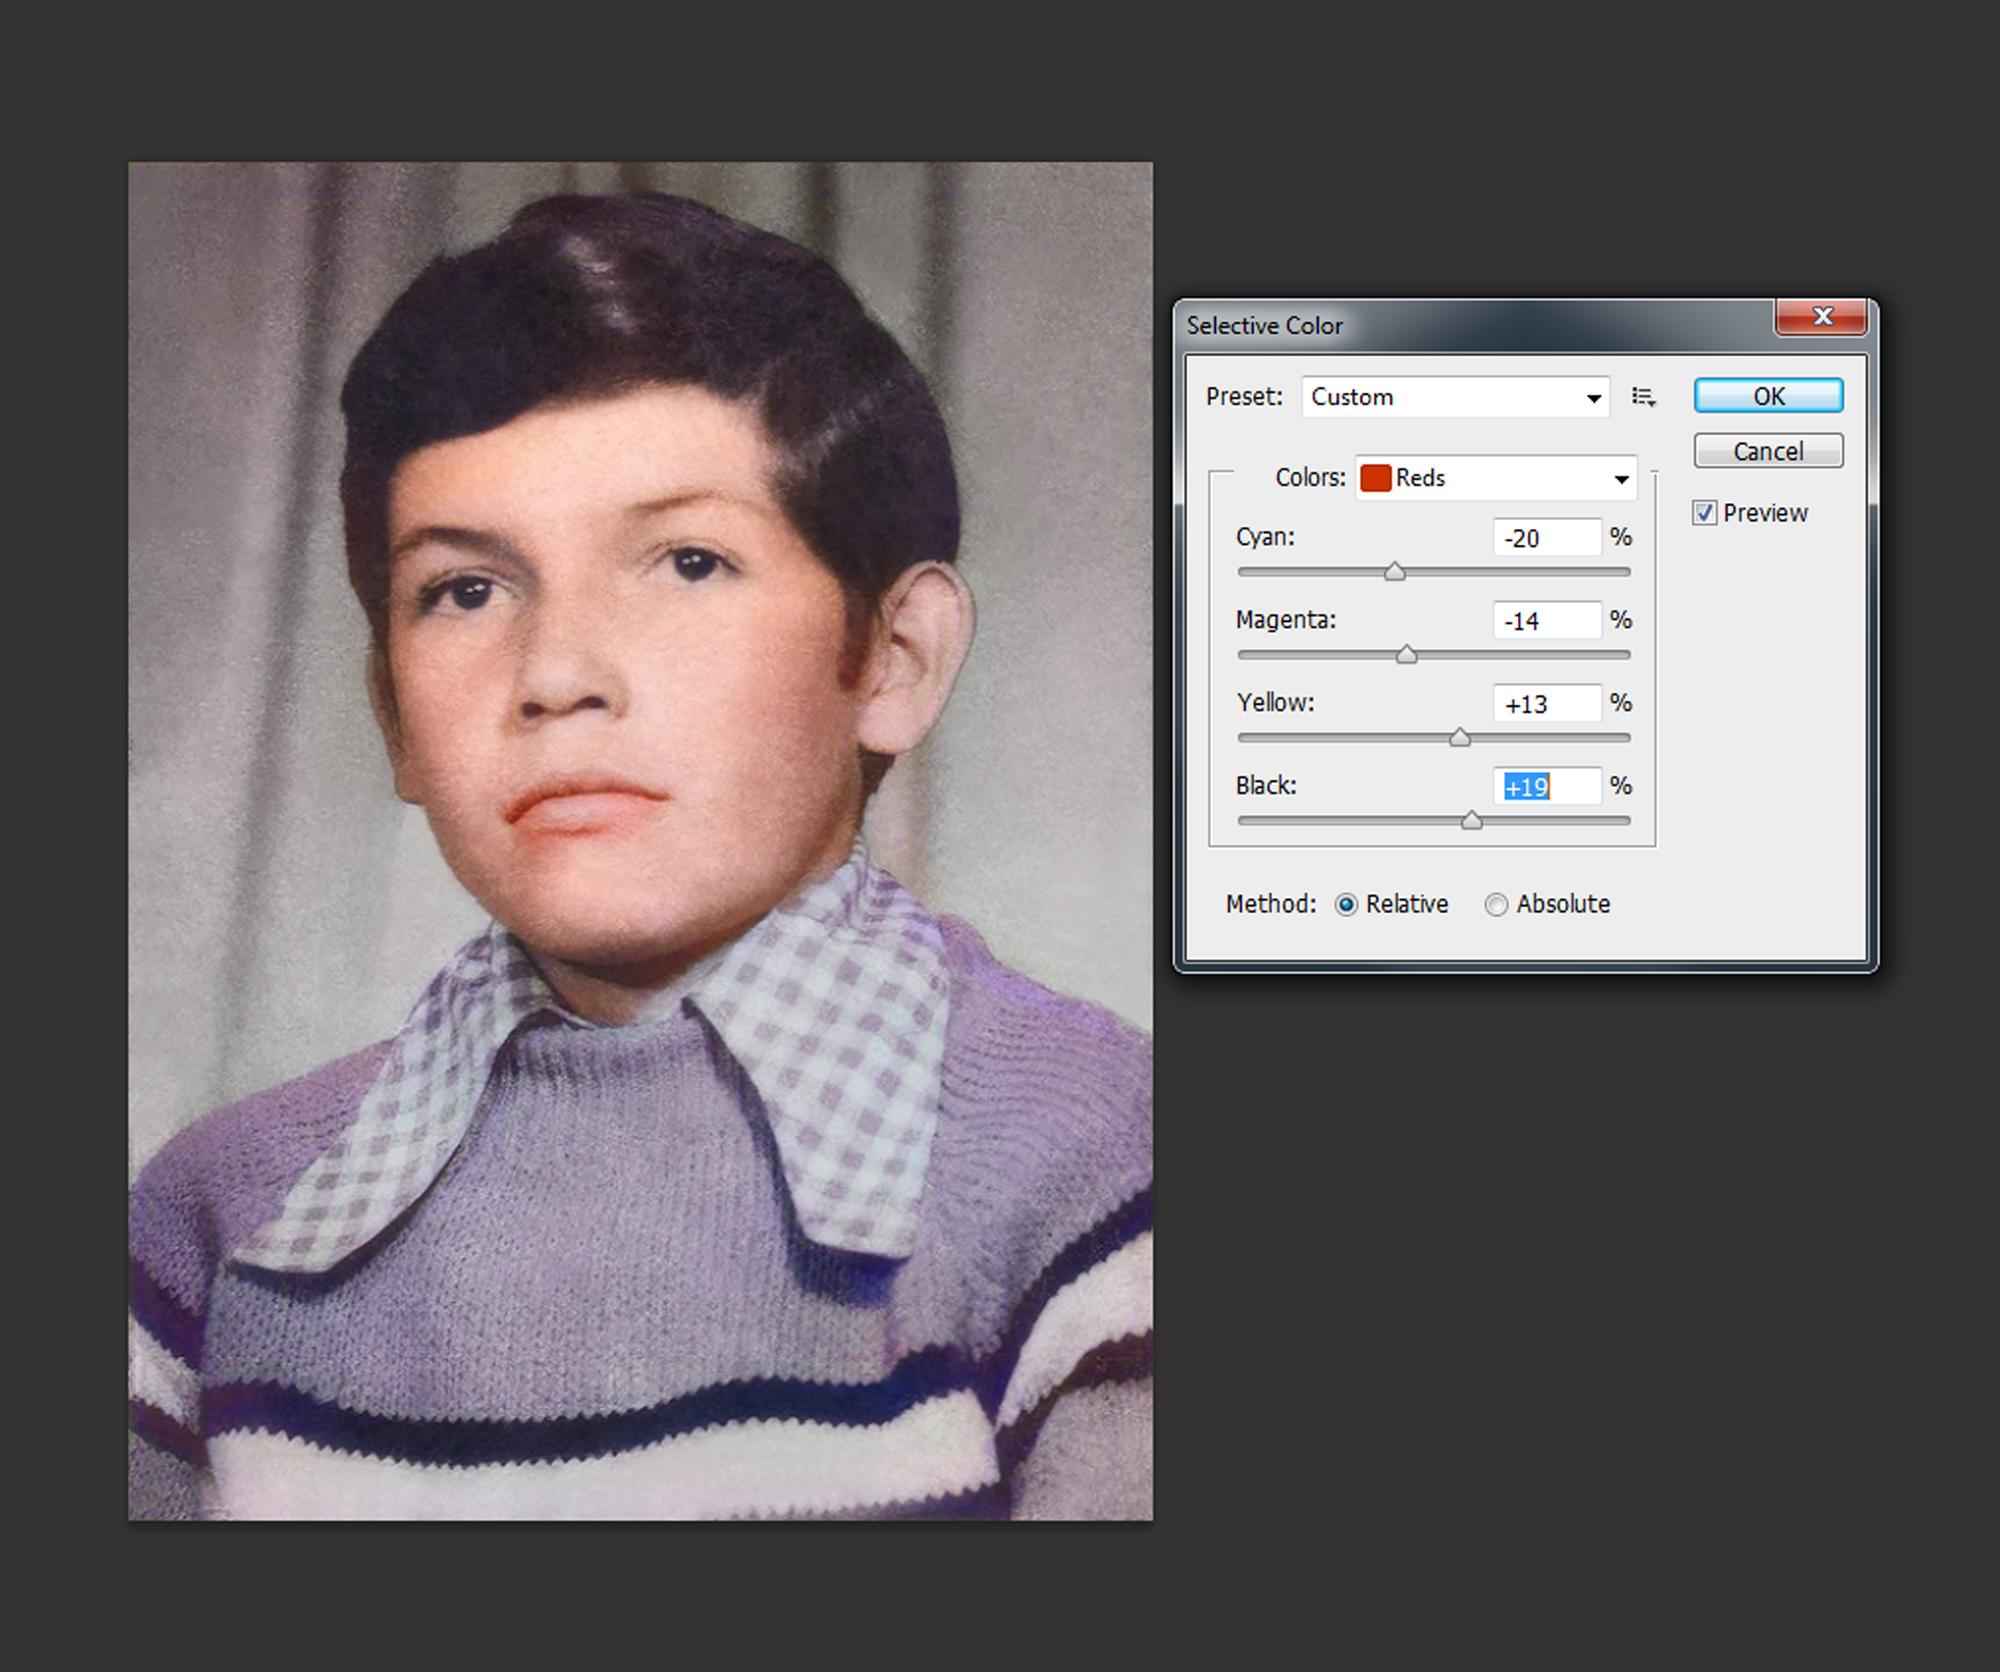
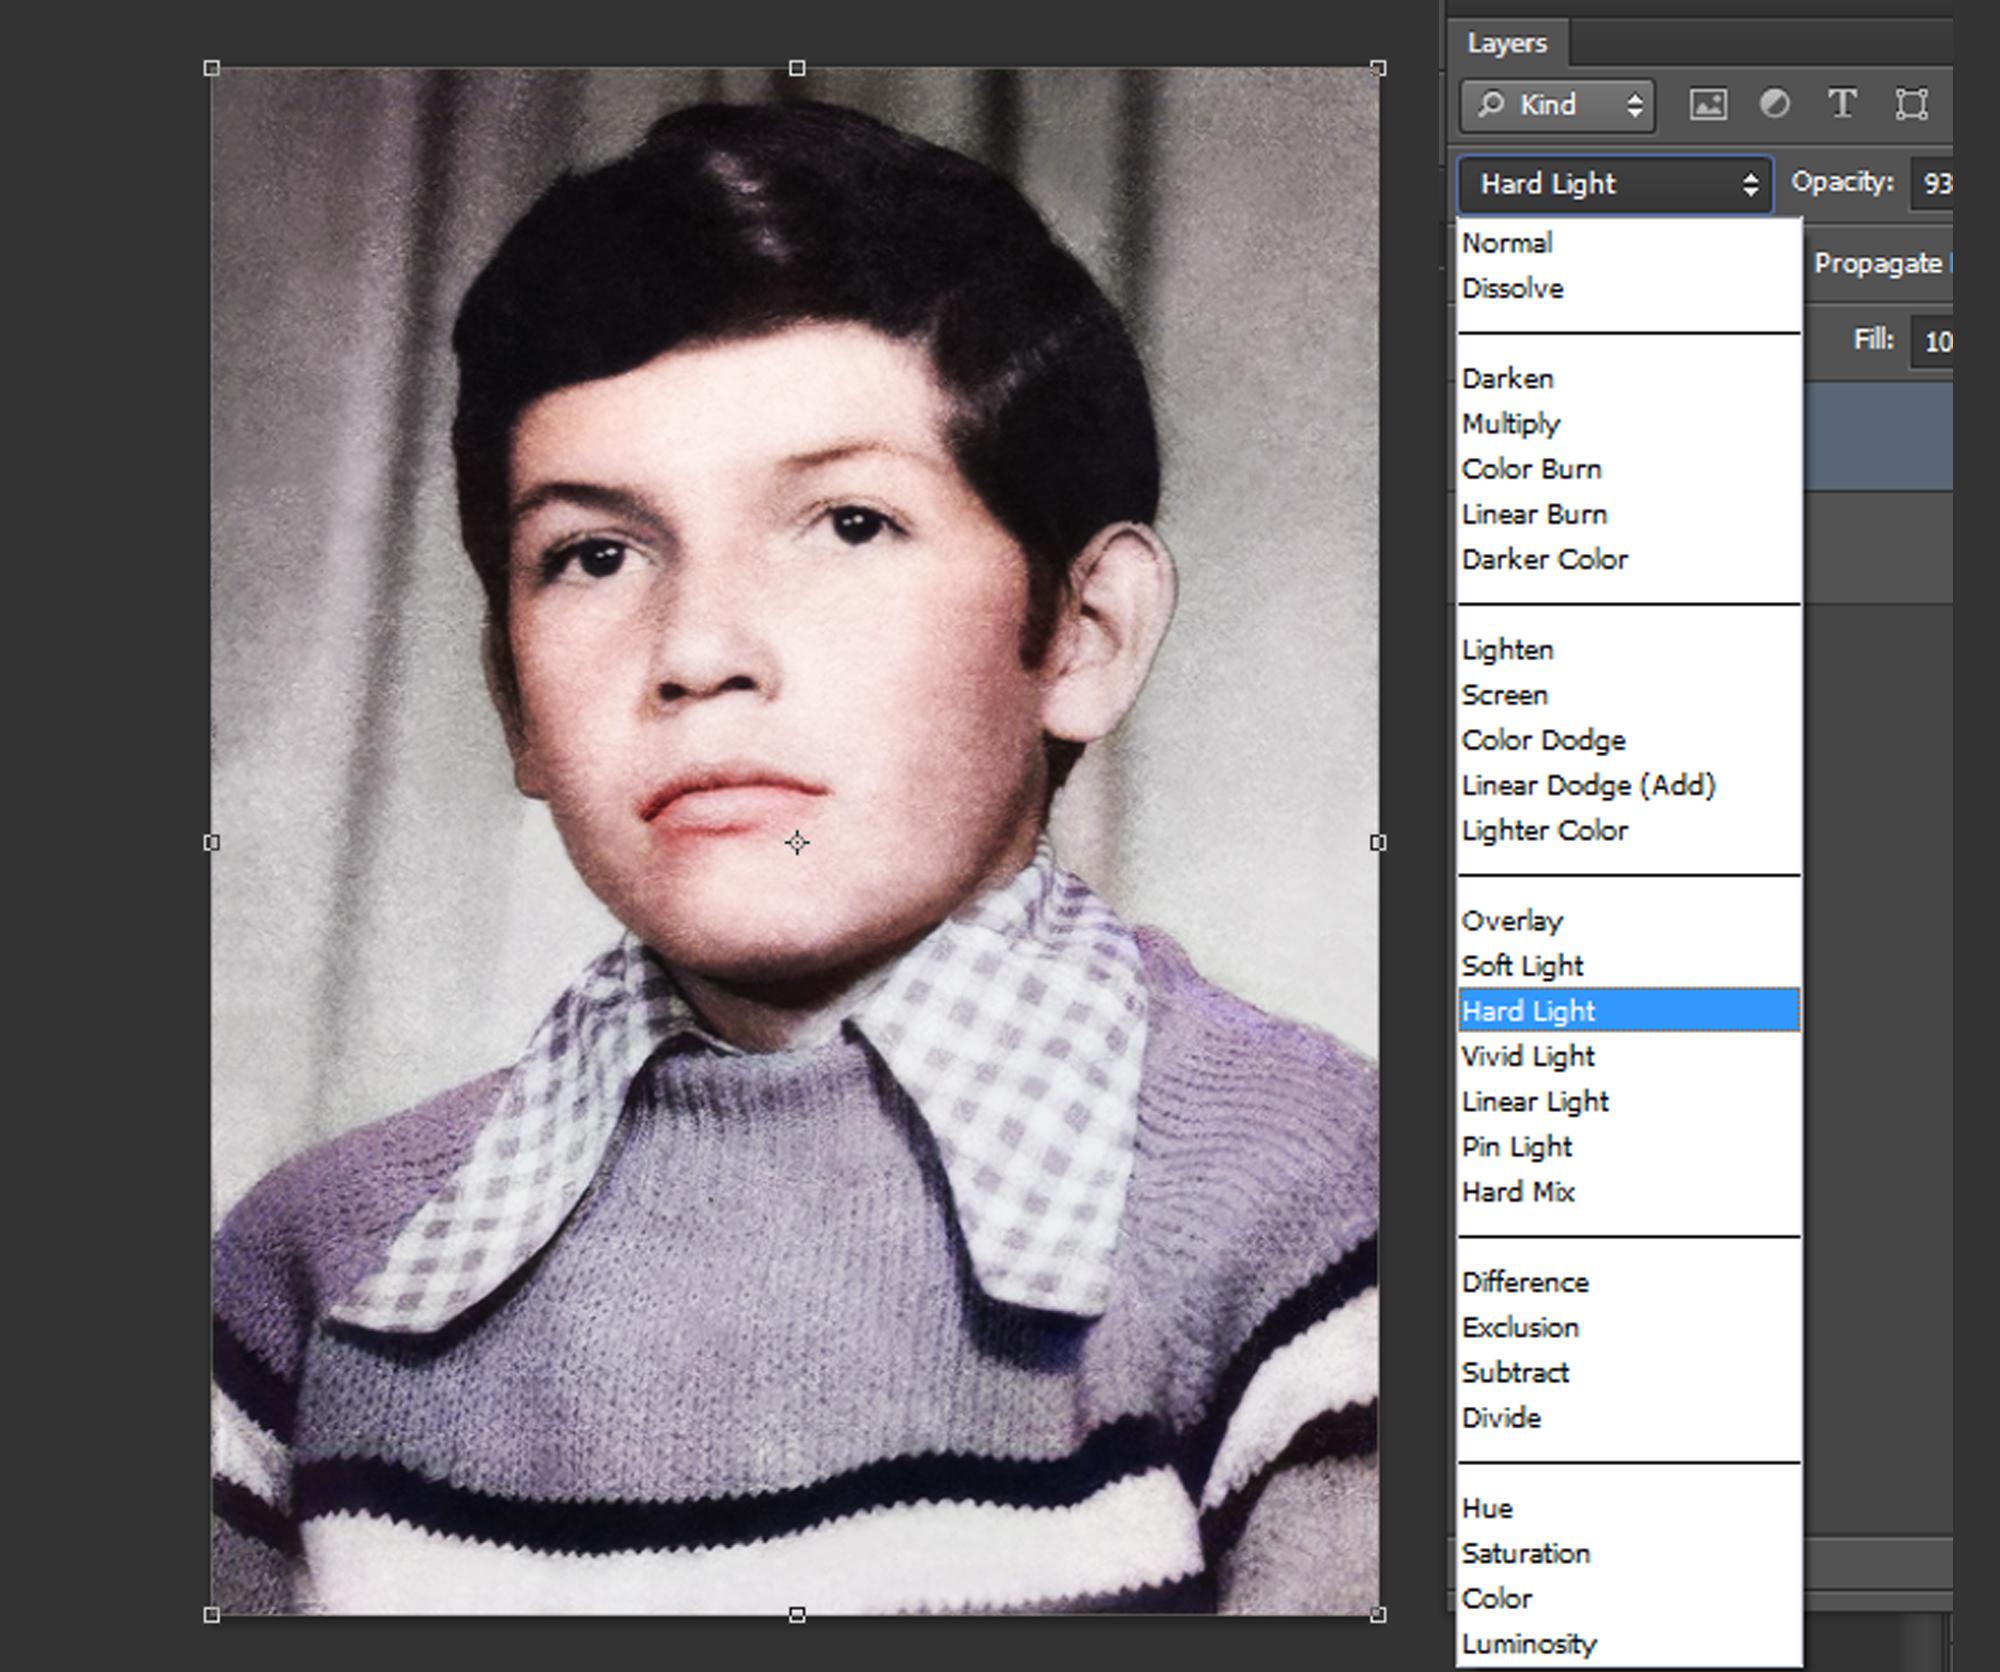
After that we will return to our editing program and will make a color retouch to our liking, you are free to interpret the image in your own way, for my part I decided to keep a style marked with quite classic tones that recall the nostalgia of that time.
Enchance Online


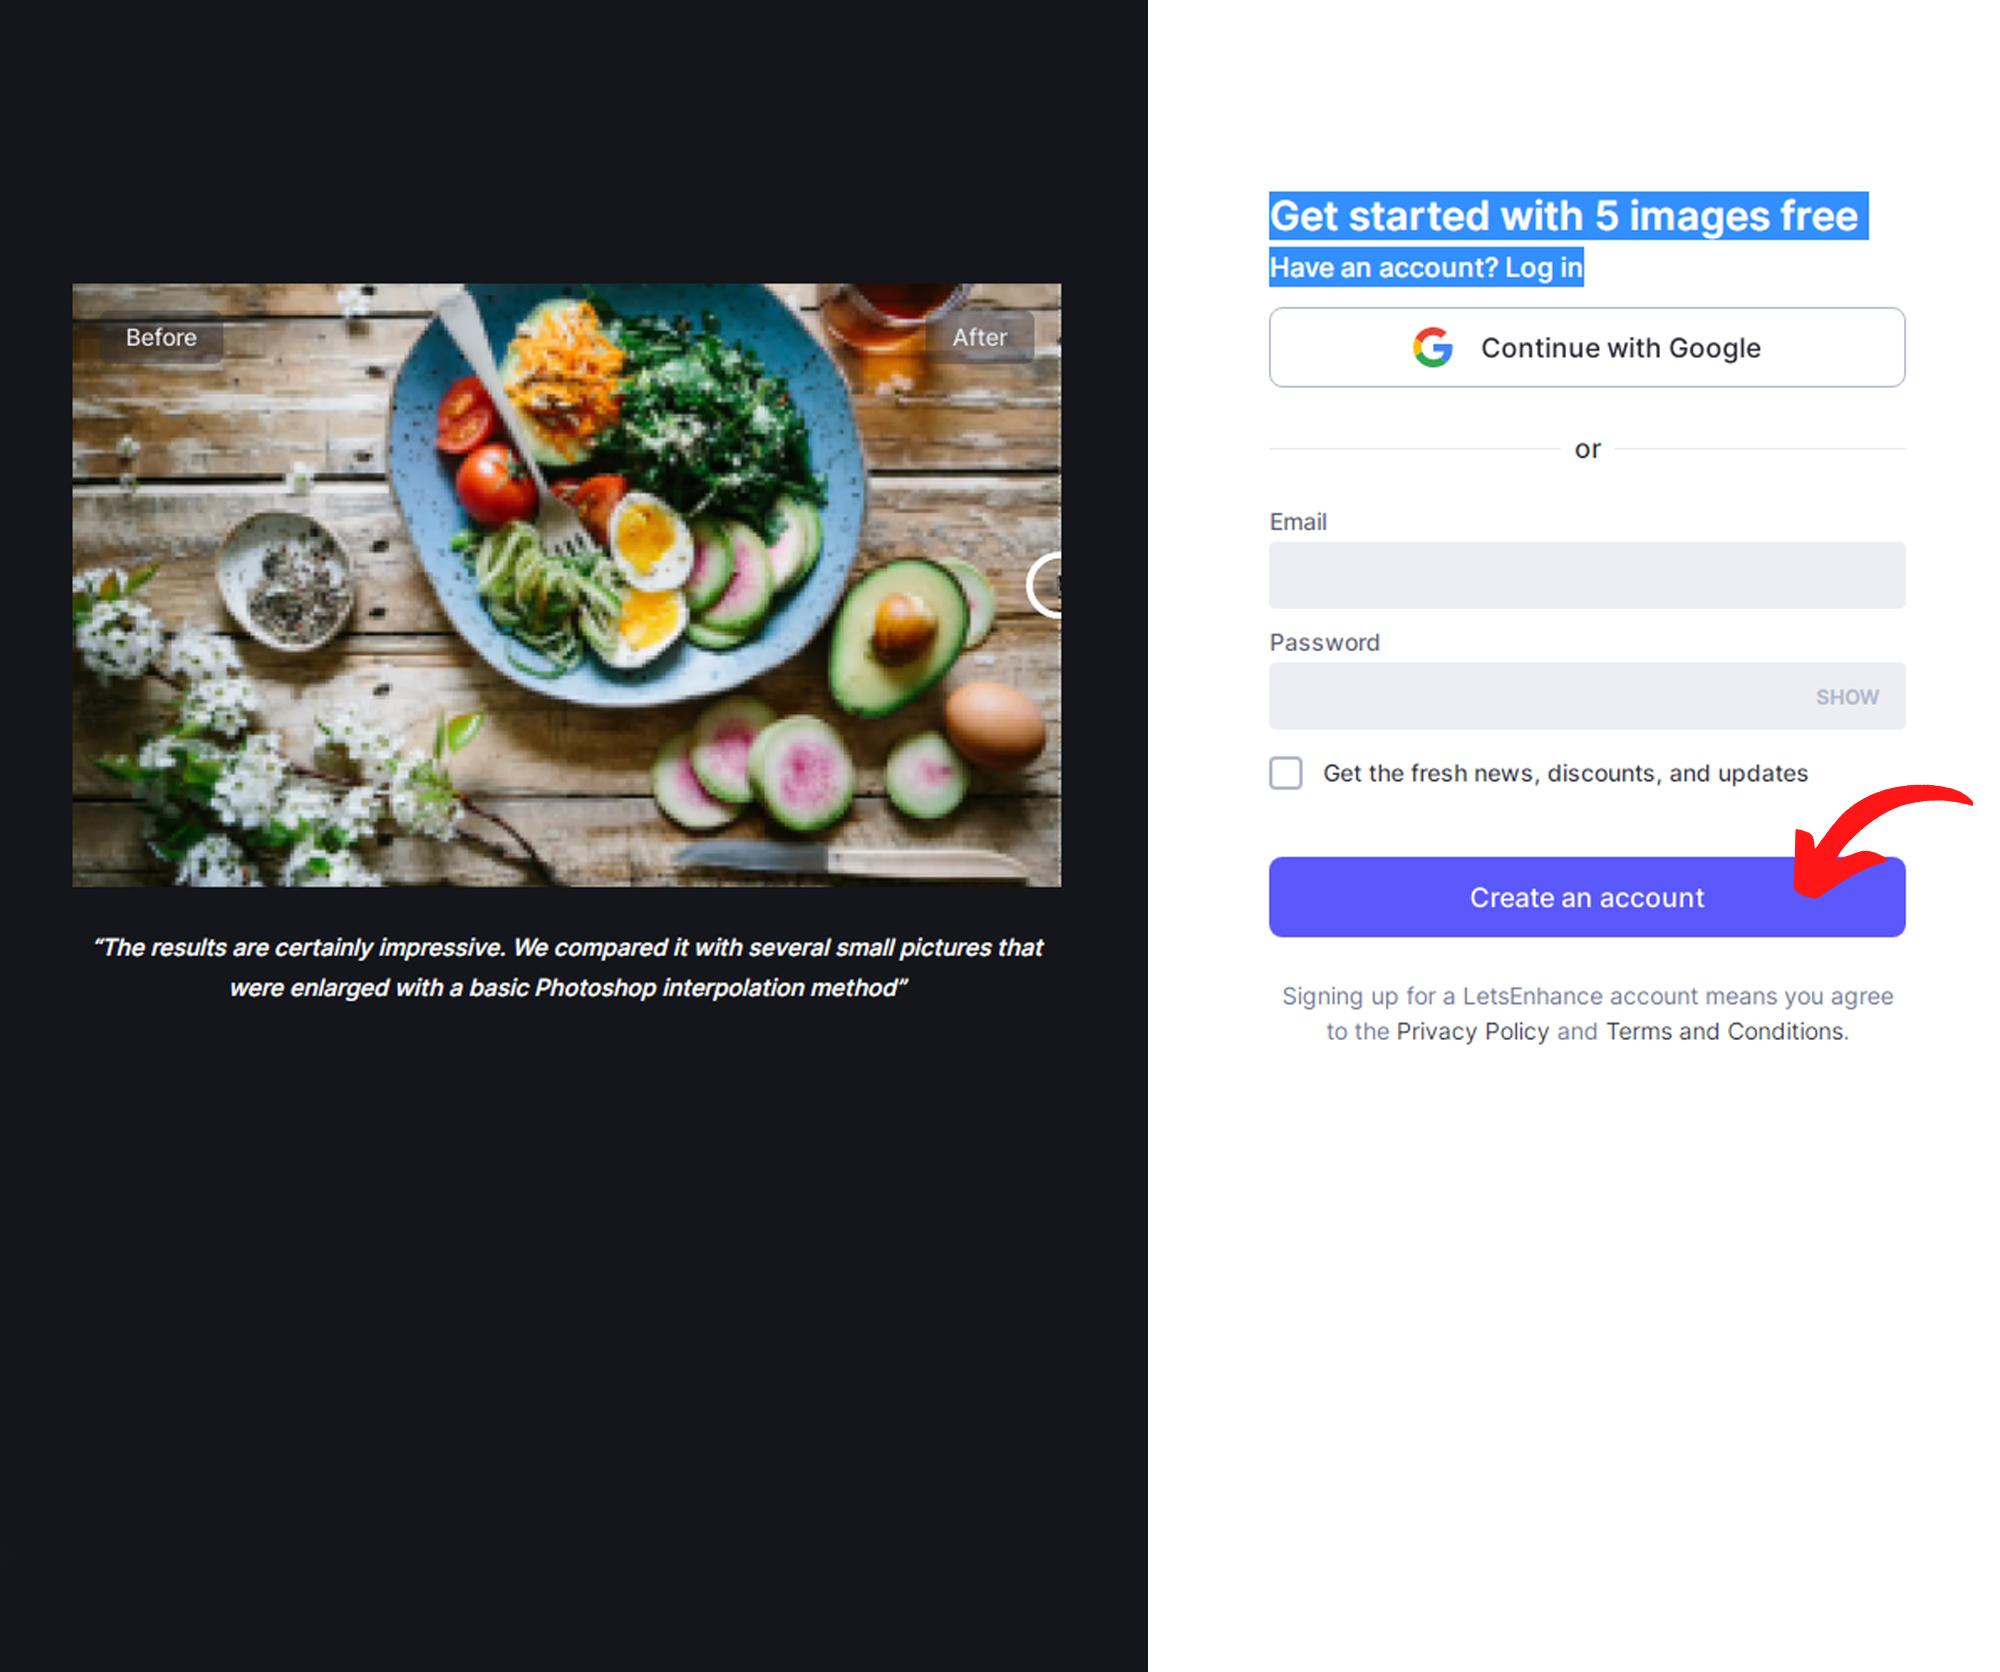
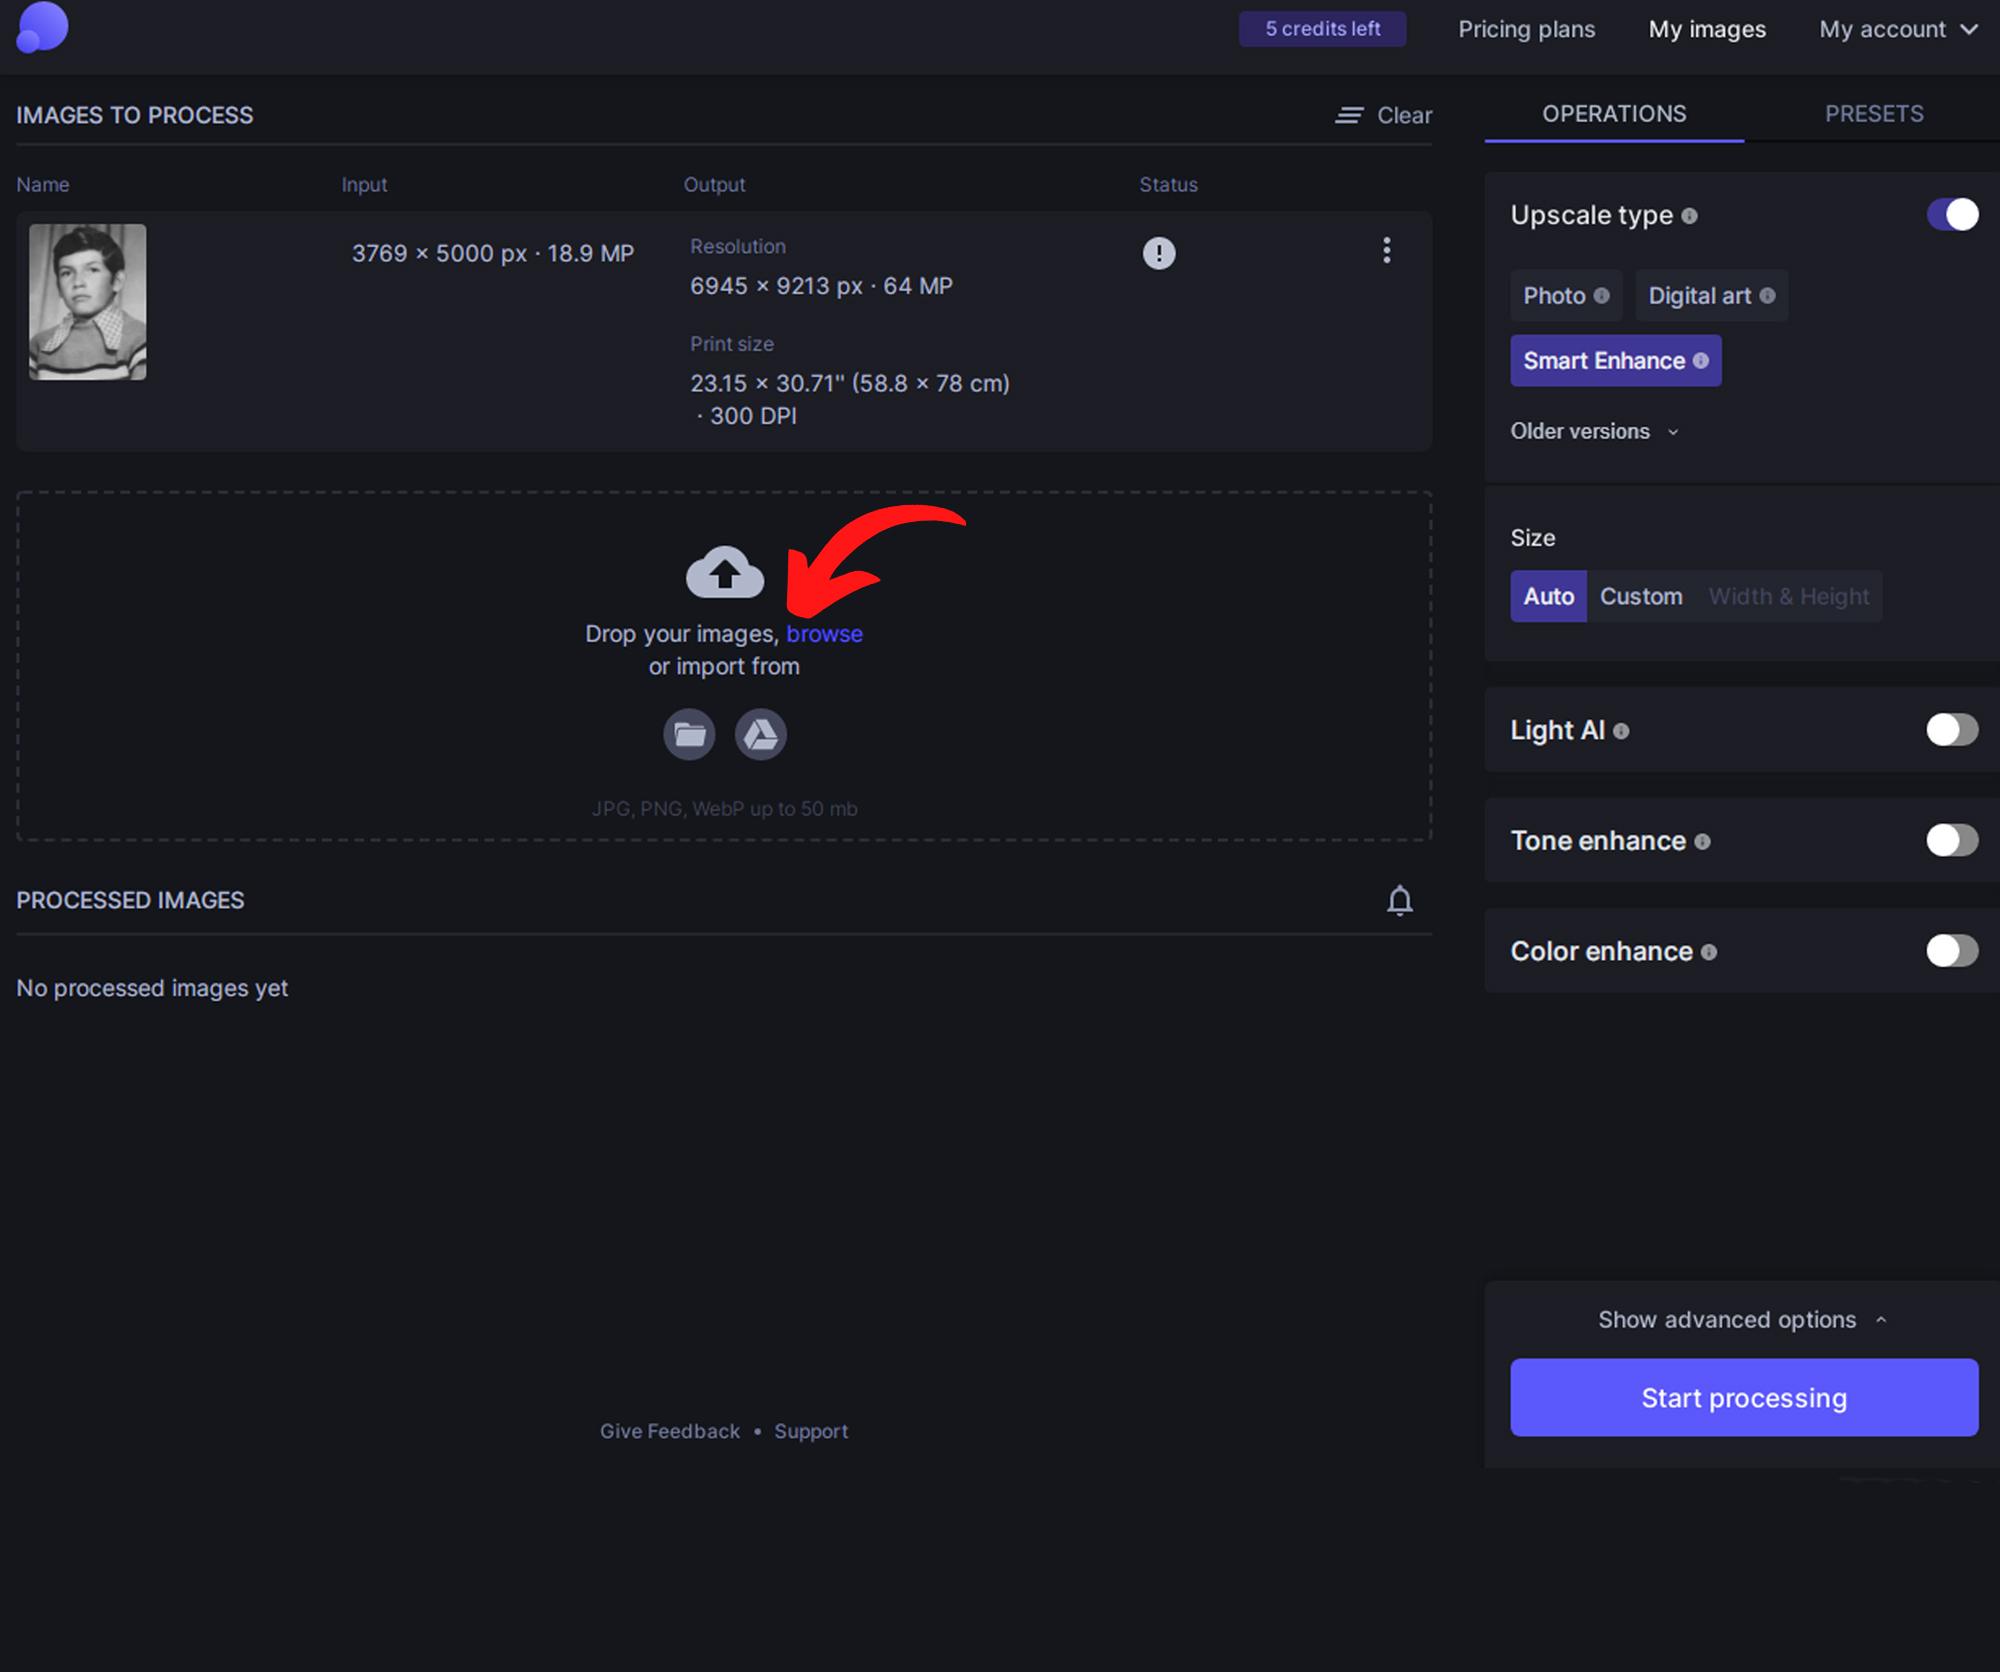
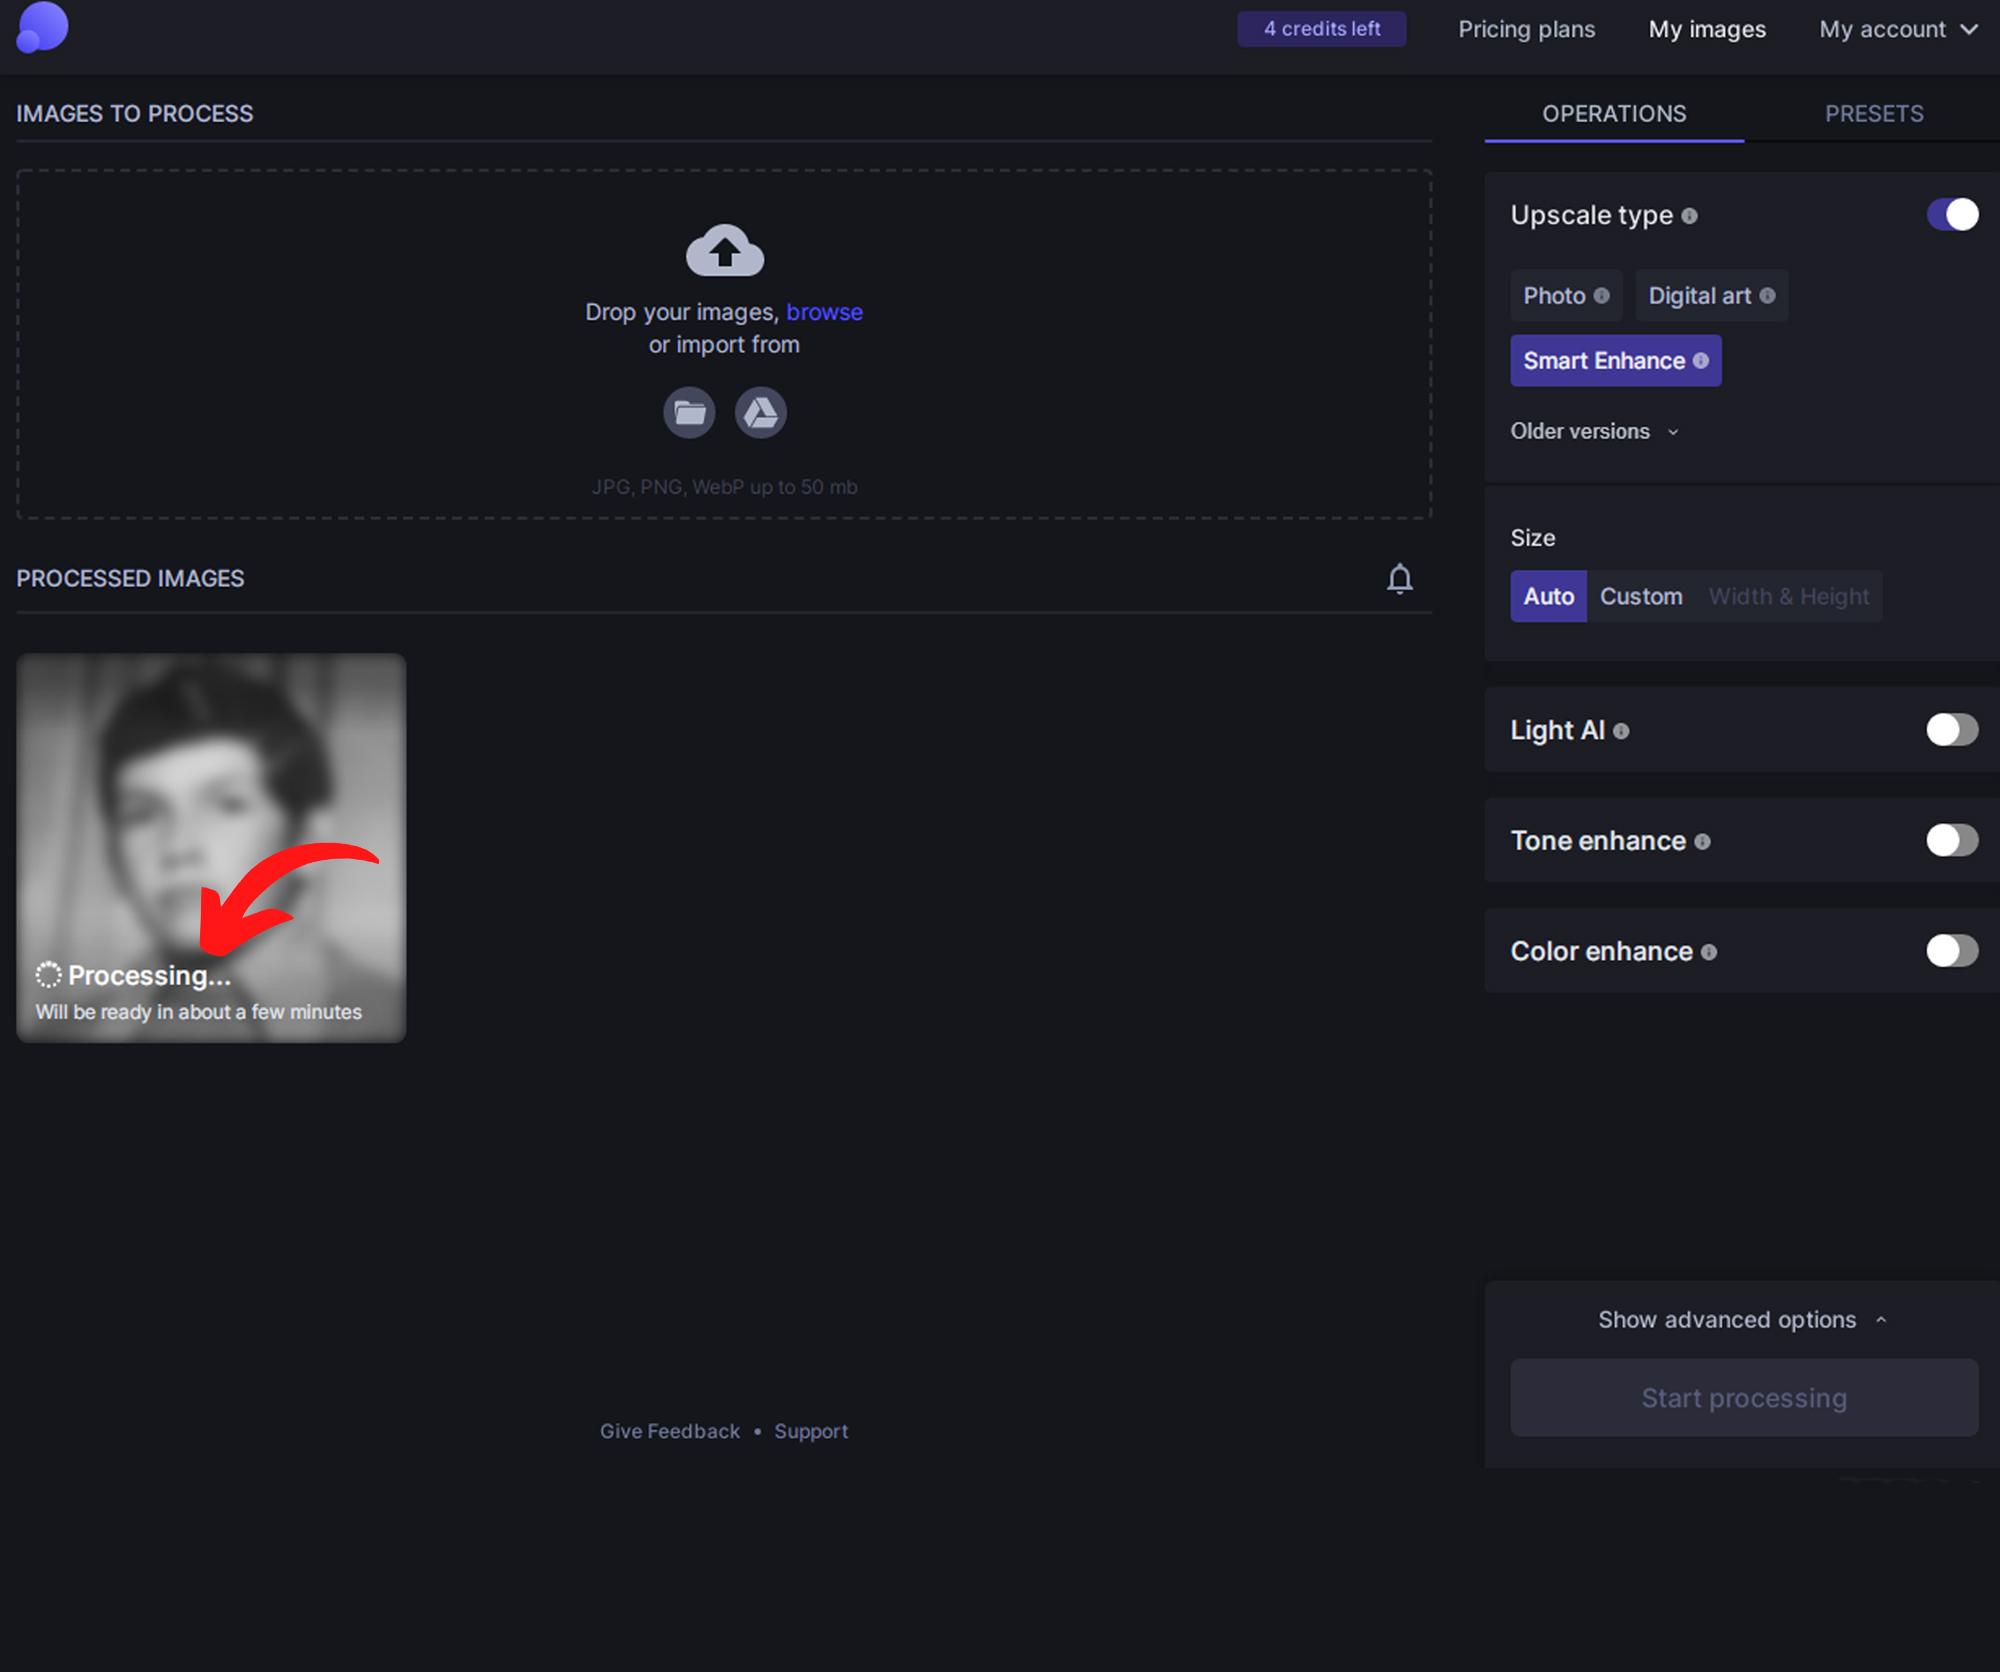
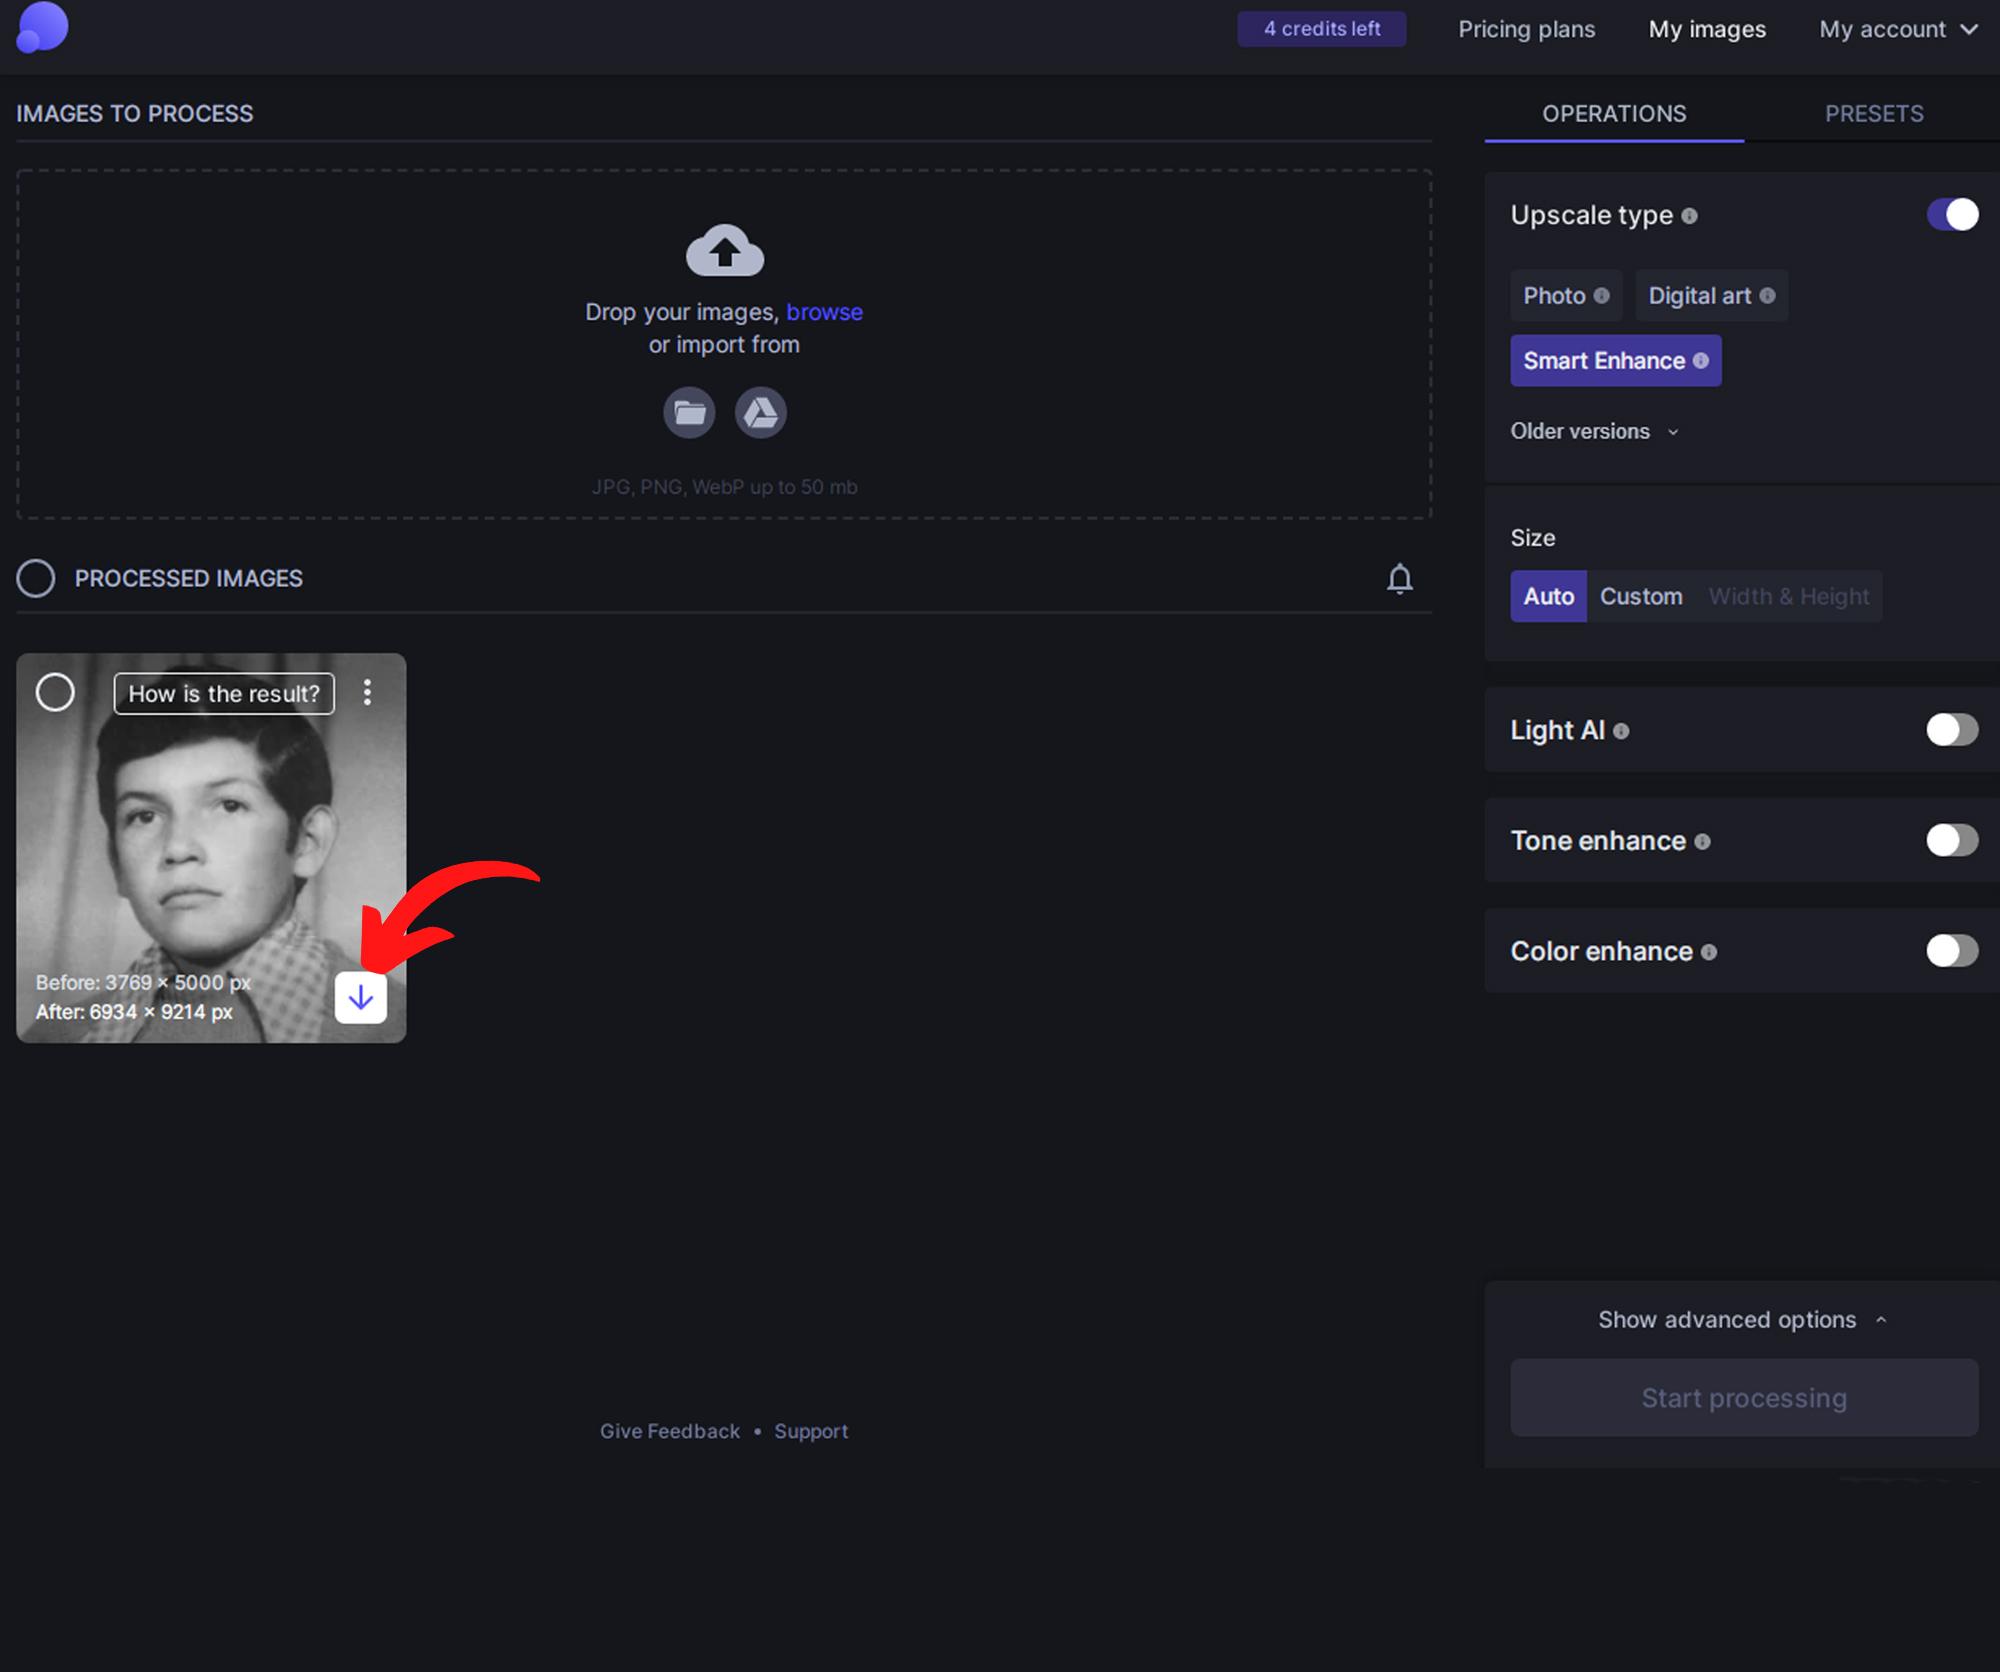
it is optional but if you want you can increase the quality of the image a little through another AI, what it does is increase the quality and resolution of the image a little.
the only thing you have to do is register on the site: ENCHANCE and upload an image, it also has some settings on the right side where you can get different results, you can play with these parameters until you get what you want.
Enchance Via App


But if what you want is high resolution of an image by approximation, you should download this app, which is an AI that by approximations increases the resolution of an image in an incredible way, which a few years ago was impossible to imagine, the app is monstrously incredible, and you can make 5 daily arrangements, the app can be downloaded from the palay store, and its name is REMINI.
all you have to do is upload any photo from your gallery and the app will do the rest of the work.
the only thing that will ask you to watch an ad, but that's it, and I think it's minimal for everything it offers.
Final Digital File

The file is now is ready to print, go to your trusted printer store and specify photographic paper in your purchase.
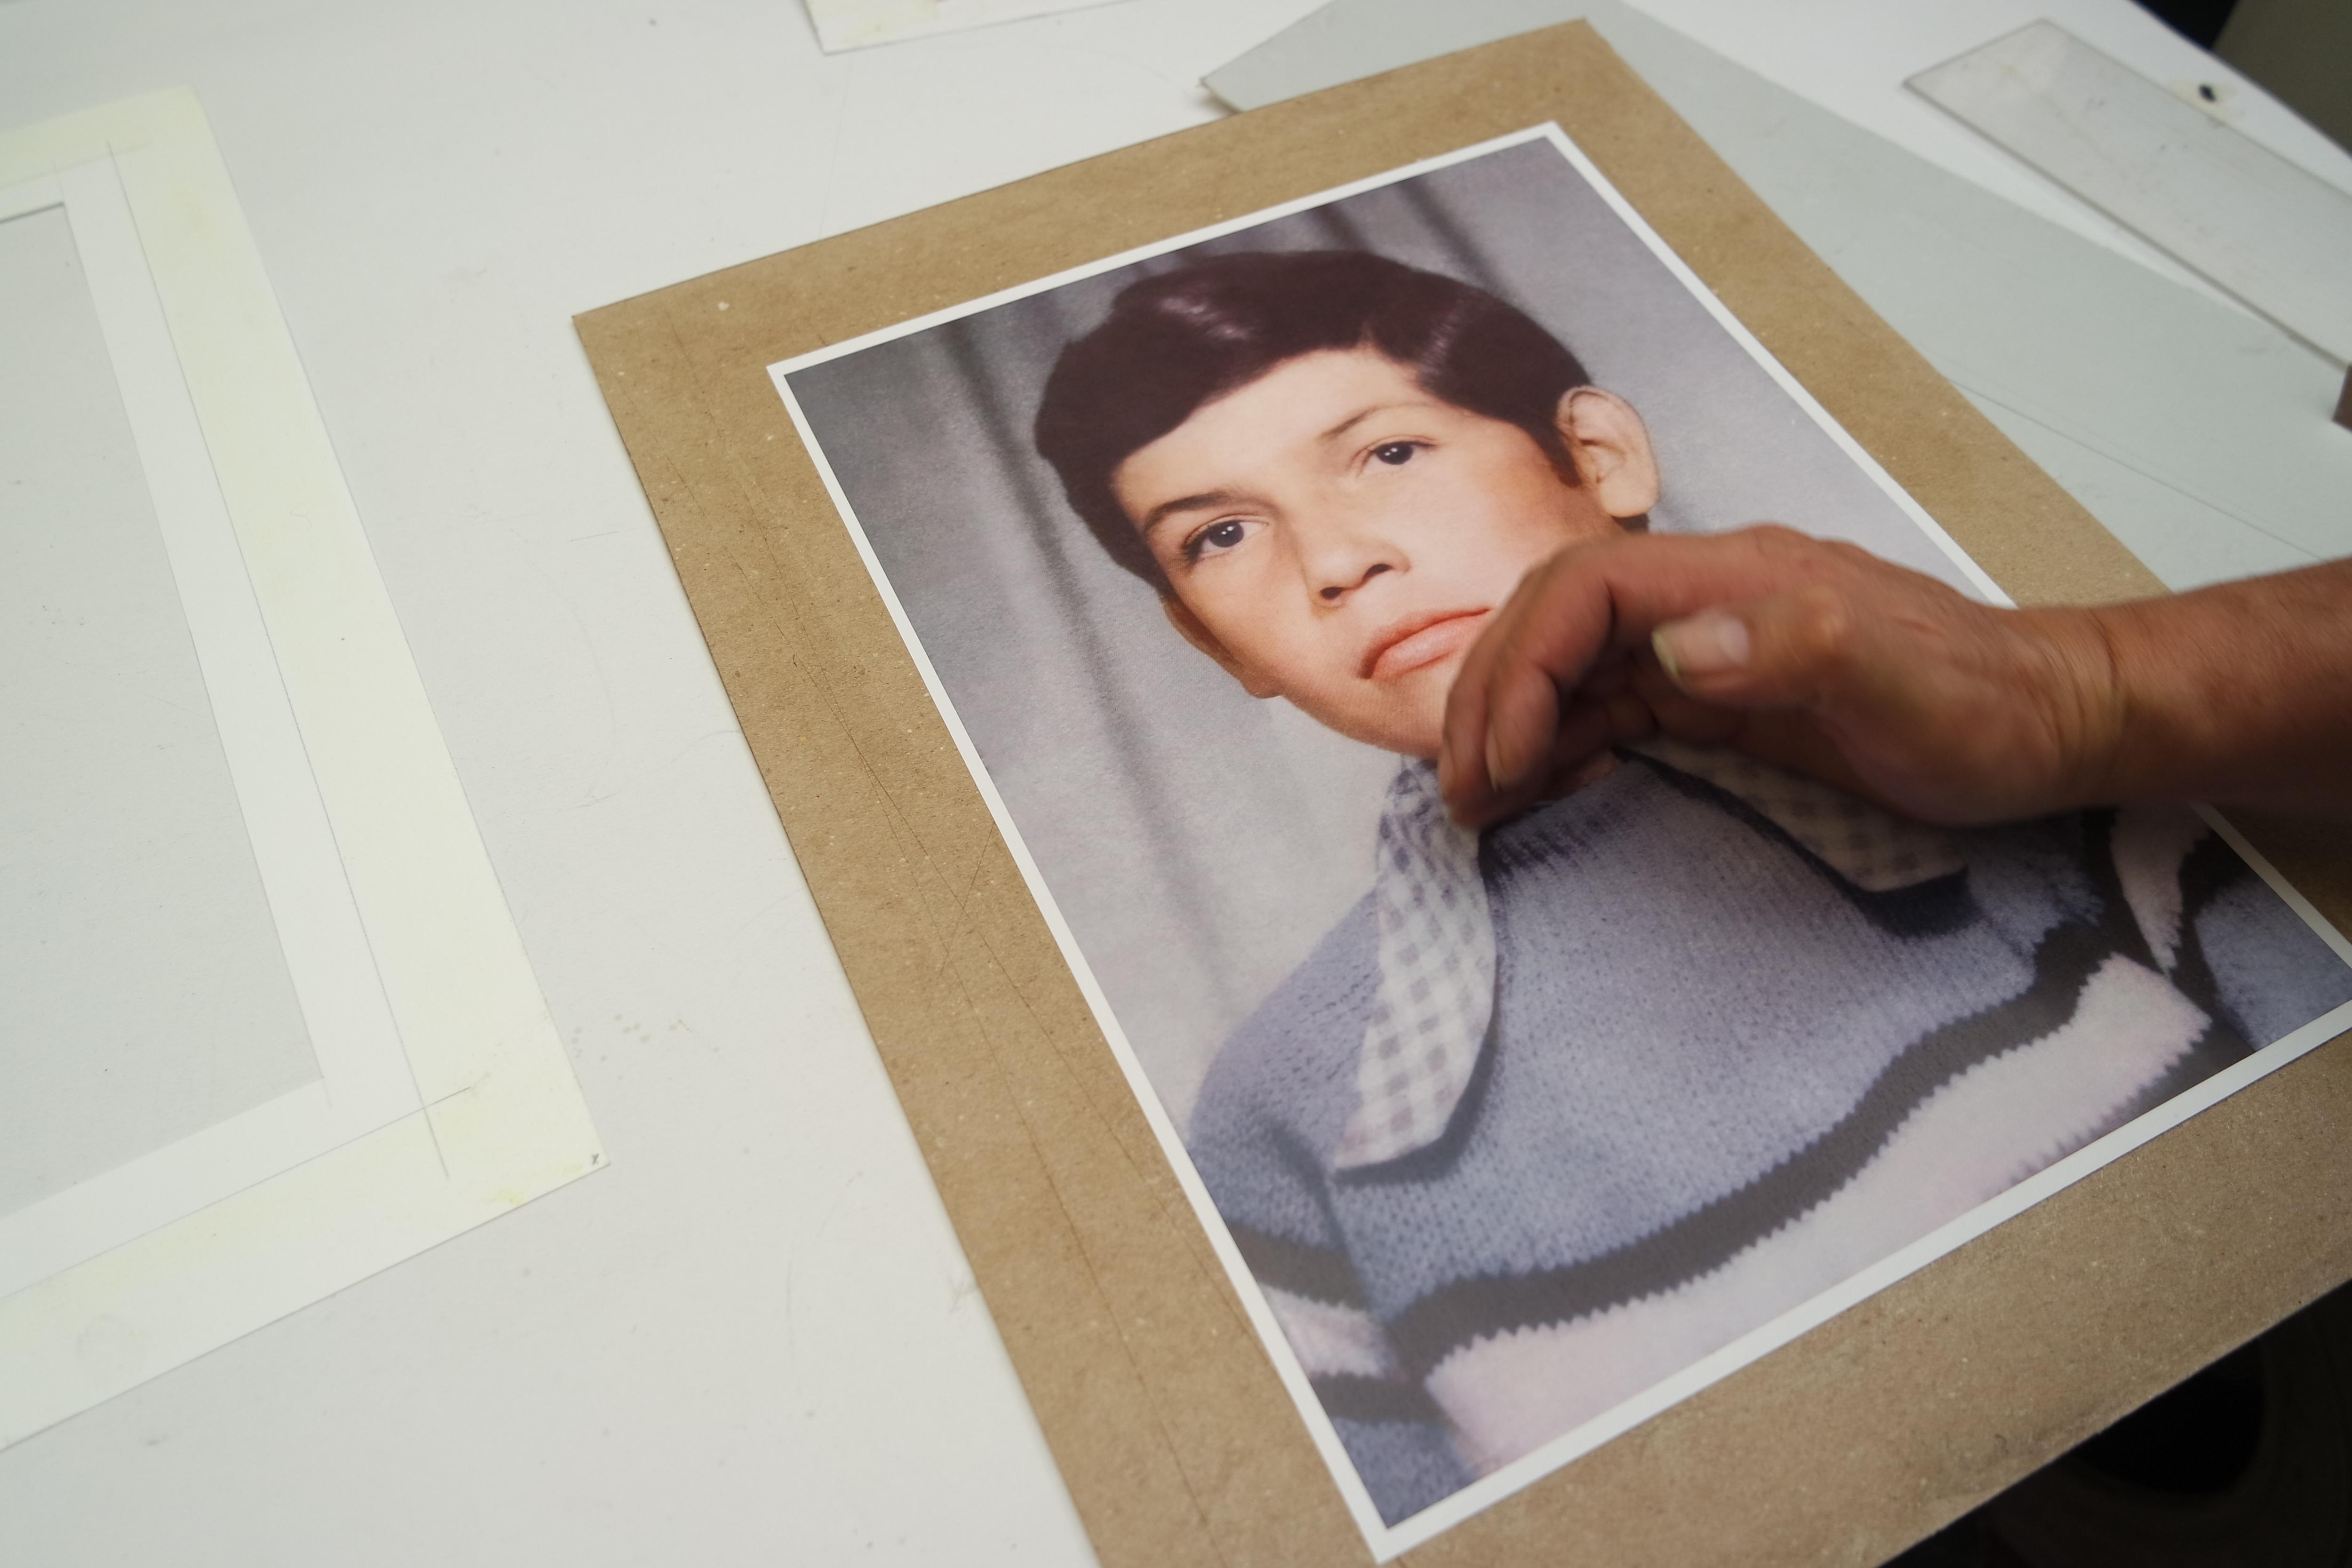
Printed Material
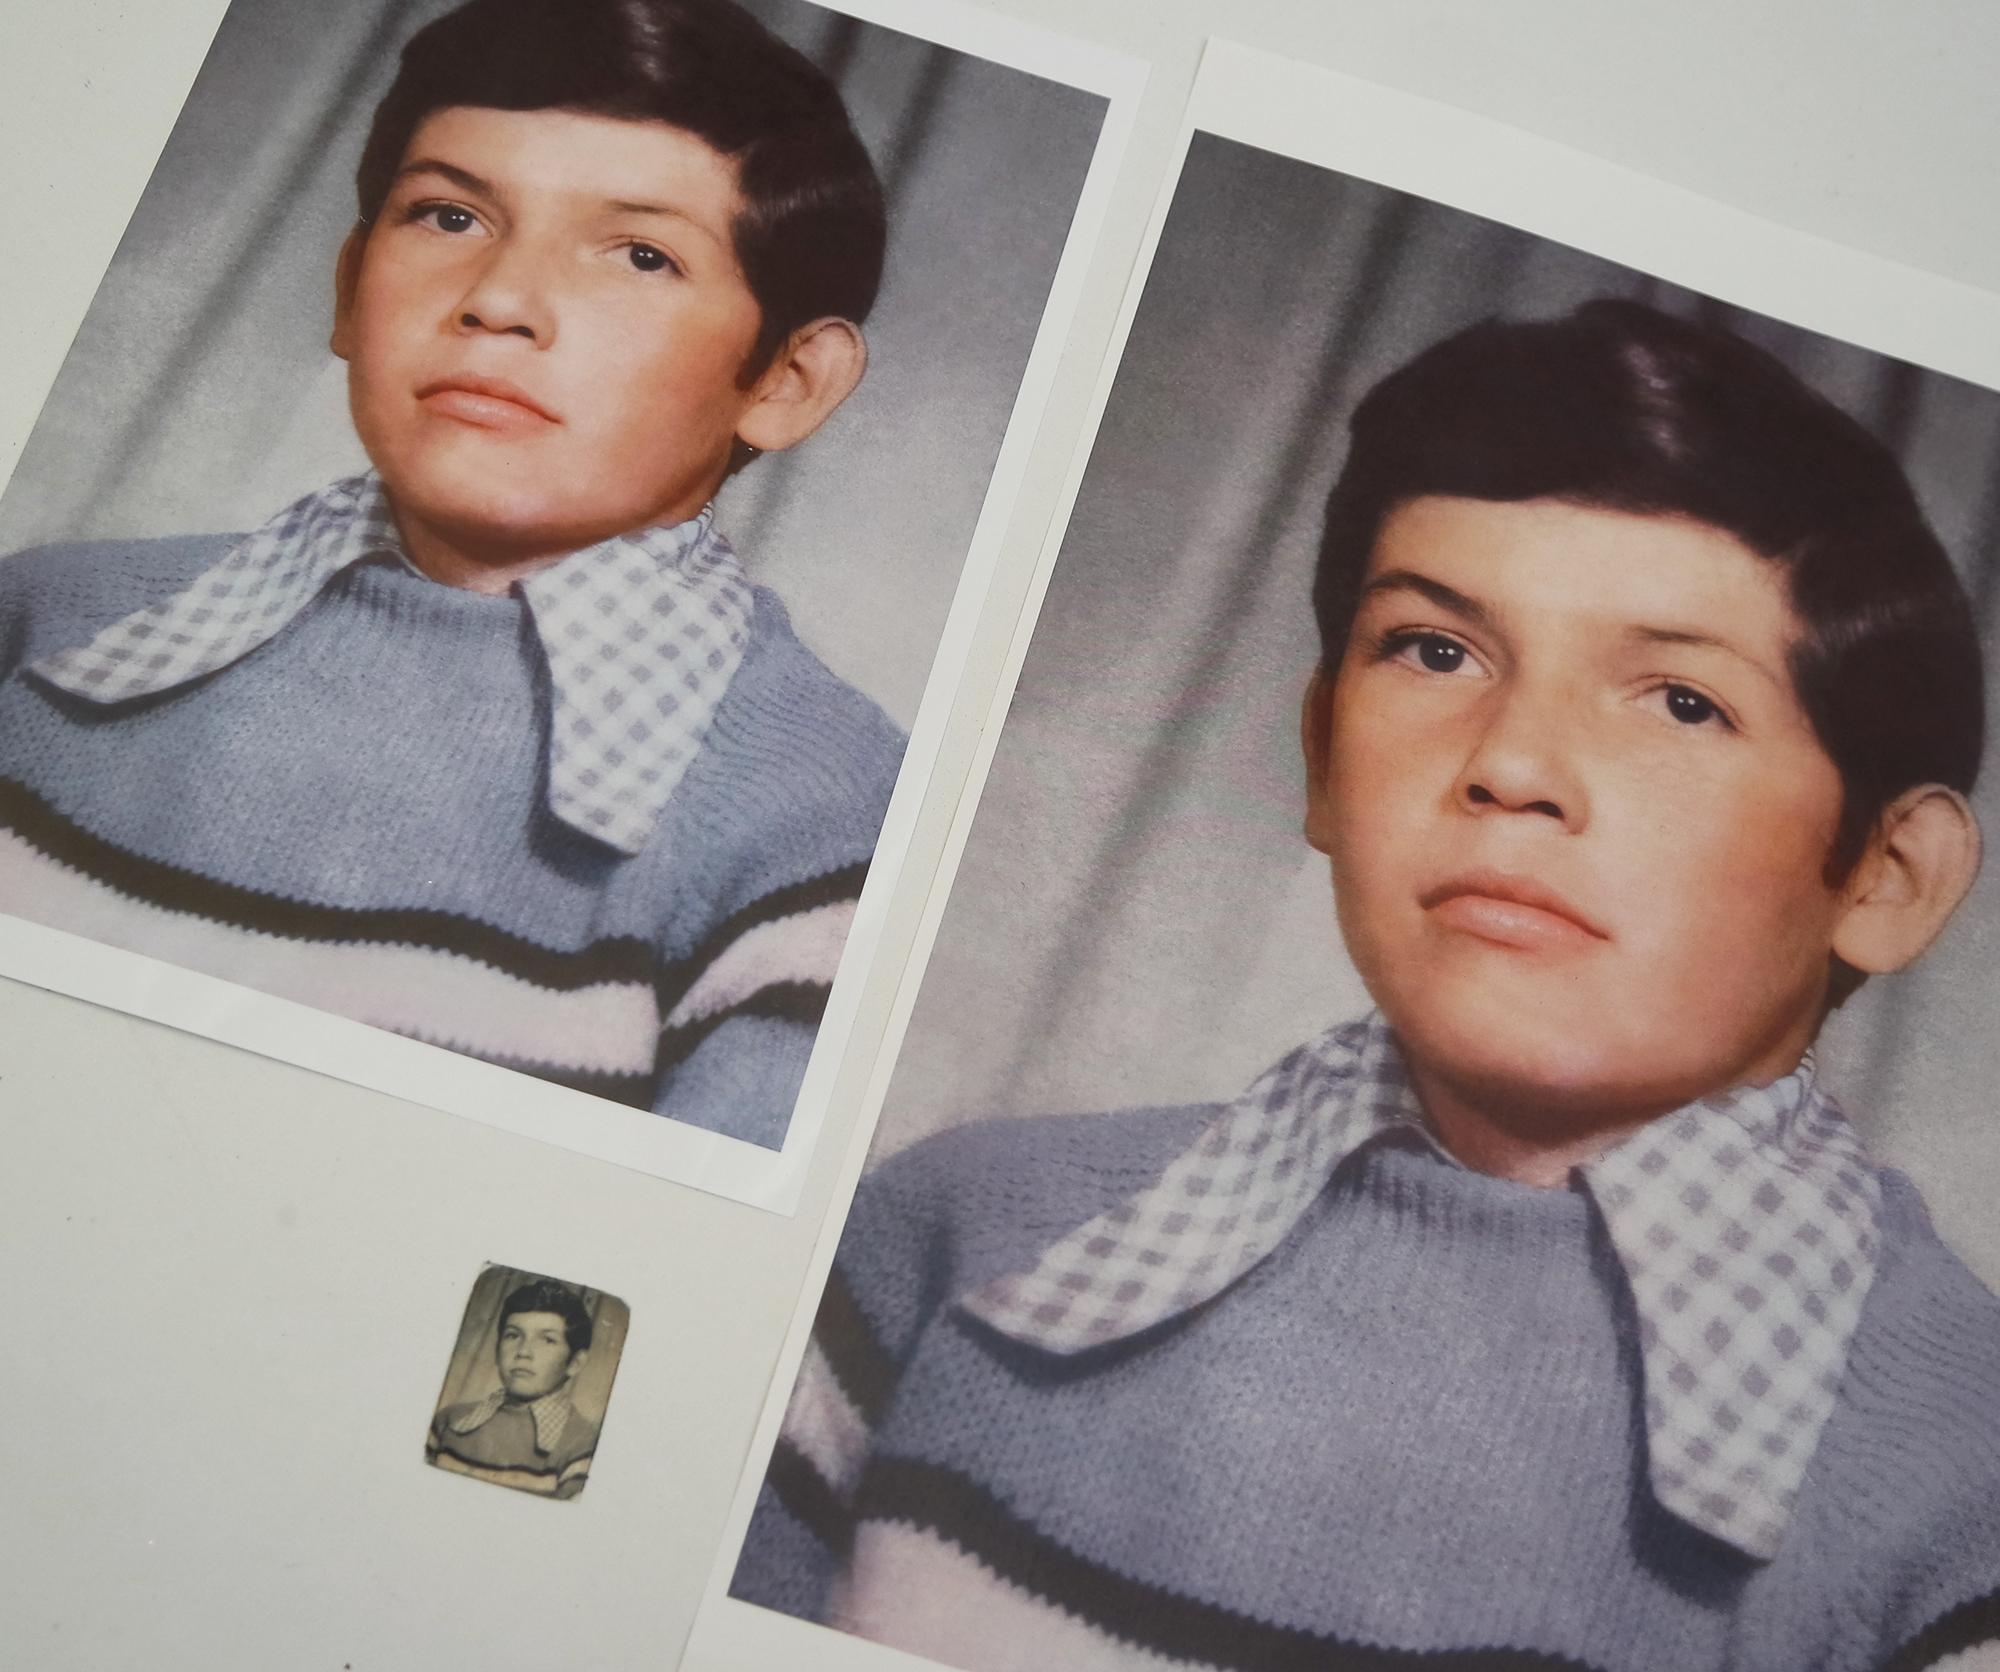
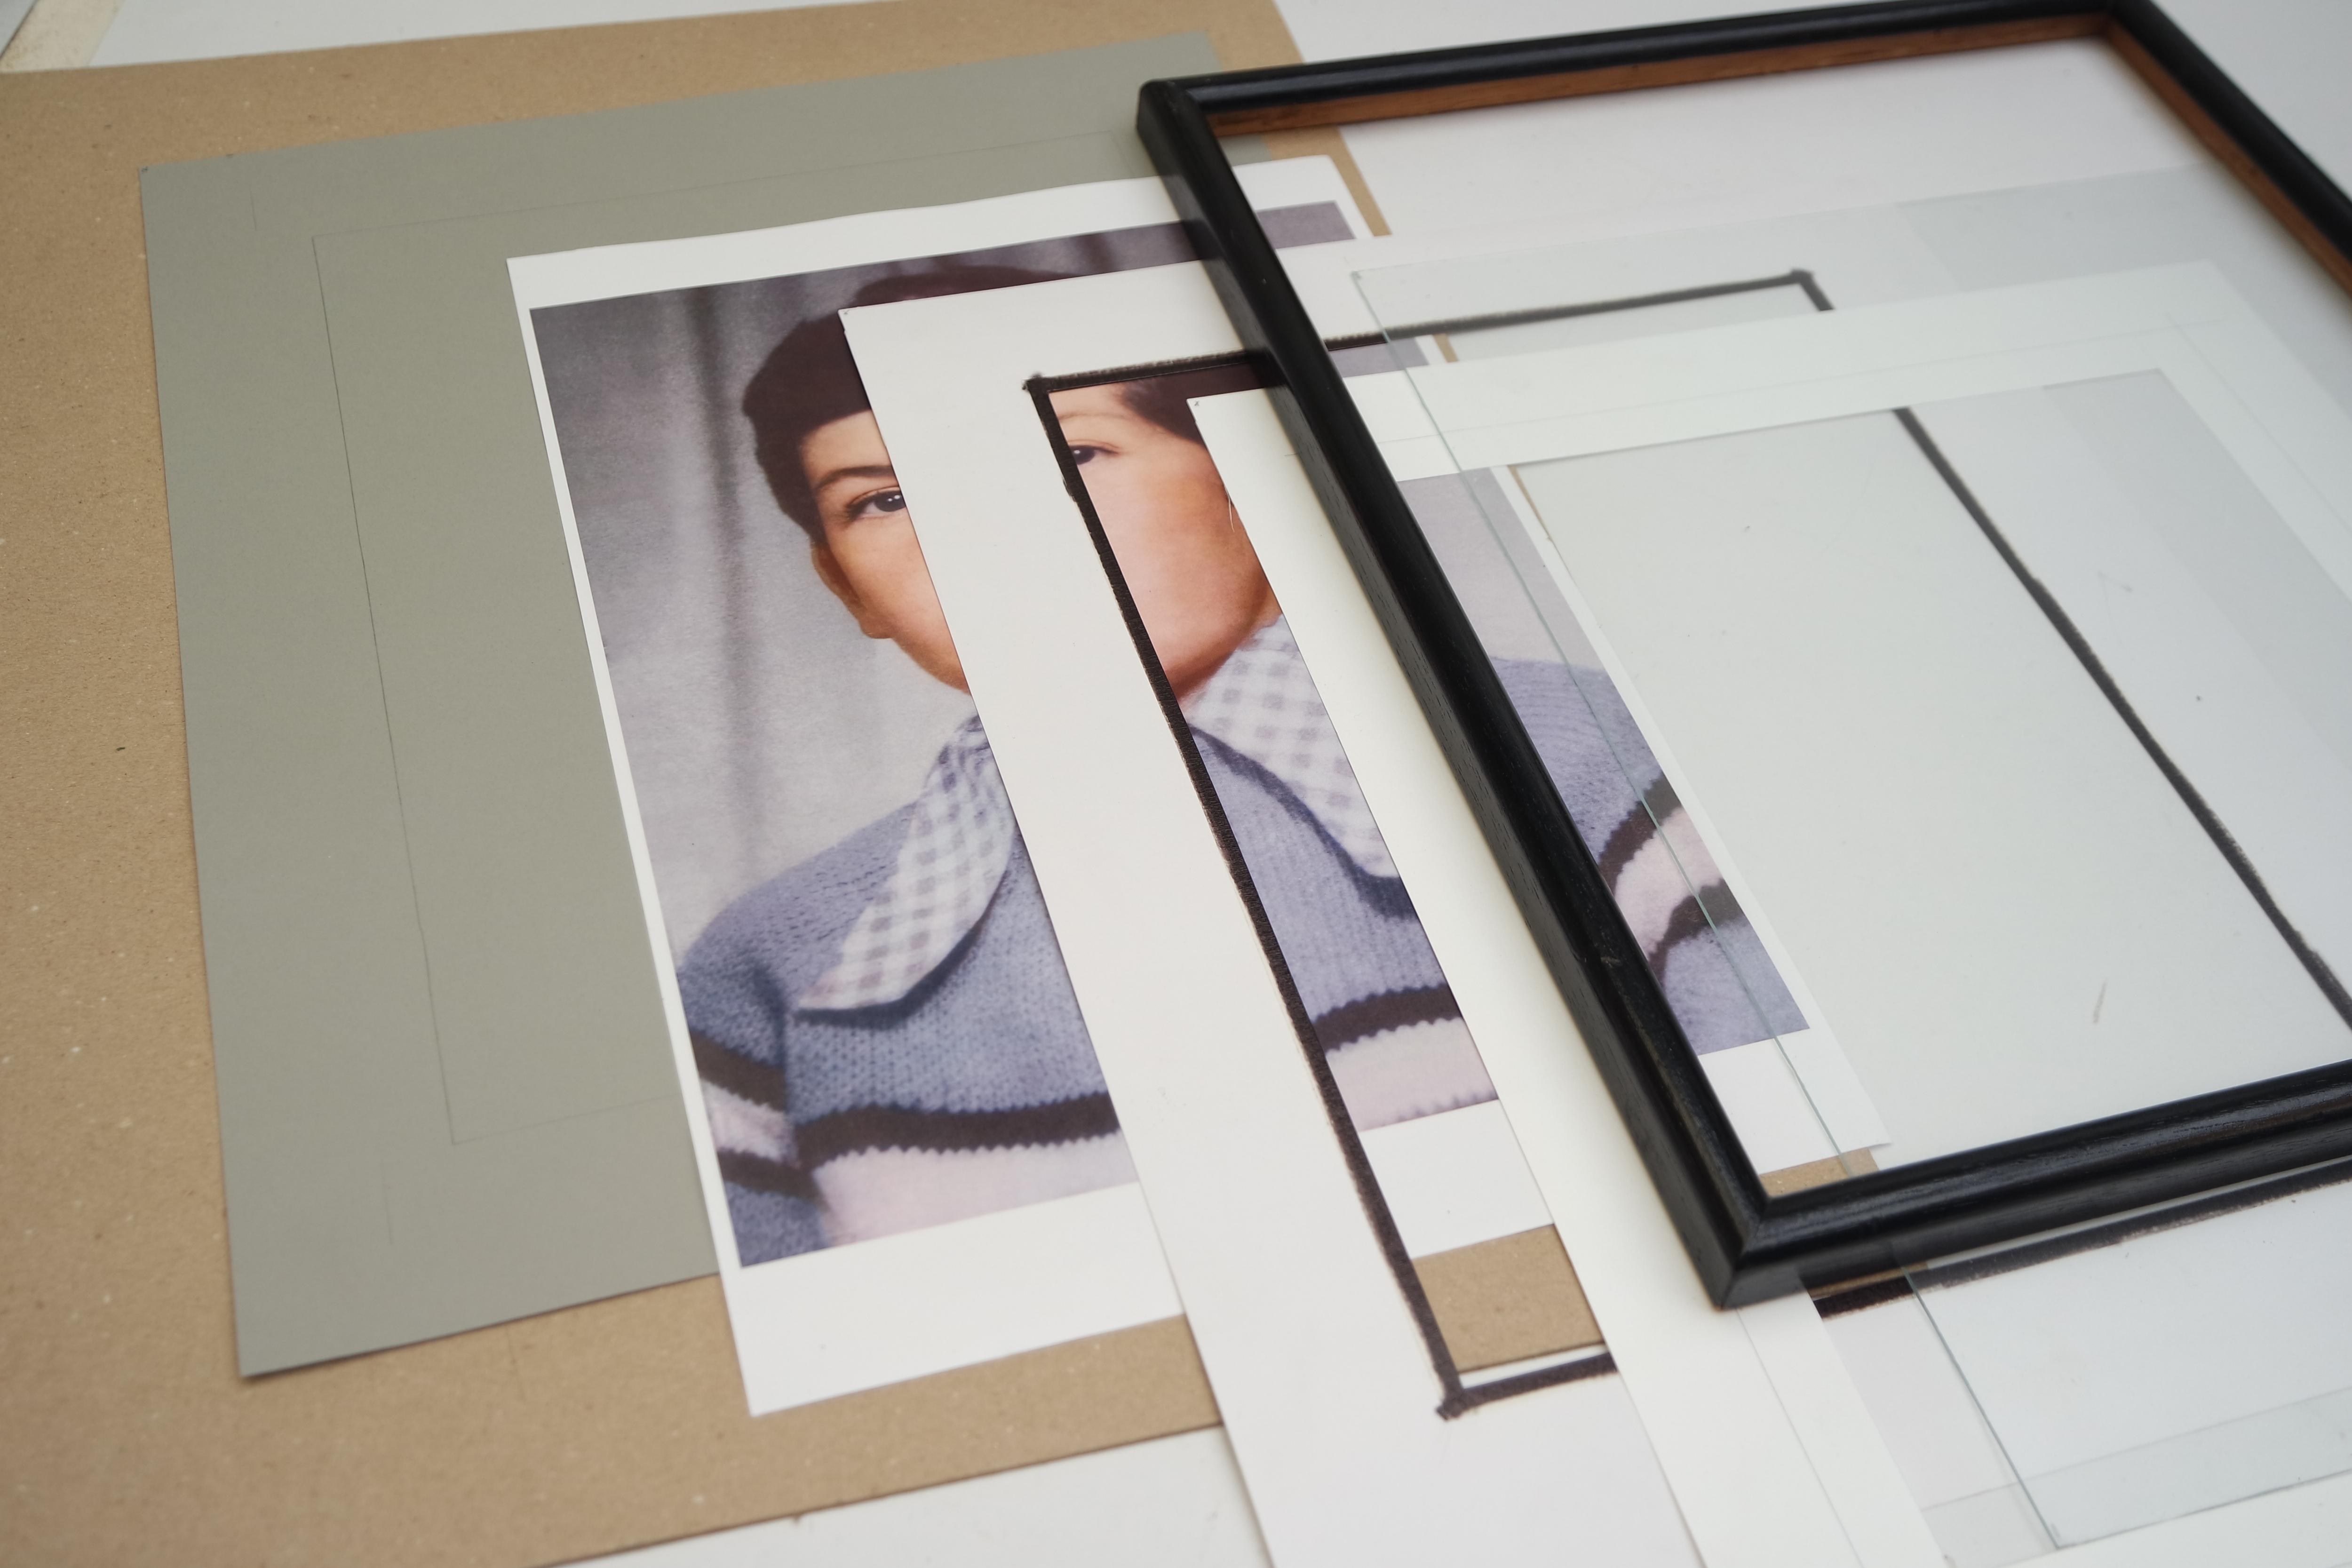
To have a variety of options when viewing the image, I print two versions of the image in two different sizes.
always keep in mind the size of the wall where your frame will be located.
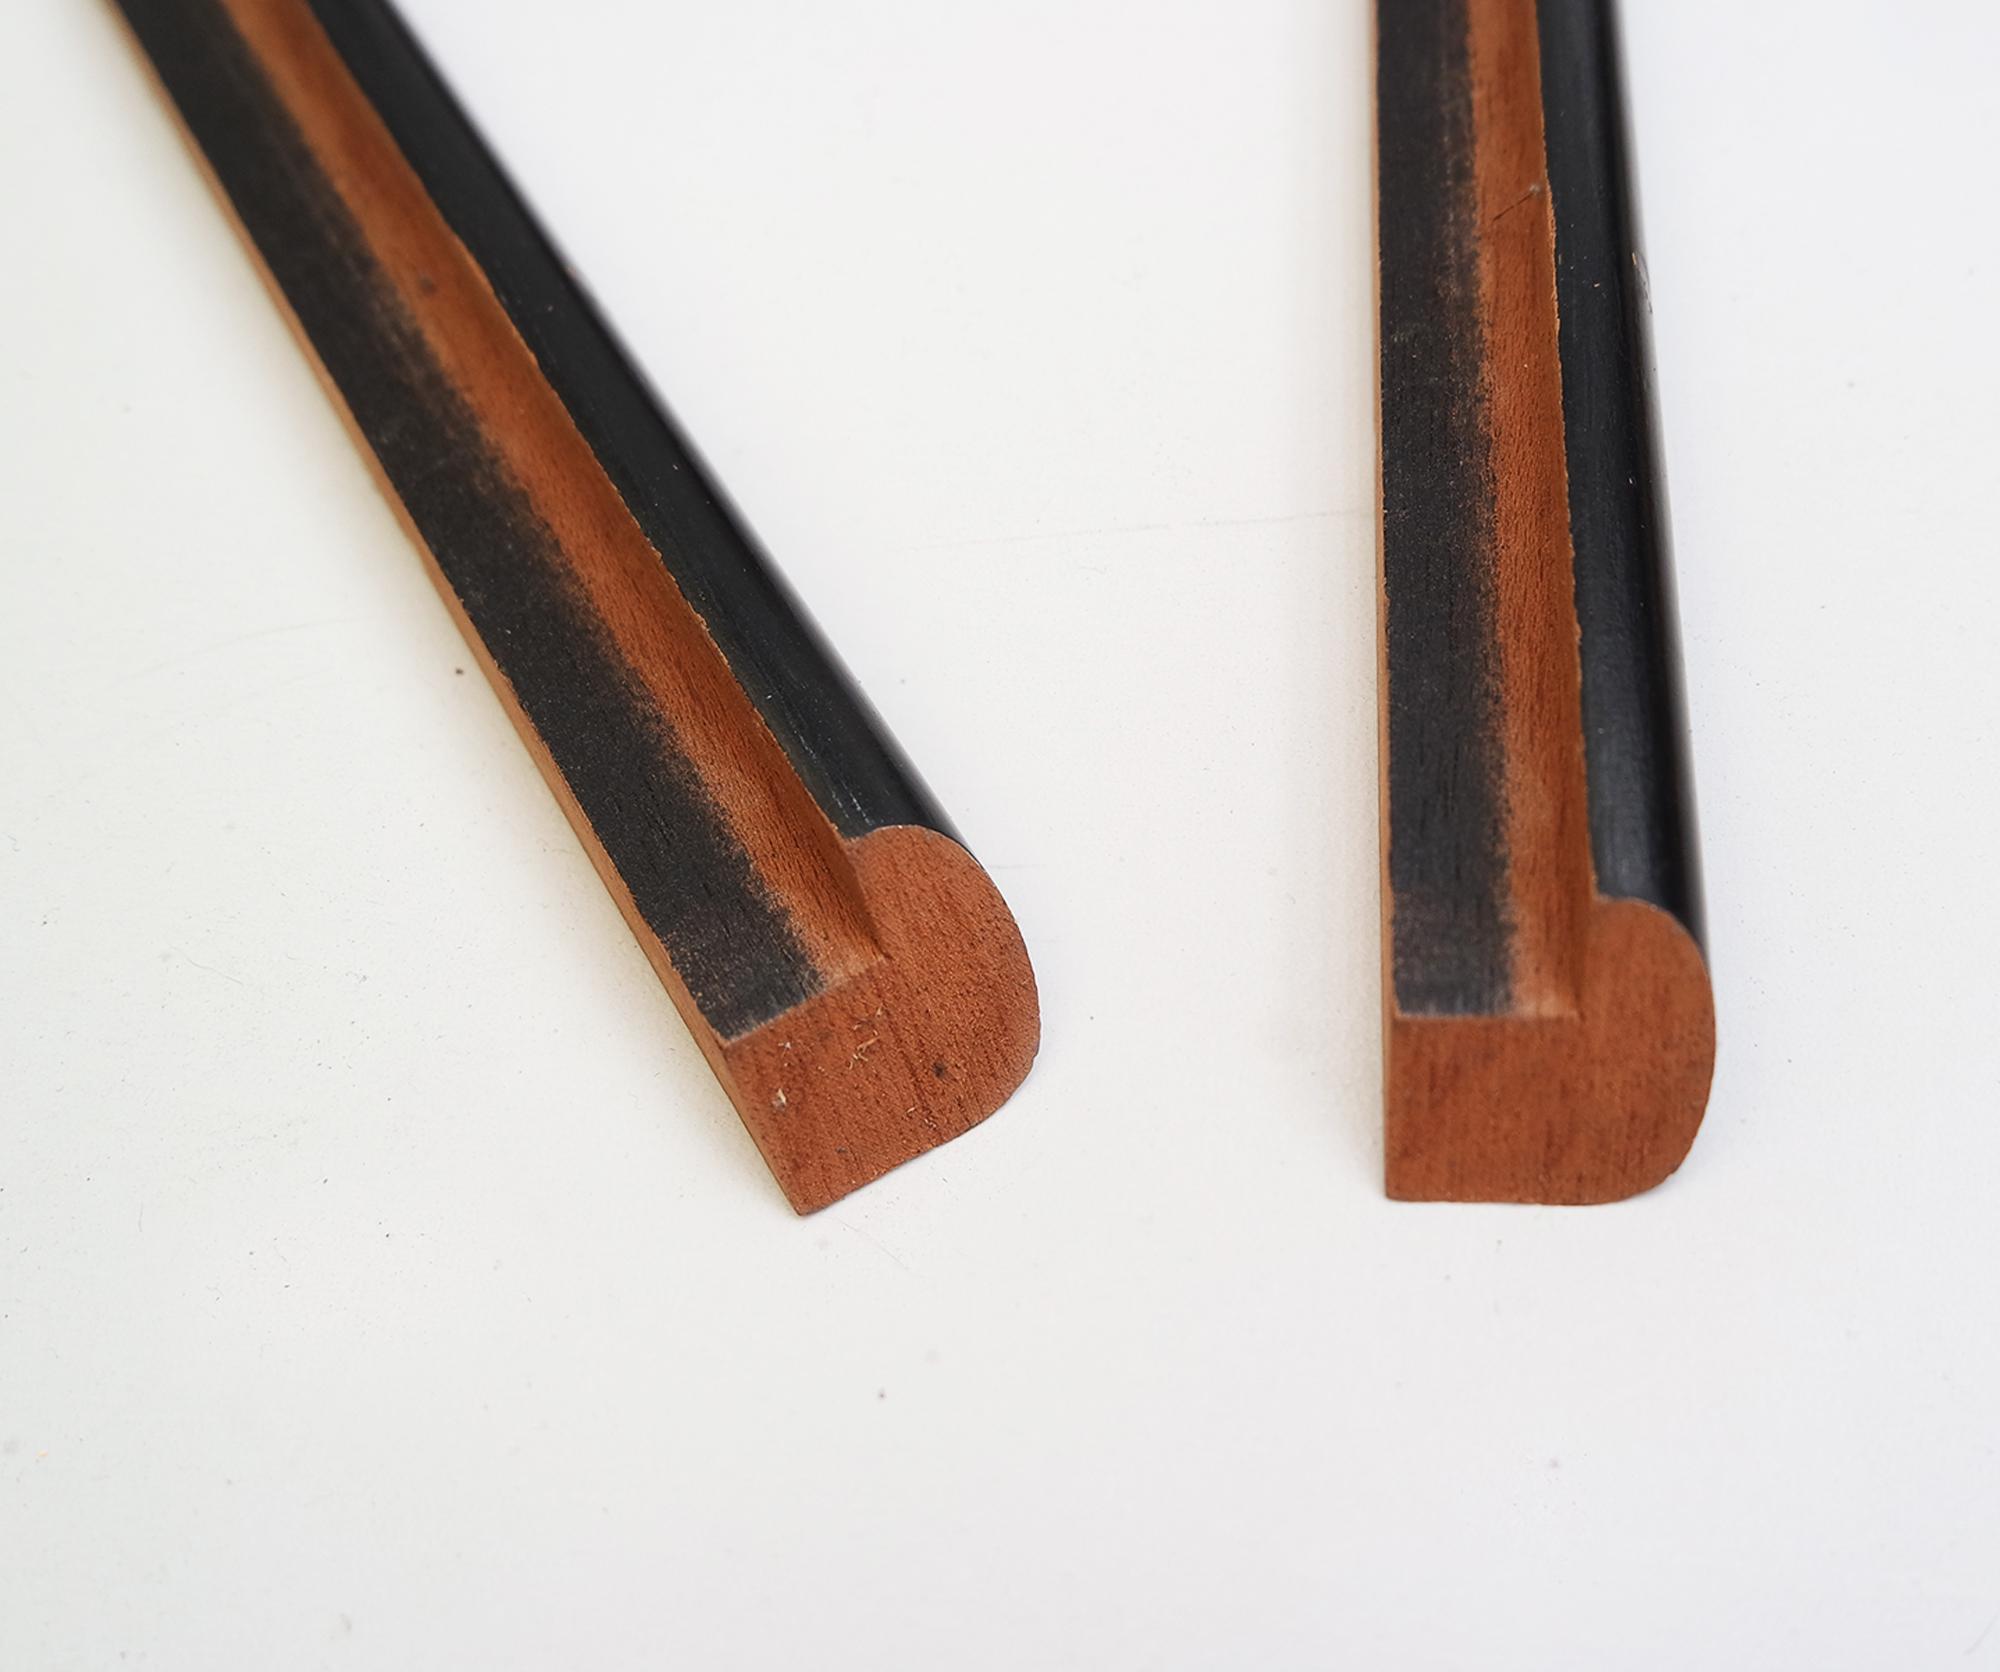
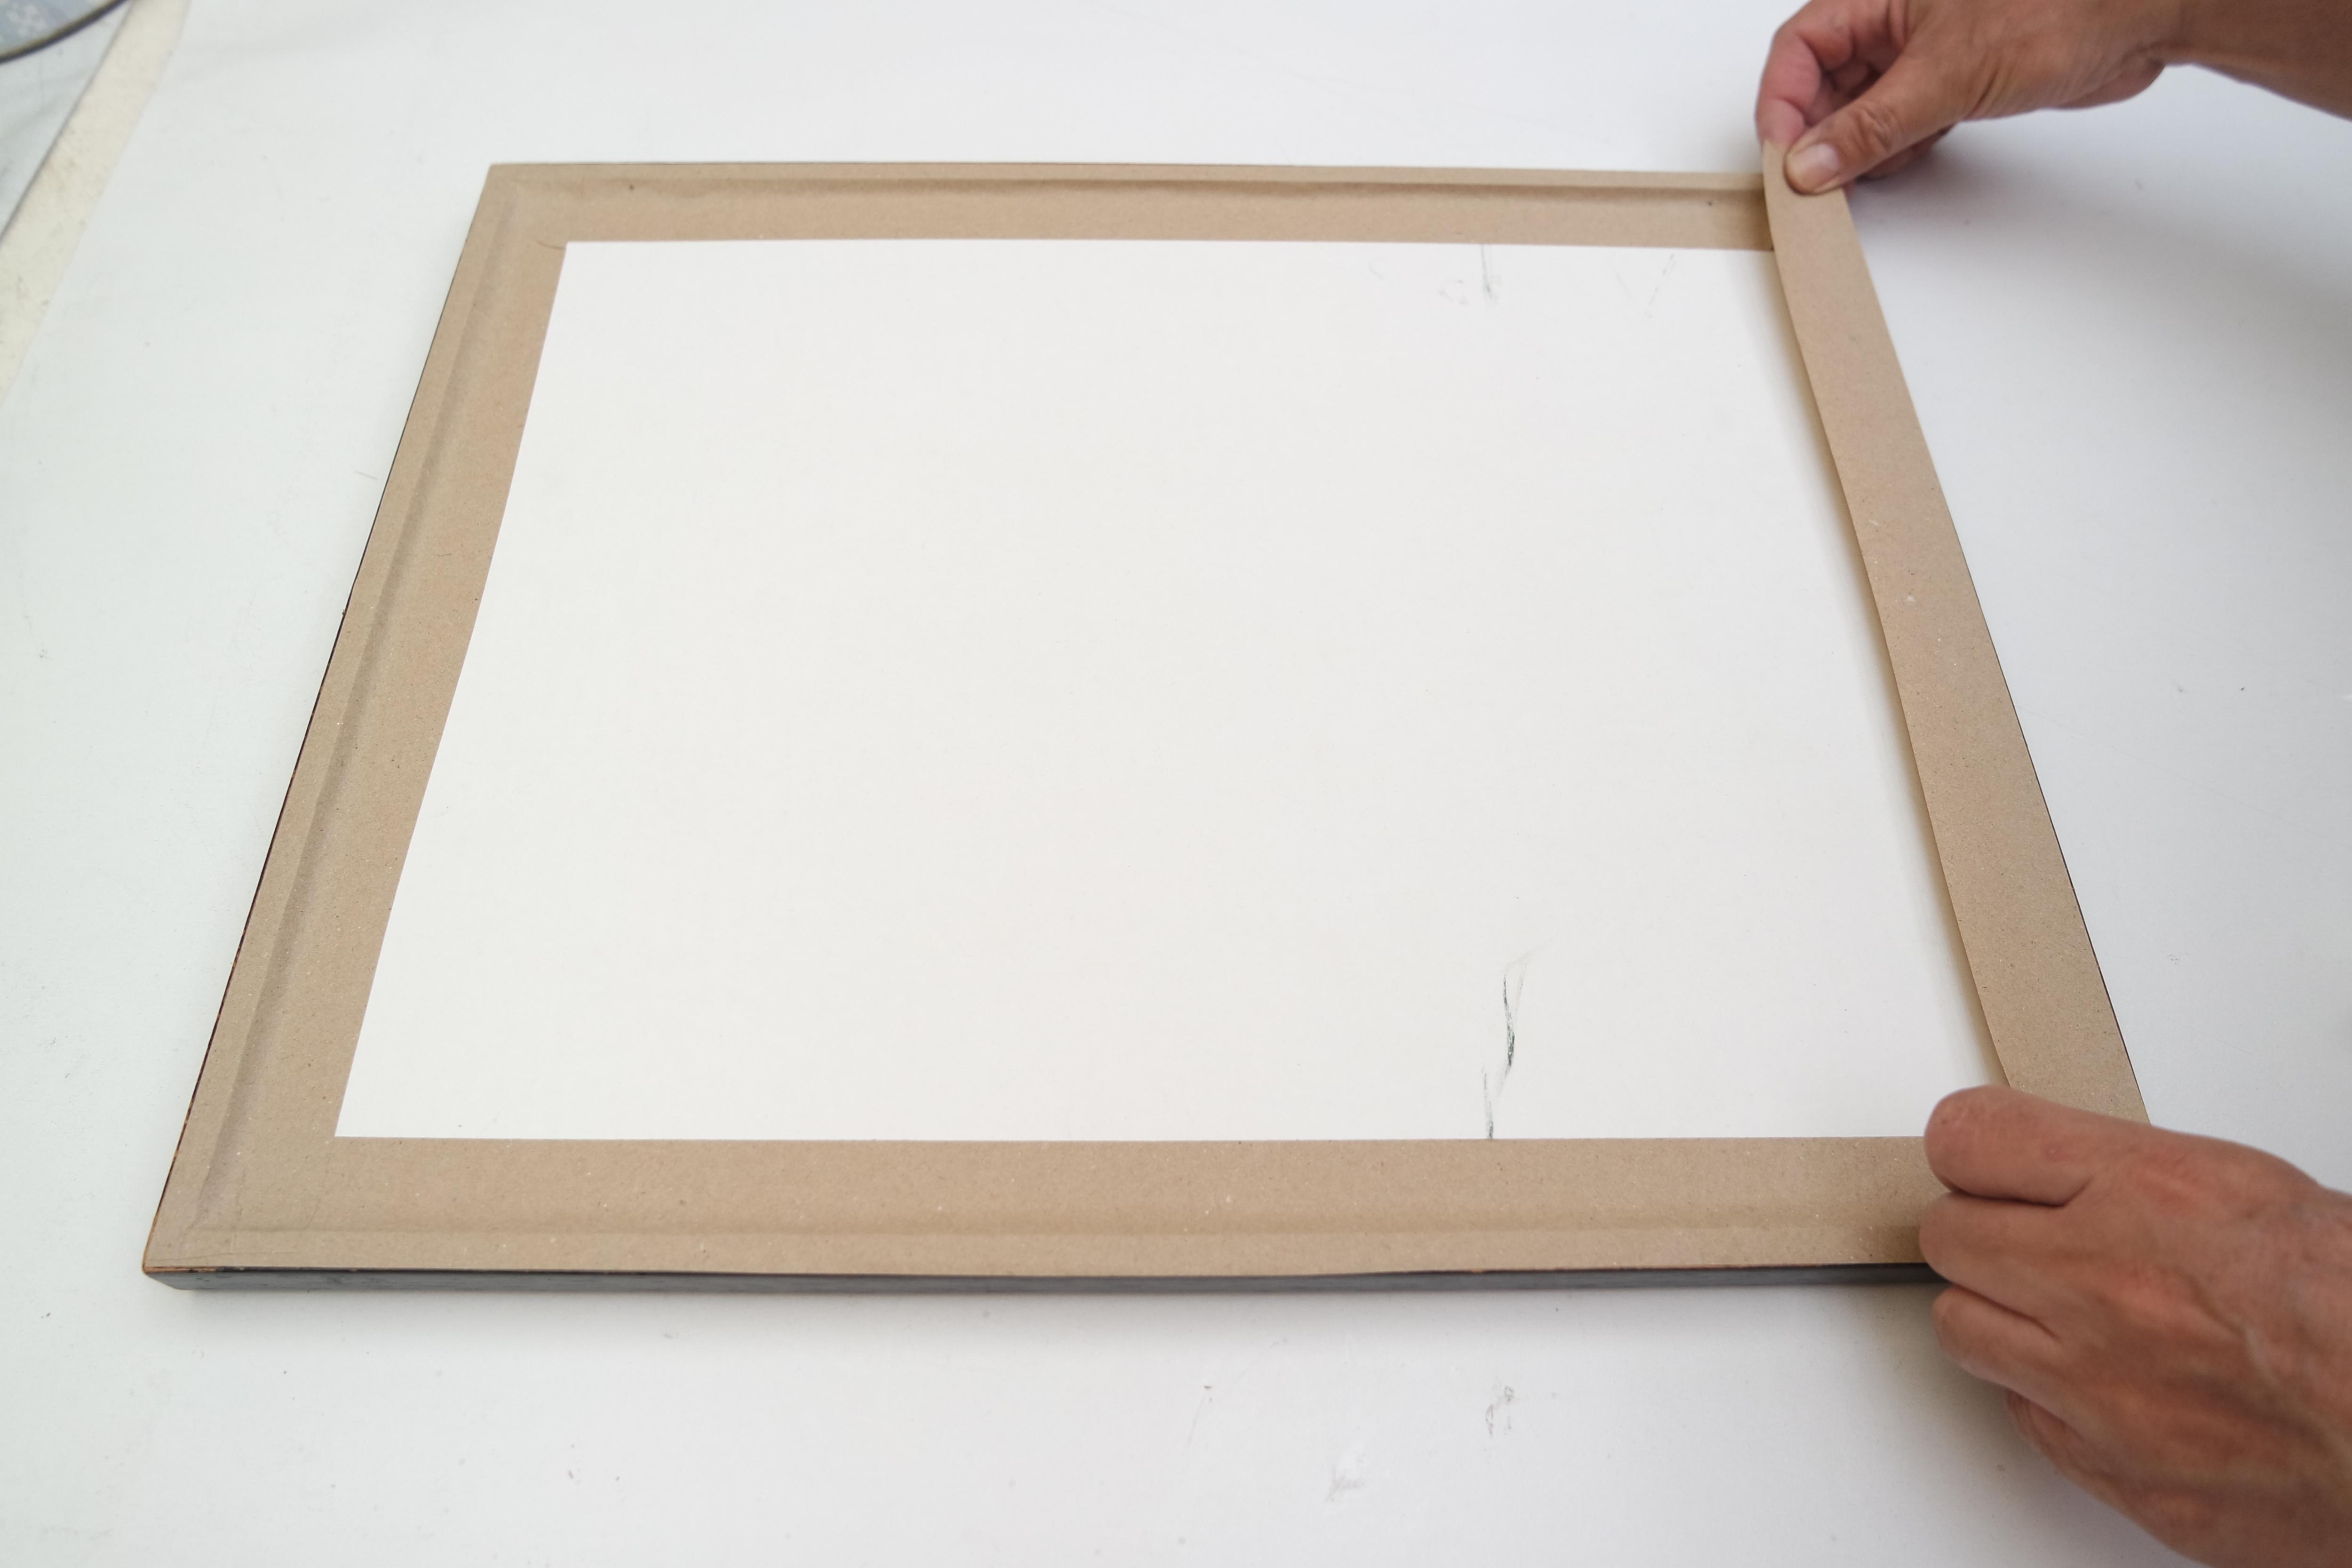
Framing

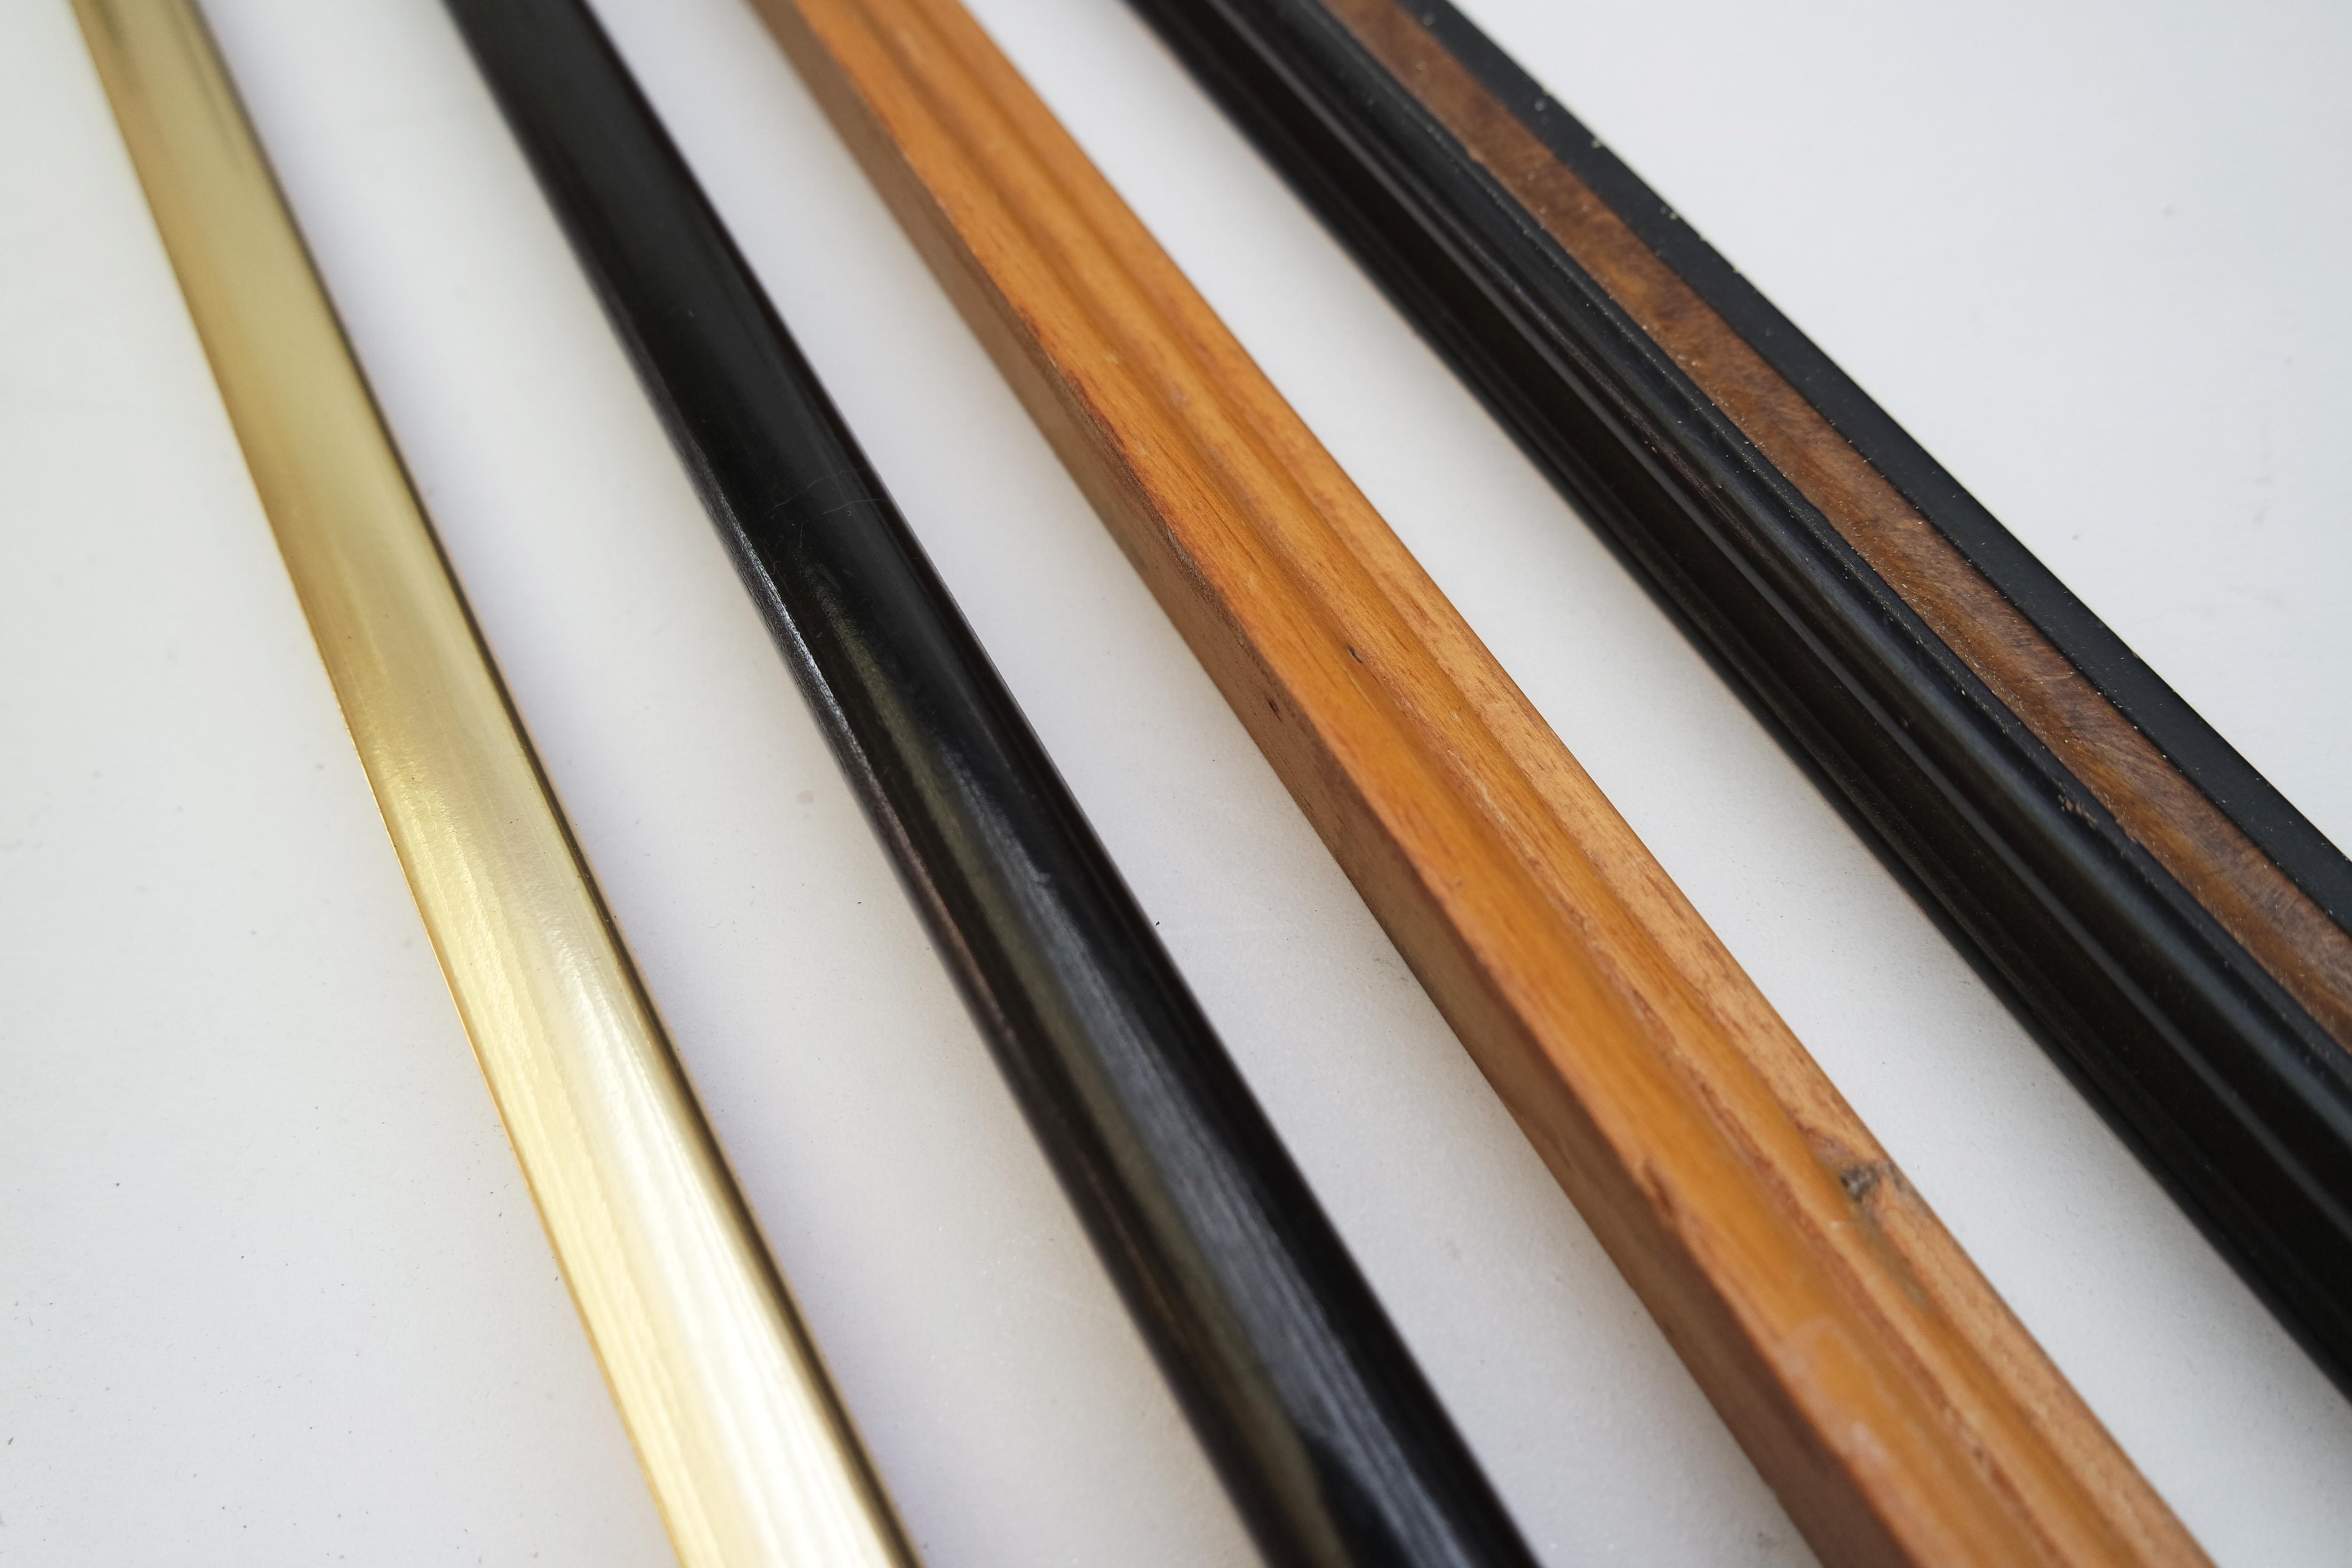
the frames are what give style to our photography, and then we must choose very well, in my case I feel that black is the most serious and indicated for this project.
but you can choose the one you like, there are so many styles of frames for your projects.
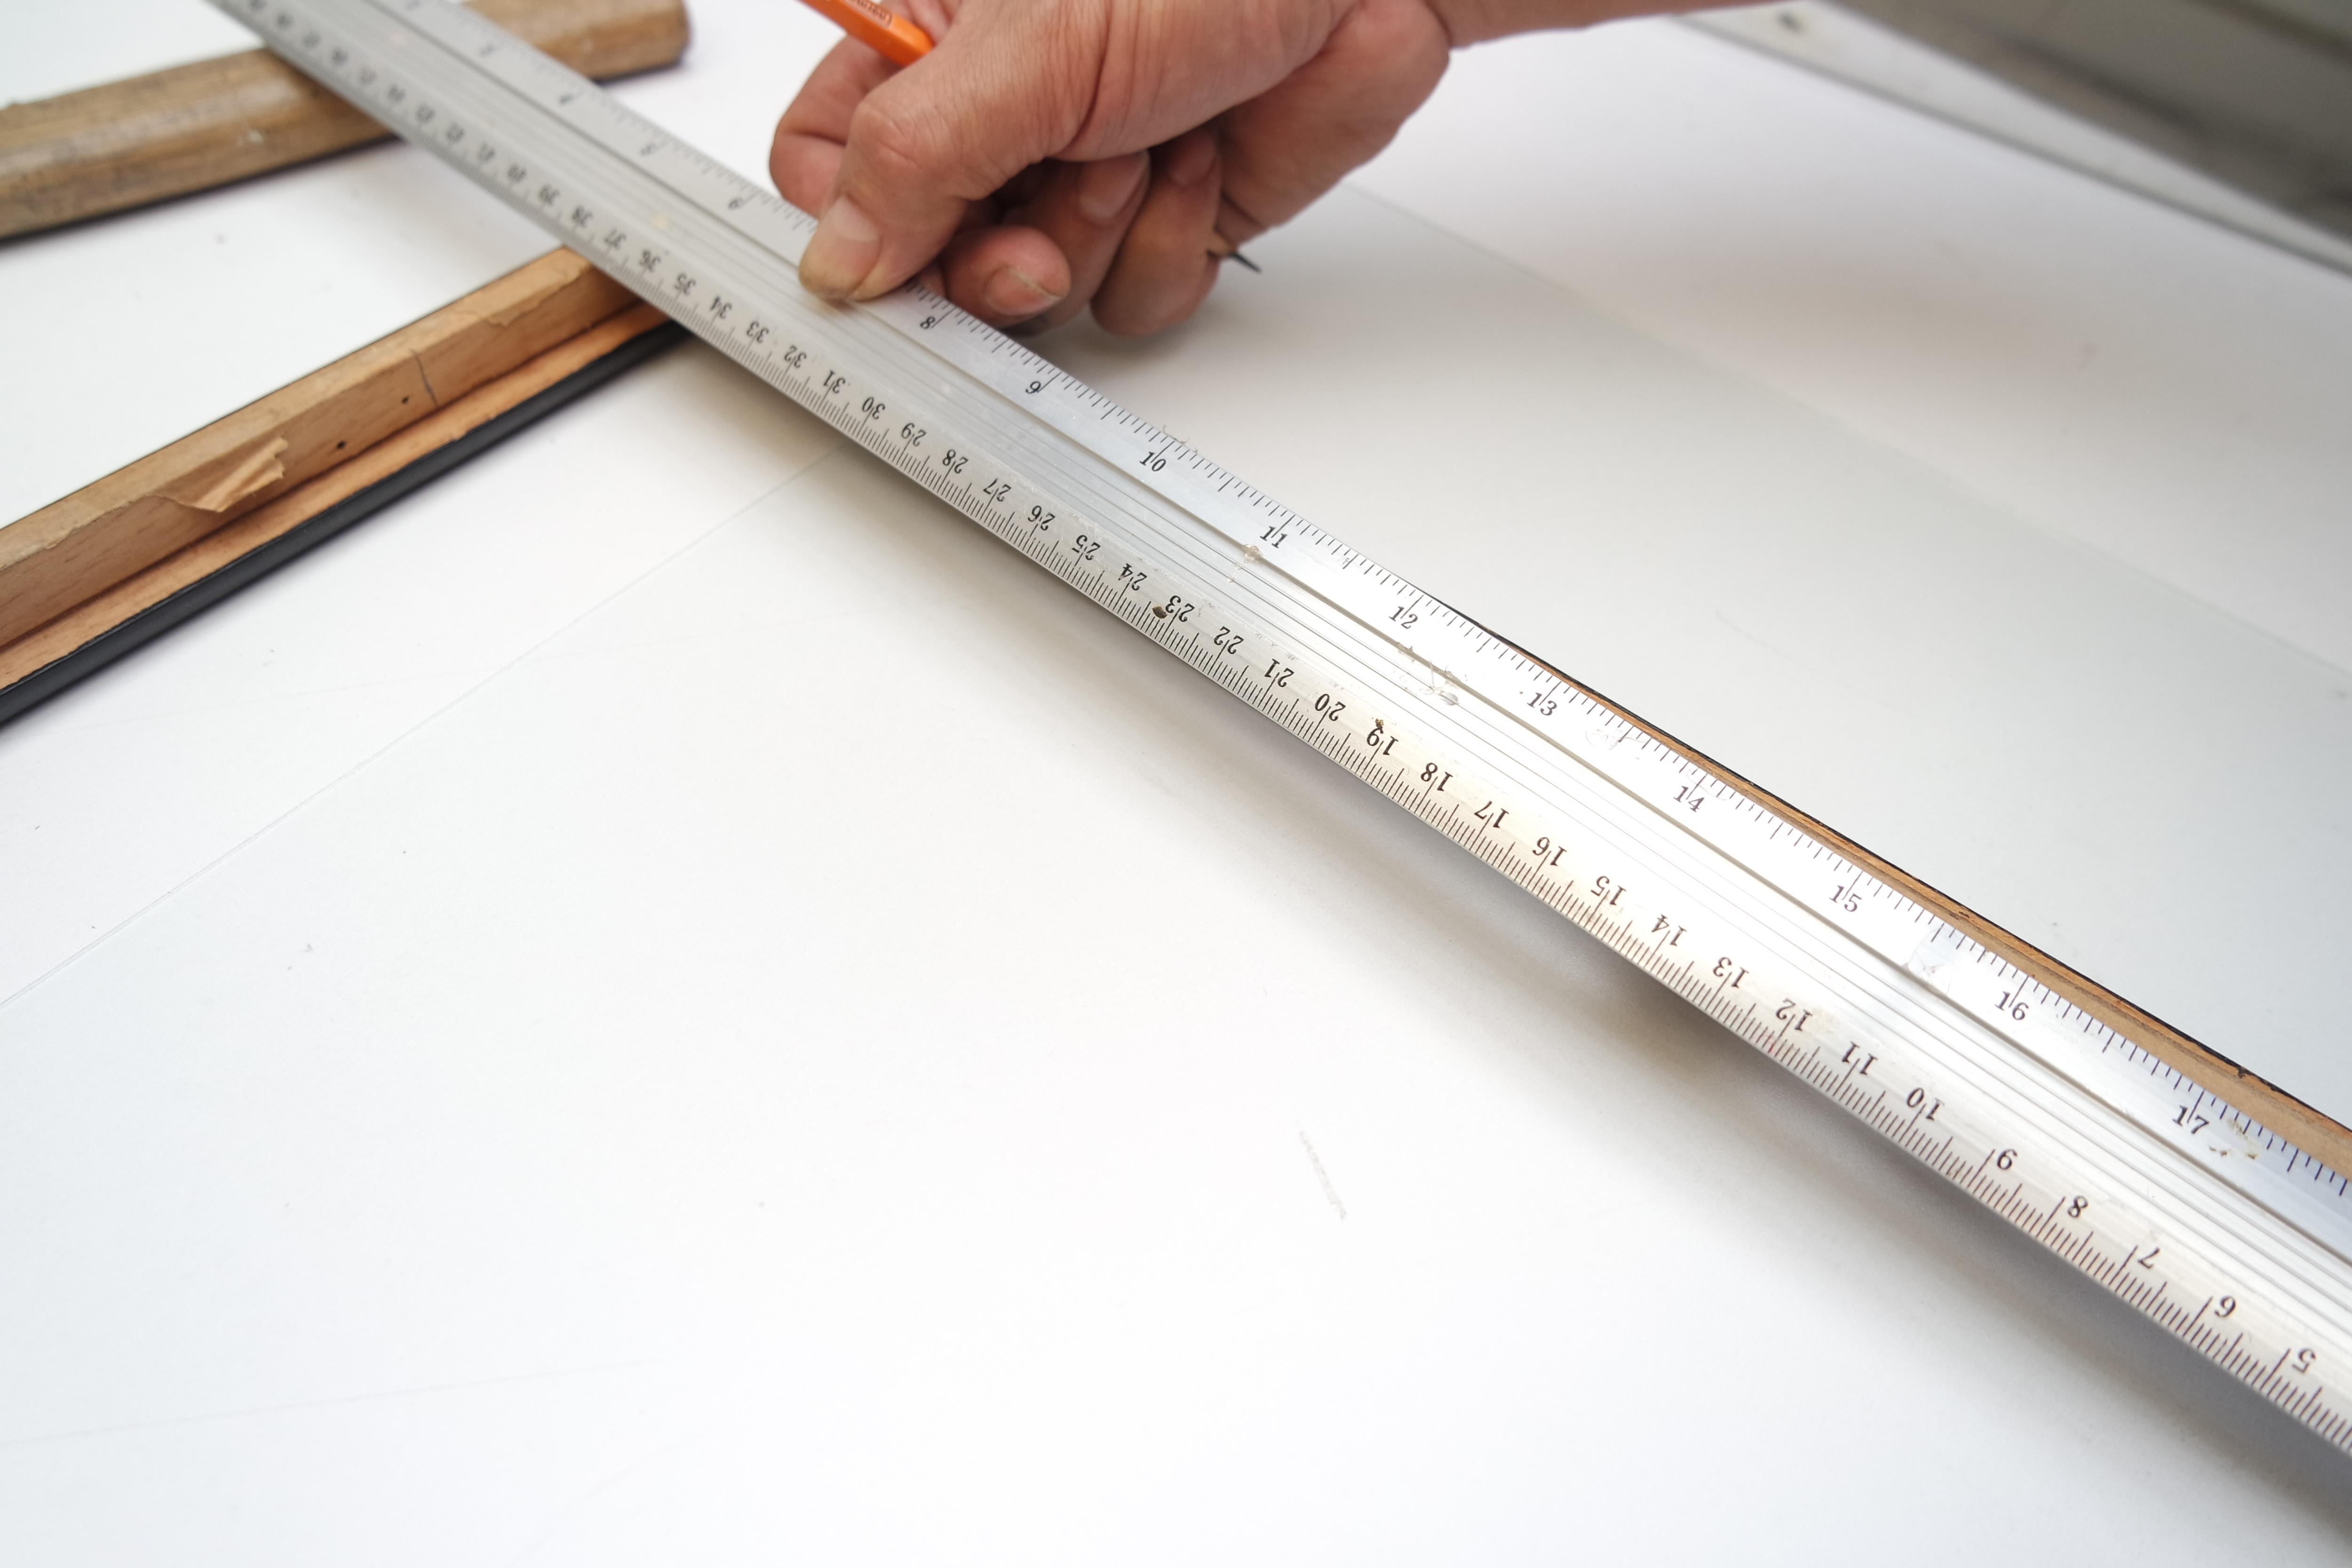
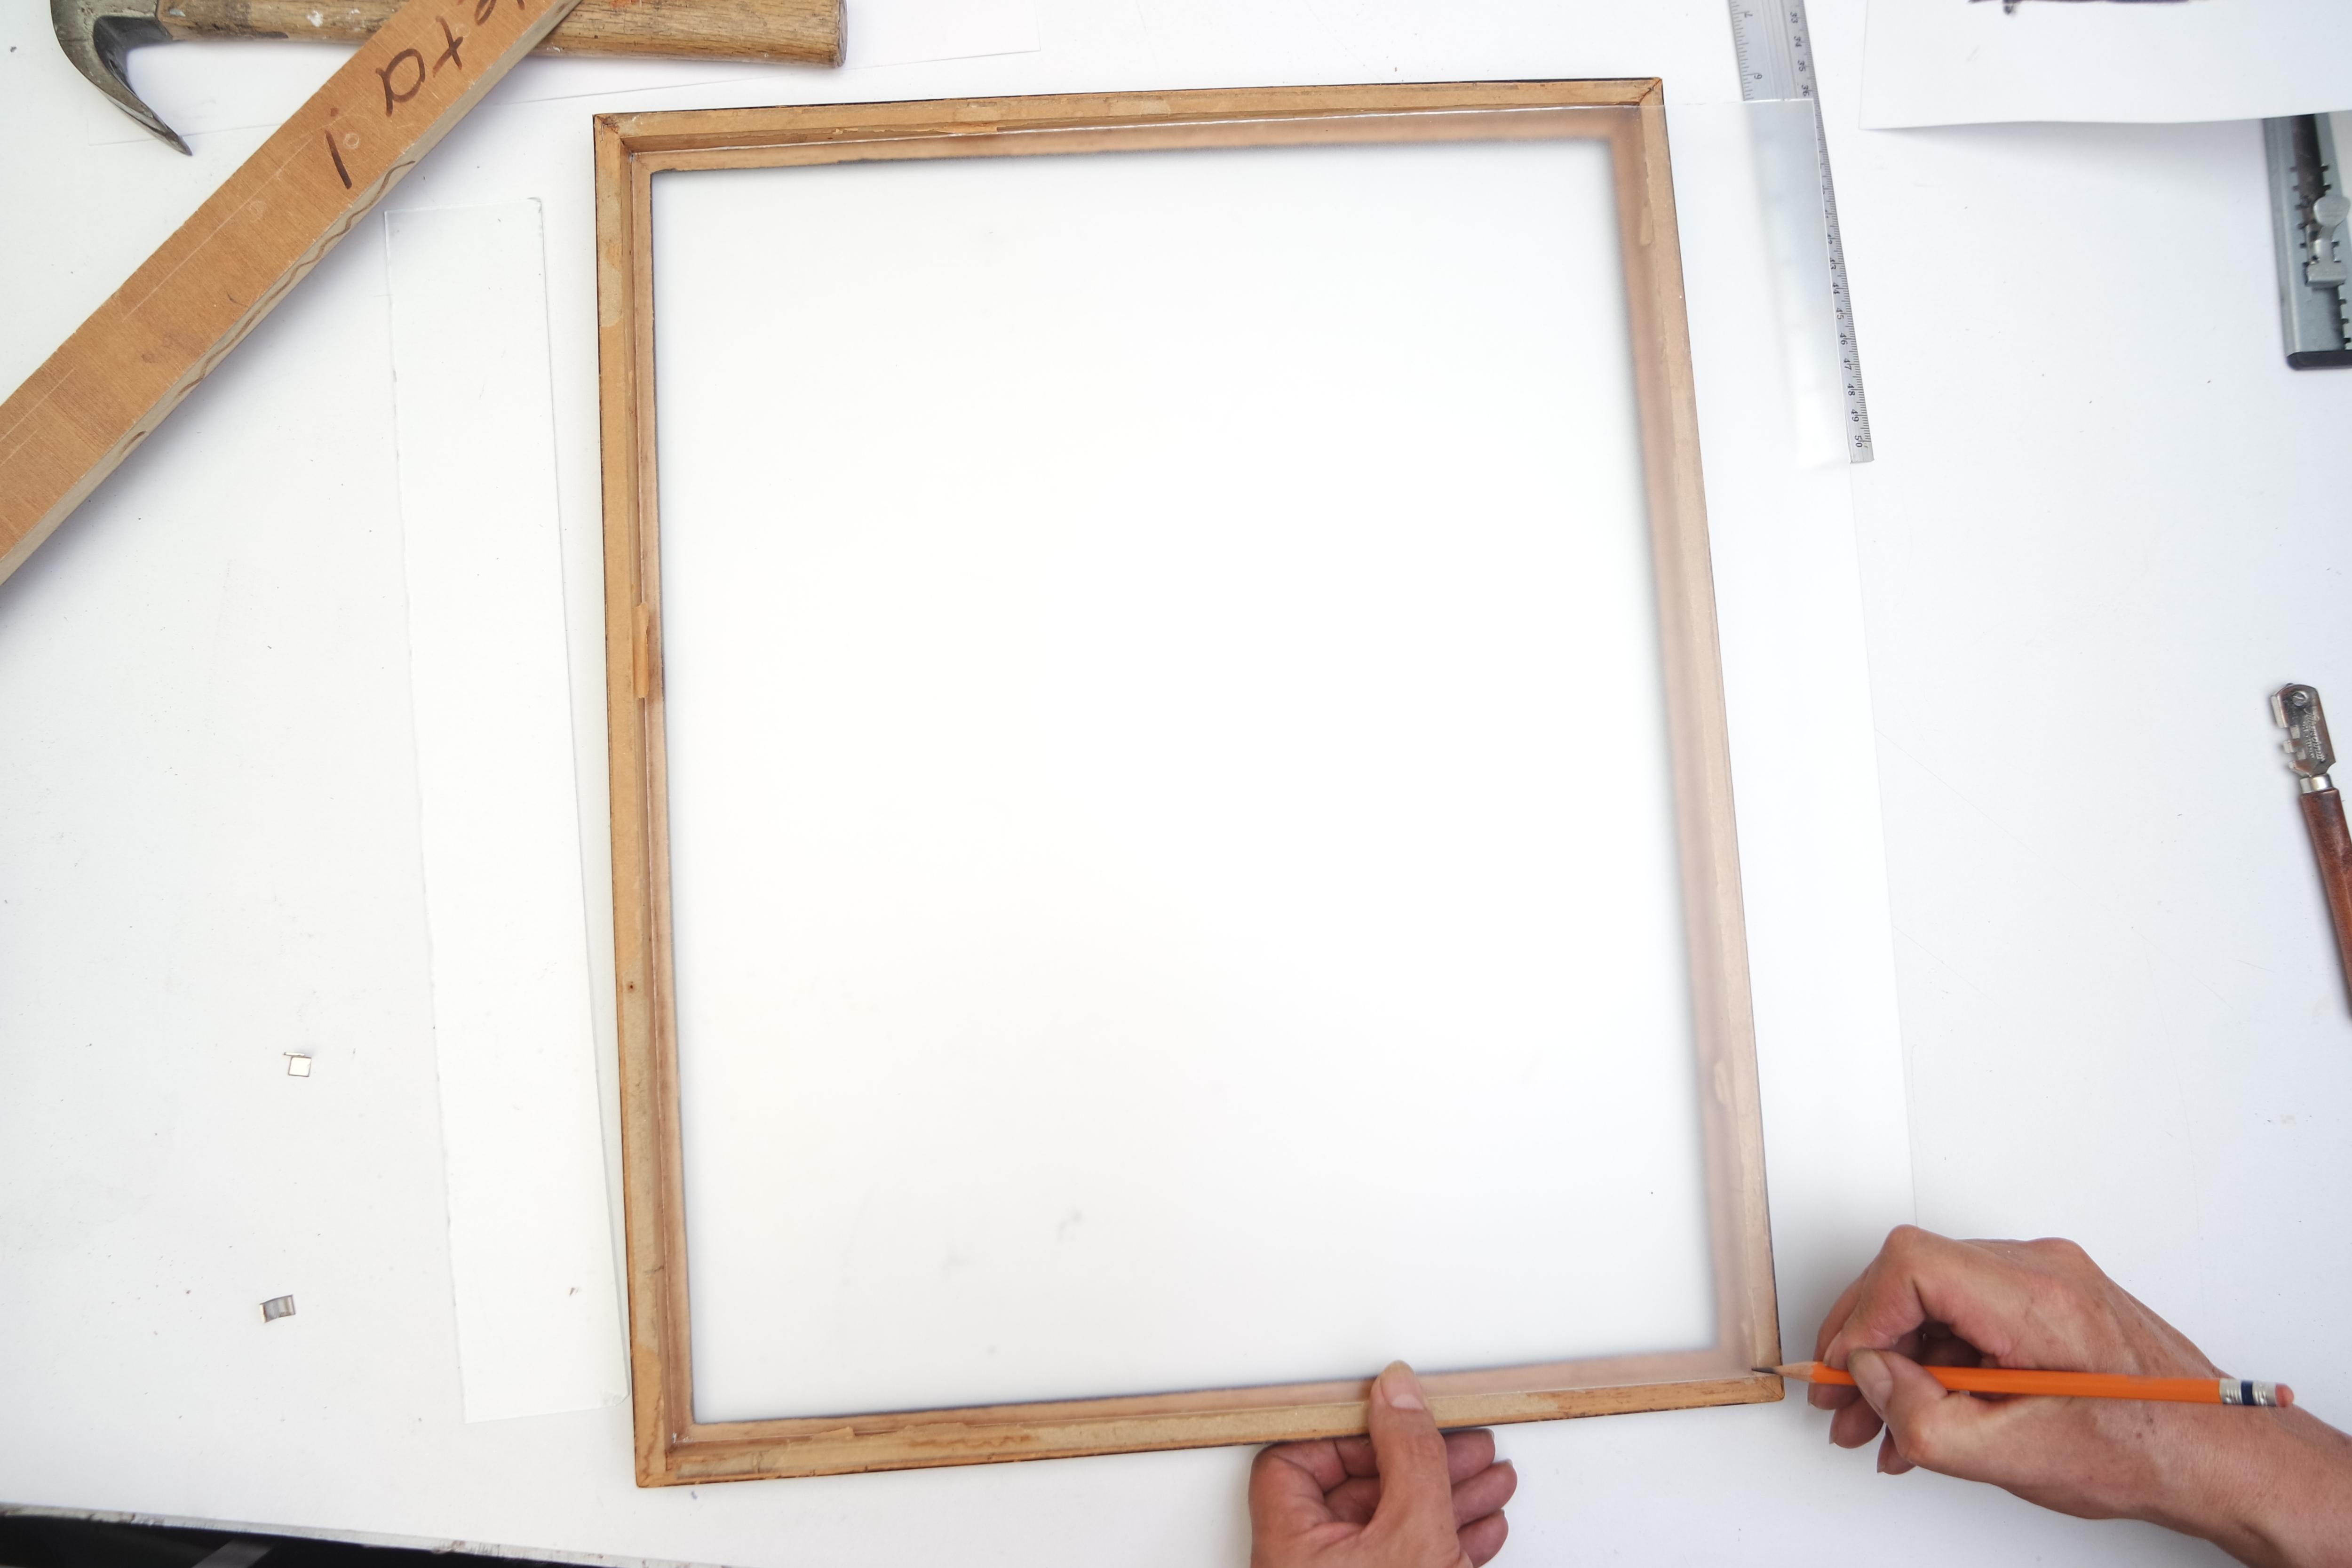
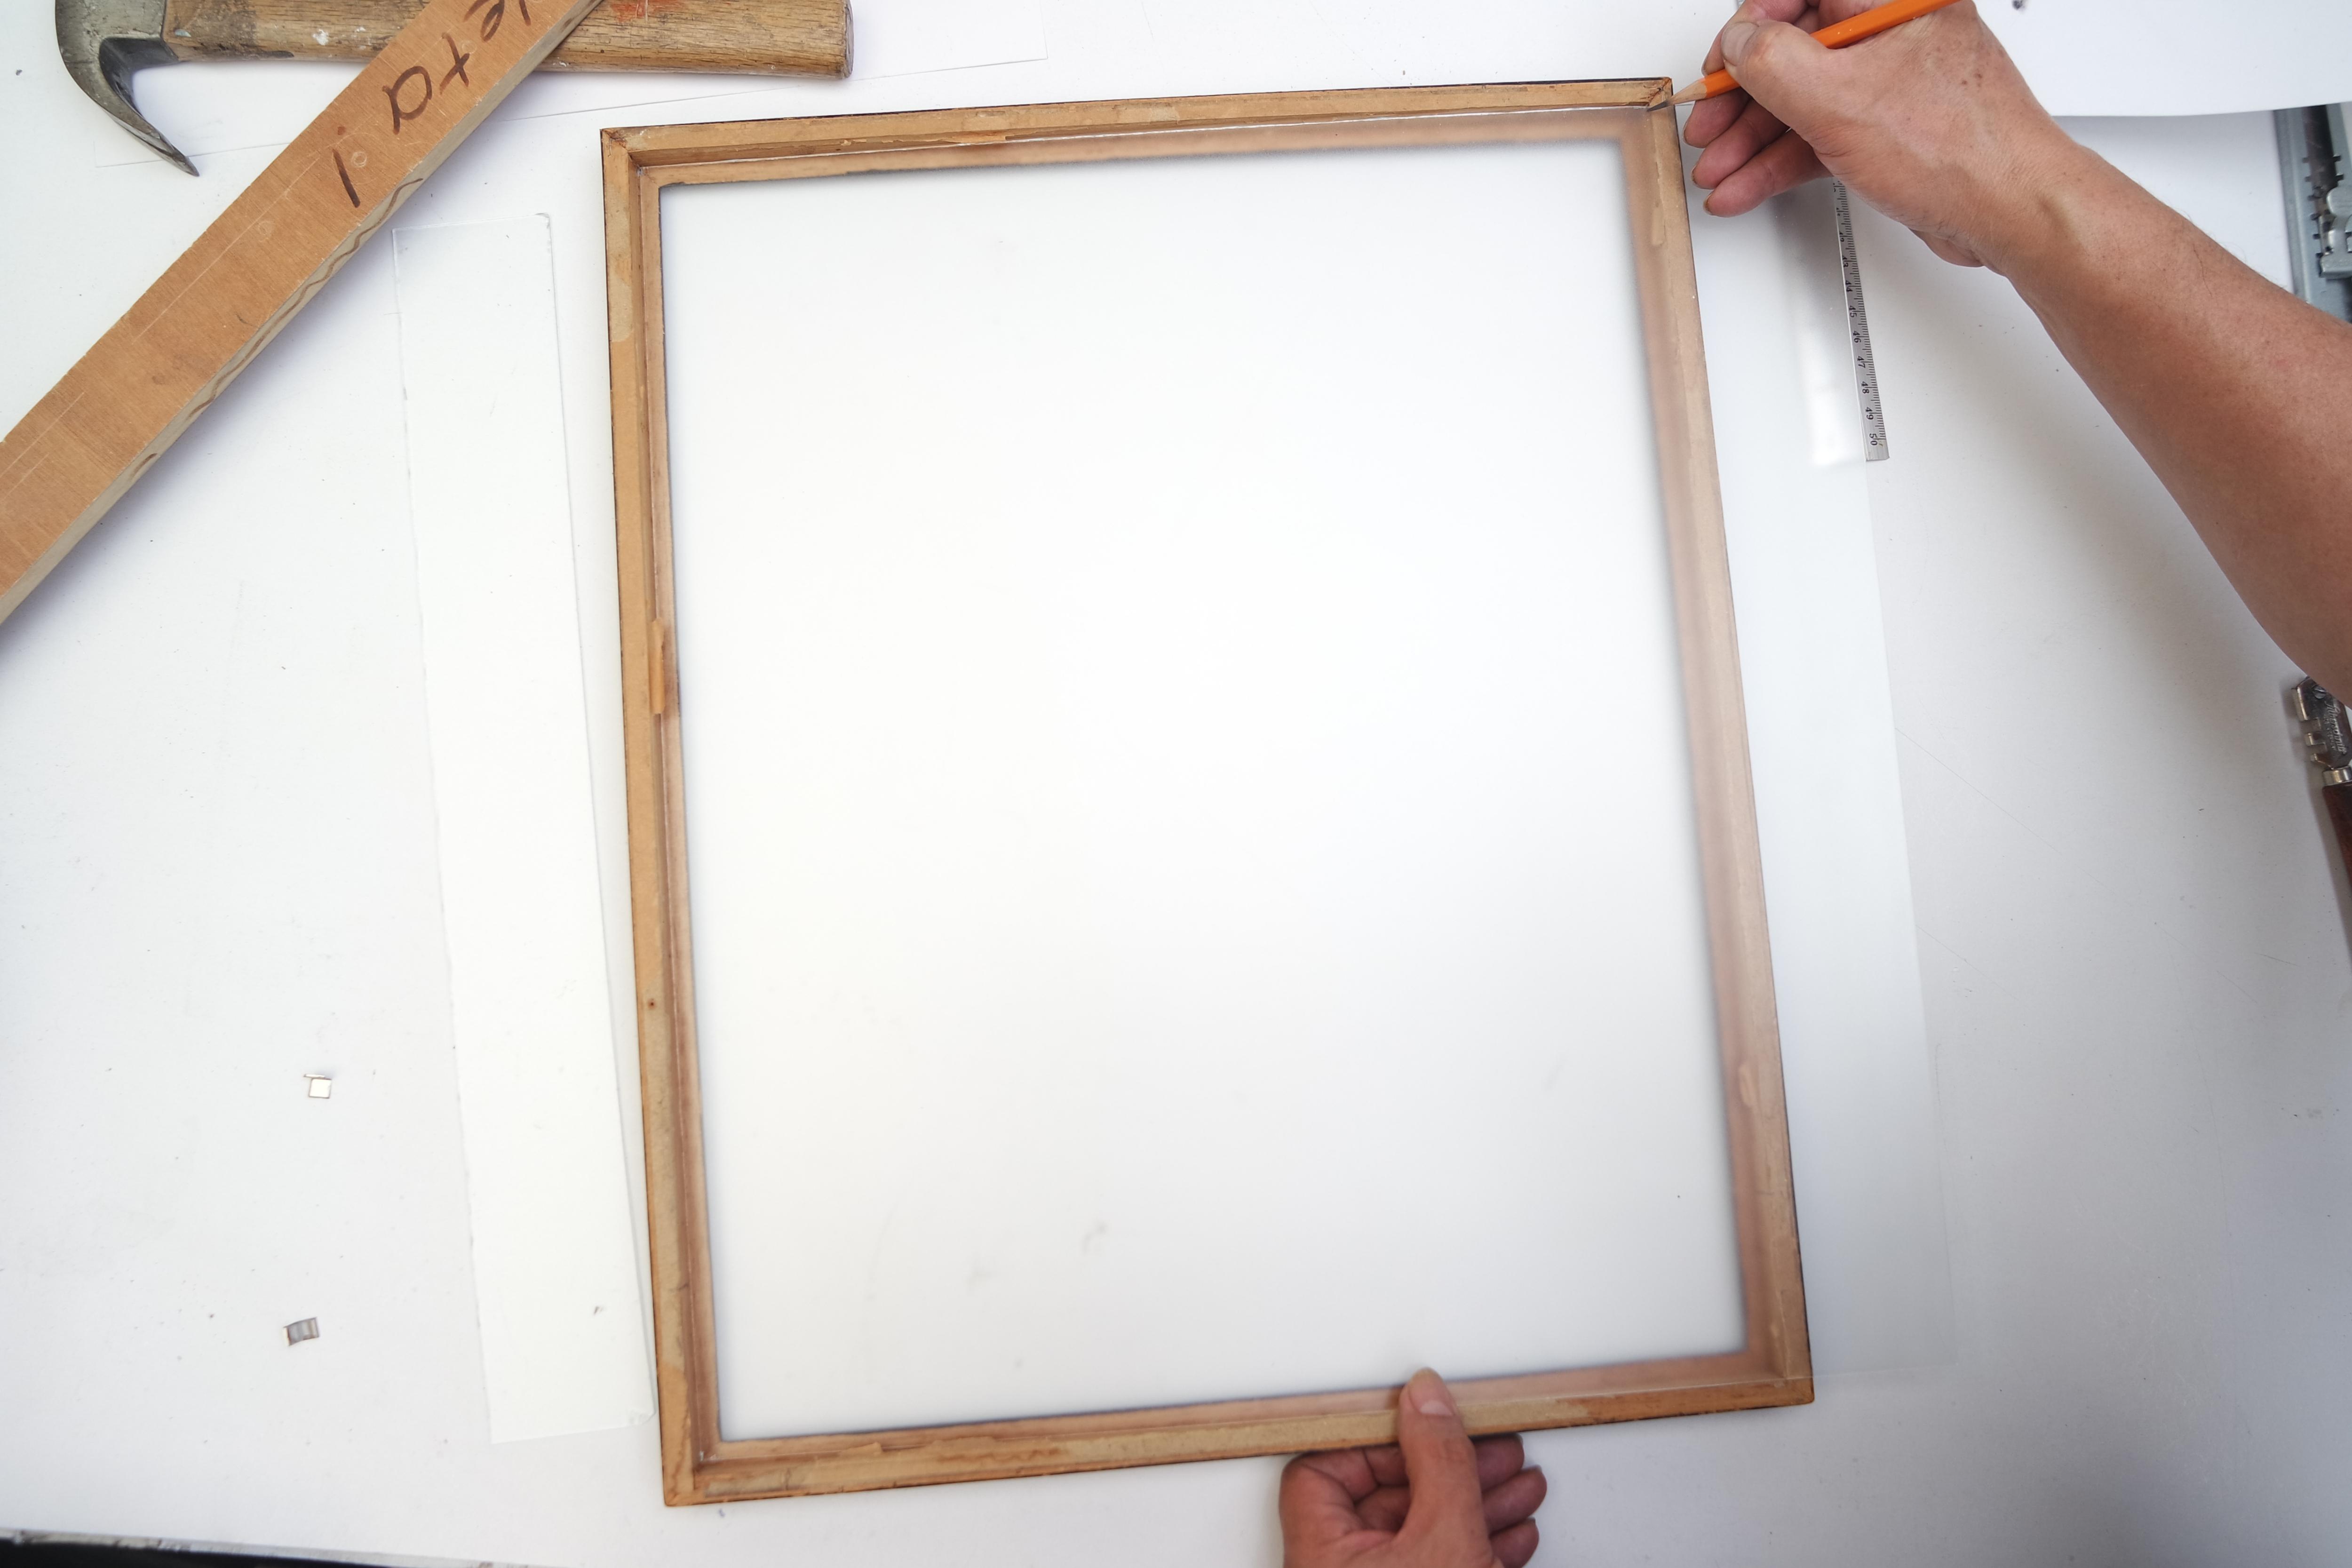
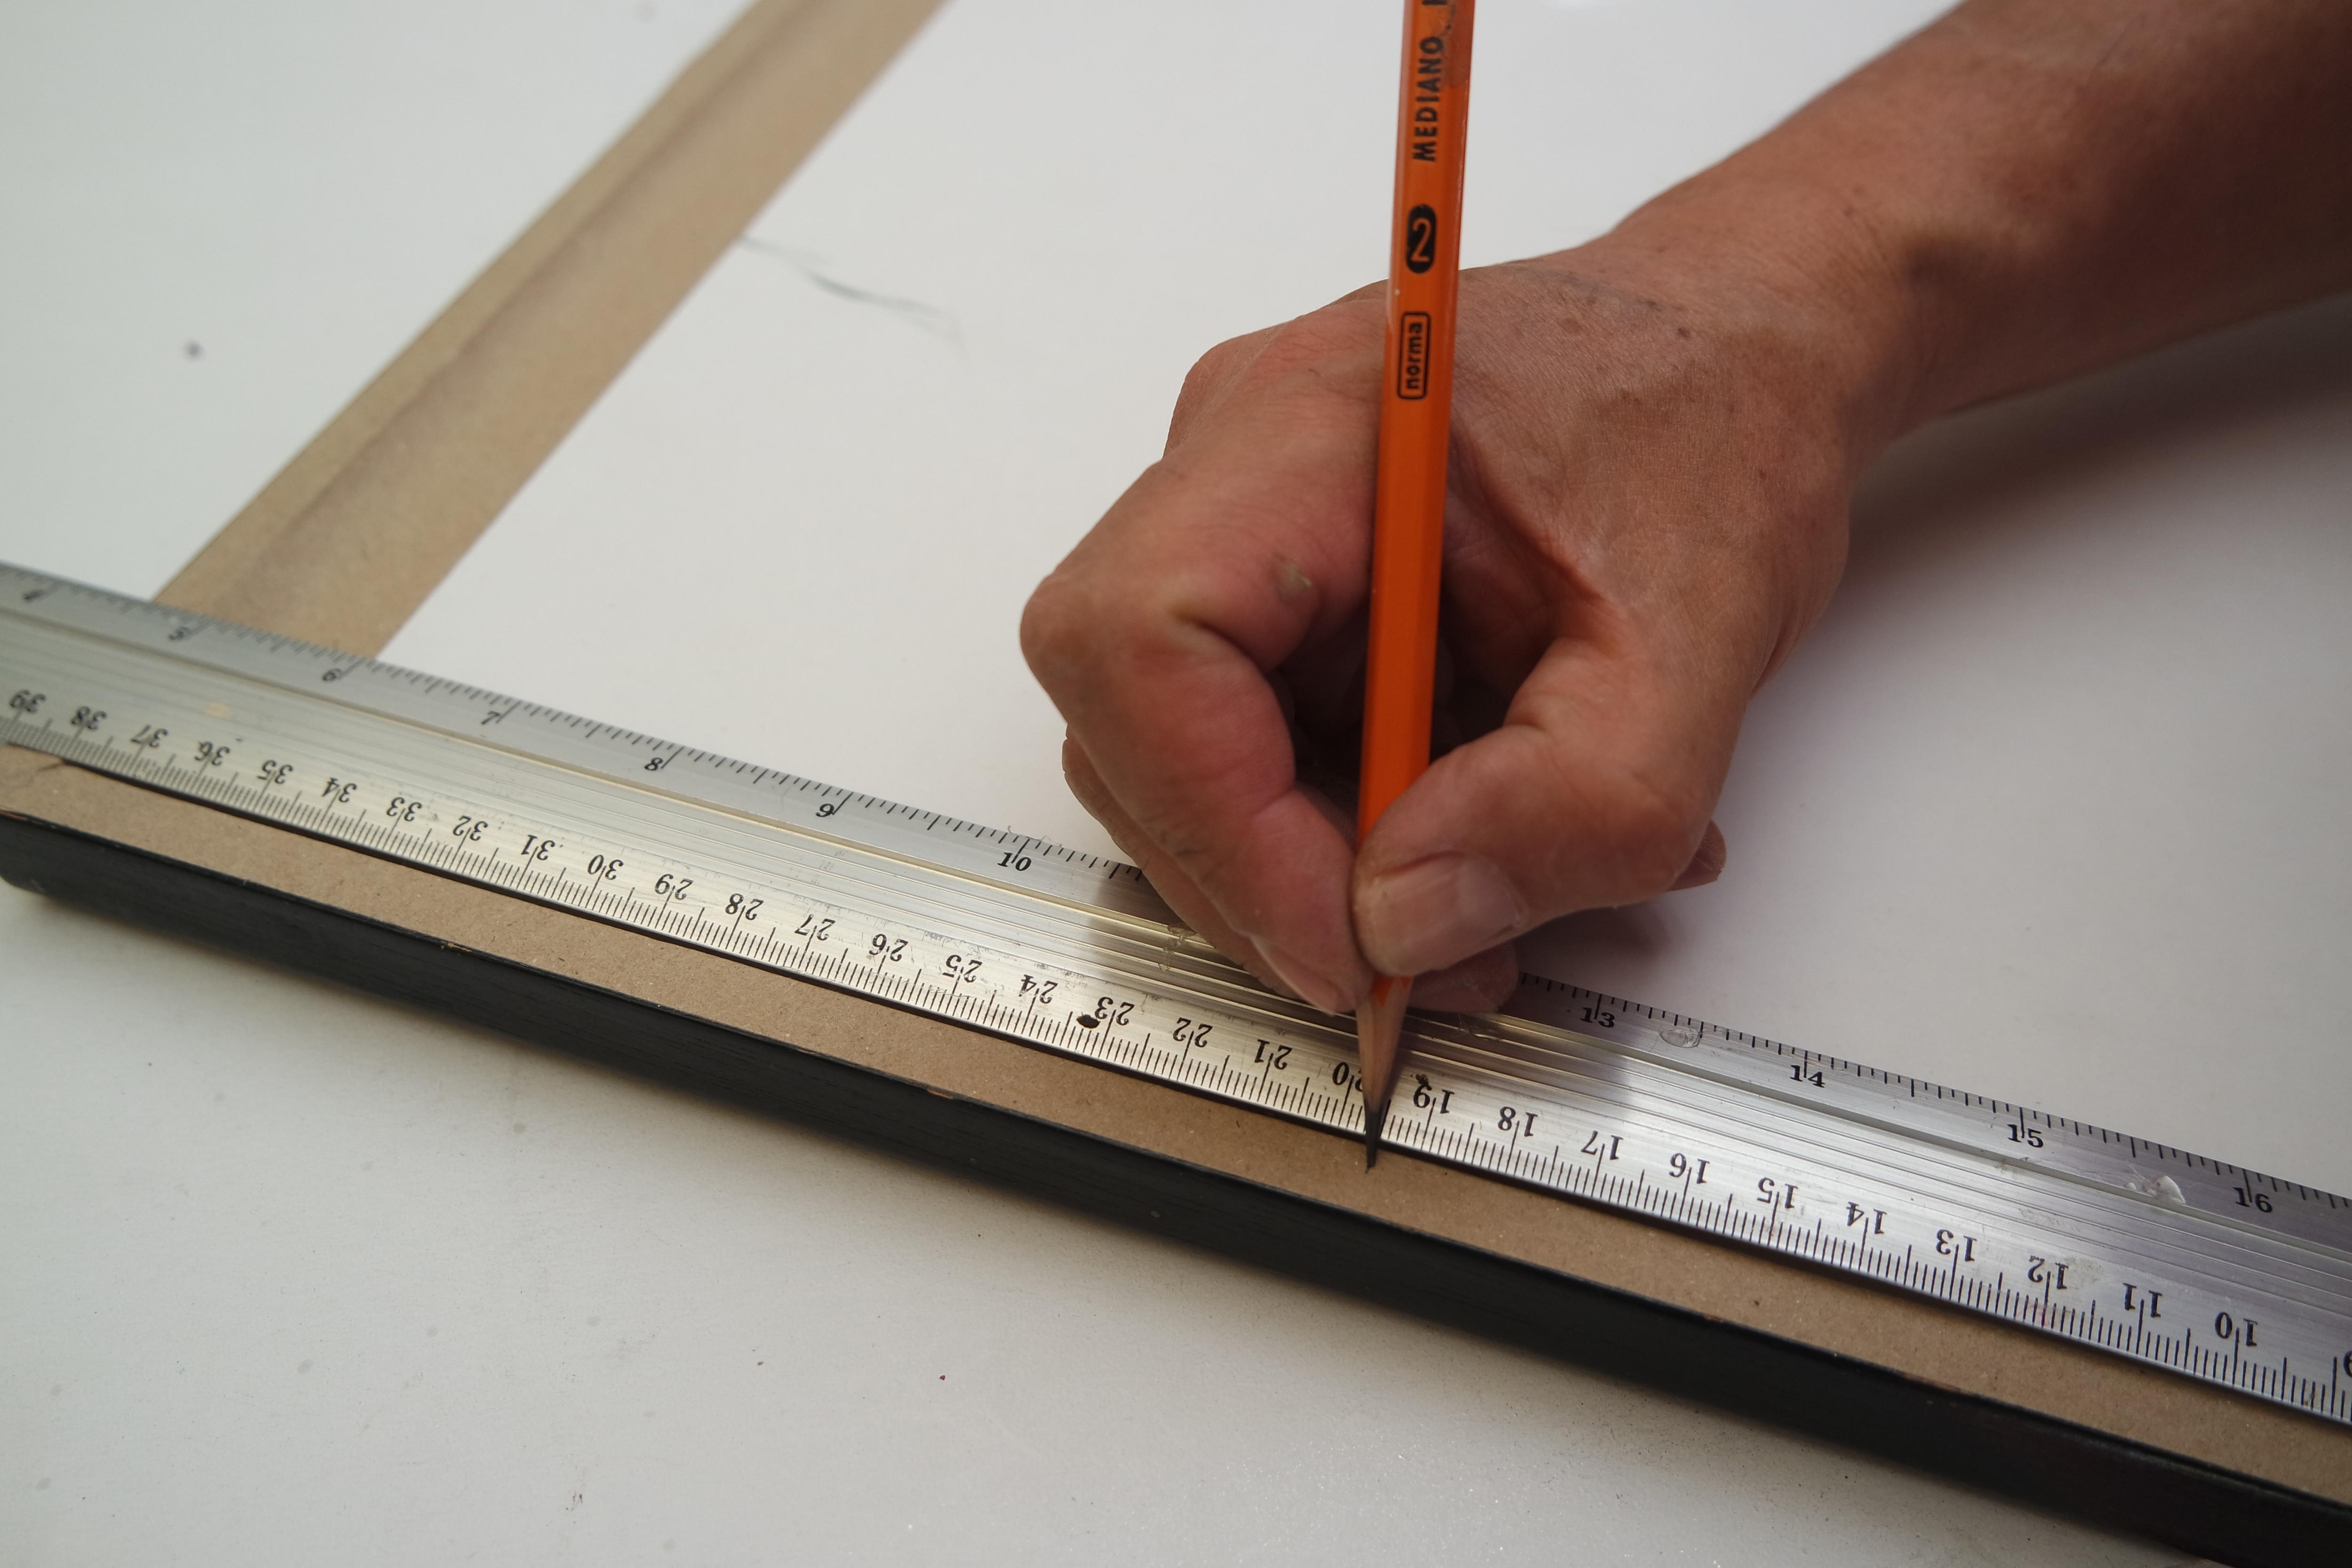
After choosing a frame, do not forget to take the measurements of your image to make the respective cuts in the frame and on the paper.
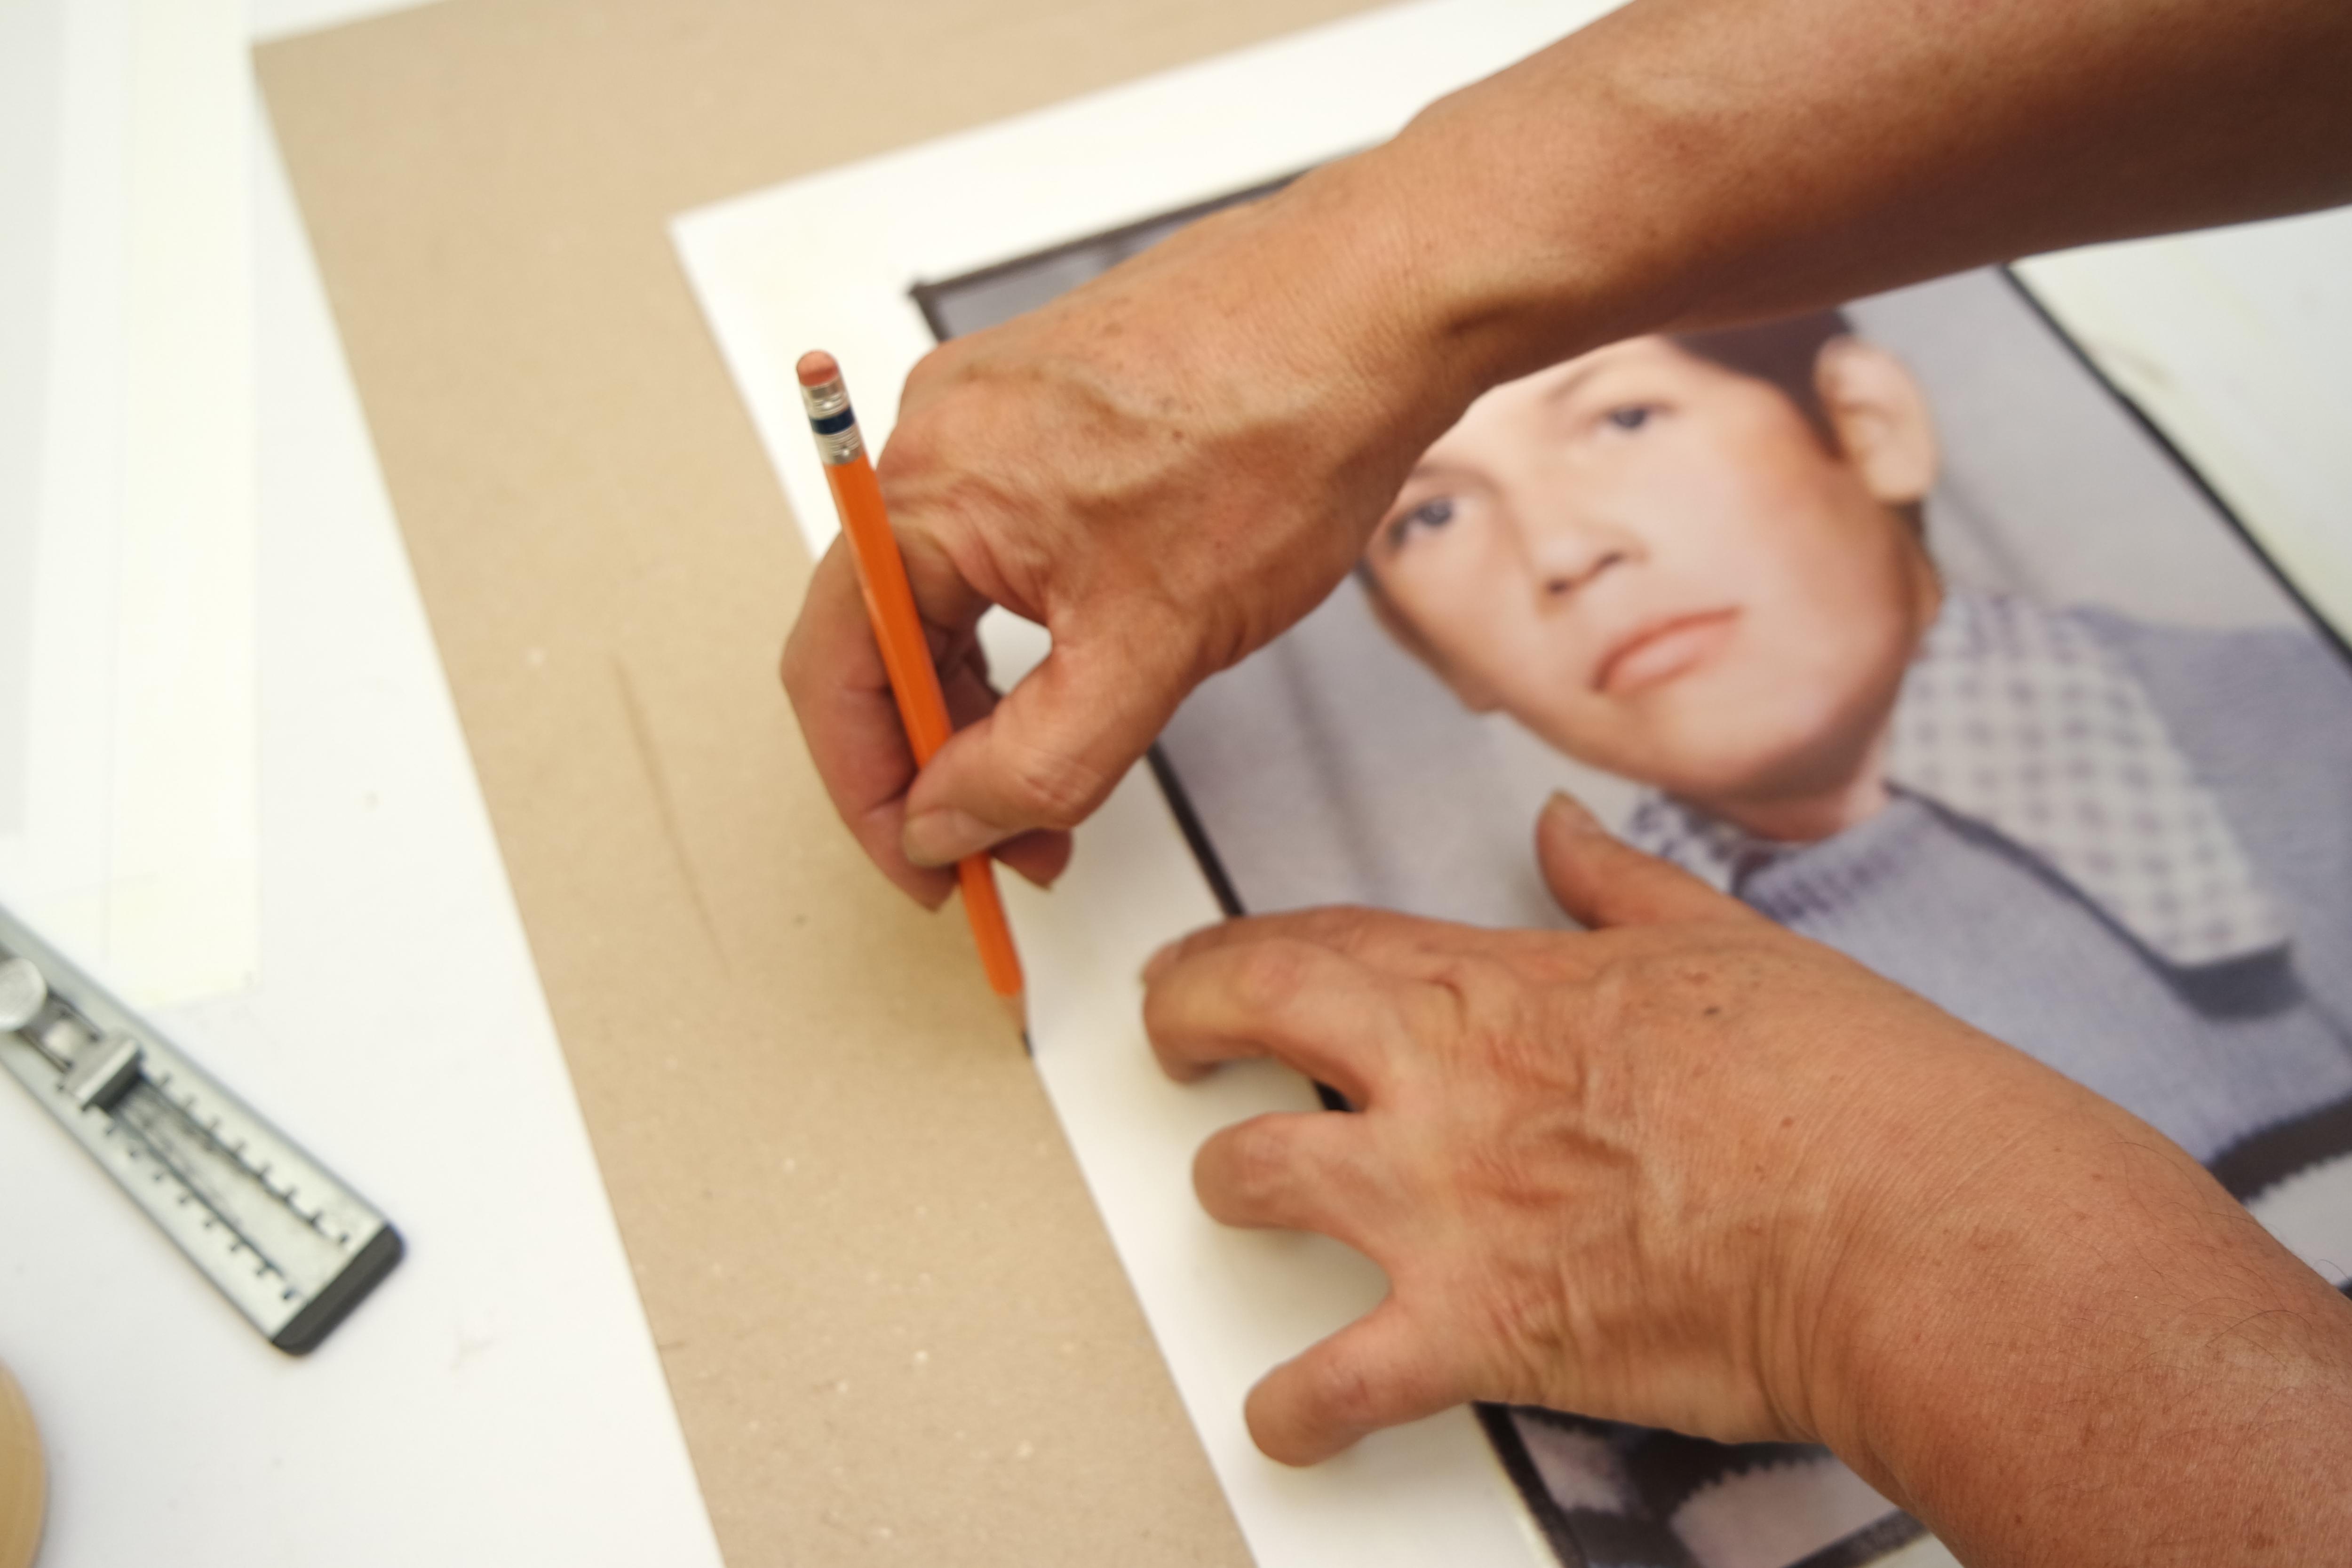
Measuring Mat
after measuring the photography you can add the centimeters you think are necessary for the assembly of the frame, in my case add 5 centimeters on each side.
Cutting the Frame
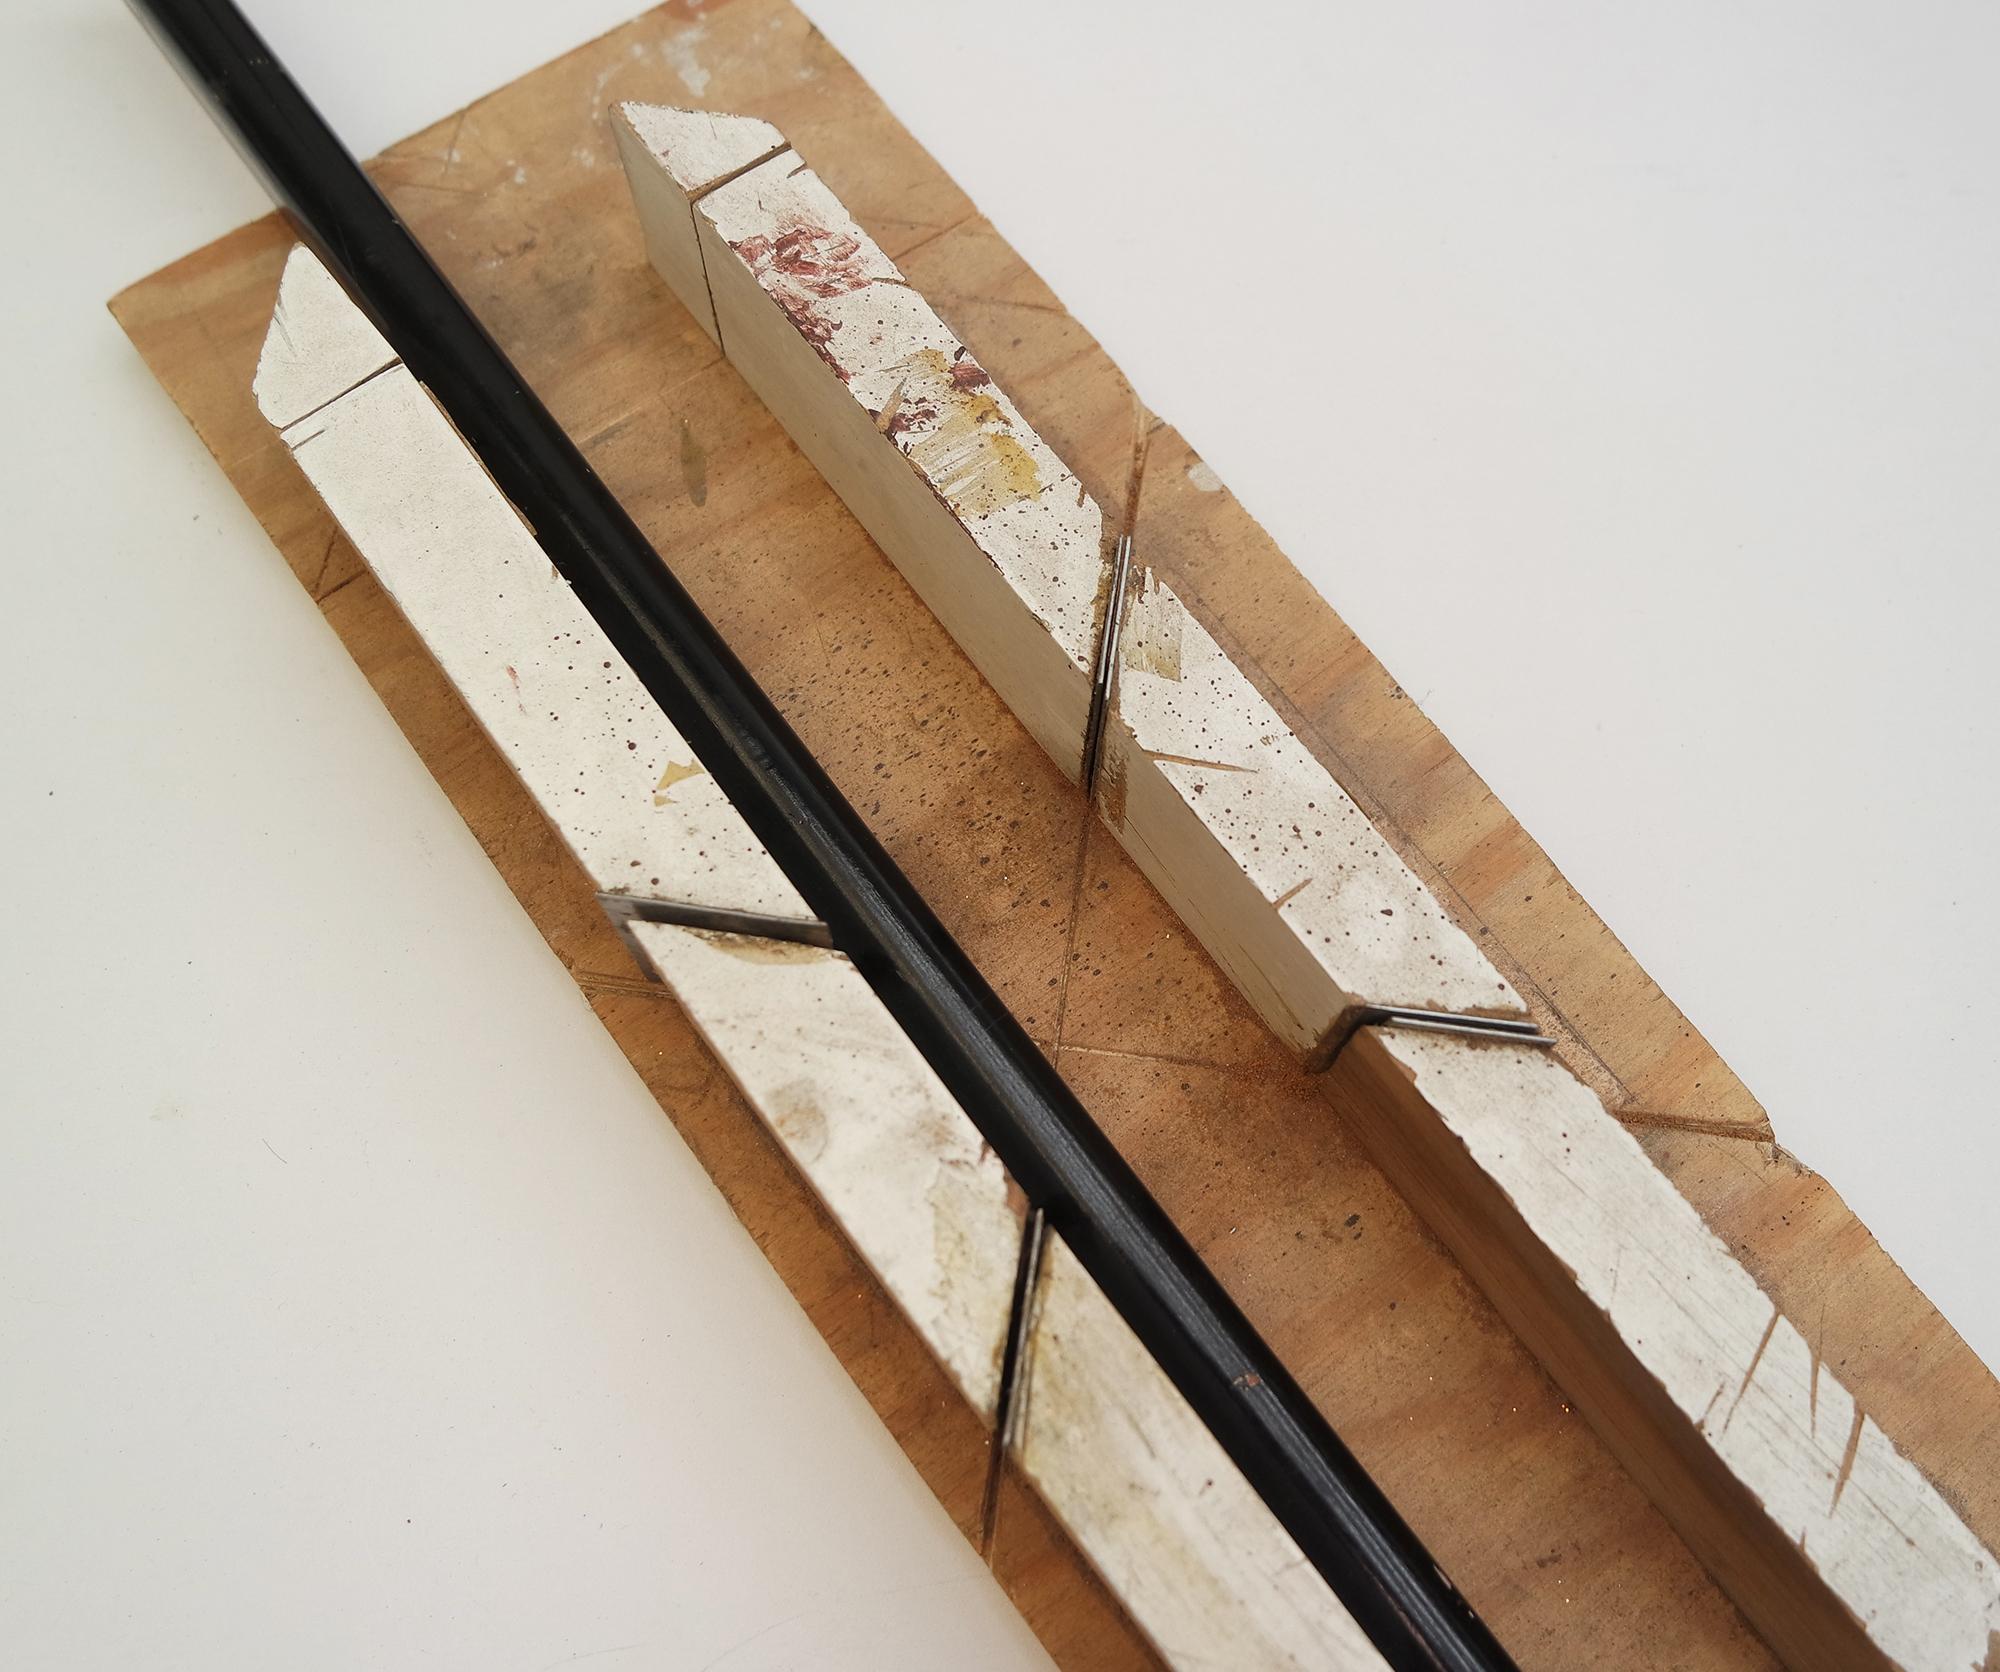
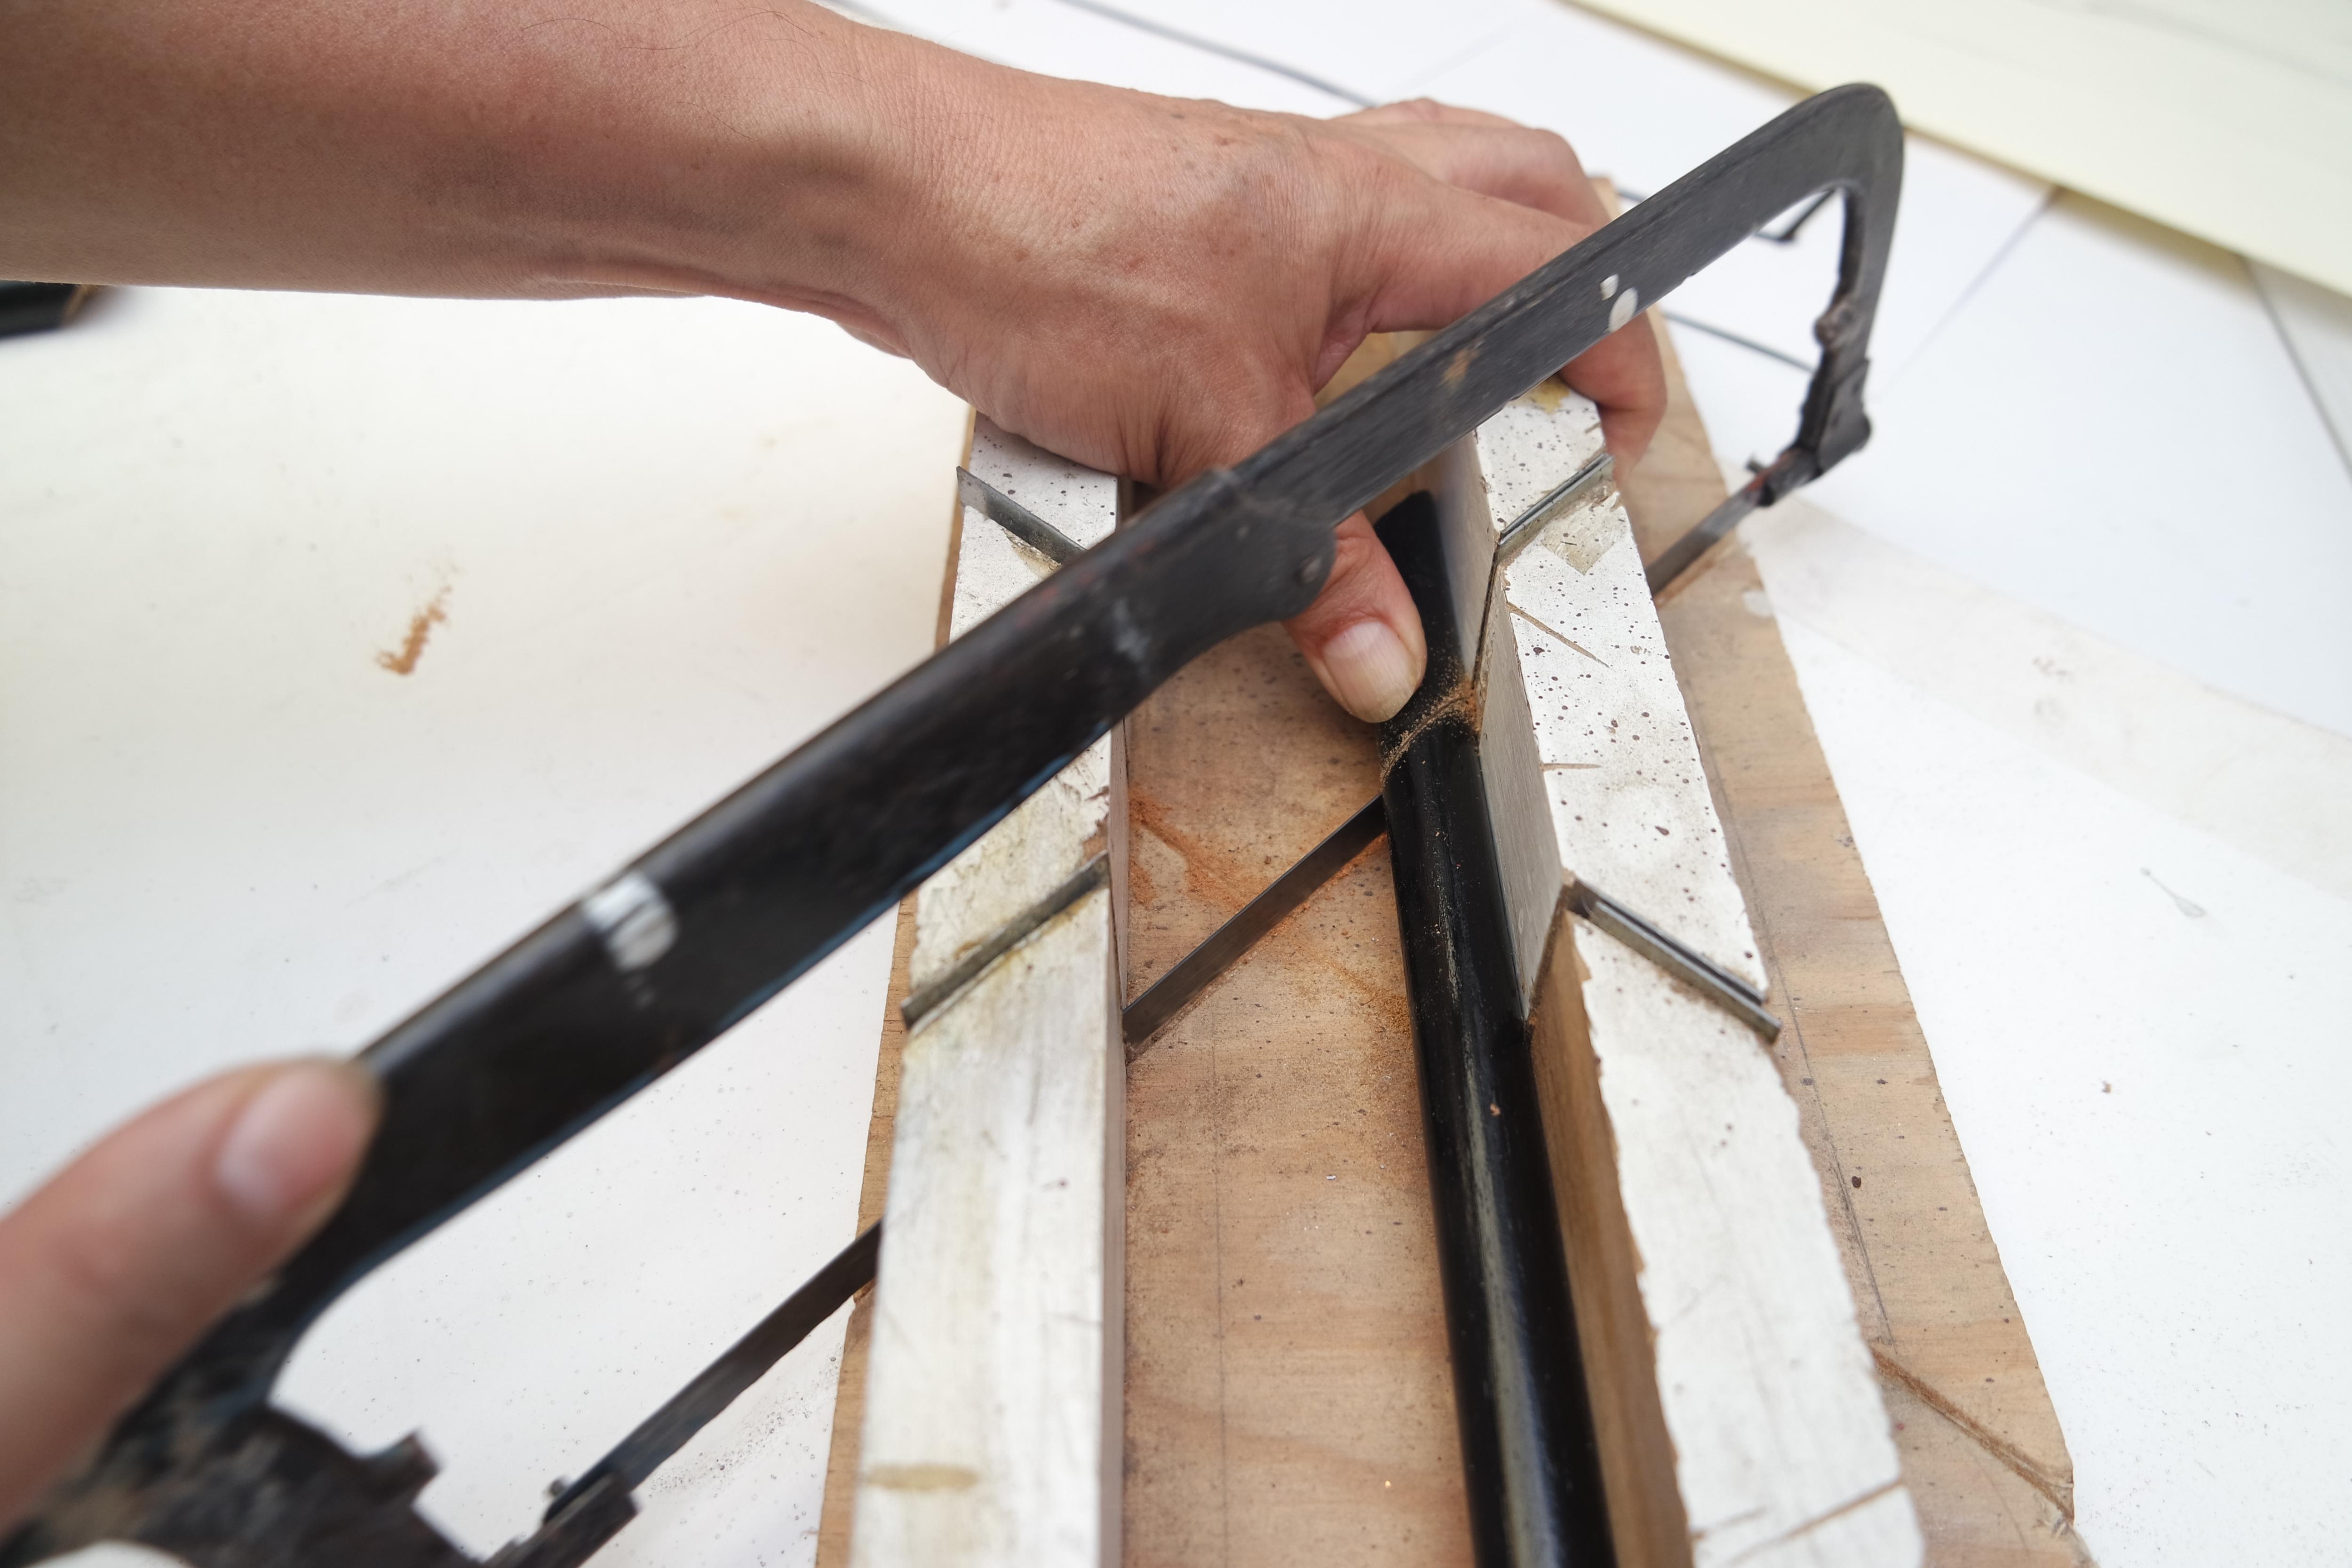
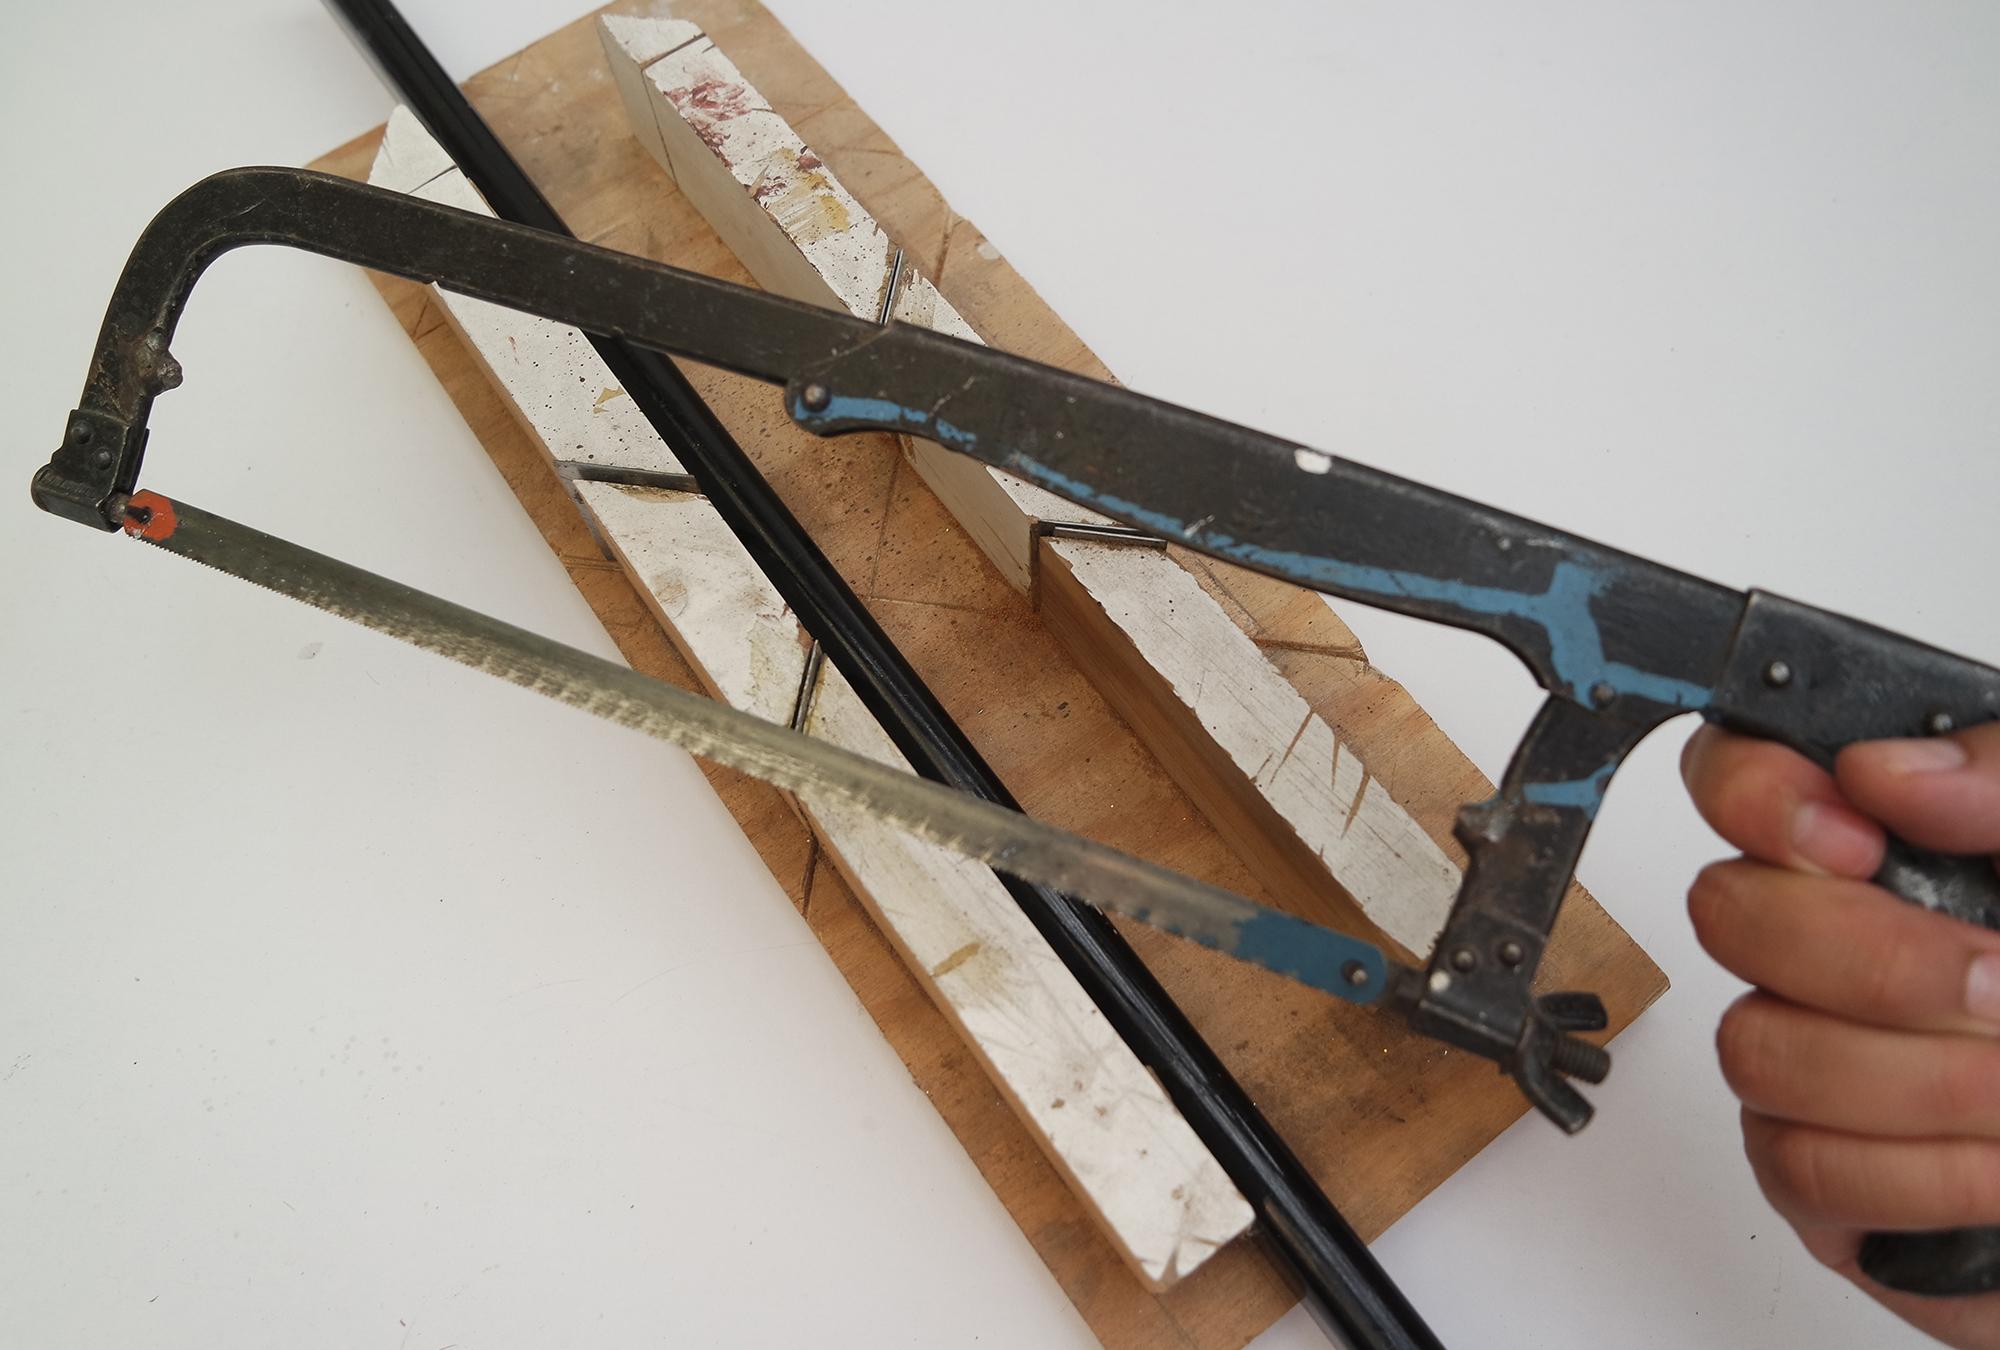
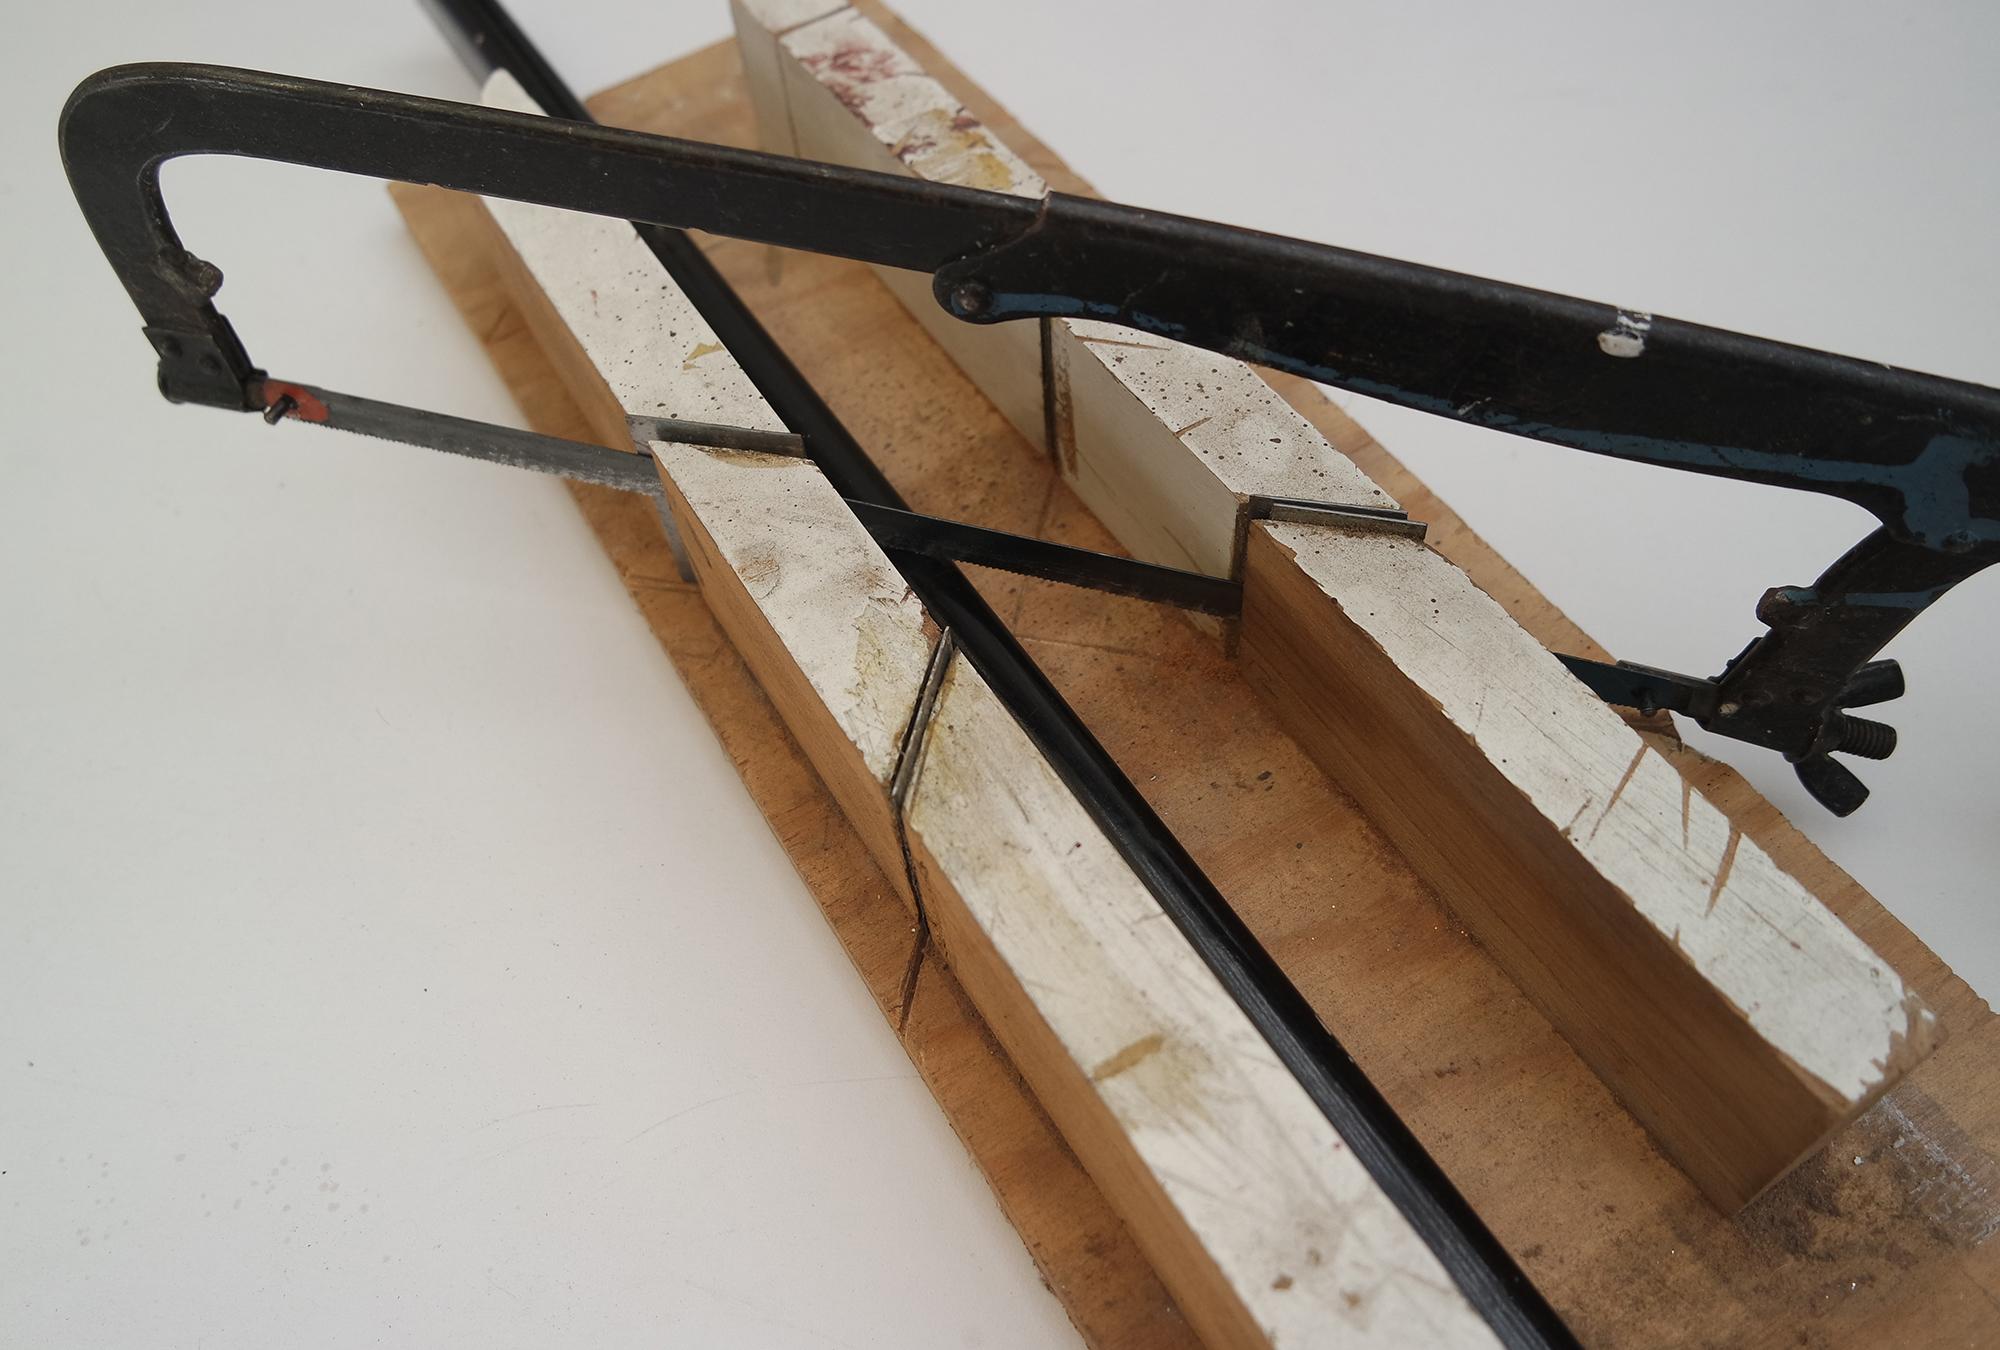
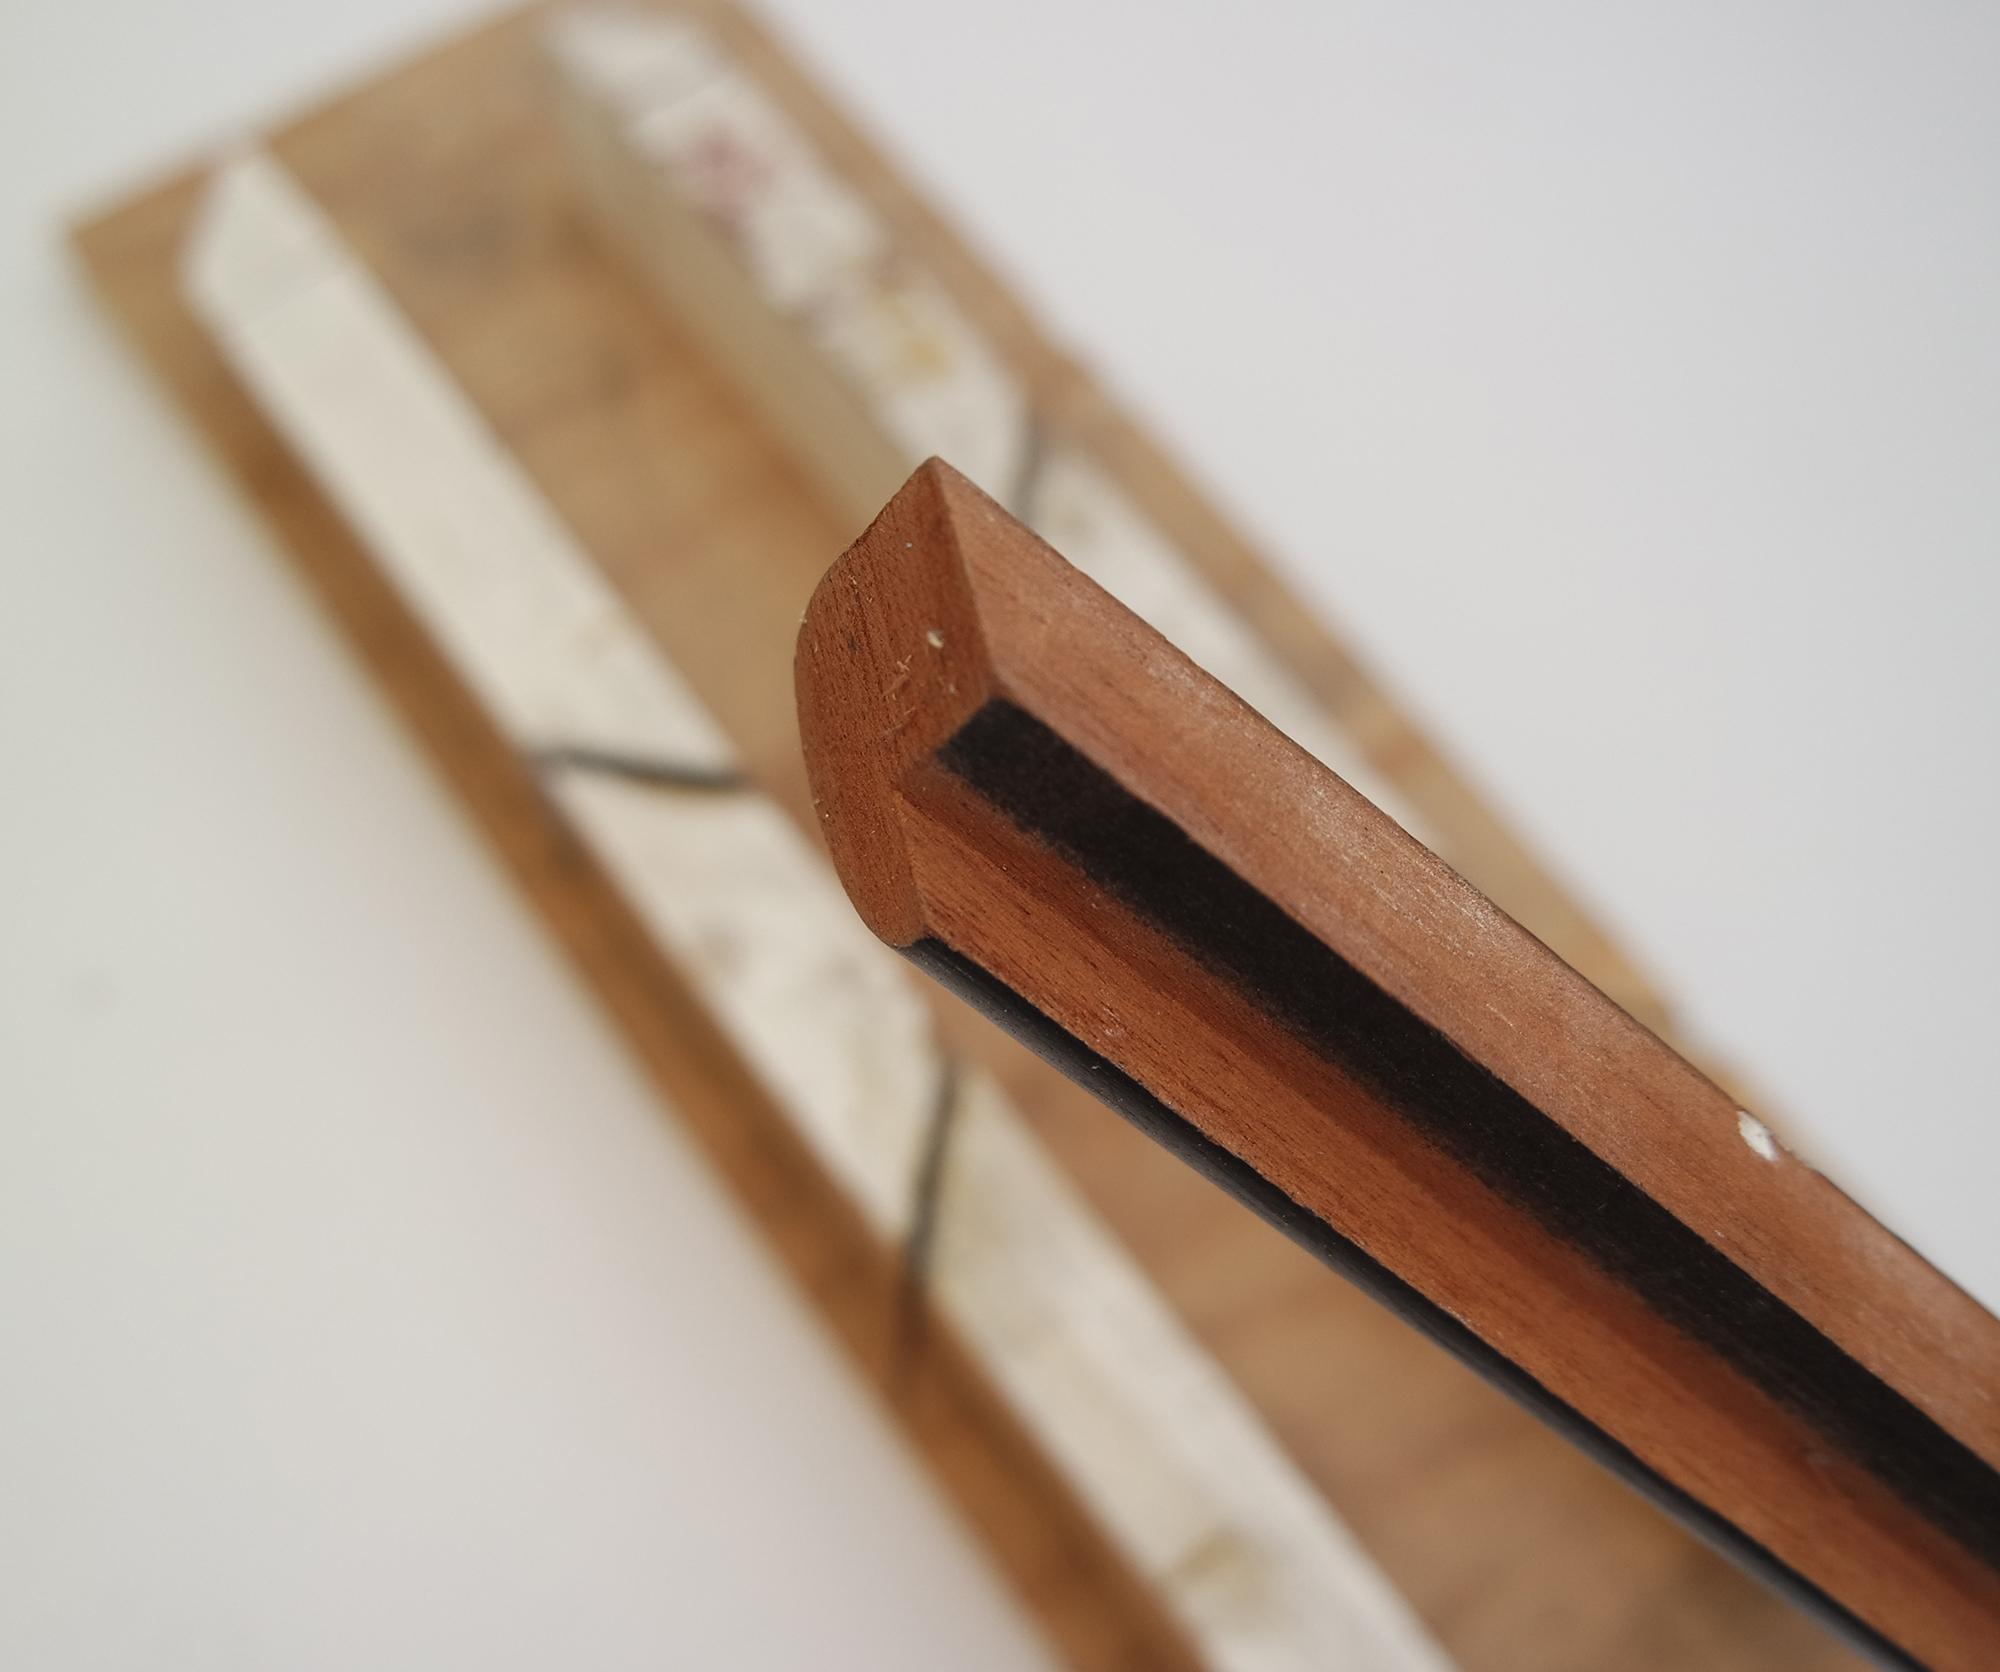
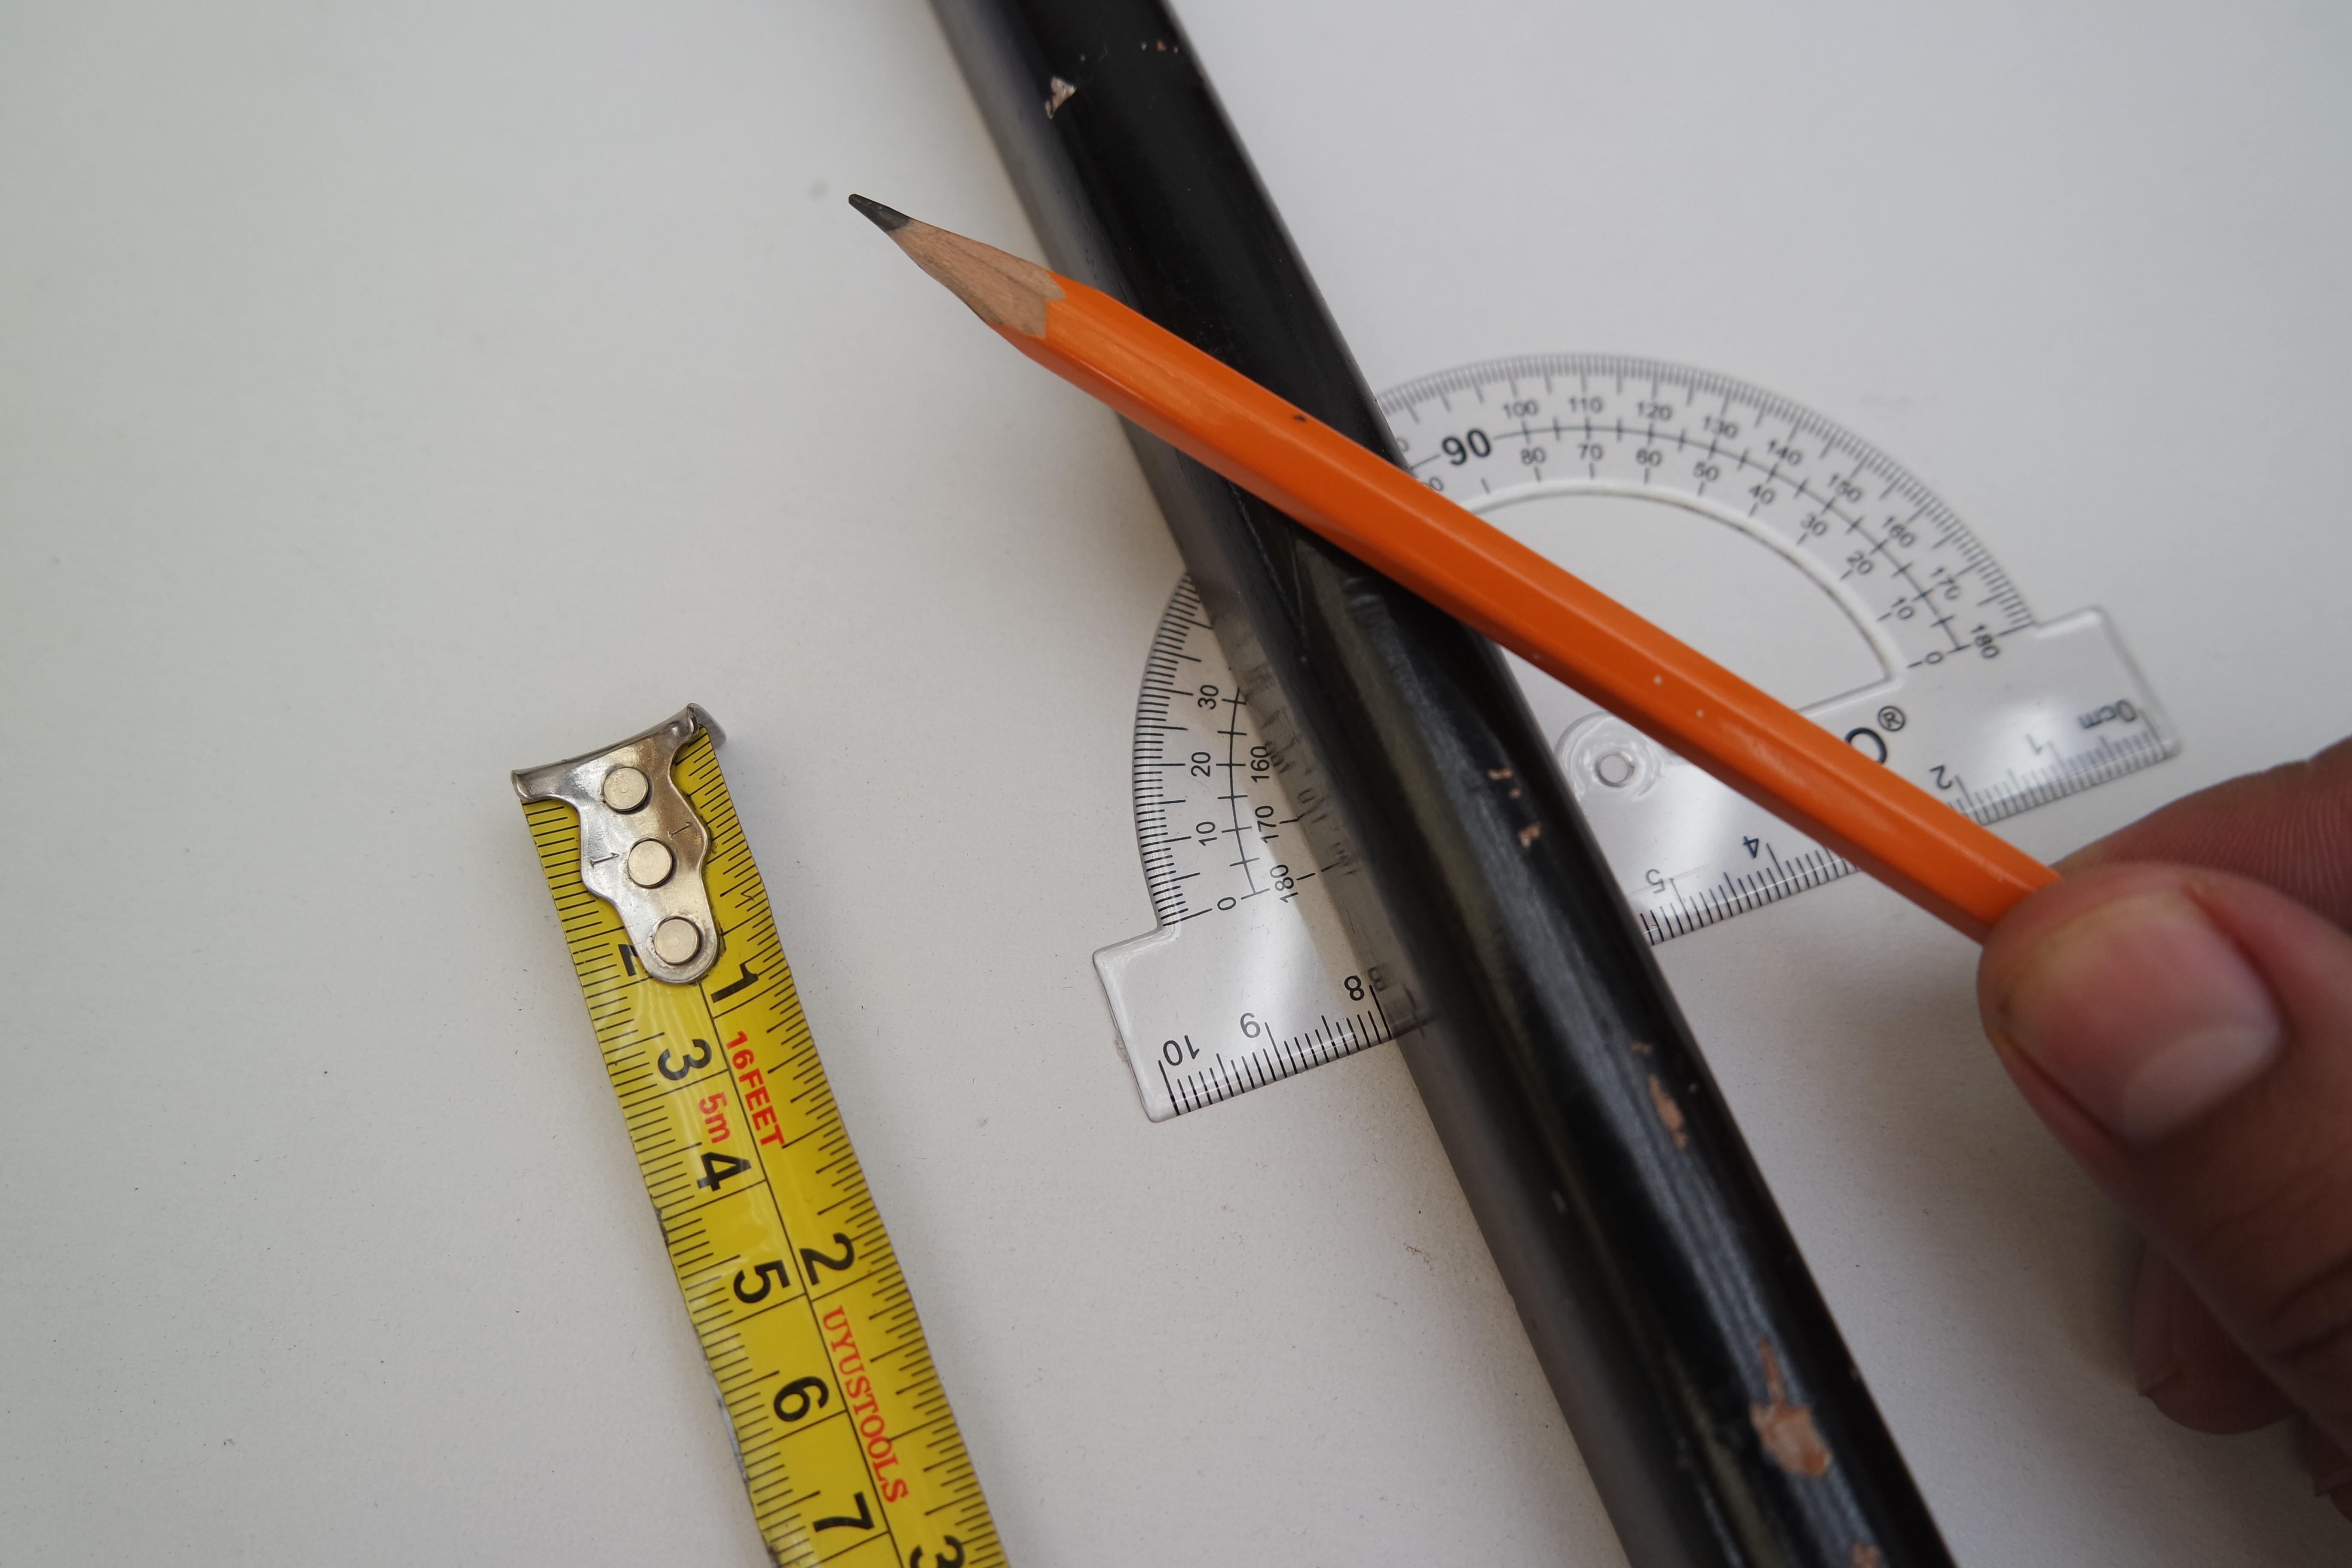
now it will be the turn to use the 45 degree Miter Box to cut the frame, if you do not have one you can make the cuts by marking the frame after taking the measurements with a Protractor.
be very careful when making the cuts, watch your fingers
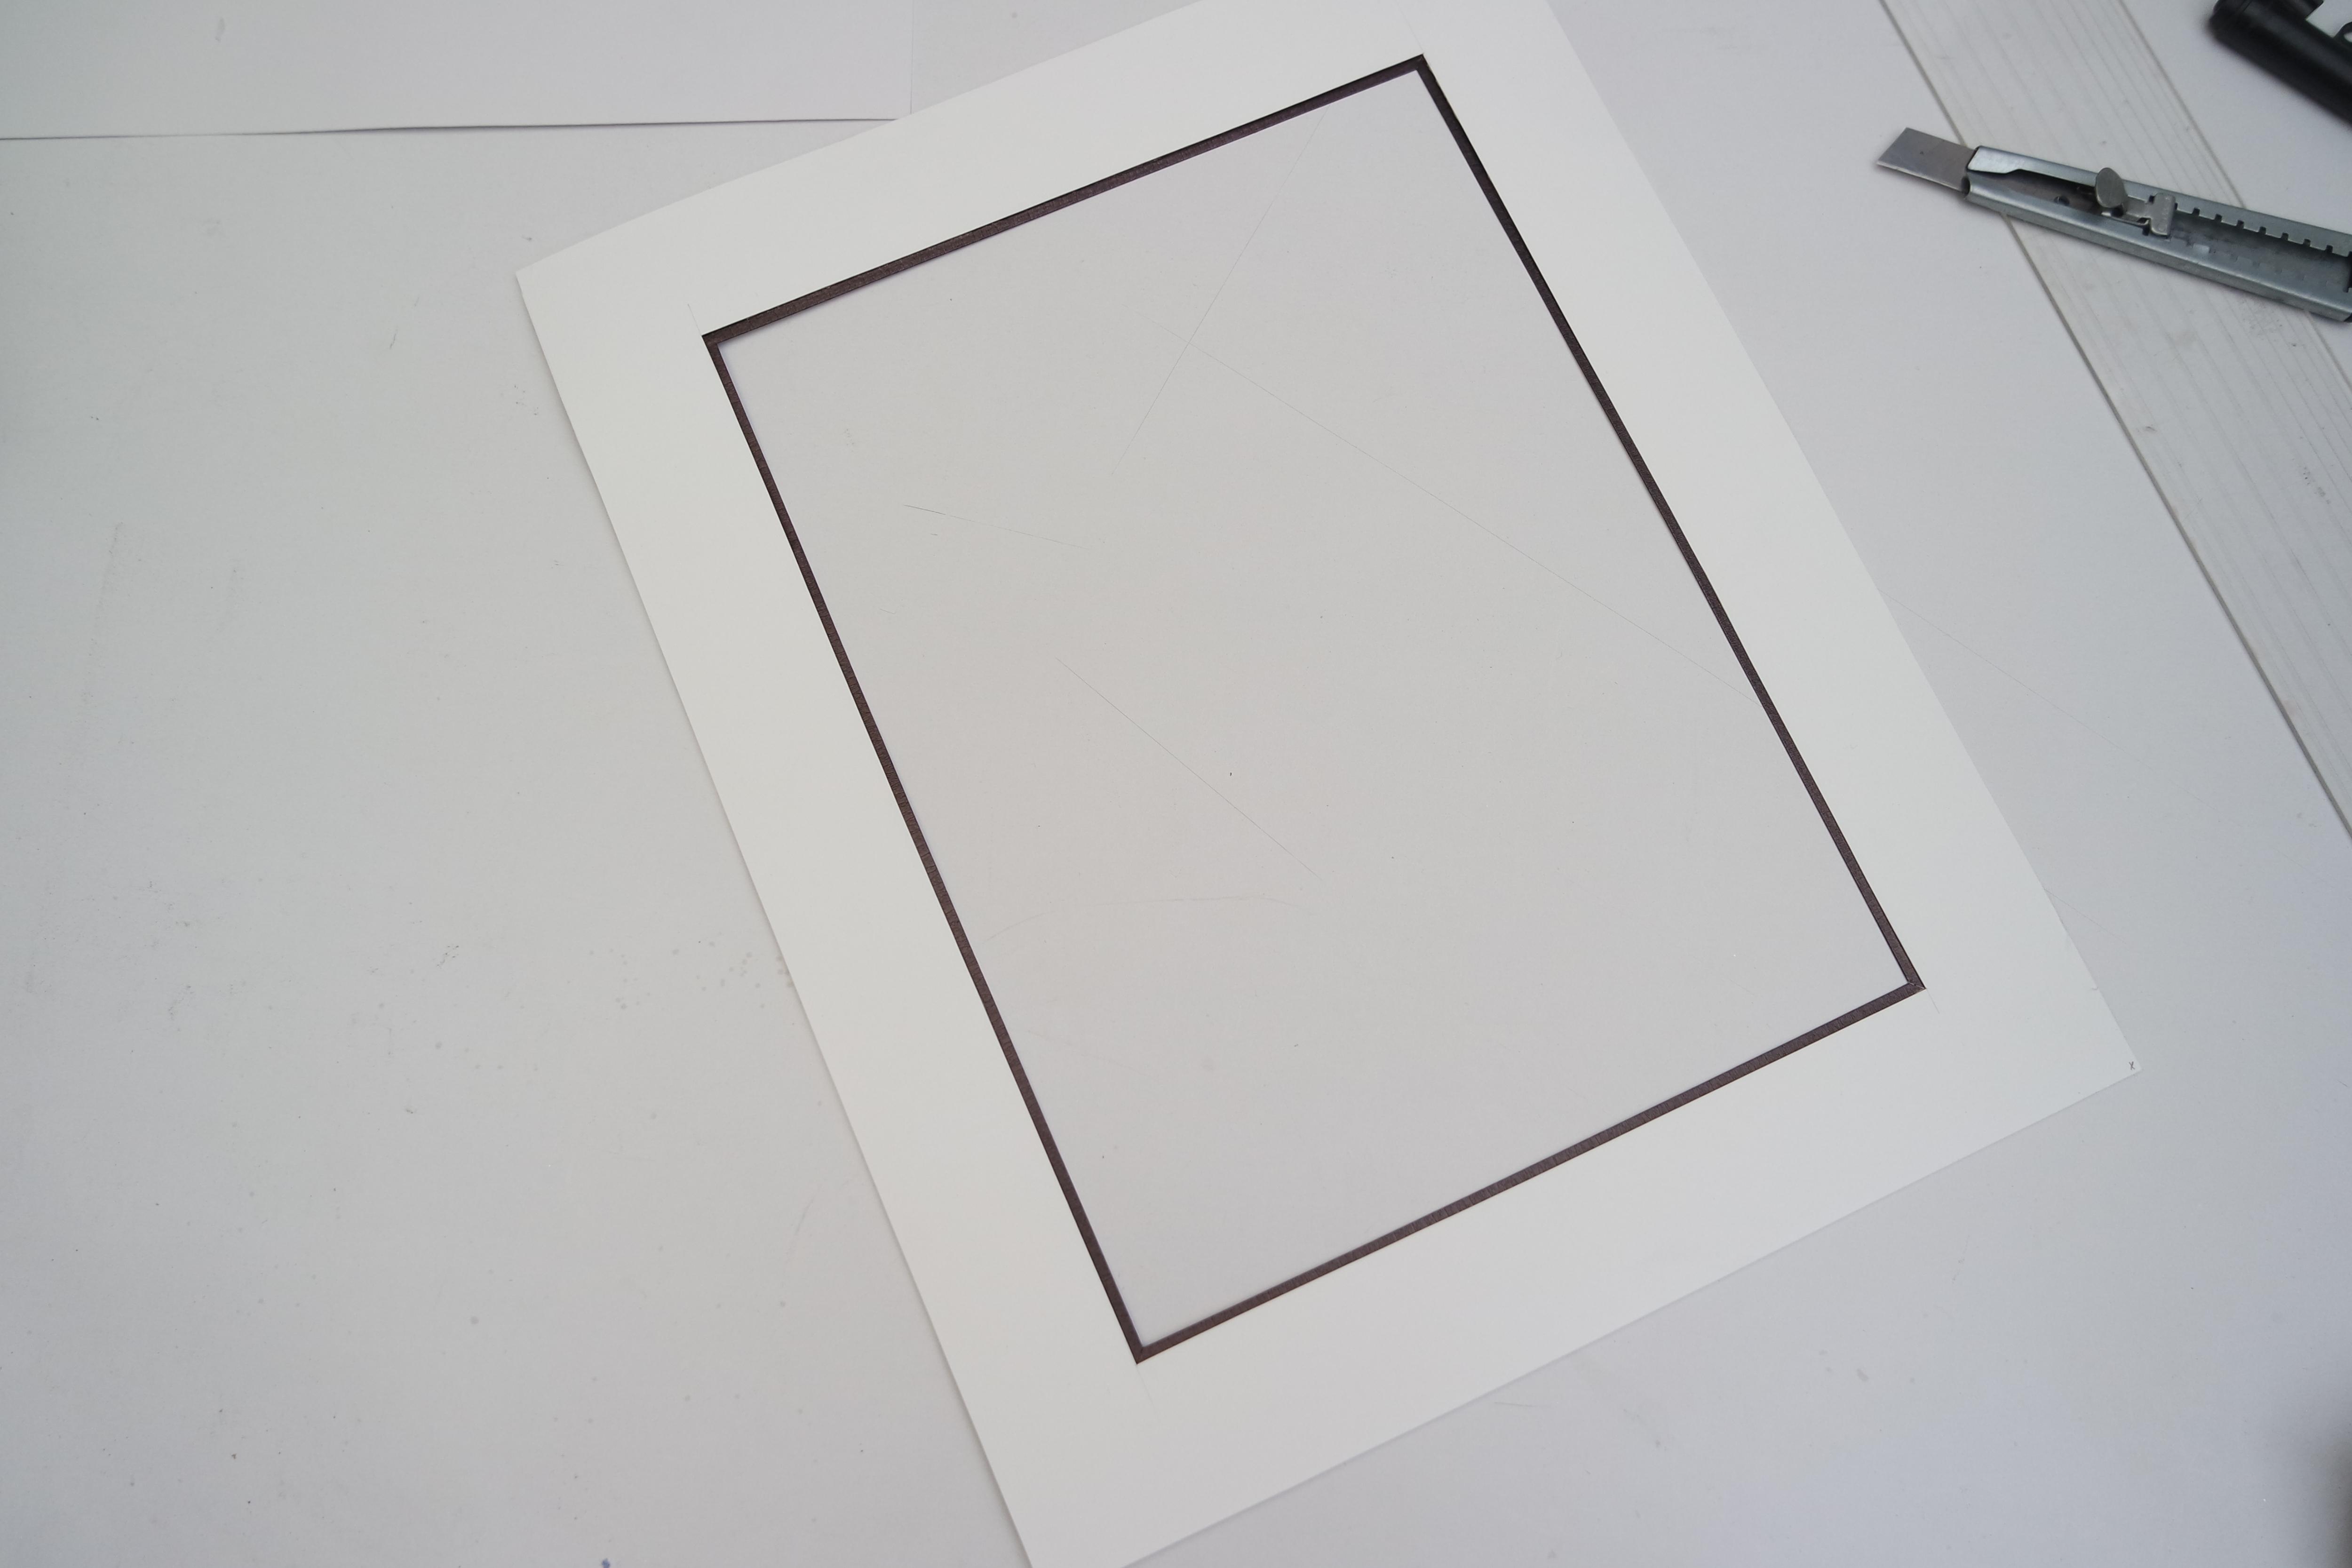
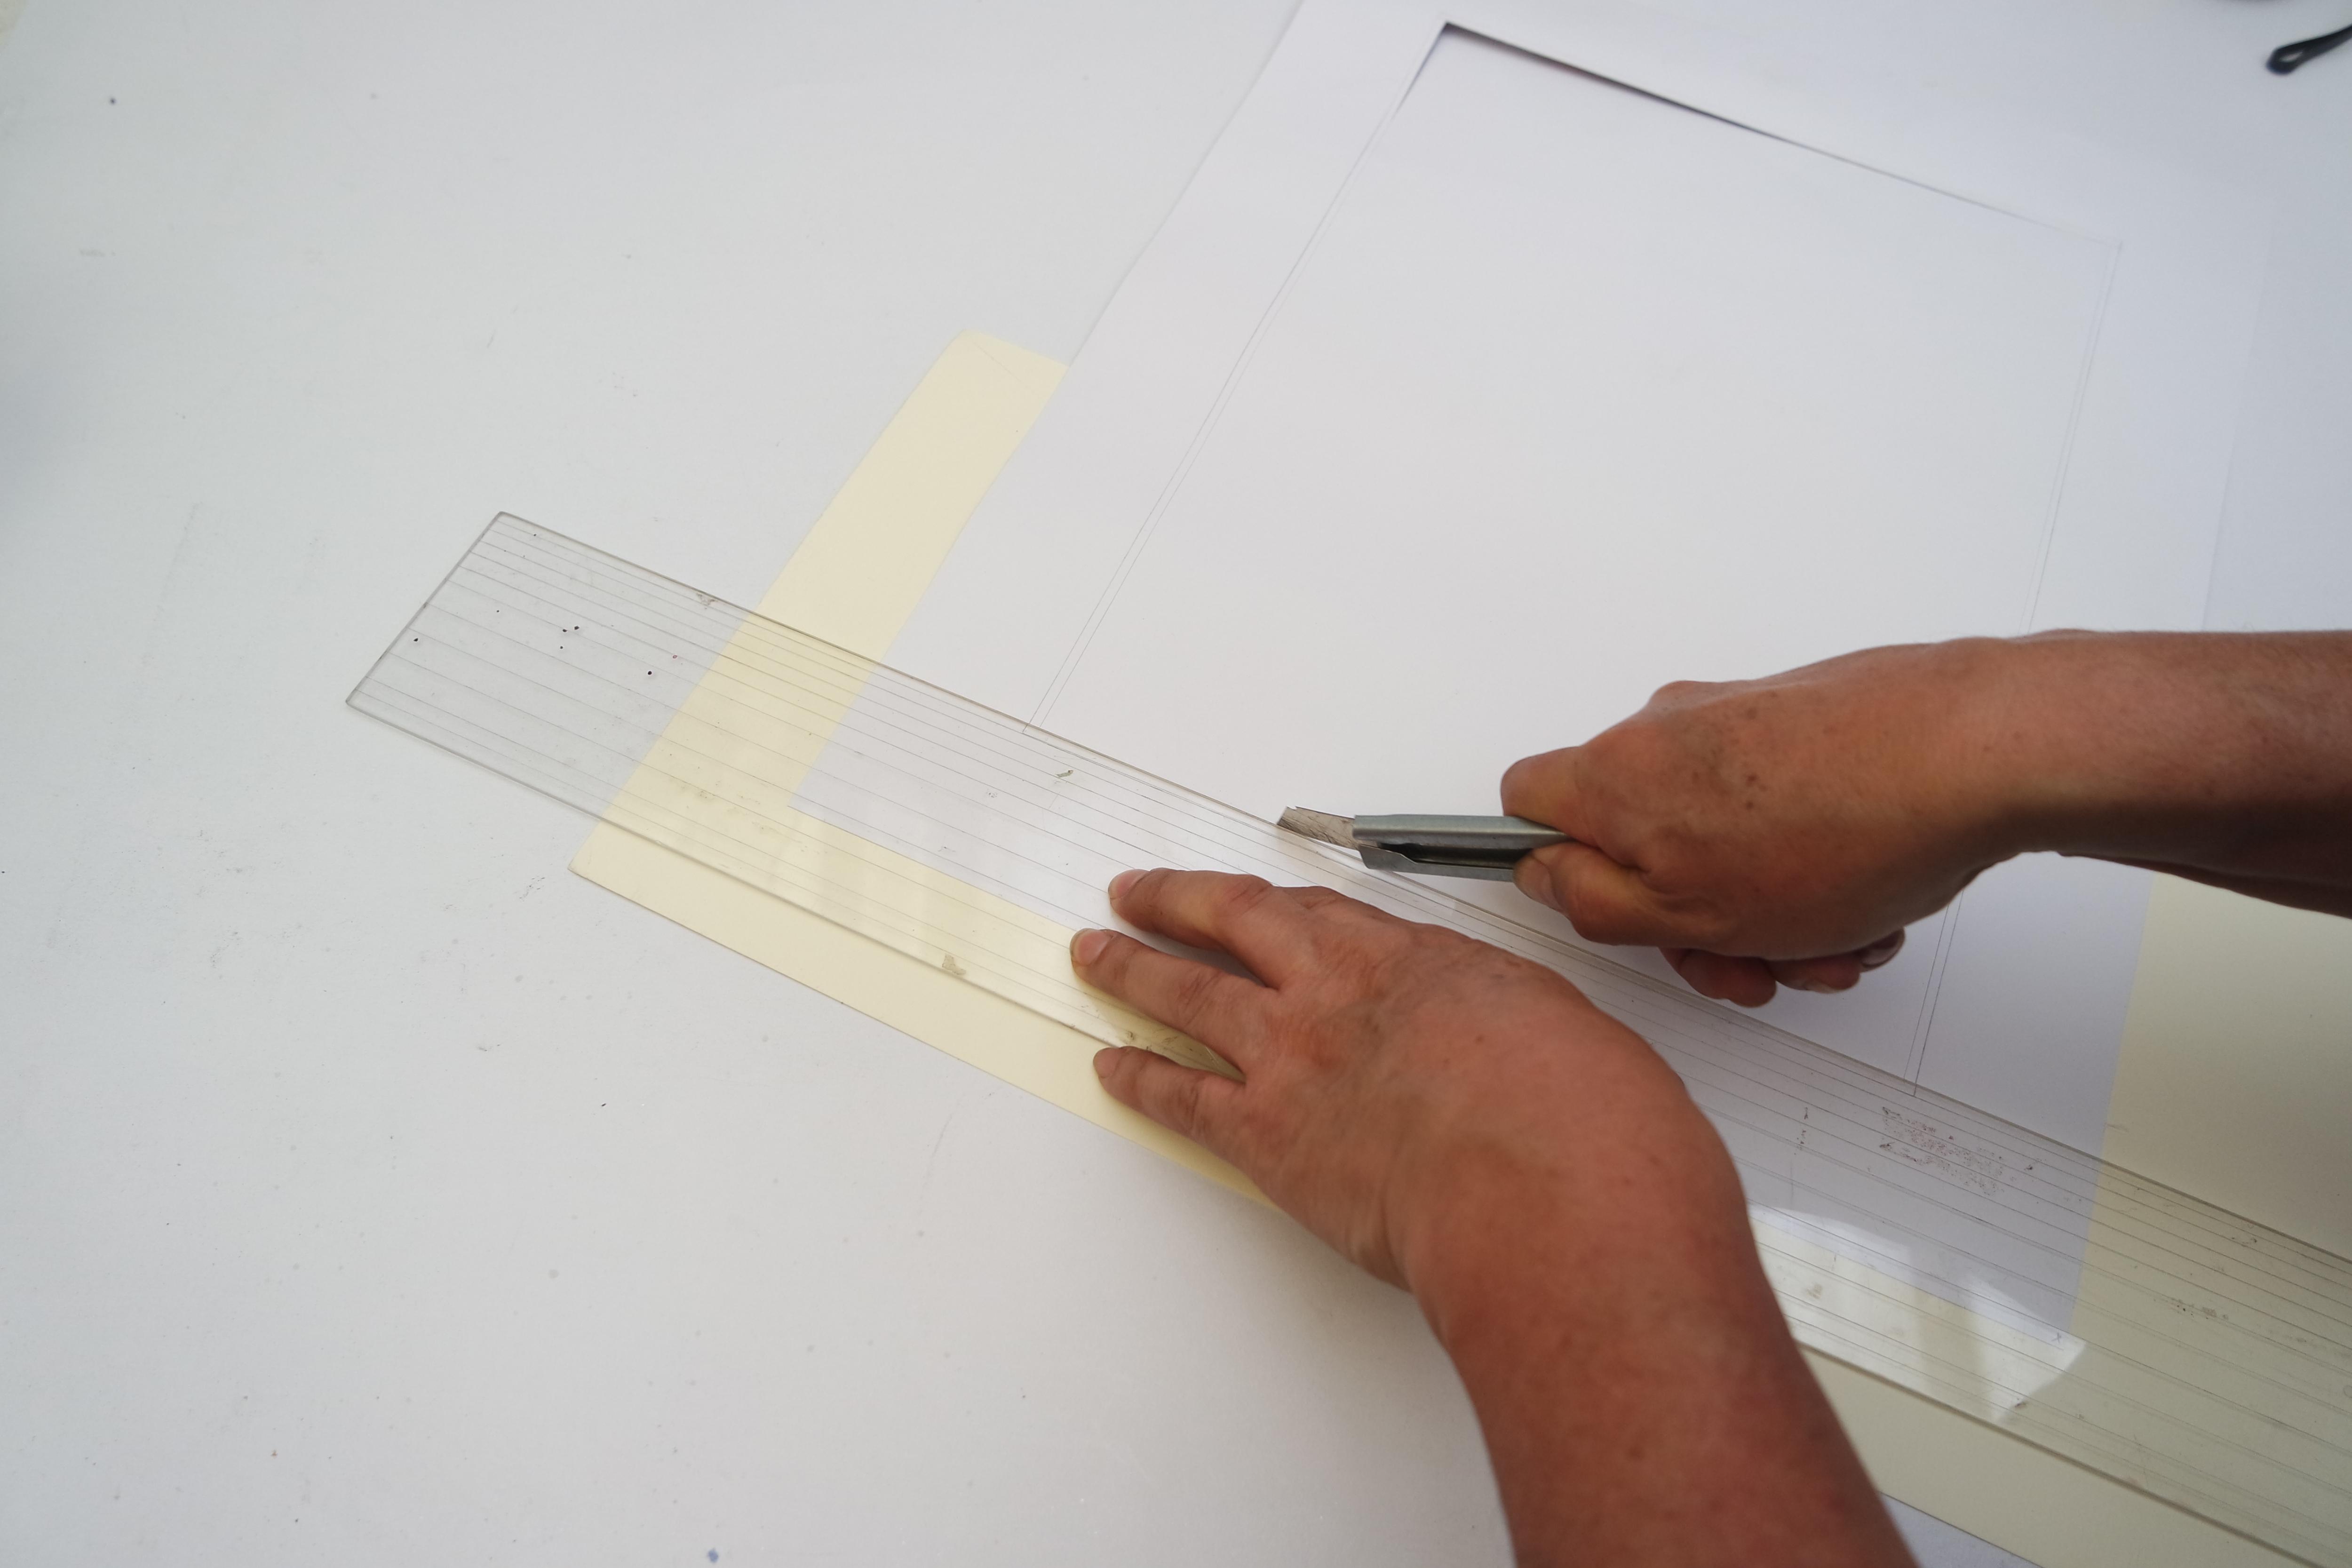
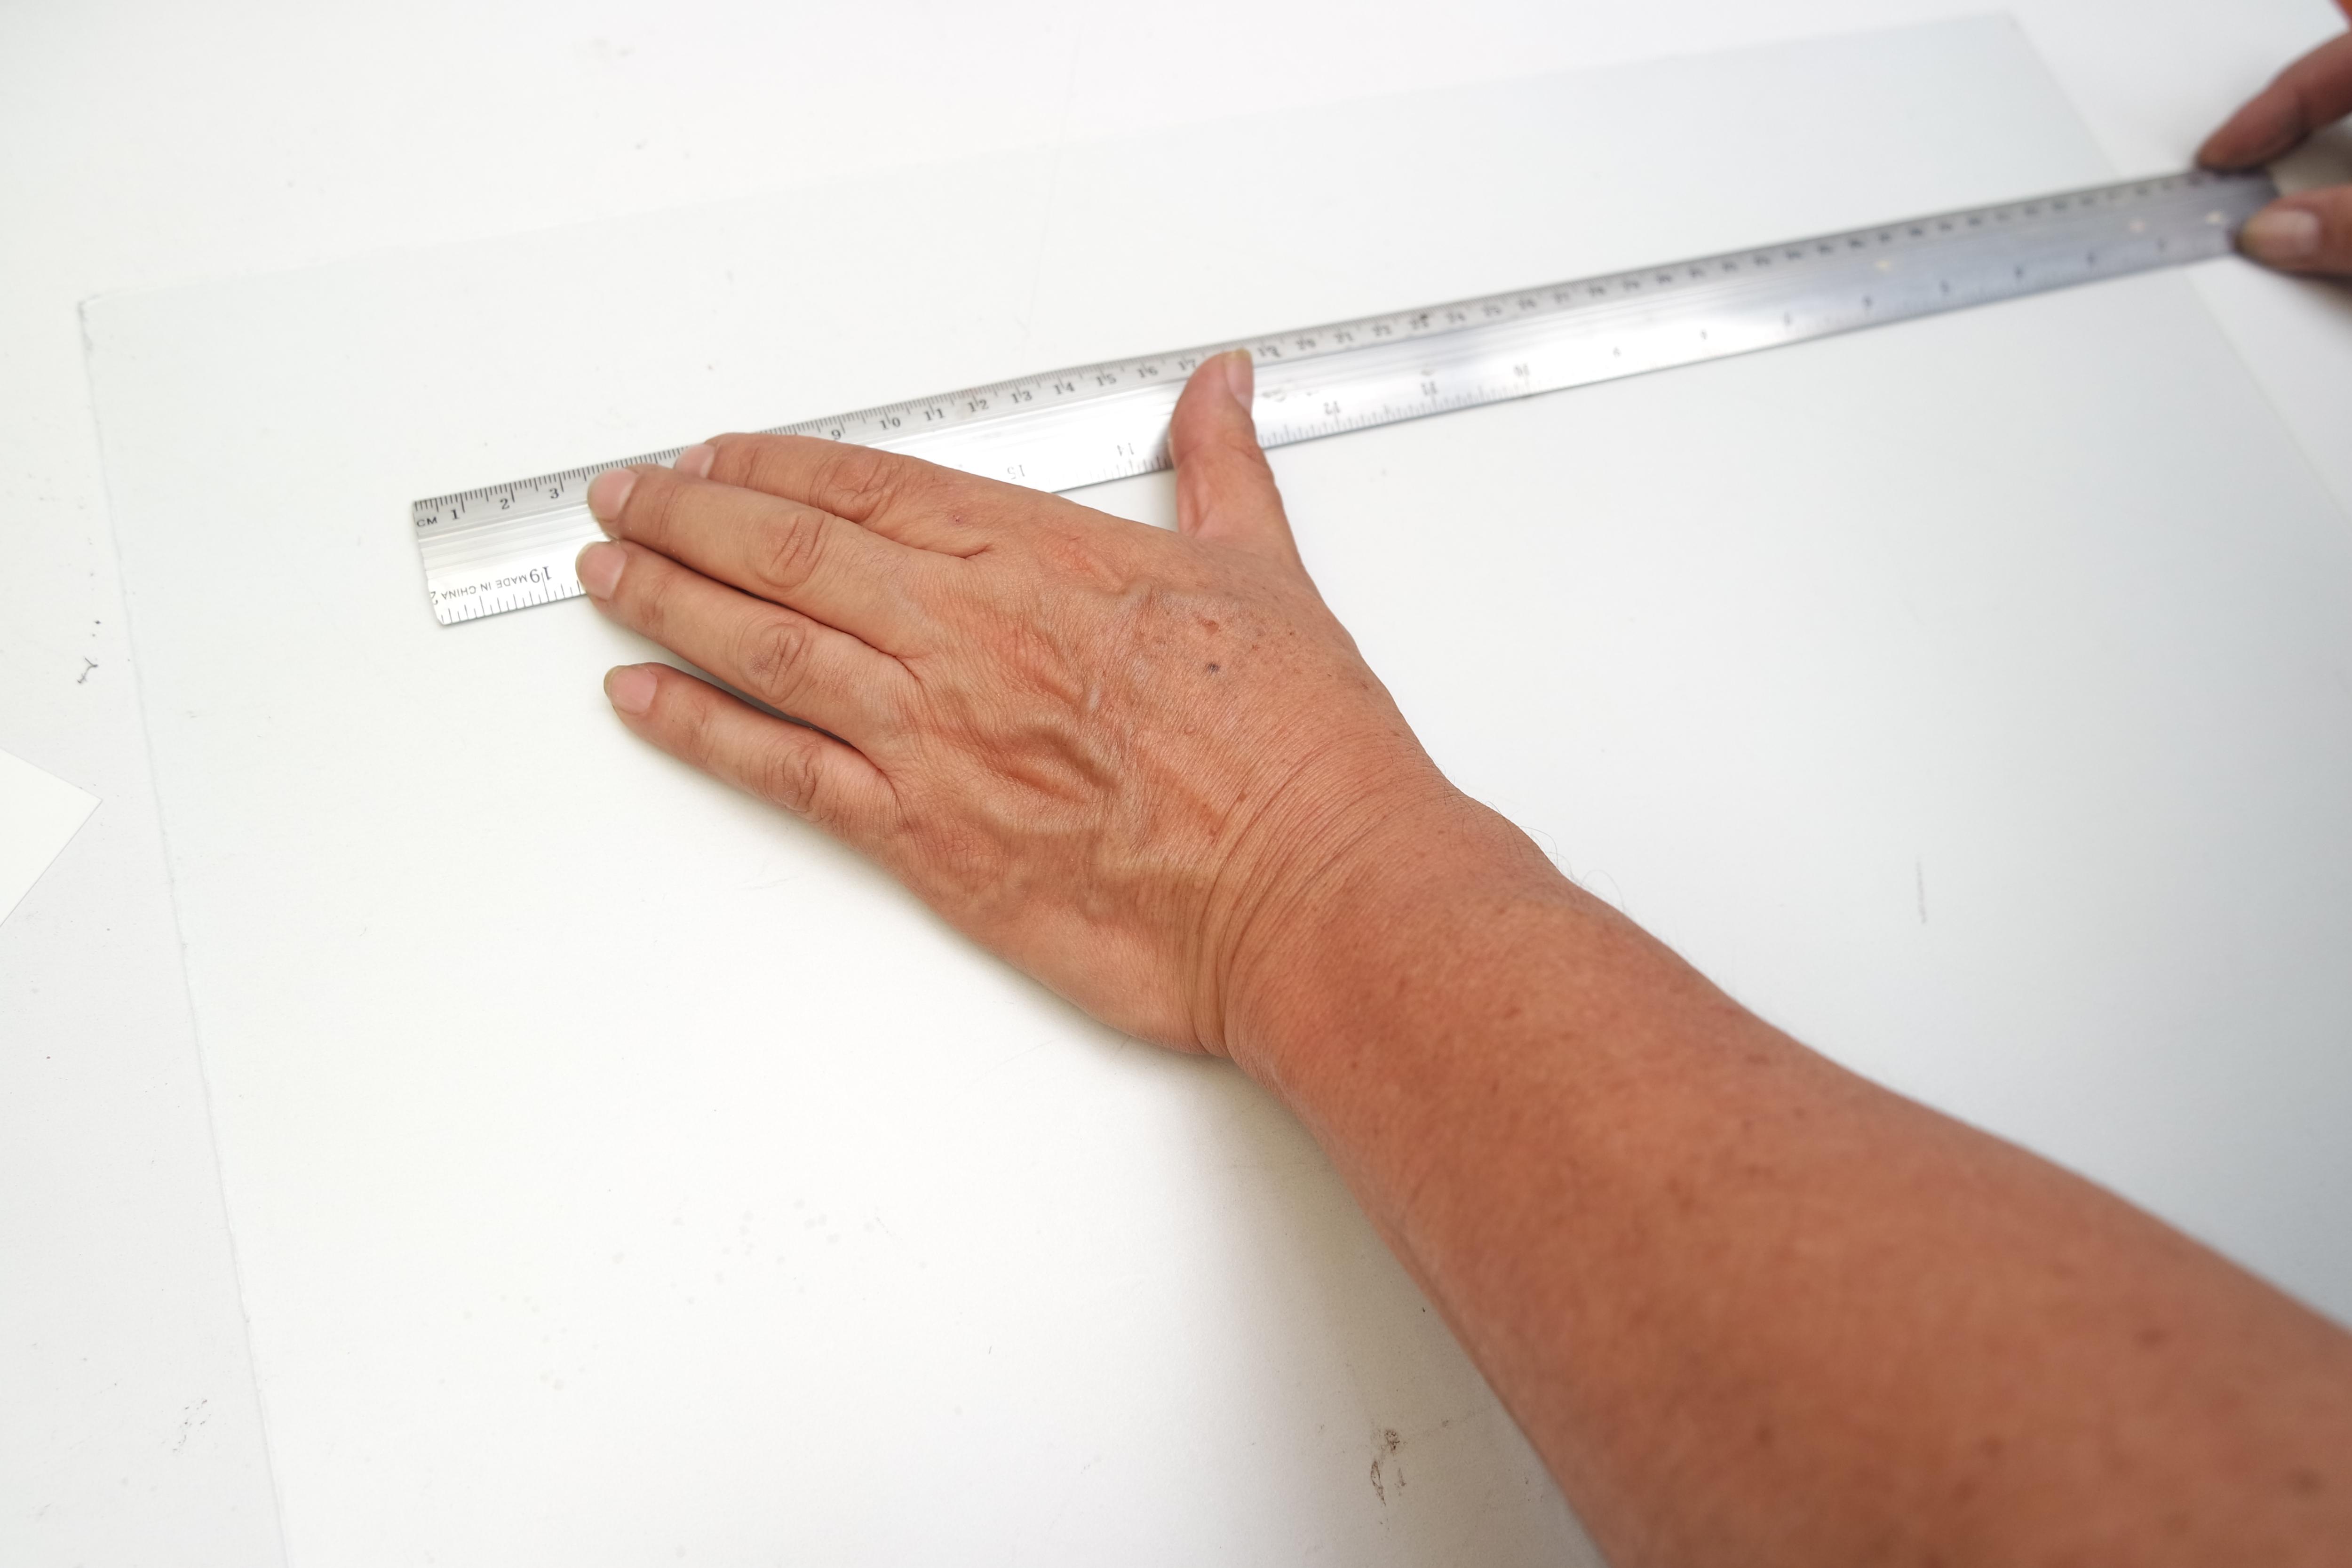
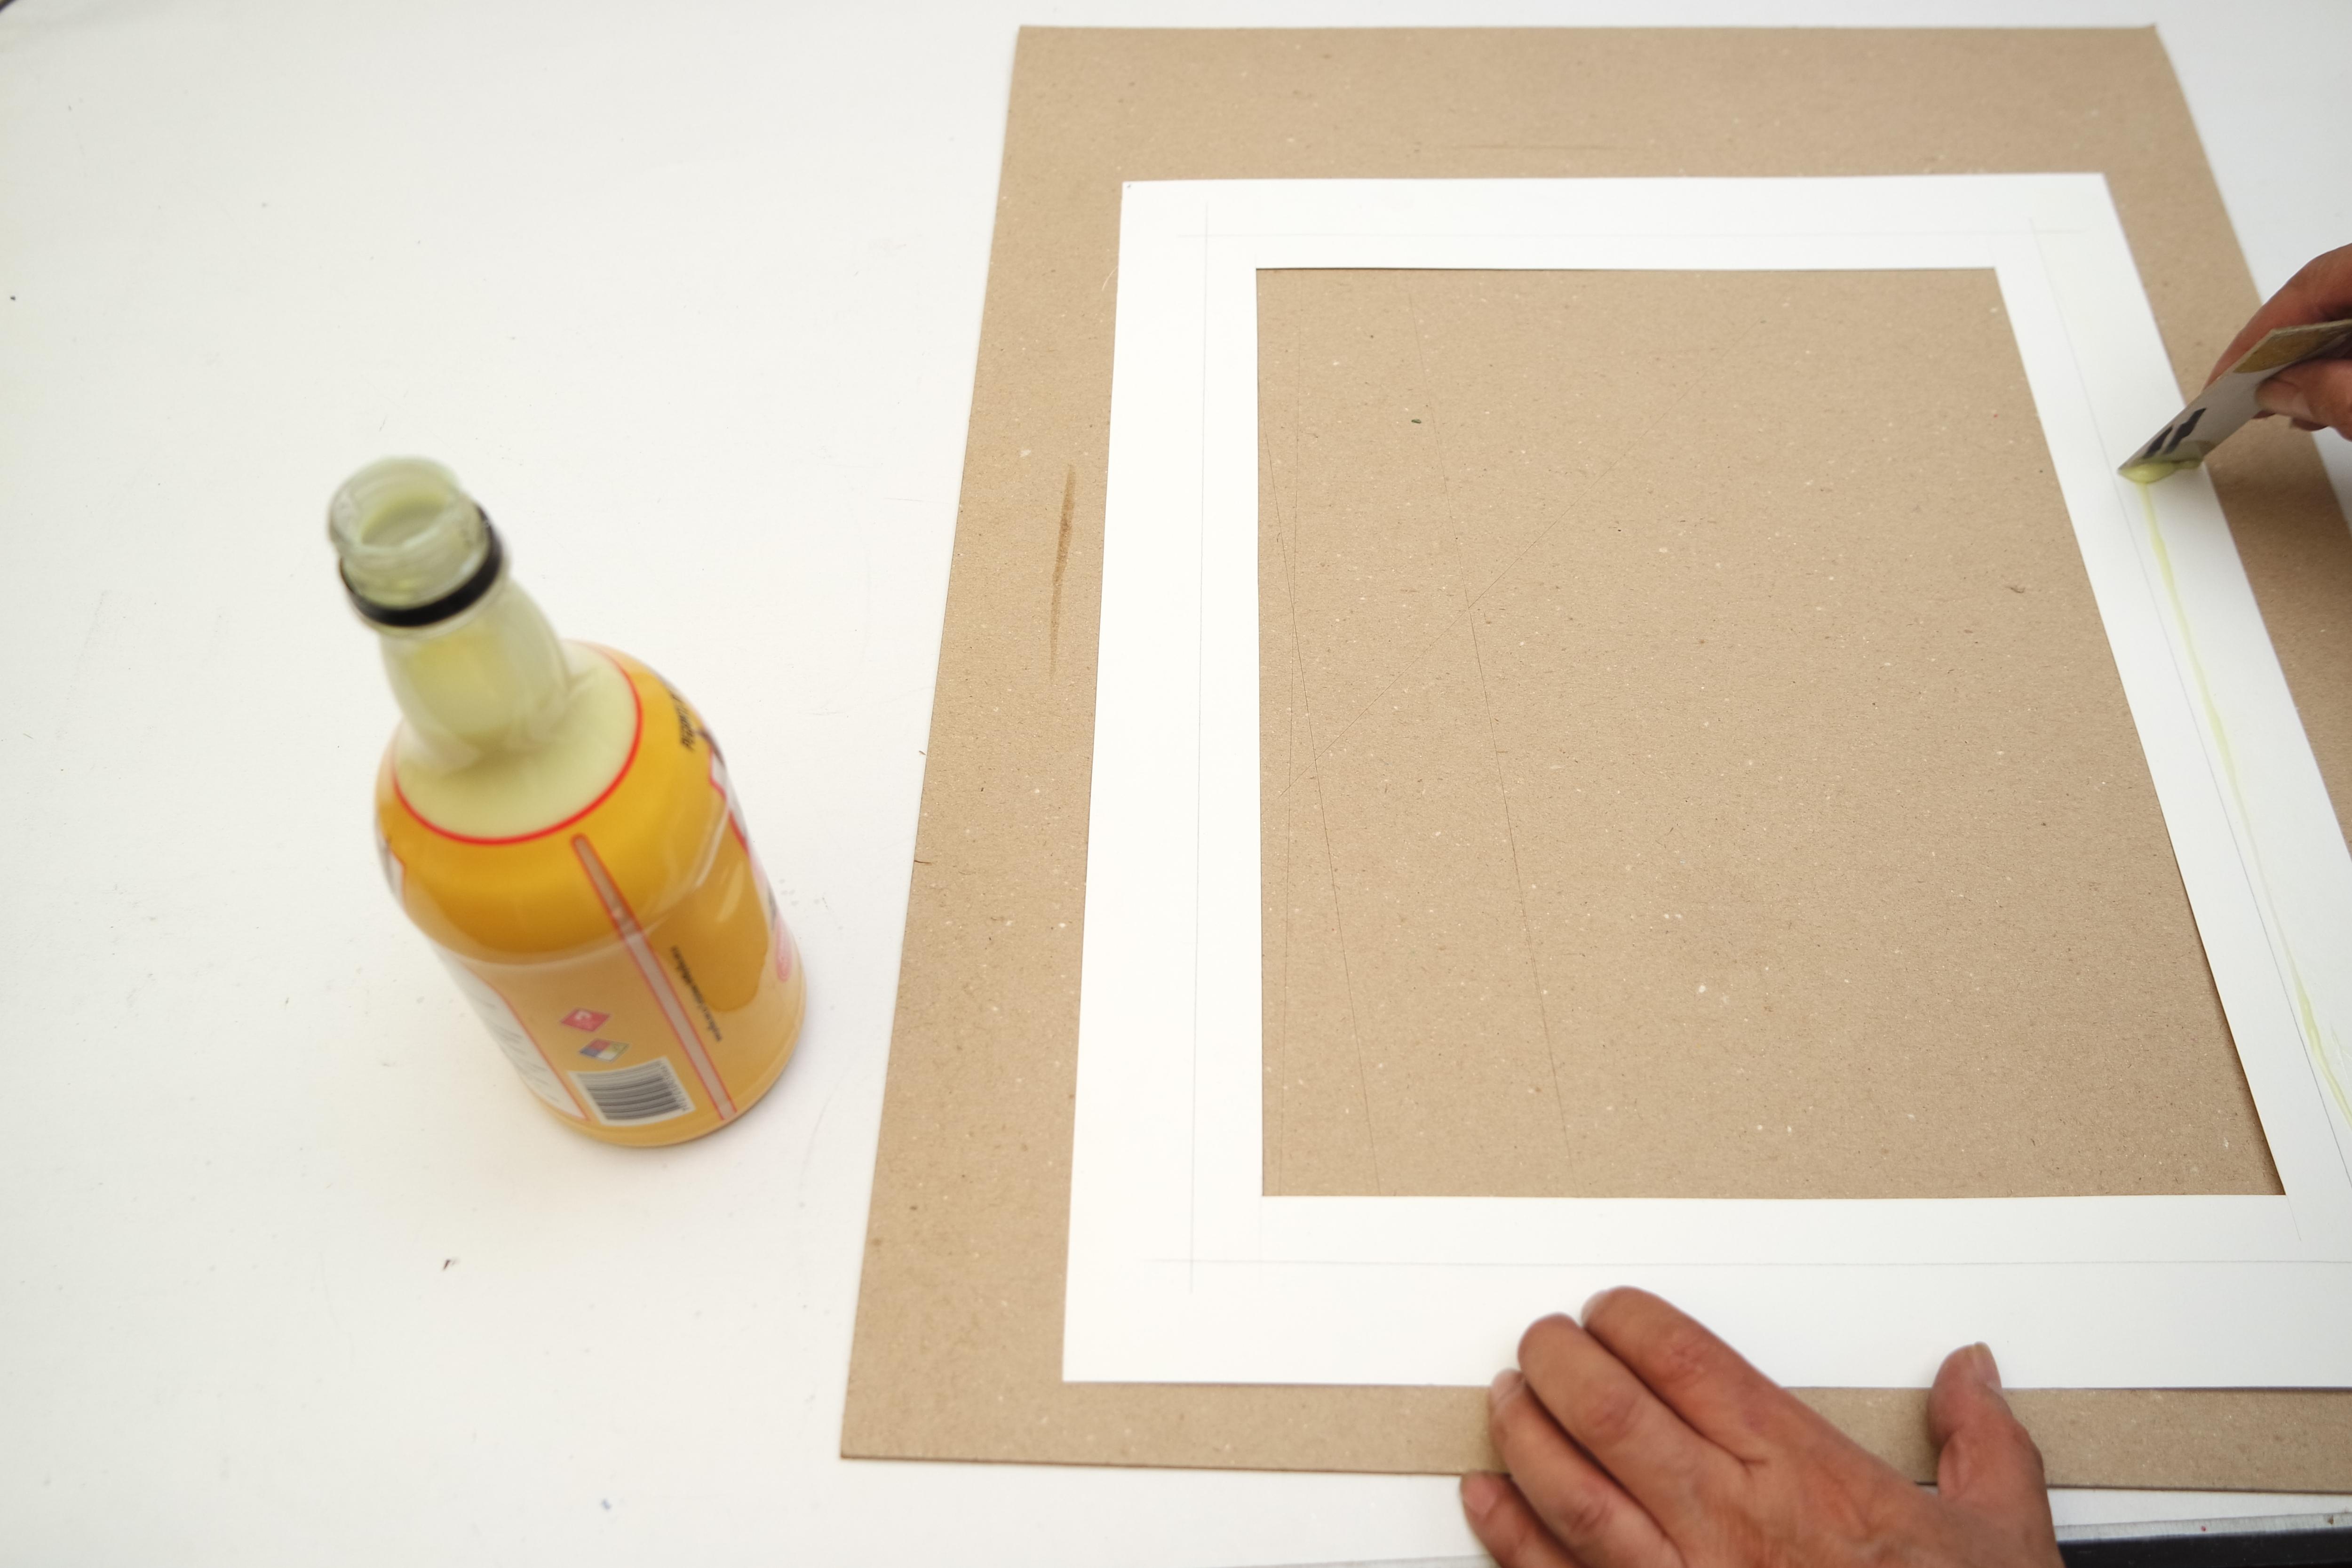
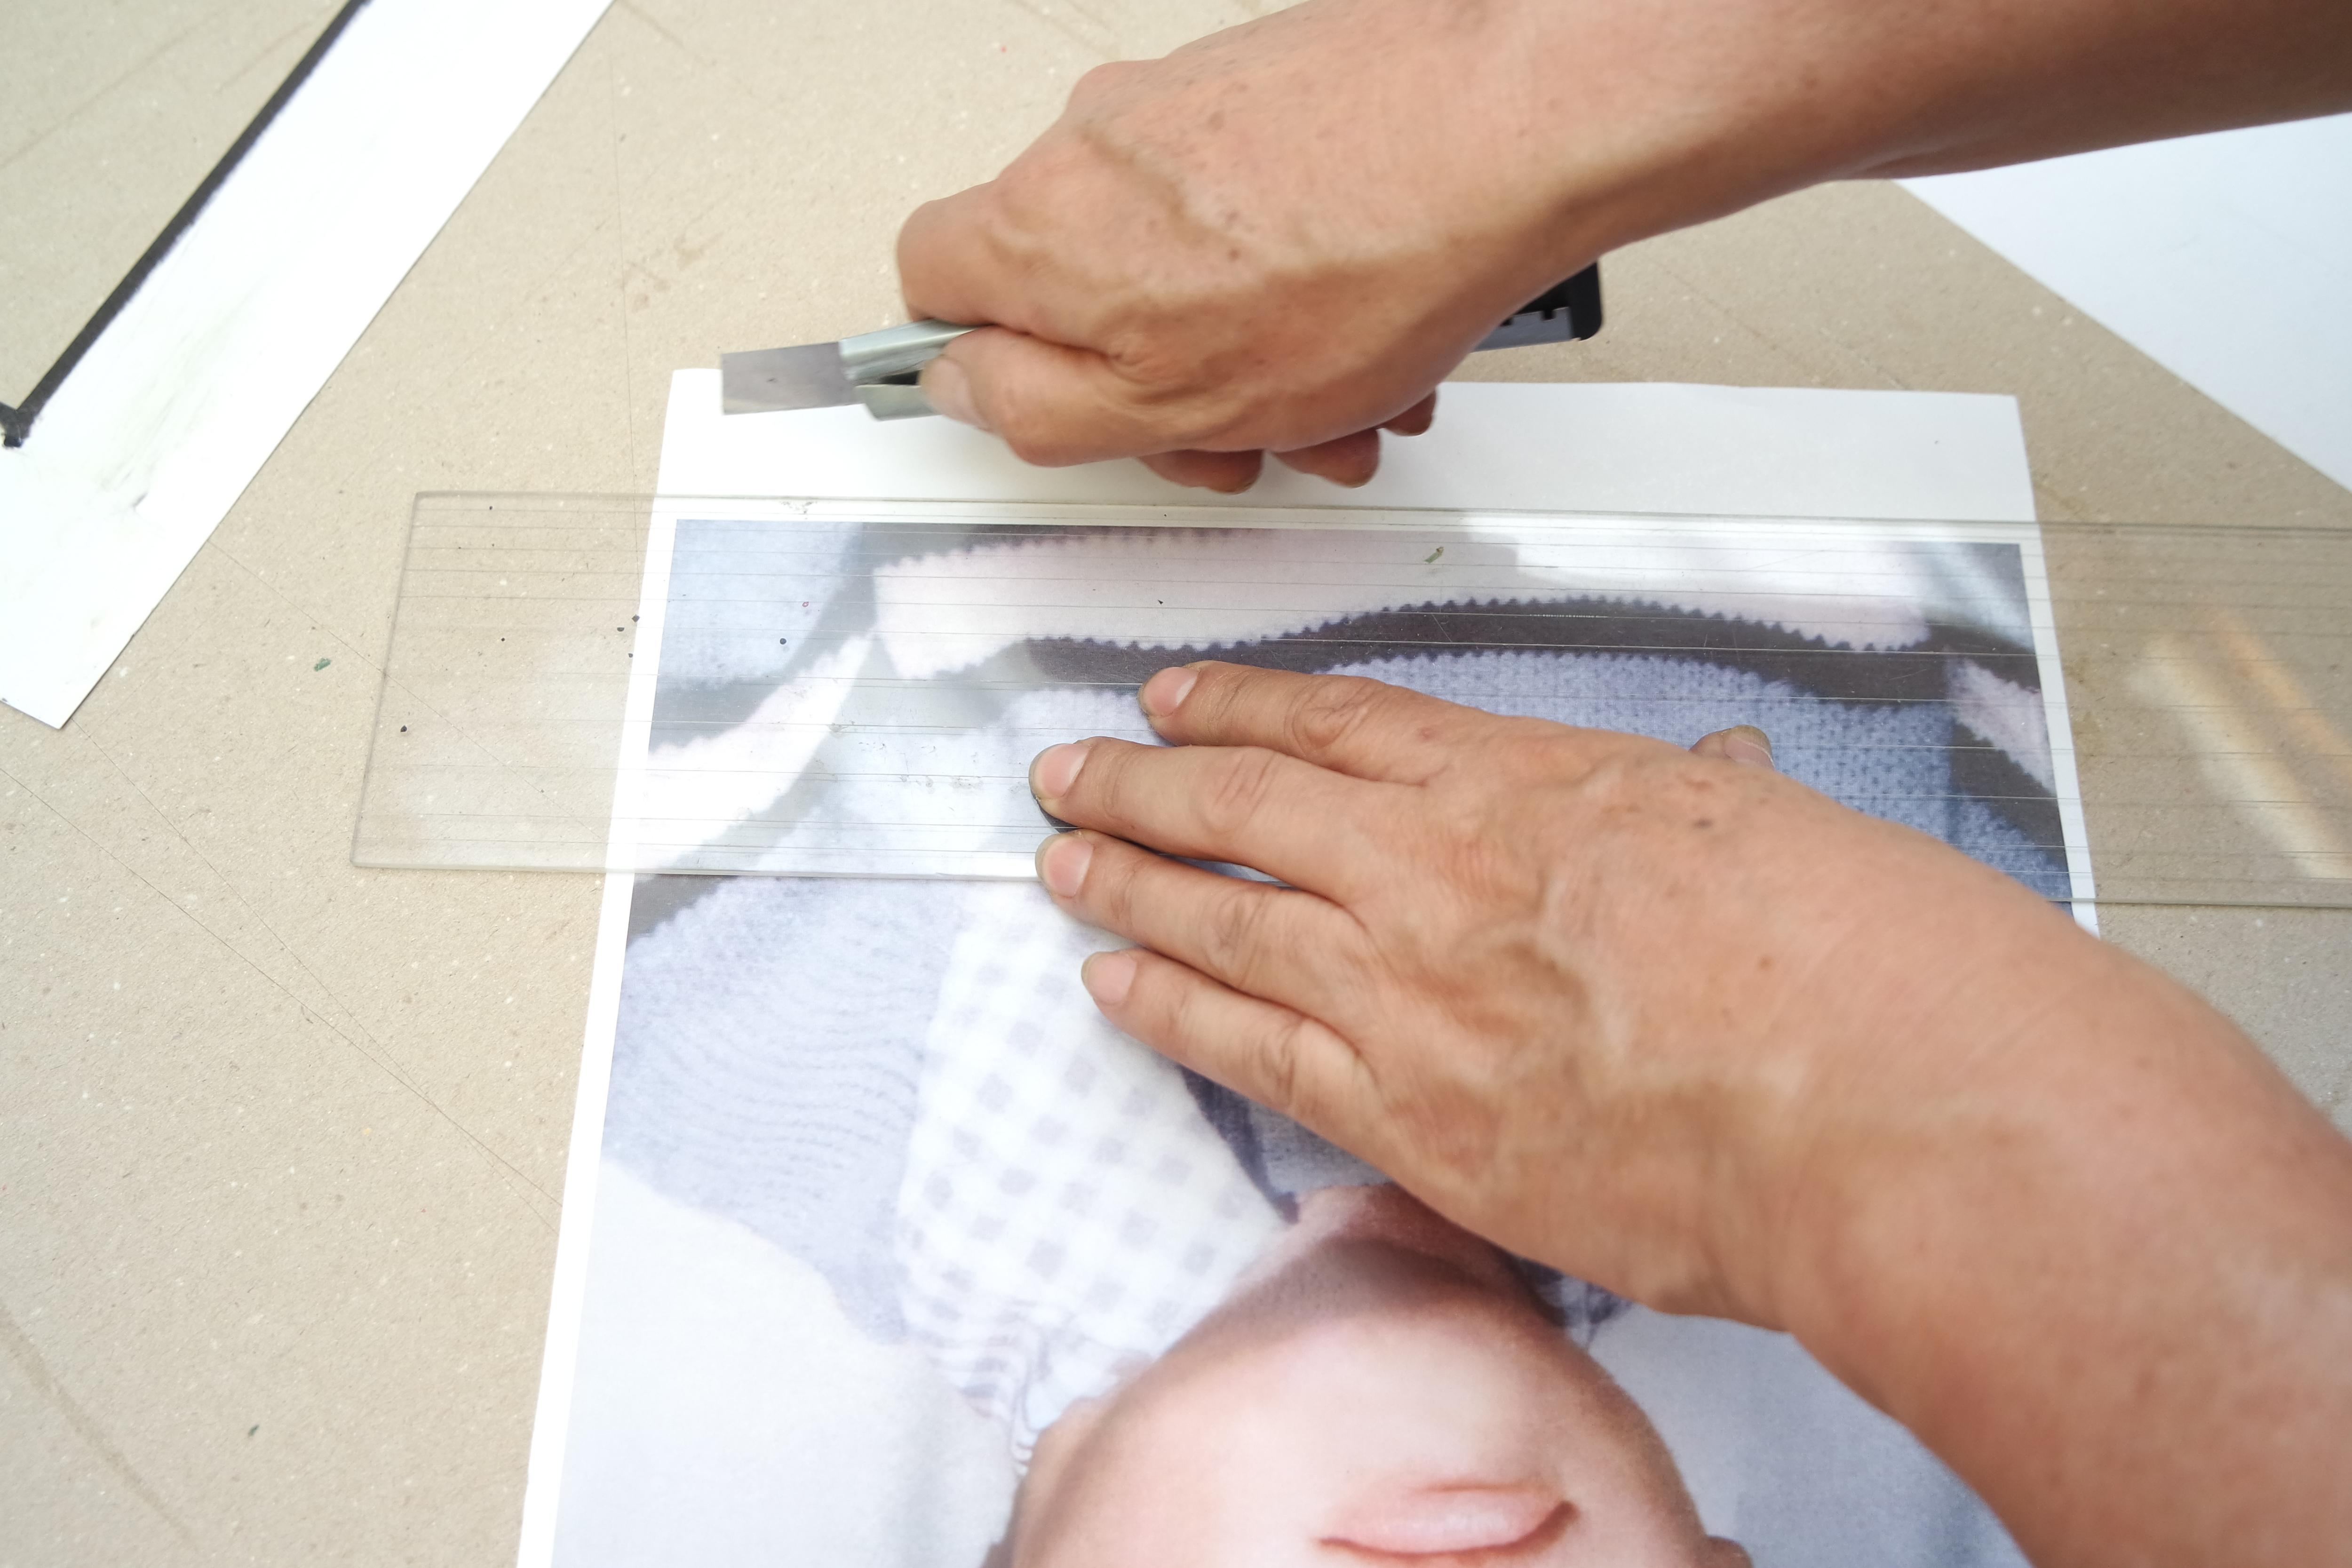
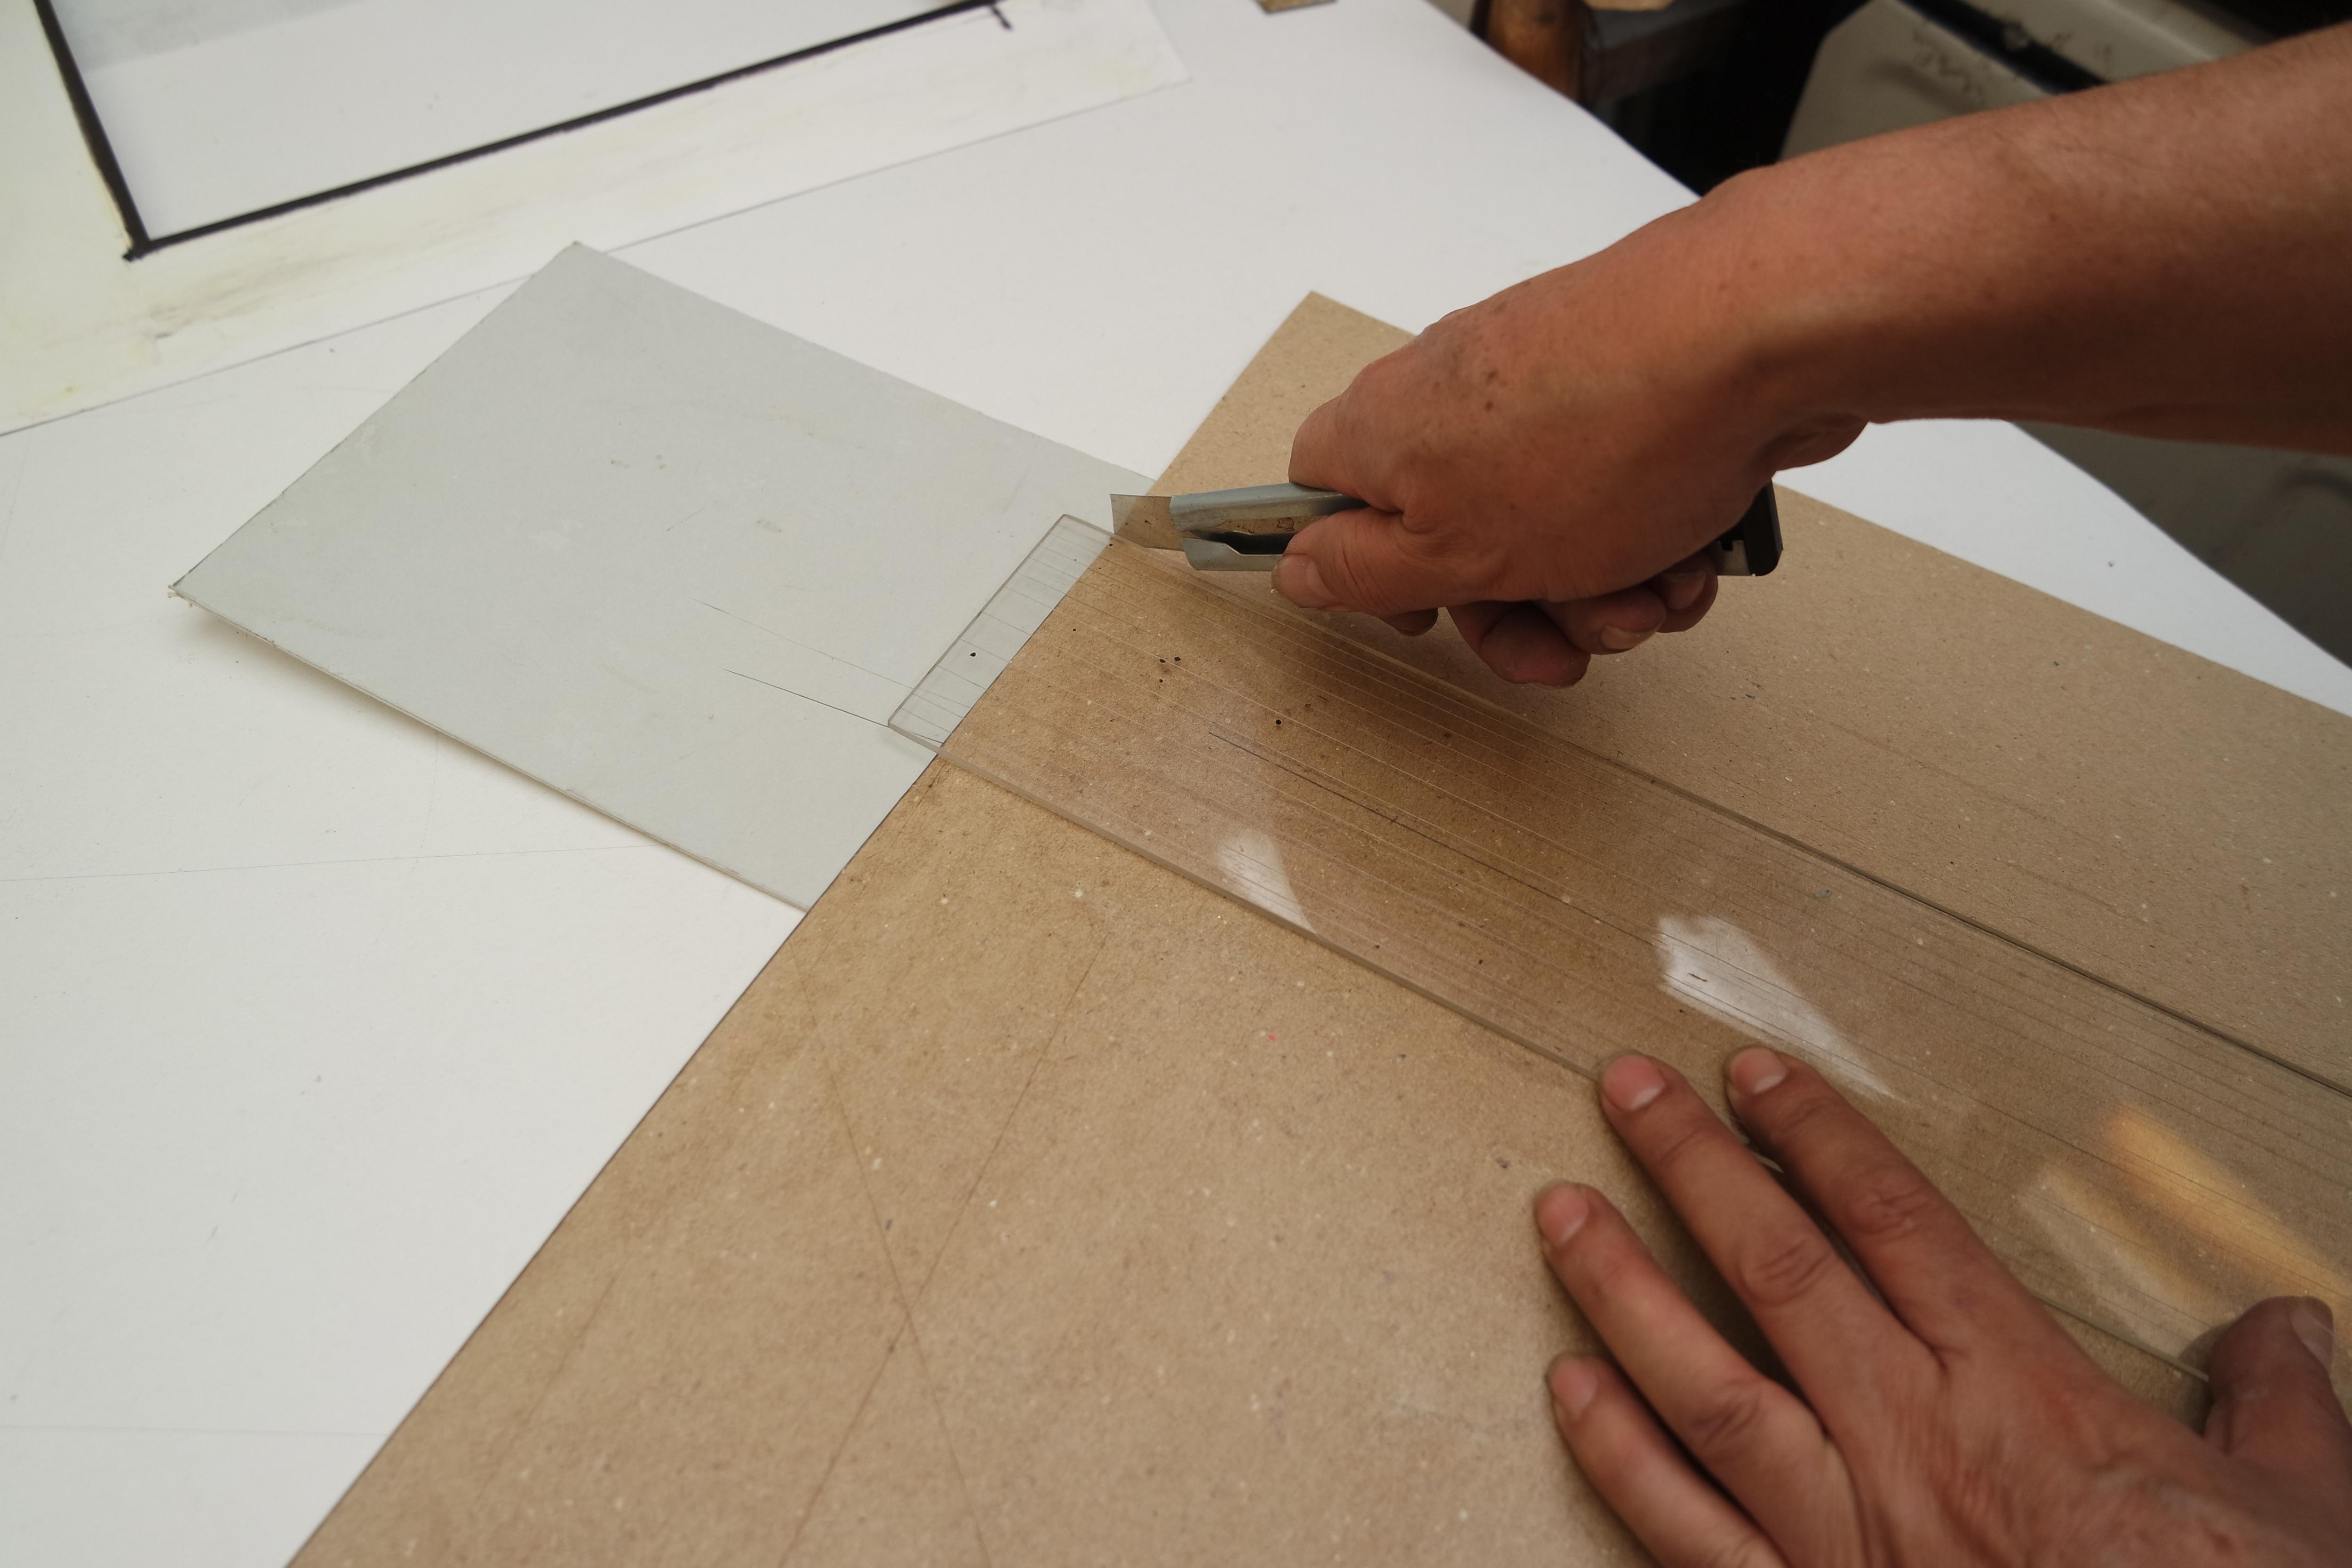
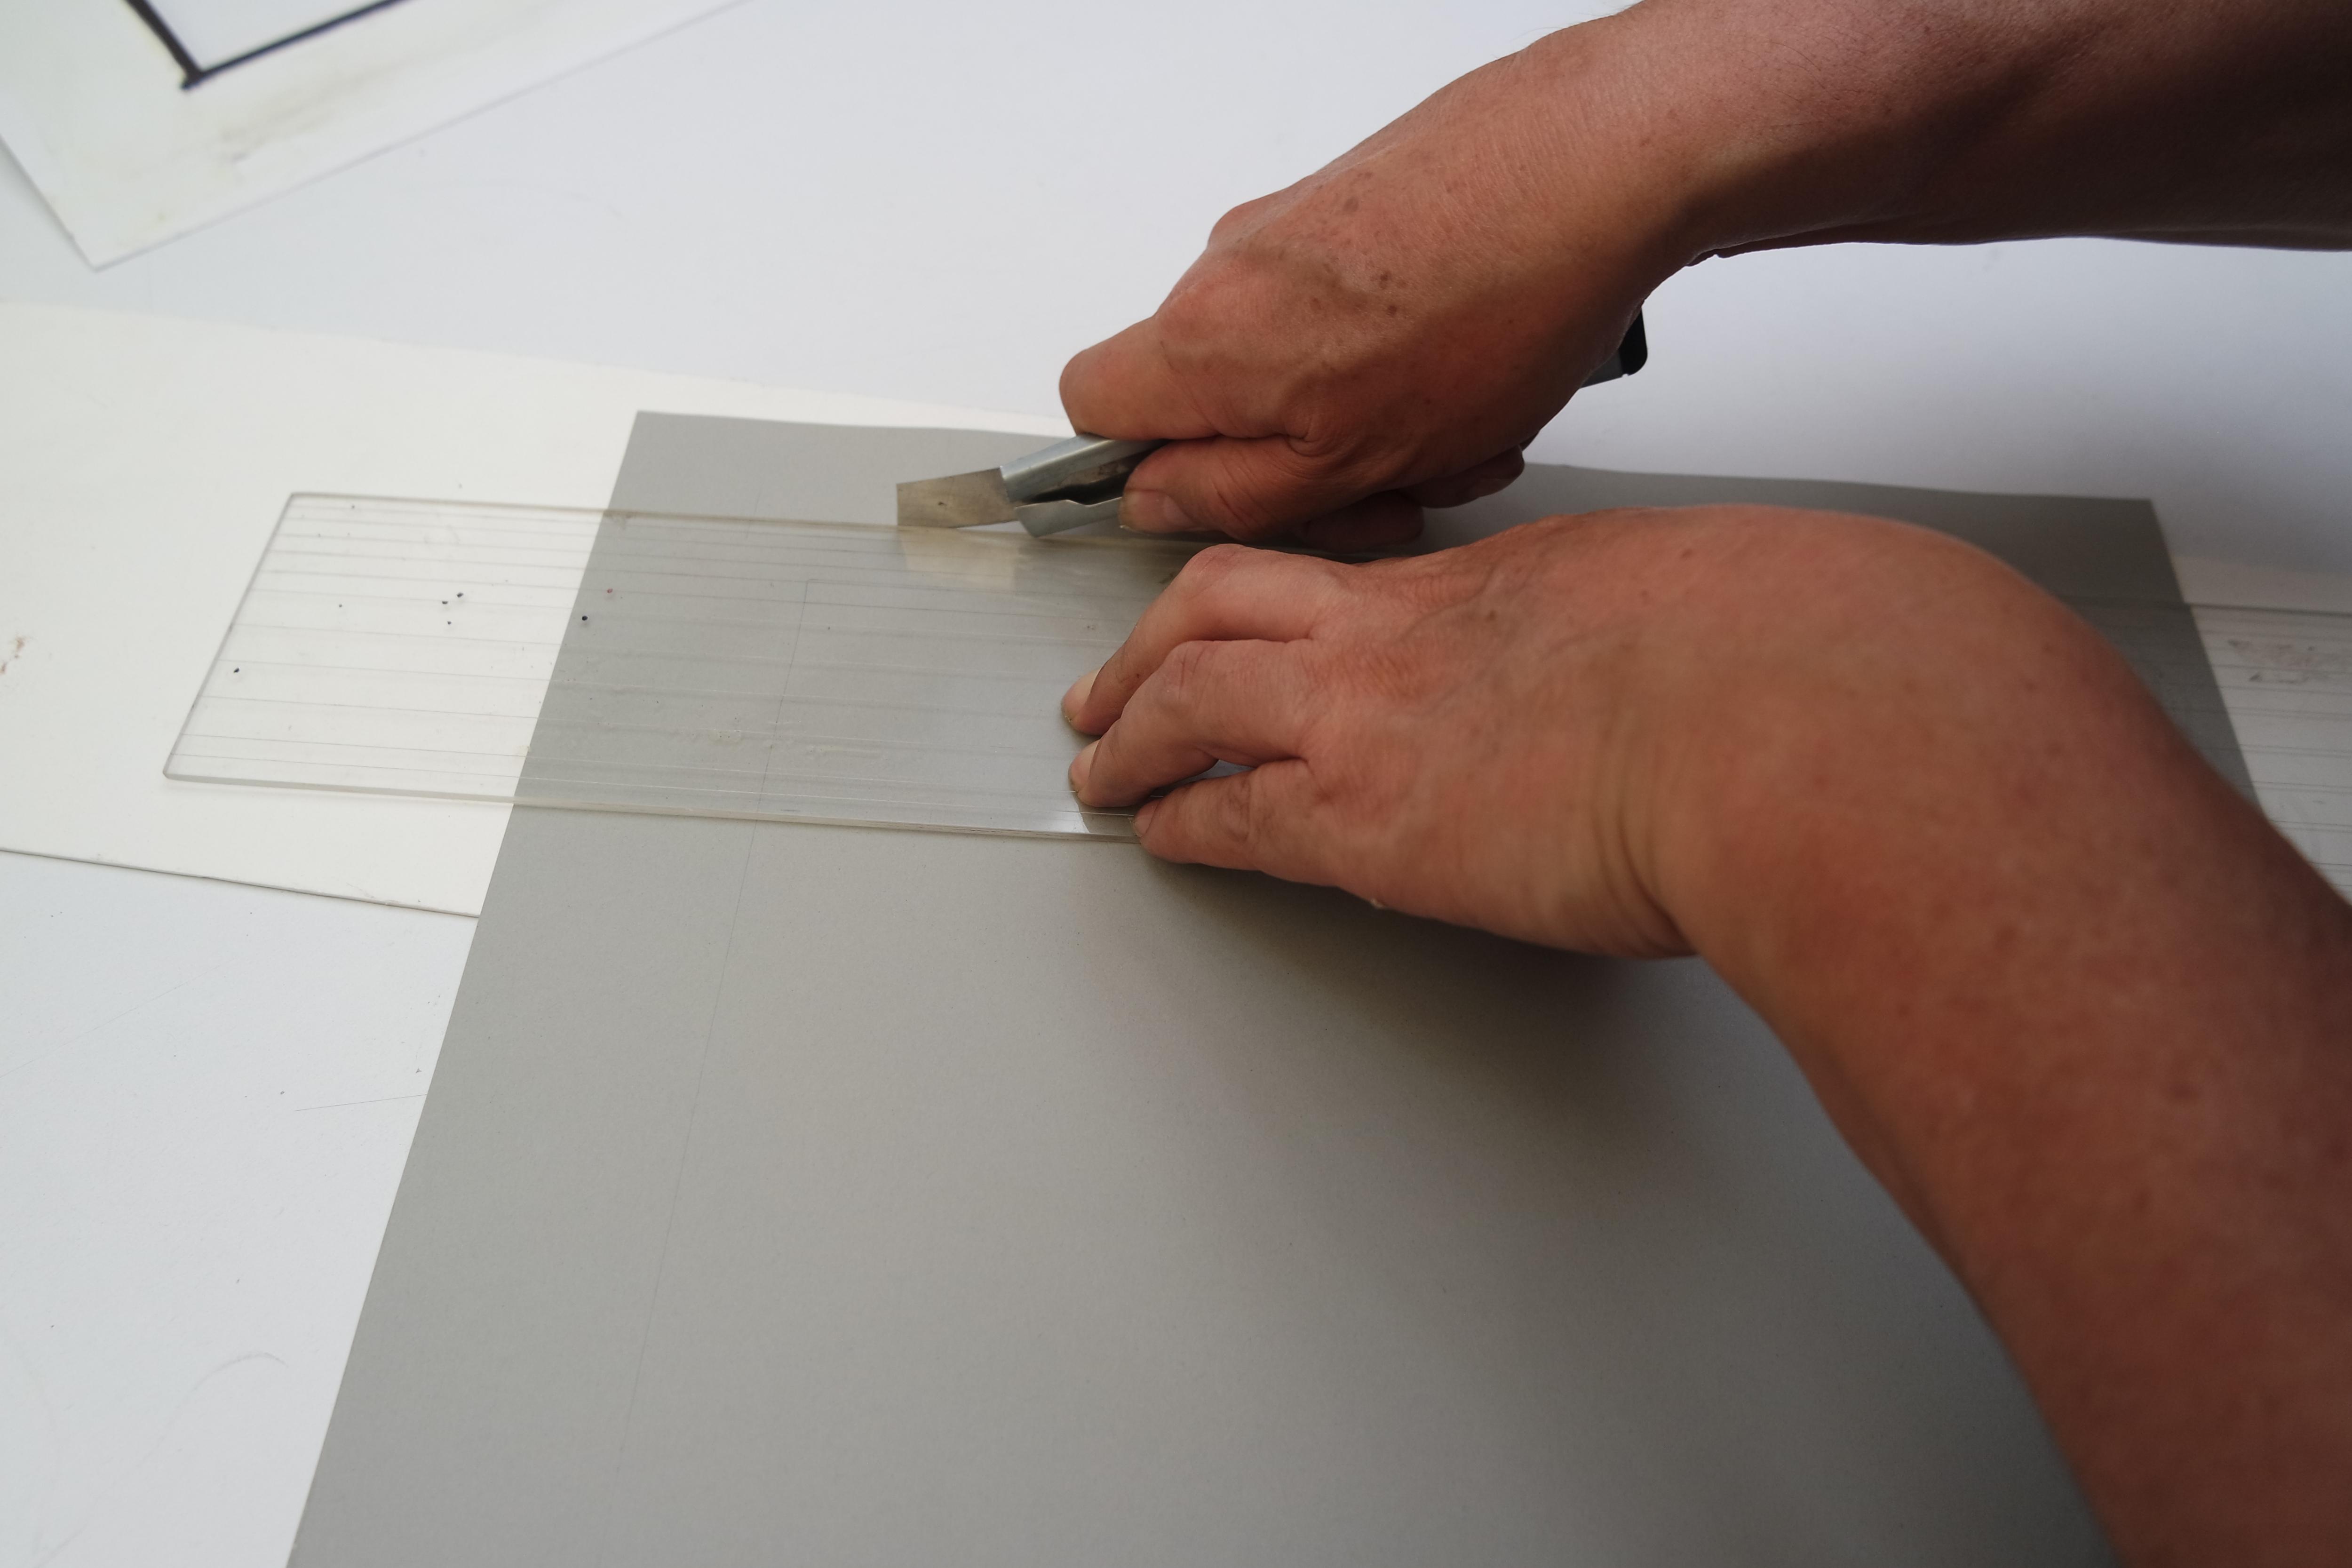
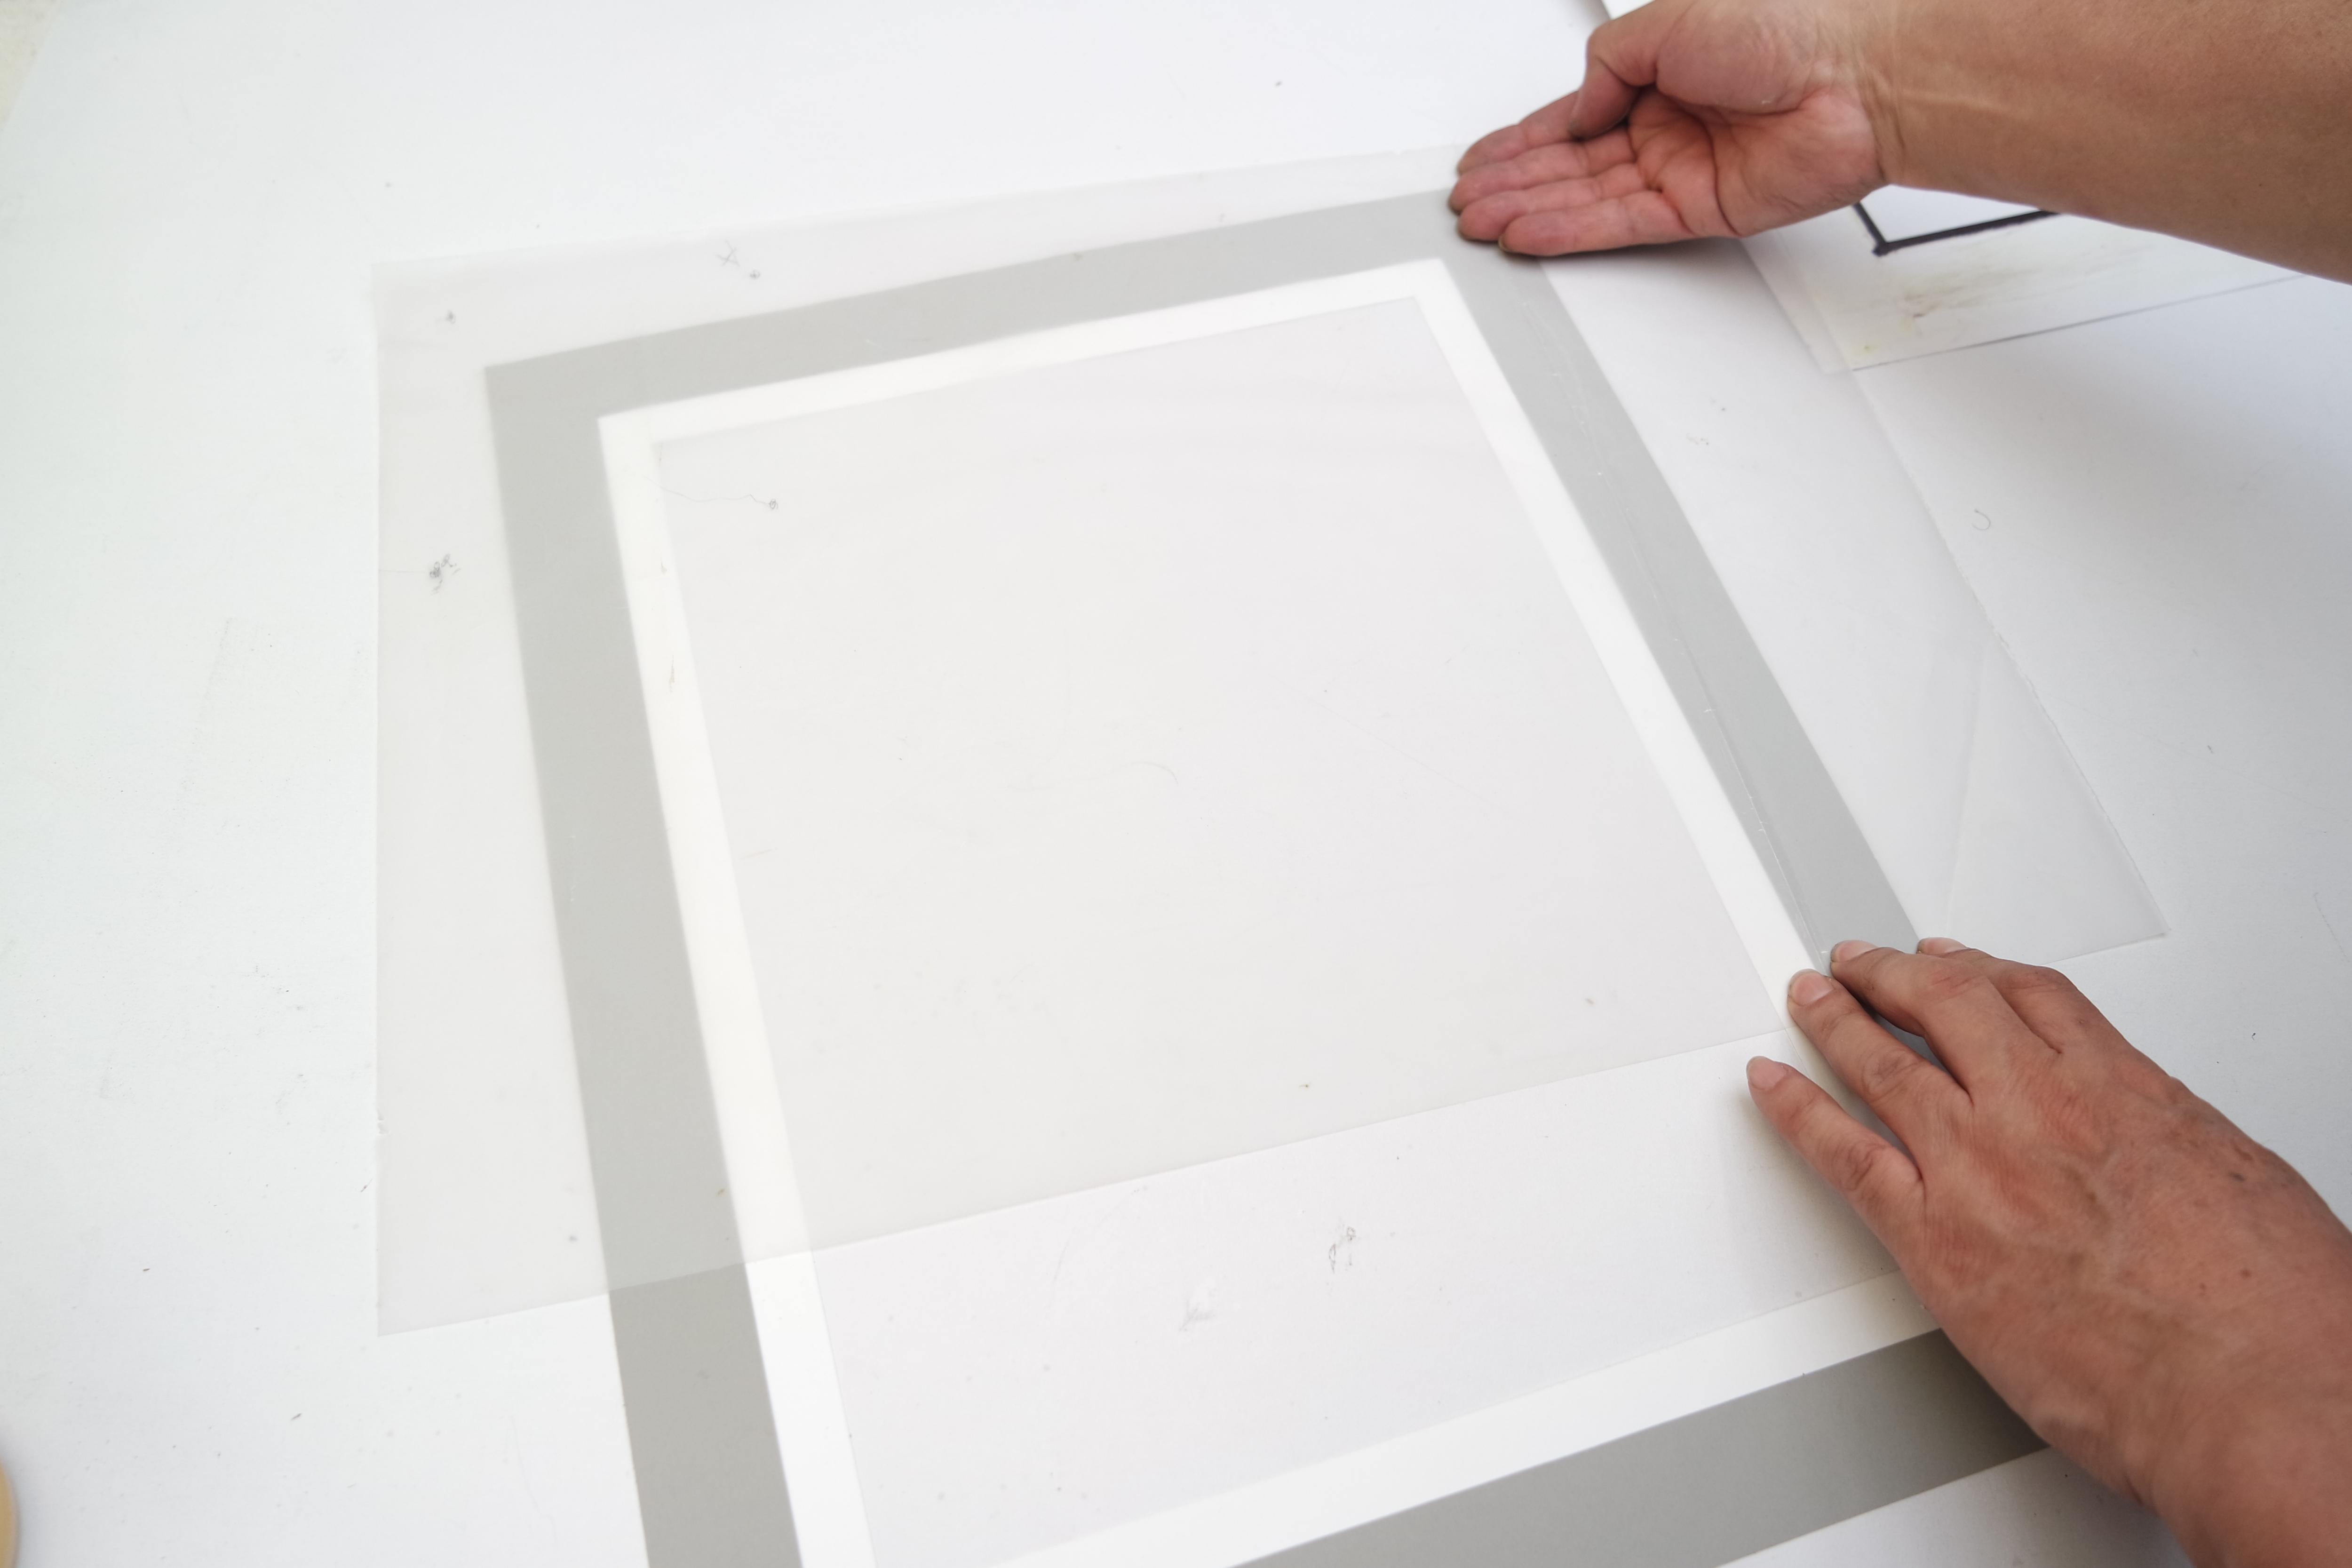
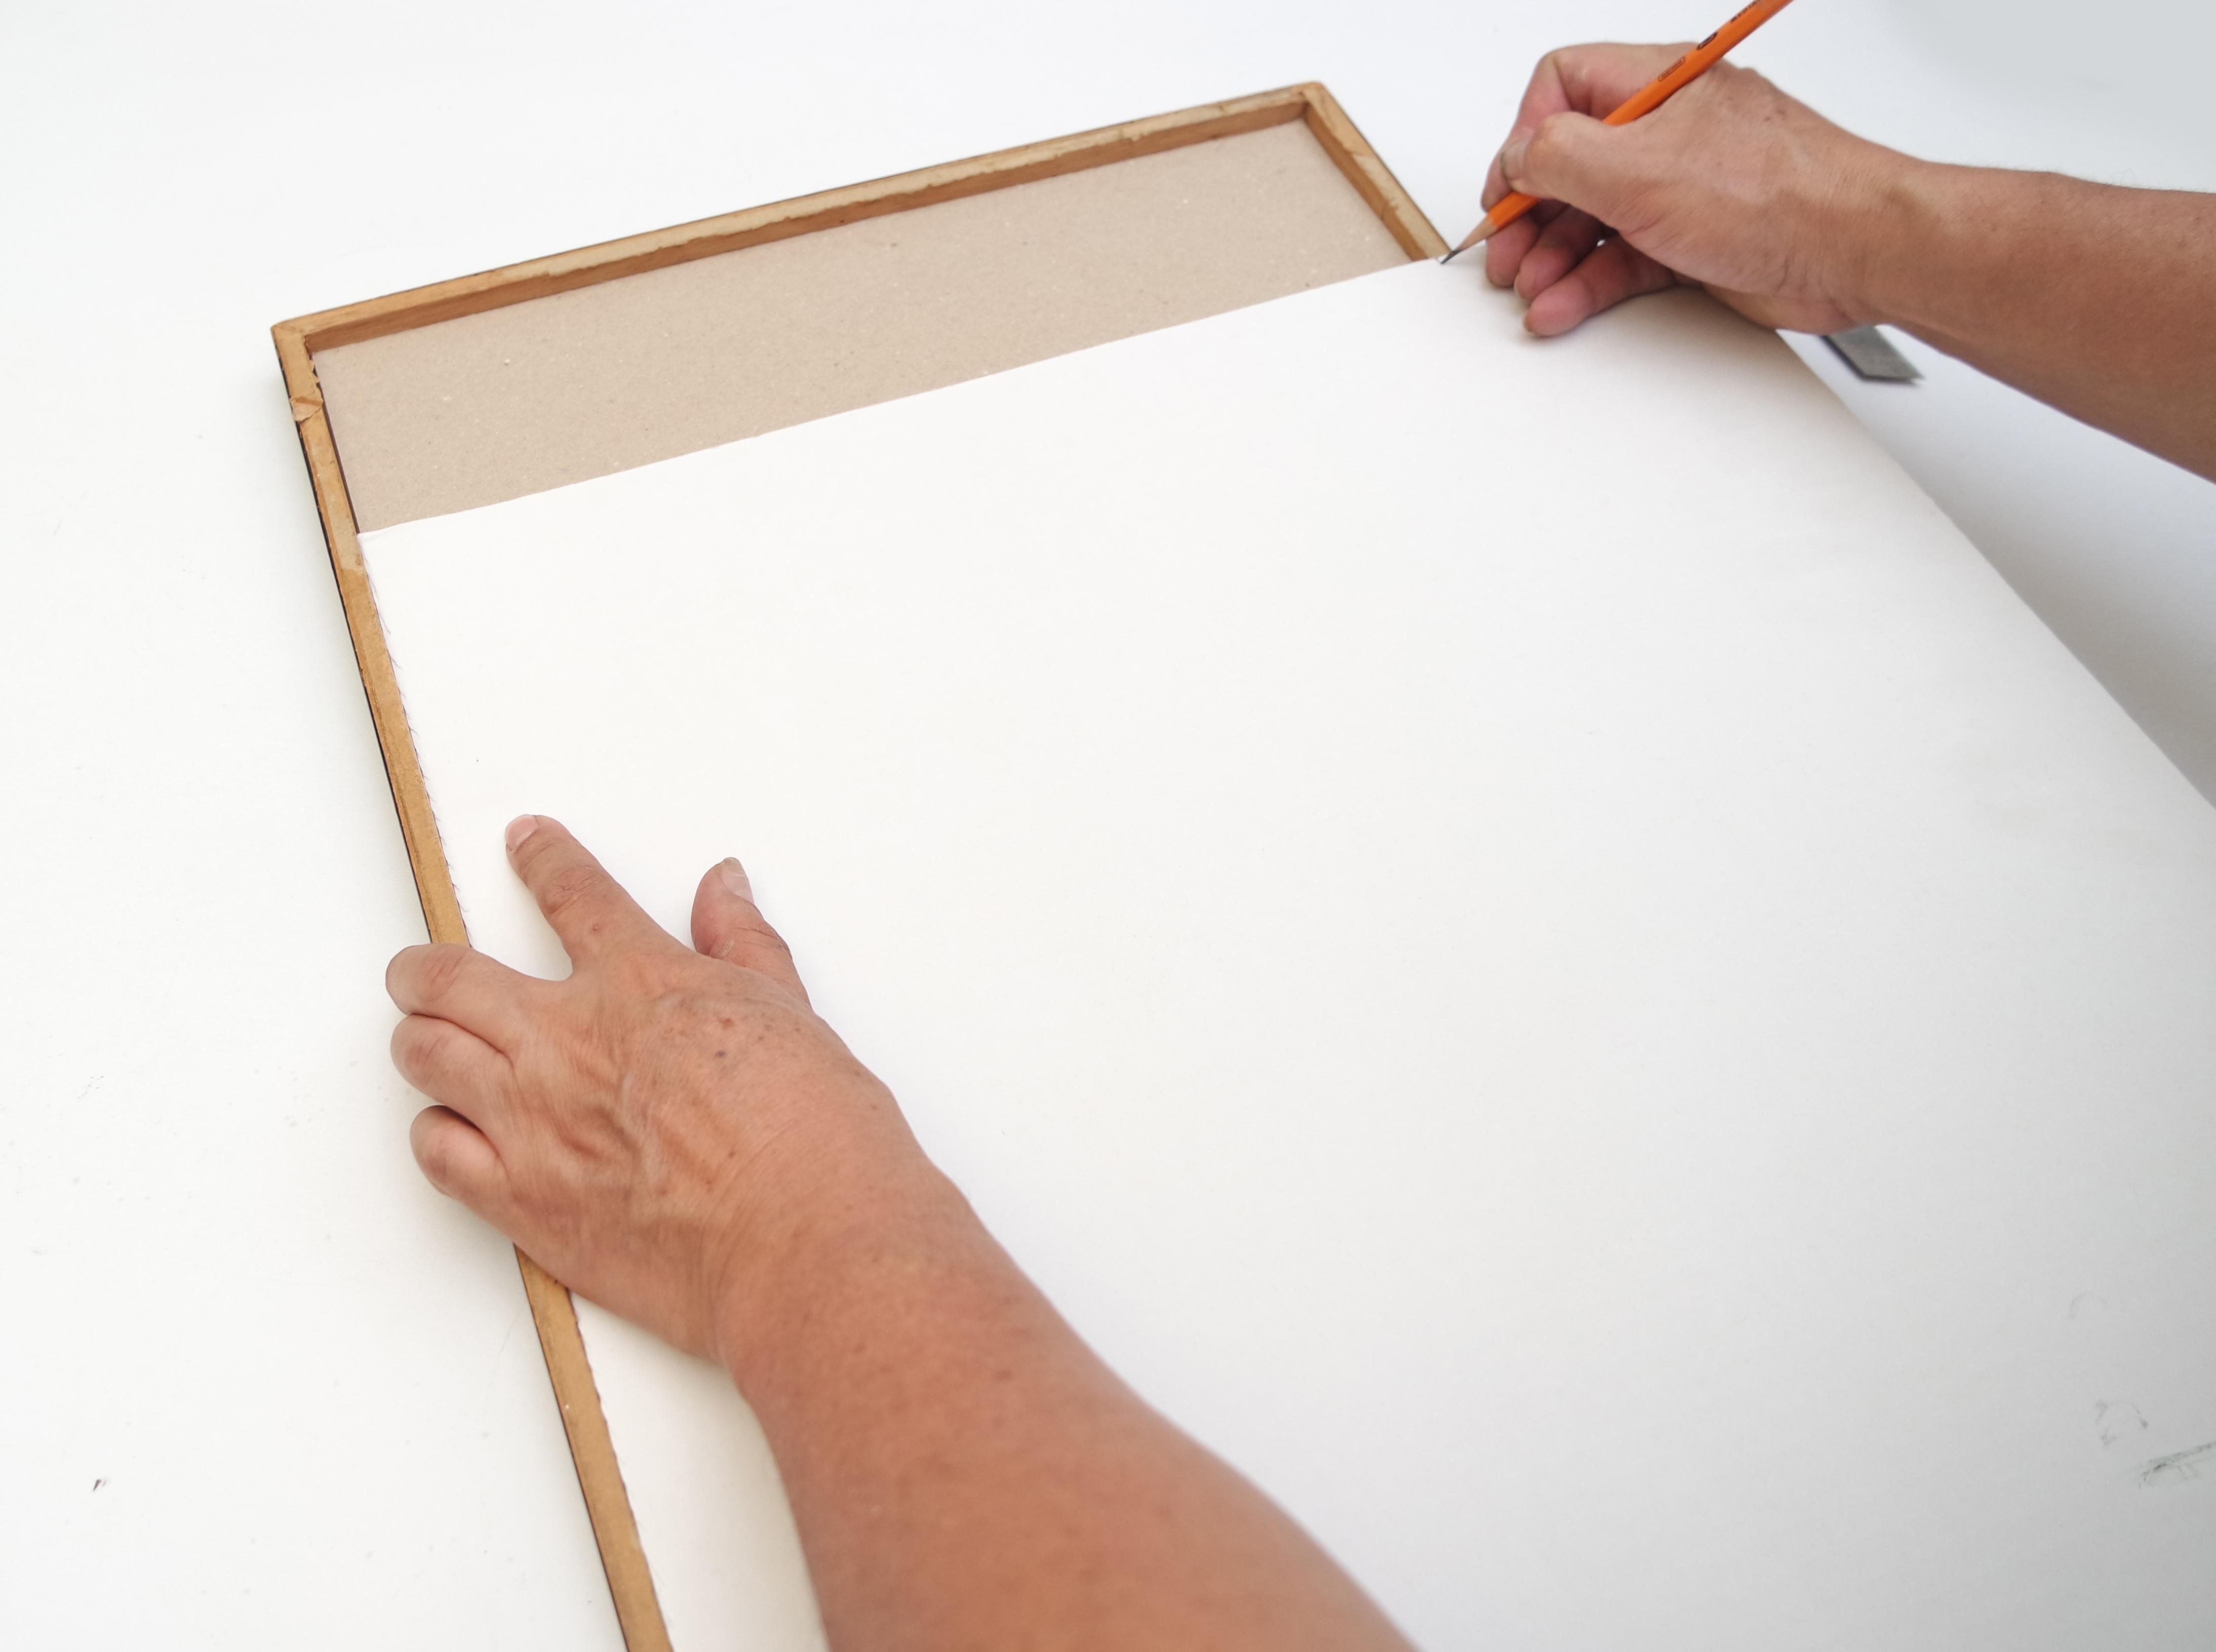
Cutting the Paper
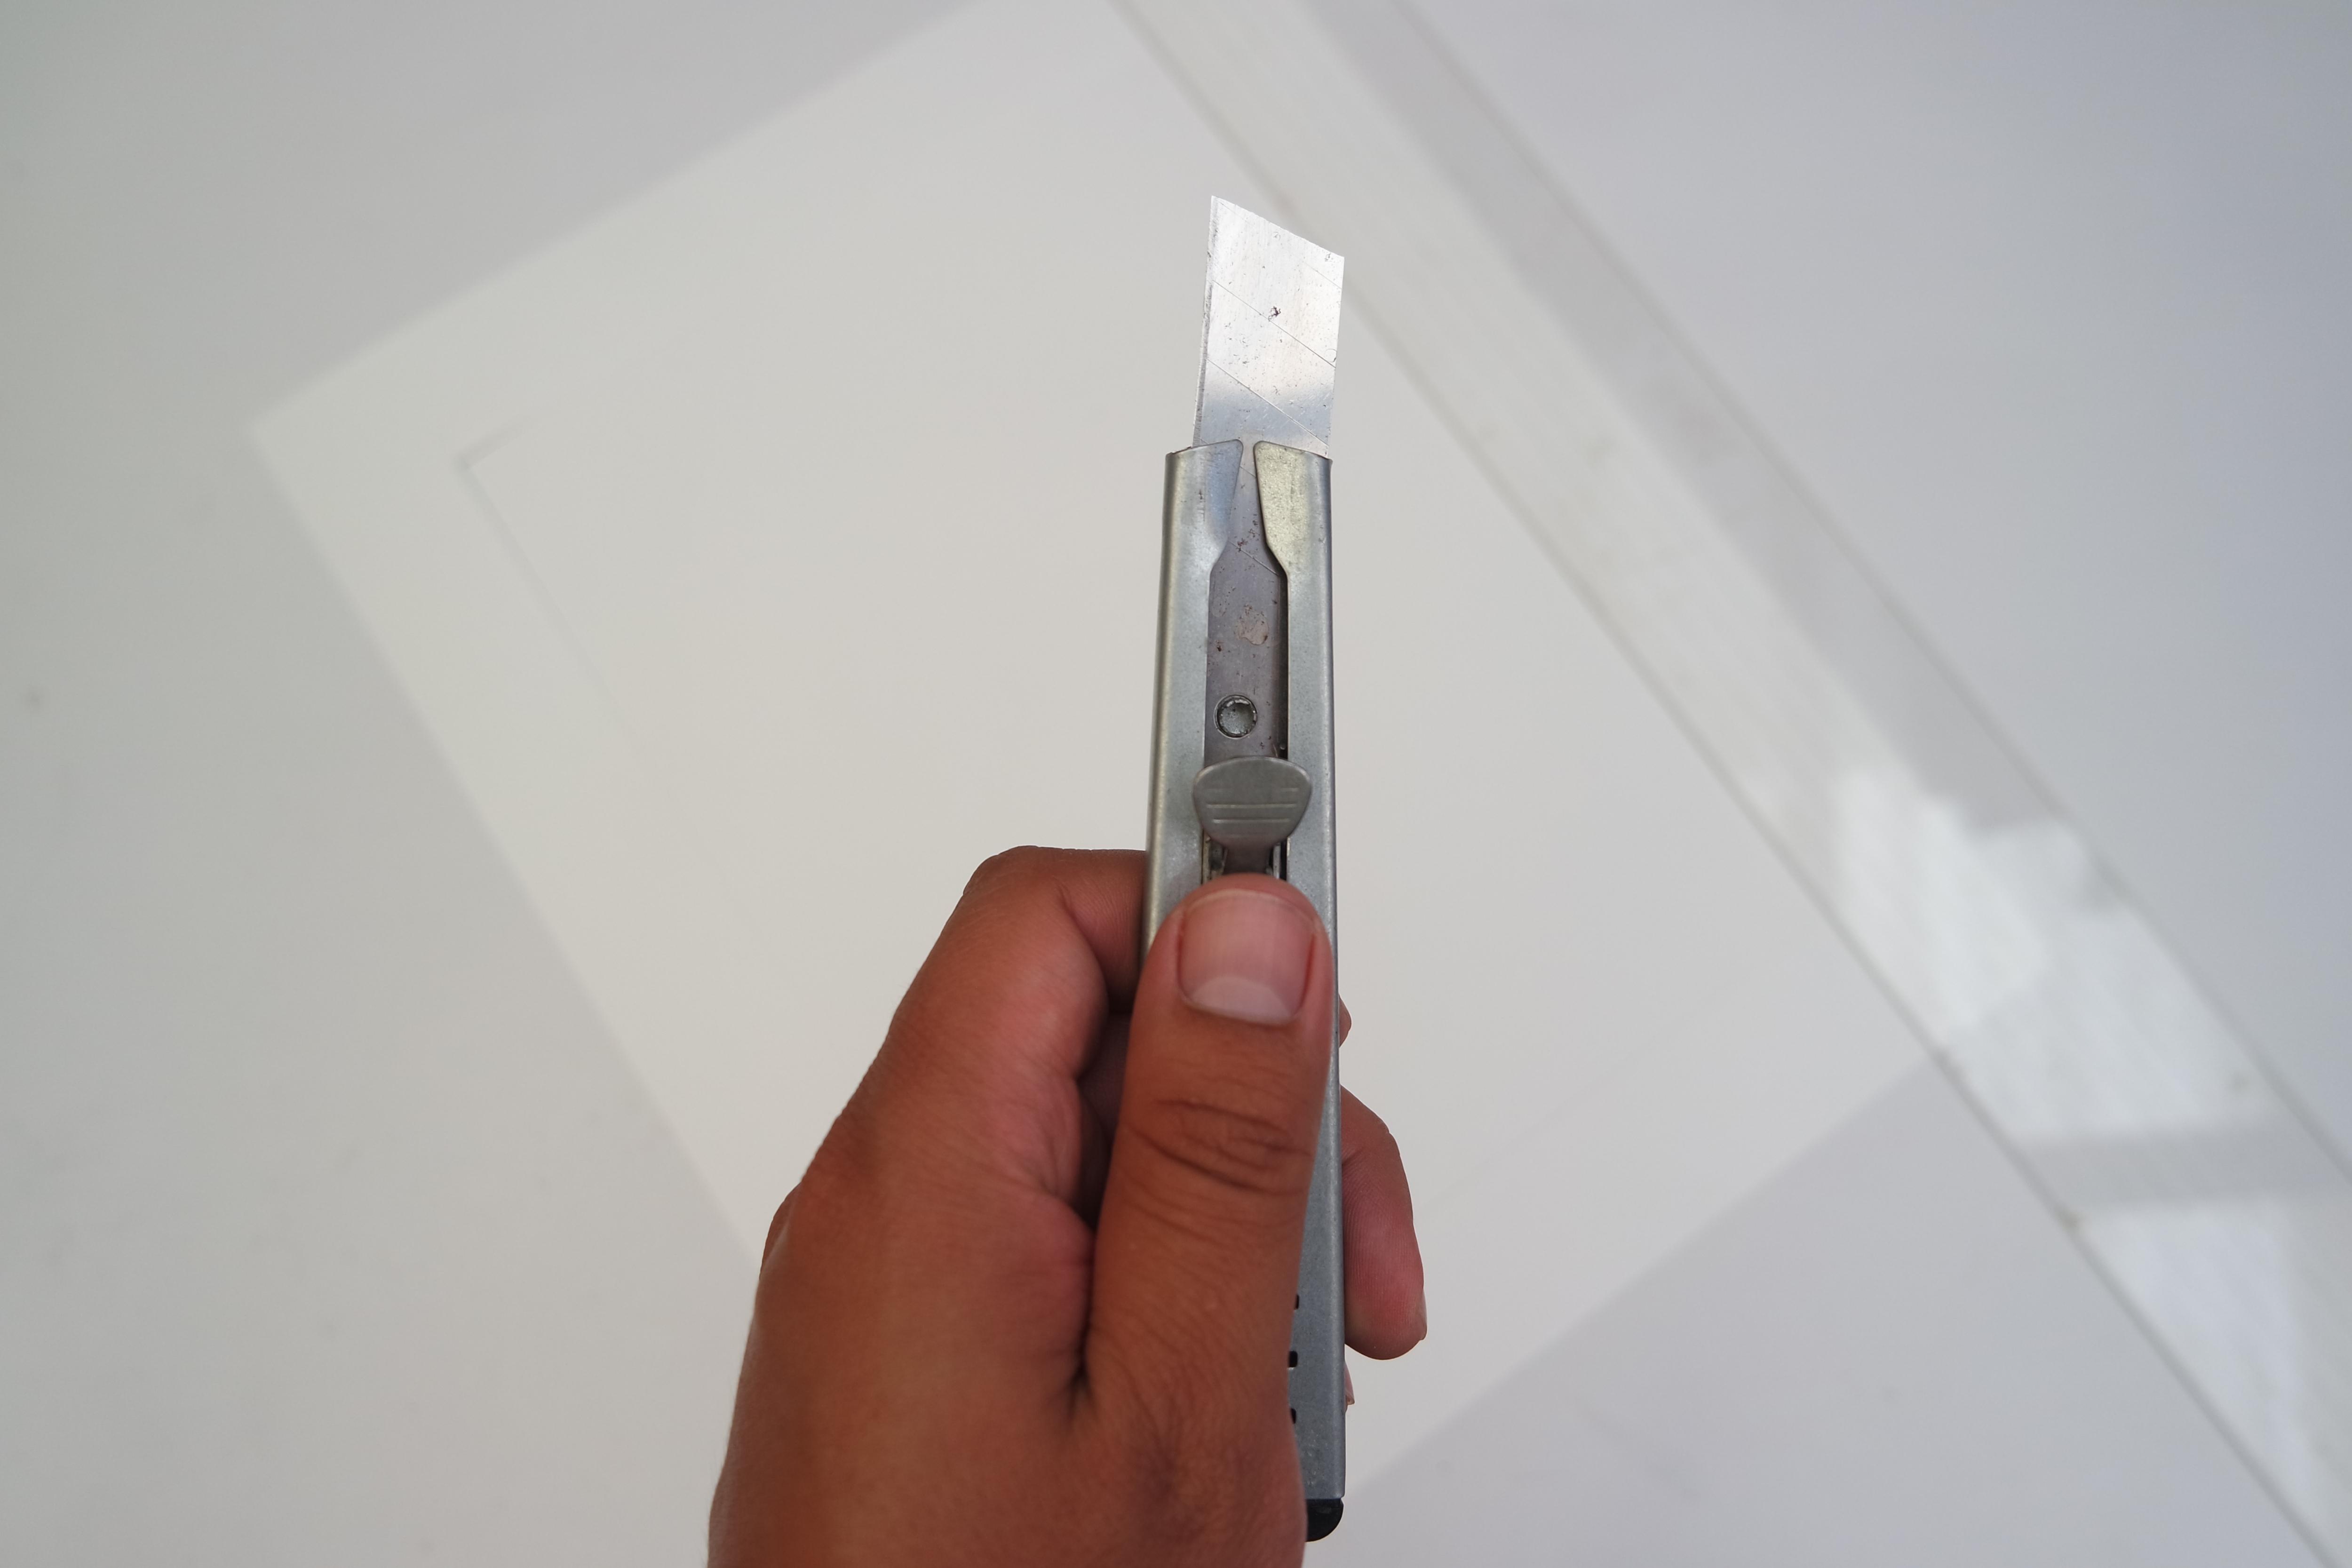
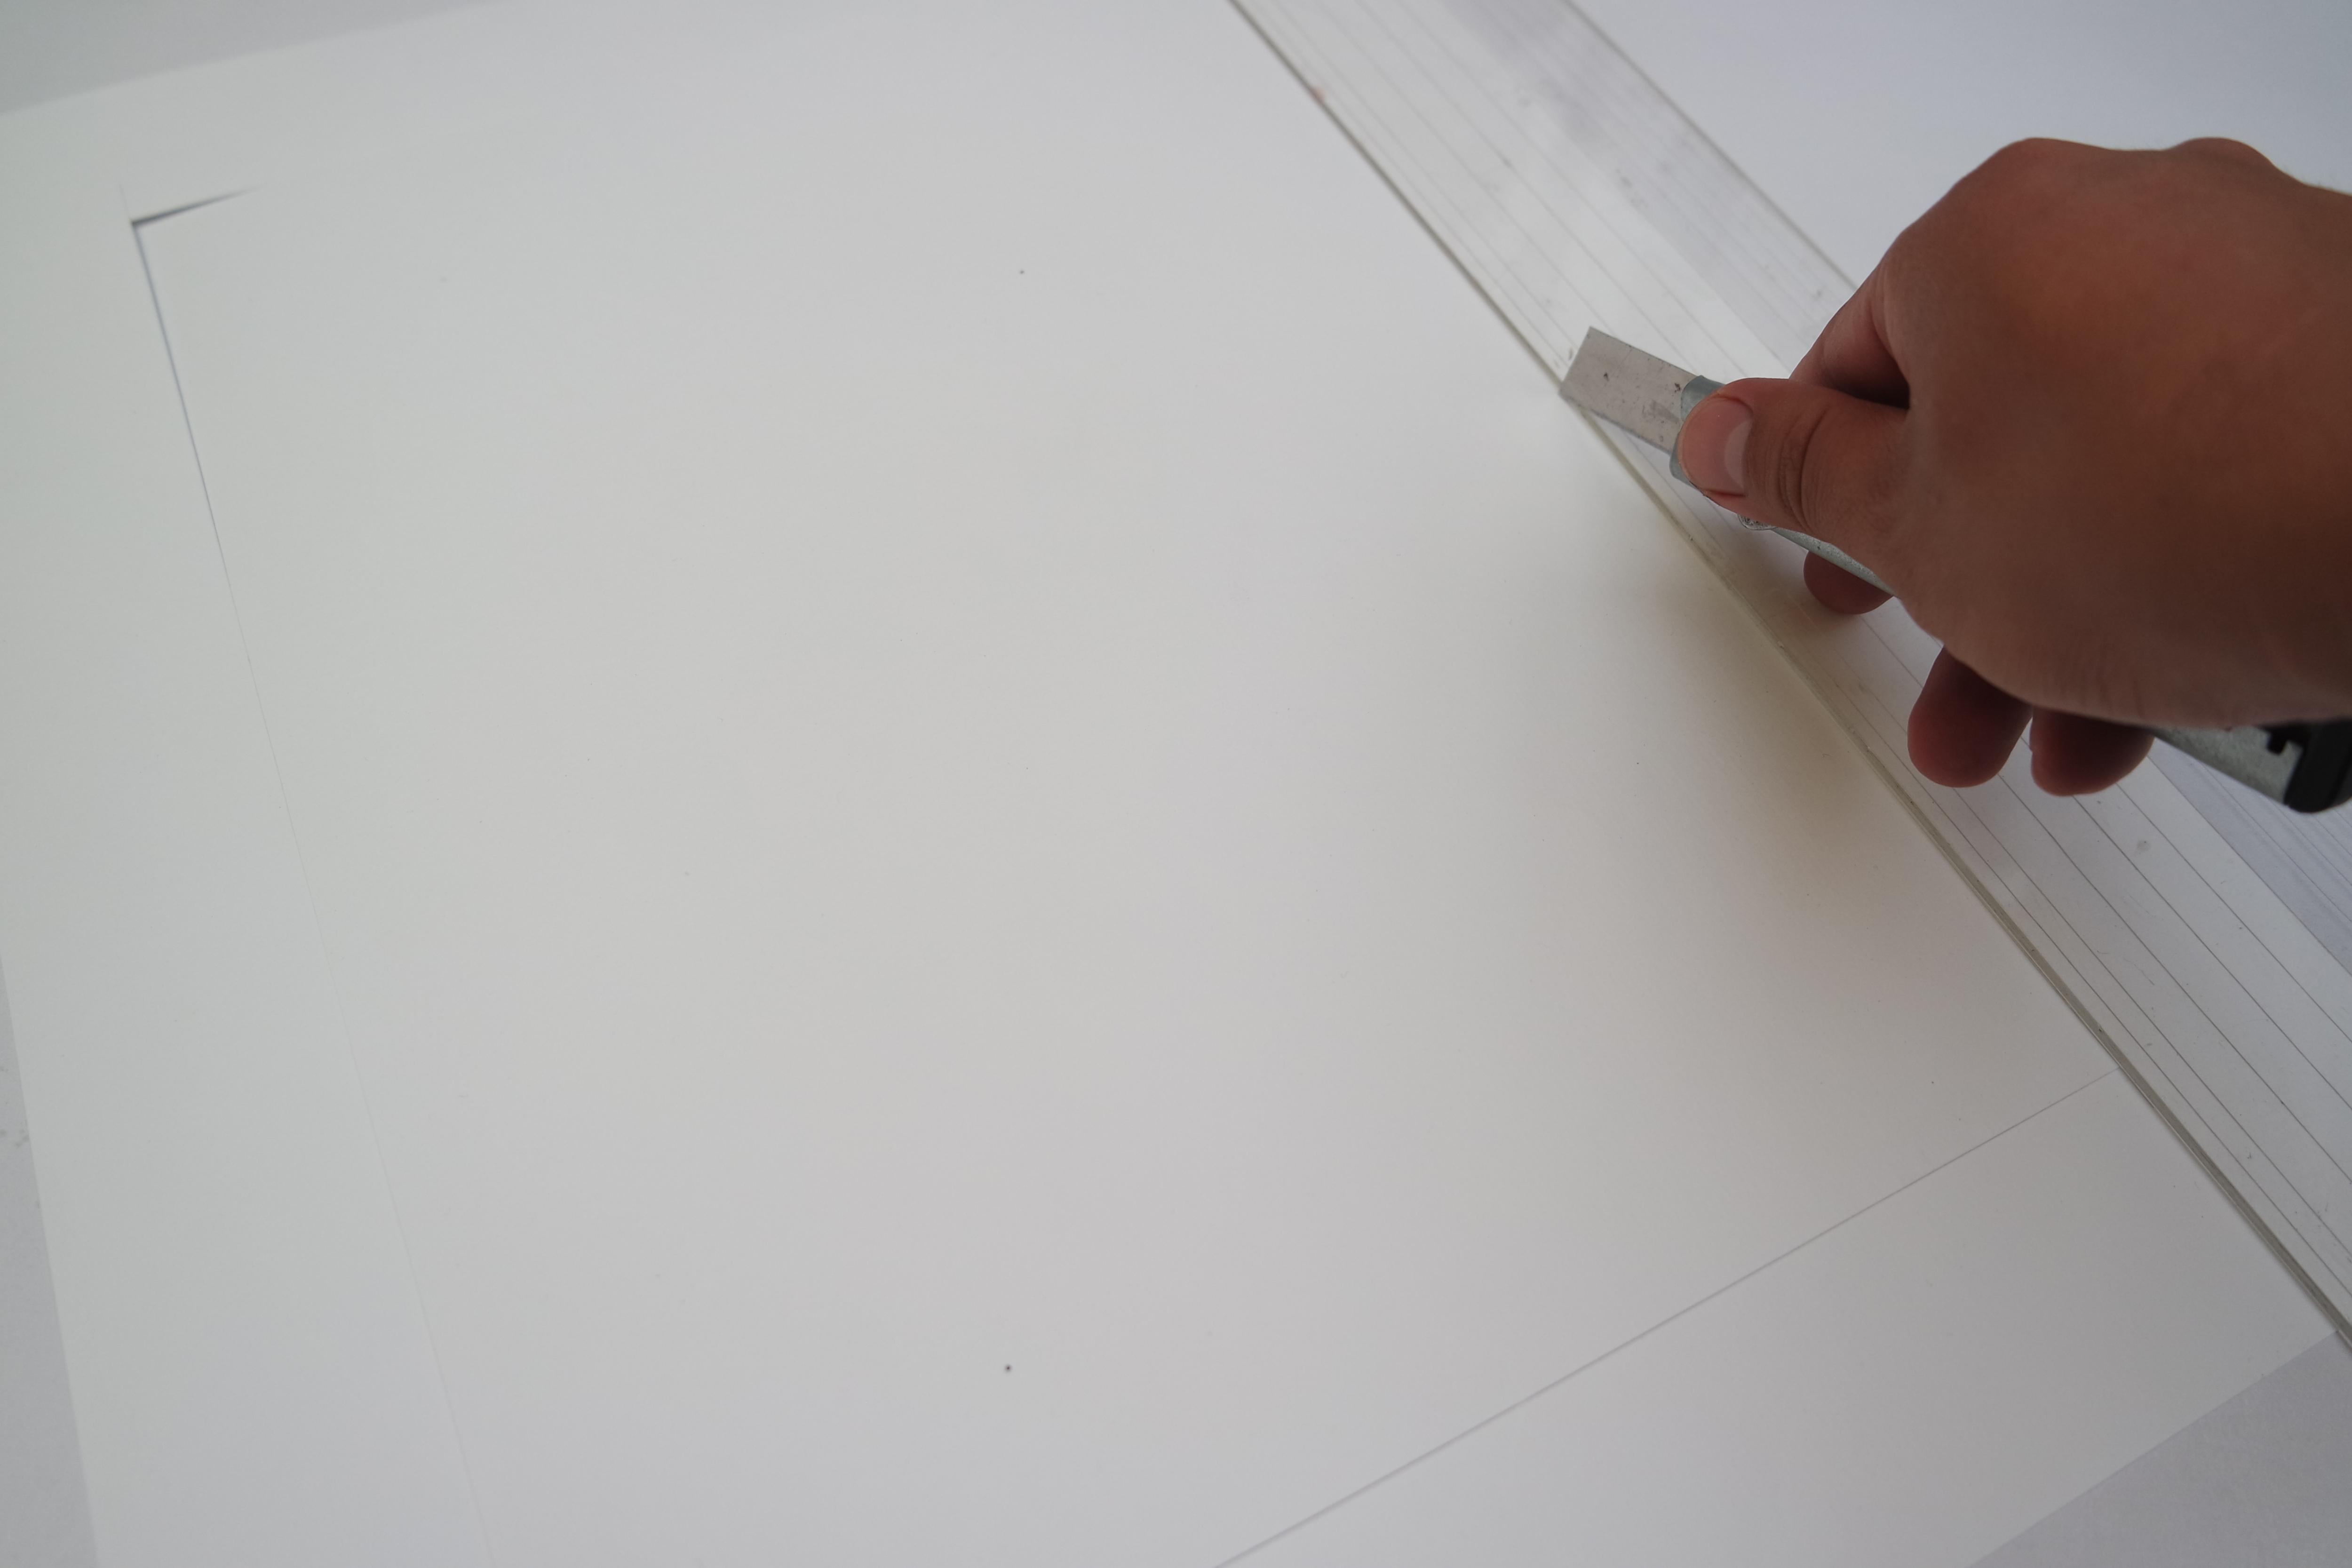
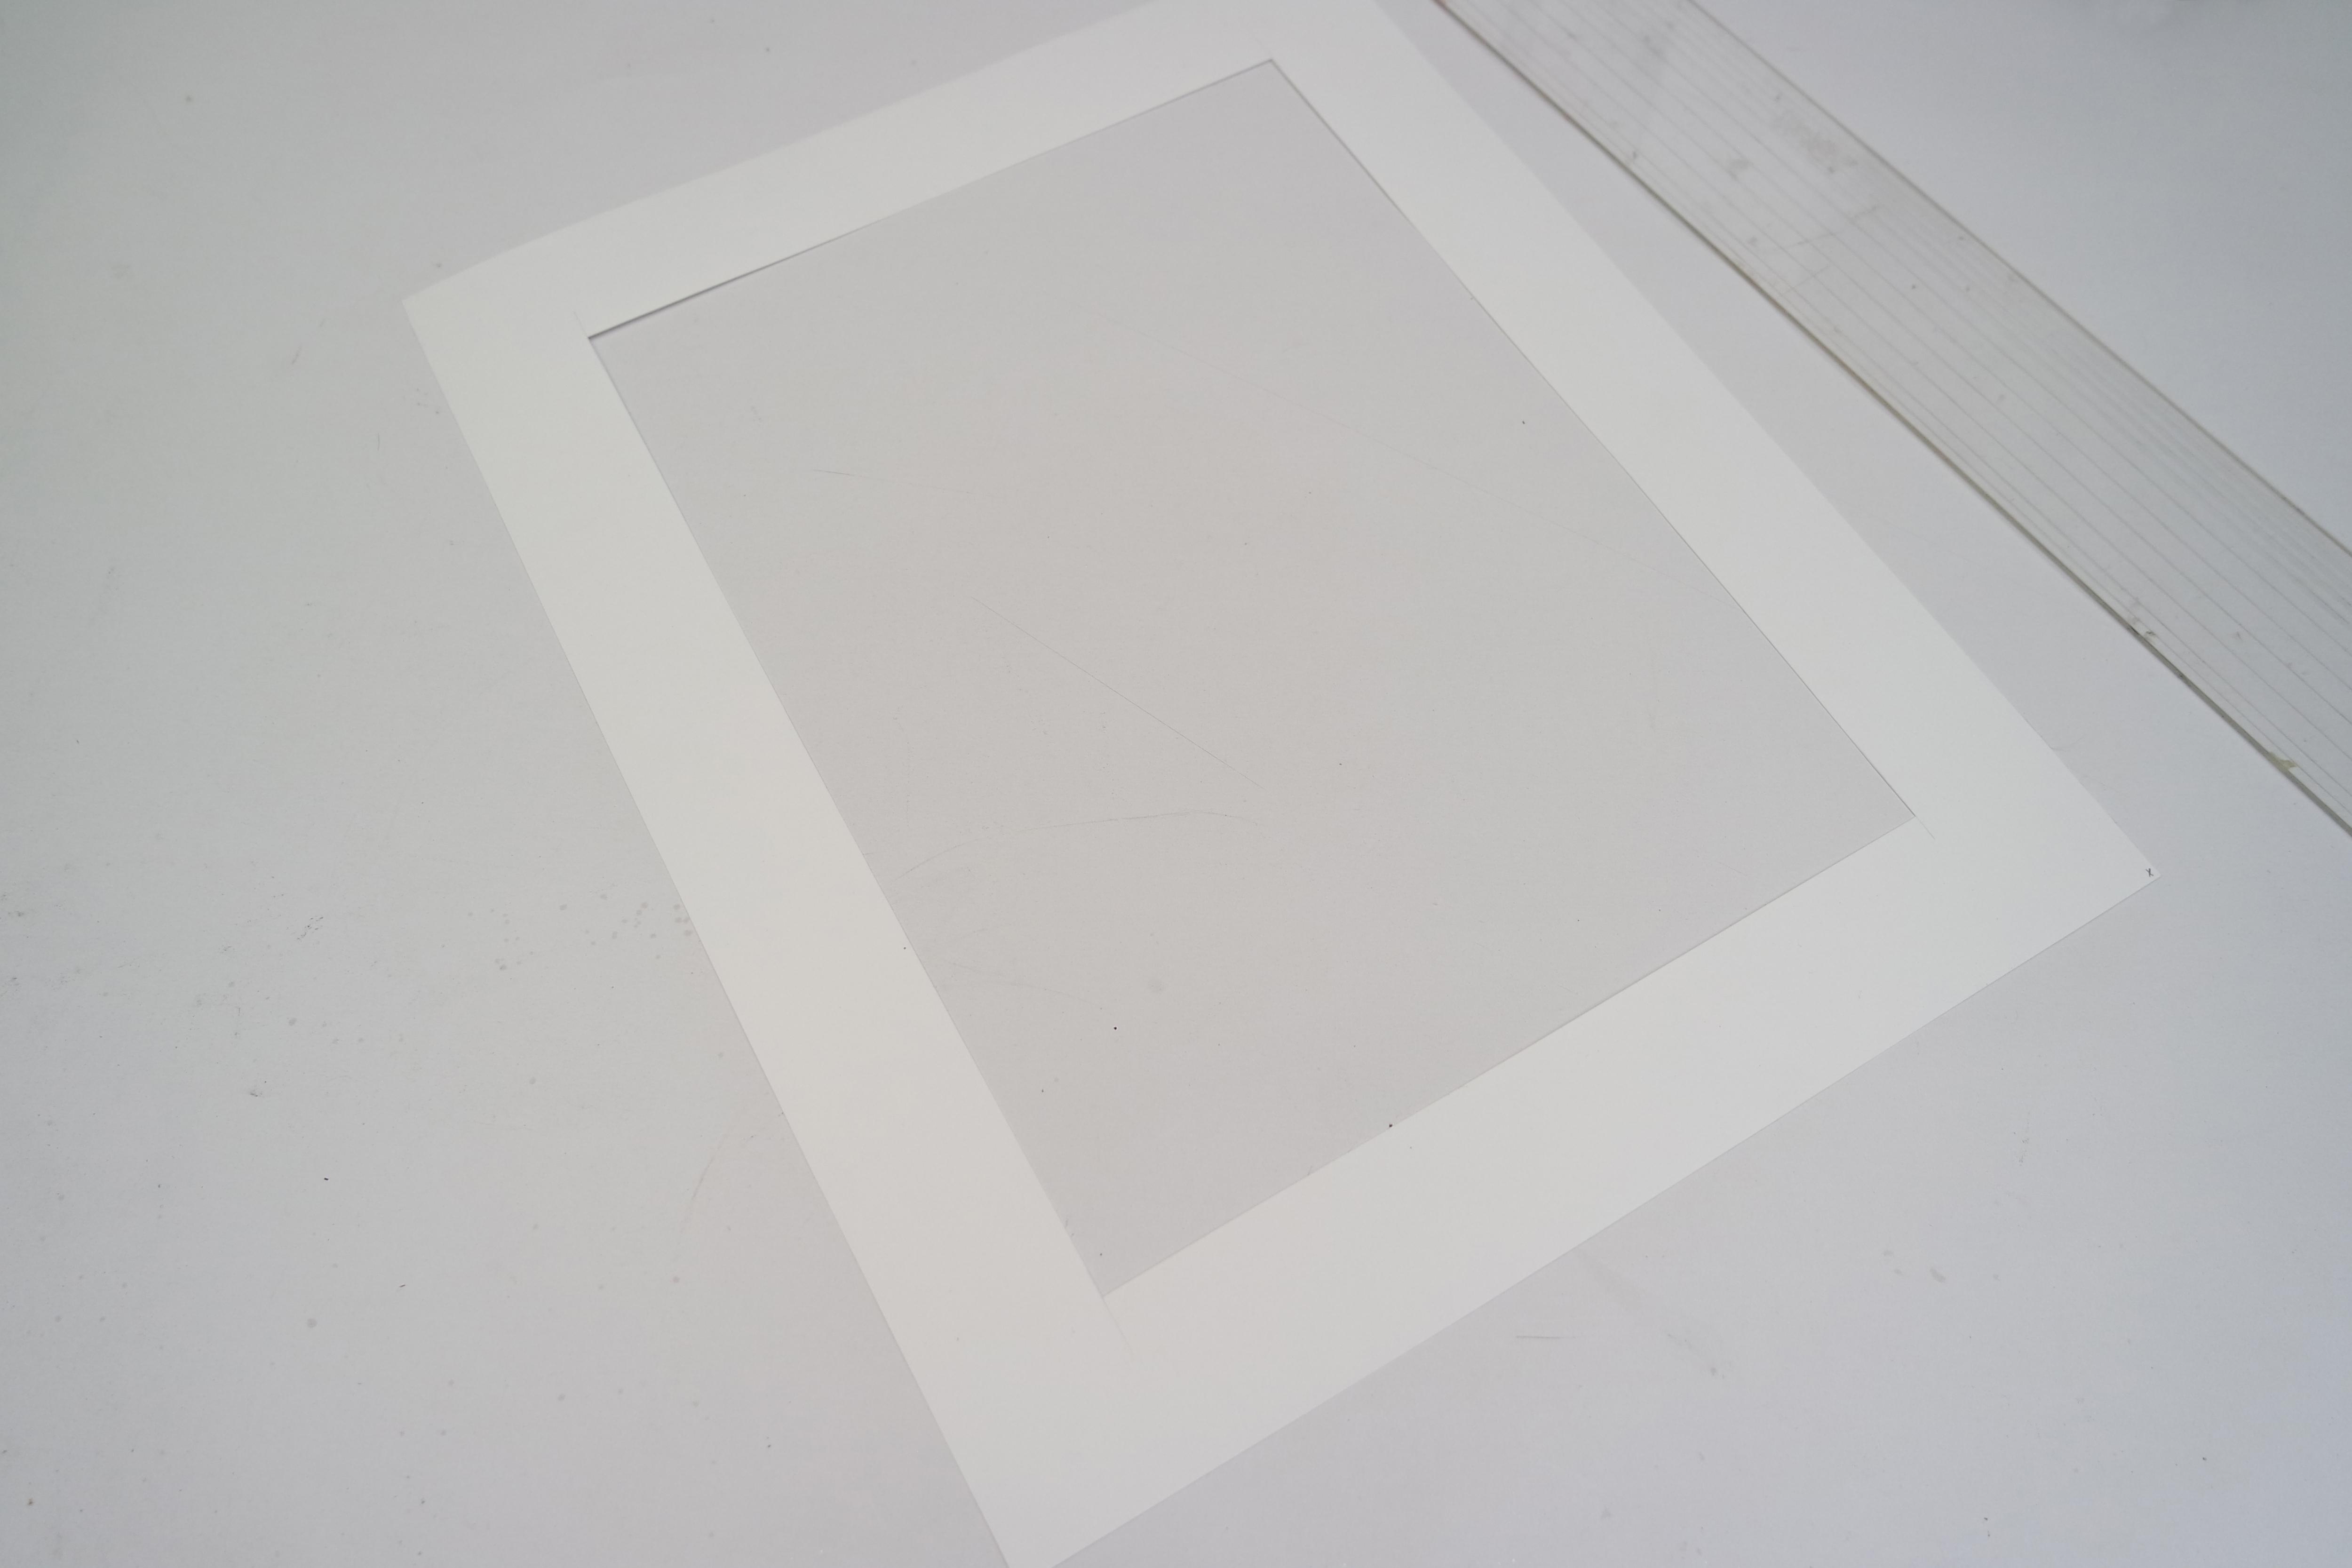
Now we will cut the papers that will serve as layers to our photo
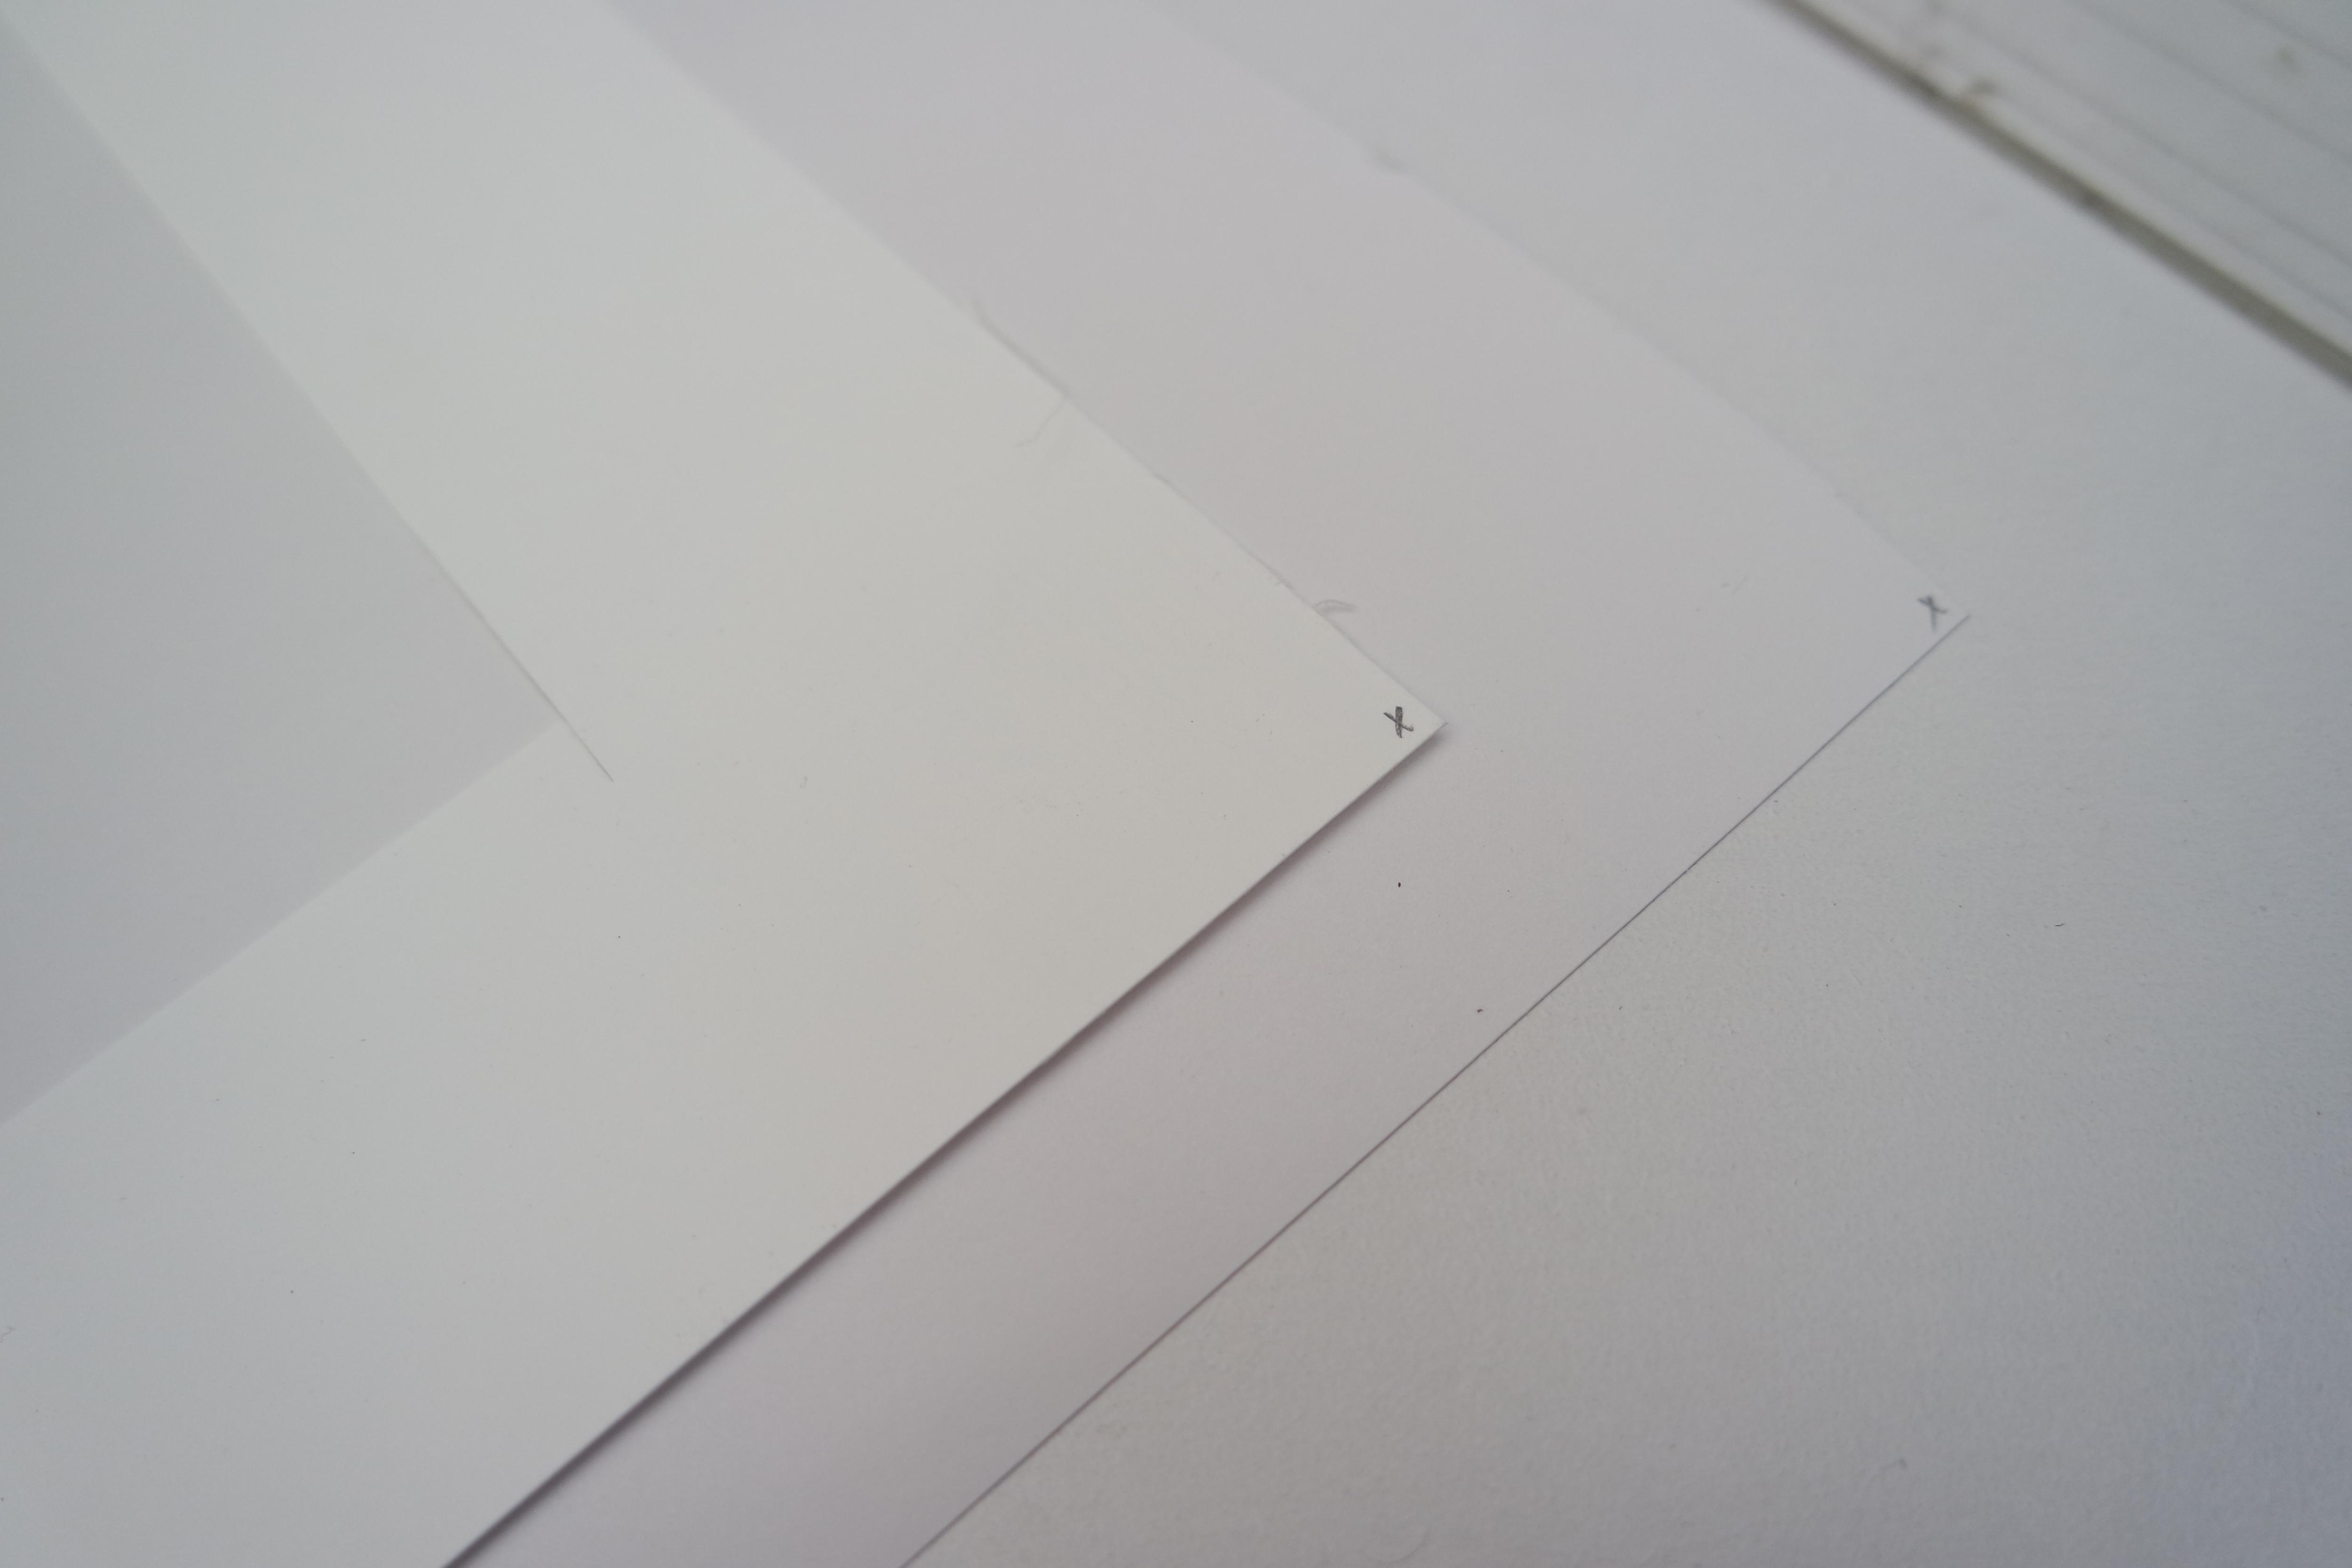
I recommend you make marks in the respective corners of the paper, so you will not make a mistake at the time of joining
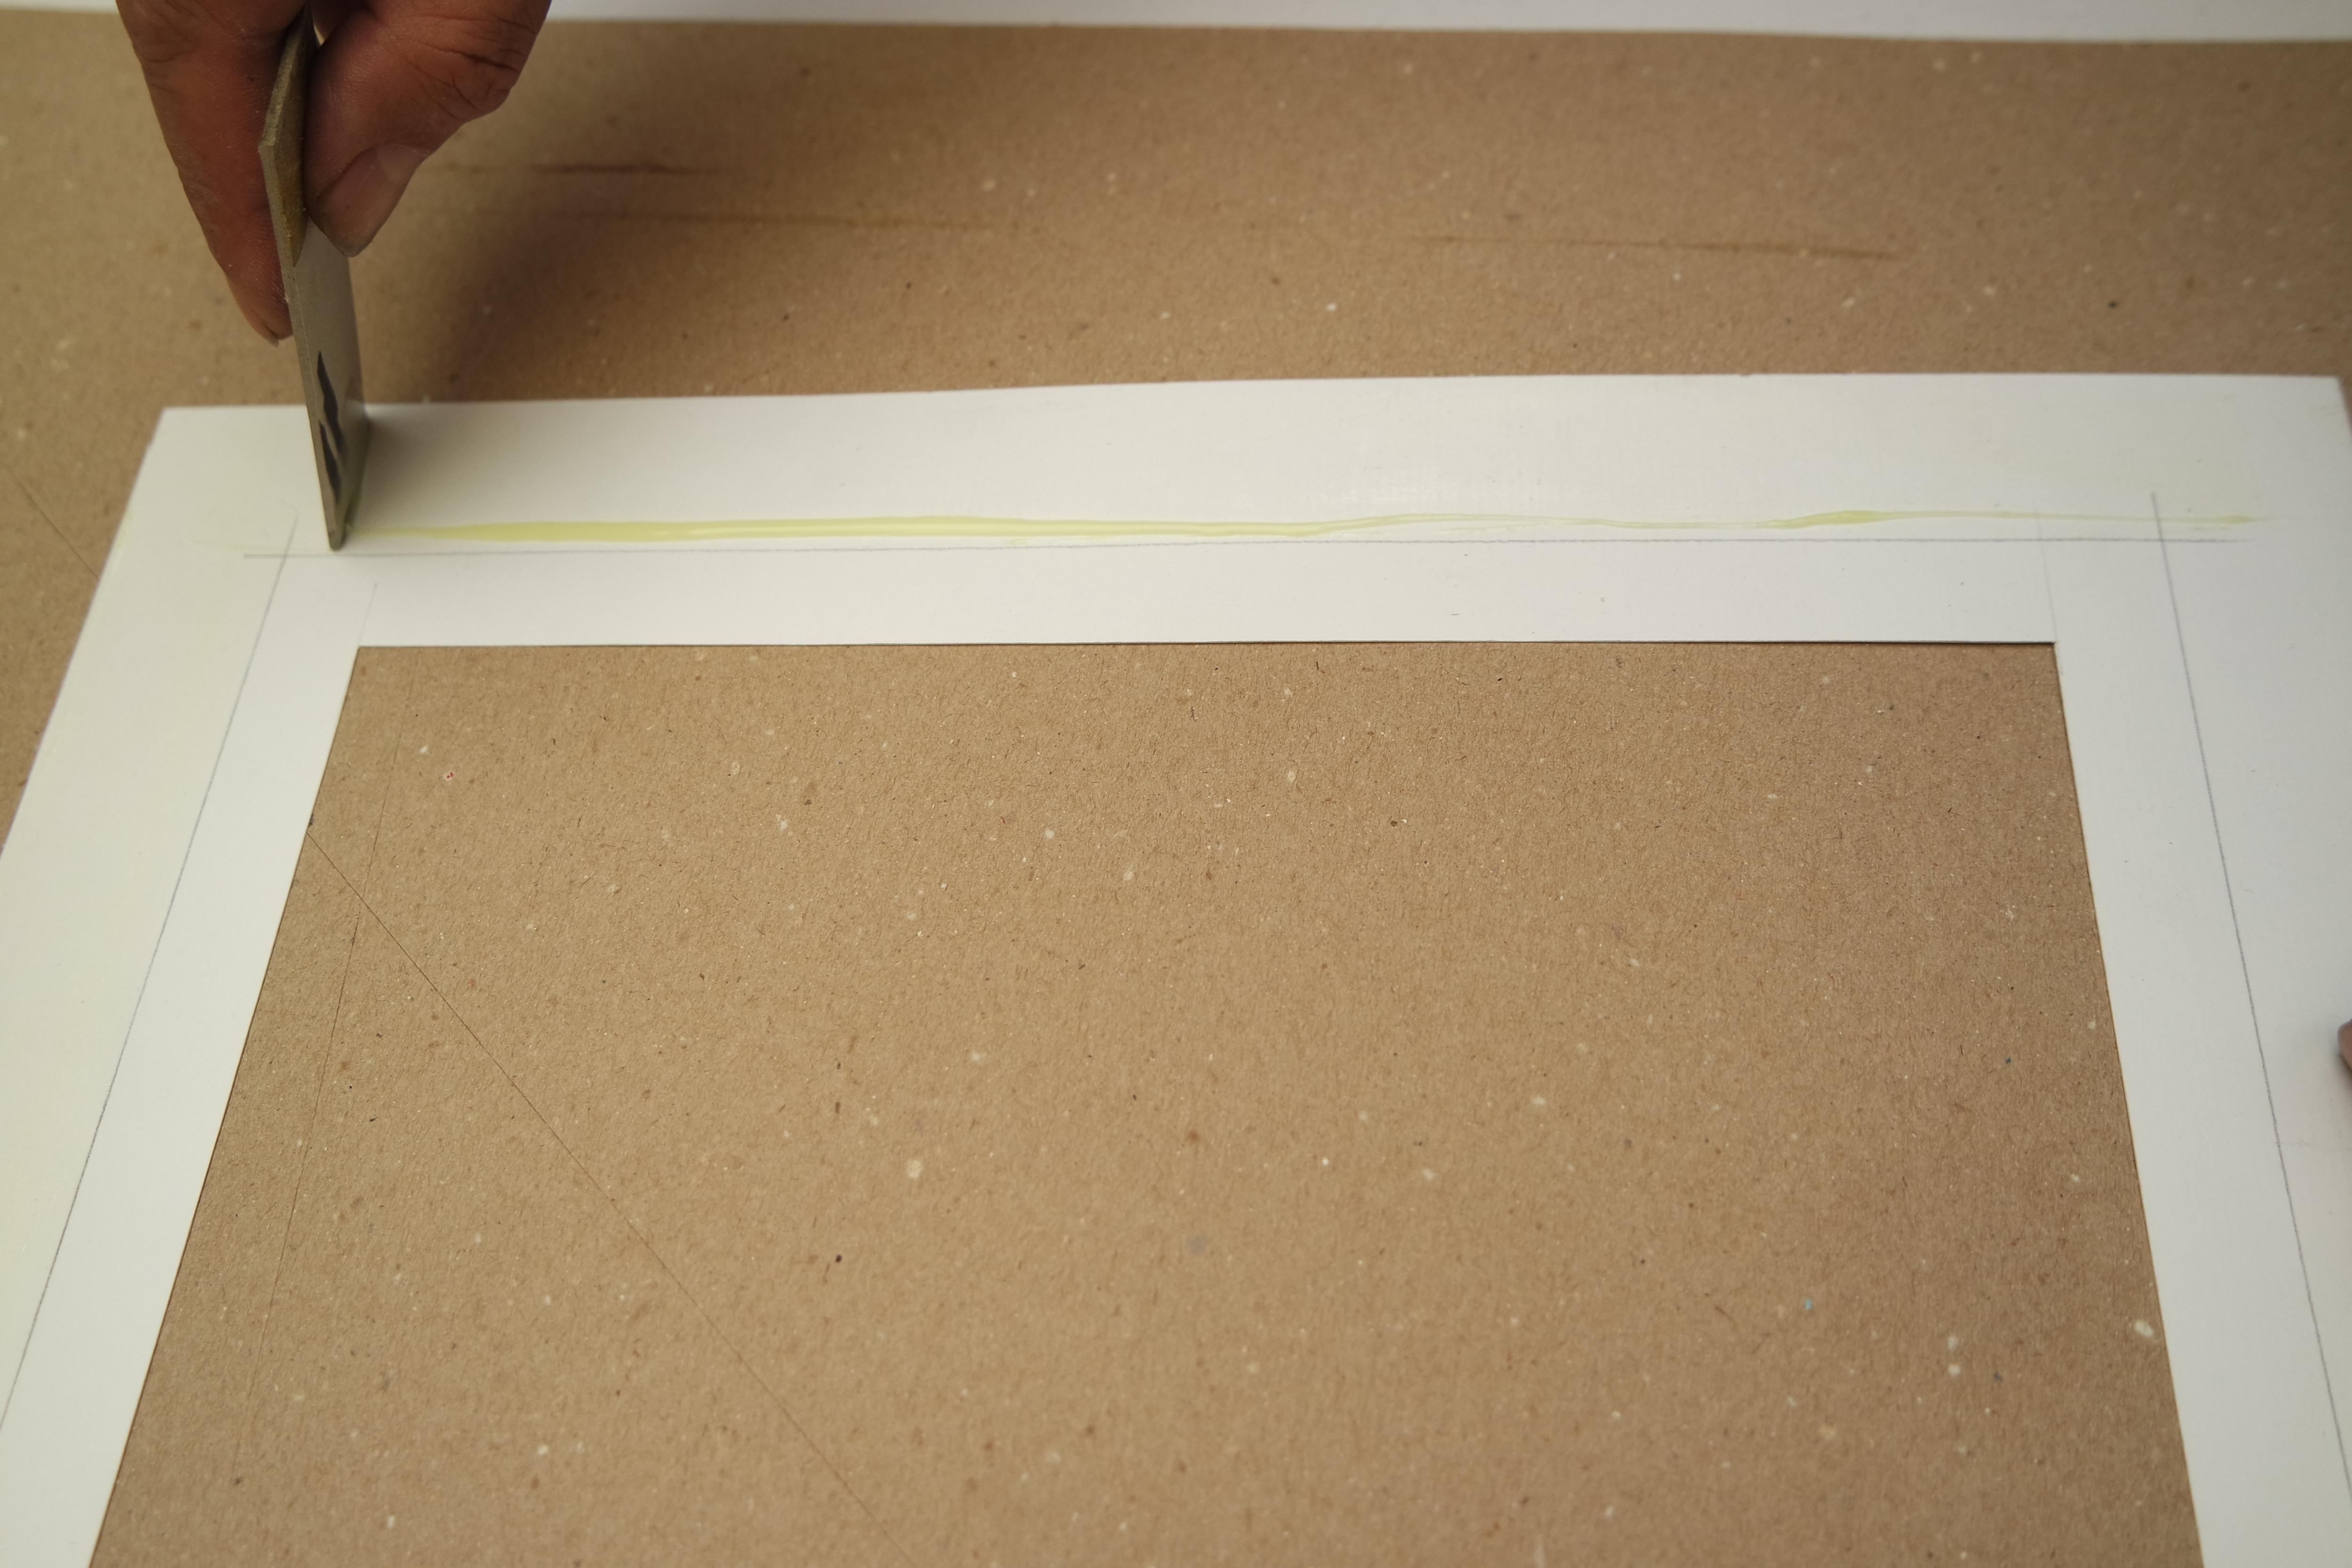
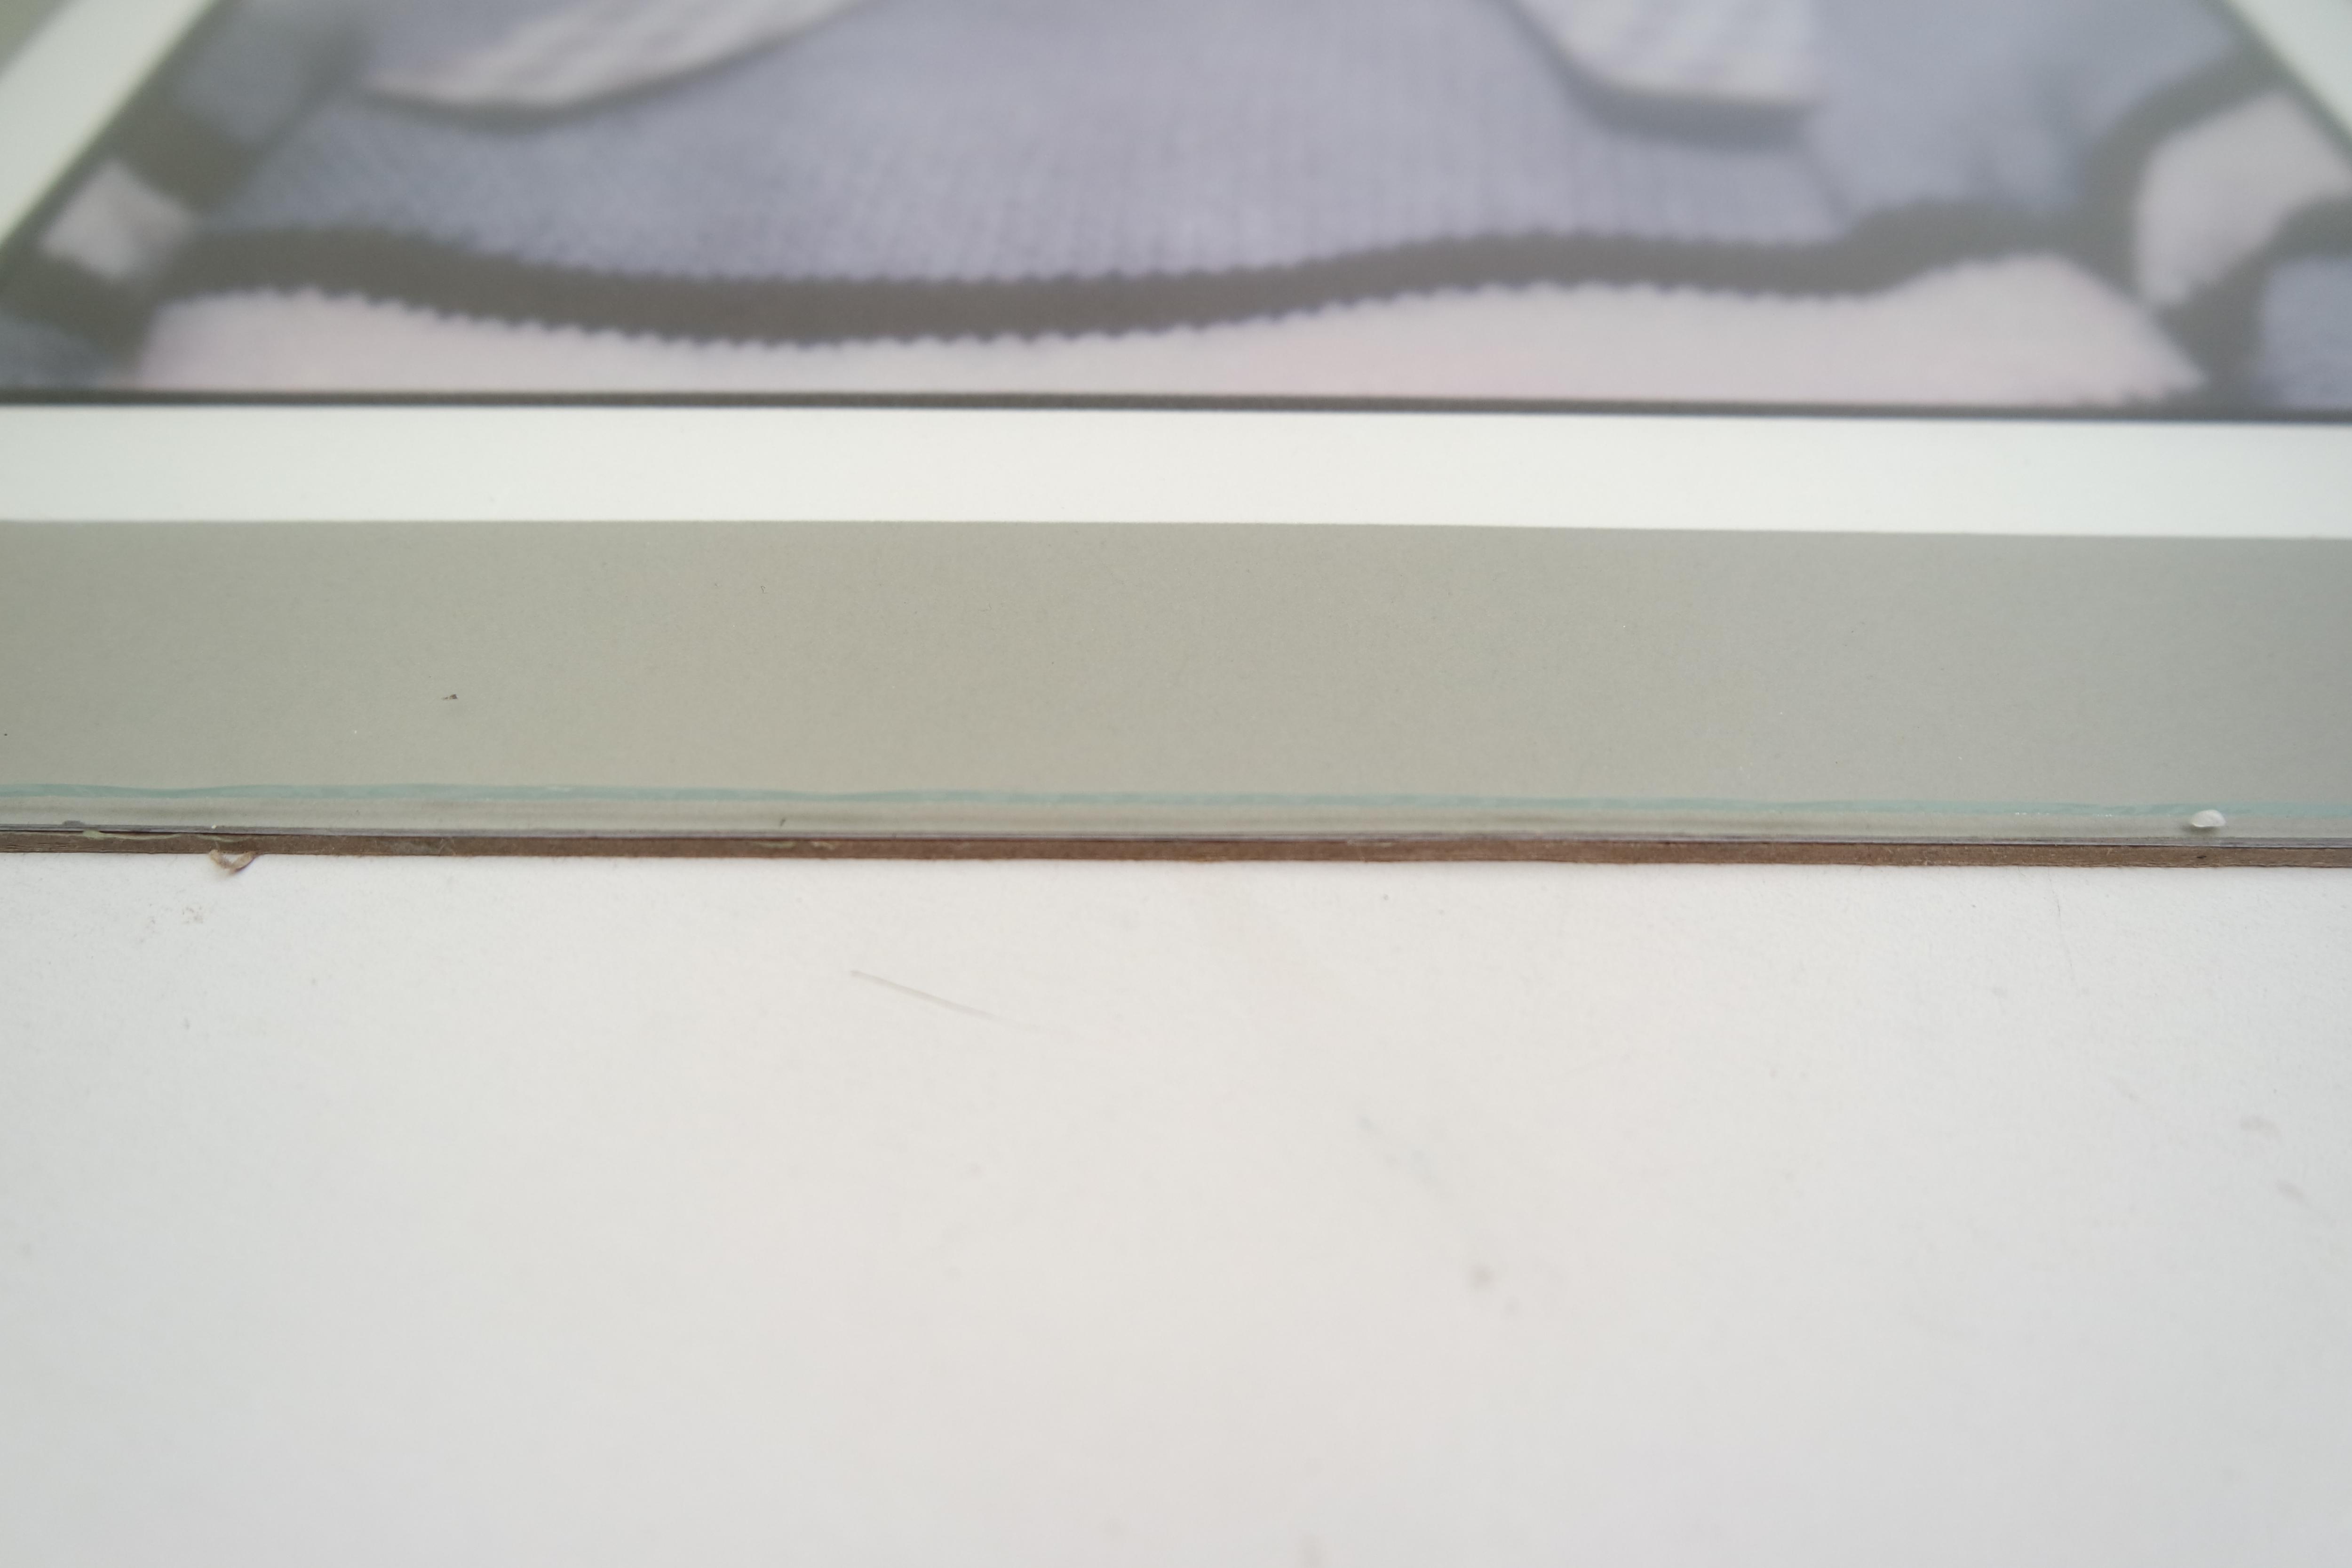
Taping the Mat
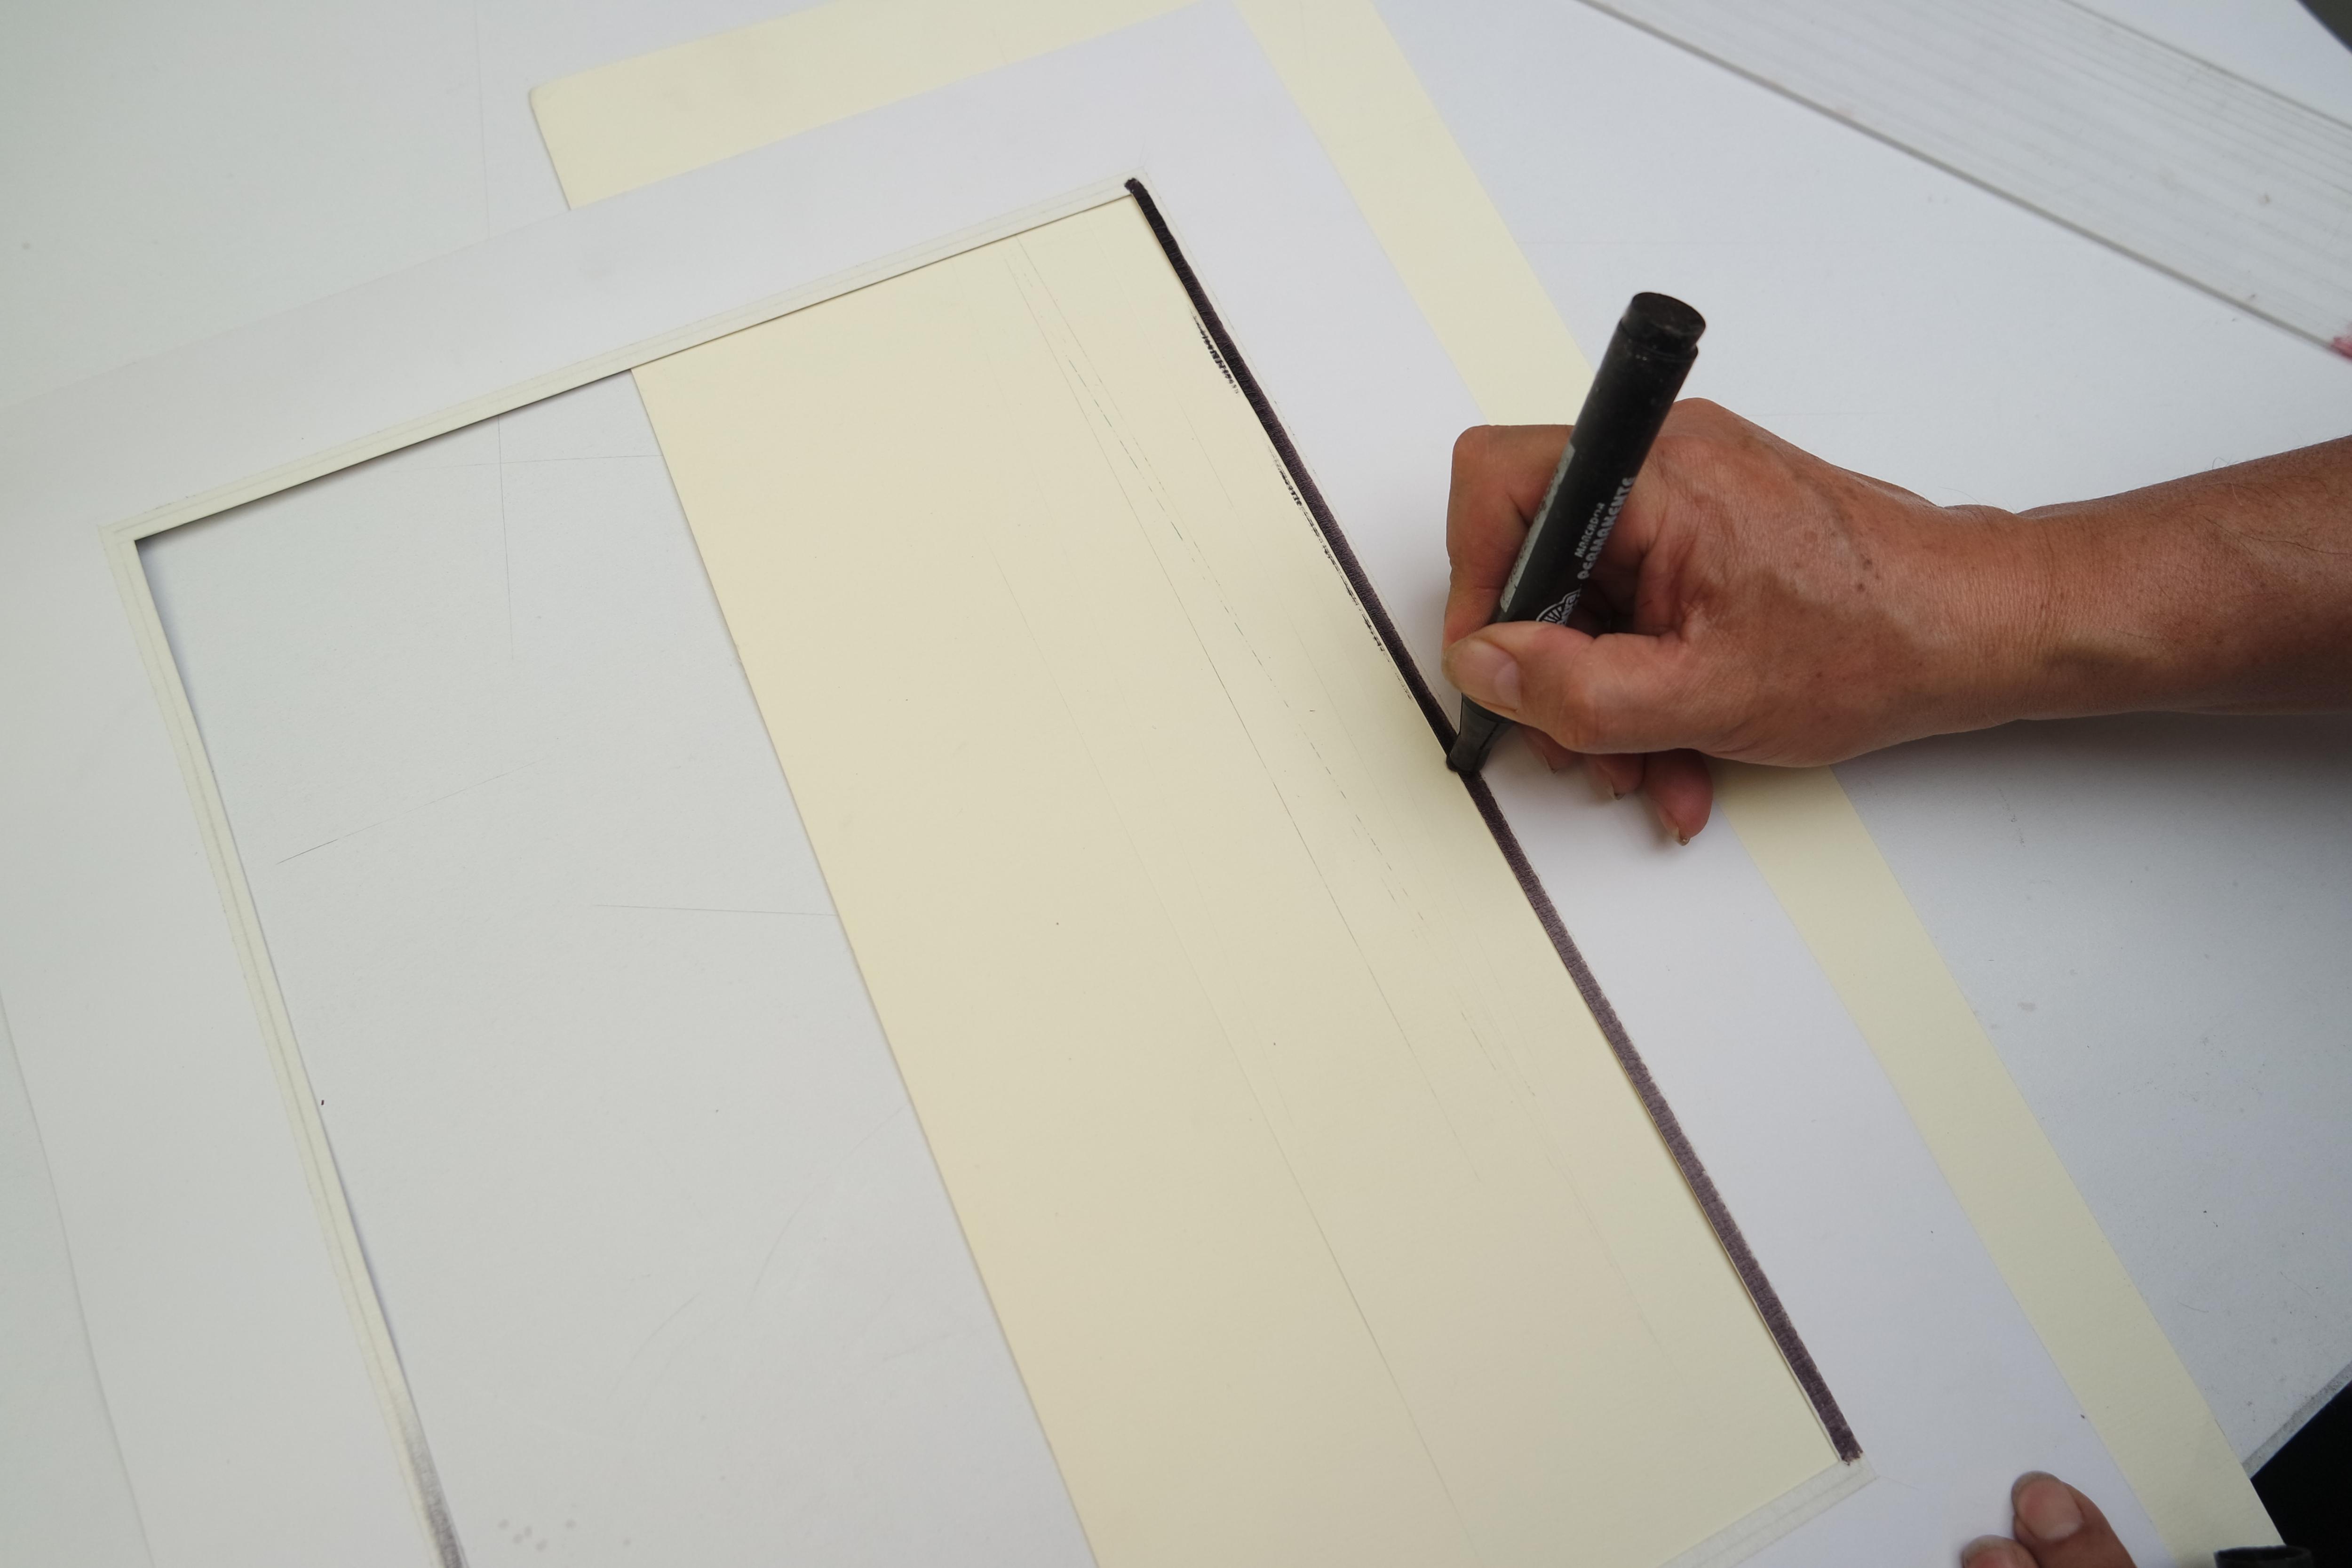
this is optional but if you wish you can leave a border with tape that will later be painted with a marker, which will serve as a separator between the photo and the papers
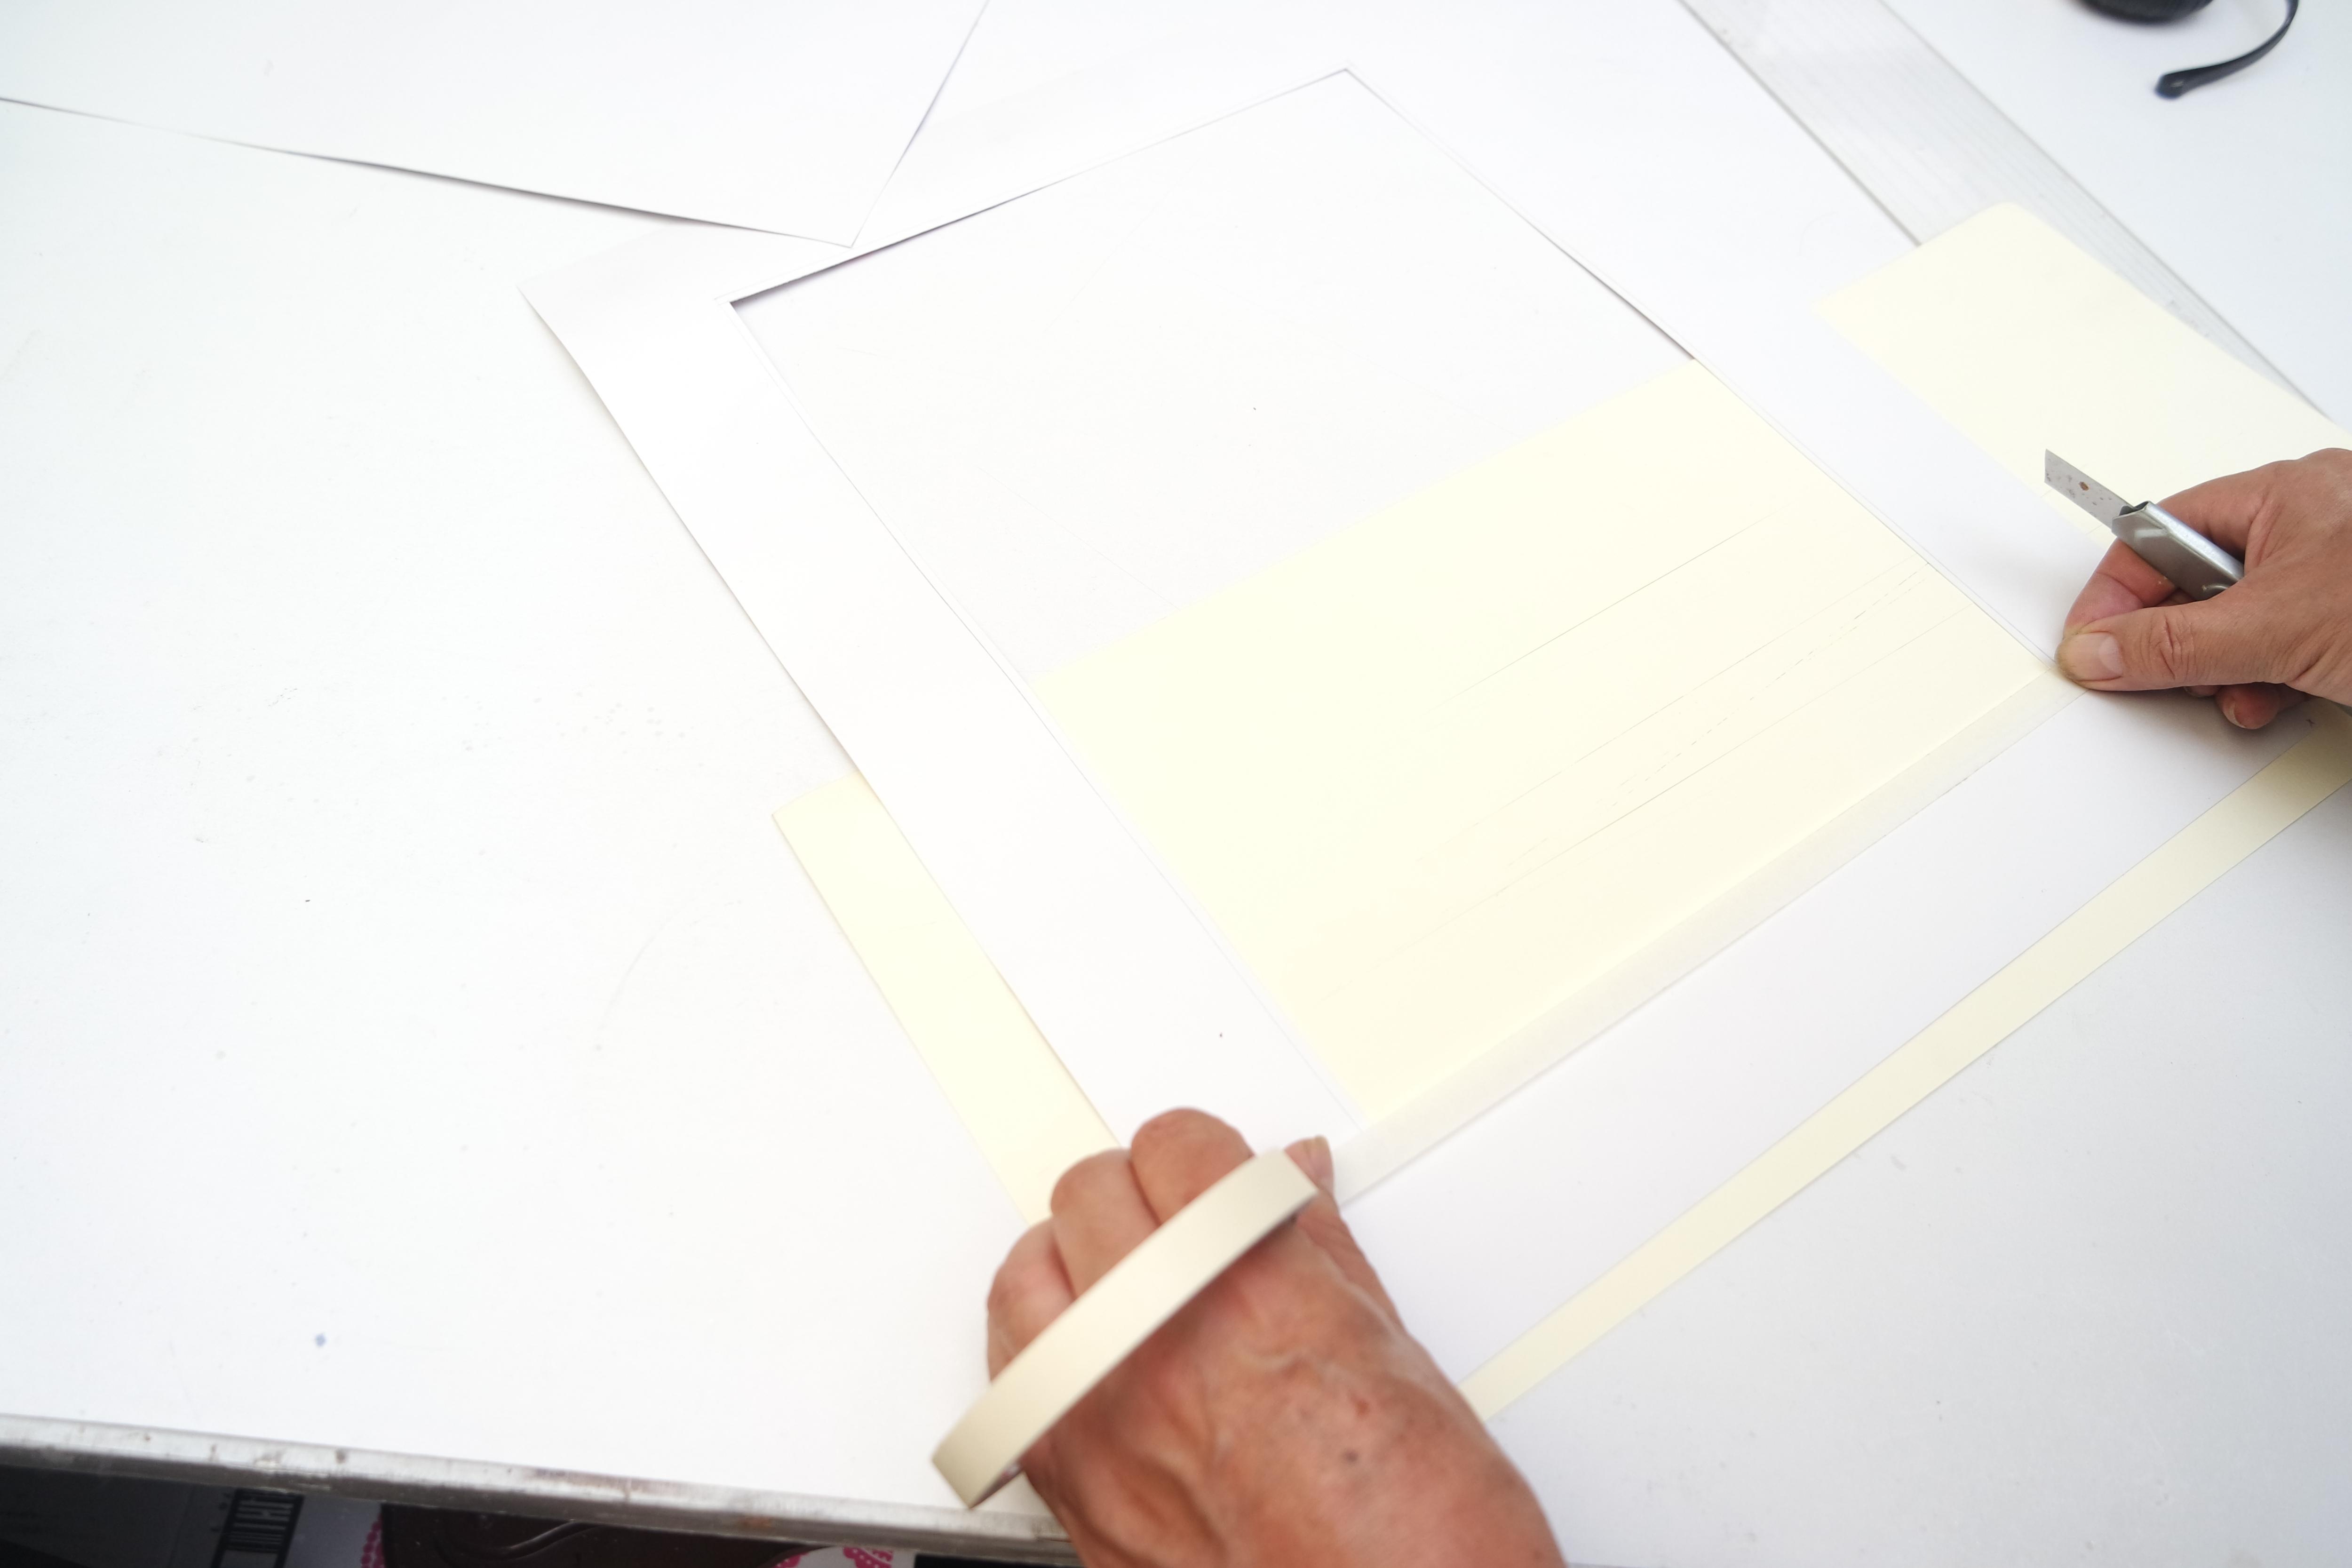
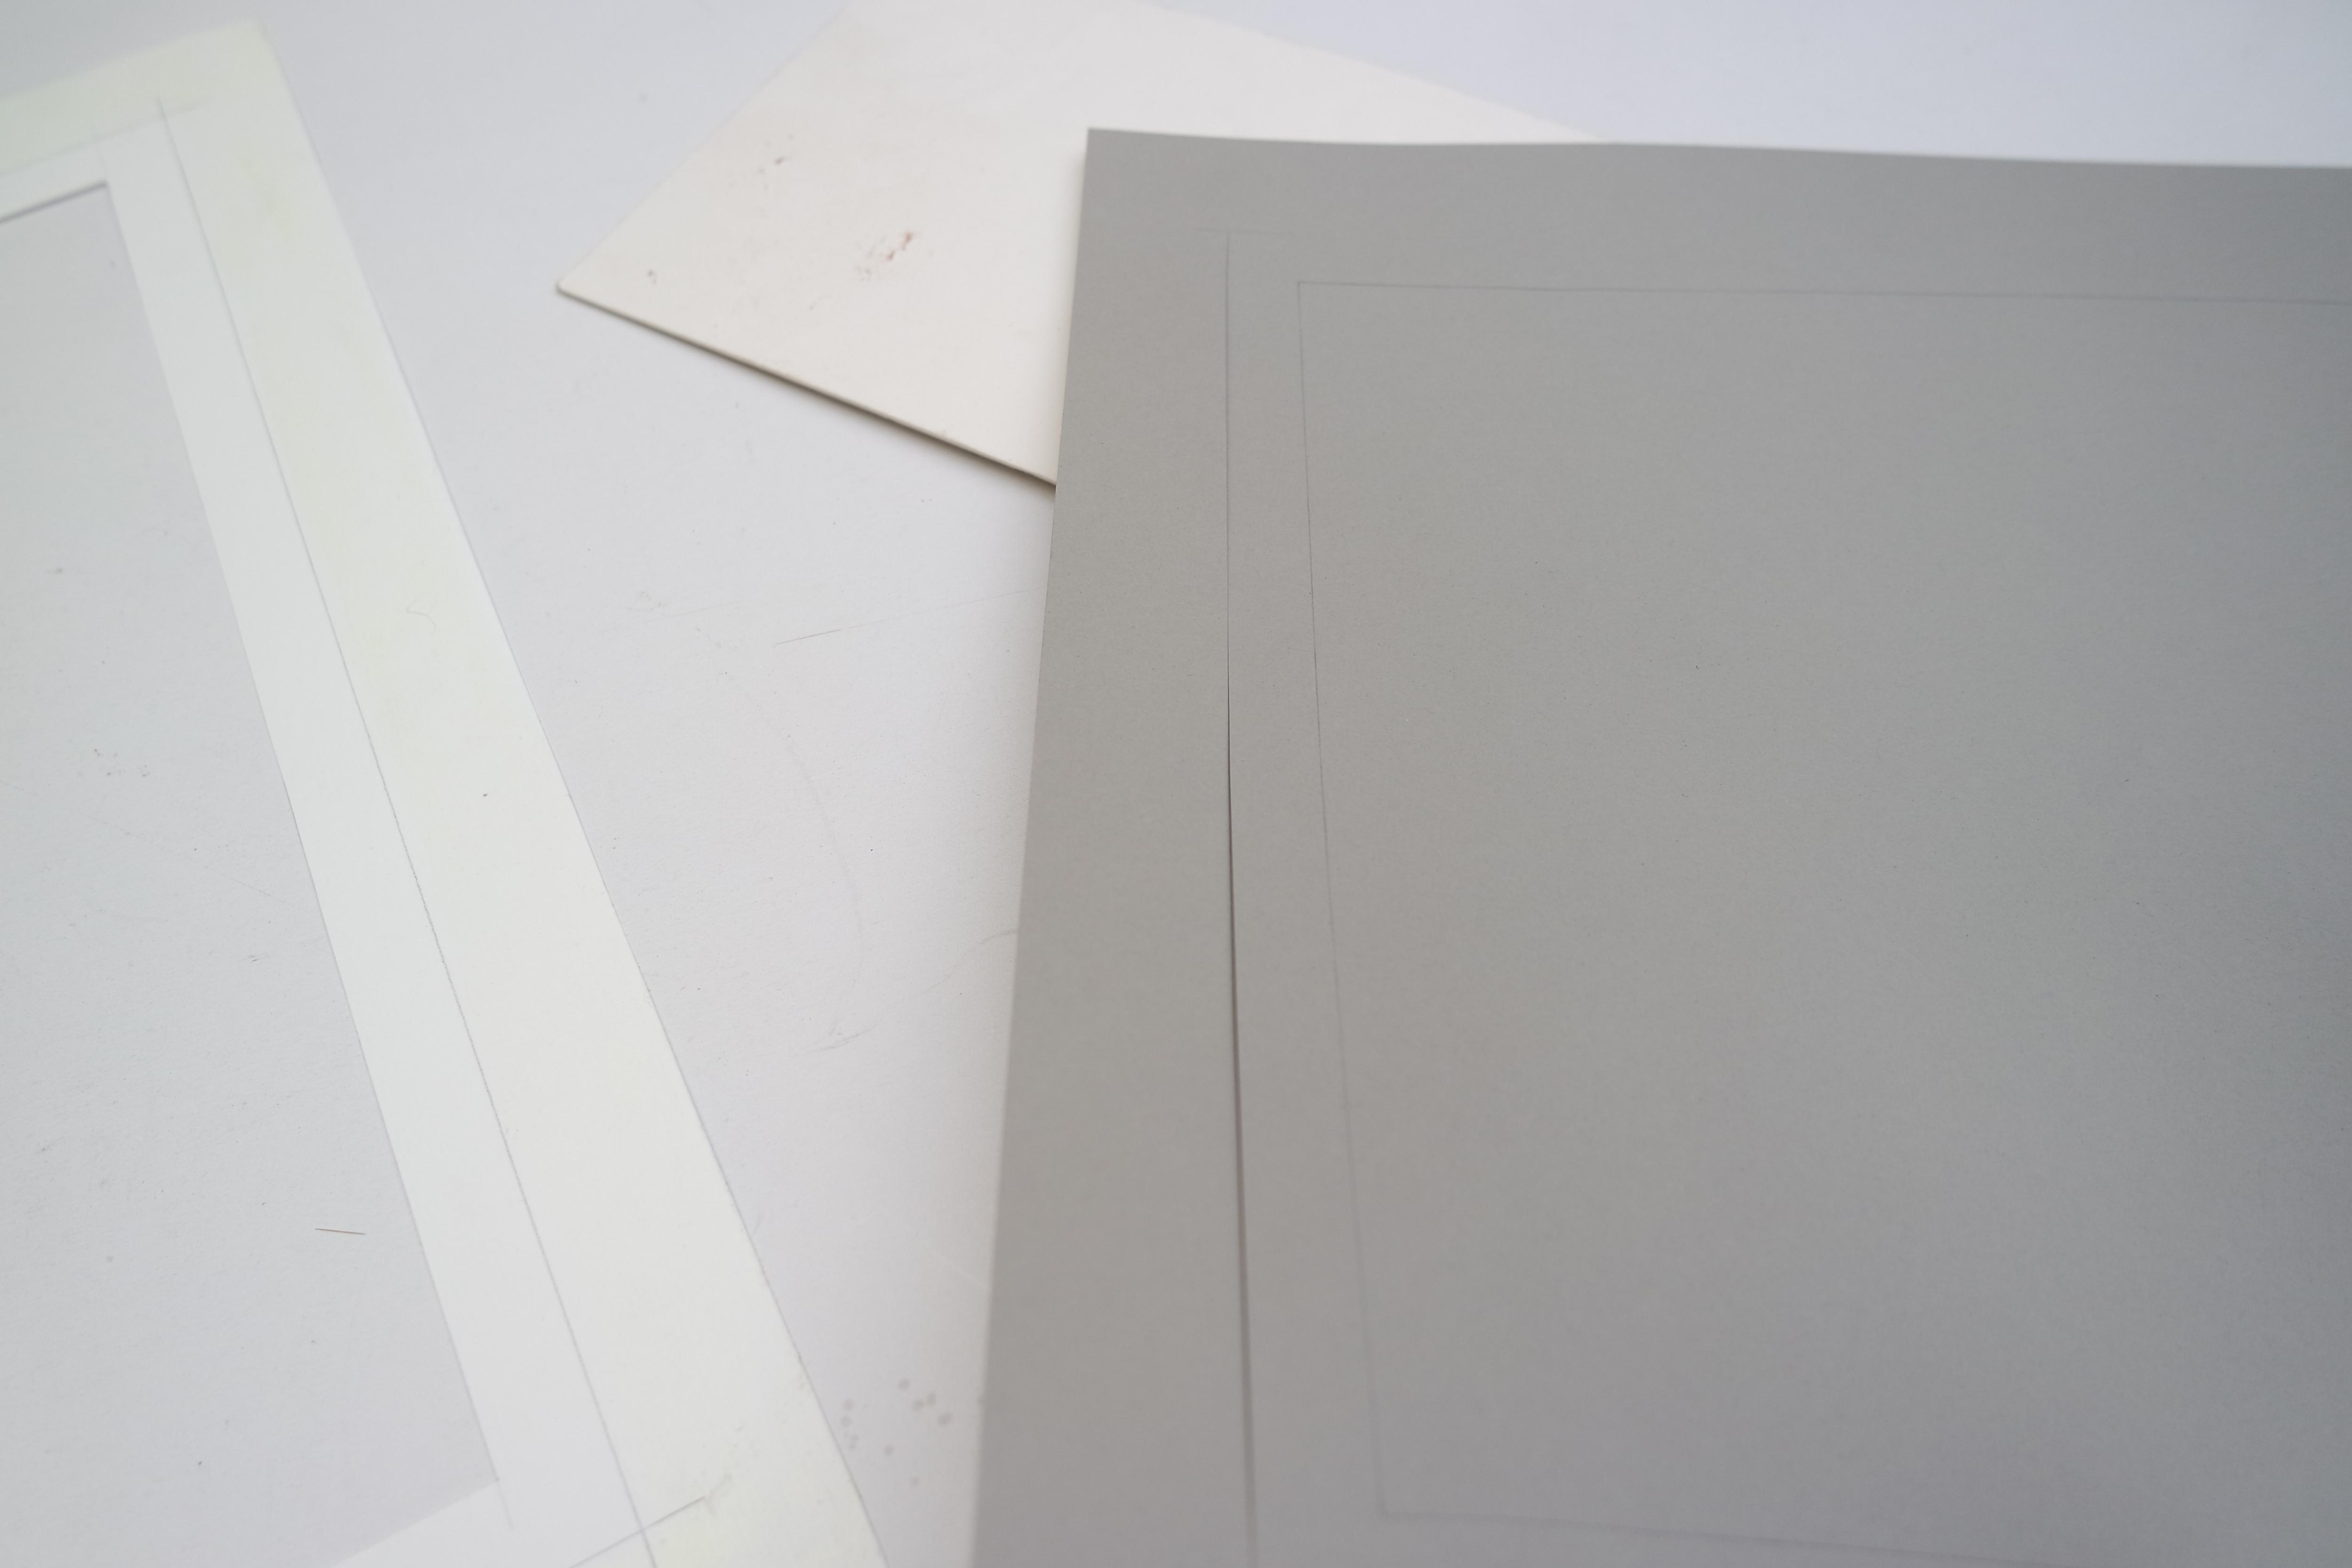
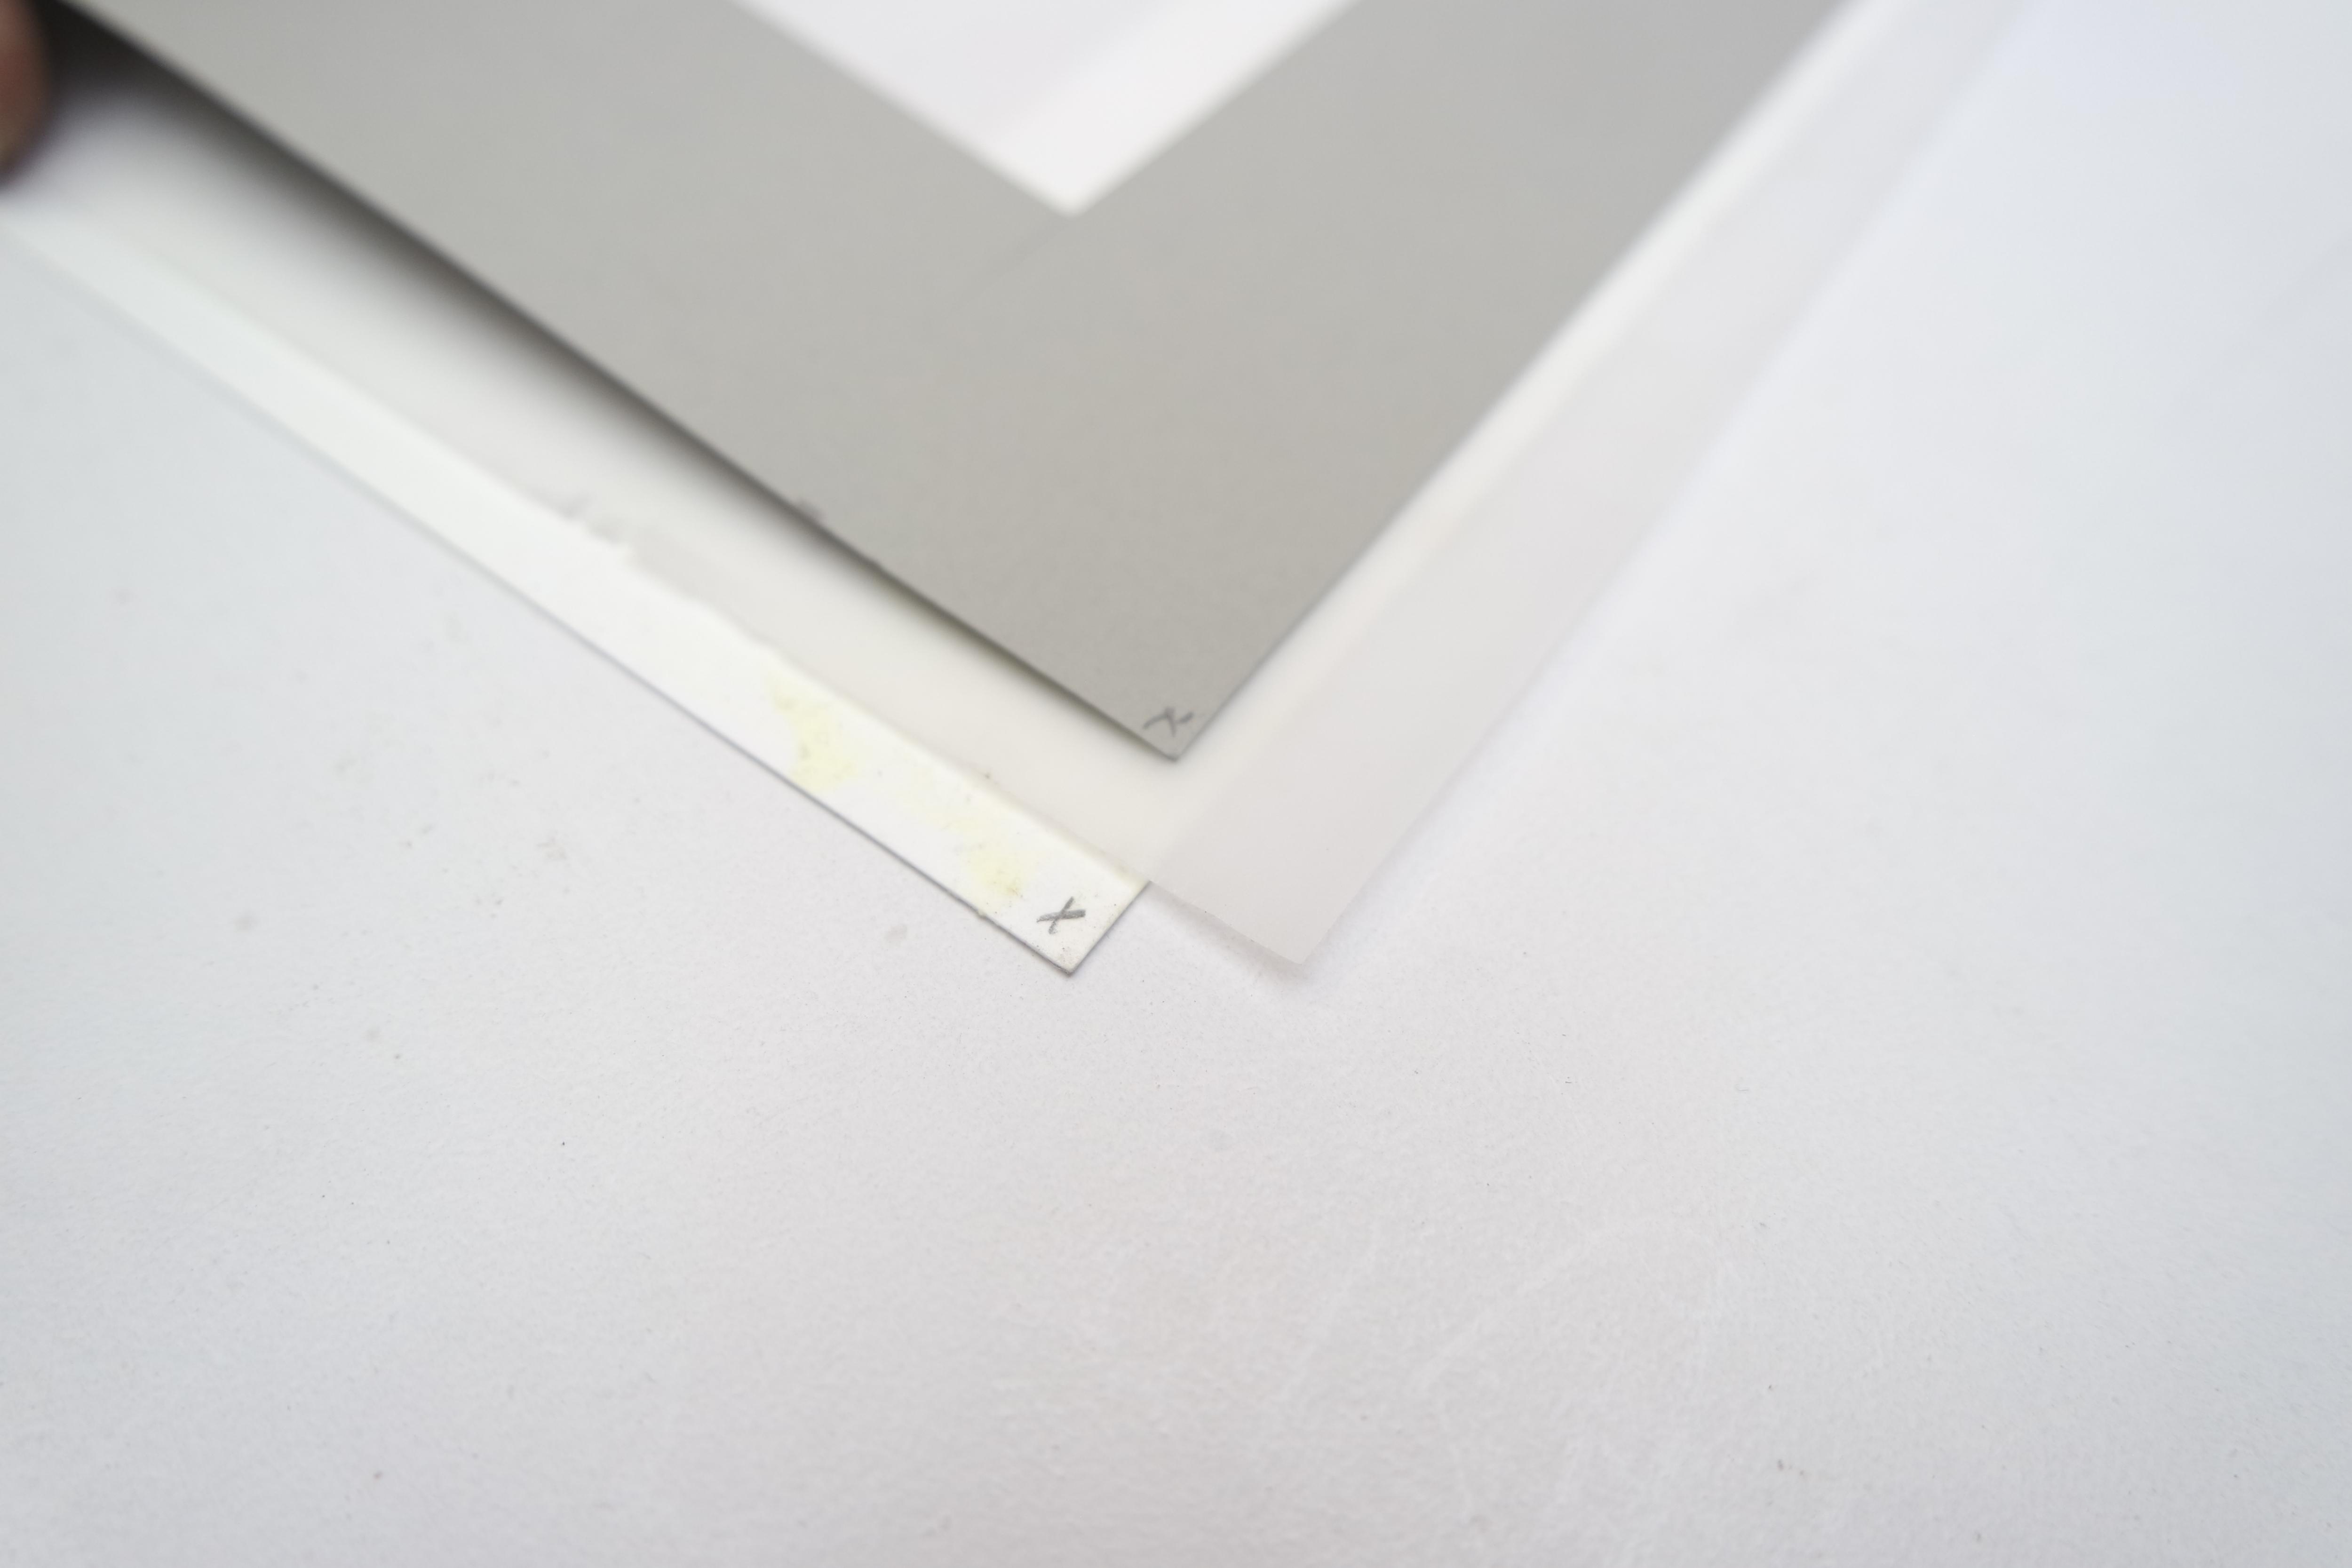
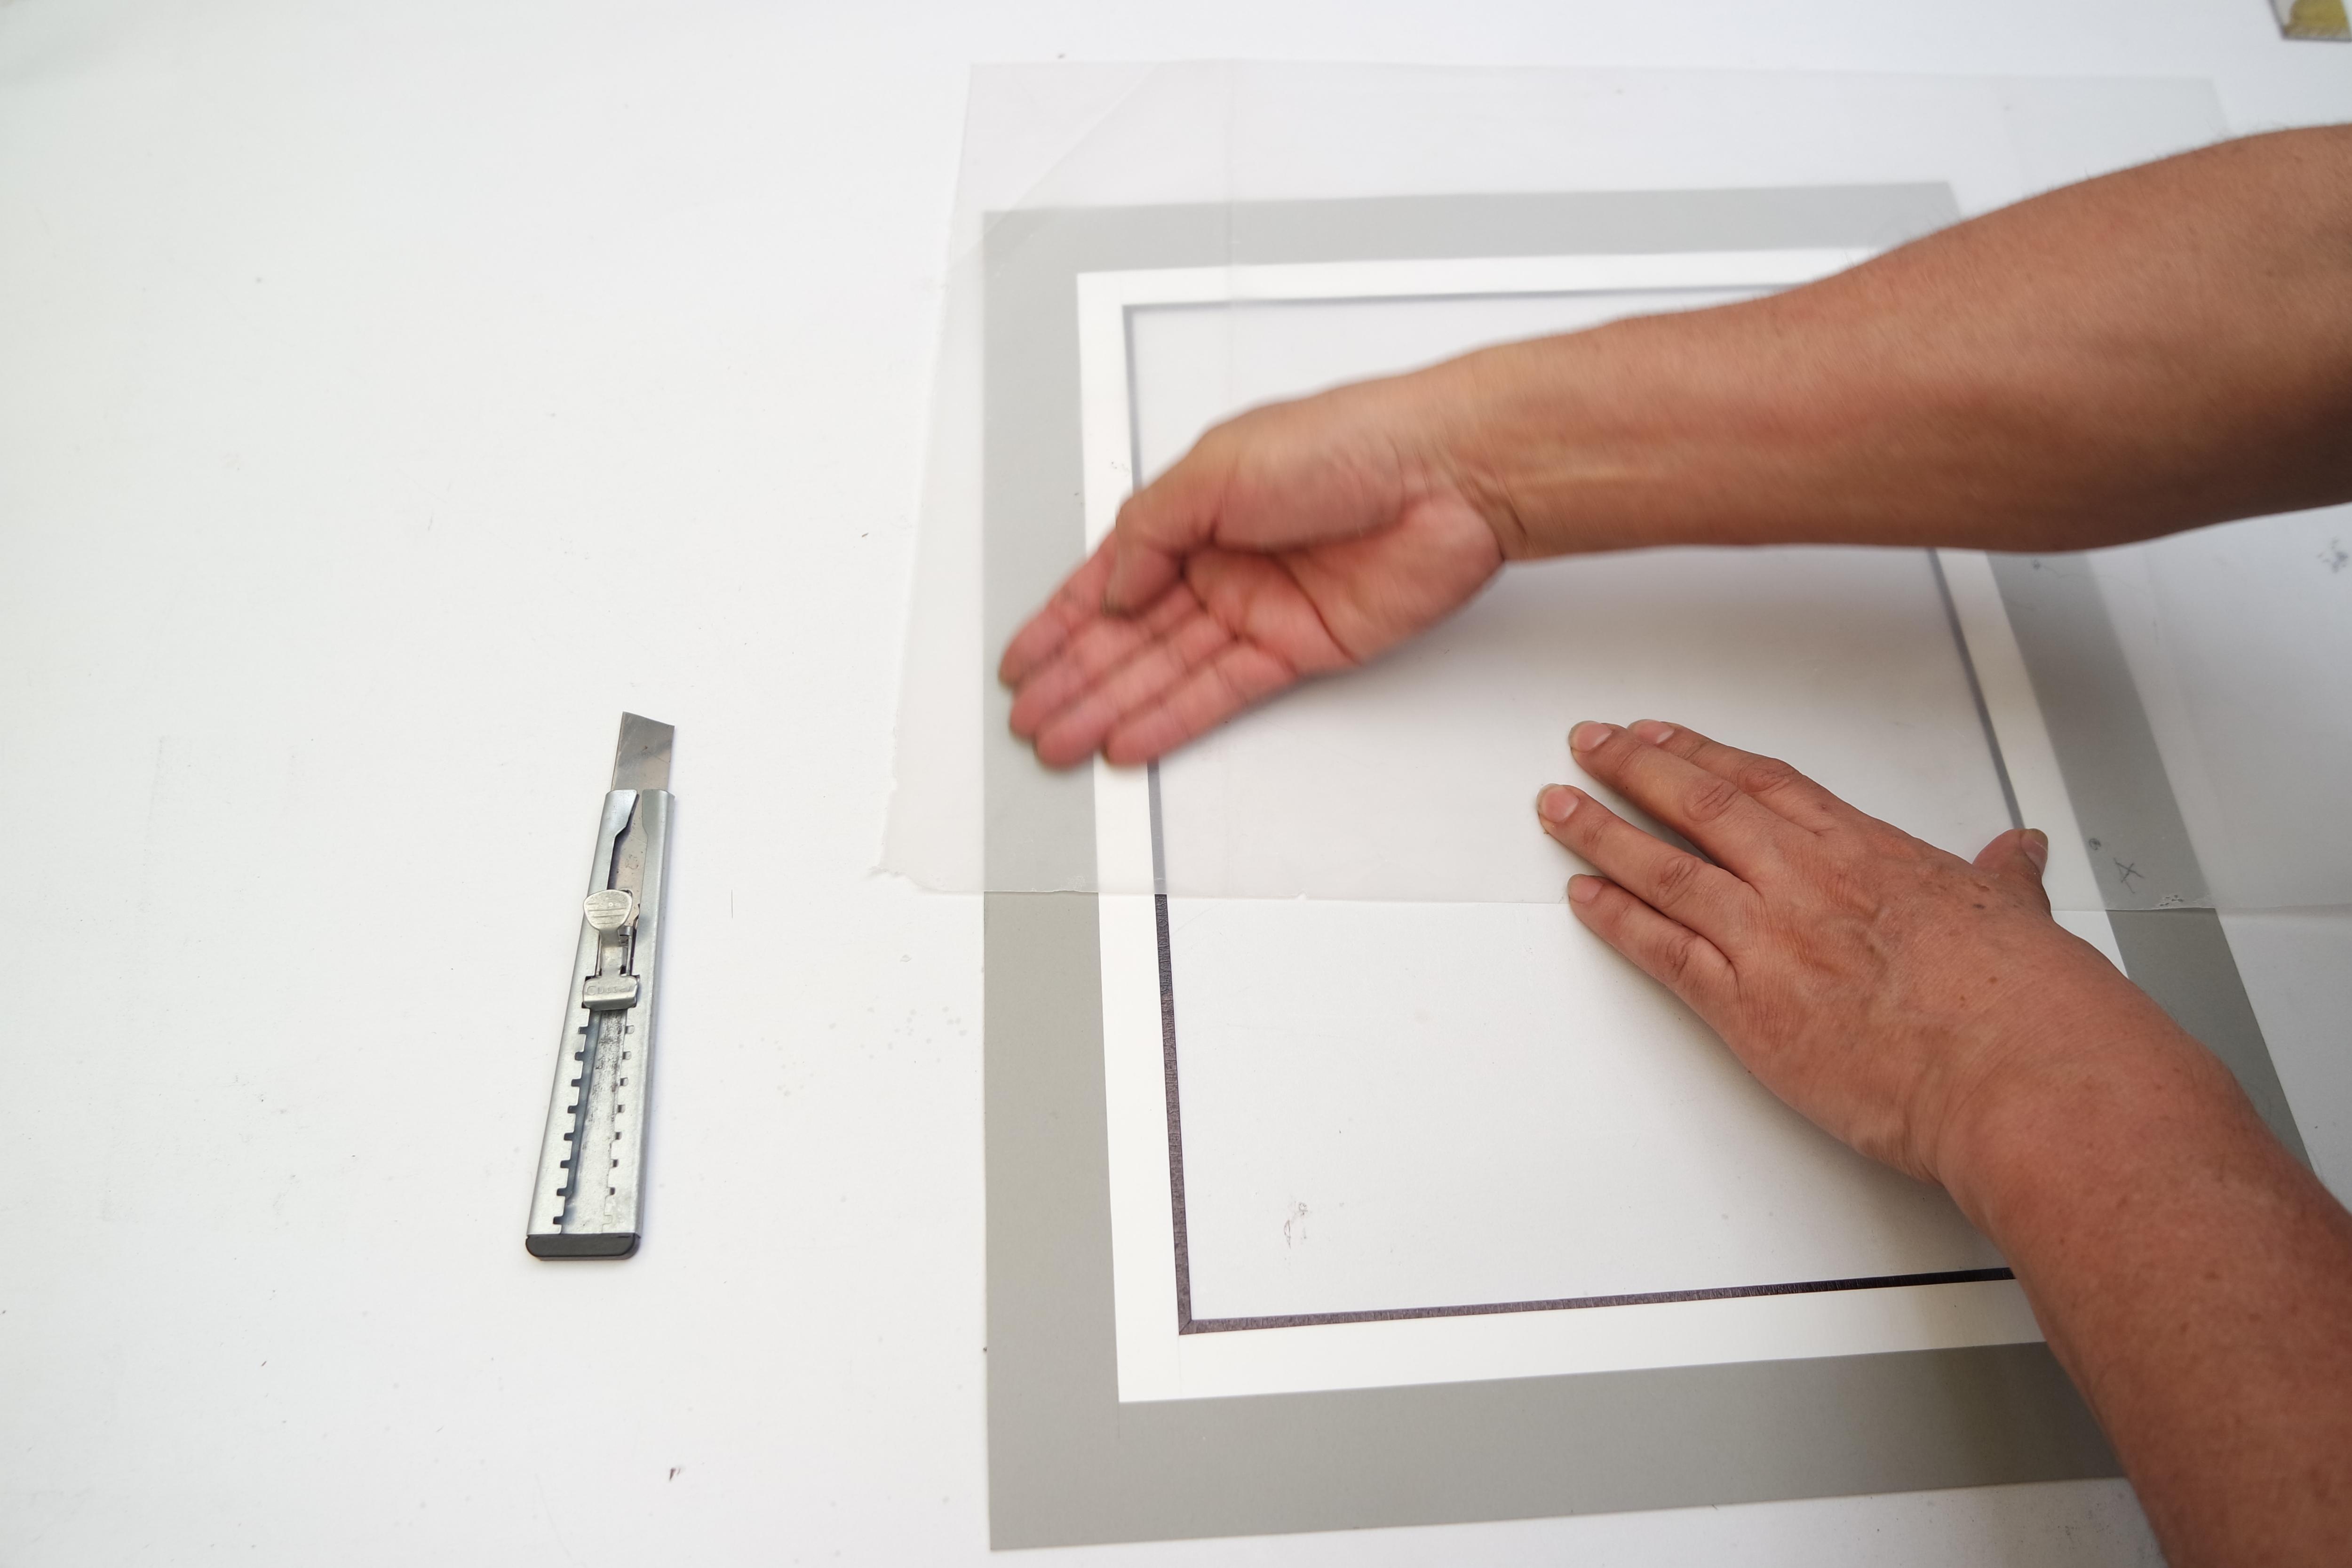
Cut Cut Cut
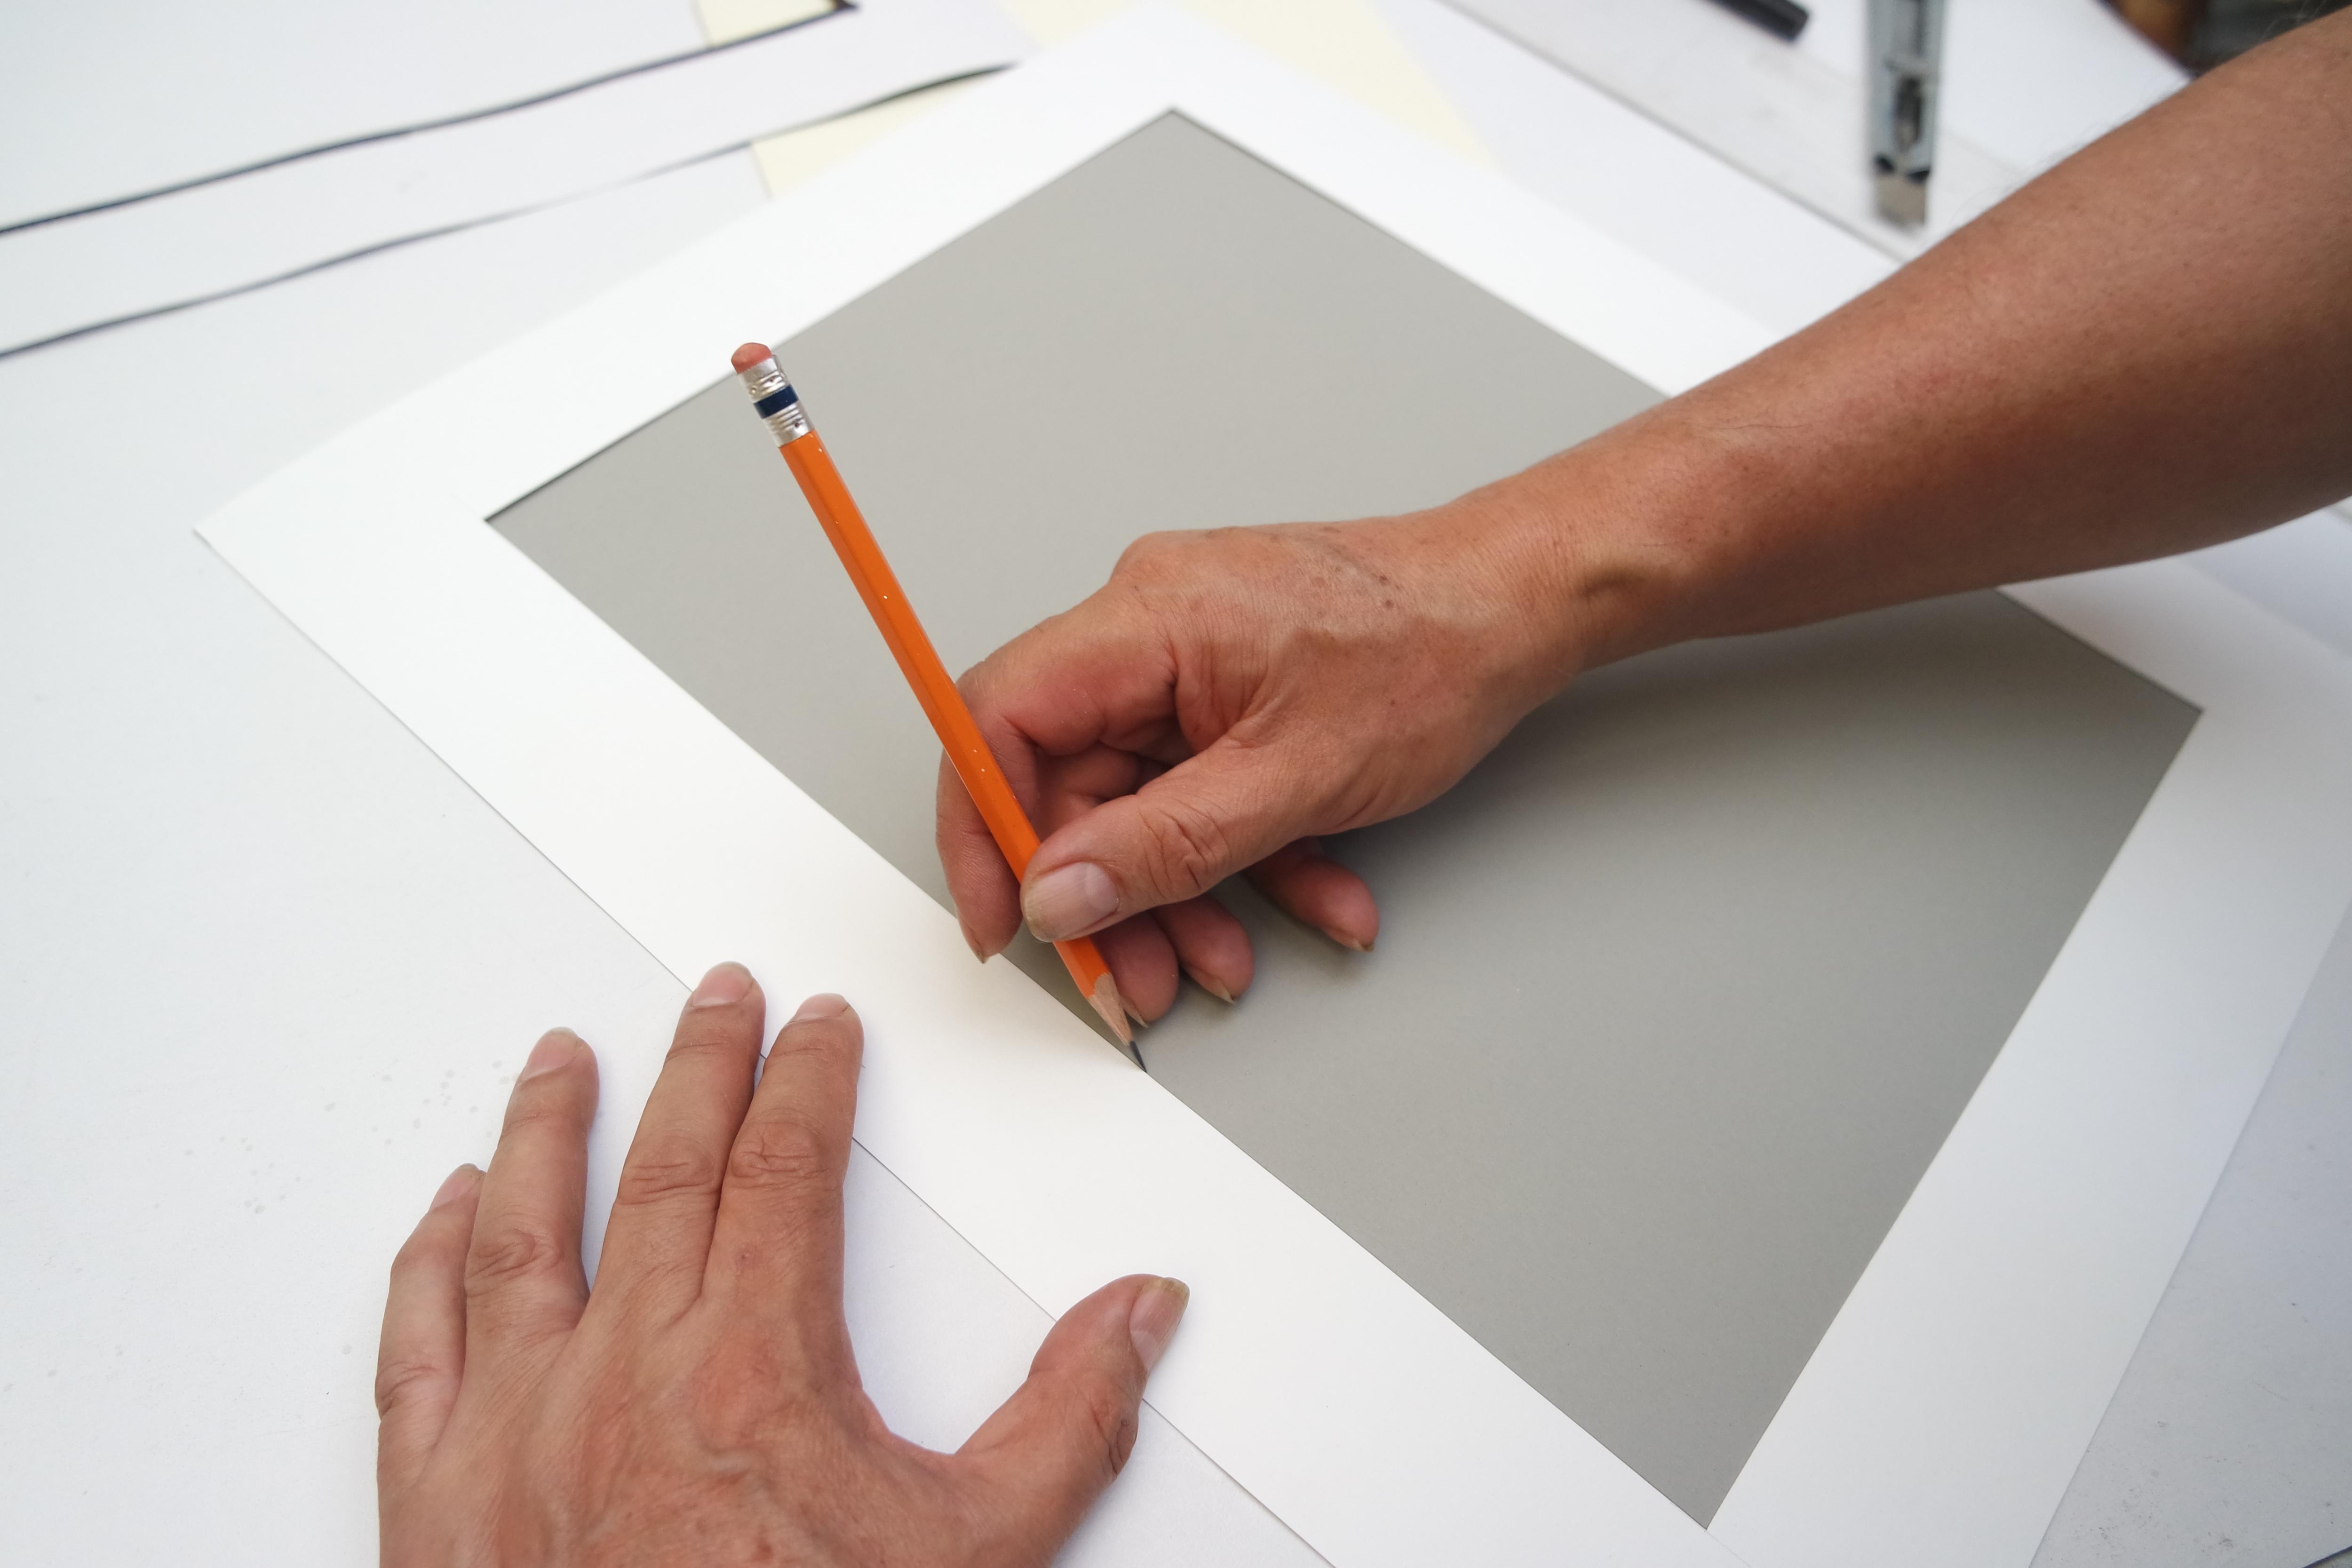
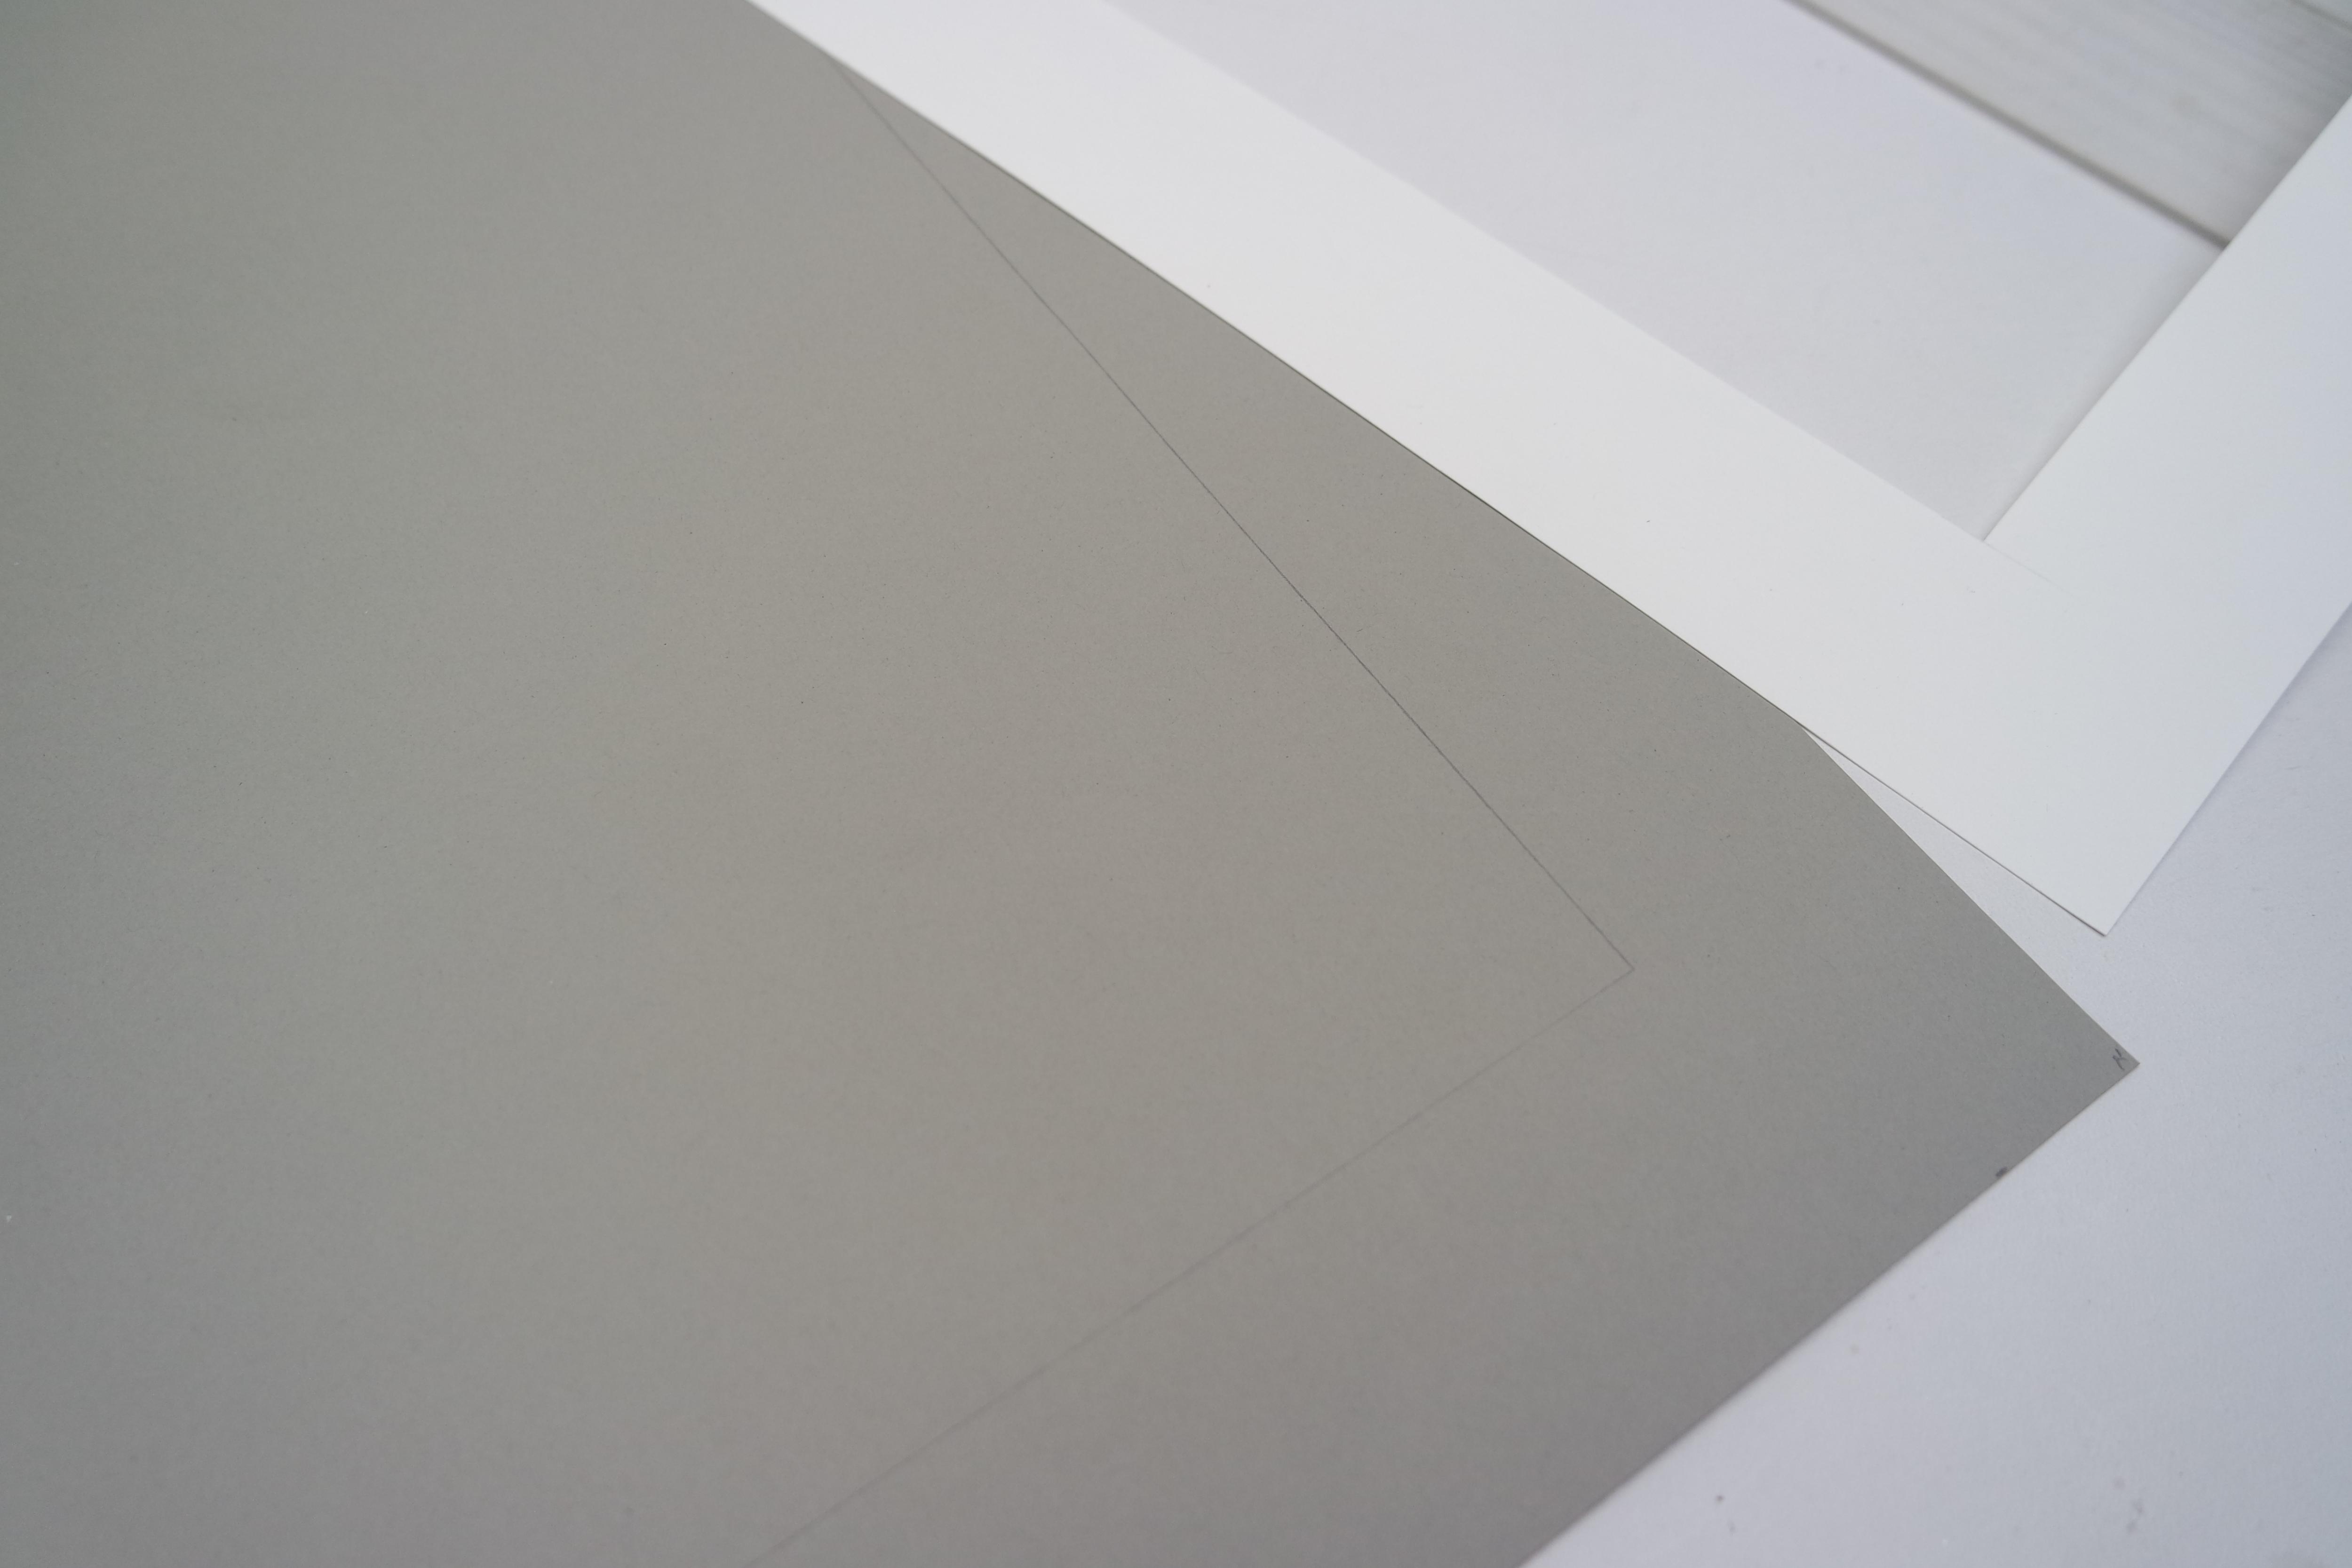
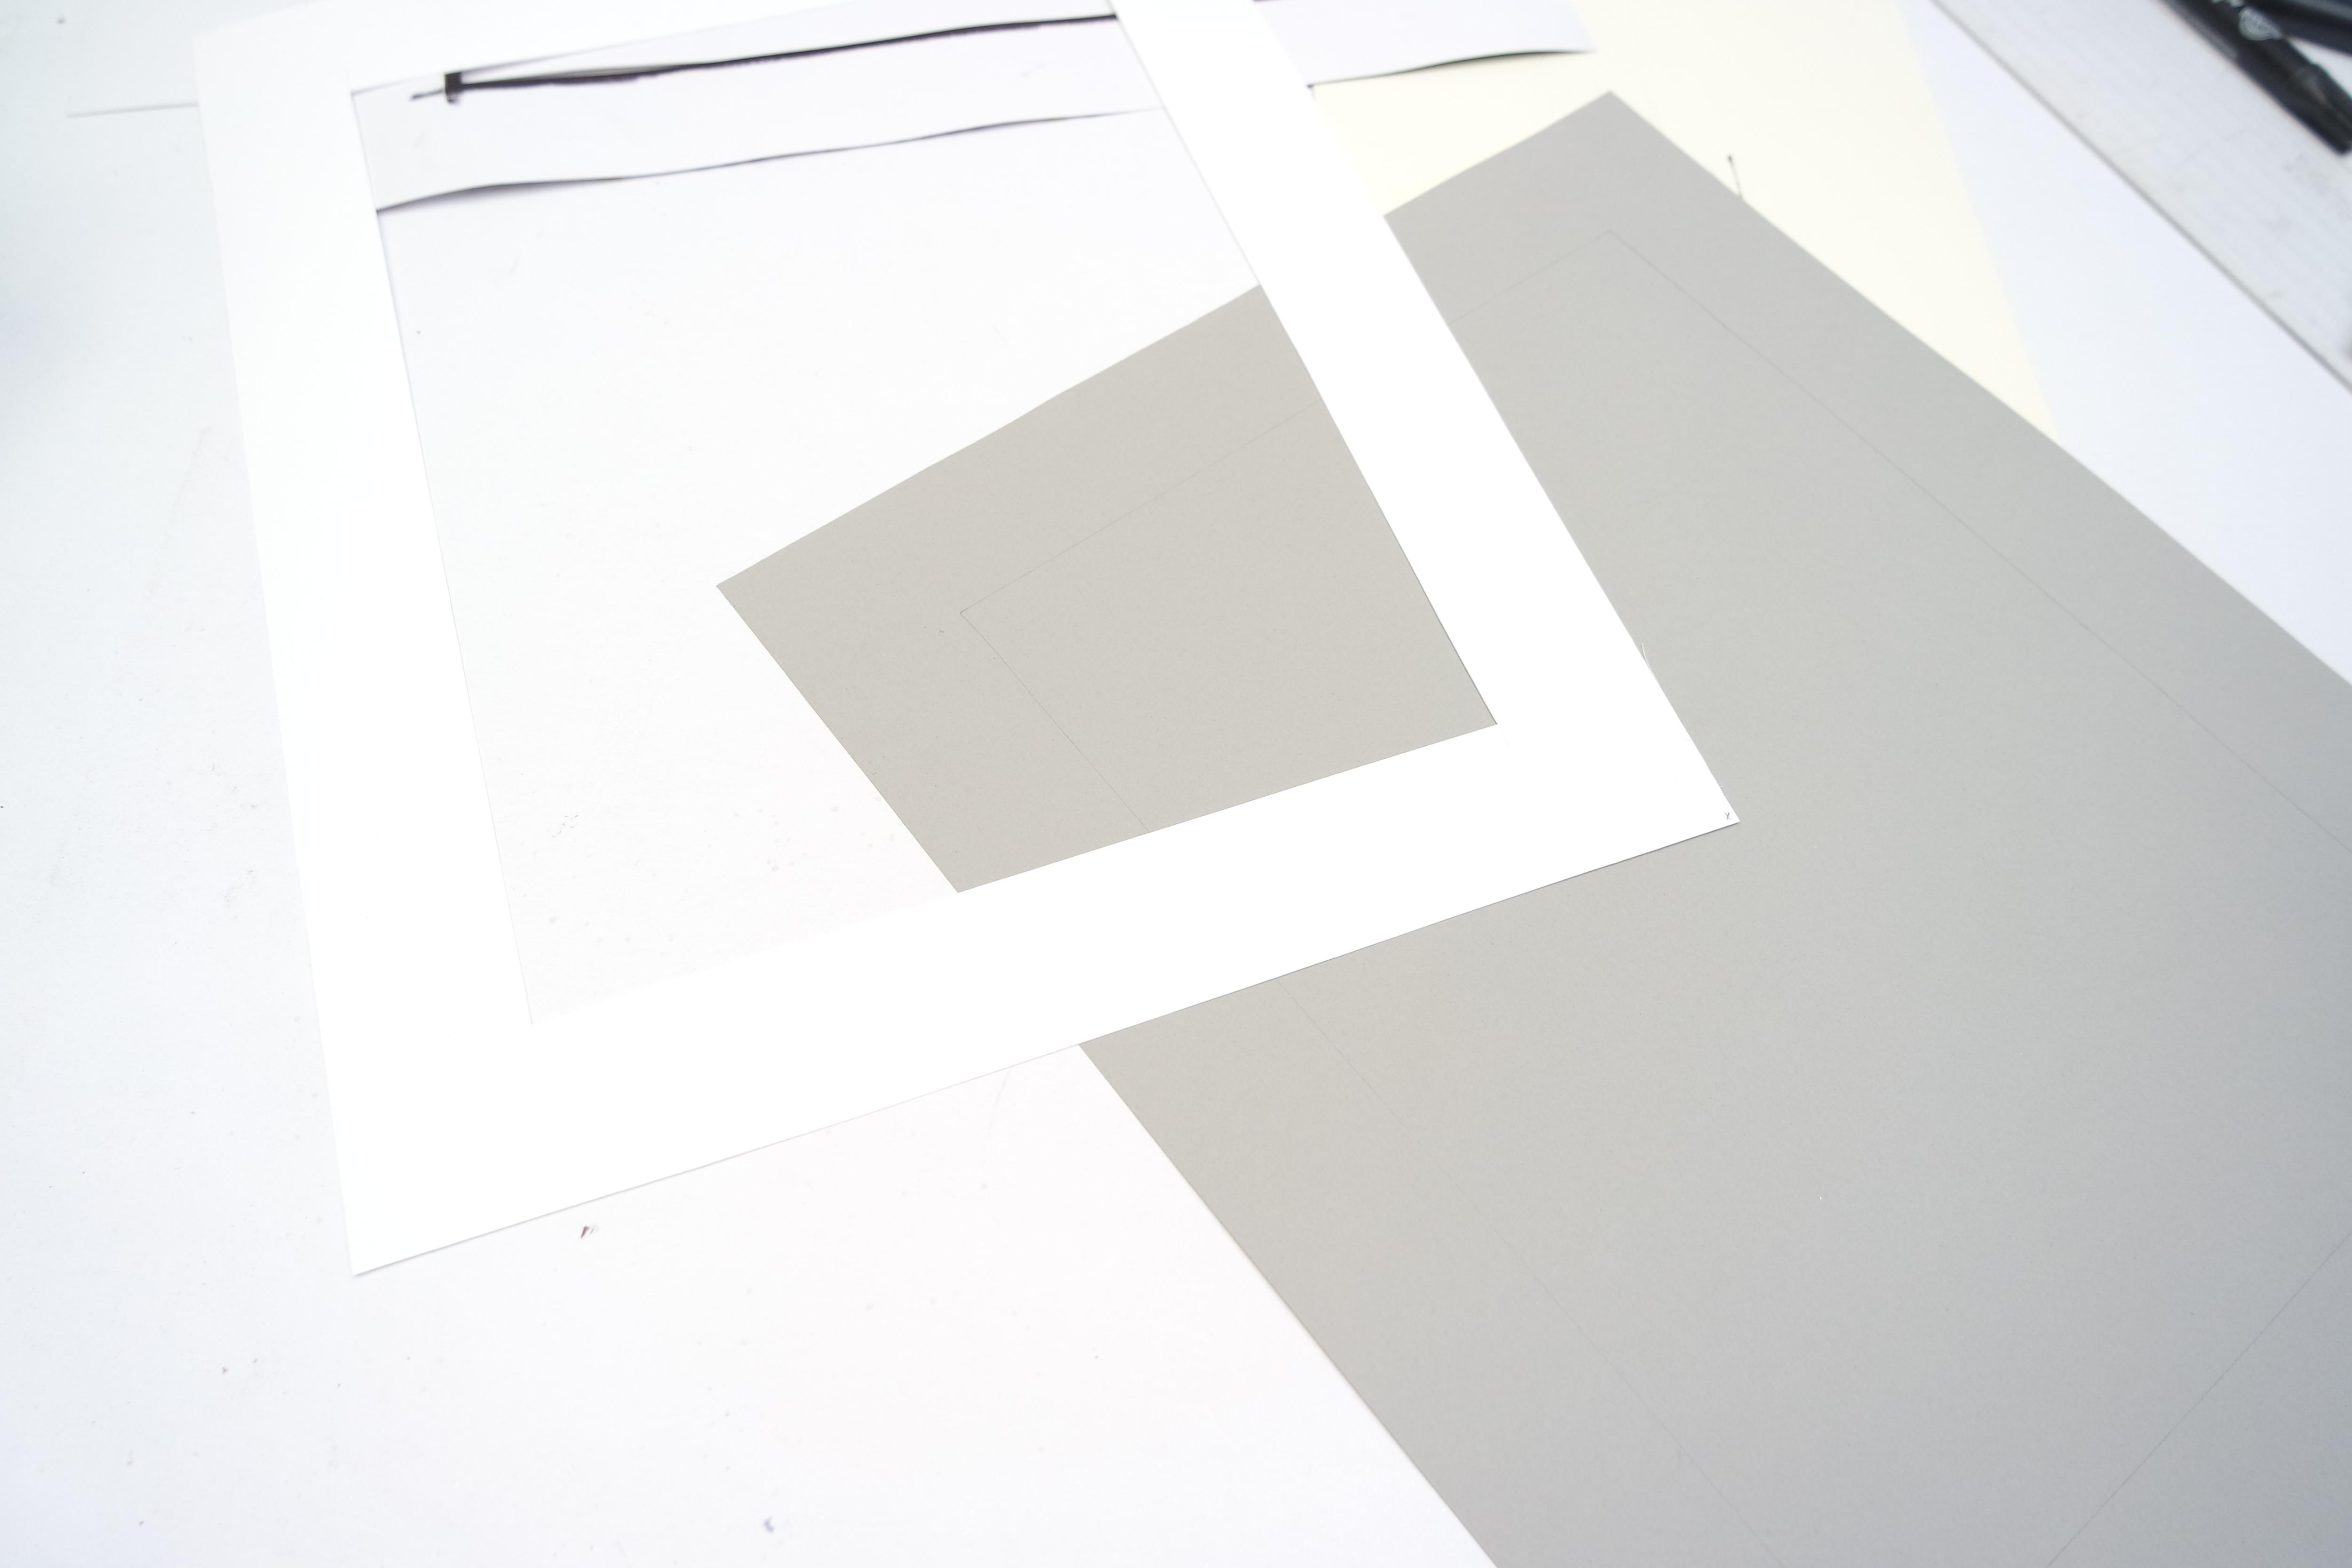
Cut more layers to give more detail to your Portrait.
And be careful with the pieces of paper that have a white tone so as not get them dirty.
Assembling the Frame
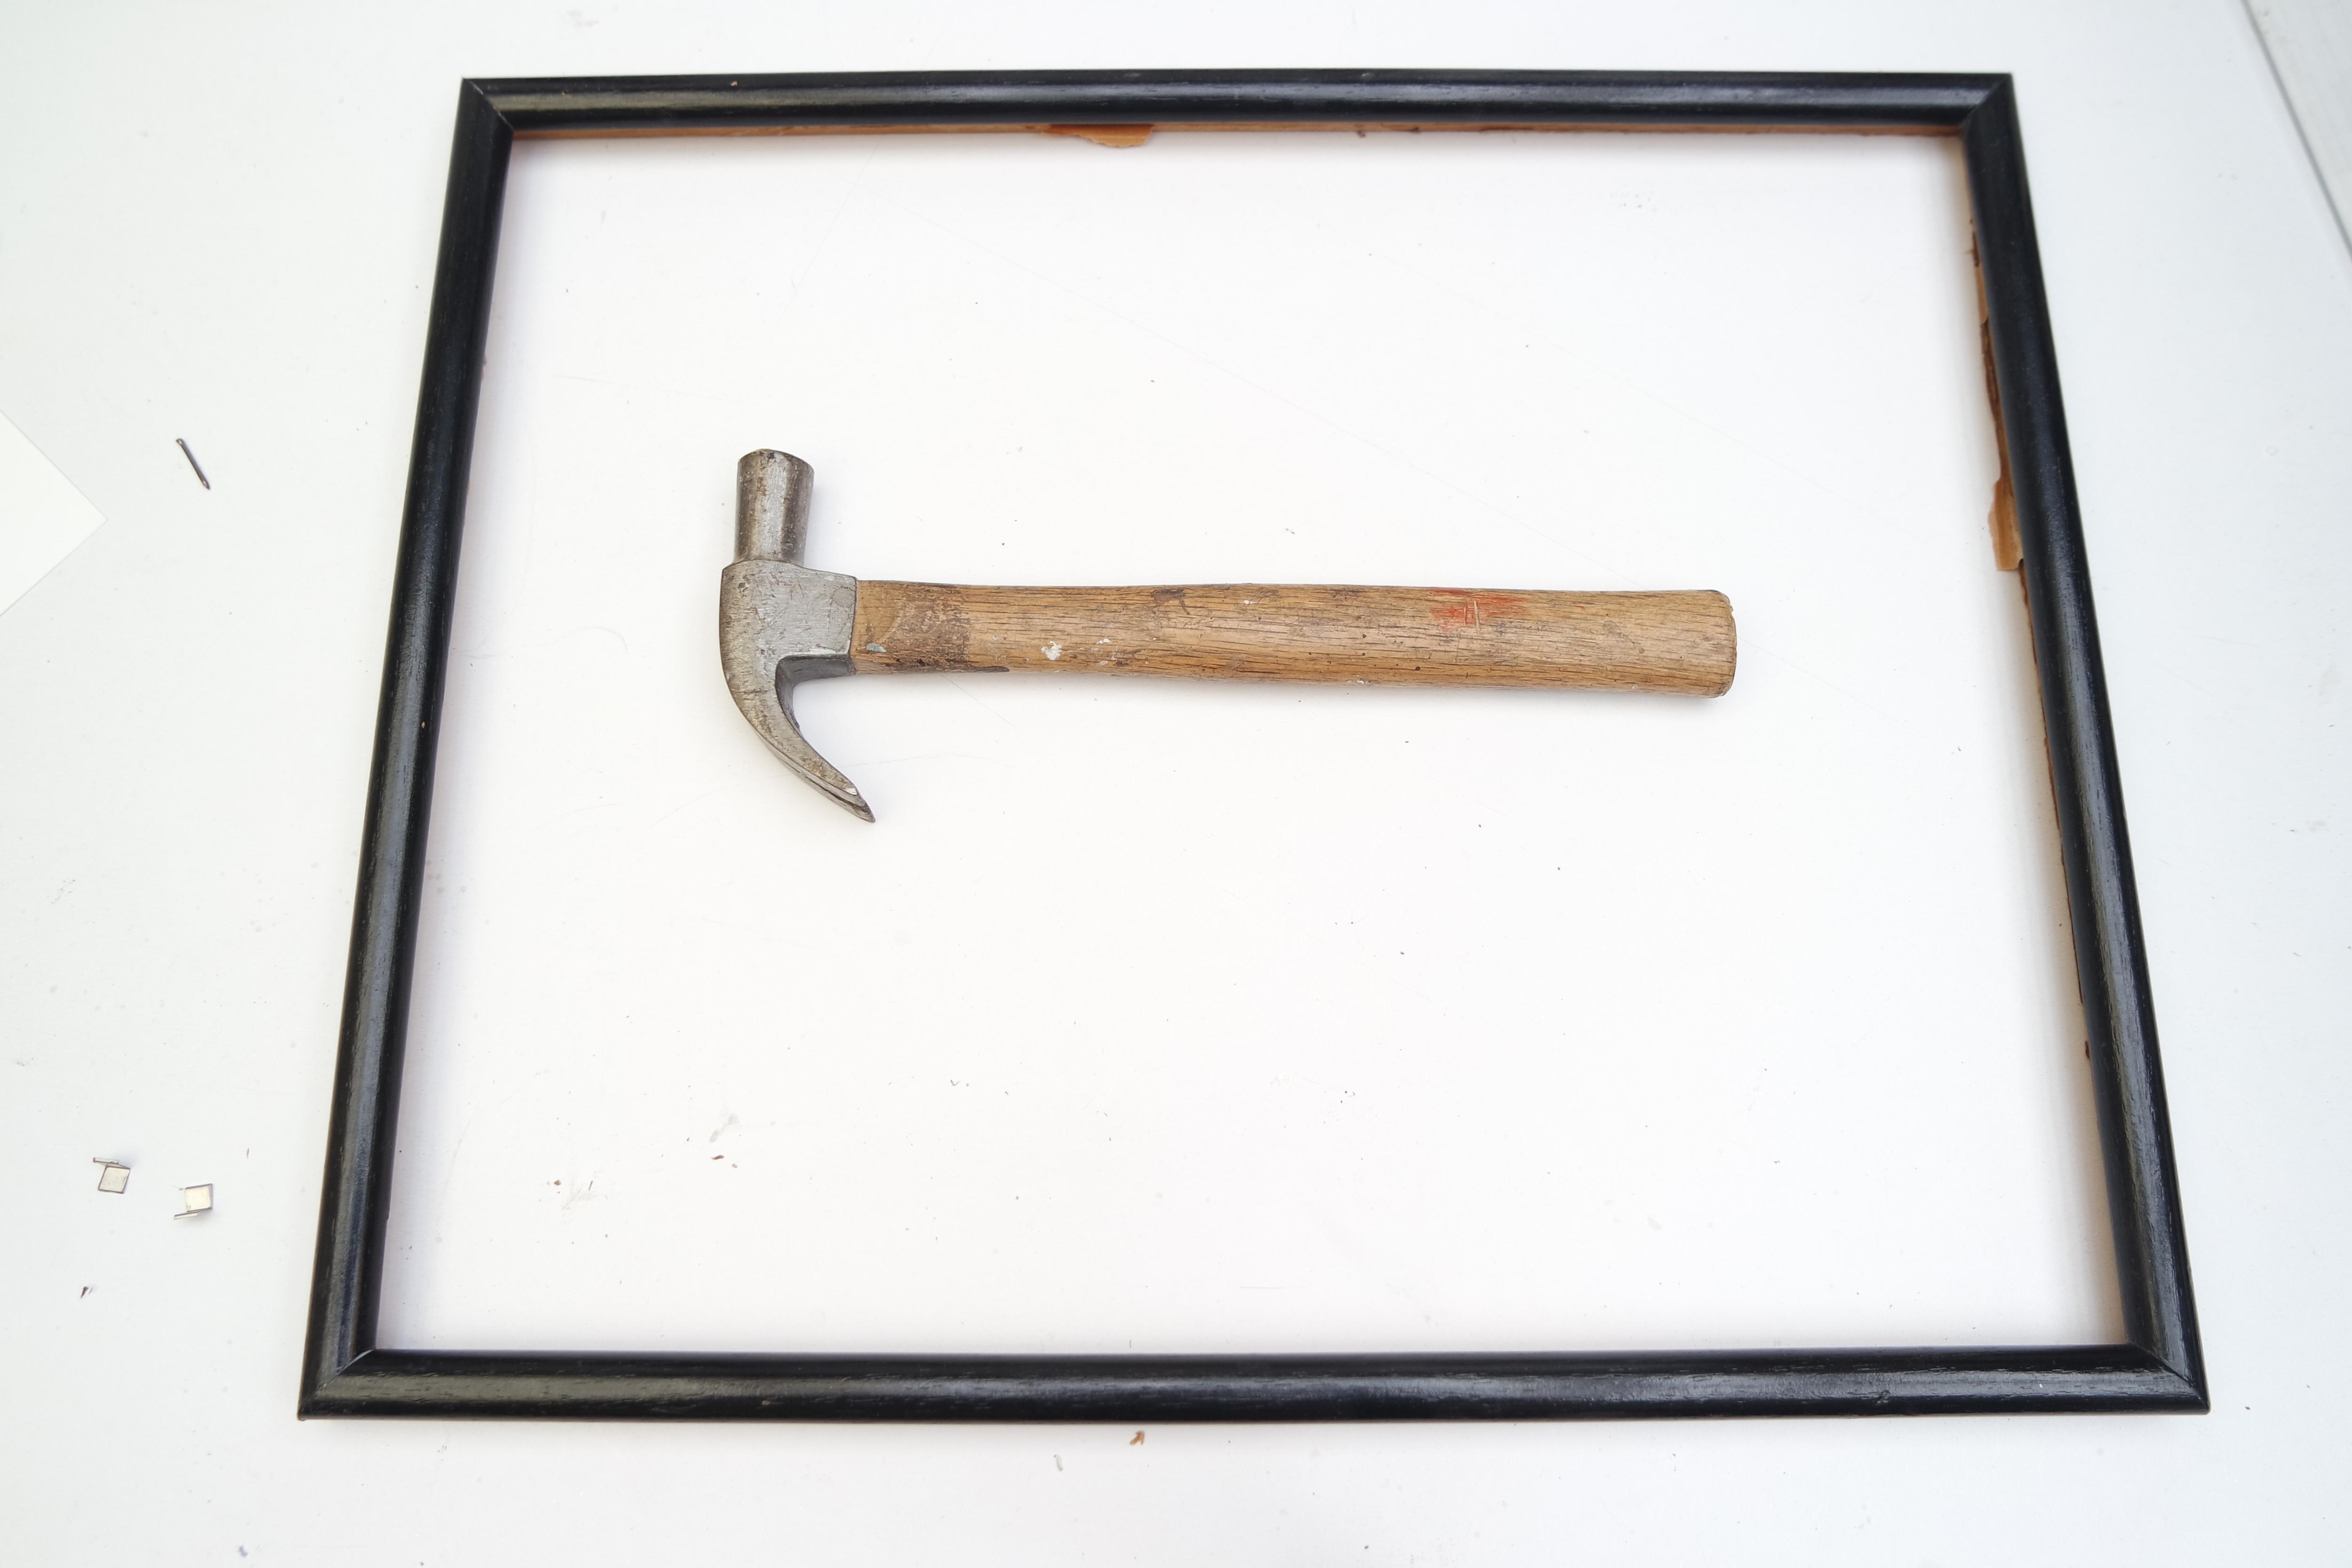
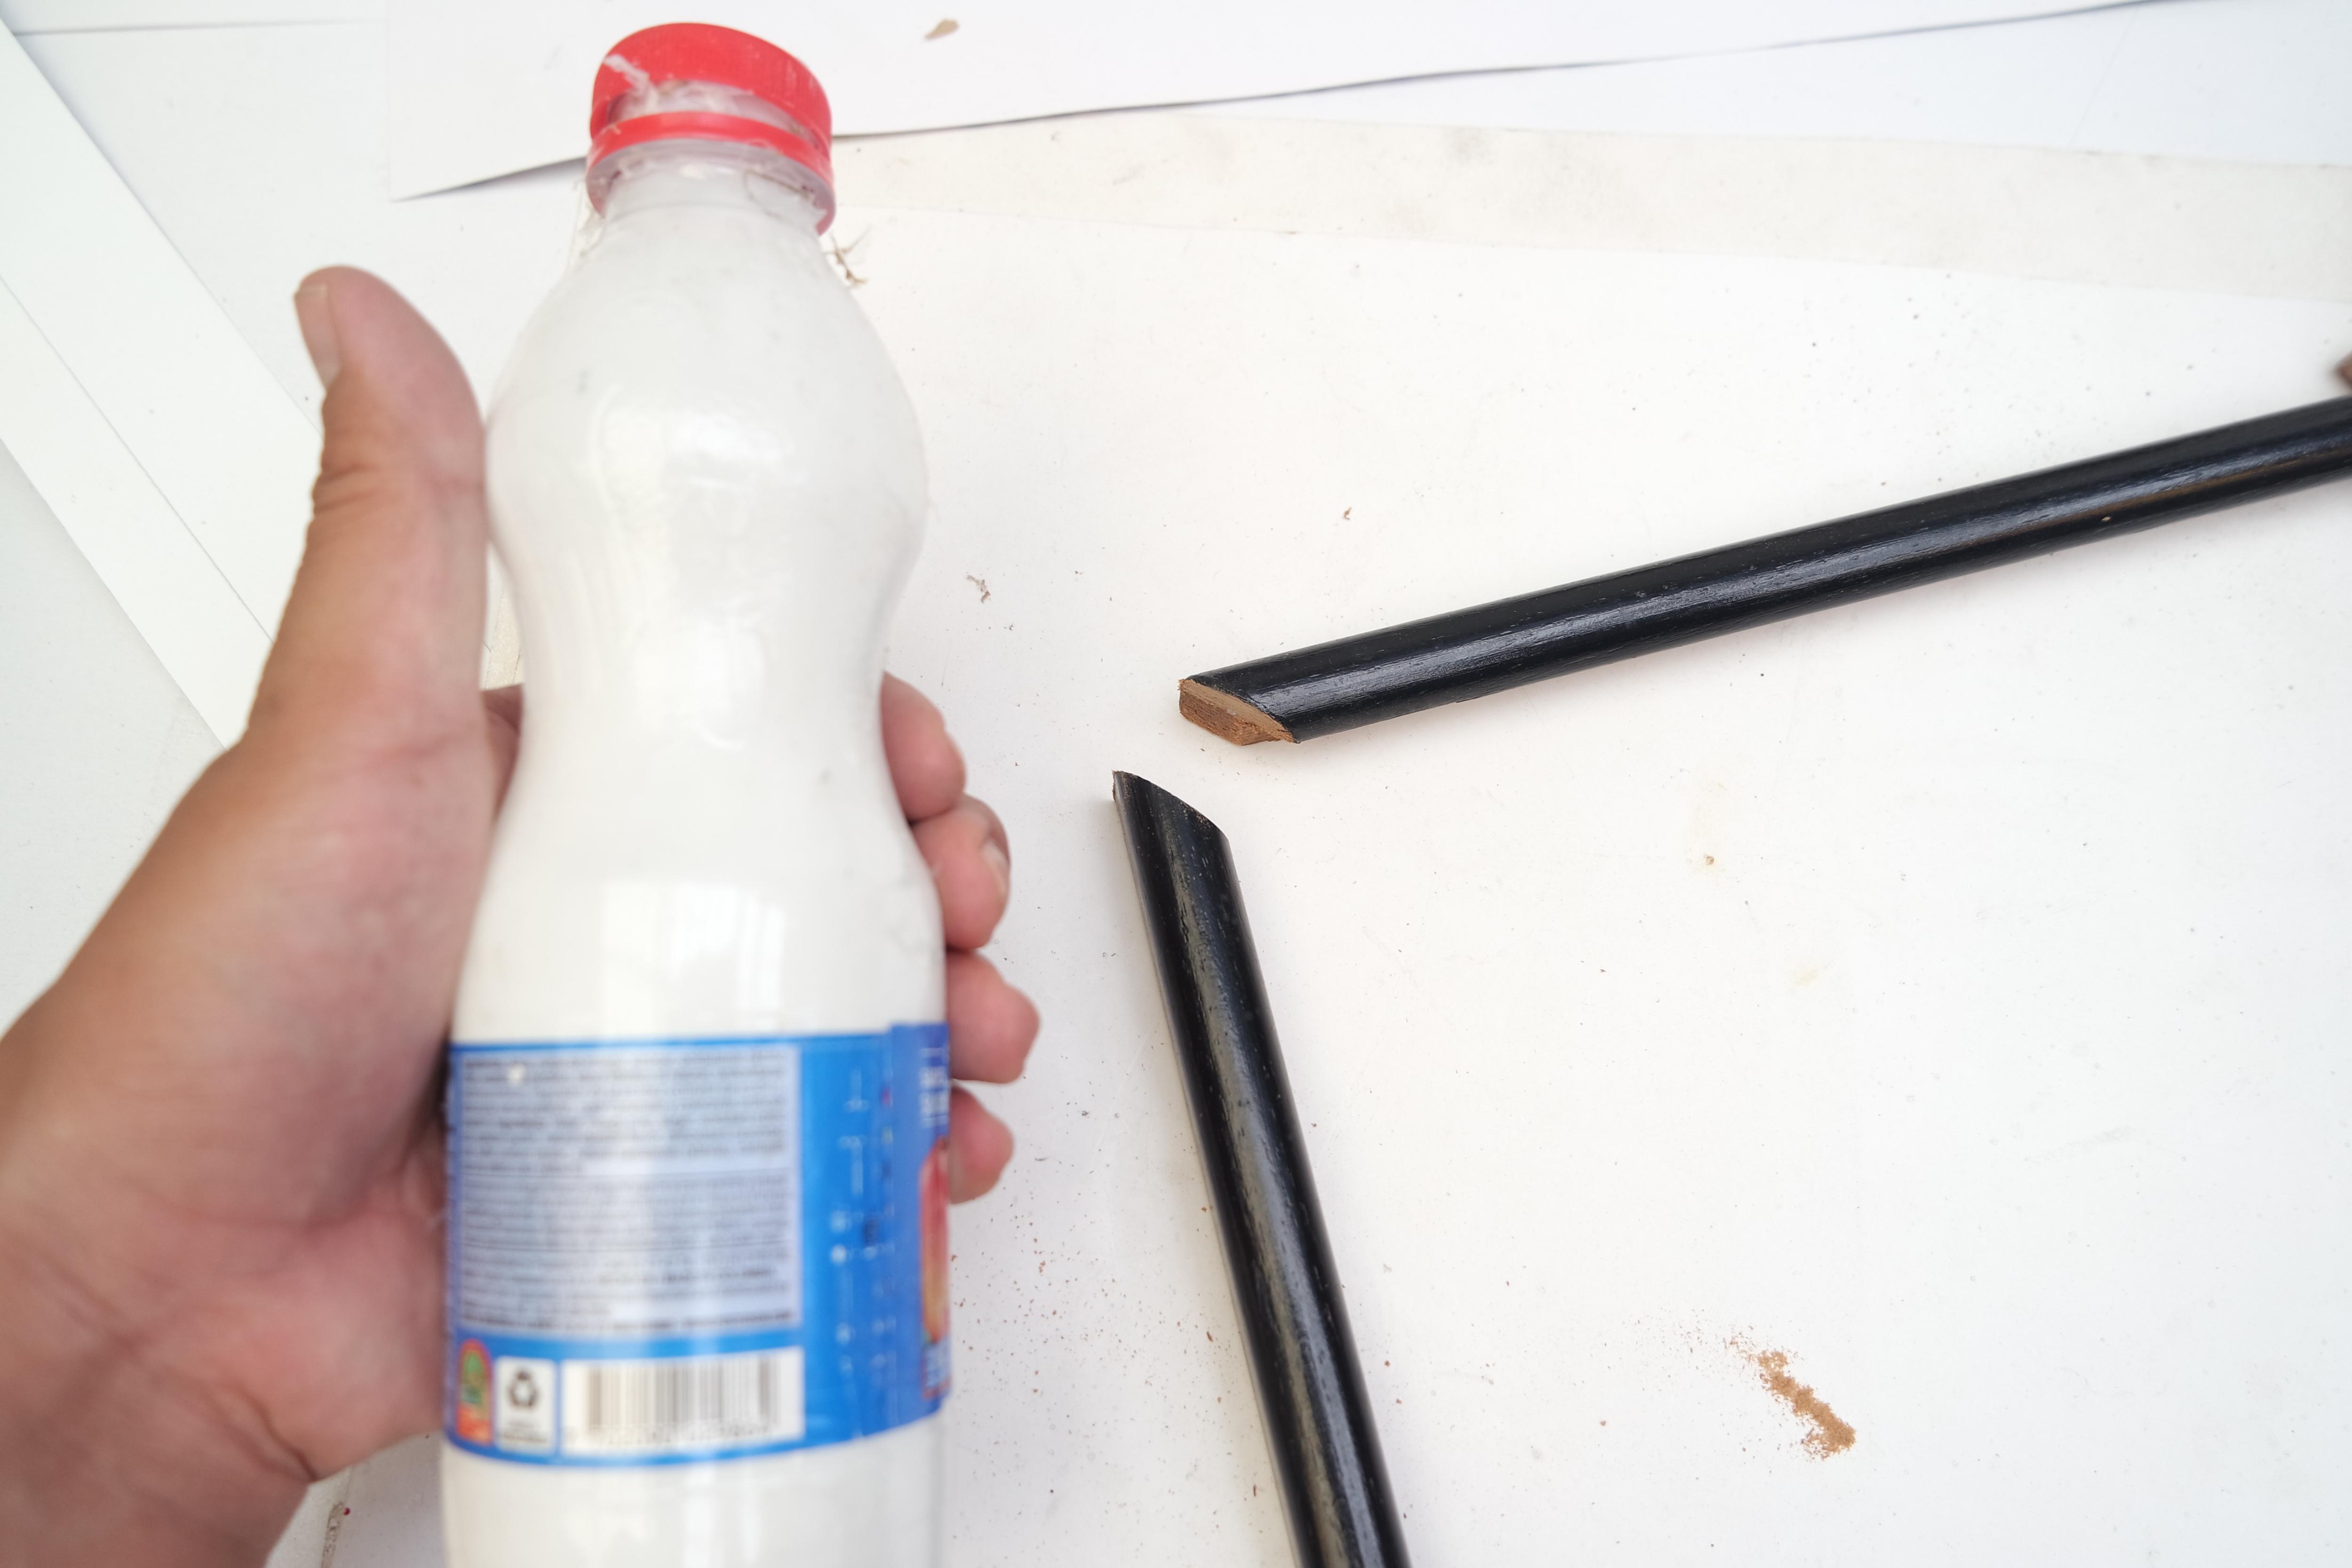
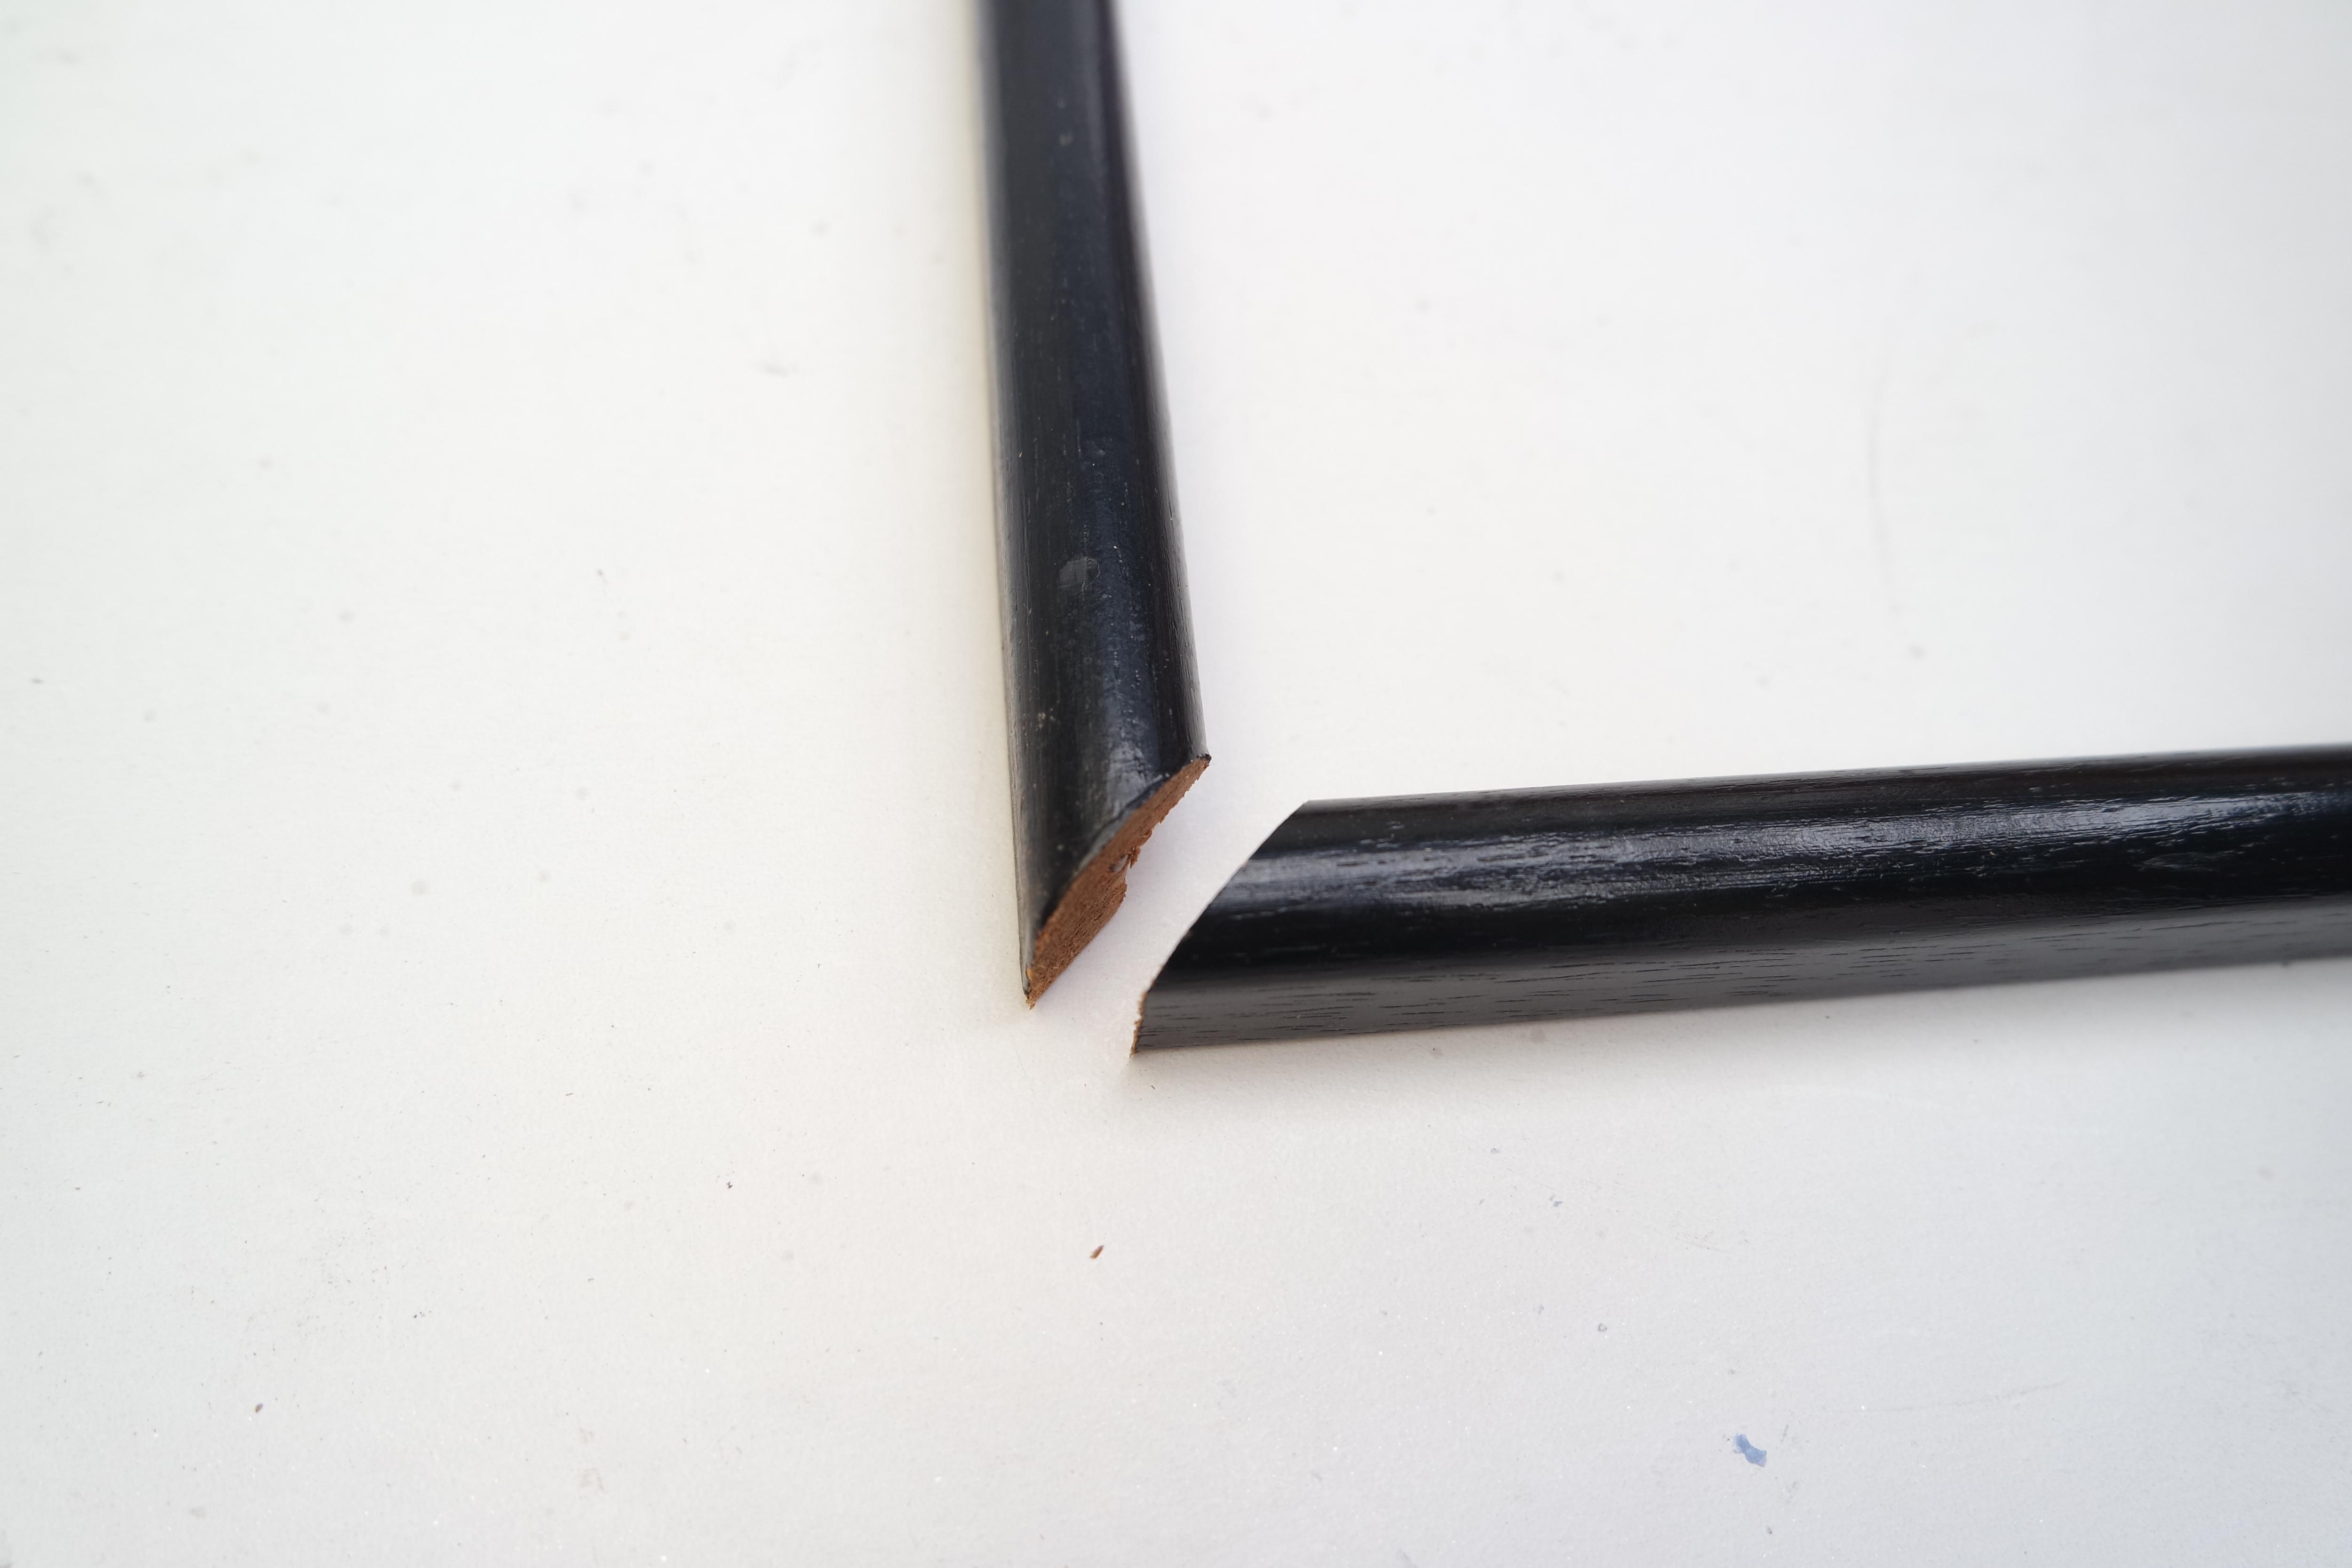
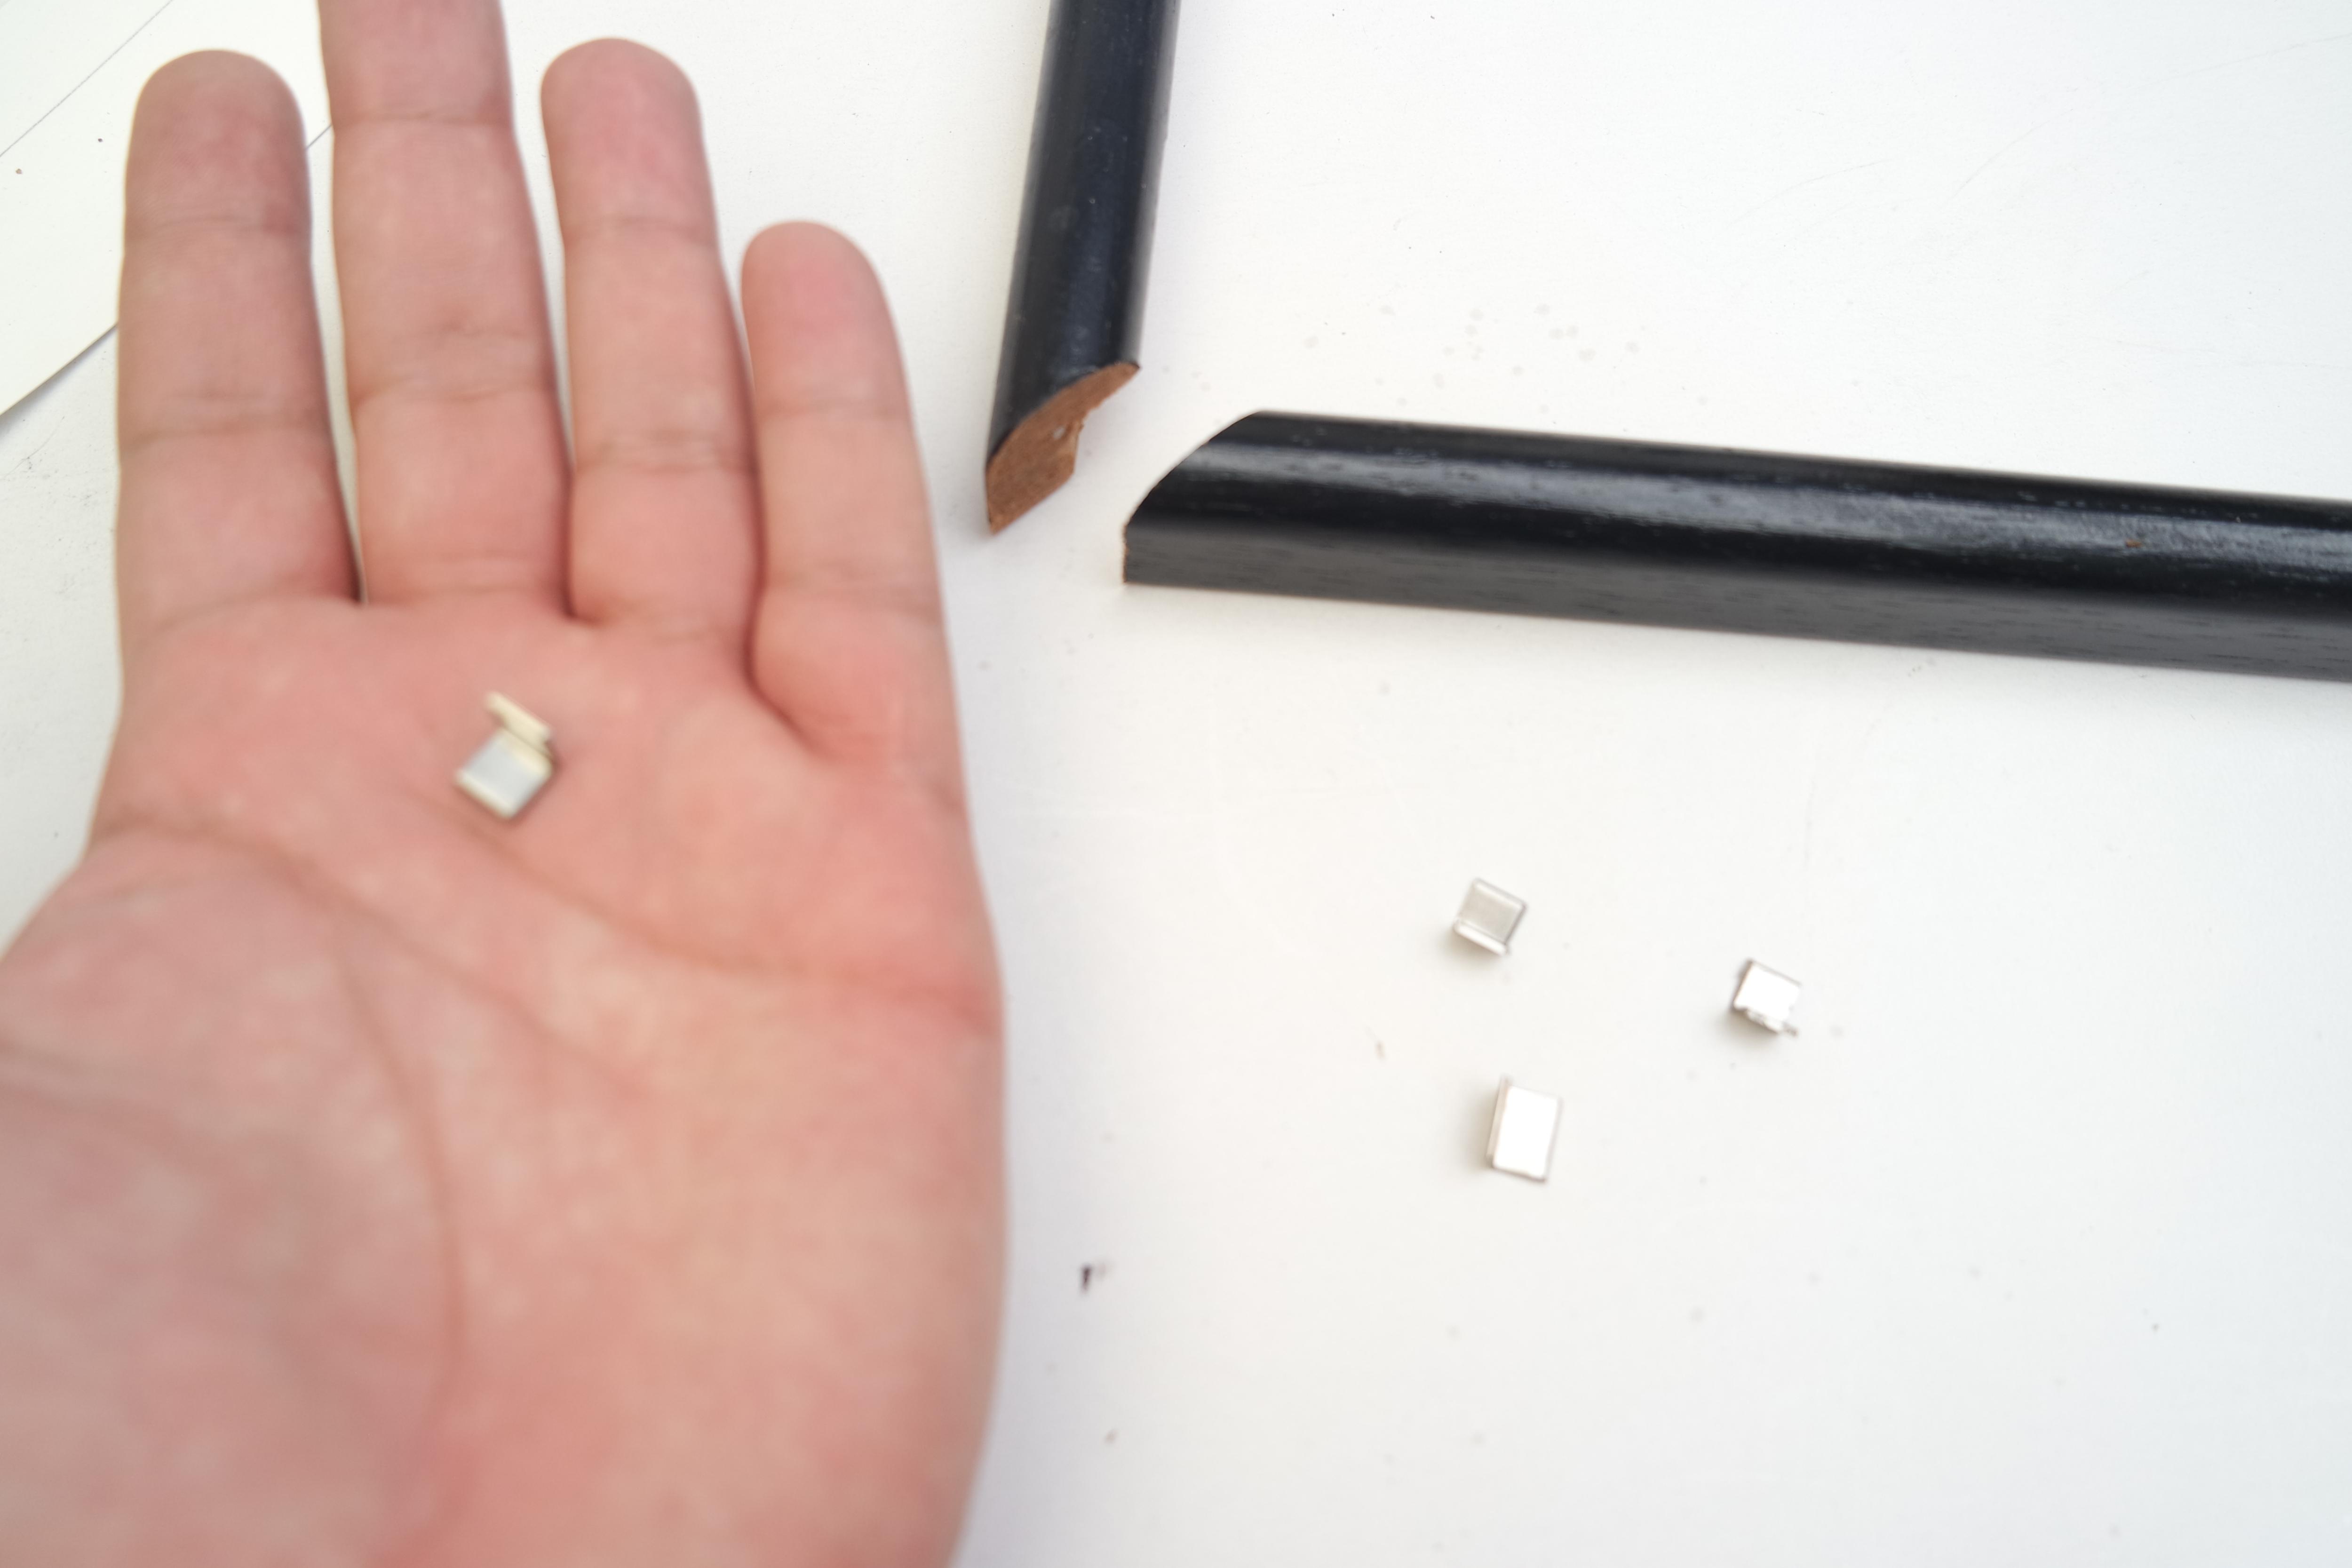

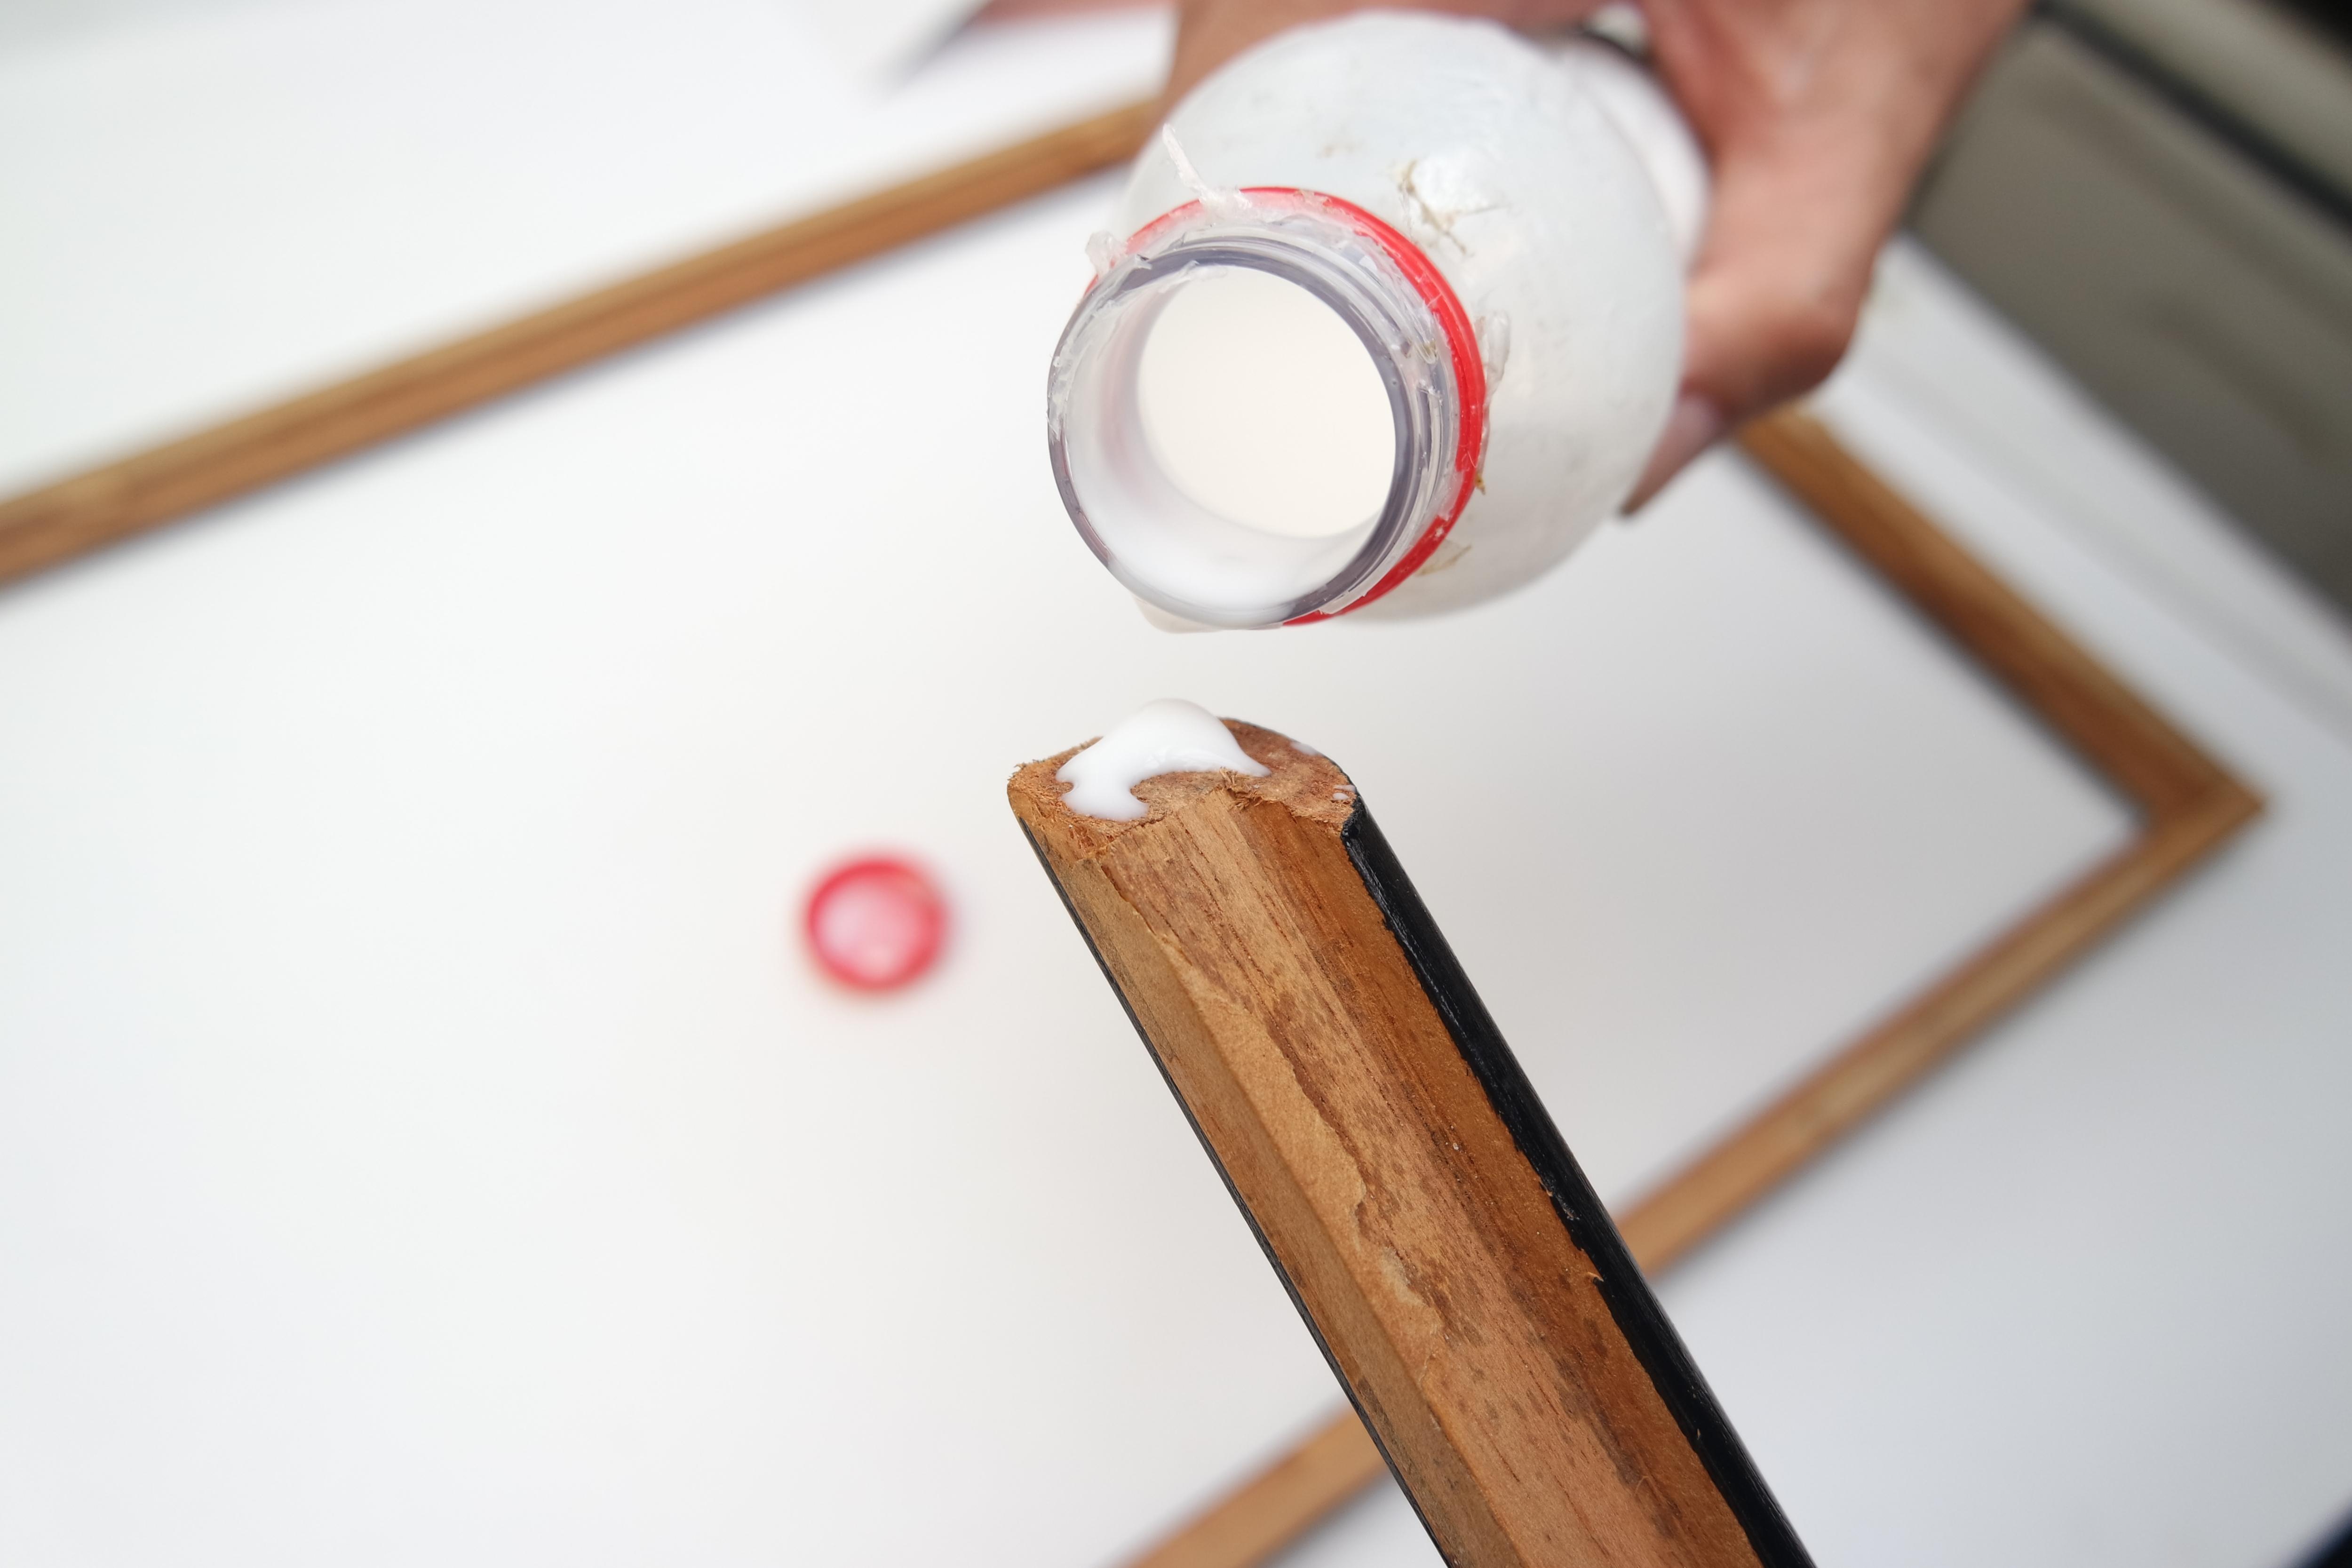
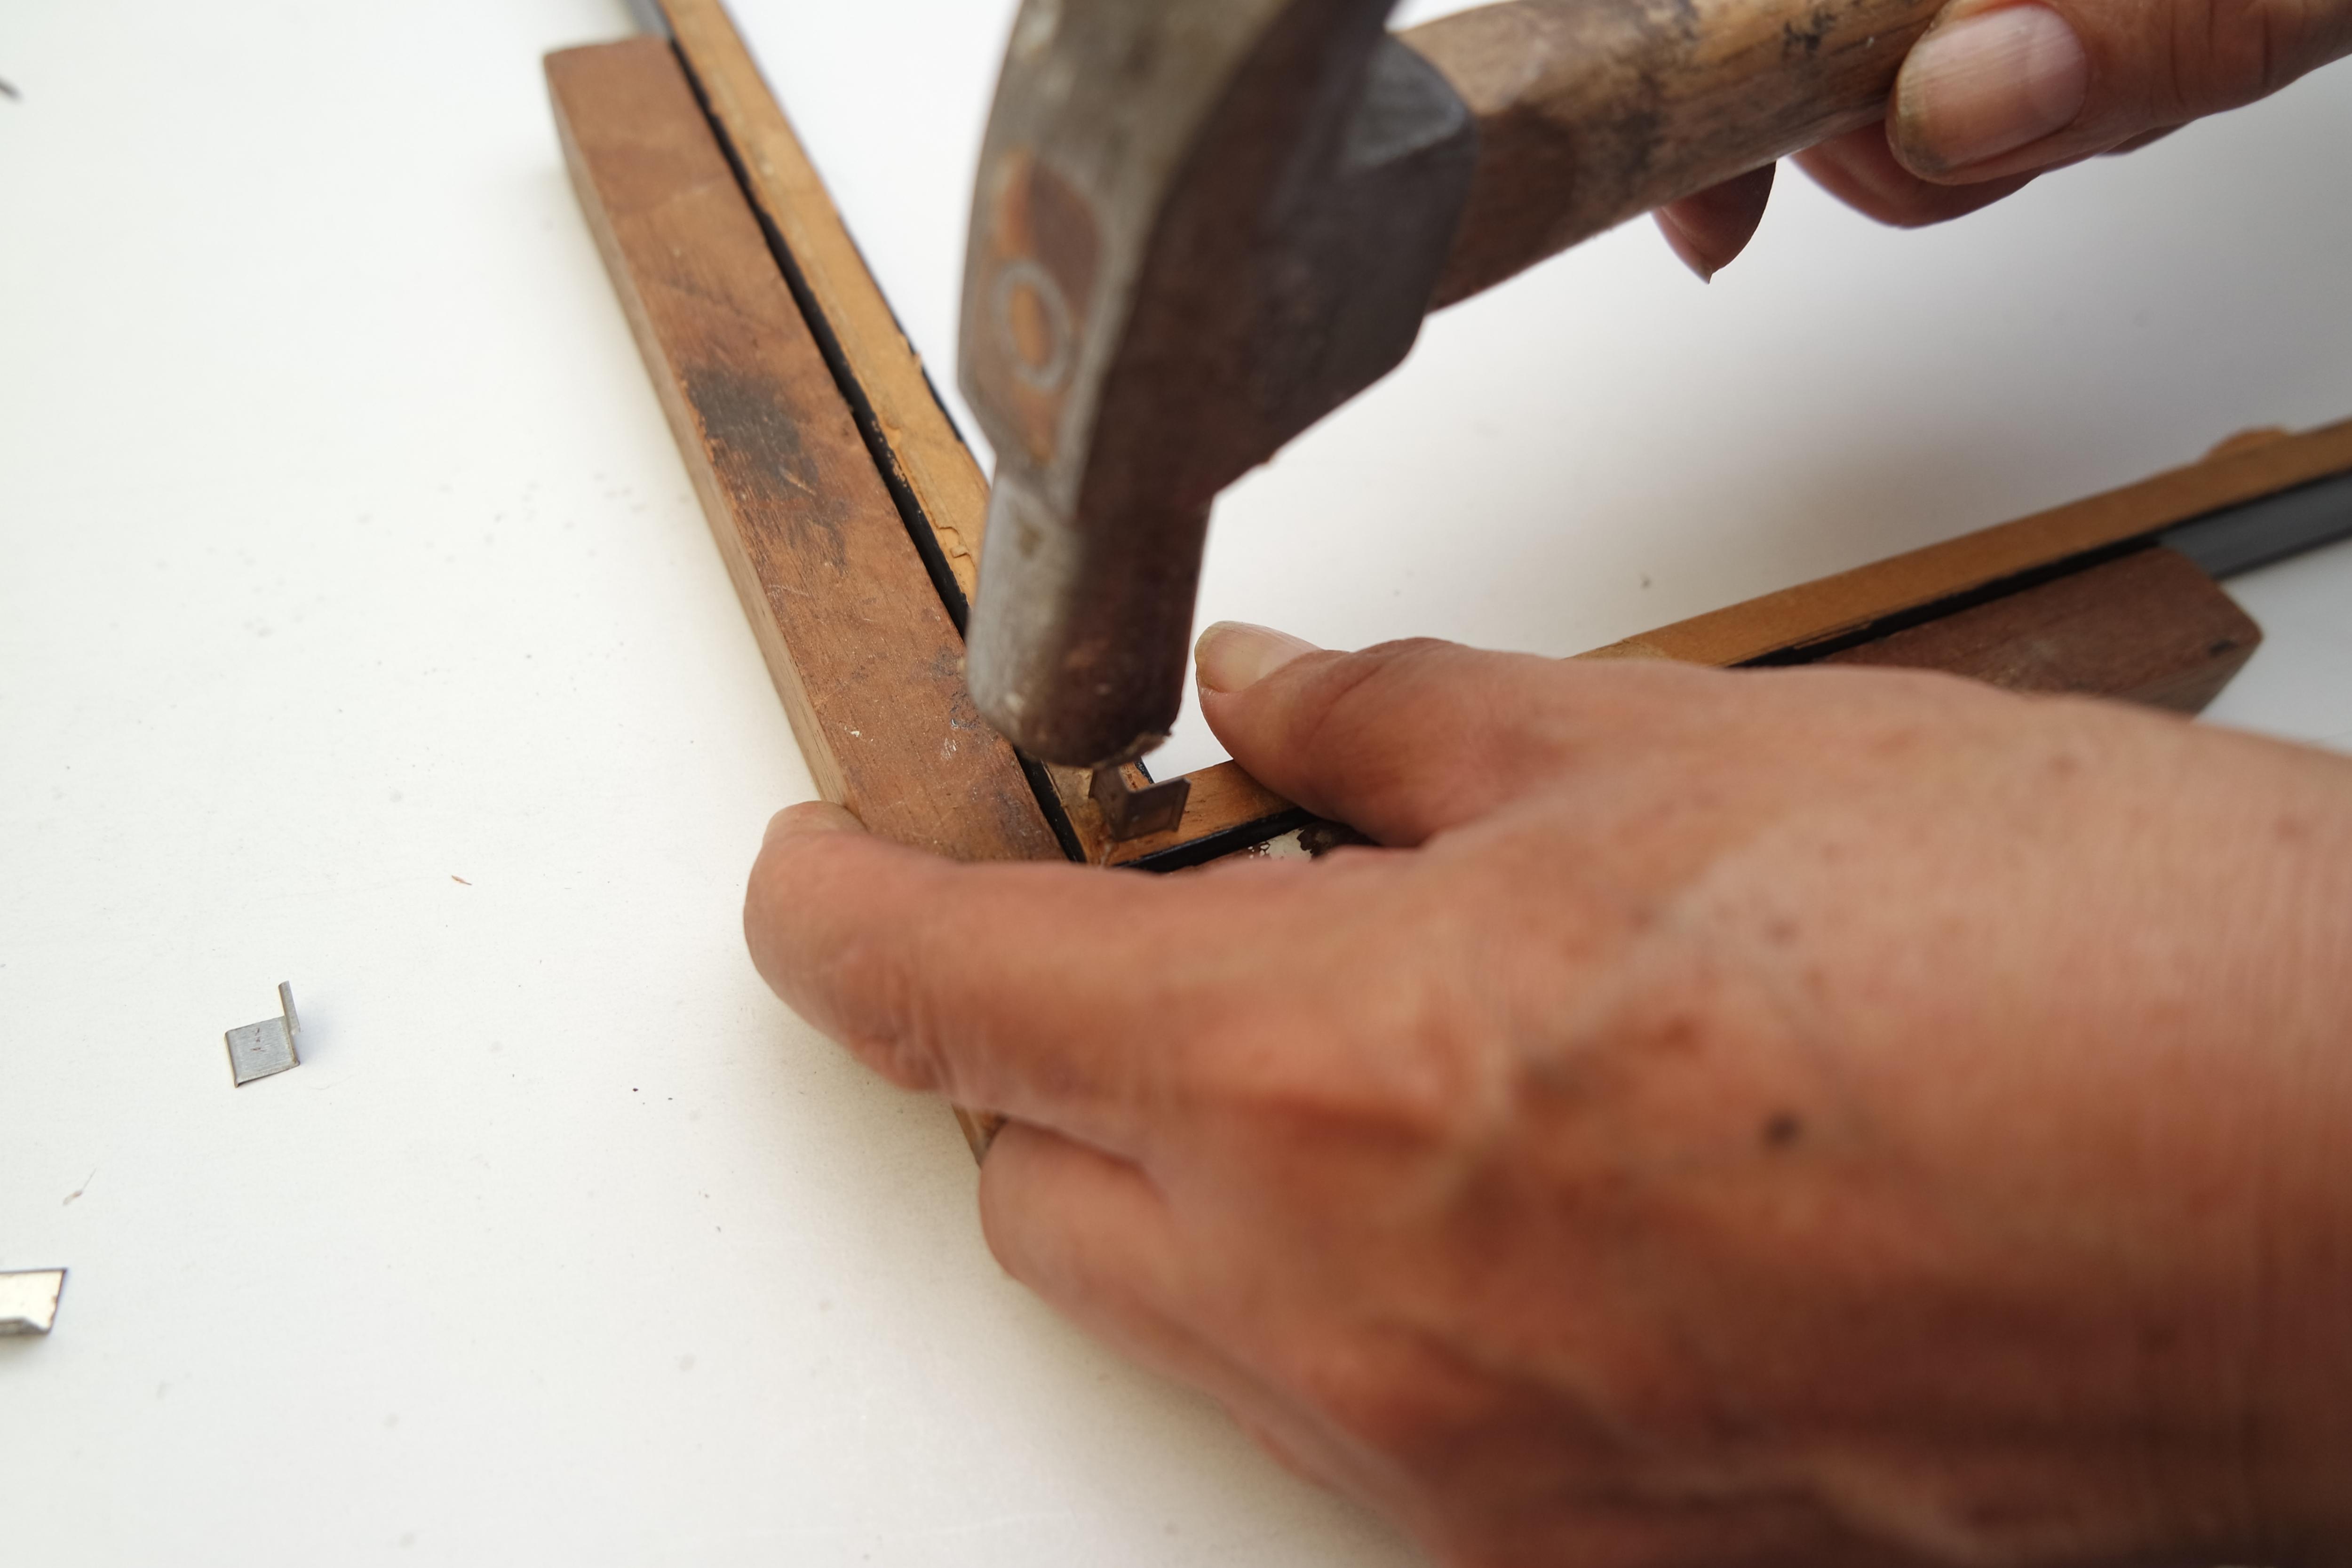
The time has come to assemble our photographic frame, for this we will need the glue, the selected frames, a hammer and a small v-nails for framing.
The first thing will be to apply enough glue on each end where the frame will be joined.
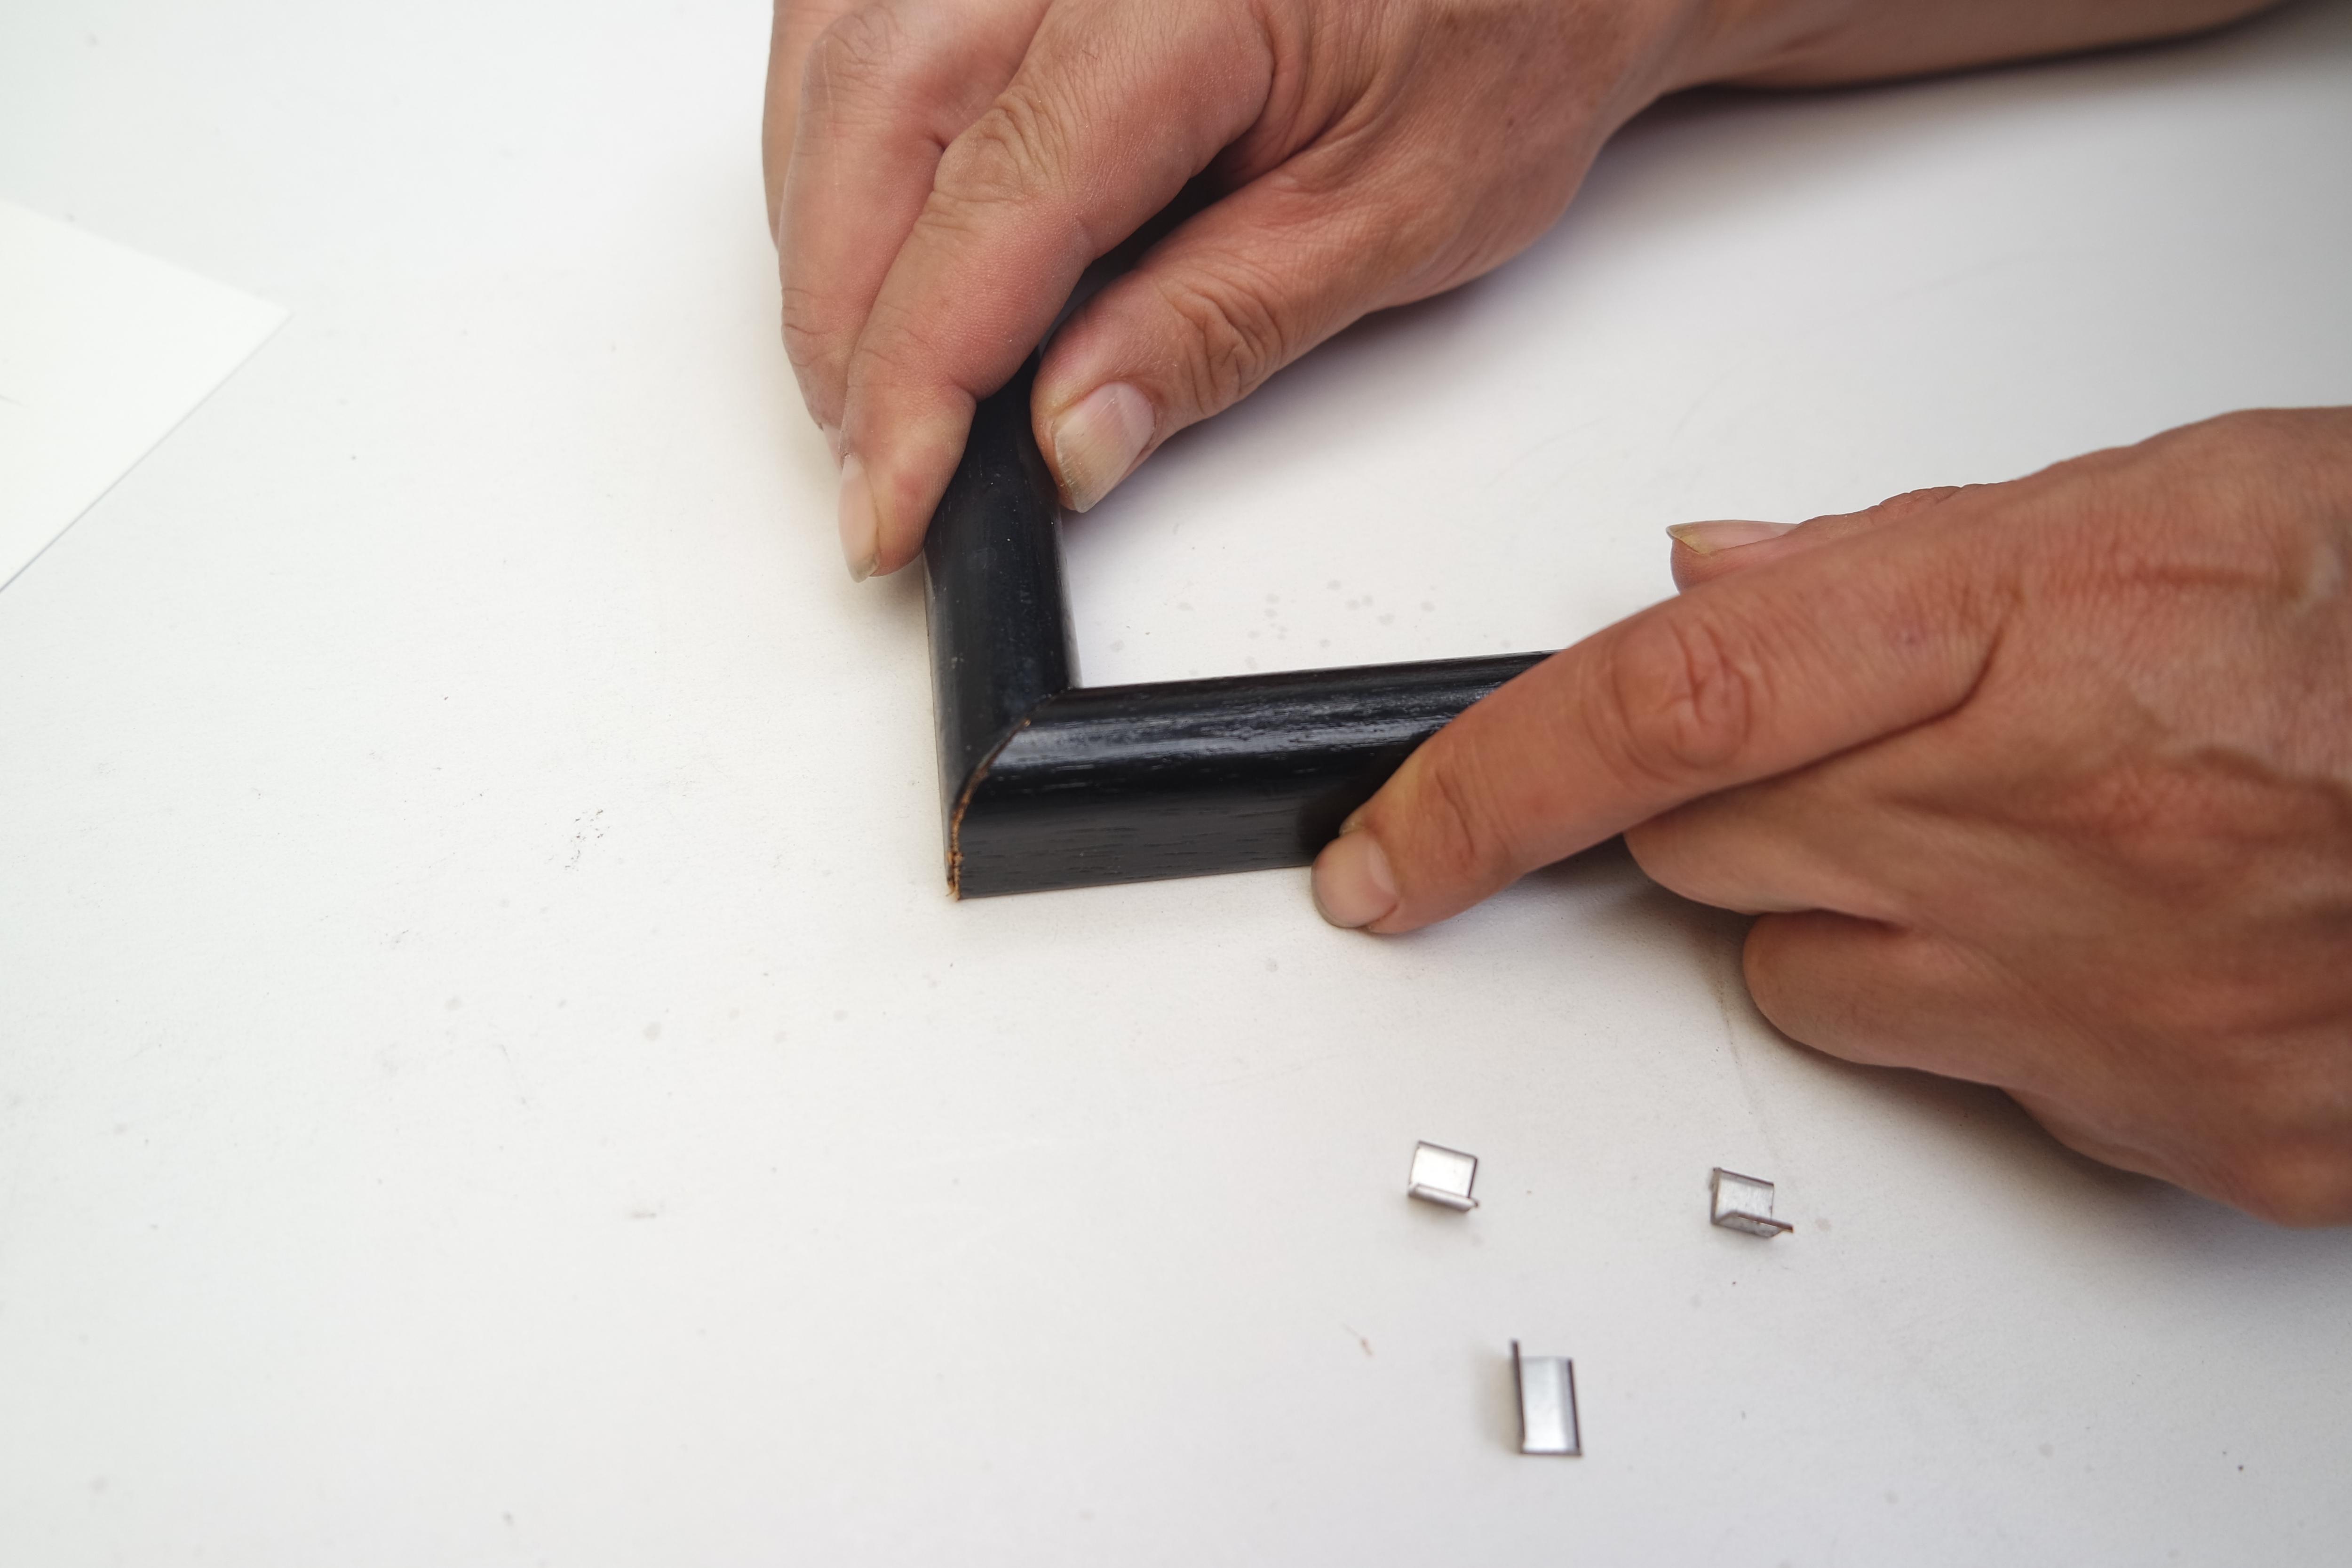
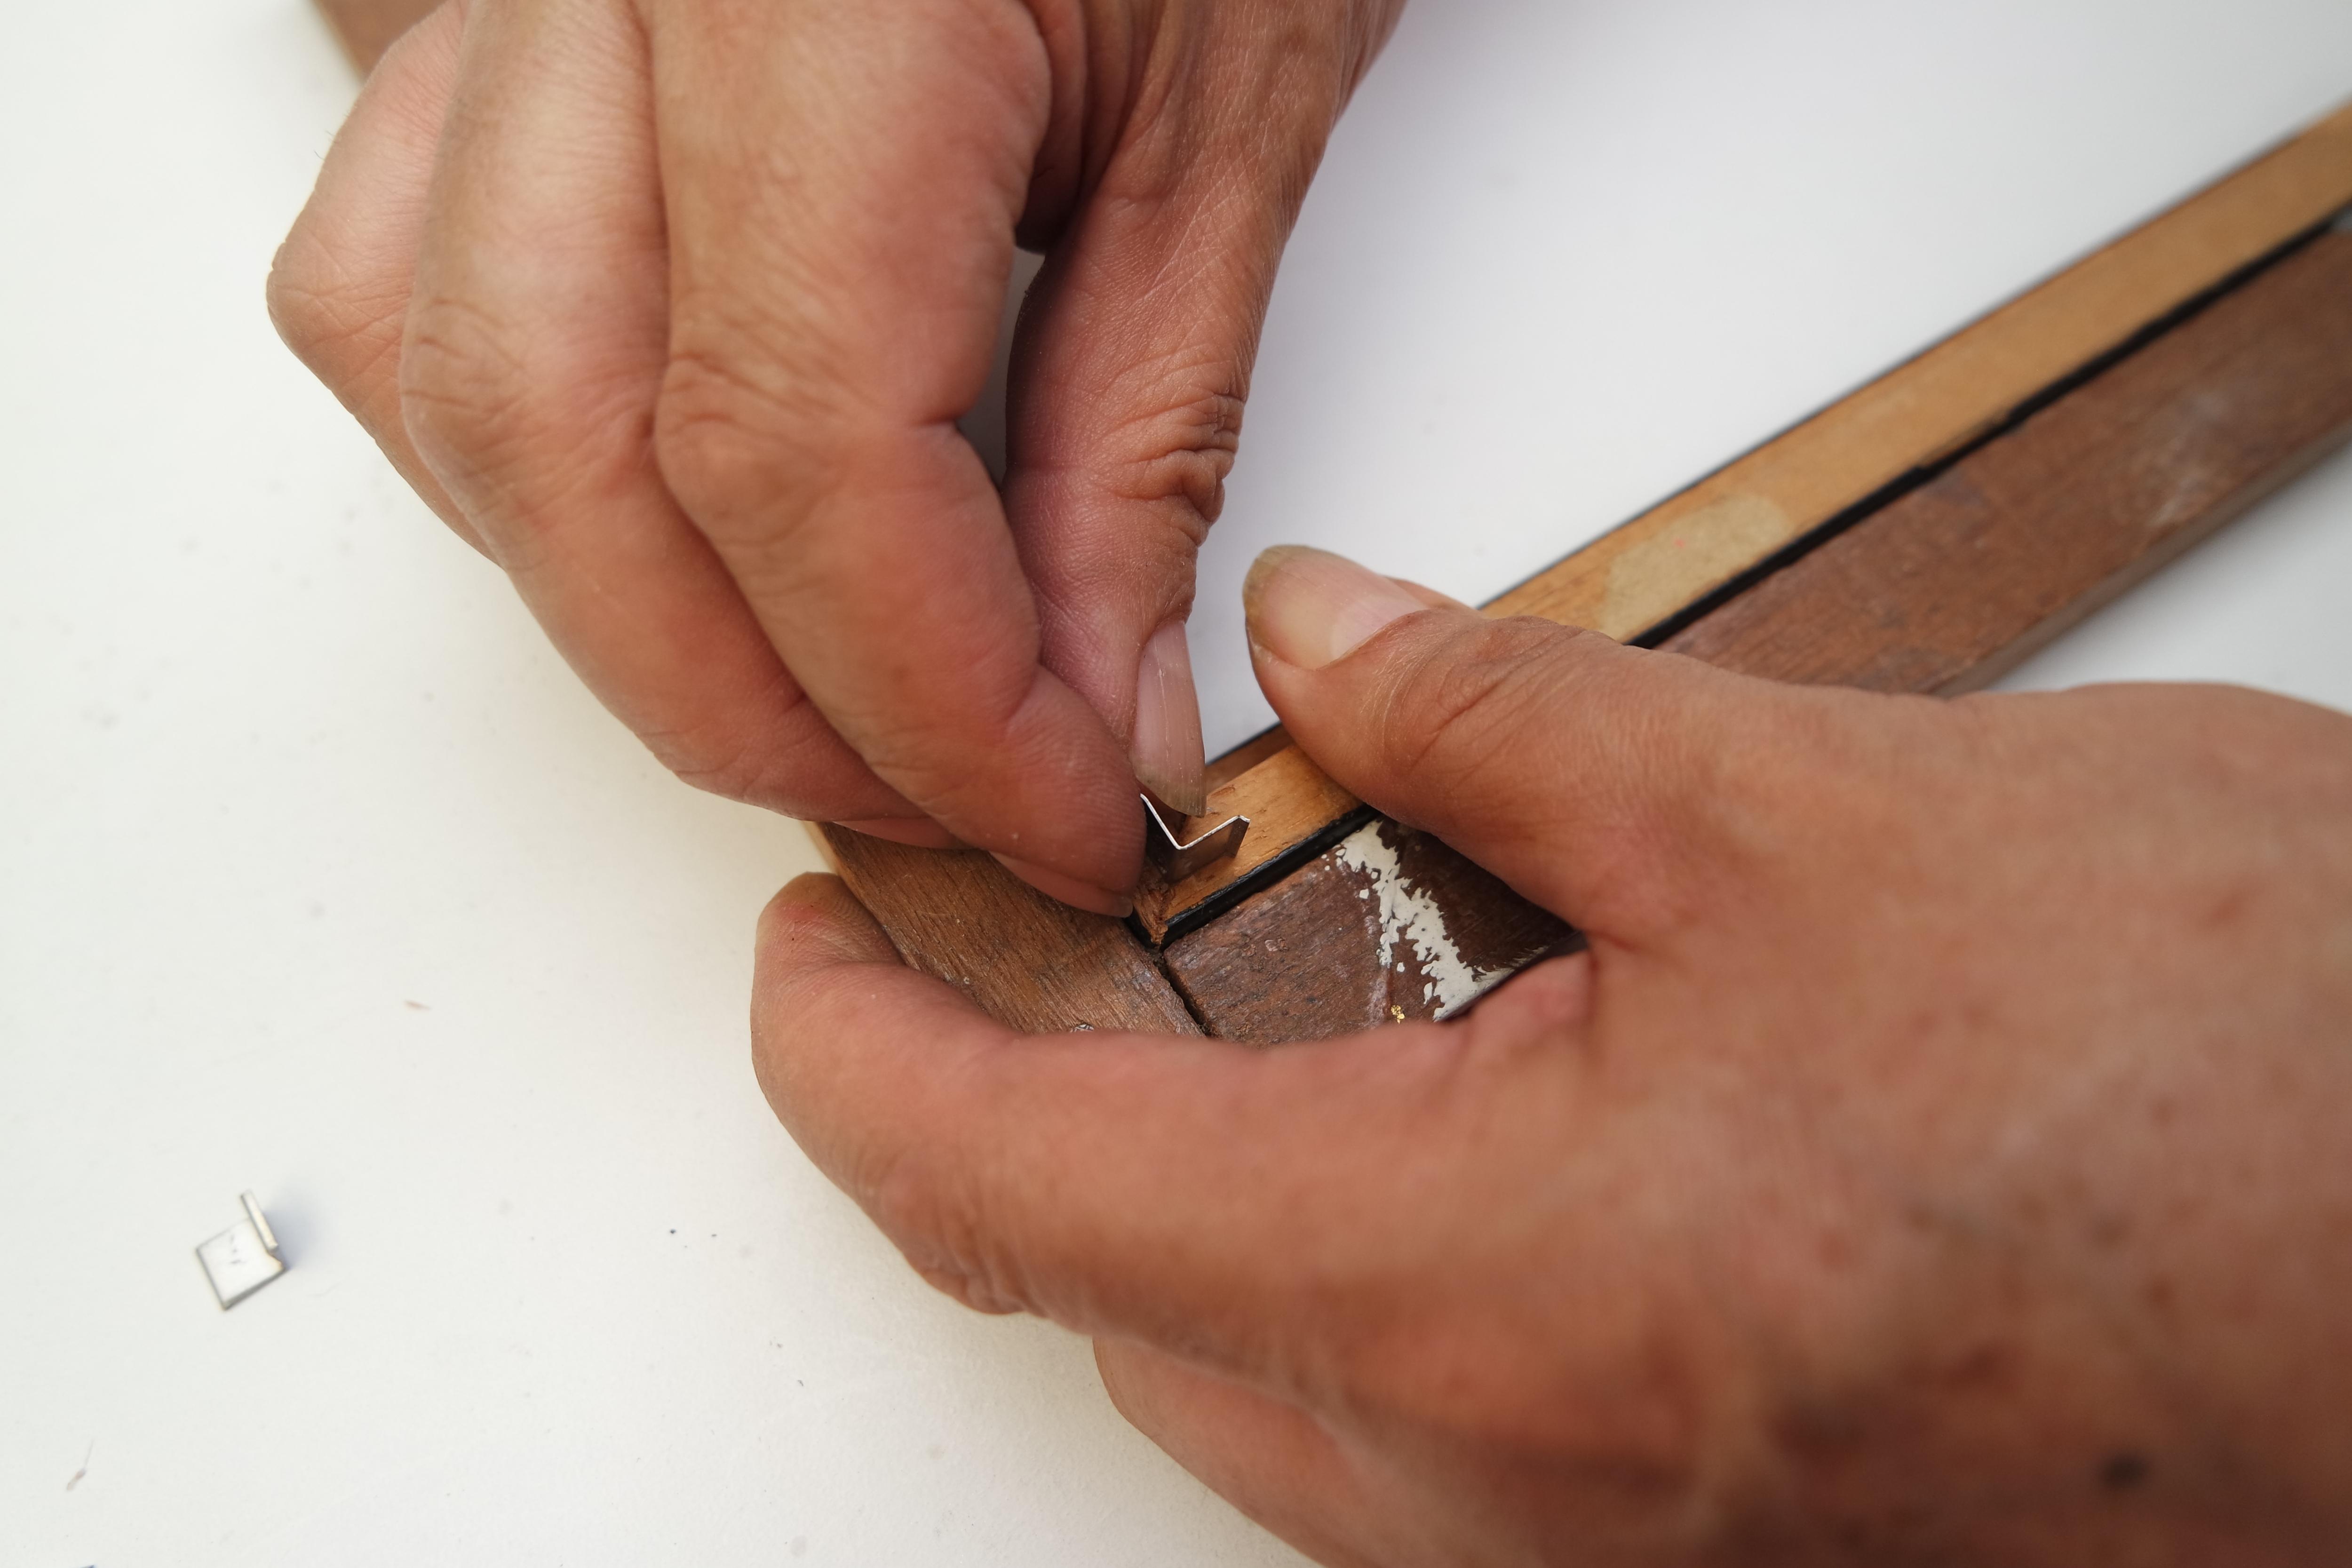
after that we will join the tips and keeping them with a little pressure we will use the hammer to nail the V nails for framing right in the joining part as indicated in the images
repeat the action at each corner of the frame.
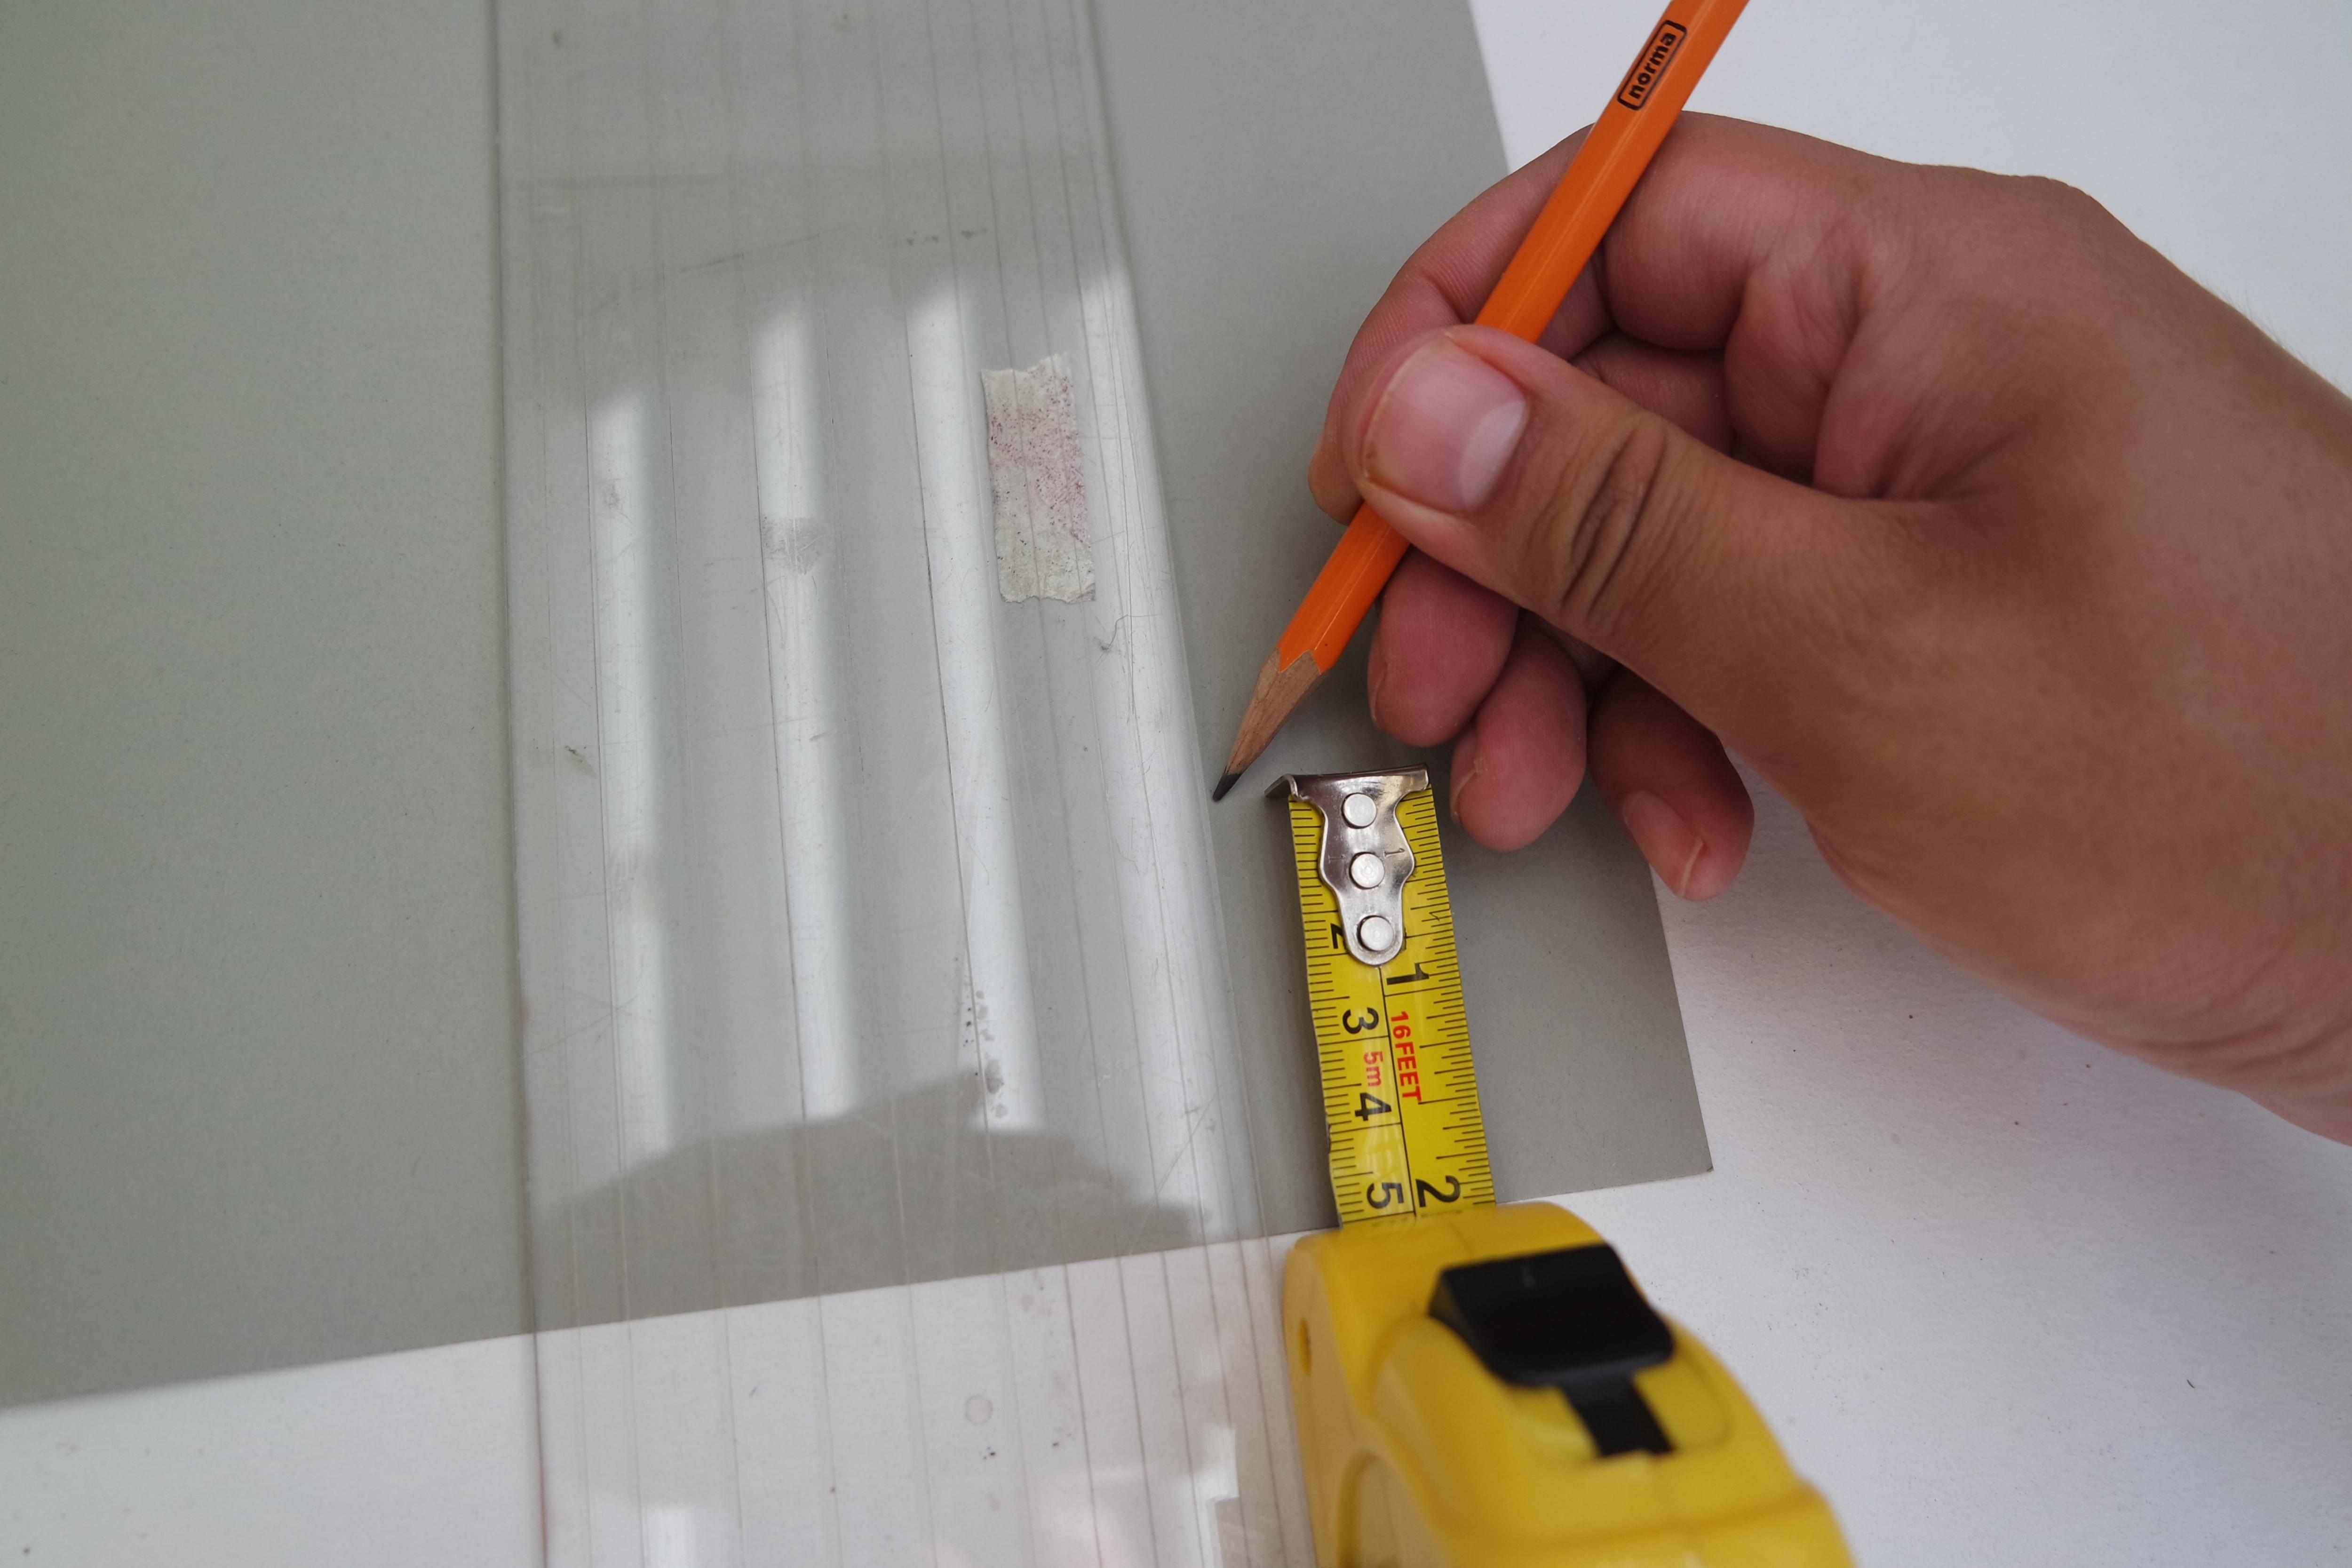
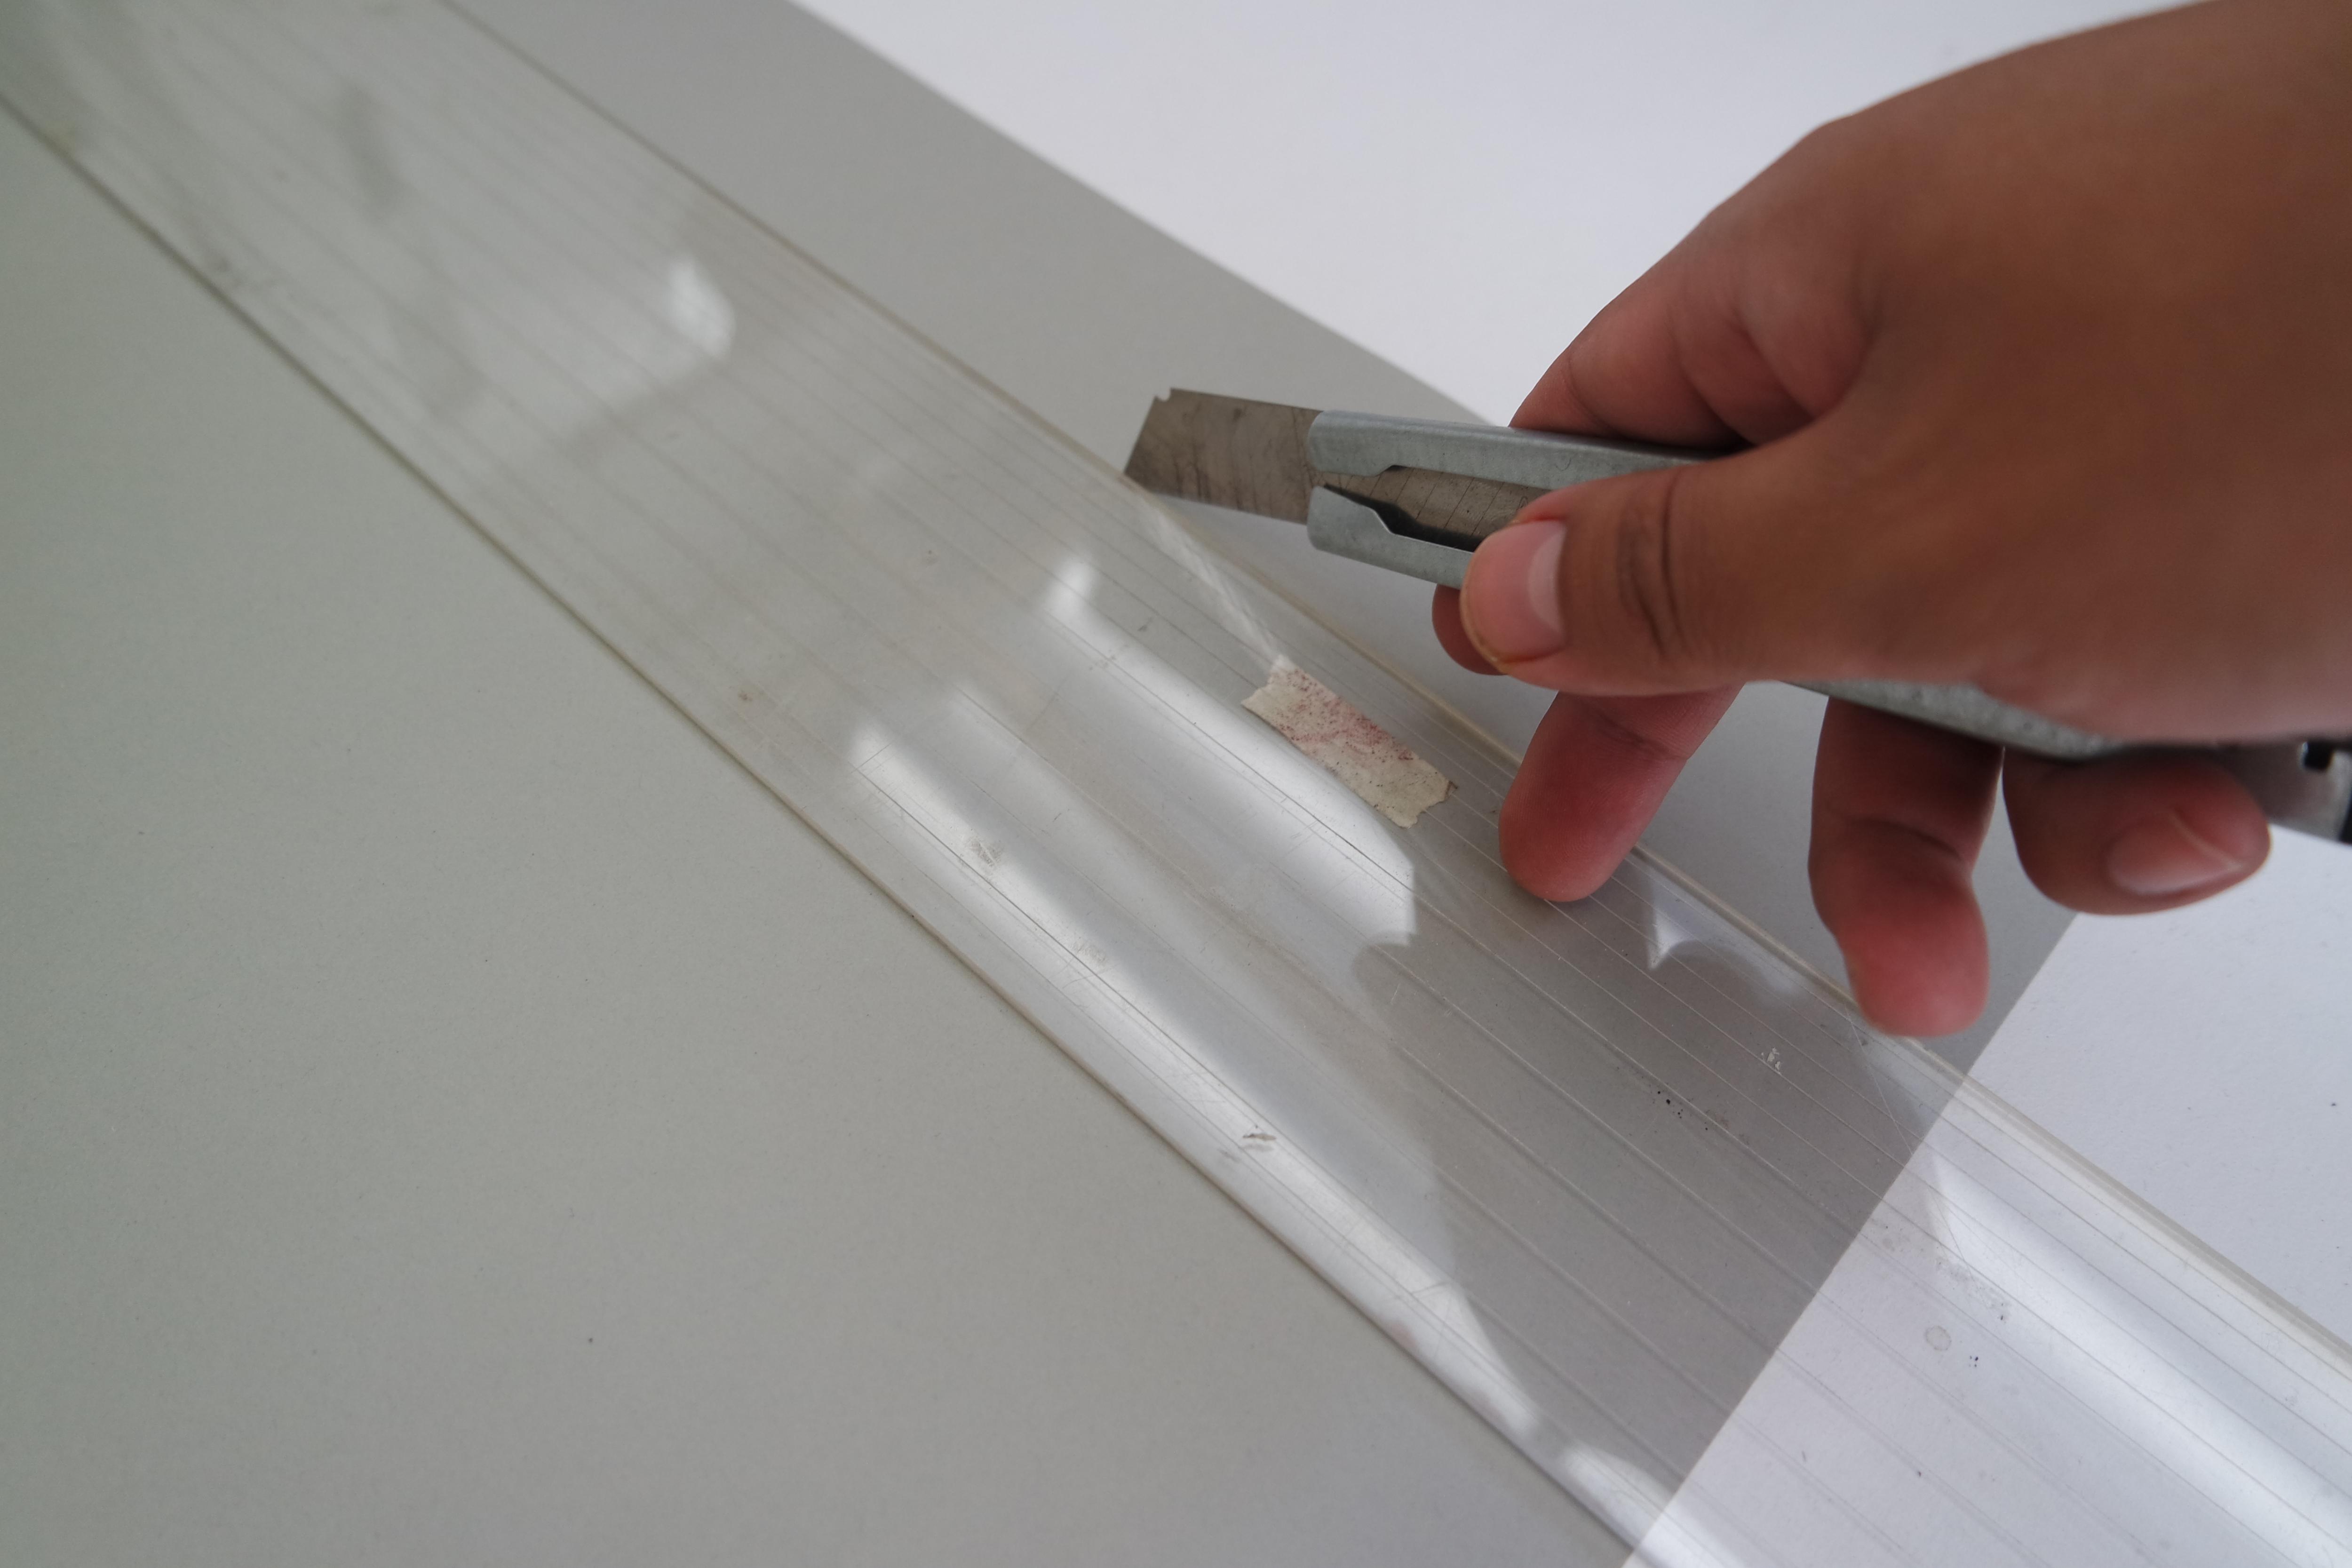
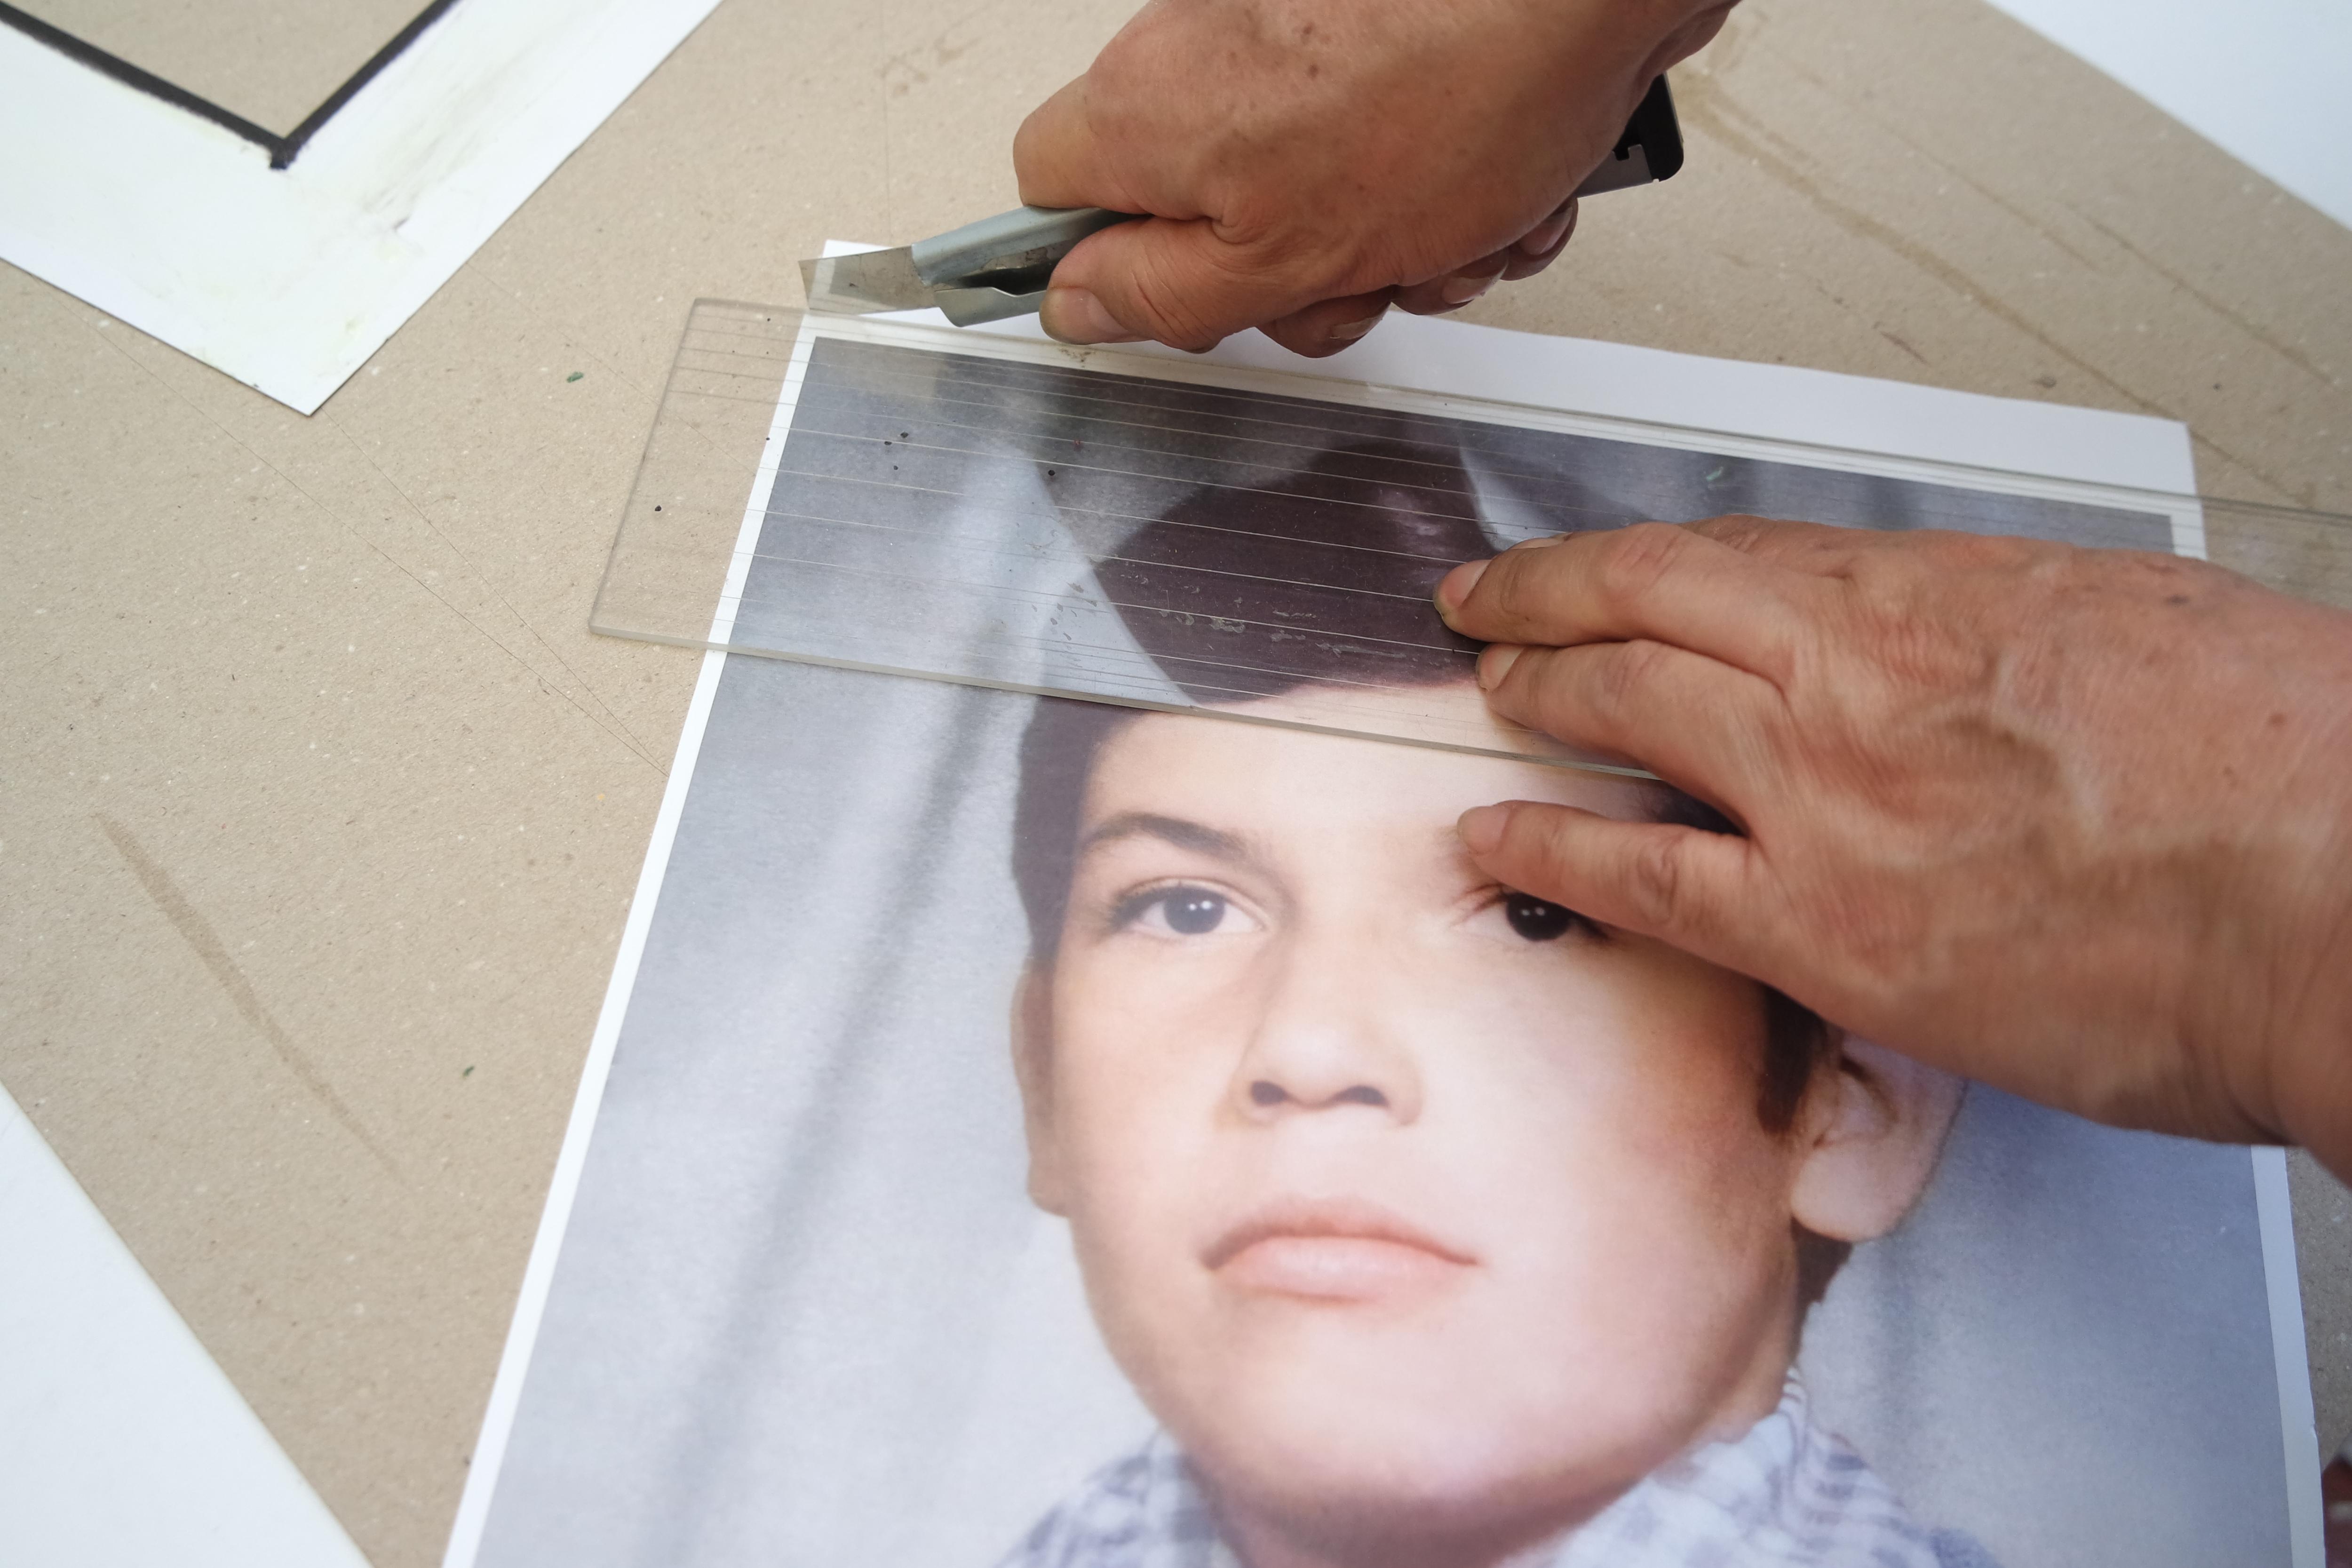
Cutting the Glass
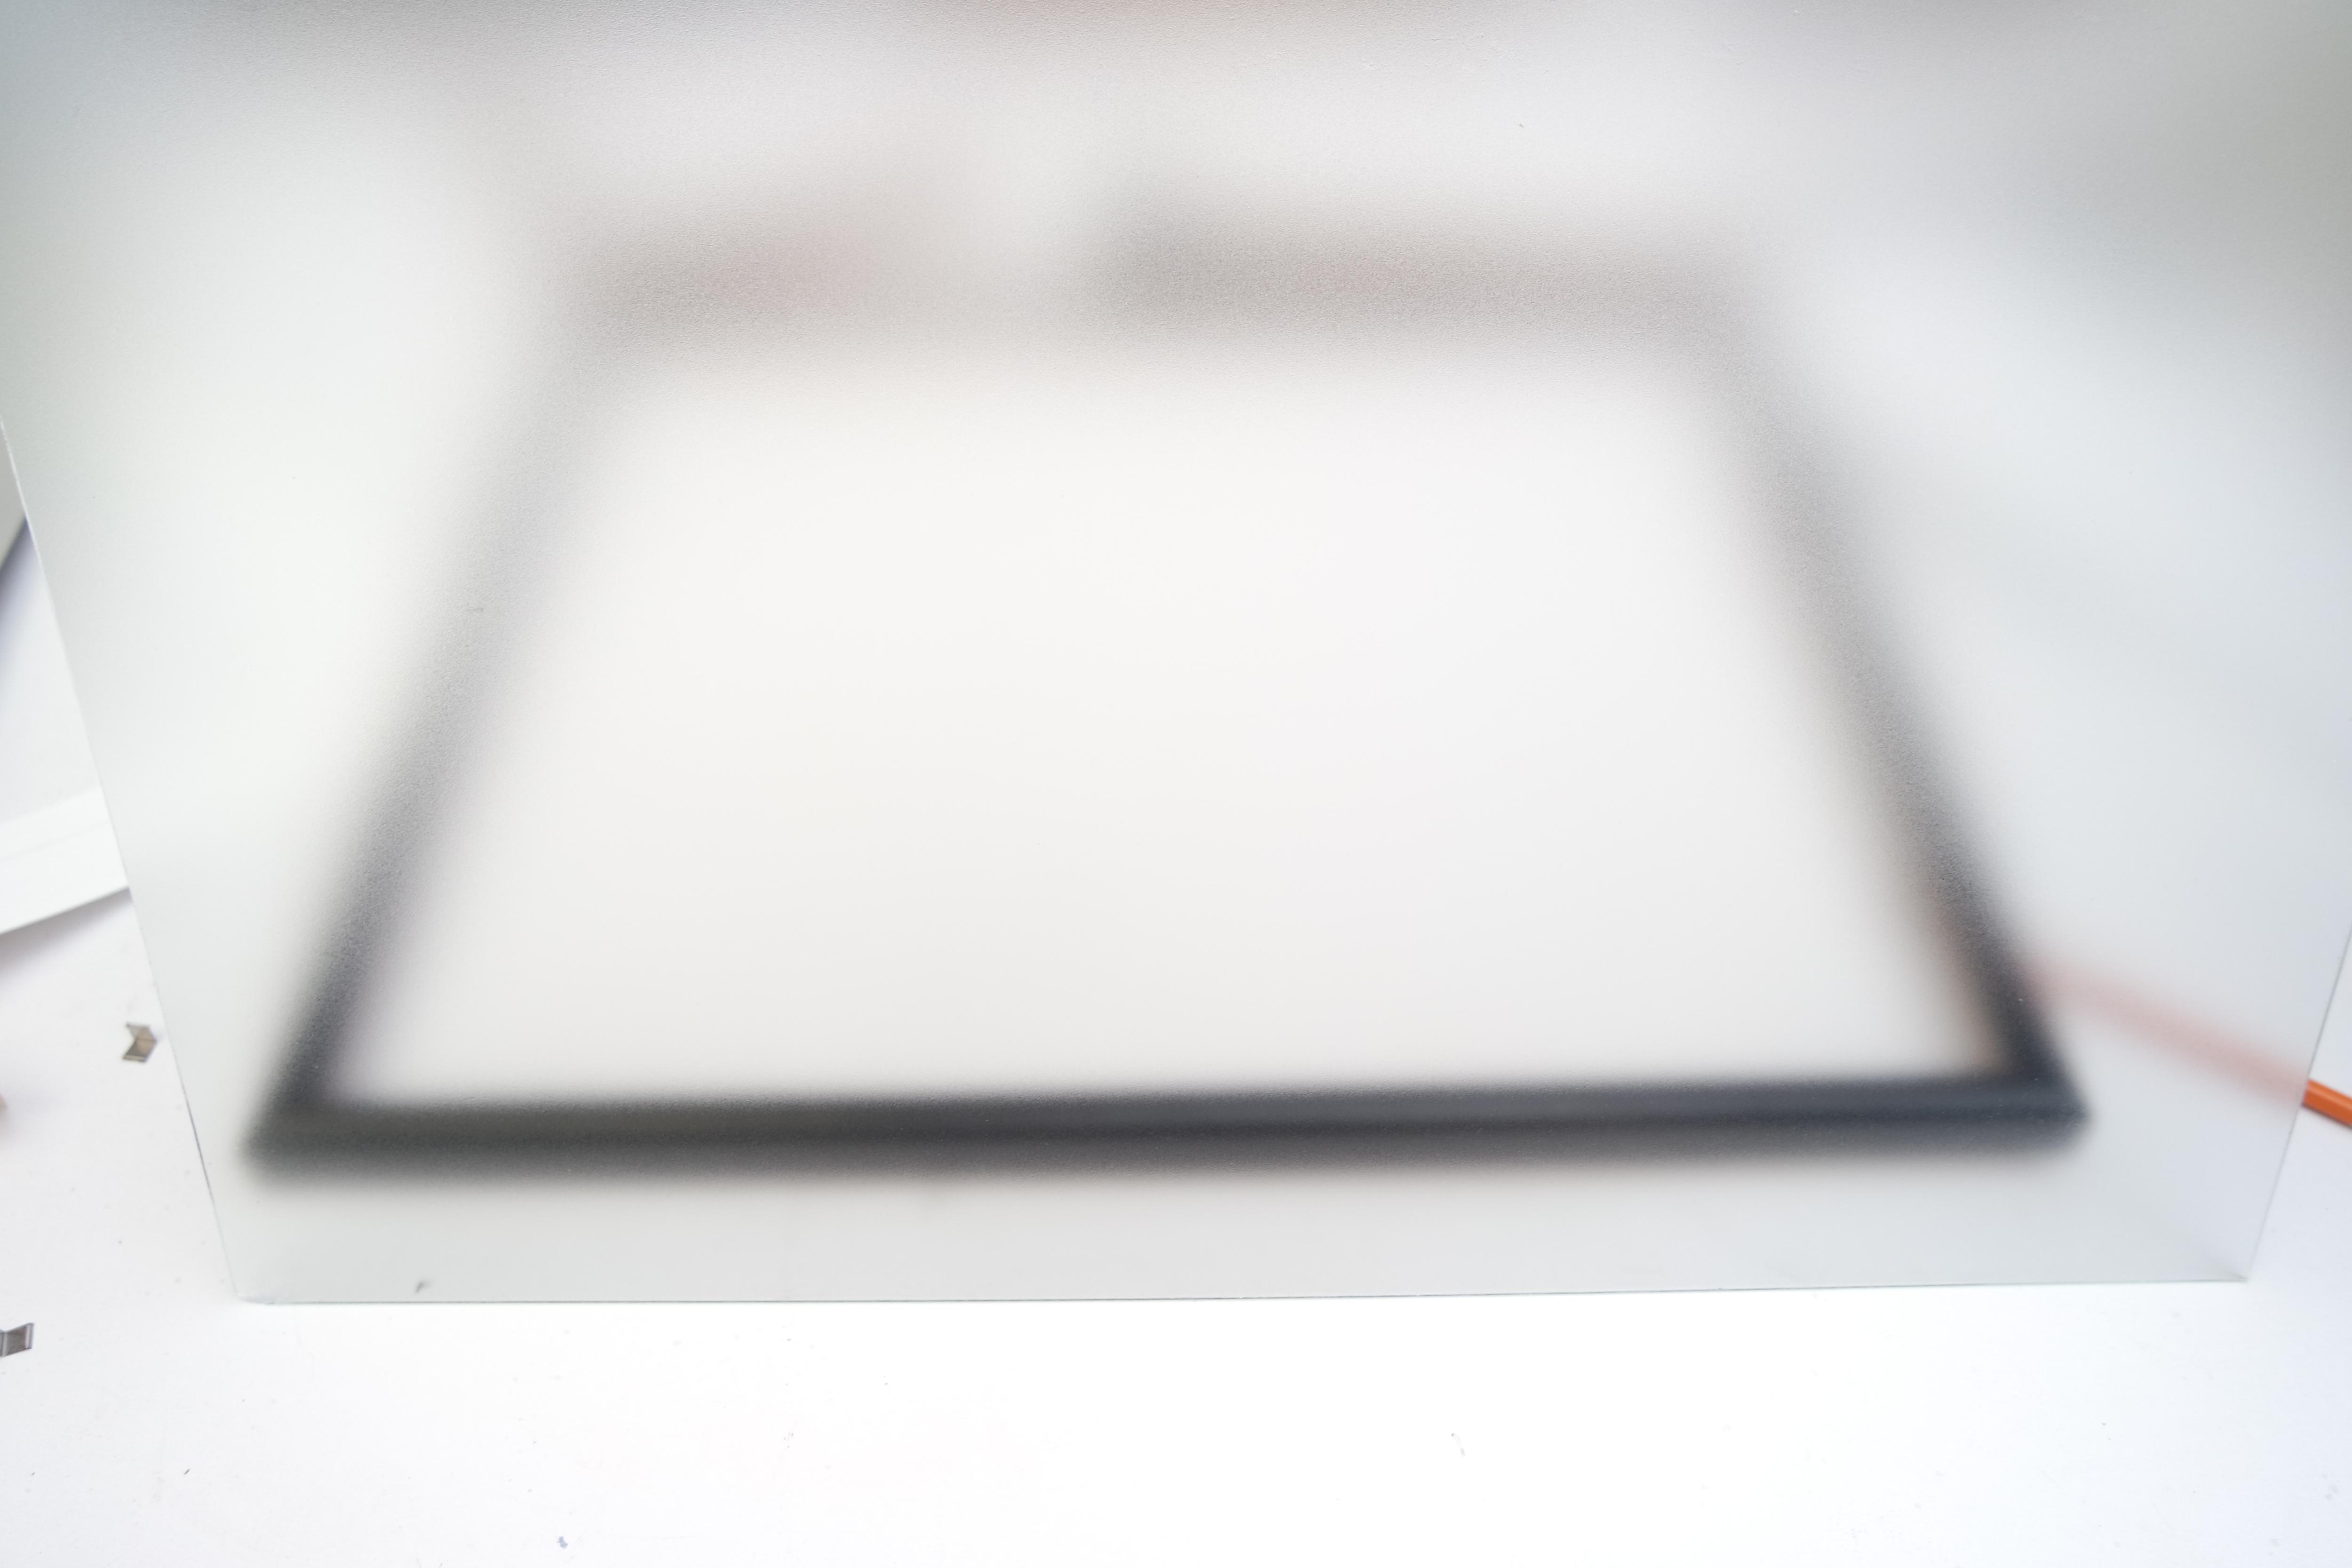

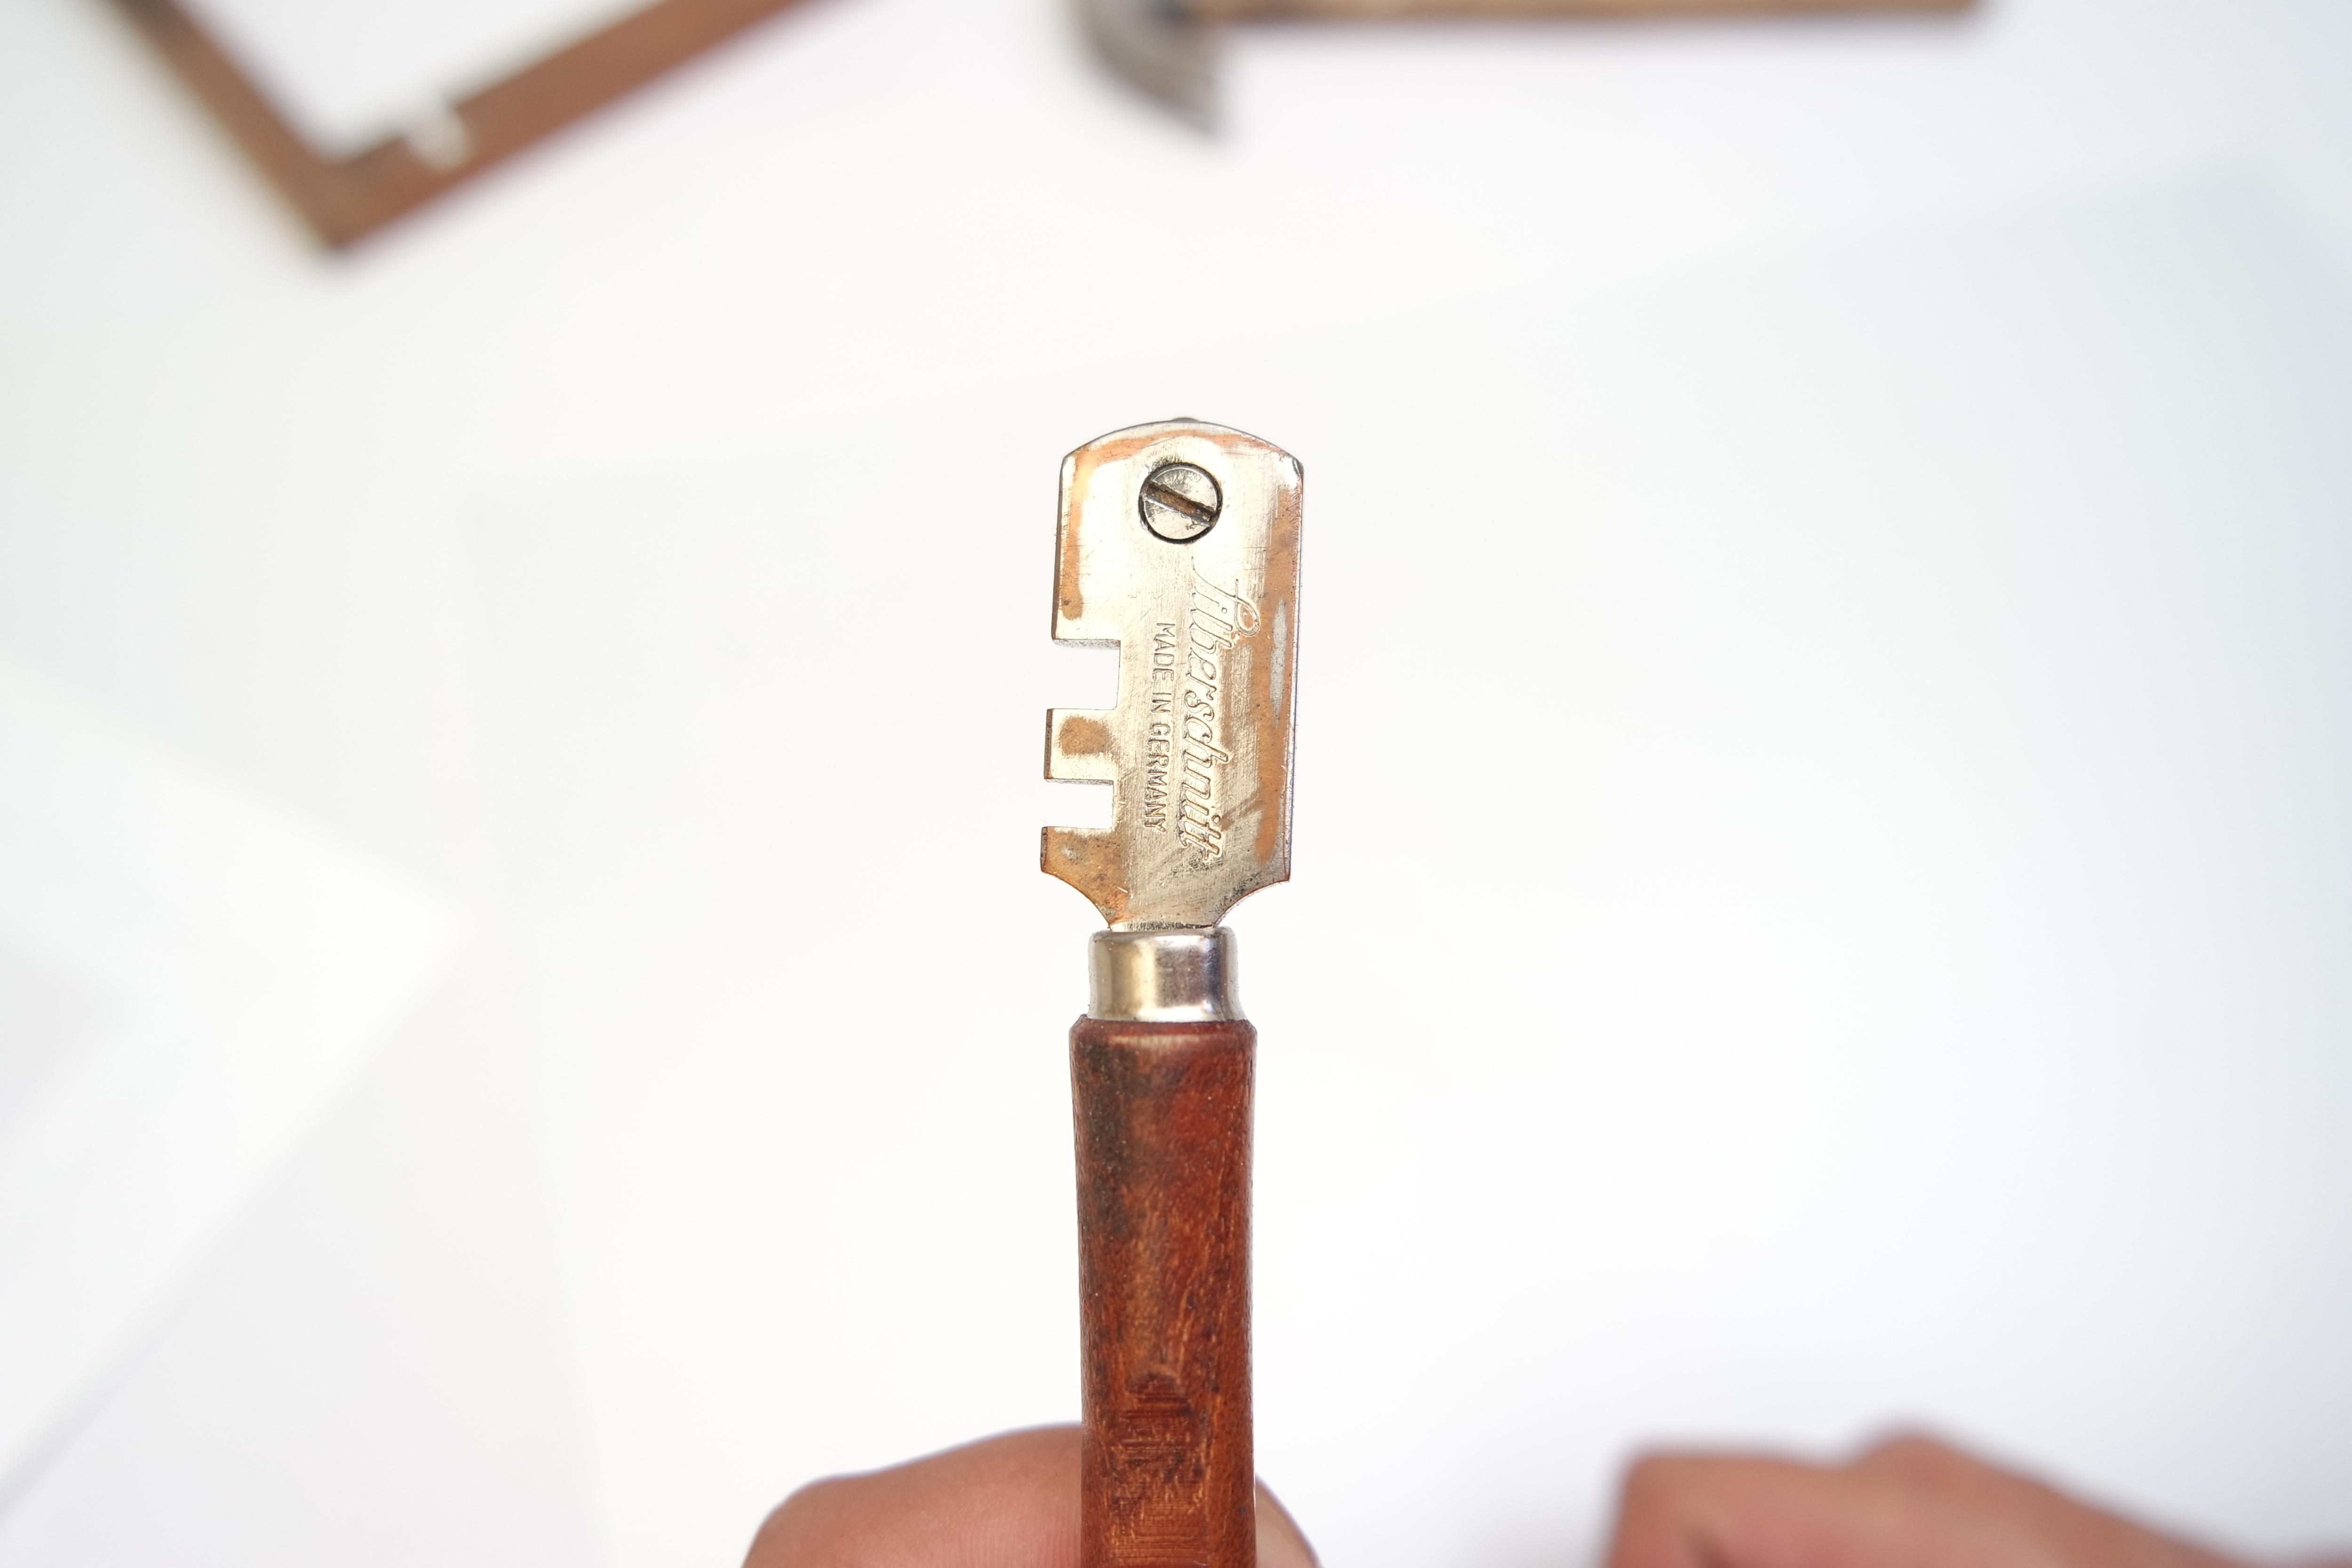
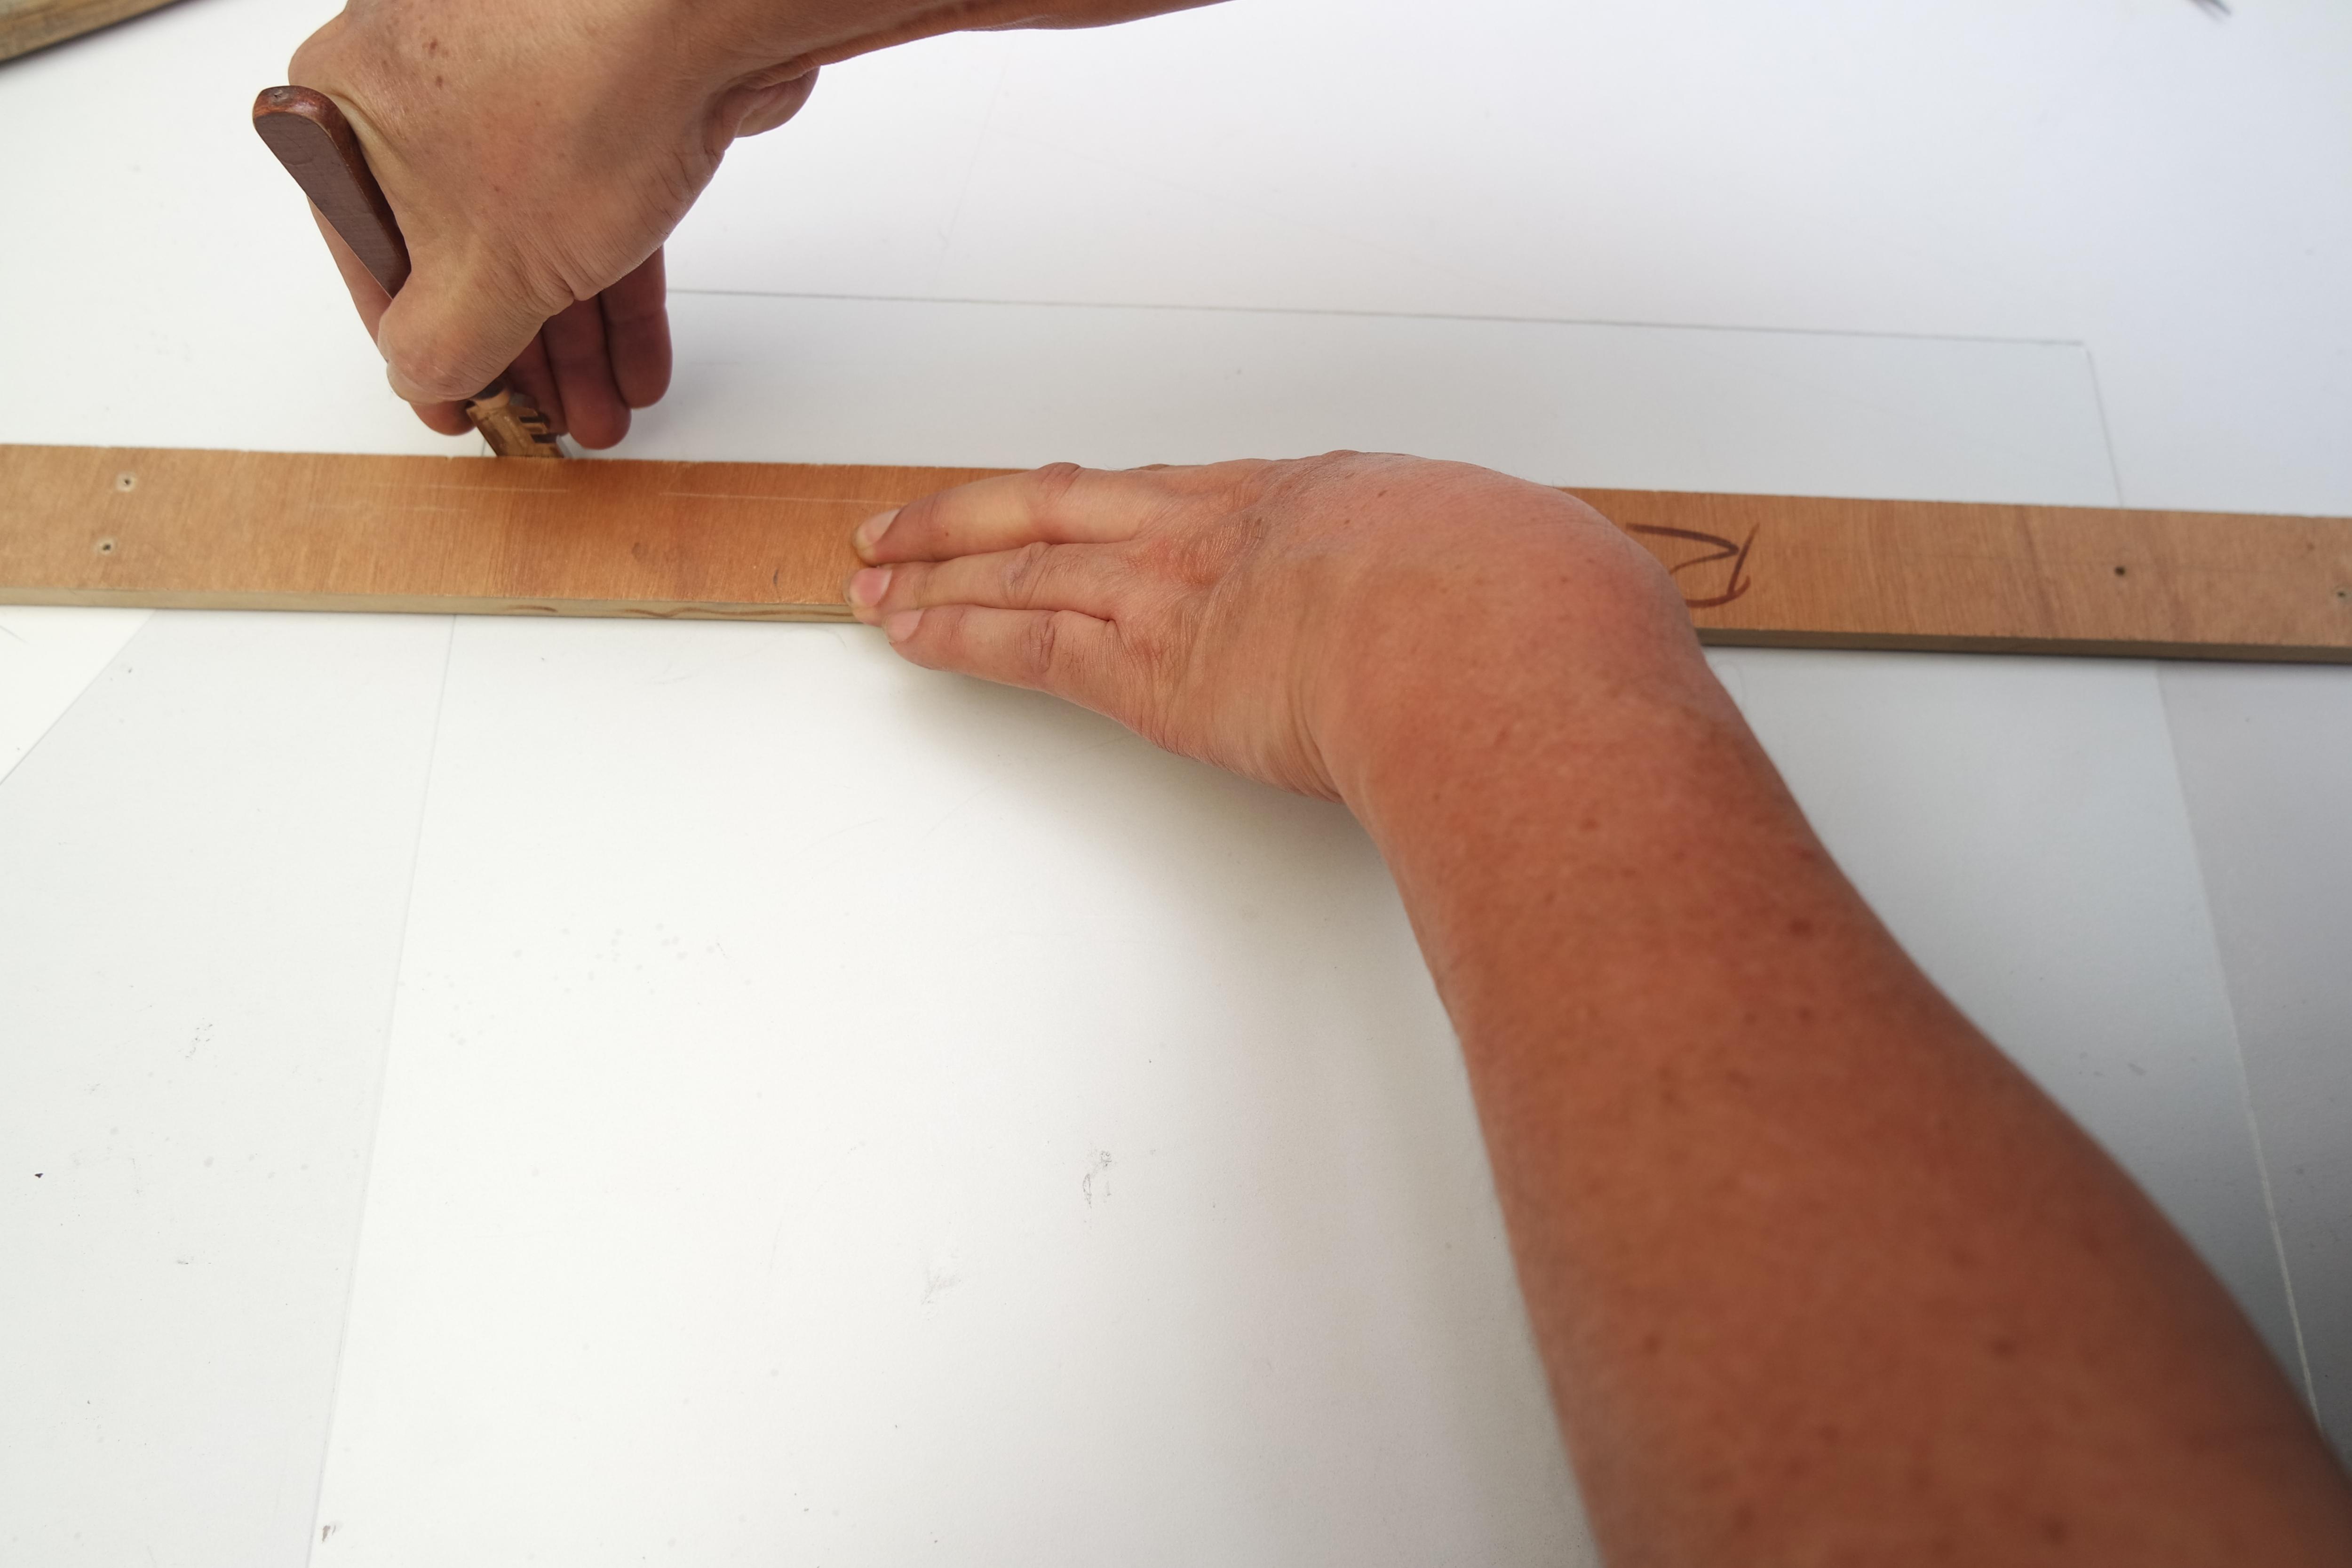
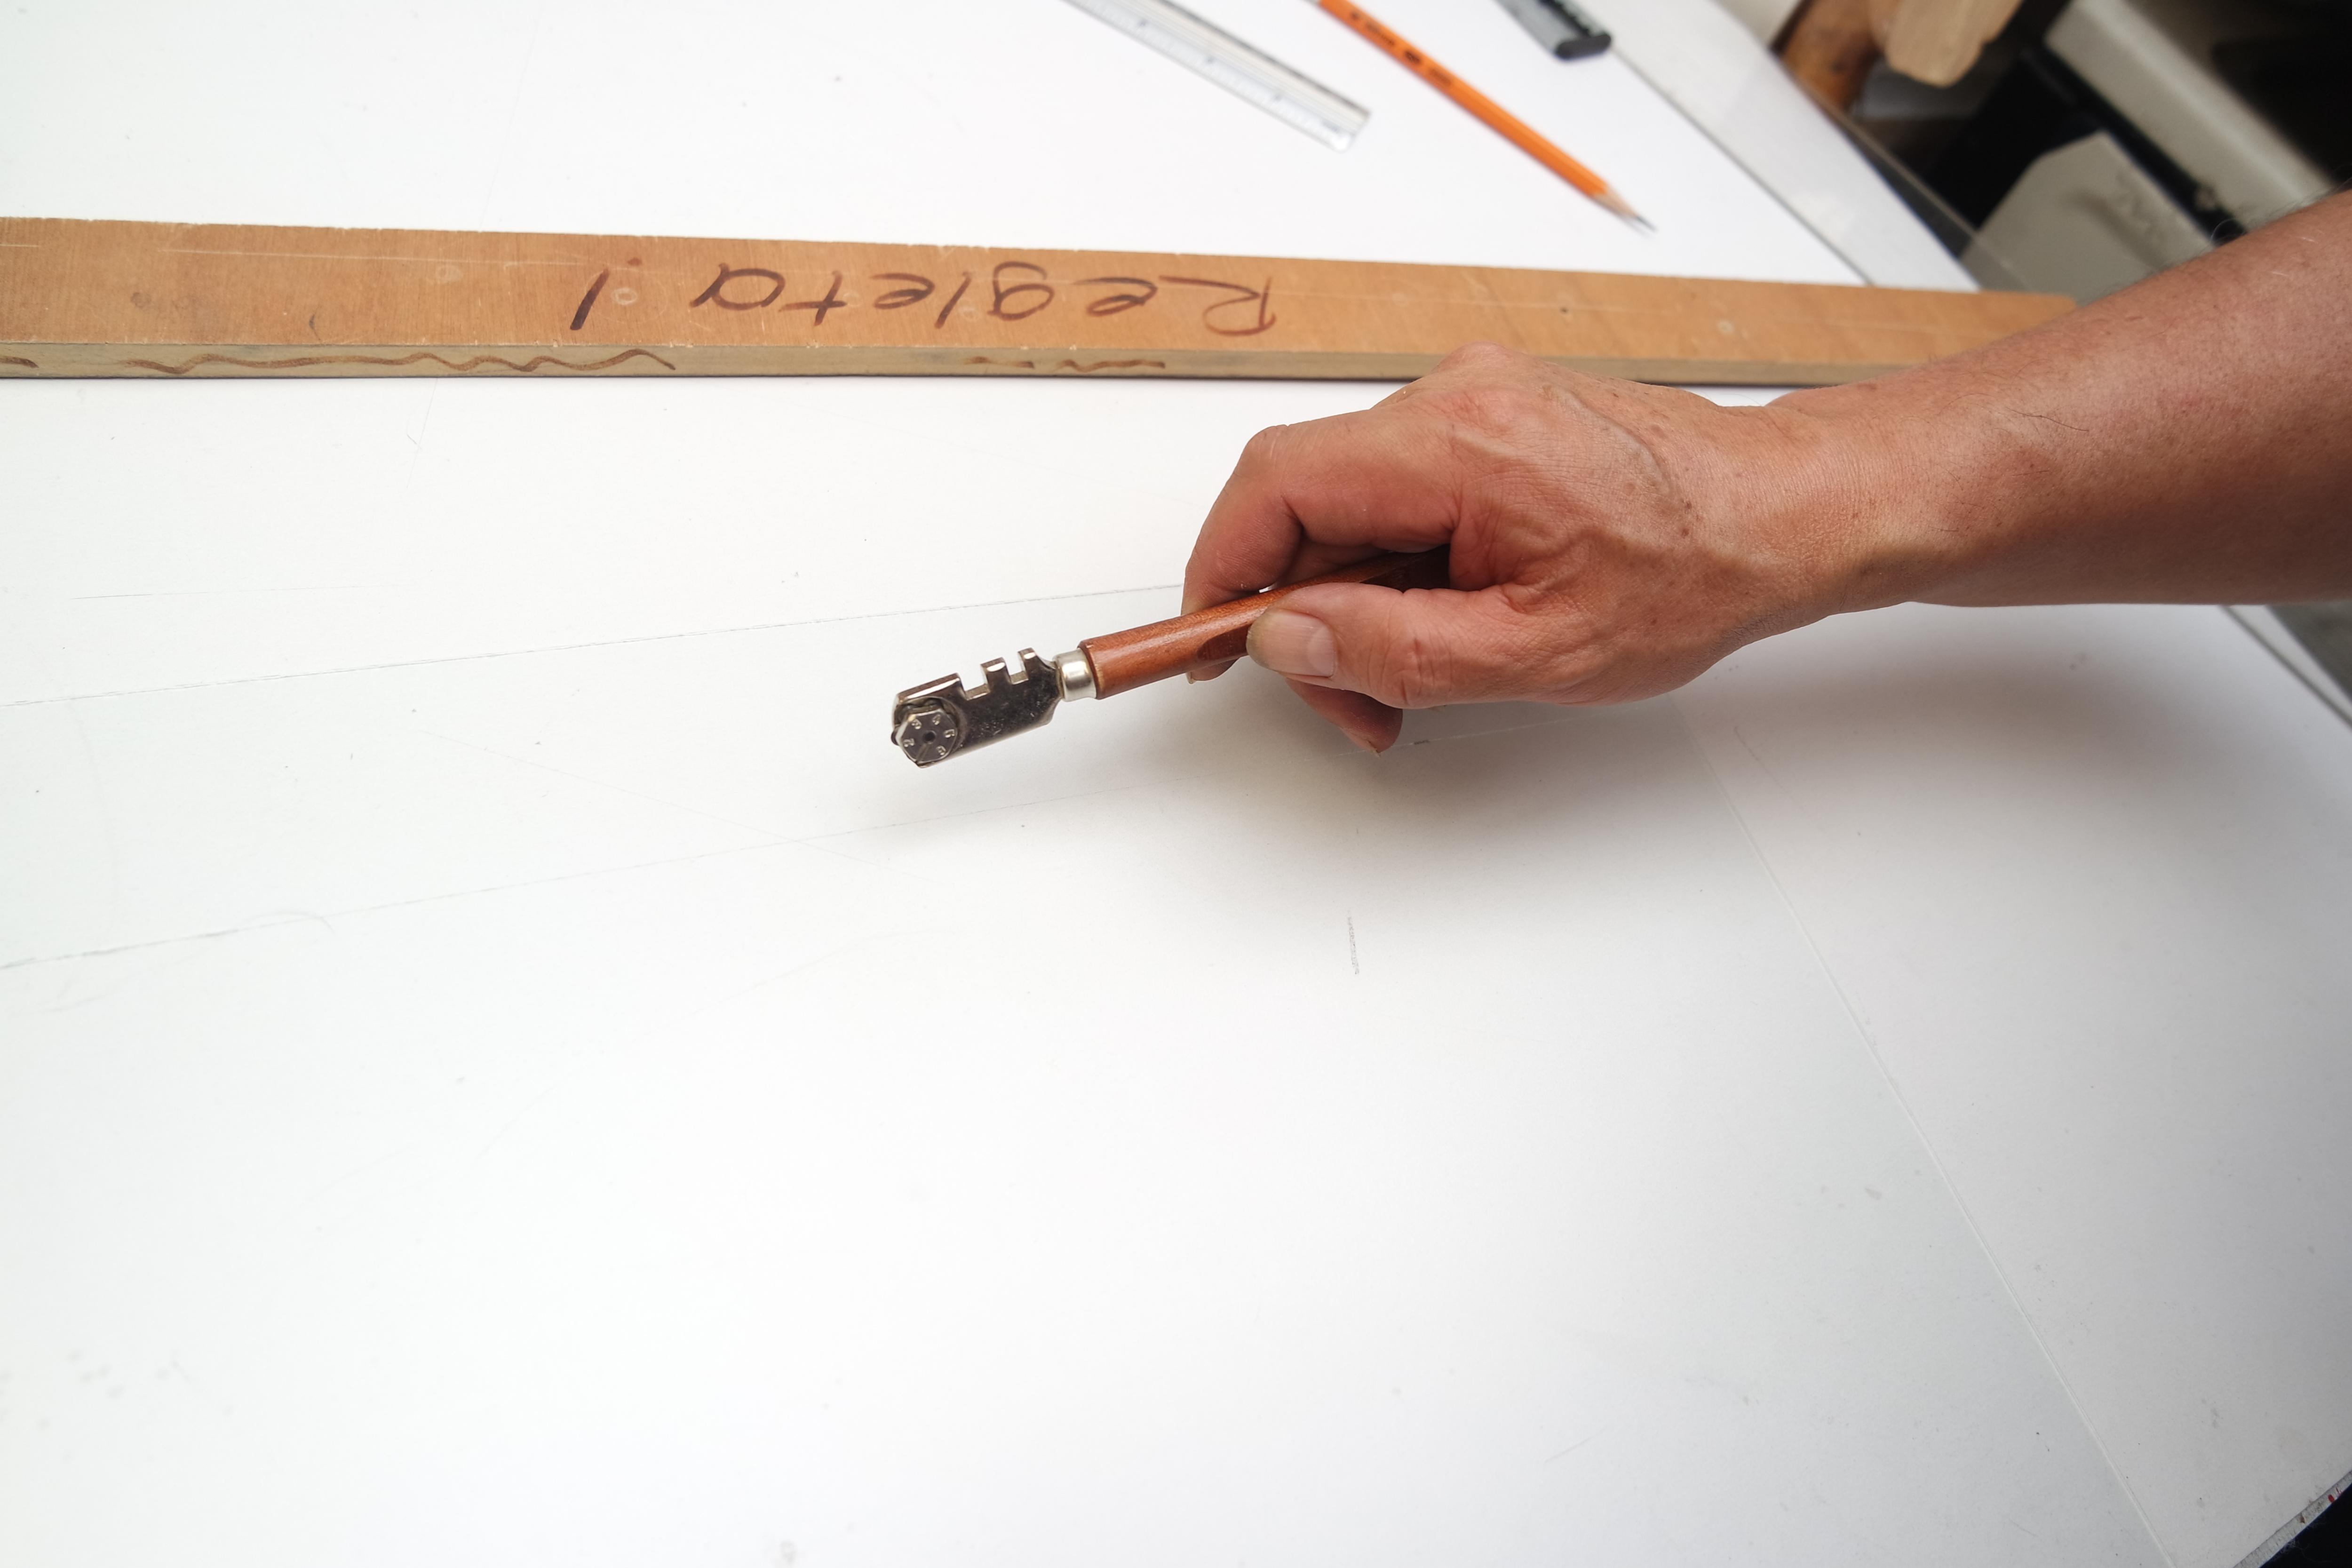
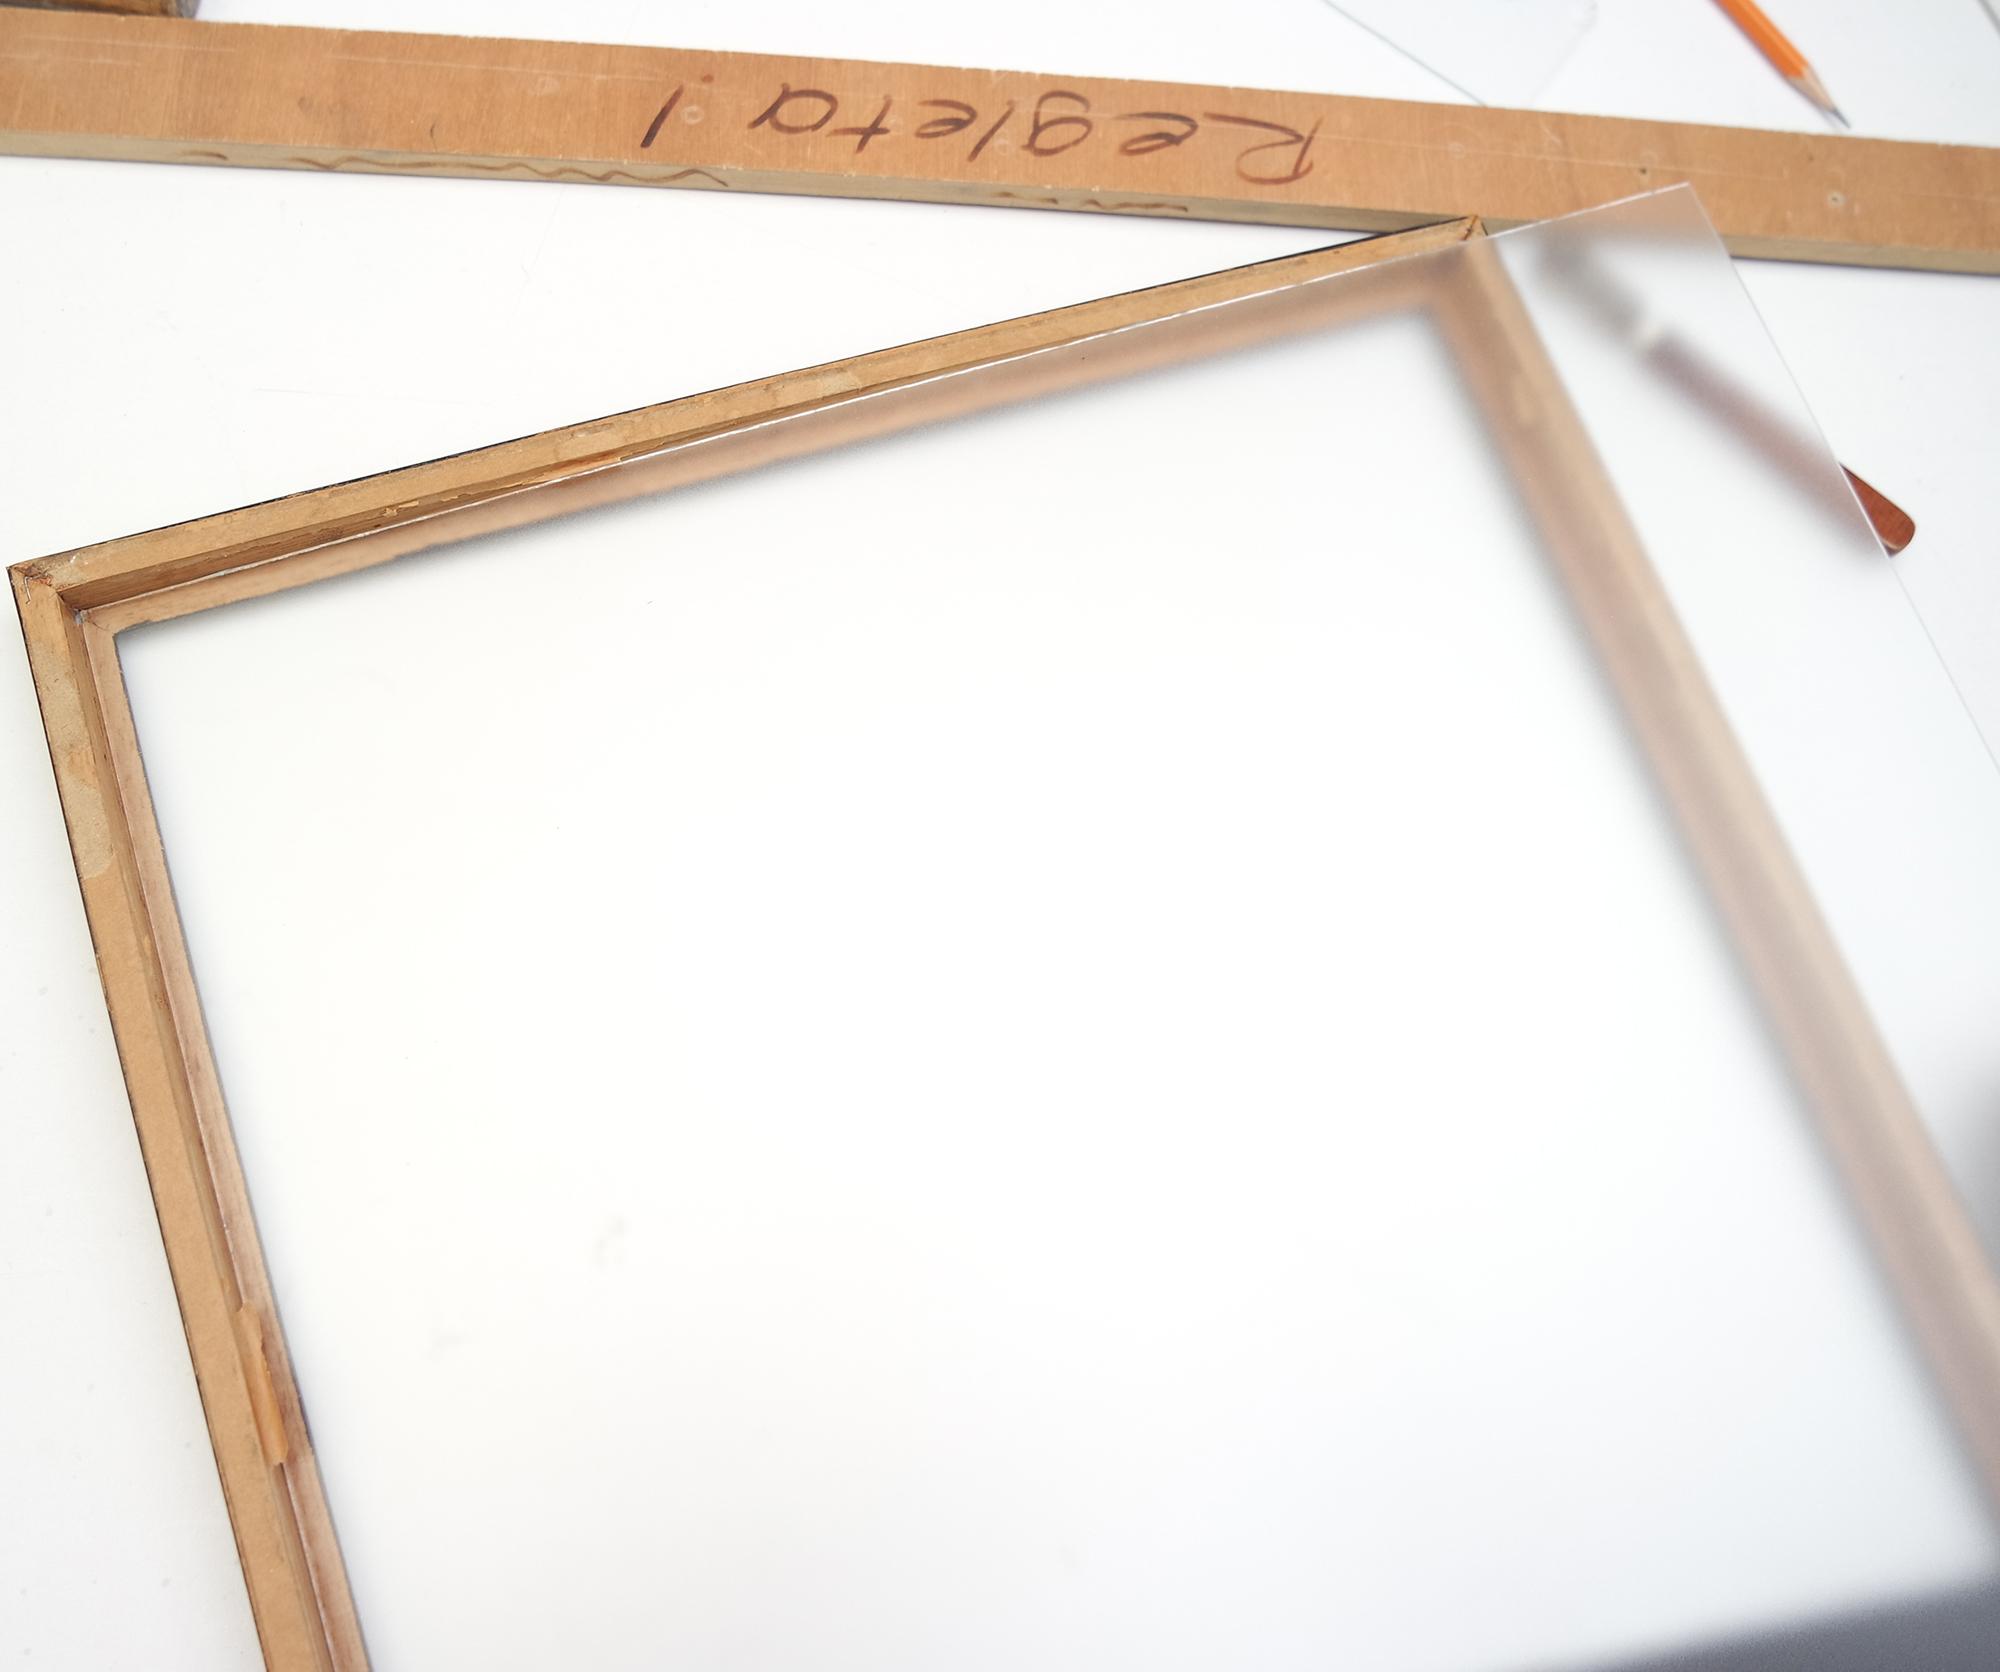
Before cutting the glass it is better to take the measurements based on the structure of the frame.
This part is optional if you have the glass cutting tool, if not, it is best to go to your nearest glass store and ask them to make the respective cut according to the measurements with which you are working.
the glass used in my project is antireflective.
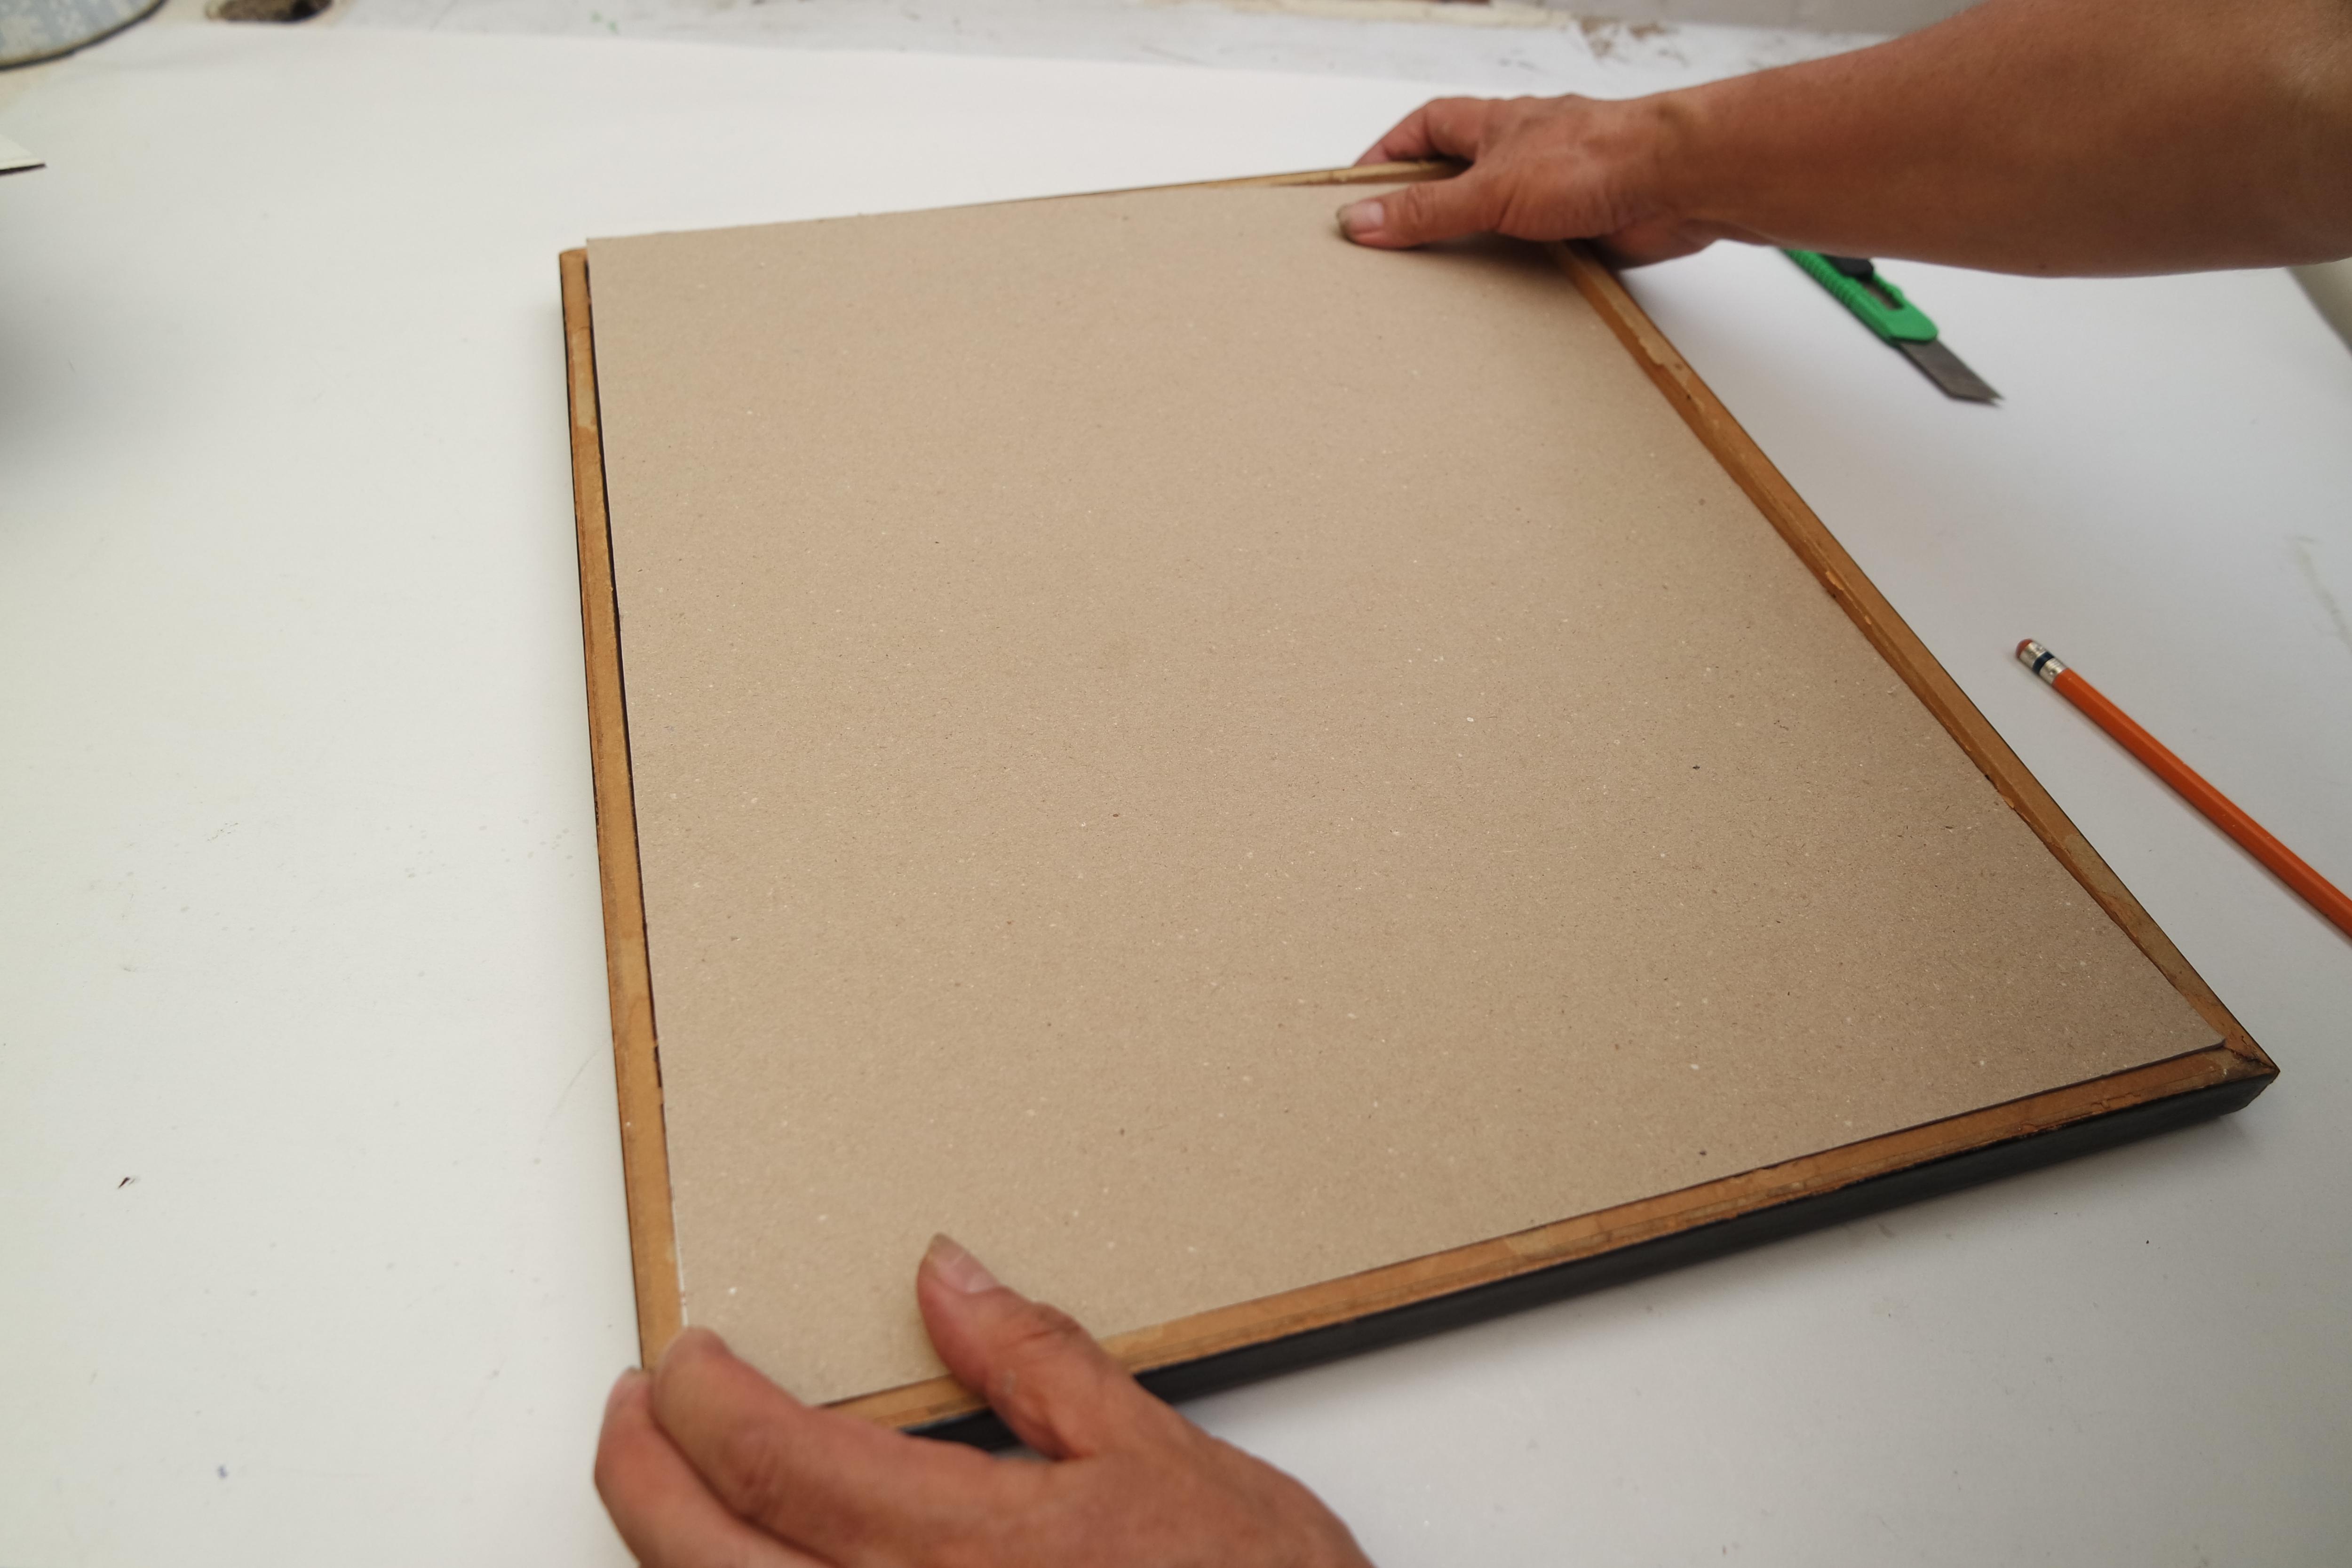
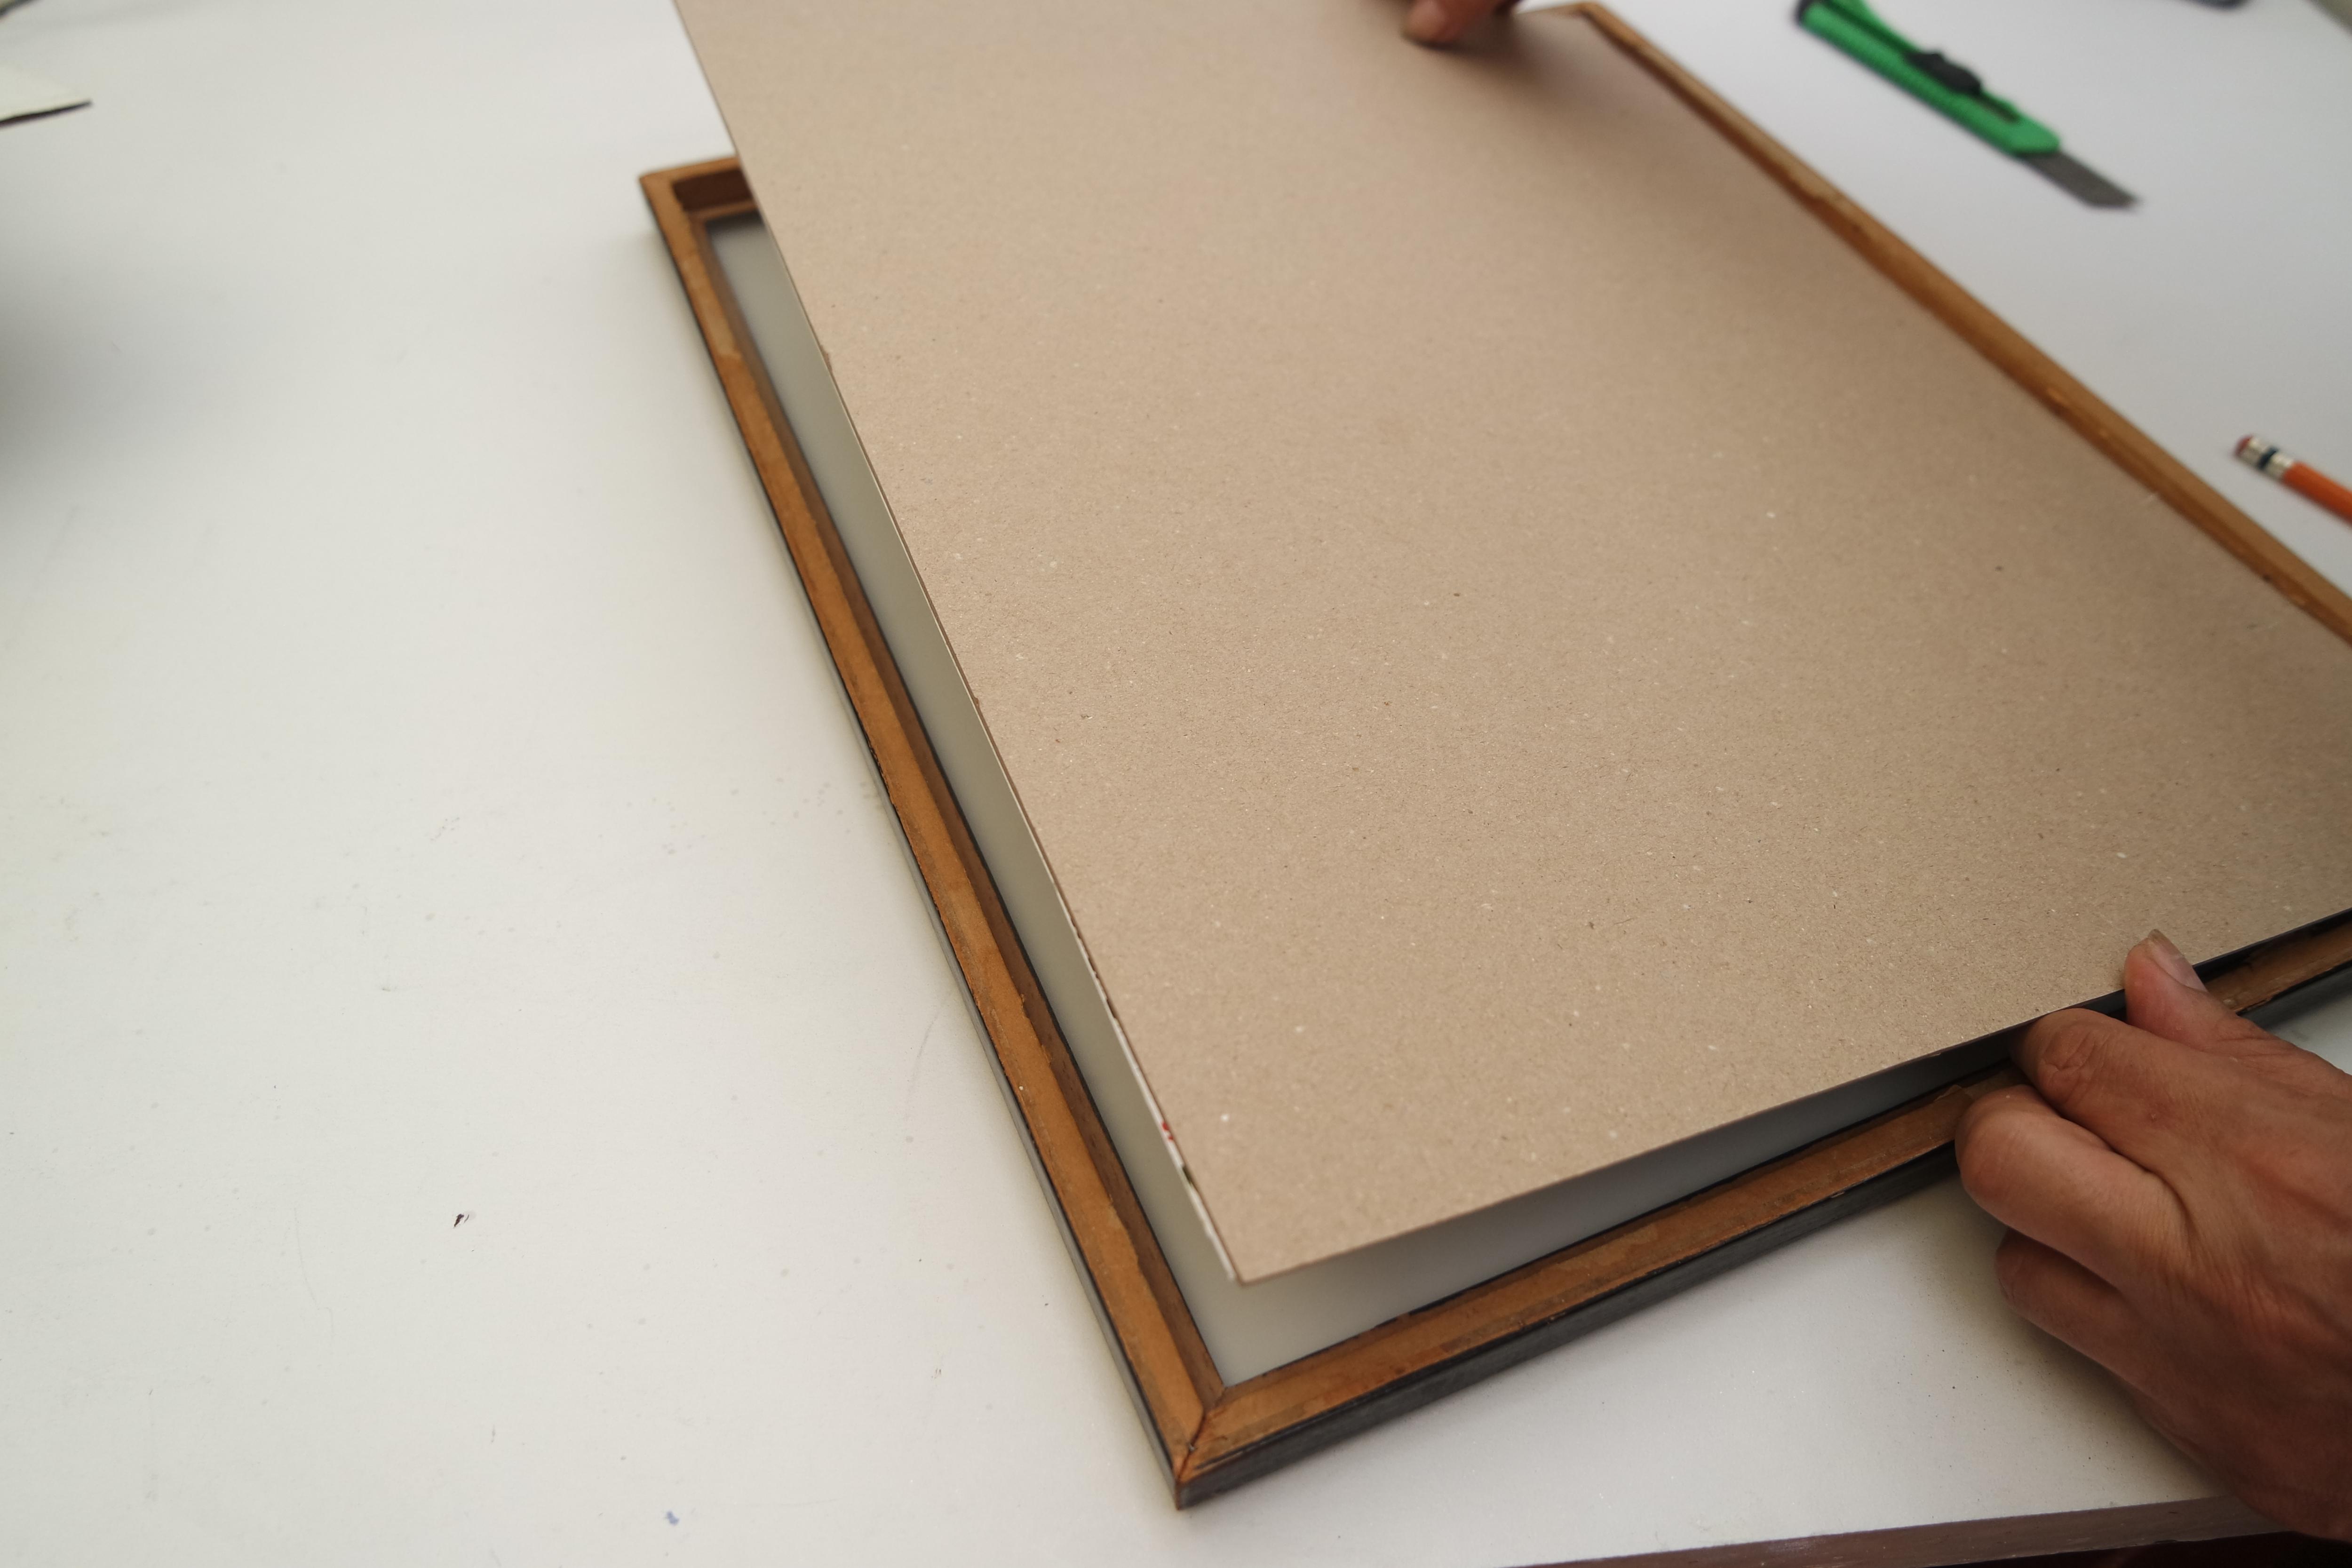
All the Pieces.
now is time to assemble all the layers of the frame
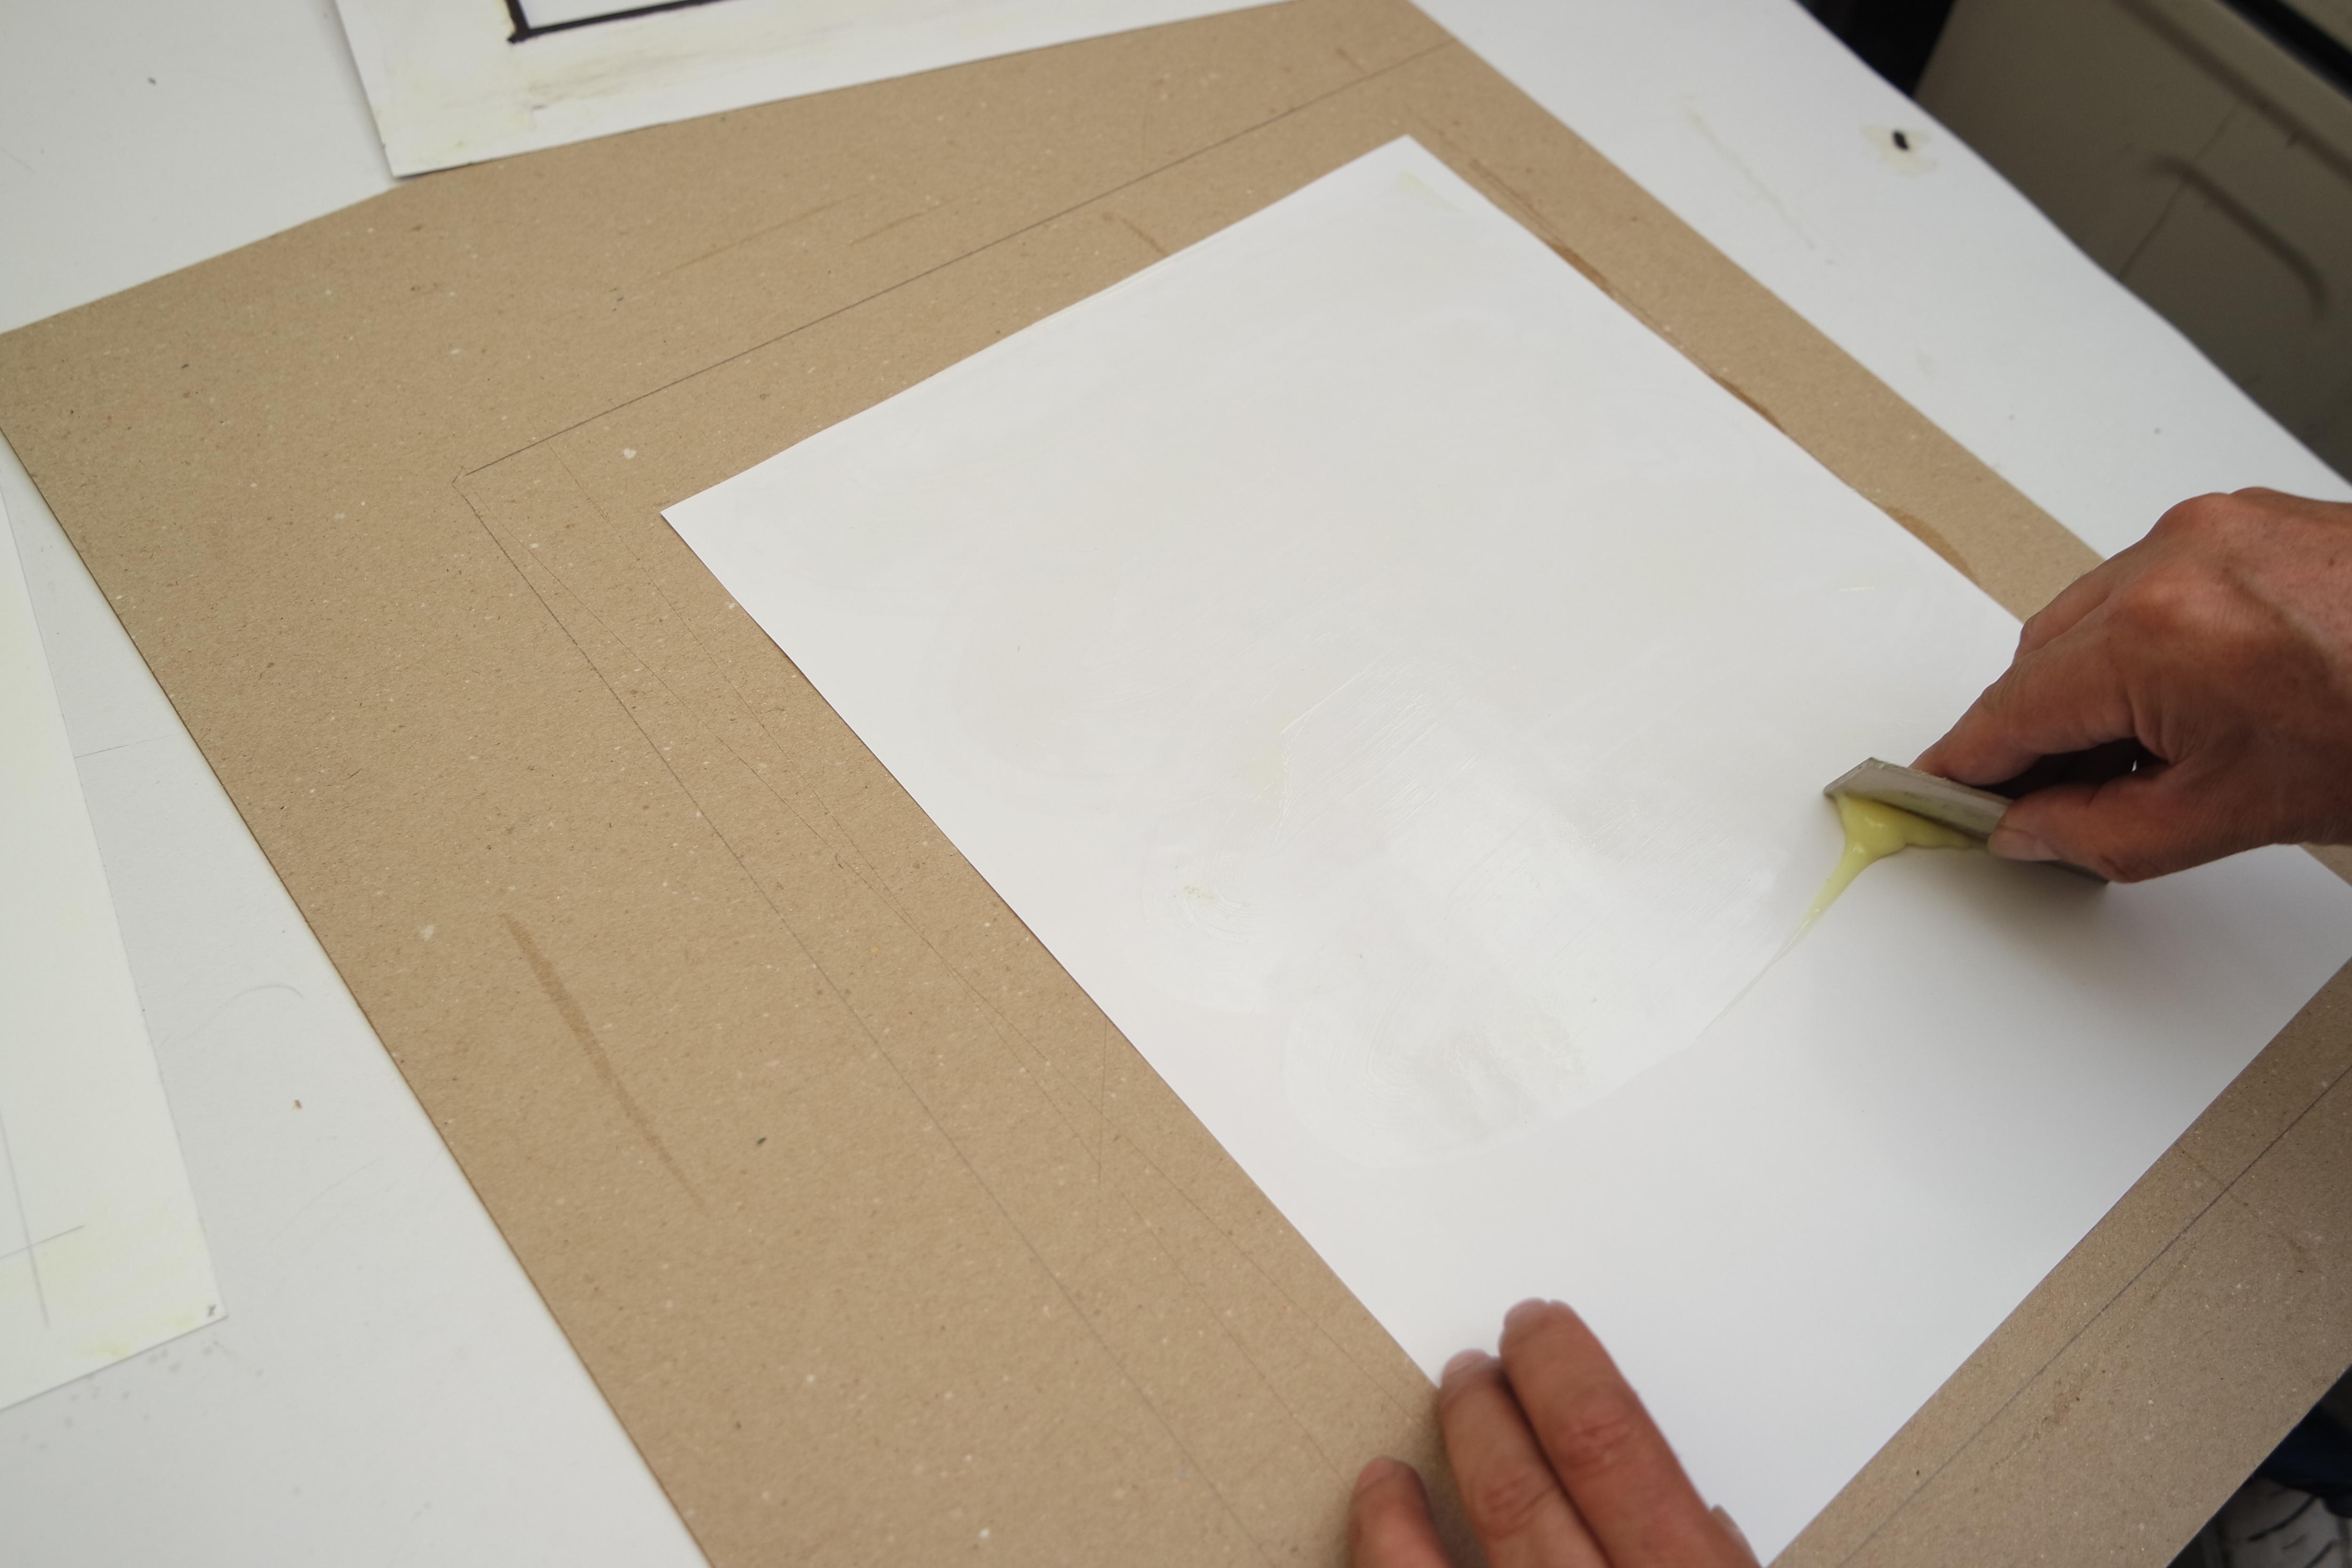
Applying the Glue
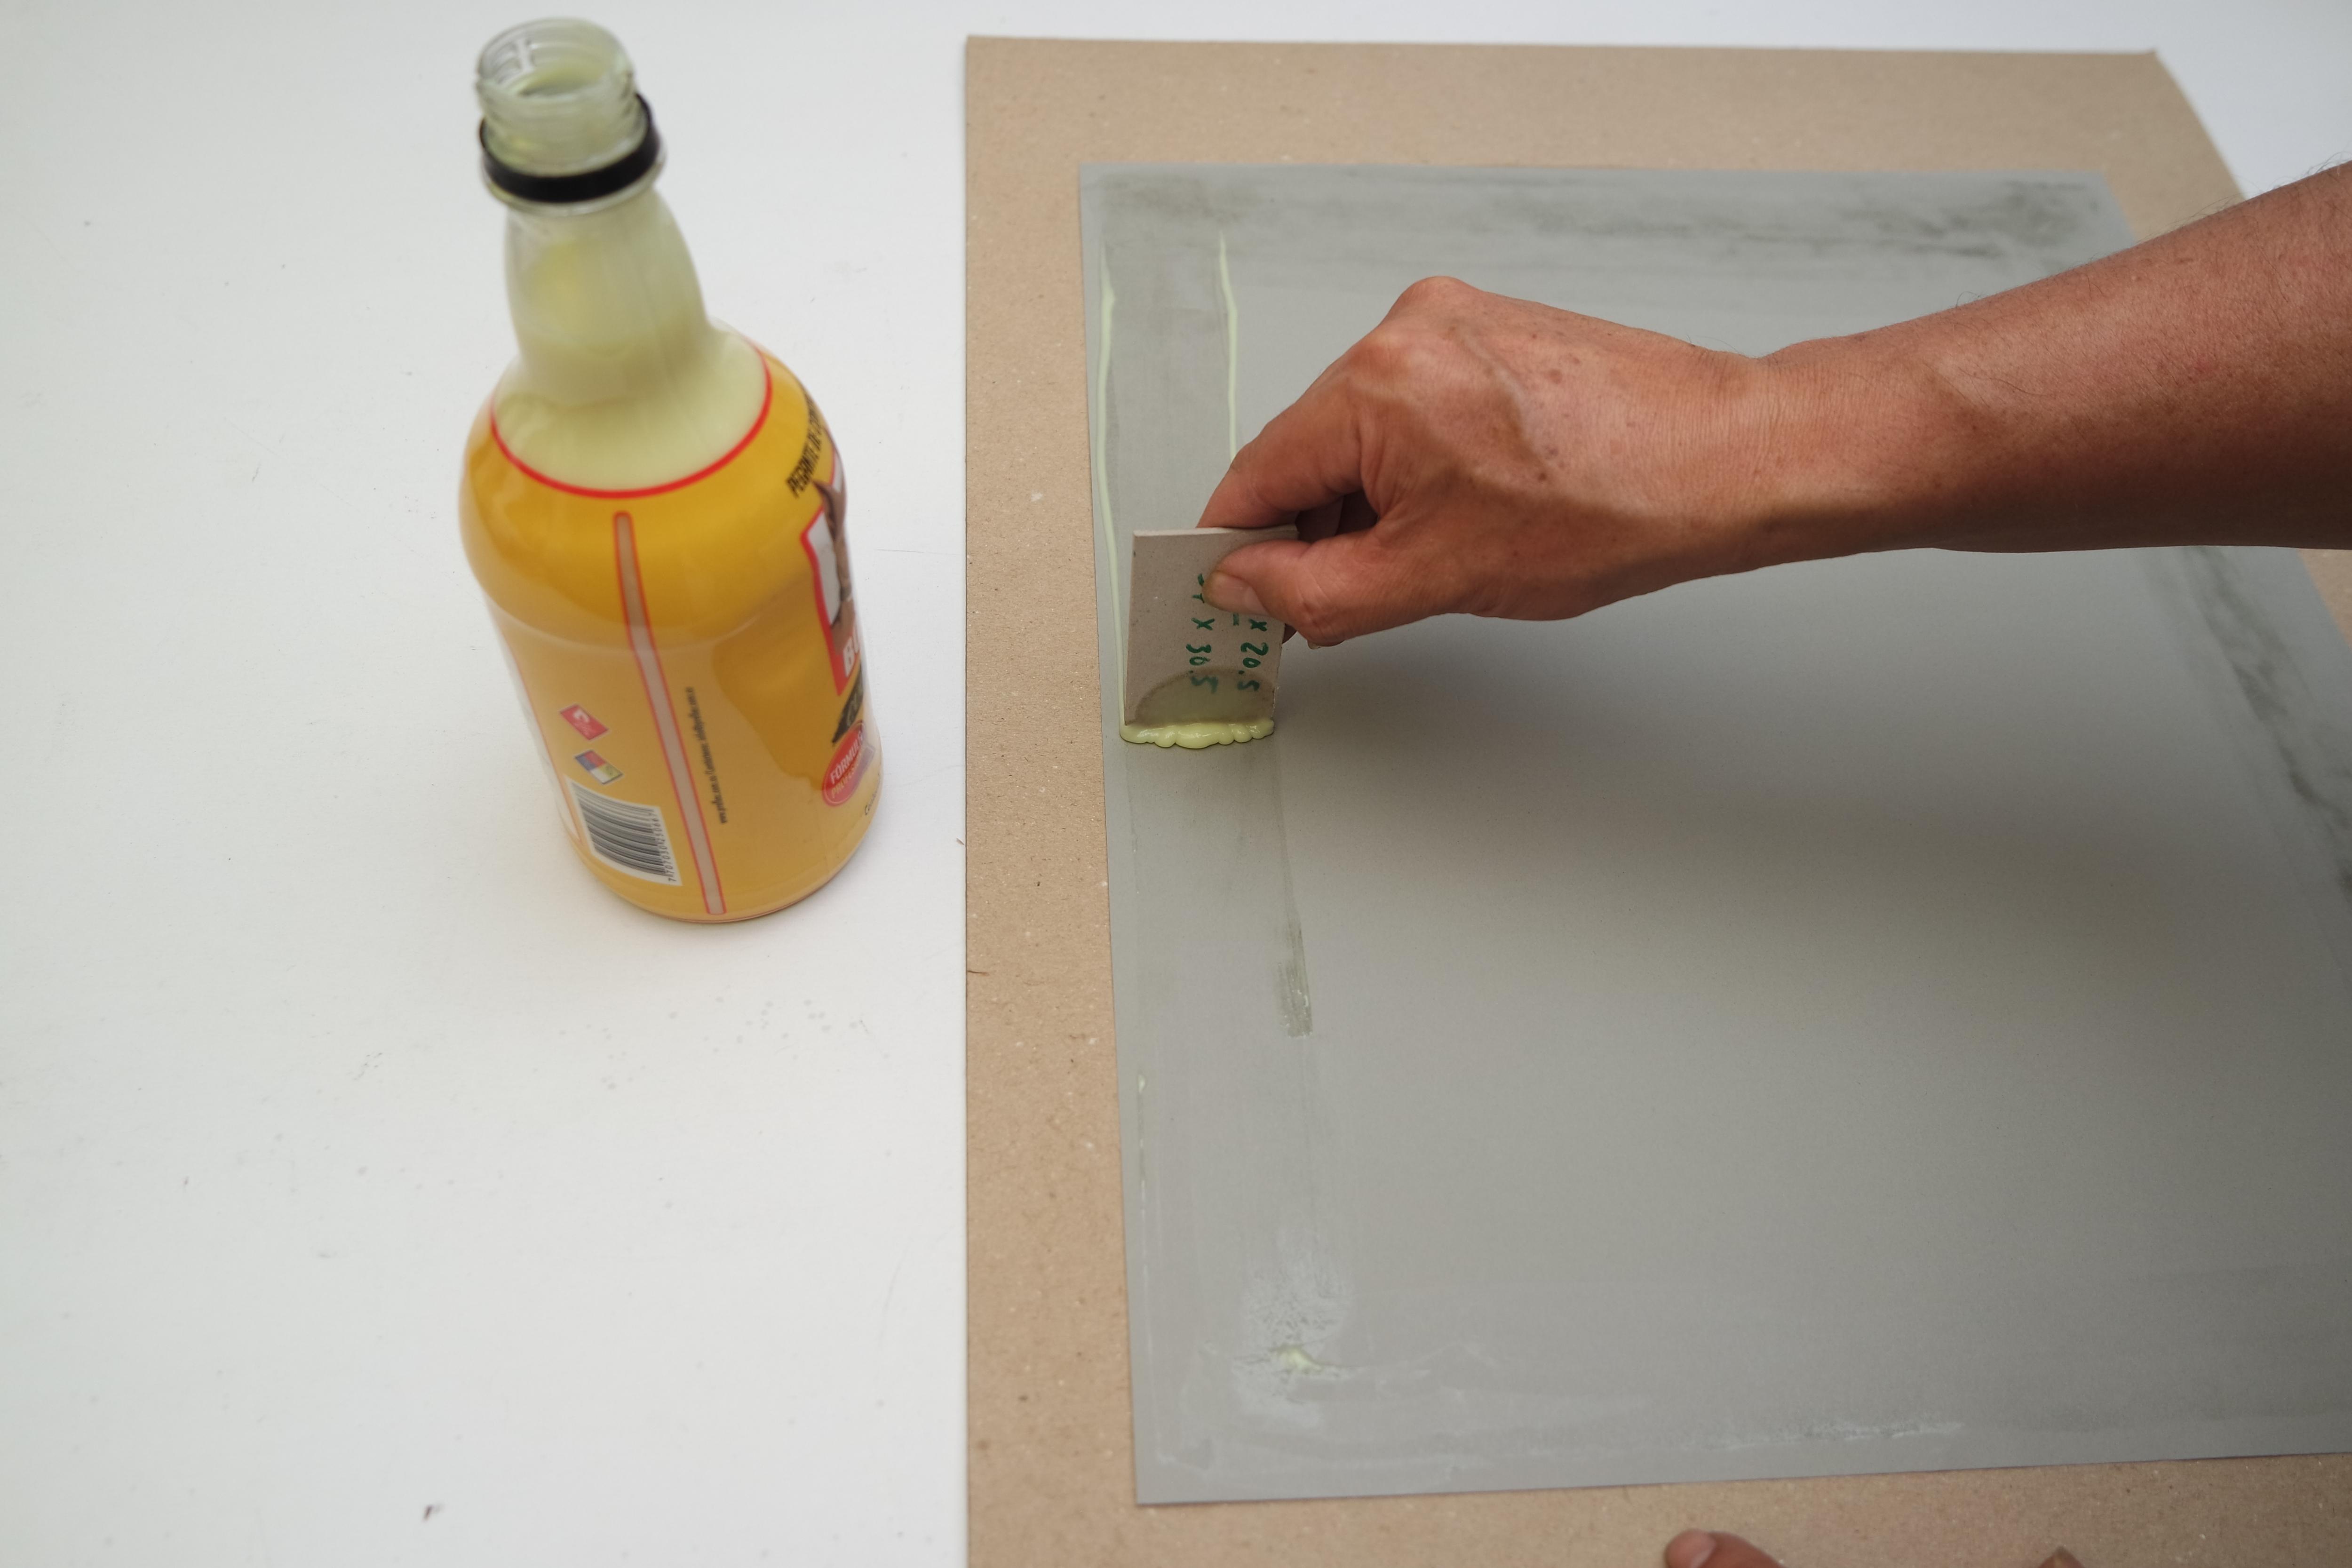
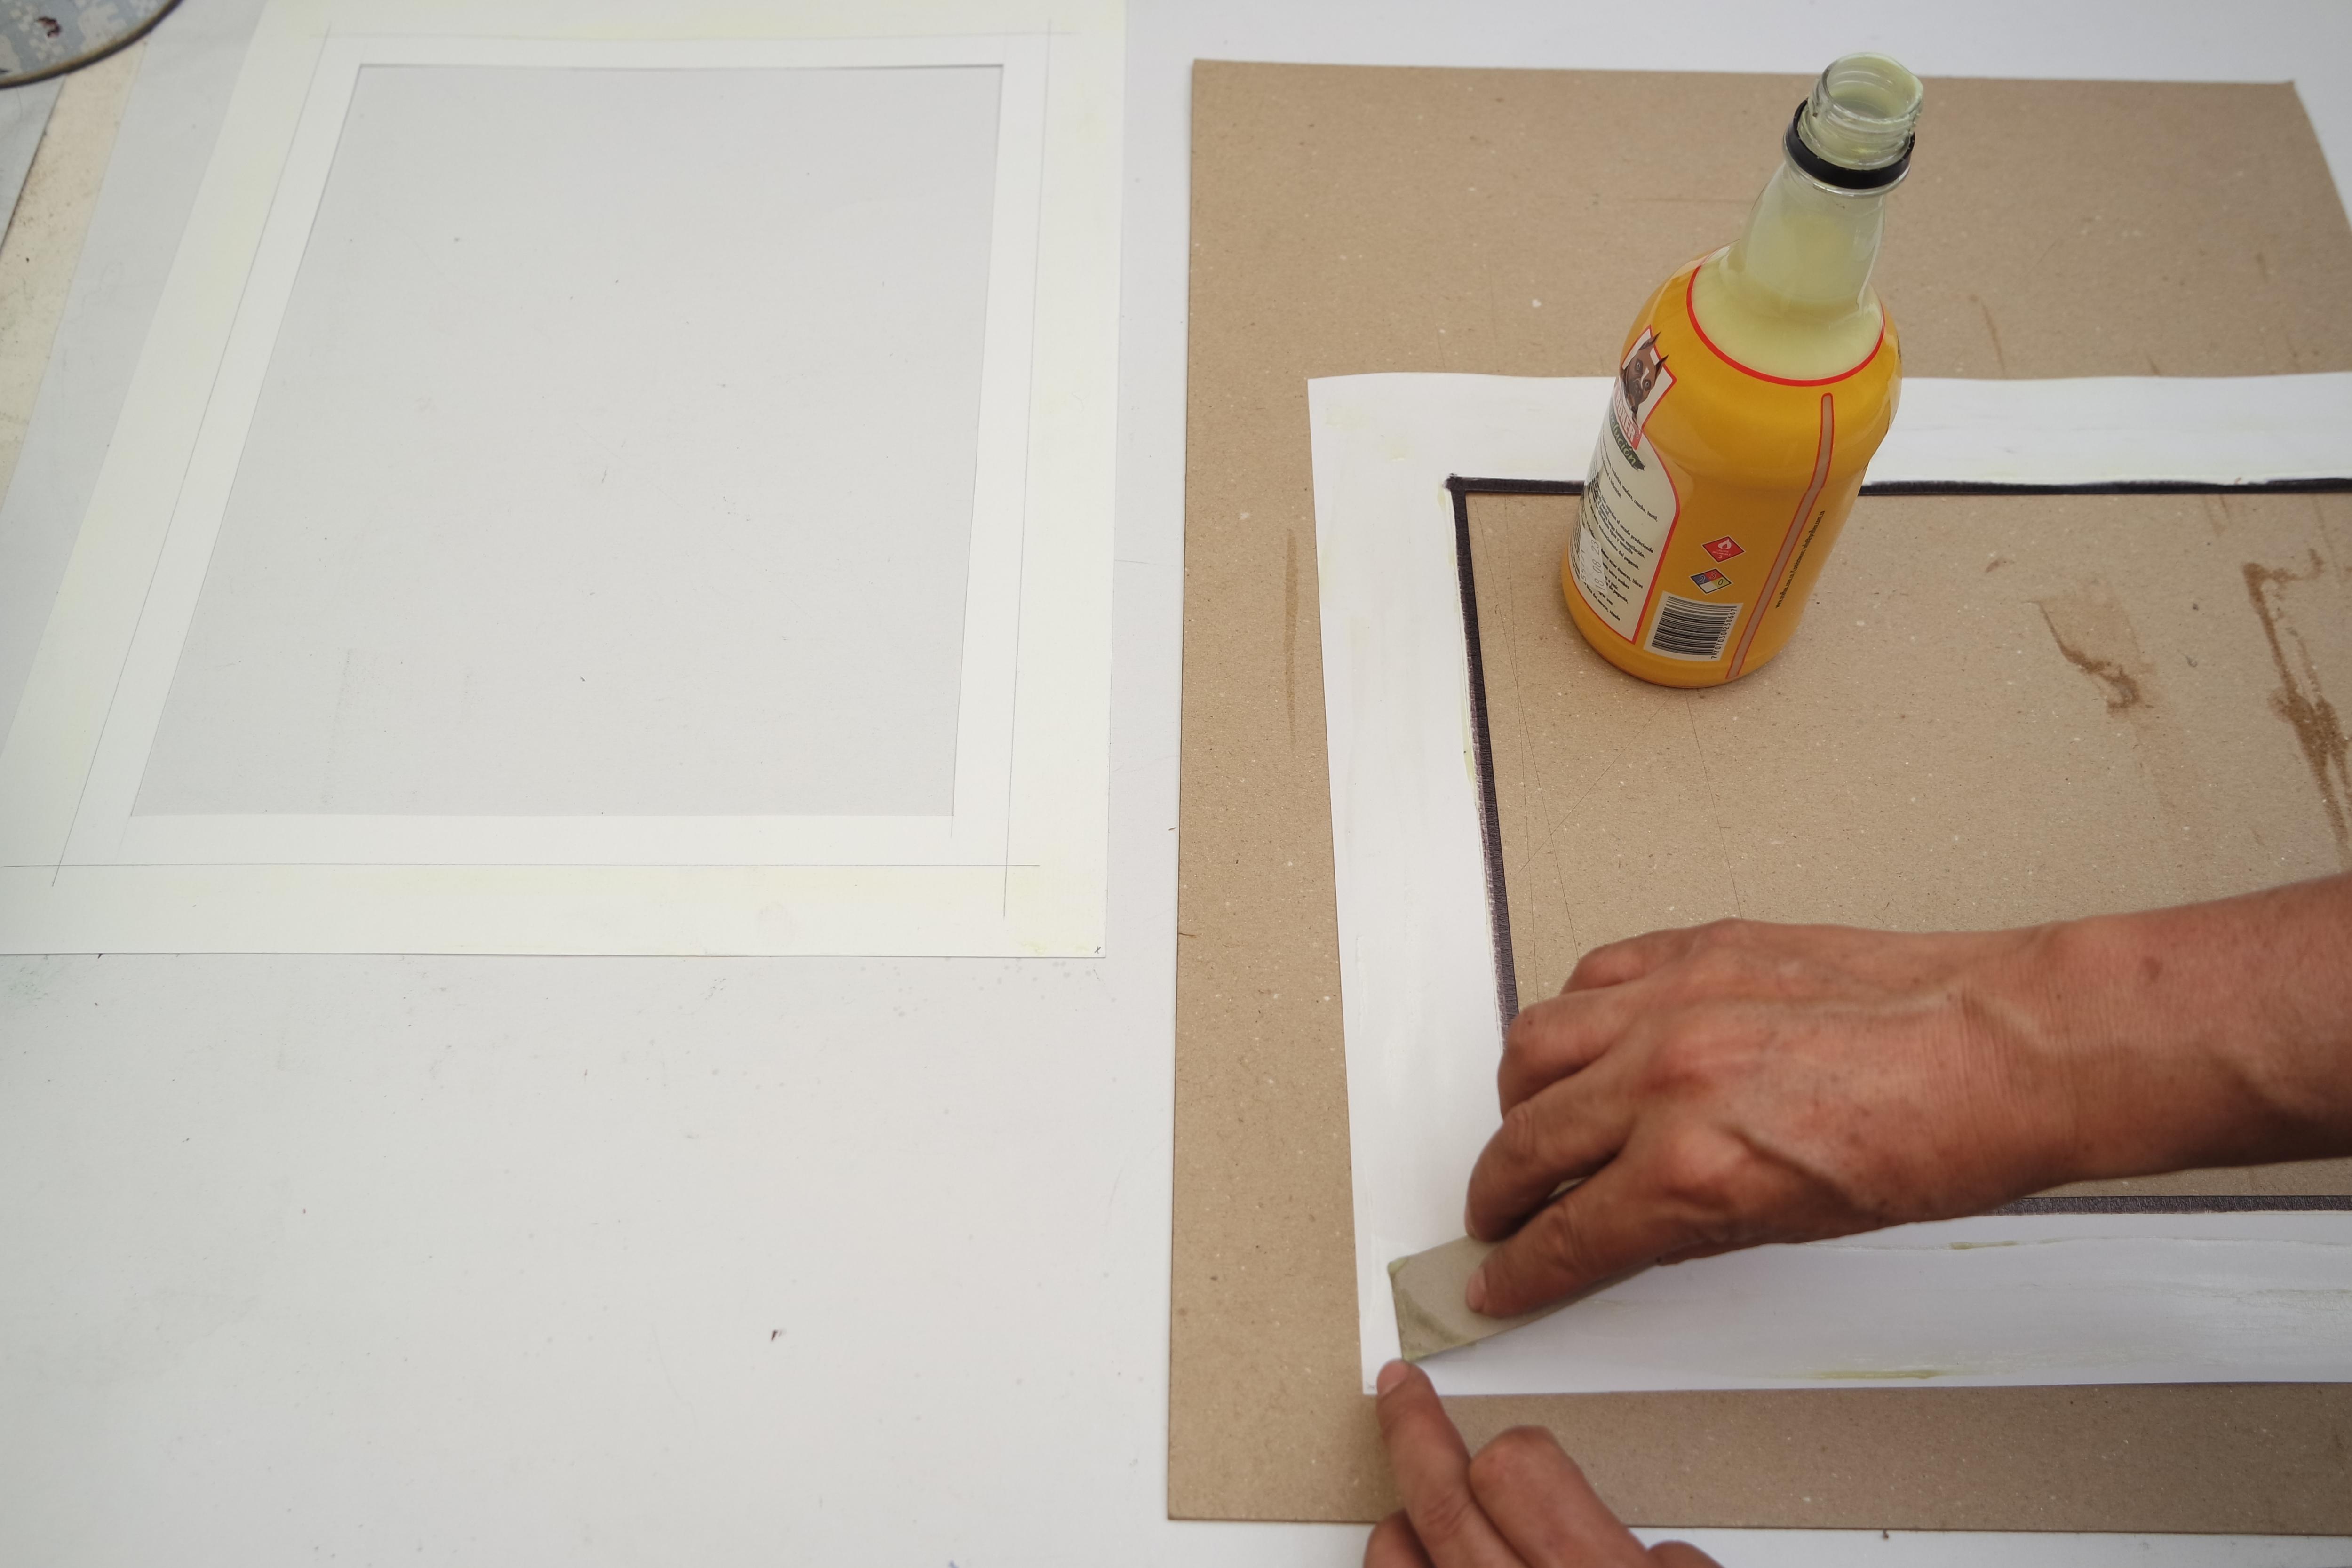
For that we will use the contact glue, and we will apply it very carefully to avoid mess.
applied on each face respectively to make the joints.
Joining

we will cut the excess of our photography and we will stick it to a thicker cardboard that will serve as a background.
Cut Excess
from this step we will get rid of the leftover parts that do not fit in our frame.
Continue Cutting

At this point we are approaching the end, so we will try to make sure that everything goes well, for that I recommend that we always make small guide marks from the beginning that will locate us where each corner goes respectively and thus we will avoid errors when gluing
Paper Trick
So that all the layers are well glued, I recommend you apply pressure with a sheet of paper on top, since this way you will also avoid dirtying any part and you will be able to exert a balanced pressure.
Final Steps
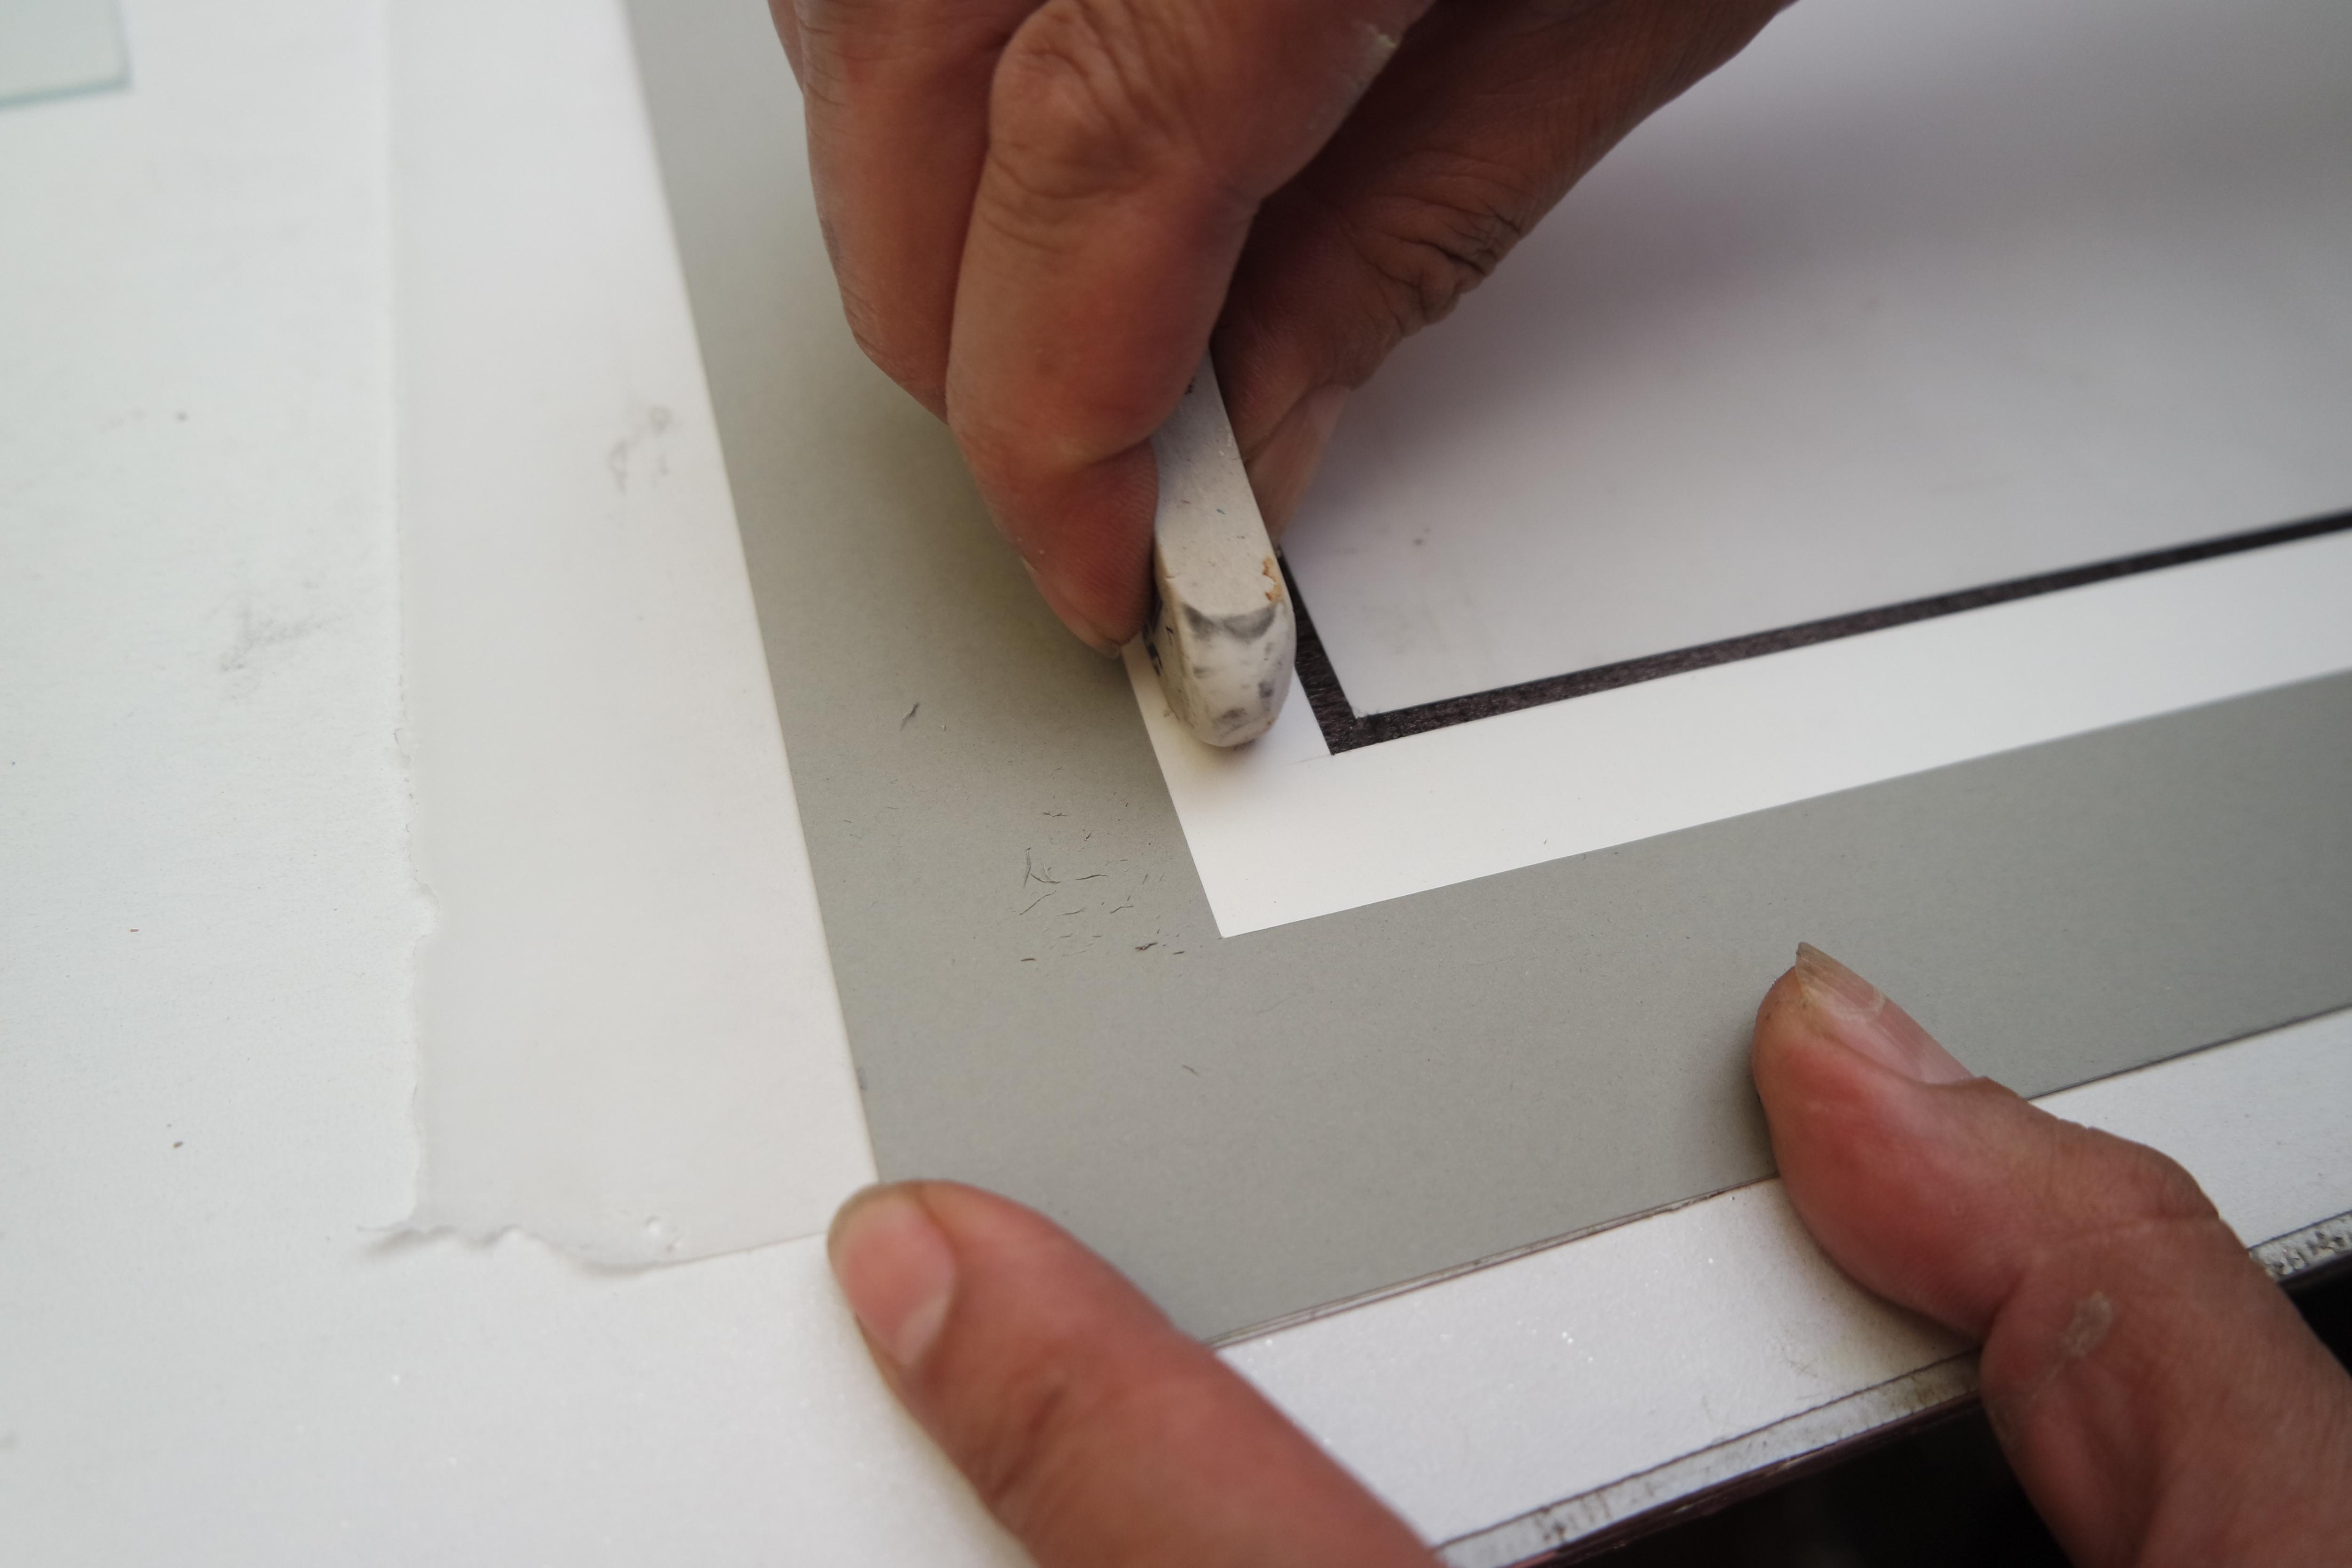
to finish we will polish small details, such as erasing any type of trace or marks that may be visible from the pencil or any dirt that has reached our frame.
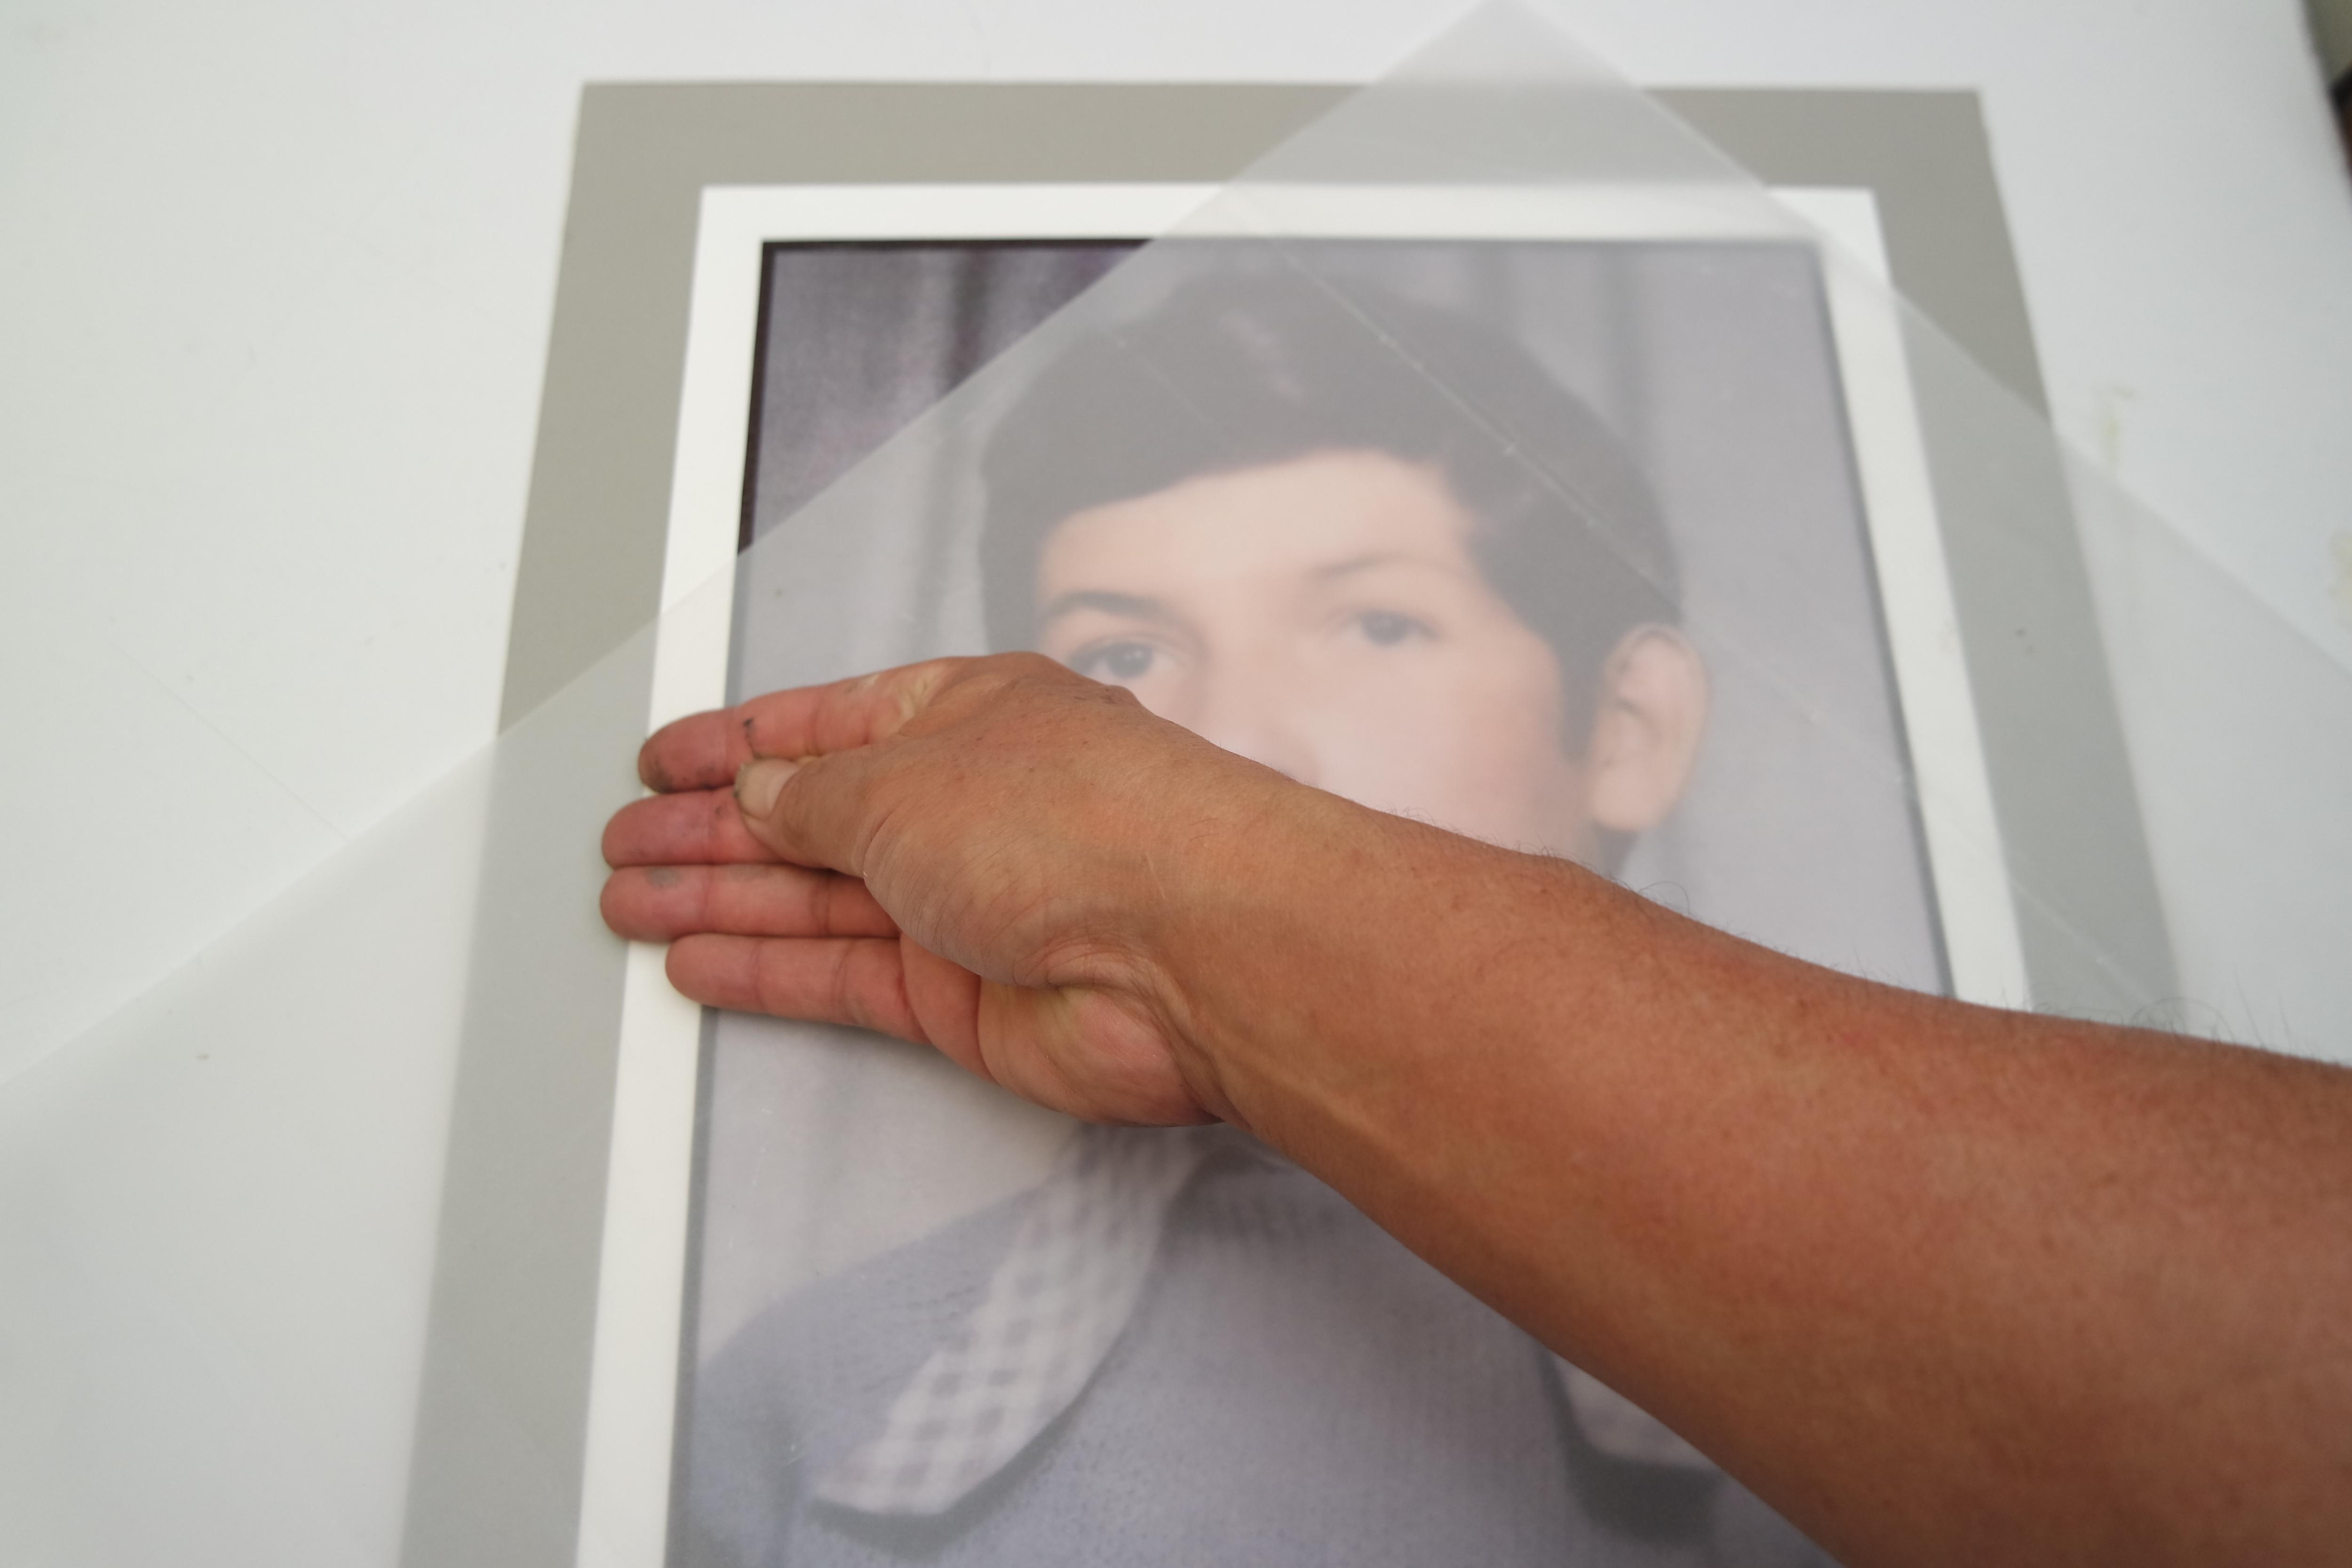
Cleaning the Glass
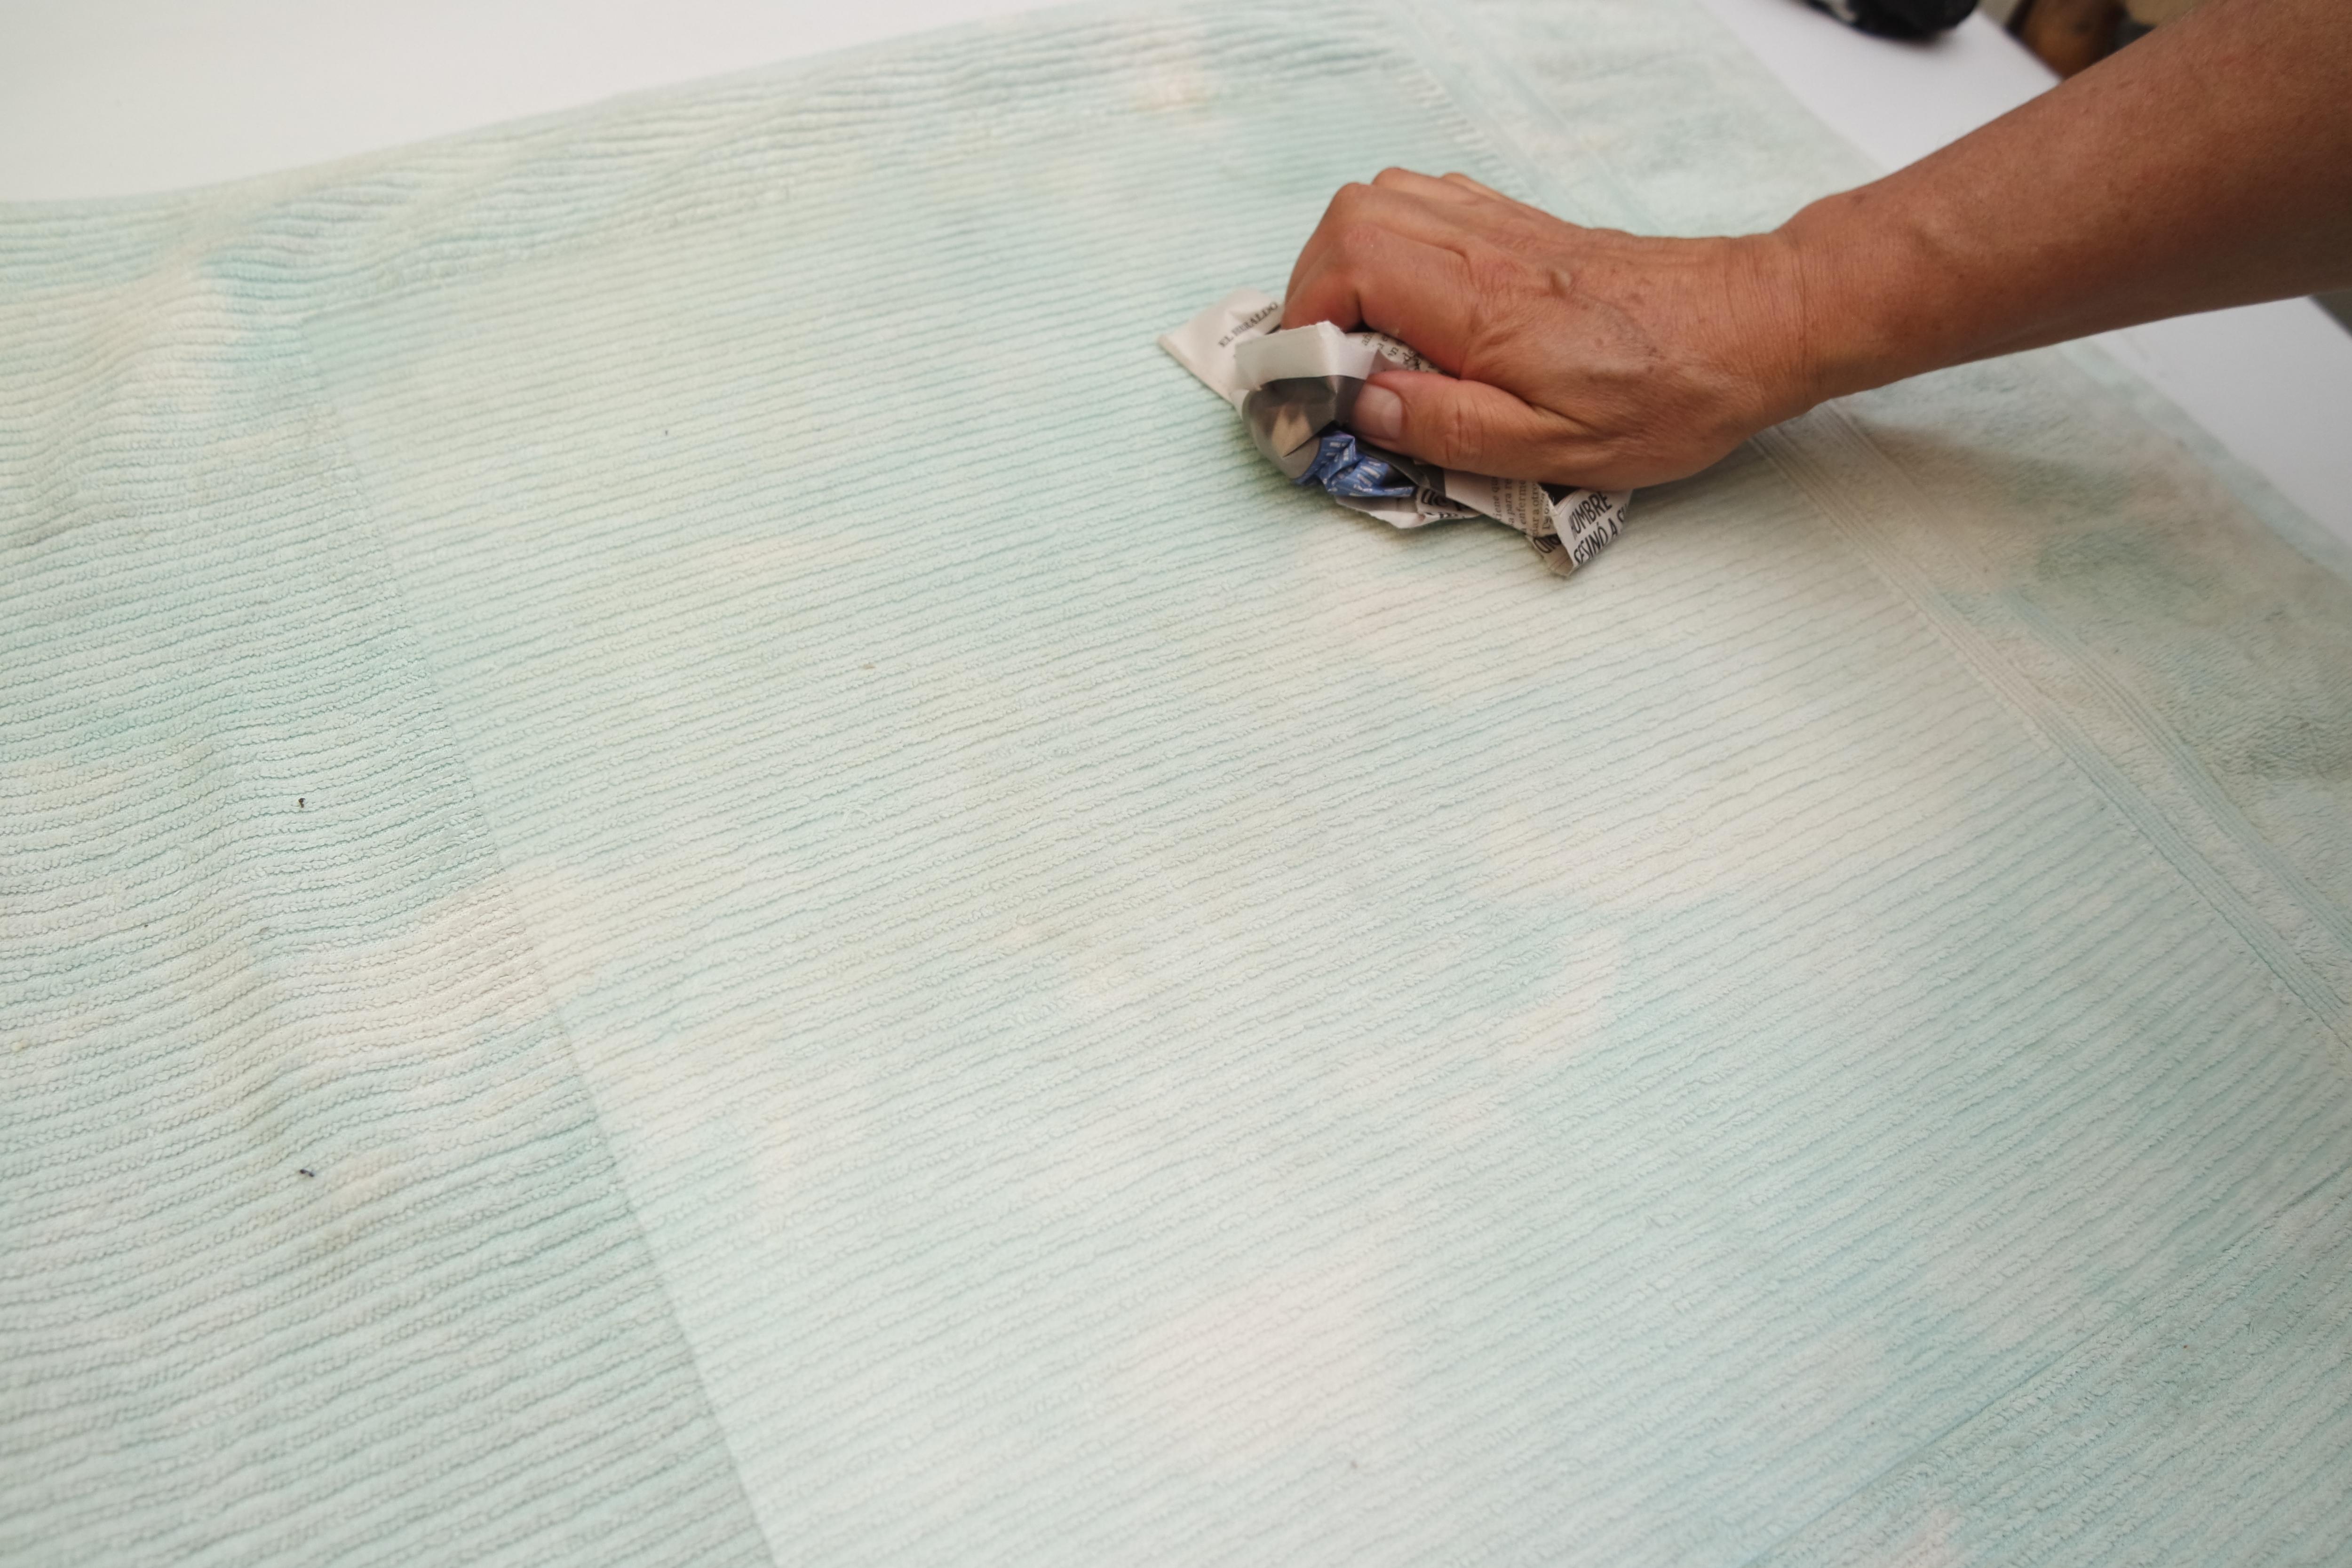

remember to leave the inside of the glass of your frame very clean before assembling it
I recommend that when you go to install or clean the glass you use some type of soft fabric material underneath so as not to generate pressure on it
Reinforcing the Rear
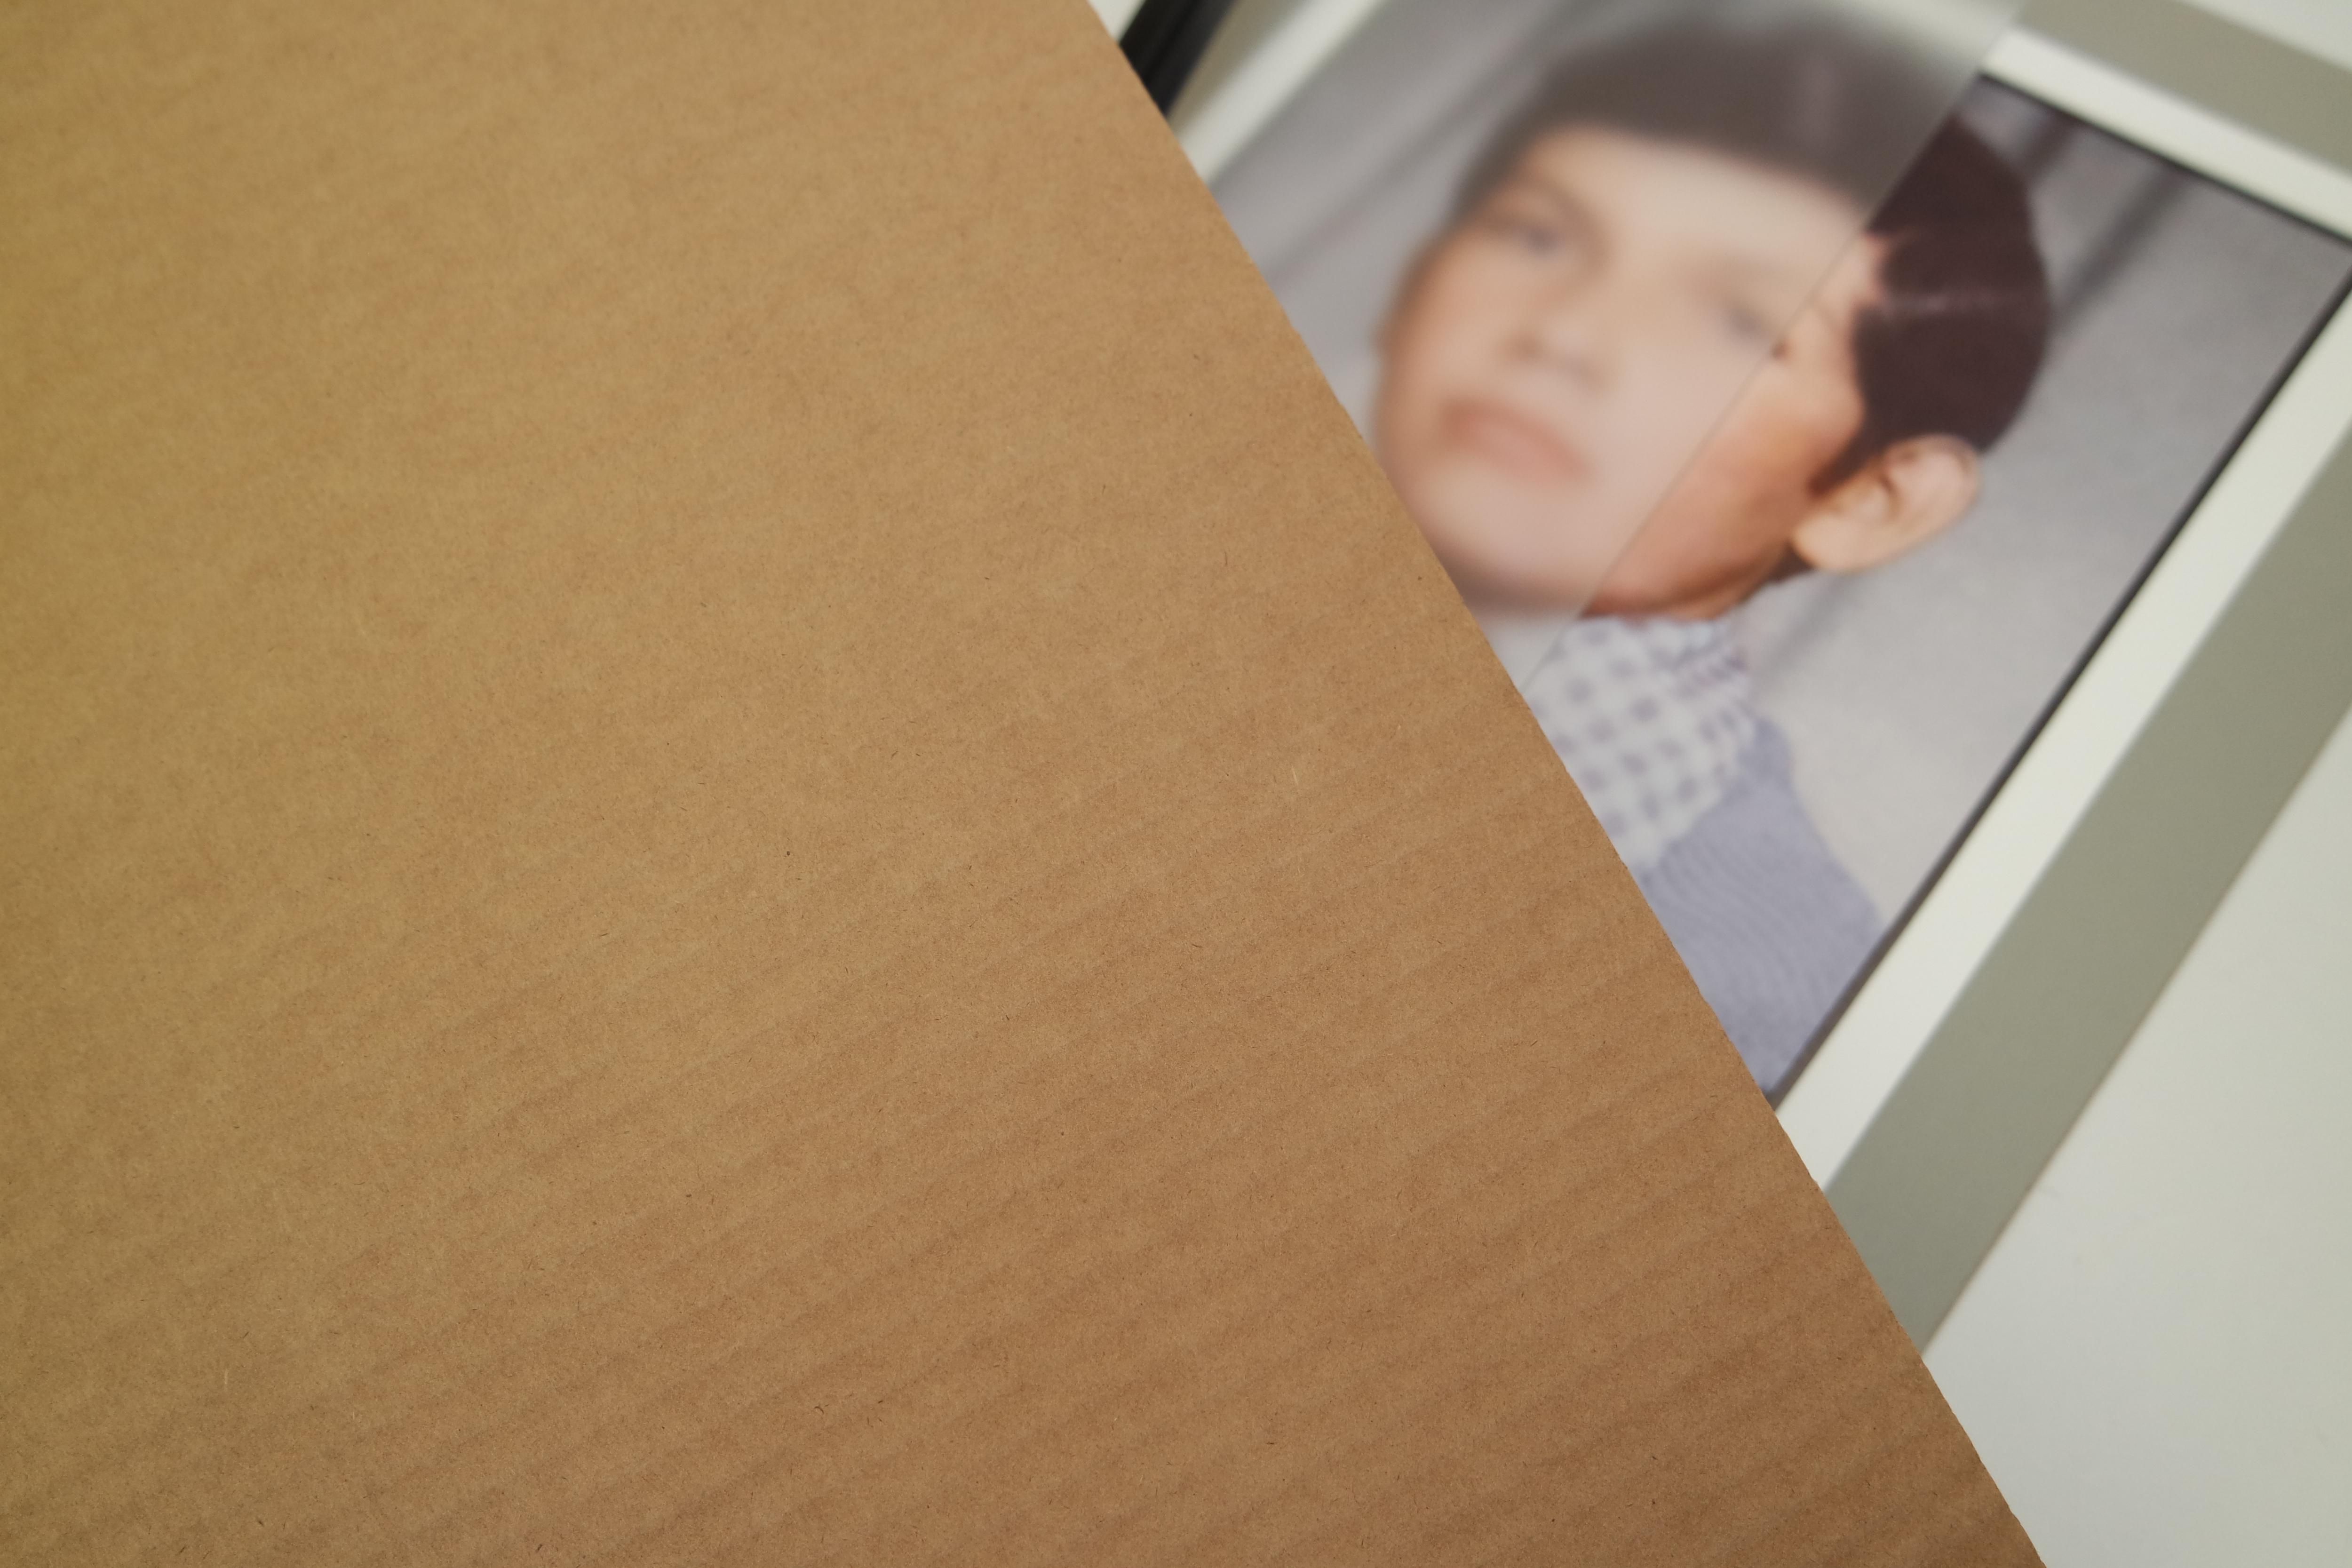

To reinforce the back we will use a more resistant type of cardboard,
but don't worry it's not a special cardboard it's the basic cardboard we know...
Sealing the Frame
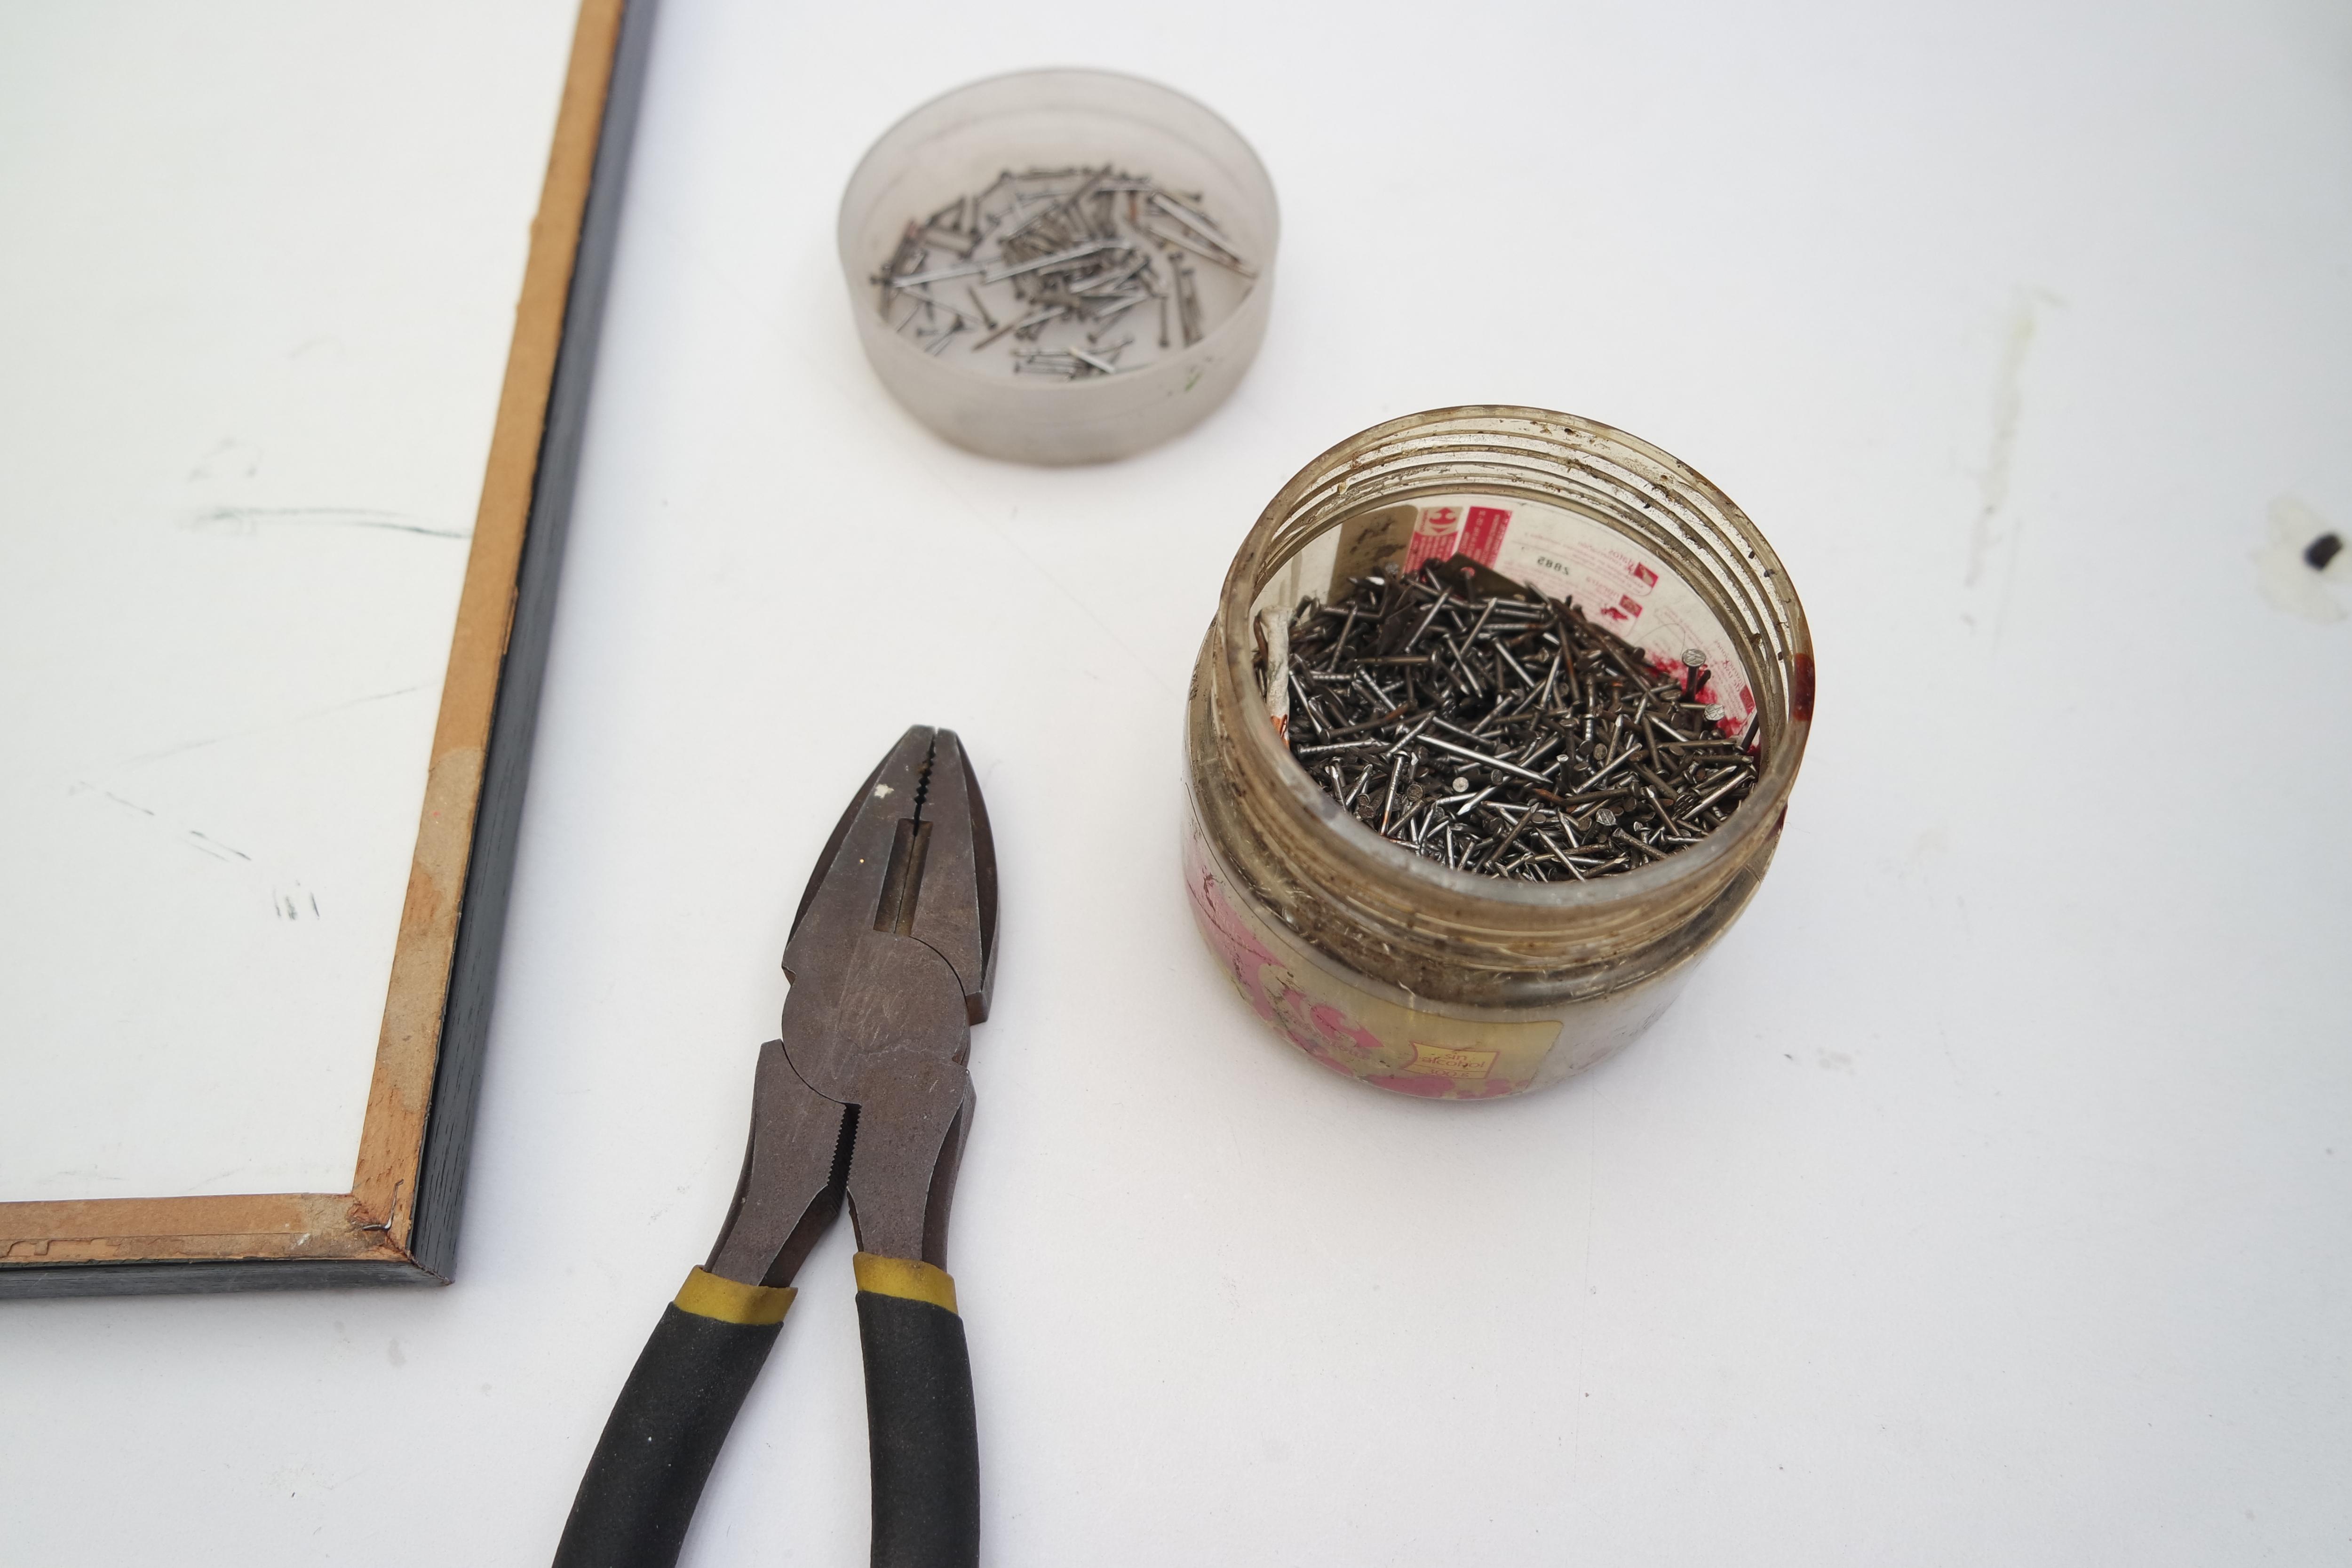
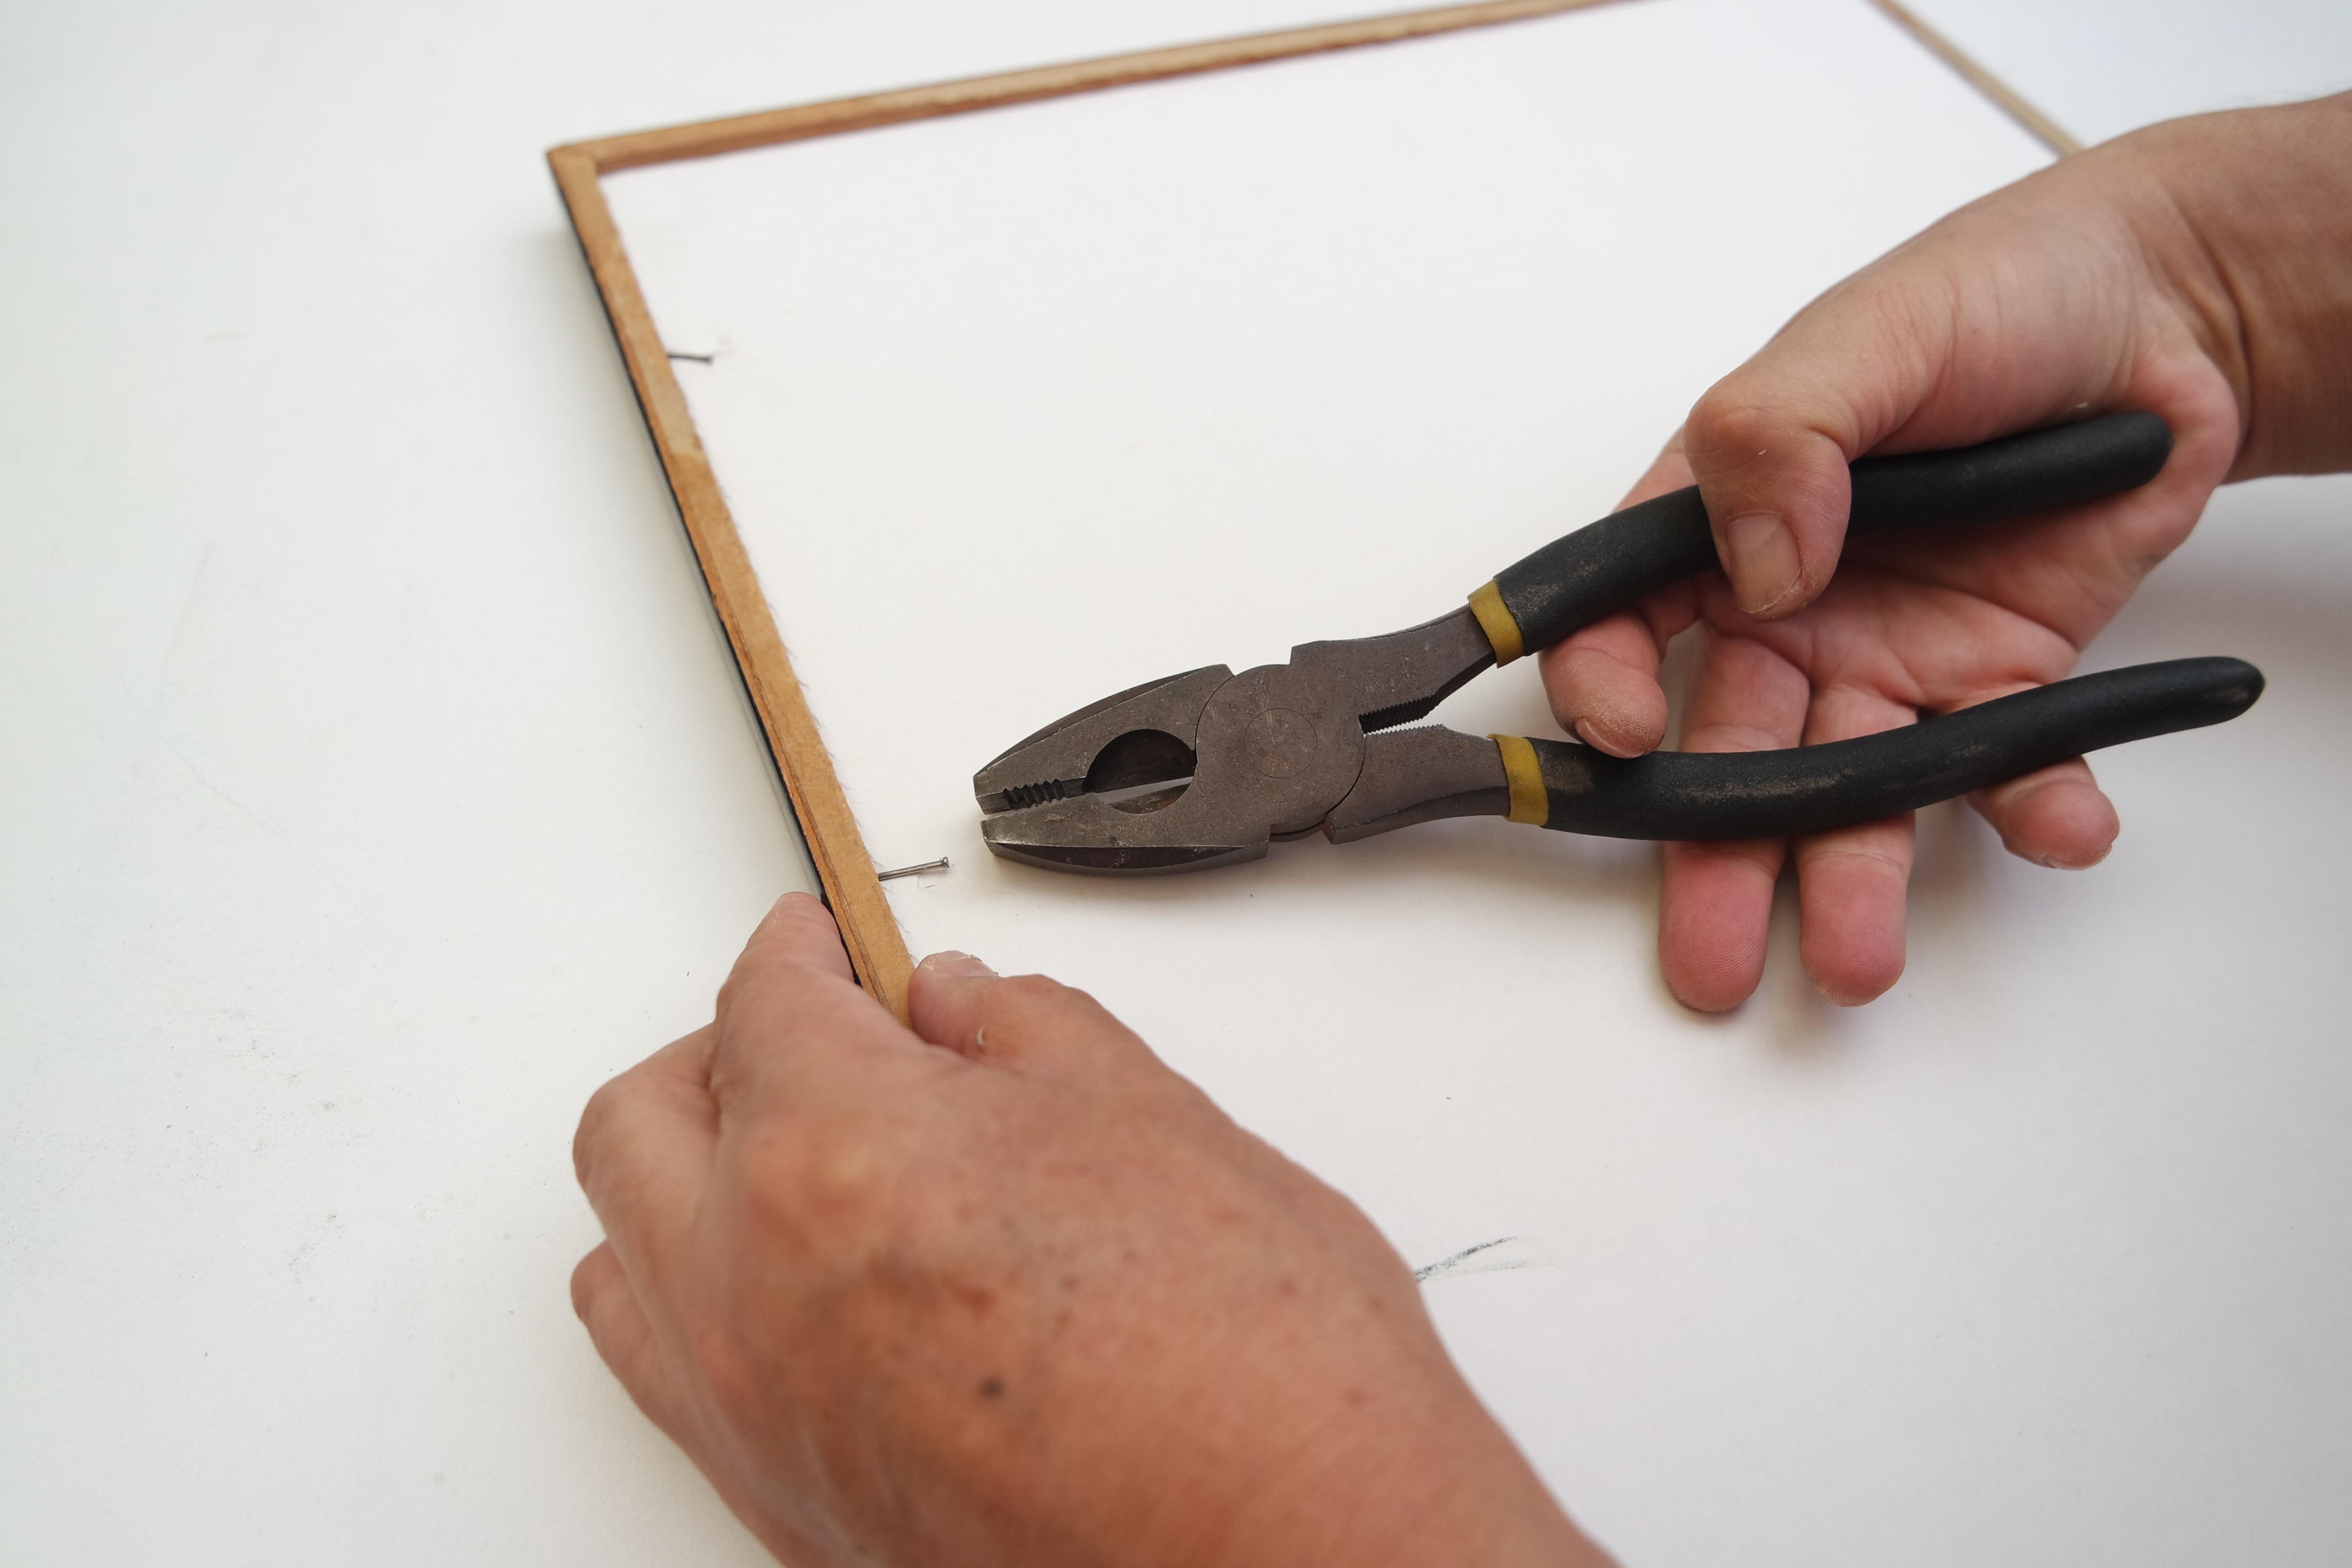
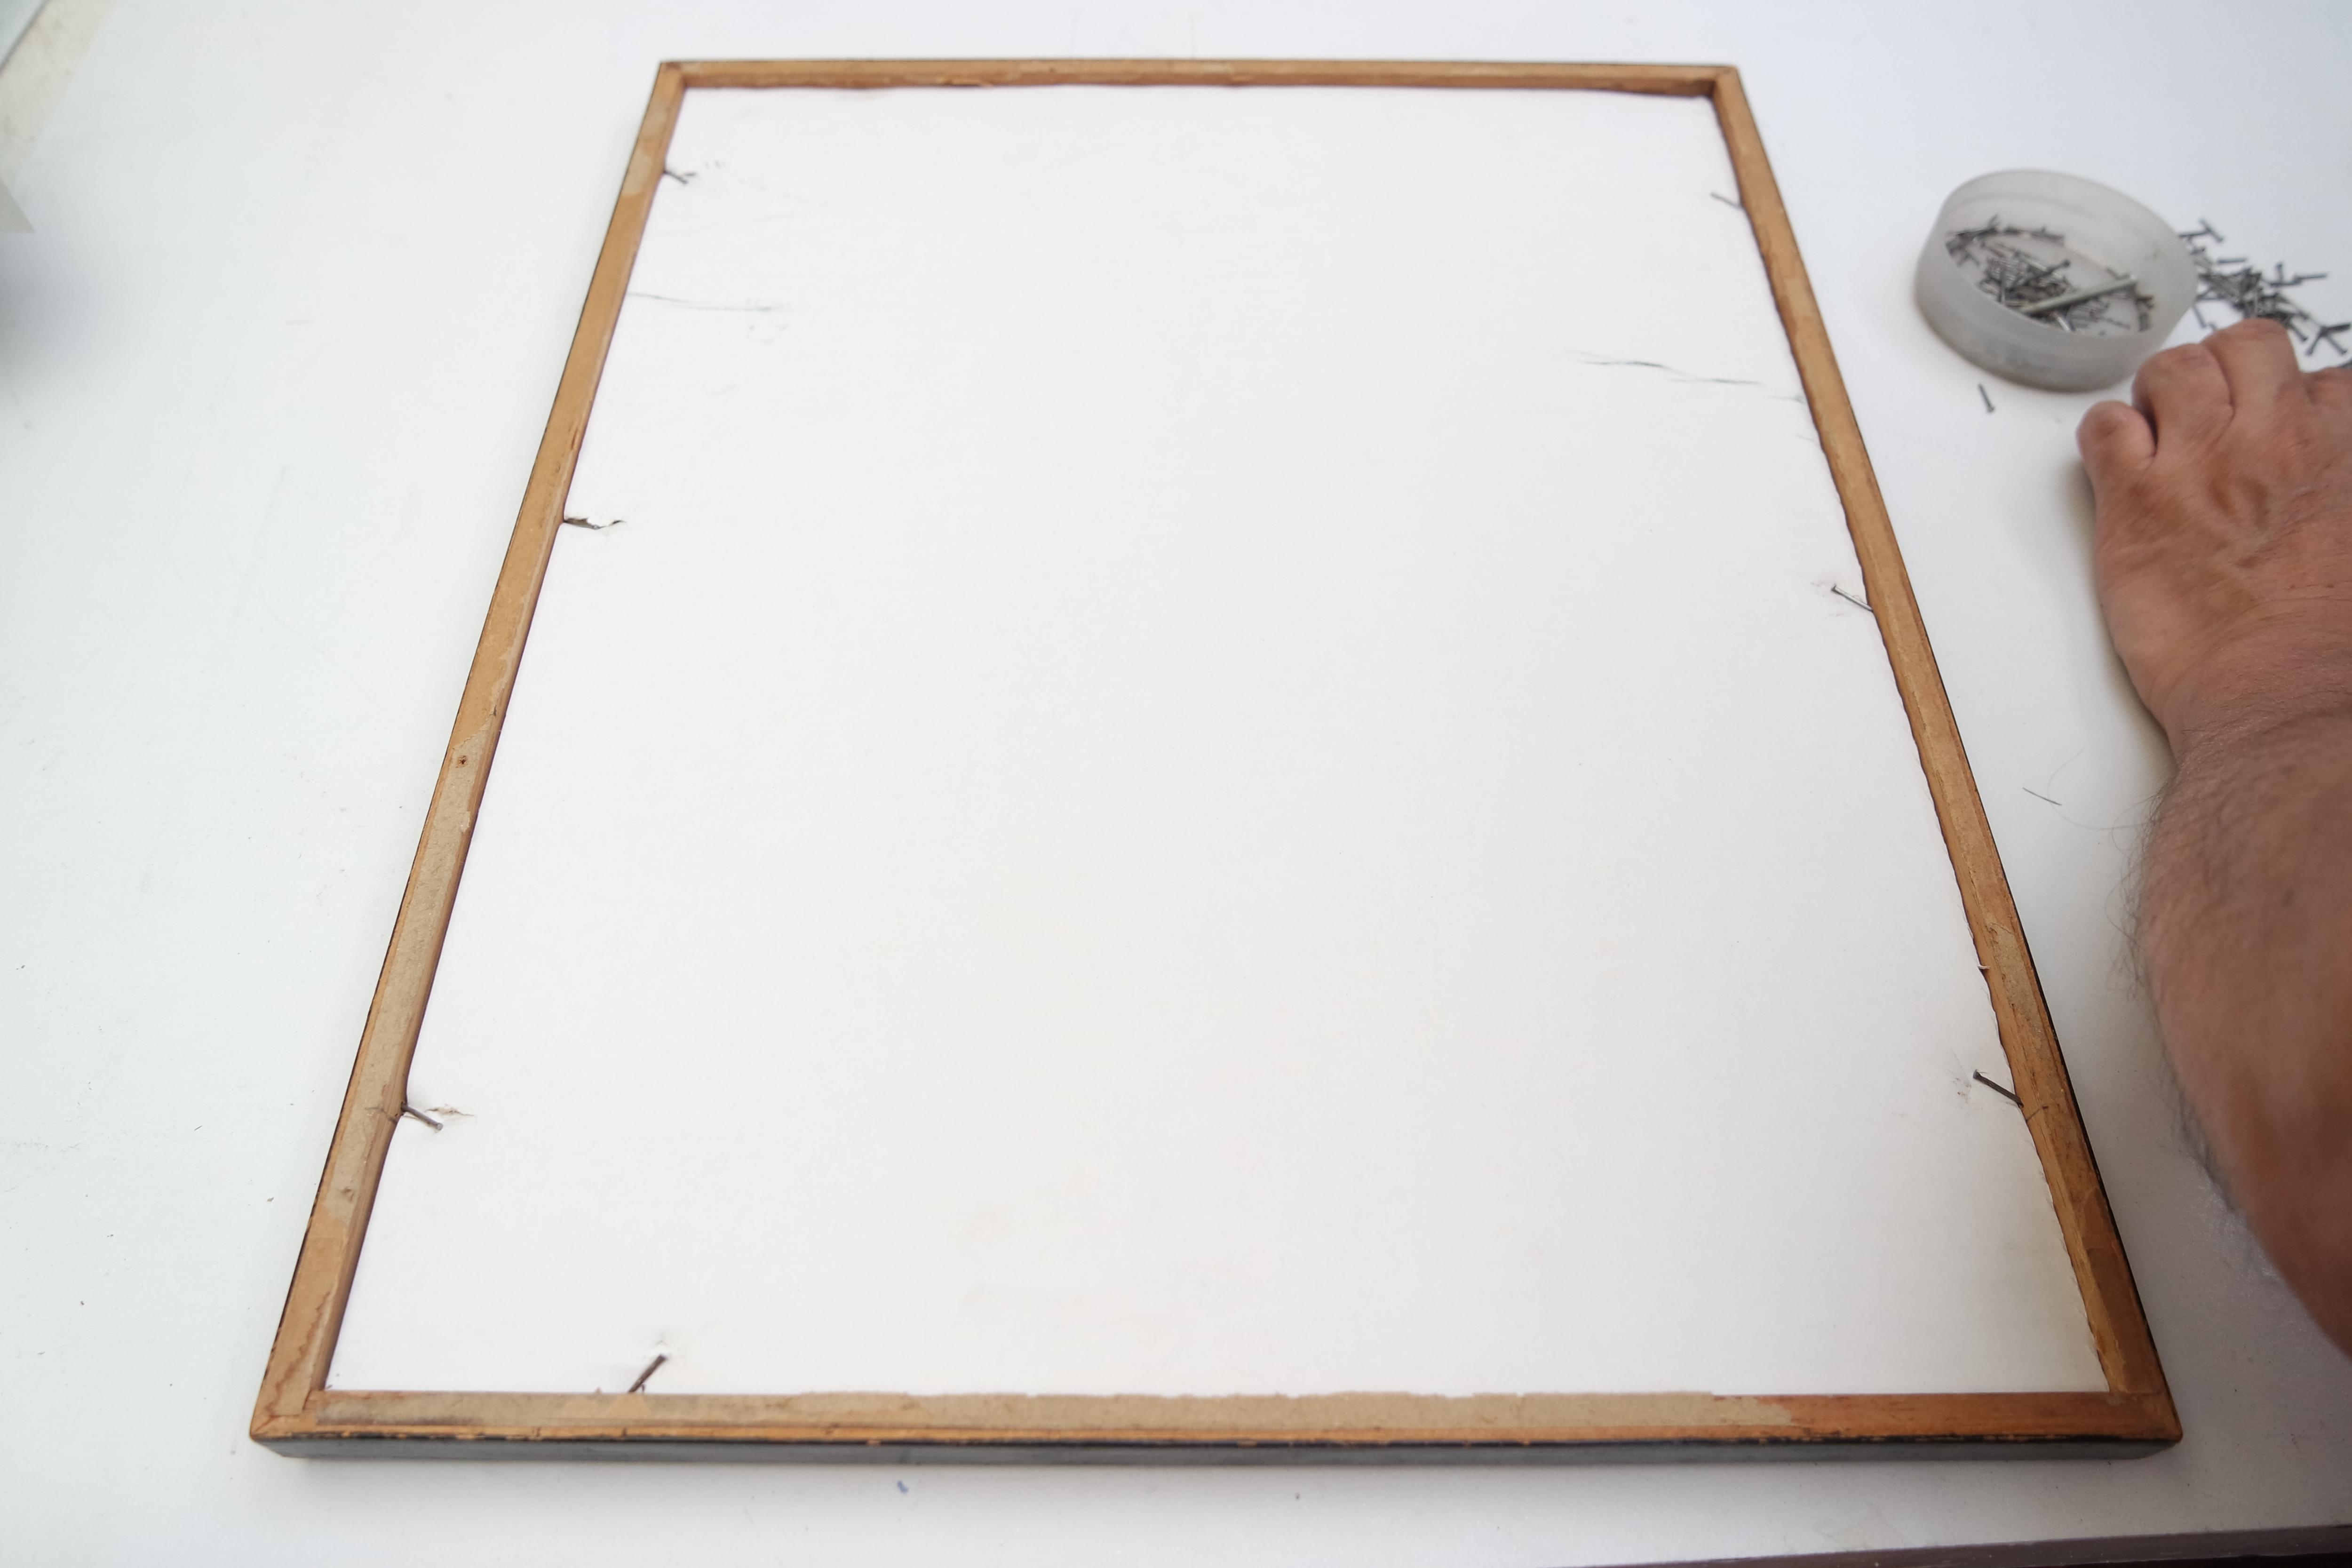


Now we will seal the back with nails that will come under pressure thanks to pliers, be very careful in this step because if you apply a lot of pressure you can break the glass.
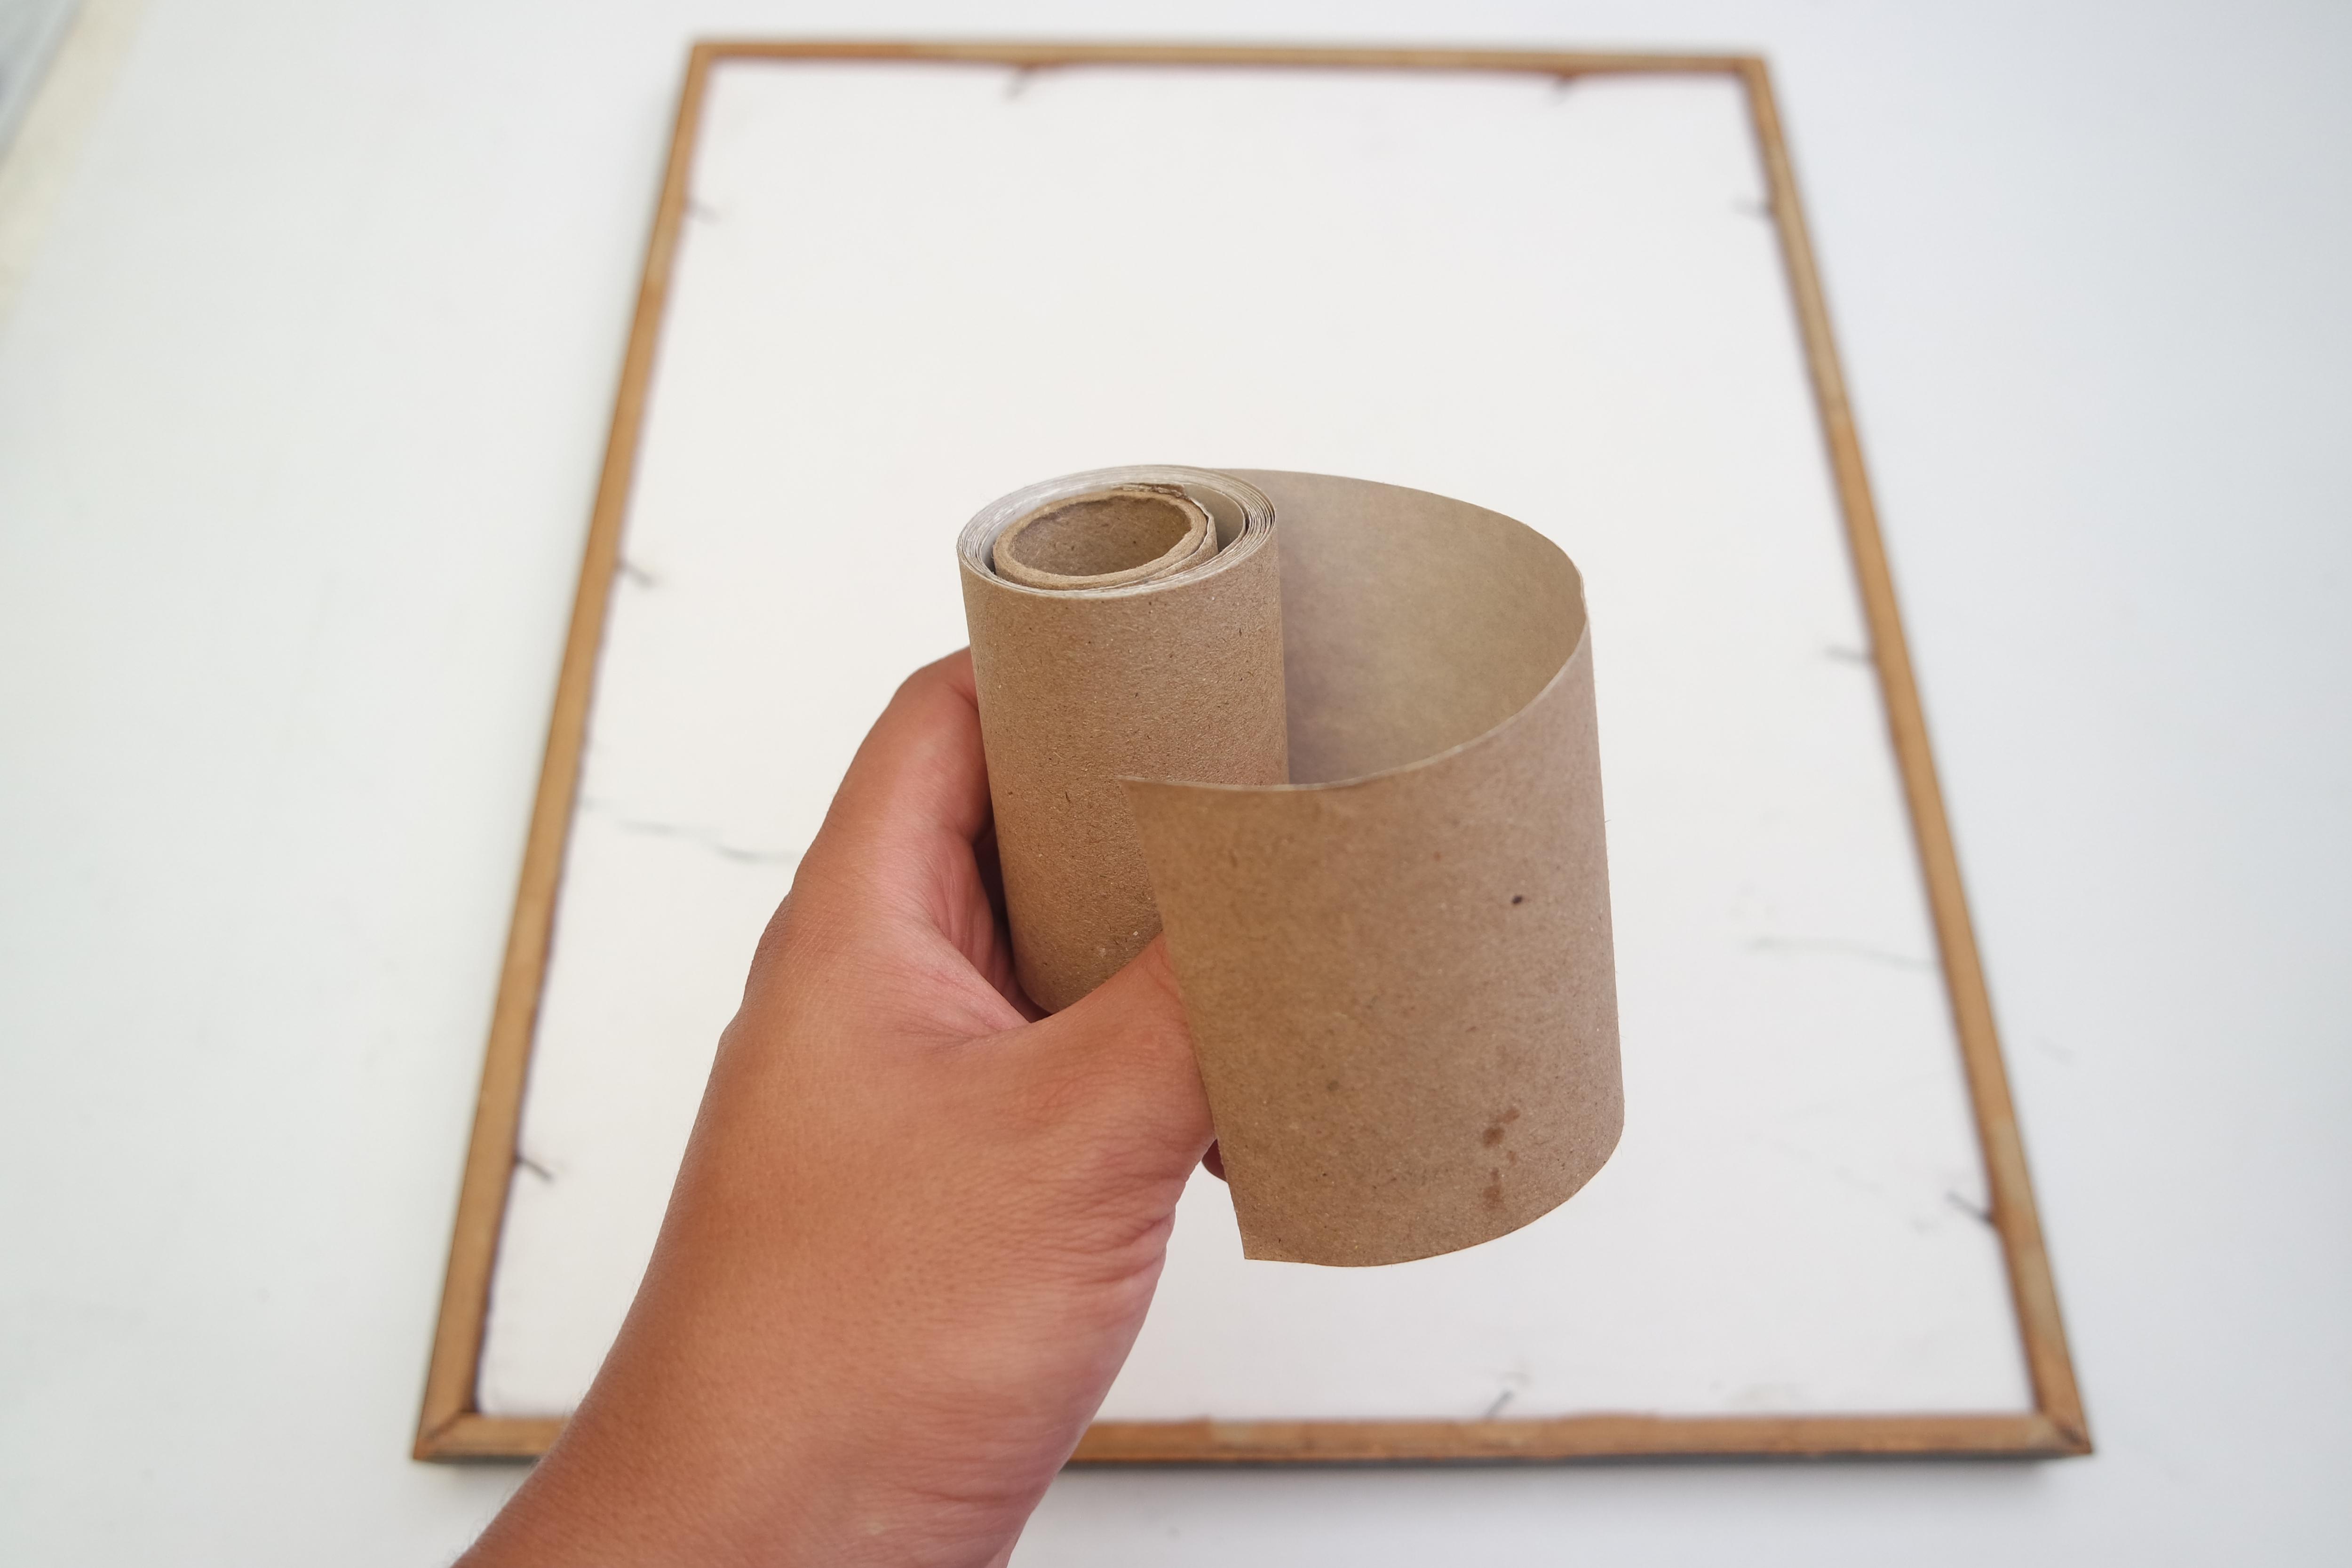
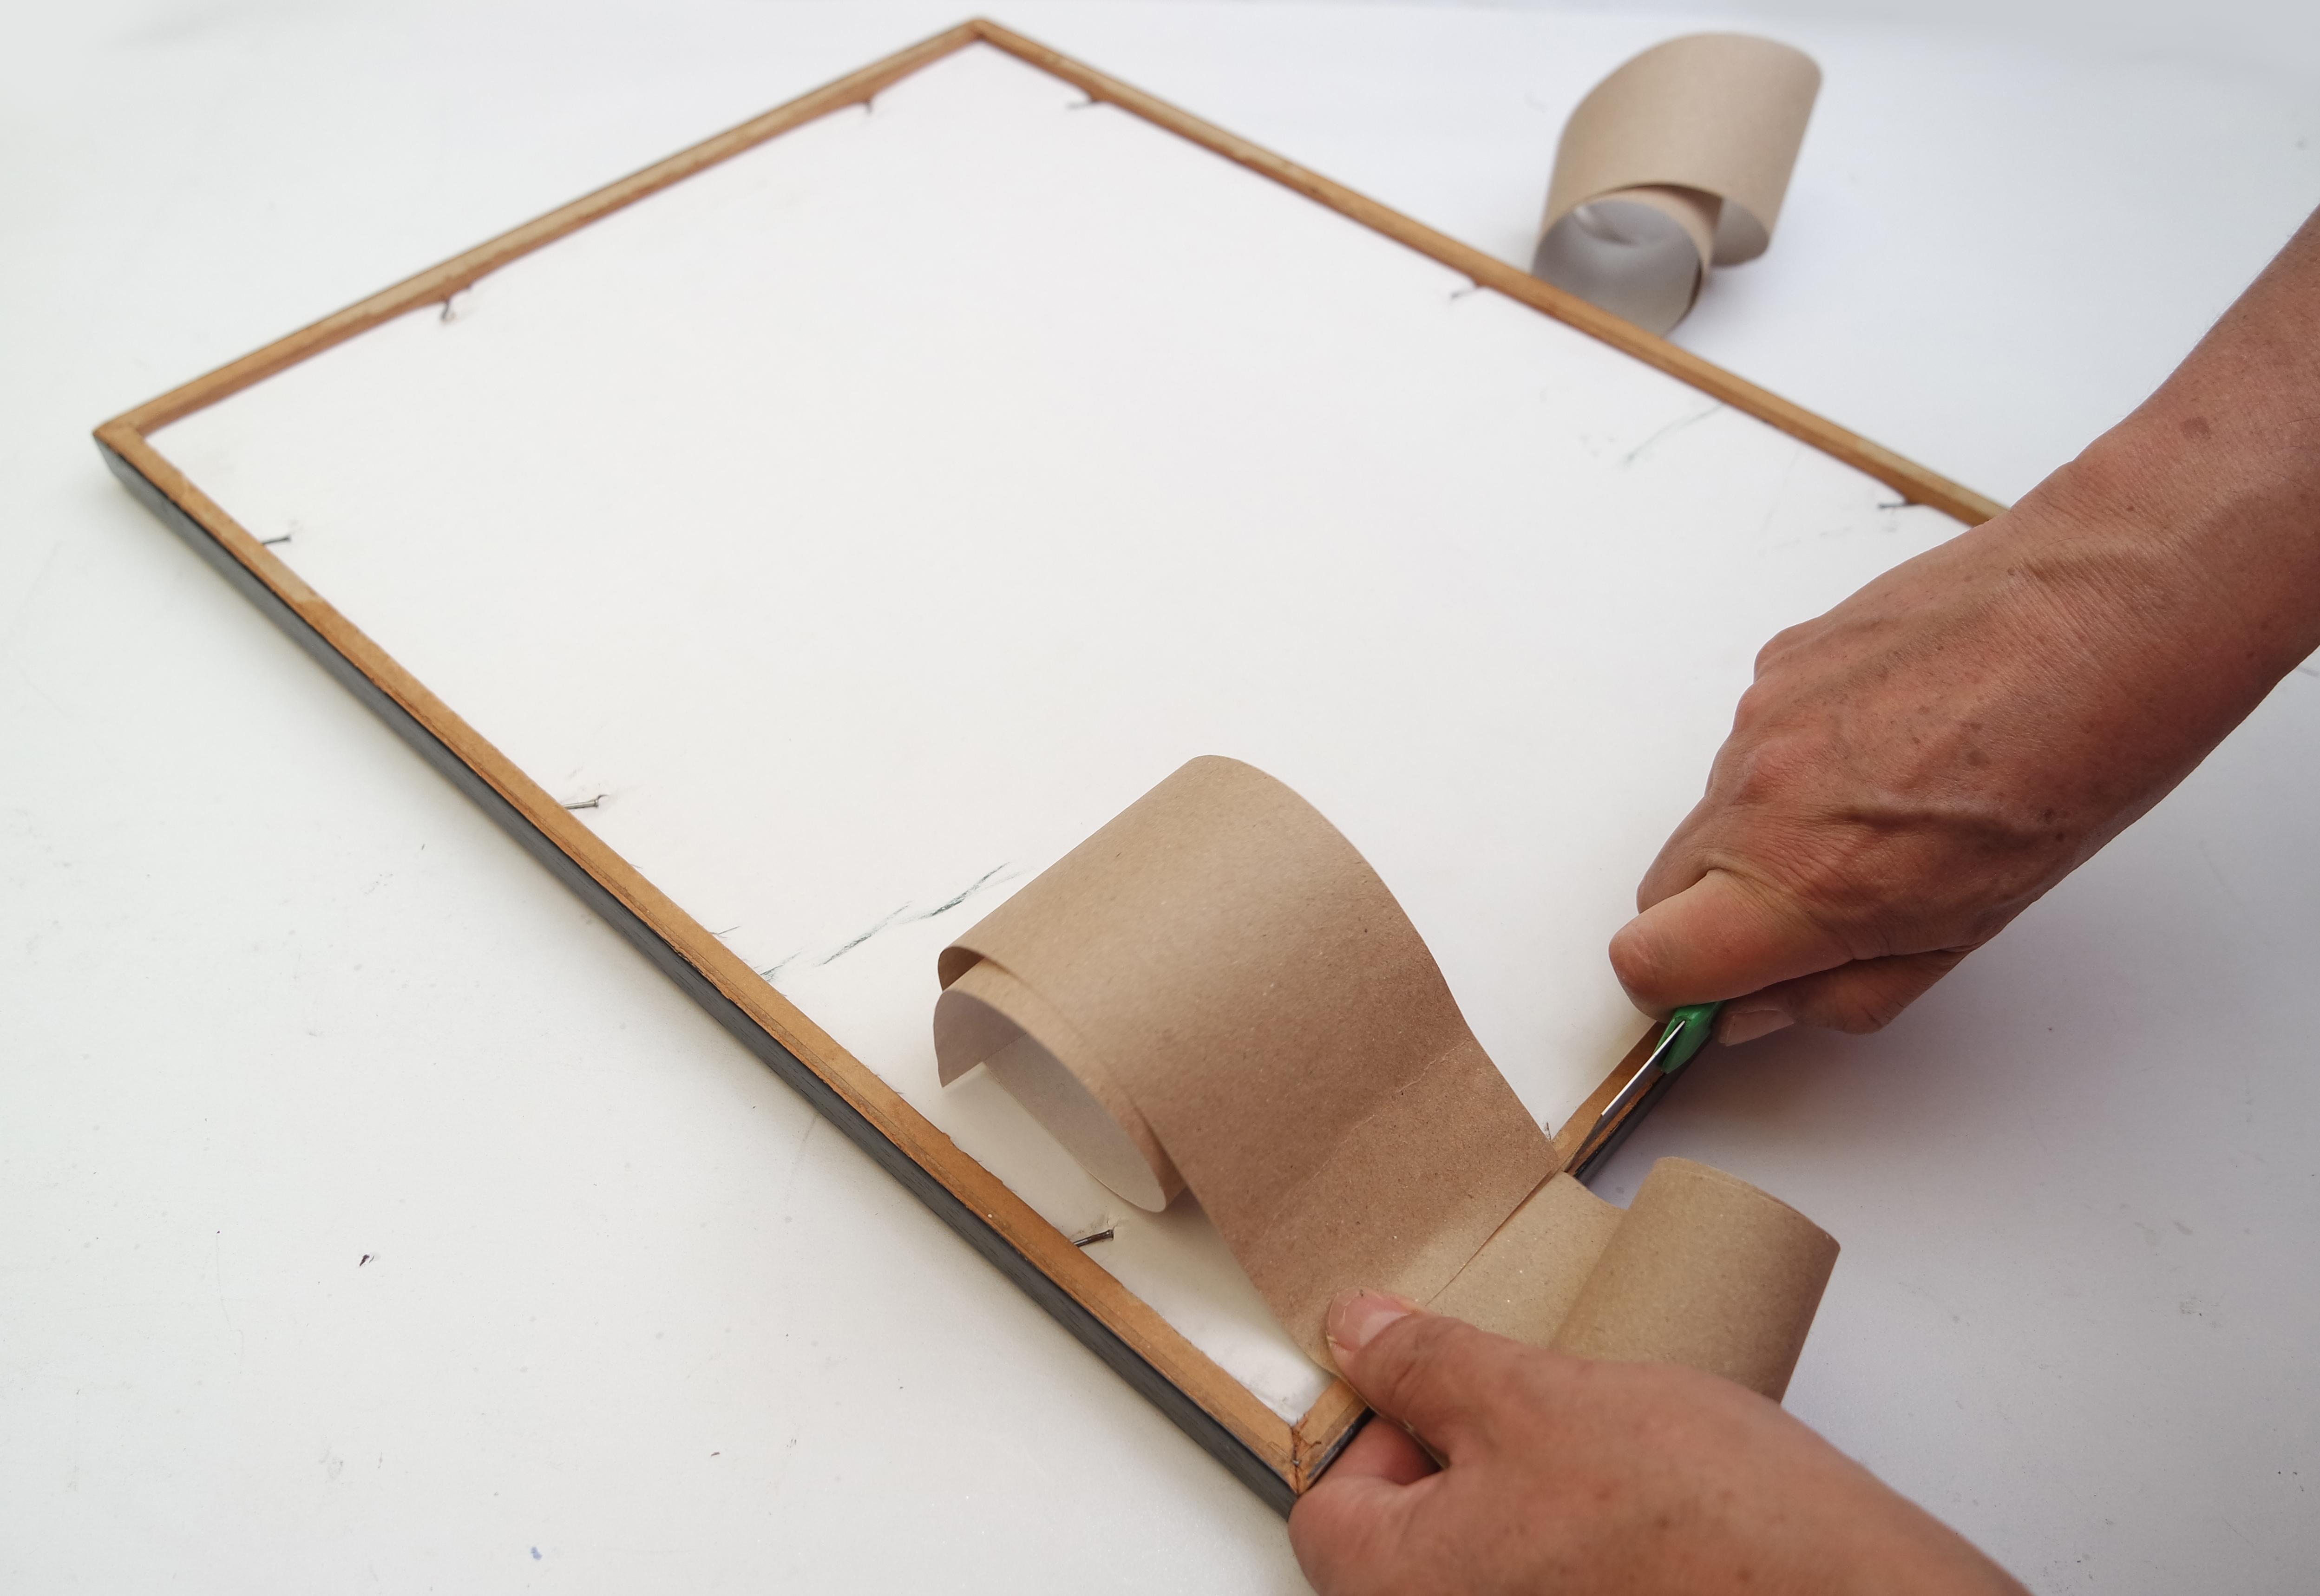
After having strategically located and well distributed the nails, we will proceed to cover these areas with special adhesive tape to give it a perfect finish.
It's Almost Ready

Only small details remain, such as how to hang it on the wall...
Sawtooth Hanger
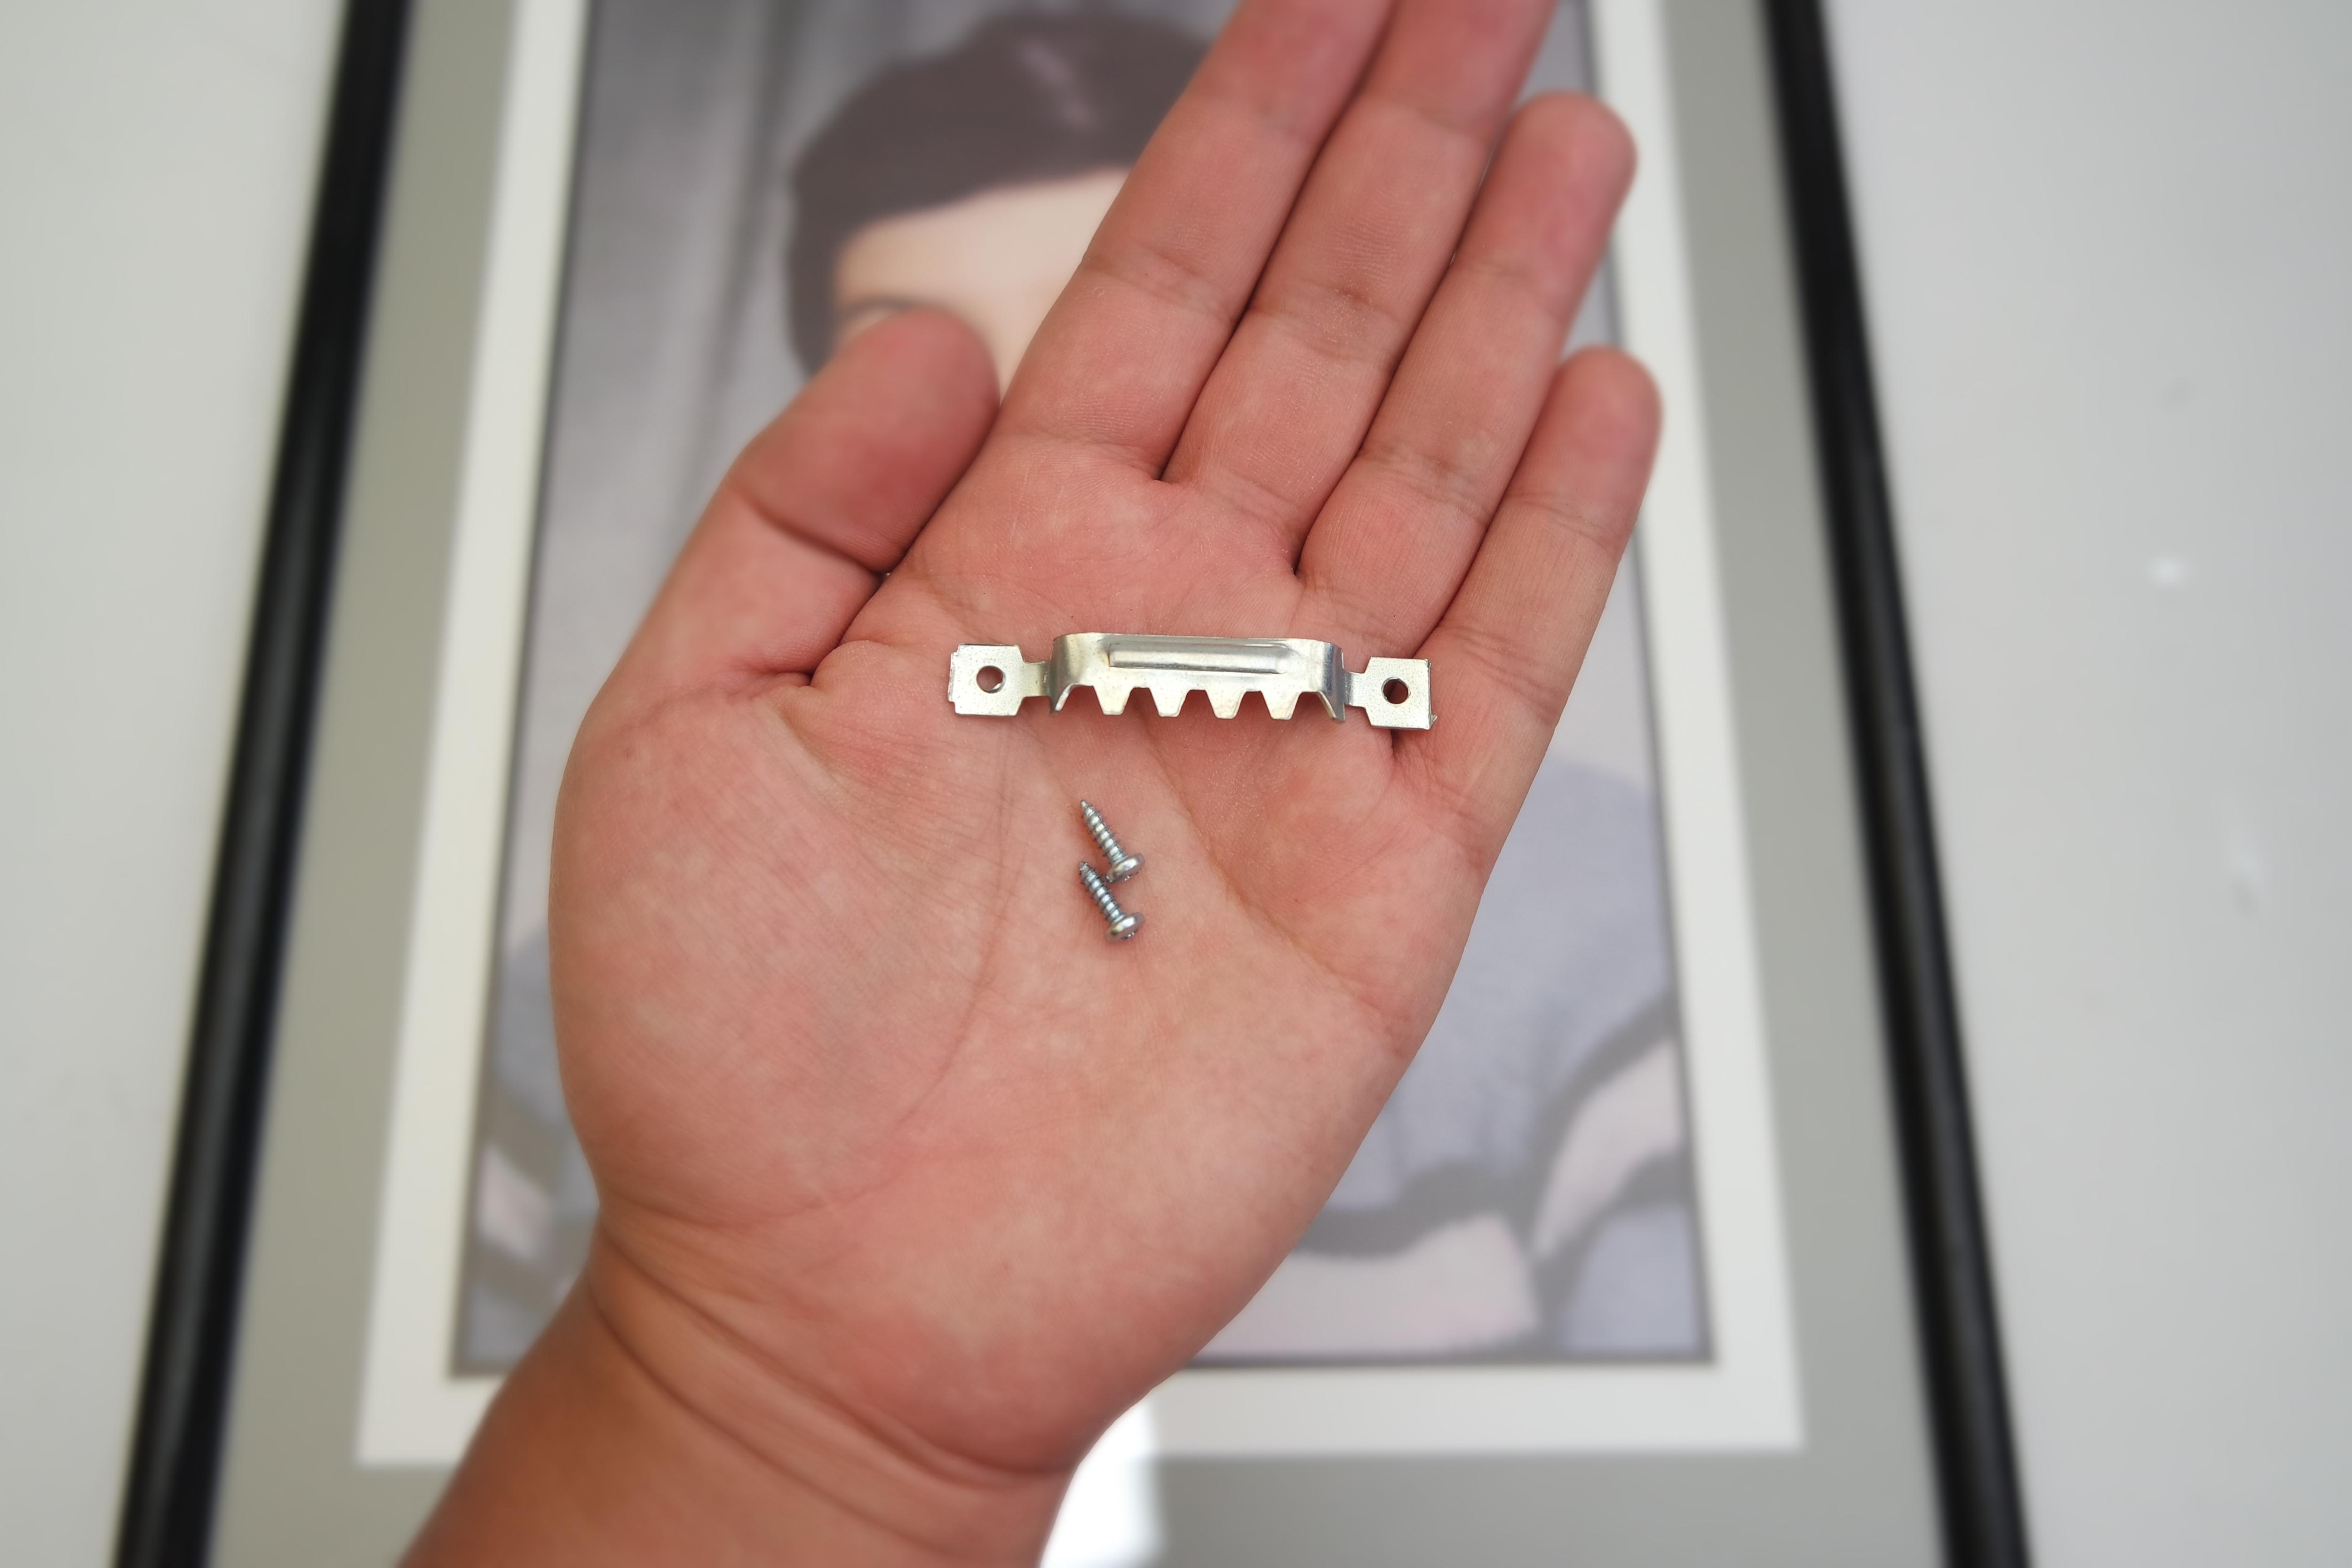
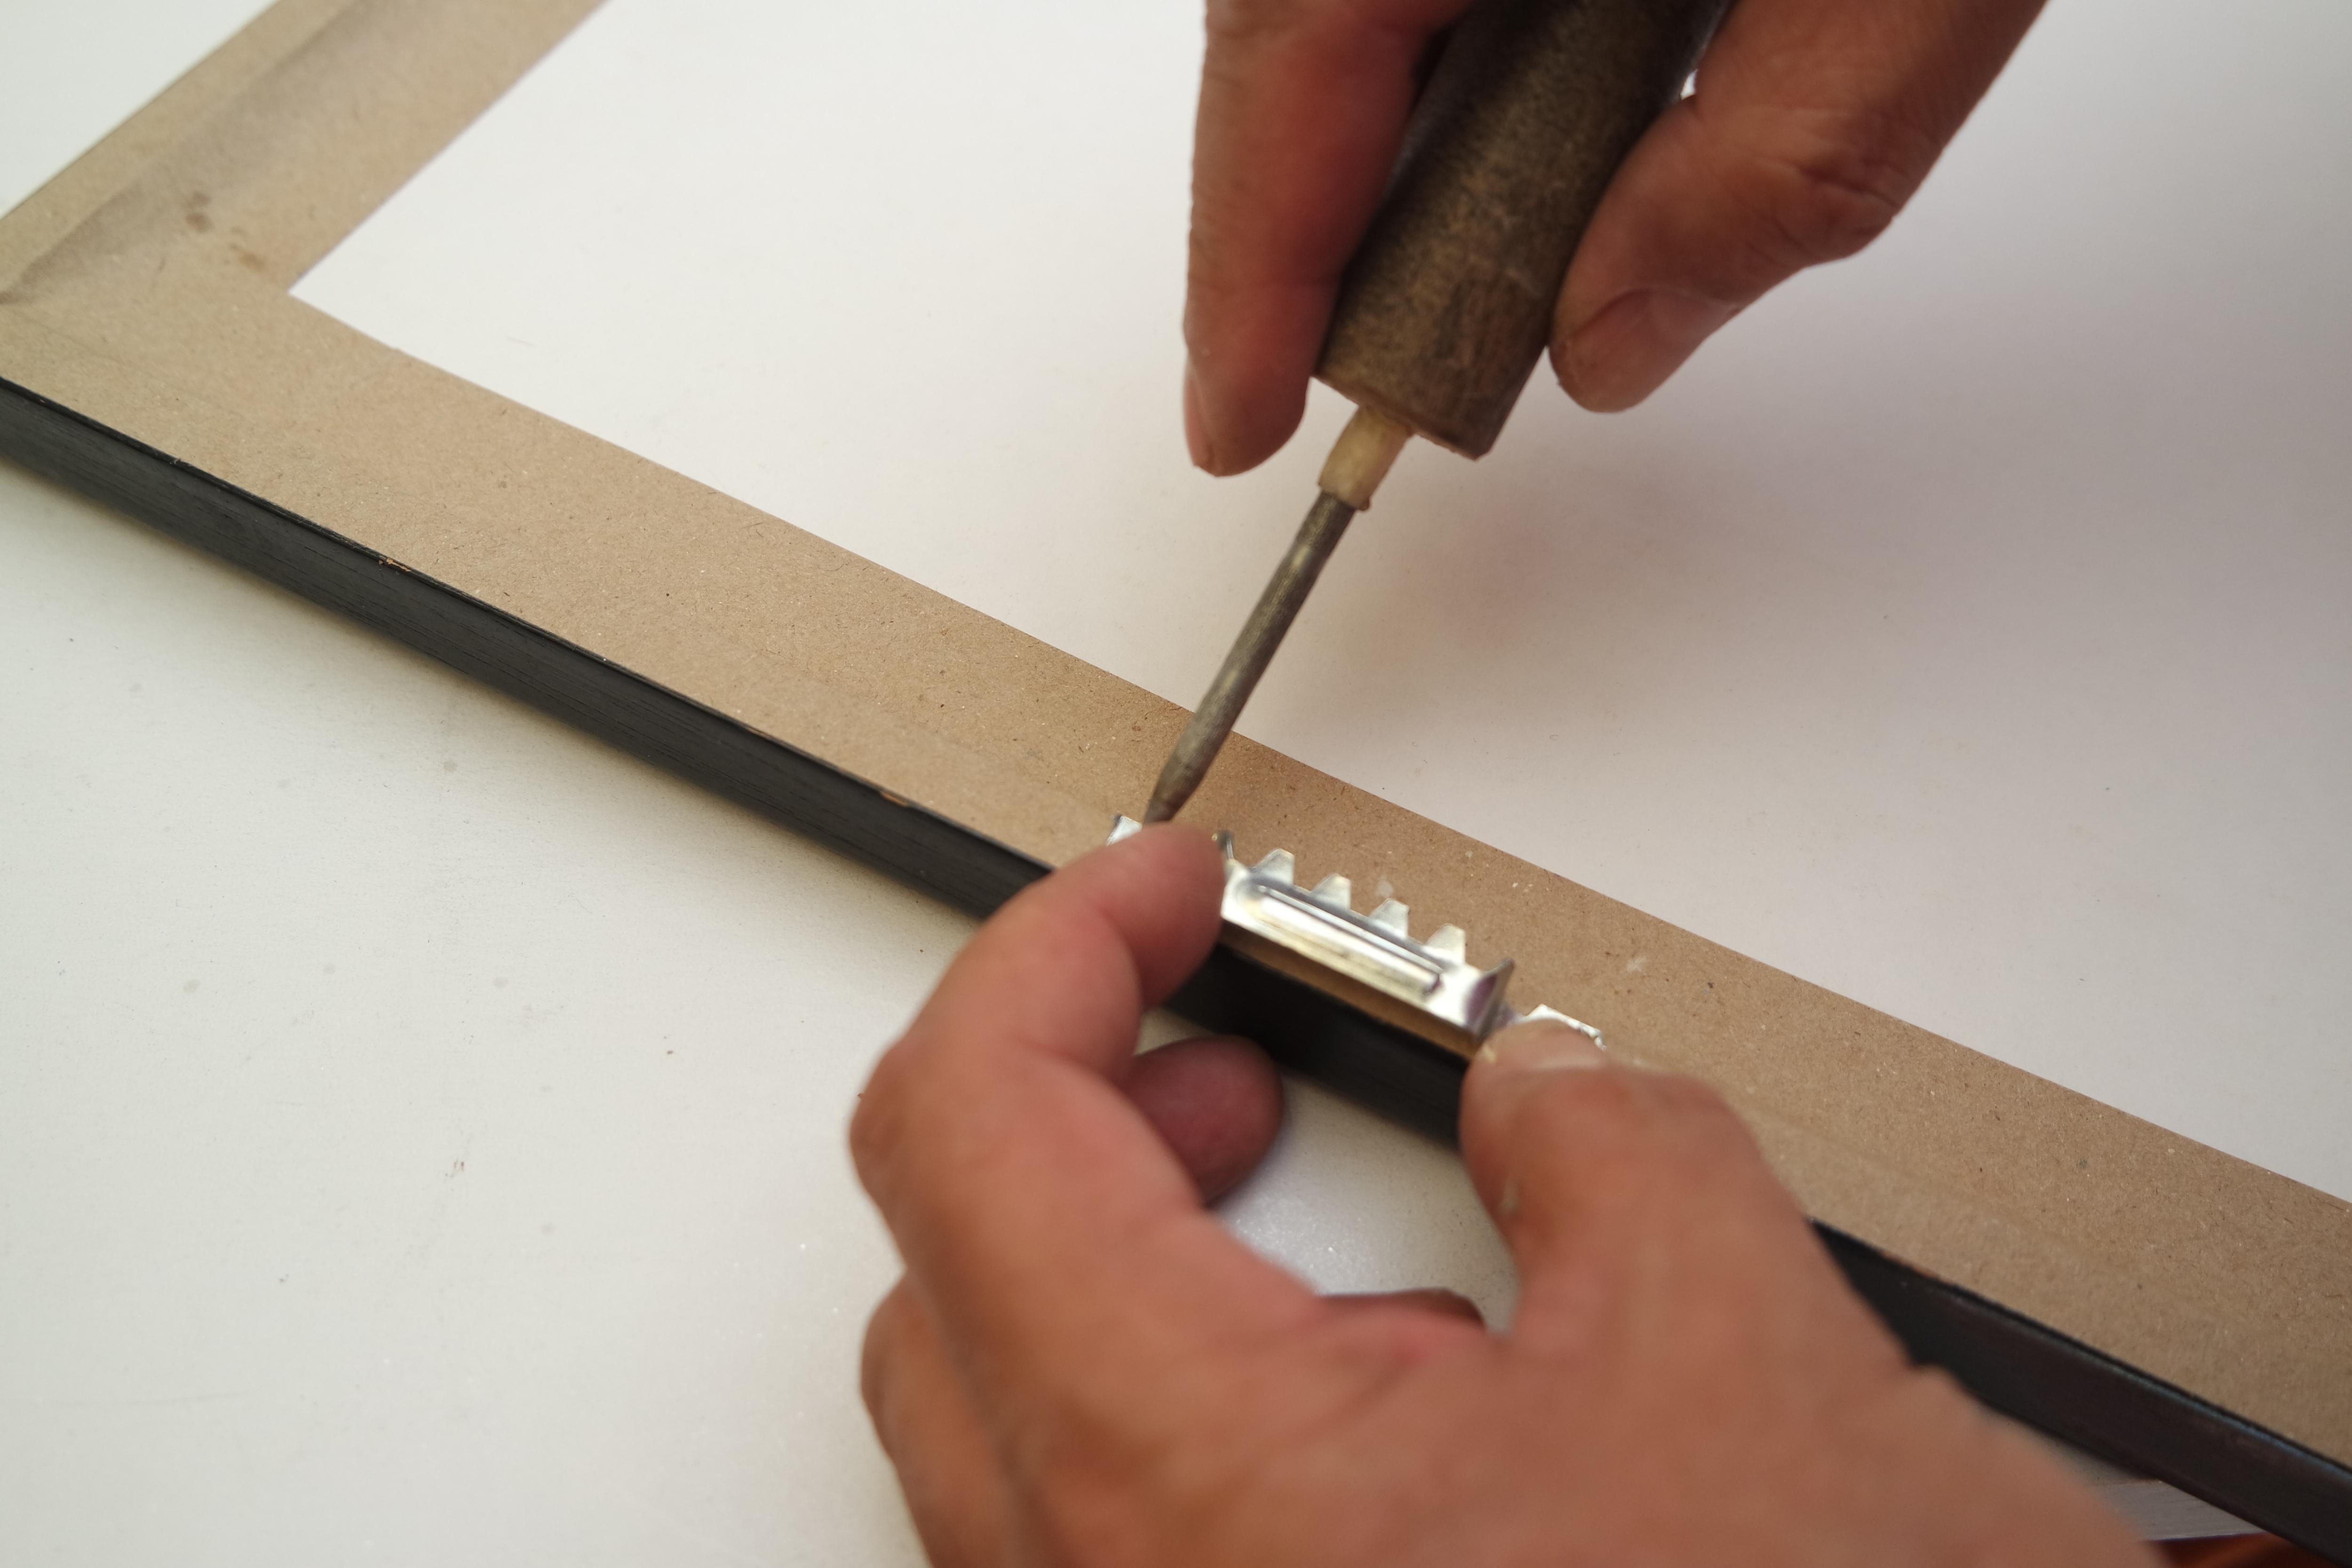
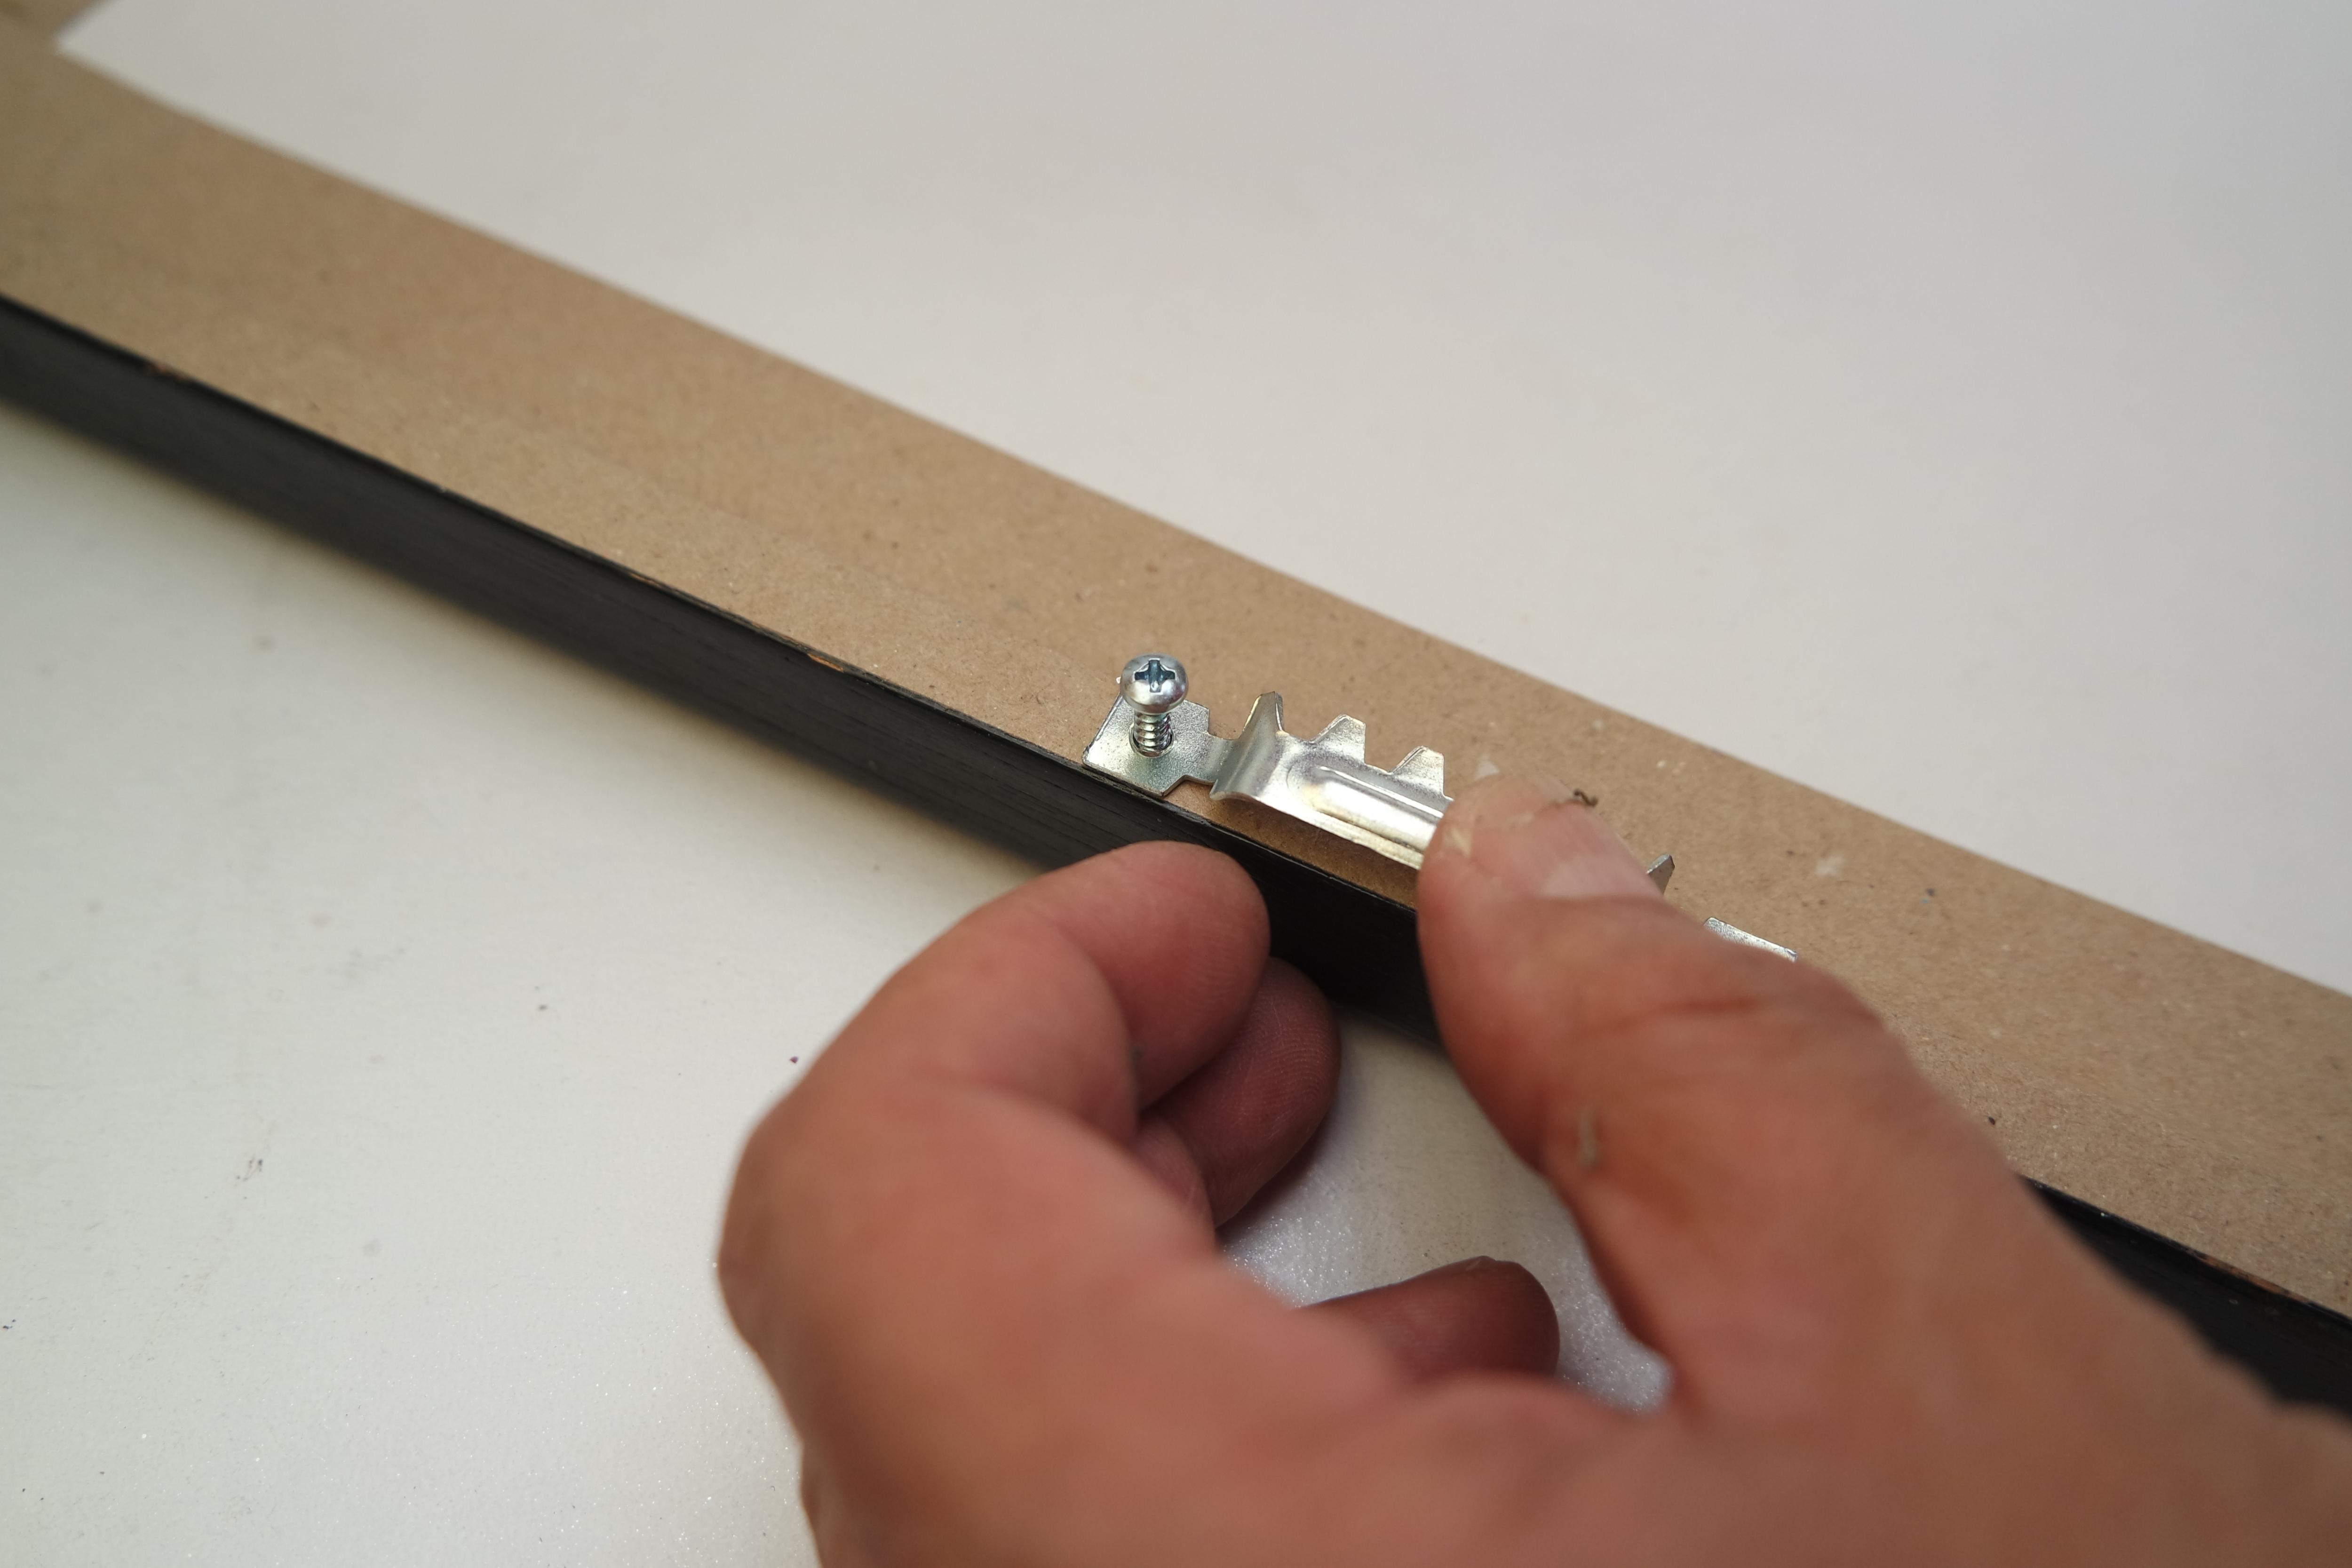
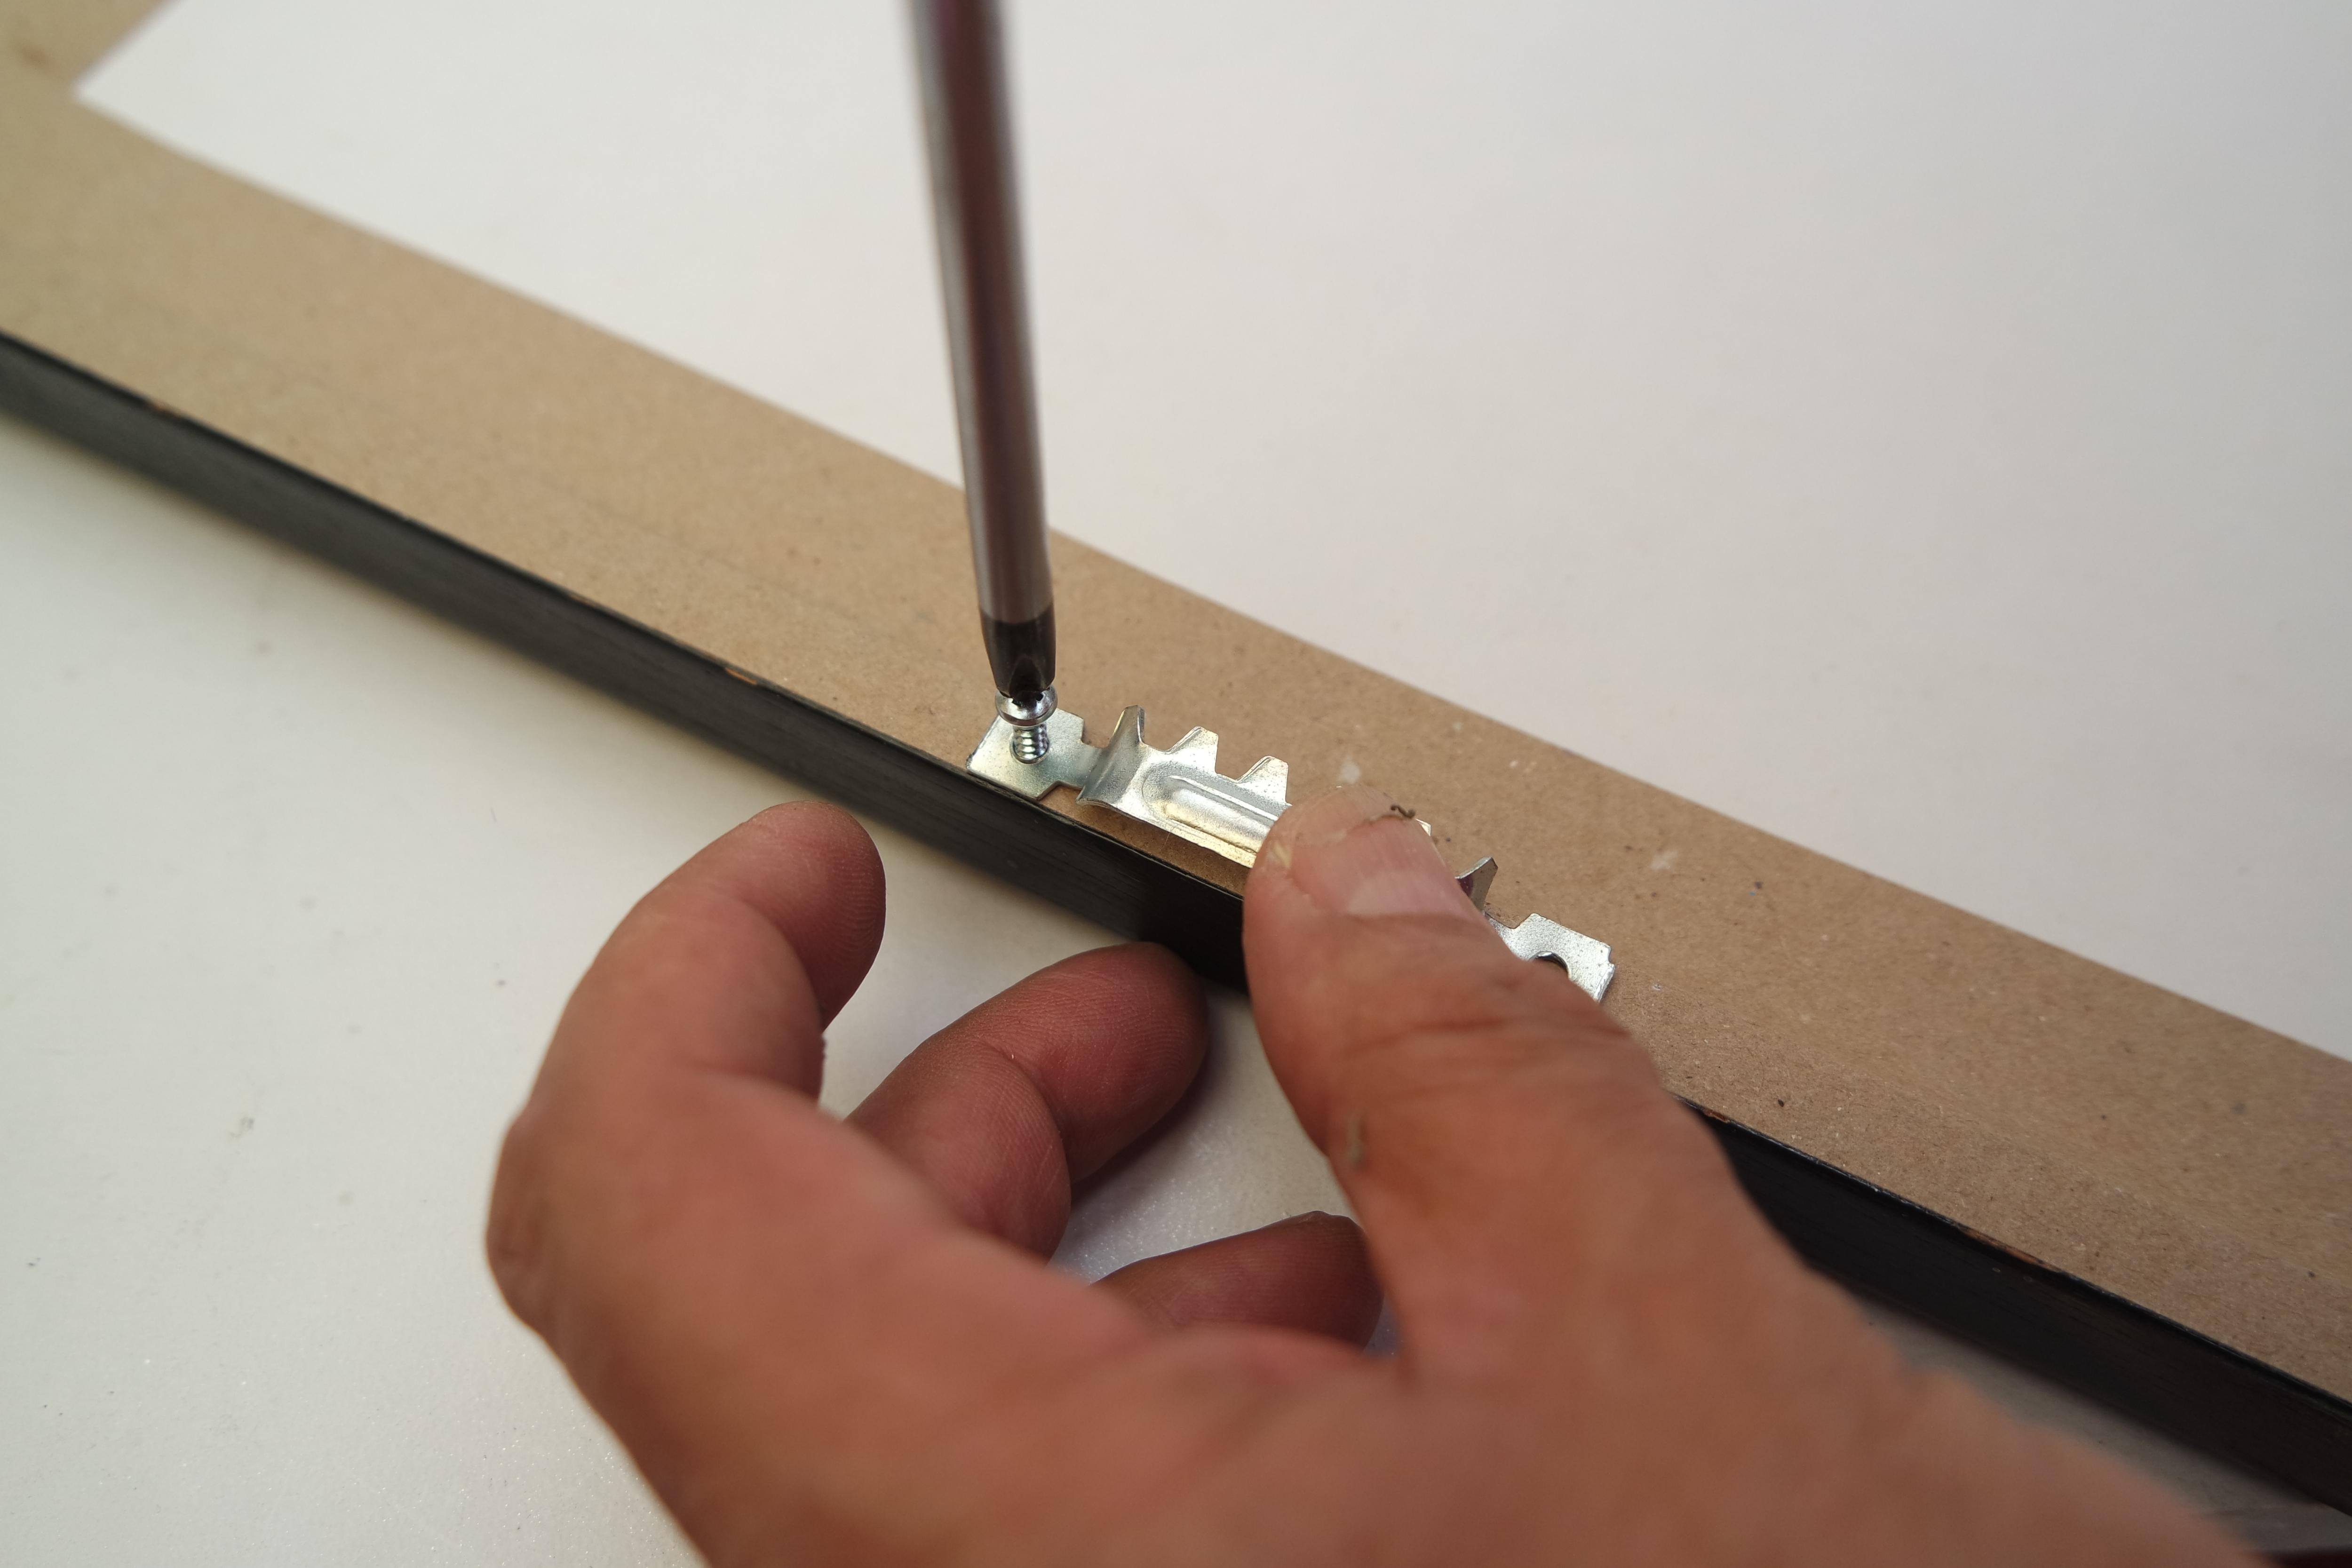
take the necessary measures to locate the Sawtooth Hanger in the back of the frame,
for this we will use the help of some screws and a drill or punch to open a path in the wood, be creative.
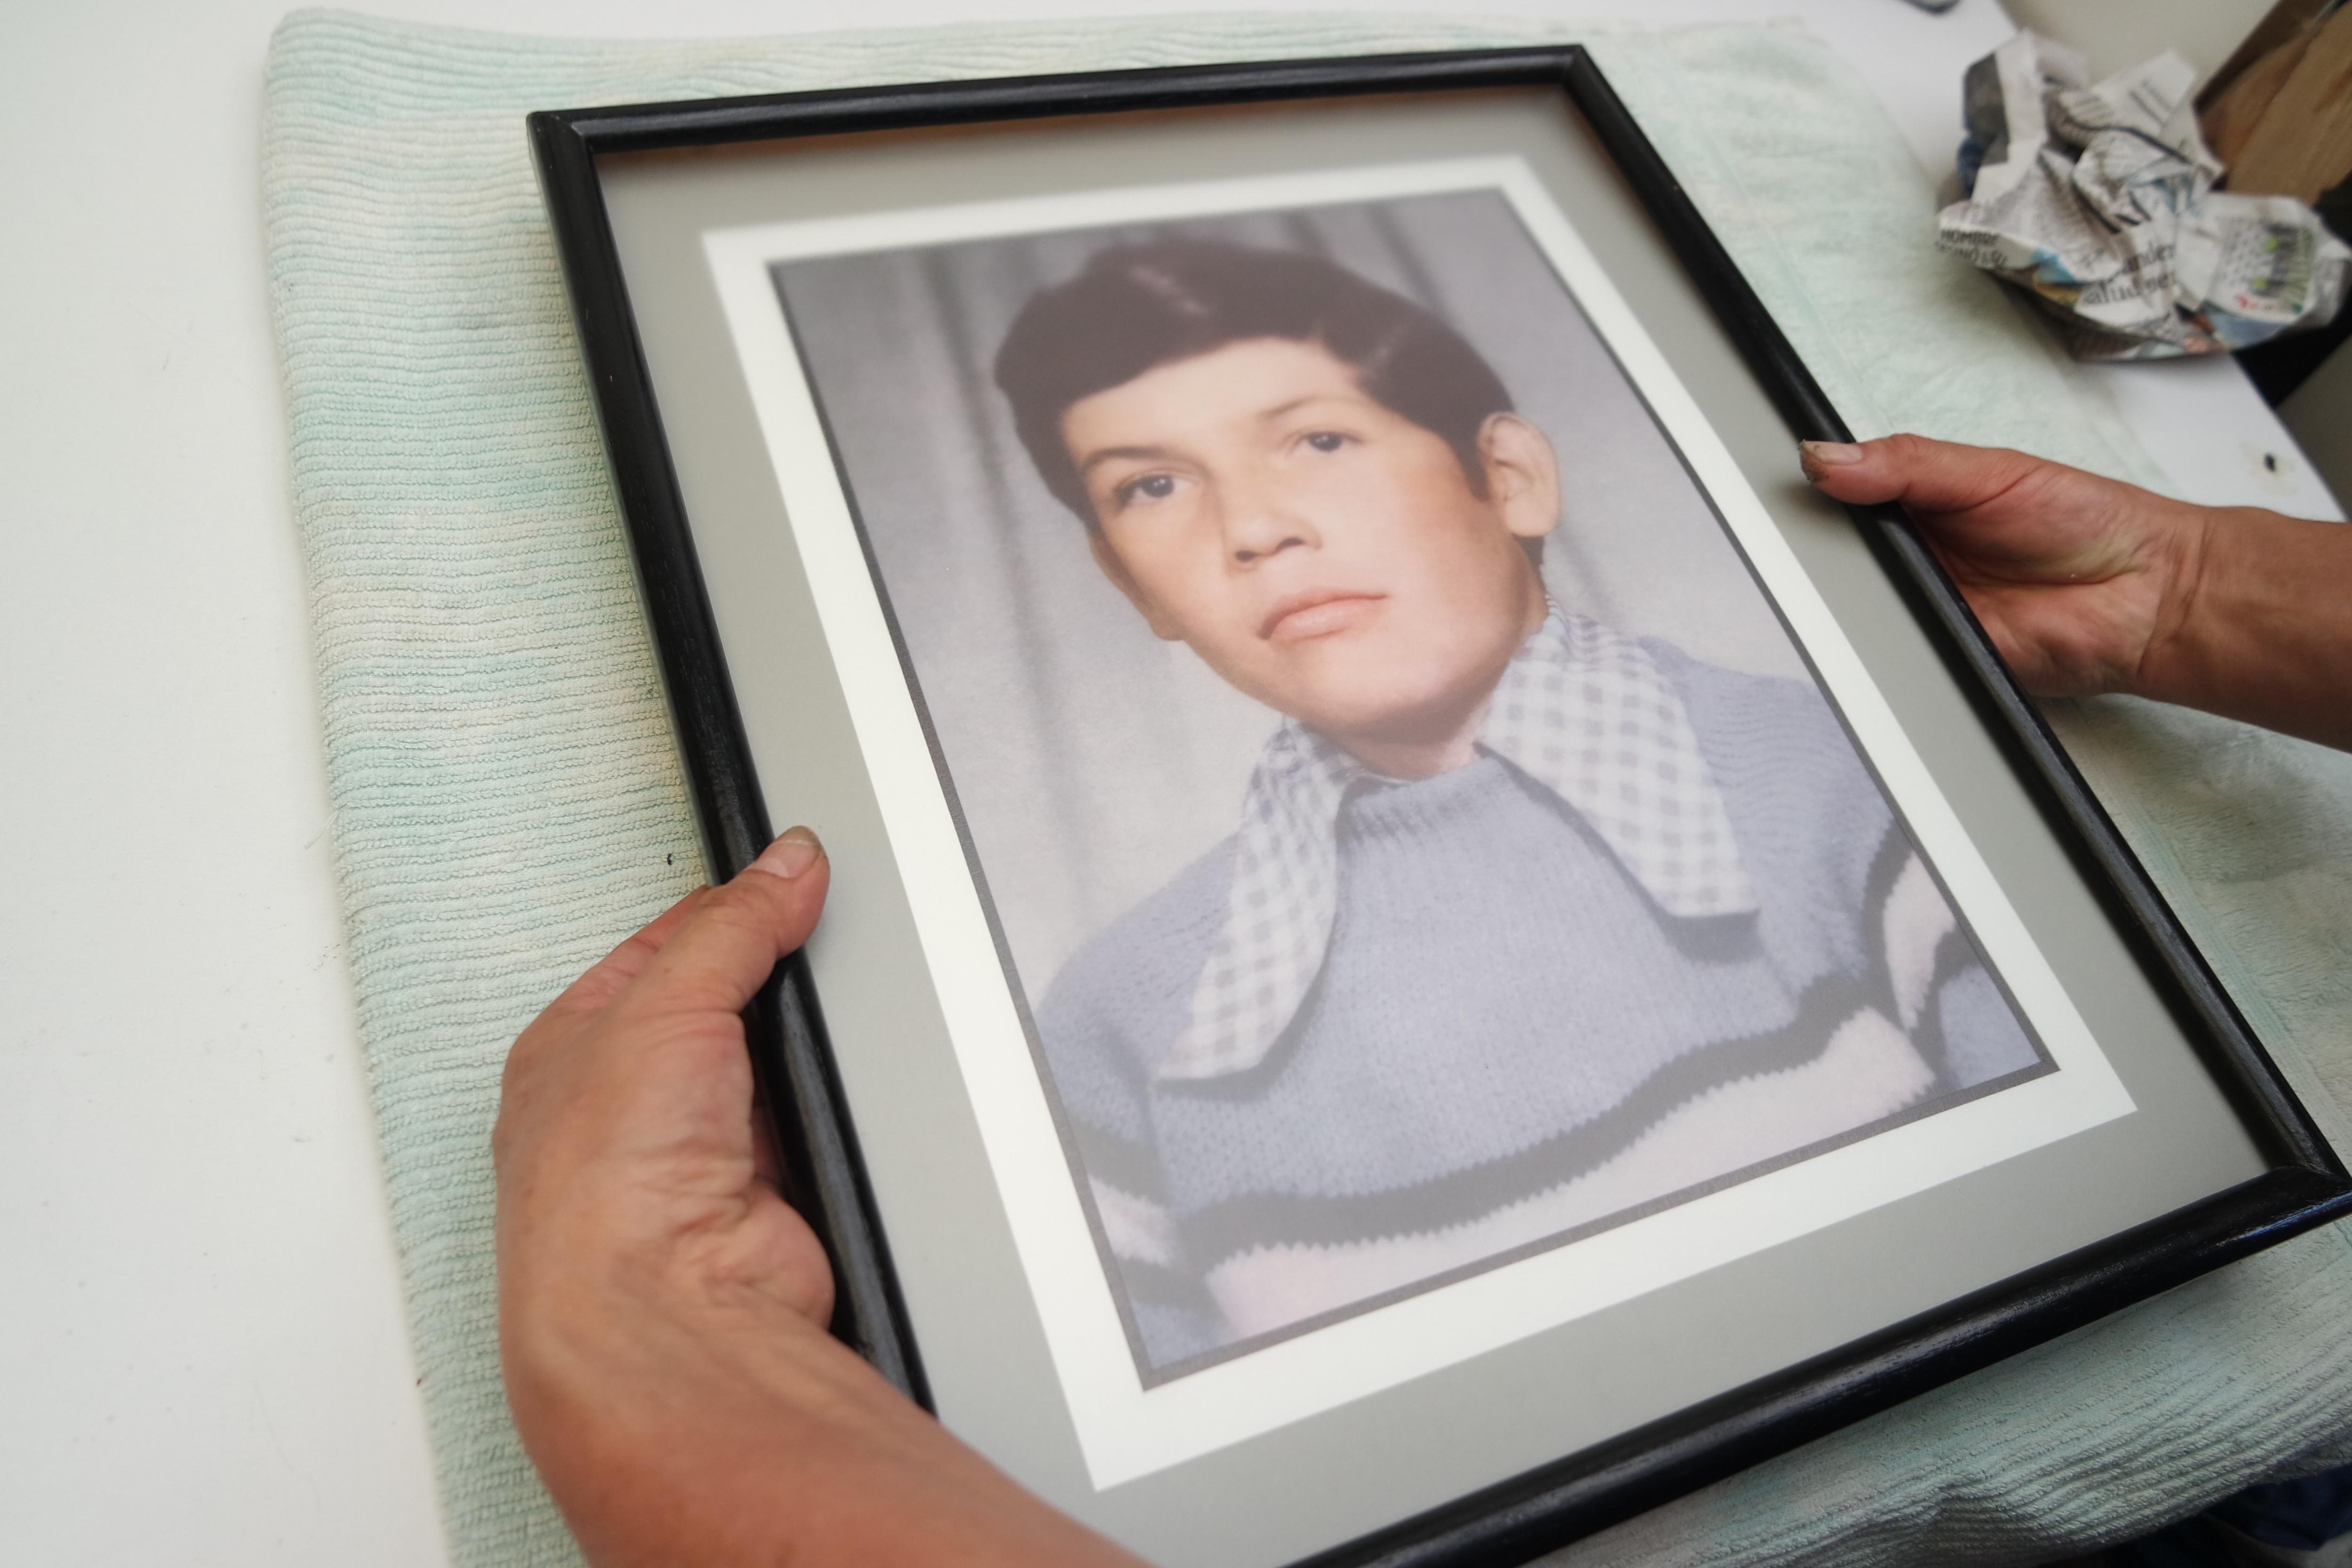
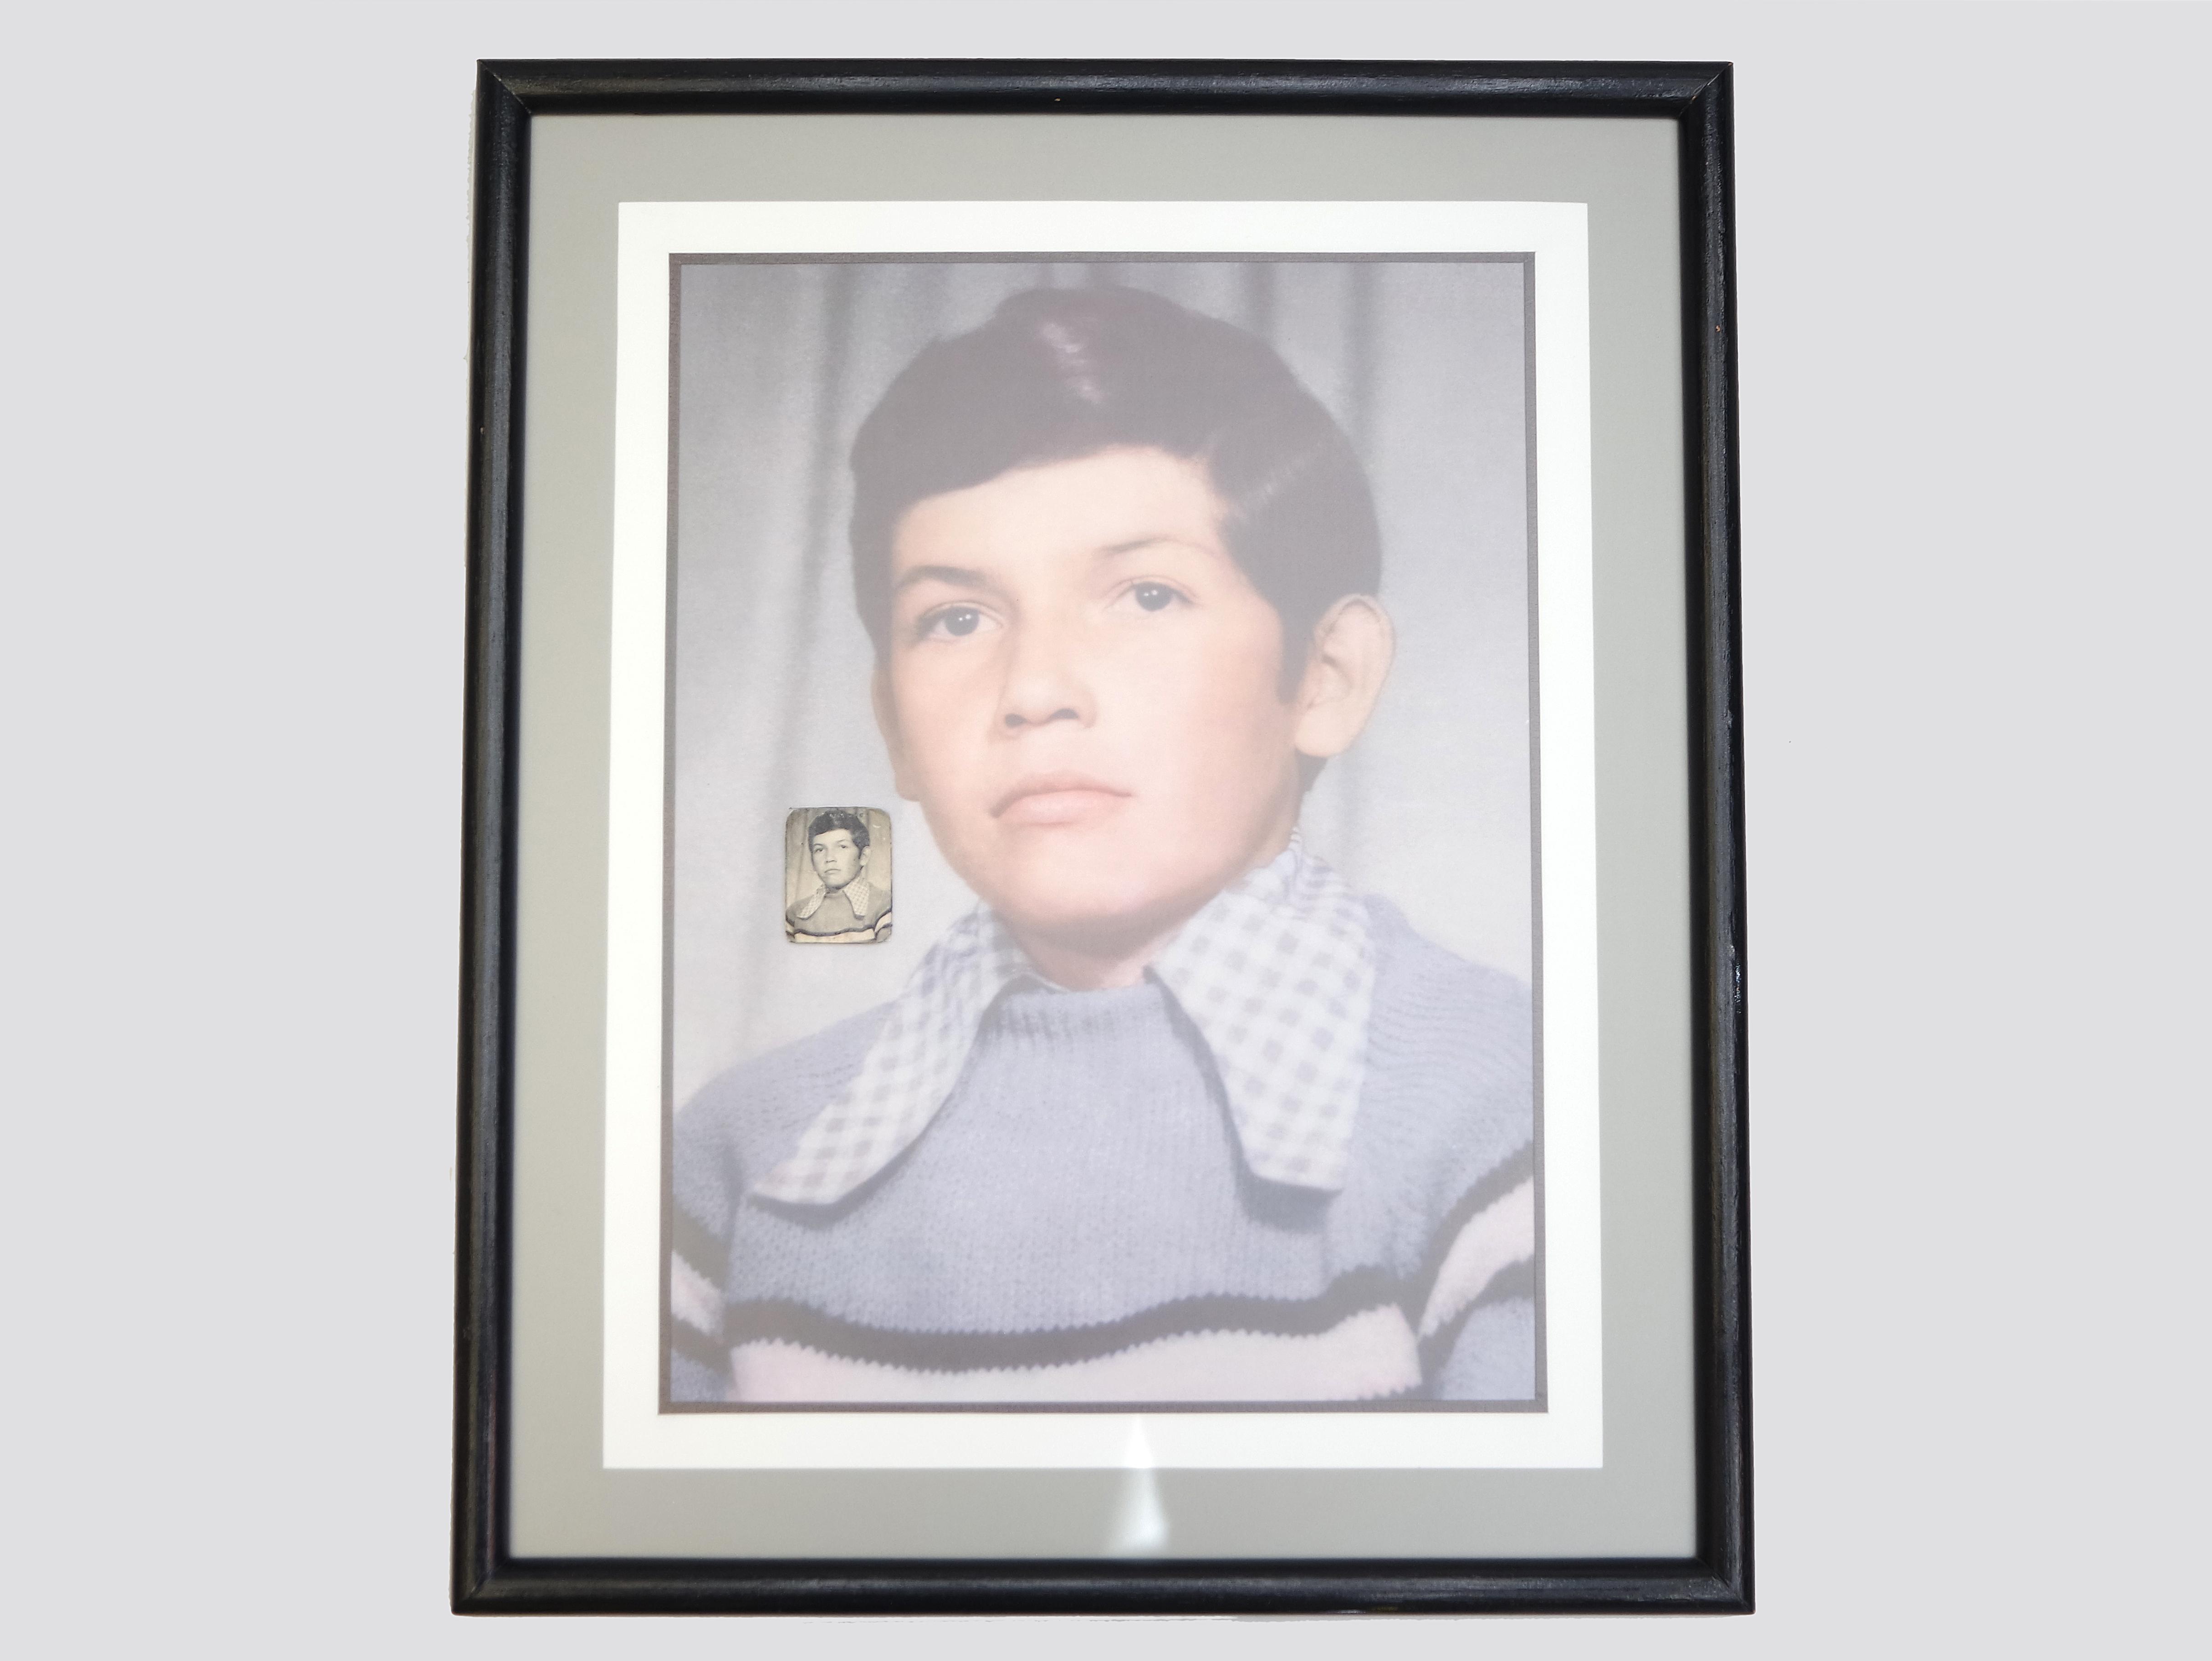
Final
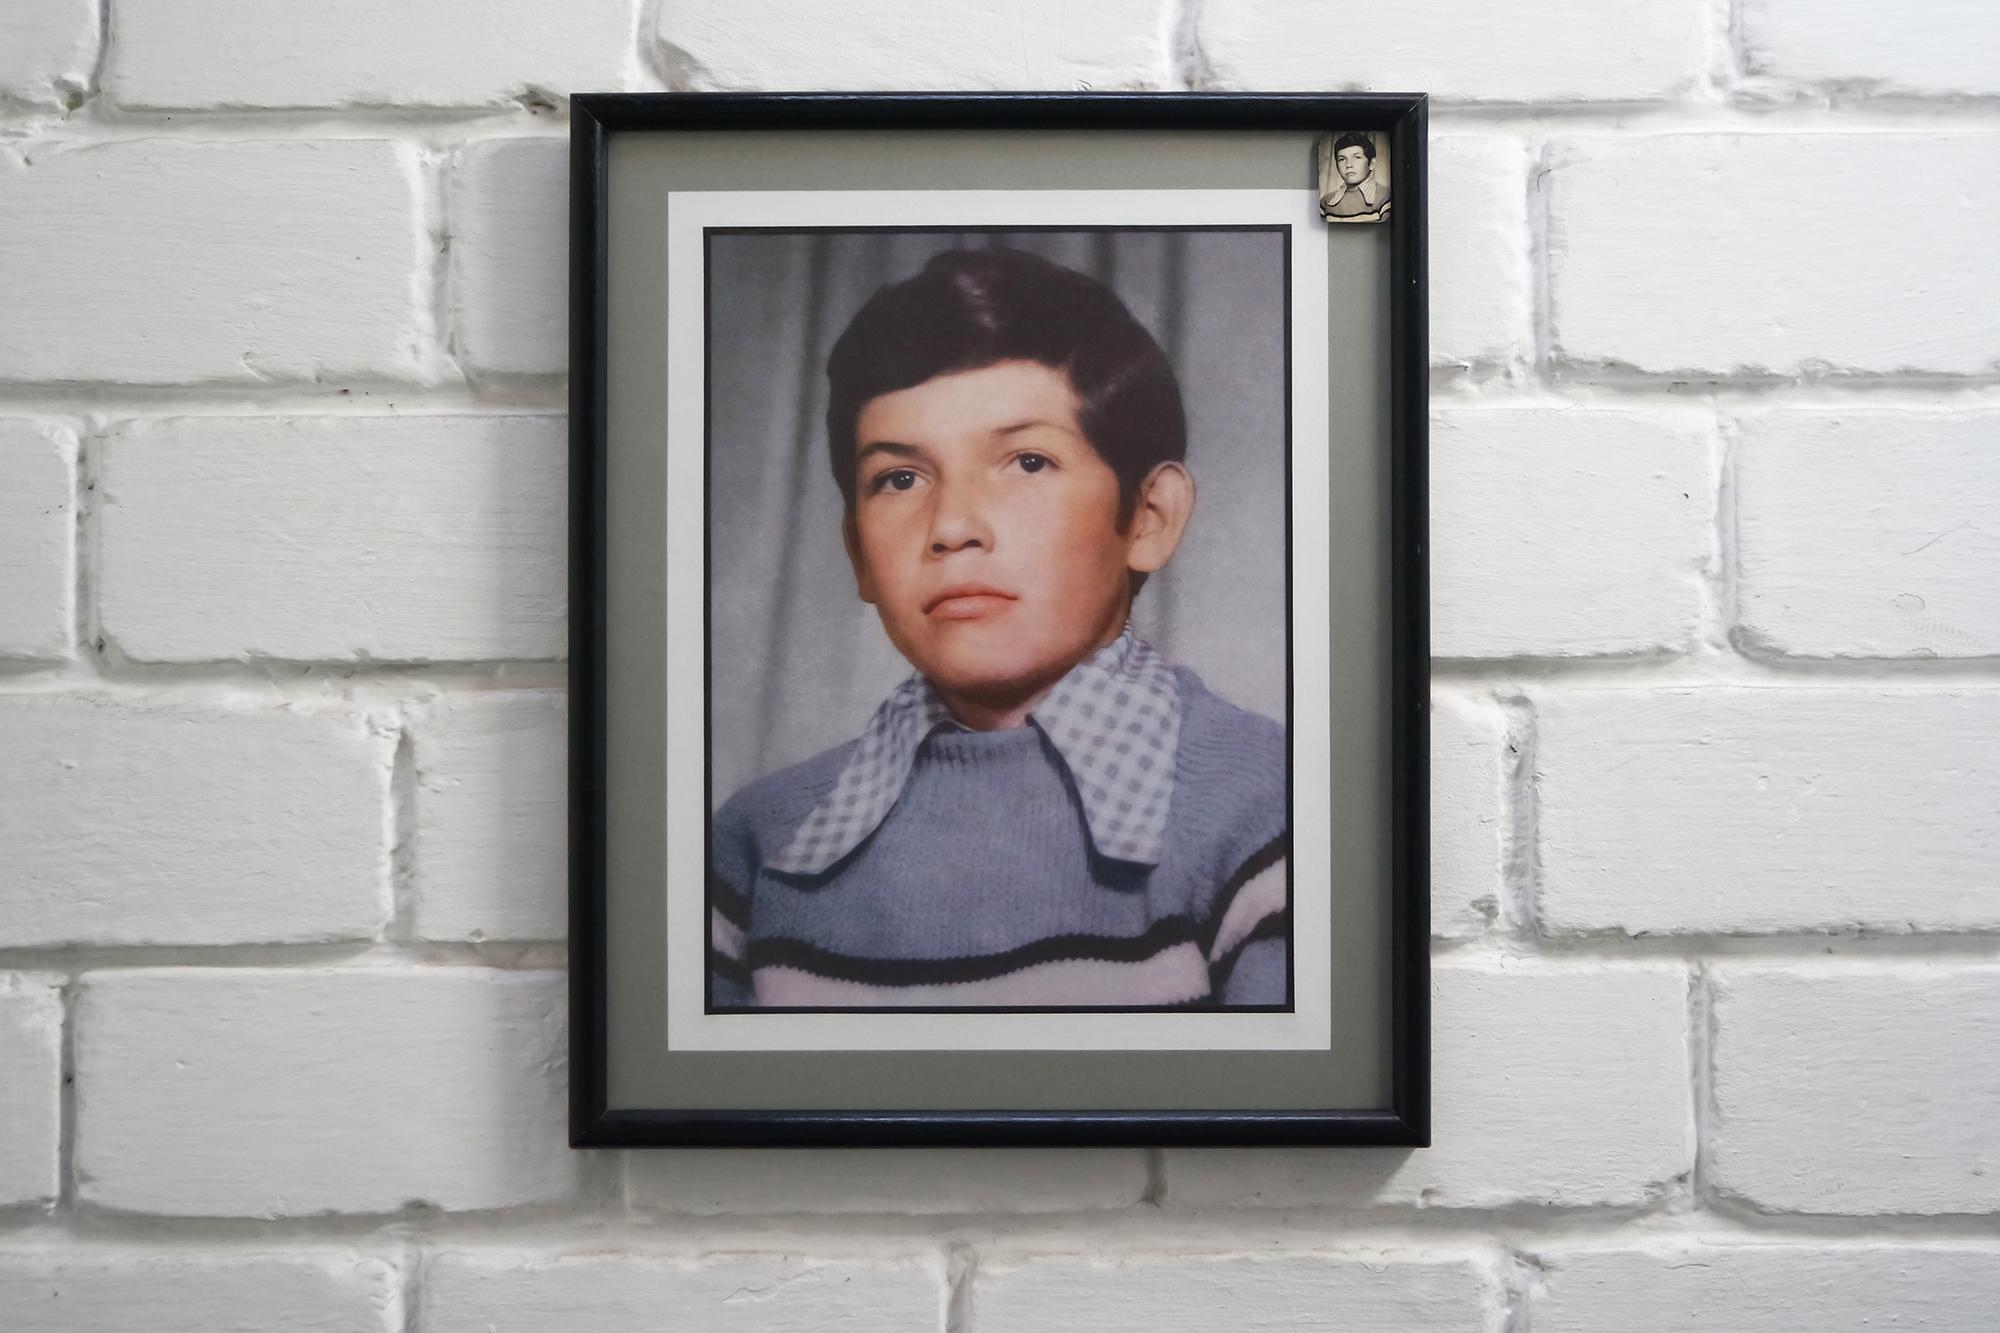
now it's time to hang our restored classic photograph on the wall.
in the next few days I hope to deliver it in person to its owner so that's all for now.
thanks for watch!
:)