Old Phone As Webcam
by Paul Sperling in Living > Office Supply Hacks
21057 Views, 224 Favorites, 0 Comments
Old Phone As Webcam
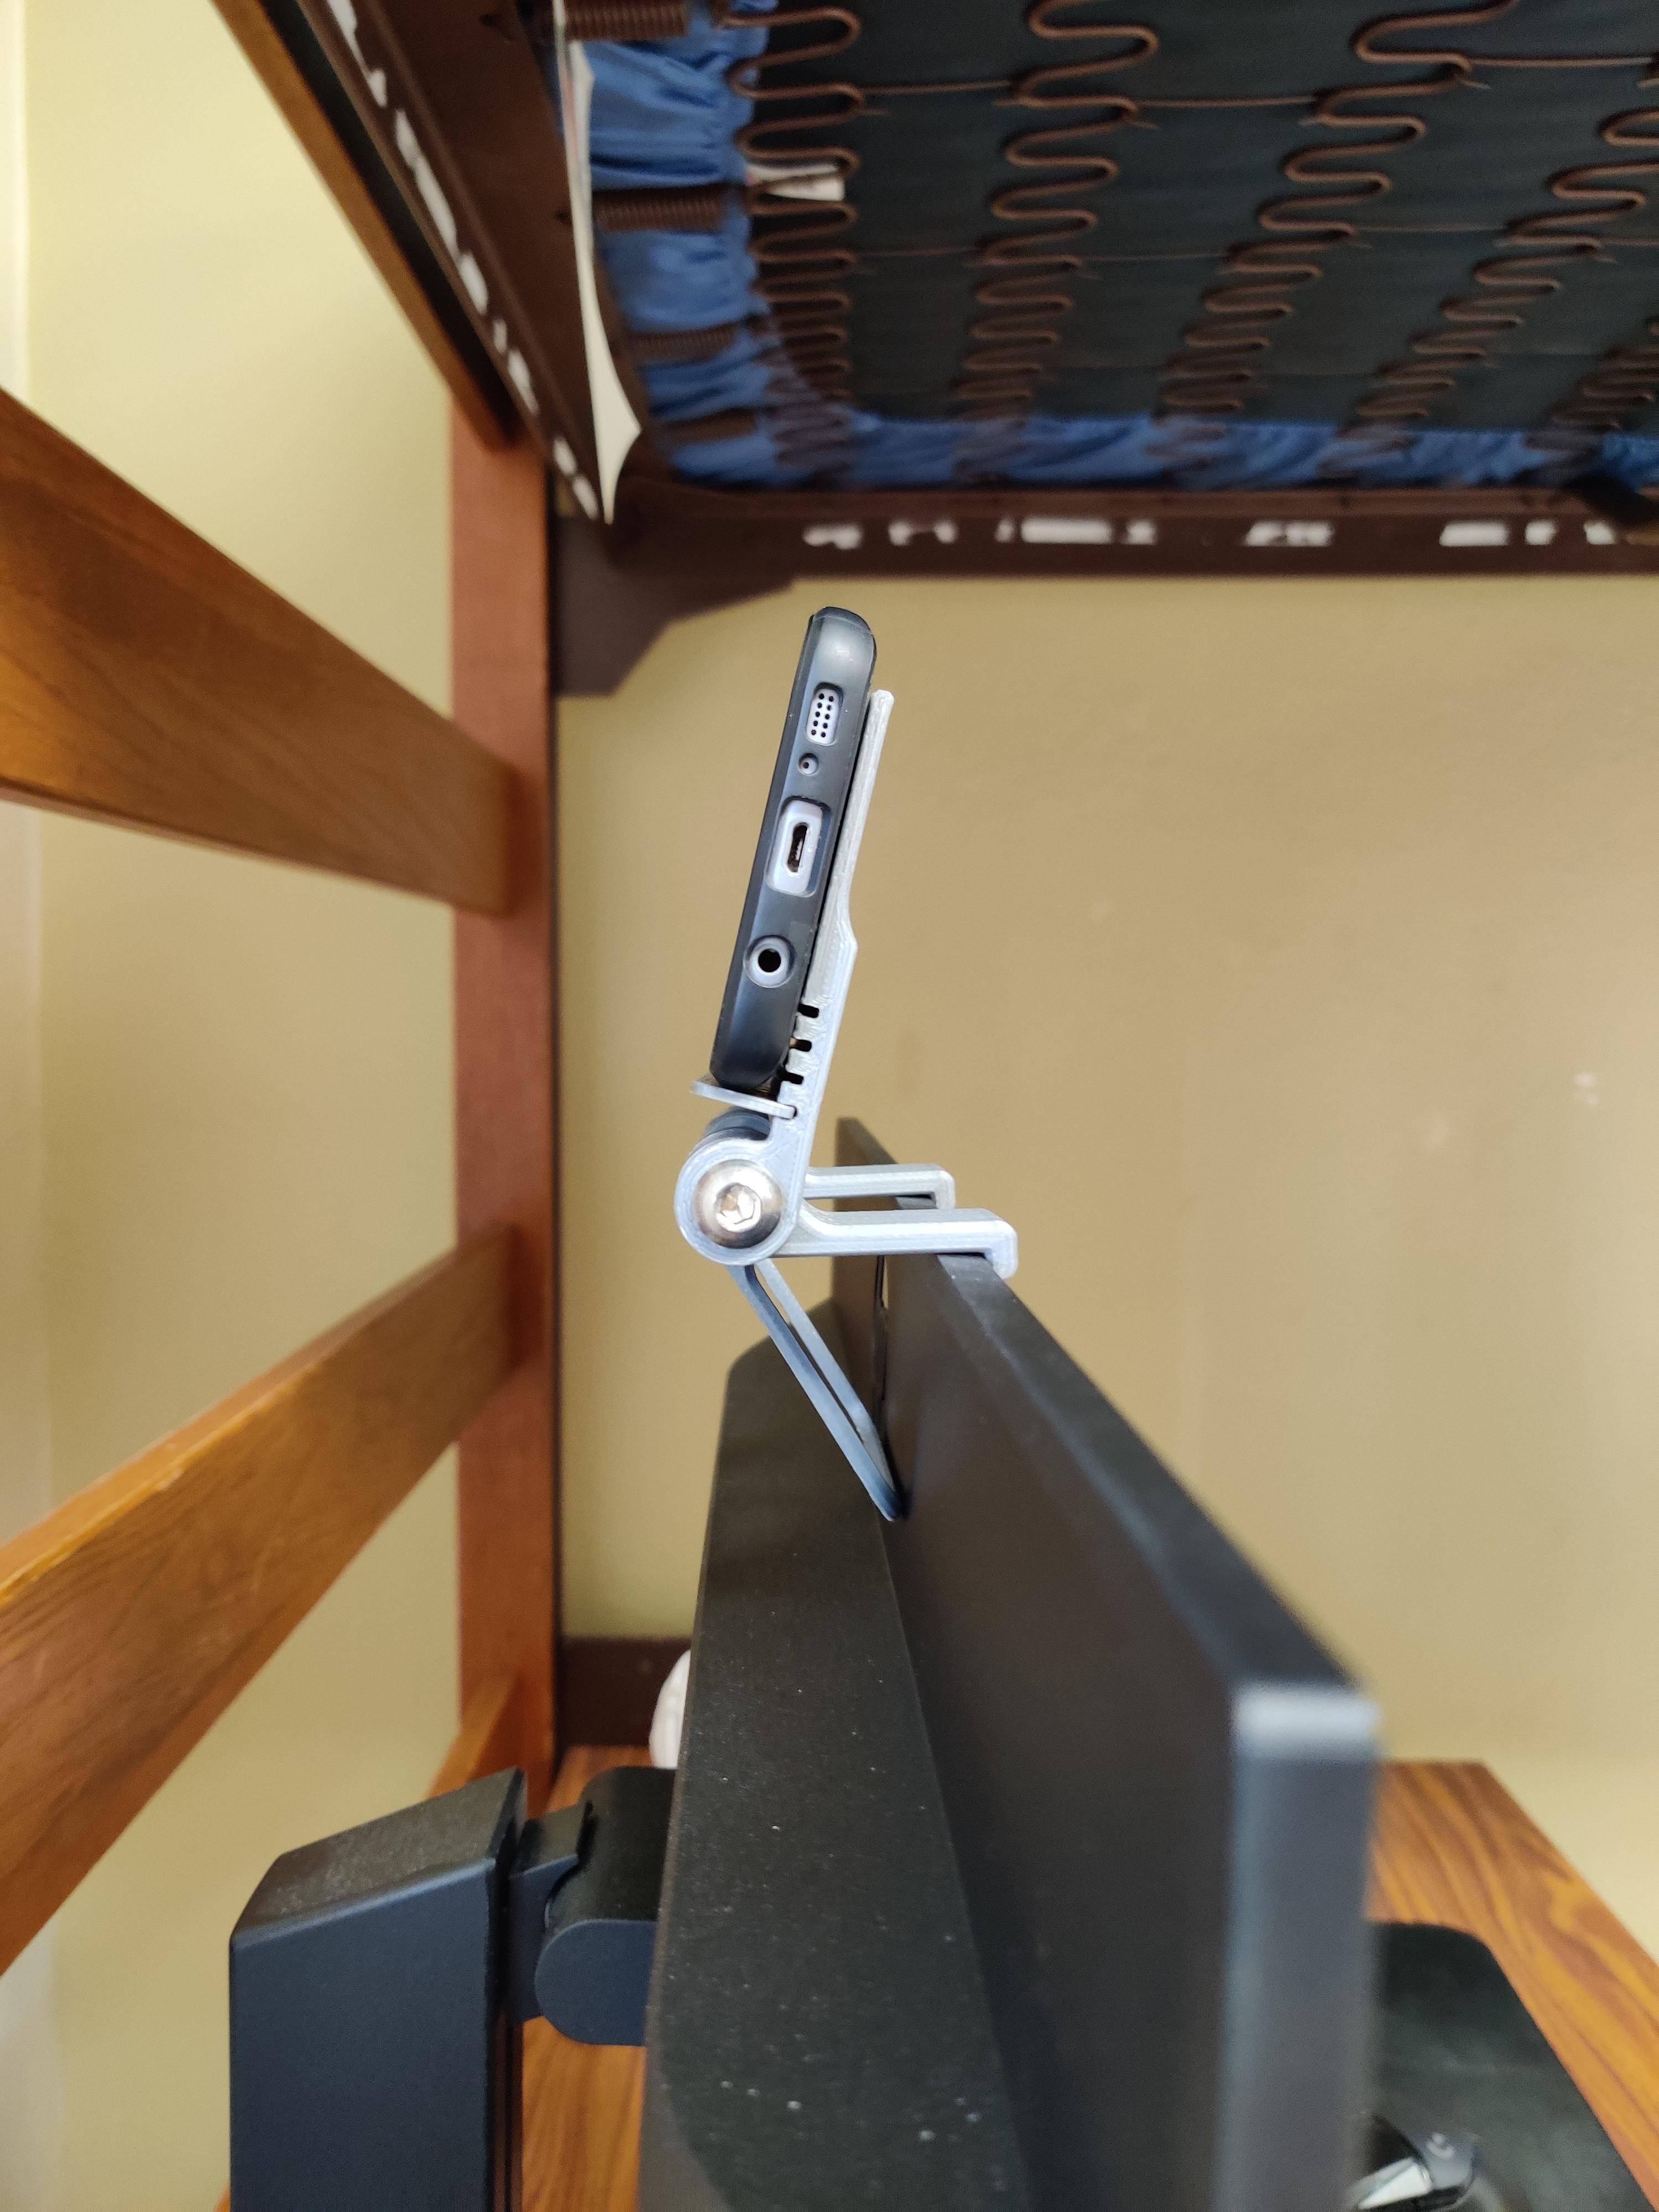
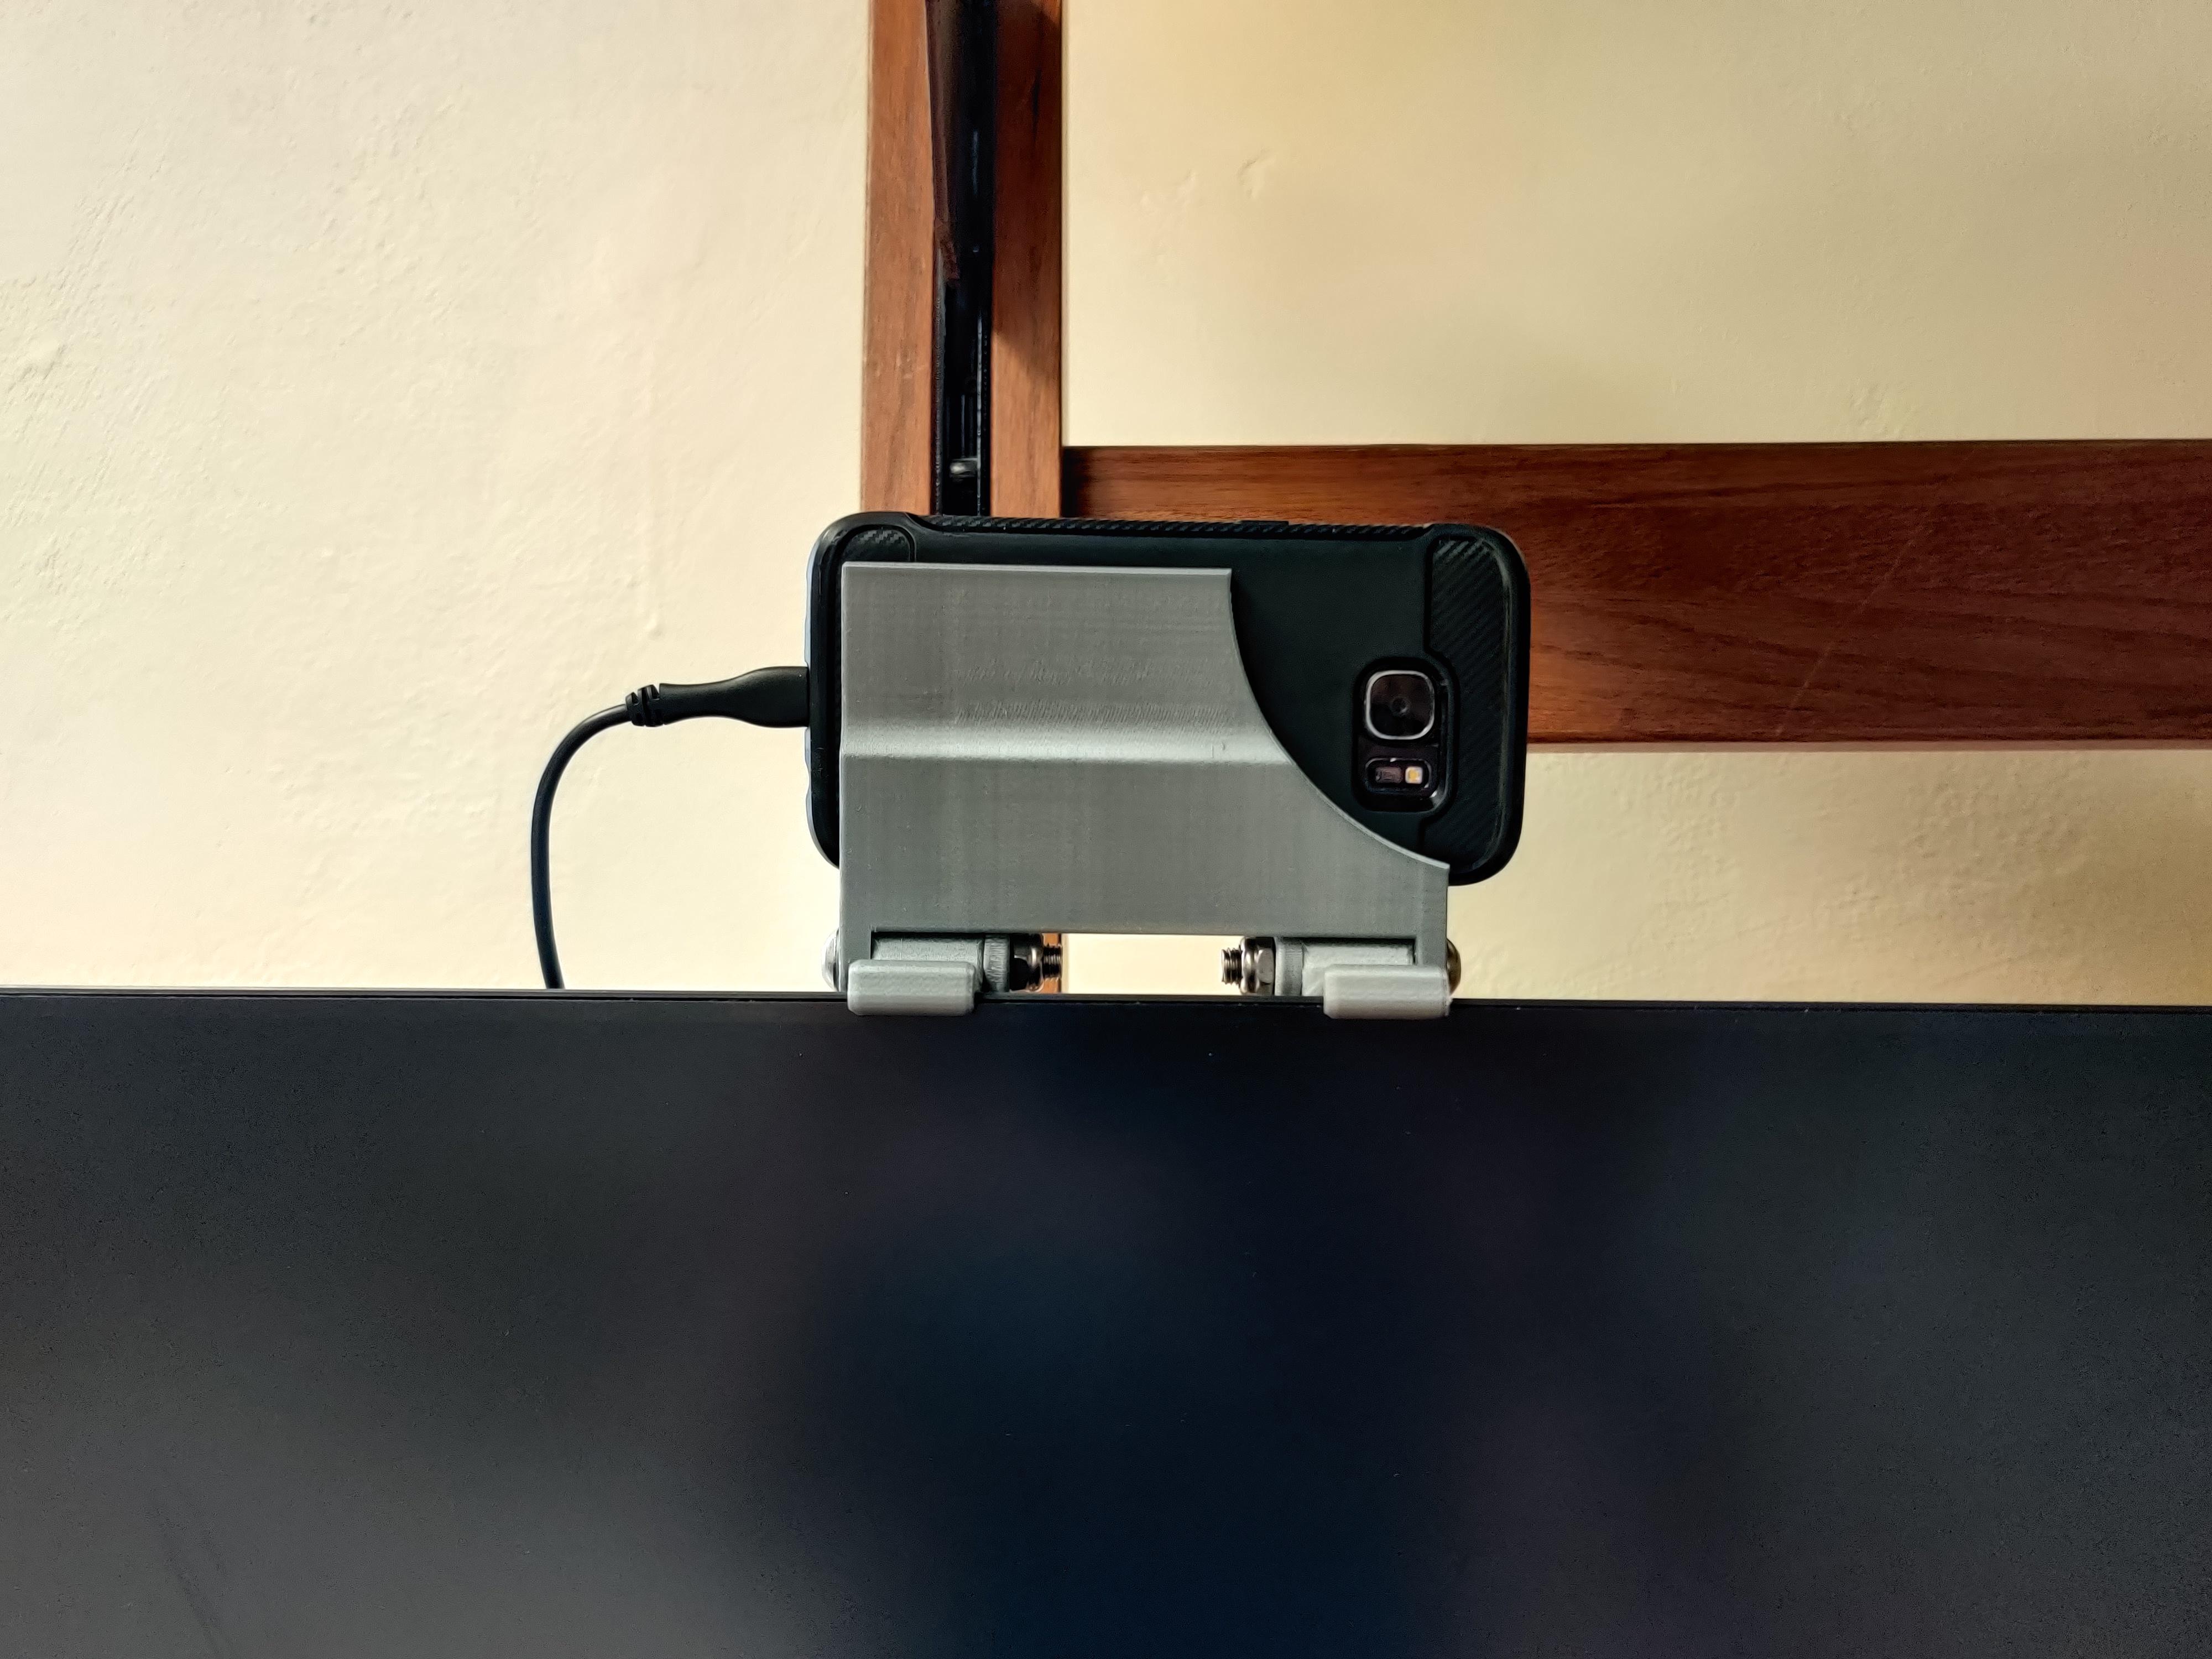
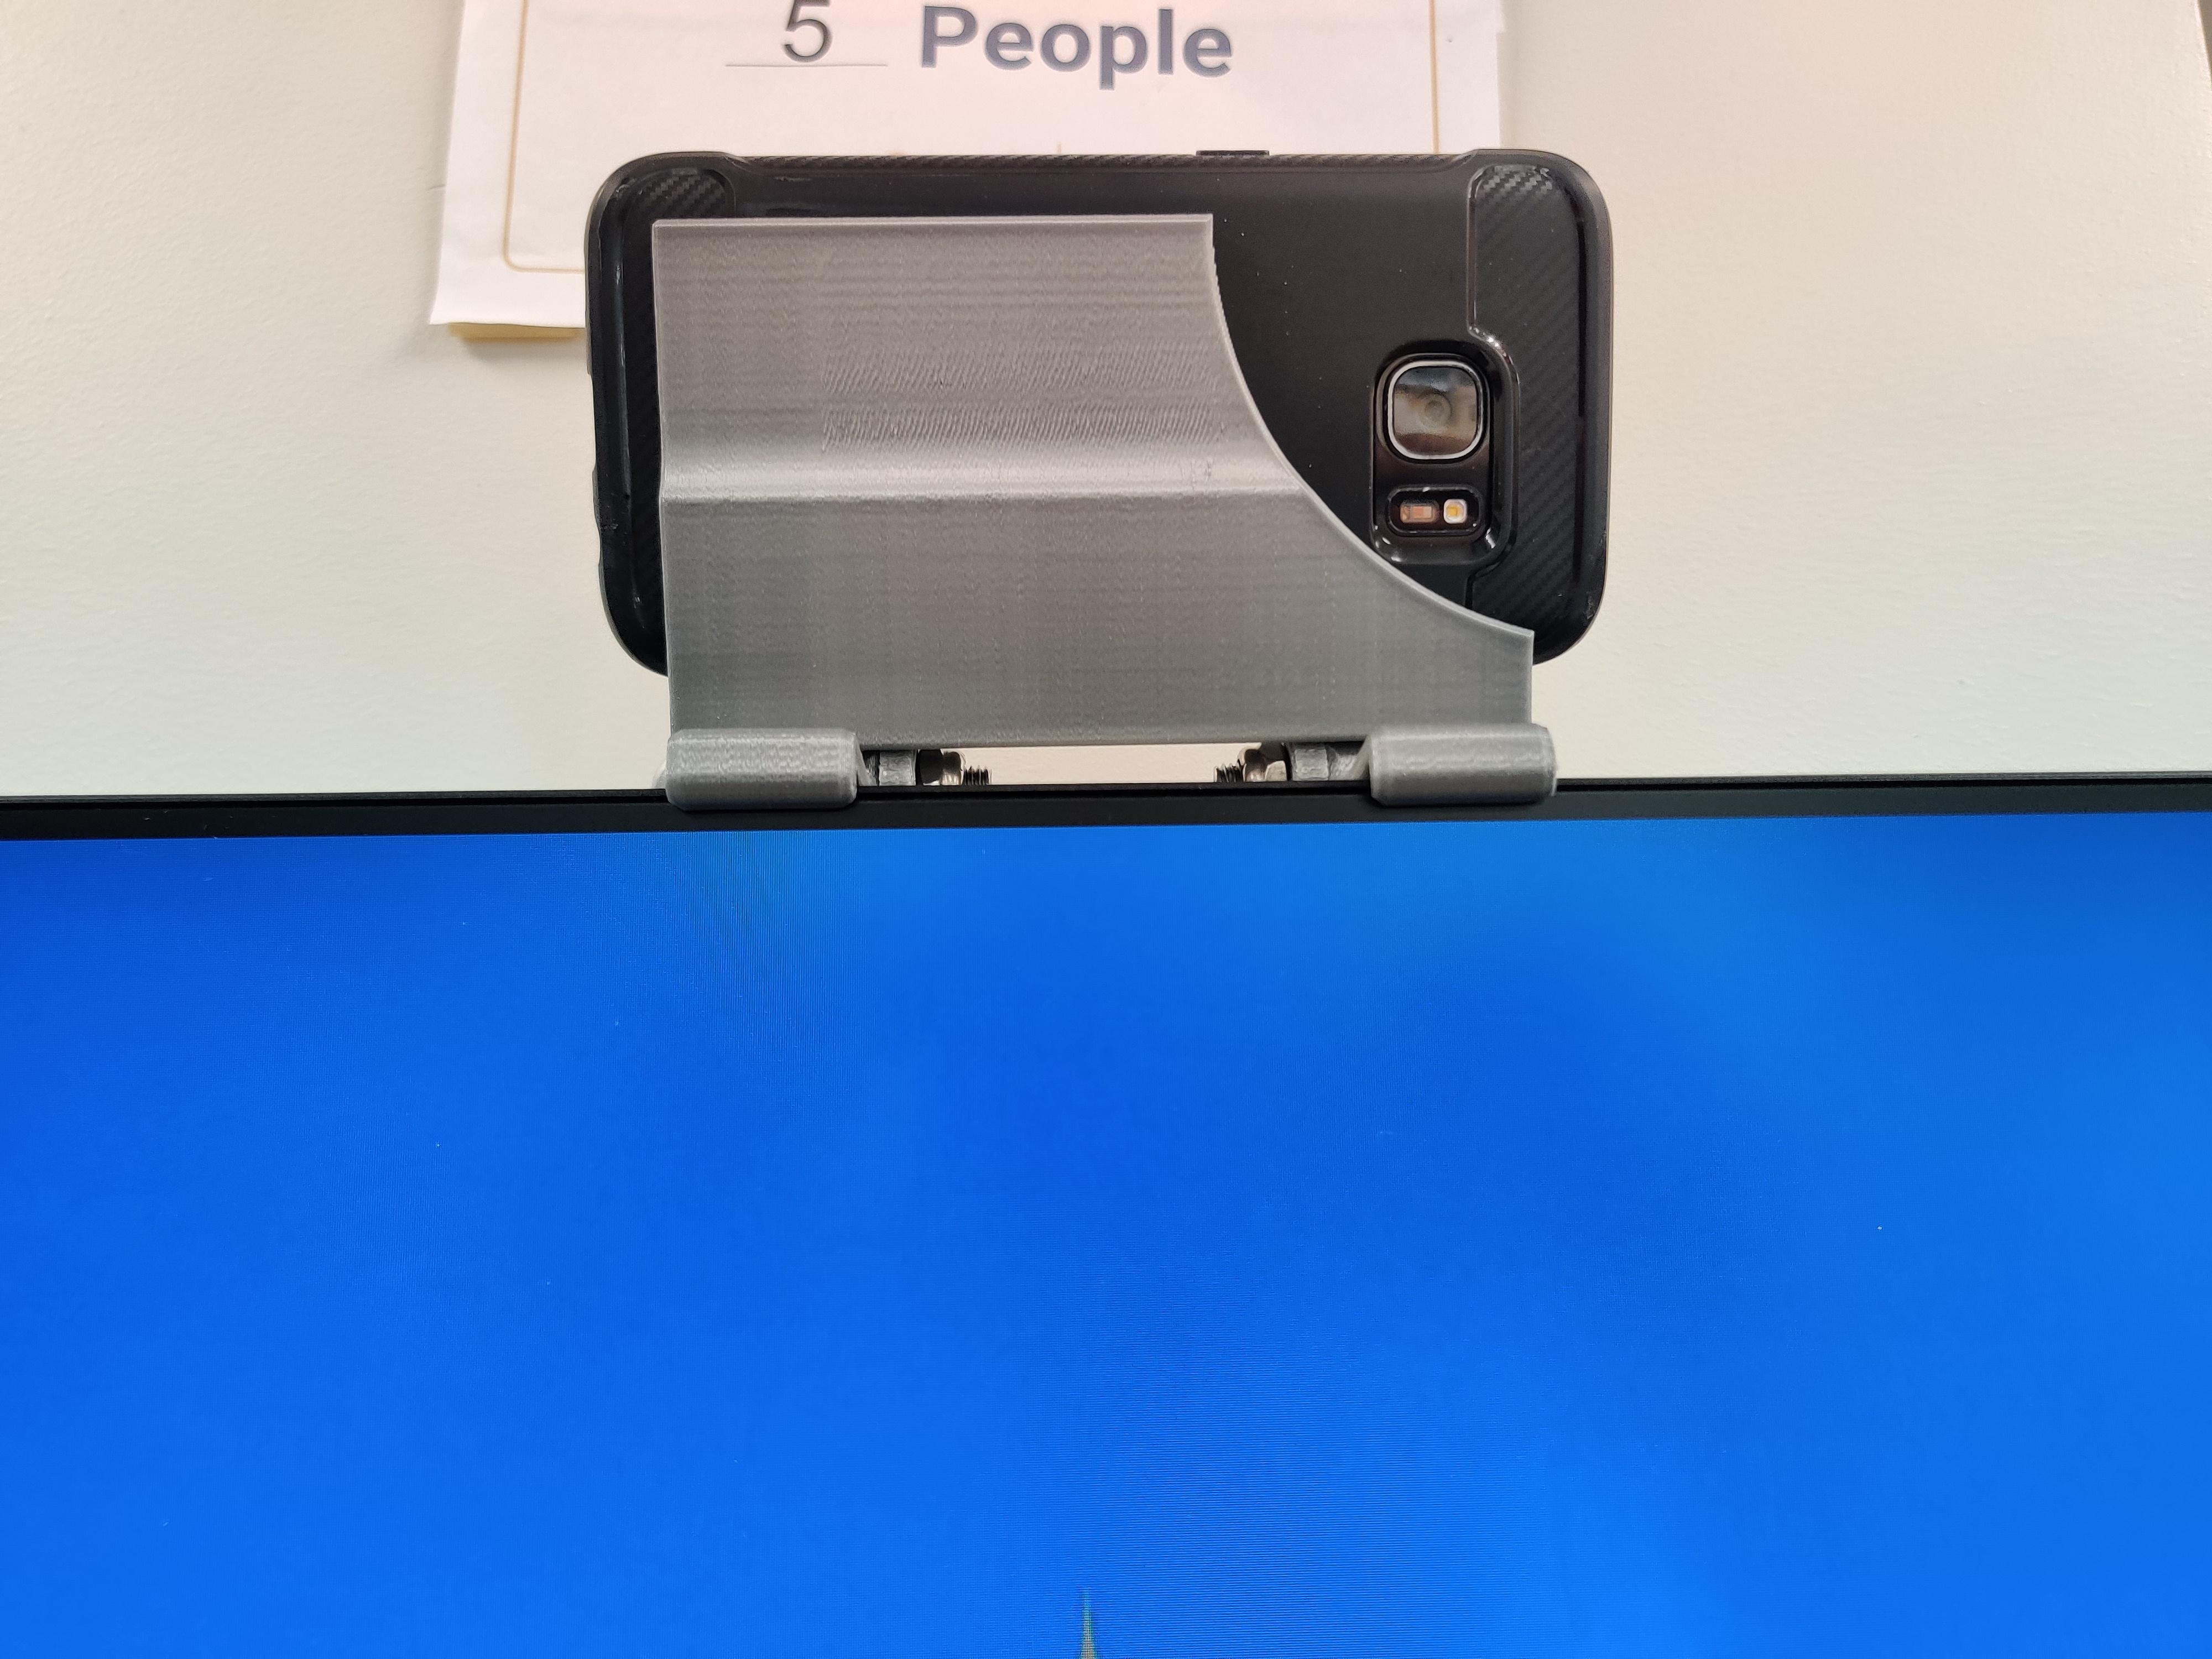
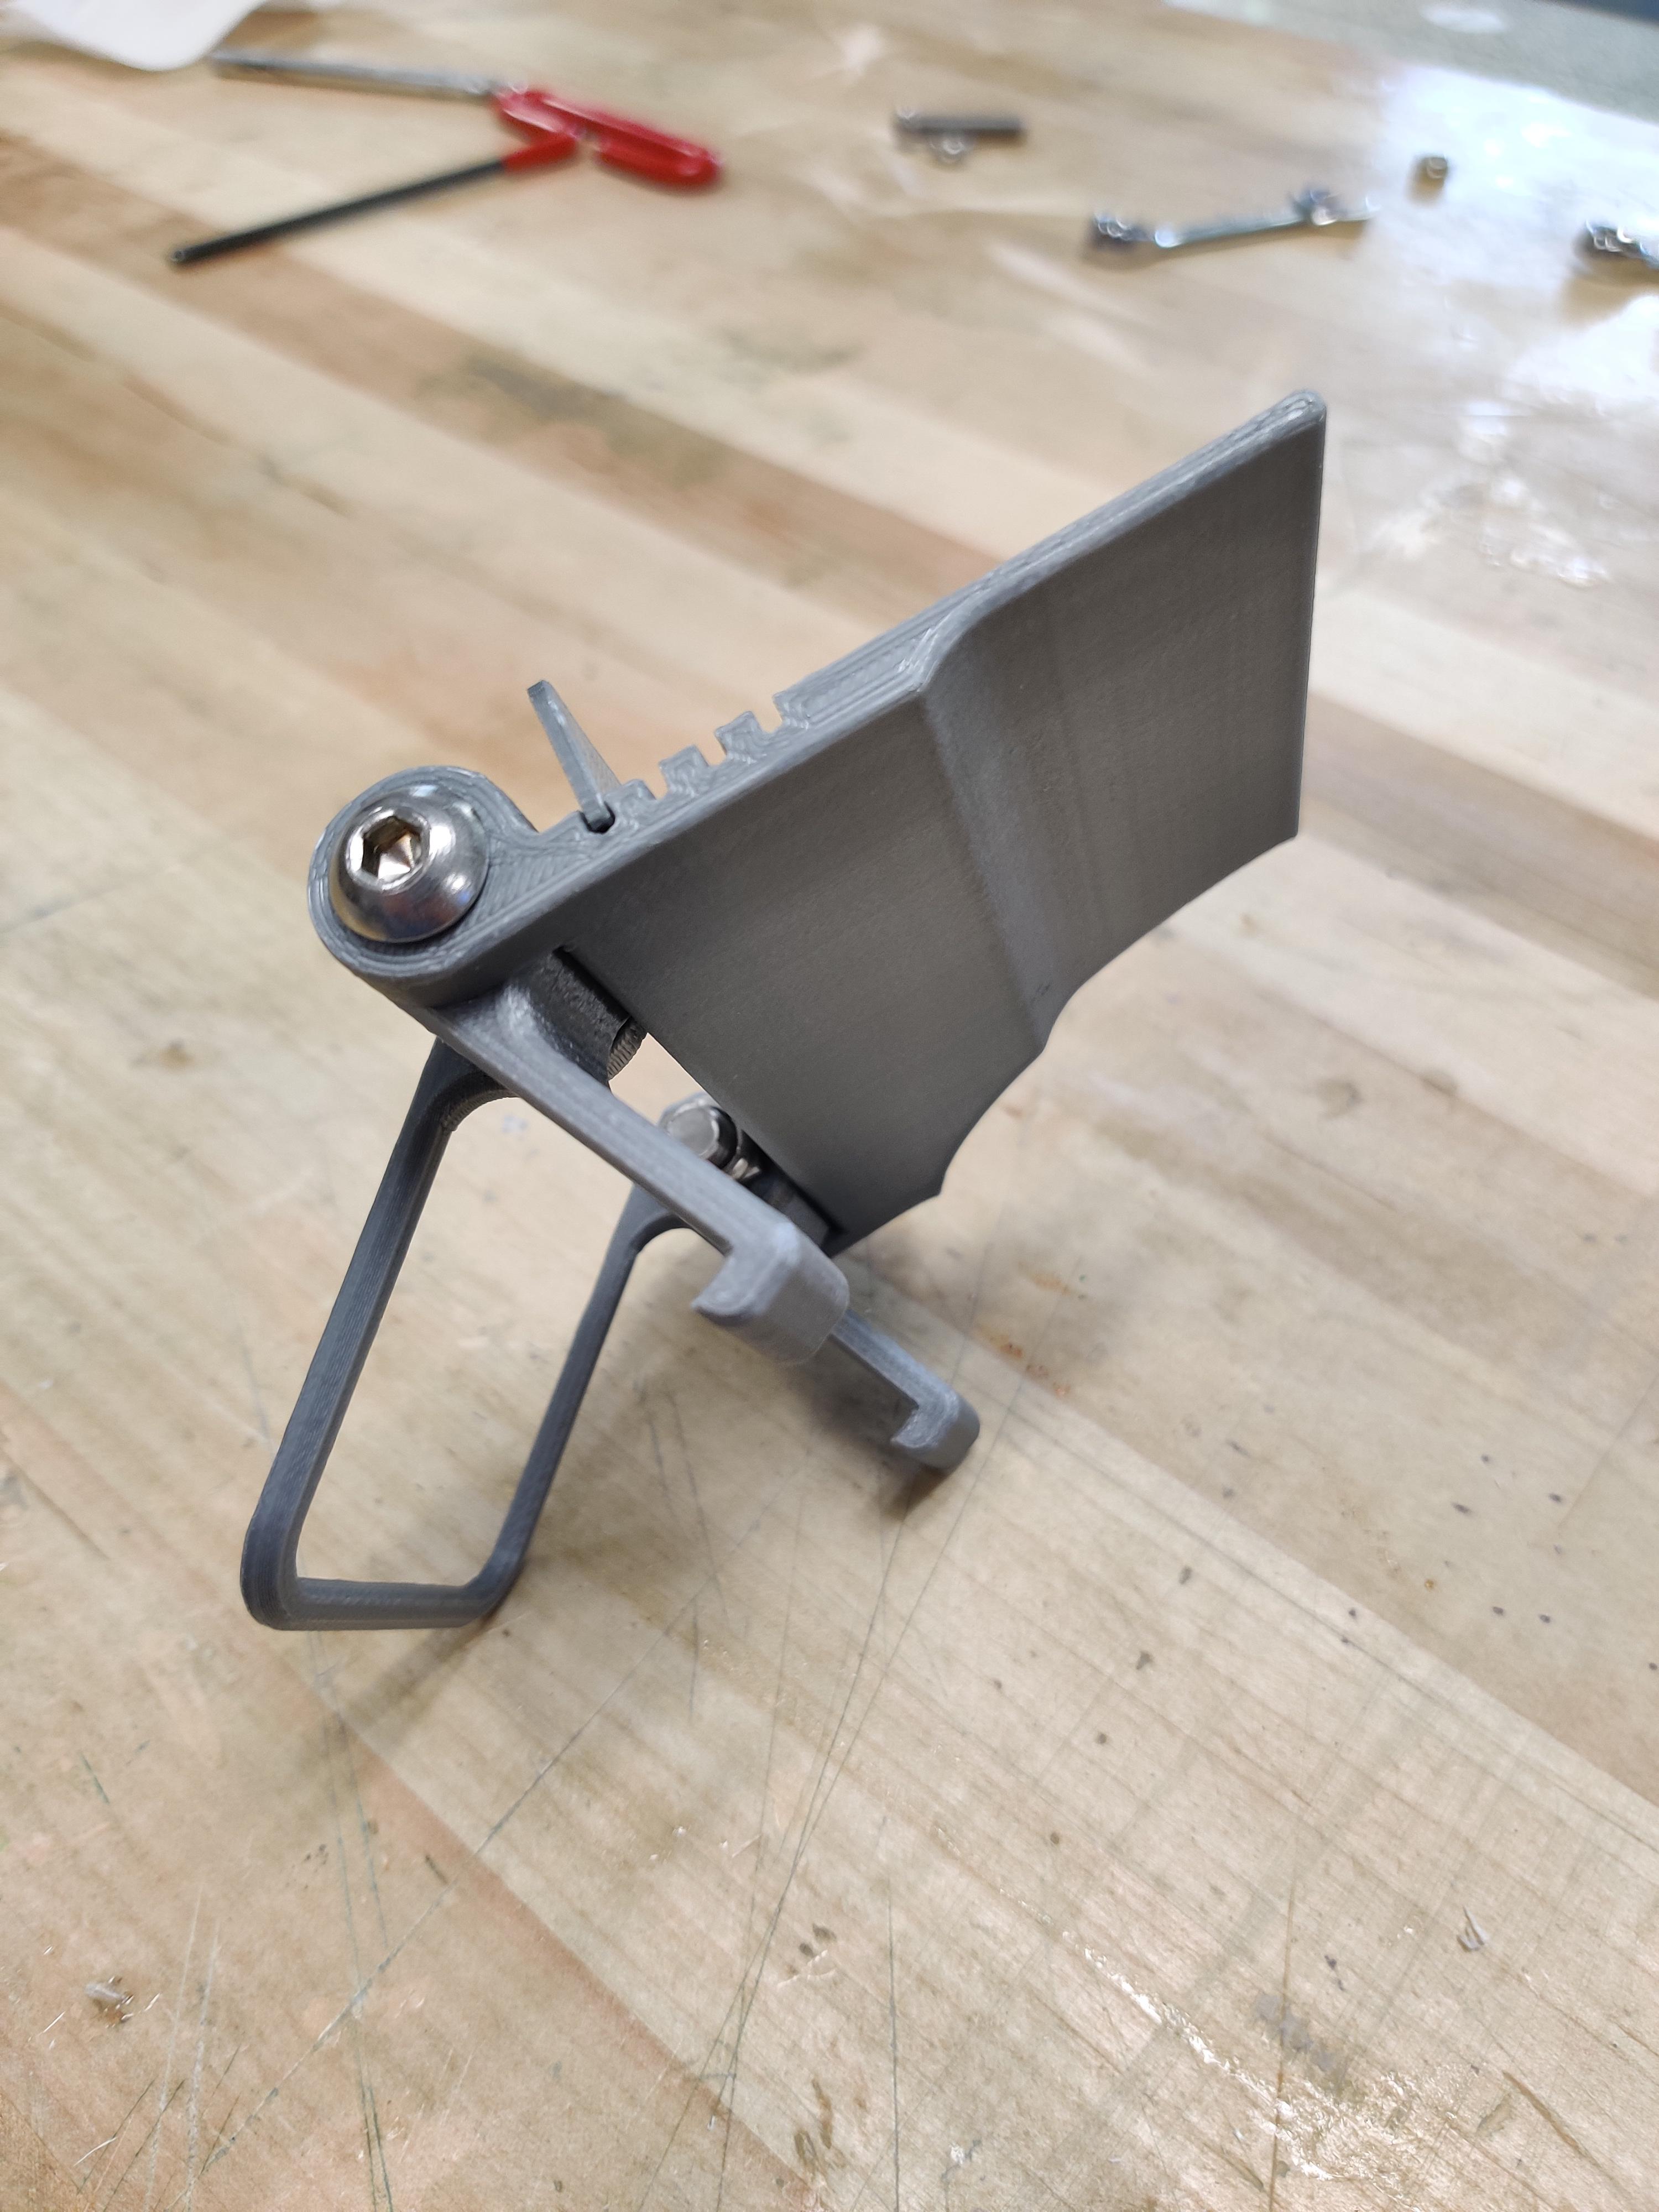
Last fall, I started college and, with it being during COVID-19, I took my classes from home. I needed a webcam, but I hadn't gotten one before the prices skyrocketed, and I wasn't about to pay $150 for a decent webcam. So I started thinking about my options, and found an app that promised to turn my old phone into a webcam for free. I installed the app on an old phone I had lying around and 3D printed a little mount that held my old phone in place, and it served me well as a webcam that whole semester.
After a cross-country move to college and a new monitor, I needed a new mount, so I made one out of laser-cut wood in one of the makerspaces at Georgia Tech. Now, I've designed a more adjustable and versatile version of the phone webcam mount, so other people can use their old phones as webcams too.
Using an old phone as a webcam is a surprisingly good deal - not only is it a webcam that you likely already have, it's better in a lot of ways too. Since the app that I used works over wifi, you can disconnect your webcam from any cords and carry it around however you like. For me, it's been great for showing proctors my workspace for remote tests, and for showing engineering teams assemblies that I'm working on at my desk. Also, even an old phone has better computational videography than most webcams, so the video will look just as good or better than all but the most expensive of webcams. So, if you have an old phone and a 3D printer, let's get started turning some trash into treasure!
Supplies
For this project, you'll need:
- Some 3D printed parts
- Screws and nuts
- Ideally 5/16-24 * 1 3/4" button head and matching locknuts, although others will work too
- An old phone running android 5 lollipop or newer (mine's a galaxy s7)
The tools you'll need are:
- Access a 3D printer
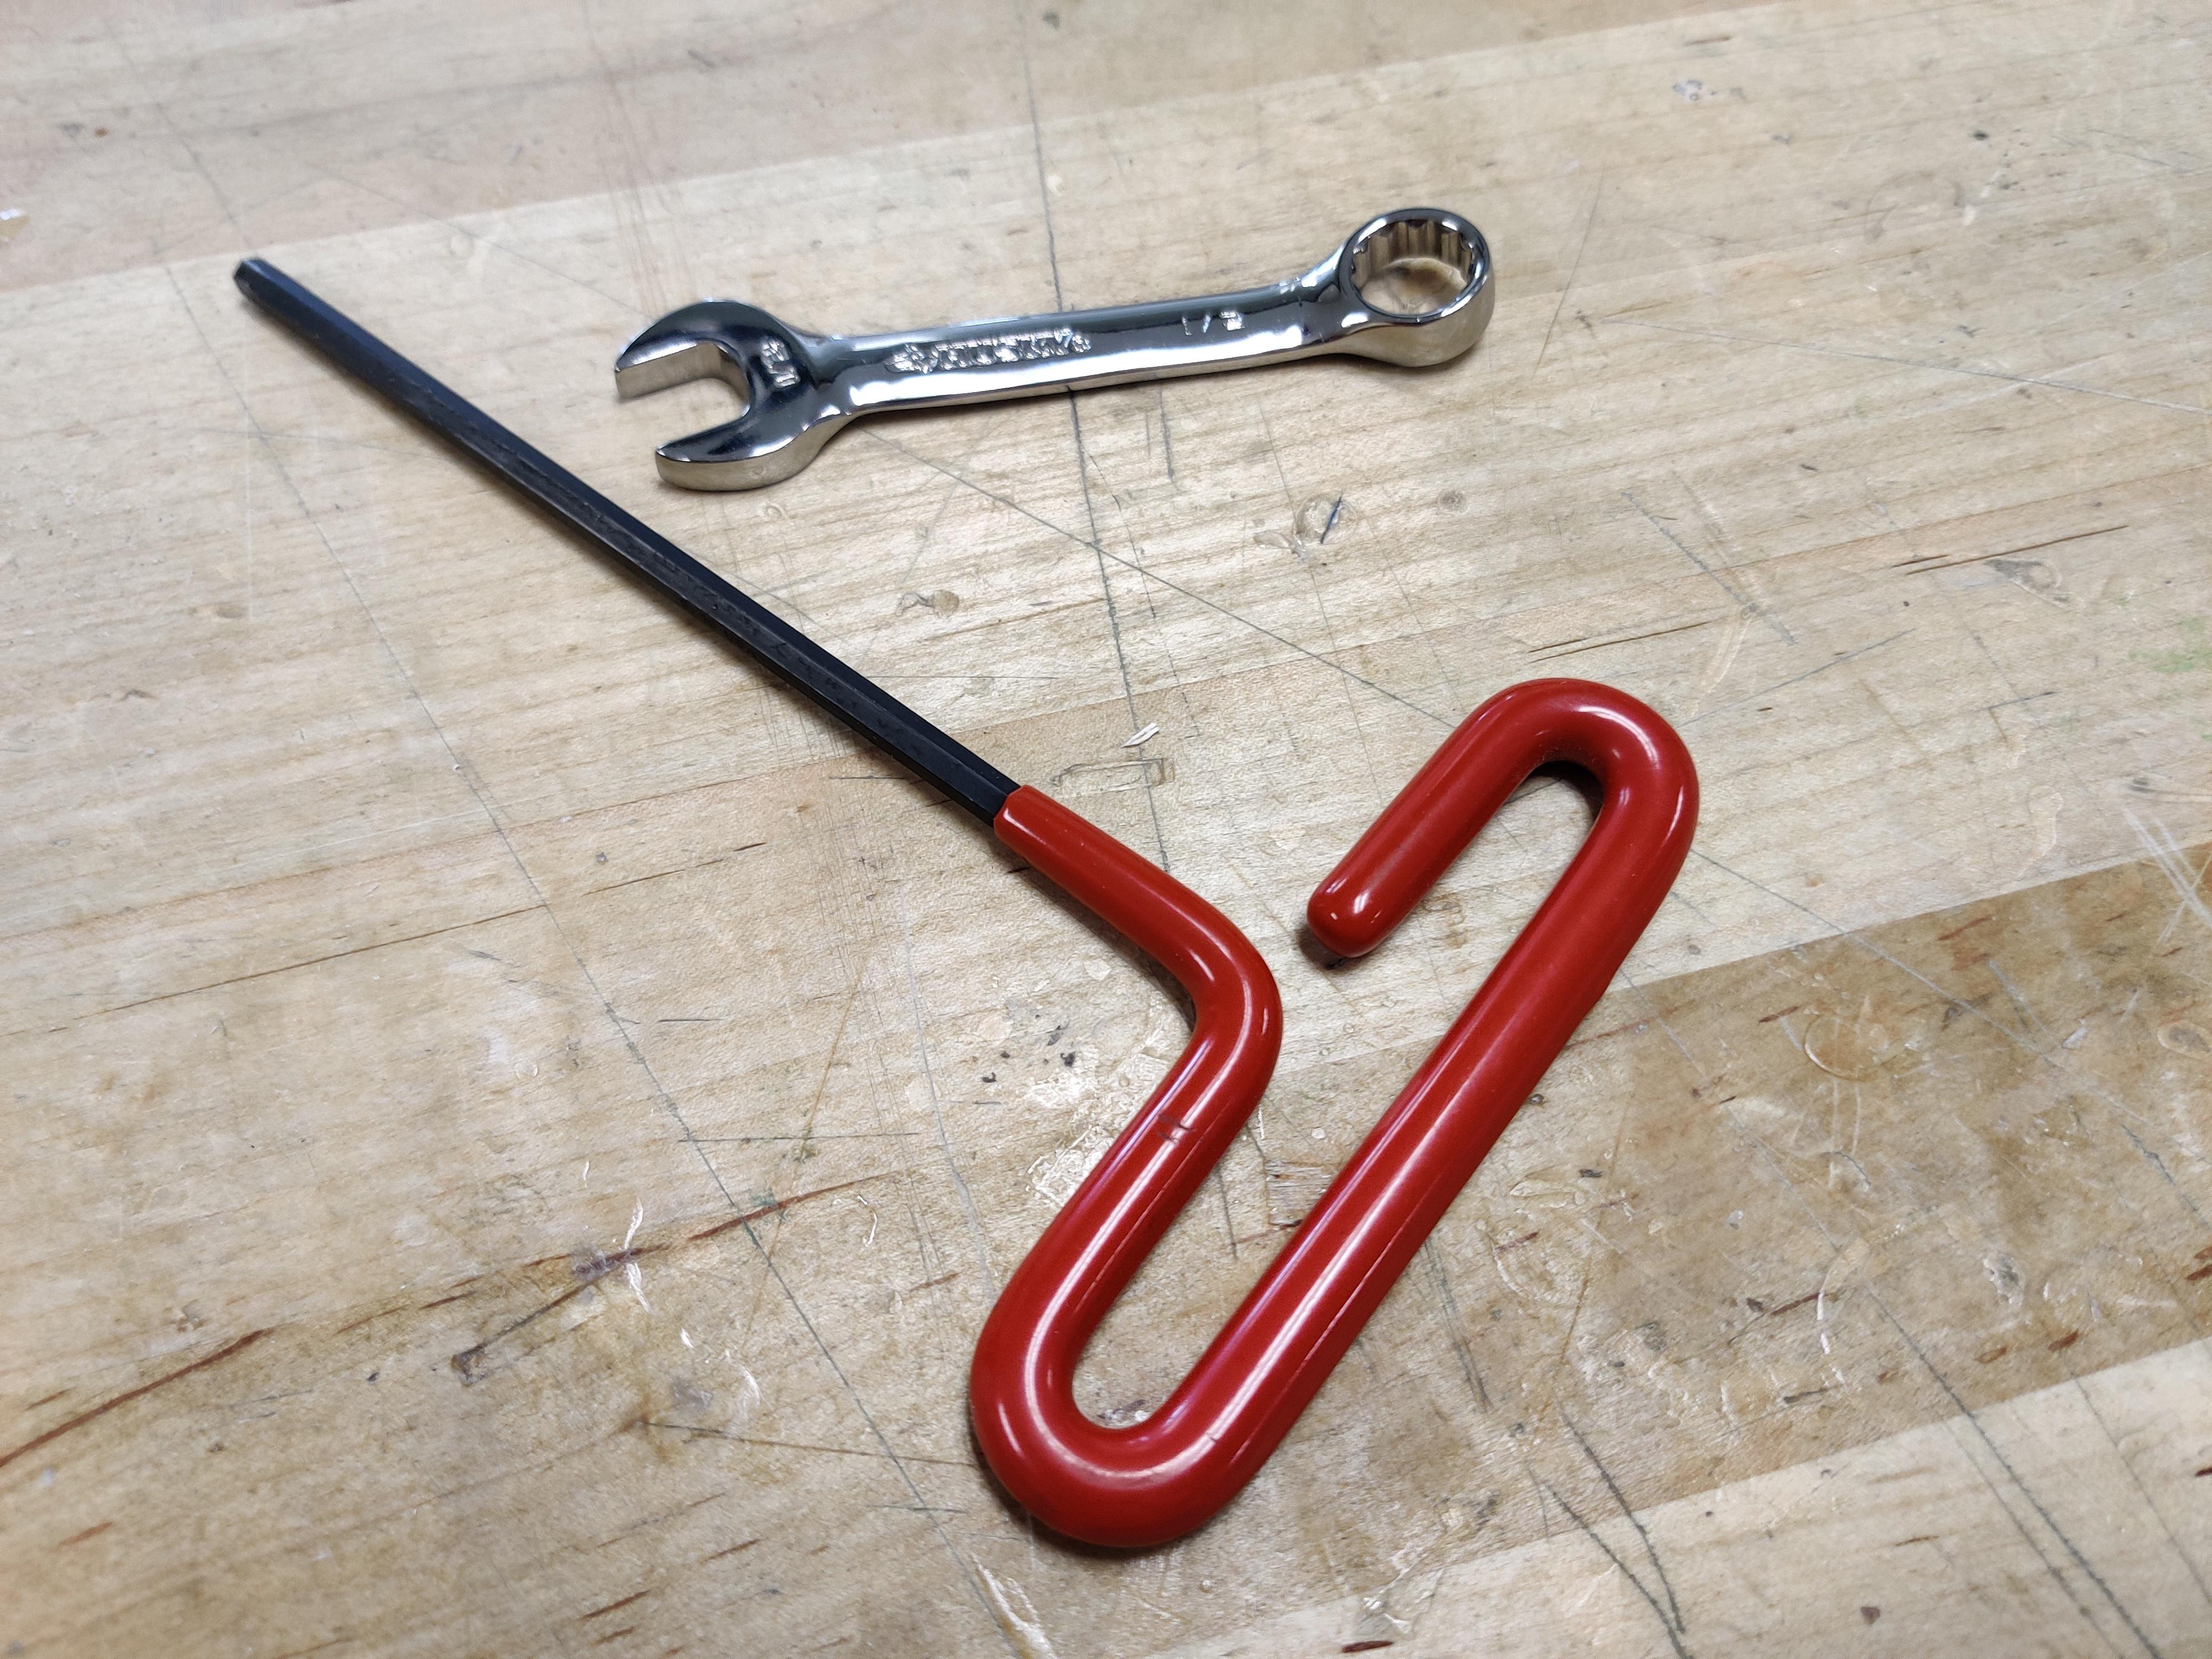
- The hex key that fits your screws (3/16" if using 5/16-24)
- The wrench that fits your screws (1/2" if using the 5/16-24 locknuts)
- A deburring knife
- Maybe sandpaper
- Maybe an x-acto knife
3D Print Parts
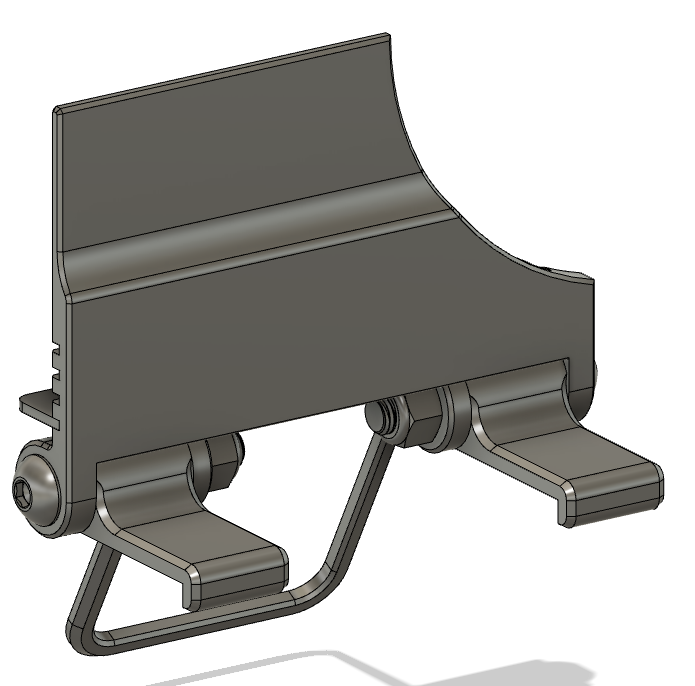
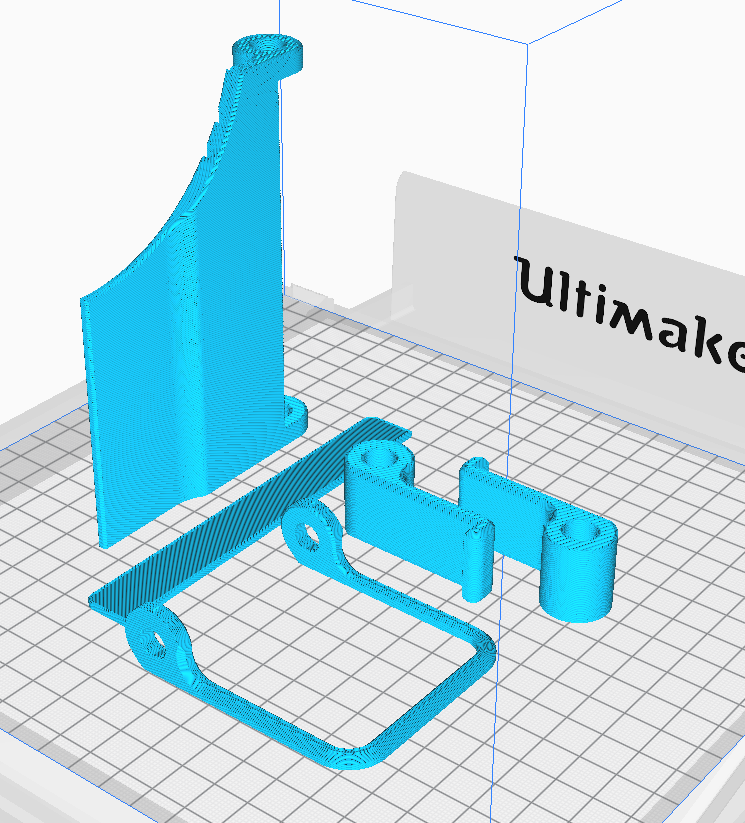
The .stl files are attached; you need one of each "Kickstand," "Platform," and "Main Body," and two "Hooks." The orientations should match the slicer image of the parts, and the print will need support. Ideally, it's good to print with a few perimeters (maybe 3 or 4) and pretty thick top and bottom surfaces (maybe 1.4mm each), but I was running mine on a makerspace printer and didn't want to take up too much time, so I ran with 2 perimeters and pretty sparse top and bottom infill.
This would ideally be printed out of PETG or something else that doesn't have as much of an issue with material creep, but PLA should work fine for at least quite awhile before you start seeing deformation due to creep.
If you don't have 5/16" screws, you can go into the provided "Phone Mount" Fusion360 file and change the hole features in each part to match your screws. They need to be at least 1 3/4" long, but as long as they're long enough and not excessively large or small, they should work fine. With whatever screws you're using, I'd recommend either locknuts, Loctite, or 2 nuts locked against each other to prevent the nuts from loosening.
Anyway, slice up some CAD files and get printing!
Post-Process Your Prints
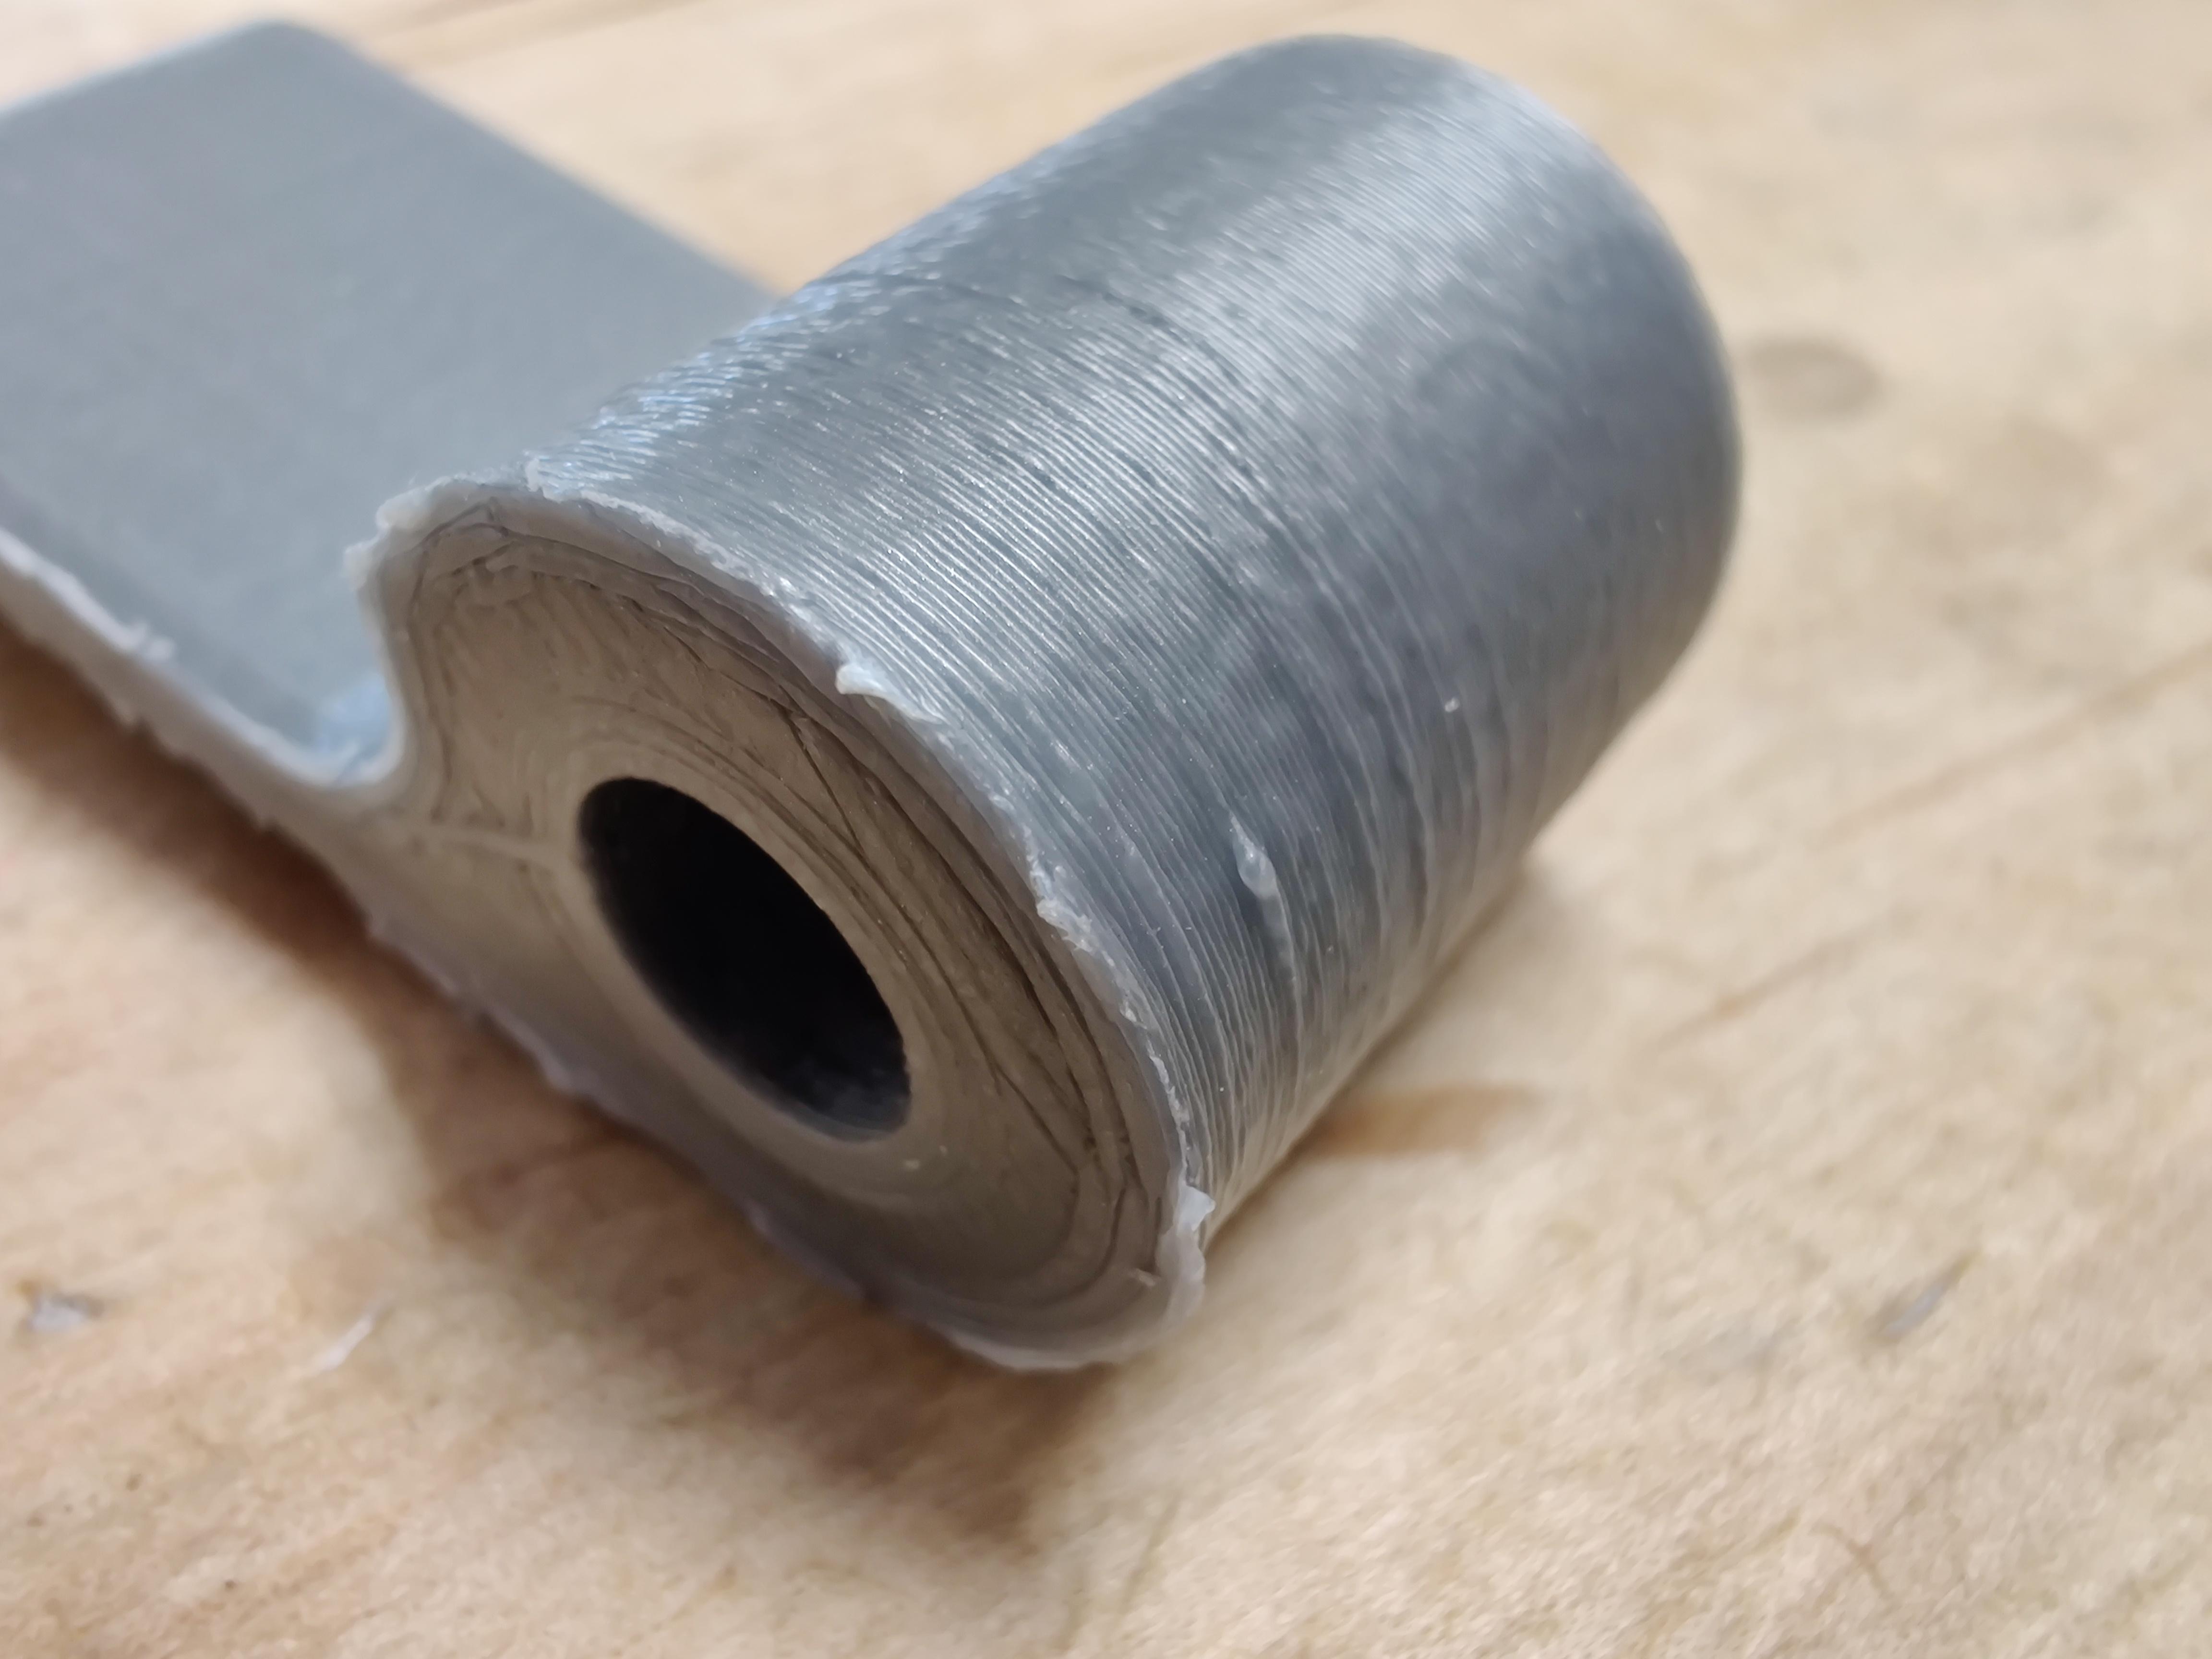
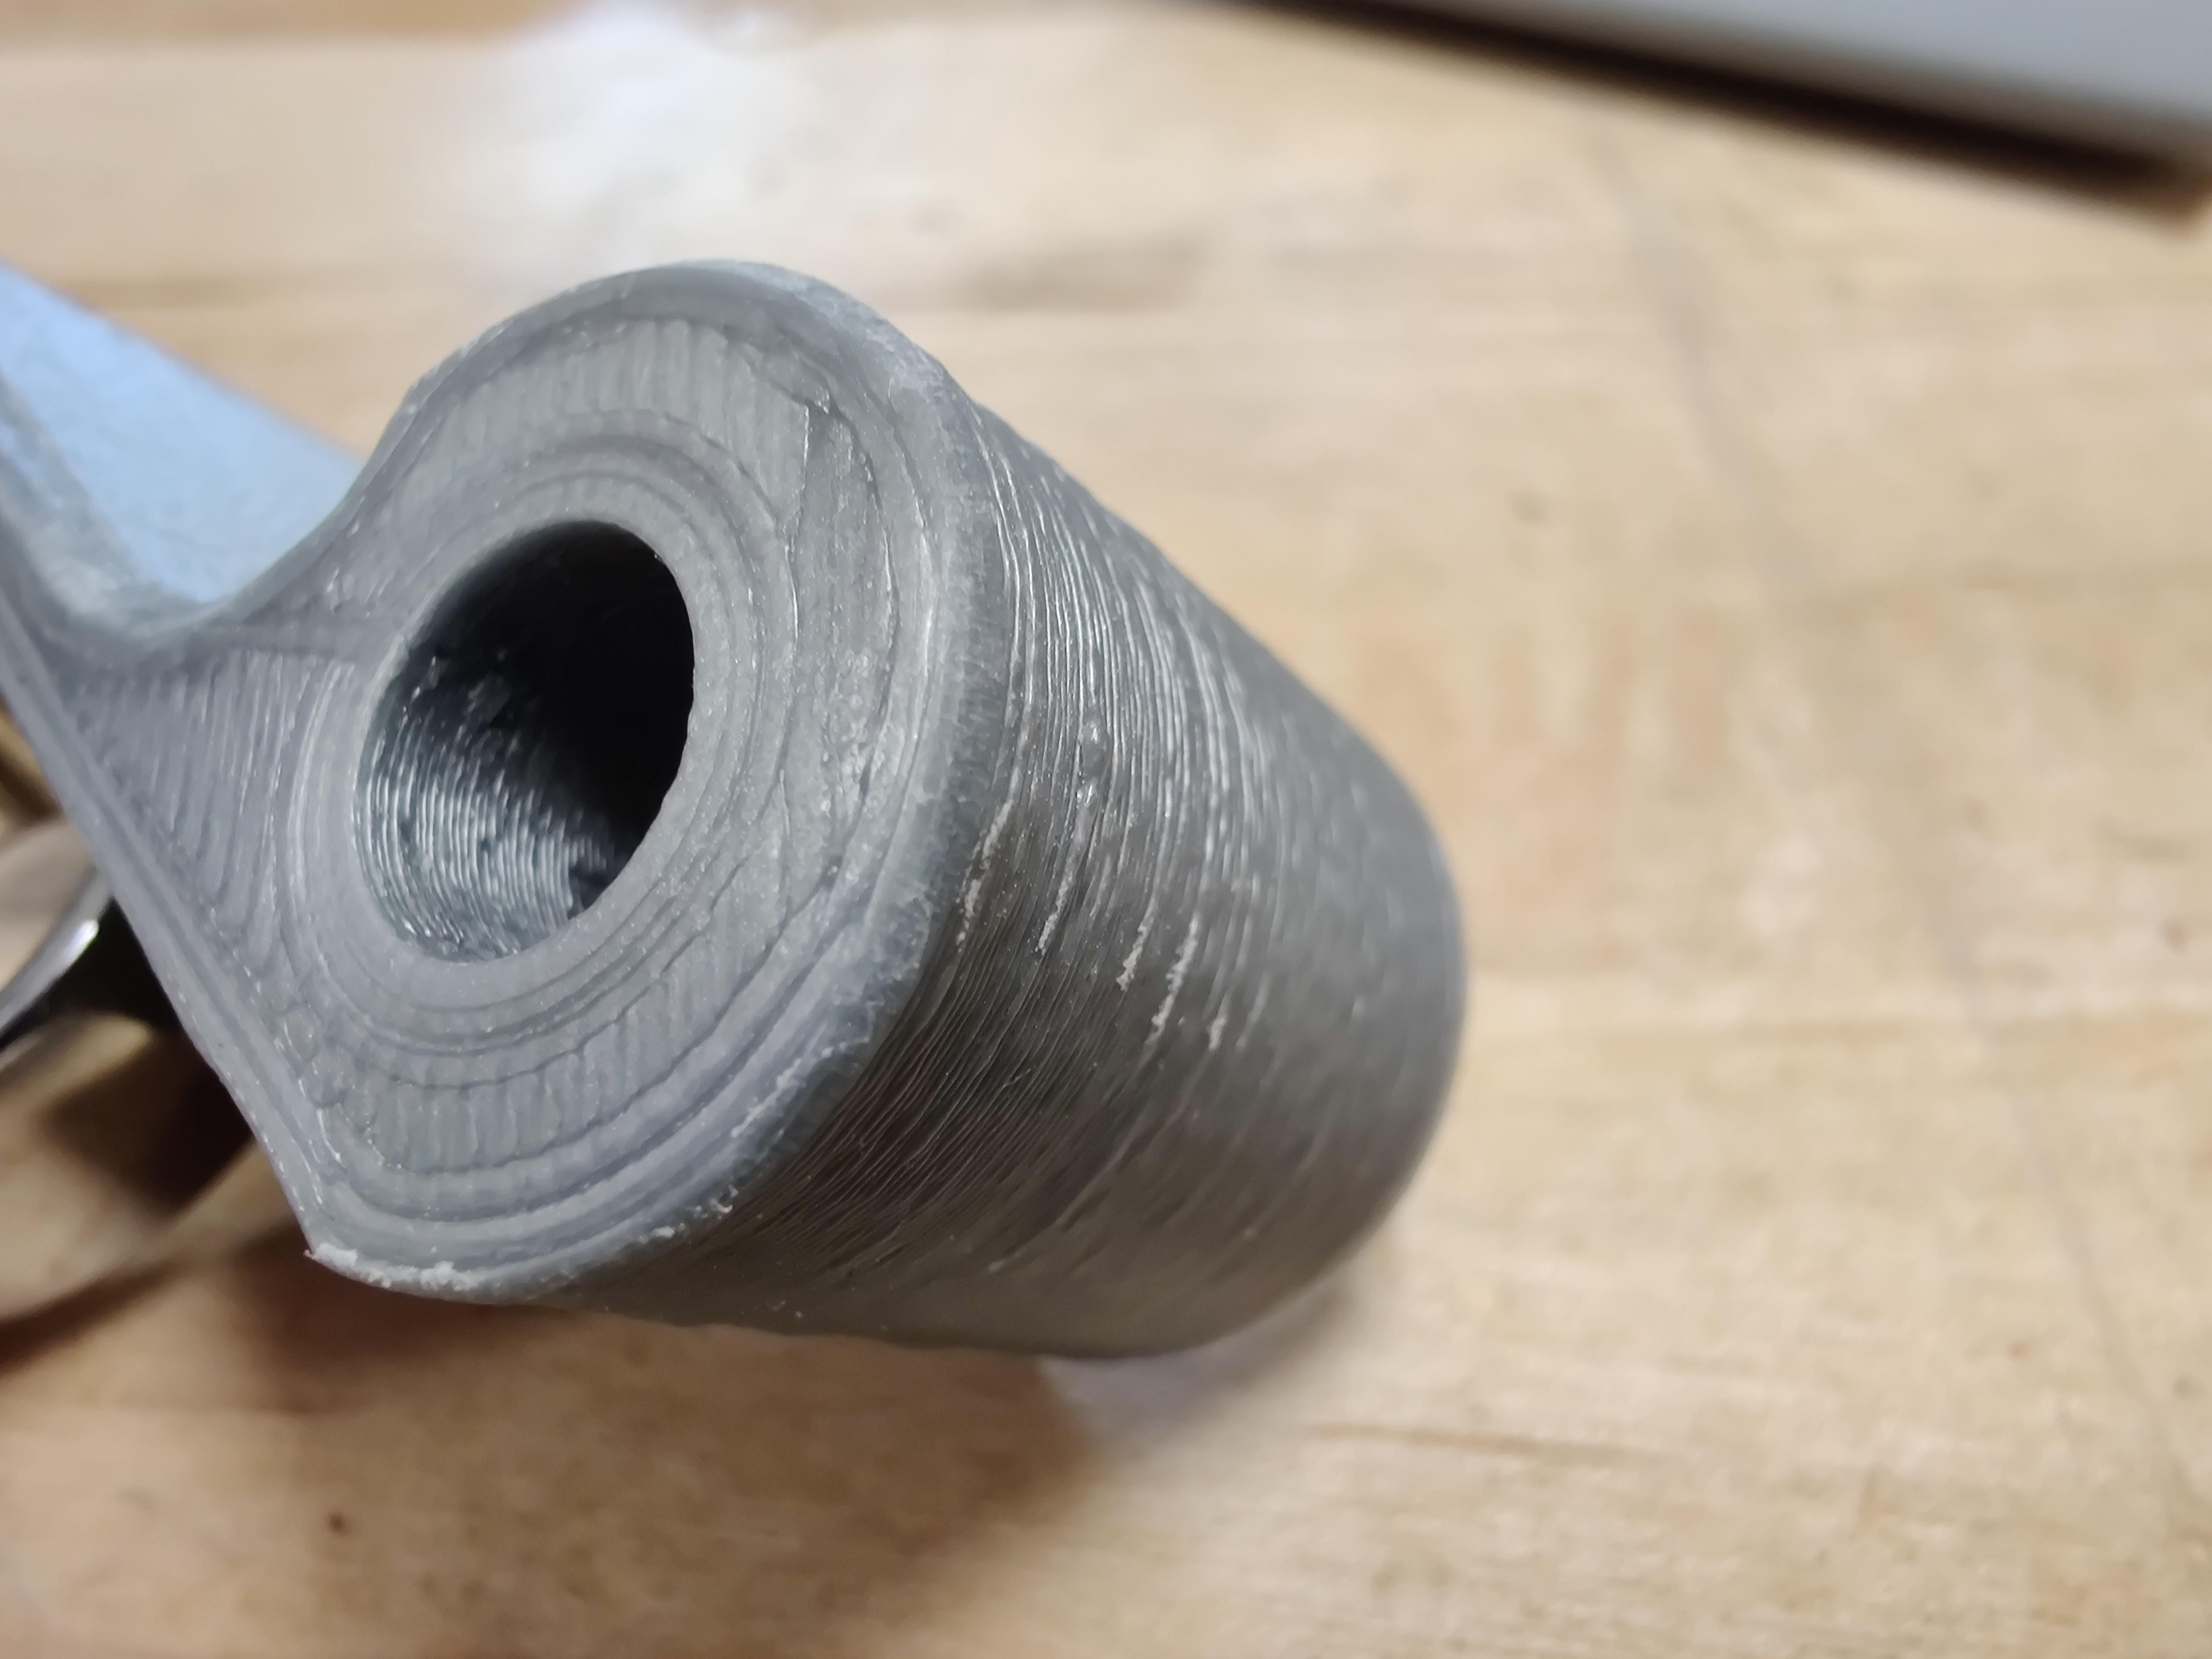
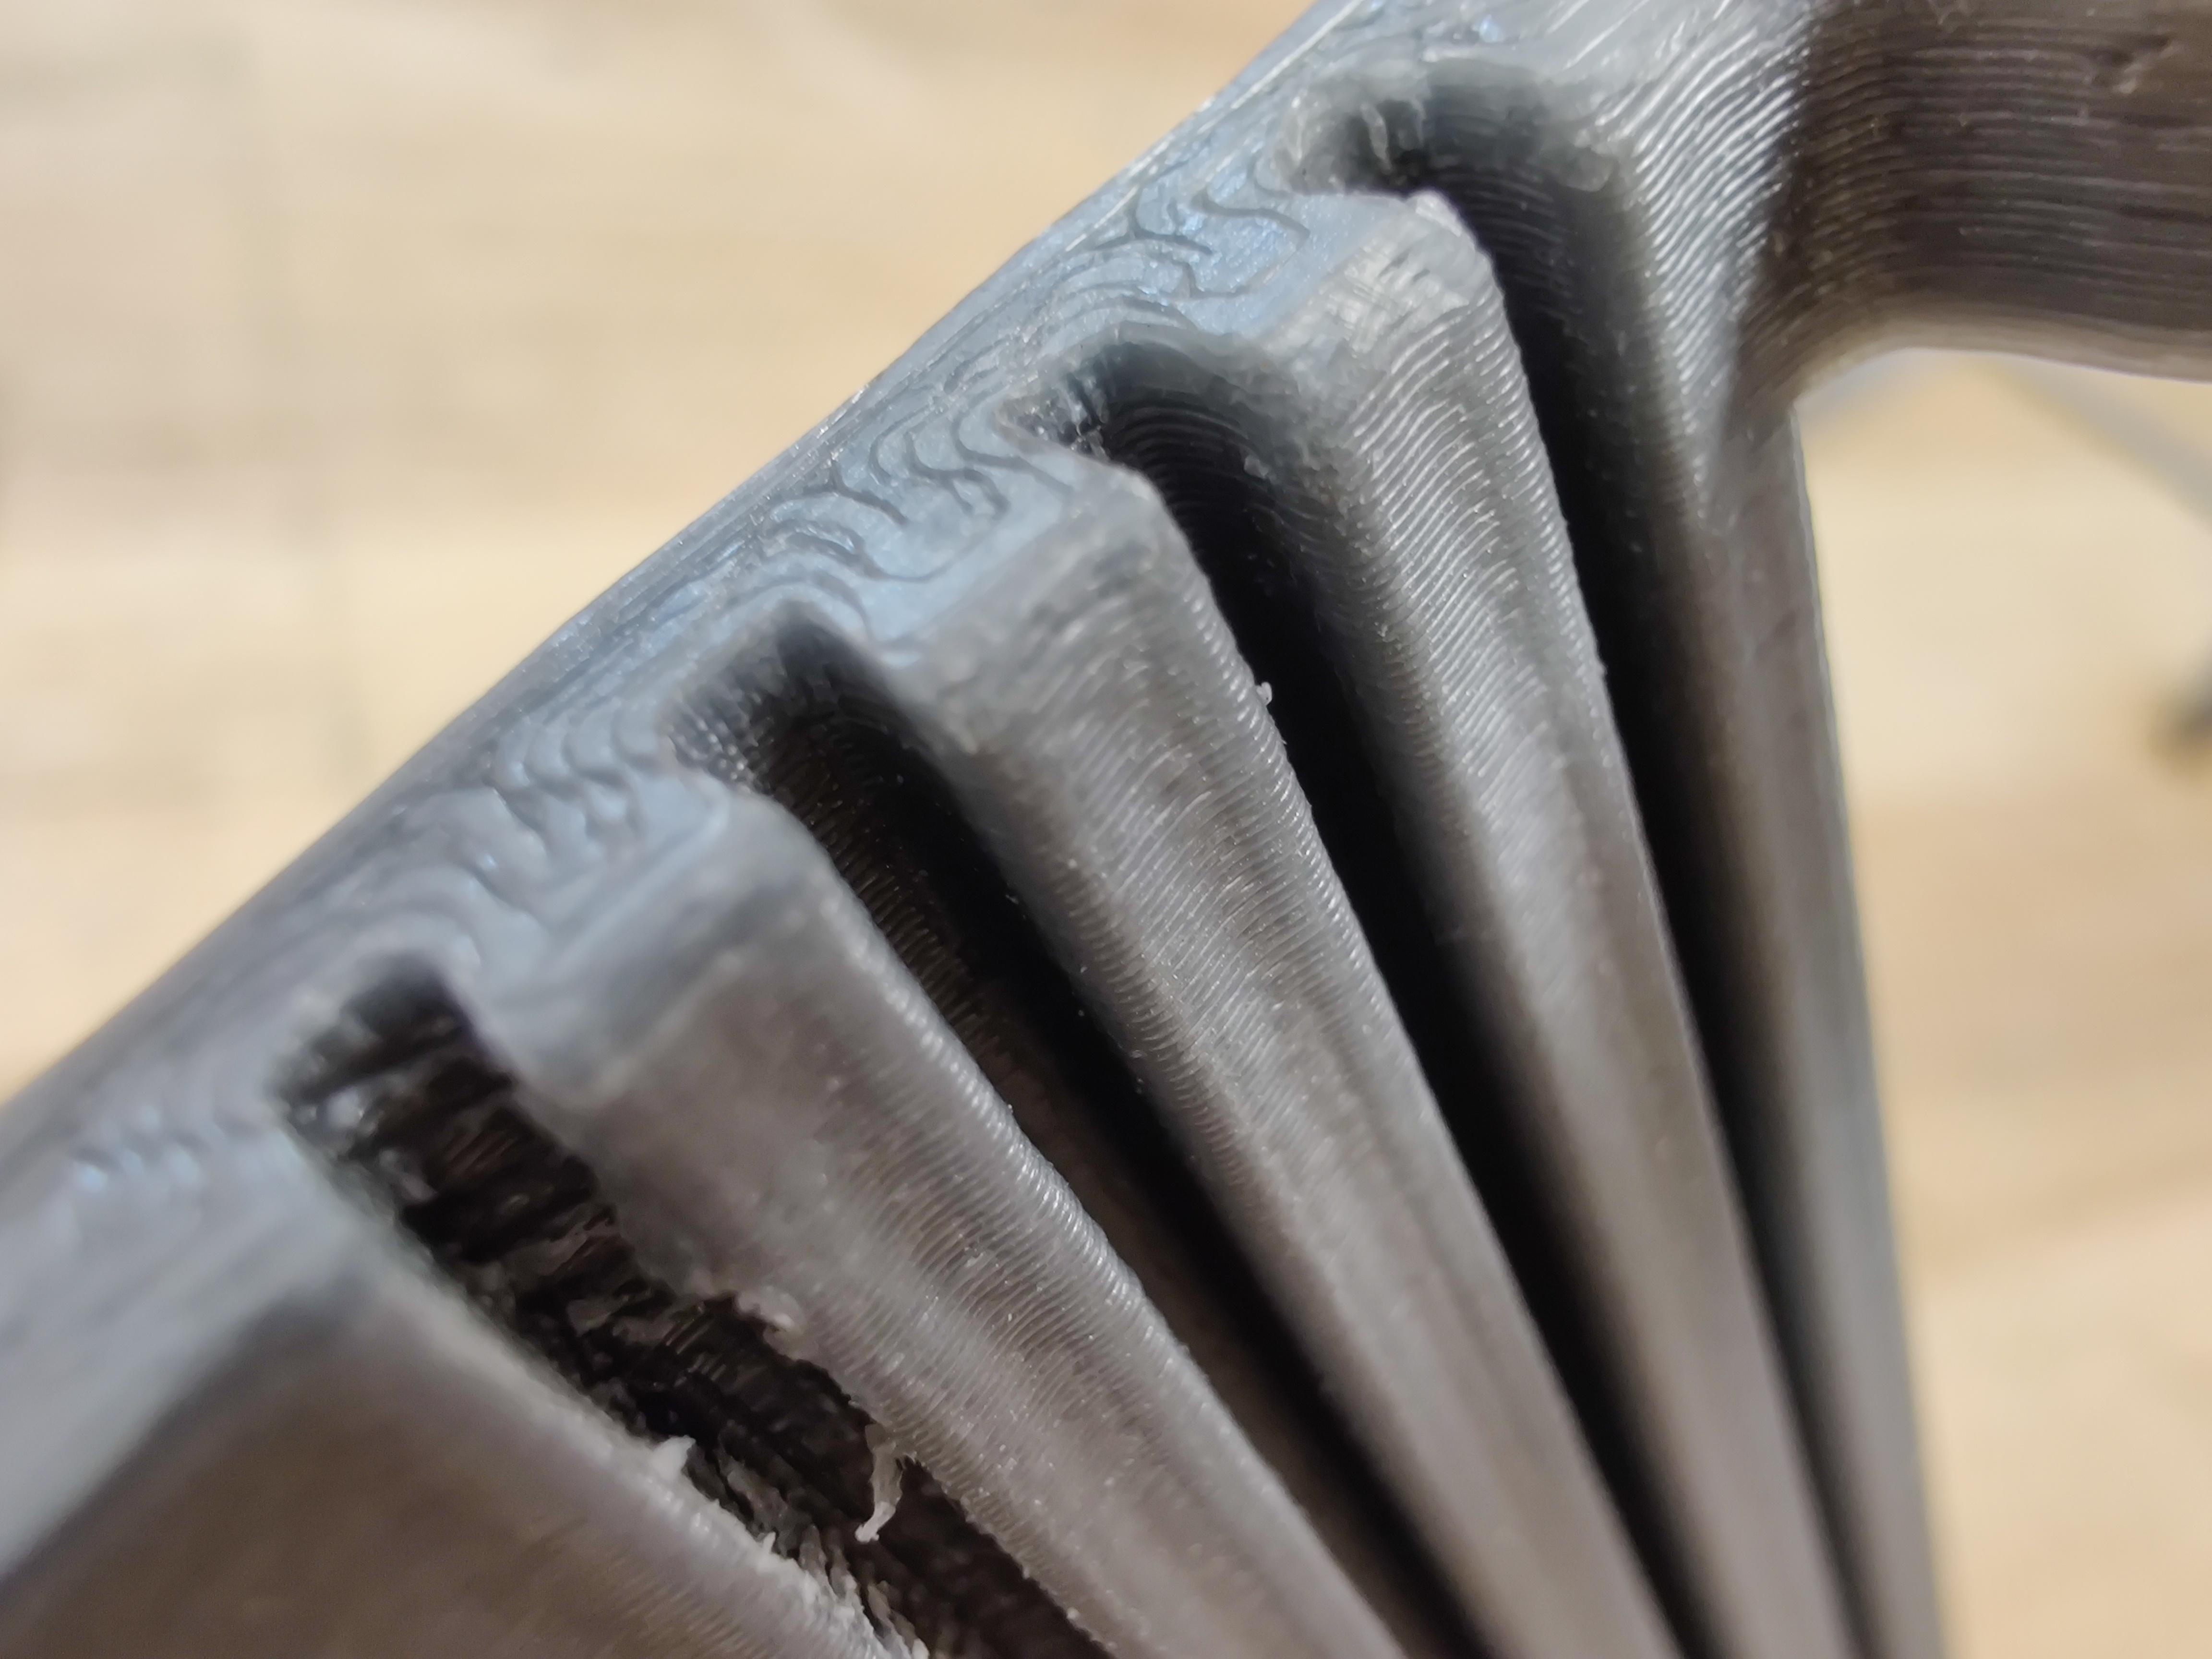
While hopefully your prints need minimal post-processing, mine certainly needed some cleanup. I started by removing the brim and cleaning up the edges that were on the build plate. This is best done with a deburring knife, but since I didn't have one available, I used an x-acto and some sand paper. This is something you'll be seeing whenever you're at your computer, so it's probably something worth taking a little time to clean it up. It's also important to deburr the insides of each of the screw holes, because the screws aren't meant to have much clearance and they might not quite fit if you don't deburr the holes.
Assemble Phone Mount
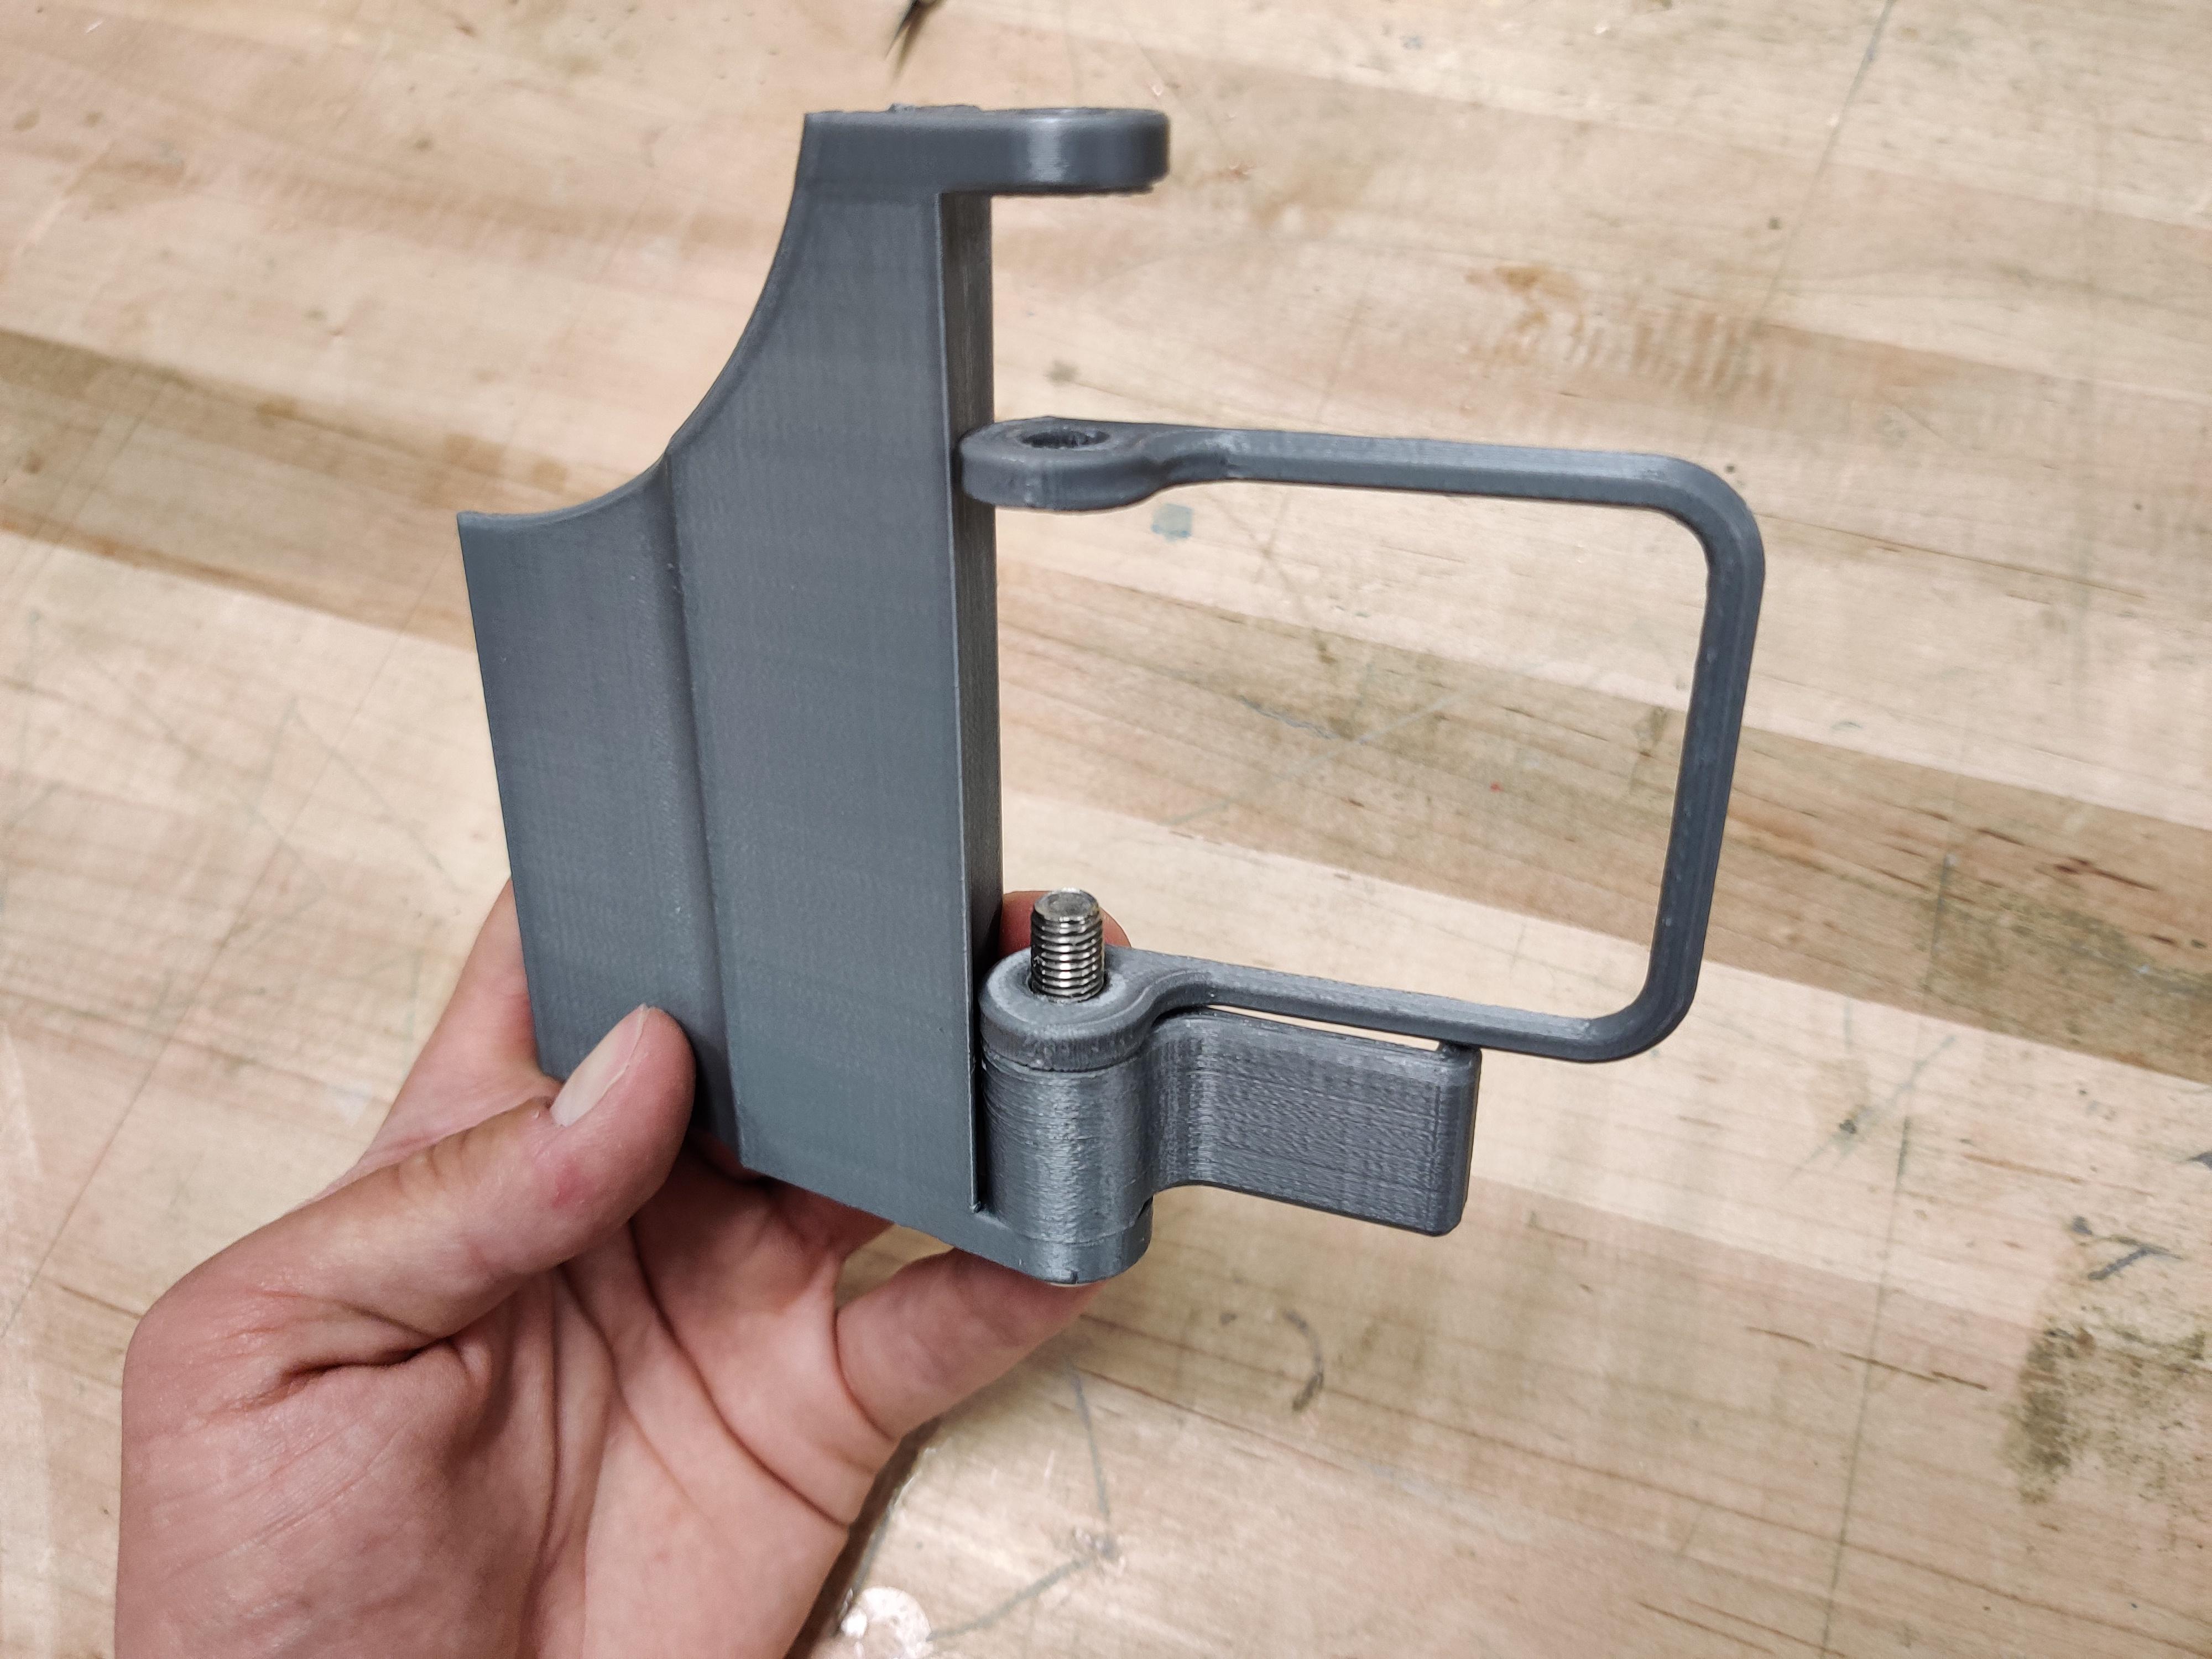
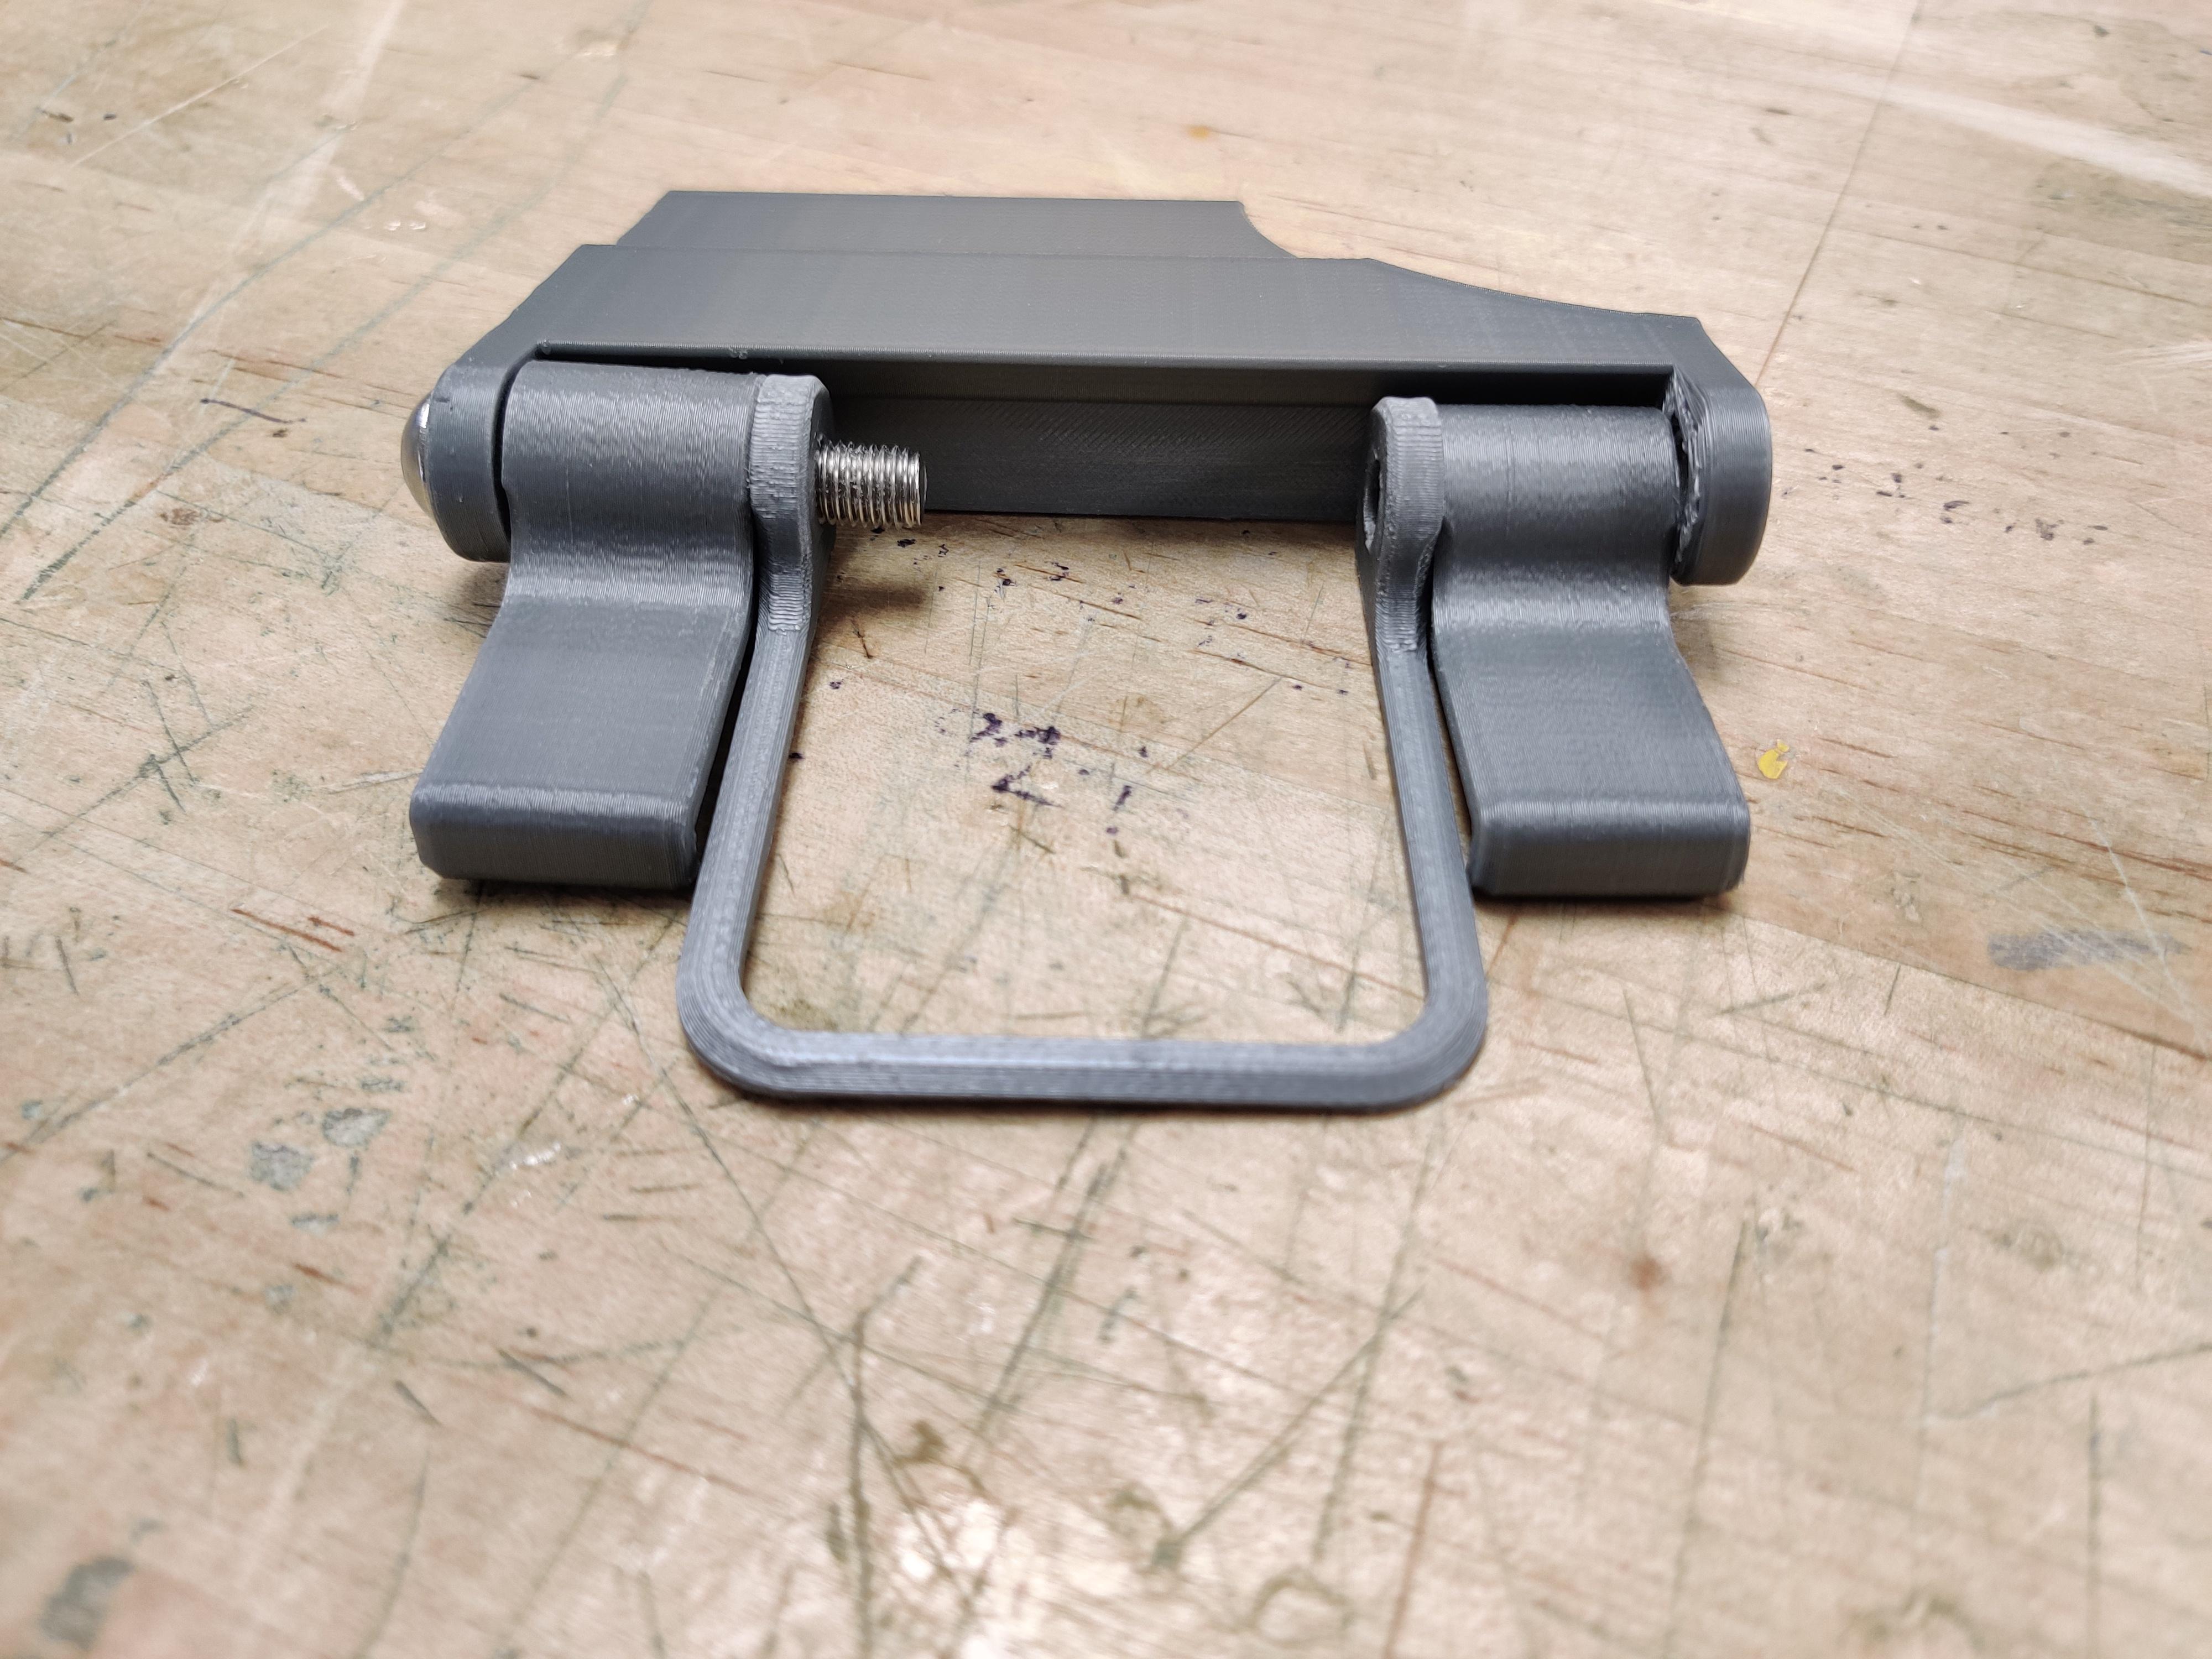
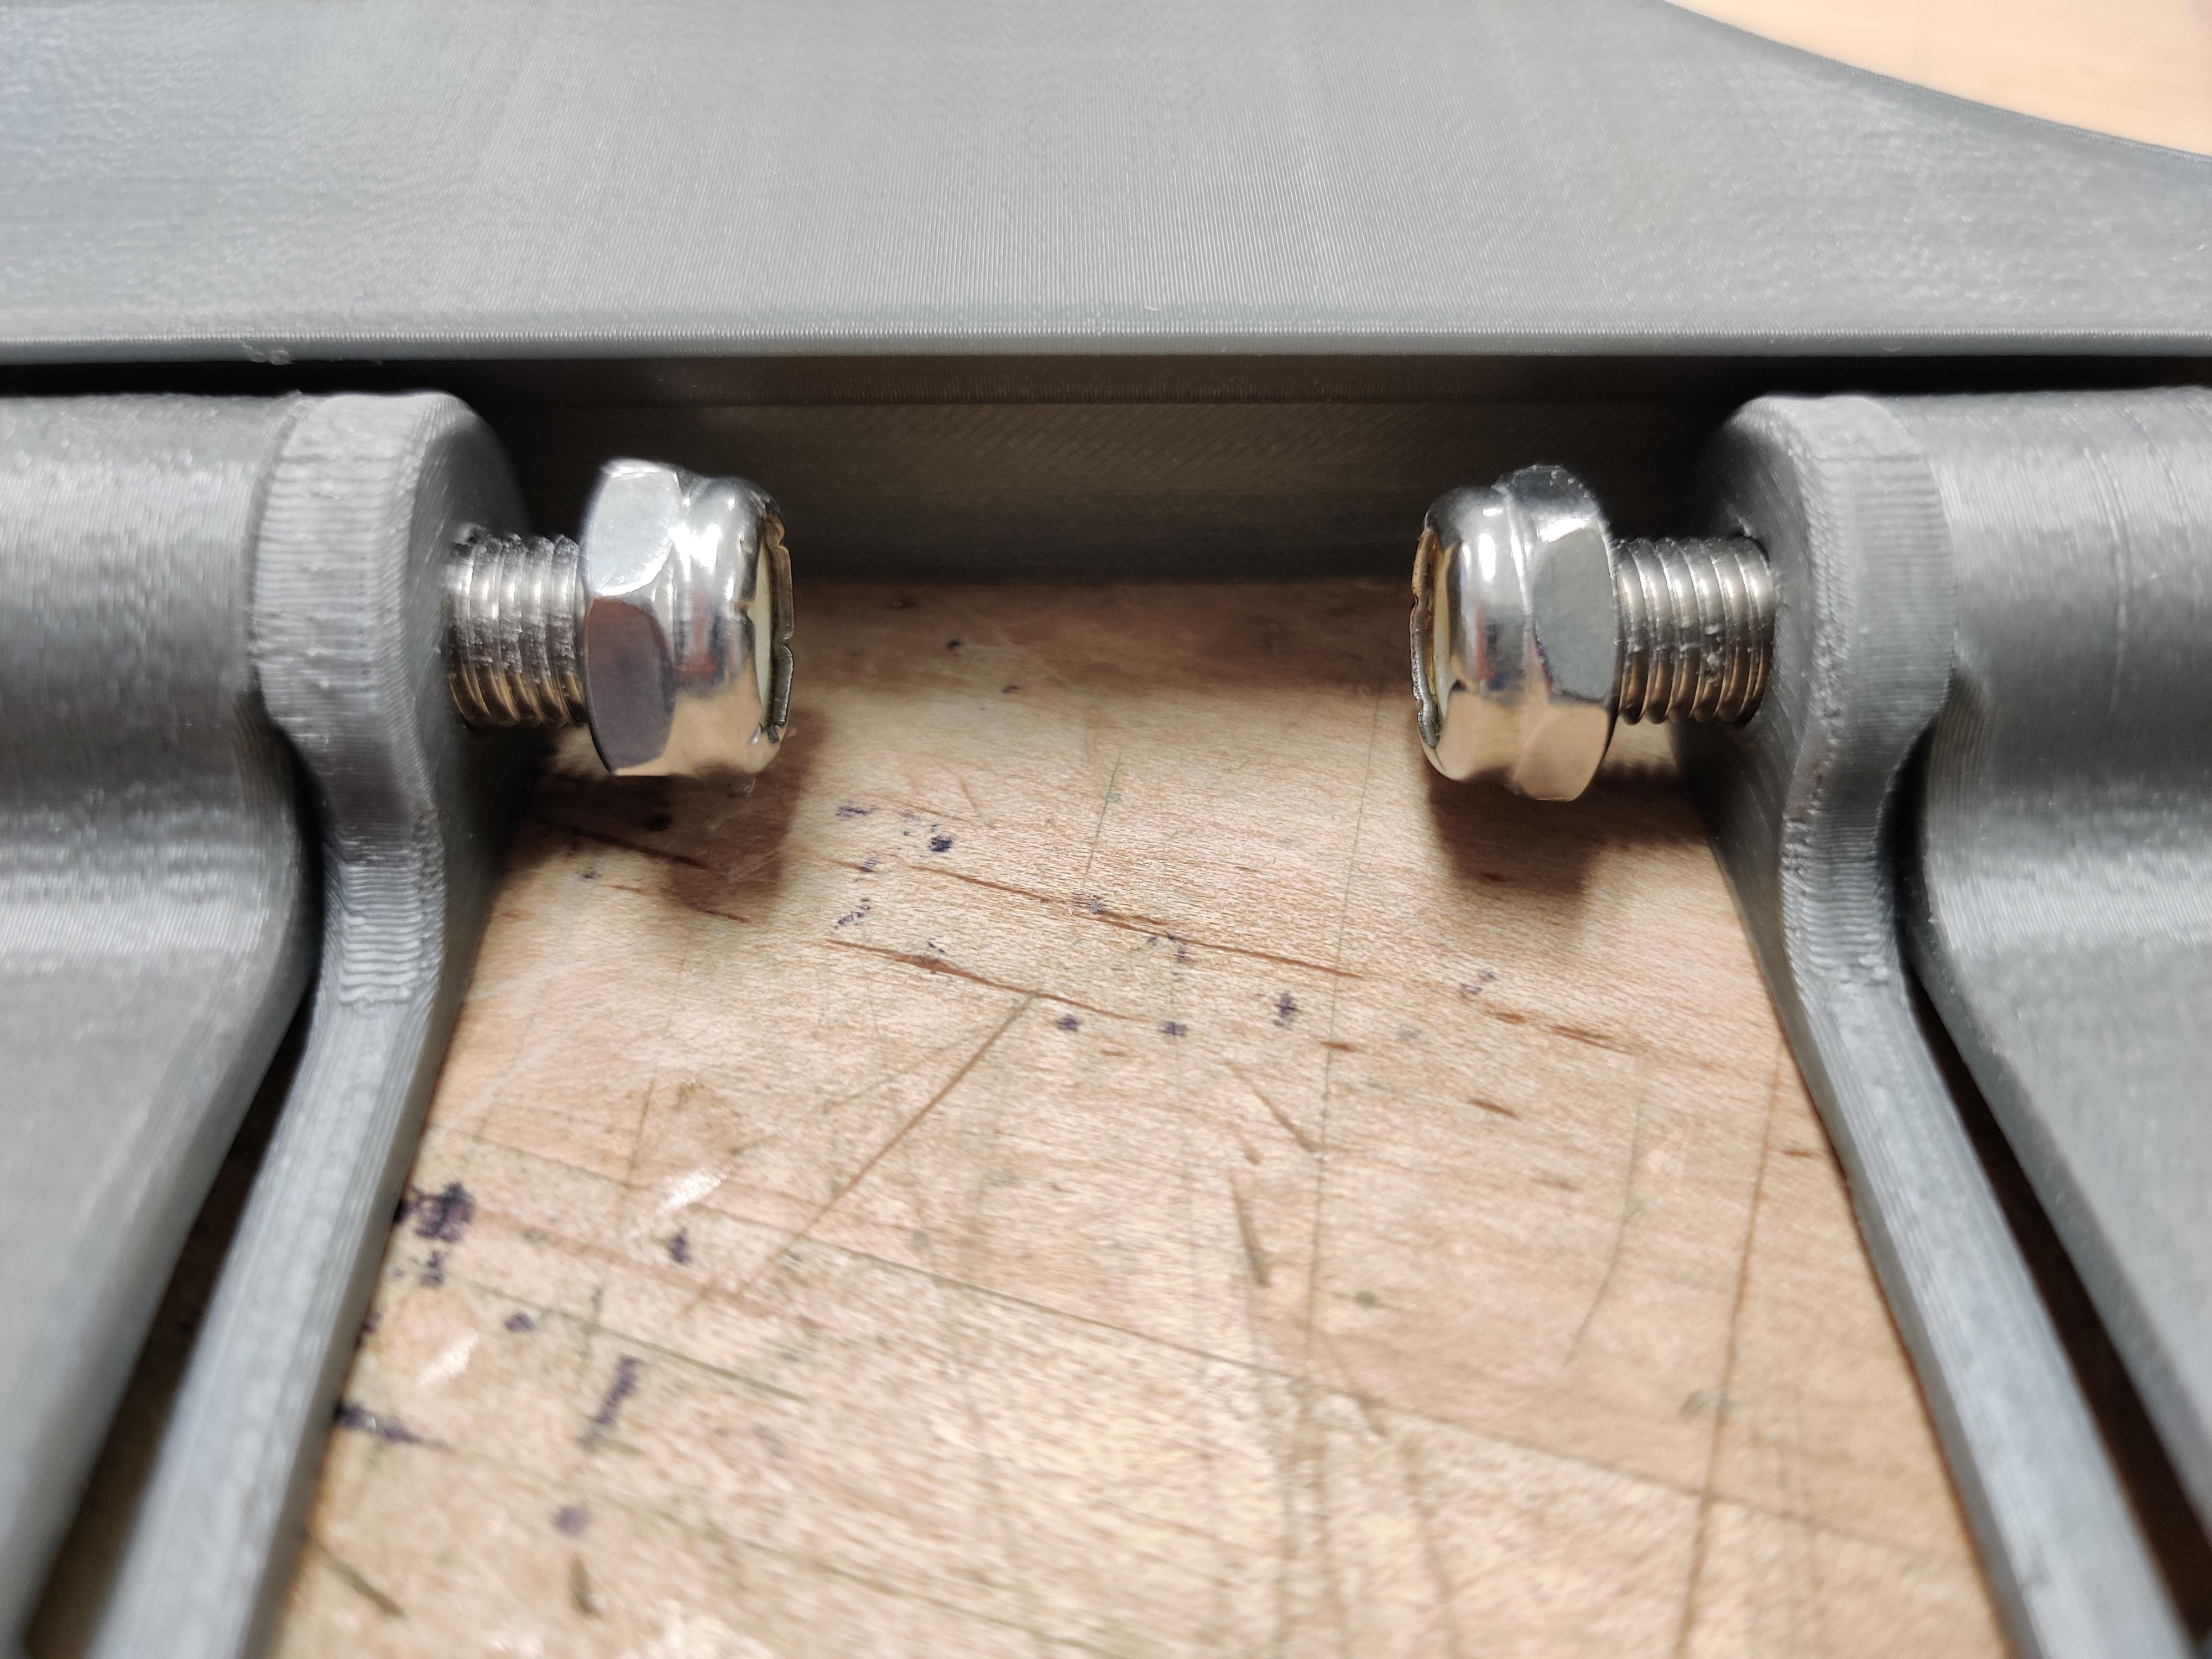
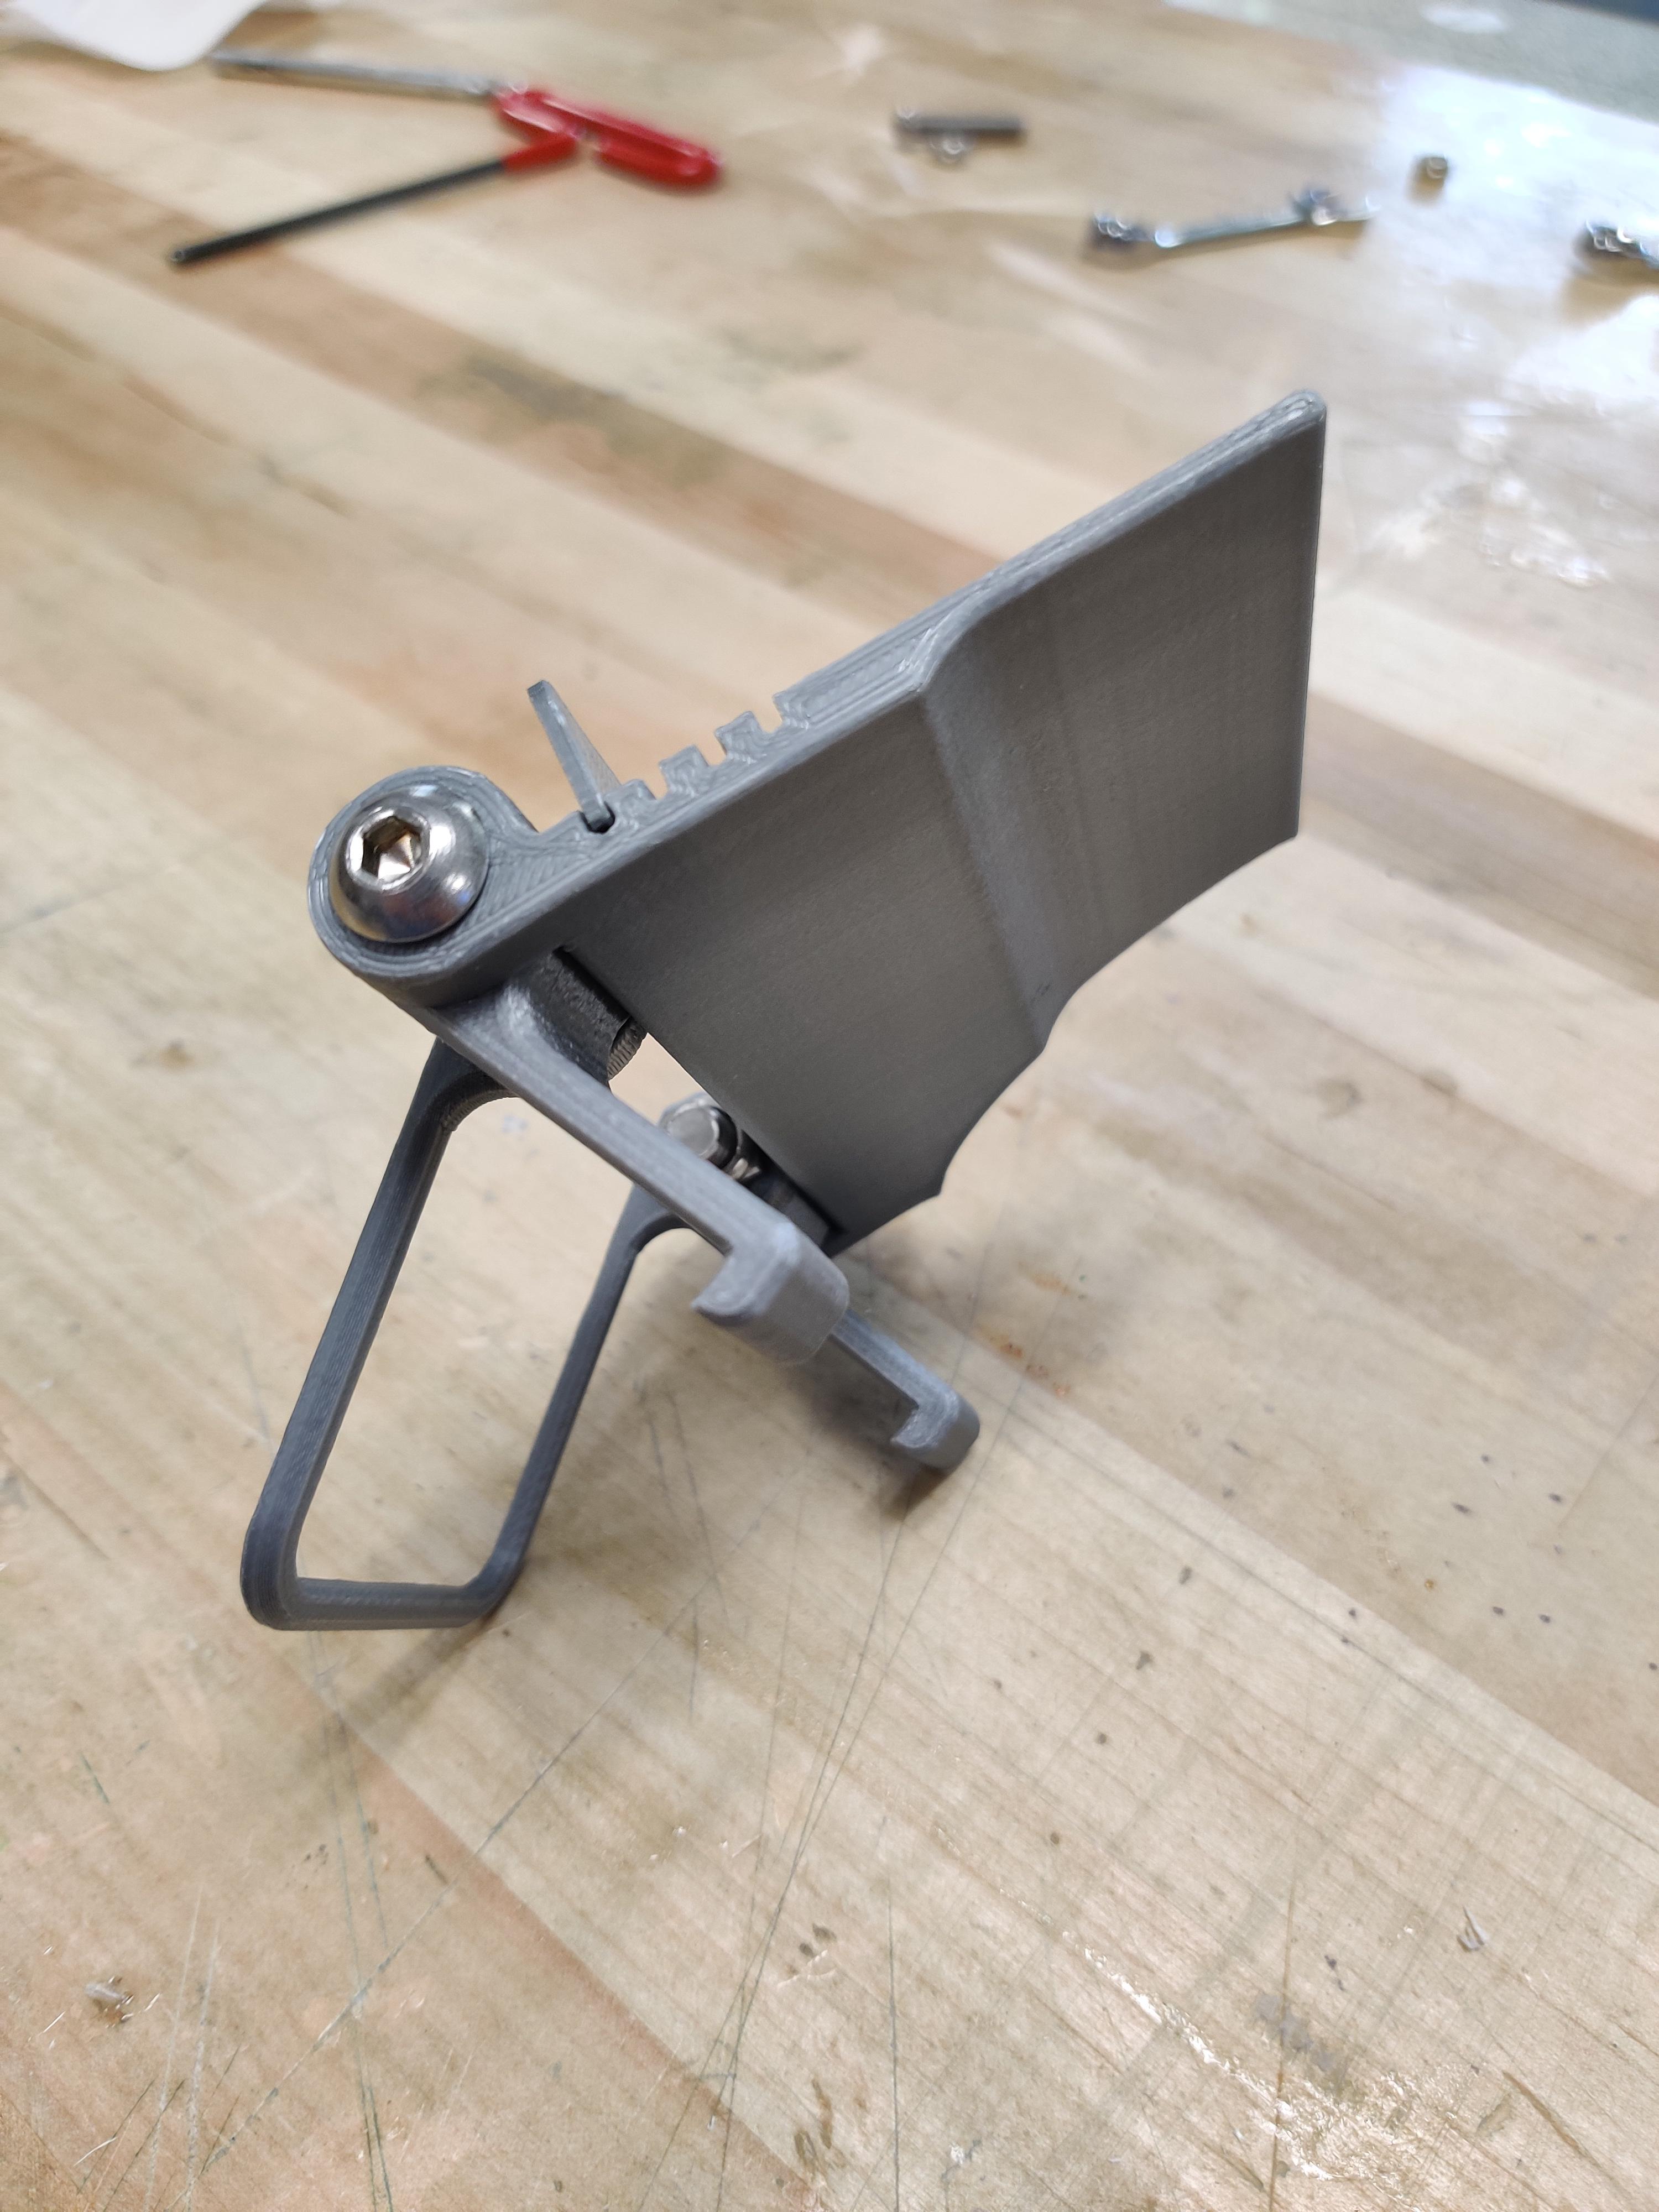
Once you have all your stuff cleaned up, it's time to assemble the phone mount. Line up a hook and the kickstand with one of the holes, in the orientation shown above. Then, add the screw and locknut and screw them together, but leave it pretty loose. After this, add the hook to the other side, add its screw, and leave that one slightly loose as well.
After you have both on, tighten one of them incrementally until you can pivot the hook and kickstand with a little bit of force, but make sure it's tight enough that it won't move under the weight of the phone. Do this to the other side, and it's almost together.
Finally, you need to add the ledge. This will hopefully be a press-fit into one of the slots in the main body, though it might take some sanding if it's tight or masking tape if it's loose to get it just right. The particular slot you put it in should have your phone camera (I prefer the main camera, not the selfie-cam) just sticking out above the arched cutout. Start with the lowest level, which is preferable, but if your phone camera is covered by the main body at the lowest level, try the other levels until it isn't covered.
Install App on Phone
The app I've used for this is called DroidCam, and you can find it by searching "DroidCam" in the Google Play Store or the Apple App Store. There's also a paid premium version called DroidCamX, which gets rid of ads and allows higher-resolution video streaming, but I don't think this is necessary, because you don't notice the ads with your screen pointing away from you, and 720p video is plenty good and available in the normal DroidCam app. Also, your video is rarely streamed at more than 720p during video conferencing and the like anyway, so it doesn't make much of a difference. That said, the developers have made what seems to be a good app and I'm sure they're not getting much money from it, so I'm sure they would just appreciate the little kick-back if you use their product a lot.
For the app to work, you'll need to be connected to the same wifi network on both your phone and your computer, so go ahead and connect to whatever wifi network you'll be using once you have the app installed.
Install Client on Your PC
For you phone to send video to your PC, you need to install a piece of software on your PC that will talk with the phone, and "pretend" to be a webcam to your PC. For DroidCam, you can install this piece of software at https://www.dev47apps.com/. It's available for Windows, Mac, or Linux, though I've only tried the windows version.
You'll need to install the software, but I'd encourage you to read all the security information about it, and pay attention if your computer finds anything suspicious. I really don't think there's anything suspicious about the app or software, but I haven't looked into it enough to have the confidence to tell everyone on the internet that it's for sure safe, so you should look into it yourself.
Anyway, so long as you're comfortable with the software, follow the instructions to install it and make sure you're on the same wifi as the phone. If you're on ethernet, you may either be able to connect through your ethernet, if it's the same network, or you may need to be connected to both wifi and ethernet at the same time, which is something your computer should be able to do.
Connect Droidcam
The instructions for the app are a little sparse, but once you have both the app and the client installed, it's time to connect the two.
First, you open the DroidCam app on your phone. It should tell you what network you're on, and it should give you a "Wifi IP" and a "DroidCam Port." These are the identifiers that the client will look for to connect to your phone. It also gives you a web address that you can go to and see the video, although I don't think that can interface with other programs, so it's of limited use.
Once you have your Wifi IP and DroidCam Port, open up the client on your PC. If two windows pop up, go to the one labelled "connect," put your Wifi IP and DroidCam Port numbers into the window, check "video," select (from the 3 buttons at the top) "connect over wifi (LAN)" and hit start. You should see the video feed pop up in the DroidCam Client preview window. If the "connect" window doesn't pop up, click inside the big rectangle in the DroidCam Client window and you should see the connect window pop up, and you can perform the same steps as previously stated.
Now, you should be able to go into your video conferencing software or whatever else you use a webcam for, and change your webcam to "DroidCam Source [#]." After this, it should act like a normal USB webcam.
You need to reconnect when you restart your PC, but you can leave your phone running, and it shouldn't change the Wifi IP or DroidCam Port on you. The software on your computer also remembers the numbers, so starting it up should be quick and easy.
Adjust the Mount and Set Up Charging Cable
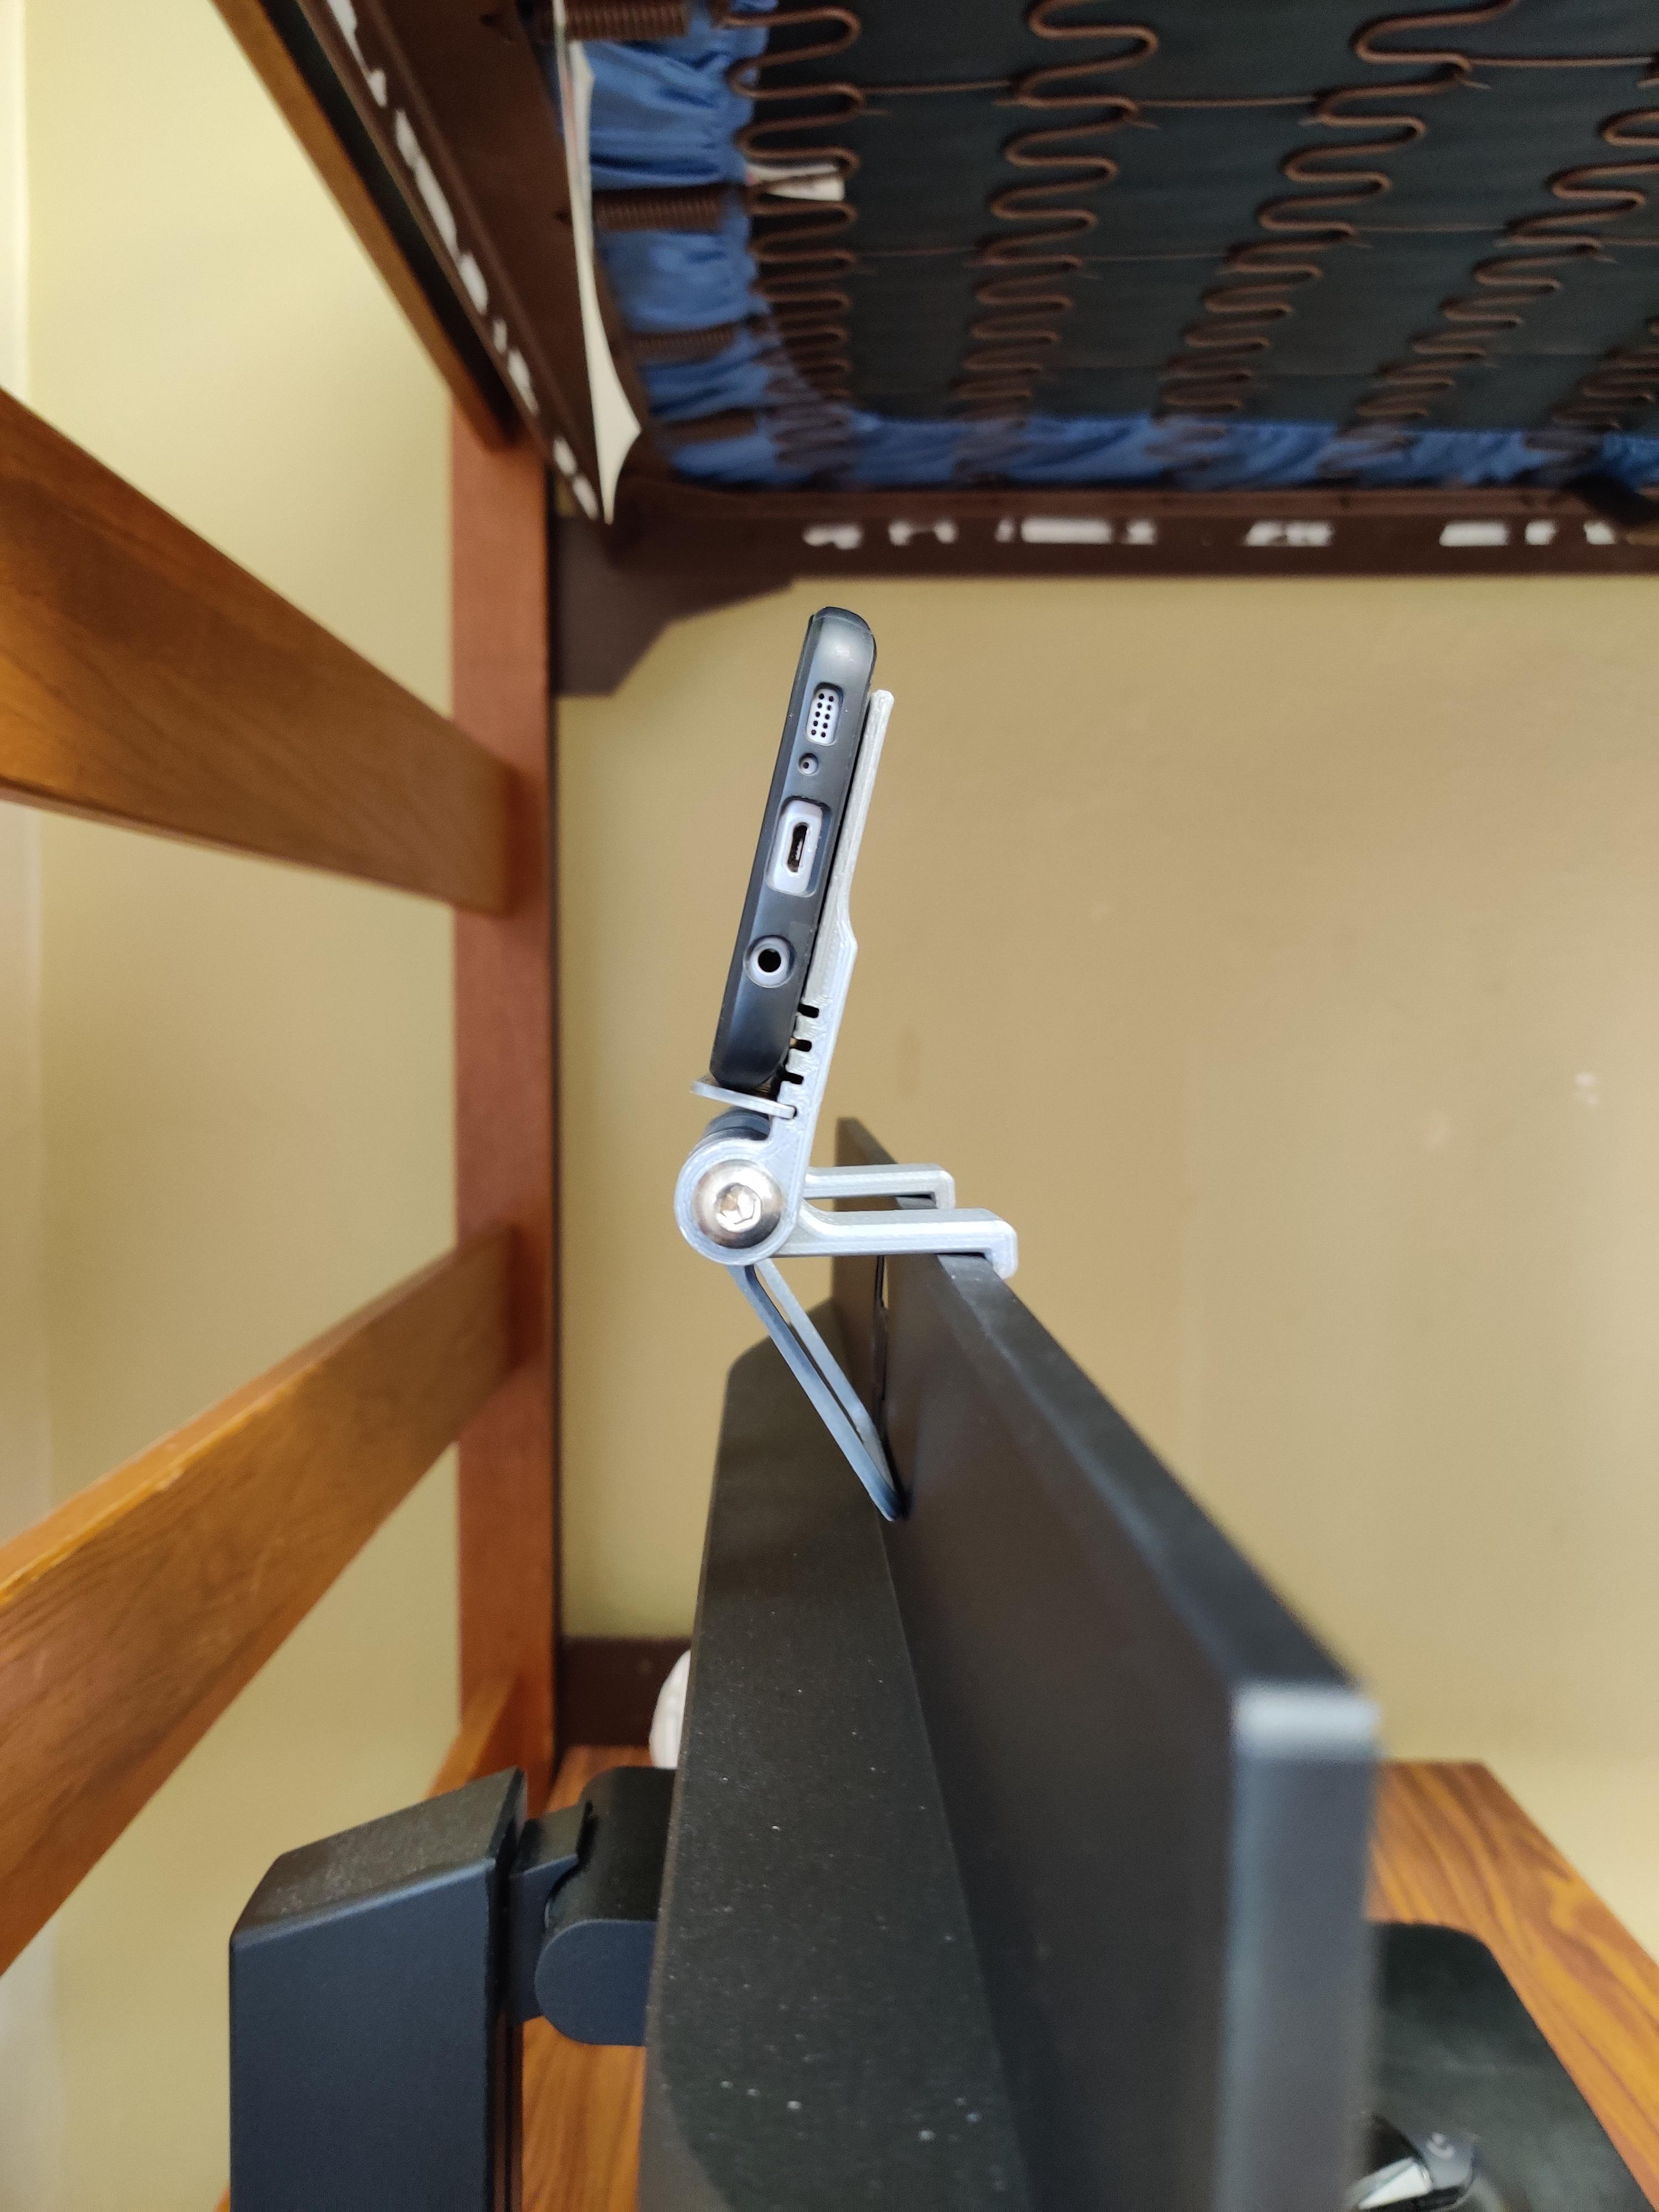
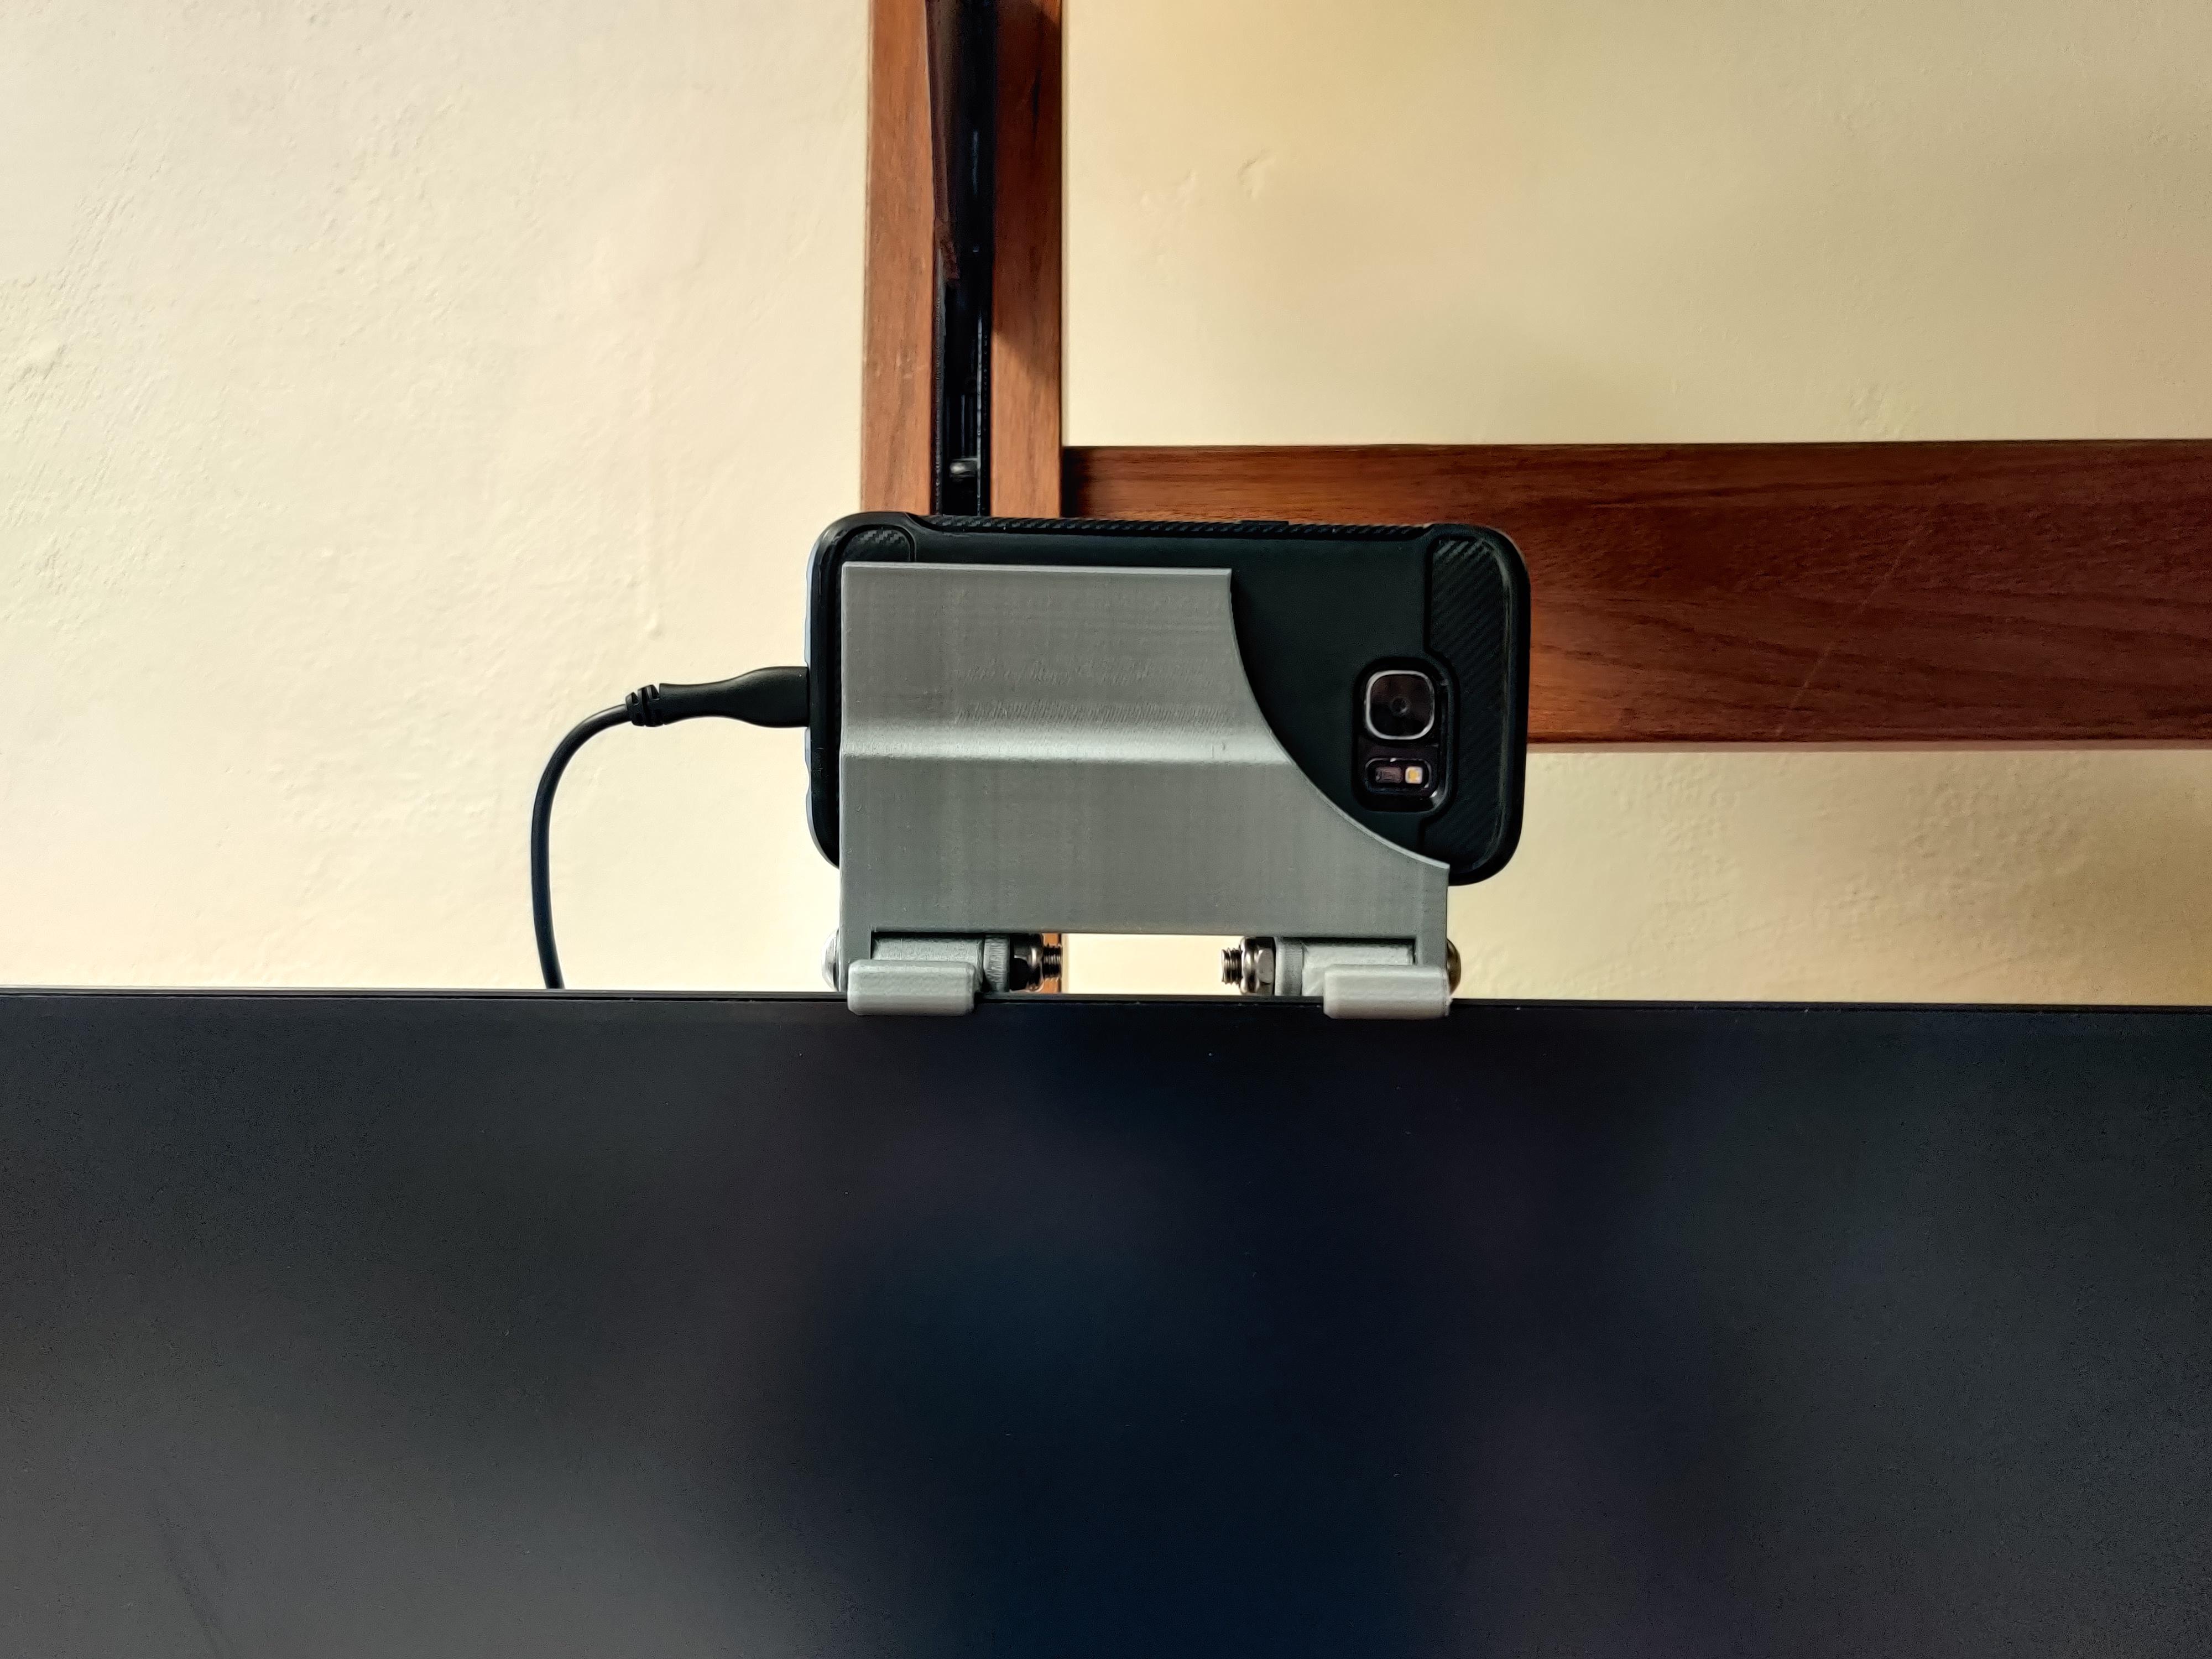
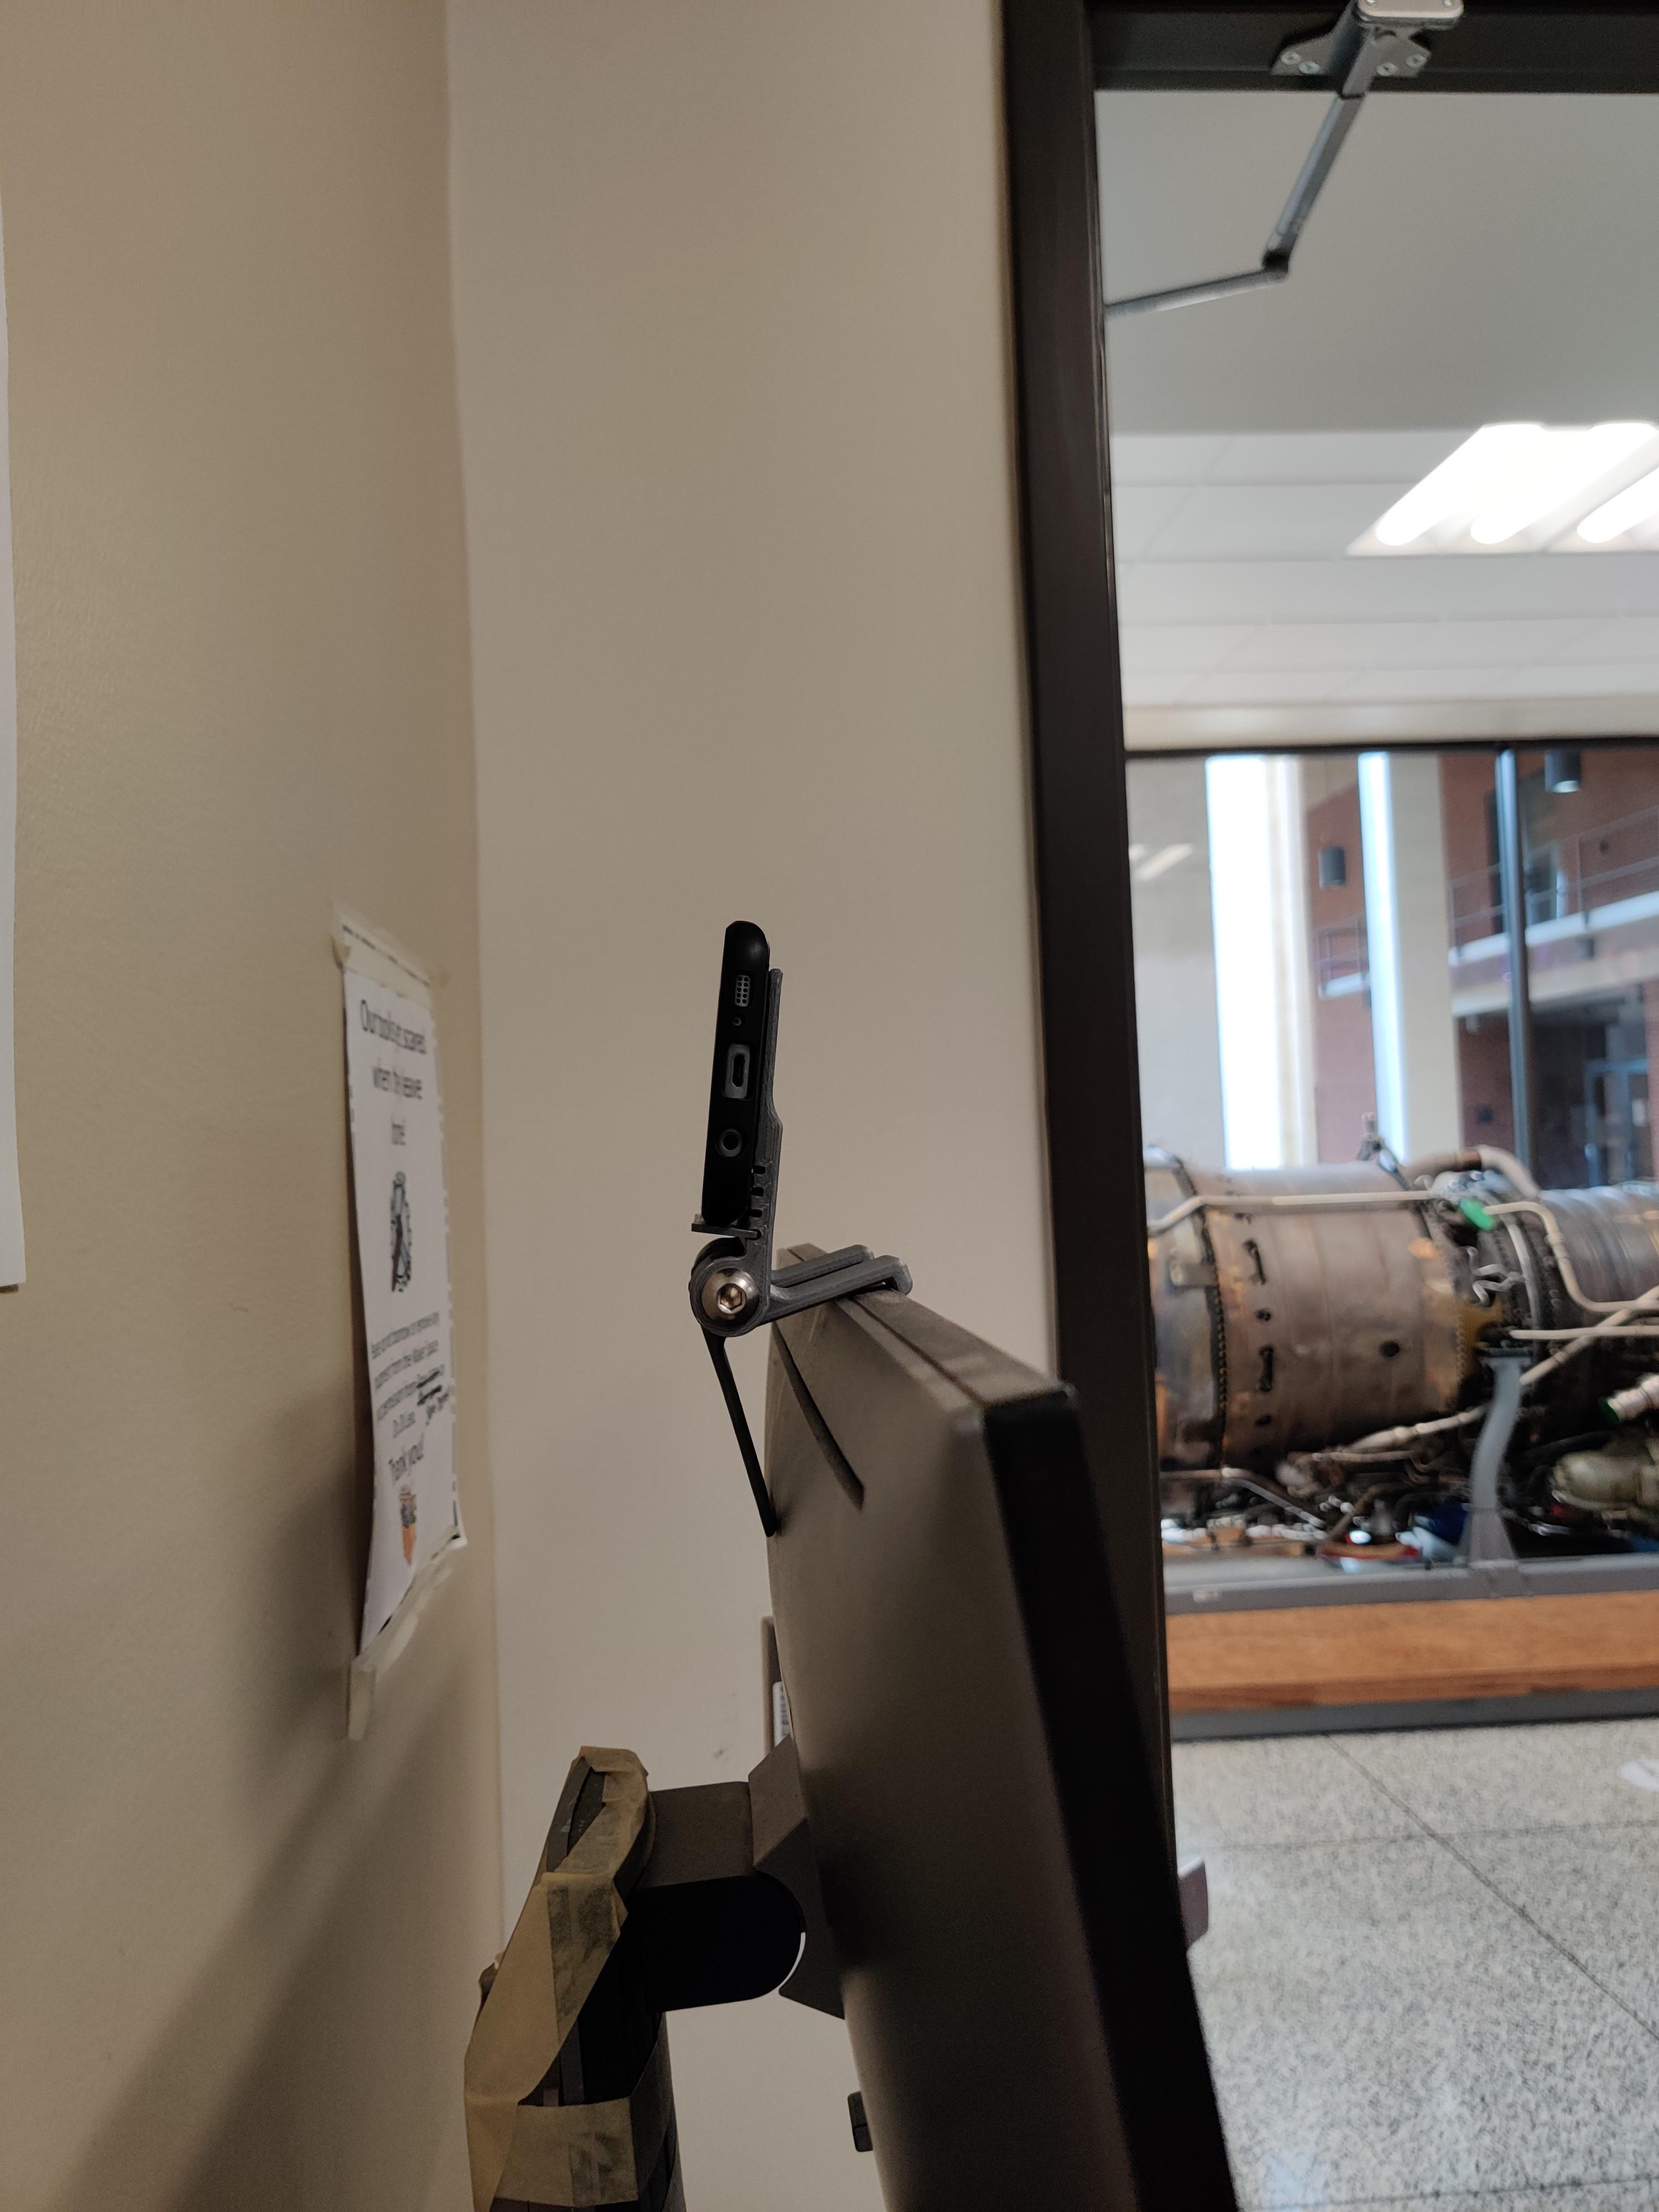
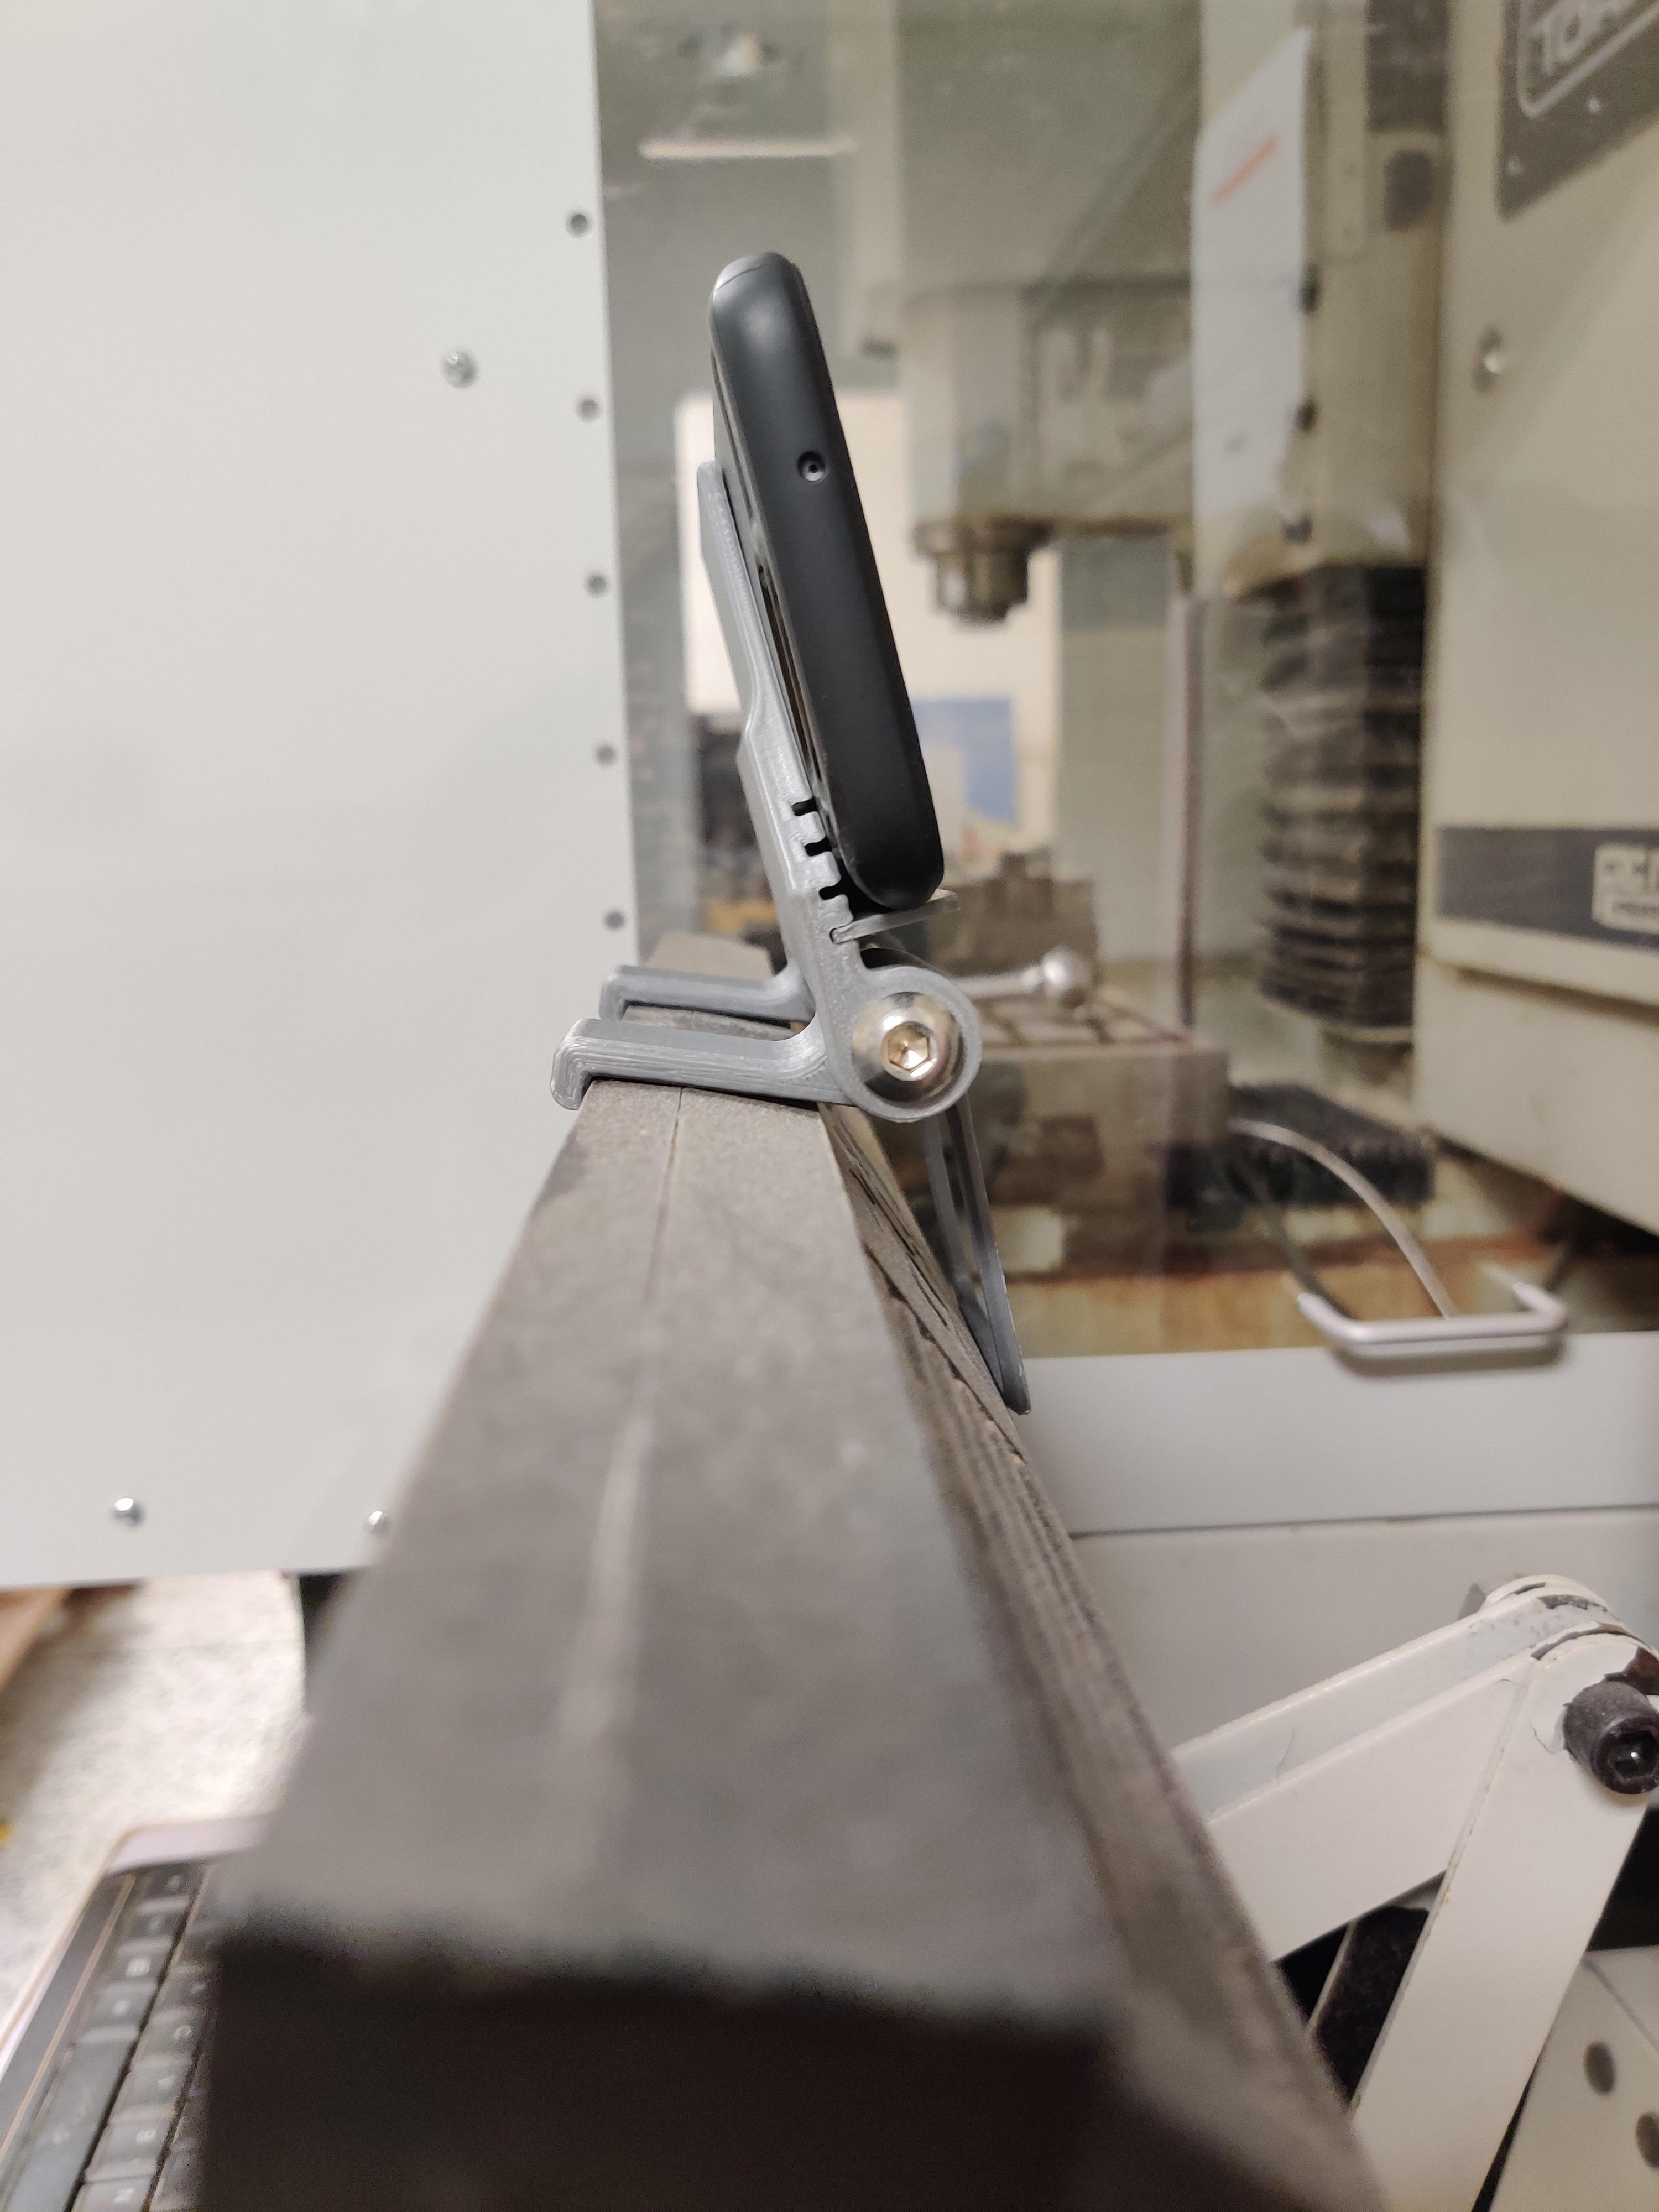
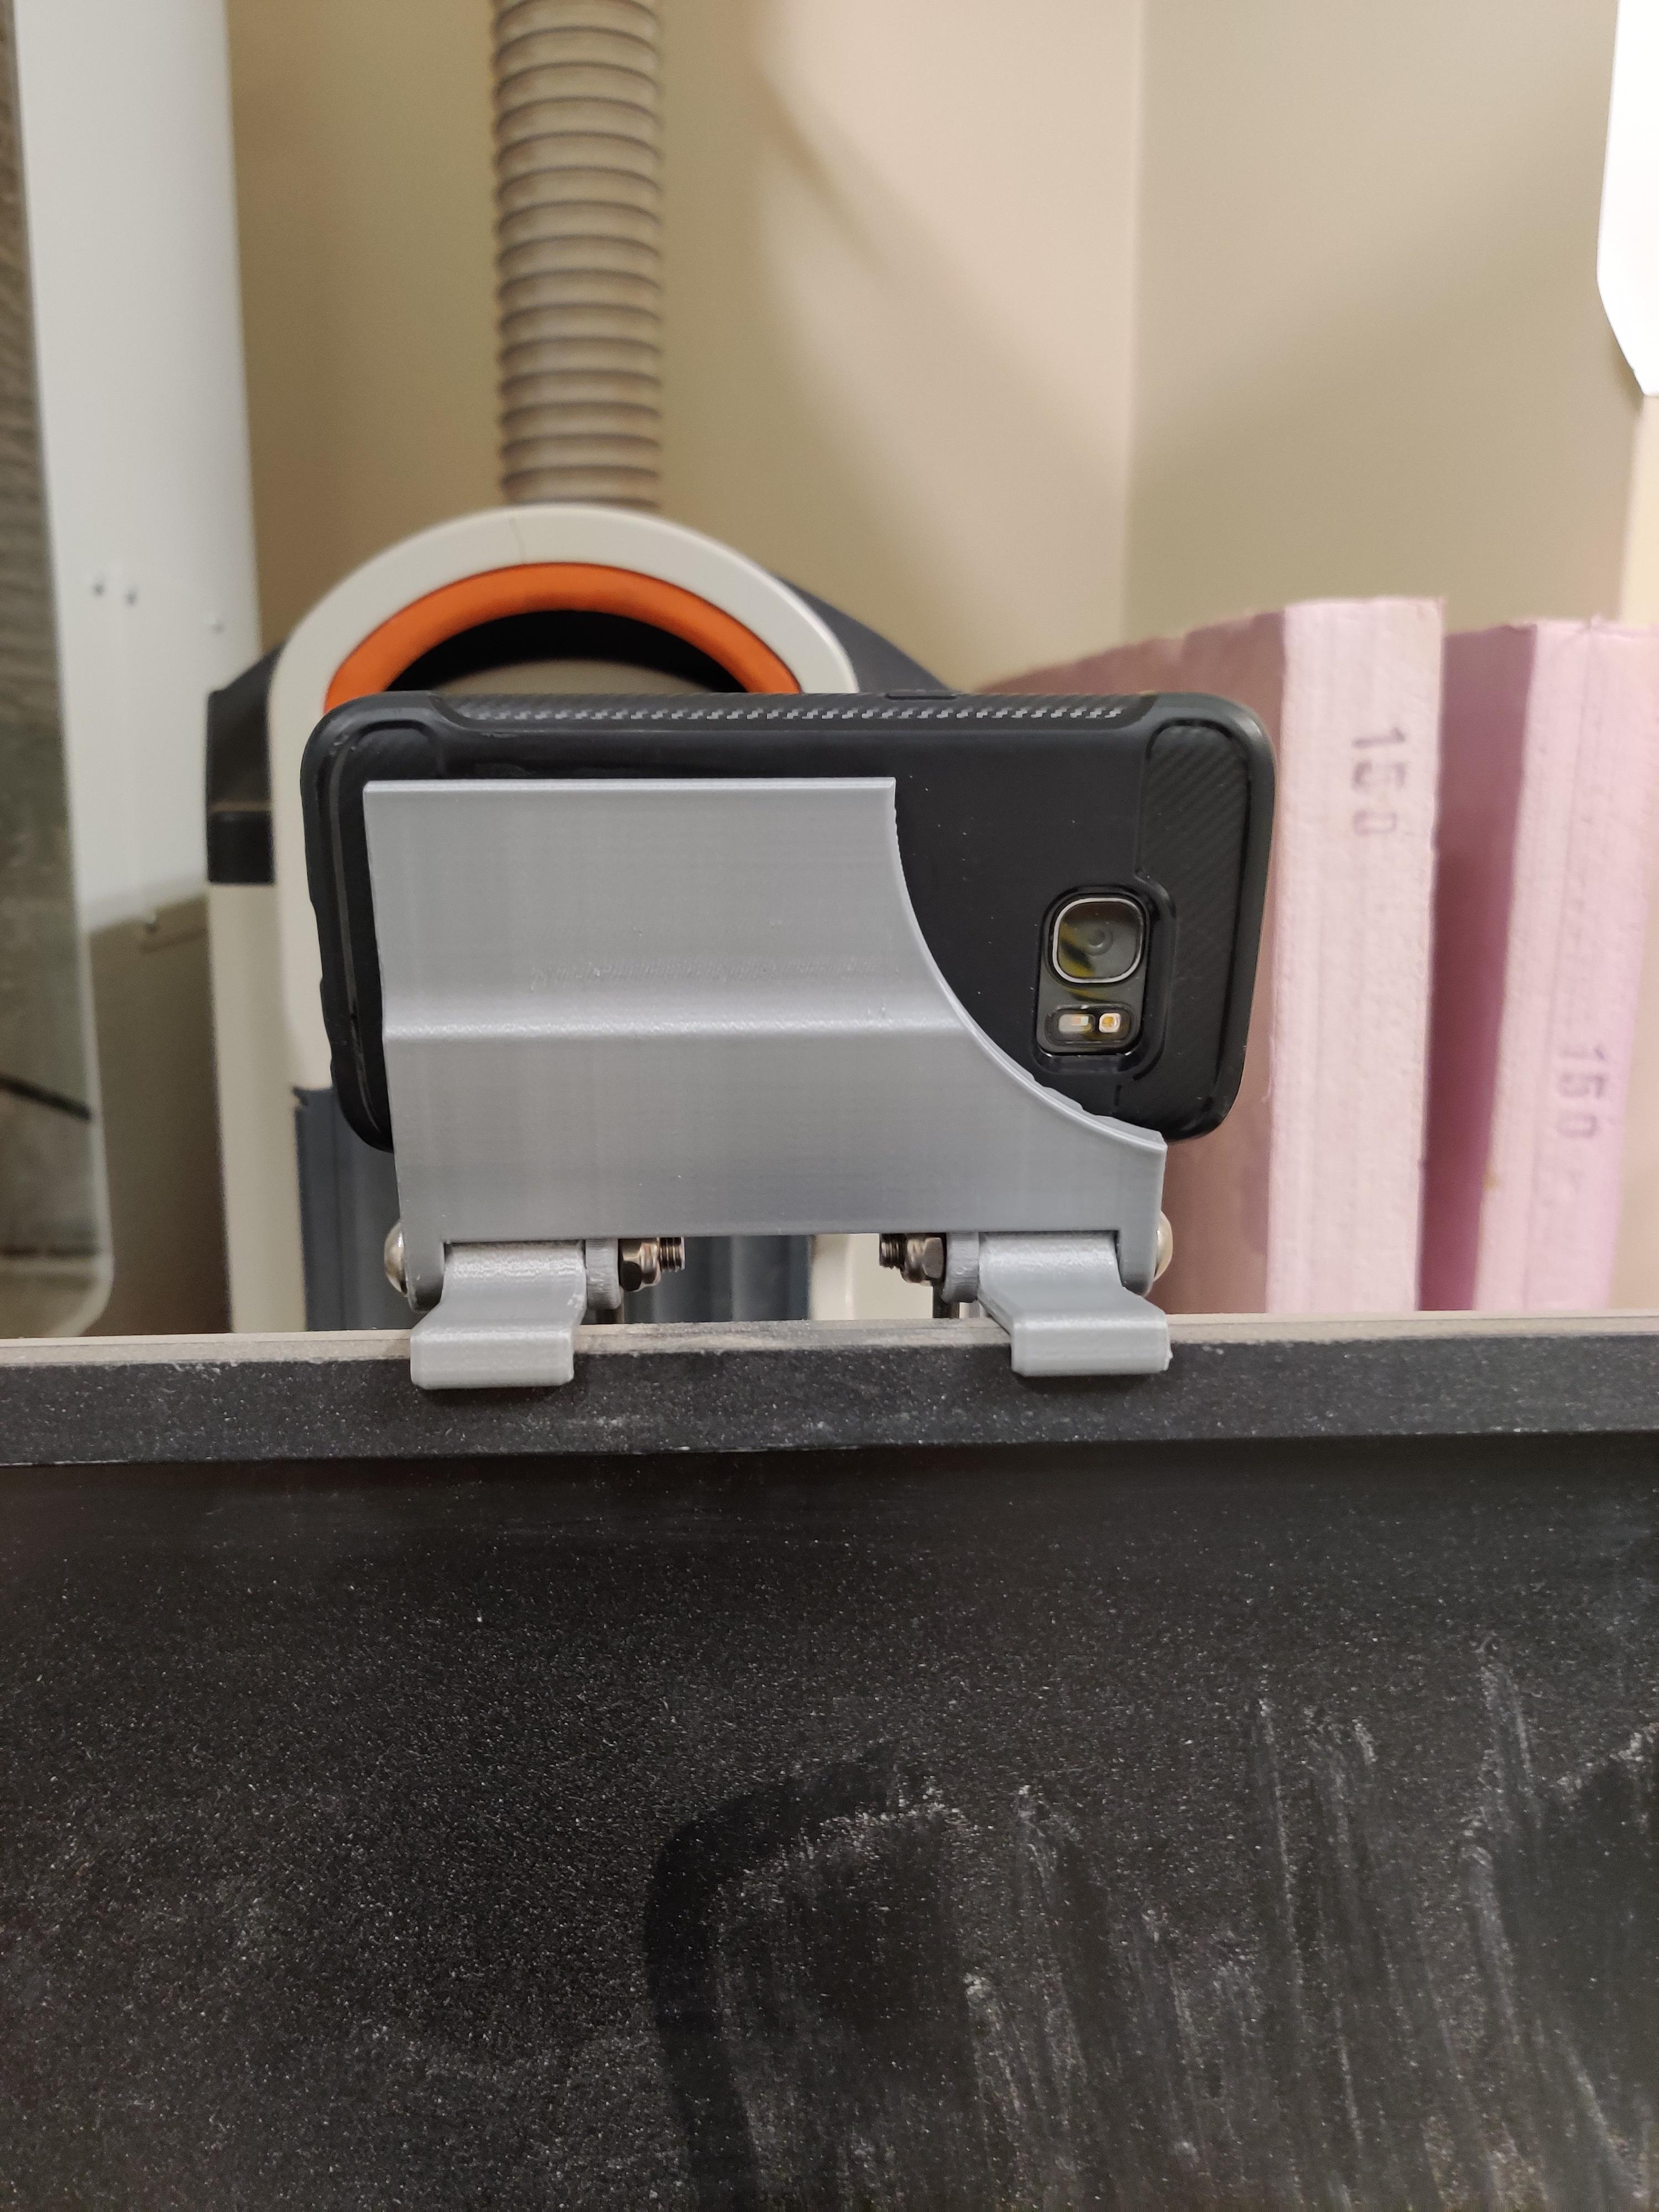
Finally, it's time for it all to come together. You can adjust the phone mount hopefully with just a little bit of force, and it should stay in place with friction. You want the hooks to hook over the front of your monitor, and be flat with the top of it. If you adjust it so the hooks point down (like towards your keyboard), the mount might fall over. It's designed to be adjustable for almost all types of monitor, and it worked on all of them that I tried.
If this is going to be your long-term webcam solution, like it is mine, it's worth making sure you have a charging cable handy. Although it doesn't need to be tethered to your PC, your phone battery will run out and it'll need charging, it's nice to have the charging cable by the mount. Routing it up the monitor mount's wiring solution usually works really well, and you can of course take the charging cable out whenever if you need to show someone something on your desk.
After this, you should be all set with a cheaper, better, trash-to-treasure-themed webcam!
Just Some Discussion
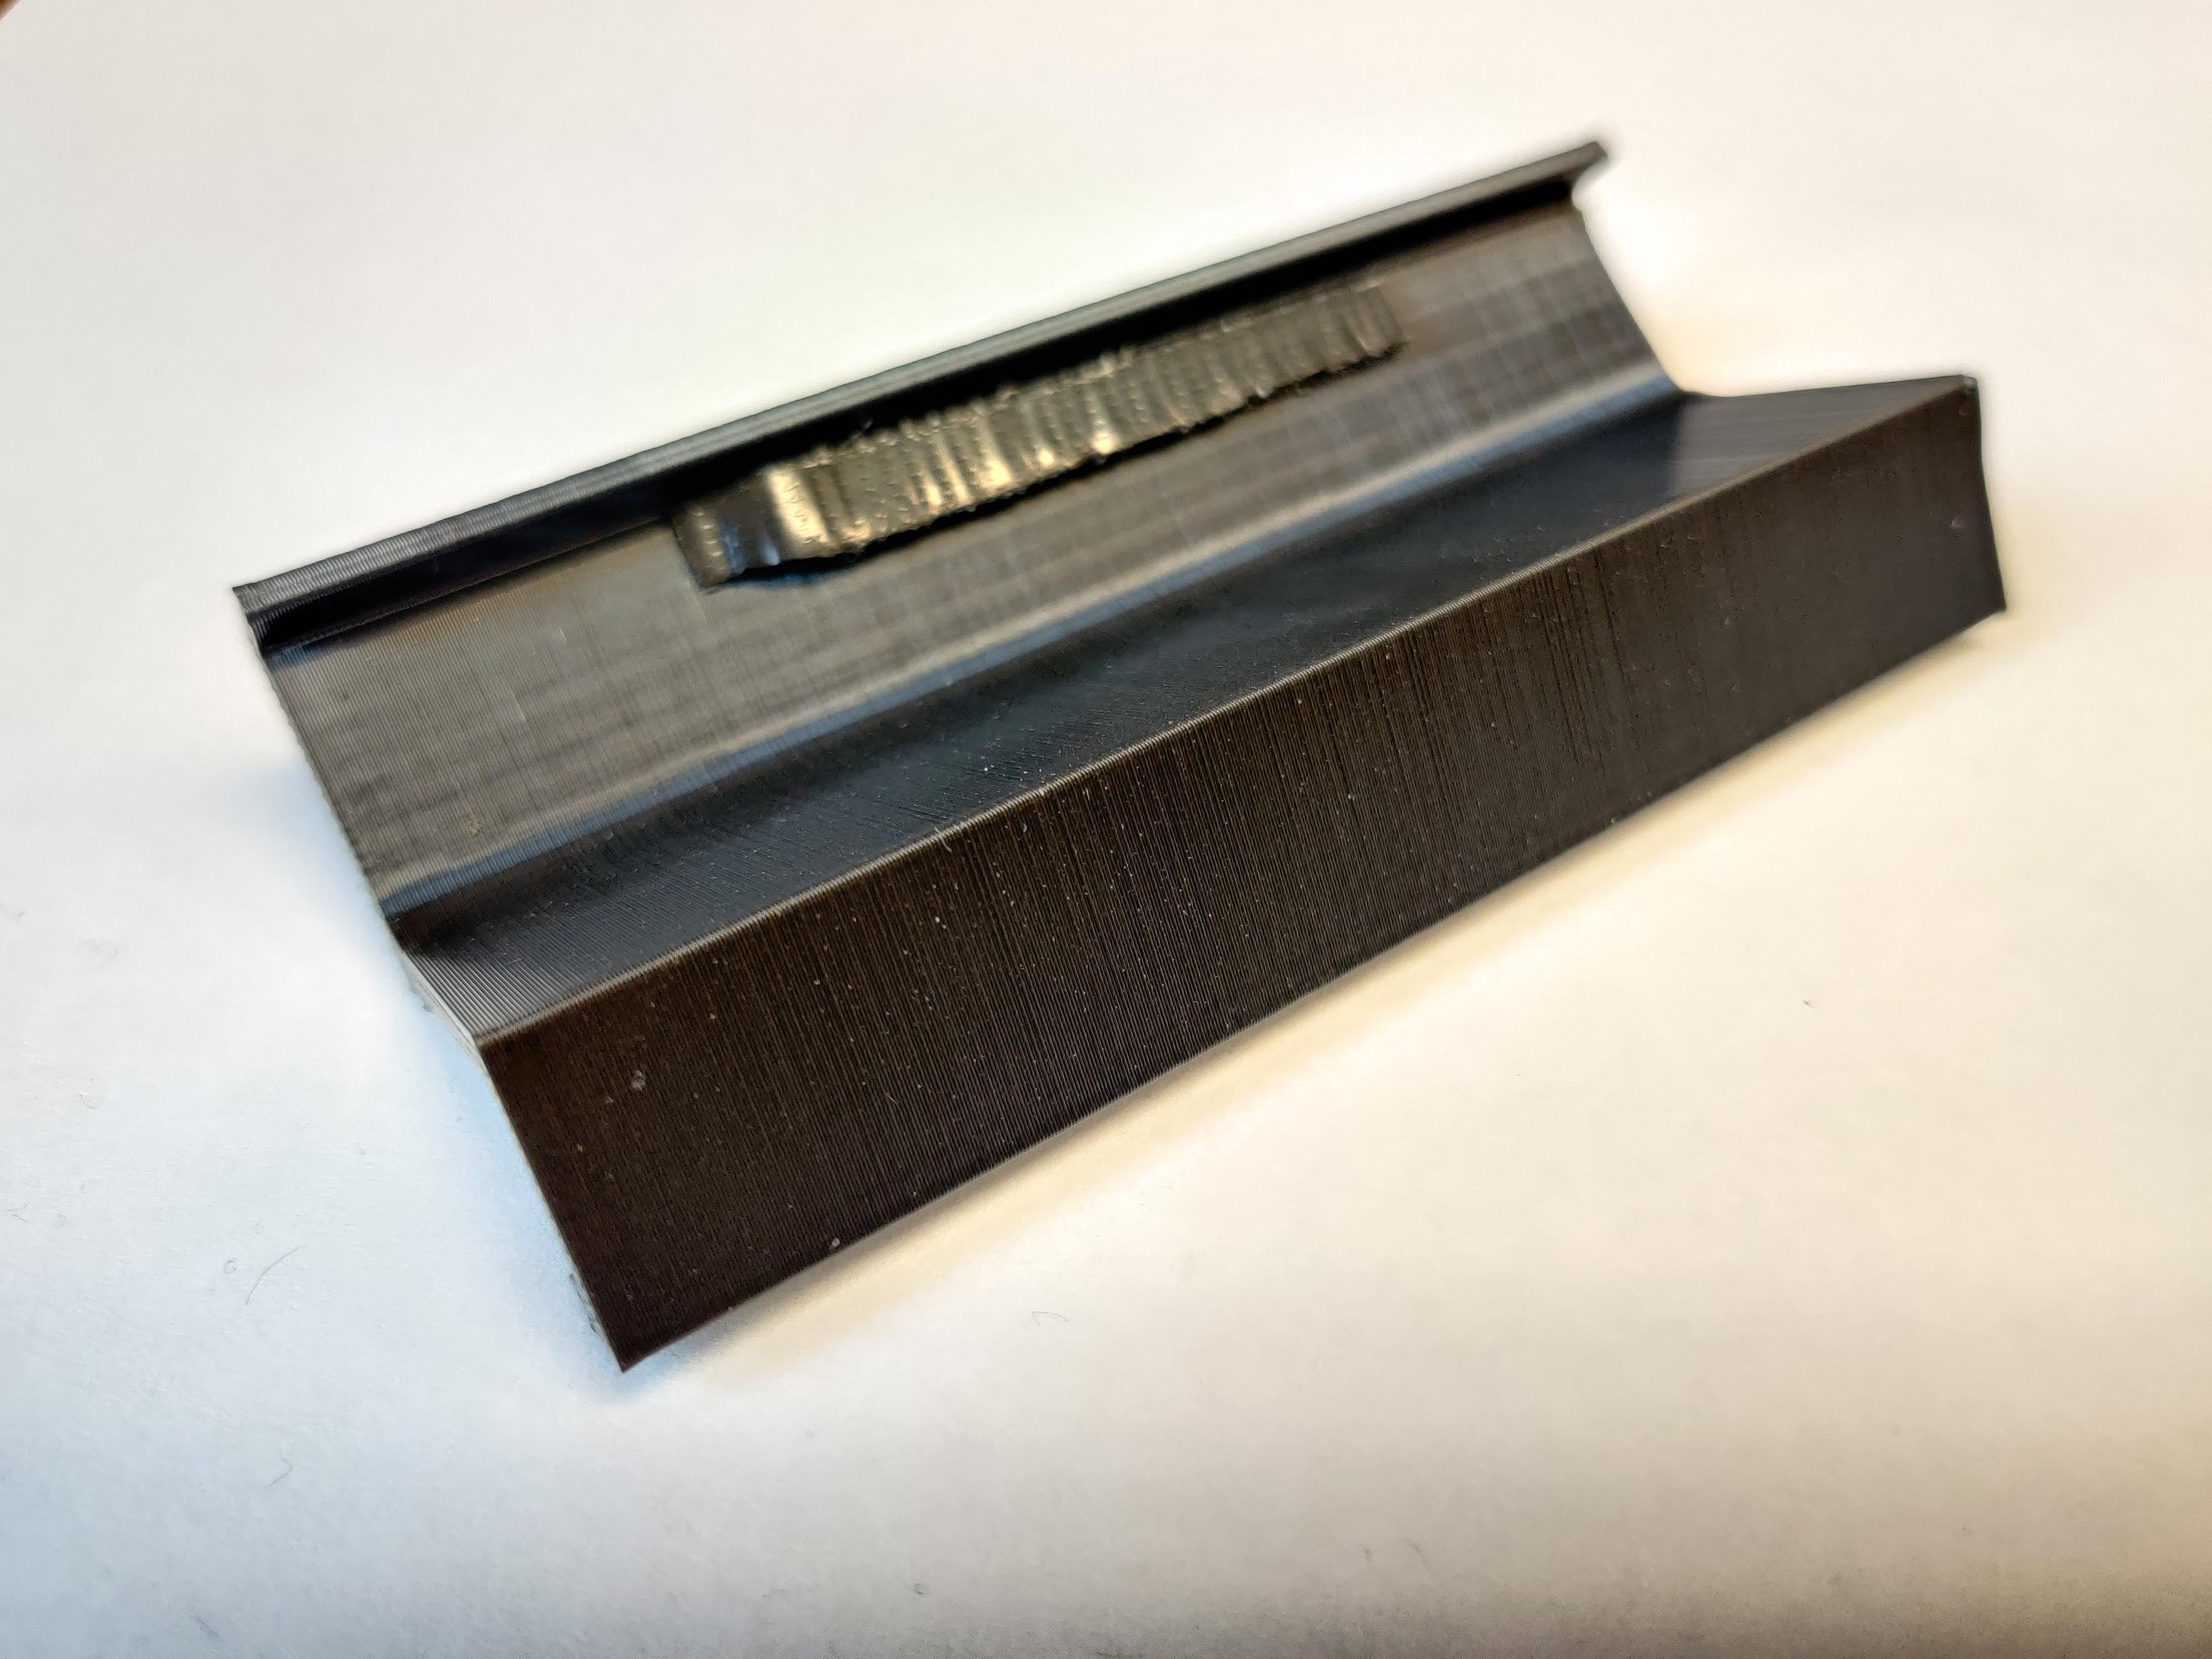
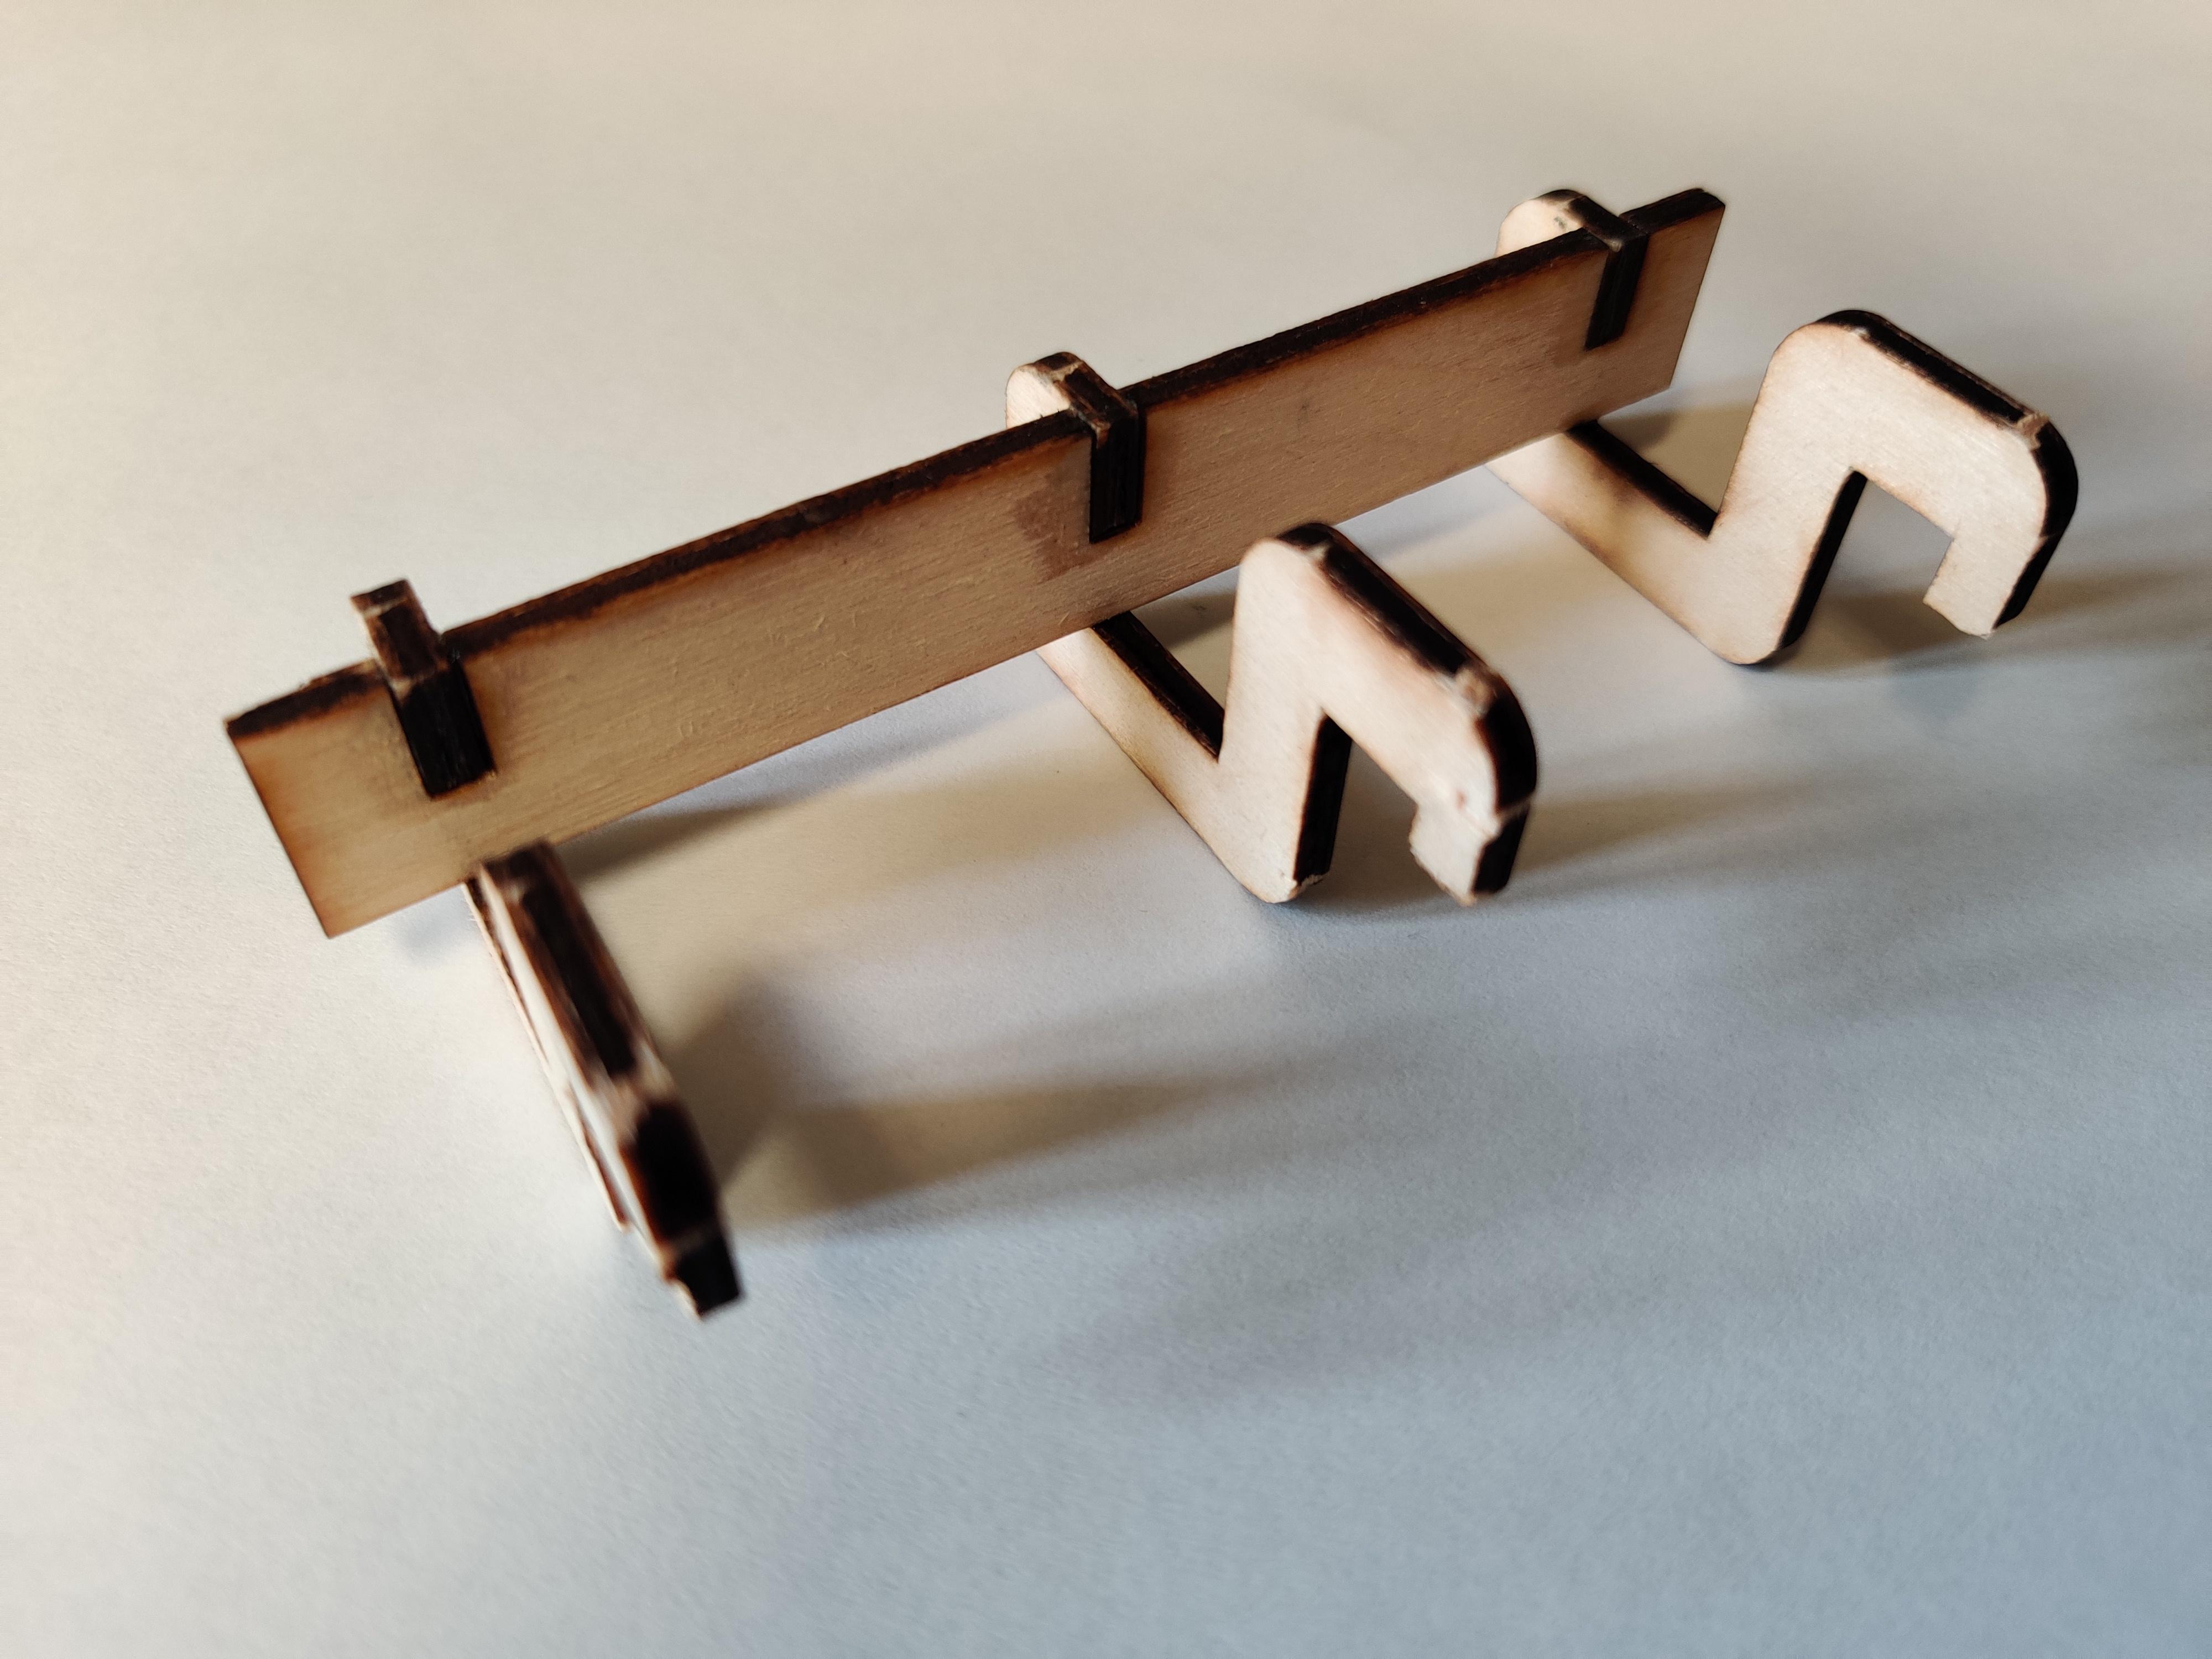
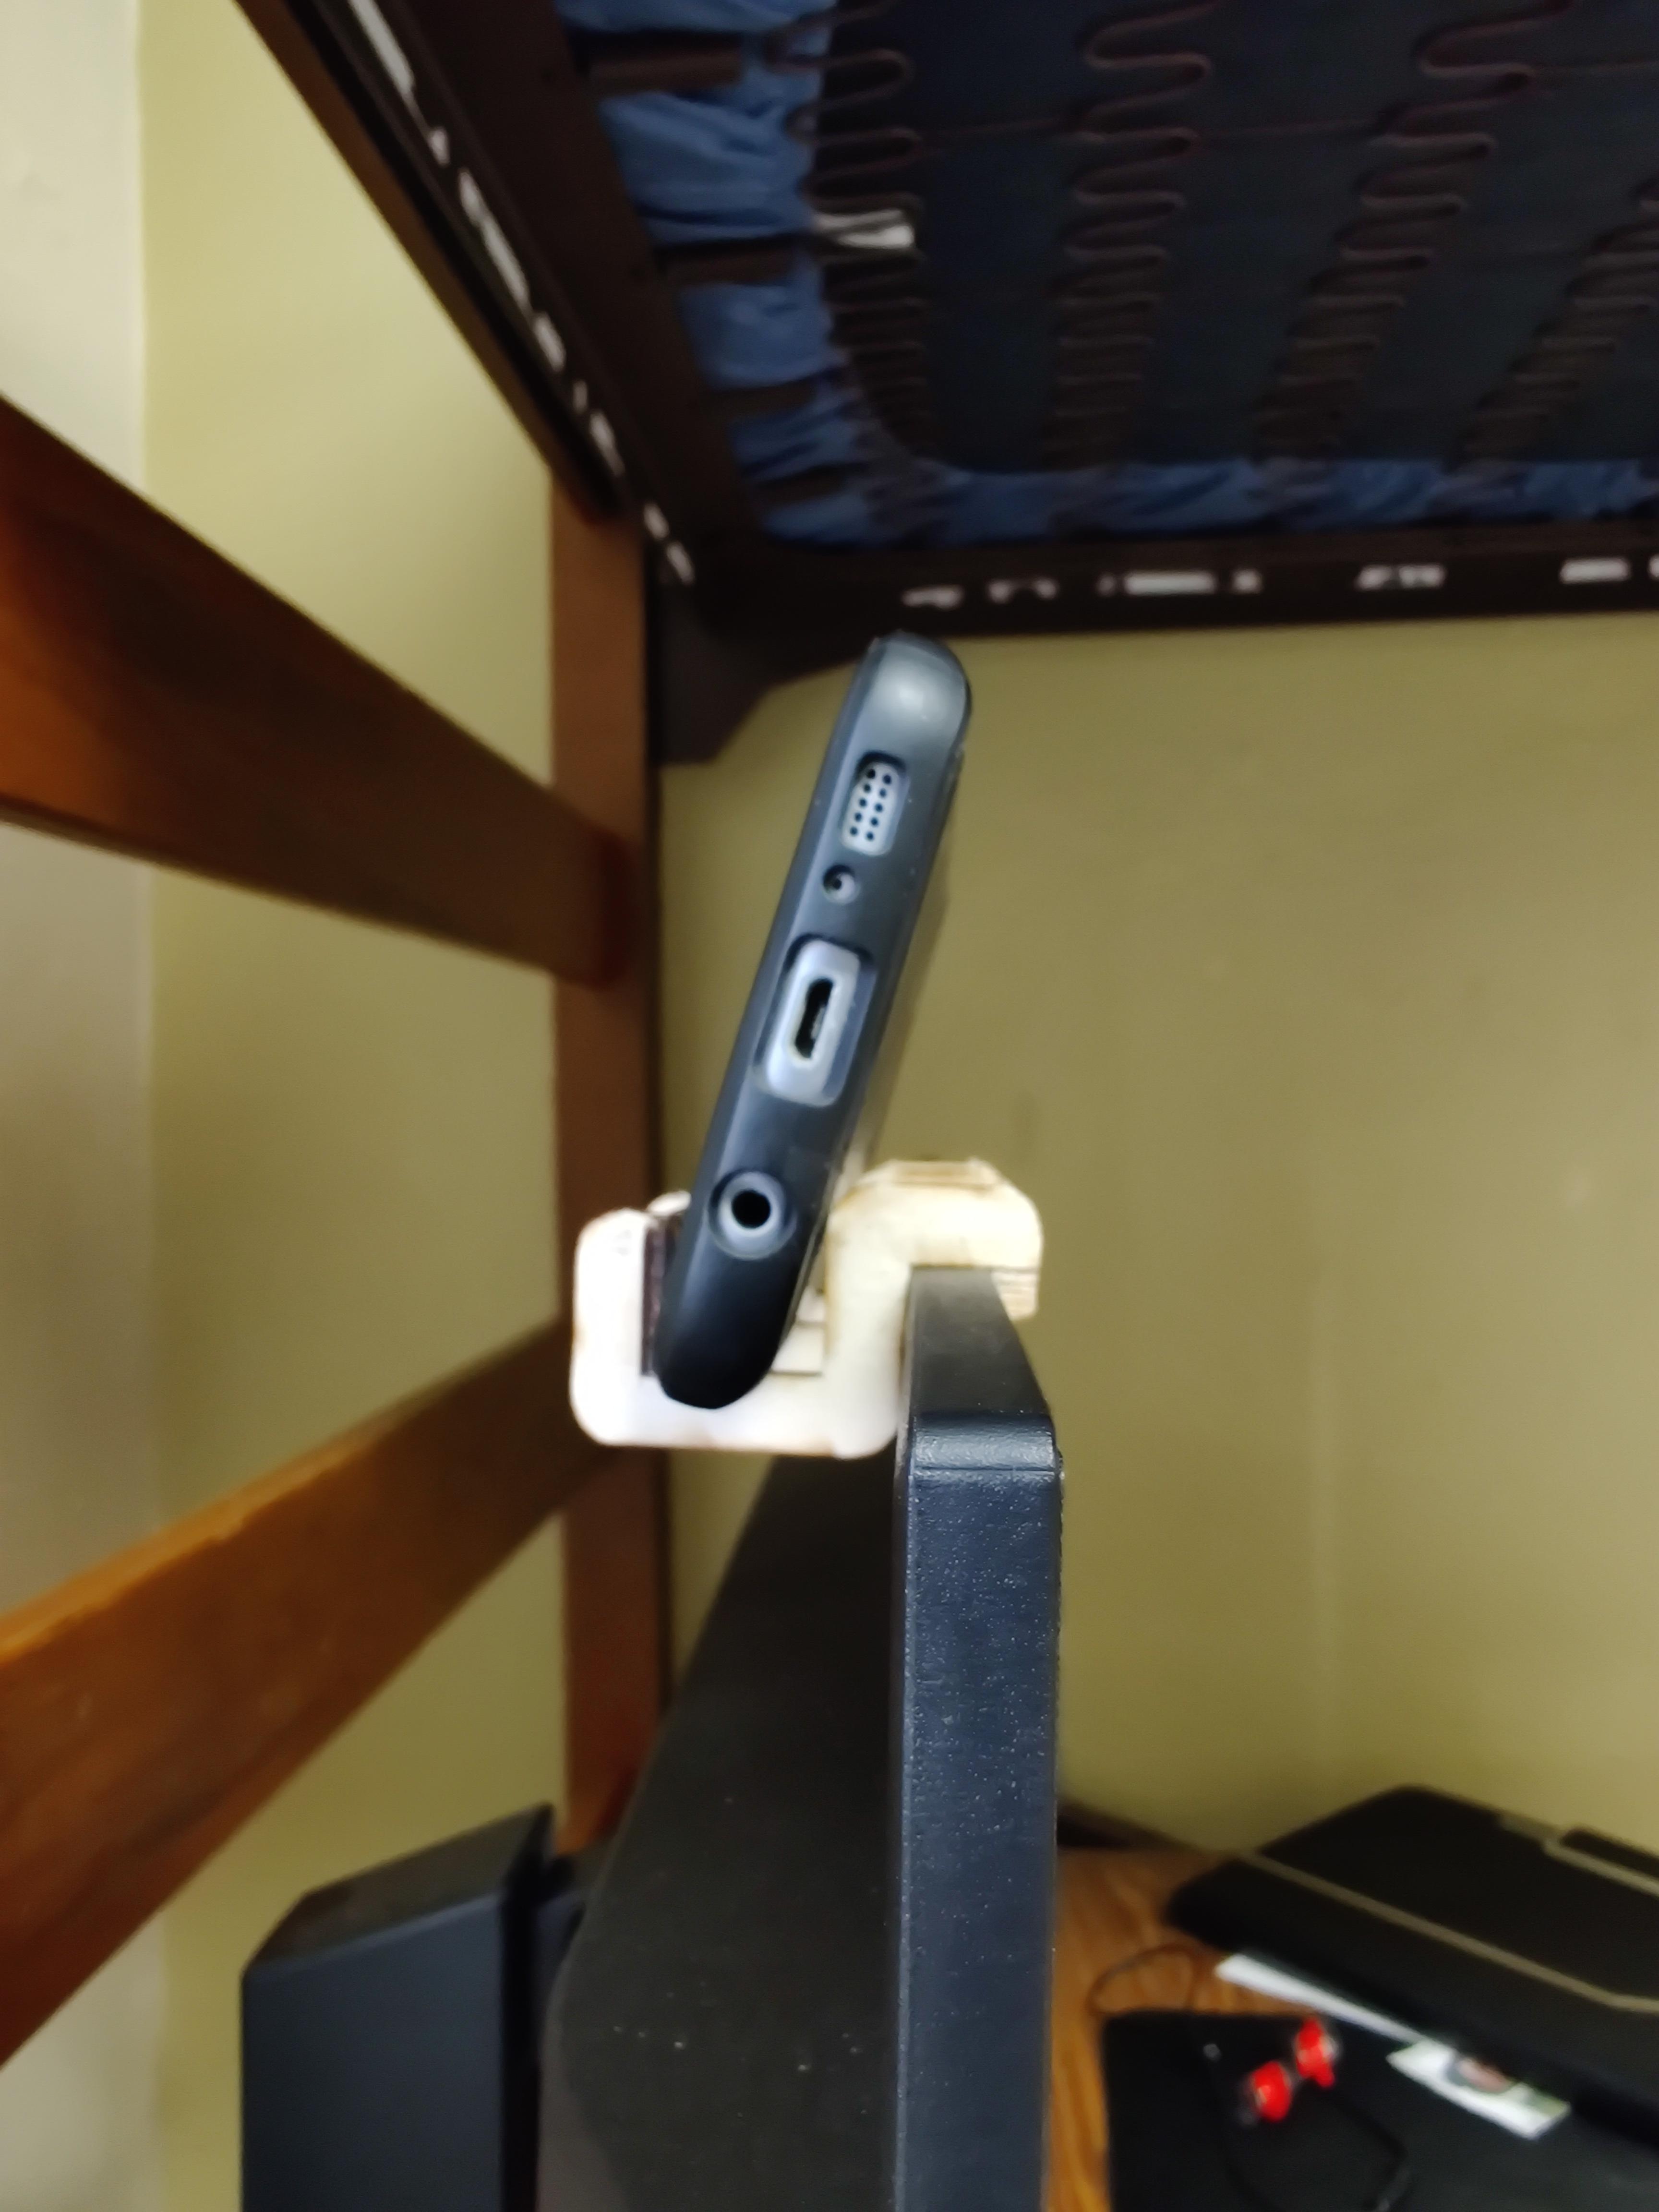
This project has been on-going for me for awhile, and I'd like to discuss some of it really quick. It all started several months ago, when I needed a webcam for school, and they'd just become insanely expensive due to COVID-19. I needed to come up with something because I was taking classes at Georgia Tech from my home on the West Coast, and I didn't have $150 to drop on a decent webcam. So, I CADded up a mount for my old Galaxy S7 to sit on top of my monitor, and used that for the entire semester. It's the black 3D printed one in the above image.
When I moved to Tech this summer, I got a new monitor because shipping one here would have been pretty expensive , and monitors are really cheap now. That meant that the old phone mount didn't really work, so I CADded up another mount, this time to be laser-cut out of 1/8" plywood. It's also in an image above. This was the first project I did in the Aero Makerspace here at Tech, and I used it mostly as a learning opportunity, because I'd never used a laser-cutter before. It turned out alright and did its job well, so I didn't really need to iterate any more.
Then, I was assigned a project for my CAD class, and decided to make a more versatile version of the phone mount, that could work with more phones and monitors. We use Solidworks for the class, so I re-did the CAD in Fusion, changed a lot, built it, and wrote this Instructable on it, but I do have to thank my instructor, Dr. Pucha, for giving this project the push it needed to become a reality.
Also on the note of thanking people, I'd like to thank the mentors and donors that make the Invention Studio and the Aero Makerspace run so well. Projects like this would not happen at GATech without people like them keeping things running and making the makerspaces inclusive and awesome places to work. This project was 3D printed at the Invention Studio, and the hardware is from the Aero Makerspace, which is also where I assembled it and took a lot of the pictures.
I'd also like to thank the creators of DroidCam for making something awesome and allowing people to use it free of charge. When I first thought of doing this project, I expected to have to put down a few bucks on some webcam app to get it to work right, and it's great that that wasn't the case. It makes projects like these more accessible to more people, and I think that's an awesome and important thing.