OctoPrint for Multiple Printers: How to Get It Working (no Nonsense Detailed Guide)
by Erez in Circuits > Computers
5365 Views, 27 Favorites, 0 Comments
OctoPrint for Multiple Printers: How to Get It Working (no Nonsense Detailed Guide)

Octoprint is very popular, designed on a 1-server-1-printer basis. When Raspberry Pi were readily available and cheap, it made a lot of sense. It is no longer the case, these units are hard to find from reputable sellers and as such, their price increased to to a point they are no longer practical for this purpose, especially if you have 3-4 printers you want to run and monitor.
Luckily, you could re-use an old pc or laptop computer that you probably have in a box somewhere... or just buy a used one cheap on craigslist. Considering that a modern basic laptop costs about $200 retail, you can get a perfectly adequate used "junk" laptop for this task for less than $50, and if it has enough RAM (say 4GB, even 2GB) it could easily run multiple octoprint servers.
This tutorial is not about how to install ubuntu on your old laptop, and it takes it for granted that you have a reasonably current version of linux running on your computer + you already had installed docker on it and you know how to use docker. This is not a docker tutorial either.
A more "techie" version of this guide could be found here: https://github.com/ErKatz/octoprint_multi_printer_instructions
Why did I write this guide?
If you do a google search for "octoprint multiple printers" you would get some vague instructions on "just use docker" or a very detailed (and involved) blog on running octoprint from source code, which is an interesting read but too much work and doesn't really solve the musical chair problem (see below).
So what is wrong with the instructions on dockerhub and why do we need this tutorial anyway?
Because those instructions are good if you only use one printer and have one instance running.
Without addressing some very important issues with the way USB devices work on Linux, you will very quickly run into a musical chair game between printers and which server uses which printer. So read on.
Supplies

- A computer running linux with docker installed and functioning properly.
- Good quality powered USB hub and cables.
- Webcam (optional)
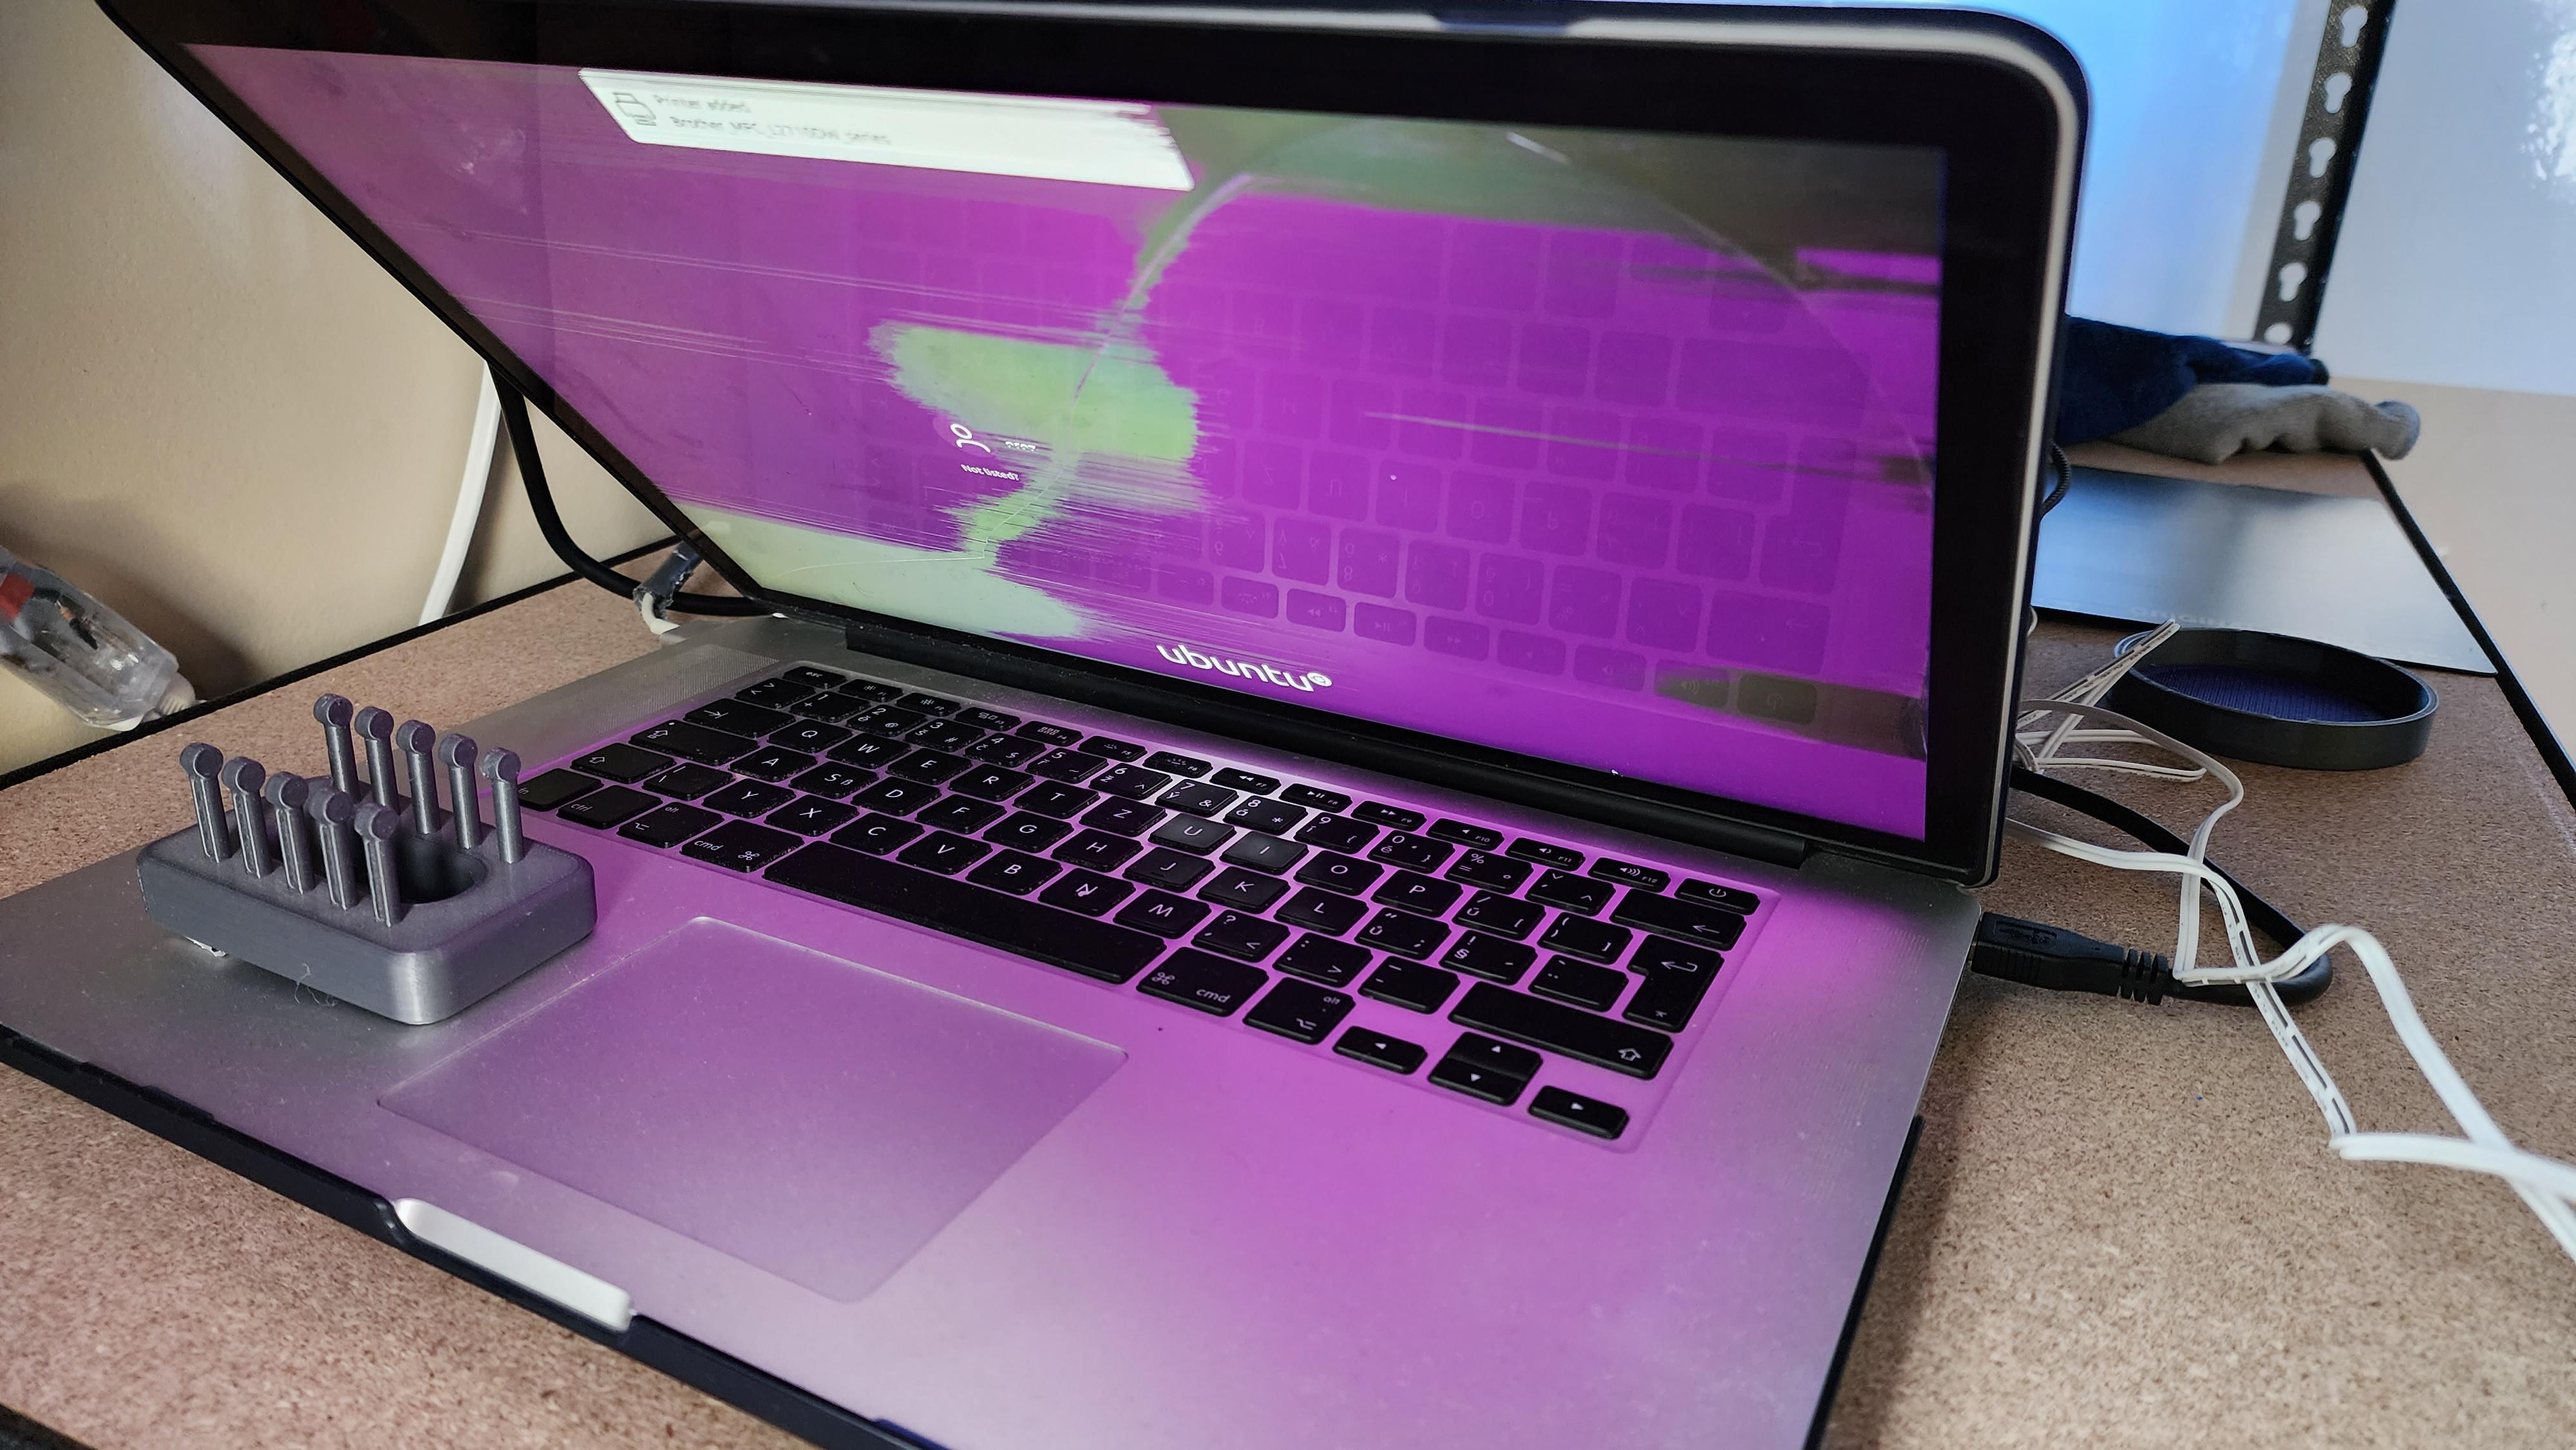
In the picture you can see an macbook pro with a cracked screen that I am using for this purpose. There was not point in fixing it. I taped that little toy to prevent the lid from closing, as I don't have a monitor in its vicinity and I don't want it to hibernate.
Understand the Issue - MUSICAL CHAIRS
When 3d printers are connected to a computer, running linux, each one is assigned to a virtual serial device called
/dev/ttyACM0
/dev/ttyACM1
/dev/ttyACM2
And so on. The numbering is arbitrary and depends on which number is available and which printer was connected first.
So if you have printer1, printer2 and printer3, they would be assigned to ACM0, ACM1 and ACM2 in the order in which they were connected. If you disconnect them and reconnect, you would see that they would be assigned to different ACM devices.
This is not an issue with Raspberry PI, because you have only one printer which is most likely ACM0.
If you took a look at the docker hub page for octoprint: https://hub.docker.com/r/octoprint/octoprint (scroll to the end), you will see these instructions:
docker volume create octoprint
docker run -d \
      -v octoprint:/octoprint \
      --device /dev/ttyACM0:/dev/ttyACM0 \
      --device /dev/video0:/dev/video0 \
      -e ENABLE_MJPG_STREAMER=true \
      -p 80:80 \
      --name \
      octoprint octoprint/octoprint
This
--device /dev/ttyACM0:/dev/ttyACM0 \
means that the host /dev/ttyACM0 is mapped to the container which can see it as /dev/ttyACM0.
Great? not so great.
Let's say you have 2 servers, one with this mapping:
--device /dev/ttyACM0:/dev/ttyACM0
and another with
--device /dev/ttyACM1:/dev/ttyACM1
You would see ACM0 and ACM1 on the admin page just fine. And it would work just fine.
But if you disconnect the printers and reconnect them in a different order than before, each printer would now map to the other's device, and this could mean that the octoprint instances would use the wrong printers with the wrong settings.
As mentioned above - this is how the unix usb device system works, devices are allocated based on number availability and connection order.
But fret not! we can work around this by adding udev rules.
Identifying the Device (the Art of Udev Rules)
You can add specific udev rules that allow you to identify and take specific steps when a new device is connected.
To test, disconnect all printers and reconnect just 1 printer. Run:
udevadm info -a -p $(udevadm info -q path -n /dev/ttyACM0)
Assuming that the printer was assigned ACM0, you will see output of every device up the chain.
Scroll down until you can identify the block with your printer. It will look like:
 ...
 looking at parent device '/devices/pci0000:00/0000:00:14.0/usb1/1-5/1-5.1':
  KERNELS=="1-5.1"
  SUBSYSTEMS=="usb"
  DRIVERS=="usb"
  ATTRS{idVendor}=="2c99"
  ATTRS{serial}=="CZPX0522X017XC11111"
  ATTRS{idProduct}=="000c"
  ATTRS{manufacturer}=="Prusa Research (prusa3d.com)"
  ATTRS{product}=="Original Prusa MINI"
  ...
Wonderful. Take note of the following important values, we will use them later:
  ATTRS{idVendor}=="2c99"
  ATTRS{serial}=="CZPX0522X017XC11111"
Now we need to write a udev rule:
KERNEL=="ttyACM[0-9]*", SUBSYSTEM=="tty", ATTRS{idVendor}=="2c99", ATTRS{serial}=="CZPX0522X017XC11111", SYMLINK="ttyMINI1", RUN="/usr/bin/docker restart mini1"
The first part identifies the device
KERNEL=="ttyACM[0-9]*", SUBSYSTEM=="tty", ATTRS{idVendor}=="2c99", ATTRS{serial}=="CZPX0522X017XC11111",
This part tells is to create a symlink
SYMLINK="ttyMINI1"
The last one tells it to restart the container running the server pointing to that printer (more on that later)
RUN="/usr/bin/docker restart mini1"
Save the in folder /etc/udev/rules.d/ and reload the rules:
sudo udevadm control --reload-rules
For the rule to take effect, disconnect and reconnect the printer (or reboot). if all is well, you should see that there is a symlink pointing to that device now (run ls like in this example):
ls -l /dev/ | grep ACM
crw-rw----   1 root dialout 166,   0 Nov 15 13:39 ttyACM0
lrwxrwxrwx   1 root root           7 Nov 15 13:39 ttyMINI1 -> ttyACM0
Repeat the same step for the other printers you want to control. A sample rule file is included in the repo here: https://github.com/ErKatz/octoprint_multi_printer_instructions
Why do we need to restart the container?
Because when you map a symlink device to a docker container, the symlink is dereferenced to the underlying device handle. This means, that you could have
lrwxrwxrwx 1 root root 7 Nov 15 13:39 ttyMINI1 -> ttyACM1
And later
lrwxrwxrwx 1 root root 7 Nov 15 13:39 ttyMINI1 -> ttyACM0
And if you don't restart the container, you would essentially have the same musical chair problem.
Restarting the container on every device connection might not be the most efficient method but the overhead of restarting the container is negligible.
Running (of The) Dockers
Let's say we wish to control 3d printers, called "mini1" and "mini2"
Create 2 docker volumes (first time only):
docker volume create octoprint_mini1
docker volume create octoprint_mini2
Start the containers:
docker run  --name mini1 \
            -p 5100:80   \
            -v octoprint_mini1:/octoprint \
            --device /dev/ttyMINI1:/dev/ttyACM0  \
             -dit --restart unless-stopped \
             octoprint/octoprint

docker run  --name mini2 \
            -p 5200:80   \
            -v octoprint_mini2:/octoprint \
            --device /dev/ttyMINI2:/dev/ttyACM0  \
             -dit --restart unless-stopped \
             octoprint/octoprint
Make sure that the name
--name mini1
matches the name in the udev rule that restarts the container.
RUN="/usr/bin/docker restart mini1"
This will ensure that the octoprint instance always uses the same printer.
Tying It Together With Nginx [optional]
At this point, you have multiple octoprint servers running on different ports:
- The server listening on port 5100 is using mini1
- The server listening on port 5200 is using mini2
You can just remember the ip addresses and ports and which point to which.That is fine, but if you own a domain name like foo.com, you can just allocate subdomains mini1 and mini2 and point them to your server.
Look for the nginx.conf sample file on my github repo here as a reference:
https://github.com/ErKatz/octoprint_multi_printer_instructions
This is how I run nginx:
docker run -v \
      /home/erez/nginx/nginx.conf:/etc/nginx/nginx.conf \
      --net host \
      -dit --restart unless-stopped \
      nginx
I run it with
--net host
so it just takes port 80 and can directly proxy-pass to the other local servers. There are many ways to do this - for large farms, you can also use docker-compose and have all the settings in one file. I leave it up to you to do it in a manner that suits your preferences.
Webcam Anyone?

The same issue with webcam devices playing musical chairs remains, and it is solved in a similar manner. I recommend running the webcam container separately because if you disconnect and reconnect a webcam, restarting the container in the middle of a print might not be a great idea.
So here is the udev rule:
KERNEL=="video[0-9]*", SUBSYSTEM=="video4linux",ATTR{index}=="0", ATTRS{idVendor}=="046d", ATTRS{serial}=="2D540000", SYMLINK="videoMINI2", RUN="/usr/bin/docker restart video_mini2"
It is crucial to include
ATTR{index}=="0"
because on linux when you connect a camera, it creates 2 /dev/video devices - one is the actual device and the other is for metadata.
index=='0' ensures the symlink is pointed to the correct device.
Finally, this is the launch command
docker run --name video_mini2 \
           -p 5250:80 \
           --device /dev/videoMINI2:/dev/video0 \
           -e ENABLE_MJPG_STREAMER=true  \
           -dit --restart unless-stopped octoprint/octoprint
The nginx.conf file I linked above in the github repo contains example how to combine two servers (octoprint and webcam) as one.
Happy Print Farming!
ADDENDUM: Connecting 2 or More Webcams to USB2.0 Ports

Unless you are planing to use high(er) end true USB3.0 webcams, and you have a USB3.0 controller, most likely you are going to run things in USB2.0. Which is fine, but there is a limit of total 480Mb per controller. (Full explanation here: https://notabug.org/niconiconi/vl670). This is because a USB3.0 controller is actually two controllers, USB3.0 and a separate USB2.0, slapped together physically, but they don't share bandwidth. So USB2.0 devices are limited to total 480Mb and cannot take advantage of the 5Gb that is available only for USB3.0
You will see that if you connect 2 webcams to the same controller, you might get an error "no space left on device", which means the a webcam tried to "grab" more bandwidth than is potentially available.
If you have only two webcams - try moving one to the other controller (or port on the side of the computer).
If you have 3 webcams or more than available controllers, then you need to make the cameras share the available bandwidth on a single controller.
First, follow the instructions here https://stackoverflow.com/a/26523421/3168679. In short, camera's like to "grab the full speed" when they are in use, the instruction in that step tells the kernel driver to be a little more clever and only allocate the estimated needed bandwidth.
Second. Lower the frame rate or resolution or both. Add the following snippet to the camera docker start
-e MJPG_STREAMER_INPUT='-y -r 640x480 -f 15'
so it looks like this:
docker run --name video_mini2 \
           -p 5250:80 \
           --device /dev/videoMINI2:/dev/video0 \
           -e ENABLE_MJPG_STREAMER=true  \
           -e MJPG_STREAMER_INPUT='-y -r 640x480 -f 15' \
           -dit --restart unless-stopped octoprint/octoprint
Explanation:
-y
Instructs the stream to use YUVV format. It is required, MJPG streaming will not allow the estimated bandwidth usage we try to enforce in the first step.
-r 640x480
picture resolution
-f 15
frame rate. The 30 default uses too much bandwidth.