Obelix
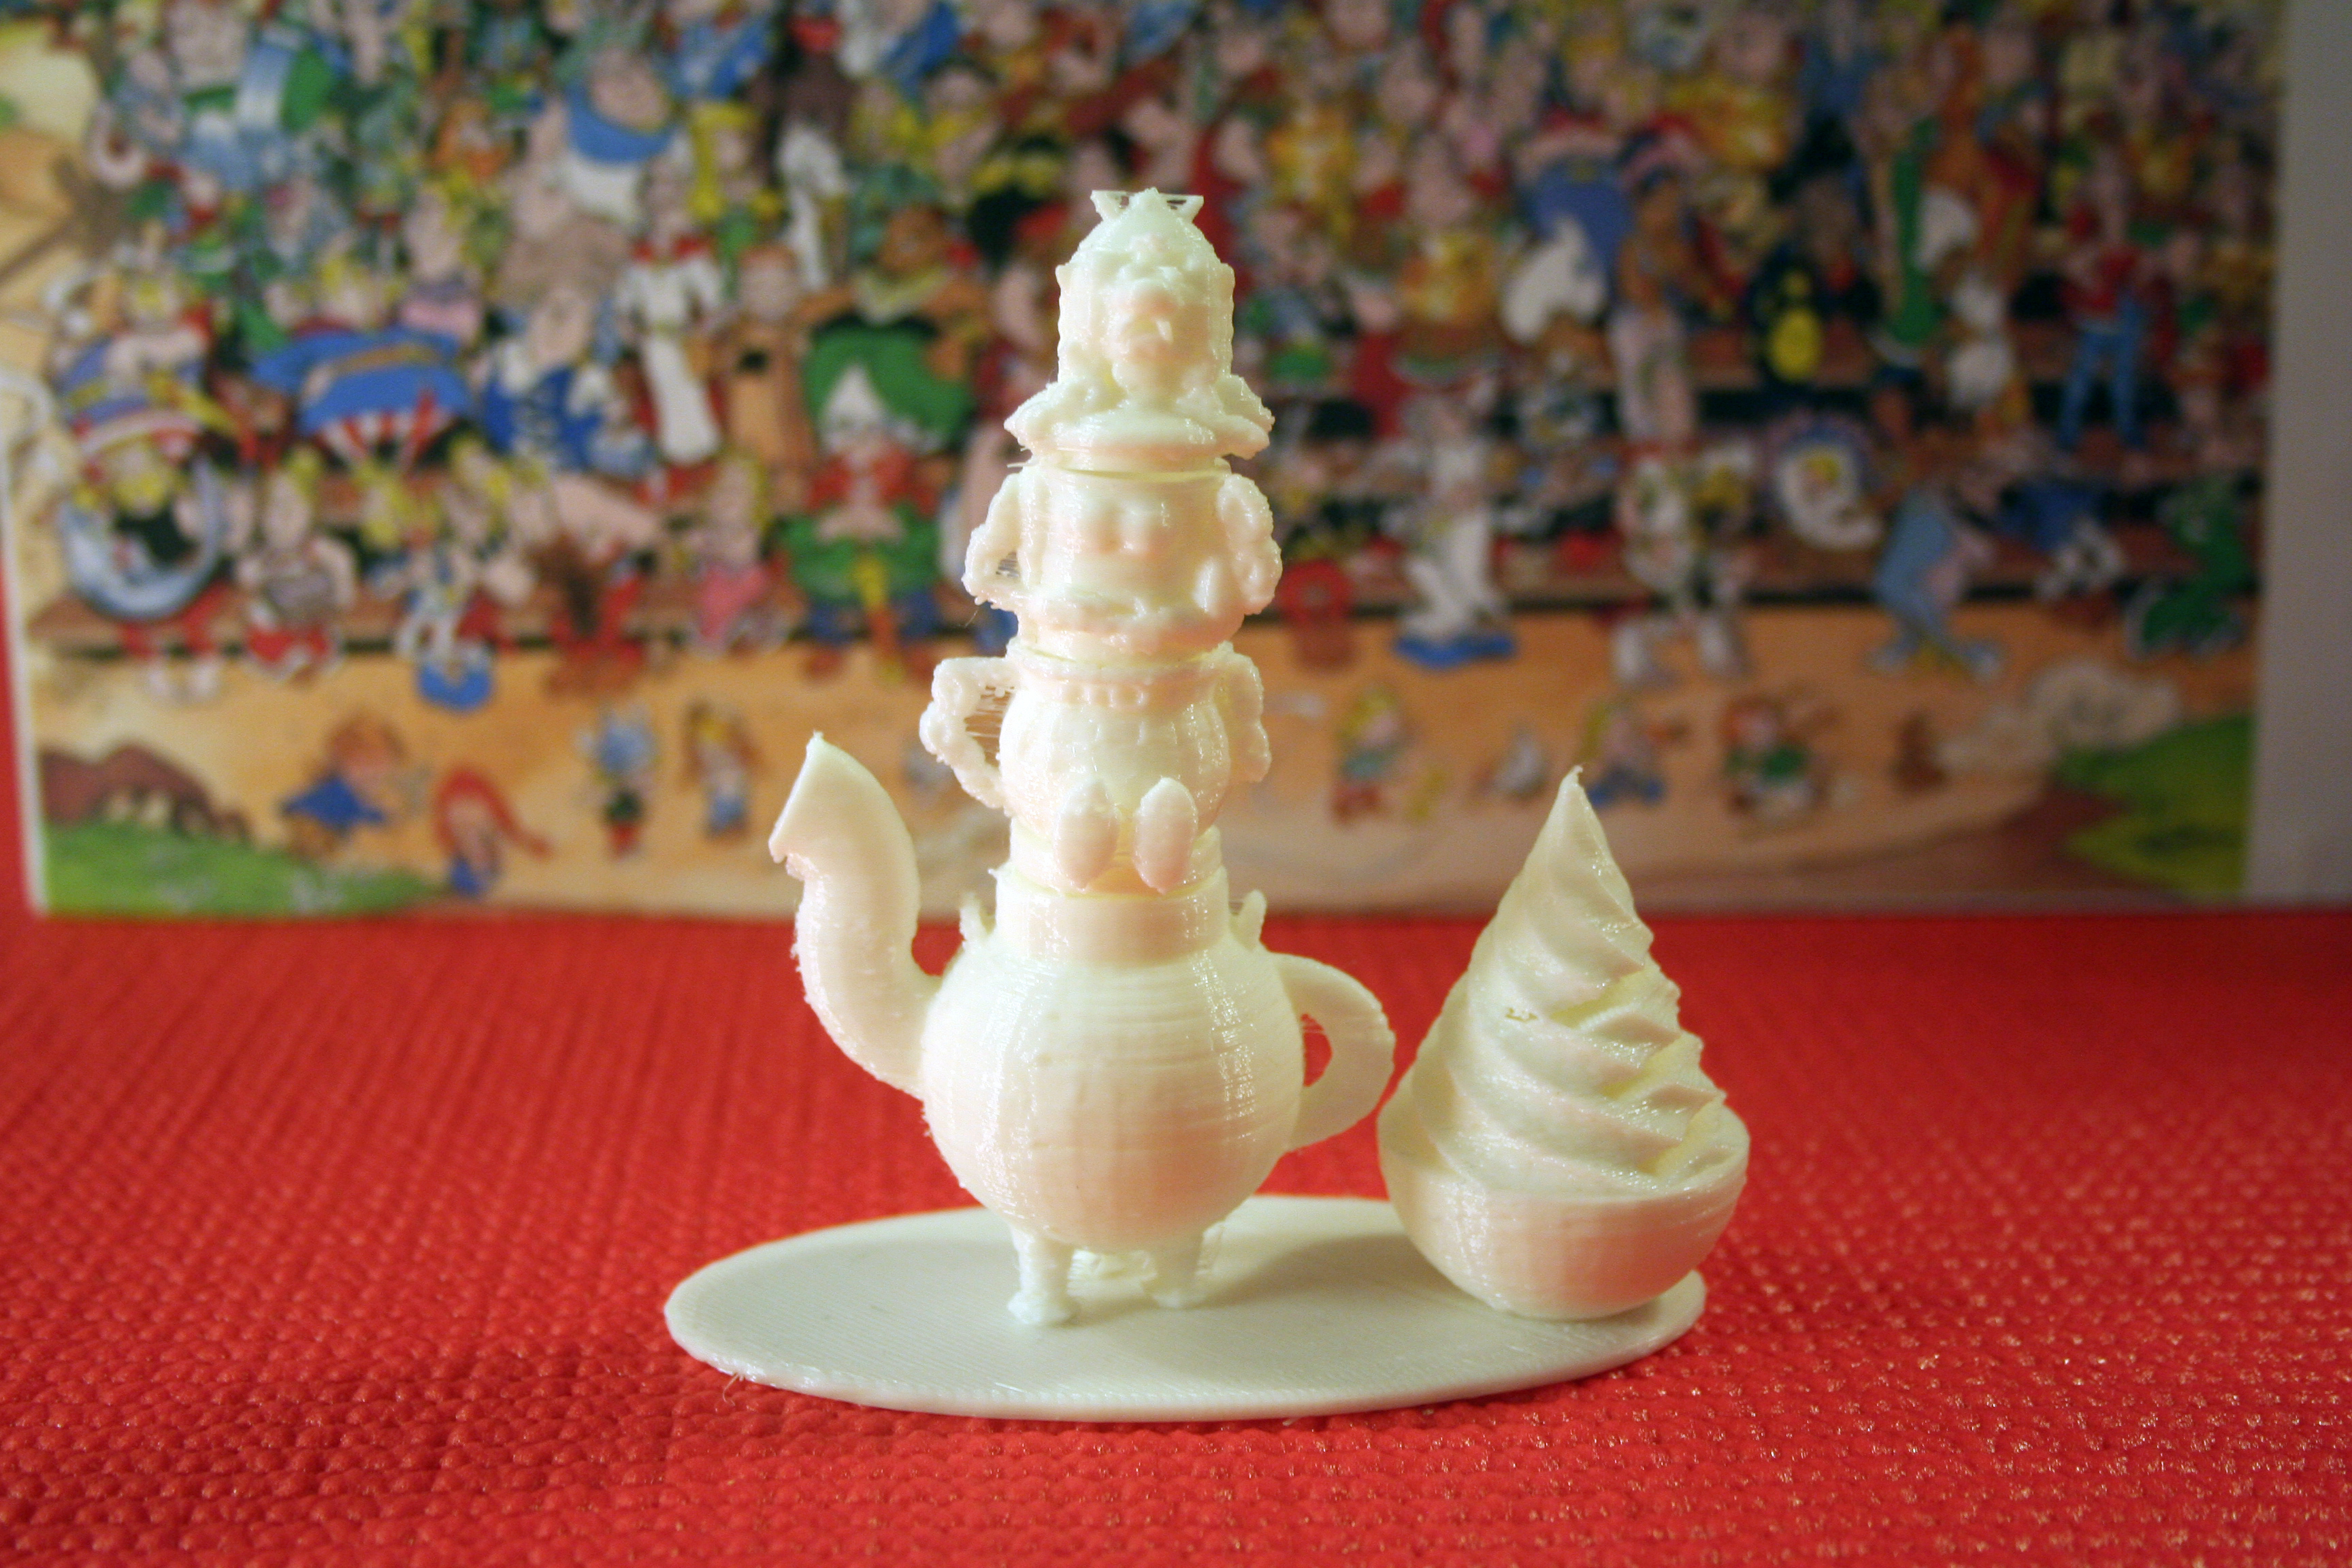
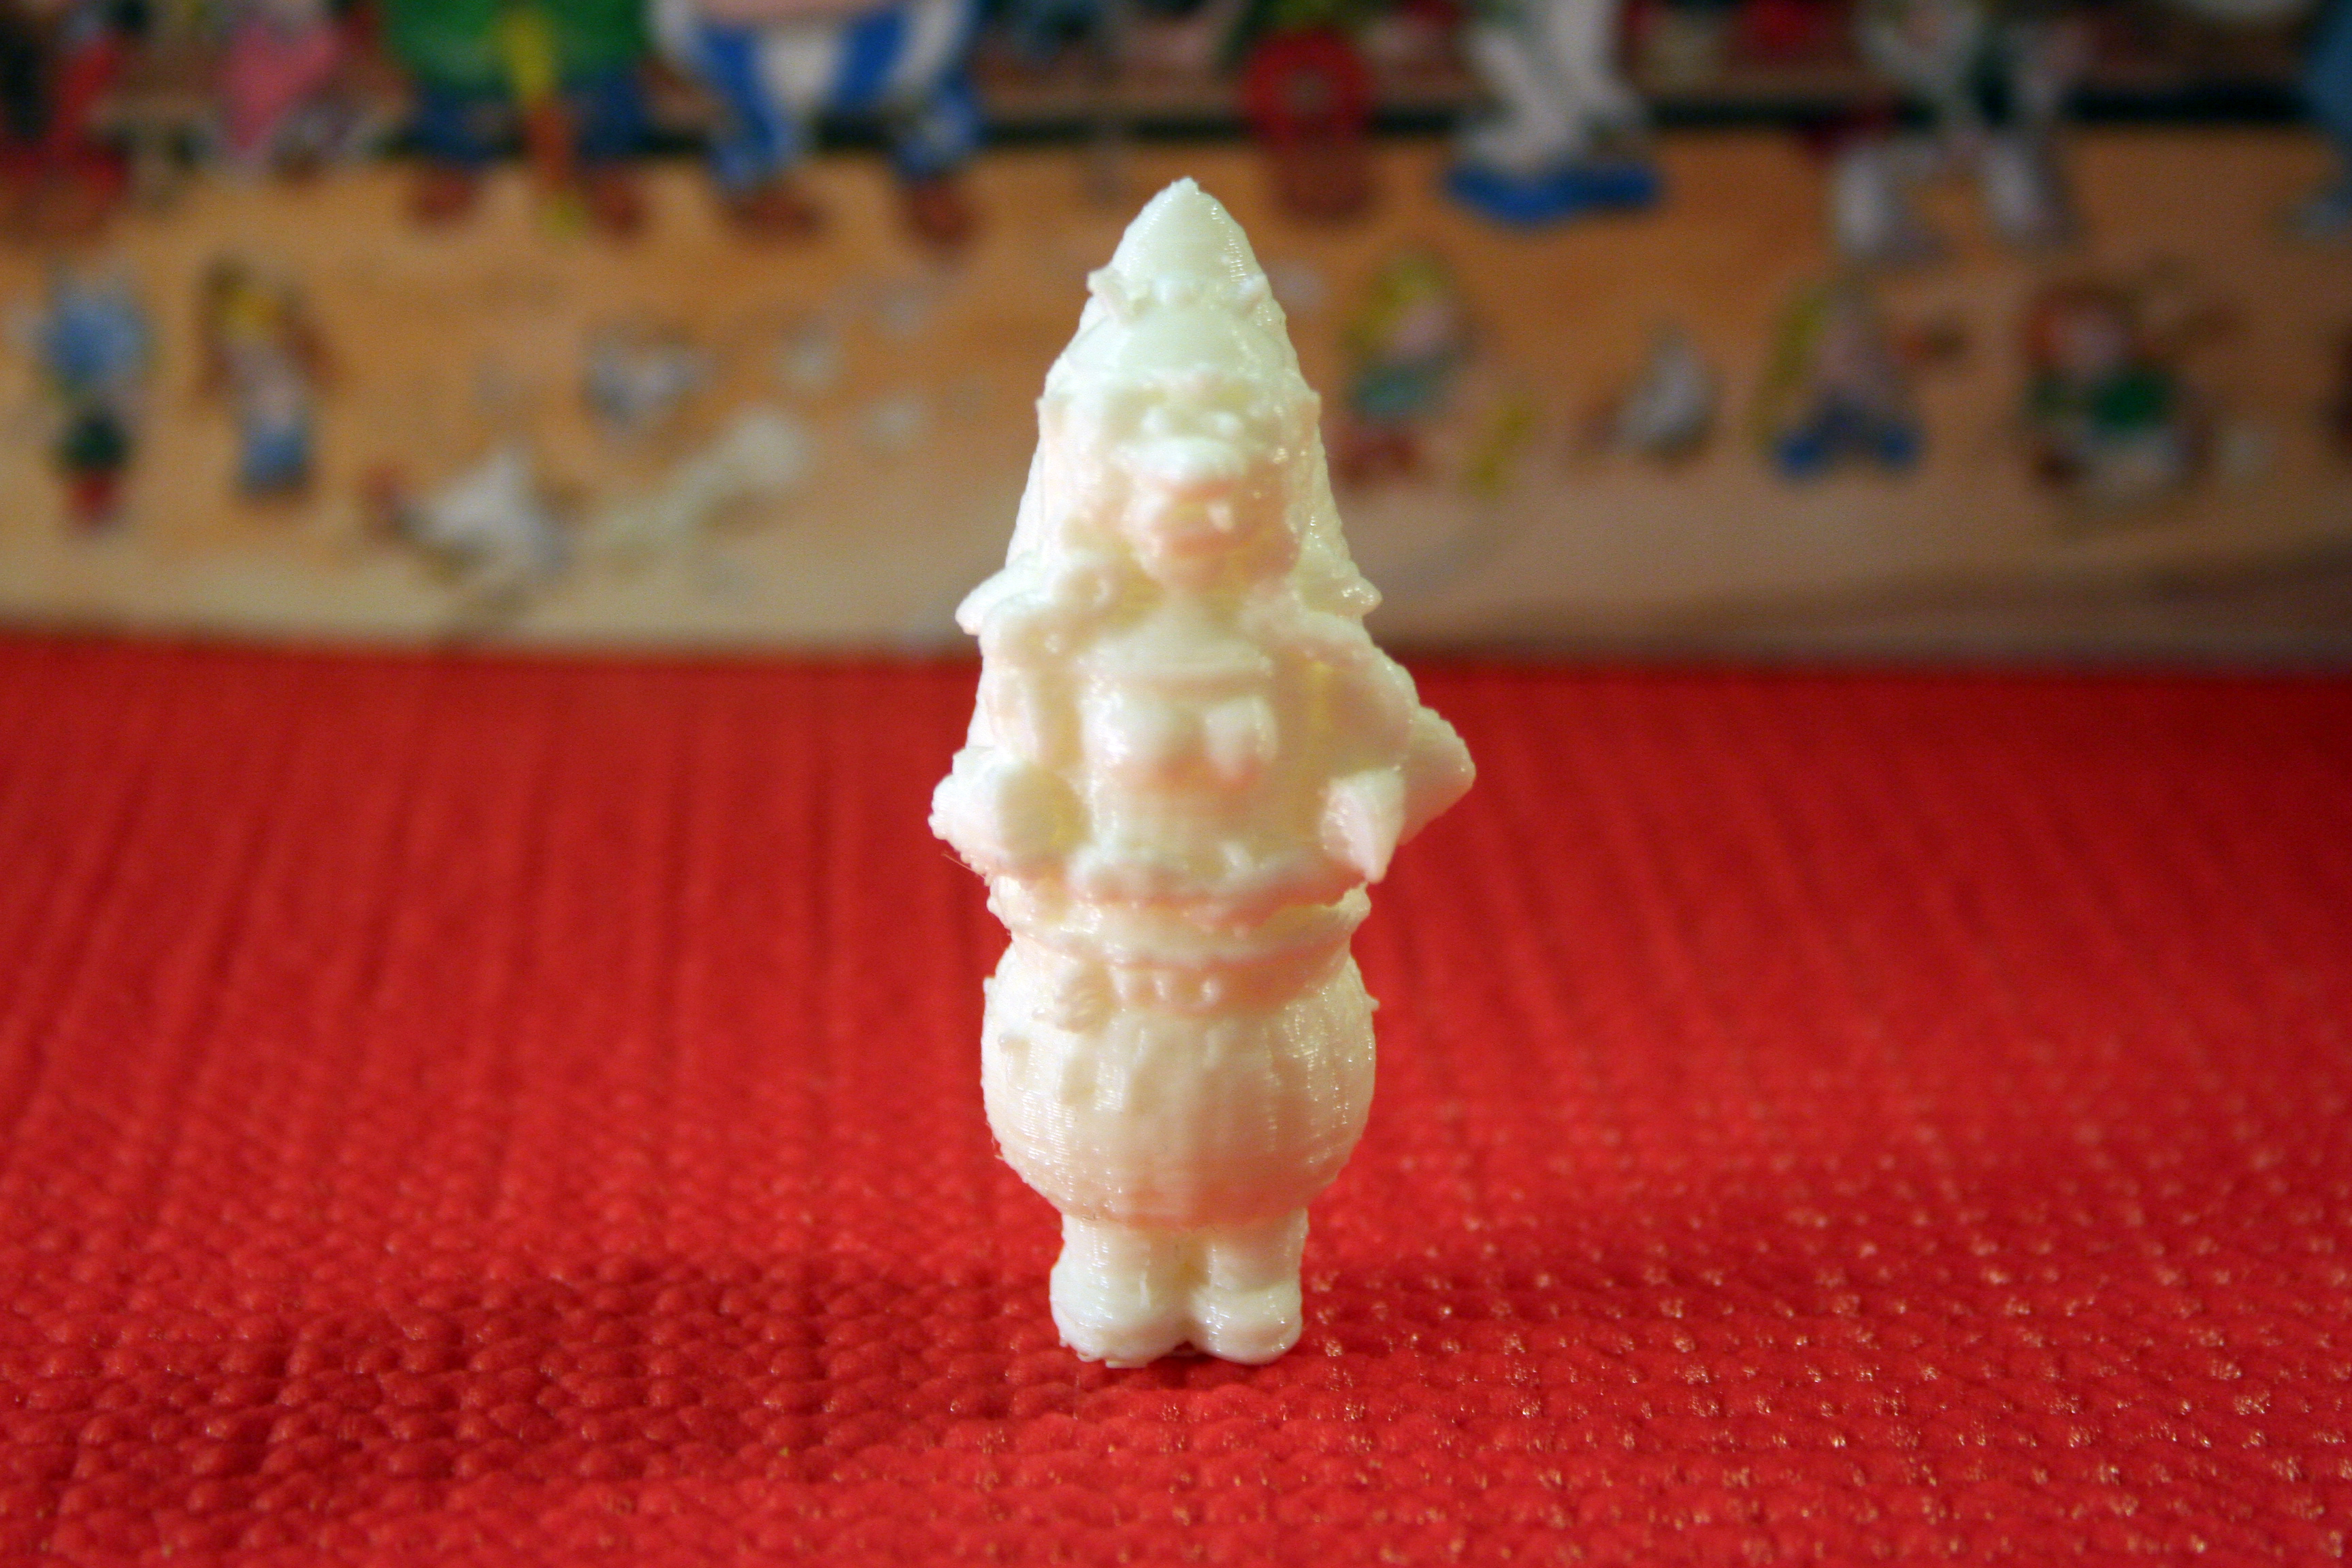
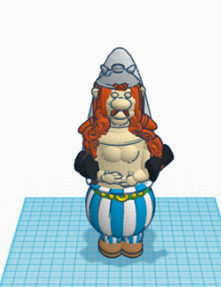
This project has resulted in two or more products: one of them is a Tea Pot (that you can use for a cold tea in the afternoon) and the other is a toy. I don’t have any experience in doing things in tinkercad. I have discovered tinkercad recently and i enjoy to do this kind of things. I know my projects are not perfect. I do an object with my own interpretation. I dont´t use any measures or rules.
There is a lot of other’s variations of products you can achieve doing this project.
How Is This Project Organized?
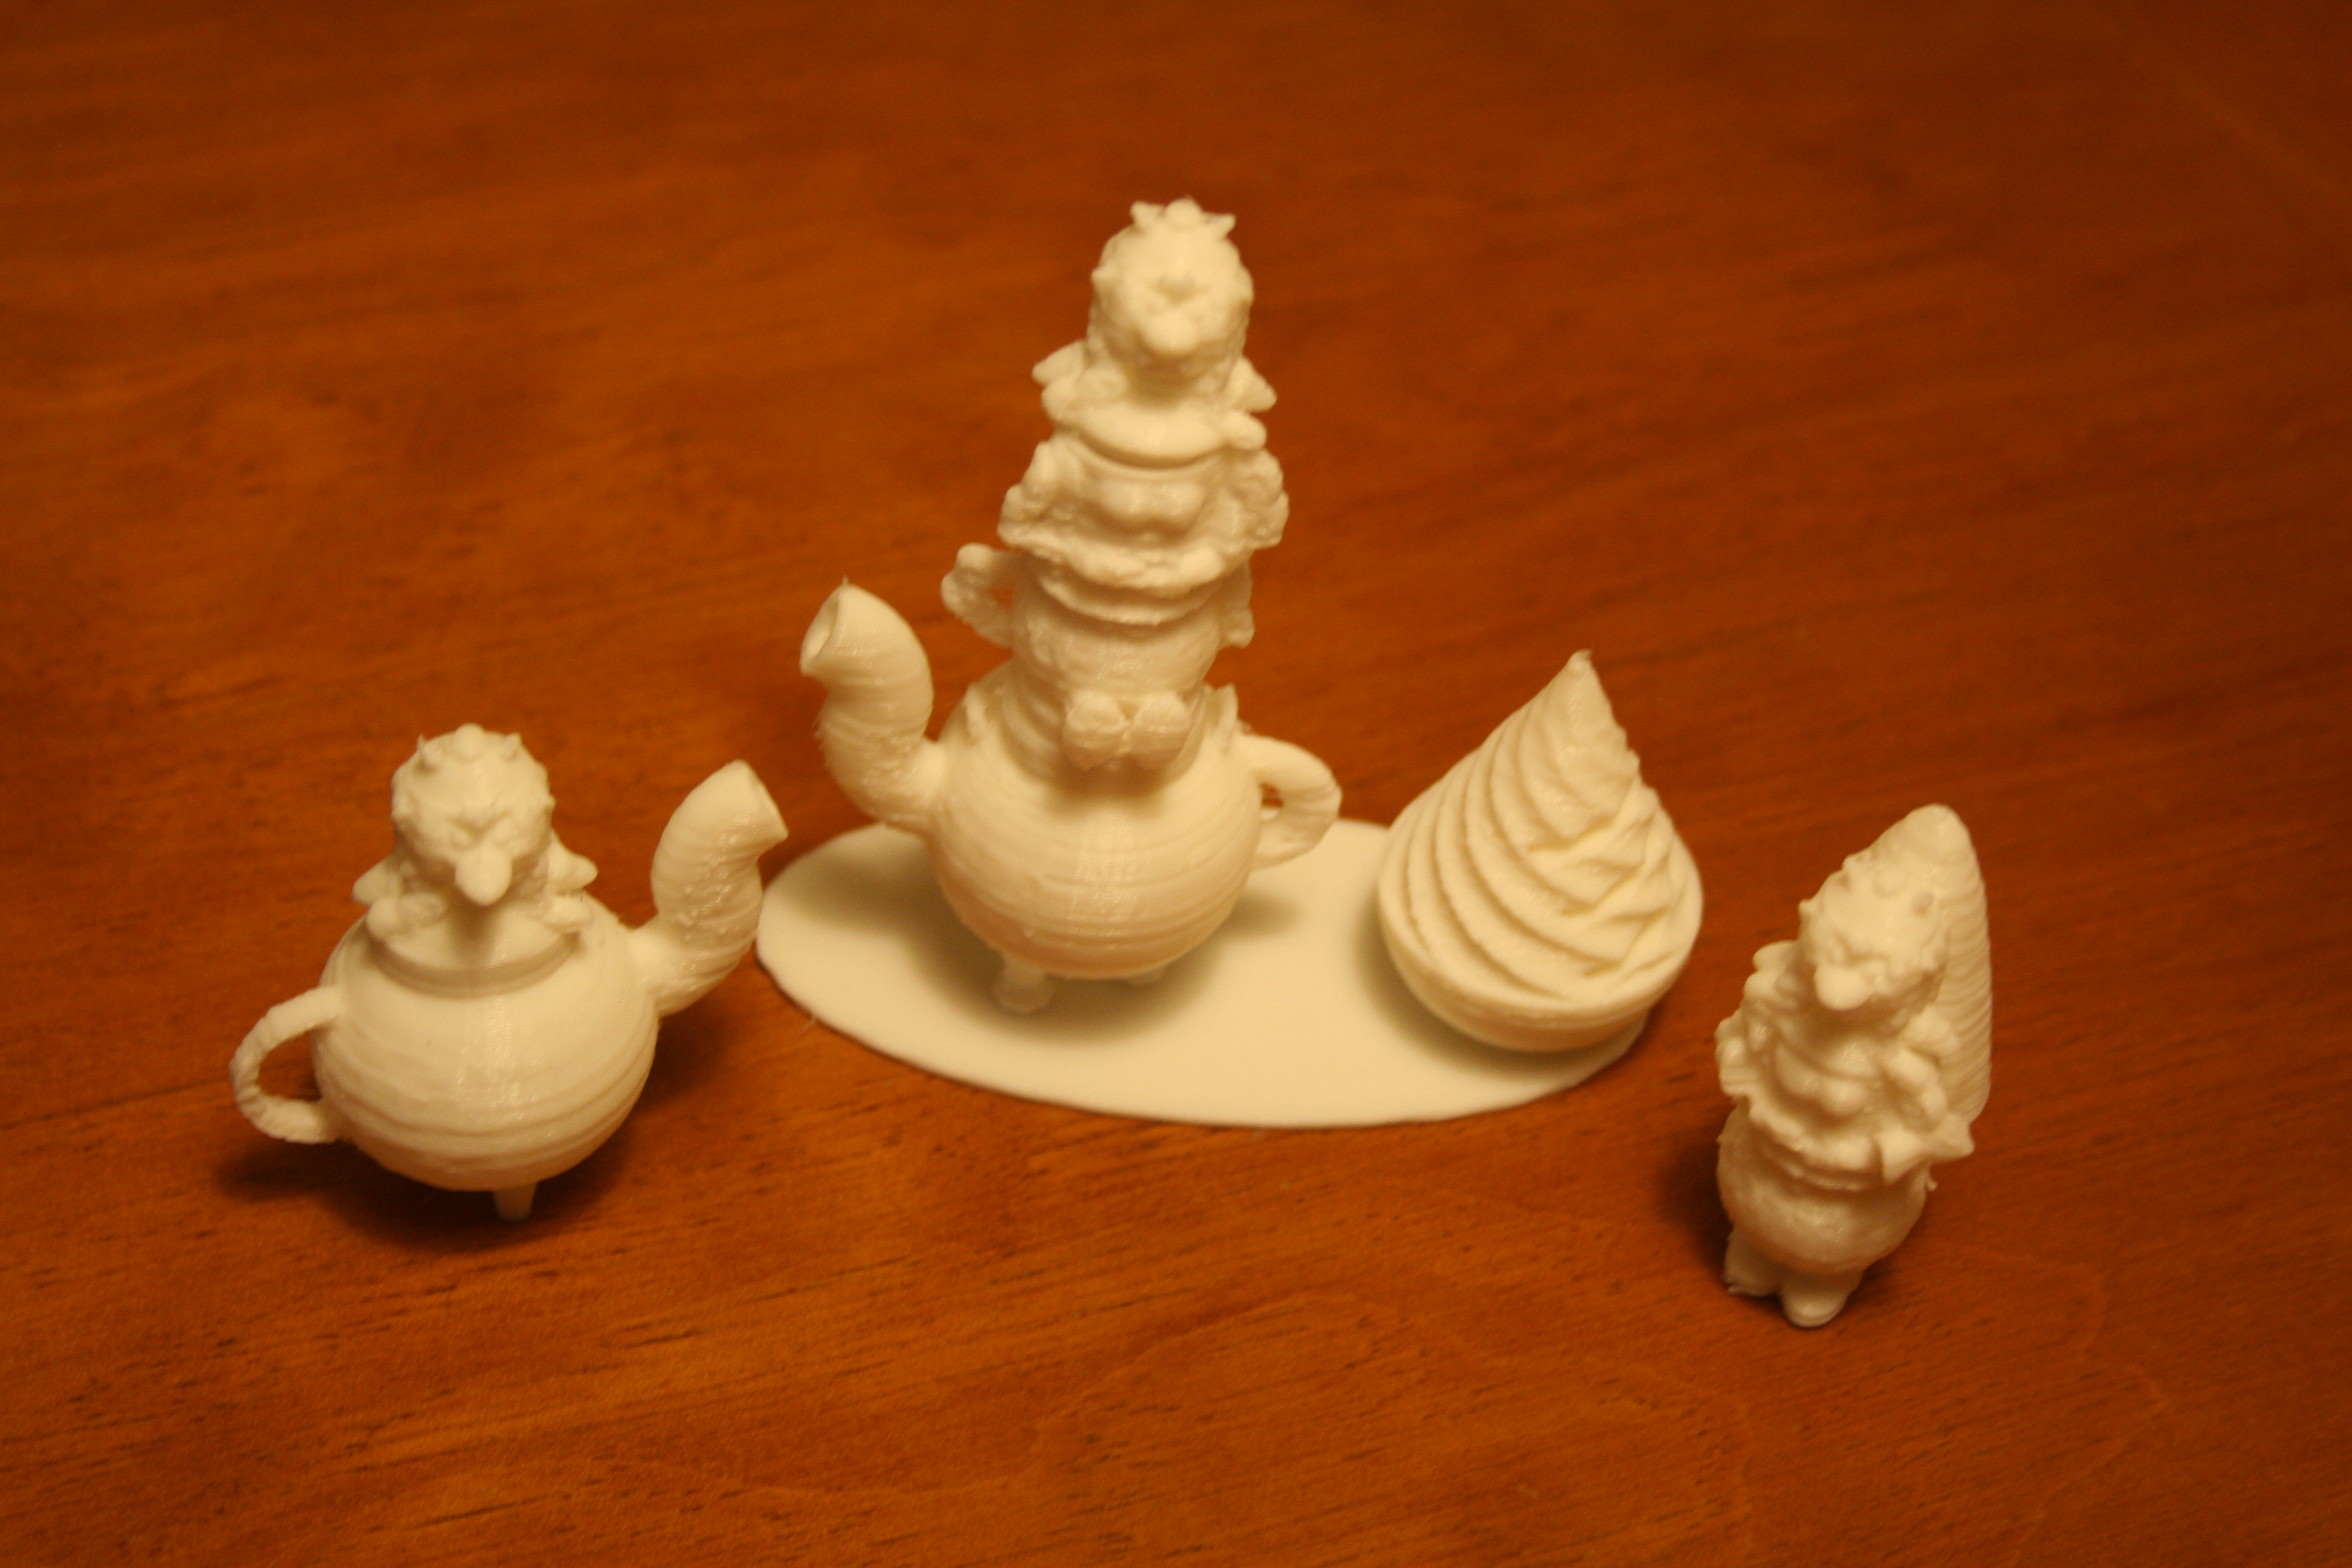
The project Parts:
► Project 1 – Tea Pot of the Obelix – product 1
1. Make the tea pot Caldron of Obelix (Step 3)
2. Make the Obelix
a. Make the inferior body part of Obelix (Step 4)
b. Make the upper body of Obelix (Step 5)
c. Make the head of Obelix (Step 6)
3. Make the menir cookies support (Step 7)
4. Putting It All Together (Step 8)
5. Adicional informations (Step 9)
► Project 2 – Obelix Toy – product 2
1. Identification of the diferente parts that you need to construct the Obelix Toy: (Step 10)
a. Inferior part of the Obelix nominated “part 1 for project 2”
b. Trunk the Obelix nominated “part 2 for project 2”
c. Head of the Obelix (c.)
2. Make the menir (Step 11)
3. Attach the differente parts to make the toy. (Step 12)
► Evaluating your work and improving your project and visualize other products that you can do (Step 13)
Materials Nedeed
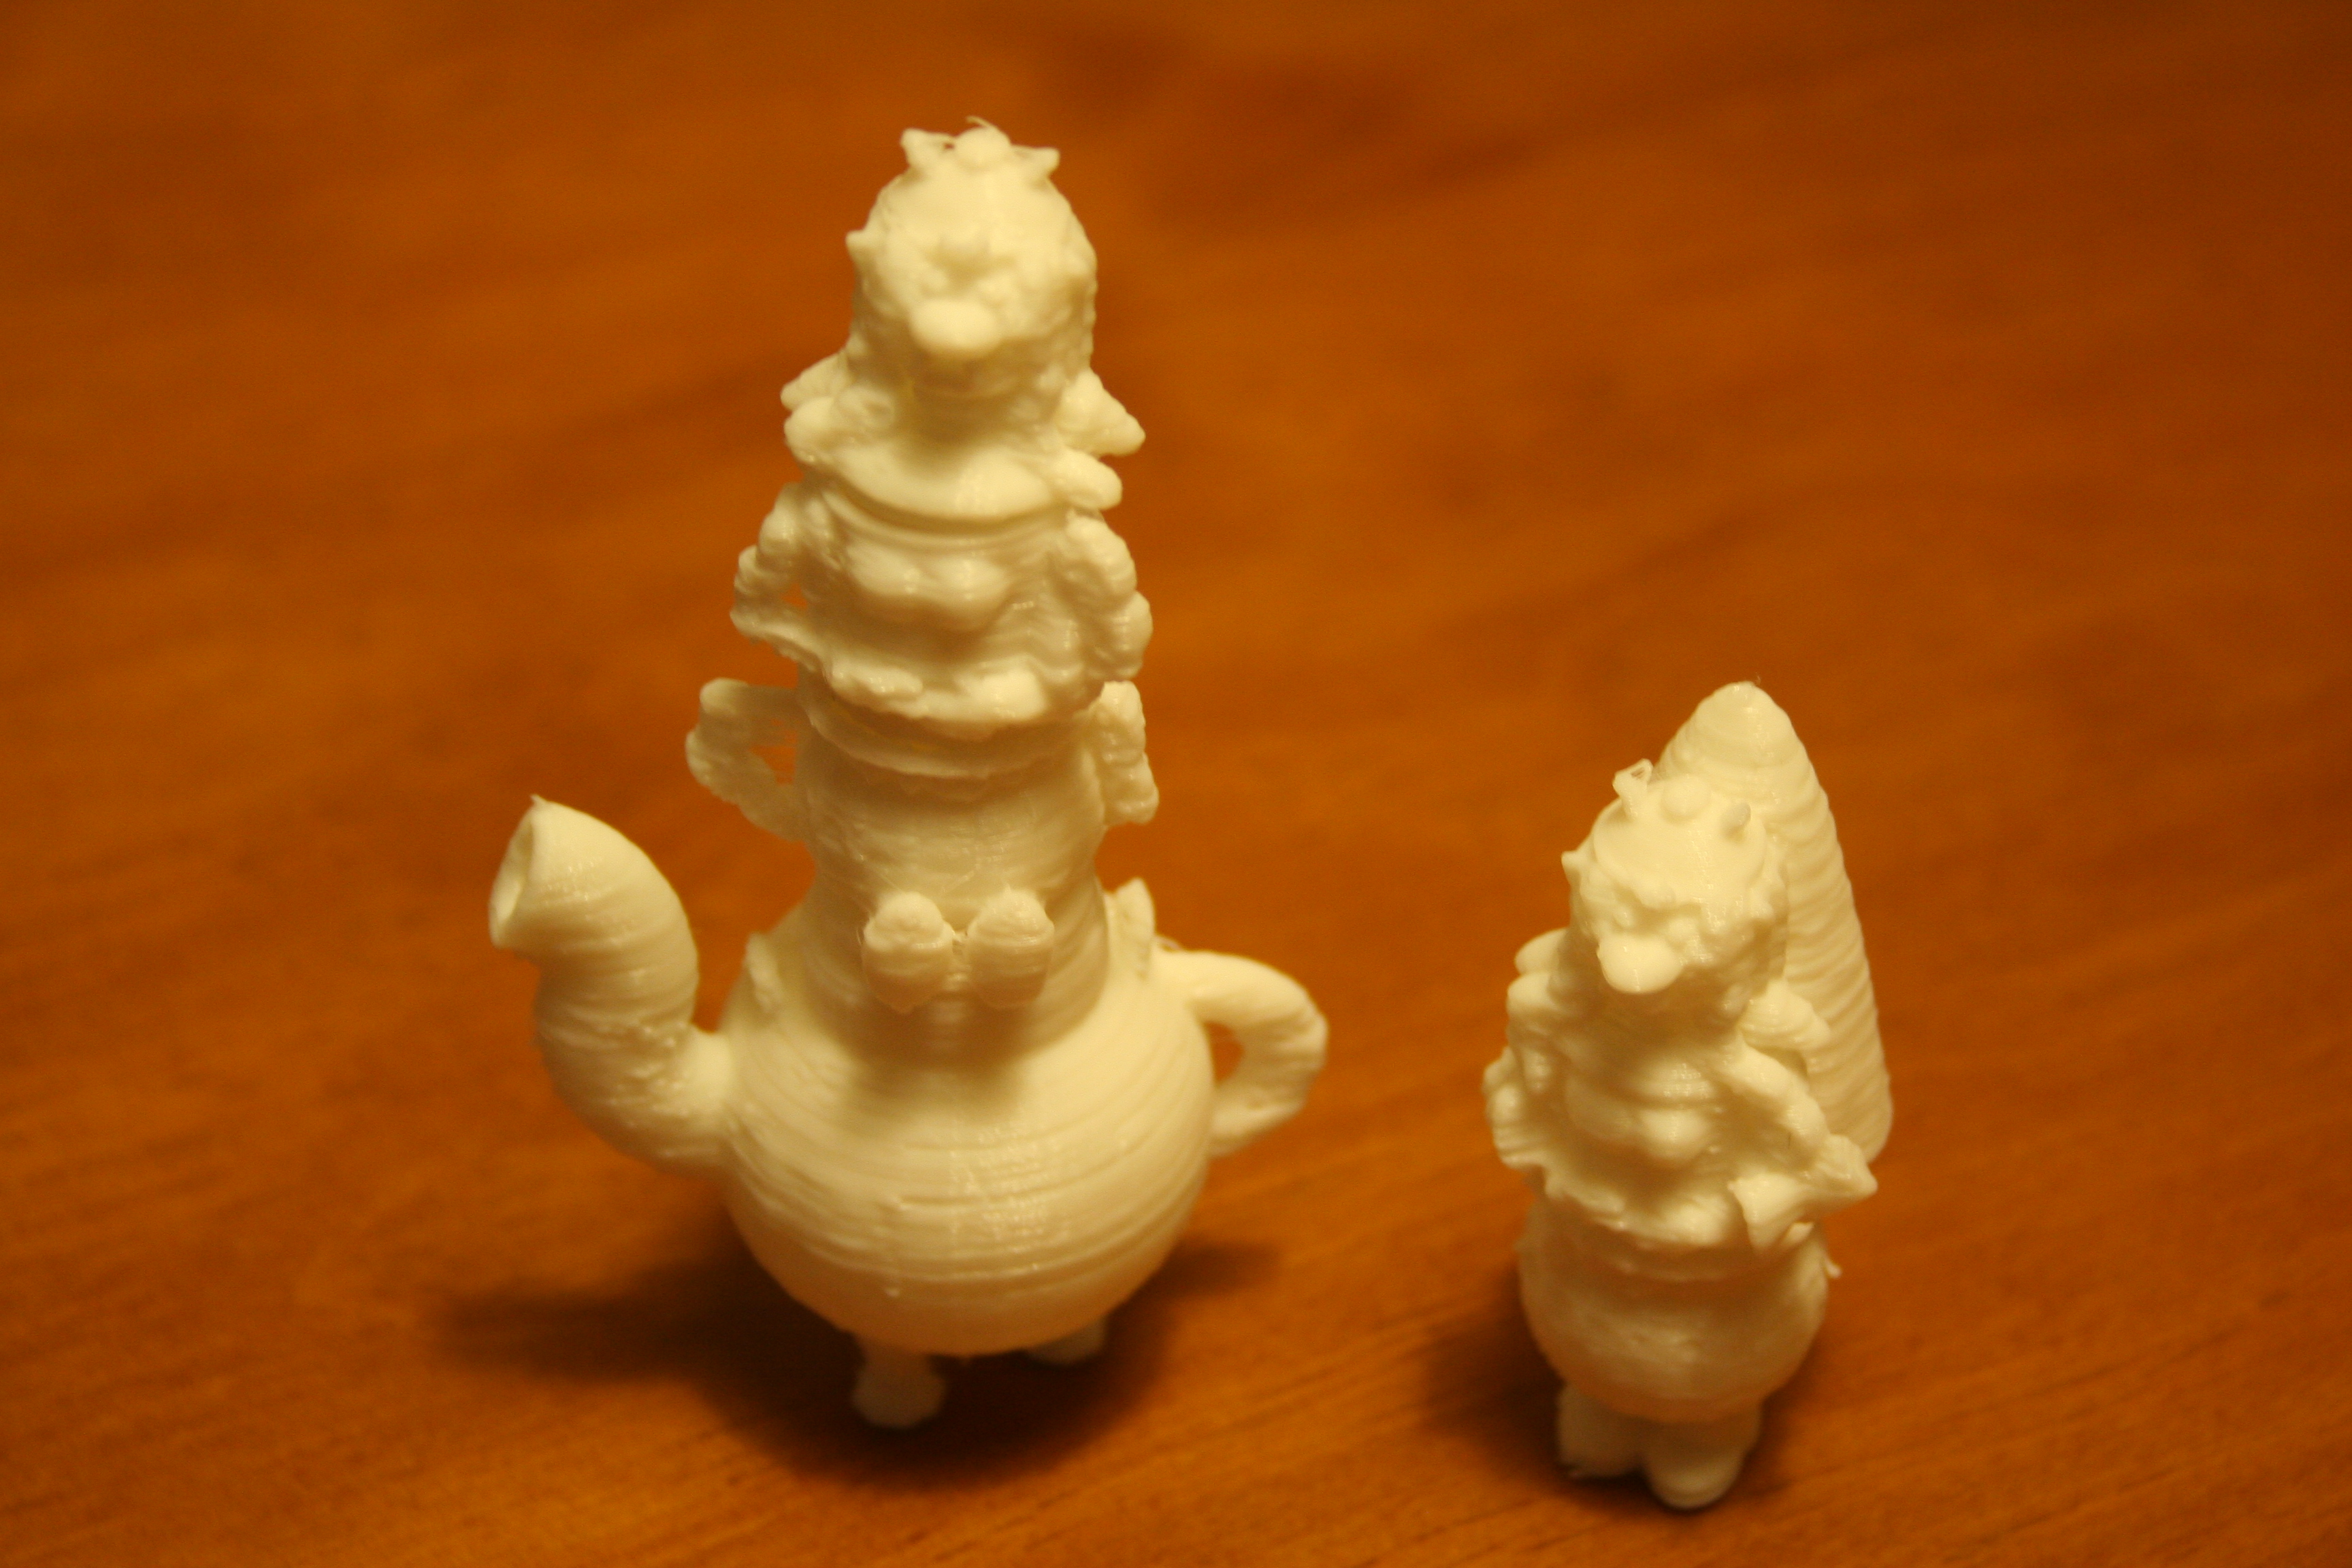
For this project you need use the tinkercad, a software like cura and
a 3d printer and your computer.
Make the Tea Pot Caldron of Obelix
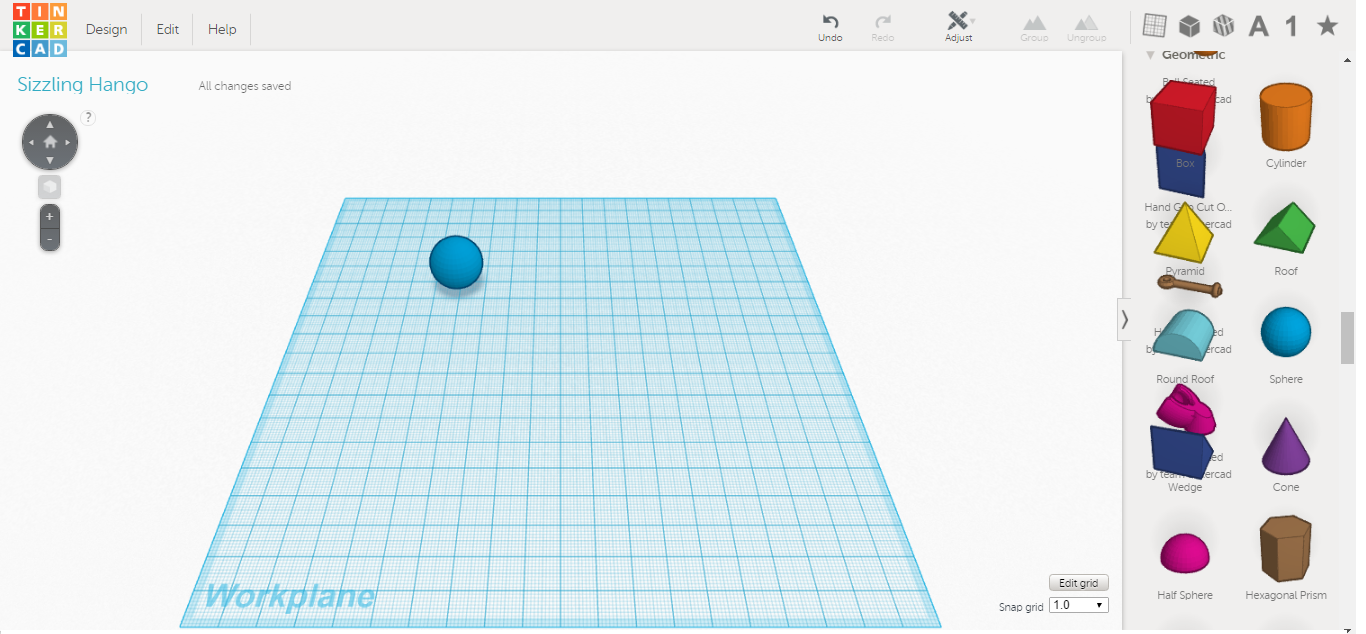
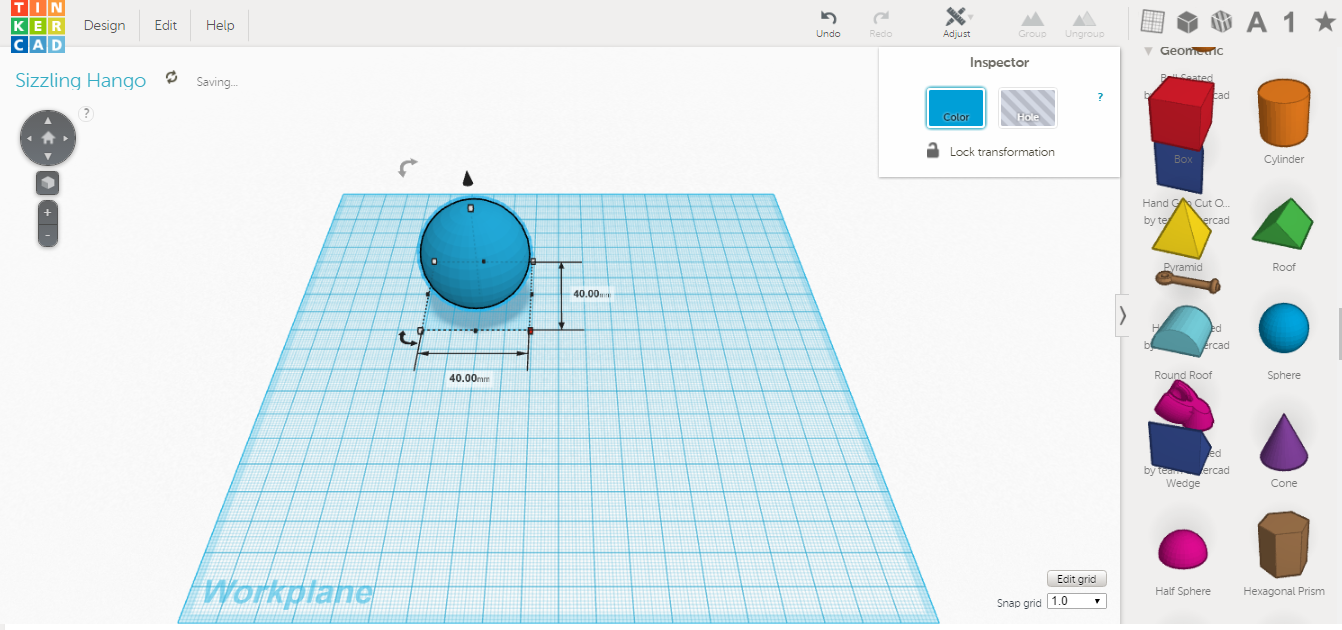
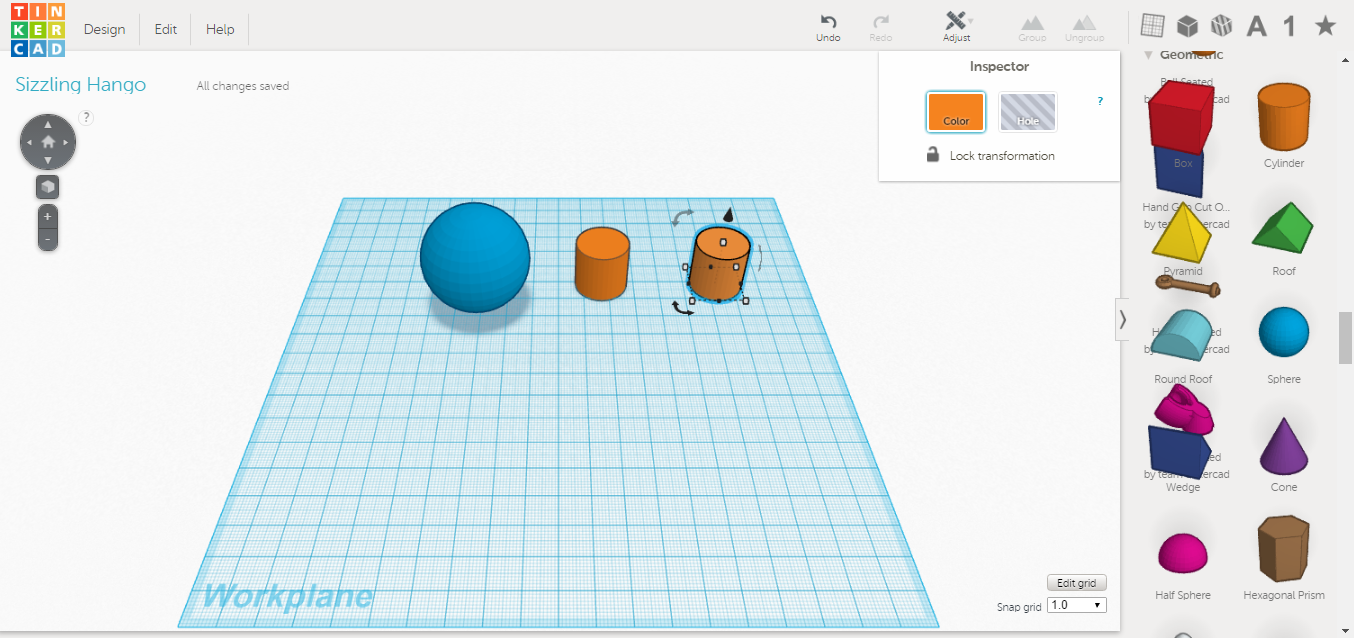
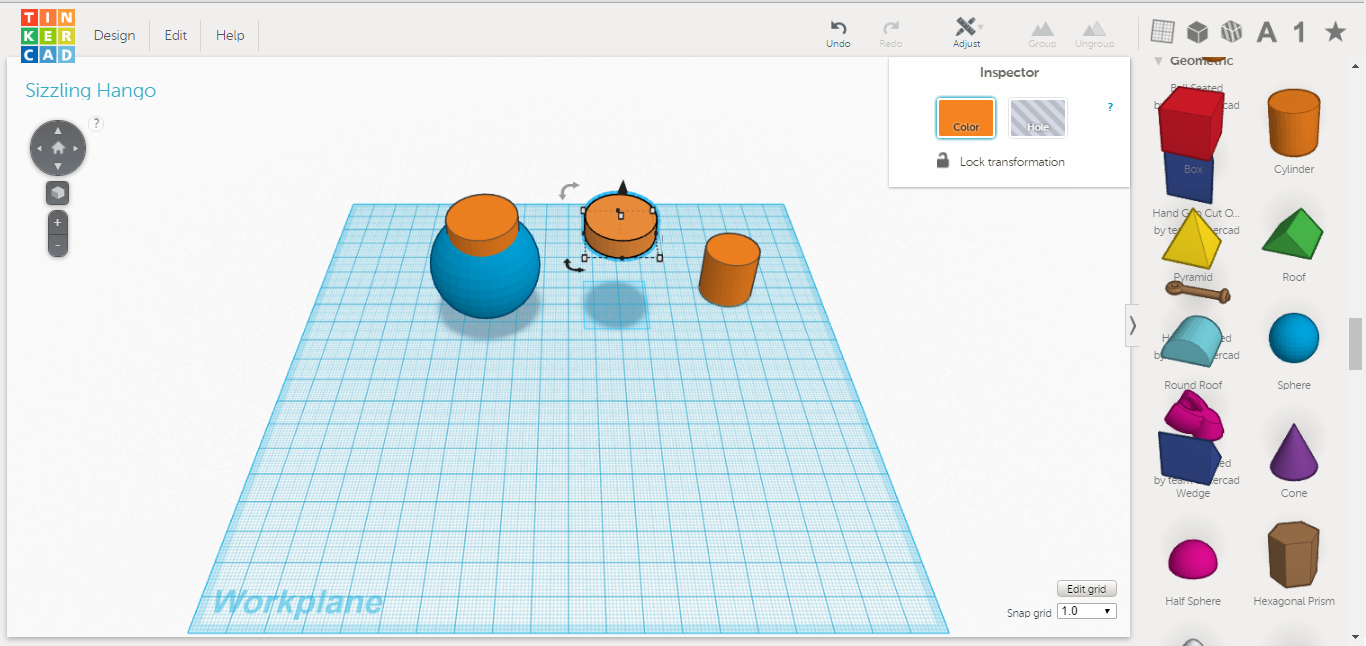
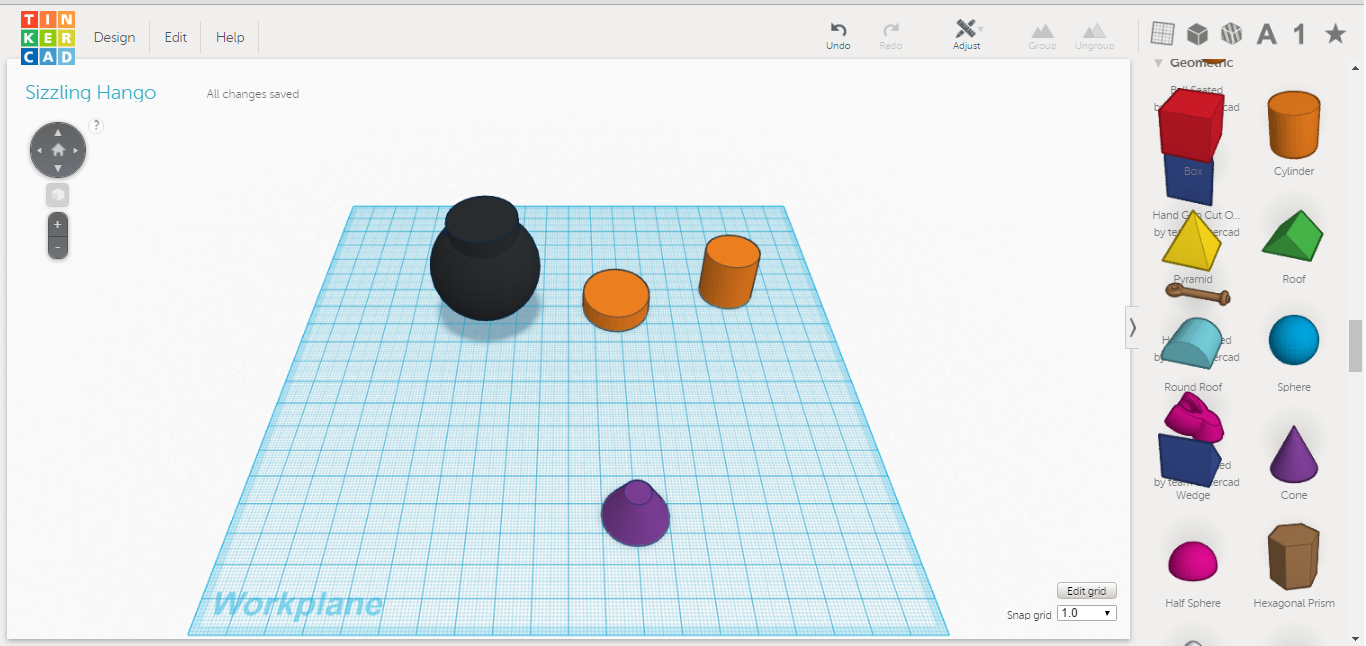
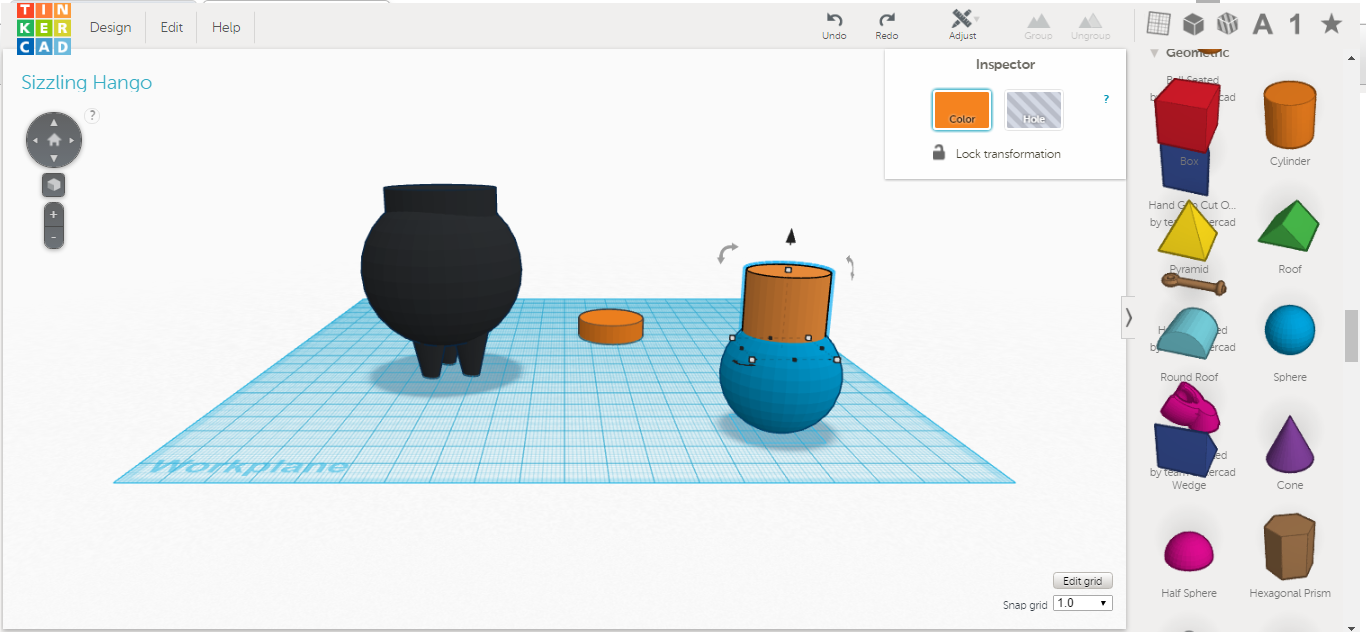
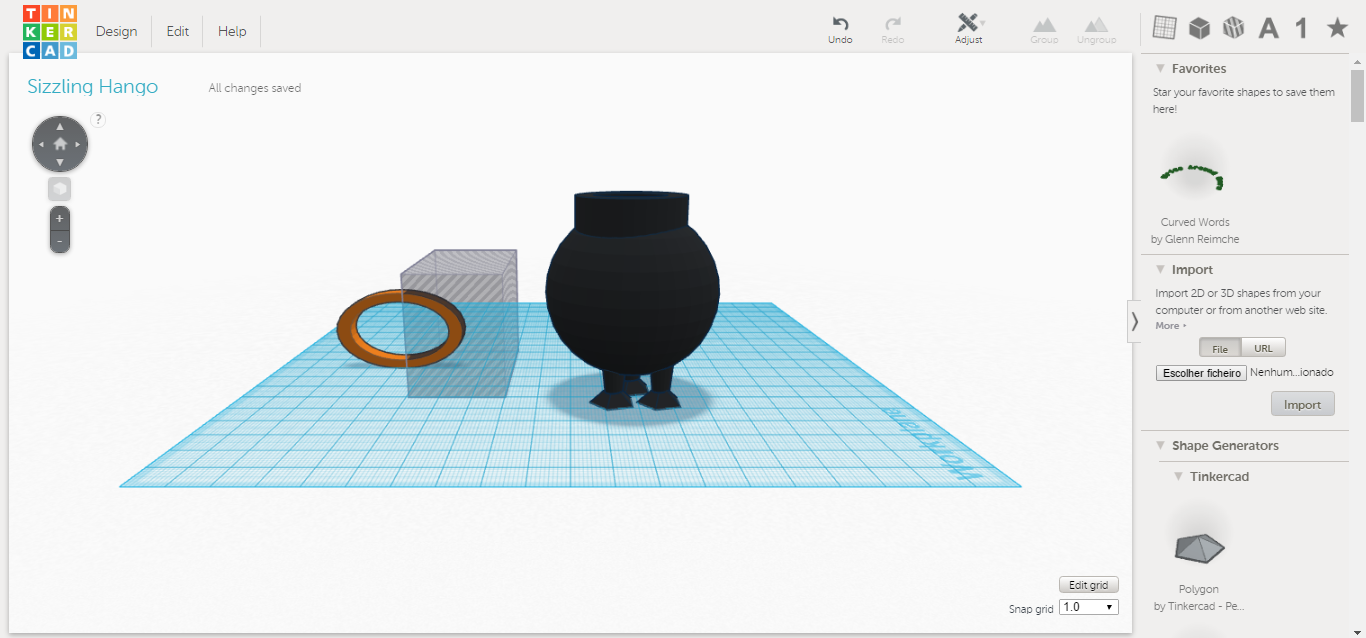
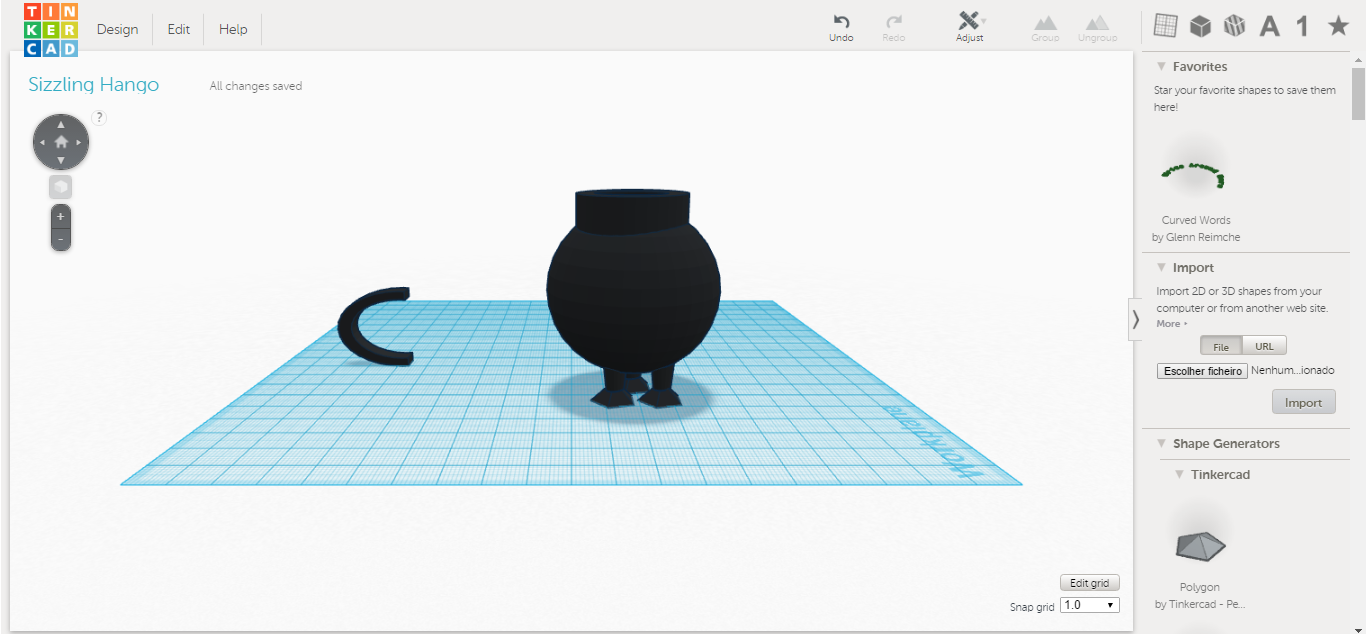
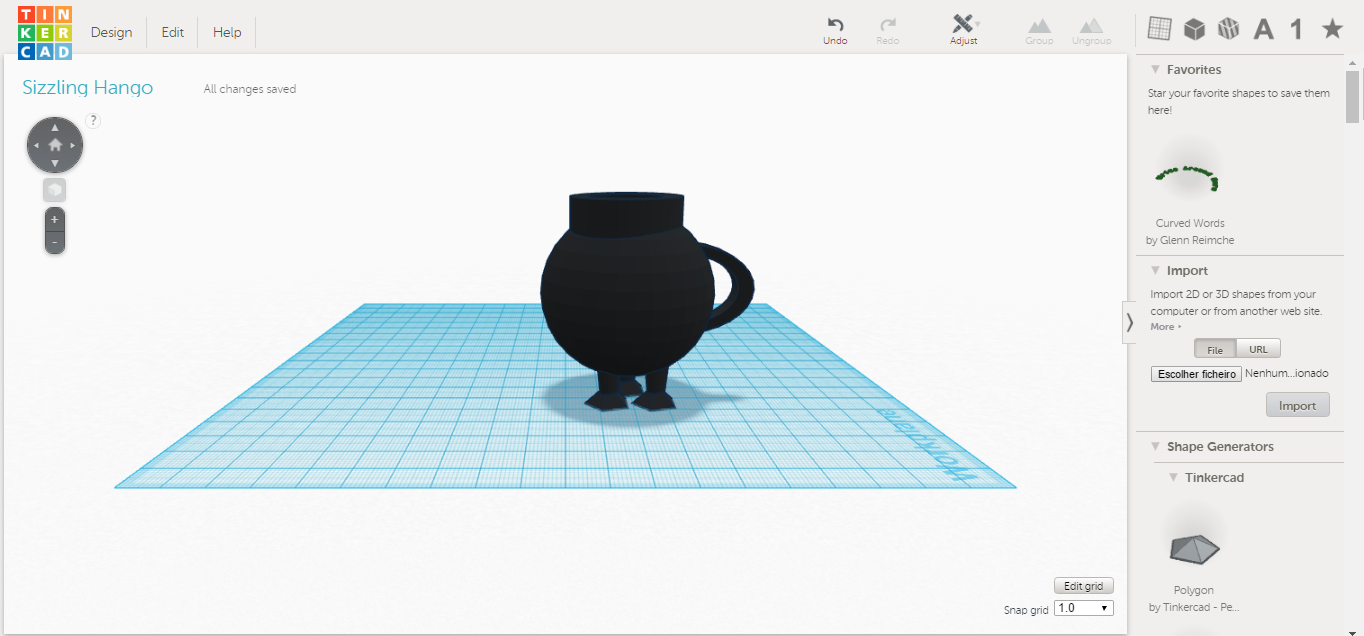
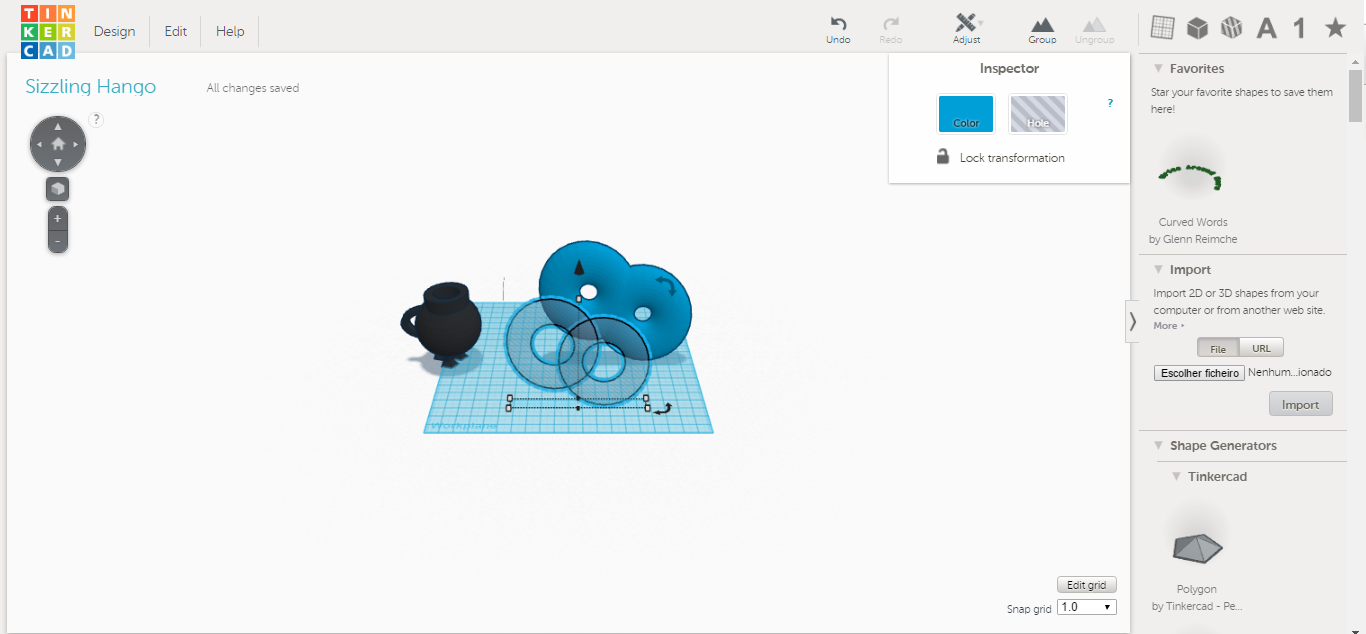
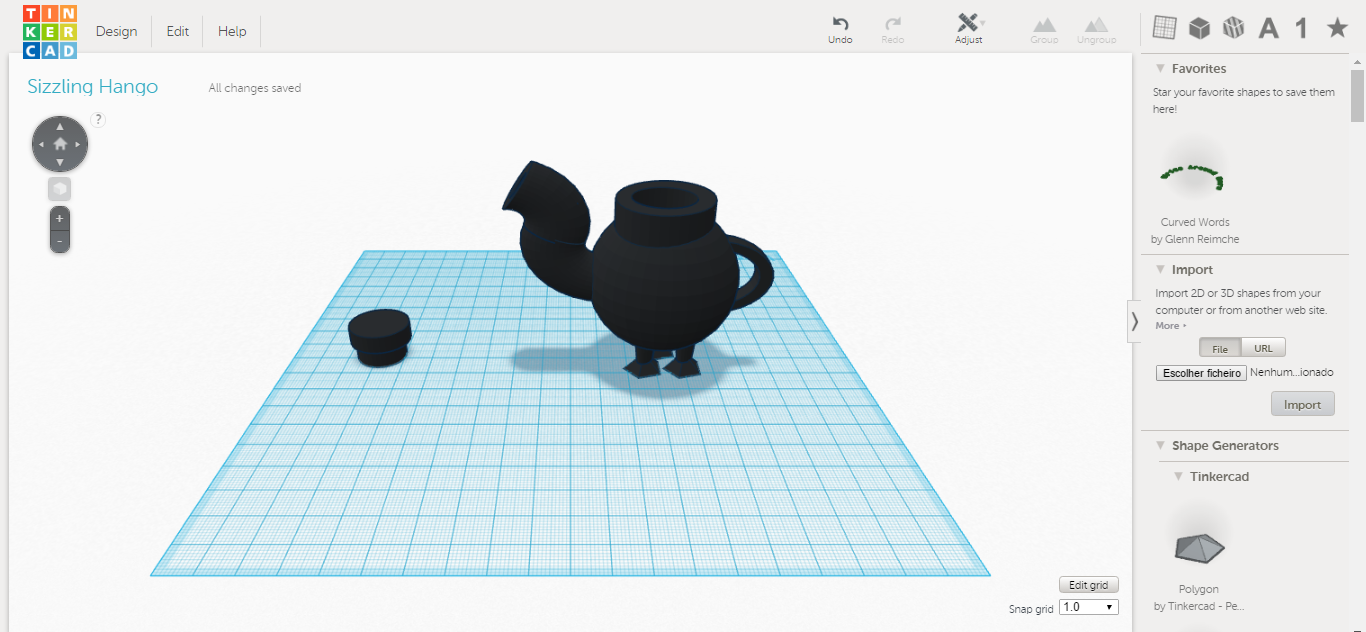
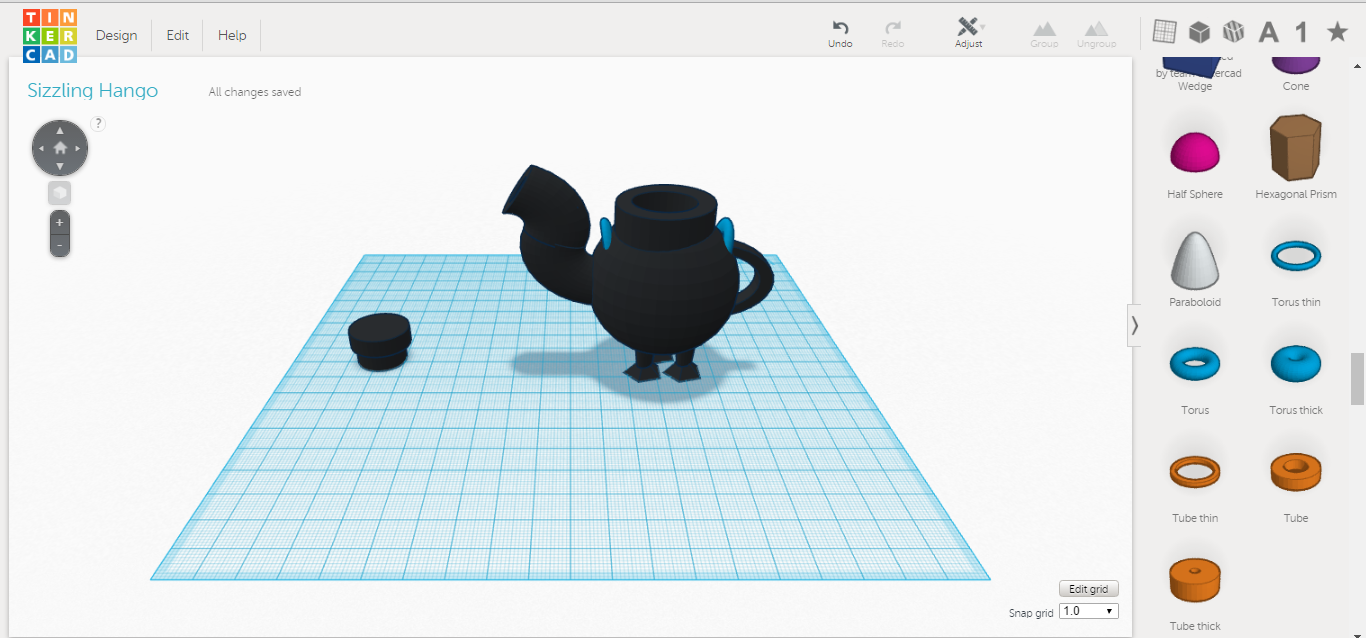
1. Draw a sphere
2. Increase the size of the sphere
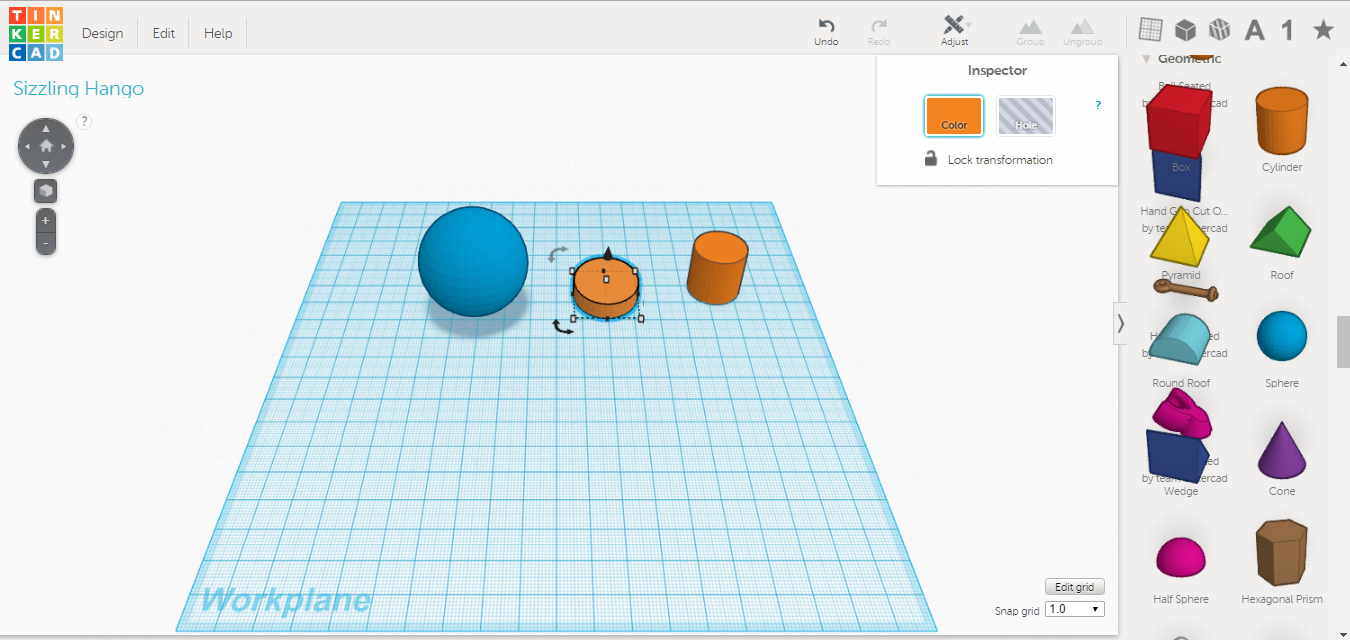
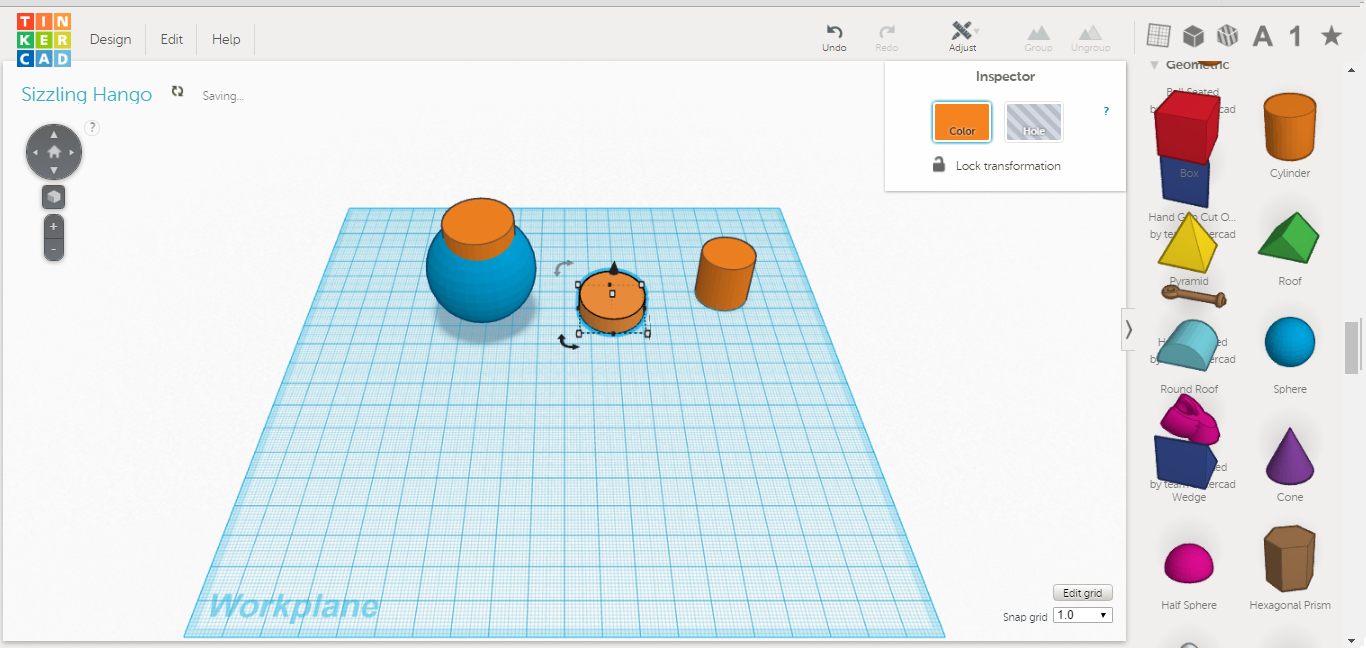
3. Draw a cylinder and duplicate him. You can select the object click edit and select the correct option.
4. Decrease the height of the cylinder and increase the diameter.
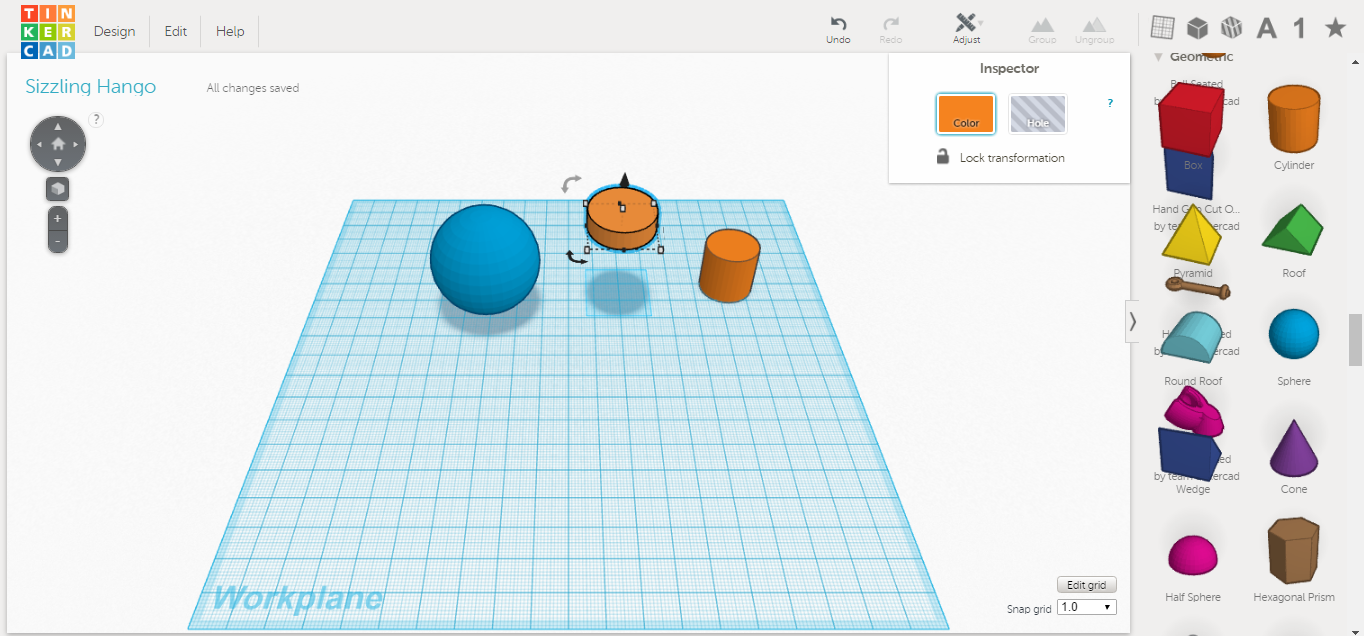
5. Lift the cylinder, to this should use the black cursor appears on screen.
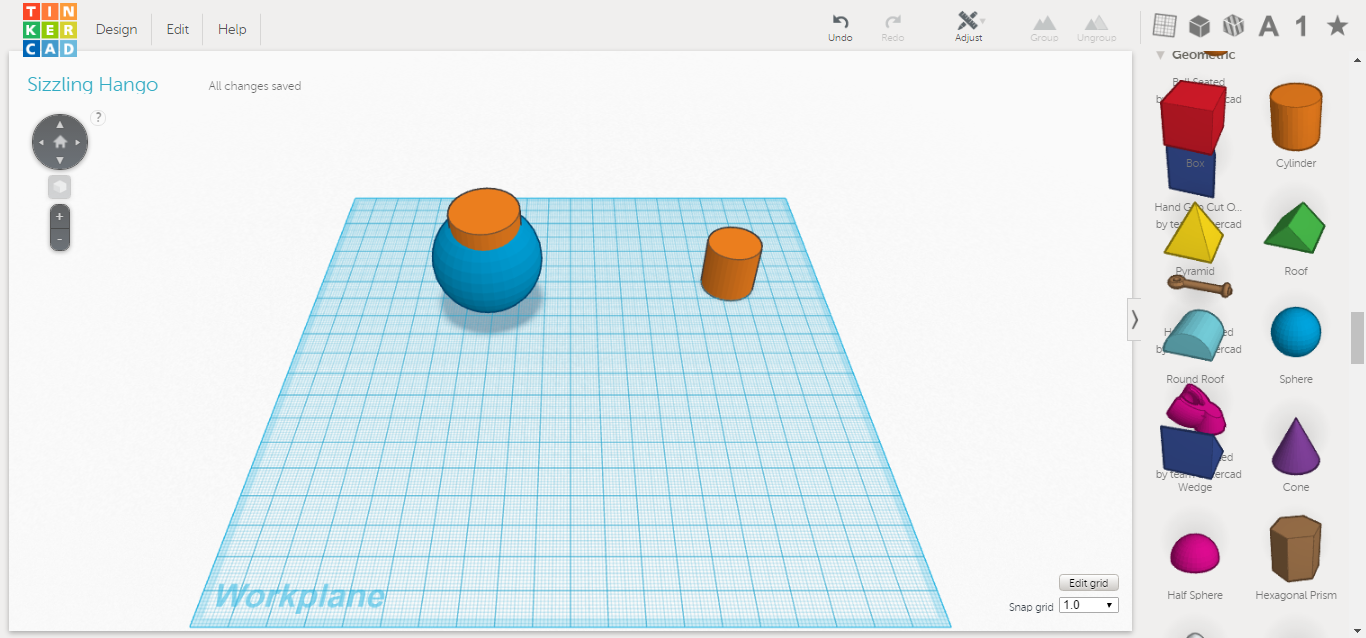
6. Put the cylinder on the ball. Use the keyboard left and right to move the object.
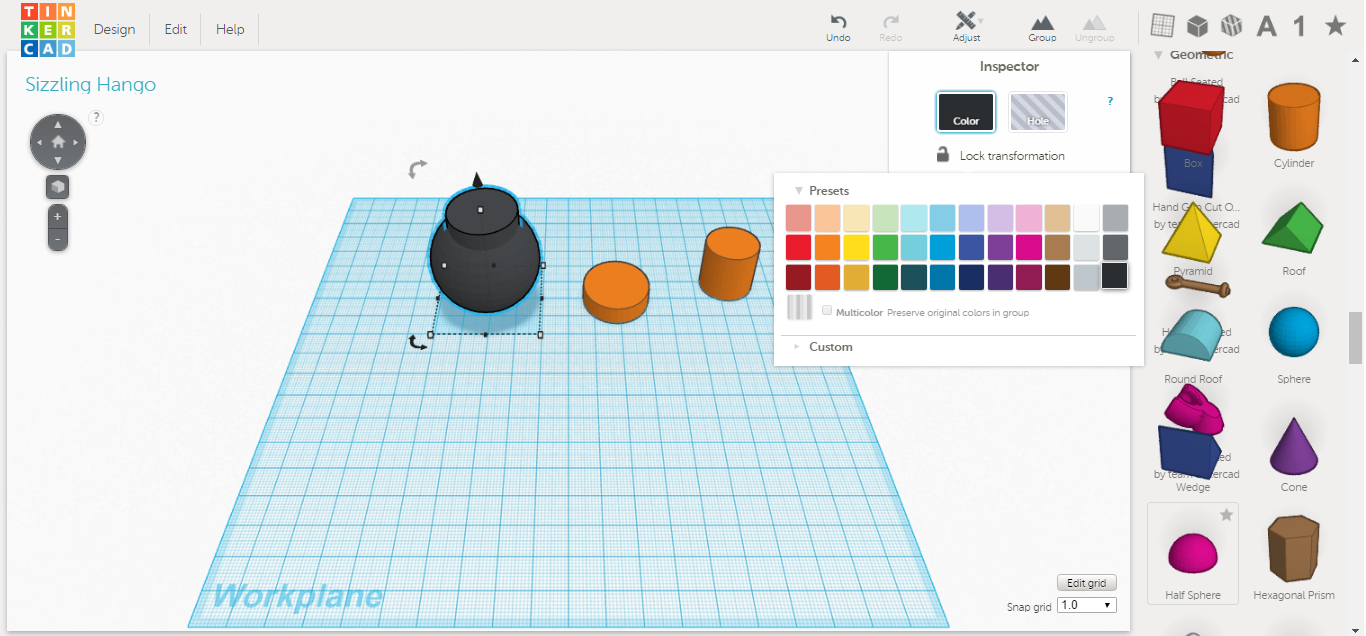
7. Select the cylinder and make another equal (you can duplicate them).
8. Use the keyboard to move the object to the rigth and the black cursor in the sreen to move the object down.
9. Select the objects and paint it black. Use the palette on the rigth.
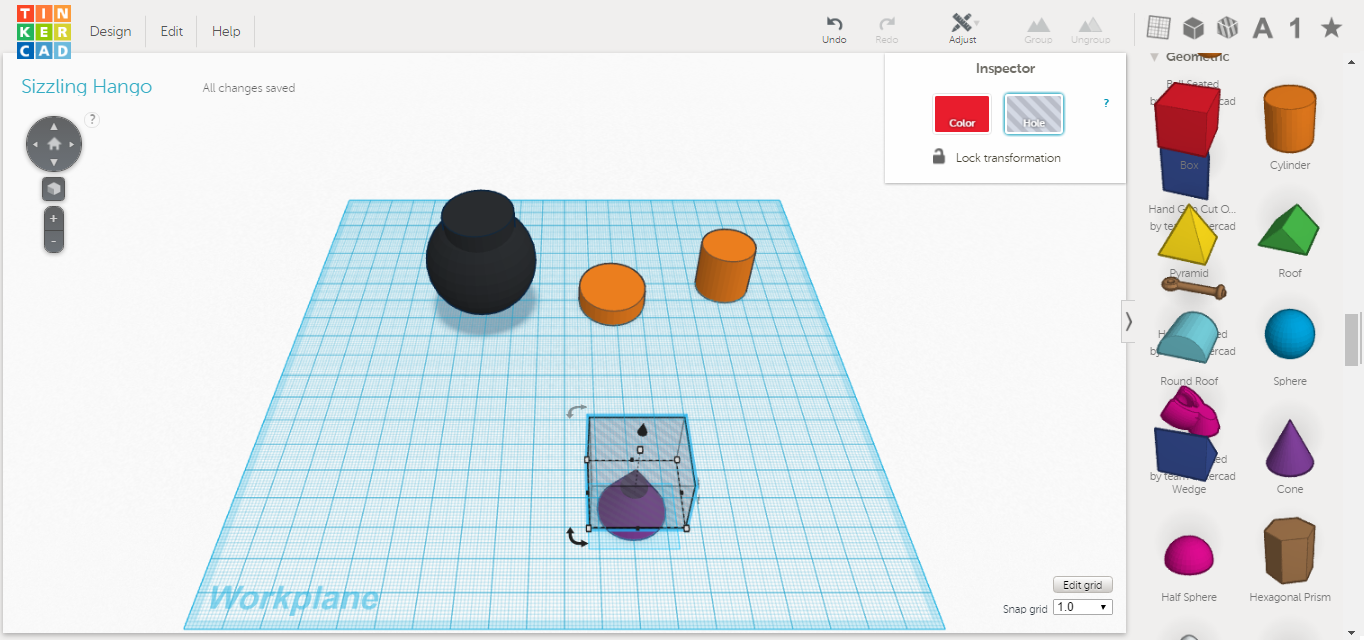
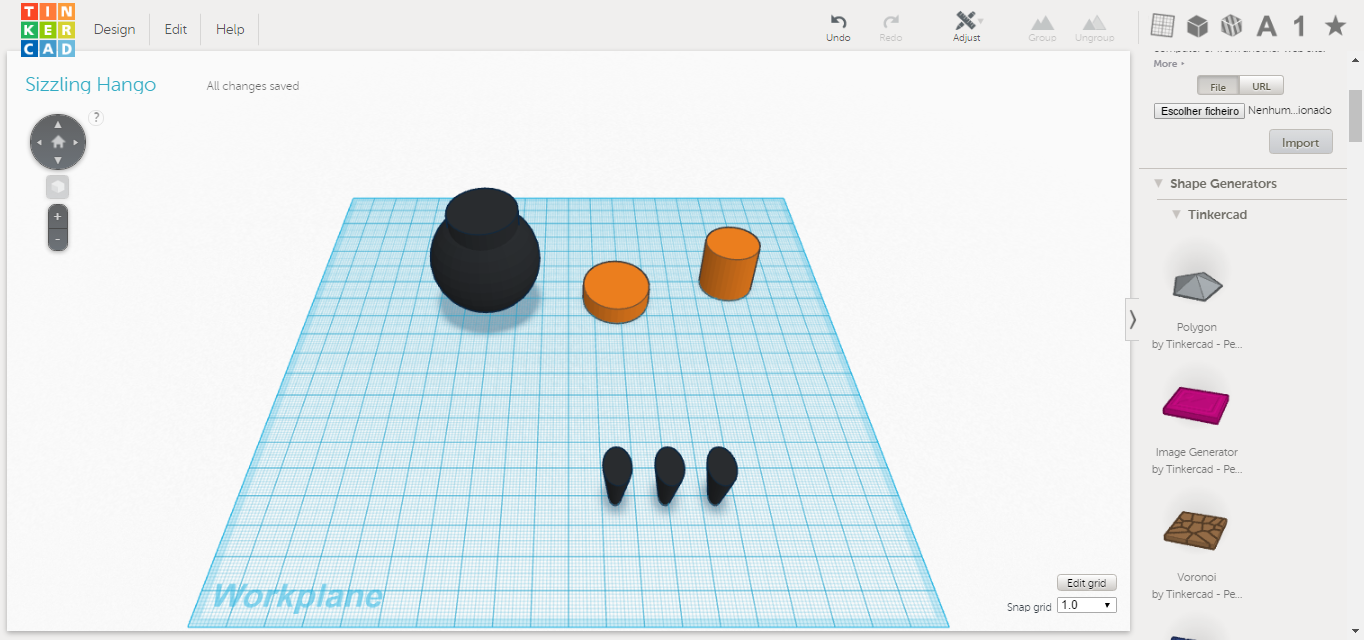
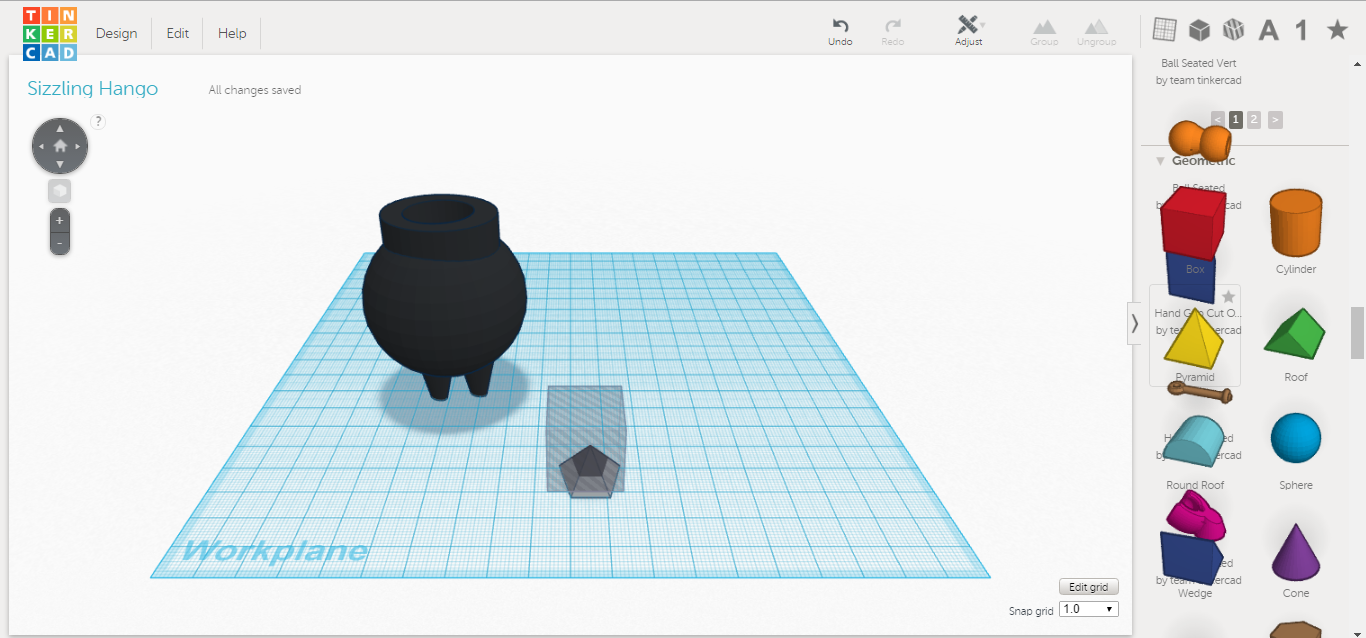
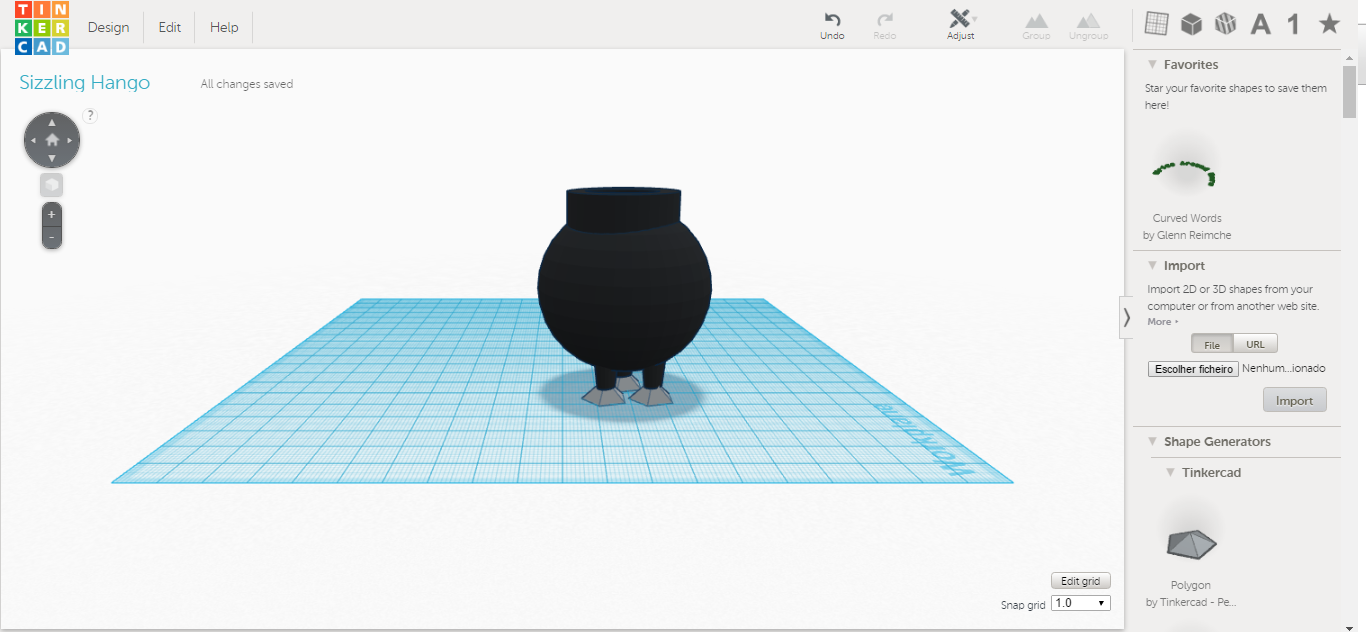
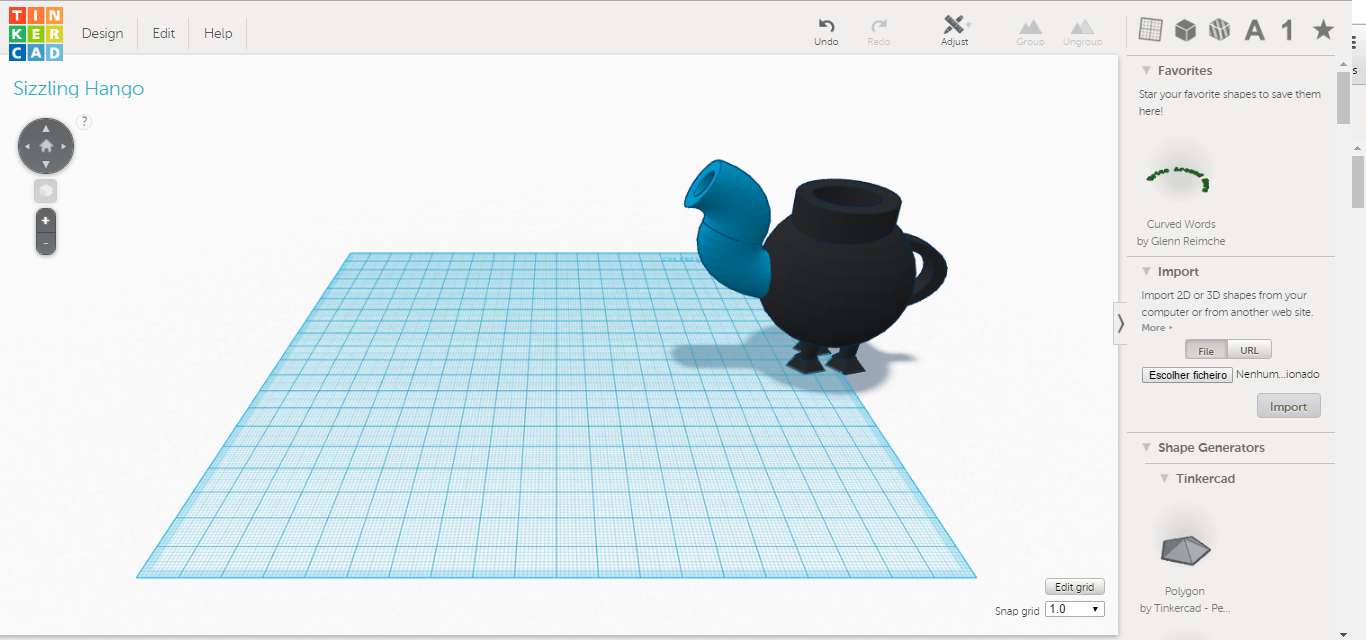
10./11./12./13./14. It’s time to make the feet’s of the caldron. Drag a cone. Use a square to cut part of this cone. Group the two images. It’s important the feet of the cauldron remain strong to support the weight of the object and the water. You should make a base for each . Straighten the cone and narrow it . Turn it 180 degrees. For that use the arrows on the screen. Paint it black and duplicate twice the image. Put your feet in the cauldron and if necessary adjust the size of the cauldron to the size of the feet.
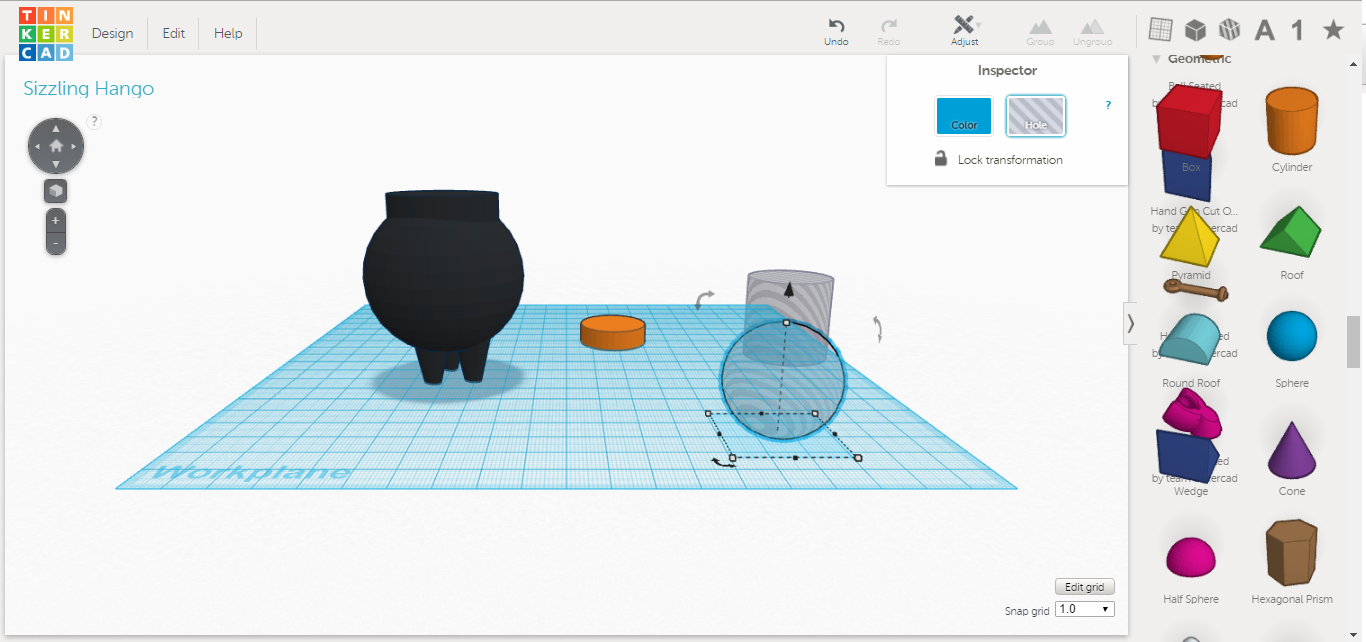
15. Draw a sphere. This sphere must be smaller than the inicial sphere. Place the cylinder that you had doubled initially on the ball.
16. Select both objects and turn them into a hole. Use specific commands in the right side of the screen.
17. Put the object inside the cauldron and group. It is important that the objects are well positioned for the cut be well done and so they do not cut the outer walls of the cauldron . If this happens will have to do the object again (This may be visible only at print time).
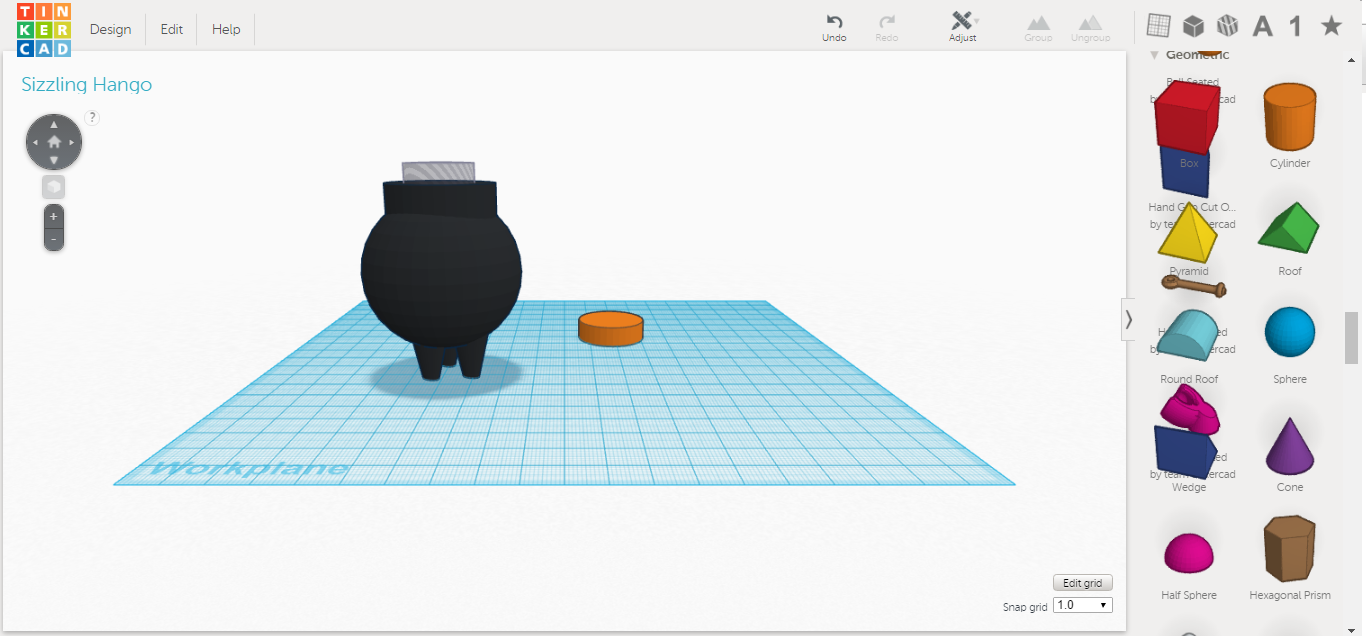
18. To make the pot cover double the cylinder used in the previous section. Duplicate him again and make smaller this new cylinder 2 cm only in two sides. Color the cylinders in black. Decrease the height of the cylinder’s and place the larger cylinder on top of the smallest.
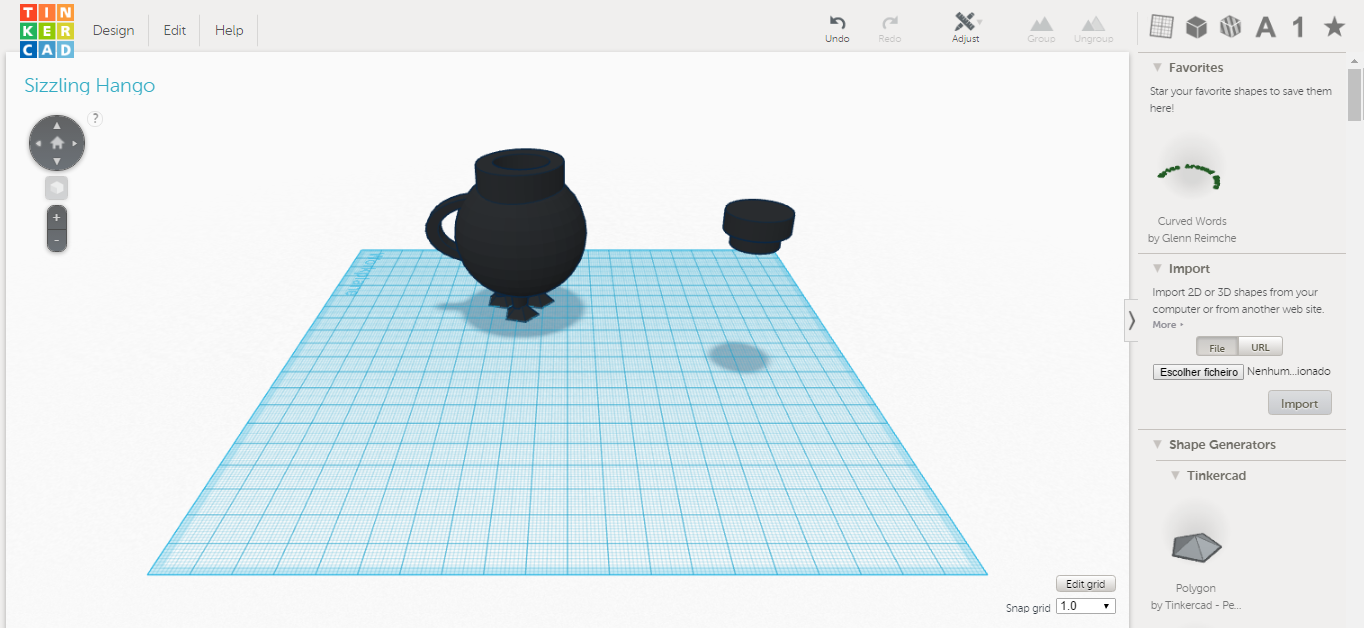
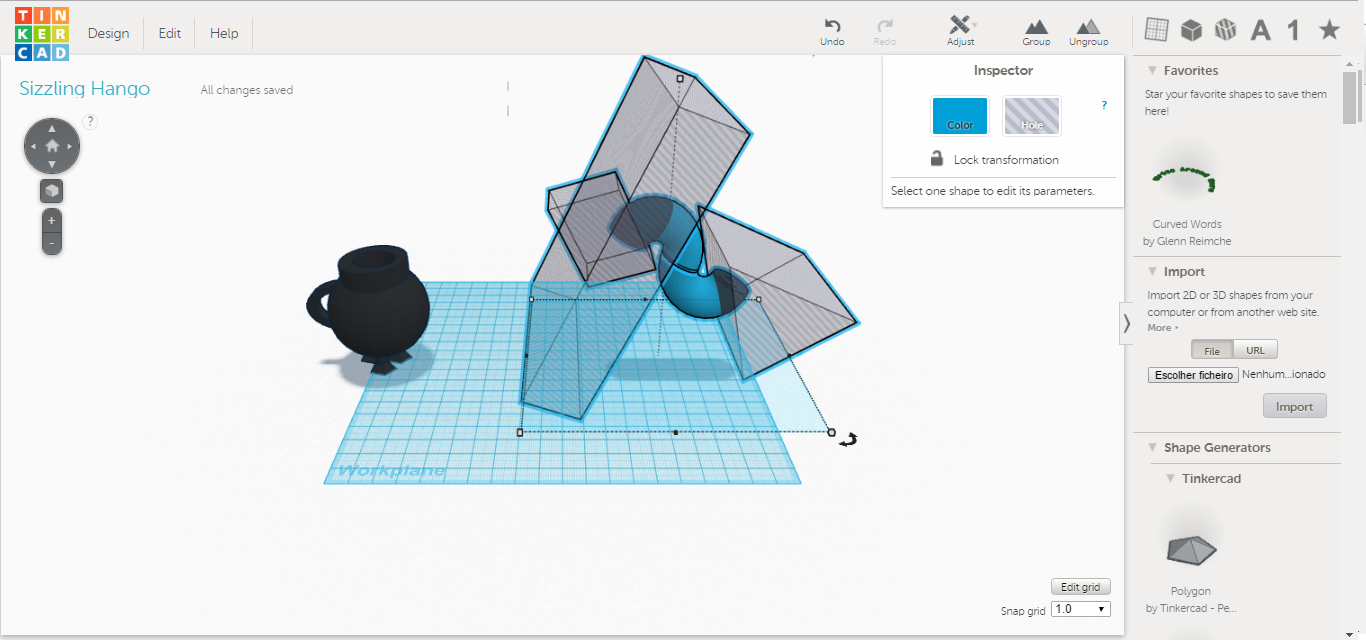
19./20./21. To handle draw a torus. Cut the torus in half to make the wing
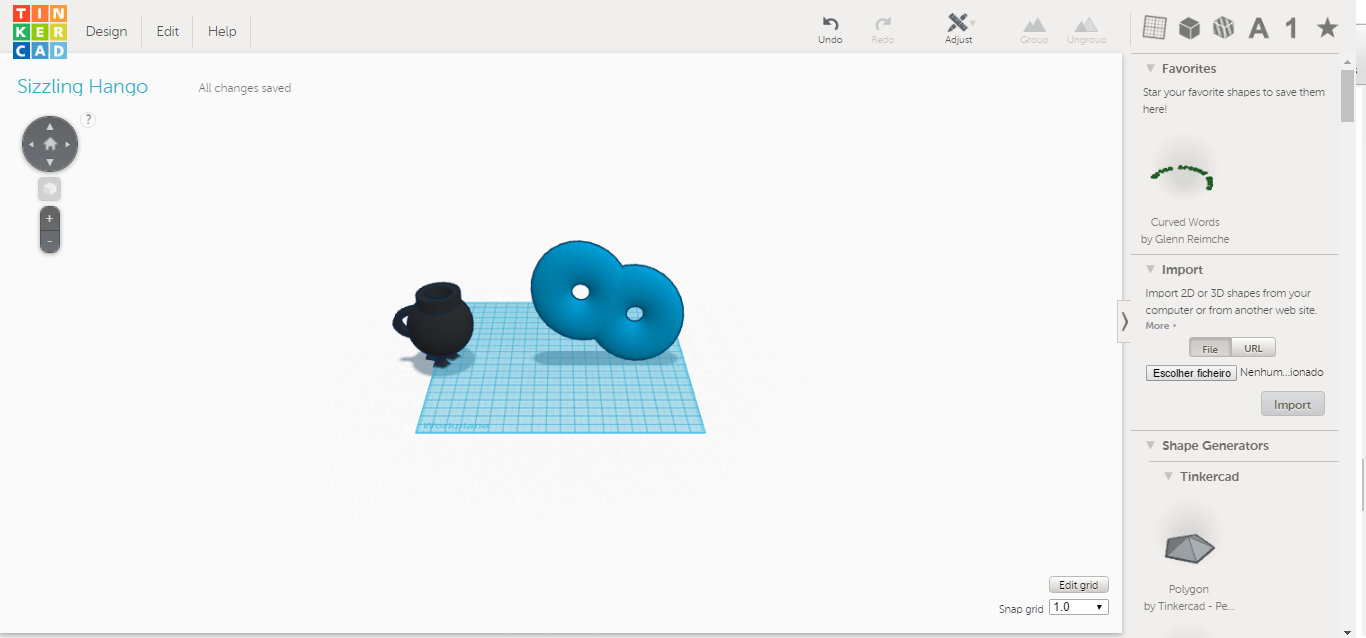
22./23./24./25./26./27./28. Draw two torus. Duplicate them. Put the second group of torus inside the first and group them. Cut the donut. Use squares and a triangle to cut the new object. Make a hole with a cylinder.
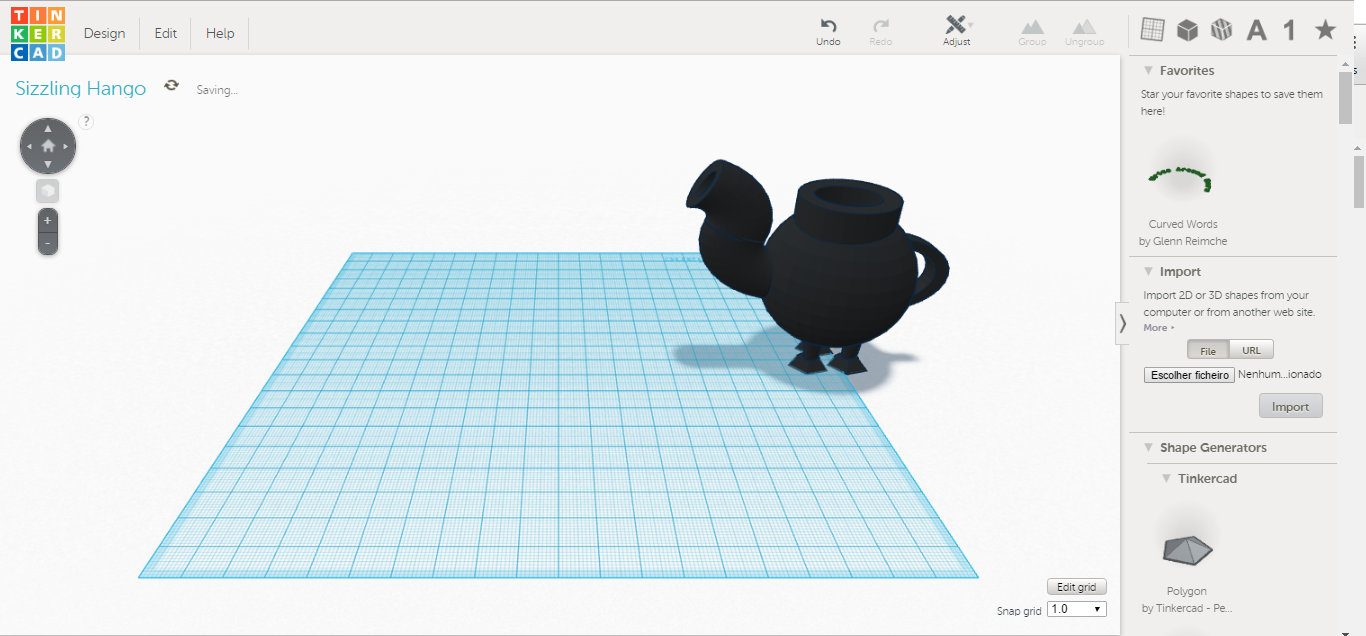
Place the other object in the hole and remove the excess if necessary. Place two handles on the pot.
Obelix. Make the Inferior Part of Obelix.
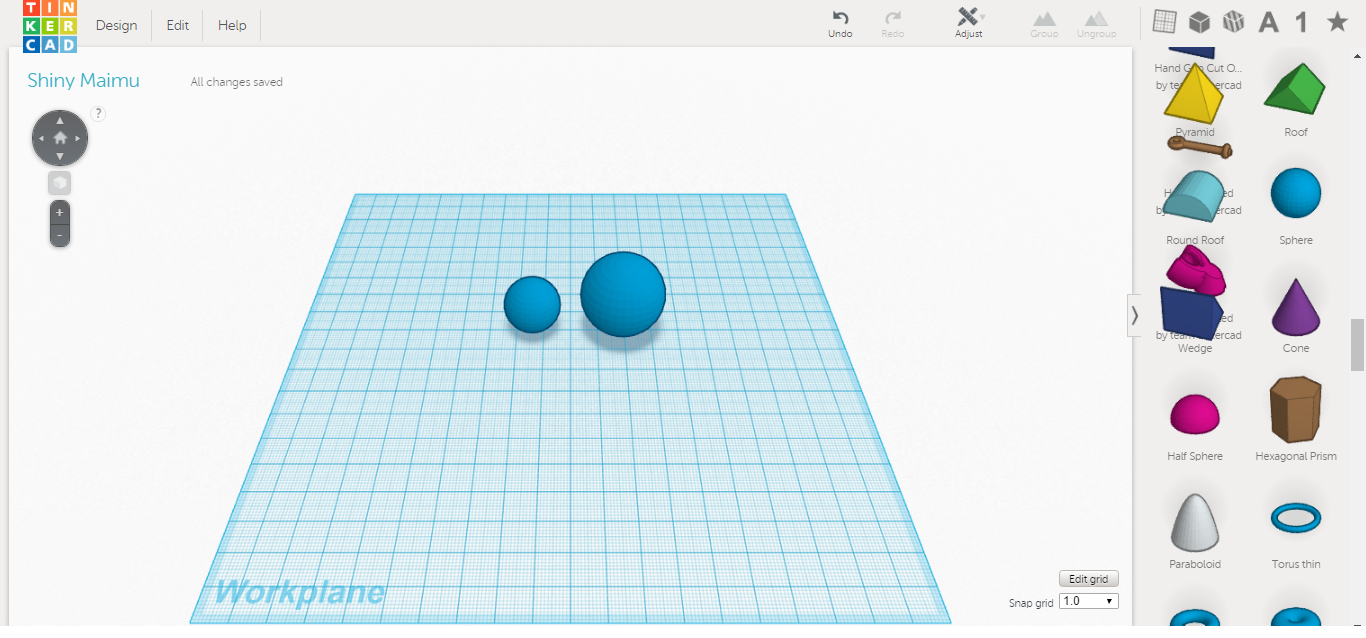
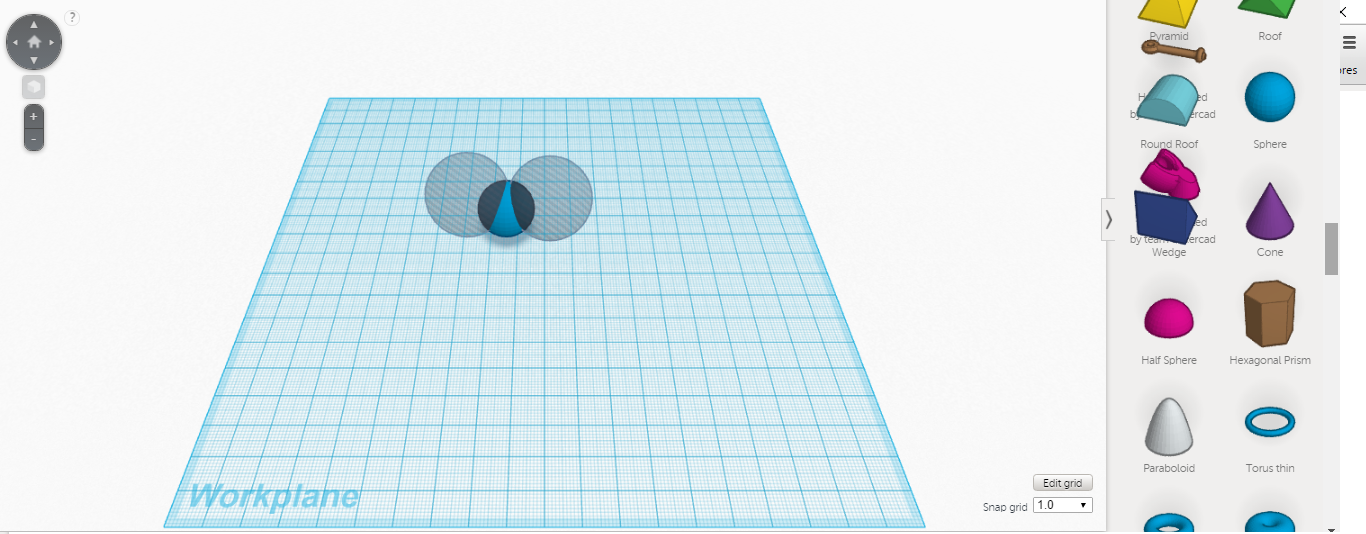
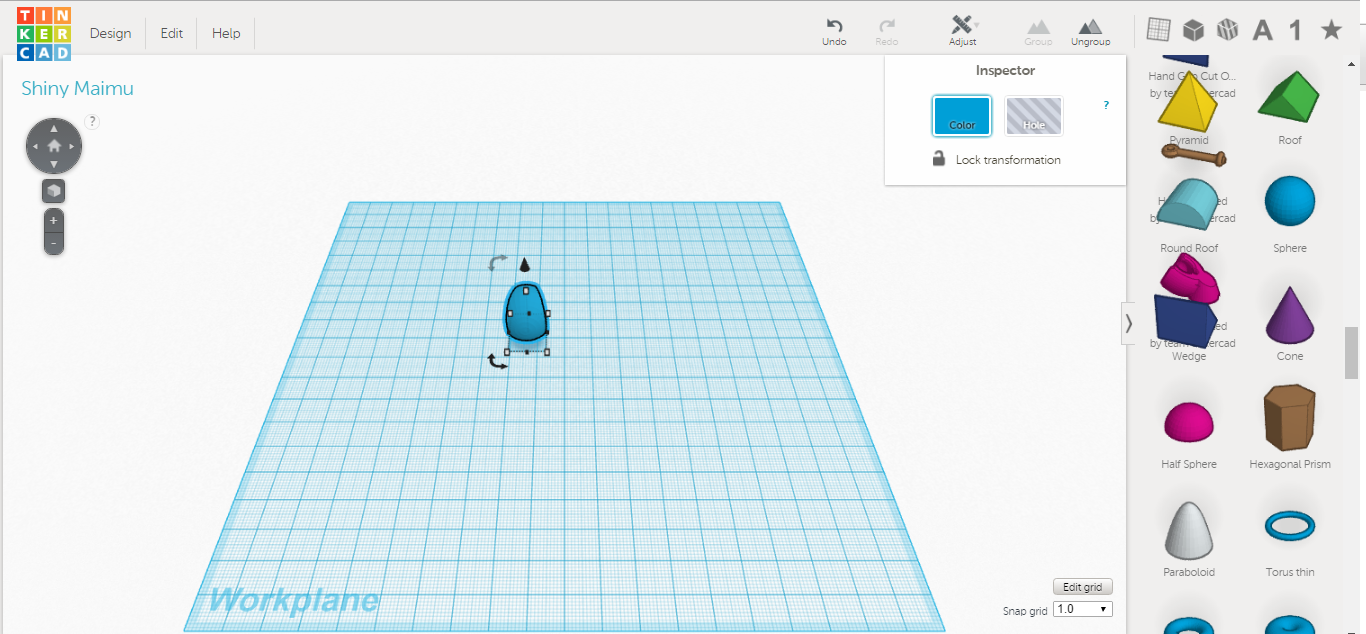
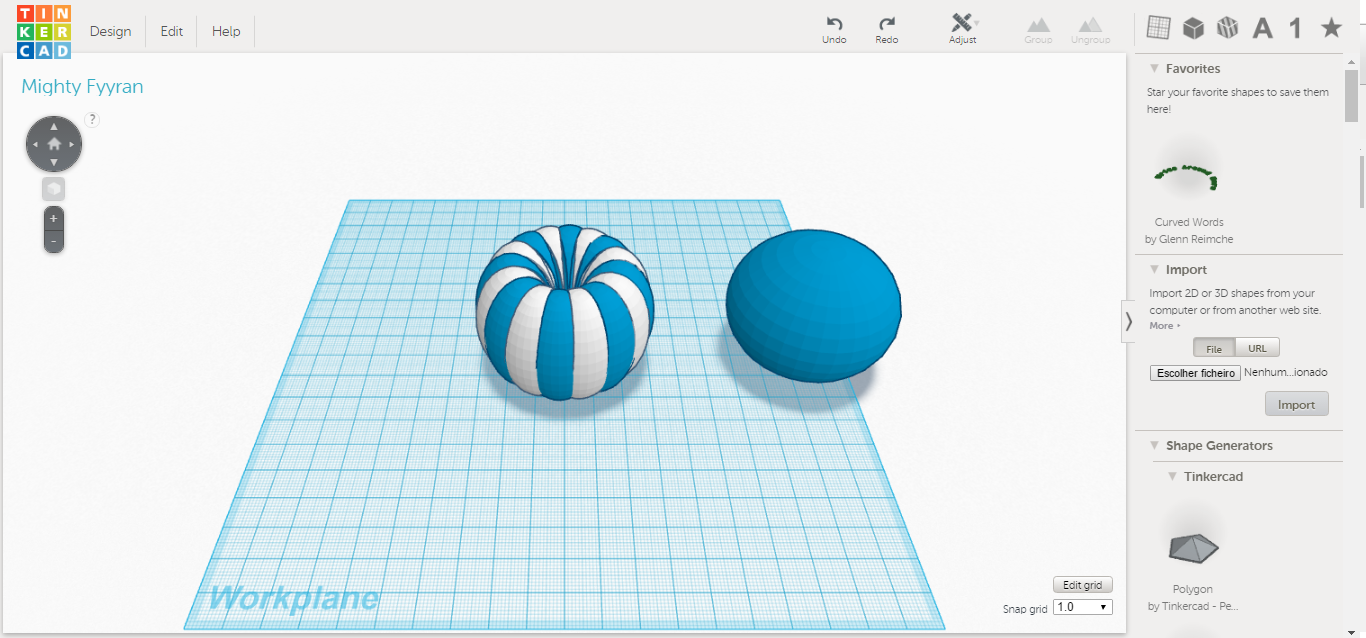
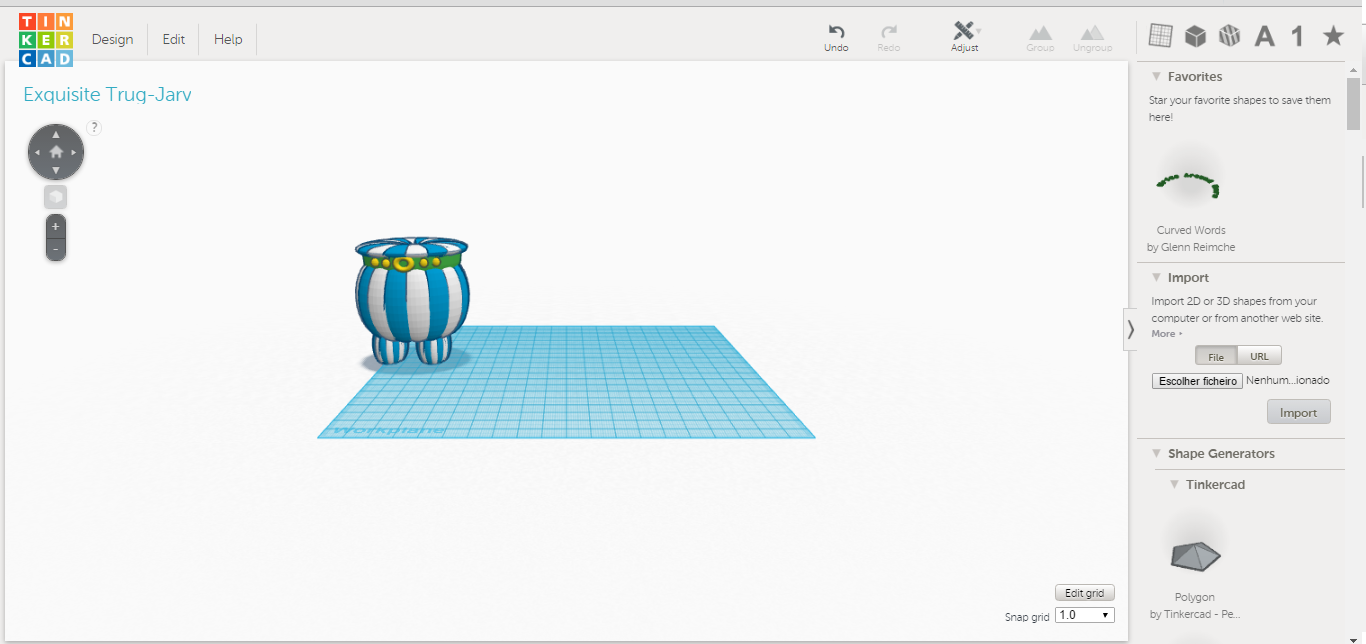
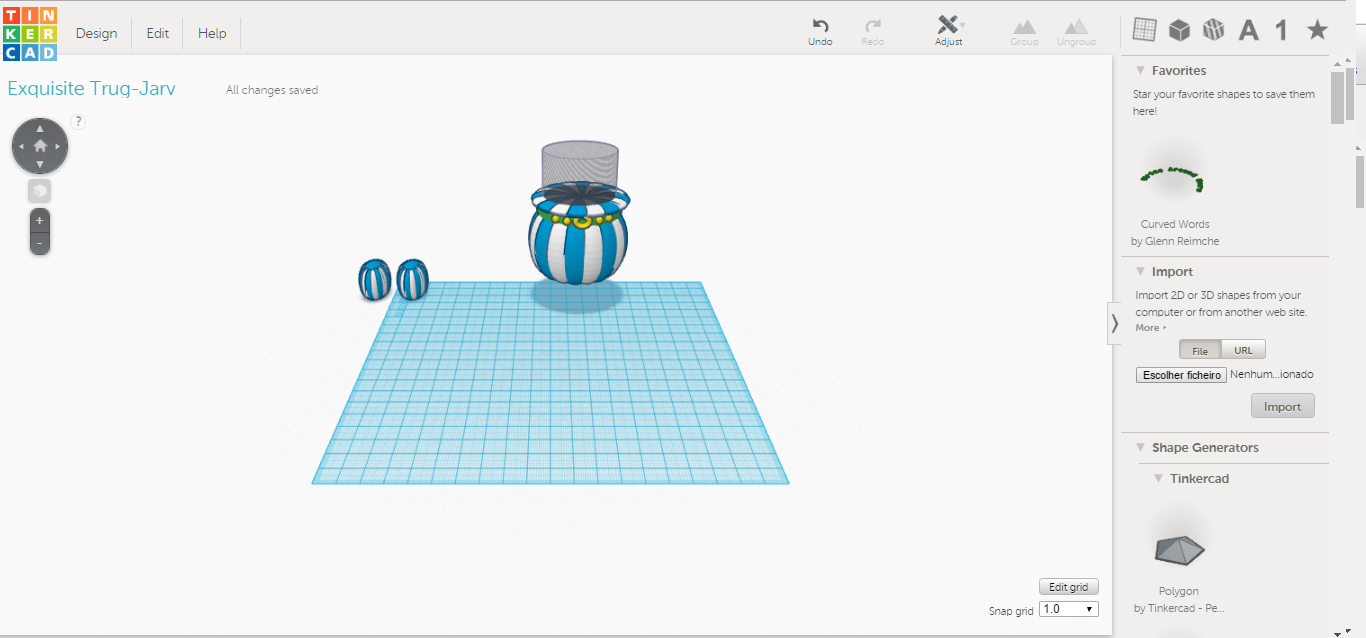
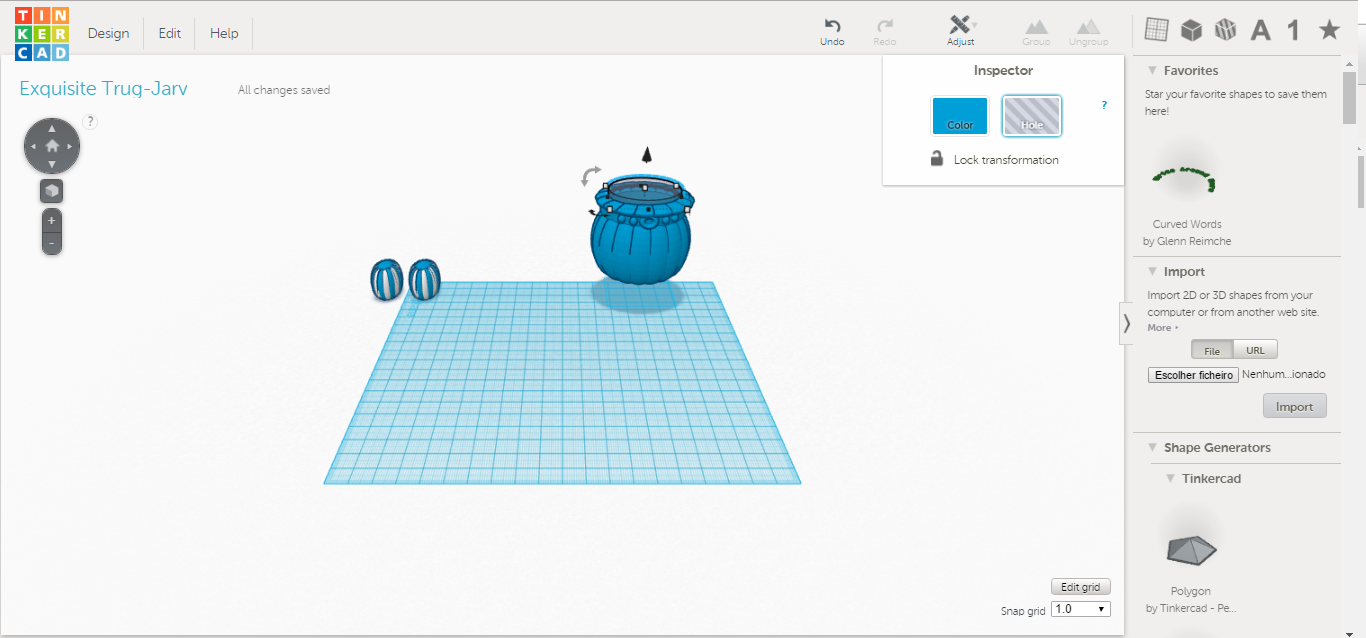
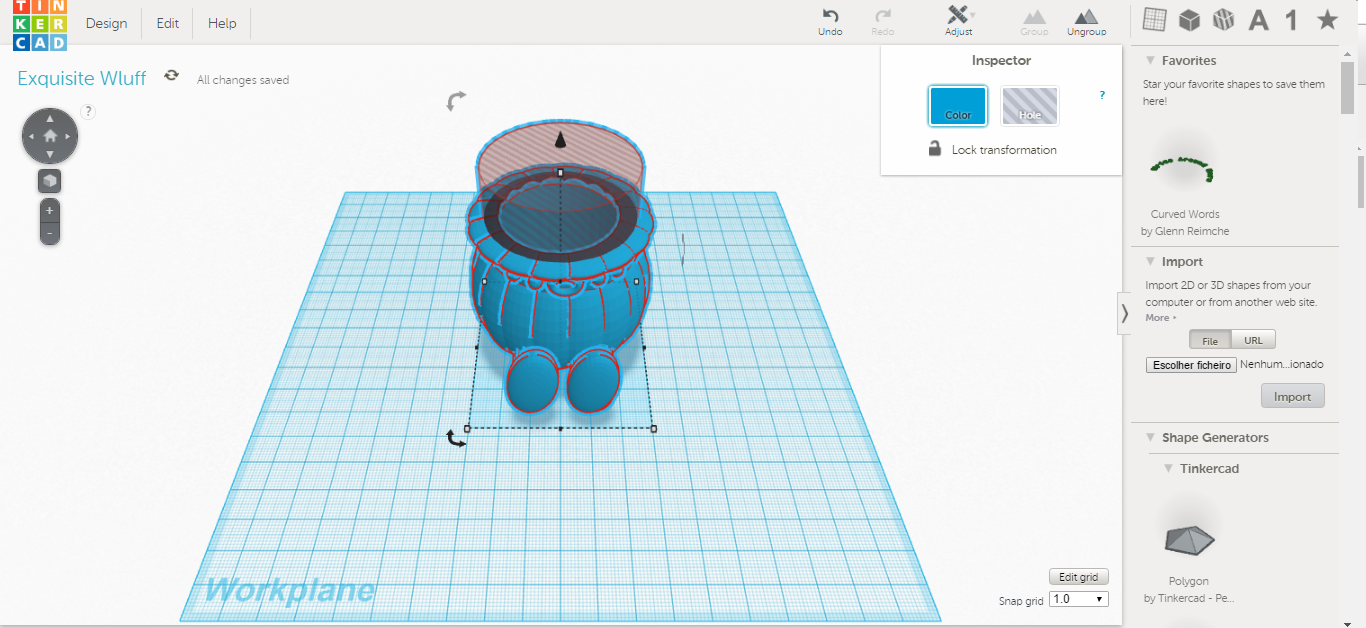
1. Draw two spheres. Make one of them bigger and duplicate them.
2. Turn the larger sphere in a hole and duplicate it. With the two spheres cut a slice in the smaller sphere.
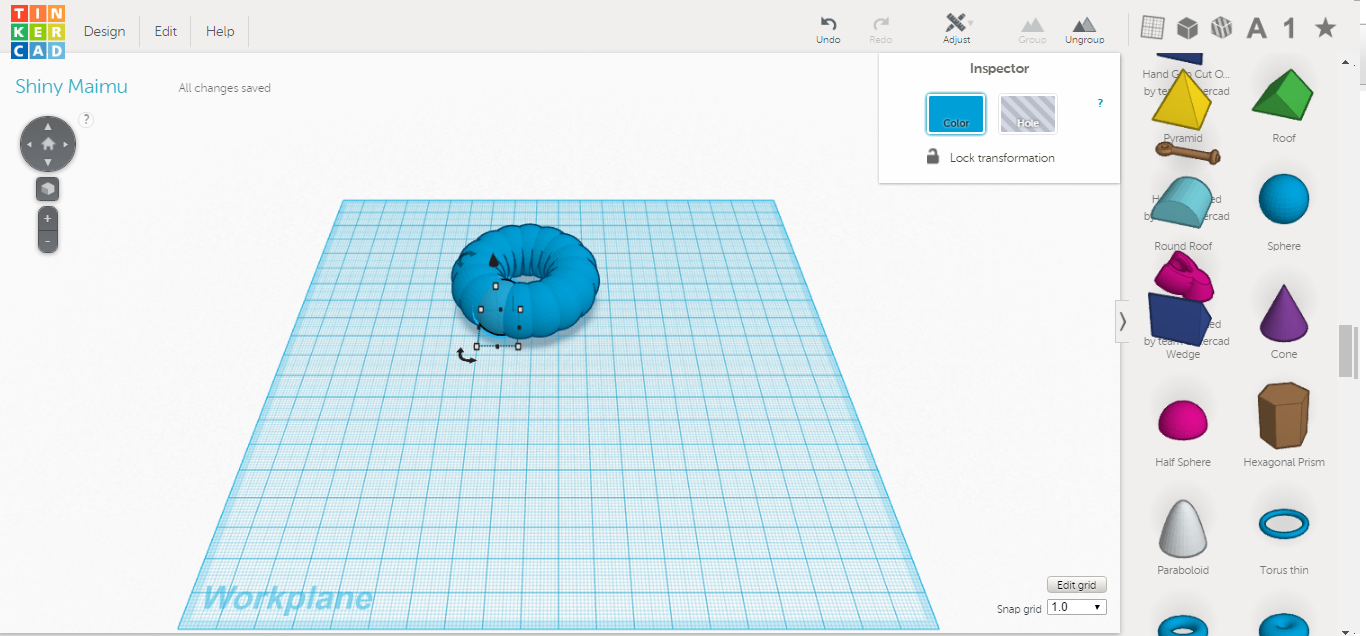
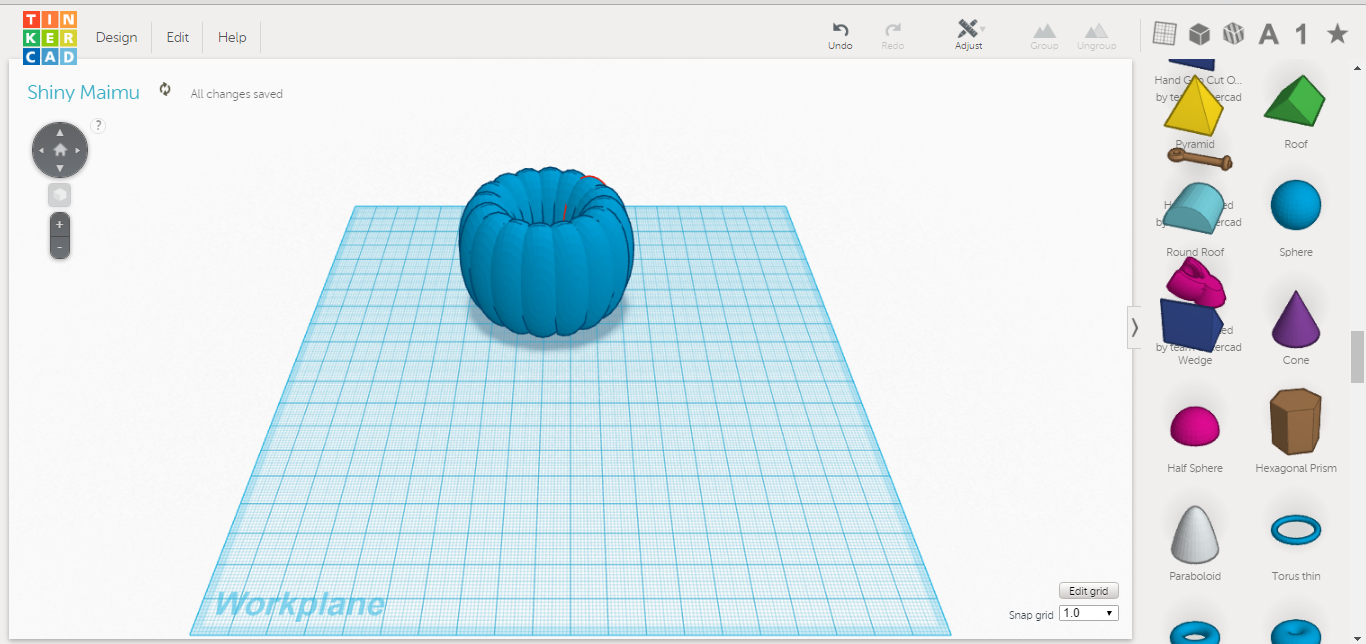
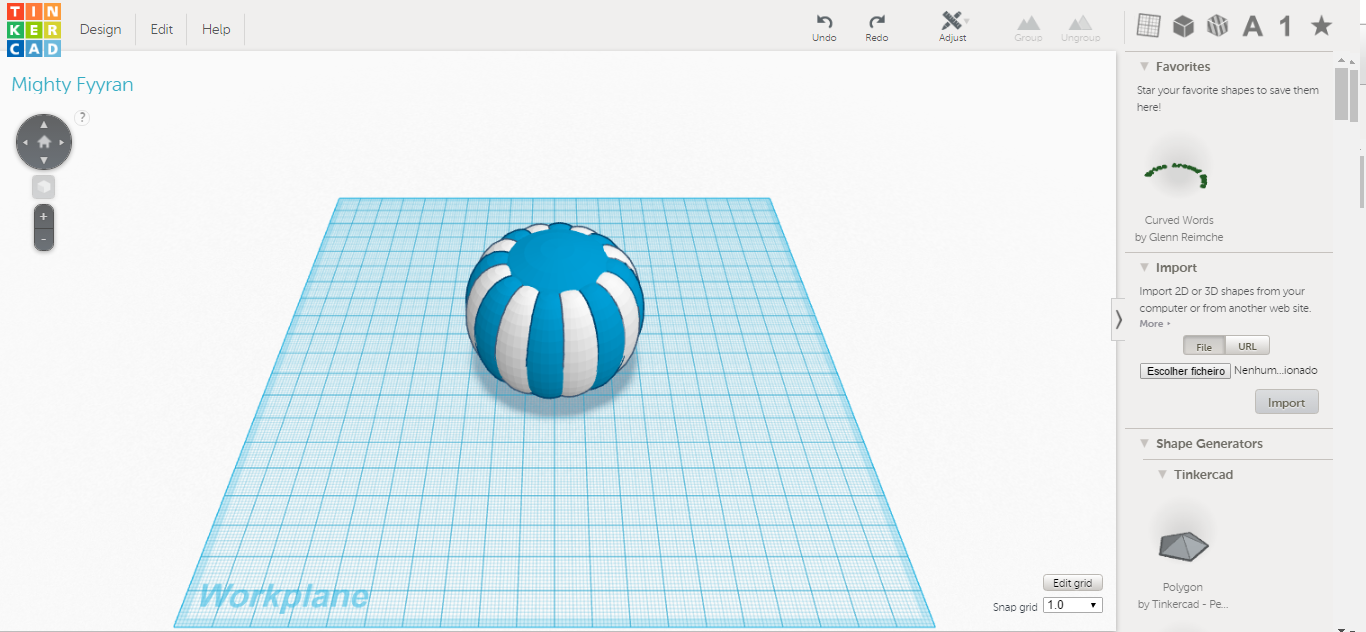
3./4. Duplicate the image and place it next to the other. Do not remove the selection of the selected object and duplicate them several times until the images join all.
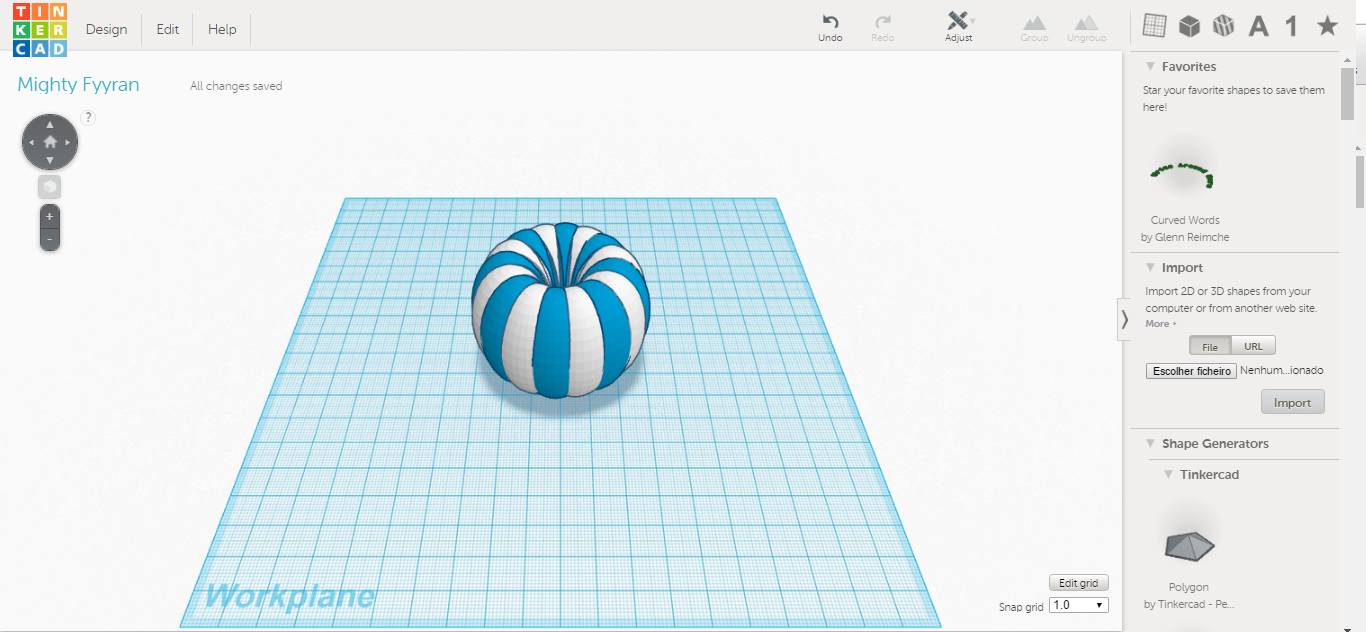
5./6. Select the group of images and make it greater height. Paint White Paint some parts so that they are alternating with the blue parts.
7./8. It’s importante reiforce this object. Place a sphere inside them. Duplicate the largest ball and put it aside.
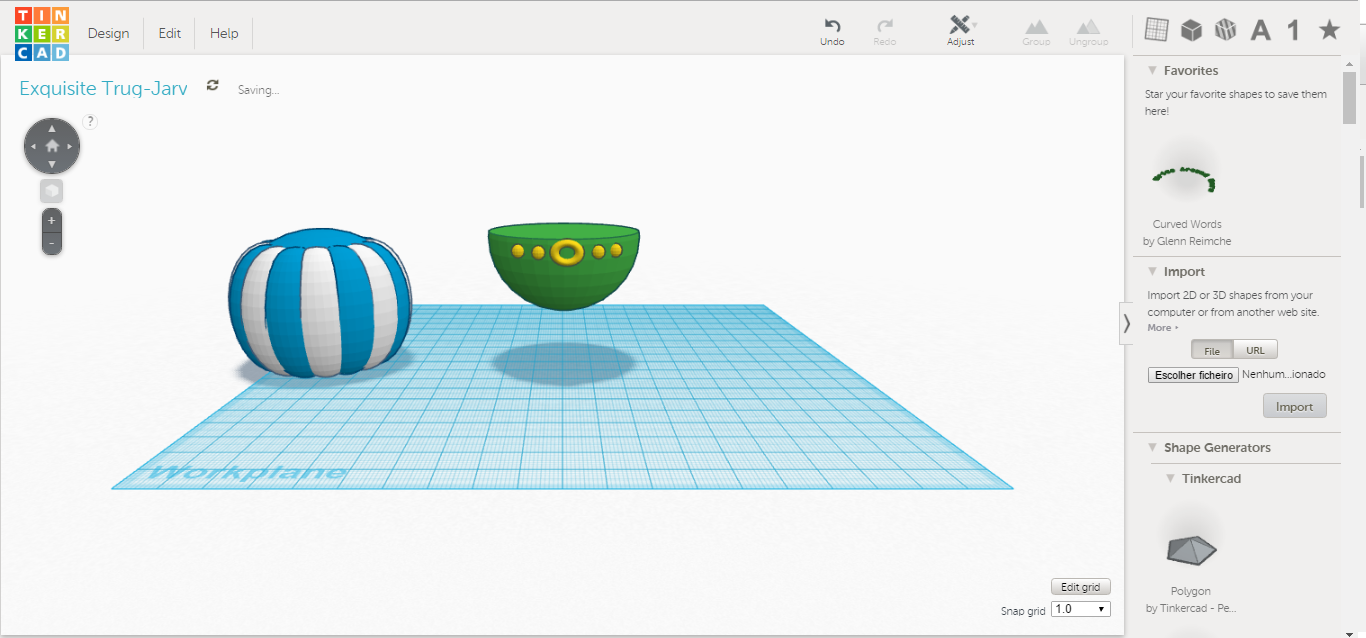
9./10. Draw a sphere and make it bigger. Place the sphere on top of the other ball and adjust the size of the sphere until it fits. Separate the ball and cut it to the obelix belt. Put the ball on location and paint it green. Draw a donut and paint it in yellow. Put the donut making the buckle of the belt. Draw a sphere and make them very small. Put this sphere on belt in rigth side and duplicate them. Duplicate other and put the spheres all around the belt. I only place four spheres.
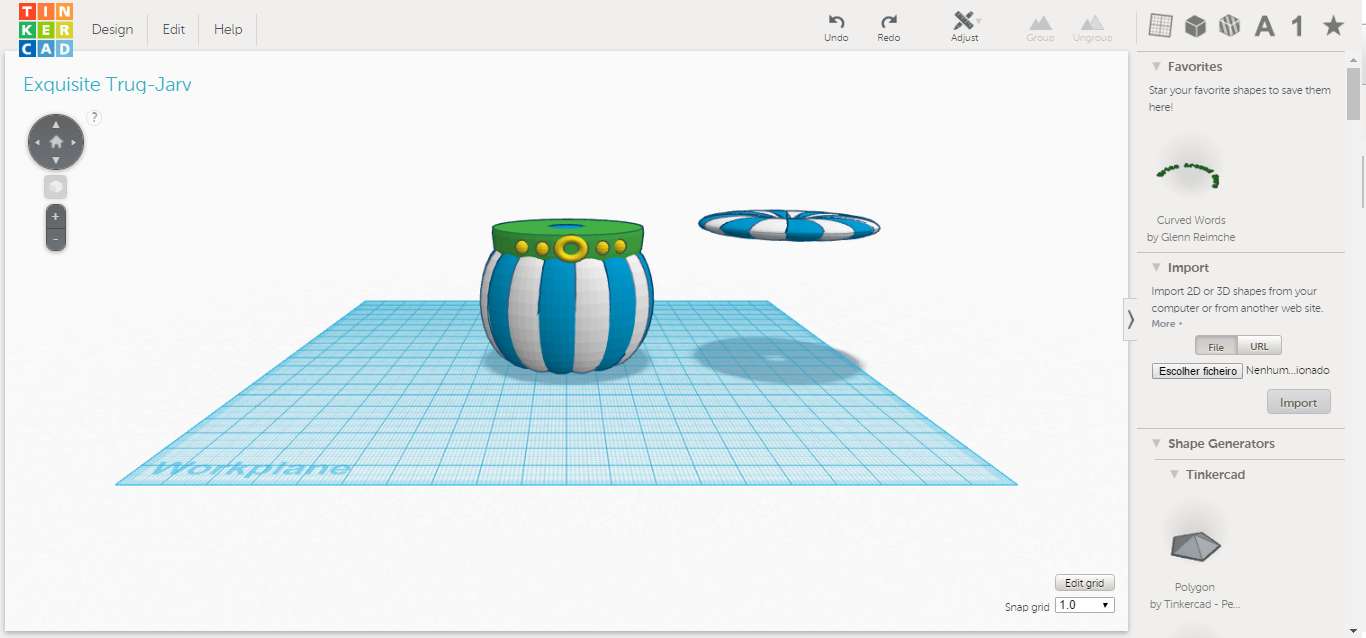
11. Duplicate the sphere blue and white and Slightly widen them a little. Make it smaller in height. Press the ball and place it on top of obelix body. Duplicate this object. This object name is “Part 1 for project 2” and will be used in the project two. Duplicate them and place aside. Continue the project you are doing with the other object.
12. Duplicate the larger ball (blue and white) and make a small sphere. Duplicate the small object. Place the larger ball over the little spheres.
13./14. Draw a cylindre, extend it and place them inside the body of the Obelix. Duplicate the cyinder hole. Group the ball and the cylider inside. Press the cylinder, make this diameter bigger and put them inside the body of the Obelix. Group them. Get the Obelix legs forward and rotate them and raise them. Use three balls, flatten two and make the shoes. Duplicate when you find that the sizes are appropriate. You can use a square to cut the sole if convenient. Group the objects. Set aside this part of the project and proceed to the next part.
Make the Upper Body of Obelix
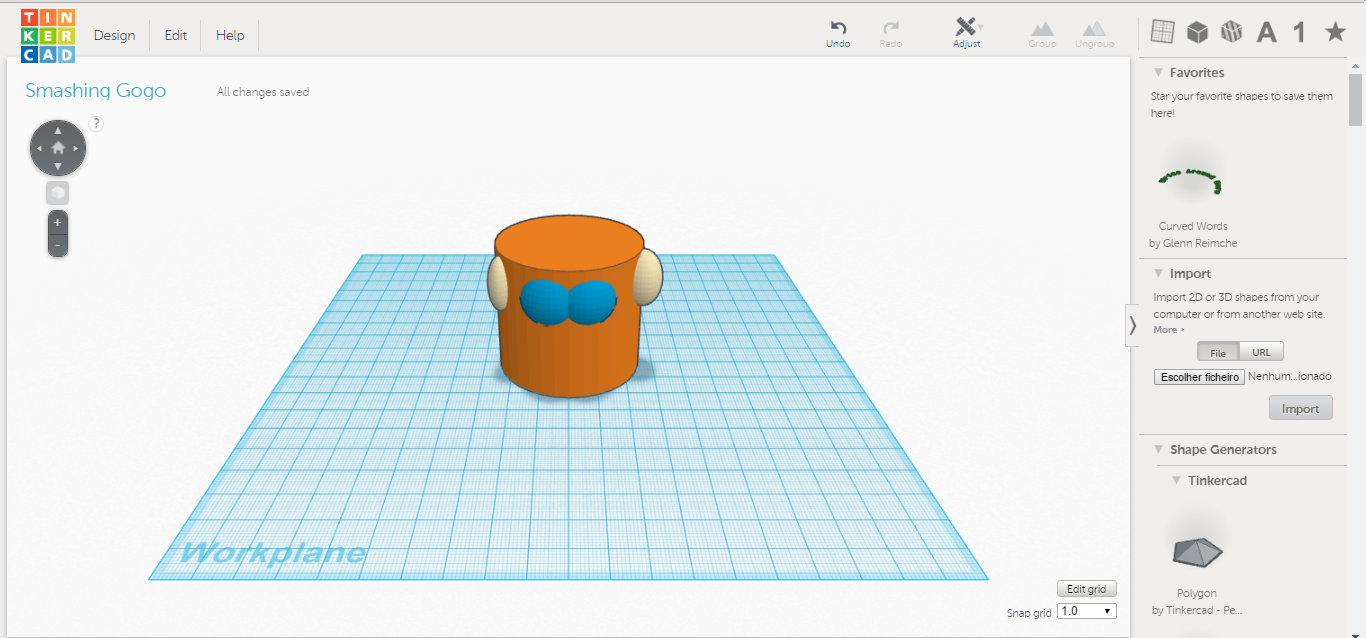
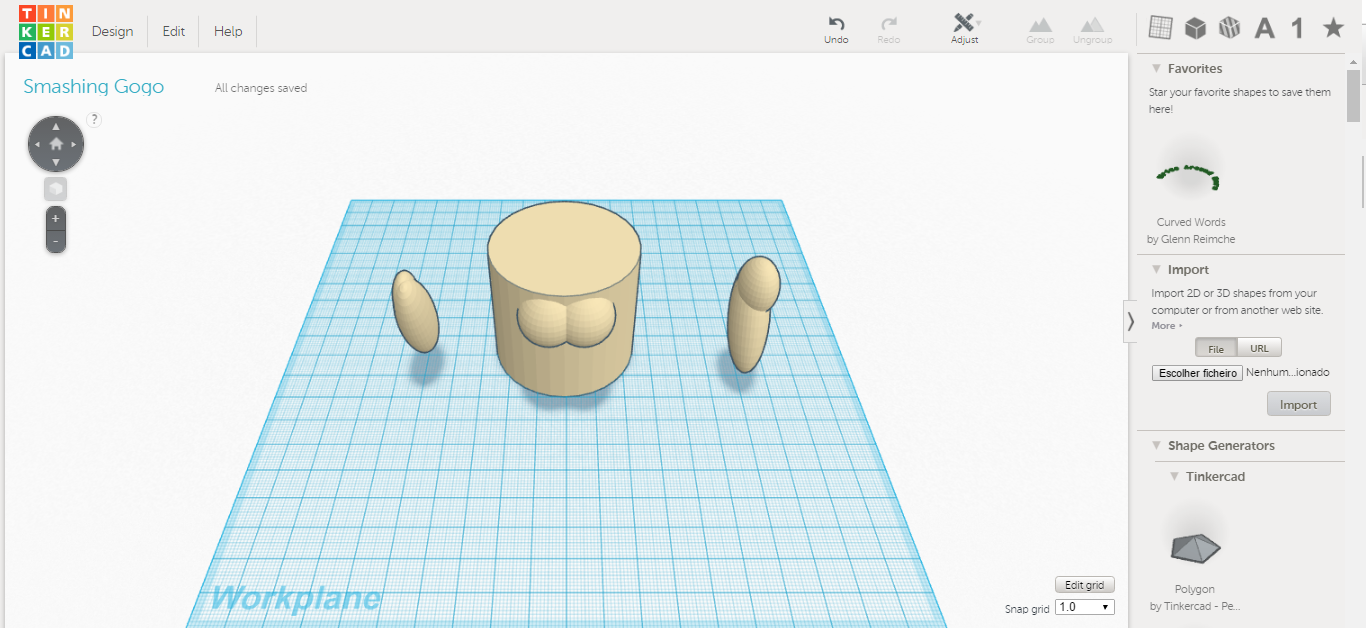
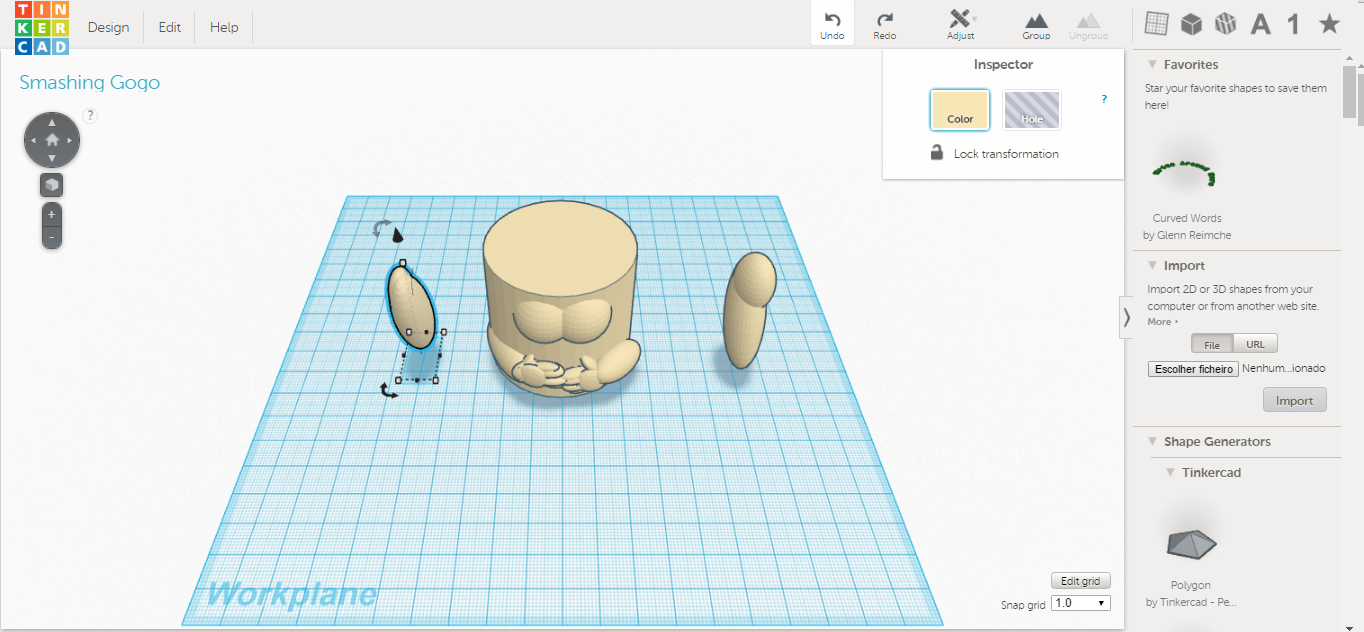
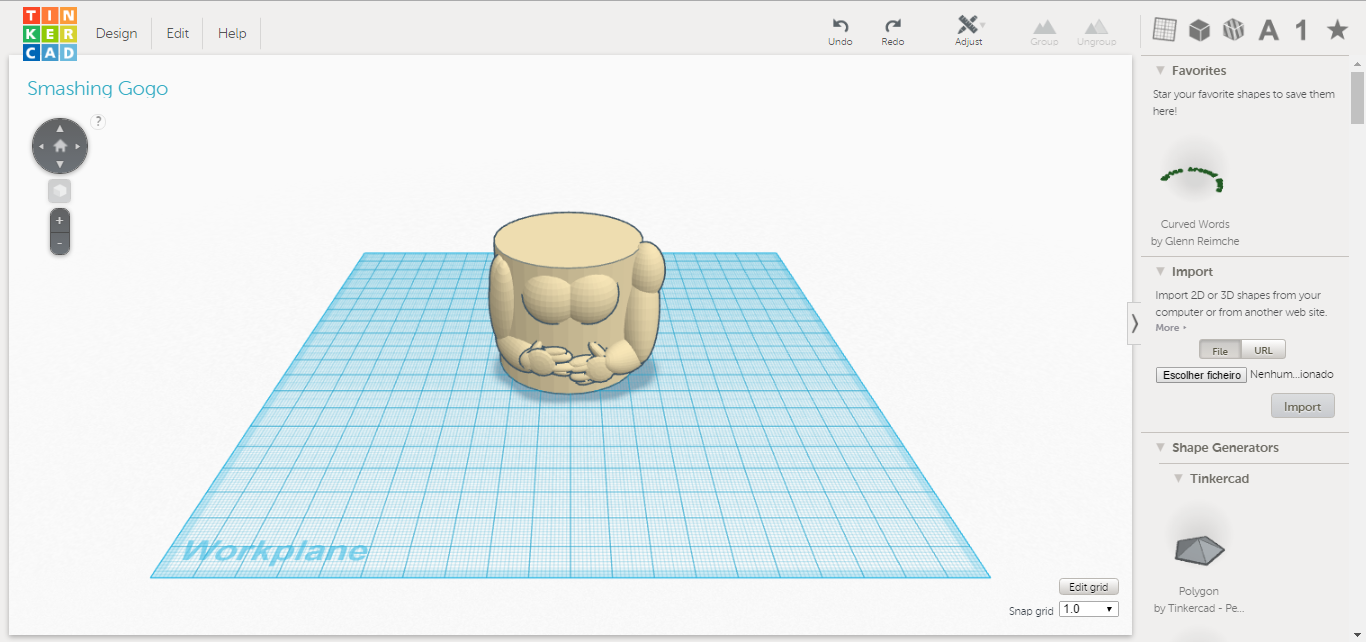
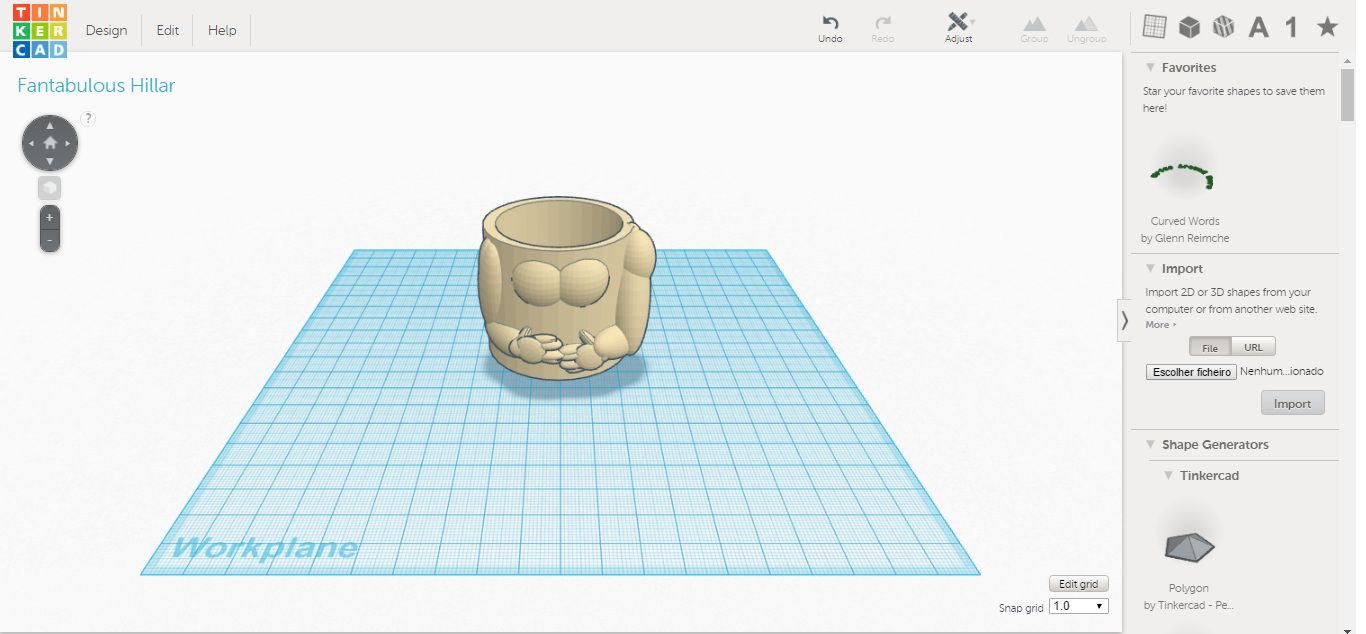
1. Draw a cylinder to make the body of Obelix. Draw two spheres to add volume to obelix chest.
2. Use balls to the shoulders, arms and hands.
3. Place the hands. I made the fingers and the palms with spheres.
4. Adjust the arms and shoulders to the body.
5. With a transparent cylinder make a hole in the trunk. Adjust the top of the body to the diameter of the bottom. If the parts become excessively large will have to resize them.
Make the Head of Obelix
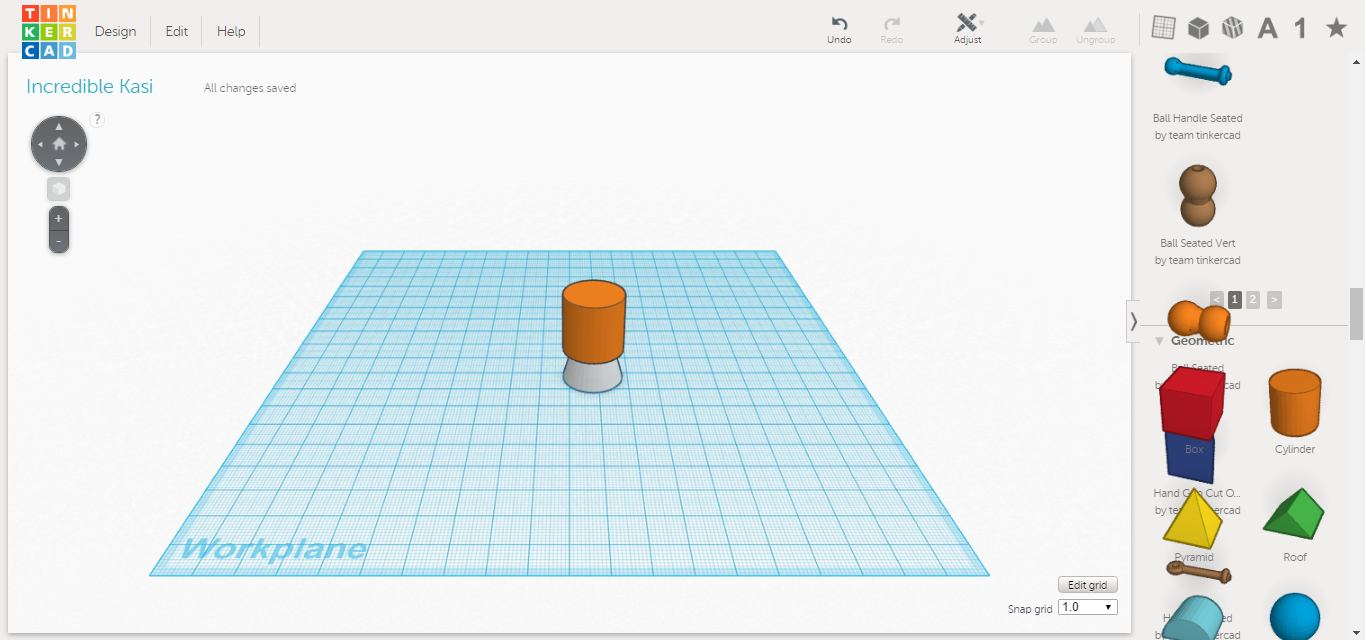
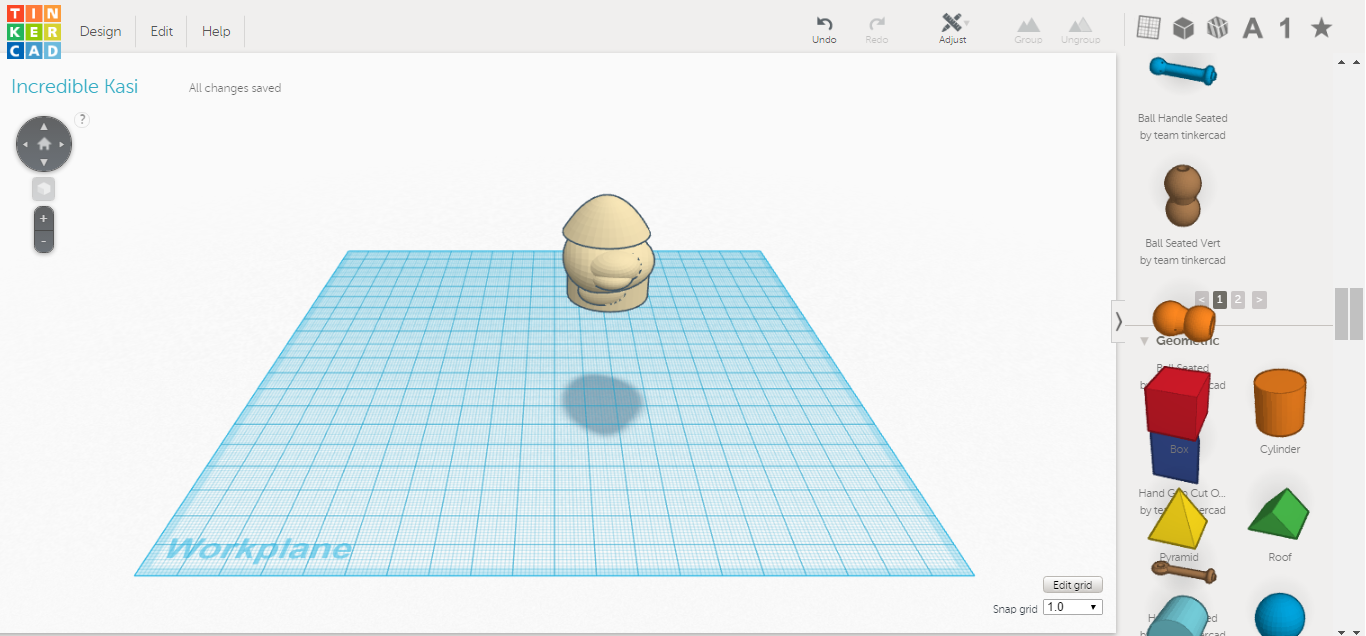
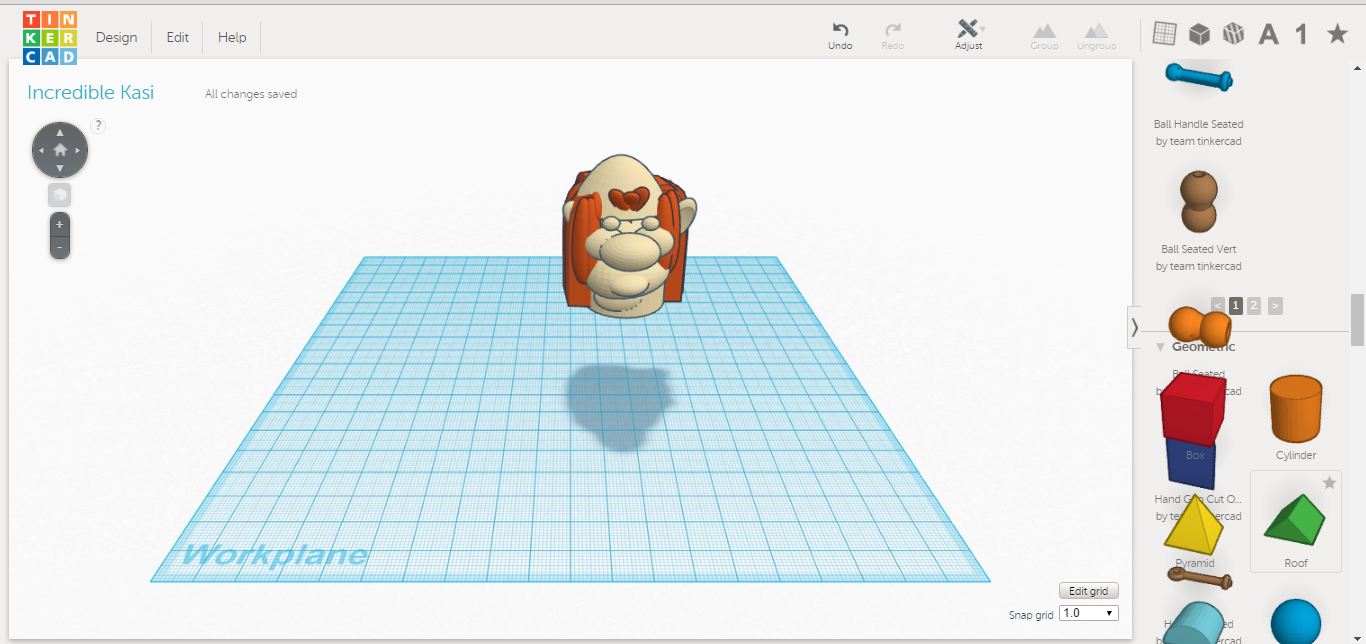
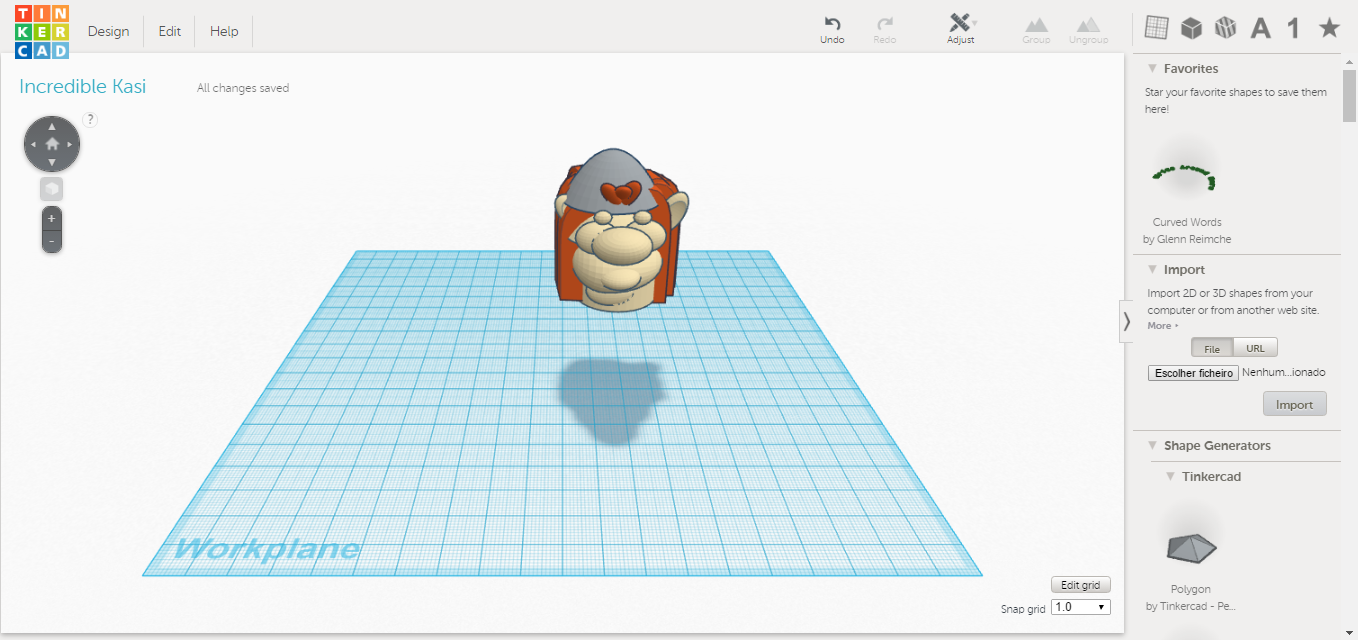
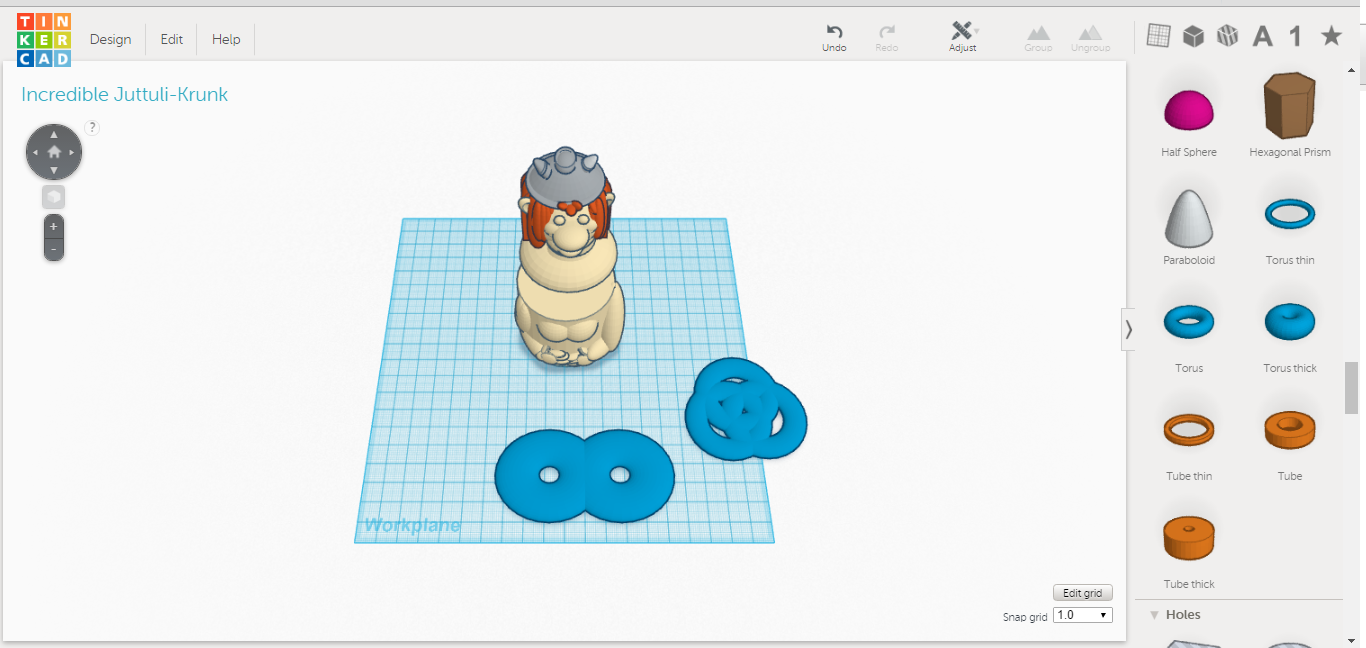
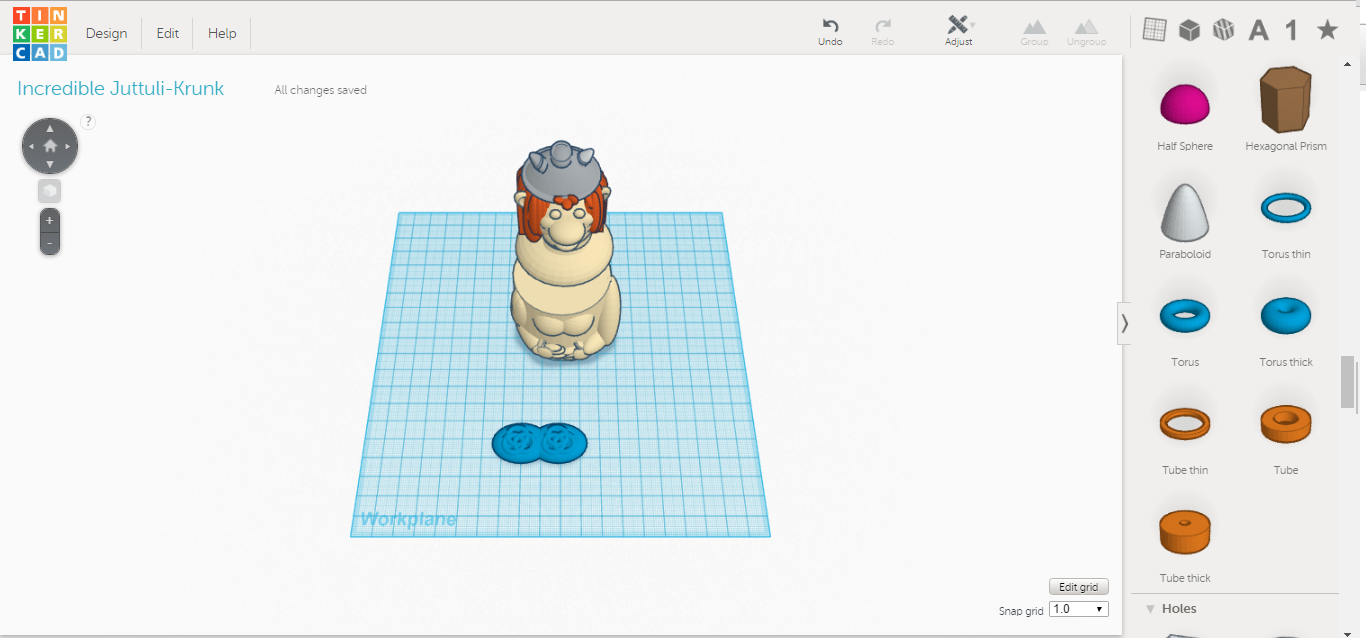
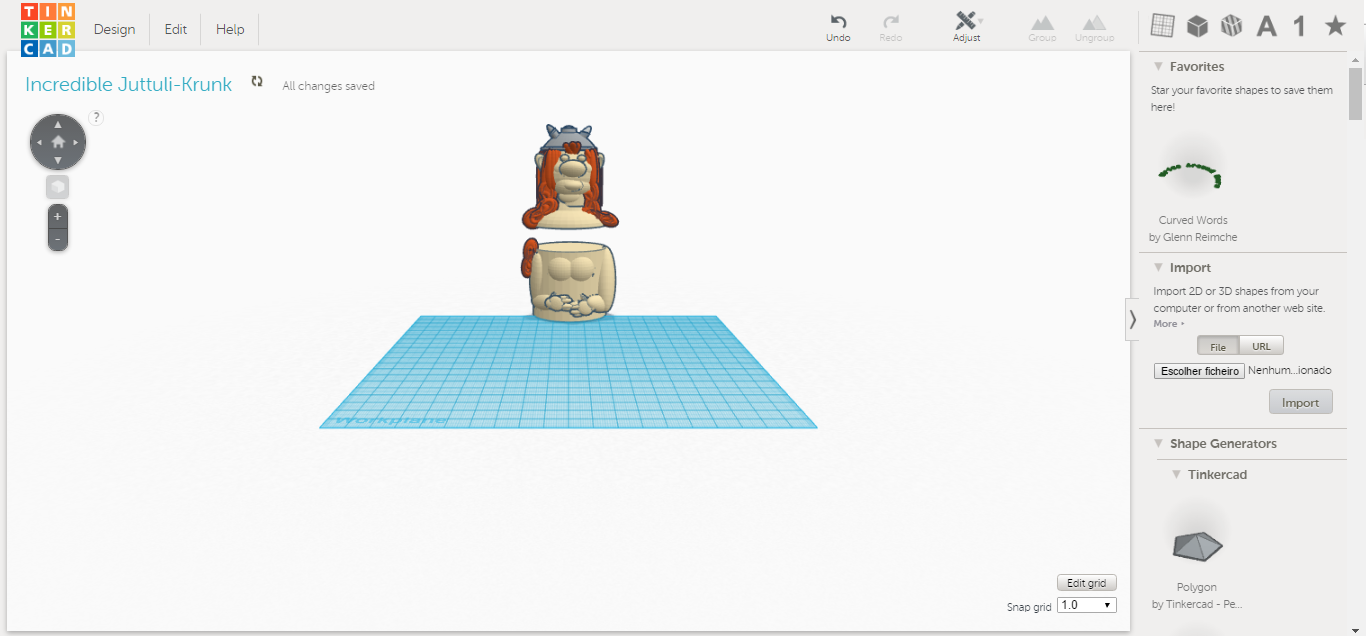
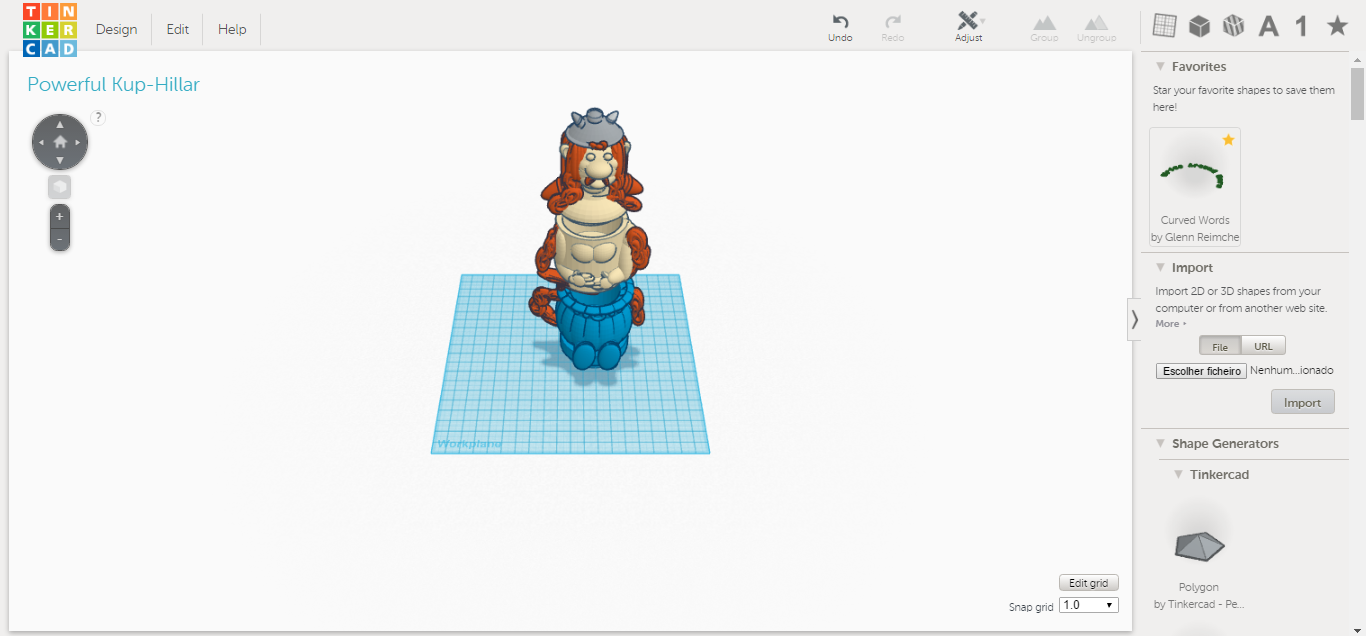
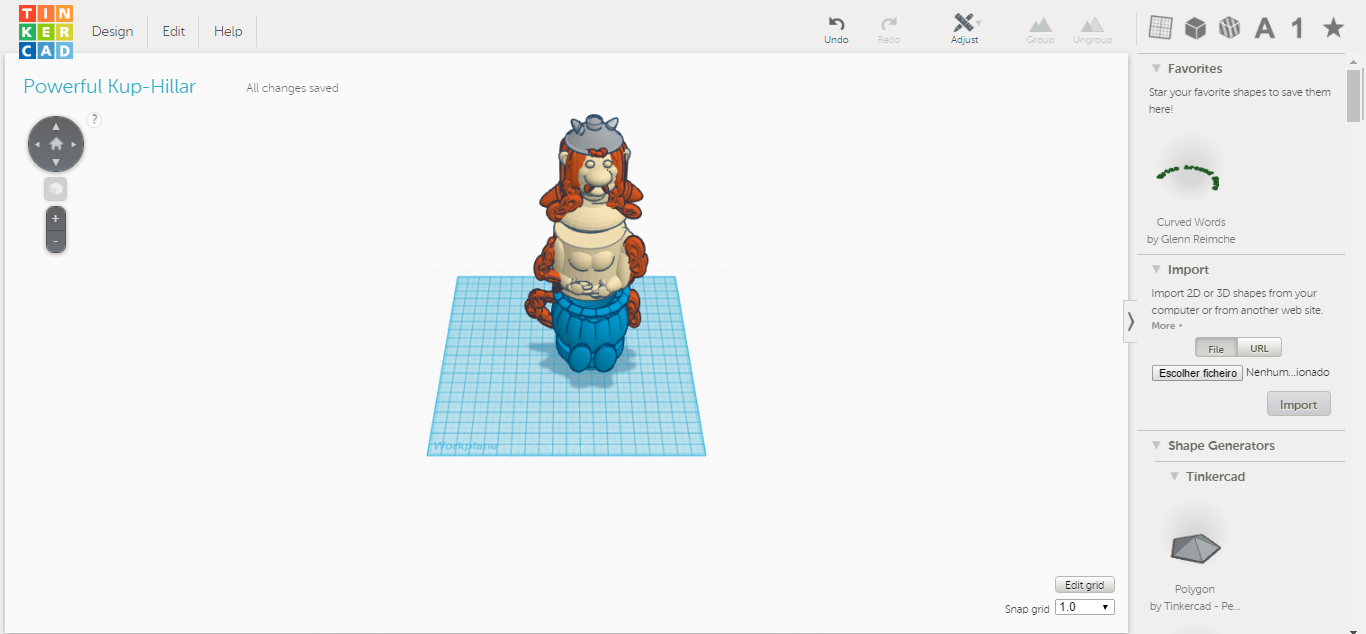
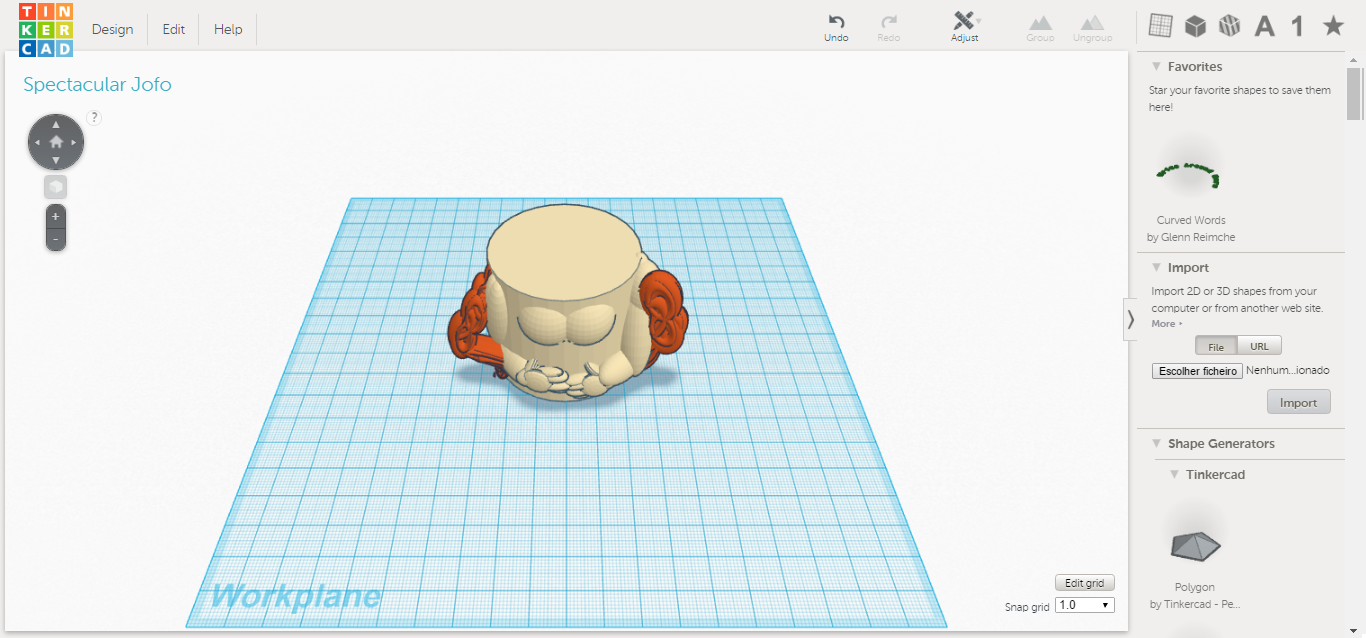
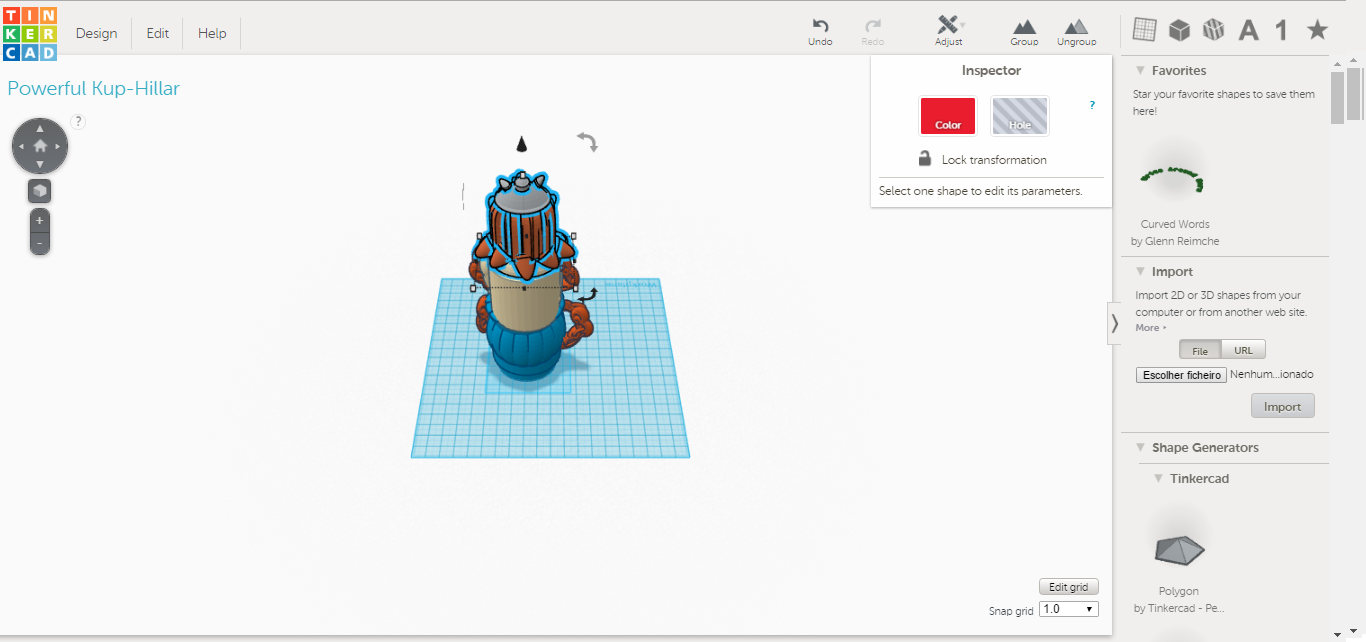
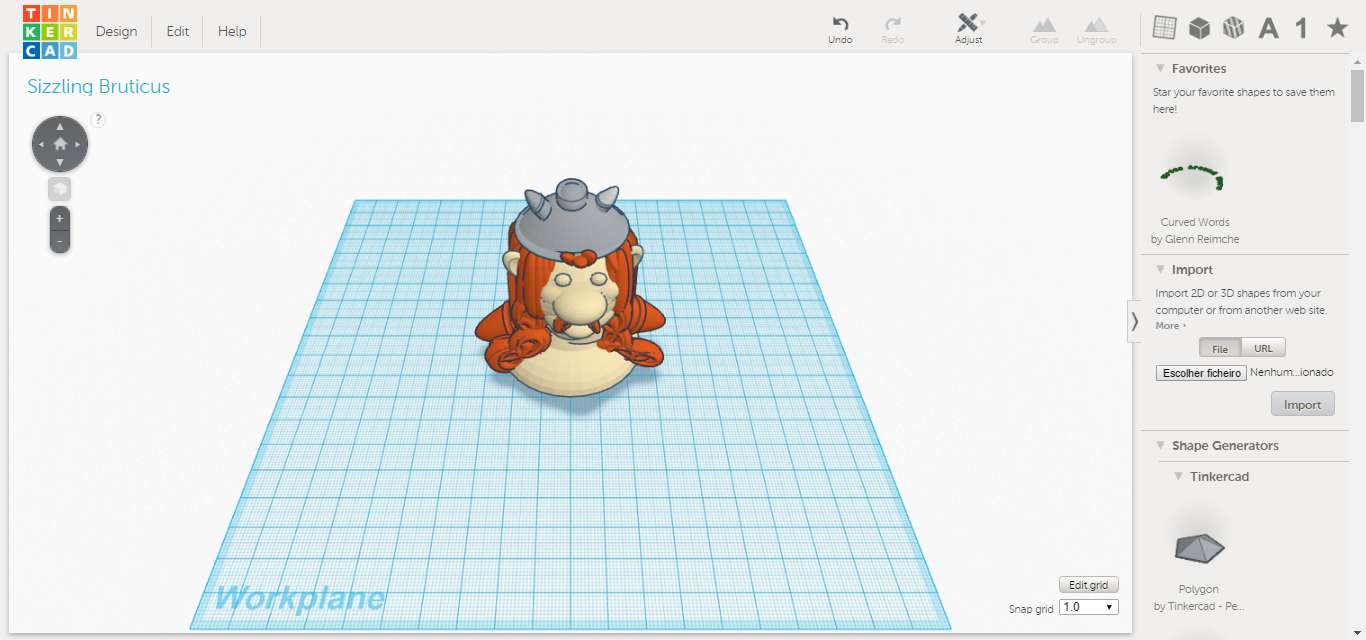
1. Place a parable for the neck. Place a cylinder to make the face shape.
2. Draw a sphere and place on top, place another smaller ball to the chin and two balls for the nose. Complete with a parable the top of the head. Adjust the size of the chin.
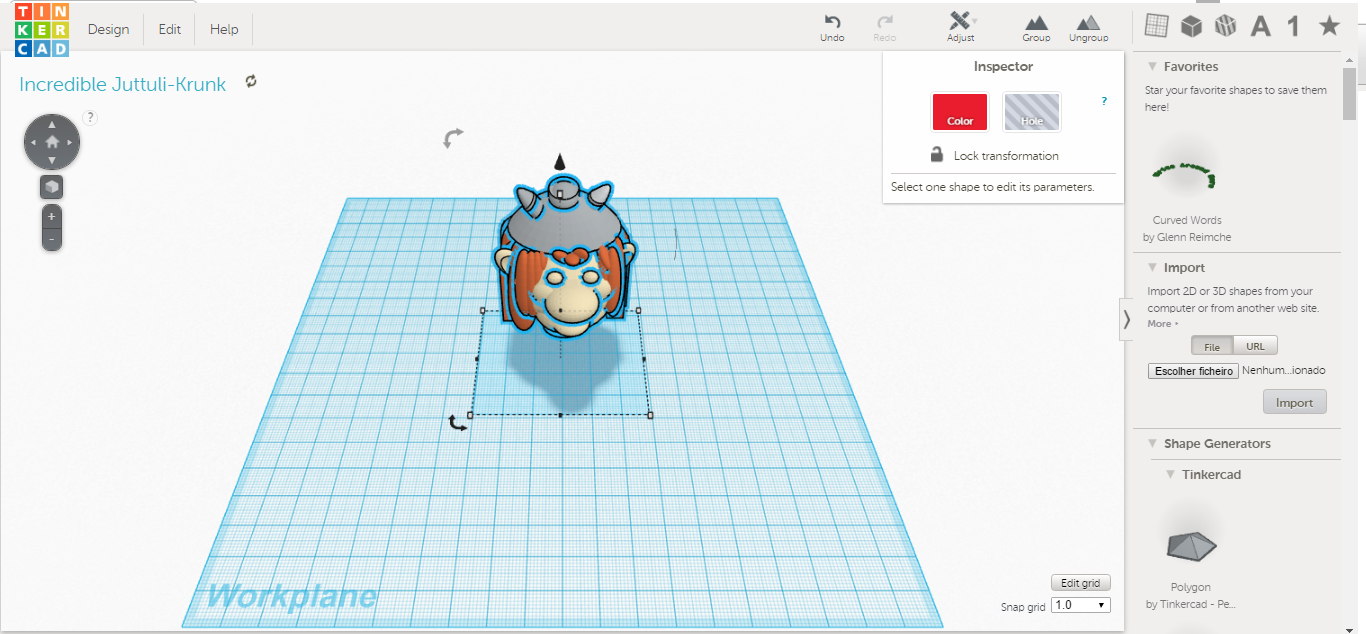
3. Draw two rabbit ears, one on each side. Place the letter j to make hair and adjust the face. Expand the size of the parable that is on top of the head. Place two balls to do the eyes.
4. Place half of a sphere to make the helmet.
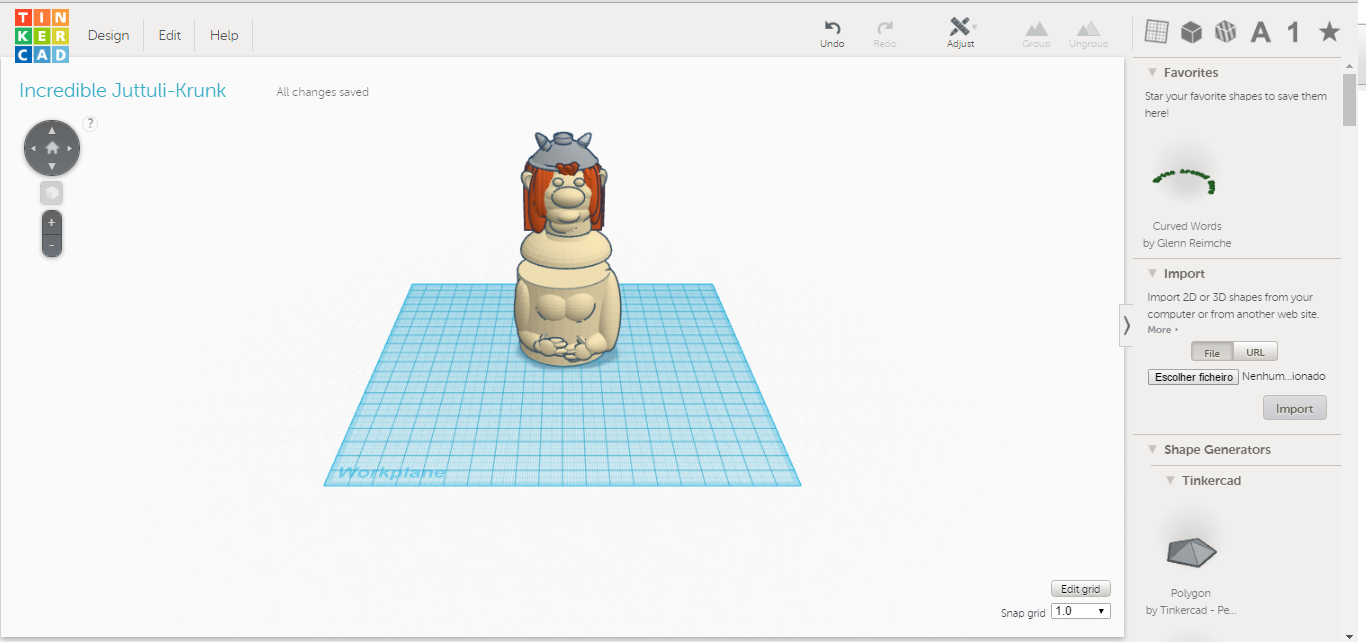
5. Place a cylinder and half sphere in the head. Draw a another cylinder with a parable and place them on either side of the helmet. Draw the remaining hairs that are missing. Use your creativity to finish composing the hair and adjust the face. Place a tin torus around the helmet and adjust the size of the hair. It is important that the hair is not too short or too long.
6. Add the head to the body and adjust the size. Separate the two body parts.
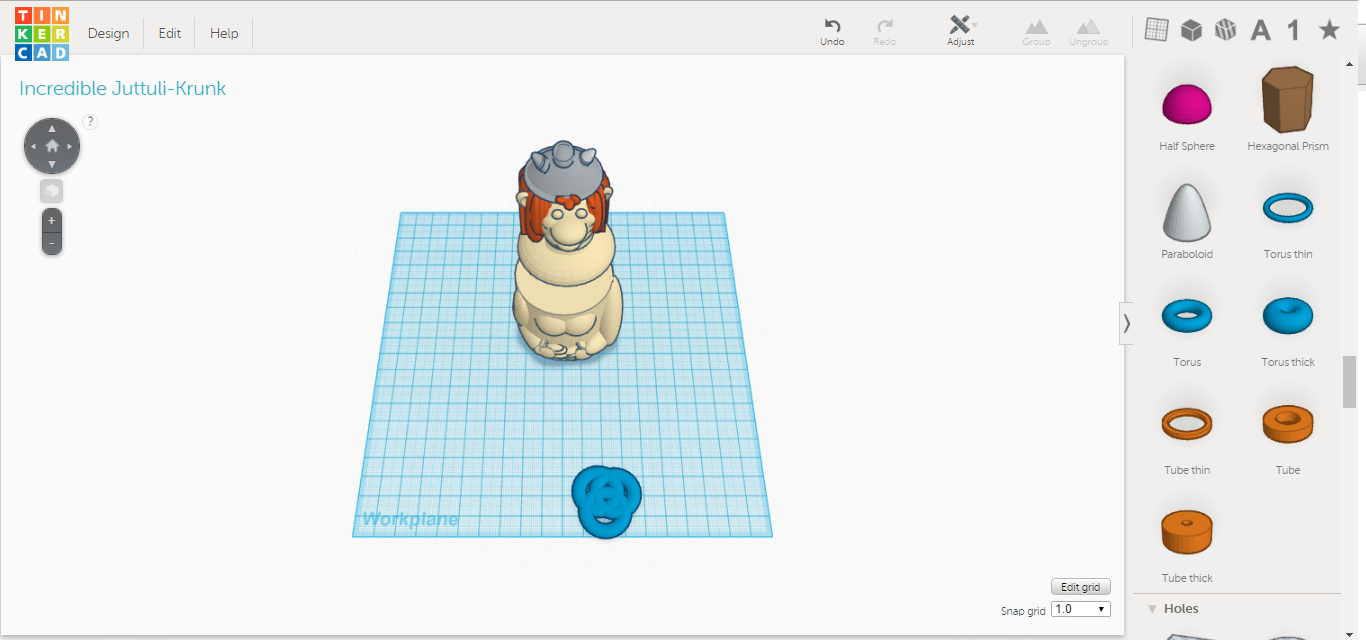
7./8./9.10./11./12. Use three torus to create the pattern of braids. Group this objects to another two torus. Duplicate this shape and put them together like a 8. Now with these objects make the braids. The braids will make the handle of the two cups that make up the project. When composing your hair make sure that separates the transition zones that end the cups.
13. Note that the object which is presented below is called “Part 2 for project 2” and will be used in the project two. Duplicate them and place a side (it’s importante you duplicate them only when you don´t have more alterations to do). The head of obelix will also be used in the project 2.
14. Join the project again and turned back. Complete Obelix ‘s hair. You can keep the letter J or end with other type of hair that you choose.
15. Don’t Forget the mustache. Place the obelix mustache. I used a half braiding to make the mustache. Cut in half with a transparent square.
Make the Menir Cookies Support
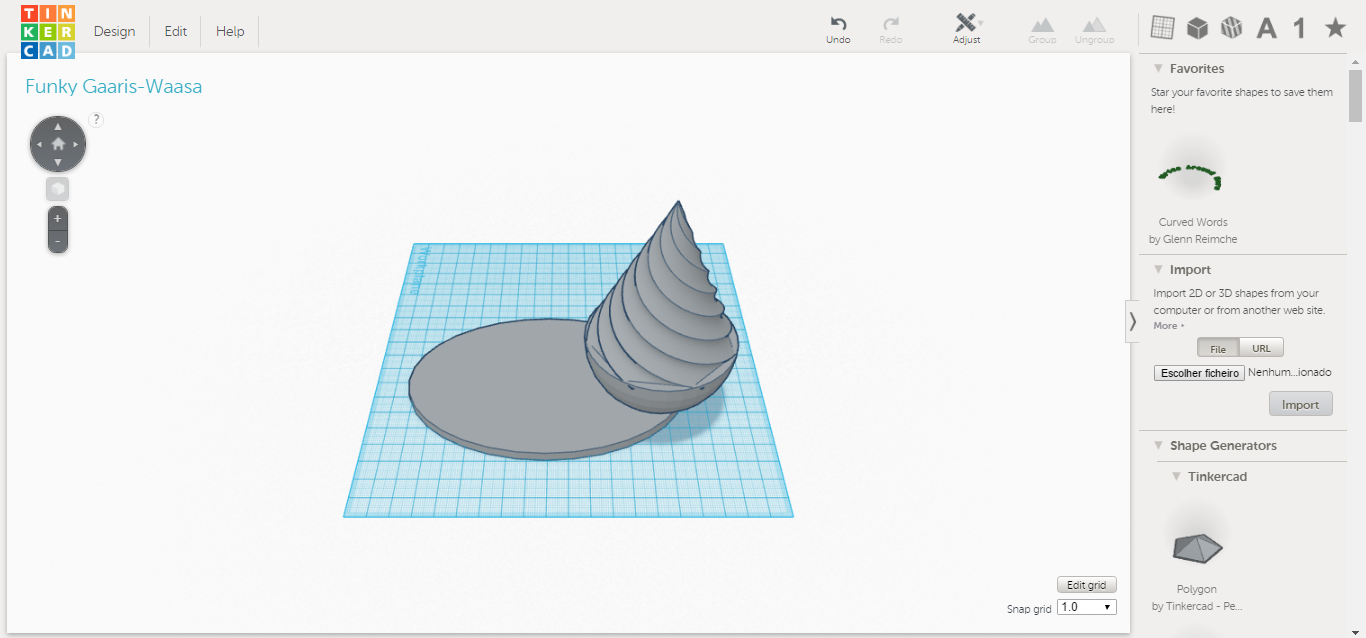
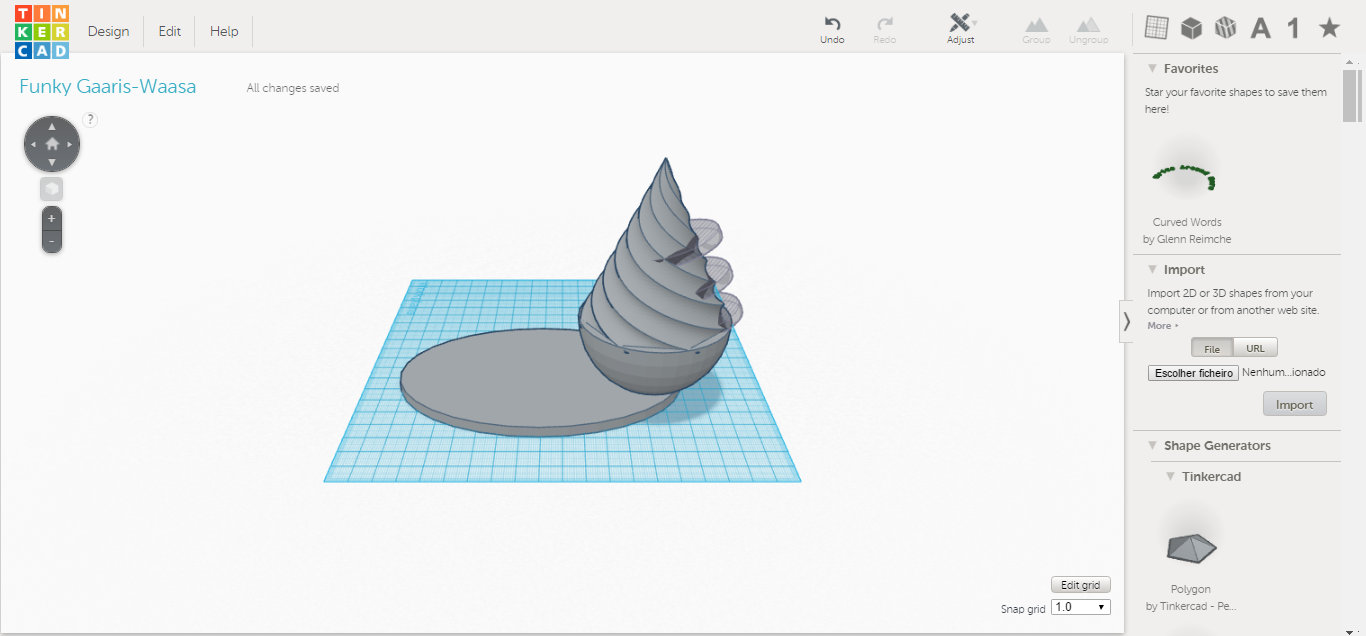
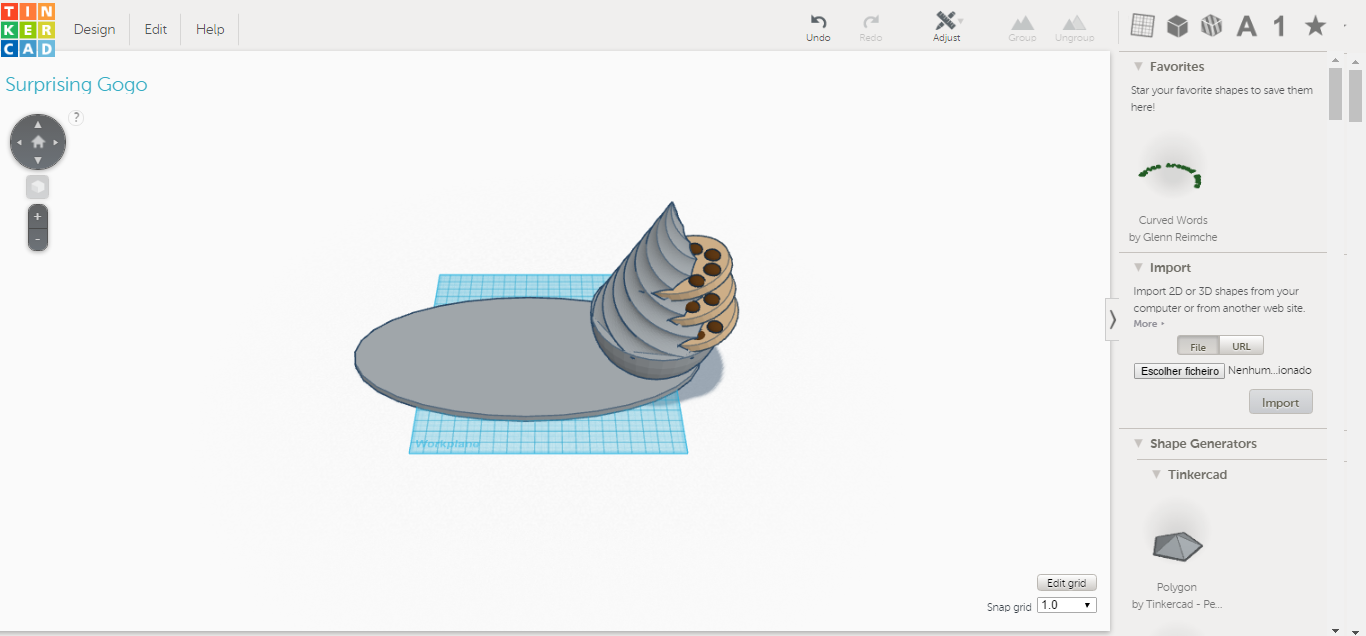
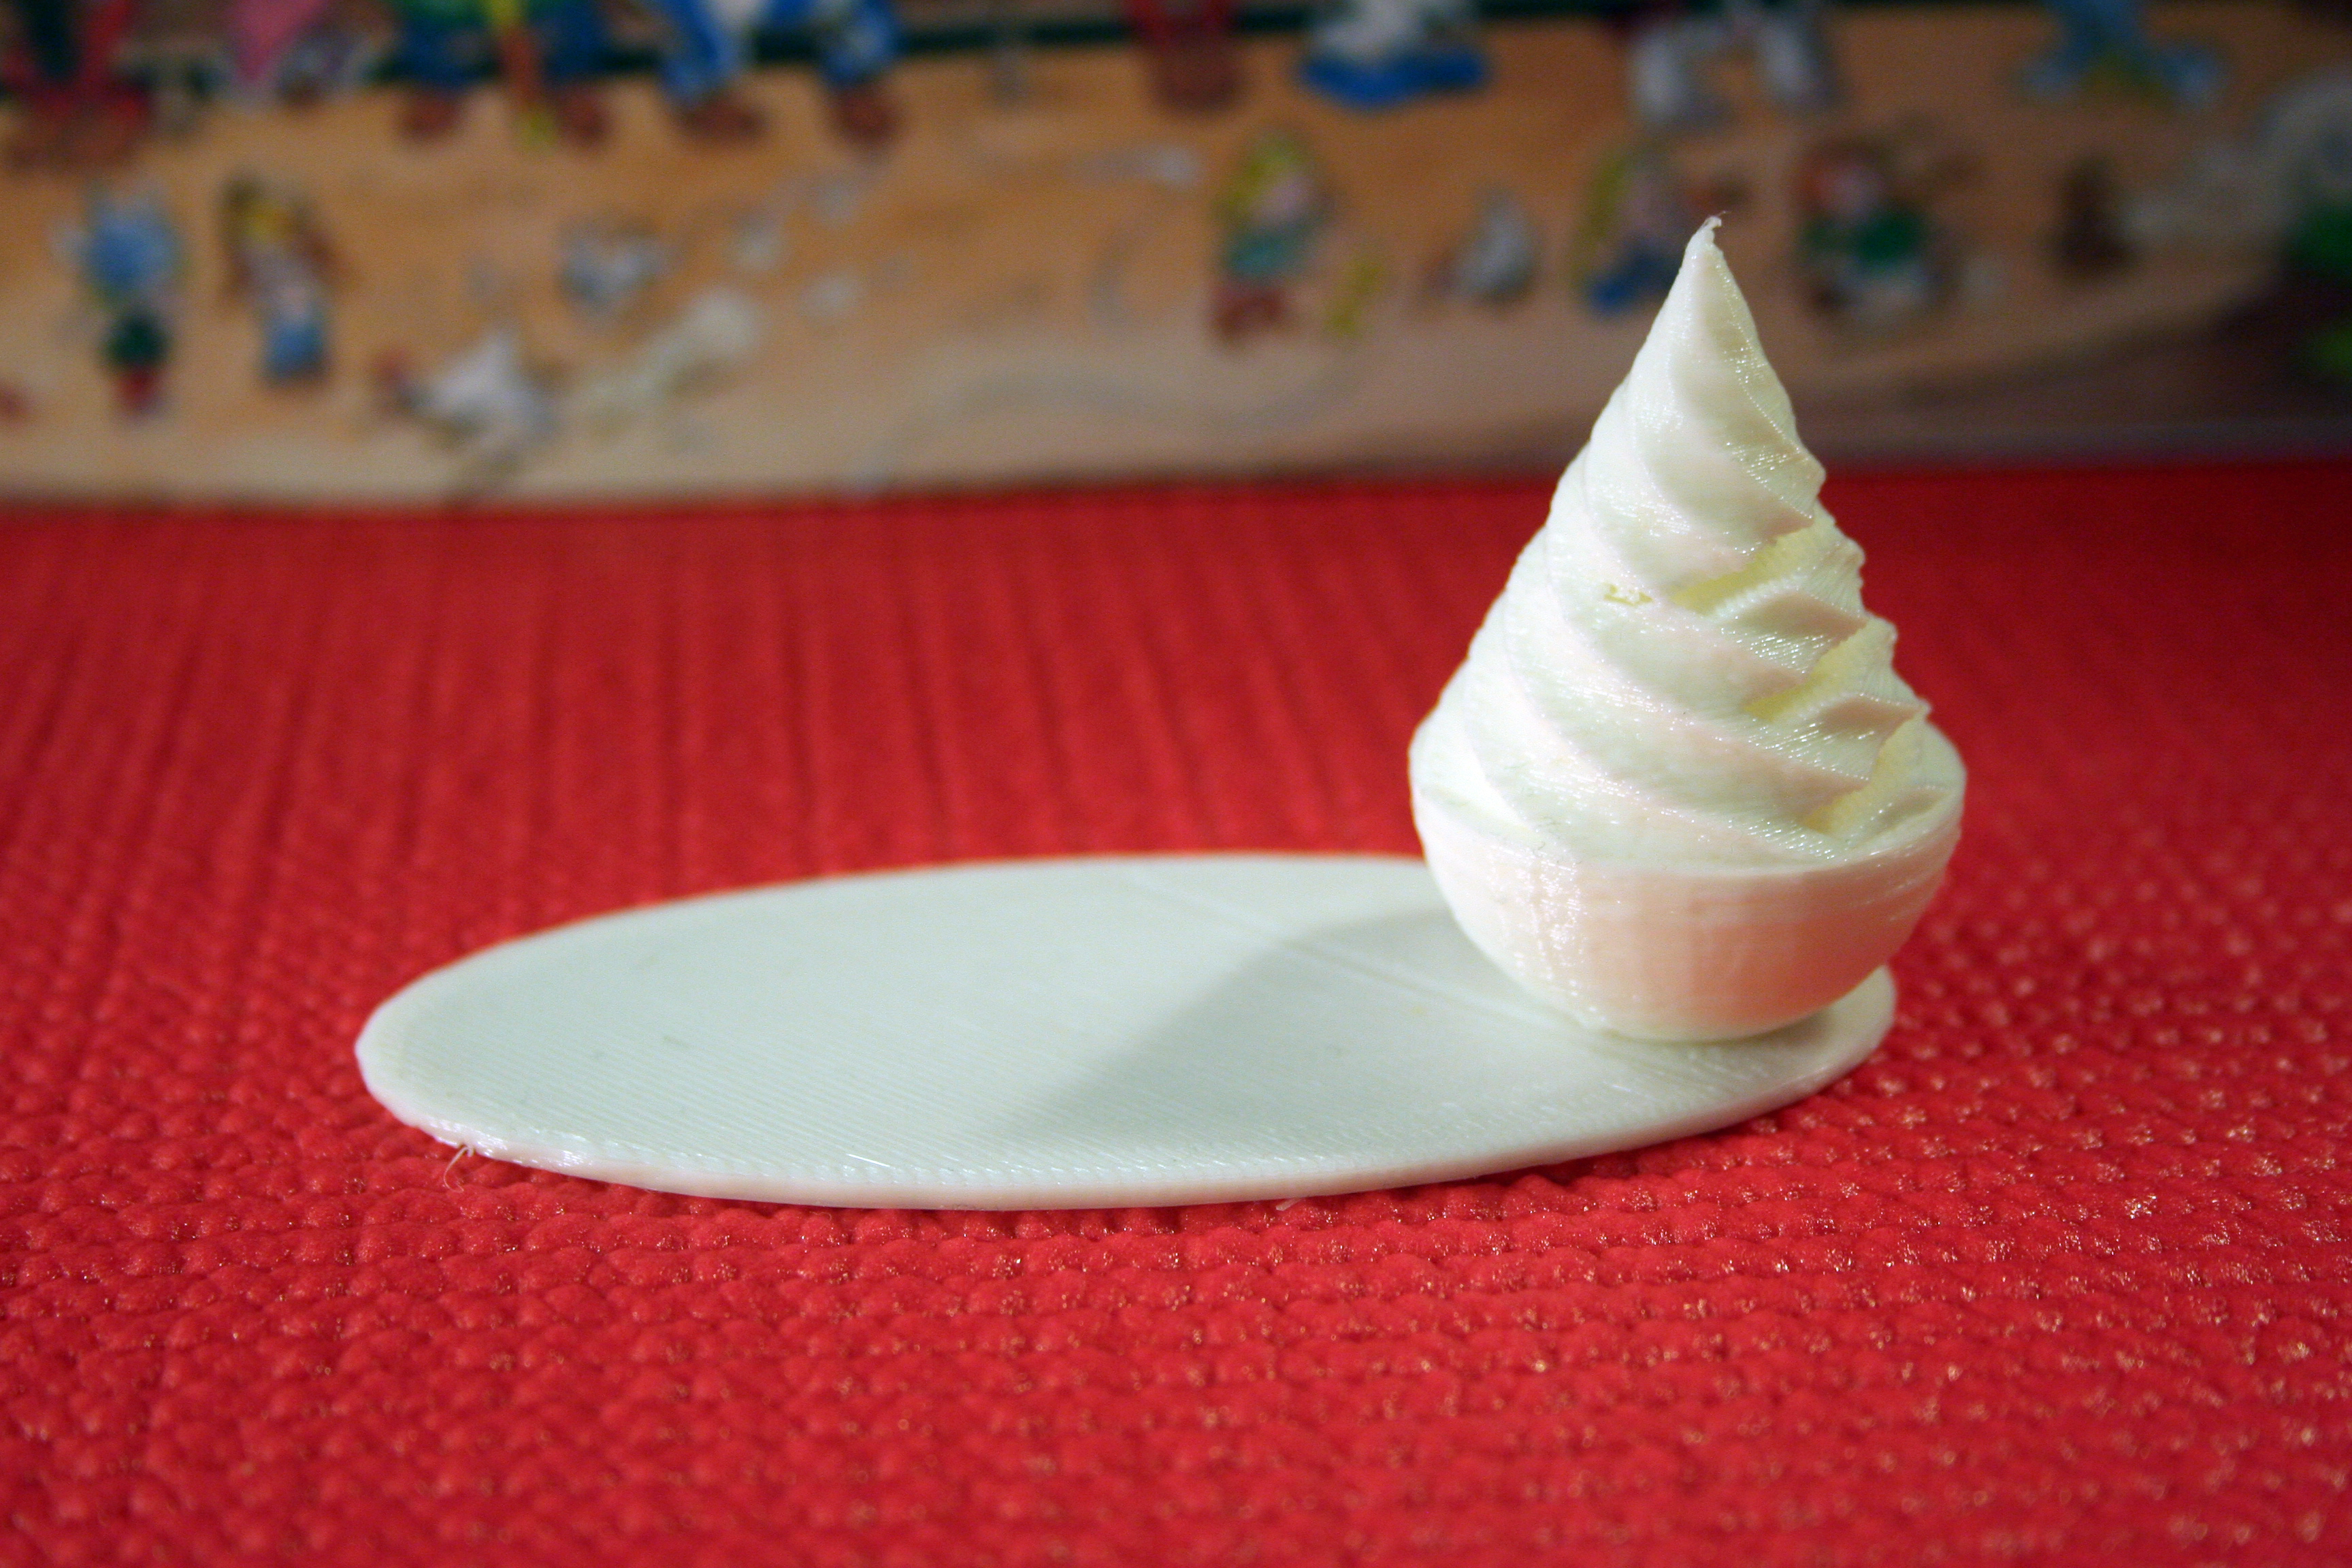
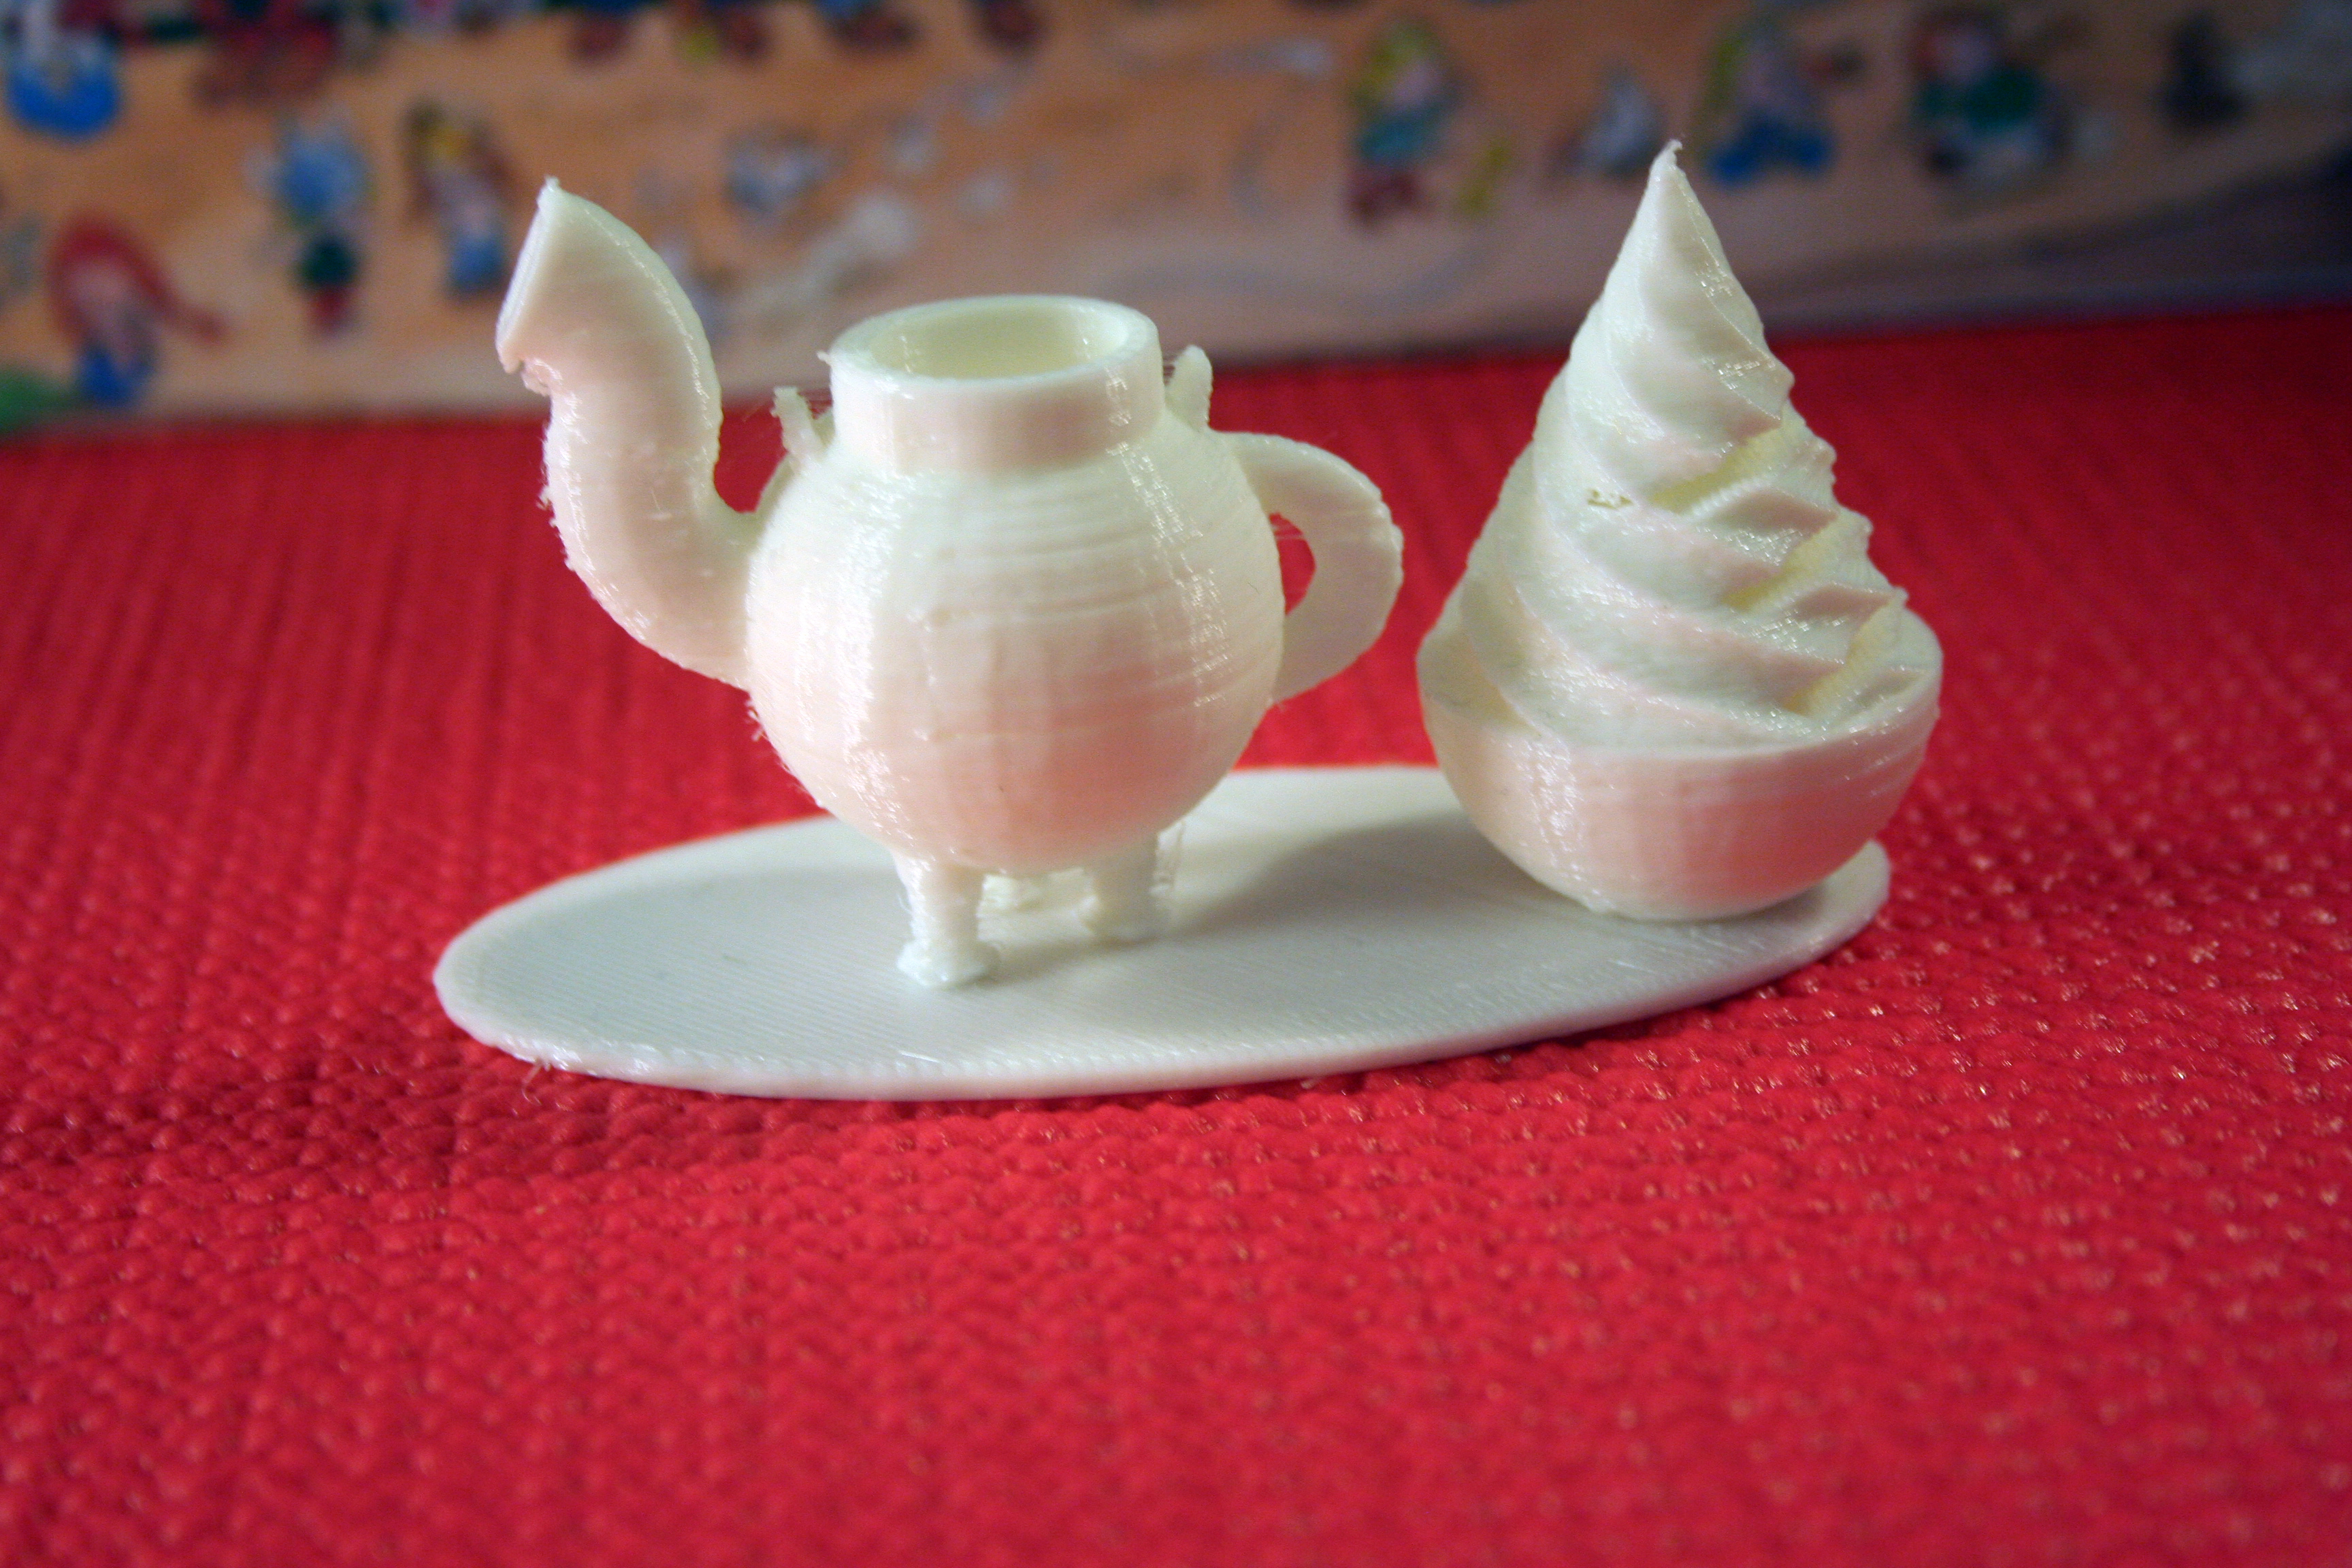
Draw a sphere, half a sphere and a Drill (if you want you can substitute the drill for a paraboloide). Make holes with cylinders to create the space for the cookies.
Putting It All Together
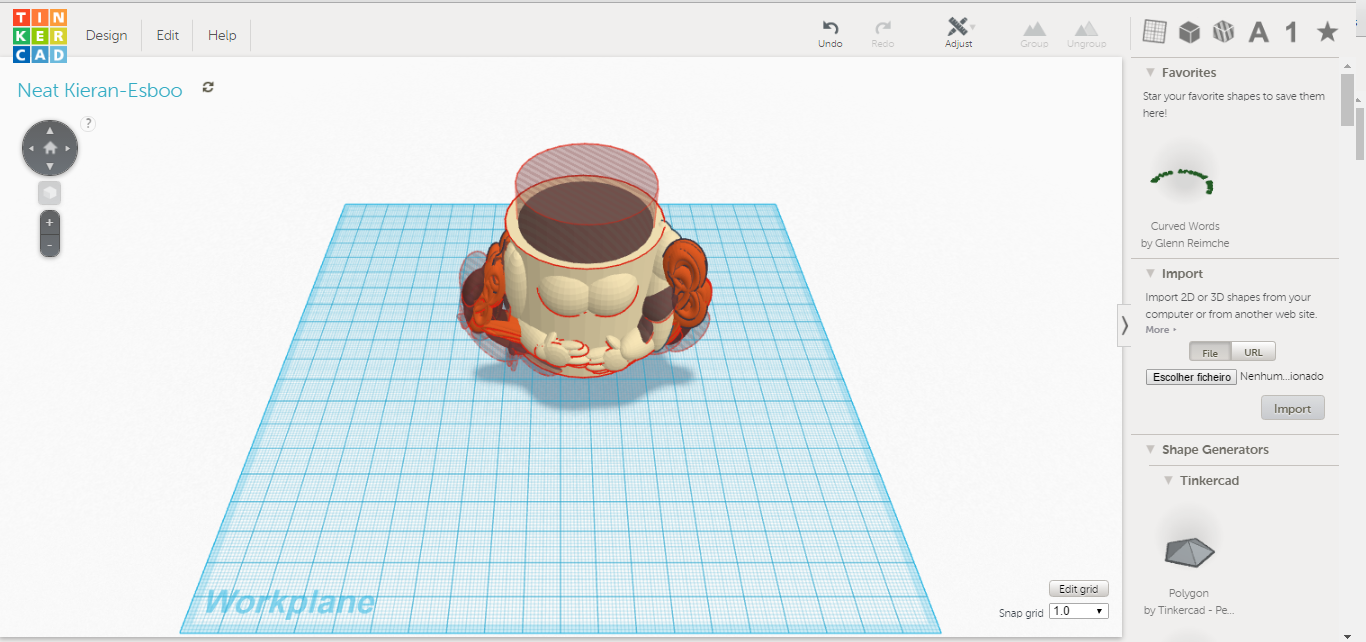
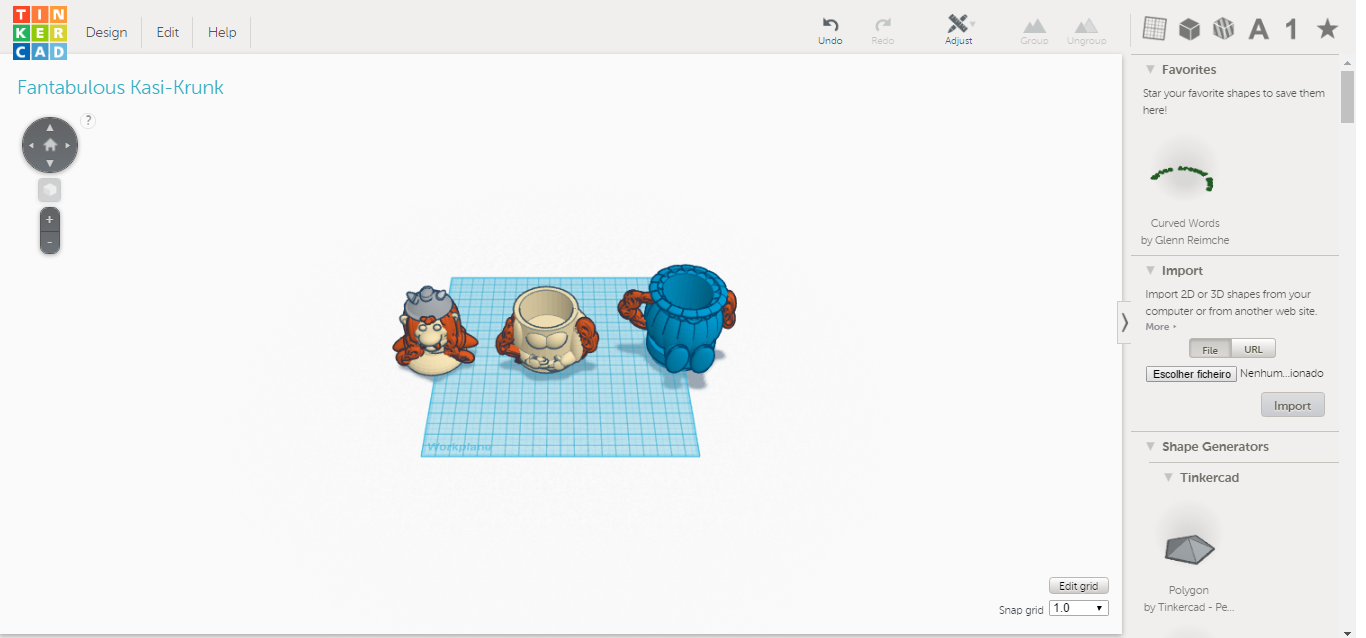
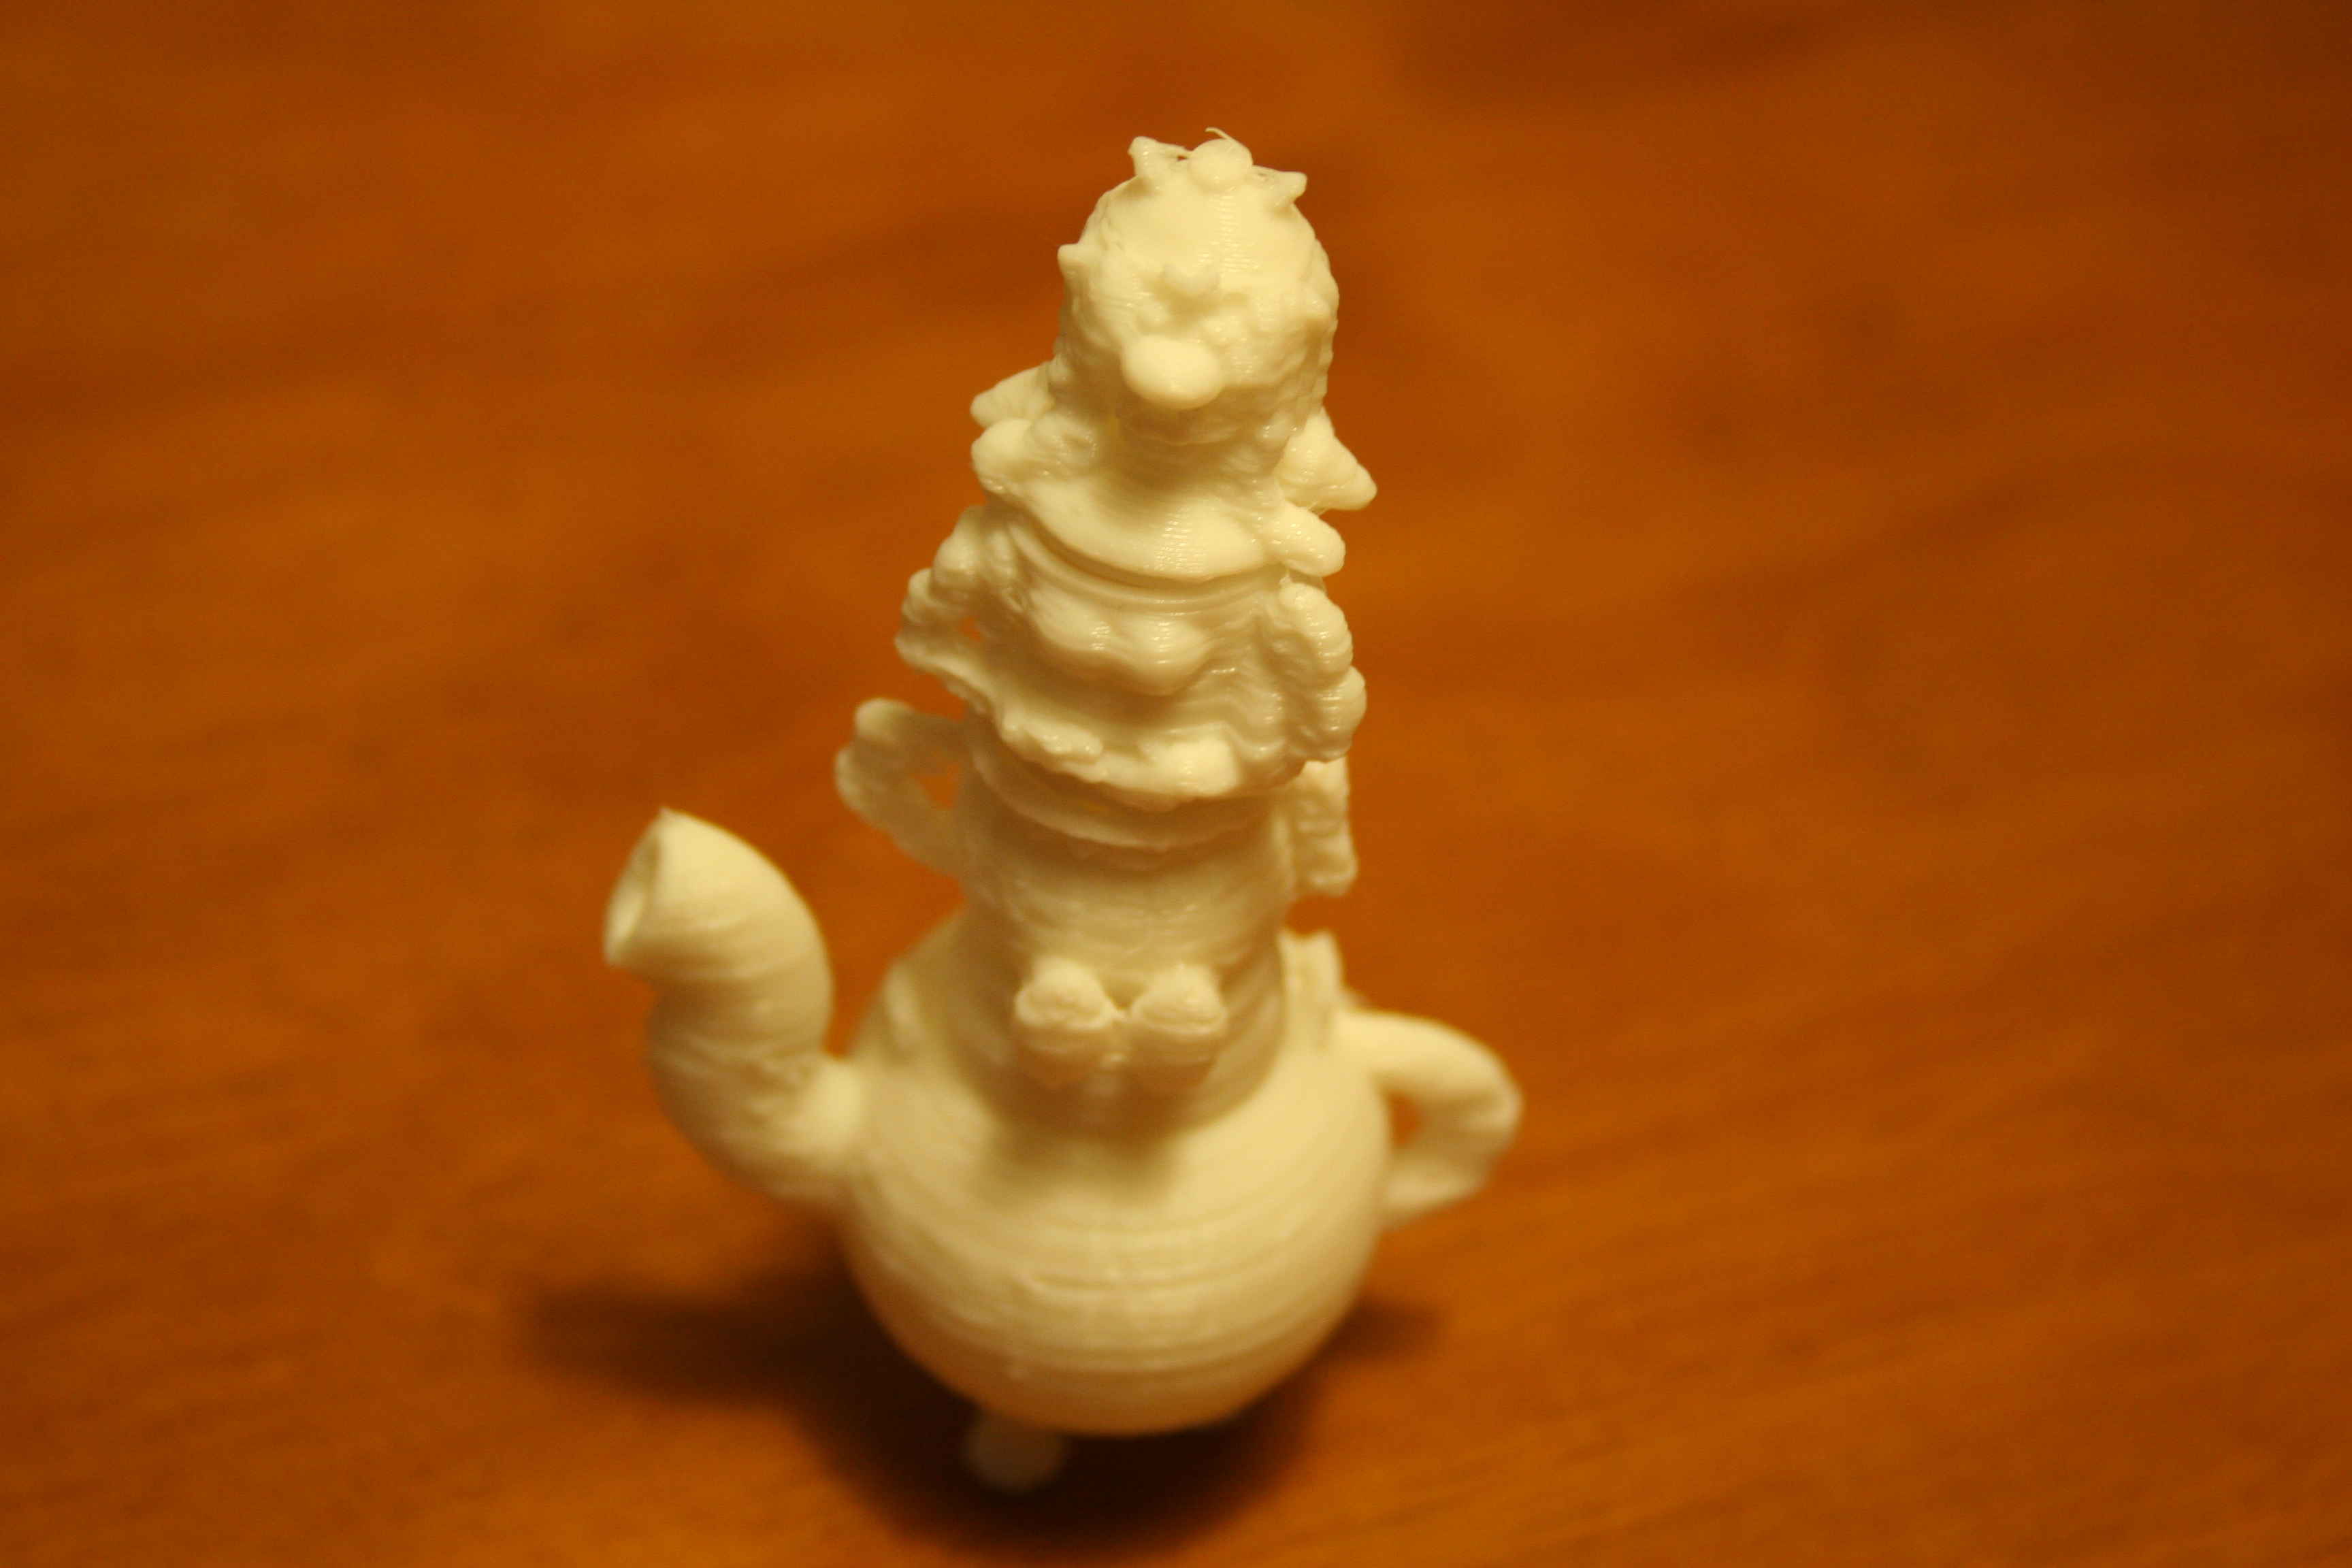
To finish the project it is necessary to check everything. Copy the teapot lid. Place the bottom part of the Obelix body over the cover. It is important that the inferior cylinder has a smaller diameter than the opening of the tea pot. It is important that the cylinder has a lower diameter than the openings where it will fit. Similarly it is important that this happens with the trunk and the head. Set the hair if necessary.
Additional Informations
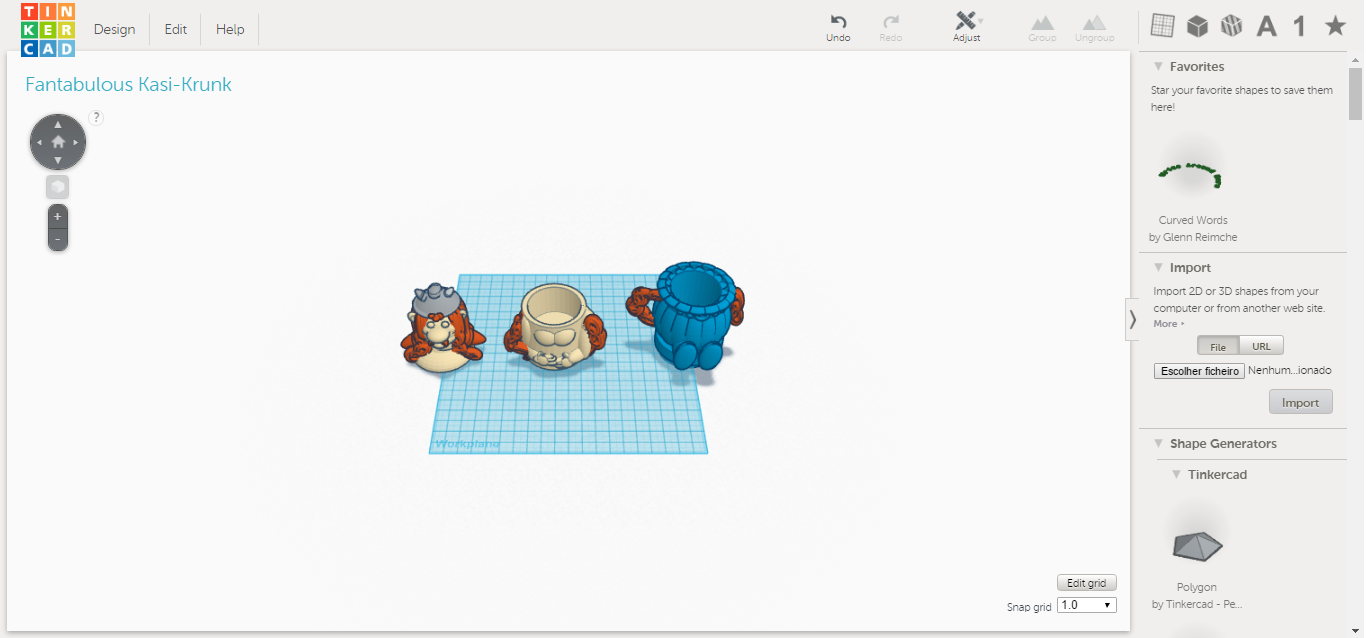
After that you must separate your object in parts. Create a stl for each one and print your project in a small scale to verify the “state of the art” of them. See the step 13 for more informations.
Identification of the Diferent Parts That You Need to Do the Obelix Toy – Product 2
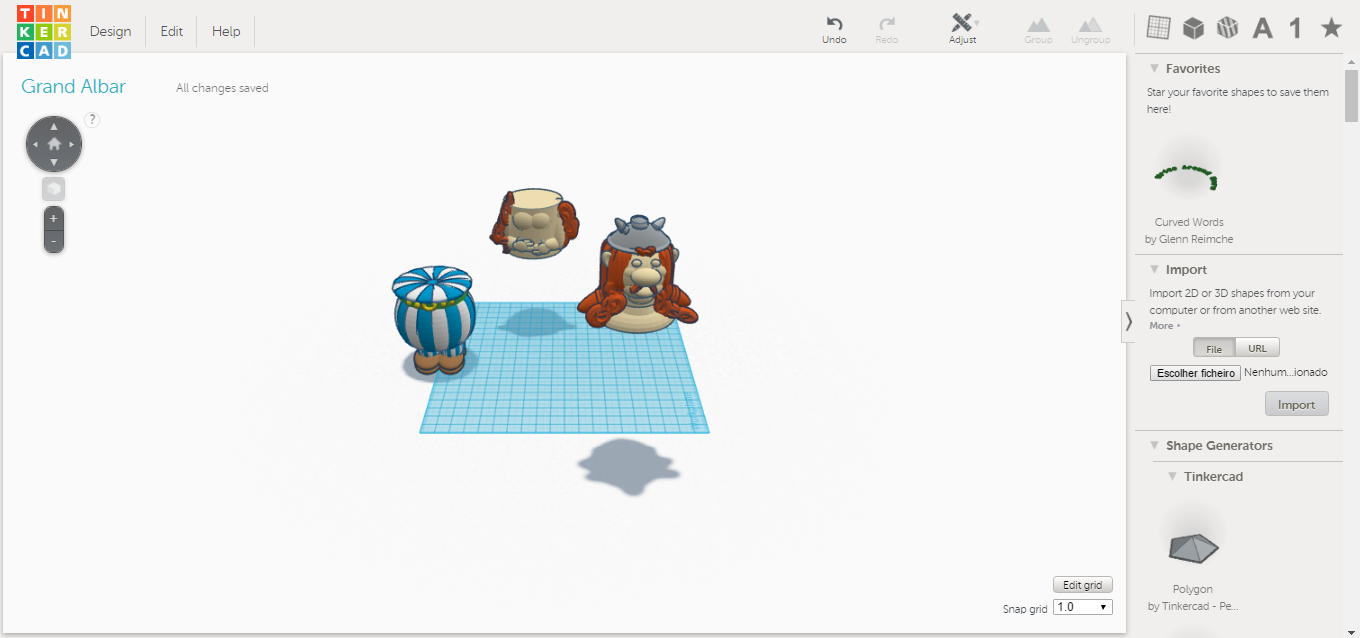
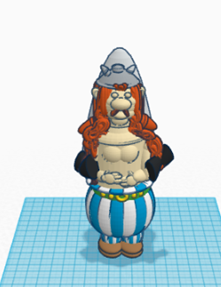
Create a new project in tinkercad and place them: the Inferior part of the Obelix nominated “part 1 for project 2”, the trunk the Obelix nominated “part 2 for project 2” and the head of the Obelix.
Make the Menir - Obelix Toy - Project 2
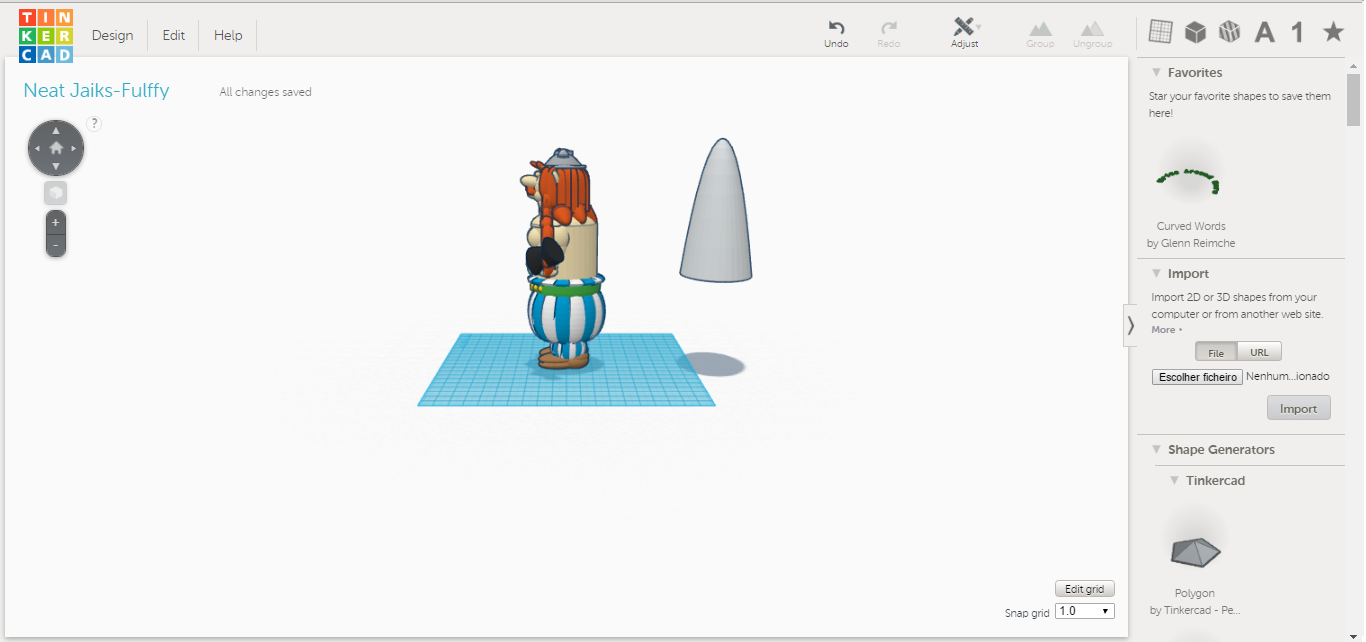
To make the menir you can draw a Drill or a Parabola. For this i draw a parabola.
Step 12 - Attach the Differente Parts to Make the Toy
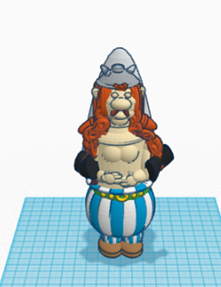
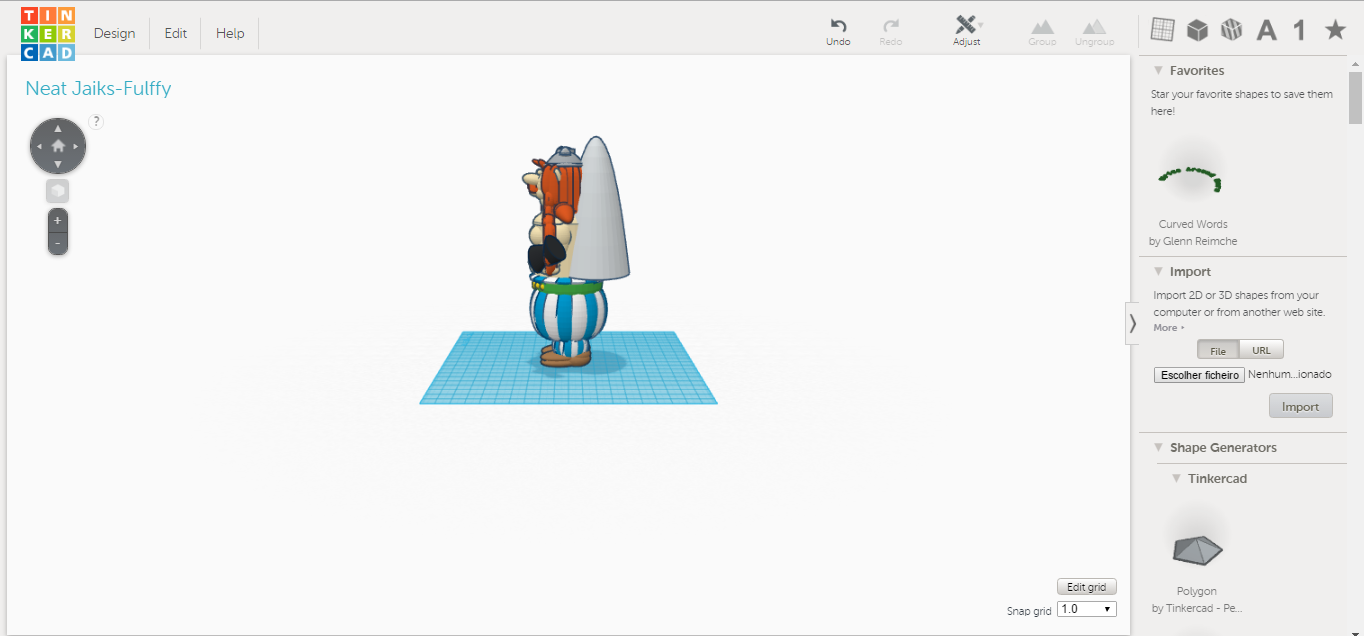
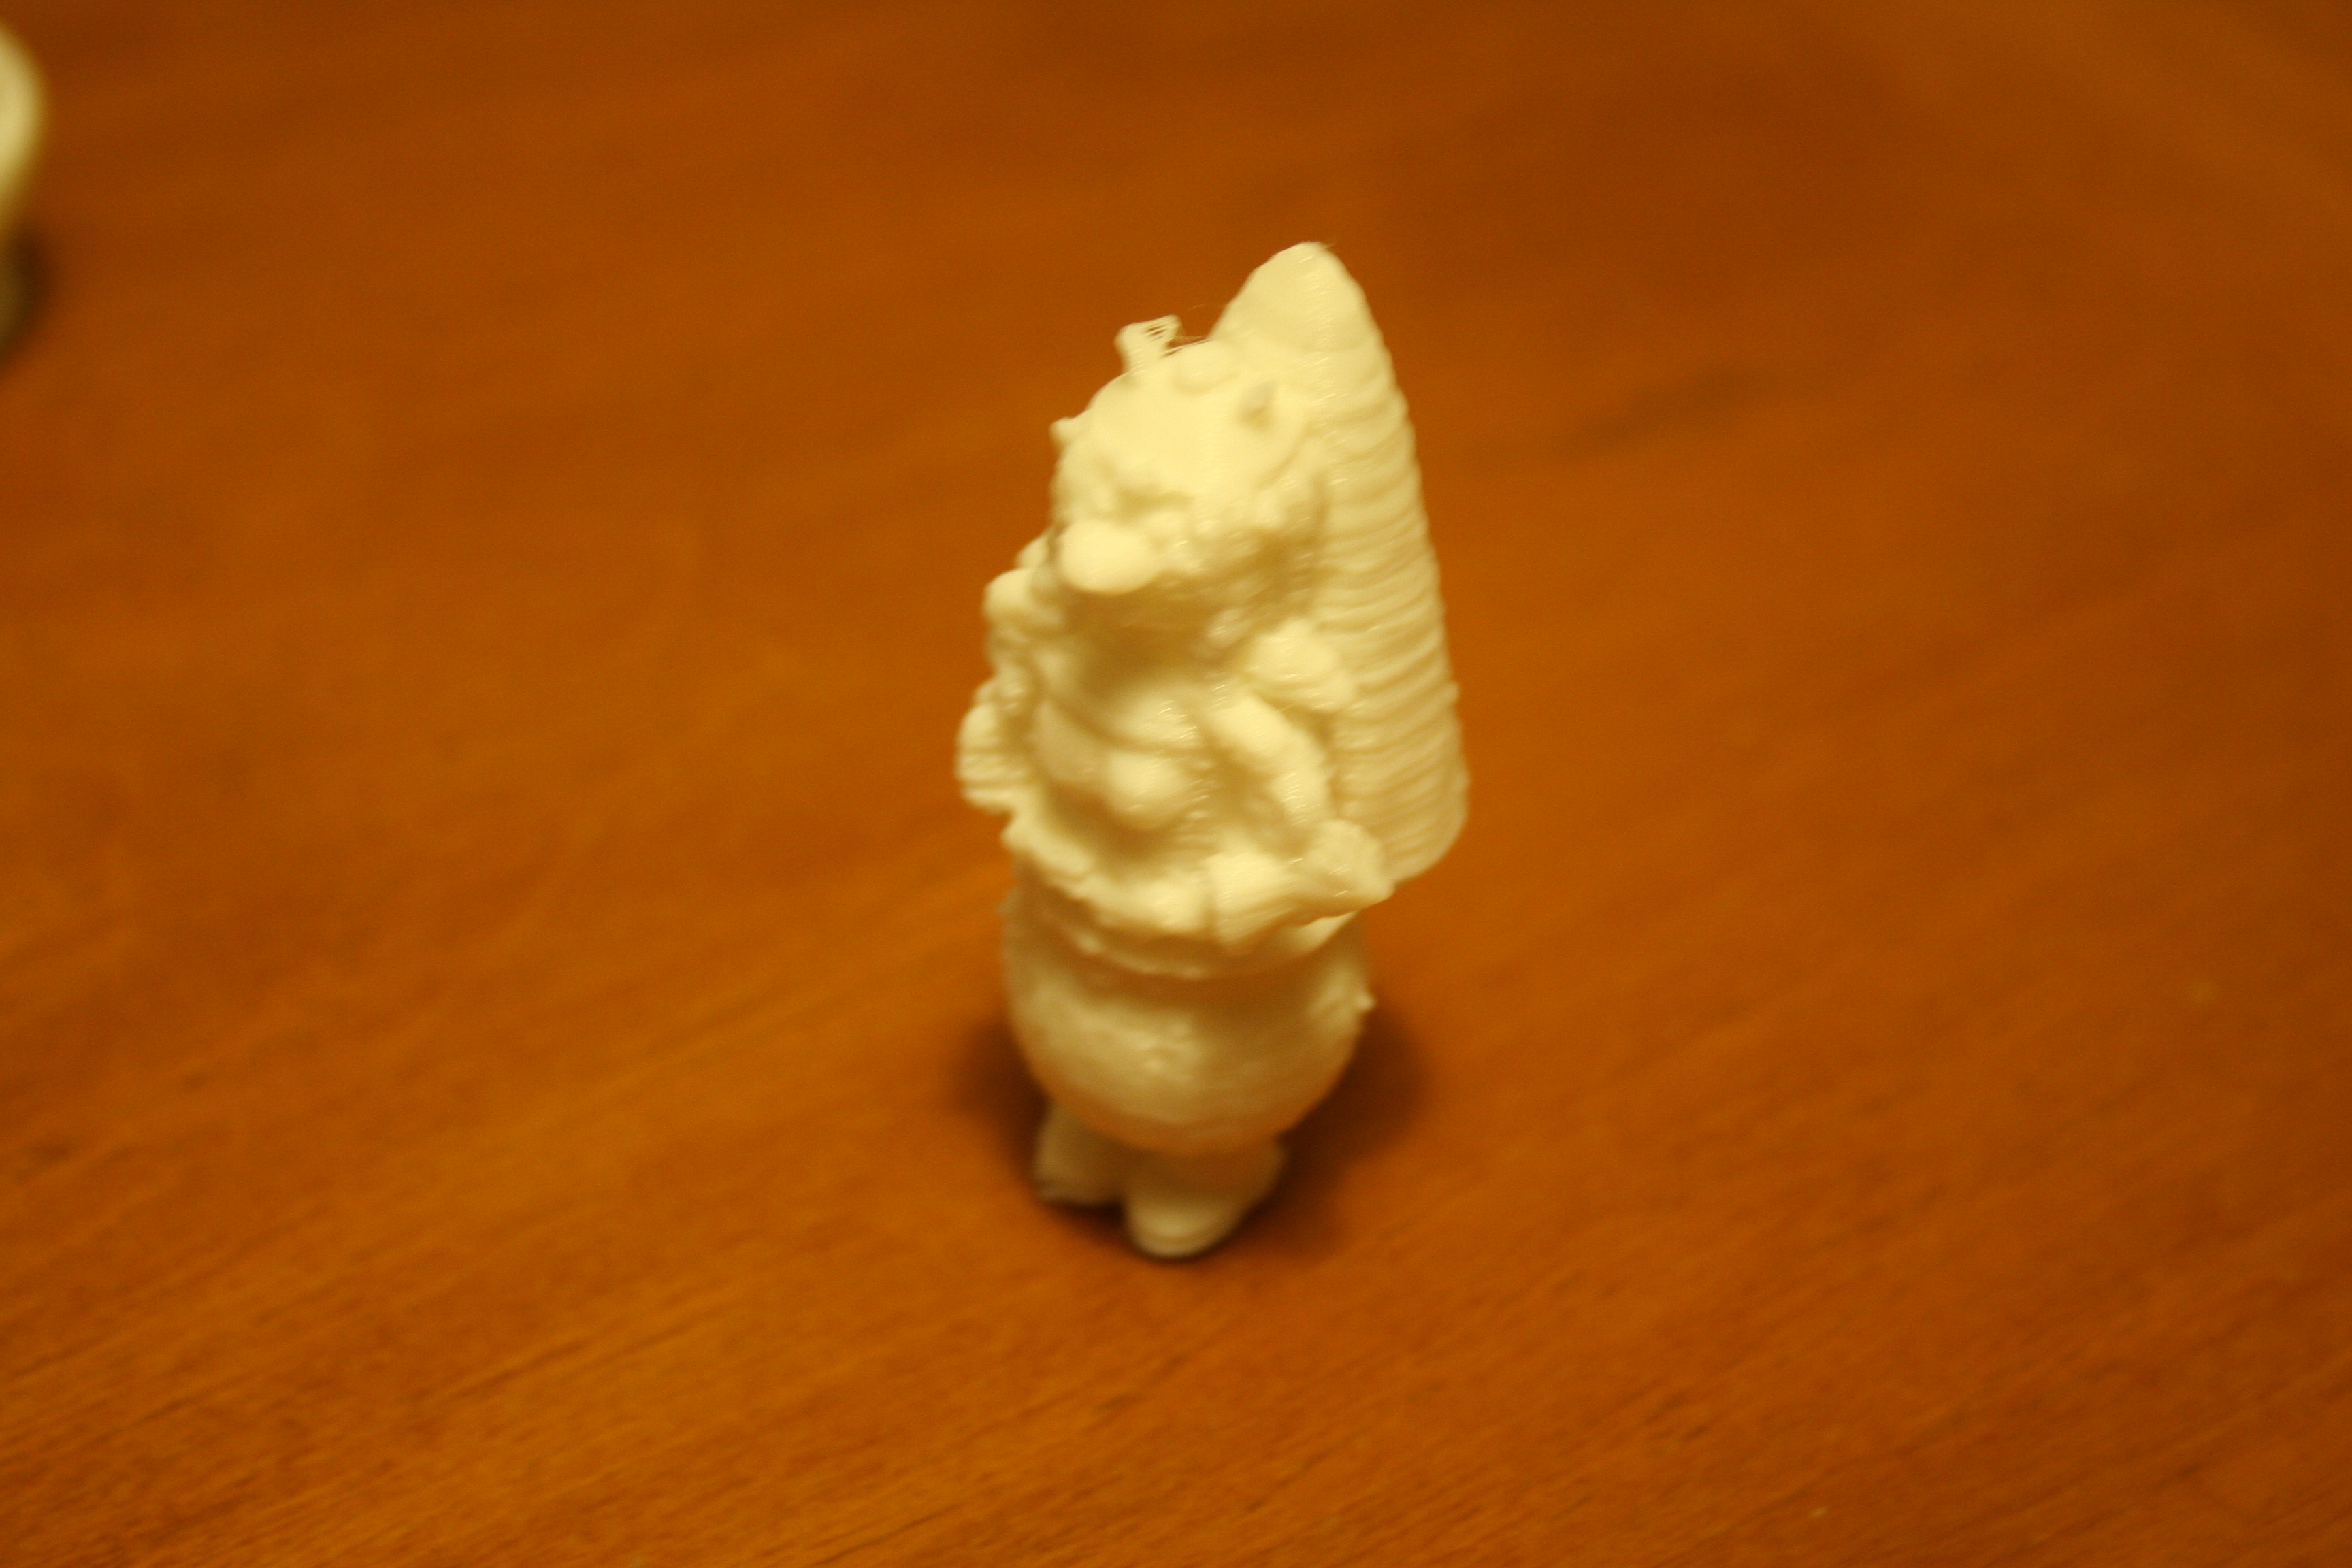
Place the menir and the shoes. Adjust the legs of necessary.
Use two parables to make the loop.
Evaluating and Improving Your Project
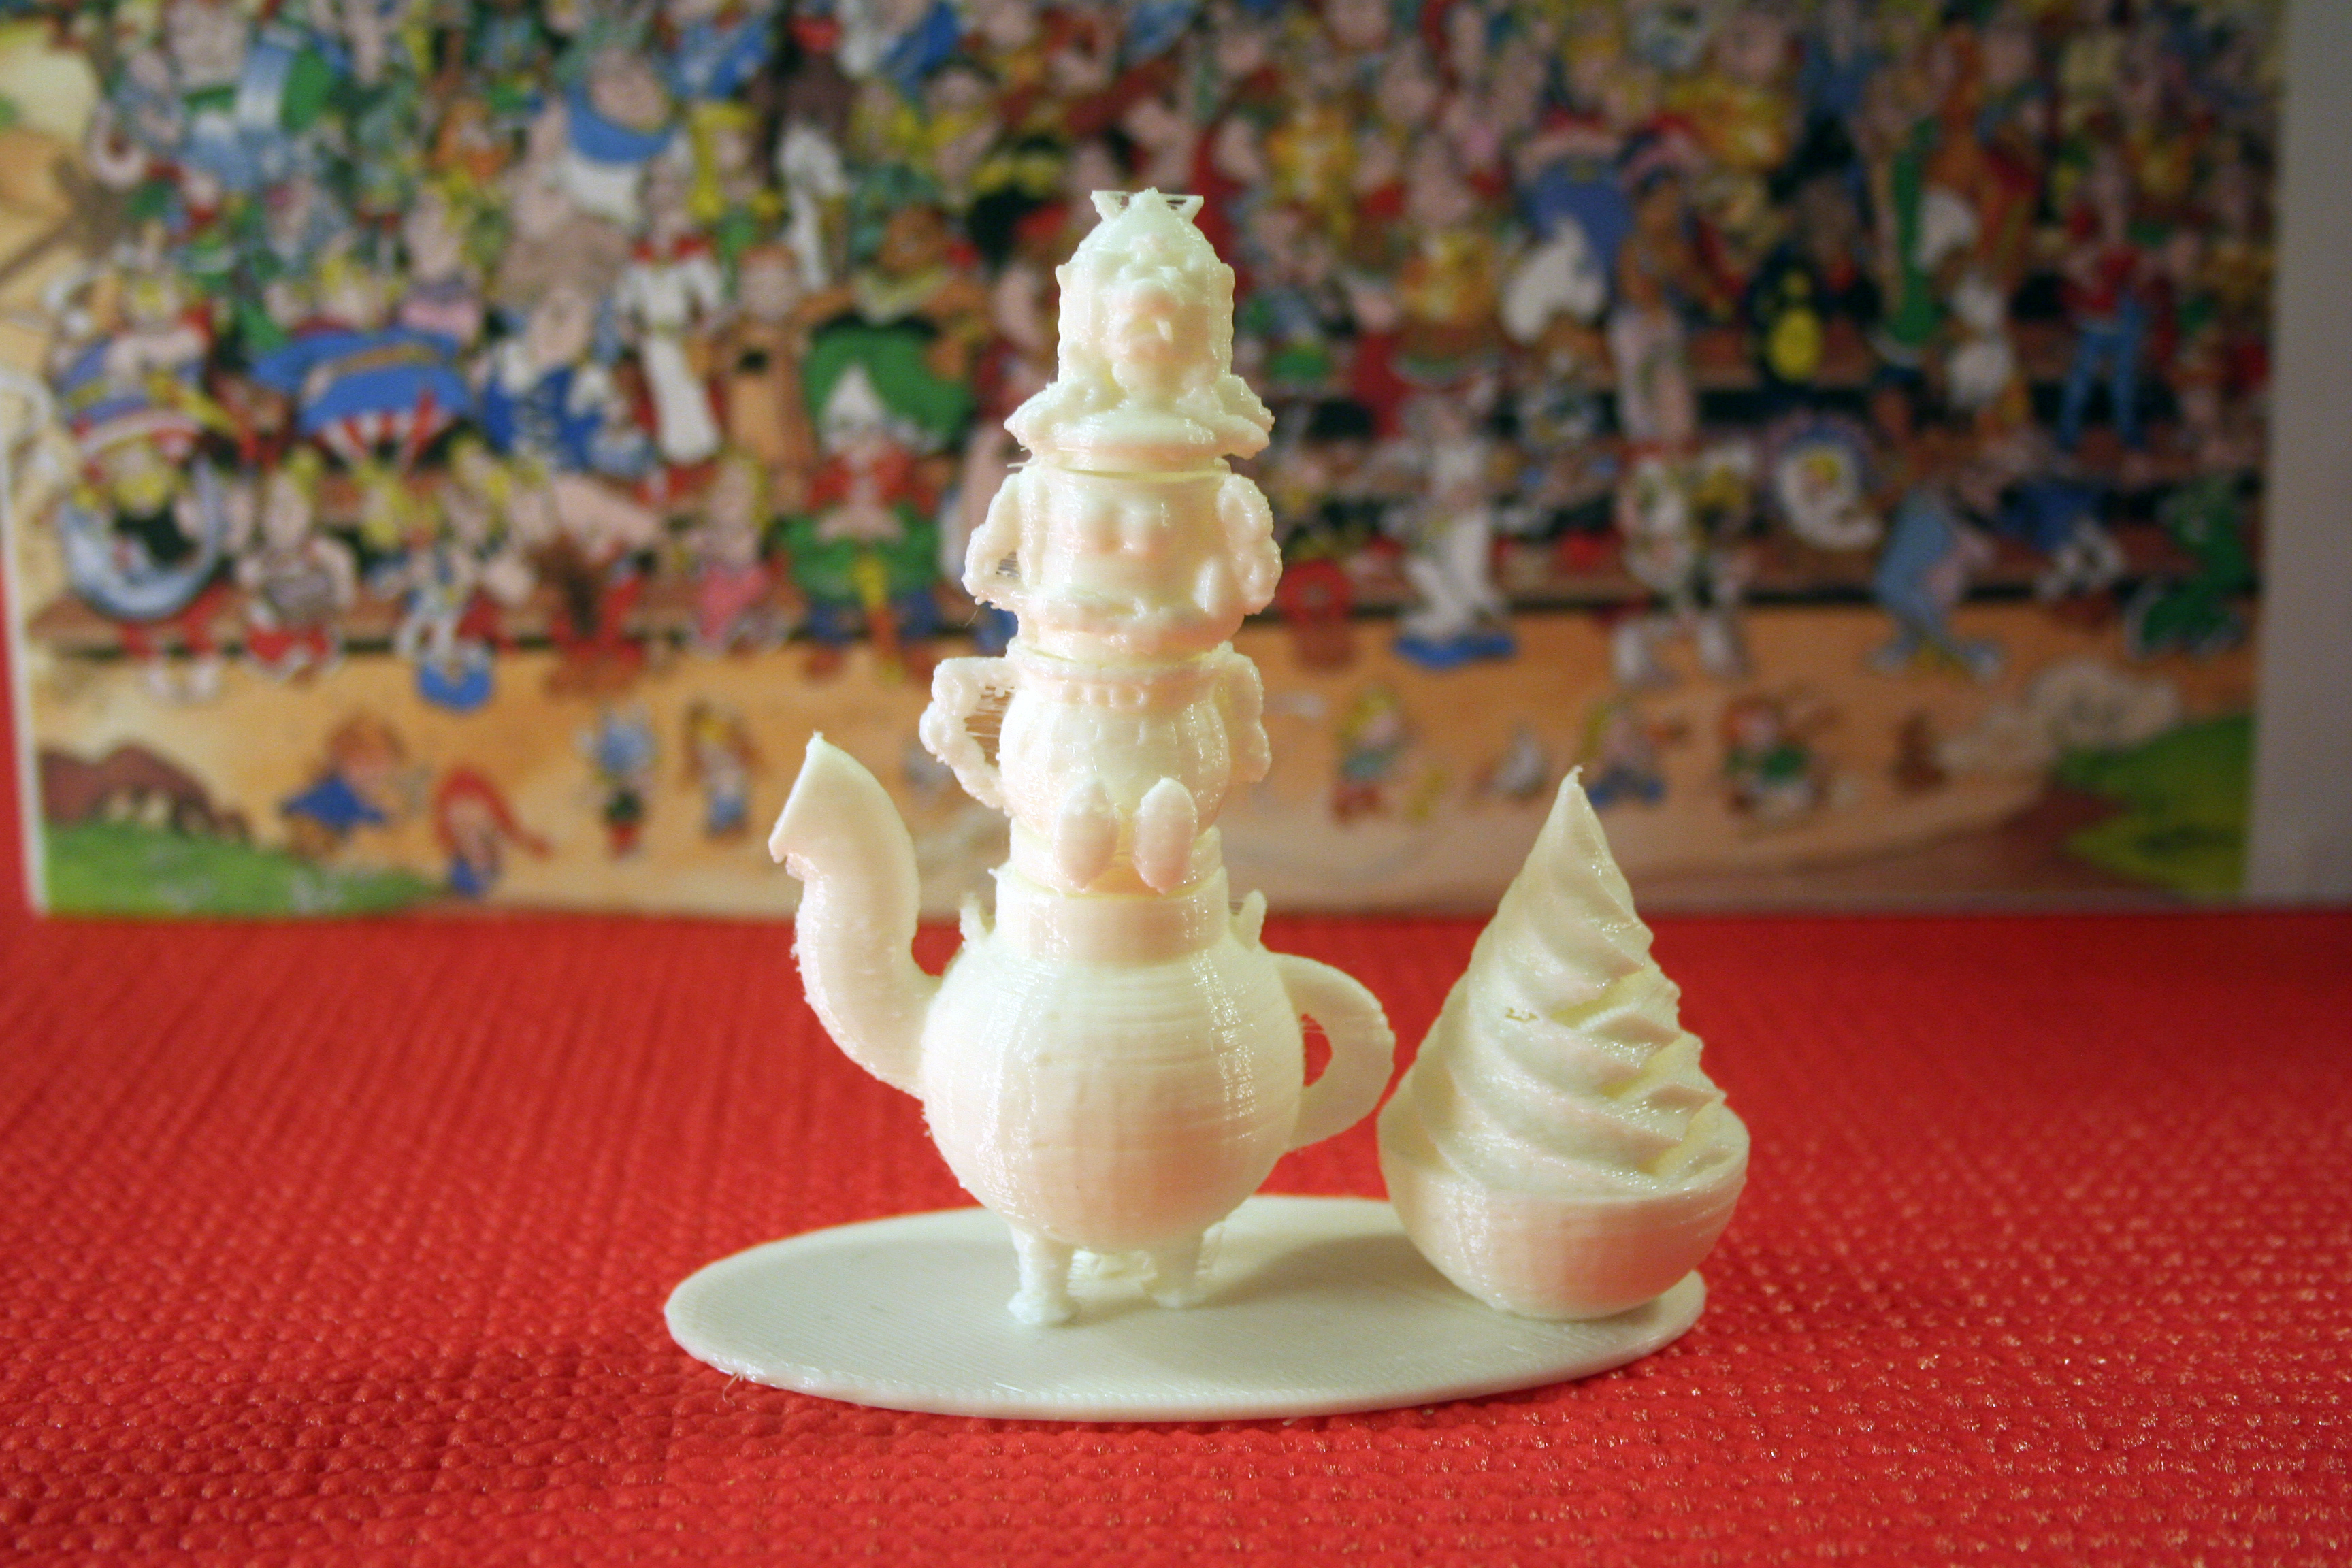
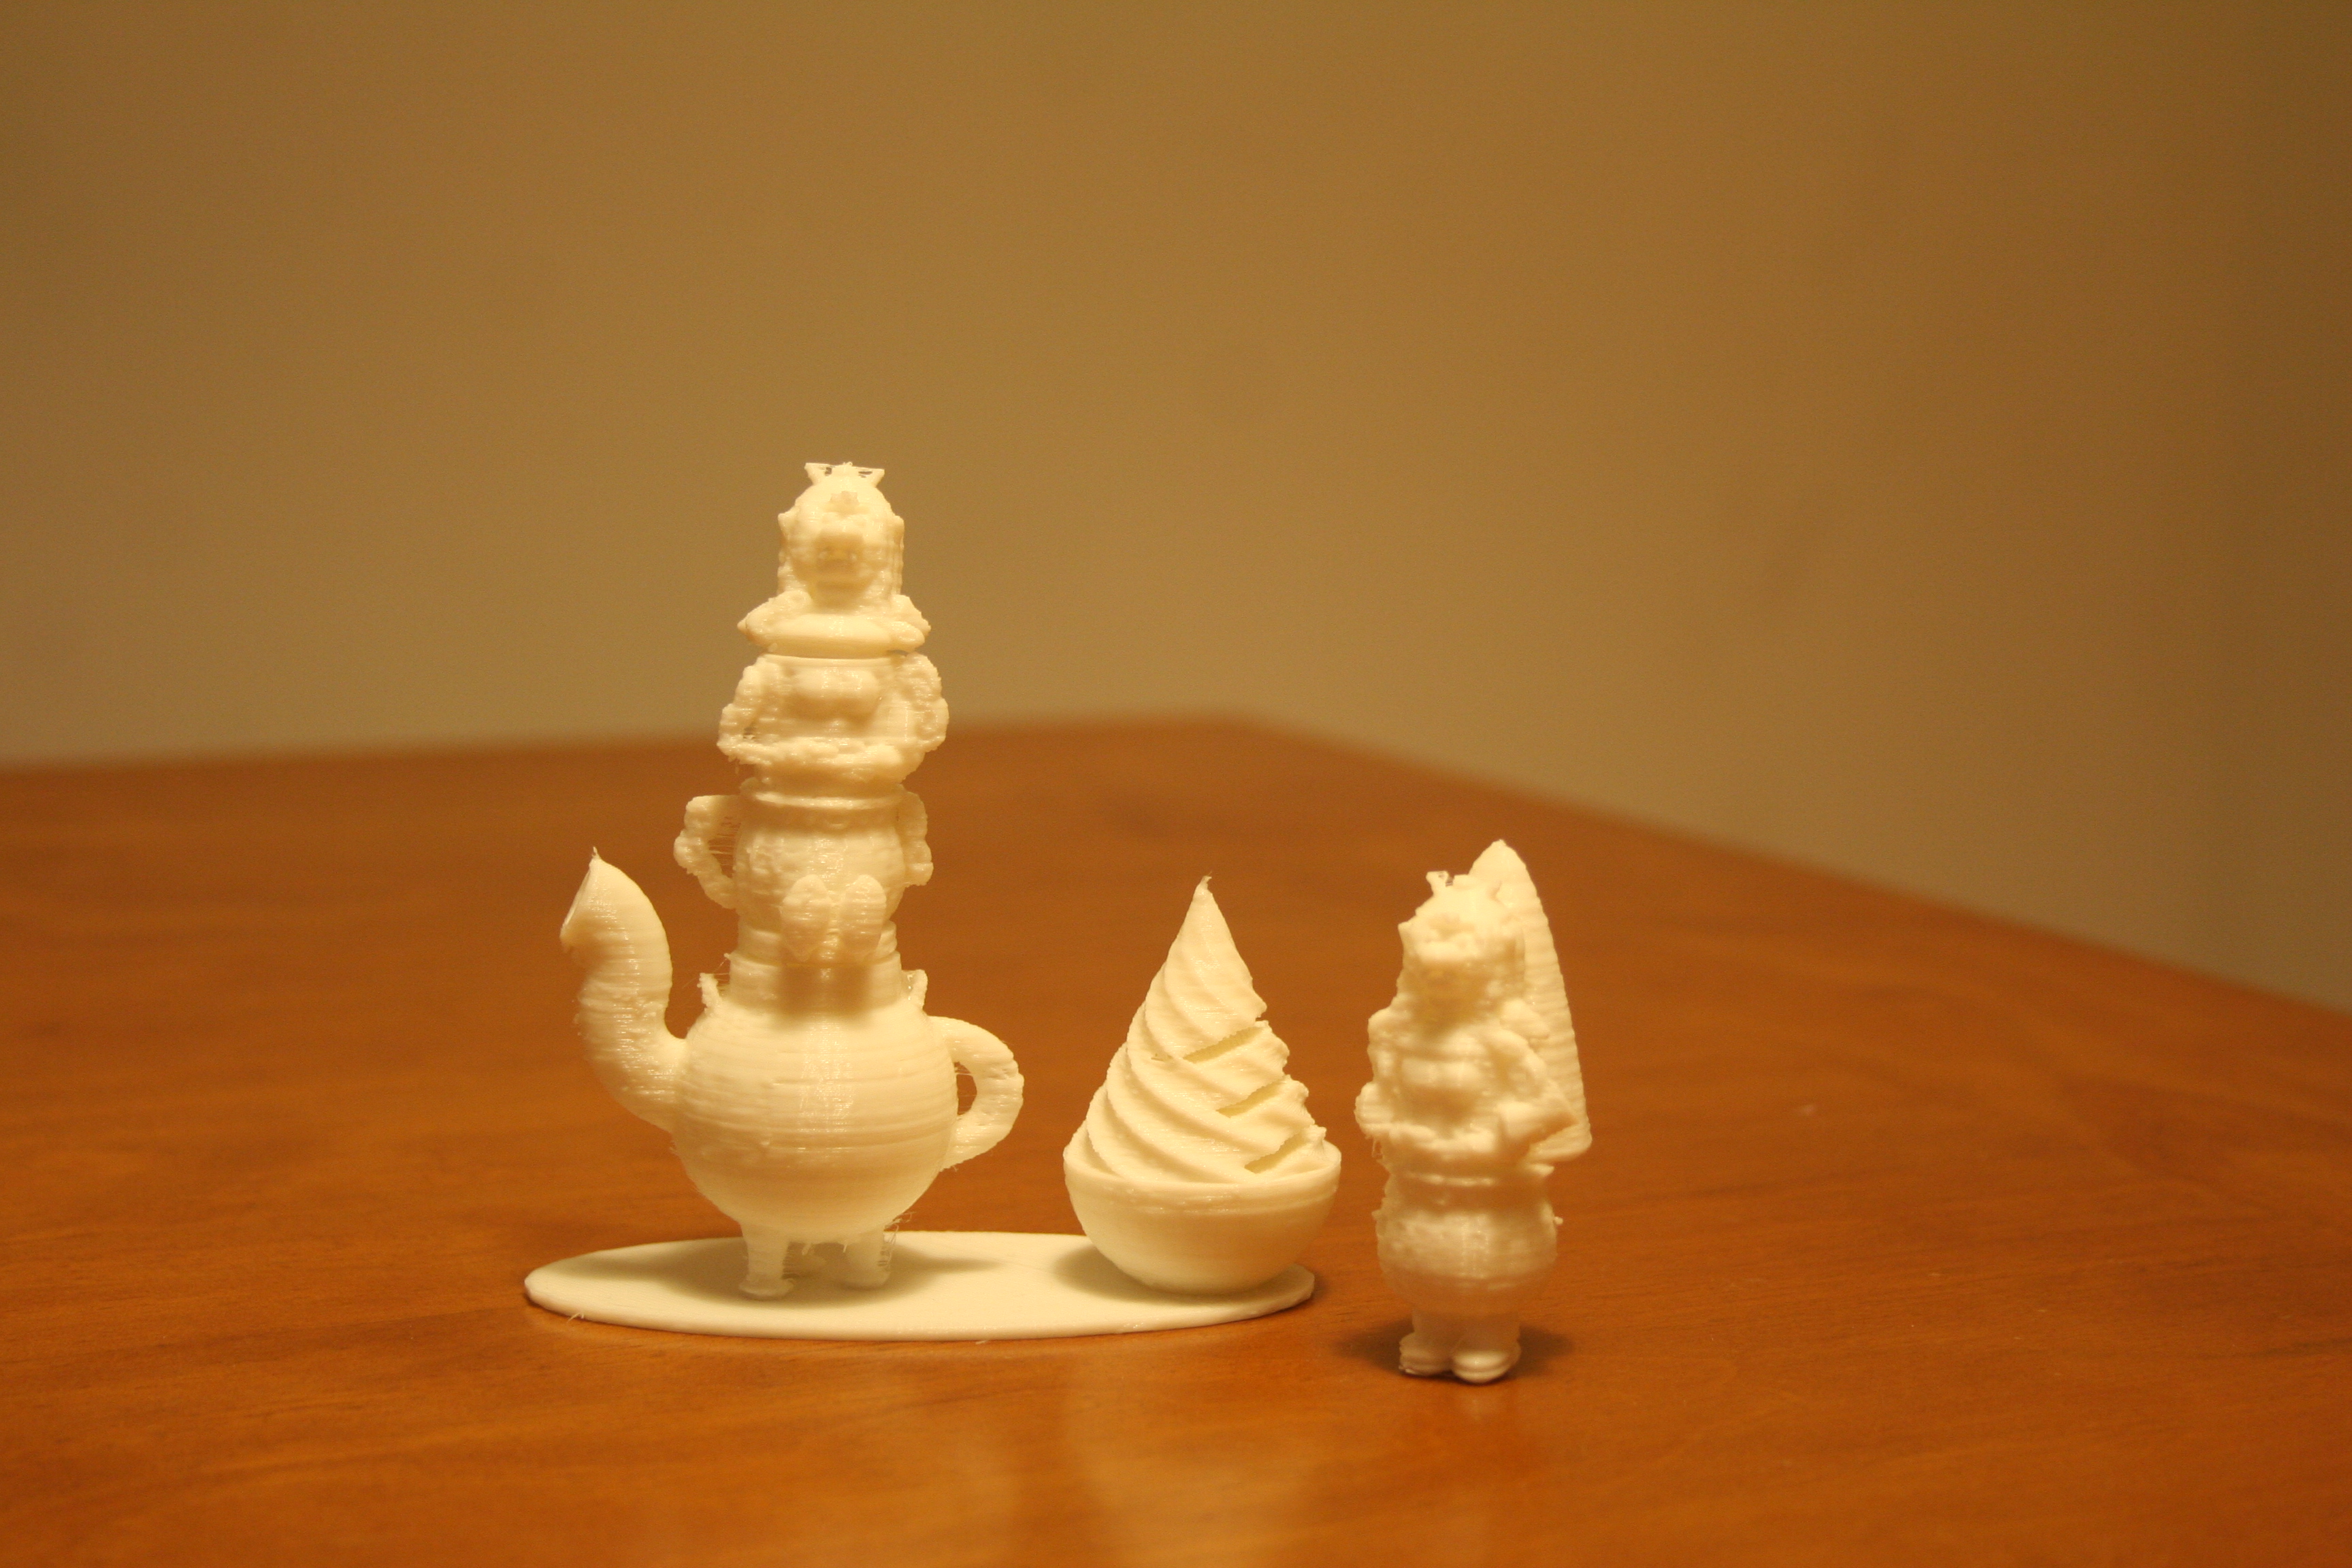
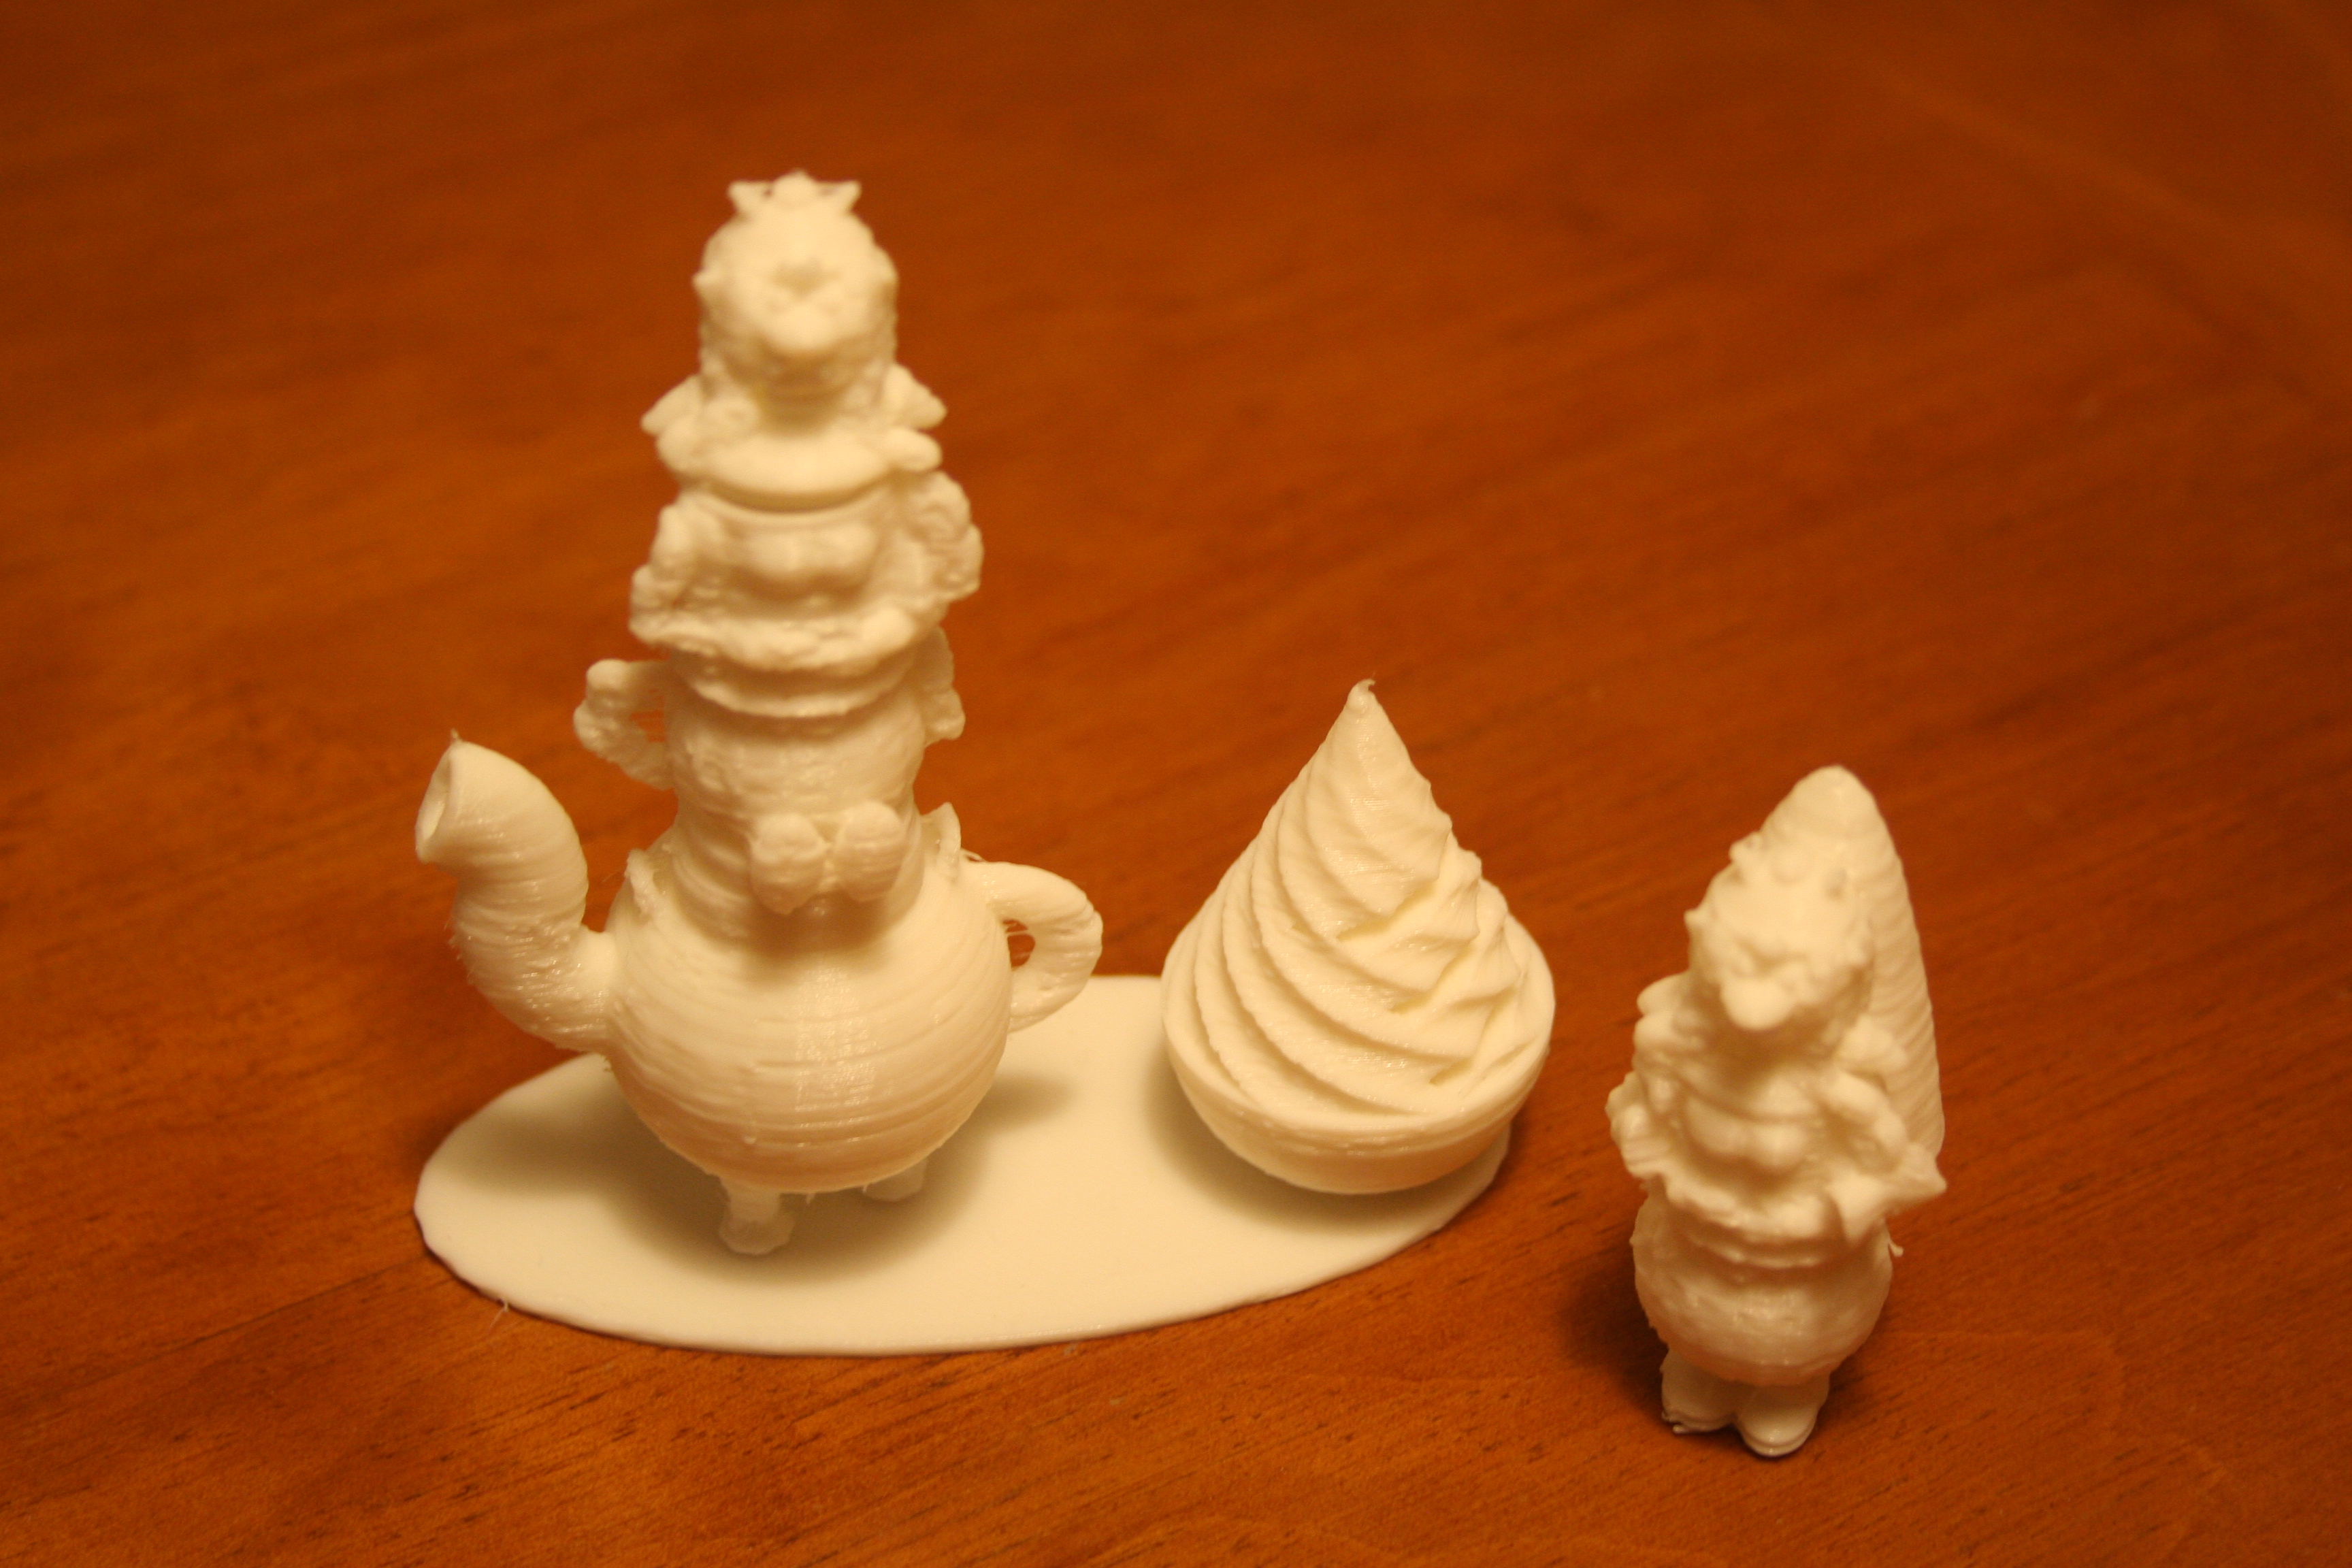
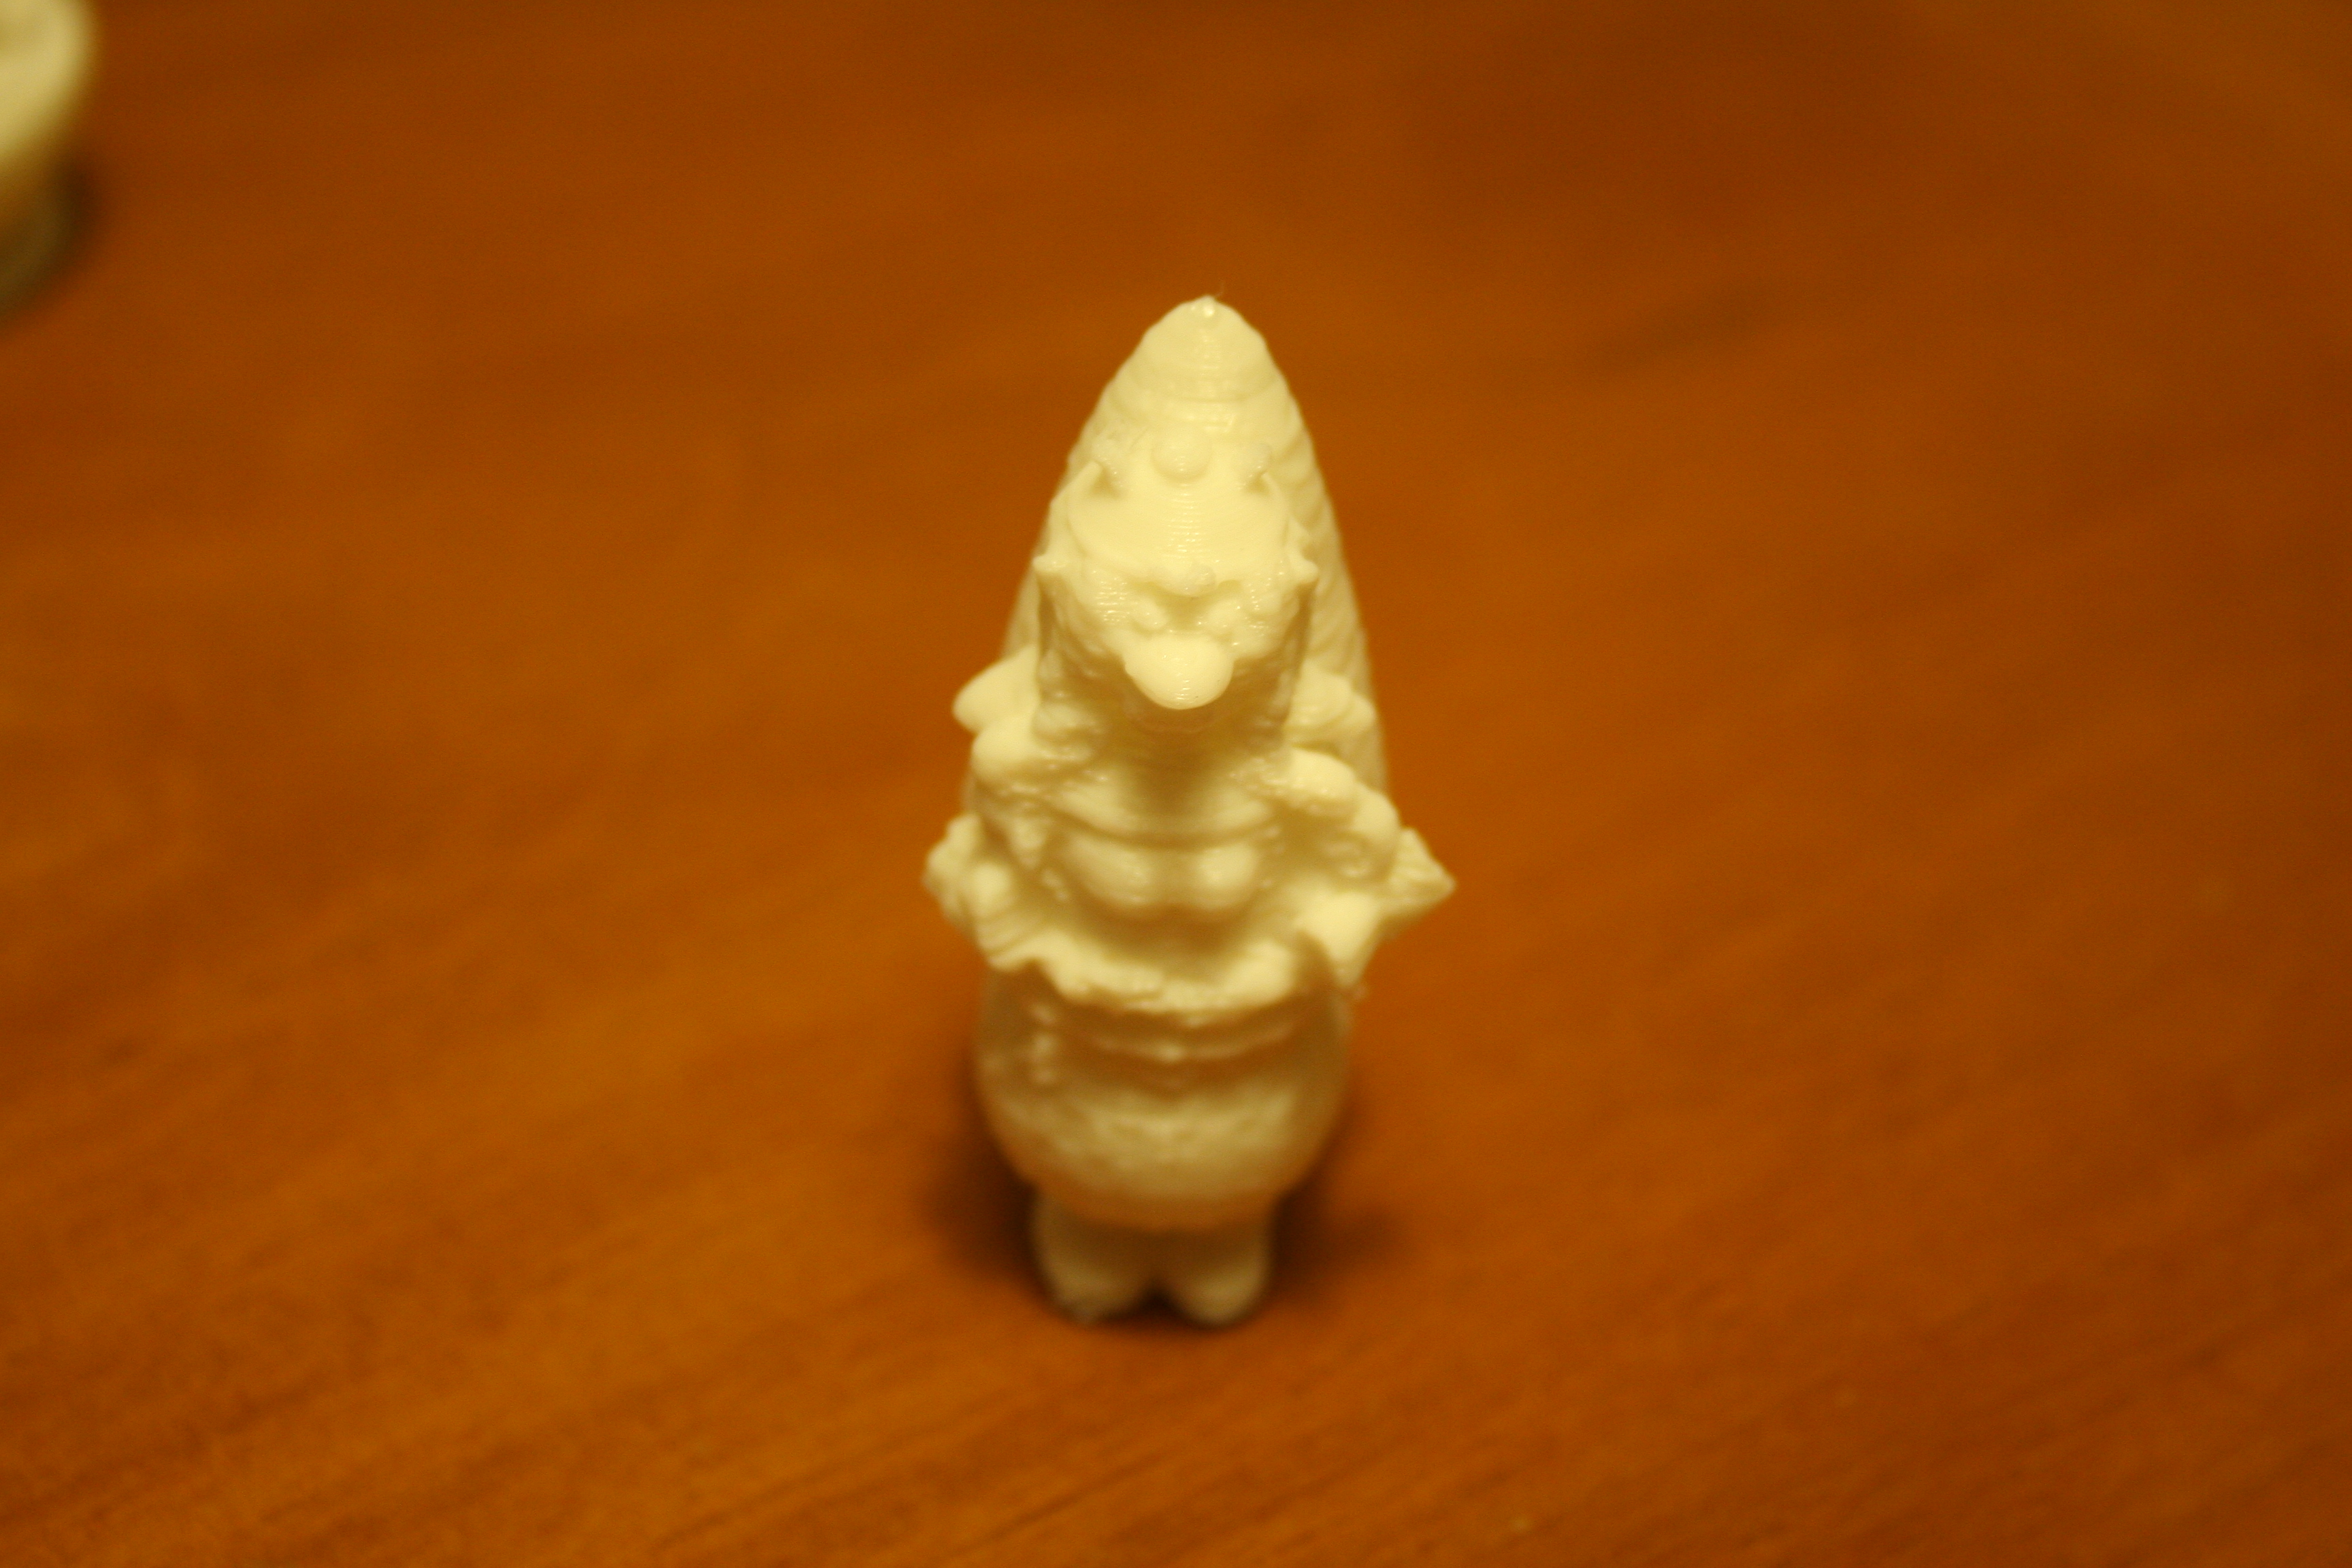
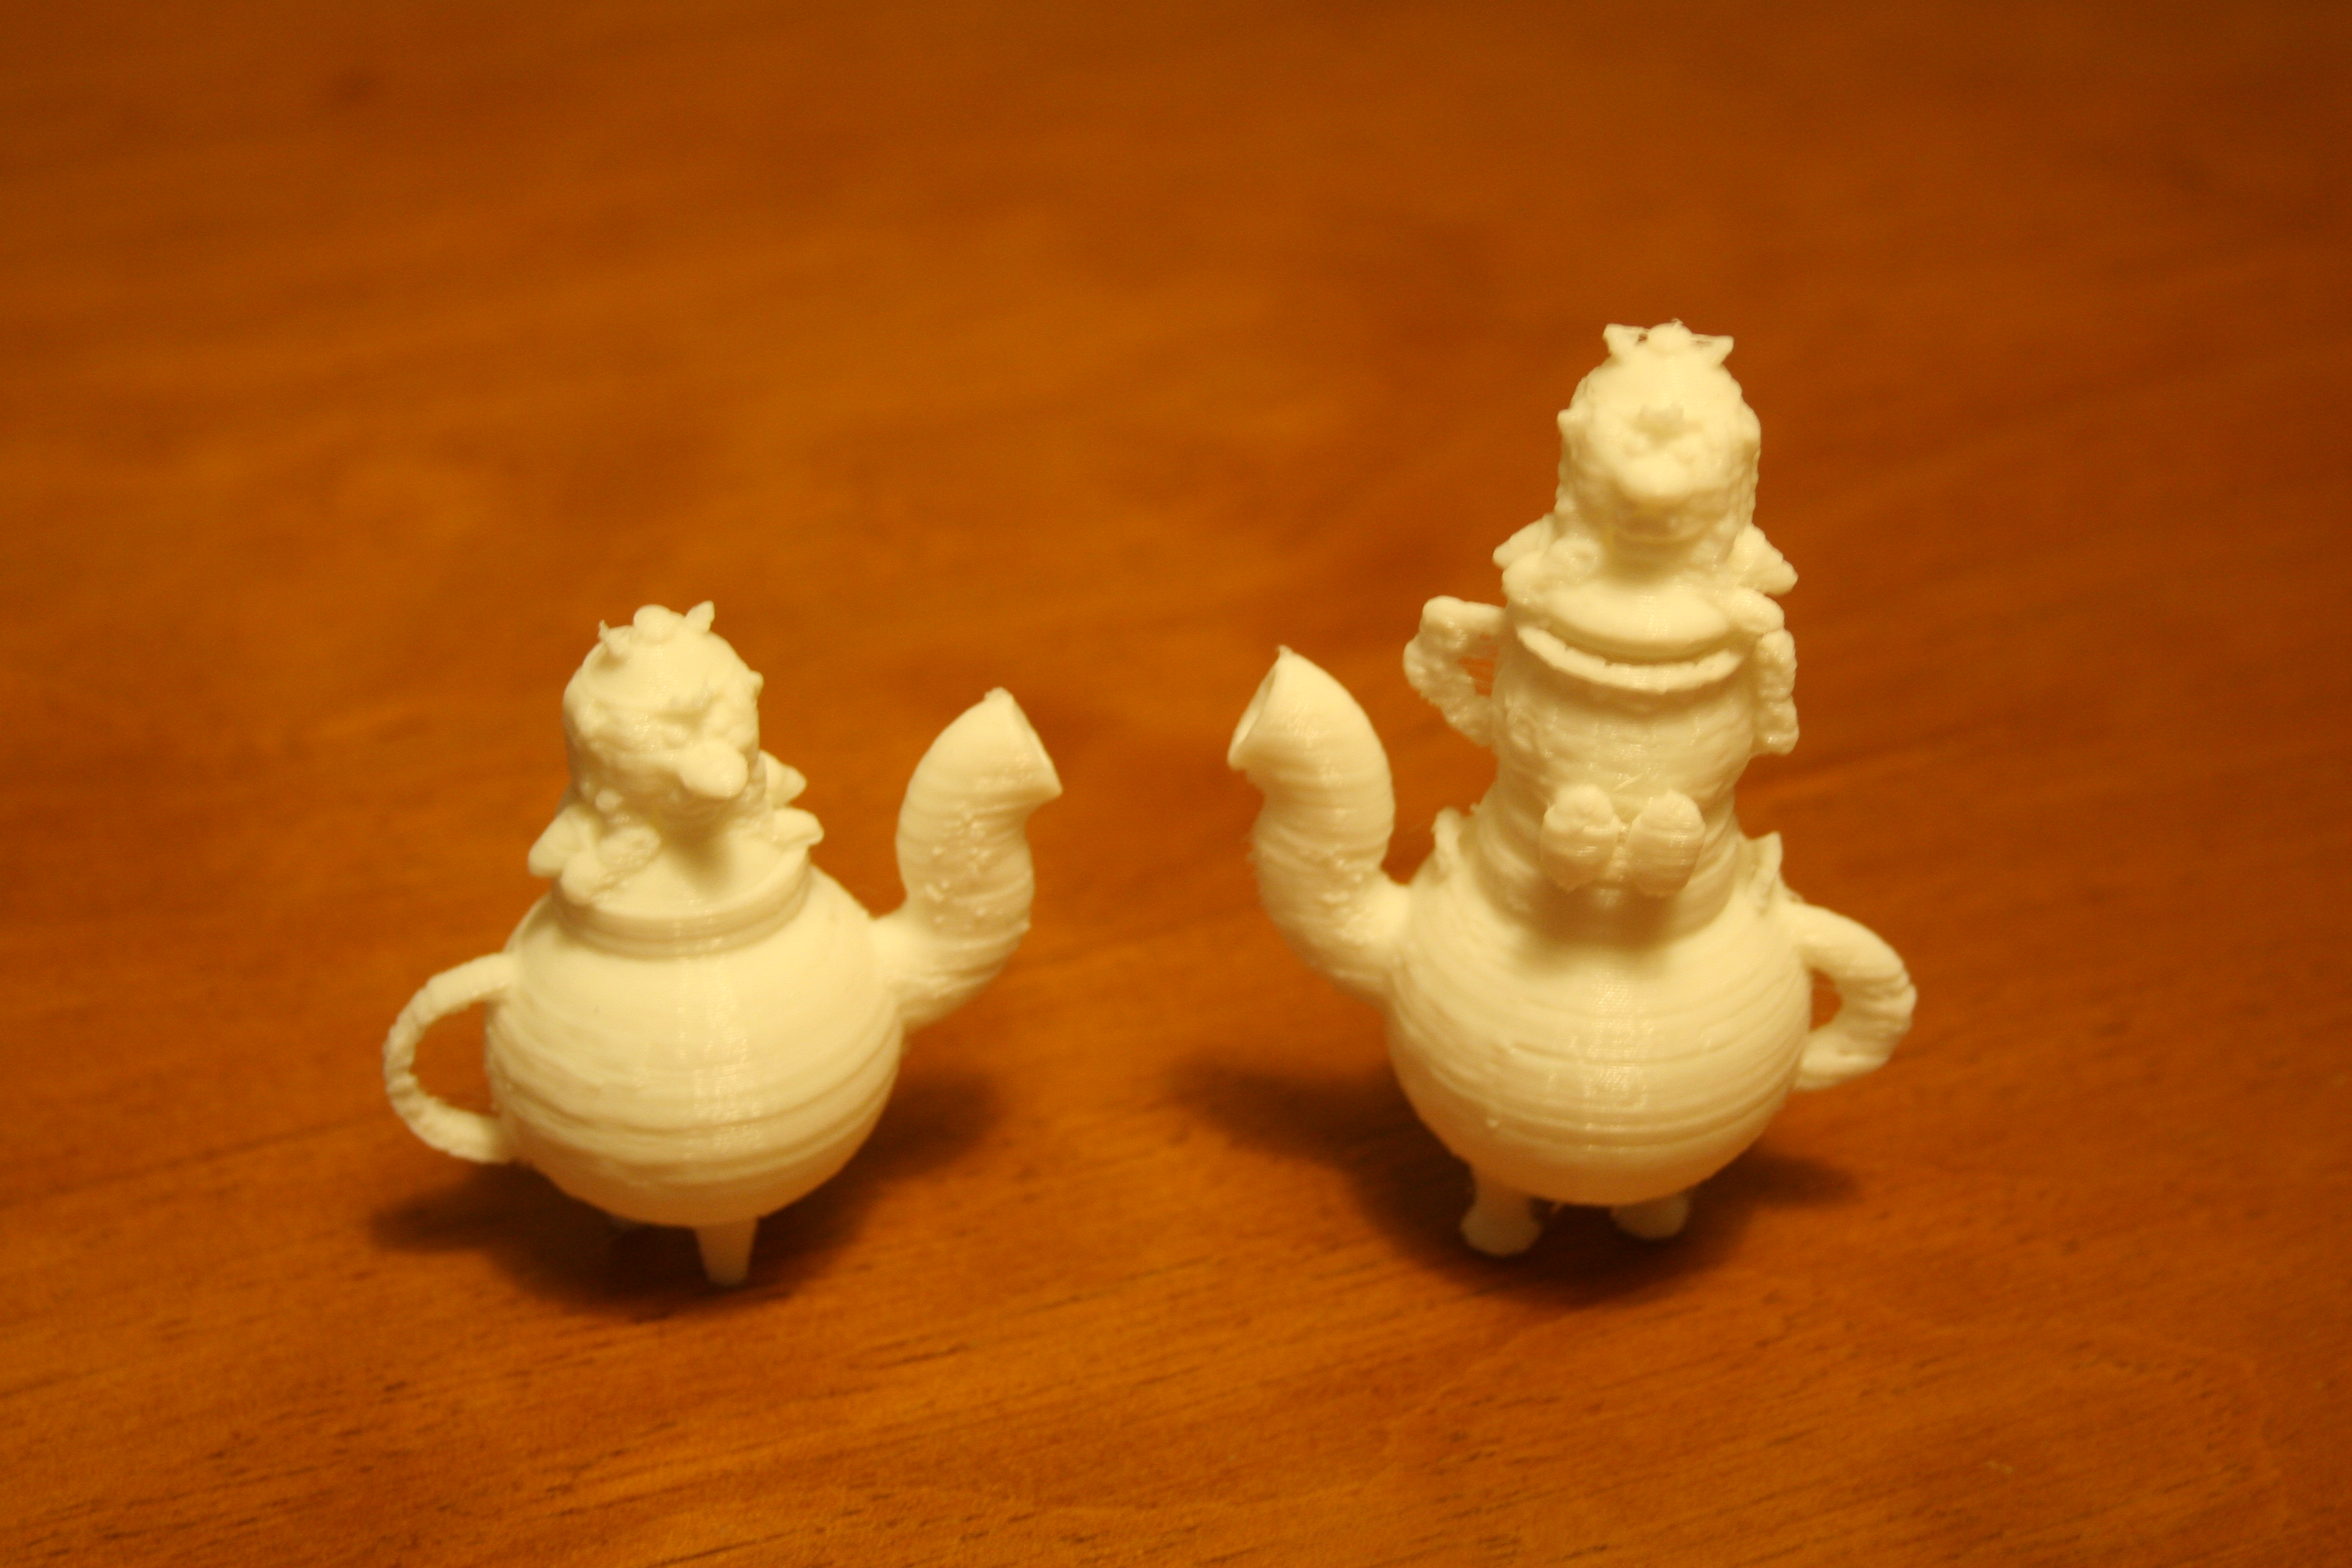
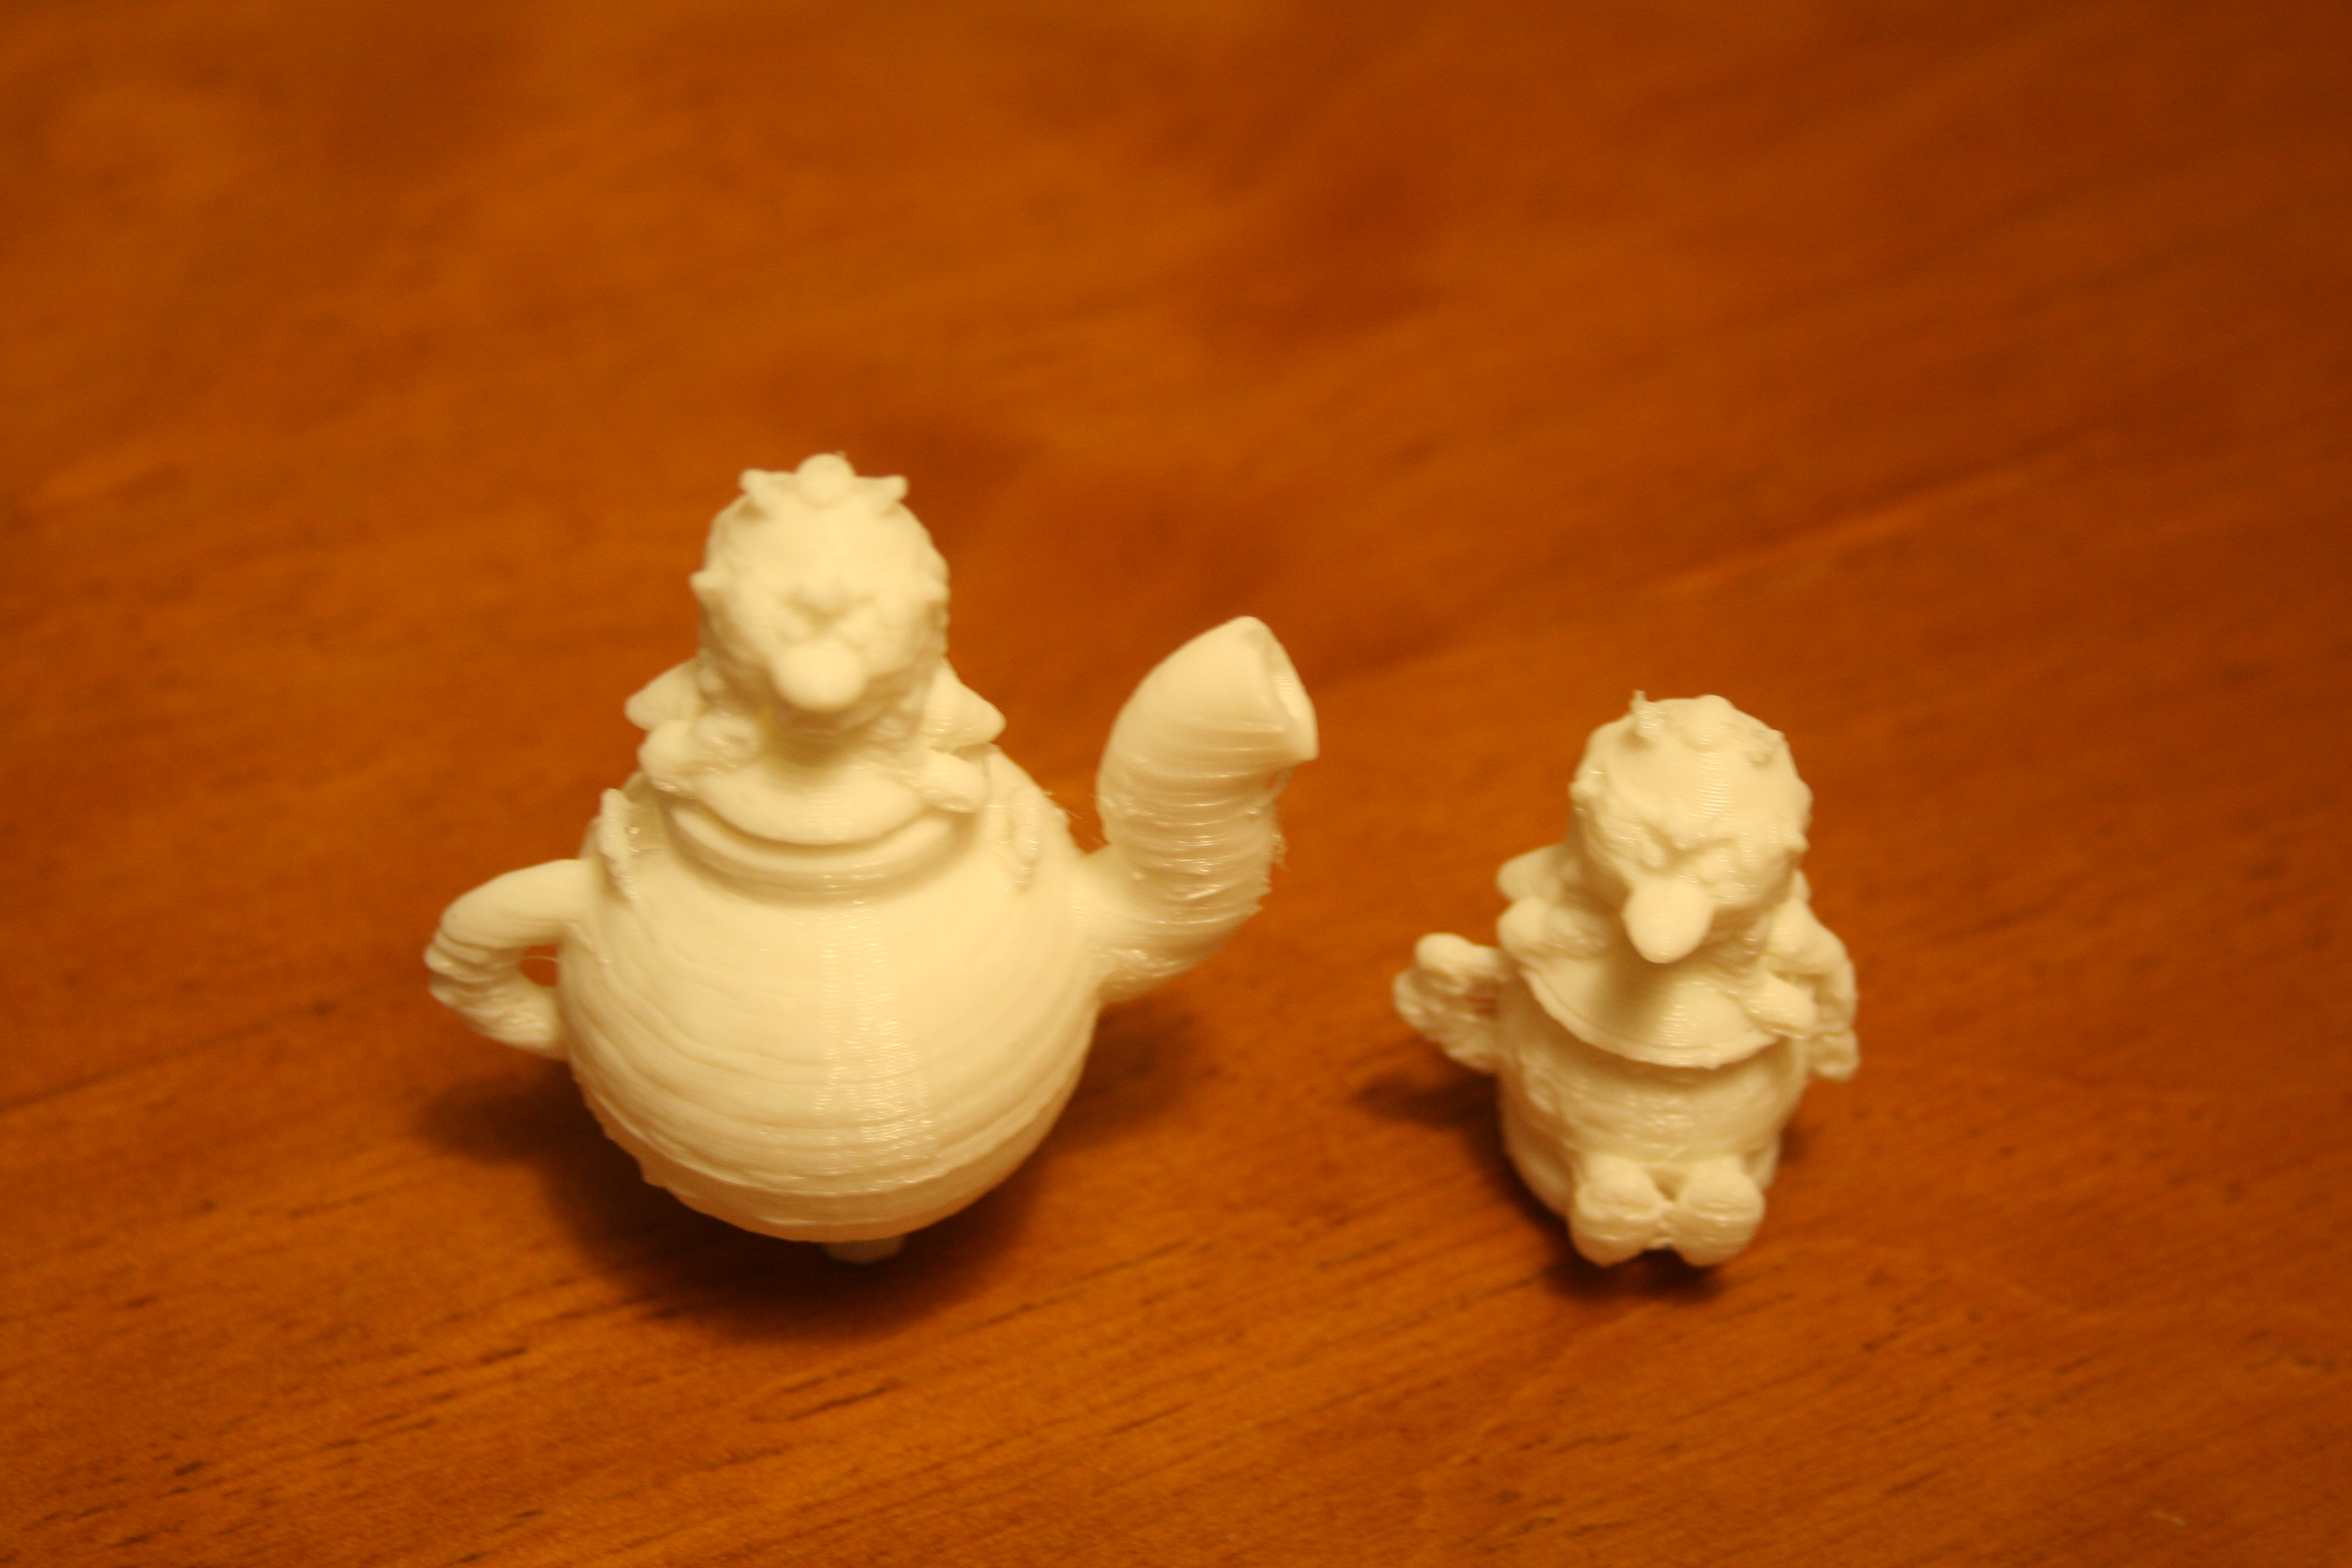
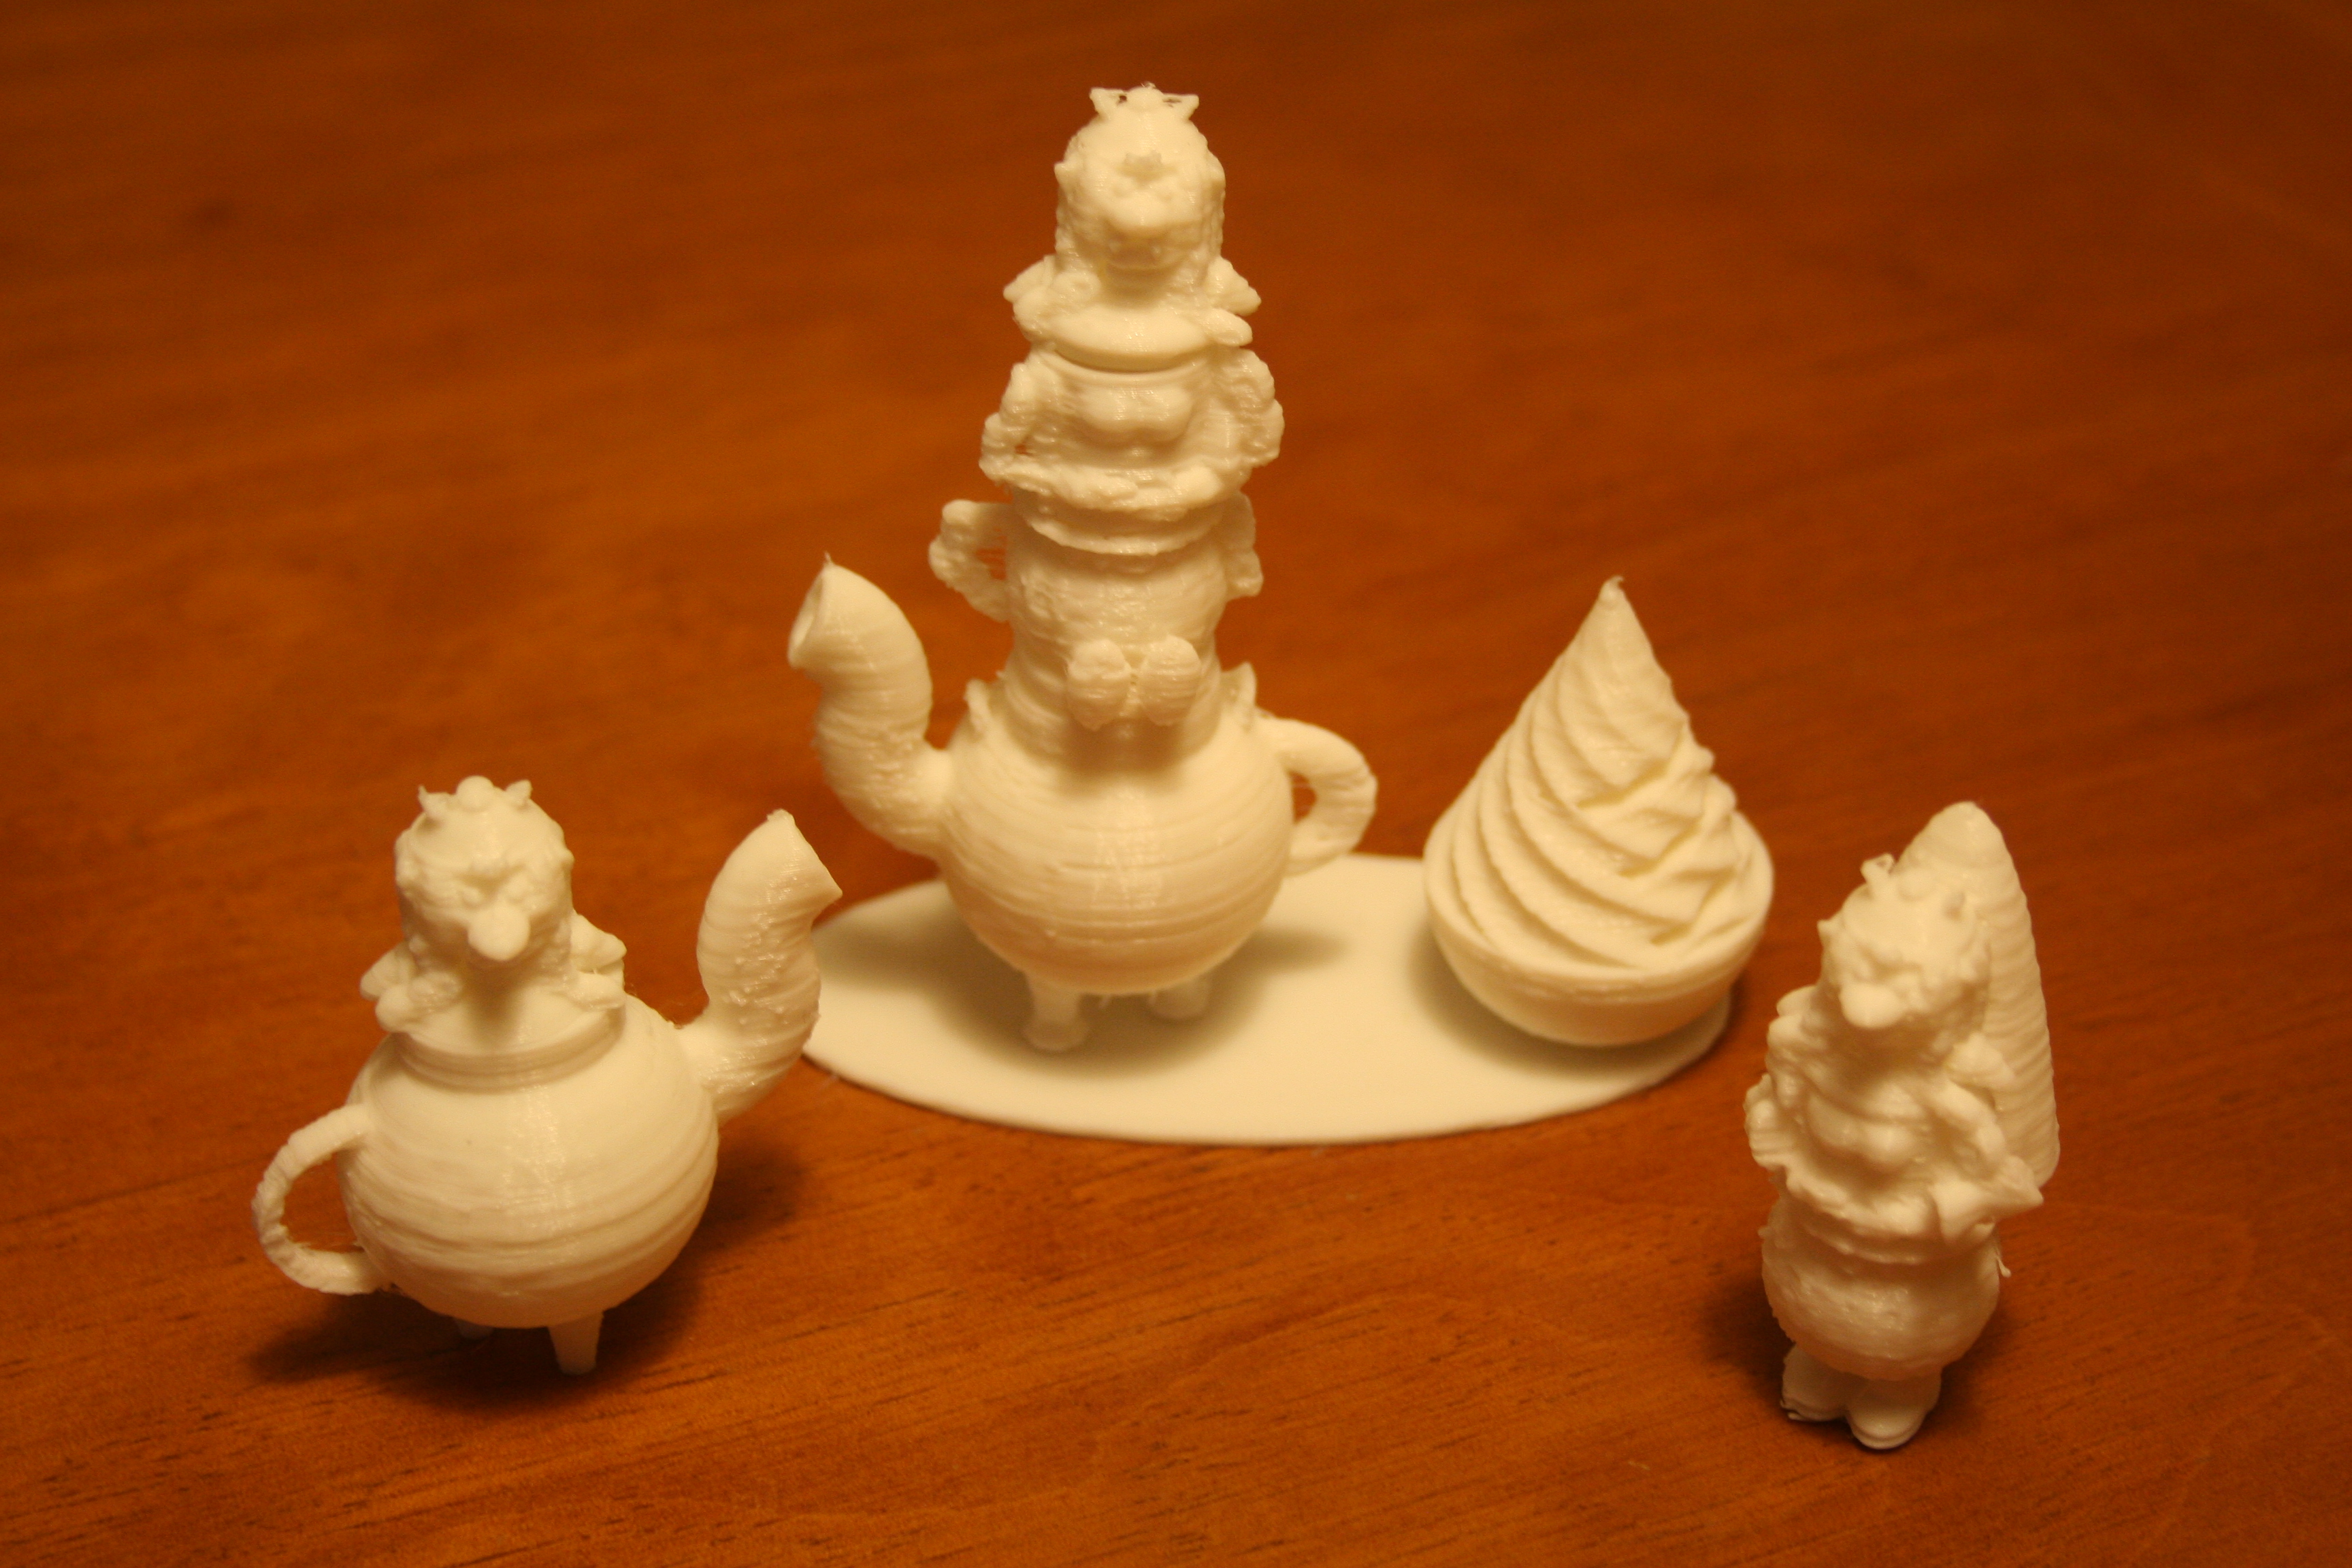
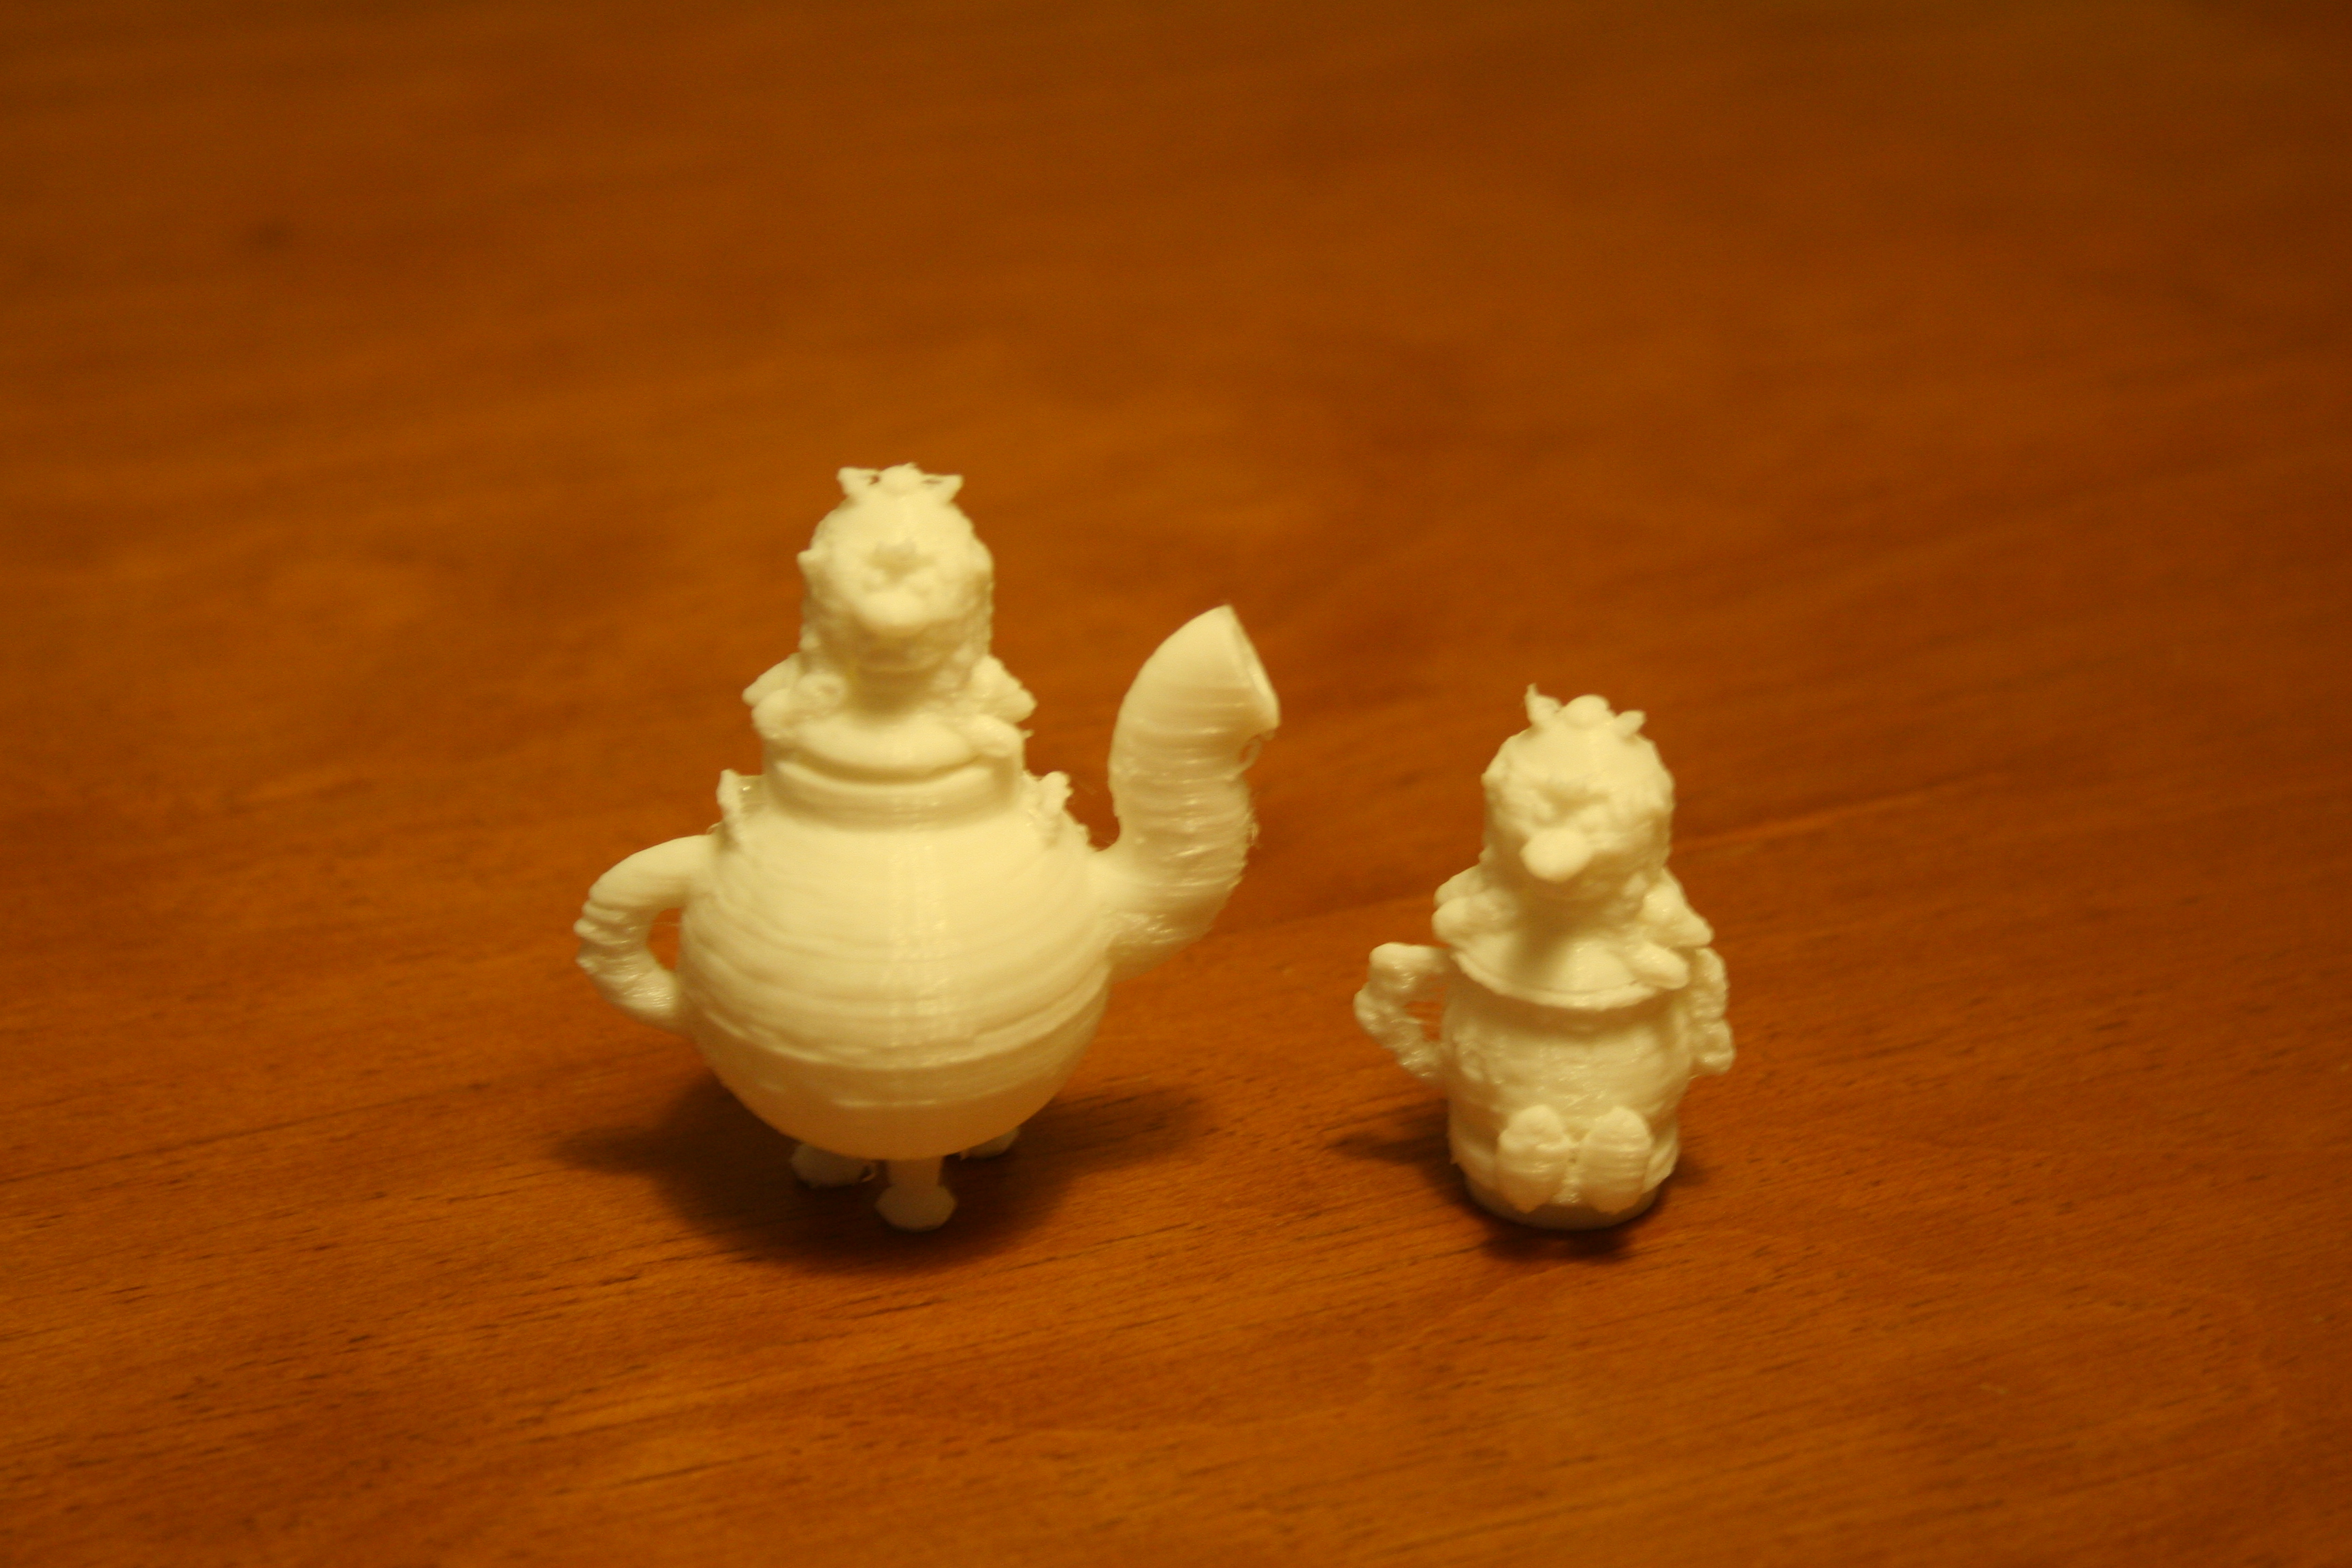
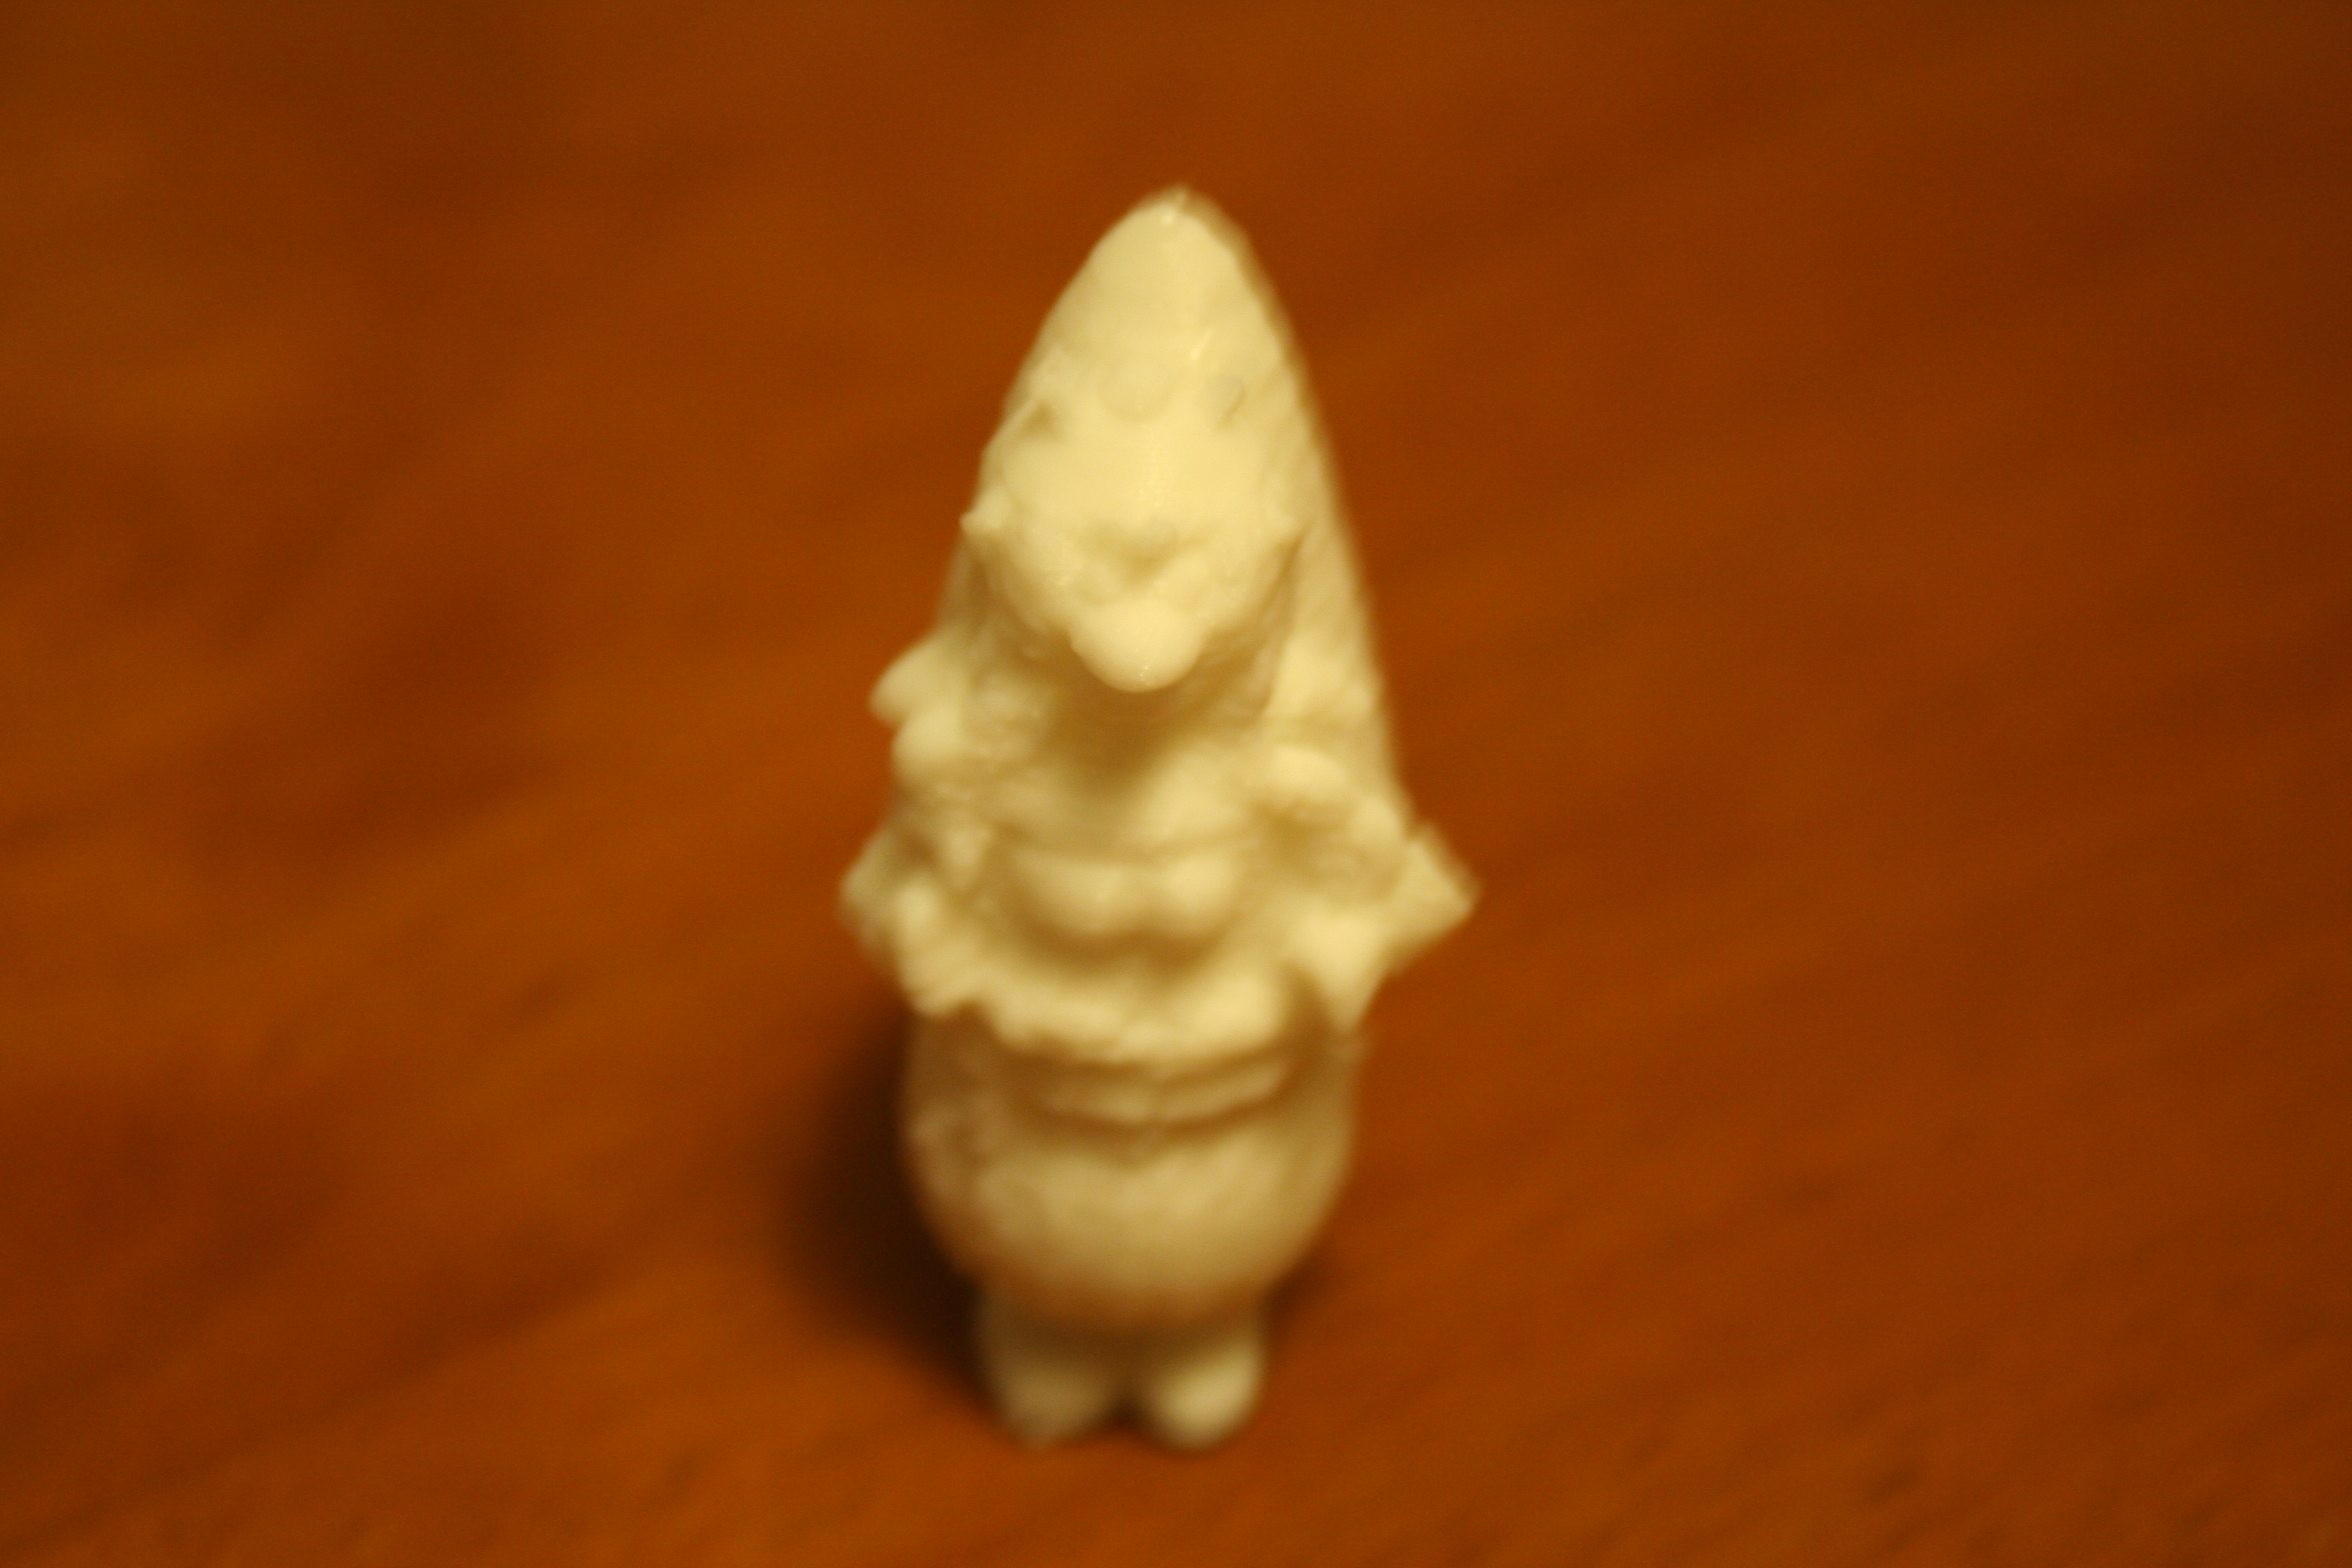
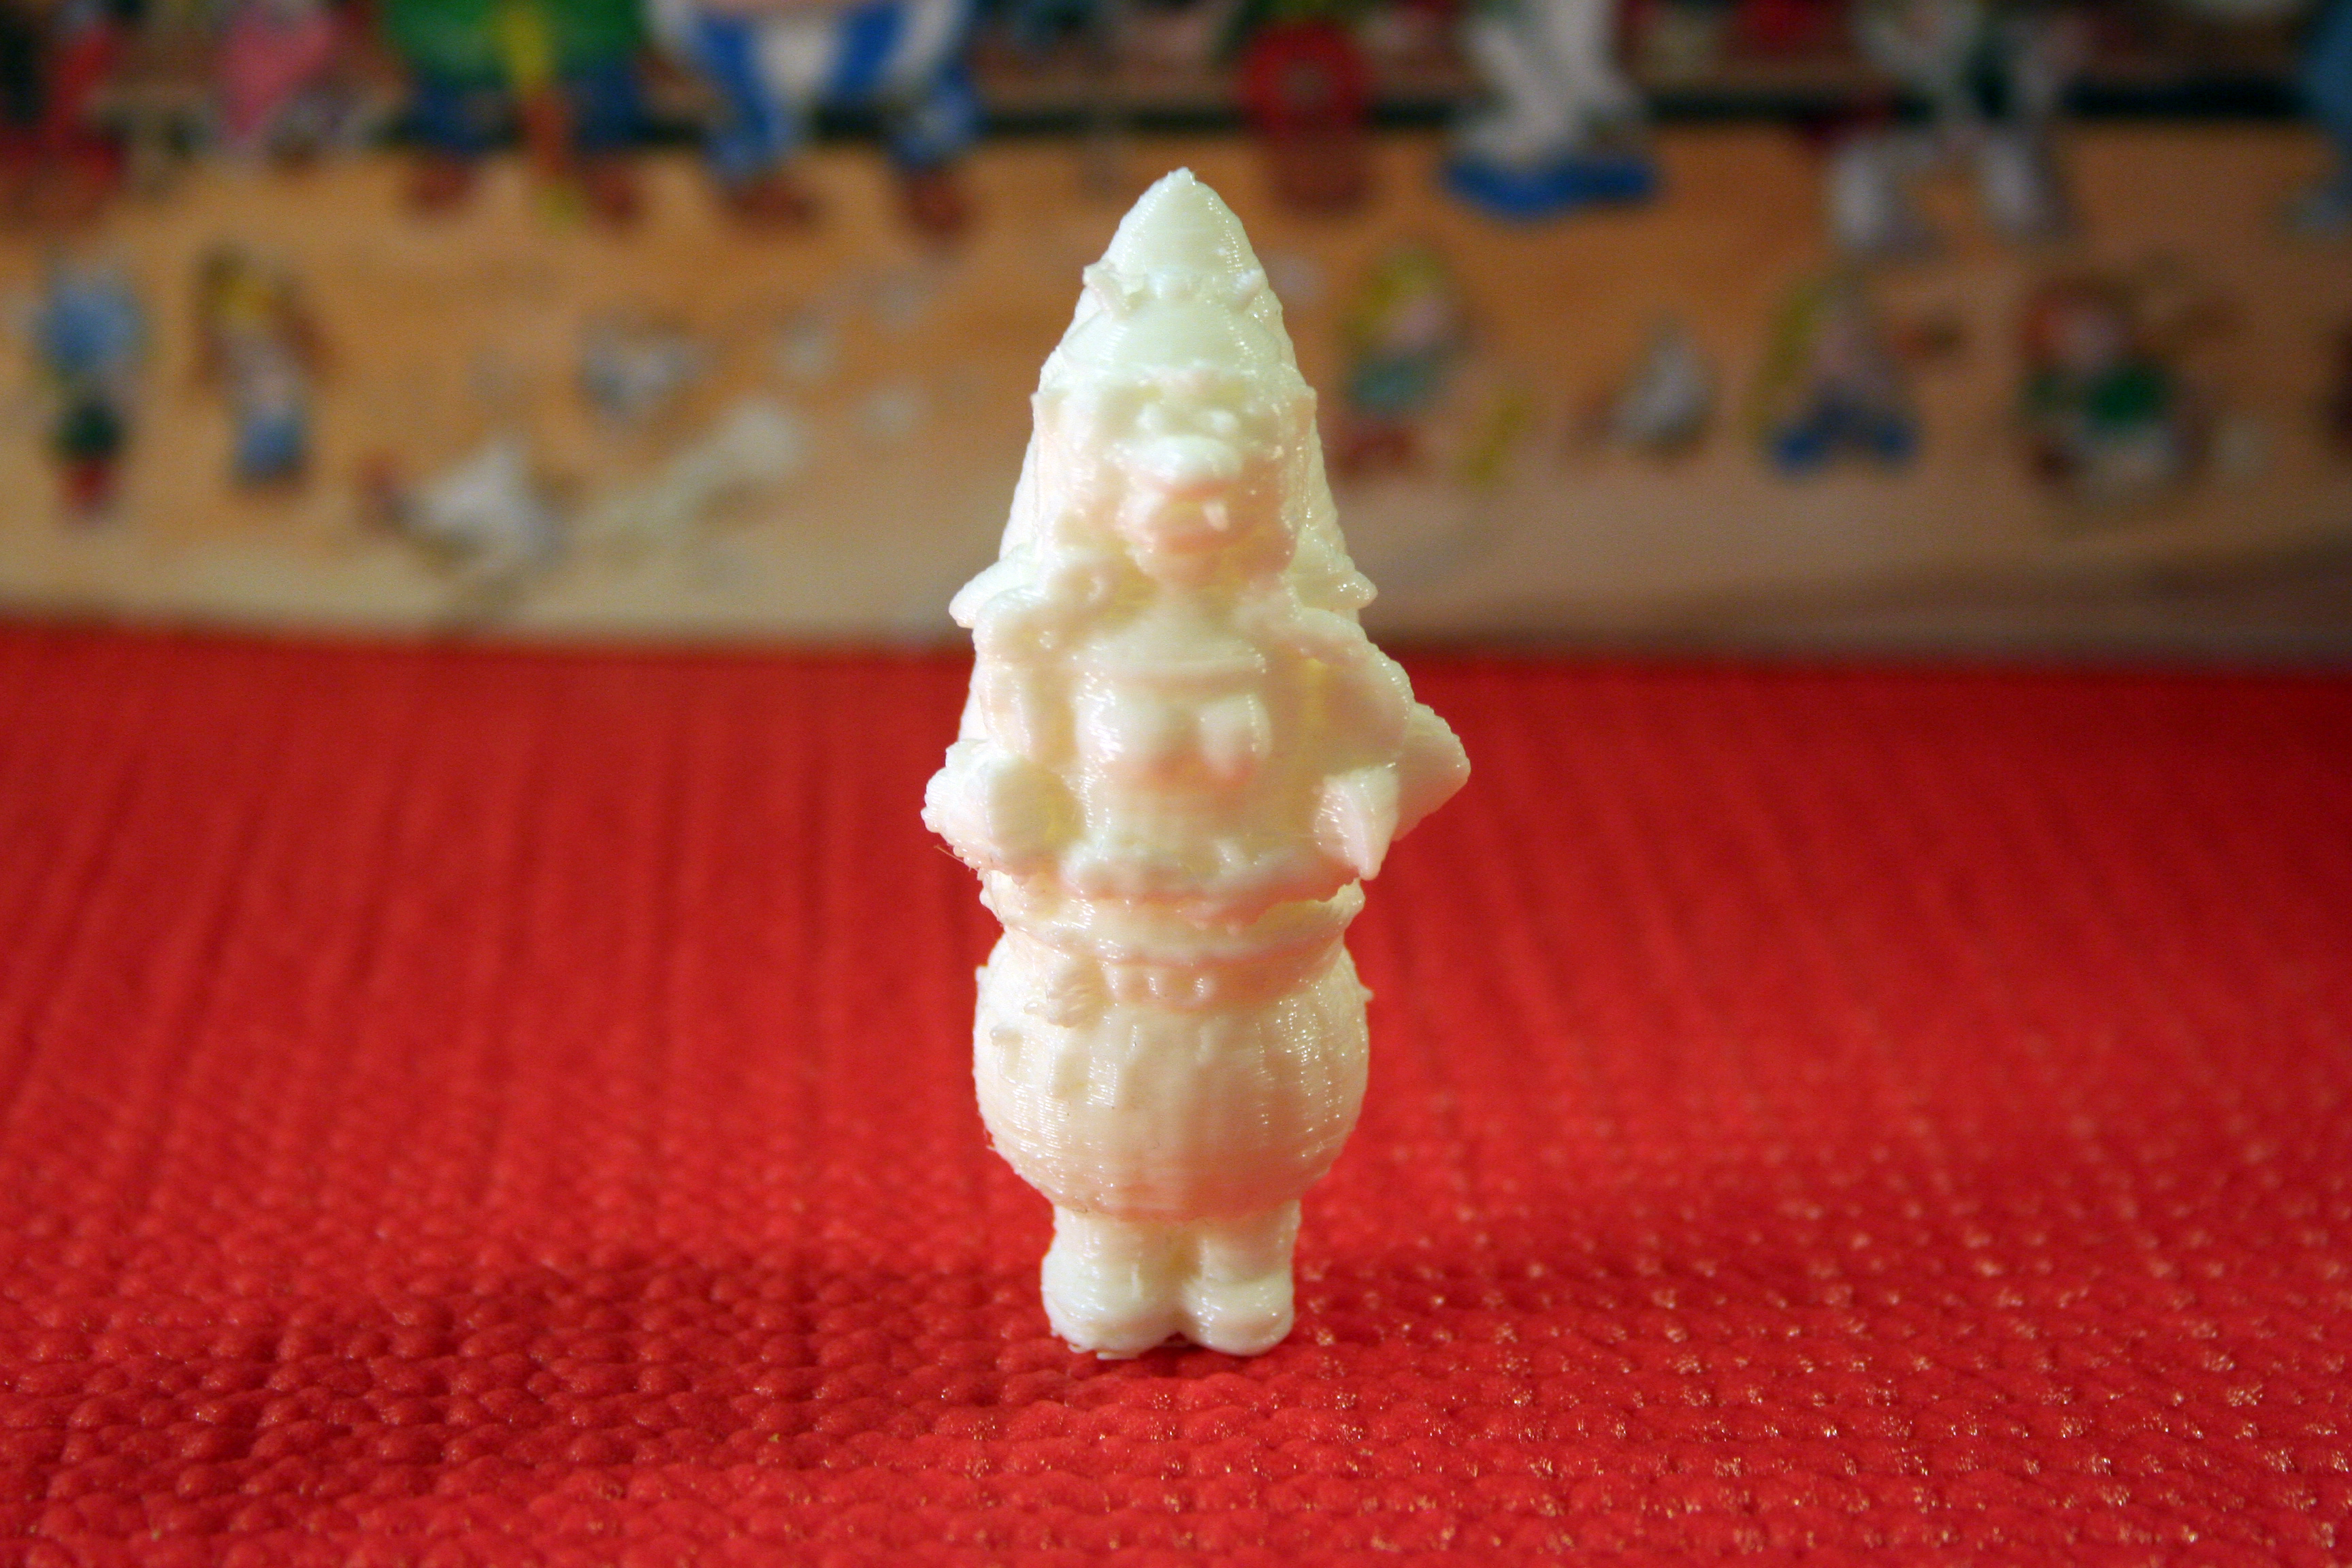
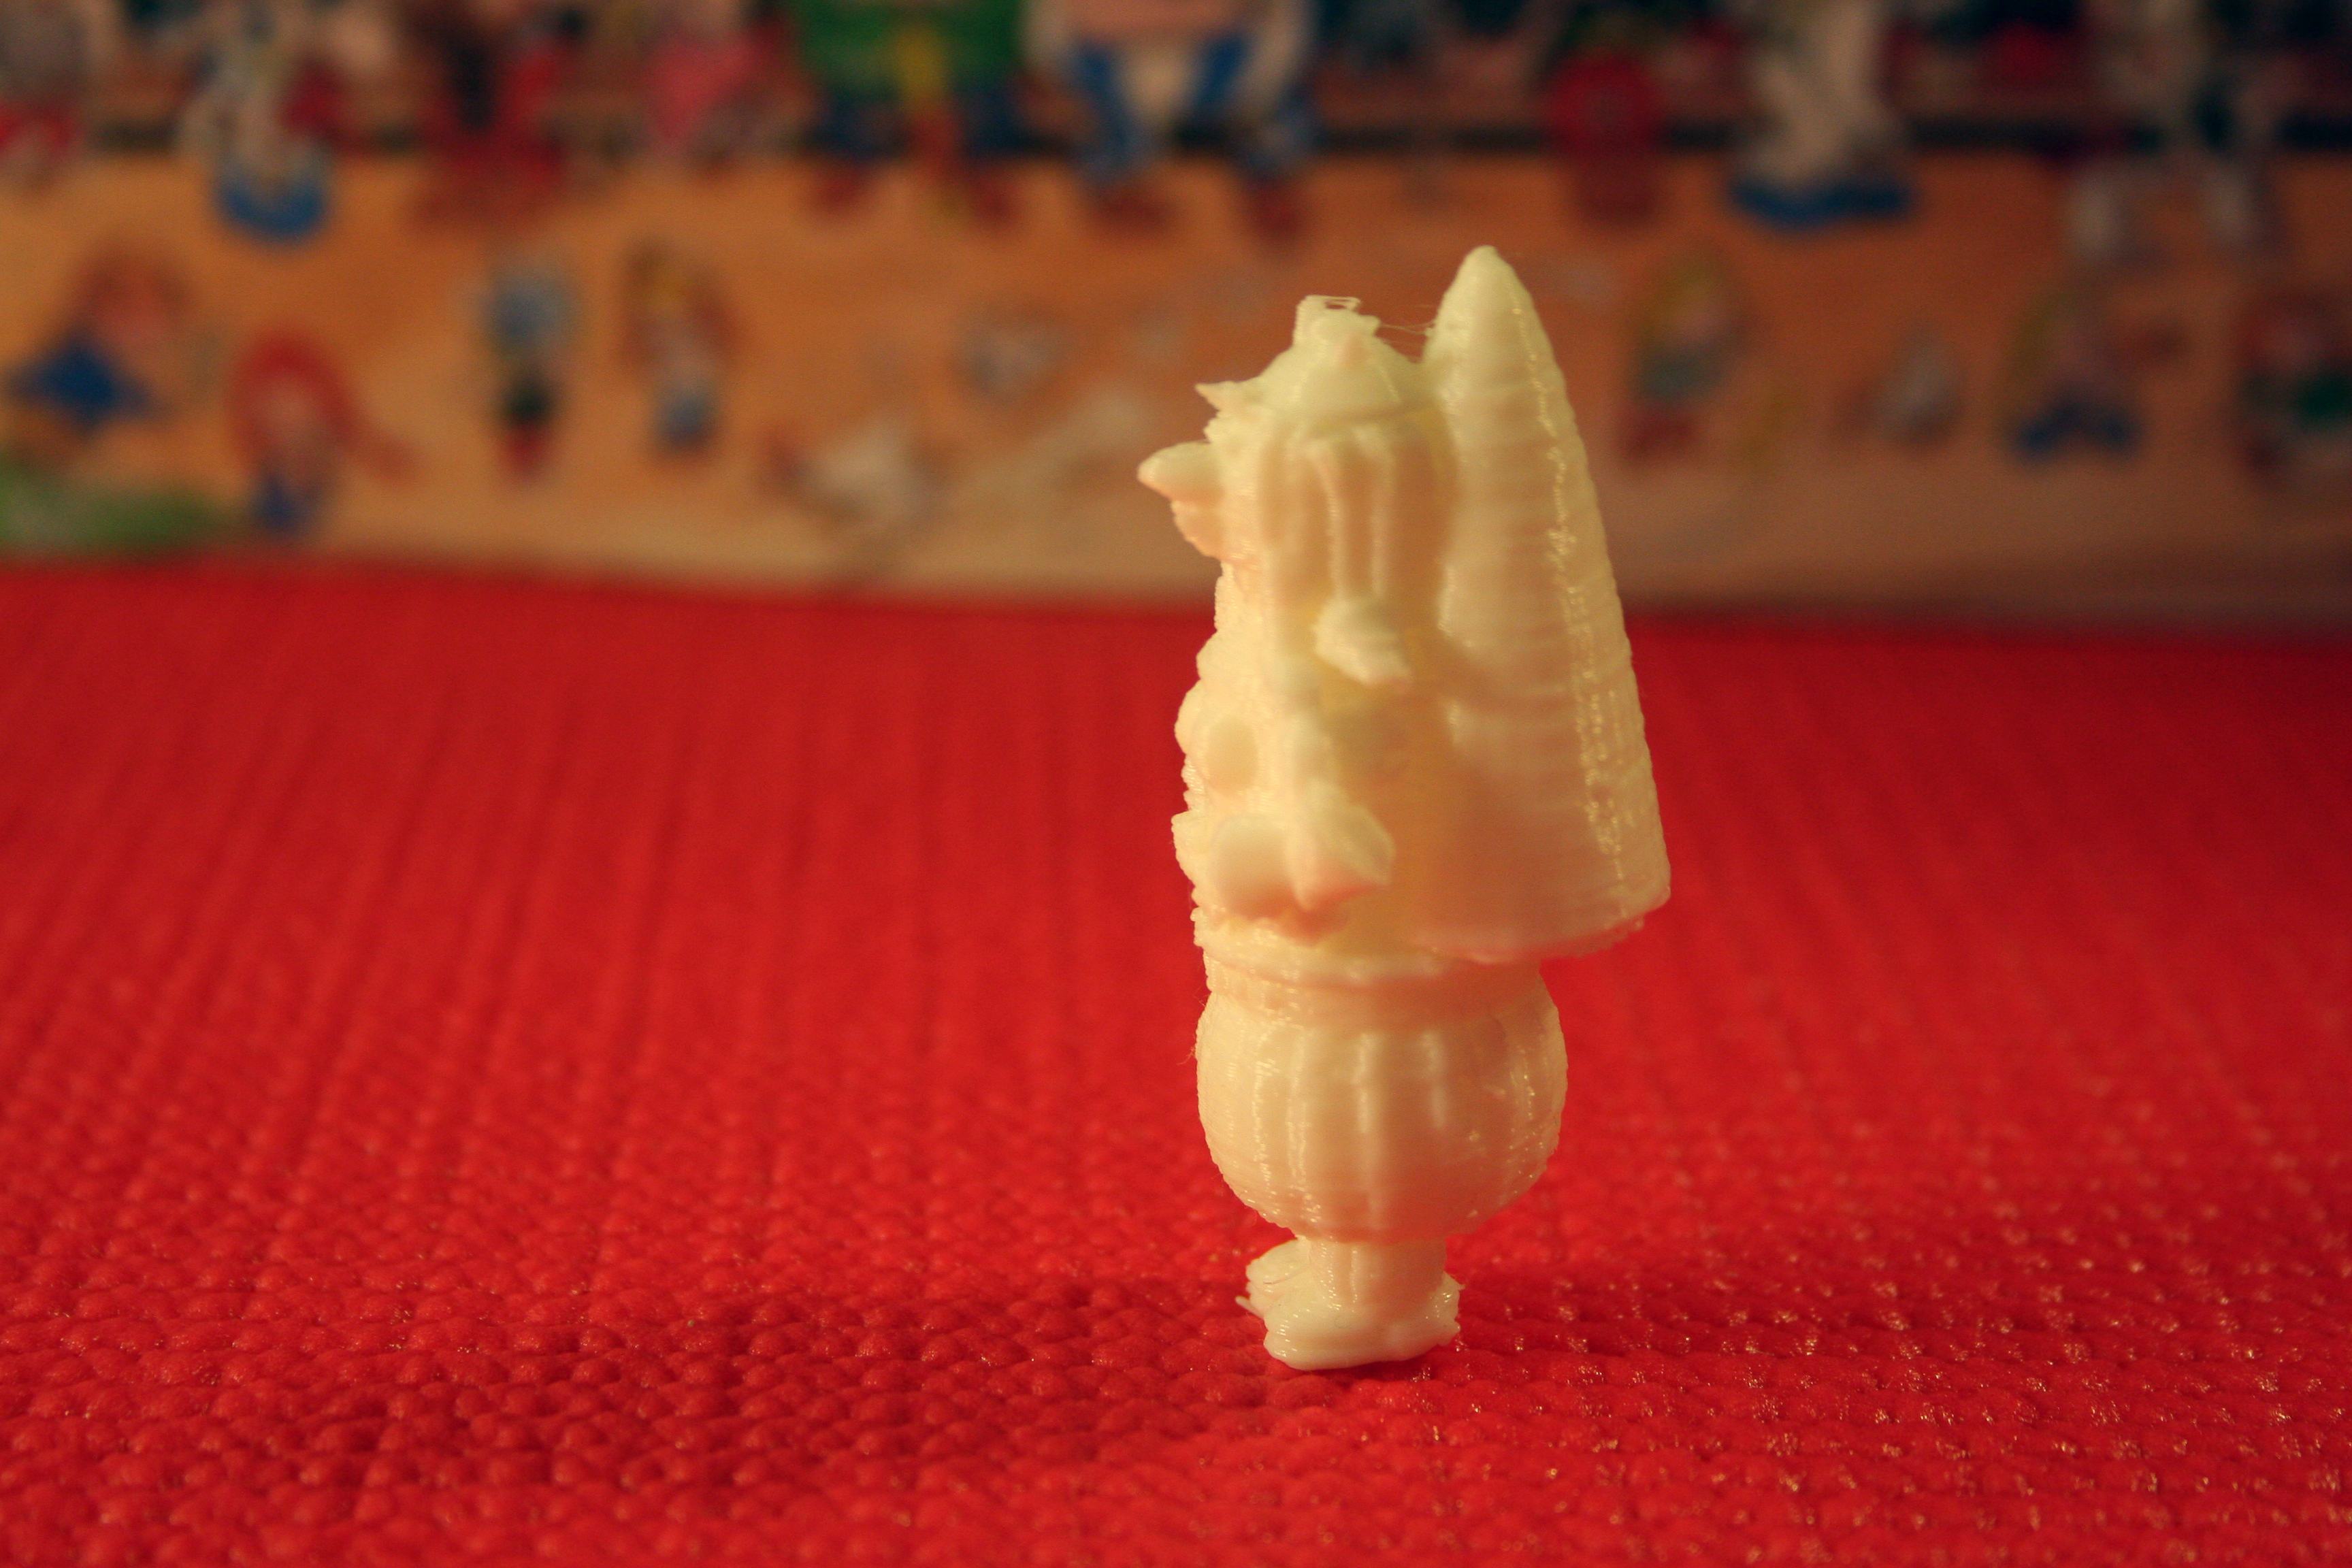
An evaluation of the project and a small print as suggested in paragraph 9 is critical. In my case the obeix had too big nose, he looked like Pinocchio. I had forgotten the cauldron handles and three legs had a structure that could stand with some difficulty standing. Make sure the pot lay water through the opening and does not leak water through the walls. Because they have made too big a cilindo the bottom of the obelix print when checked that the impression was erased. I had to correct several situations before proceeding. You can also find other combinations that can accomplish with this project as these (see images).
Or others that you find. I hope you enjoy do this project ... I enjoyed myself! Thank you!
STL Files: