Notebooks From Paper Waste P.3
by Waldemar Sha in Craft > Paper
1882 Views, 37 Favorites, 0 Comments
Notebooks From Paper Waste P.3

So, this is Part 3 of my notebooks from trash series, and if you're curious enough, go and visit Part 2 in which, beside other things, I'm talking about why Part 1 doesn't exist yet.
Here, as previously, I'm going to show how you can make a simple notebooks from paper waste, everyone possess in their homes in some quantitie. So, let's begin.


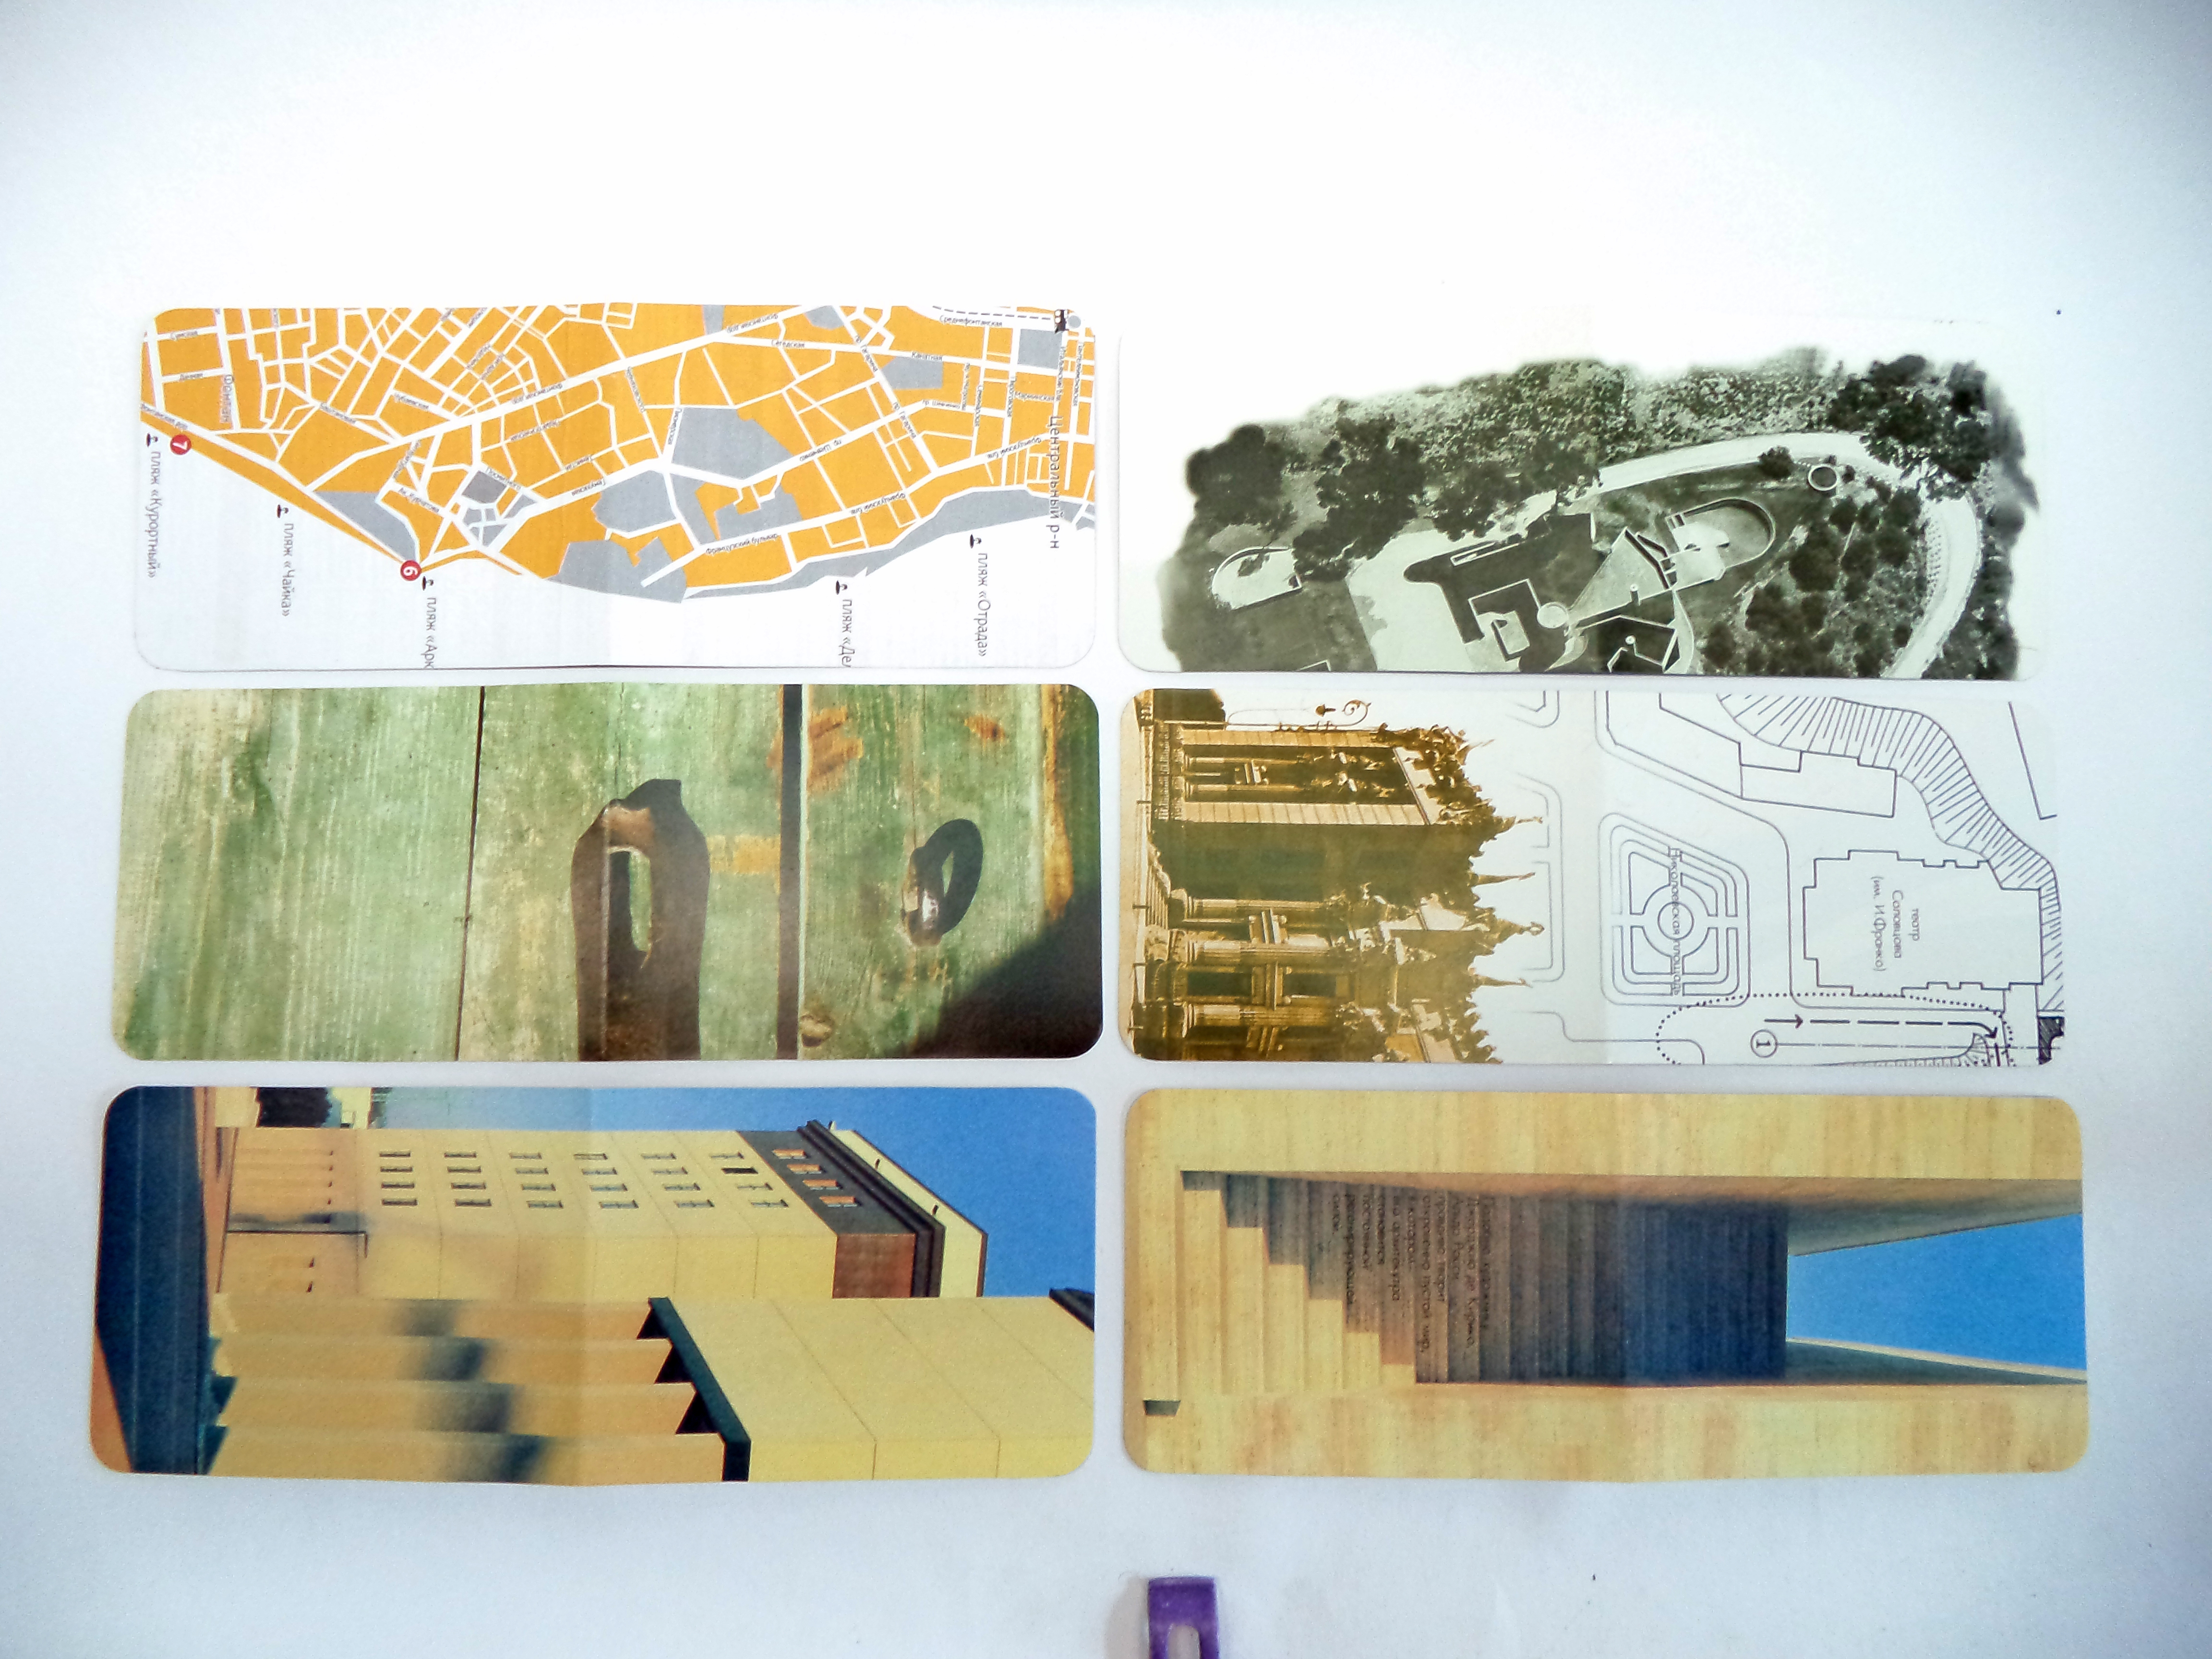
First of all, gather the material. I'm going to talk on this subject more specifically in Part one, so for now let's just take some old schoolboks in a quantitie our old schoolbook deposits allow us. Probably, after a closer inspection you'll find out that those manuscripts quiet often contain more than one clear pages. This exactly what we will be using in this project as a sourse of pages for the notebooks.


So, tear the clean pages out an cut them into desirably sized pages. In my case I'm using a plastic template to simplify my work. It's a simple rectangle with measurements of the sides of 8x21cm., which allows me to use standart format sheets more sufficiently.


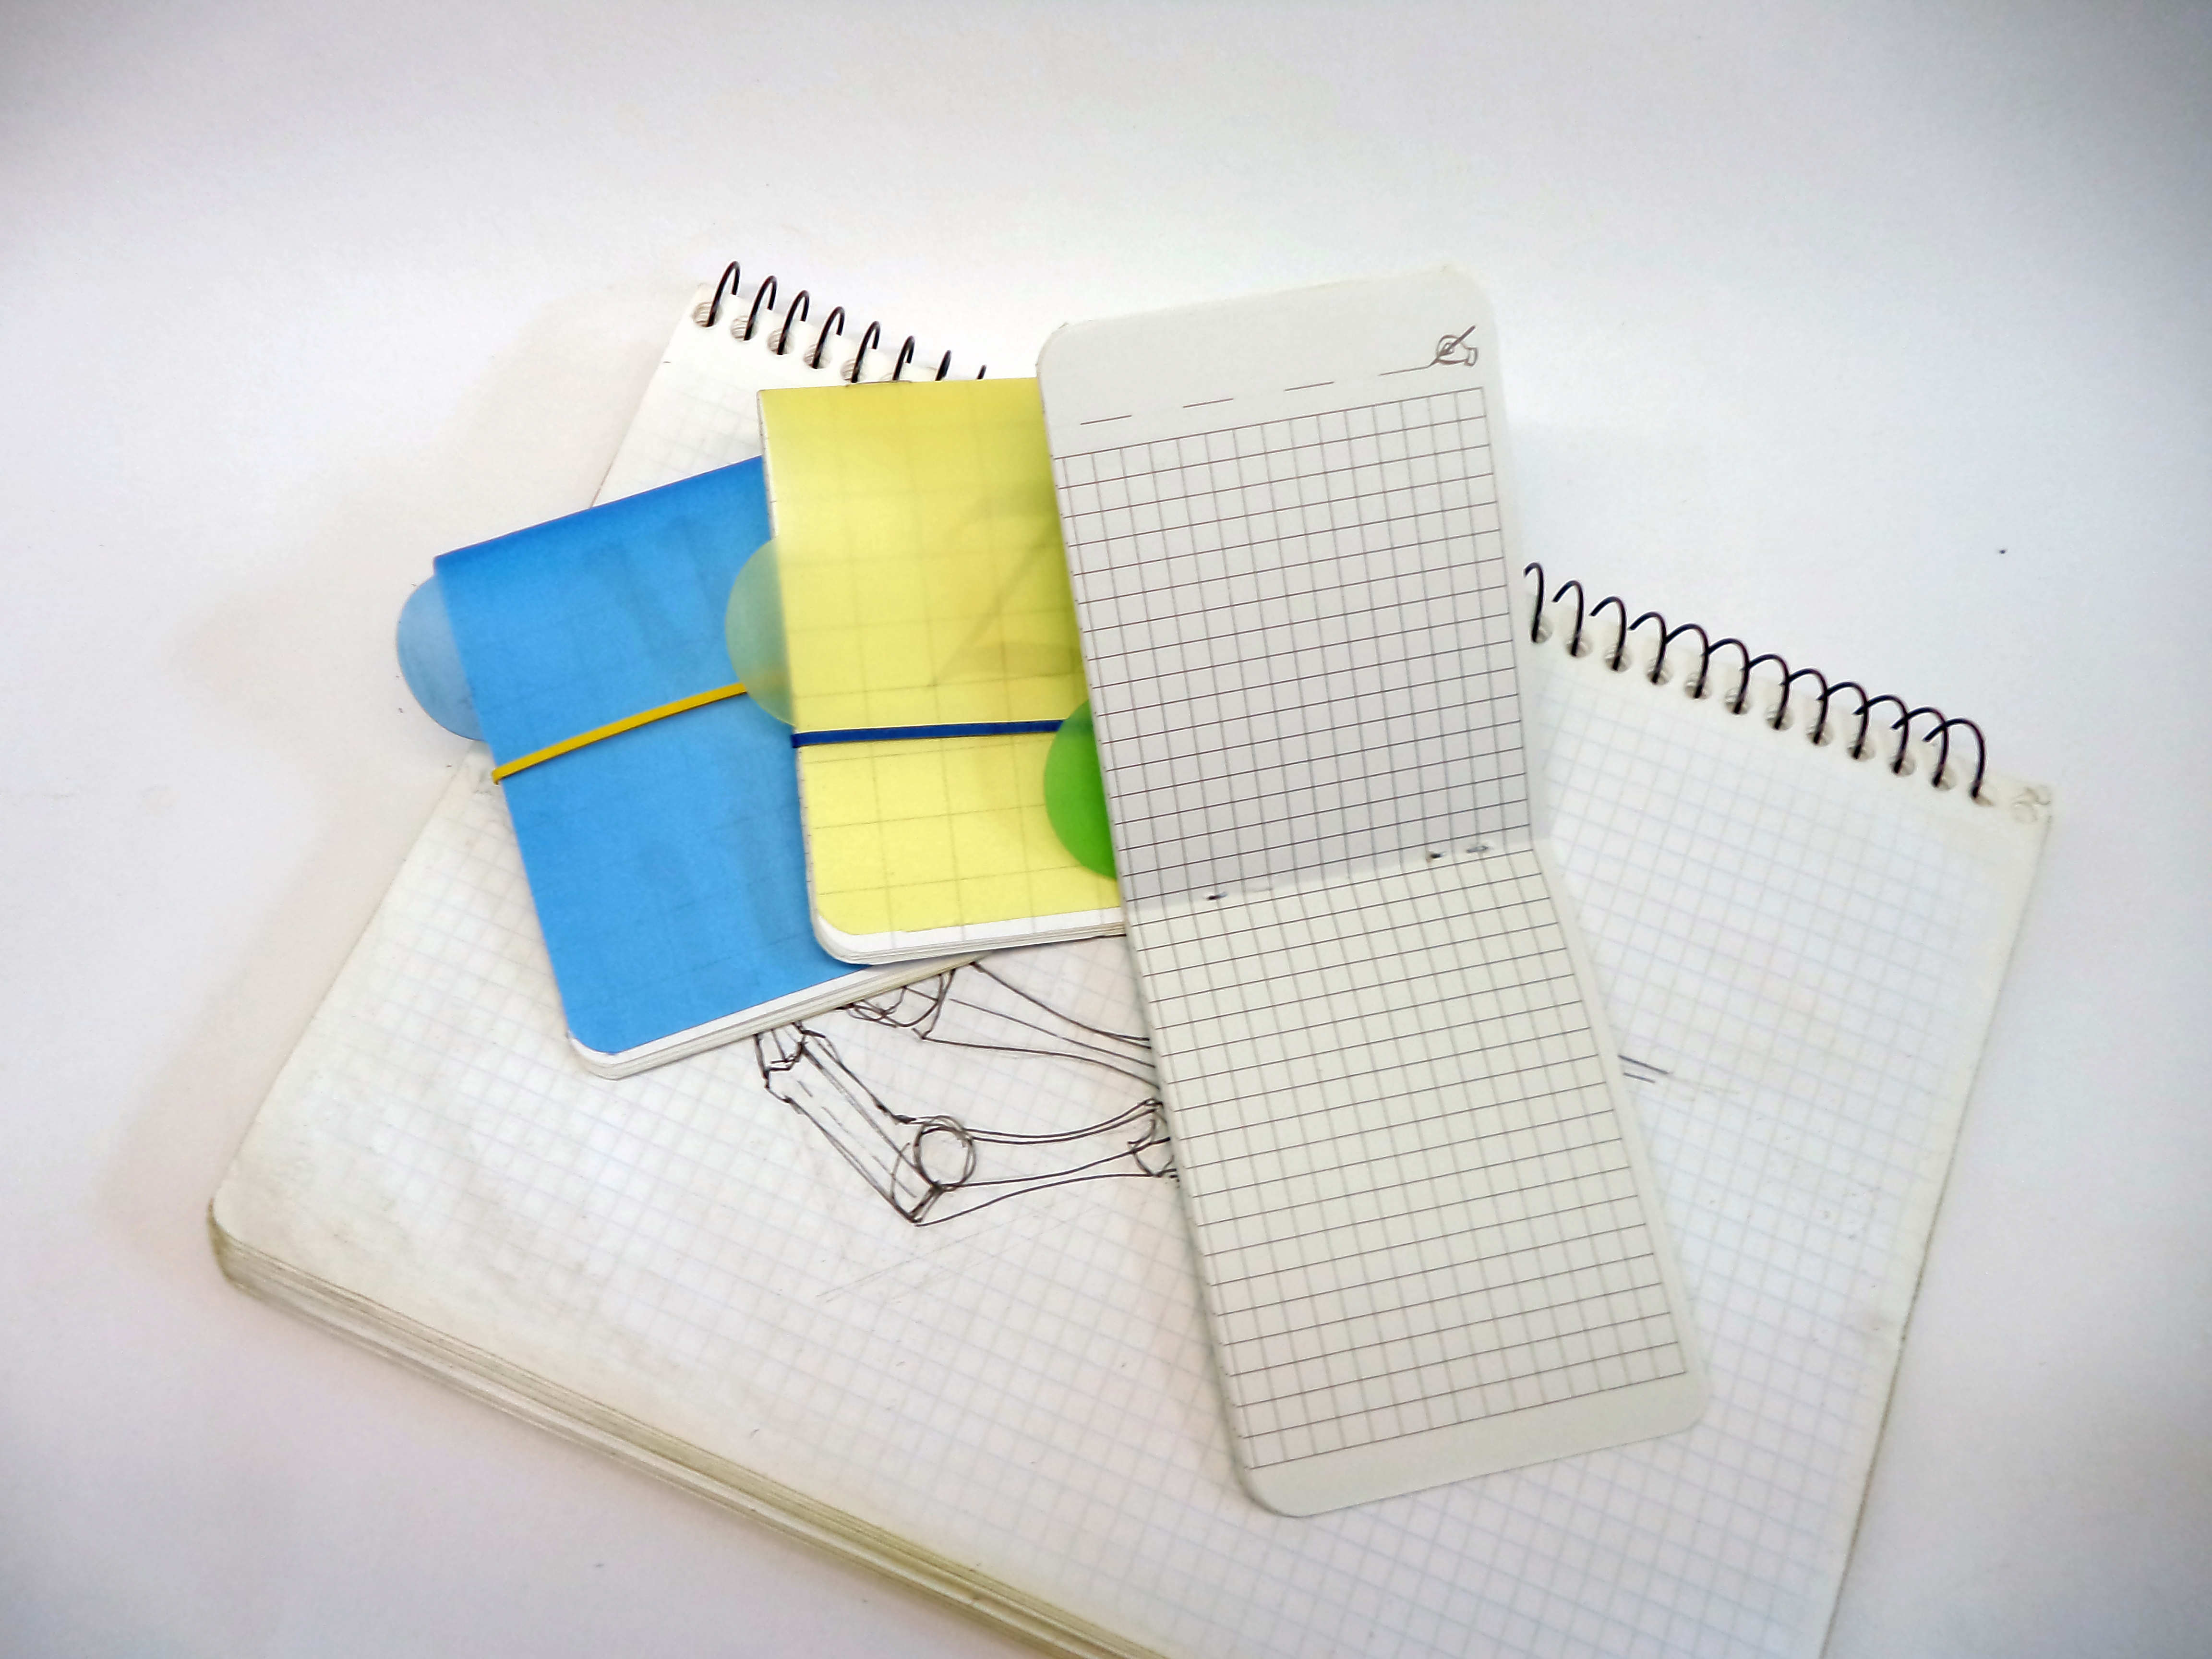
Usually I make covers for these notebooks from cardboard decorated in some way, like, for example, covers on the photo made with cut outs from different magazines. But in this case I have those nice plastic page divides from the initial notebook, so I'm just cutting them out using the same template.


Everithing looks better with rounded corners so I'm rounding corners on everything.


I decided, that semi-traslucent nature of the covers is a good thing that can be used with some creativity attached to it, so I went ahead and dug out from my creative junk paper archives some handwighting practicing sheets from far past, when I was a student. I used them to cut out front pages with the lettering designs that will be visible under the cover.

Nomatter what you're yousing for cover: paper of plastic, it's a good thing to score a line across the middle of the piece to ensure nice fold. Here I'm using the back of the knife's blade, but for paper use a not wrighting pen od a dull awl... or something else.


Put the pages and the cover in stack. Usually, for these type of notebooks I use 10 sheets per notebook (which makes 20 pages after it folds).
Align the stack neatly and secure pages from sliding with paper binders.
I have this rather nice long reach stapler, so I'm using it to bind the pages and the cover. I'm using scorred line as visual guide. If you don't have a stapler like this, you can stitch pages together by hand od with sewing machine.
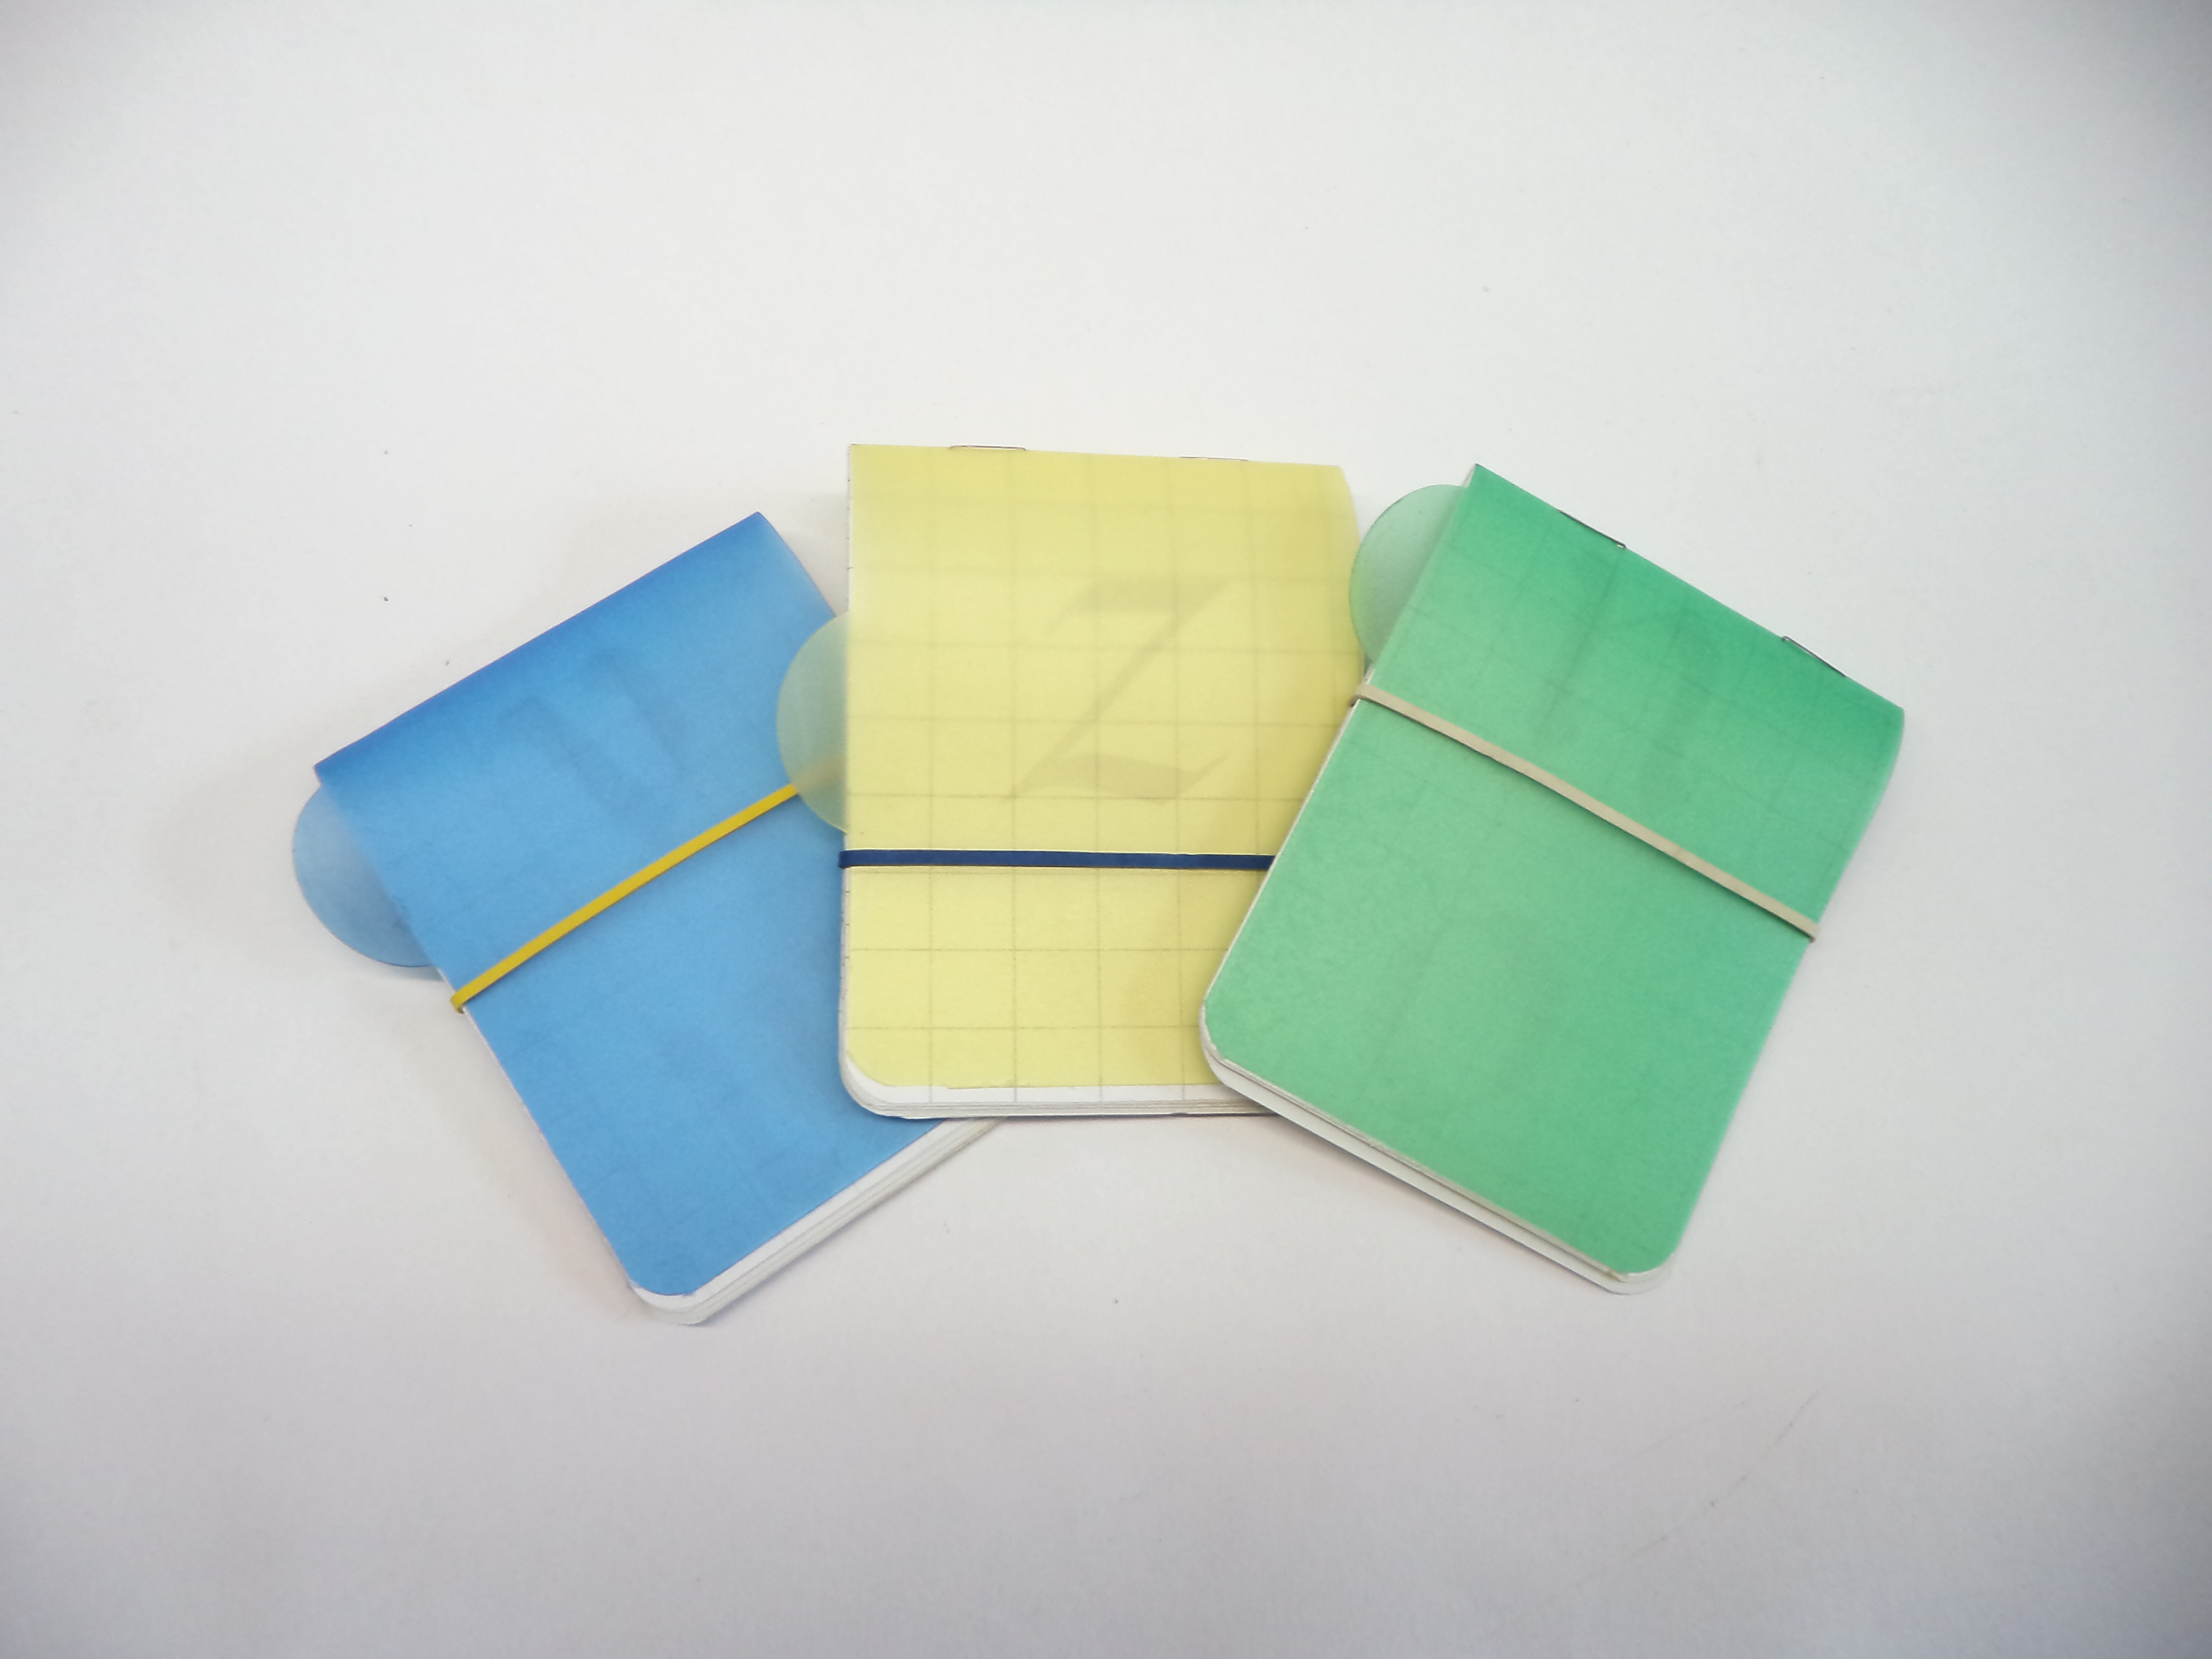

Fold now your stack in half and you'll get a nice notebook. In this particular case I had to add some rubber bands to keep those things closed because the plastic coder doesn't want to teke it's new shape, but with cardboard it's not that much of a problem.
I really like these small thin notebooks. The're fun to make and fit perfectly in a pocket. I always have one with me when going somewhere. I wrote in it some stuff I keep forgeting all the time, like adresses or working hours of certain places.
Anyway, this is it for now, look for other parts, thanks for your attention and have a nice yousing.