Northern Lights Photography
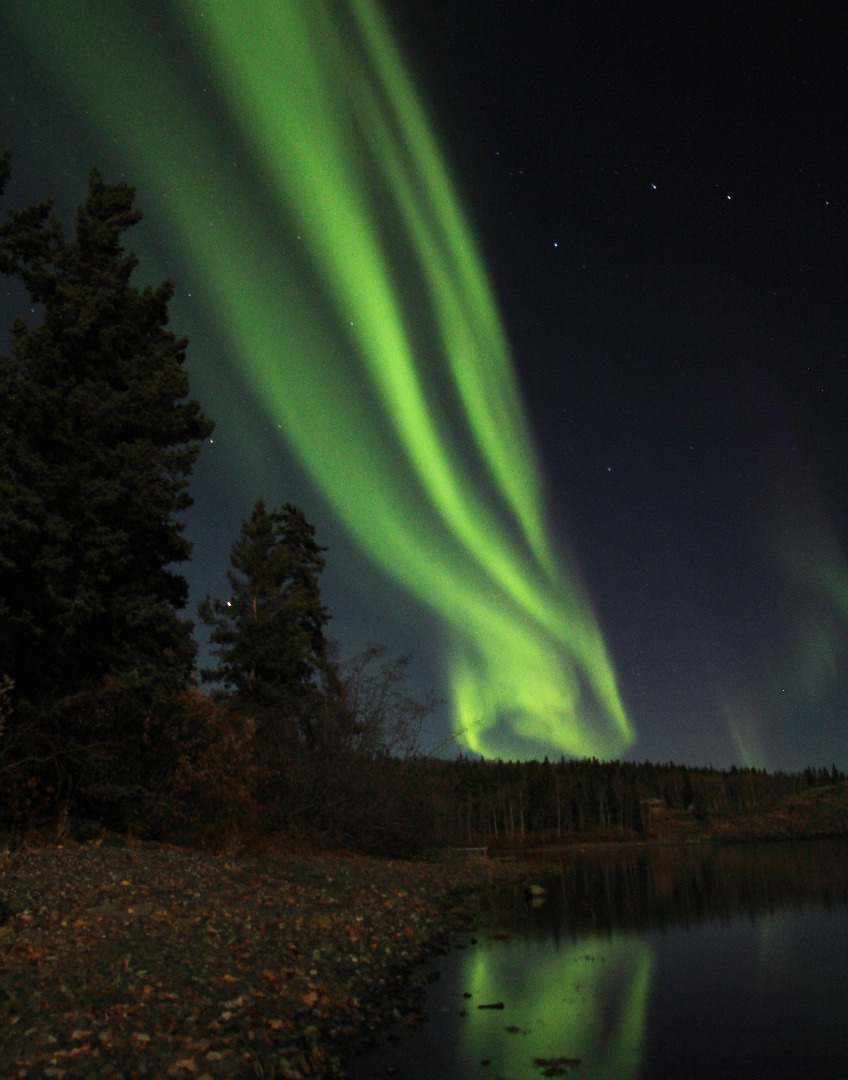
Capturing northern lights with a digital camera is not complicated. You just need the right equipment and settings.
In this instructable, I will show you what gear I carry for an aurora shooting session. I will also talk about how to set your camera to get the best results.
Equipment
Camera
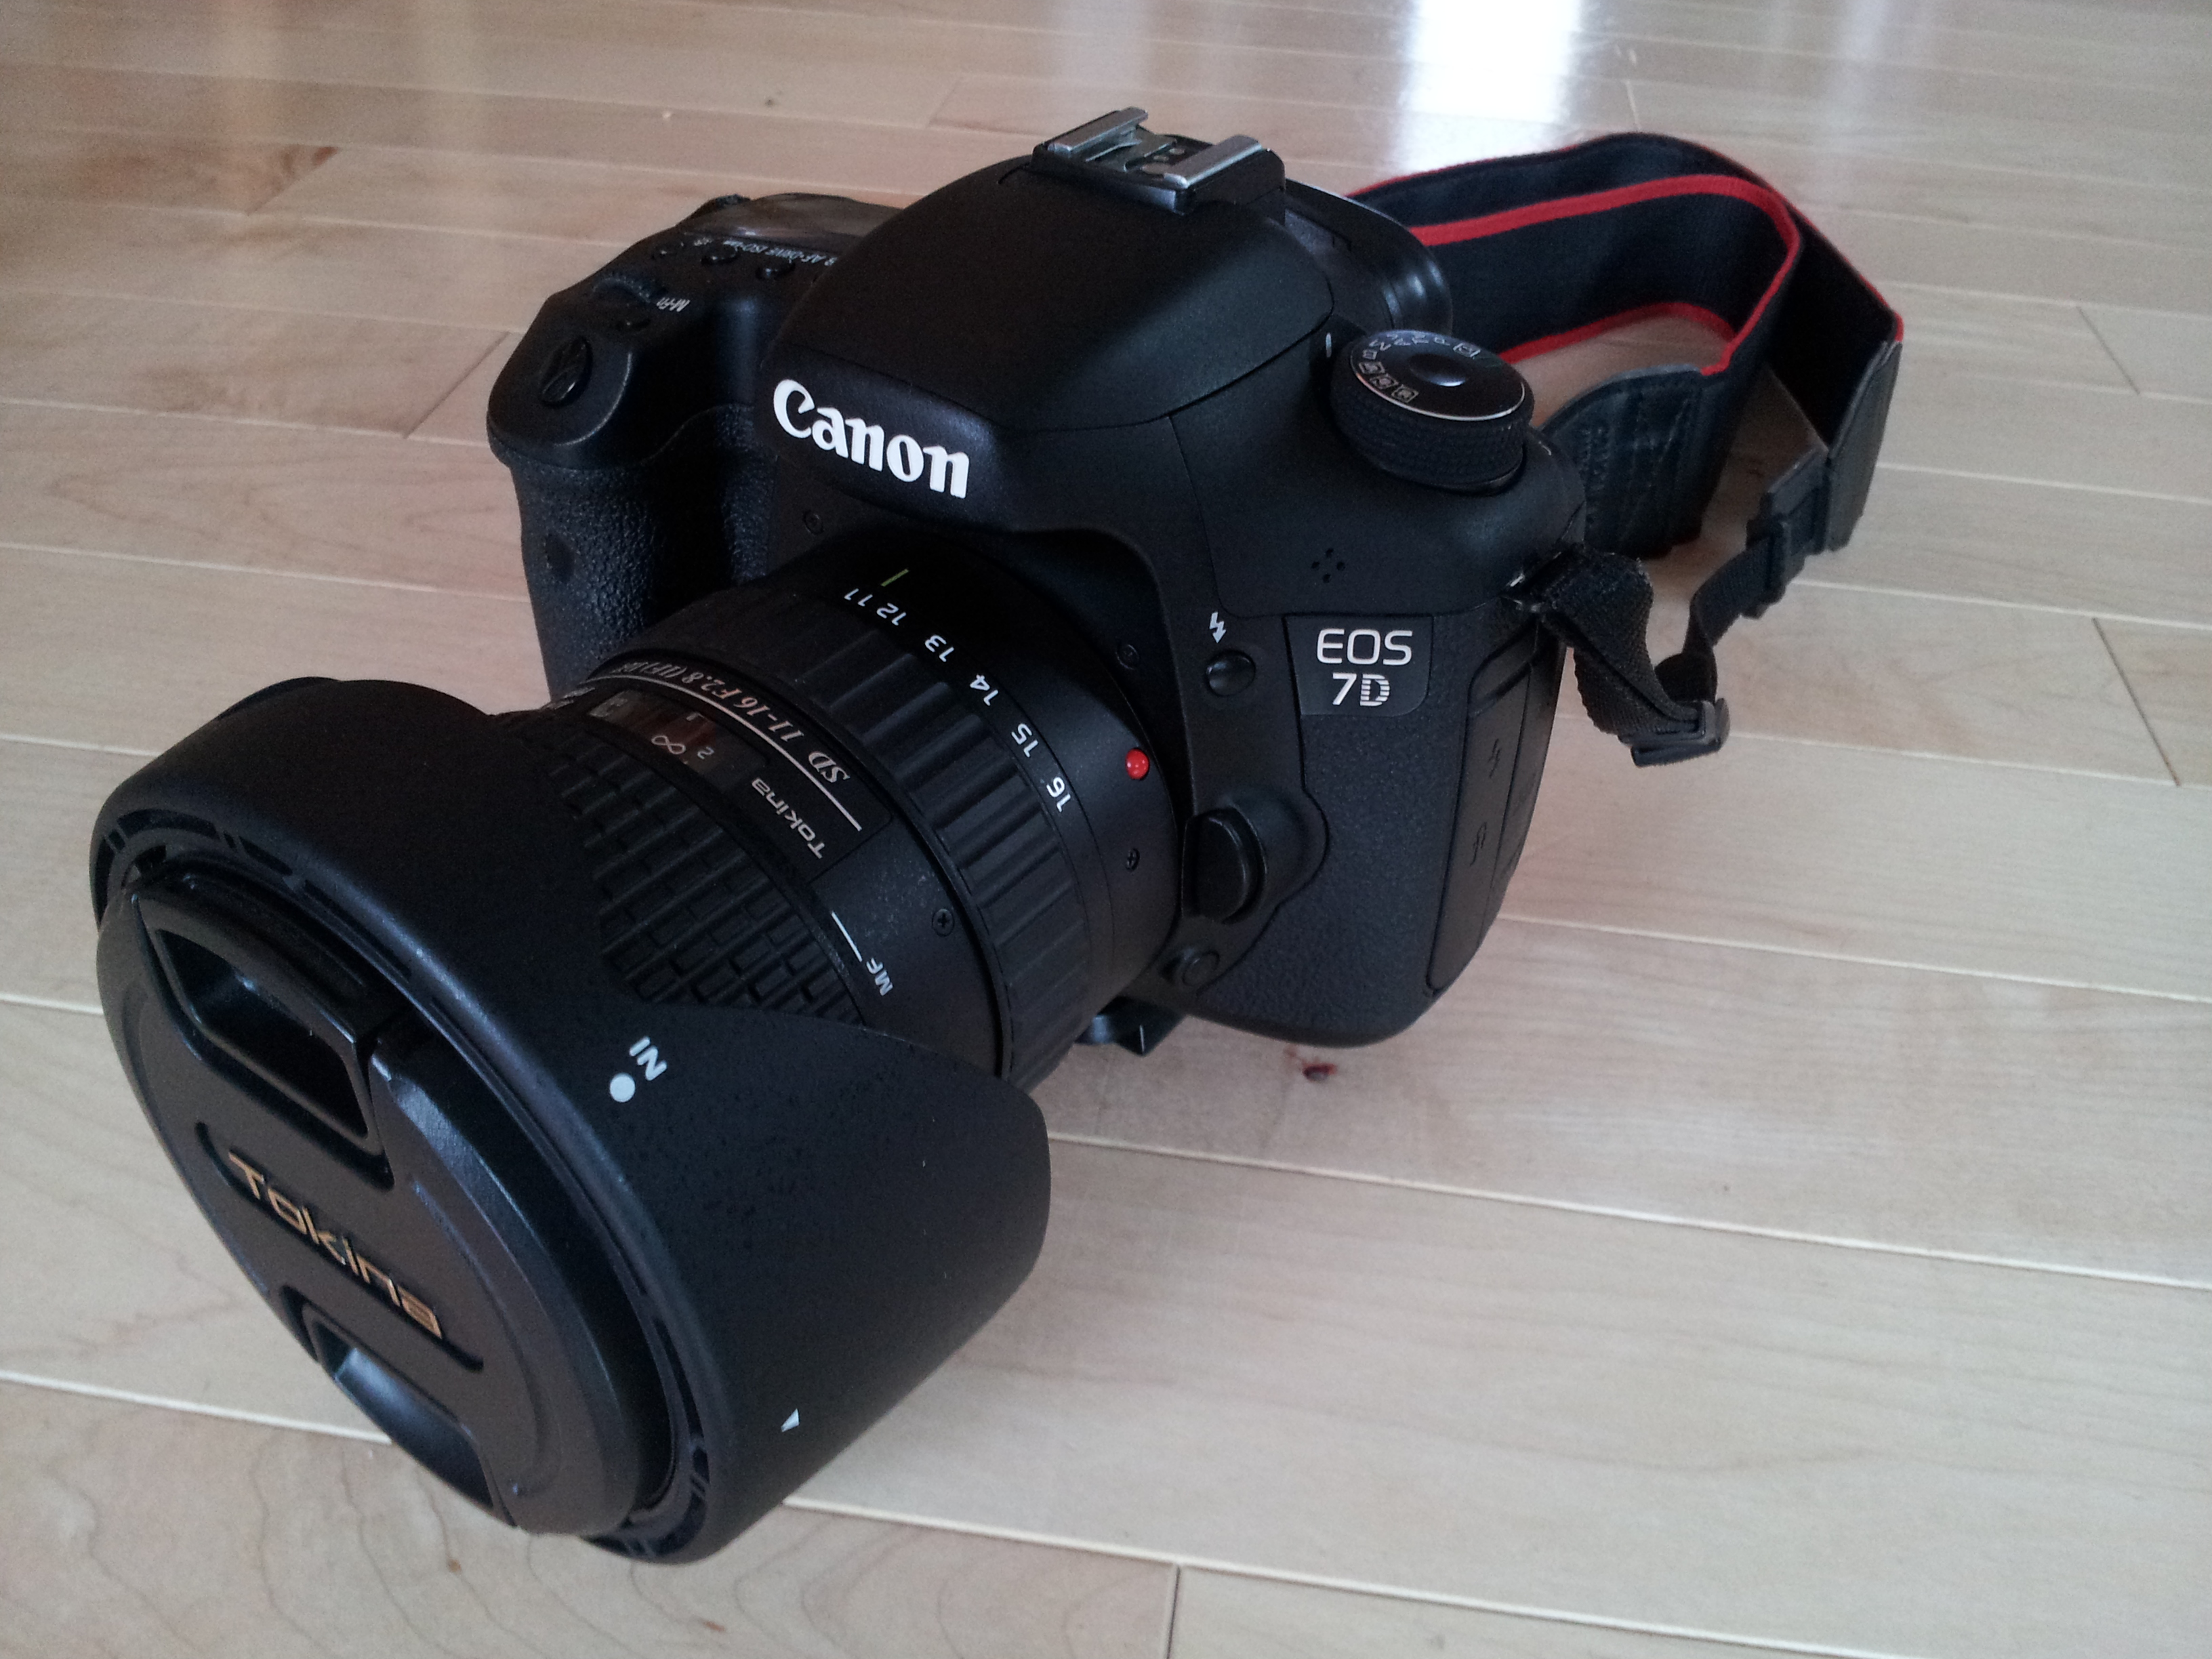
Obviously, you'll need a camera. I prefer using a DSLR (I use a Canon 7D) since you can choose the right lens and it handles low lights better. However, I had quite decent shots in the past using a bridge camera (Panasonic FZ-28).
The important part is to check that your camera has a Manual mode (M). If it does, you're good, that means you'll be able to toggle the settings yourself instead of relying on a preset configuration of the camera.
Lens
You will need a wide angle lens with a low aperture value. F/2.8 or faster is ideal.
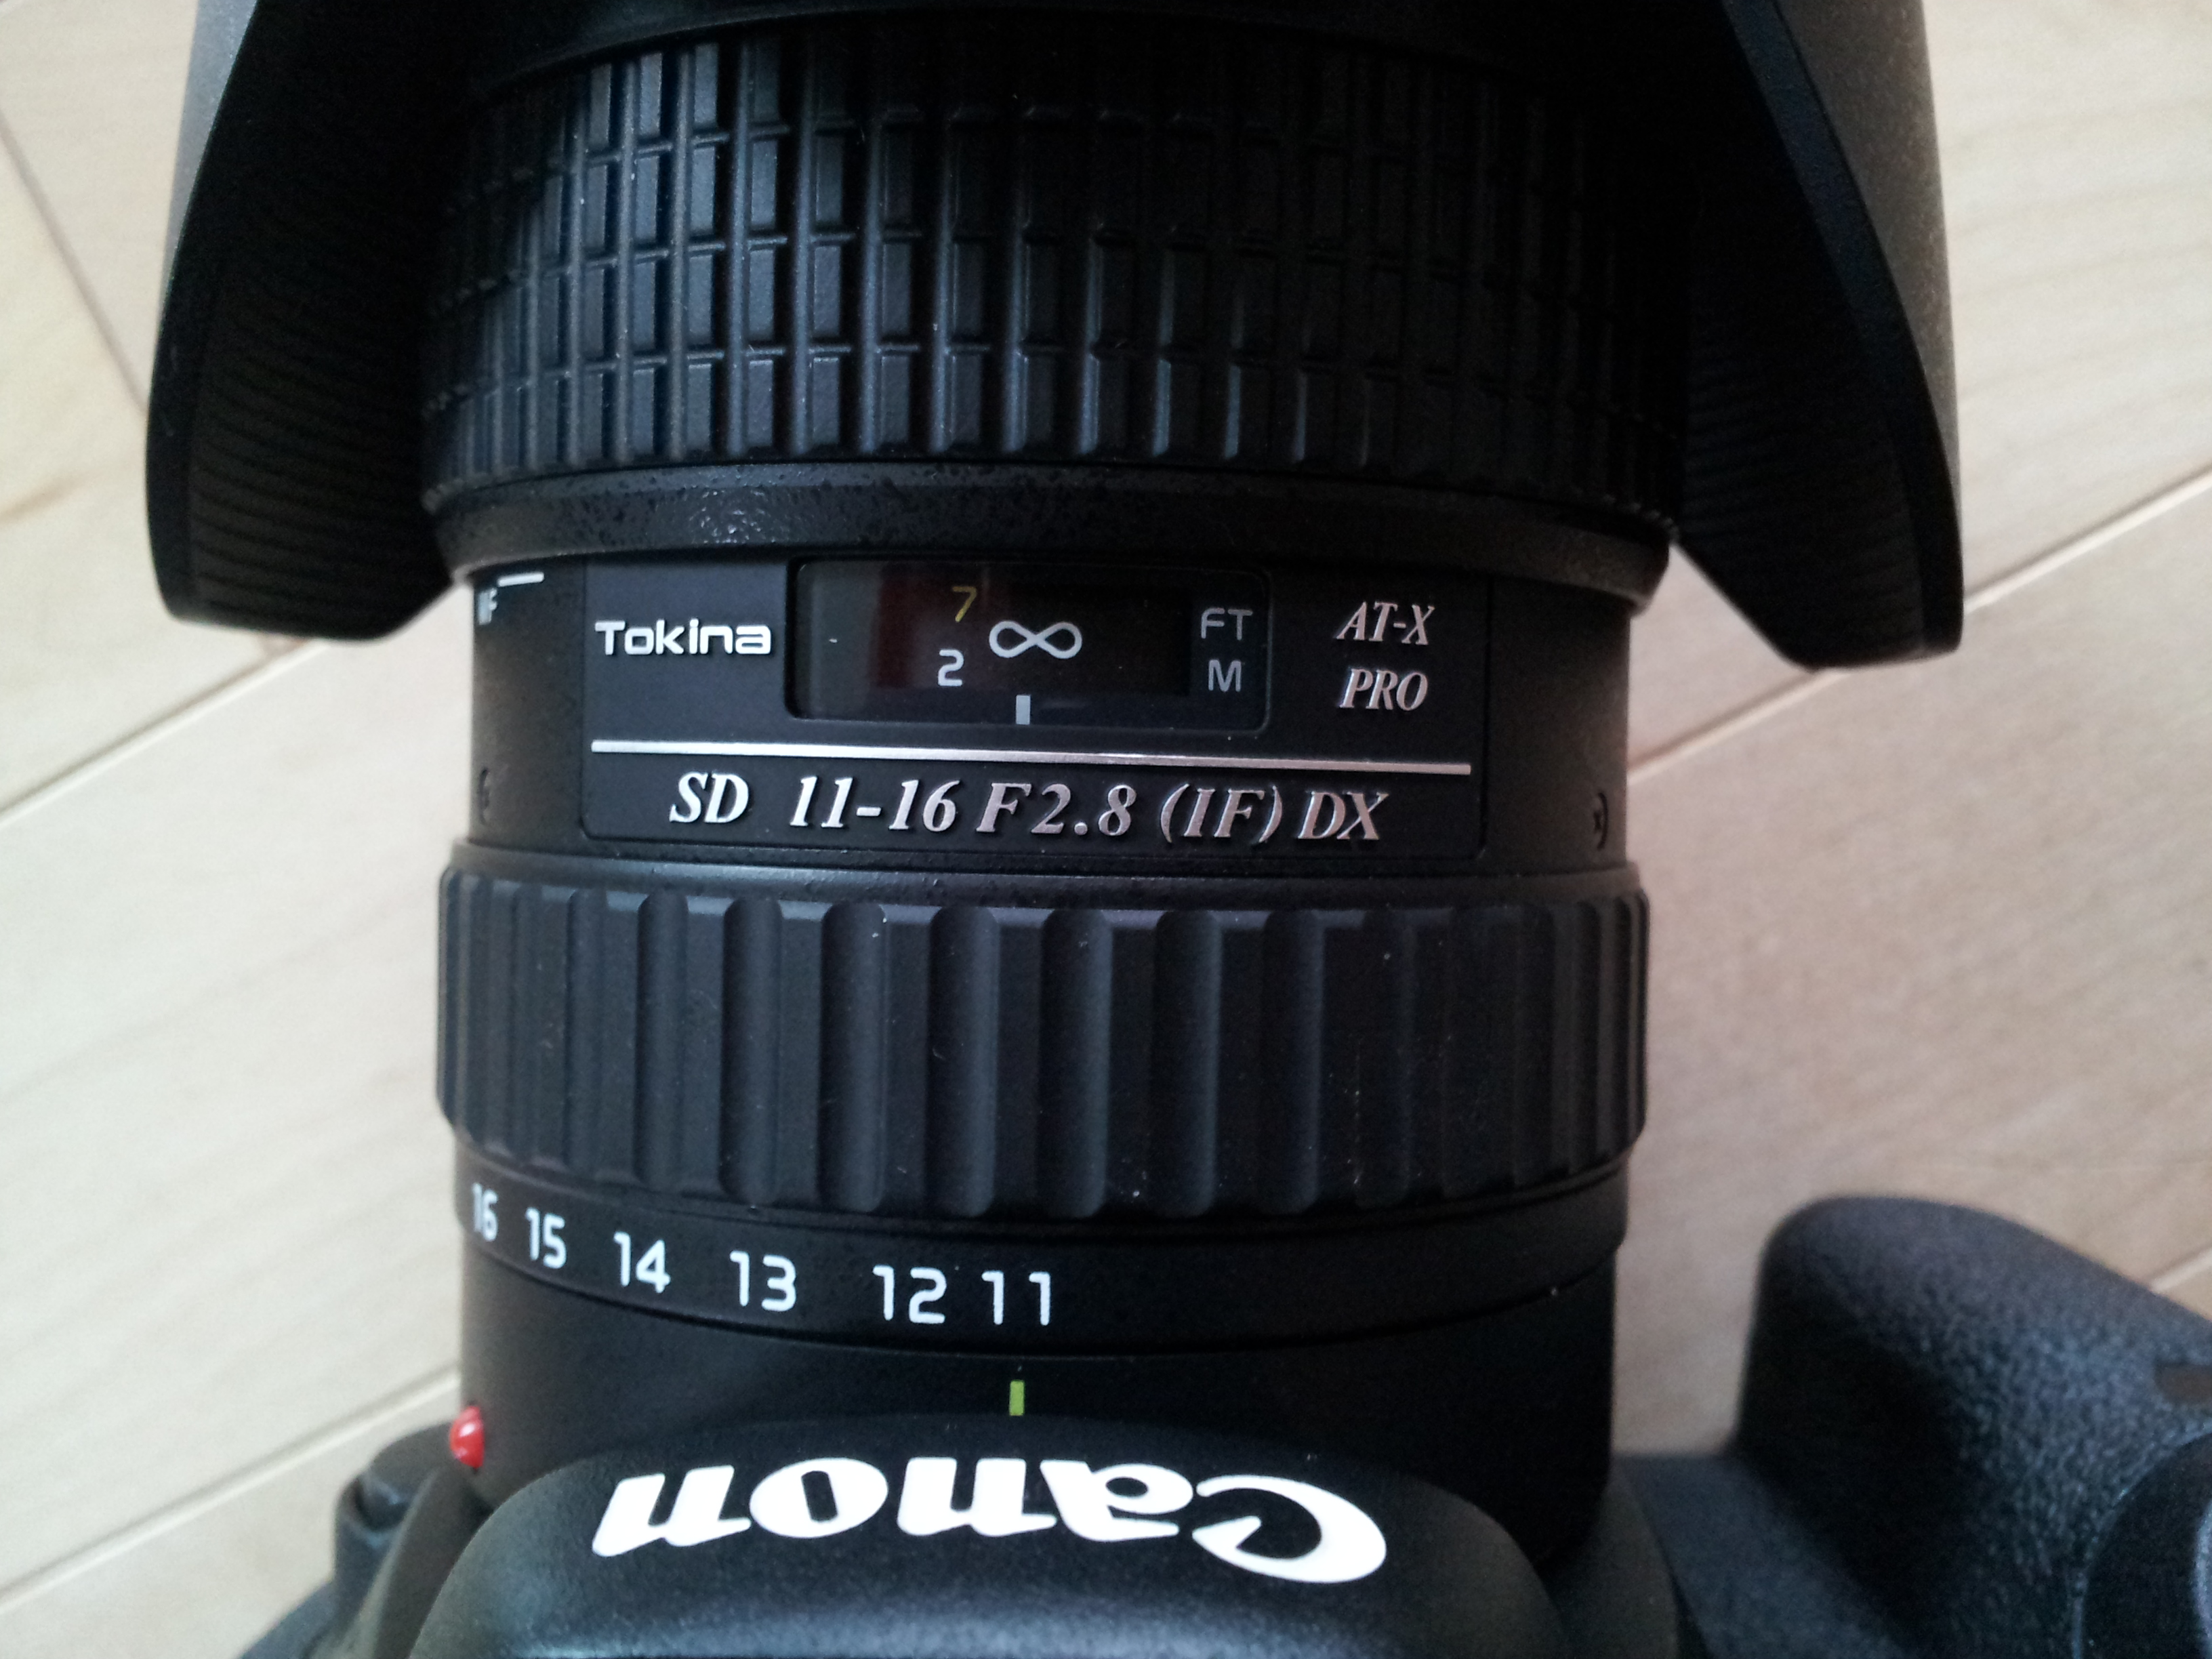
I am using a Tokina 11-16 F/2.8 lens. With the 7D, it corresponds to a 17 mm lens in the widest configuration.
Tripod
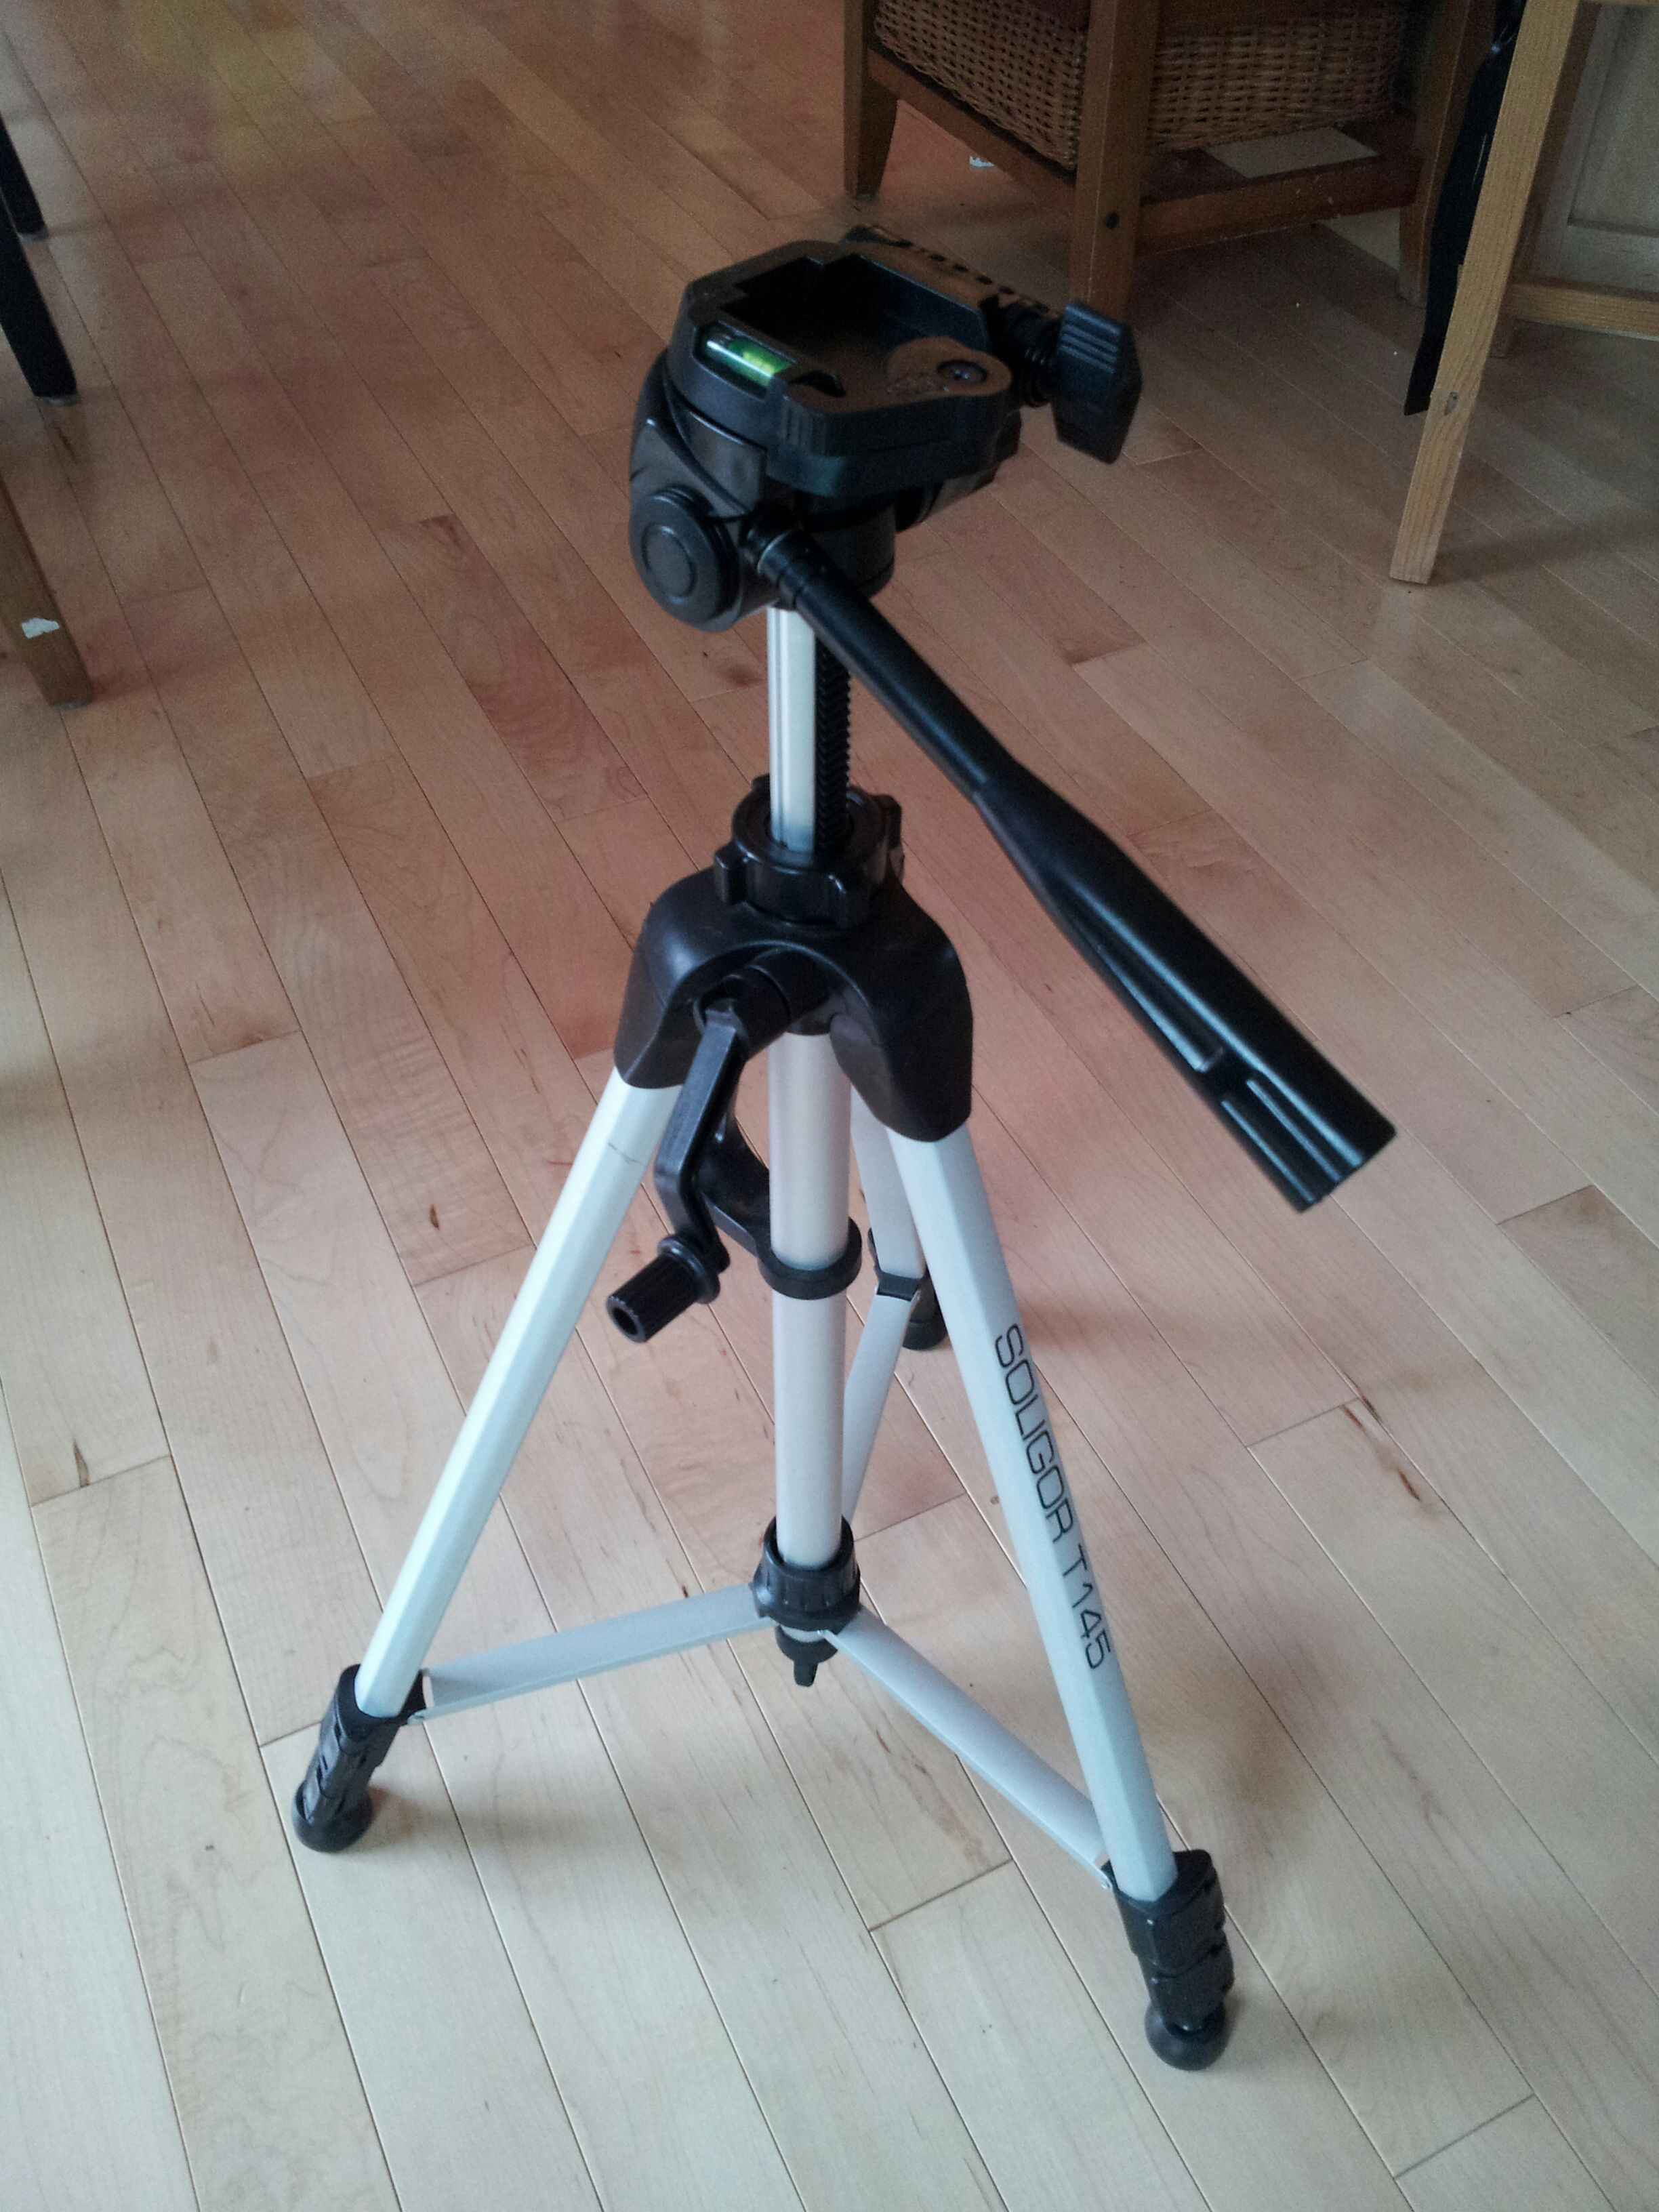
The third element that you need is a tripod. I usually use my expensive carbon fiber tripod but I found that a cheap $30 aluminium tripod actually does the job quite well.
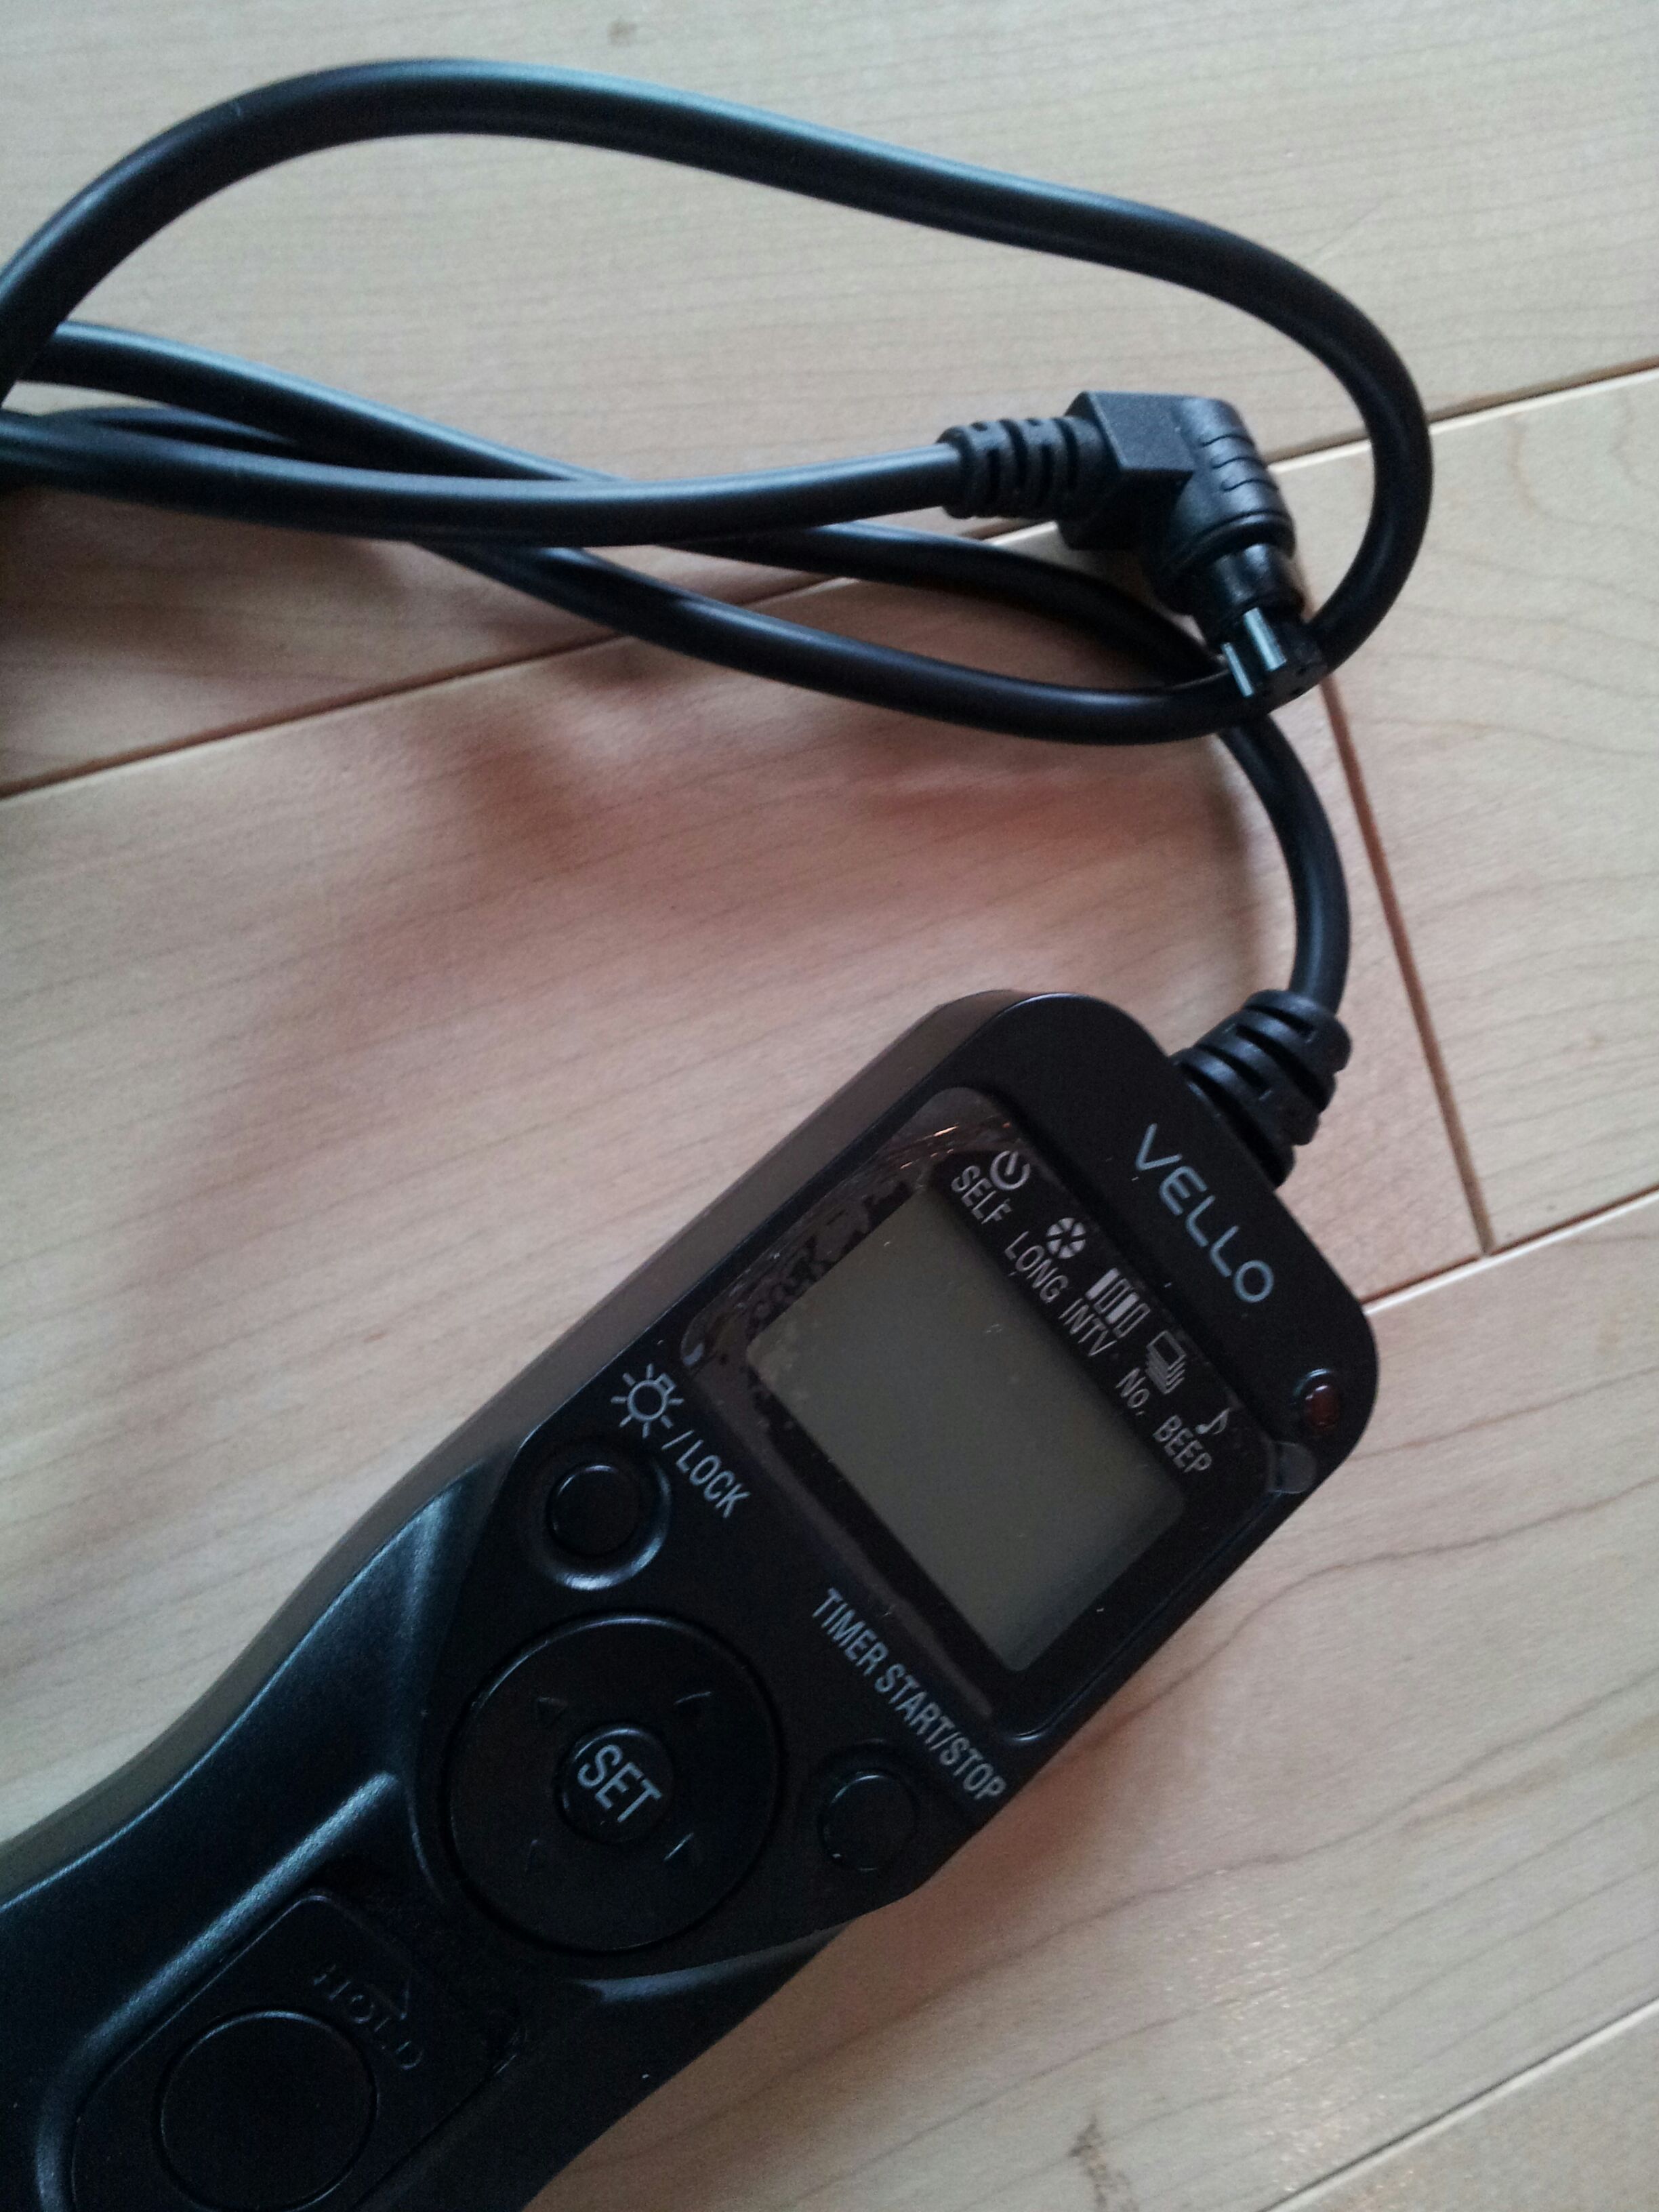
Another piece of equipment I sometimes use is a remote trigger. It eliminates vibrations. However we are going to use wide angle lenses so vibrations don't matter a lot here.
Settings
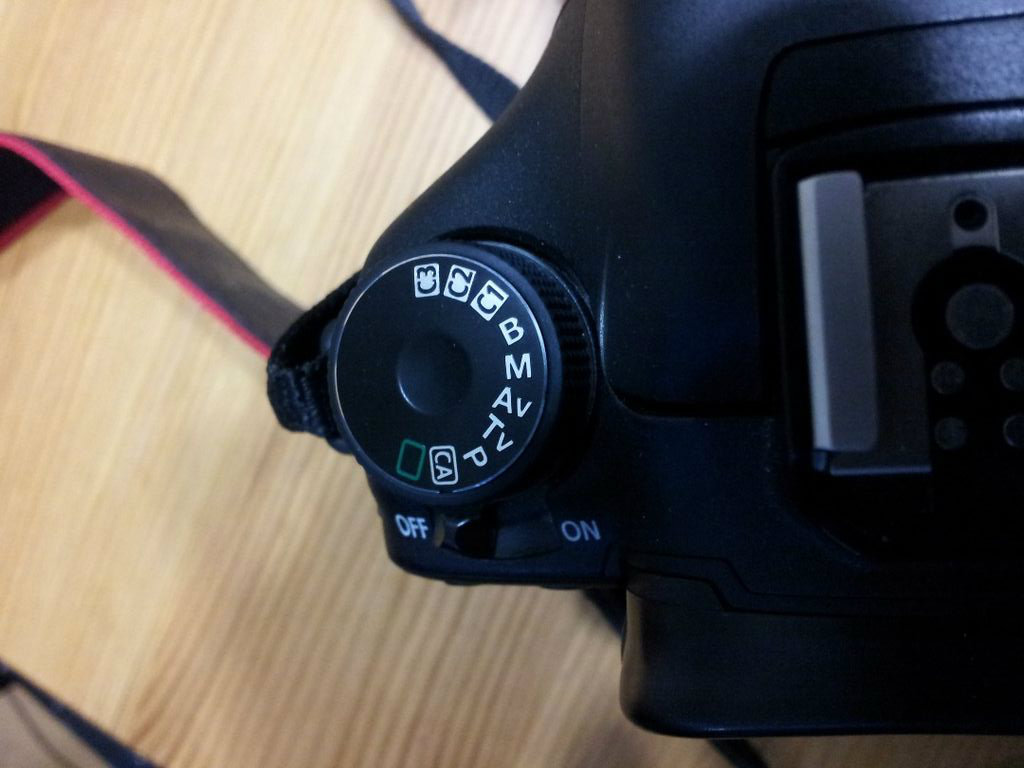
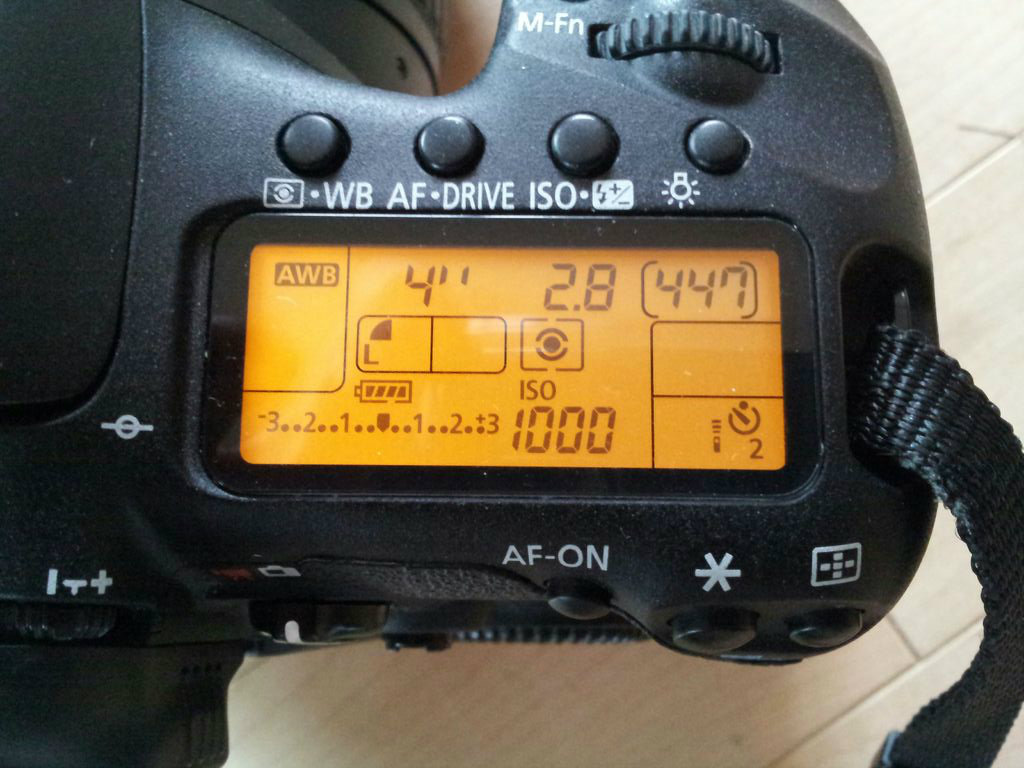
Manual mode
The first thing is to set your camera in the Manual mode. Look for the "M" symbol on your camera. This lets you change all the settings such as speed, aperture and iso.
Bump the iso
Northern lights can be quite bright but they remain very faint compared to daylight subjects. We need to crank up the iso to make the camera more sensitive to low lights.
However, there's a drawback, increasing the iso also increases the noise in the picture. You'll have to find a trade-off for your specific model.
On my Canon 7D, noise is still acceptable up to iso 1600. Anything higher than that will lower significantly the quality of the image. My old Panasonic bridge camera started to show a lot of noise over only iso 400.
Highest aperture
Use the highest aperture (lowest value) available on your lens. My Tokina lens opens up to 2.8. Any F-Stop higher than that decreases the amount of light by a factor 2, which means you would have to use an exposure twice as long.
Wide angle
Auroras can be spread across the whole sky so you'll have to use a wide angle lens. If you are using a zoom lens, zoom out to the maximum field of view.
Manual focus
Most lenses won't focus on the sky at night. You need to put your lens on manual focus and turn the focus ring until the stars are sharp. Using the live view can help you: zoom on a bright star and adjust the focus. You can then switch off the live view. Some lenses have a true infinity setting which is quite convenient in that case.
Image quality
Set the quality to the highest definition (Large). You can also set it to RAW if you want more control over the jpeg compression and white balance. My camera has a good algorithm and usually does a good job regarding compression.
White balance
This one is tricky. If you set it to "sunny" the aurora looks too green. I usually leave it on auto white balance "AWB". It's the setting that shows the most accurate colors. If you shoot in RAW mode, you can experiment with the white balance later.
2 seconds trigger
Pressing on the shutter creates vibrations. Using the 2 seconds delay gives enough time to cancel most of them.
Exposure
This is the only setting you will have to change during the night. If the aurora gets bright enough, you might have to go down to 3 or 4 seconds. On the other hand, if the lights are dim and not moving fast, you can use 15 seconds exposure.
Case Study: Dim Lights
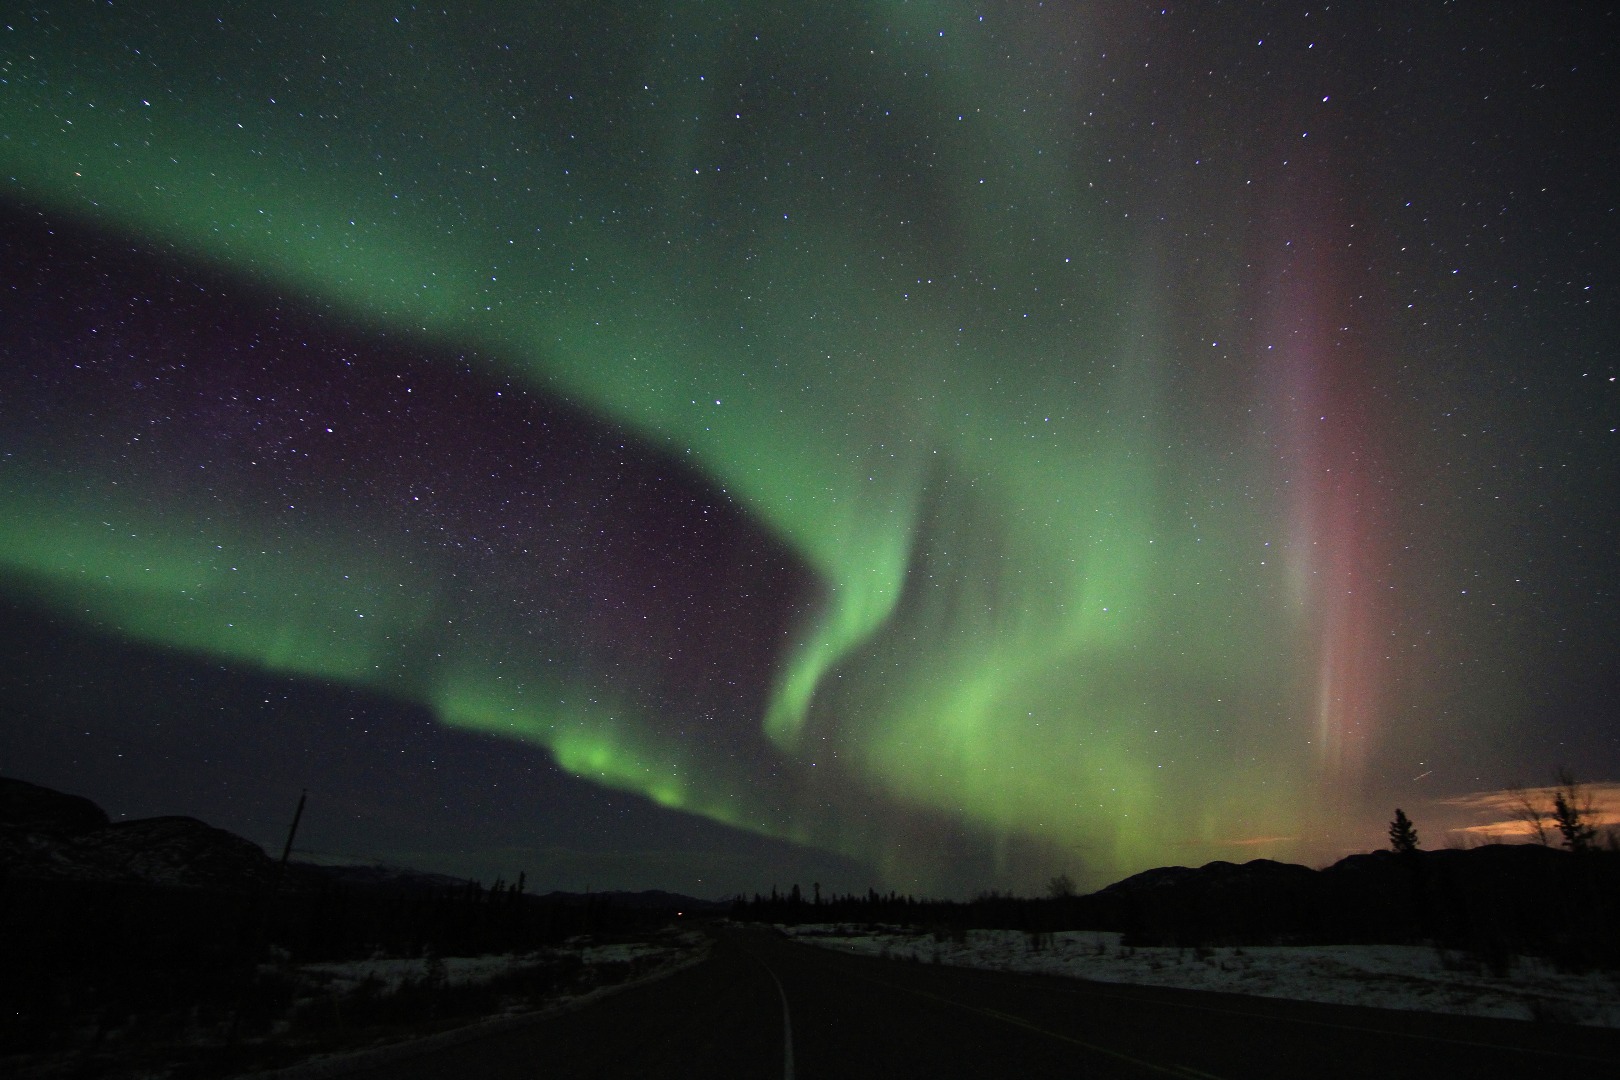
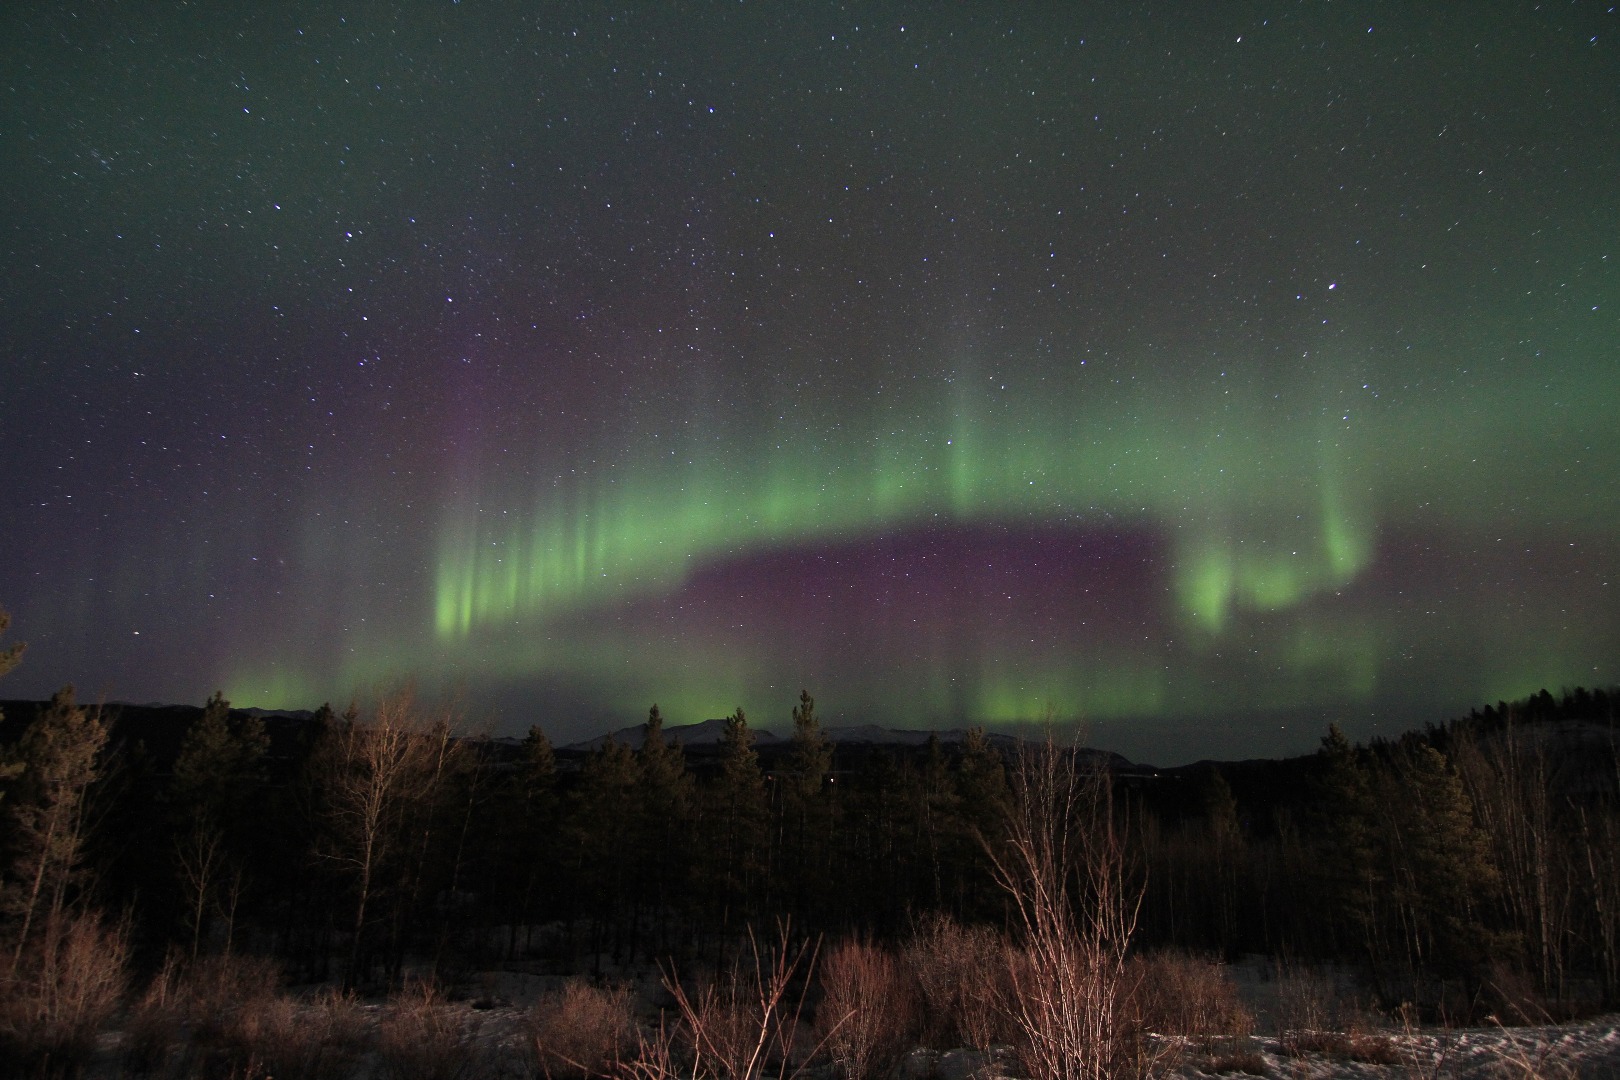
In these pictures, the settings are:
- 1600 iso
- 2.8 aperture
- 15 sec exposure
The lights were dim and not moving really fast. I set the exposure to 15 seconds to bring up the darker veils of light. However, 15 seconds is long enough to smooth out the delicate strands of light.
Case Study: Bright Lights
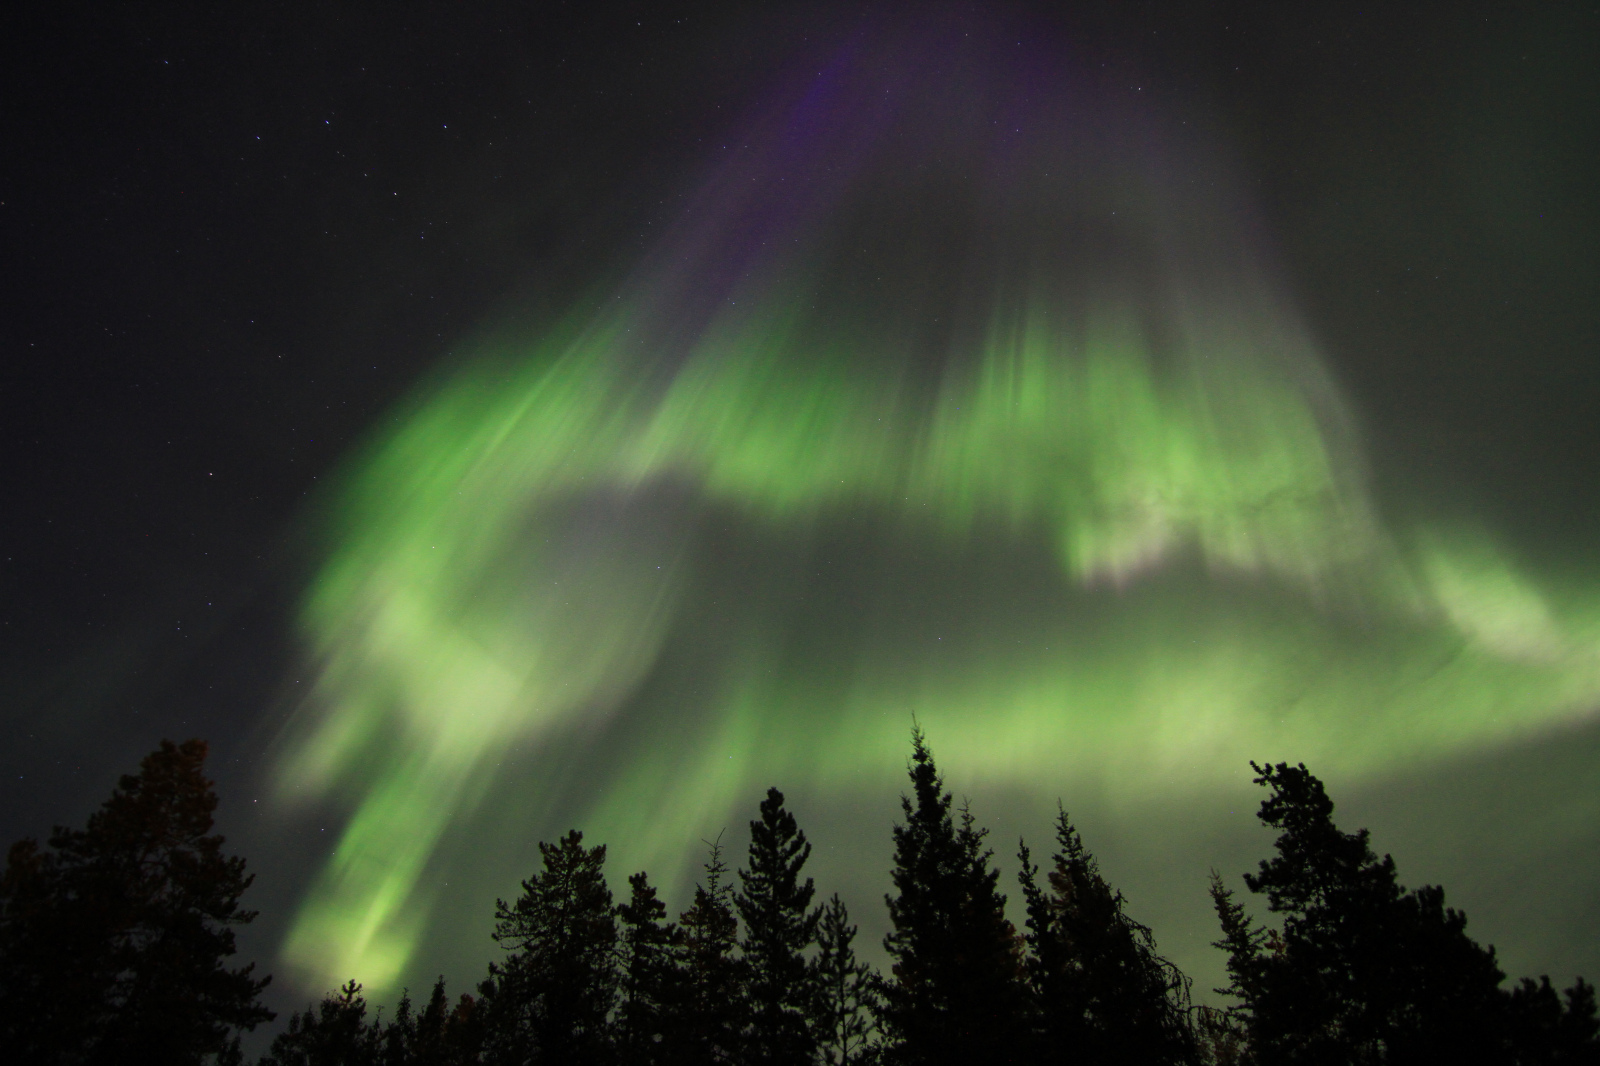
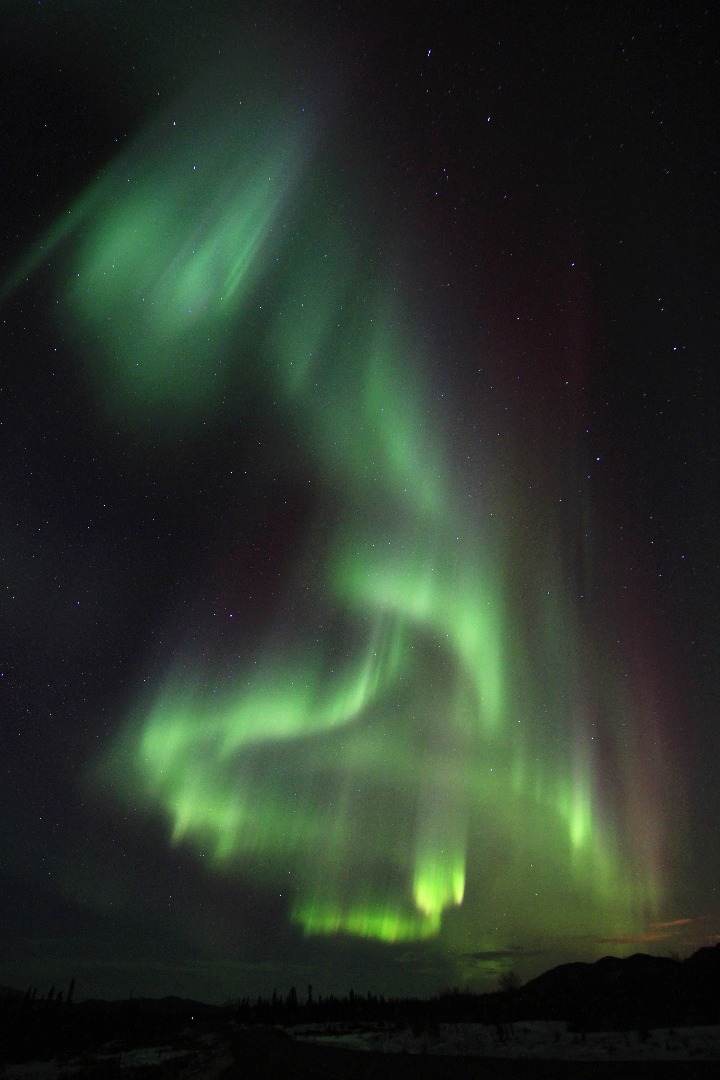
In these pictures, the first thing you notice is the strands of light. I was able to capture them because I used a fast shutter speed.
The settings for the first picture were:
- 1000 iso
- 2.8 aperture
- 4 sec exposure
Second picture:
- 1600 iso
- 2.8 aperture
- 5 sec exposure
Be Creative
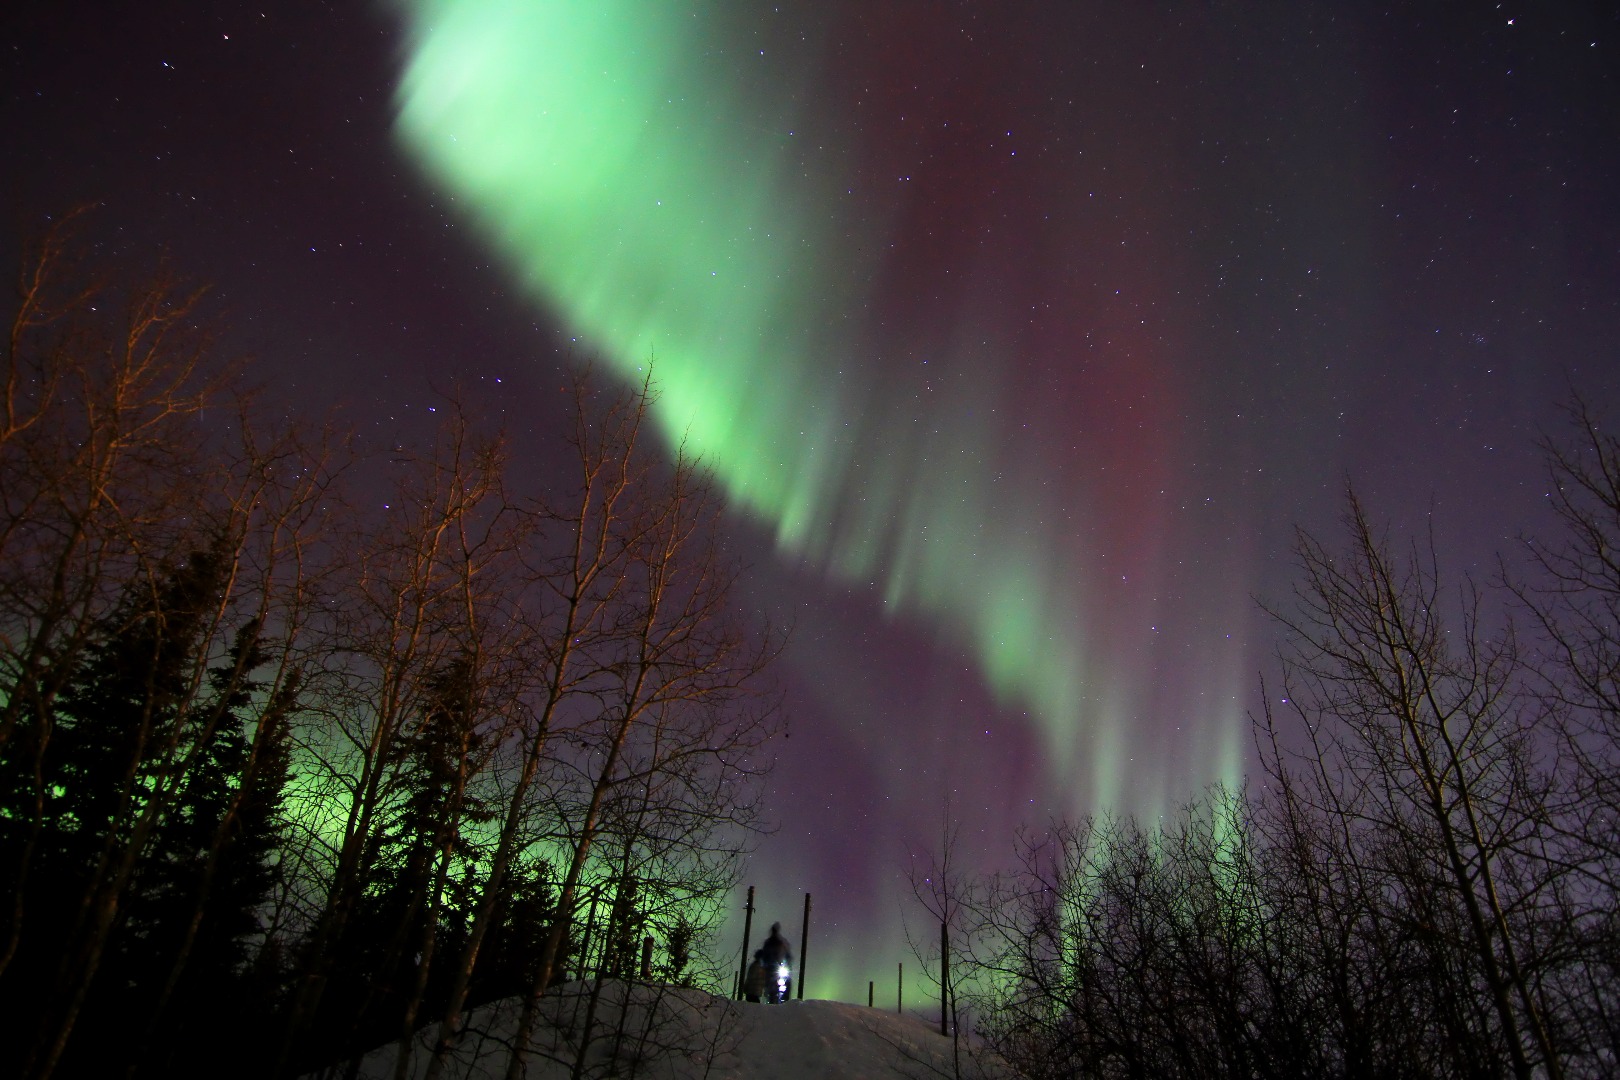
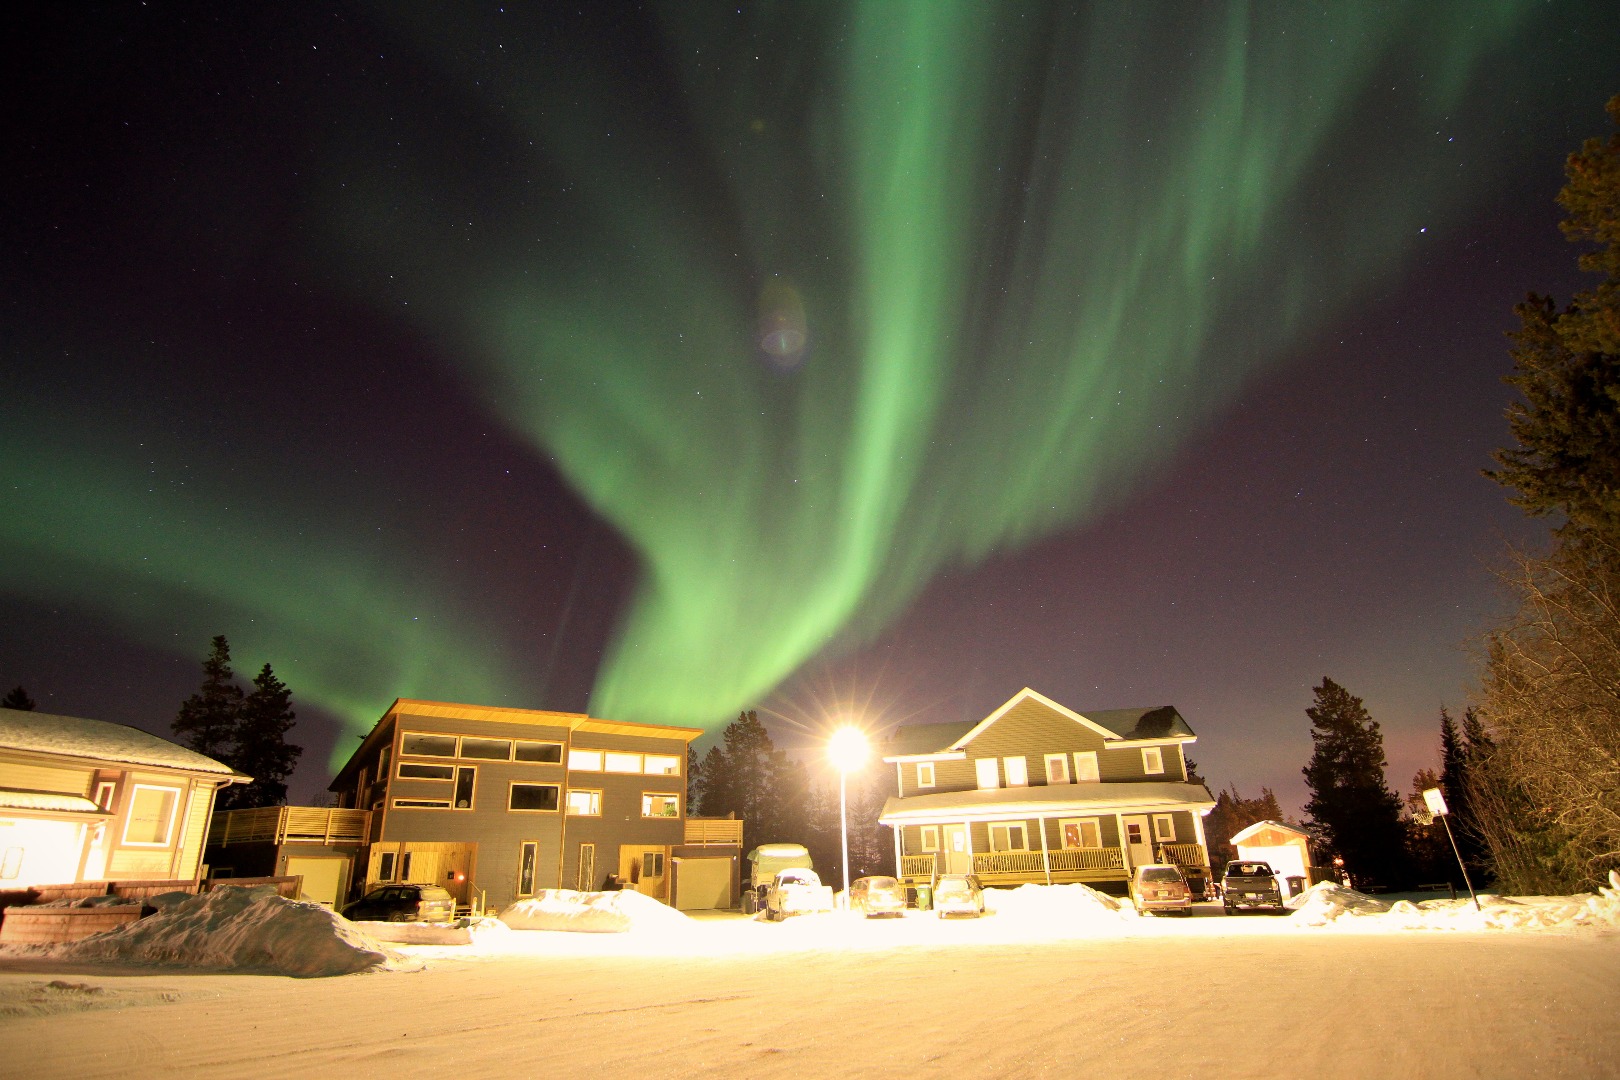
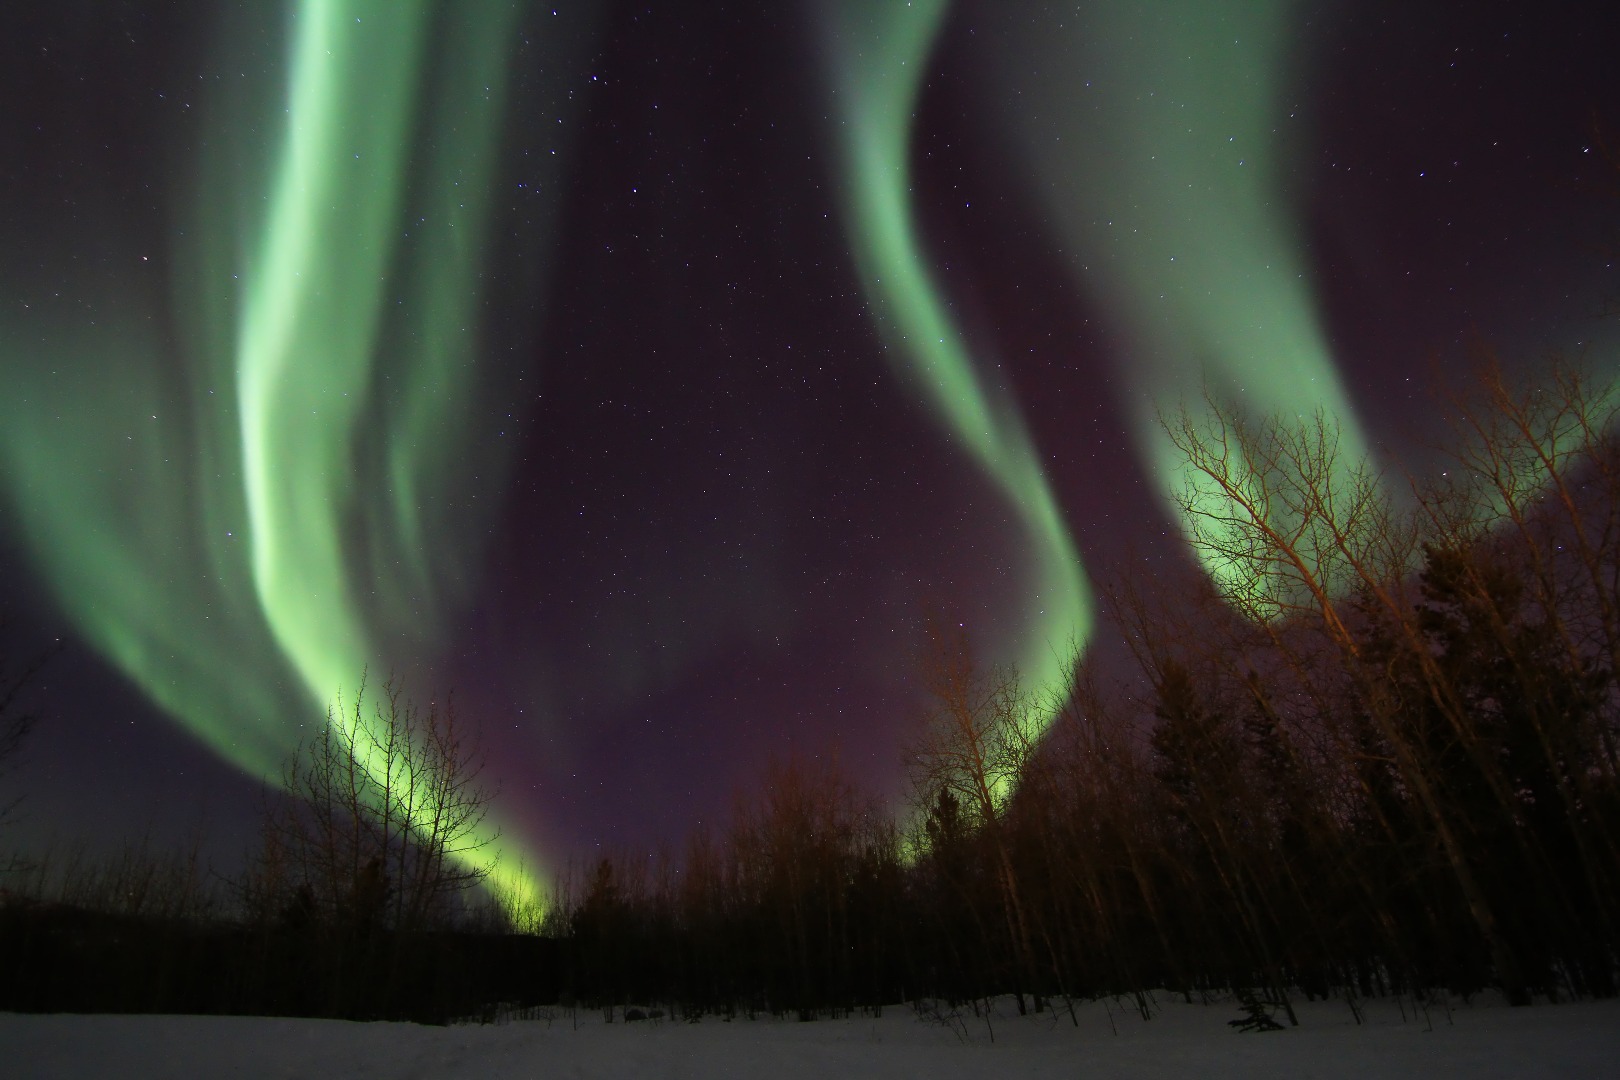
The settings I described previously are a general rule but they should not be followed at all time.
For instance, you might want to illuminate the foreground. This might throw off the auto white balance. In that case you might have to specify the temperature manually.
Composition is important even for northern lights. It gives an idea of the brightness and size of the aurora.
I personally like to shoot the northern lights from my deck or from the hill 200 meters from home. I like to capture the city lights alongside.
Aurora Forecast
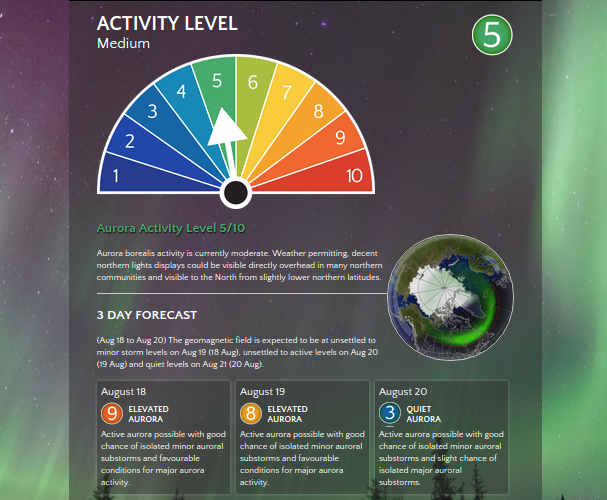
Auroras are not magical, they don't appear from nothing. They are the result of atoms being excited by collision with particles emitted by the sun. The solar wind travels fast but we get a little heads up. It usually takes about 2 days in average for the particles to reach the earth. That's how we can create an aurora forecast.
Here's the link I use to plan my aurora shooting sessions: http://www.auroraforecast.com/