Noice Keychain
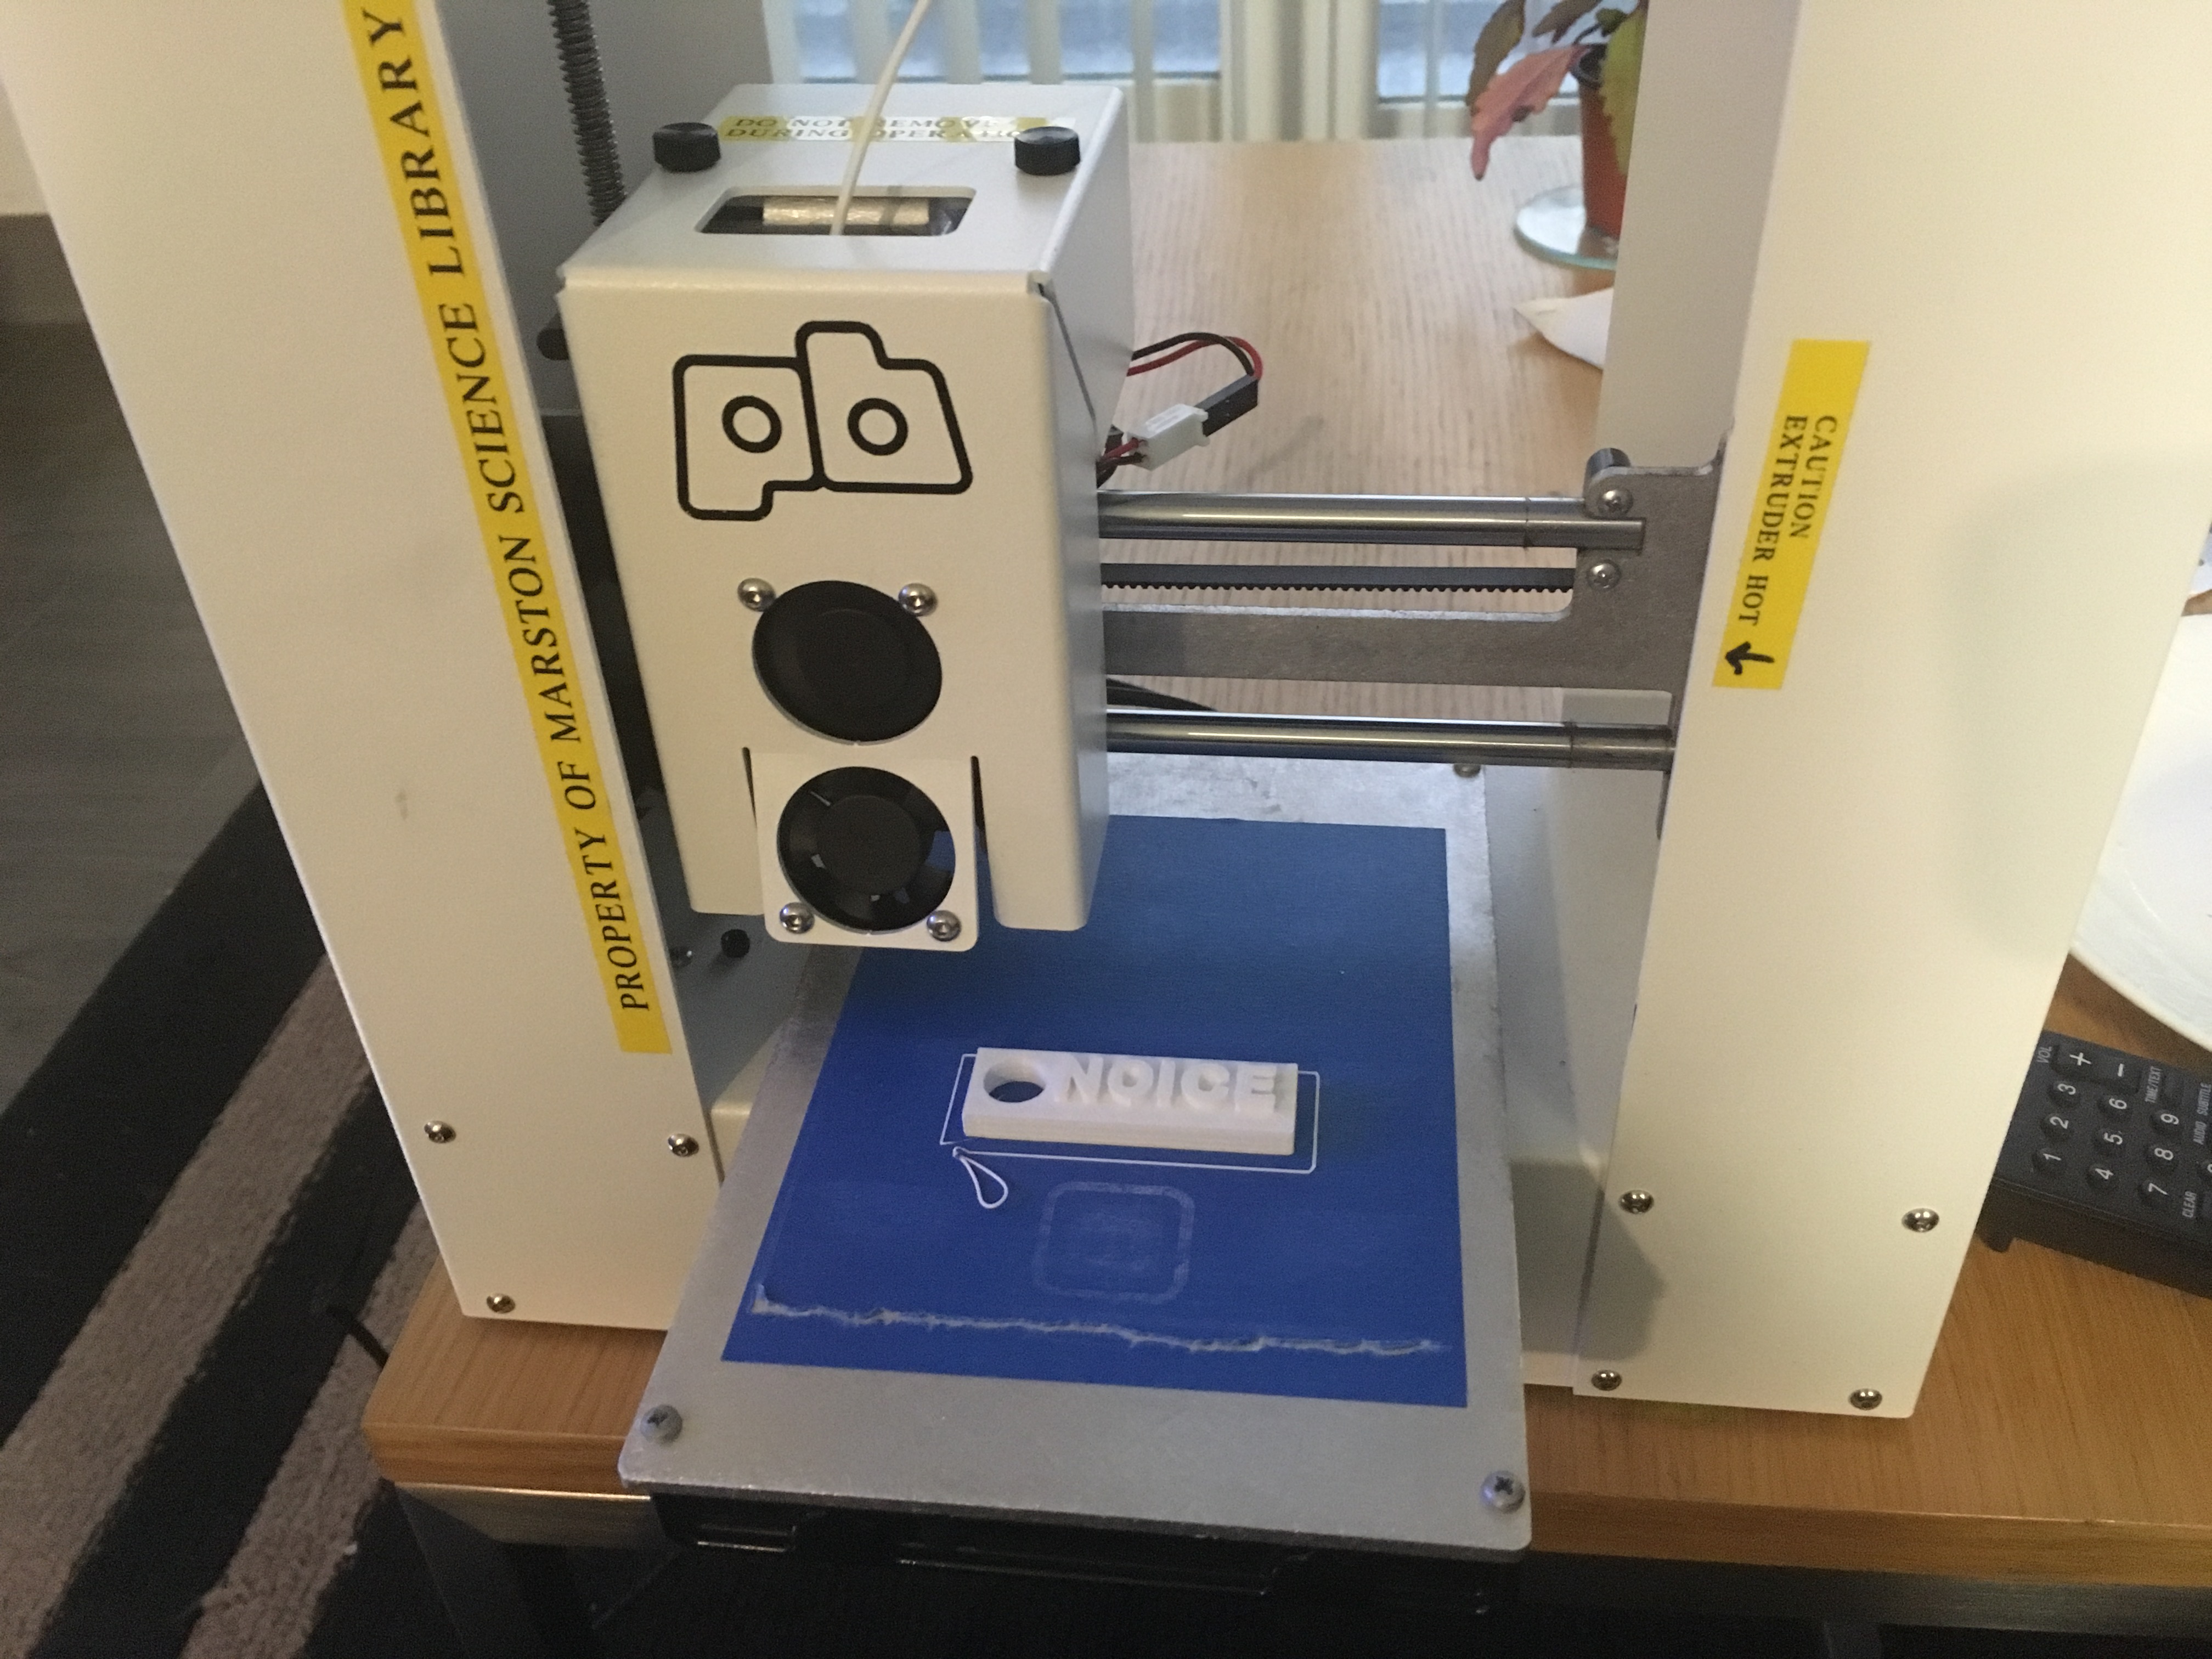
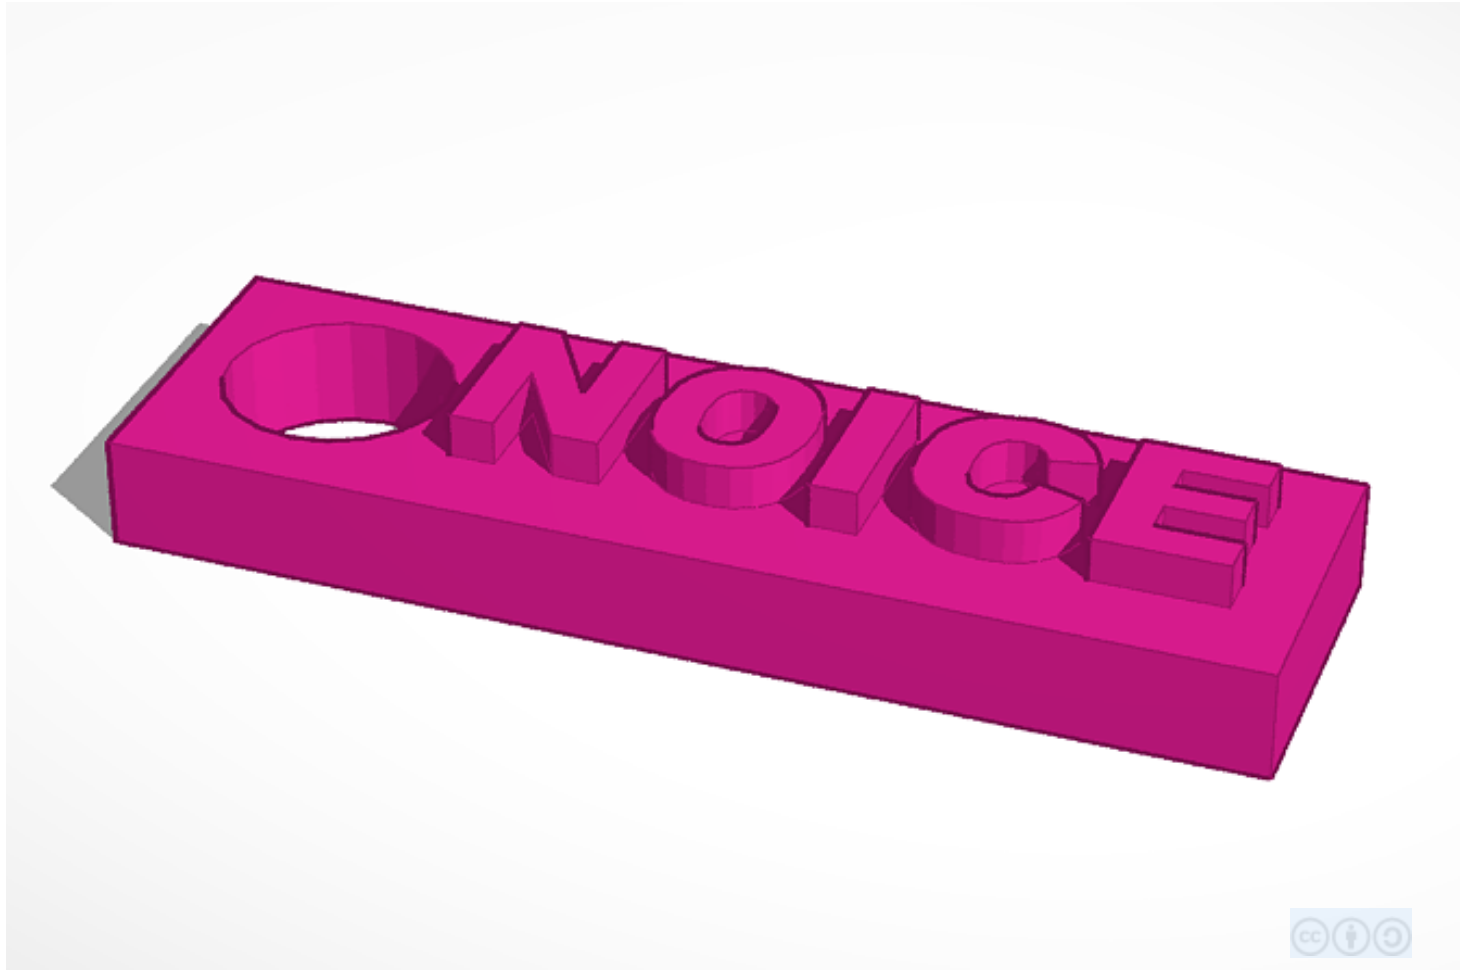
When I was first assigned to design an object to 3D-print, I was at a loss. There were simultaneously too many and too few things I wanted to do, and I had zero skills to do any of it with. I decided that I wanted something that could actually be useful instead of just a tchotchke to sit around. My sister, who has worked with 3D printers before, suggested I make a keychain of some sort, and then began listing different shows that I could use as inspiration to decorate the keychain. Once she reached NBC's Brooklyn 99 (Fox is no longer welcome here) in her list, I knew exactly what I was going to do. So I set about designing a "noice" keychain using Tinkercad.com, which was recommended to me by my teacher.
Using Tinkercad


Tinkercad is a great resource because it was created with novices in mind. I had never touched a 3D-animating system before this project, and I managed to successfully complete it in one day, including printing time; if I can do it, anyone can. Also, it is built by Autodesk, so you can use your Instructables account.
Once you have an account, I highly recommend going through each tutorial the website provides. It can be a little tricky for newbies, and the tutorials are great! There is even a tutorial specifically for keychains if you need a little extra help beyond this.
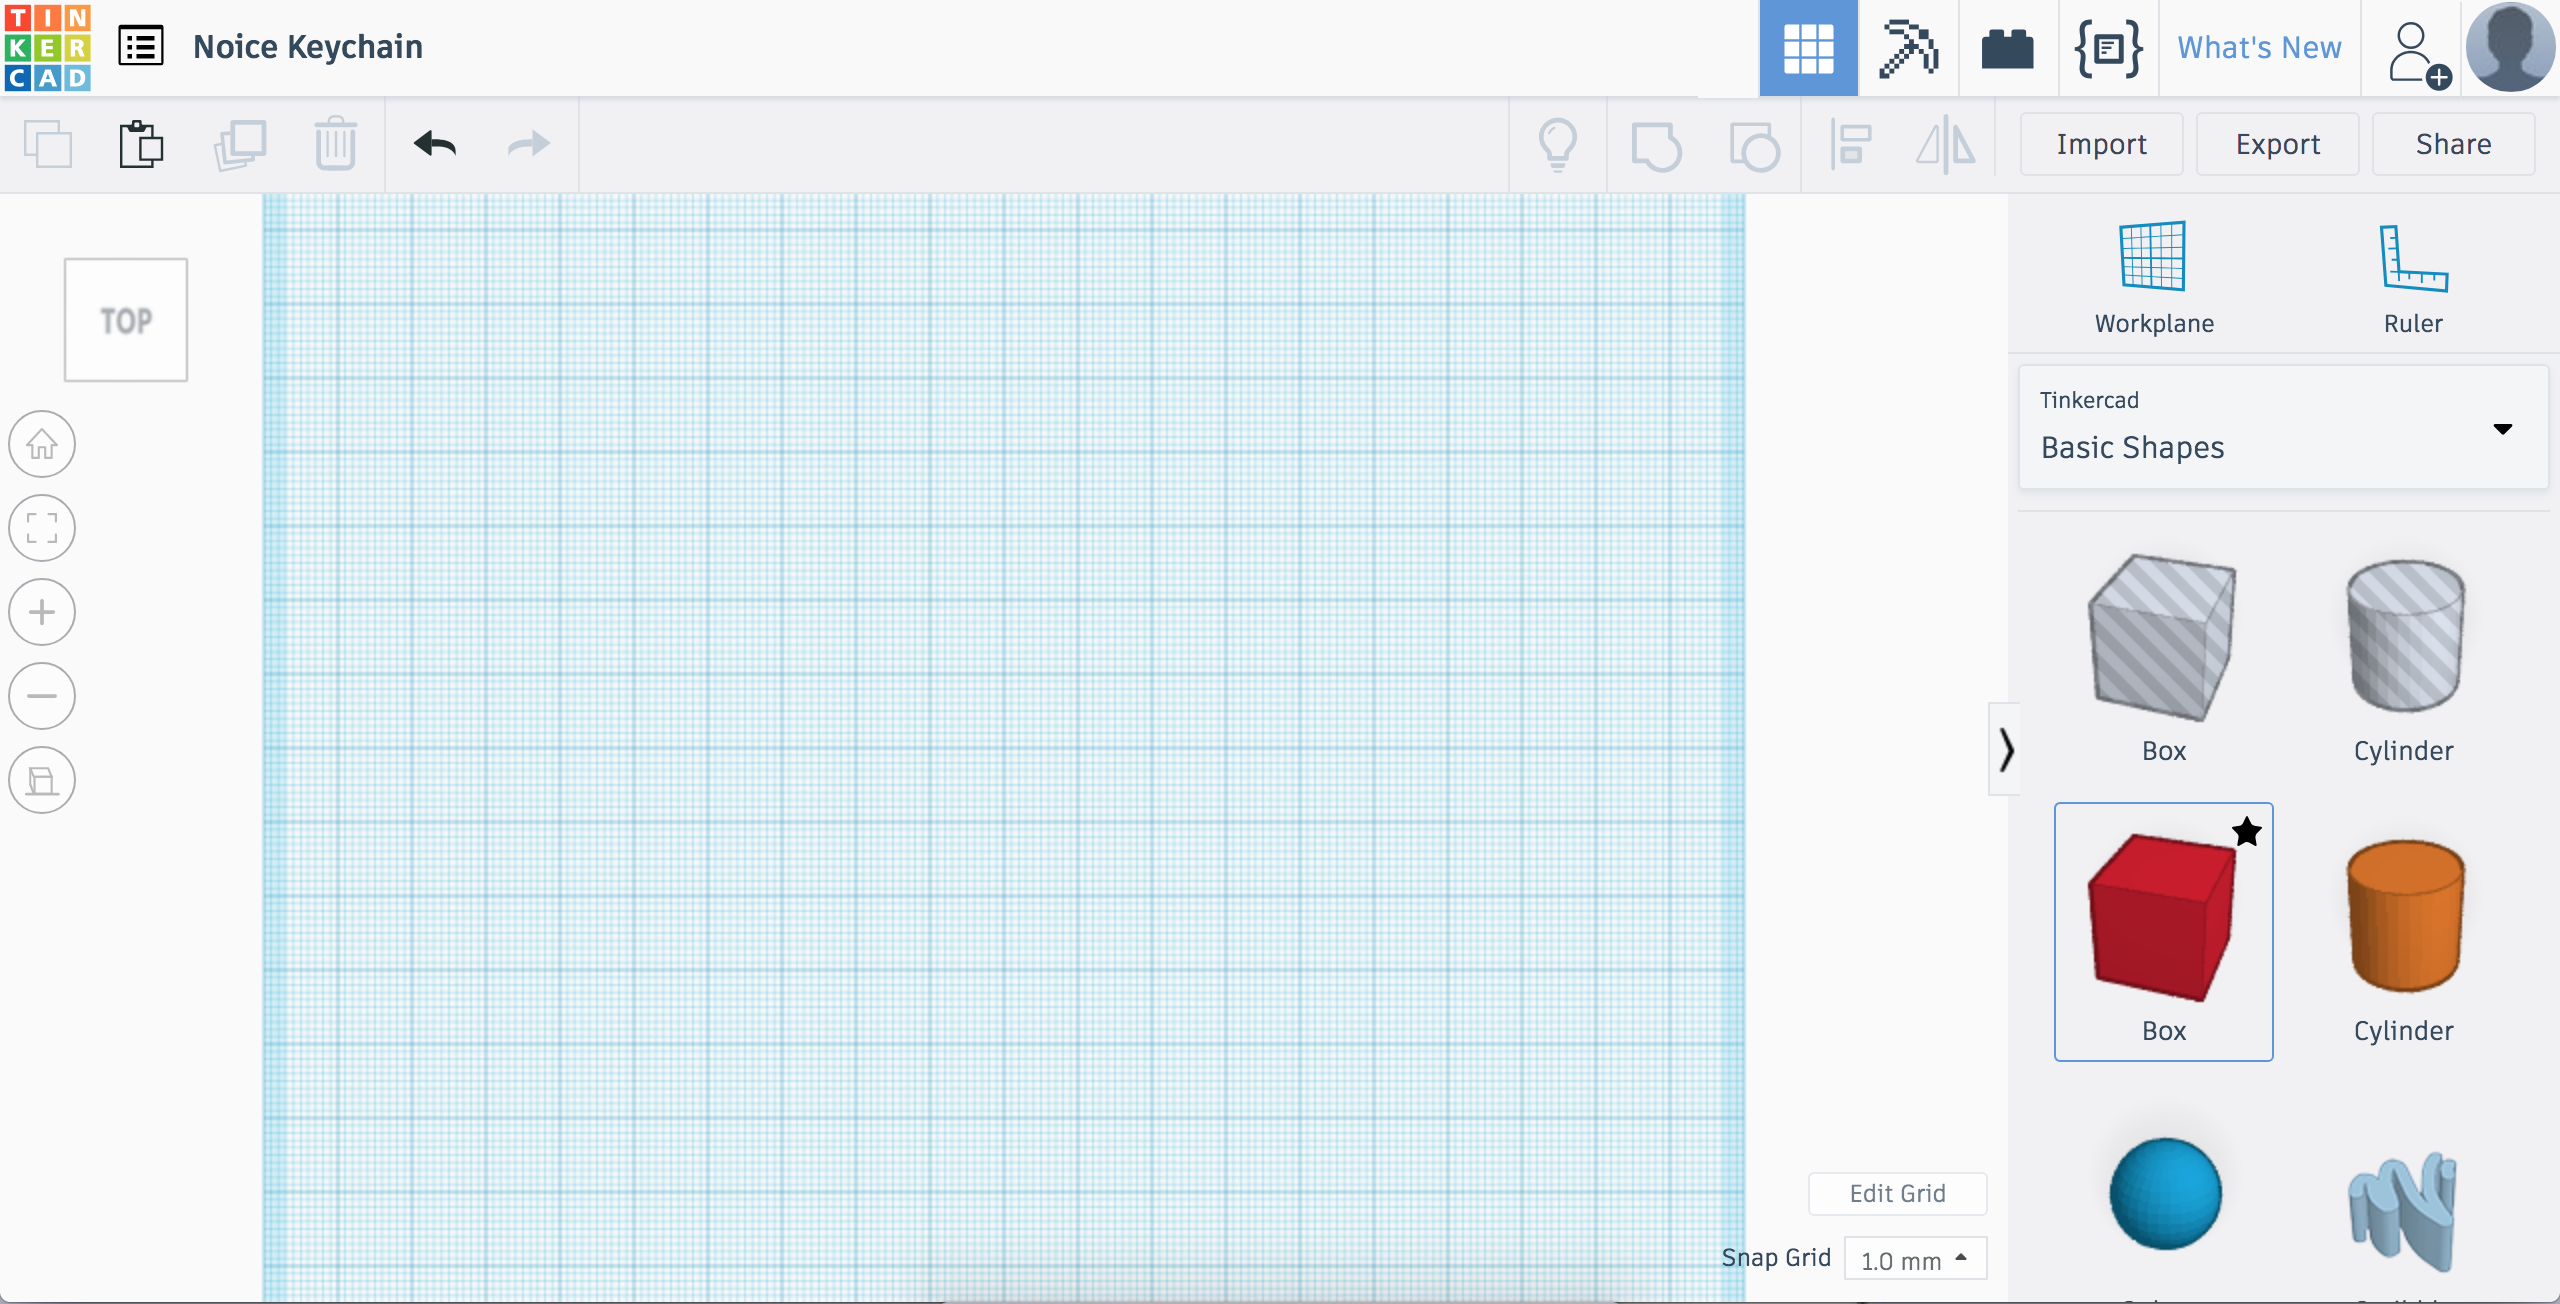
So basically, all of your pre-made shape options are on the right of the screen, as pictured above. There are basic shapes, like squares, pyramids, spheres, and cylinders; every letter and number in the English language; different "characters", such as hands, eggs, and bunny ears; and even printable kits, like the pieces required to assemble a dinosaur.
The blue graph-paper-like square is your workplane. It will the floor for your model. To put a shape onto your workplane, simply drag it from the selection bar on the right to anywhere within the workplane.
To place an object on top of another object, simply drag the second shape on top of the first one instead of dragging the second shape onto the workplane directly.
To create a hole in a shape: drag your first shape onto the workplane. Let's say it's a square. Now let's say you want to create a hole in that square in the shape of the letter A. Simply drag an A shape onto the square; then, in the shape's helper box that opens on the right, select "hole" rather than "solid."
There are two ways to adjust the size of your new A-shaped hole. After clicking on the A, you can click and drag the squares around the shape until it is the exact size you want it to be. This is a great method if you're not too sure yet how you want it to look. (PRO TIP: If you hold down shift while you are dragging the shape's size, then it will adjust the entire shape proportionally.) Your other option is to click on the A and, once the dimensions have popped up, click over the numbers and type in how many millimeters you want that side of the A to be.
Create Your Rectangular Base
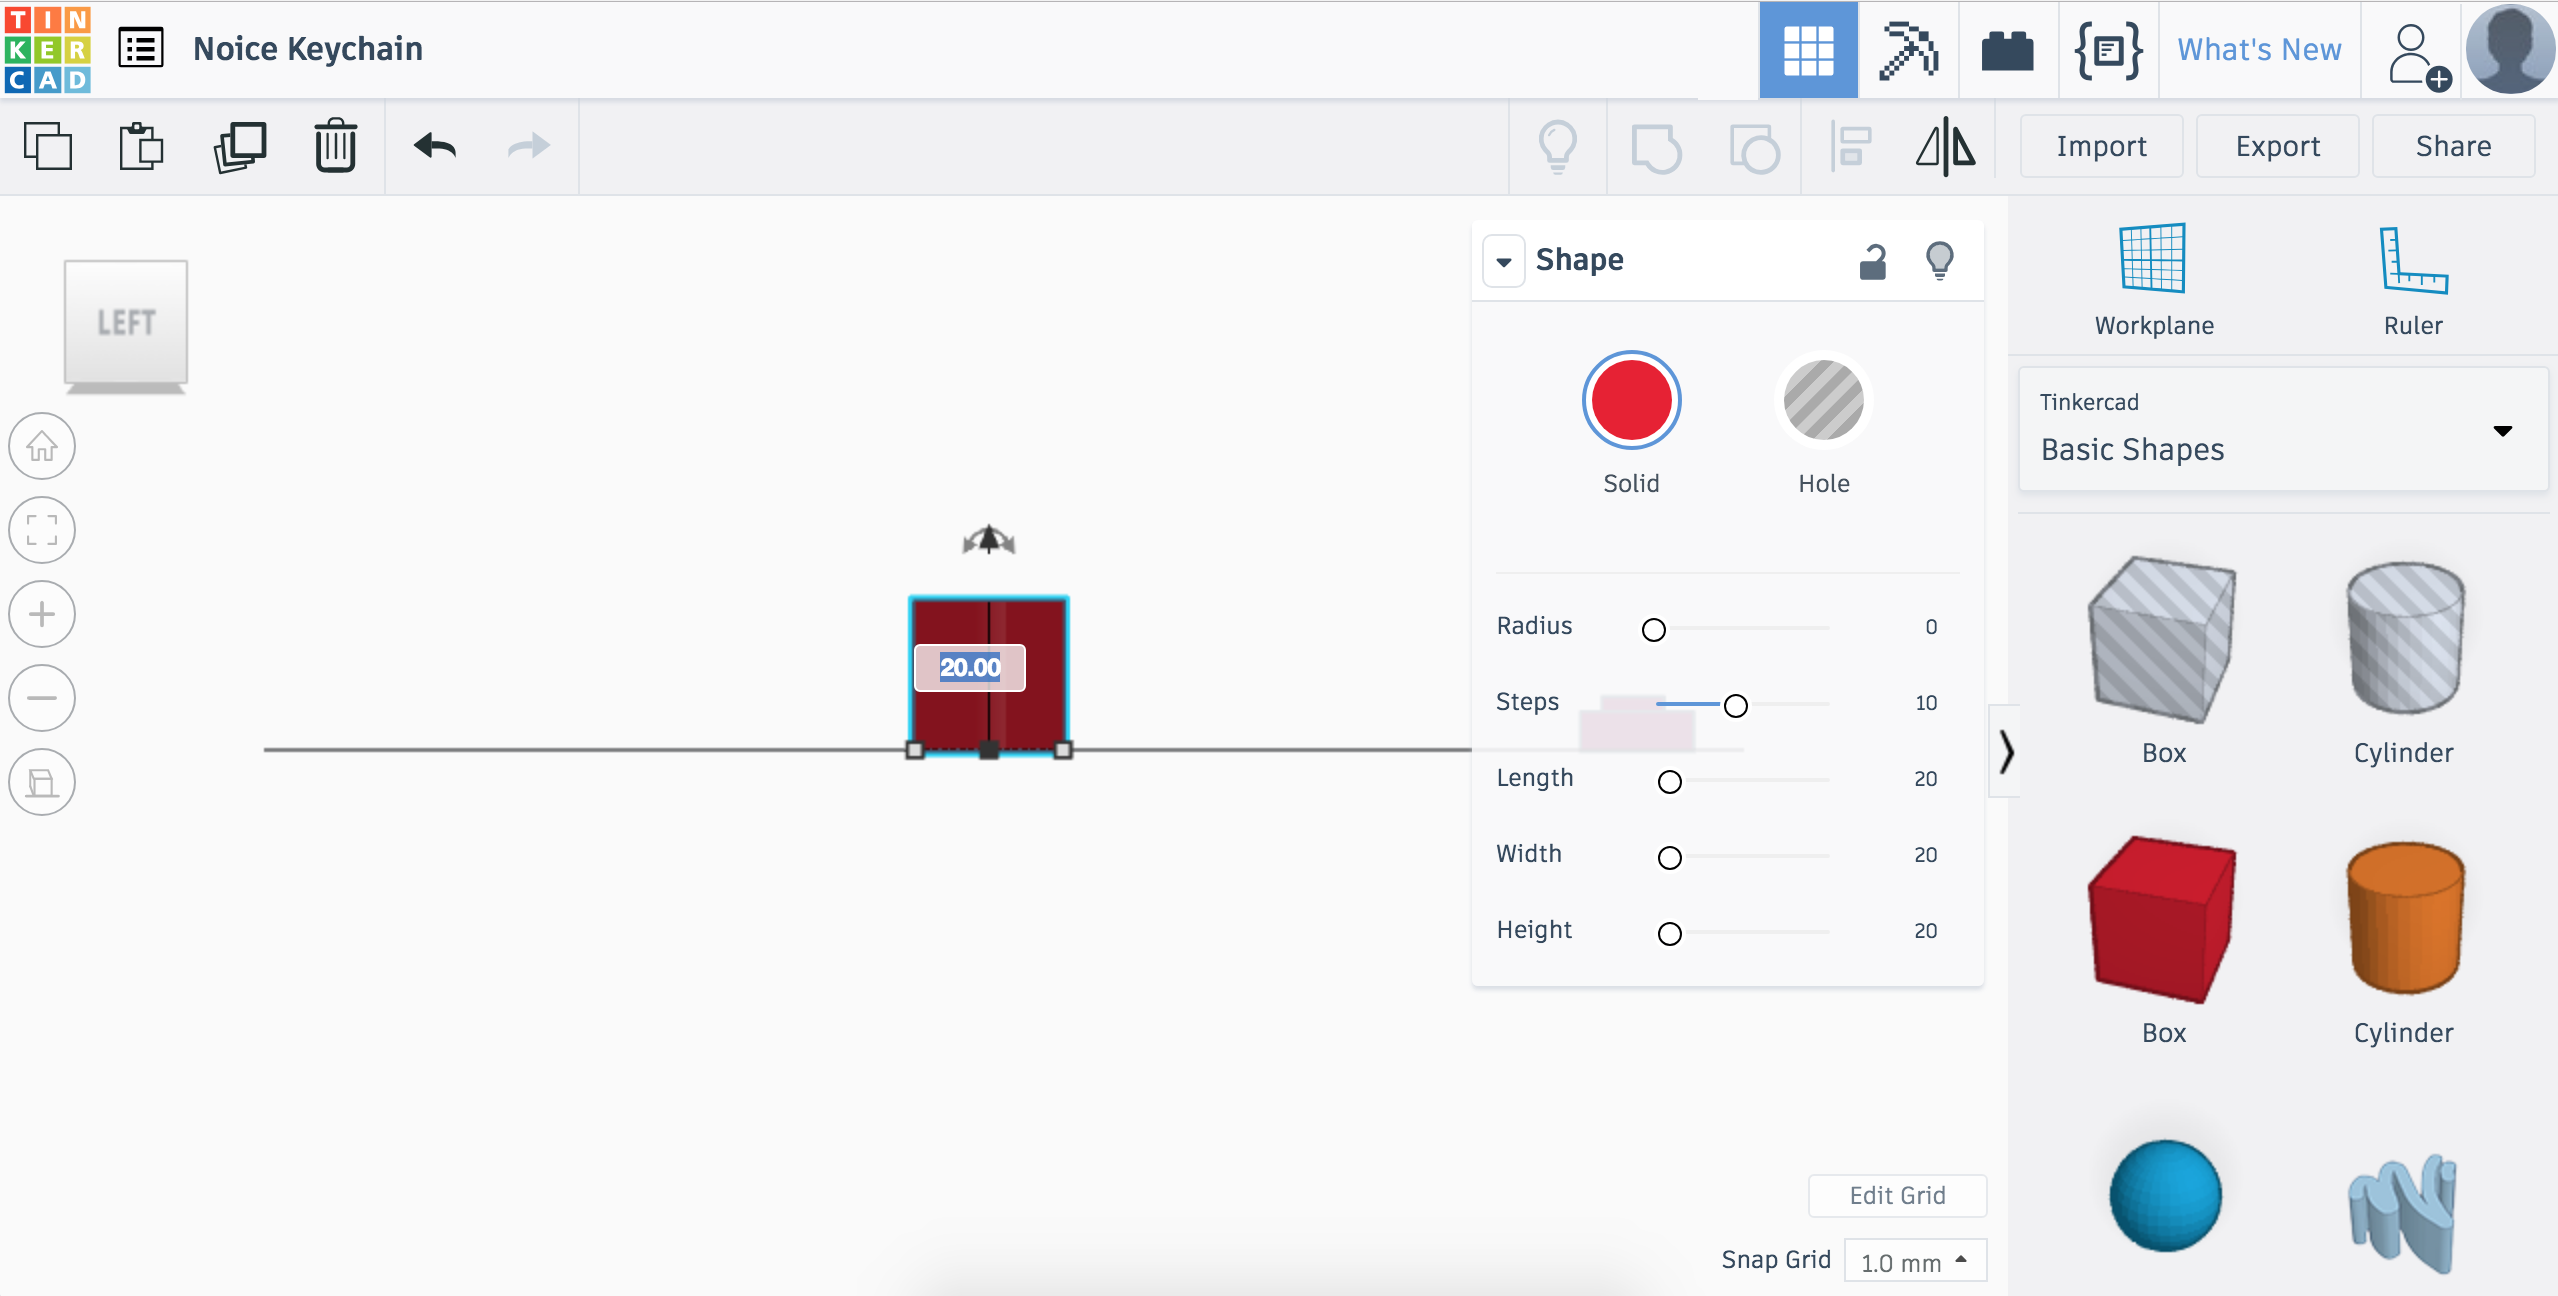
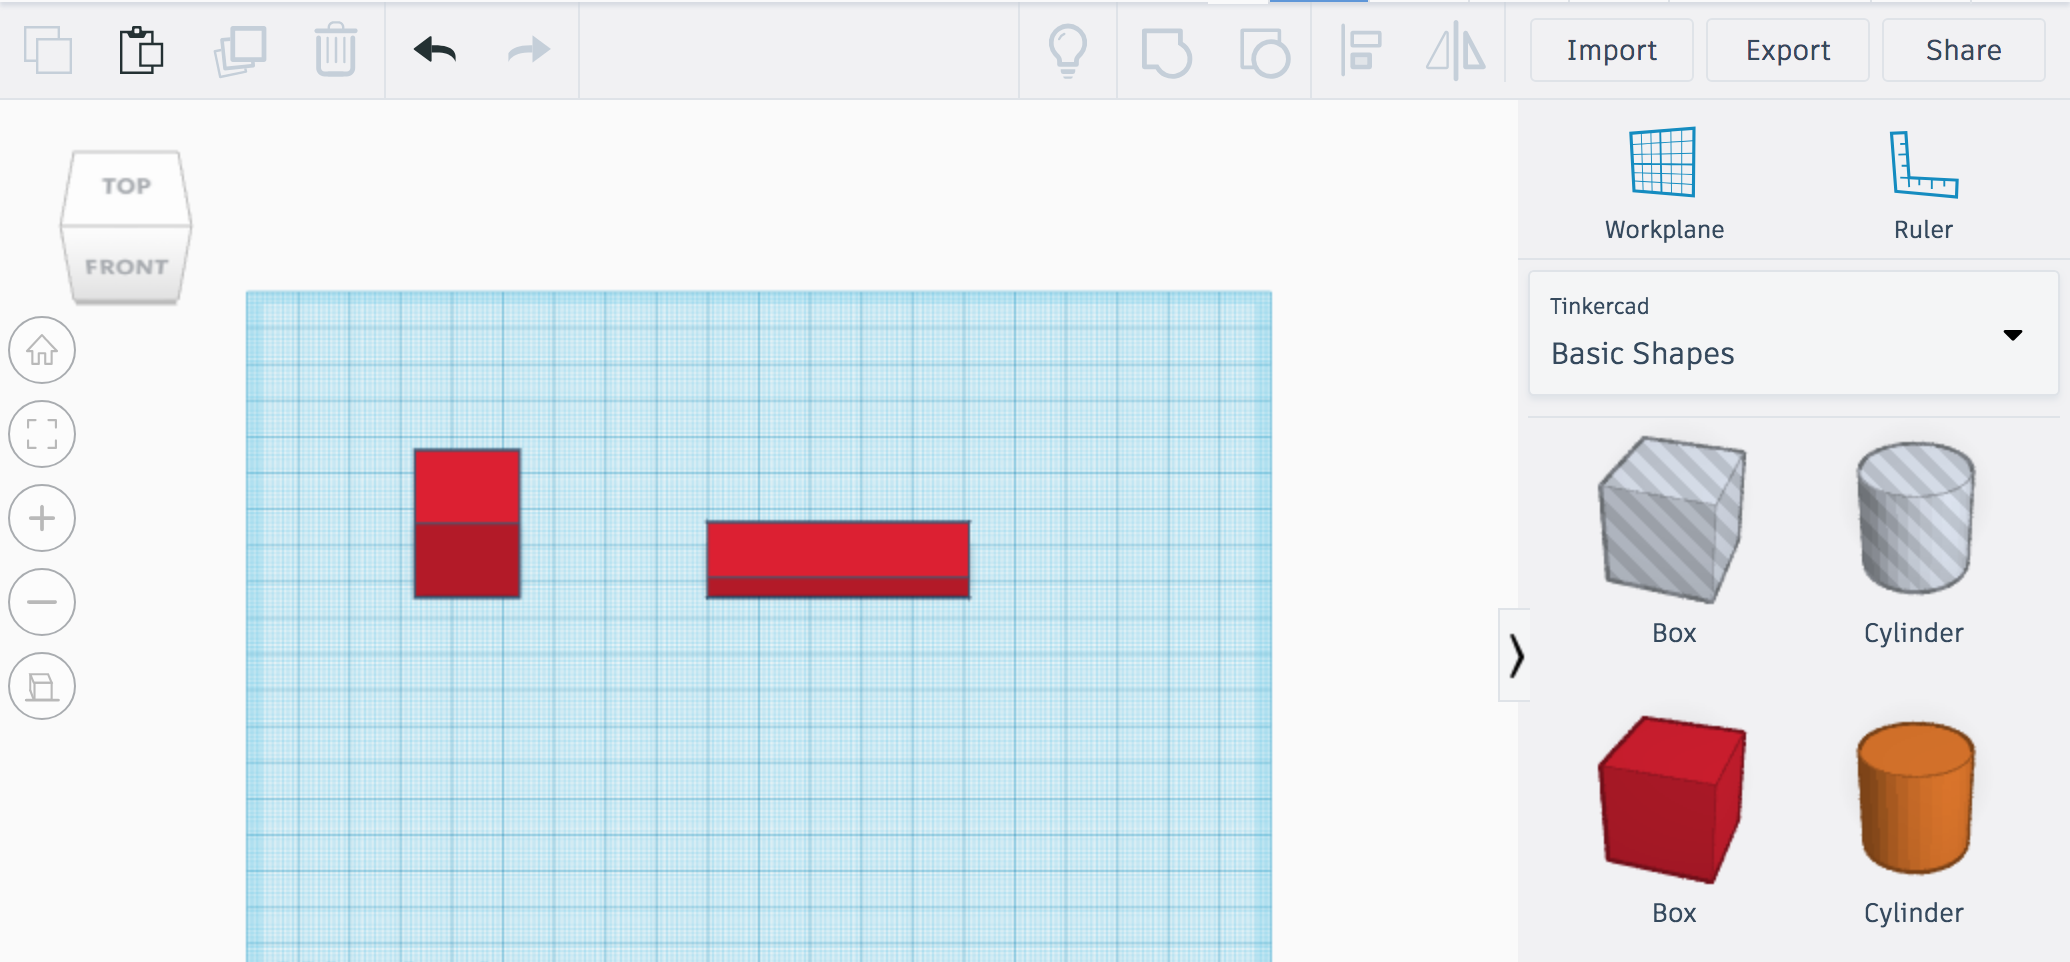
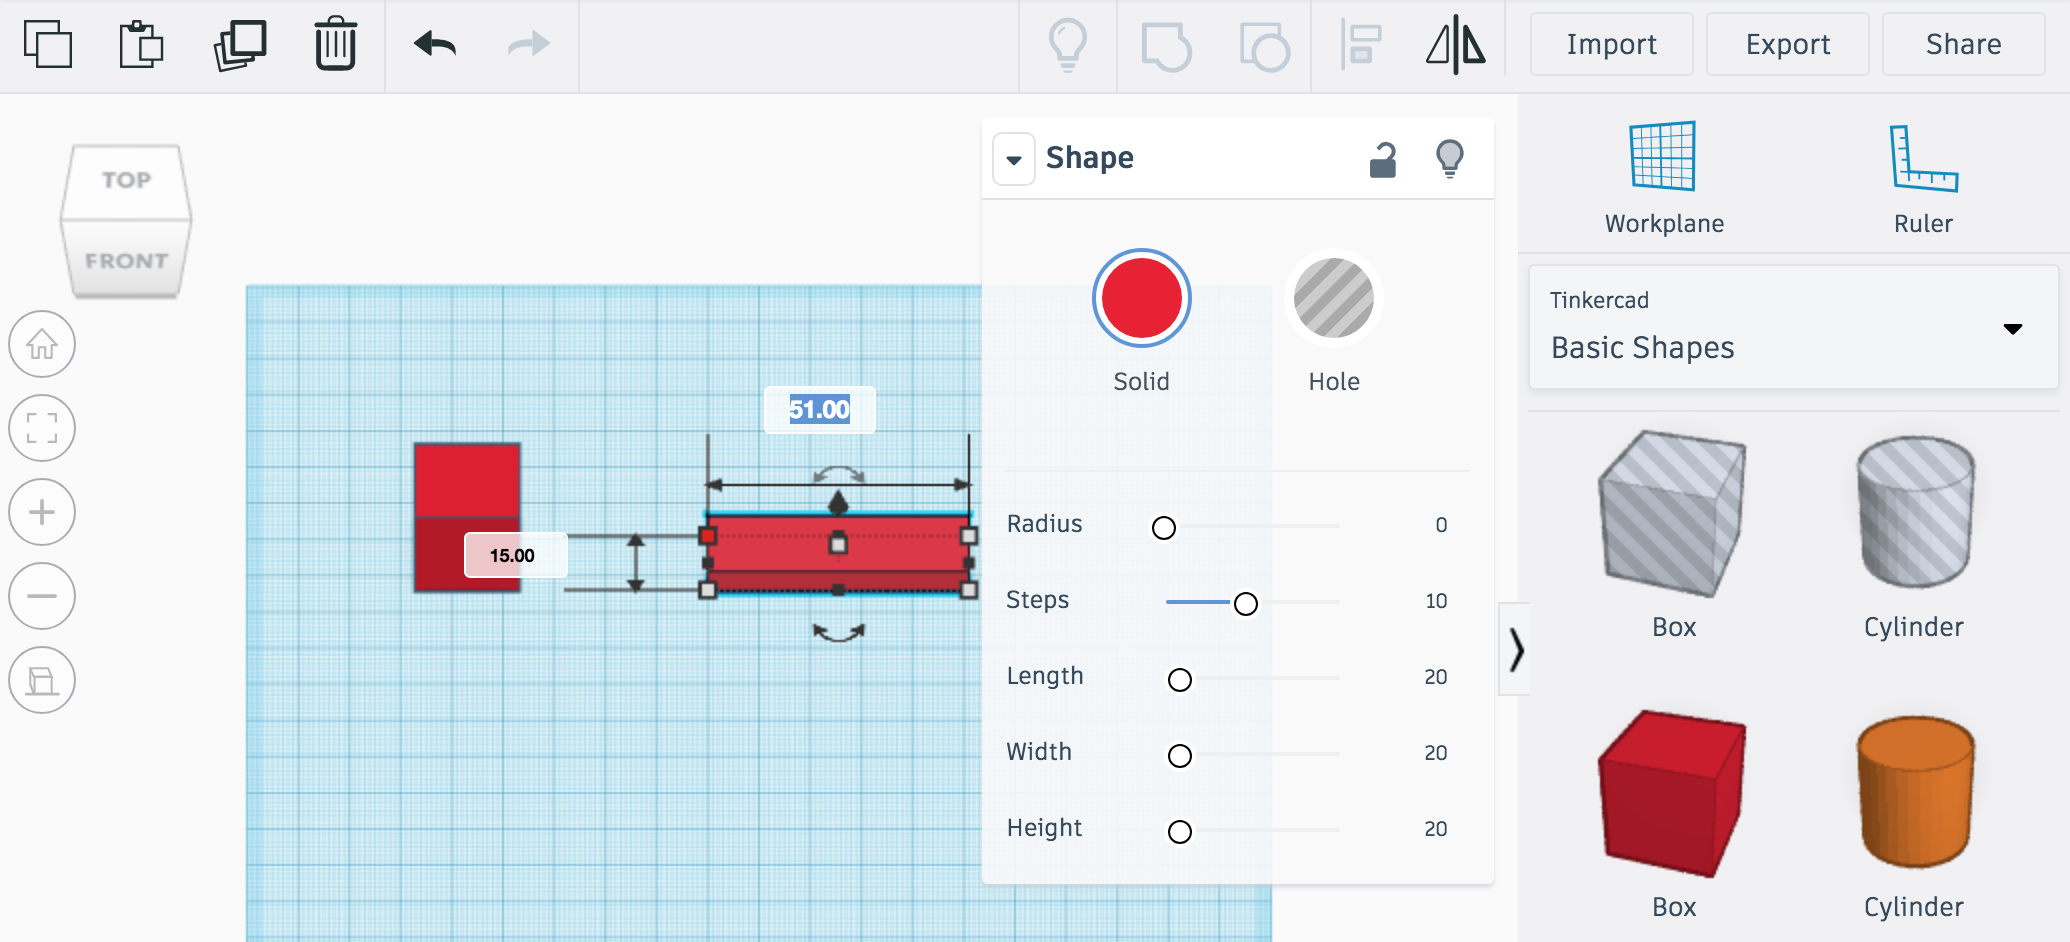
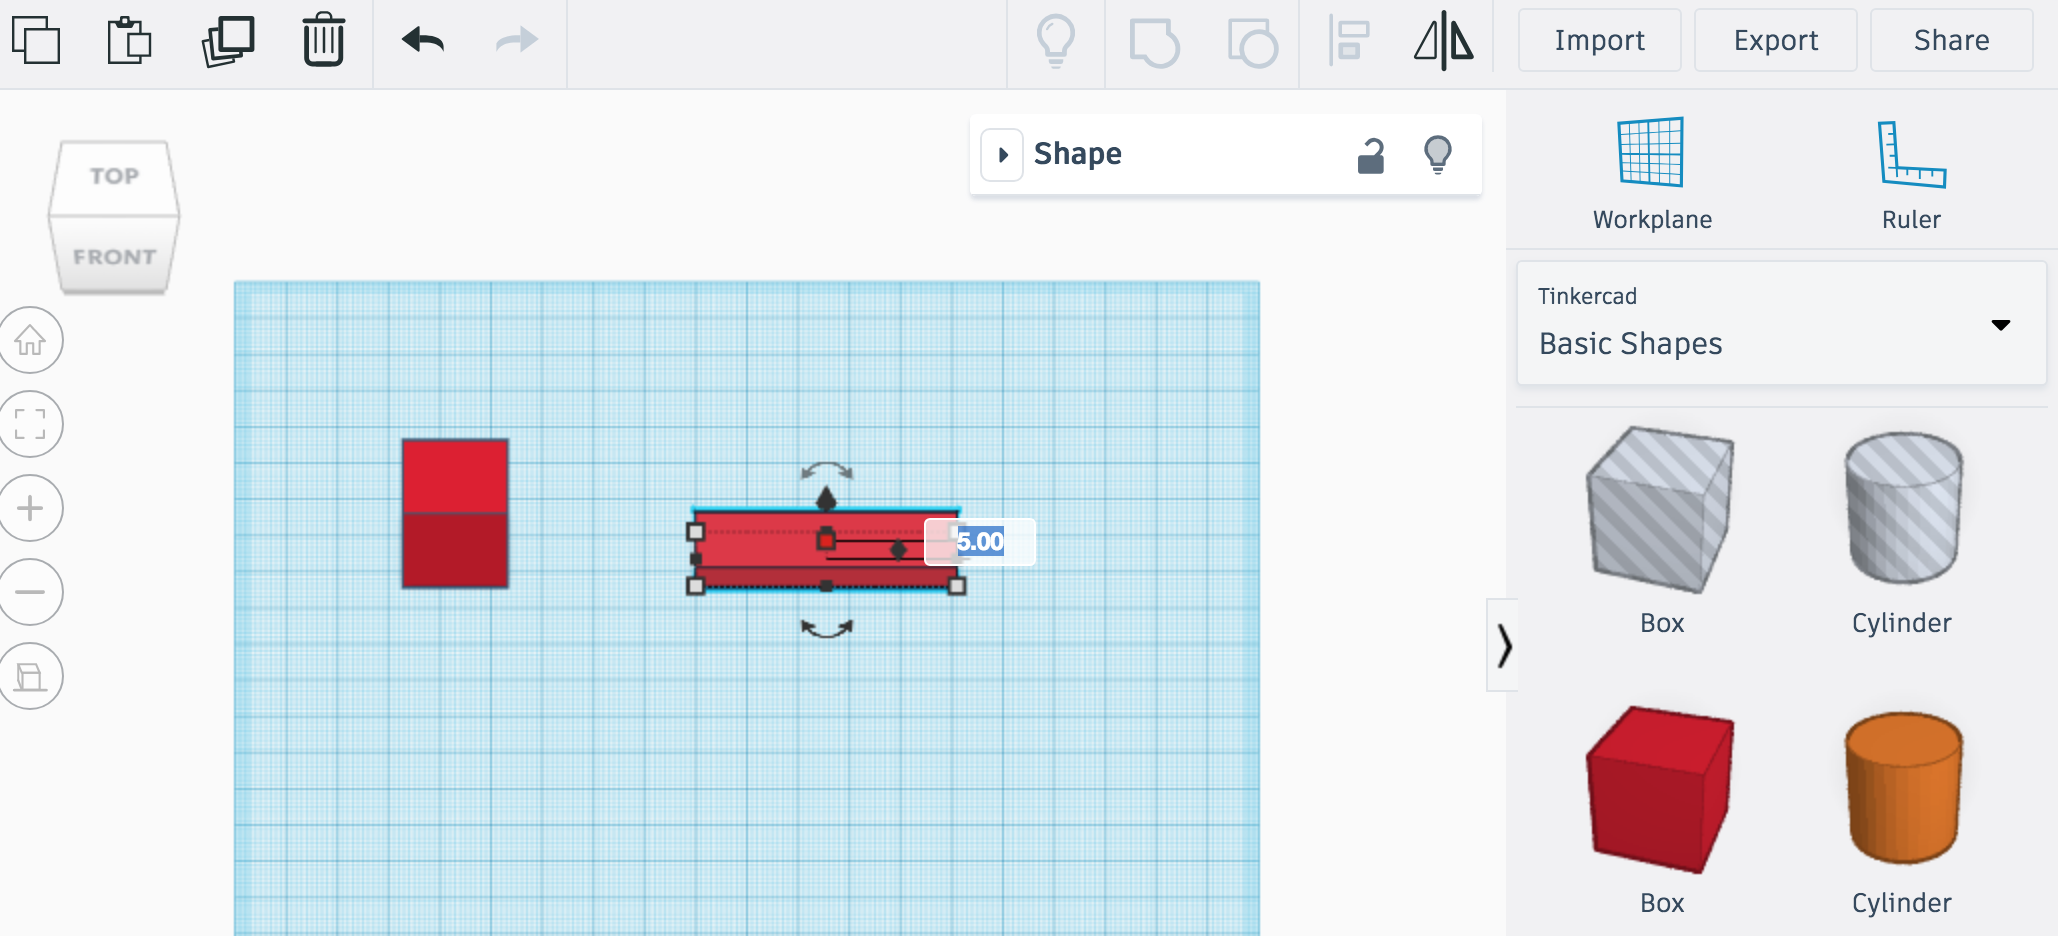
First, log in to Tinkercad.com. Again, feel free to use your Autodesk account or create a new account for this website. Once you are on your dashboard, click "Create New Design."
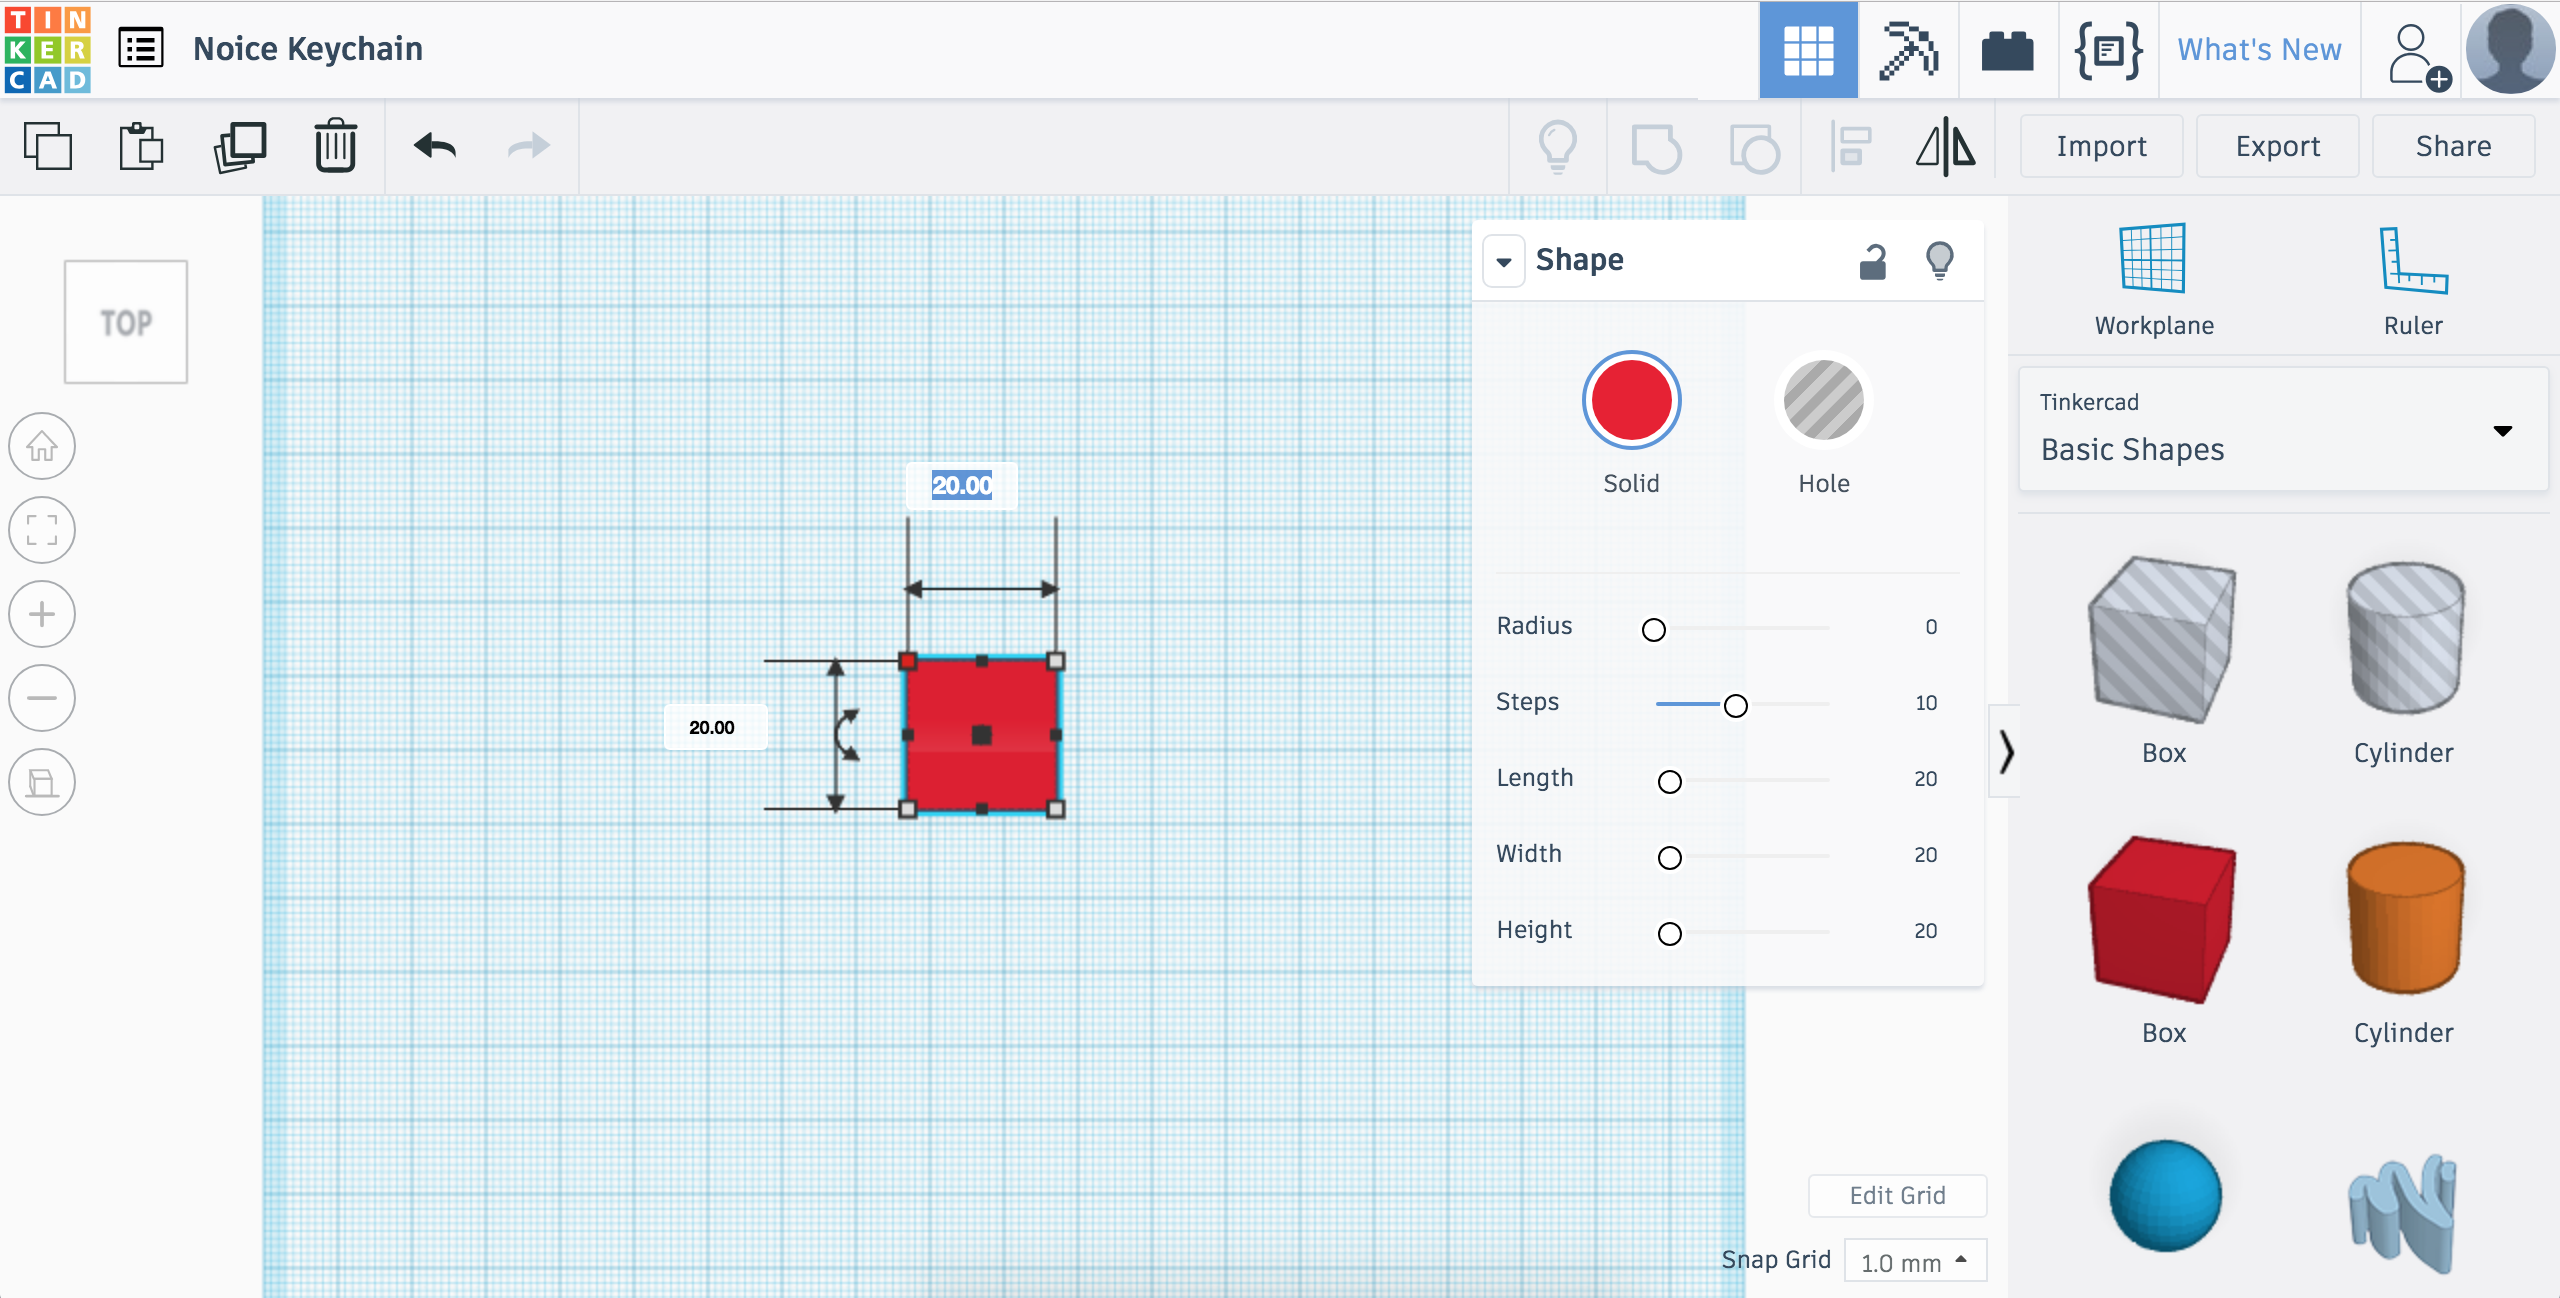
You will find a box under "basic shapes." Drag one onto your workplane. You are welcome to play around with the dimensions to make them whatever you prefer; however, my recommended dimensions are: five millimeters high, 51 millimeters long, and 15 millimeters in width. Remember, you can either click and drag the corner of your box until it is the shape you want, or you can select the dimensions and type in the ones you desire, as pictured above.
Congratulations, you've made your base! Now it's time to add the hole.
Add a Hole for the Keychain Ring
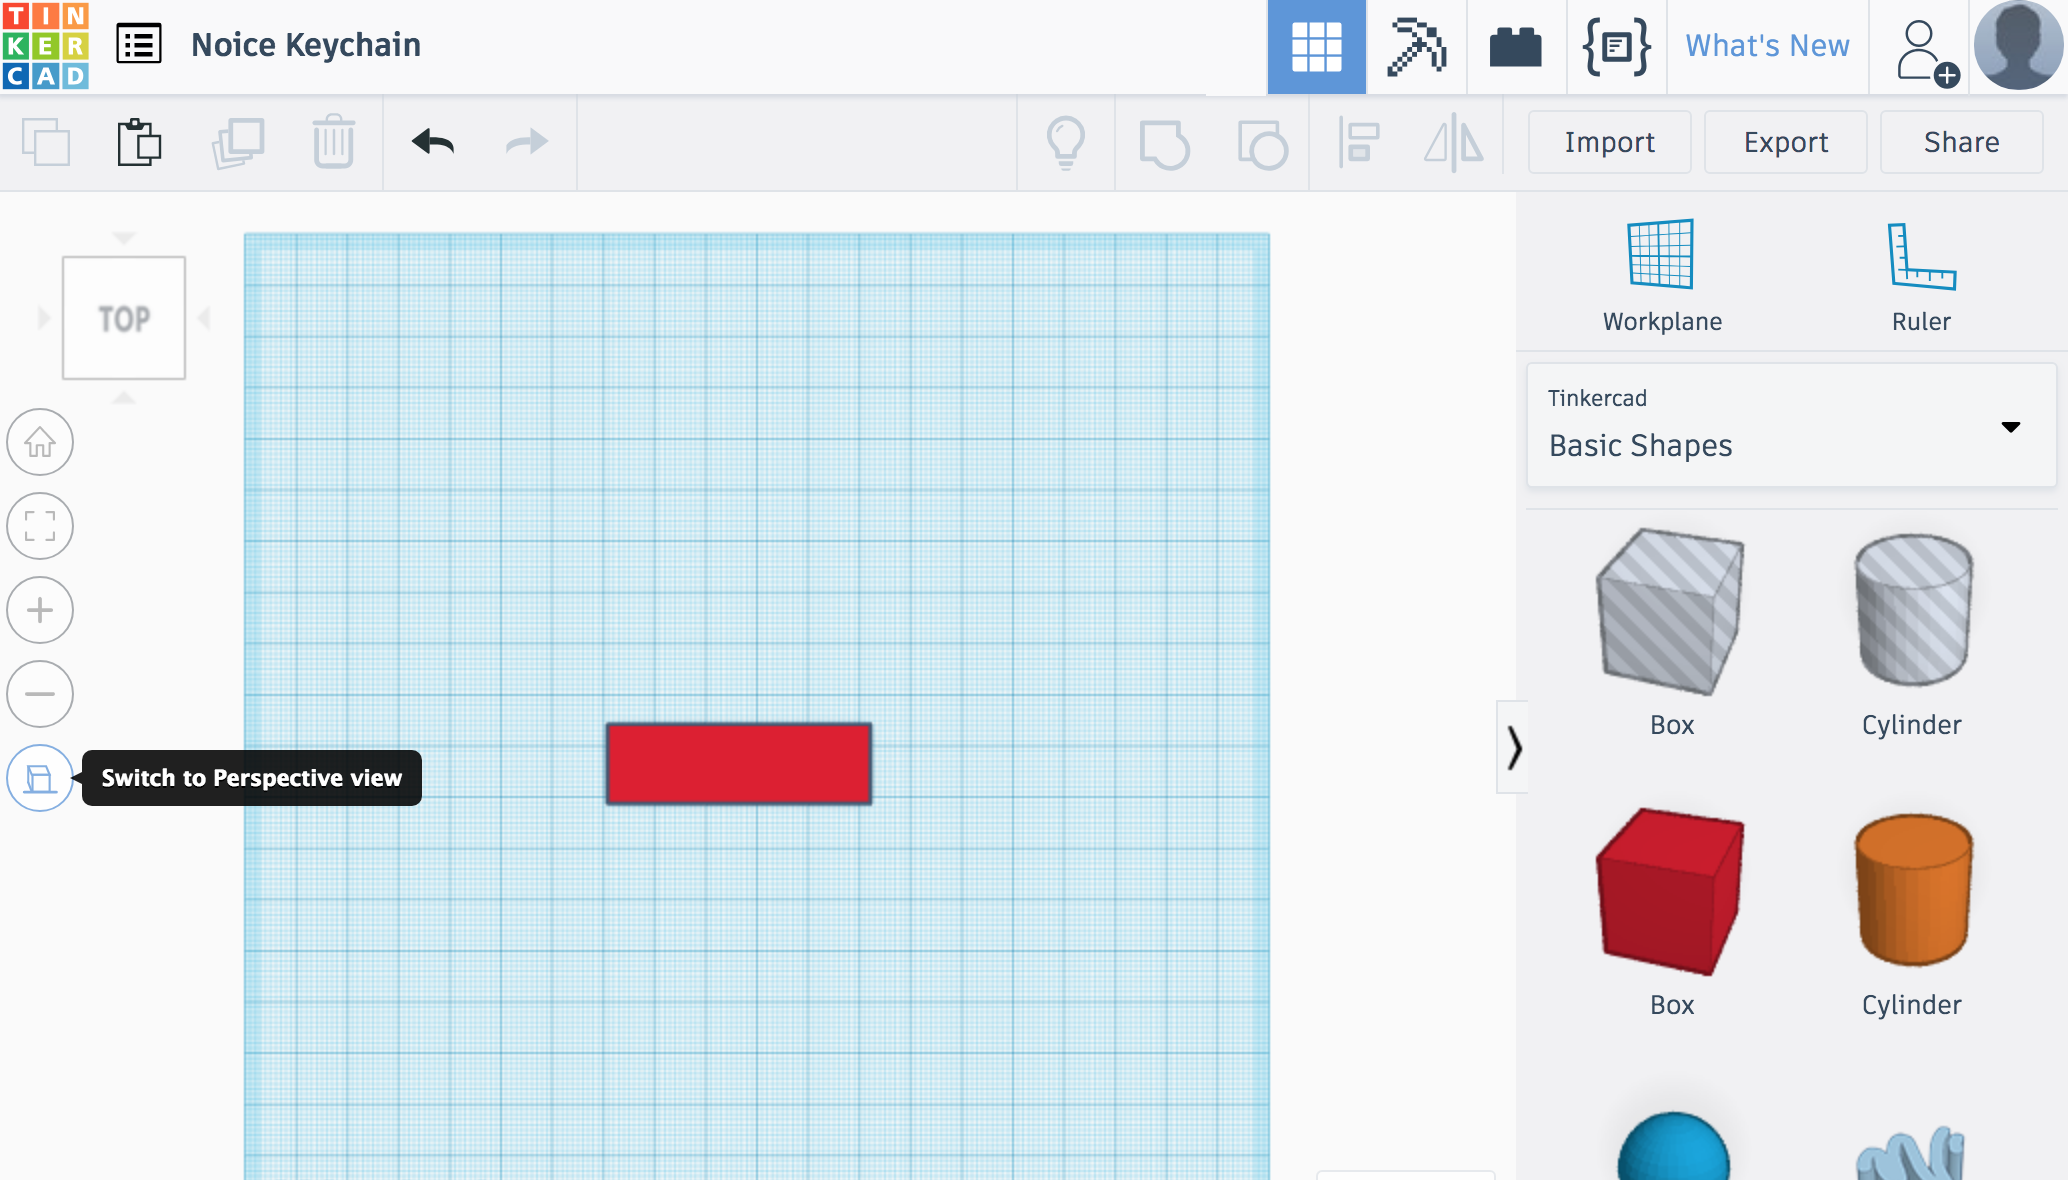
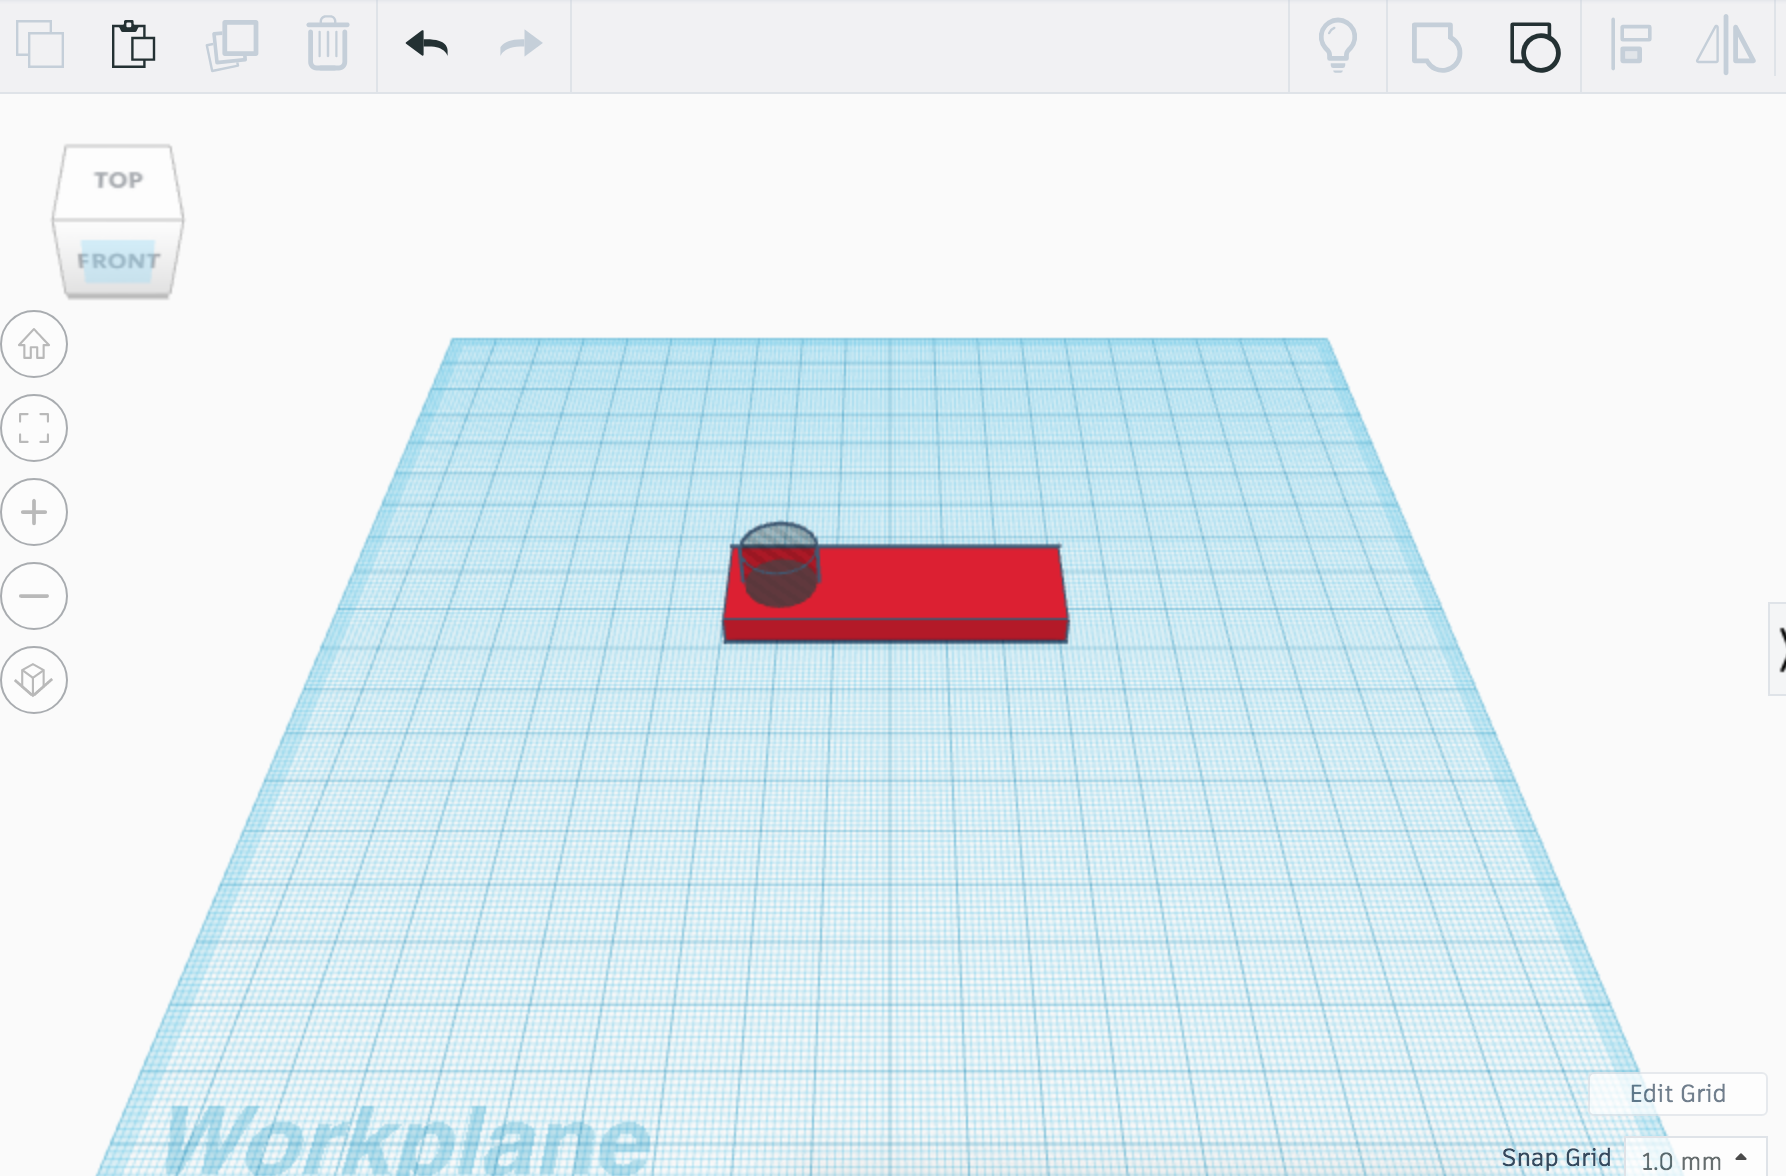
I am not great at working in a 3D plane, so I found this step easiest to complete when viewing the keychain from the top and in orthographic view. To do this, click on the cube in the top left of the screen until you see it as a simple square with the word TOP written across it. Below that square is five circles that will affect your view. The last one toggles your view between orthographic and perspective. I recommend Orthographic view. You can see exactly how this should look in the first photo above.
Your hole can be in whatever shape you want, but I will be showing you how to make a round one. With that, there are two ways to add a circular hole to your base.
1. You can drag a cylinder on top of the base. Then, while still having the cylinder shape selected, click on the "Hole" option under the Shape menu. You can do this for any shape you please, if you would like to make your hole a different shape.
2. You can grab the gray-striped cylinder, which is the second shape listed under Basic Shapes, and drag it on top of the base. This is the simpler way to create a hole, but only because there is one less step.
Now adjust the size of the cylinder to be appropriate for a keychain ring hole. I found that a circumference of about 10 millimeters worked best. Feel free to make your cylinder slightly ovular so that the hole reaches closer to both edges. For example, the length of mine is 10.2 millimeters and the width of it is 9.95 millimeters. These aren't magical numbers -- I played around with the cylinder's size by dragging it around until I found one that looked right to me, so feel free to do the same.
Once your hole is where you want it to be, drag your mouse across the cylinder and the base, and group them together. You can do this with the keyboard shortcut Control-G (Command for Mac users). This isn't necessary but it will make your life so much easier.
Adding Your Letters
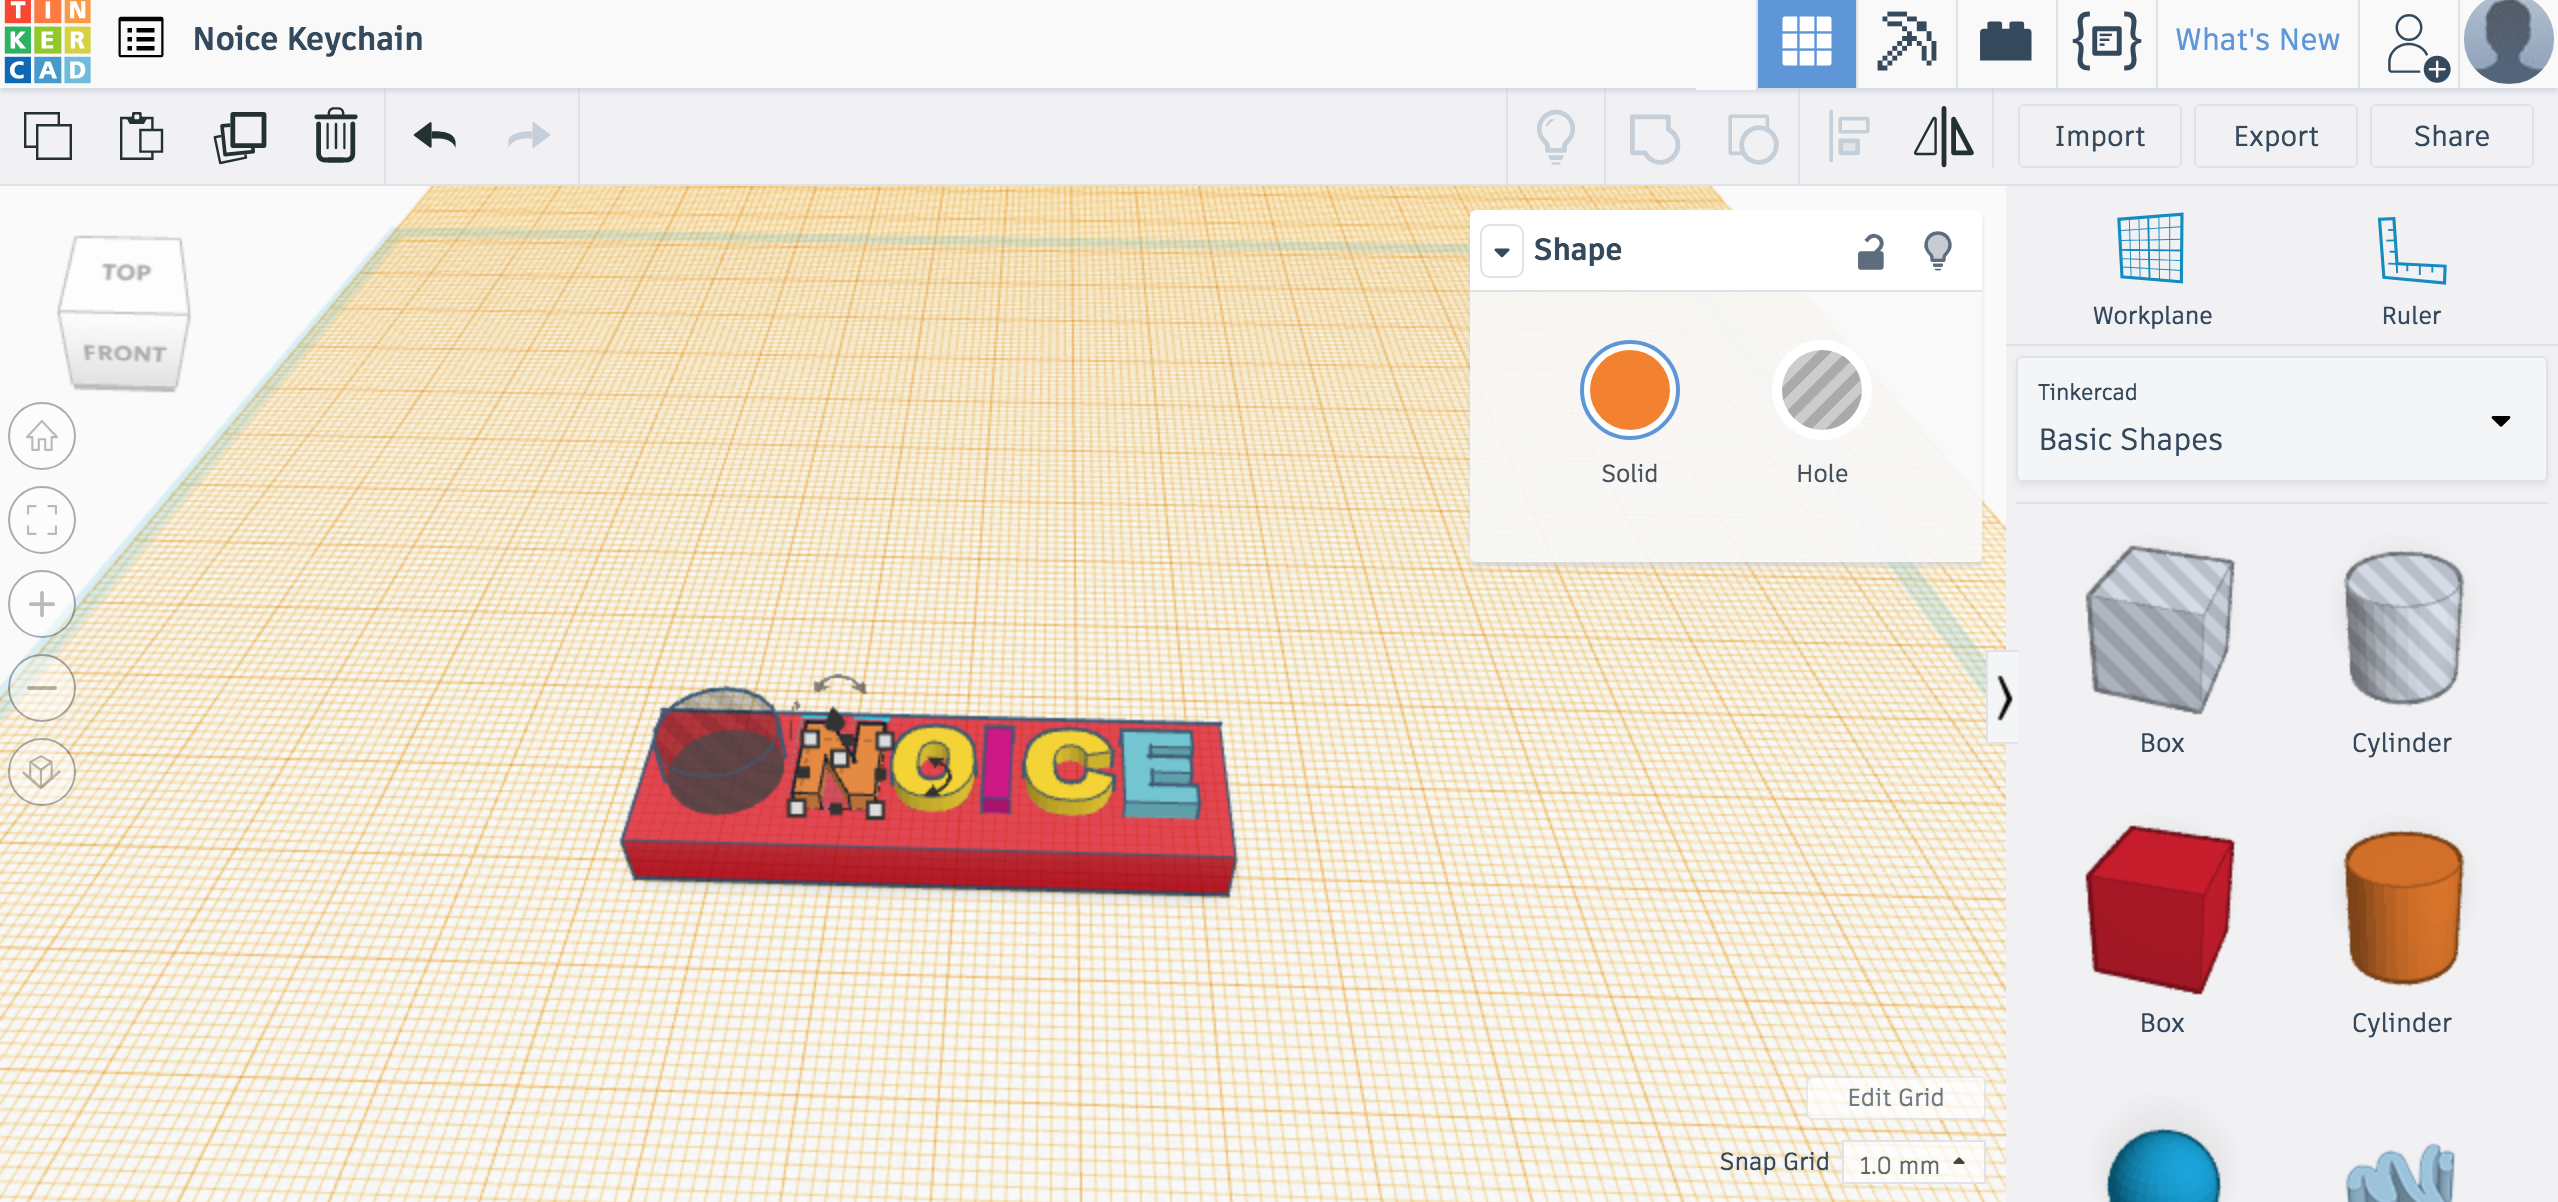
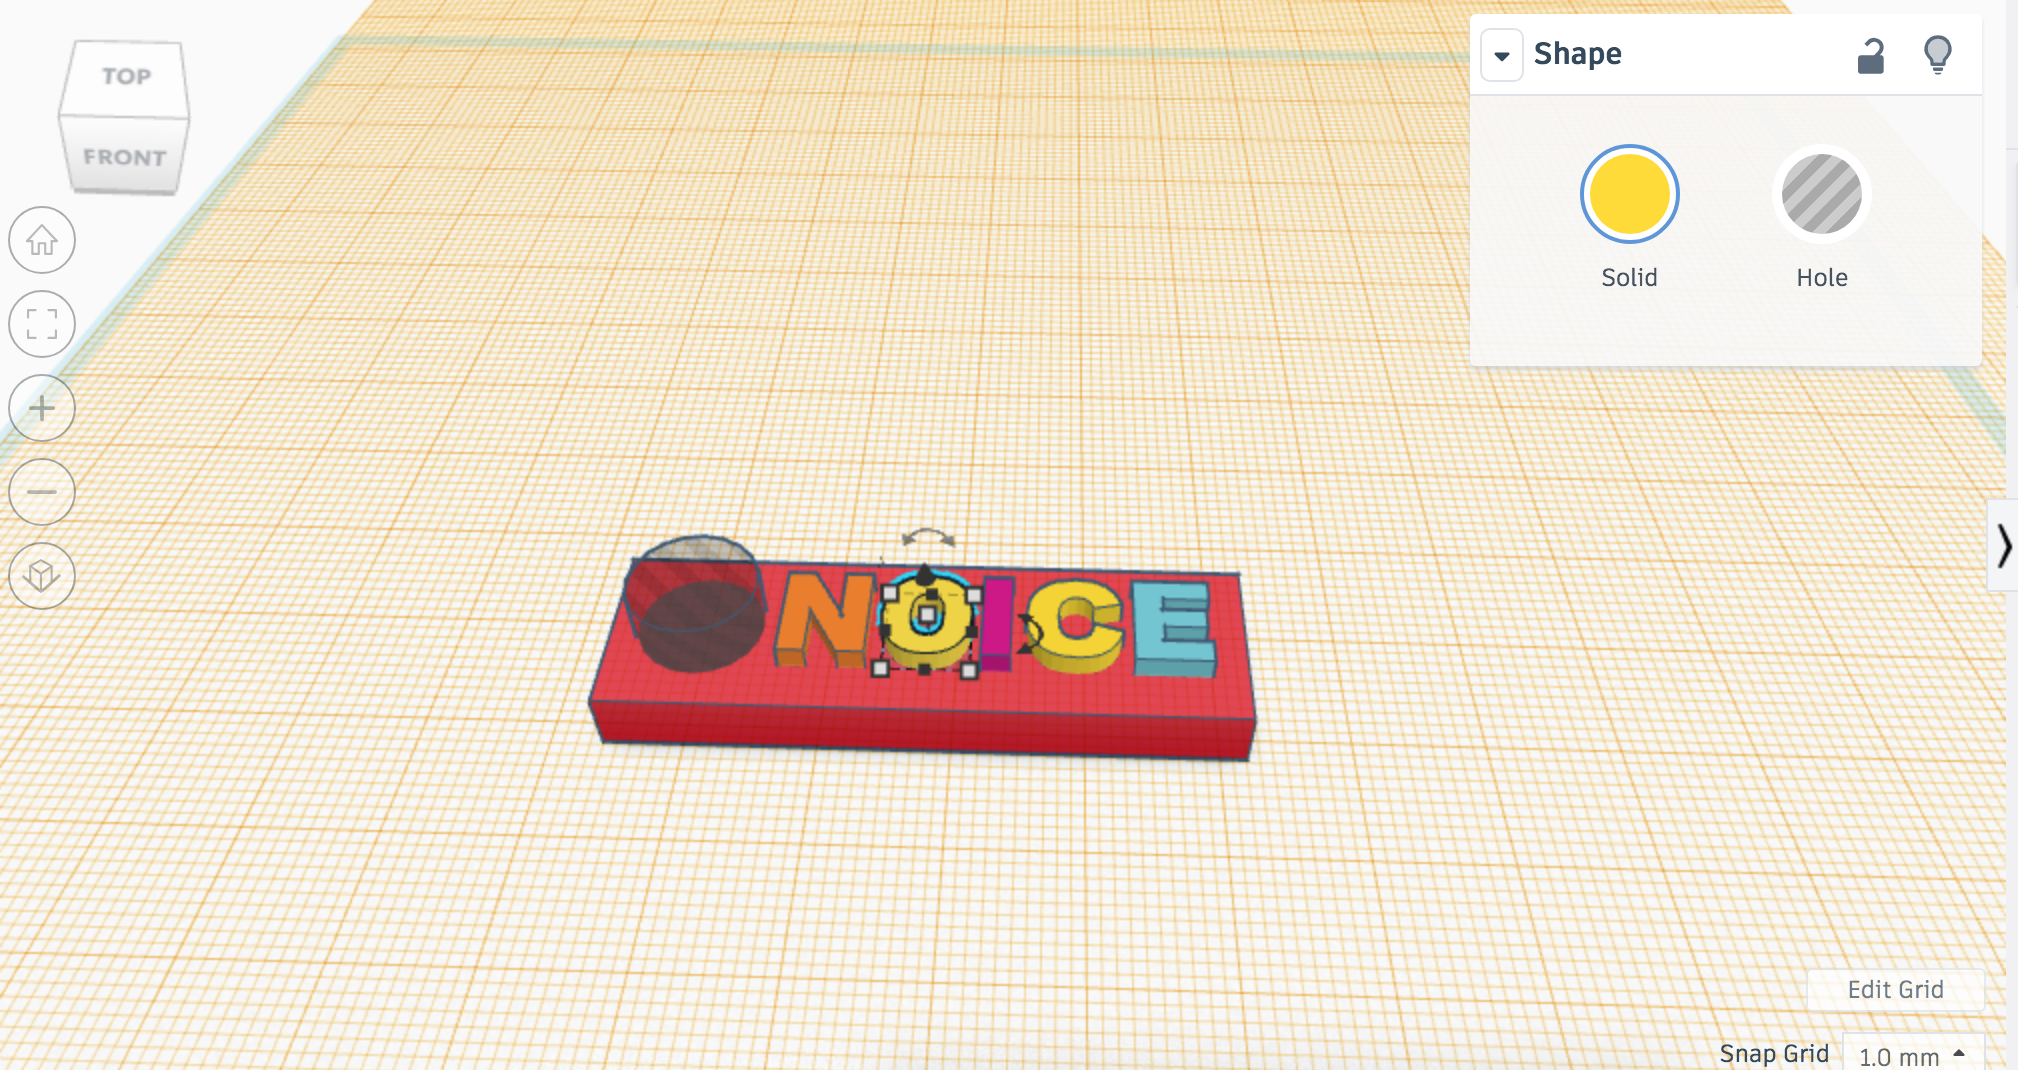
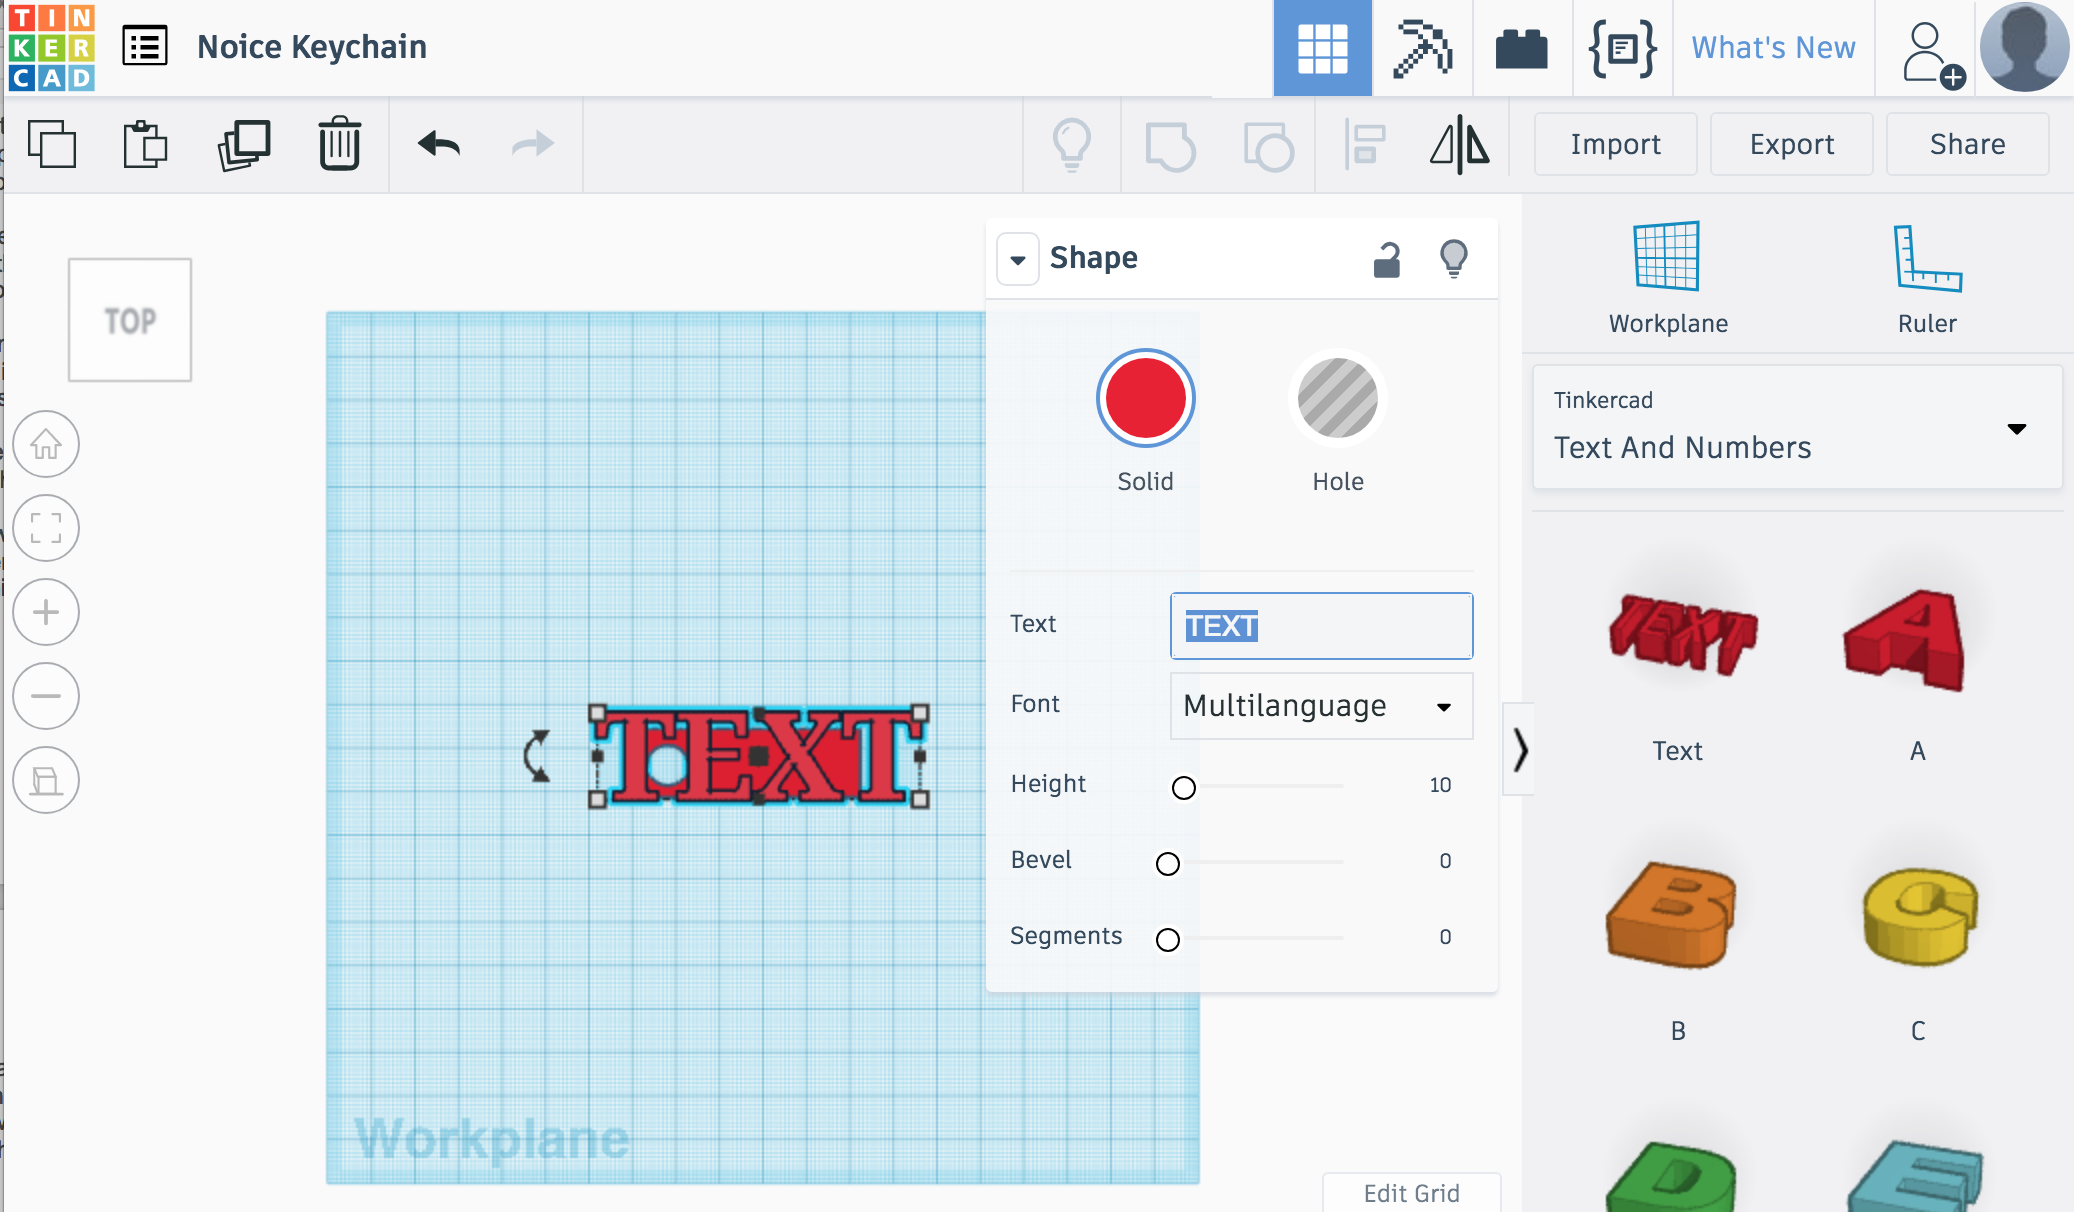
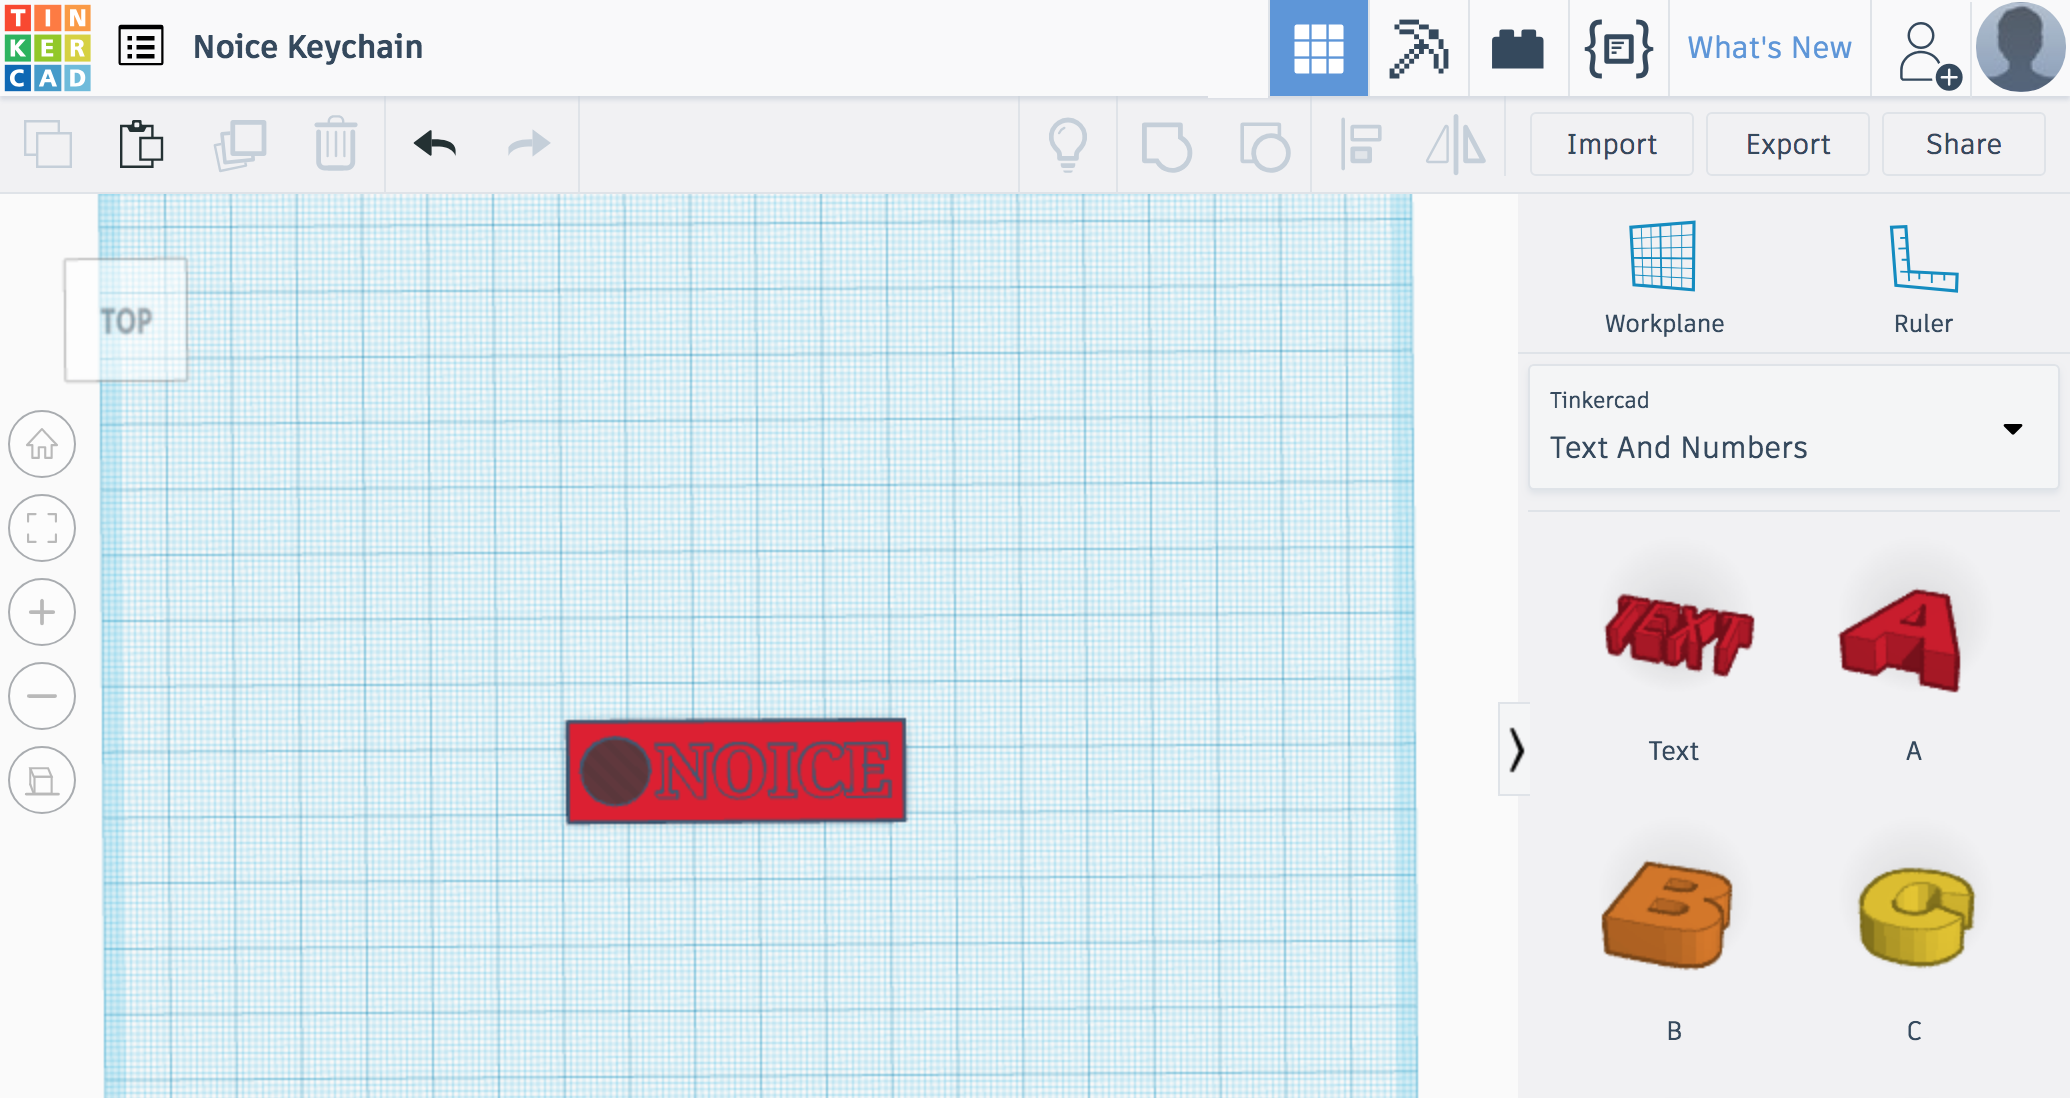
The first time I did this, I put each letter on individually and had to size them one at a time. It was so difficult. You can see it in the pictures above. Since then, though, I have lived and learned and will teach you as well: there is a TEXT shape. Use it. You can find it either about one-quarter to halfway down the Basic Shapes section or it is the first option in the Text and Characters section.
Drag the TEXT onto your keychain base. In the Shape box, type in NOICE. Feel free to play around with the font, which can be adjusted using the dropdown menu below the textbox. Now you can adjust the size of your word in the same way as you did for the size of the base itself.
Once you're done, group all of the objects together.
Exporting and Printing
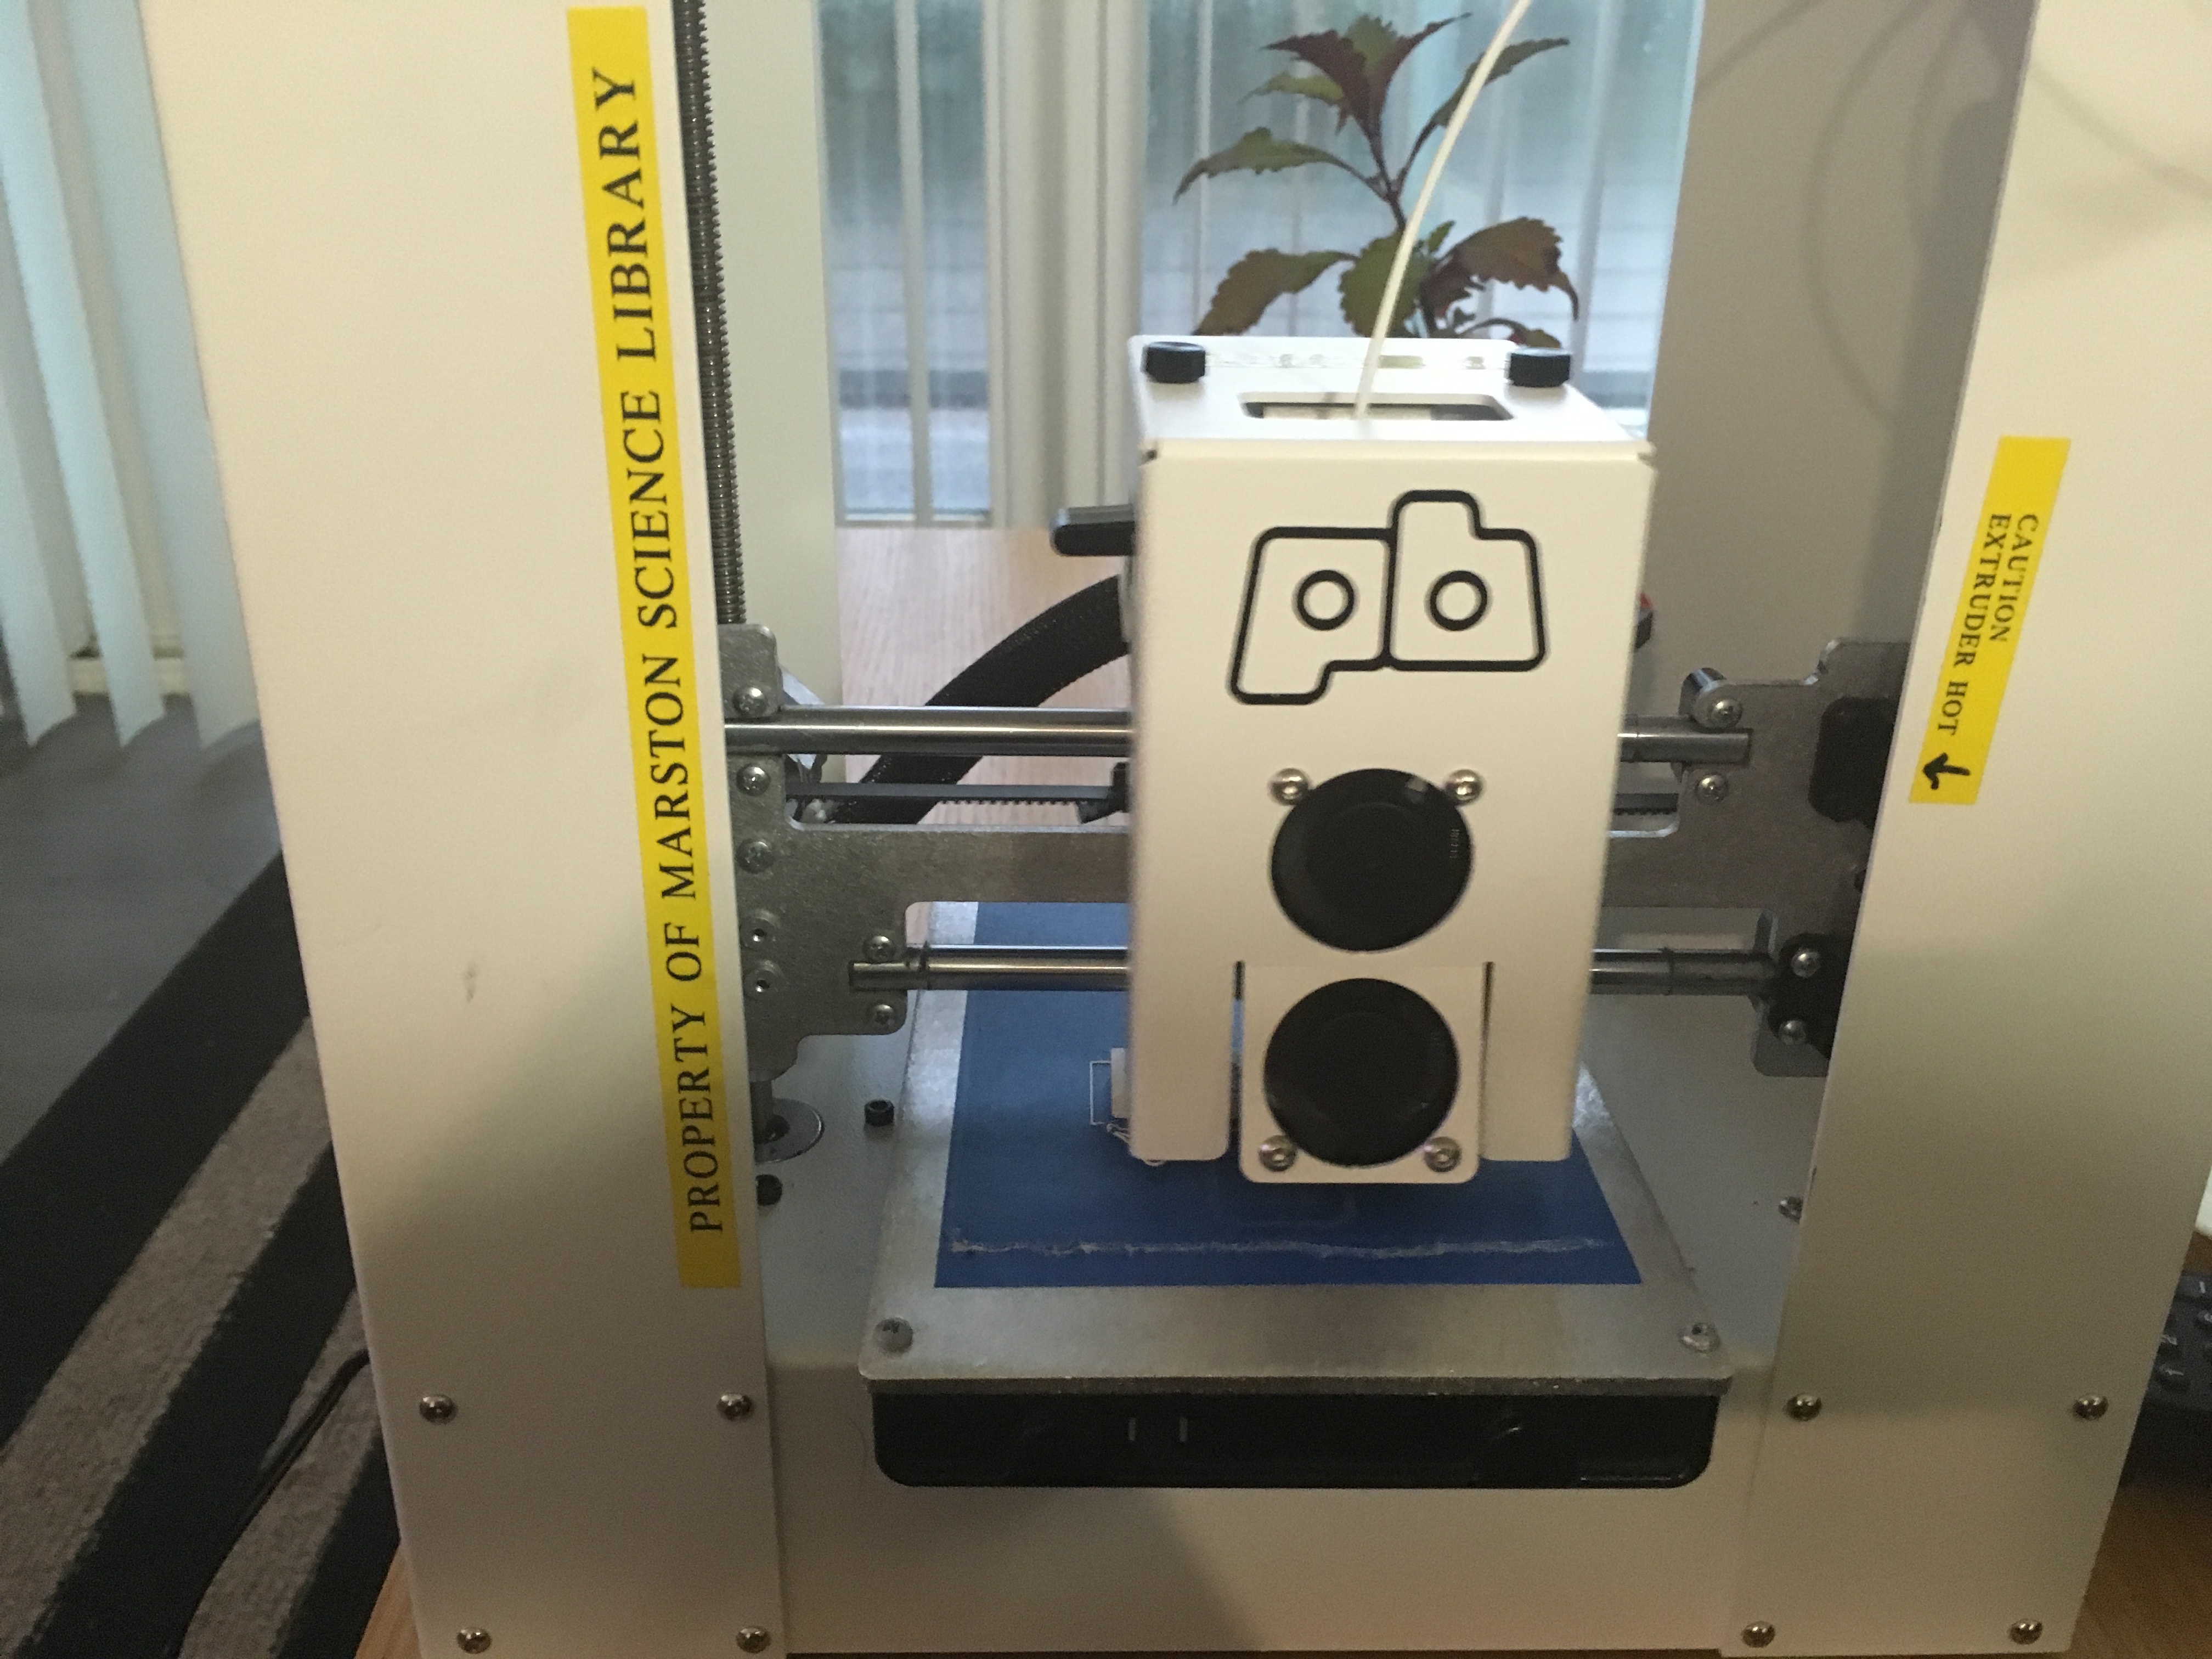
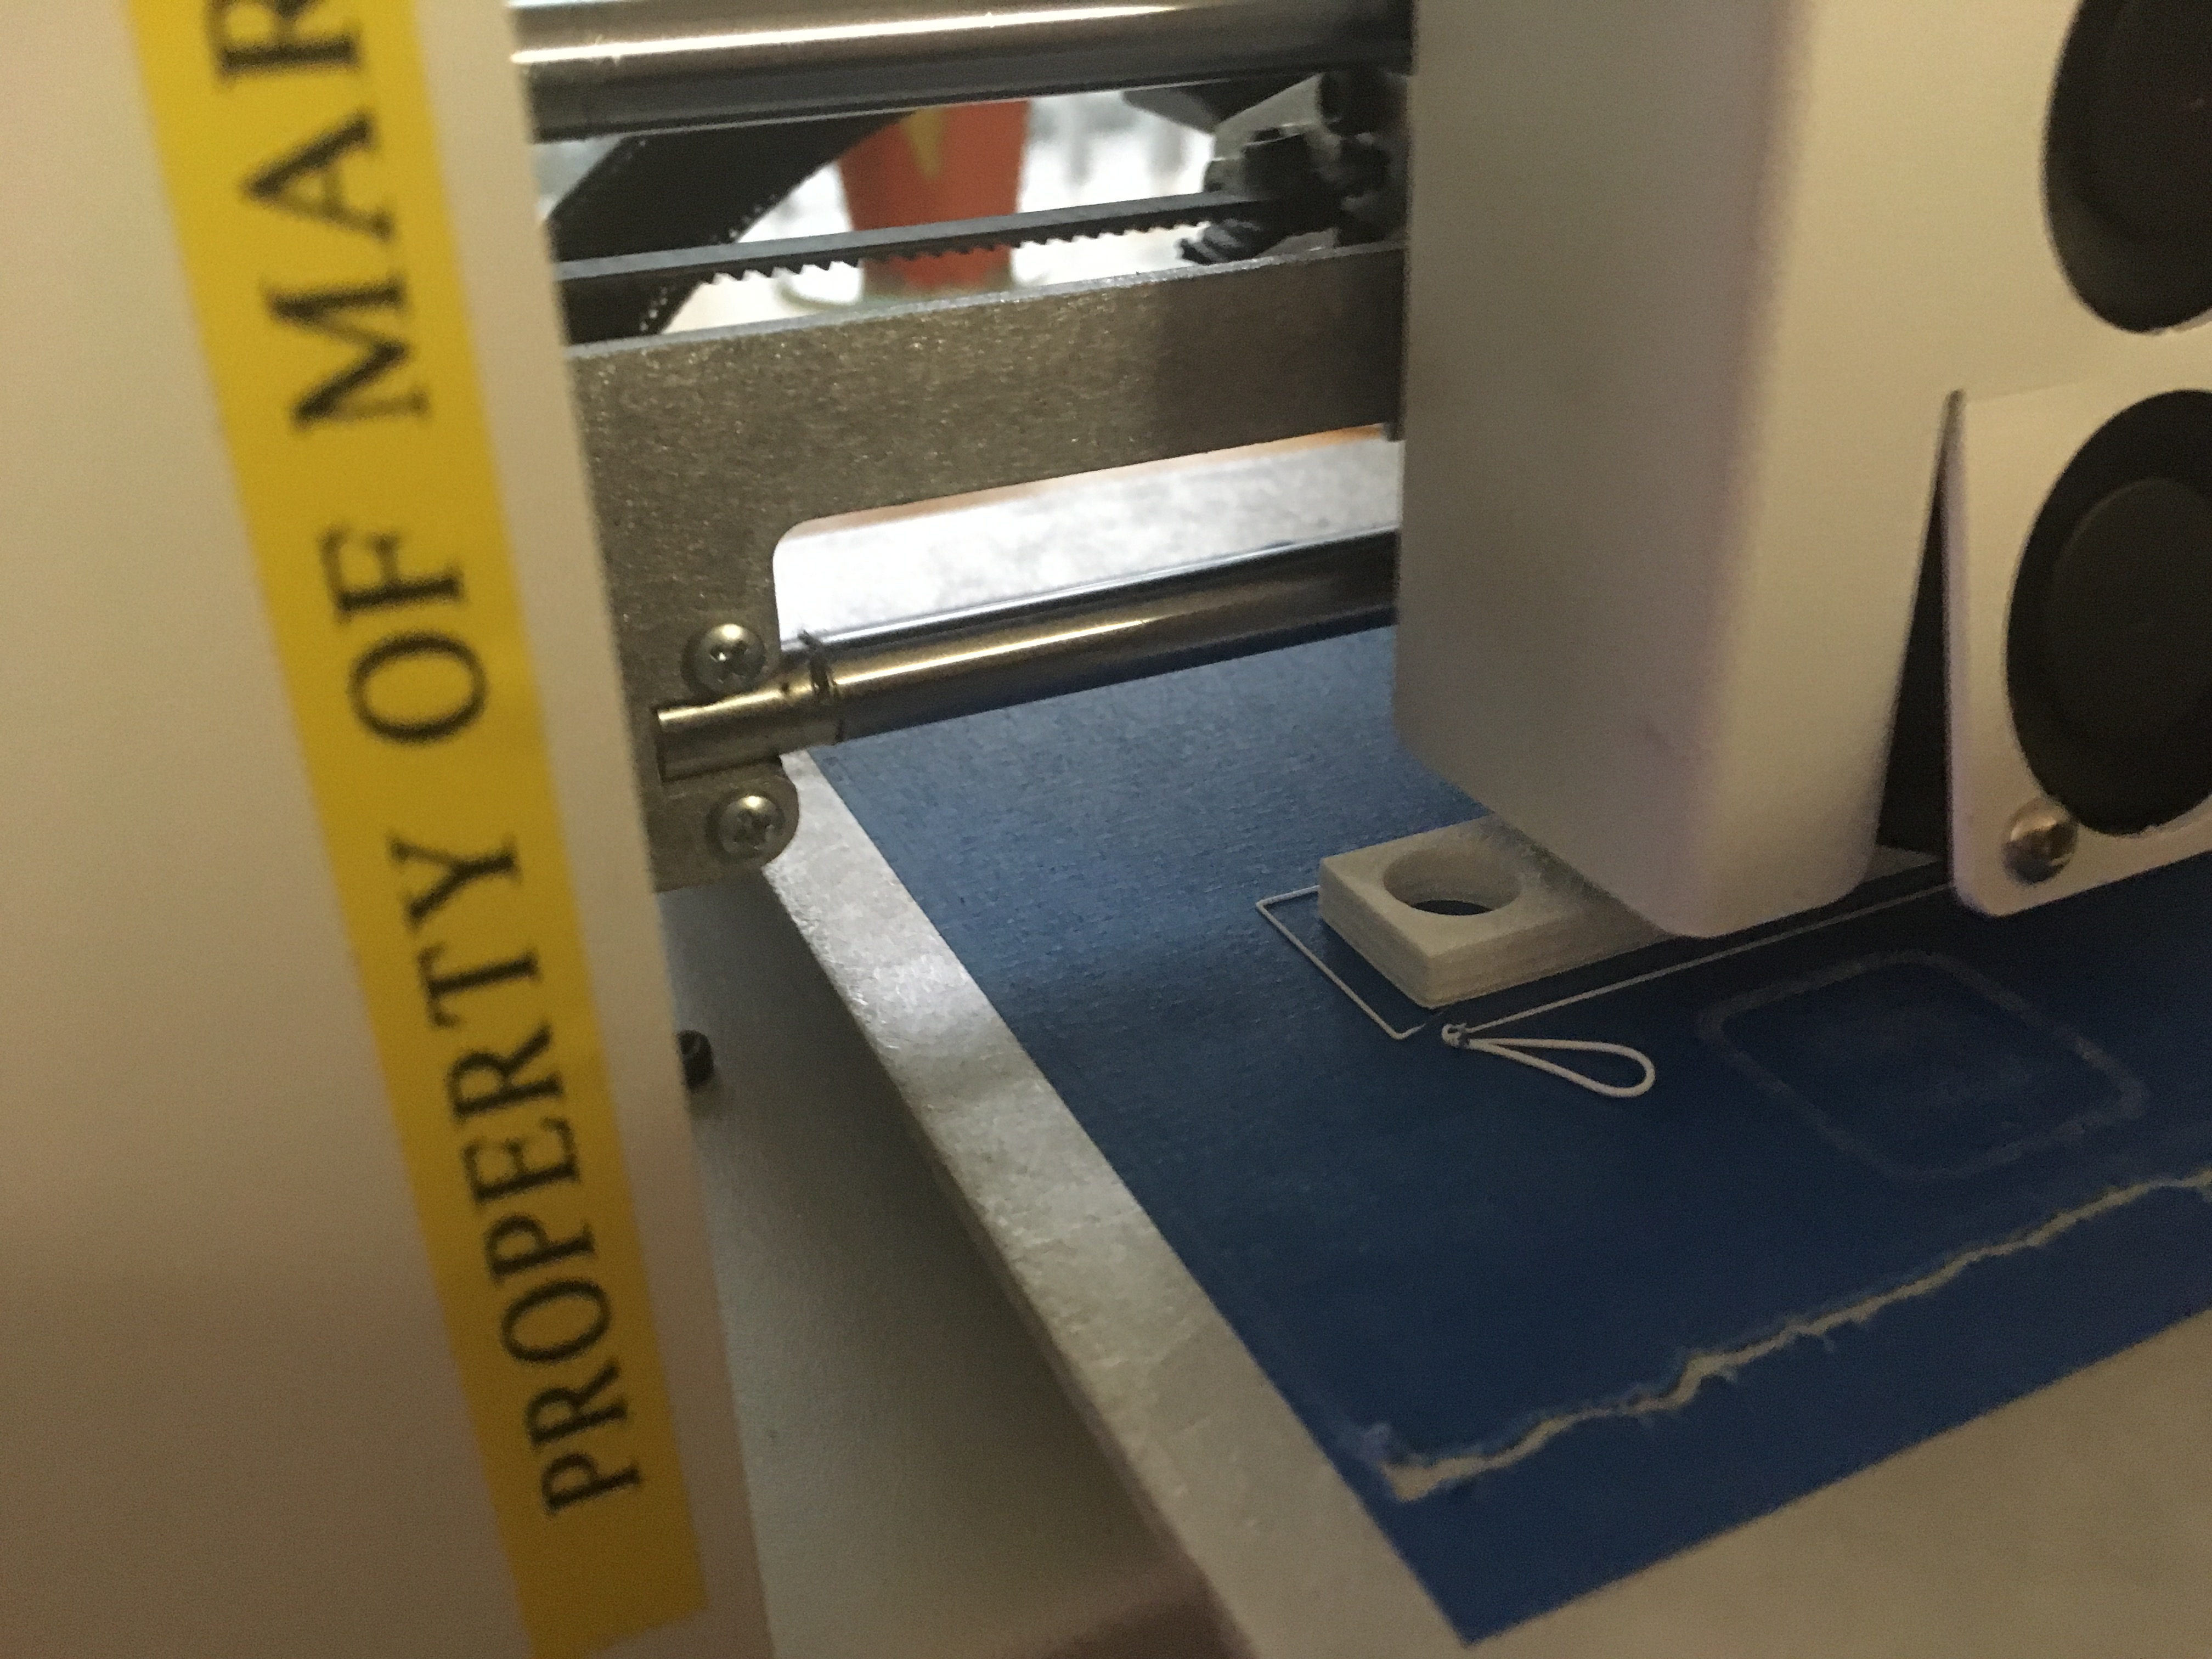
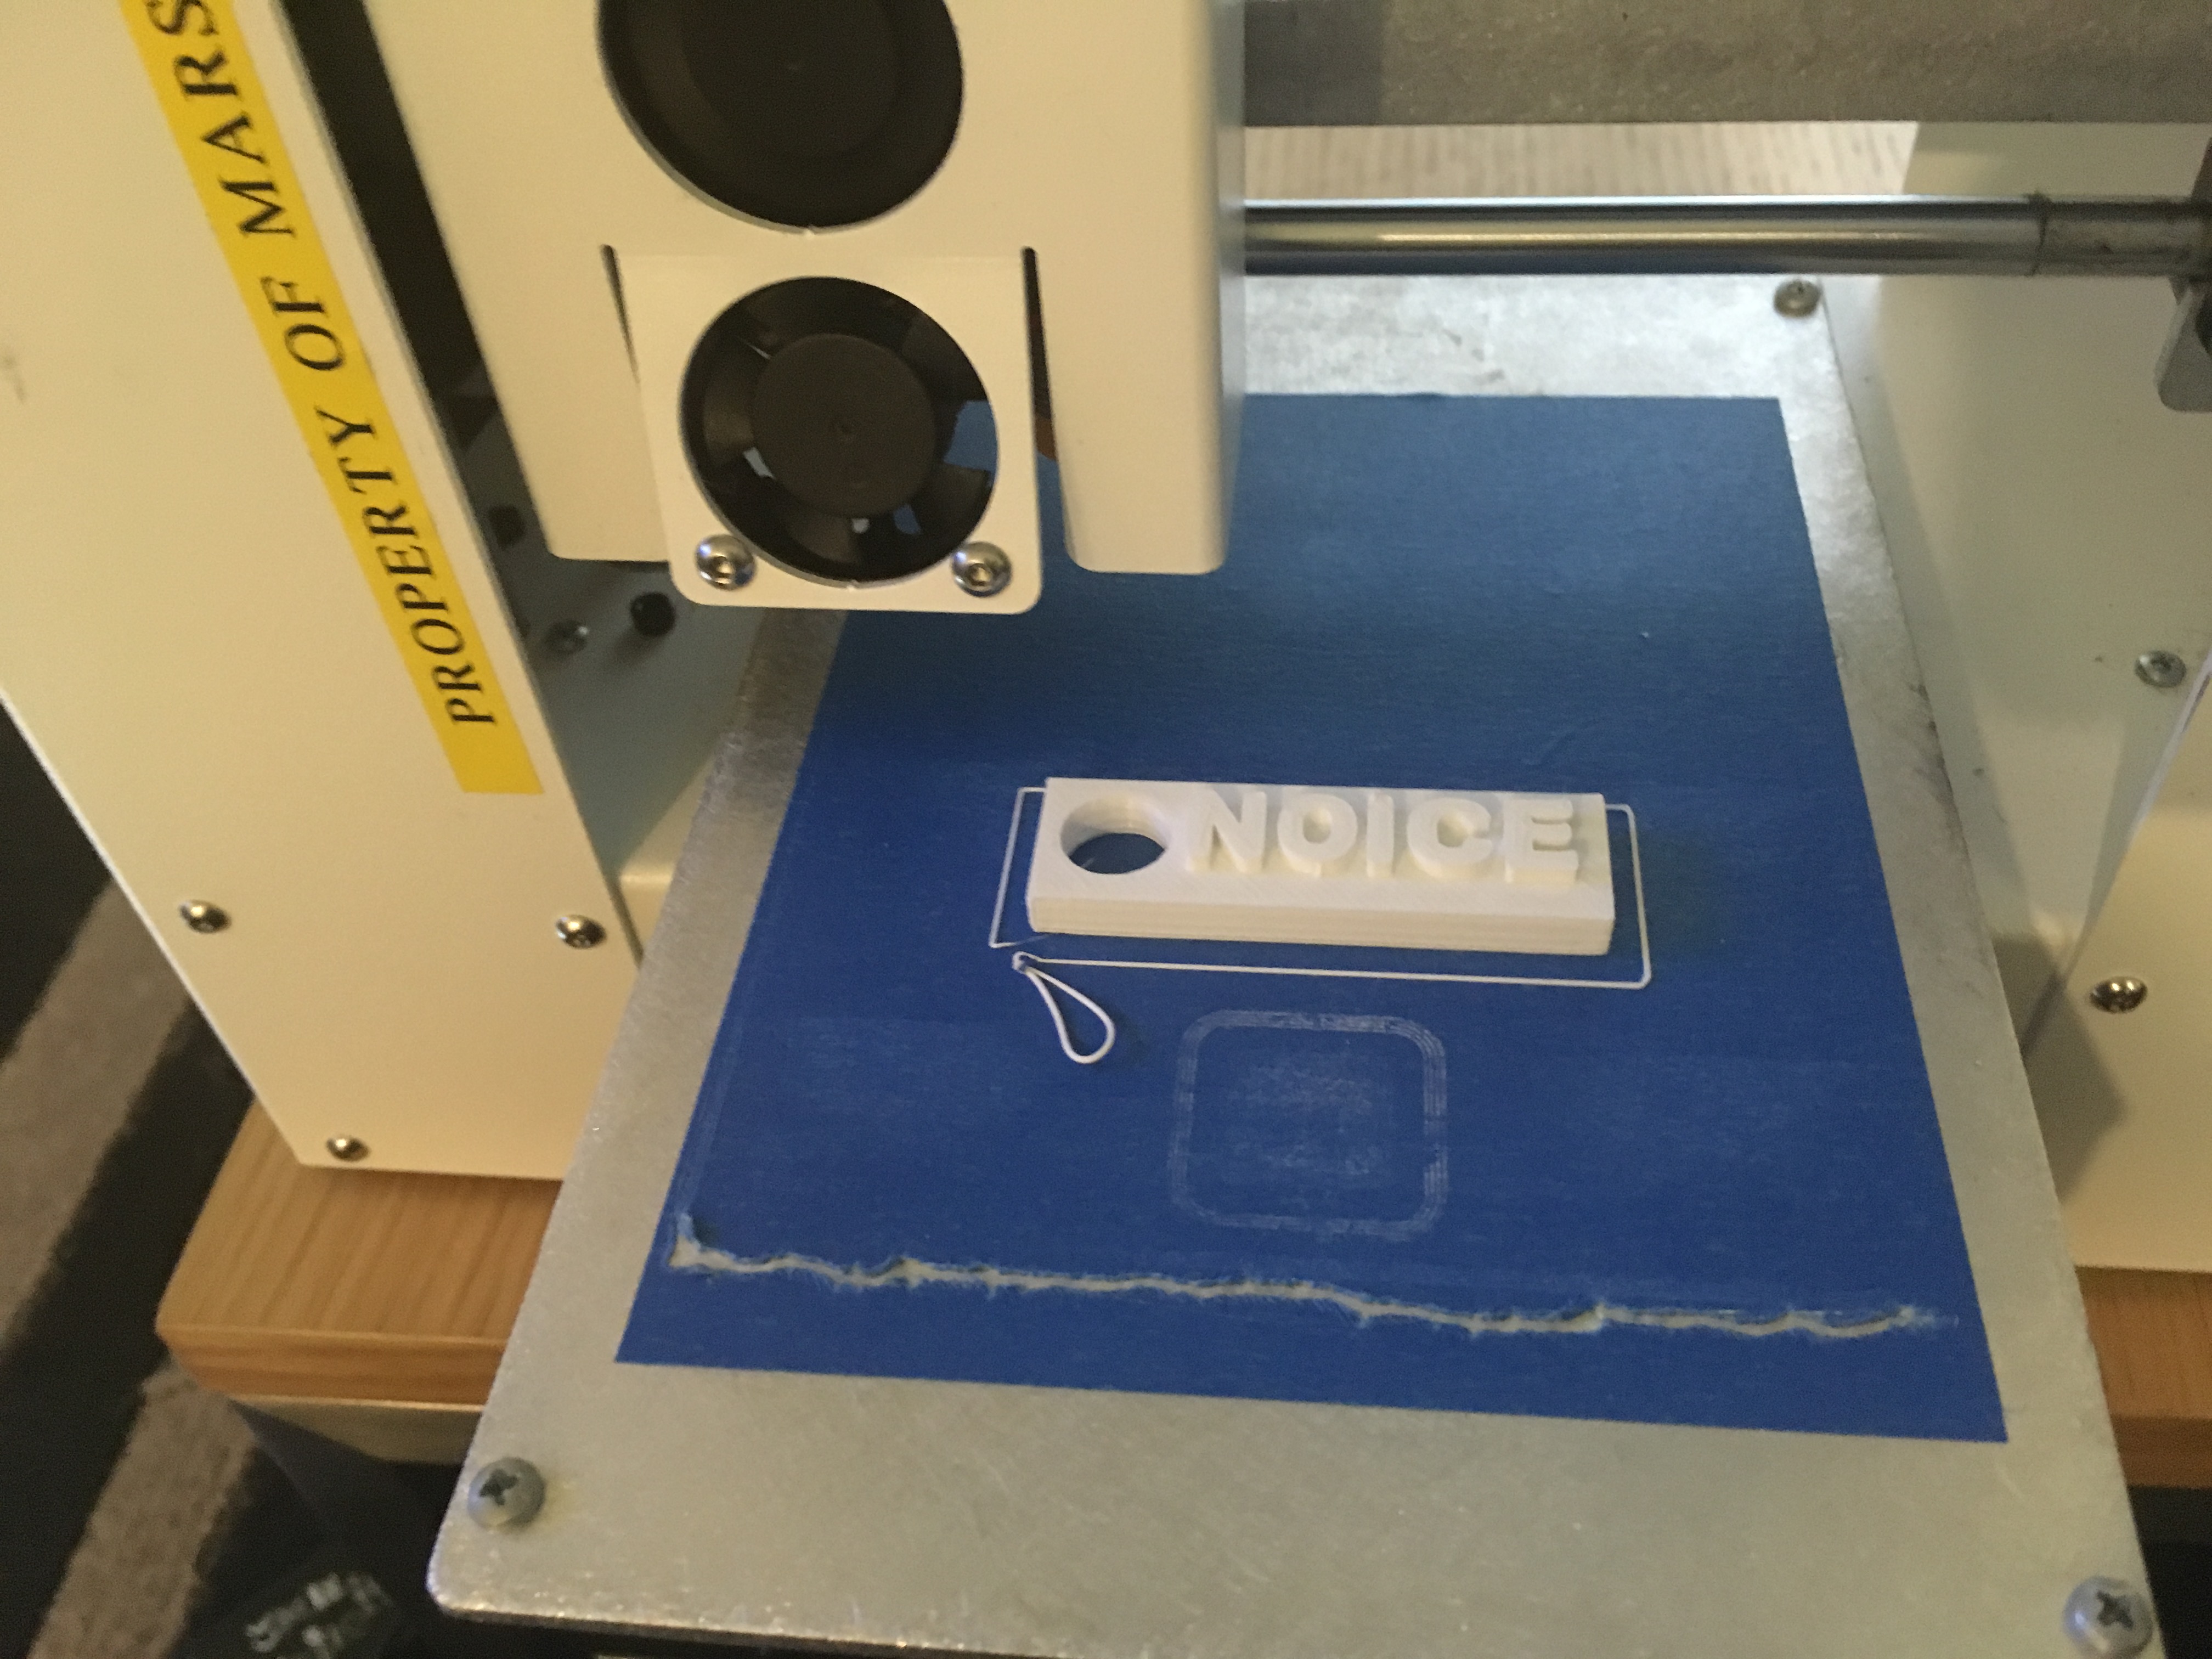
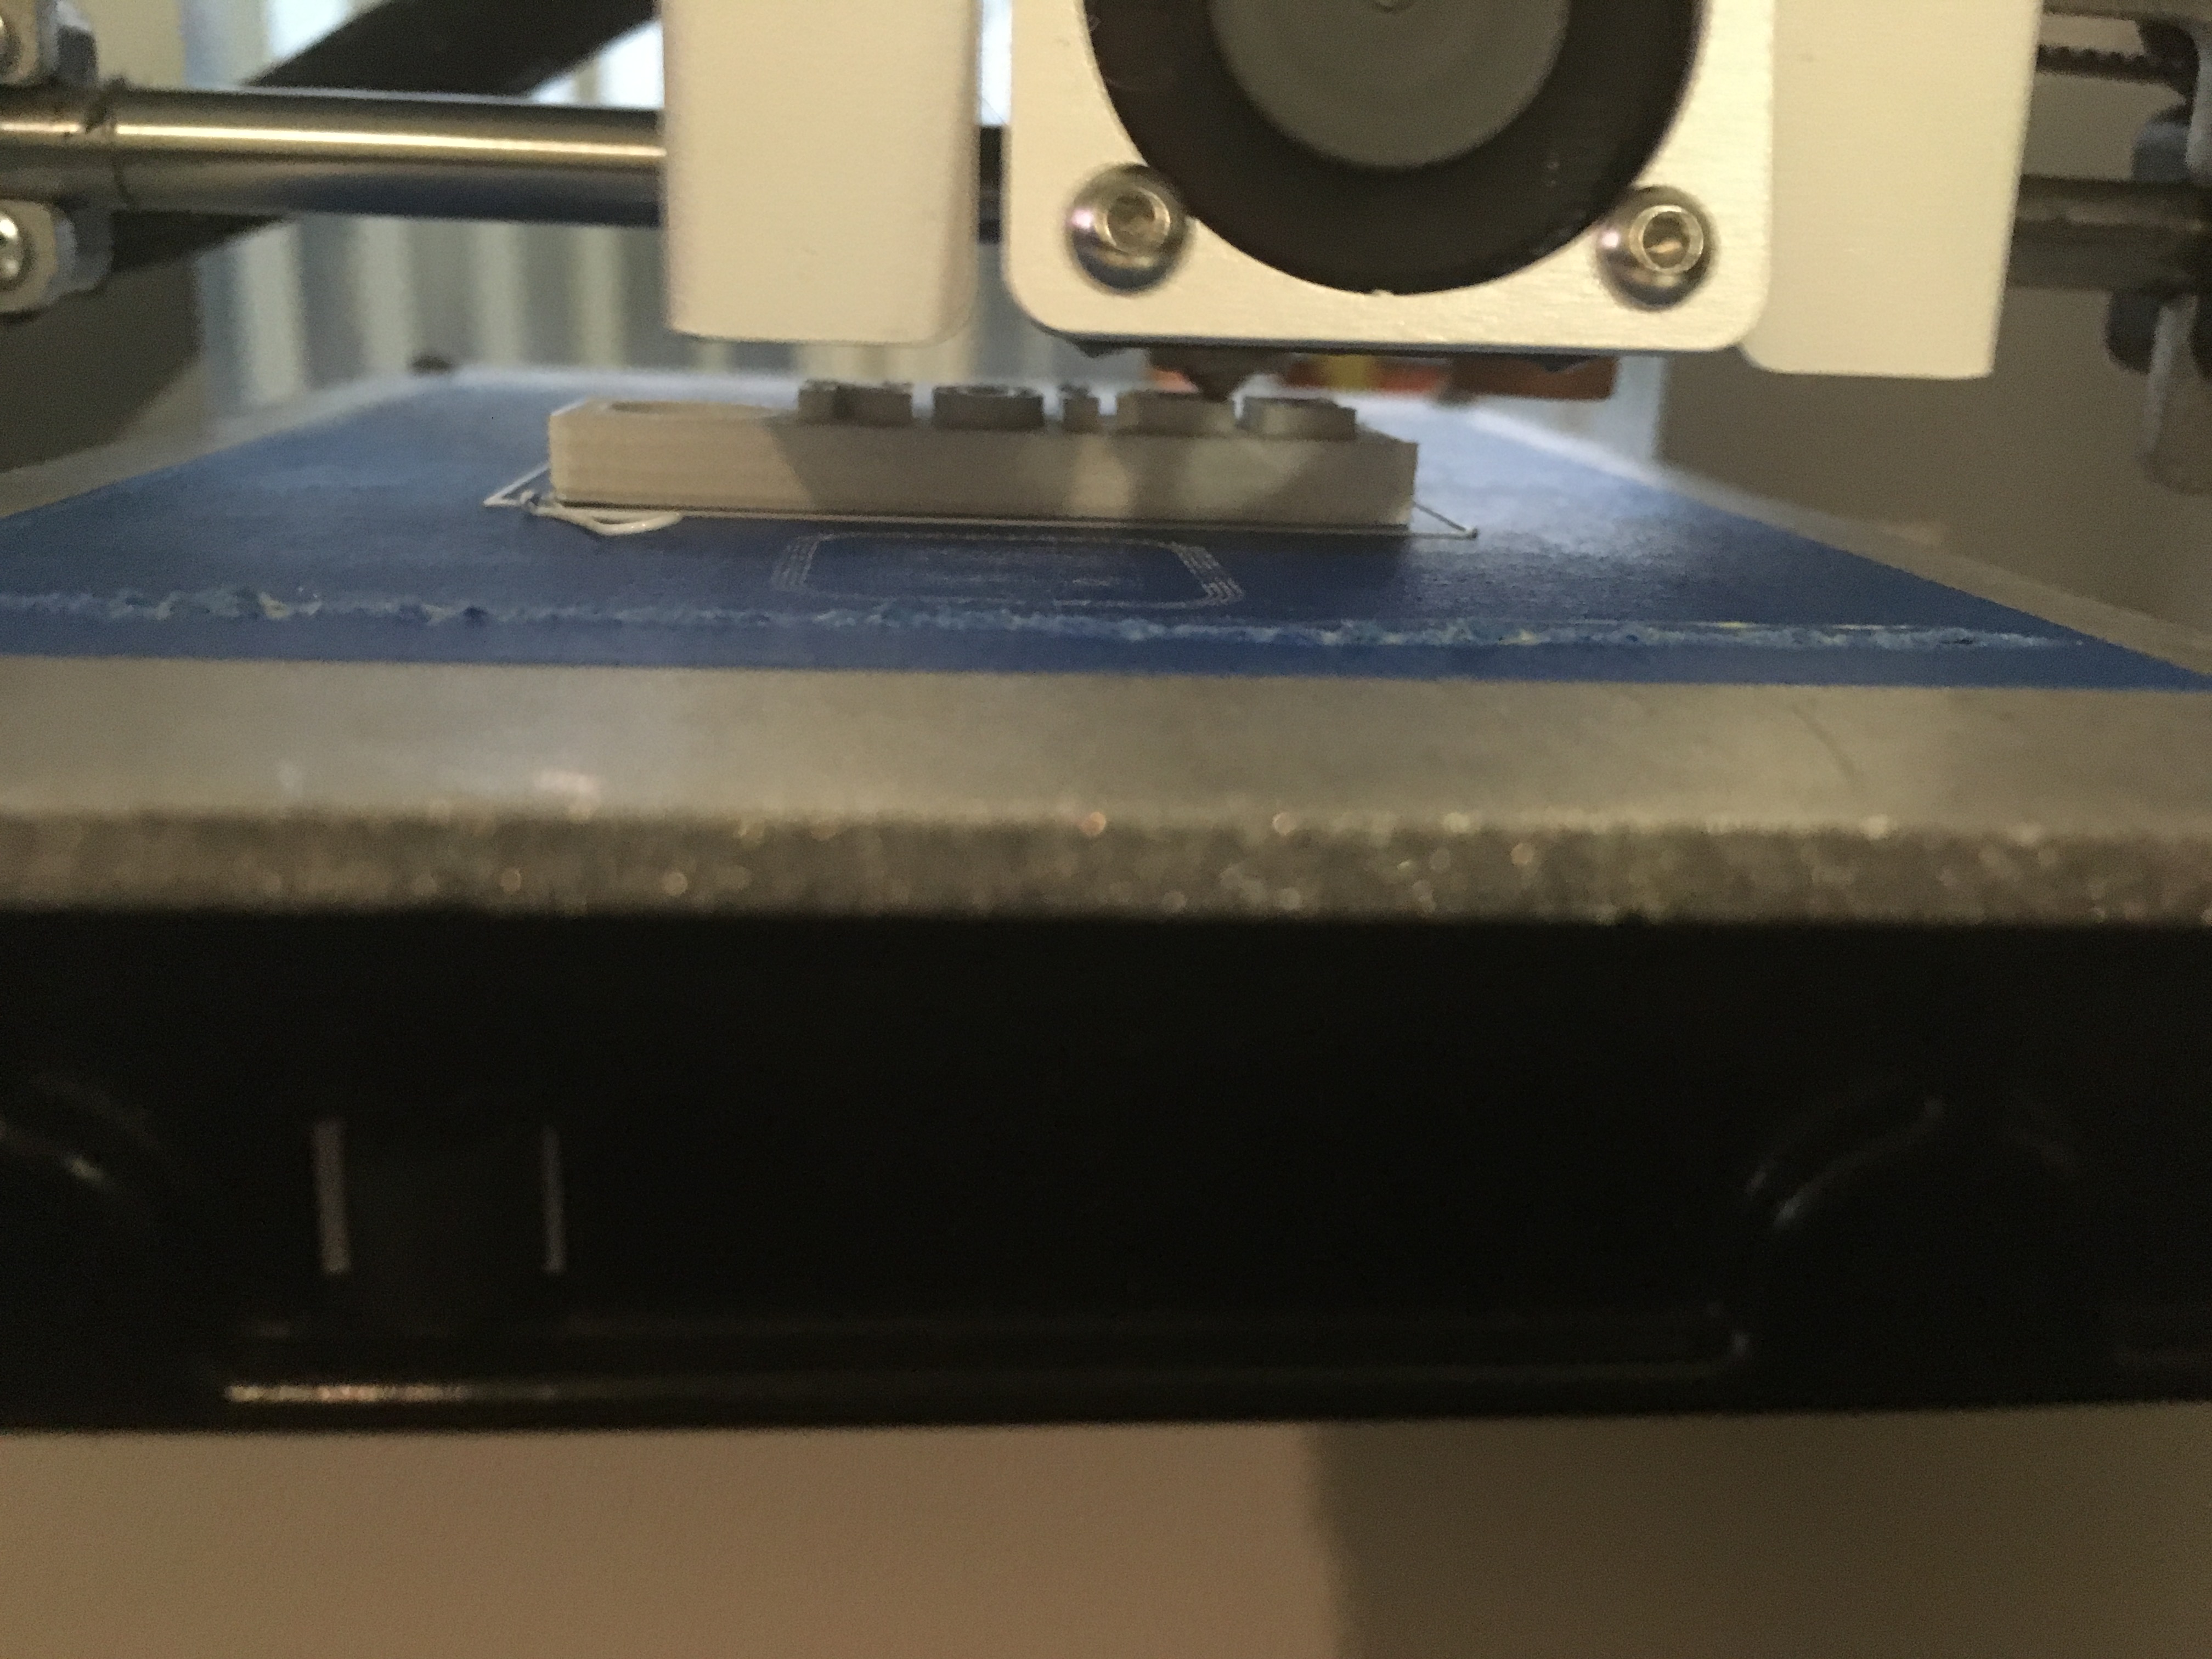
Hit the "Export" button in the top right of the page, and export your project as an .stl file.
Either find a place to print your keychain for you or a place where you can rent a printer and print it yourself.
Decorate Your Printed Product
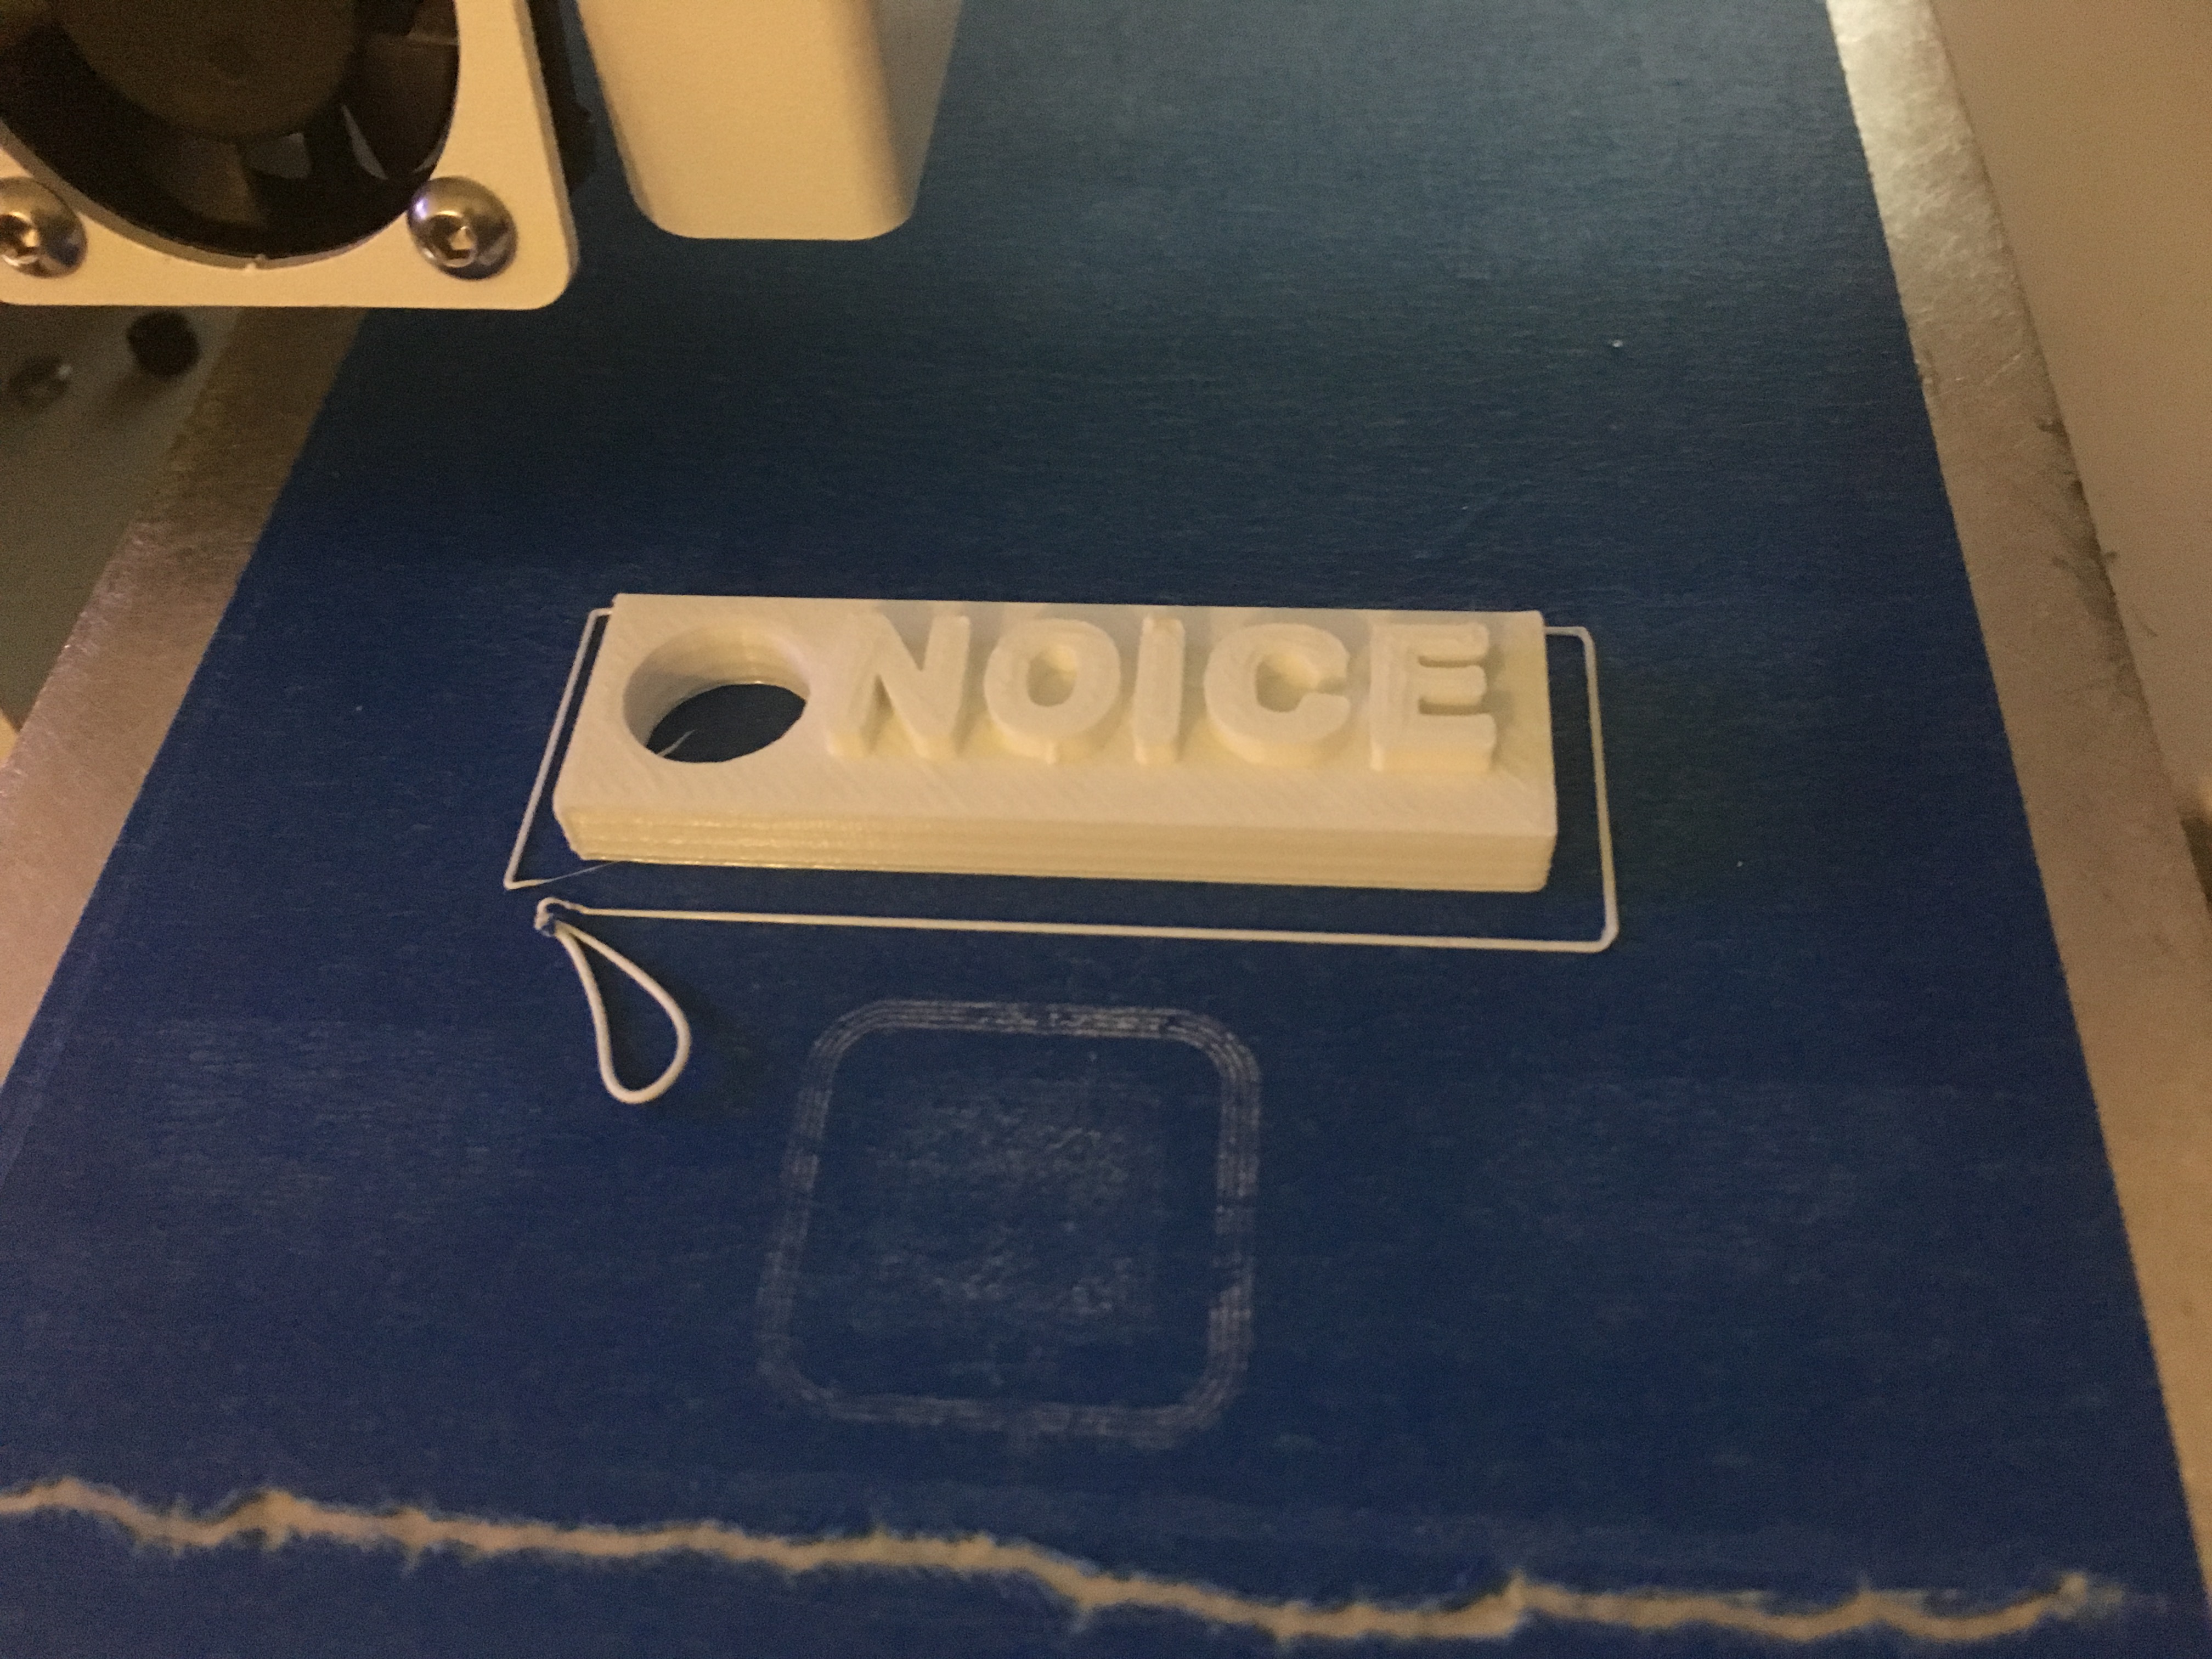
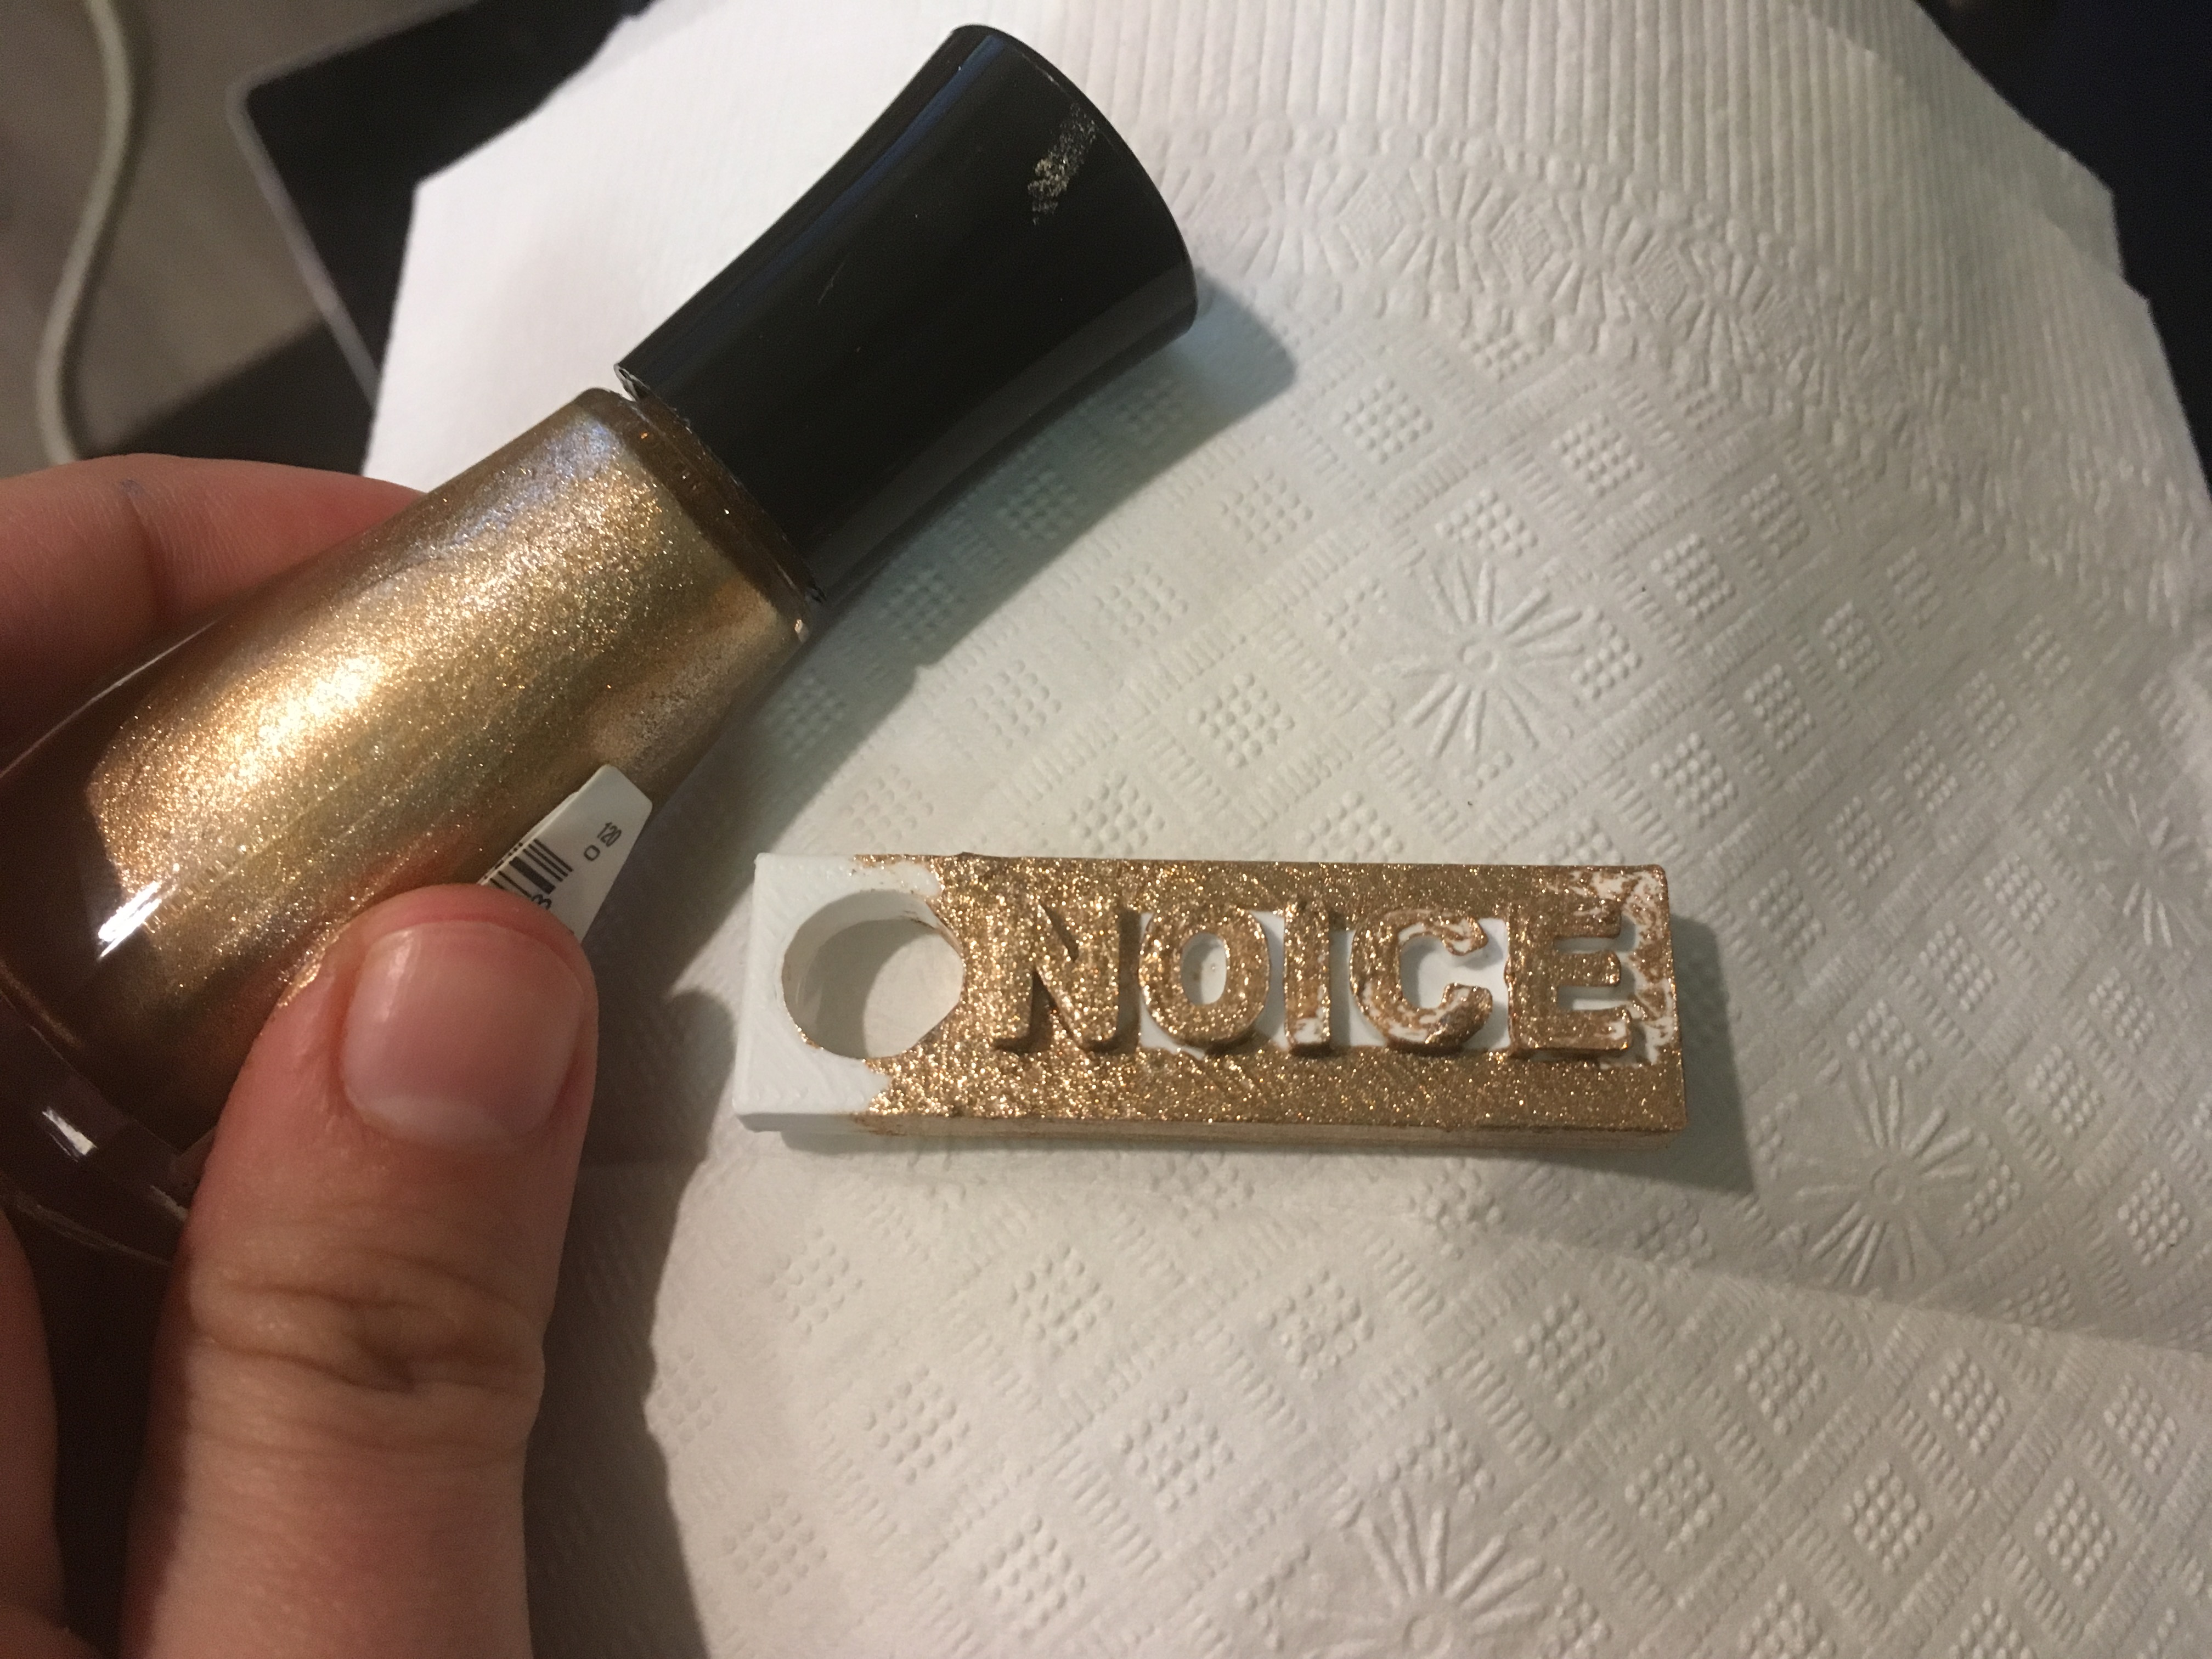
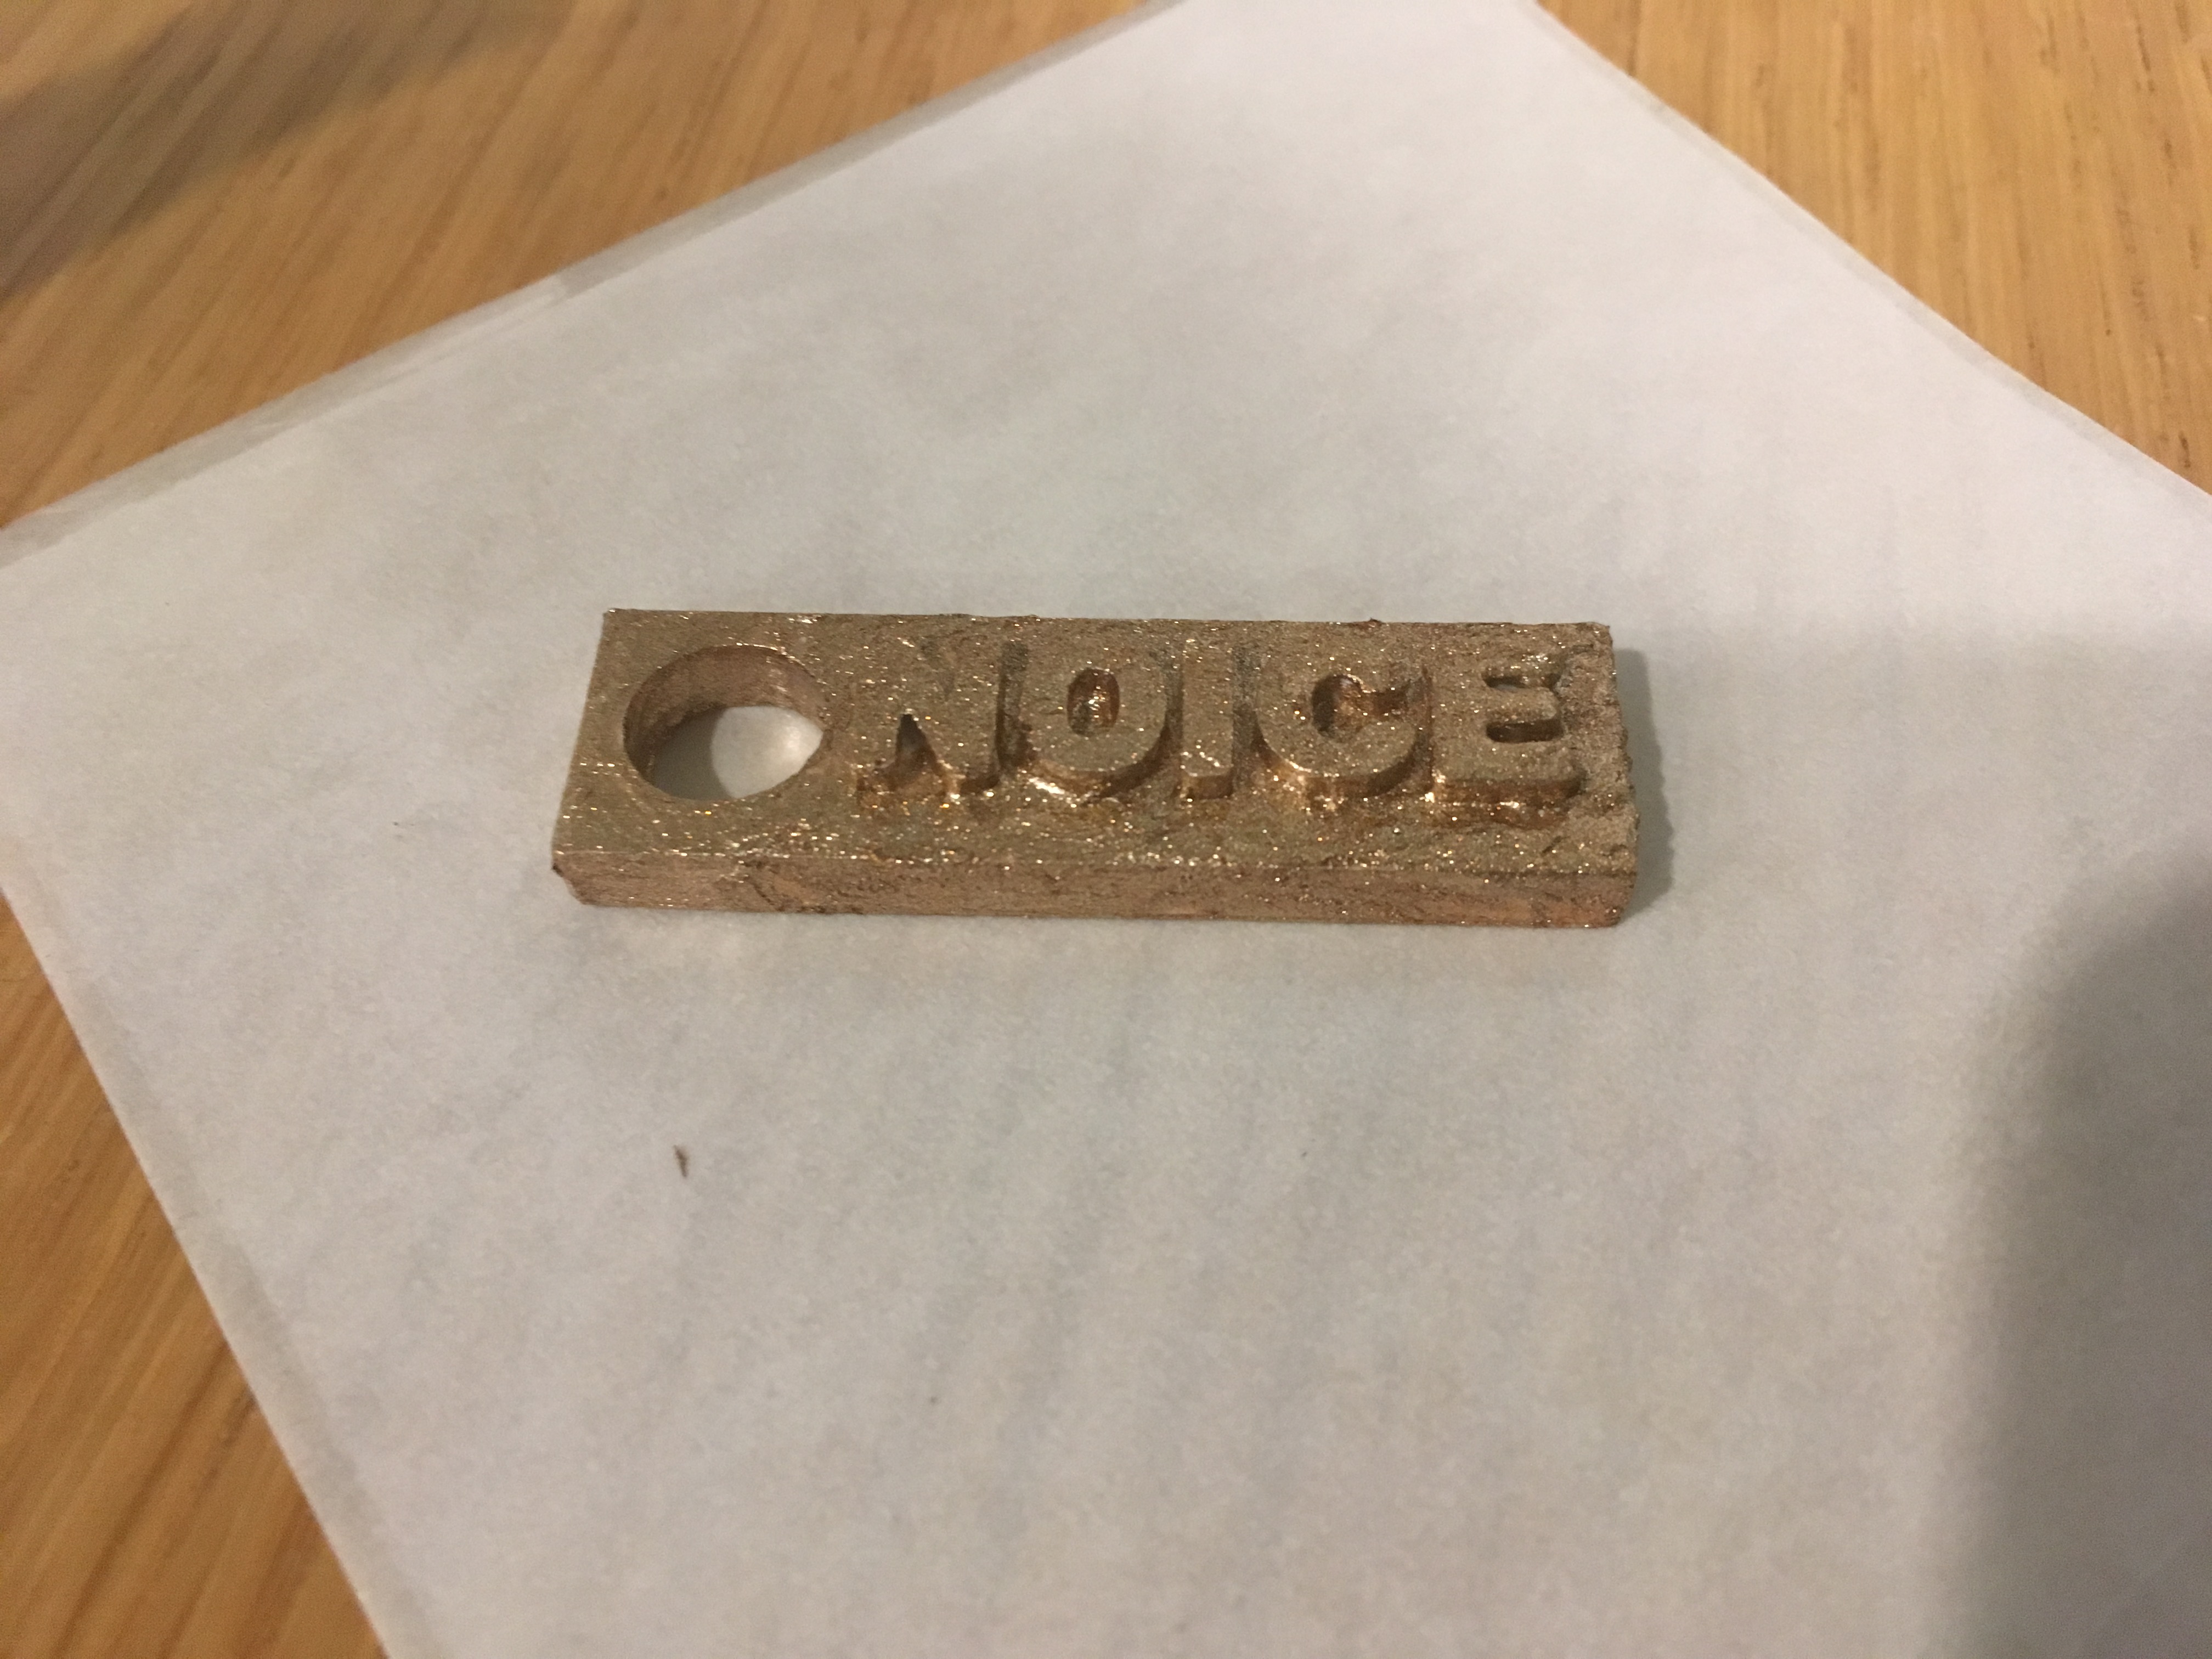
To decorate your keychain, nail polish is best. Pick your favorite color(s) and go to town! I chose to paint the whole thing in gold, but live your truth.
Enjoy!

Congrats! You just made yourself a keychain!