Nodemcu Mini D1 R1|| for Beginner || ESP8266 || Bink || Wemos D1 R1
by vishalsoniindia in Circuits > Arduino
4021 Views, 2 Favorites, 0 Comments
Nodemcu Mini D1 R1|| for Beginner || ESP8266 || Bink || Wemos D1 R1

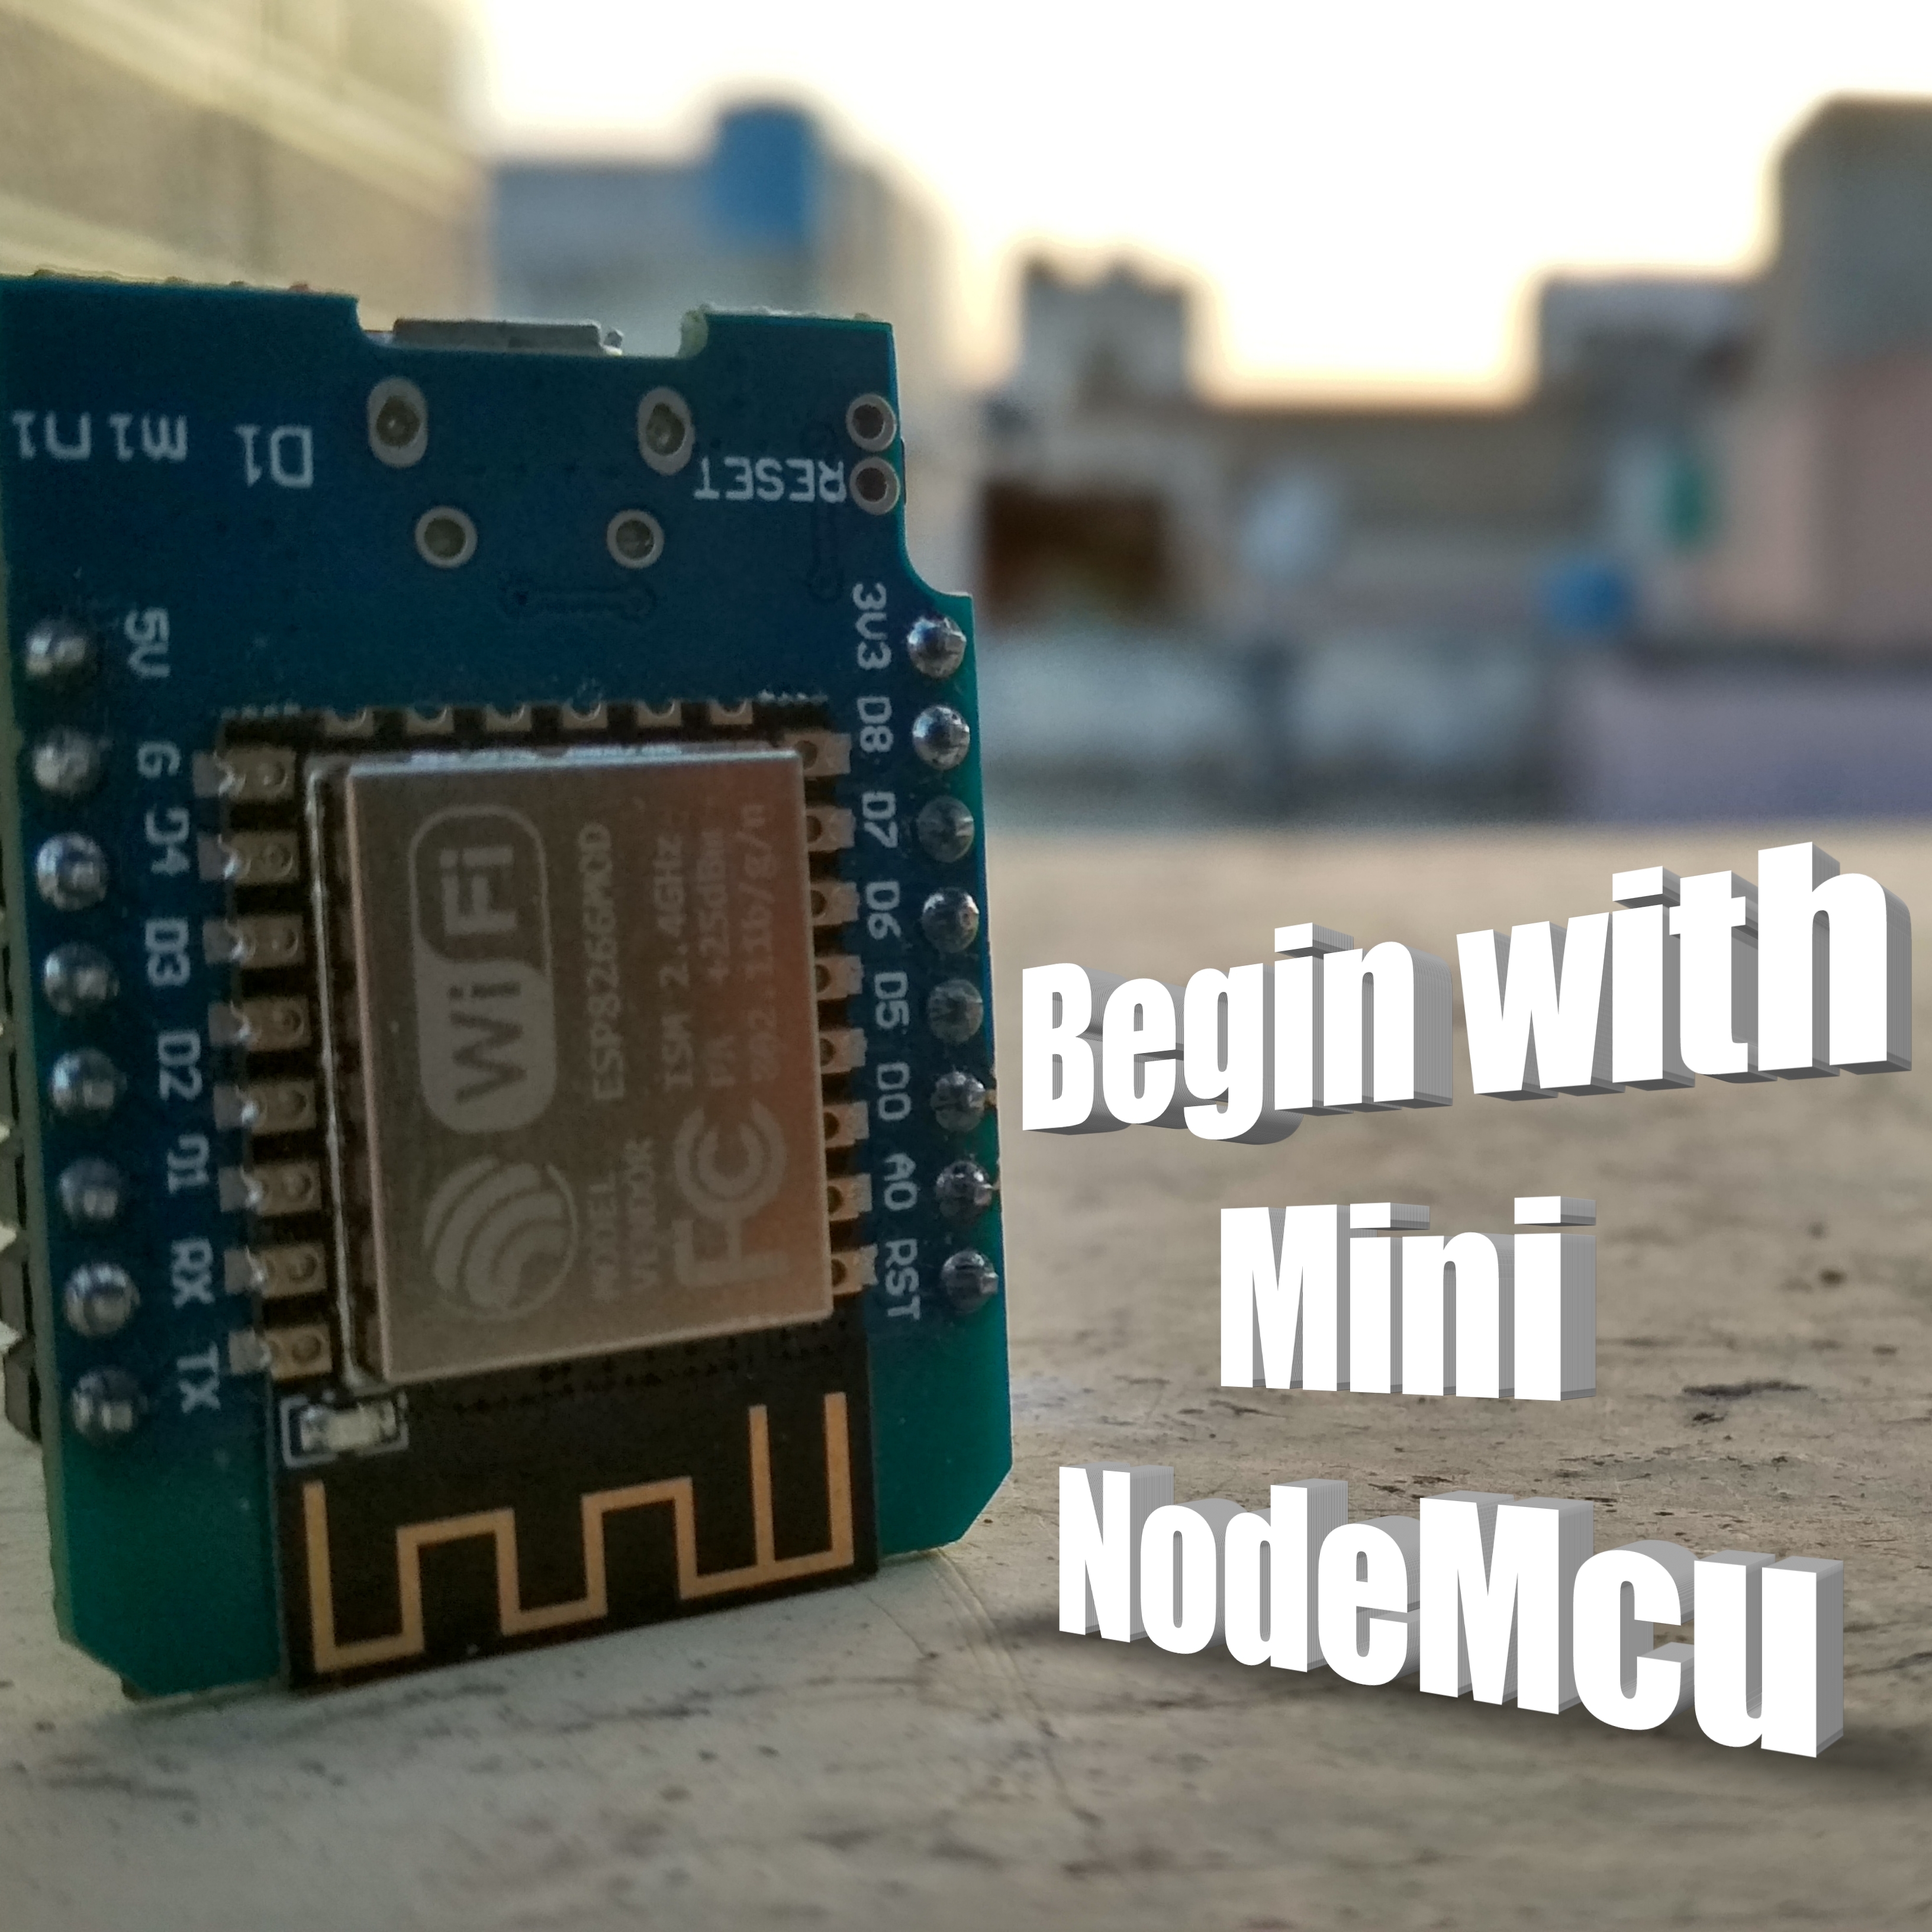
.............
This is the school or college project which you can build from home with this simple project, you can build it at home and submit it to school or college to show teacher what you have did at home. This
Is planned to have been done from home before our daily lives were changed and also it make you creative.
This tutorial to learn "how to begin with nodemcu mini D1 R1".
Nodemcu mini is Smallest ESP8266 board available in market, So here is some steps to install board in arduino ide and program it.
By the way, subscribe to my YouTube channel for more projects like this. I also update my upcoming projects on Instagram.
buy me a coffee! ☕: Donate
..............
Install the Driver
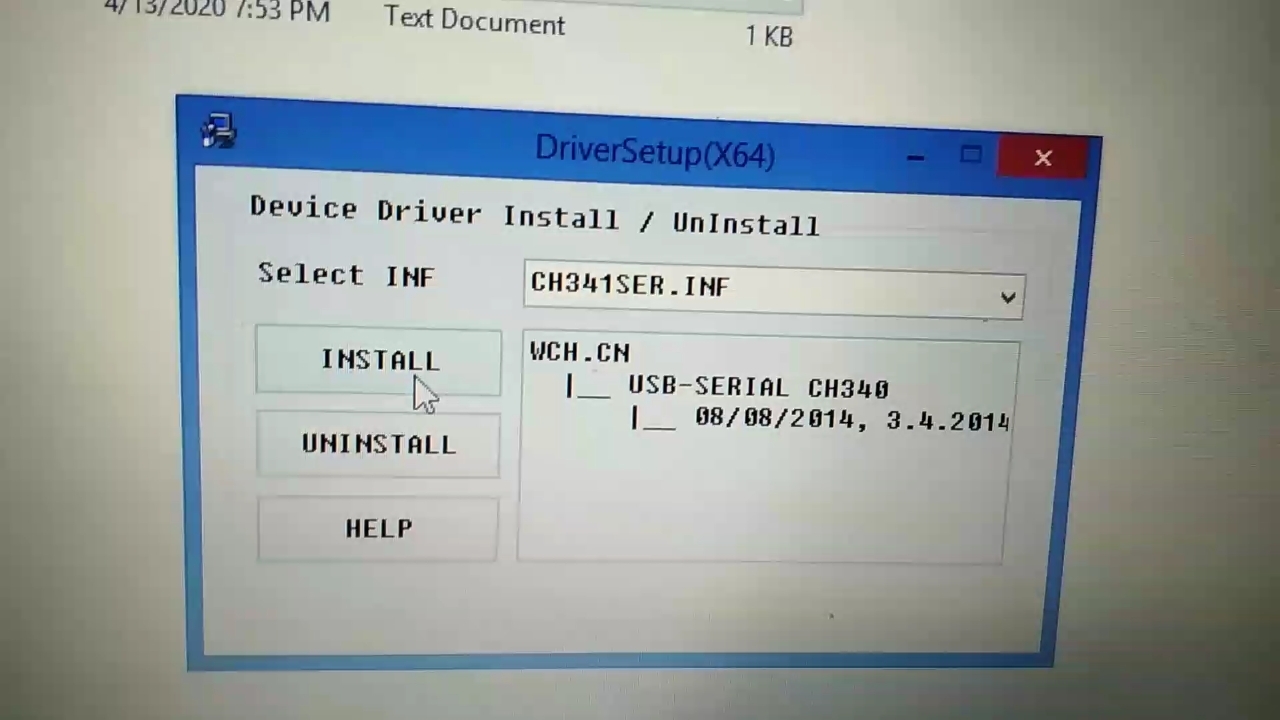
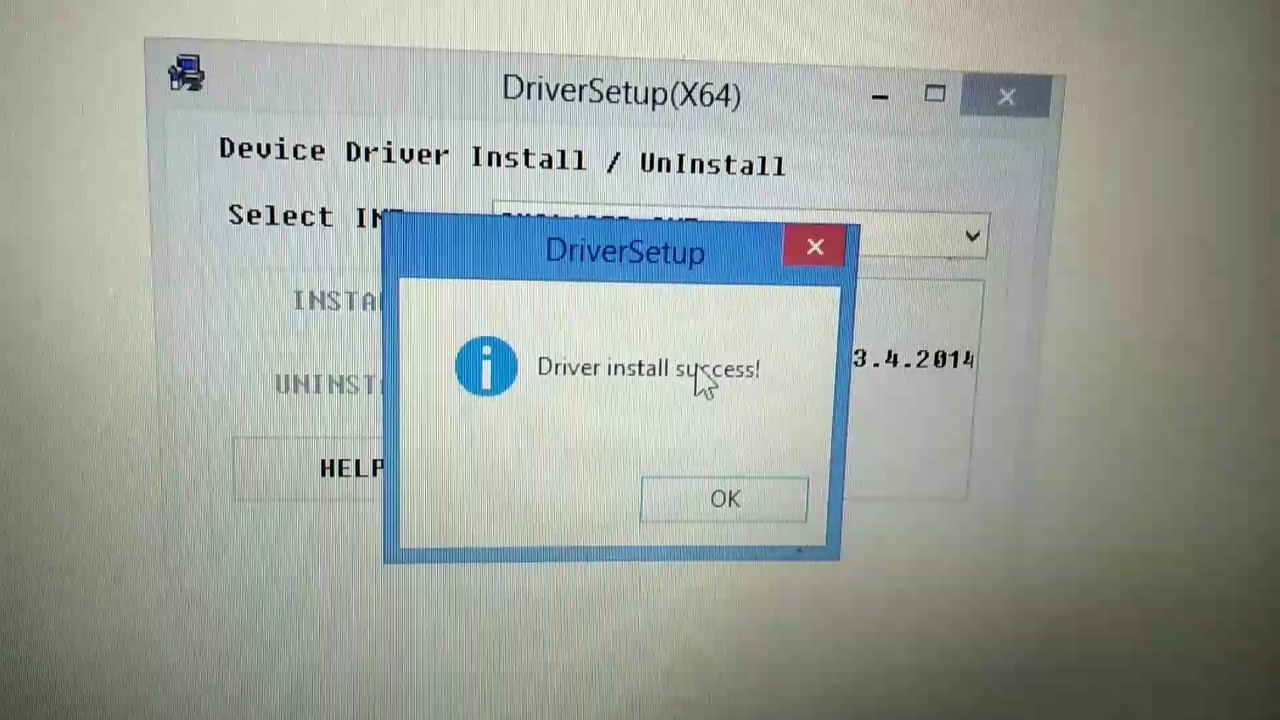
- Download the folder from below.
- Run the Driver software.
- Hit On Install Button.
- After some time you will see "Driver Install Success".
_____________________
https://codeload.github.com/vishalsoniindia/Contro...
____________________
_____________________
Connect NodeMcu Mini D1 R1
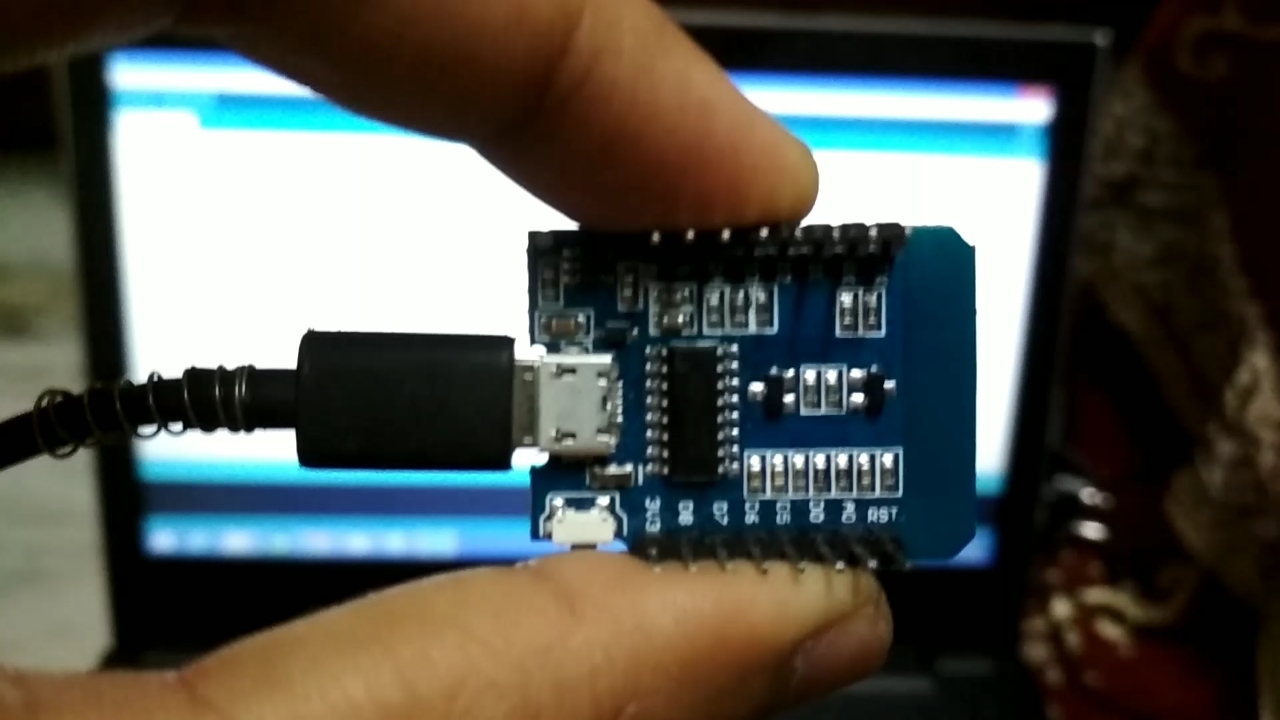
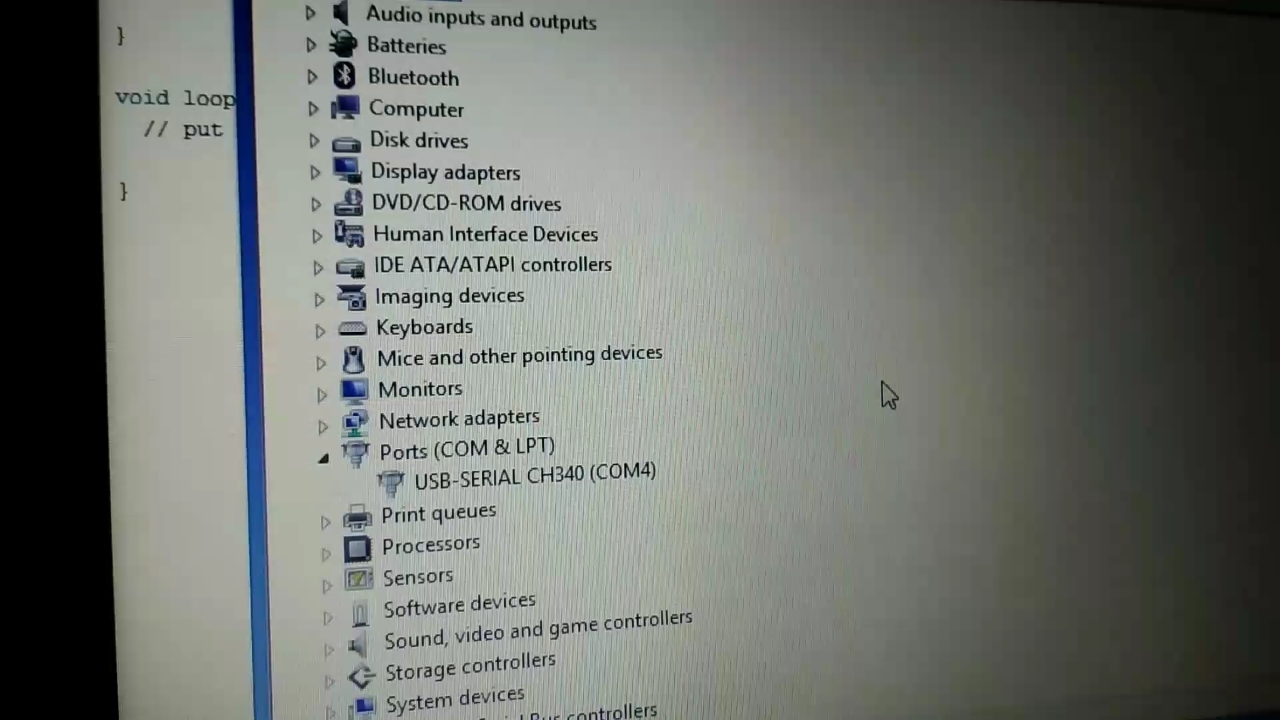
- Connect NodeMcu mini D1 R1 with PC.
- Open "Device Manager" in PC.
- In Device manager You will see "USB-Serial CH340".
- it means your driver installed successfully.
Install Board in Arduino IDE
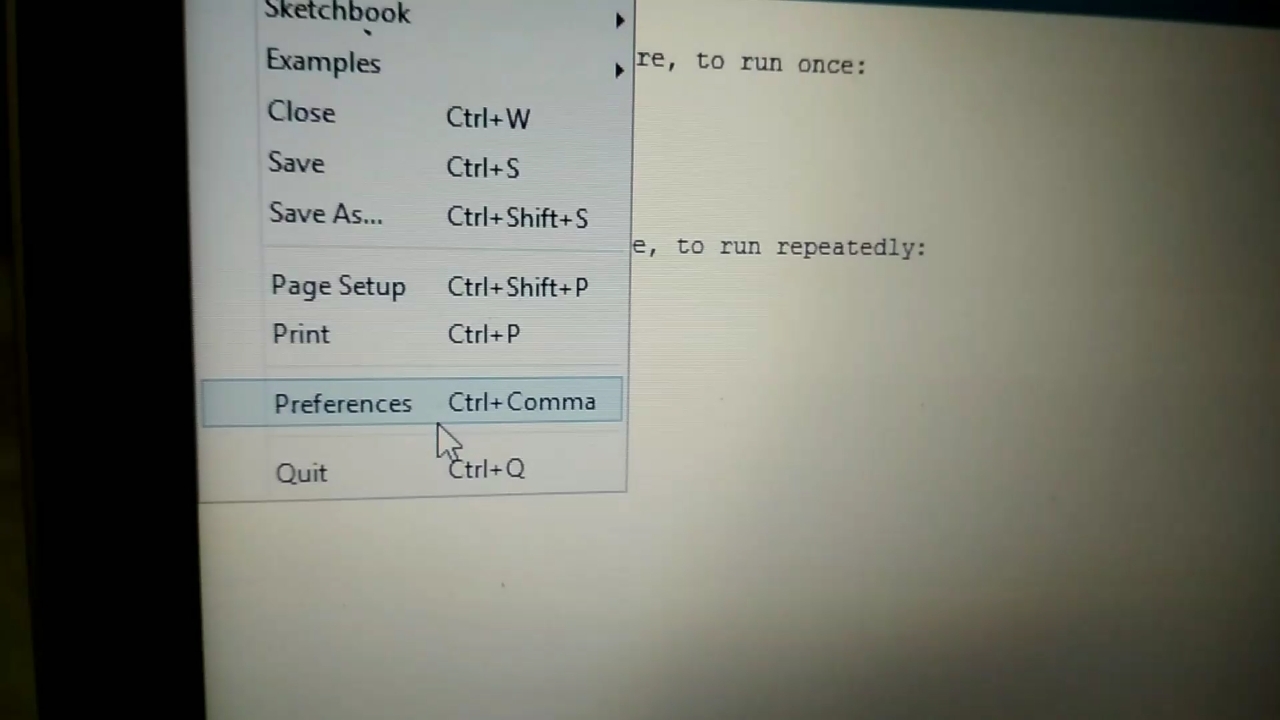
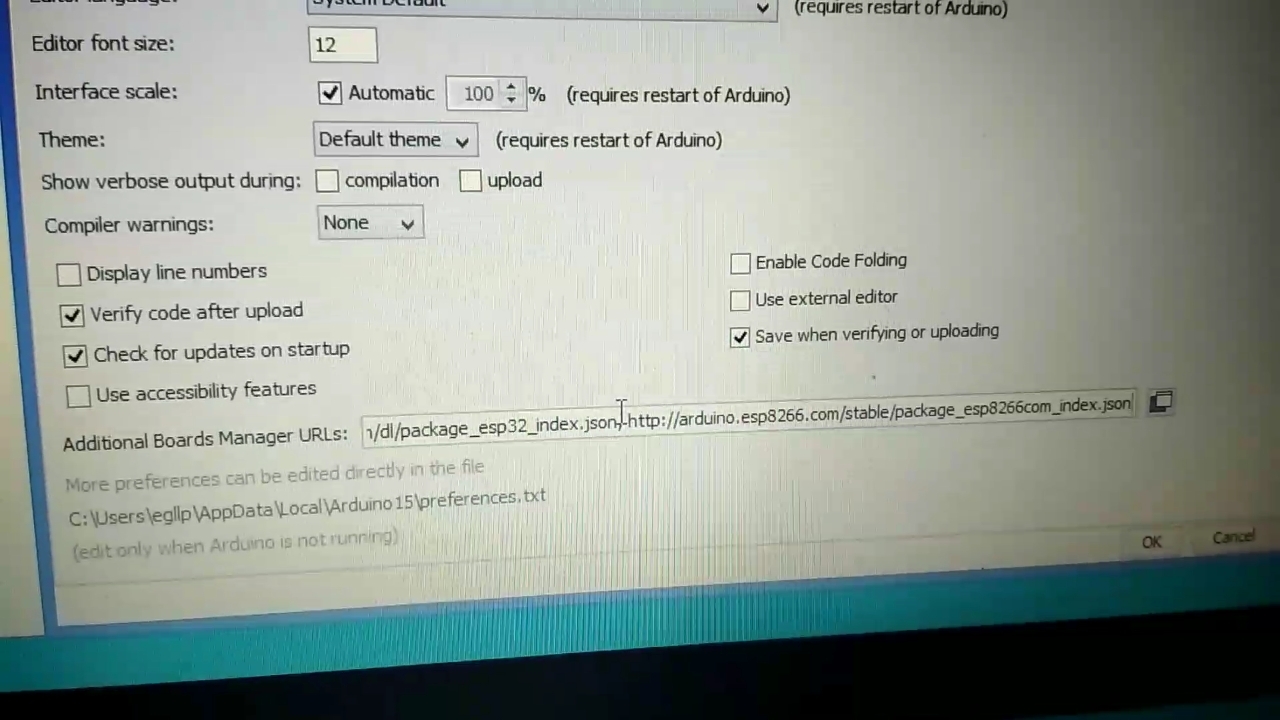
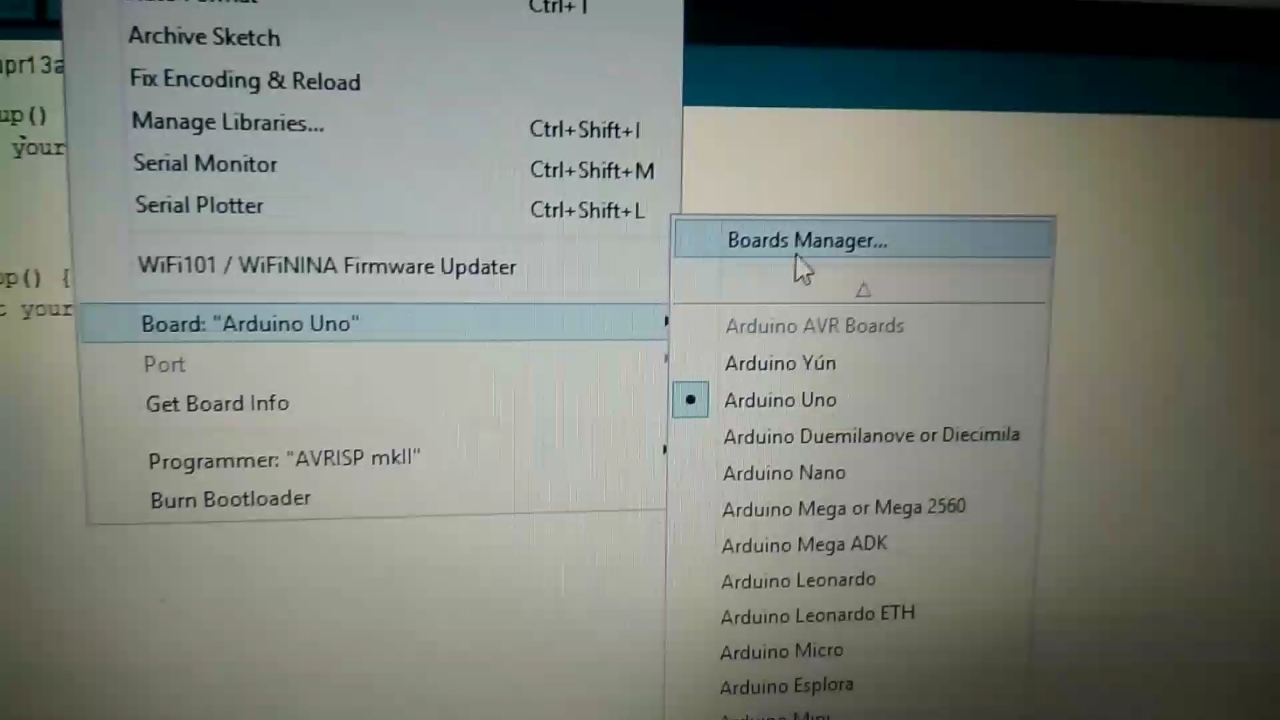
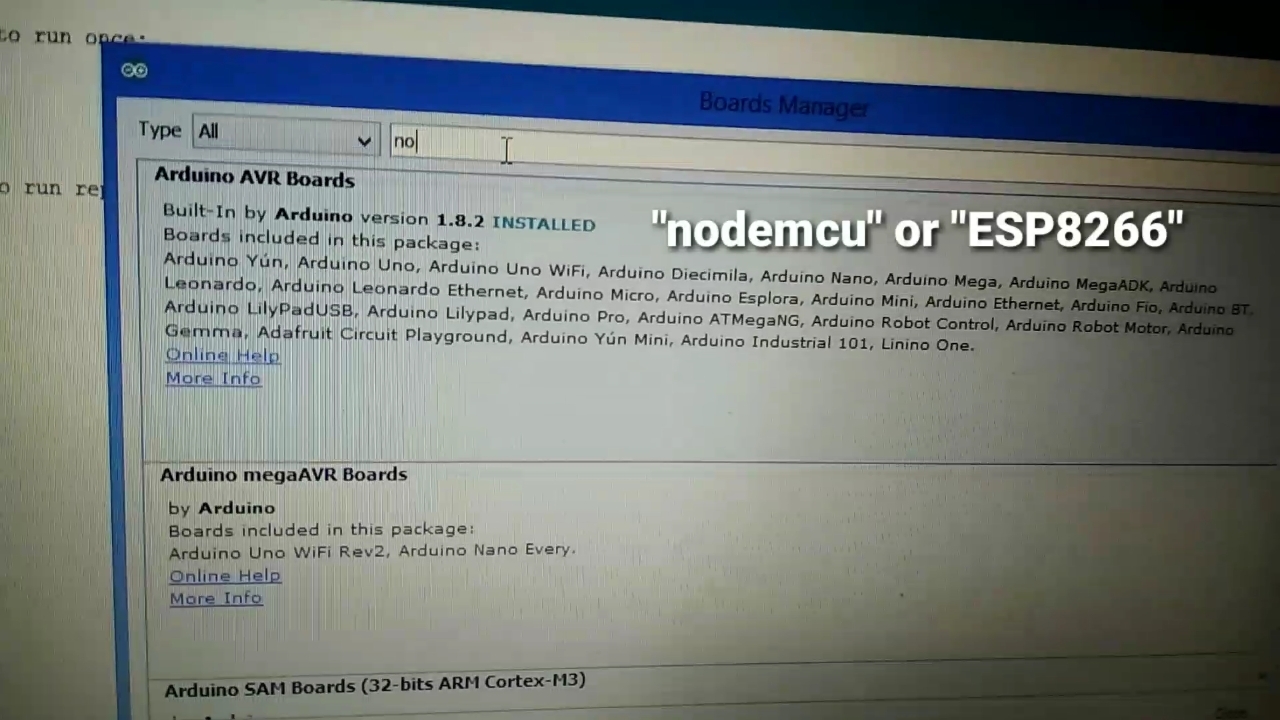
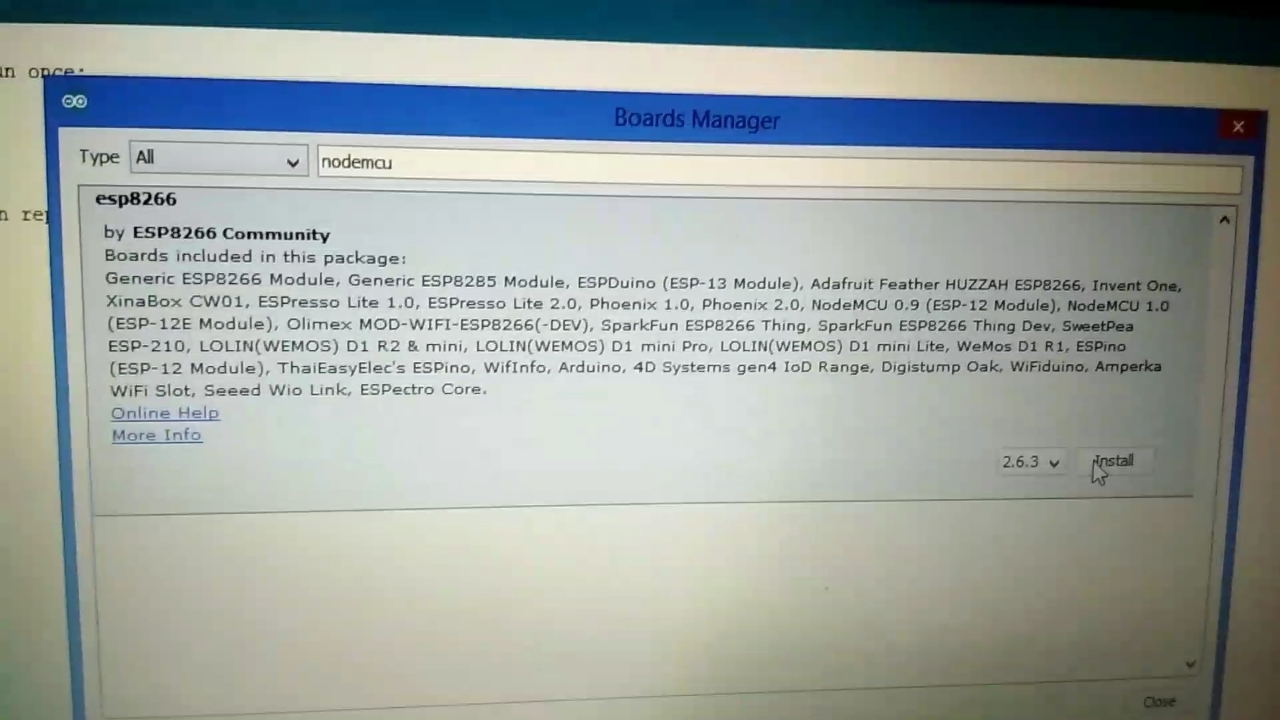
- COPY Link :-
https://dl.espressif.com/dl/package_esp32_index.json,http://arduino.esp8266.com/stable/package_esp8266com_index.json
- Open arduino ide.
- Go to the file and then Preferences.
- Paste the link below in additional board manager URLs.
- now go to the tools and then go in boards.
- Click on Board manager.
- Type "ESP8266".
- you will see the board named ESP8266 community. install it.
Select Board and Port
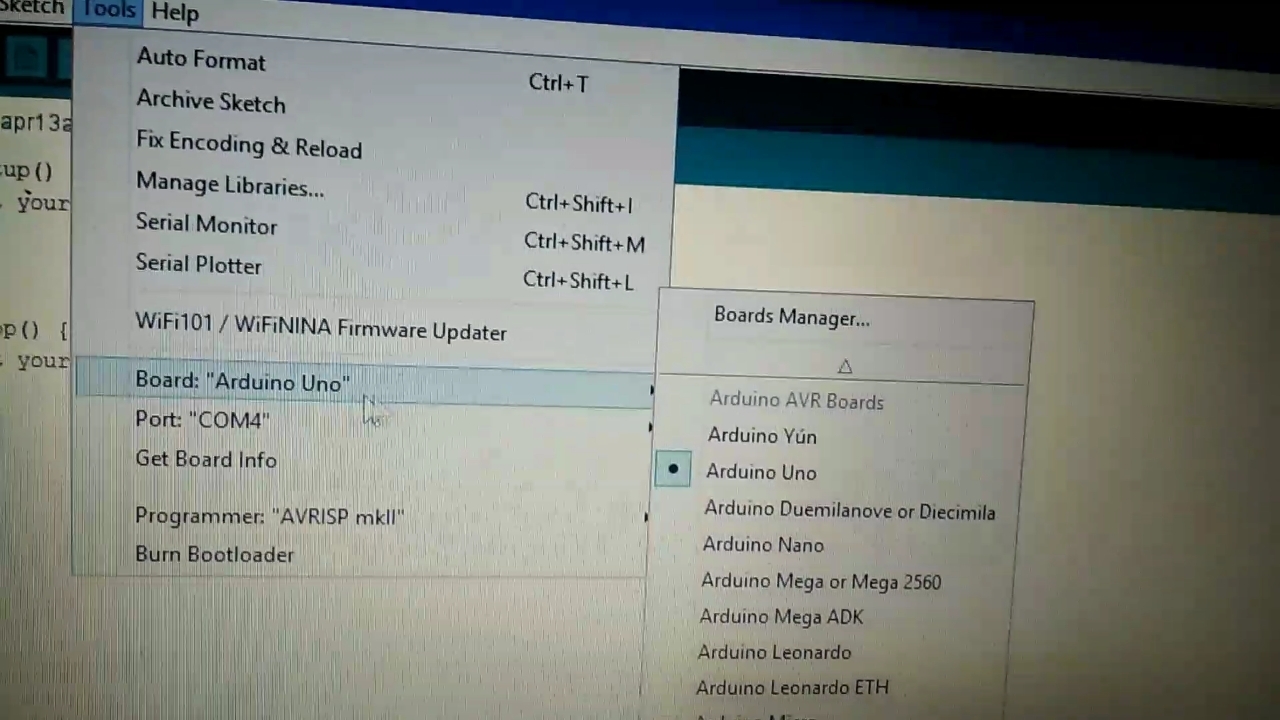
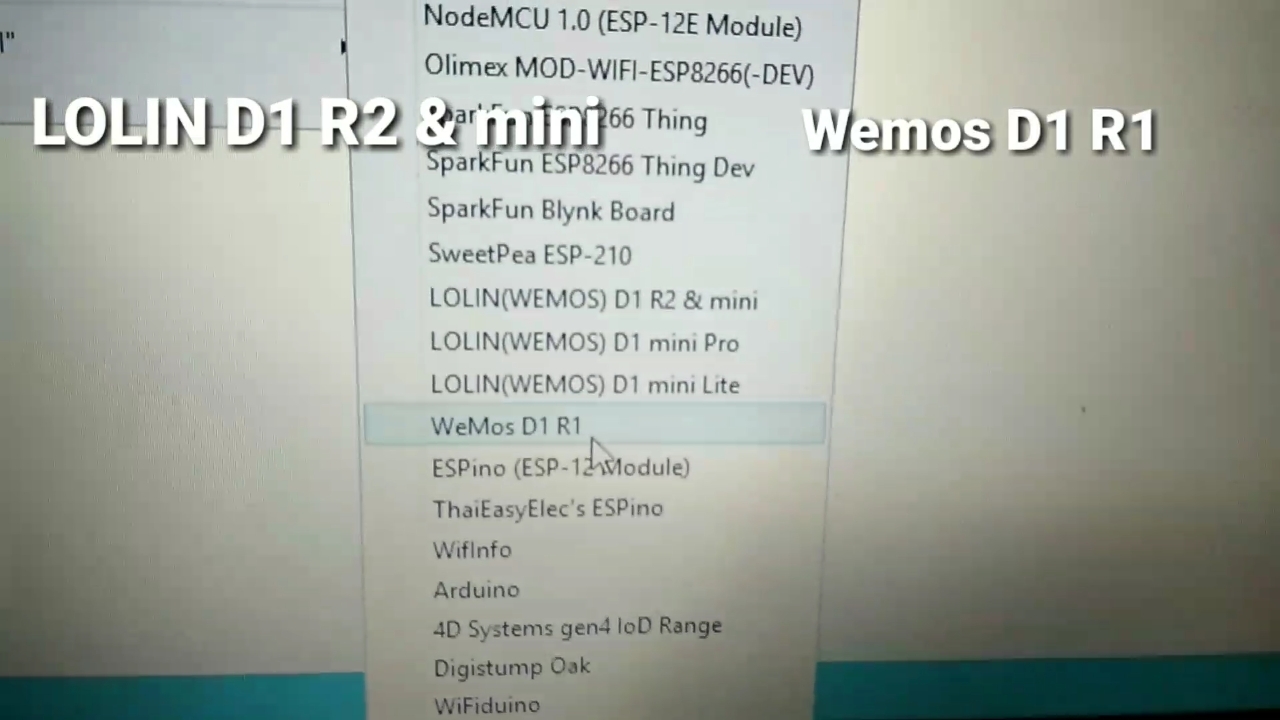
- Connect your nodemcu mini.
- Select port where Nodemcu is connected.
- select board as Wemos D1 R1.
Upload Blink Code
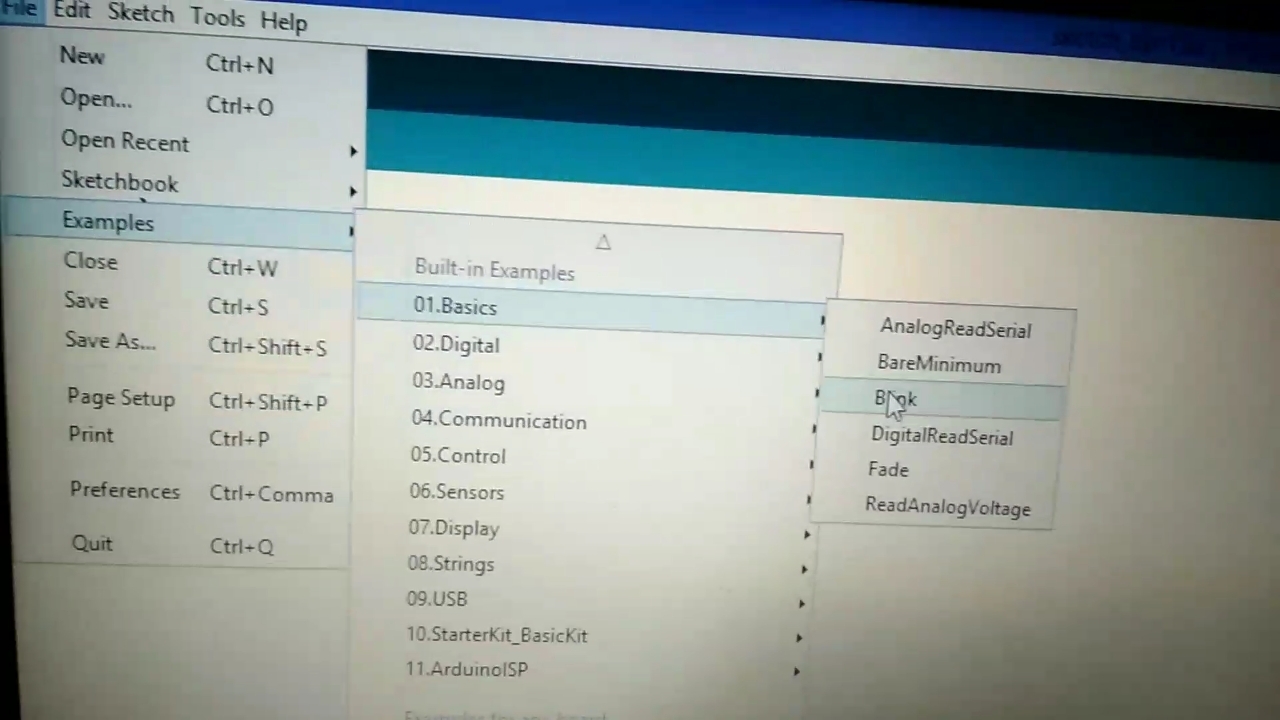
- Click on file and then Example.
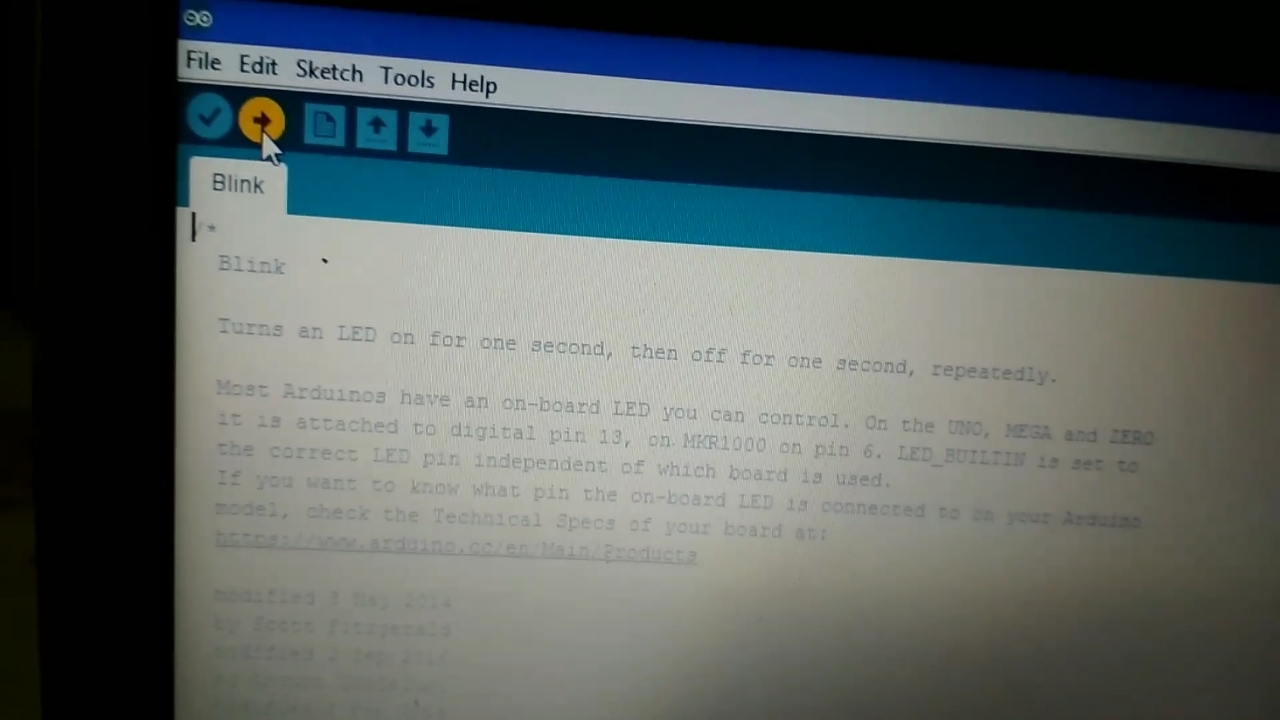
- in example click on basics and then blink.
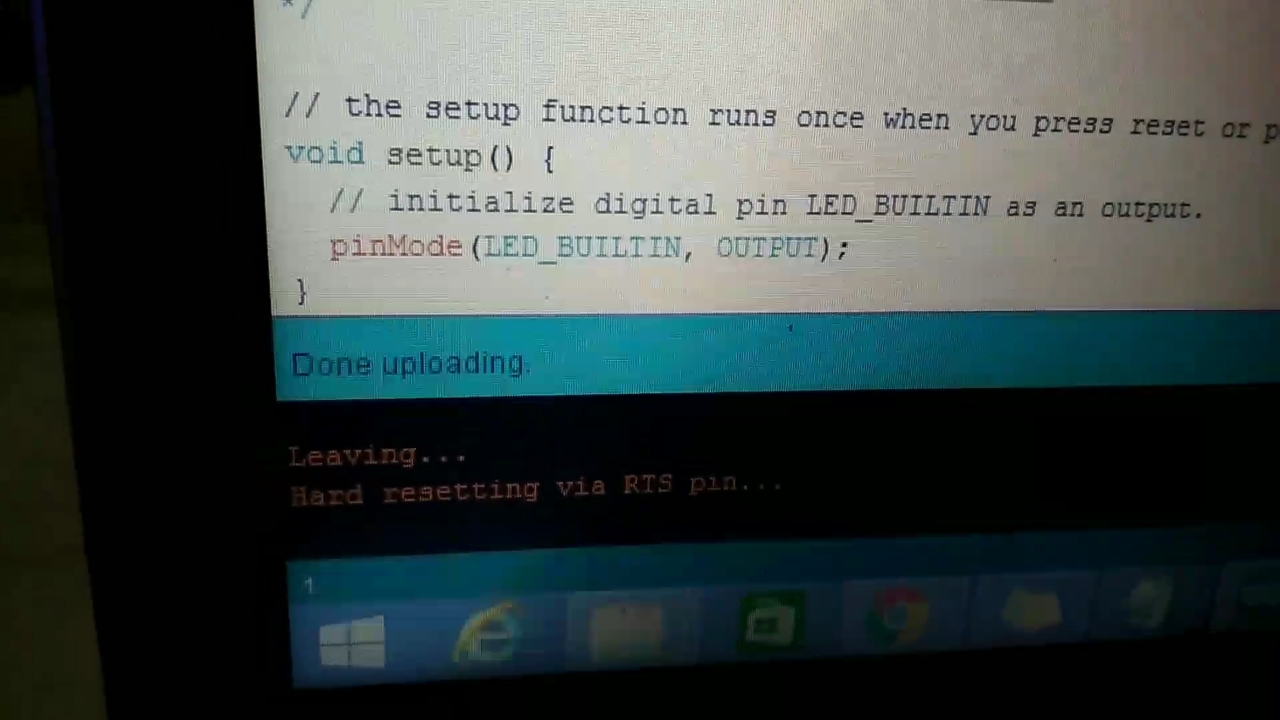
- hit on upload.
Done
By the way, subscribe to my YouTube channel for more projects like this. I also update my upcoming projects on Instagram.
buy me a coffee! ☕: Donate
Congratulation.................
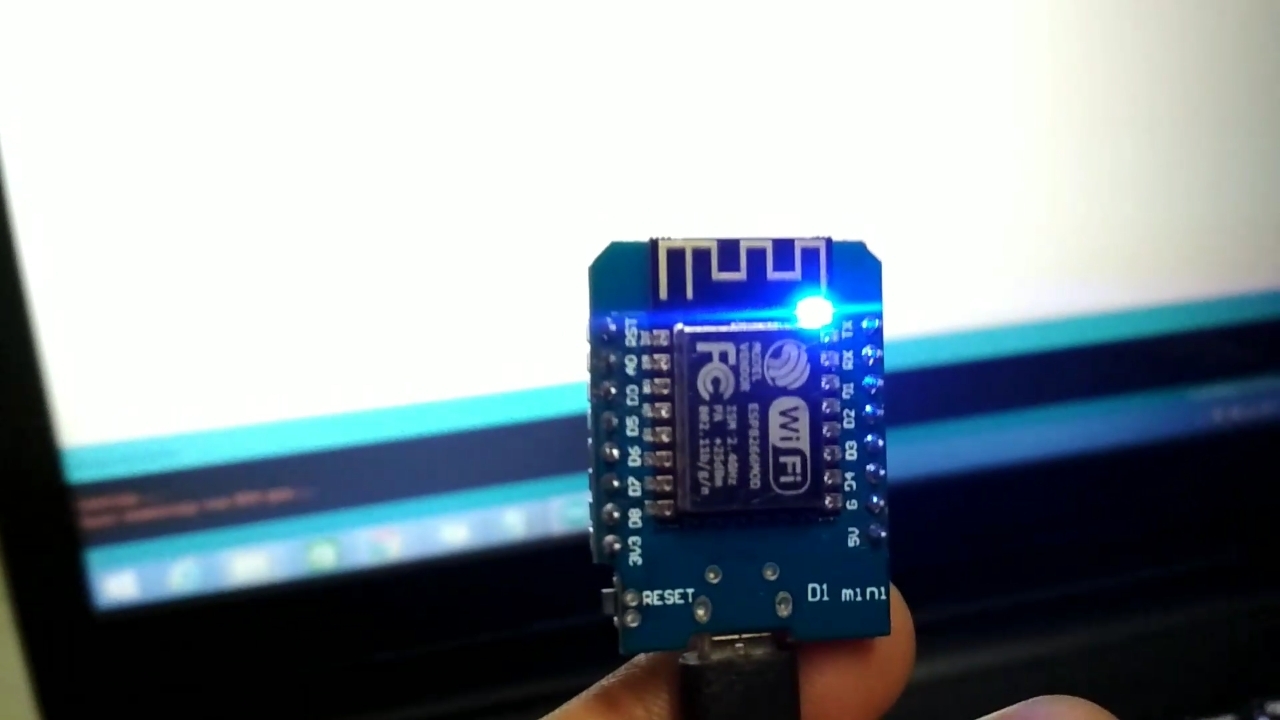
Now blink code is working in NodeMcu.
IF You want to learn How to control led via browser then please click here or watch my video.