Nodemcu LCDI2c Iot Tutuorial

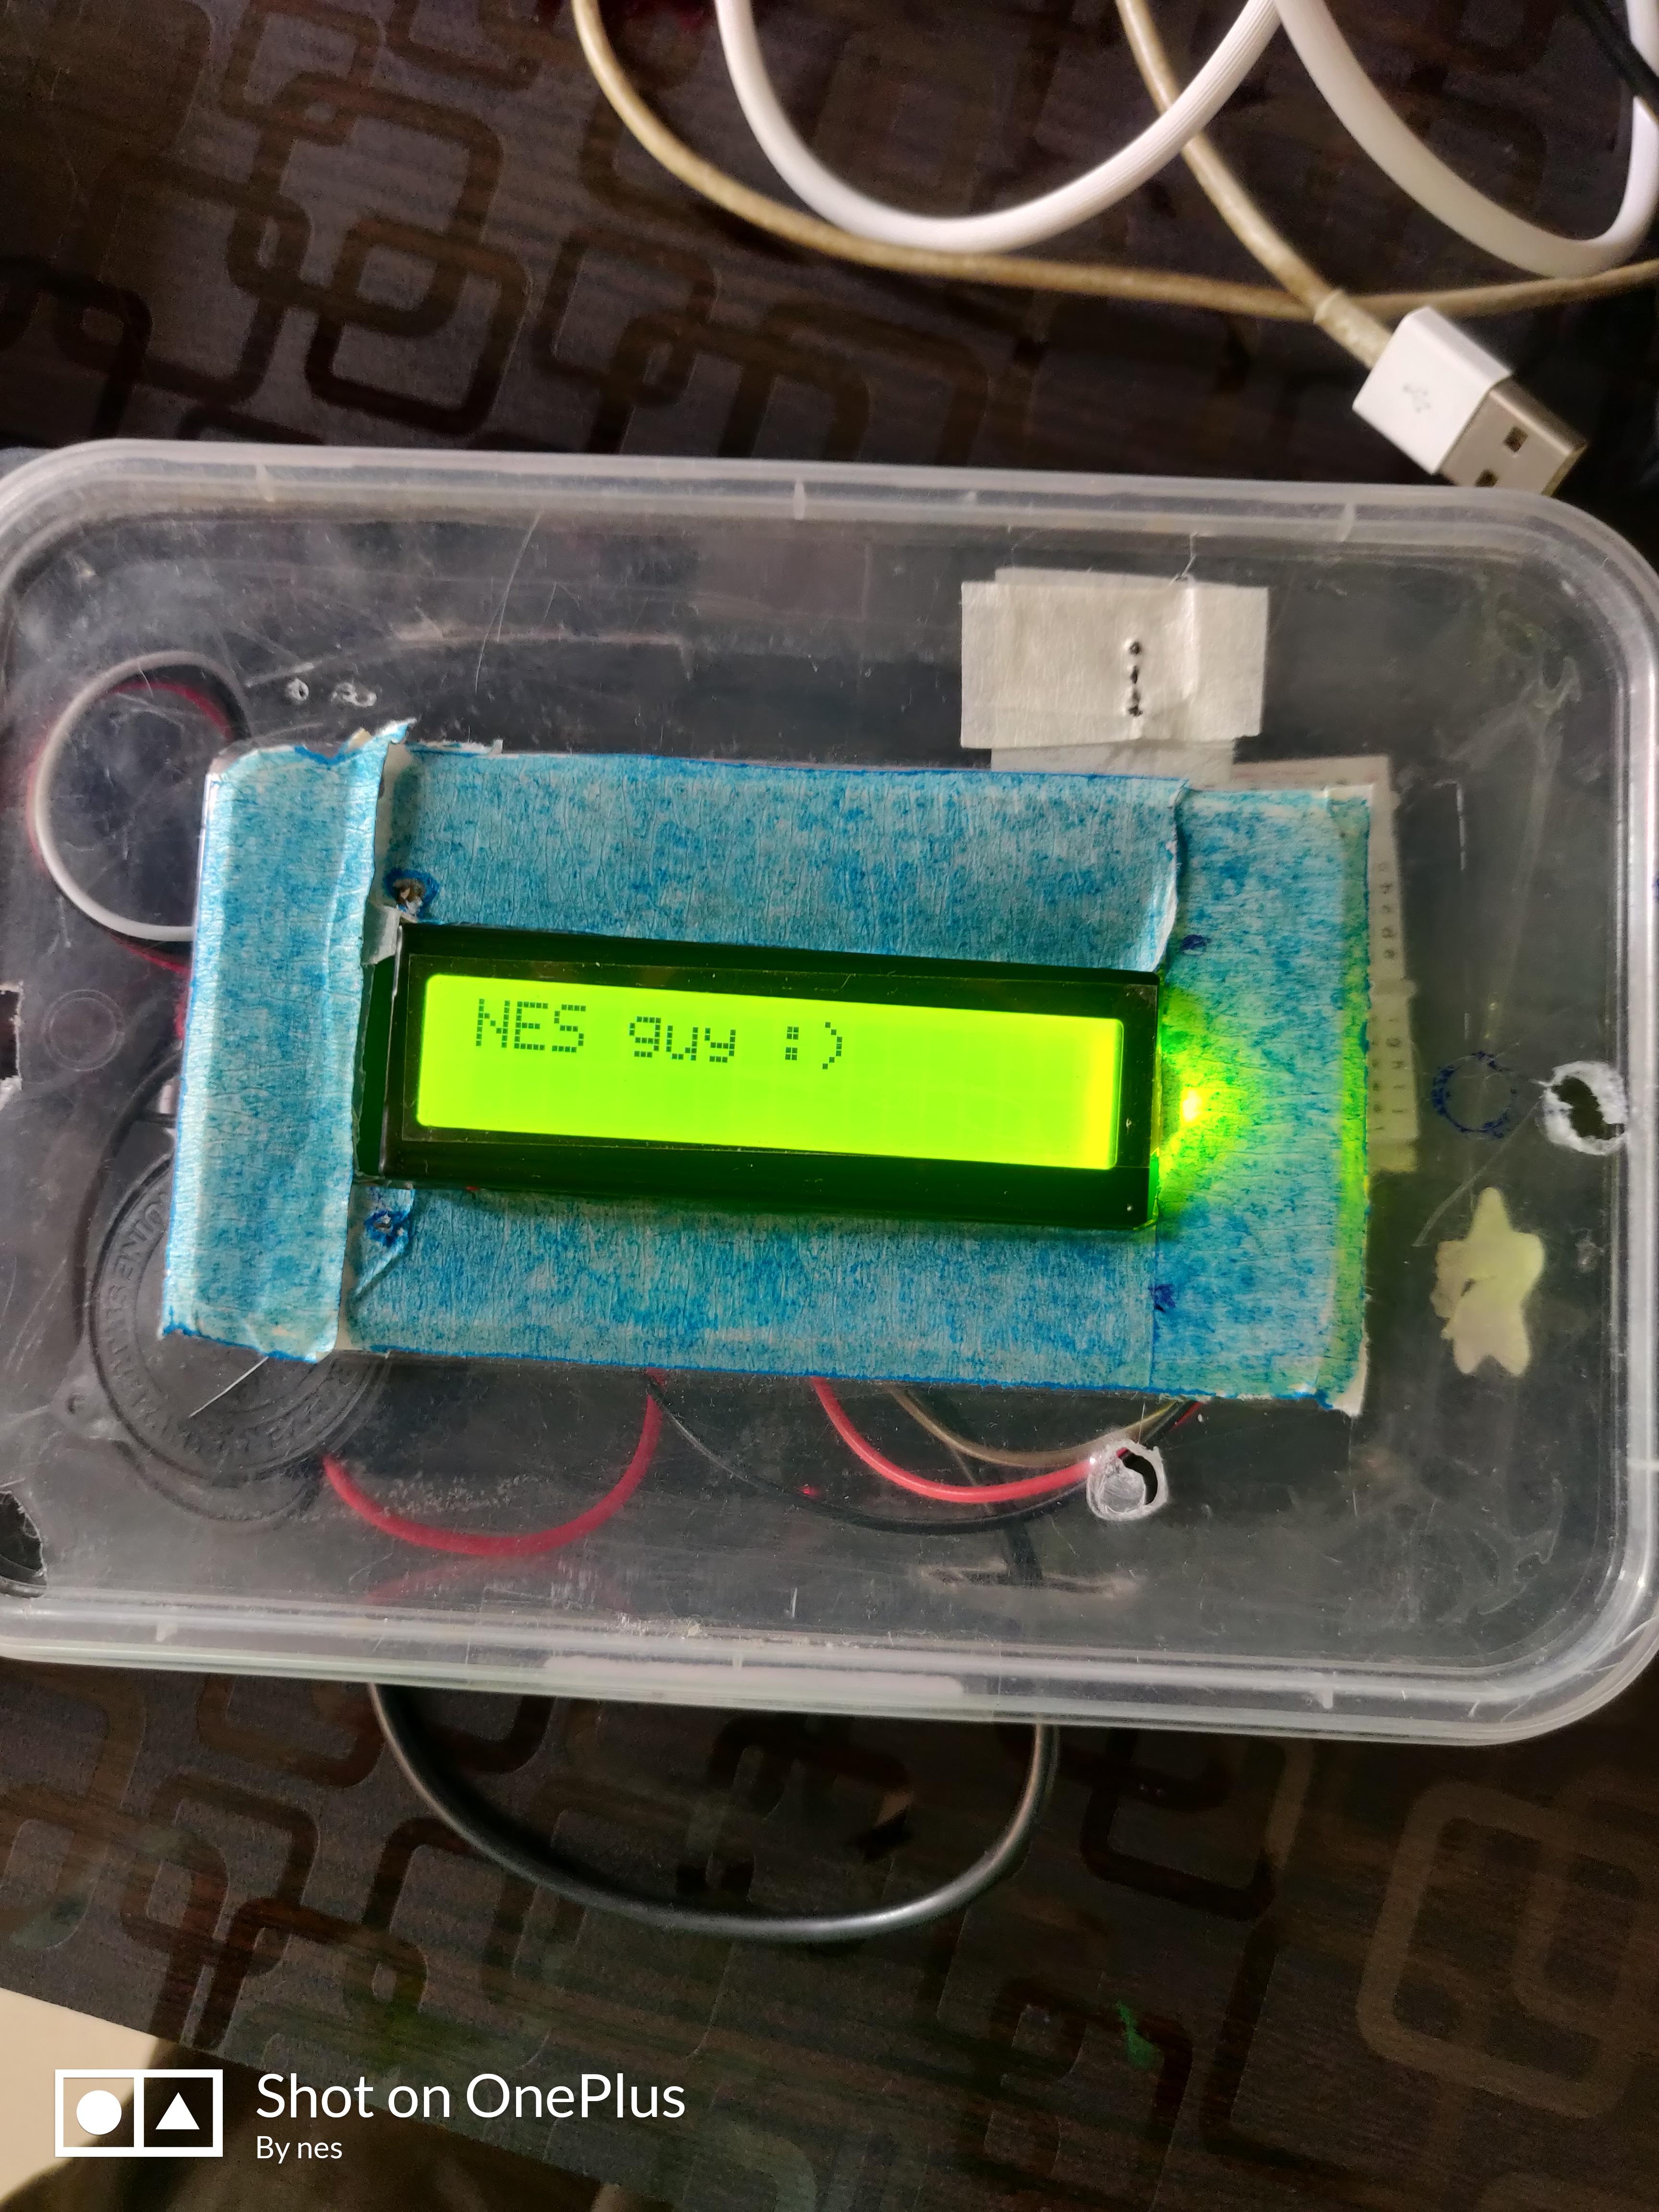
Here is a cool device that you can make if you want to learn iot!
Supplies
1x esp8266 nodemcu v2 dev board
1x LCD with I2C
1x Connection wire
4x Male-Female Jumpers
1x Breadboard
1x Plastic case (optional)
Connection

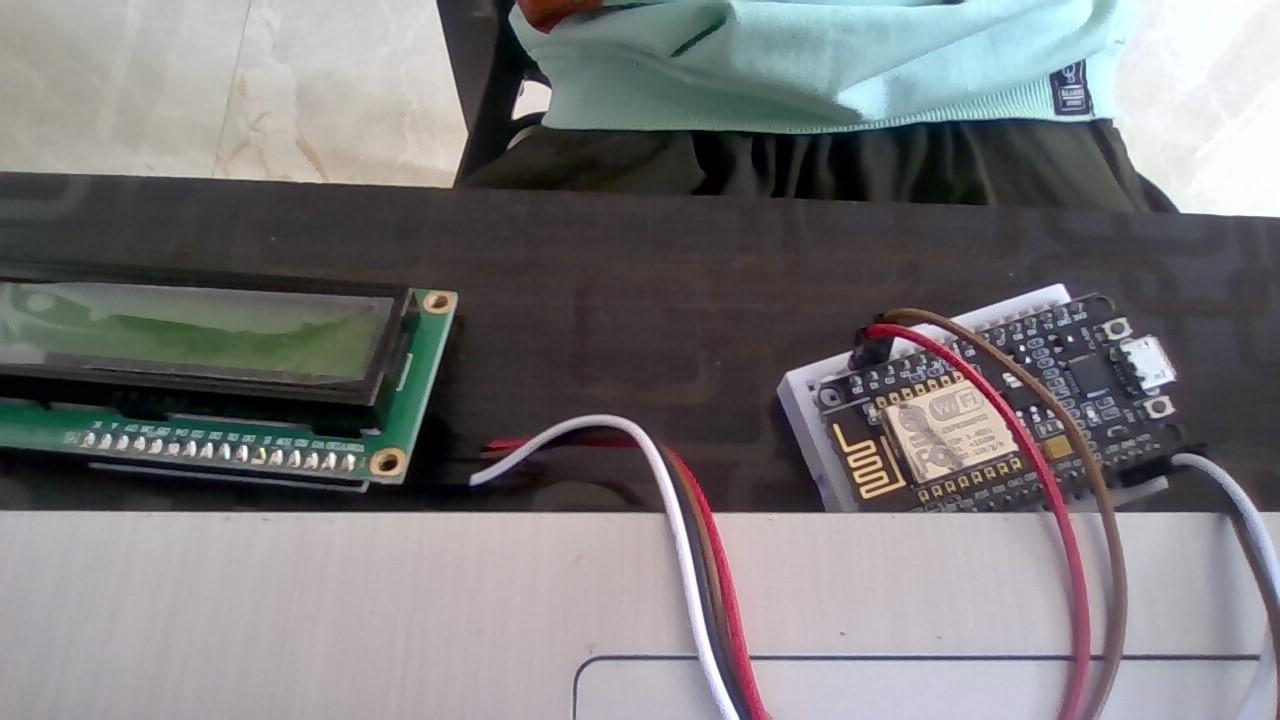
take the lcd and add the following connections
gnd----------gnd
vcc-----------vin
sda-----------D2
scl------------D1
Library and Adding a Thing
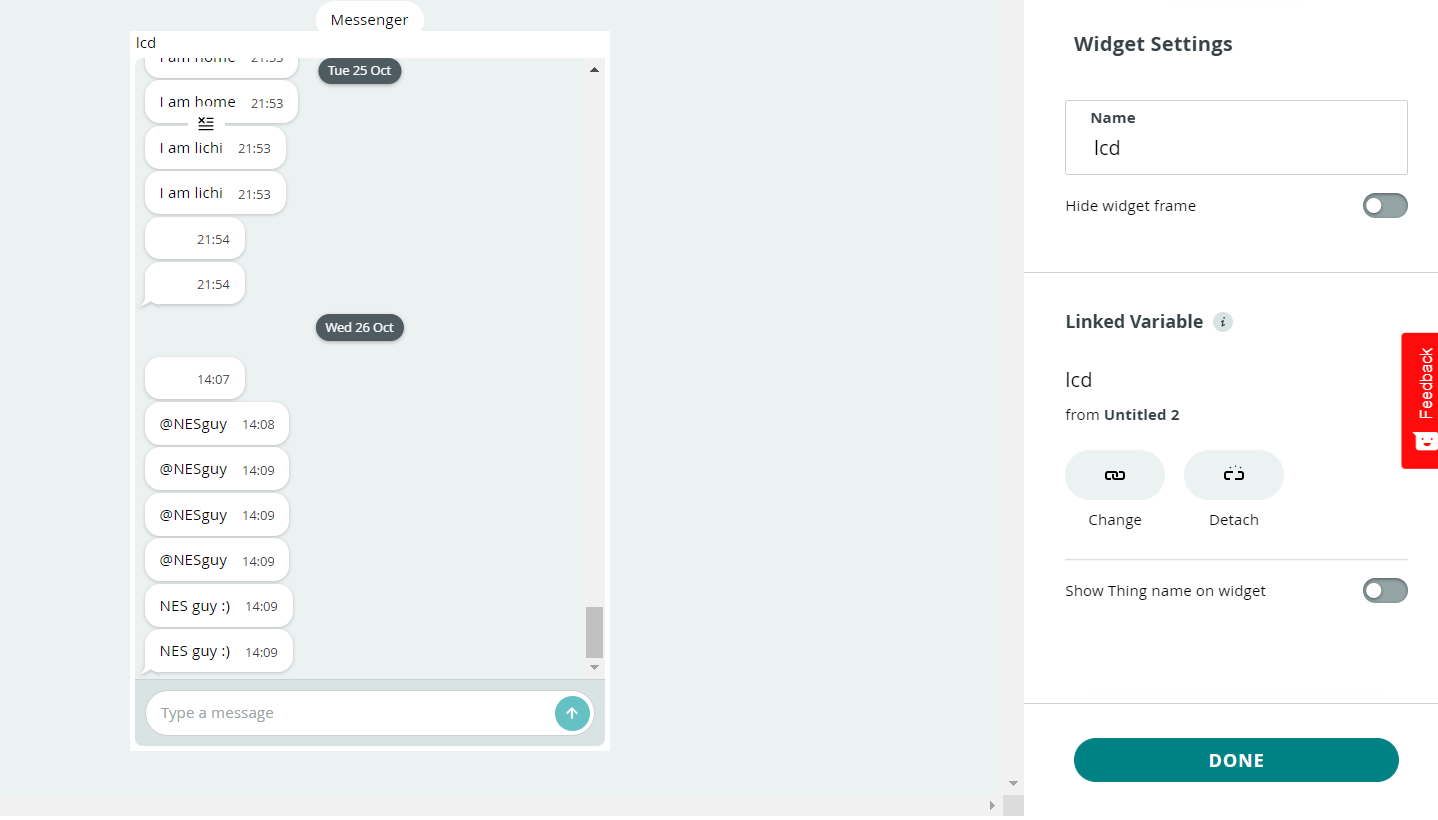
open arduino iot cloud and add a thing , then add a variable named lcd as character string
add the board and wifi then download this library from the link
https://drive.google.com/drive/folders/1YI6RQnfYLNRFV3INao2wtSYzqgOFpvRt?usp=sharing
Coding and Creating Dashboard

add the library to your cloud editor and enter this code
wth this dashboard
// by nesguy
#include "thingProperties.h"


#include <Wire.h>
#include <LiquidCrystal_I2C.h>

LiquidCrystal_I2C lcdi(0x27,16,2);
void setup() {
  // Initialize serial and wait for port to open:
  Serial.begin(9600);

  Wire.begin(D2,D1);
  lcdi.begin(16,2,1);
  lcdi.backlight();


  // This delay gives the chance to wait for a Serial Monitor without blocking if none is found
  delay(1500);
  // Defined in thingProperties.h
  initProperties();
  // Connect to Arduino IoT Cloud
  ArduinoCloud.begin(ArduinoIoTPreferredConnection);
  /*
     The following function allows you to obtain more information
     related to the state of network and IoT Cloud connection and errors
     the higher number the more granular information you’ll get.
     The default is 0 (only errors).
     Maximum is 4
 */
  setDebugMessageLevel(2);
  ArduinoCloud.printDebugInfo();
}
void loop() {
  ArduinoCloud.update();
  // Your code here

}

/*
  Since Lcd is READ_WRITE variable, onLcdChange() is
  executed every time a new value is received from IoT Cloud.
*/
void onLcdChange()  {
  // Add your code here to act upon Lcd change
  lcdi.clear();
  lcdi.setCursor(0,0);
  lcdi.print(lcd);
}
Enjoy ;)
get your device online and enjoy