NodeMcu ESP8266 First Time Setup With Arduino IDE
by noycebru in Circuits > Arduino
8611 Views, 2 Favorites, 0 Comments
NodeMcu ESP8266 First Time Setup With Arduino IDE
I make Twitch controlled devices; custom consoles, controllers, and other noyceventions! Live streams are every Wednesday and Saturday at 9PM EST on https://www.twitch.tv/noycebru, highlights on TikTok @noycebru, and you can watch tutorials on YouTube at https://www.youtube.com/c/noycebru
This tutorial is how to setup Arduino IDE (1.8.9) for the first time and how to configure your Arduino IDE for a NodeMcu ESP8266 chip.
The exact chip is listed here: ESP8266 ESP-12E NodeMcu Development Board (purchase here: https://www.amazon.com/dp/B01IK9GEQG/ref=cm_sw_r_
If you already have Arduino IDE installed please skip to step 4
I hope you find this useful!
noycebru
Video Tutorial
Download Arduino IDE
Download Arduino IDE: https://www.arduino.cc/download_handler.php
Setting Up Arduino Installer
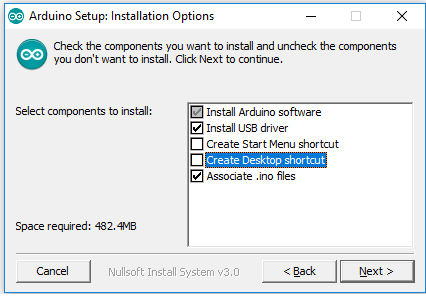
Open installer and make sure 'instal USB driver' and 'Associate .ino files' are selected
Installing Arduino and Drivers
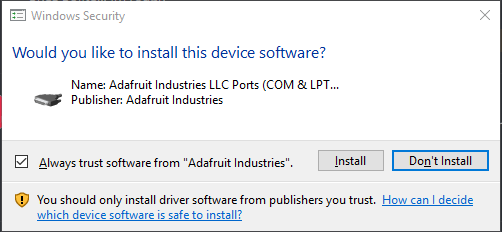
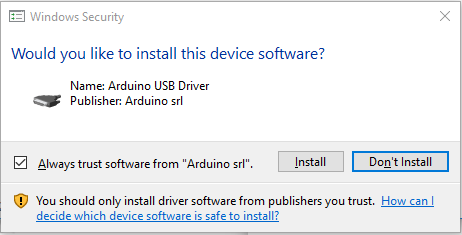
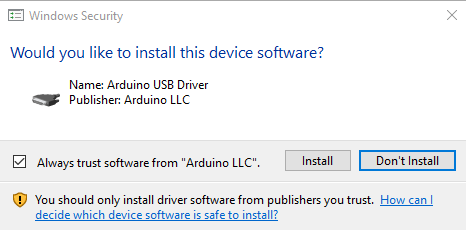
Install Arduino and instal the drivers when prompted (see attached pictures). Drivers may vary for different PCs.
Finish the instal and then open Arduino after installation.
ESP8266 First Time Setup
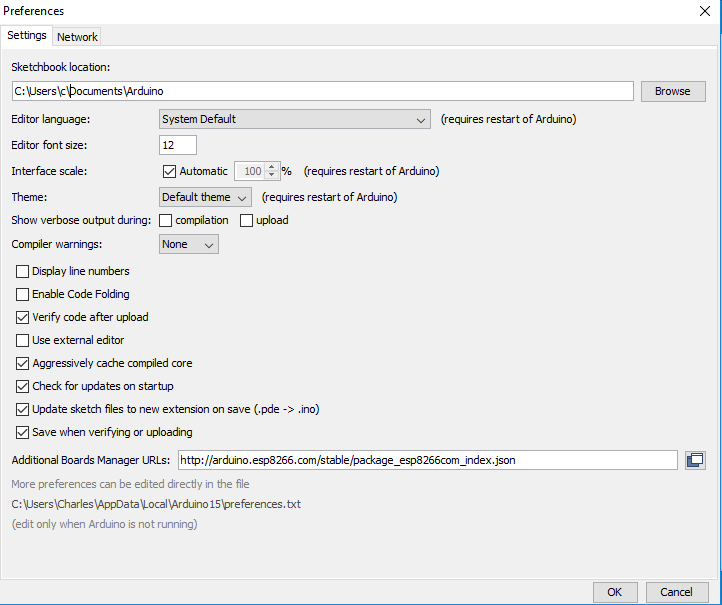
The following steps are how to configure Arduino IDE to work with a ESP8266
Select File-->Preferences
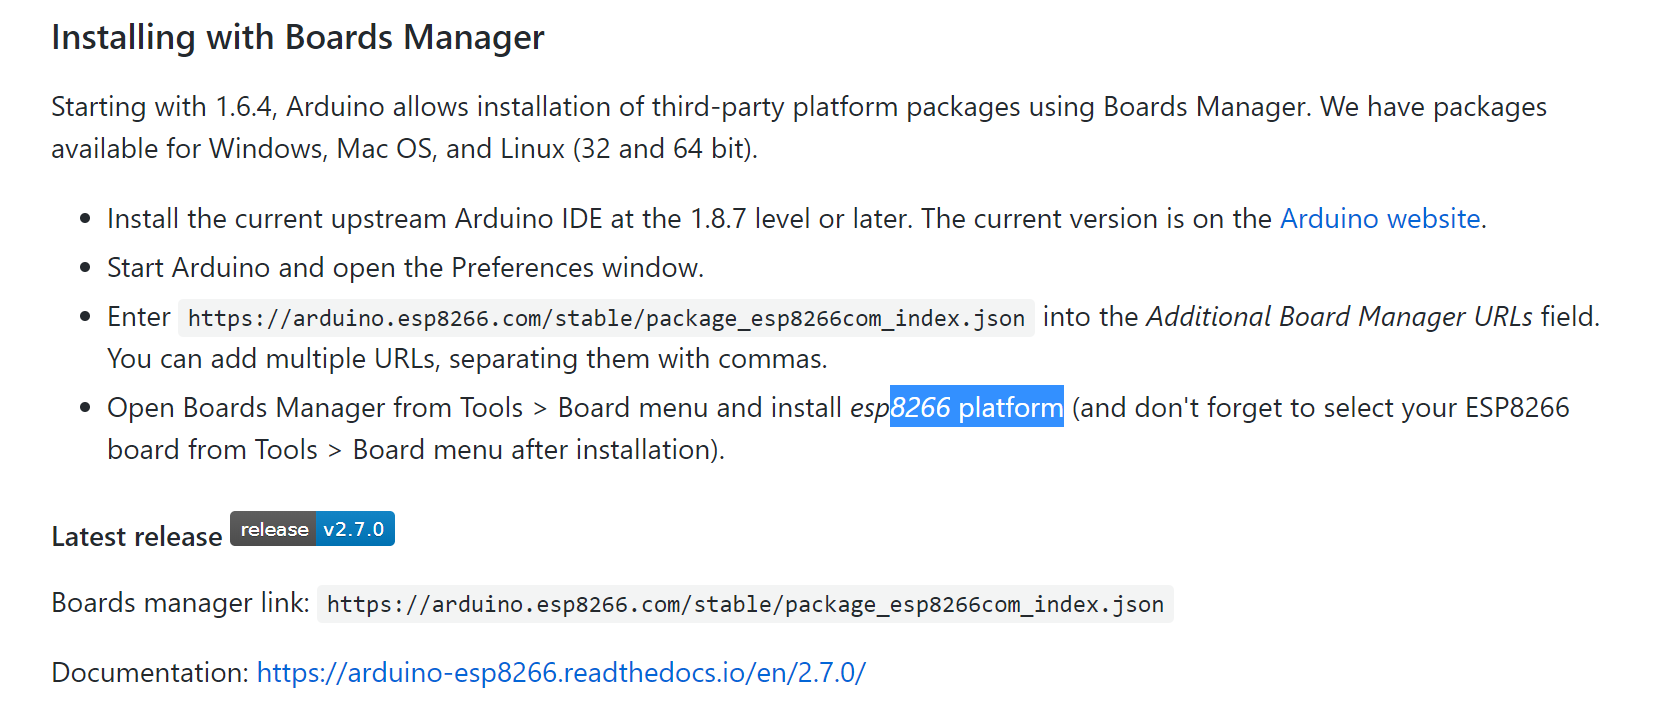
Copy and paste this URL in the field 'Additional Boards Manager URLs:
http://arduino.esp8266.com/stable/package_esp8266com_index.json
Select Okay
Adding ESP8266 Boards Via Arduino Board Manager
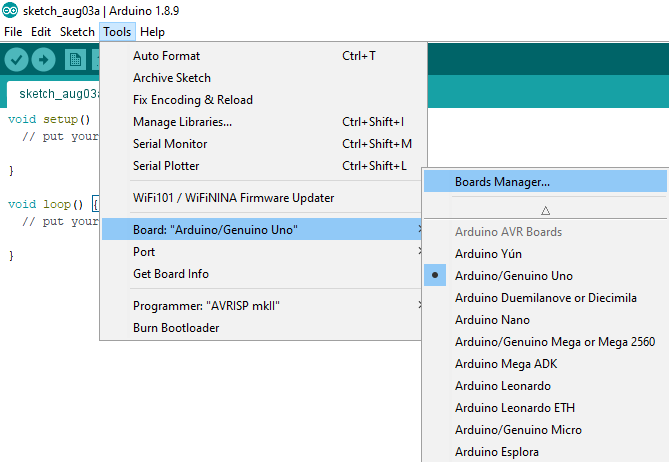
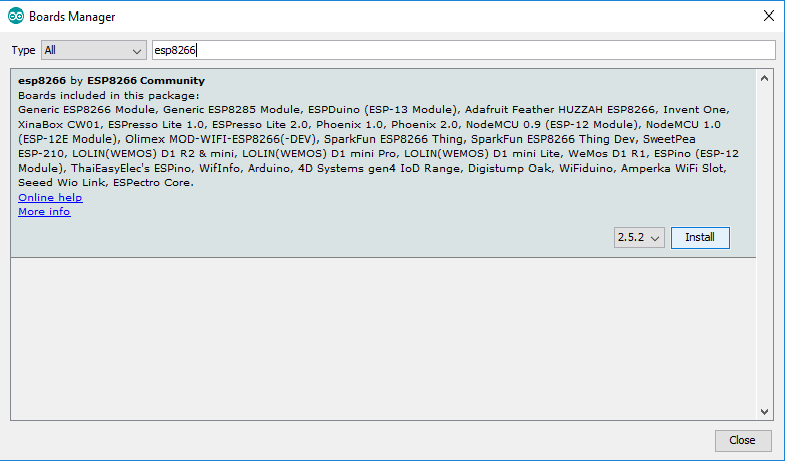
Select Tools-->Board-->Board Manager
Then type in ESP8266 and instal ESP8266 by ESP8266 Community (pictured)
direction from github:
https://discordapp.com/channels/474721915546763265/703072314224410654/706194122263756853
Plug in Your ESP8266 Board With Micro USB Cord
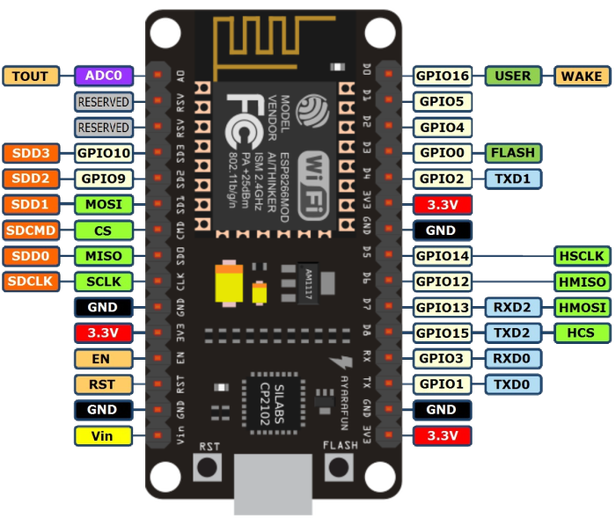
ESP8266 Configuration
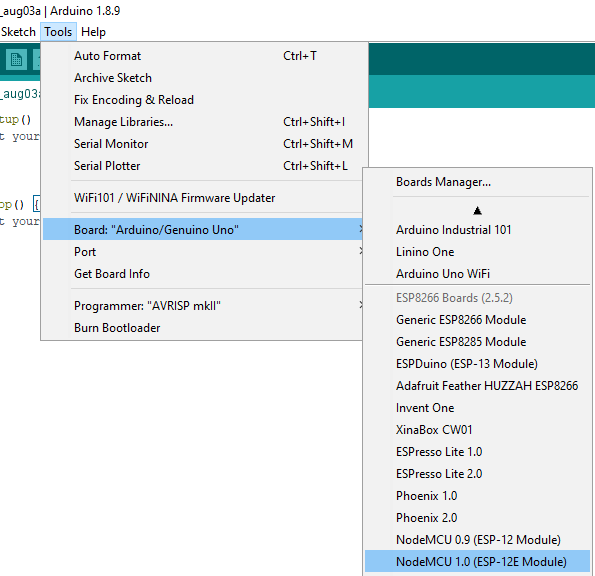
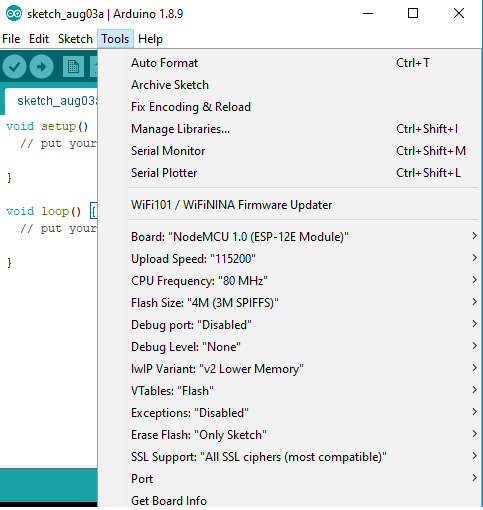
Select your board as pictured NodeMCU 1.0 (ESP-12E Module)
Configure the board as pictured:
Flash Size -> 4M (3M SPIFFS)
CPU Frequency -> 80 Mhz
Upload Speed -> 115200
Port --> Com X (X=to whatever port is associated with your ESP8266. If you are unsure, unplug your chip, go to tools-->port, and note what com ports are connected. Reconnect your chip and note the new port number, that is the com port for your chip, select that one. For reference mine was 'Com 6'
Flashing the ESP8266
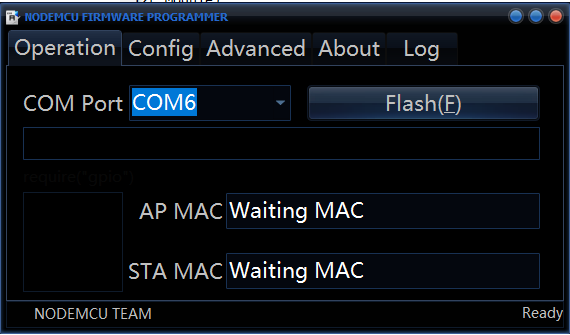
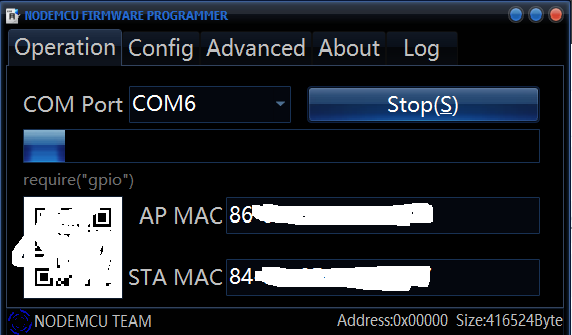
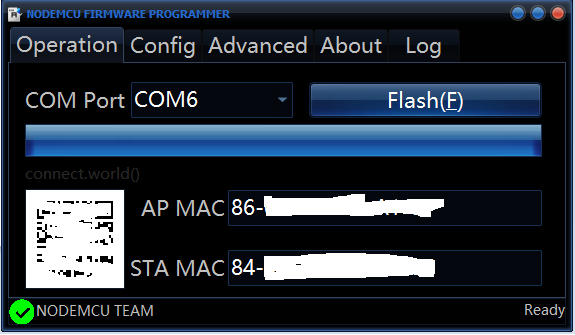
This only needs to be done once:
Download and run the 32 or 64 bit flasher*:
32 bit - https://github.com/nodemcu/nodemcu-flasher/blob/m...
64 bit- https://github.com/nodemcu/nodemcu-flasher/blob/m...
*If you don't know if your PC is 32 bit or 64 bit, type "about" in your taskbar search bar. It'll be listed under the field: 'system type'
Select the download button on github and open file once downloaded.
Select the chip port from the previous step (Com 6 for me), and then select flash (this should only have to be done once) close flash program once completed. Process is completed when you get the green checkmark in the bottom left hand corner.
Finished
That's it! Your NodeMCU ESP8266 is now ready to receive code!
Be sure to check out https://www.twitch.tv/noycebru to see projects being made live or watch the tutorials on YouTube at https://www.twitch.tv/noycebru. I post daily to twitter @noycebru
Projects that I've made on stream that will be uploaded to YouTube:
Twitch Chat Controlled Servo
Twitch Chat Controlled Digital Relay
Twitch Chat Controlled Stepper Motors
Twitch Chat Controlled DC Motors
Arduino Pro Micro Streamdeck
Arduino Pro Micro PC Joystick