NodeMCU ESP8266 - MQTT - Ubidots
by AmruthKumarSala in Circuits > Arduino
1411 Views, 0 Favorites, 0 Comments
NodeMCU ESP8266 - MQTT - Ubidots
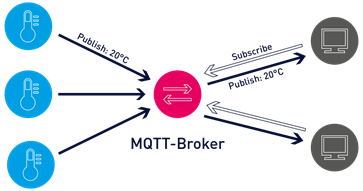

MQTT is an OASIS standard messaging protocol for the Internet of Things (IoT). It is designed as an extremely lightweight publish/subscribe messaging transport that is ideal for connecting remote devices with a small code footprint and minimal network bandwidth. MQTT today is used in a wide variety of industries, such as automotive, manufacturing, telecommunications, oil and gas, etc.
Why MQTT: MQTT clients are very small, require minimal resources so can be used on small microcontrollers. MQTT message headers are small to optimize network bandwidth.
Bi-Directional Communication: MQTT allows for messaging between device to cloud and cloud to device. This makes for easy broadcasting messages to groups of things.
Scale to Millions of Things: MQTT can scale to connect with millions of IoT devices.
Reliability of message delivery: It is important for many IoT use cases. This is why MQTT has 3 defined quality of service levels:
- 0 - at most once,
- 1- at least once,
- 2 - exactly once
Support for Unreliable Networks: Many IoT devices connect over unreliable cellular networks. MQTT’s support for persistent sessions reduces the time to reconnect the client with the broker.
Security Enabled: MQTT makes it easy to encrypt messages using TLS and authenticate clients using modern authentication protocols, such as OAuth.
Supplies
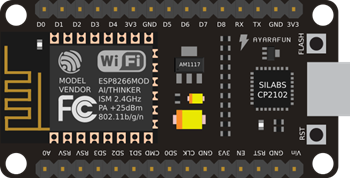
- NodeMCU ESP8266 (or) any other Generic ESP8266 board
- Ubidots Registration
- Supporting library from the GitHub.
- Arduino IDE to upload the code.
Initial Setup of Arduino IDE.
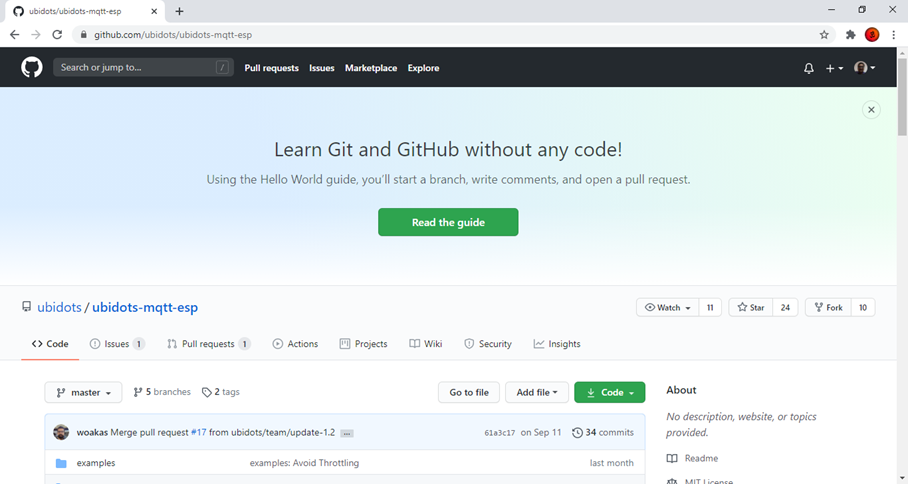
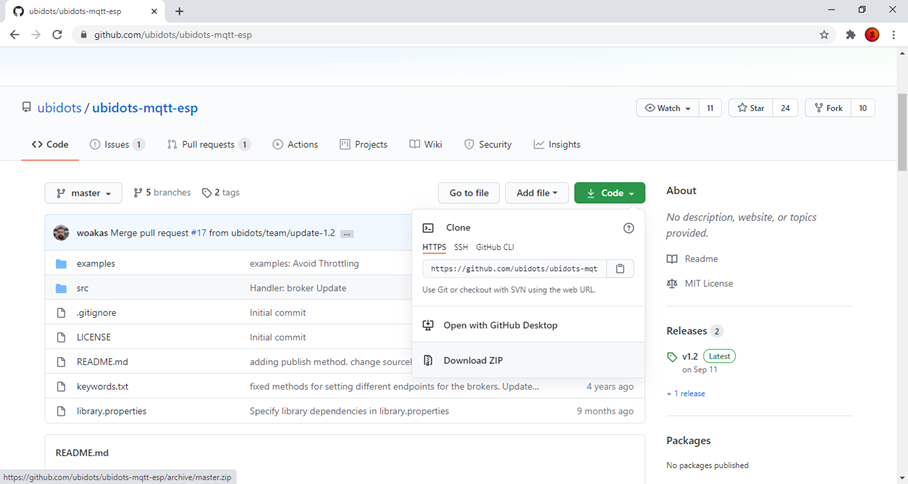
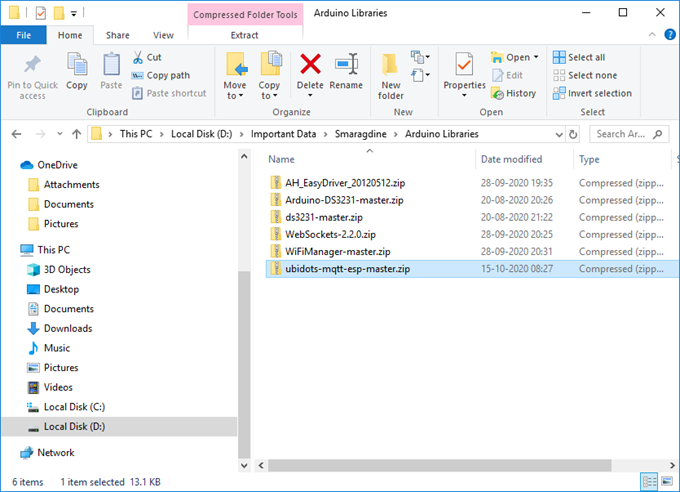
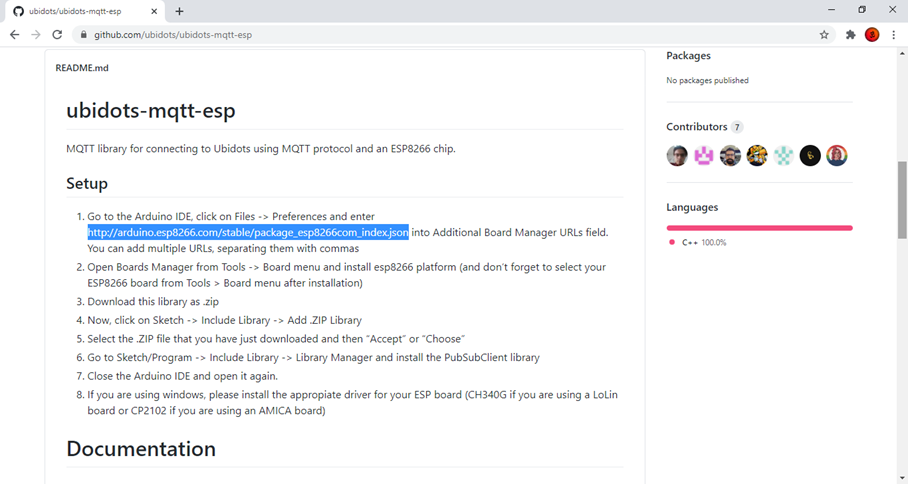
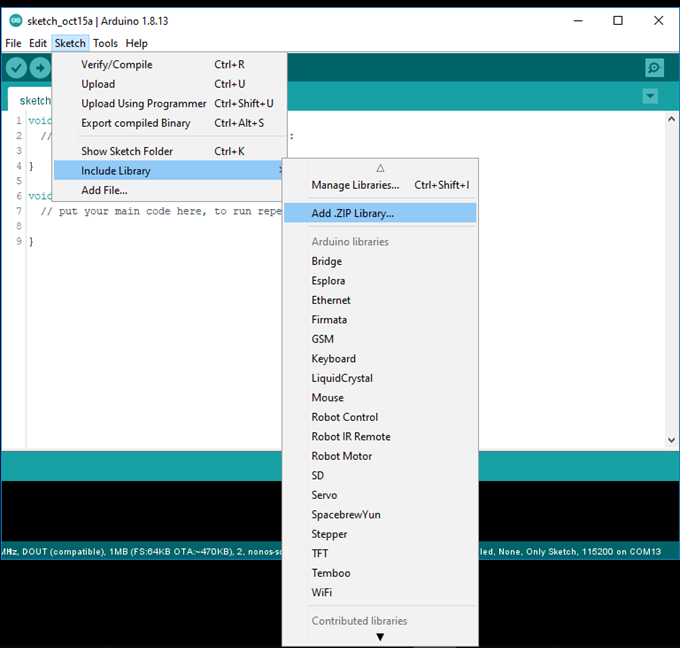
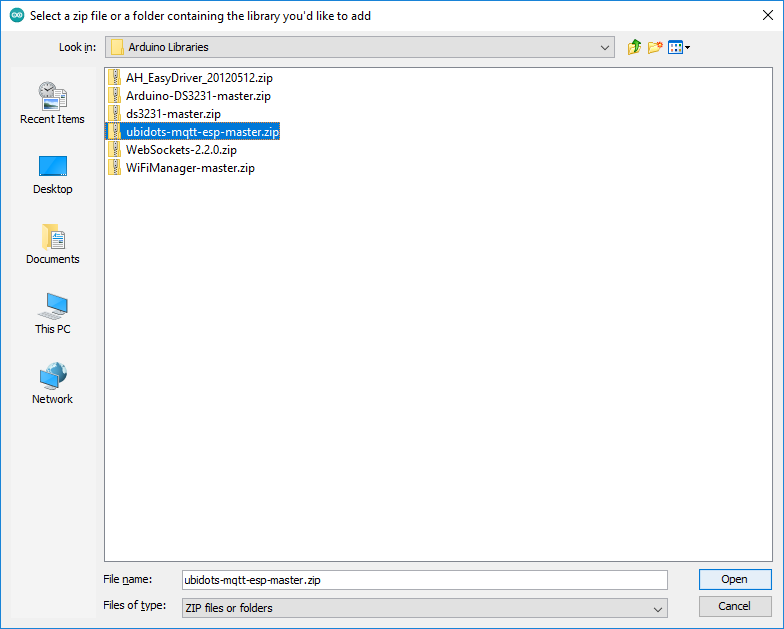
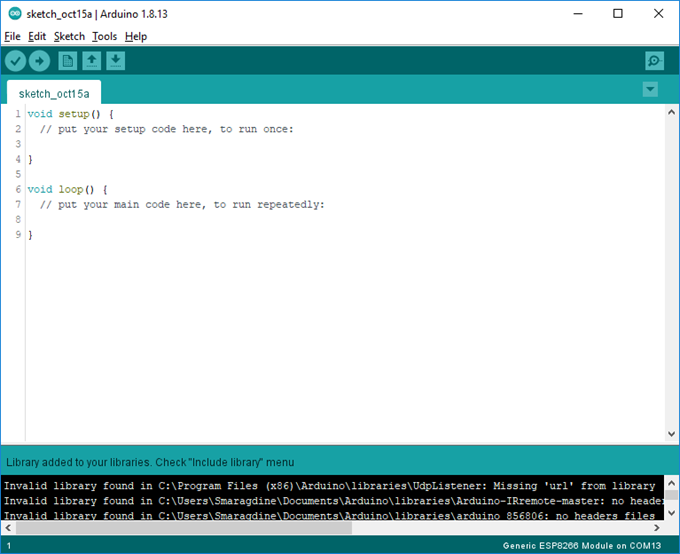
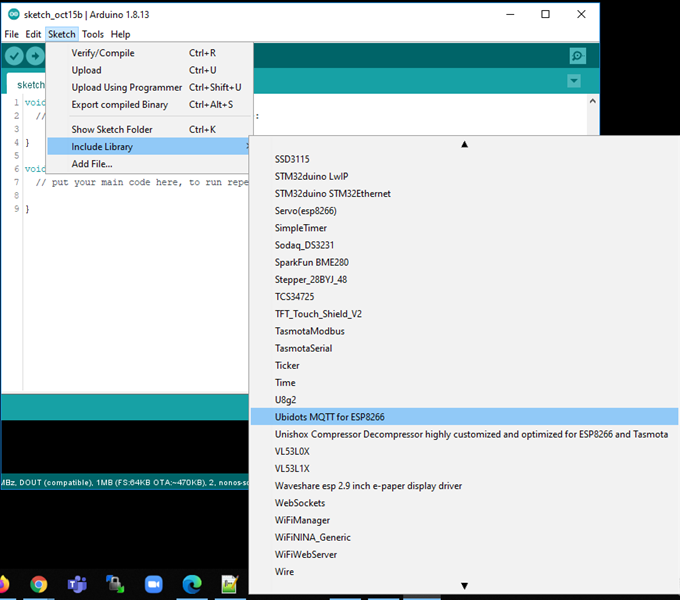
- Download the UbidotsMQTTESP8266 library from the GIT Repository
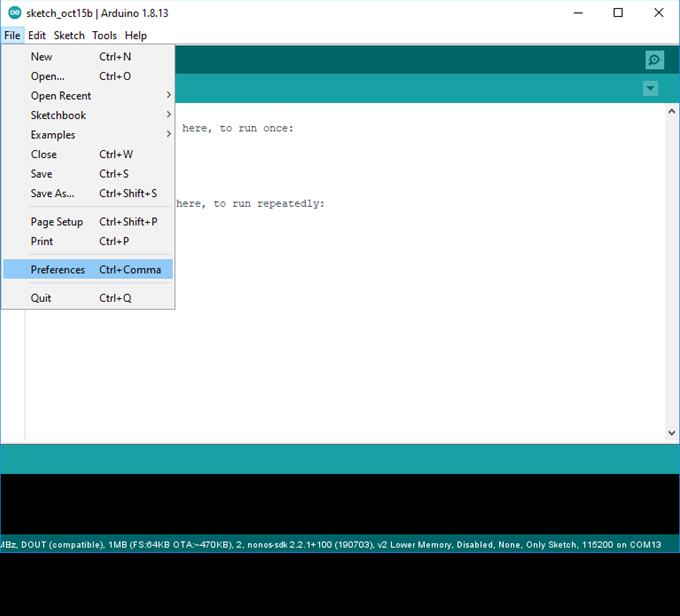
- Open Arduino IDE, navigate to "preferences" from the "file" menu.
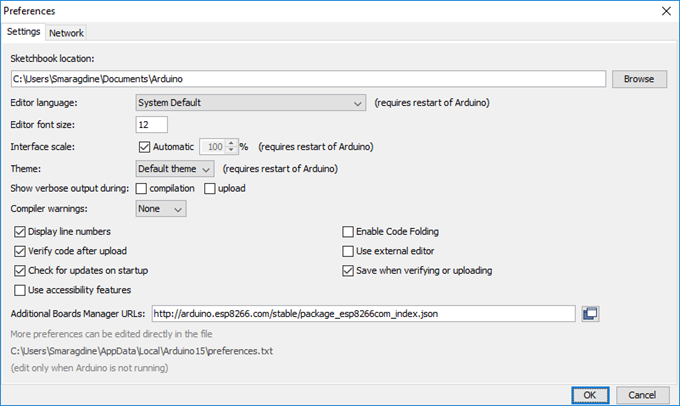
- In the "Additional Boards Manager URLs" text field, paste the following: http://arduino.esp8266.com/stable/package_esp8266... & press on Ok to proceed.
- Navigate to "Add .ZIP Library" from the "Sketch > Include Library" menu and indicate the path of the downloaded zip file.
- Wait unless the IDE receives a message: Library added to your libraries. Check the "Include Library" menu.
- Navigate to "Include Library" from "Sketch" & check for "Ubidots MQTT for ESP8266"
Ubidots API Credentials
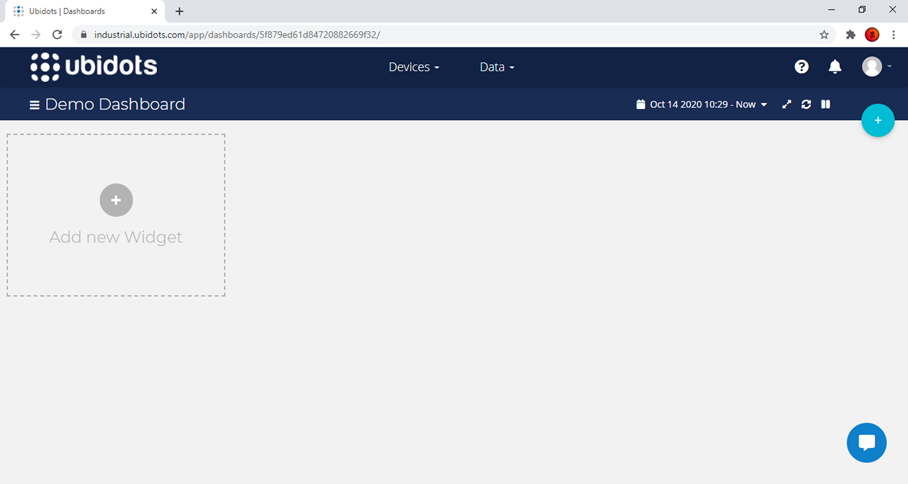
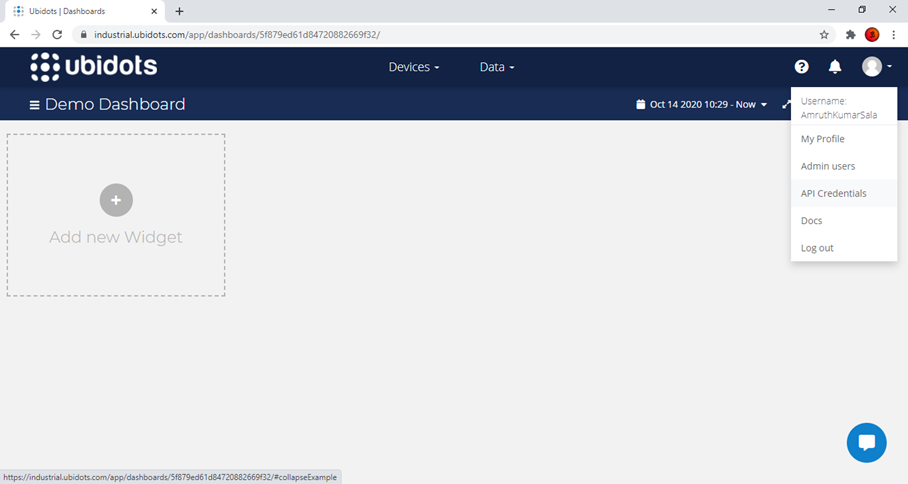
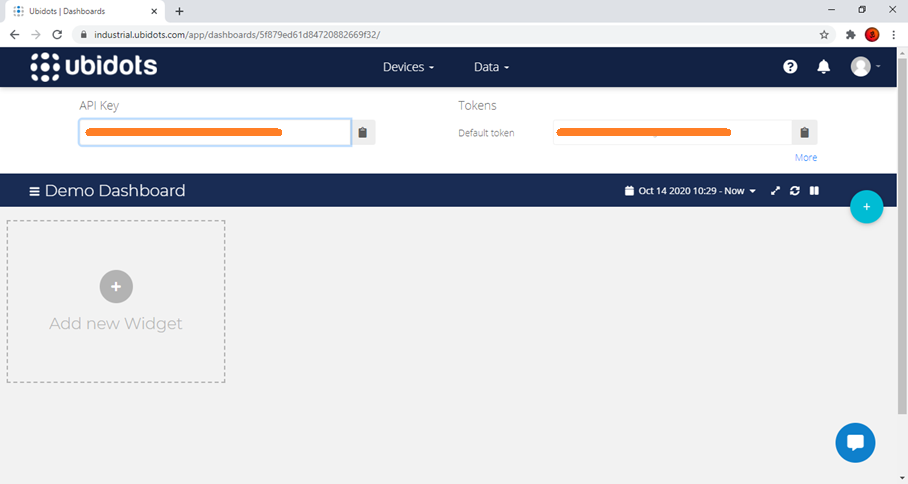
Login to Ubidots and make a note of the API Credentials.
Please note that we will only need the value of the "Default Token".
The Code. . .
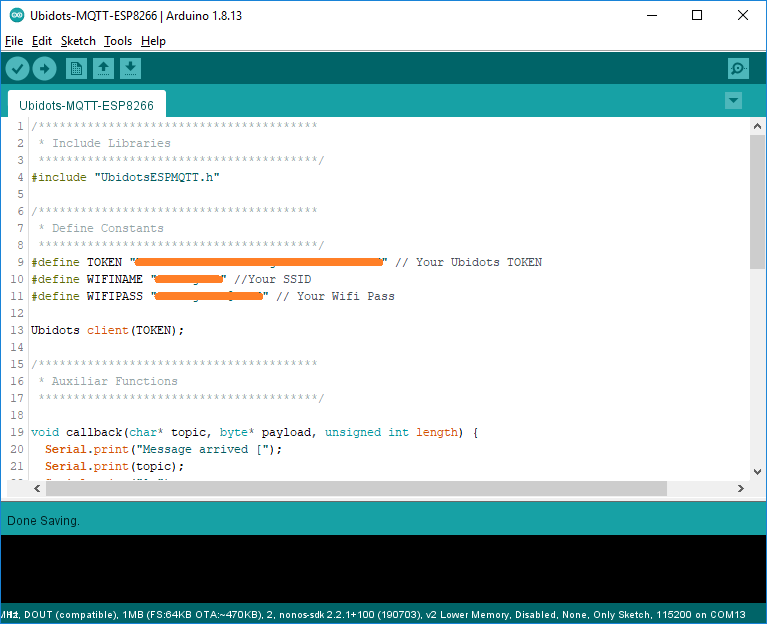
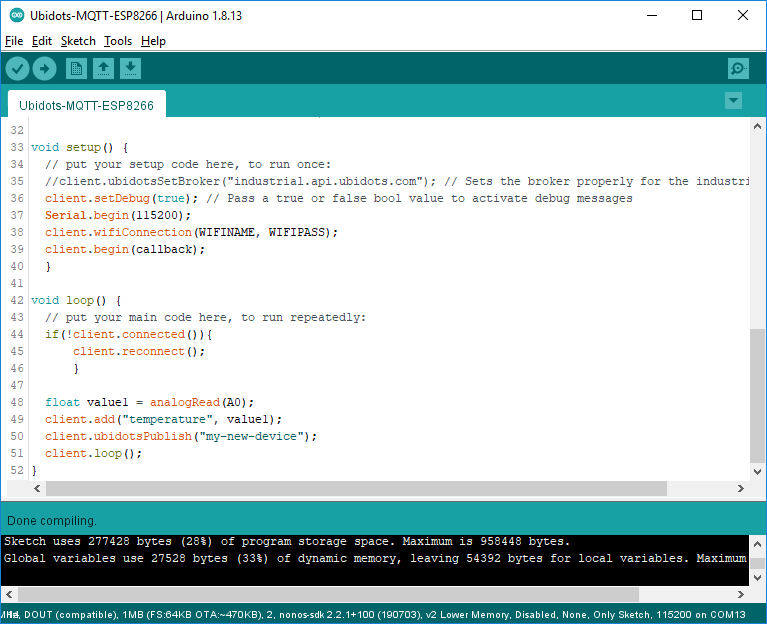
#include "UbidotsESPMQTT.h"
#define TOKEN "*************************************************" // Your Ubidots TOKEN
#define WIFINAME "*********" //Your SSID
#define WIFIPASS "******************" // Your Wifi Pass
Ubidots client(TOKEN);
void callback(char* topic, byte* payload, unsigned int length)
{
Serial.print("Message arrived [");
Serial.print(topic);
Serial.print("] ");
for (int i=0; i<length; i++)
{
Serial.print((char)payload[i]);
}
void setup()
{
client.setDebug(true);
Serial.begin(115200);
client.wifiConnection(WIFINAME, WIFIPASS);
client.begin(callback);
}
void loop()
{
if(!client.connected())
{
client.reconnect();
}
float value1 = analogRead(A0);
client.add("temperature", value1);
client.ubidotsPublish("my-new-device");
client.loop();
}
Note: Please refer to the screenshots for better indentation of the lines.
Connect, Compile & Upload the Code. . .
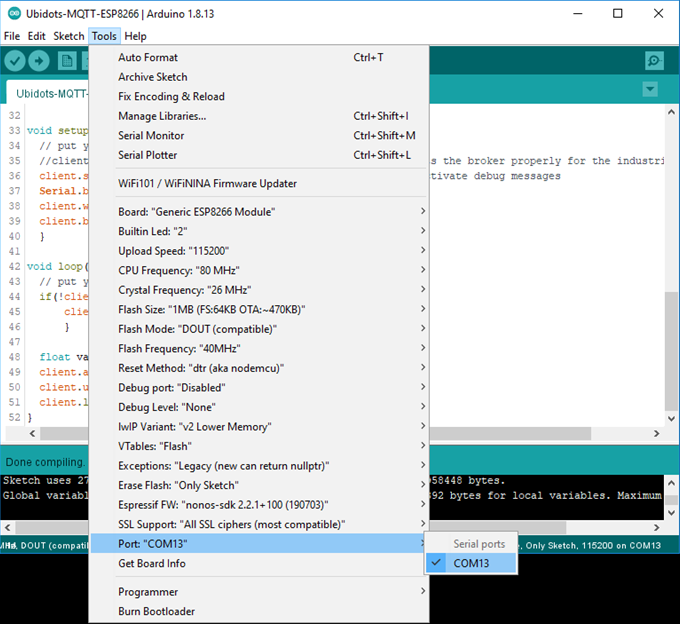
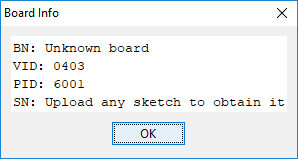
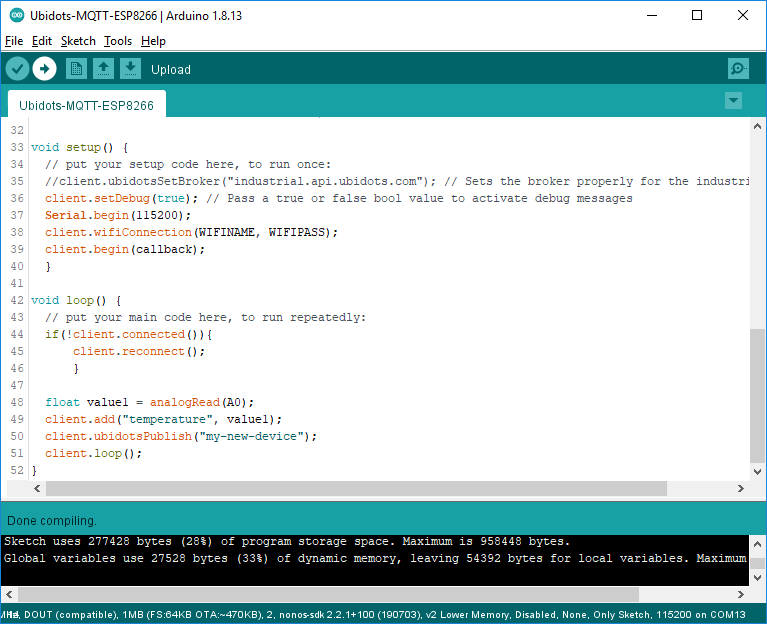
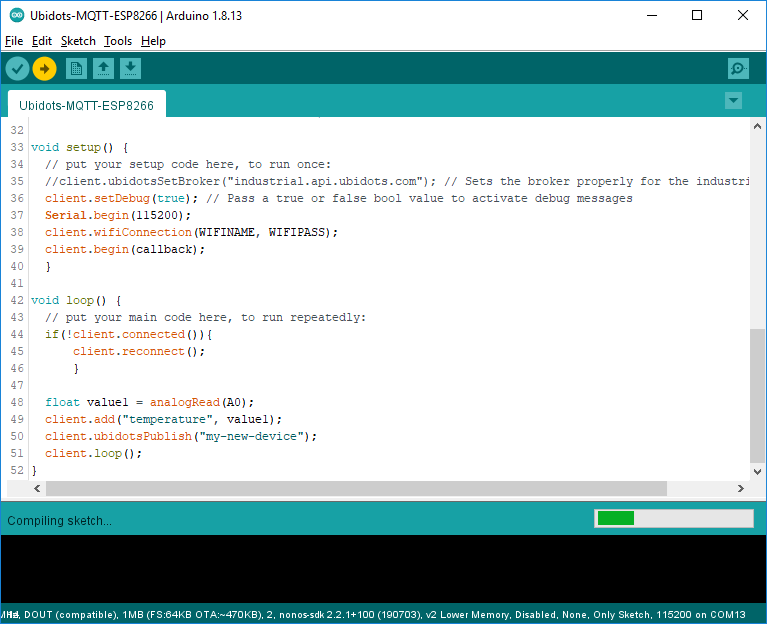
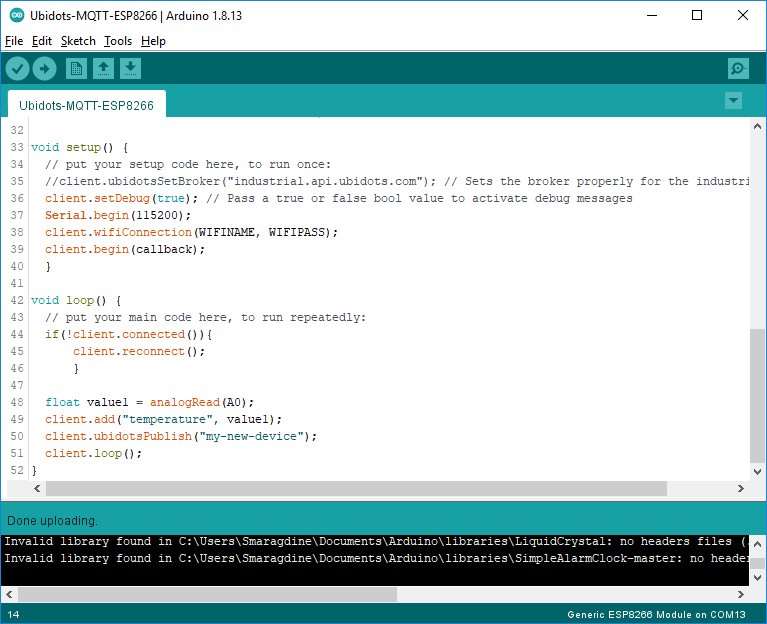
It is not time to connect your NodeMCU ESP8266 to your PC/Laptop, identify it's port, compile and upload the code.
Please take the necessary help from the attached screenshots to better understand the process if you are new to the Arduino IDE.
The Final Check. . .
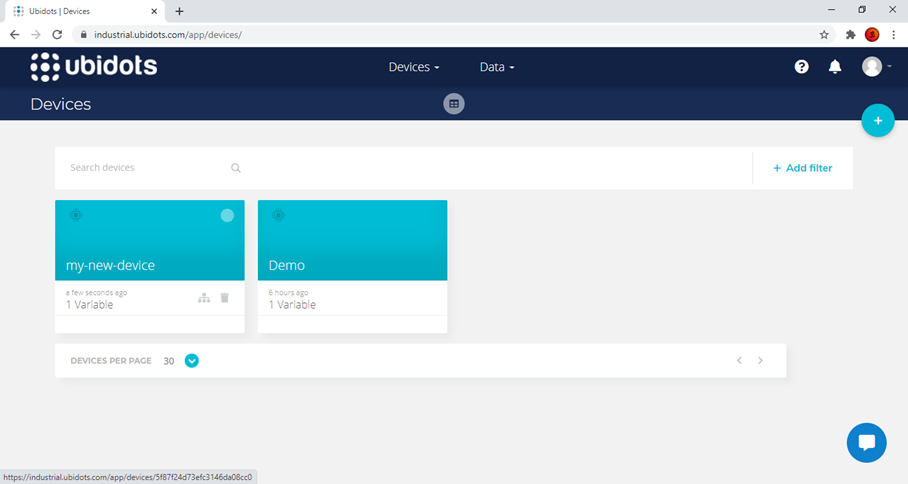
If everything goes well, you should be able to observe similar to what is represented in the screenshot.
This line in the code "client.ubidotsPublish("my-new-device");" gets published.
Note: In case nothing is getting represented in the Ubodots dashboard, it is suggested to disconnect and reconnect the NodeMCU.
Keep yourselves tuned. I am trying to post a few more with Ubidots & NodeMCU ESP8266.