Node MCU RC Car ( Mobile/Phone Controlled)
by Craft Fun Learning in Circuits > Arduino
848 Views, 5 Favorites, 0 Comments
Node MCU RC Car ( Mobile/Phone Controlled)
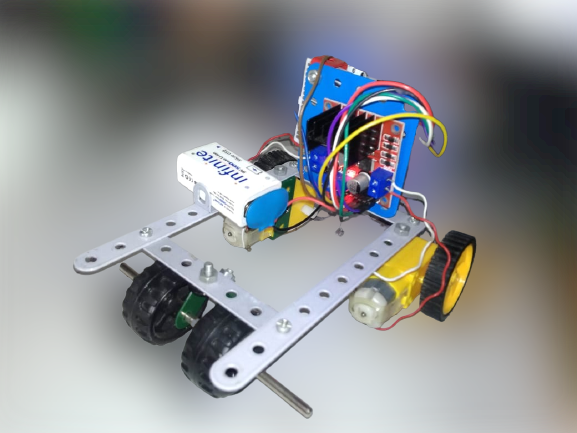
Hi Guys!
This is a Blog related to making a Node MCU Car which can be controlled by Phone/Mobile. So, you will need certain materials to make it, which you can order from online stores and also get from nearby electronic shops.
And Do not forget to visit our YouTube page and also Follow us on Instructables and YouTube
Supplies
You will need these items (To Buy items click on the item name)-
TT / Dual Shaft Motors and Wheels ×2
9 Volt Battery (I used Rechargeable) ×1
Jumper Wires ×1
Circuit
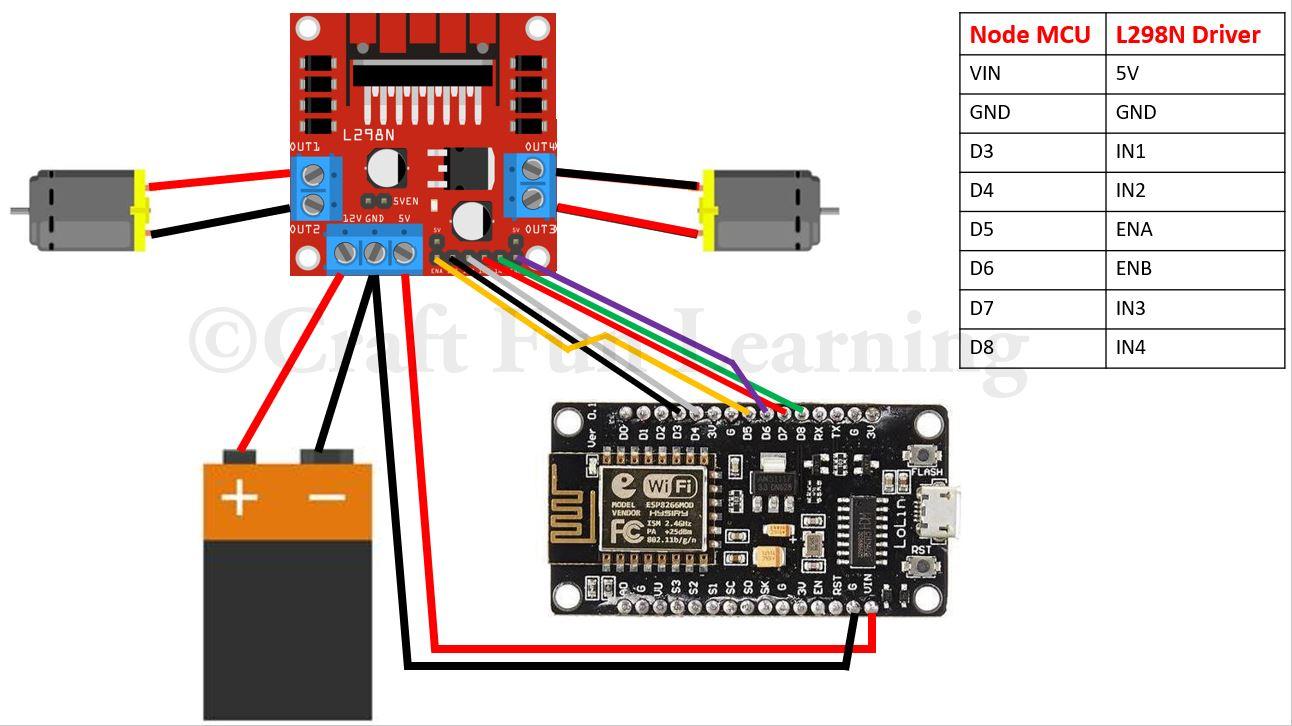
To make the Circuit, you will need to connect the Node MCU module to L298N motor driver as shown in the circuit diagram and also written below-
Node MCU -L298N Driver
VIN -5V
GND -GND
D3 -IN1
D4 -IN2
D5 -ENA
D6 -ENB
D7 -IN3
D8 -IN4
After this you will need to give Power to the circuit using the battery. So for that, connect Positive terminal to 12 V input in the L298N motor driver and Negative terminal to GND of Motor Driver.
Now connect the Motors to the Motor Input of the Motor Driver as shown in the diagram.
Put all these on a base made of metal because some cardboard are not that strong. So, I recommend to make a metal base from Old toys or any other thing.
Code
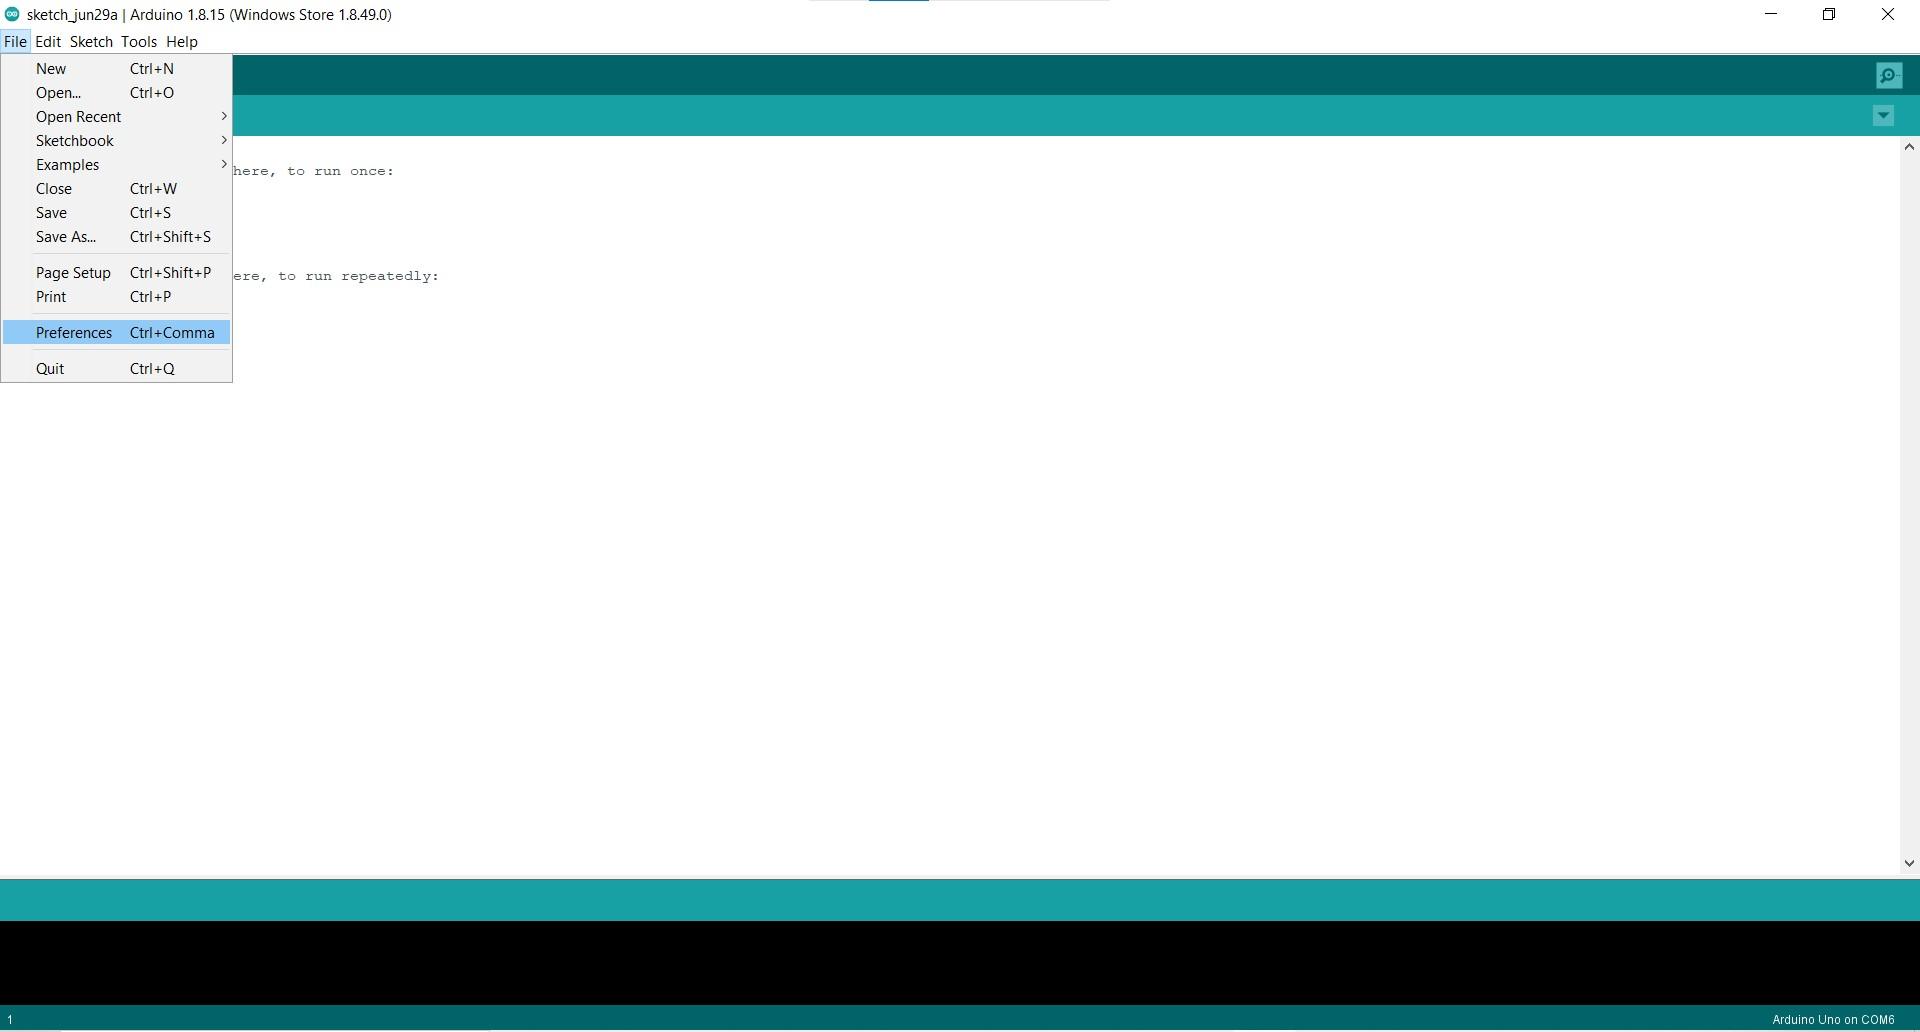
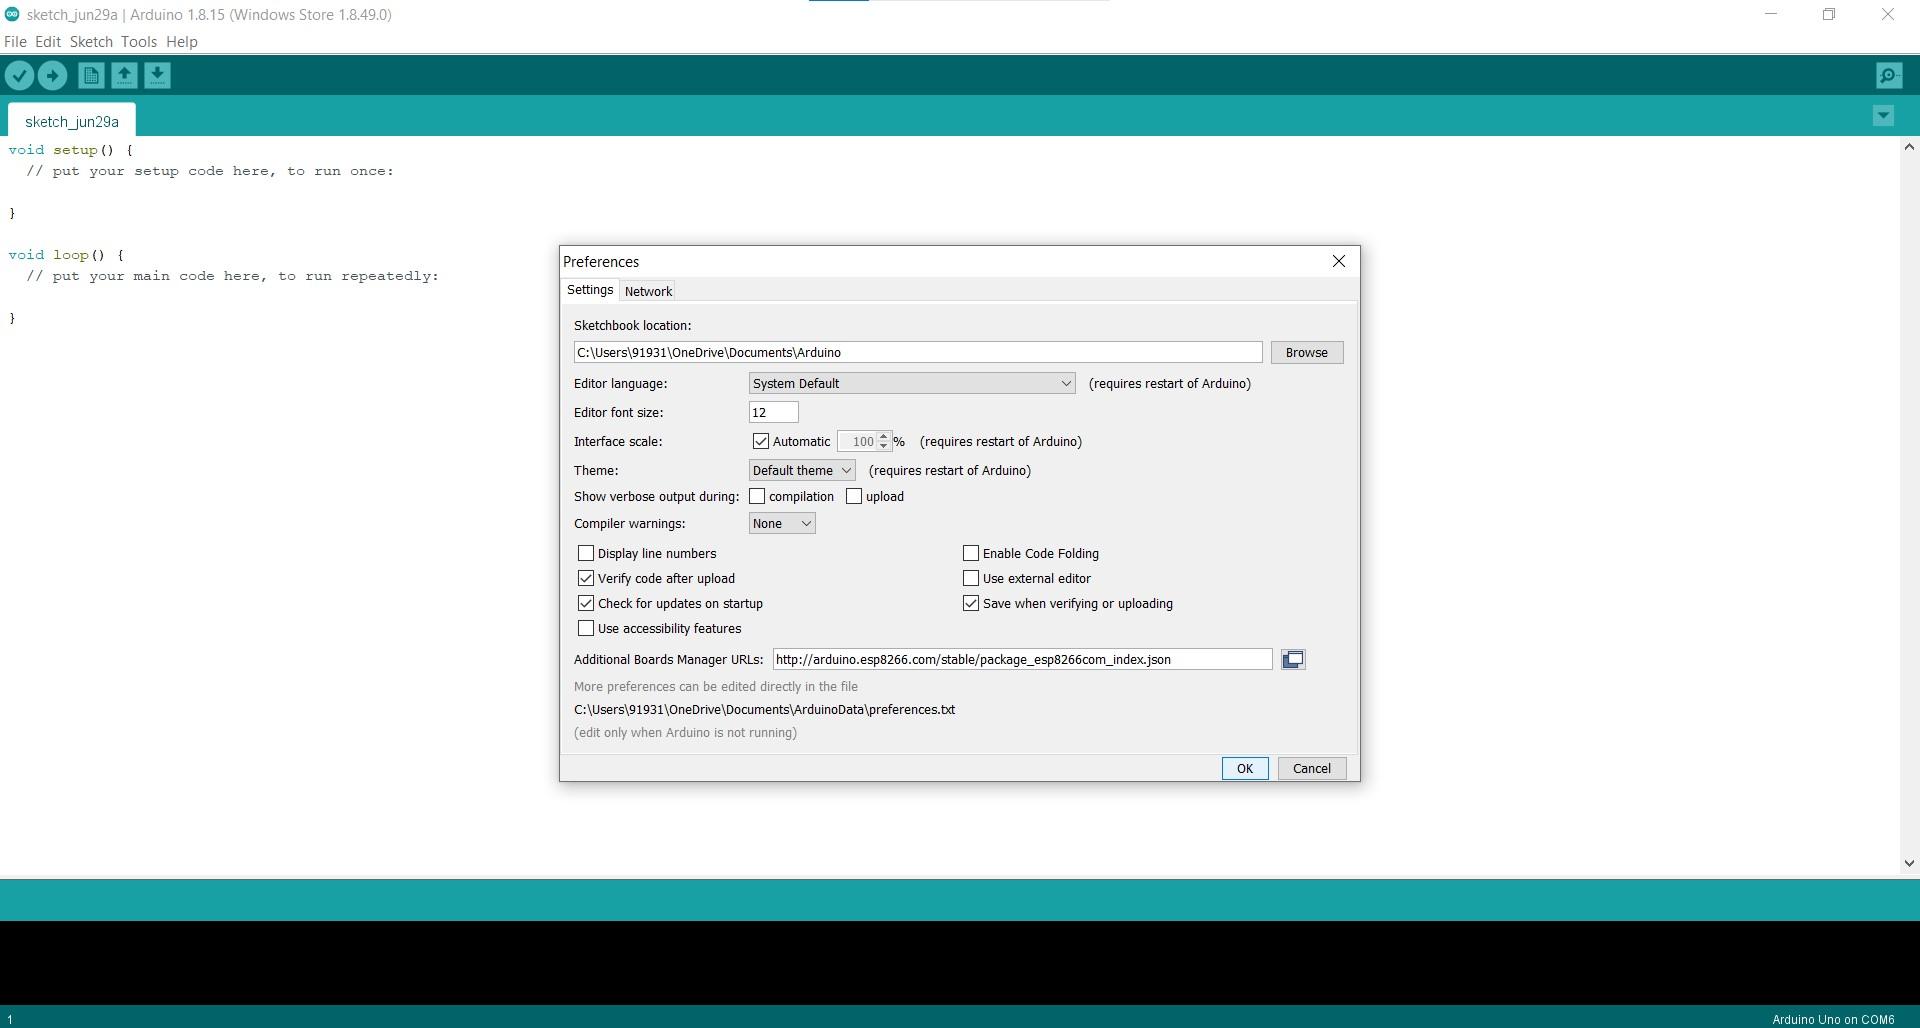
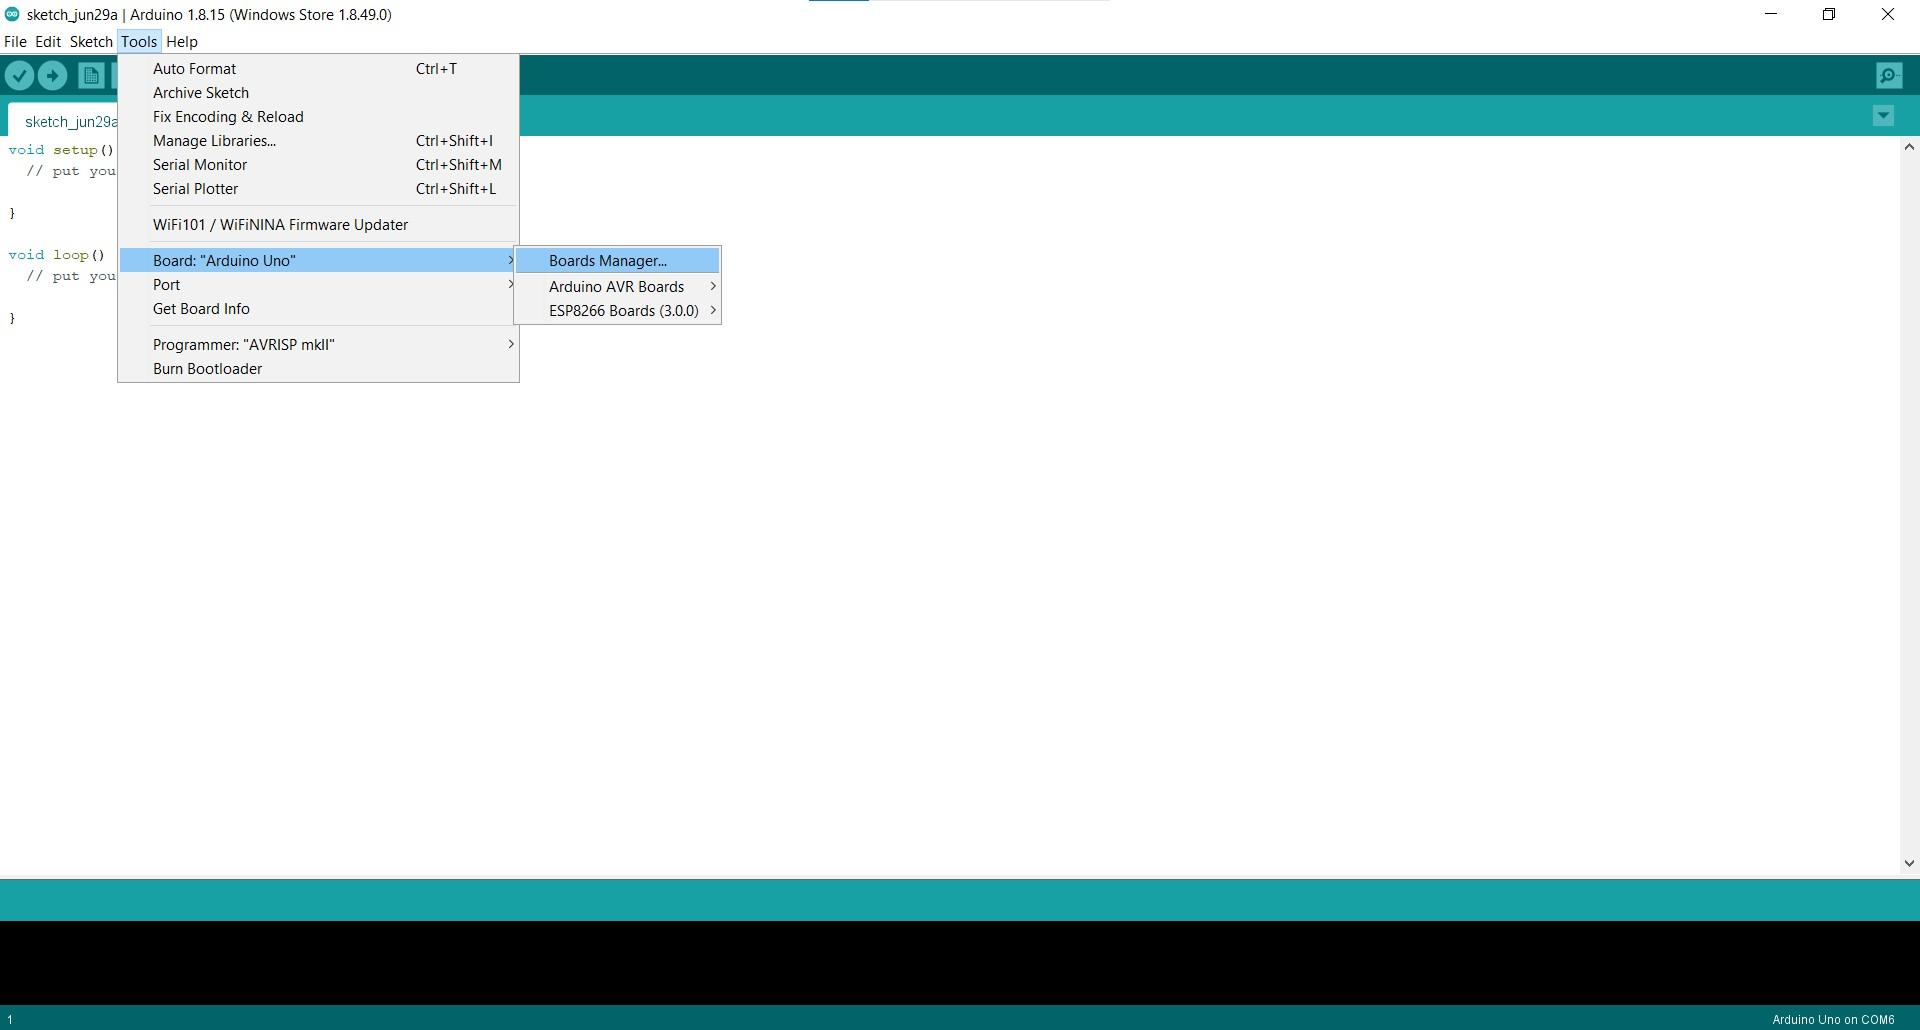
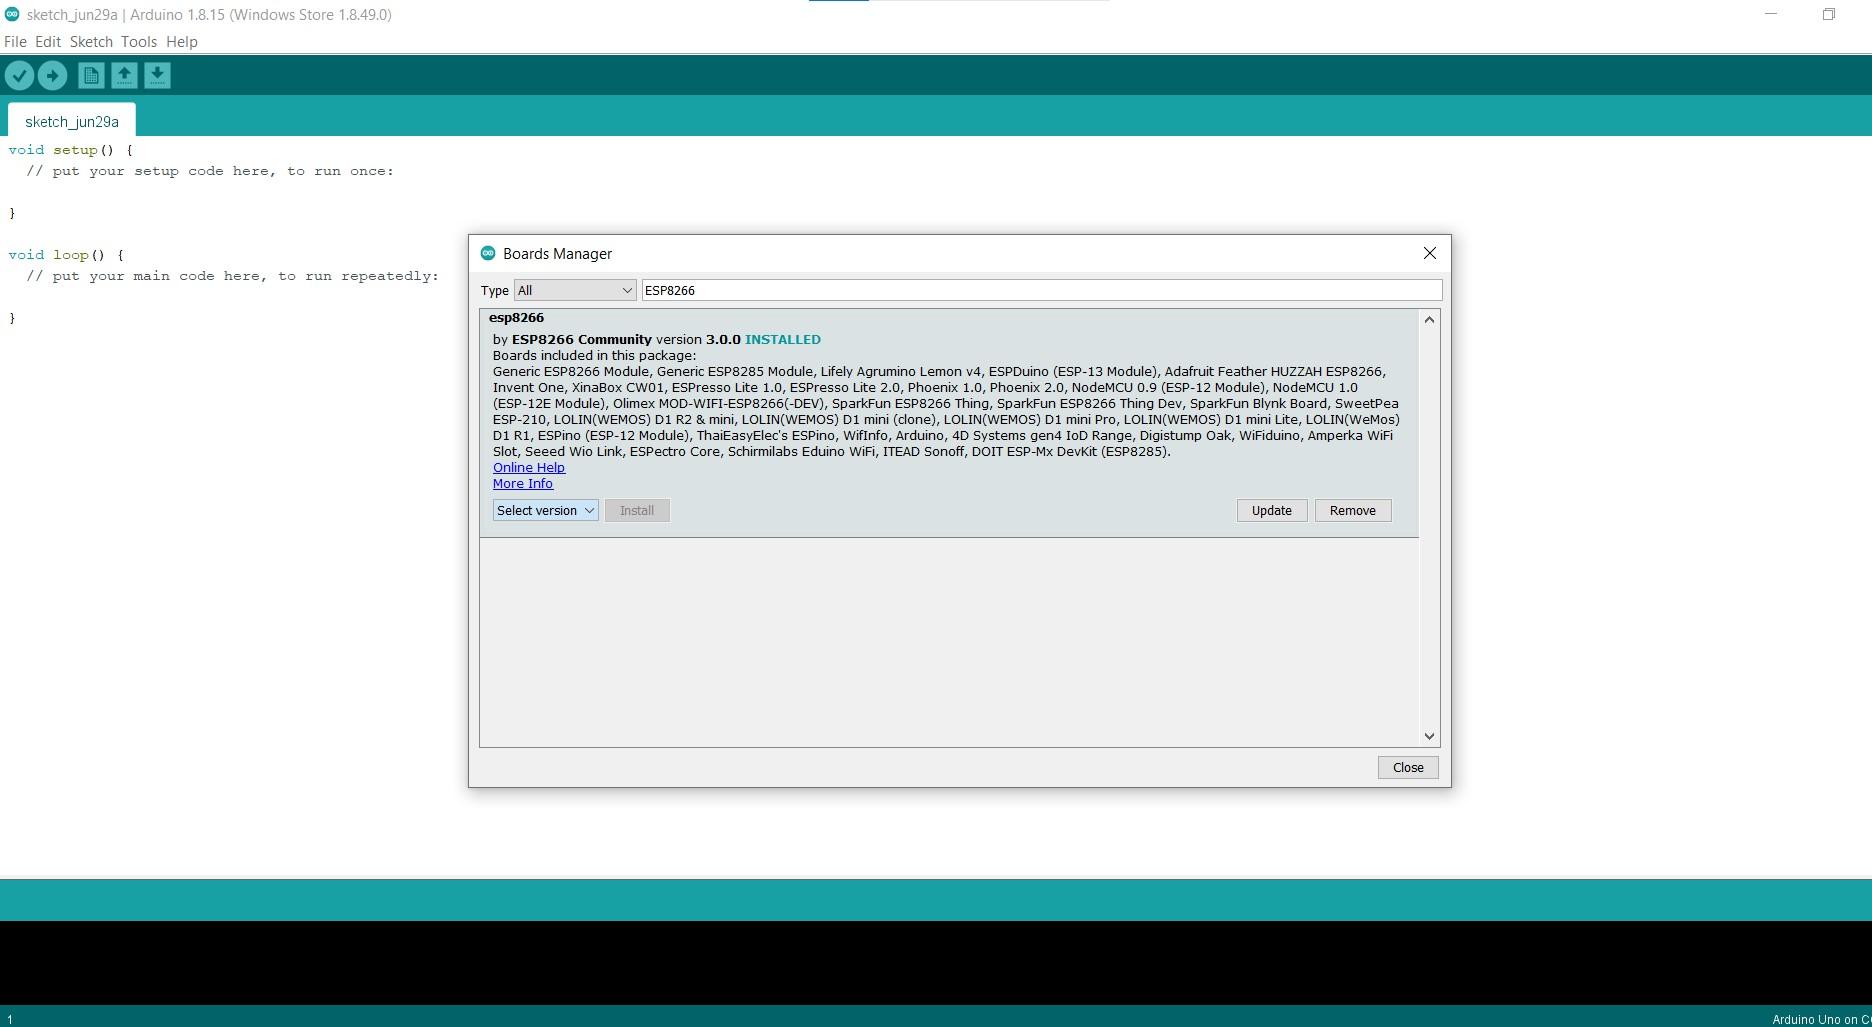
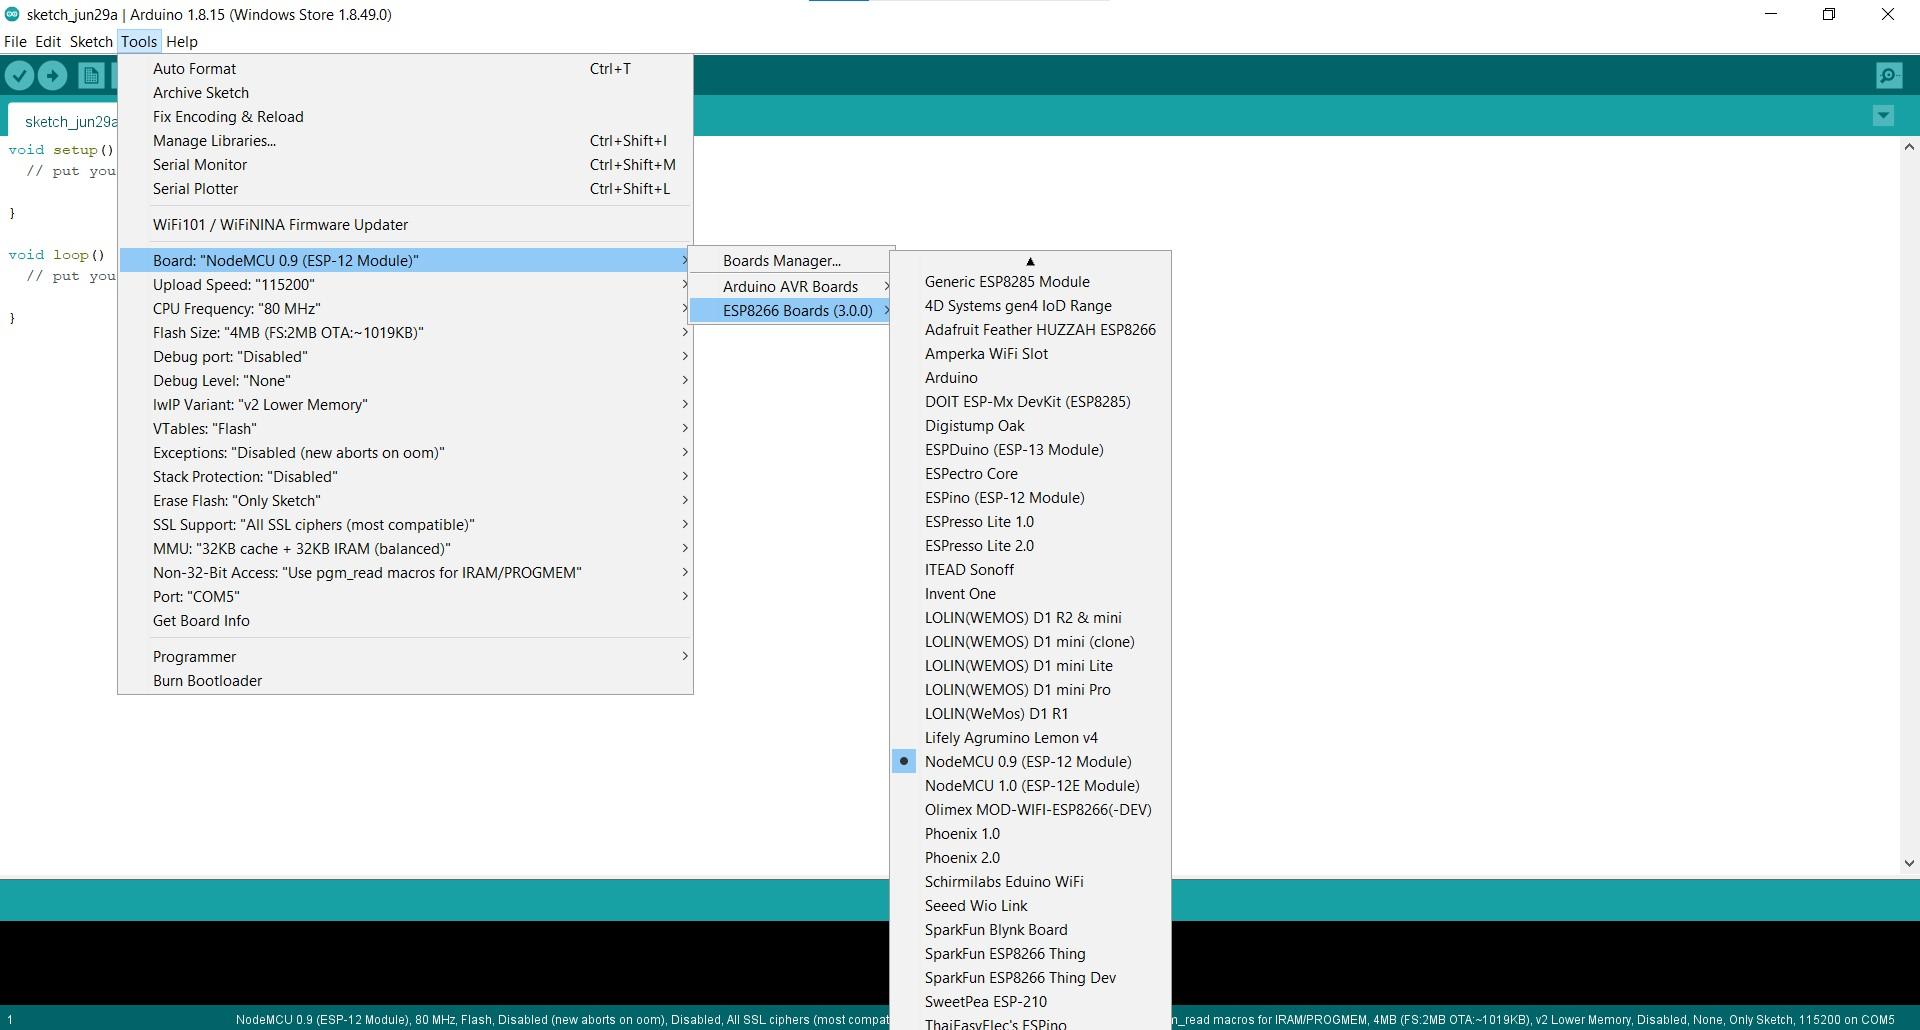
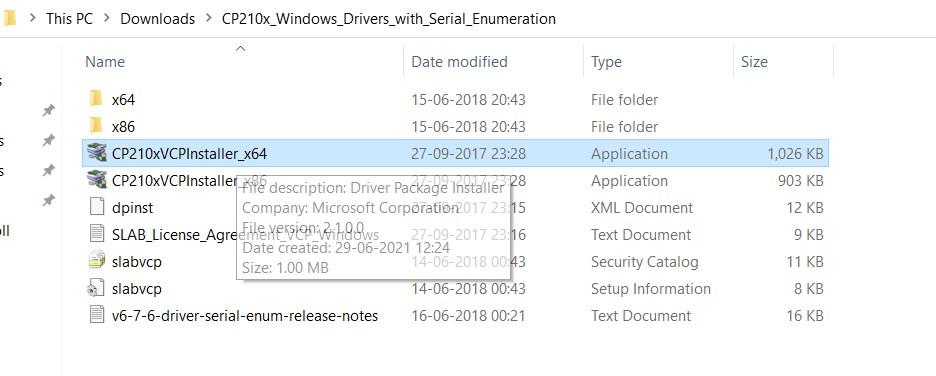
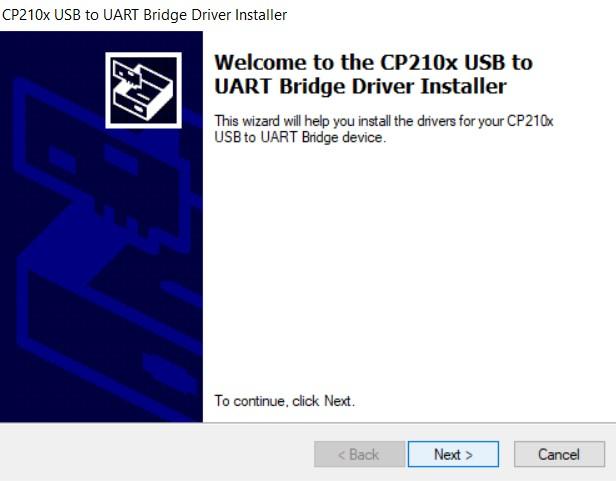
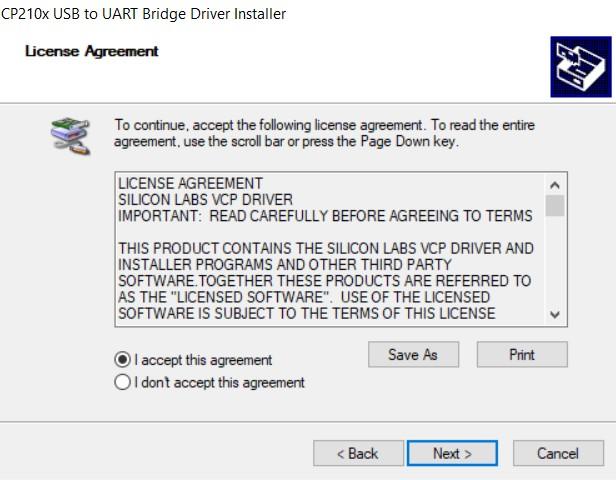
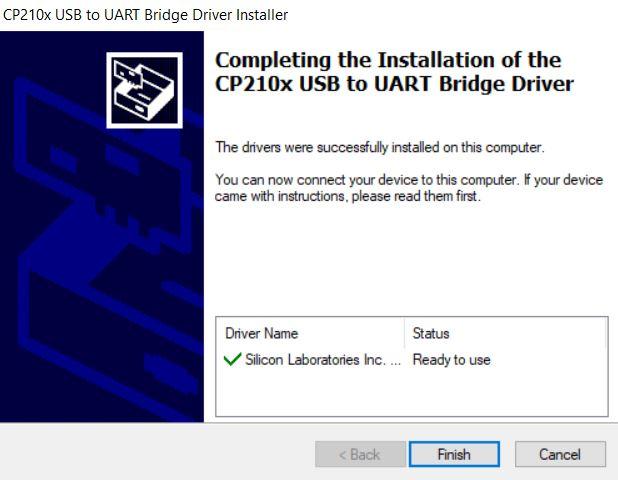
To Upload Code in Node MCU Module, we will use "Arduino IDE". You will get many video's to know How to download it and after you download it you will need to install ESP8266 in your library. So for that,
- Open 'Arduino IDE' and from 'File' on top click 'Preferences' over there paste this link- http://arduino.esp8266.com/stable/package_esp8266com_index.json and then click on 'OK'
- Go to 'Tools' and click on 'Board' and in that 'Board Manager'. After that a screen opens in that Search for 'ESP8266' and you will get a library for that. So install it by clicking install. I already had it installed so I just updated it.
- After installing it Go to 'Tools' and then 'Boards' you will be able to see 2 Libraries 1st of Arduino boards and 2nd of ESP8266 Boards. So, in ESP8266 boards select 'Node MCU 0.9' if it doesn't work select 'Node MCU 1.0' or 'Generic ESP8266 Module'.
- It might still not work in few cases. So for that you will need to install 'CP210x USB to UART Bridge Virtual COM Port (VCP) driver'. You can Click Here to Download it.
- After Downloading Extract the ZIP file and click on 'installer x 64bit'. Click 'Next' and then click 'Agree' and then 'Next'. After that it will take about 5-10 seconds and then click on 'Finish'
- Now try out changing the ports from the app and it will work.
If you still face problem give a comment Below or on my YouTube. I will surely solve it.
I have attached a file in which the code is pasted. So you can download it and upload to the Node MCU Module.
Downloads
Control
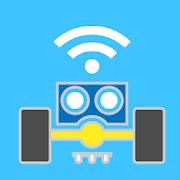
To control the Car as I told we will be using Mobile/Phone. And we would be required to download an app in our phone which will control our project. So go to 'Play Store' and in that search for 'WIFI Car Control'. There you will get many apps and looking the image above there would a app with the same logo download that or Click Here to download. Beware about that Right and Left will work as Front and Back for the car and for Left and Right of the car you will need to click on the Front and Back.