Nintendo Controller Mapped As a Keyboard on PC
by Matt M in Circuits > Computers
18930 Views, 4 Favorites, 0 Comments
Nintendo Controller Mapped As a Keyboard on PC
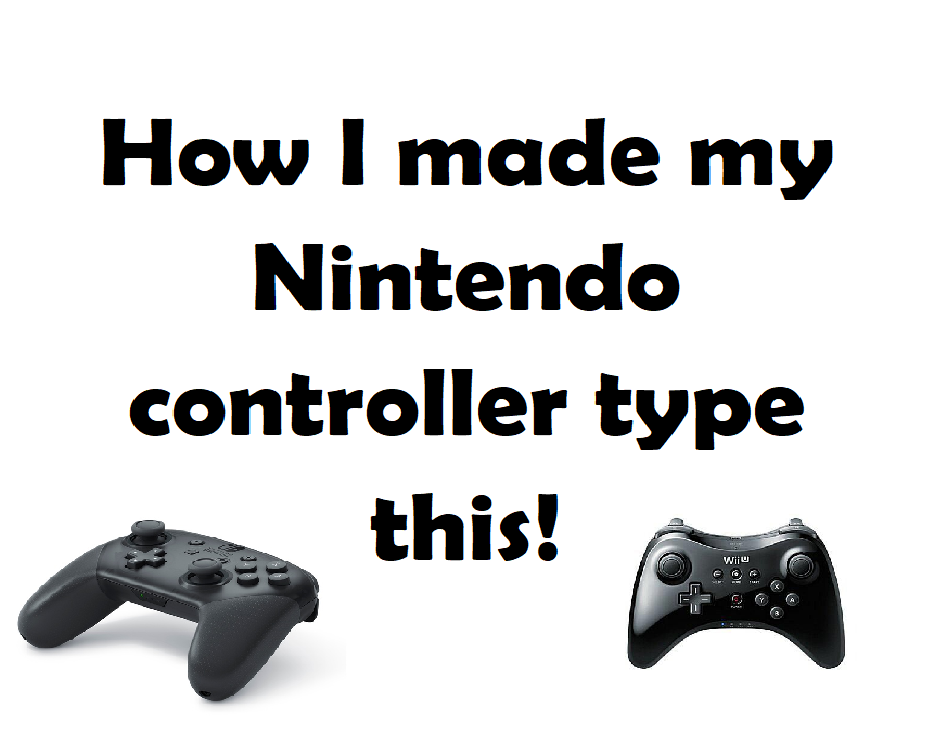
How to map the controls on a Nintendo game controller to act as a keyboard for a pc.
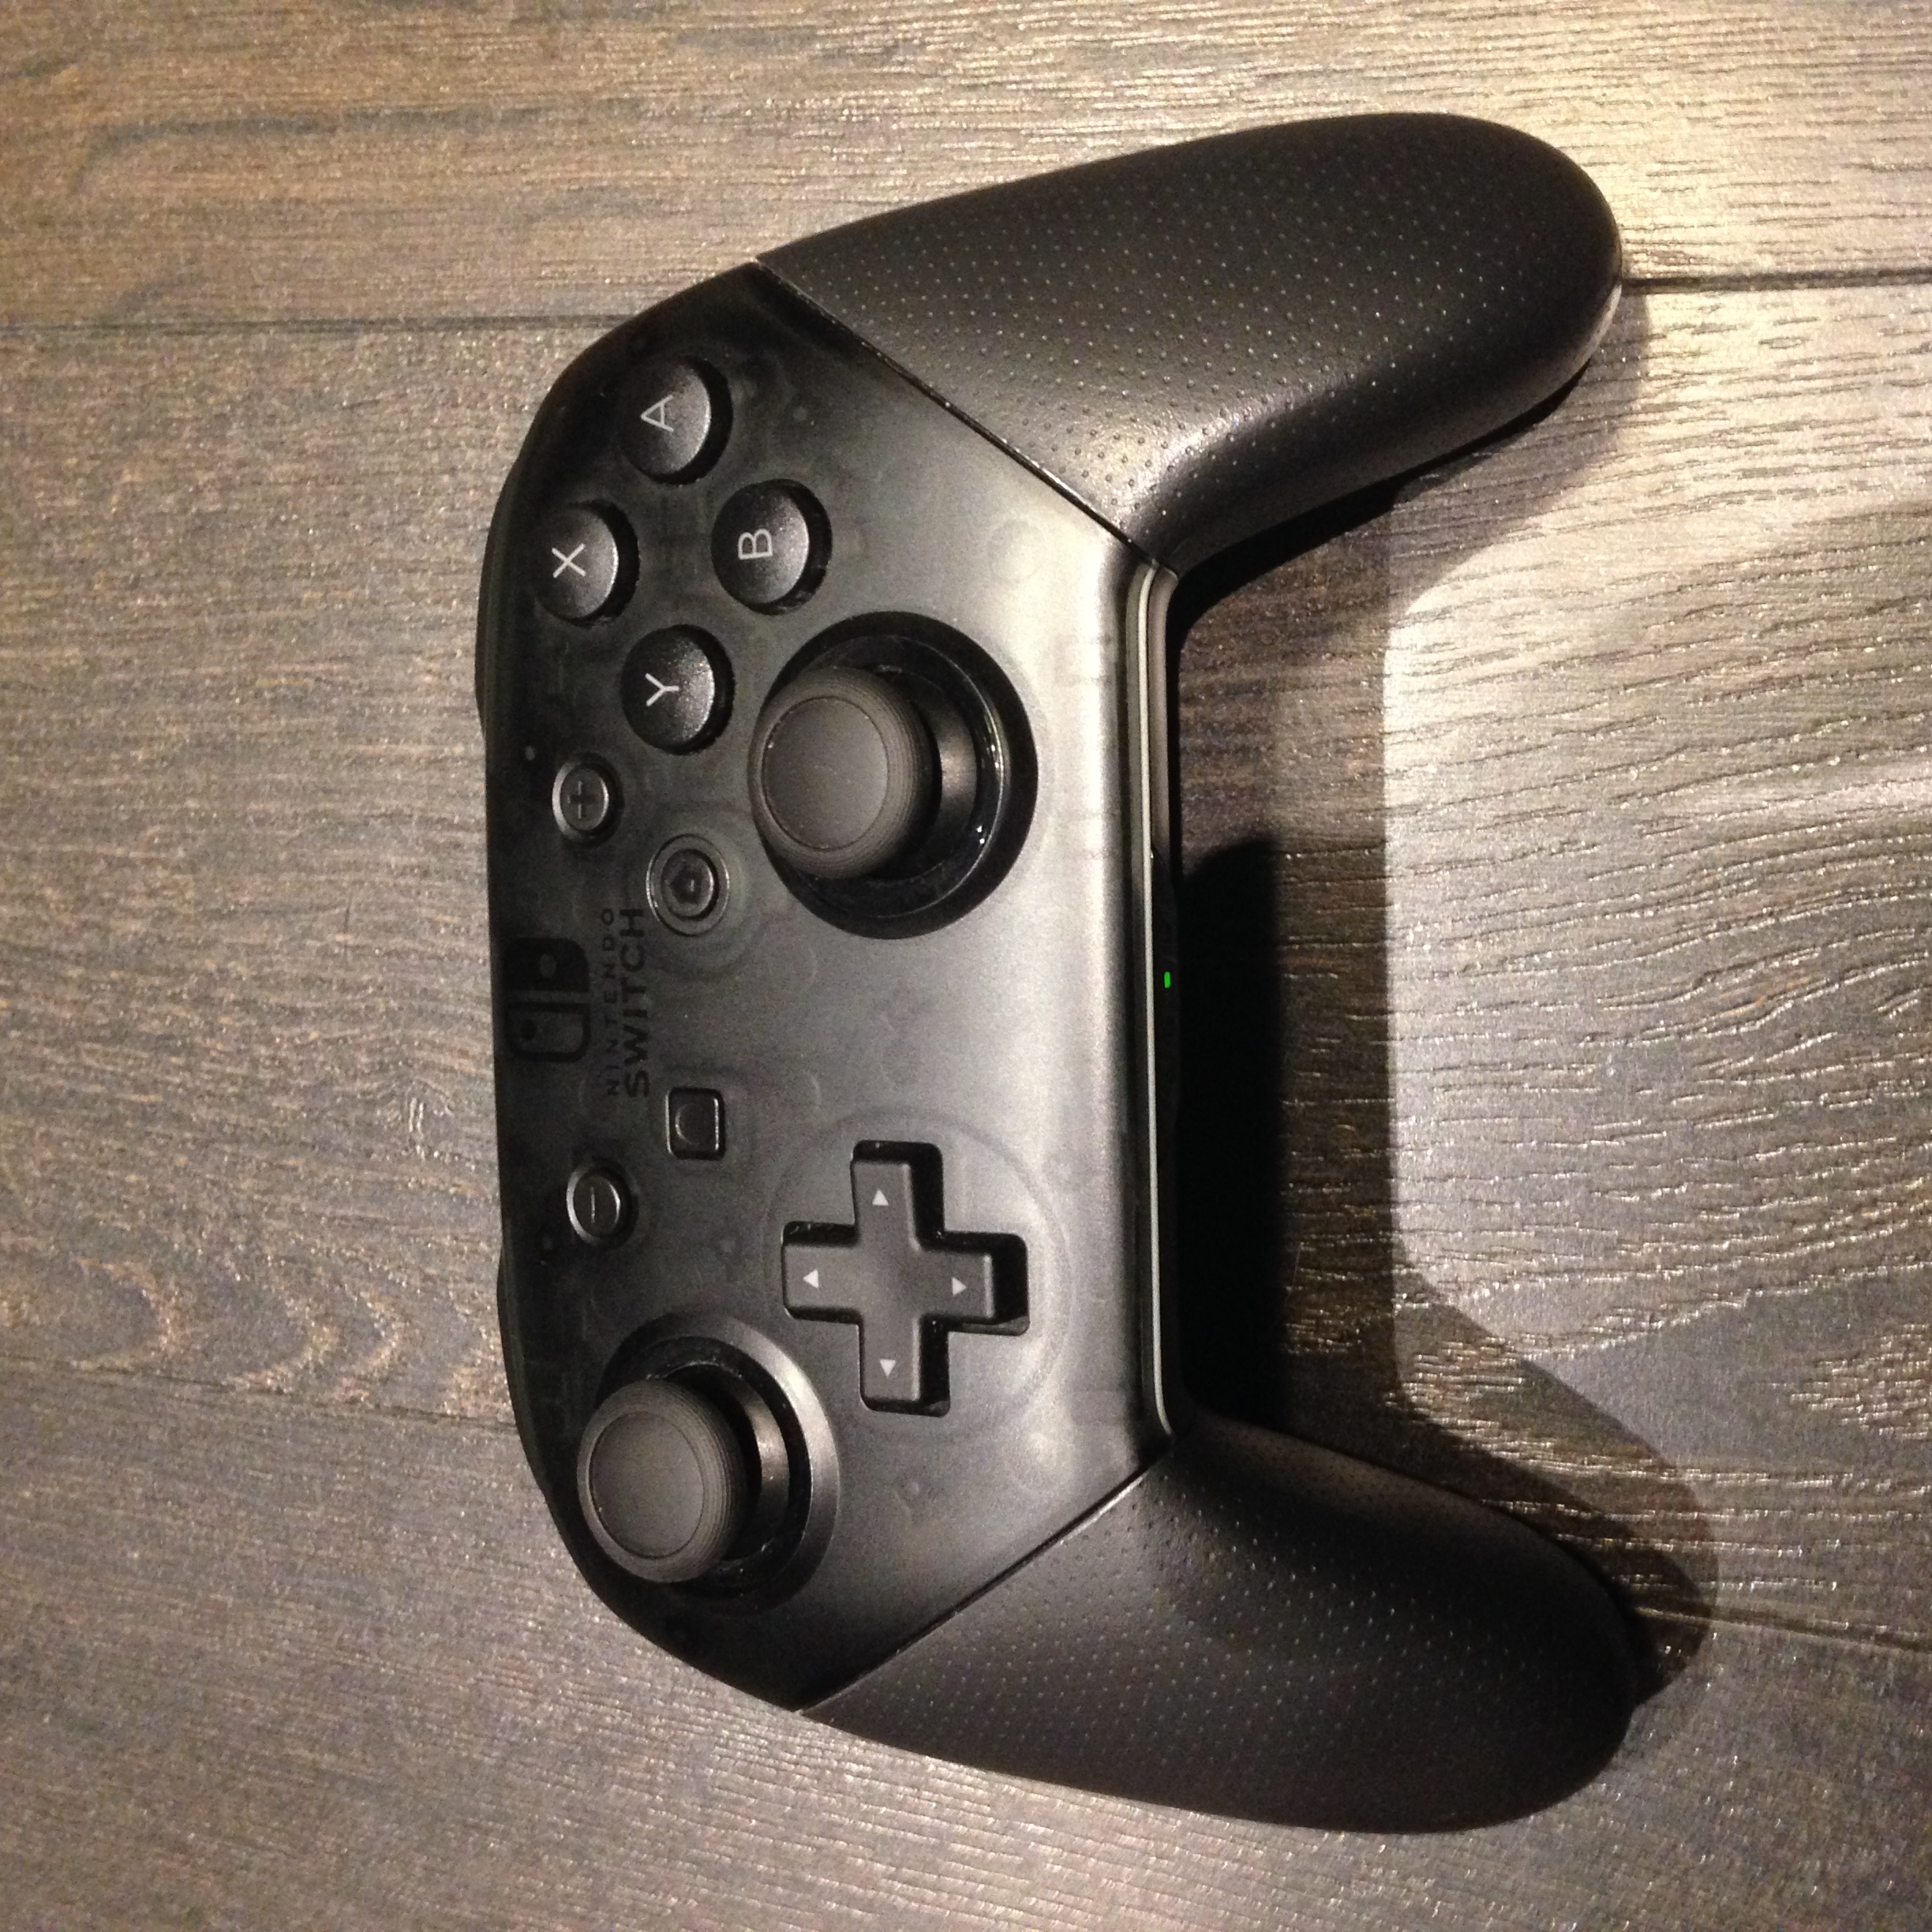
All Materials Needed
Setting Up UCR
The first thing we need to do is to extract all files from the .zip folder.
Once finished, launch the .exe application to run UCR. You should see a screen that says UCR is loading.
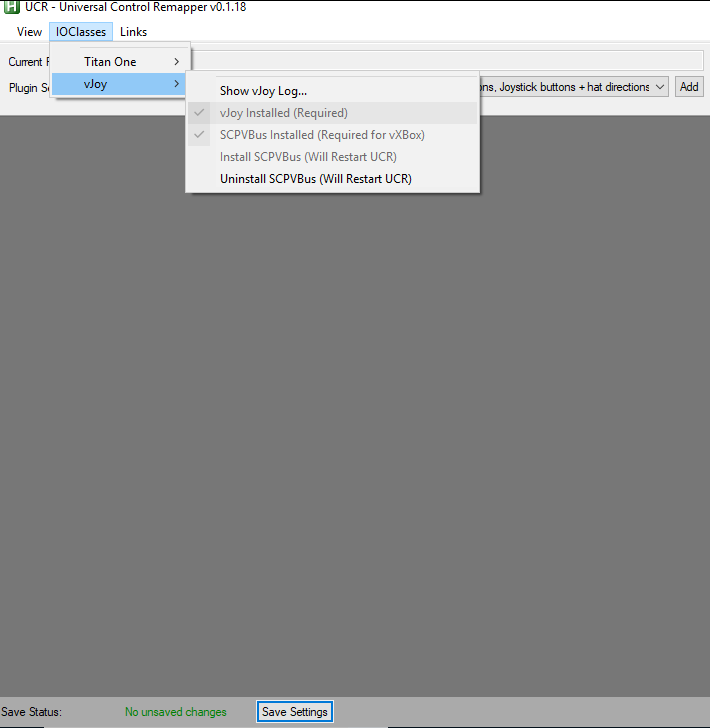
Now that UCR is open, click on "IOClasses", found in the top left corner. Click on "vJoy". From this point, we can make sure vJoy has been installed.
If vJoy has successfully been installed, marked by a checkmark, install SCPVBus.
Connecting a Controller to a PC
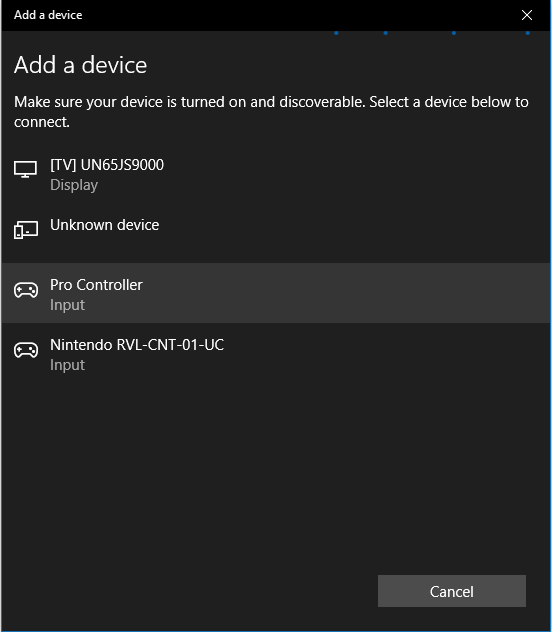
Before we map the controller's buttons we need a controller. Make sure your PC's Bluetooth connection is on, and search for your device.
Once a controller is connected we can now begin the mapping process.
Mapping Your Controller's Buttons
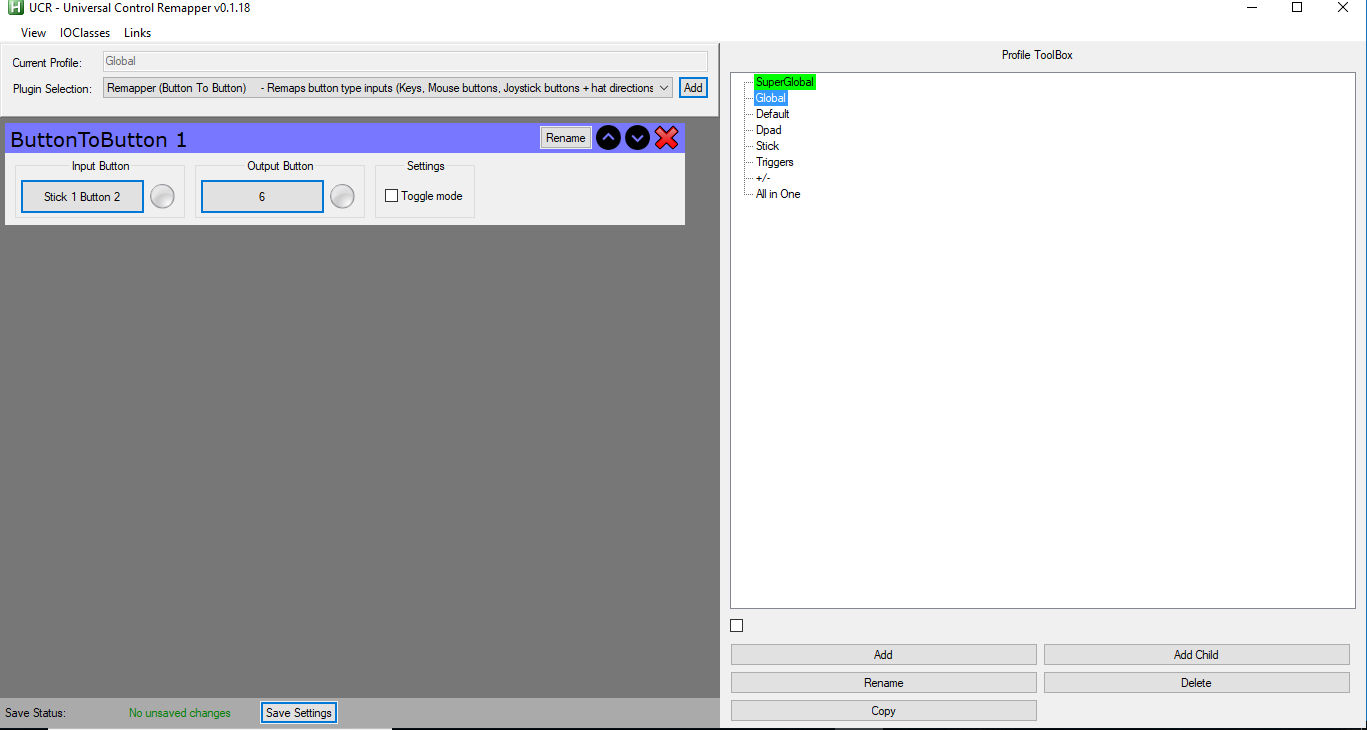
Coming back to UCR we want to remap our controller.
First, we have to change the "Plugin Selection" and choose "Remapper (Button To Button)". From here the process becomes repetitive.
We want to press "Add", change the input, output, and repeat.
Changing the input we click "Select an Input Button", "Select Binding", then press the button on our controller we want to map. Outputs are chosen in the same way but instead of pressing the controller we press whatever key we want to set off.
For example, if I wanted the A button on the controller to give me a 6 on the keyboard input would be A(on the controller) and 6 would be the key on my keyboard.
Repeat this process of mapping buttons until all desired buttons have assigned characters.
NOTE: For some reason, UCR will only scroll when it's in a good mood. If your remapping continues off your screen move certain blocks up and down using the arrows.
Mapping Analog Sticks
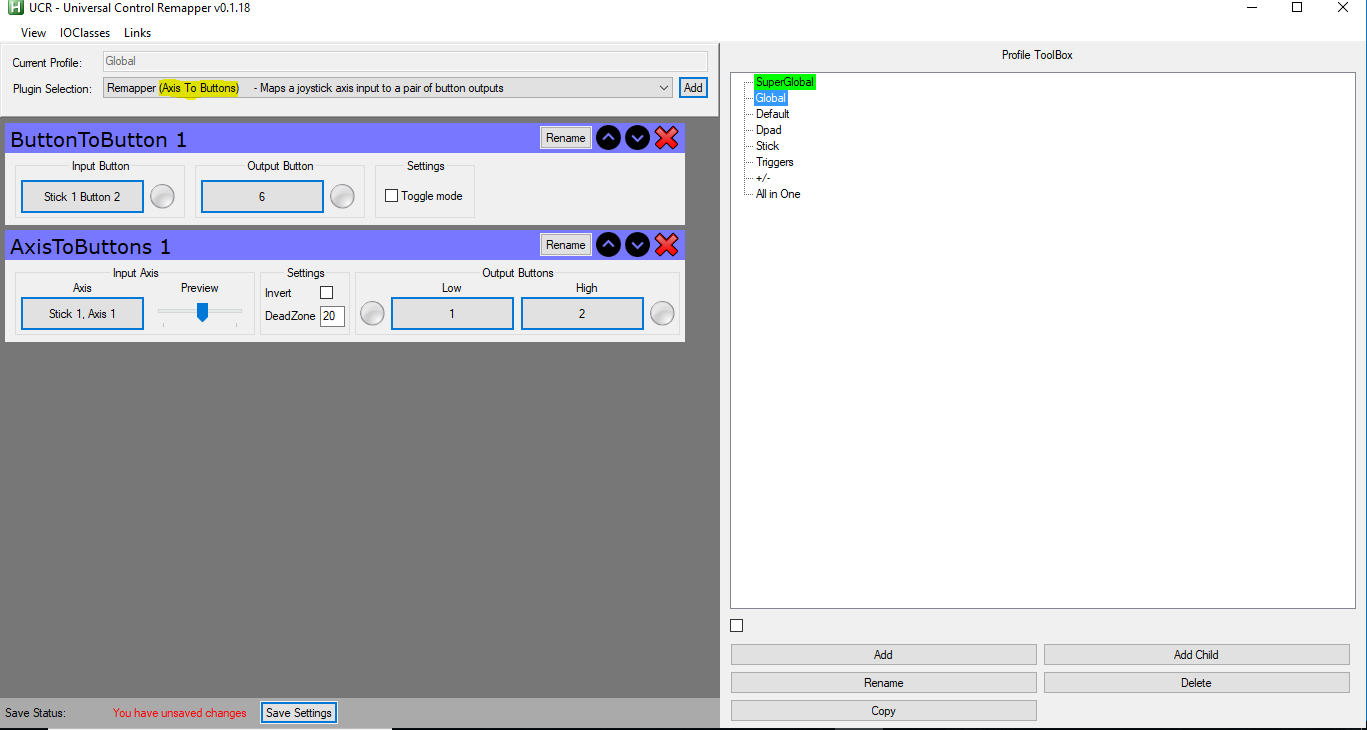
For our controller's joysticks, we need to change our "Pugin Selection" to "Remapper (Axis To Buttons)".
Again we press Add and choose our input. This time, however, the inputs are Axes, and the outputs are a character for if the stick gives a "Low" reading and a character for a "High" reading.
NOTE: For some reason, I could not select the right joystick as an input
After mapping both the buttons and analog sticks, your controller is set up. As long as UCR is running you can now use your controller as a keyboard!