Night Pen
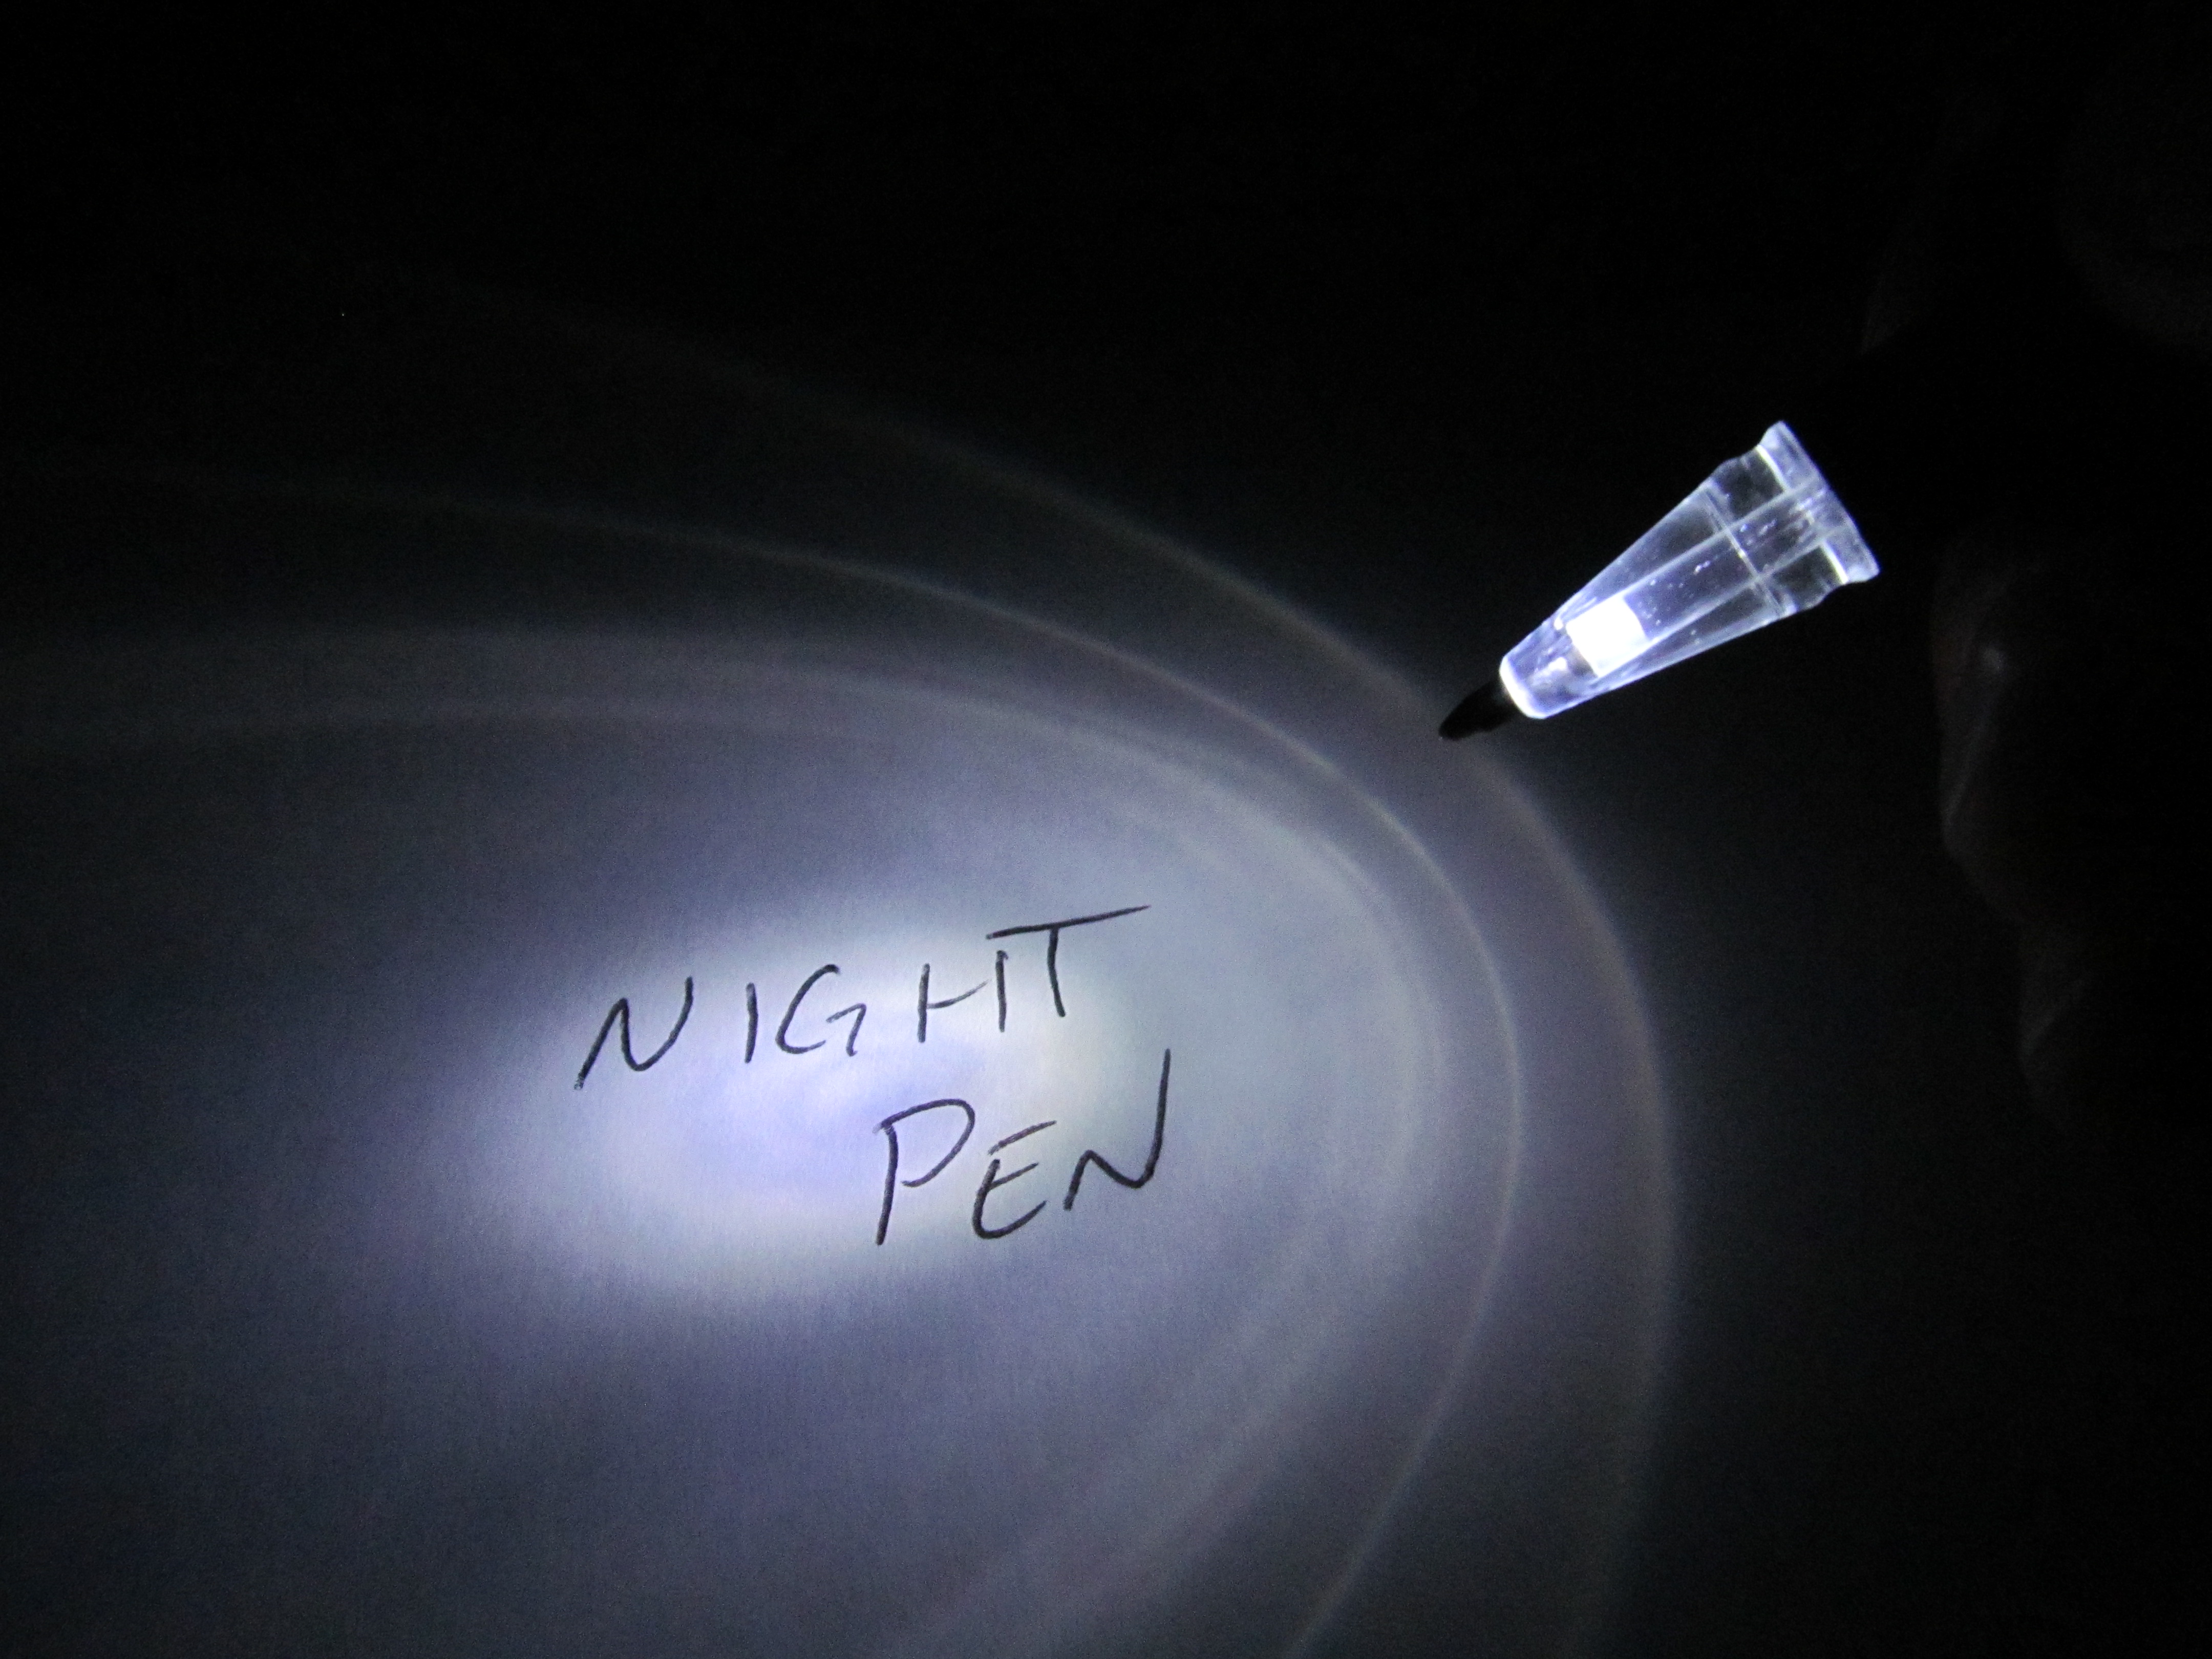

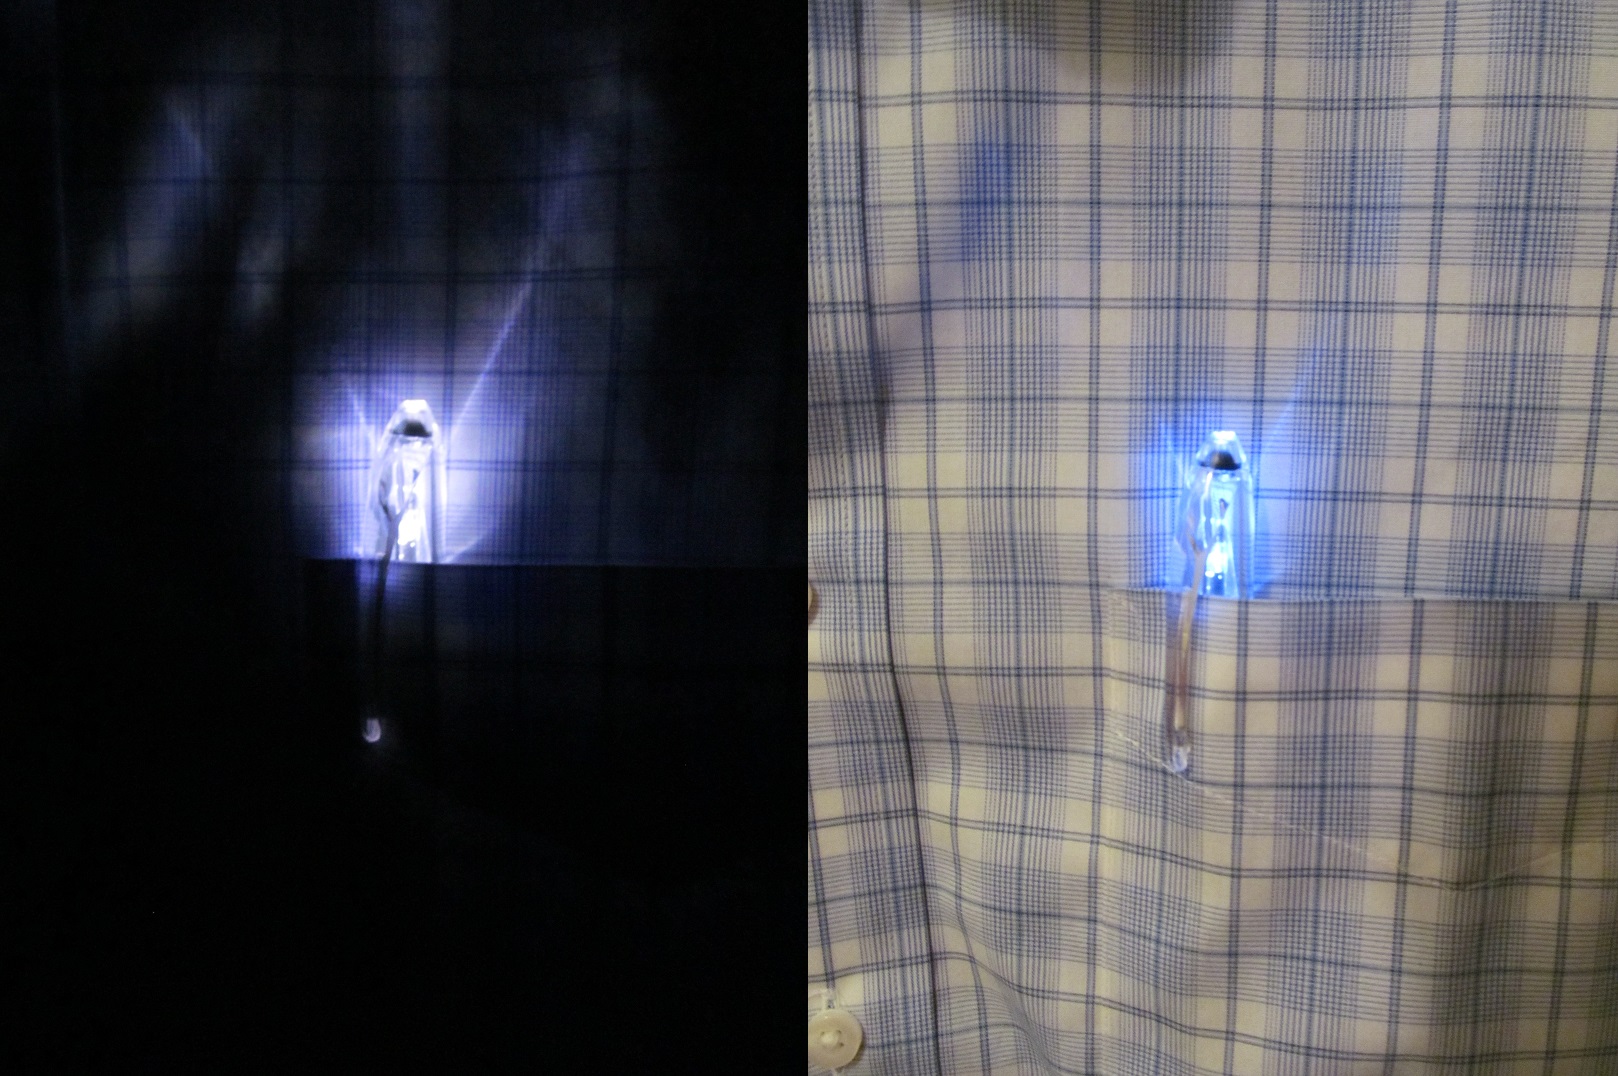


When I was a soldier I would write letters after the sun went down. The problem with that was other soldiers would be bothered by the light pollution from my flashlight. This pen focuses light right onto your page. No more angry soldiers. I left the cap clear for use as a safety light. It also works much better then holding a flashlight under your chin. The idea is that the pen body works like a fiber optic. The top is illuminated and transmits the light down to the writing tip.
Trim the Pen Down


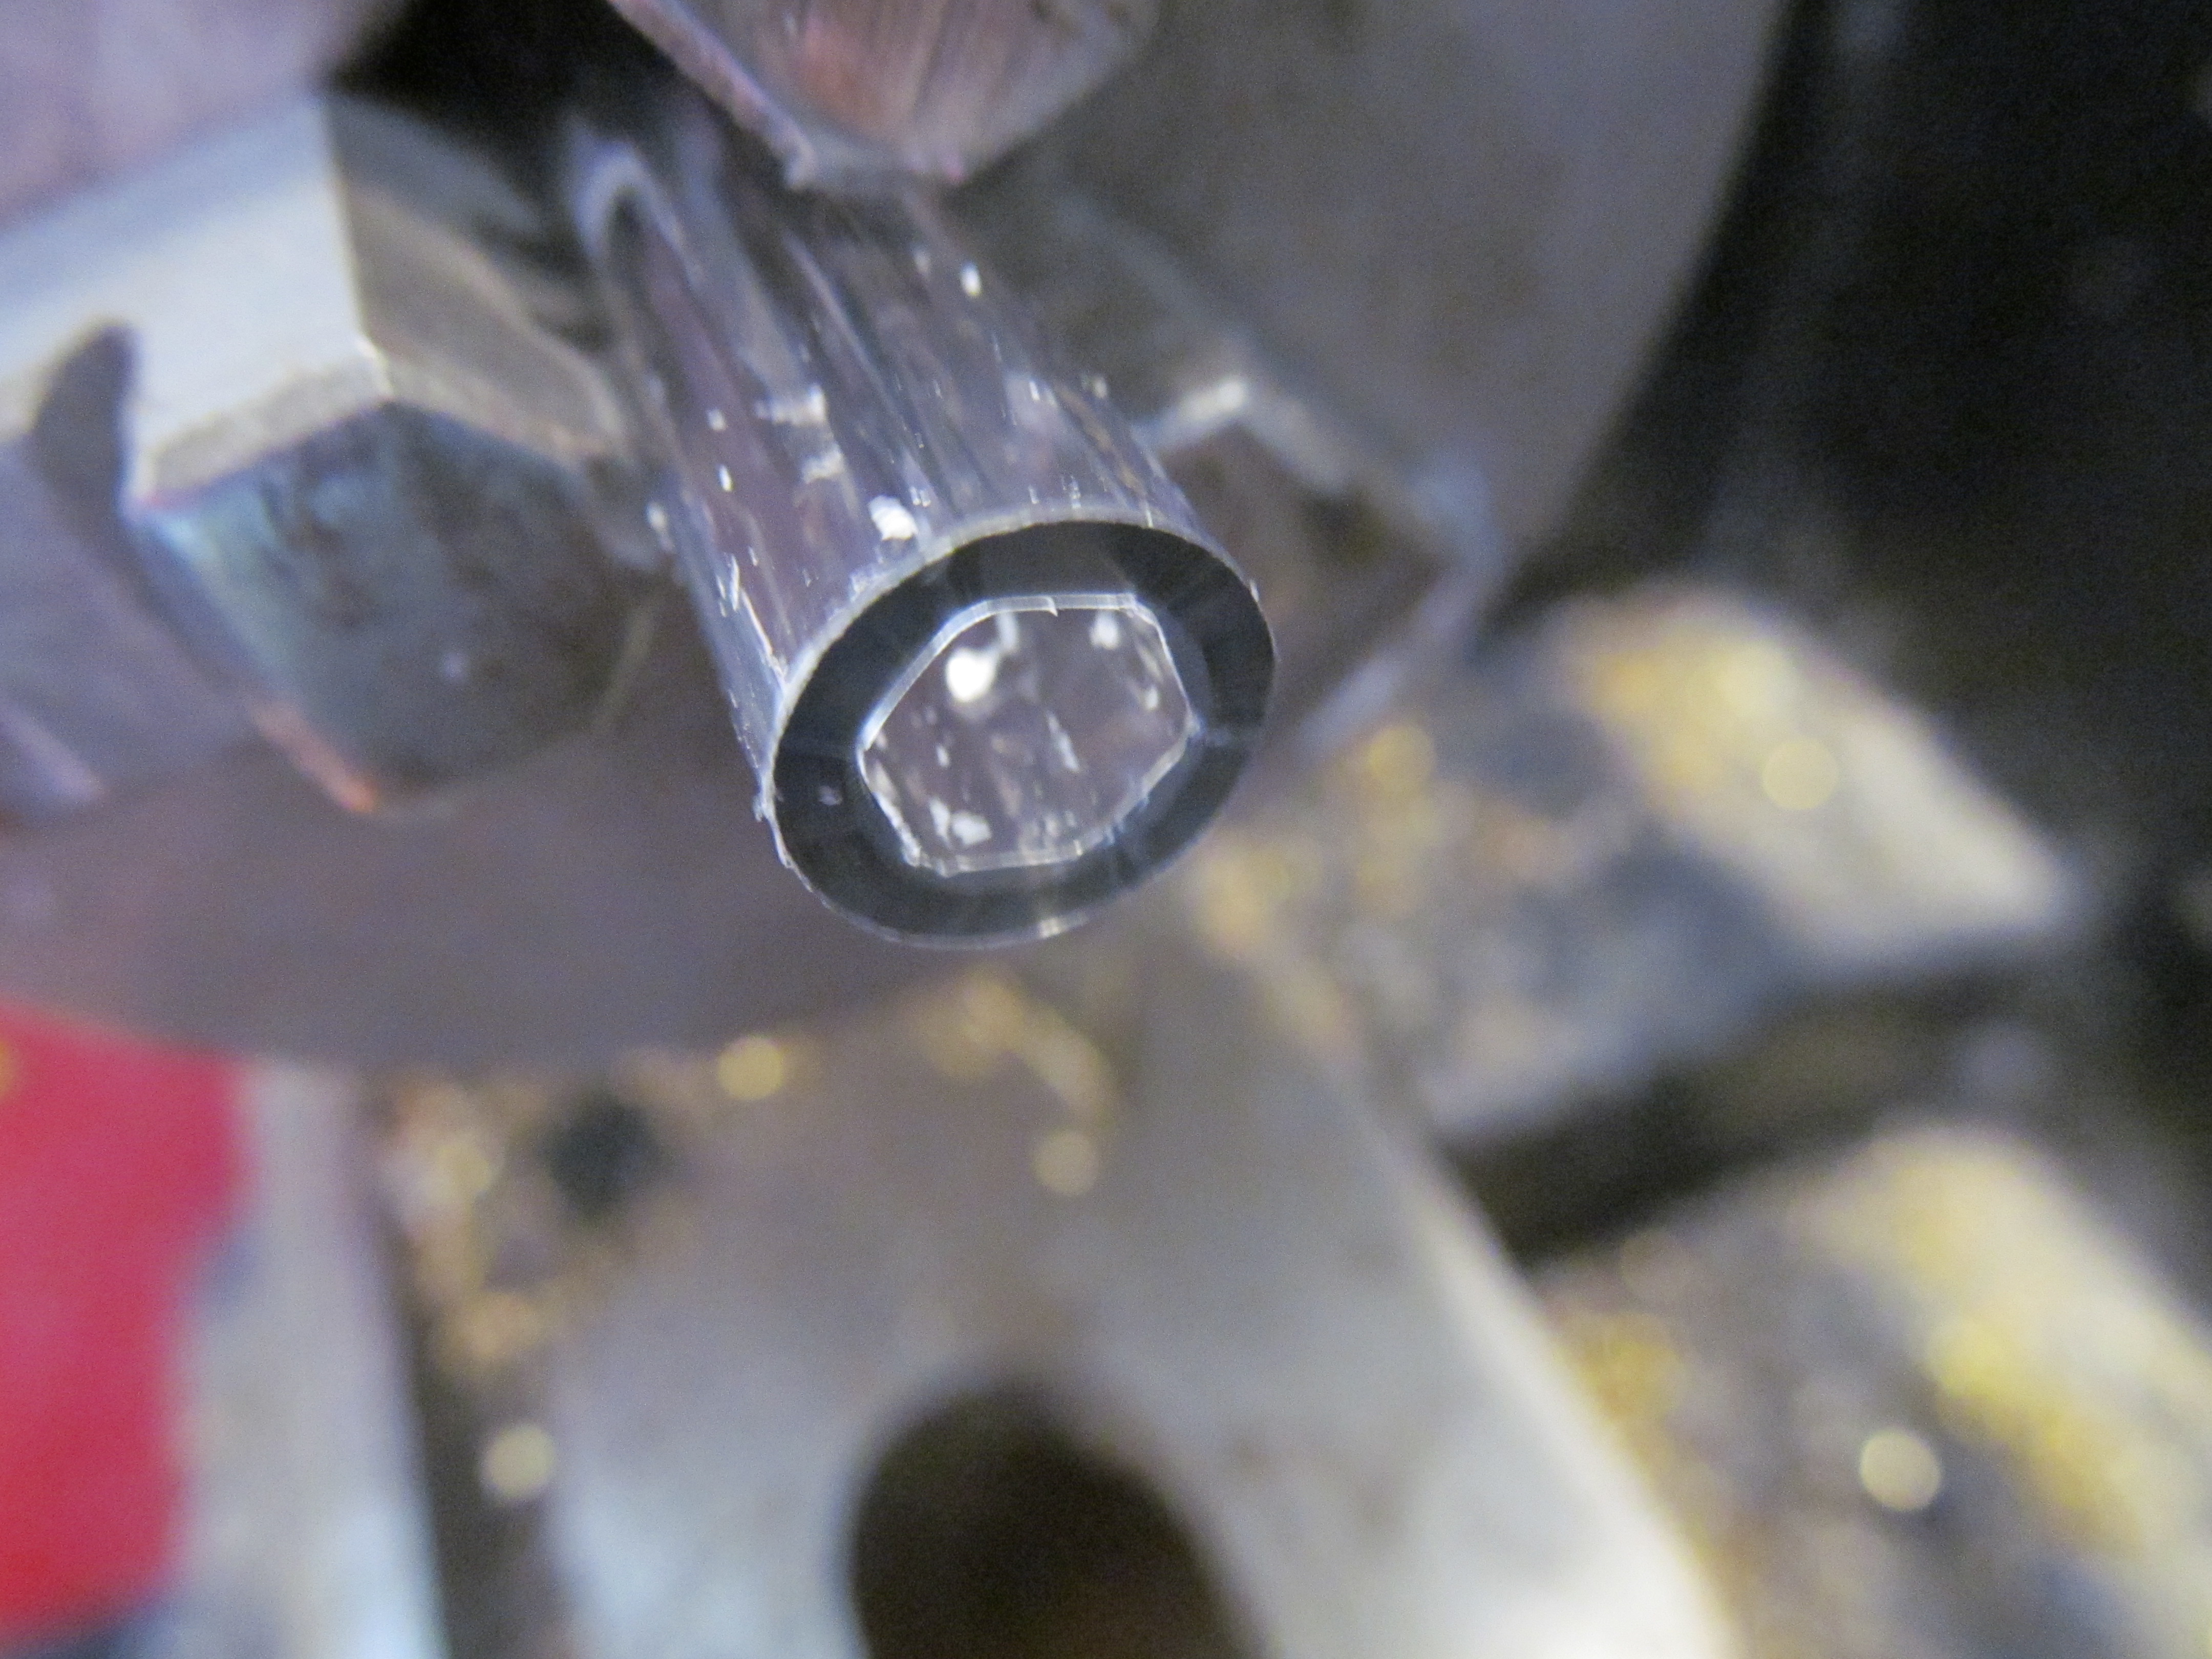
To keep the pen the same length I cut it down to accommodate the mini flashlight. I used a razor blade to clean up the cut.
Round Over the Writing Tip and Drill


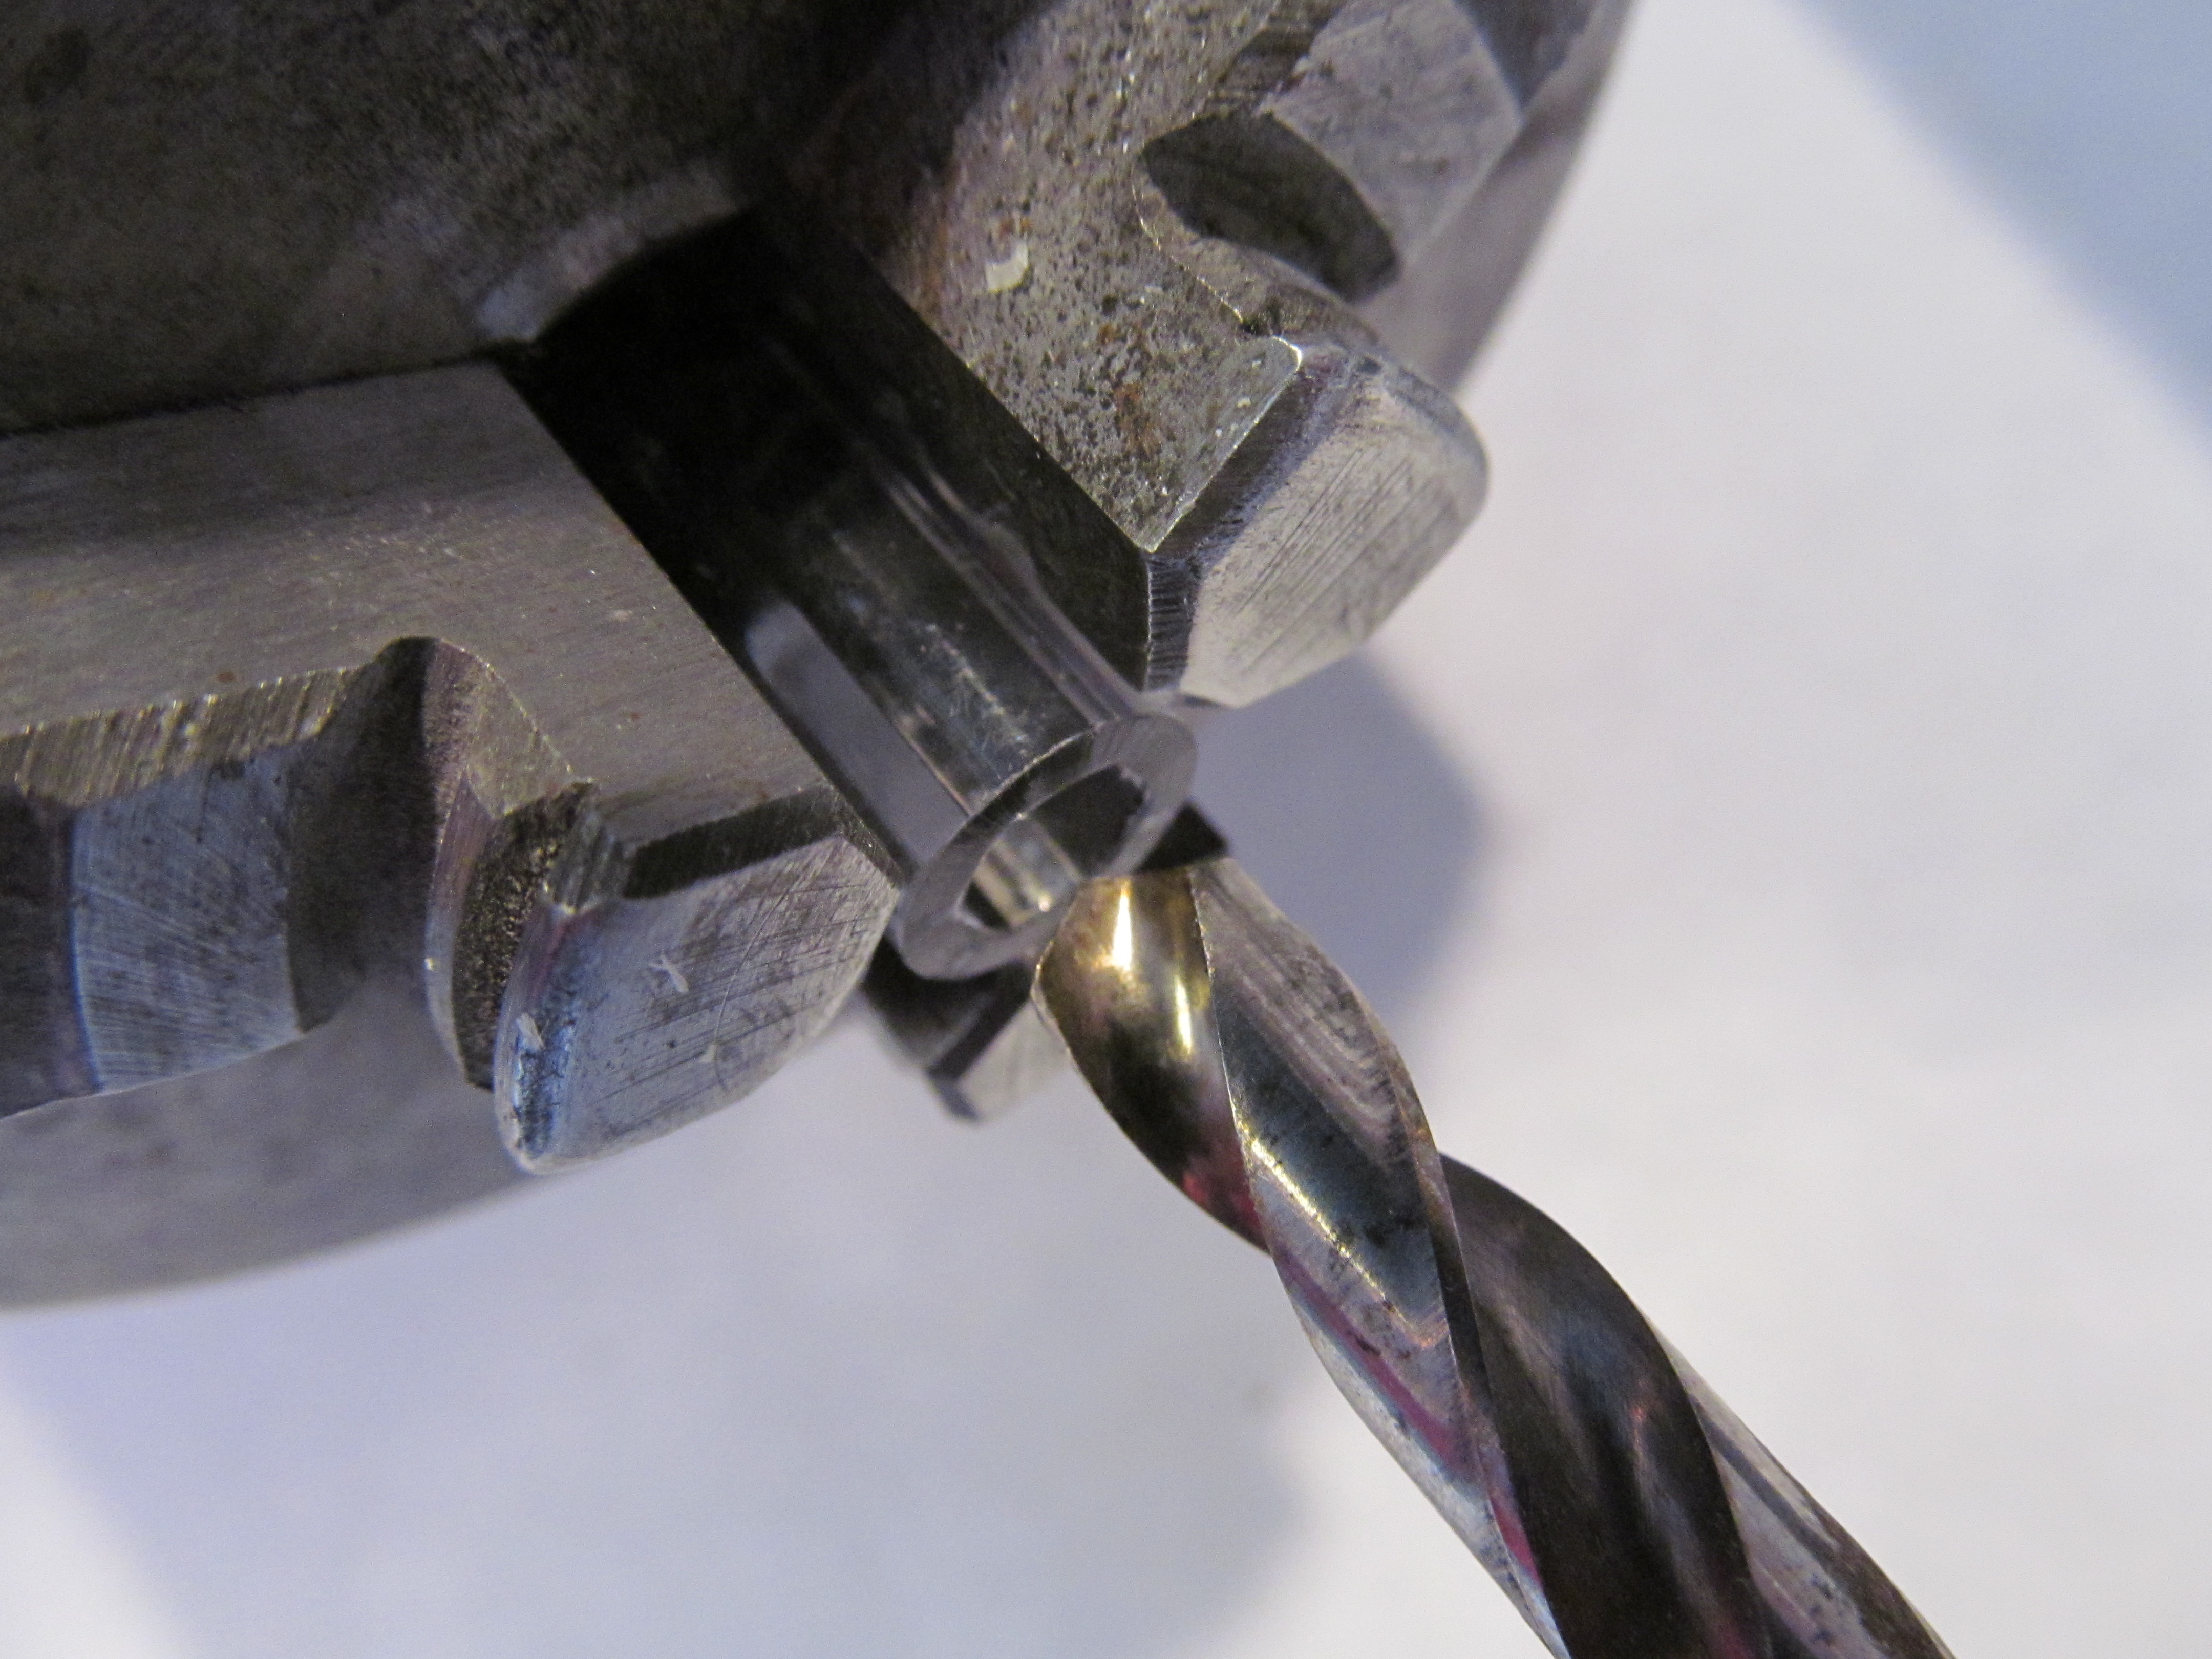
Rounding over the edge of the writing tip helps diffuse the light. I used a razor blade to cleanly trim it down. Once that was done I drilled out the other end to fit the mini flashlight. The inside of the pen was a hexagon shape and I needed it round.
Cut Down the LED Housing


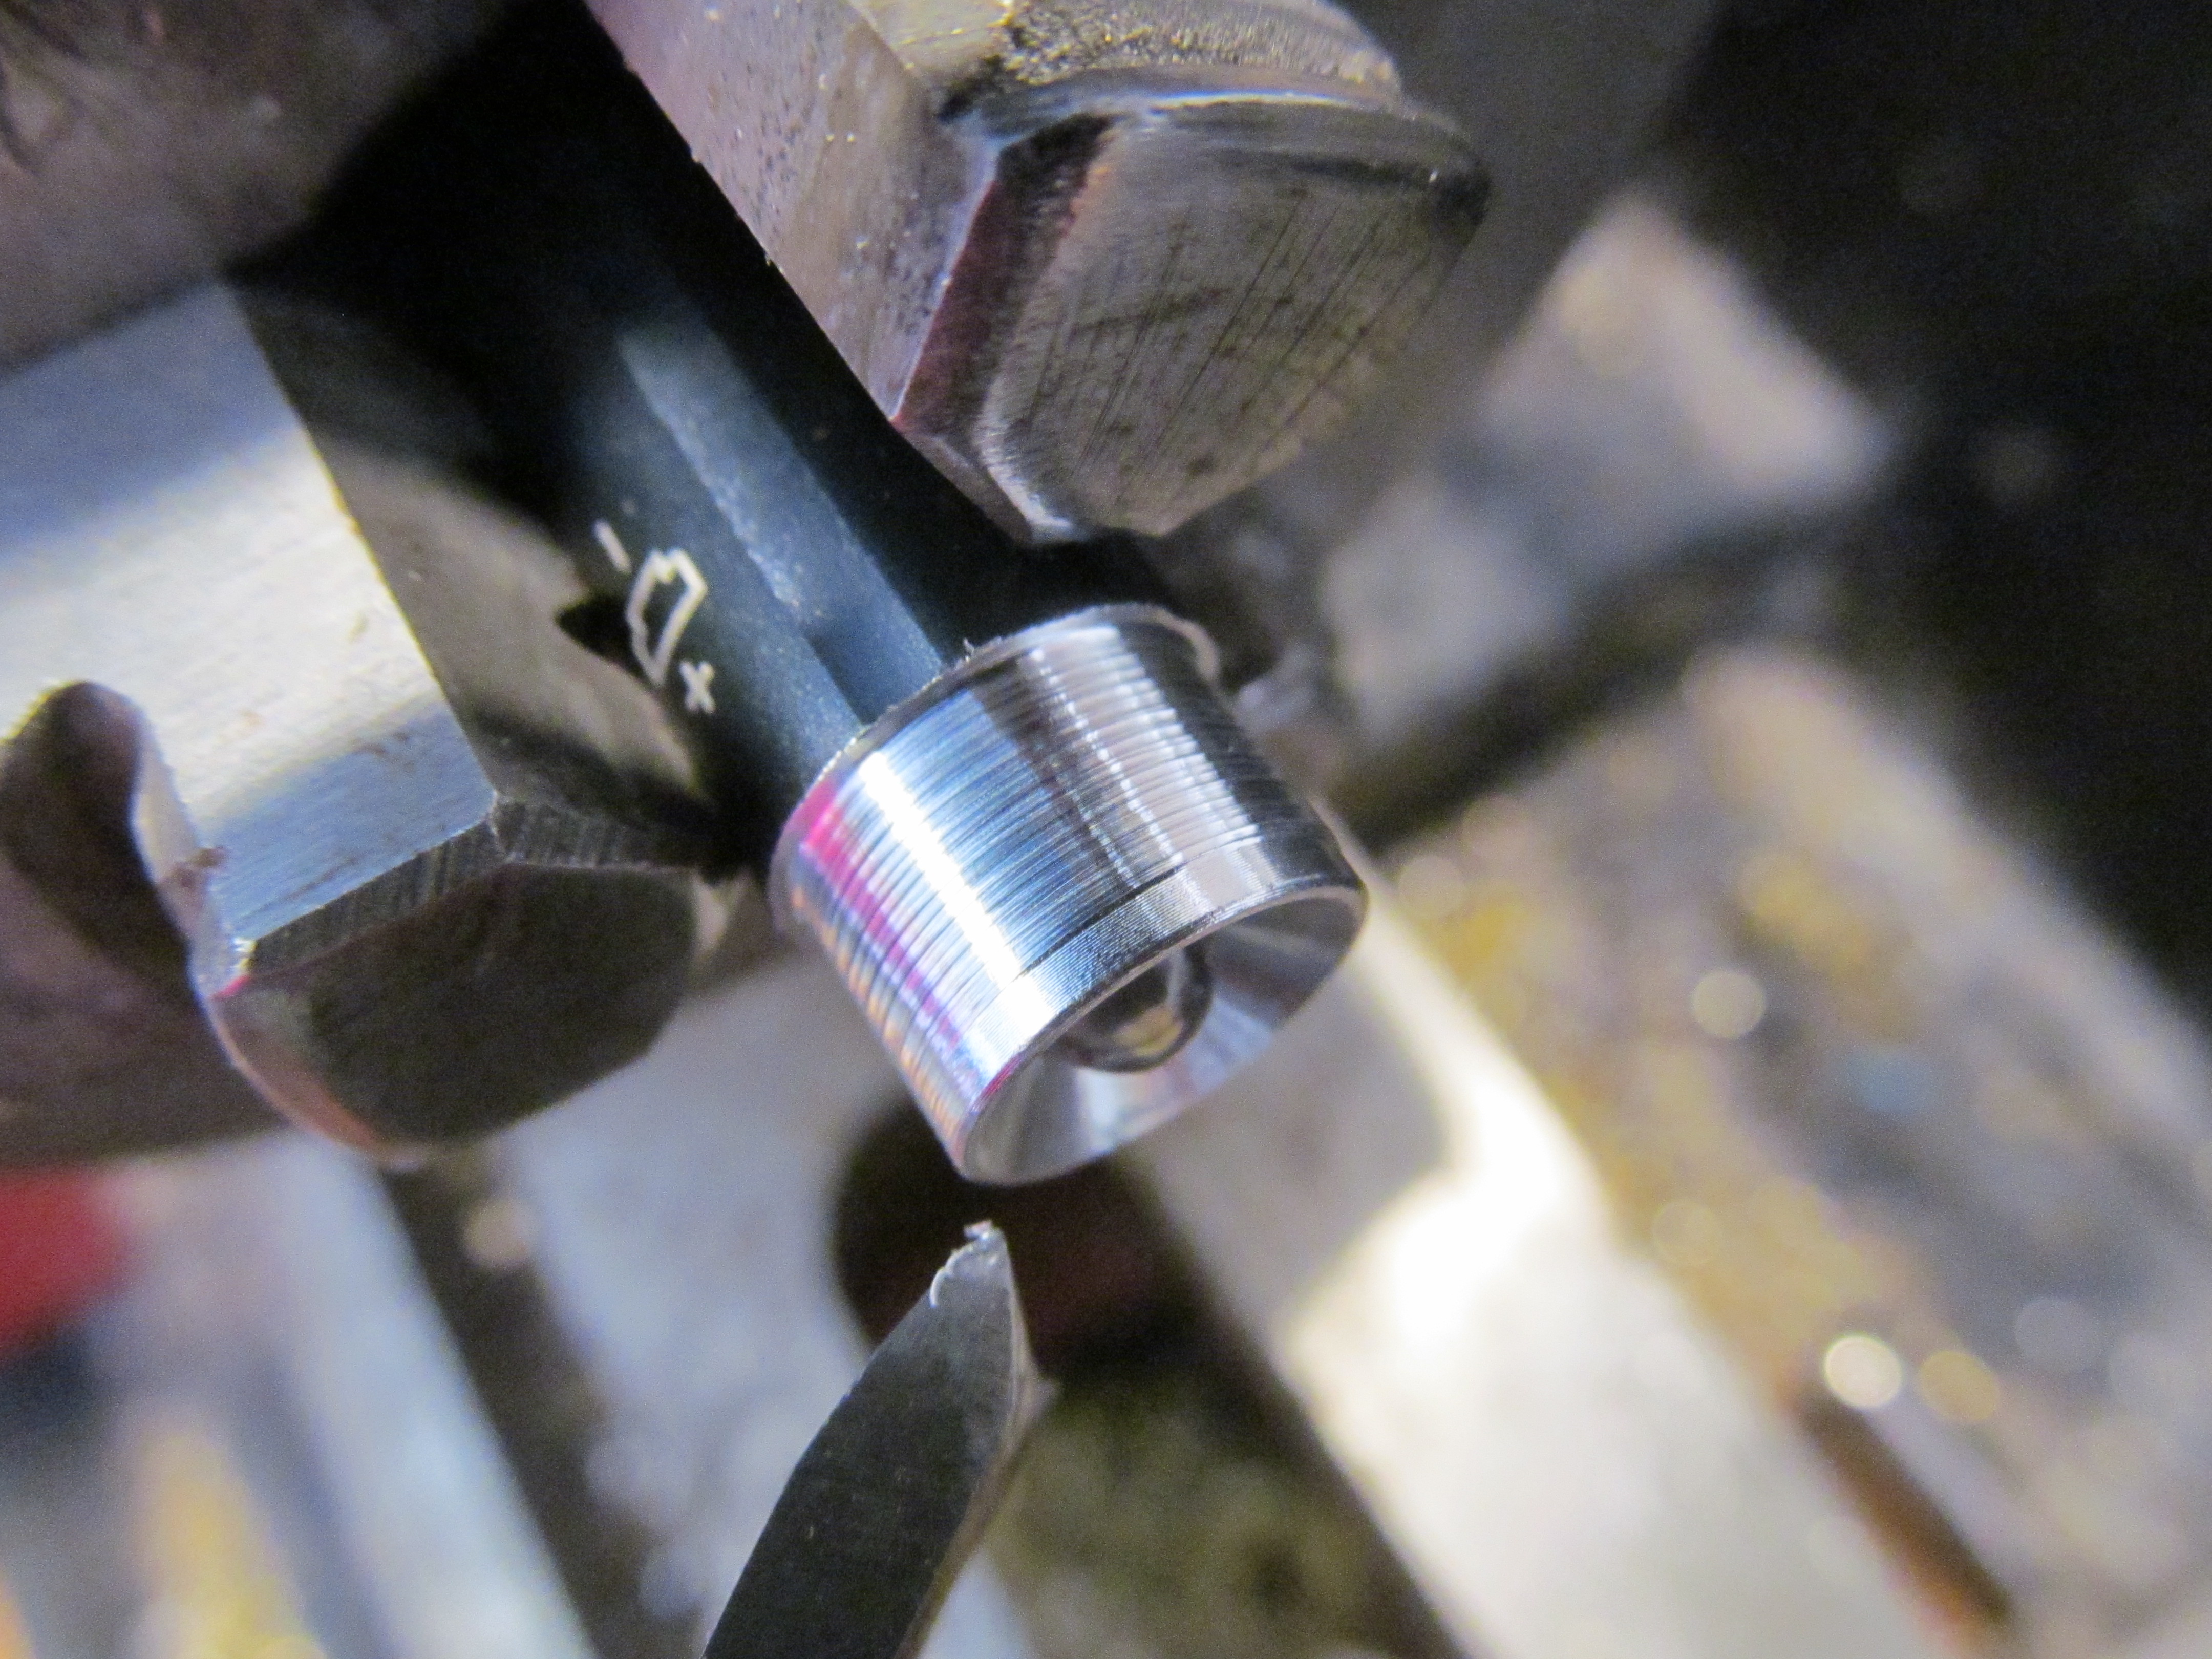


I kept my fingers crossed during this step. I wasn't sure there would be enough material to remove. It worked out and my little lathe made short work of it. I cut it down until it was a press fit into the pen body.
Plasti Dip

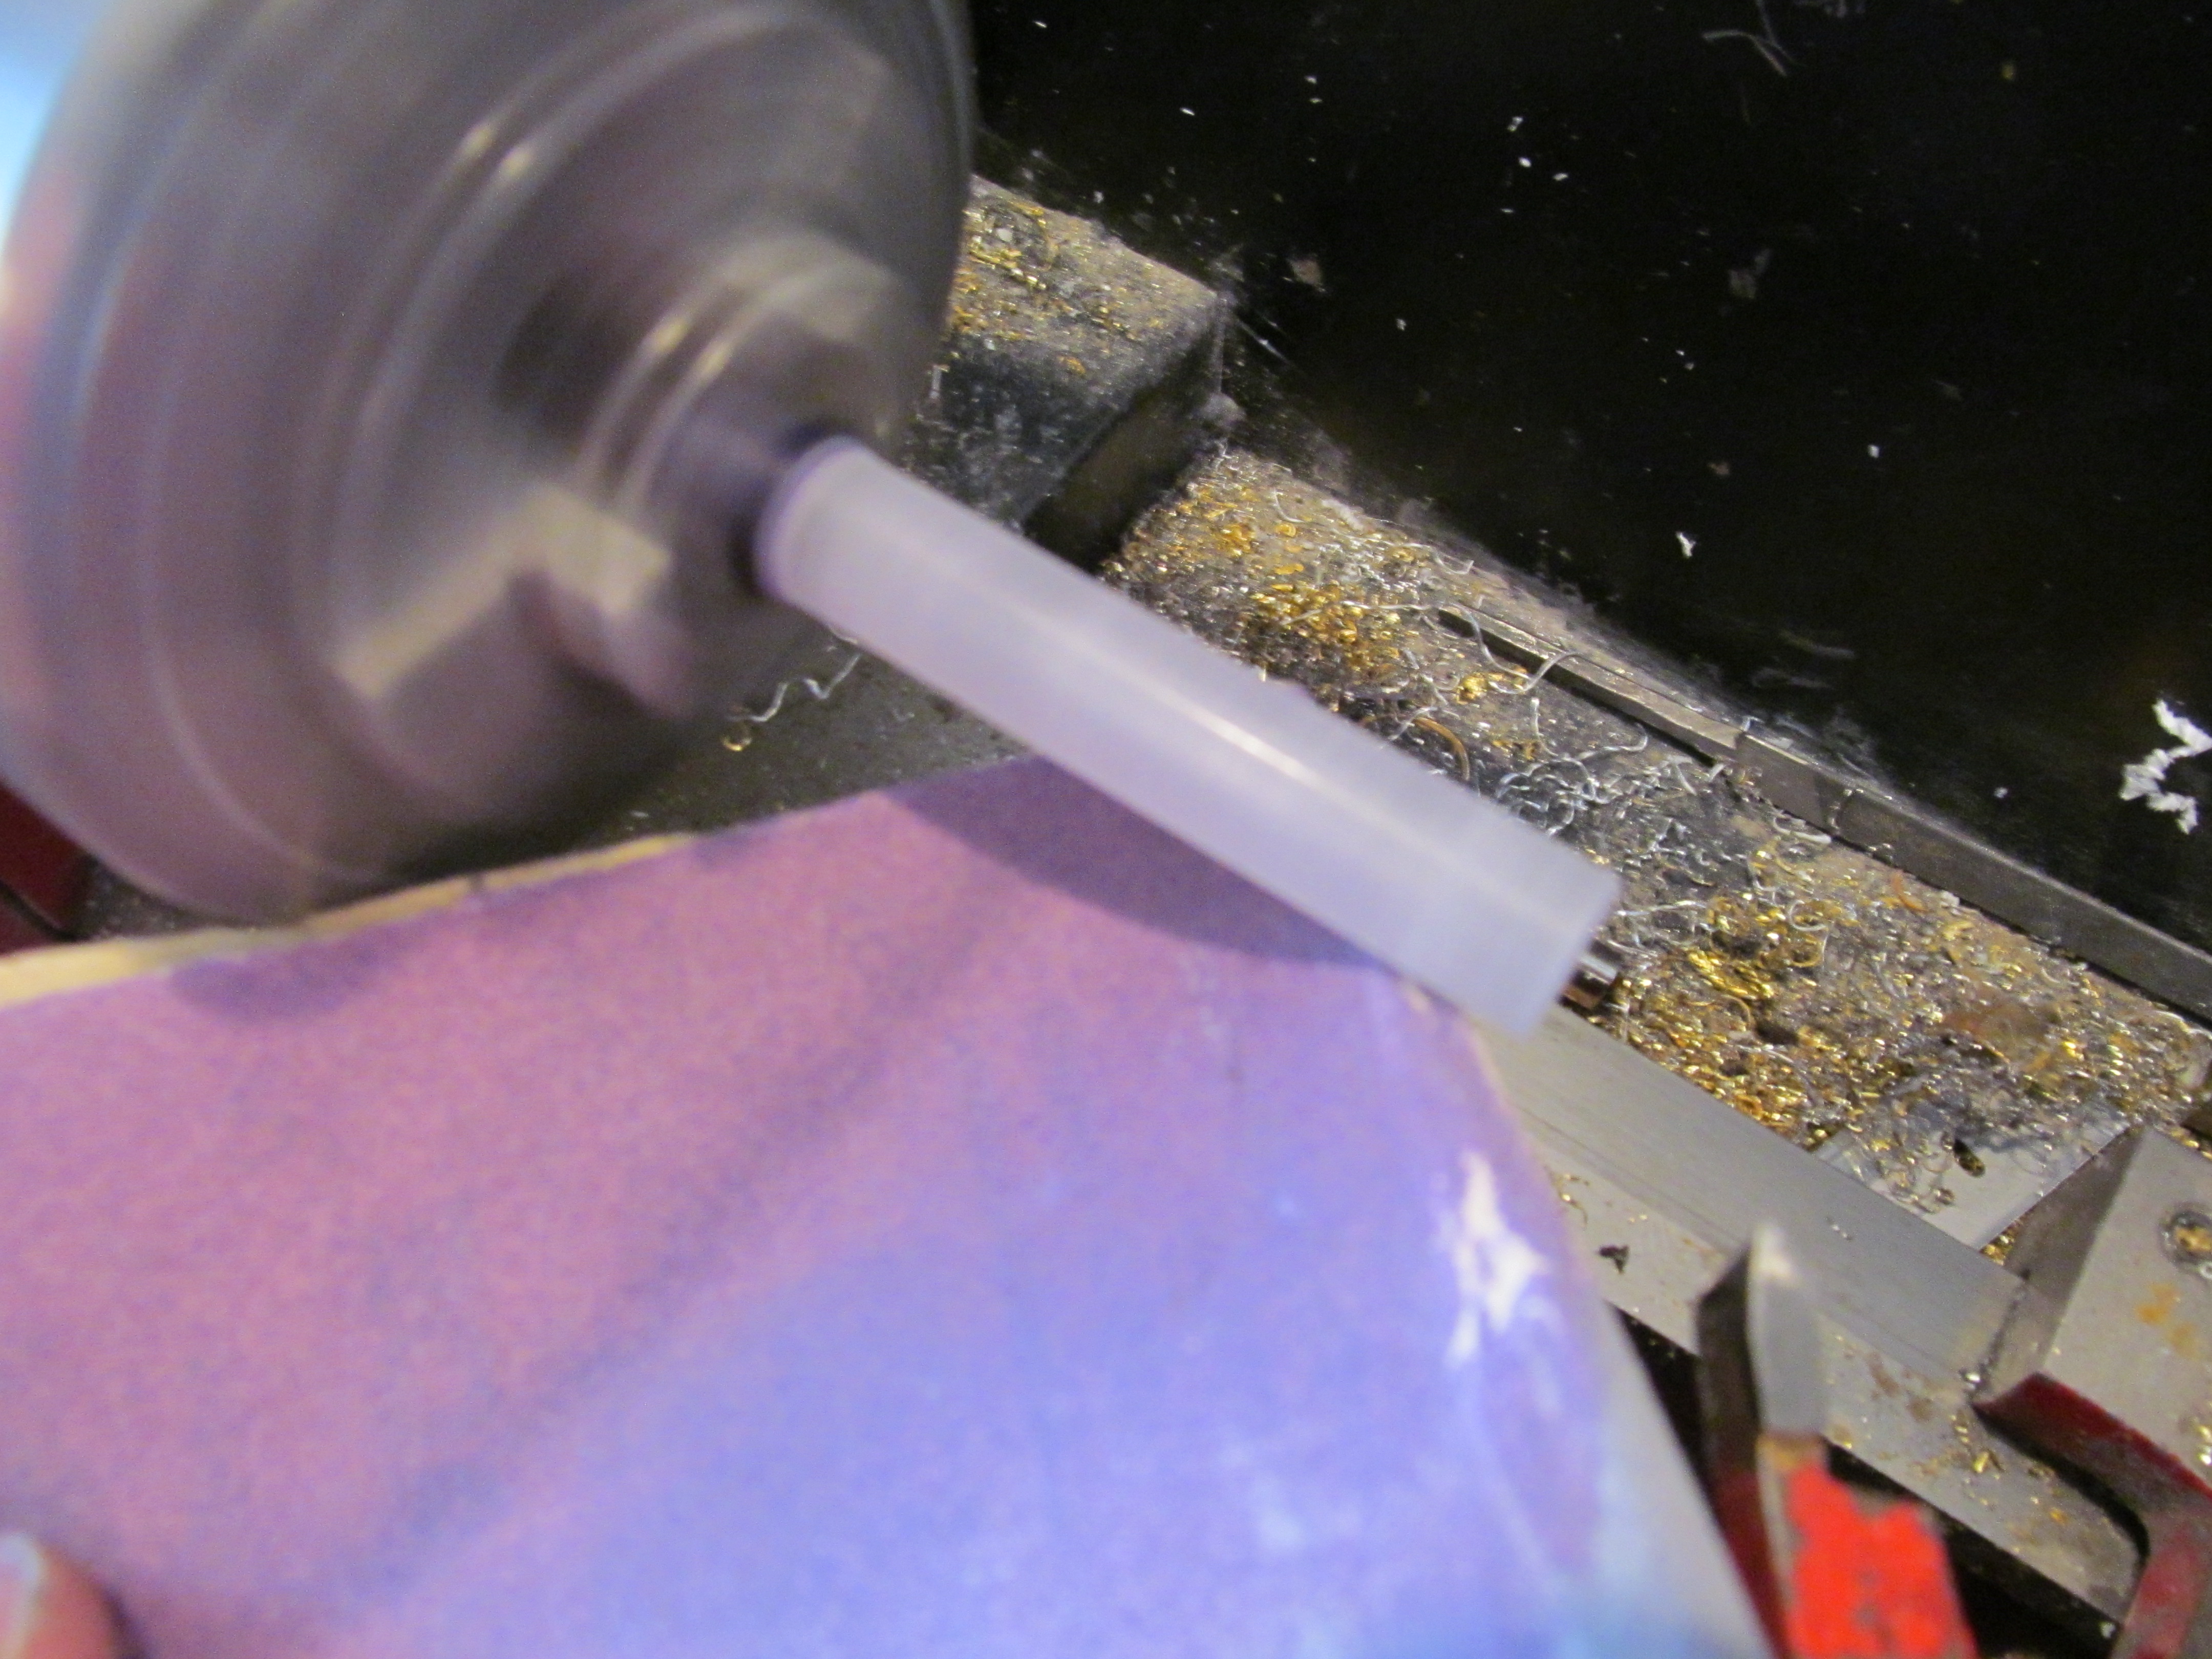


This is the kind of plastic that doesn't take well to plastic-dip. To remedy that I scuffed up the pen body with sand paper and spray painted it. Make sure to plug both ends. You don't want to coat the inside of the pen. Once the pen dried I dipped it and hung it to dry. I had to do this a few times to completely black out the pen.
Clean Up
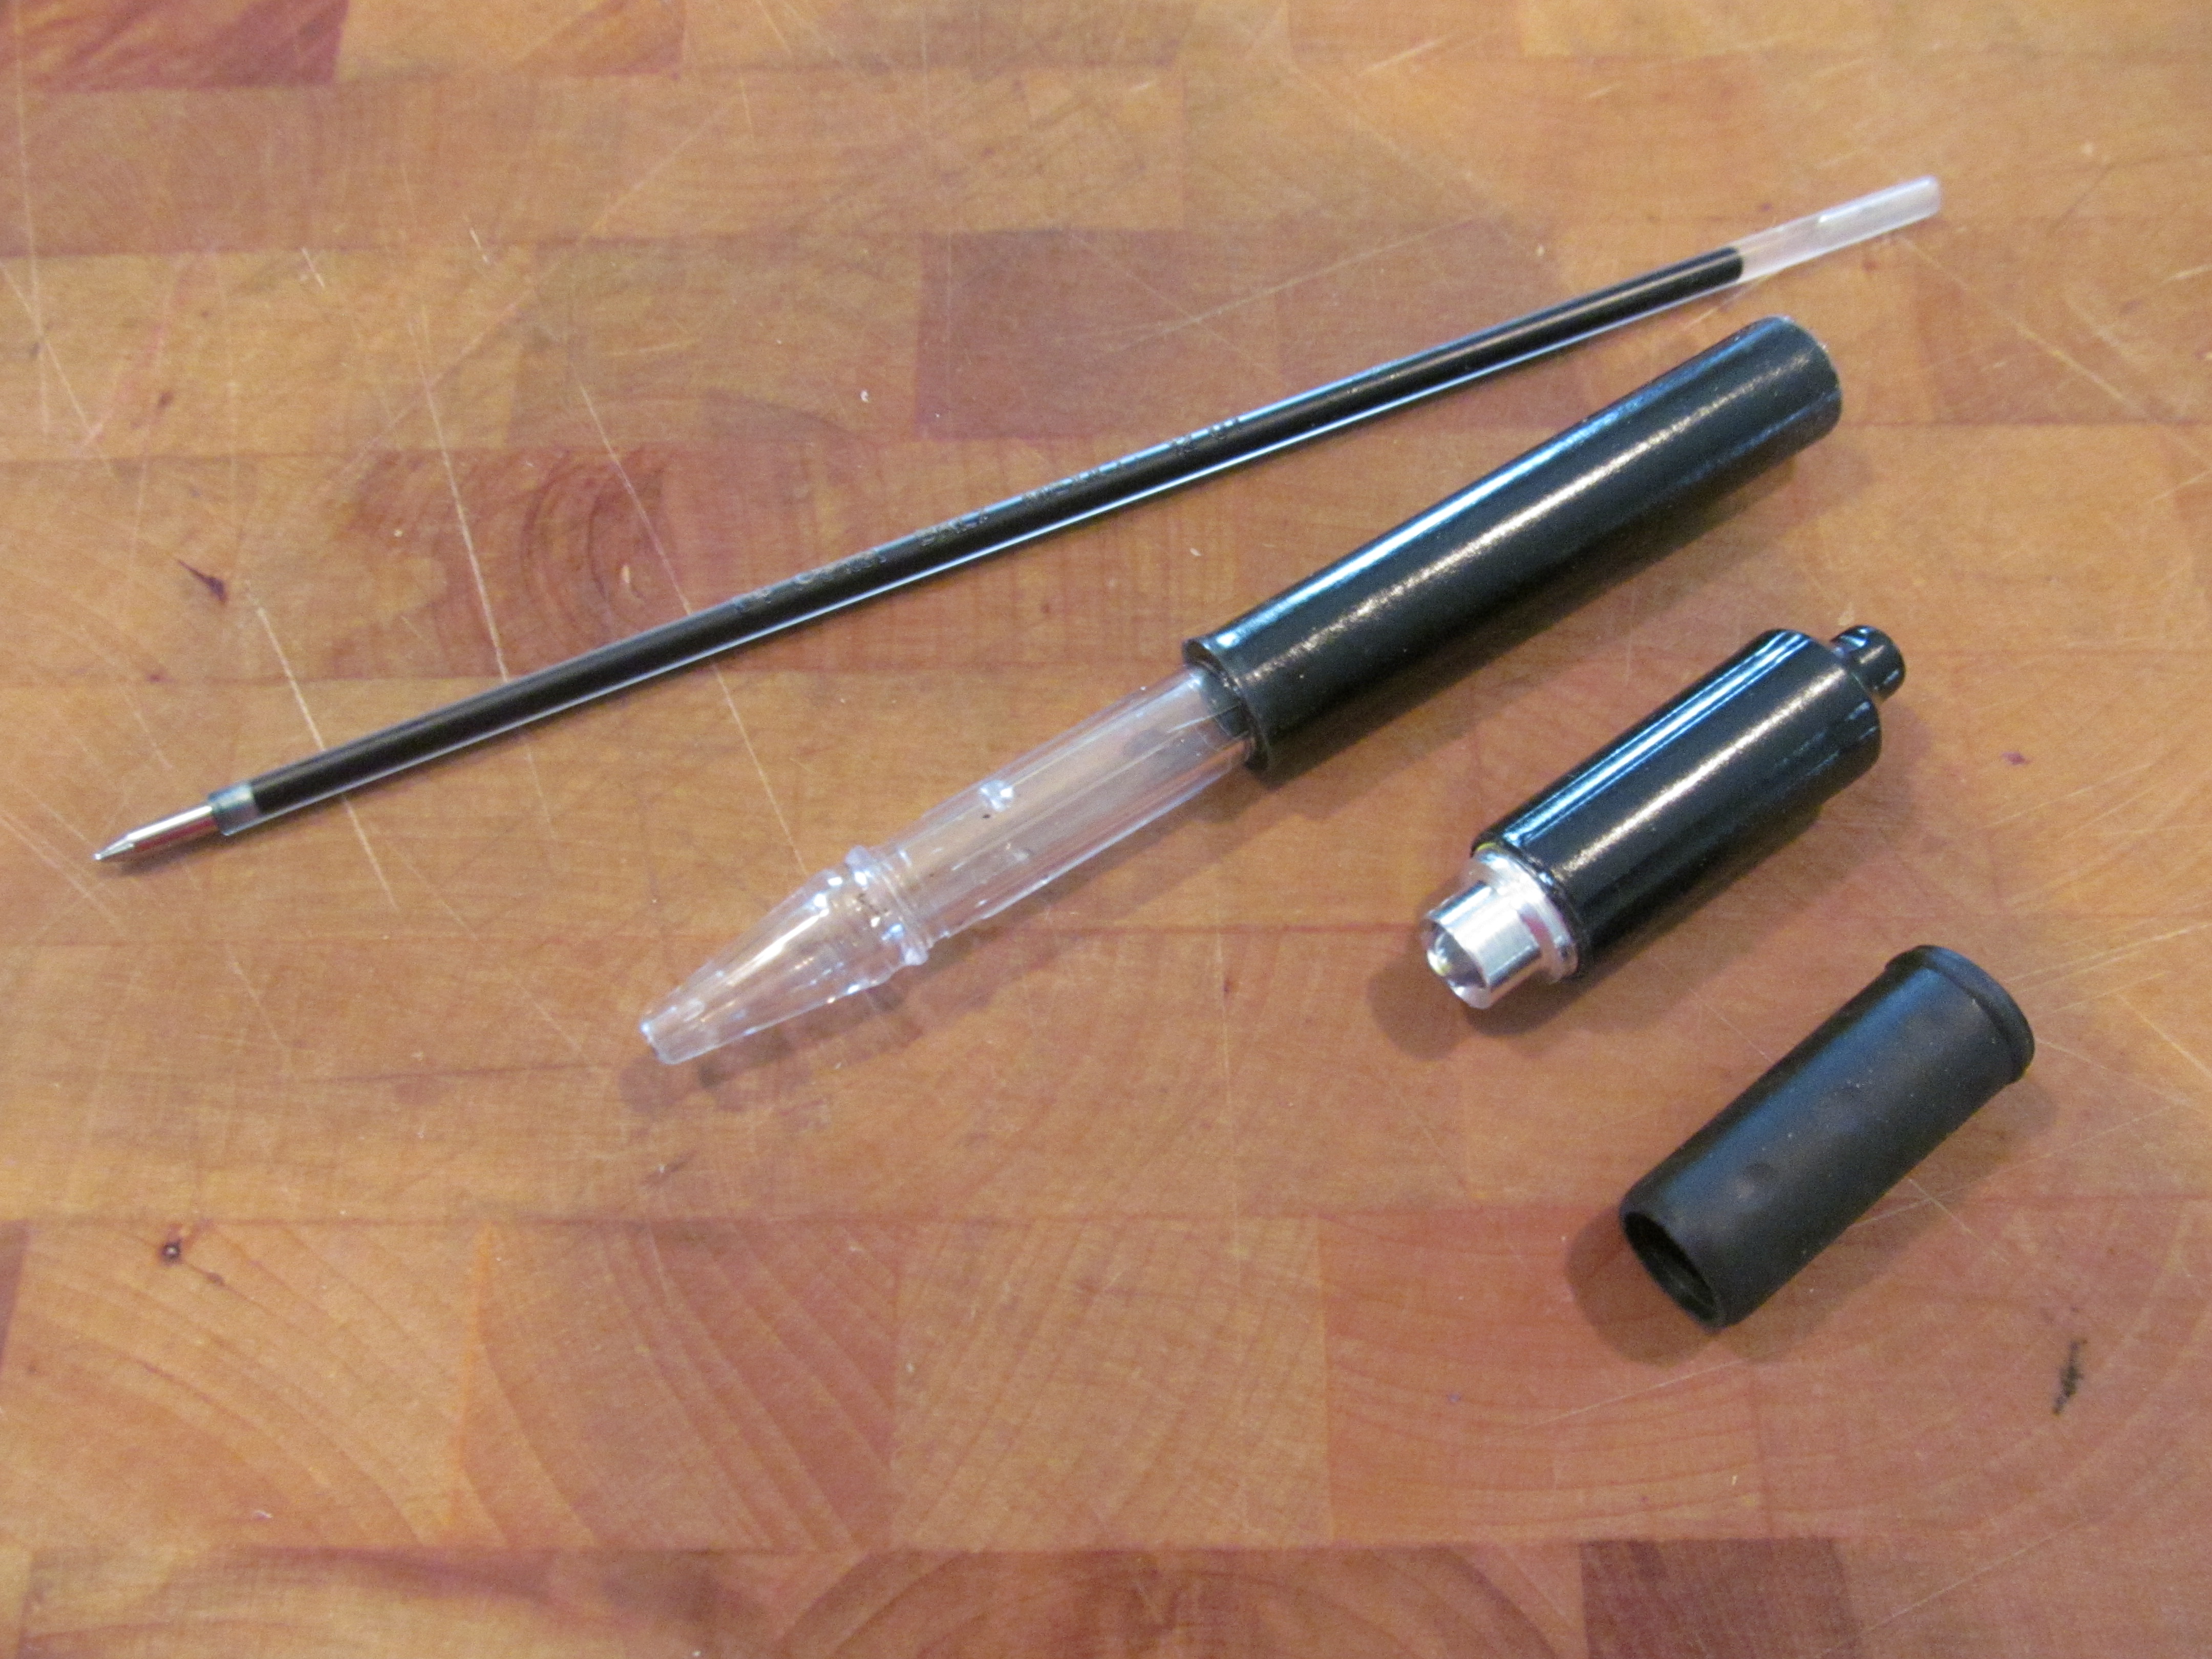

After the plasti dip dried I cut all the joints with a razor blade. I then removed the drill bit I used as a holder and the electrical tape.
Trim and Press Together


The ink tube has to be cut down for it to fit. I used my calipers to measure twice and cut once. Because the LED touches the back end of the ink tube you have to trim down the writing side. If you don't you'll get ink on the LED. Use pliers to gently remove and replace the ball point. Finally insert the ink tube and press fit the light and the pen body together. Thanks for reading.