Nextion 3.5" TFT LCD Digital Compass for Arduino
by mariogianota in Circuits > Arduino
3887 Views, 3 Favorites, 0 Comments
Nextion 3.5" TFT LCD Digital Compass for Arduino

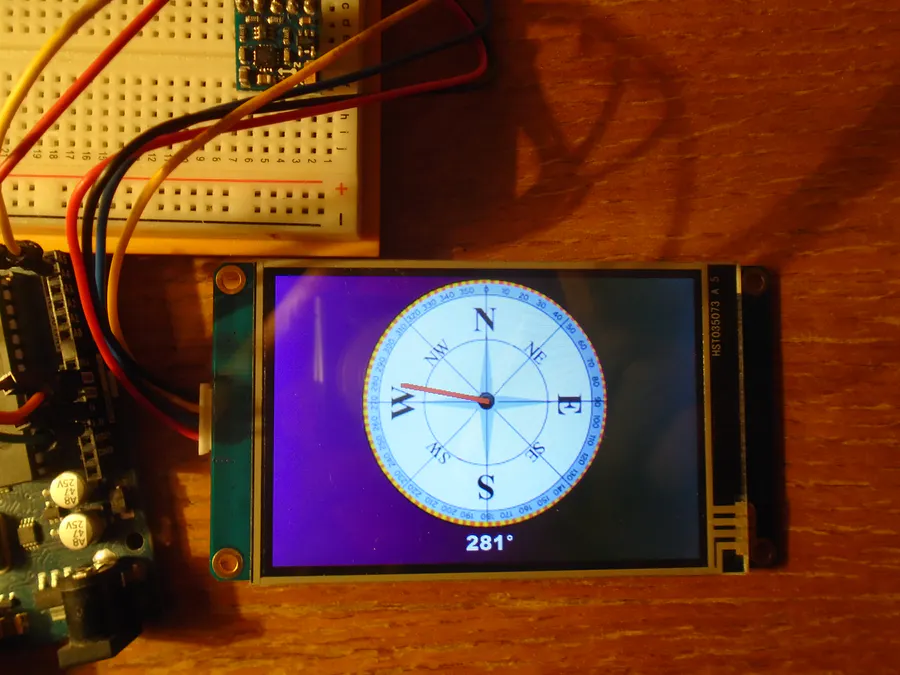
This is an easy to build digital compass that uses a 3.5 inch Nextion LCD display and a QMC5883L 3 axis compass module. I decided to make it because I thought it would be cool to have a digital compass that not only showed the direction I was heading in, but also the heading in degrees.
Full instructions for building the compass are below.
About The LCD Display
I recommend that you use a Nextion NX4832T035 3.5 inch LCD display for the compass. They cost around $30 on Ebay. It is possible to use a larger, or smaller display than this but it requires using the Nextion Editor software on your PC to edit the HMI file contained in the project's ZIP file. Instructions for editing HMI files in the Nextion Editor are beyond the scope of this article. If you are interested, then there is a video covering the basics of using the Nextion Editor software to create displays for your LCD.
About the QMC5883L Compass Module
When you buy the QMC5883L compass module, you will probably find that the pins aren't soldered onto the board, which means that a little soldering is required. Soldering pins onto the board is not difficult by any means, but if you have never done it before you probably require some instruction in the basics of soldering. Check out this easy to follow video guide to soldering for beginners. After only 15 minutes of practice, you will find that soldering is actually quite easy. If you would still rather not do it yourself, or you don't have a soldering iron, then perhaps you can get someone you know to do the soldering for you?
Supplies
- 4GB Micro SD Card
- Arduino Uno
- QMC5883L Compass Module
- Itead Nextion NX4832T035 - 3.5" HMI TFT LCD Touch Display Module
- Jumper Wires
- Micro SD Card Adapter
- Solderless Breadboard Half size
The total cost of these supplies is around $40 if you purchase from Ebay.
Build the Hardware
Connect the Nextion LCD to your Arduino Uno as follows:
Nextion LCD Arduino Uno
- VCC -> 5V pin
GND -> GND pin
TX -> RX (pin 0)
RX -> TX (pin 1)
Connect the QMC5883L compass module to your Arduino. Plug the module into the breadboard and then connect up the pins as detailed below. You will find that the pins on the compass module are marked on the board:
QMC5883L Arduino Uno
- VCC -> 3.3V pin
- GND -> GND pin
- SDA -> A4 pin
- SCL -> A5 pin
Upload the TFT File to the Nextion LCD

The TFT file contains the user interface that the LCD will display. It is contained in the project ZIP file which can be downloaded from GitHub and needs to be uploaded to the LCD for display. Download it now, and extract the contents on to your computer drive.
We will use a micro SD card to do the upload. Insert the micro SD card into the micro SD card adapter and plug the adapter into your PC. After a few moments, Windows will recognize the SD card as a new drive. Right-click the drive and select Format from the menu. Select FAT32 as the format type and click okay. The formatting should take just a few seconds. Formatting the SD card is a necessary step, or the Nextion won't be able to read its contents.
Power off the LCD. Copy the compass.tft file from the ZIP file to the formatted SD card and insert the card into the Nextion LCD. Ensure that the compass.tft file is the only file on the SD card, or the Nextion won't load the file.
Power on the LCD and the device will load the TFT file from the SD card. Remember to remove the SD card from the LCD when the upload is complete.
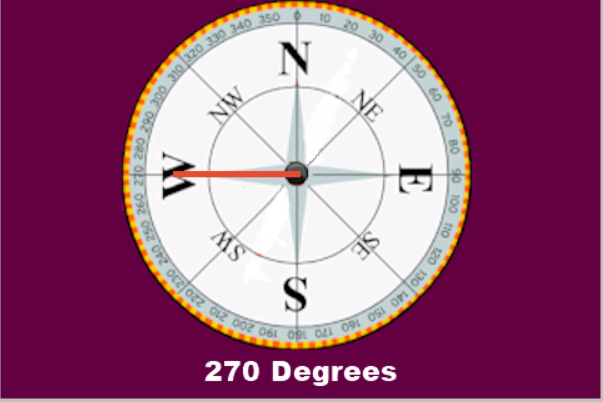
Power off, then power on your display and you should see the user interface as shown in the image.
That's all you need to do to setup the hardware.
Install the QMC5883L Library
Start your Arduino IDE and open the Tools->Library Manager... menu item. When it appears, type QMC5883L into the search field, press enter and you should see a library named QMC5883LCompass listed. Select it and click the install button.
Calibrate the Compass
This is probably the most complicated step in the project. The compass has to be calibrated before it can be used. Fortunately, the QMC5883LCompass library contains an example sketch that you can use to calibrate your compass. If you skip this step then your compass readings will be wrong.
In the Arduino IDE, open the File->Examples->QMC5883LCompass->Calibrate example. Compile and upload it to your Arduino Uno. Note that you must first disconnect the TX/RX pins from the Arduino to the LCD before you do the upload, or the upload won't work.
The sketch uses the serial port to direct you to rotate your compass 360 degrees in order to obtain the calibration settings. Run the sketch and follow the instructions that are printed in the IDE's serial monitor and make a note of the calibration settings it prints when the sketch has finished running, you'll need them in the next step. Note that the sketch gives you only 5 seconds to rotate the compass fully. If you fail to rotate it 360 degrees within this time period, the calibration will be wrong.
Upload the Compass Sketch to the Arduino
Locate the nextion_hmc5883l_compass.ino file from the project ZIP file that you downloaded and open it in the Arduino IDE.
Scroll down in the sketch to the setup() function and locate the line of code that reads:
// You must calibrate your compass before running this sketch.
 ...
 compass.setCalibration(-612, 919, -721, 150, -1415, 32535);
Put in your calibration settings that you noted down earlier in place of the ones in the sketch. Save the sketch and compile it. You should get no errors. The Arduino IDE will probably tell you that the file needs to be saved in a folder called nextion_hmc5883l_compass, just allow the IDE to create the folder and save the .ino file.
Upload the sketch to the Arduino. When the upload completes, reconnect the Nextion LCD TX/RX pins to the TX/RX pins on the Arduino as described in the section on building the hardware. Hit the reset button on your Arduino and your compass is ready to go.
IMPORTANT: Ensure that you have the LCD oriented correctly, or the user interface will show the wrong direction. If you find that the compass is showing North incorrectly, rotate the LCD as follows: The LCD should be parallel with the sensor's front edge (the side opposite the pins), with the N on the display behind and pointing to the front edge. If you are still having problems aligning the compass, try re-running the calibration sketch. Most errors will be due to a bad calibration.
That's it. I hope you build the compass! Until next time...
Improving the Accuracy

As it stands, the compass will give a reasonably accurate reading, but there is something you can do to improve the accuracy even further. To do so, we need to account for magnetic declination.
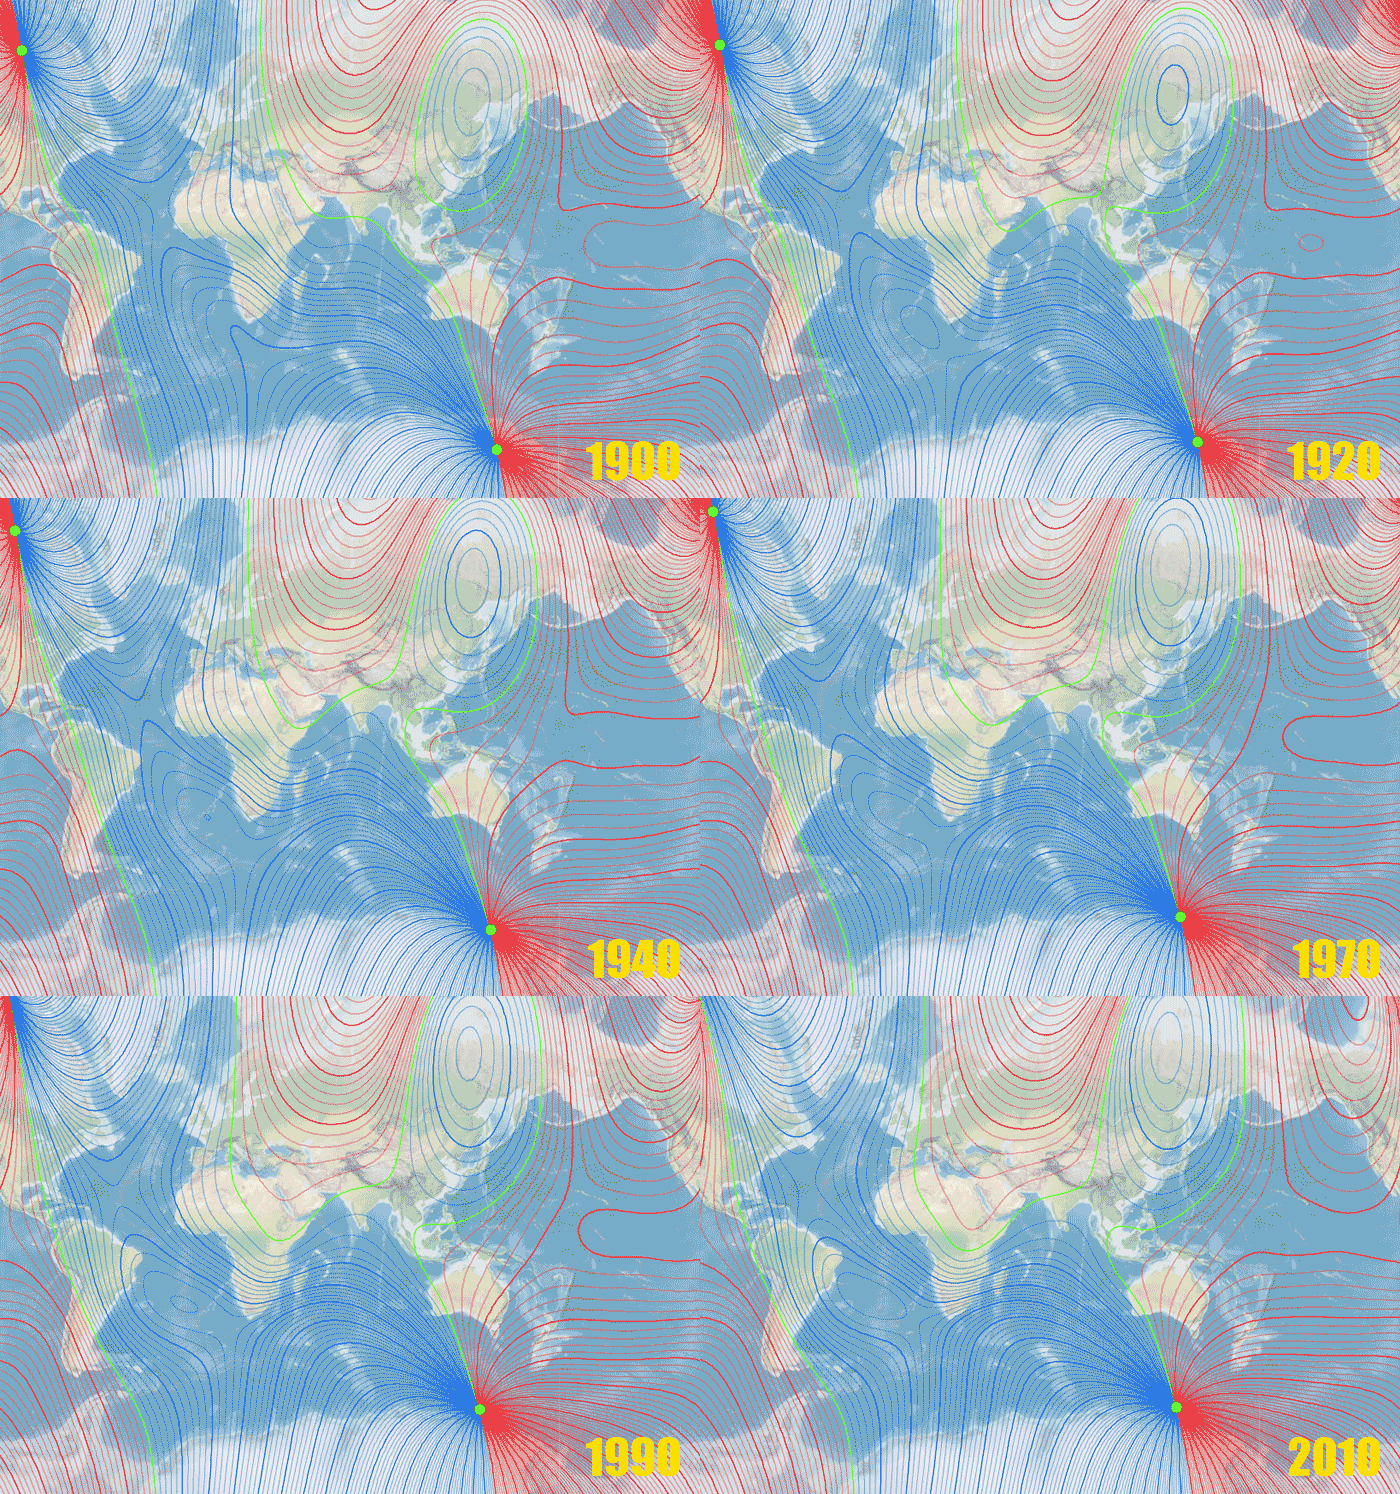
The molten rock churning and spinning below our feet causes the Earth's magnetic poles to slowly wobble. This wobble will affect the compass' reading. (See the image above for a map of what this wobble looks like.)
The magnetic declination is a measure of the angle of that wobble which we can use to adjust our heading slightly. The problem is that the magnetic declination varies over time and with your position, meaning that the compass needs to be adjusted periodically to take account of this in order to provide a truly accurate reading. As I said, this angle varies depending on your position on the Earth's surface and it also changes over time. So you need to lookup the angle for your location on Earth, I can't just give you a value and say "Plug that in!".
Add Your Magnetic Declination to the Code

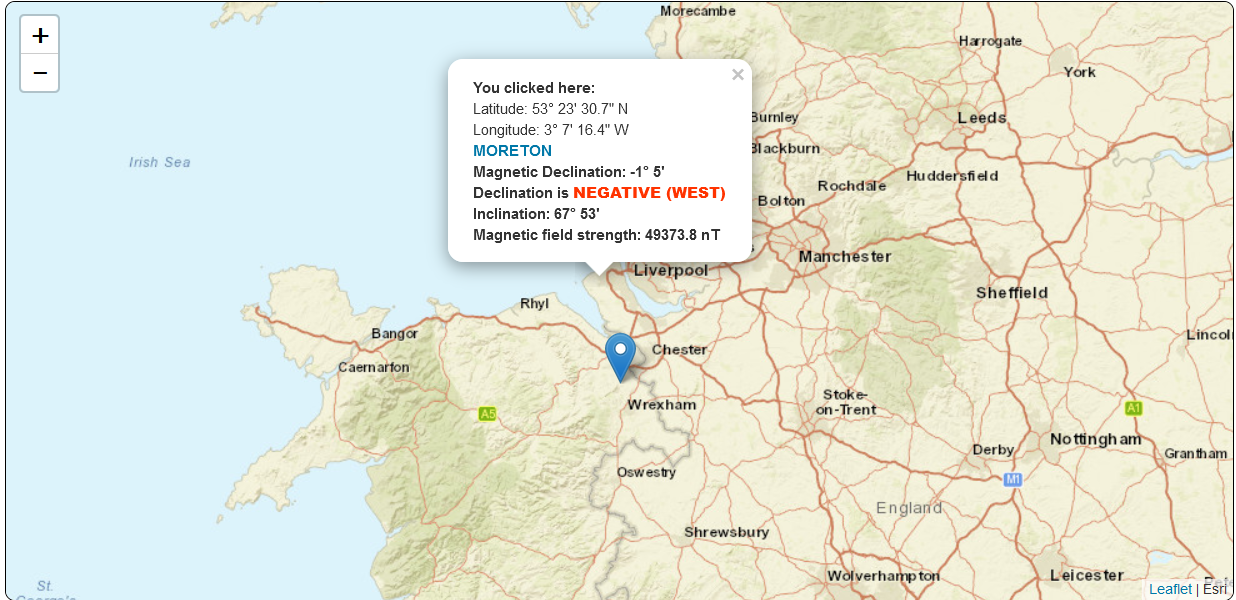
So, I bet your asking: "How do I know what my magnetic declination is for my location?". No problem. Head on over to https://www.magnetic-declination.com/ and look it up. Above, you can see an image showing the magnetic declination I obtained for my location, which is -1.5, negative (WEST). Look your location up and write down the value.
In the compass sketch. Navigate to line 46 and add the following line of code:
heading += -1.5; // Replace -1.5 with your magnetic declination angle
That's it! The compass will now take the wobble of the Earth's magnetic poles into account when it computes a reading. Remember I said that your magnetic declination changes over time, so you will need to lookup the value every few years, or so to keep the compass accurate.