NextCloud on the Raspberry Pi - DIY Dropbox!
by FlyingHazard in Circuits > Raspberry Pi
30994 Views, 158 Favorites, 0 Comments
NextCloud on the Raspberry Pi - DIY Dropbox!
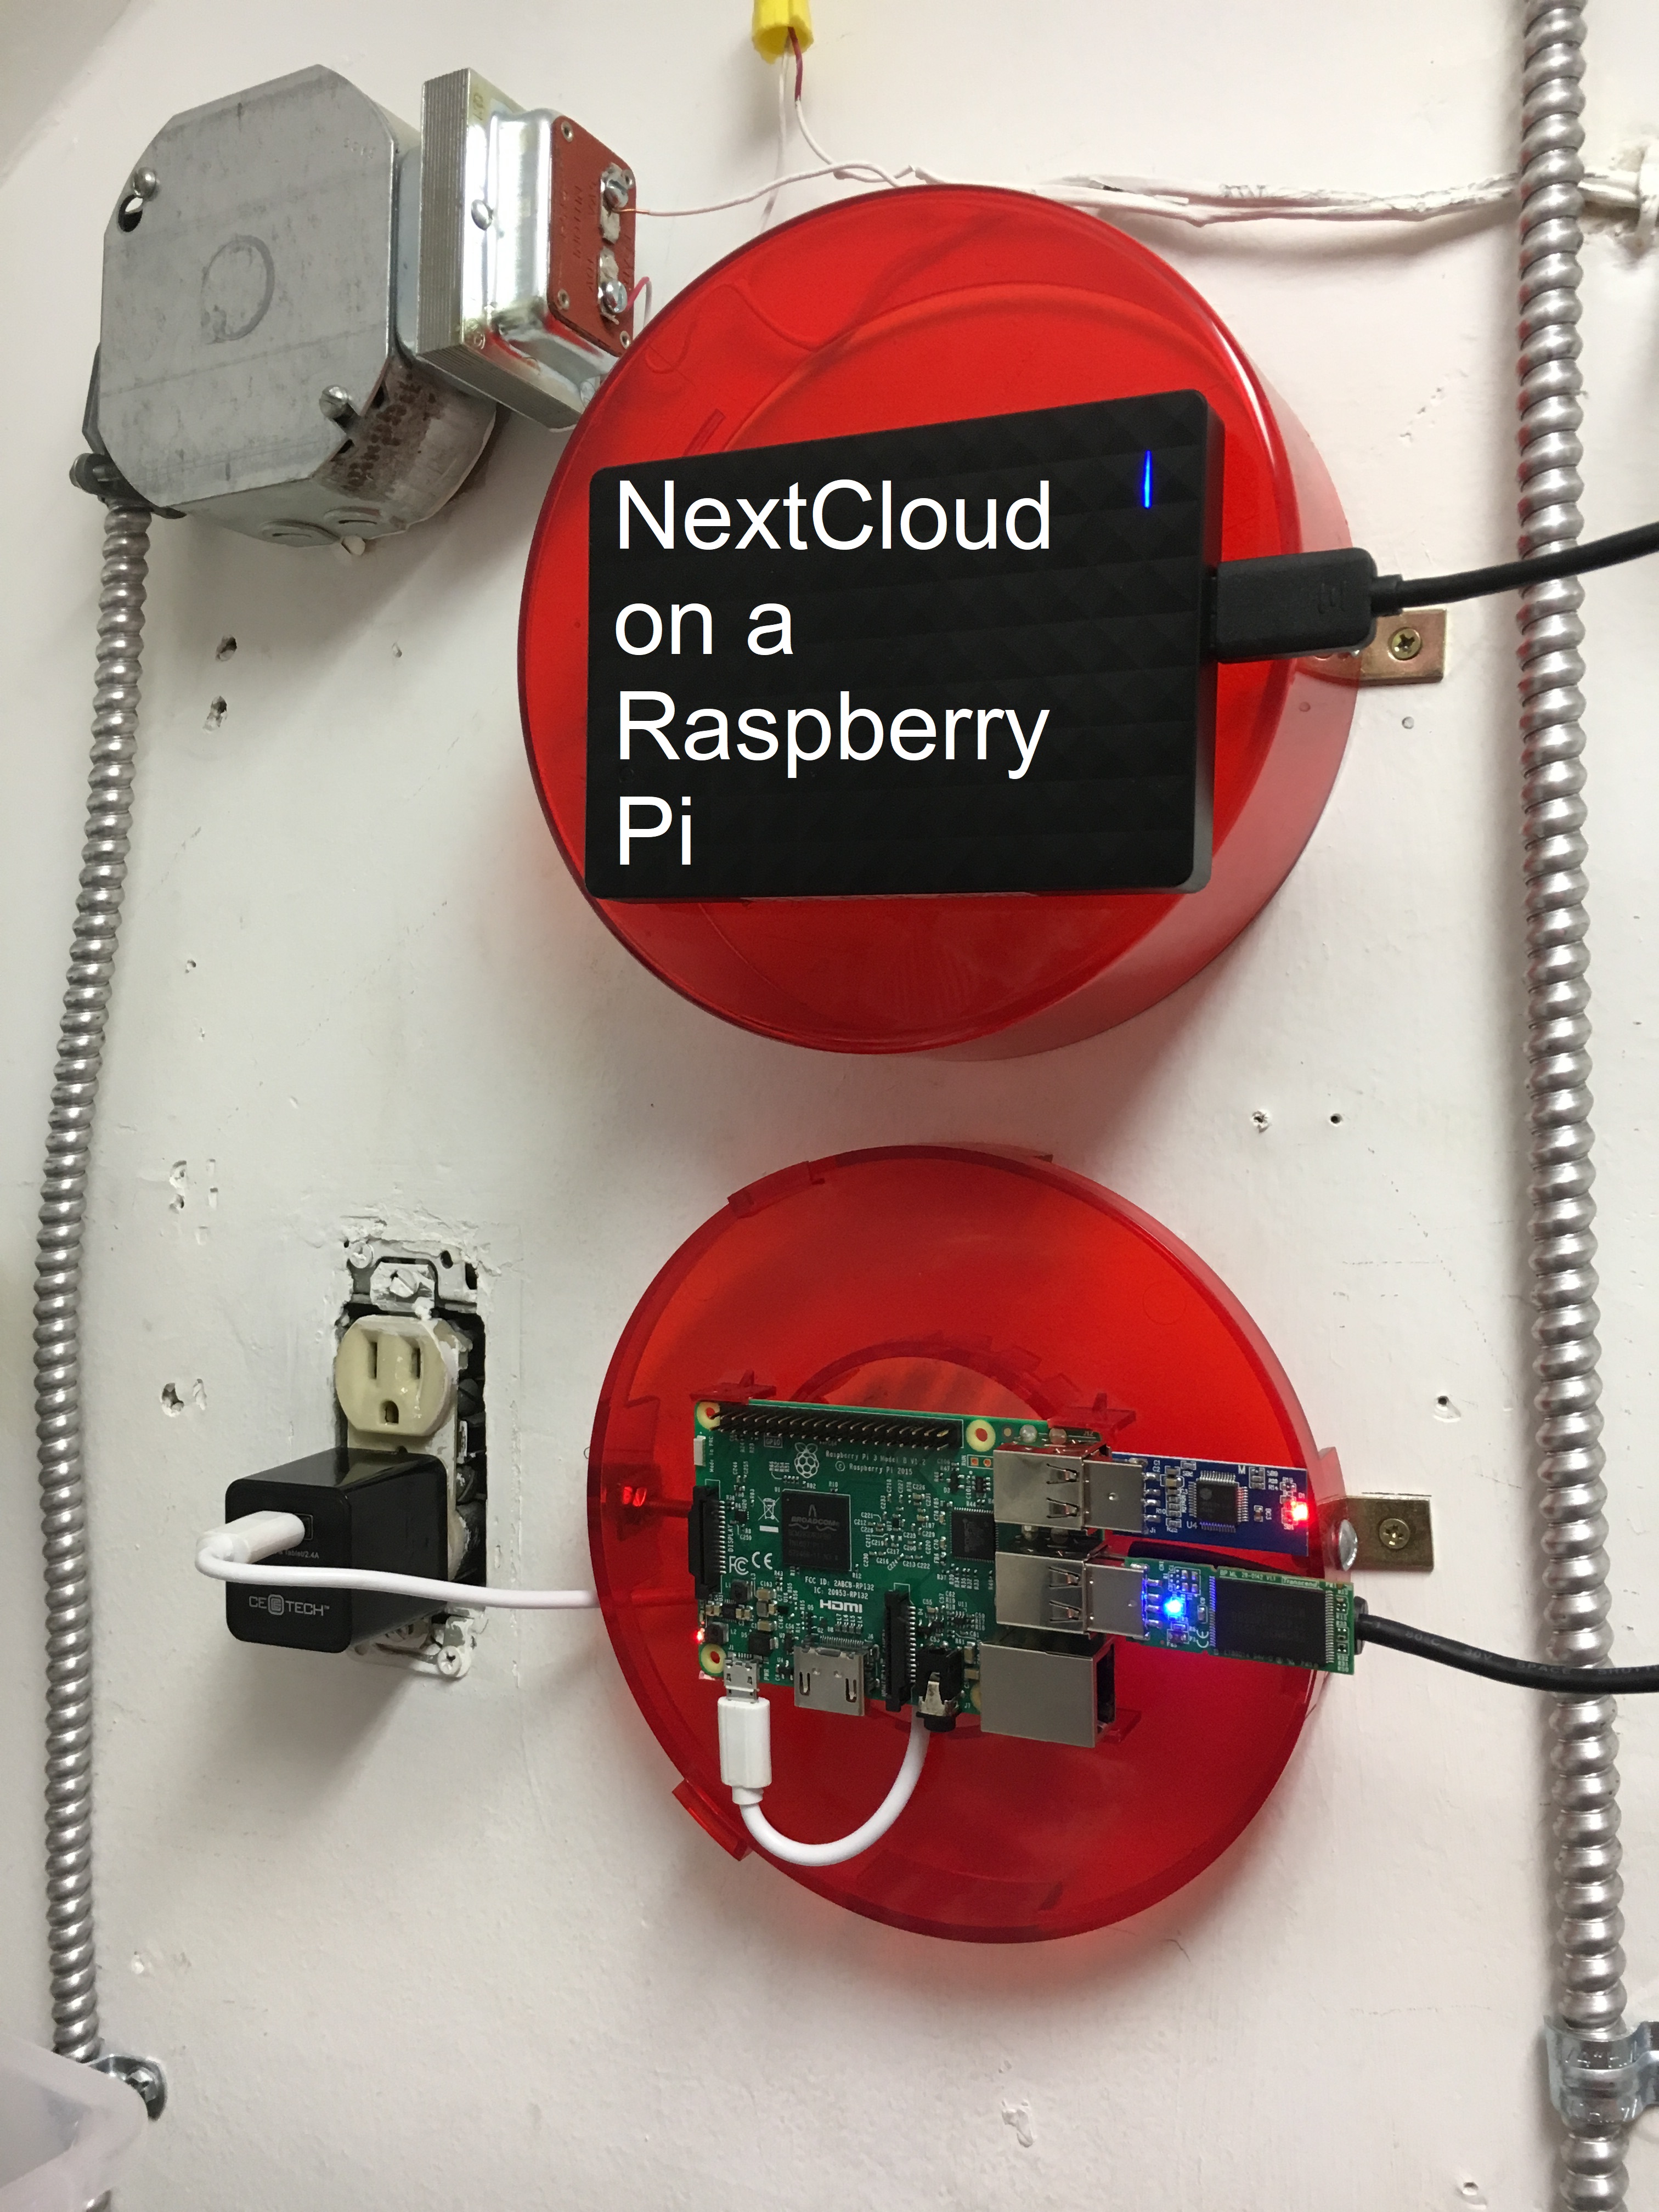
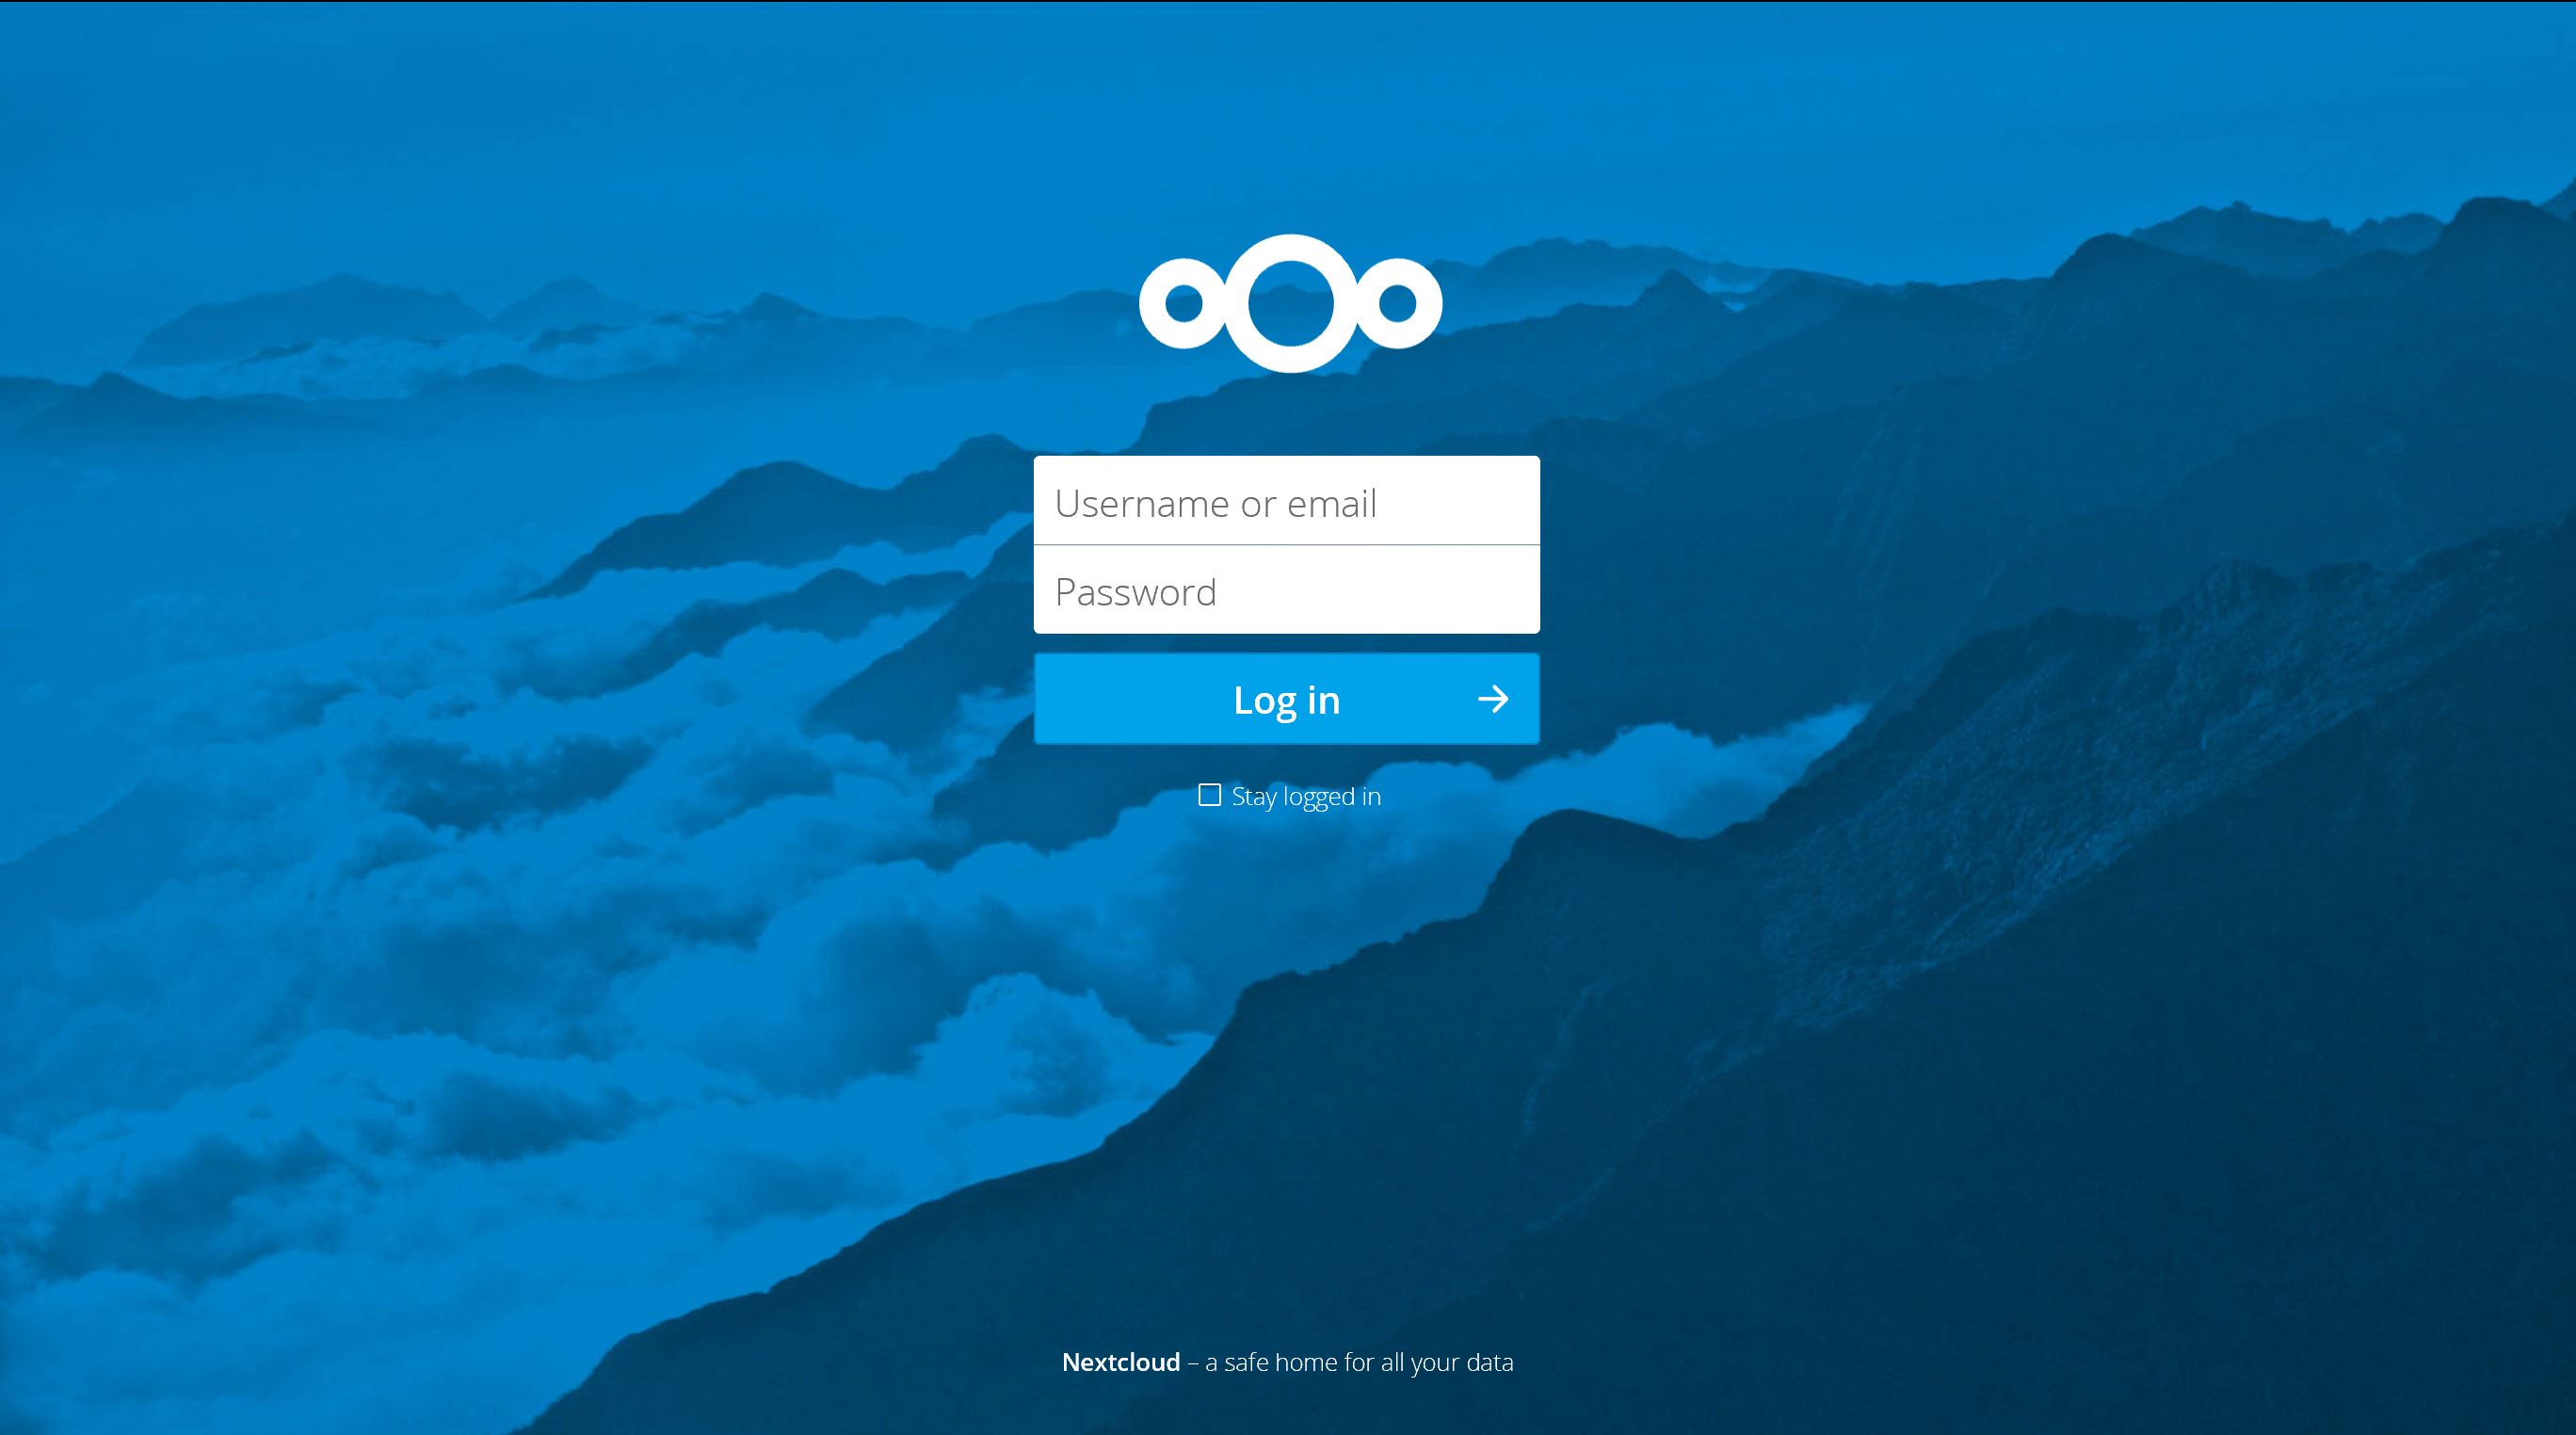
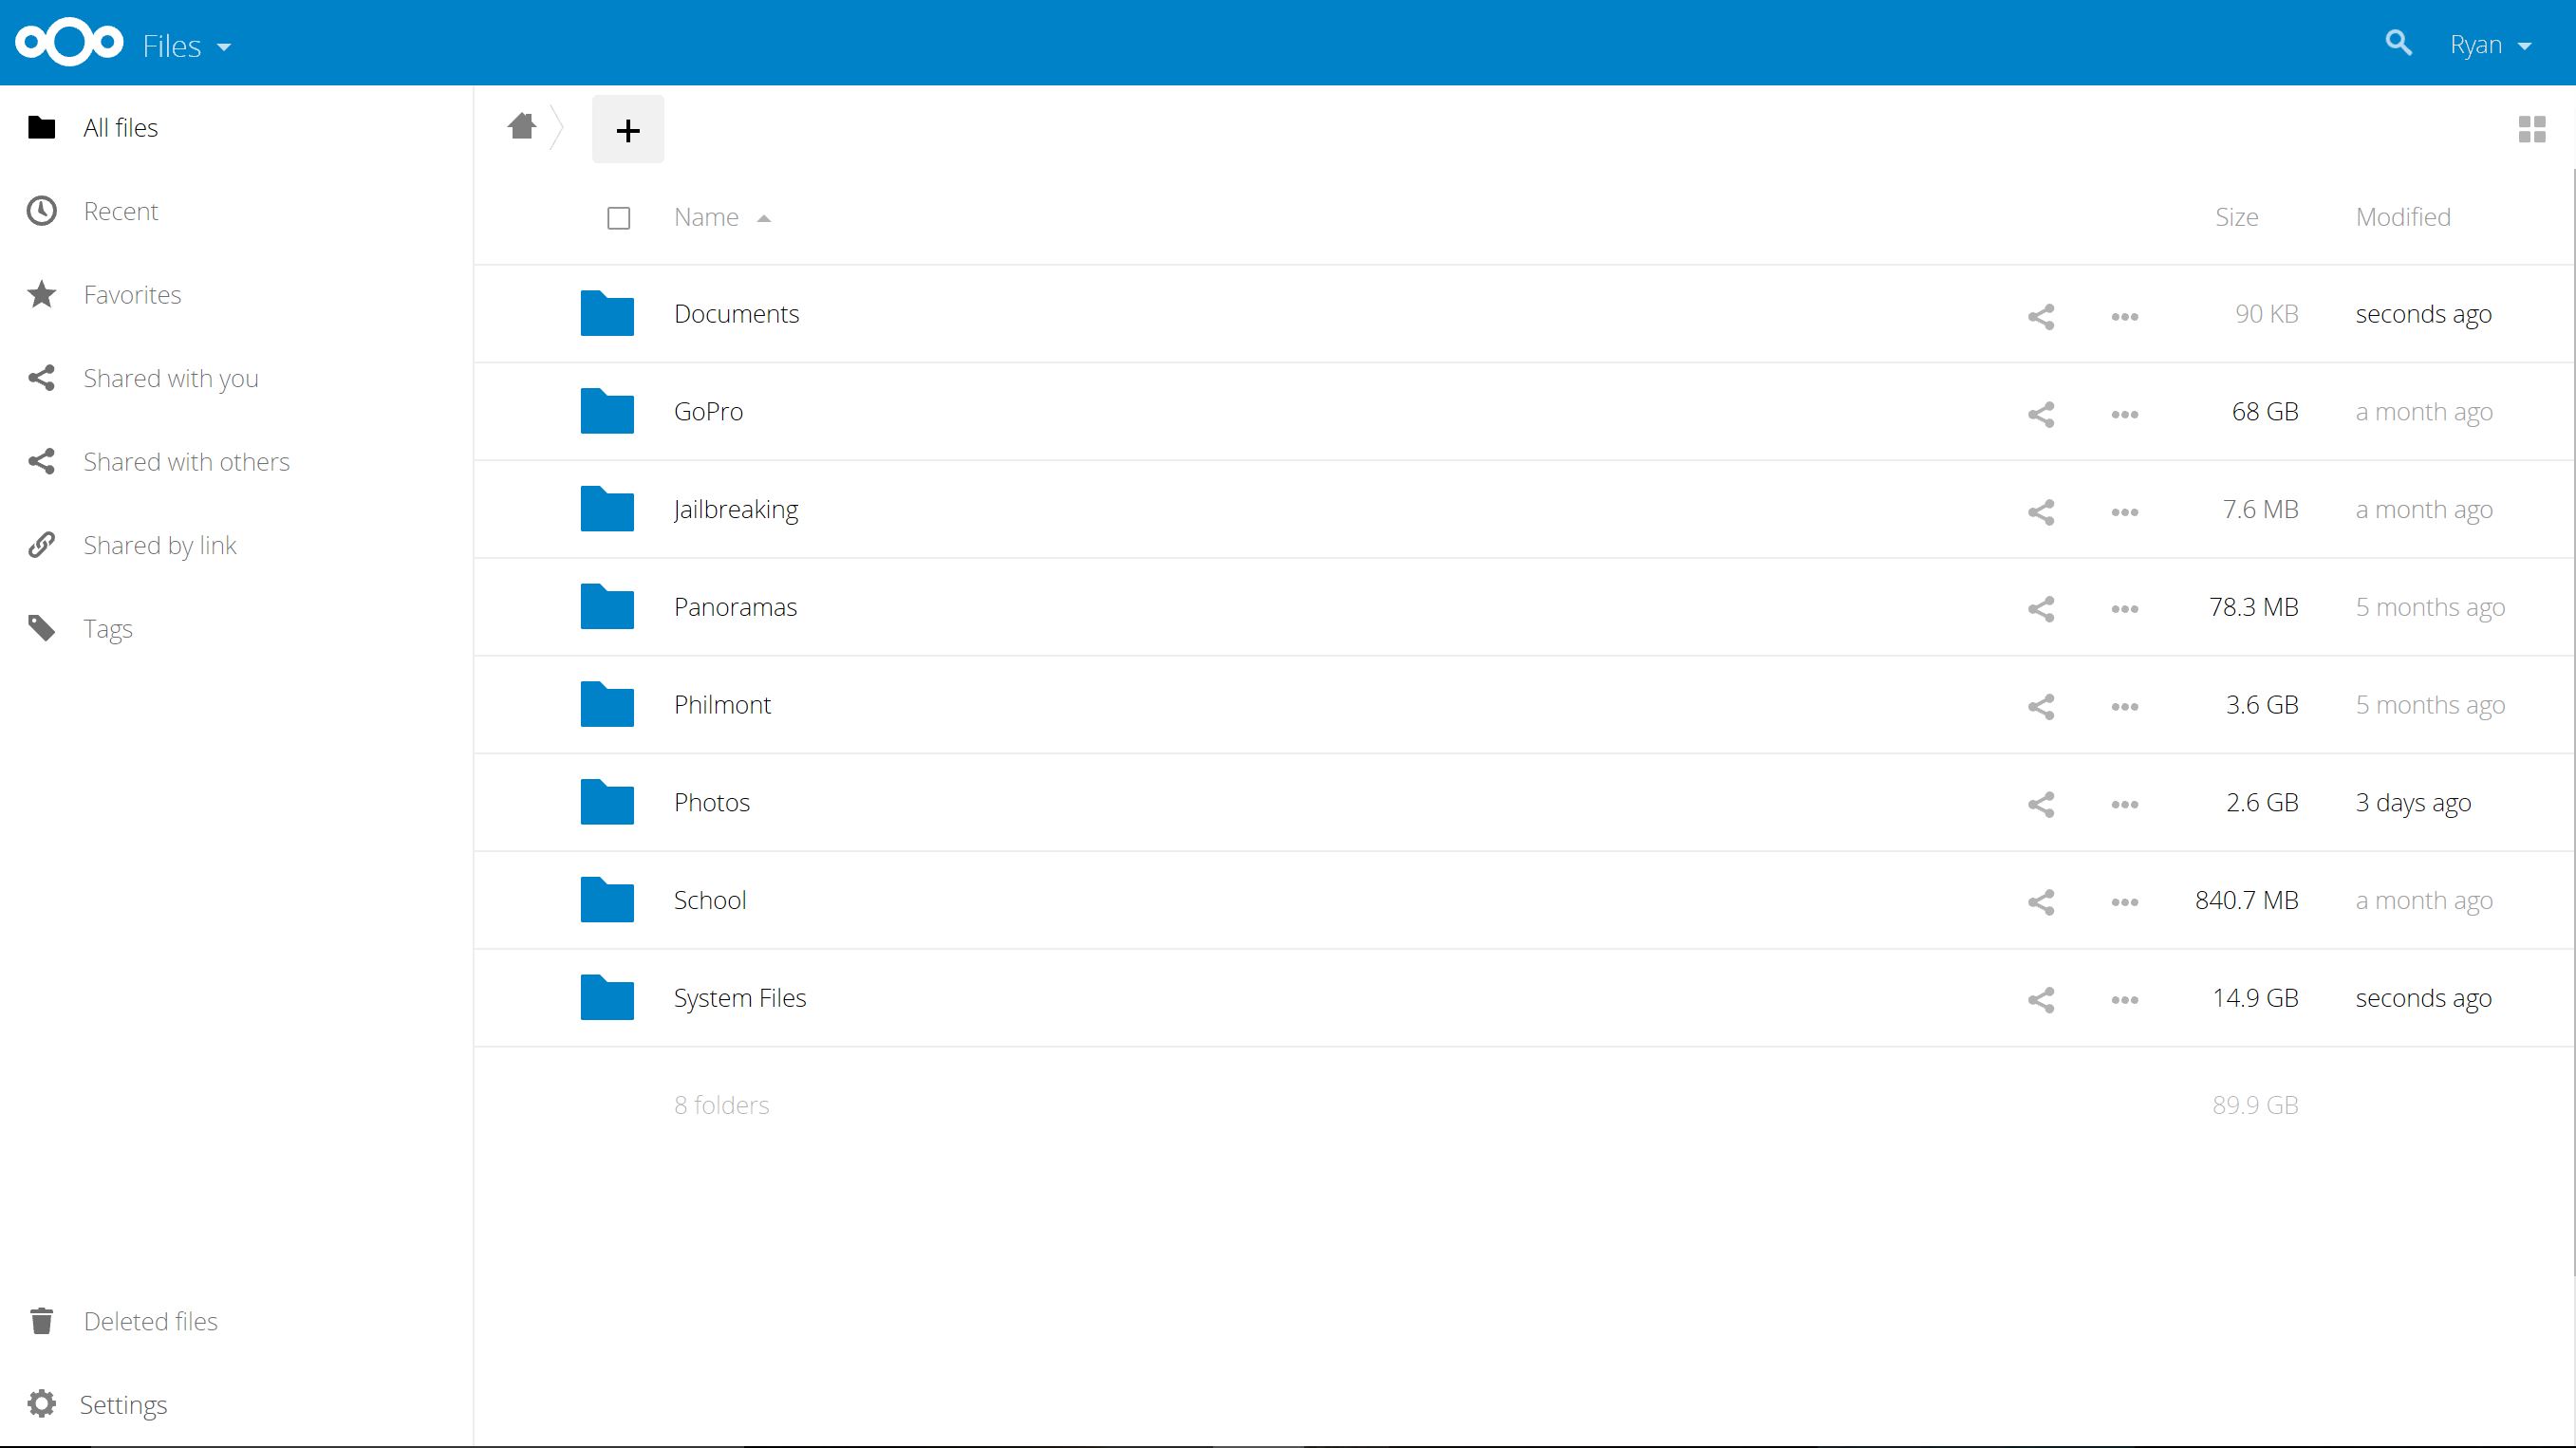
So earlier I said that I would write an Instructable that would update my earlier one on an OwnCloud server for the Raspberry Pi, well that day has finally come! Today we have so much data. On my server, I have close to 100 GB's of photos and videos that I literally do not have the space to store anywhere else! In addition to that, I am a student (Crazy, I know) and the powerful workflow tools bundled with NextCloud are absolutely incredible. Today we will be installing a few things onto our Pi, but to start, you will need
- One Raspberry Pi, for this project, I would recommend a Pi 3, but it should work on most other versions, with varying speeds
- One SD or Micro SD card (depending on your Pi)
- One USB Hard Drive, sizing is up to you, but I recommend a one terabyte drive, at least to start
- One Powered USB hub, I found my drive beeping because it wasn't receiving enough power
Optional:
- Another USB Hard Drive, if you want to set up a RAID array something I will get into later.
What we will be installing:
- Apache, the actual web server
- PHP5, to process PHP files
- NextCloud
- HDParm, to spin down your drive
This is a great project, and it is extremely useful! I find myself using my Pi every day, and not even really noticing that it is a relatively slow computer. If you do this right, you will be amazed with the results!
A couple notes: All of these pictures are either screenshots from my computer, or photos that I have taken, while I did not develop any of this software, every piece of media in this Instructable is my own.
Download Everything
So it's not a lot, but I think that the best way to start is to download everything that you will need first. If you don't already, it may be useful to create a Raspberry Pi folder on your computer for all of the pieces that you will need, as well as for anything else in the future.
The first thing you will need is the Operating System, available here:
https://downloads.raspberrypi.org/raspbian_lite_latest
If you want a Desktop Environment and do not plan to be controlling the Pi from another system, you can download Raspbian with PIXEL here (This does come at a system cost! If you don't absolutely need it I HIGHLY recommend Jessie Lite (above)).
https://downloads.raspberrypi.org/raspbian_latest
Next you will need Etcher, a tool used on both Macs and PC's to write the file to the SD Card
Follow that link and download the program for your OS.
Now you need PuTTY, an SSH client for Windows. On Mac you can use Terminal.
https://the.earth.li/~sgtatham/putty/latest/w64/pu...
Once this downloads, I would recommend moving the file to desktop and pinning it to the taskbar, as it is literally one .exe file.
Finally you will need some files that will be located below, these are either templates that I have made, or other files that you will need.
EDIT: For the SSH file, it may not download correctly, so open notepad, and create a file, it can say anything, or nothing, but when you save it, save it as "ssh", which will save it with no file extension (.txt,.docx,.ppt, etc...) and keep it for later.
Flash the SD Card
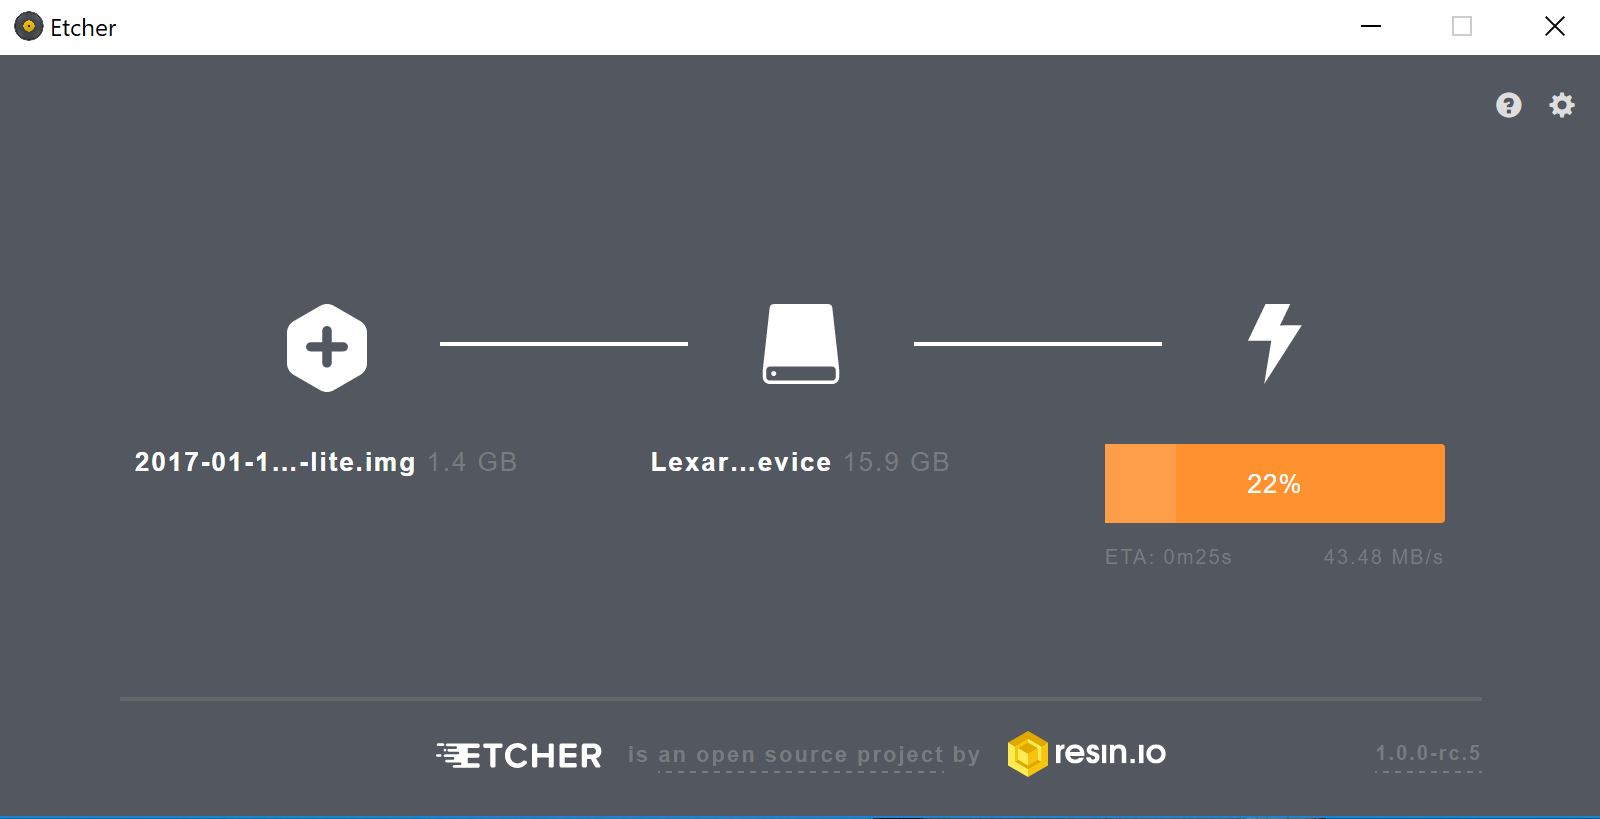
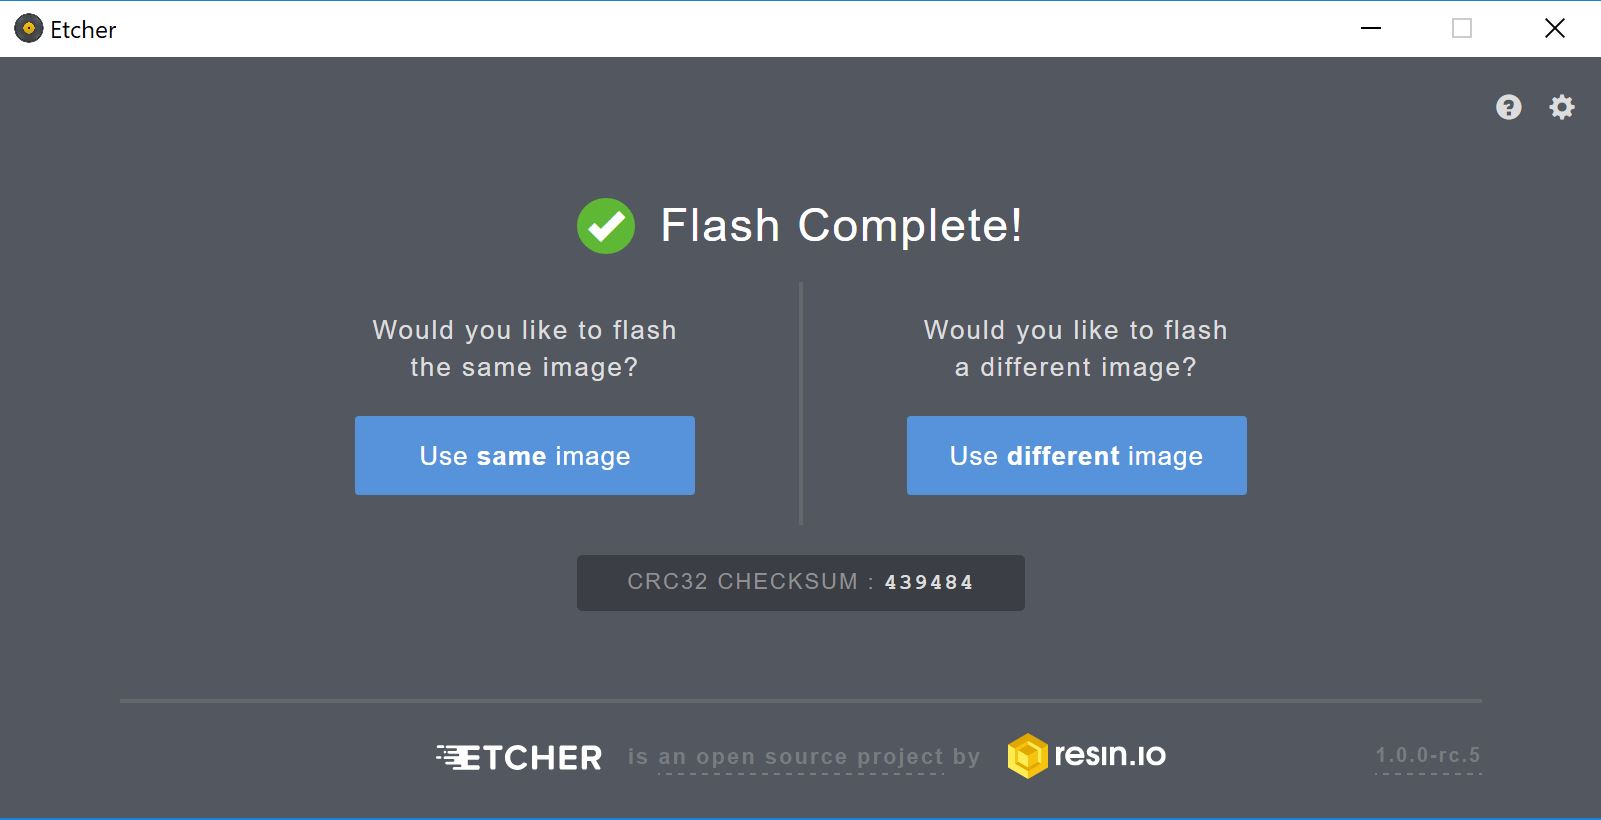
The first step of any Pi project is to flash the SD card. This takes the disk image you downloaded in Step 2 and unpacks it onto your SD card. With Etcher, this process is pretty much brainless. All you have to do is click select image, and then navigate to the (unzipped) disc image you downloaded, select the correct drive, and click flash! That's it! Don't unplug your card yet though, there's still a little bit left to do! (Your computer may not recognize the card after you flash it, in which case unplug it and then plug it back in again)
One tip on Etcher, I always have to add files to the boot directory after I flash it, and so will you, so I would recommend going into settings and telling Etcher to not eject the drive on a successful write by unchecking that box.
Send the Necessary Files to the SD Card
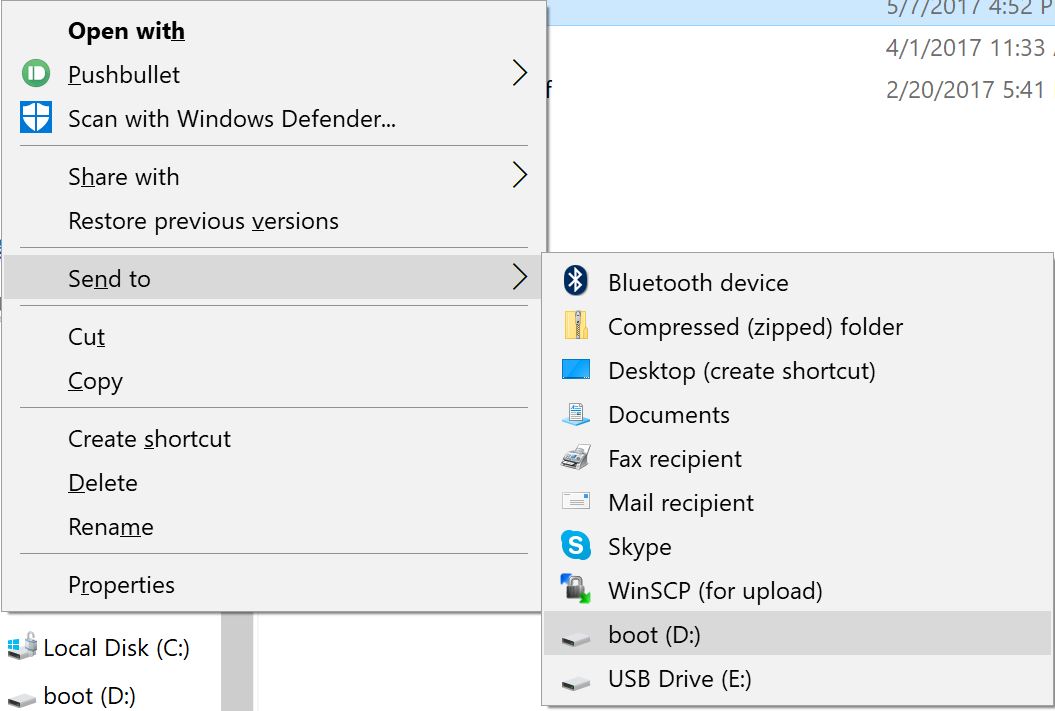
The Raspberry Pi foundation is awesome, but unfortunately they don't know everything about what you want your Pi to do, like whether you want SSH enabled or things like your Wi-Fi password. We want it to do both of these things, but we can do it very easily with the SD card plugged into your computer.
First, send the file ssh to the SD card. That's all you need to do. Essentially the Pi will boot up, see that file, decide that it needs SSH enabled, and delete it.
Next, open the file "wpa_supplicant.conf". (if you're going to use Ethernet skip to the next step)
In the blank next to SSID, put your network's name in between the quotation marks, and the password in the line titled psk. Save this file, and send it to the SD card, just like "ssh"
In Windows, simply right click on the file, hit send to, and find your card.
Set Up Your Pi
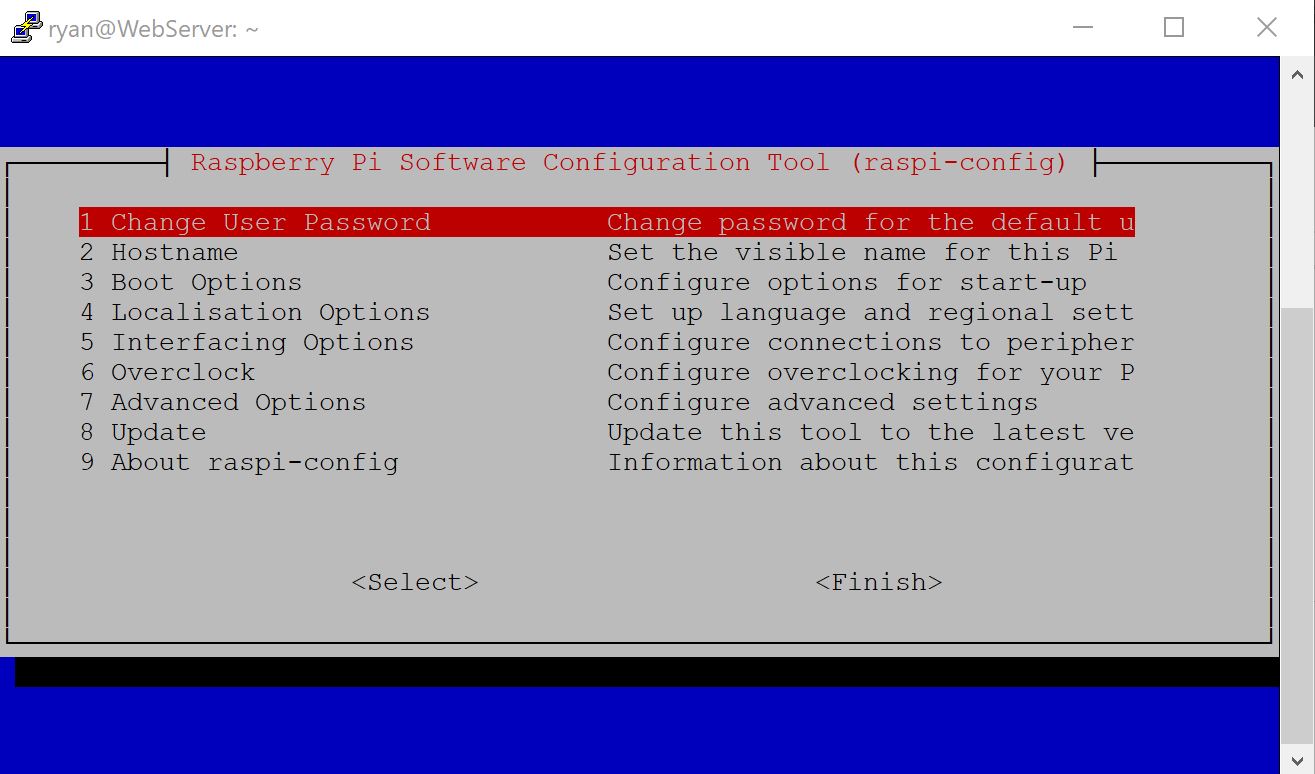
At this point, you can unplug your SD card and boot up your Pi. If all goes well, you should be able to open PuTTY, plug in your Pi's IP, and log in. The username and password is pi and raspberry, respectively, but I would highly recommend changing at least the password, especially if you are using SSH. At this point. simply type in sudo raspi-config into the terminal and set up things like your time zone and boot options. Much of this is just preference, so don't feel like you need to know the settings I use.
In addition, make sure that you run sudo apt-get update and sudo apt-get upgrade to ensure that your Pi is fully up to date, and has the package lists downloaded for the next couple of steps.
Set Up Your Web Server
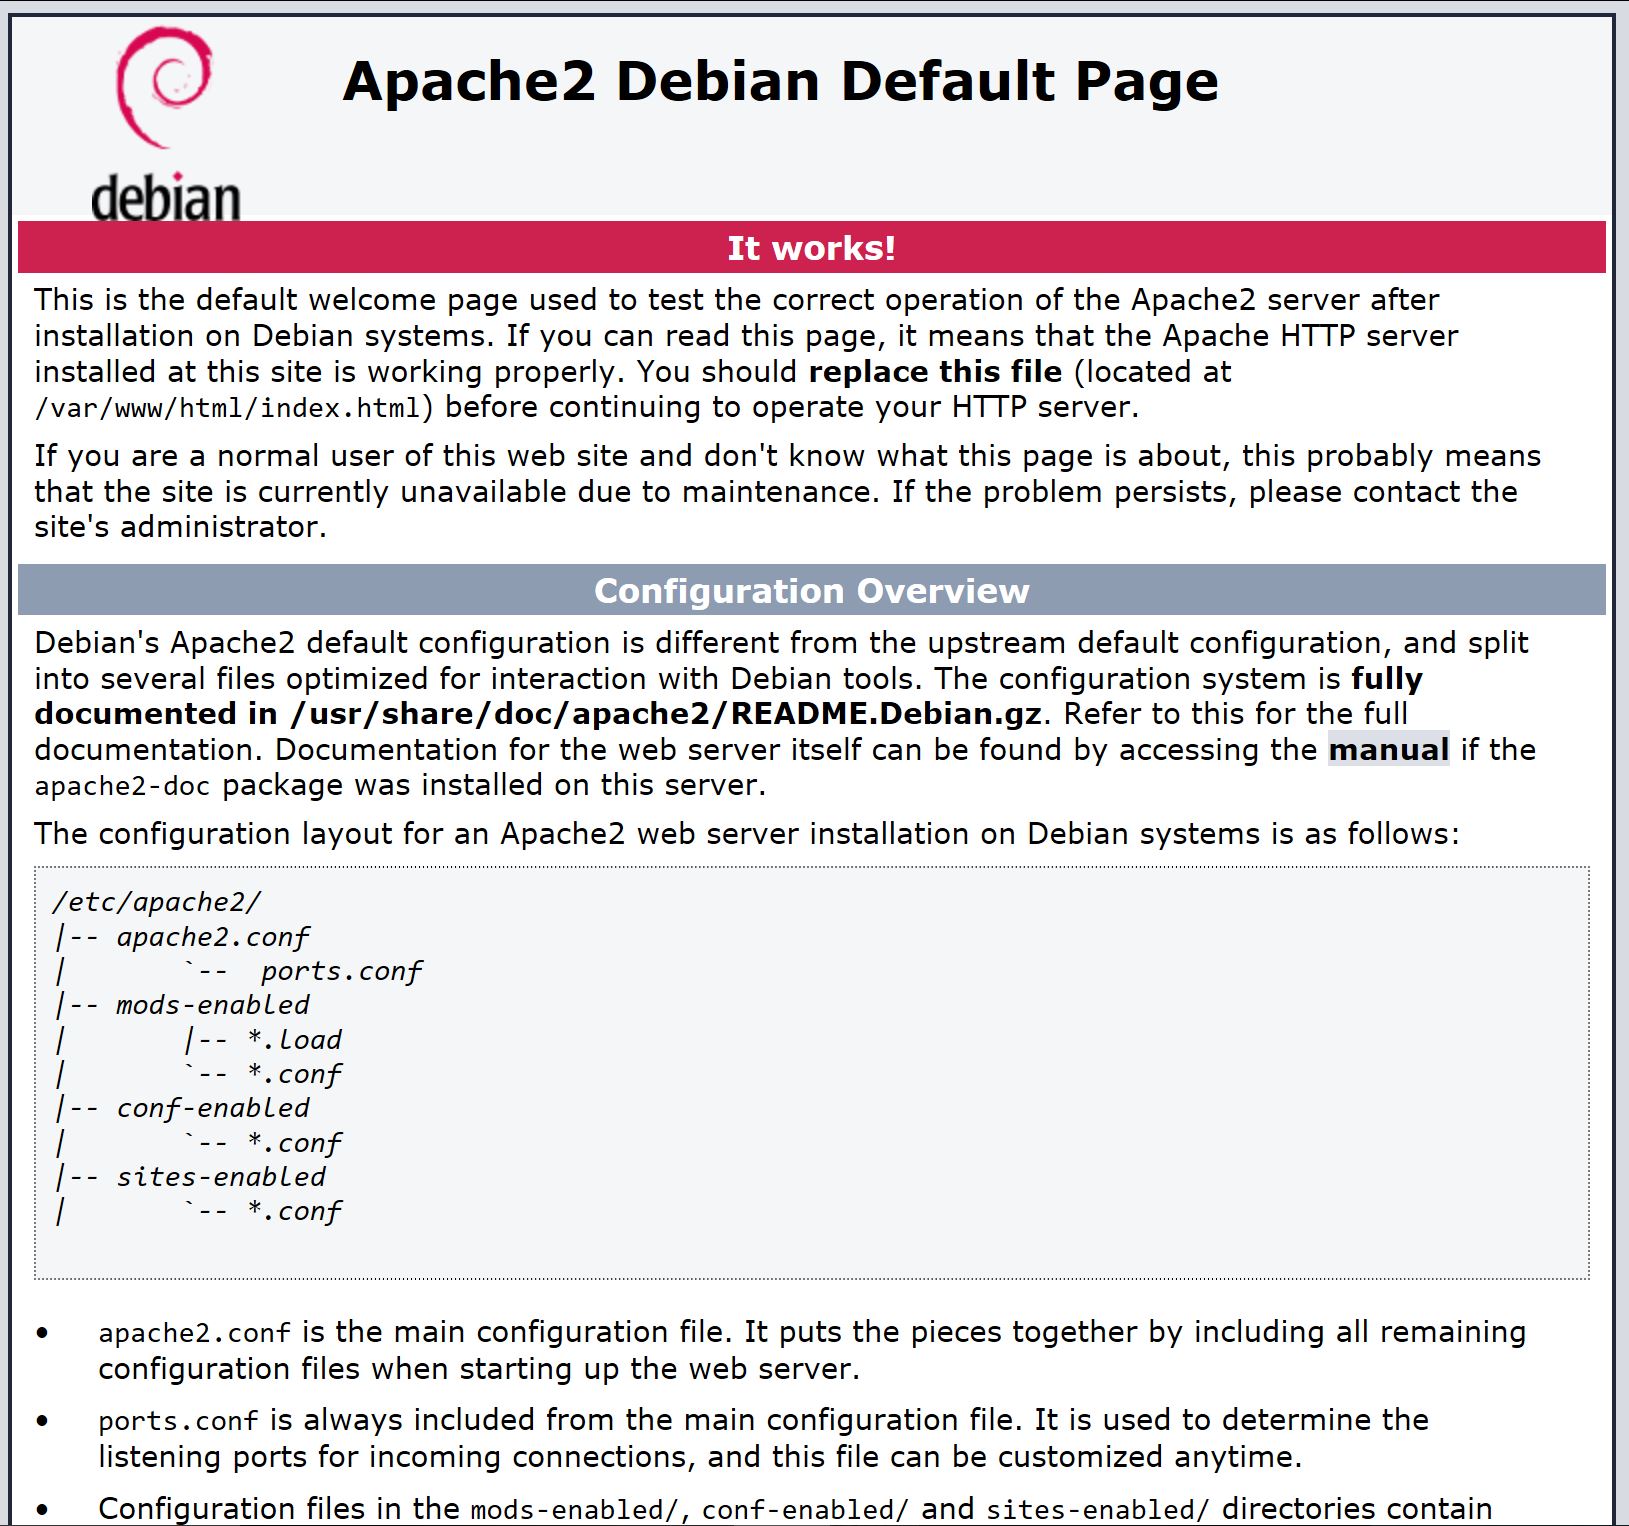
To set up your Web Server, we will need to install Apache, PHP, and MYSQL. This will allow your Pi to be accessible from the web, read and interpret PHP files, as well as installing a database. These utilities can be installed by running the following commands:
1. sudo apt-get install apache2 -y
2. sudo apt-get install php5 libapache2-mod-php5 -y
3. sudo apt-get install mysql-server php5-mysql -y
- When running number 3, you will be asked to enter a password, remember this, as you will need it later.
The next thing to do is to set up the Apache Config file that gives the details for your website. Only do this if you have BOUGHT a DOMAIN NAME. Skip the rest of this step of you are not planning on buying one.
Open webconfig.txt and input the proper values for your server by adding one space after the directive and entering the proper value.
The ServerName directive is the default URL for the server, such as google.com.
The ServerAlias directive is the actual URL you want to use for the cloud server, if it is the same as the ServerName then just delete this line.
The ServerAdmin directive is the email that you want associated with the site, I'm honestly not sure how much this matters.
Lastly, the DocumentRoot is where the website files are stored, if you are using another wildcard domain, like cloud.google.com, then you may want to change this, for most people though you can just leave this alone.
This file will be located in /etc/apache2/sites-available, so to edit it, simply type
- sudo nano /etc/apache2/sites-available/"yourdomain.tld".conf
Replacing "yourdomain.tld" with your domain name, ie, google.com or cloud.google.com, with .com being the Top Level Domain name, or .tld piece. Once you paste in the contents of the file, exit and save by typing Control + X, and Y to confirm.
Once finished, run sudo a2ensite yourdomain.tld enable, replacing yoursite.com with your domain name.
Additional Setup
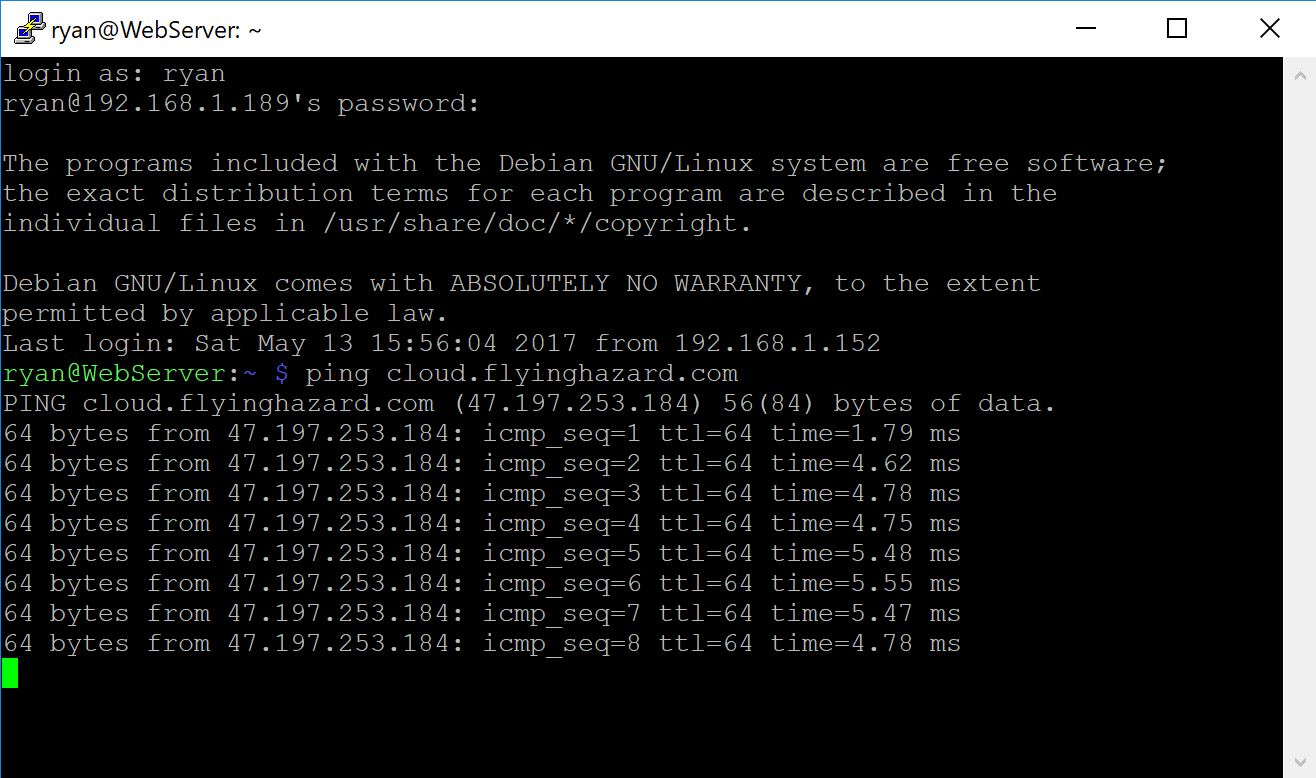
Now you have a running web server, but no way to reach it outside of your home network, if this is what you want, then the URL will be your Pi's IP address. For me, this is the reason to build something like this, and there are a few ways to go about it.
The first way is to buy a domain. This is what I do, and for $12 a year, it's hard to beat. I use Google Domains which is pretty much what it says, JUST DOMAINS. Included with this registration is the option to keep your information private, and free Dynamic DNS. Plus, all of this is served through Google's extremely reliable DNS servers, so for the price, it is hard to beat. if you no not own a domain, look at the Dataplicity option near the bottom of this step, or Google No-IP Raspberry Pi (I recommend Dataplicity)
To get this setup running, you need to install ddclient, and if you purchase DDNS from another service, it will likely be served through ddclient on a Linux device. You can install this program by running
sudo apt-get install ddclient
And answering the questions that come up. Additional information on Google Domains DDNS setup is available here.
In addition to this, you should install a free SSL certificate from Let's Encrypt to access your website over https. This can be done by following the instructions at this link, but if you have any questions, feel free to let me know.
The other option is to use a service like Dataplicity or No-IP to get a free hostname, with some restrictions. This domains will be a wildcard domain of either service, and most likely harder to remember, but it is free. No-IP does not allow Let's Encrypt certificates to be used with their domains, so I will describe how to setup Dataplicity instead, because their Wormhole program is served over https anyway.
Essentially all you need to do is go to www.dataplicity.com and enter your email. Then you will get a line of code to enter into your Pi's terminal. Once that runs through, log in to your account and look at your devices. If you open your Server, you will see an option above the terminal that says "Enable Wormhole". If you click it, a link will appear that will function as your hostname.
Install NextCloud
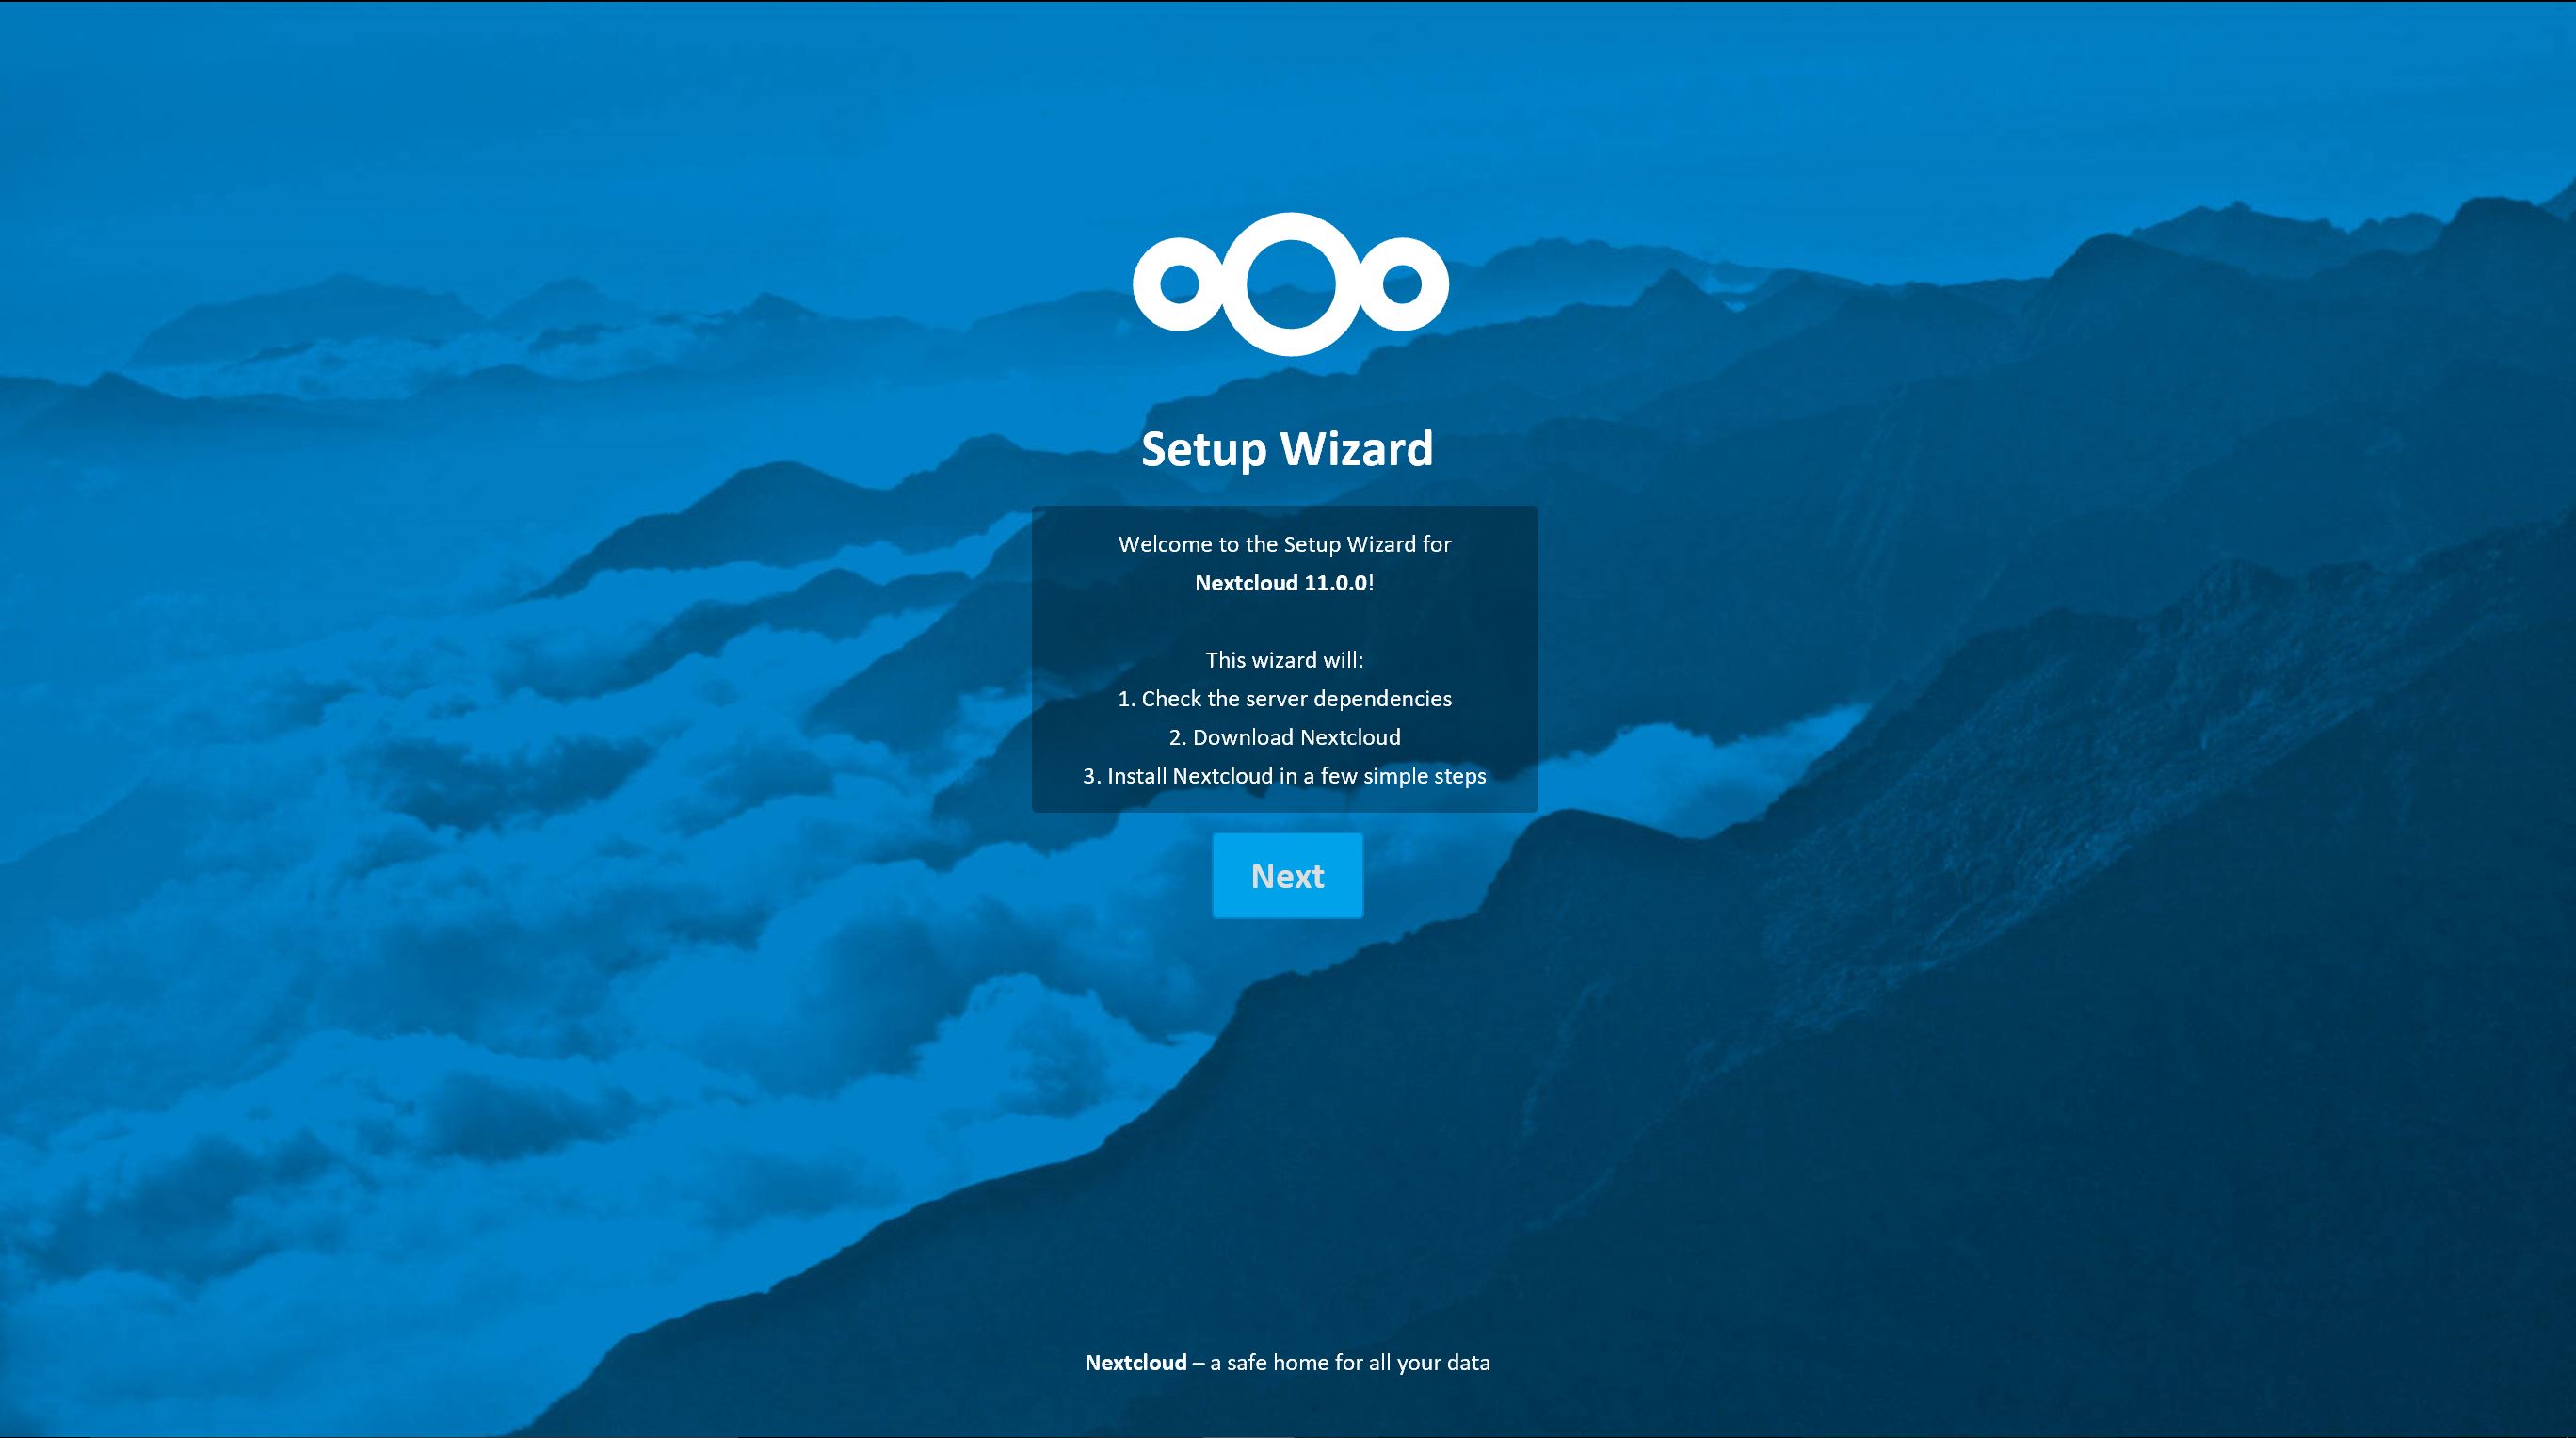
This next step will guide you through installing NextCloud. While it is a relatively simple process, it is important to be careful and follow all instructions to the end.
The first thing to do is to set up your drive. I use a Seagate 1TB external HDD, which works perfectly well out of the box. The only thing you need to do to get a drive like this working is to run sudo apt-get install ntfs-3g so that the Pi can interpret the file system. I have had trouble with the ntfs tag, and this just seems to work for me. Just as an FYI, most large drives are formatted as ntfs out of the box for greater cross compatibility.
In the terminal, type sudo mkdir /mnt/clouddrive to create the data folder.
Open your drive configurations page by typing sudo nano /etc/fstab in the terminal.
Add this line
UUID= /mnt/clouddrive ntfs-3g defaults,permissions,nofail
below the line that starts with /dev/mmcblk0p2, and add your drive's UUID after the equal sign. This can be found by running sudo blkid in the terminal and looking for your drive, usually at the bottom.
Now reboot your Pi by typing sudo reboot. You will find out if it worked when we run the setup script.
Now type sudo nano /var/www/html/setup-nextcloud.php into the terminal. If you changed the DocumentRoot for Apache, make sure to change /var/www/html to whatever you changed it to.
Once this opens up, open setup-nextcloud.txt, and copy all the text inside it. You can paste it in with the keyboard shortcut Control+Shift+V, or just right click in the window. Only do this once! It will take a little bit to paste it all in, but when you are done, just save and close the file.
Lastly, reboot by typing sudo reboot, and continue to the next step.
One thing to note is that the php file you just copied into the terminal is up to date as of 5/11/17, if you want to ensure that your version is the most up to date one, you can find the file at this link.
EDIT: Apparently you can set up NextCloud to use the files stored on a local NAS, that's pretty cool! This link has some more information on how to set up a NAS on a Pi for a use like this!
NextCloud Setup Part 2
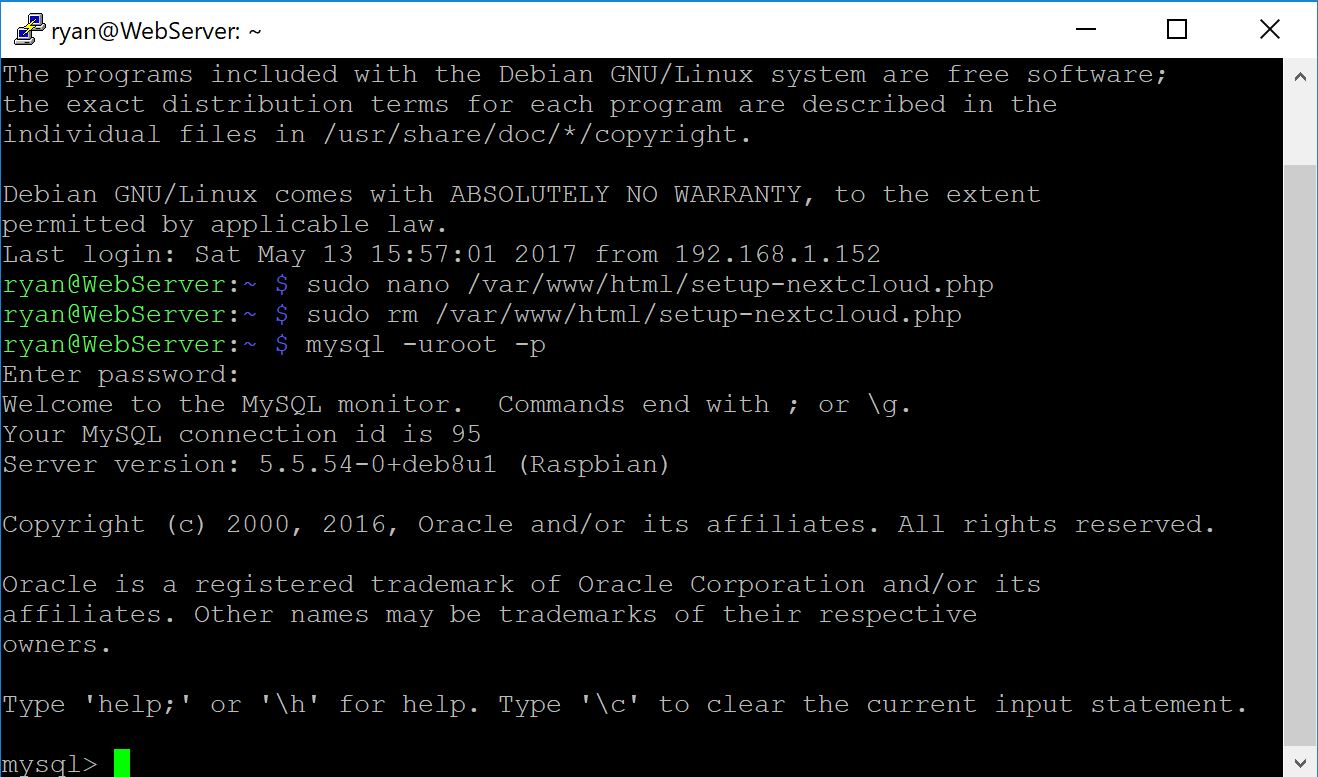
At this point, we need to install a few dependencies that NextCloud requires. These can be installed by running a few commands in the terminal.
- sudo apt-get install php5-gd
- sudo apt-get install php5-curl
This next one is optional, but may help to speed up your server's response times.
- sudo apt-get install php5-apc
Finally, restart apache by typing
- sudo service apache2 restart
At this point, we have to create the database for our server. Do this by running the commands below in the terminal.
- mysql -uroot -p"password"
- In the above example, replace "password" with the password you set earlier
- create database nextcloud;
- Note the semicolon in the line above!
- Exit by pressing Control + D
At this point, you can log on to your website and begin getting it set up. The URL you need to go to is the one that corresponds with what you set up earlier, but add /setup-nextcloud.php to the end. For example if your domain was google.com, you would go to google.com/setup-nextcloud.php
NextCloud Setup Part 3
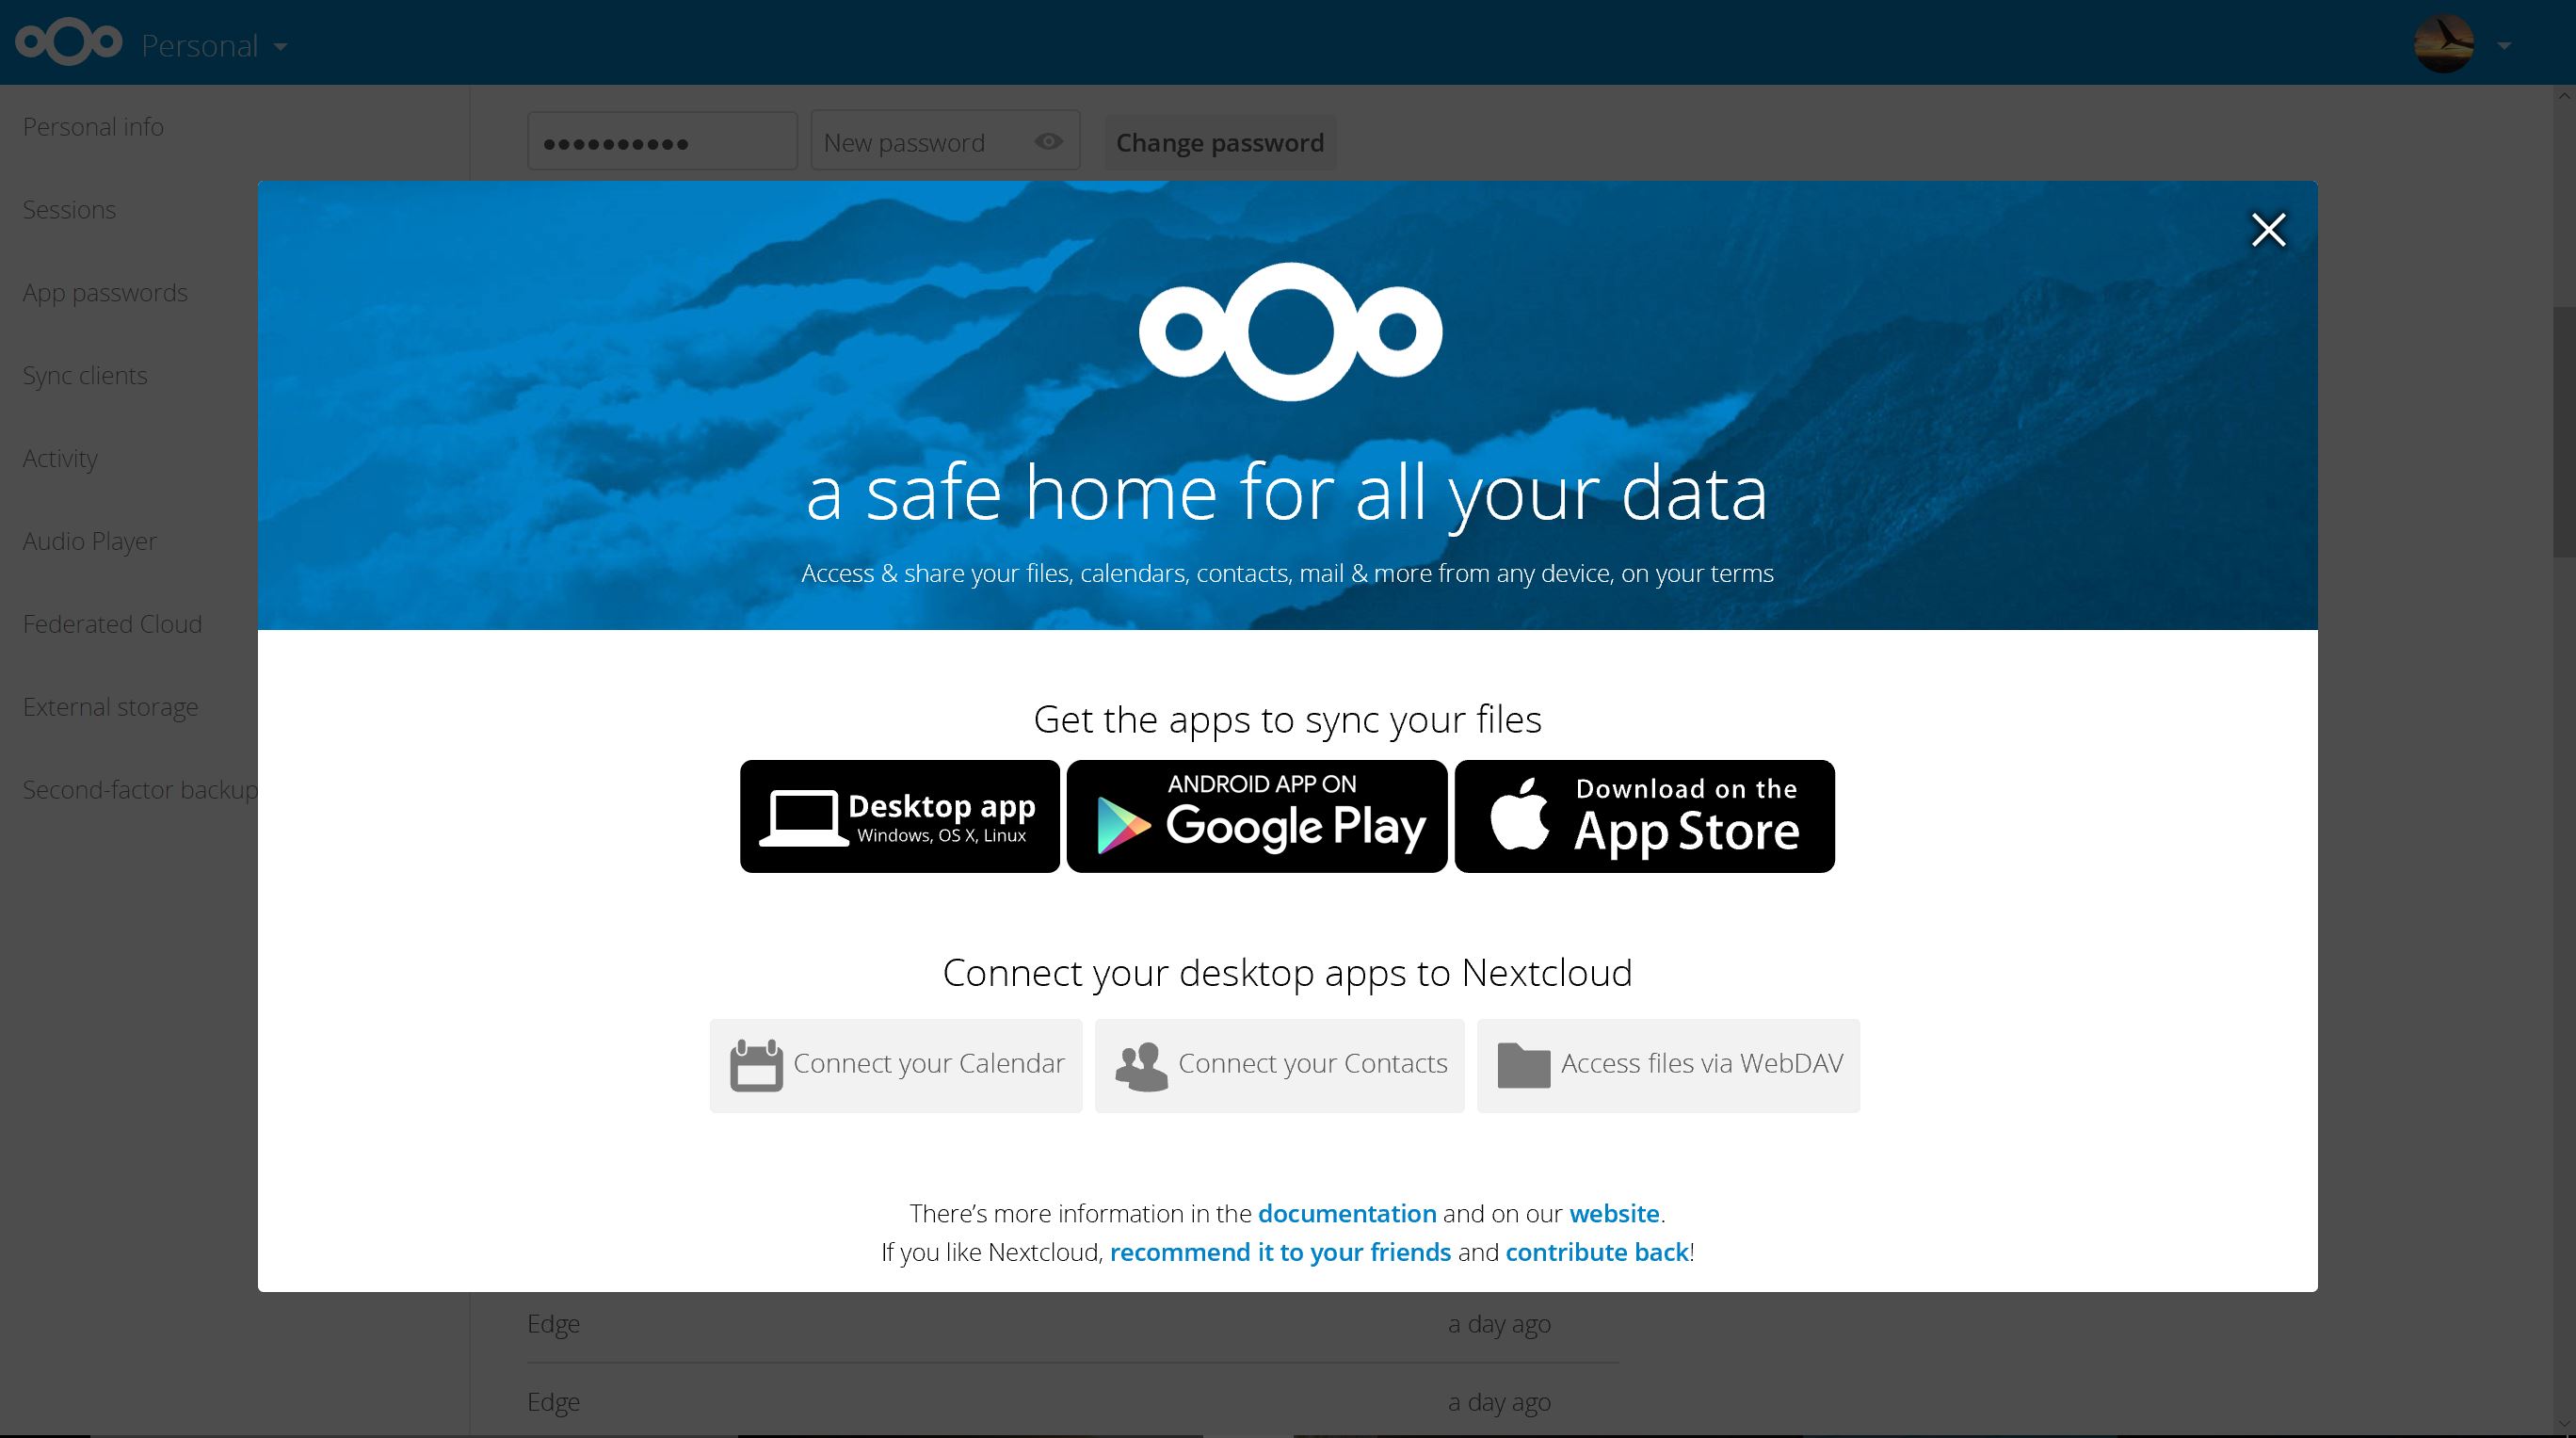
Now that you are on the web interface, it should say that all NextCloud dependencies have been found. Click the button to go to the next page. It should now ask if you want to install to the current directory, and to add a new one if you wish. (unless you know why you want to change the directory, don't) Click install. It may take a few minutes, but as long as you leave the tab open and wait patiently, you should reach a screen that says NextCloud has been successfully installed. Click finish, and you will be brought to a page asking you to finish the setup. Create your admin login information as you wish, and in the blanks near the bottom, fill in the following for the corresponding blank.
- root - Database User
- Your MySQL root password- Database Password
- nextcloud --Database Name
The last thing that you need to do before you click finish setup is to set the data directory. If you followed this Instructable exactly, change this to /mnt/clouddrive, and click "Finish Setup". (The option for the data directory will be above the database options.)
You will now be brought to a First Run Wizard, which shows you all of the ways that you can interact with your new server, if you see this screen, congratulations! You have built a cloud server out of a $35 dollar computer!
Spin Down Your Drive

So if you are running NextCloud on a HDD, you will want to follow this next step. Essentially, a hard drive spins really fast, and this is driven by a motor. To ensure the longevity of your drive, you will want to tell it to turn off after a certain amount of time.
Start by running
sudo apt-get install hdparm -y
Next, check if your drive supports hdparm by running
sudo hdparm -y /dev/sdx , where x is the devlink of your drive found by running sudo blkid
If you see no errors, continue on.
Now check if it supports write cache by running
sudo hdparm -I /dev/sdx | grep 'Write cache'
again replacing x with your drive's devlink, if you see an asterisk, you are all set.
To set this up permanently, open the config file by typing
sudo nano
sudo nano /etc/hdparm.conf
and scrolling down to the bottom.
Add these lines:
/dev/sdx {
write_cache = on
spindown_time = 24
}
You get the idea with the x now right? This code will tell hdparm to spin down the drive after 2 minutes of inactivity, 24 x 5 = 120, 120/60 = 2. So if you want to change the spindown time, look at that math and base your value on that.
If you got an error at any point, look at this guide for a more detailed description of other options.
What Next?
Now, the options are limitless, if you want to run a similar setup to mine, look at these websites:
https://pi-hole.net/ and http://www.pivpn.io/
I would recommend installing an email server, so you can get cron and system emails, as well as emails from NextCloud, if you have any questions with that, let me know. You can learn more about that at this link (USE EXIM4).
In addition, you can now link this server to existing cloud servers or accounts, like Dropbox, Google Drive, and Amazon S3, just to name a few, all the documentation is out there, and all it requires is a quick Google search.
One thing to do if you plan on unplugging your drive and adding files is to add this Cron job. It will scan the drive for new files, so that you can view and edit them through NextCloud. To do this run these commands:
- crontab -e
And add this line at the bottom:
0 1 * * * sudo -u root php /var/www/html/nextcloud/occ files:scan --all
This will scan your files every day at one in the morning. If you installed NextCloud to the default directory, this will work, if you didn't, change /var/www/html to your path.
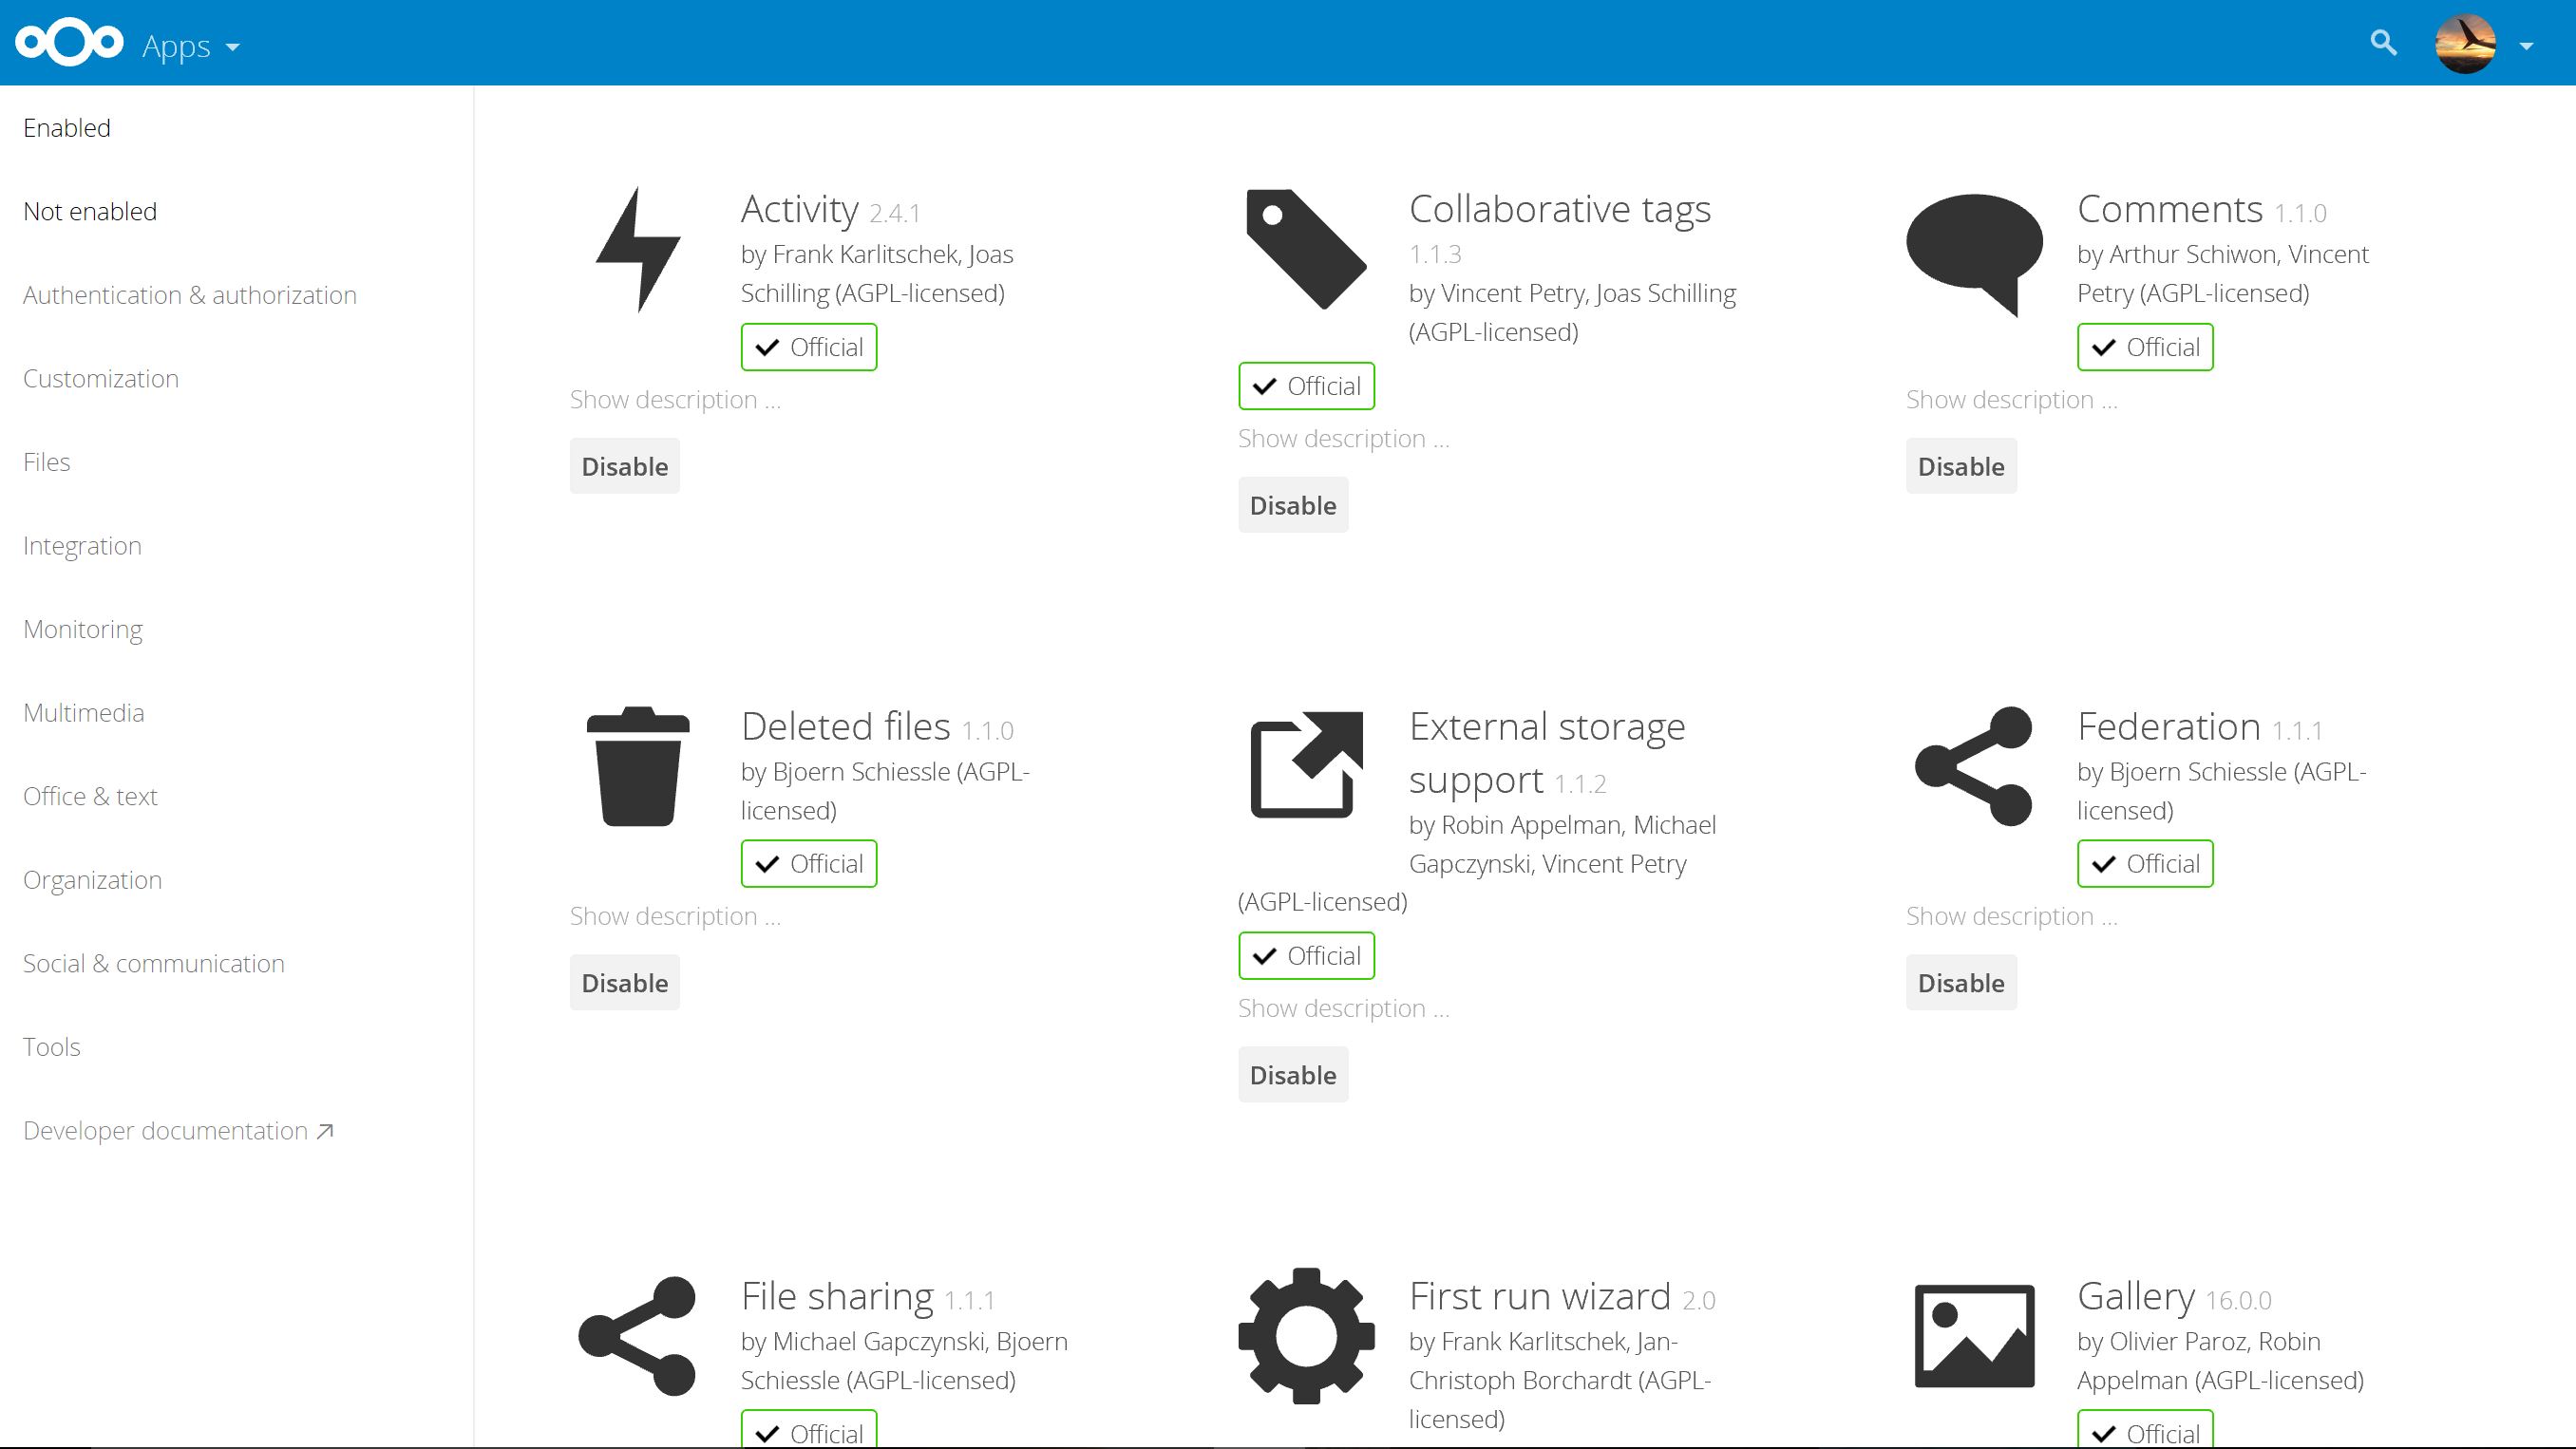
Lastly, look through the Apps, you may find something that will help you push your NextCloud experience to the next level, like Video Chatting, which I haven't tried yet. Good luck!!
Vote!!
So I have entered this Instructable into the IOT contest, and while it may appear that this project does not quite fit the IOT bill, I would encourage you to reconsider. This server is clearly internet accessible, and functions as the core of my data use in my life. As a student, I can quickly and easily share files and upload links with other people, allowing for a massive collaboration potential. This could even extend to professional life as well, with group projects at work, or even just a way to organize your calendar and files, all in one place. Not only that, I use the same Pi as an IOT hub for my house, running a VPN to get around the excessive web filters at school, an ad blocker for my home WiFi network, and a website, which is a way to test my HTML/JS/CSS knowledge! I know that it may not seem like an IOT project on the surface, but I think it certainly is, and I would really appreciate your vote! Thanks!!