Never Forget to Turn Off Your GEYSER (auto Turn Off Circuit)
by miniProjects in Circuits > Arduino
6731 Views, 25 Favorites, 0 Comments
Never Forget to Turn Off Your GEYSER (auto Turn Off Circuit)

Did you ever forget to turn off your geyser, light or fan after use. Resulting in excess electricity bill and scolding from family members.
Well this is exactly what happened with me few days back. Hence I decided to create this circuit. It takes care of this situation by turning off any switch operated electronic equipment after a predefined amount of time decided by its user.
Lets get started.
Quick Video
)
Components


Description- To turn ON or to turn OFF a switch we will need an actuator, i decided to use a 9g micro servo motor for this purpose. To take user input on when to turn ON an equipment and for how long I used a touch button and a potentiometer. Well, as always we need a brain for this system and I decided to use my favorite Arduino pro mini for its small form factor and light weight. To power this circuit we will need a 18650 lithium ion battery and a 5v boost converter.
Components-
- One 9g micro servo motor,
- One Touch button,
- One 100 KOhm Potentiometer,
- One 3.3v Arduino Pro Mini,
- One 18650 Lithium ion battery with holder and
- One 5v boost converter.
Tools


Tools-
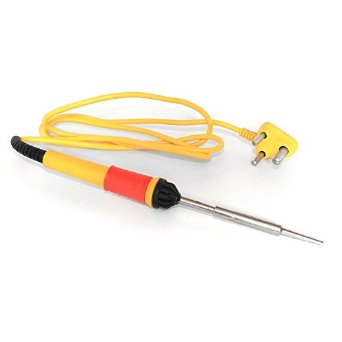
- Soldering iron/wire to realize circuit on perf board,
- Perf board to assemble circuit,
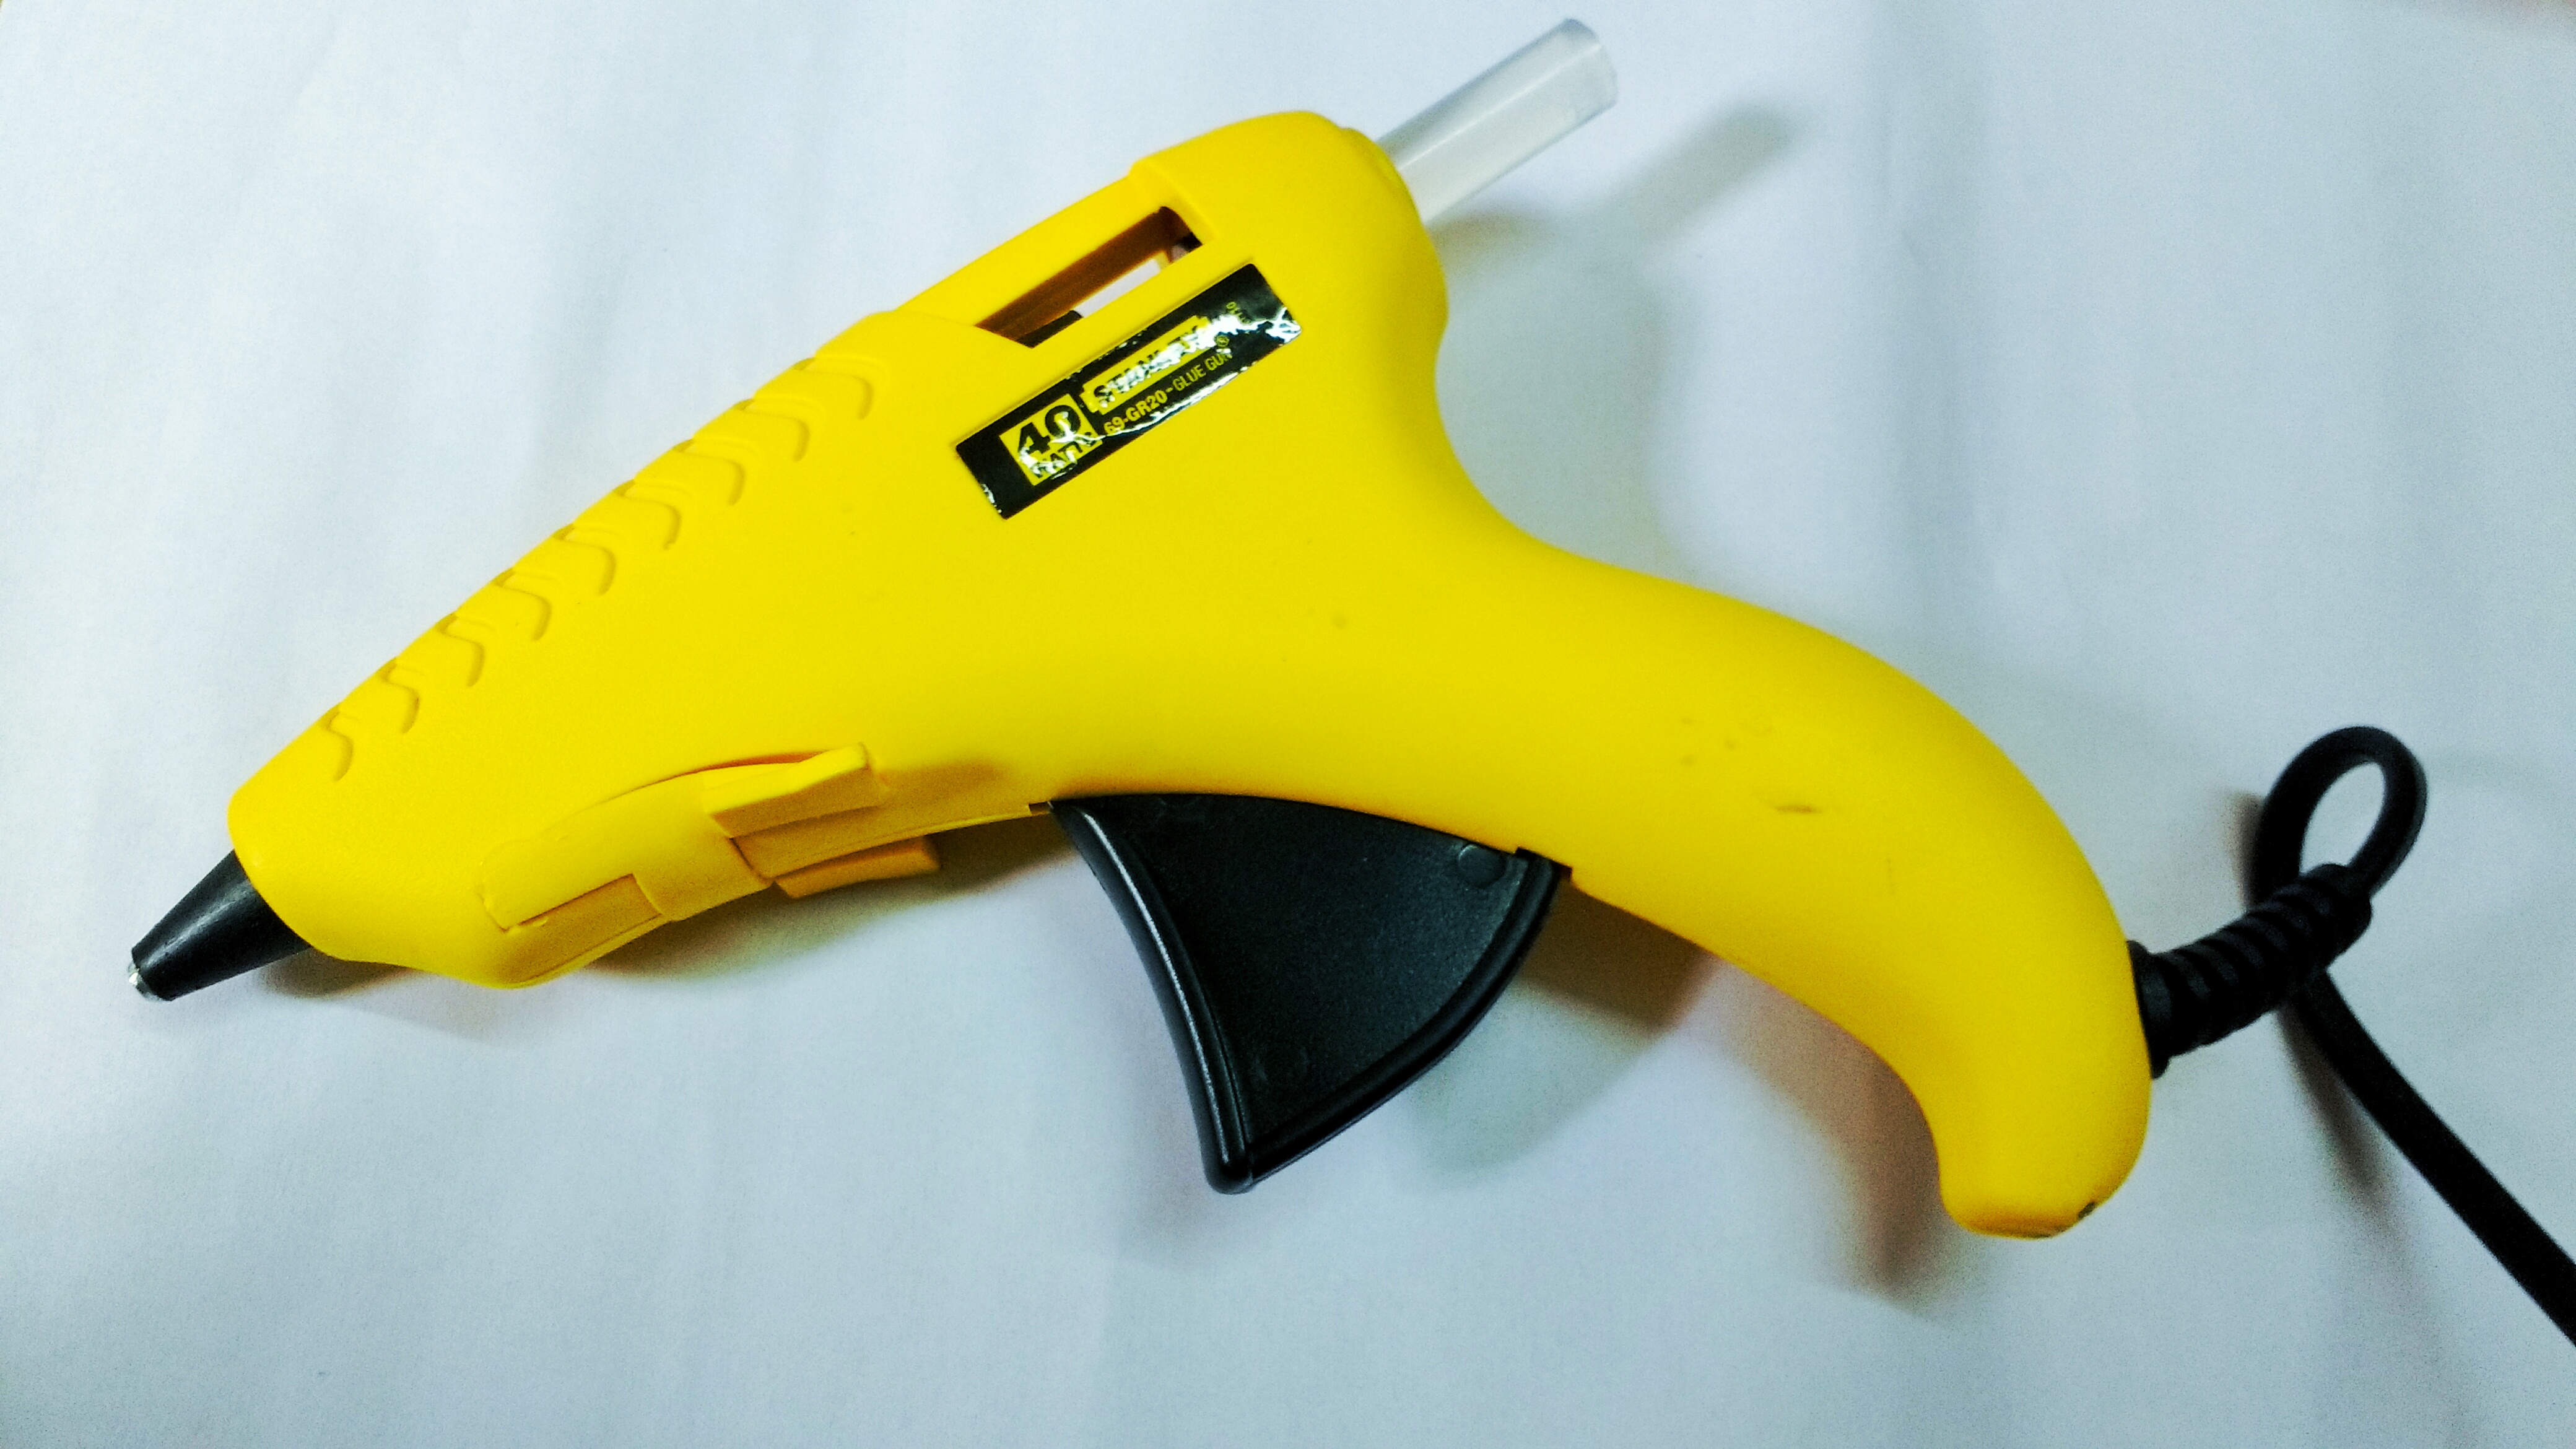
- Glue gun to secure connections,
- Wire stripper and cutter,
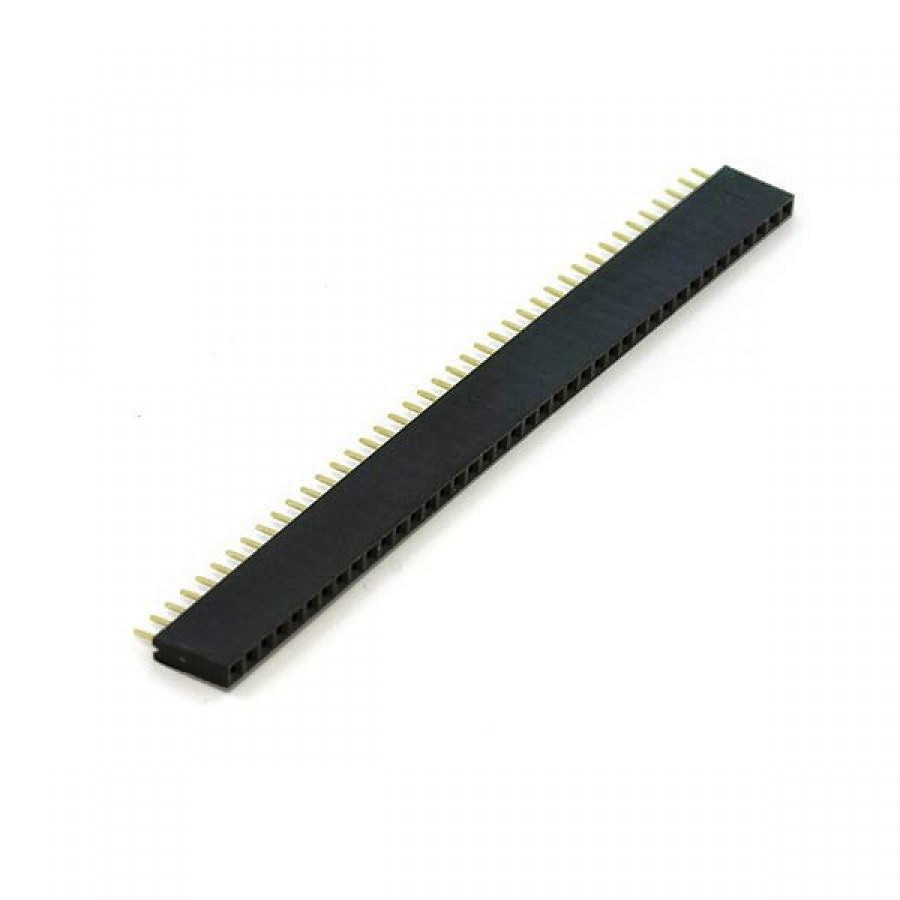
- Female berg strip and
- Double sided tape to stick out circuit on wall.
Schematic

Description- On left we have 18650 lithium ion battery along with 5v boost converter powering our circuit. Servo motor's signal wire connects to pin 3, Vcc connects to RAW and Gnd to Gnd pin of Arduino Pro Mini. Touch sensor is powered through Vcc and Gnd pin with signal pin connecting to pin number 2 of Arduino Pro Mini. Finally 100 KOhm potentiometer connects to Vcc and Gnd with variable resistance terminal connecting to A0 pin of Arduino Pro Mini. Well now that we have hardware figured out, lets talk about software which is an arduino code.
Arduino Code
Description- In arduino code for this circuit, I decided to use sleep modes and interrupts to reduce circuit's current consumption when it is IDLE. This resulted in code that jumps here and there in execution. Lets take a look at flow chart in next step. This will allow me to explain better.
Downloads
Flow Chart

Description- Initially we have some setup part. Then we move servo to turn off geyser, we activate external interrupt which is connected to touch button and then we go to SLEEP. On occurrence of this external interrupt, we turn on geyser and deactivate external interrupt, take potentiometer reading and again go to sleep after activating timer interrupt. Once required time is over, we deactivate timer, turn OFF geyser and start this loop again.
Assambly


Description- As Hardware and software got figured out, i took an L shaped perf board and assembled everything on it with the help of few female connectors and soldering iron. Later I used glue gun to secure connections on 5v boost converter. That's it, we are ready for deployment.
Deployment


As mine is a rented property. Instead of drilling, I used a double sided tape to stick all my stuff near geyser's button.
So there you have it, a system that can turn on an electric equipment with a touch and turn it off after predefined amount of time. Next time when your father, mother, wife, girlfriend, father-in-law, mother-in-law or anybody ask you to turn it OFF after use, you will know what to say.
Thanks for reading. Now that you are here don't forget to vote.