Nerf 6 Round Speedloader
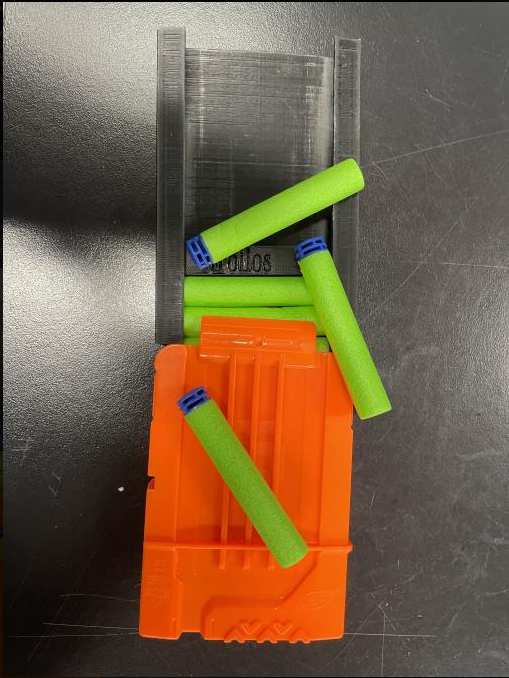
If you're in a nerf war either with friends and family loading darts into magazines of any size is a pain and time consuming process. Even carrying multiple mags can get bulky very quickly. Within this set of instruction lies a way to quickly load darts that doesn't take much space to carry.
Supplies
- Access to a 3D printer
- Filament
- Device that can model/slice
- Darts for testing
- Nerf Magazine to test fit.
Modelling the Main Unit
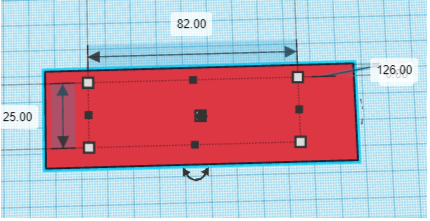
The first step of making one of these speedloaders is to first create a box in your modelling software of choice with the dimensions of 25 mm wide, 85mm long, and 126 mm tall to account for the darts being loaded into the 6 round mag. However the height can be played with for higher or lower dart loading capabilities.
Hole Shape 1/Part A
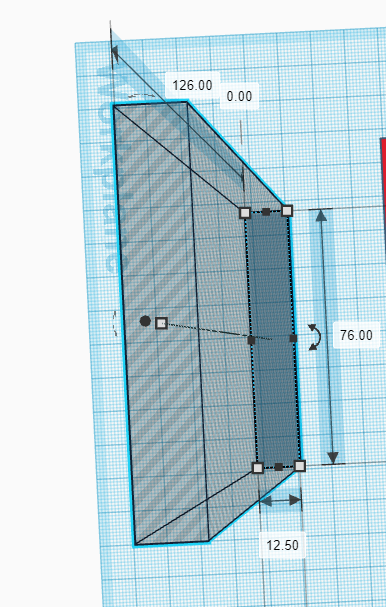
Next in order to hollow out the rectangular shape so the darts can actual be held create another rectangle that is 76 mm long, 12.5 mm wide and 126 mm tall and put it off to the side for later use.
Hole Shape 2/Part B
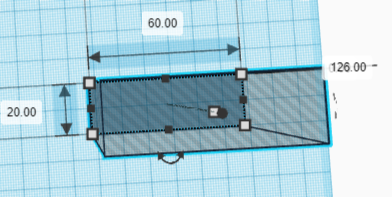
Next in order to make the end product slimmer and give access to the zone where to push create a third rectangular hole that is 126mm tall, 60 mm long and 20 mm wide.
Hole 3/ Part C
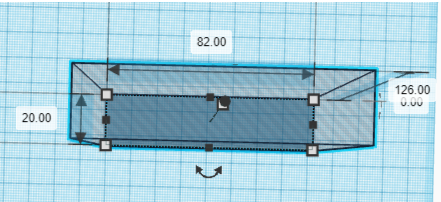
Next create a rectangular hole that is 82mm long, 46.5mm wide and 126mm tall to thin out the side of the original box so it's easier to access the place where the darts will be held and pushed.
Hole 4/Part D
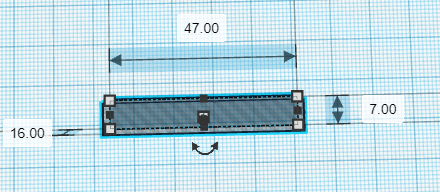
Since with nerf mags there are the obvious fins at the top of the mag so the darts don't just fly out prematurely. So to account for this create a hole that is 47 mm long, 7 mm wide and 16 mm tall to be placed on the side of the speedloader where the backing will be.
Combining the Pieces
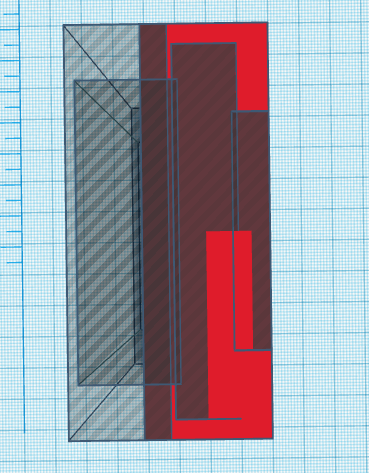
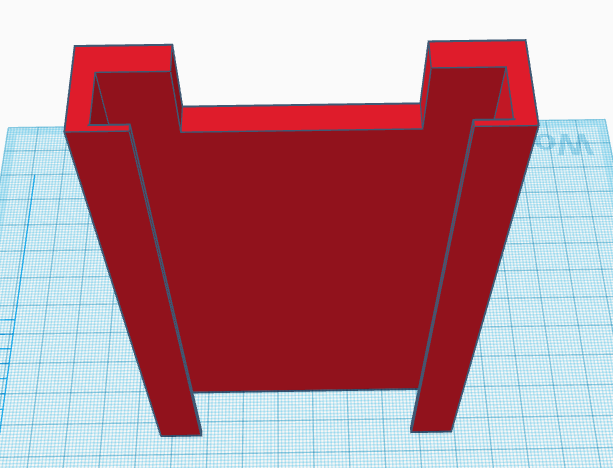
Now that all of the holes have been designed once again take the main unit and all of the holes and bring them into one area. First take part A and place it in the middle of the central box as well as possible, once it's roughly centered use the software's aligning tool to center align both parts. (Center aligning will be used for every part) Next take part B and place it on one of the sides of the box and make sure it's cutting into the center enough so that part of the wall will be cut out. When you center align it make sure it's just enough so that when it cuts through the wall it touches where the dart cutout(Part A) is but no more than that. Then take part C while making sure it's on the side where Part B was previously placed and line it up with the box. Then slowly scoot this piece in until the wall on the main box is about 0.2 mm wide. Finally take Part D and on the other side away from the other parts line it up with the top of the box and make sure it's inside of the box so it cuts out that part properly (Make sure to center align everything before combining!). Once all of the parts are in place you can now combine all of the holes with the main box and get something that should hopefully look like the example image.
Making a Pusher
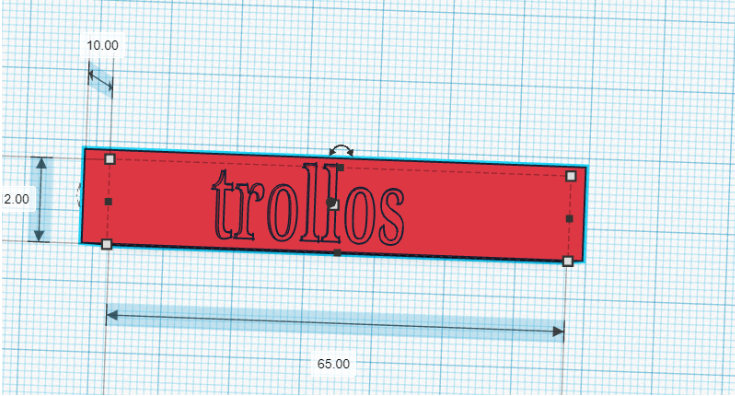
While you could definitely just use your fingers to push the darts in there are also many ways to design a pushing mechanism to aid in pushing the darts in. Although their may be more intricate or better designs the most simple way is just making a brick in the modelling software that is just slightly smaller than the inside of the speed loader where the darts are for a smooth push.
Printing and Finish
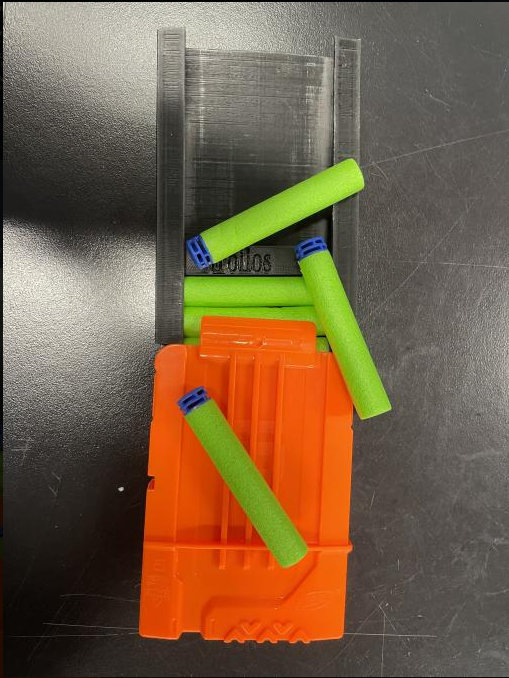
Now that the modelling is done you can now export it to a slicing software and start up the printing process of the speedloader(The pictured one took about 3 hours). I recommend if anyone does print this before using to sand down the ends of the speedloader on the inside to make sure that there are no parts inside that the darts can otherwise get snagged on. But once that's done you now have a much faster way to load up magazines before or during a nerf war.