NeoPixel LED Coat
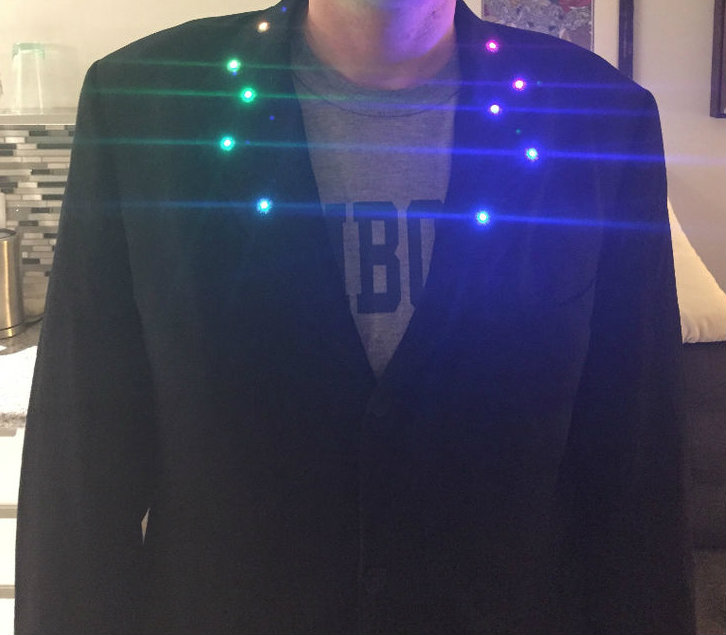
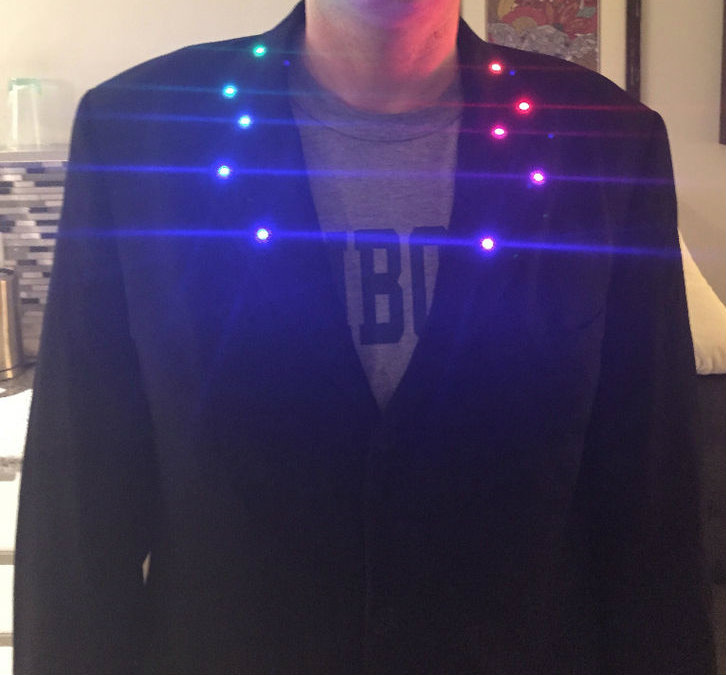
This is a fun and easy way to add some LIGHT to an article of clothing. Before beginning this project, I had a few hours of Arduino microcontroller experience and no experience working with conductive thread. I recommend that you have some basic Arduino experience before beginning this project. Experience sewing with a machine and by hand was helpful but not required.
I welcome any feedback or suggestions you might have to improve my tutorial. Thanks!
Gather Your Materials
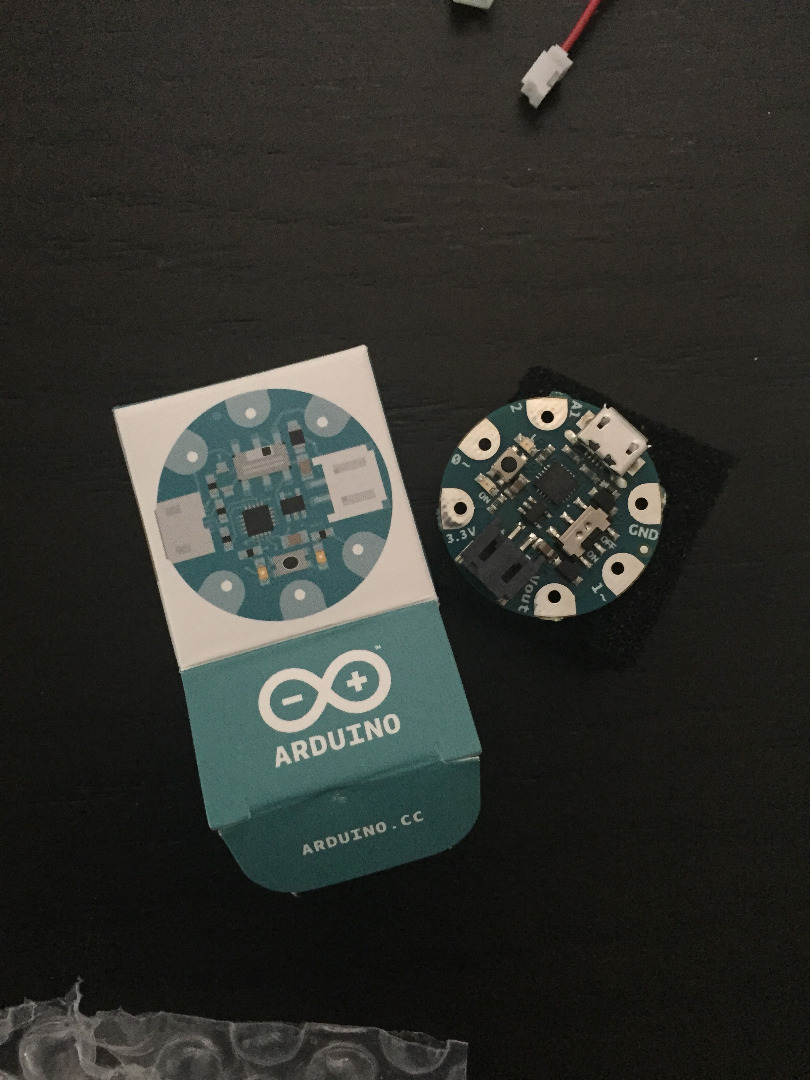
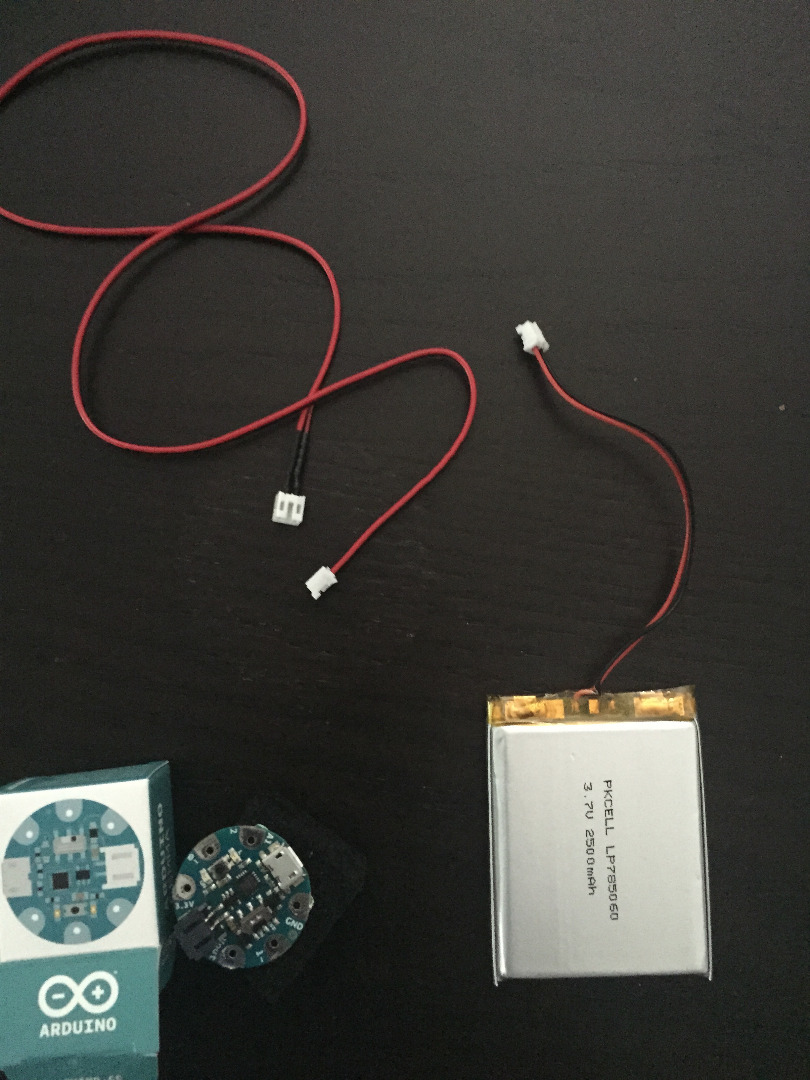

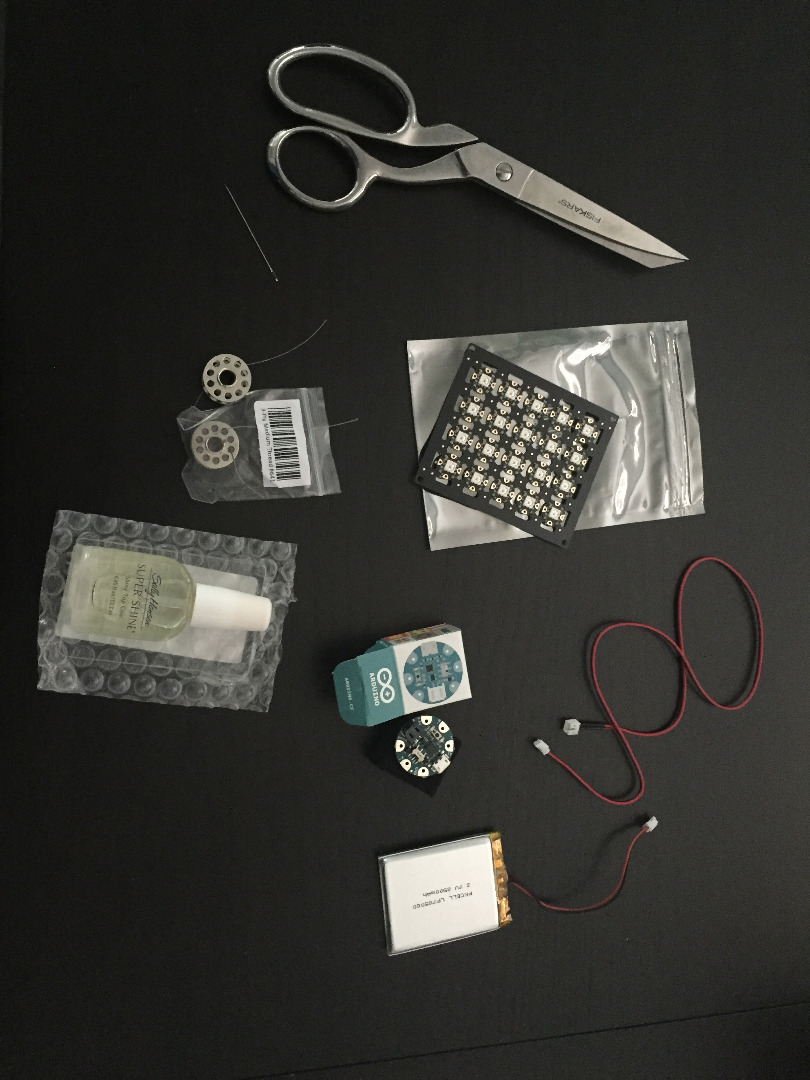
- Arduino or Adafruit Gemma microcontroller. A microcontroller is a little bitty computer that works with an input and an output; give it a command and it will perform the command.
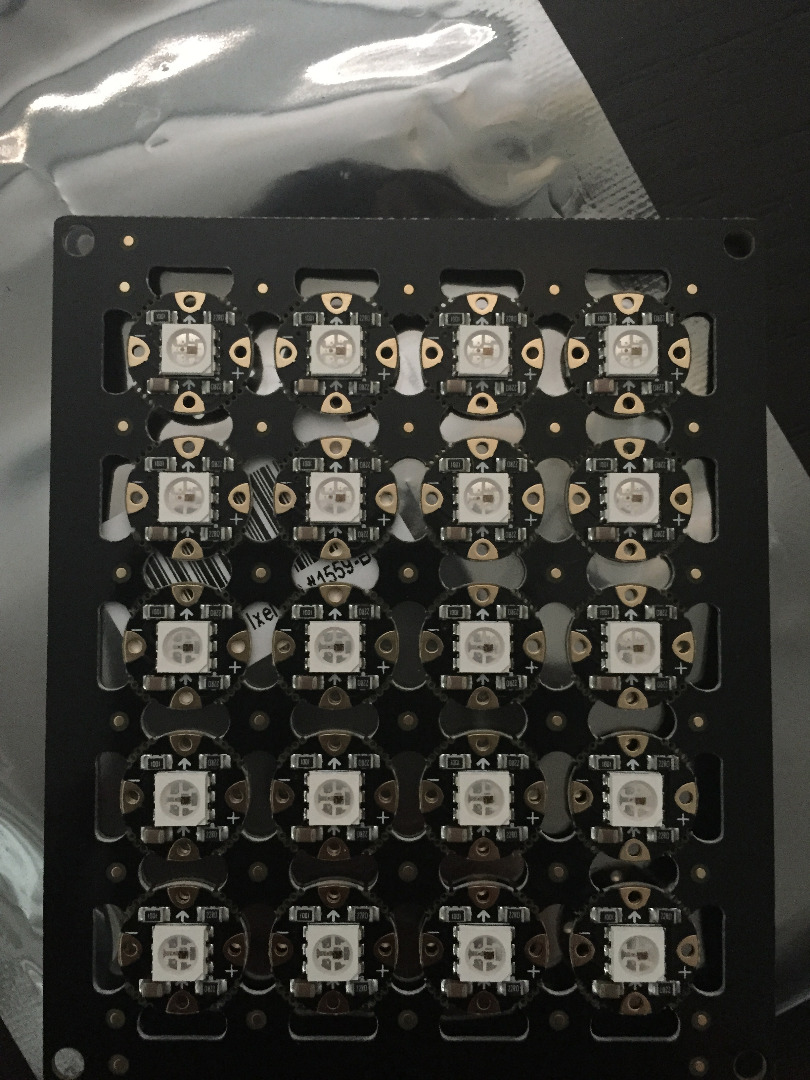
- Sewable NeoPixels (also here) - we used 13 NeoPixels in this project.
- 3 x AAA Battery Holder with On/Off Switch and 2-Pin JST. (Recommended)
- Note: We used a Lithium Ion Polymer battery, a 3.7v 2500mAh Lipo, which also requires the use of a Lipo charger. Important: Only use a Lipo if you are comfortable using these batteries!
- Suit Jacket or other article of clothing - a suit jacket is perfect because it has a thick lapel for hiding threads and built in pockets for holding the battery.
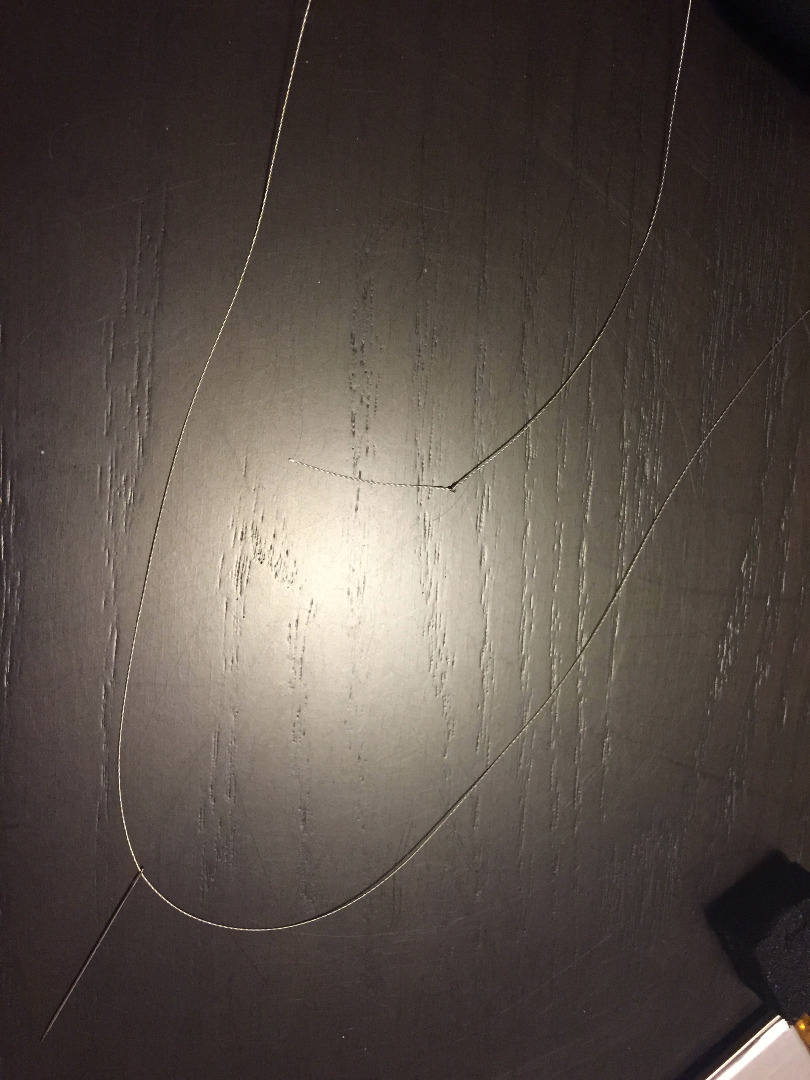
- Conductive thread flexible 'thread' made from stainless steel. I would recommend 3-ply for most of this project but 2-ply will also work.
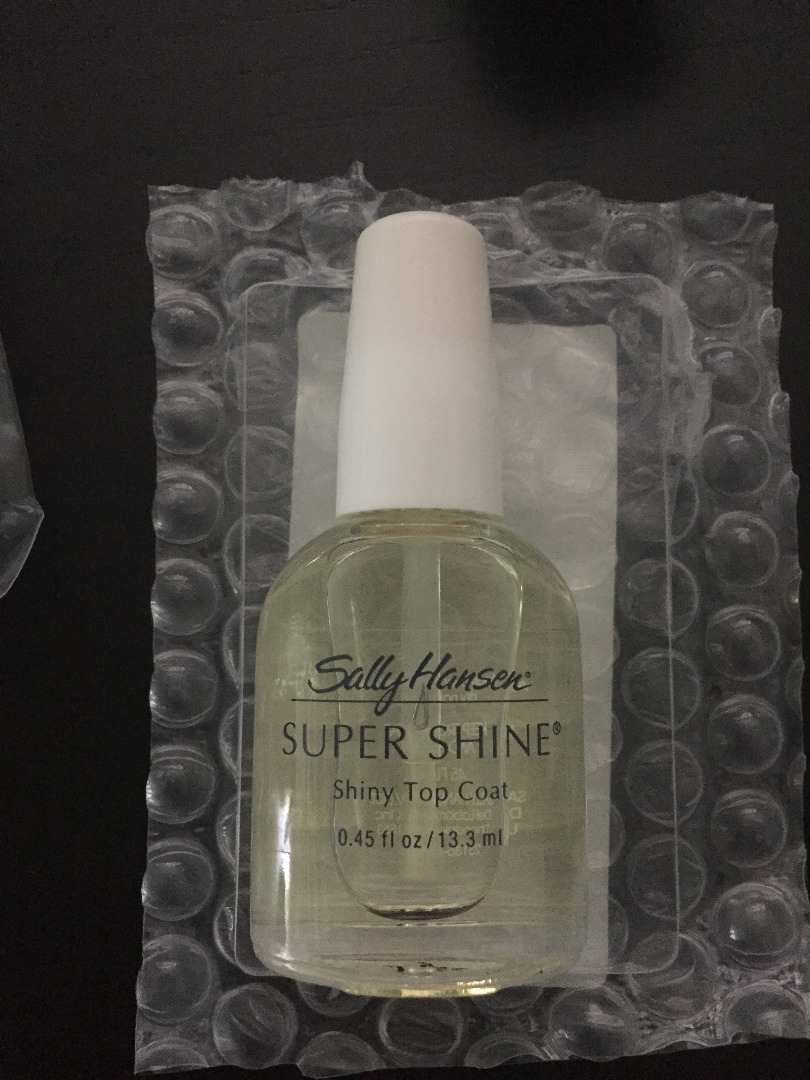
- Clear Nail Polish – I had some fast dry Sally Hansen on hand
- Sewing accessories: sewing machine, needles, needle threader, regular thread, scissors, fabric chalk, etc.
- USB Cable – USB A/USB Micro. You likely have one of these hanging around as they are used by Kindle, Blackberry, and many other electronics.
Other
- JST extension cable, if needed to extend your battery pack.
- Alligator/Crocodile Clips are helpful for testing out your circuit
- Fabric chalk
Place Your Pixels
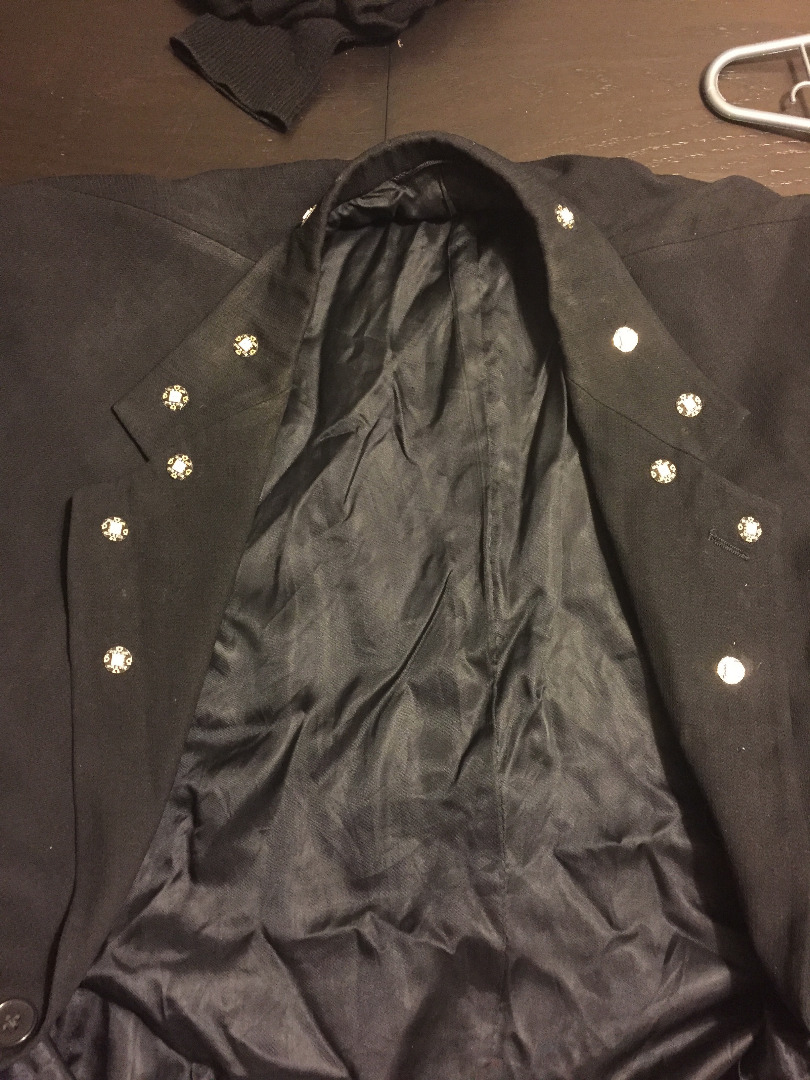
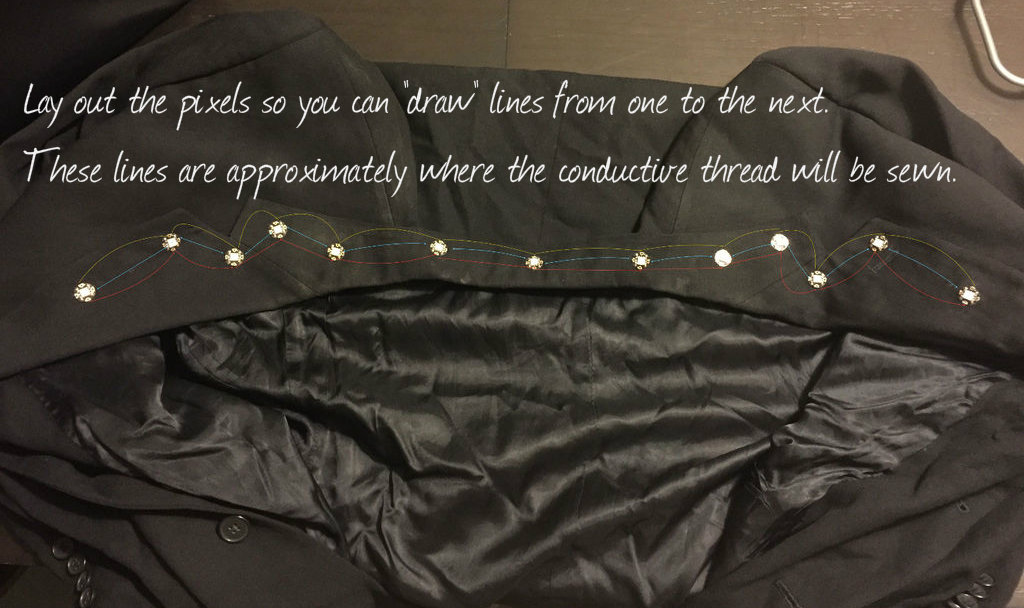
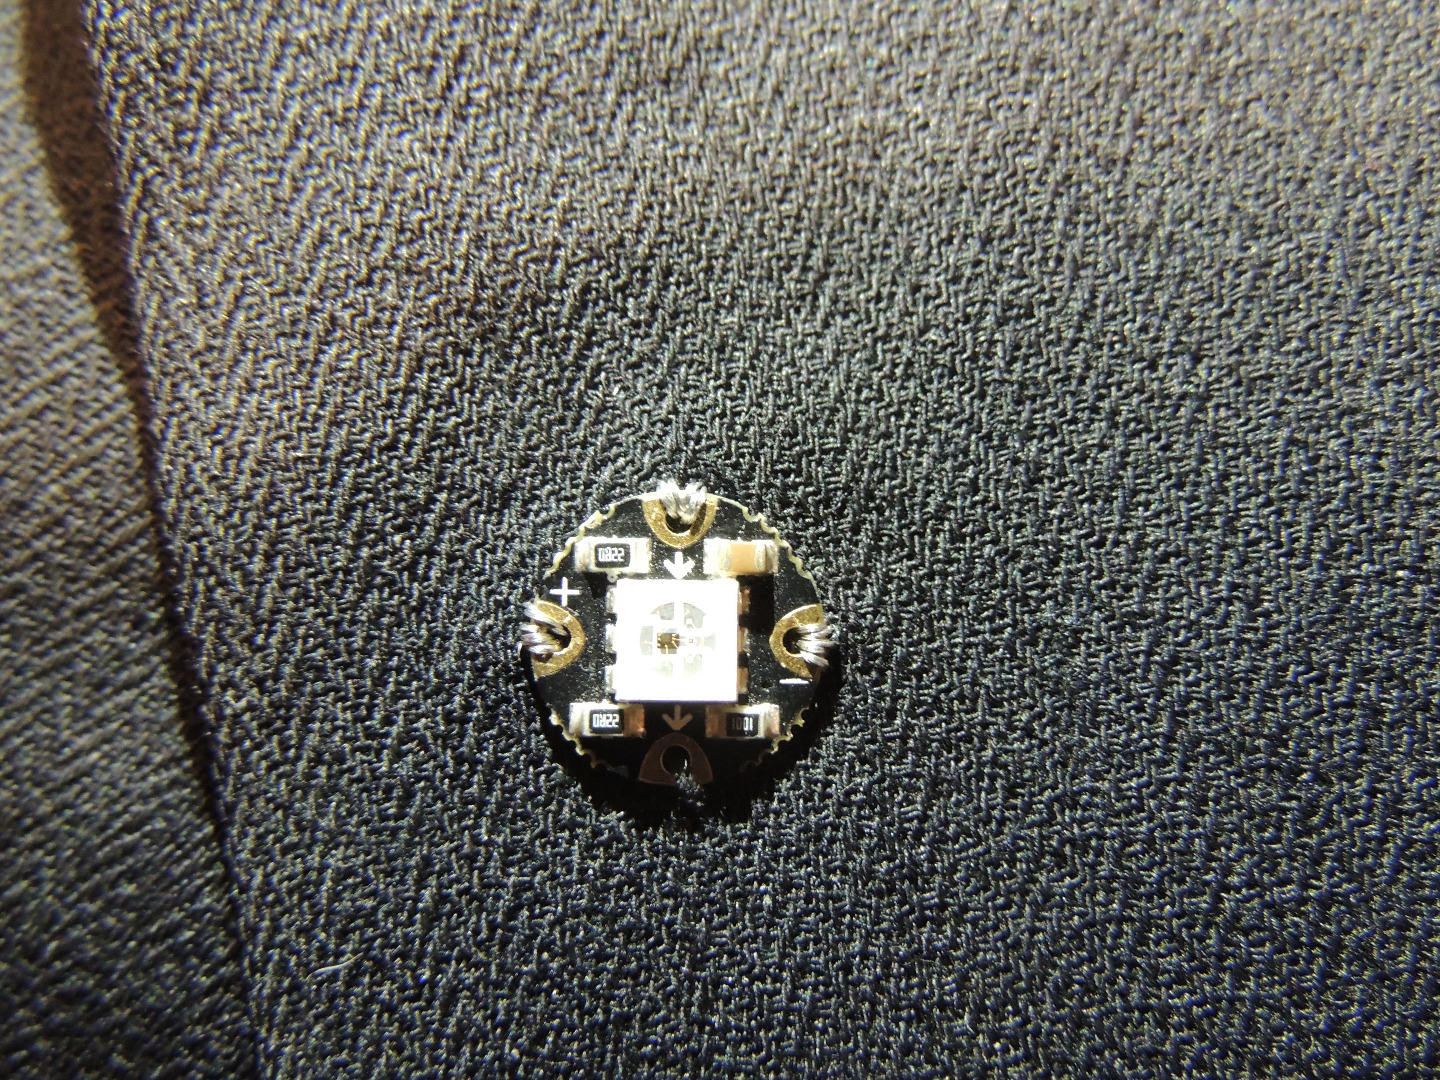
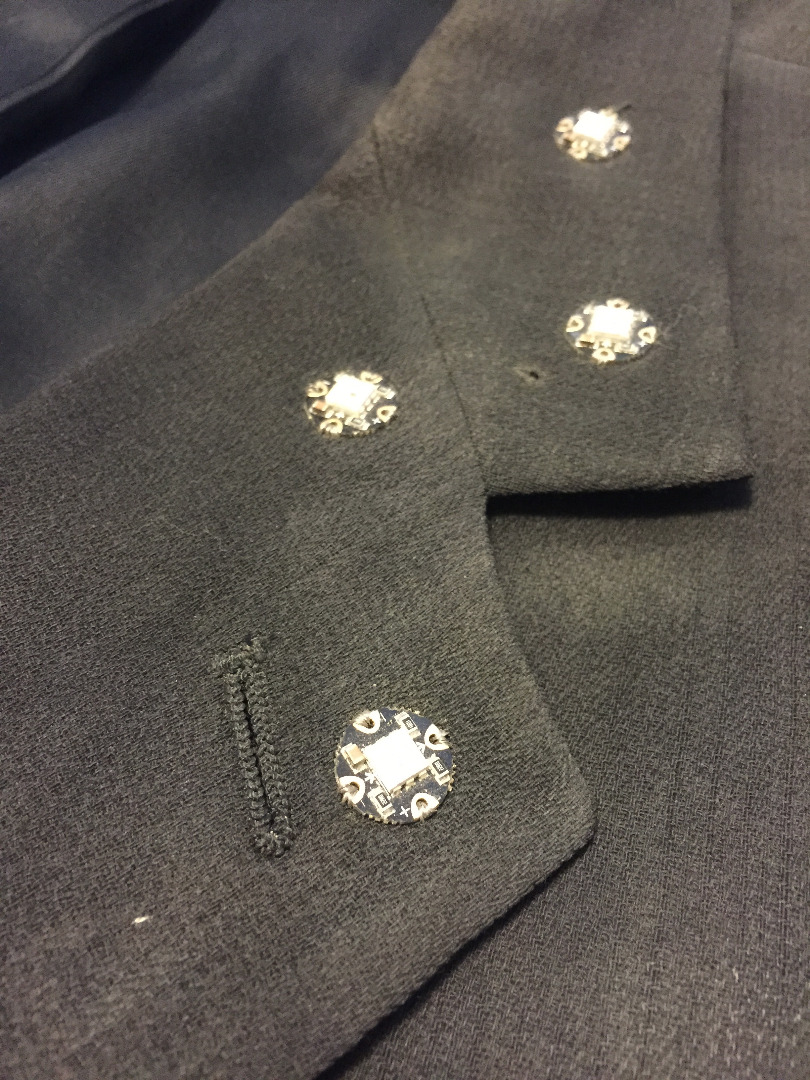
In this section, we will place all of our pixels out and prepare to sew them on. The NeoPixels have 4 holes in them: ‘+’;‘-’; ‘→’ & ‘→’ and it's important we know what each hole is all about.
- The hole with the ‘+’ nearest it is for power
- The hole with the ‘-’ nearest it is for ground
- The holes with the arrows "→" refer to the data coming into the pixel and then the data going out. You will need to orient all of these so that they point in the same direction.
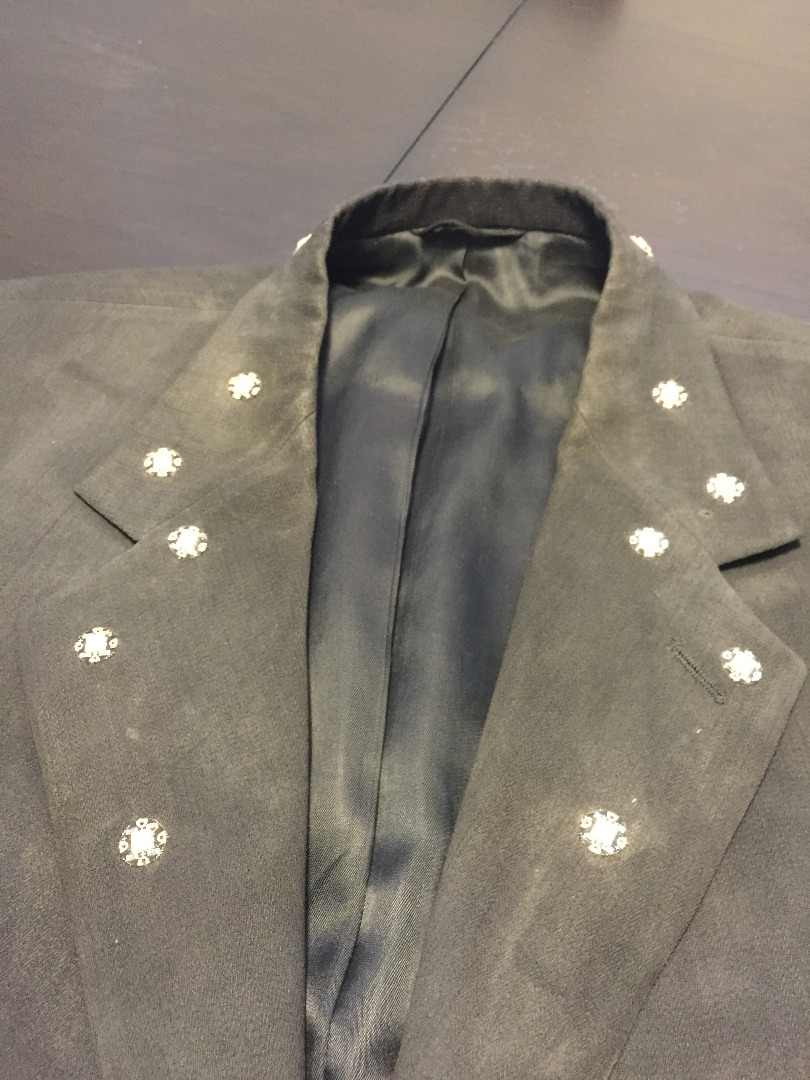
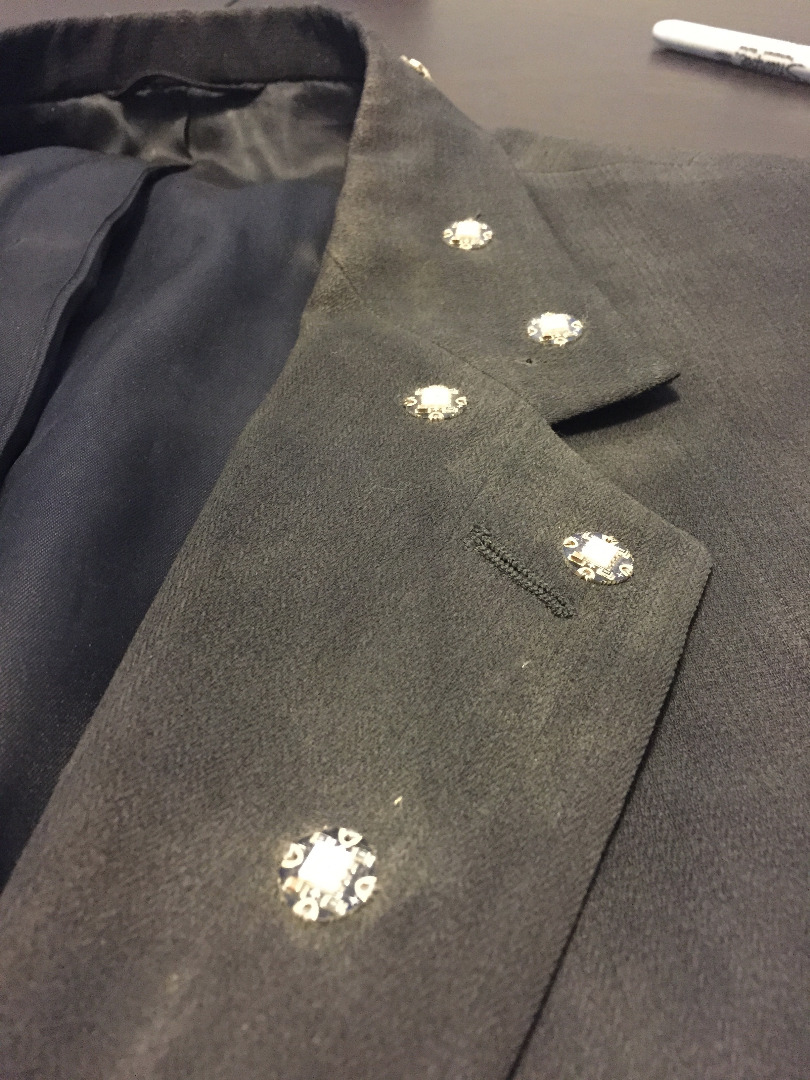
Since using conductive thread doesn’t work well over long distances and too many pixels will drain the circuit, I don’t recommend using more than ~15 pixels. We used 13 pixels between 1” and 2.5” apart.
Your Gemma and battery will connect before the base of the first pixel so consider a good hidden location for this. We were able to hide the Gemma on the underside of the lapel, just below the first pixel. If your jacket has an inside pocket, pick this side for the battery.
- Lay out your coat and arrange your NeoPixels where you’d like them.
- Rotate the pixels so that the arrows on each pixel point to the next, beginning with the approximate location of the Gemma and battery.
- Using fabric chalk, carefully lift one pixel at a time and place an 'X' where each pixel will go. Orient the X with the holes of the pixels. I considered using a bit of hot glue to place each pixel but I didn’t want to mess with glue spider webs.
- Set the Gemma & battery pack aside.
Sew Your Pixels
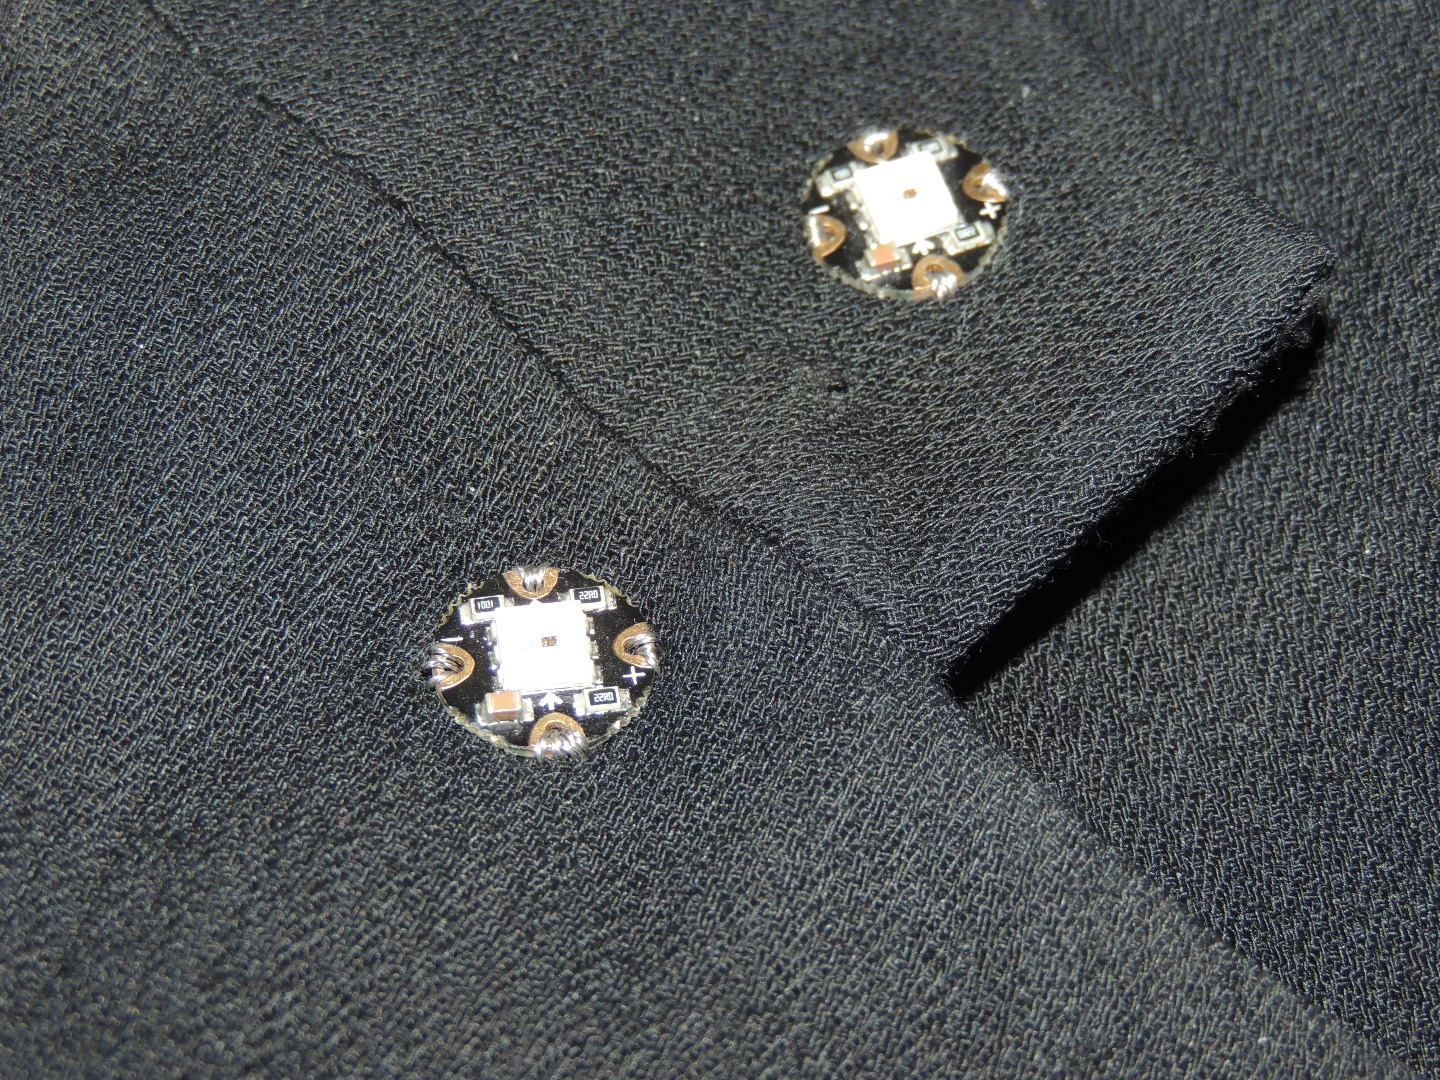
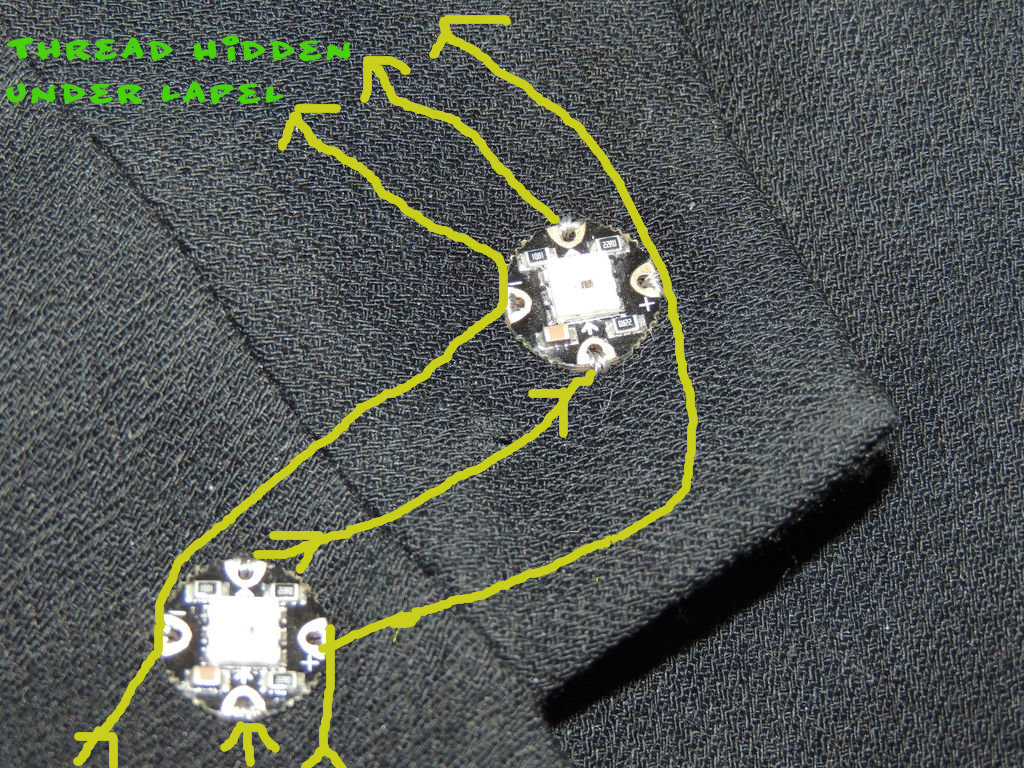
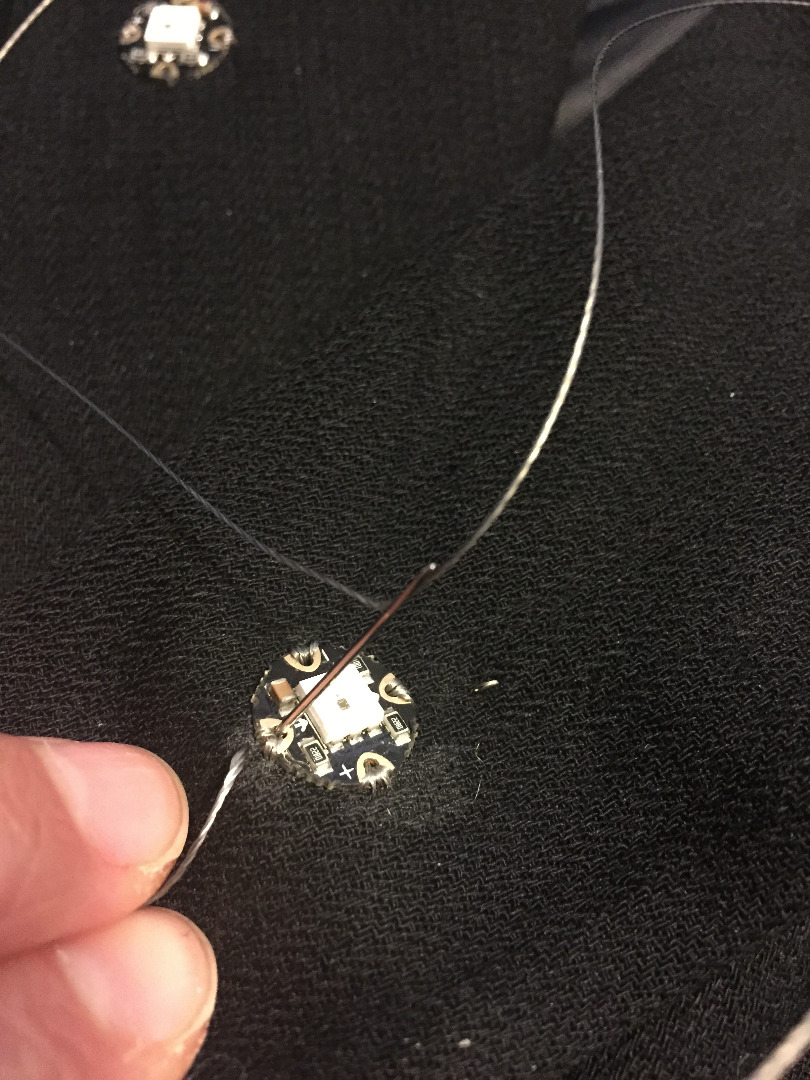
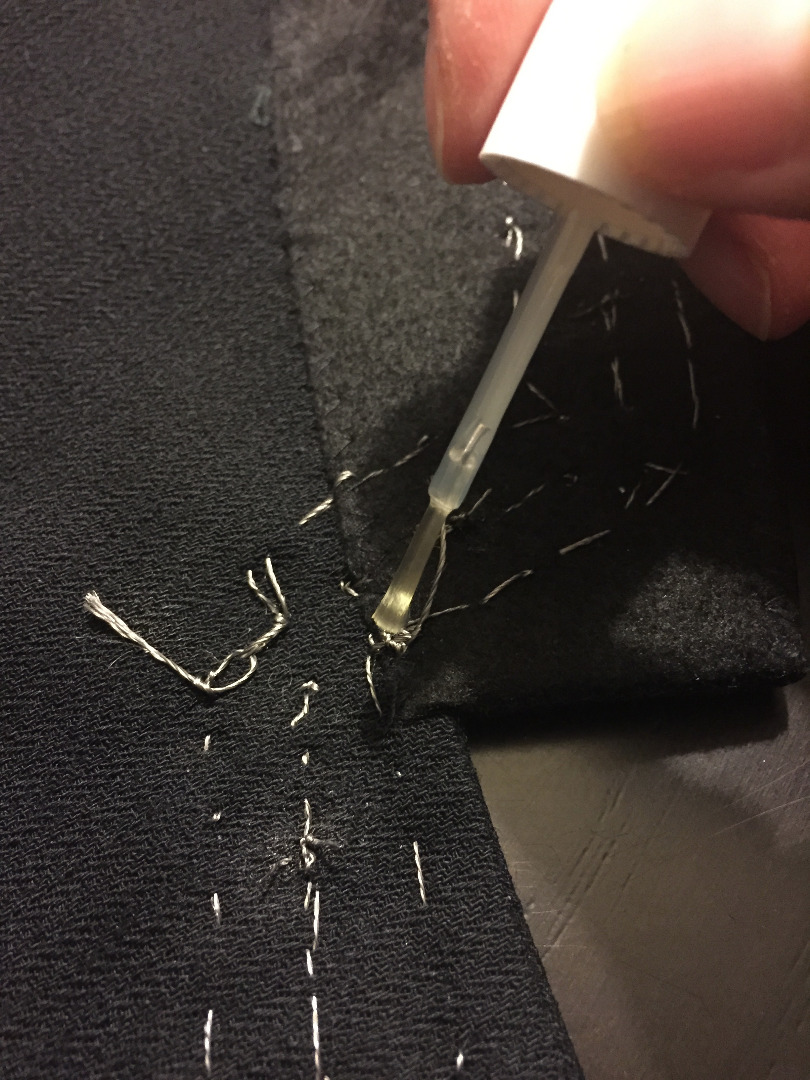
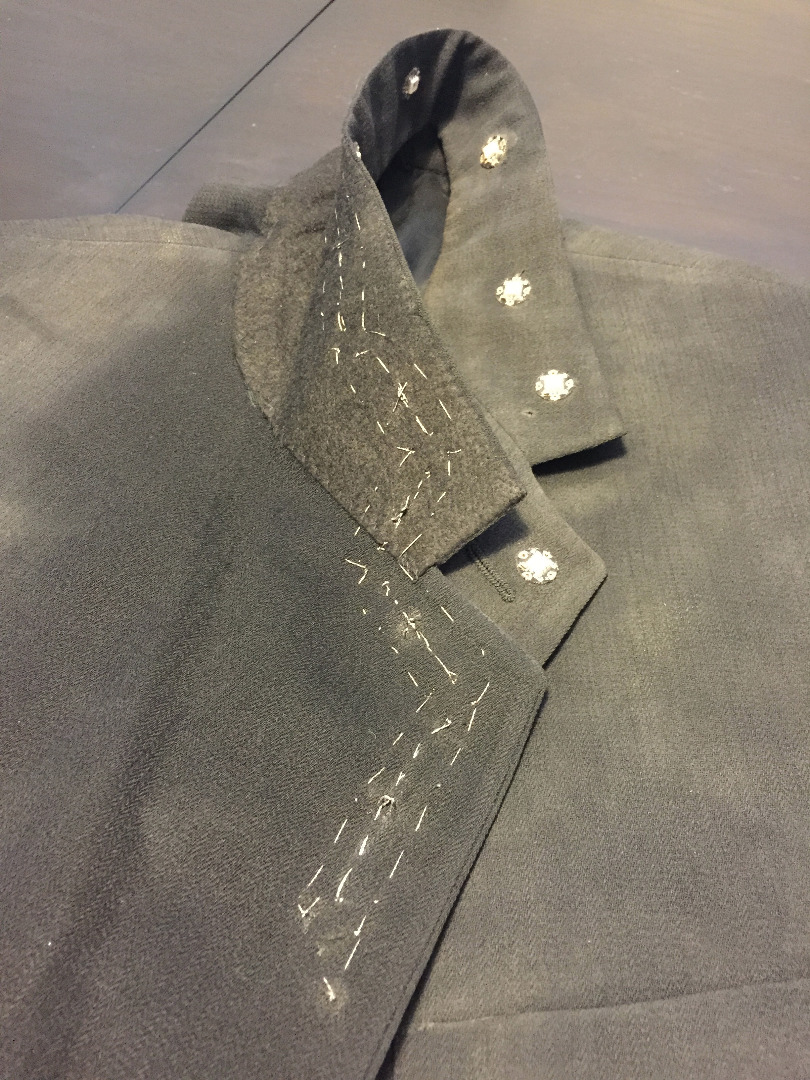
In this section, we will attach all of our pixels onto our coat. Conductive thread can be a little squirmy and wriggle its way out of your needle yet also twist up and tie itself into a knot. Be patient! For this project, I wanted the threads to be hidden on the underside of the coat. Even though it worked out because the coat is 2+ layers thick, it was challenging when I couldn't see where I was headed. Here are some good tips to keep in mind before beginning:
- The power ('+' sides) will all be sewn together with a single conductive thread.
- The ground ('-' sides) will all be sewn together with a single conductive thread. This should in NO WAY be connected to the thread through the + holes of the pixels.
- The data ('→' sides) need to be sewn together one at a time, which means that you will have a lot of starts and stops.
- Cut a long piece of conductive thread about arms-length. Place a knot at one end of the thread, about 1” from the end and leave the other side open. Thread your needle.
- Sew the first rail. Begin with the side nearest the edge of the lapel. In my case, this was the ground (‘-’) rail. Place the first pixel and stick a safety pin through the ground (‘-’) hole. Beginning on the underside of the fabric, start sewing towards the pin from about an inch away. Remember to keep your threads invisible by sewing between the layers.
- When sewing between pixels, alternate between a few running stitches and a back stitch.
- When sewing to a pixel, loop through the hole ~4x and then carry onto the next.
- Use a safety pin and fabric chalk as needed to mark out your lines on the underside of the lapel to focus on one small section at a time.
- If you run out of thread, make sure that you connect where you stop and start.
- When you finish, tie a couple of knots, leaving at least an inch of extra thread. The knots should not be on the pixels. We want to do whatever we can to prevent threads from one of these rails for creeping into the next.
- Complete steps 4-7 for the power (‘+’) rail.
- The data holes (‘→’)will be sewn in sections between each pixel, rather than connecting all of the pixels.
- Start in the middle of any two data holes. Head towards one hole, loop through ~4 times and then head back over the same threads to the other pixel.
- Loop through that pixel ~4 times and then back to where you started in the middle.
- Tie off, knot, and leave some excess thread for your knot.
- Secure your knots with a dab of clear nail polish. The polish keeps the knots intact and prevents them from untying themselves. Once you are done with sewing, tighten up your knots, cut the tails down a bit, and apply a bit of polish.
- Make sure that your threads are free and clear of touching other threads before connecting to your computer or battery source.
Attach Your Gemma
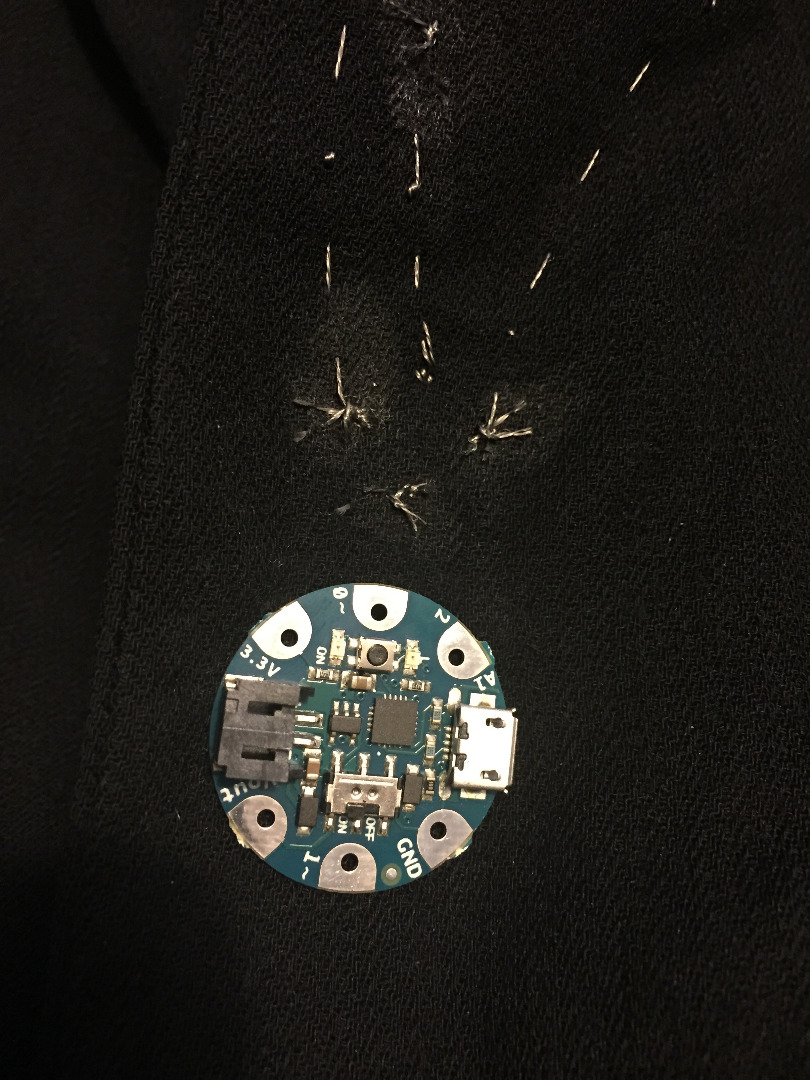
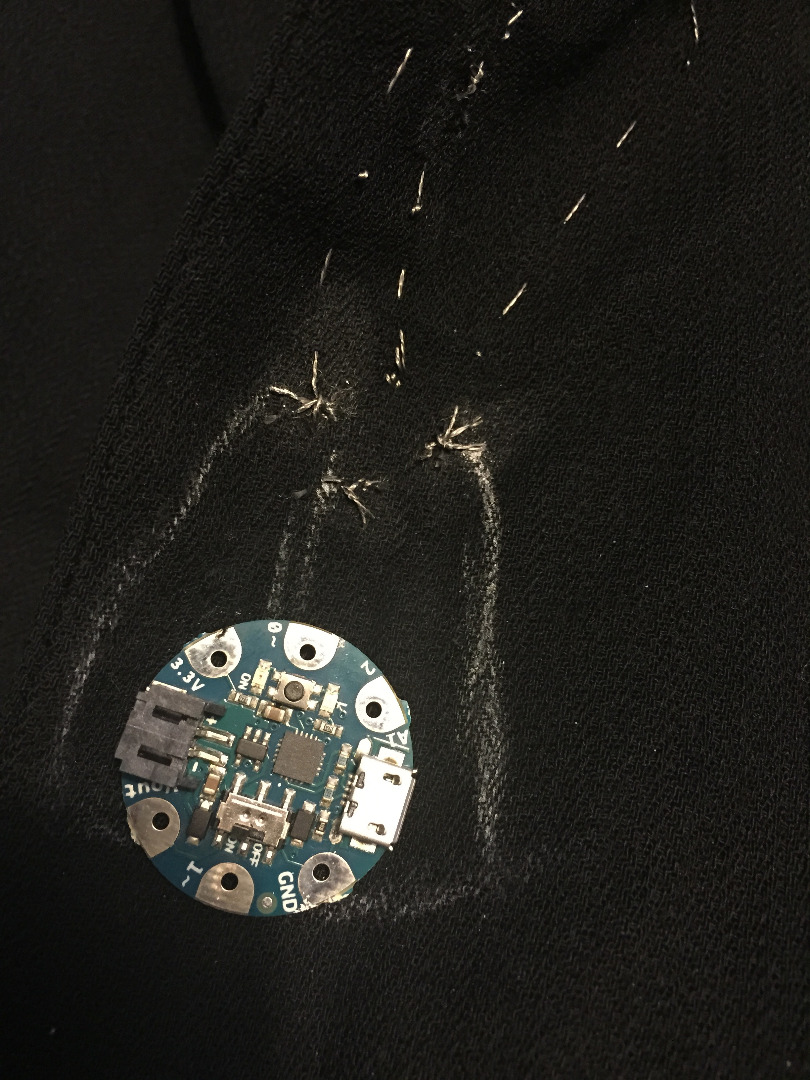
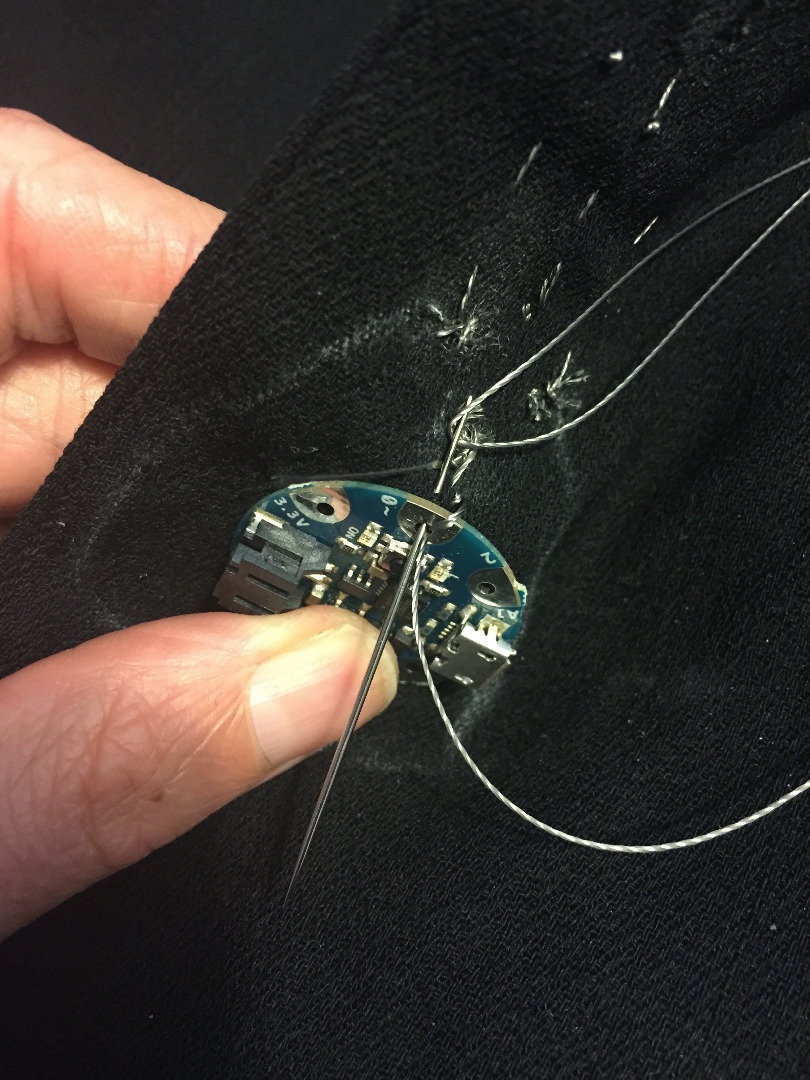
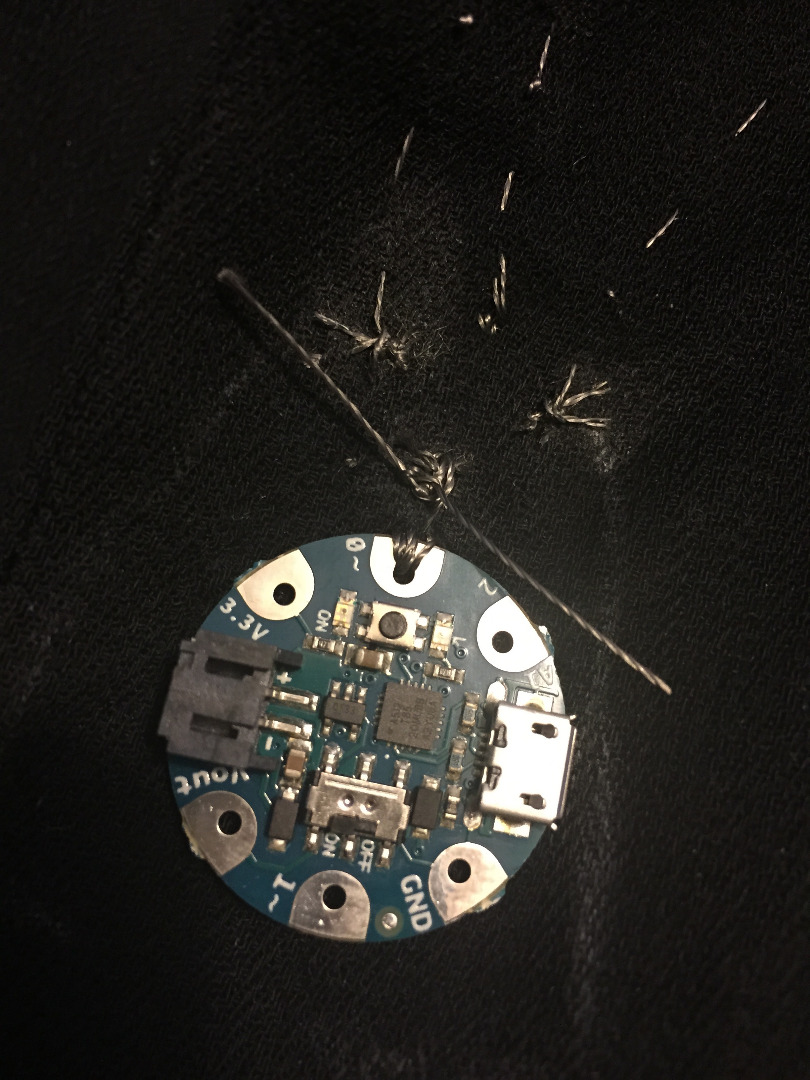
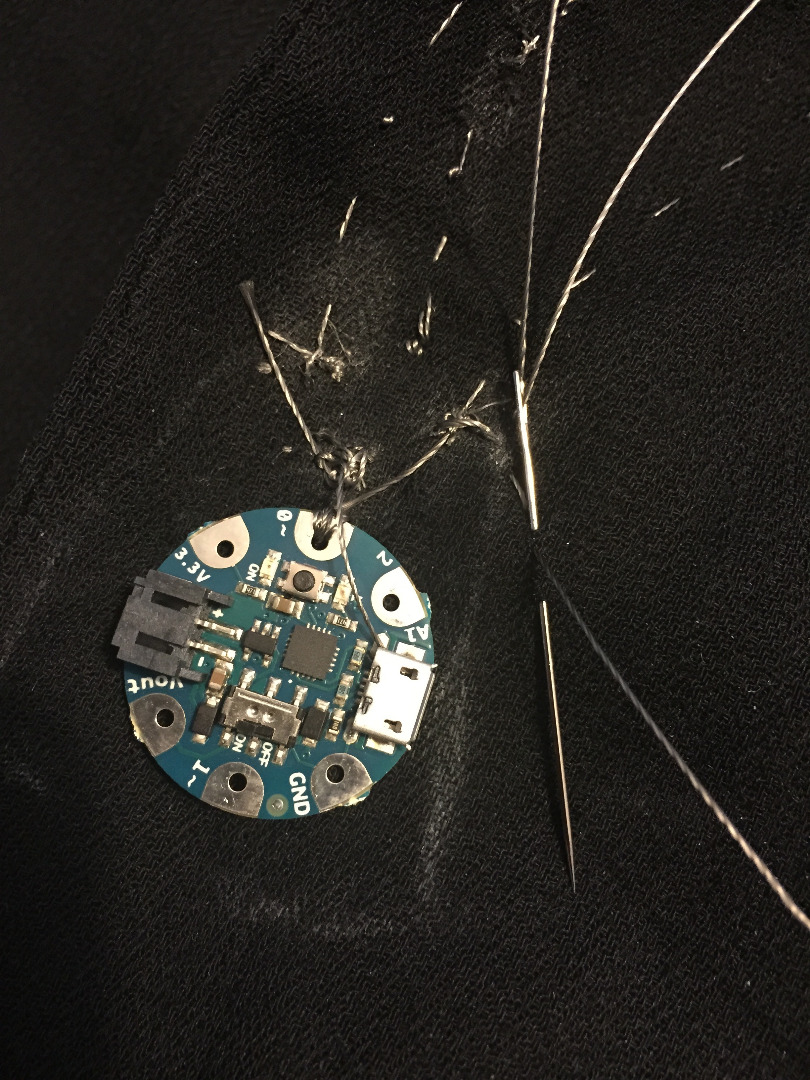
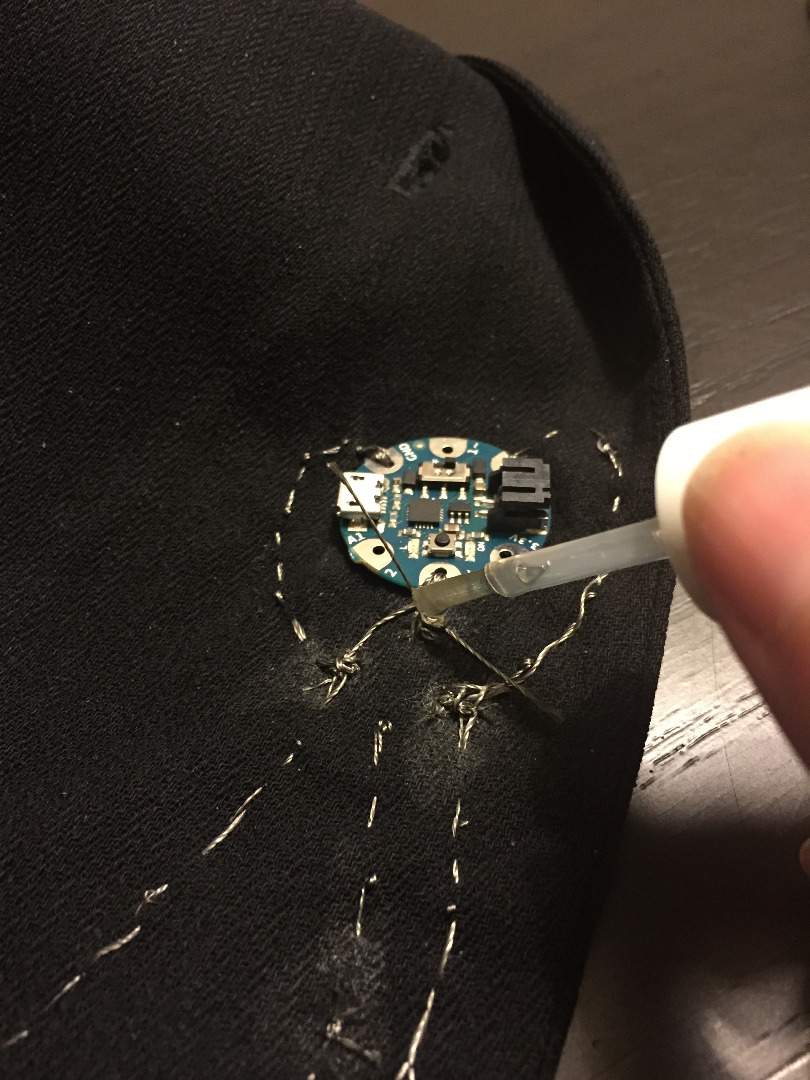
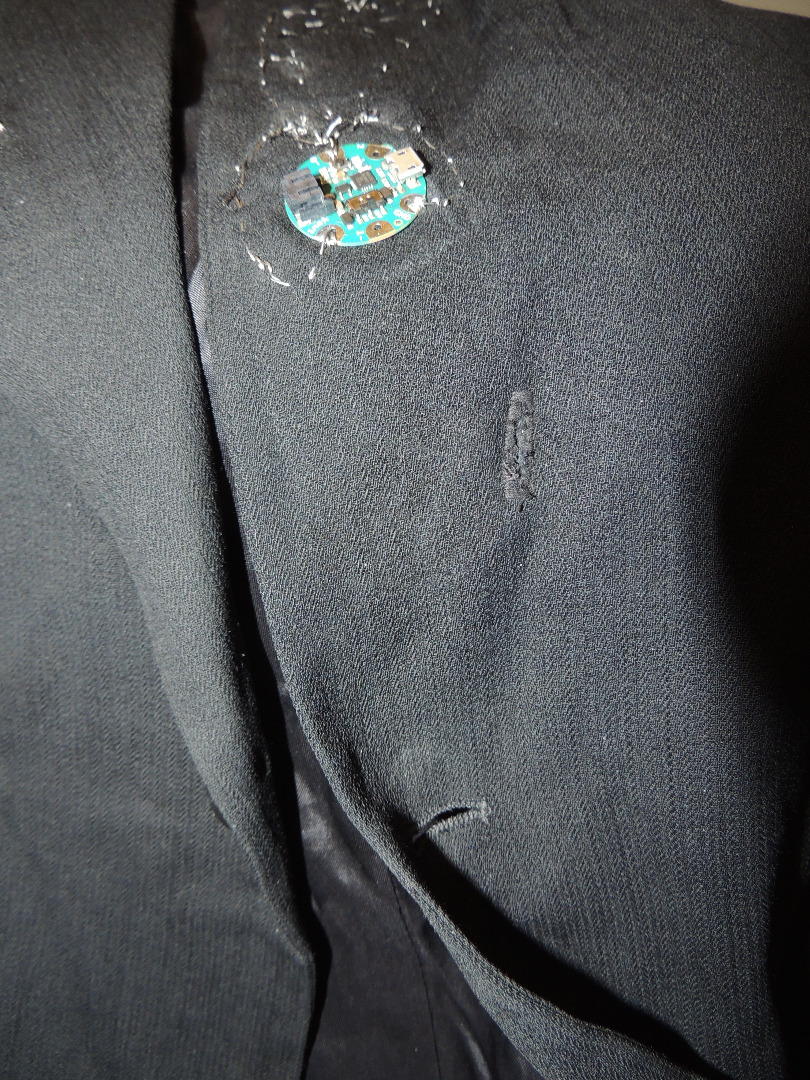
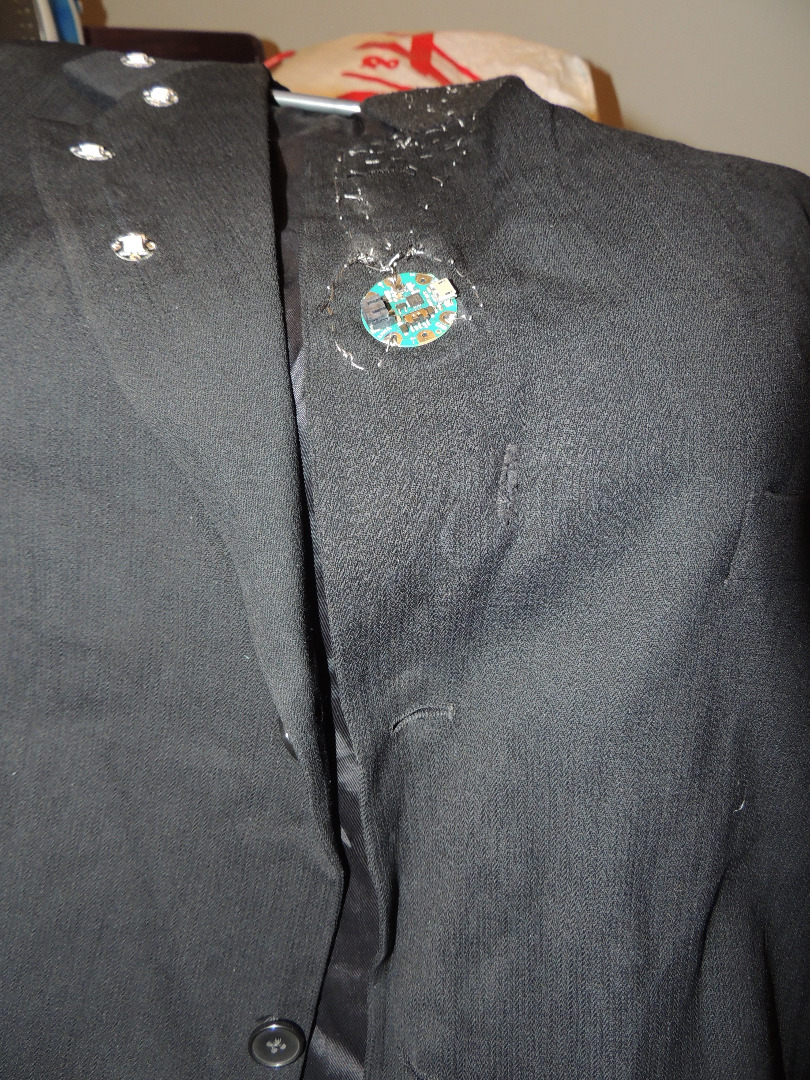
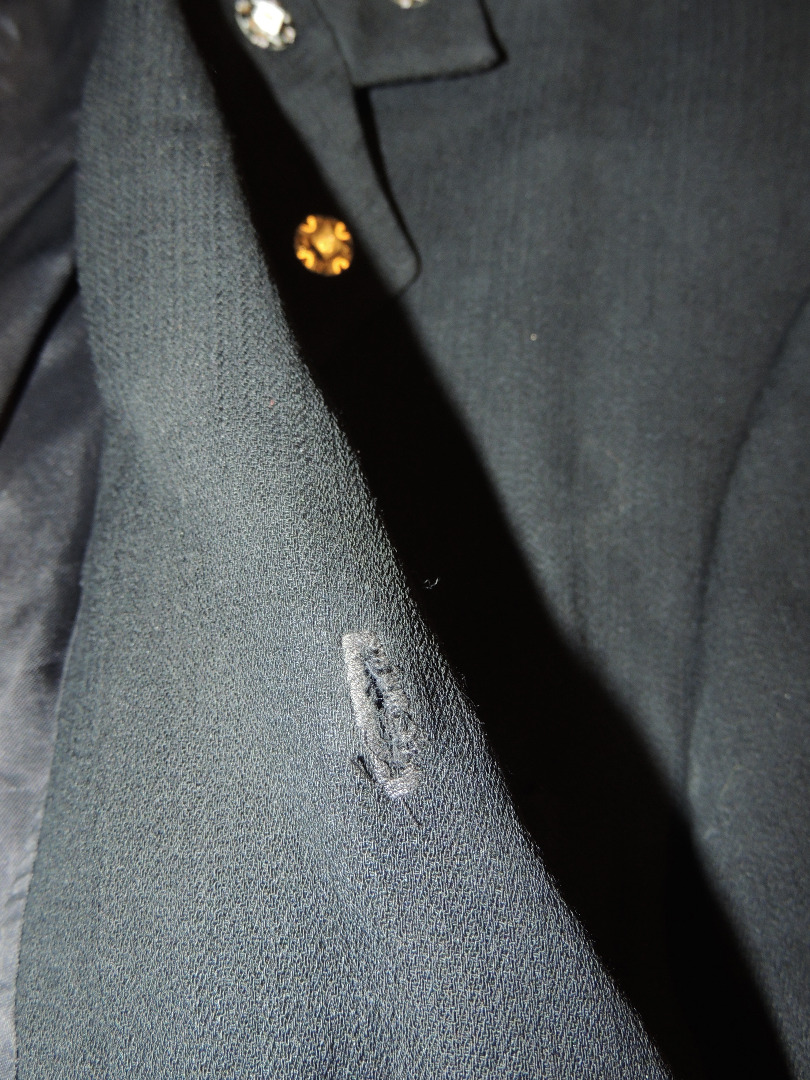
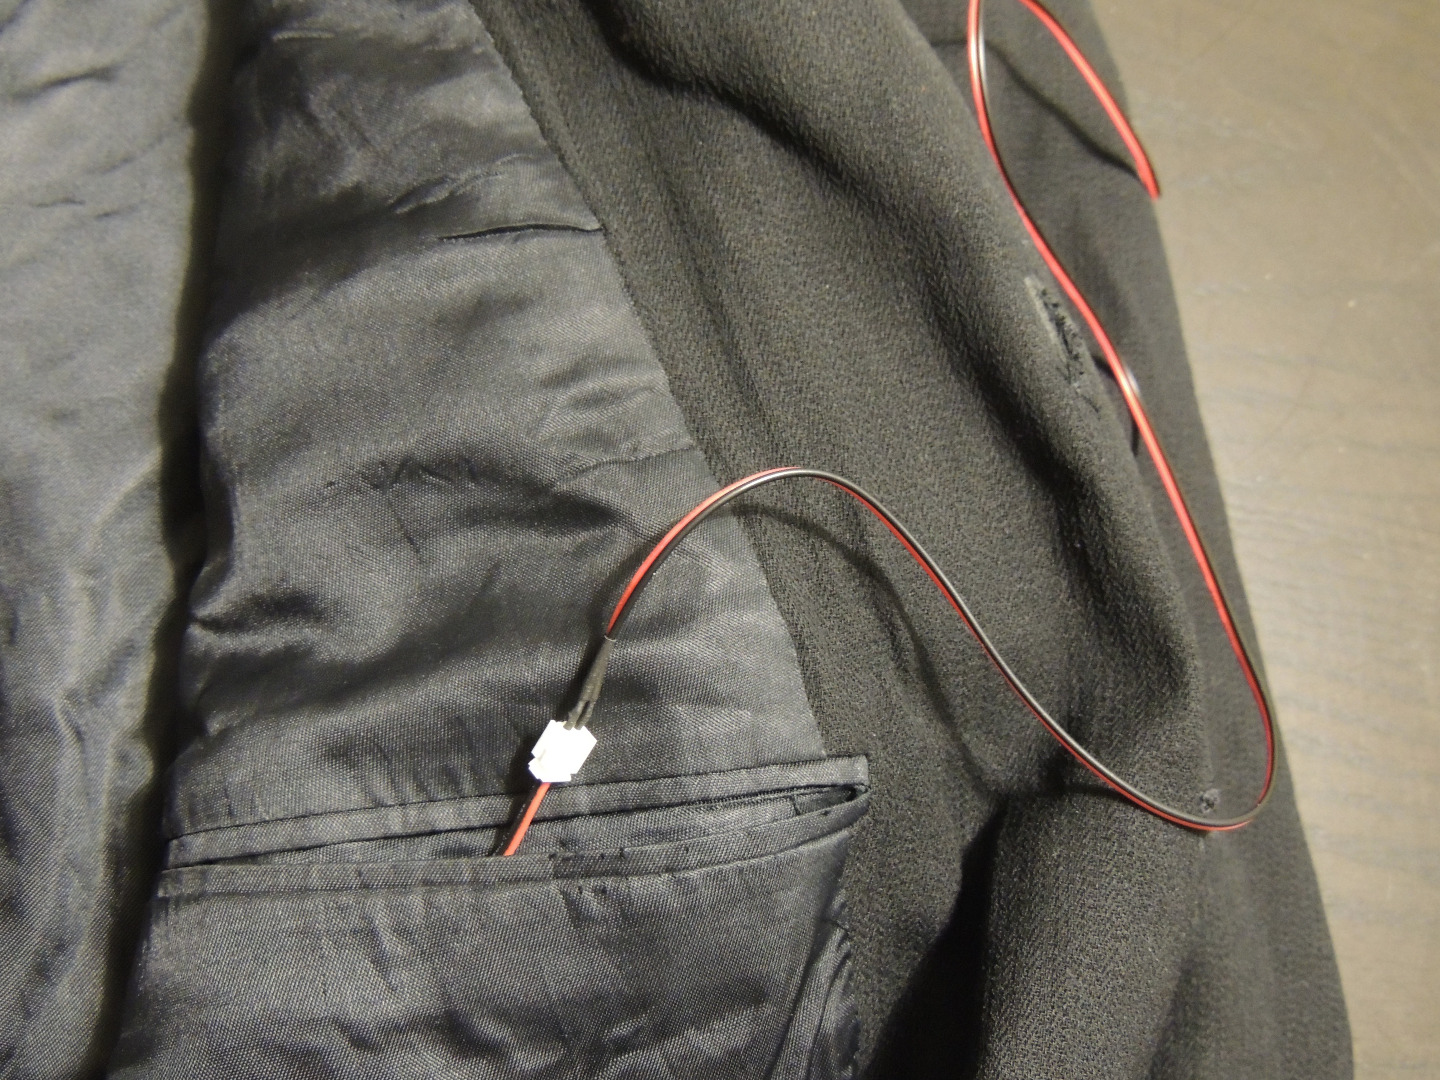
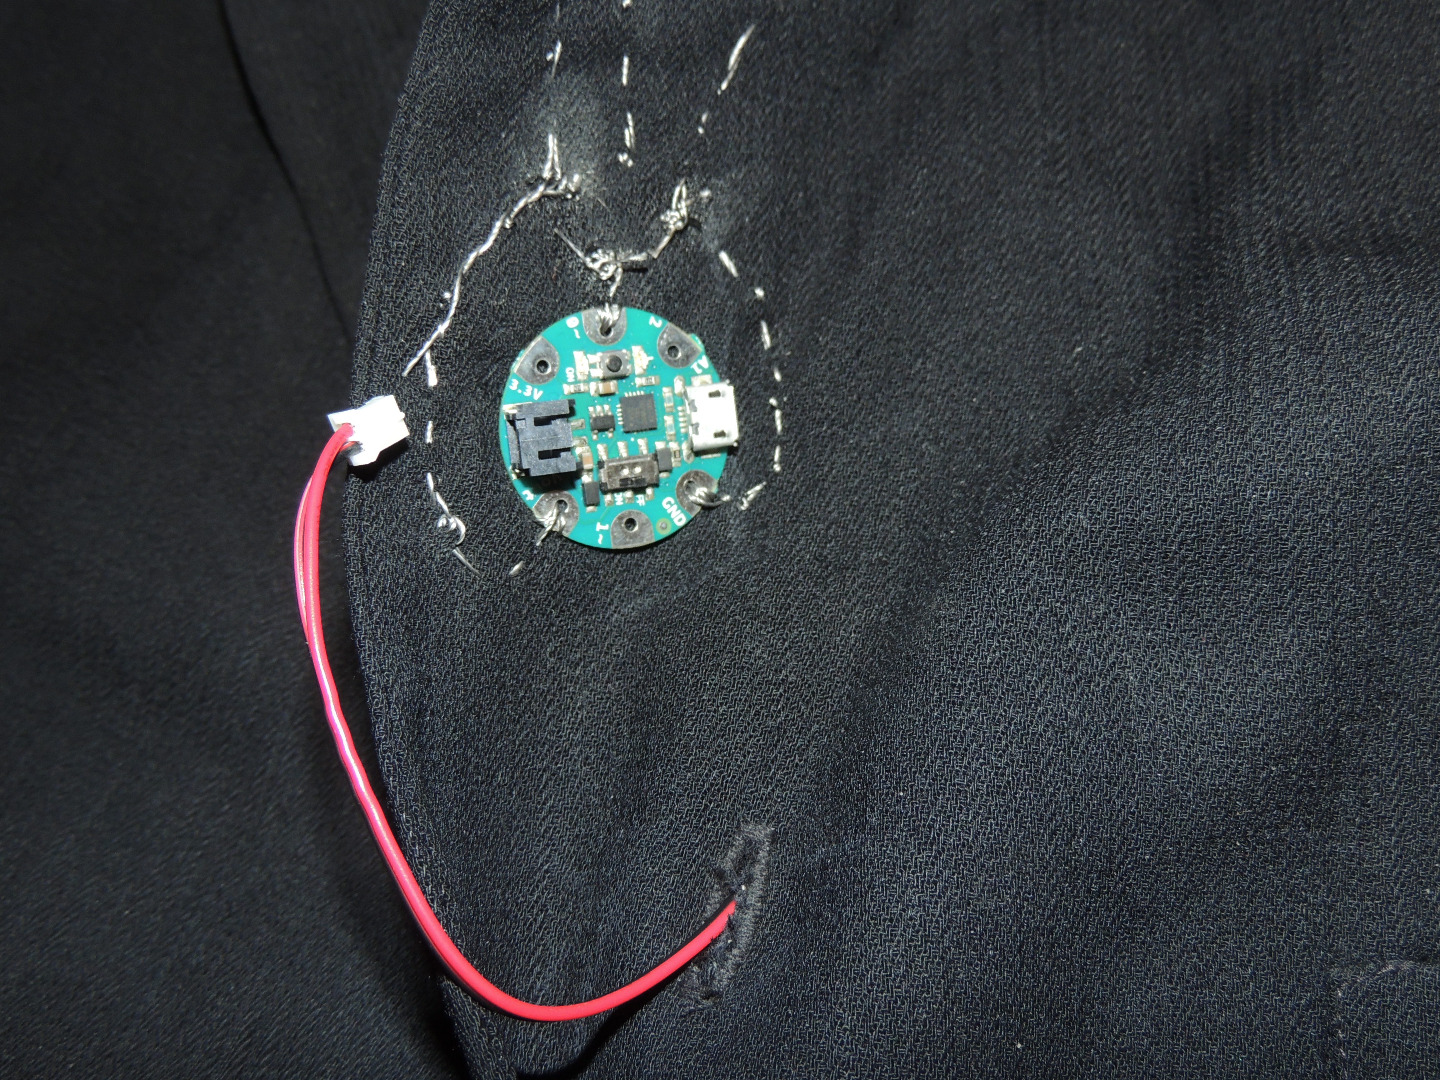
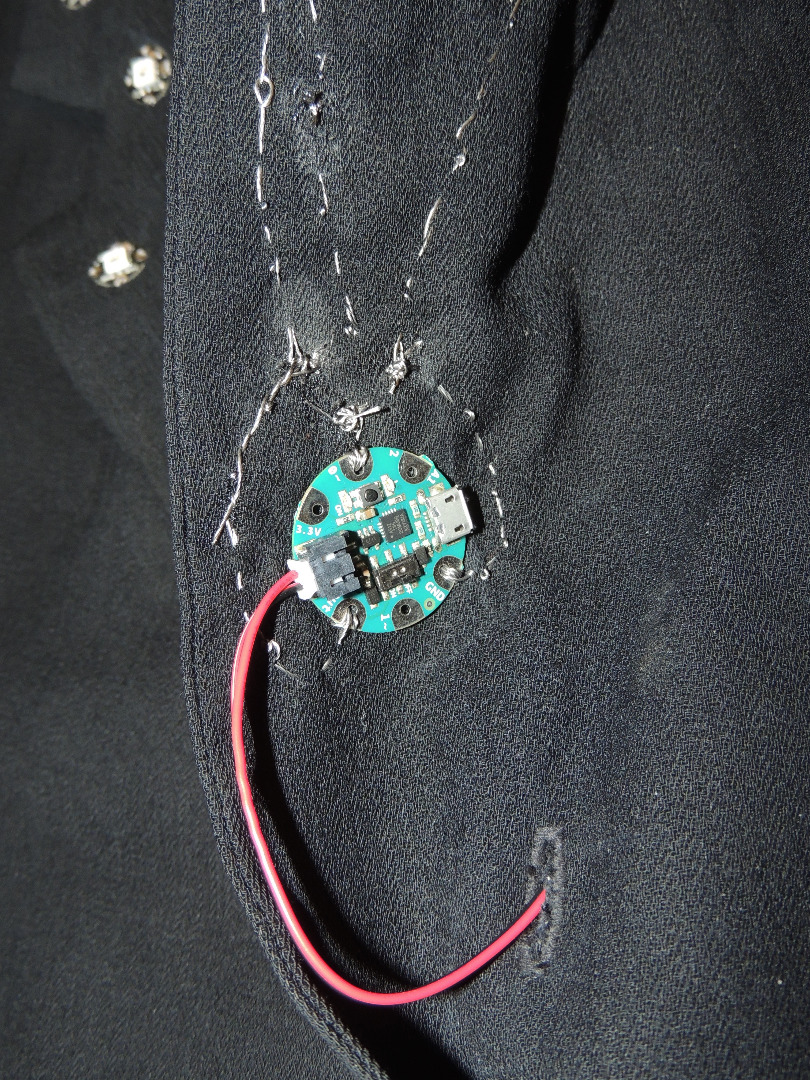
In this section, we will connect the Gemma to the first pixel using conductive thread and then make sure we've got a great spot for the battery pack. Our battery lives on an inside suit pocket & we needed a nice way to pass it through so we added a matching button hole to the jacket!
-
Find a good spot for your board hidden between the jacket layers.
-
Use the same technique we used to connect the data lines in the previous step.
- Connect the power (‘+’) hole of the first pixel to the power (‘Vout’) of the Gemma
- Connect the ground (‘-’) hole of the first pixel to the ground (‘GND’) of the Gemma
- Connect the data (‘-’) hole on the first pixel to the 0~ of the Gemma.
- Go back through and make sure that all of your knots are clear of touching other threads, secure, and that the nail polish has dried before connecting to your computer or battery source.
- Optional: Mark out a good hidden spot where your battery cord can pass from the outside to the inside of your coat with fabric chalk.
- Thread your sewing machine with thread and test out the button hole function on your machine for the right size and orientation. I hadn't used my button hole function before so I tested it using a few layers of similar fabric.
- Sew in your new button hole and cut it open.
- Pass through your battery pack cord and ensure that there's a good resting place for your battery pack inside your coat.
Make It Work
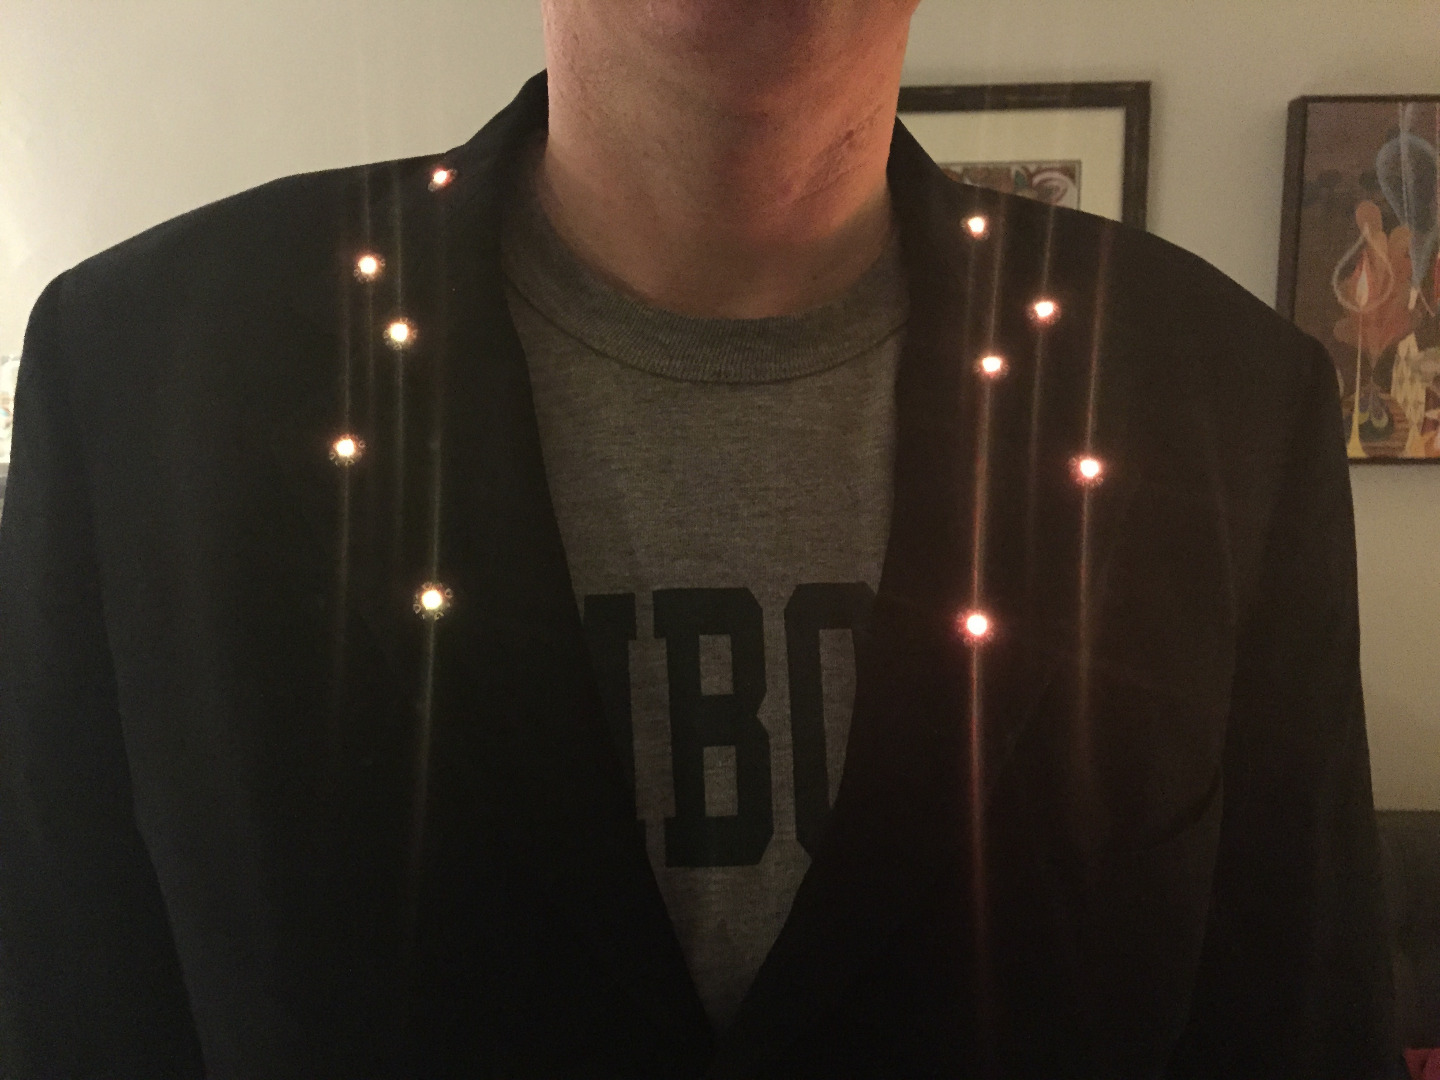
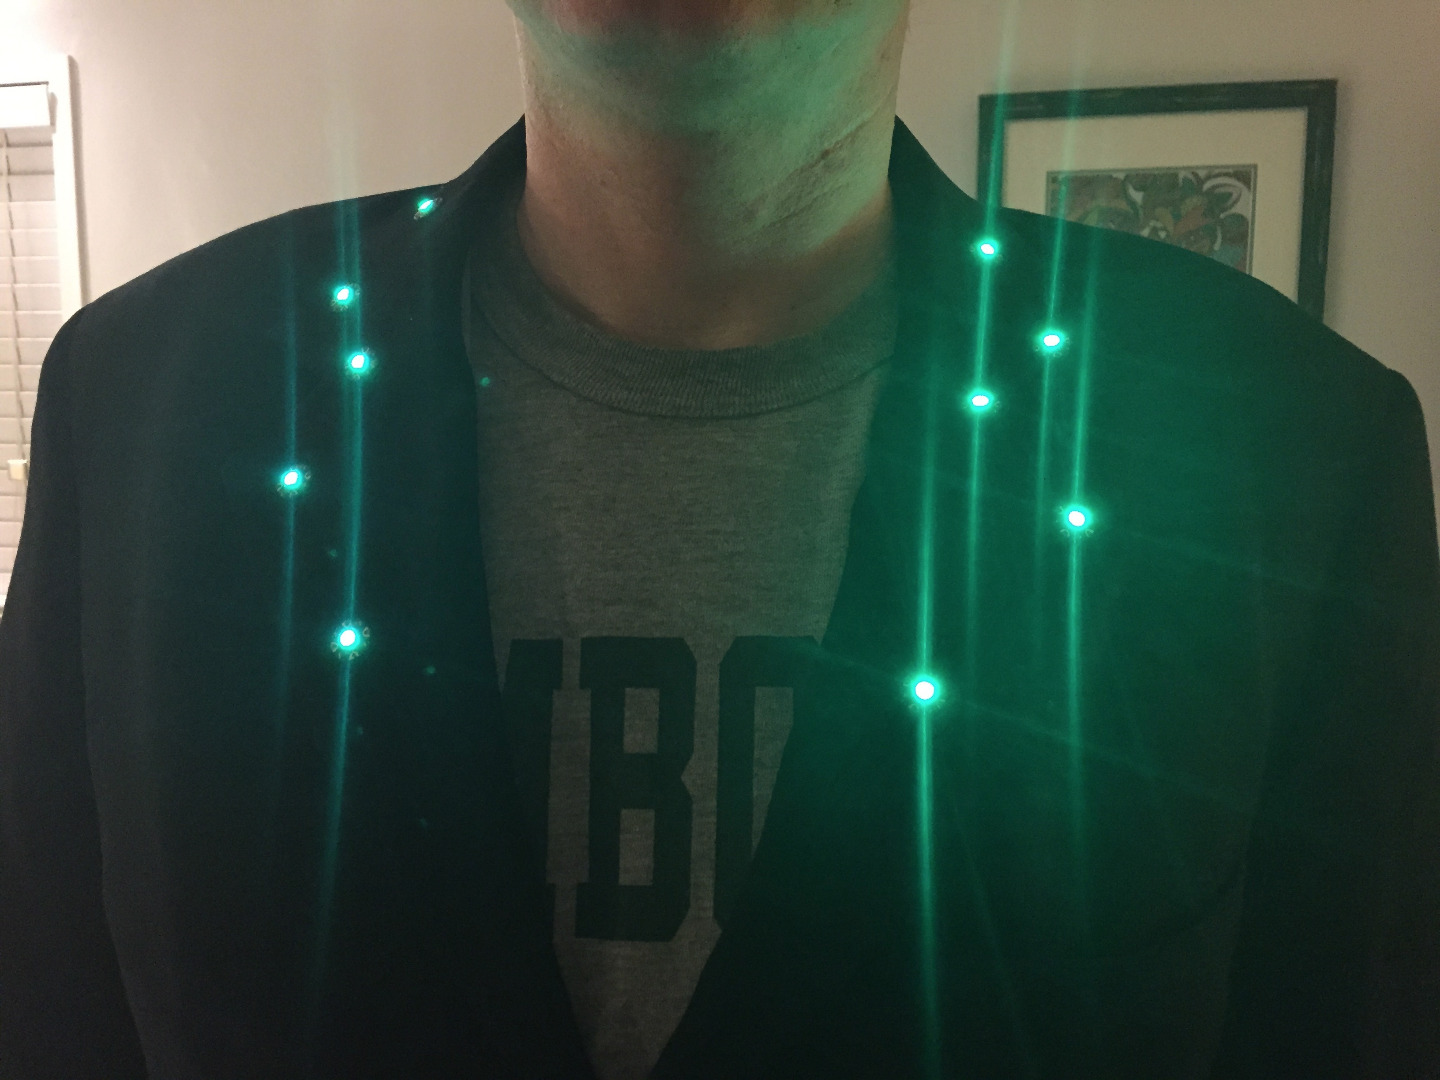
In this section we will connect our Gemma to our computer, upload our code, and make it work. Feel free to use the NeoPixel strandtest or any other sketch you can fit onto the Gemma.
- Make sure you understand how to upload a sketch to your Gemma. Connect your Gemma to your computer using your USB Cable and open up your Arduino IDE or codebender.
- We’ve shared some sample code on codebender for you to use on your coat. The sample code runs through a few "colorWipes", "colorWaves", a "rainbowCycle", a few "rainbows" and "theatreChases".
- Be sure to update the number of pixels in the sketch to match how many pixels are on your coat.
- Once you’ve verified the code, upload it! Make sure that the switch on your Gemma is turned on.
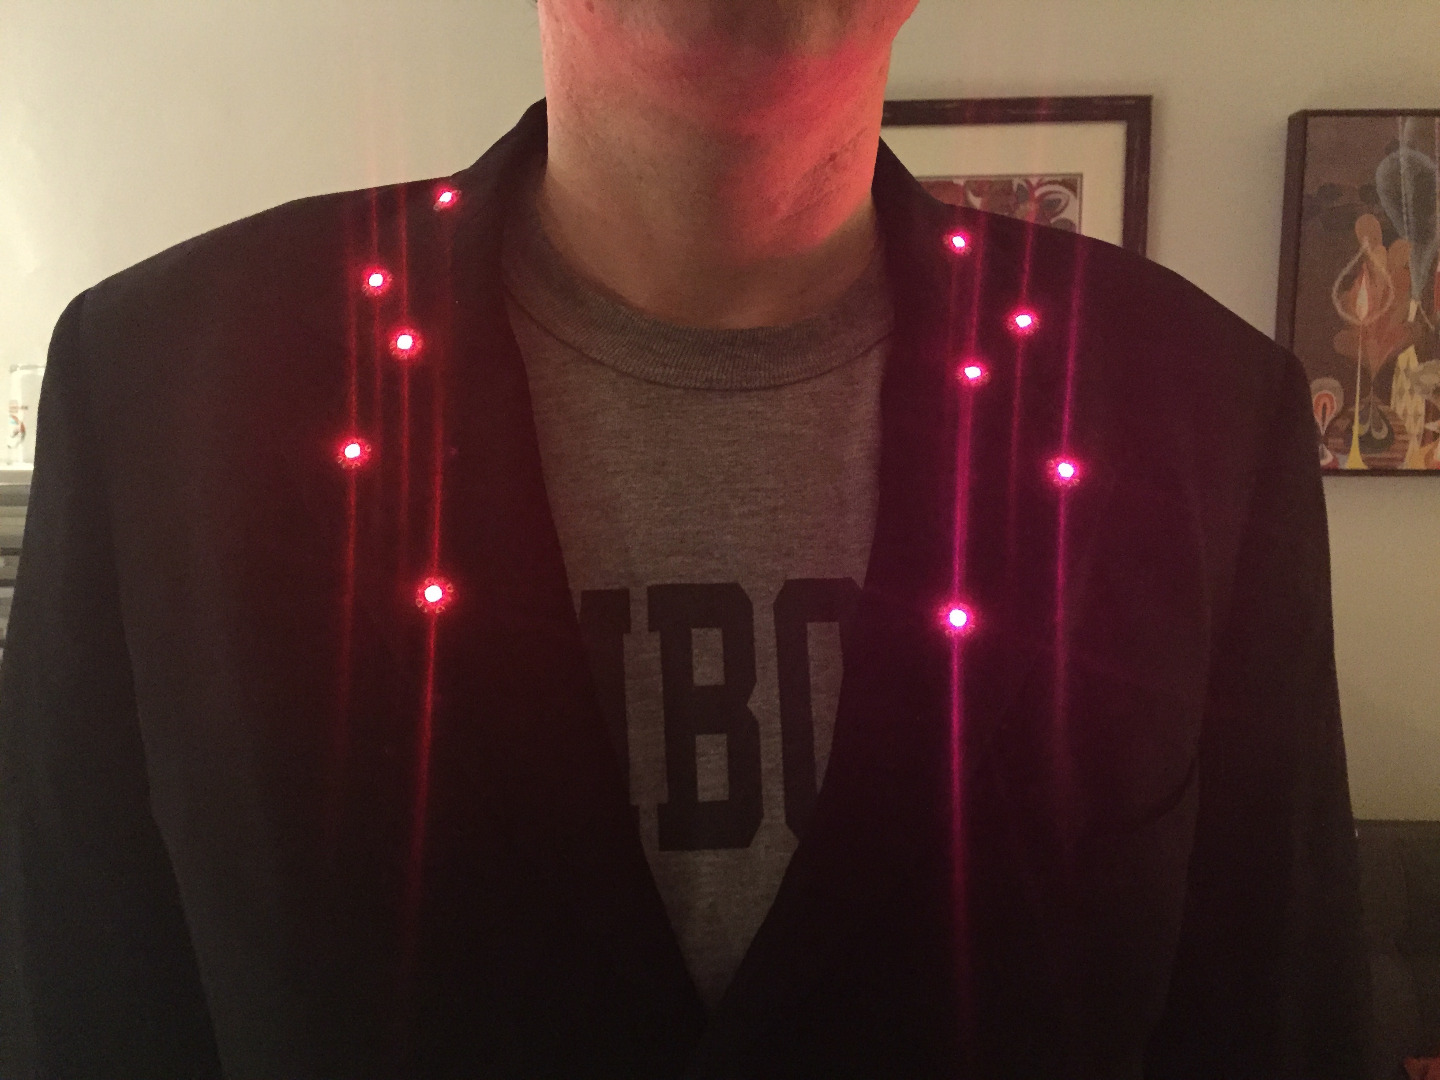
- Load up your battery pack and connect your battery pack to your Gemma using the JST connector. Make sure that the switch on the Gemma and your battery pack are turned on and enjoy! Use one of these switches to turn your Coat of NeoPixels on and off!
Washing Your Goods
- Remove your battery pack.
- Hand wash your goods. After a week at Burning Man, we did a vinegar and water rinse before using Eucalan Lavender Fine Fabric Wash on our coat to return the freshness.
- Air dry until its 100% dry.
- Inspect your circuit to ensure that there aren’t any crossed lines or loose threads.
- Plug your battery pack back in and turn it back on!