Neo, an AI Desktop Assistant!
by eighteen18 in Circuits > Robots
35323 Views, 319 Favorites, 0 Comments
Neo, an AI Desktop Assistant!
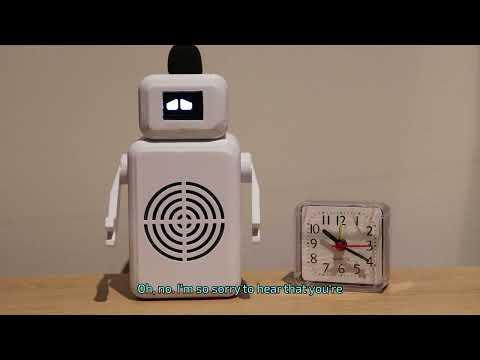
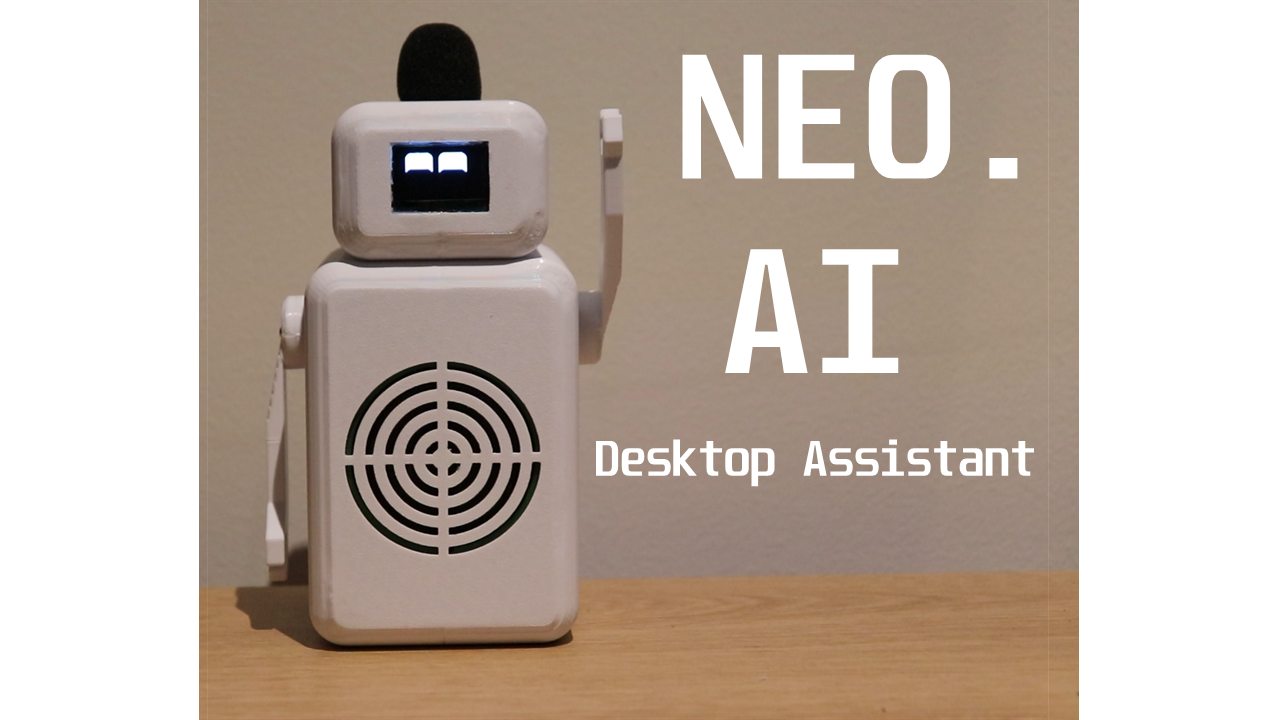
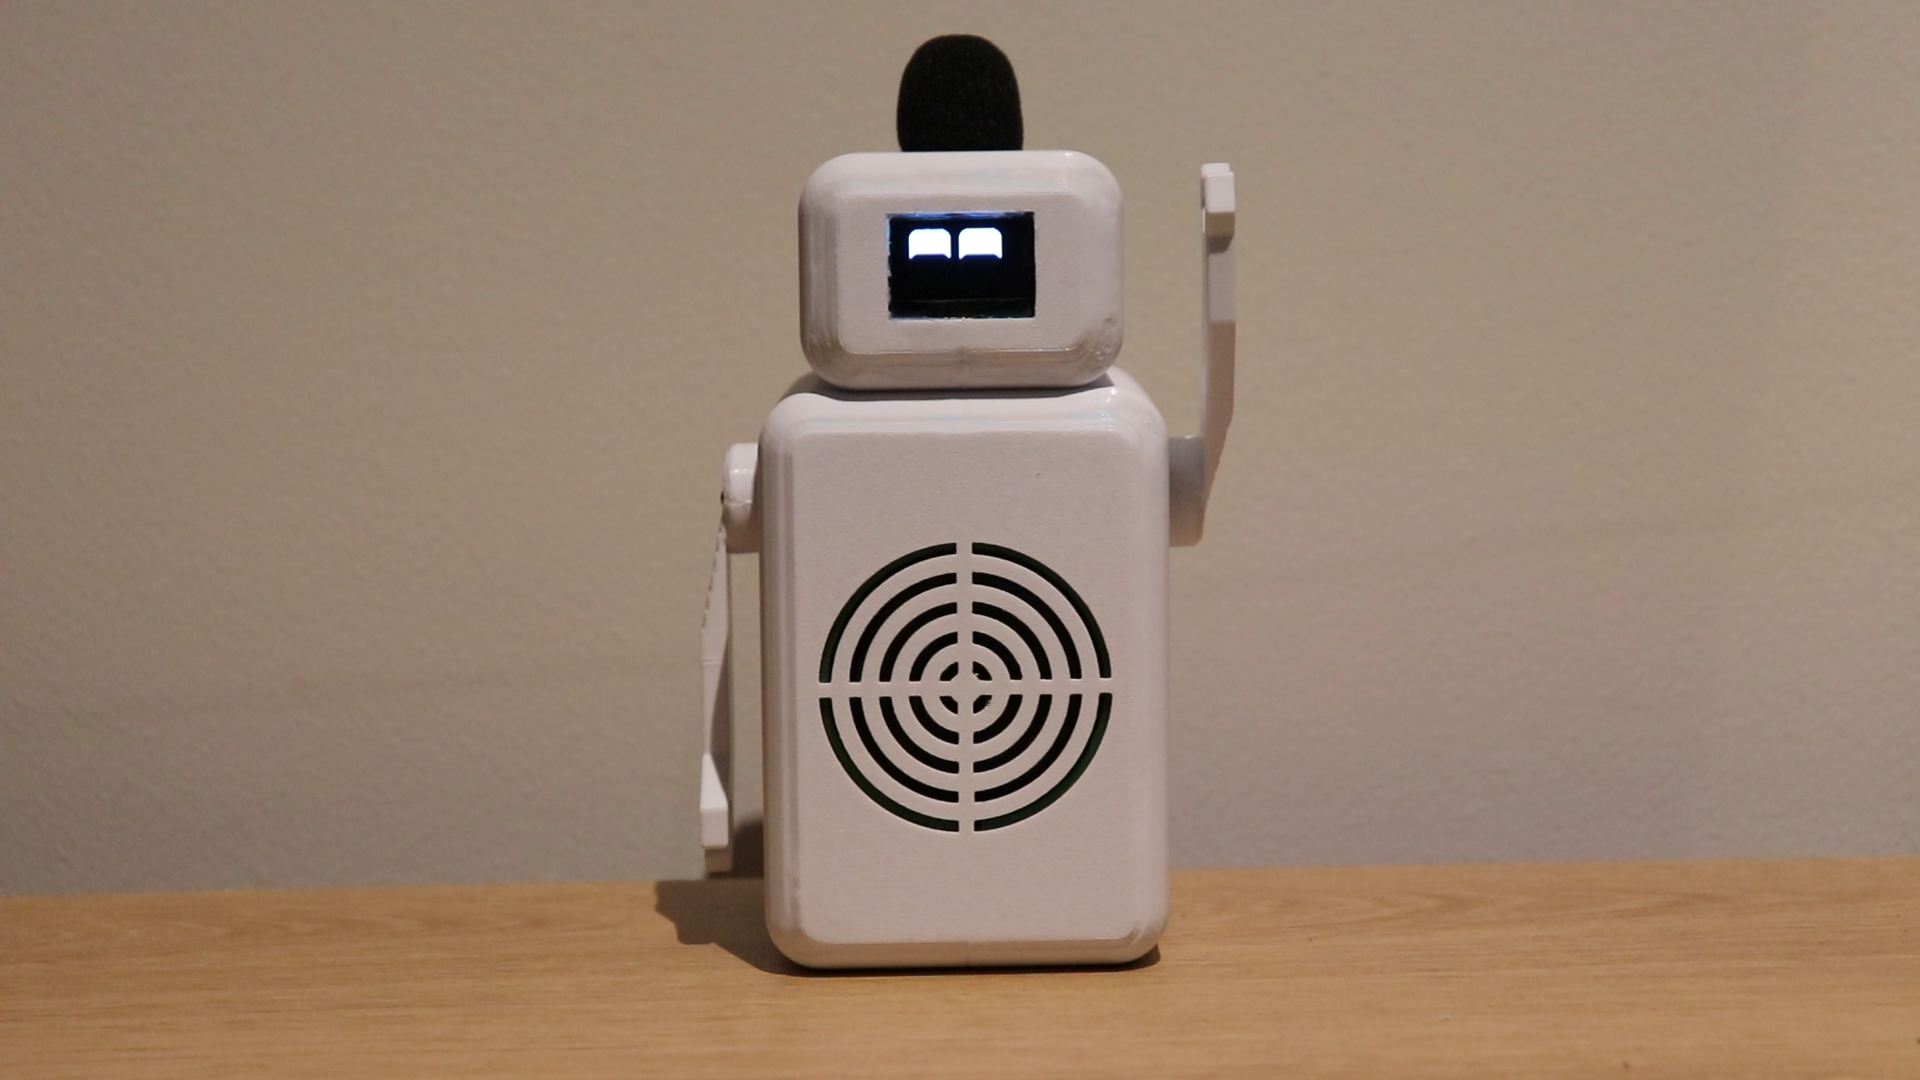
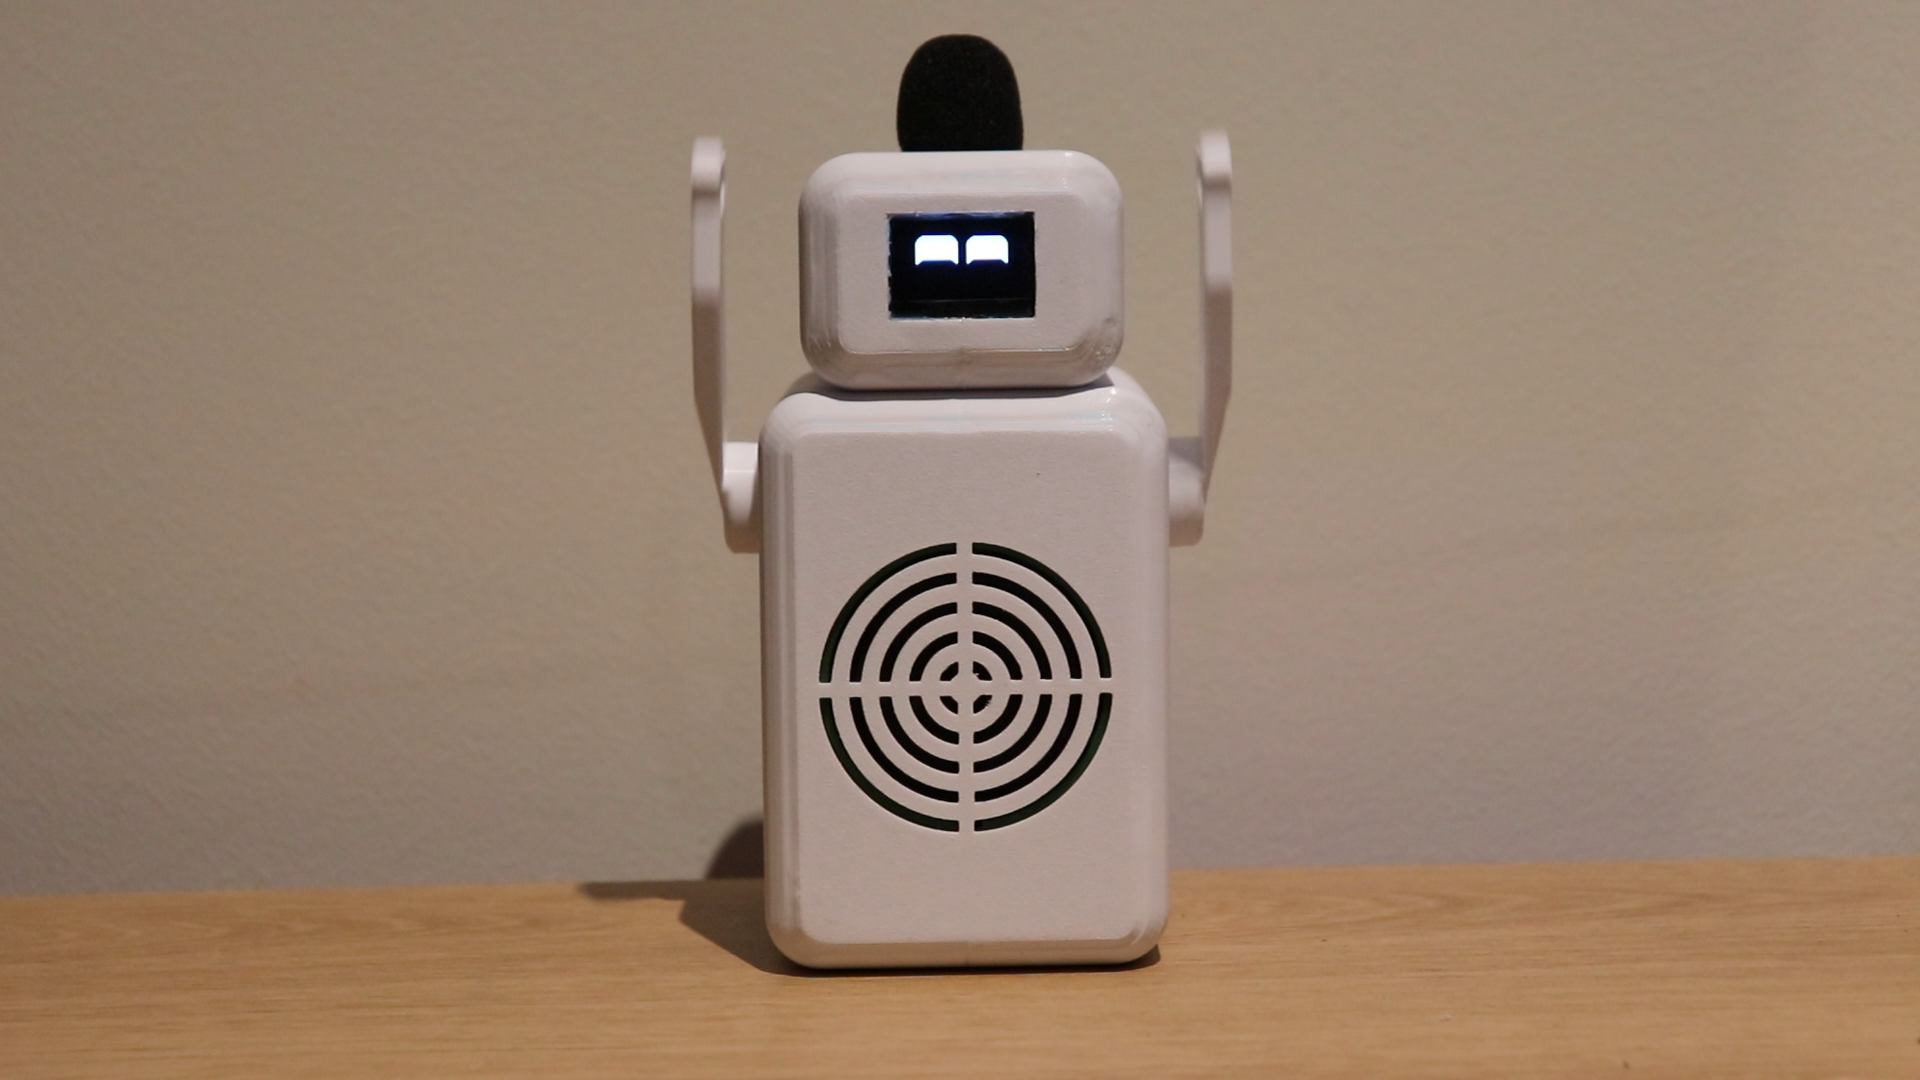
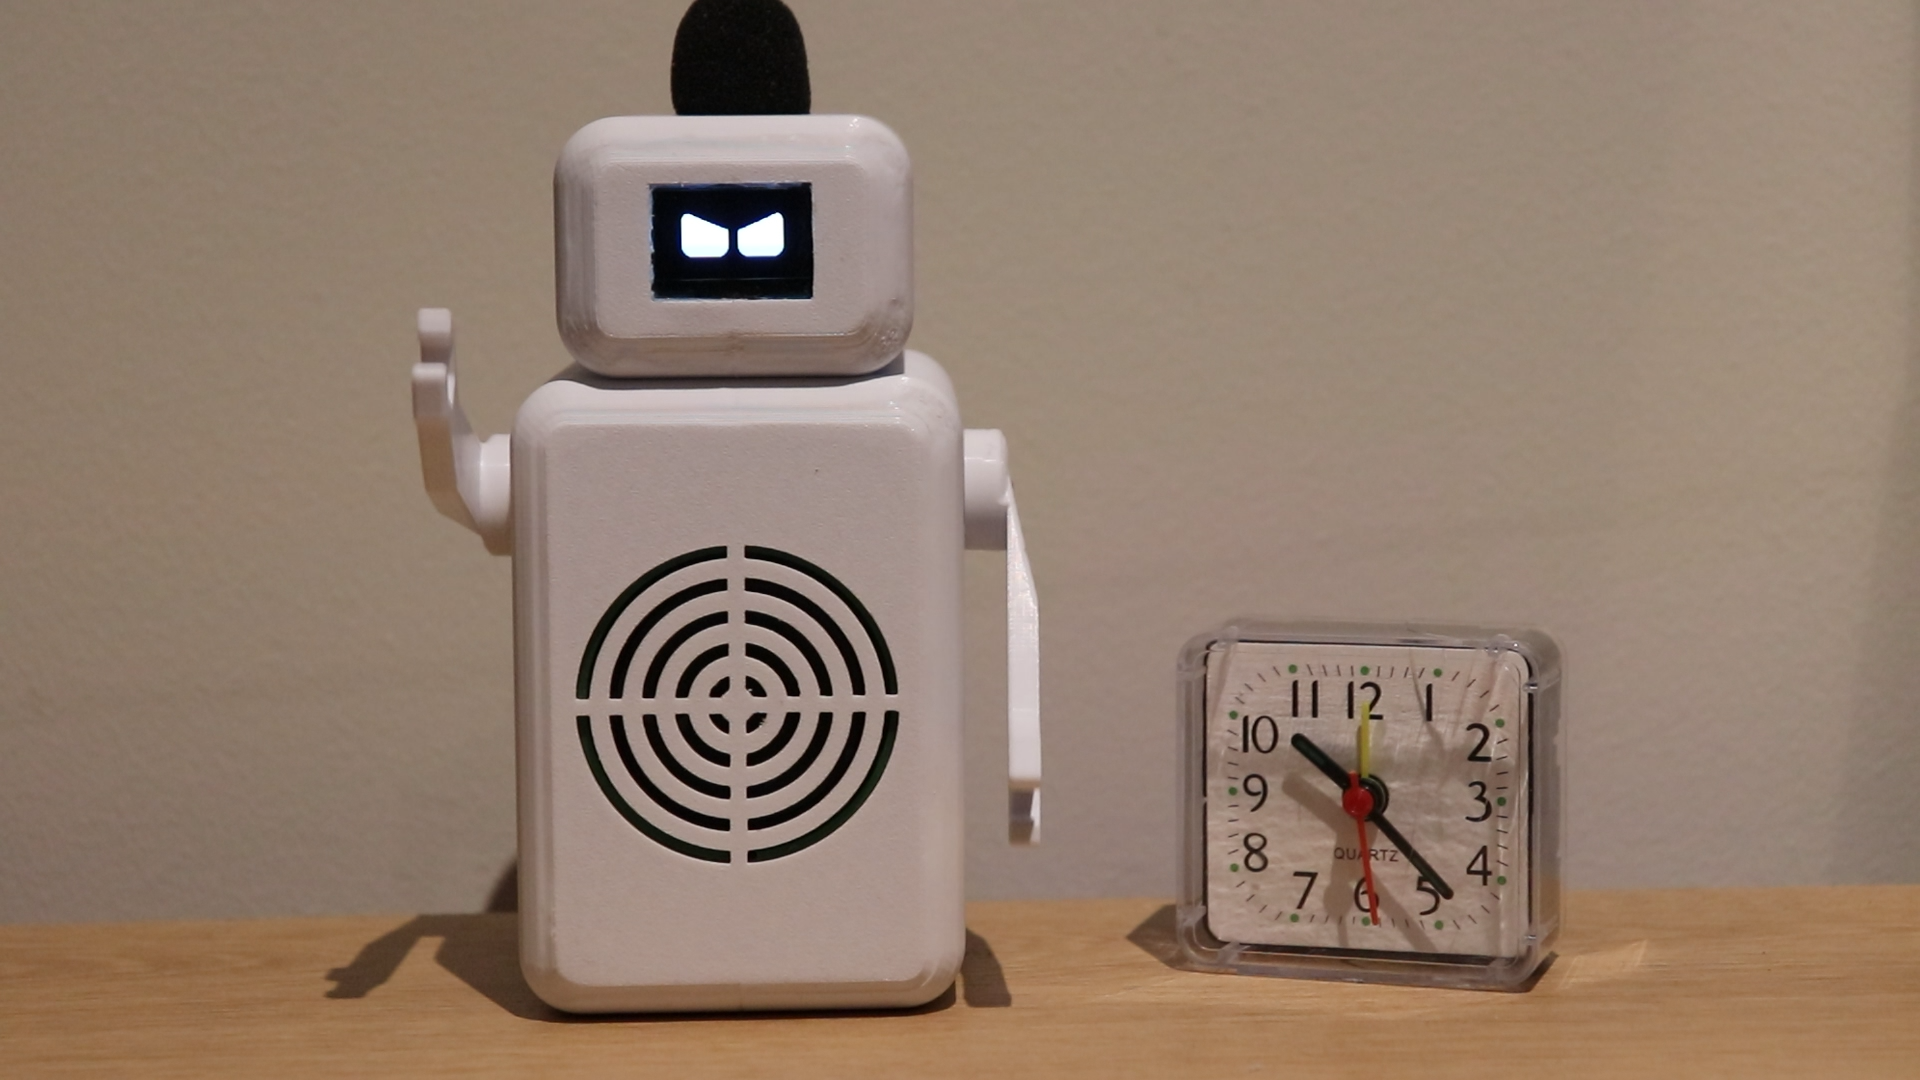
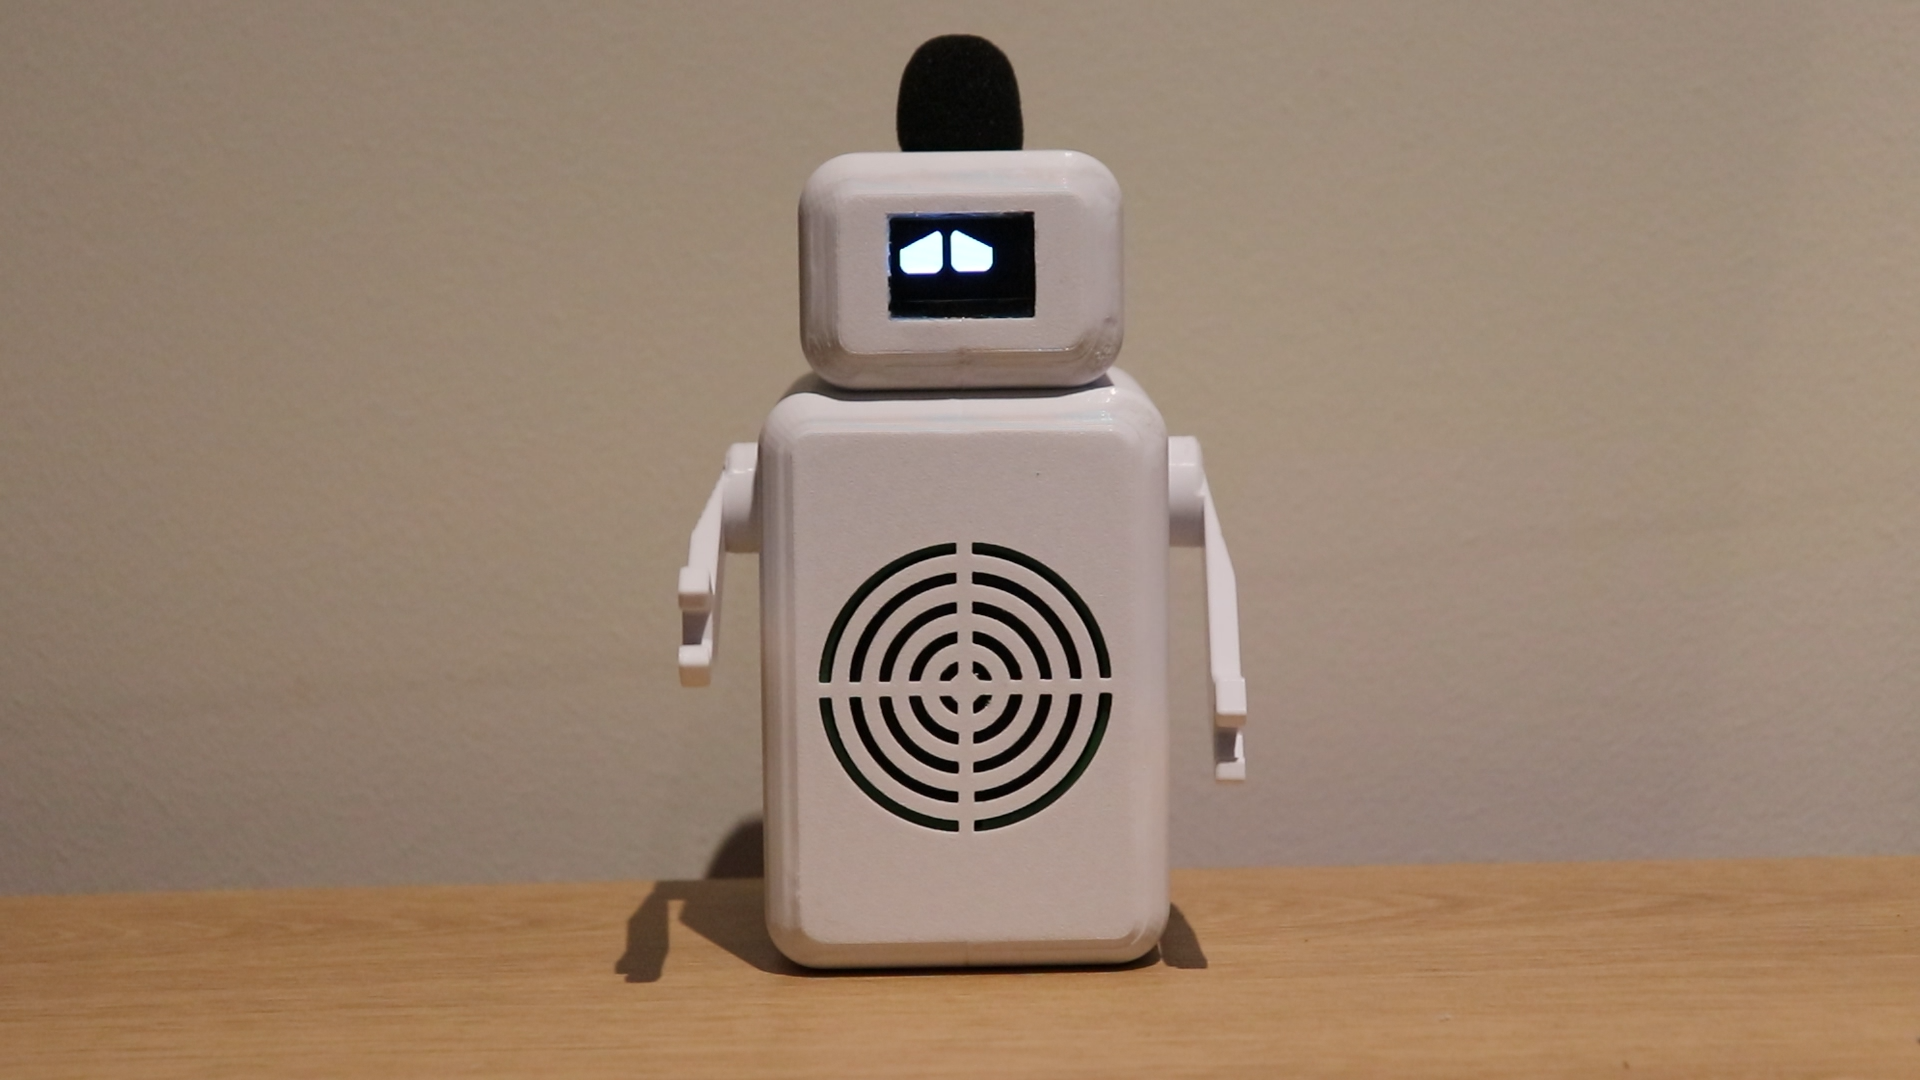
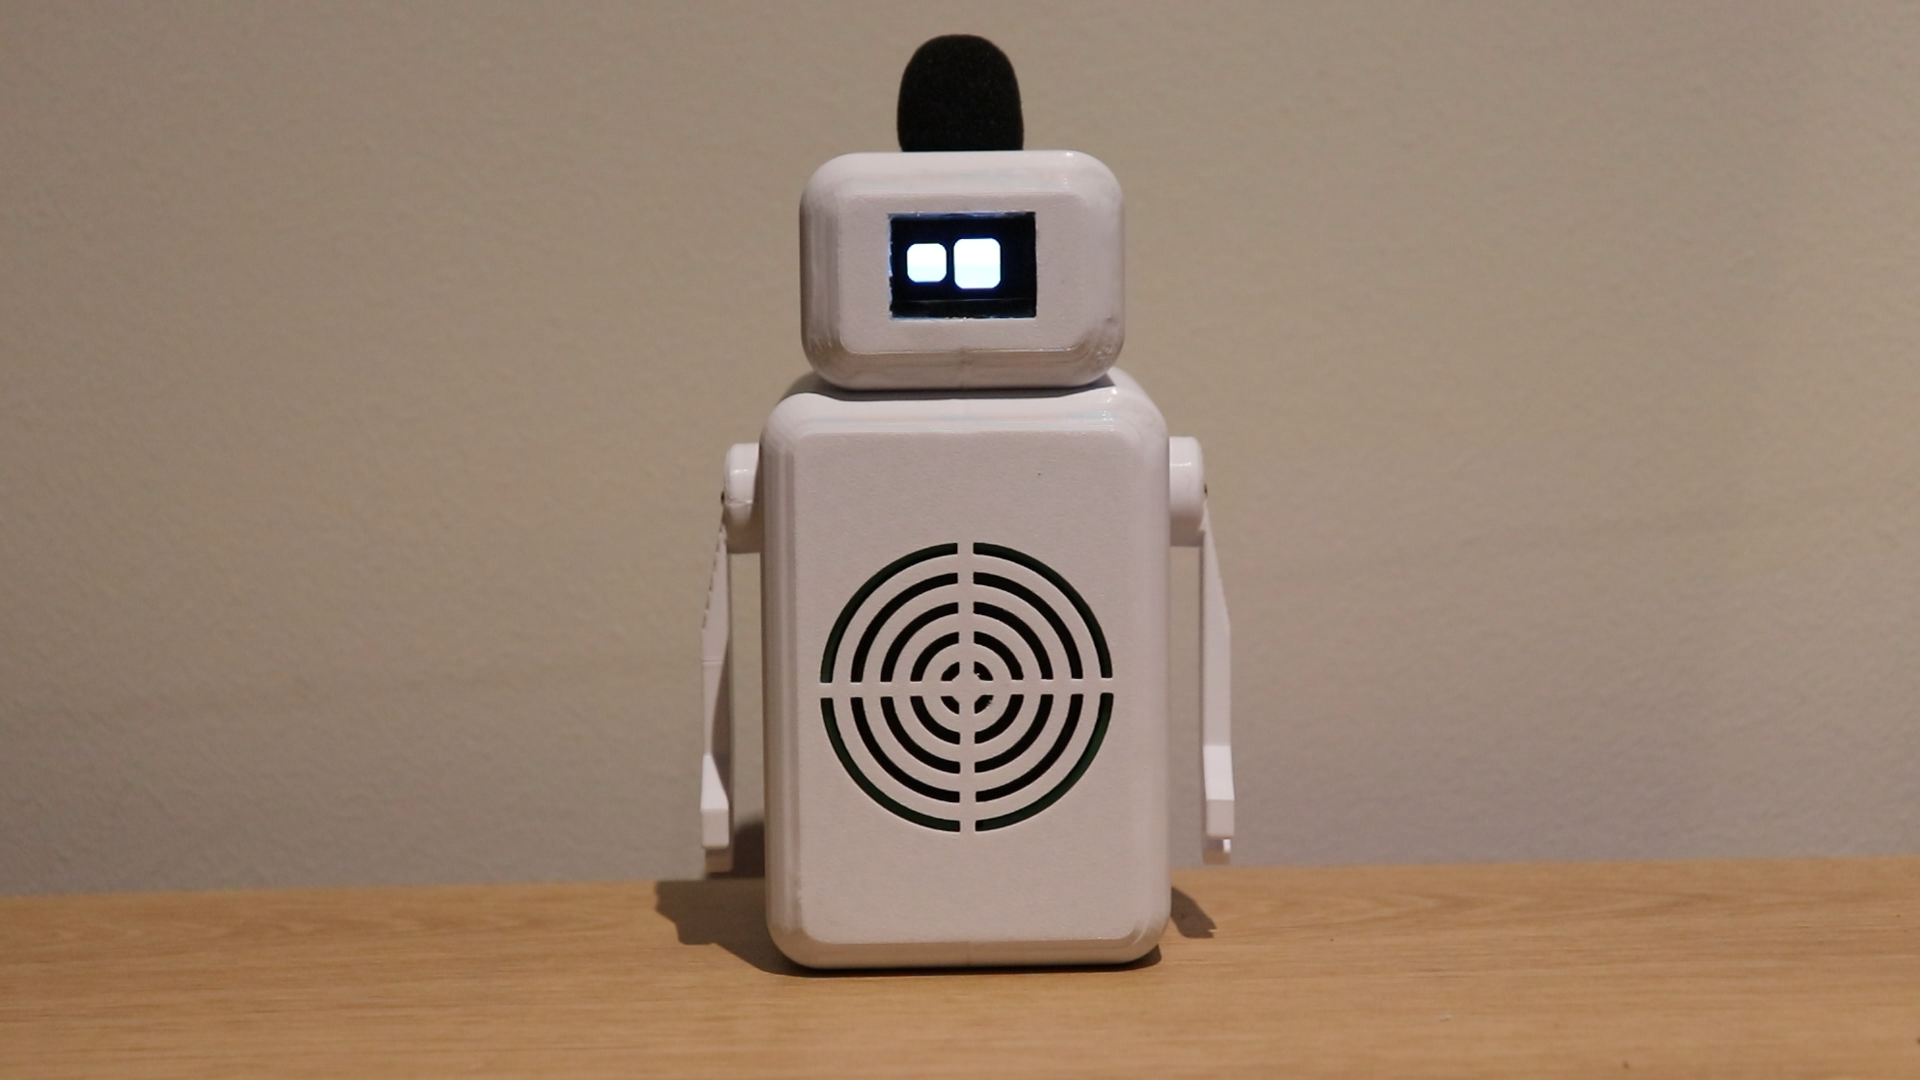
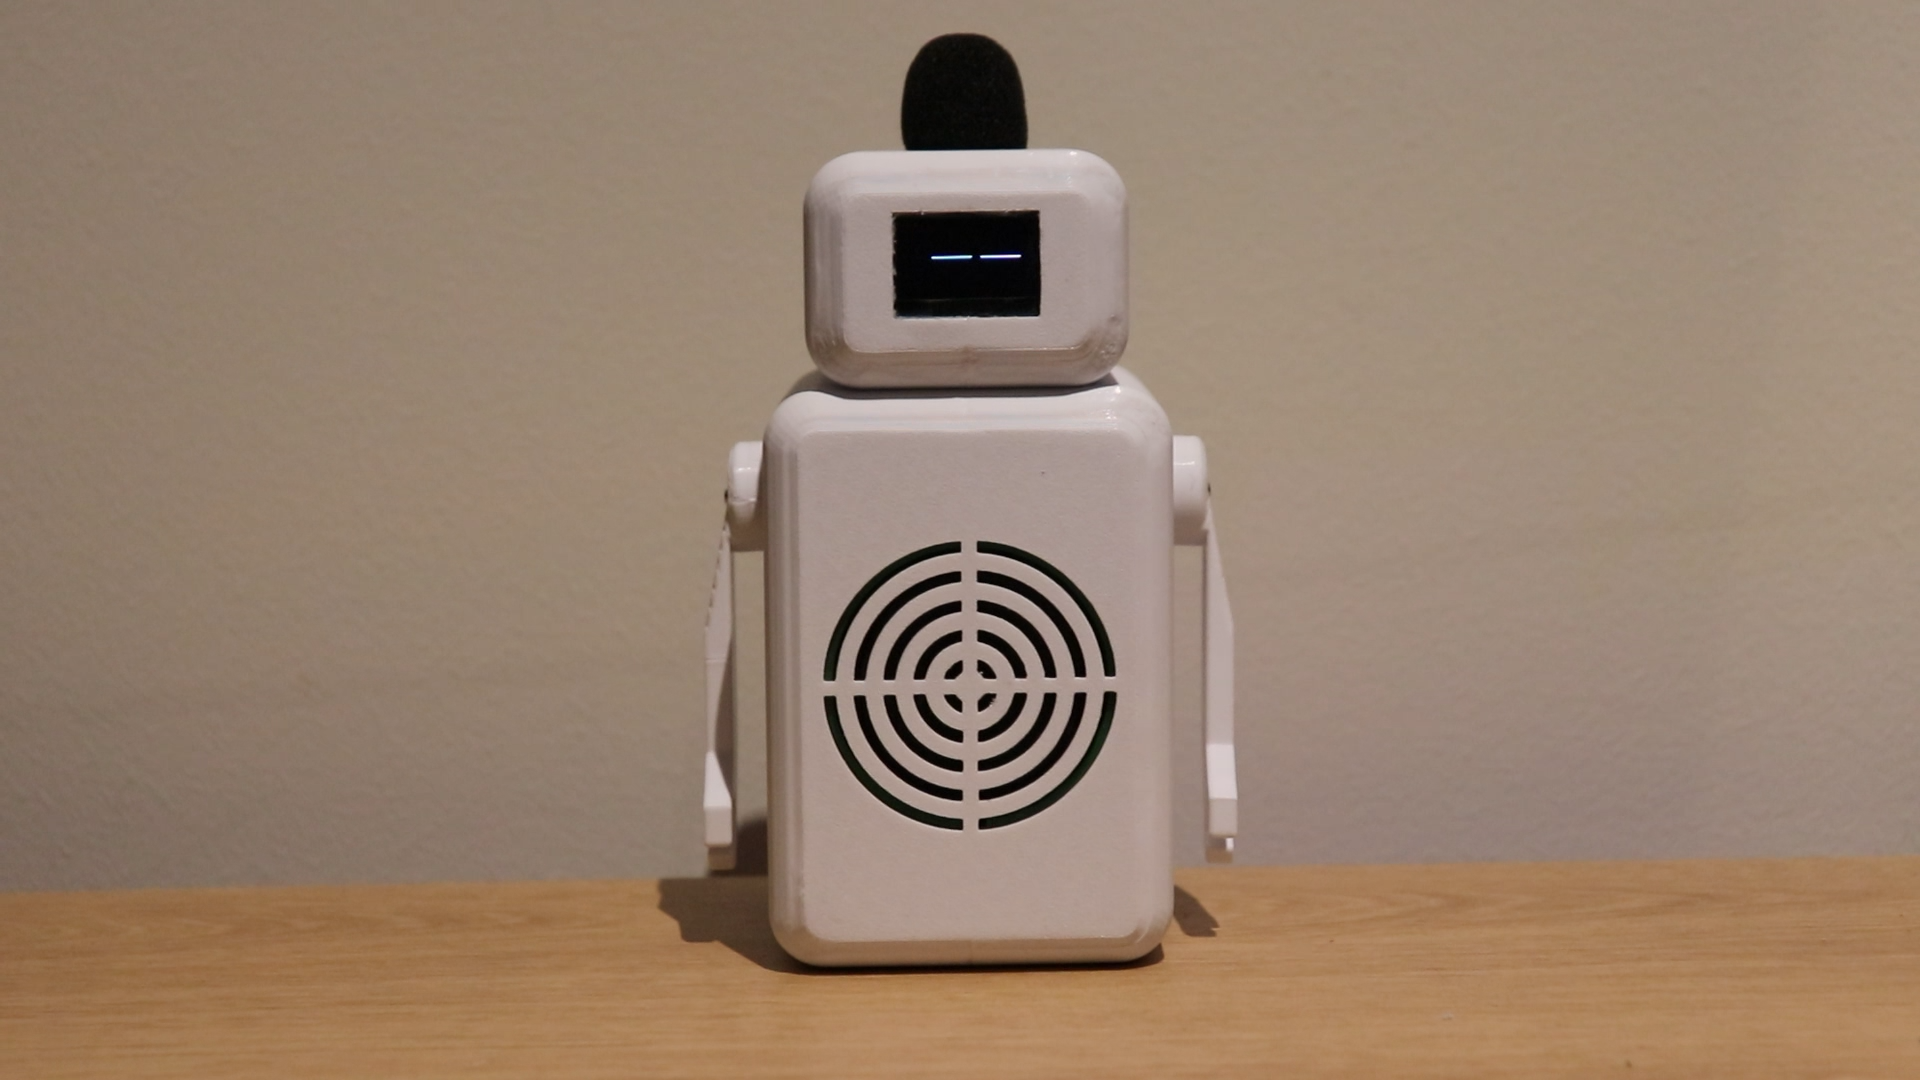
Have you ever wanted a personal assistant who's always nearby and happy to help you?
Well... look no further!
Meet Neo, your very own desktop AI robot companion!
With his two servo-driven arms and an OLED display for showing a range of emotions, Neo is a small but powerful assistant that can add personality as well as utility to your daily life!
Controlled by an Arduino Nano and Google’s Gemini 8B Large Language Model, Neo has the ability to help with a lot of tasks, from answering questions, to offering helpful suggestions or even just having a fun conversation! Thanks to piper and RealTimeSTT, Neo can also communicate naturally and smoothly with you!
Whether you’re looking for a fun, cheap, weekend project, or an AI friend to discuss ideas with, Neo has you covered!
In this Instructables, I'll be showing you all the step-by-step process to bring this incredible little robot to life!
Supplies
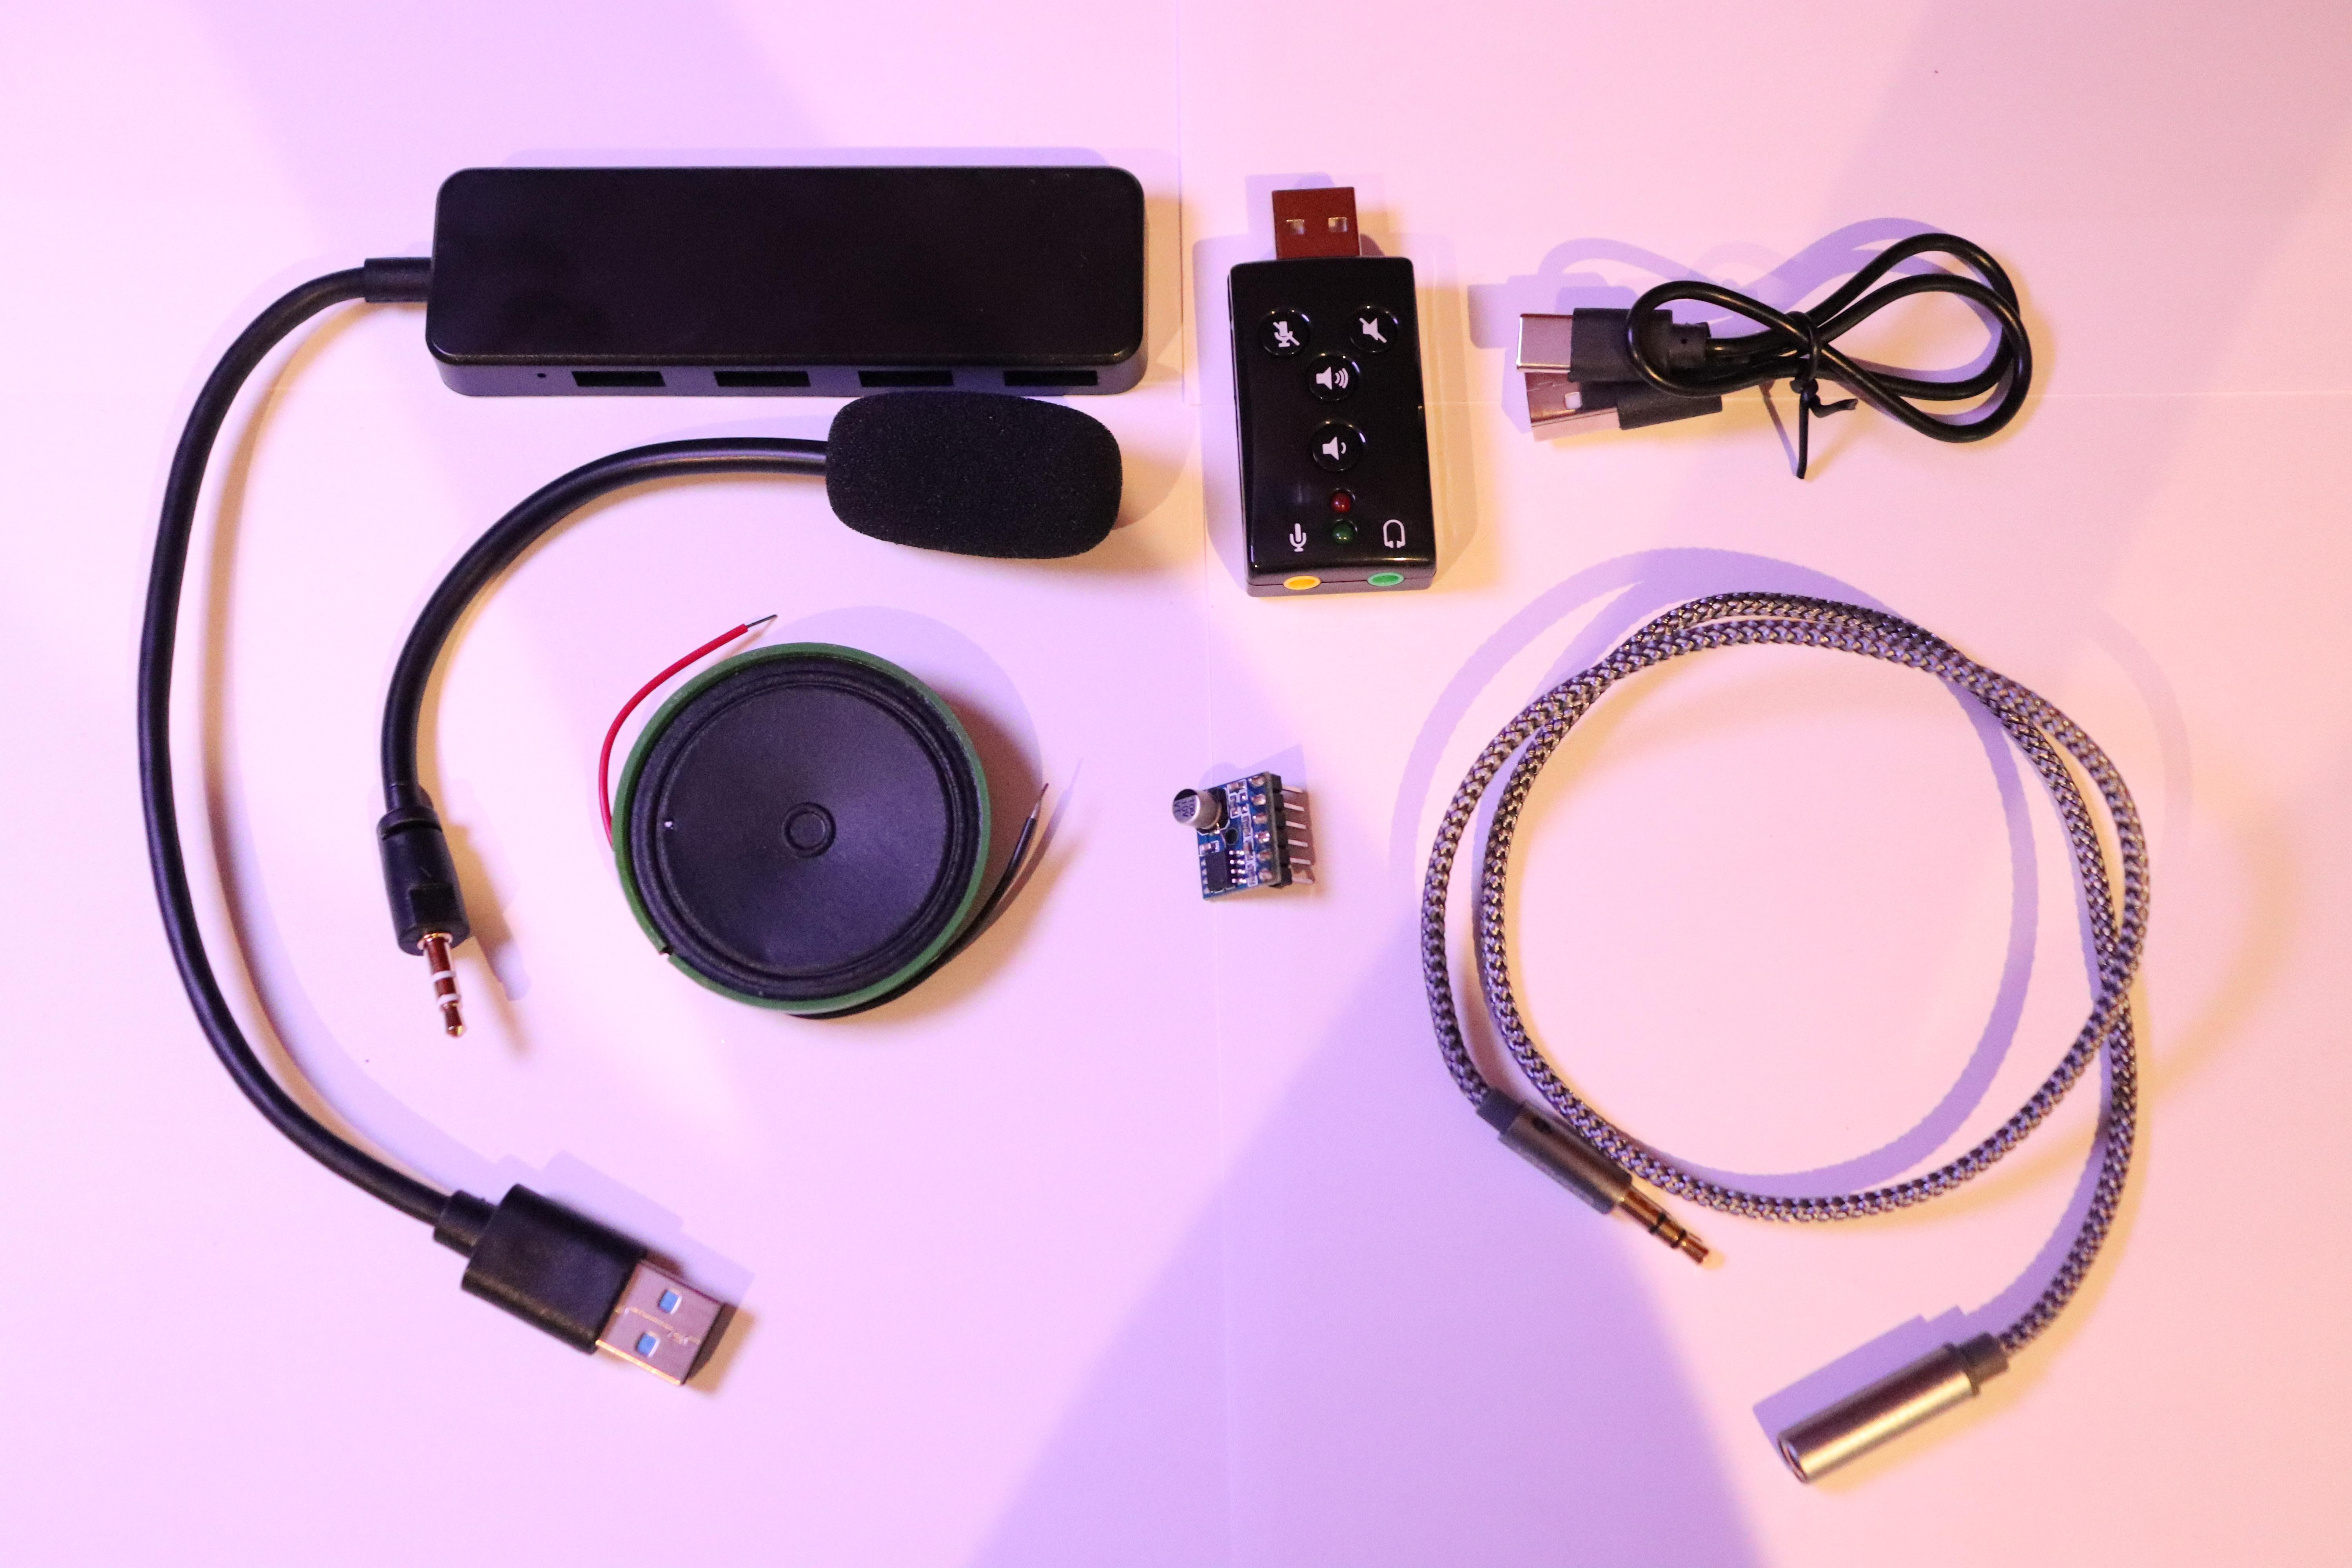
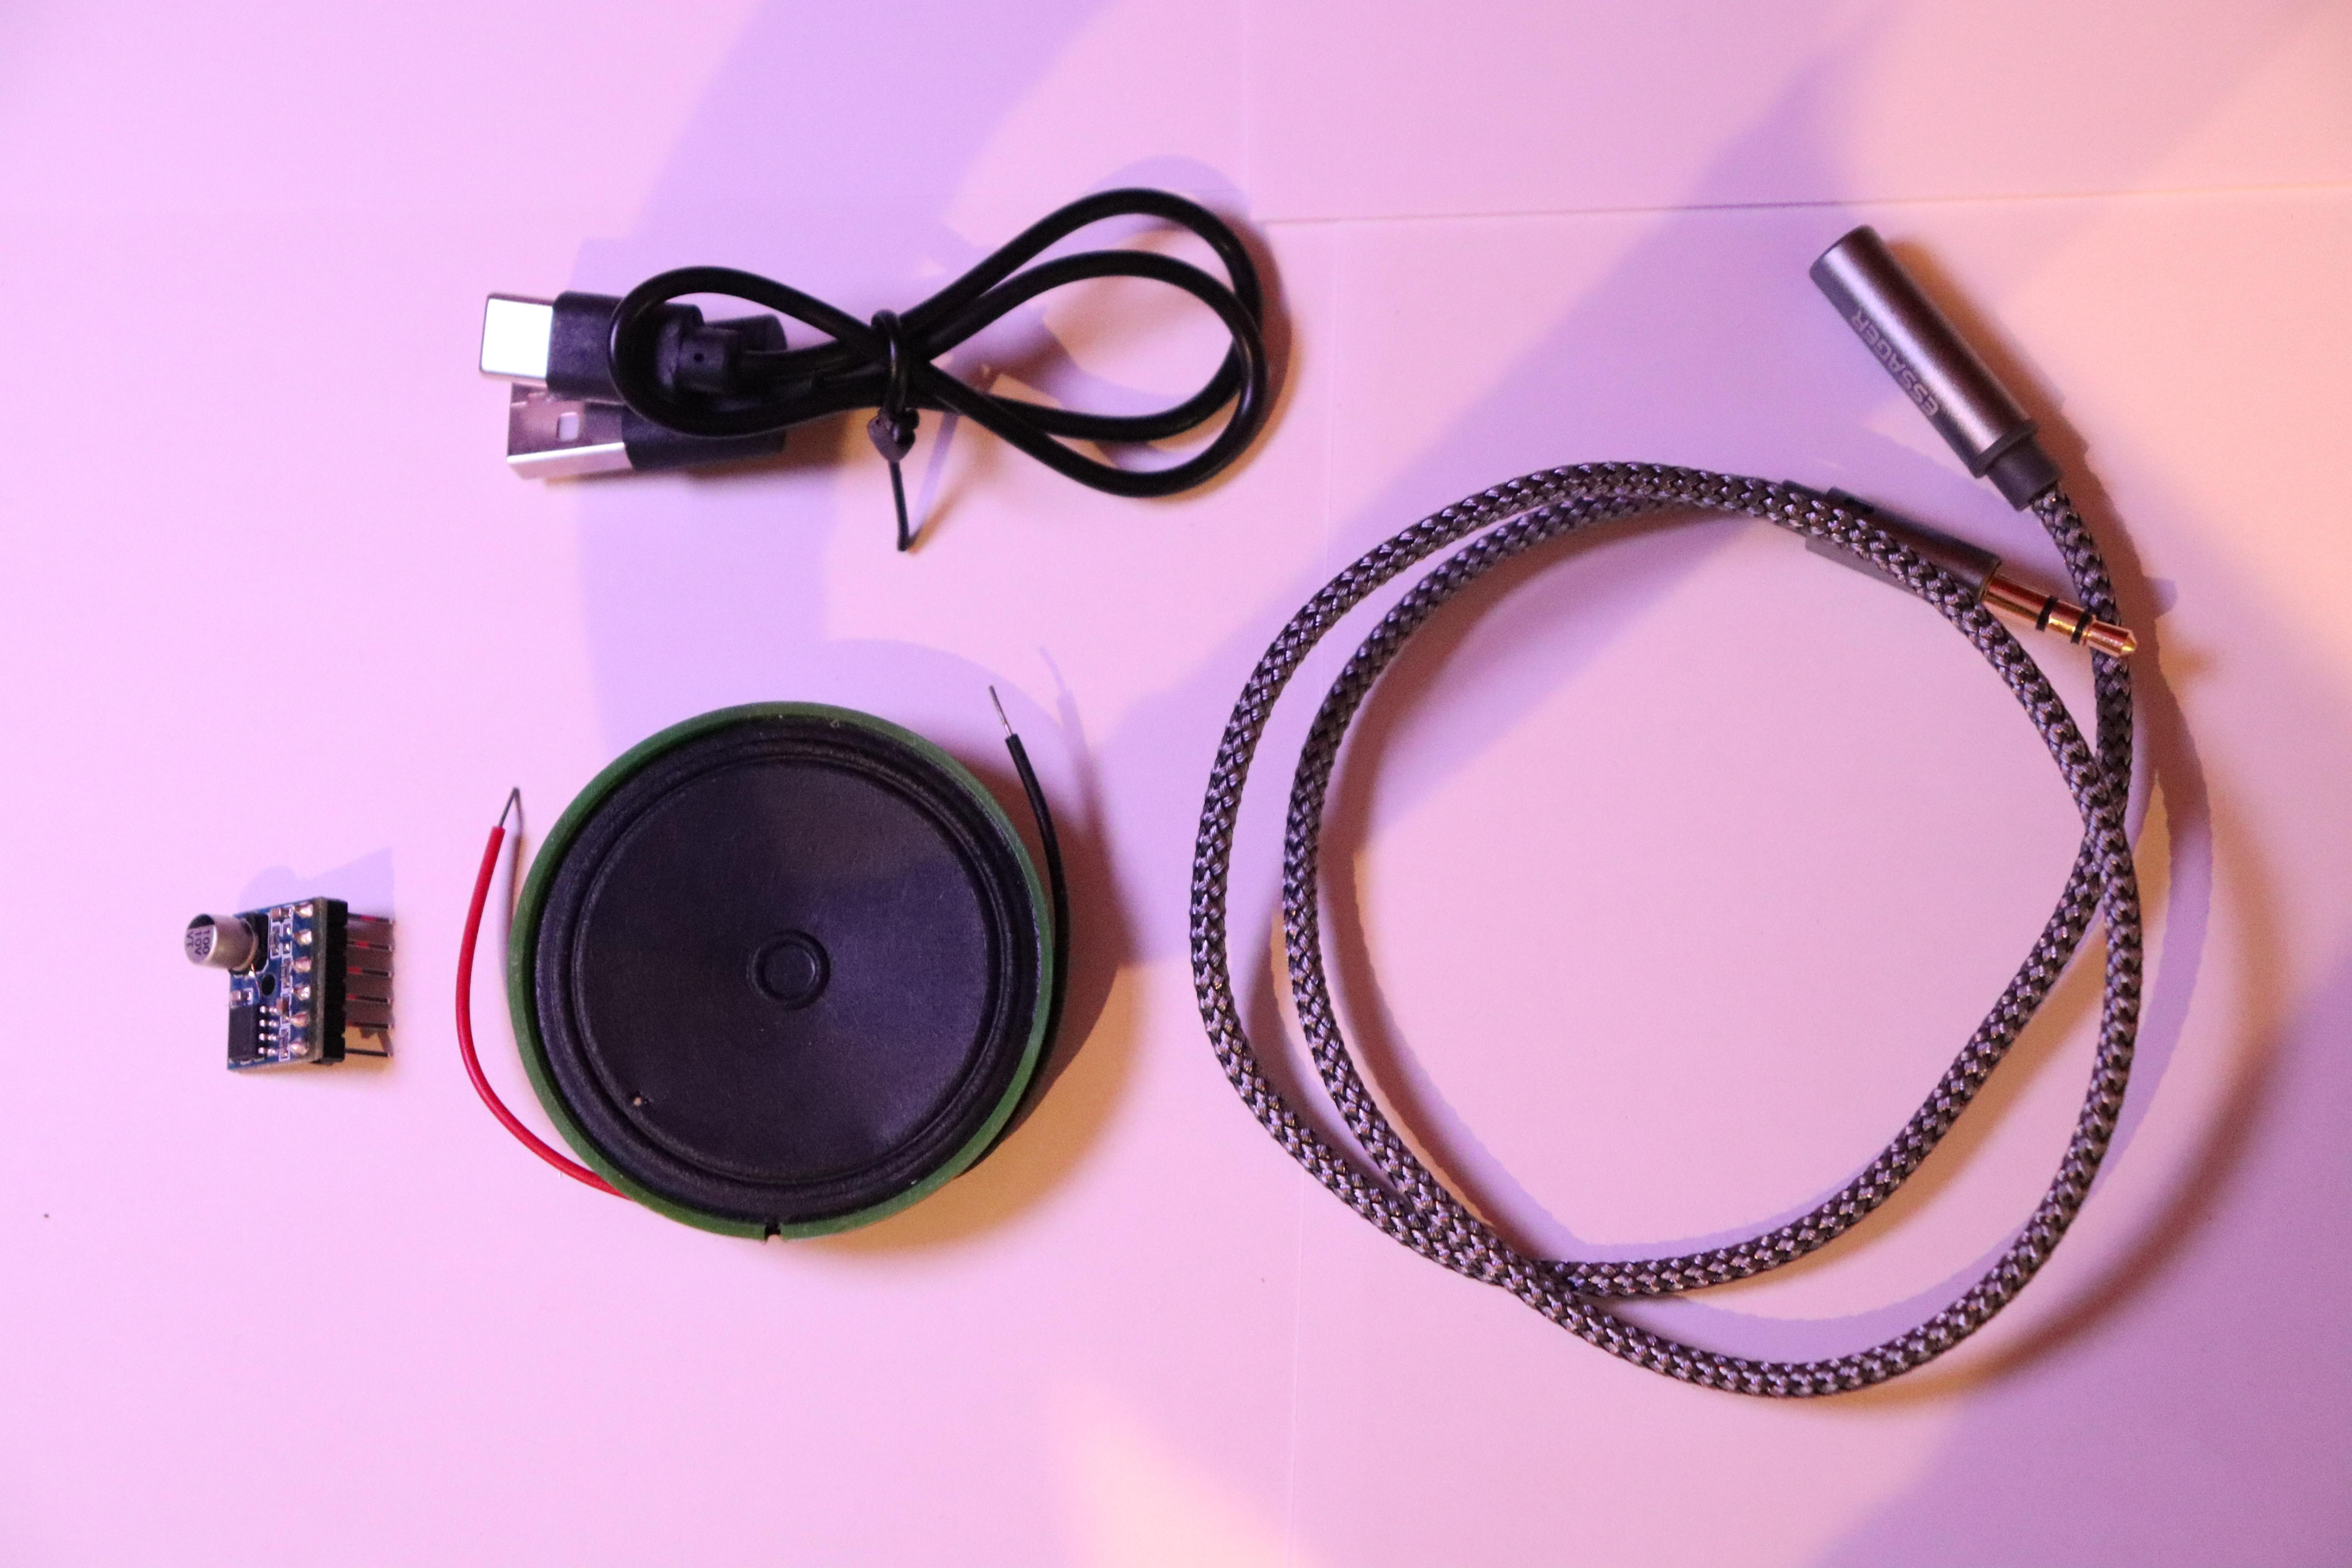
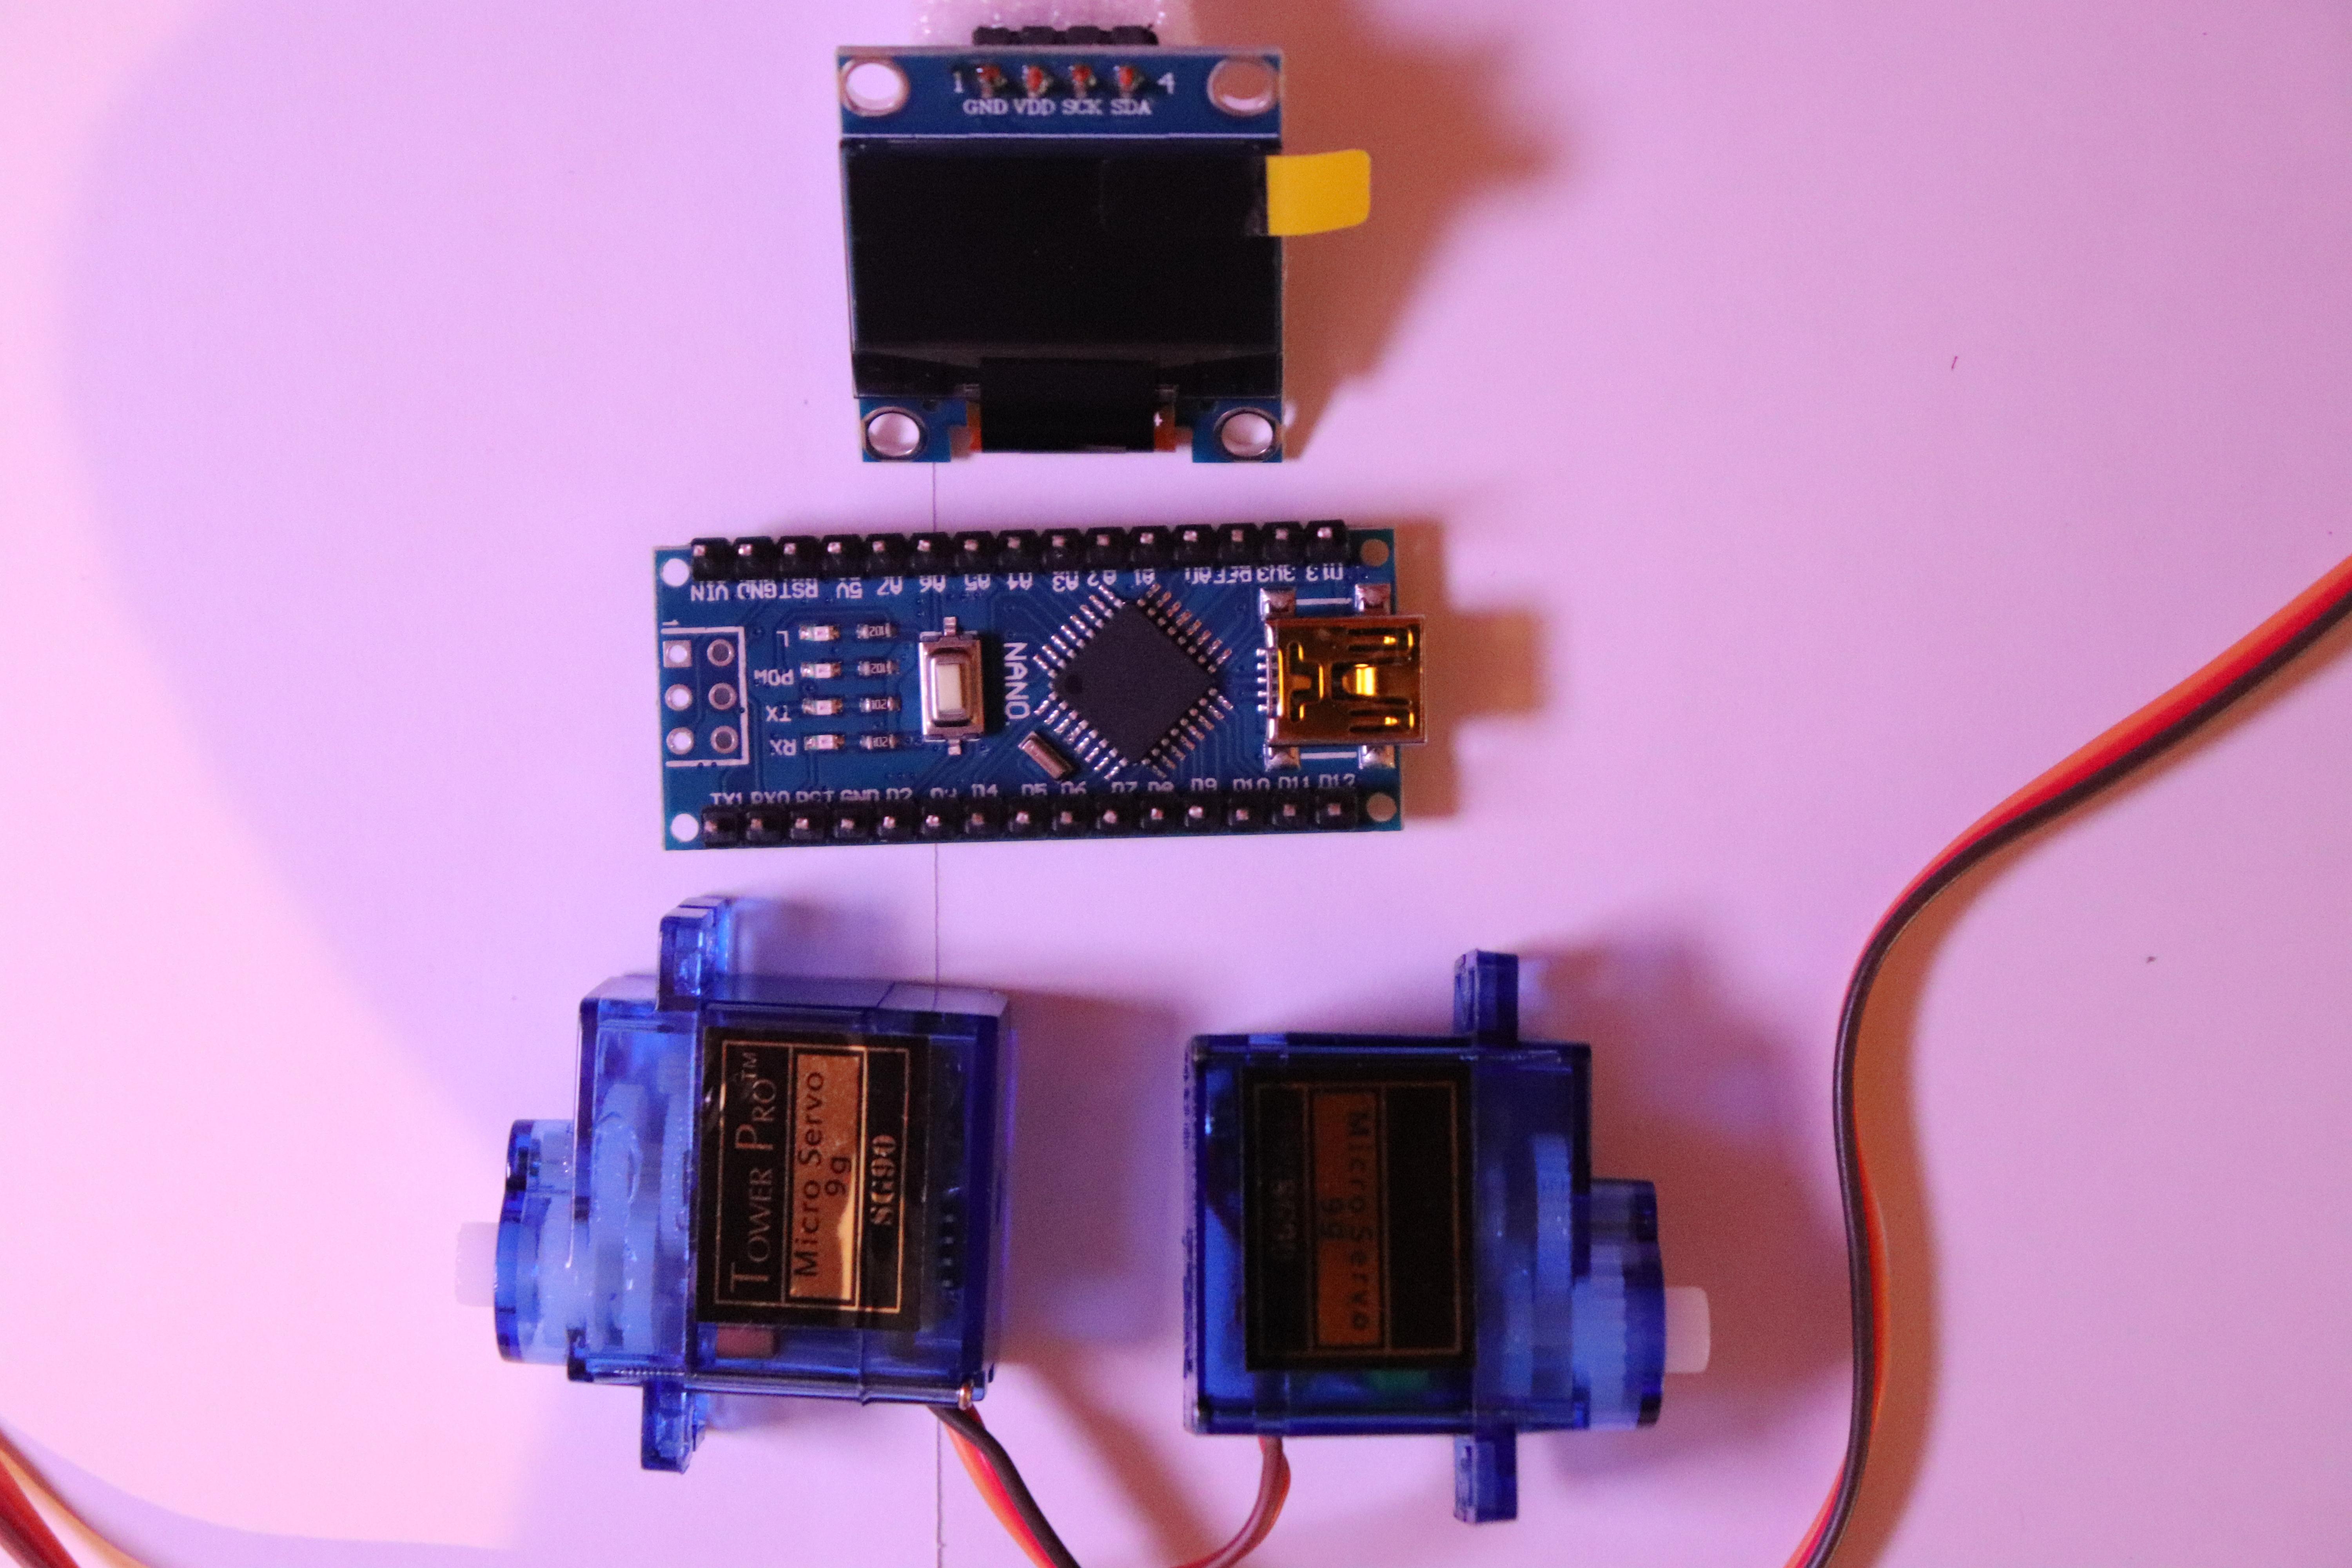
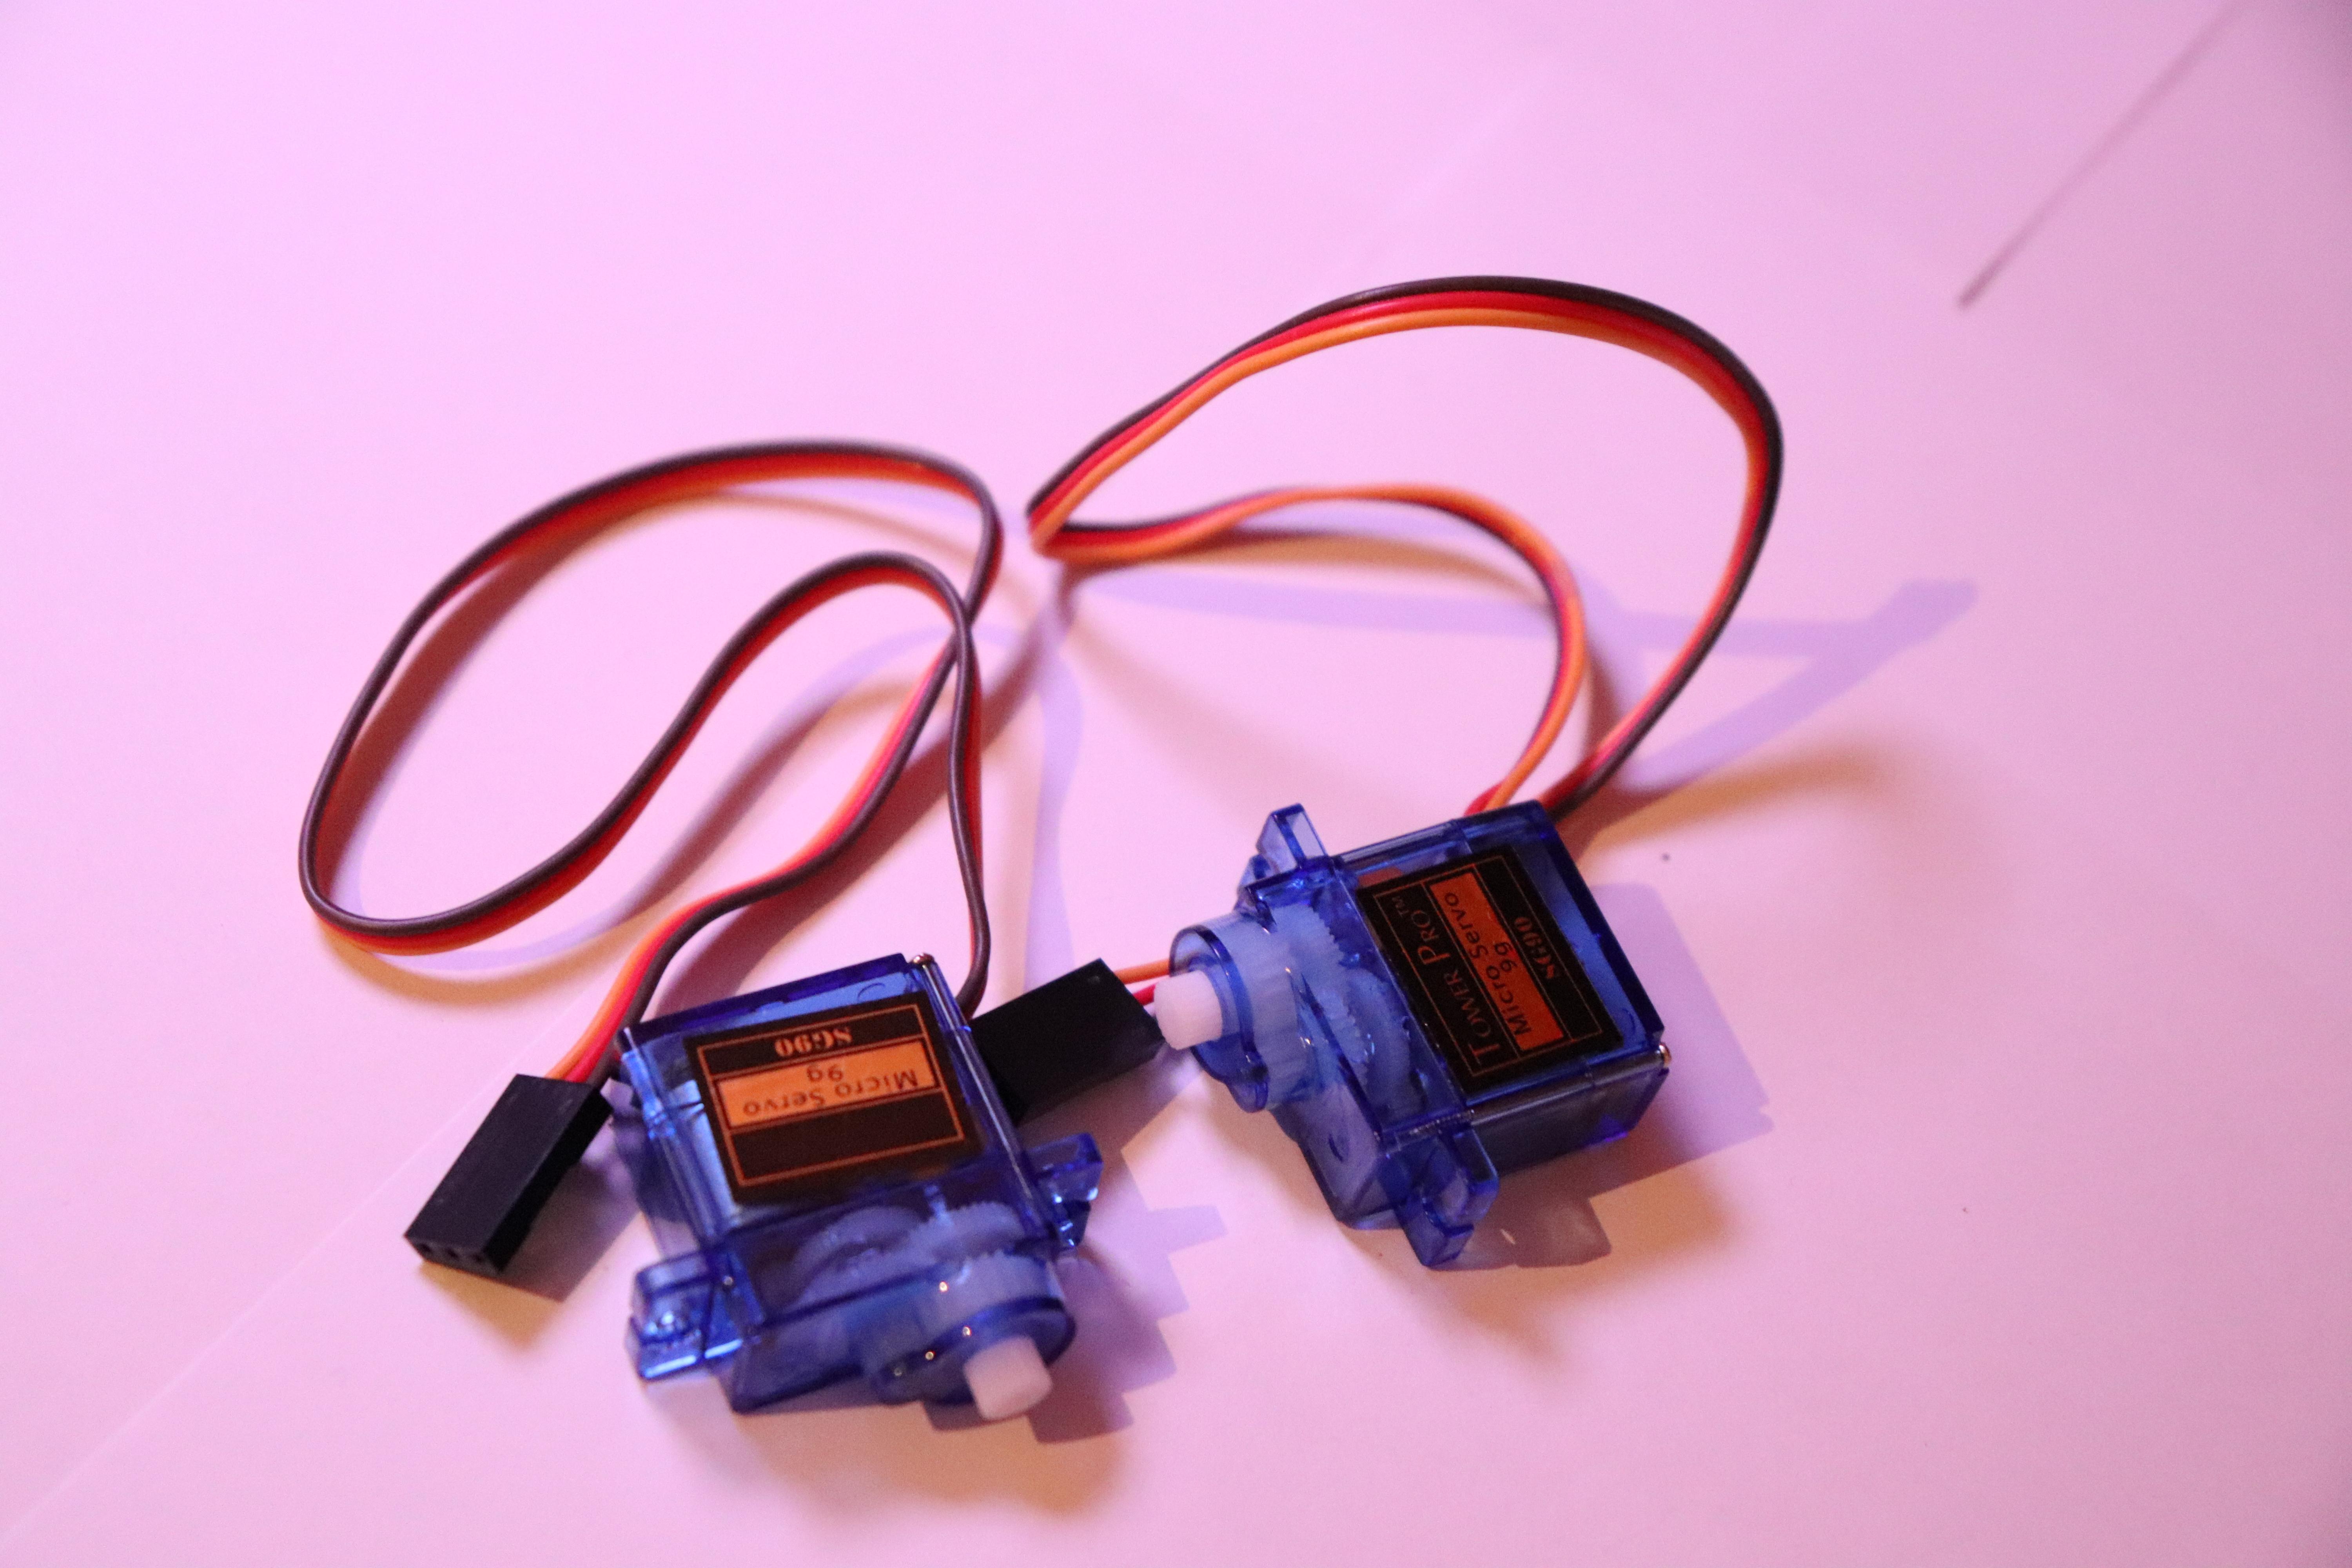
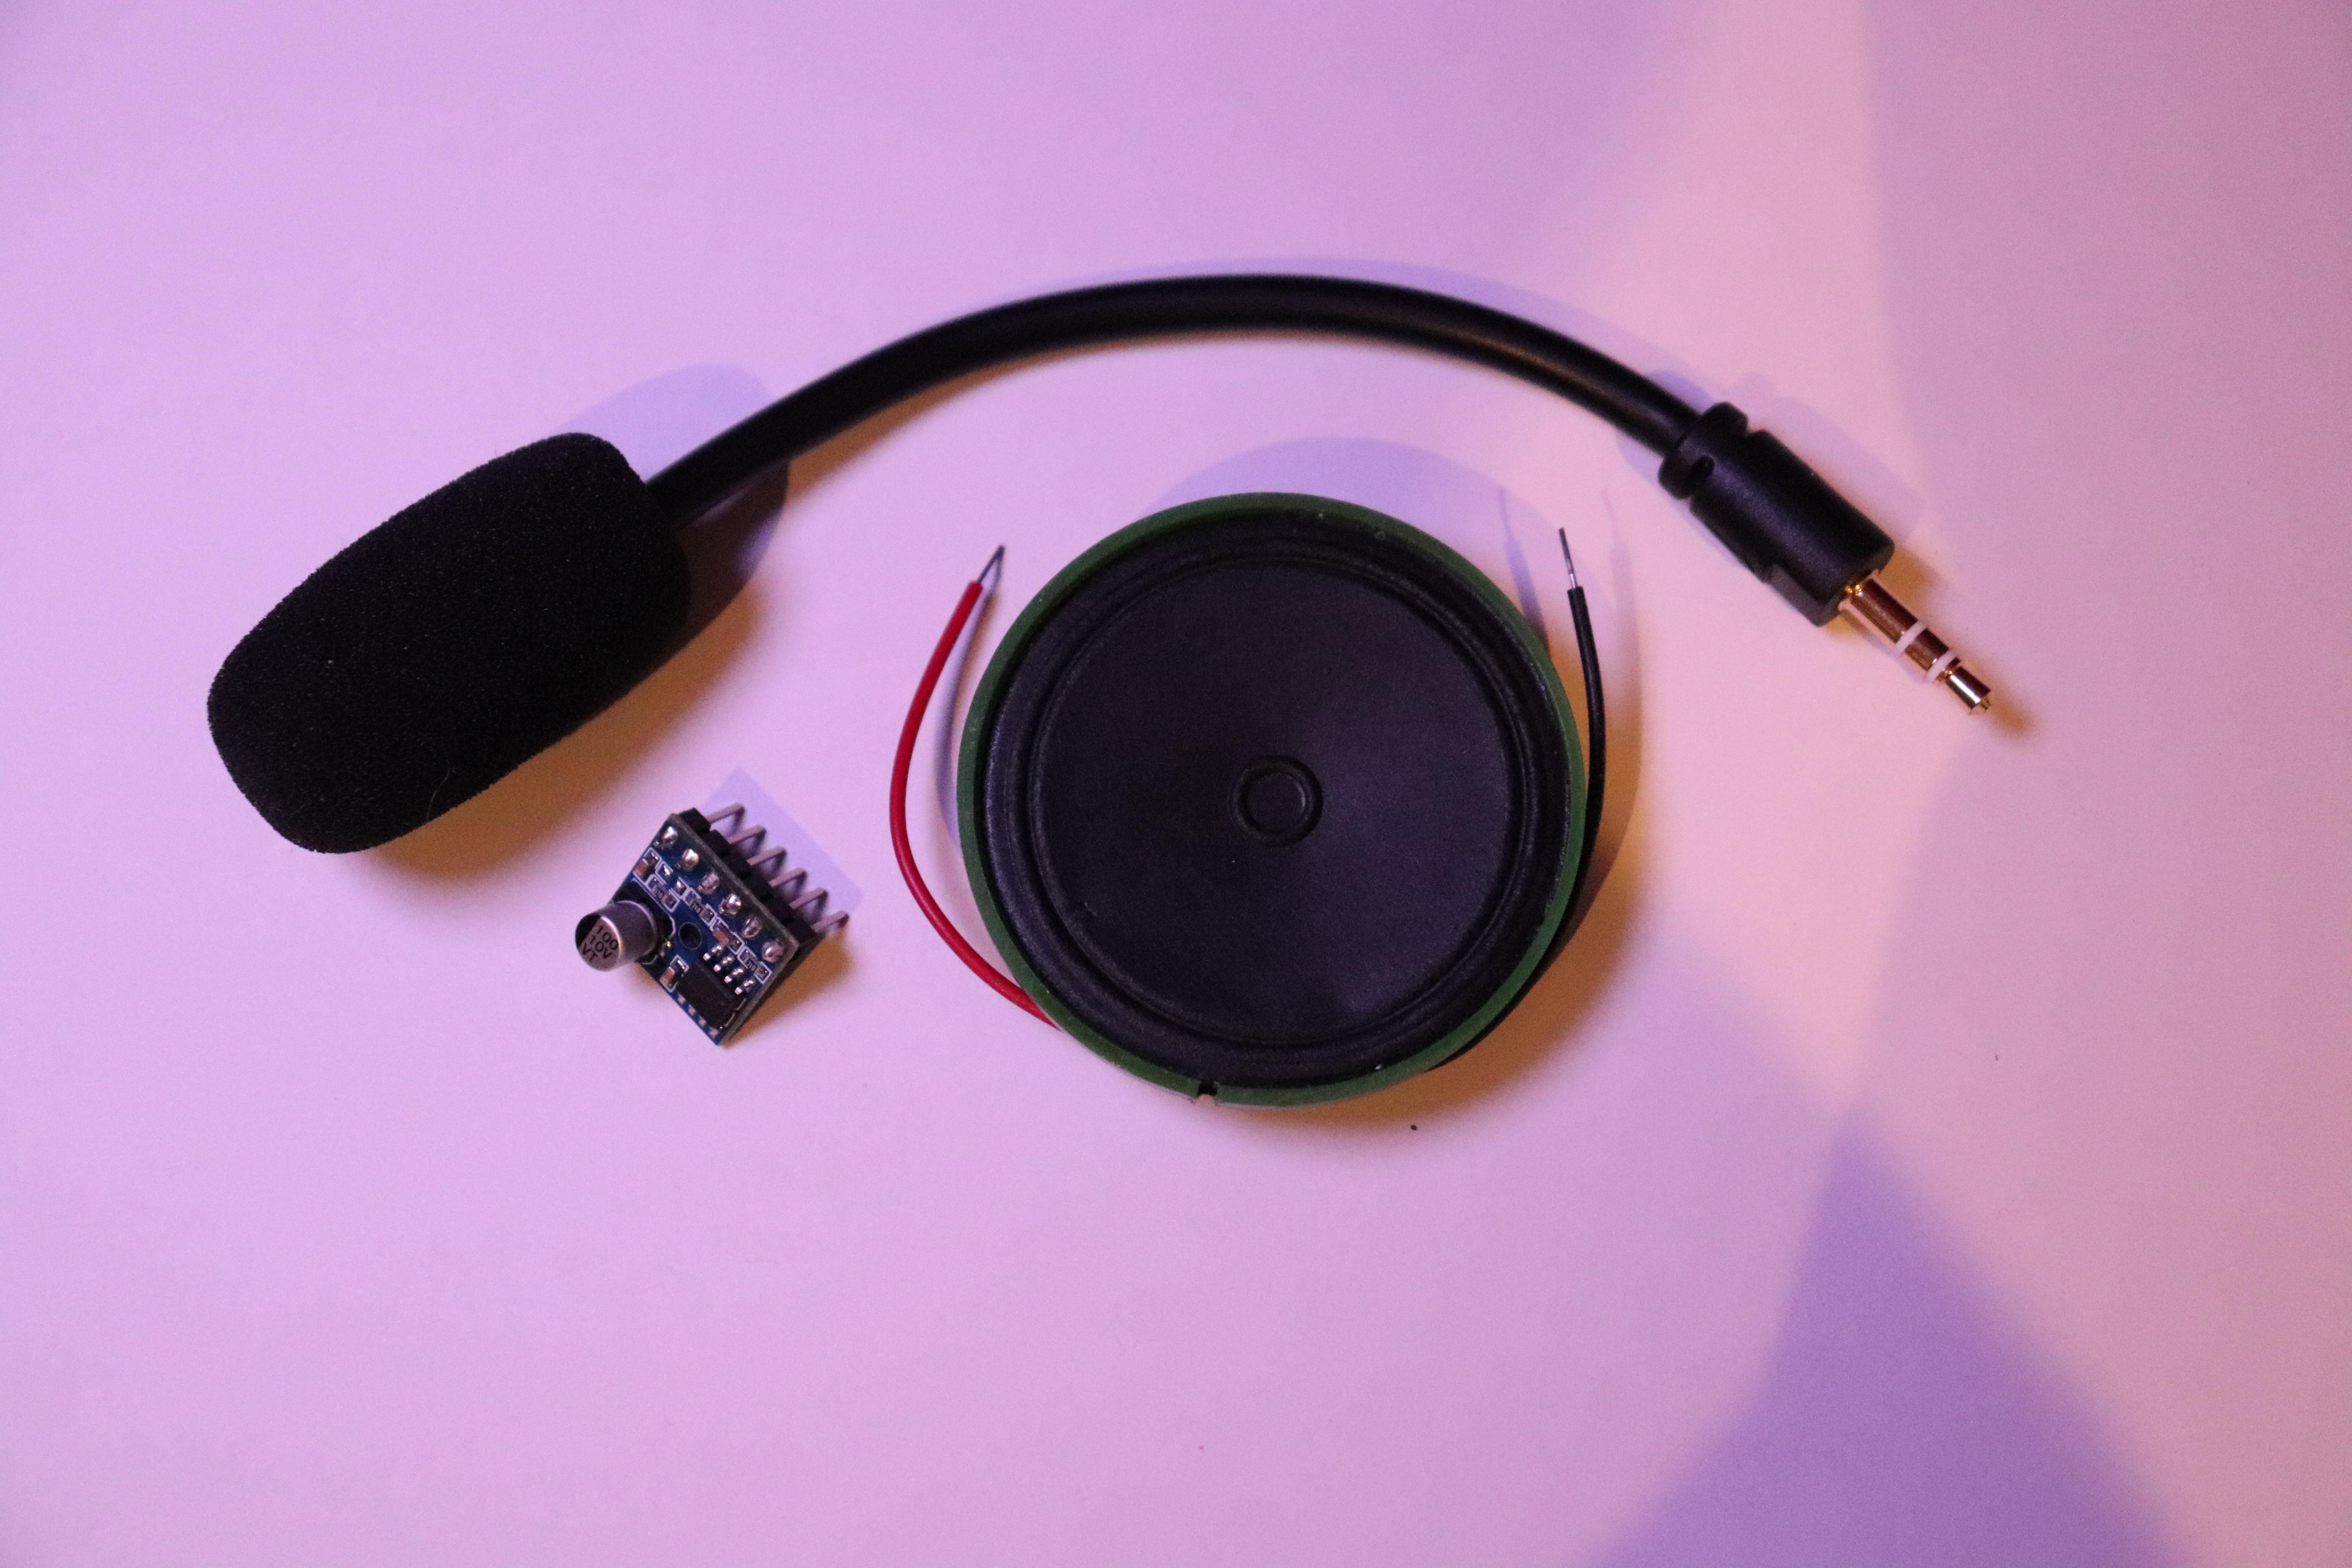
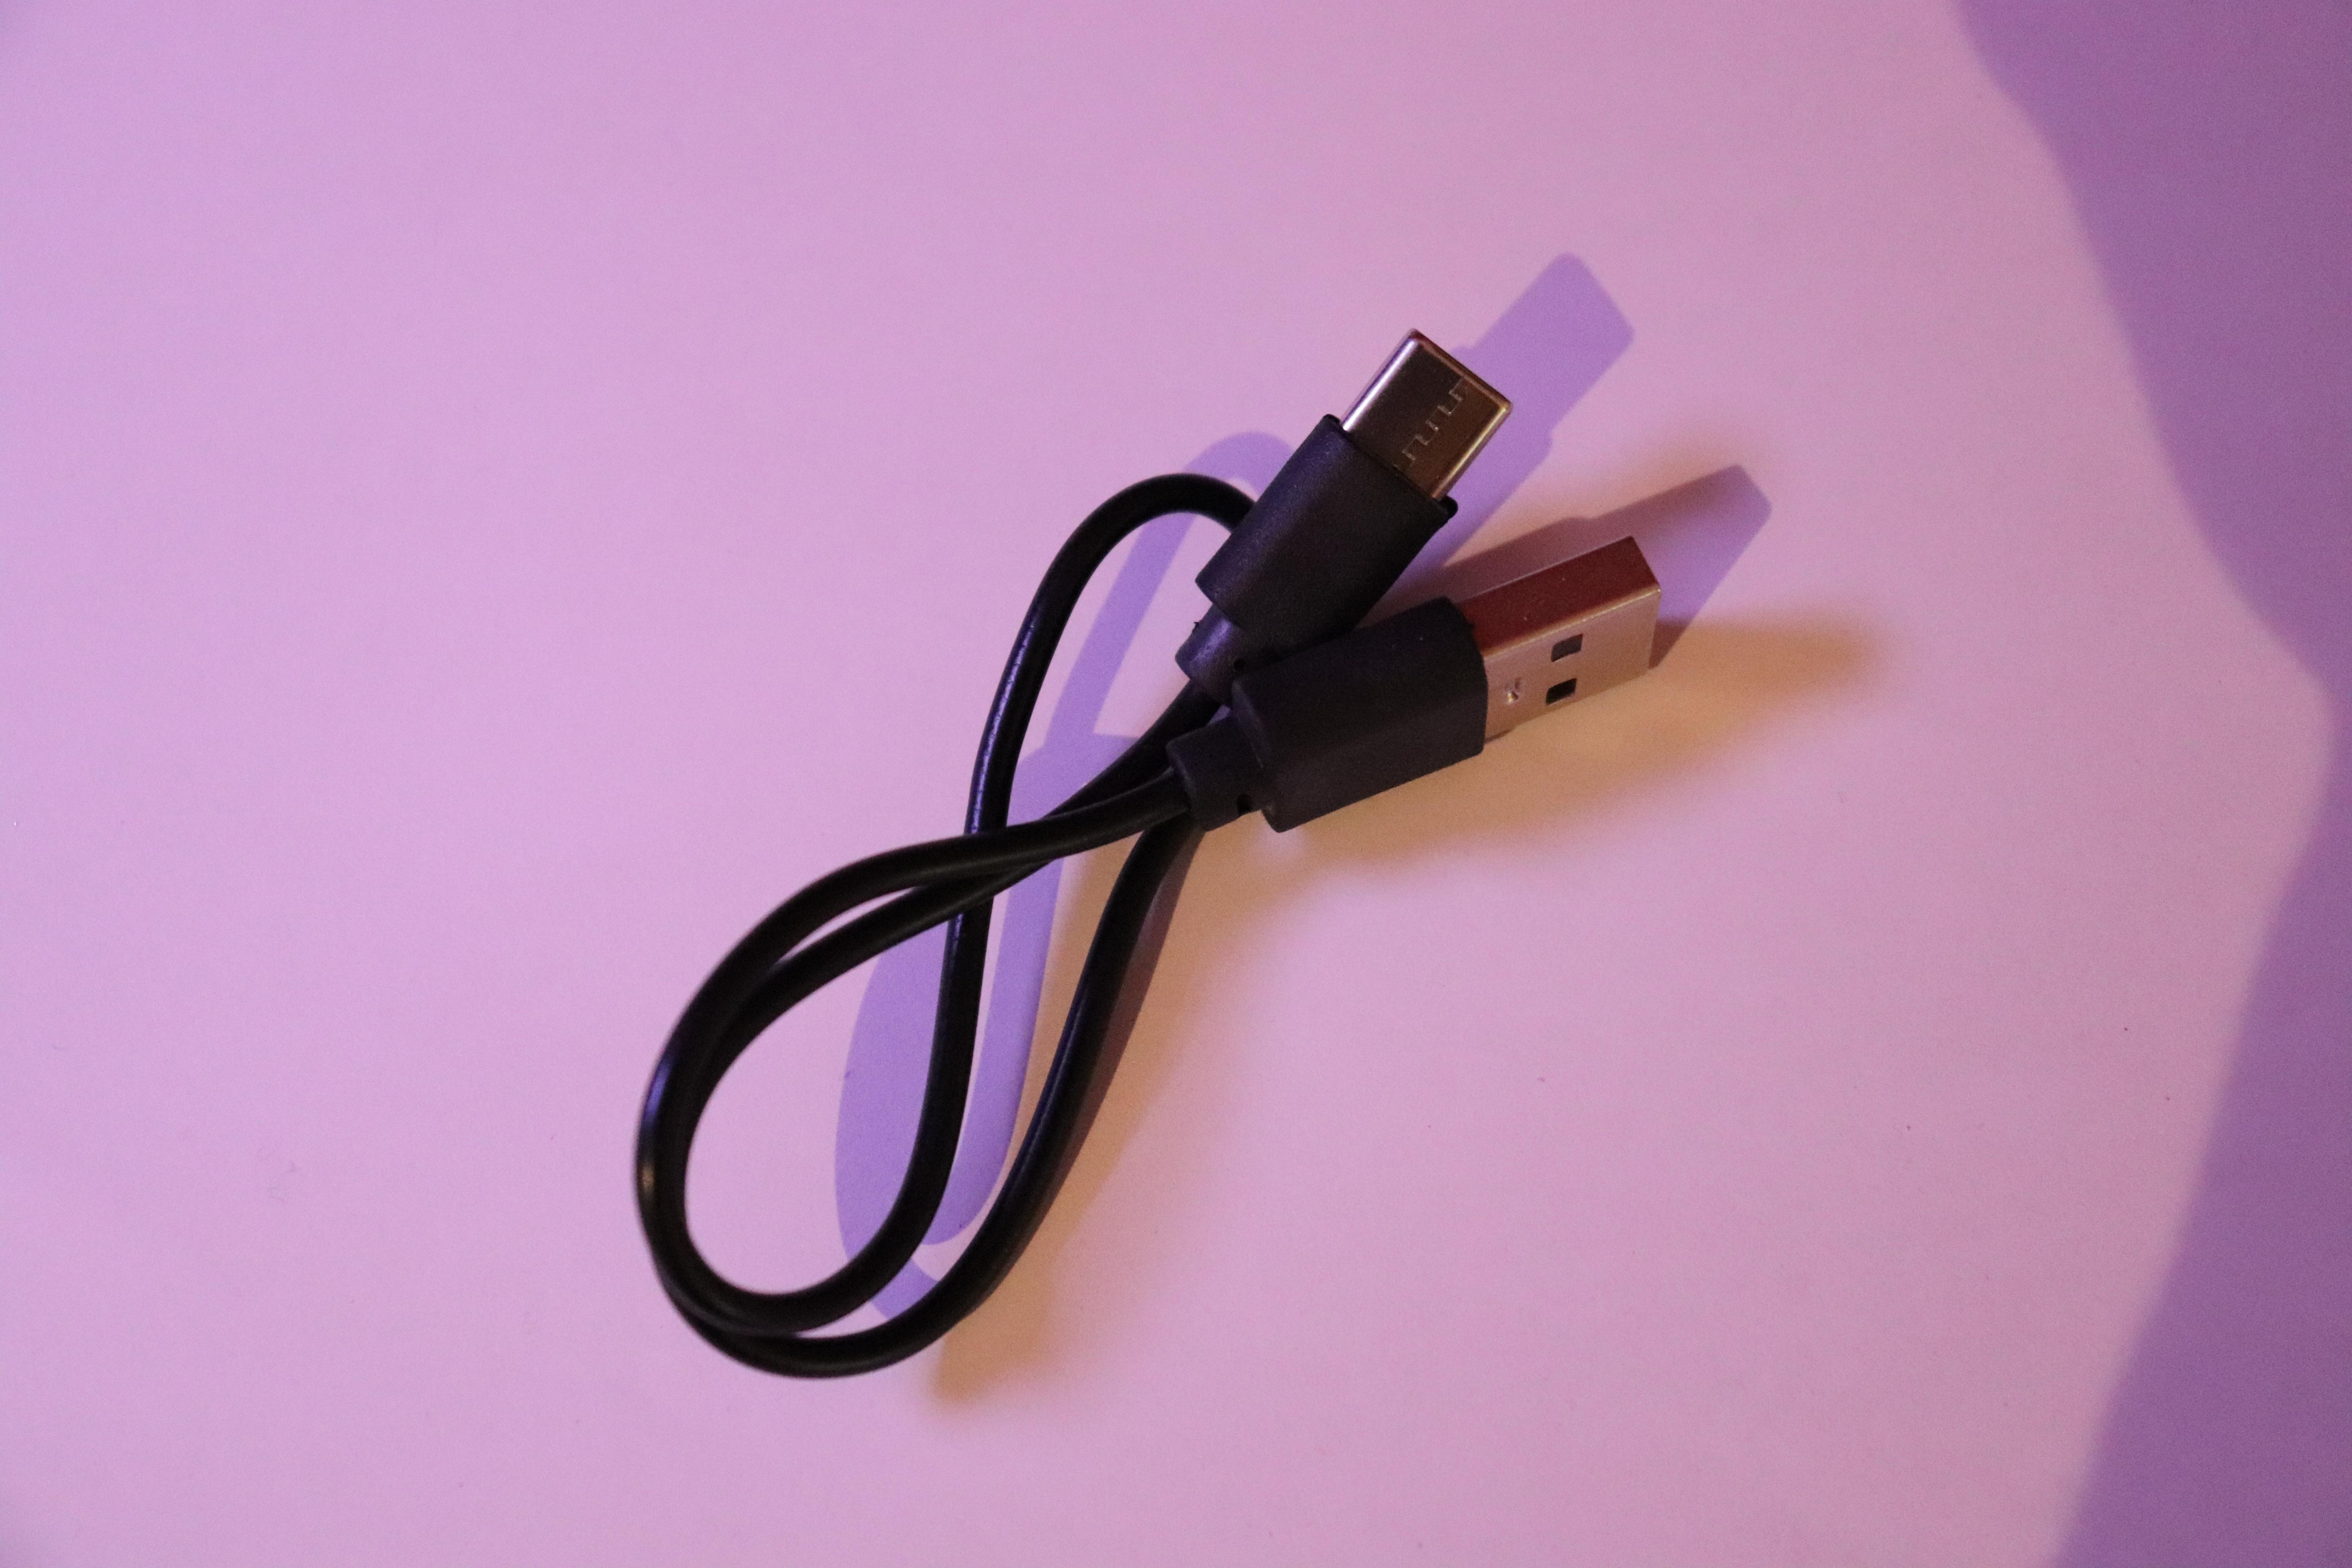
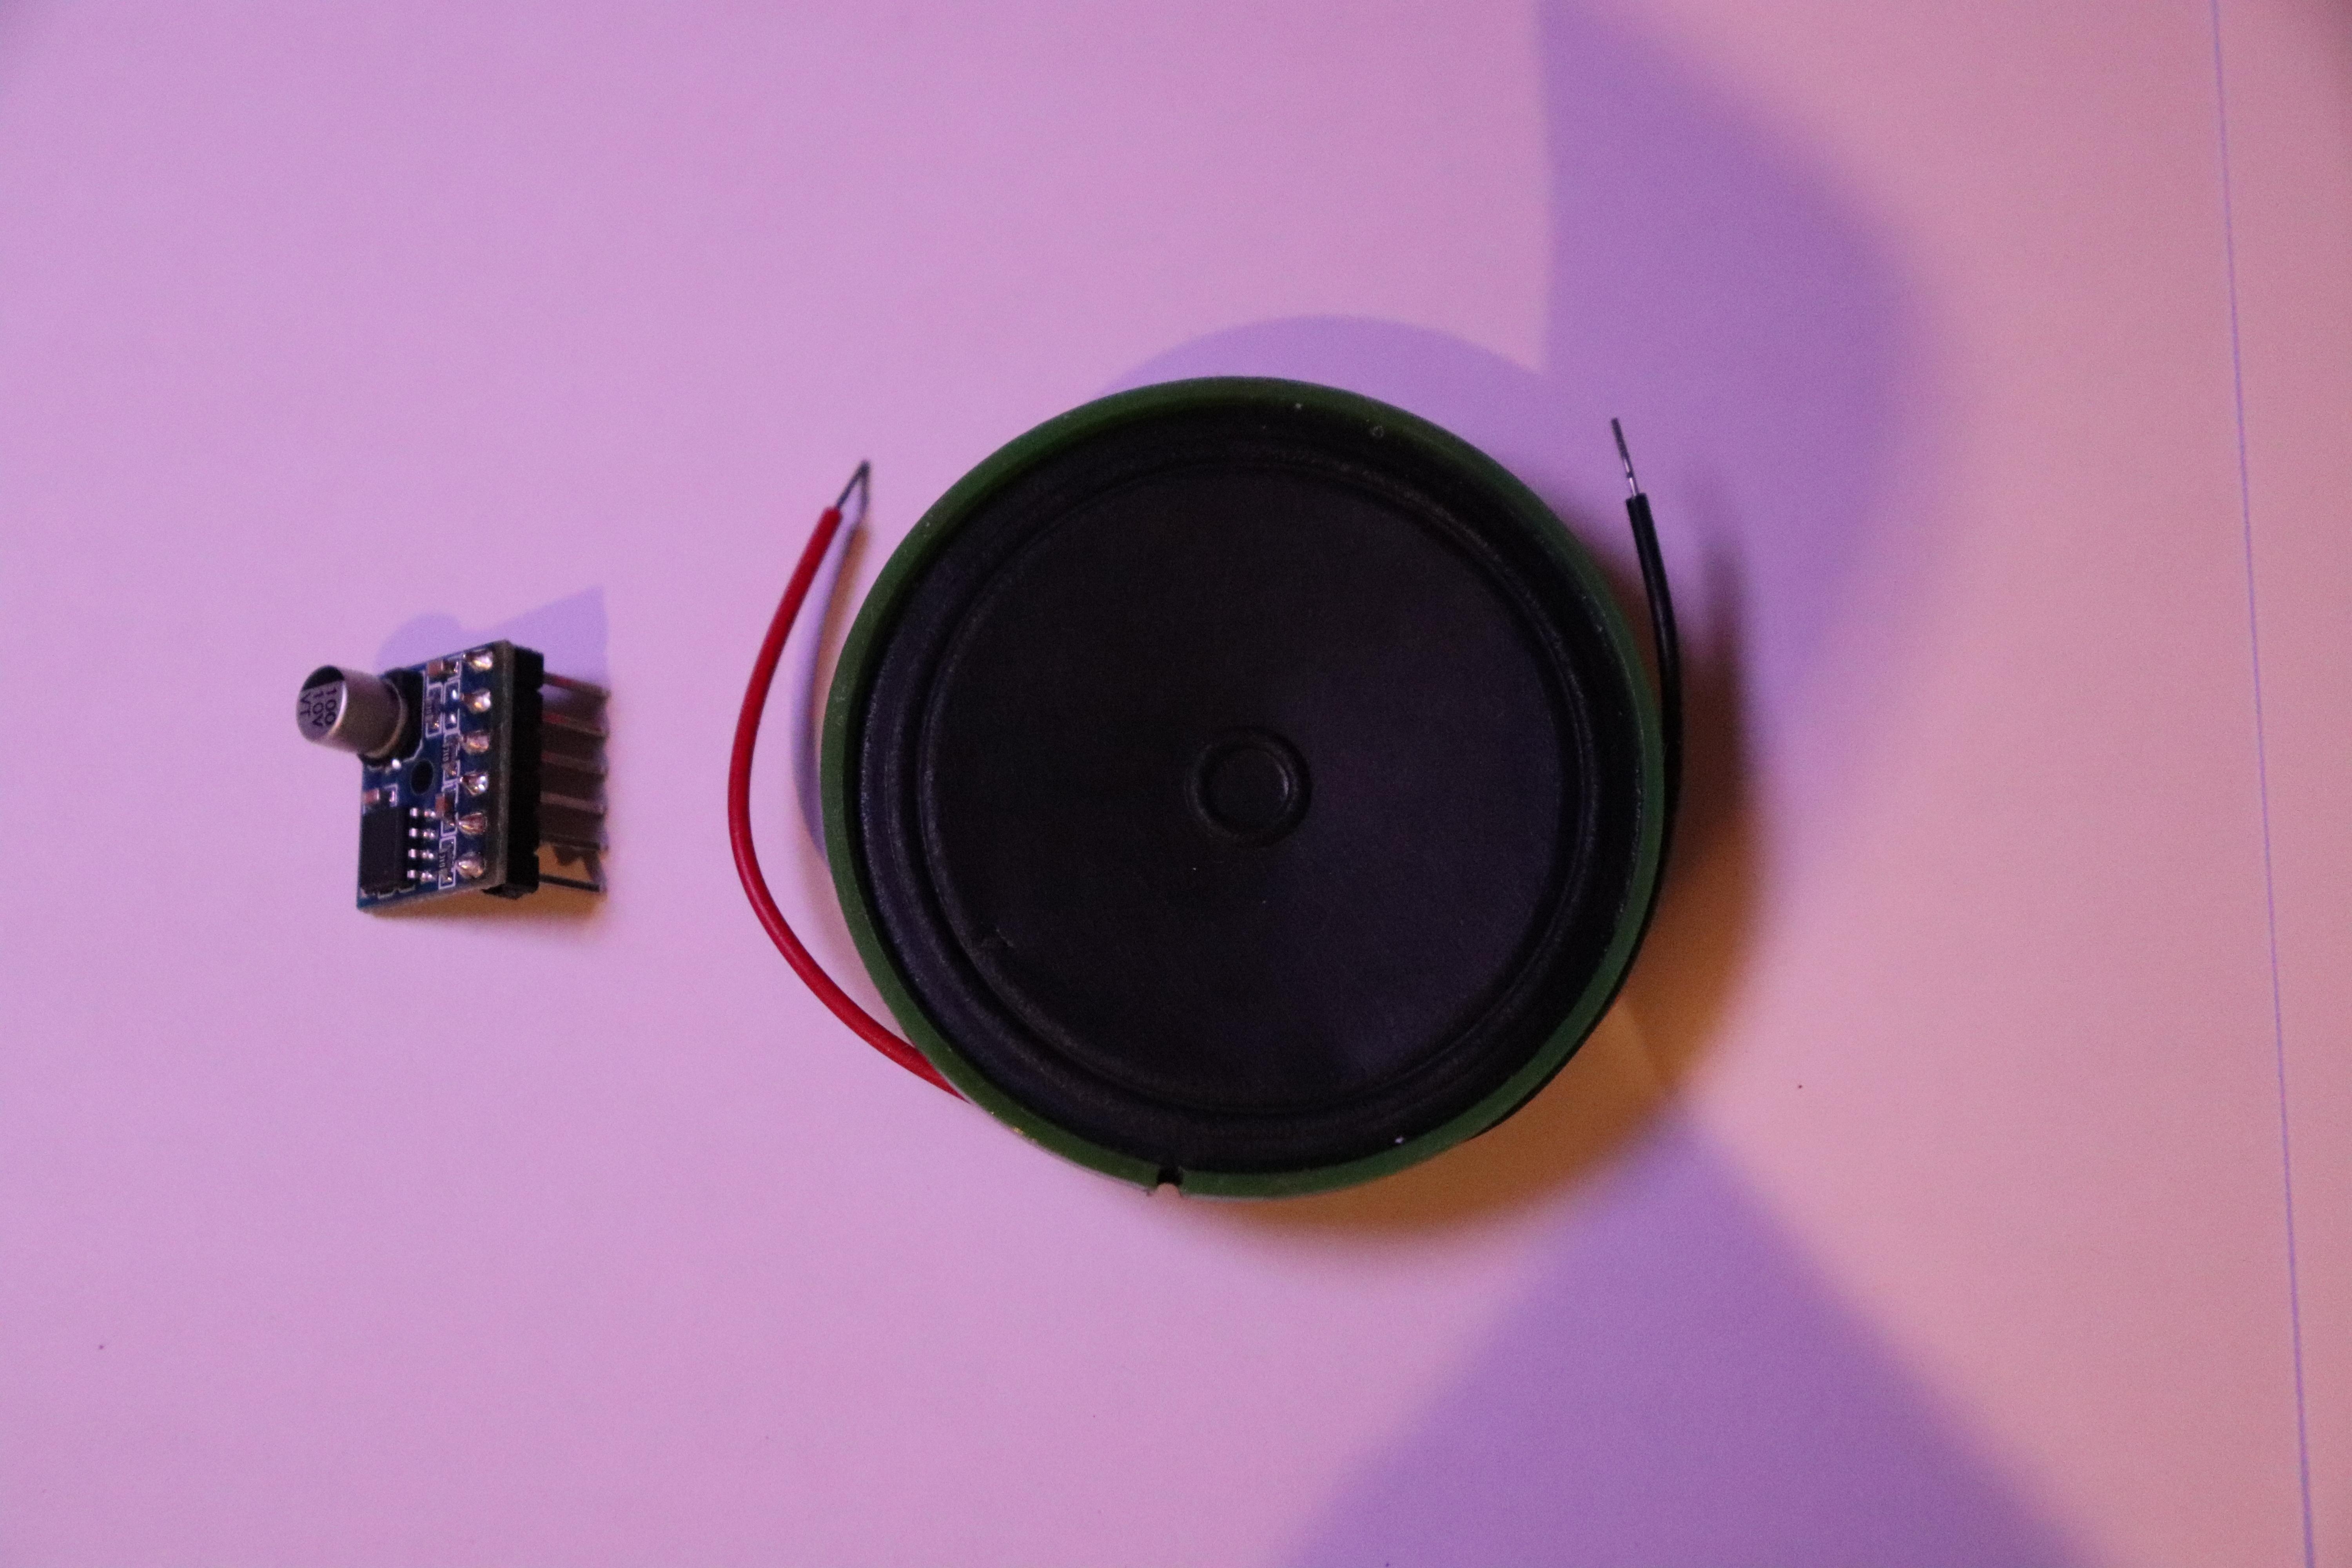
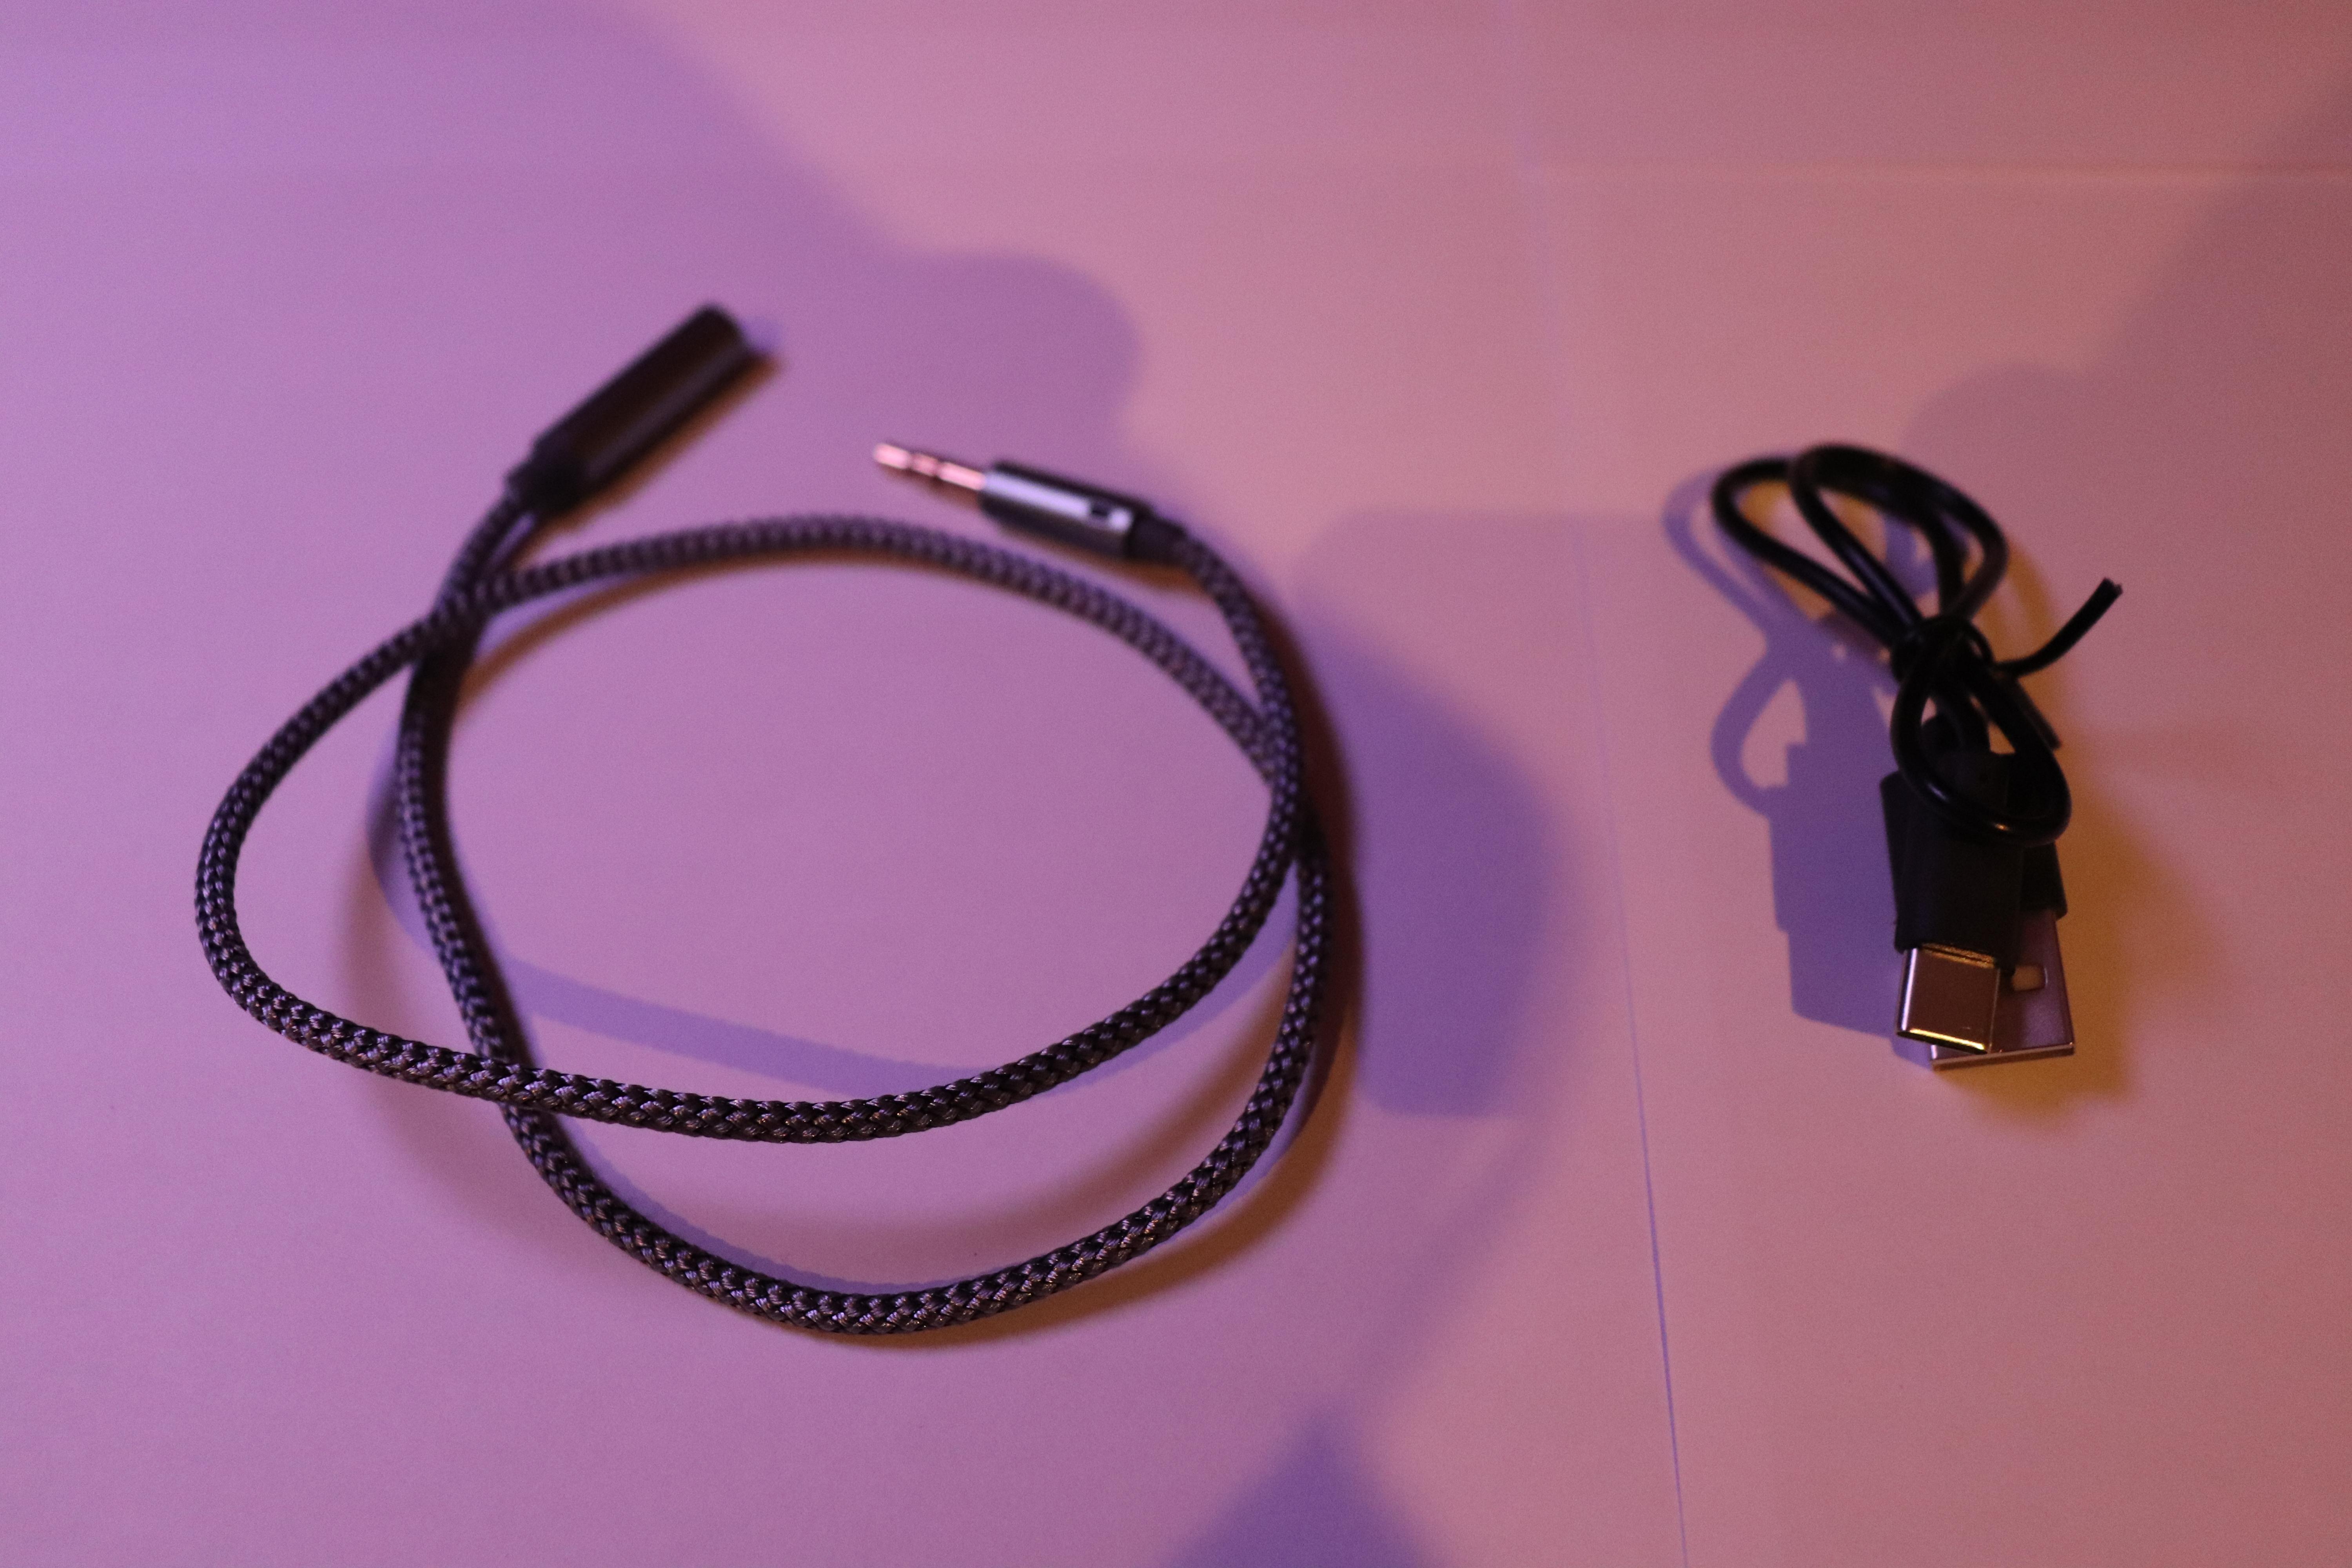
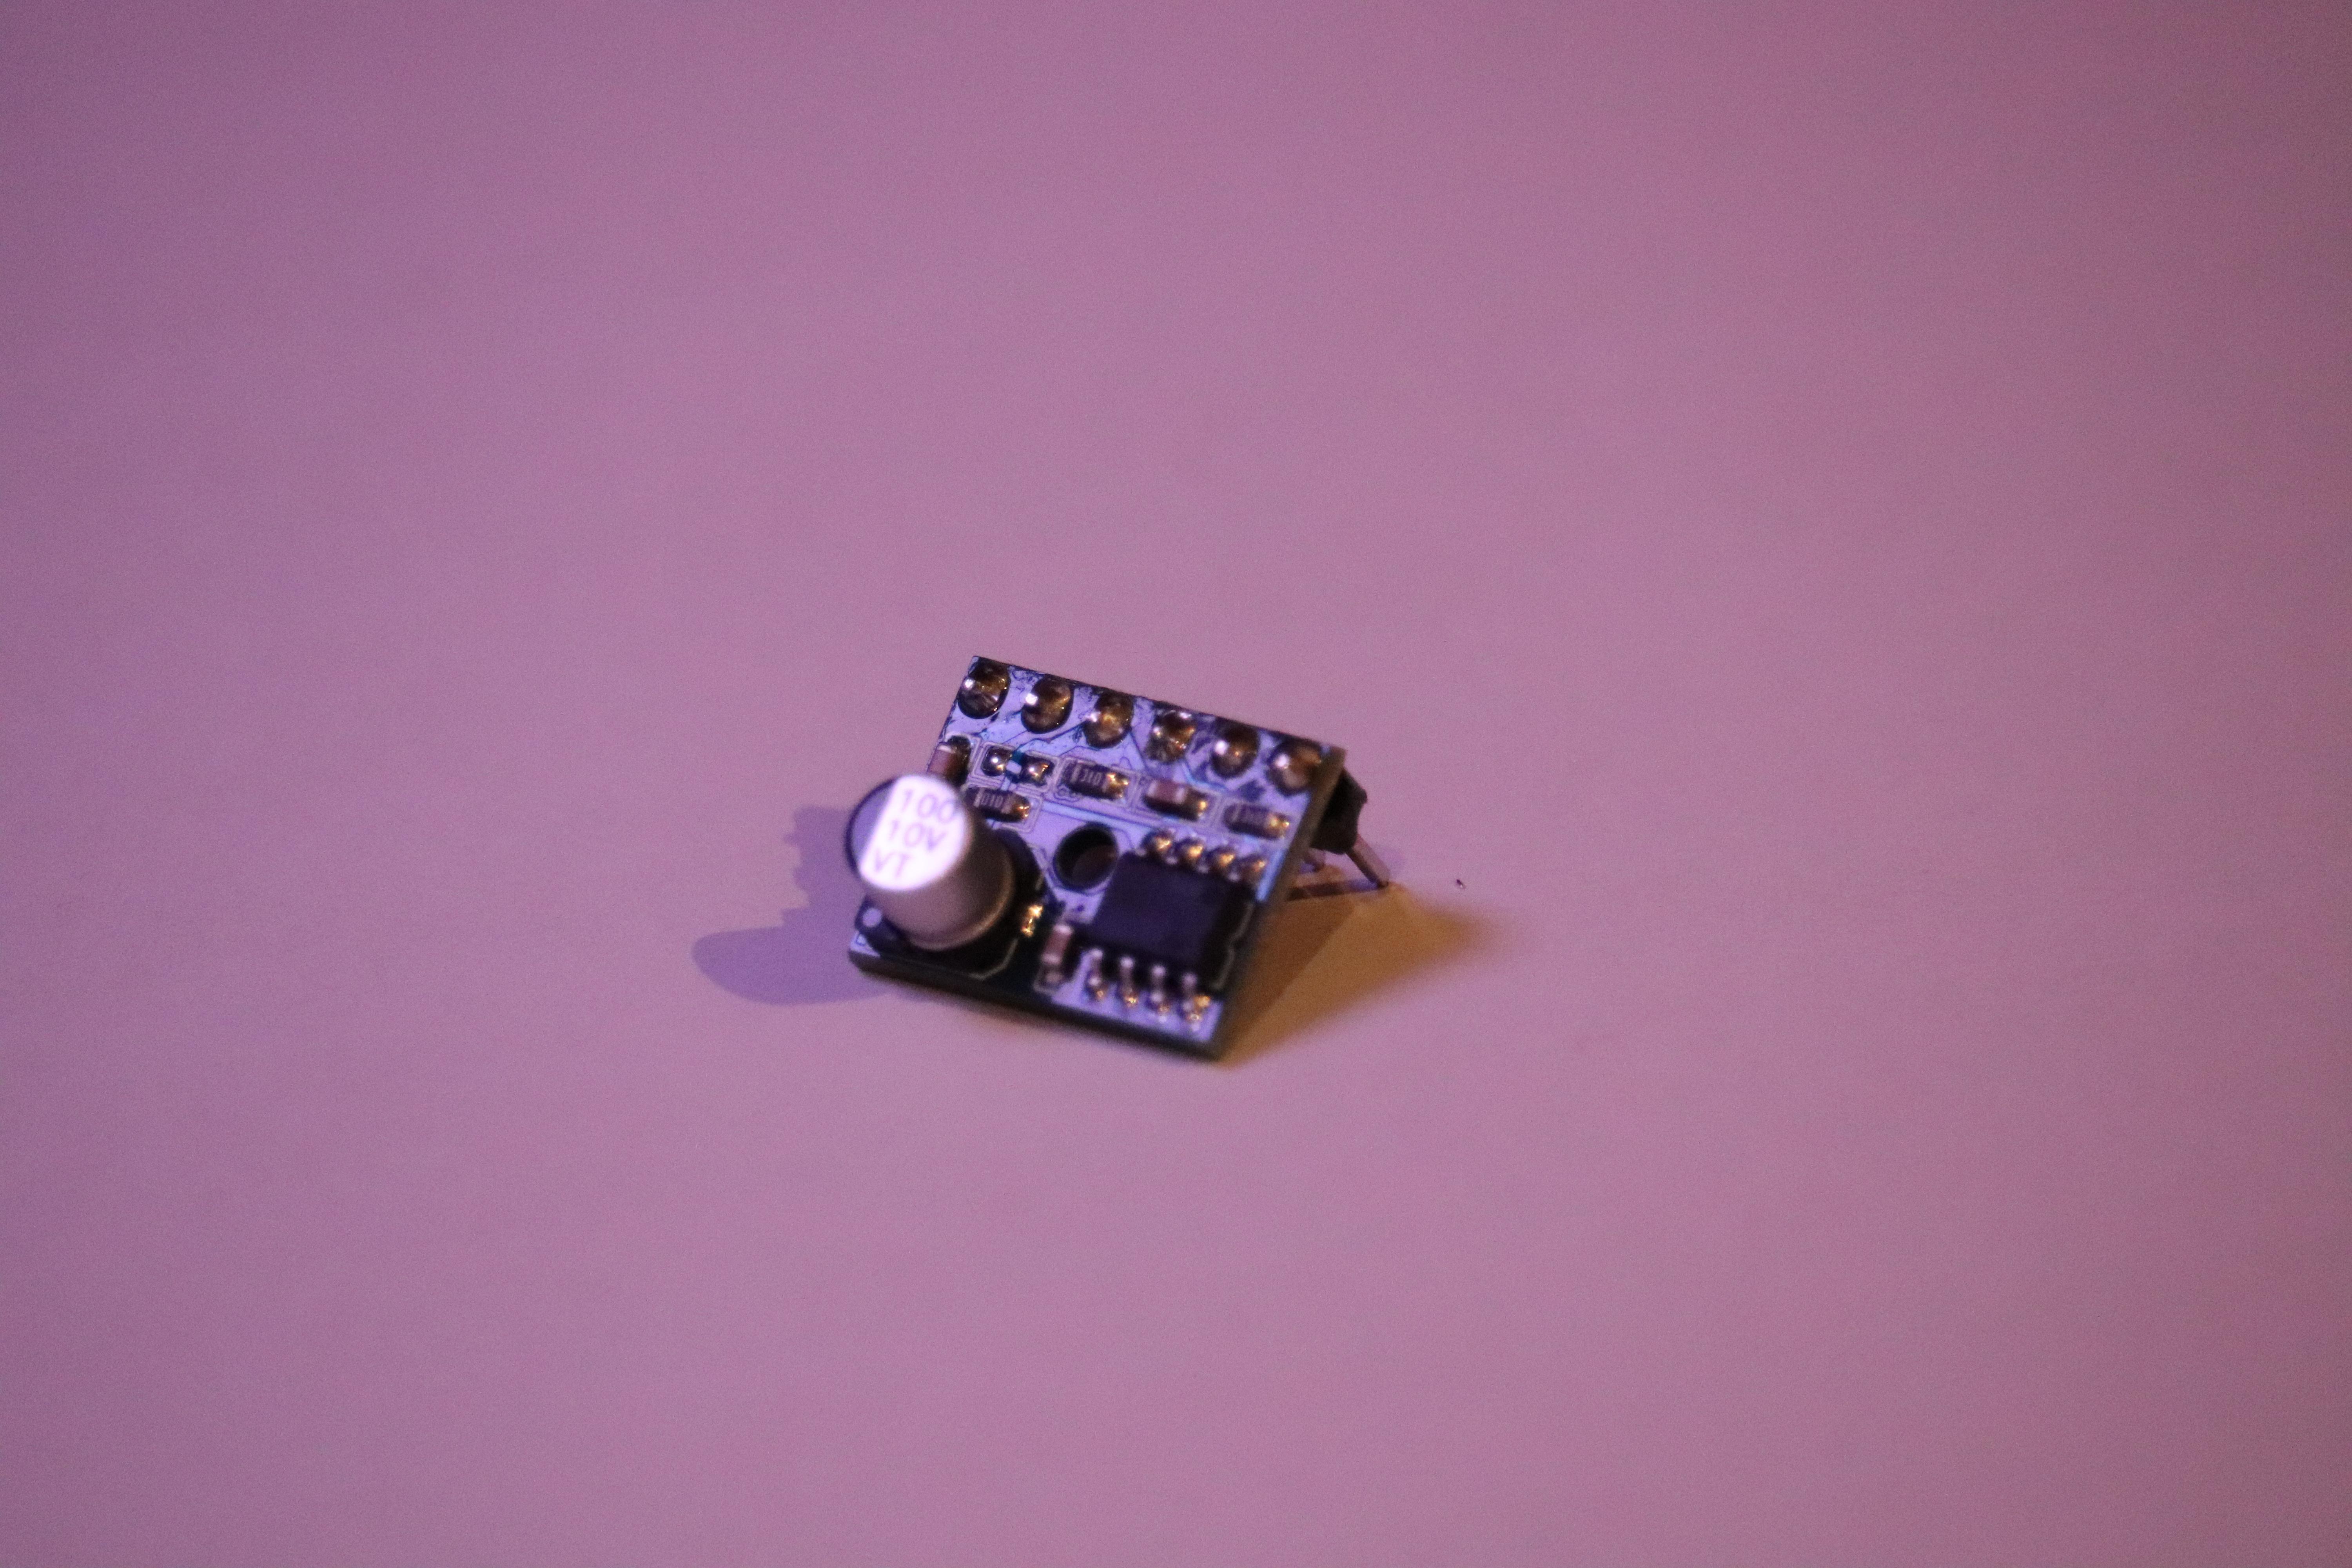
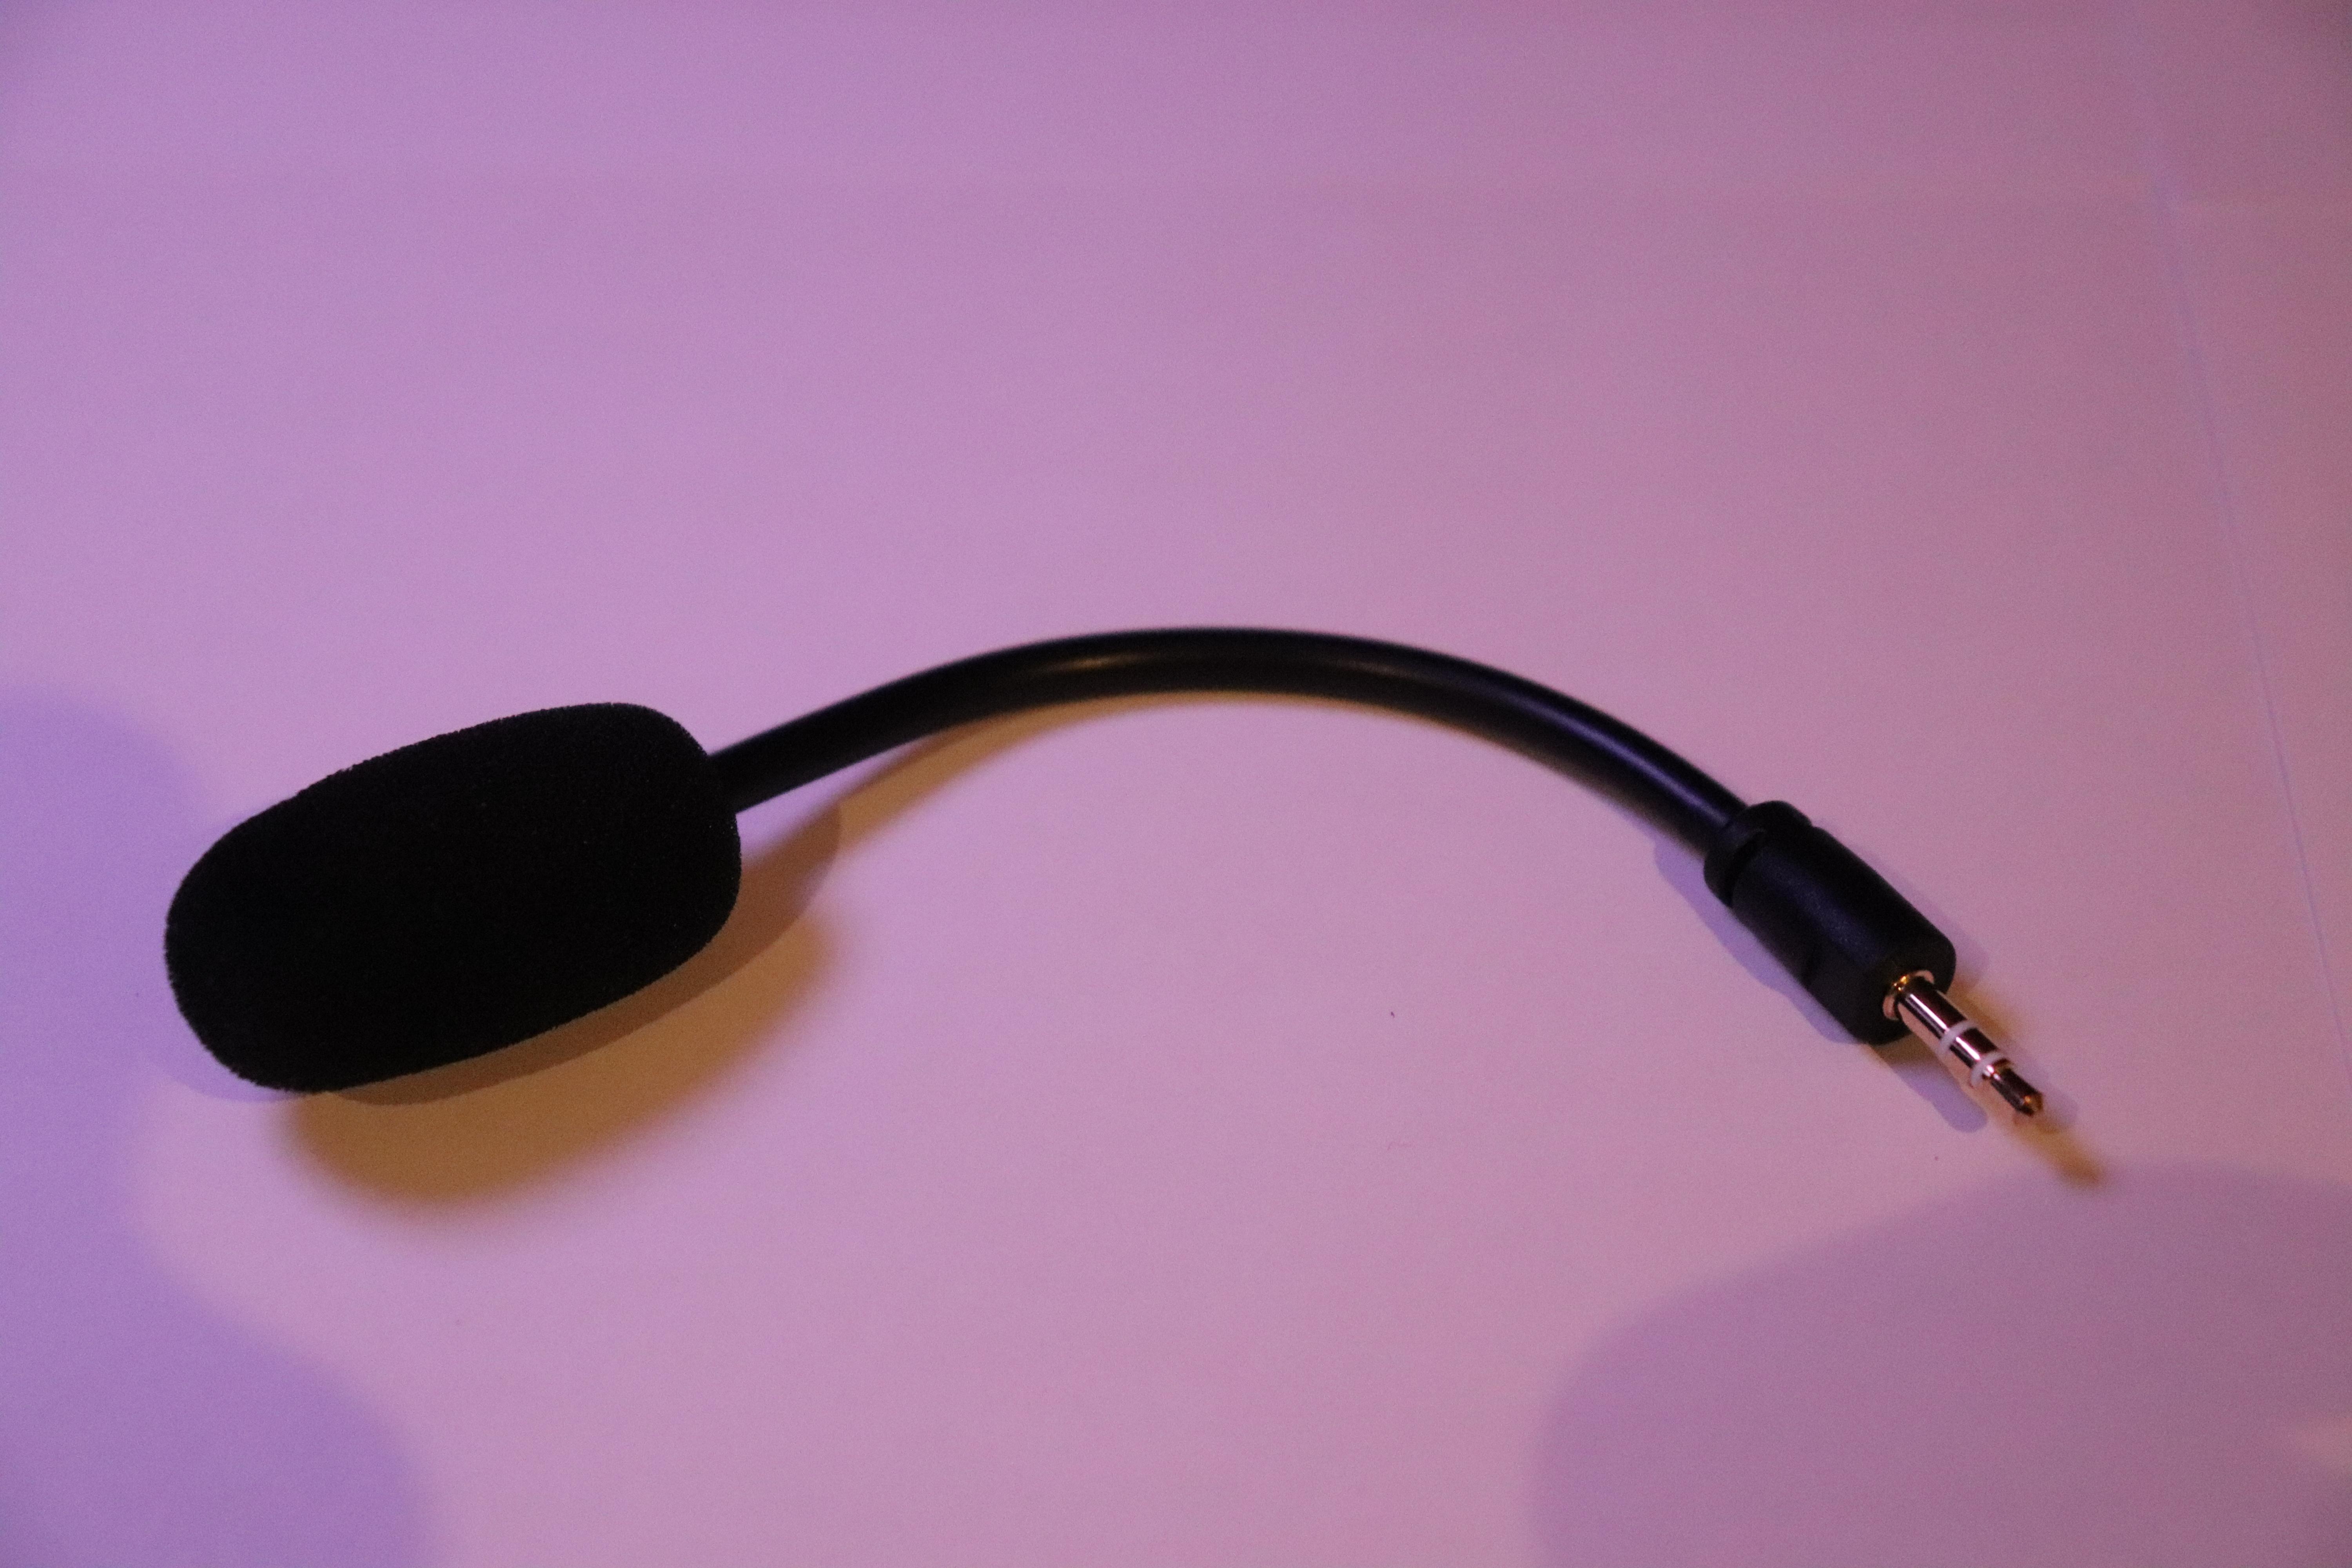
Neo doesn't cost a lot. In fact, most of his parts usually cost under ~7$ each!
Electronics:
- Arduino Nano
- 2x SG90 Servos
- 0.96-inch OLED Display (I2C interface)
- Small Microphone (Lavalier microphone or similar) with an AUX cable -
- Small Speaker
- Small amplifier module
- USB sound card to connect the microphone and speaker to the USB Hub
- USB hub (to connect the Arduino Nano, sound card, and speaker’s power source)
- Jumper wires
- Spare AUX Cable
- Spare USB Cable
- 470uF Capacitor
- Spare USB Cable
- Arduino Nano USB Cable
Physical Components:
- Filament
- M2*8 Screws
- M2 Nuts
Software and Tools:
- Arduino IDE
- Python
- Soldering Iron
- 3D Printer
- A computer with a decent CPU (Nvidia GPU recommended) to handle the real-time speech-to-text
3D Printing the Frame
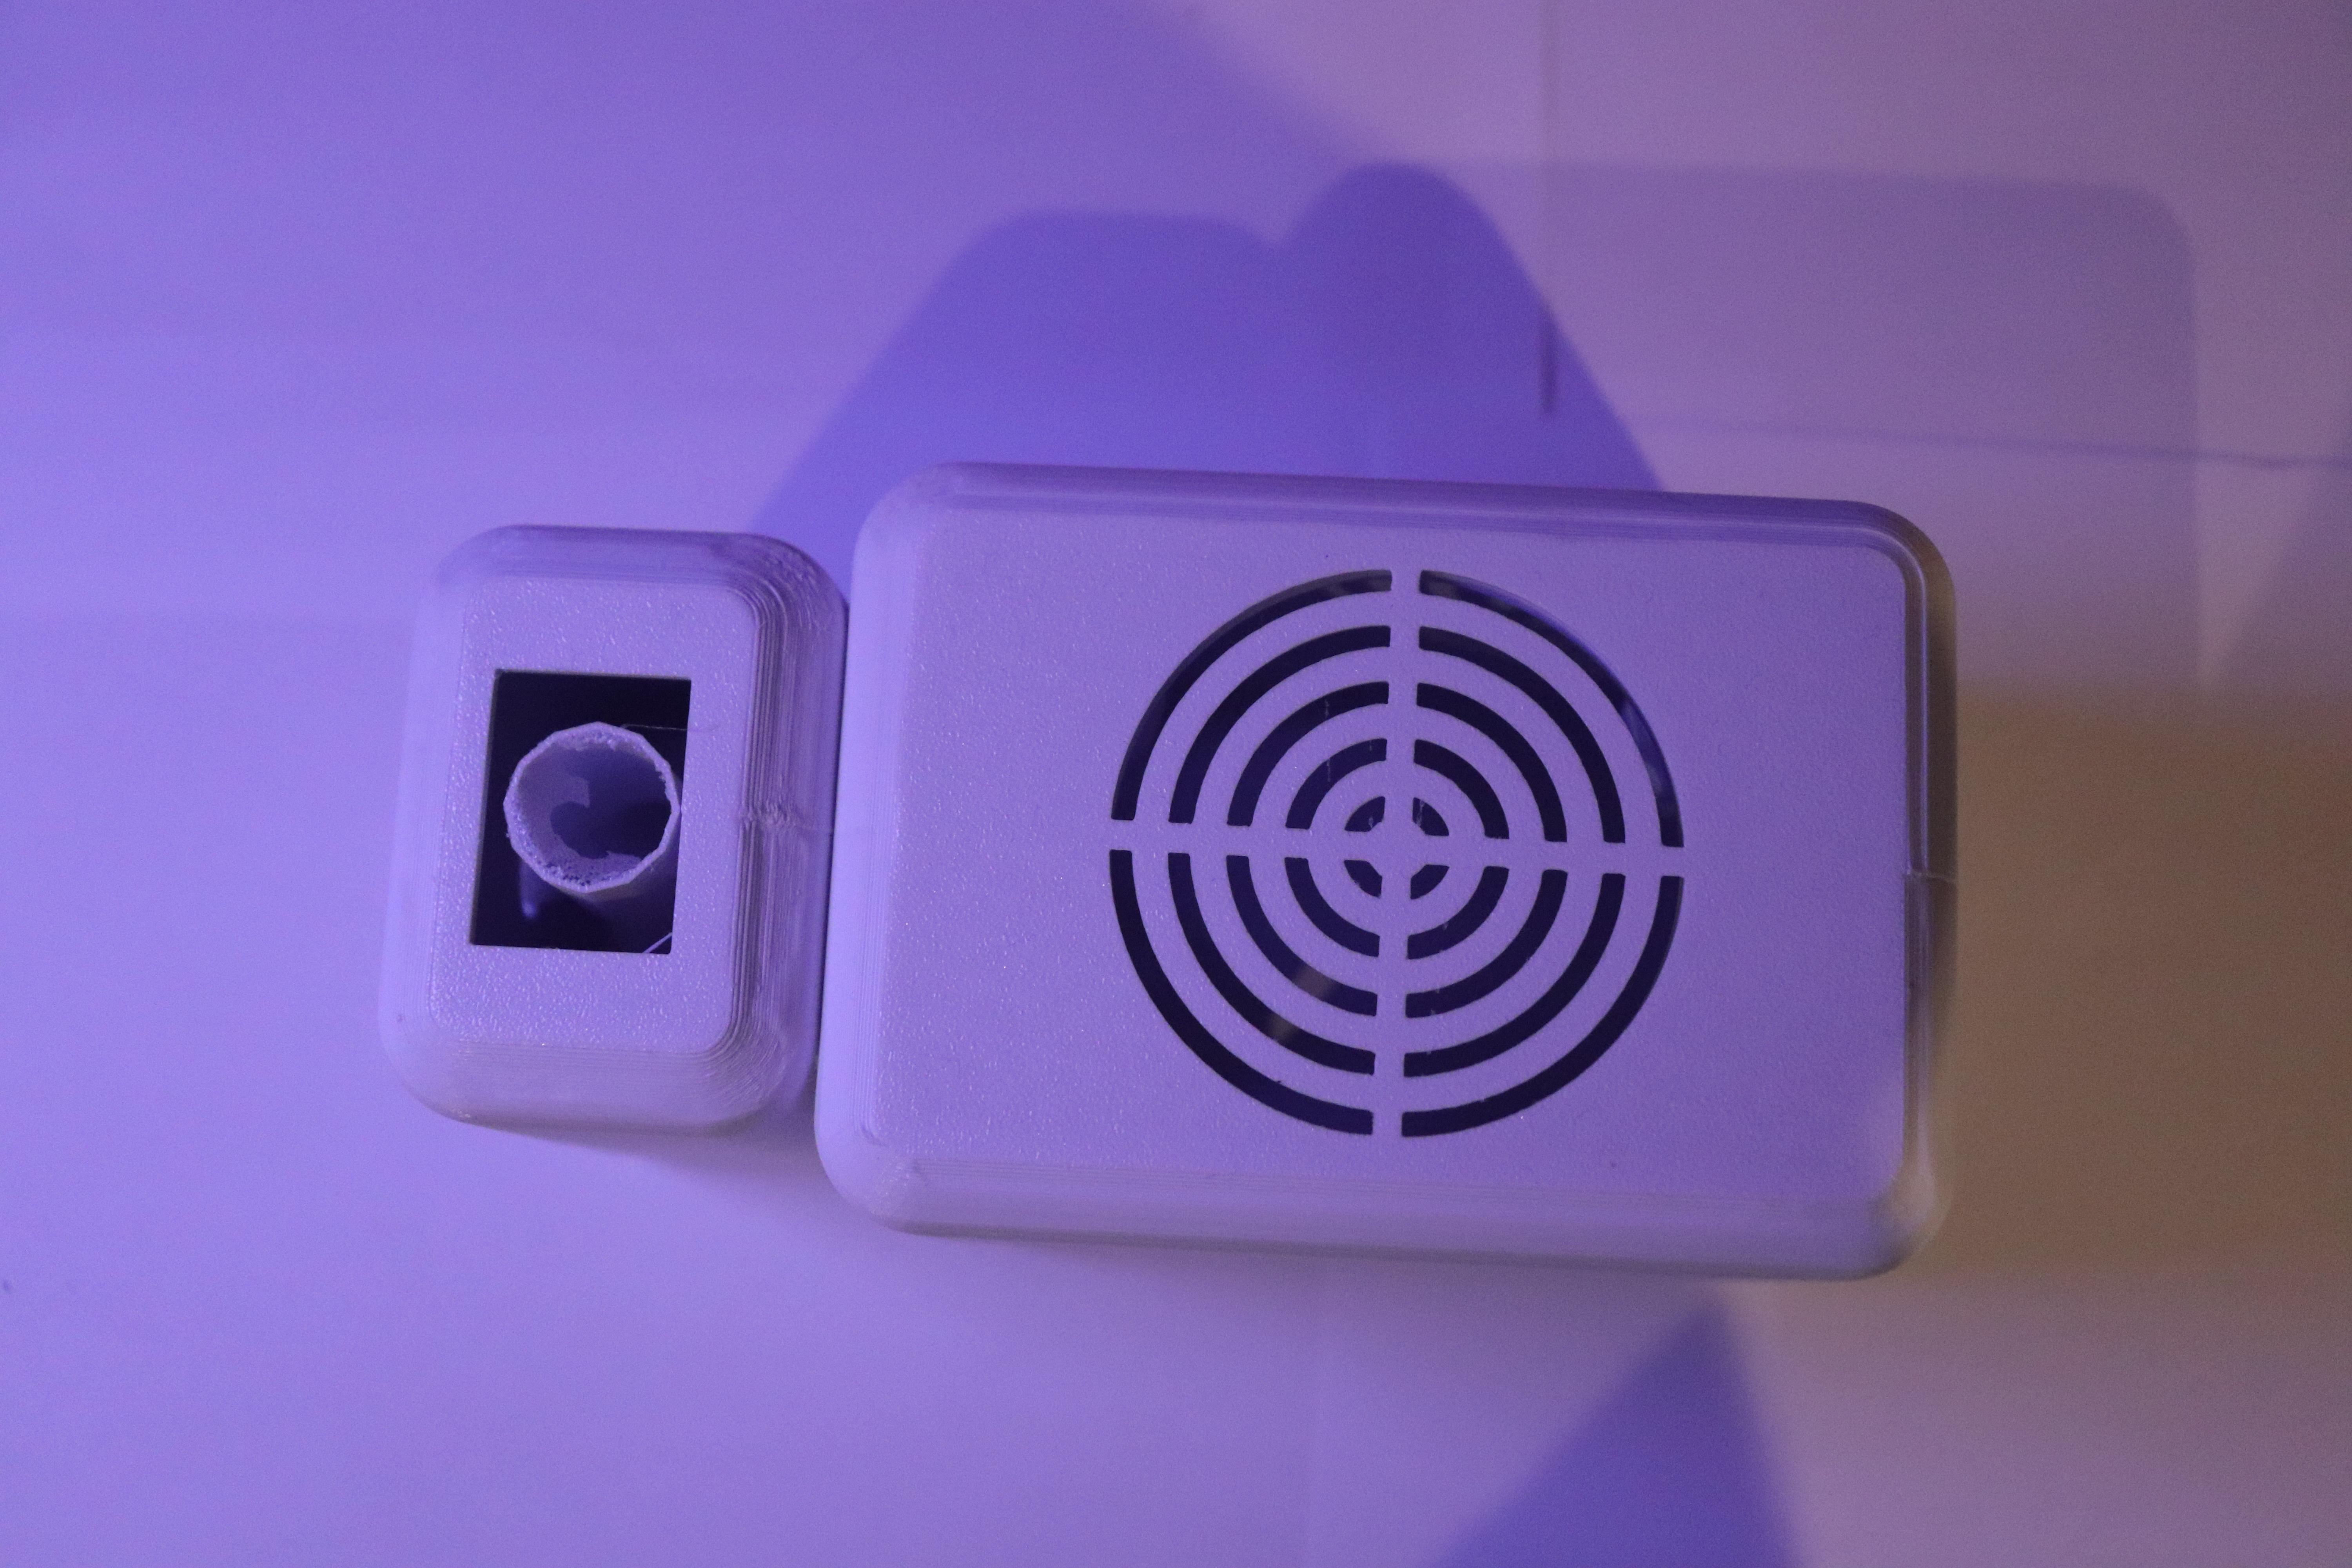
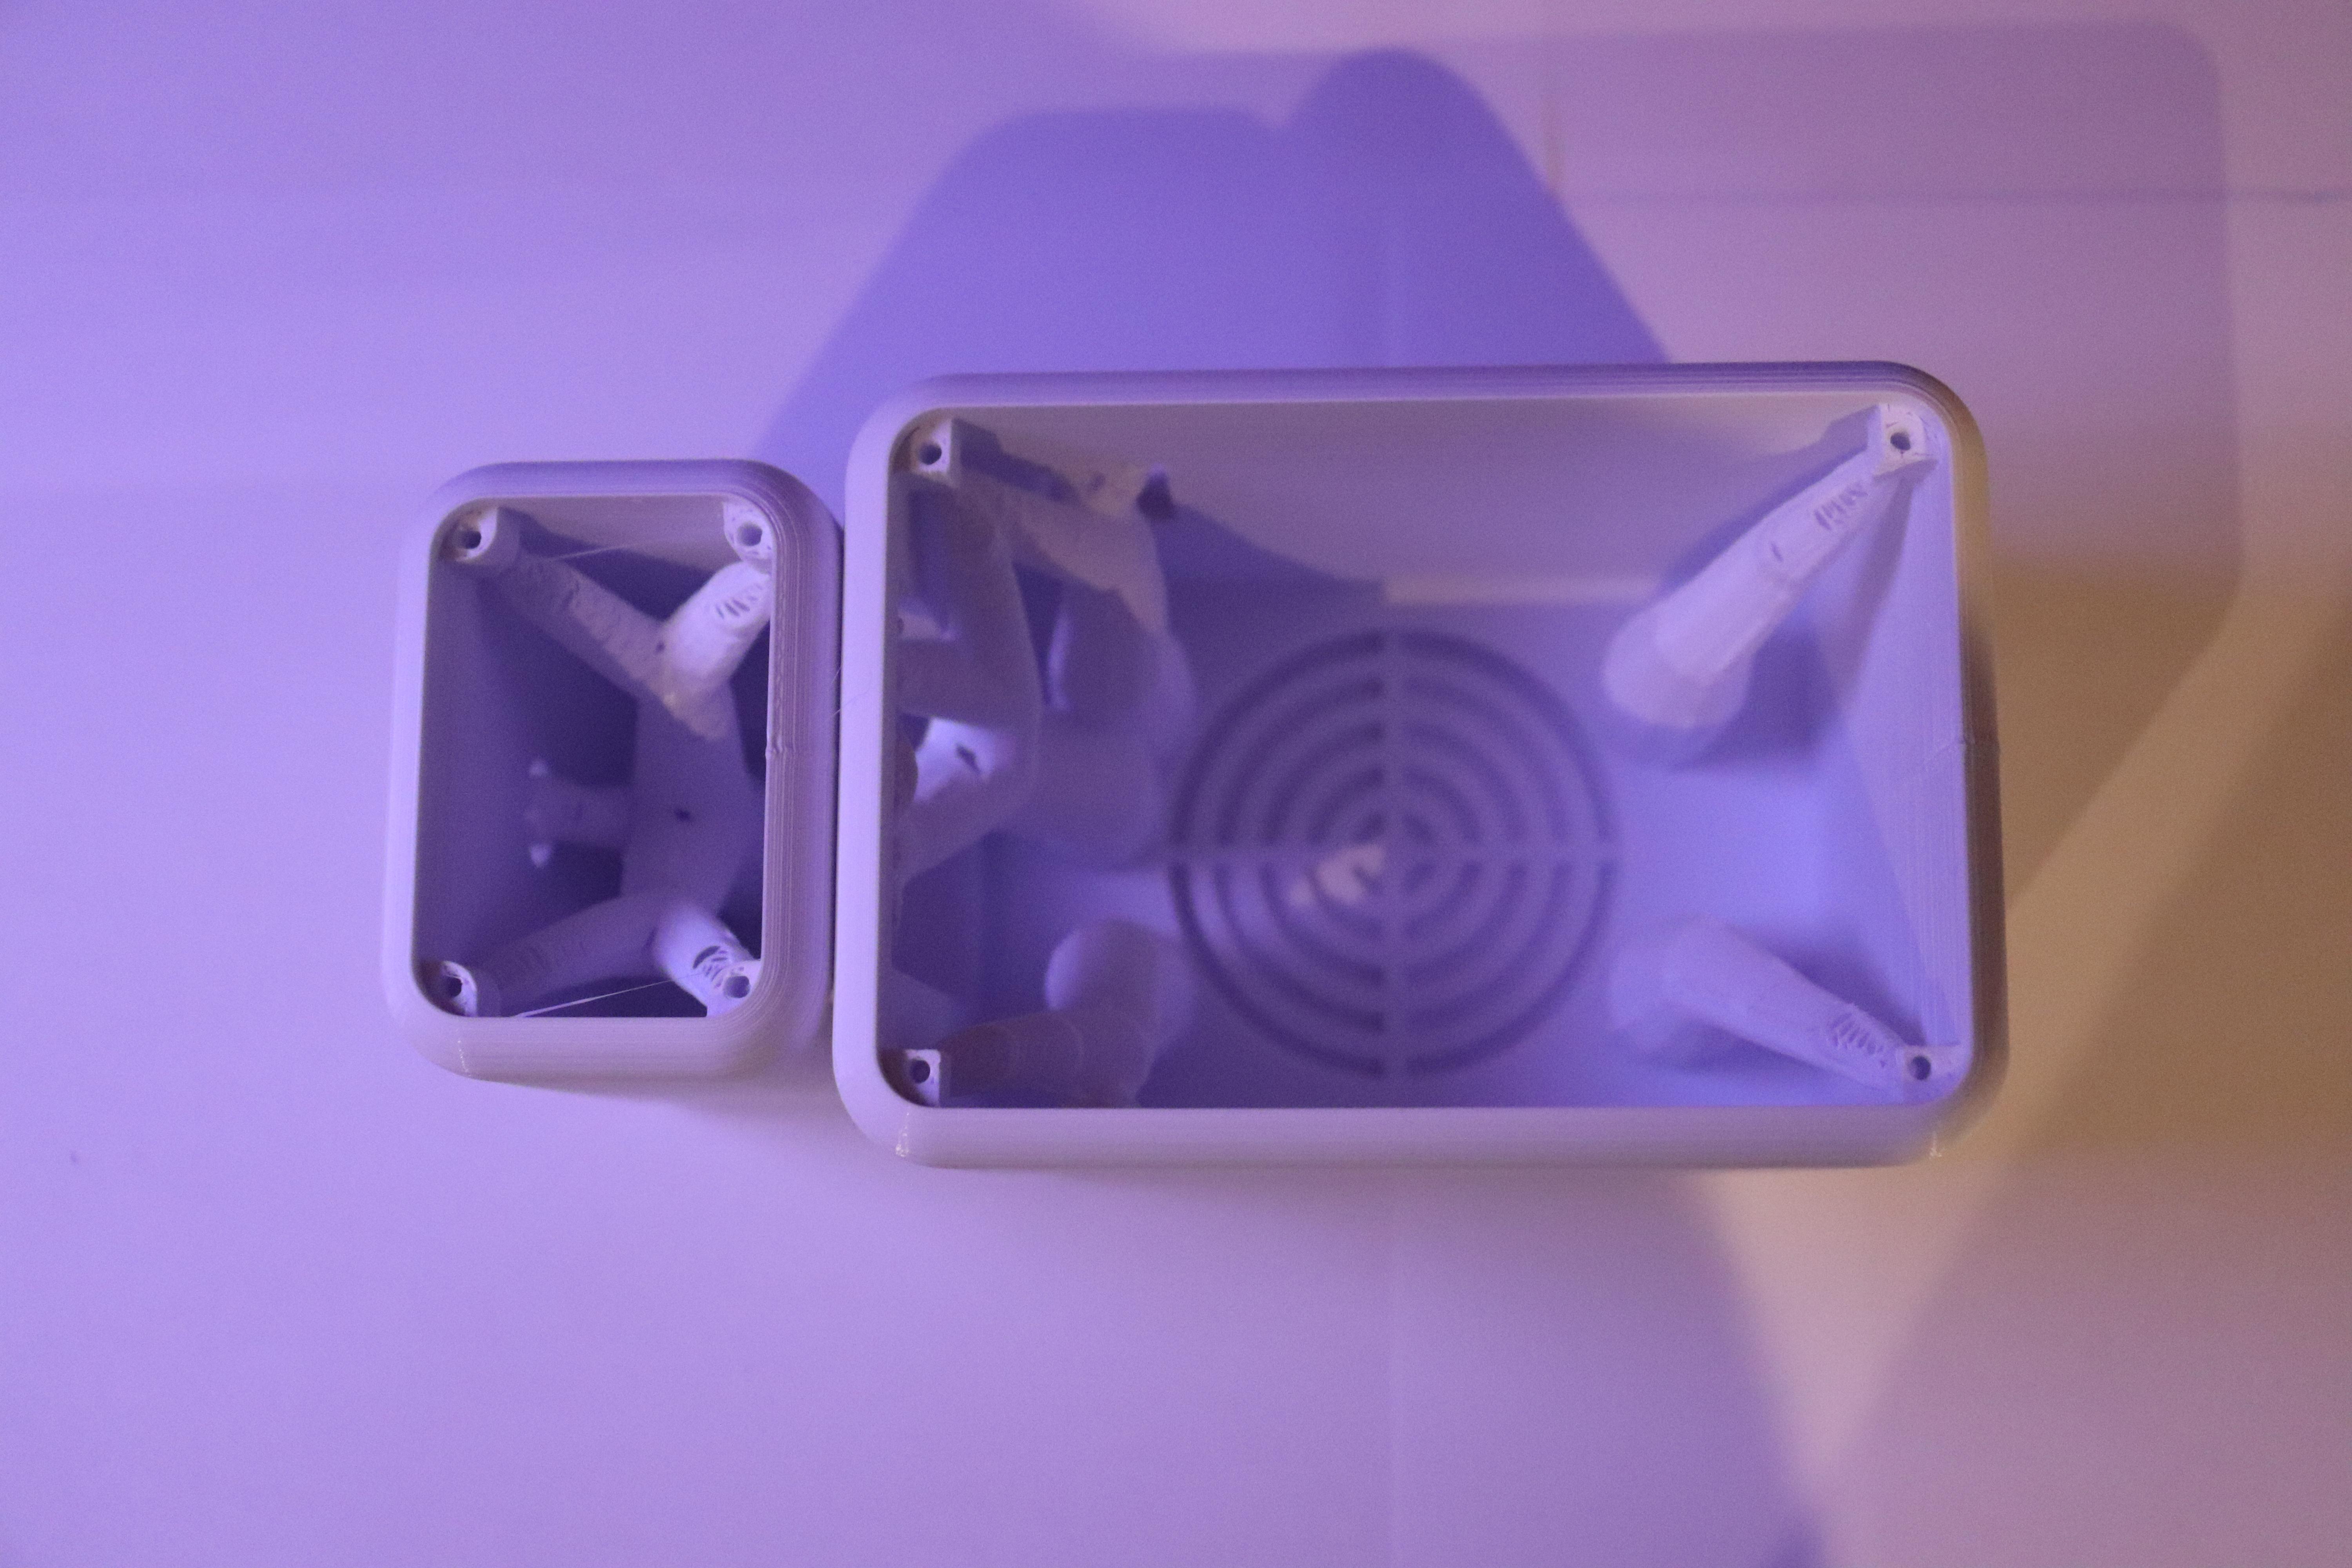
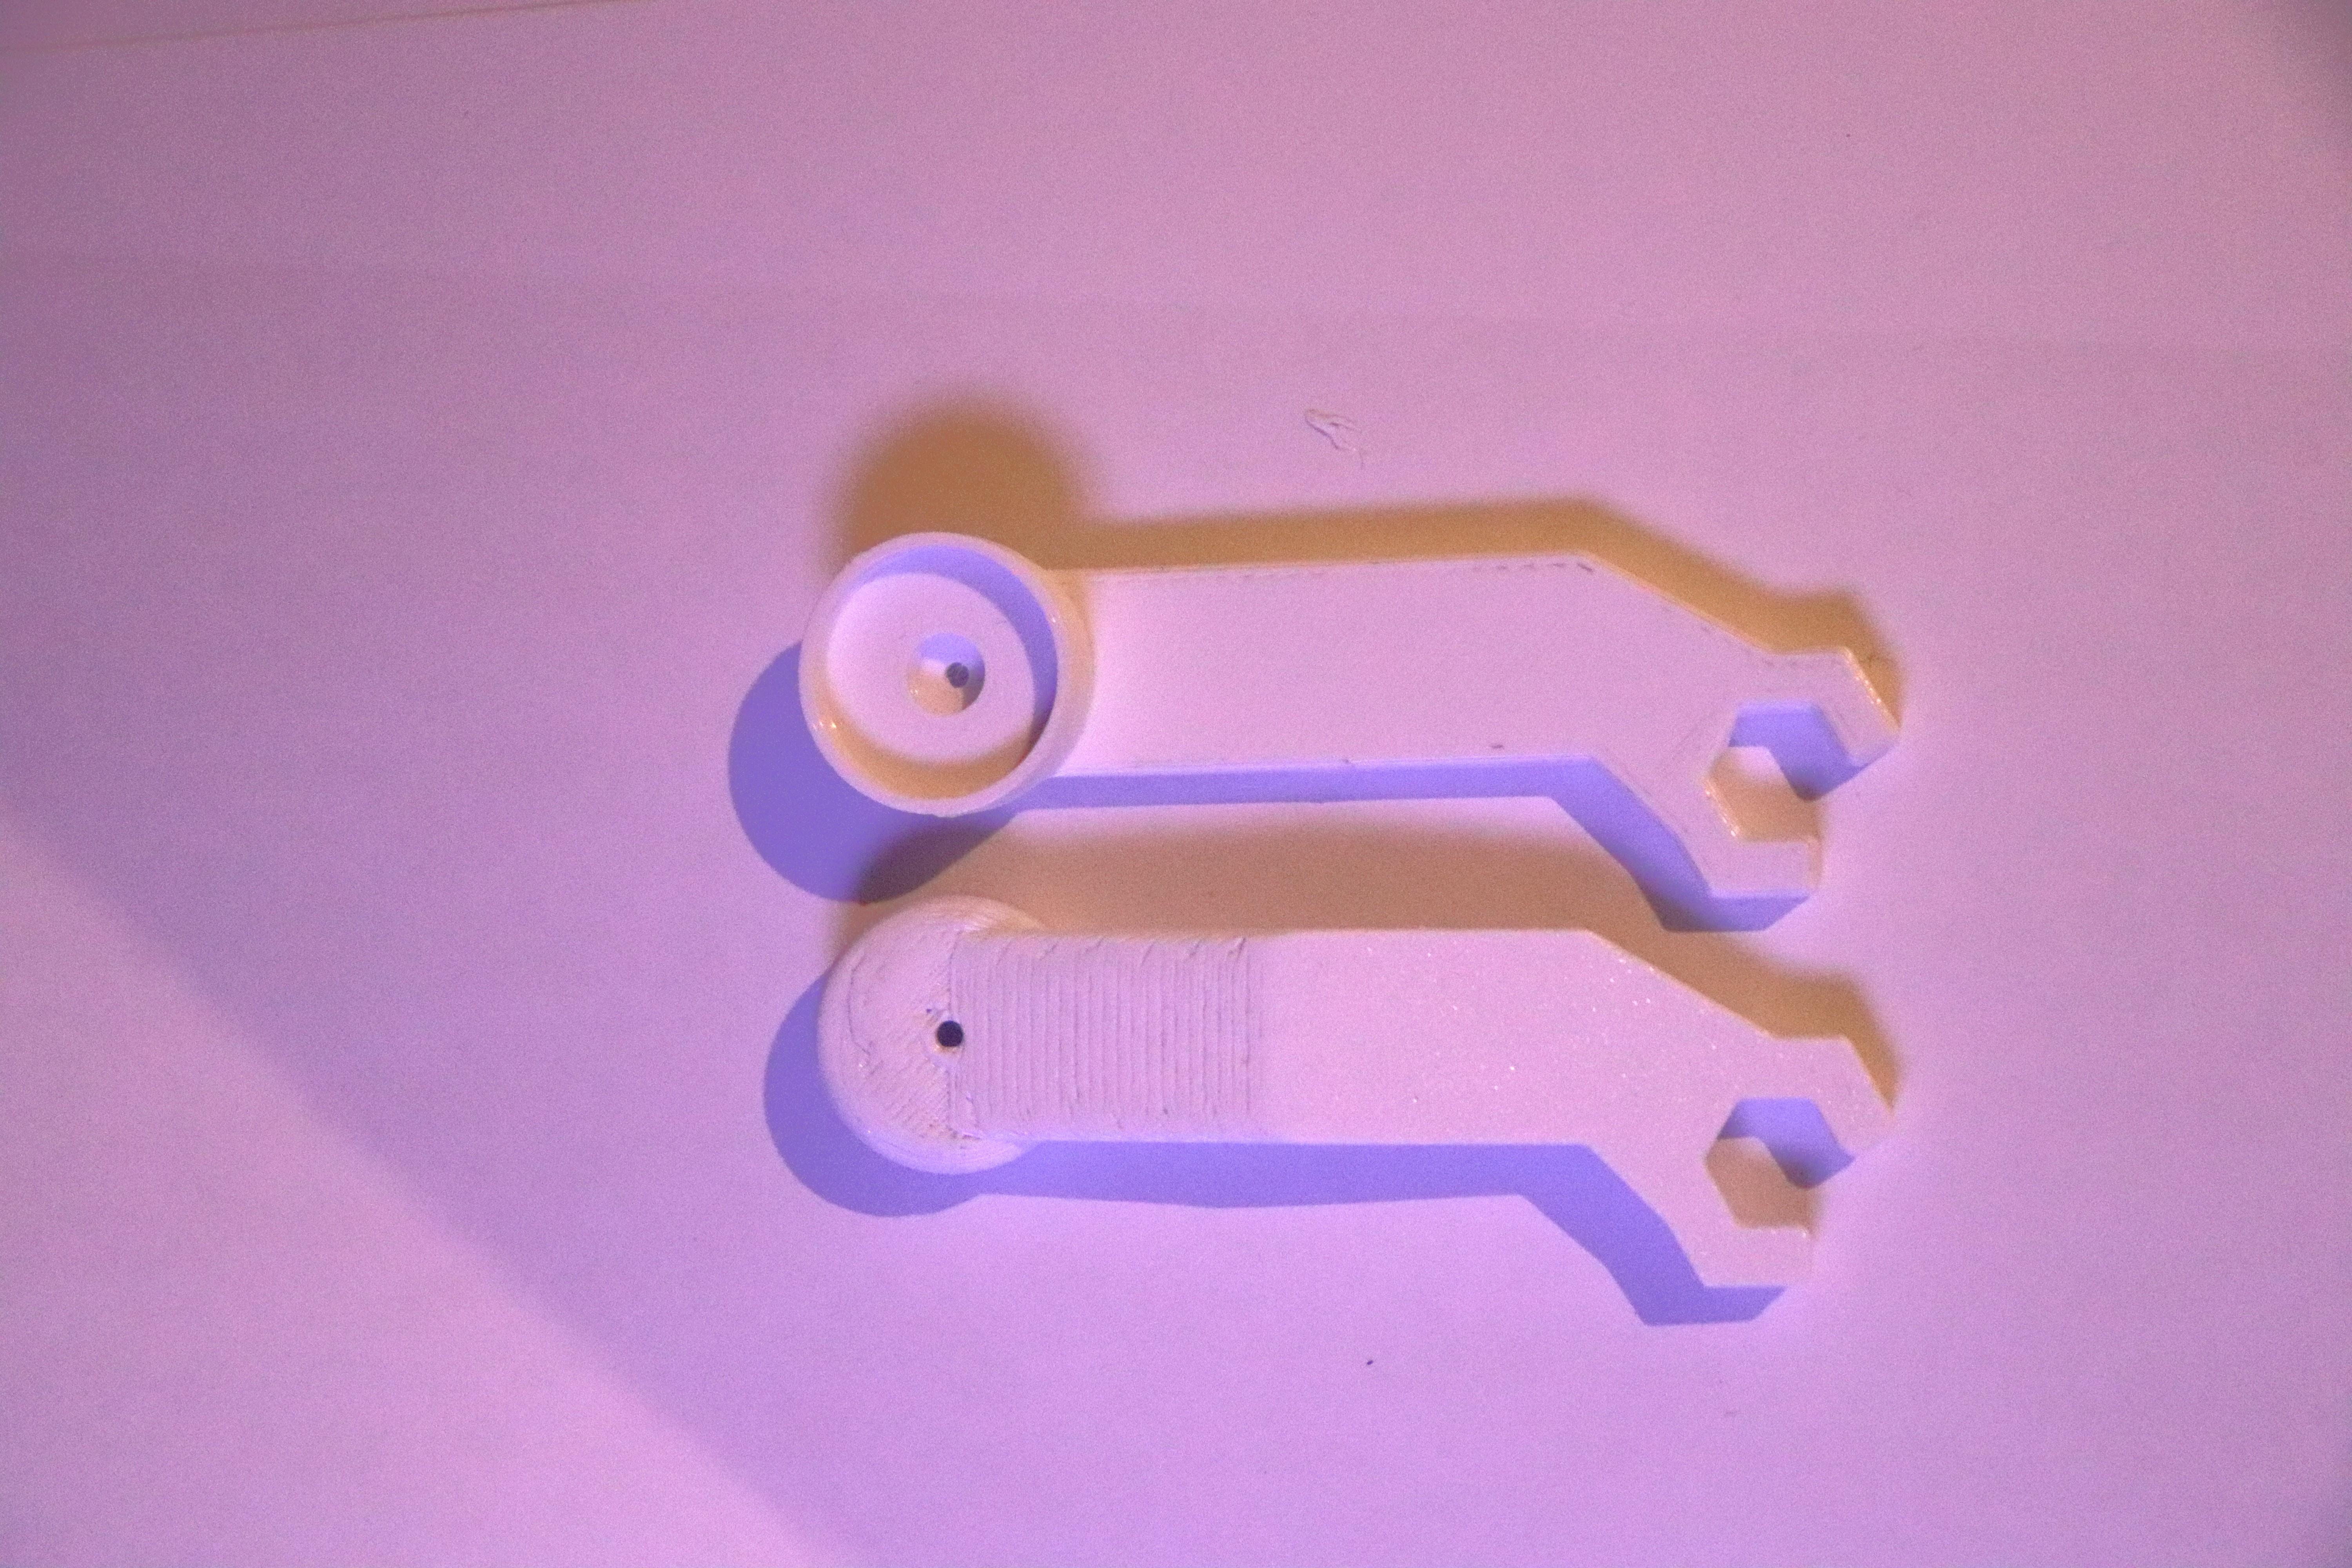
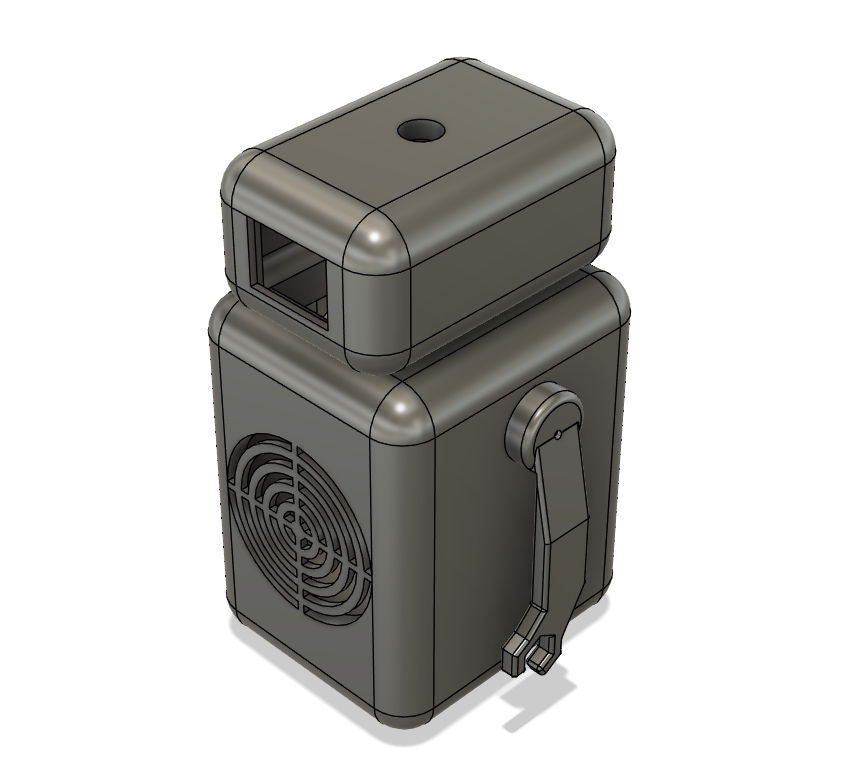
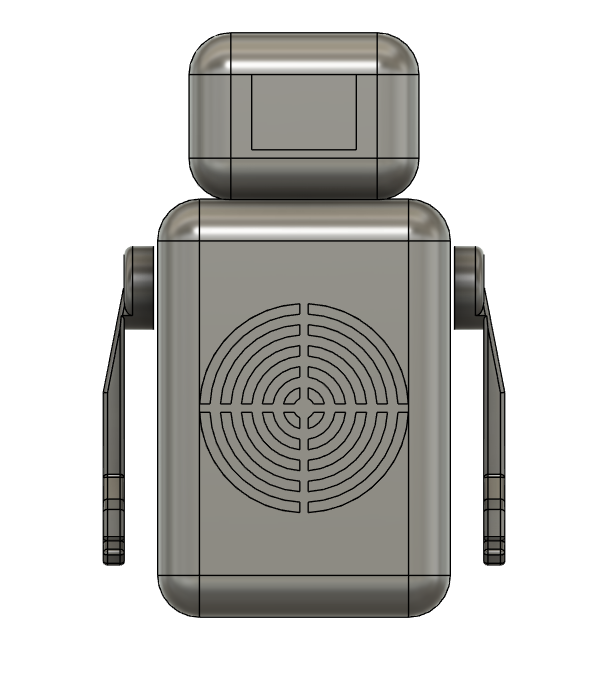
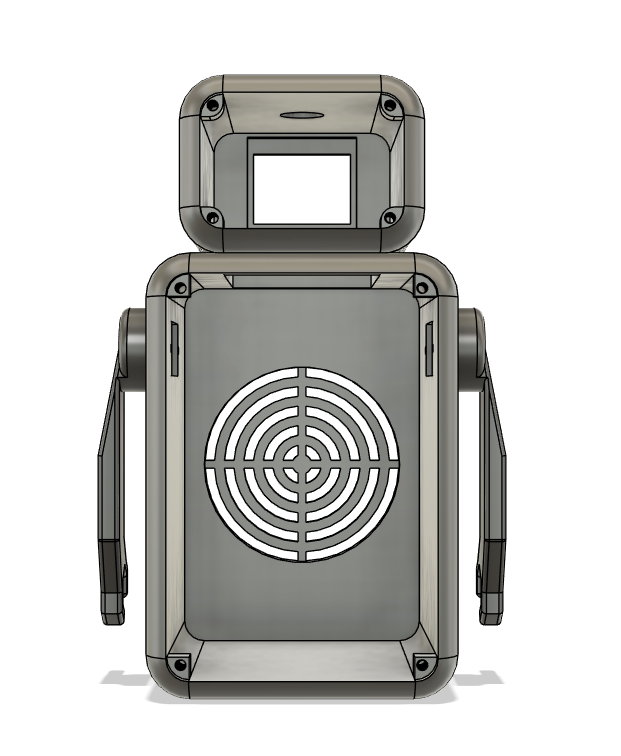
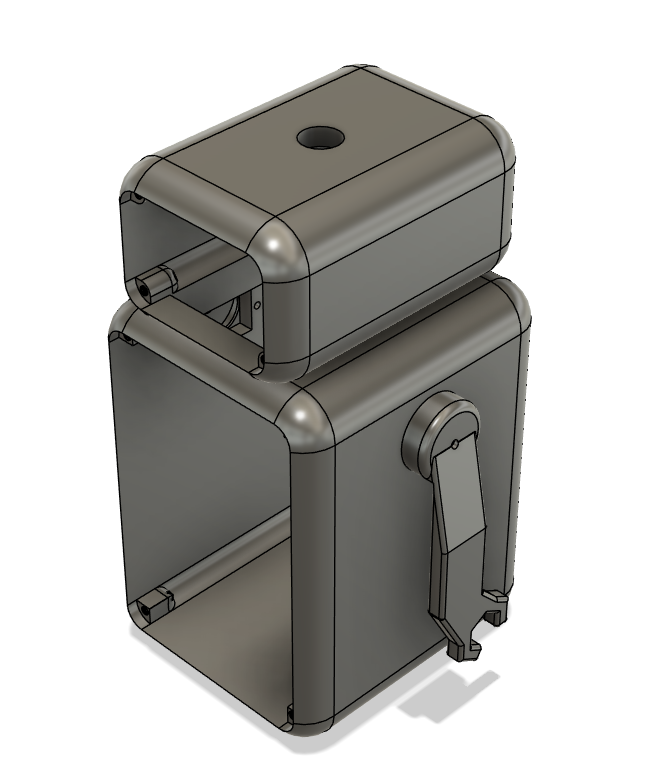
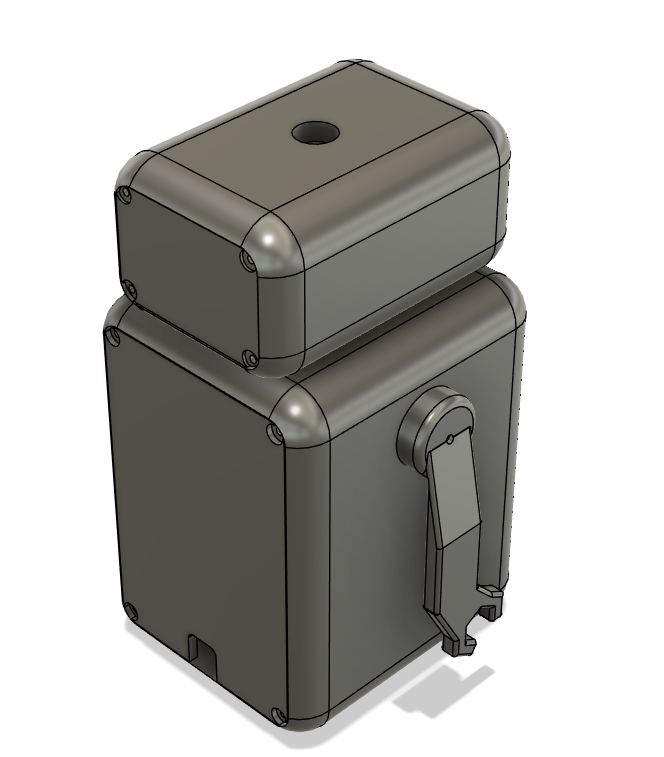
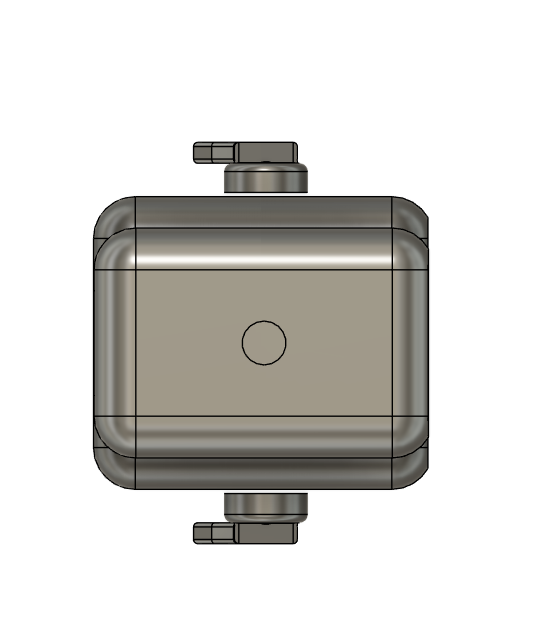
To begin, first 3D print the body for Neo.
I designed Neo's body using Fusion 360 over multiple iterations to try and get him to look cute while making sure that everything fit inside of him!
For the best results, I would recommend using around 0.2mm resolution and 15-20% infill.
Also, out of the 5 models, 3 of them require support which is the Body.stl, ArmL.stl and ArmR.stl so make sure to enable supports in your slicer before printing! I'd recommend using tree supports for the body and normal supports for both arms.
Once you have printed all the parts, make sure to clean them up by removing the supports and using sandpaper (like I did) to smooth out any excess material or bumps in the print to ensure the body looks smooth and all the components fit together nicely.
Soldering the Speaker
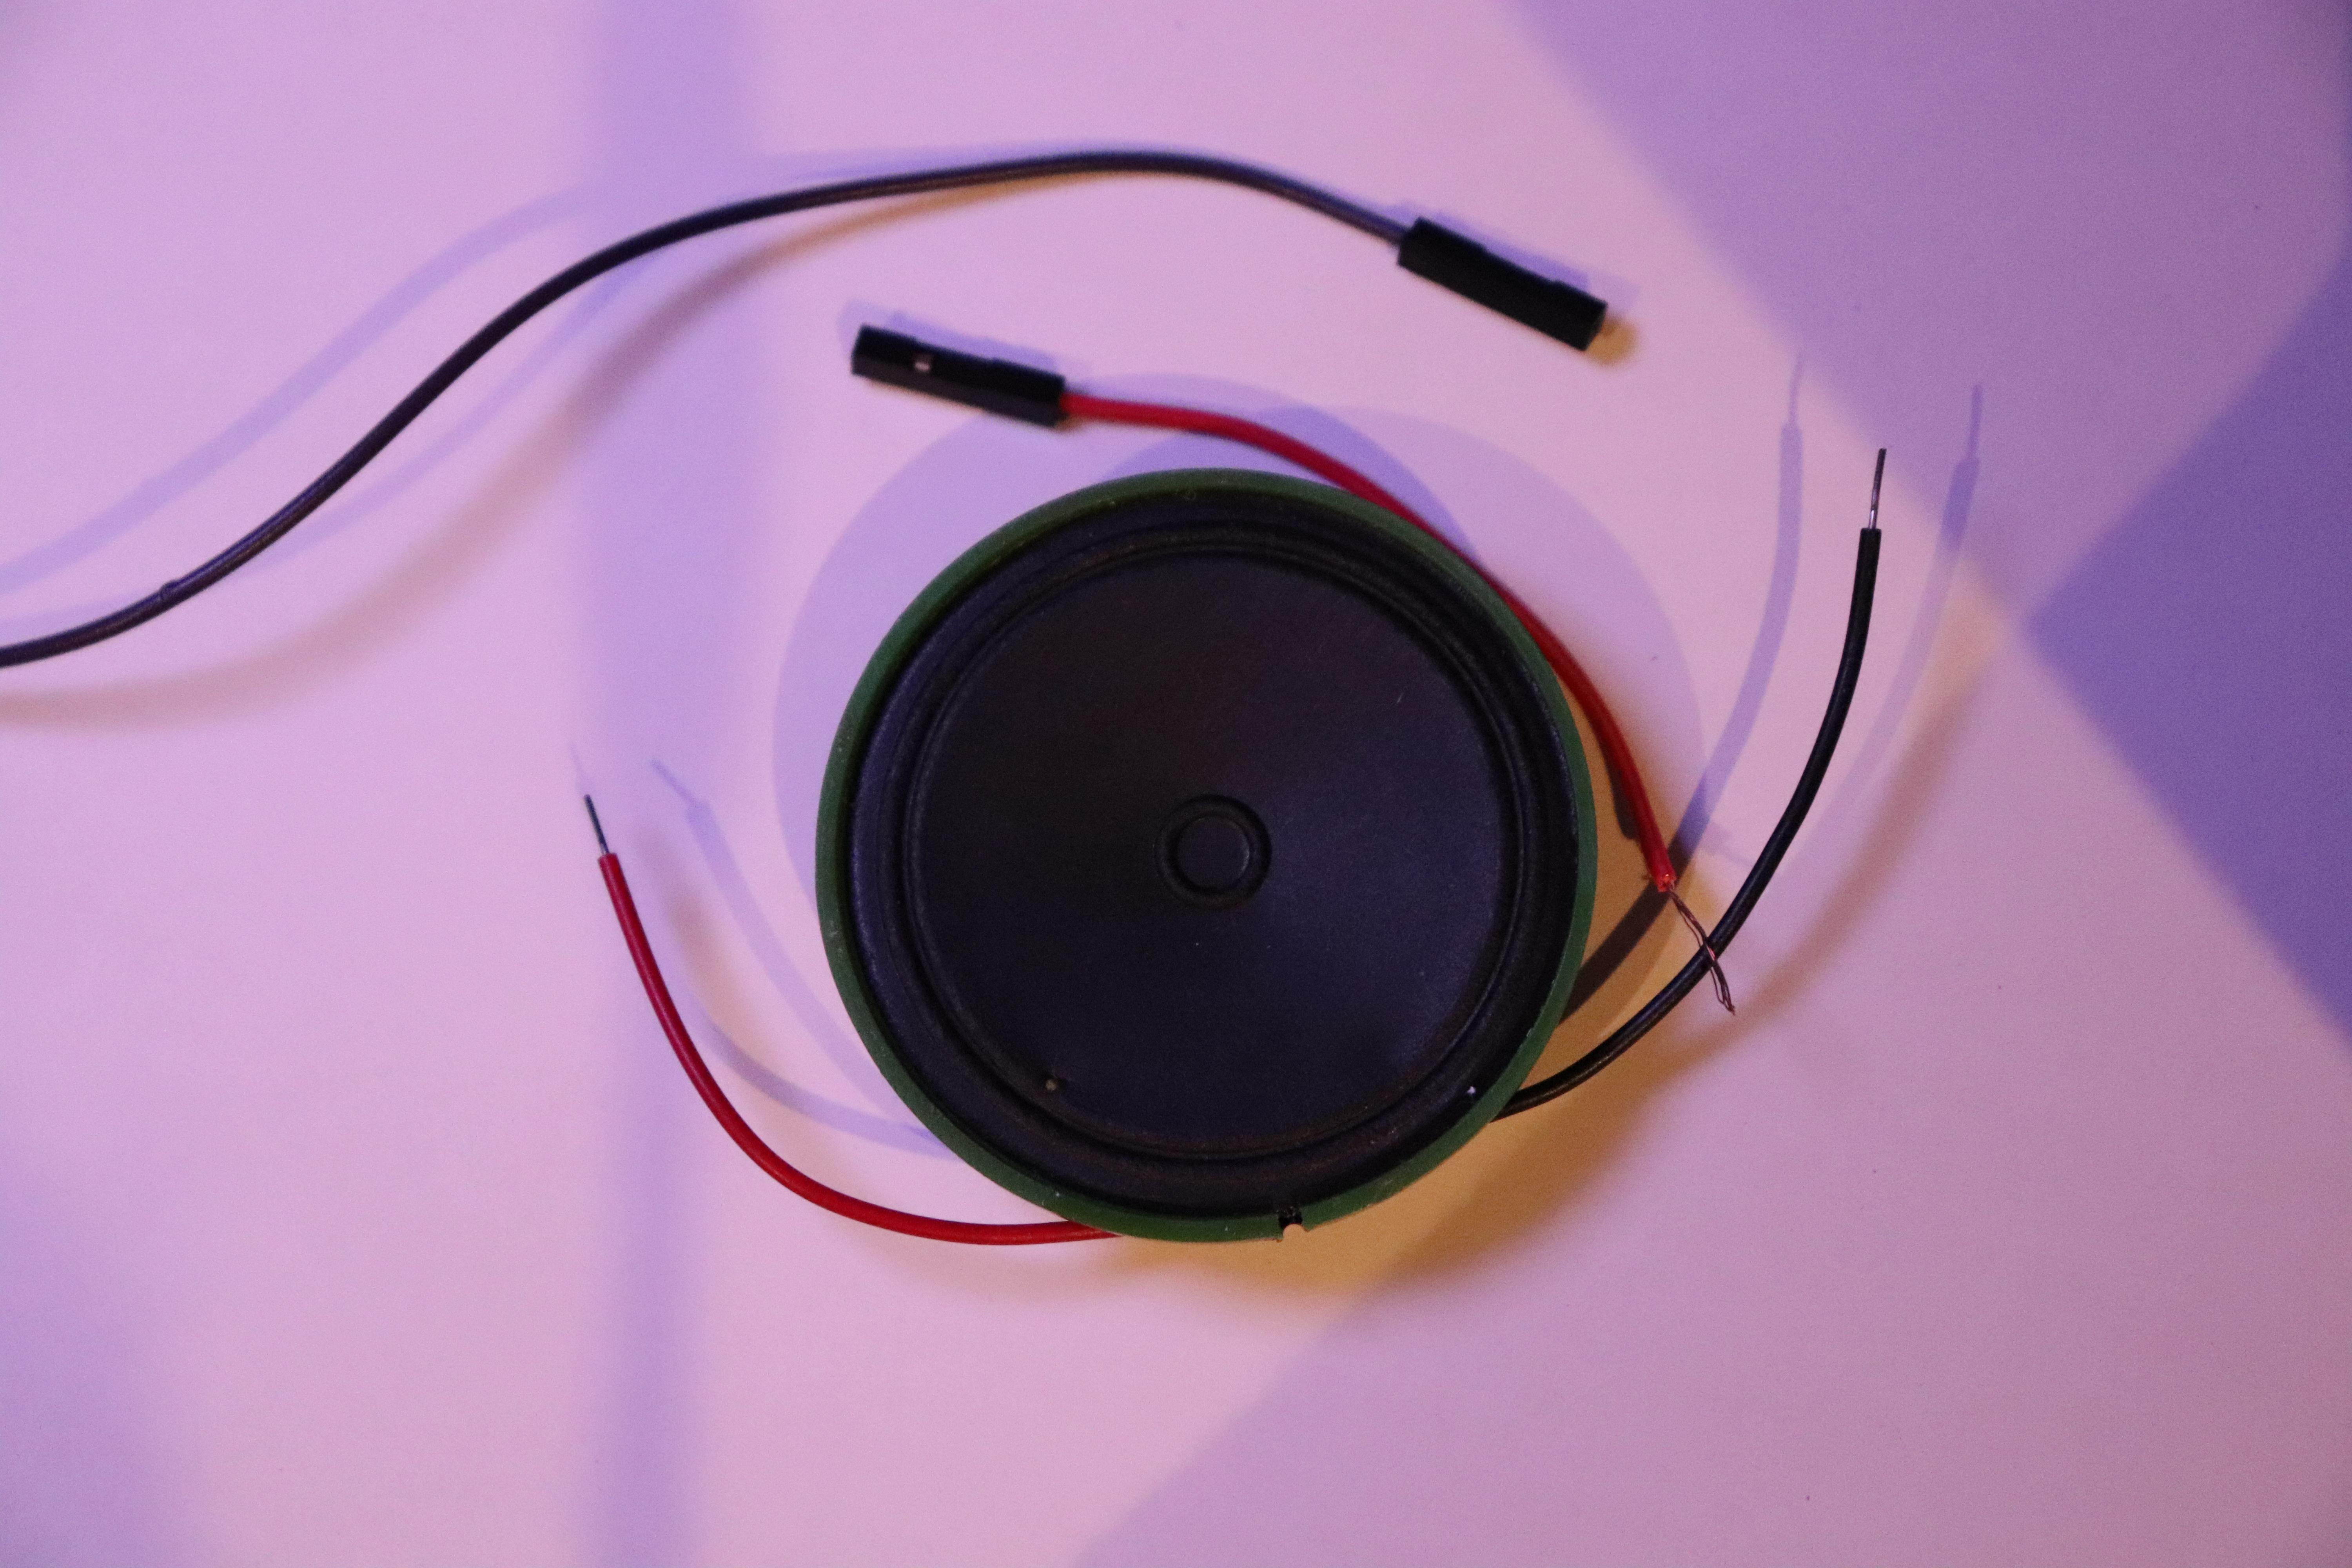
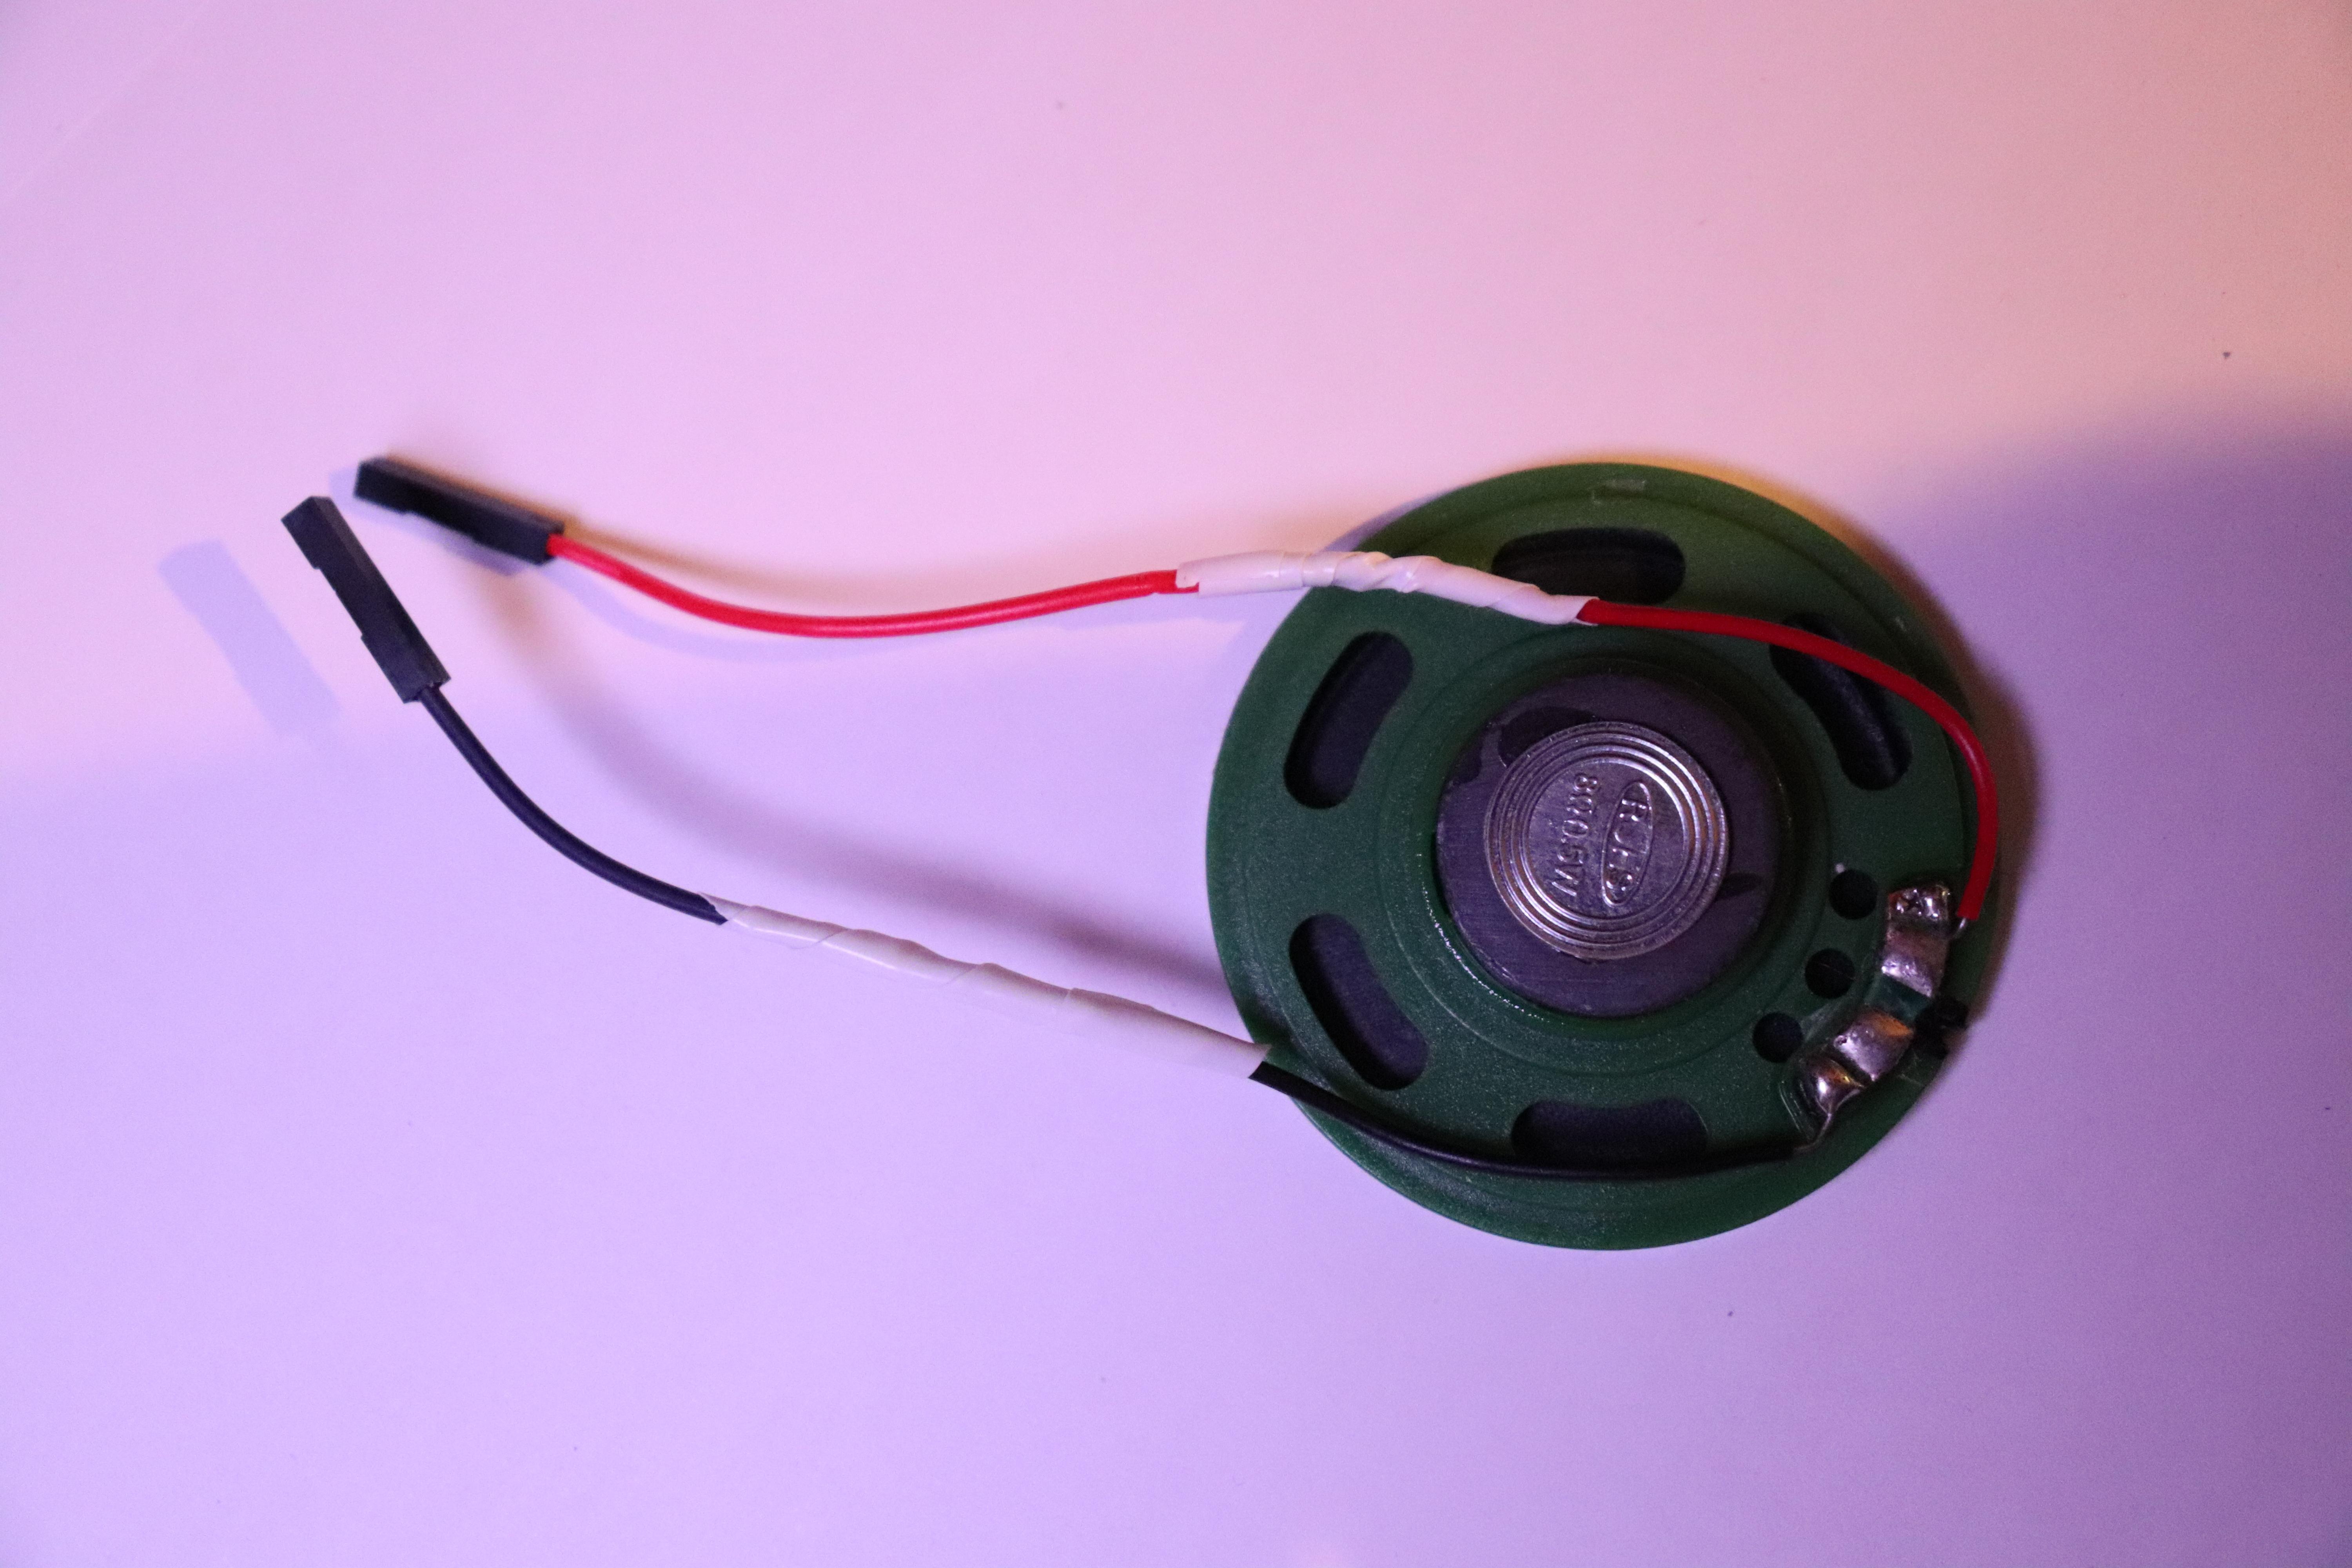
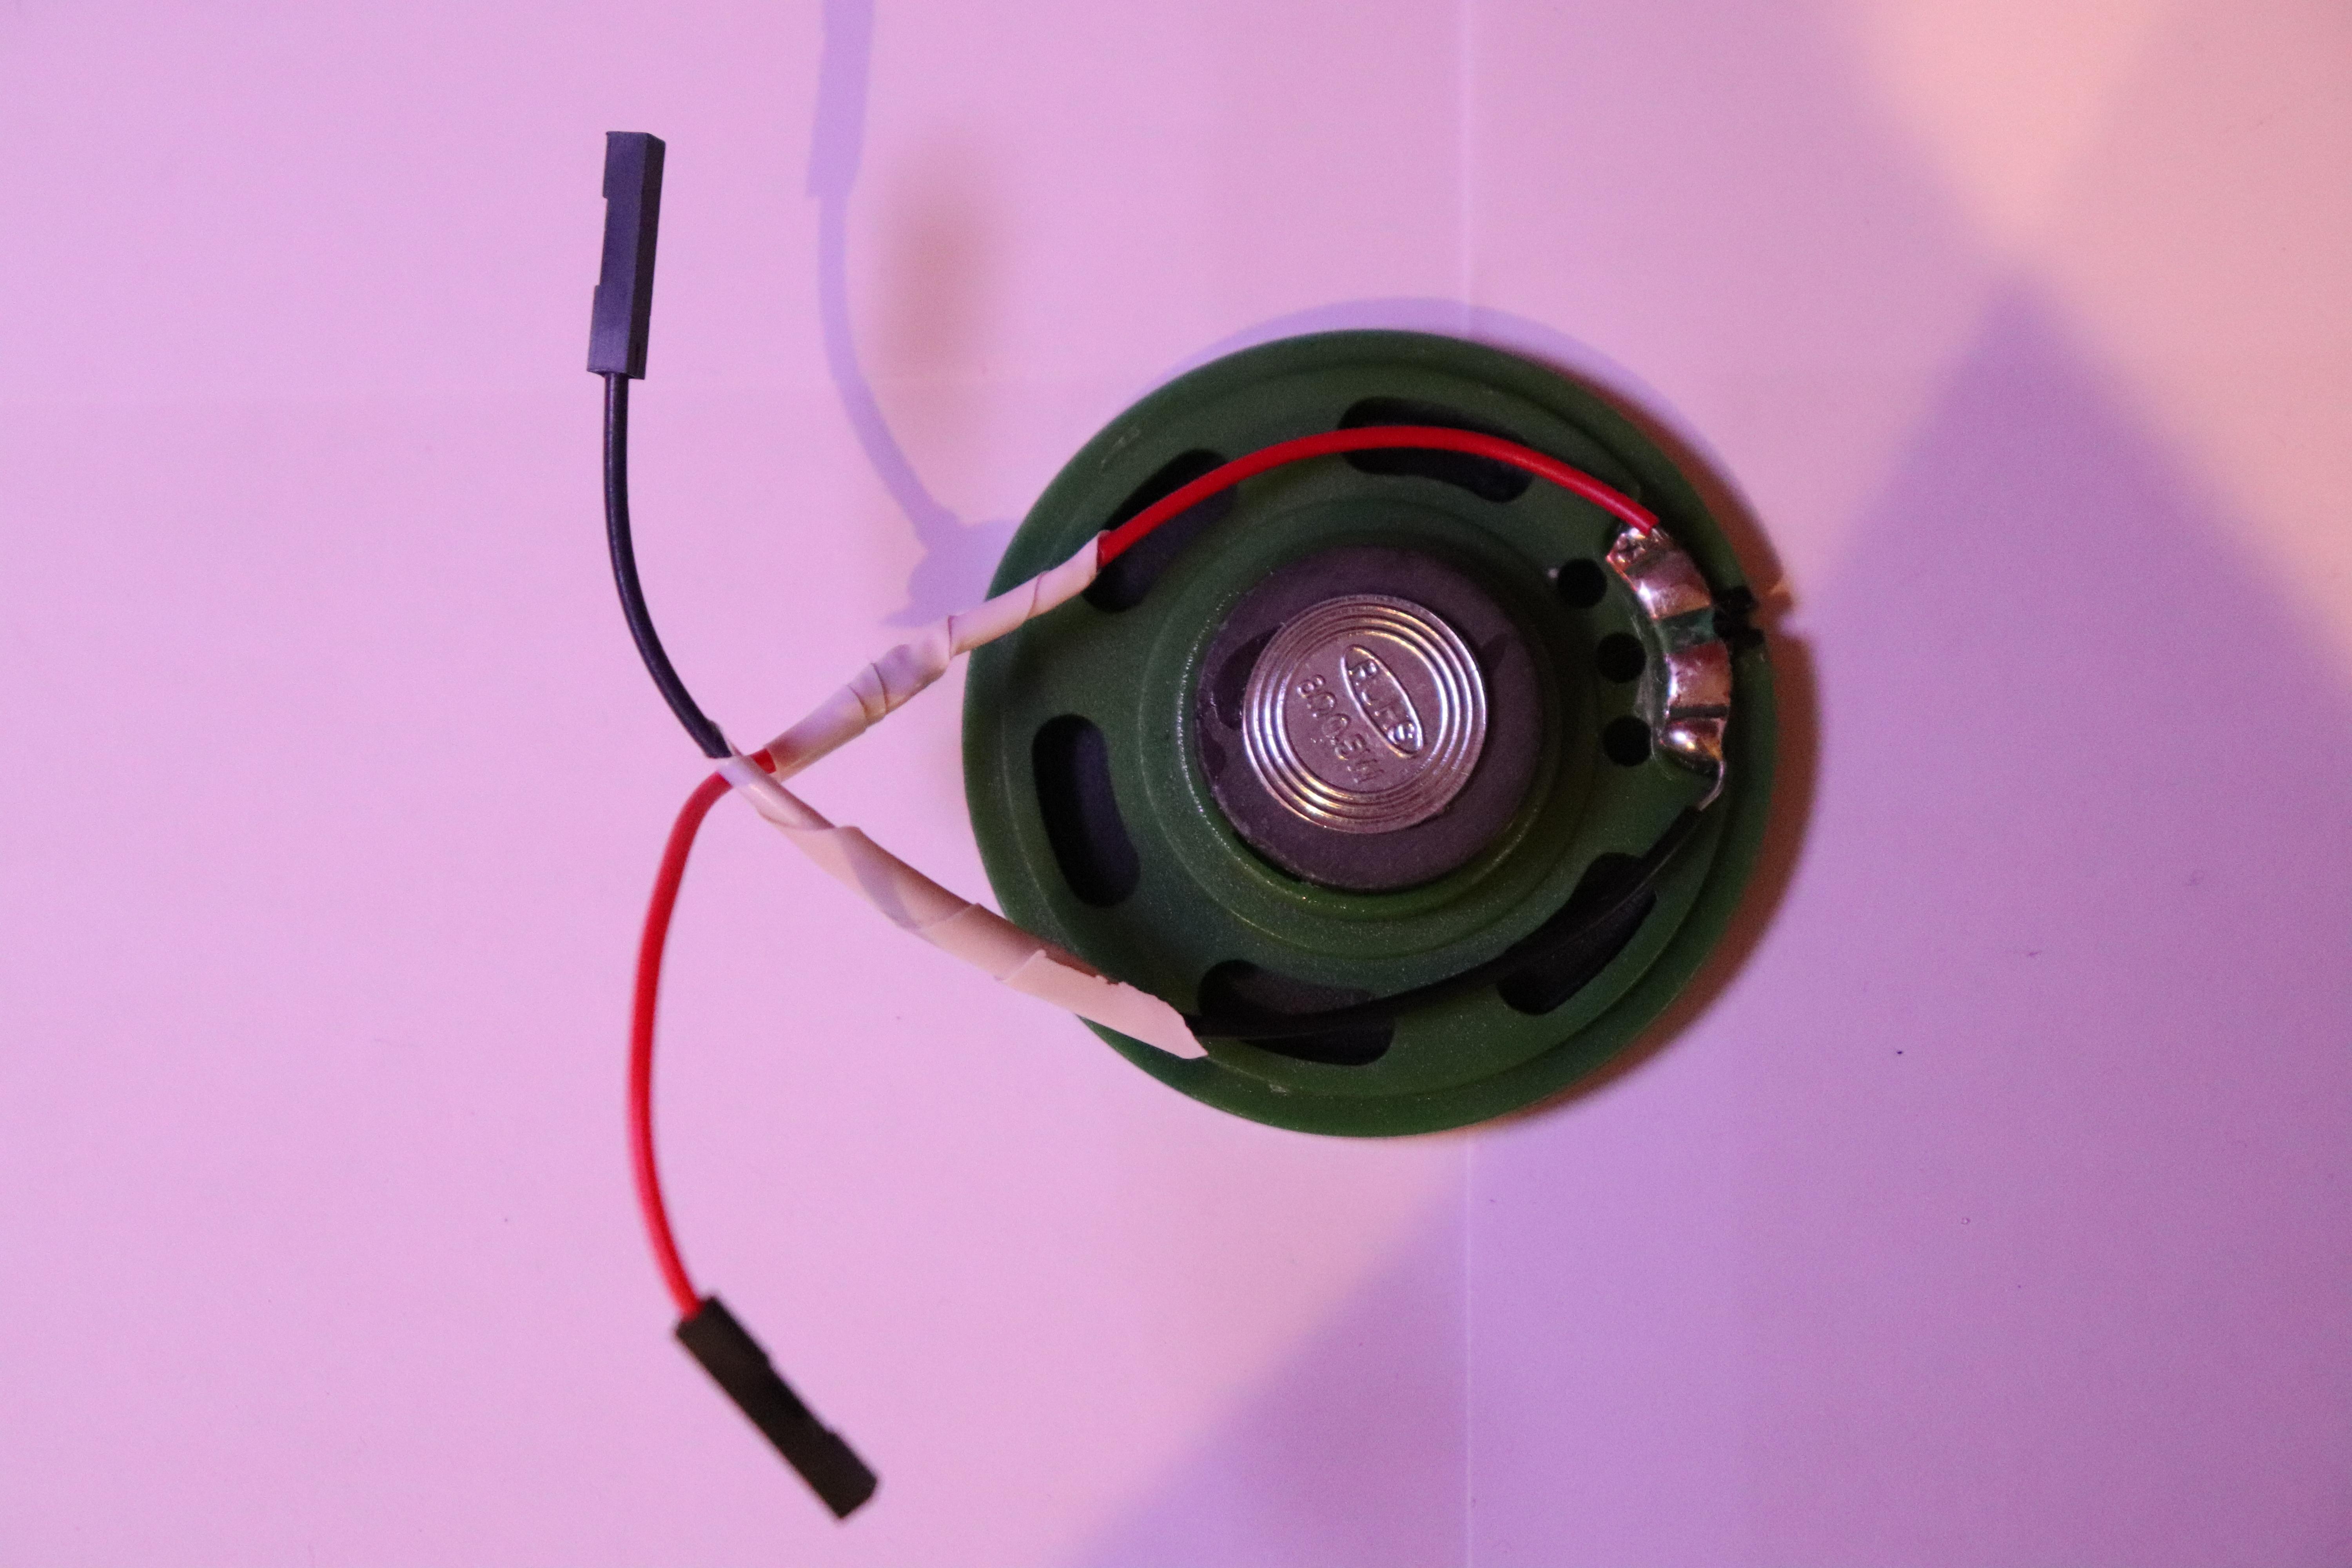
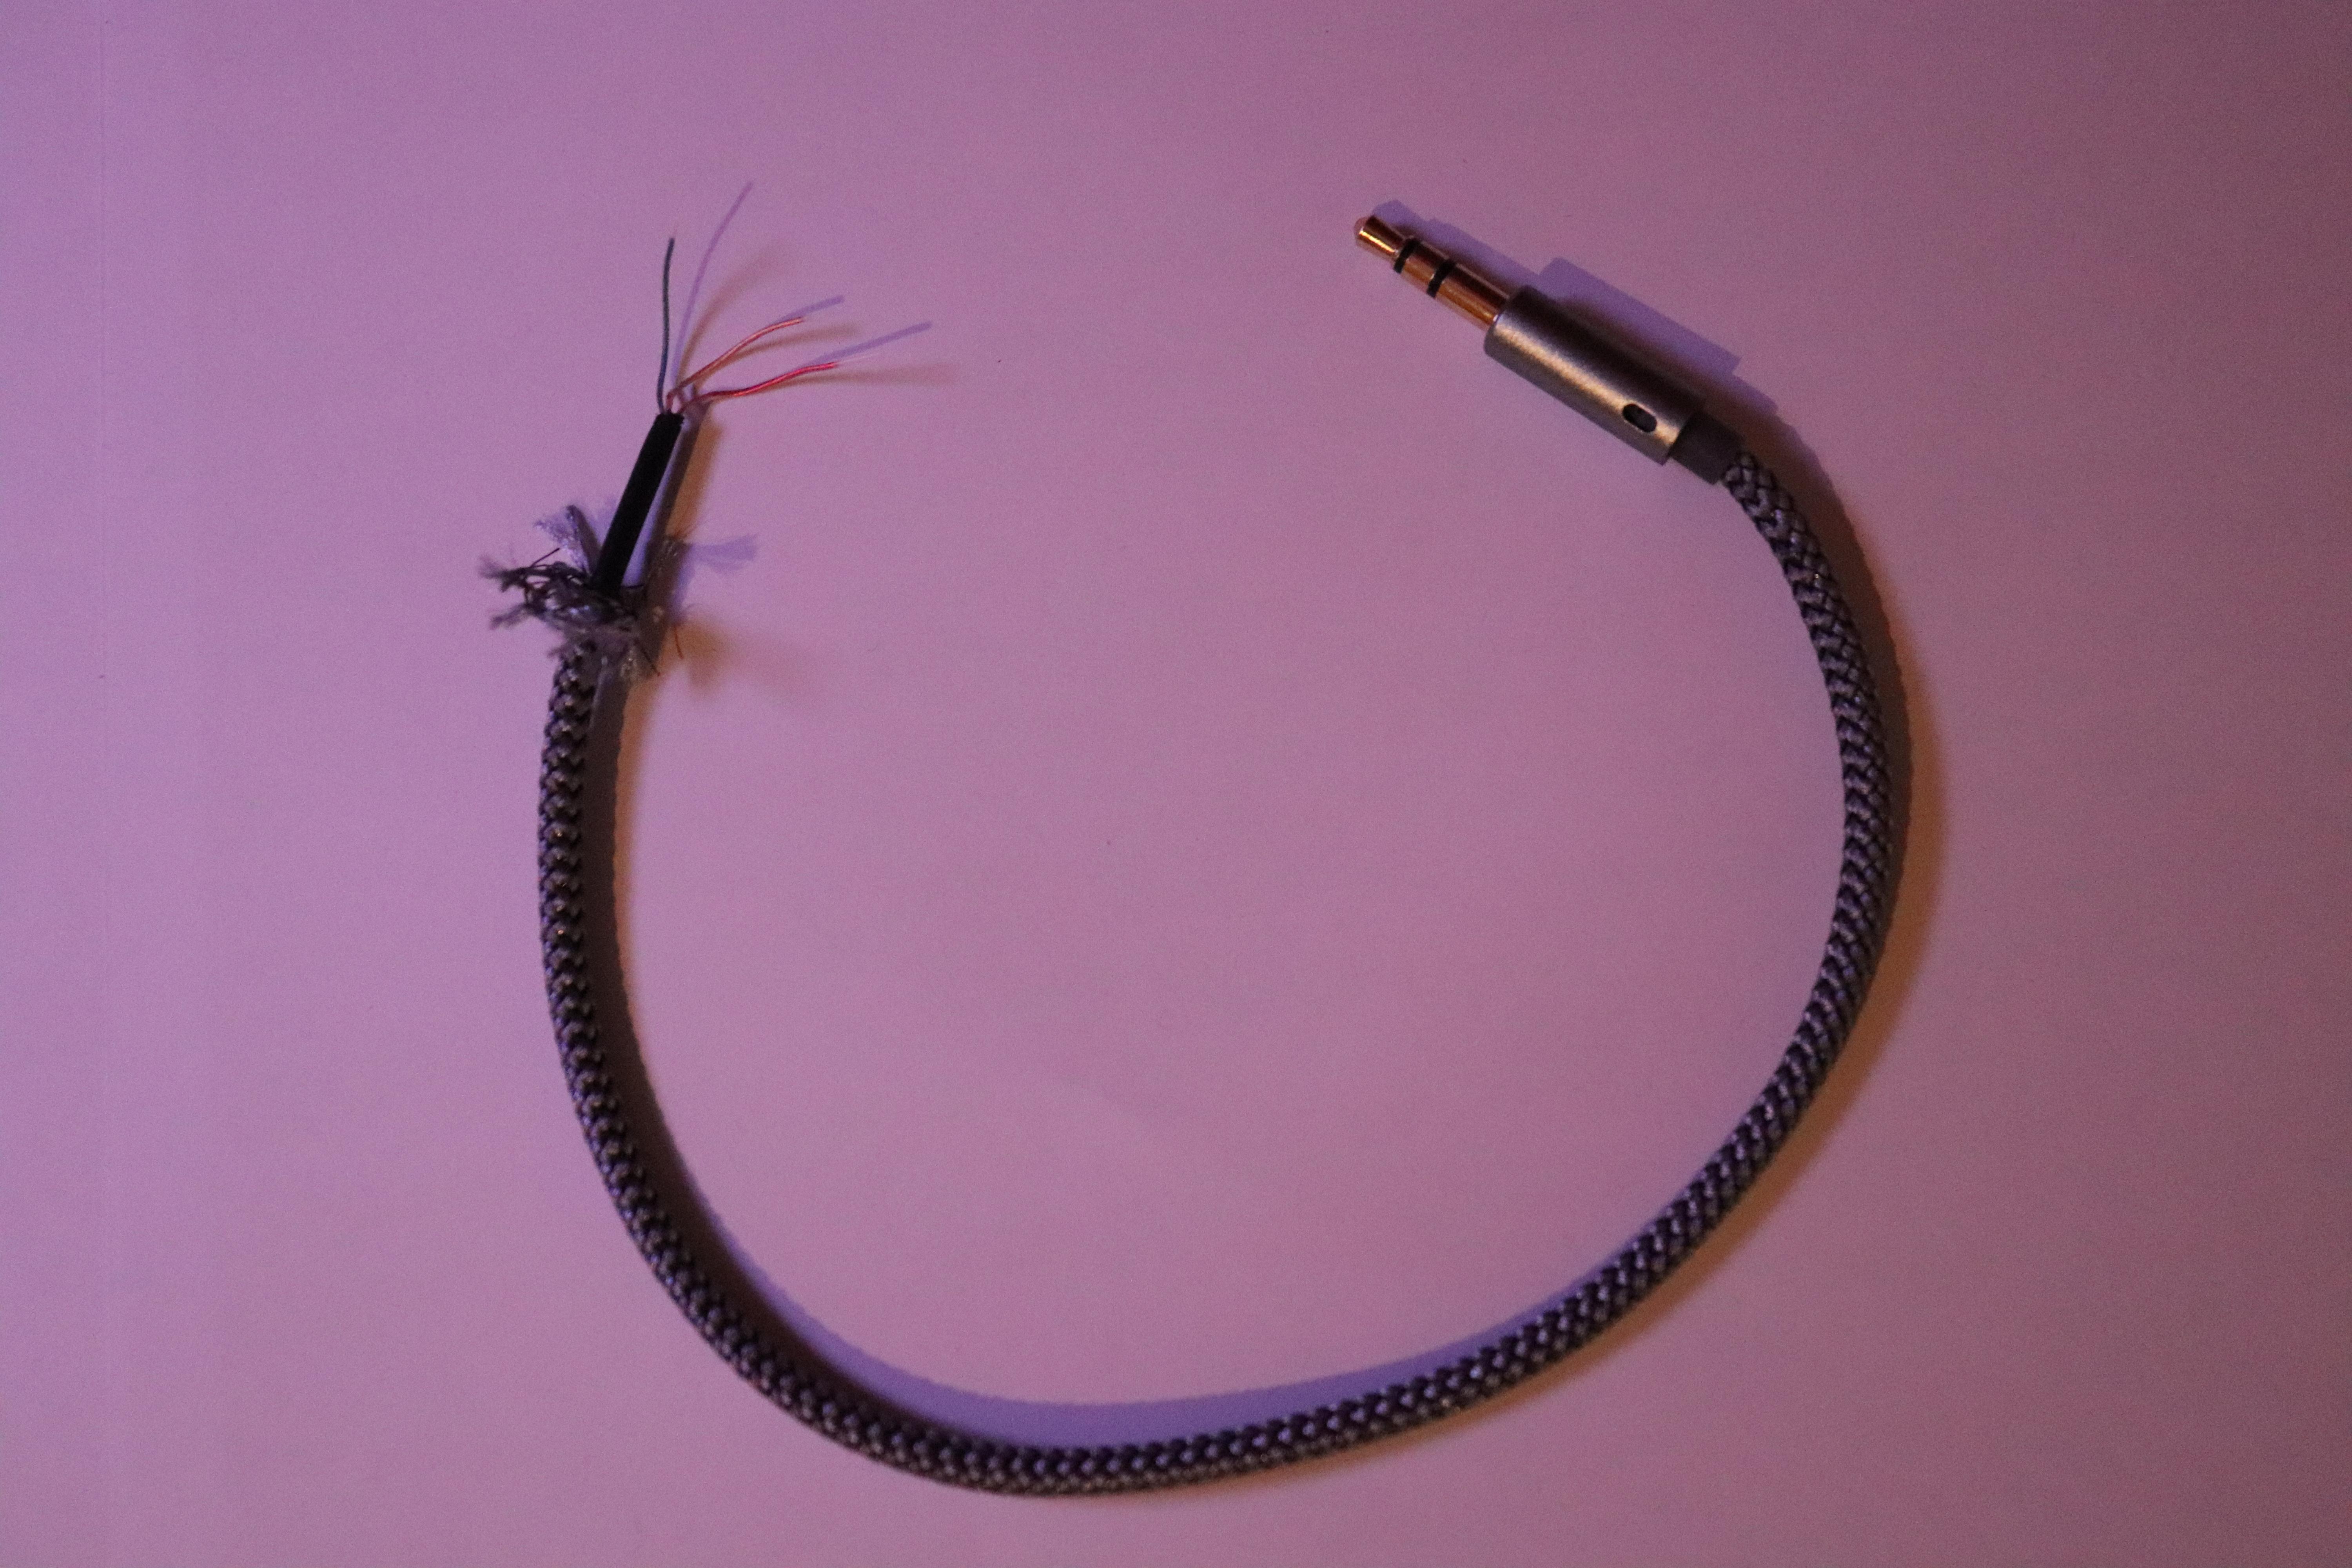
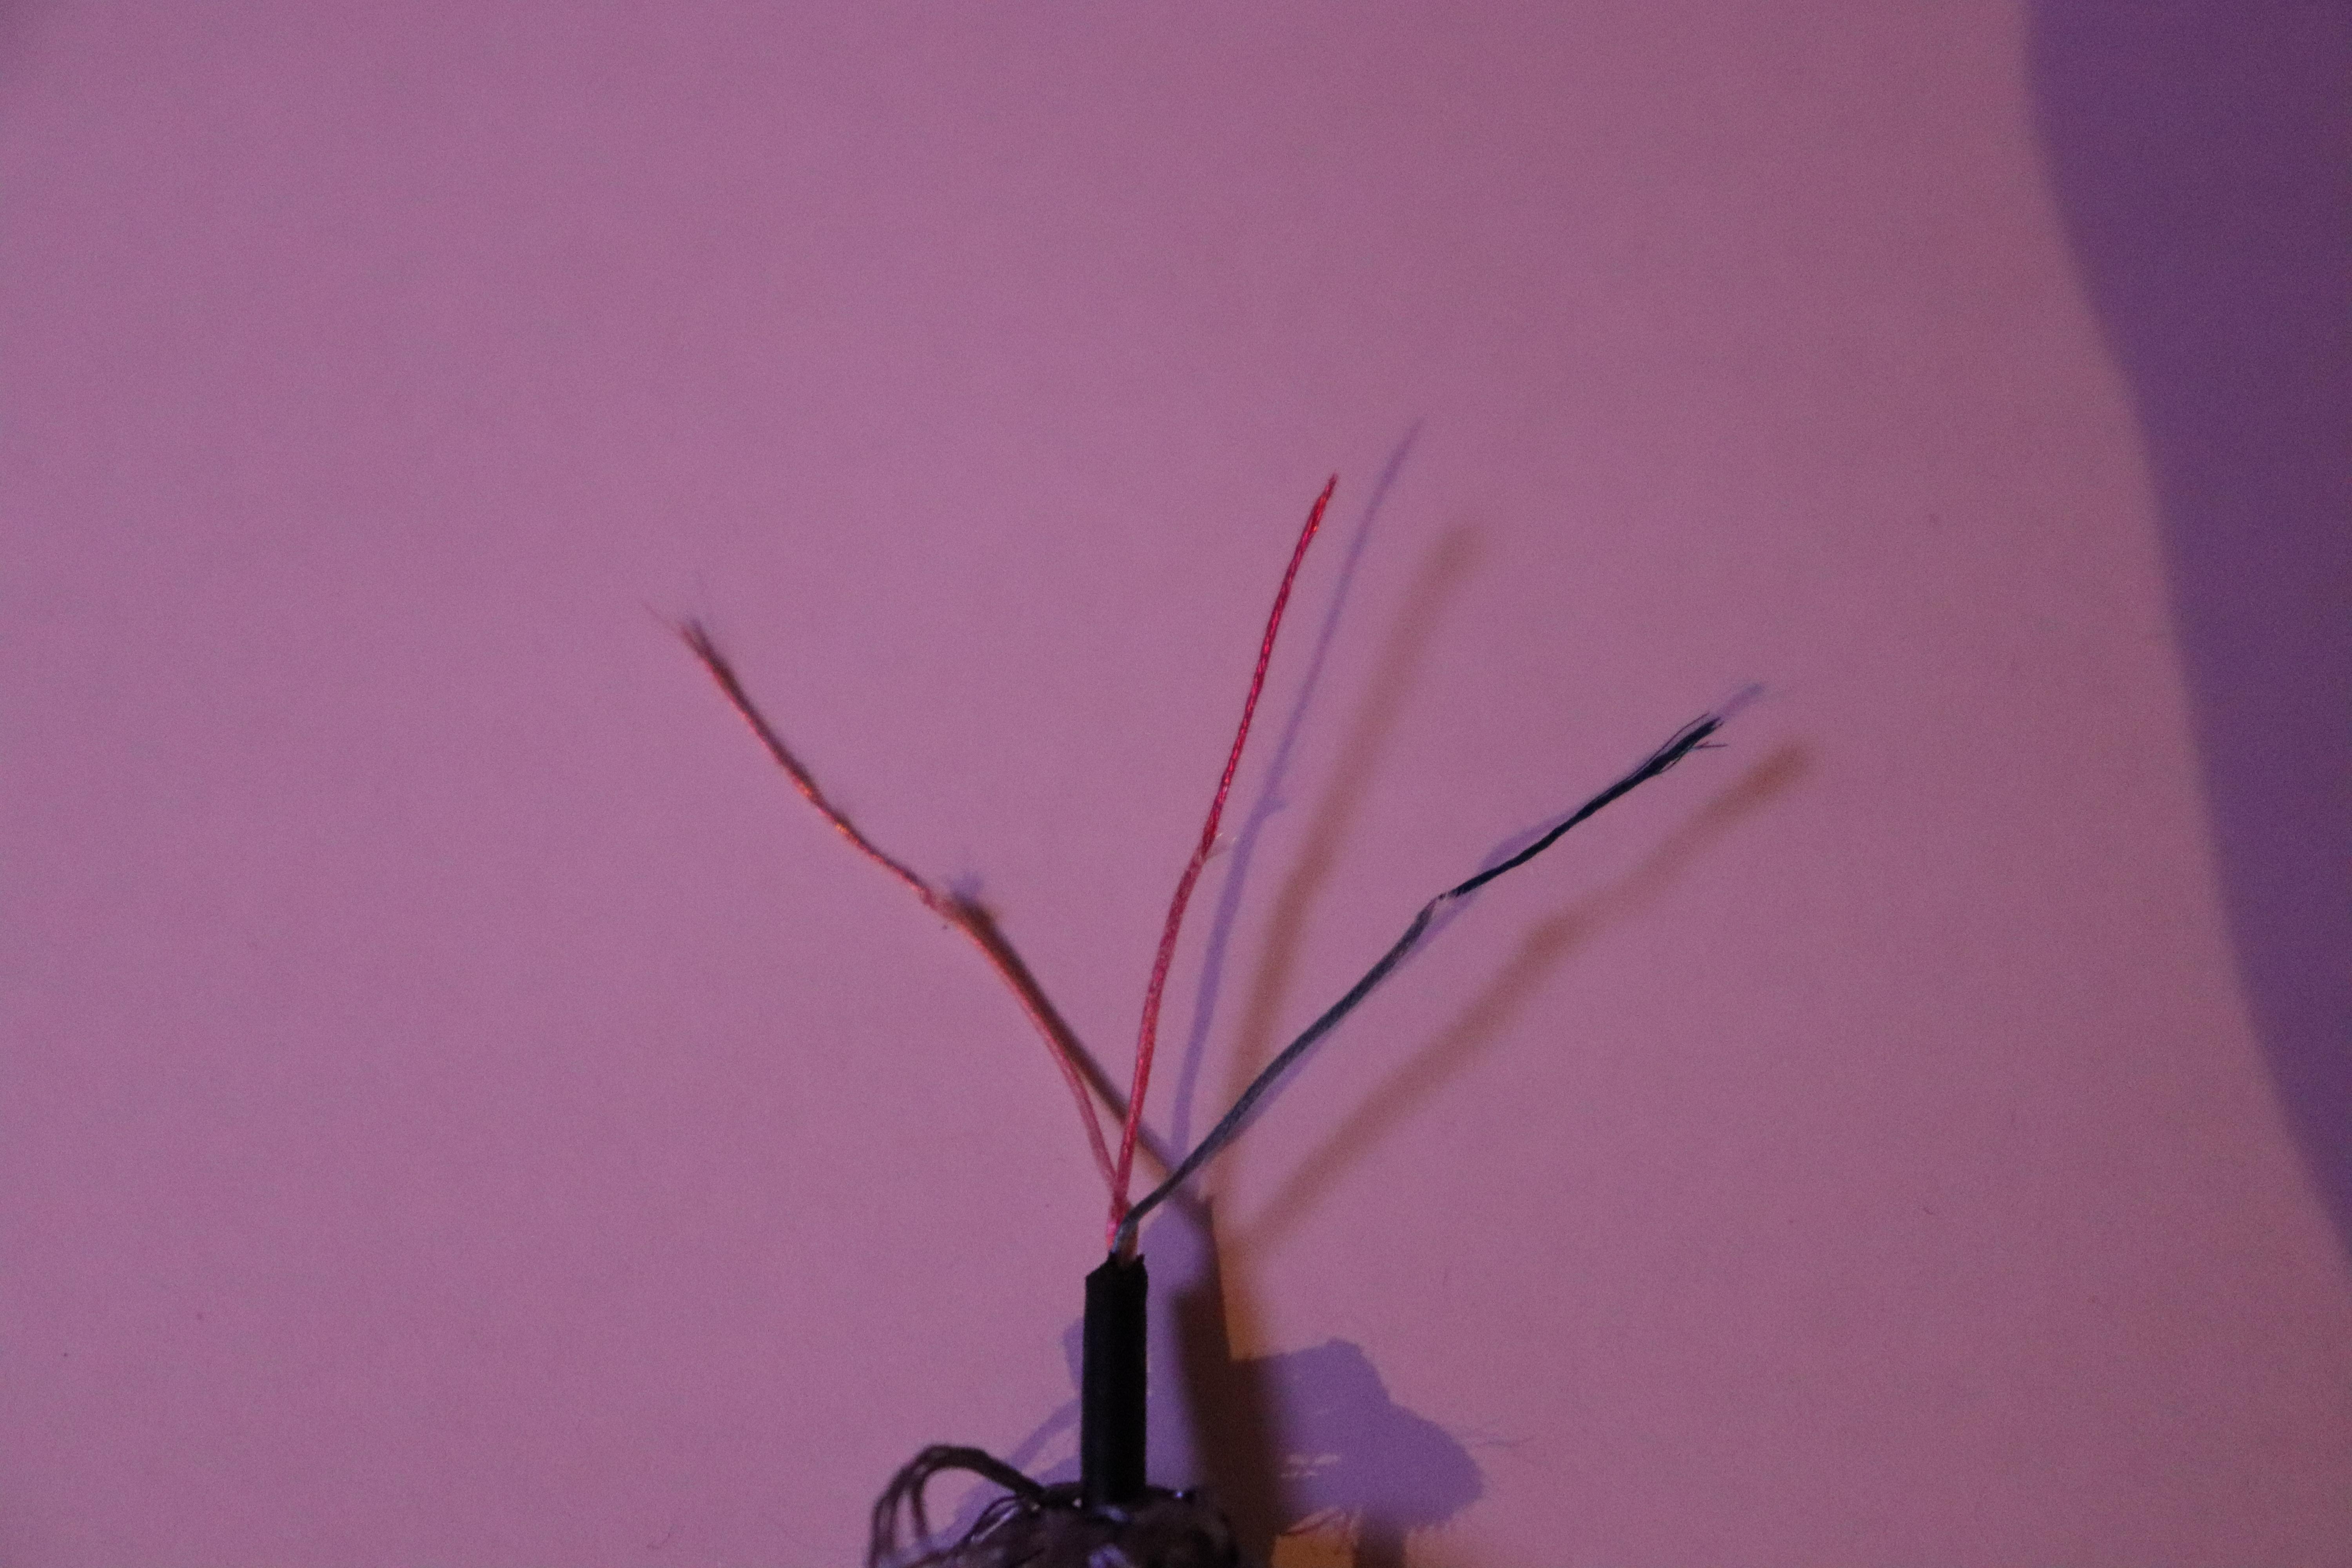
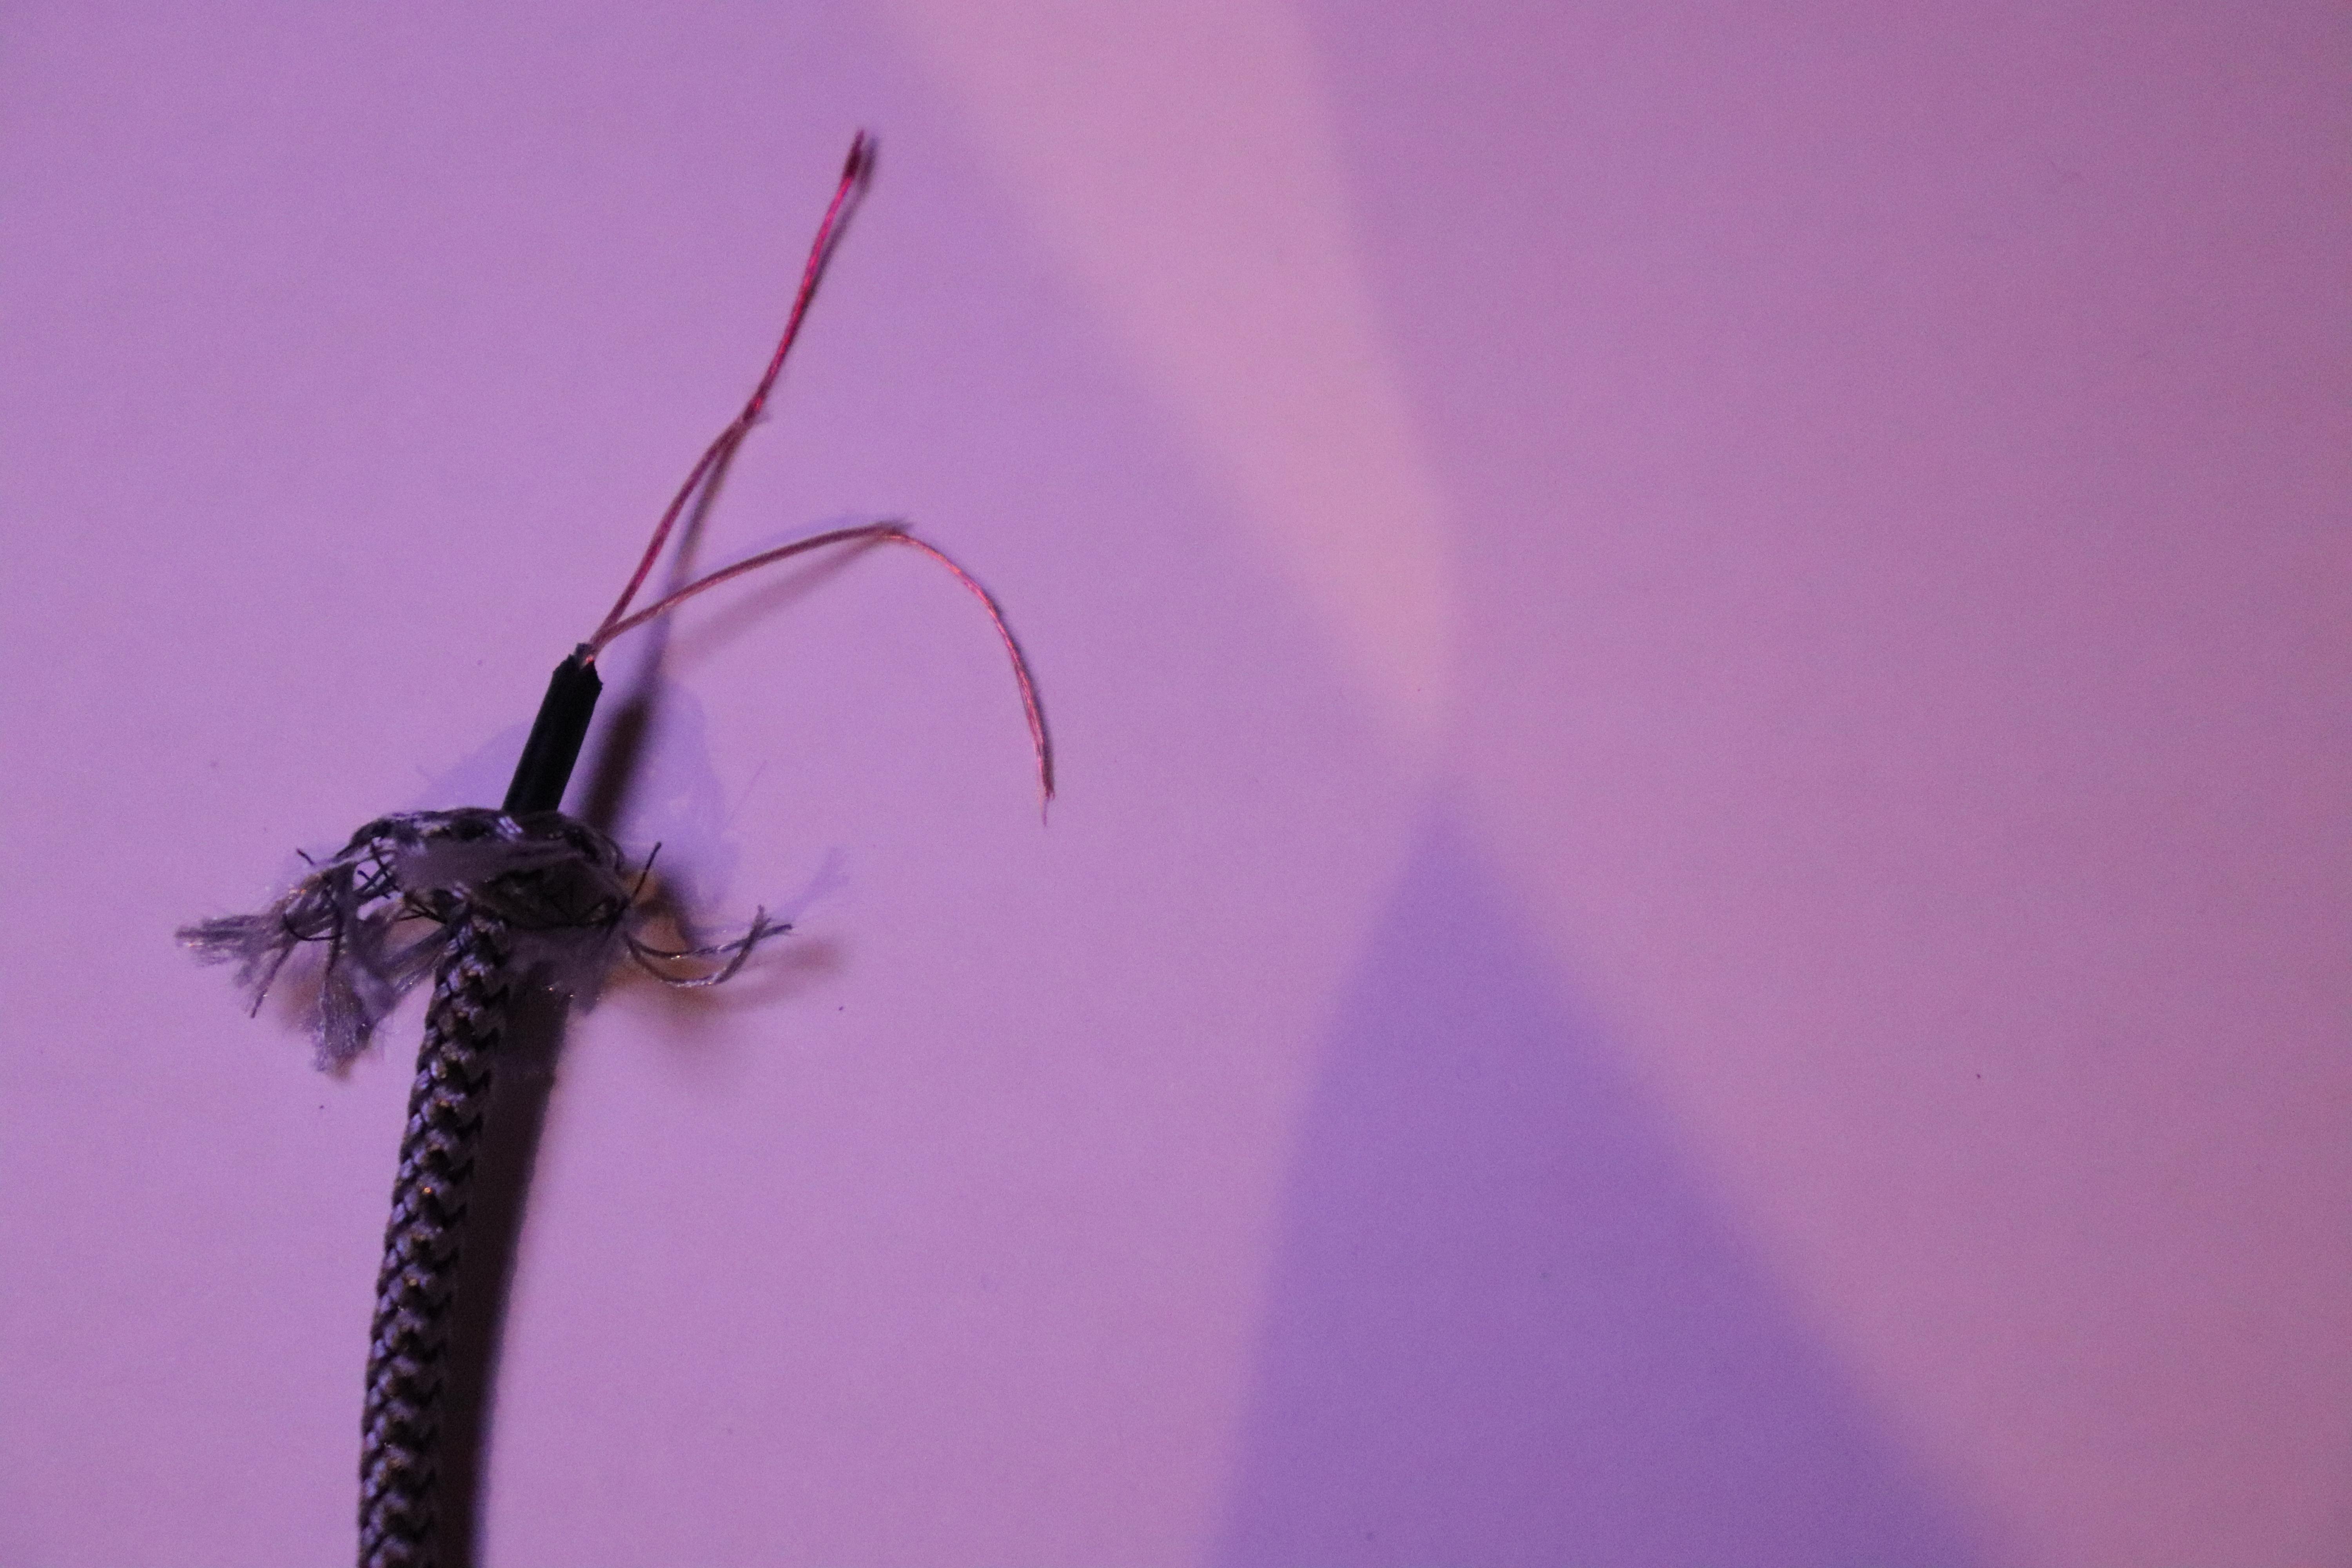
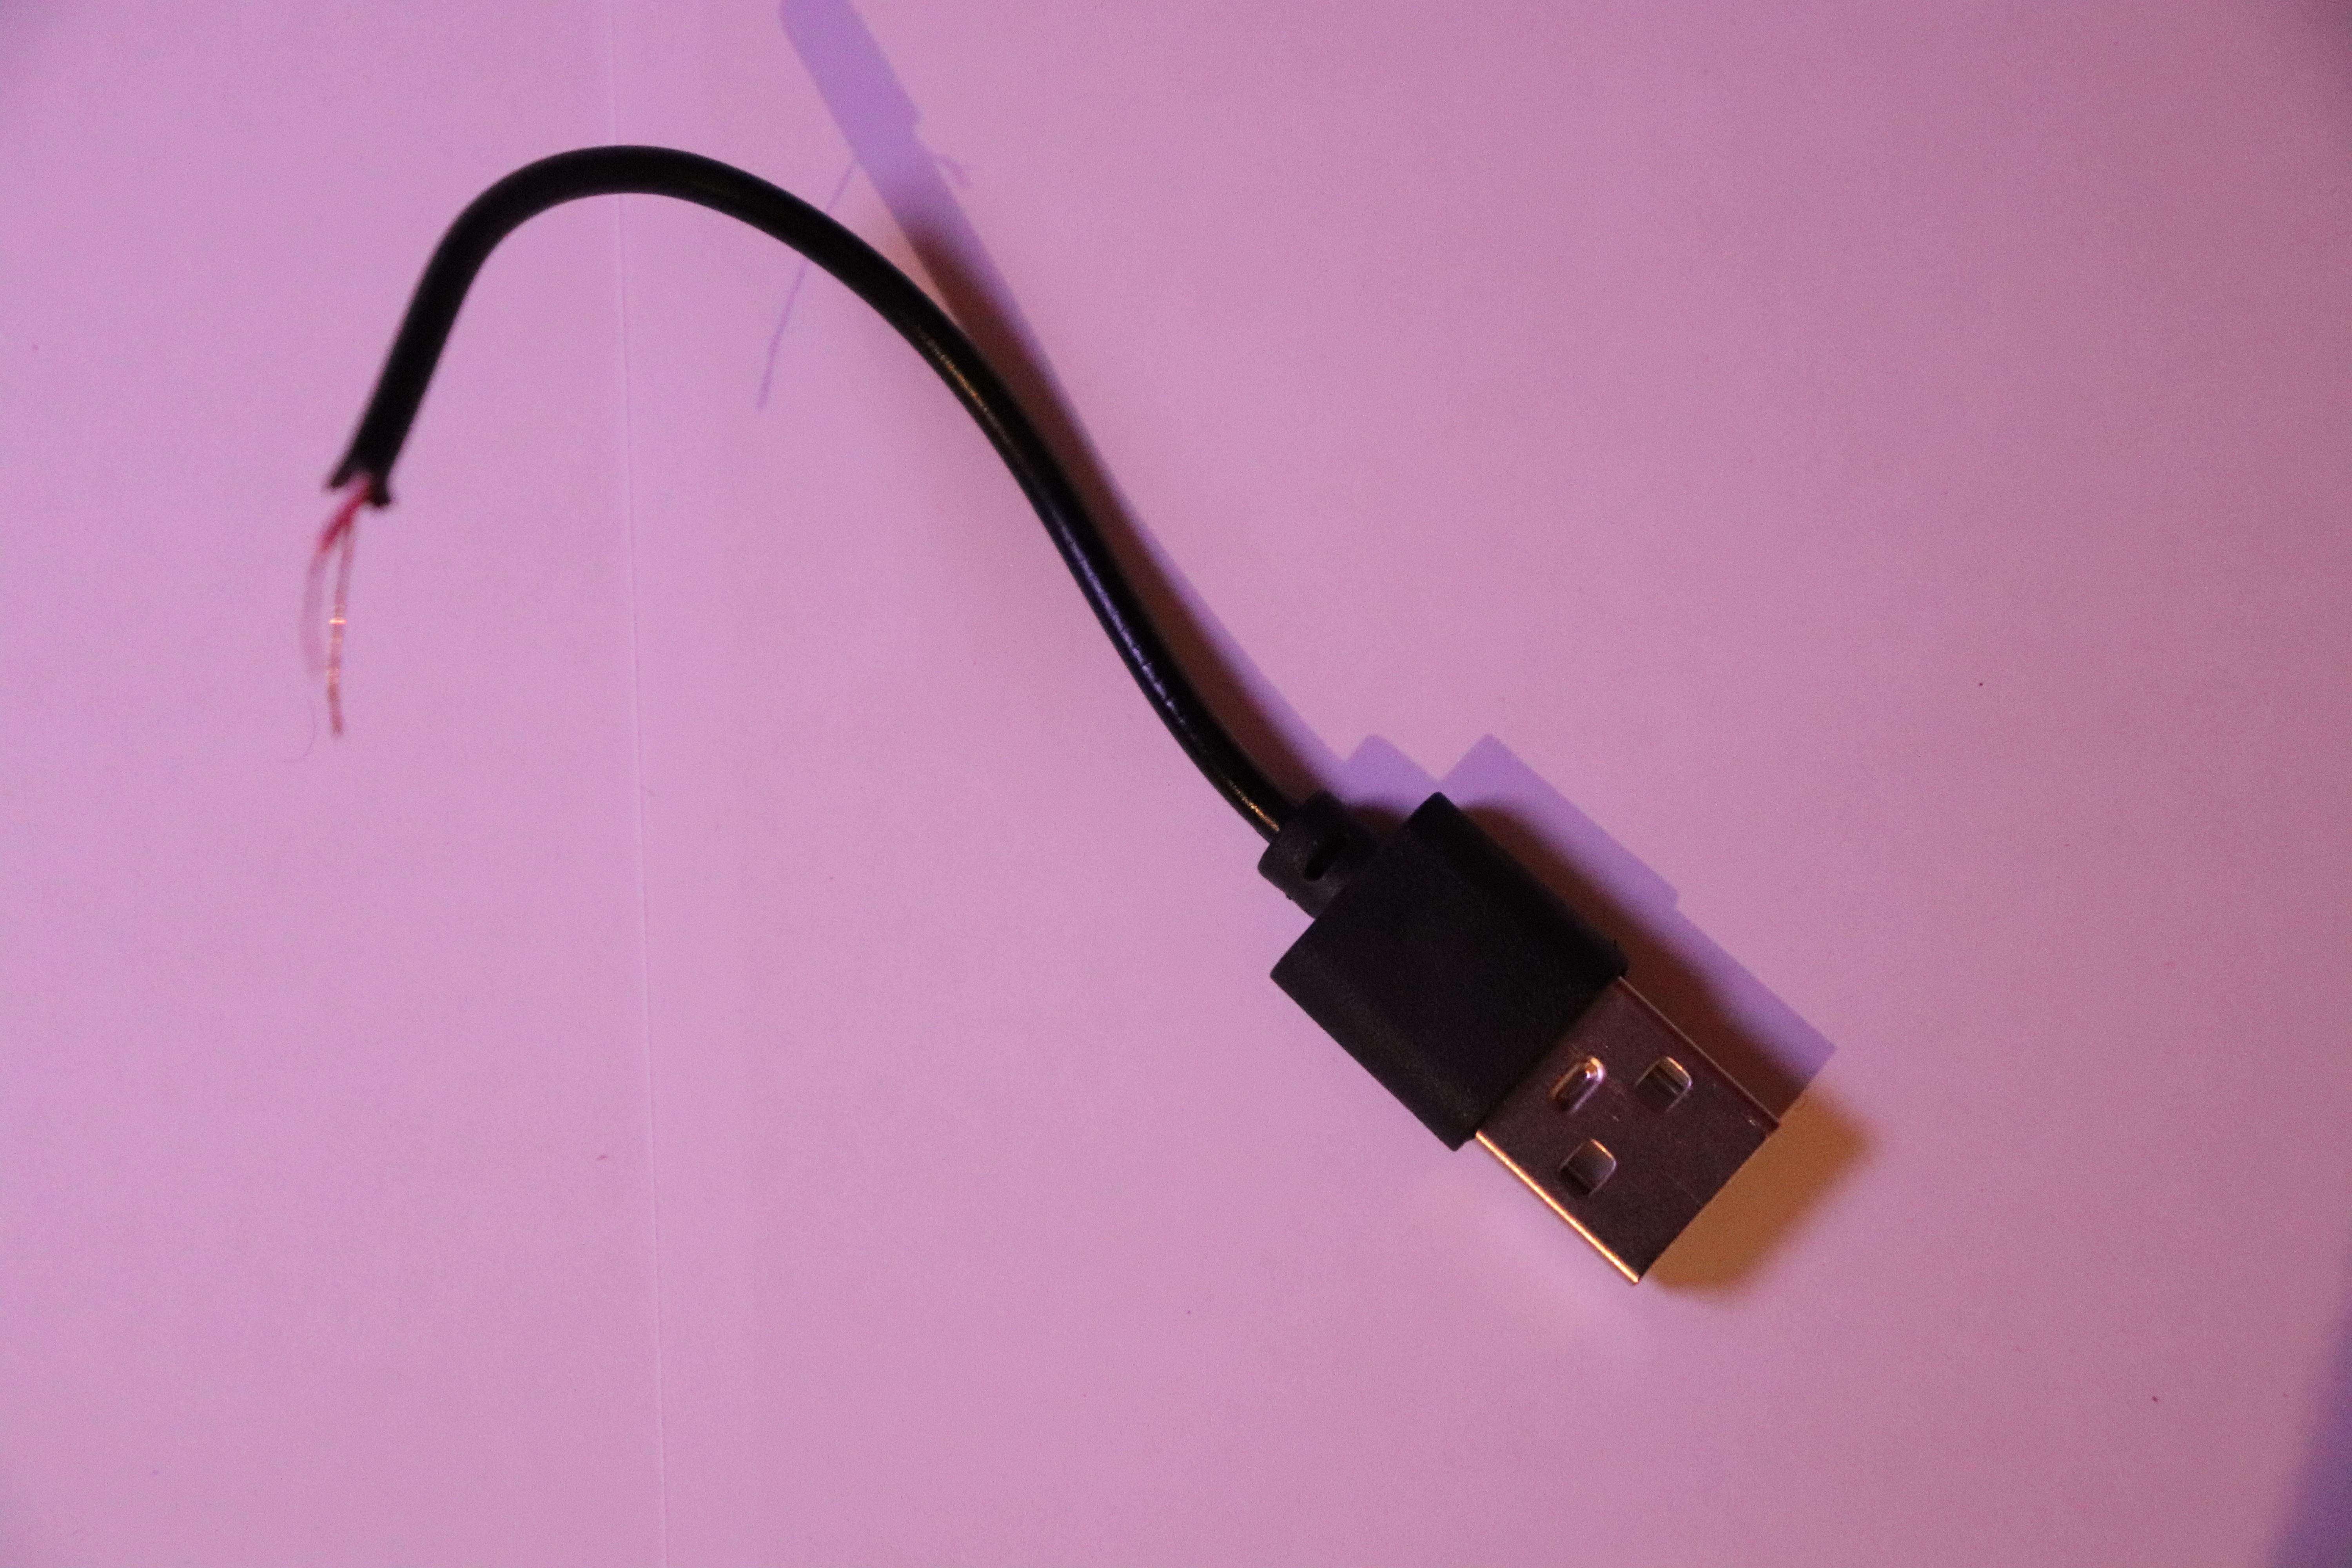
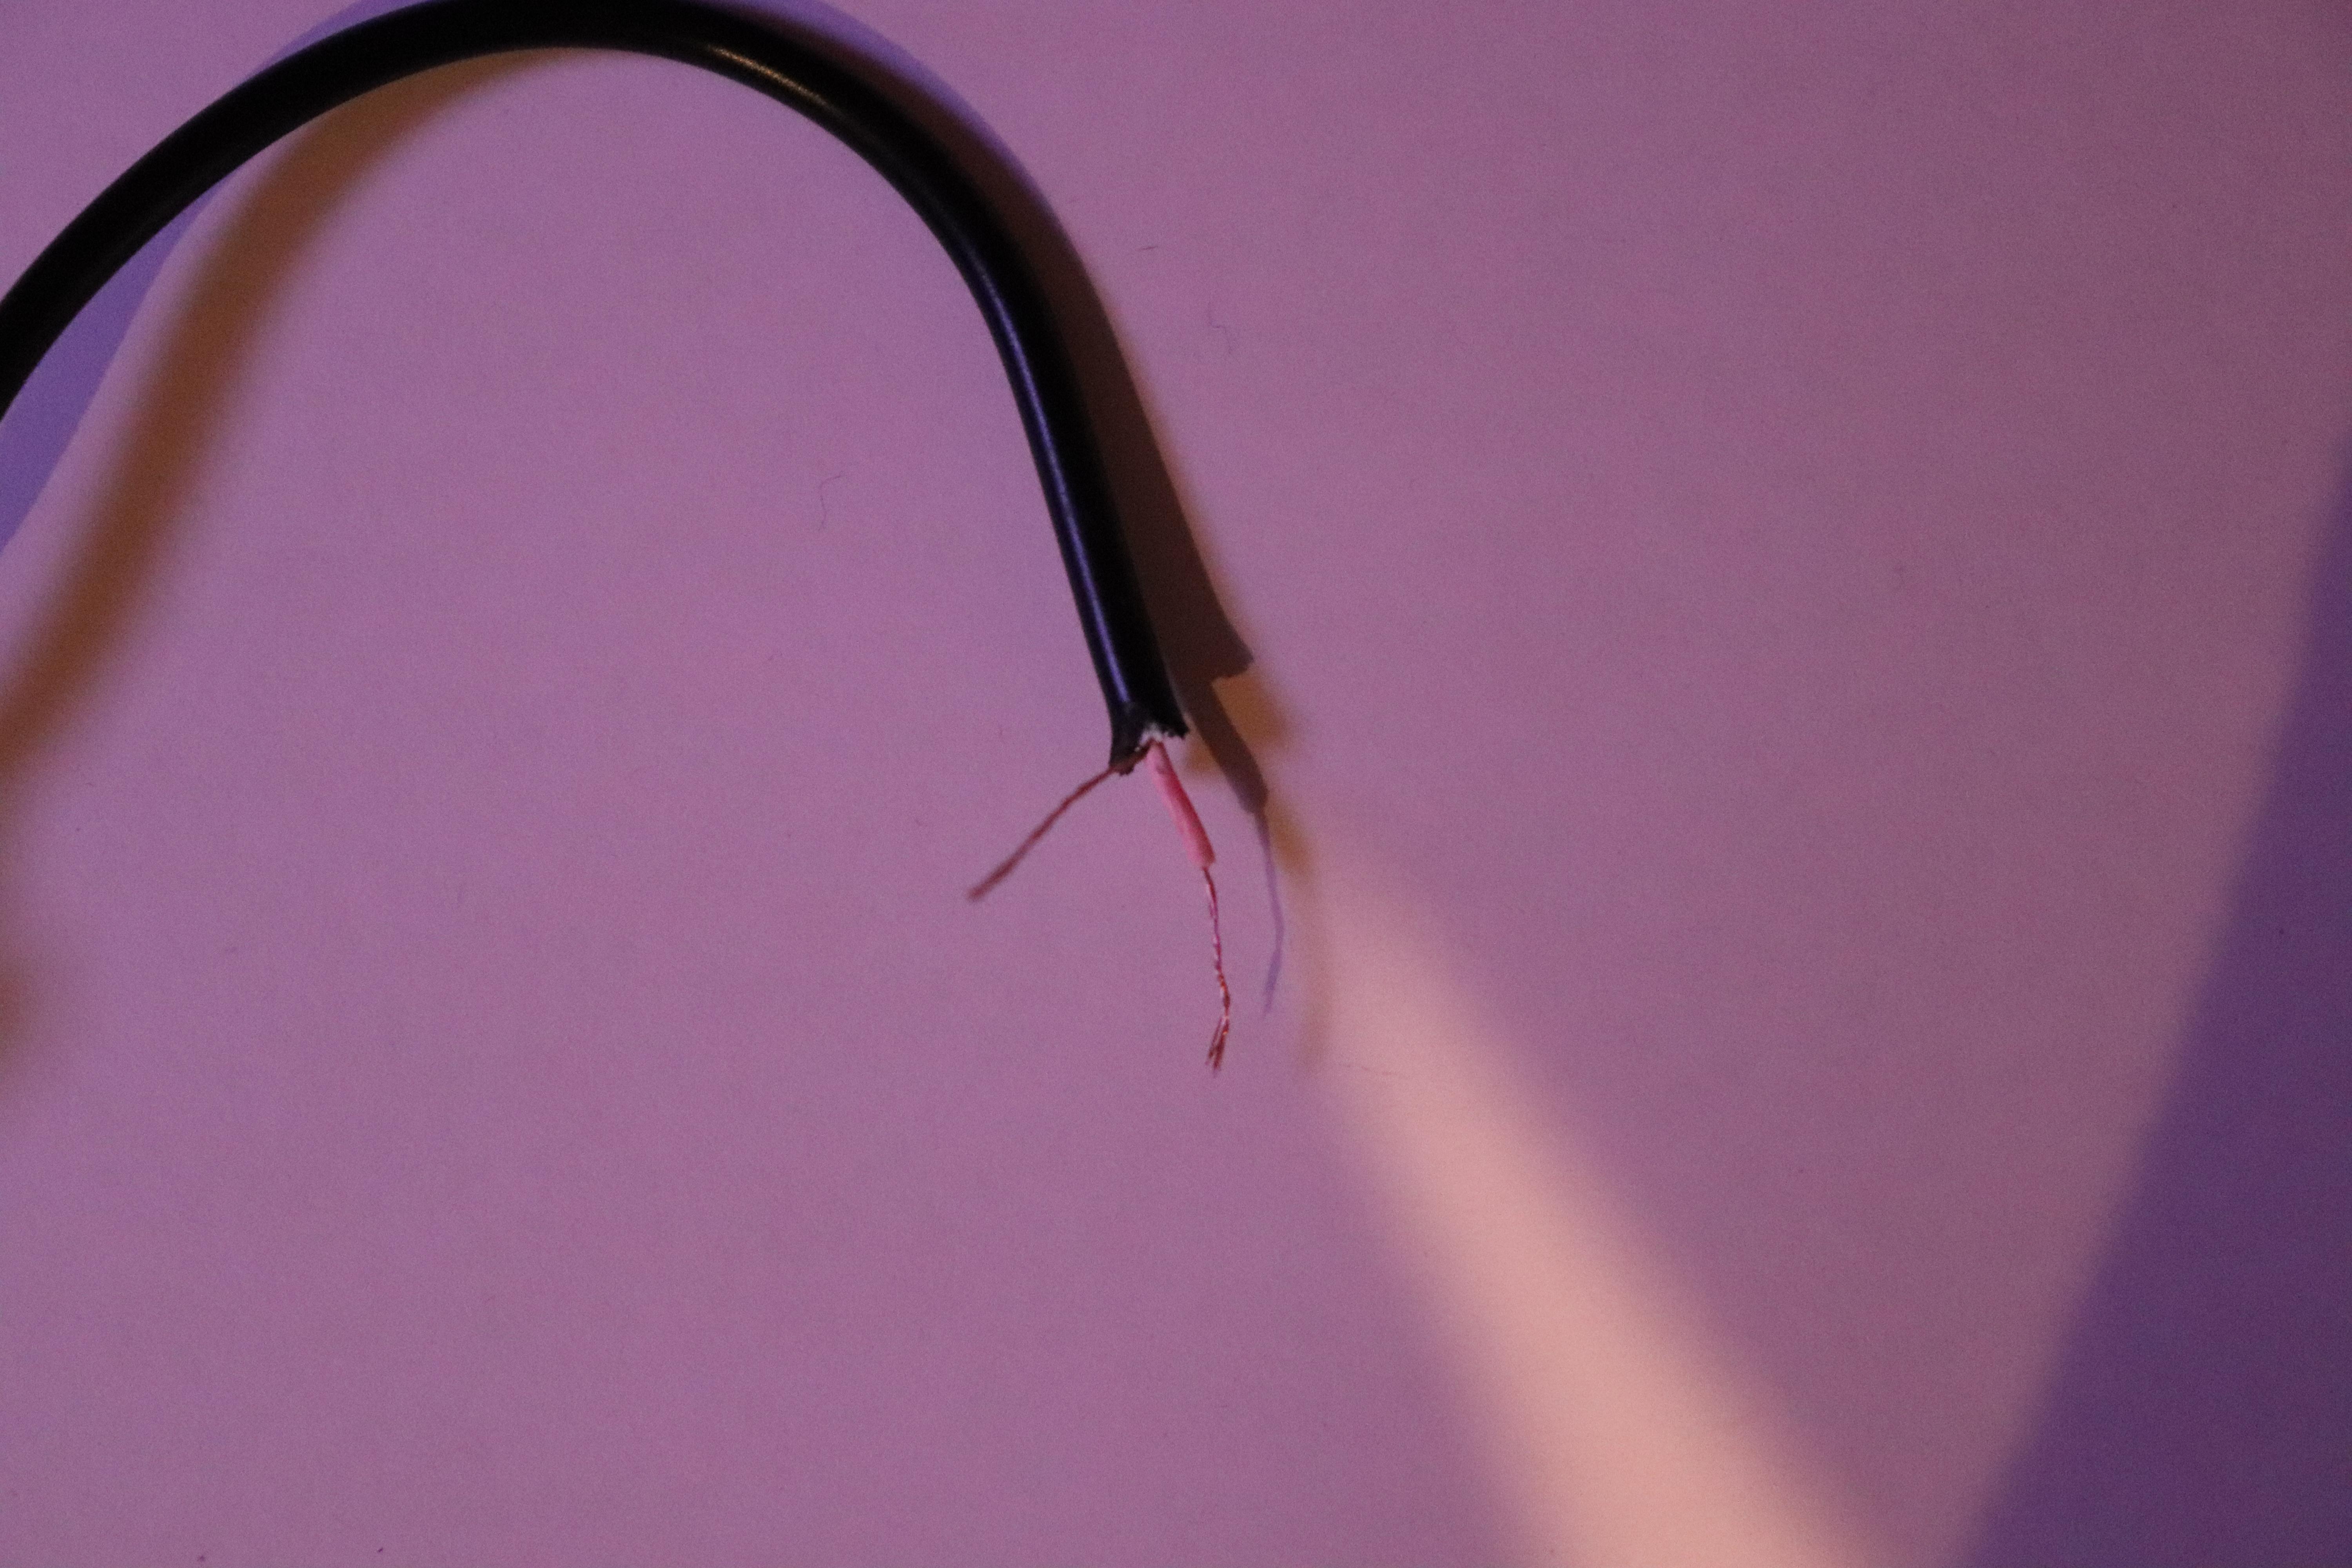
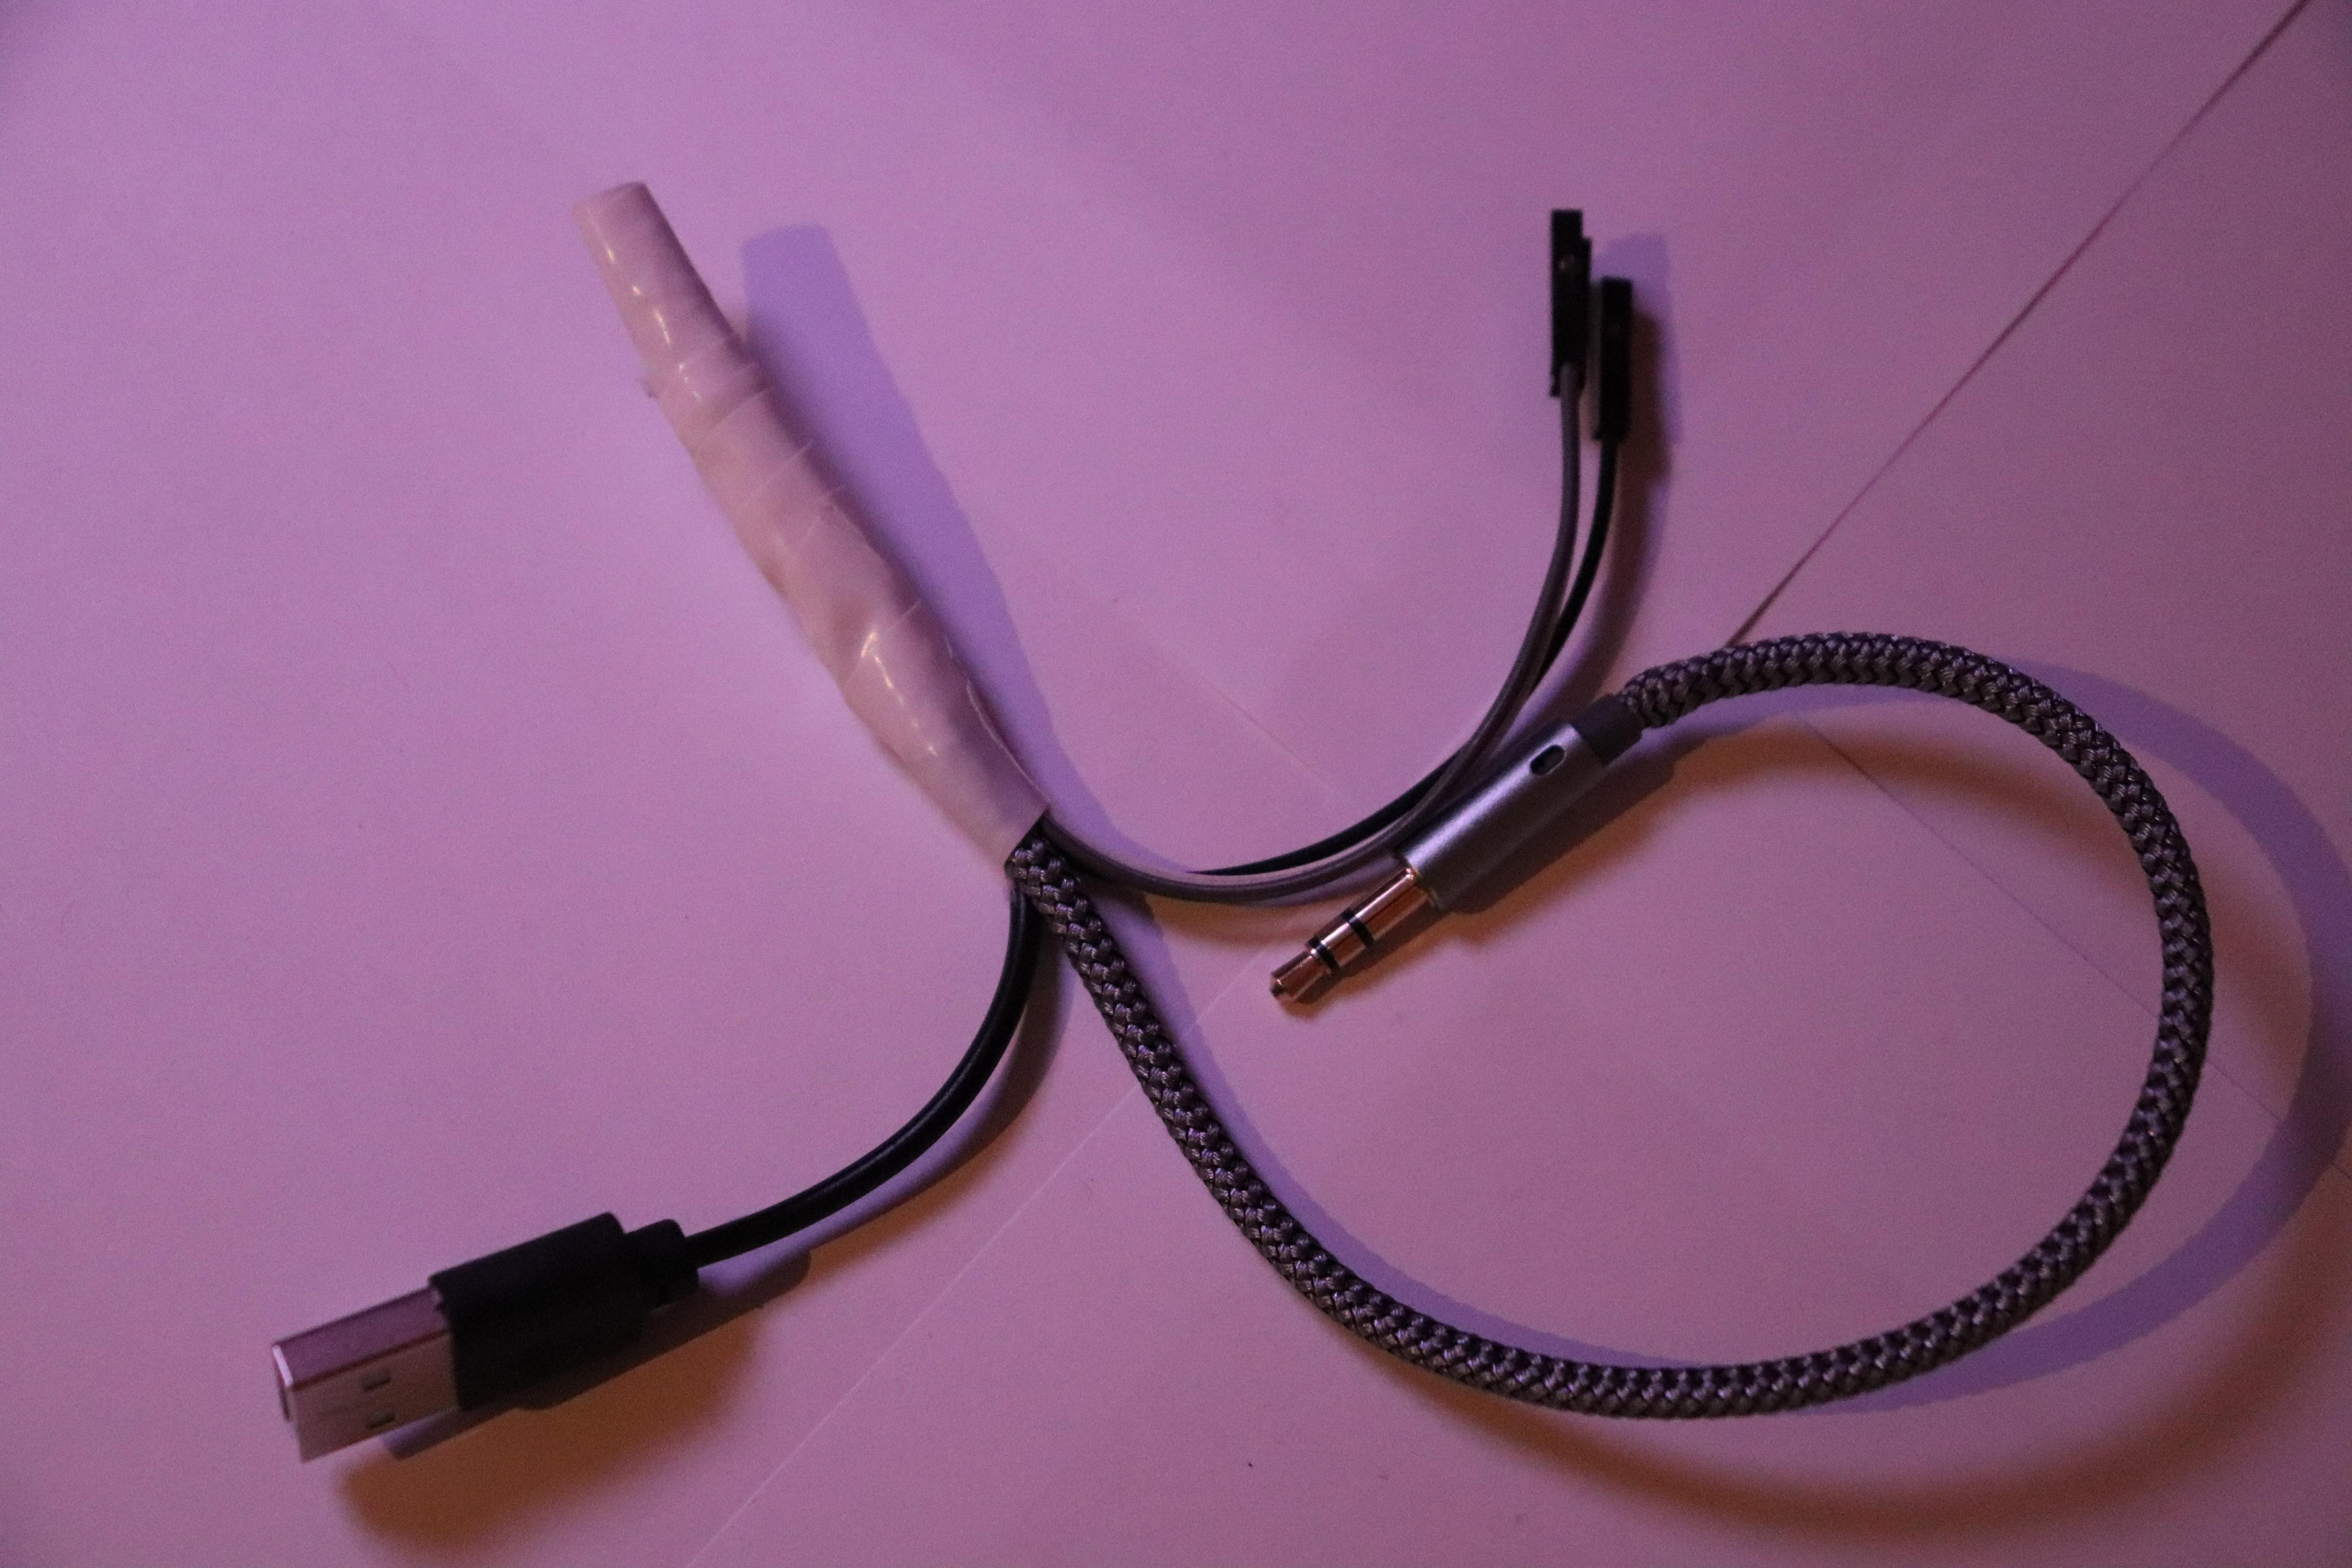
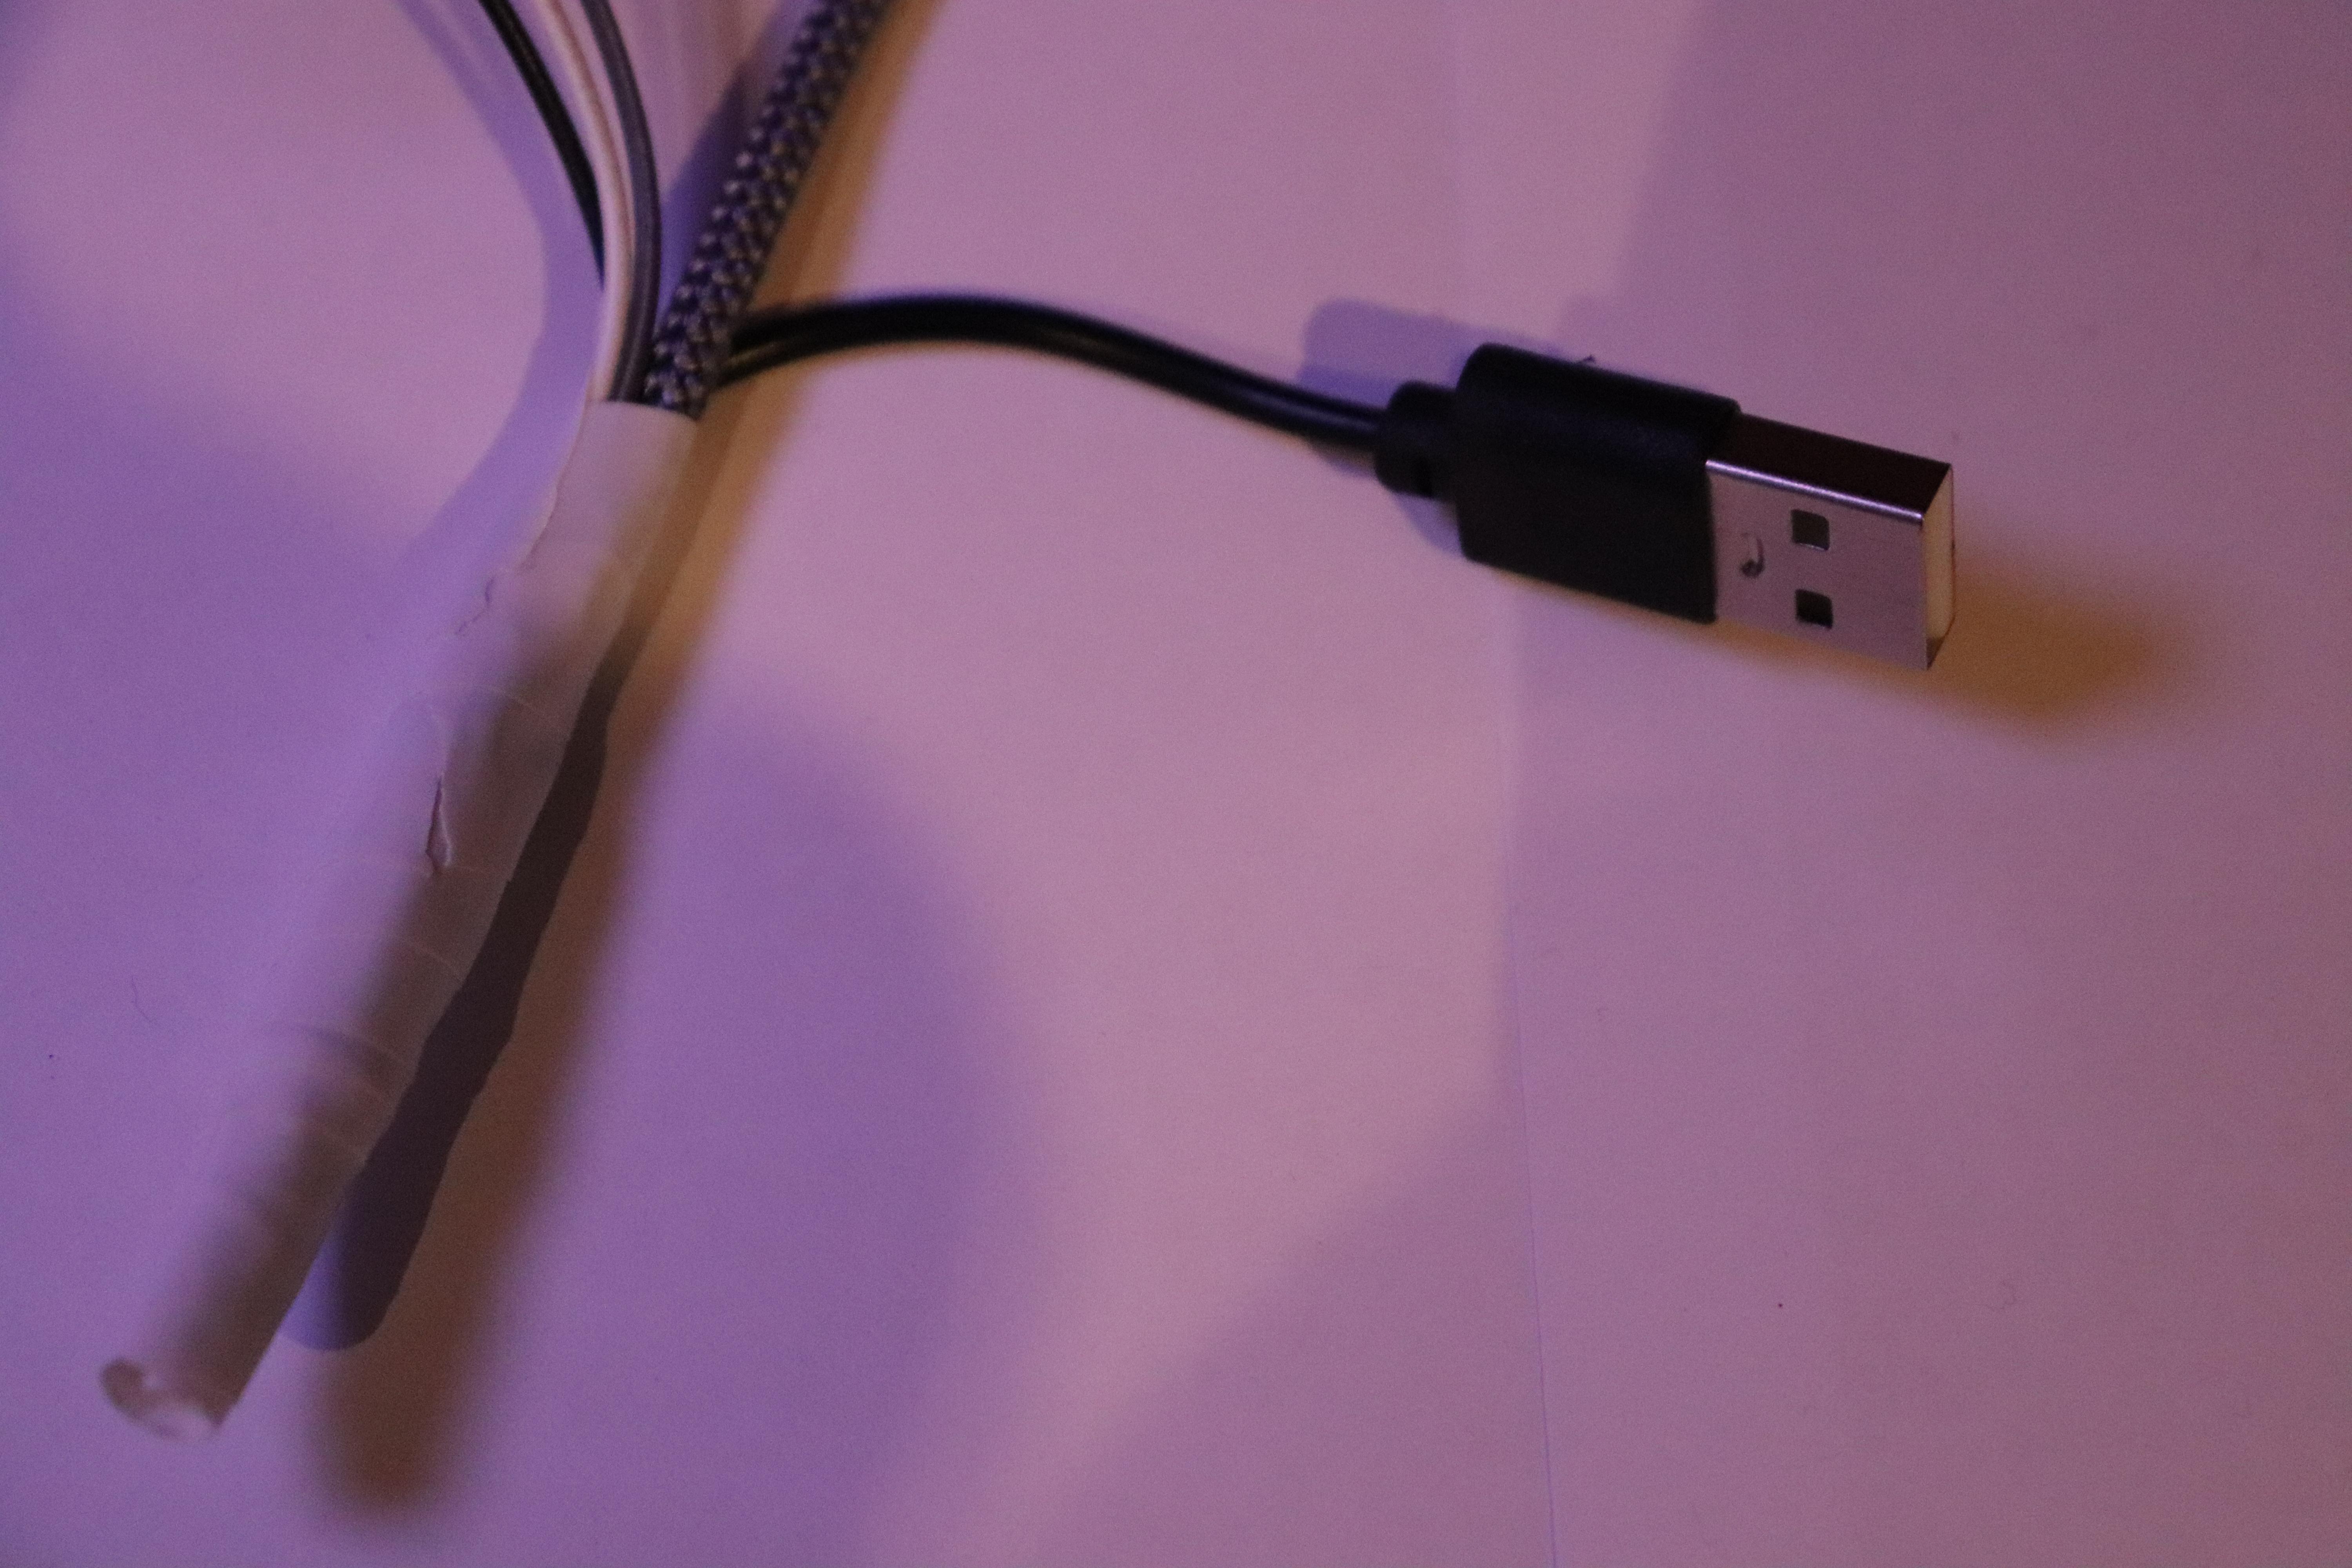
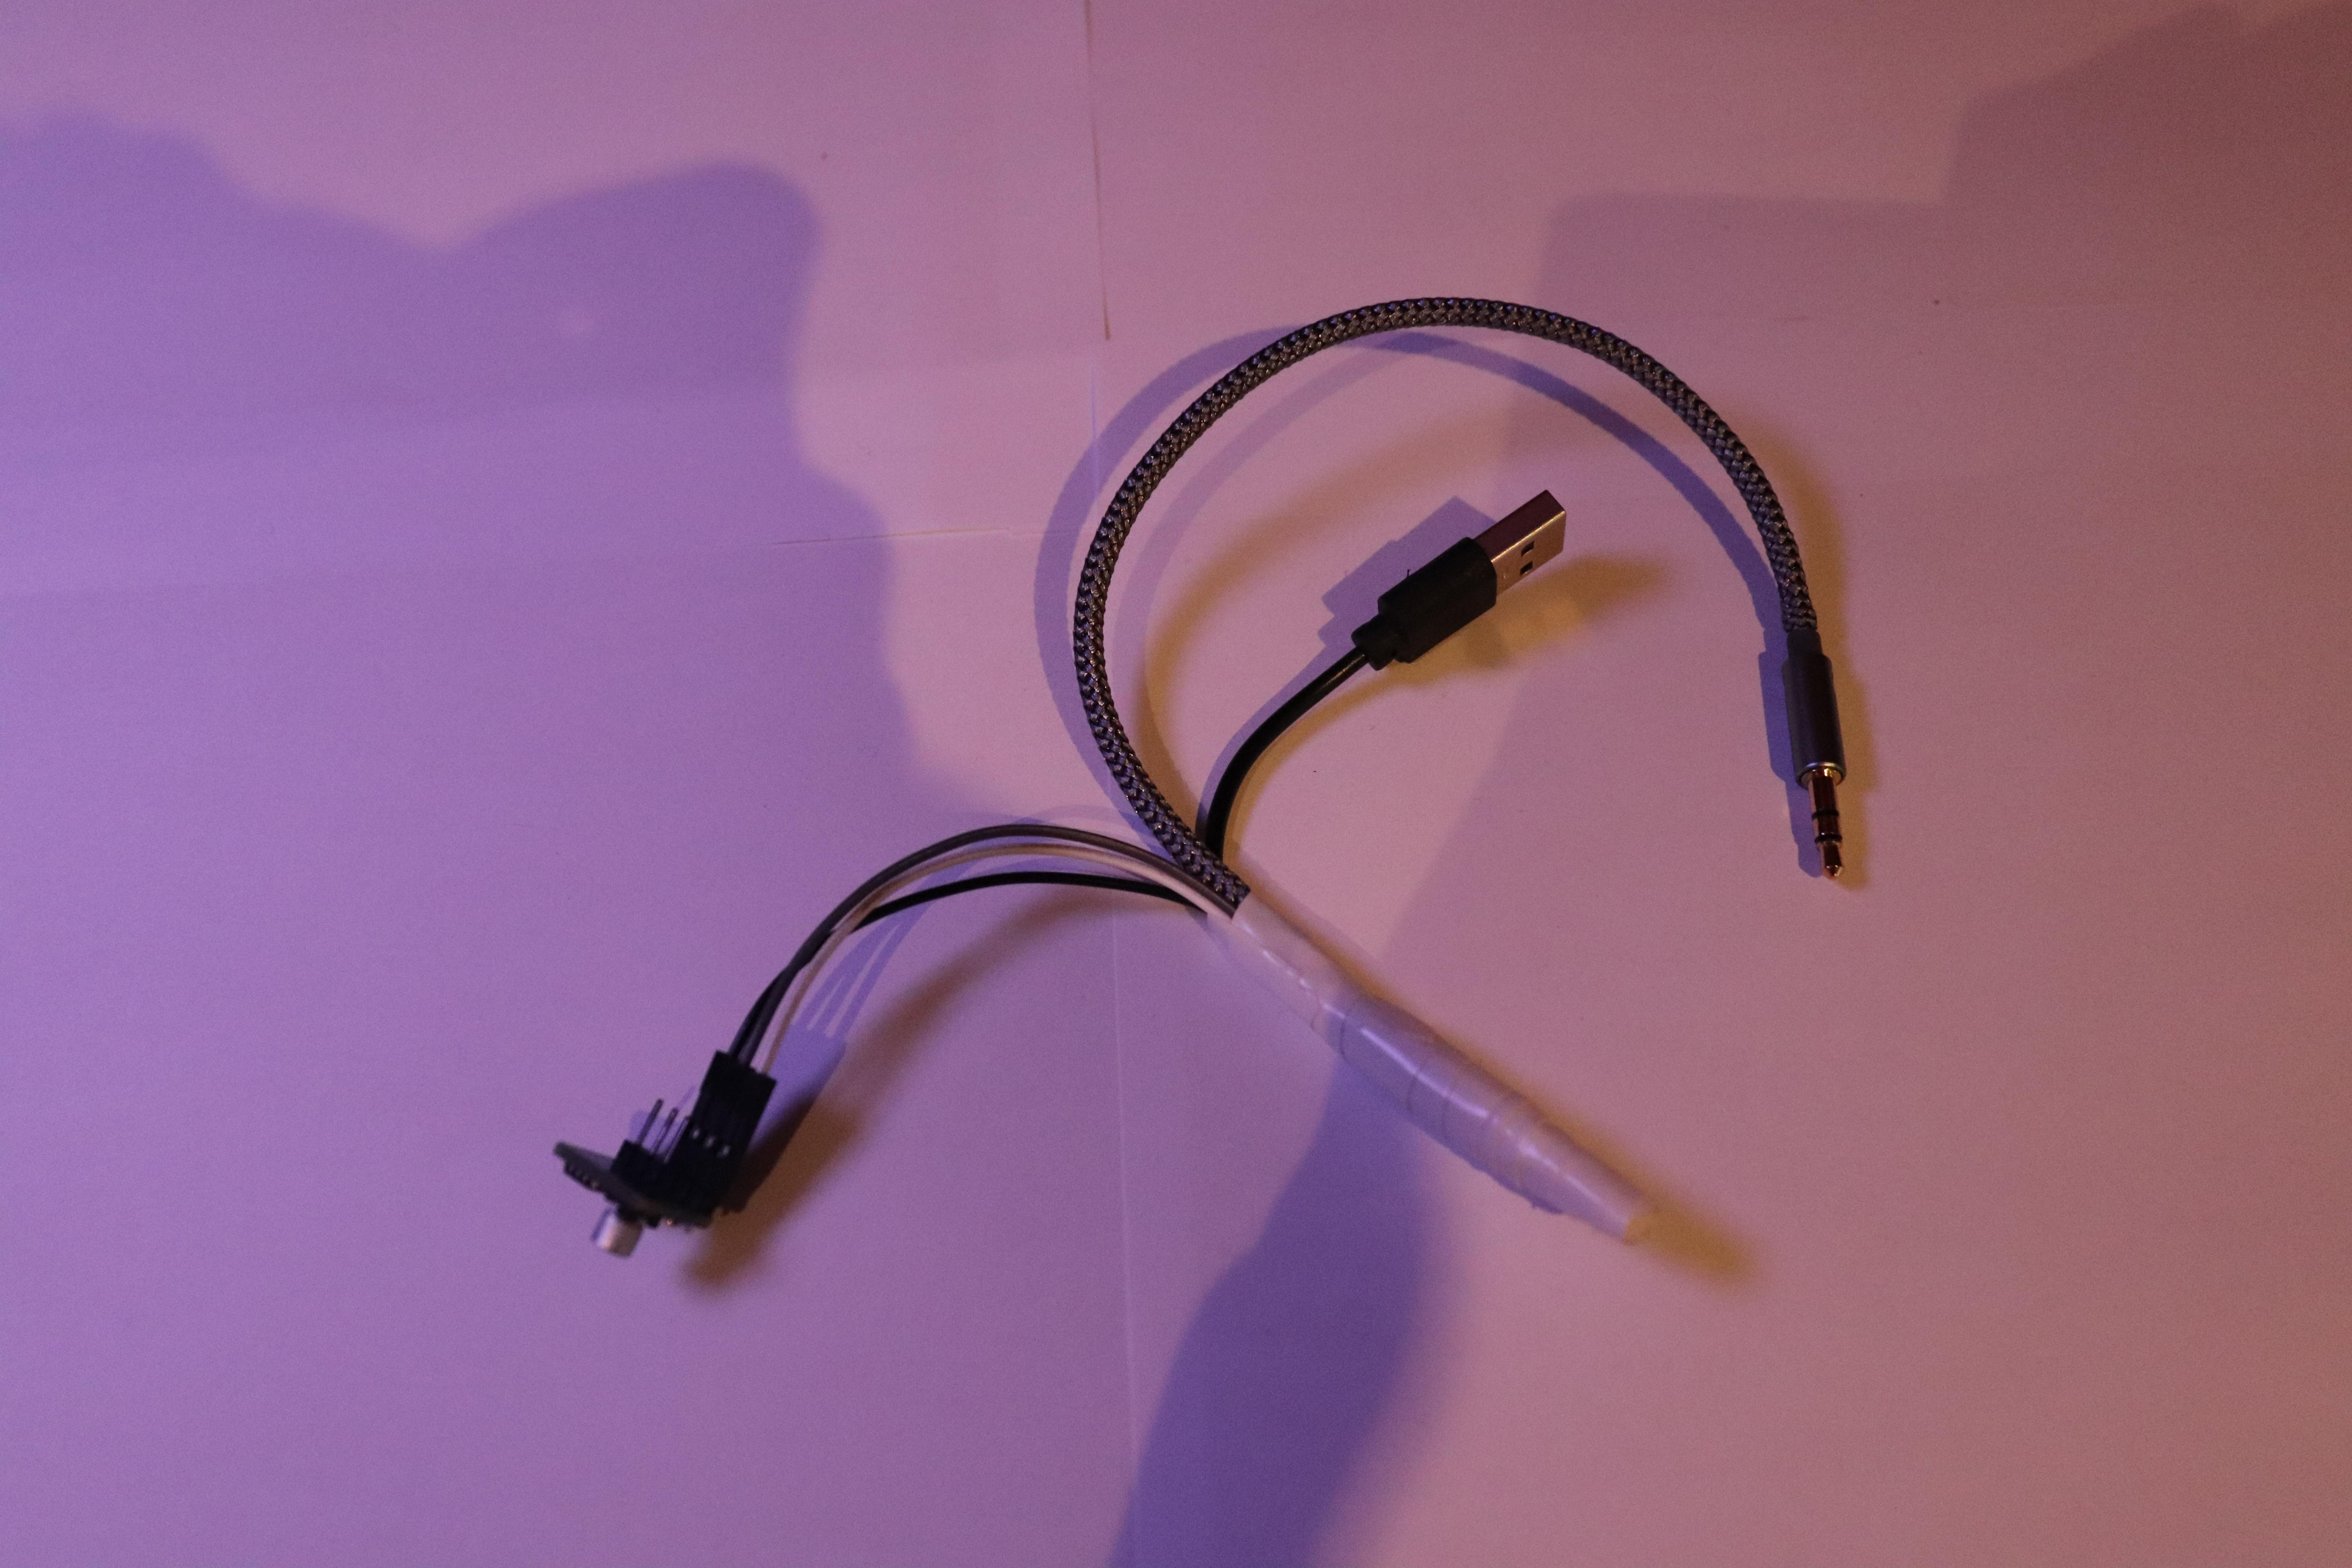
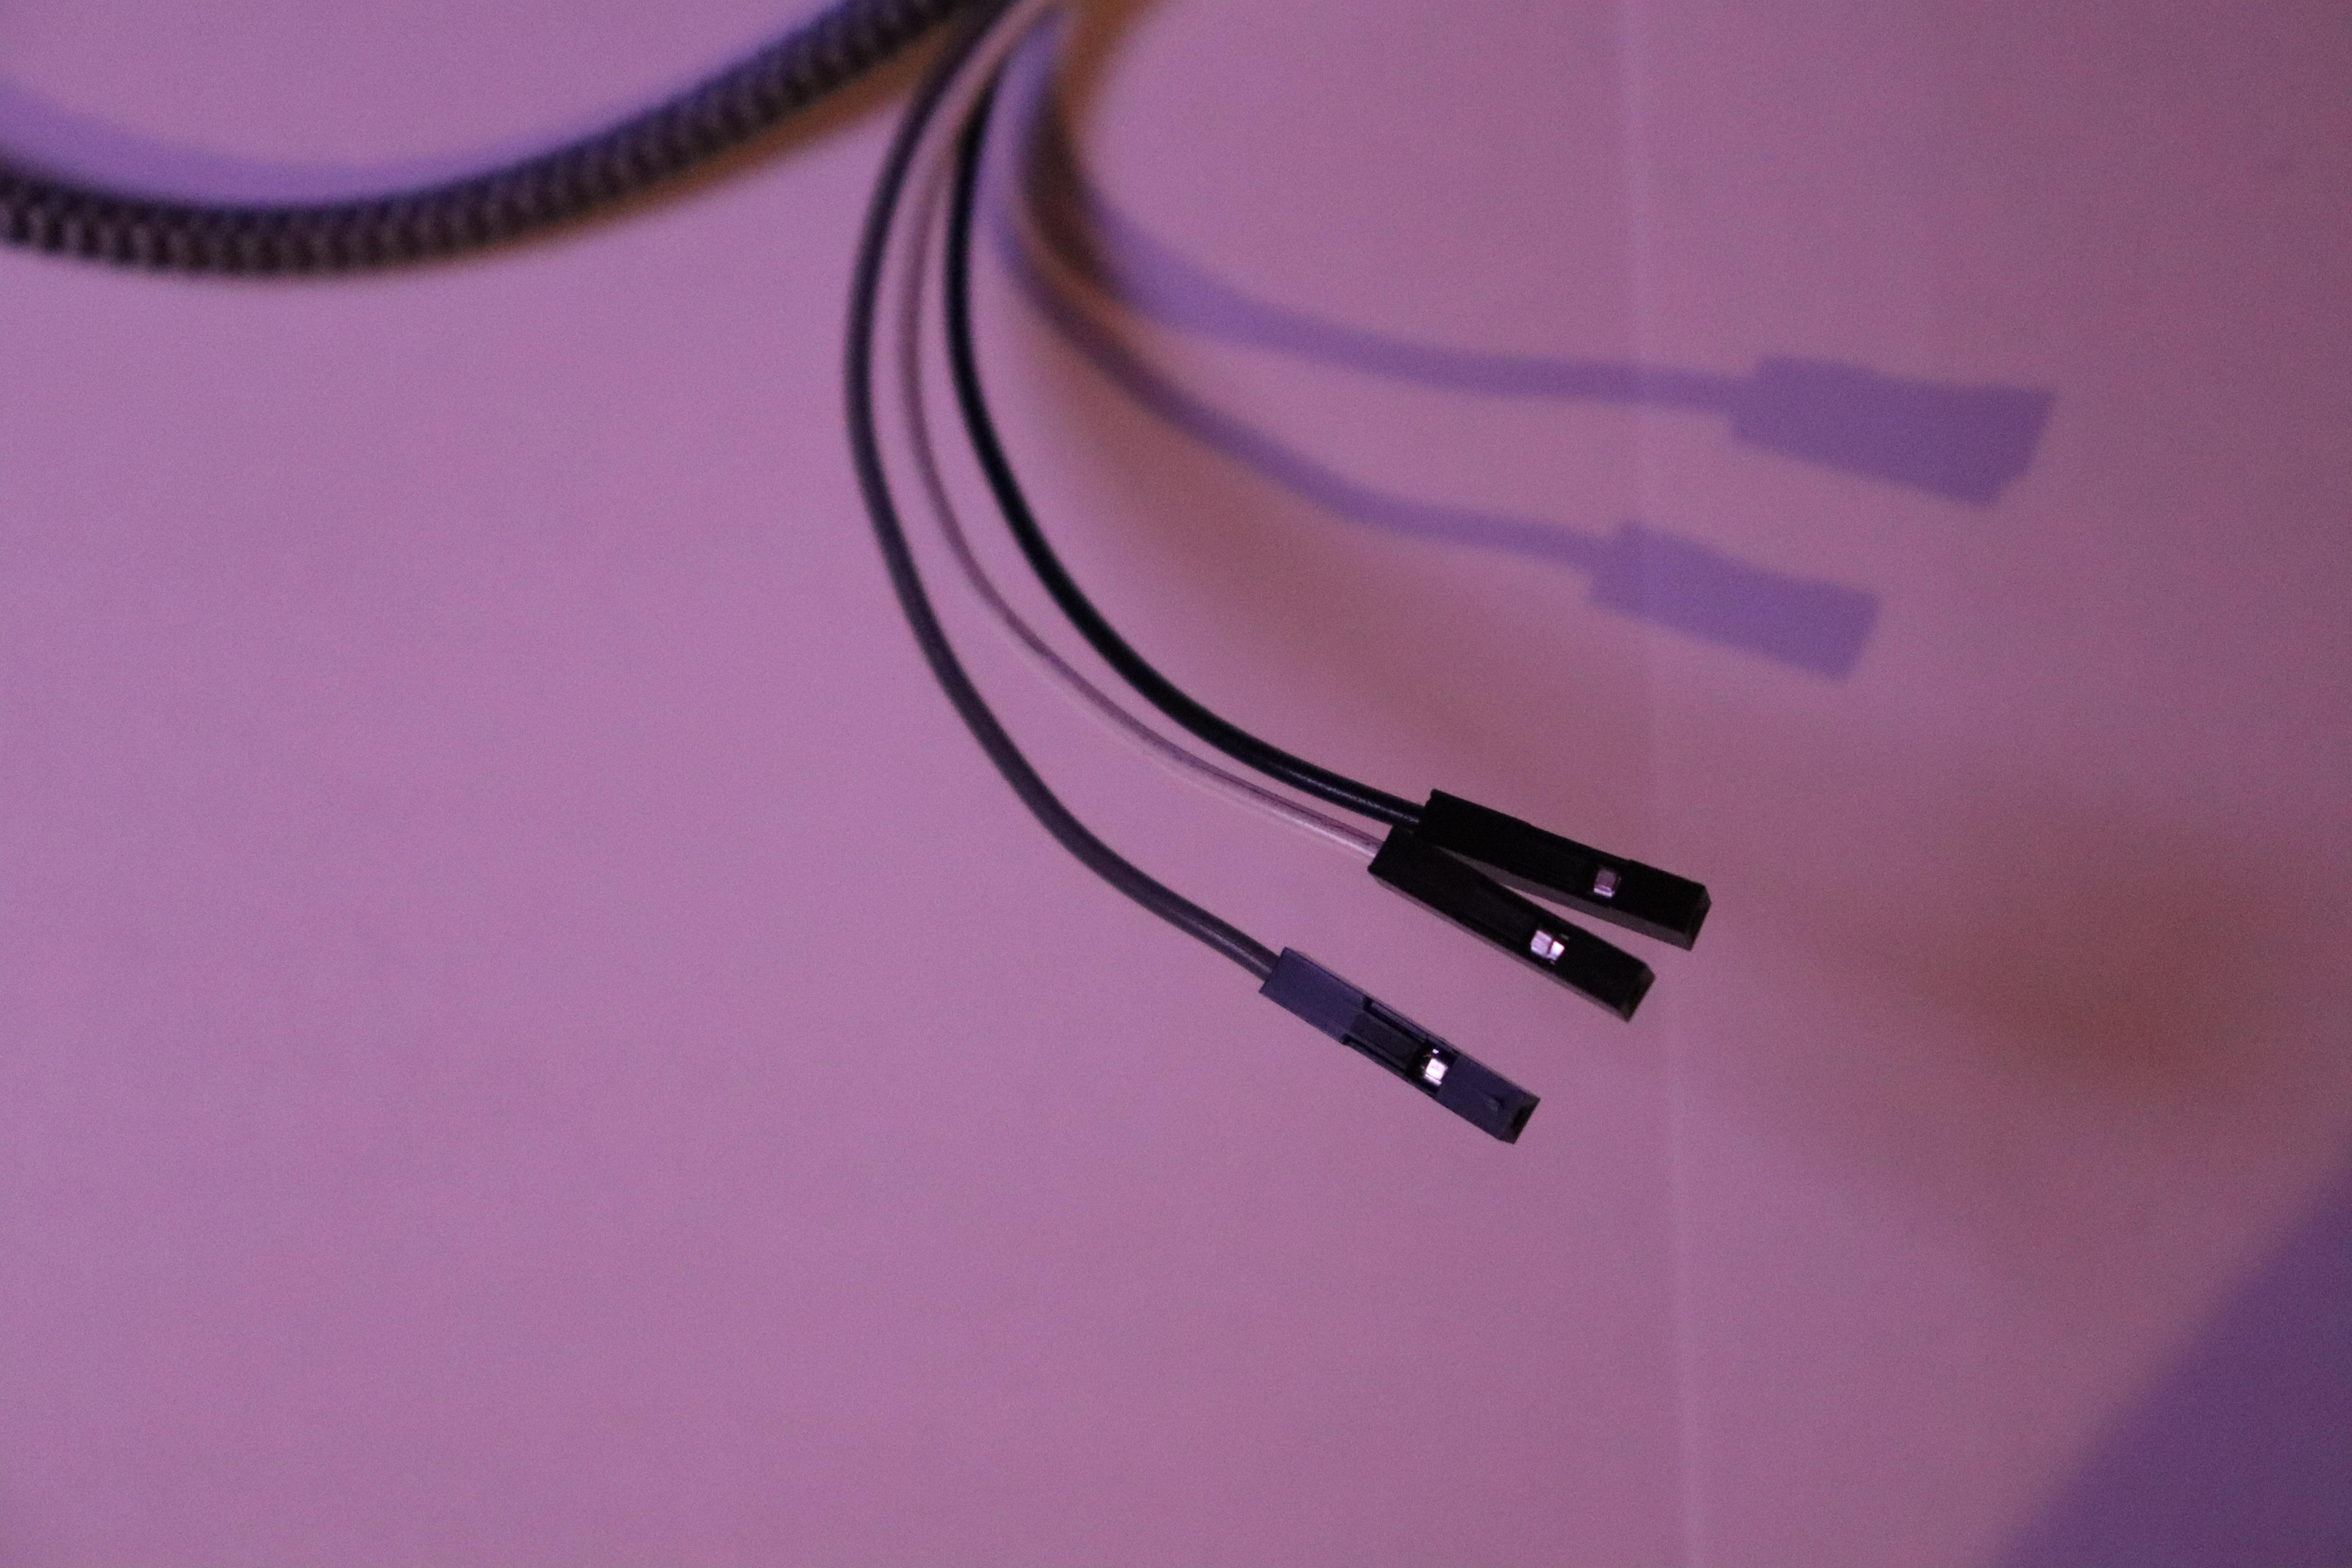
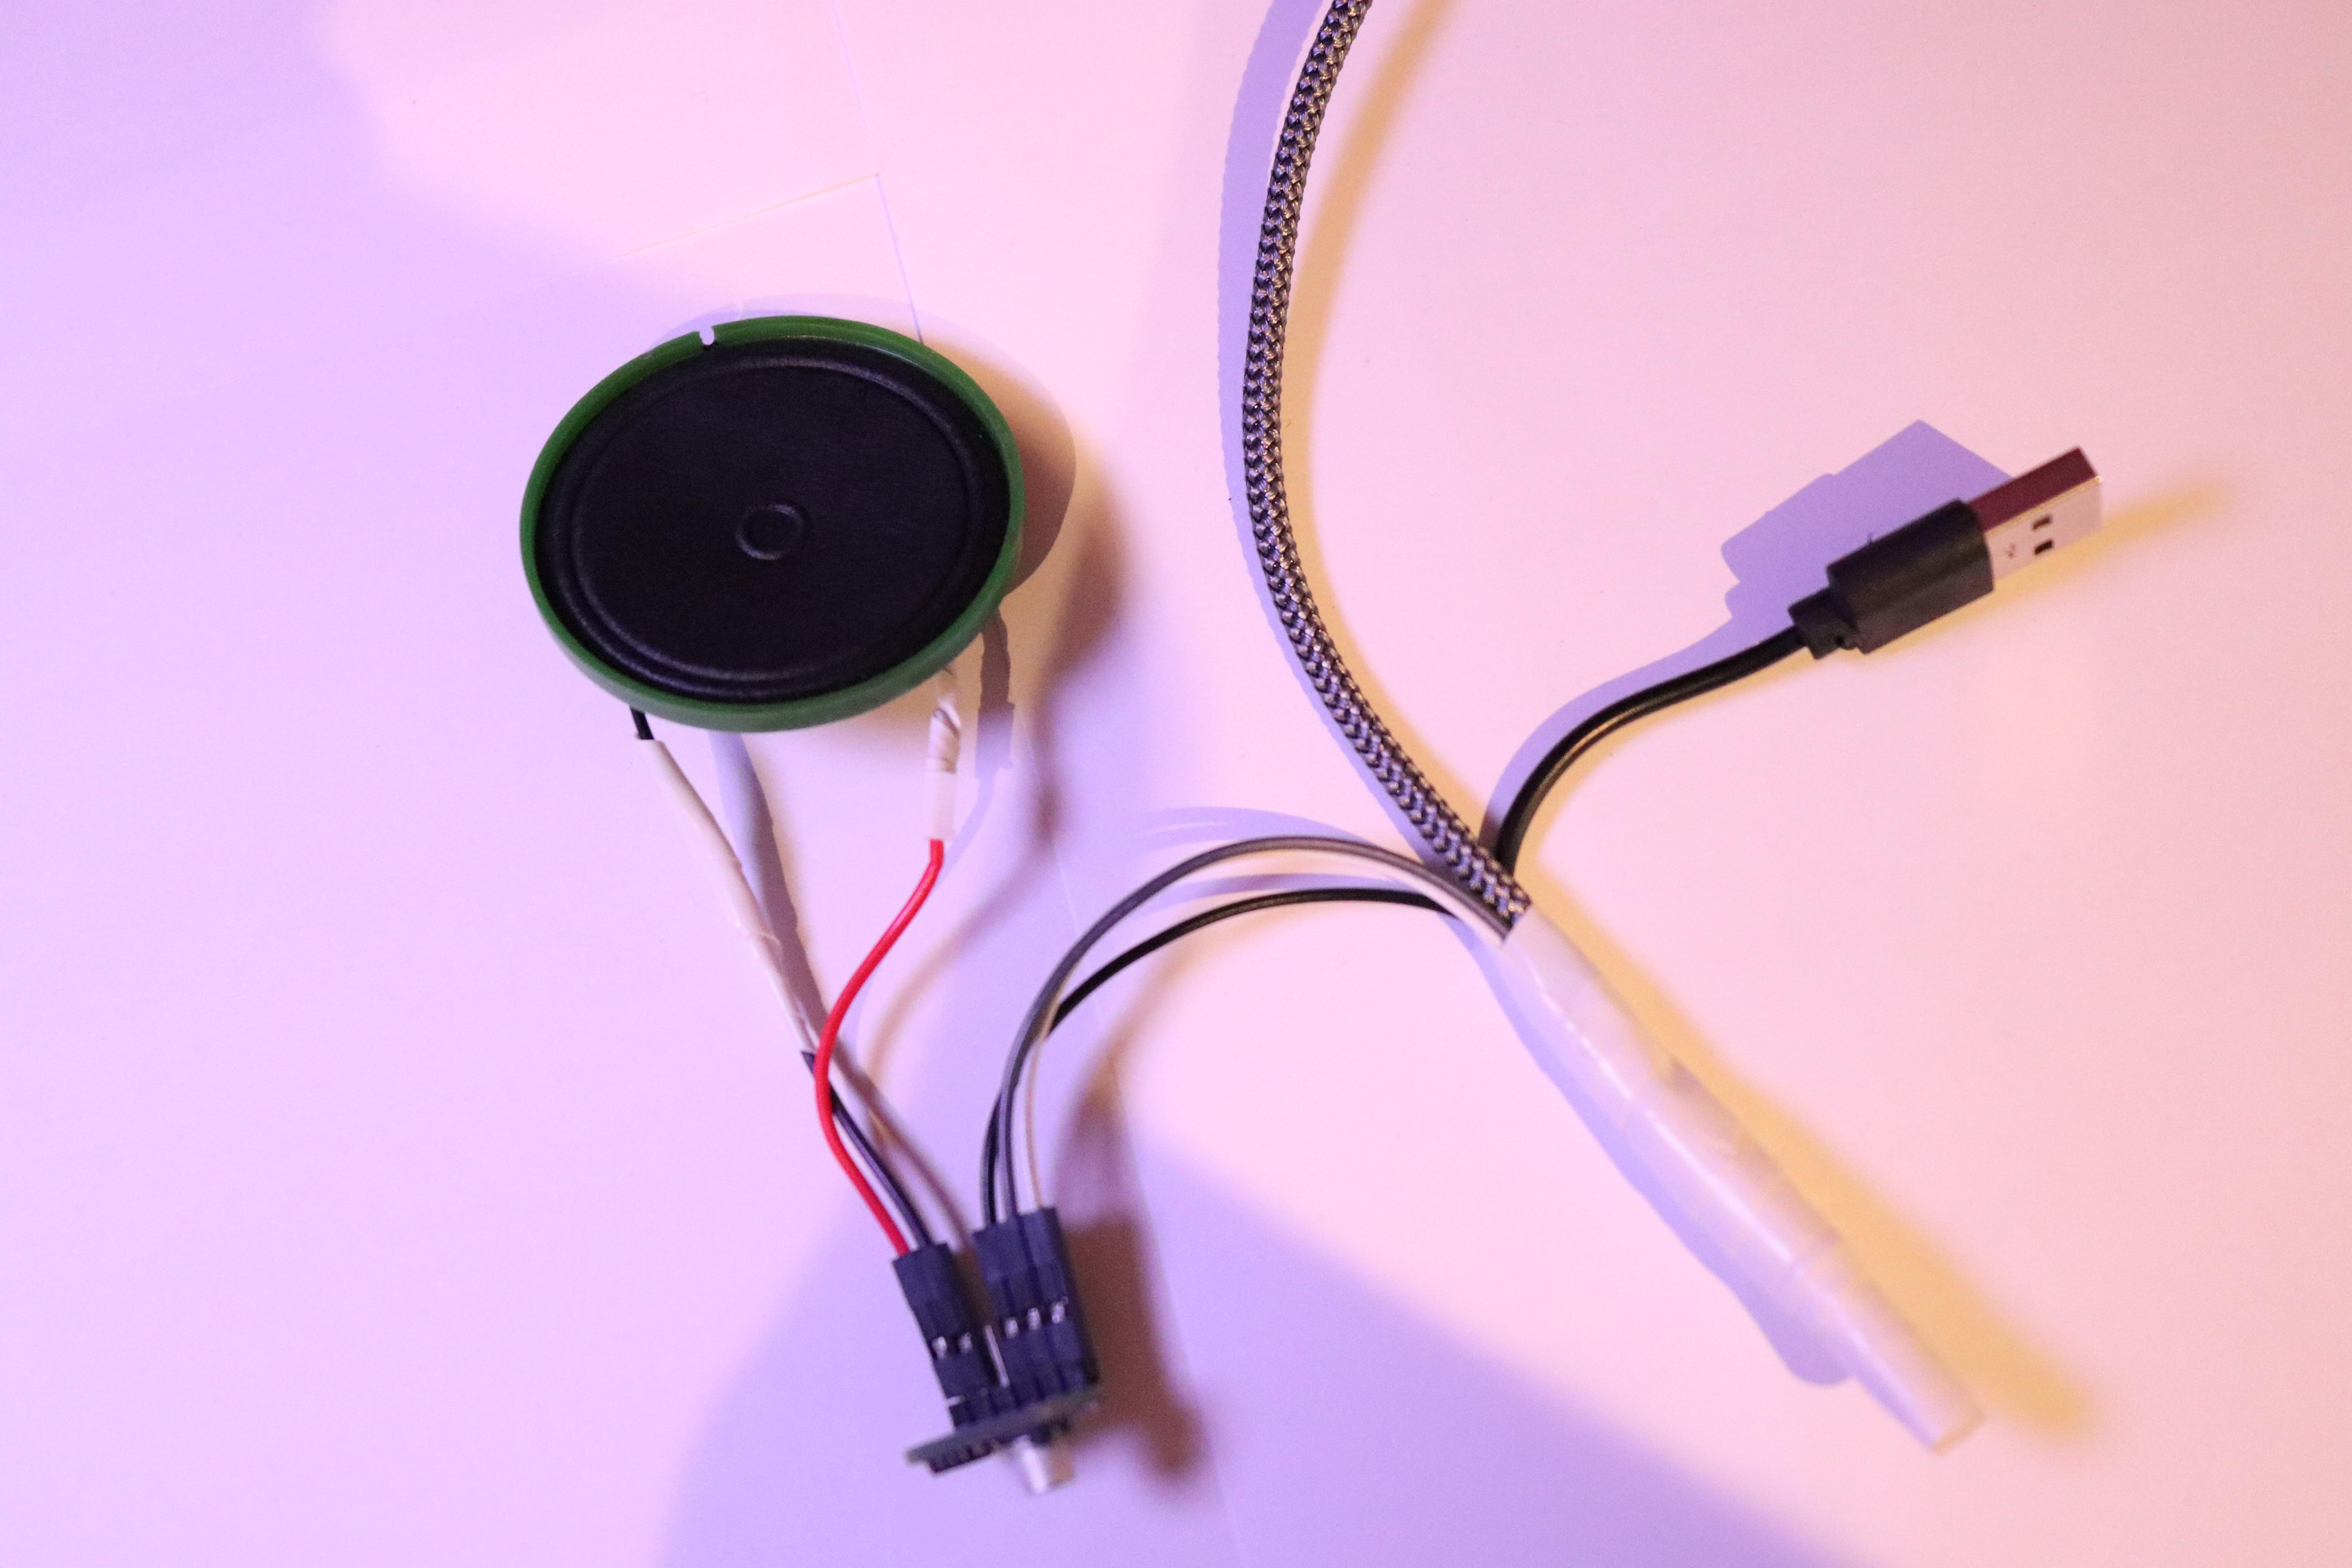
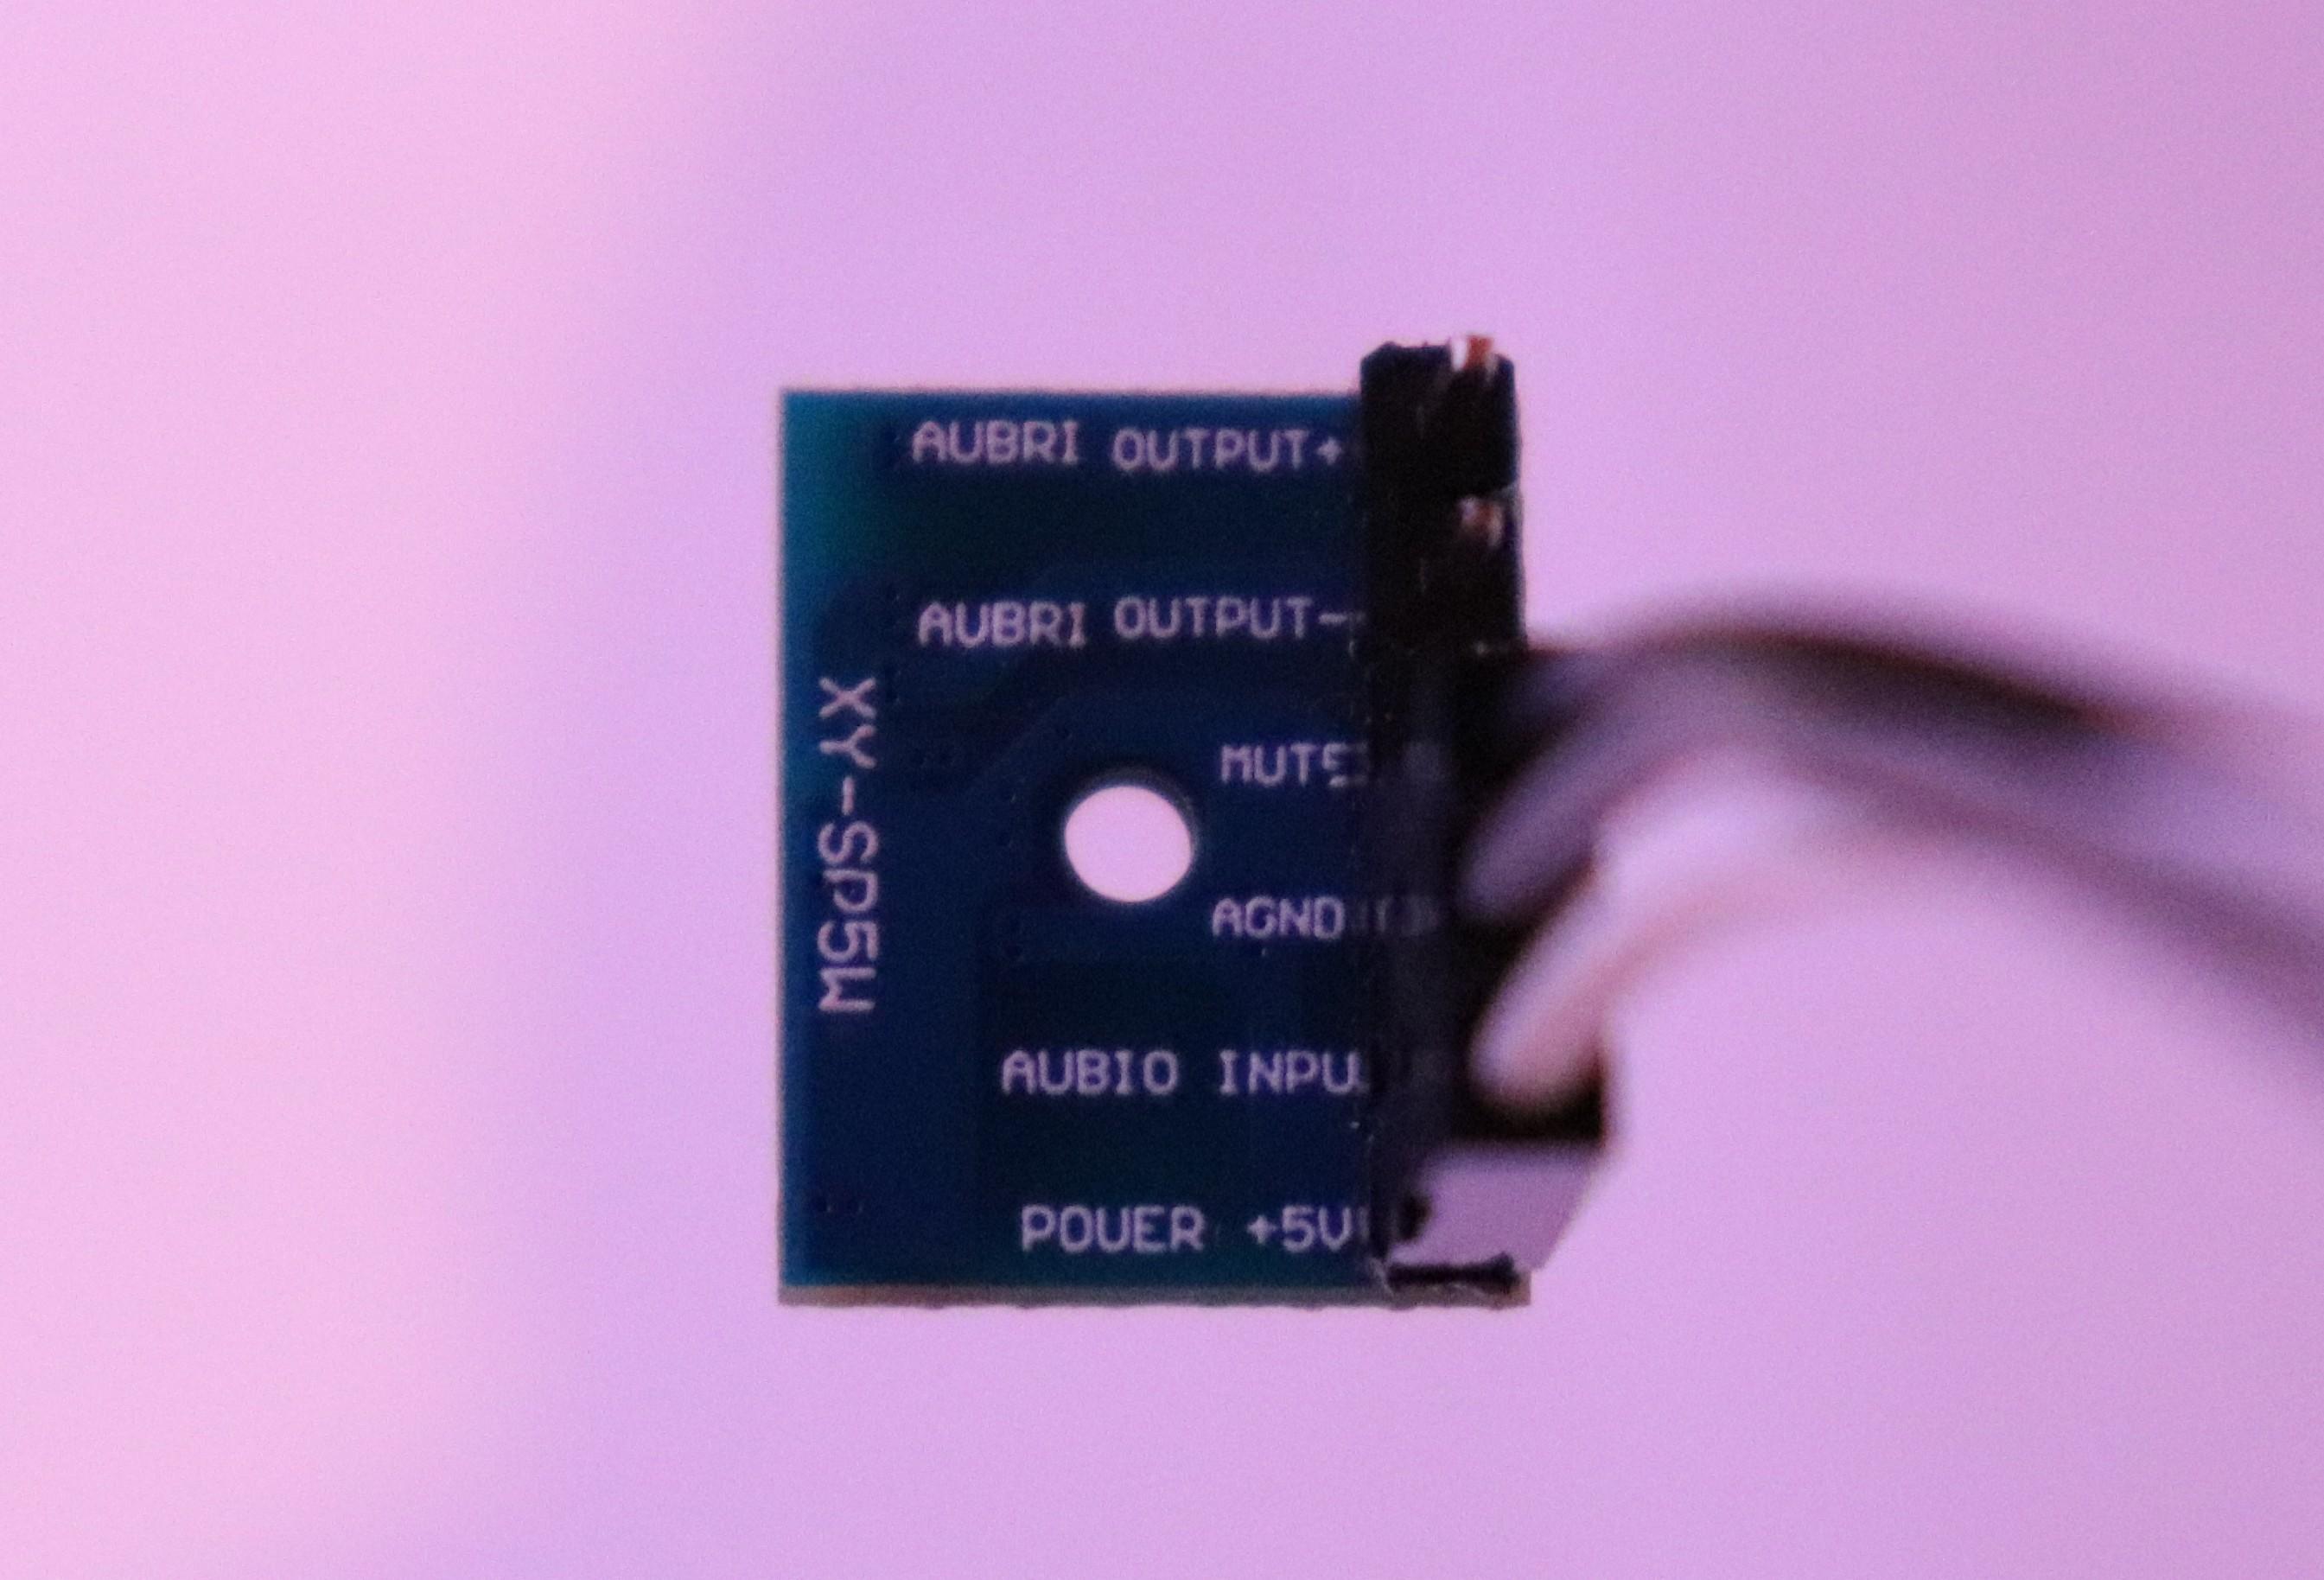
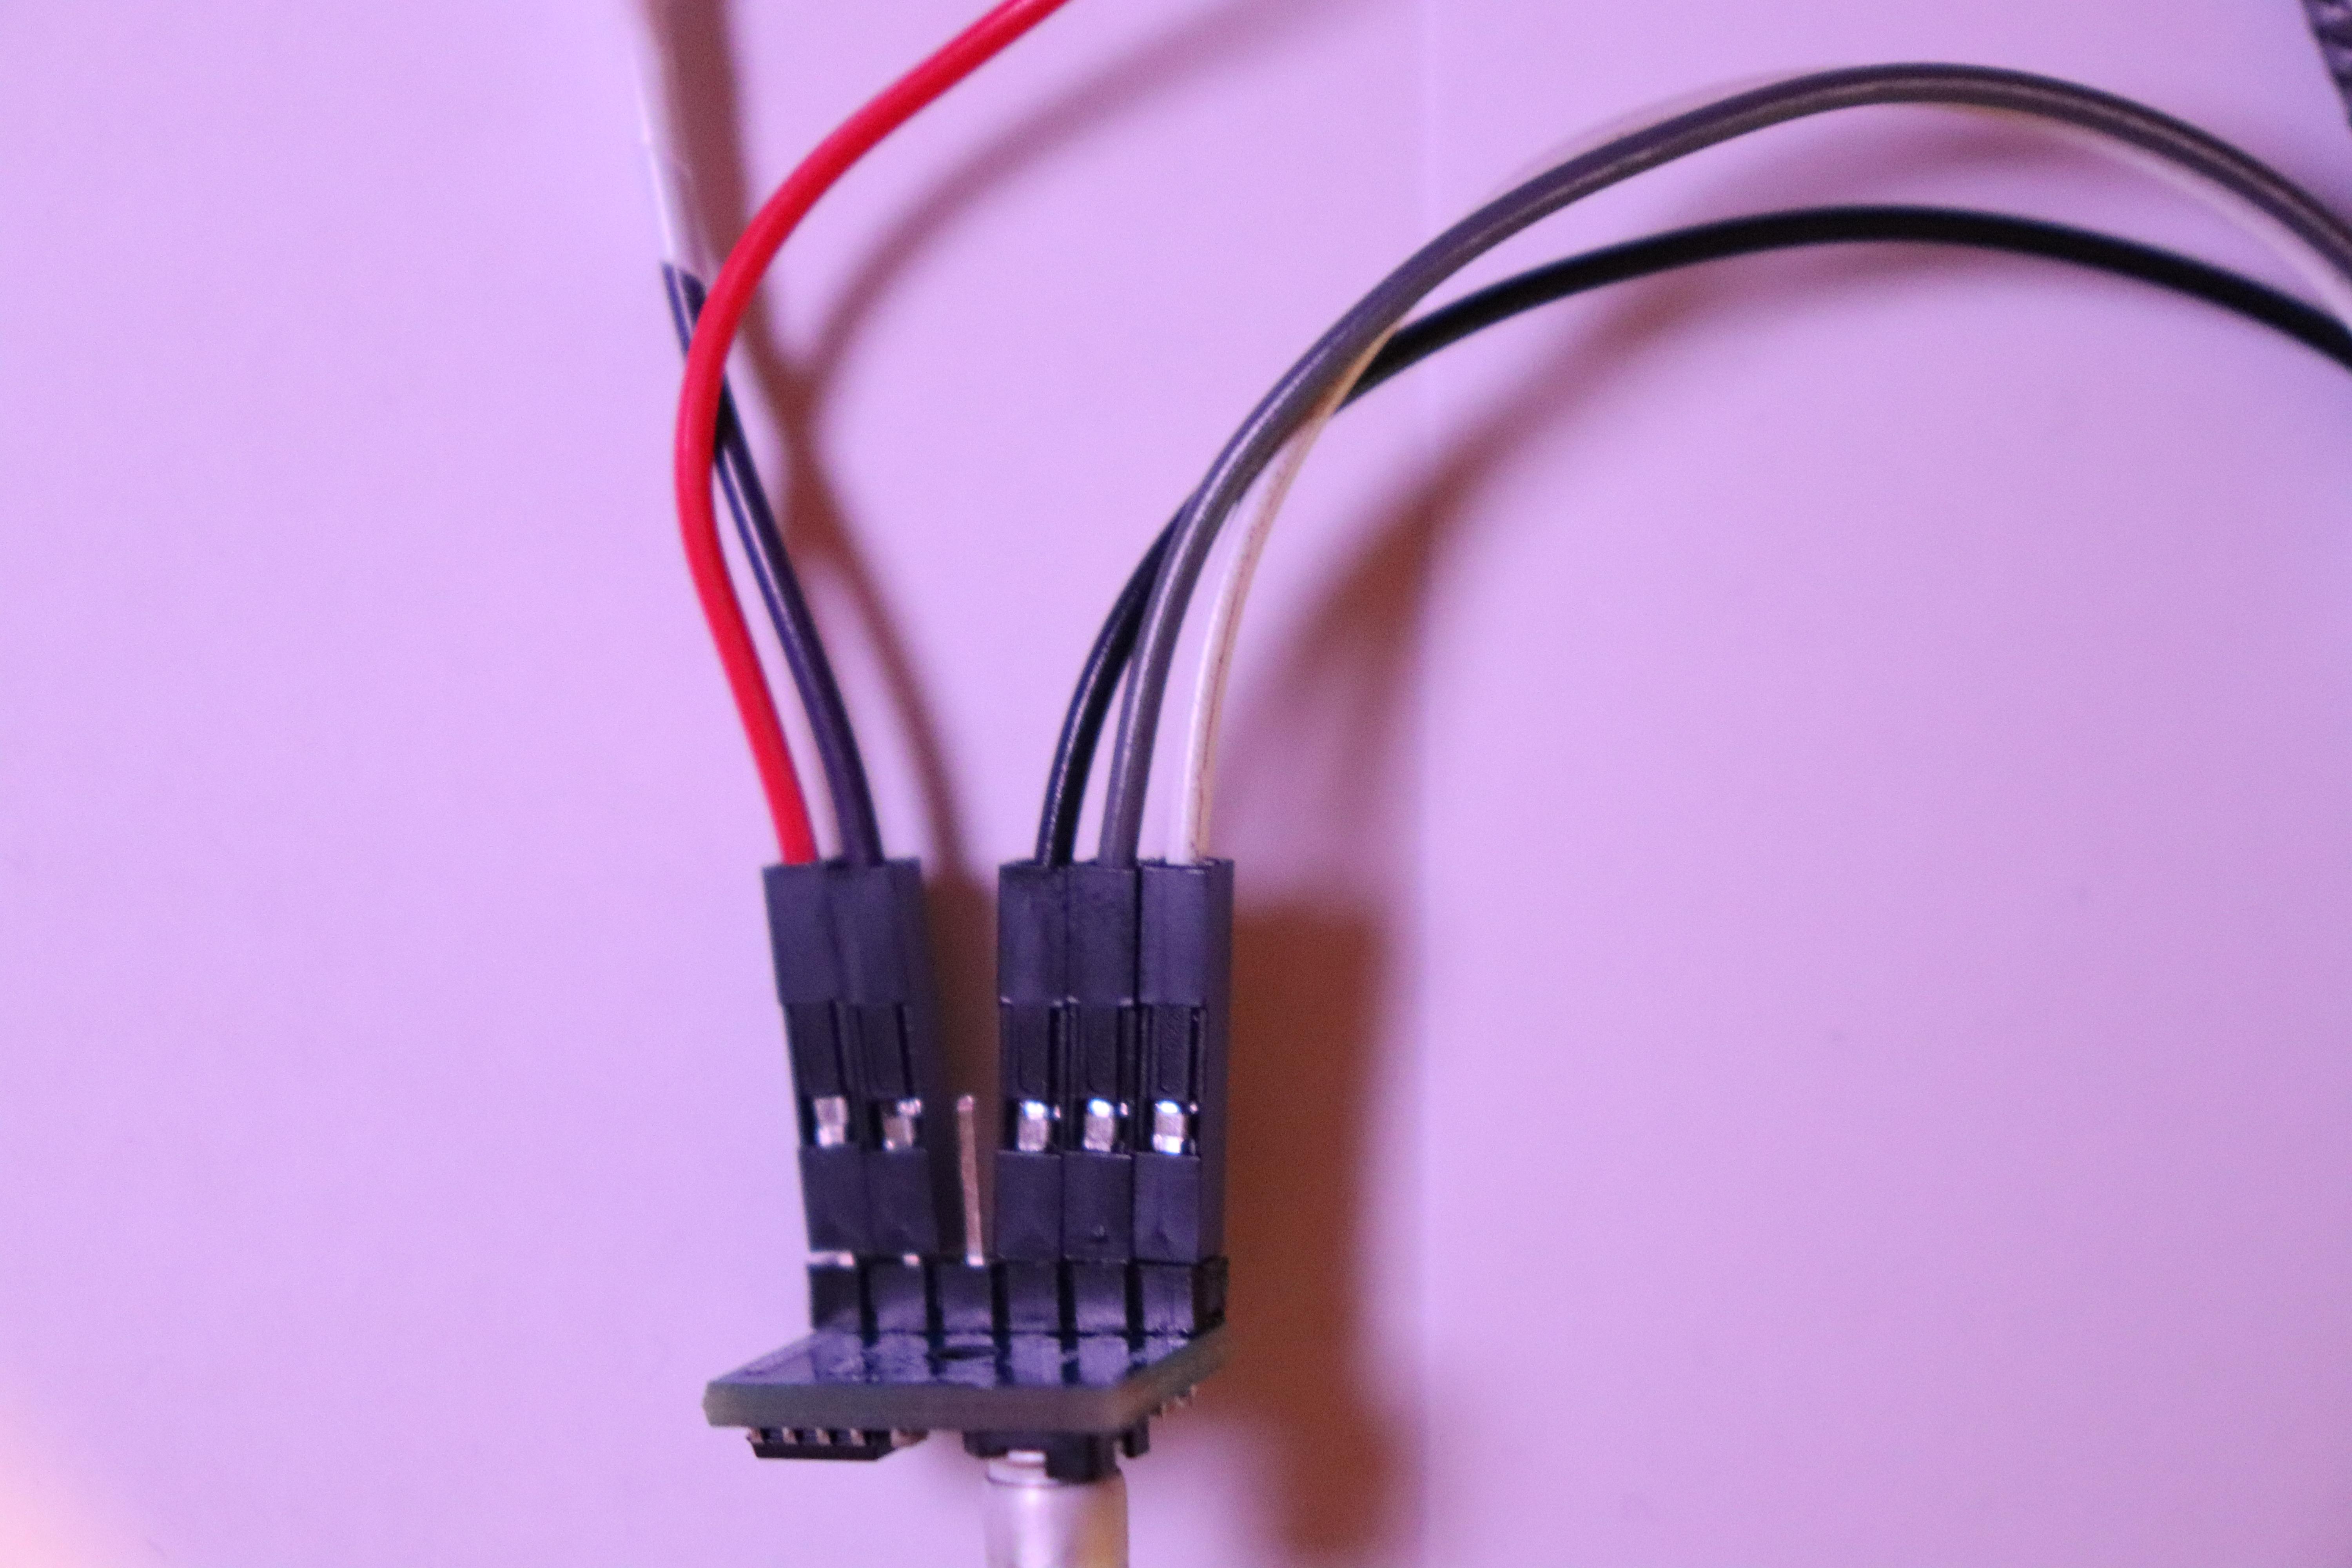
To set up the speaker system for Neo, we need to solder up the speaker to its amp and connect it to the AUX cable.
First, solder the small speaker to the amplifier module as follows:
Speaker + = Amplifier Speaker Output +
Speaker - = Amplifier Speaker Output -
Then, cut the AUX cable and connect it as shown:
AUX cable GND = Amplifier GND
AUX cable right channel (usually the red or white wire) = Amplifier Audio Input
Cut the AUX cable left channel (since only one speaker is used)
Finally,
Cut and connect the USB 5V+ wire = Amplifier 5V+ input
Then, connect the USB GND wire = Same GND pin on the amplifier as the AUX cable.
Once everything is soldered, double-check the connections in order to make sure it works. You might also consider plugging it into your PC to test it out!
Keep in mind that the speaker will sound significantly quieter when used outside of its 3D-printed casing, as the casing helps to reflect and amplify its sound.
Programming the Arduino Nano

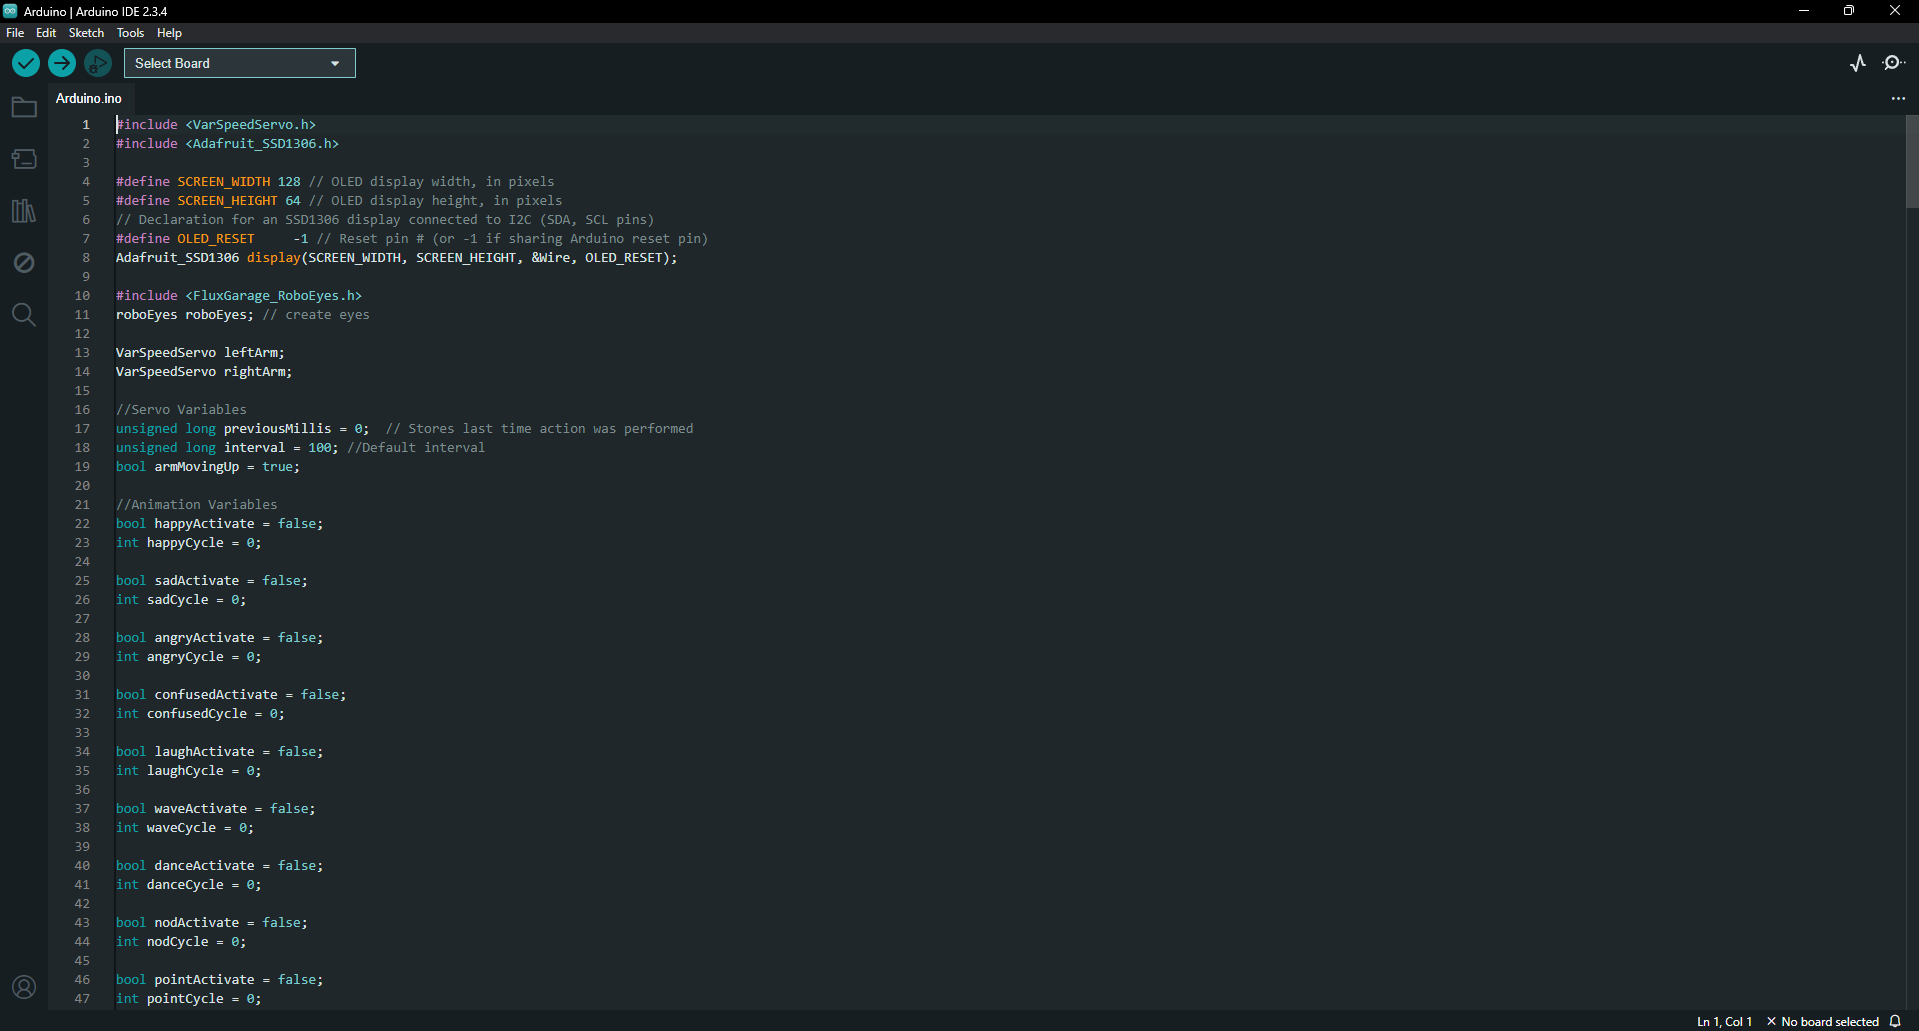
Now, before we can install our electronics into the 3D printed body, we need to first program our Arduino.
- Download the files. -
First, head over to https://files.catbox.moe/tti4h9.7z and download the files. Then, extract the files to somewhere on your computer and open up the Arduino folder.
Once in there, open the Arduino.ino file in the Arduino IDE.
- Install the Libraries:
Once in the Arduino IDE, make sure the Adafruit_SSD1306 library is installed.
Then, go to Sketch > Include Library and then Add .ZIP Library... and install both ZIP files inside of the Libraries to install folder.
The code for the OLED eyes was largely thanks to the works of FluxGarage and his RoboEyes library! I simply added a few extra animations for thinking, etc but the rest were of his work. Huge thanks to him!
- Upload the Code:
- Now, select your board (Arduino Nano) and port in the IDE and select upload to flash the code onto the Arduino!
Installing the Arduino, OLED, and Servos
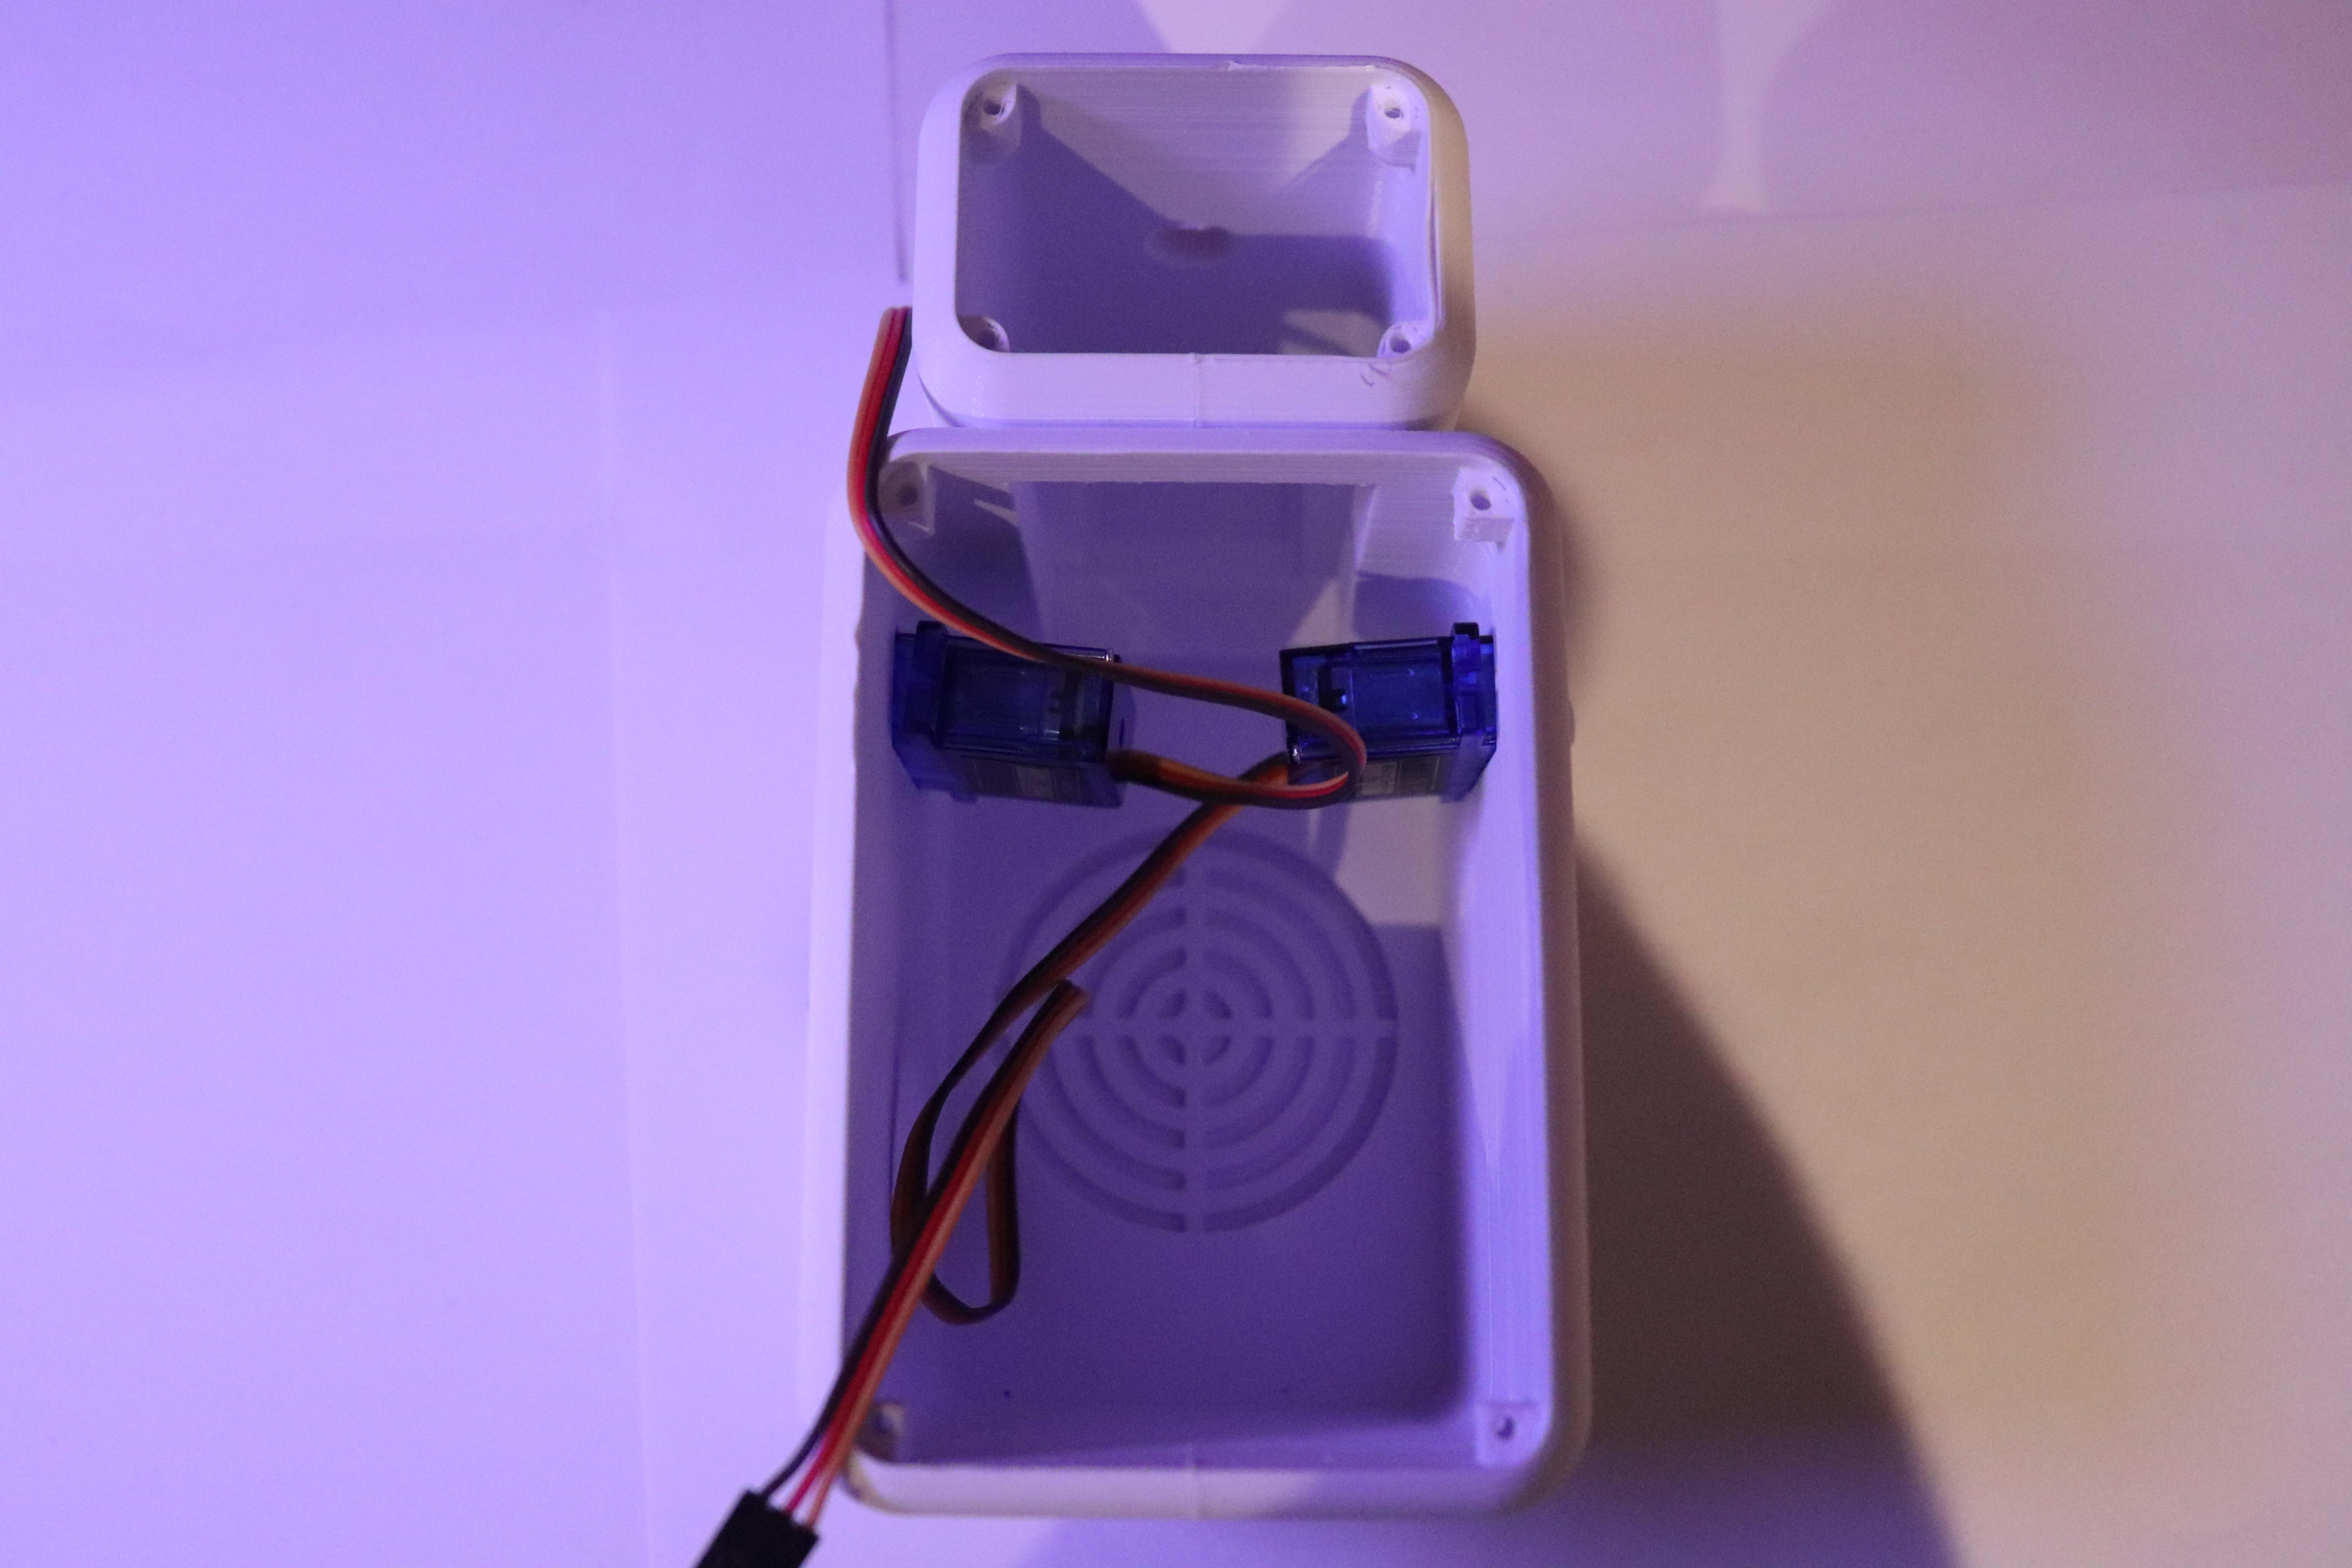
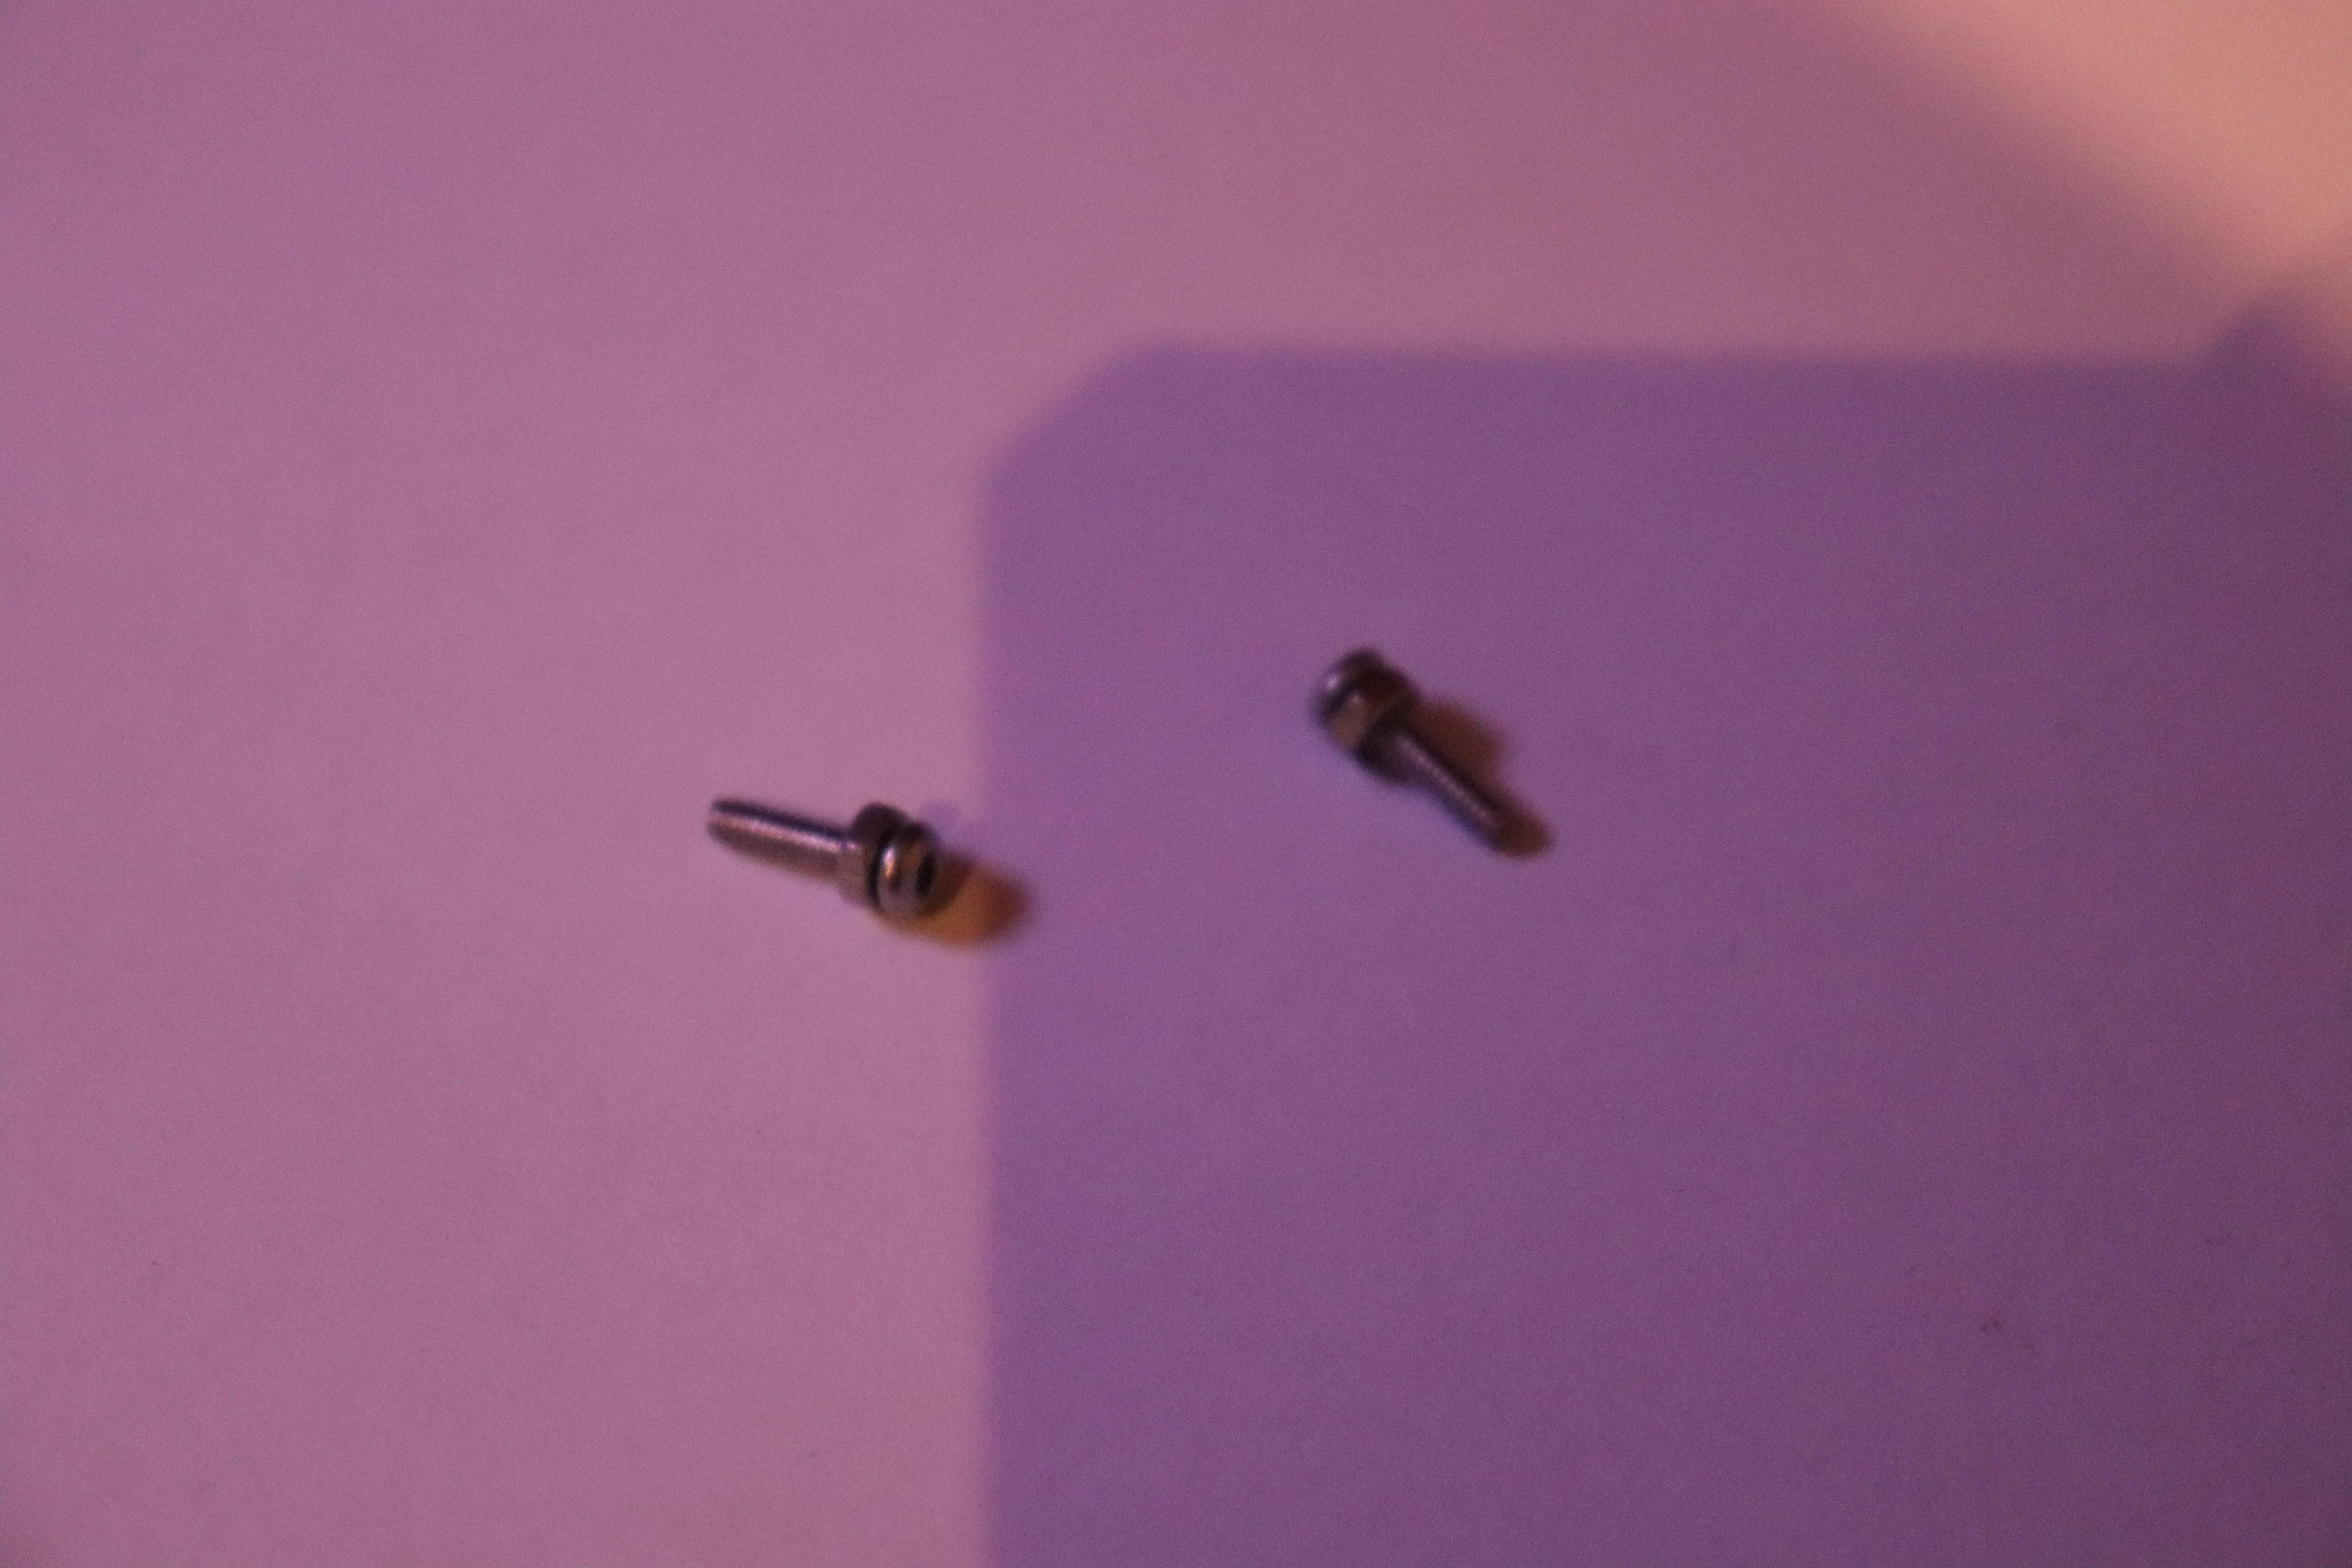
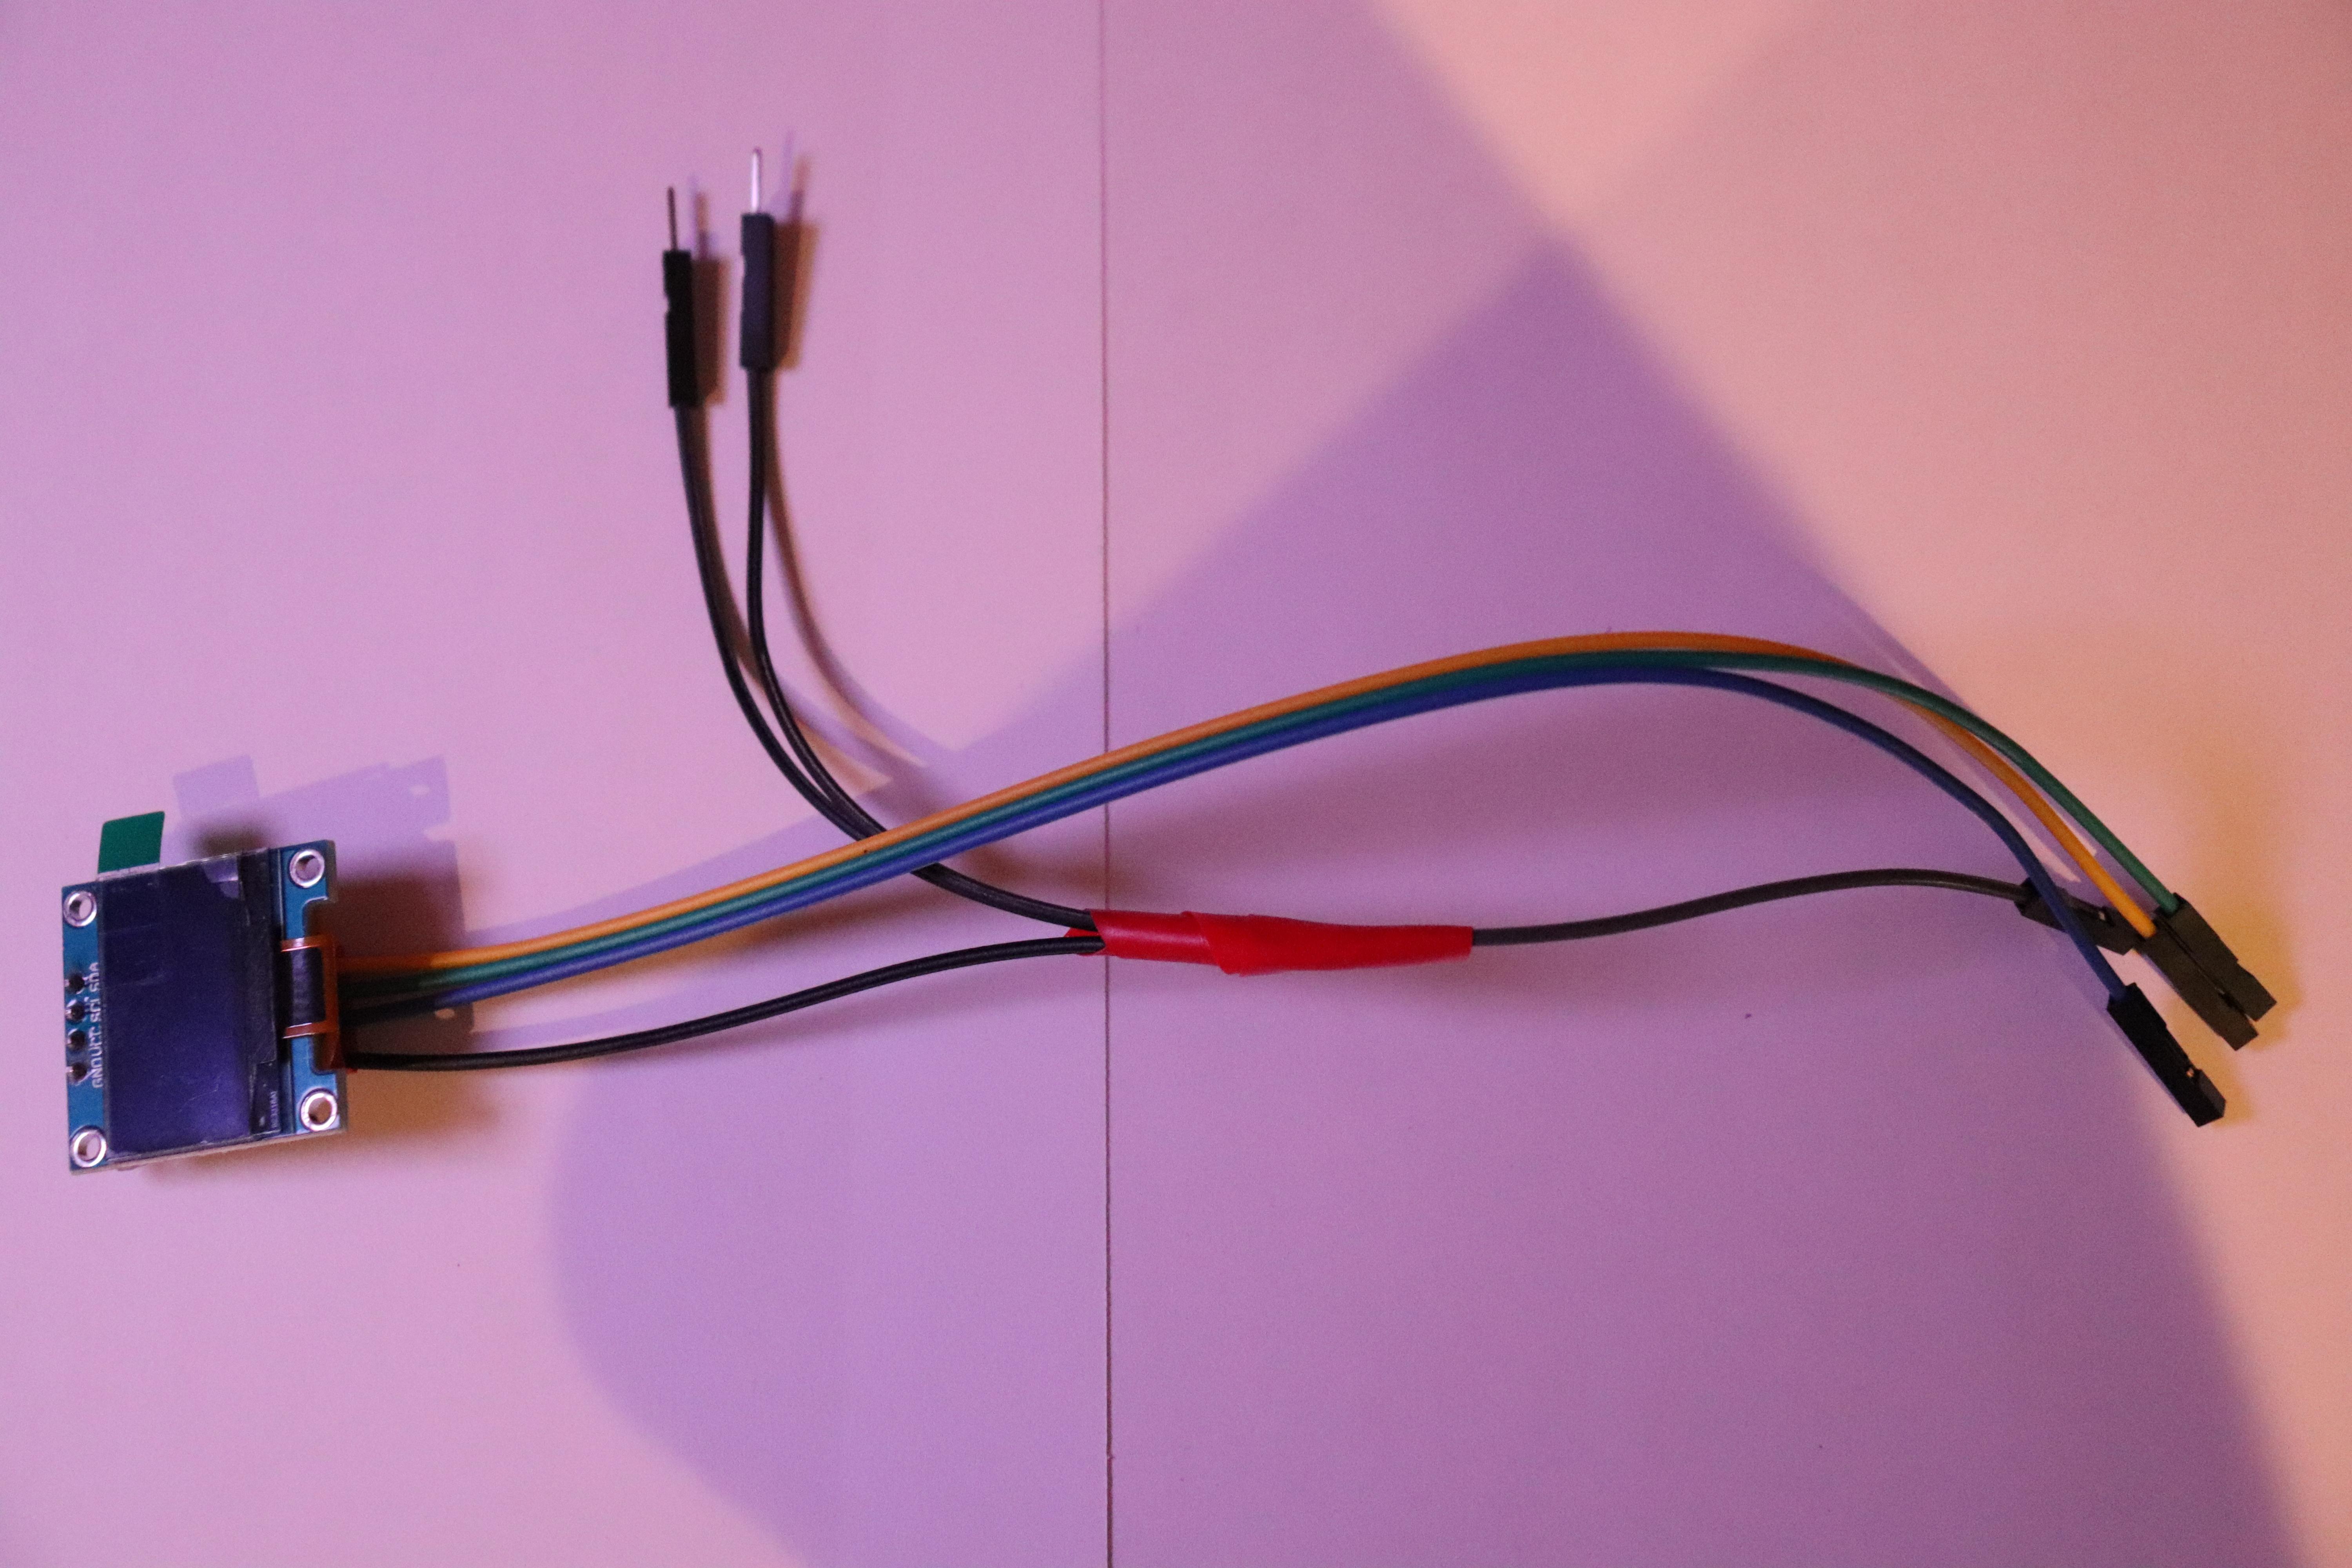
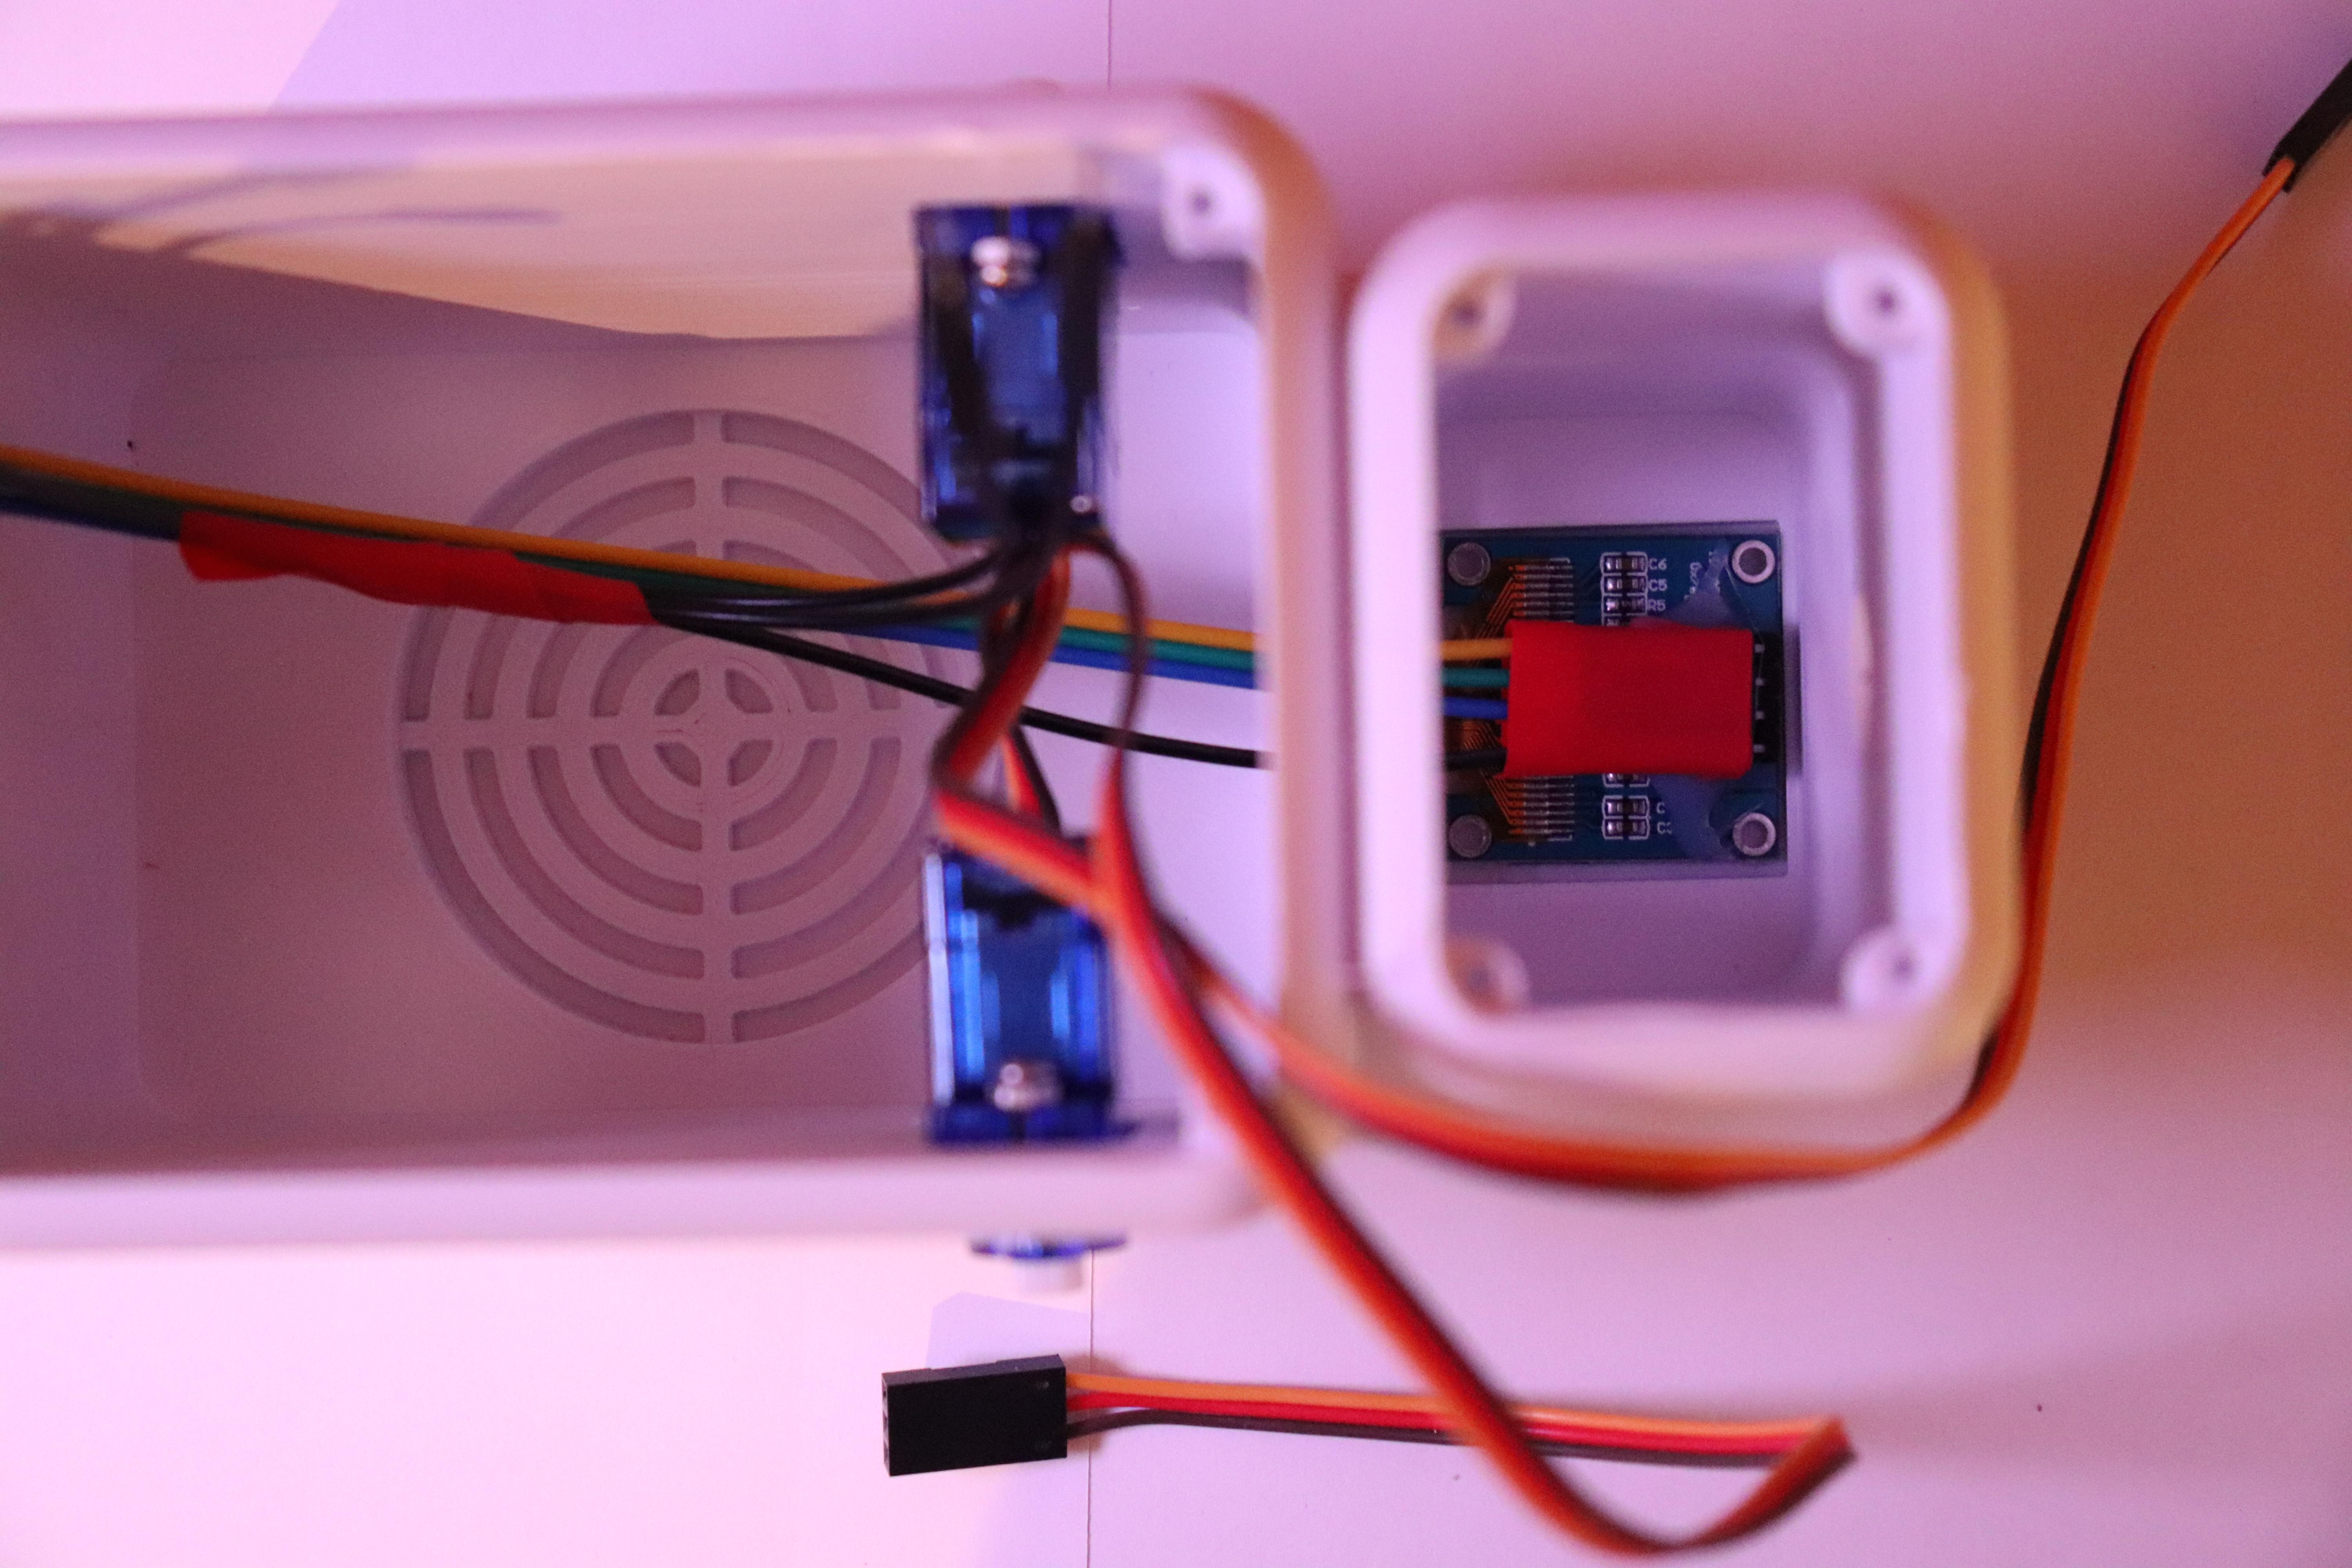
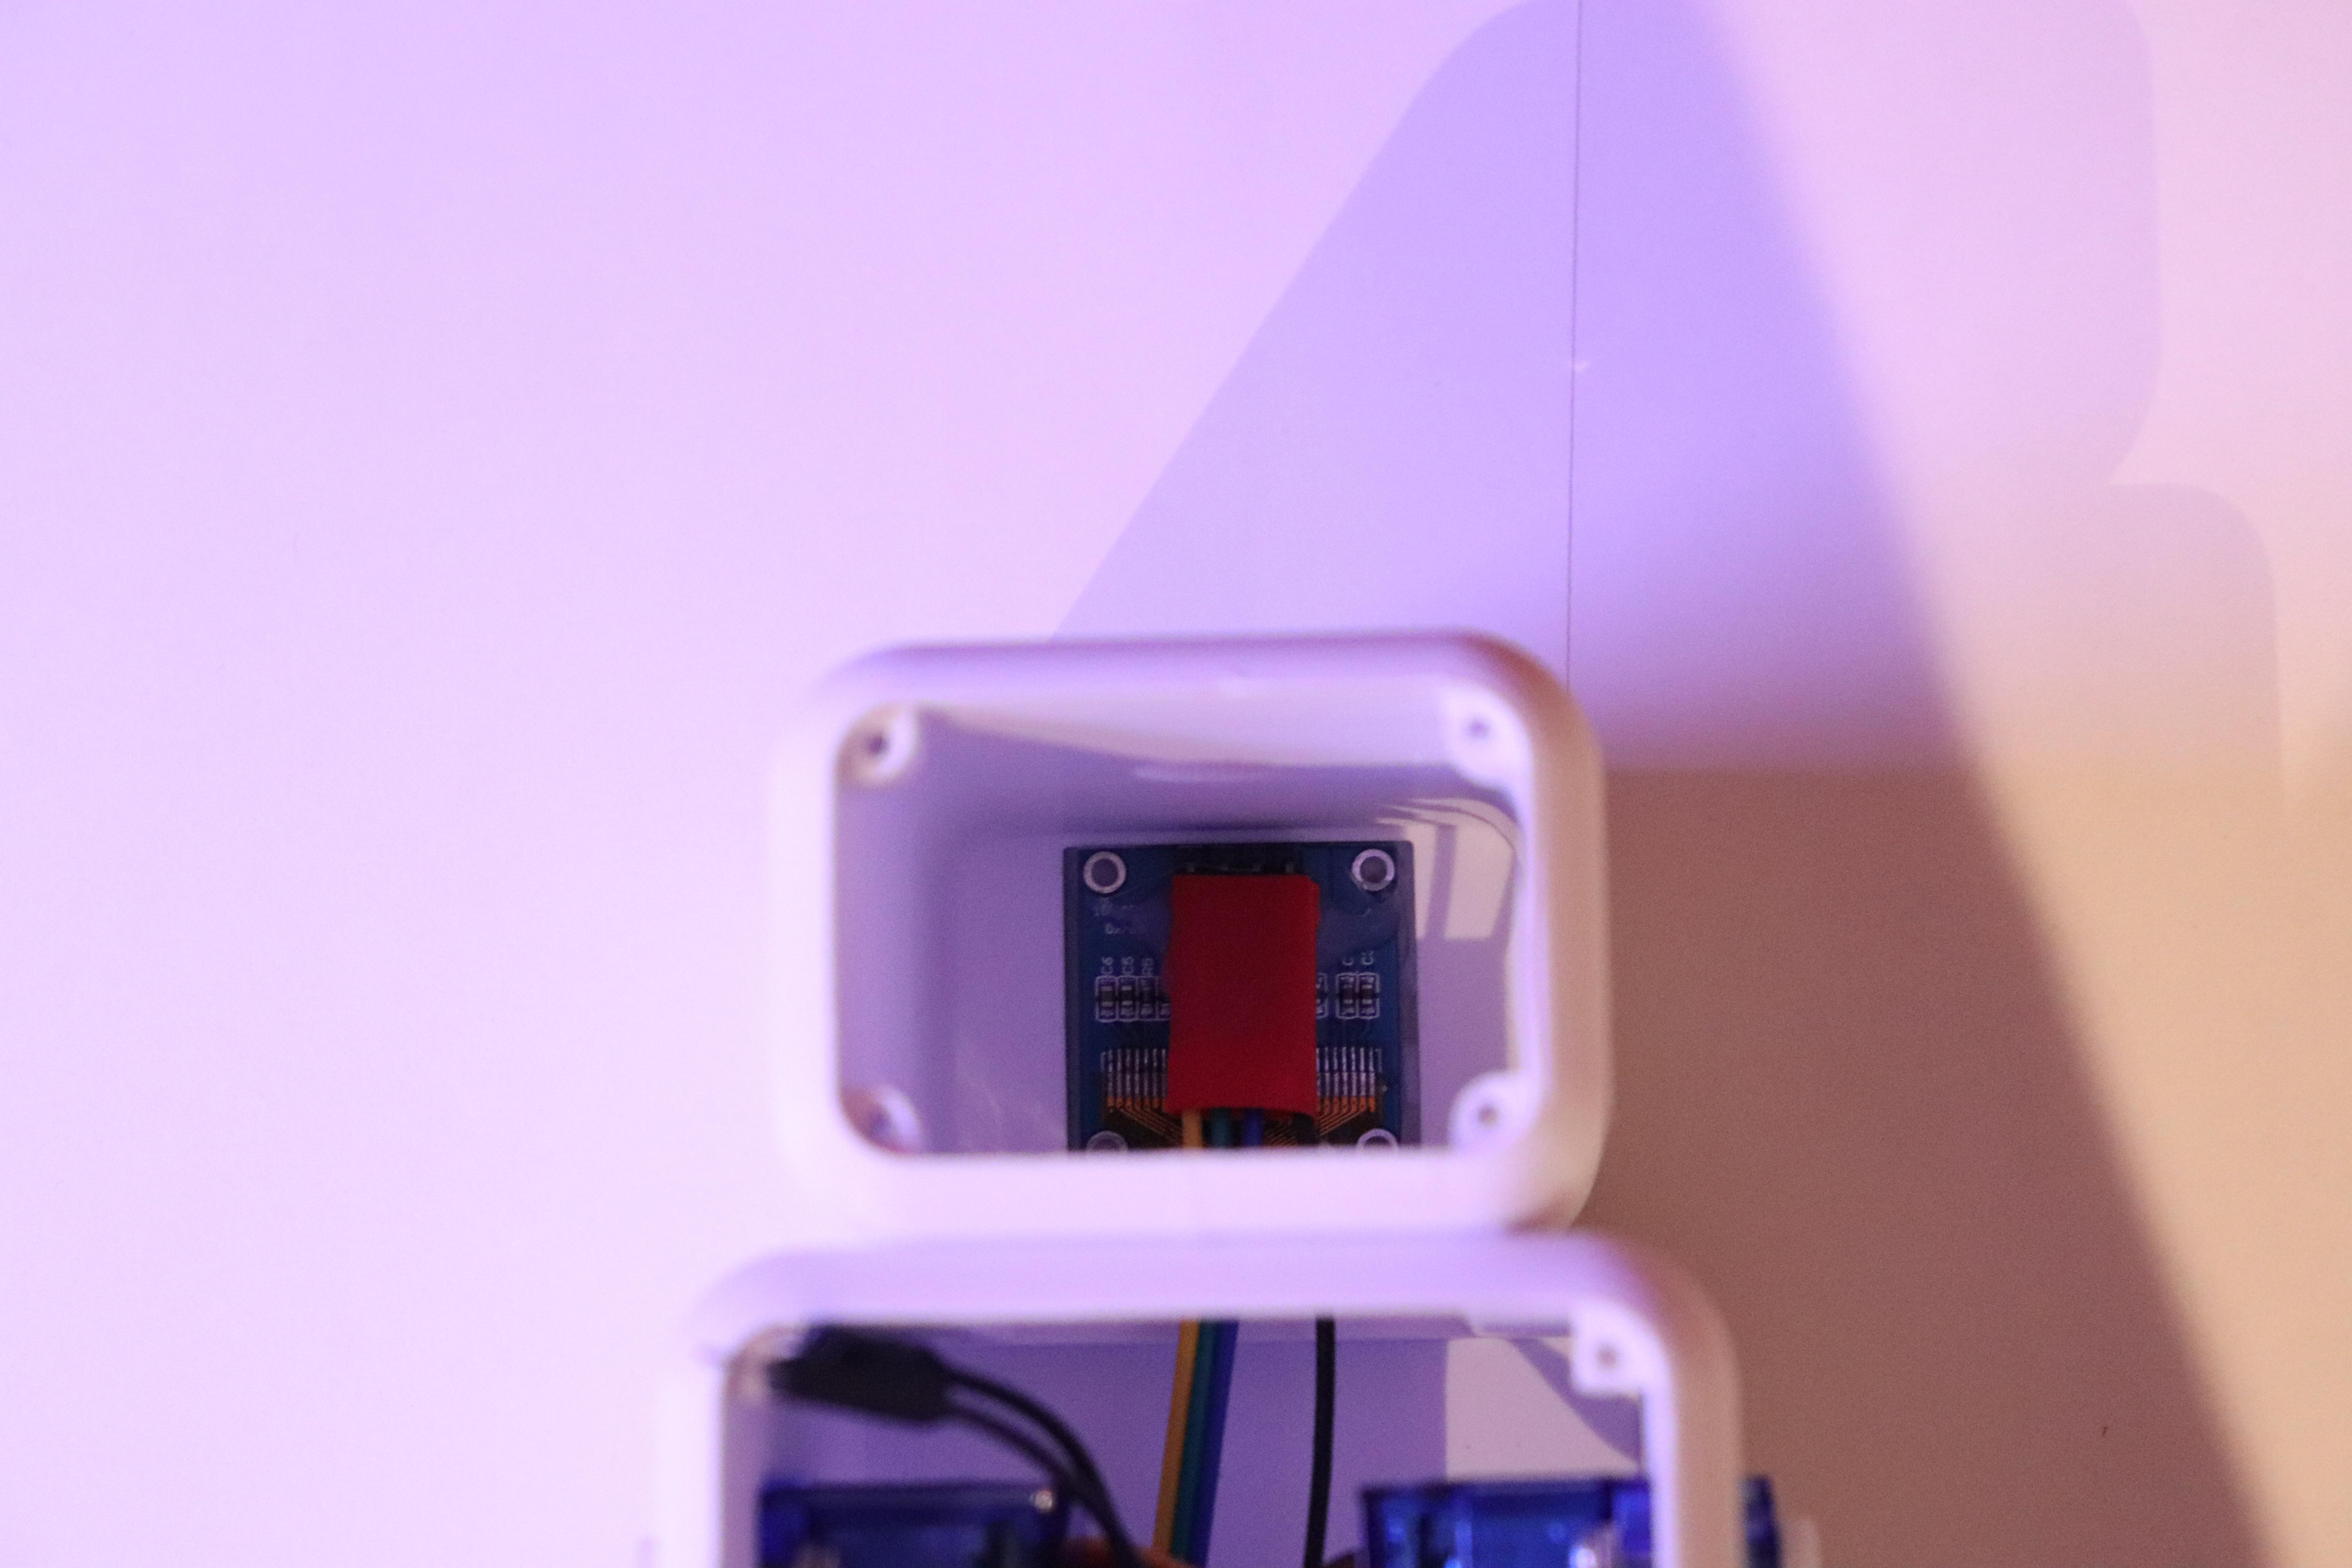
Now that all the programming is done, we can install the electronic components into Neo's body!
First, slot a servo through the left servo cutout and use two, small M2*8 screws to secure it in place. If the screw is too long, add a nut to the thread to shorten it. The screw hole closest to the speaker cut-out will also require some dexterity to install and a bit of patience!
Now, repeat this again for the right side with the other sero.
Once that is done, connect 4 jumper cables to the OLED display and use some tape as well as hot glue to secure it in place. Afterwards, place the OLED display inside of the head, making sure it fits well in its designated slot. You can then use some hot glue from the inside to secure this in place!
Finally, wire up the Arduino Nano with the Servos and OLED Display using the following connections:
OLED Display VIN -> Arduino Nano 5V
OLED Display GND -> Arduino Nano GND
OLED Display SCL -> Arduino Nano A5
OLED Display SDA -> Arduino Nano A4
Left Servo Motor Signal -> Arduino Nano A3
Right Servo Motor Signal -> Arduino Nano A2
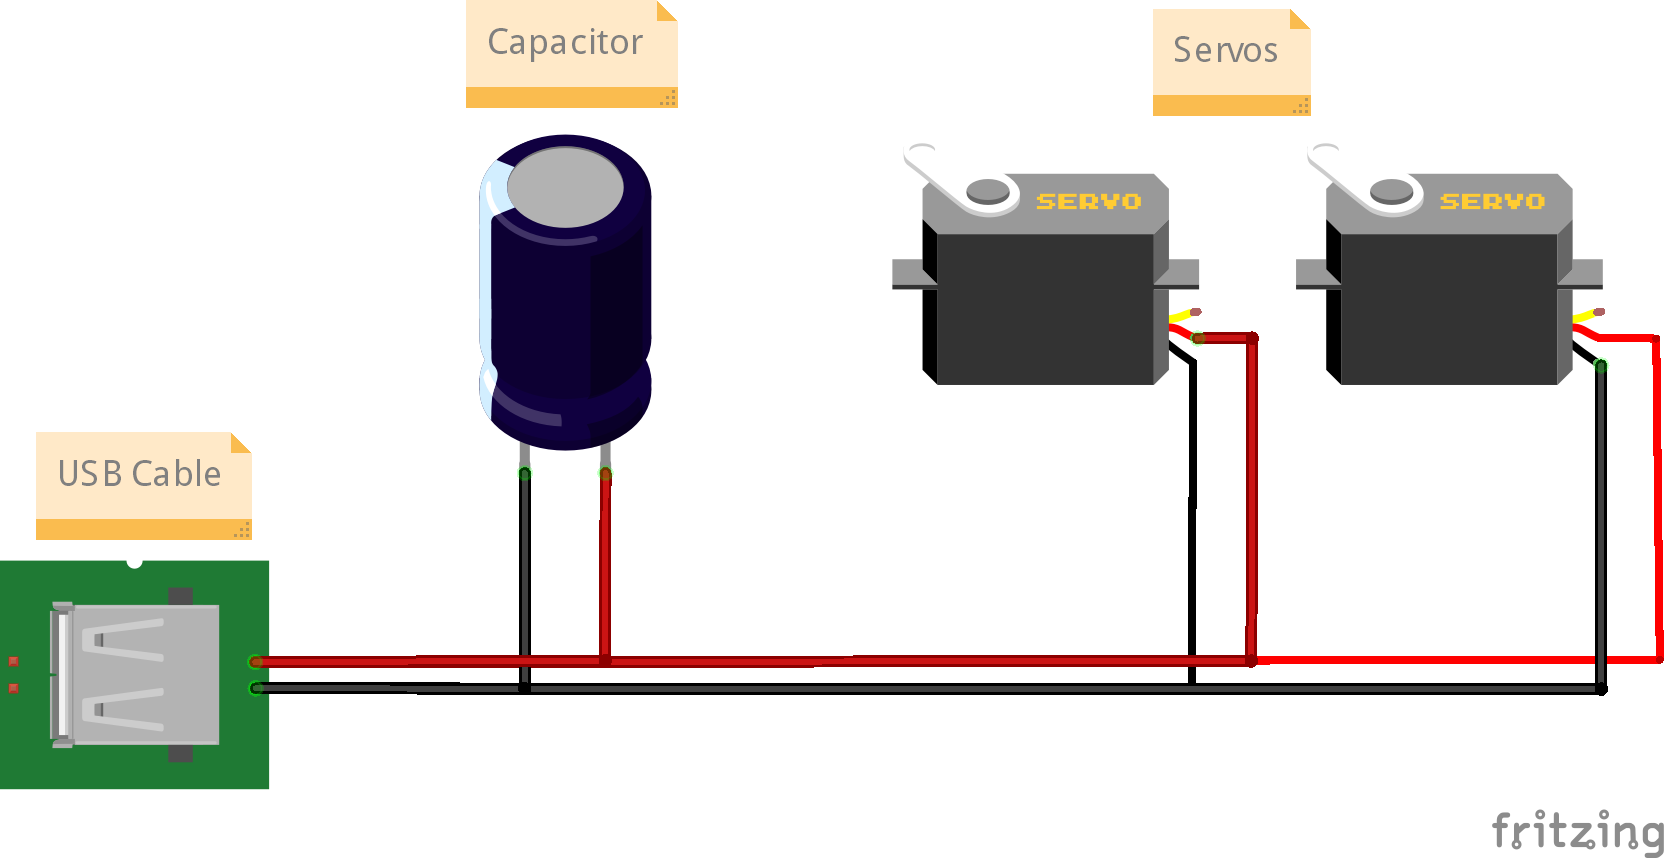
To power the servos, I would recommend using another USB cable with a 470uF capacitor attached like so:
Servo Motor VIN -> Capacitor 5V -> USB Cable 5V
Servo Motor GND -> Capacitor GND -> USB Cable GND
In my original setup (and pictures) I connected the servo cables to the Arduino's VIN ports but after further testing, I found it unreliable at times. To solve this you could try add a capacitor in between the lines but I would recommend wiring it directly up to the USB hub with the capacitor installed instead. View the attached schematic above for help.
Finally, once that's done, connect a USB cable to your Arduino. Make sure that it has data transfer capabilities so our computer can communicate with it via serial!
Installing the Speaker and Microphone
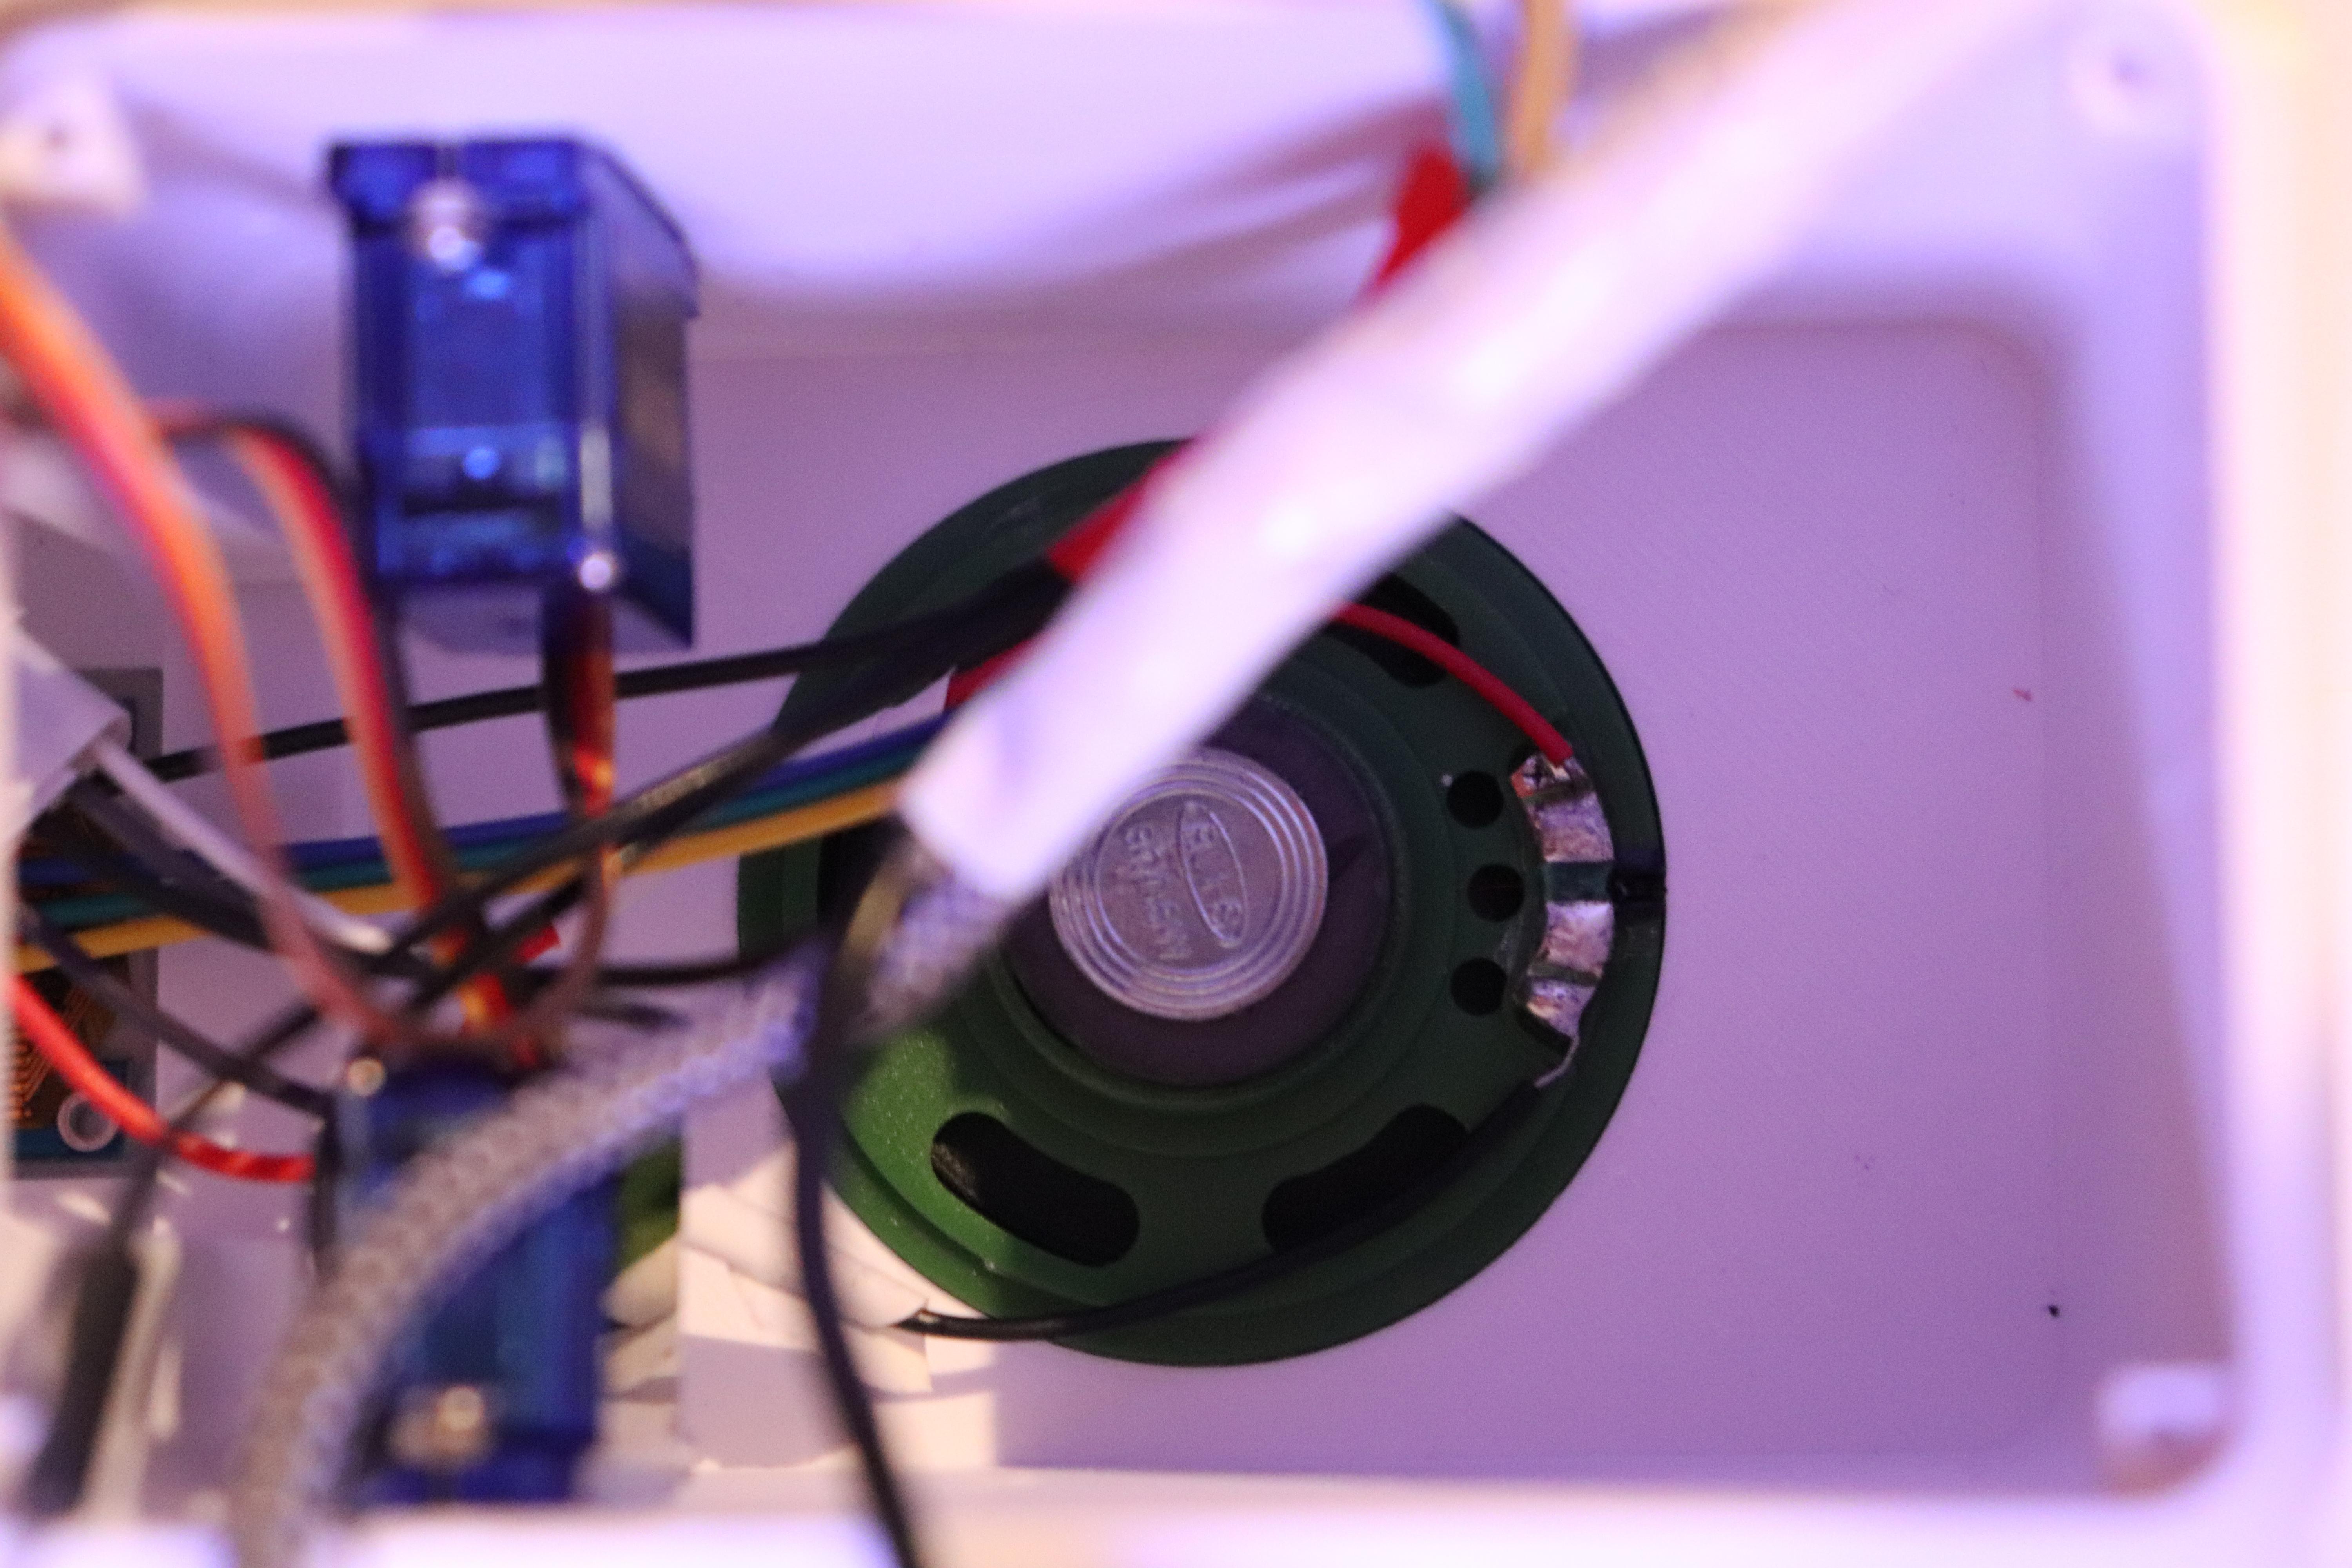
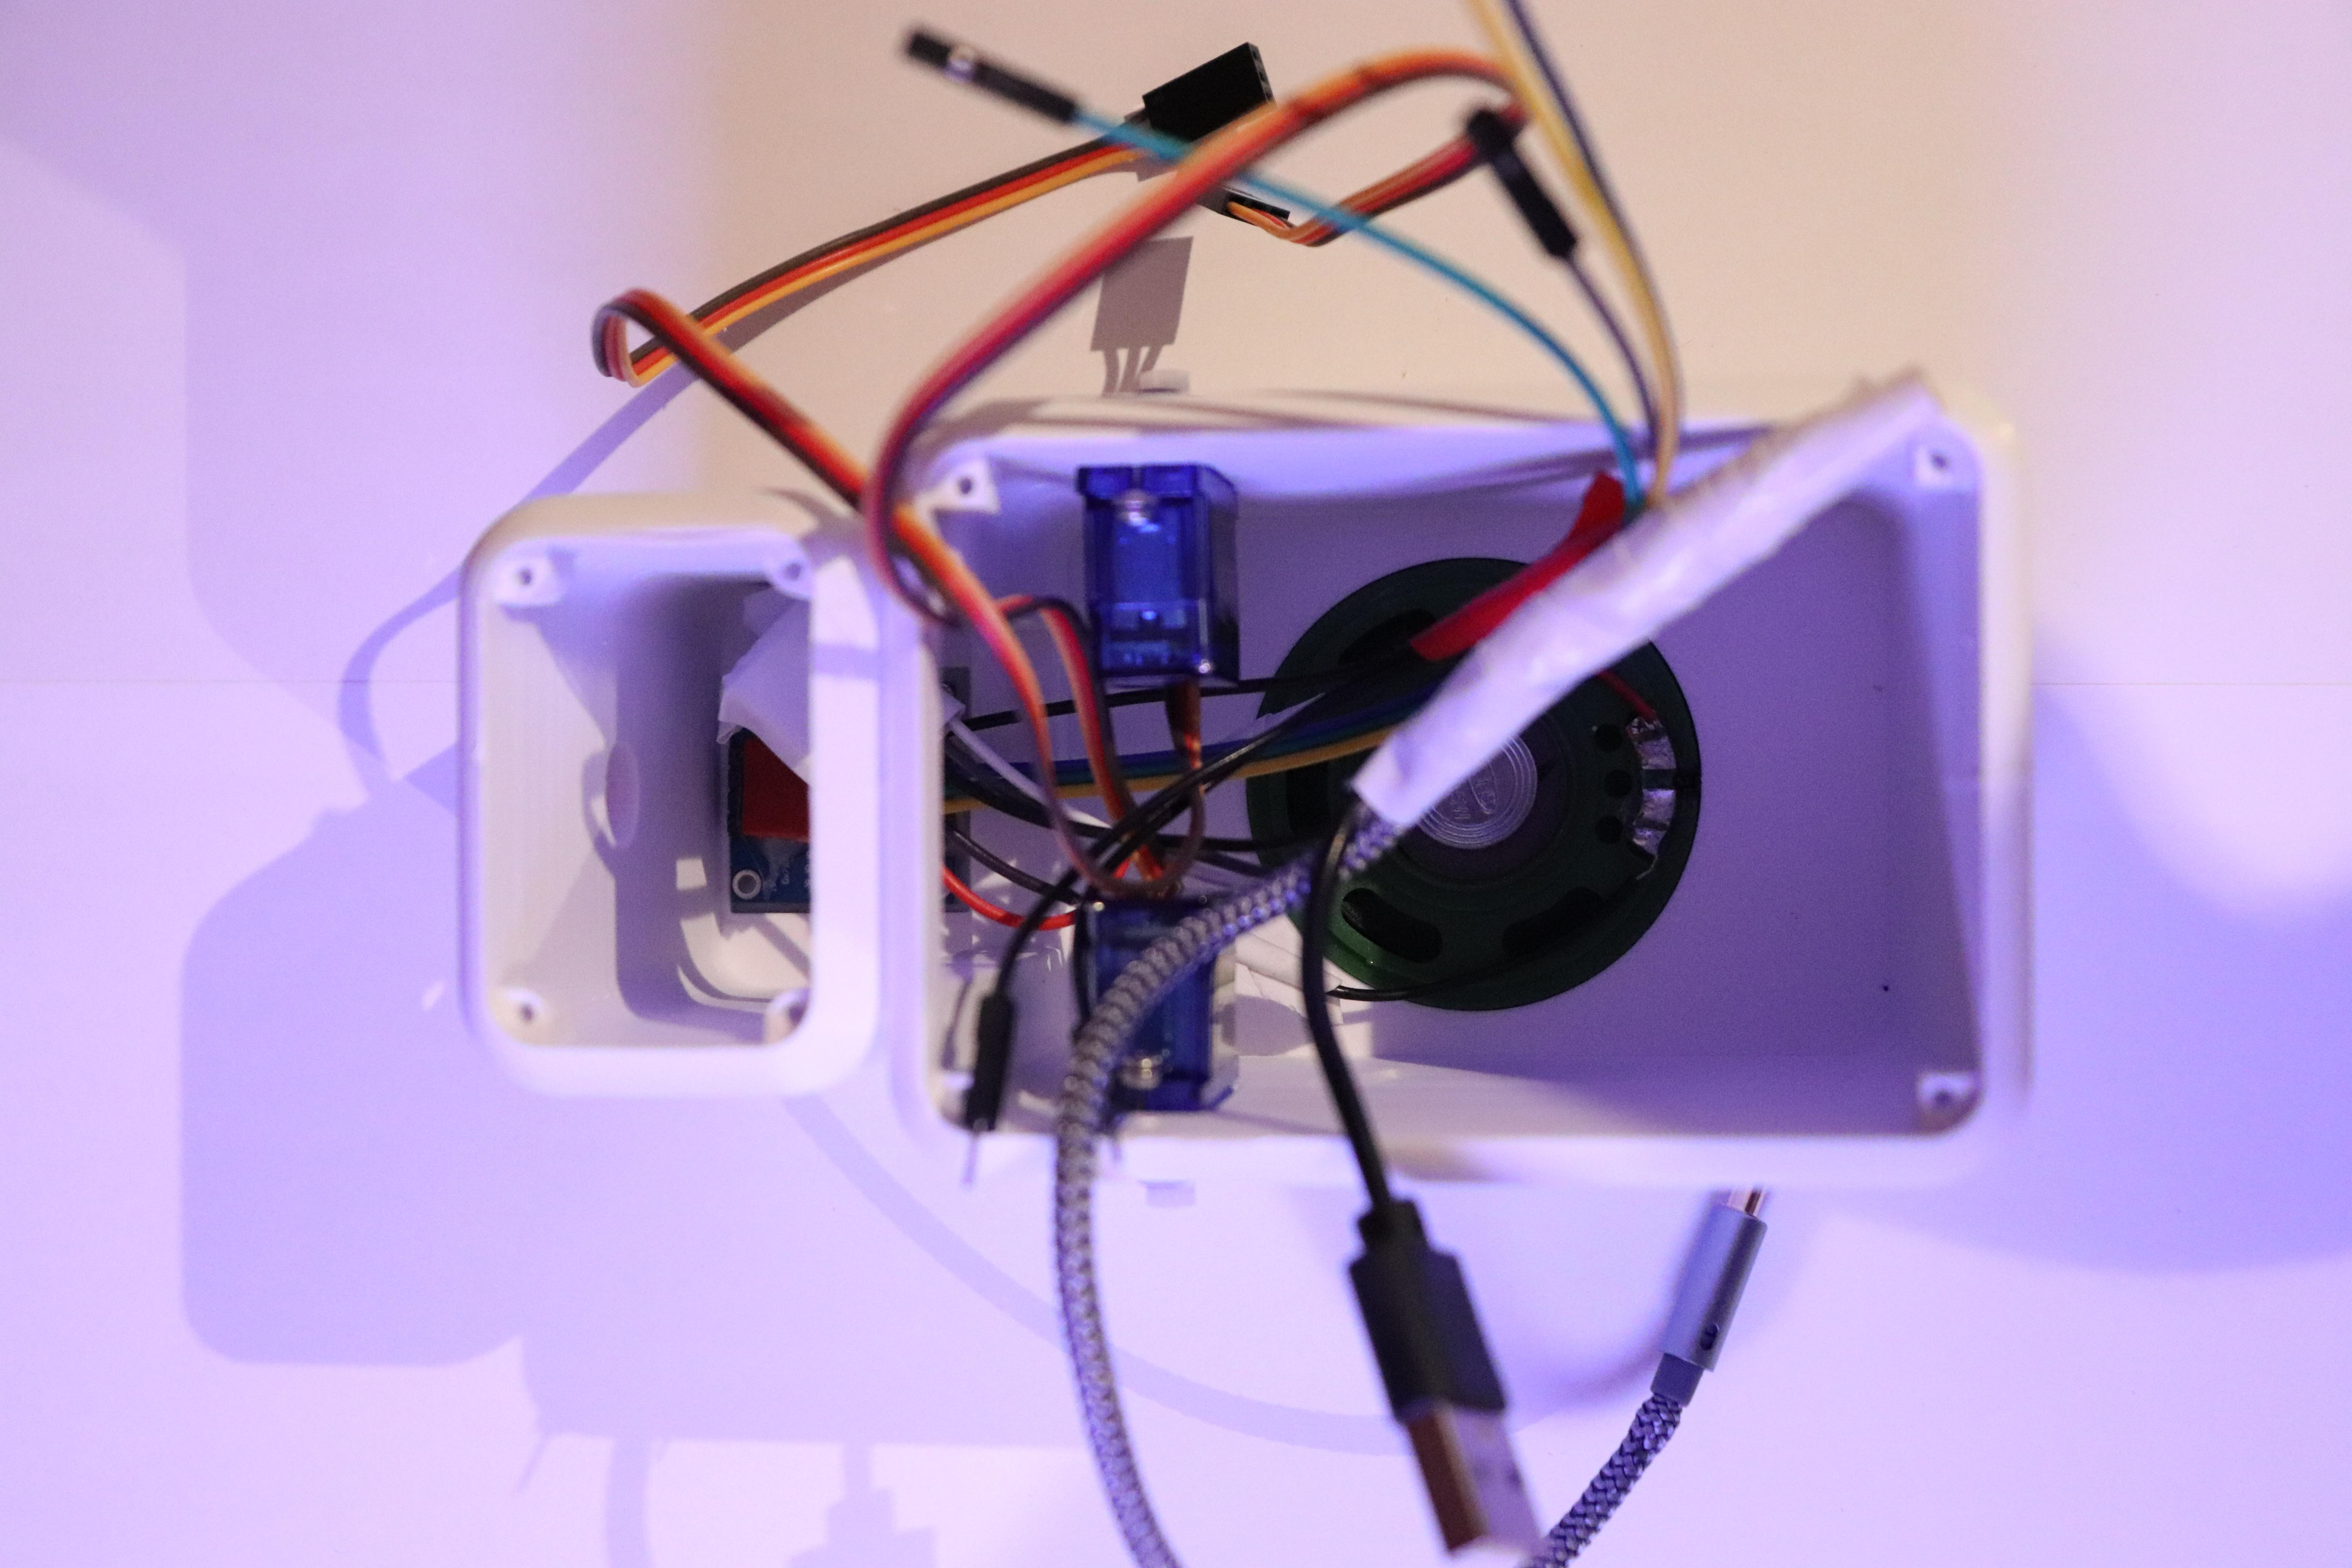
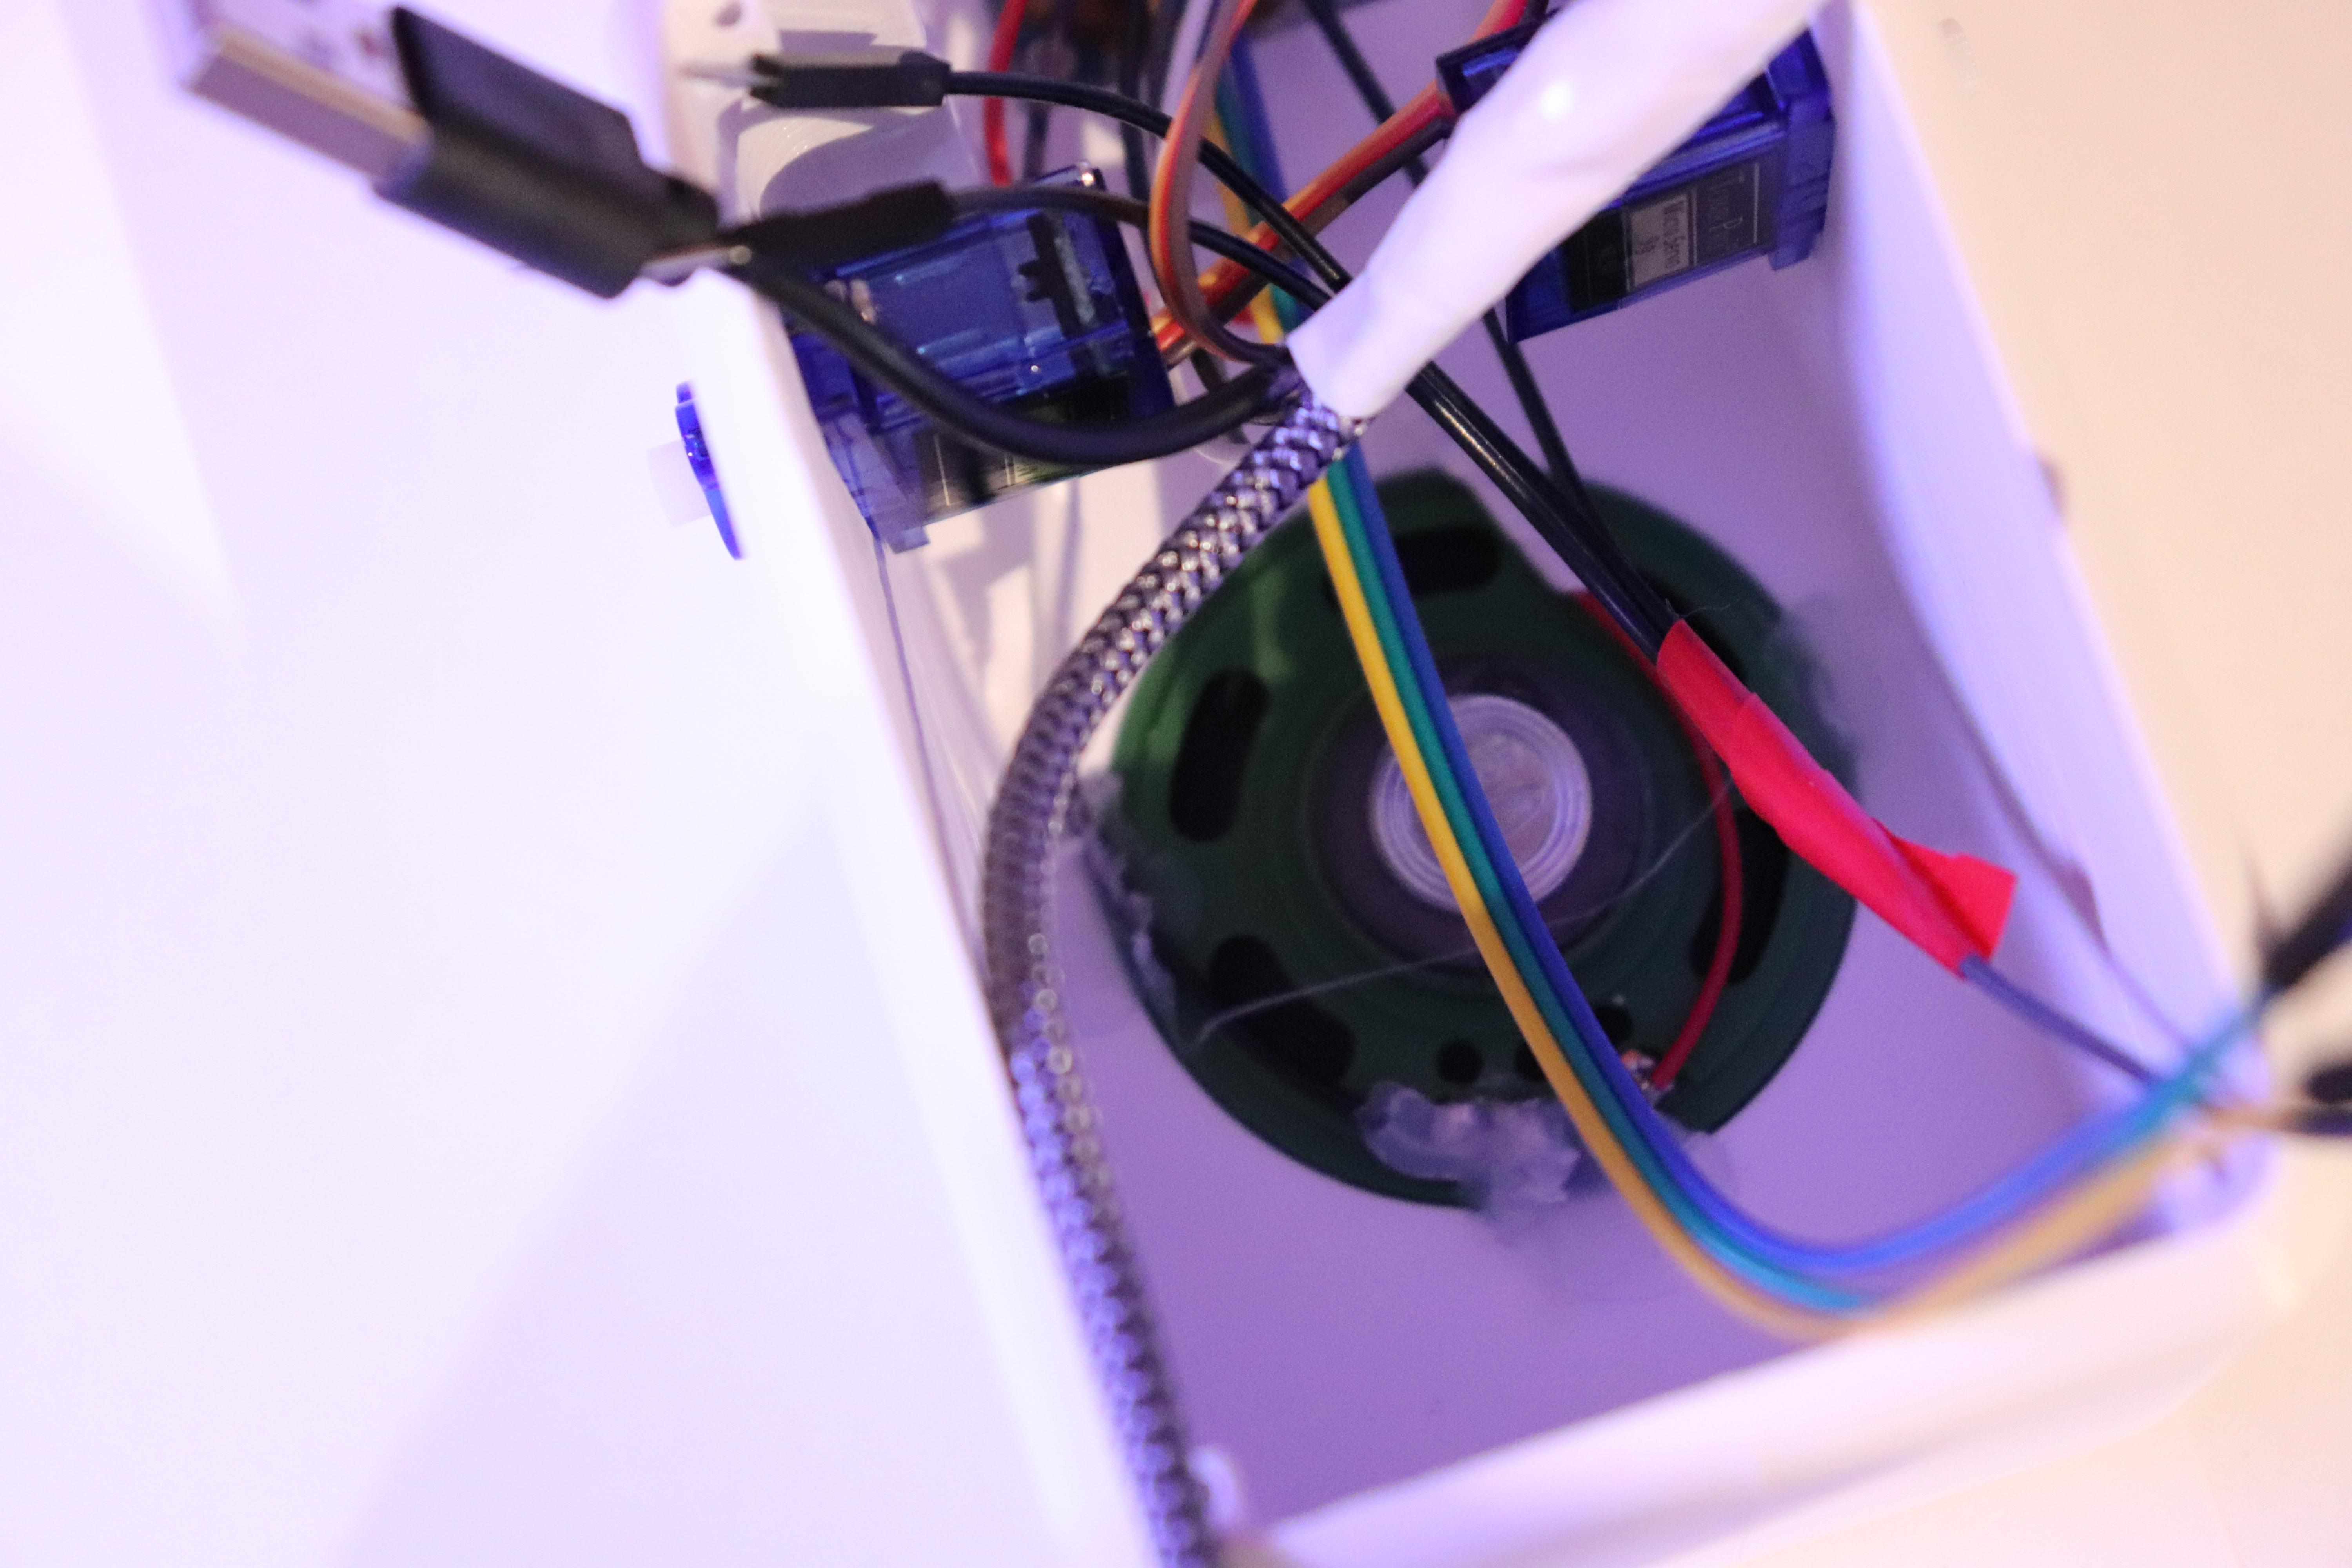
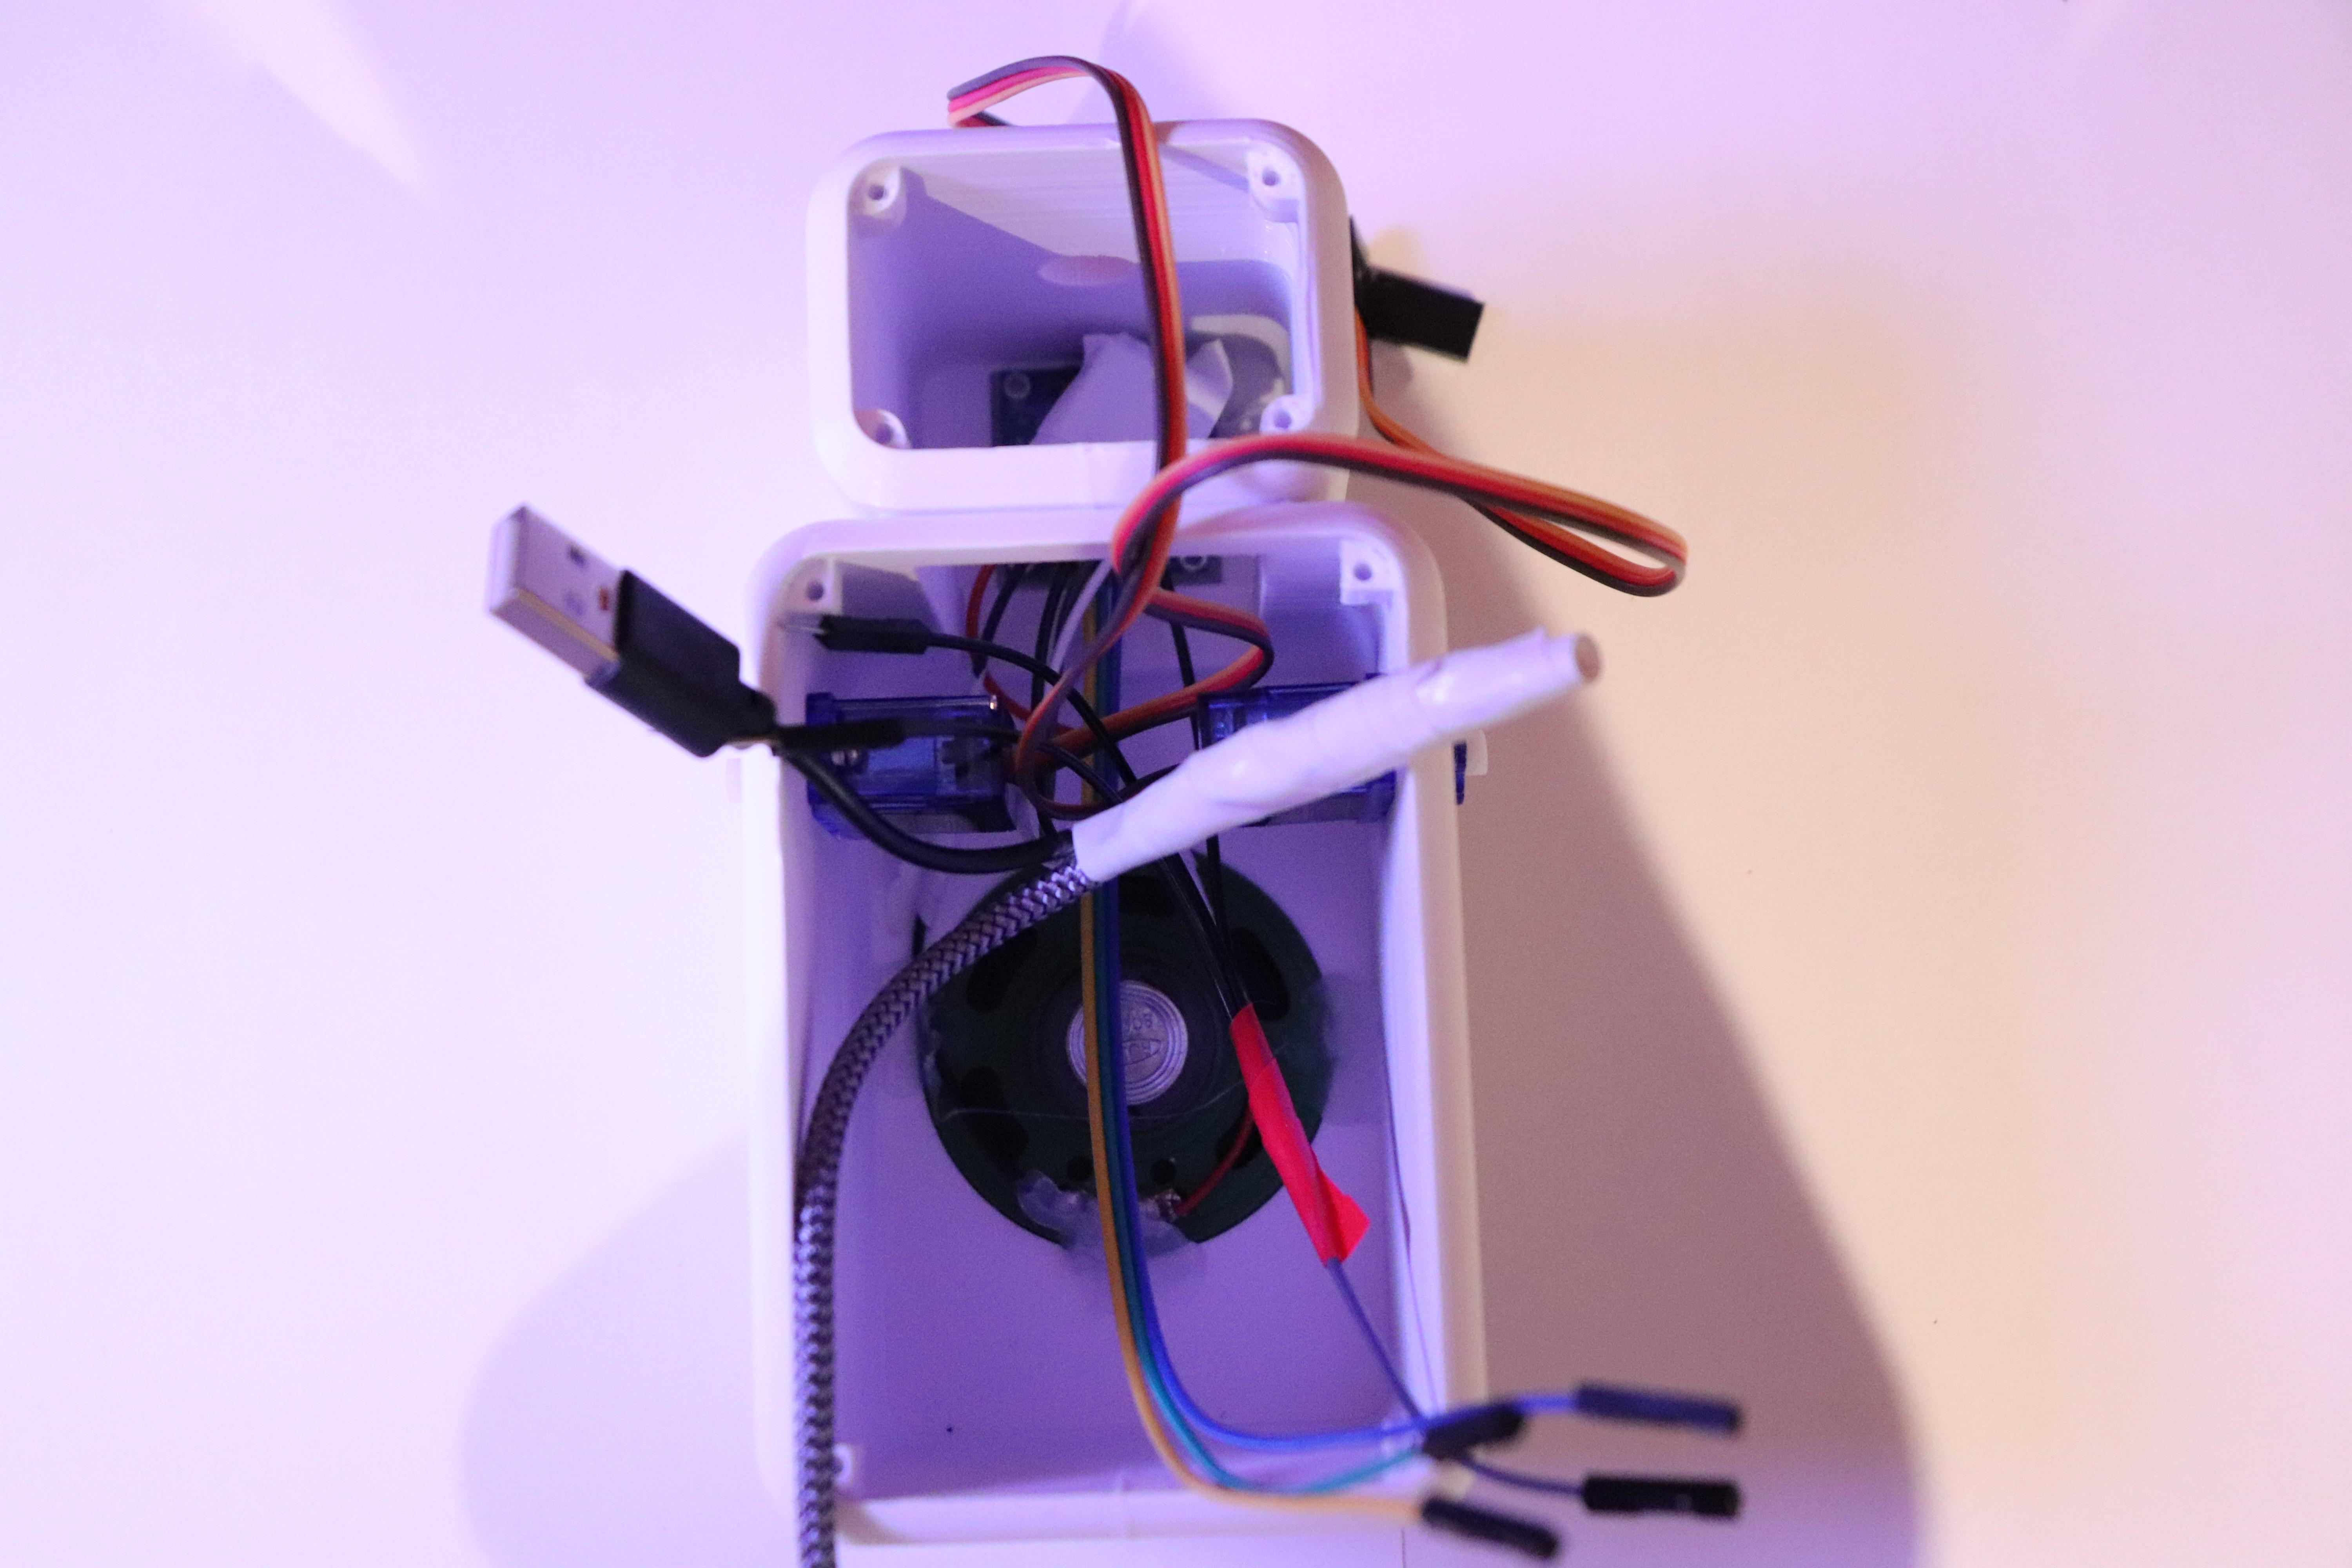
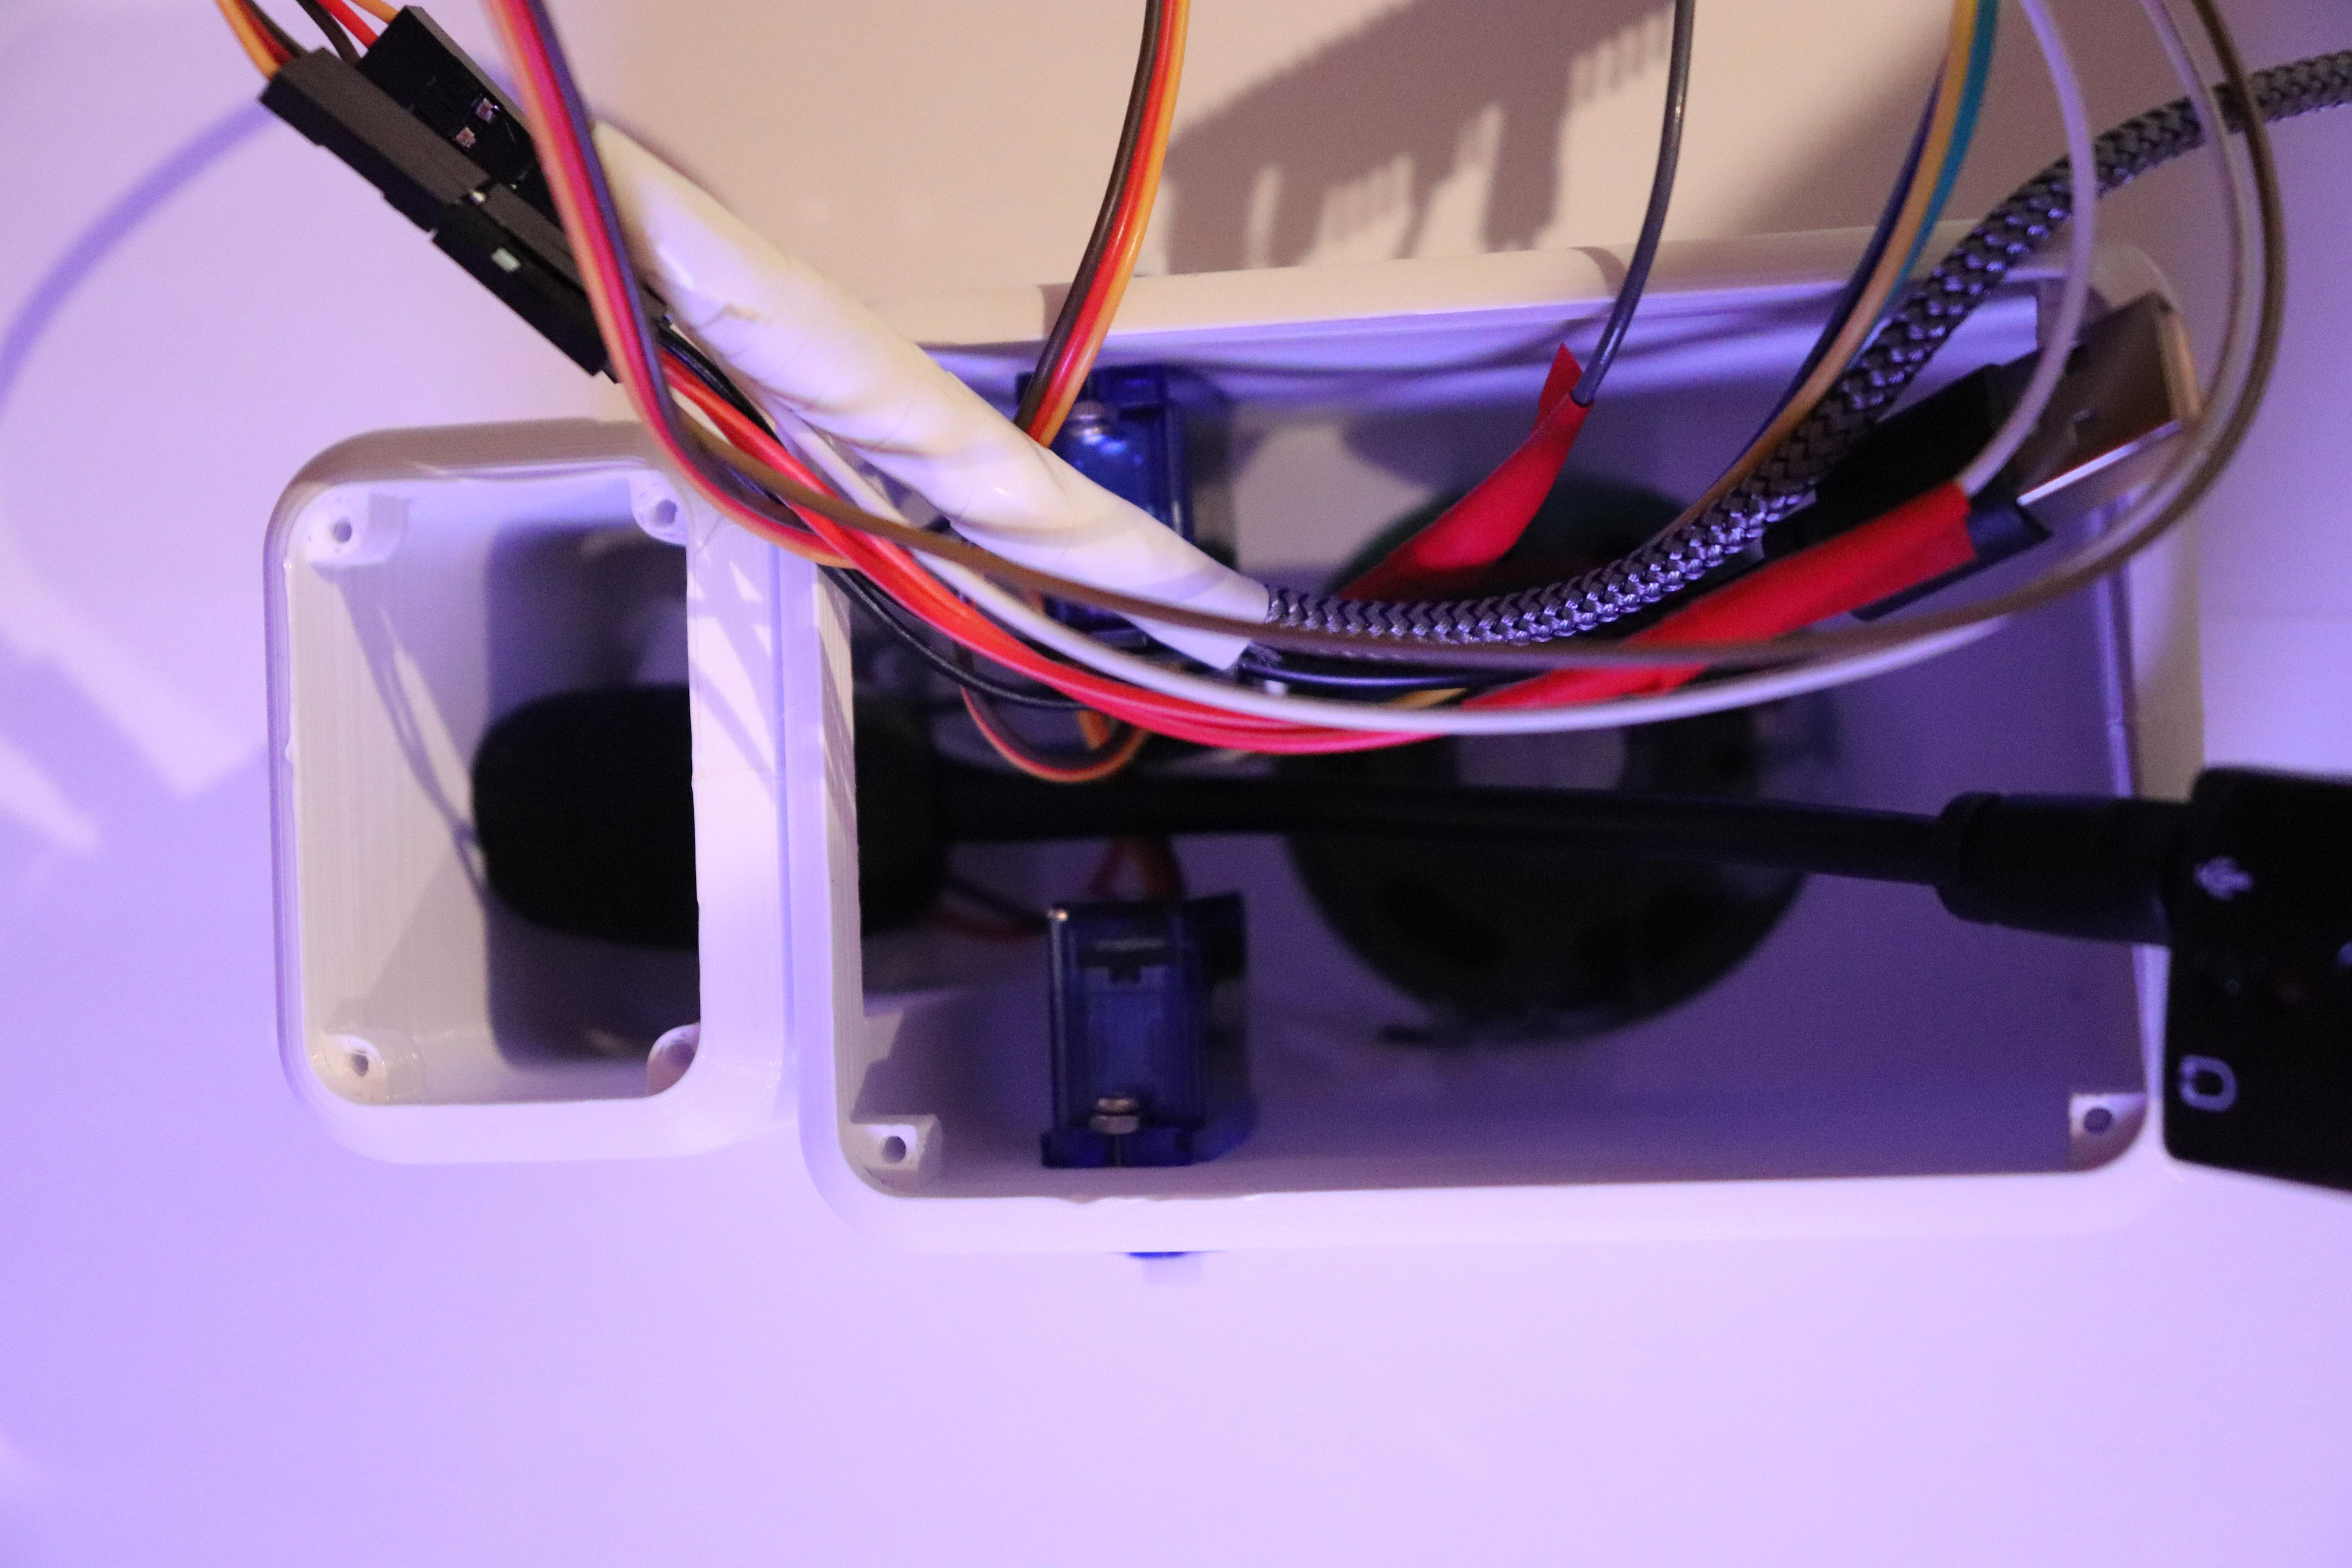
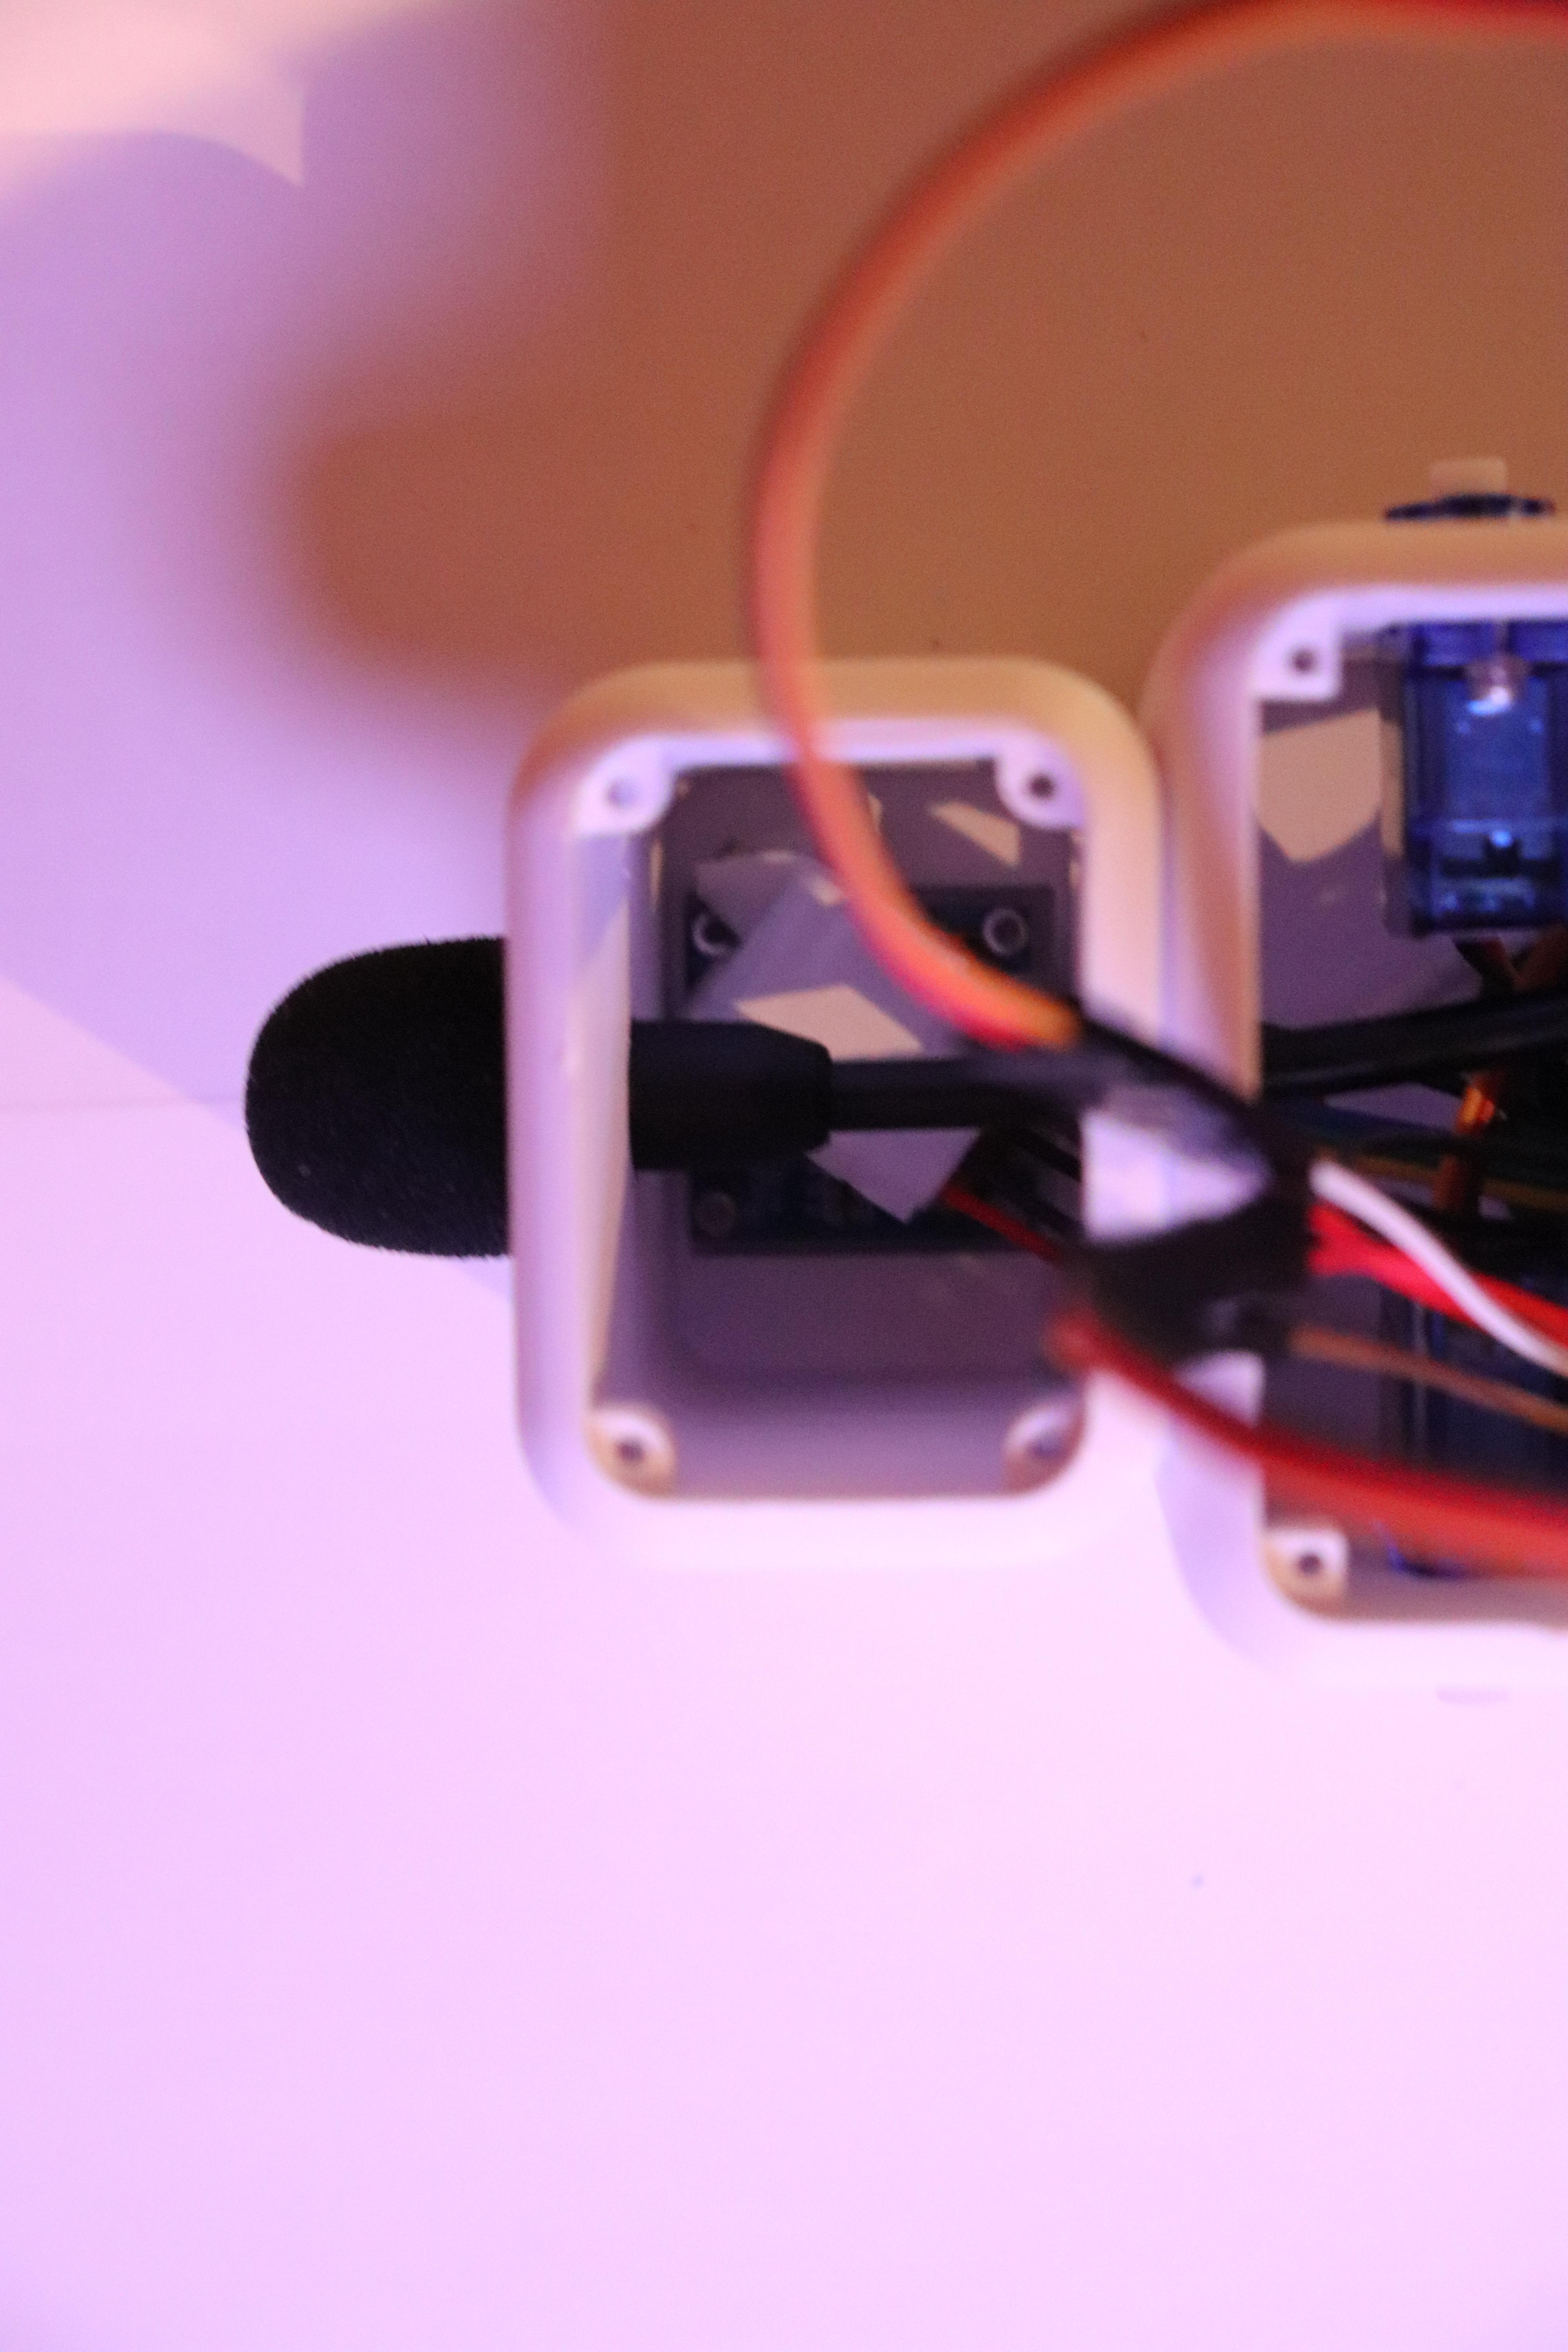
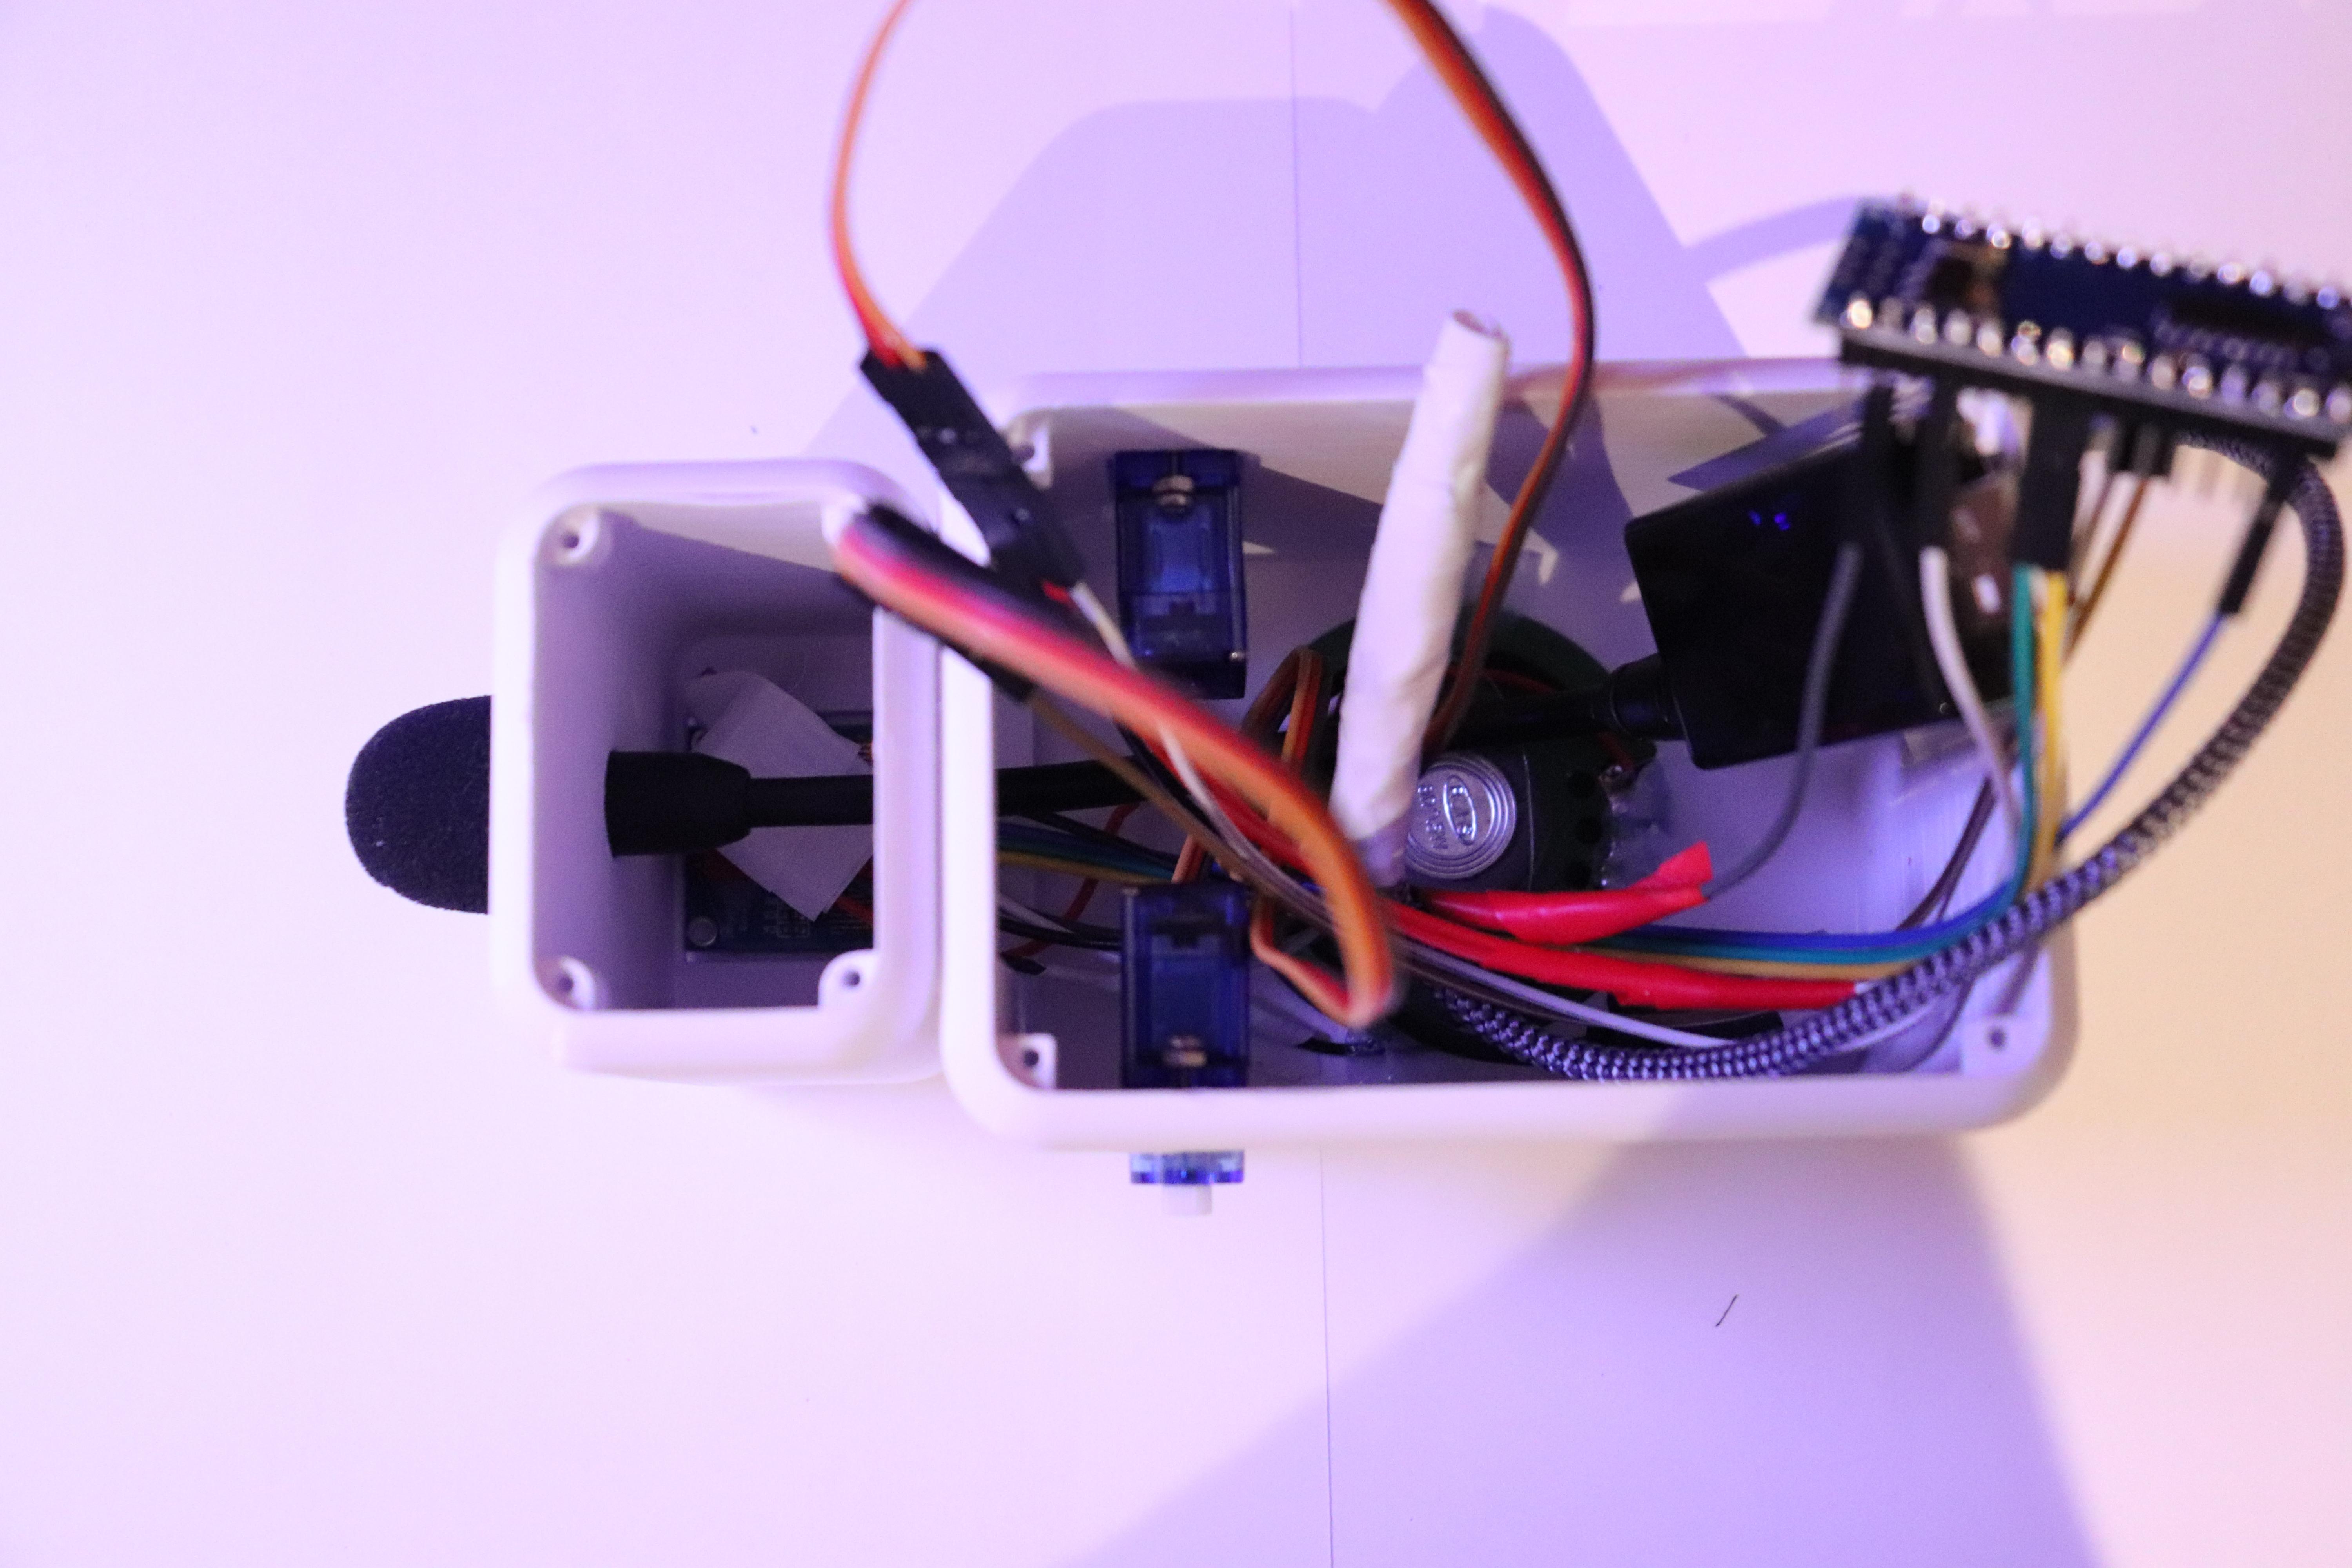
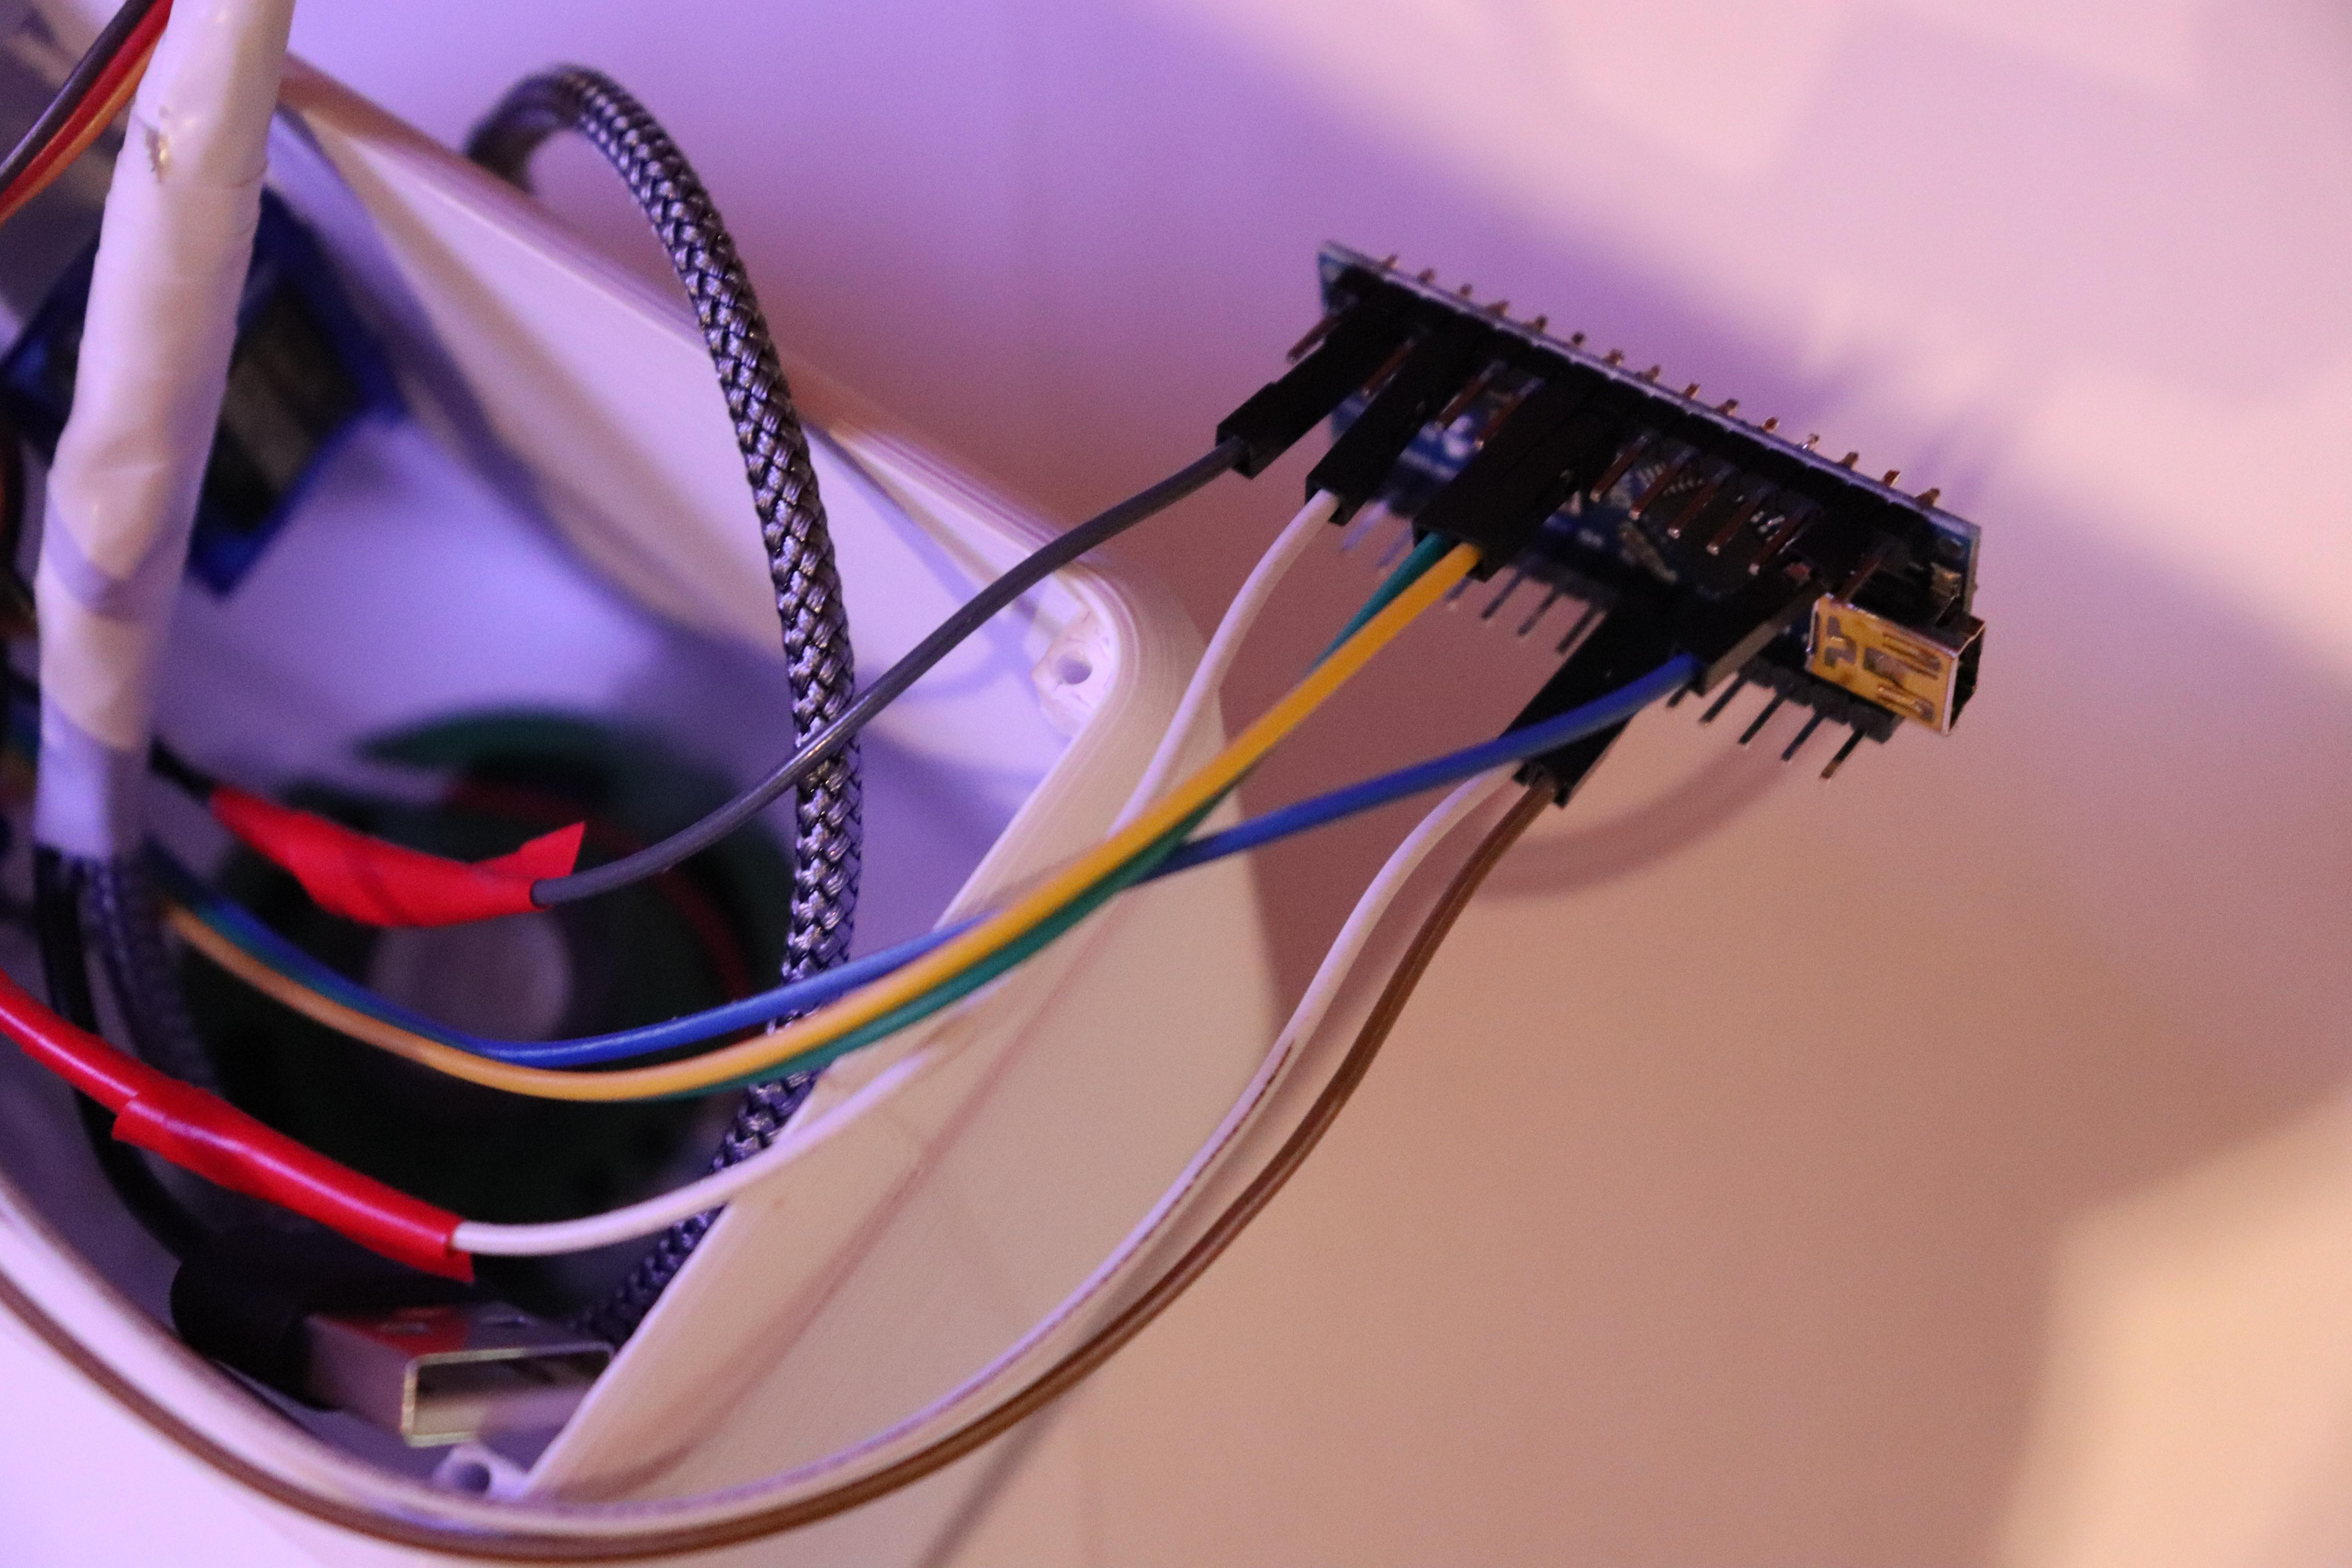
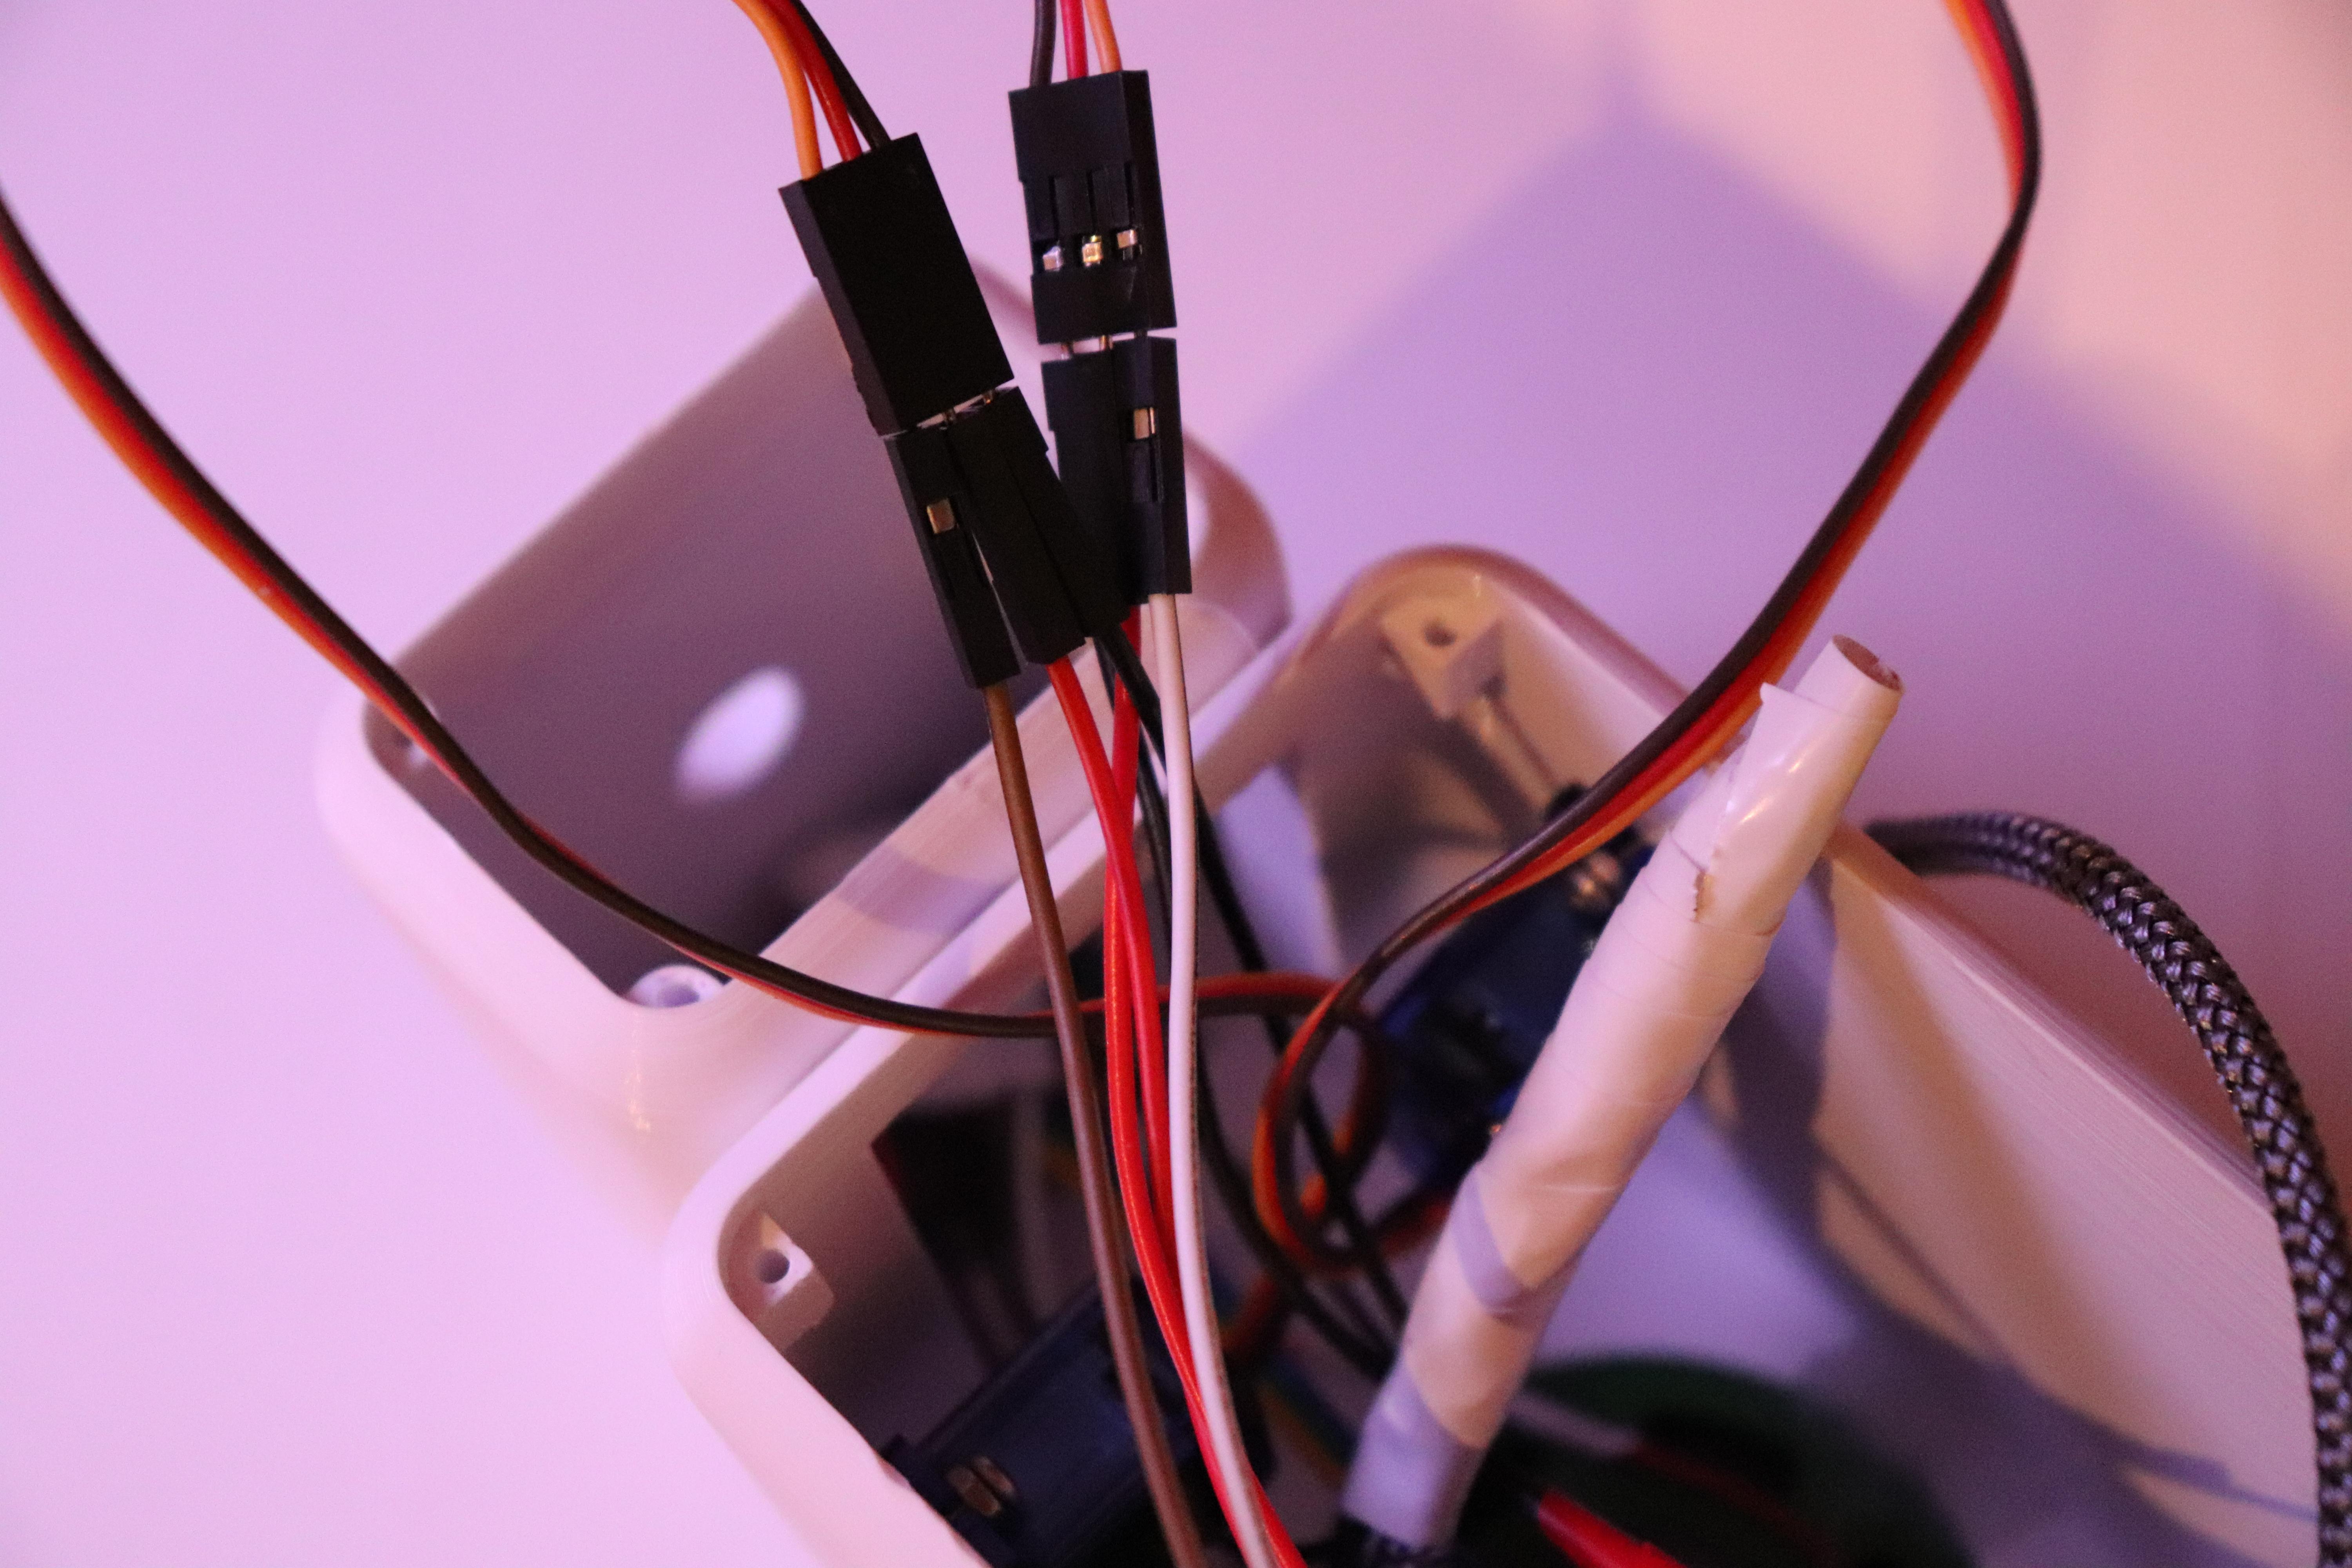
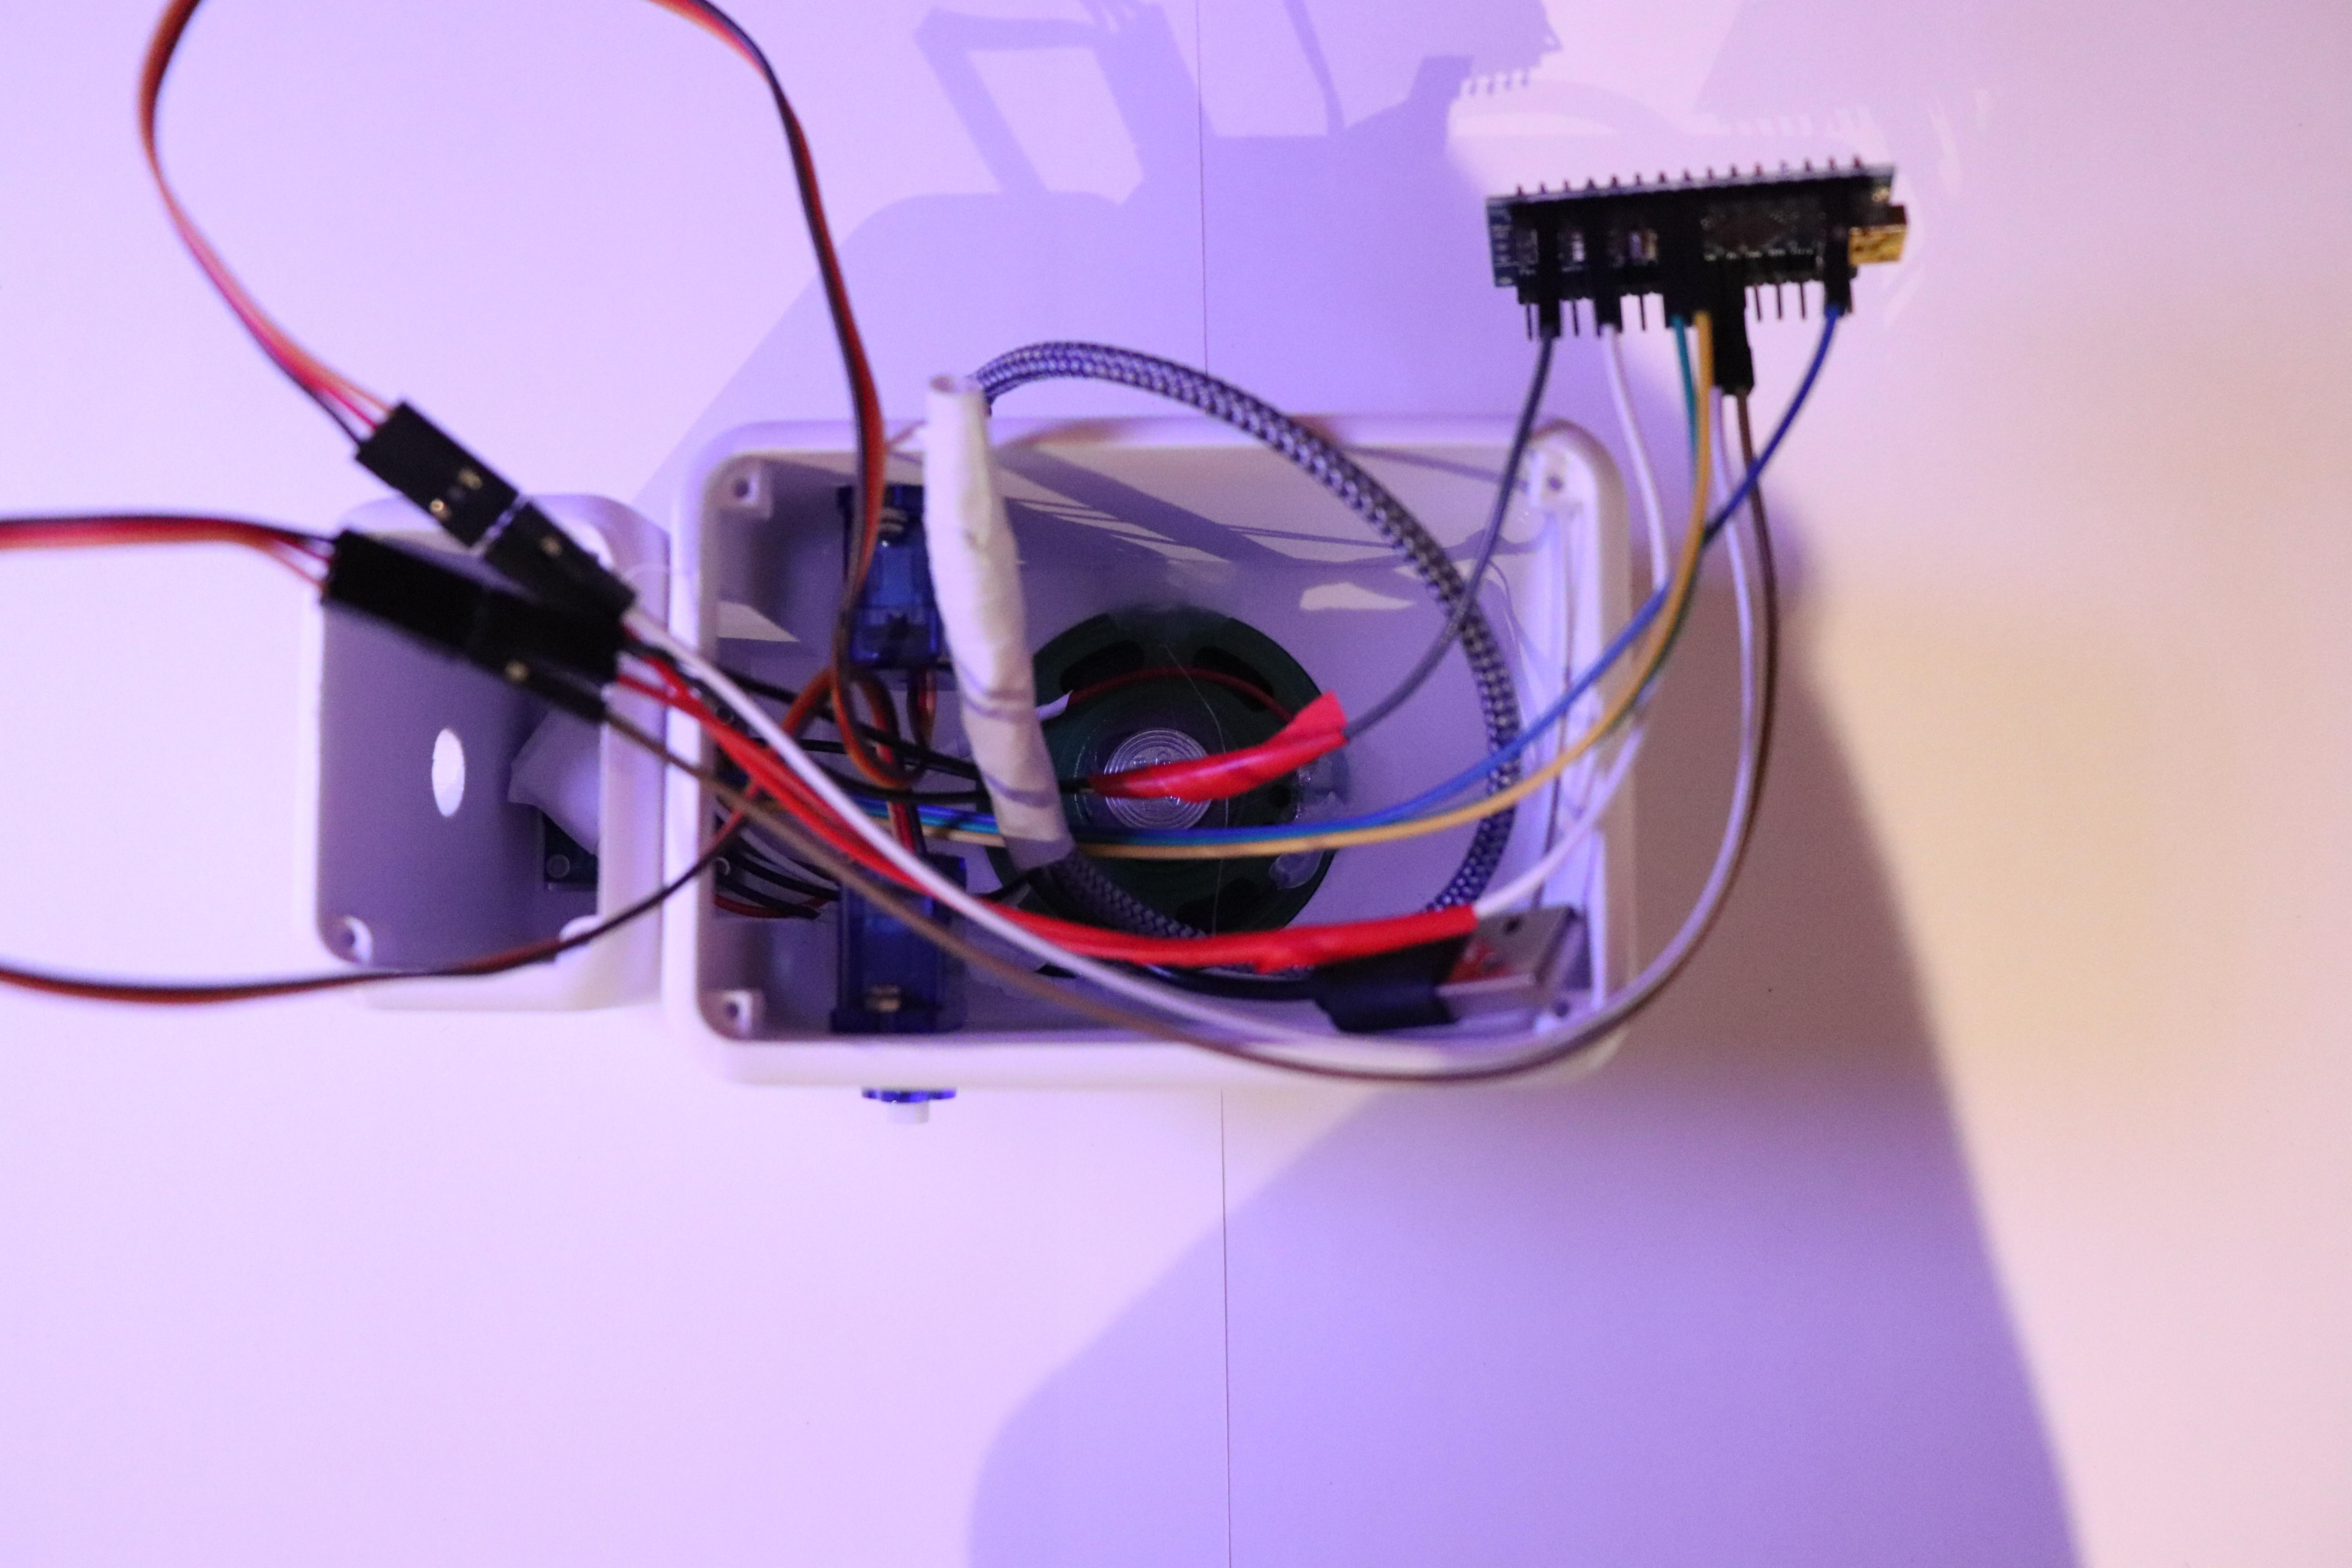
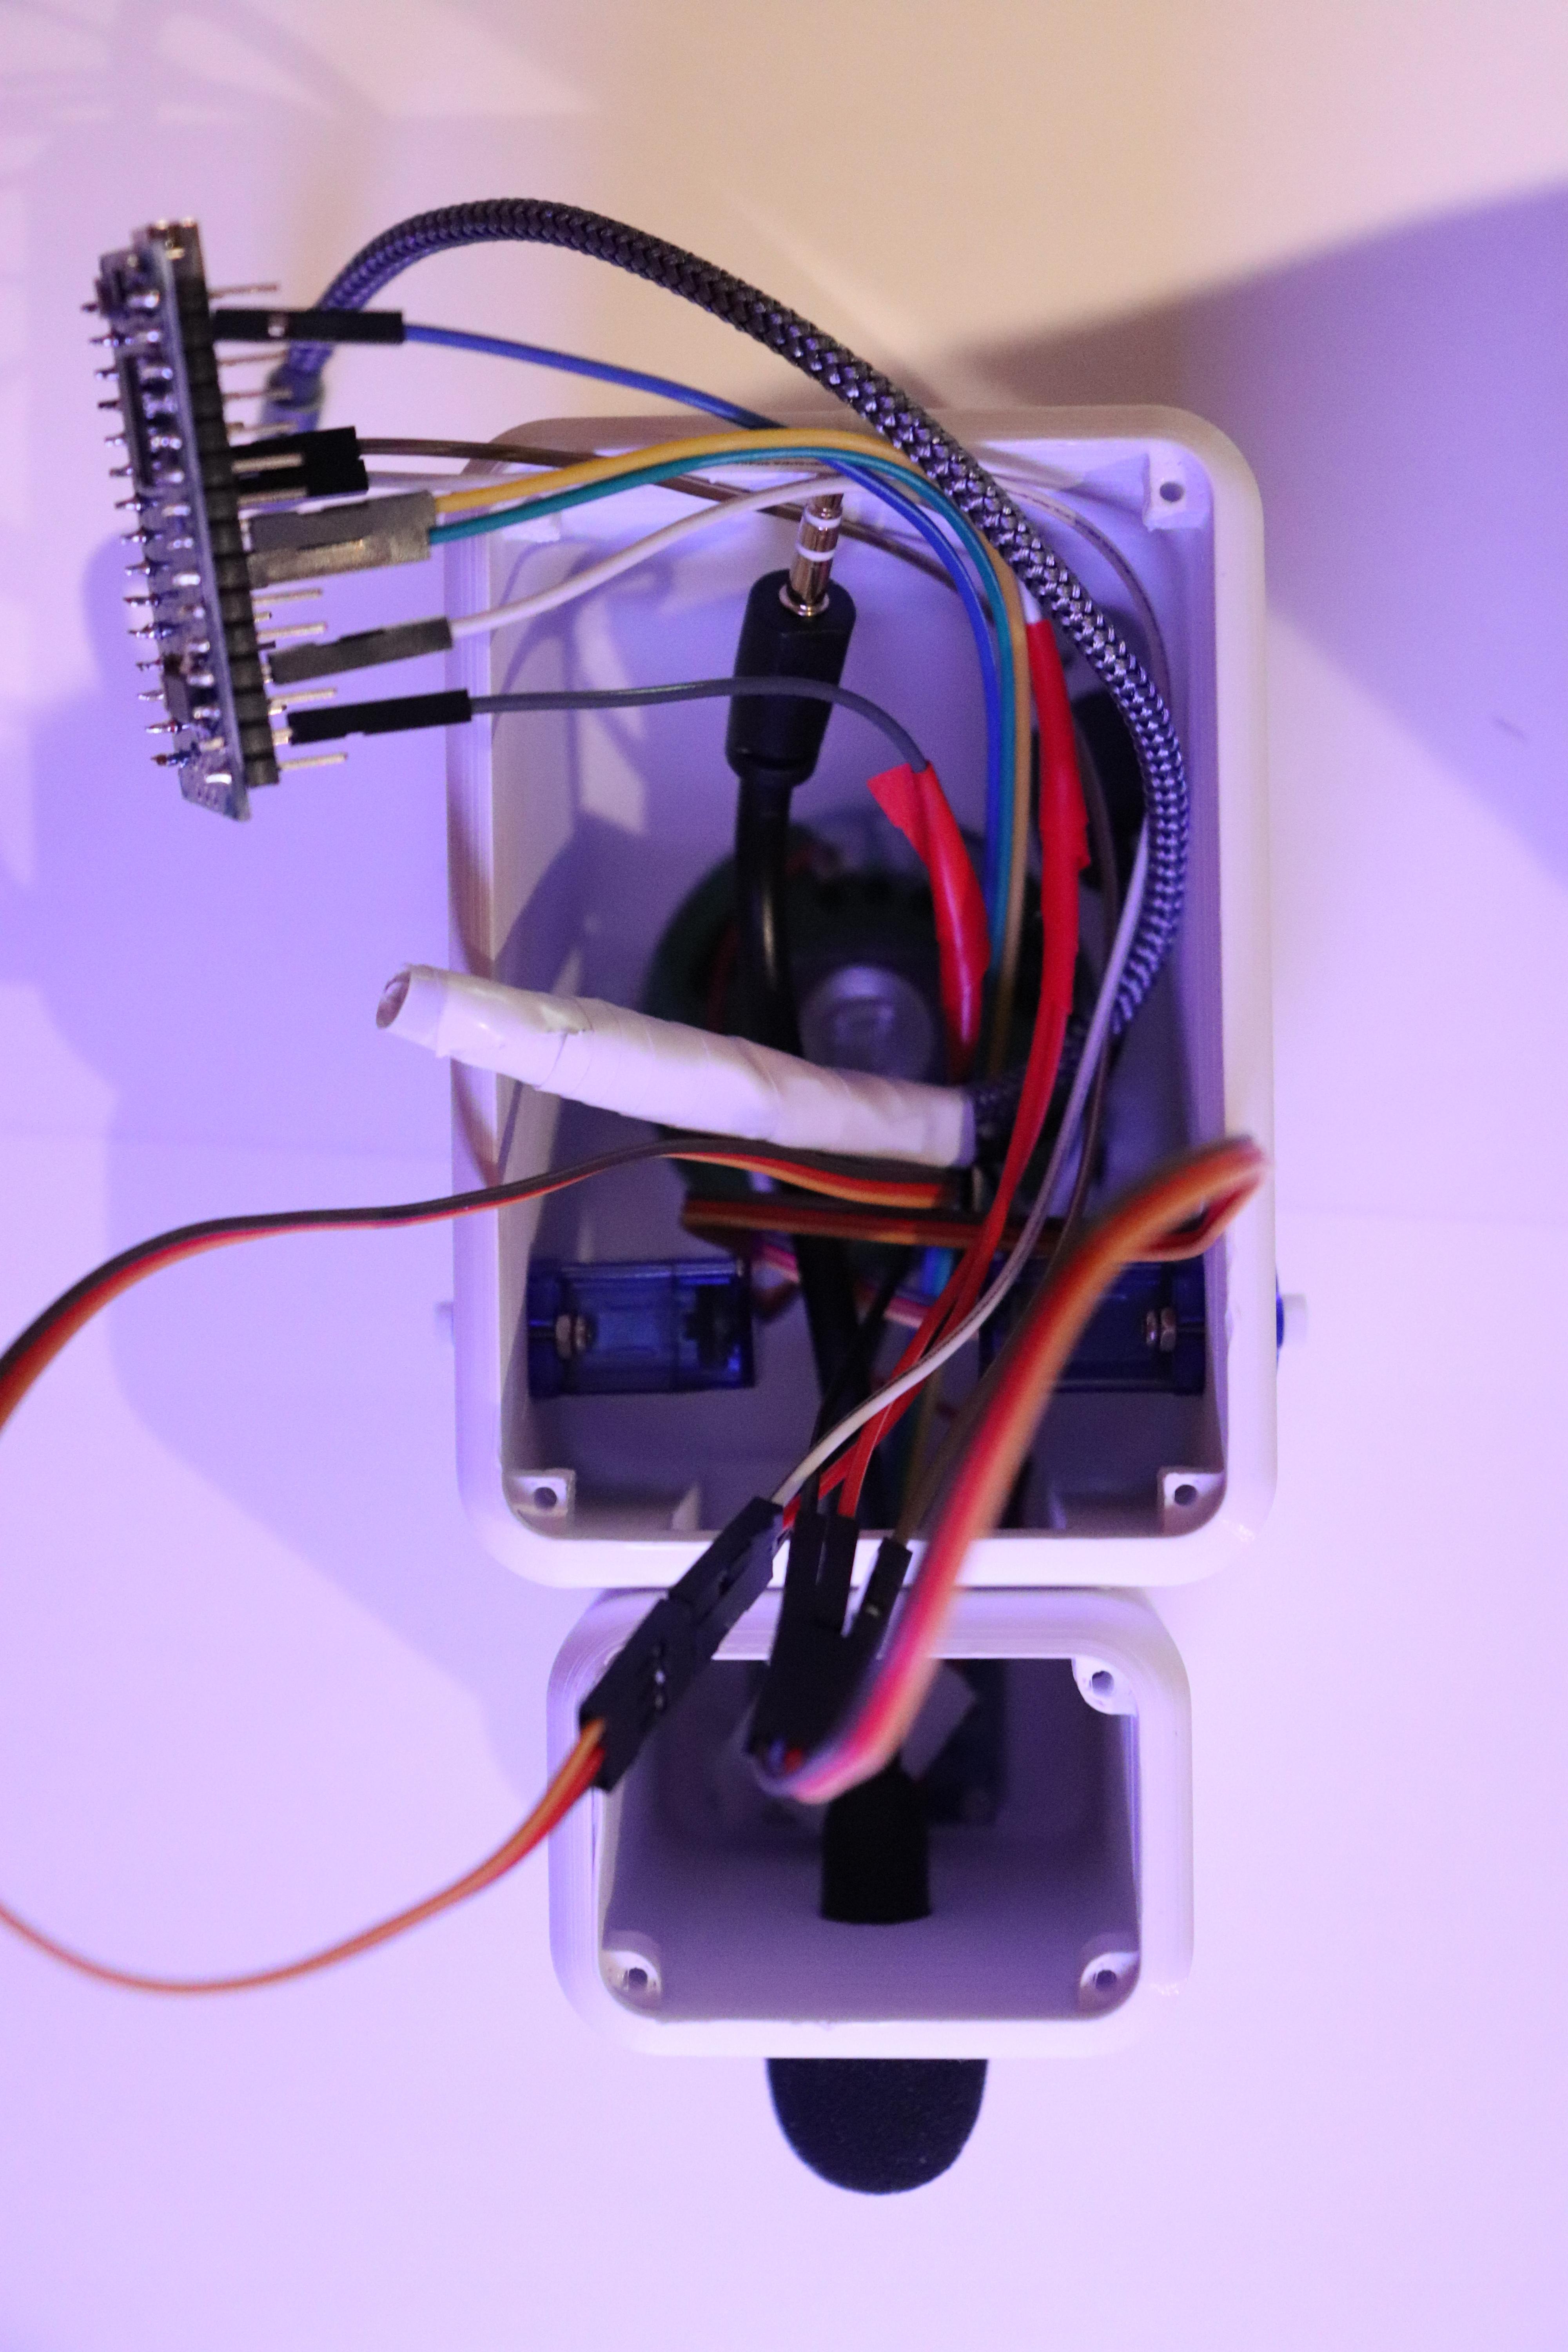
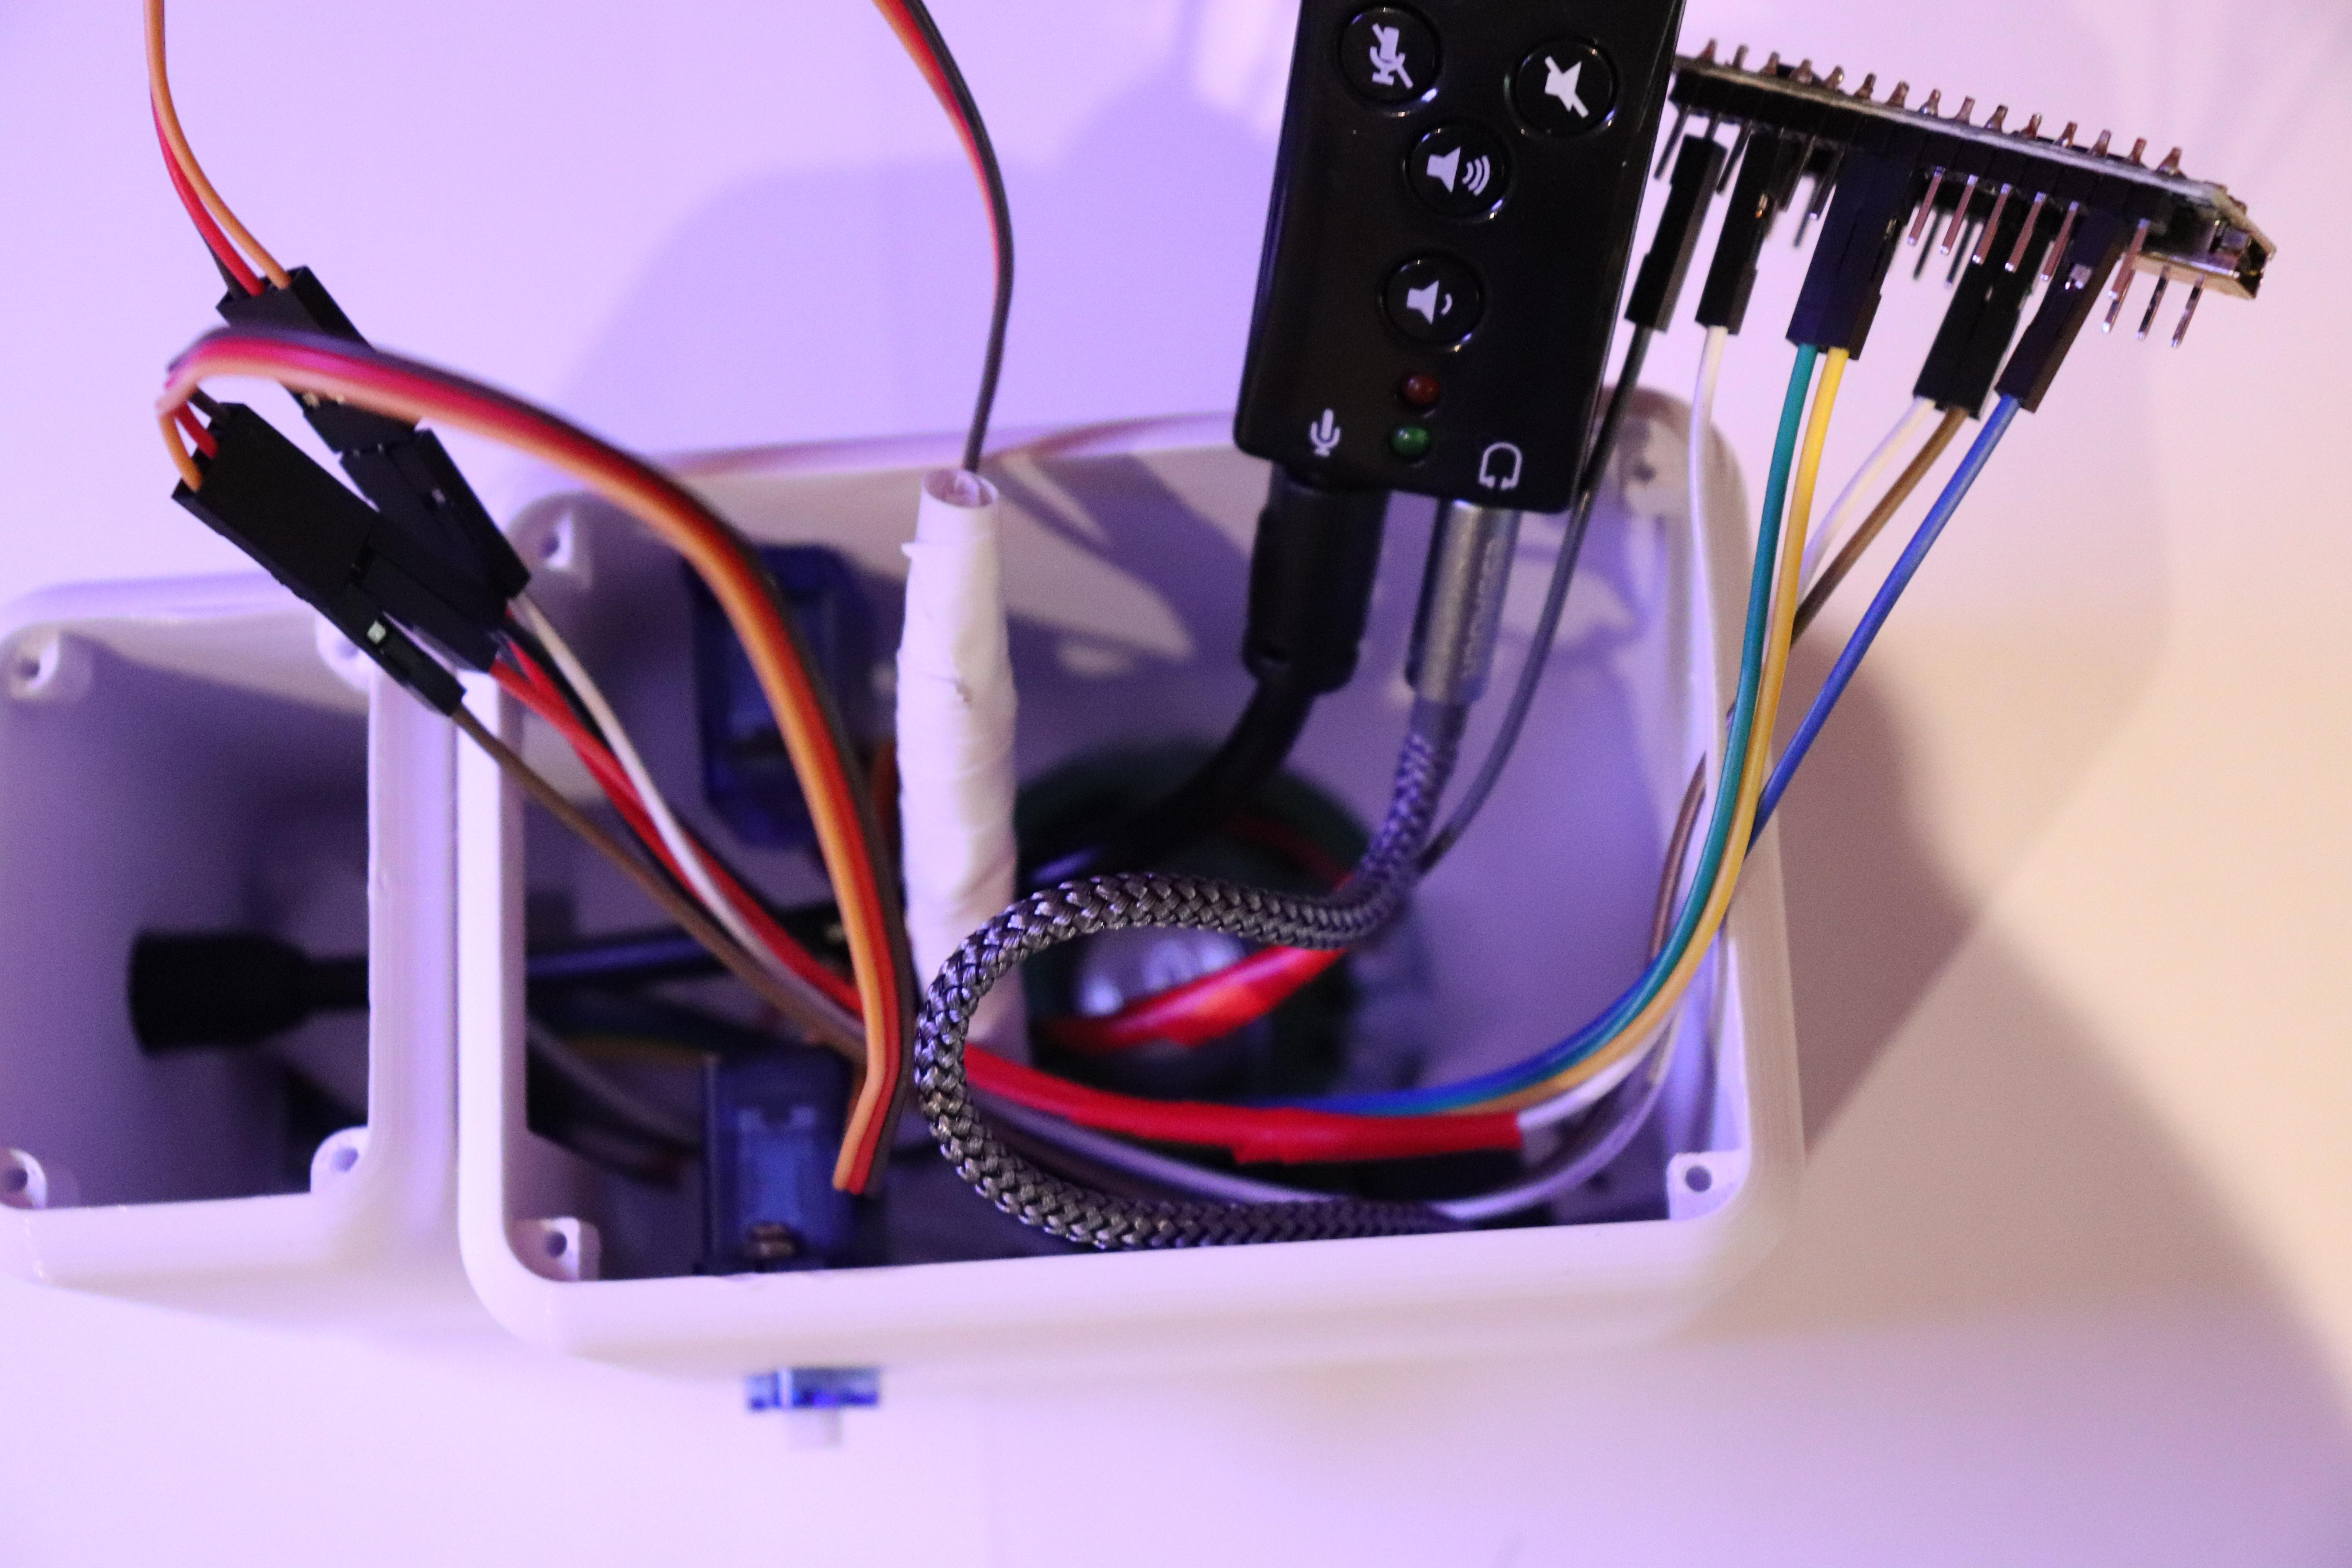
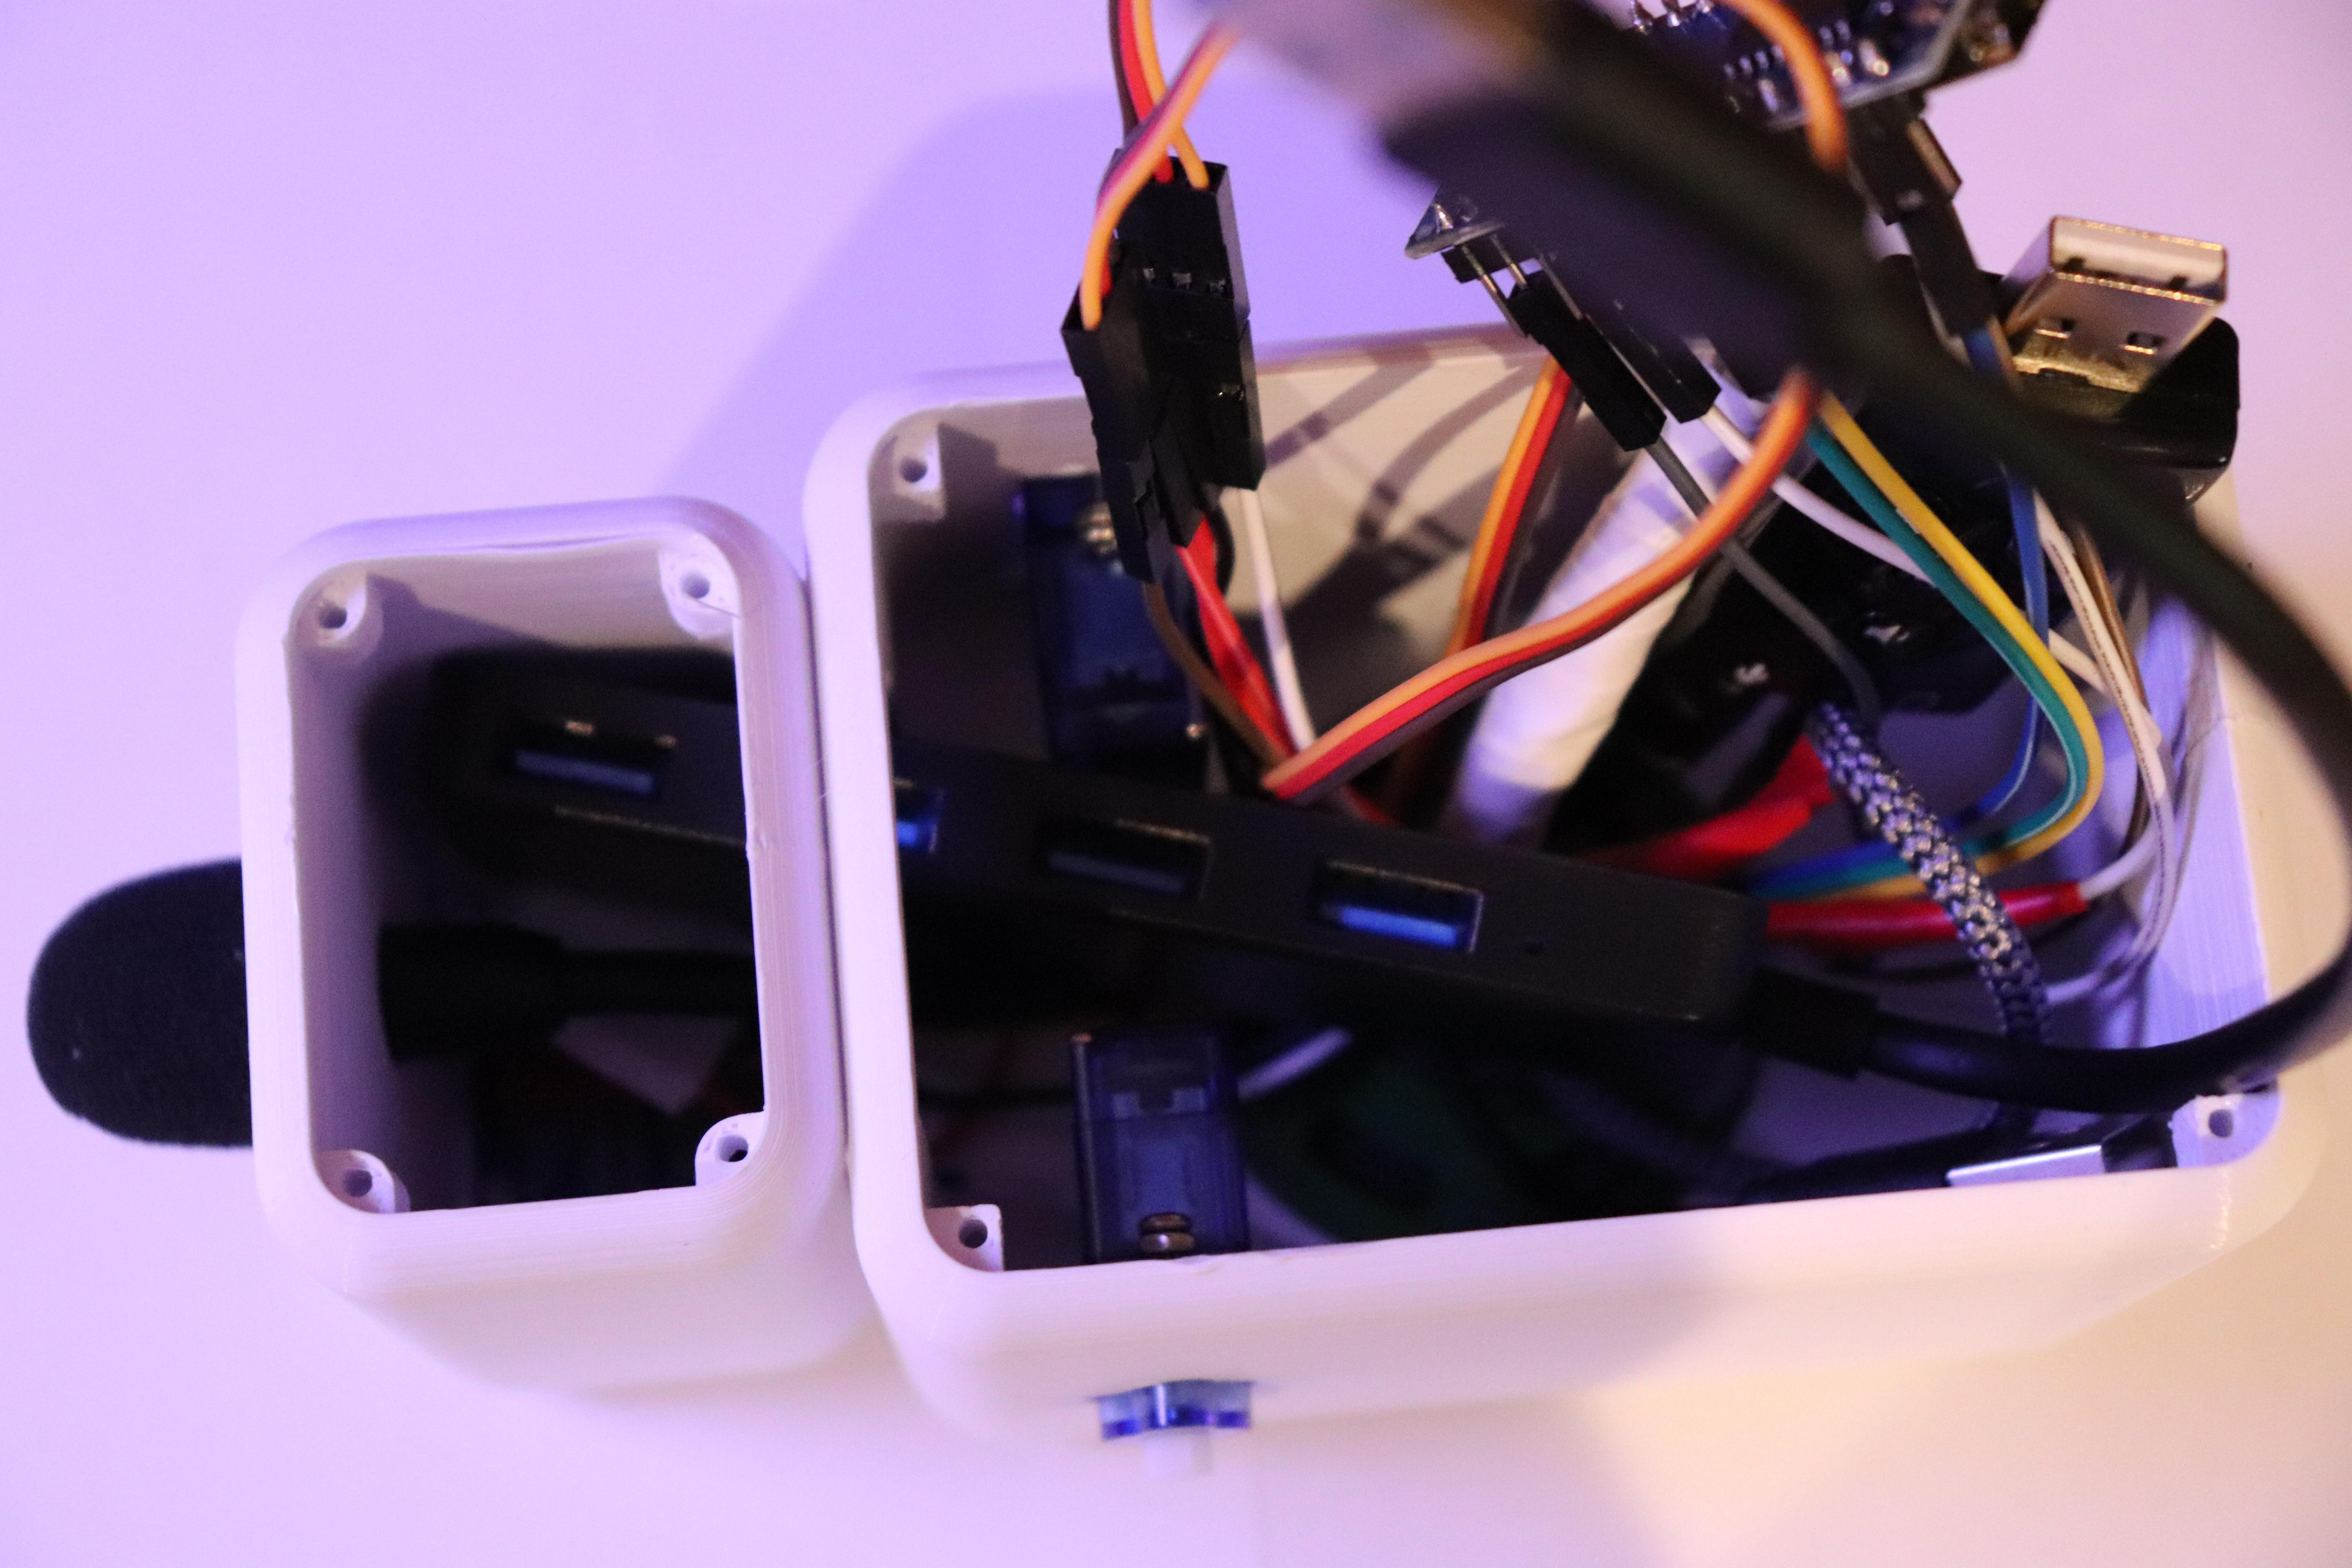
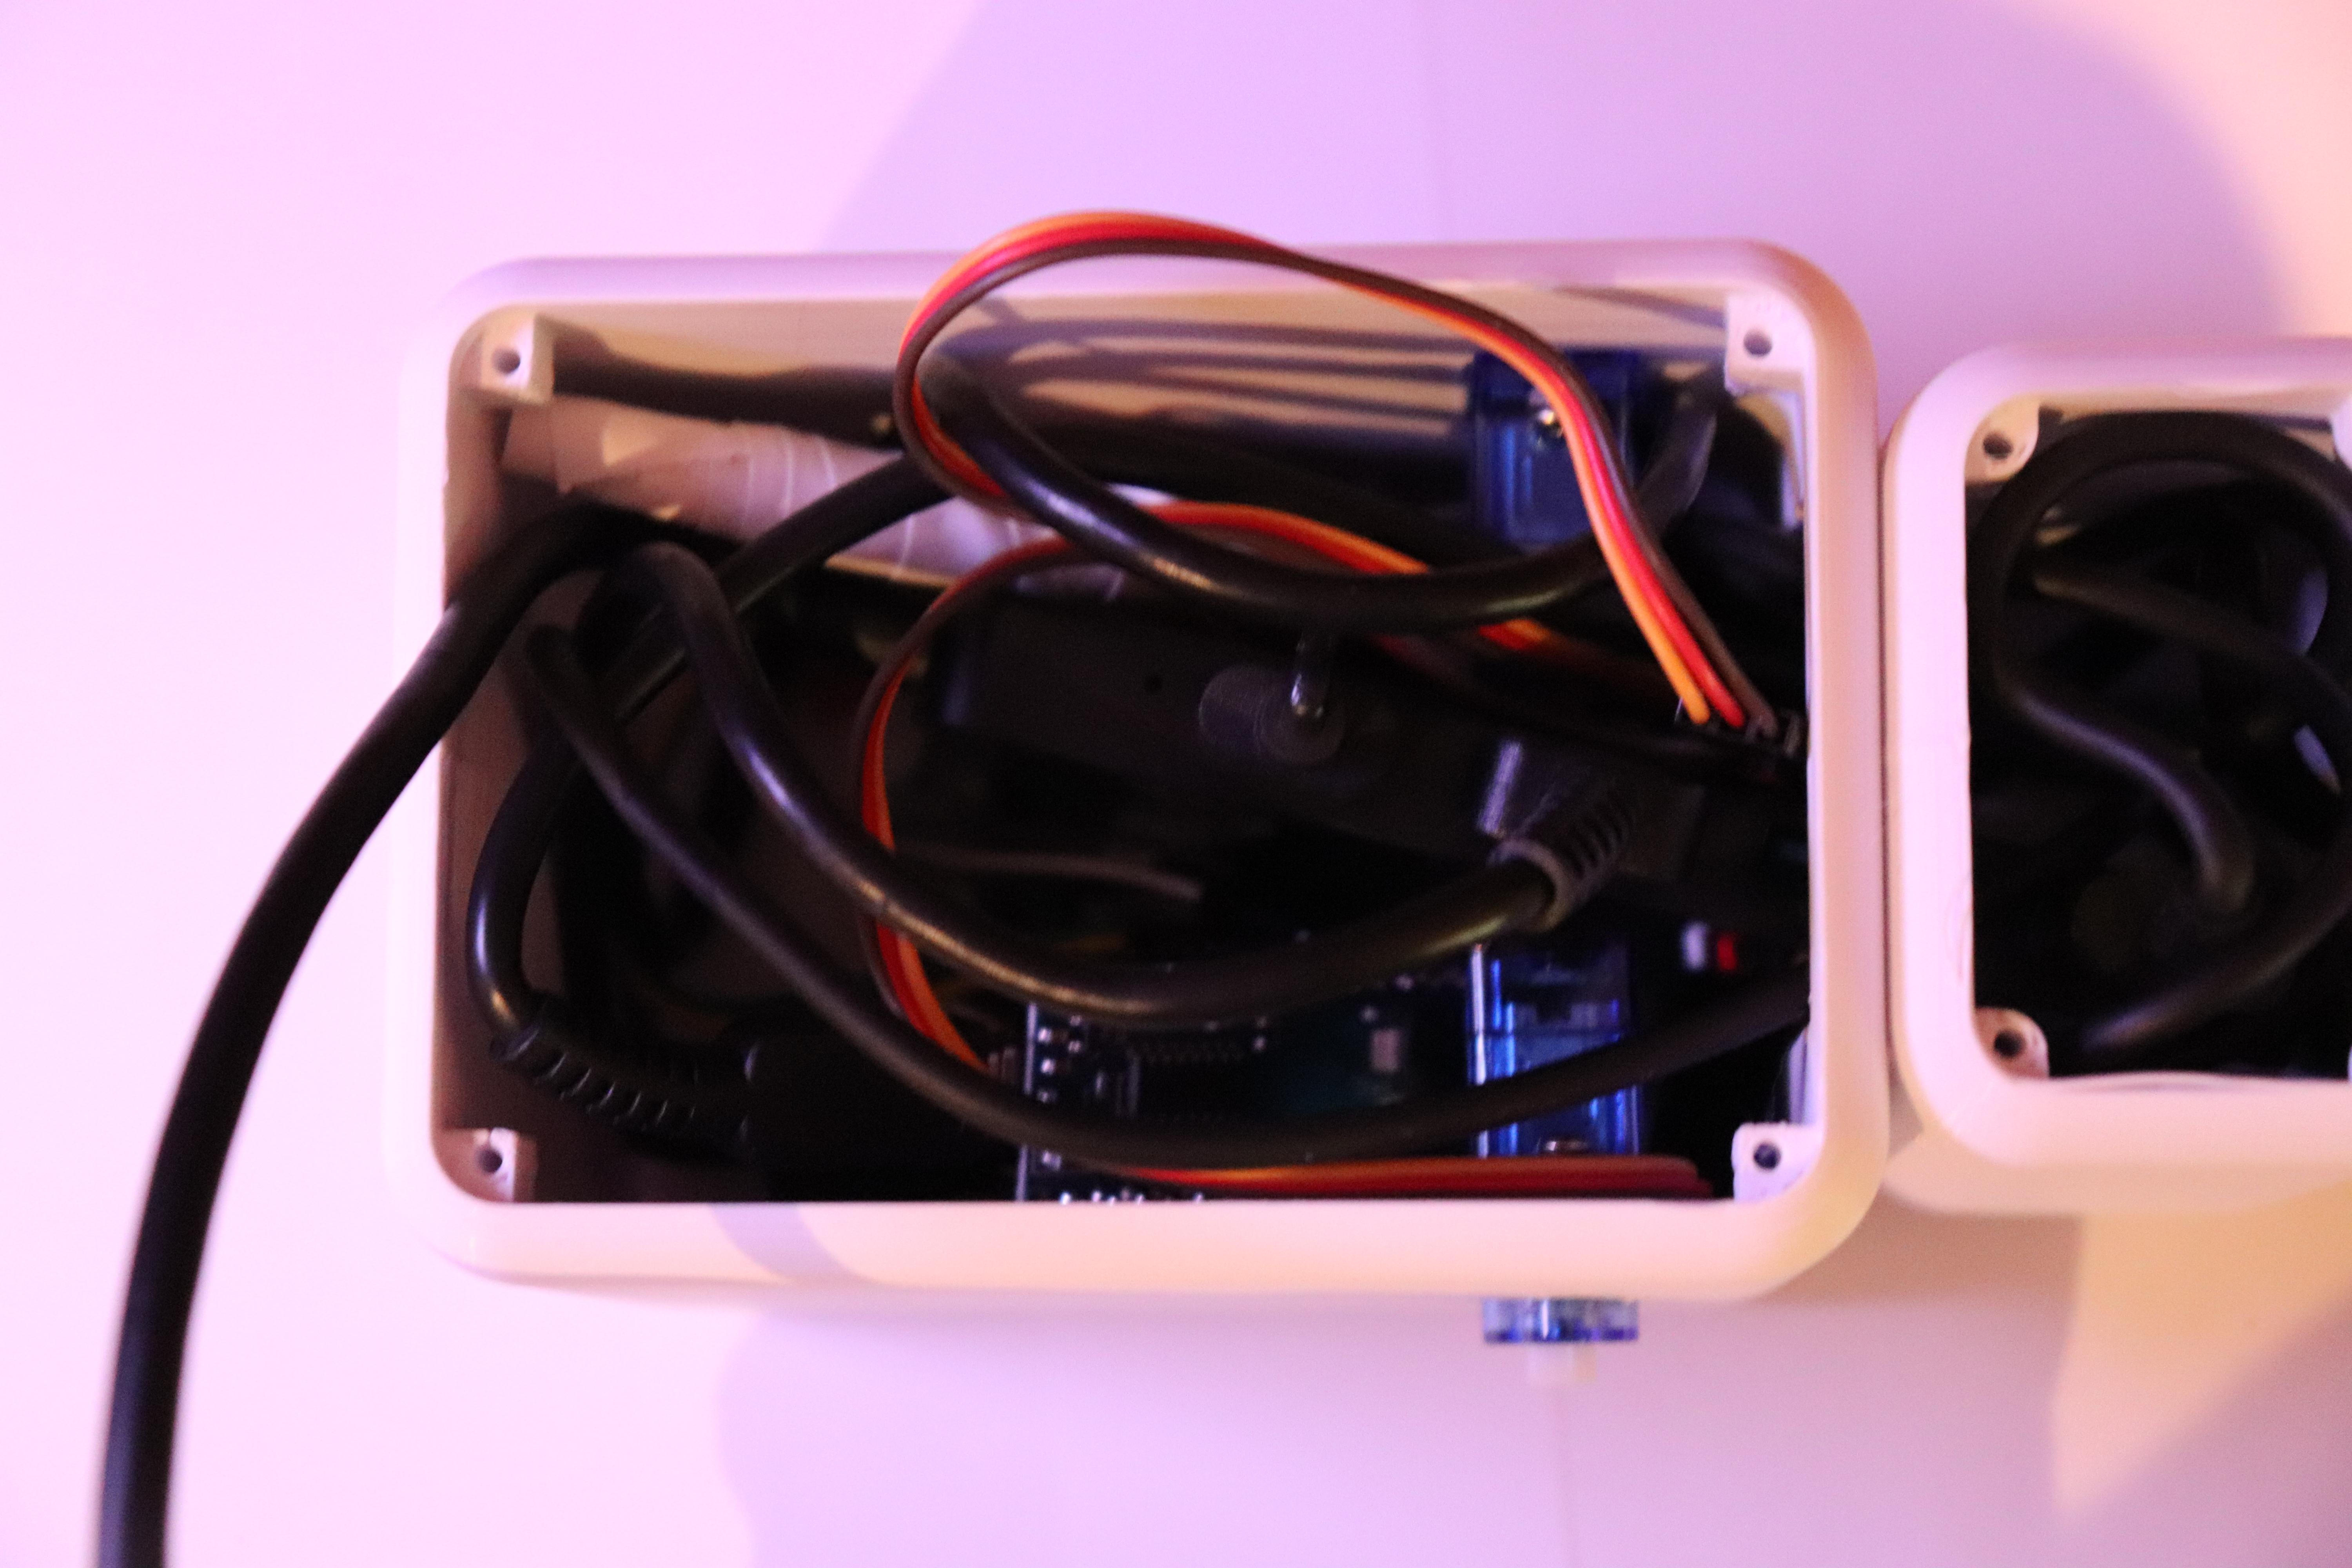
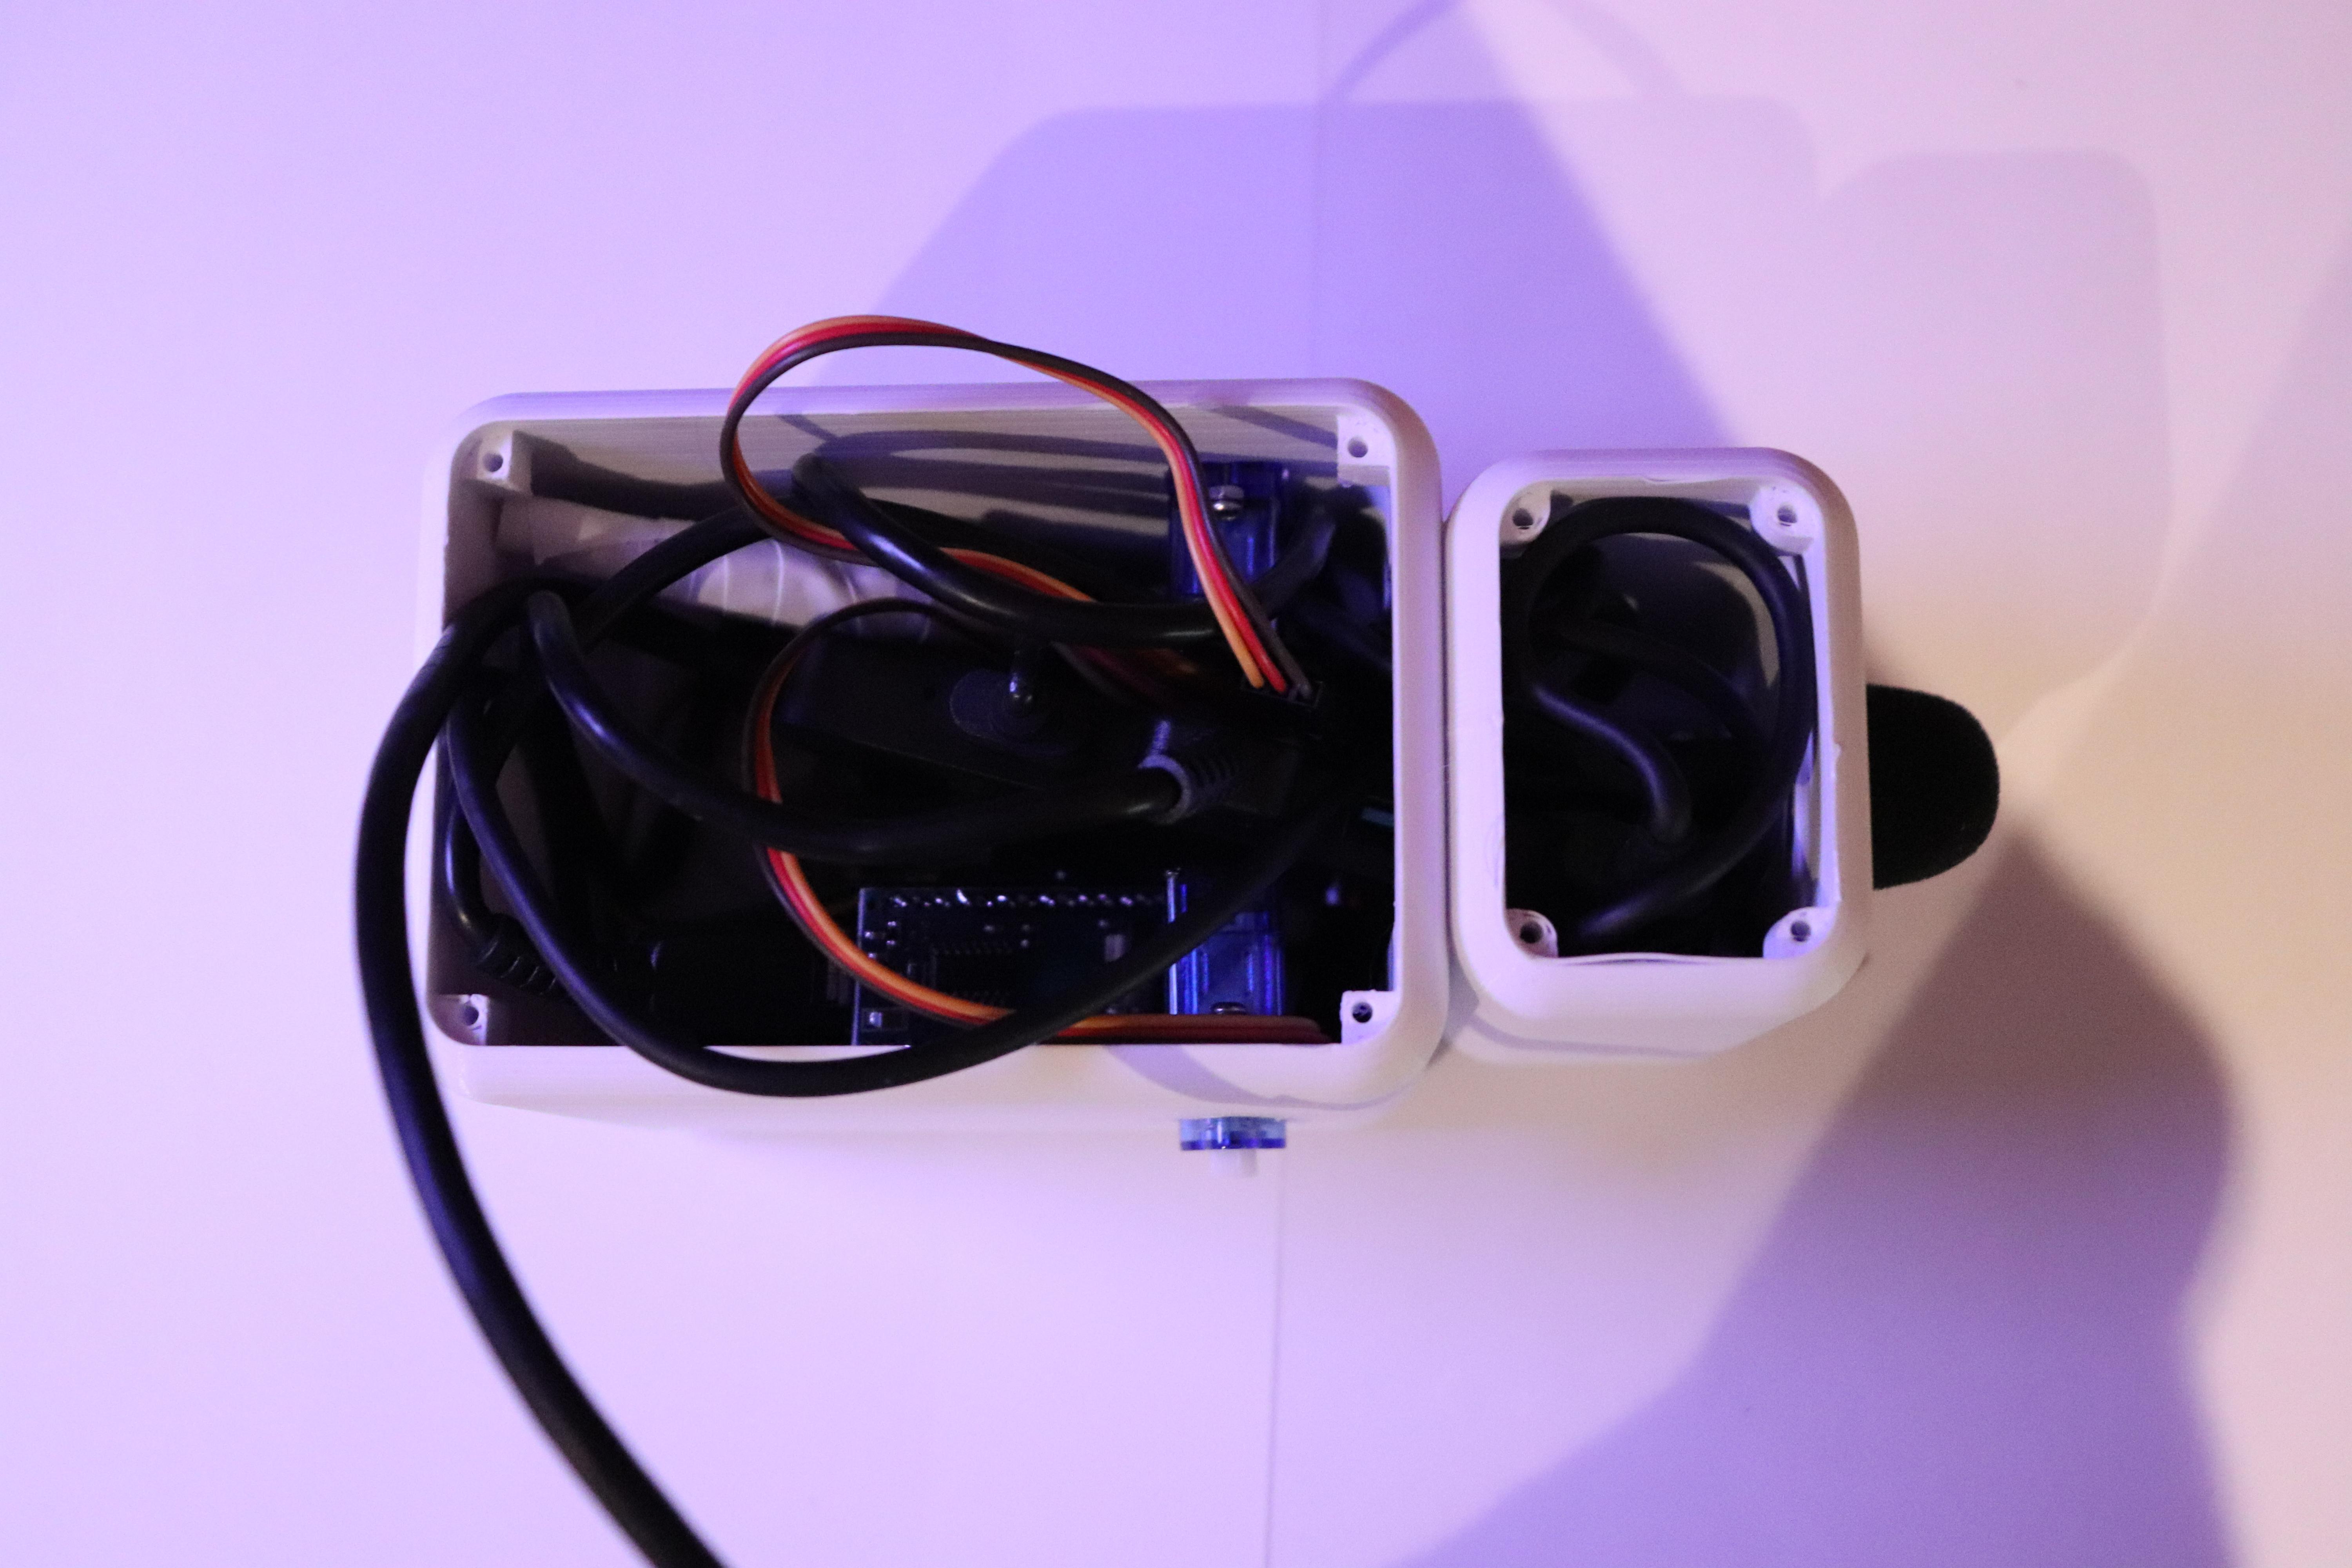
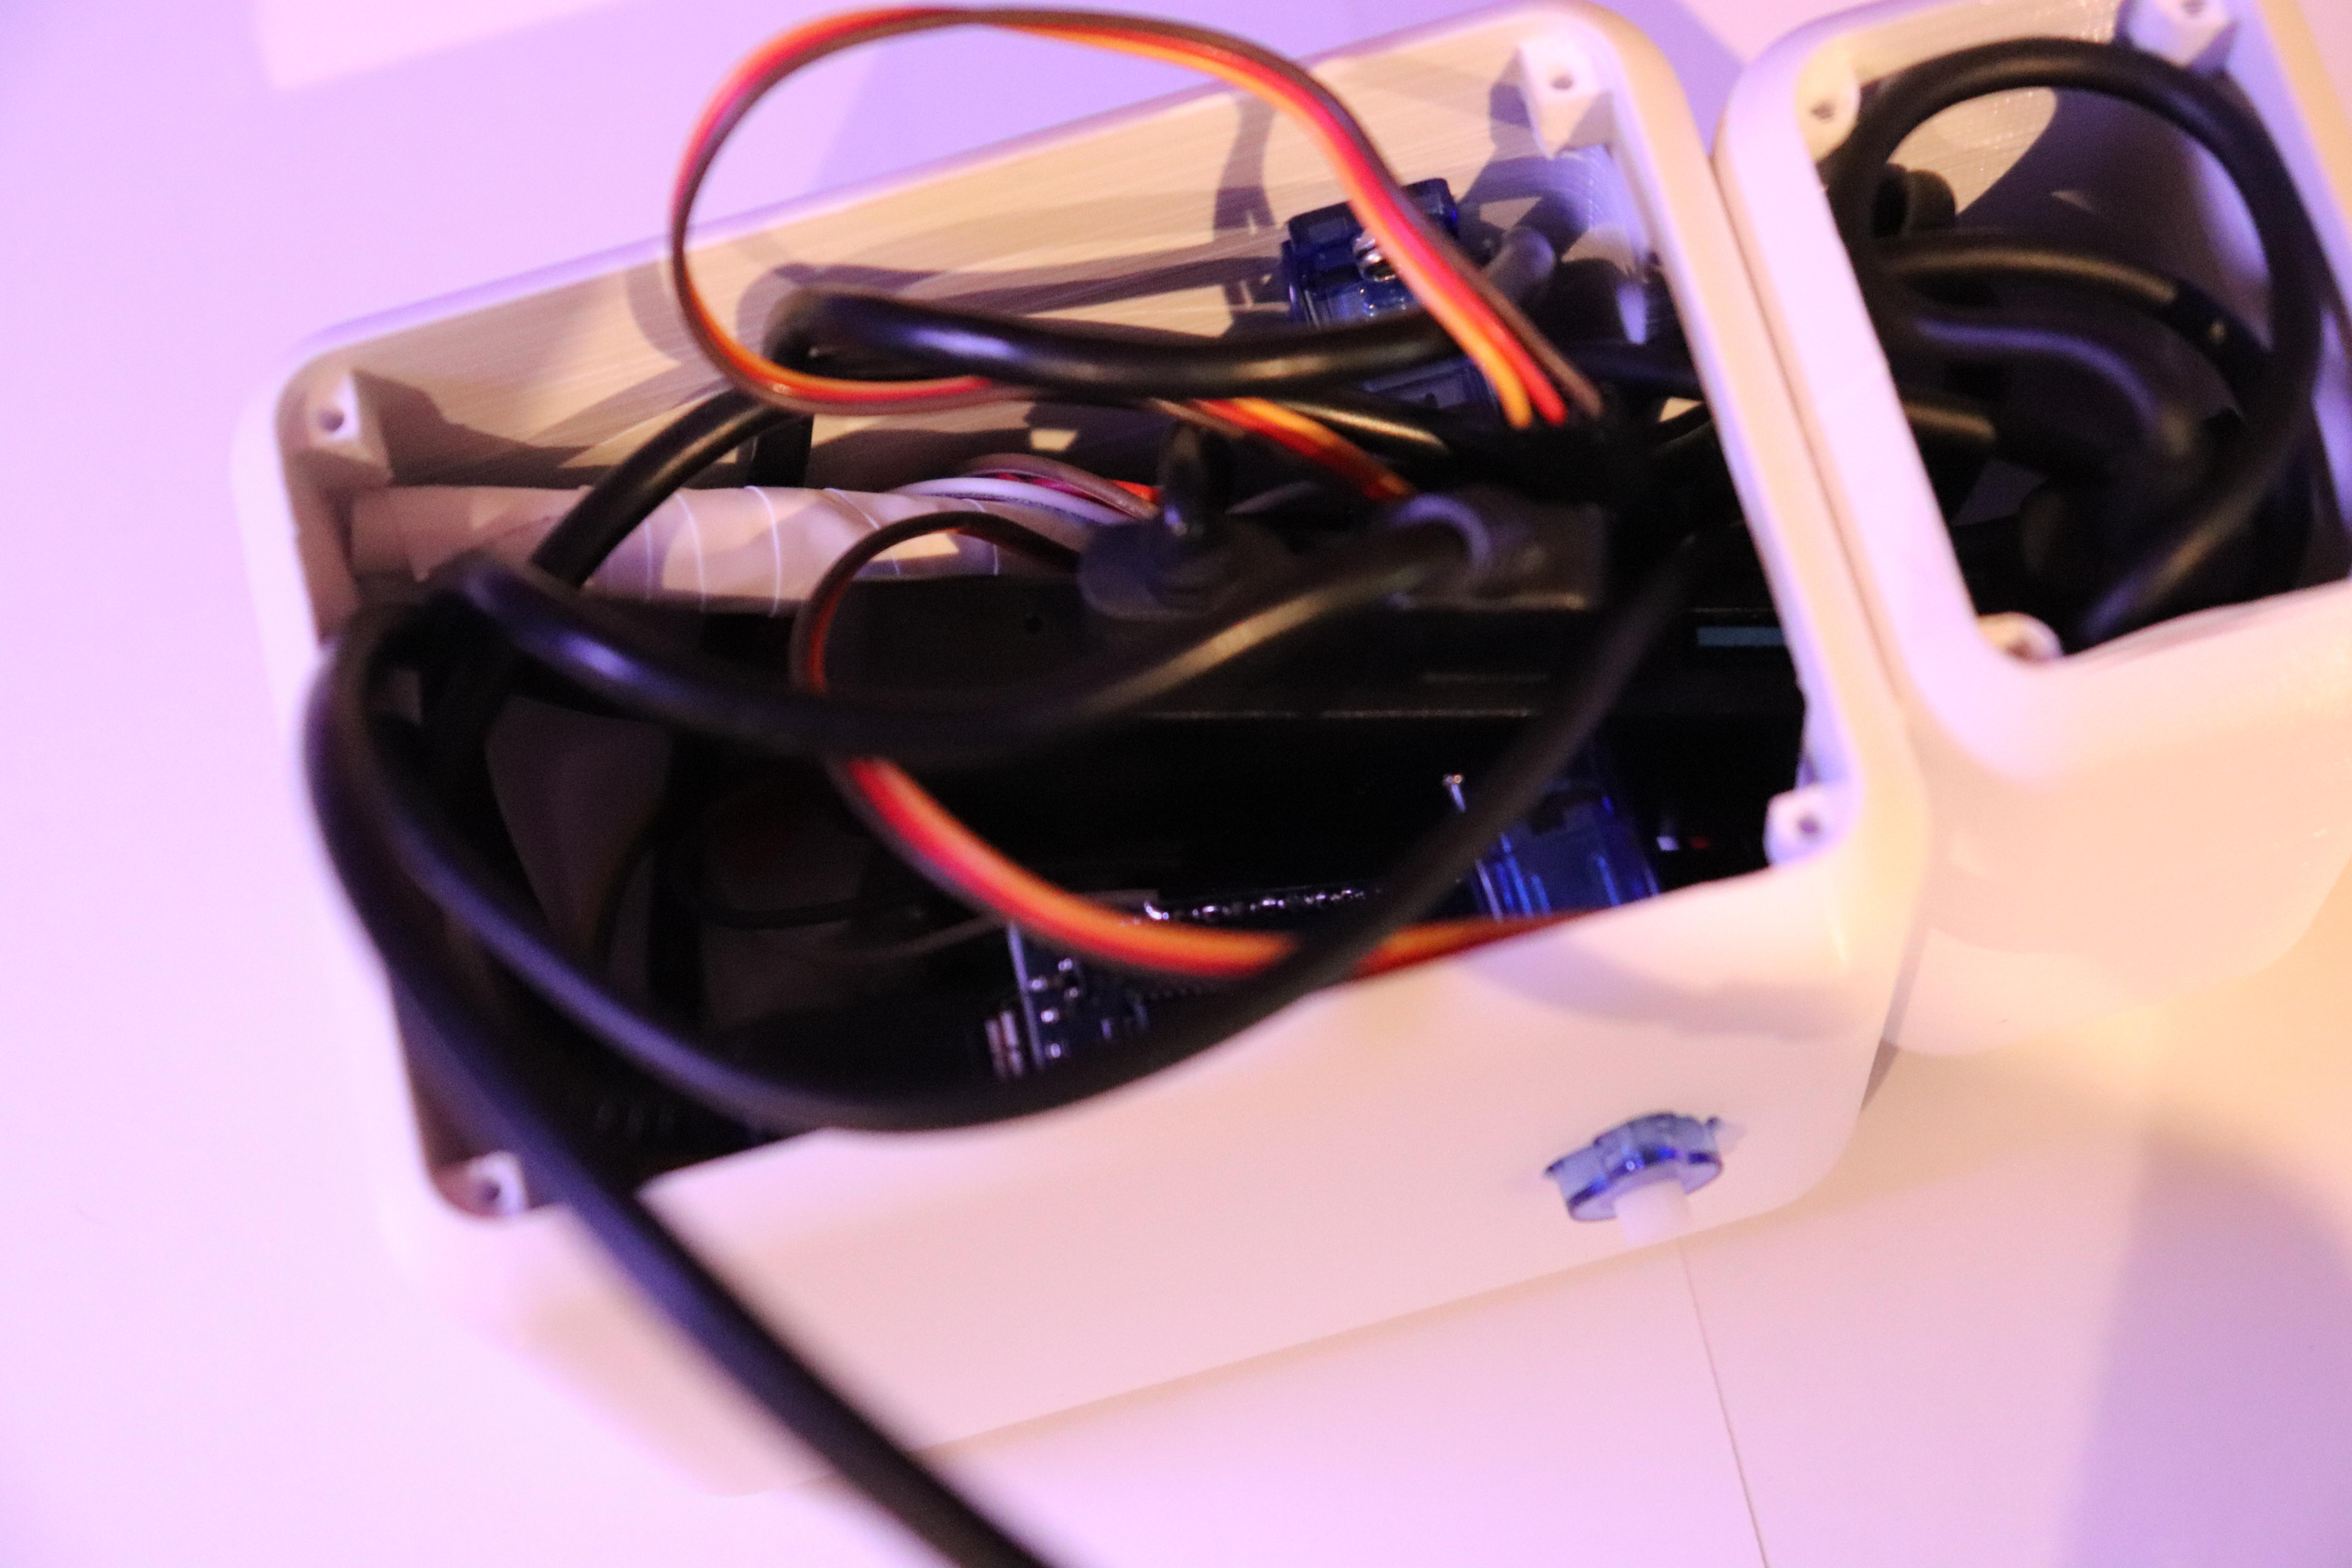
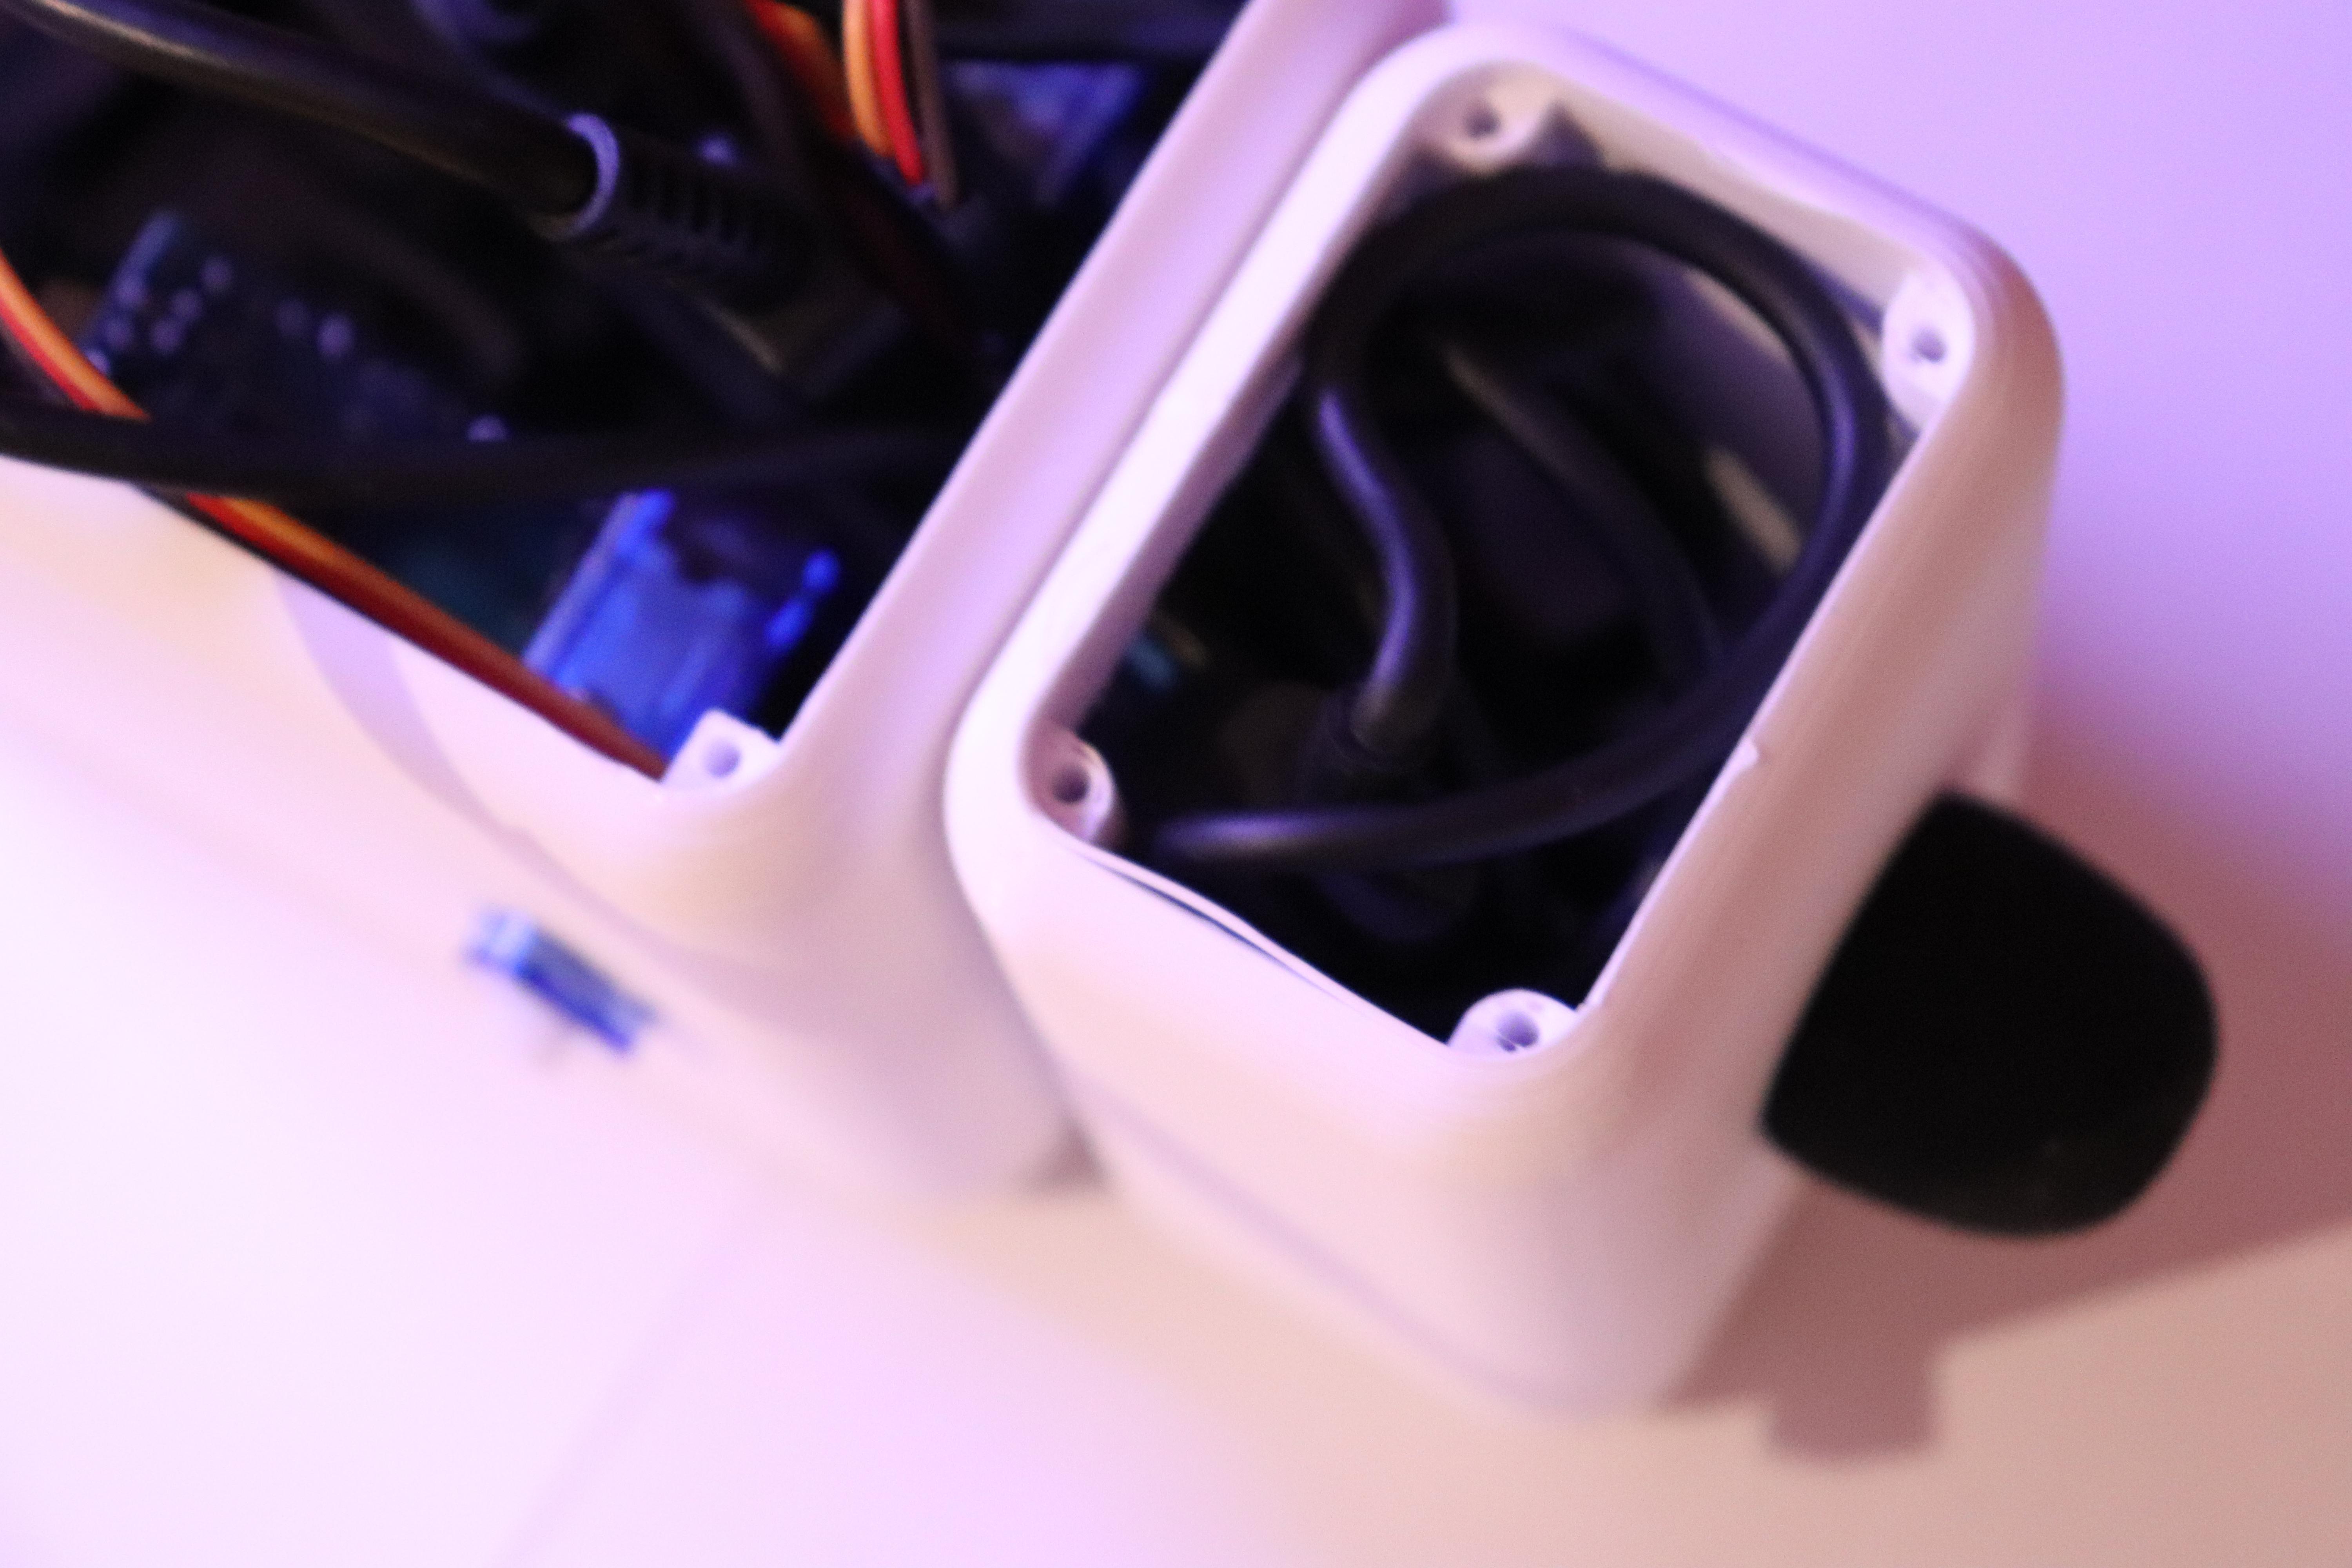
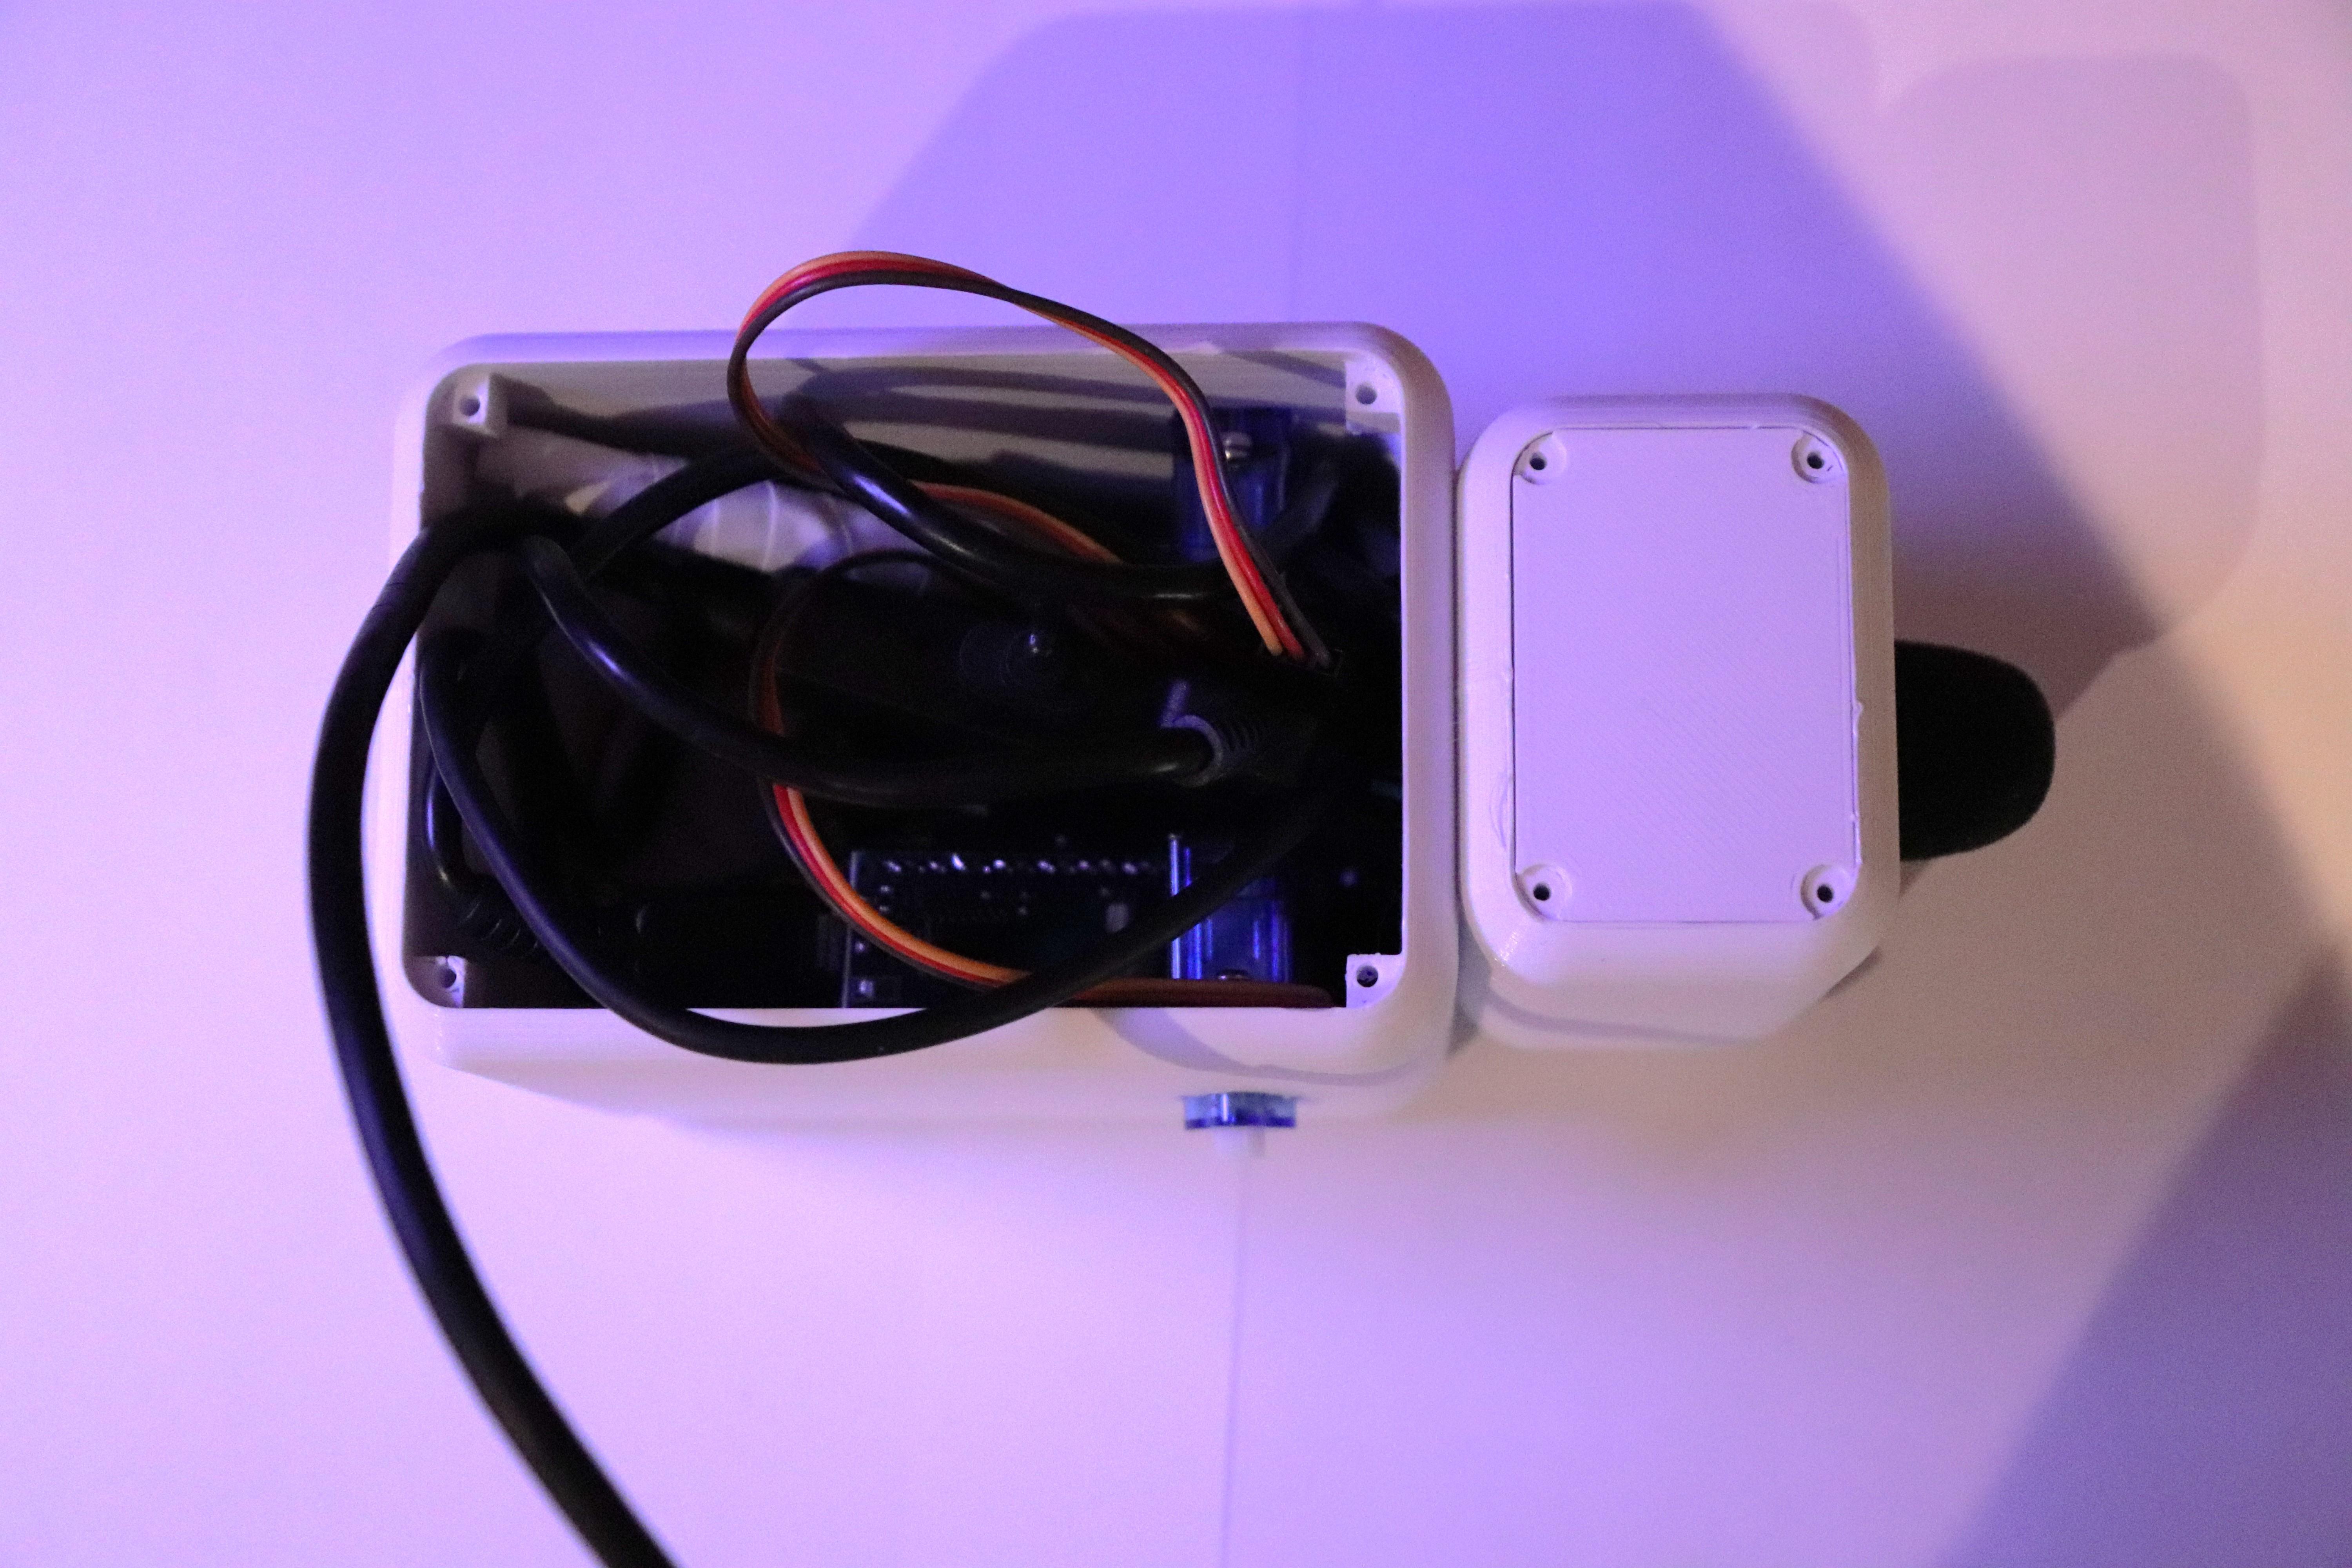
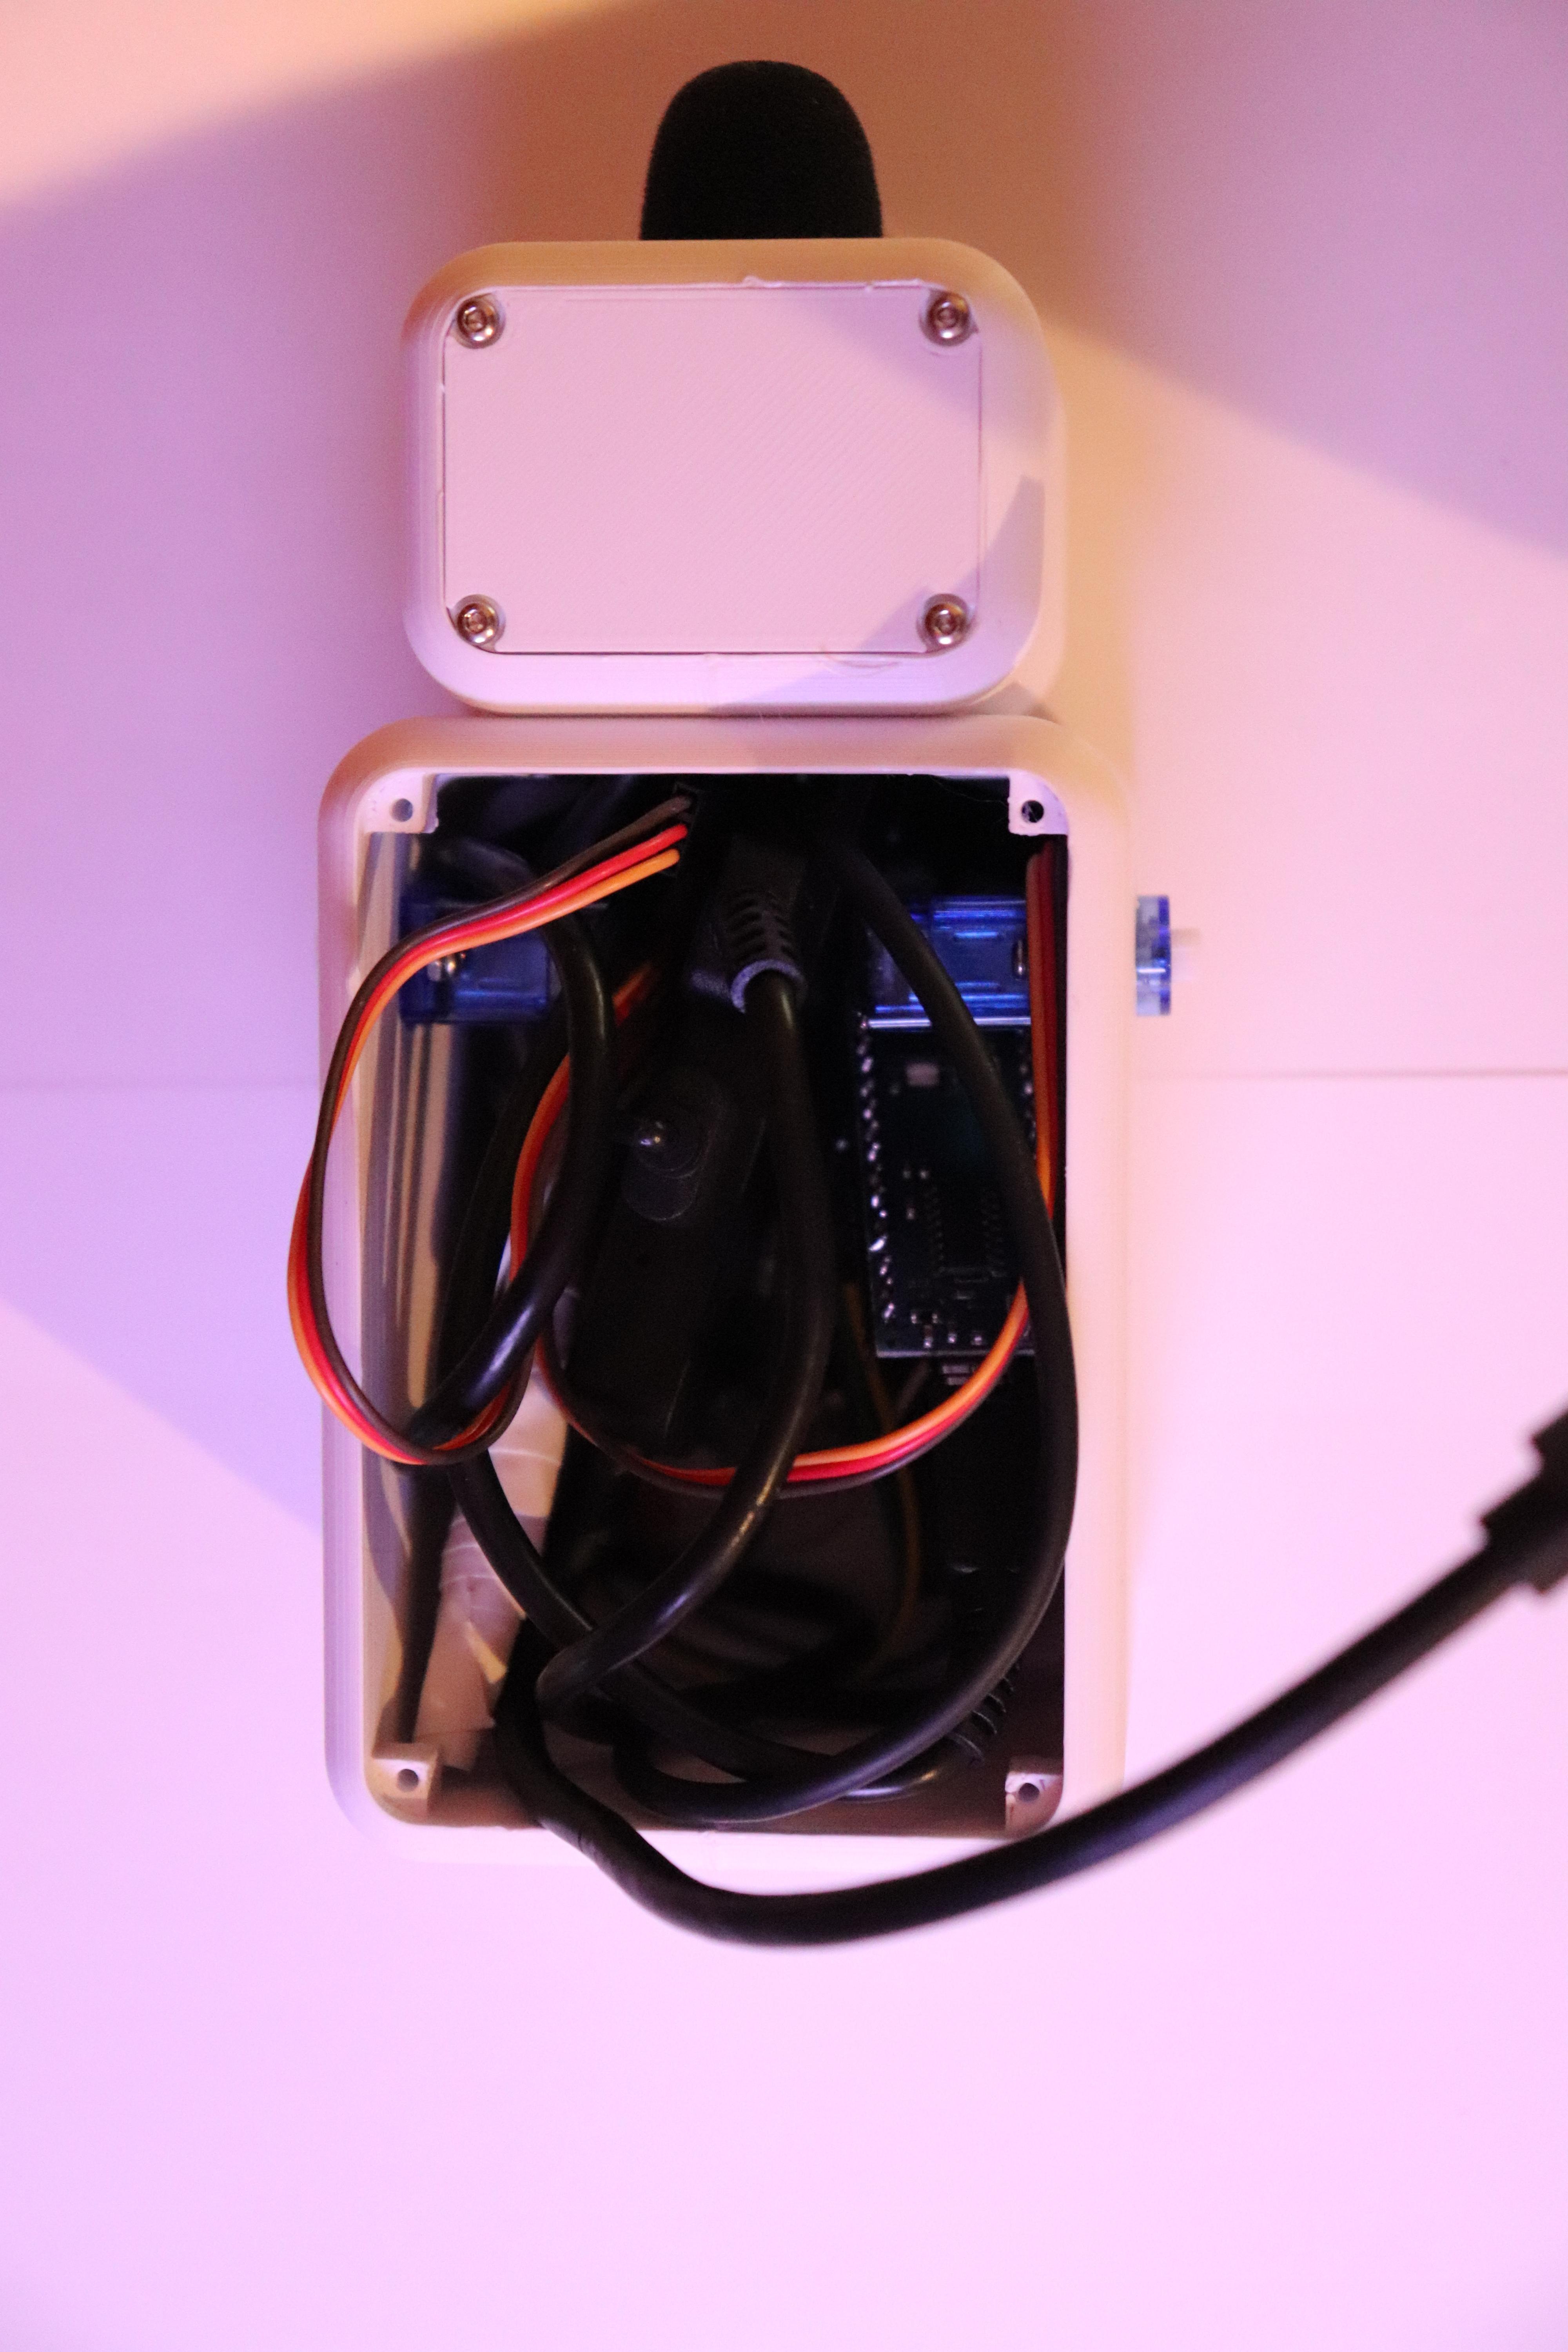
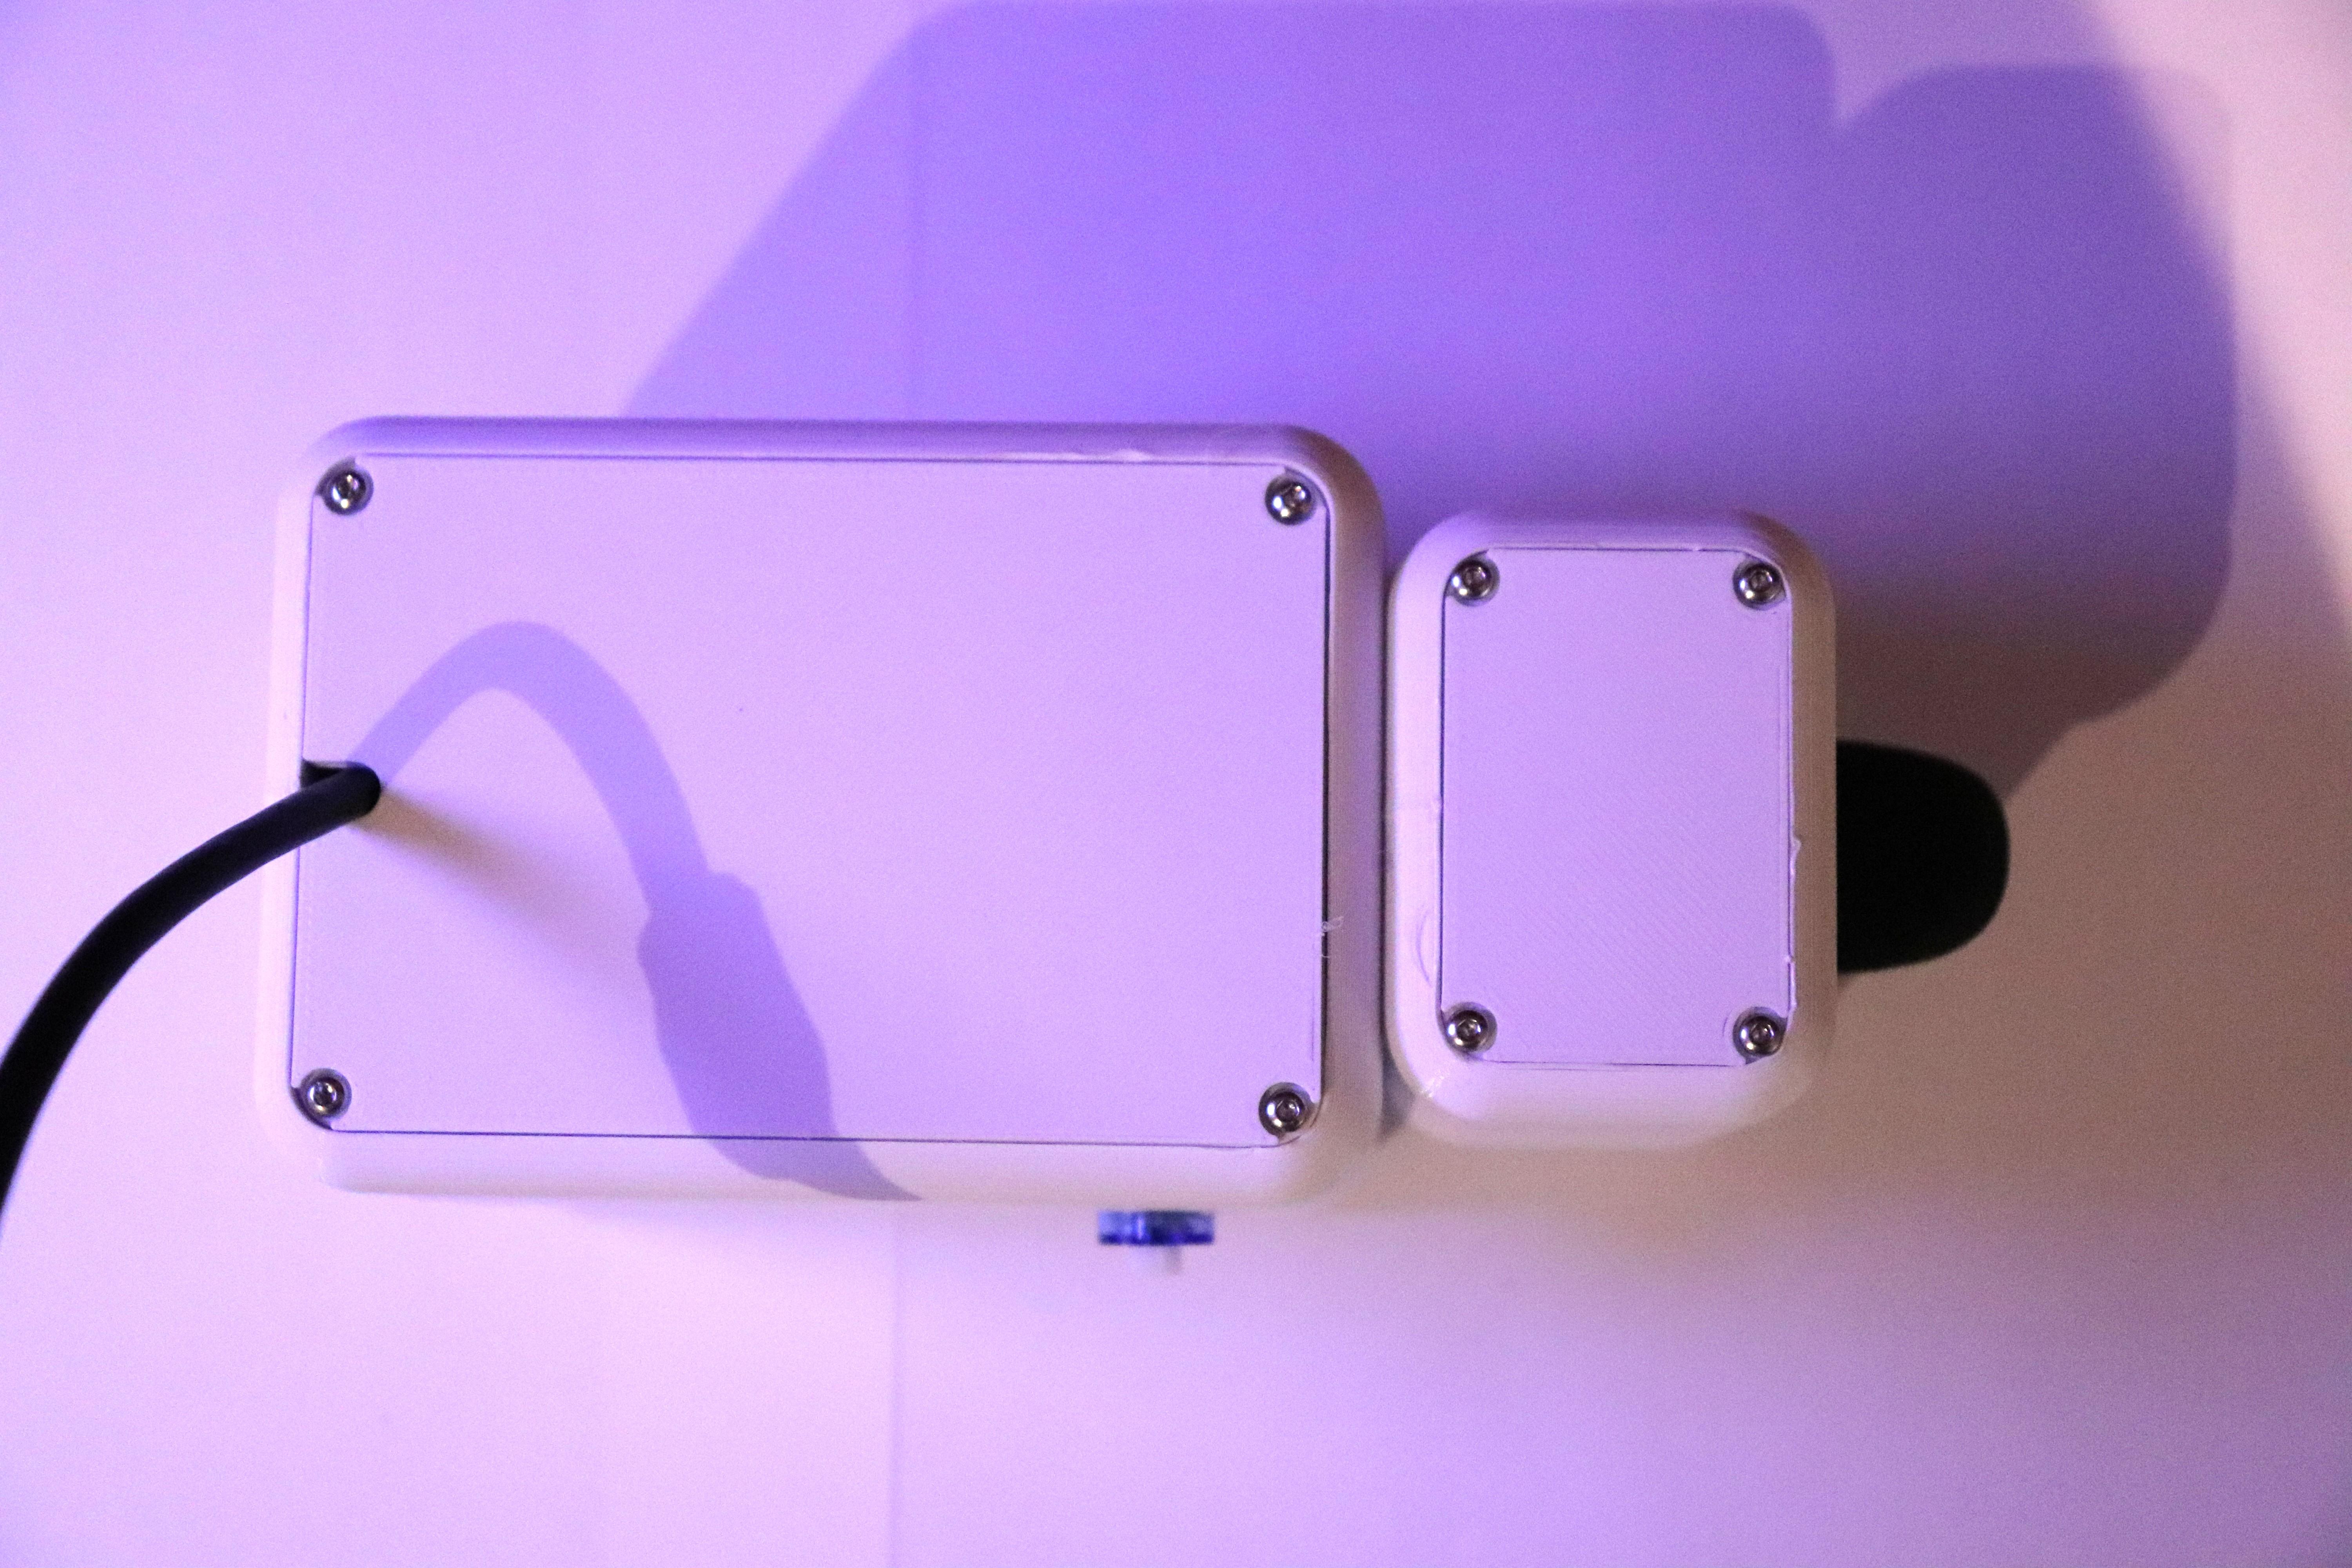
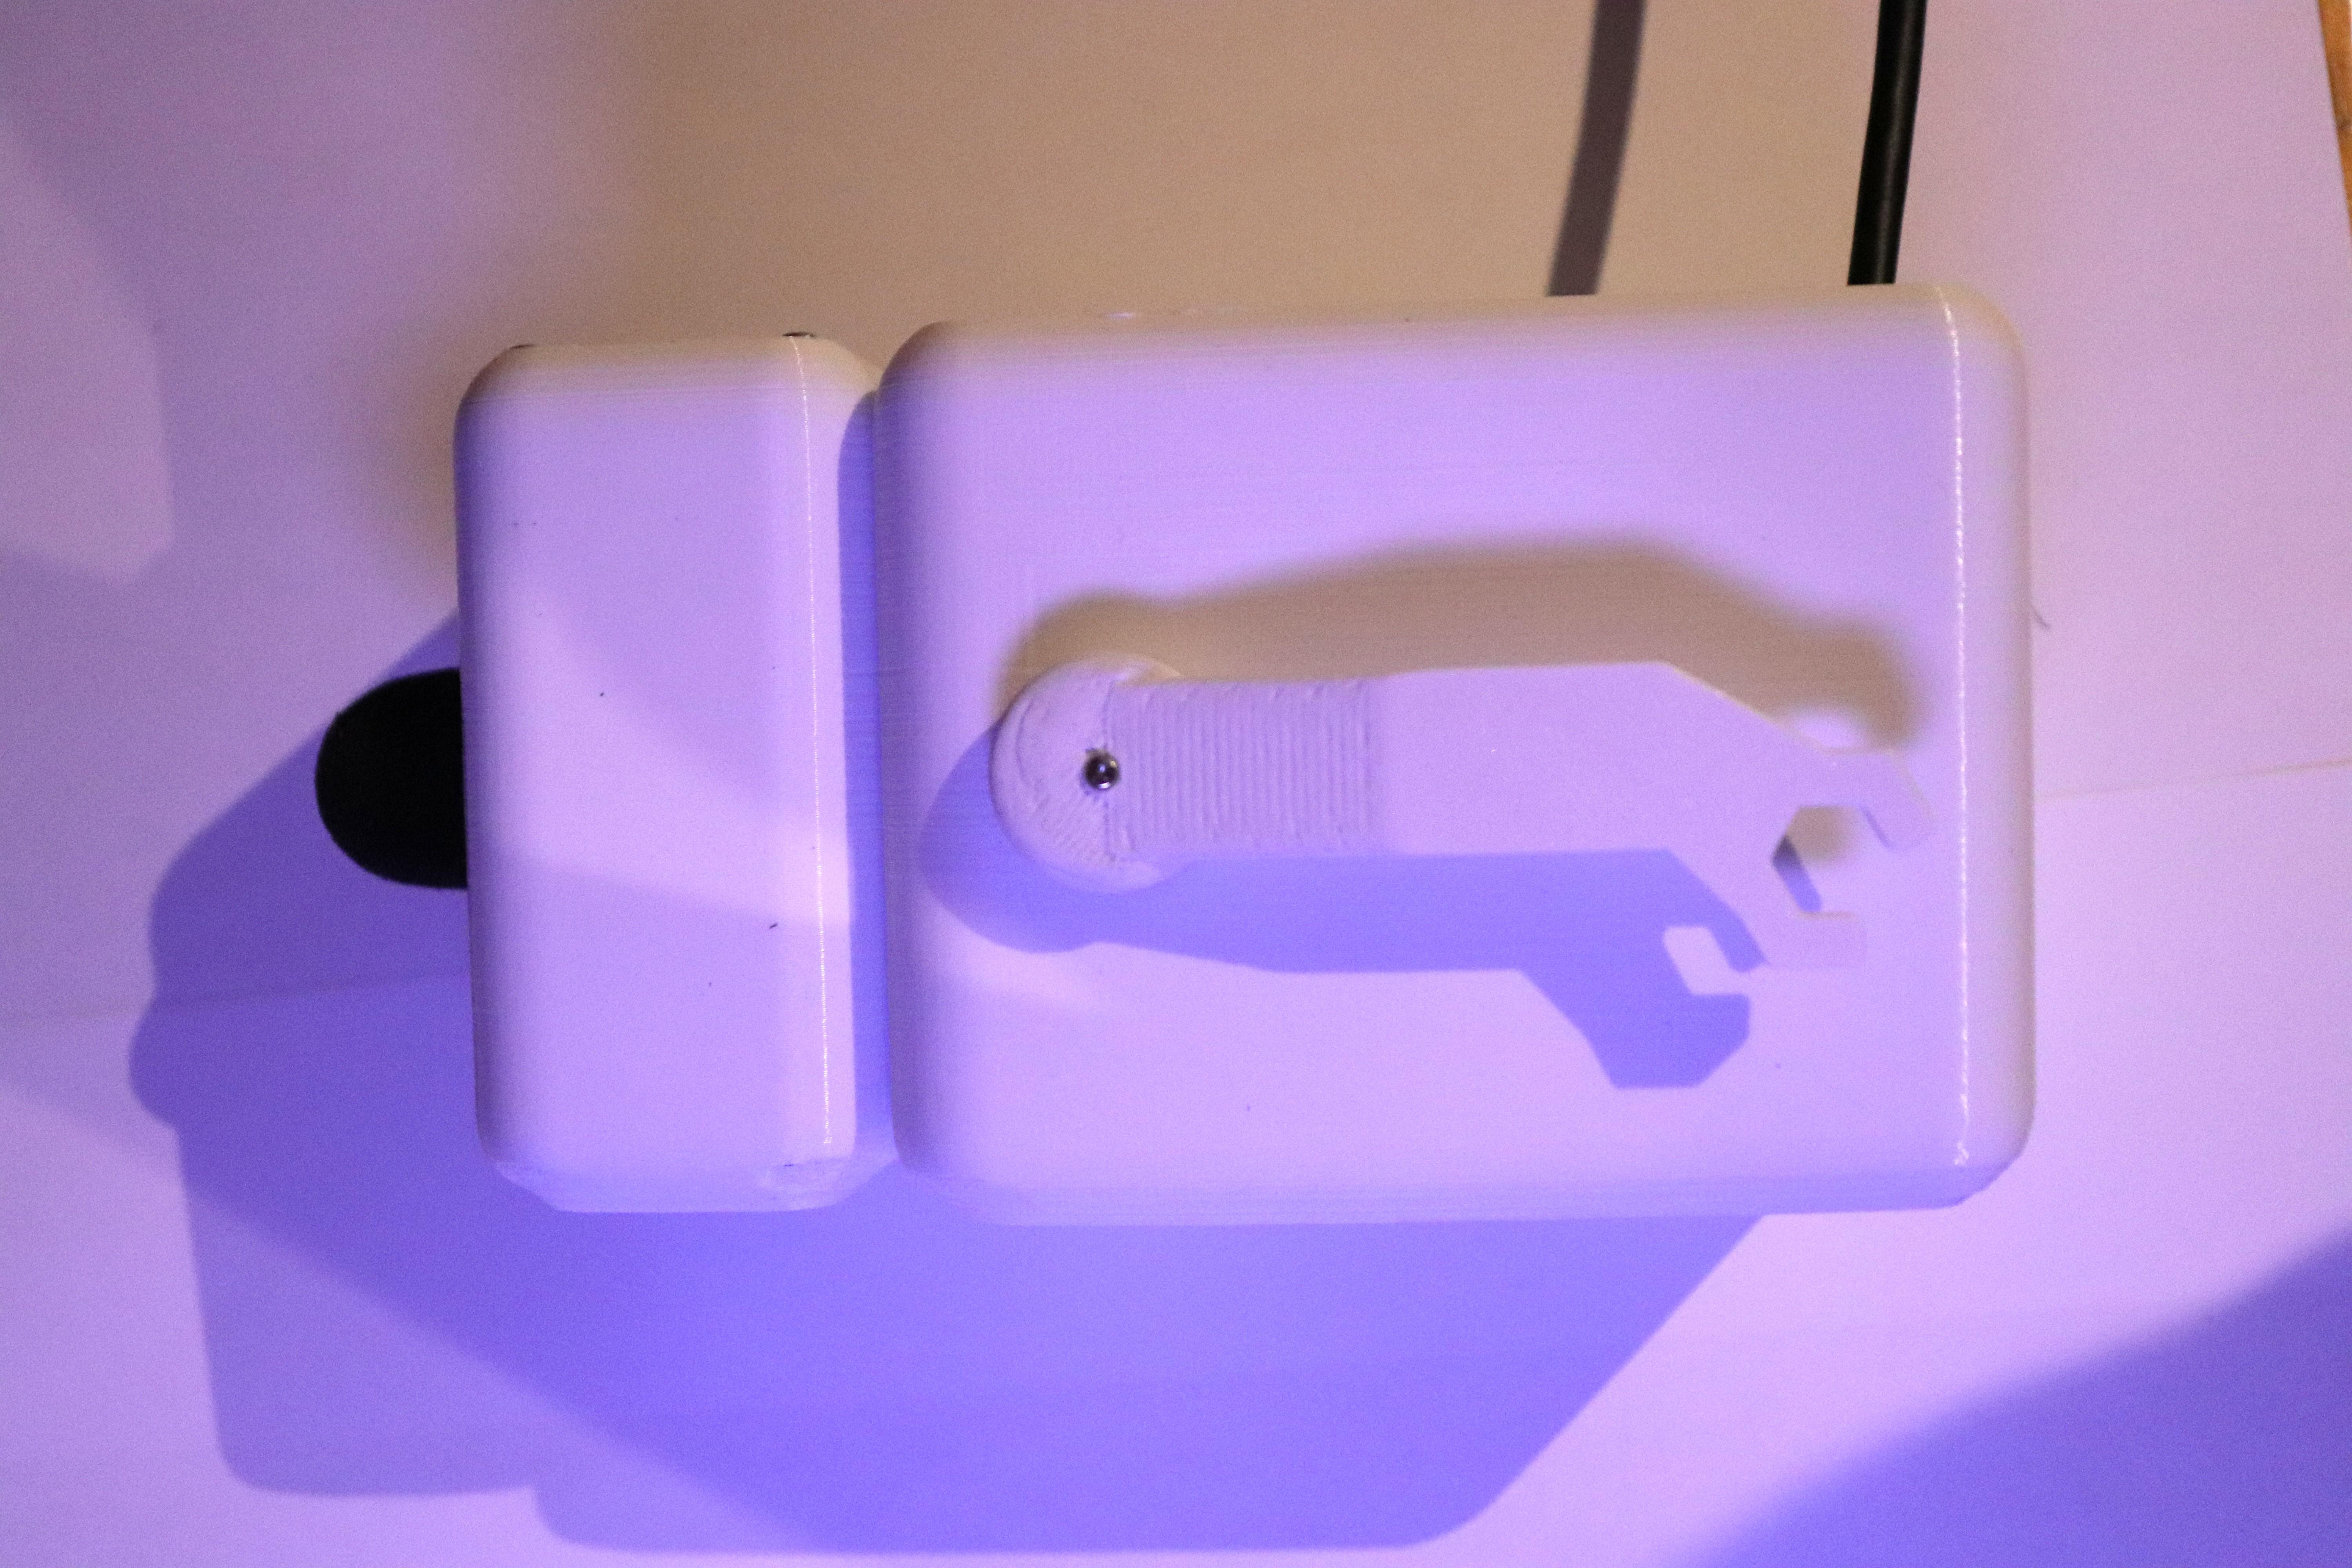
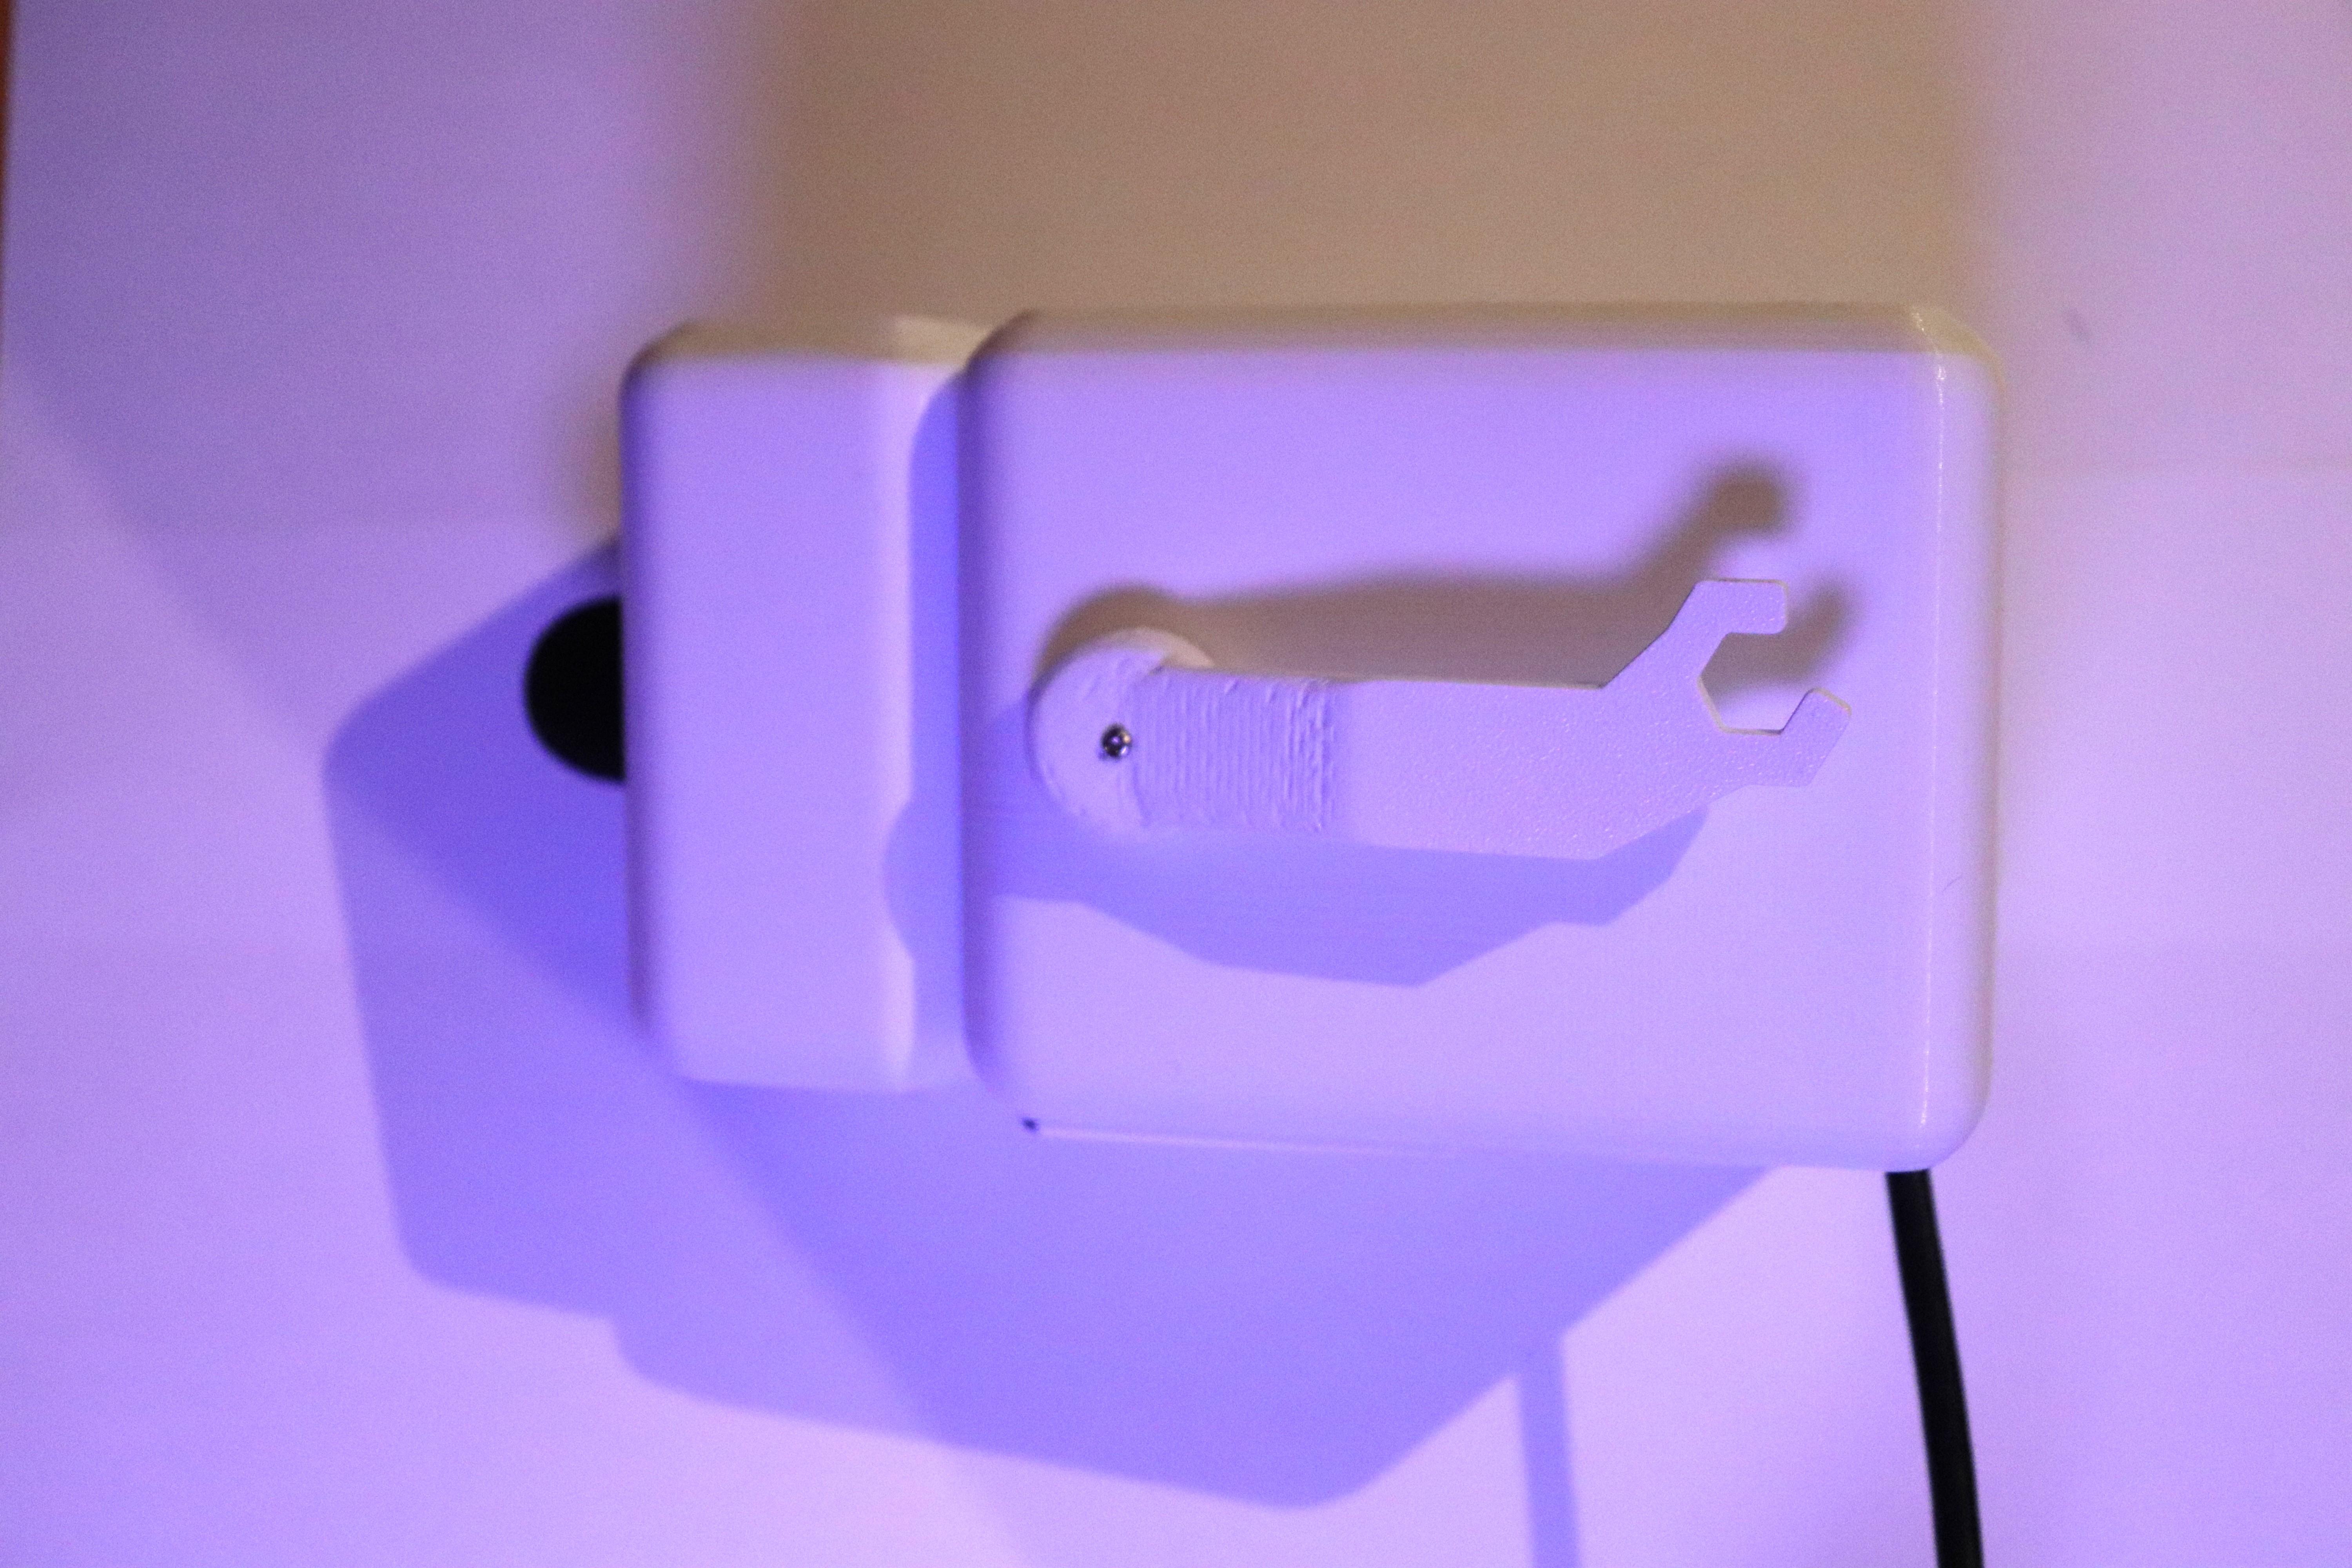
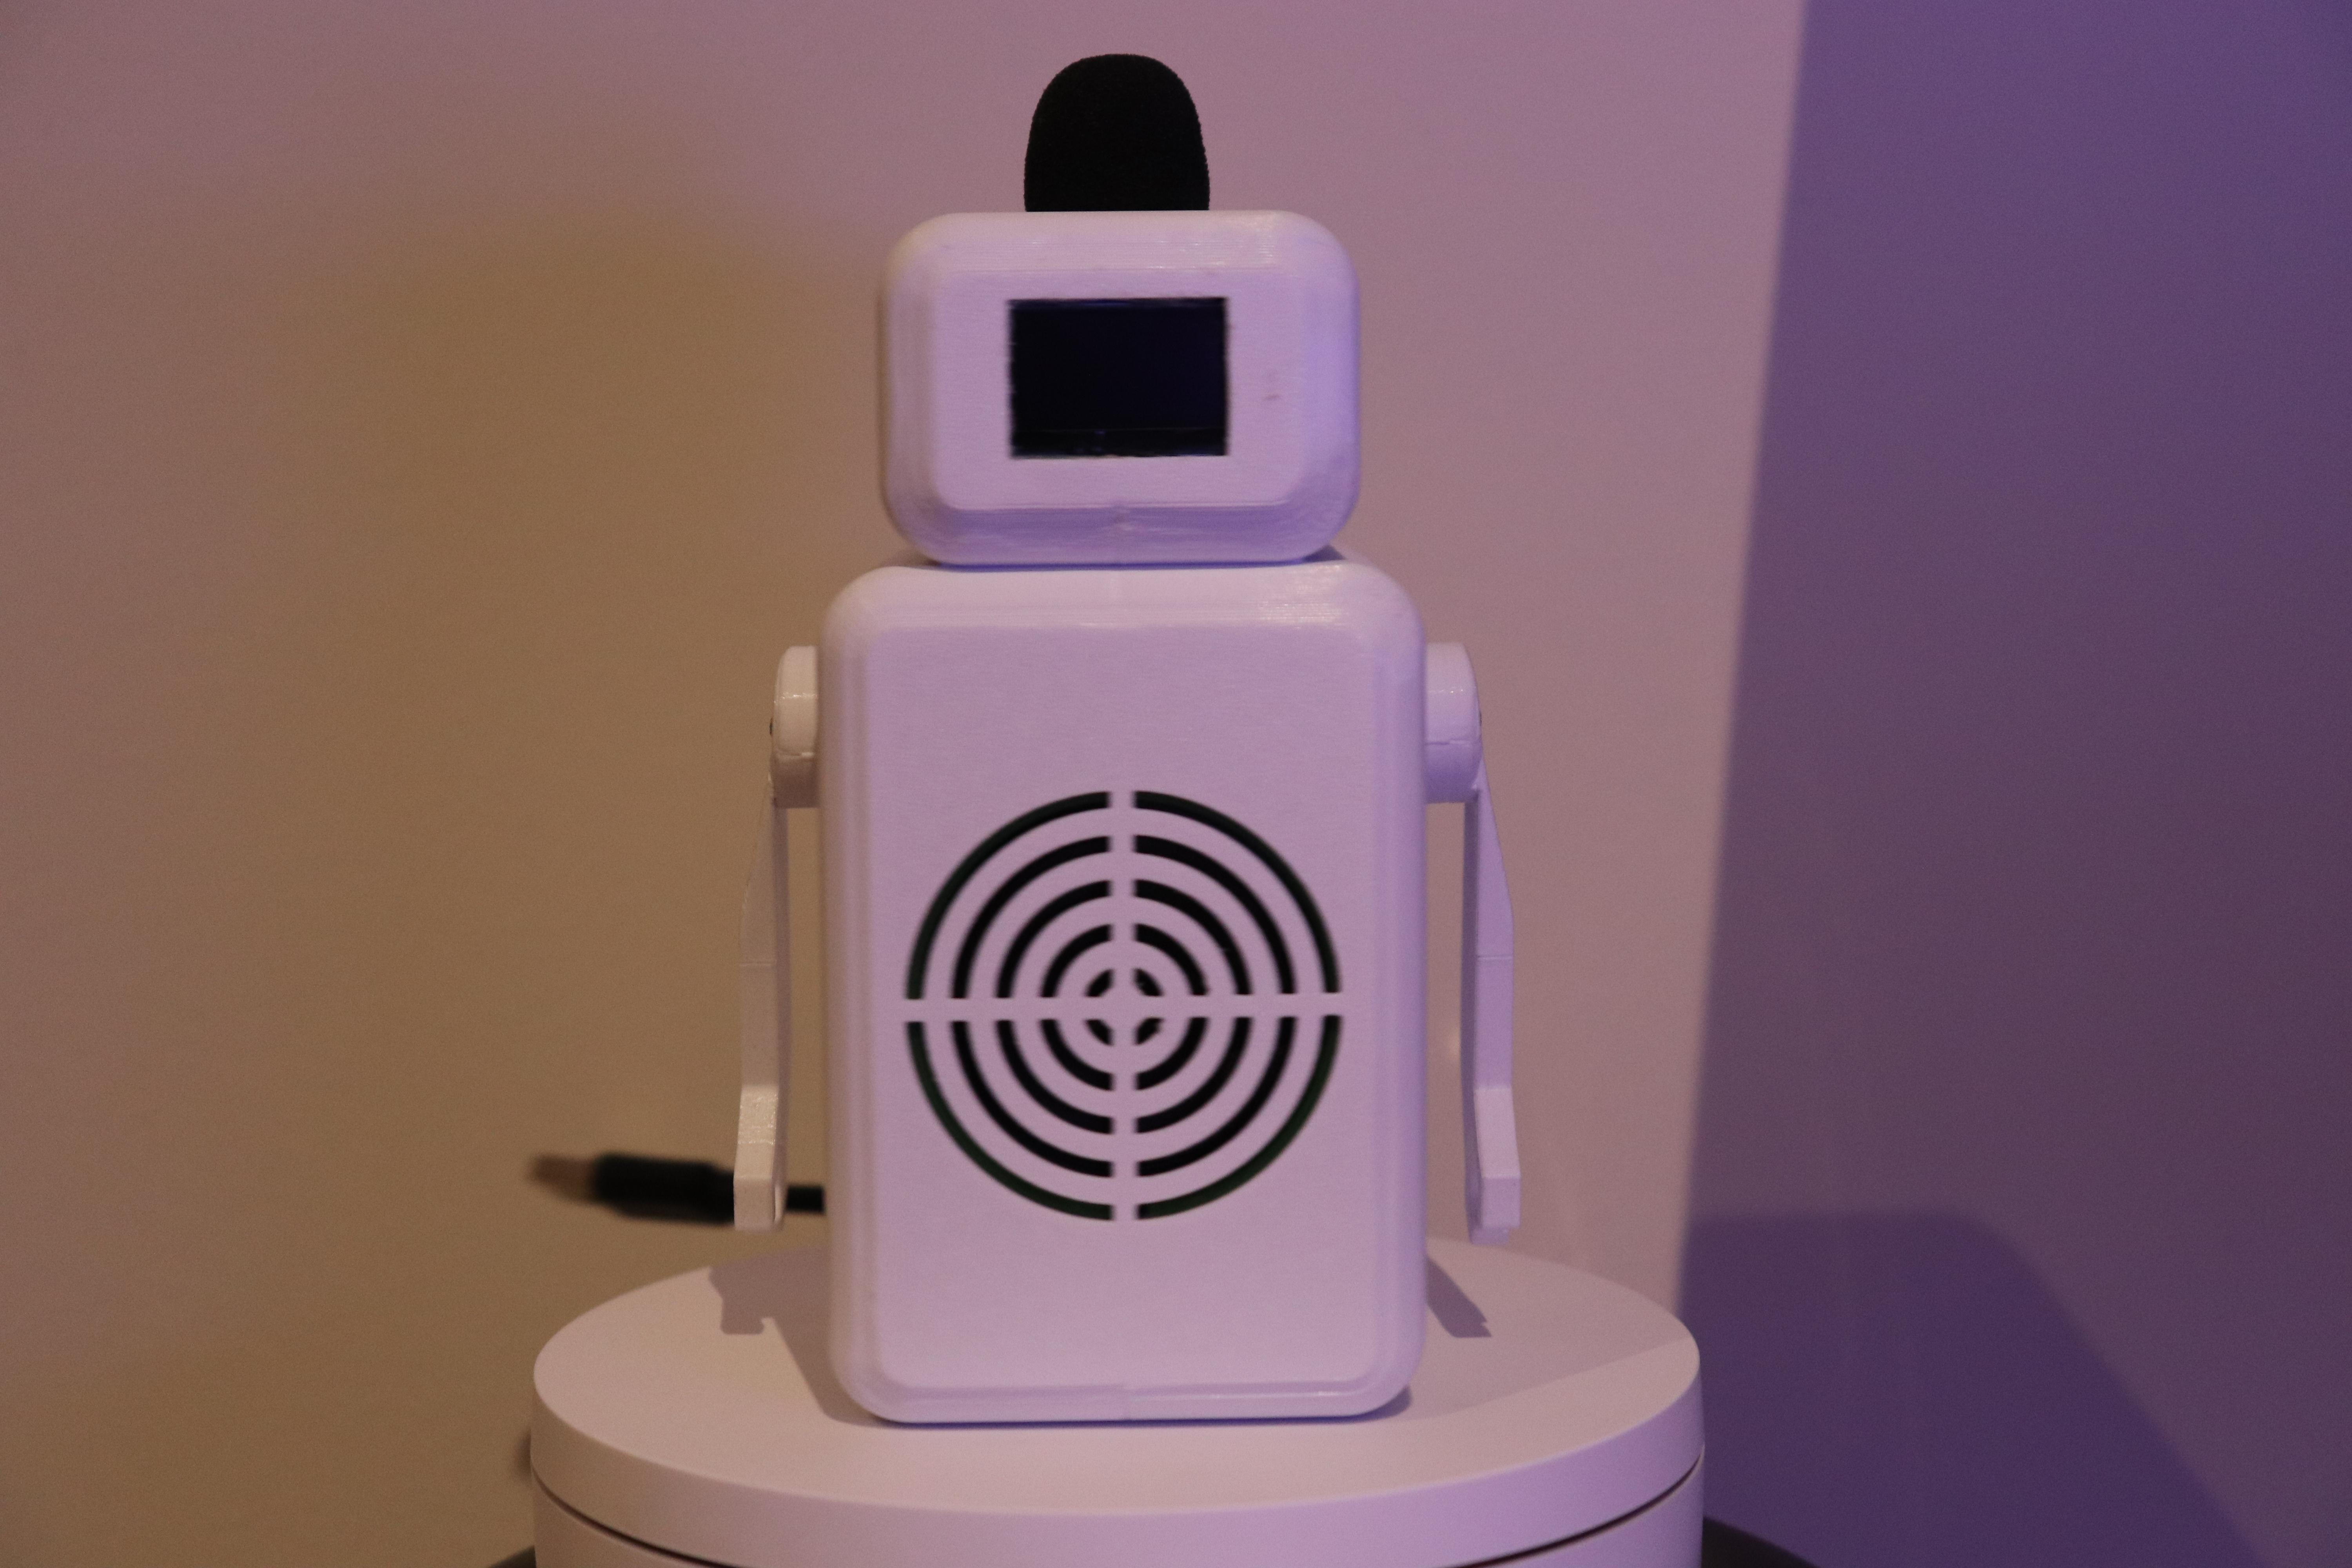
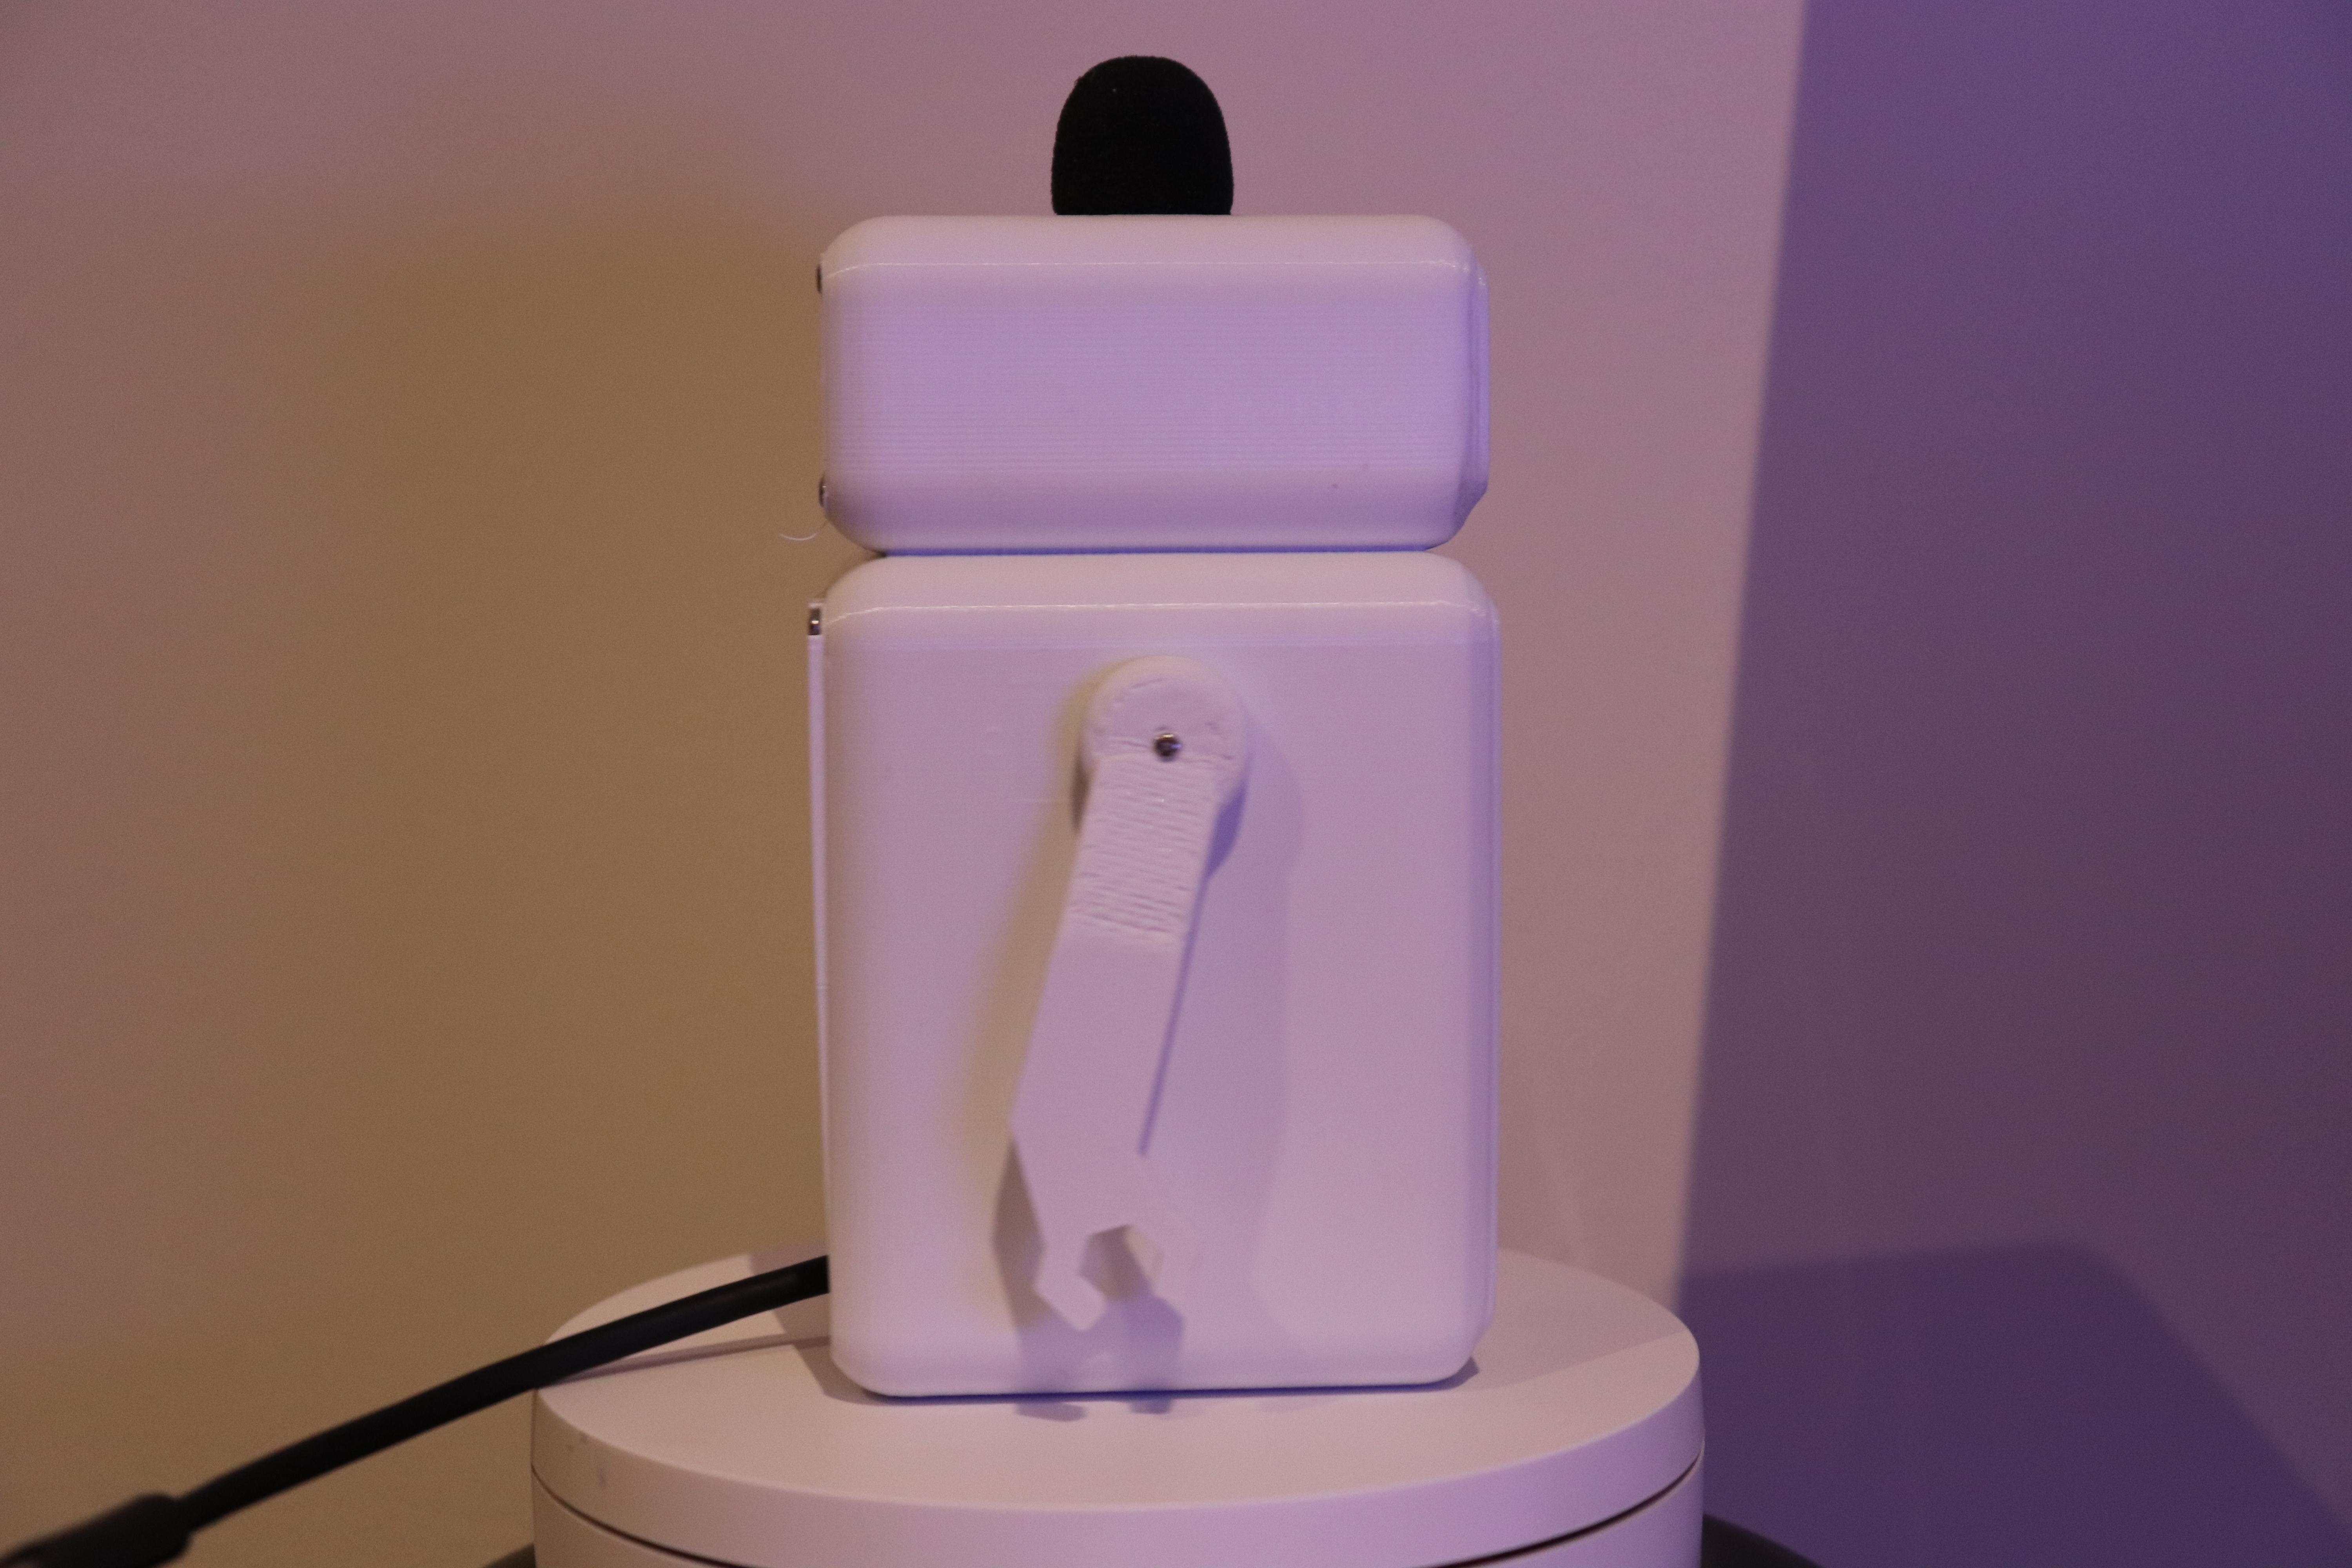
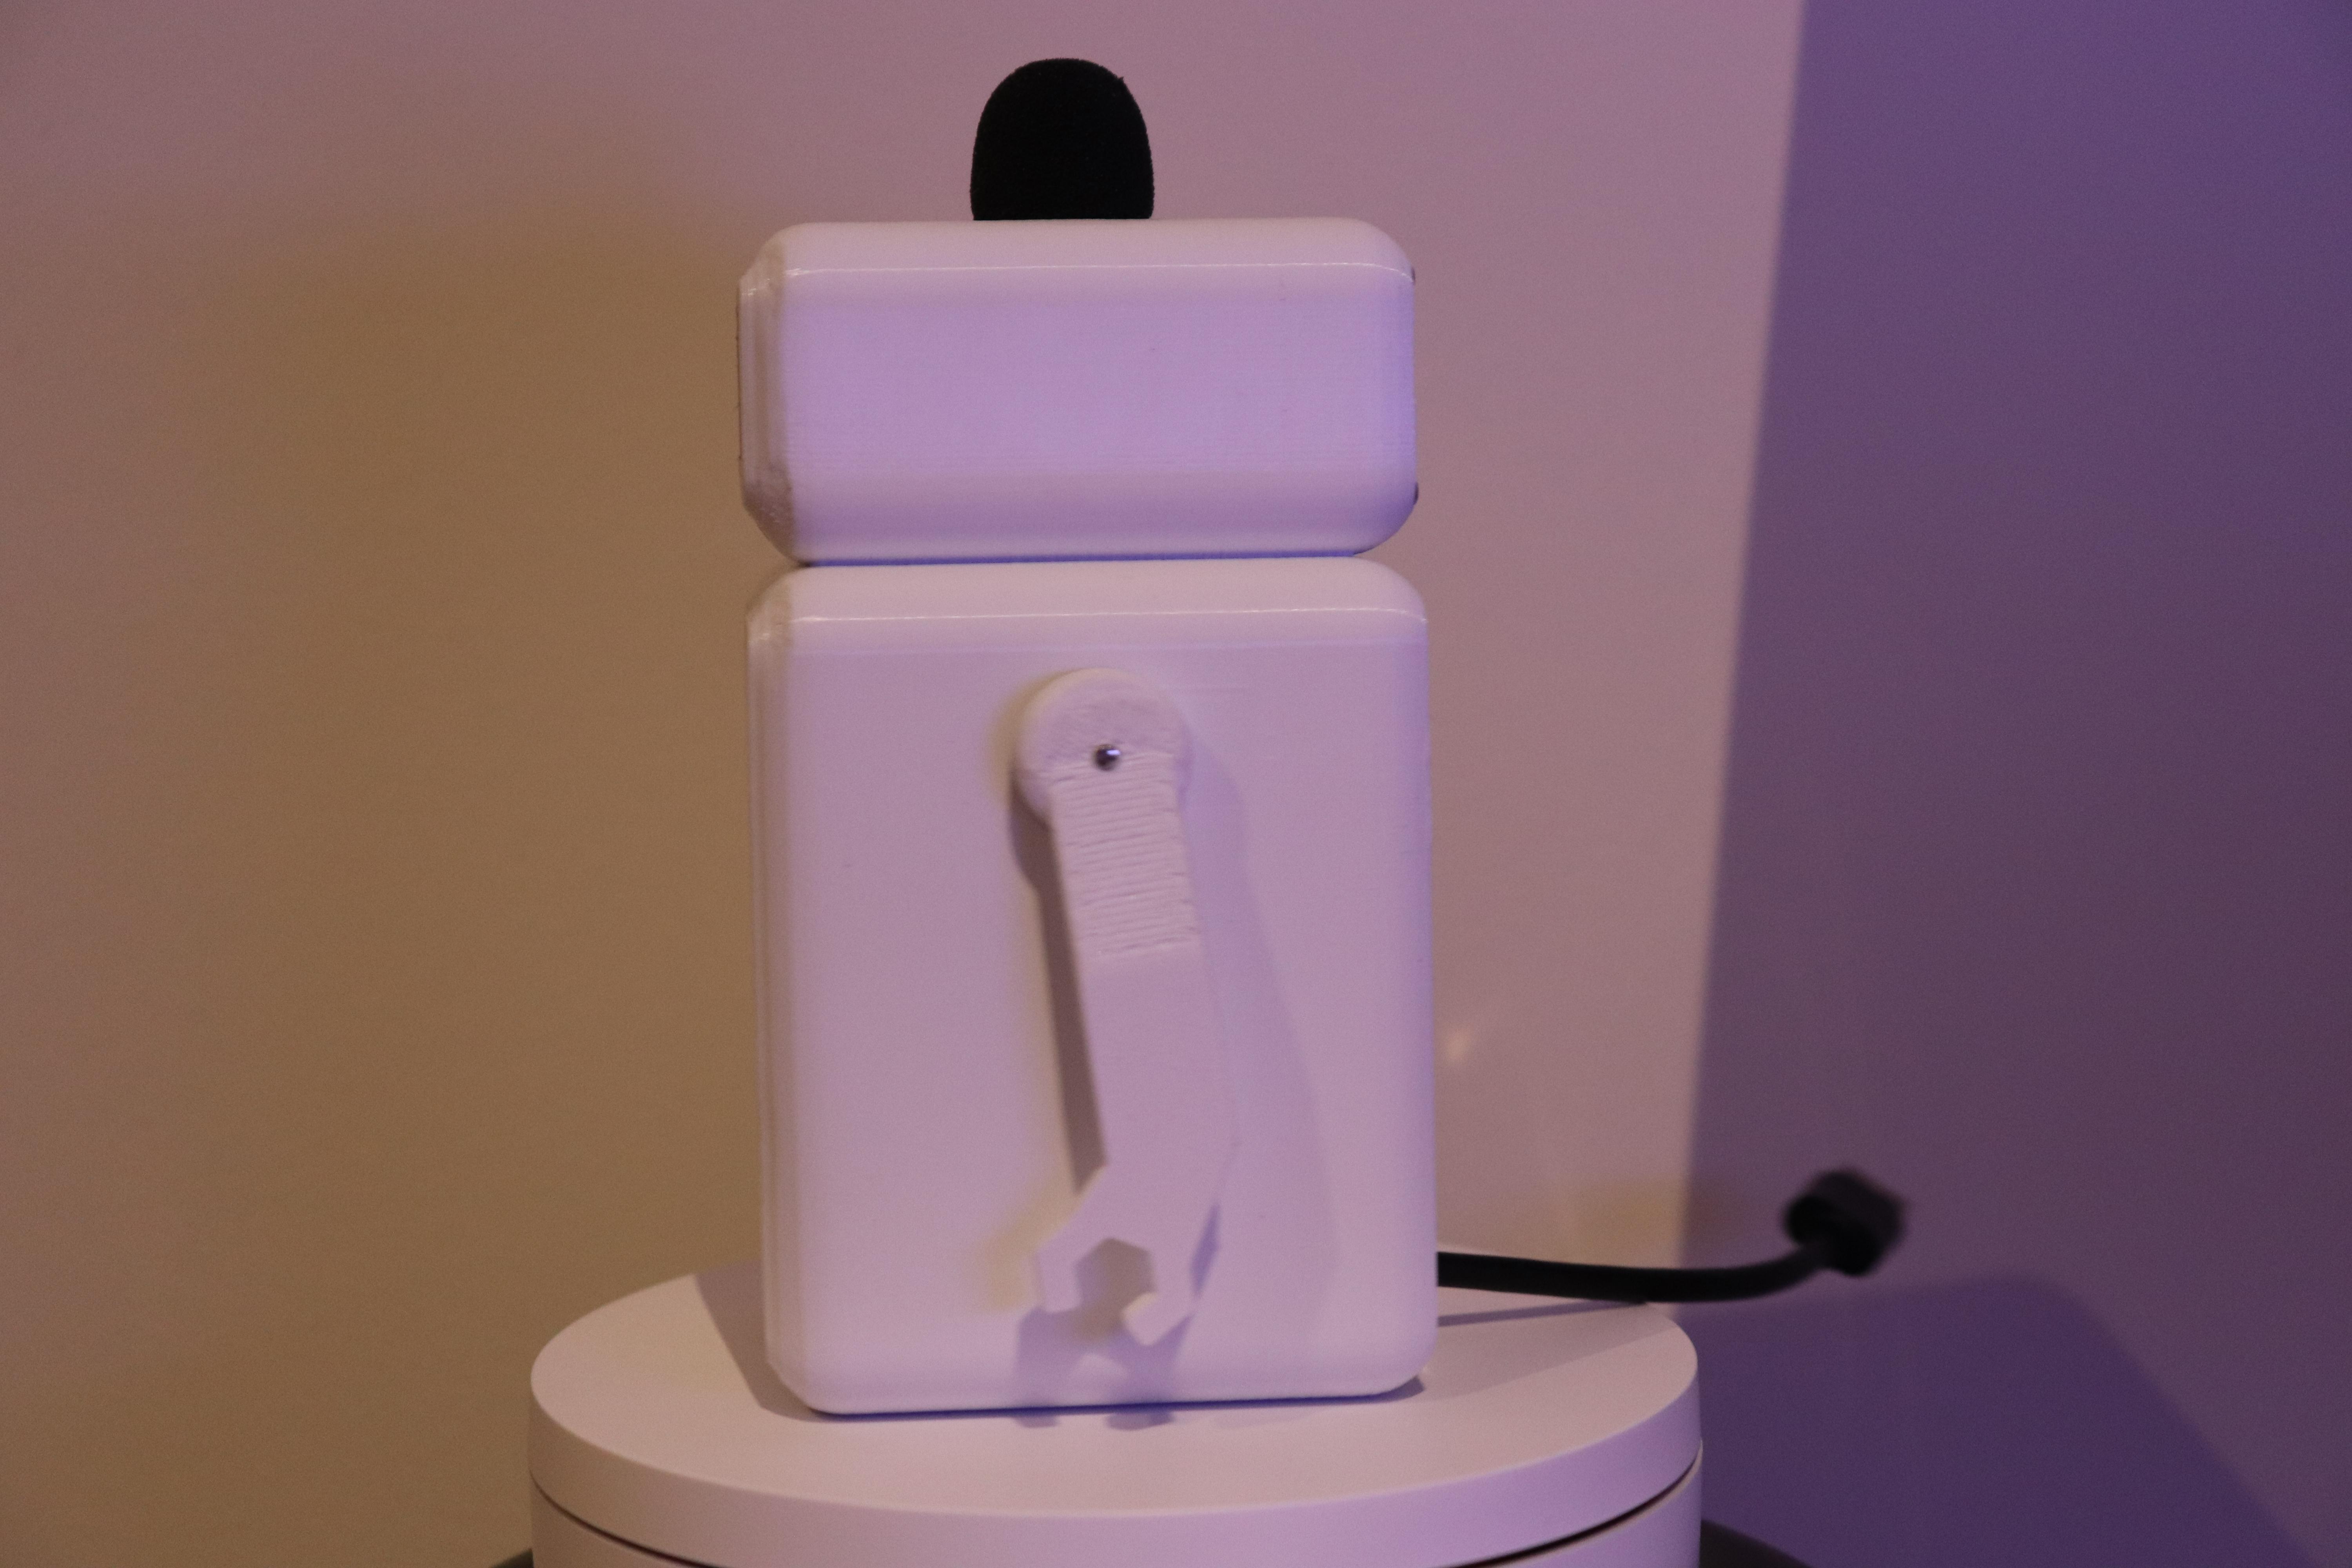
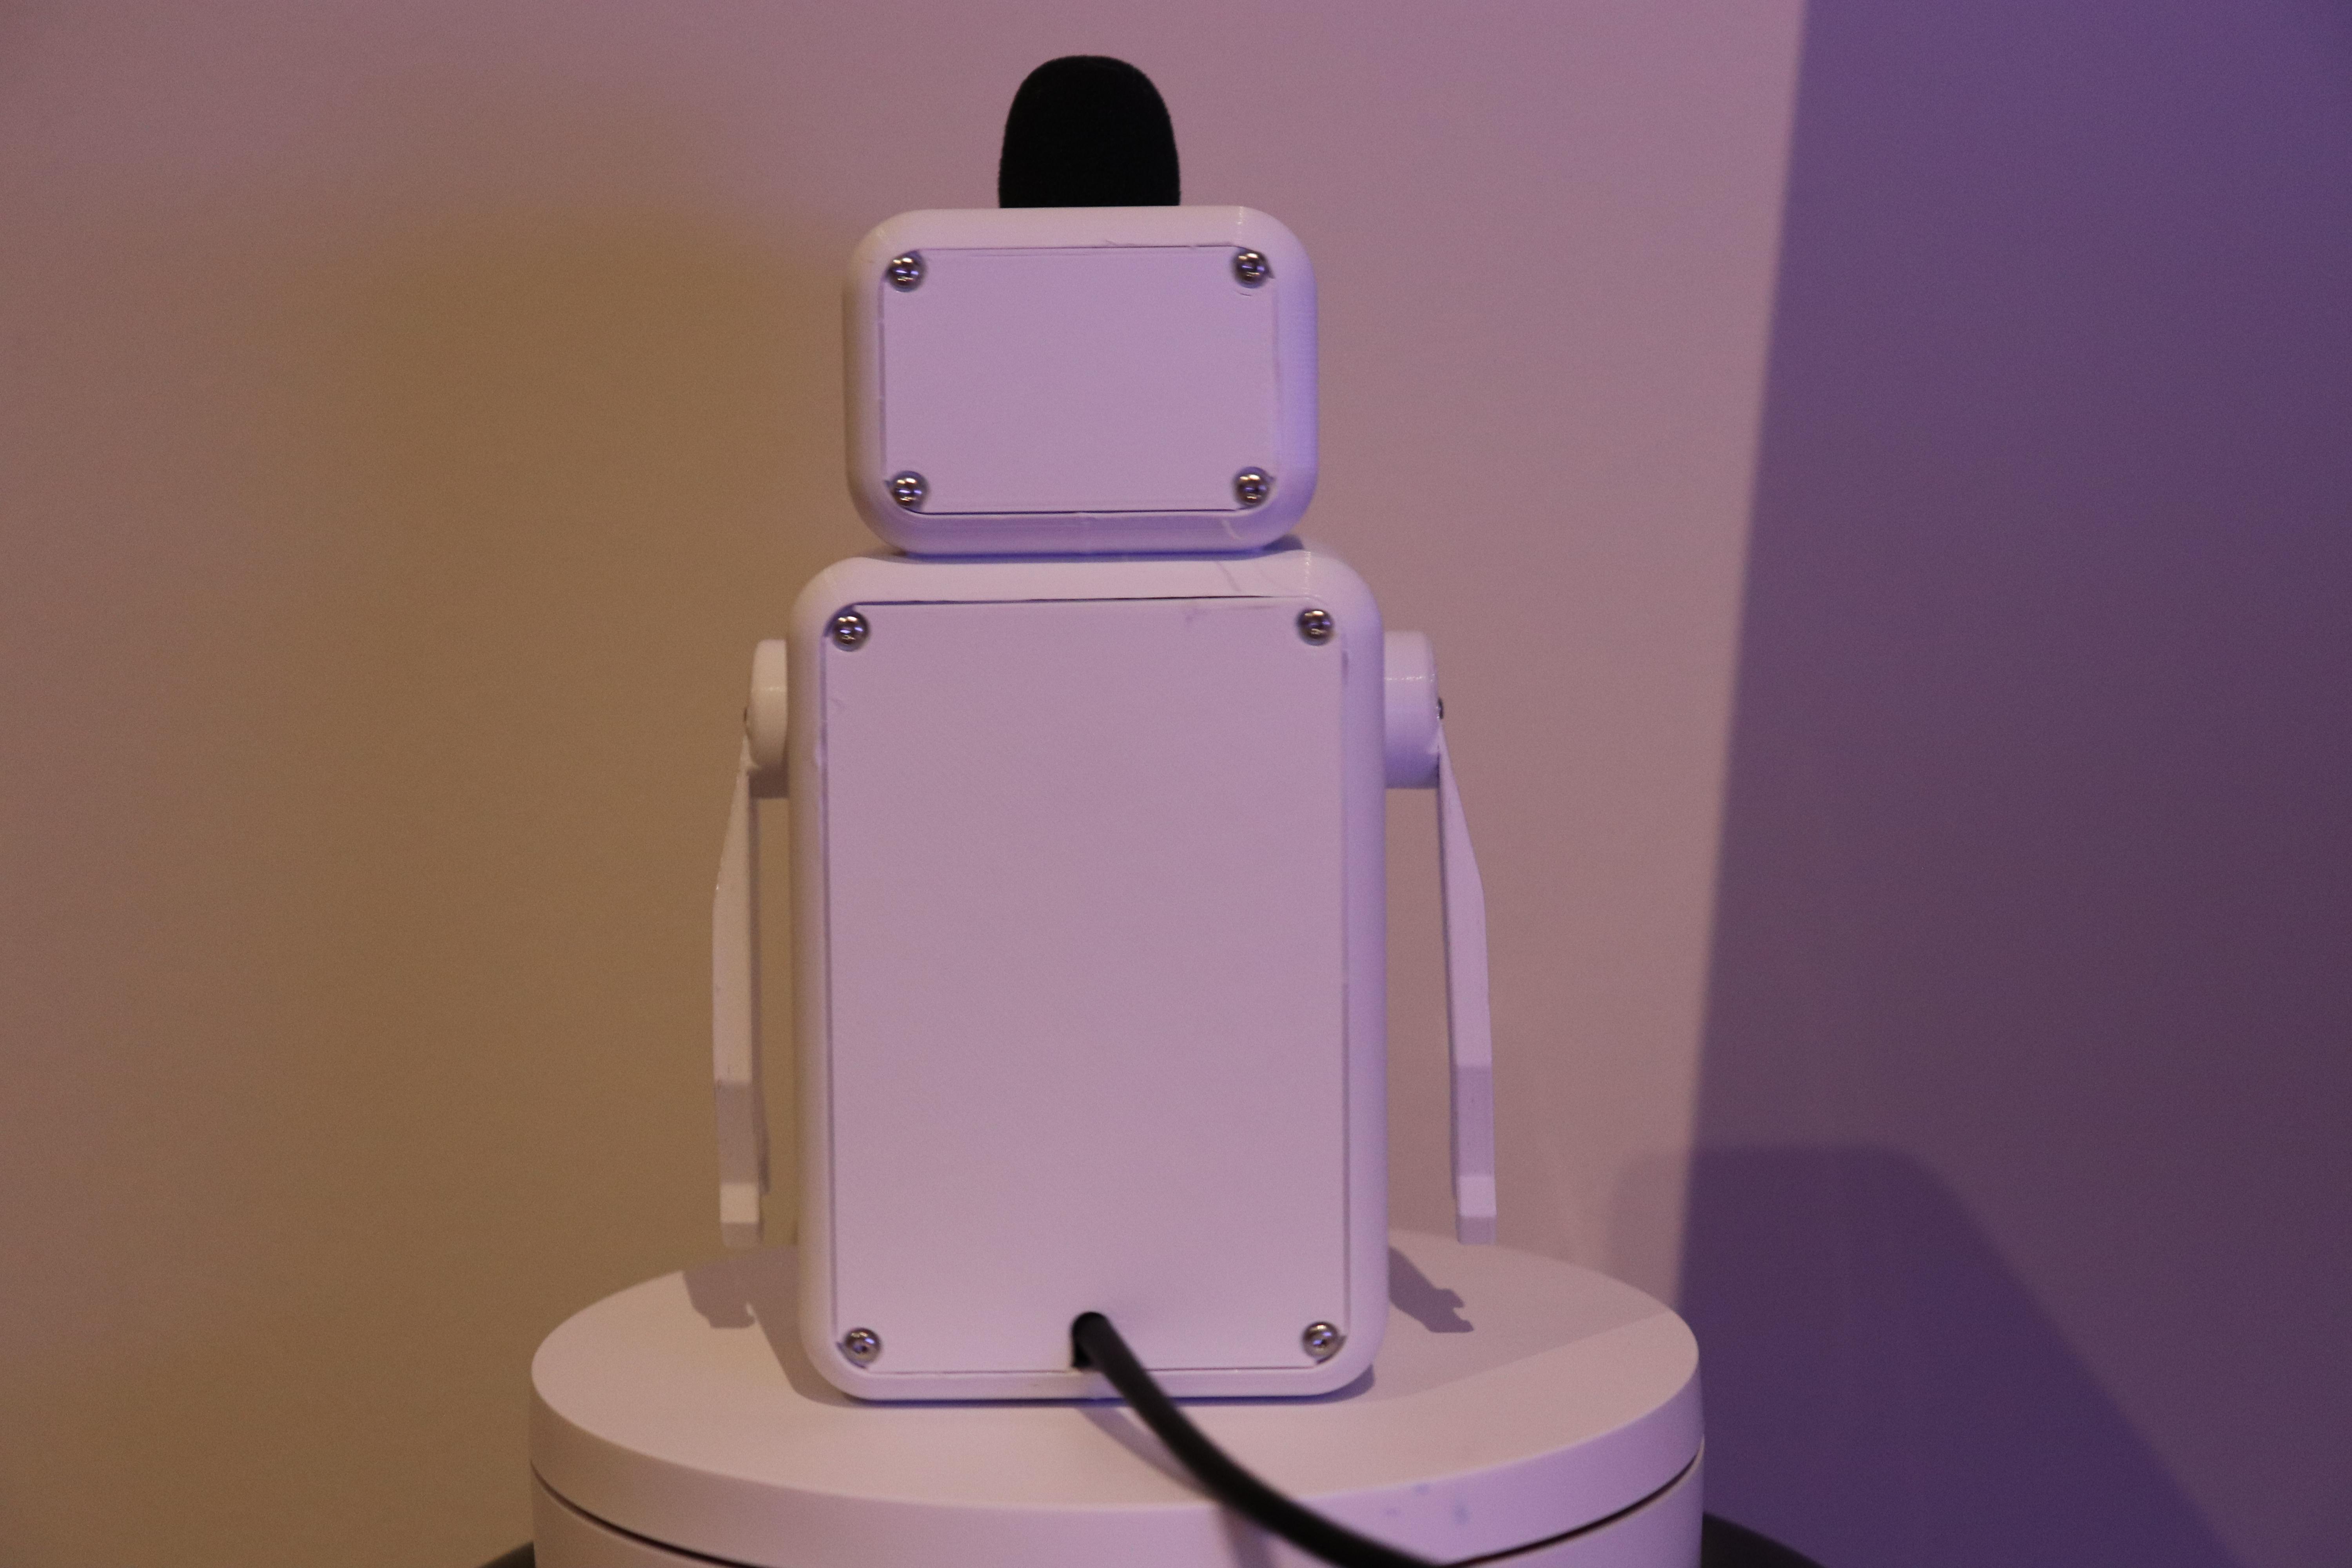
Now that you've wired up the Arduino, it's time to install everything else!
- Installing the Speaker - First, install the speaker into the speaker slot and use some hot glue to secure it in place. Make sure not to get any of the glue inside the speaker though!
- Installing the Microphone - Then, slot your microphone through the hole in the top of Neo's head and optionally, use some glue to secure it.
- Installing the Sound card - Afterwards, connect the microphone AUX cable to the USB Sound card as well as the speaker AUX cable.
- Installing the USB Hub - Then, create some space inside of the body and slot the USB hub in.
- Installing it all together - Now, you will have to store everything else inside of the body as well. It will take some time and effort to store everything in such a small space without breaking anything, but it will be well worth it!
- Connect the USBs - Once that's done, you will need to connect the Speaker's USB power cable, Arduino Nano's USB cable and your Sound card's USB cable to the USB hub.
It is also important to note that I used a small USB extension cord to connect the sound card to the USB hub since it would not fit inside the body otherwise!
Then, we can now place the back cover and head cover on Neo and use some small M2*8 screws once more to secure them in place!
Finally, also attach the arms to the servo motor by press-fitting it on and using some small screws to secure it in place!
Understanding the File Setup

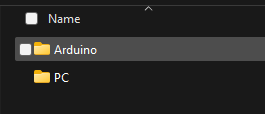

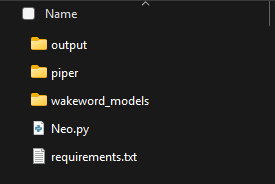
Now that Neo's body is complete, head back to your PC and open up the downloaded folder. Inside the folder, navigate to the 'PC' directory and here, you'll find three folders and two files:
PC - > Folders:
output: This folder temporarily stores the audio files generated by Neo before they are played back through the speaker. They are limited to a maximum of 3 files at a time in the script. The oldest audio file gets automatically deleted.
wakeword_models: This folder includes the wake word files for OpenWakeWord that allow Neo to recognise its activation phrase (Hey, Neo).
piper: This folder contains PiperTTS, a lightweight and efficient Text-to-Speech engine. Piper enables Neo to generate natural-sounding speech quickly and reliably!
Furthermore, inside of piper is a folder called 'models' where the voice models are stored! There will be three pre-downloaded ones which are: en_US-kusal-medium, en_US-ryan-high, en_US-hfc_male-medium, and en_US-hfc_female-medium.
You can optionally download more models here and configure them within the Python code, however, the default (and the one shown in the video) is en_US-ryan-high!
PC - > Files:
Neo.py: This Python script is the core of Neo’s functionality! It contains all the code that integrates the microphone input, sends data to the Google Gemini 8B LLM, and manages the responses, gestures, and expressions of Neo!
requirements.txt: This holds the required packages that pip needs to install in order for Neo to function.
Installing Prerequisites

Now that you have a basic understanding of the file structures, we can begin to run the code!
First, ensure you have Python installed on your PC. I would highly recommend using Python 3.12.0 since some of the packages we are using only support this version!
Now, if you are going to run the program on a PC with an Nvidia GPU, you will need to follow the steps below:
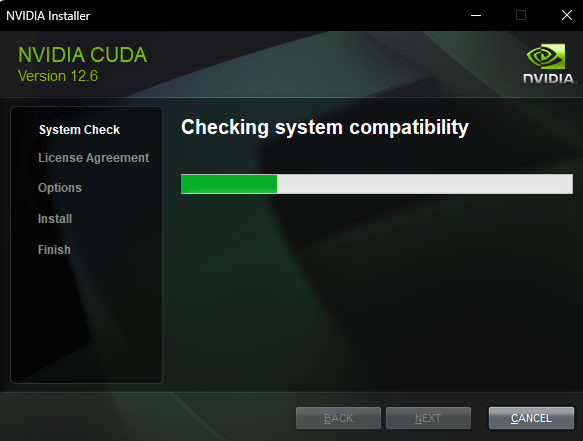
First, install CUDA.
Once you've done that, navigate back to the PC folder and open Windows Powershell in the directory.
Then, create a virtual environment with the following command:
This will create a new virtual environment called 'neo'. To activate it, type:
Once that is done, you can then install PyTorch on your system!
If you installed CUDA 11.8, use the following command:
If you installed CUDA 12.X, use the following command:
Once that is complete, you can then finally install the RealTimeSTT library with:
However, If you are going to run the program on a PC without an Nvidia GPU, you will need to follow the steps below:
First, navigate to the PC folder and open Windows Powershell in the directory.
Then, create a virtual environment with:
This will create a new virtual environment called 'neo'. To activate it, type:
Once that is done, install RealtimeSTT with the following command:
Please be warned though, running RealtimeSTT on CPU-only will make it significantly slower than if you ran it on an Nvidia GPU!
Now, once you have installed RealtimeSTT, you can then install the rest of the required packages with:
(Make sure you are in your virtual environment or else this may not work.)
This will install the other essential libraries like google genai and pyserial which is needed for Neo’s proper operation.
Preparing to Run Neo
Once everything has been installed successfully, connect the USB hub's cable to your PC and make sure that your sound card and Arduino Nano are detected.
Sound card - Check if this works by looking at your output/input devices on Windows and whether a new device (Usually called 'USB PnP') has been detected or not.
Arduino Nano - Check if this works by launching up Arduino IDE and connecting to it via Serial Monitor, if it connects, then you're good to go!
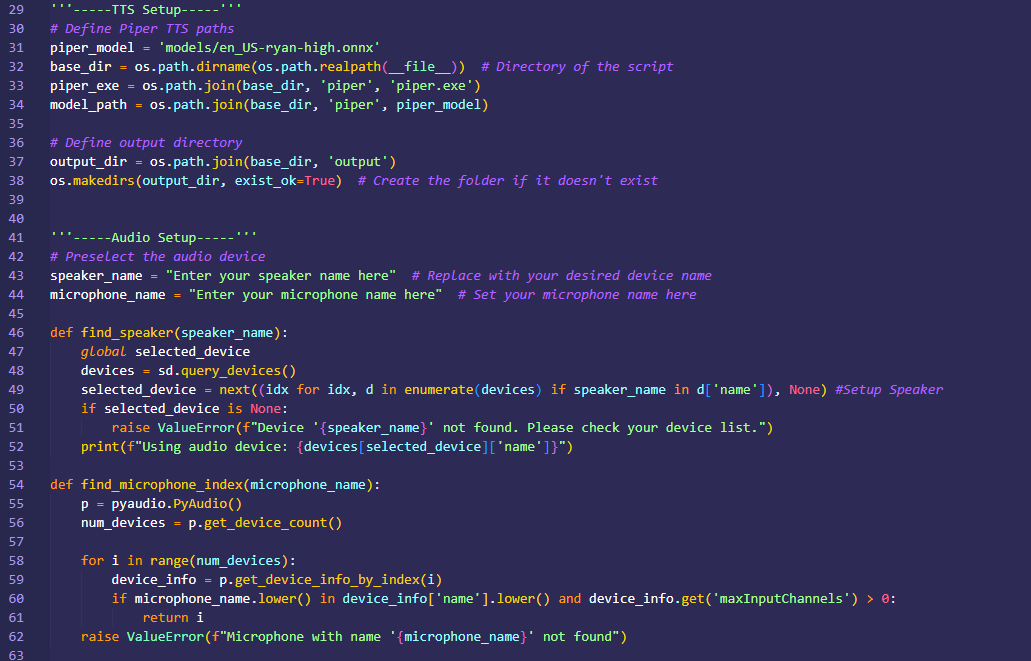
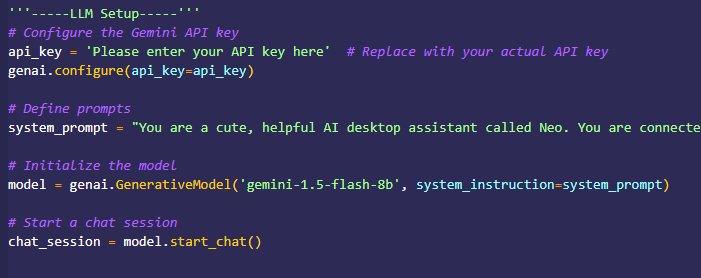
Once that's done, open up the Neo.py file in an editor of your choice (I used VS Code). Inside of the file are a few lines that need to be modified.
Line 16: api_key -
You will need this API key from Google in order to use the Gemini API. Thankfully, it is free and easy to get! Follow this tutorial and once you have it, replace the text with your key!
Line 43: speaker_name -
You will need to type in the name of the connected speaker from the USB hub, here. For me it was 'USB PnP Sound Device'. You can find the name in Windows settings.
Line 44: microphone_name -
You will need to type in the name of the connected microphone from the USB hub, here. For me it was 'USB PnP Microphone'. You can find the name in Windows settings.
Line 75: arduinoPort -
You will need to set this to whatever port your Arduino Nano is showing up as. For me it was "COM4".
Optionally, you can also modify the following lines:
Line 20: system_prompt -
This is the prompt that is sent to Google Gemini. You can modify and tune this to your liking to change the personality of your Neo!
Line 31: piper_model -
This is the model that is used to generate the voice for Neo. You can change it like how I mentioned earlier!
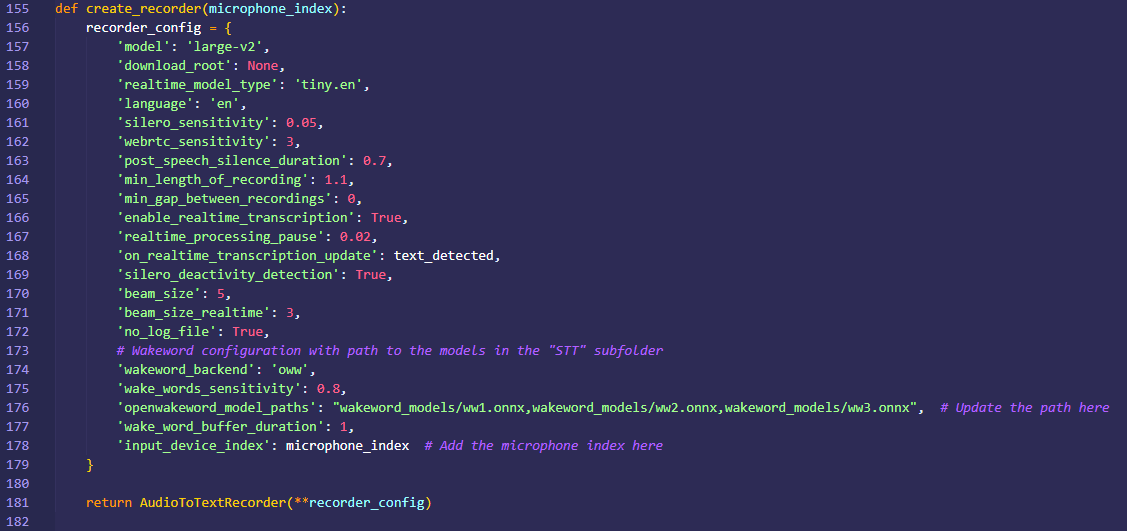
Line 176: openwakeword_model_paths -
This directs the wakeword system to the 'Hey, Neo' wakeword files! This means that you can train your own wakeword and use it in that line to further customize Neo (or whatever you may decide to call him)!
Finally, once you've done all of that, make sure to save your configuration to the Neo.py file!
Running Neo

Finally, once you've completed everything, it's time to run the script!
In the same PowerShell (I used the one inside VS Code since it was easier) with the virtual environment active, run the Neo.py file with
It will take a few moments to load, especially if it is the first time you have started the program but once it has, you should see some text similar to: 'Say wakeword to activate transcription'!
Try to say 'Hey, Neo' in a calm and moderate tone and the wakeword should activate! Neo will then wake up, listen for commands, and respond intelligently using the Google Gemini API!
Conclusion
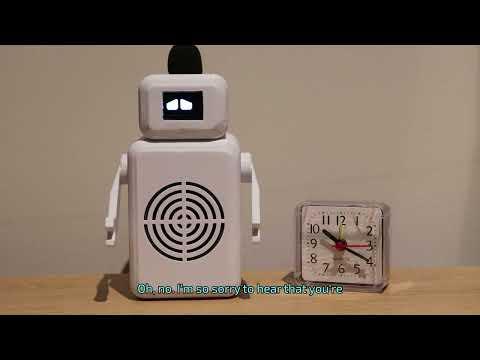
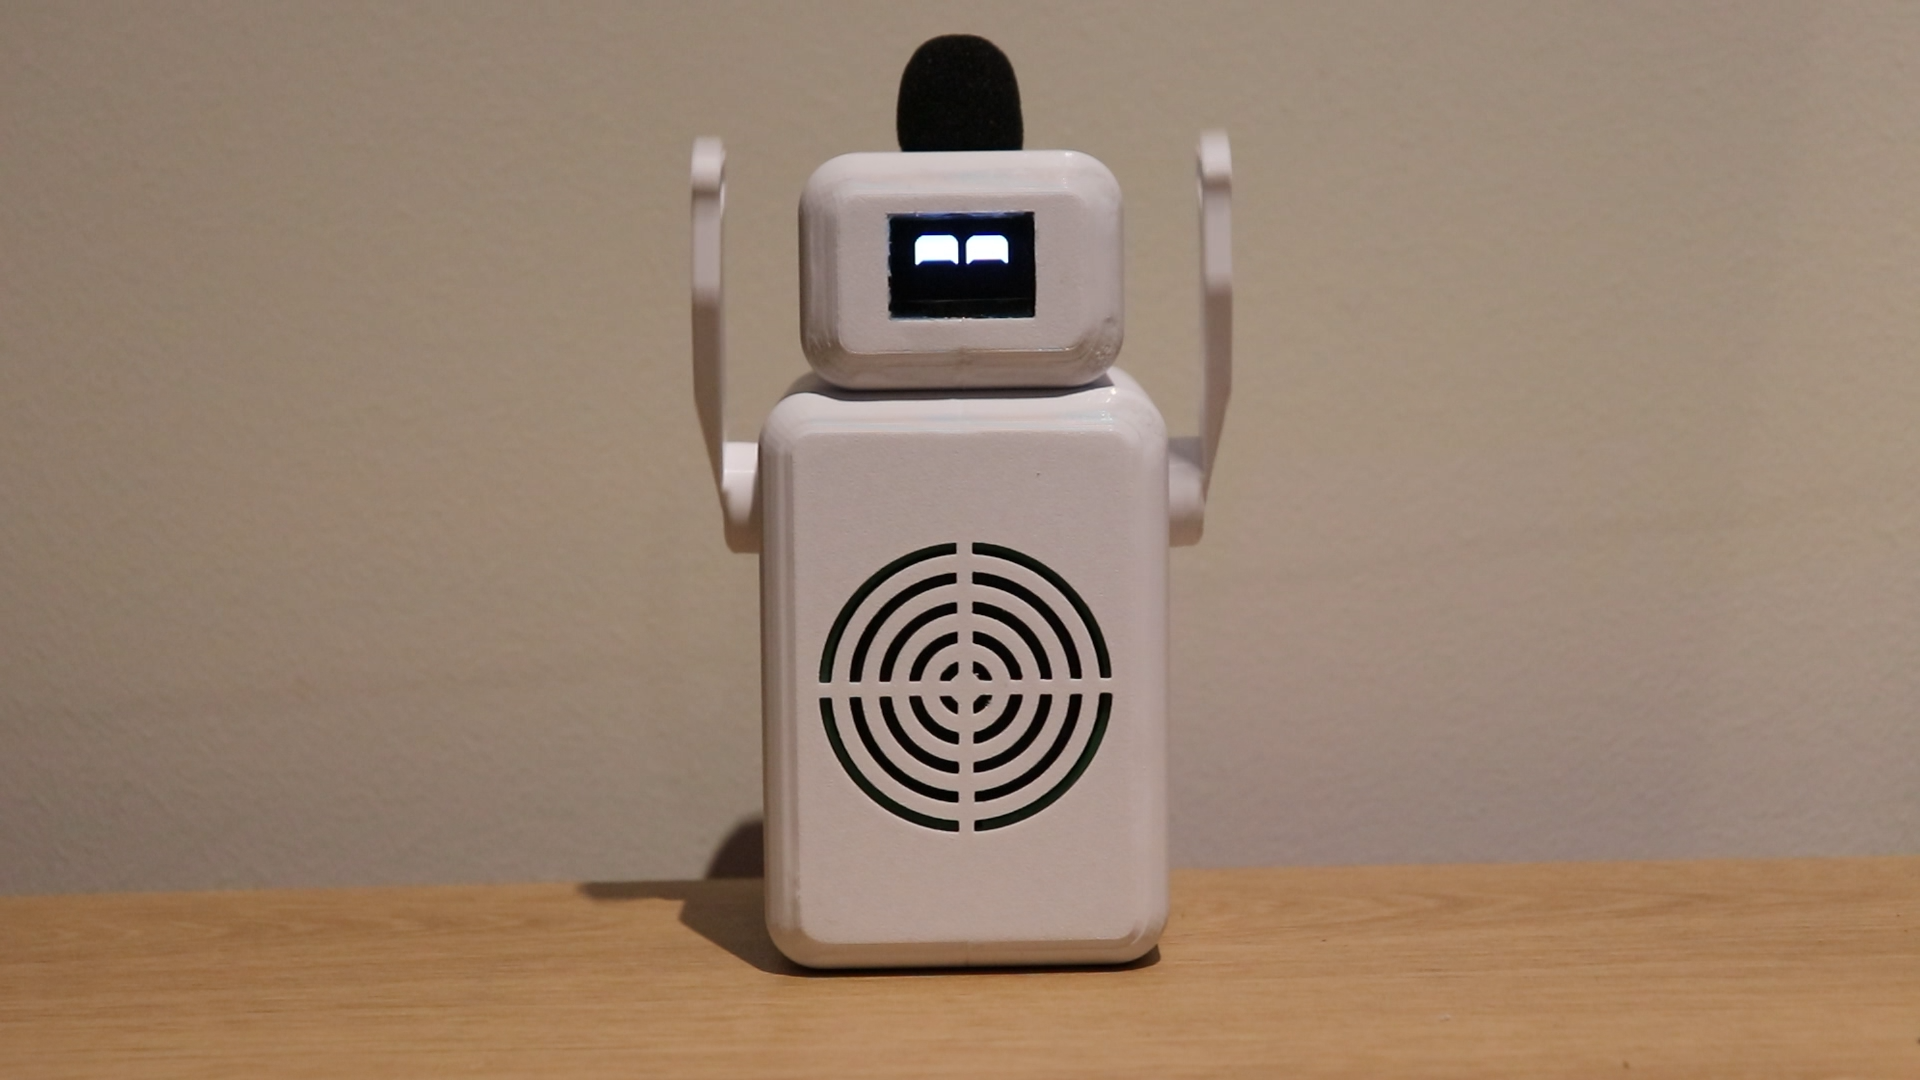
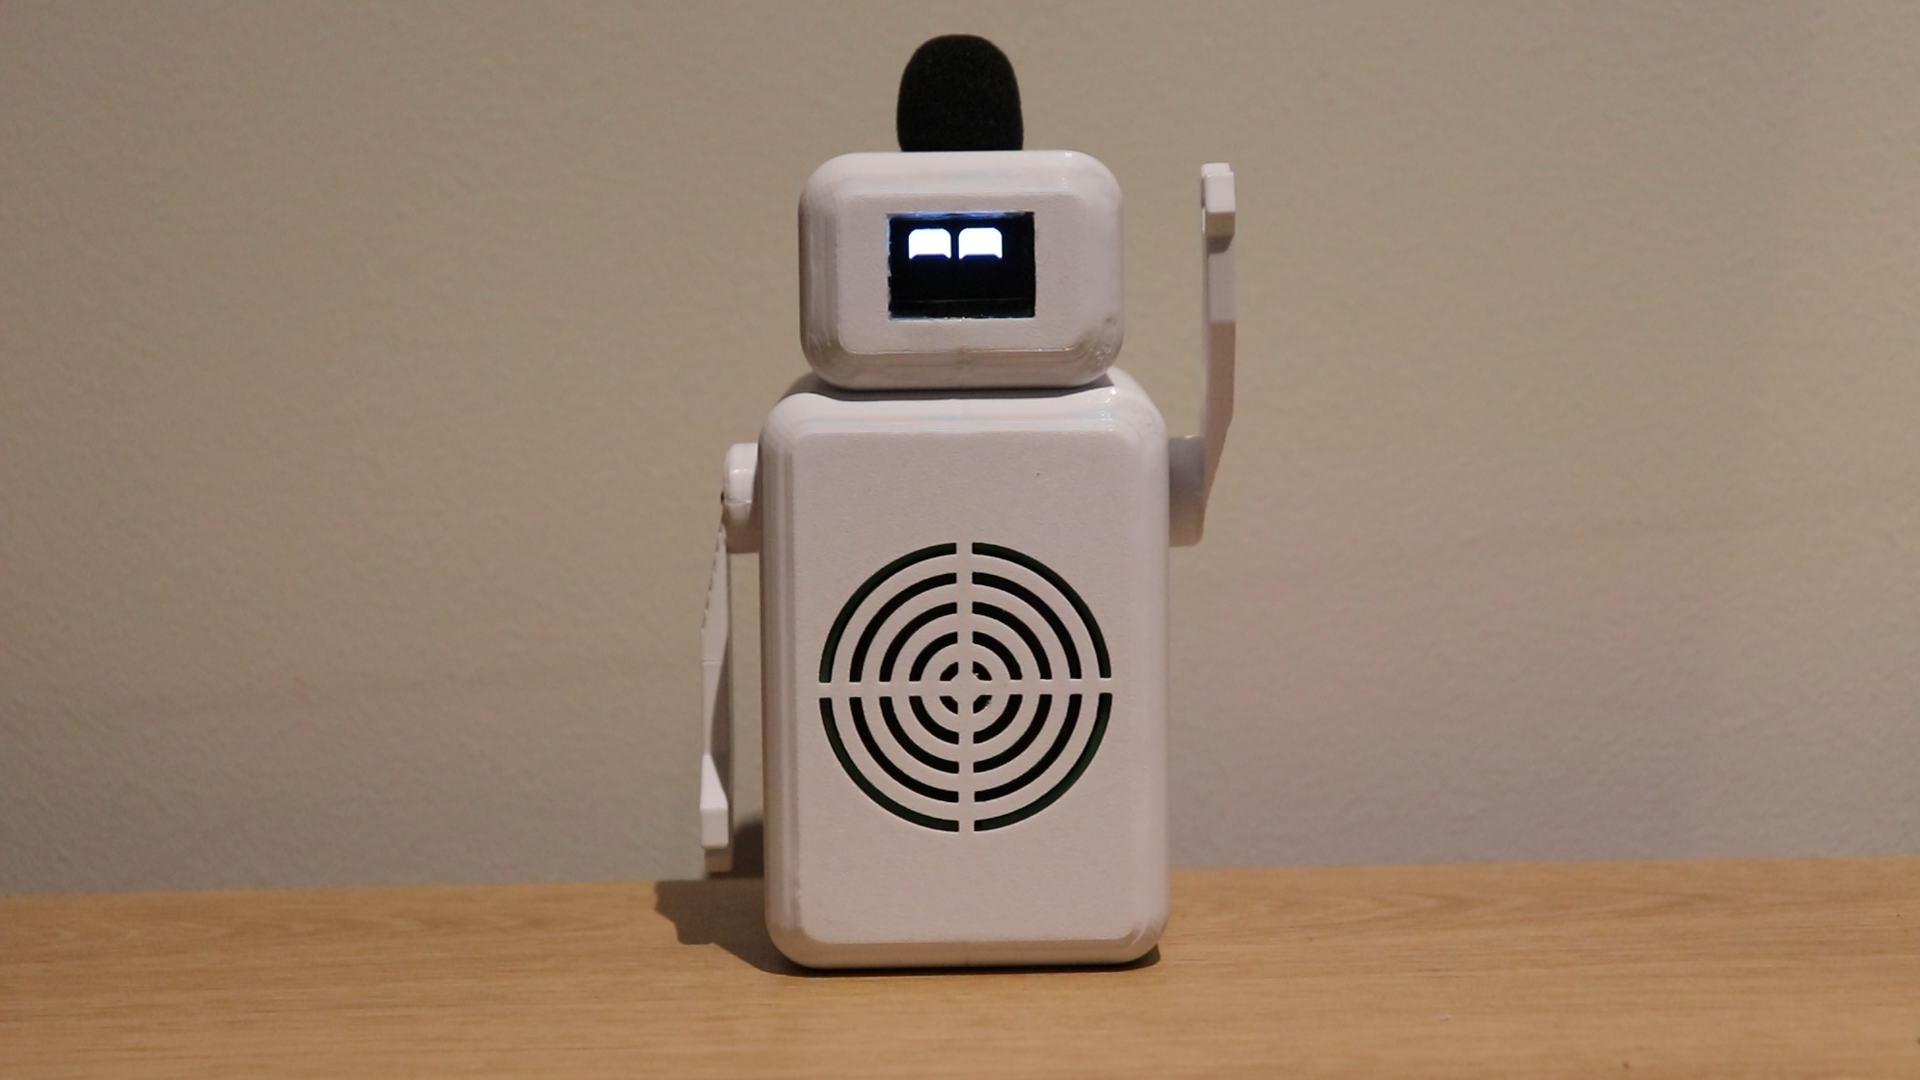
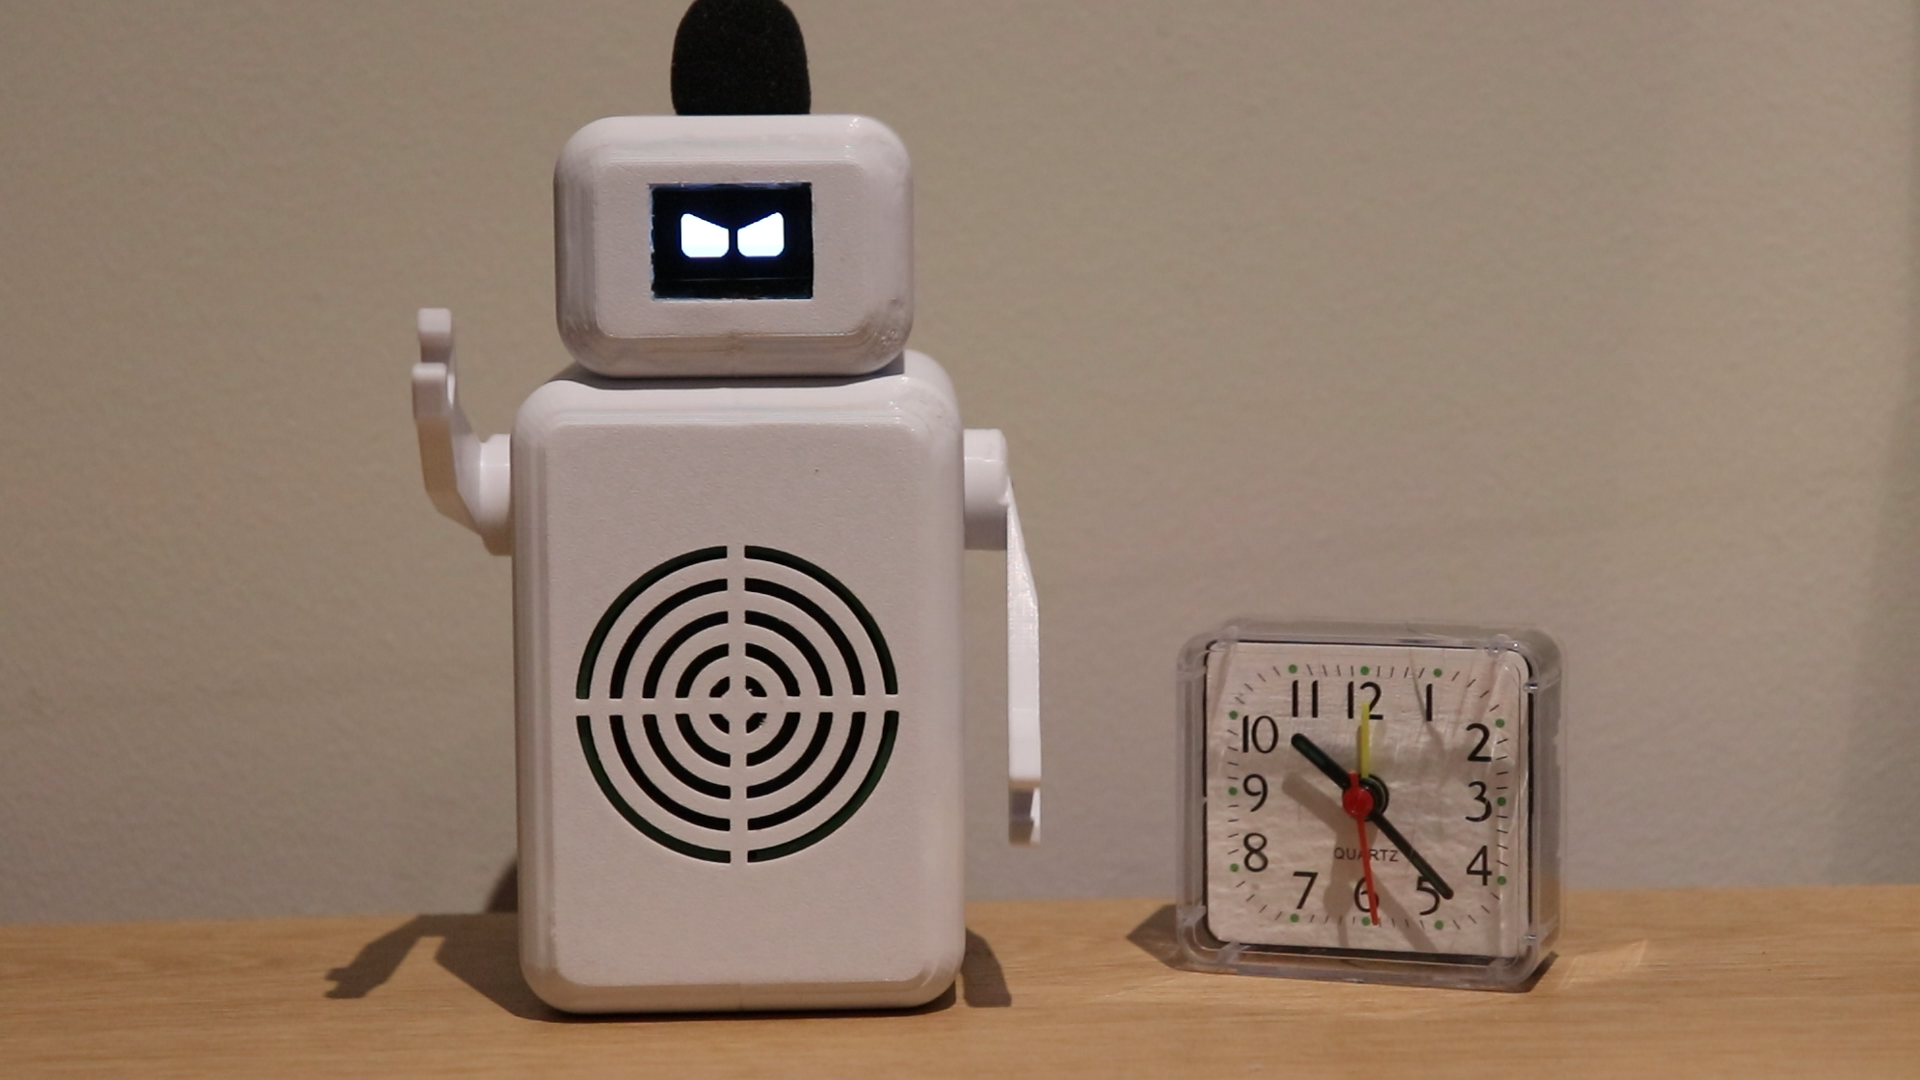
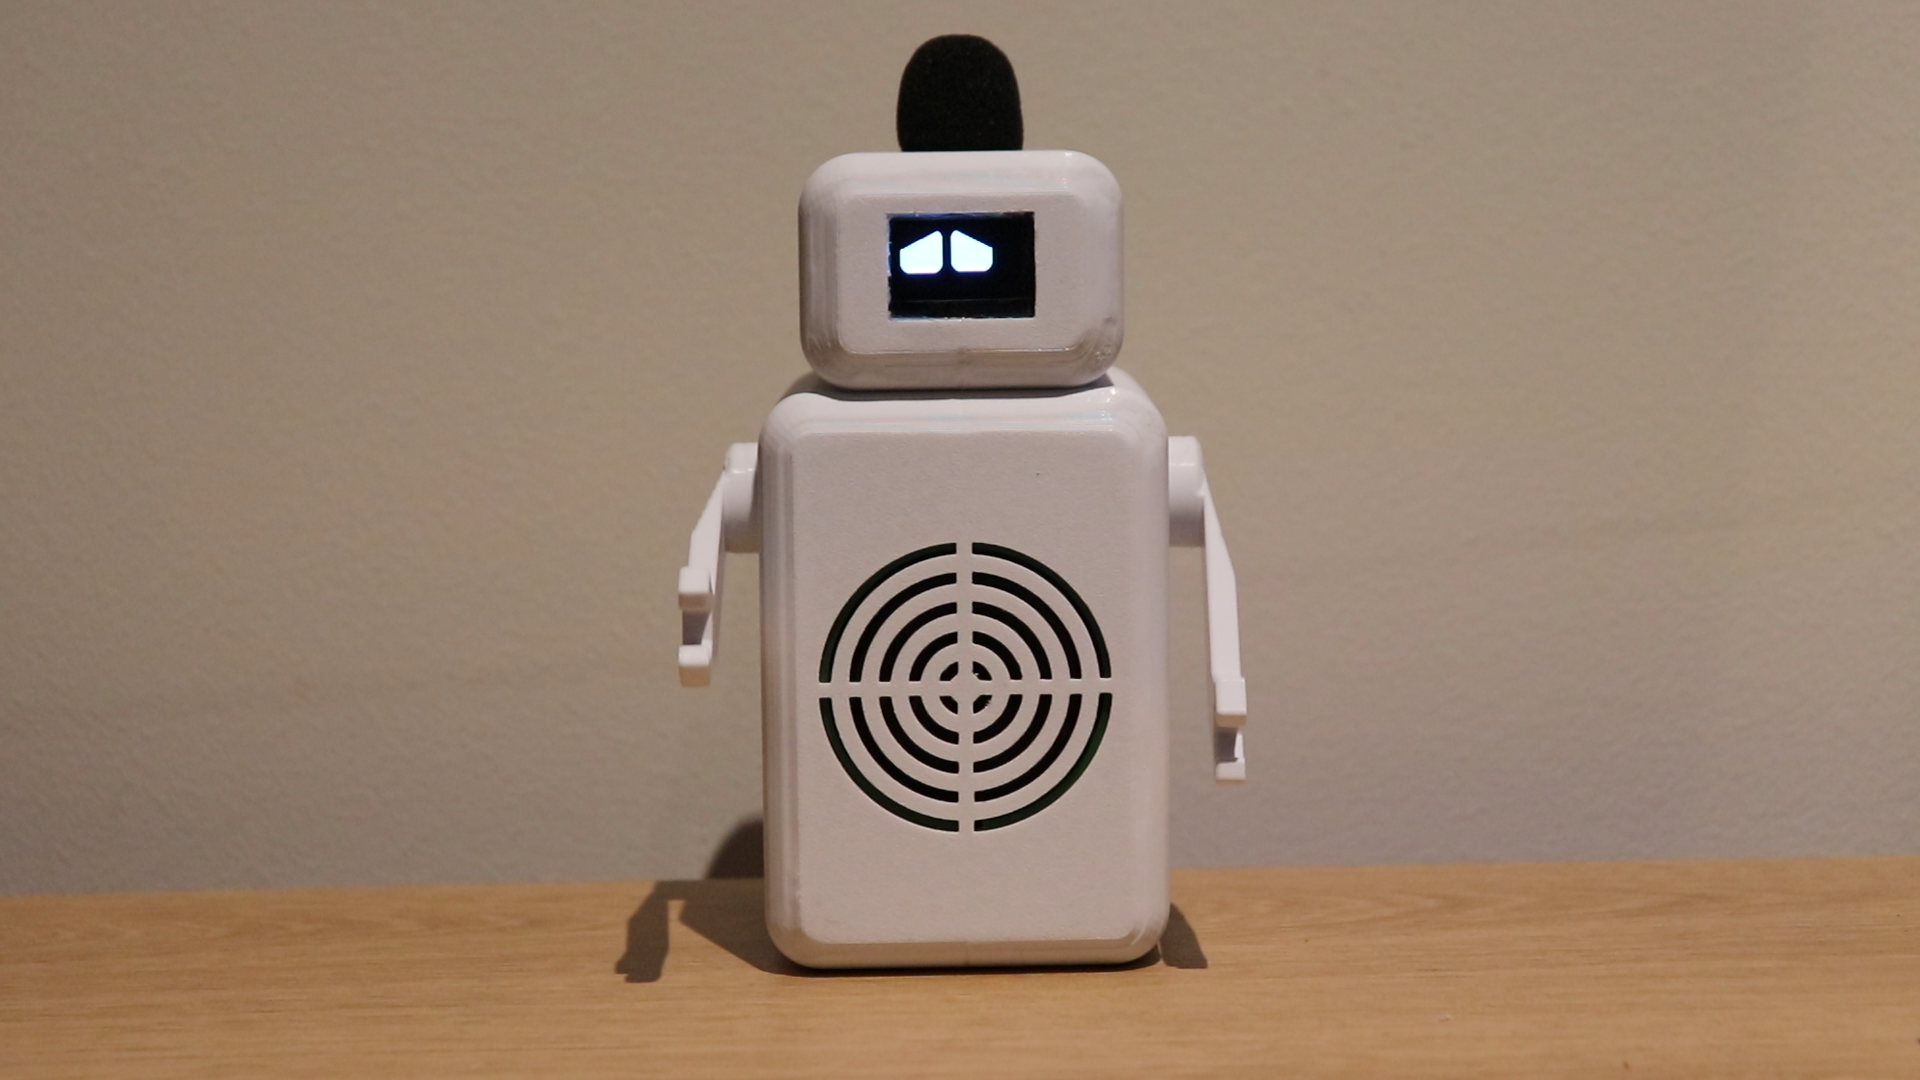
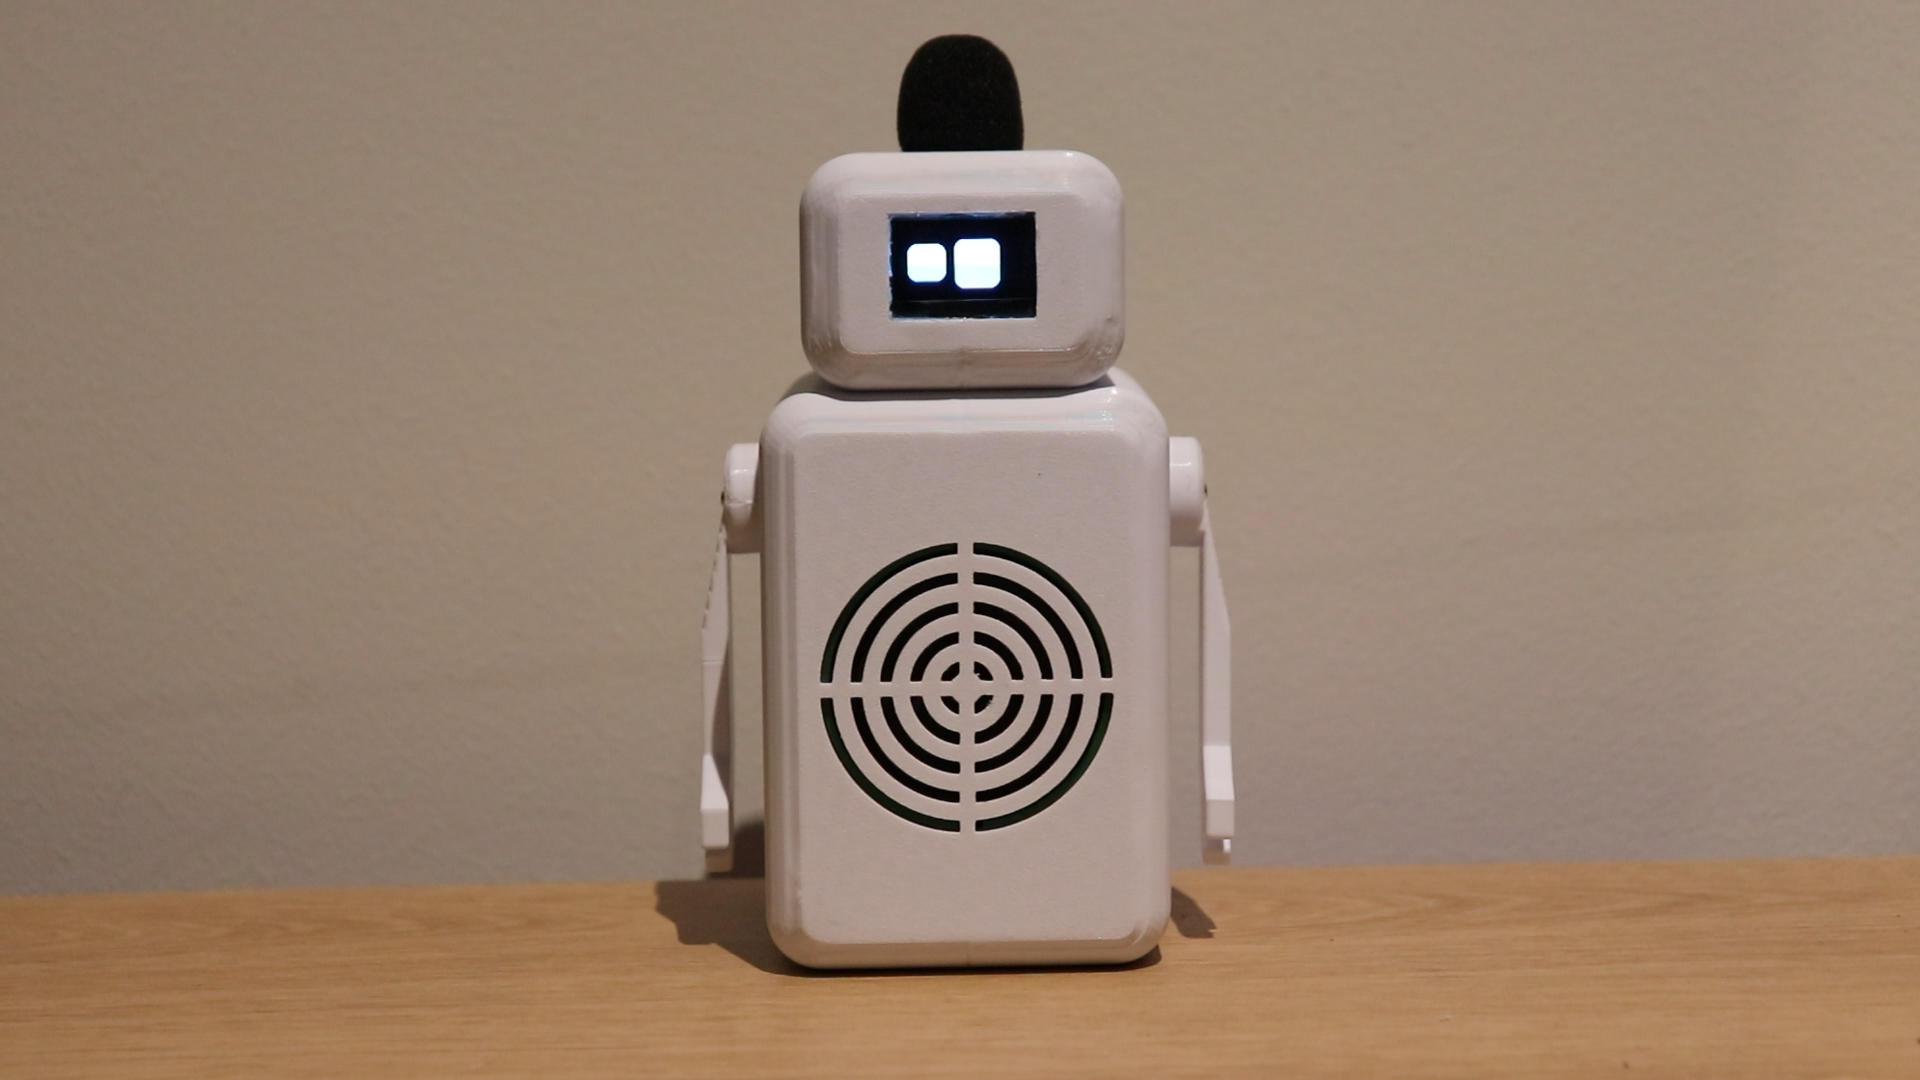
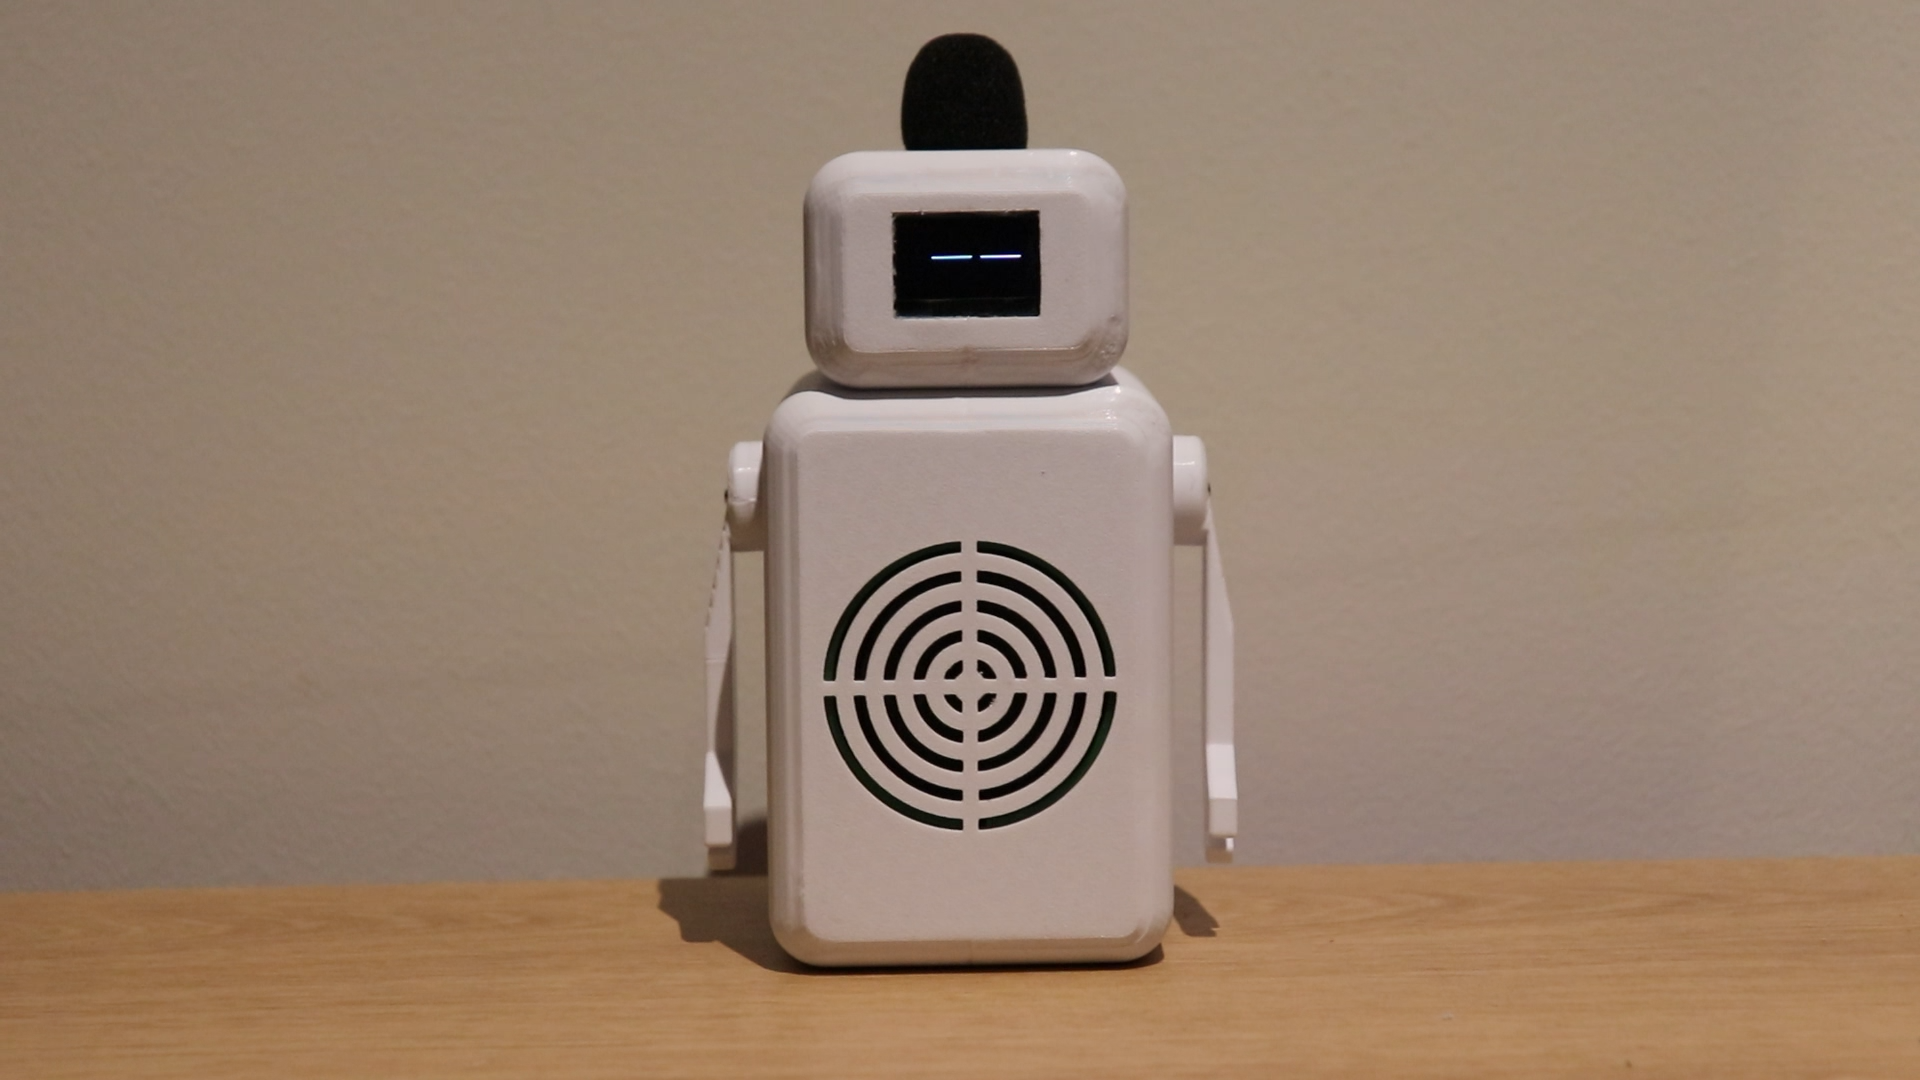
Congratulations! After all of that, you've successfully built Neo, your new desktop AI robot companion!
Now that Neo is up and running, the fun doesn’t stop here! You can customize its personality, add new features, or experiment with different voice models and wakewords to make Neo truly your own!
Thank you for reading, and I hope you enjoyed this Instructables guide and the journey of bringing Neo to life!