Name Puzzle
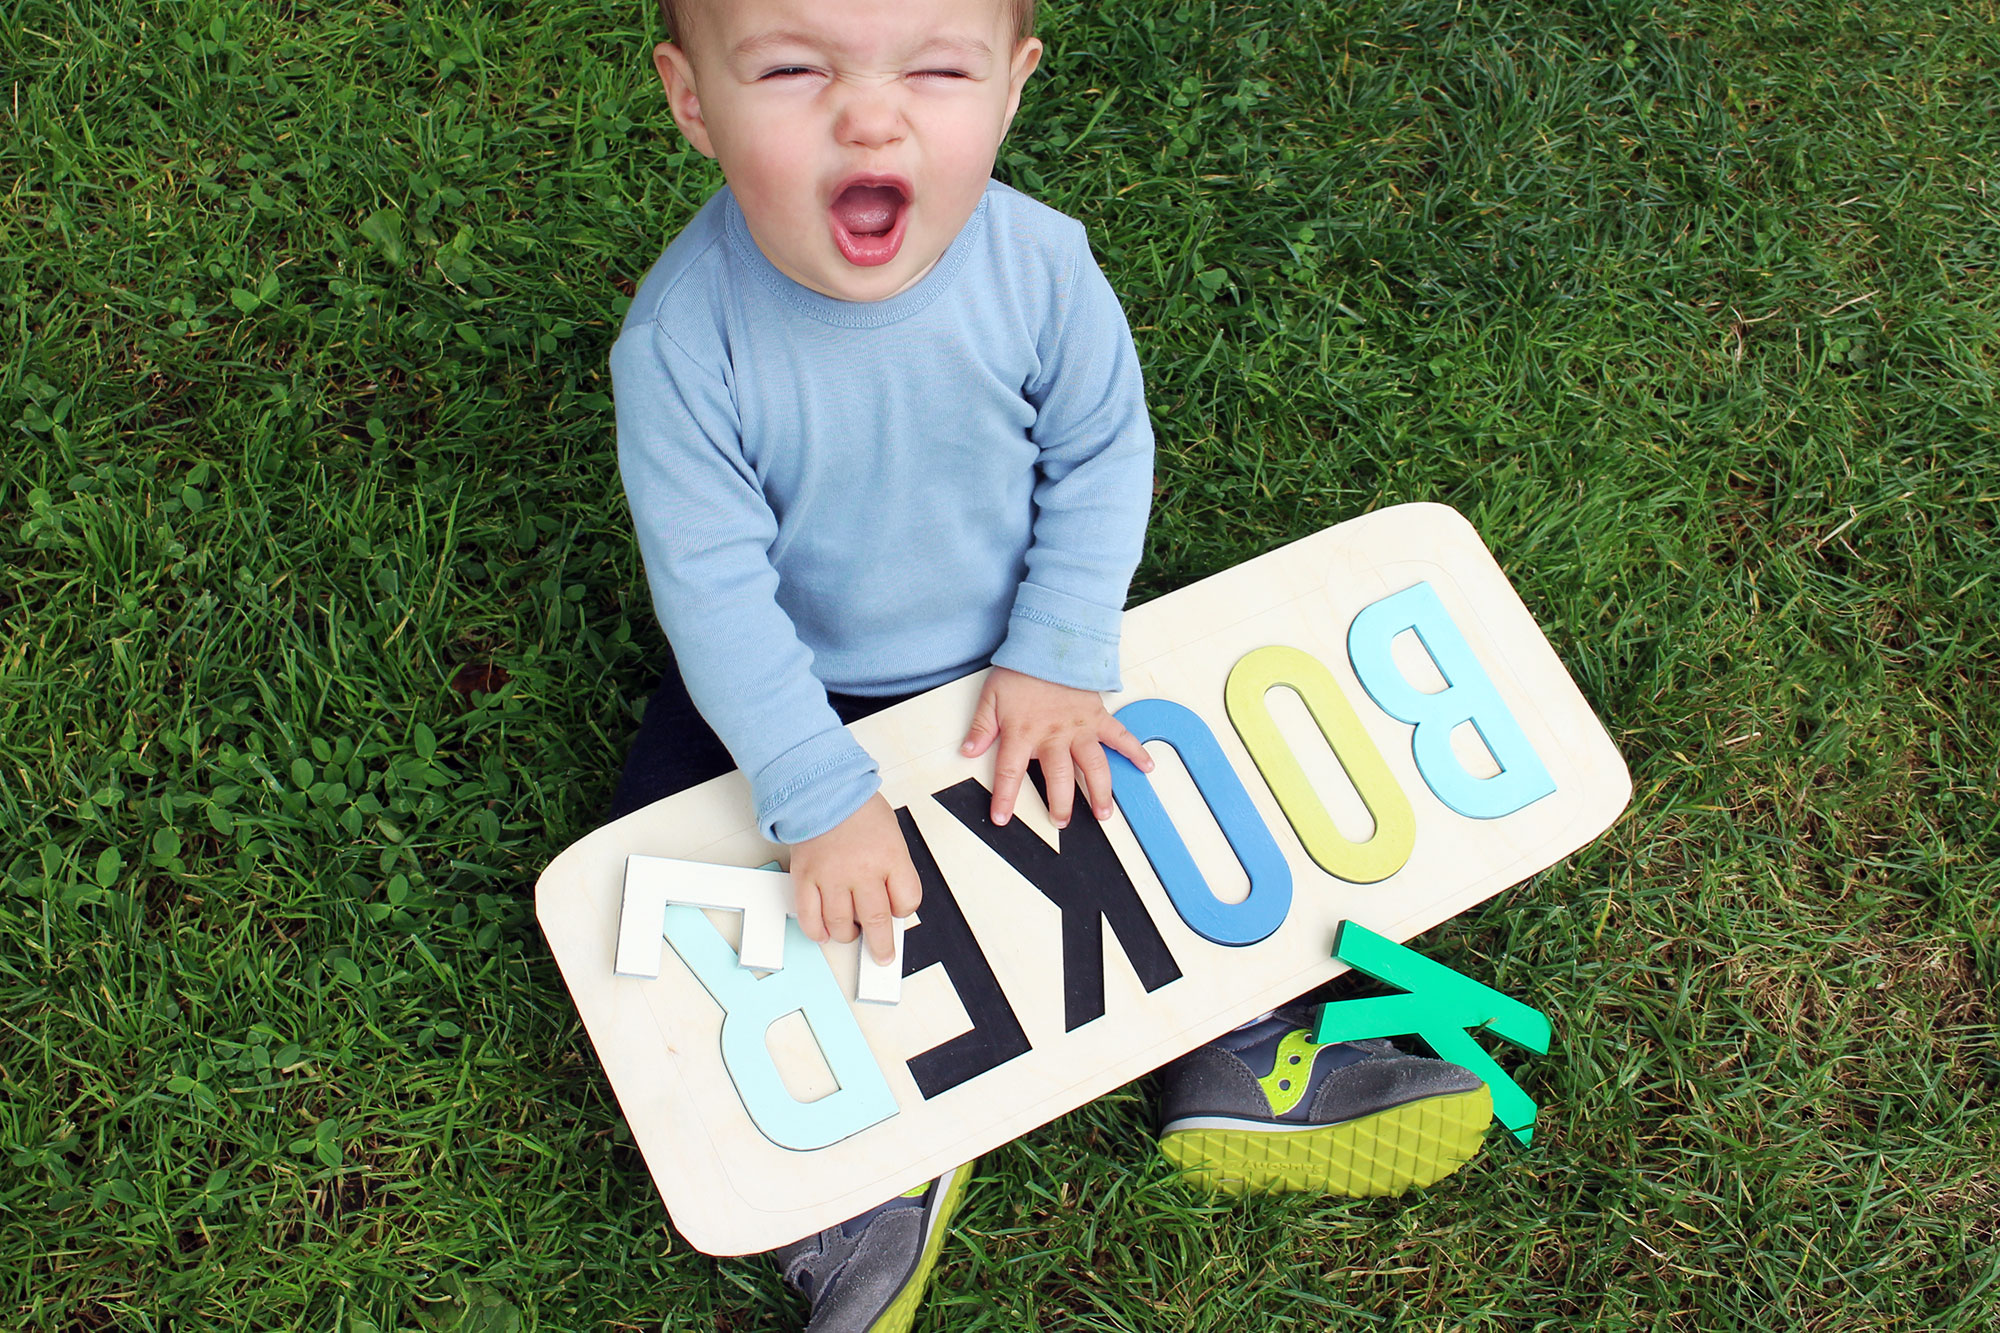
Name puzzles like these are a classic toy for young kids, or anyone who wants to have a little fun playing with their name. These are usually either bought from a store with limited names available, or custom ordered, but you can easily make your own with the right tools. For this project I used a Dremel 40W laser cutter.
DISCLOSURE
Dremel was kind enough to loan me a laser to try out and see what projects I could come up with using Tinkercad. You can find out more about Dremel's new laser cutter and get a hefty discount here (discount ends September 30, 2018).
Letter puzzles are an easy way to get familiar with the capabilities of a laser cutter. Designing them is even easier with Tinkercad, a free browser-based CAD program that's incredibly easy to learn.
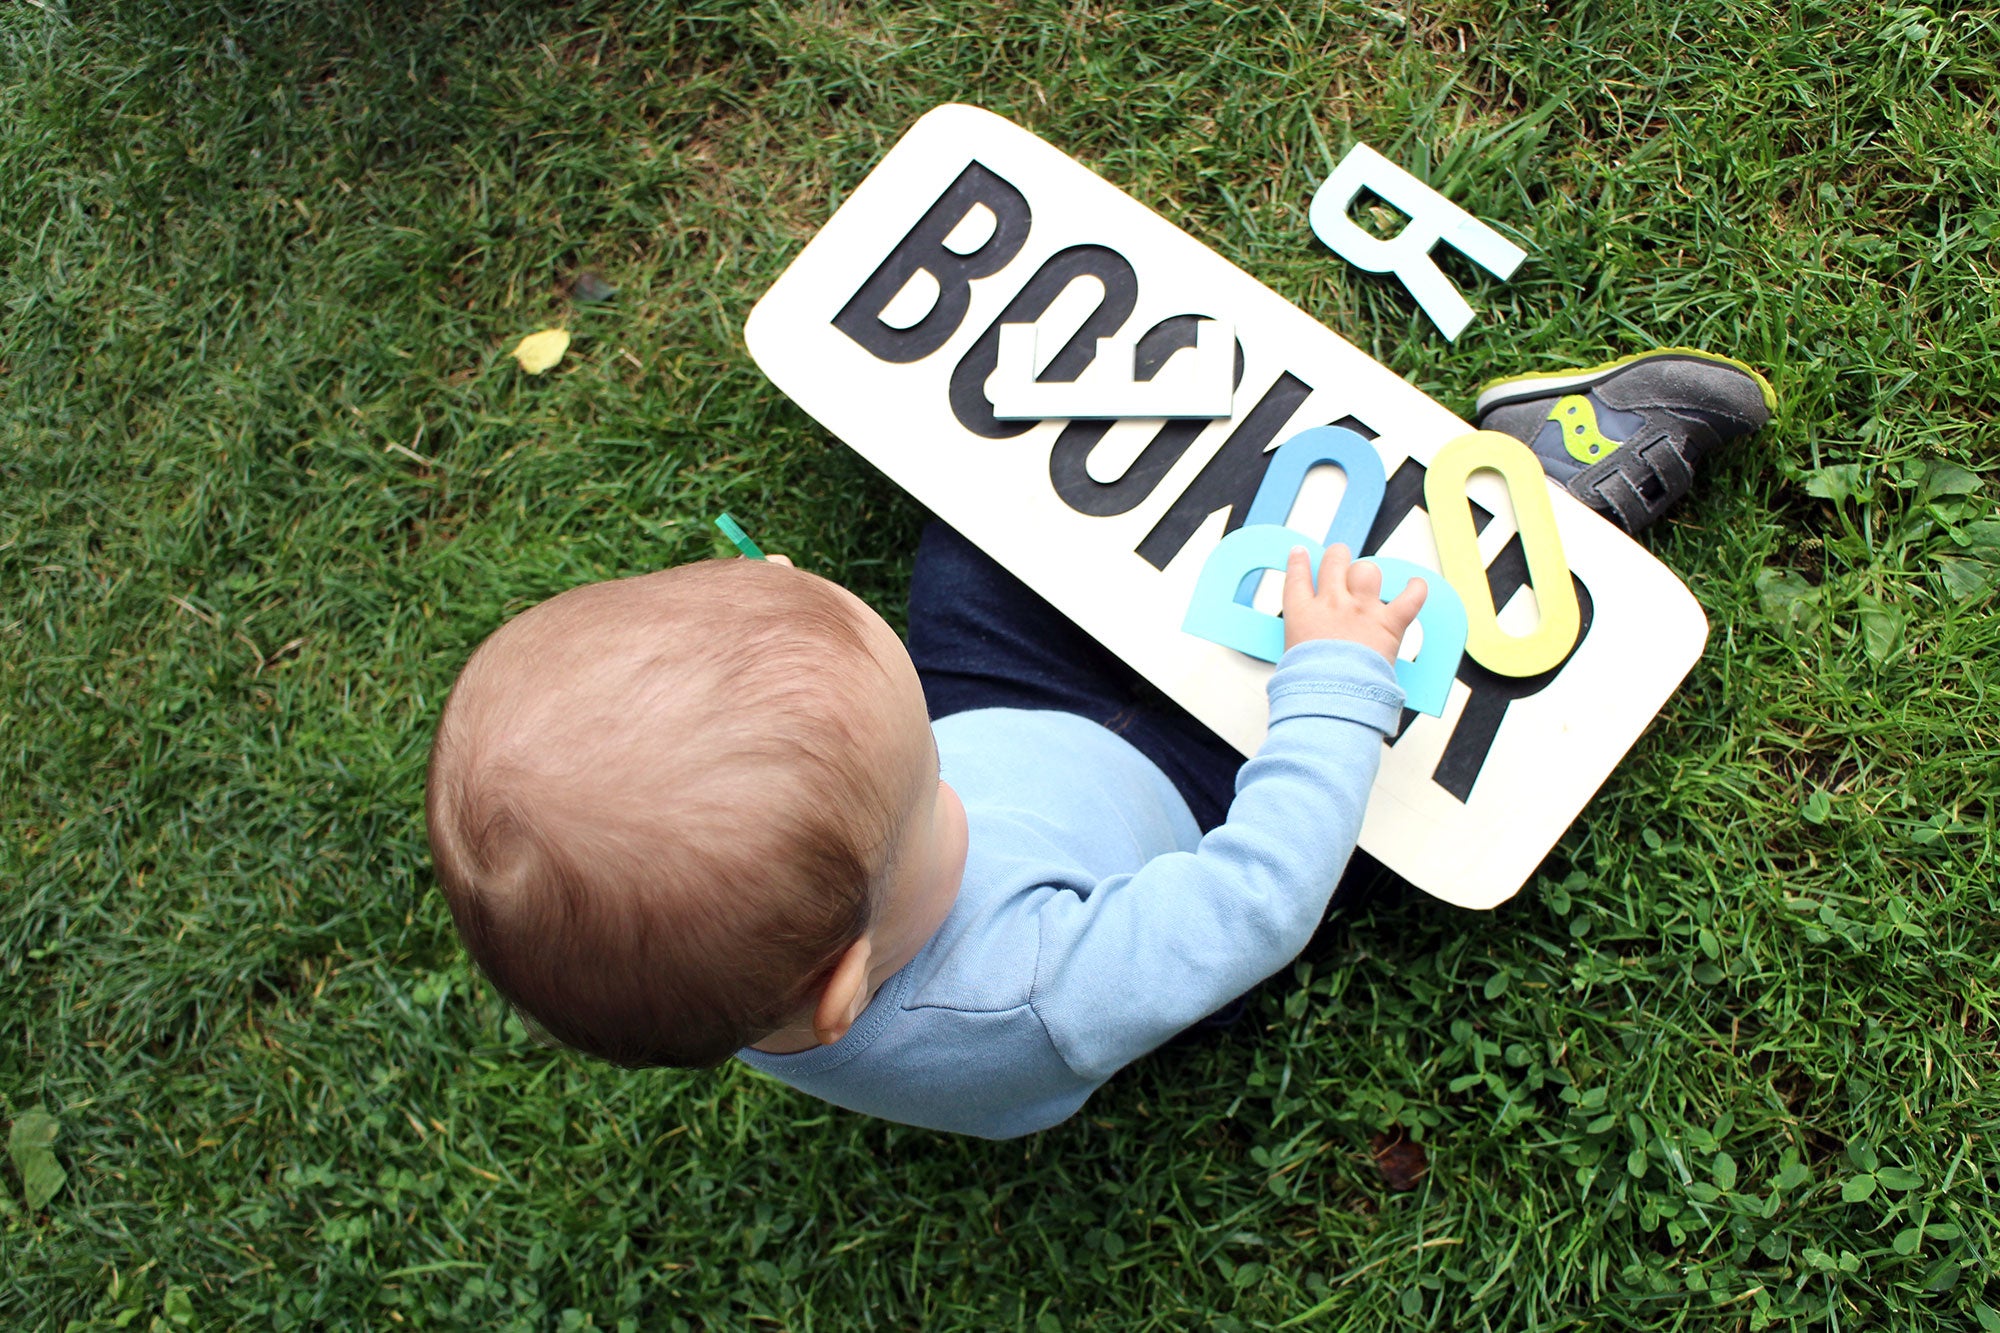
You might think that Tinkercad is just for 3D design, but the program has a neat function to take a slice of whatever shapes are touching the workplane and generating a vector outline of the shape in the form of an SVG file. With some creative design you can create all kinds of vector shapes which can be sent to a laser cutter for precise cutting.
I'll show you how I made these easy letter puzzles from design to reality in under an hour.
Ready? Let's make!
Start Design + Add Letters
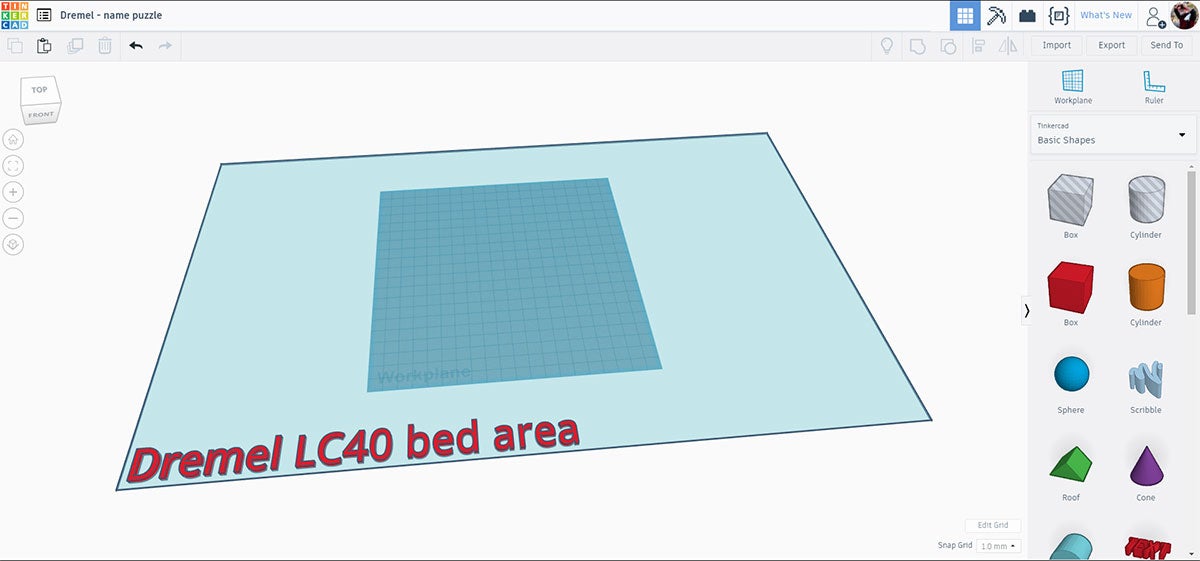
Start by going to Tinkercad and starting a new design. Alternatively you can use the template I made which has the Dremel laser bed size already loaded up so you can fit all your designs to the laser area. Here's what the template looks like
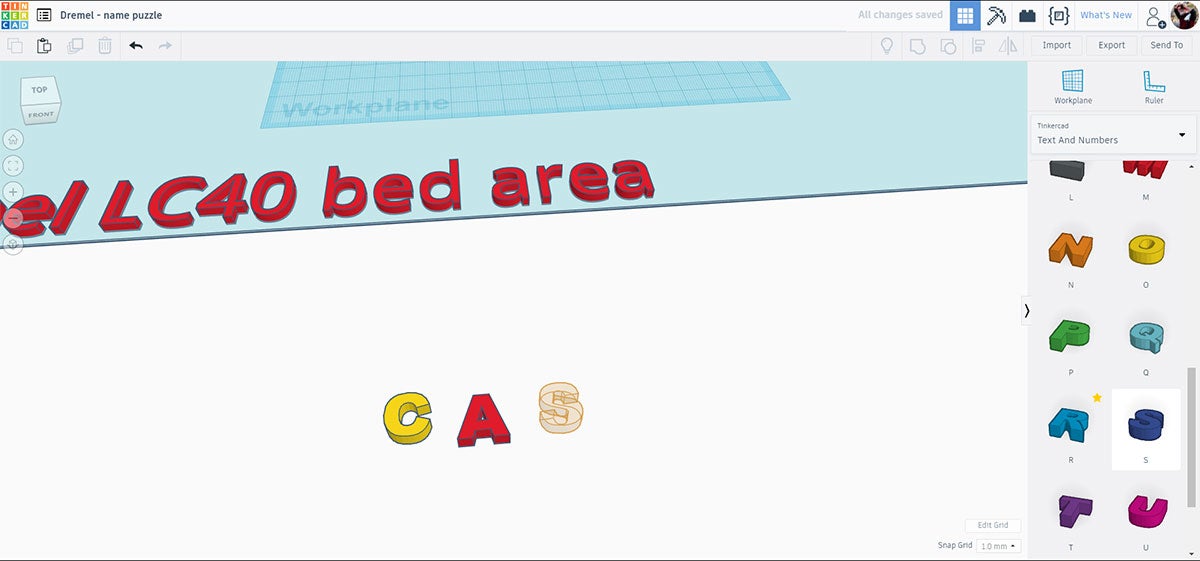
Tinkercad already has a few ways to add letters to a design. Individual letters can be added from the dropdown menu on the right side of the screen selecting text and numbers
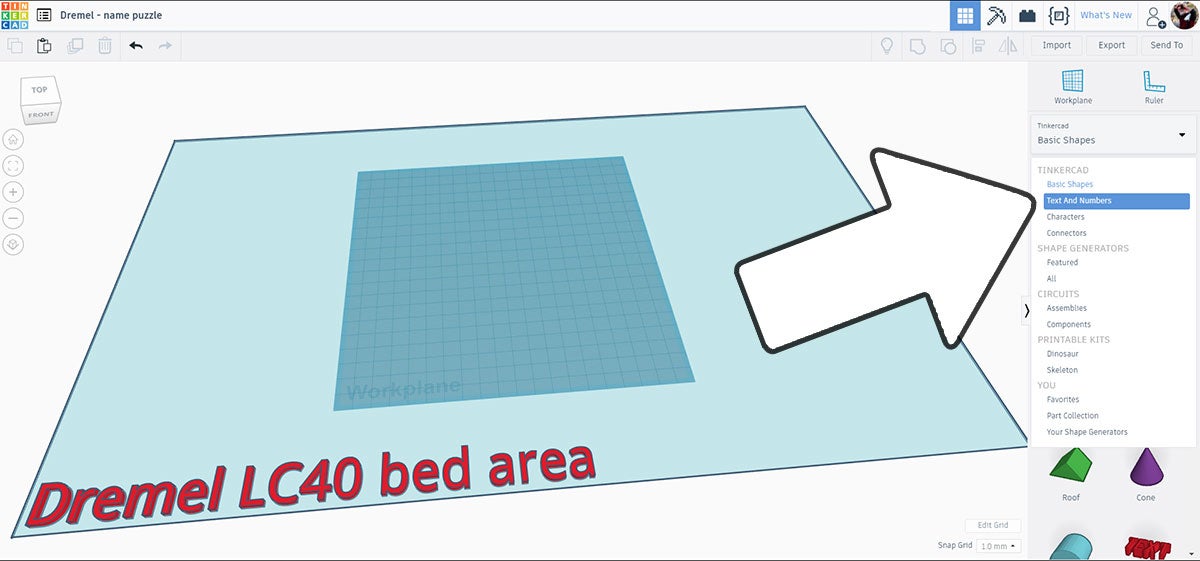
Individual letters can be dragged from the library on the right onto the workplane. The benefit here is that each letter is editable, meaning they can be sized and stretched individually, but you're suck with the font that the program comes with. This project can be done with these letters, but I wanted something a little different.
For my letter puzzle I chose a community submitted design that has a few fonts to chose from, and I think he letters work a little better for this application. From the dropdown menu chose Shape Generators > All to see all the approved custom shapes the community have submitted.
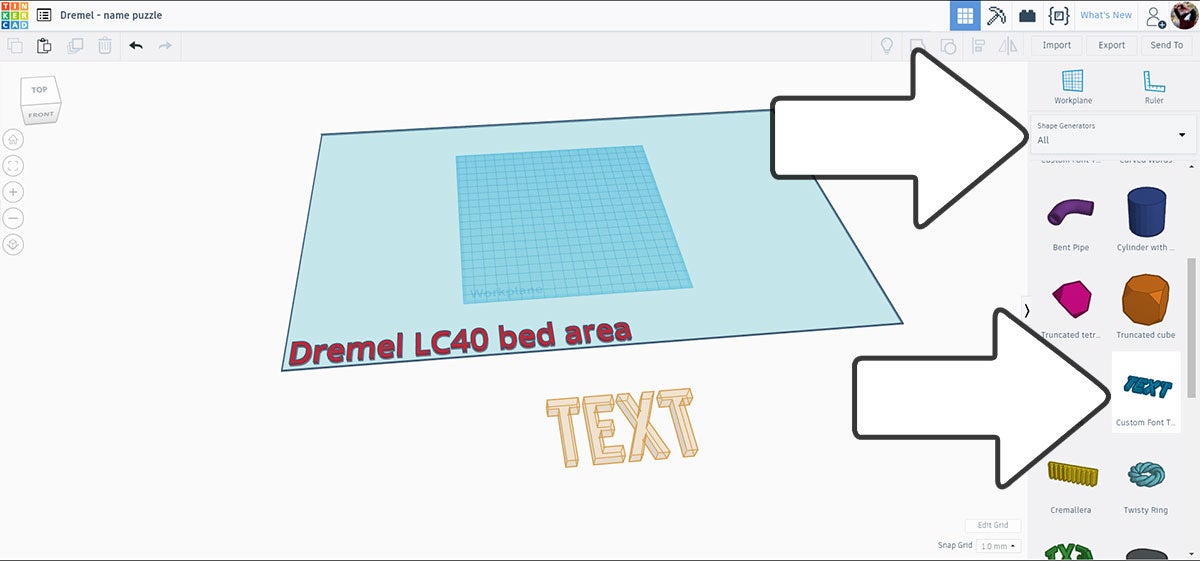
I found this text shape block on page 2. Drag it onto the workplane to start editing it.
Add Speech Bubble (Optional)
The laser cutter can also do light passes which will score or etch the wood rather than cut through it. I decided to add a score line around the letters in the shape of a speech bubble, to make my design different than the ones I've seen online.
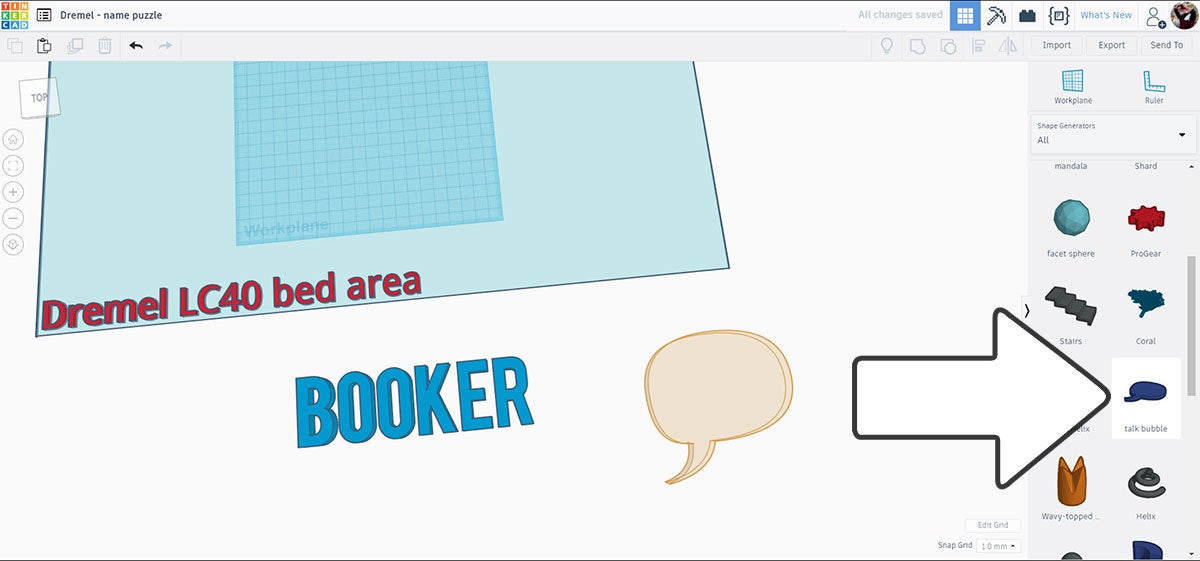
In the Shape Generator > All library I found a premade speech bubble I could grab and drag onto the workplane, sizing it around the letters of my design.
Letter Backing
The letters will need to have a backing so they don't fall through the cutouts the laser will cut into the wood. From the dropdown menu I chose Basic Shapes and dragged a box onto the workplane.
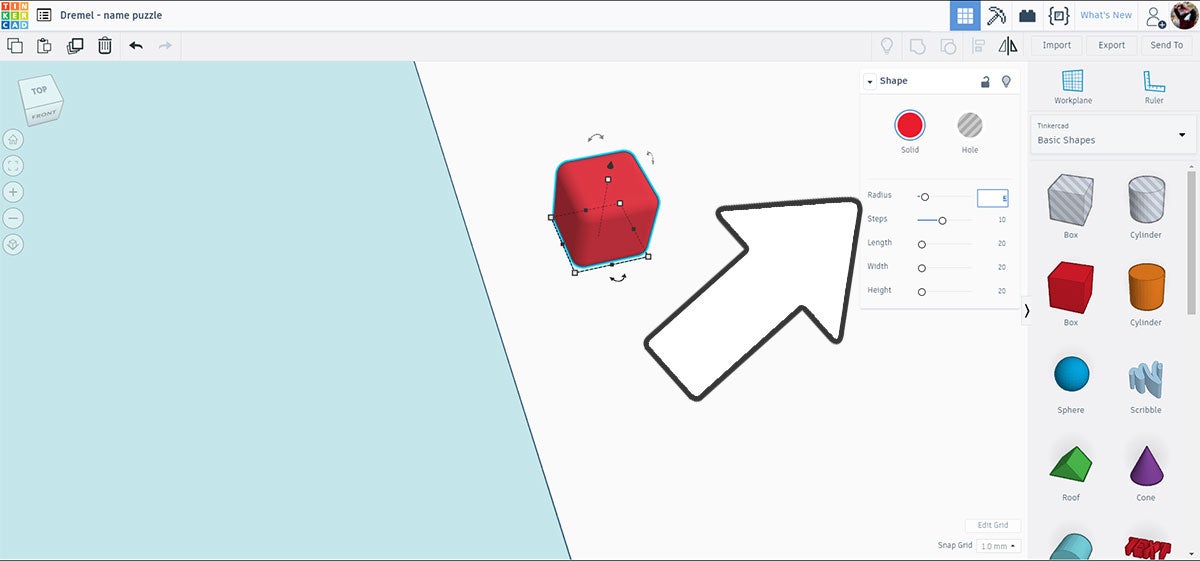
With the box selected the edges can be rounded over using the radius slider. To get a soft edge without losing too much of the boxy shape I set the radius to 2.
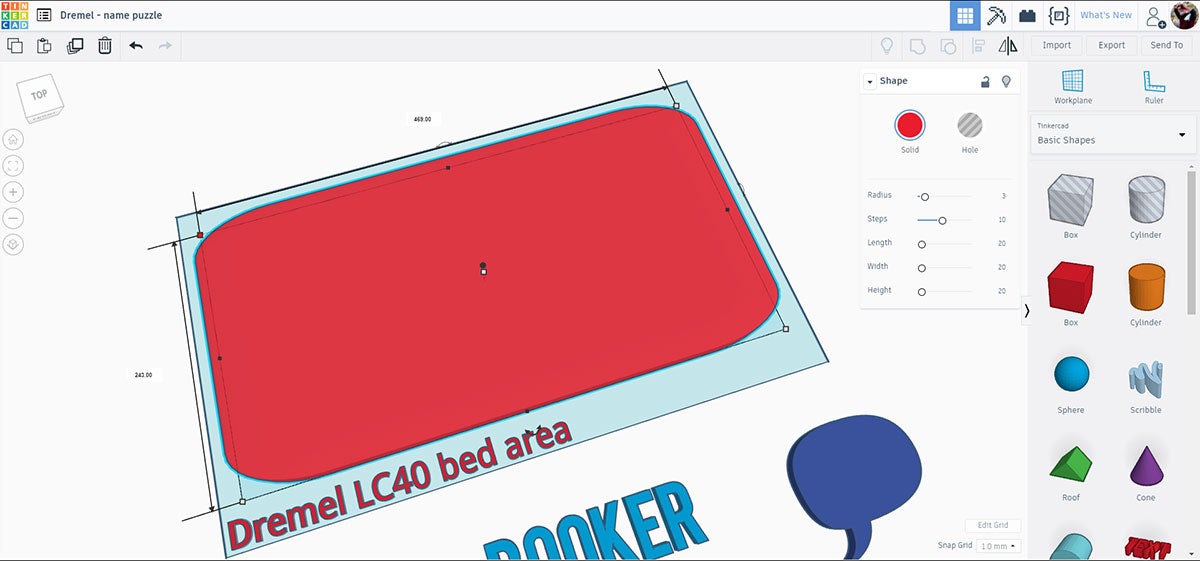
The box was then stretched out using the corner tabs to fit onto the Dremel laser bed, leaving a small margin around the edges of the bed area so my tolerances can be loose.
Size + Arrange Letters
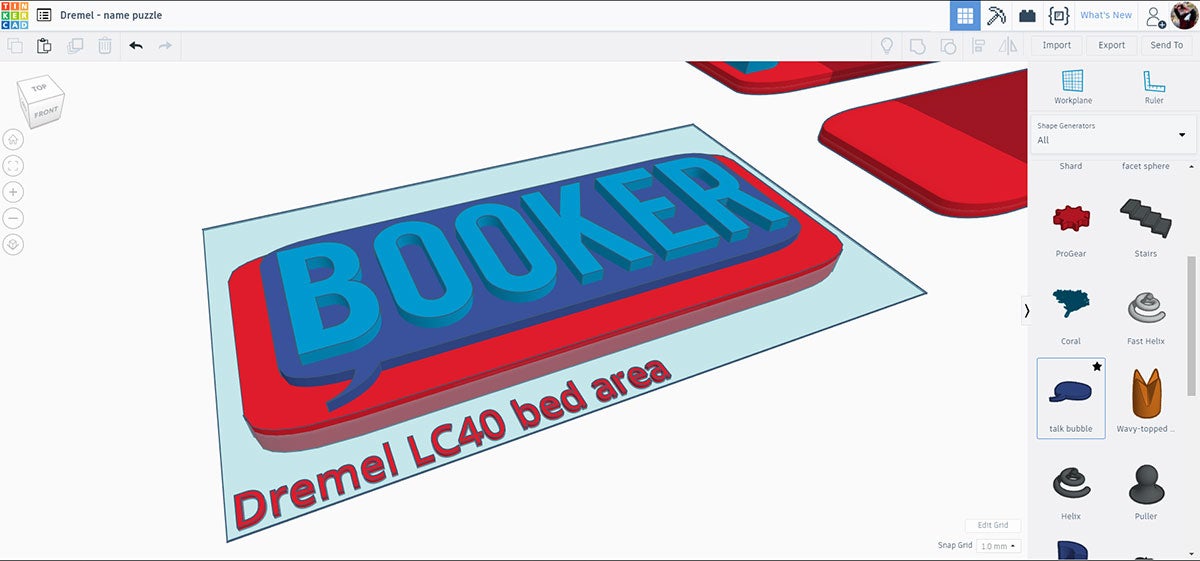
With the letter backing in place the letters and speech bubble can be located. The align tool in the top toolbar is a great asset to get things neatly aligned to each other. Simple select the shapes you want to align together and then click the align tool (or L on the keyboard) and chose how you want the shapes aligned.
To make things easier to see I changed the height of my elements to be different, with the shortest height on the outside and taller elements towards the center. Even though the program will ignore height and only generate an SVG from the parts that are touching the workplane having different heights allows an easier visual of what's going on.
Arrange + Export
To get the different elements the parts ned to be broken into segments that the laser will understand. Since the cutouts will be stacked, from bottom to top we have:
- Backing layer - blank outline
- Letter layer - cutout of letters which letters will be stuck back into
- Score line - speech bubble score line applied to letter layer
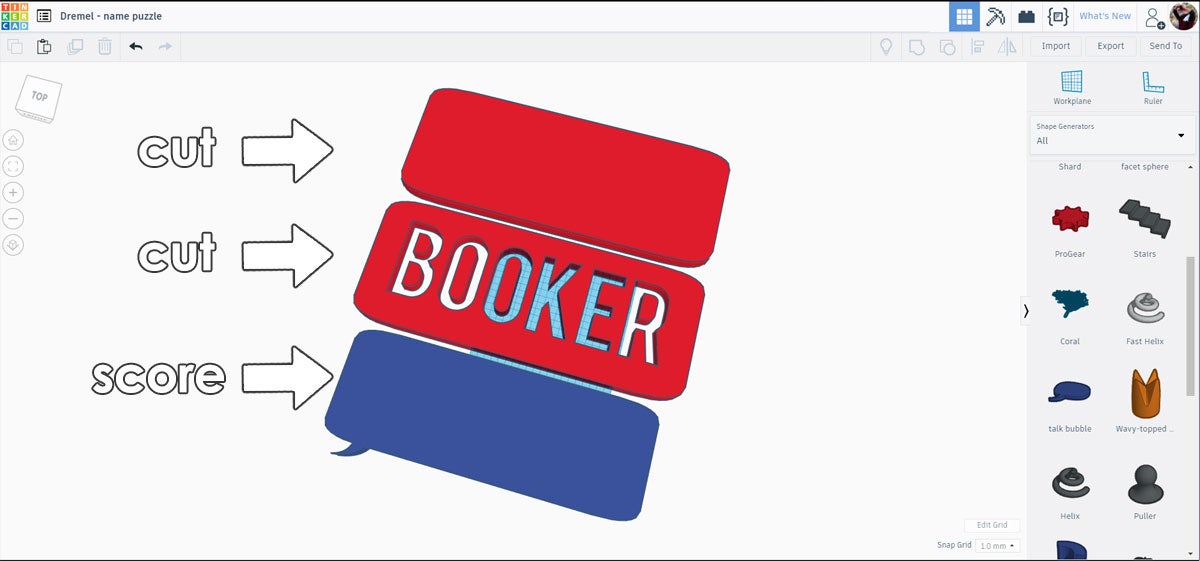
Select each element separately and then click export from the top toolbar.
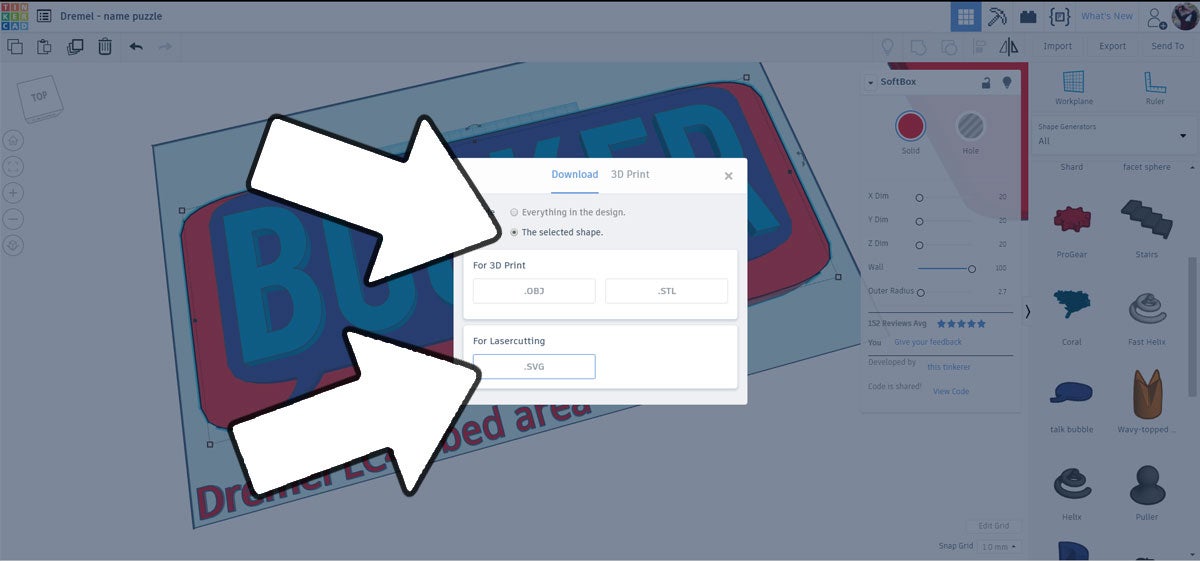
The popup will ask how you want to save the file, chose STL for laser cutting. Repeat for each element in the design (for me, it was 3 elements). We can define how they are cut in the laser interface.
Laser Time!
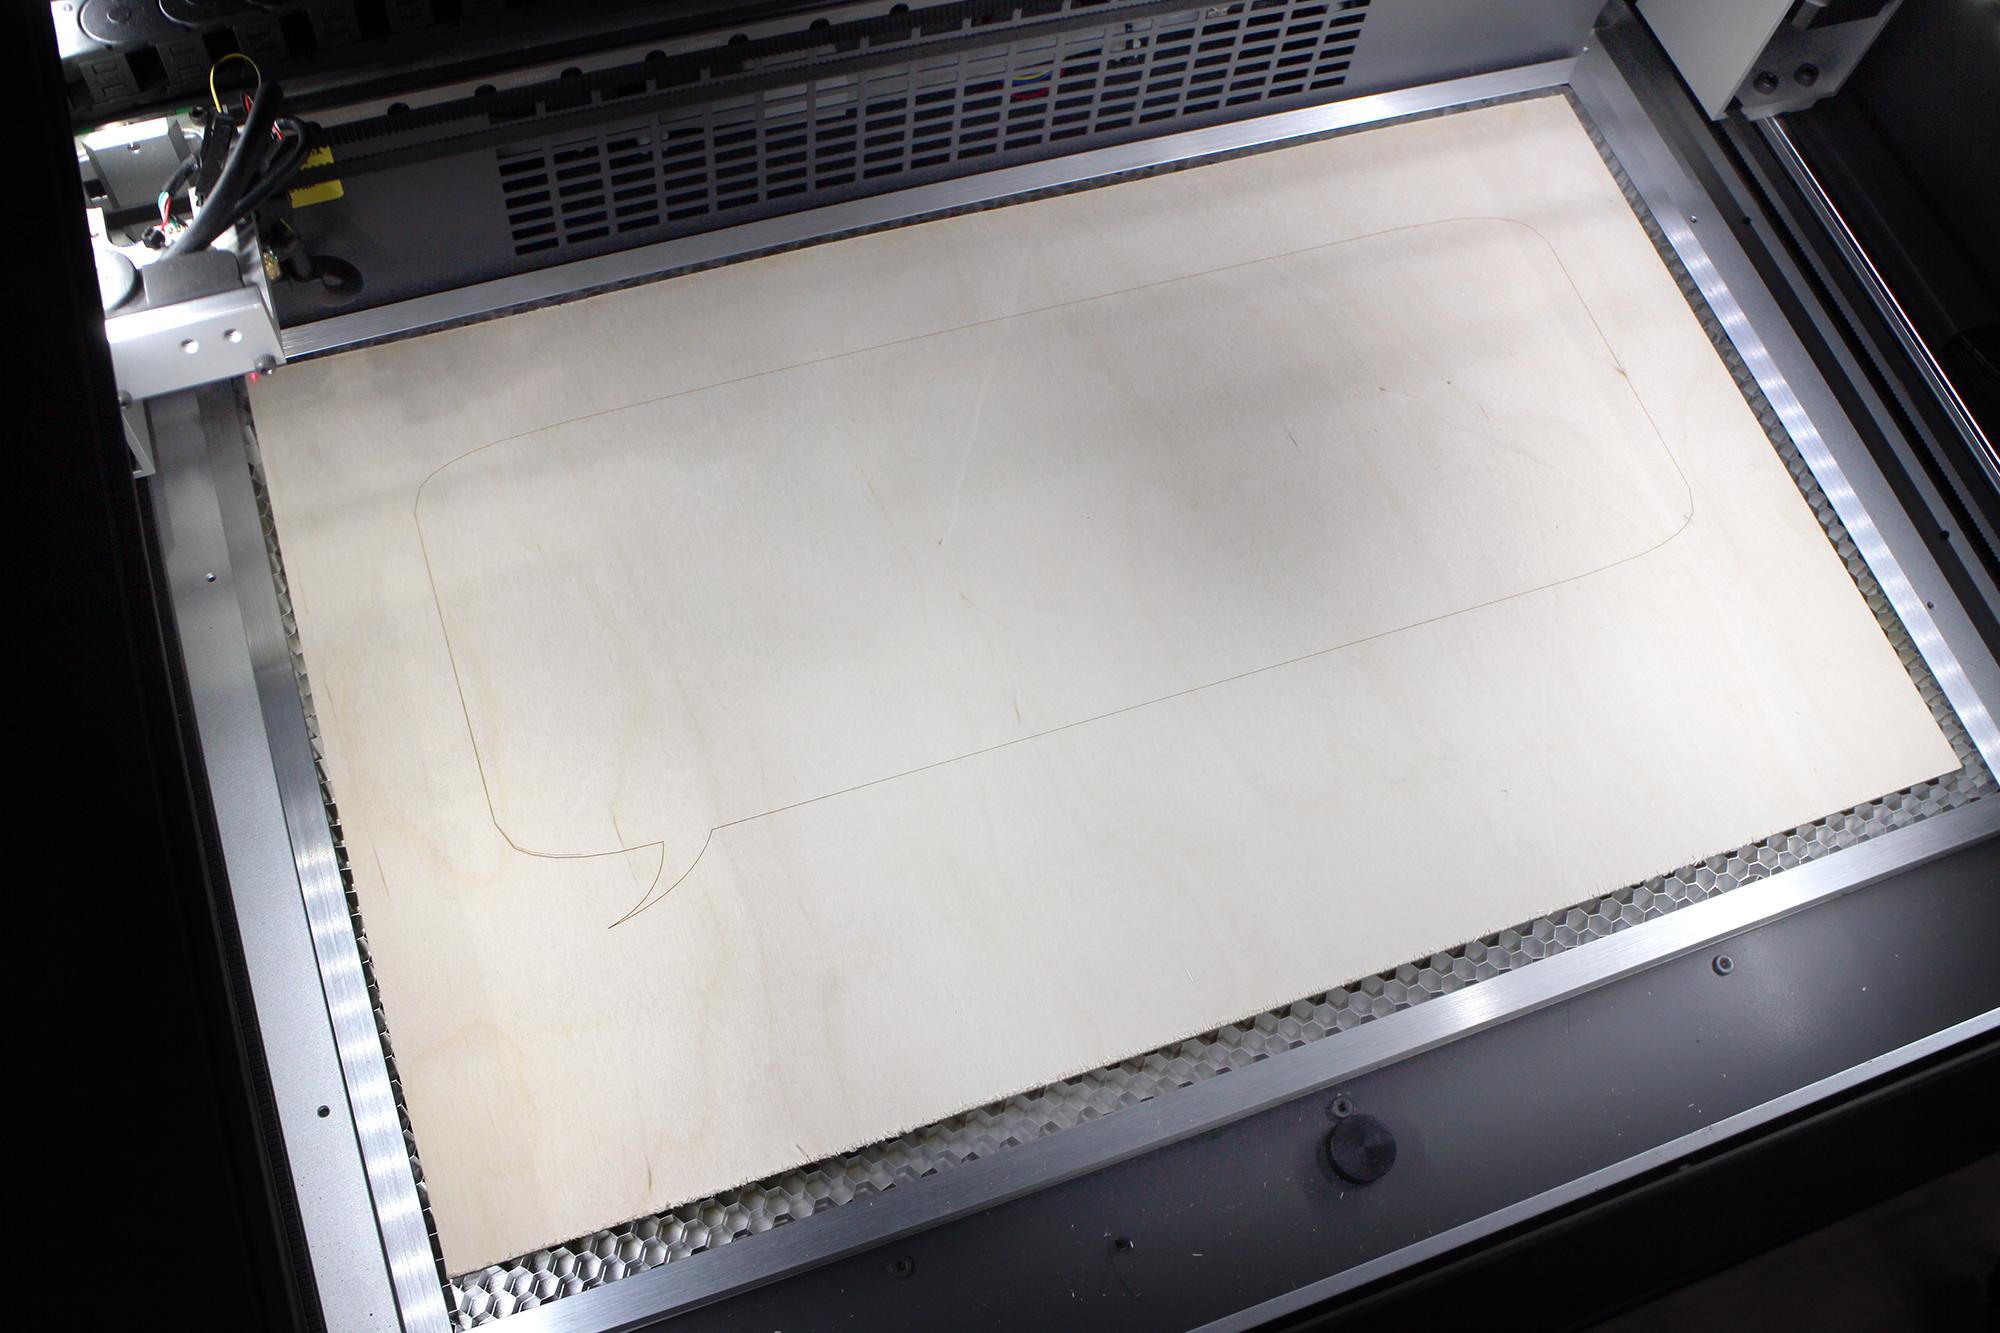
Once the SVG files have been generated from the models they can be imported to the laser cutter interface. Dremel's laser uses a your browser as the interface, which means there's nothing to download. Also, unlike the Glowforge, the Dremel doesn't require the cloud or Internet access, it operated over your local wifi. Pretty neat!
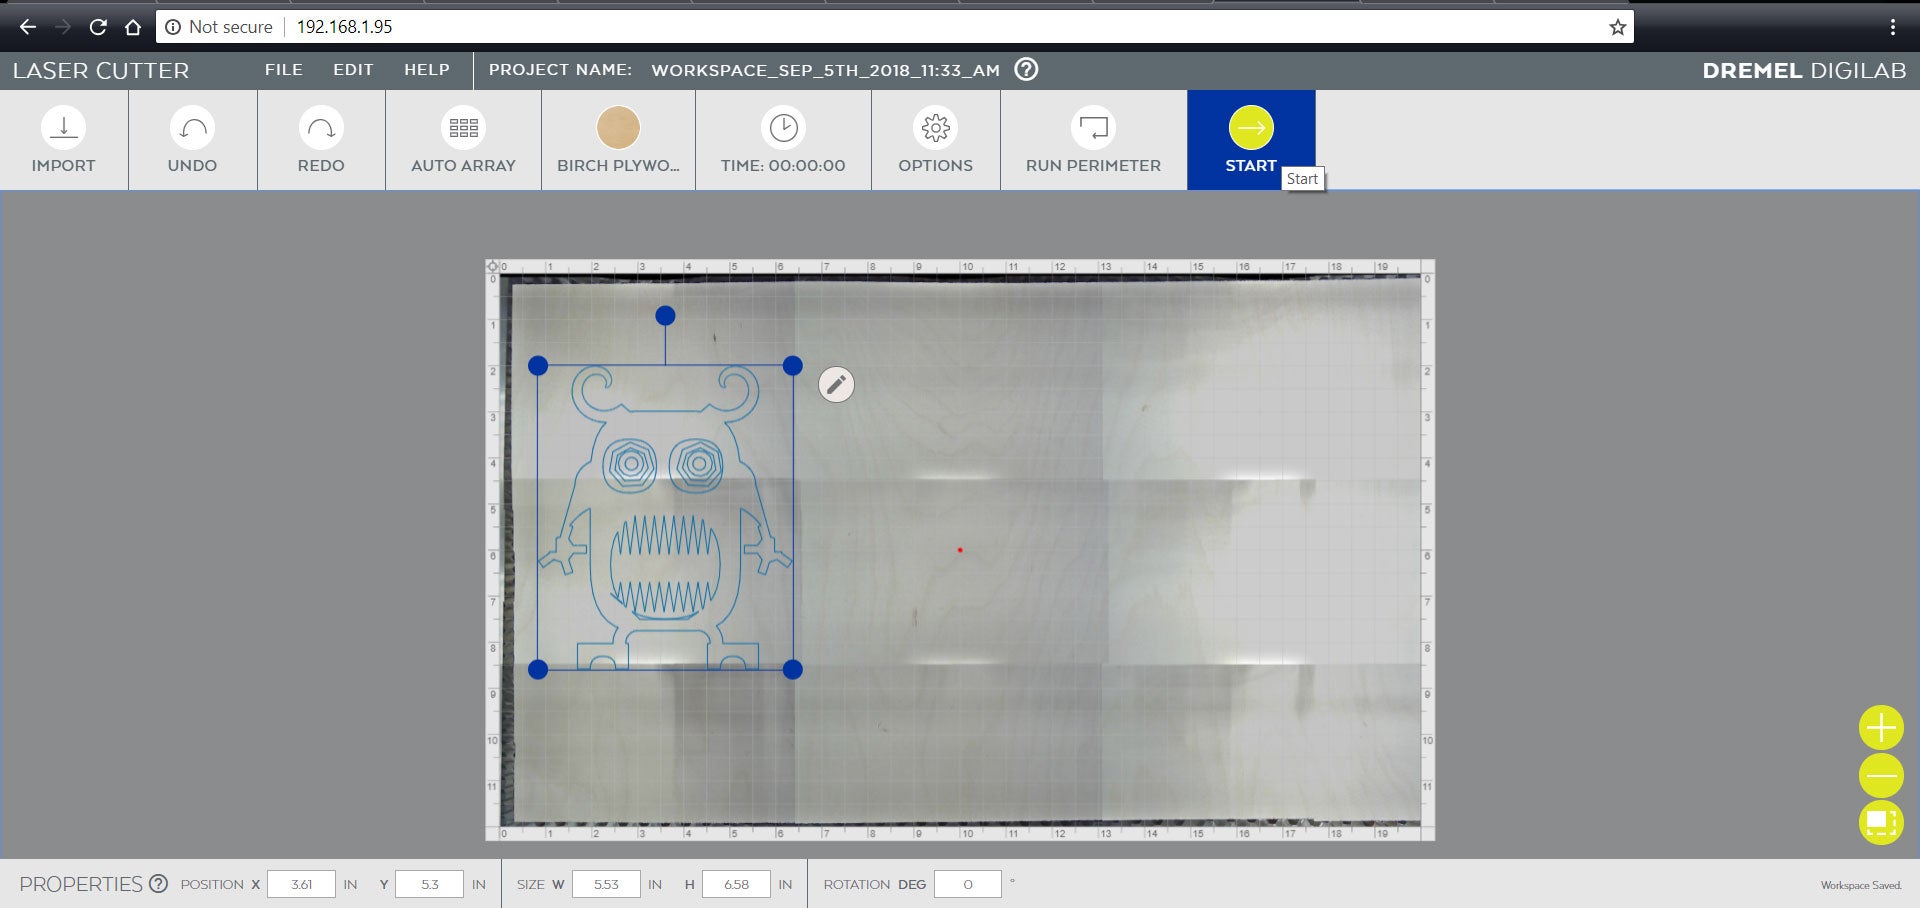
This project has a few different cuts:
- 1/4" plywood letters
- ⅛" plywood letter spaces
- ⅛" plywood backing

These were all loaded in separately and cut. The speech bubble outline was made with a light pass with the laser.

Collect ll the pieces of your cutout, as the islands of the letters will be glued to the backing as part of the design.
Paint Primer
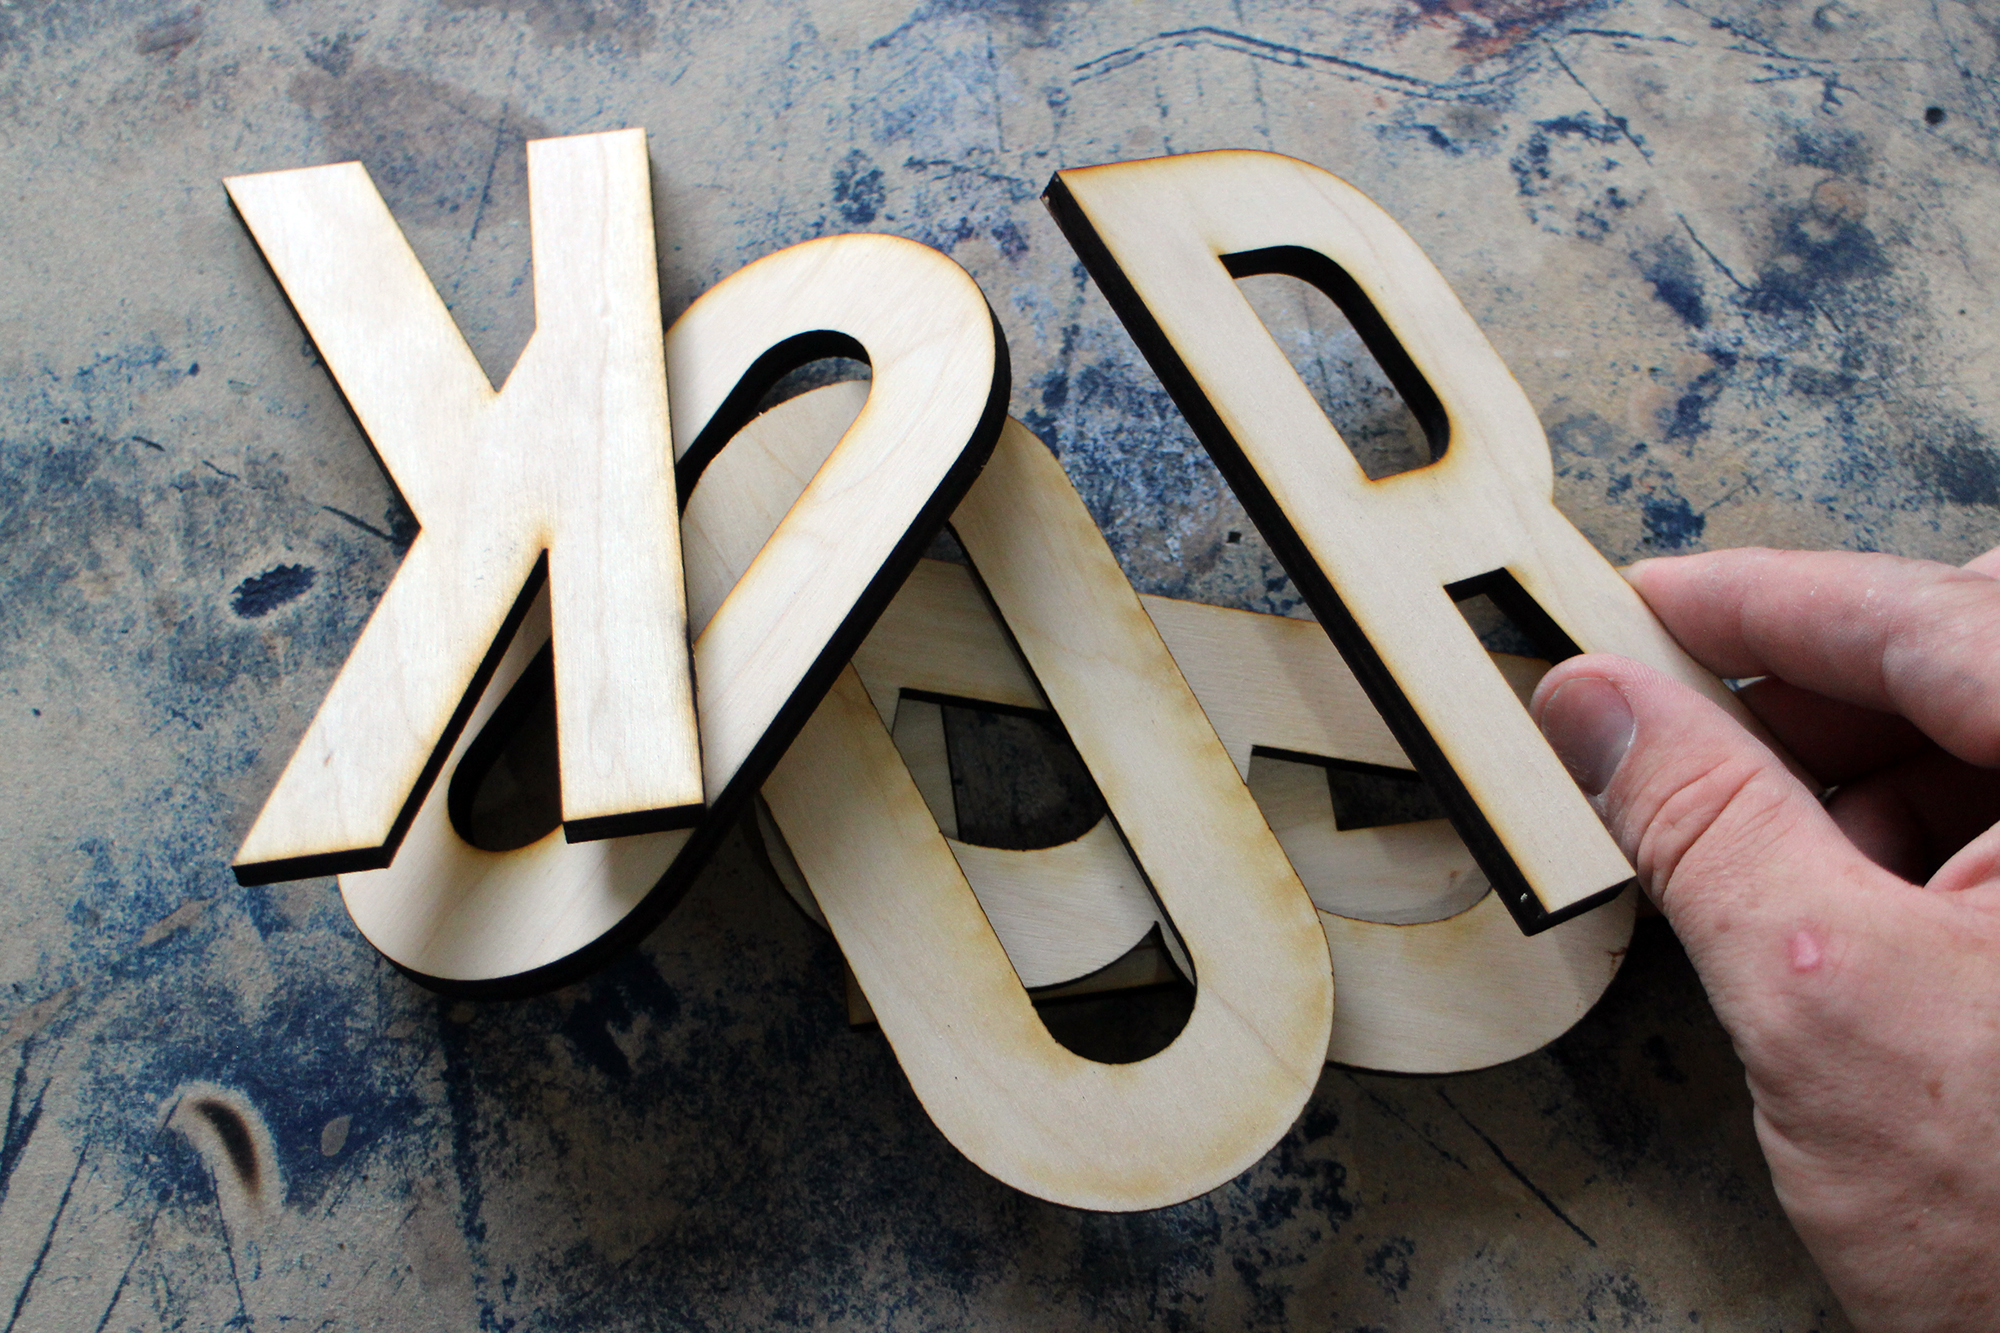
Once the letters are cut they were sanded to remove any scorch marks from the laser using 120 grit sandpaper.
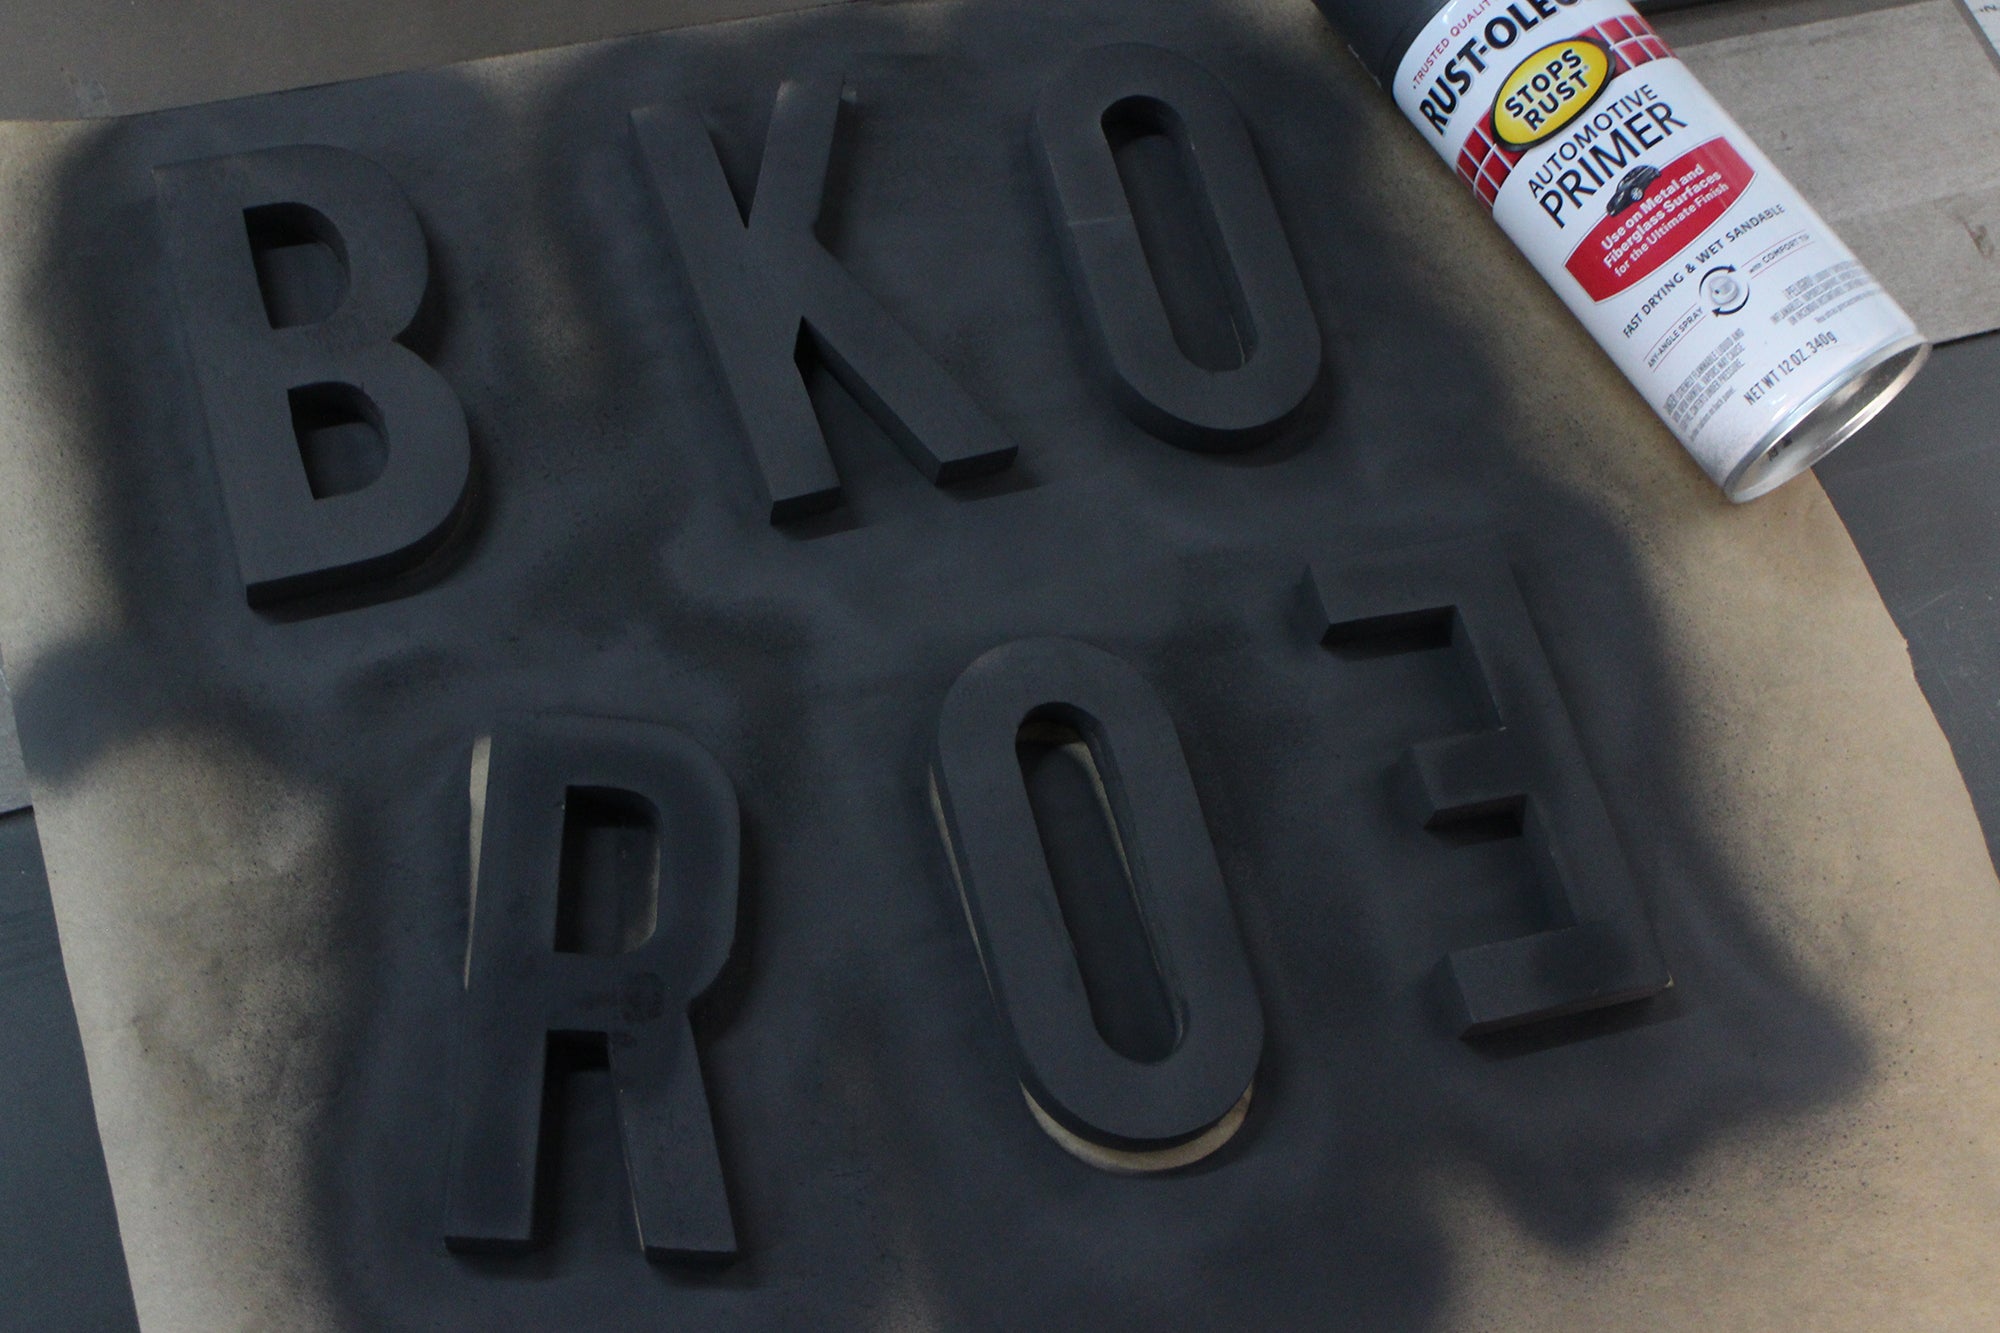
Once sanded the letters were primed with flat primer spray paint on both sides.
Glue + Islands
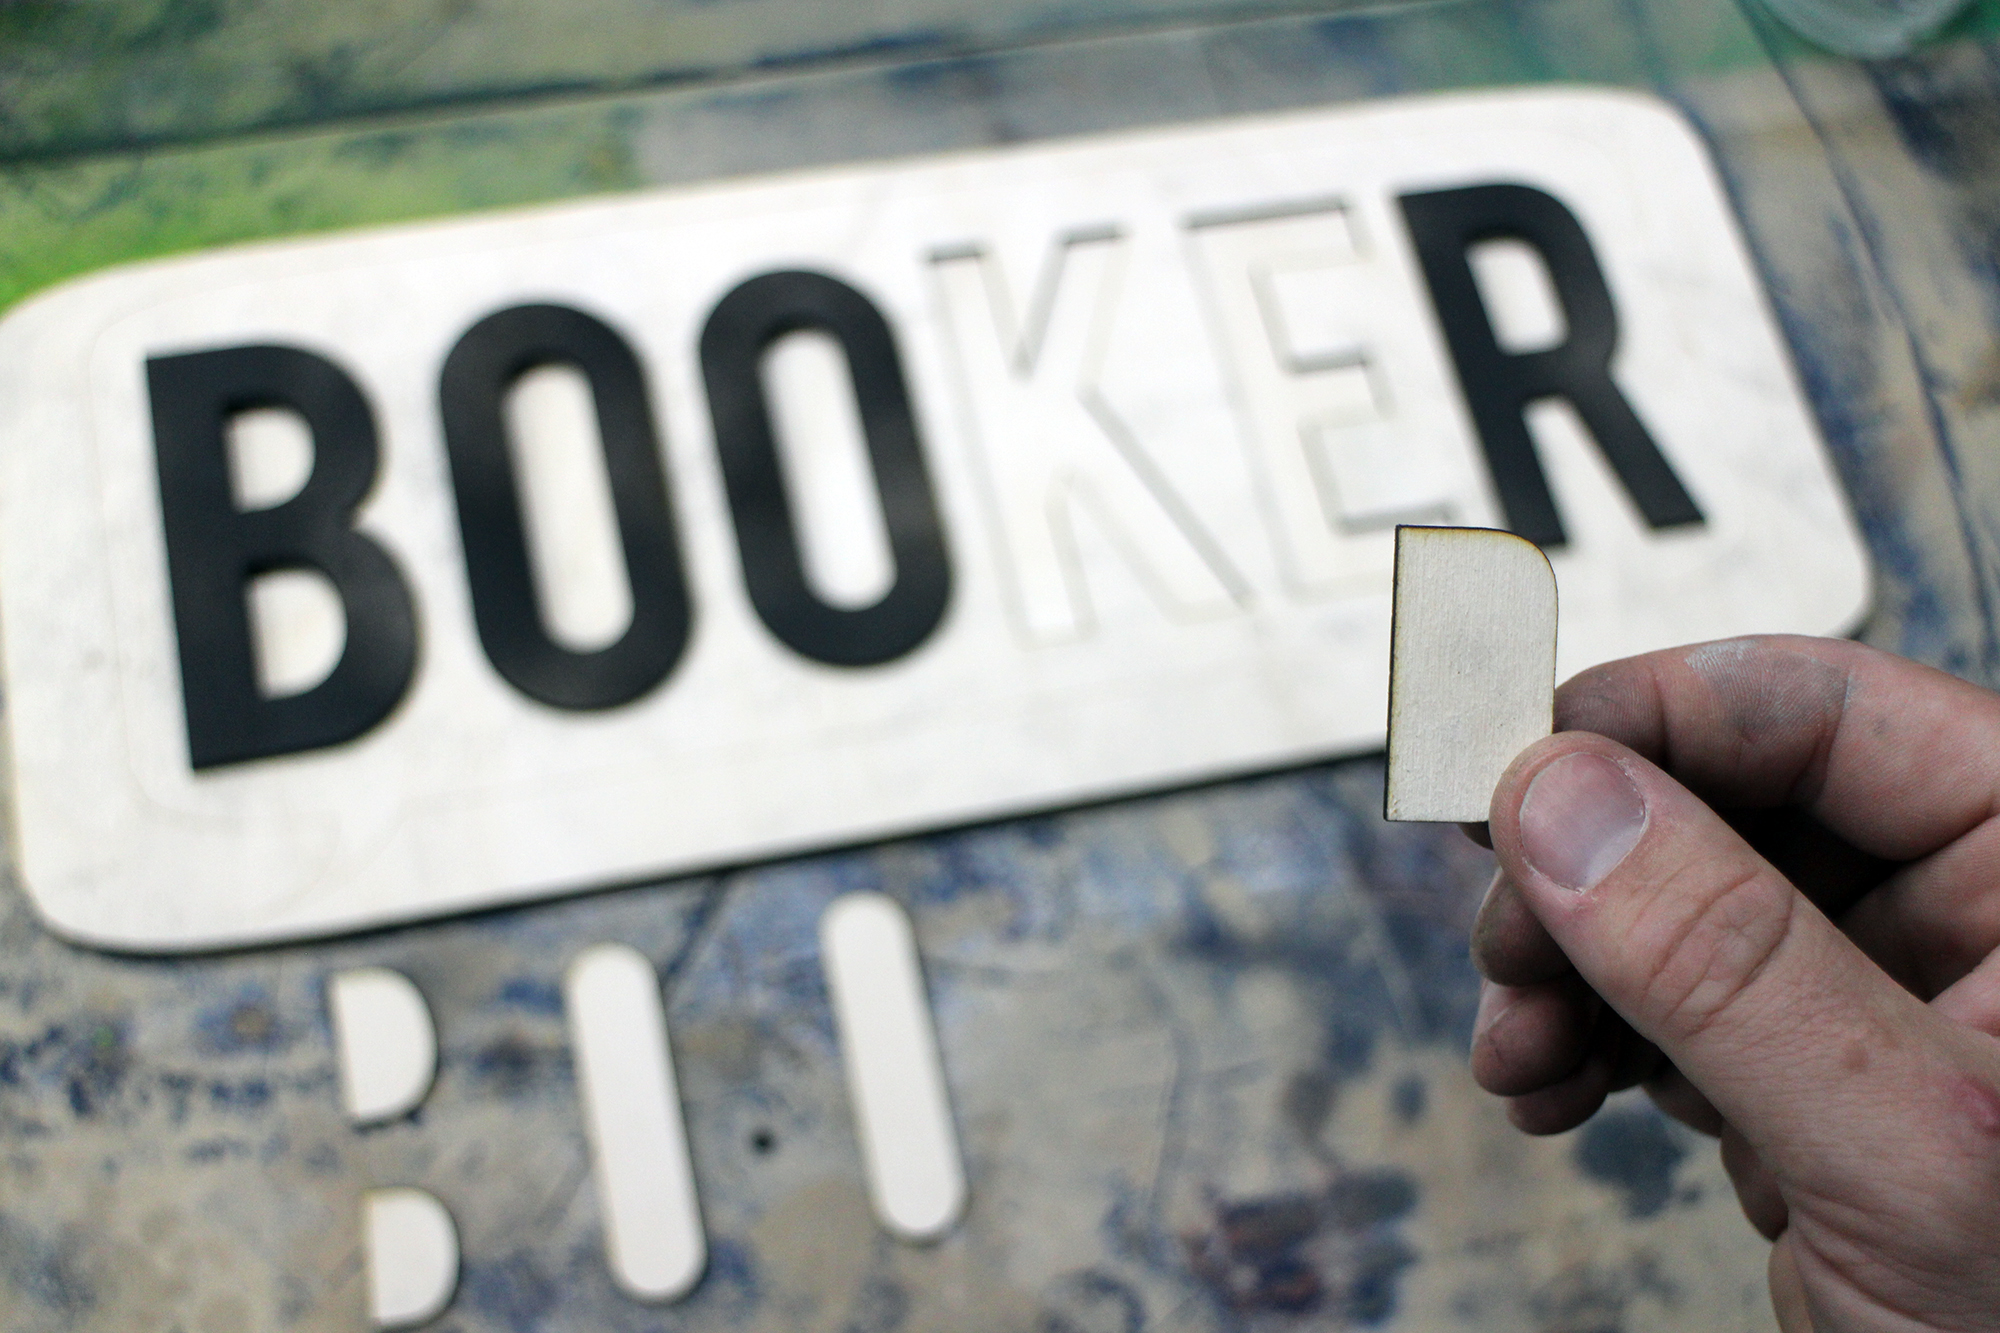
The letter cutout was glued to the backing to make it more rigid and prevent the letters from dropping out the back. The islands of the lettering were then collected and glued back into place.
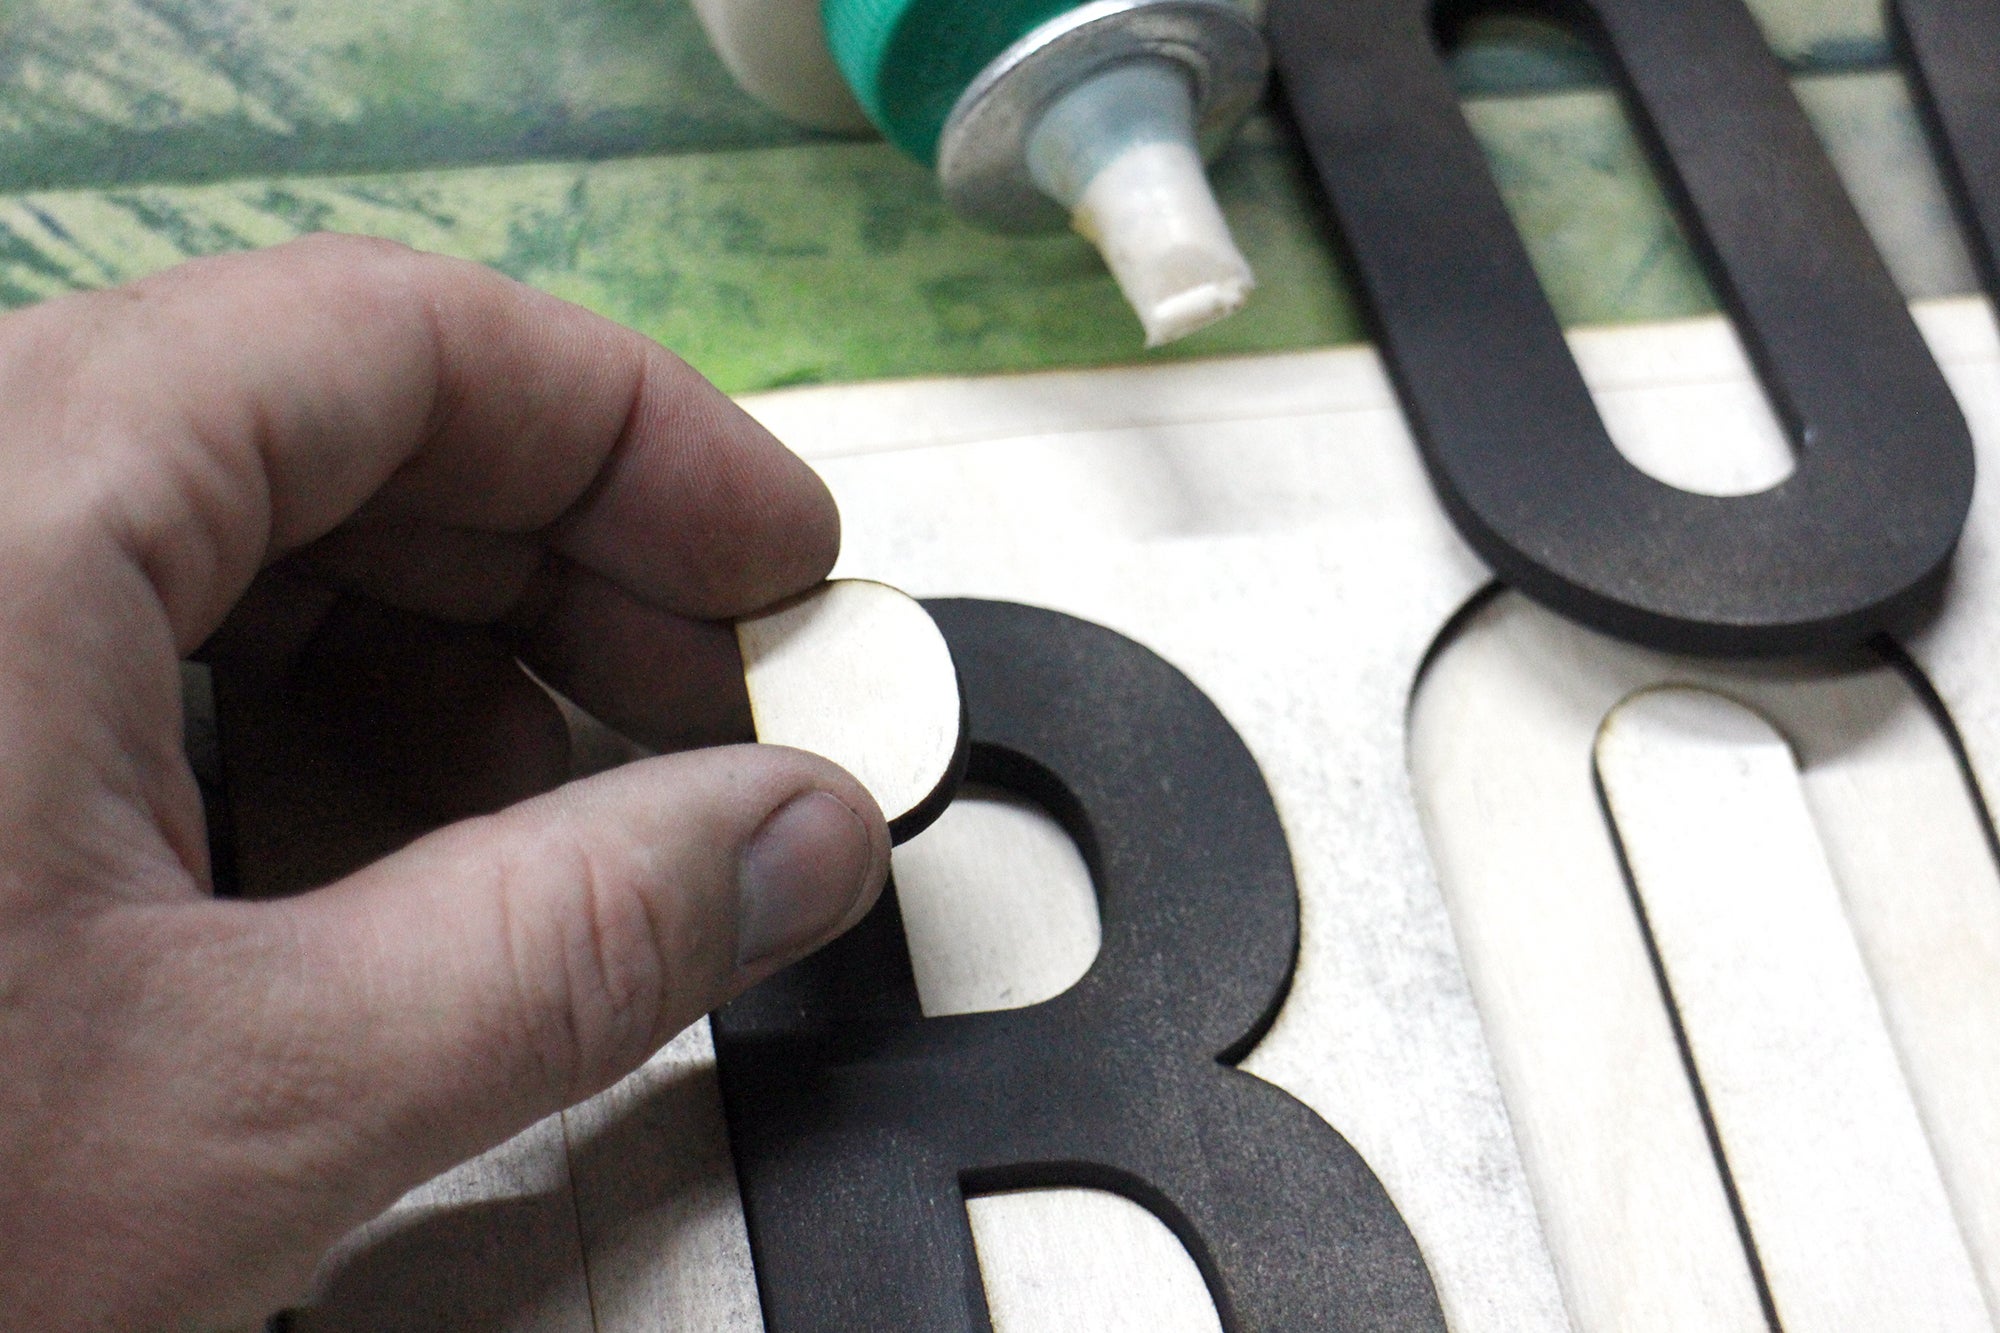
To make registration easier I placed the letters into the cutout spaces, which made aligning the islands easier. The piece was clamped and left overnight to allow the glue to dry completely.
Painting Letters + Finishing
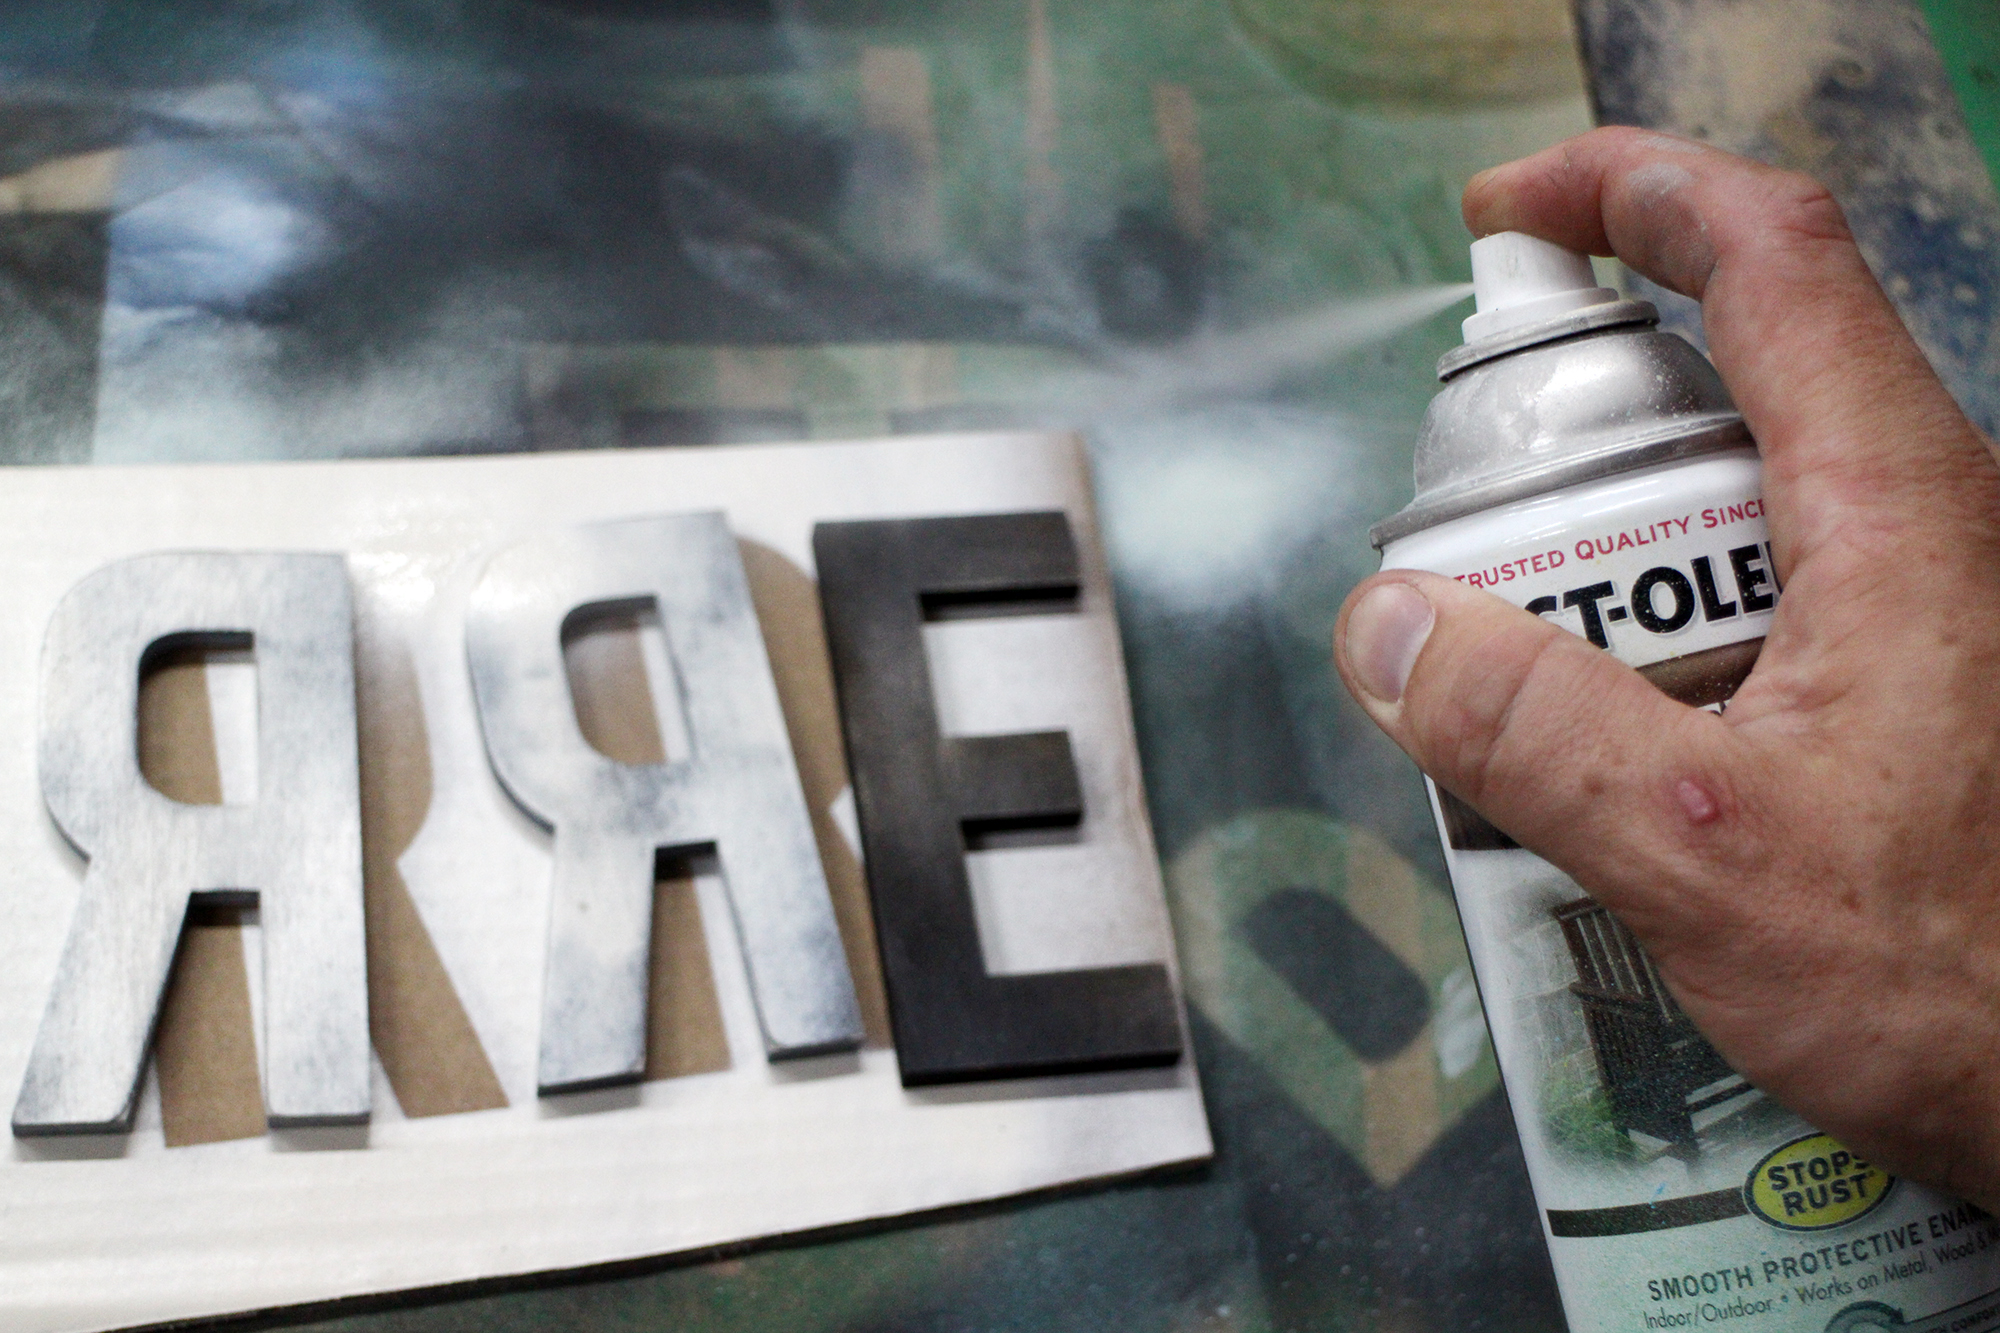
Letters
Painting anything that will come into contact with babies is going to require some special attention. Using a zero VOC (volatile organic compound) is a no-brainer. Acrylic paint is a better choice than oil, and using a polyurethane sealer is the best way to seal in the paint you use.
Polyurethane sealer is inert once it has reacted, meaning that after you apply the polyurethane allow it to dry and cure completely (2 days, to be safe) before putting into babies hands. The polyurethane finish means that the letters can be easily wiped clean. In the image below the bare paint is on the right with the sealed letter on the left - notice how shiny it is.
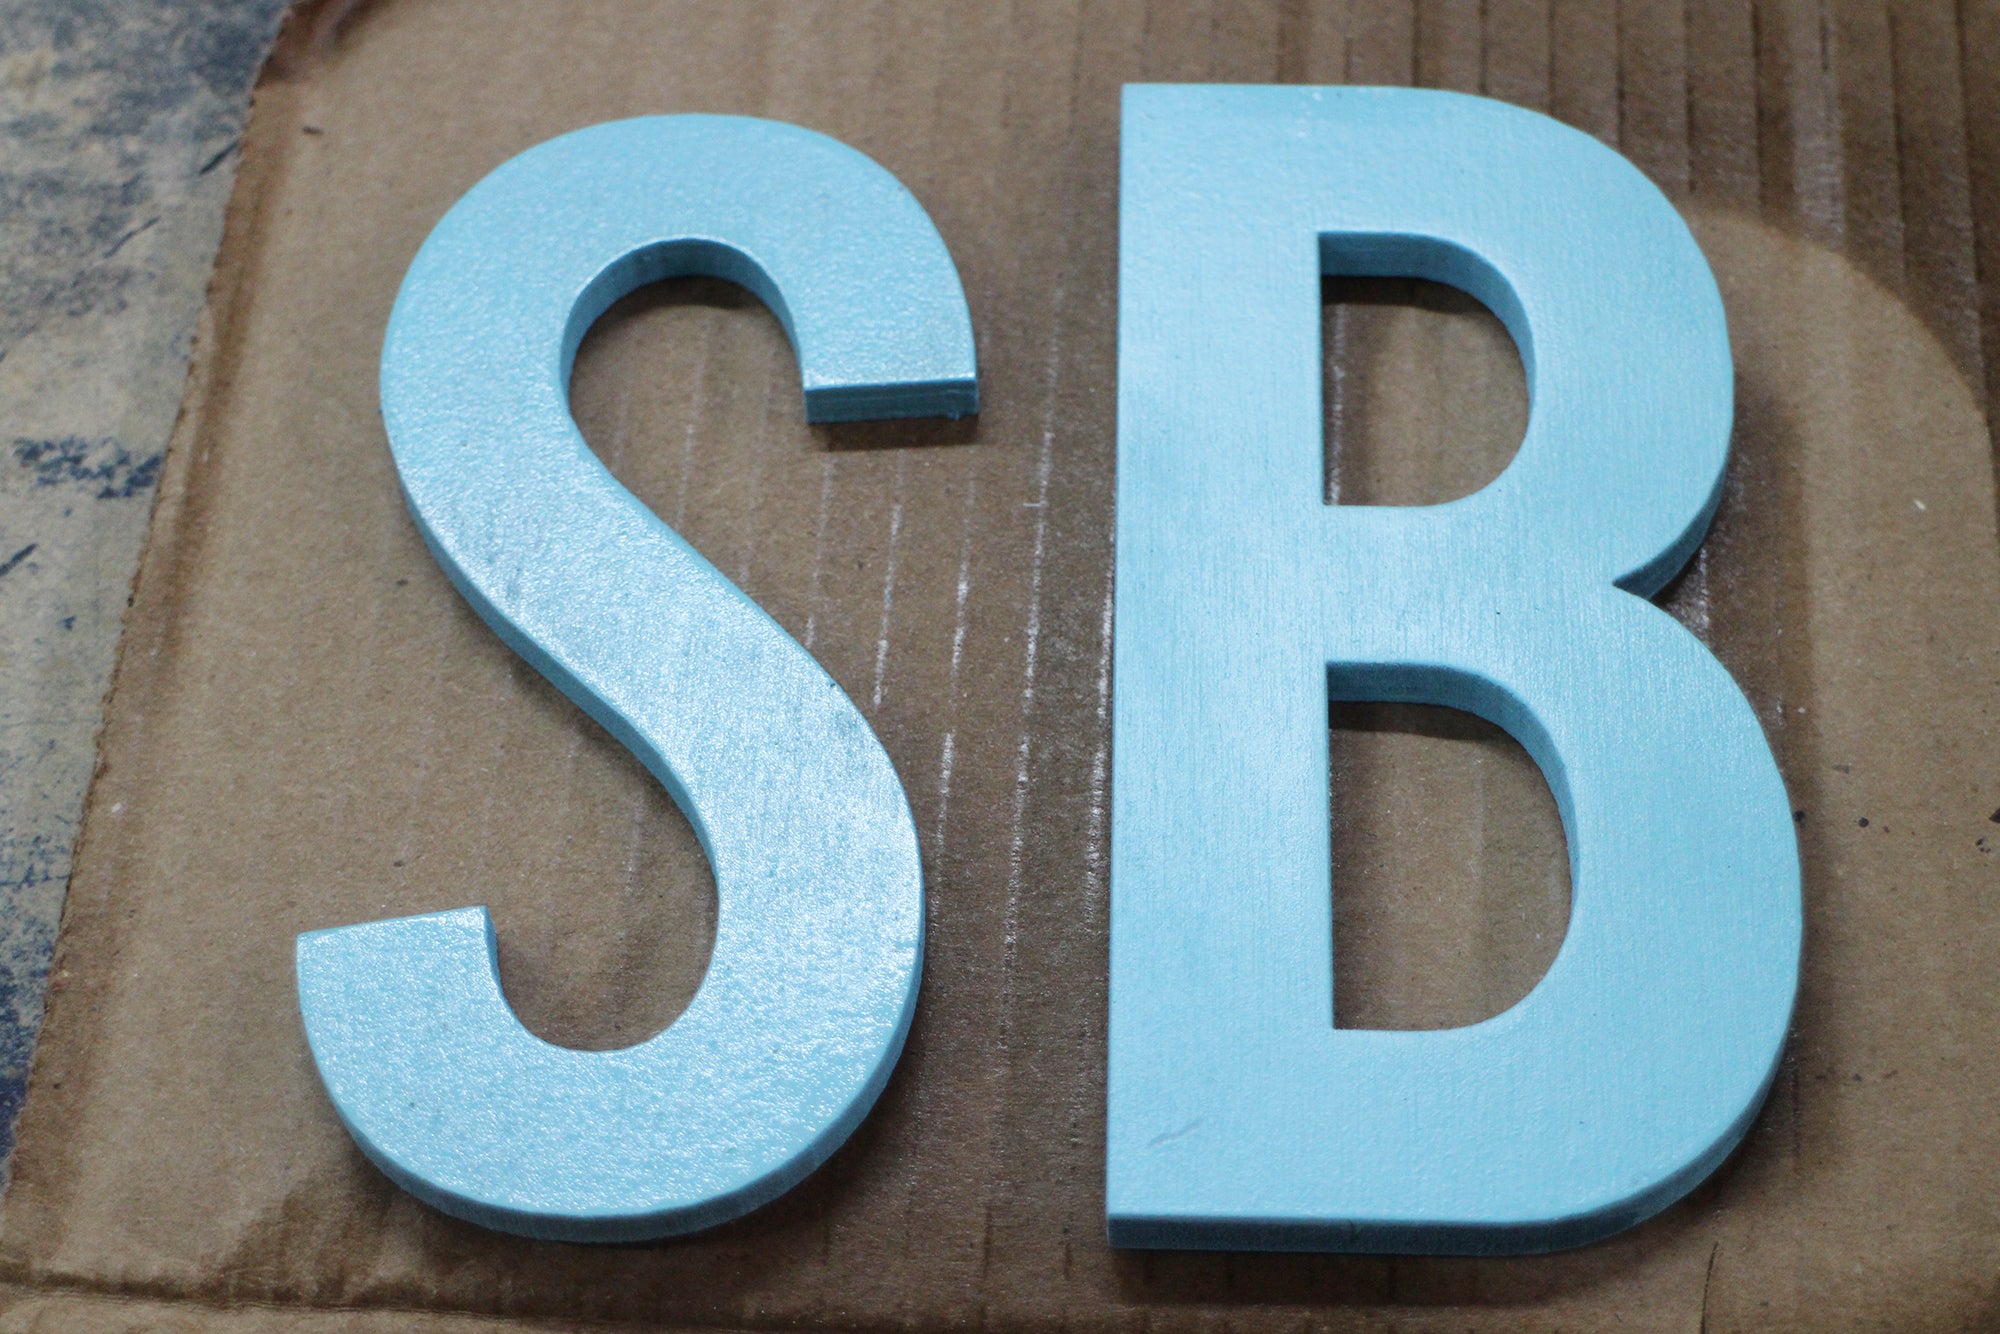
Responsible parenting means that your child's safety regarding paint with this project is only as good the job you do. Zero VOC acrylic paint isn't a problem, but could be if you're not careful in your application. For the safety police, please leave your concerns in the comments below.
Letter Cutouts
I painted the letter spaces black to stand out against the wood backing and really give depth to where the letters should be placed.
Backing
For the wood base I left it natural and applied a natural wax finish. You could do this for the entire
Puzzle Time!
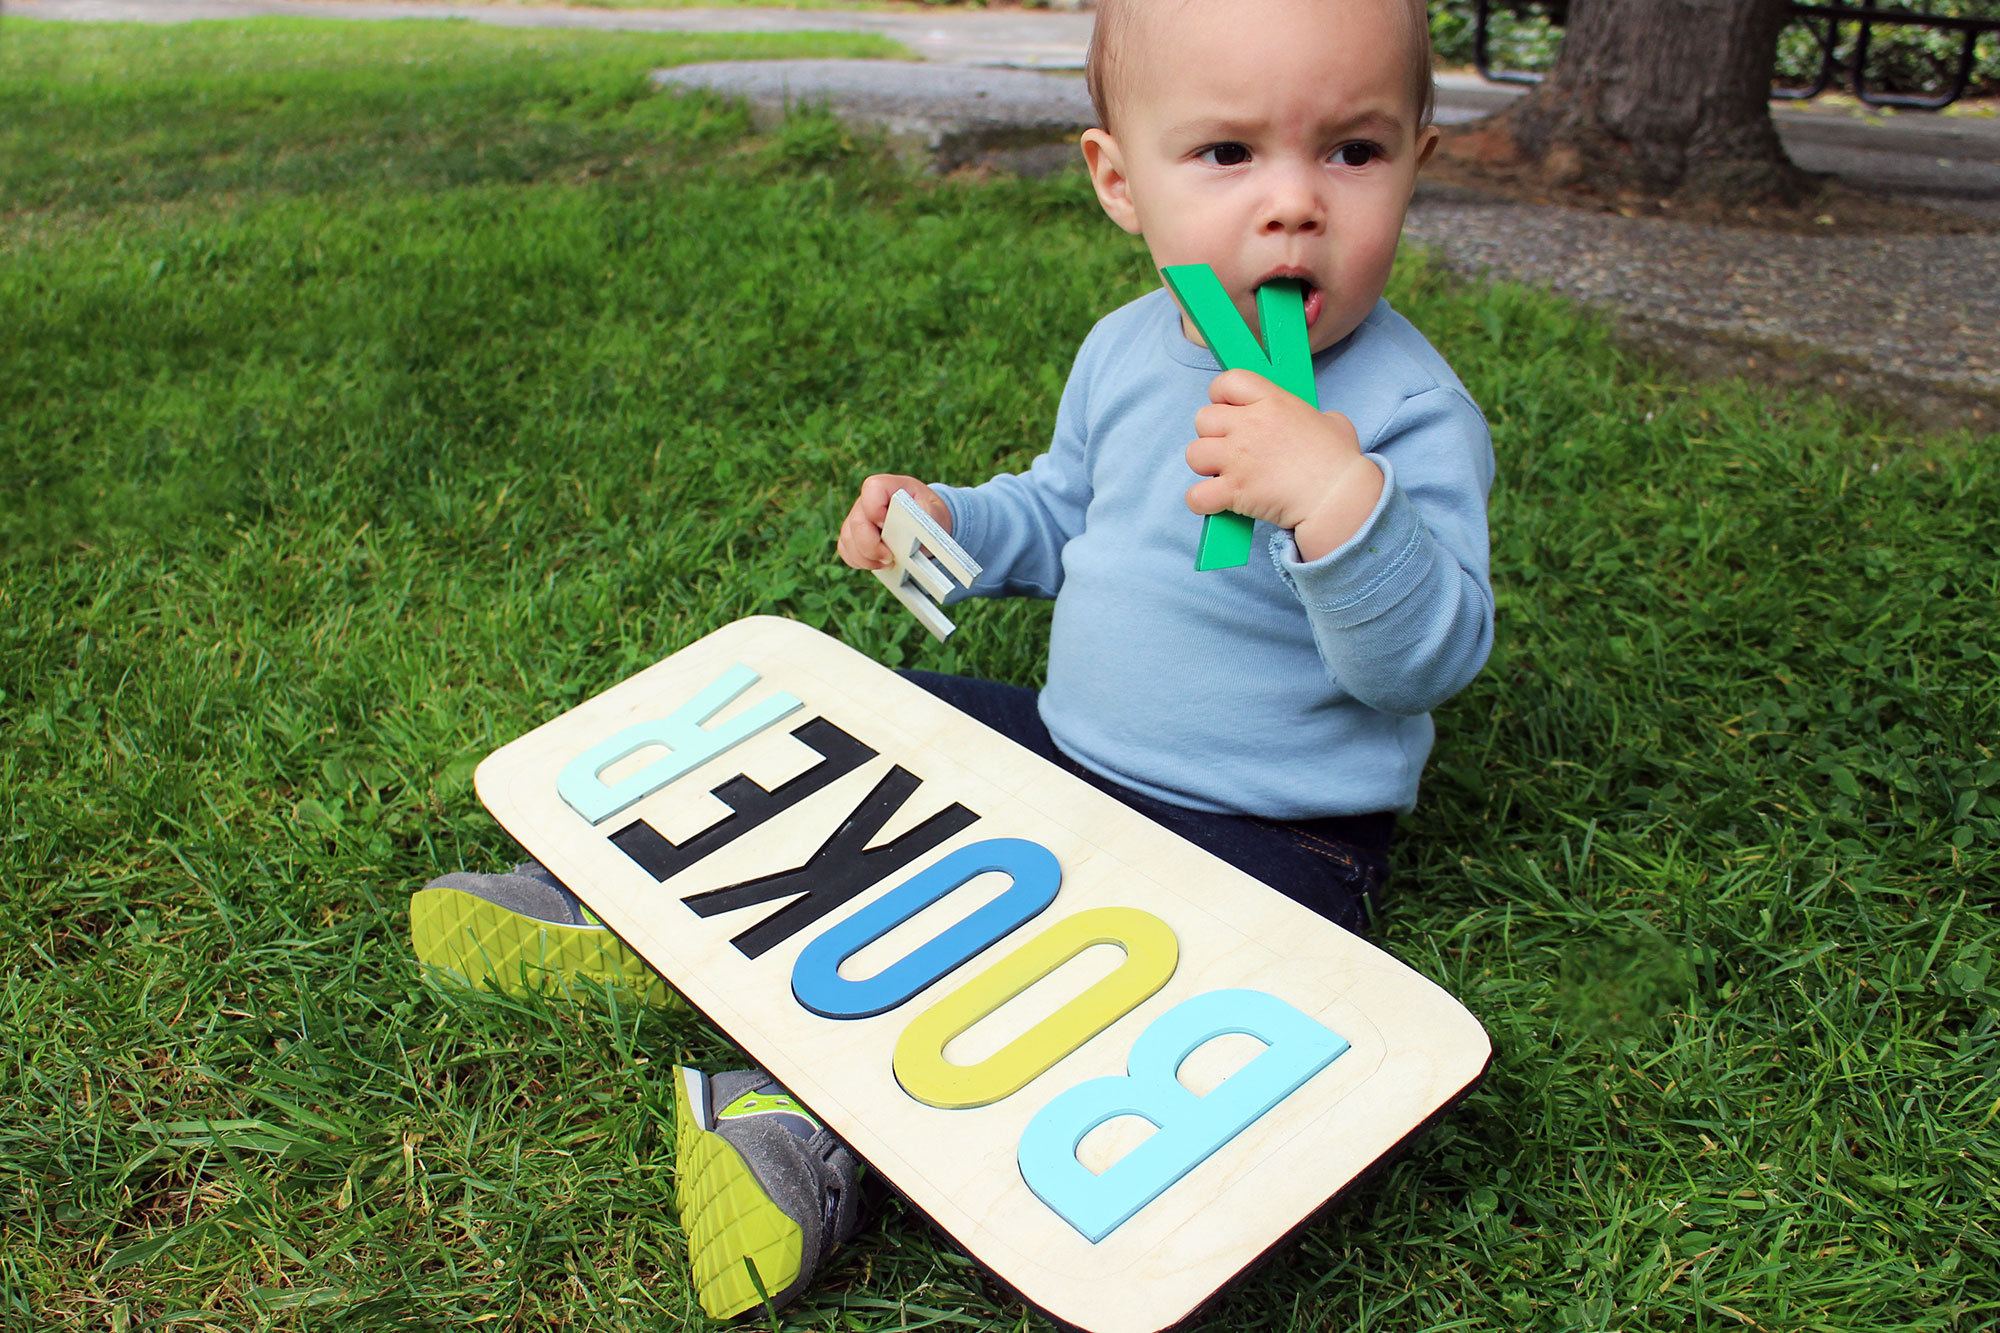
With all the pieces painted, sealed, and/or waxed, this letter puzzle is ready for an education playtime!
Though I used a laser to make this project, you can easily recreate it by printing the SVG downloads onto printer paper and hand cutting designs. Desktop manufacturing is becoming more commonplace, with prices being more affordable. If you don't have a laser cutter or other CNC machine, you might be able to gain access to one at your local makerspace or library.
If this project has inspired you I'd love to see your version in the comments below.
Happy making! :)