NFC Stylish Pendant for Networking and More!
by lerigsby12 in Craft > Jewelry
1503 Views, 15 Favorites, 0 Comments
NFC Stylish Pendant for Networking and More!
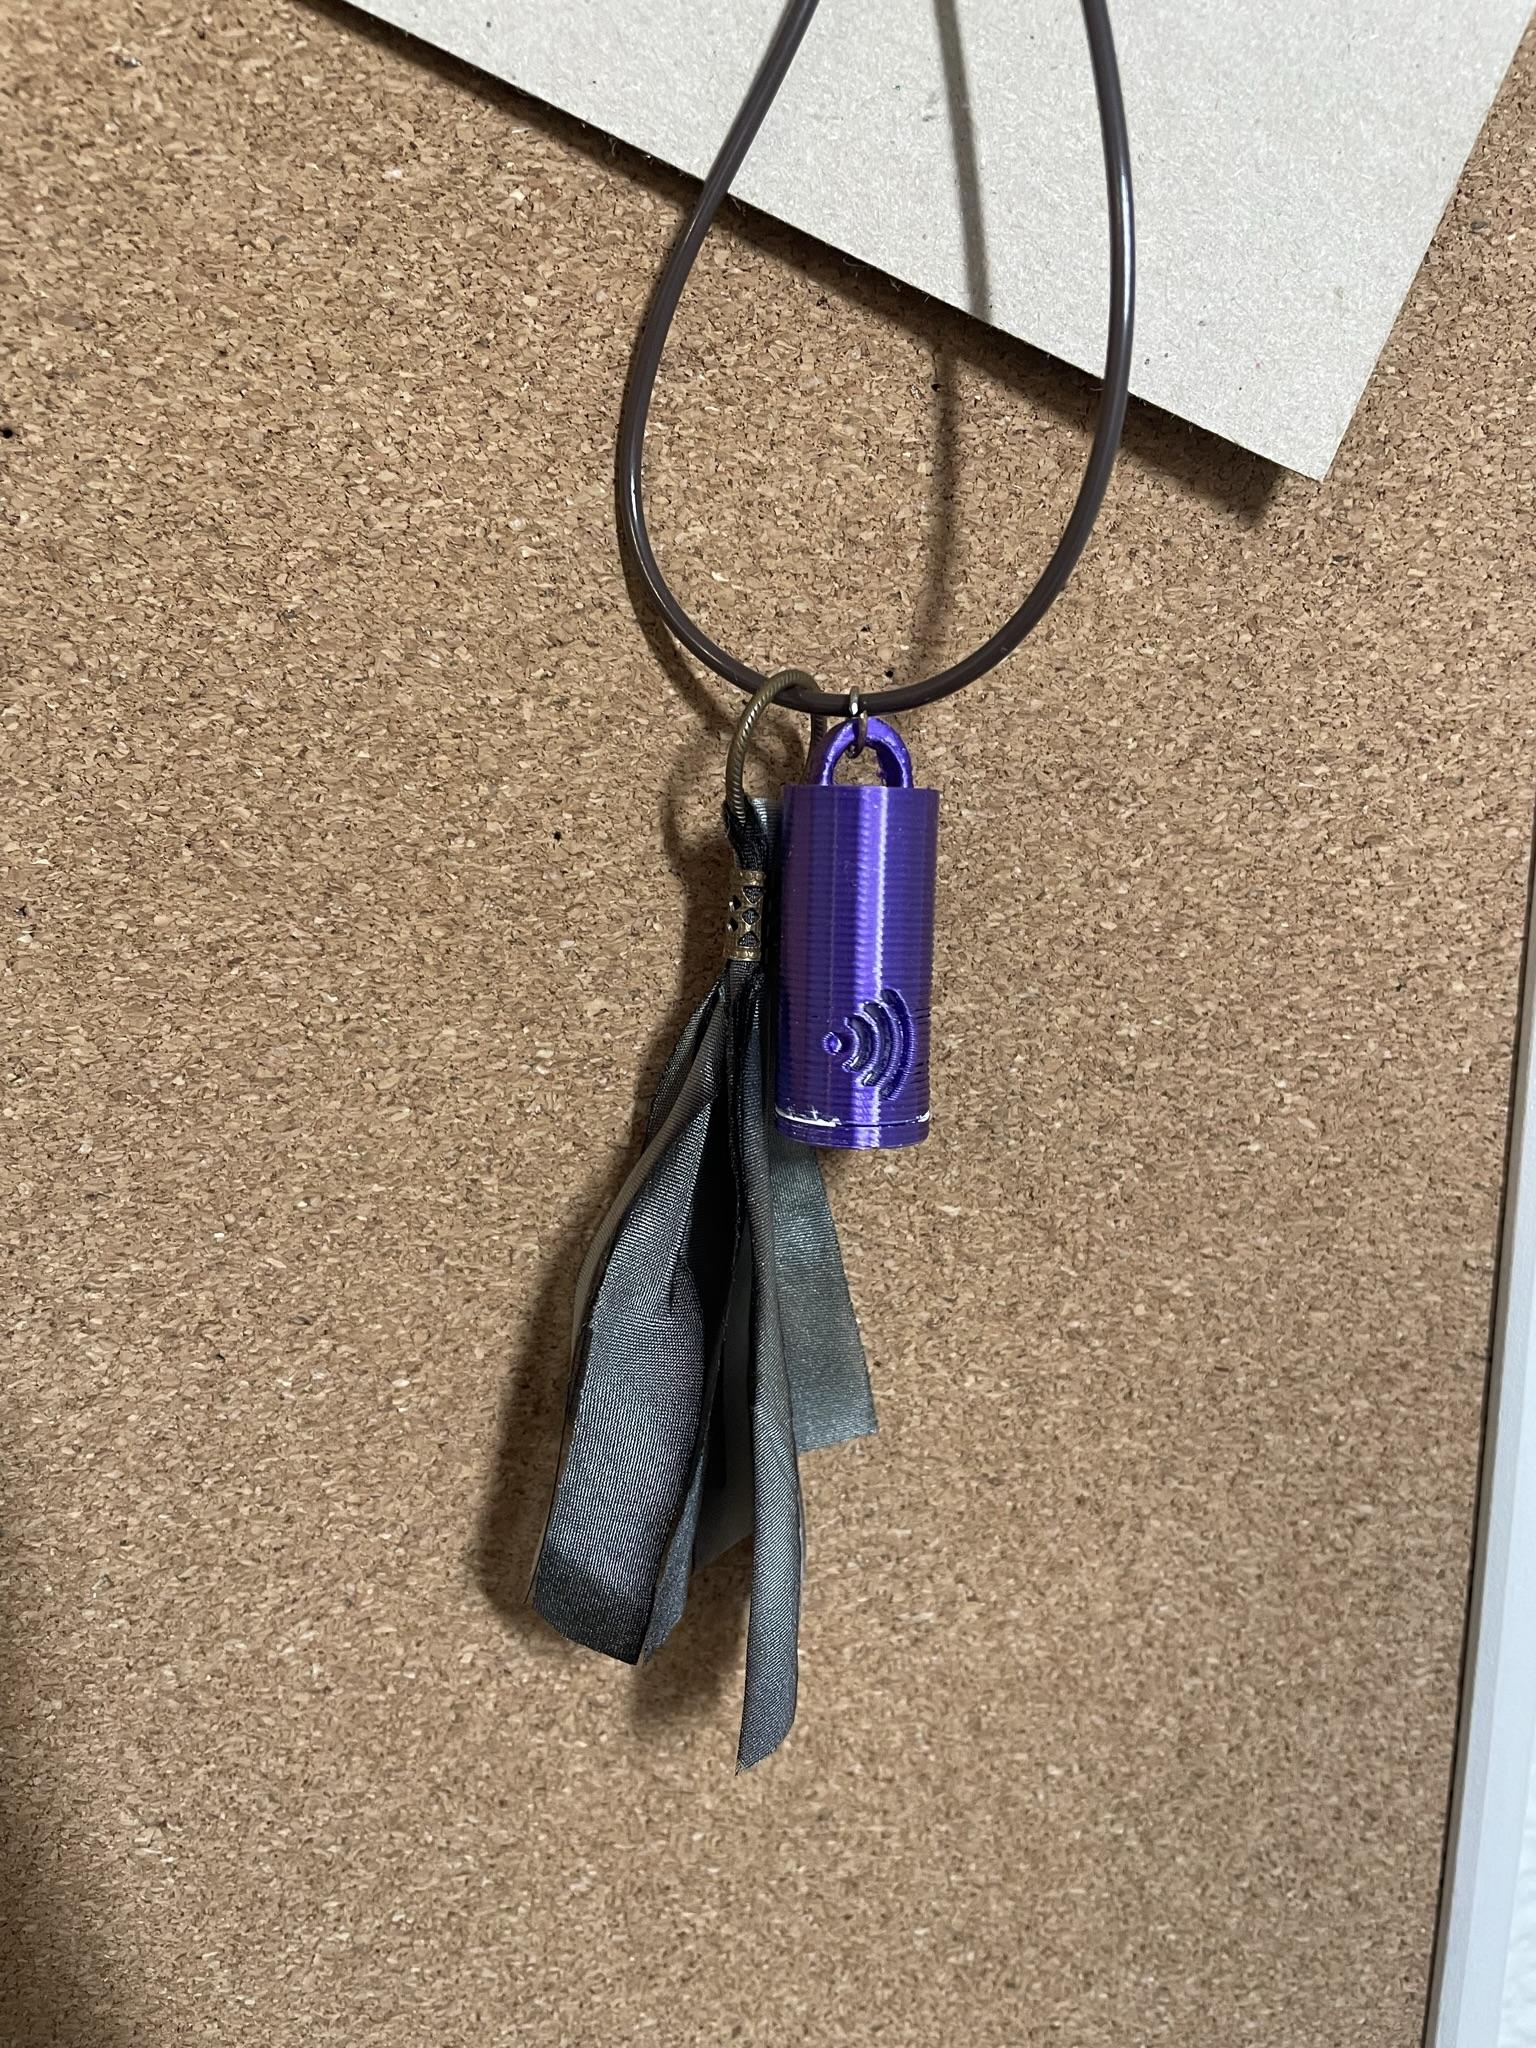
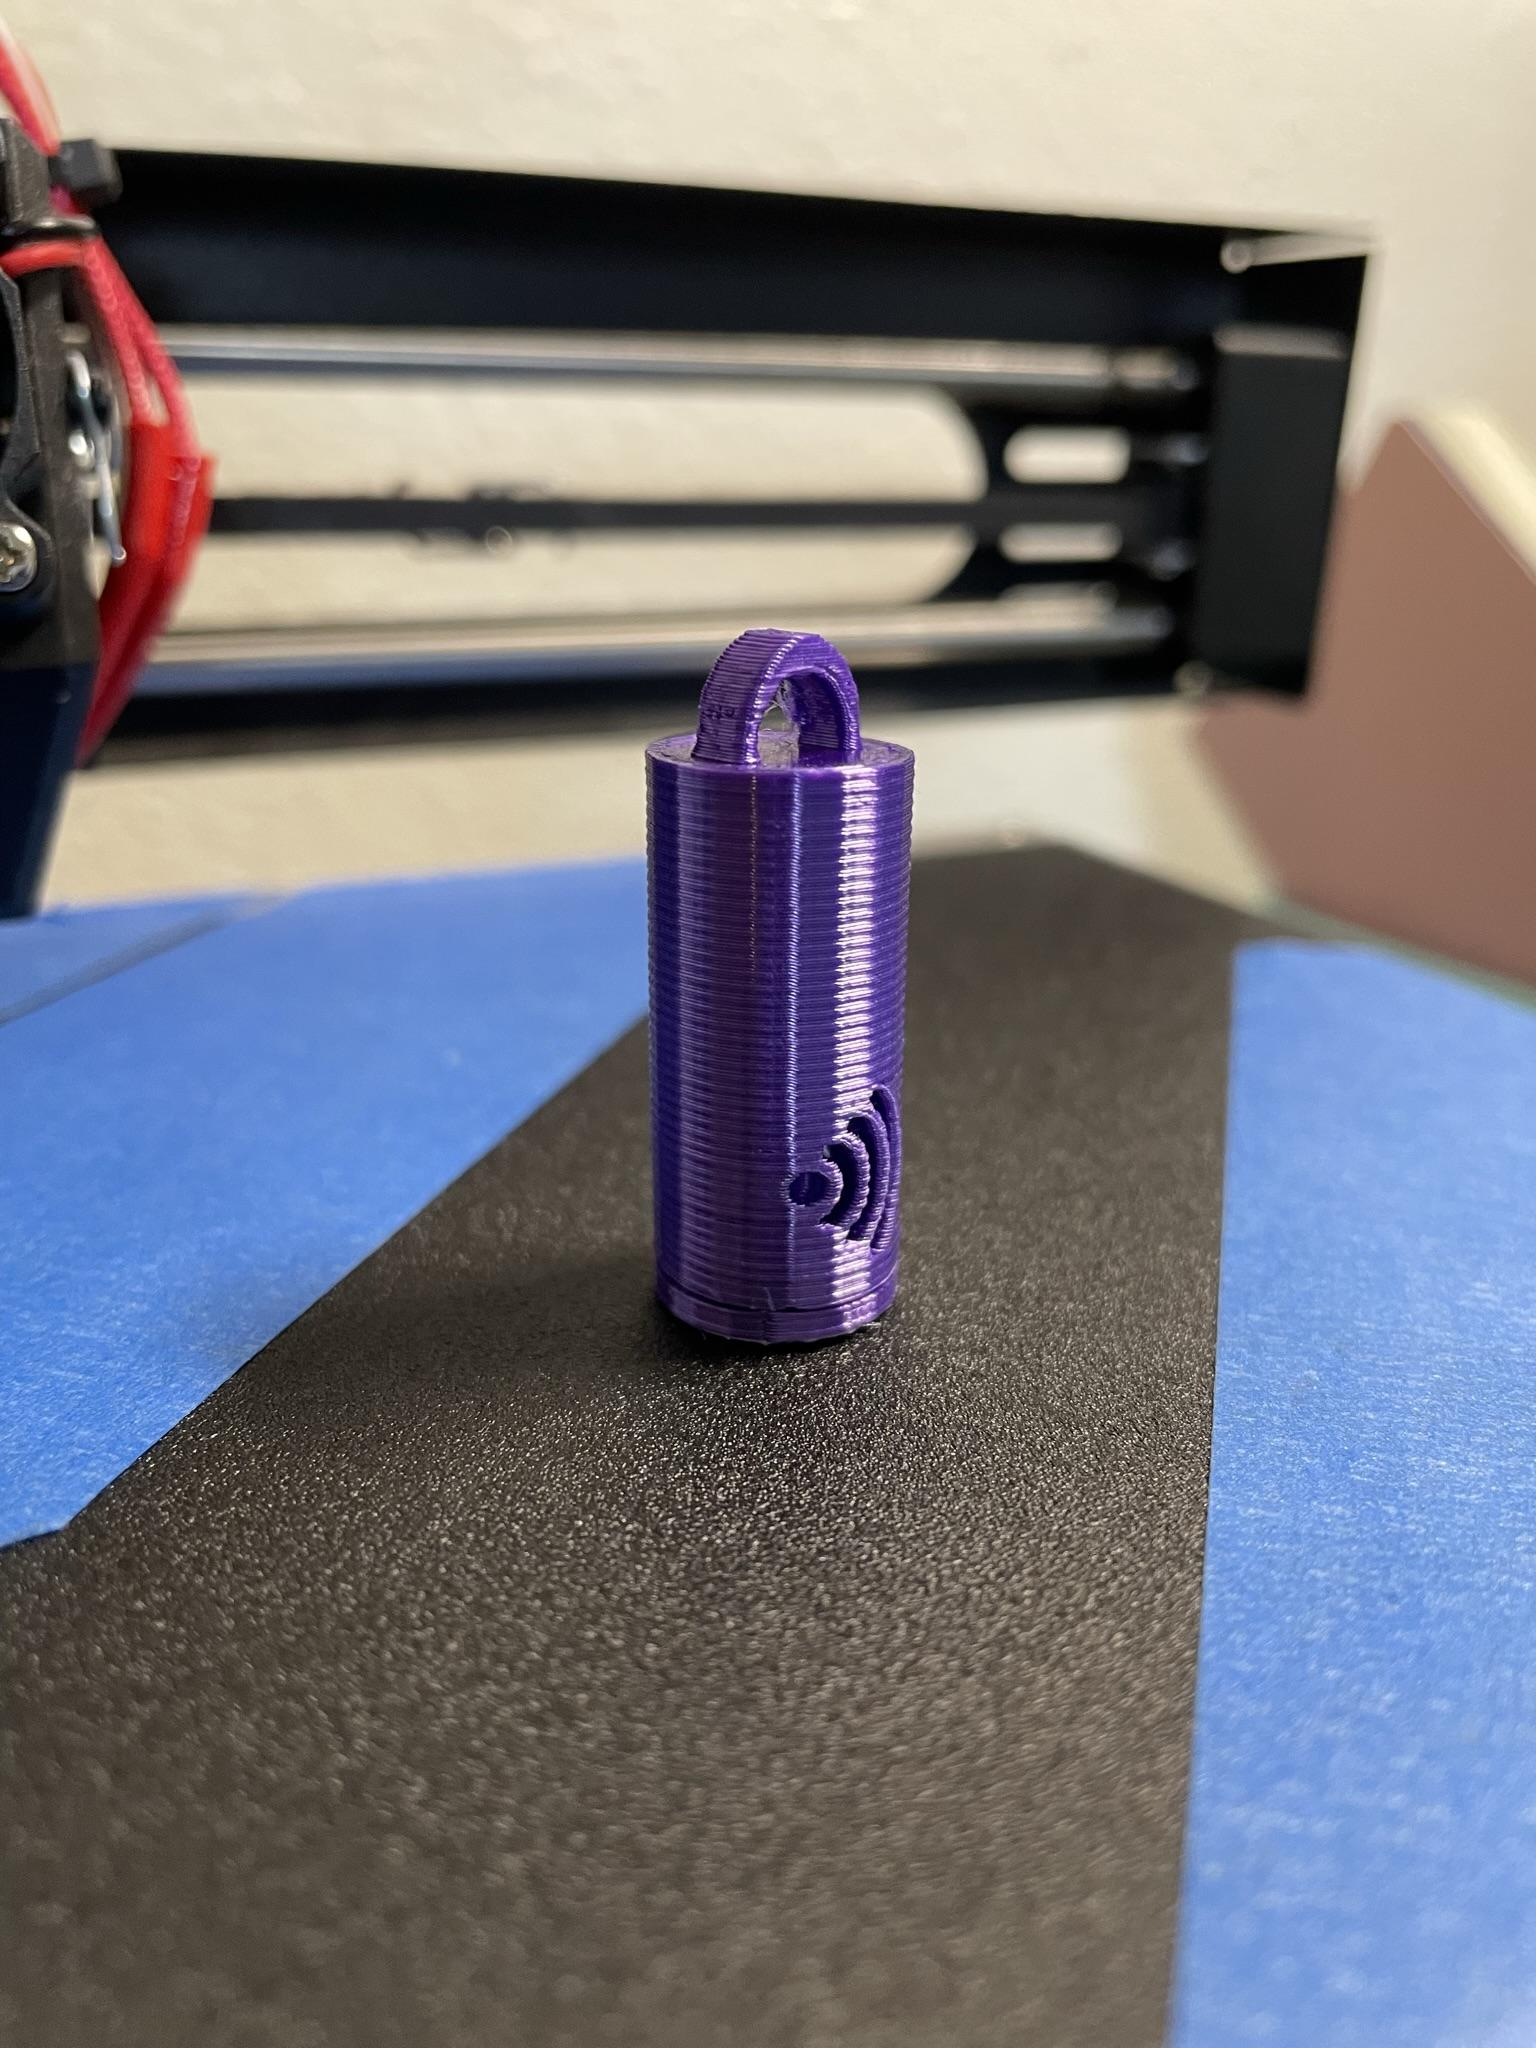
I've recently been playing with some NFC (near-field communication) stickers I bought and I've been so excited about the possibilities. I wanted to make a wearable pendant that I could hide one in to test out what they can do. One of the classic DIY uses for these tools is to create a digital business card for networking, so that is the main use I'll show in this tutorial.
Supplies
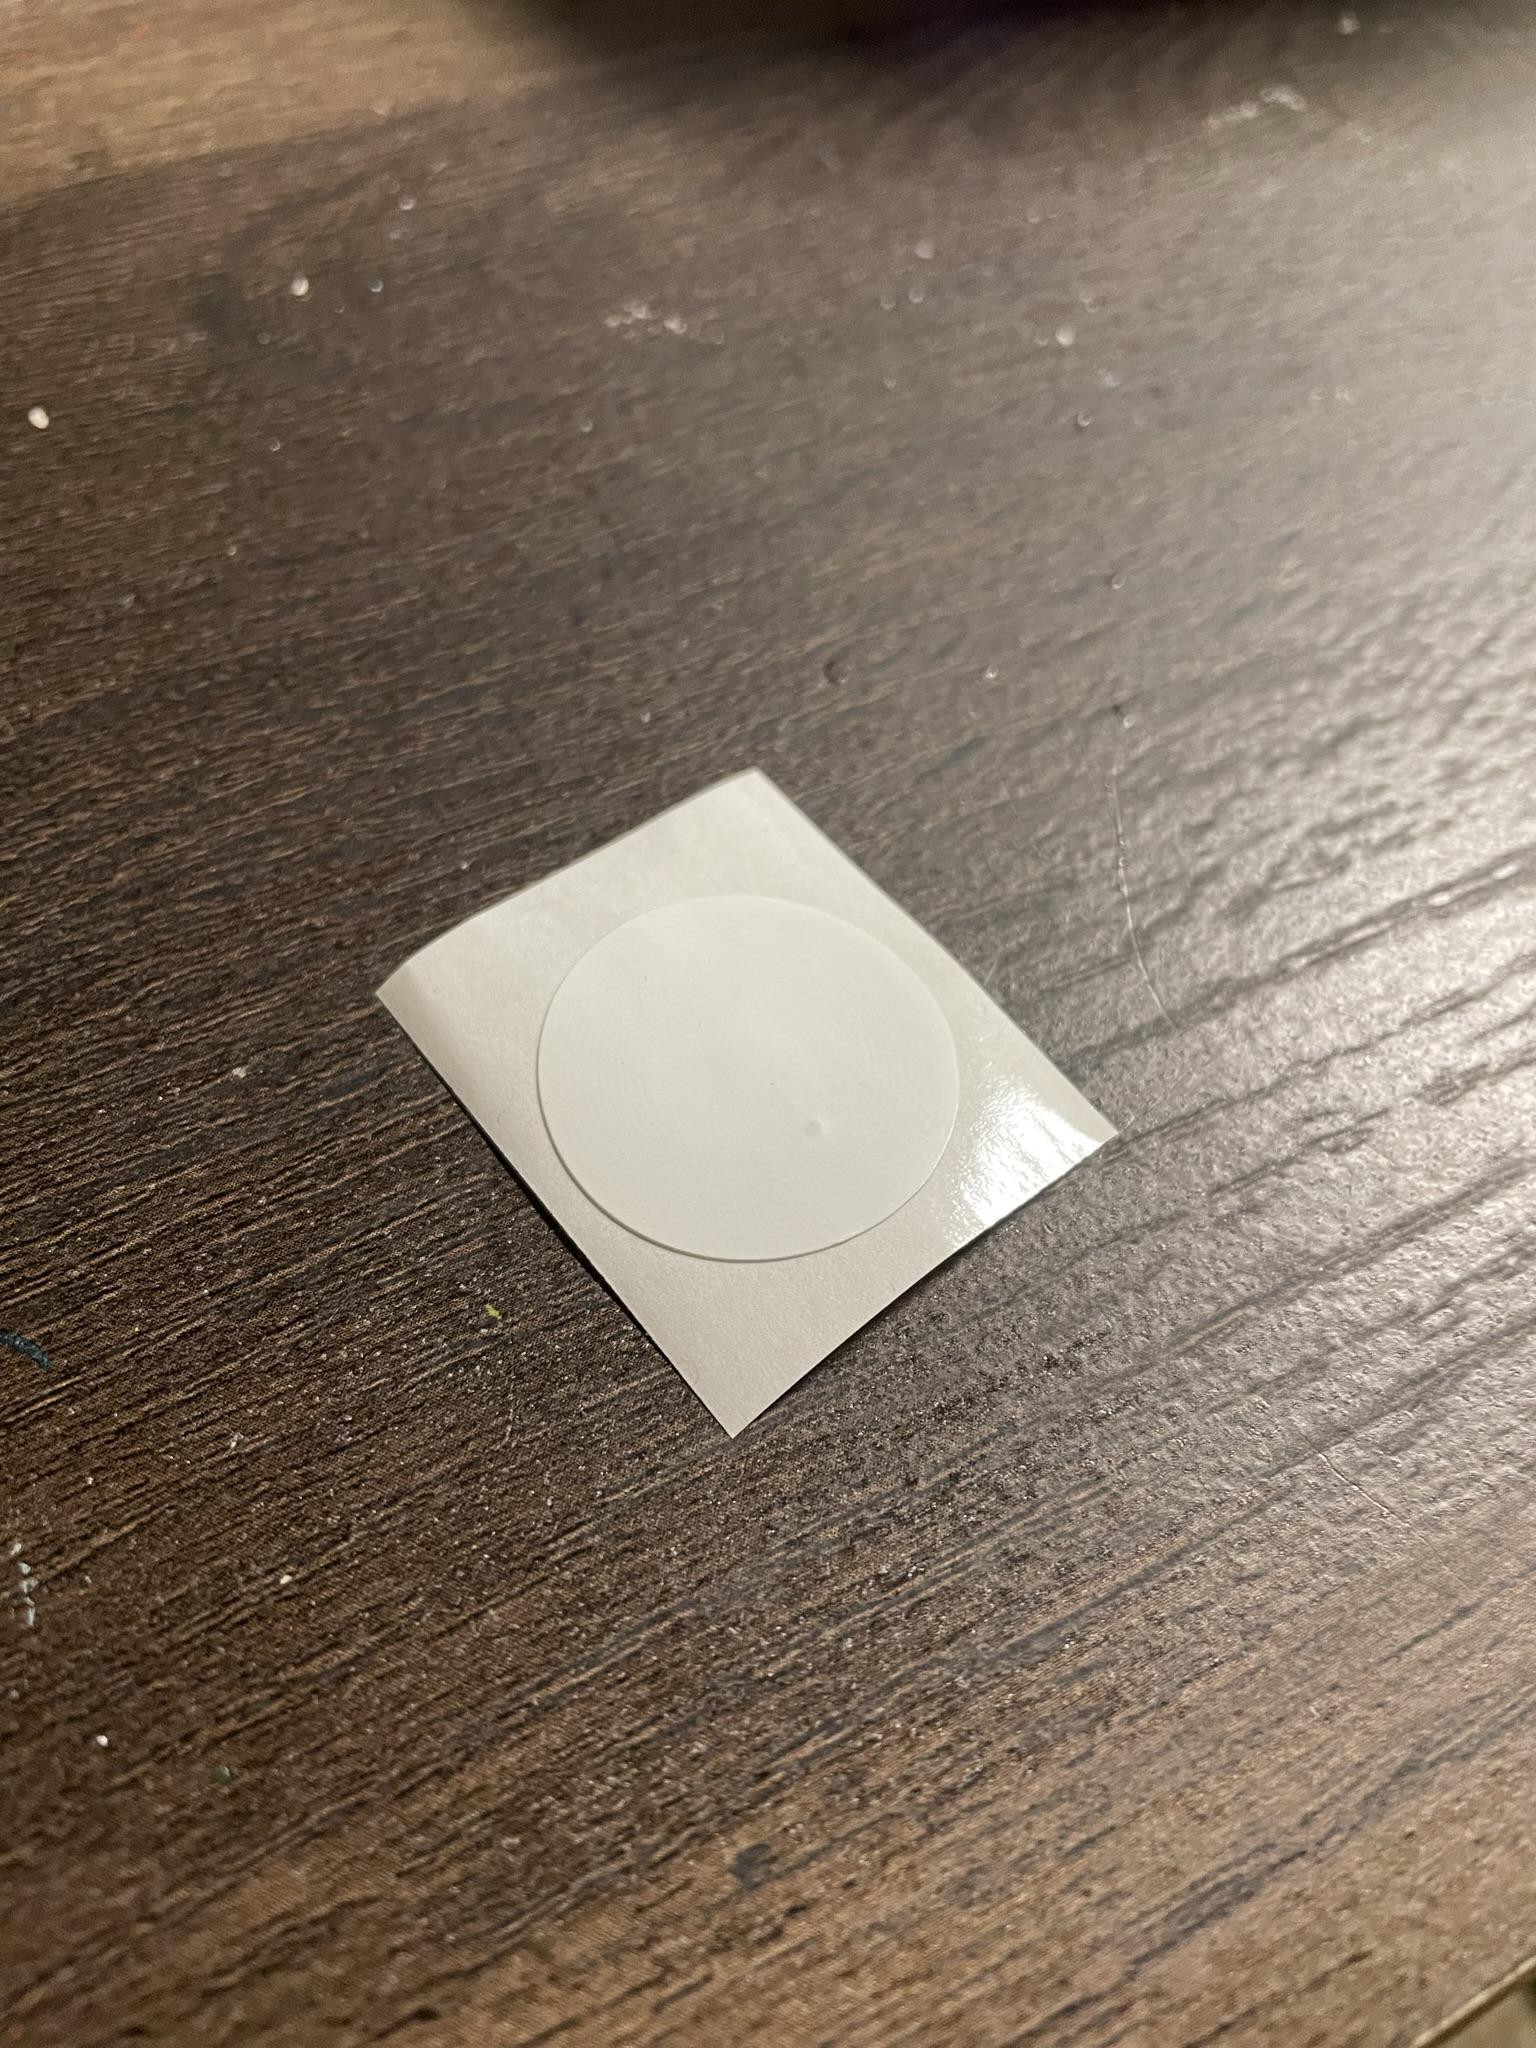
- NFC Stickers- available online
- 3D printer (and any tools you like for your setup, like masking tape, scrapers, tweezers, etc.)
- Filament- I purposely chose a shiny purple. Pick whatever color and texture fits your jewelry aesthetic. I would love to try wood filament for this project in the future.
- A phone with NFC capability. This is most smartphones right now. If you have tap to pay as an option on your phone, you can use it!
- An NFC writing app. I used "NFC Tools", but there are hundreds of options.
- Needle nose pliers
- Wire or a jump ring
- A chain or cord
Design the Pendant
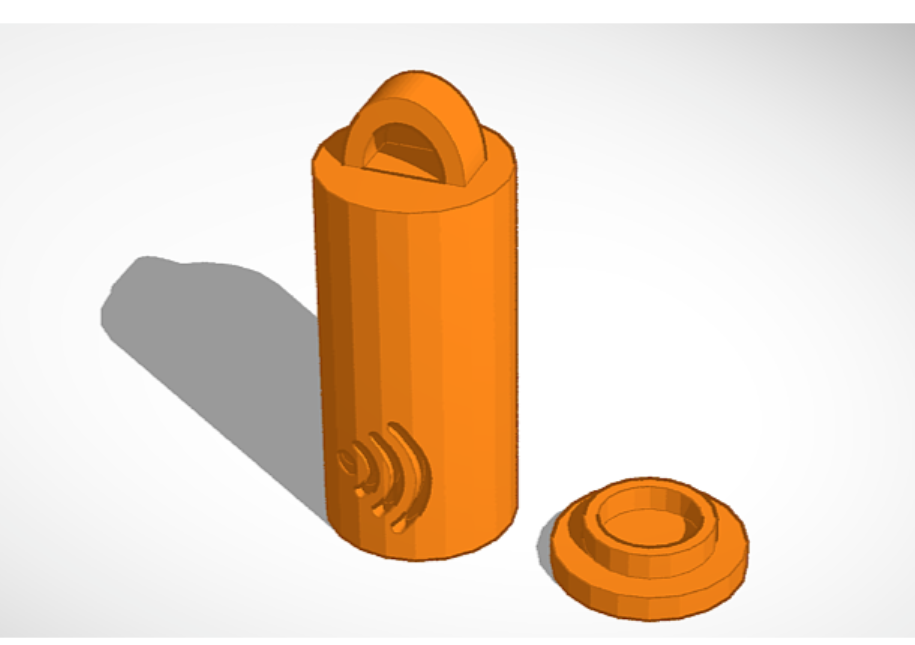
I designed my pendant as shown in the following steps using TinkerCad. You can follow my steps exactly, modify them to work for you, or just download my model and skip this part entirely. Click here for my model.
Design the Main Pendant Piece
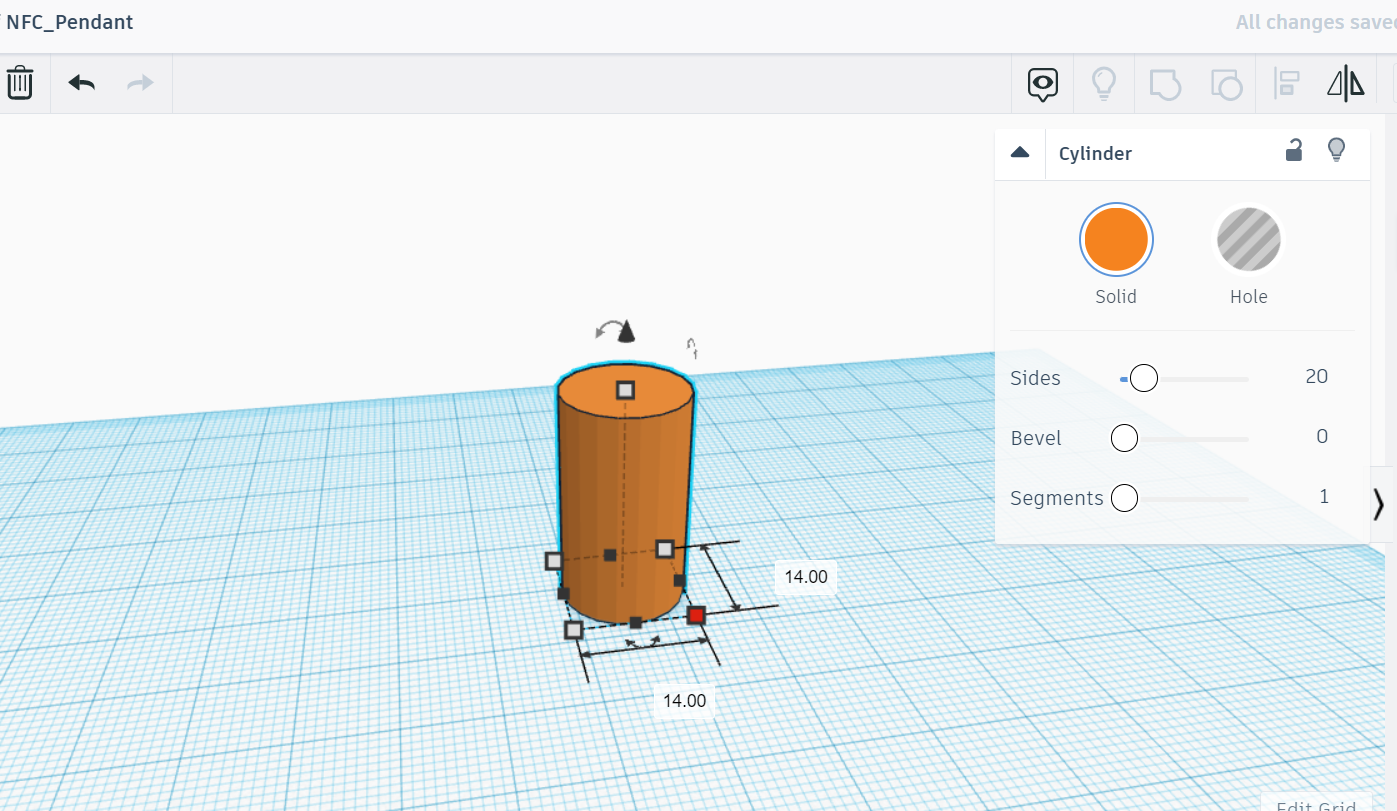
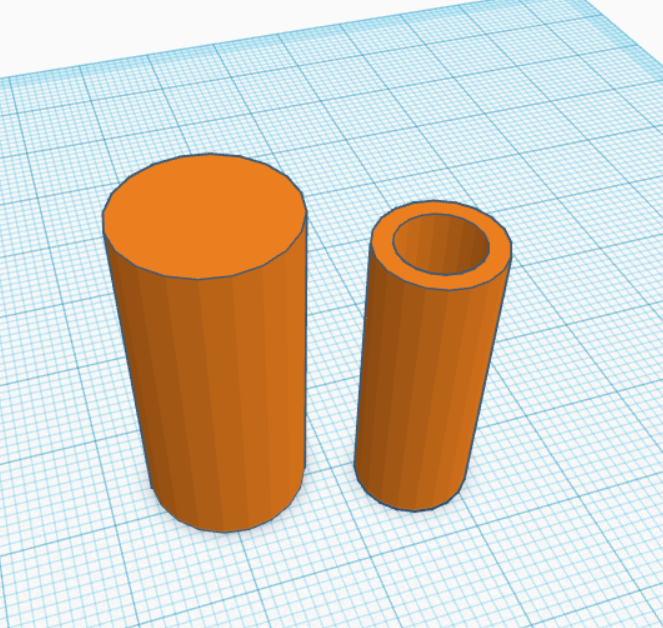
Start with a cylinder. Mine was 14mm x 14mm x 29mm. I chose that size because it seemed like the minimum space I could fit the sticker I have (they are circles with a 25mm diameter). If your stickers are smaller you could get away with a smaller pendant.
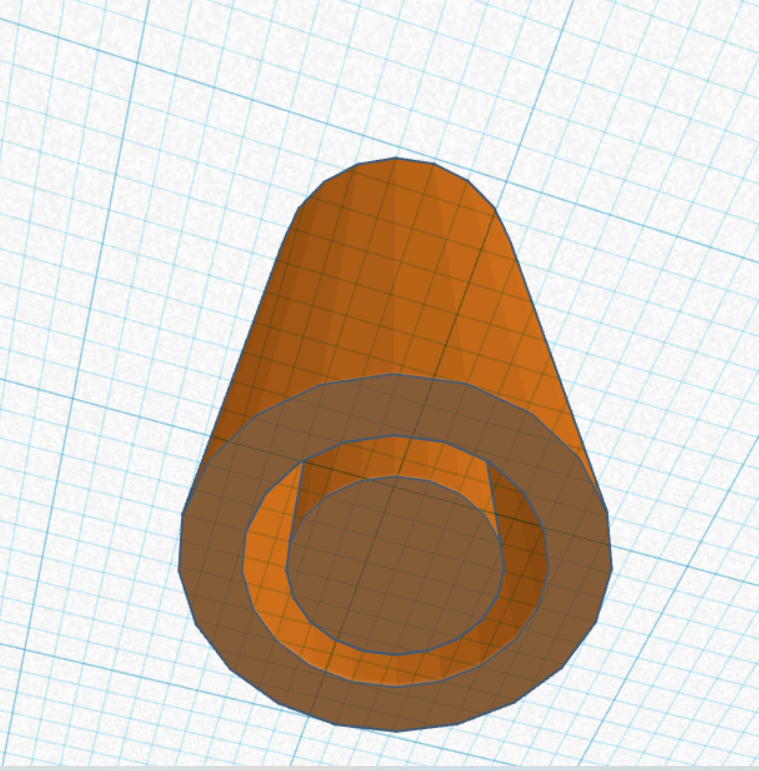
To make the cut out space that will hold the sticker, next make a smaller cylinder. Mine is 10mm x 10mm x 26mm. Again, make an even smaller third cylinder, 7mm x 7mm x 26mm. Make this third cylinder a hole and align it with to the center of the second one. Merge. You should now have a tube.
Make this tube a hole, center with your first cylinder, making sure both are level with the bottom, and merge.
Design the Lid
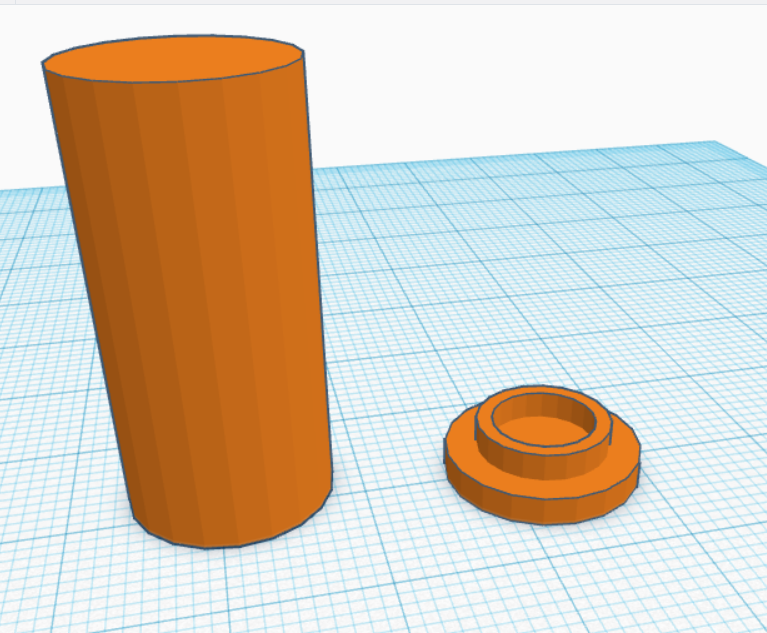
This step will be similar to the last. We just want a small lid that will fit nicely into the main piece.
Start with a 14mm x 14mm x 2mm cylinder. We will add the tube that will fit into the slot of the main piece to this lid.
Make a cylinder that is 9.5mm 9.5mm x 4mm. And a final cylinder that is 7.5mm x 7.5mm x 4mm. Make this one a hole and align and merge with the other to make a tube.
Align your tube with the lid and merge. Your end result should look like the picture.
Add Embellishments
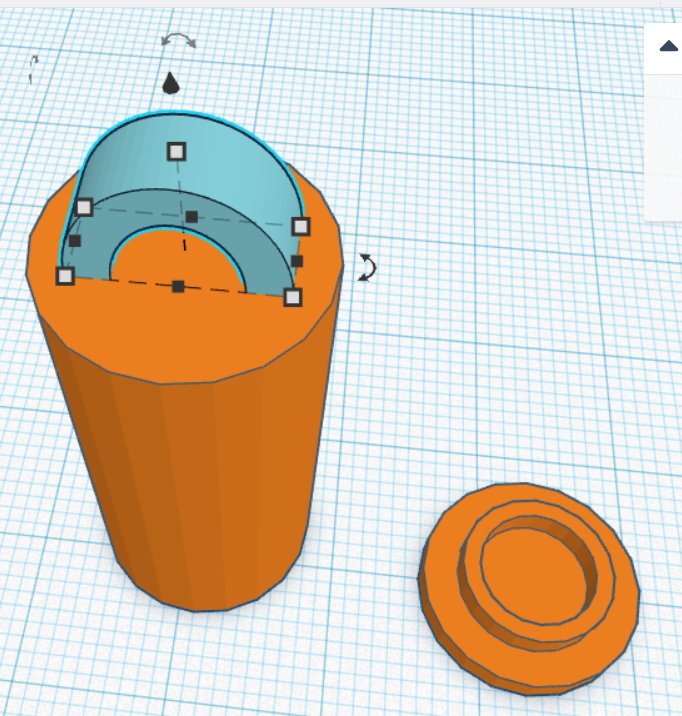
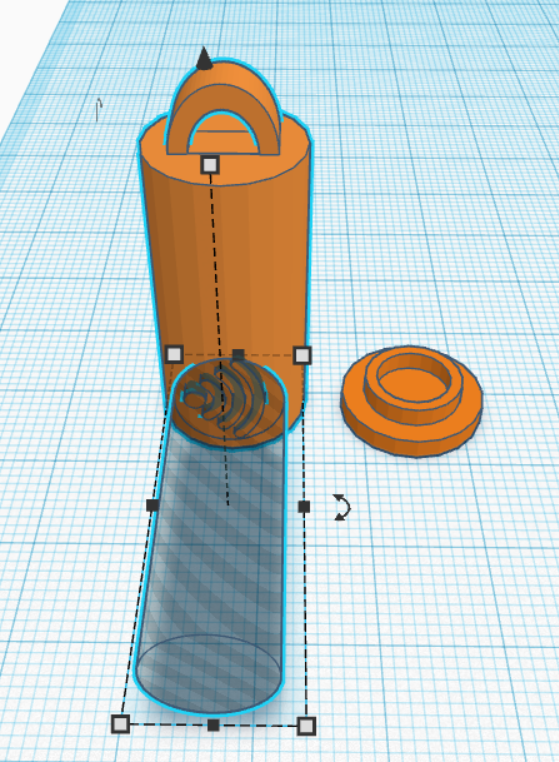
I made a half-cylinder that was 4mm x 10mm x 6 mm. Duplicate and make a hole that is slightly smaller. This will be the loop we use to connect it to the necklace. Place on top of the pendant and merge together.
I wanted to have a symbol on my pendant. I found a nfc symbol stamp model on Thingiverse and added it to my model. Make this a hole and align with where you want it to be on the pendant and merge. This would work for a wide variety of symbols, so find one you like.
Print Model
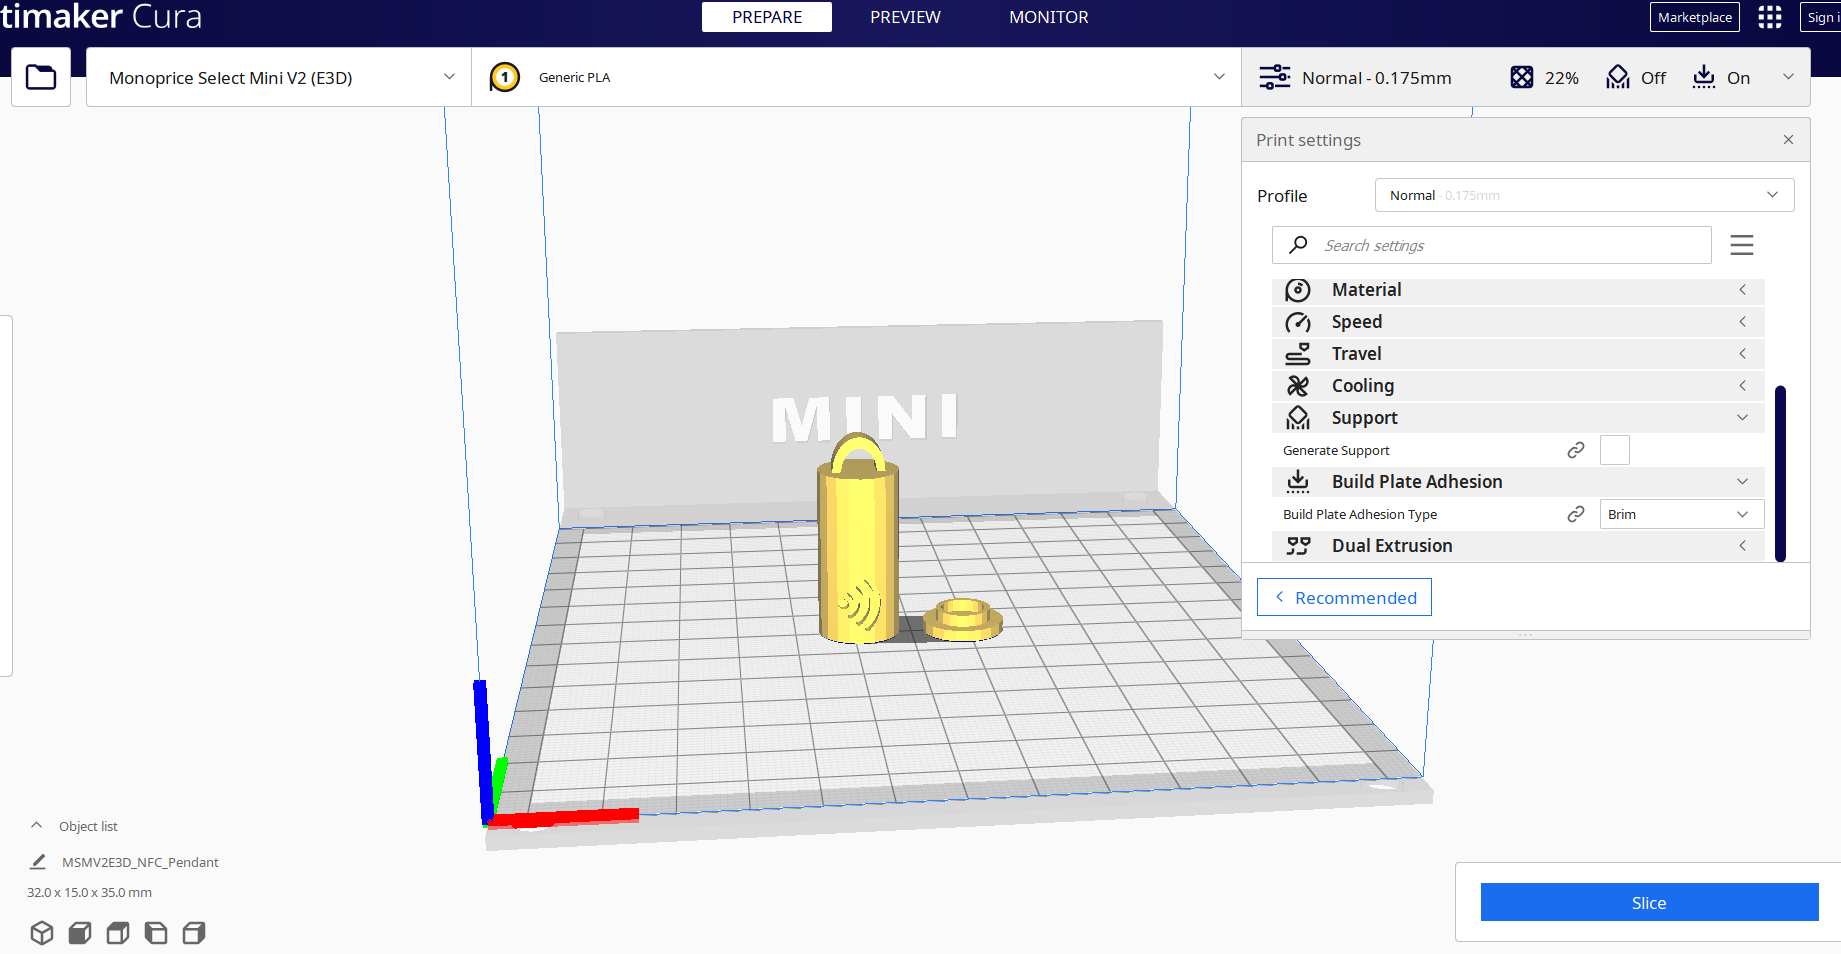
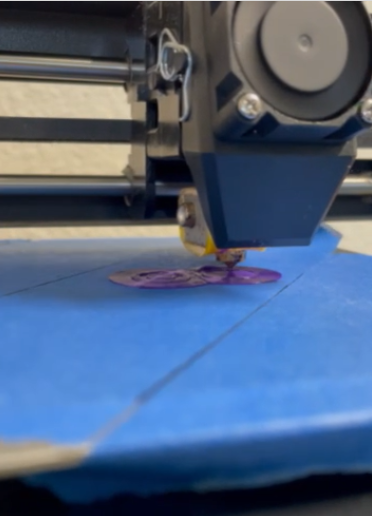
Open your file in your favorite slicer. I use Cura.
Print!
You may need to adjust settings, but I was able to print this model just using the default settings at Normal quality with no supports and it came out great.
Add NFC Sticker
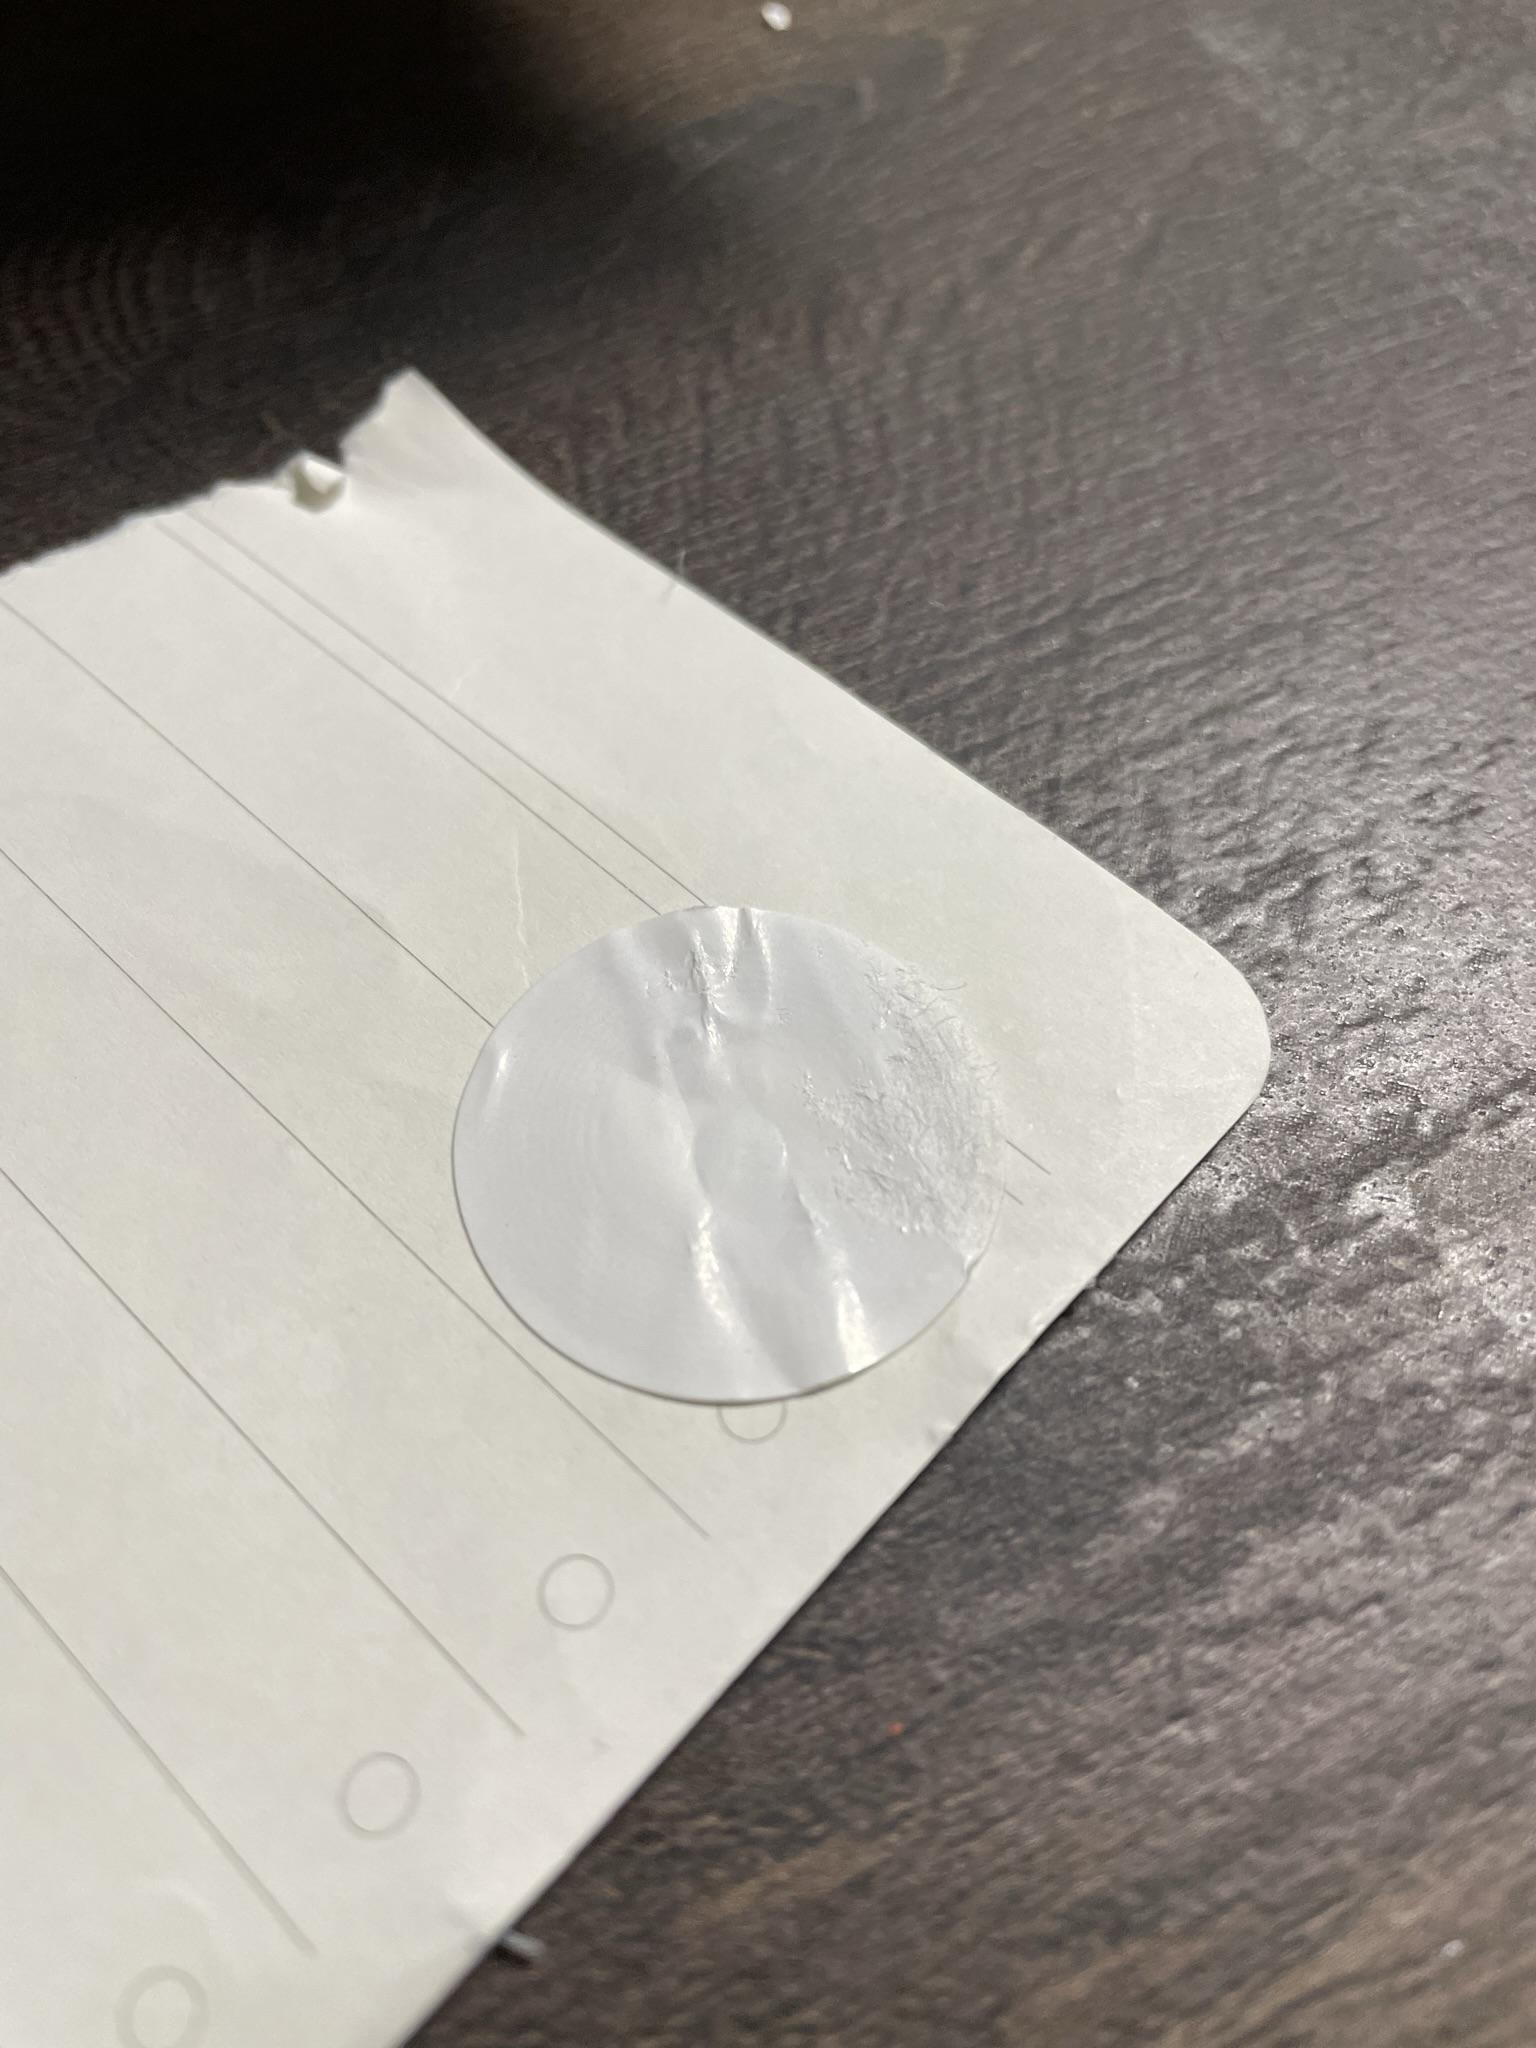
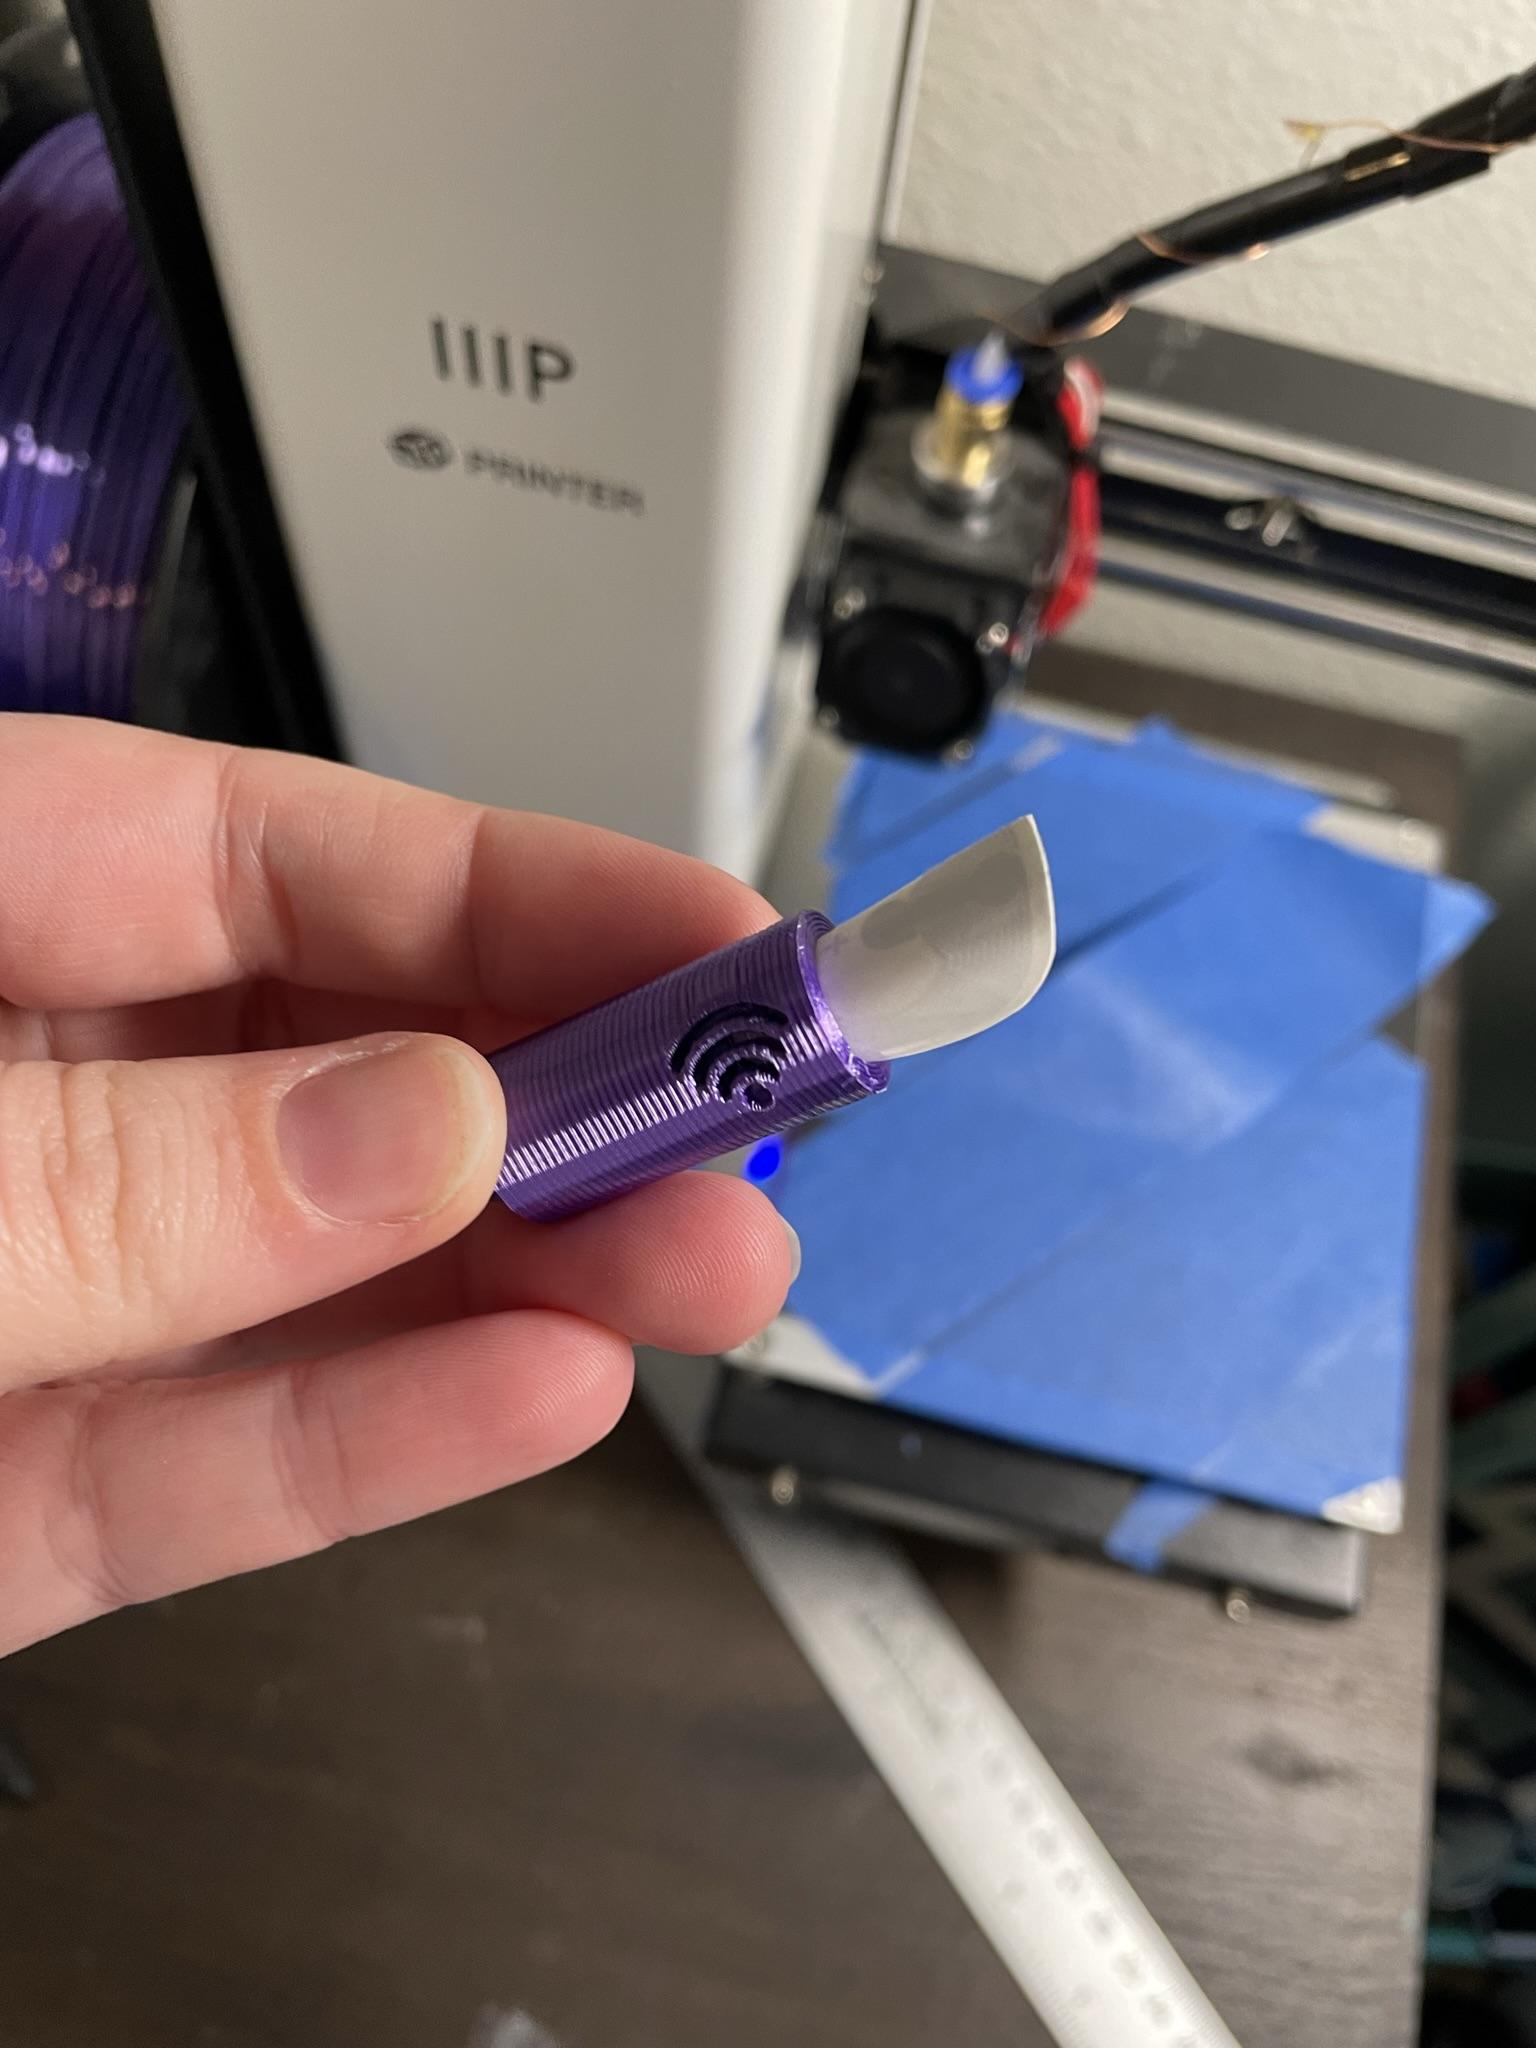
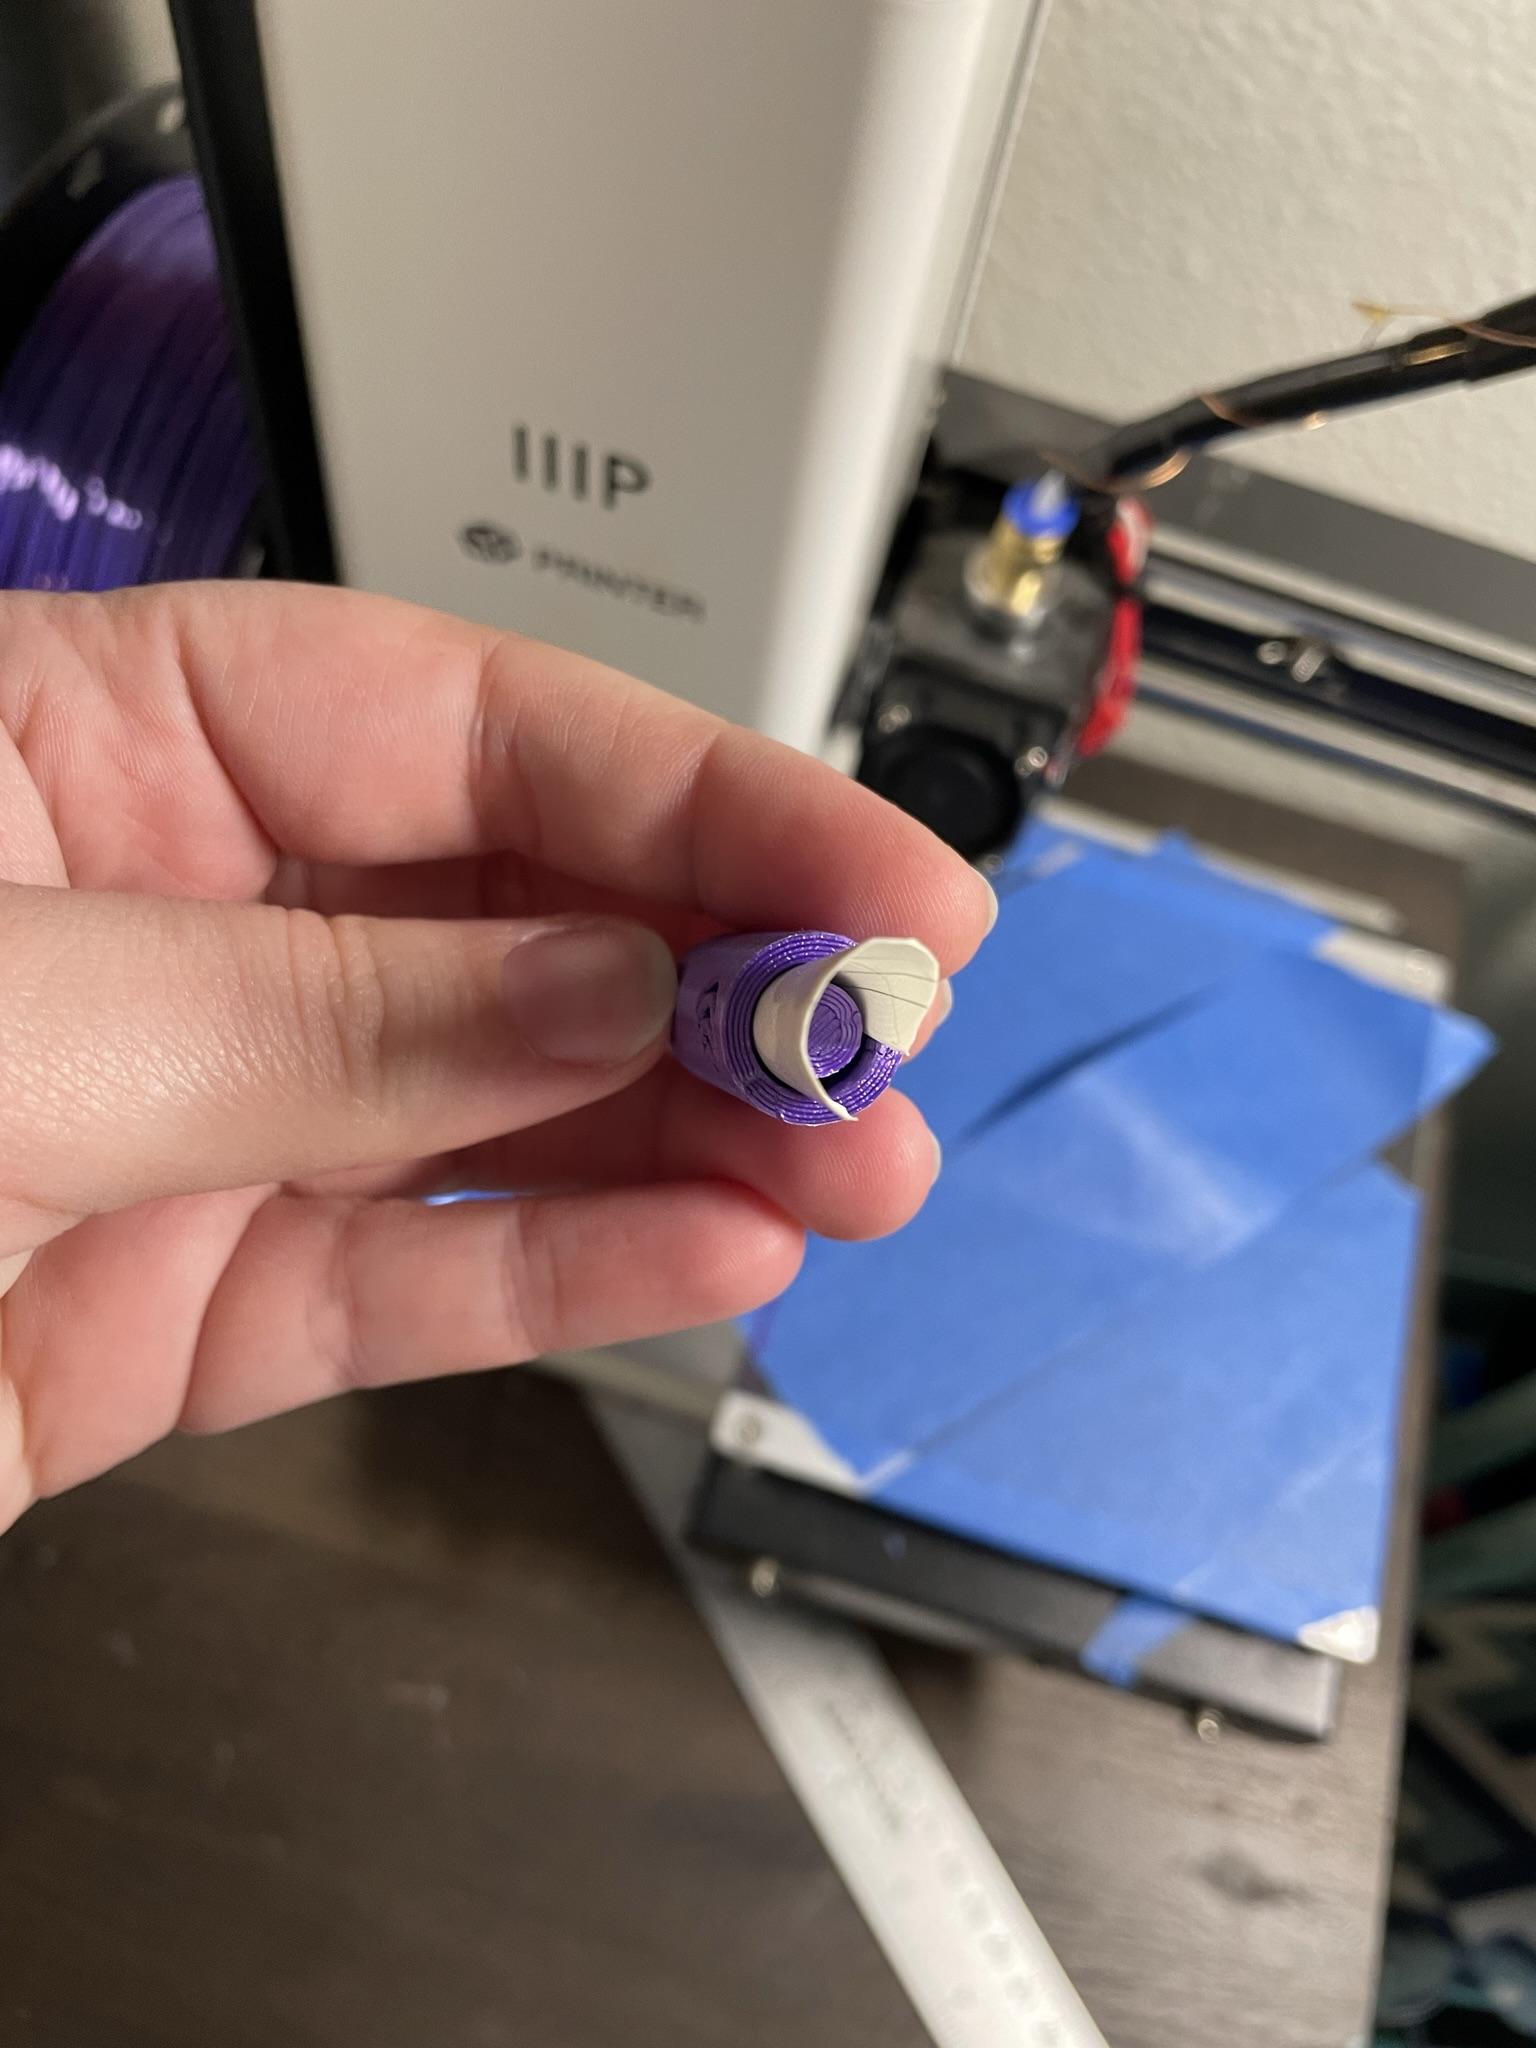
Stick the NFC sticker to a piece of scrap paper and carefully cut it out. This will make it easier to insert into the small space we left for it in the pendant.
Gently roll up the sticker enough to slide it into the space.
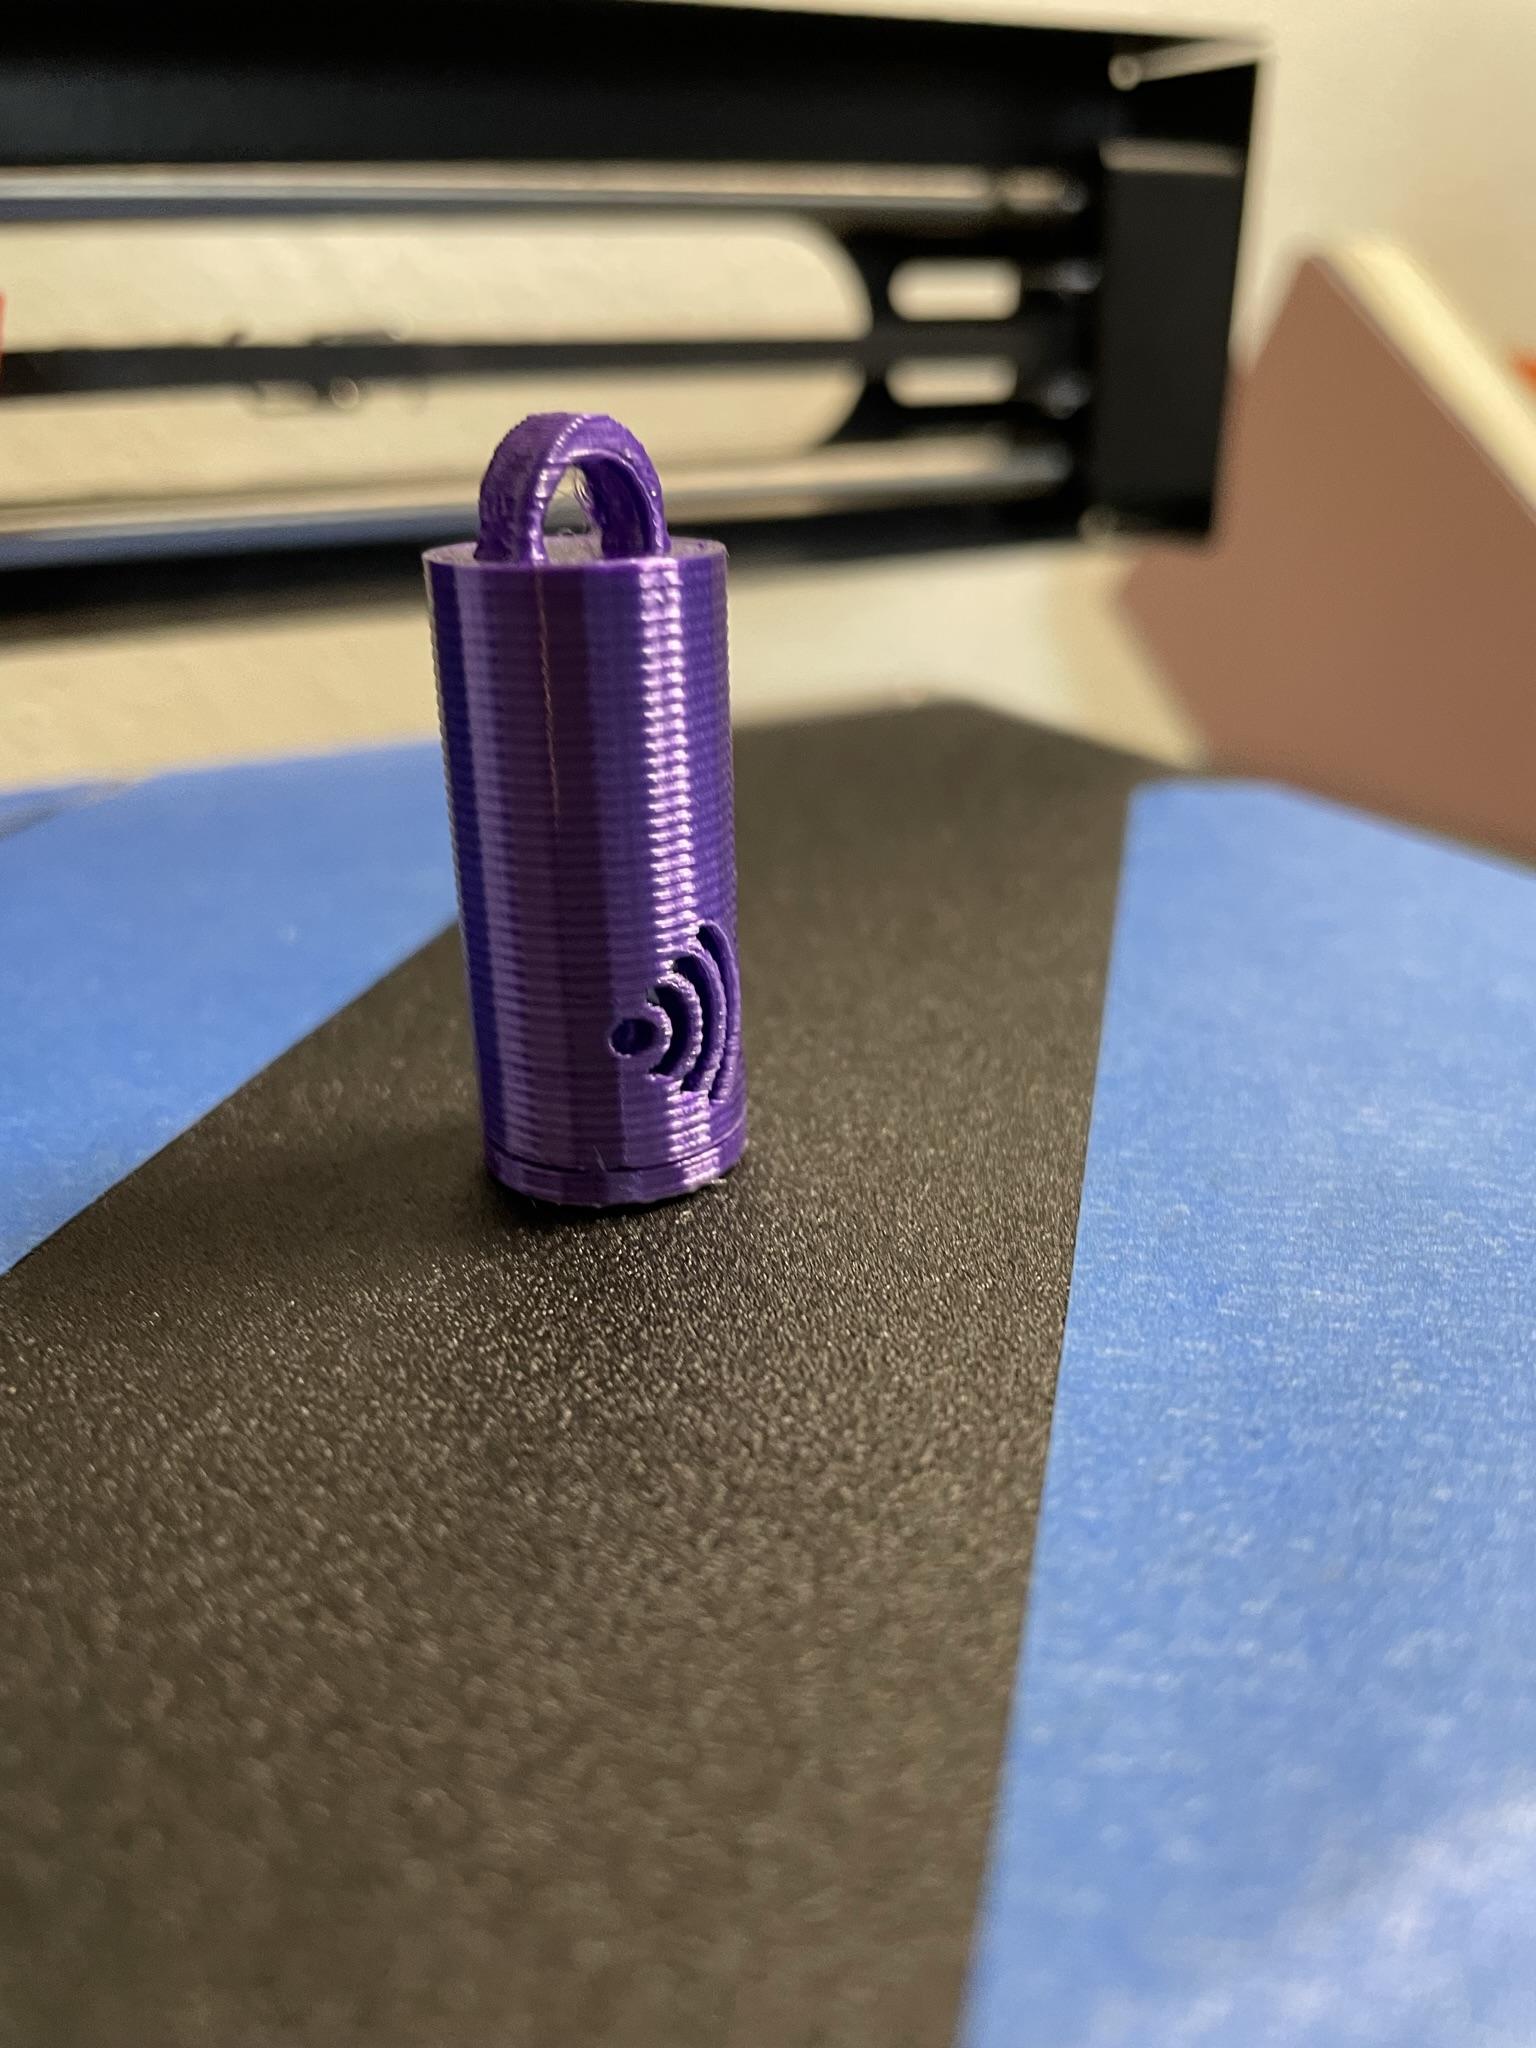
Add the cap. If your cap isn't super snug, I'd recommend securing it with a little dab of hot glue.
Make and Add Jump Ring and Necklace
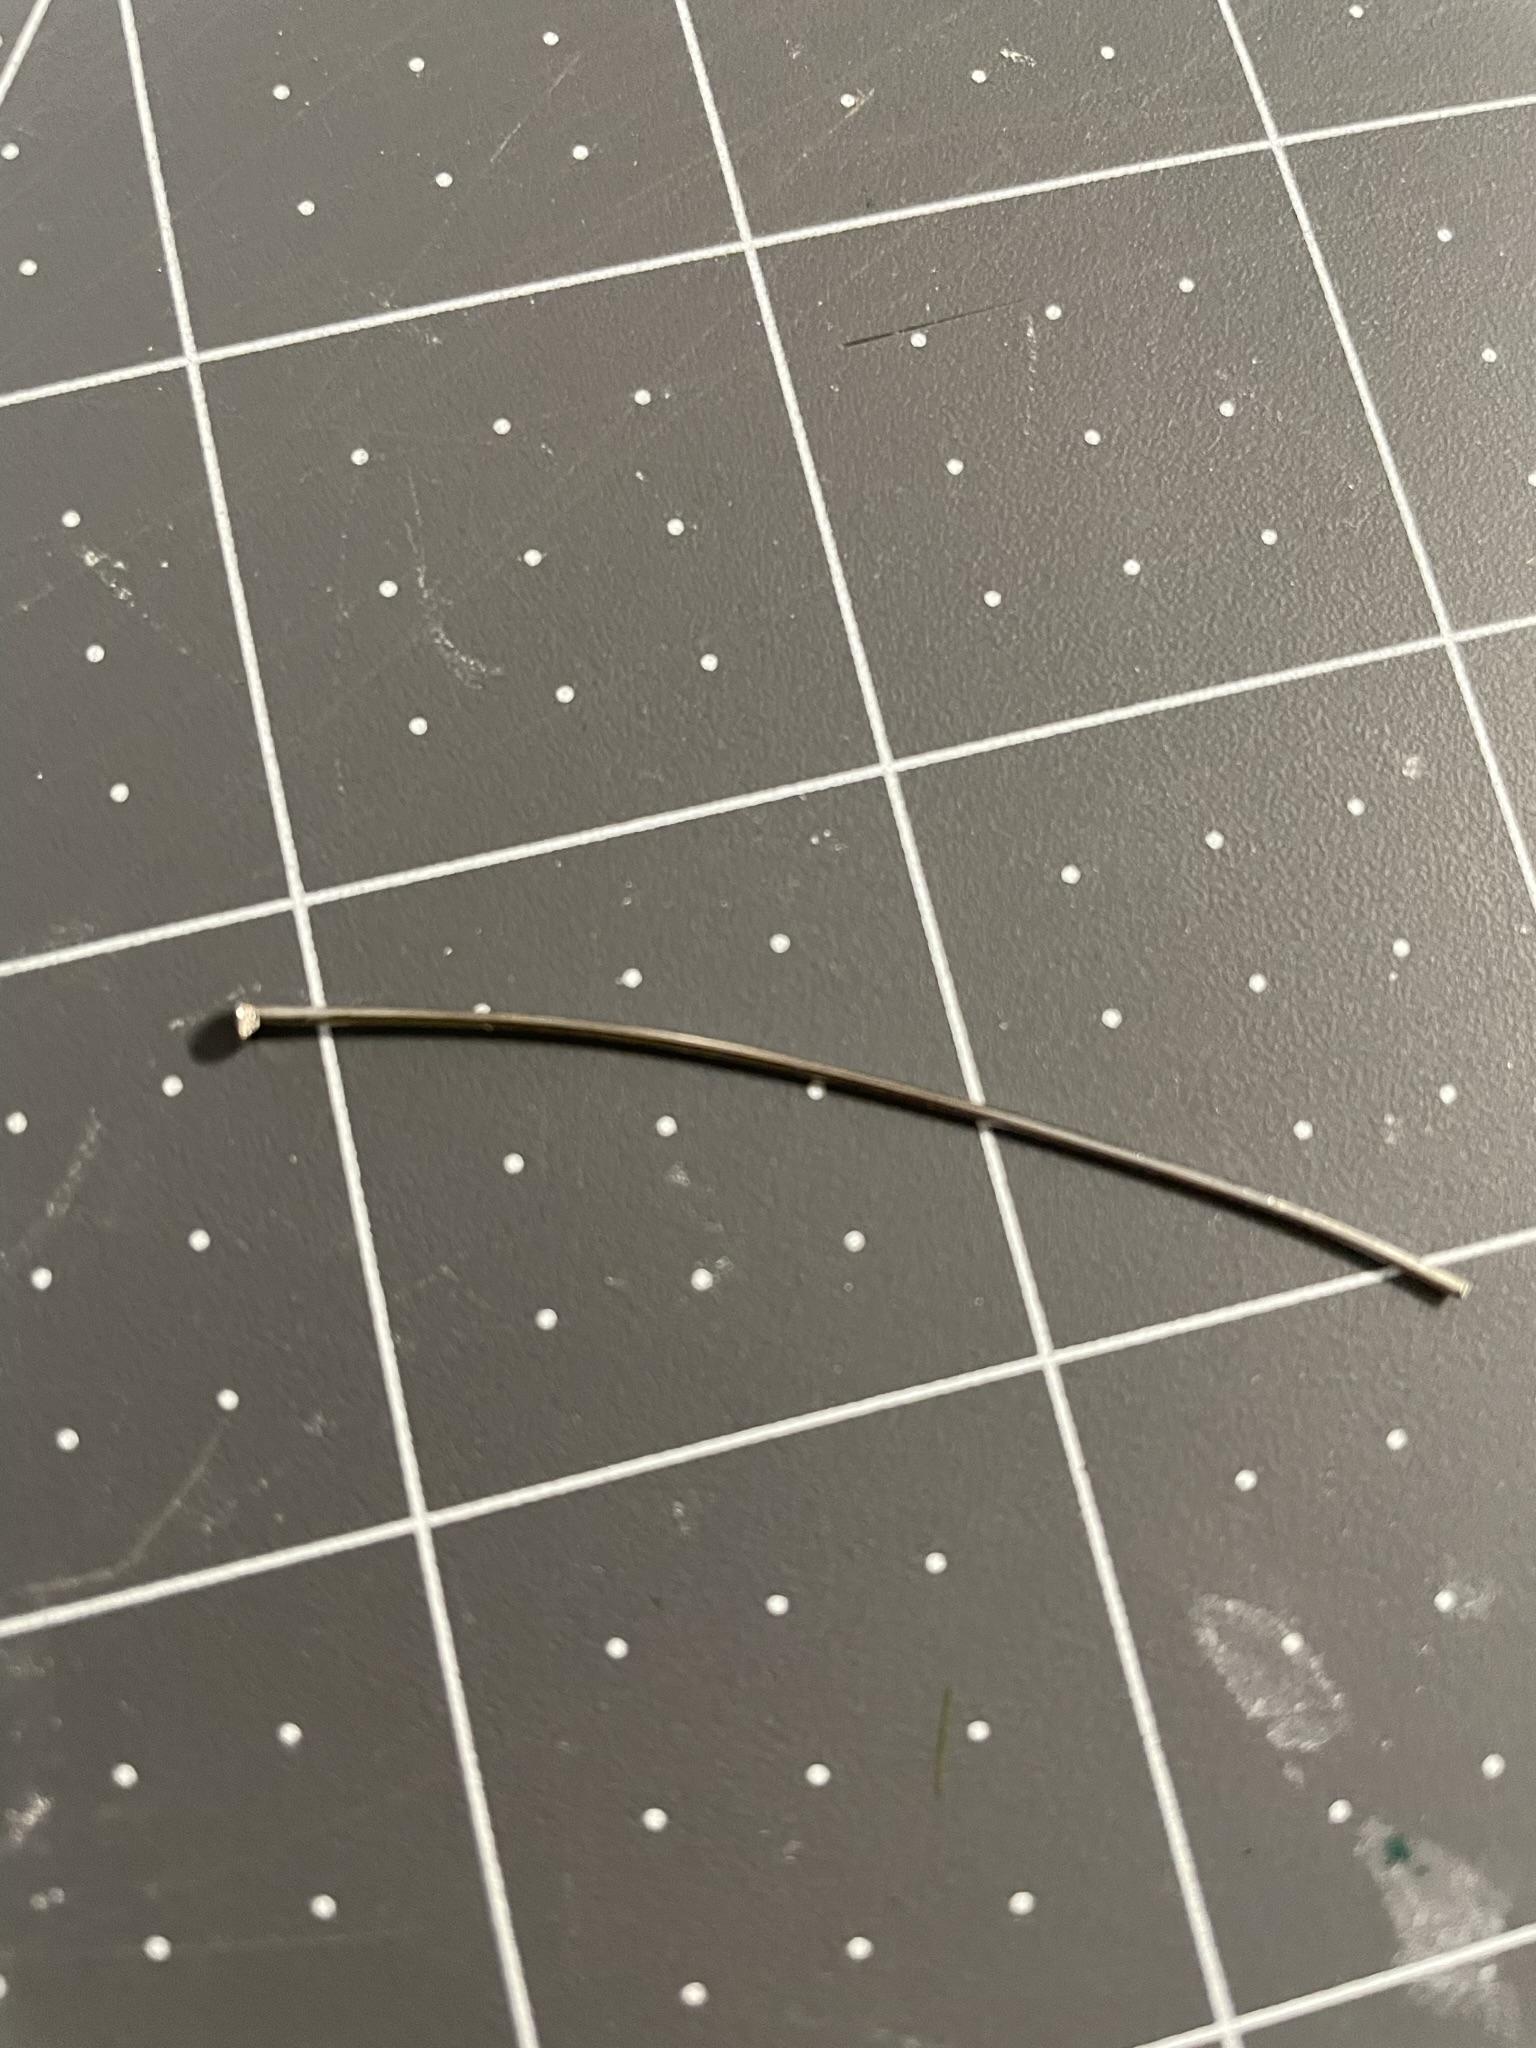
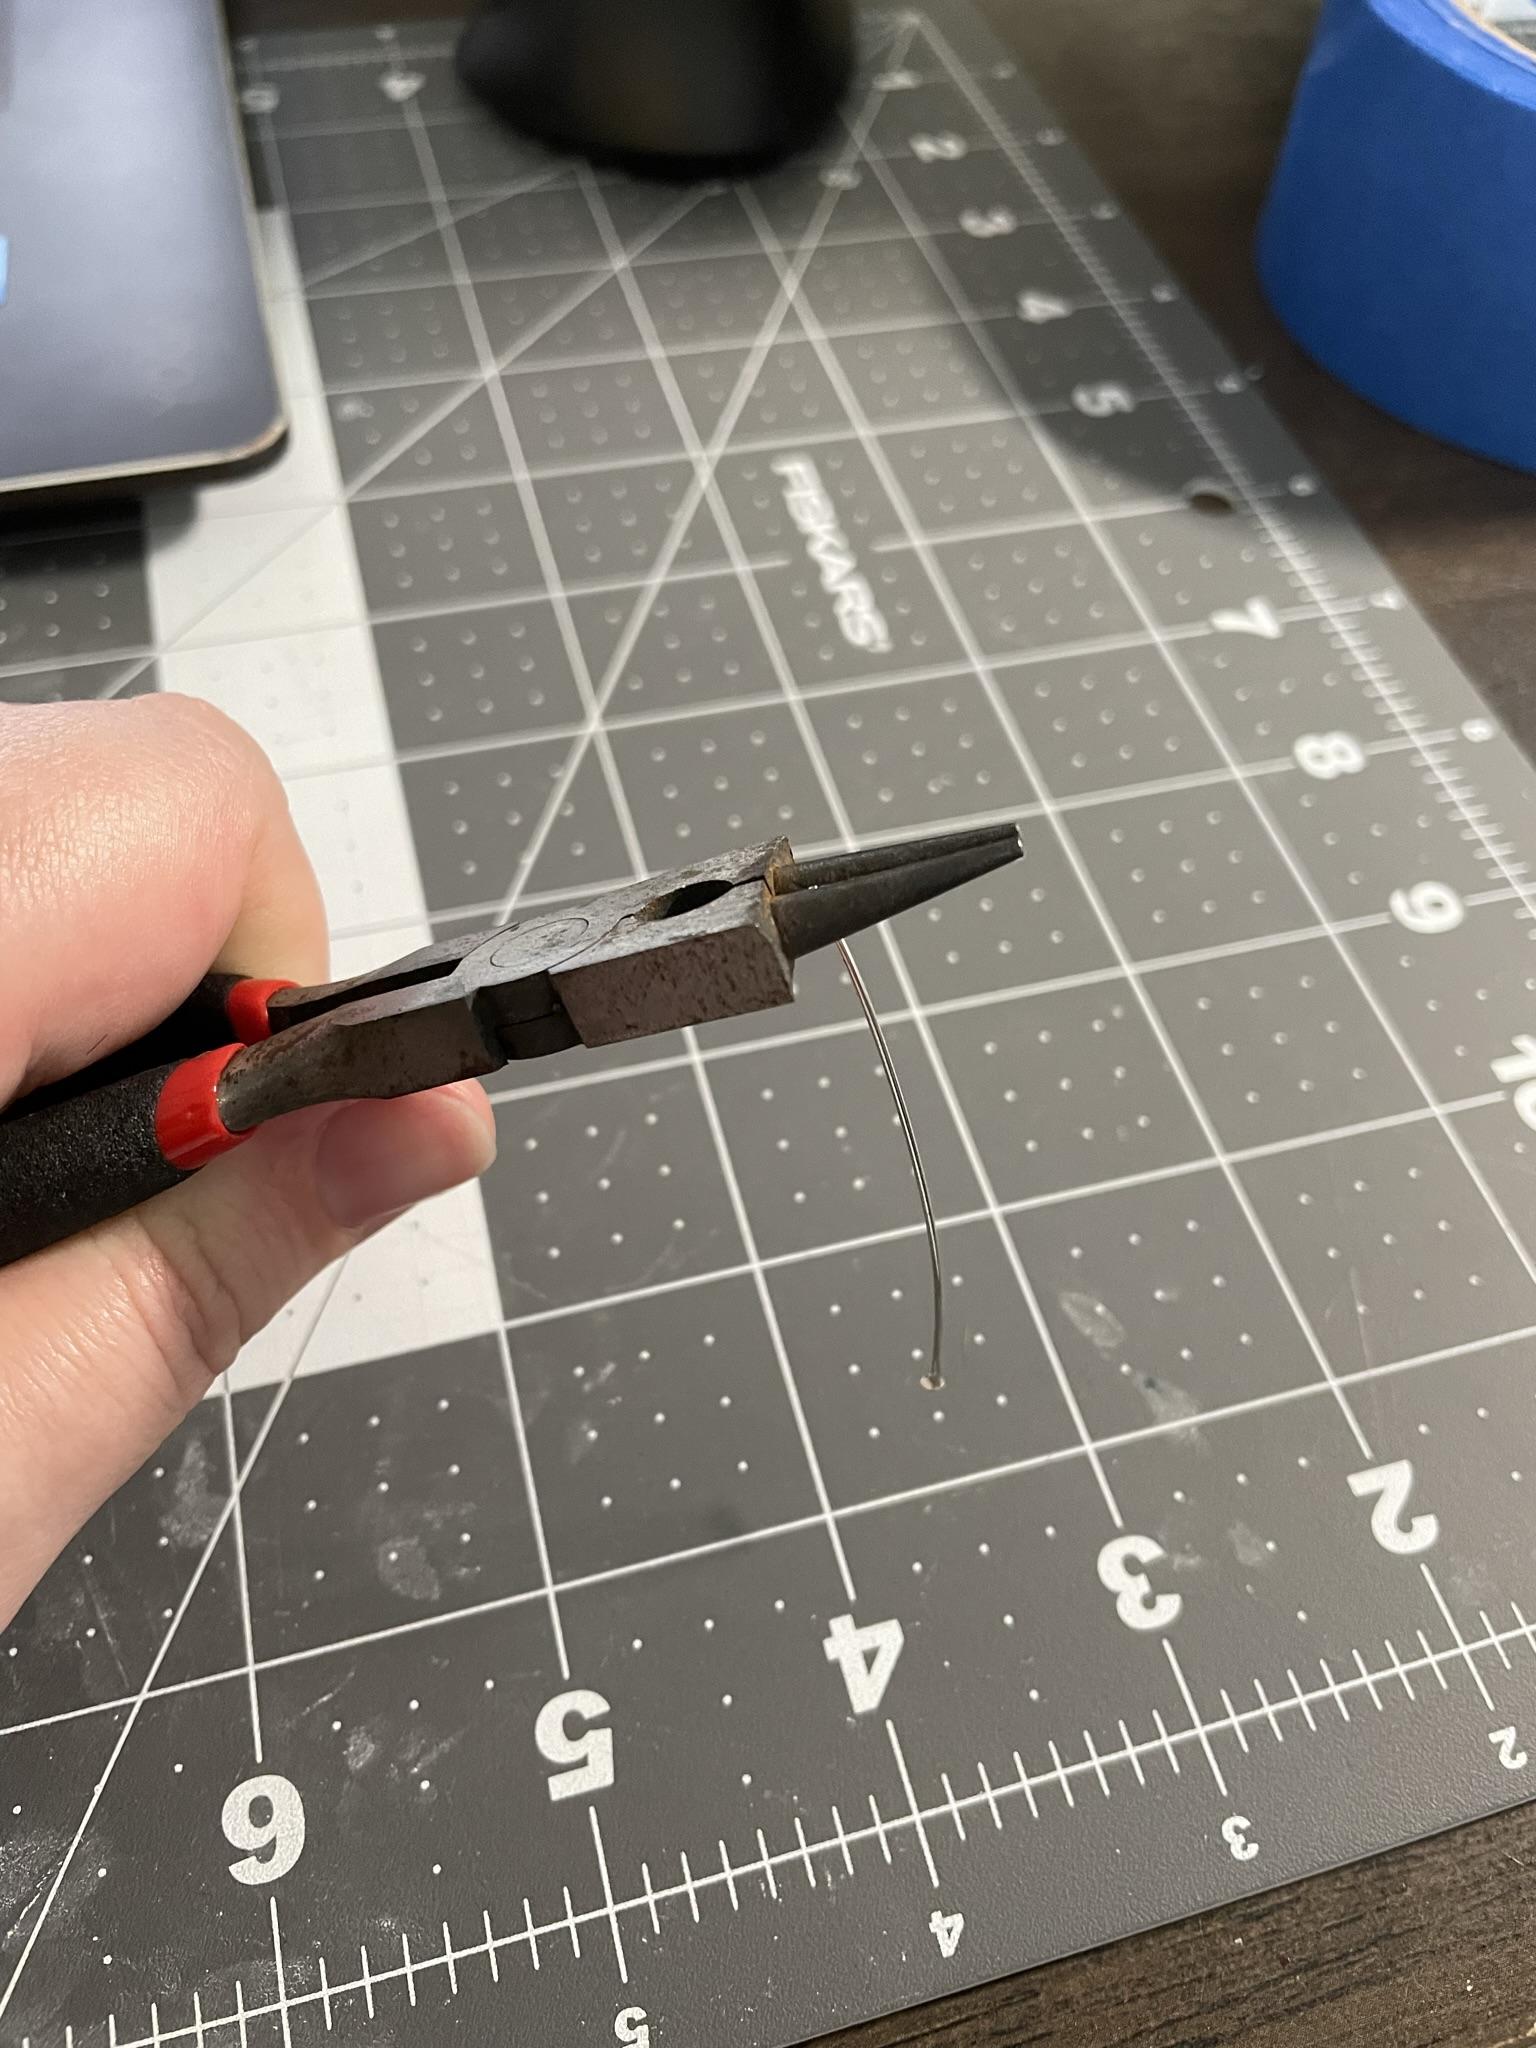
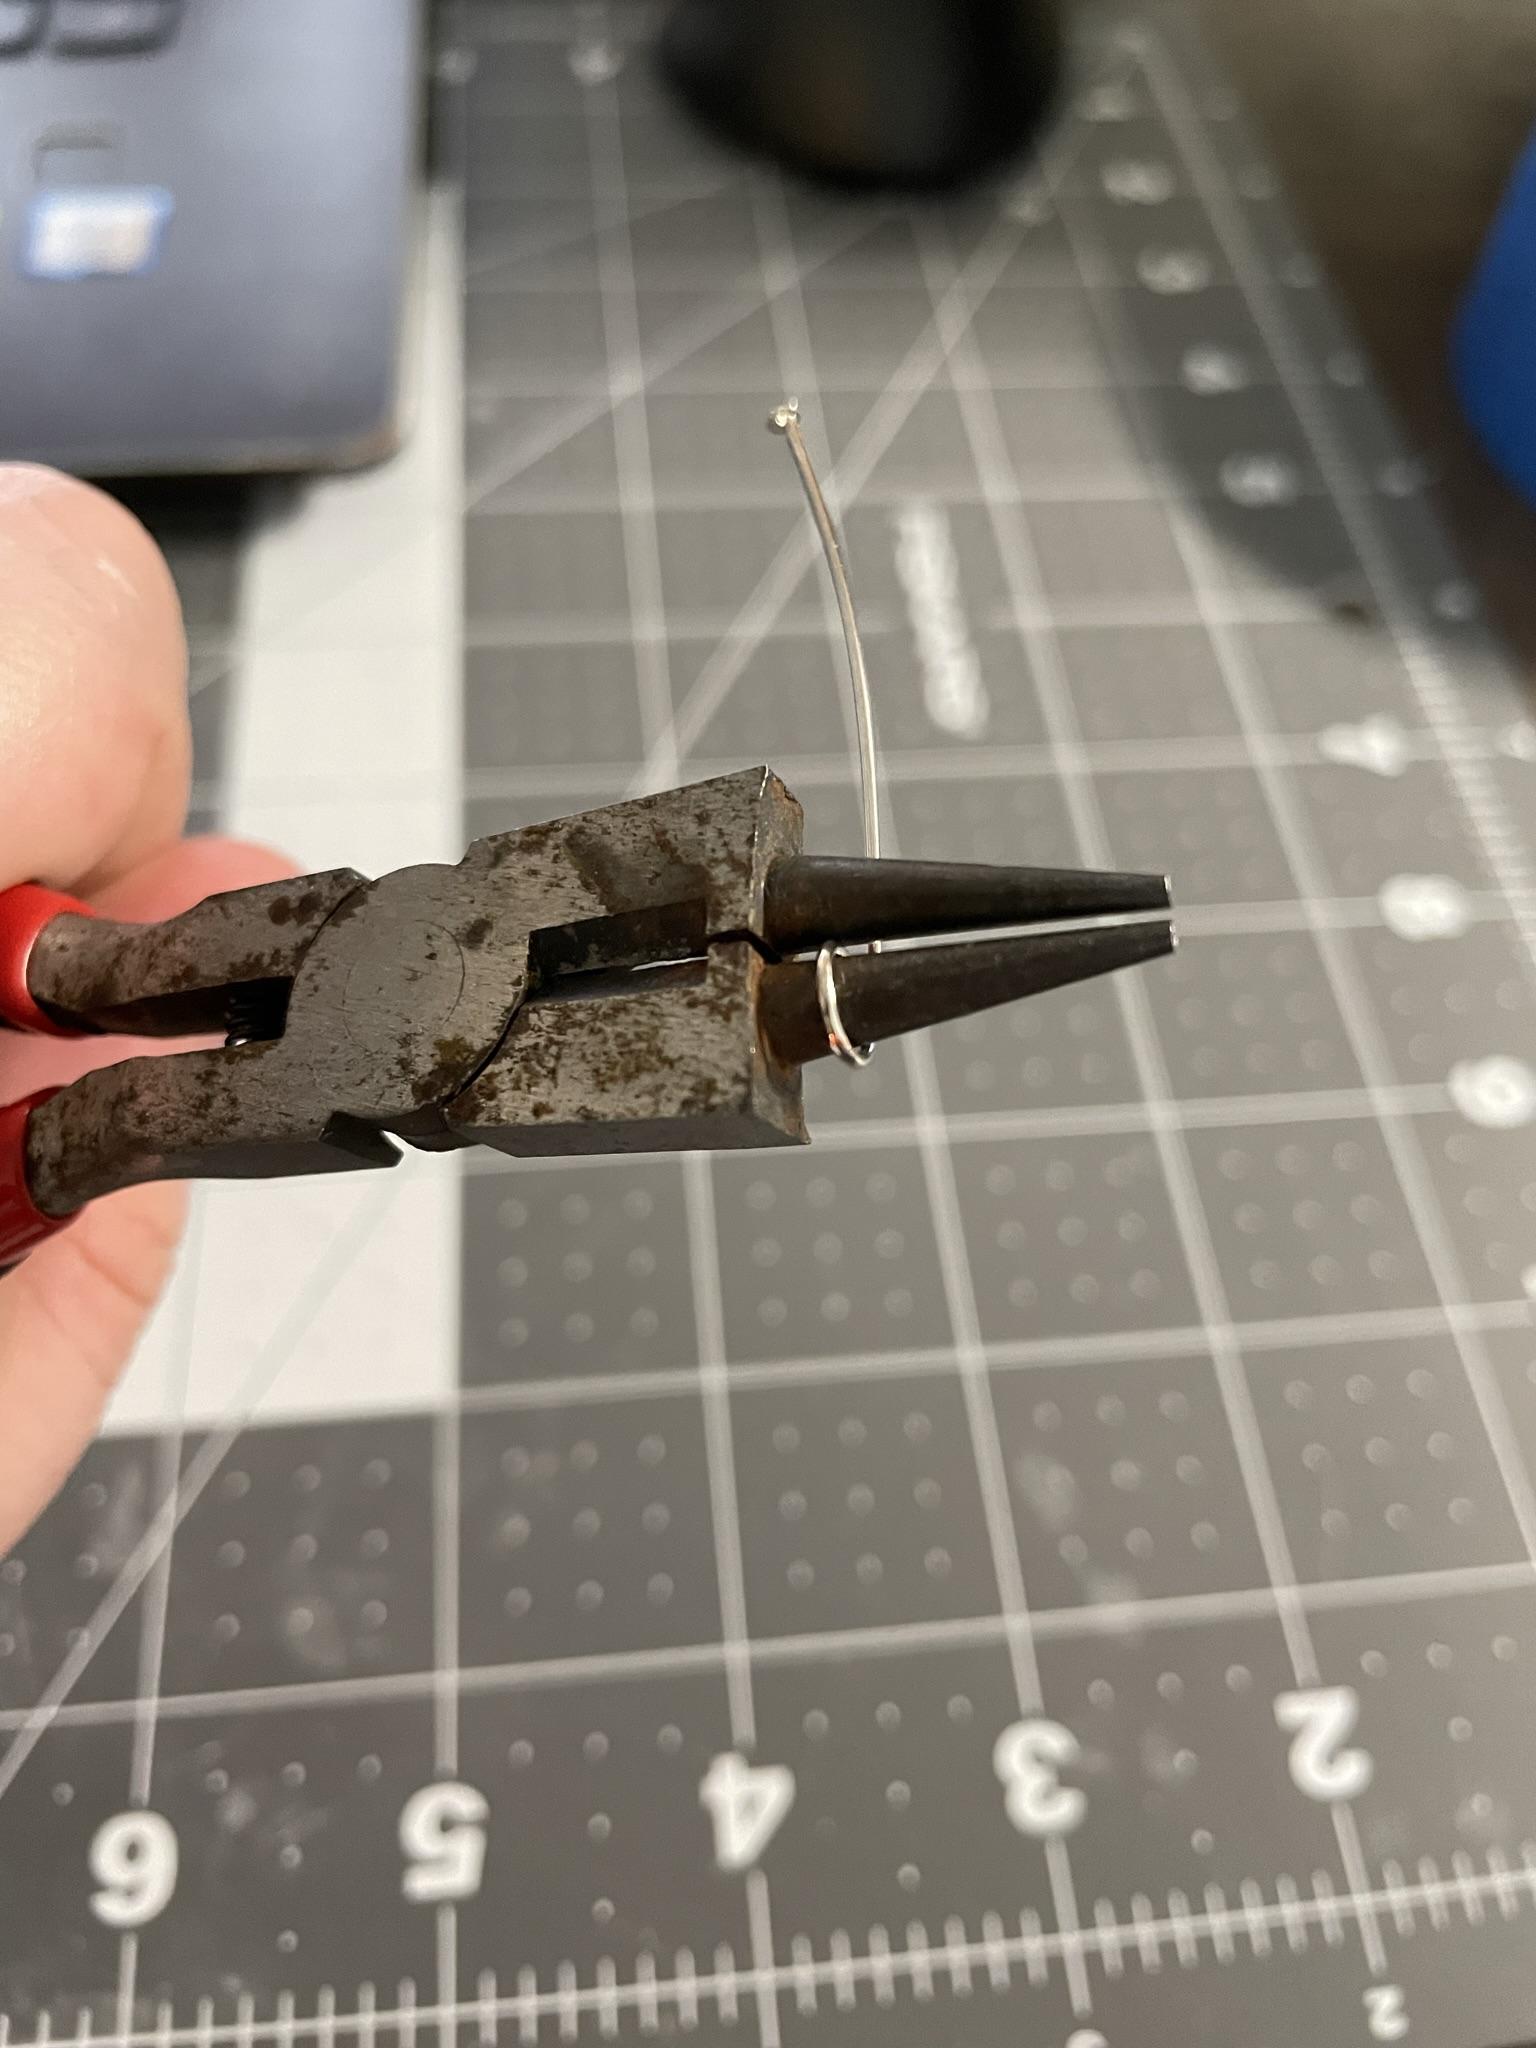
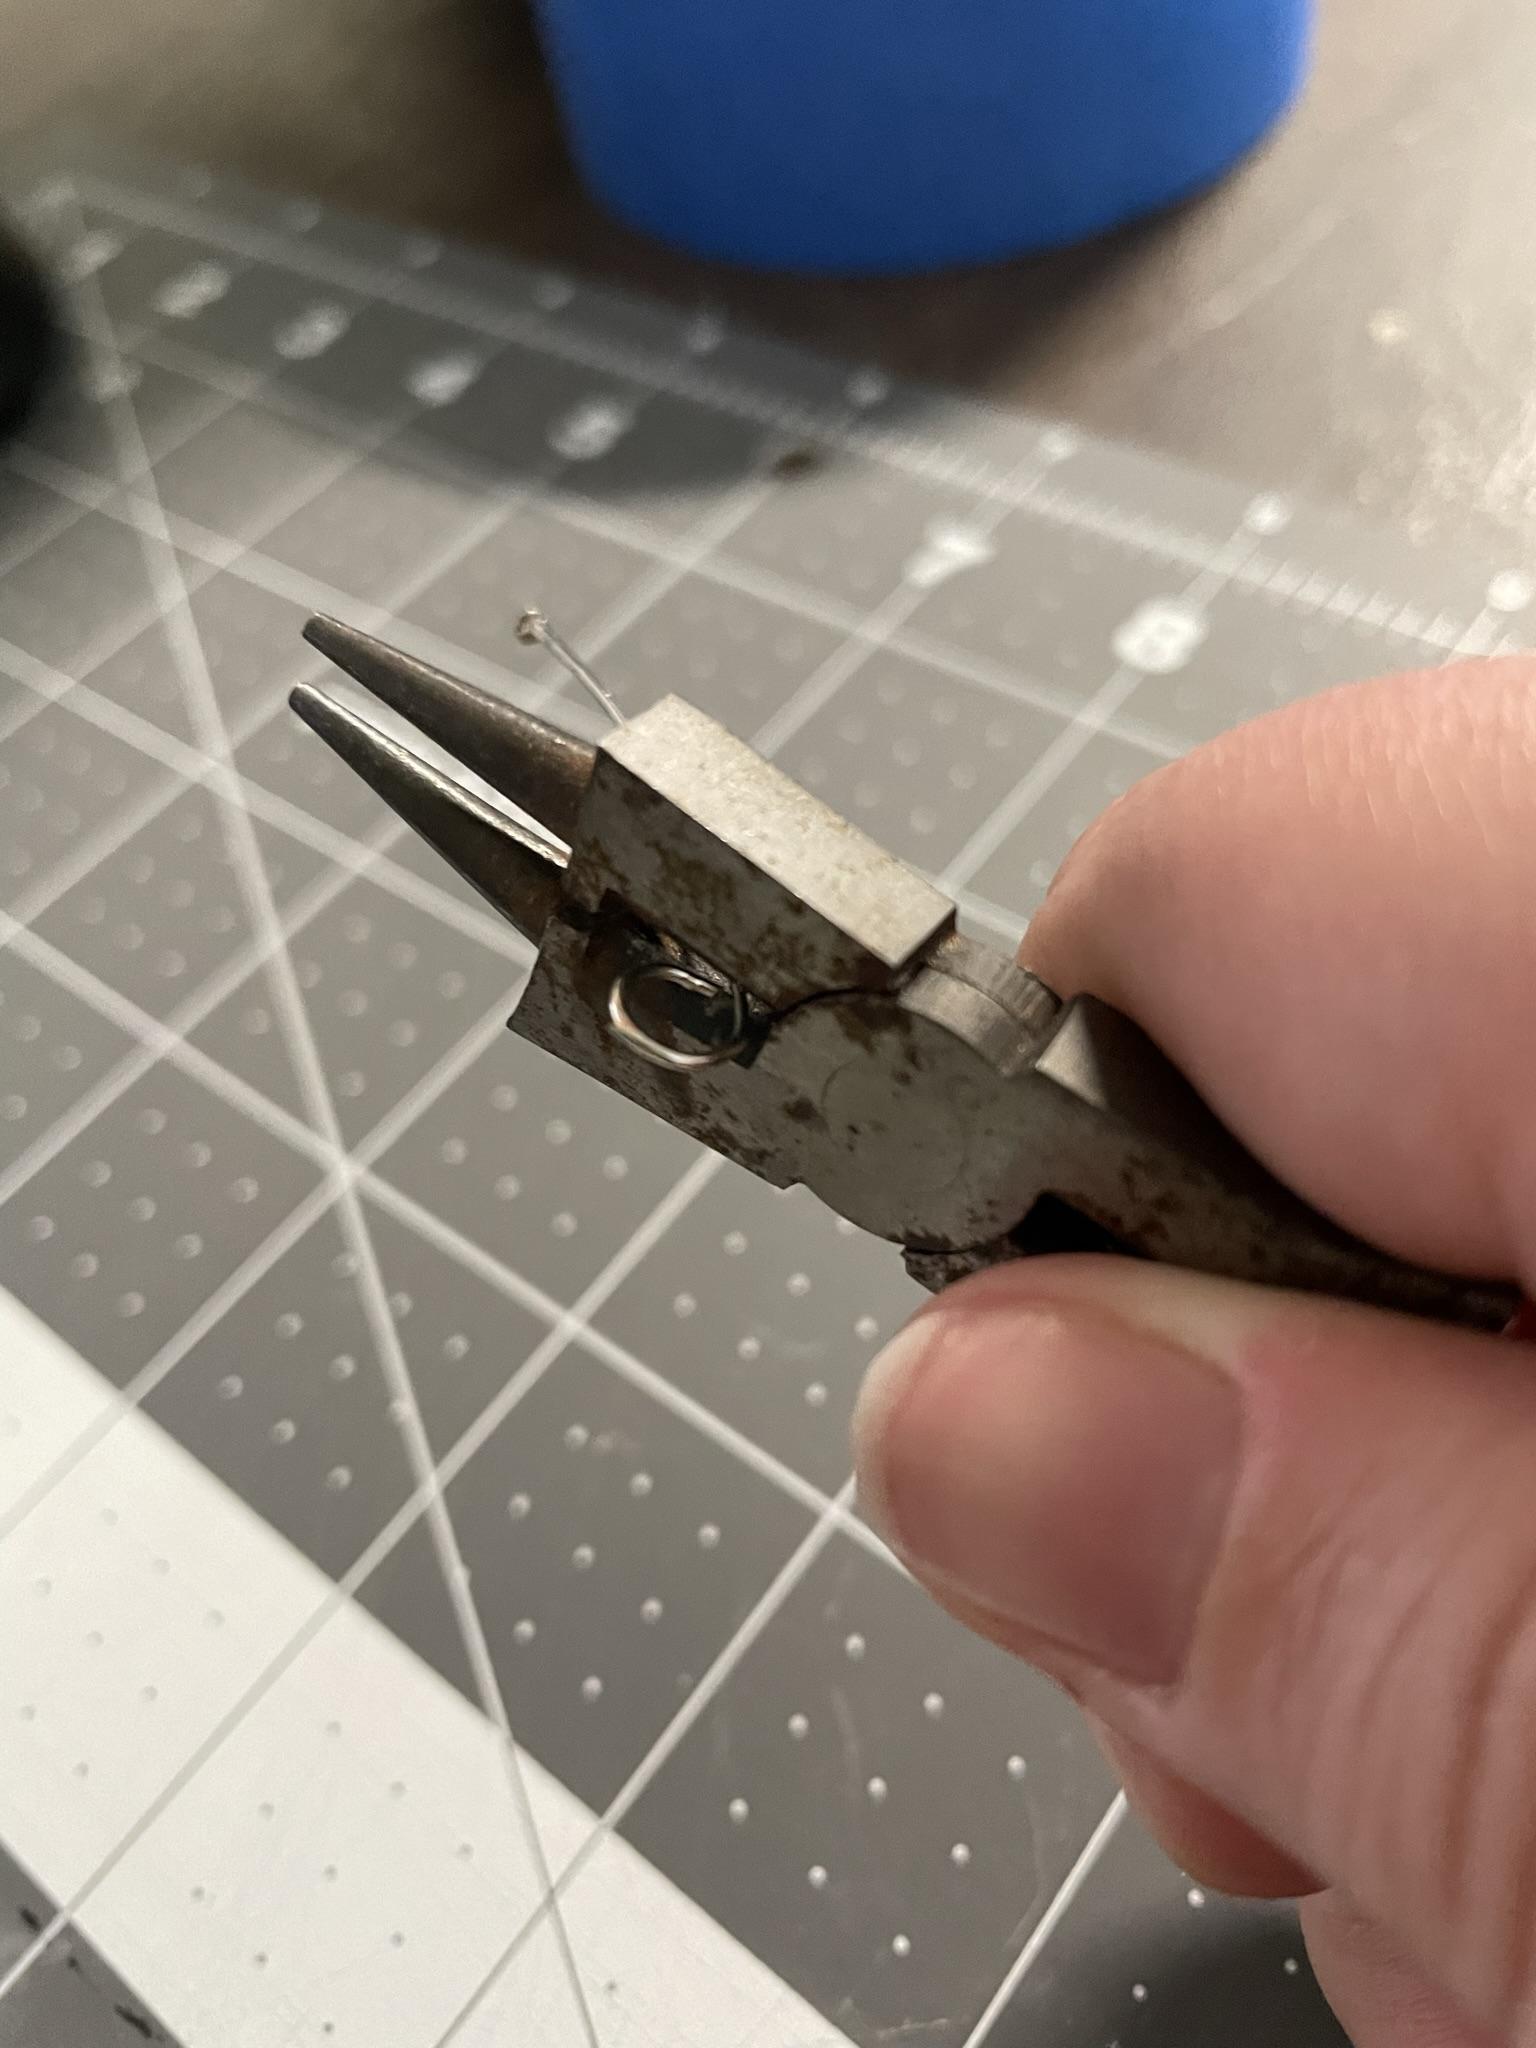
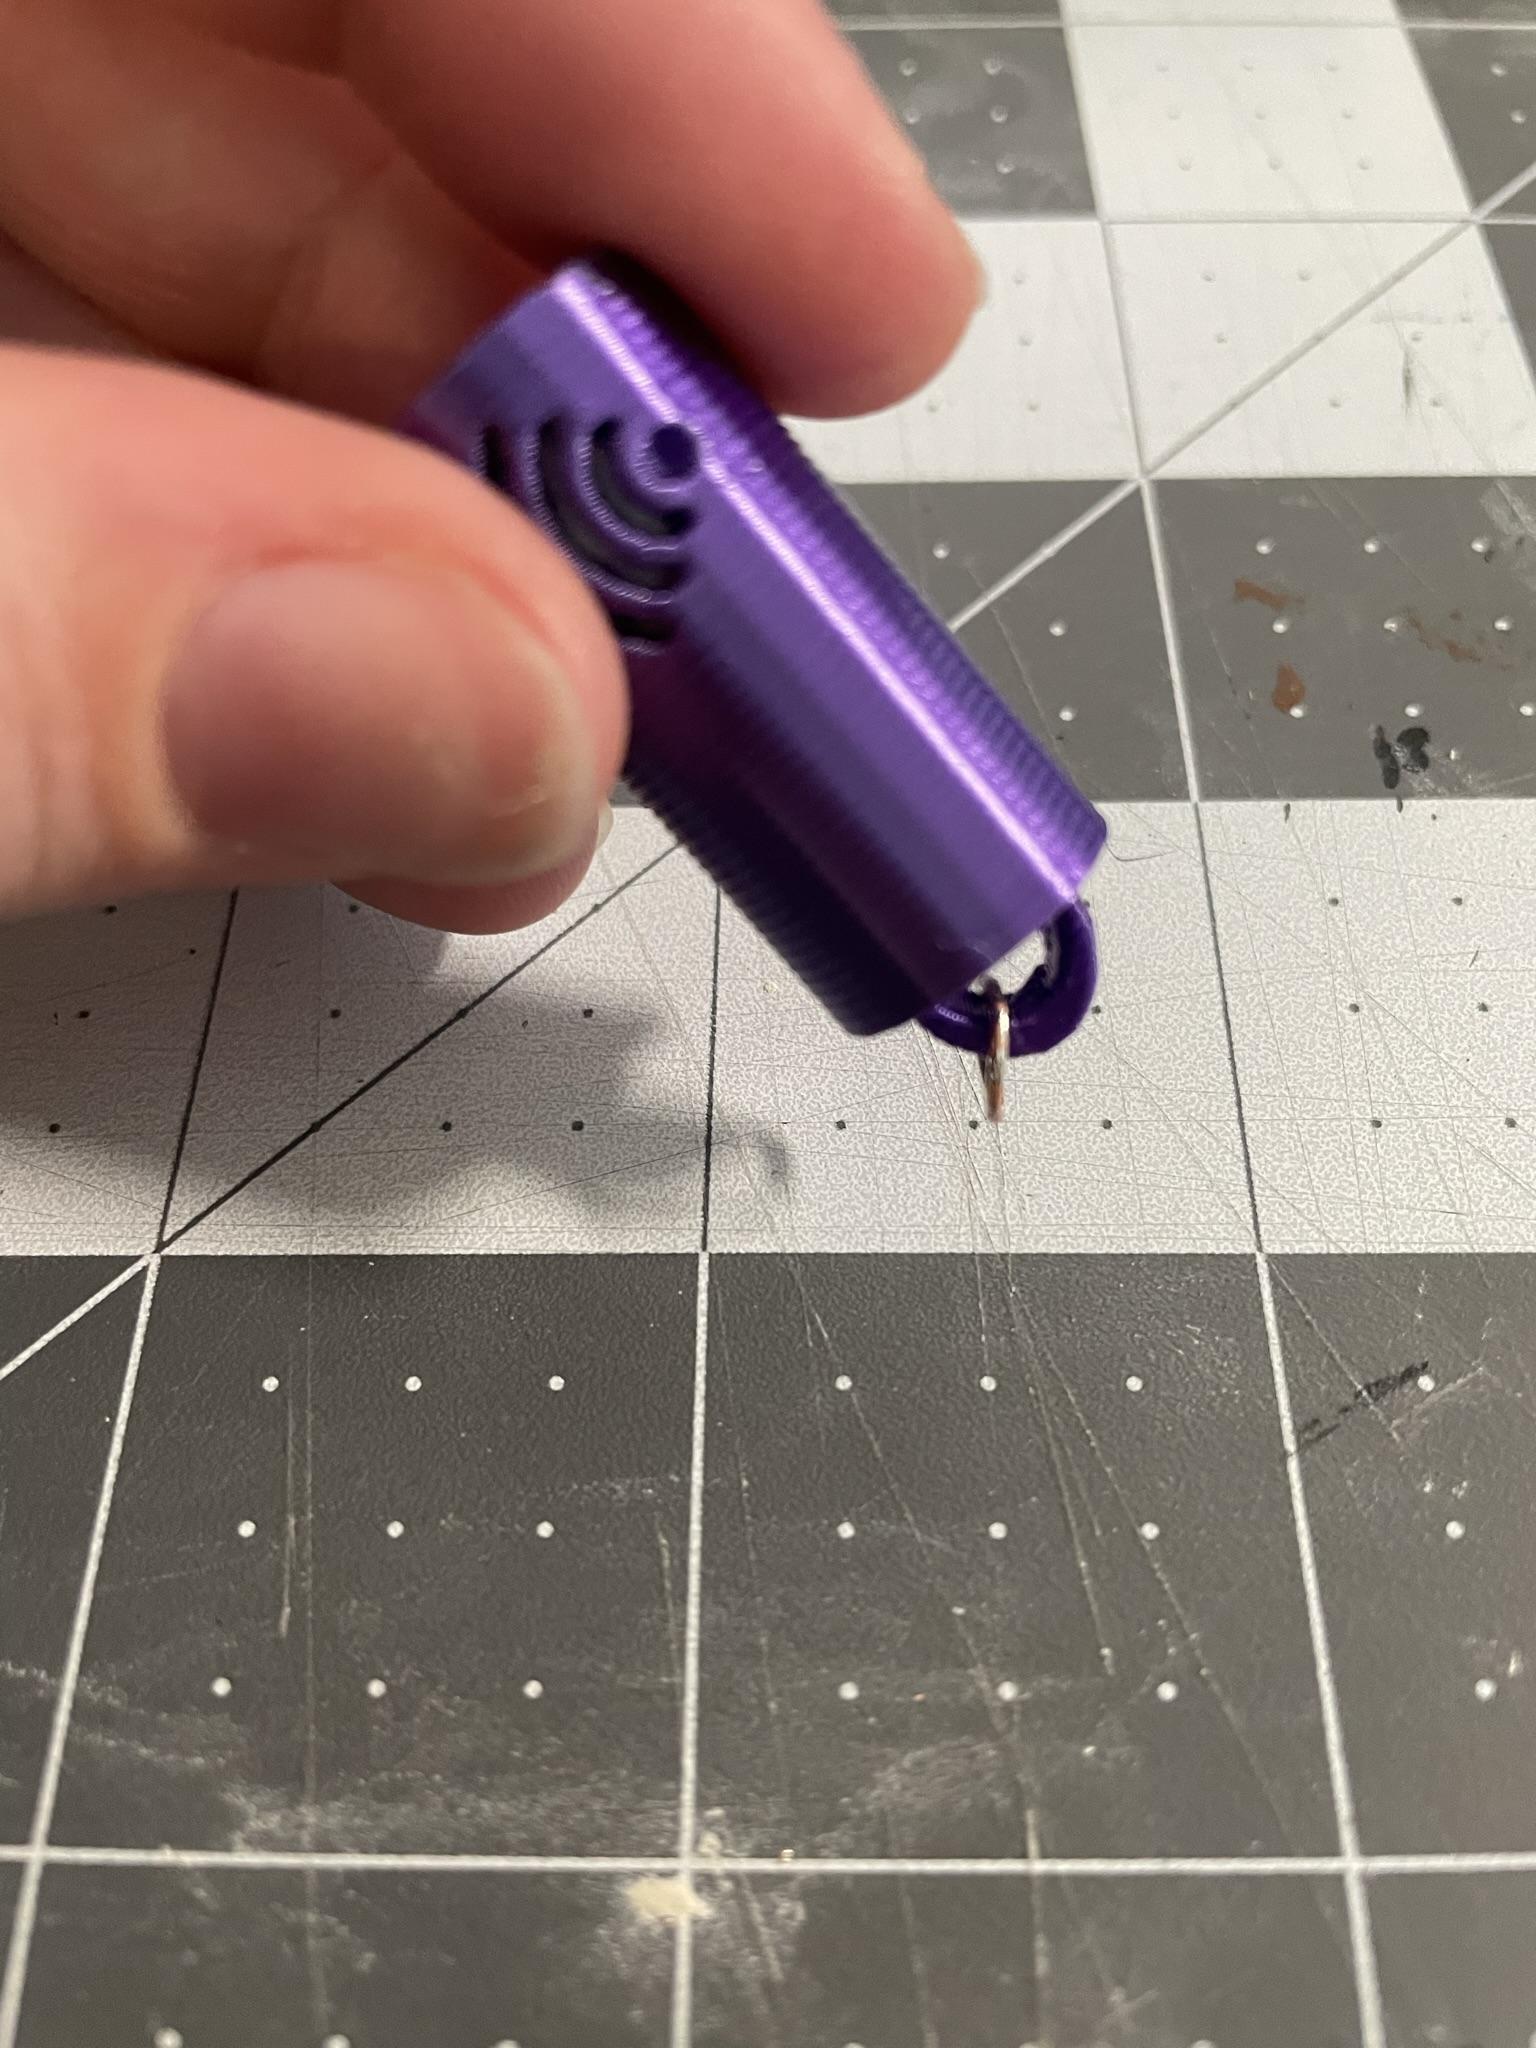
A jump ring will allow us to attach the pendant to a necklace or other cord. I didn't have any rings on hand, so I made my own.
Start with a small piece of wire. The one I used is a straight post for making jewelry.
Hold the end of the wire firmly in the pliers and wrap around the round part of the pliers. Cut the ring off.
Using the pliers to help you bend the ring carefully, attach it to the pendant.
Finally, string it onto a necklace, bracelet, or keychain.
Write to NFC
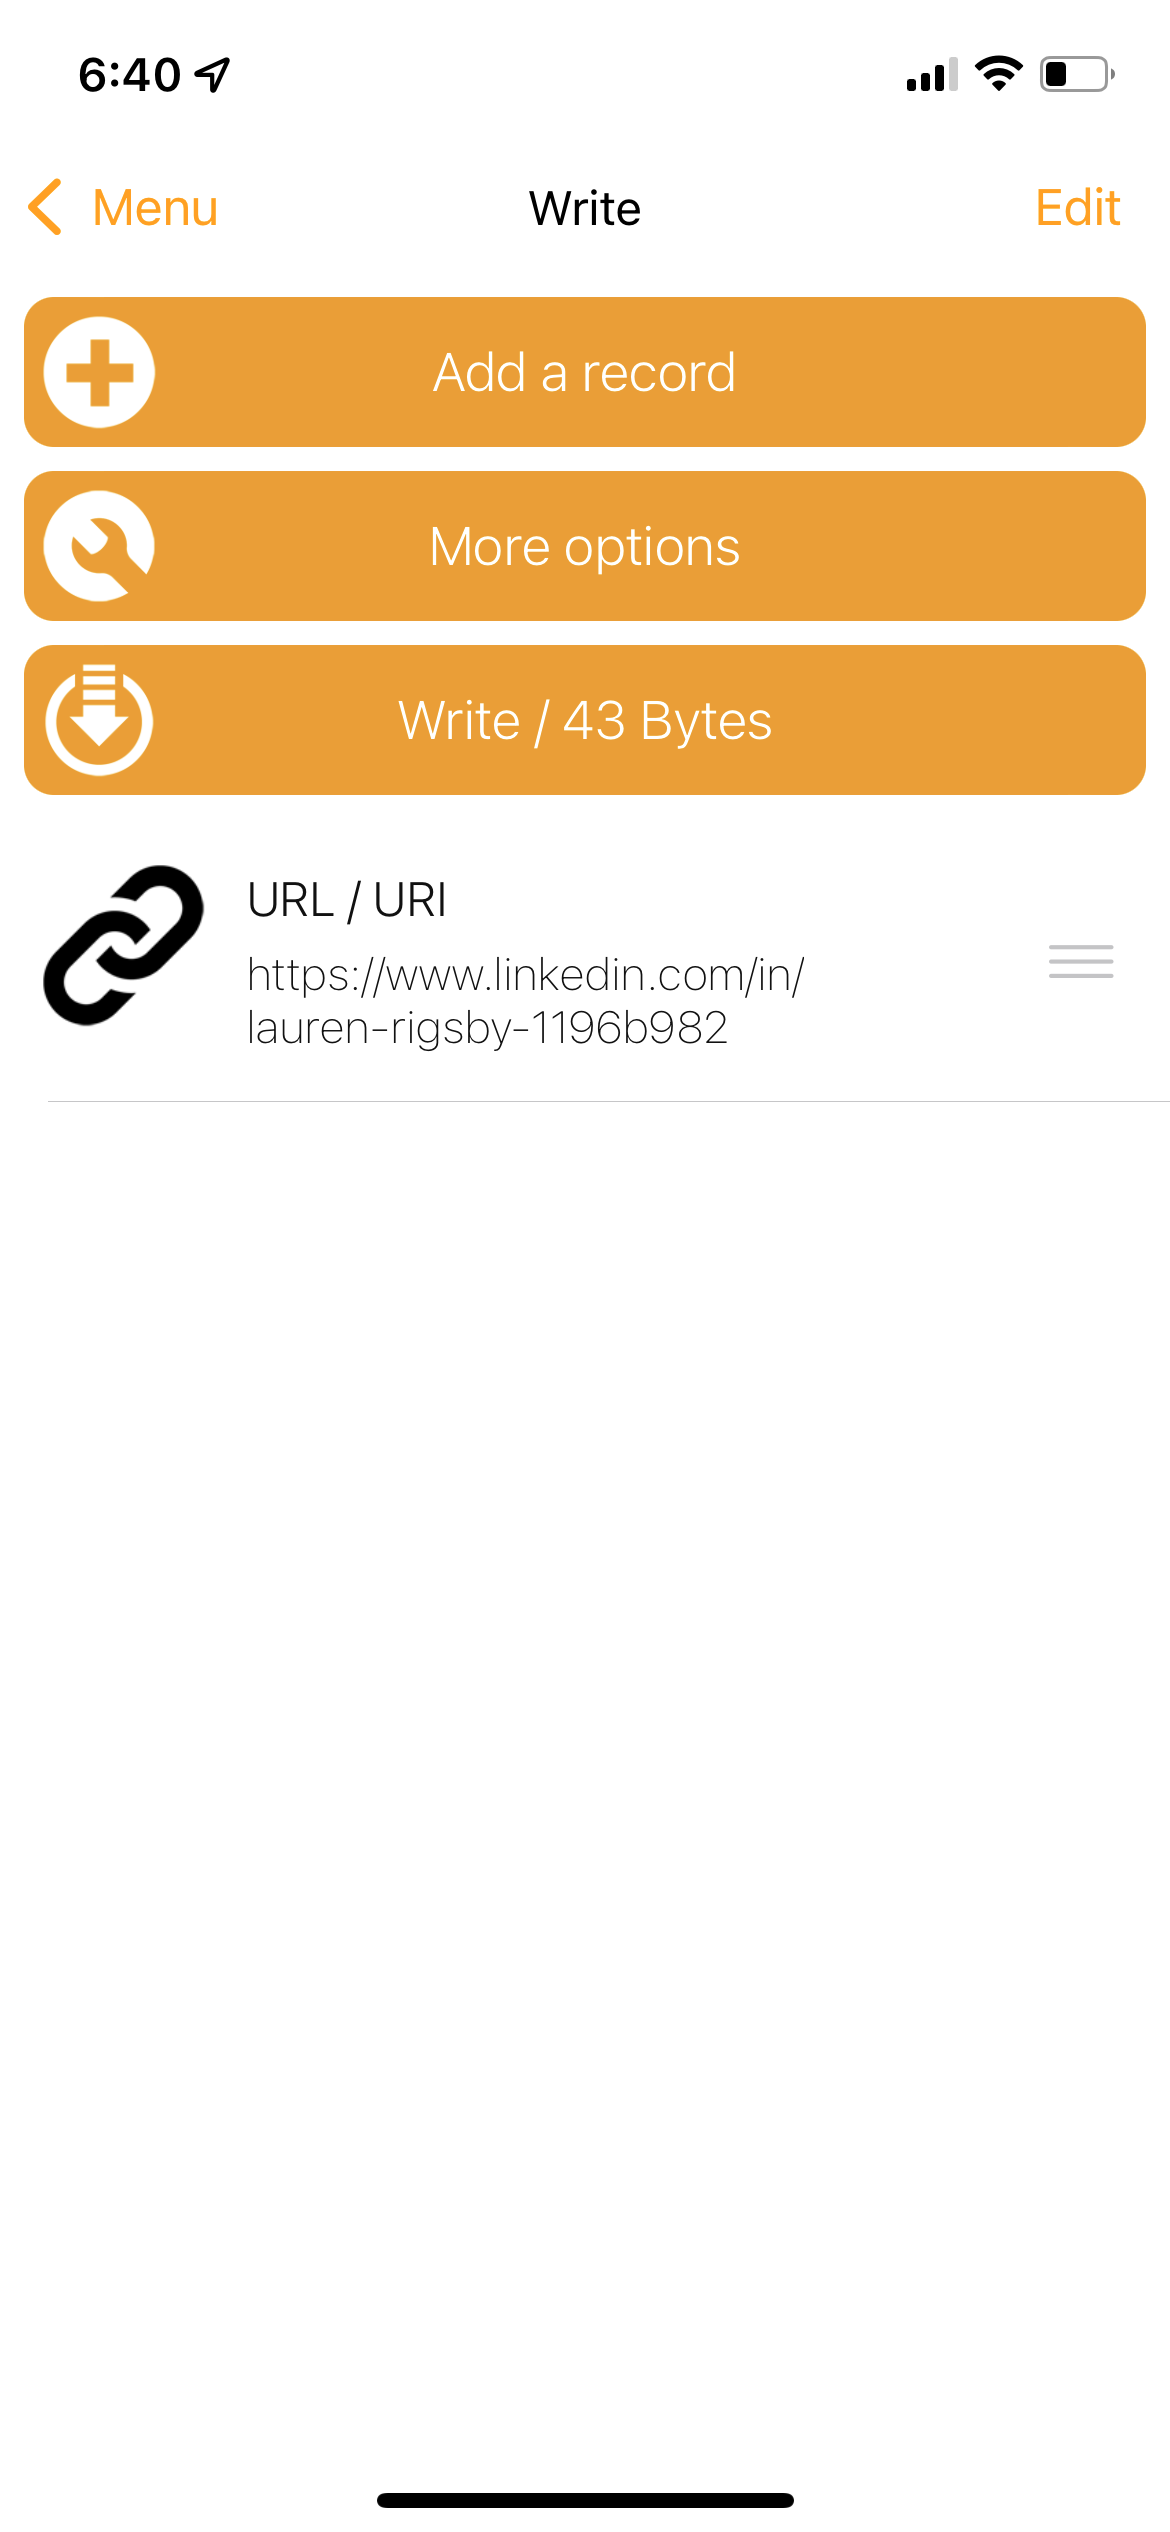
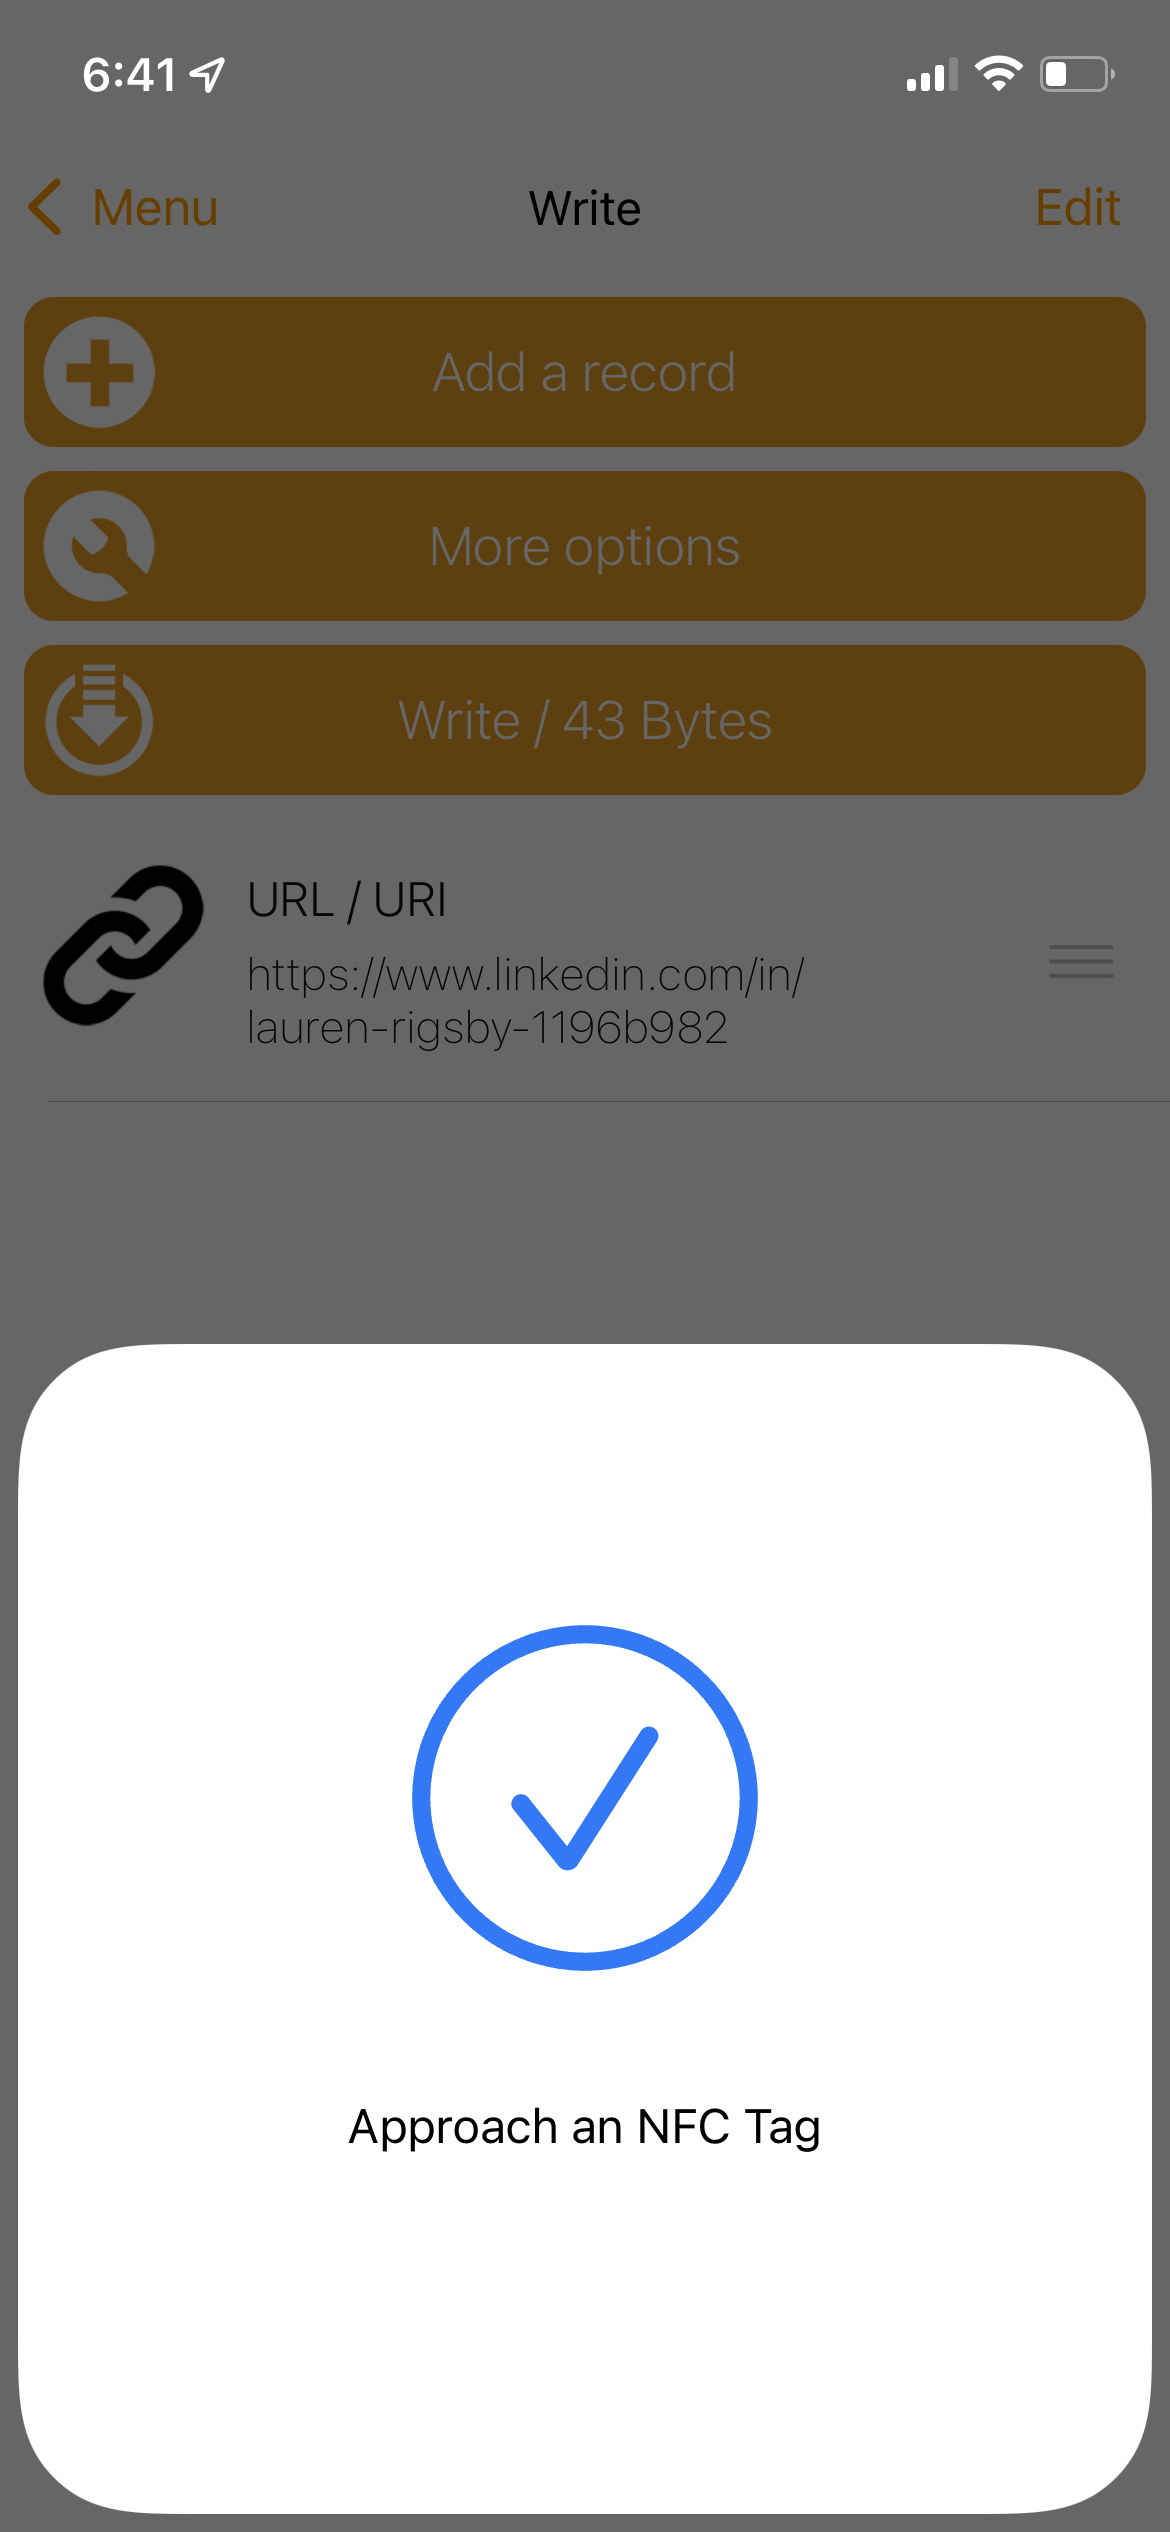
Most NFC writing apps are similiar. I used one called "NFC Tools".
Open the app, and select "Write".
Add a record.
Paste in the URL you'd like the pendant to take someone to. For a networking event, I've added a link to my LinkedIn. You could link to your website, social media page, or any other URL.
Then, select Write and tap the pendant to write the URL to the tag.
Profit
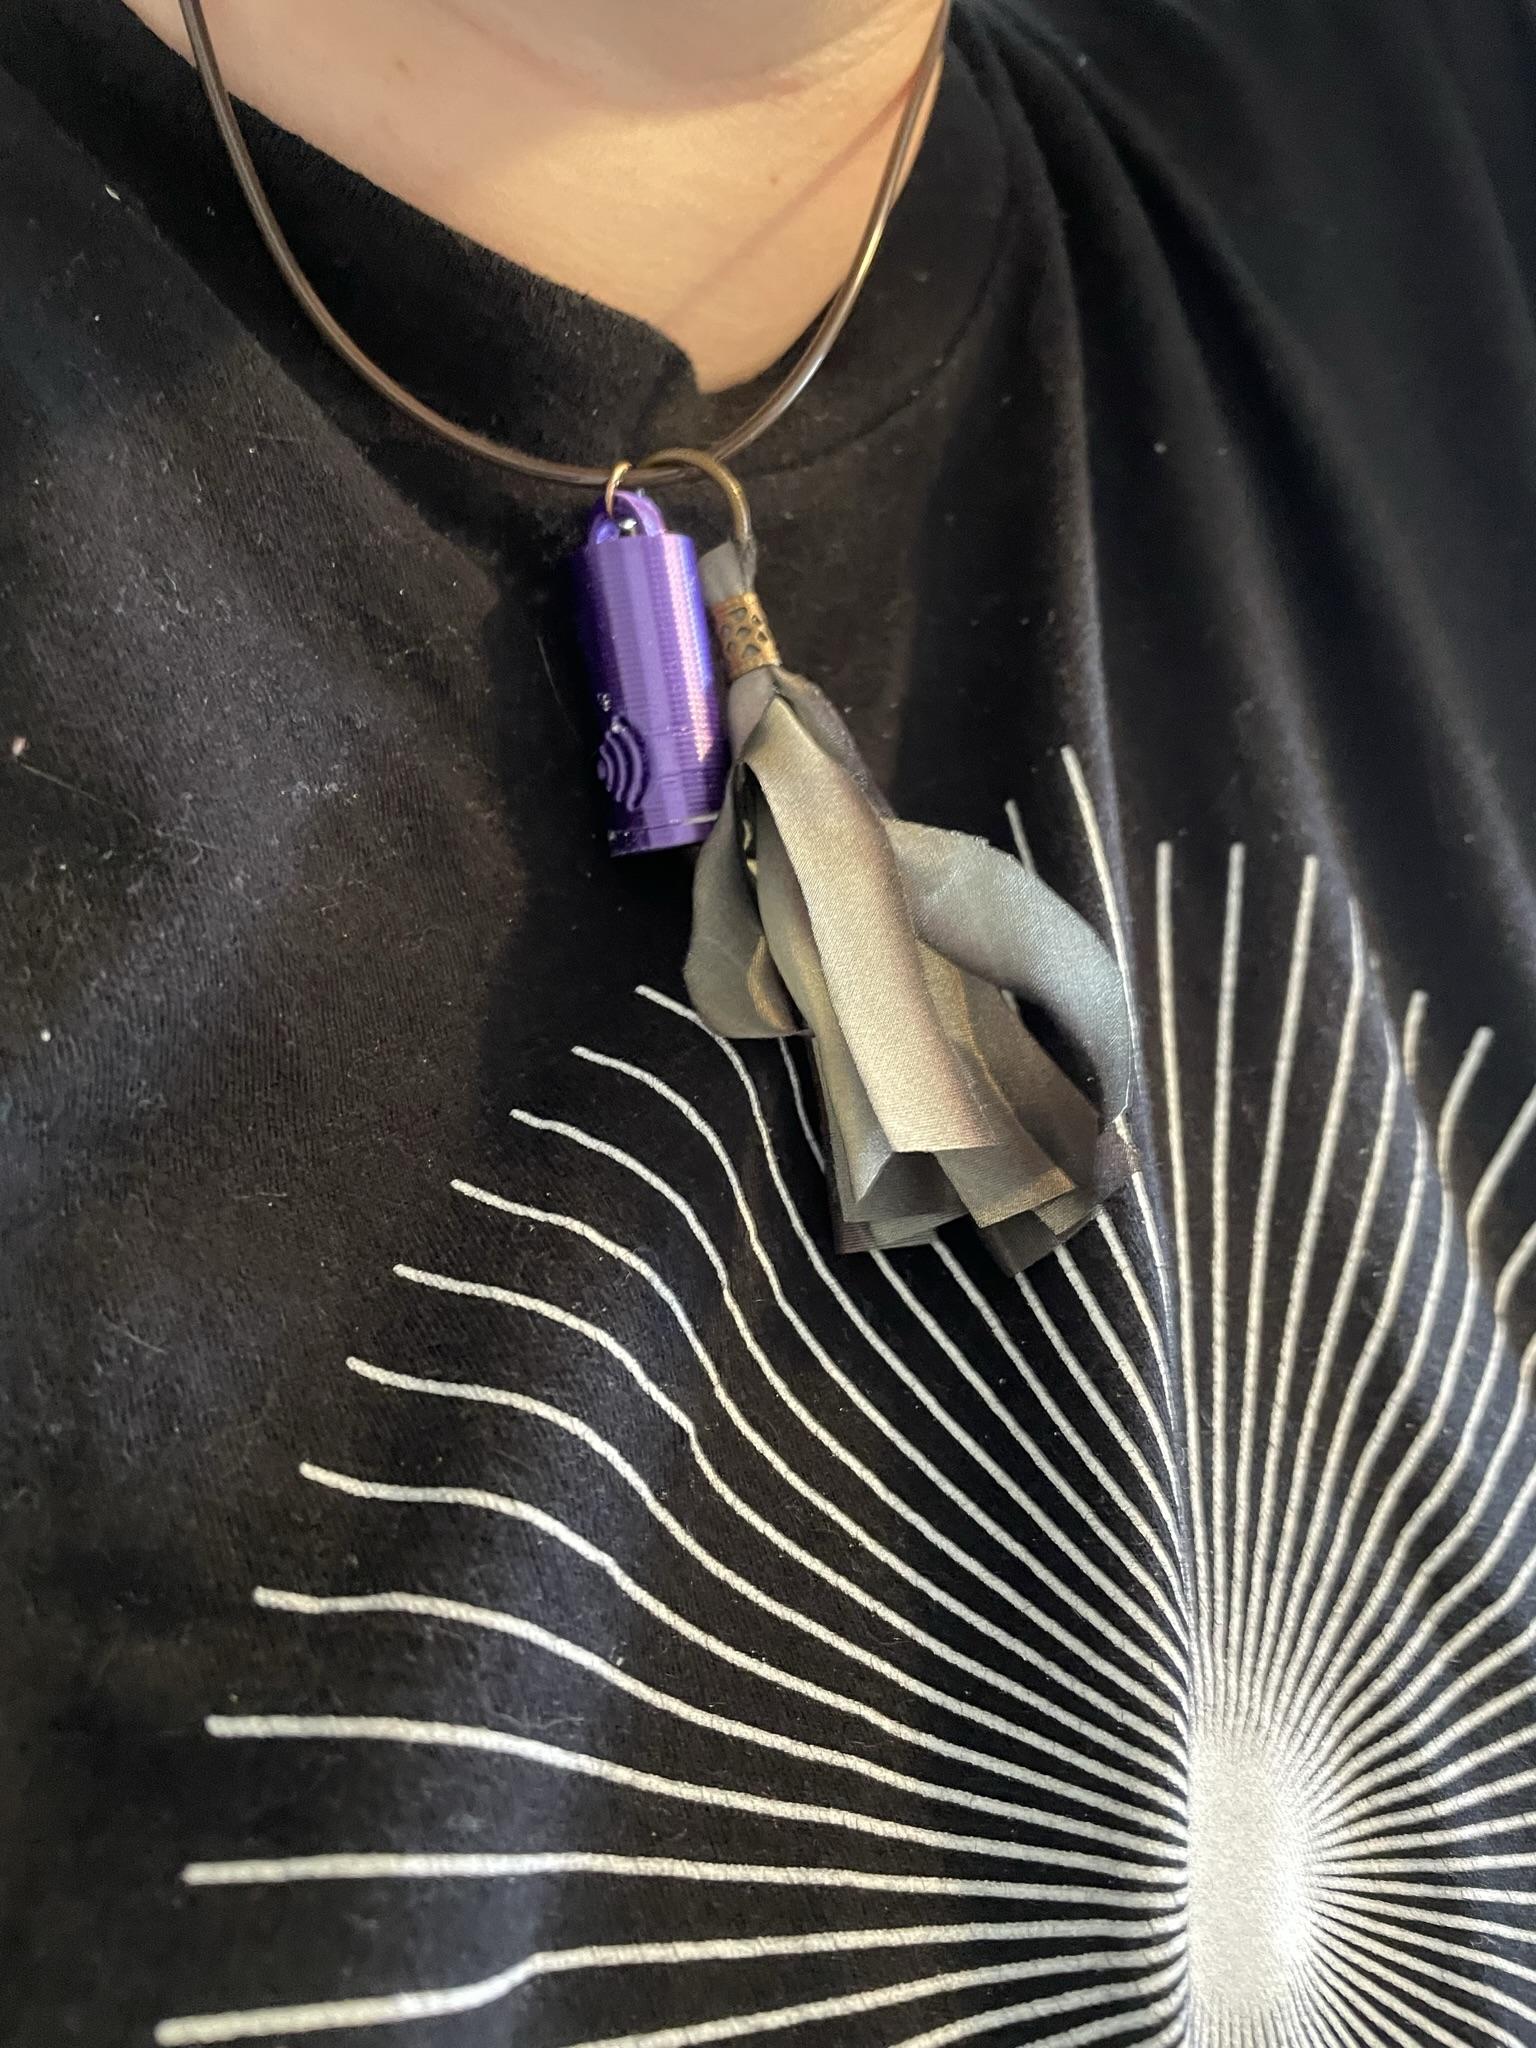
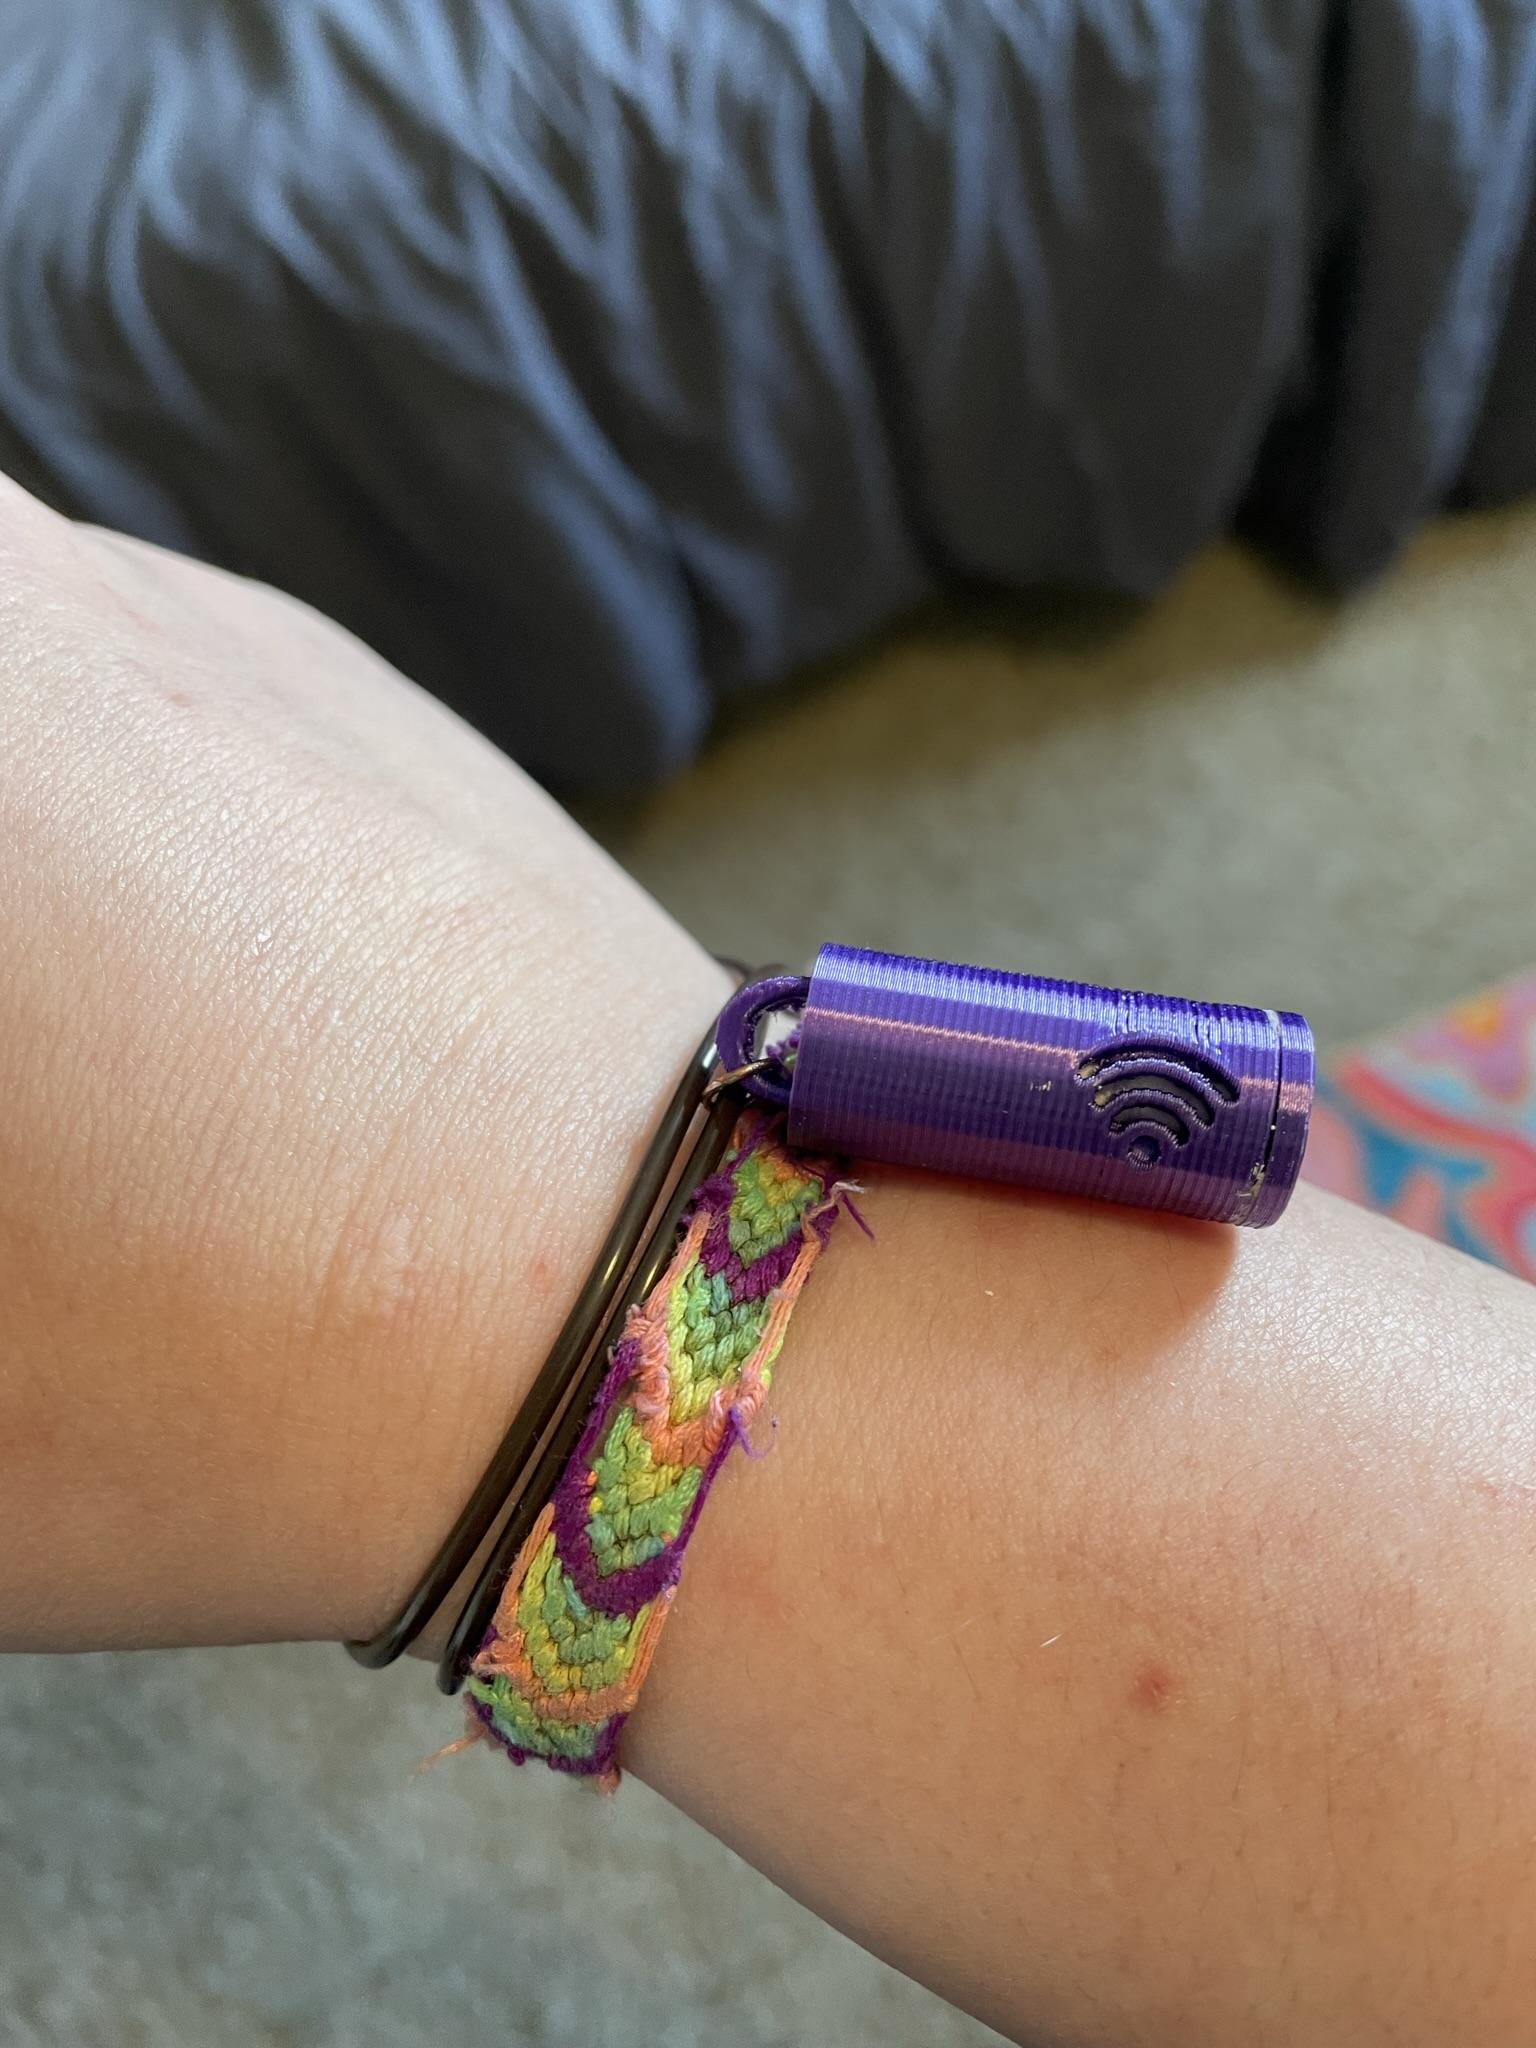
I added a little tassel I found at the craft store for some extra interest. Add any embellishments you like and wear it as a necklace or bracelet.
Wear your lovely new pendant to a networking event and make those connections!