NFC Ring
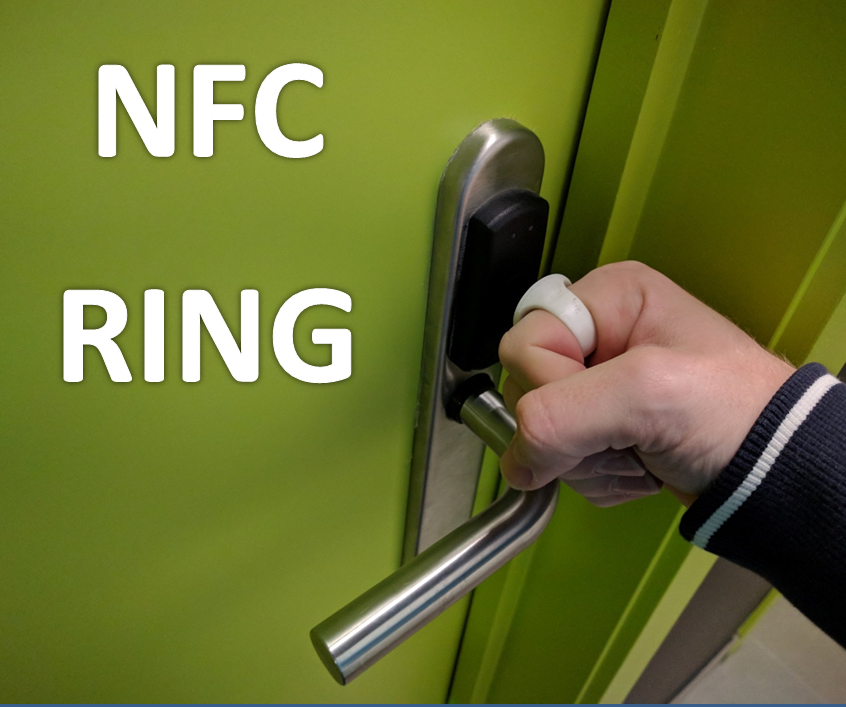
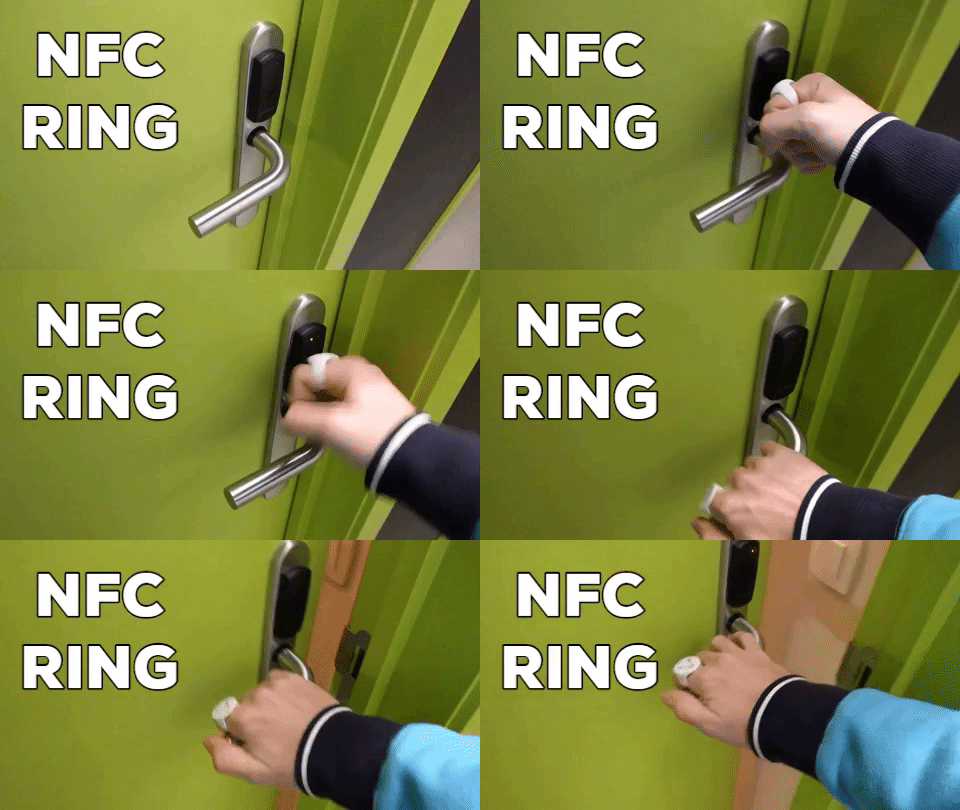
NFC, or Near Field Communication, is a neat technology for all kinds of applications. One of the most common is it's use in keys. They are especially useful in appartement buildings and schools, where each individual should be able to enter a specific set of rooms; since it can be easily done by reprogramming them.
This is also the case in my student residence, but since we need the badge to enter any room, it is quite annoying when you forget to take it with you. That's why I decided to embed it in a ring, as to never forget my keys again!
Programming the Tag
Before we can design the ring, we need to choose the NFC tag itself and program it.
I recommend buying the same type of tag as the one you want to clone. But how do you find this out in the first place? Well, there's an app for that! I used Mifare Classic Tool, but you'll find plenty of other options.
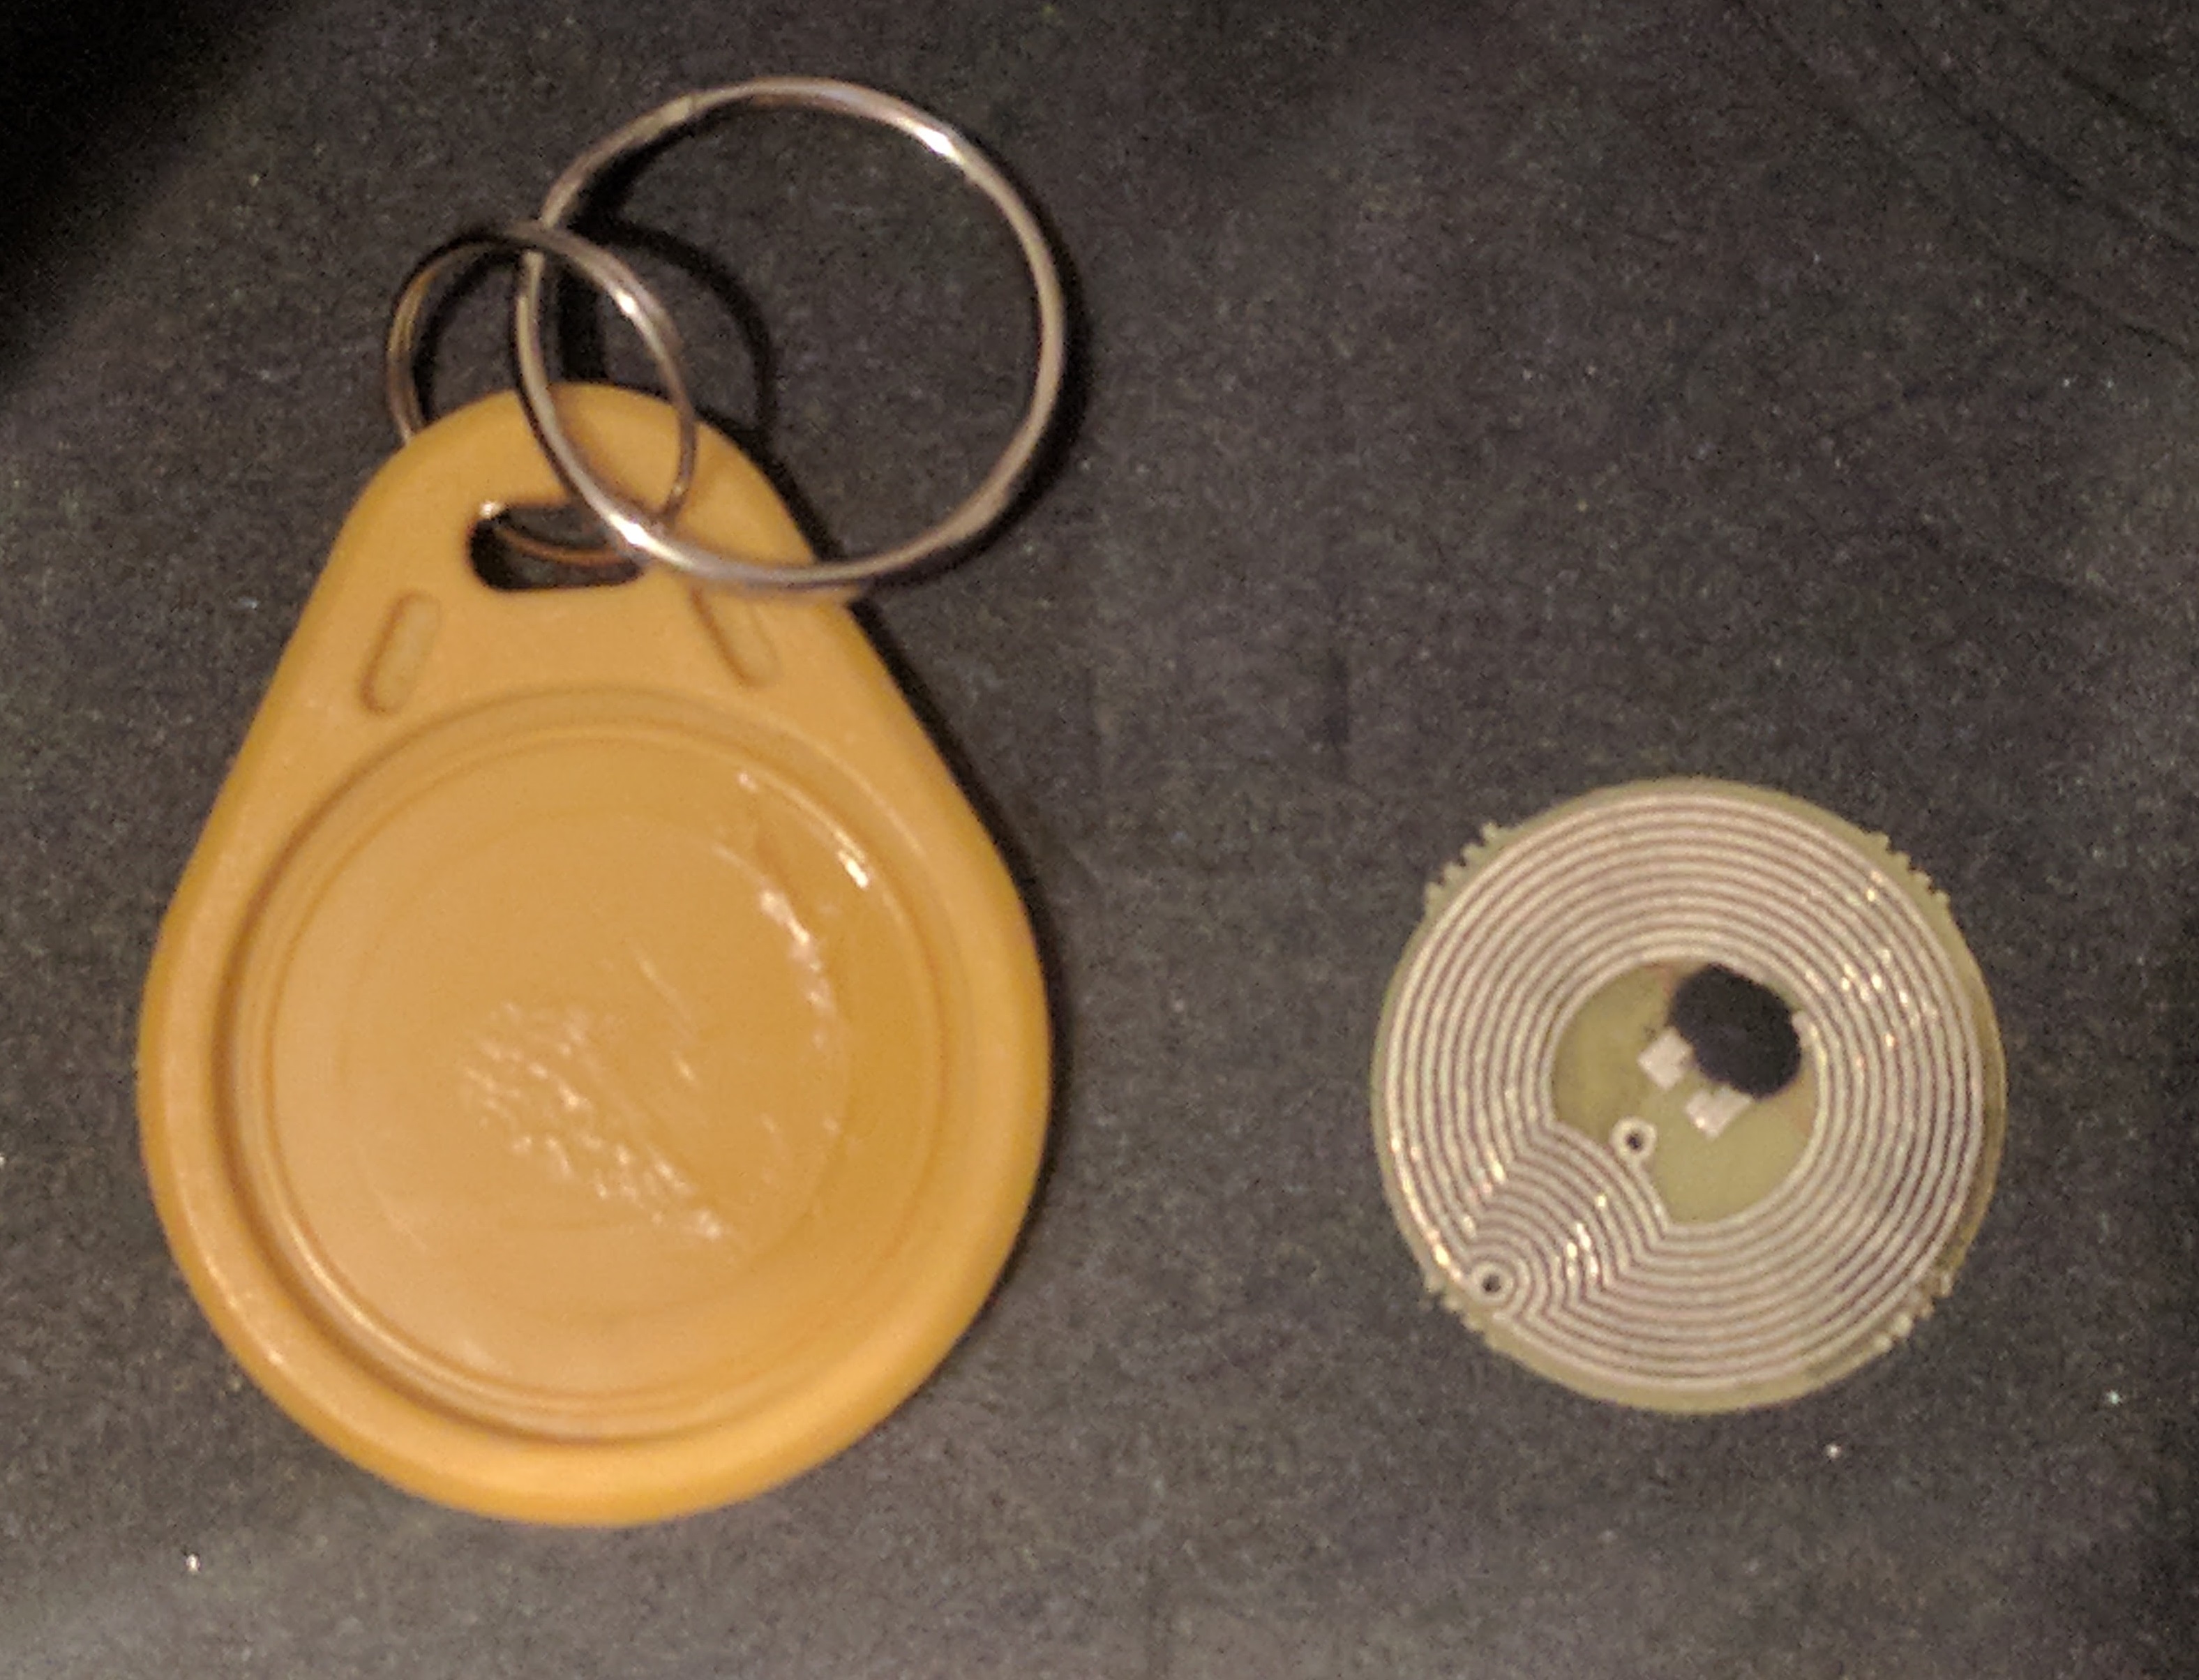
Once you know the type of badge, buy some tags online. The most common types are the badges (like the one in the picture) or the cards. The cards are obviously to big, so we'll go with the badge.
The same app also allows you to clone the original tag to a new one. In case the badges are encrypted, you'll have to ask the person responsible for the keys to program yours. Verify that the new tag still works before proceeding.
Now, let's crack it open! Use a small screwdriver to pry open the badge and take out the tag itself. As we can see, it is very small; this is the piece we'll embed in the ring.
Designing the Ring
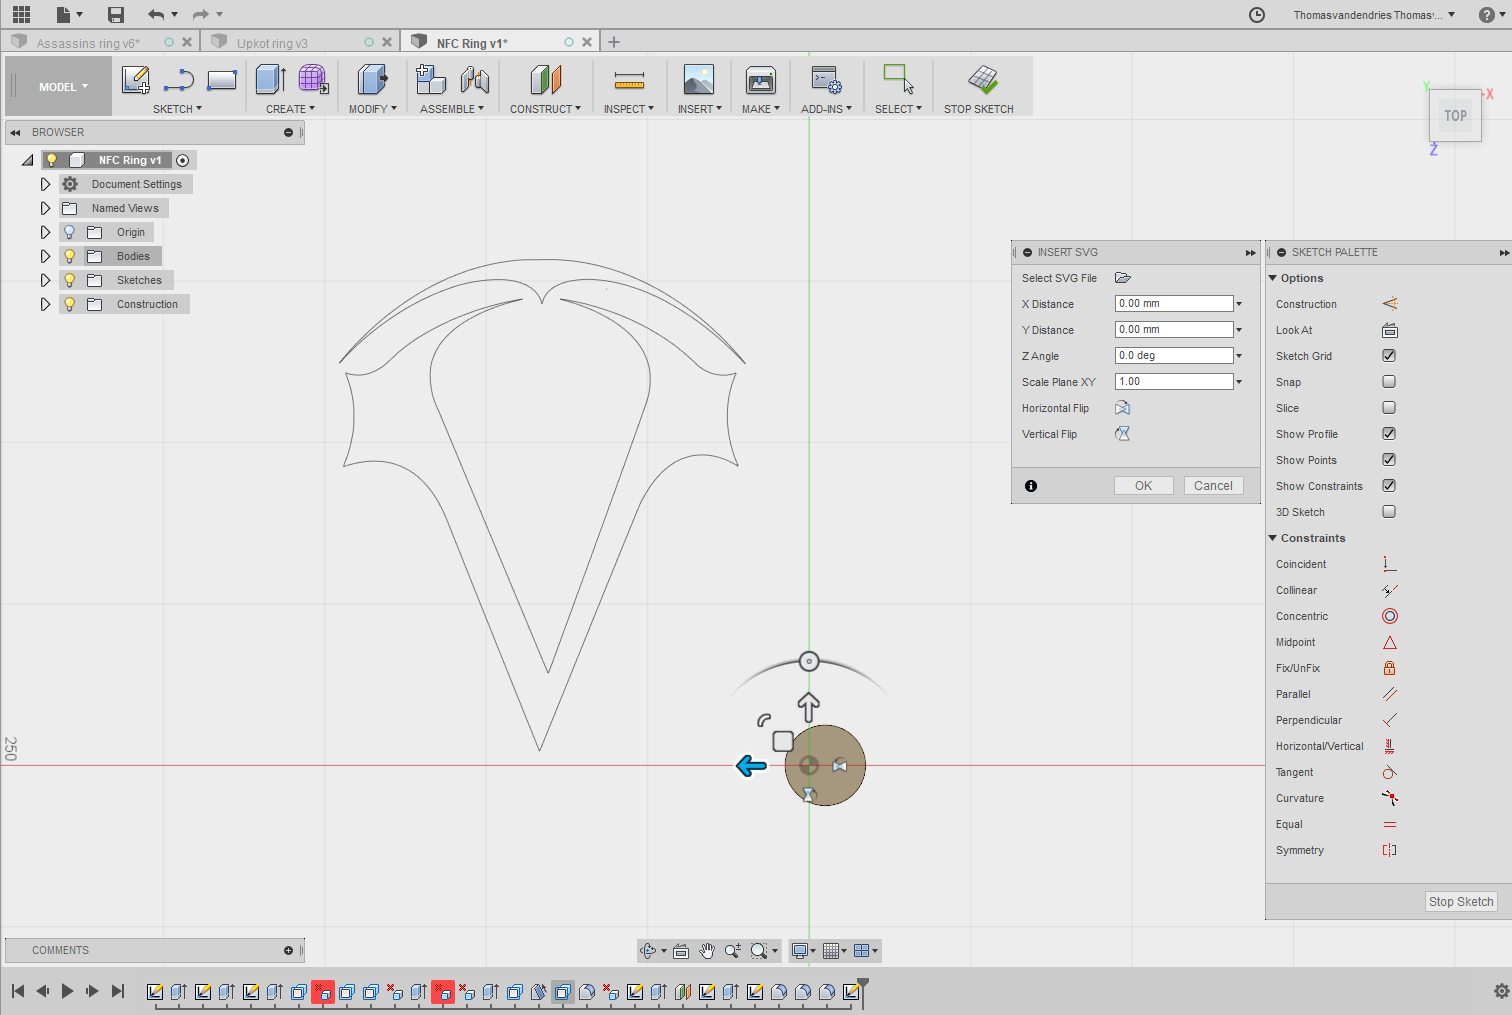
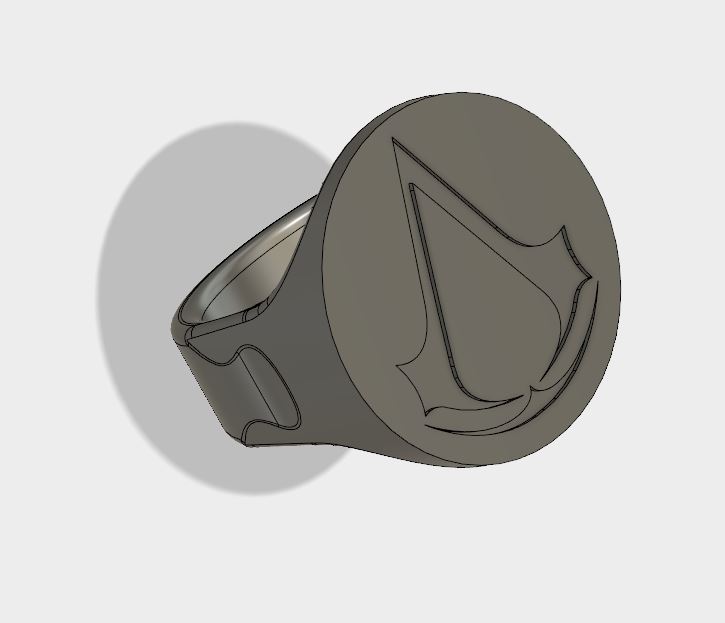
Now that we know the size of the NFC tag we'll embed in the ring, we can start with our design.
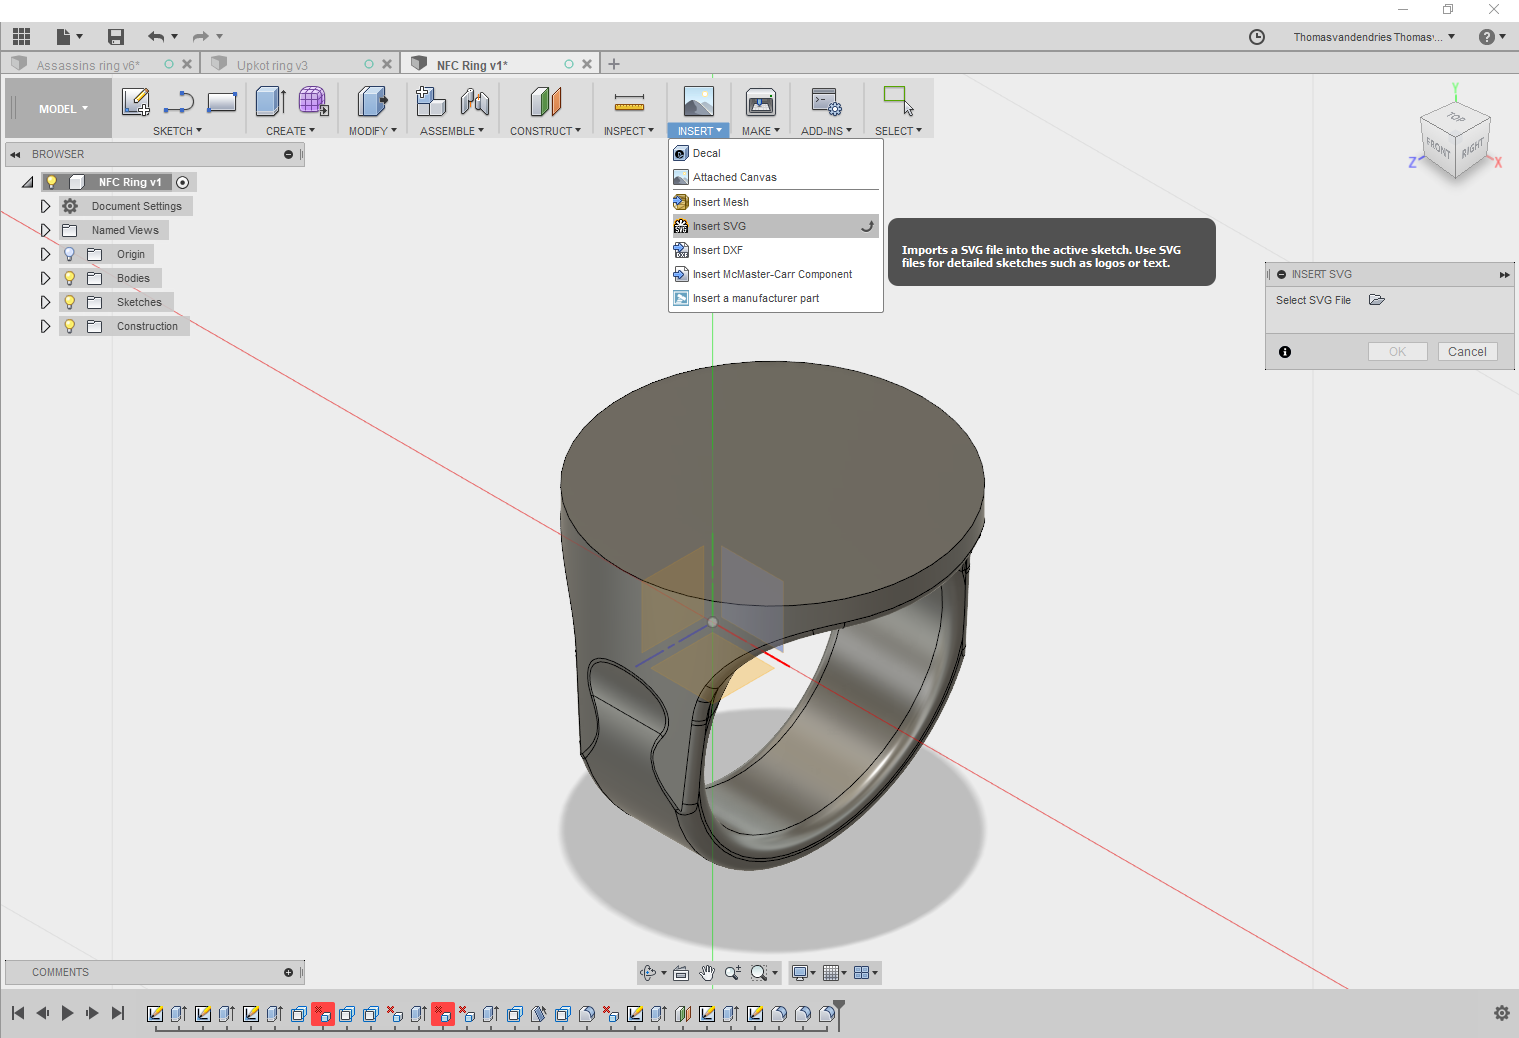
I designed the ring in Fusion 360, and I'll show you how you can customize the design of the ring to match your style. The necessary files are included below.
The first thing we'll need is a cool picture to put on the ring. It needs to be in SVG format, so if you have a PNG or JPG figure, use an online converter to make it into an SVG. Then, open Fusion 360.
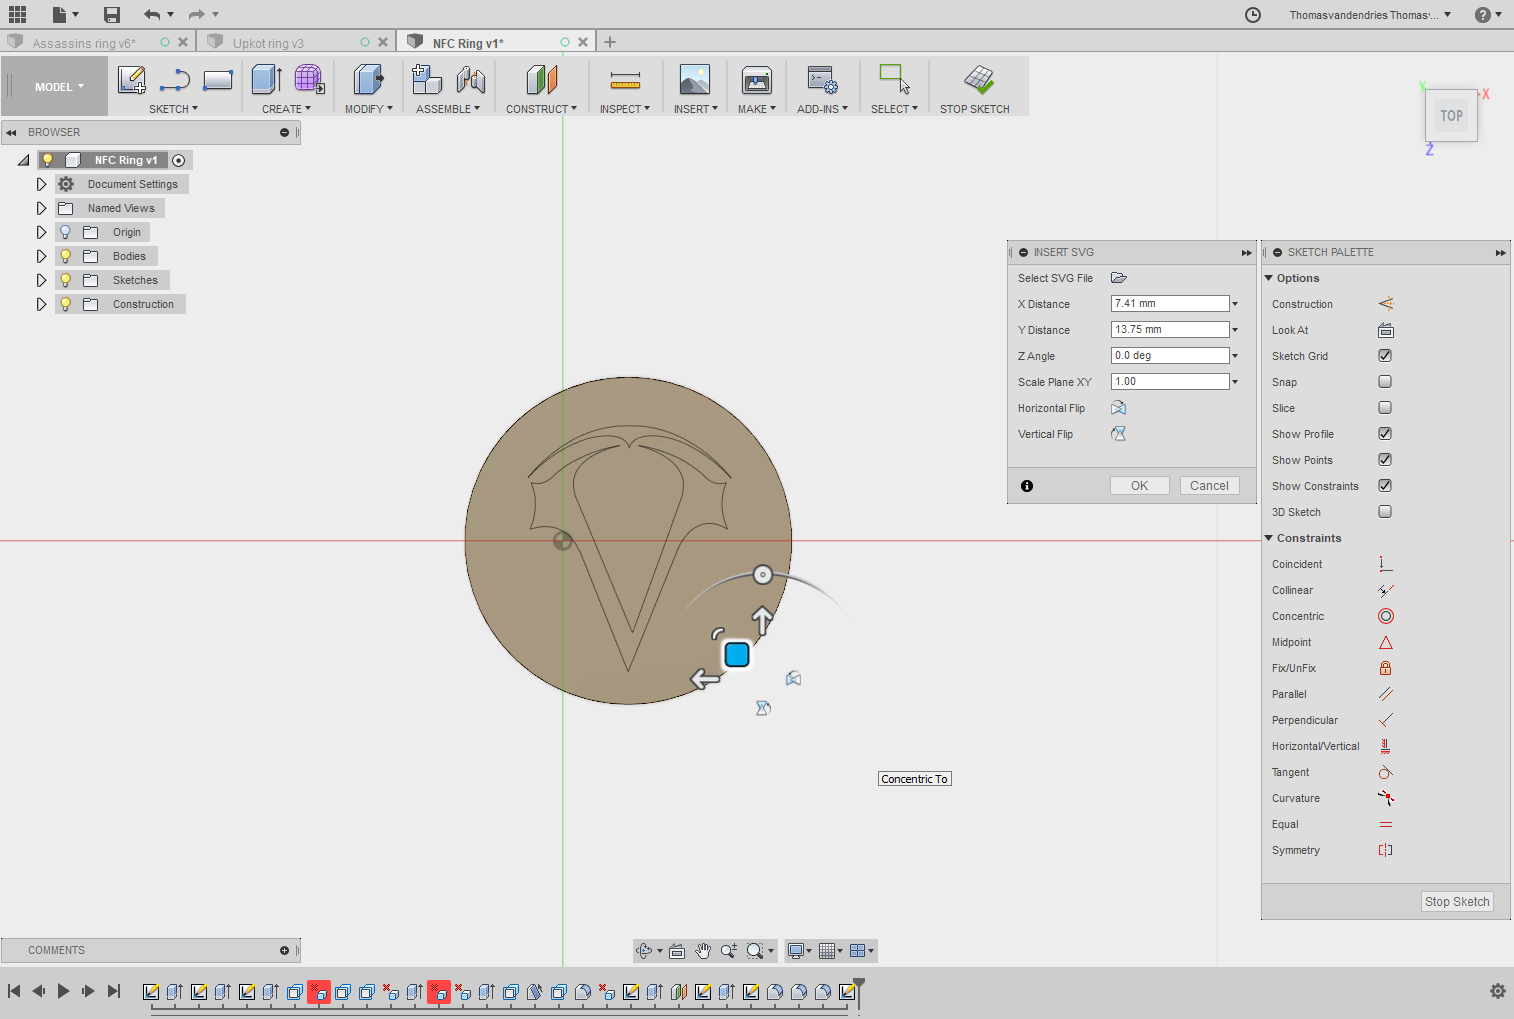
We can now import the SVG: Insert>Insert SVG>Click on the top face of the ring.
Next, resize and place the figure on the right place. You can change the position by dragging around the small blue rectangle. The scaling is done via the menu or the curve at the top left of the blue rectangle.
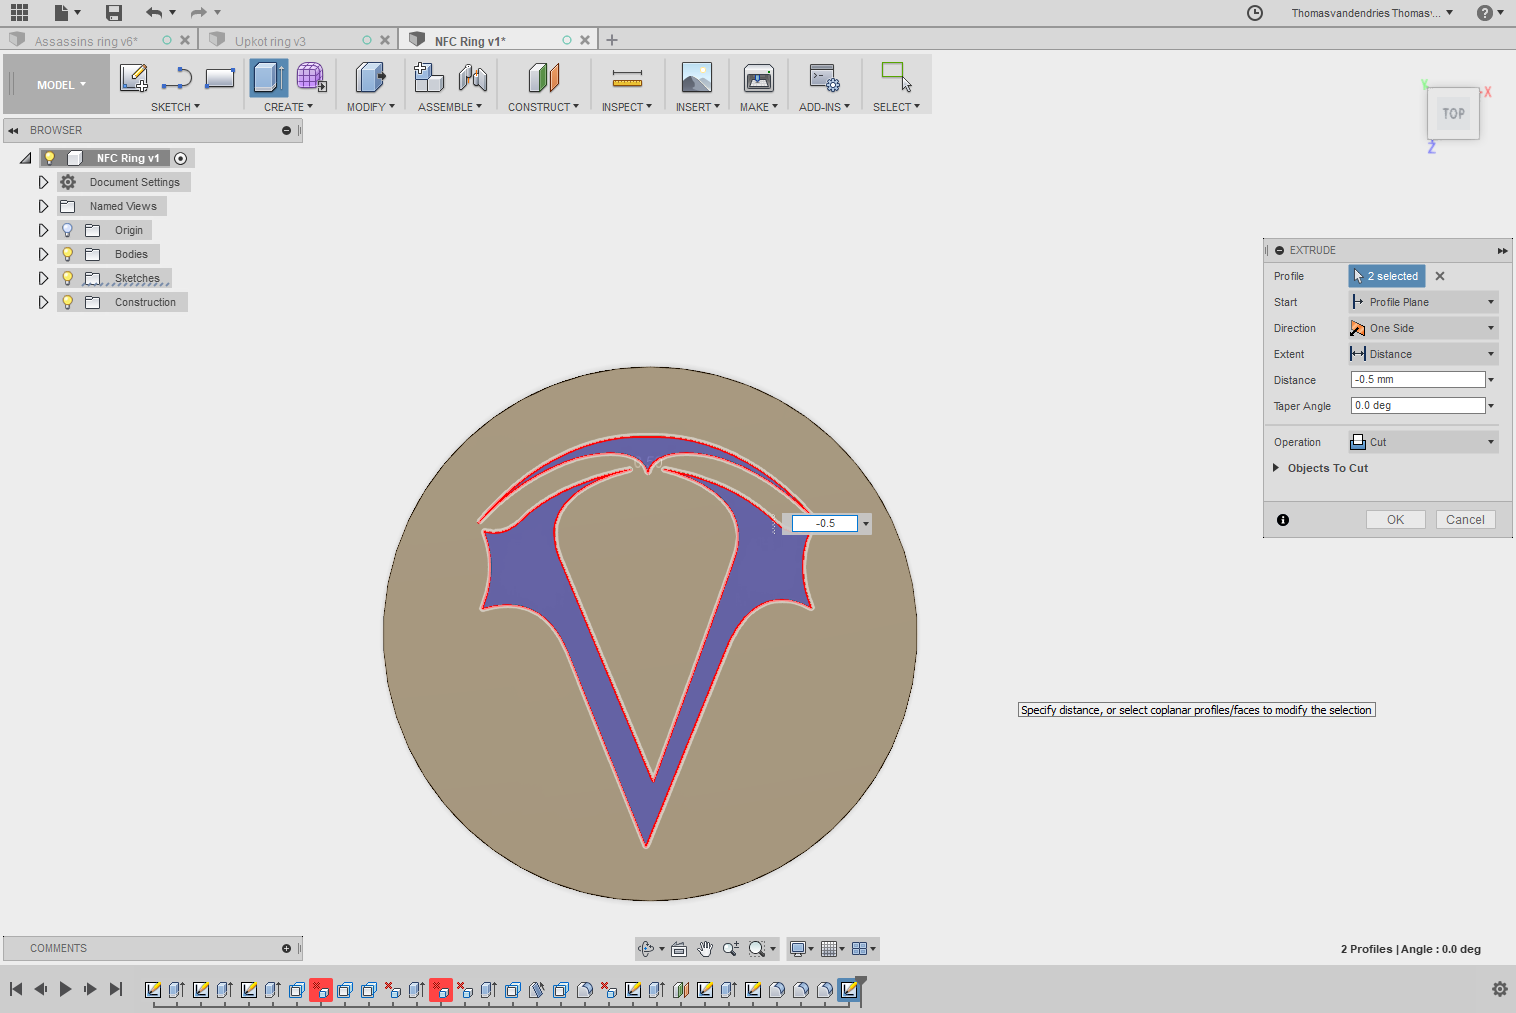
Once we've placed the design, we need to extrude it to turn it into a 3D feature. Do this by pressing 'e' or going to Create>Extrude. Now click on the shape you want to extrude and enter '-0.5 mm' as depth.
The ring is now finished, so we'll now export it: Make>3DPrint>uncheck "Send to 3D print utility">Click on the ring
That's it, the ring is now ready to print!
Printing
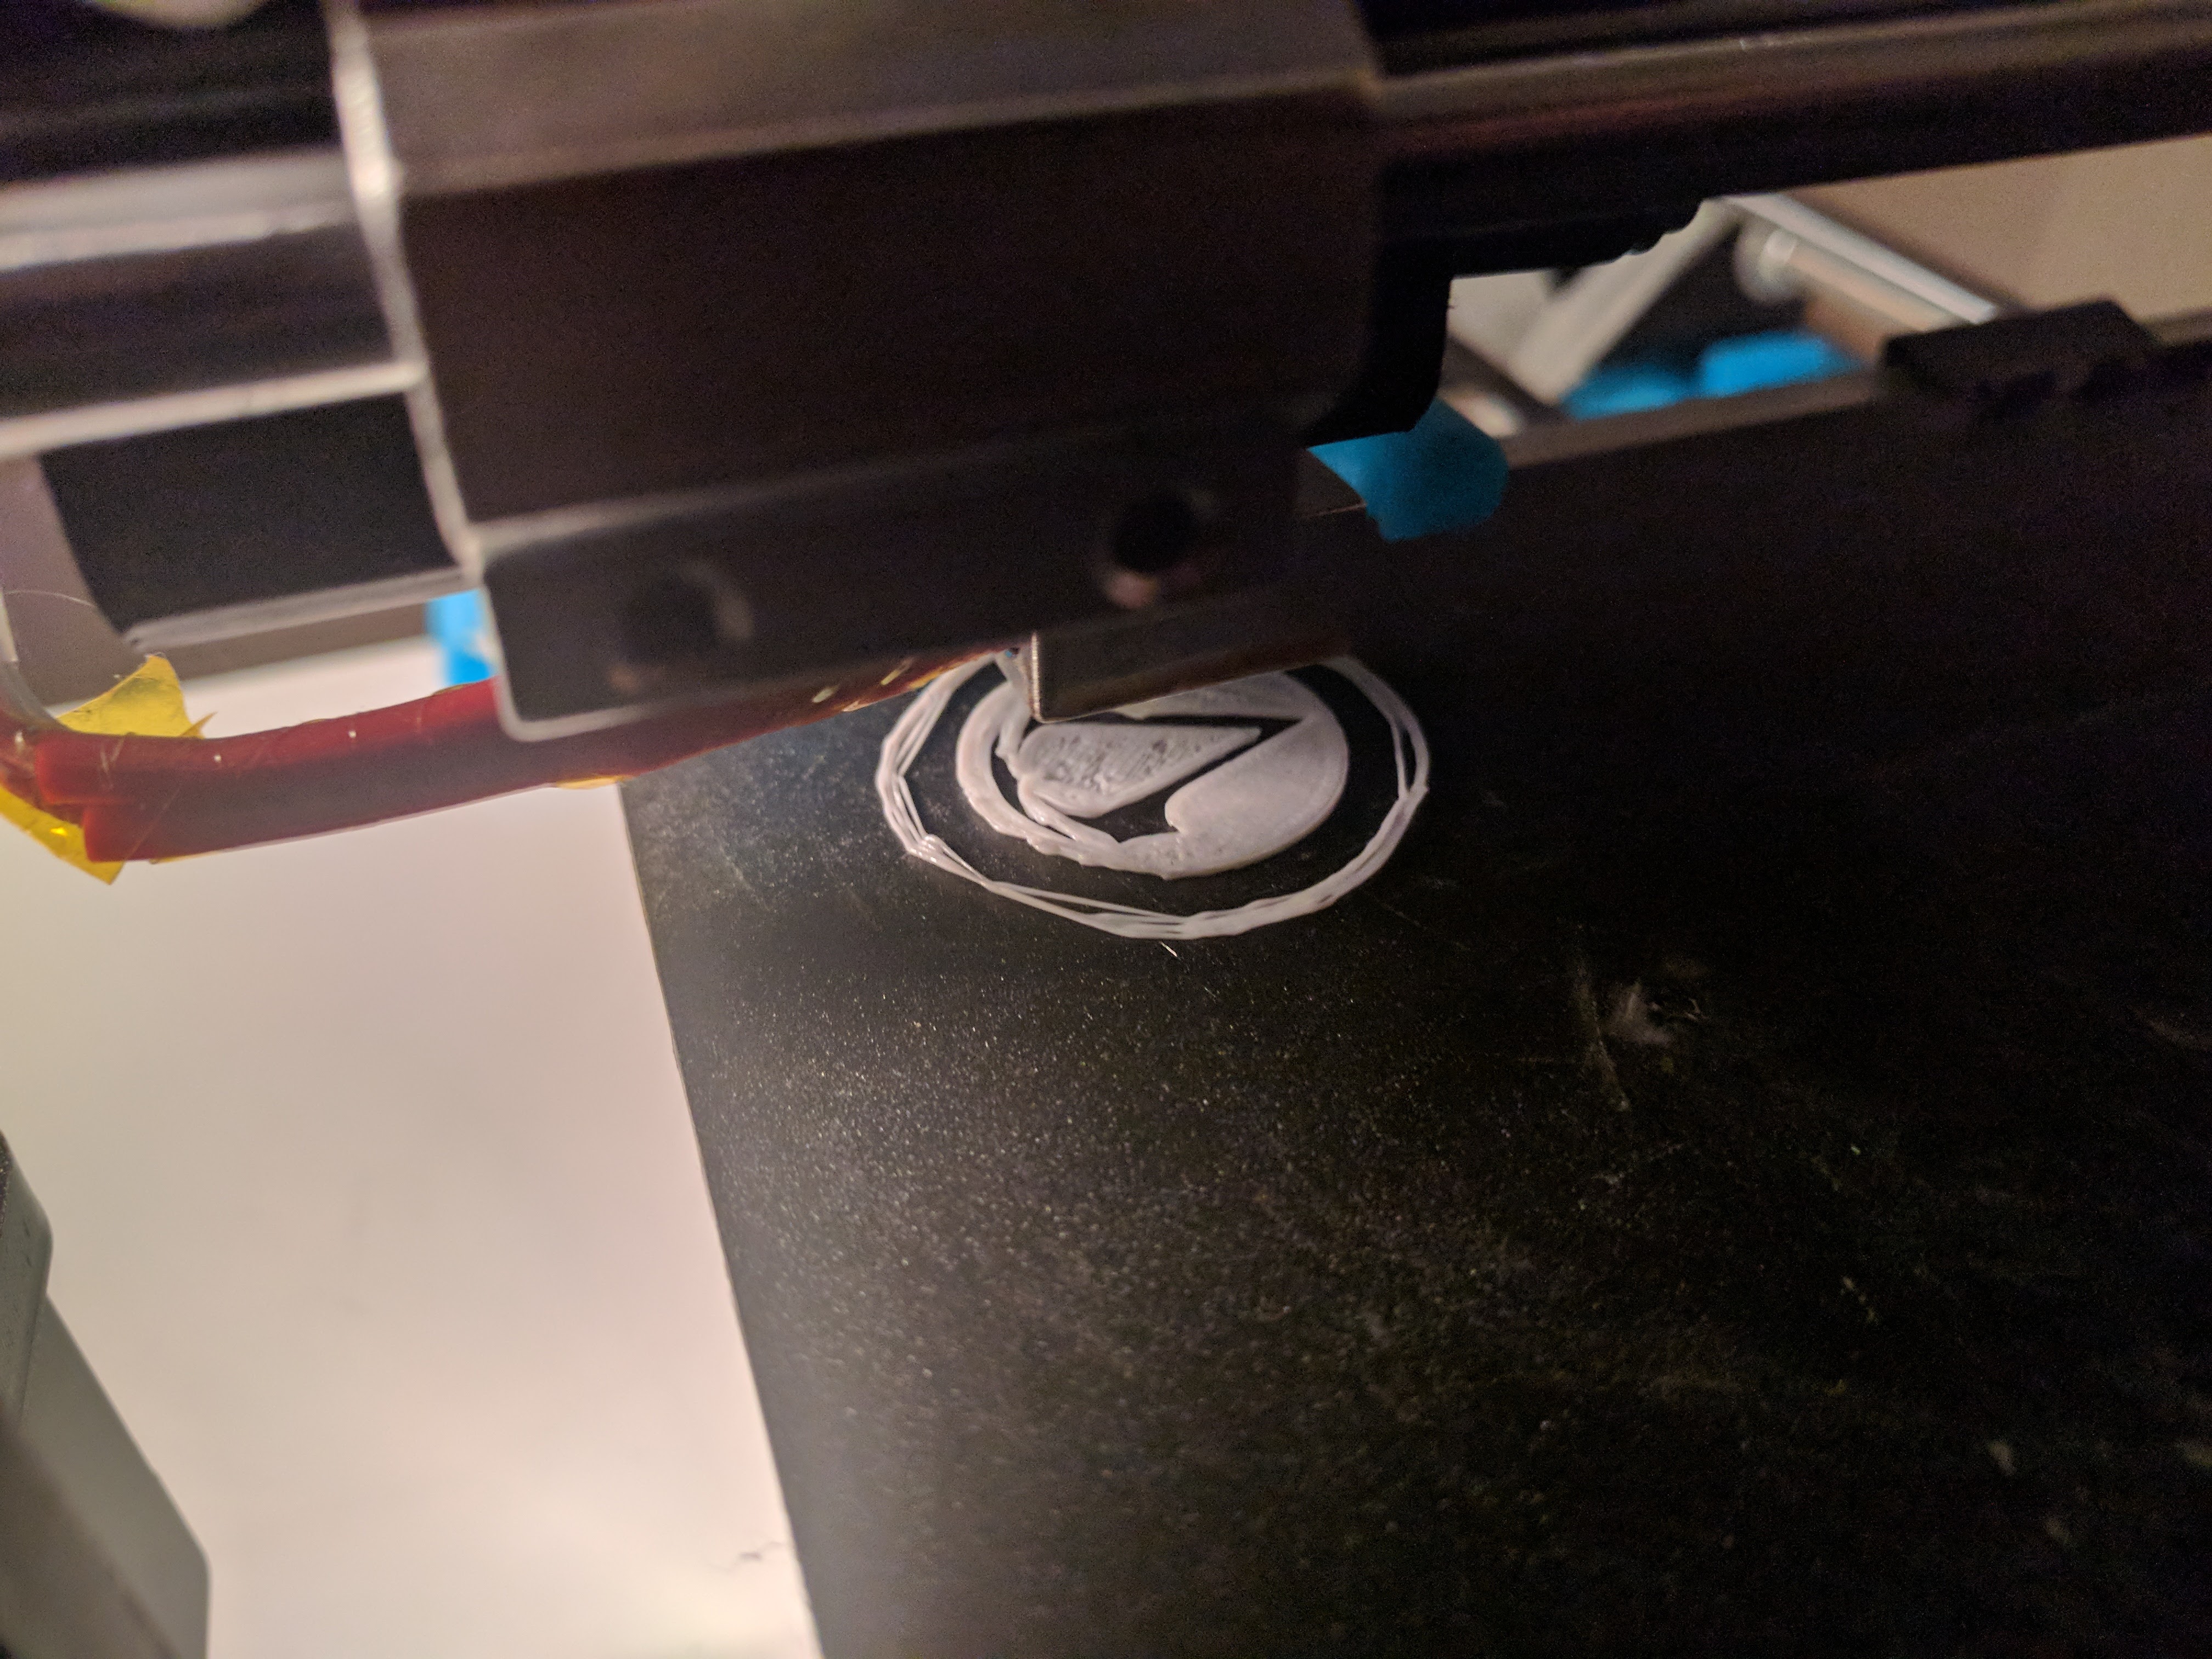
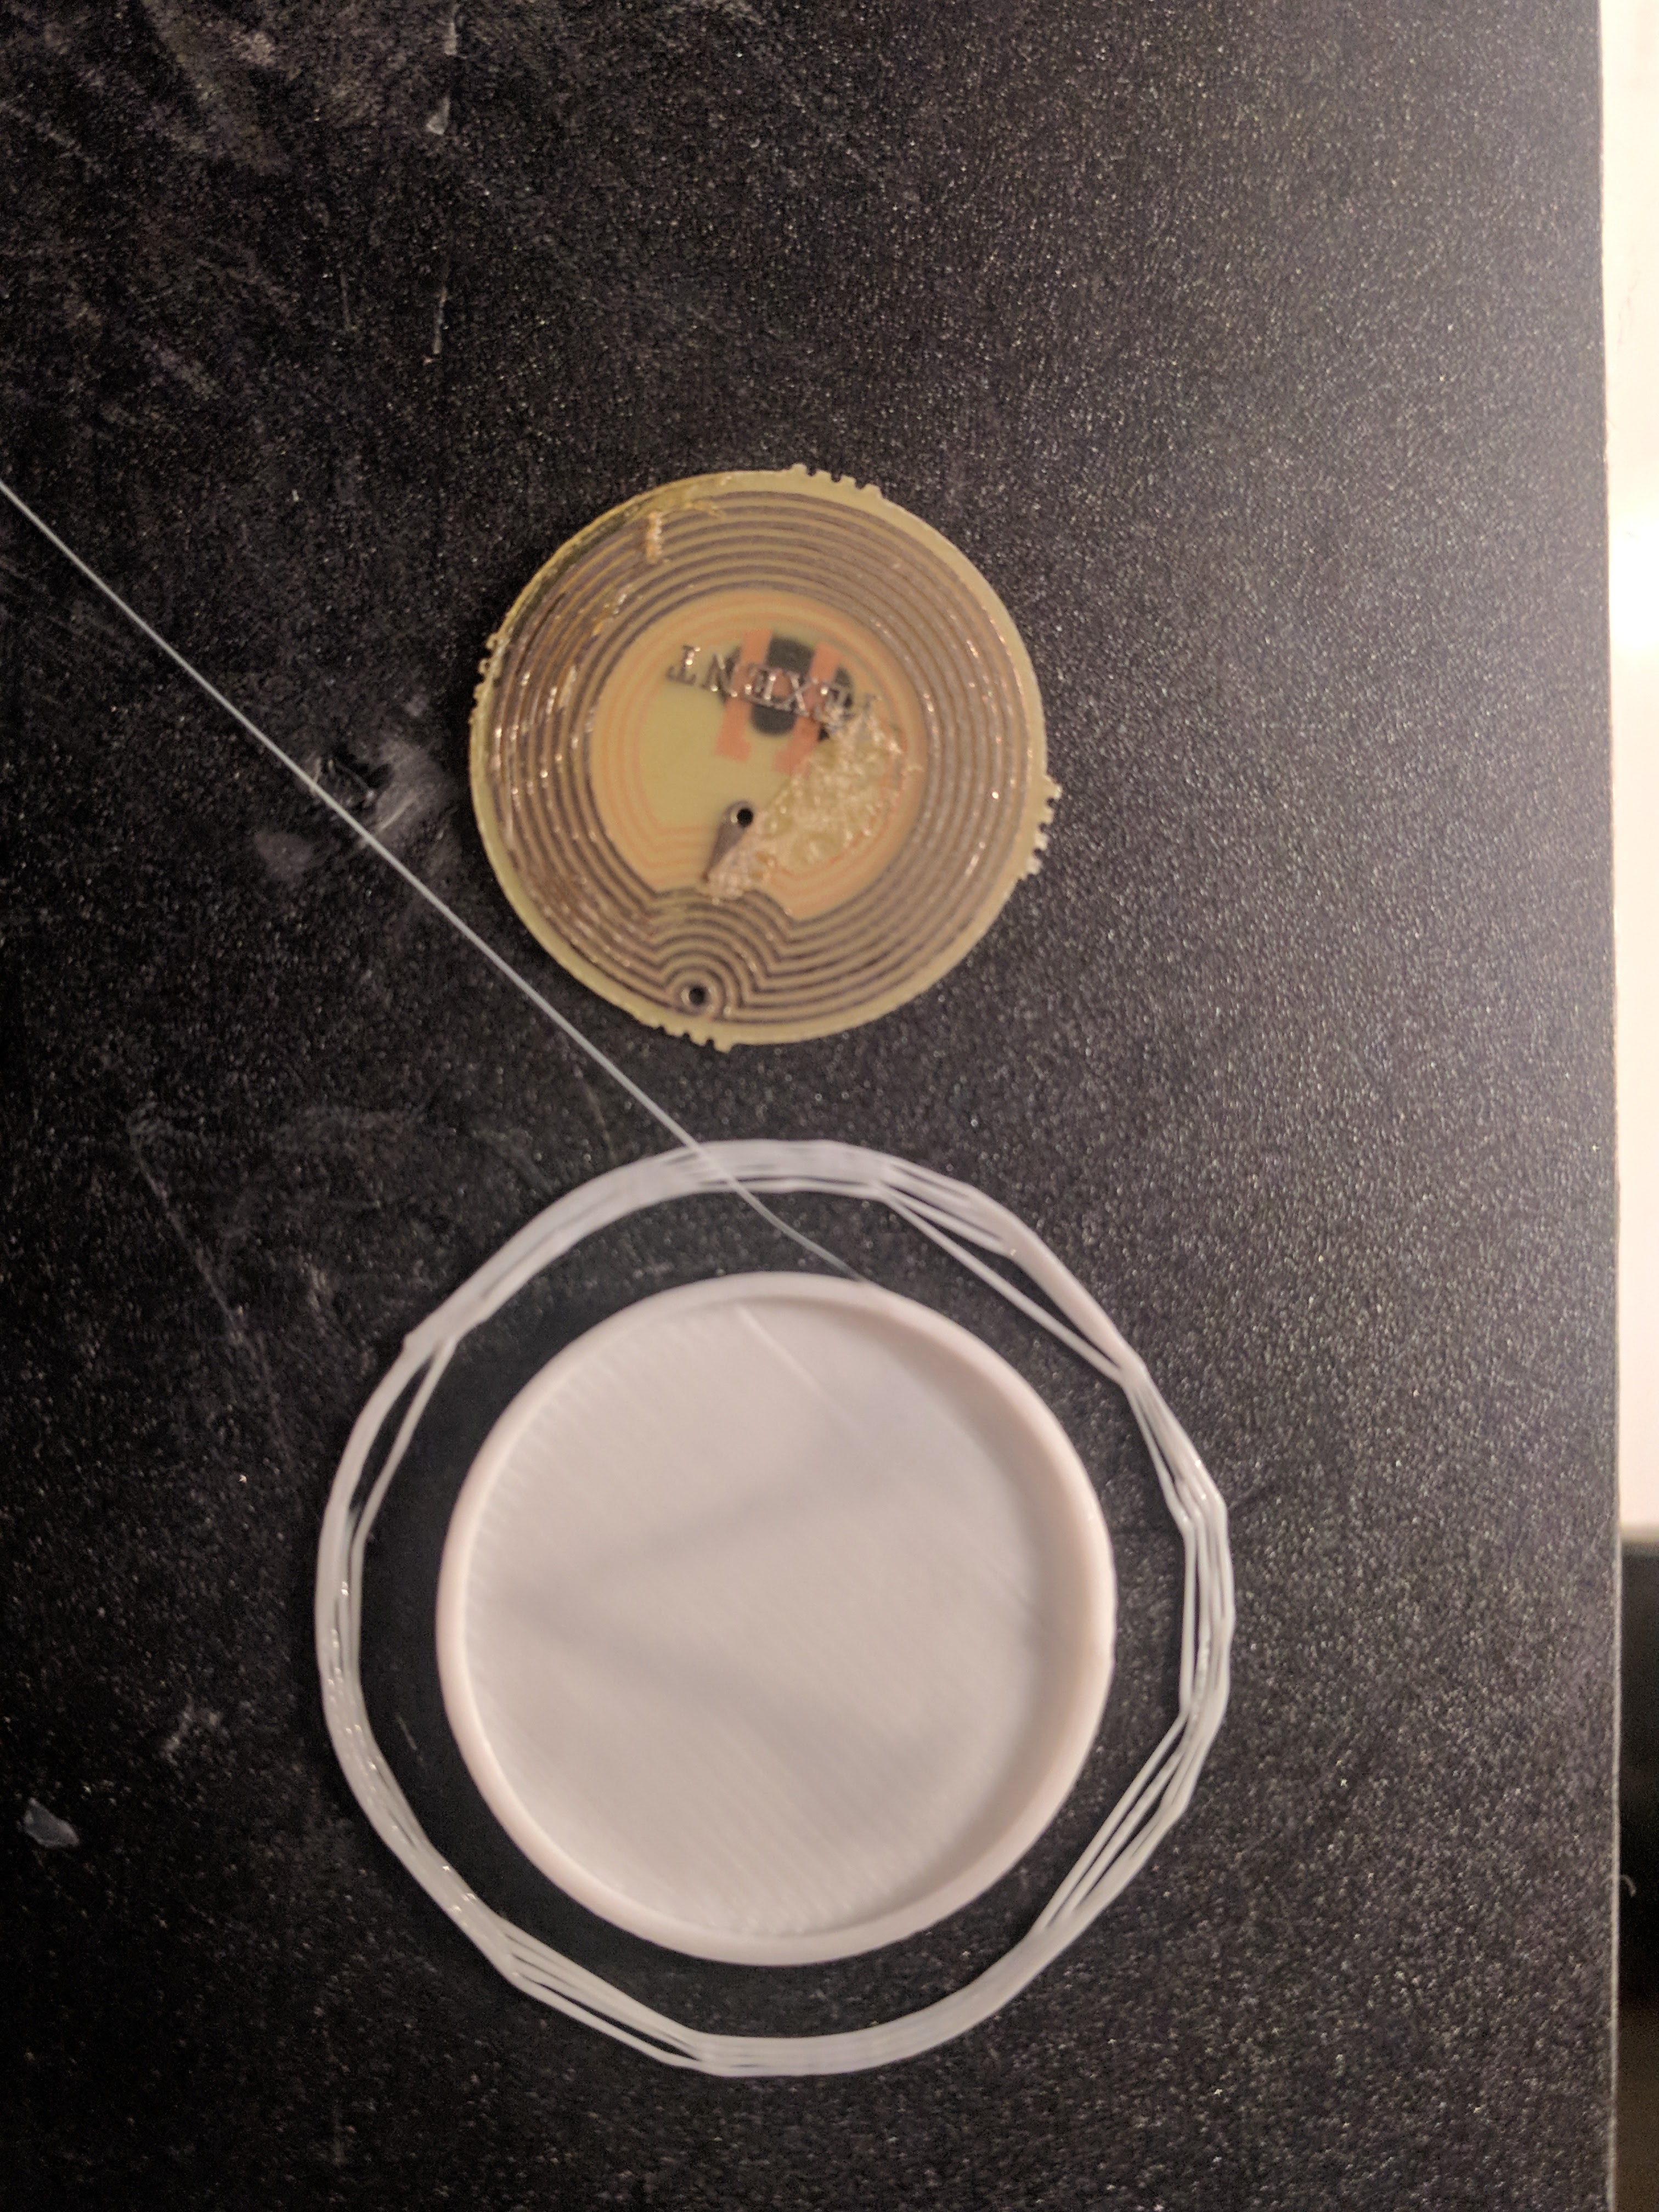
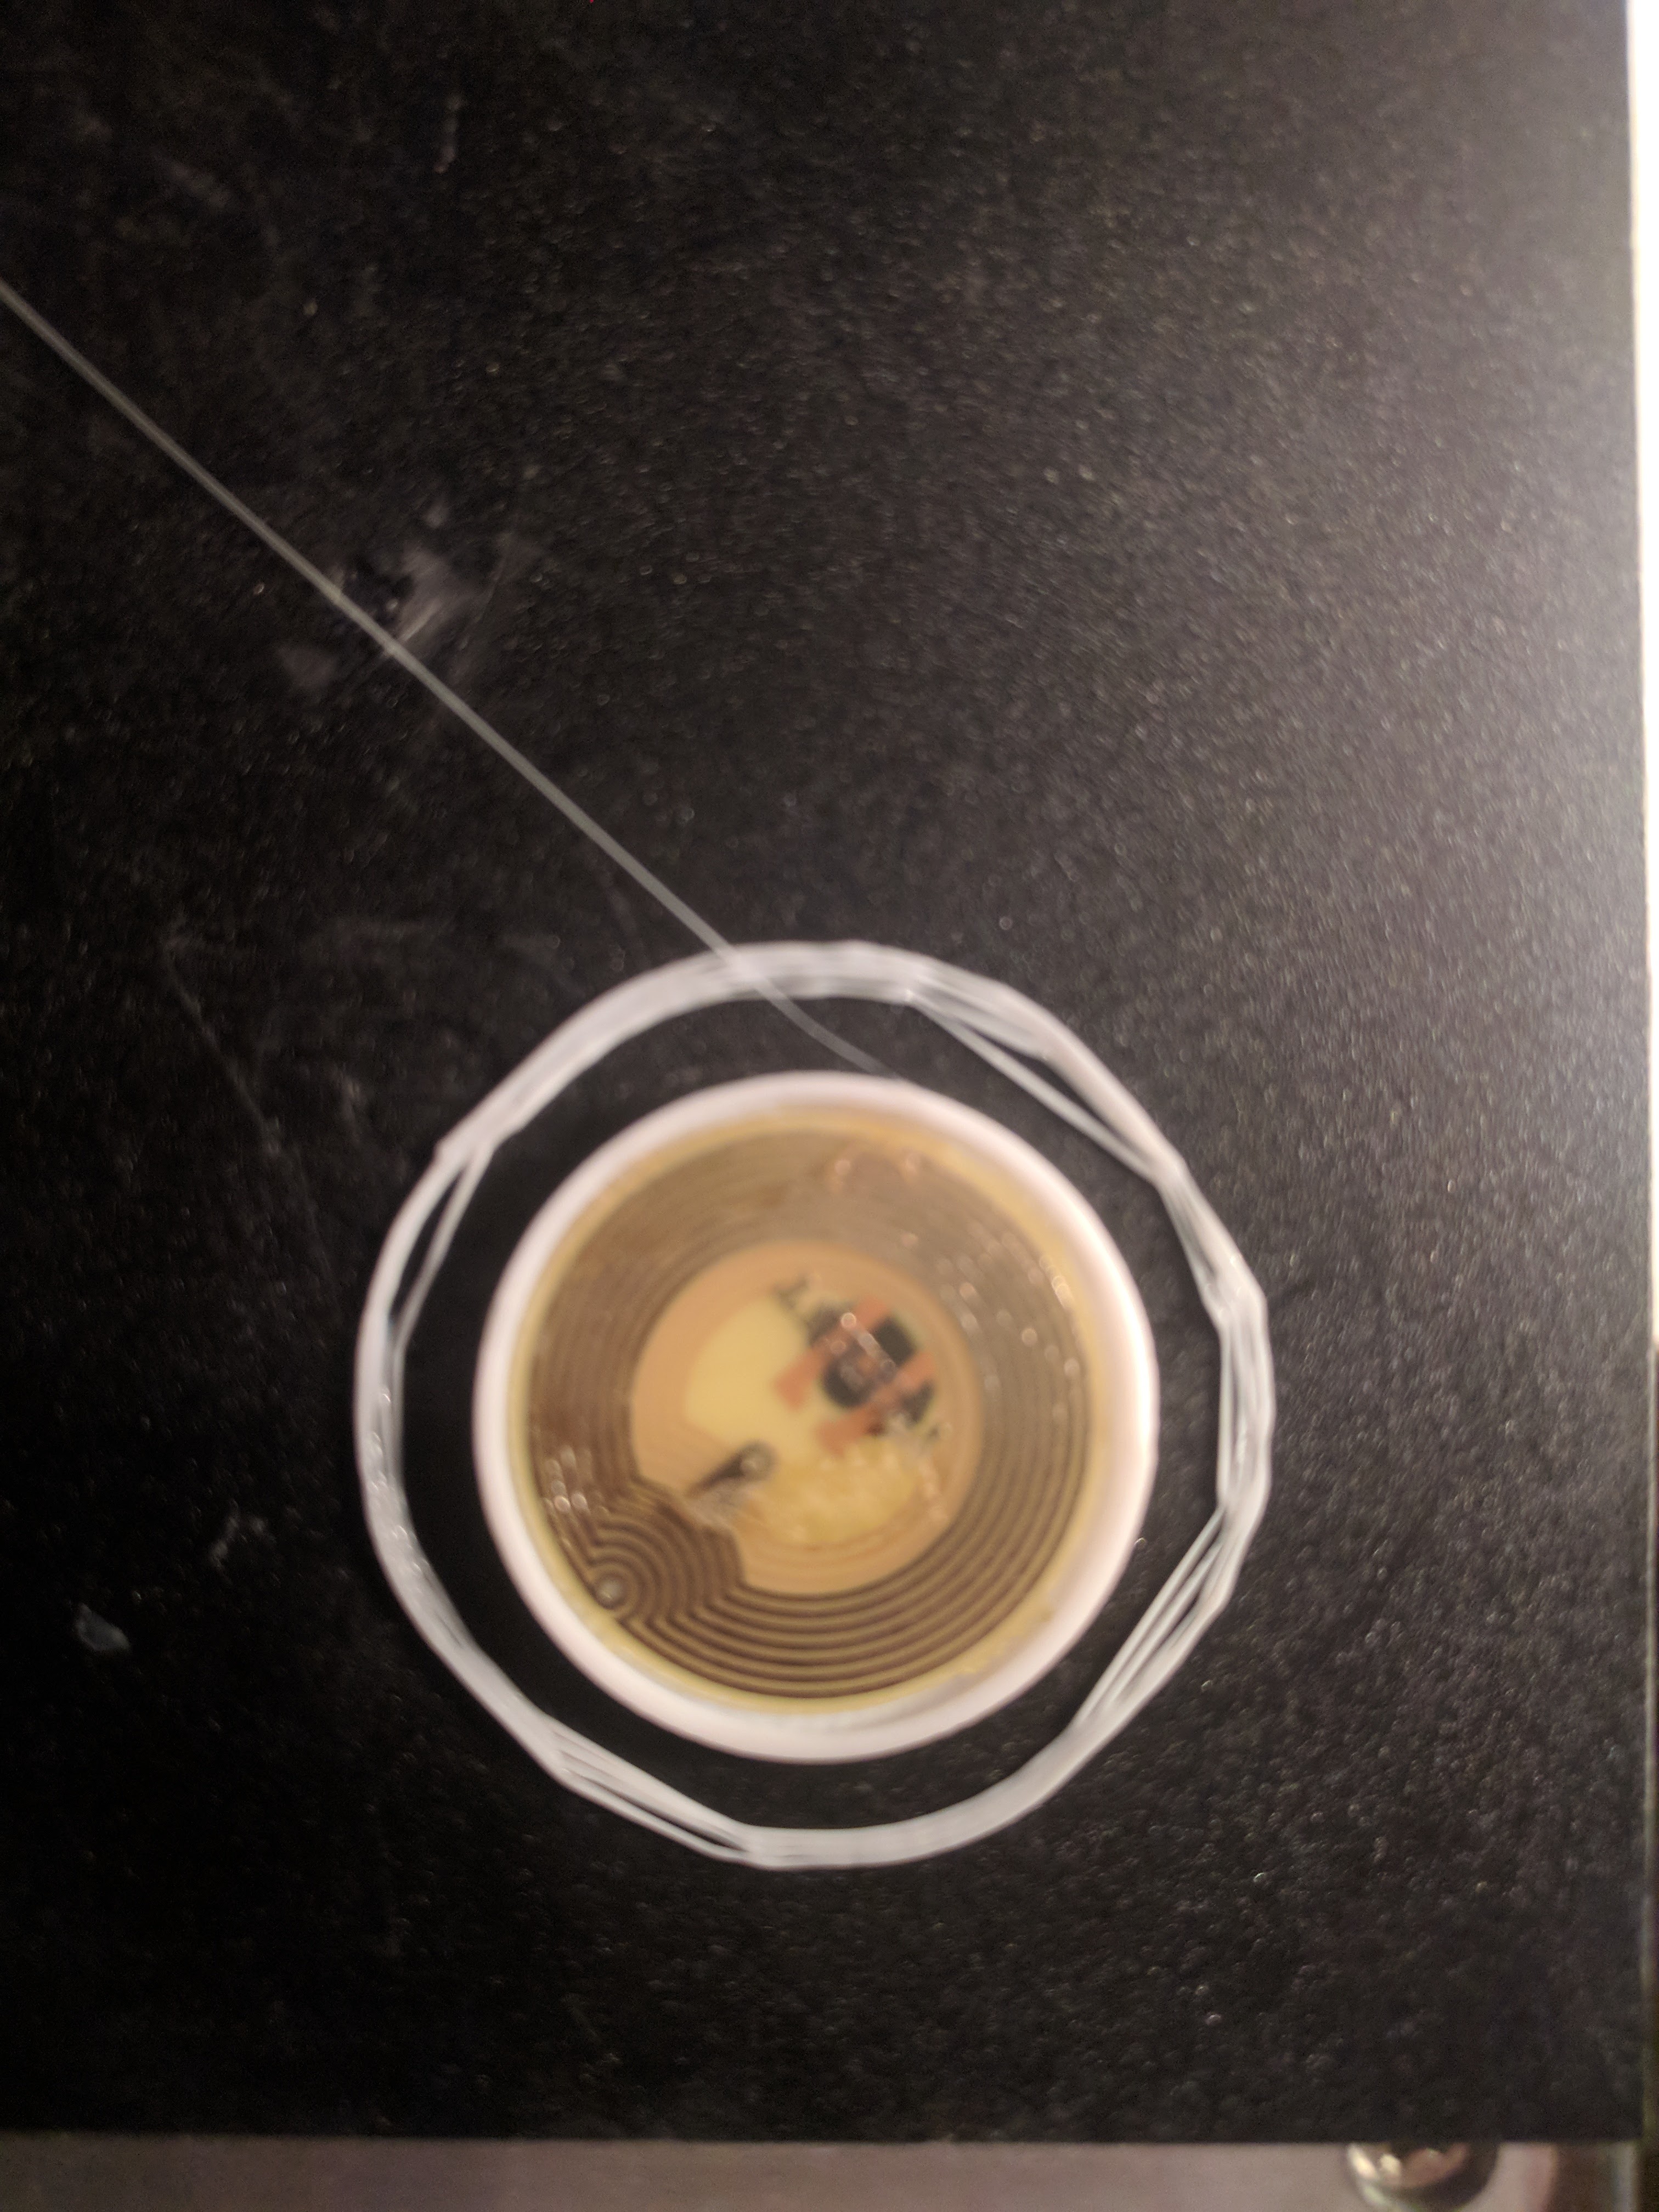
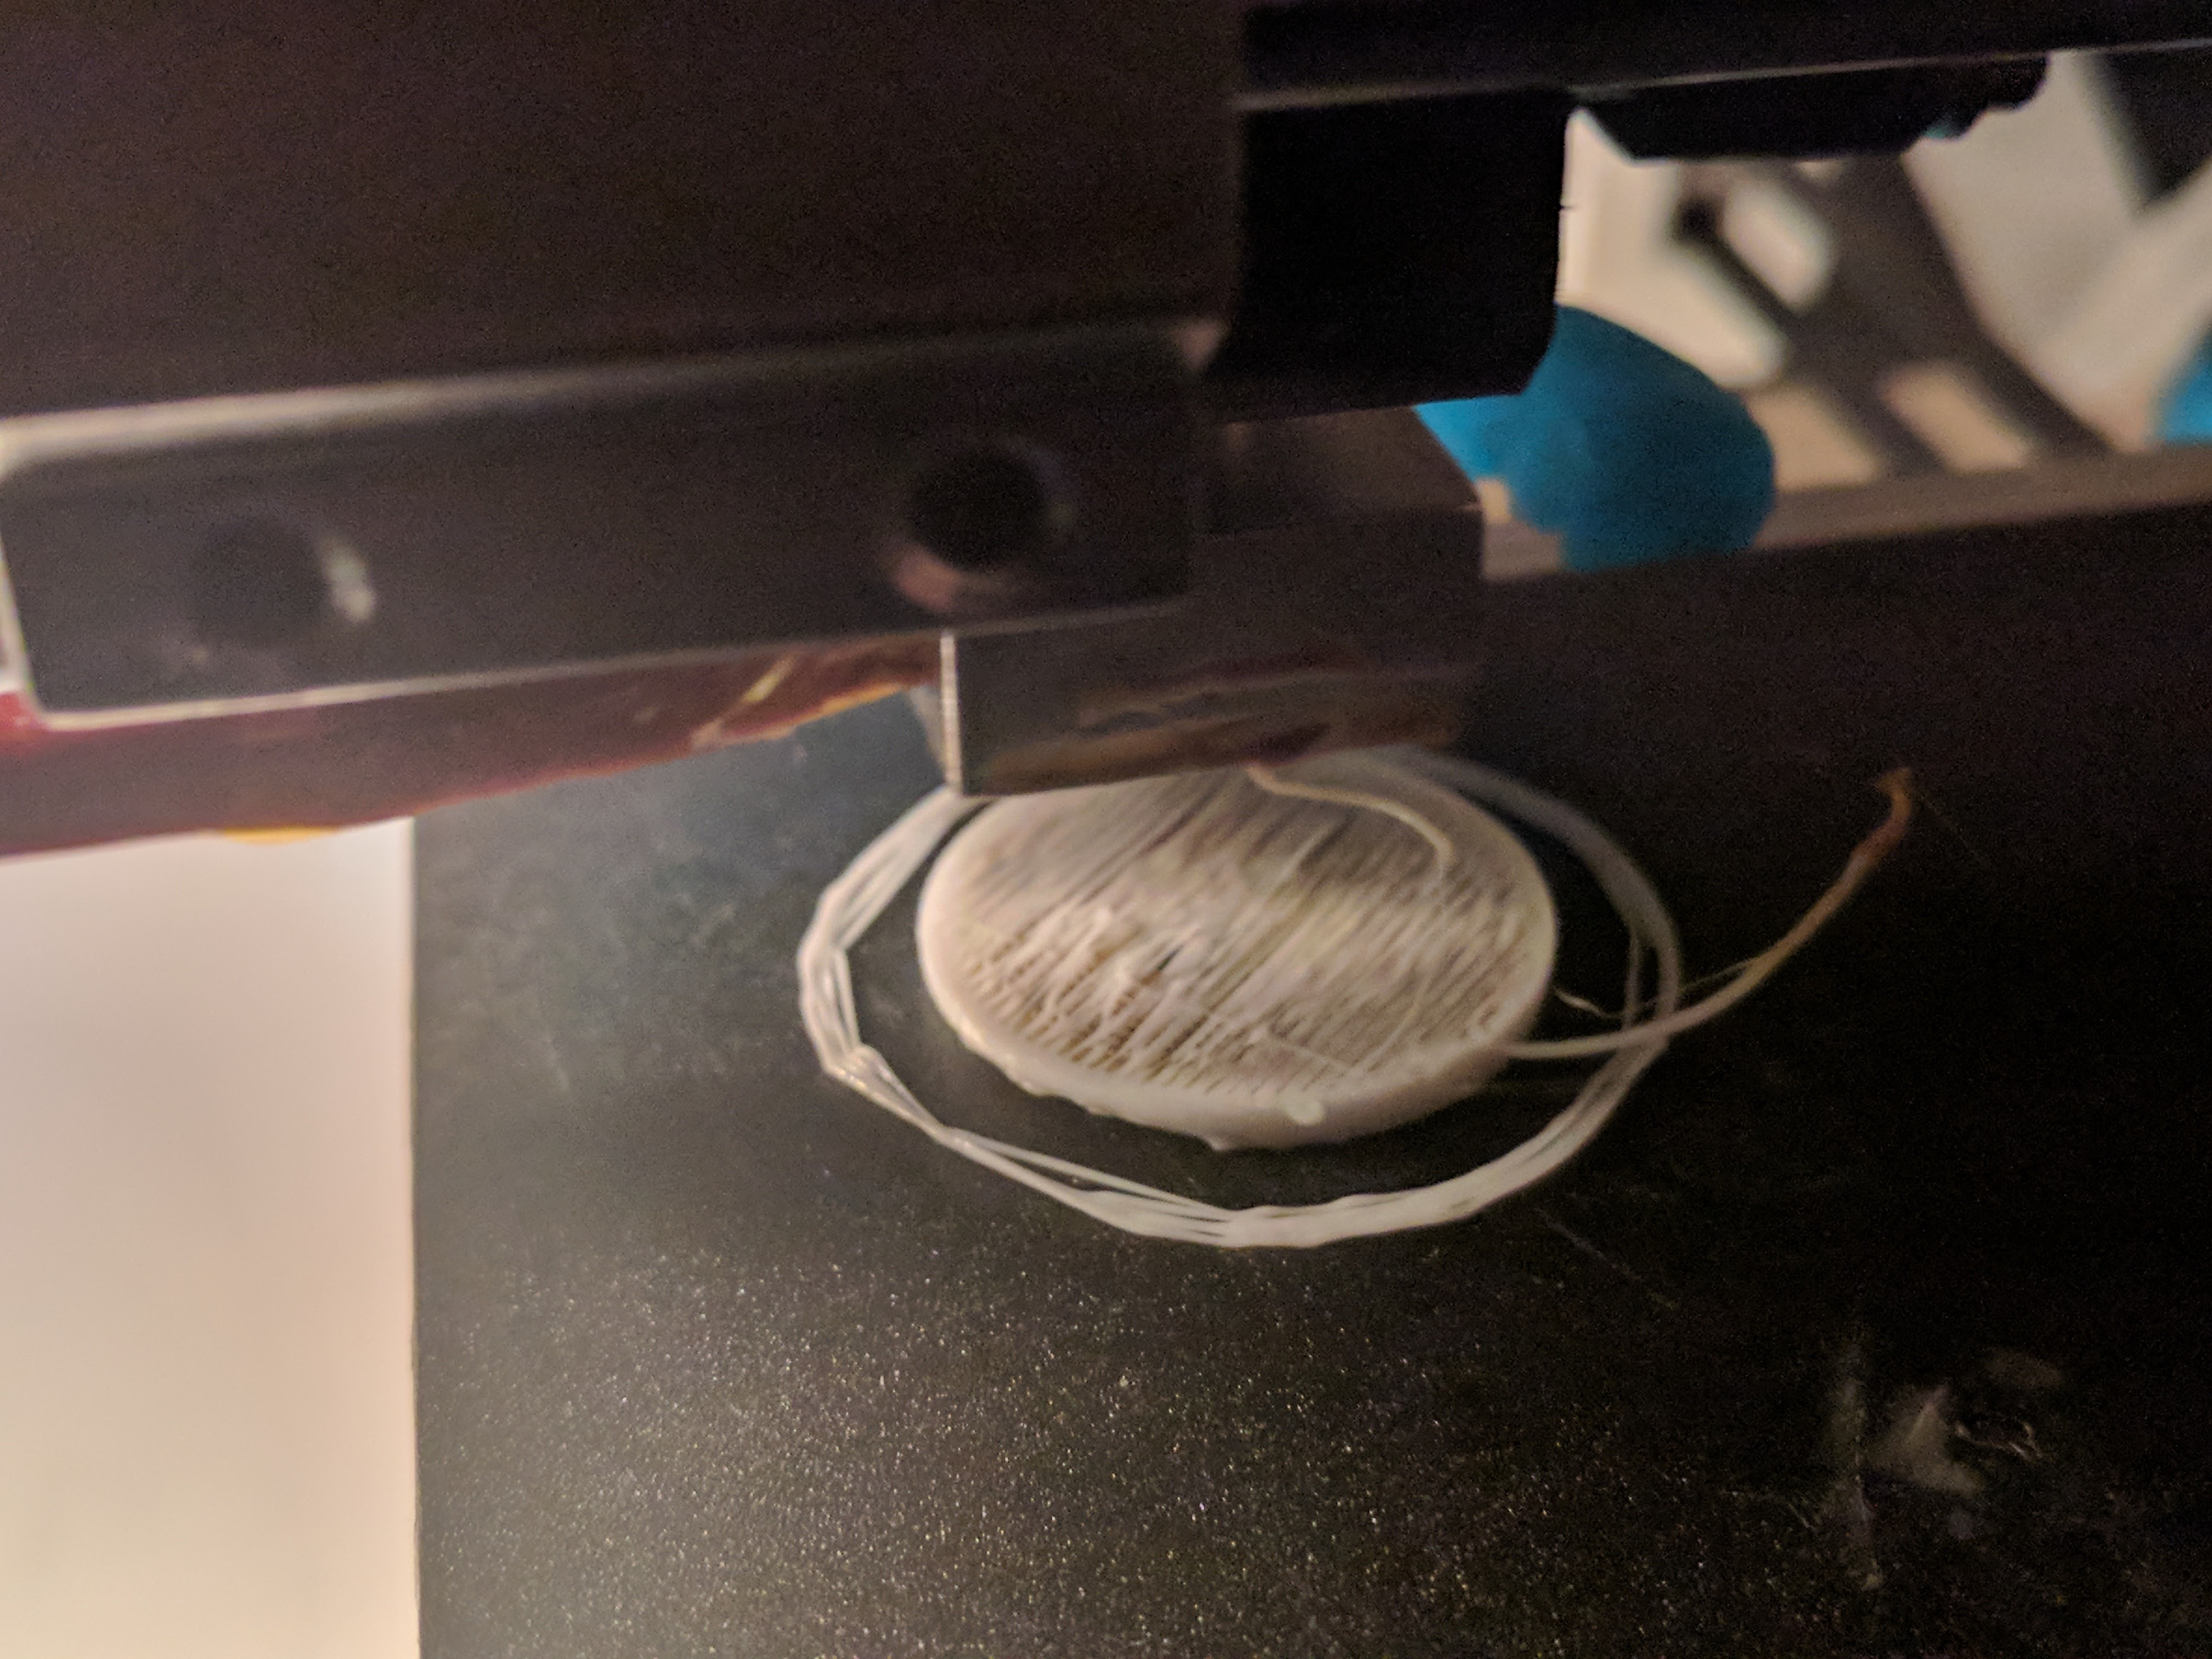
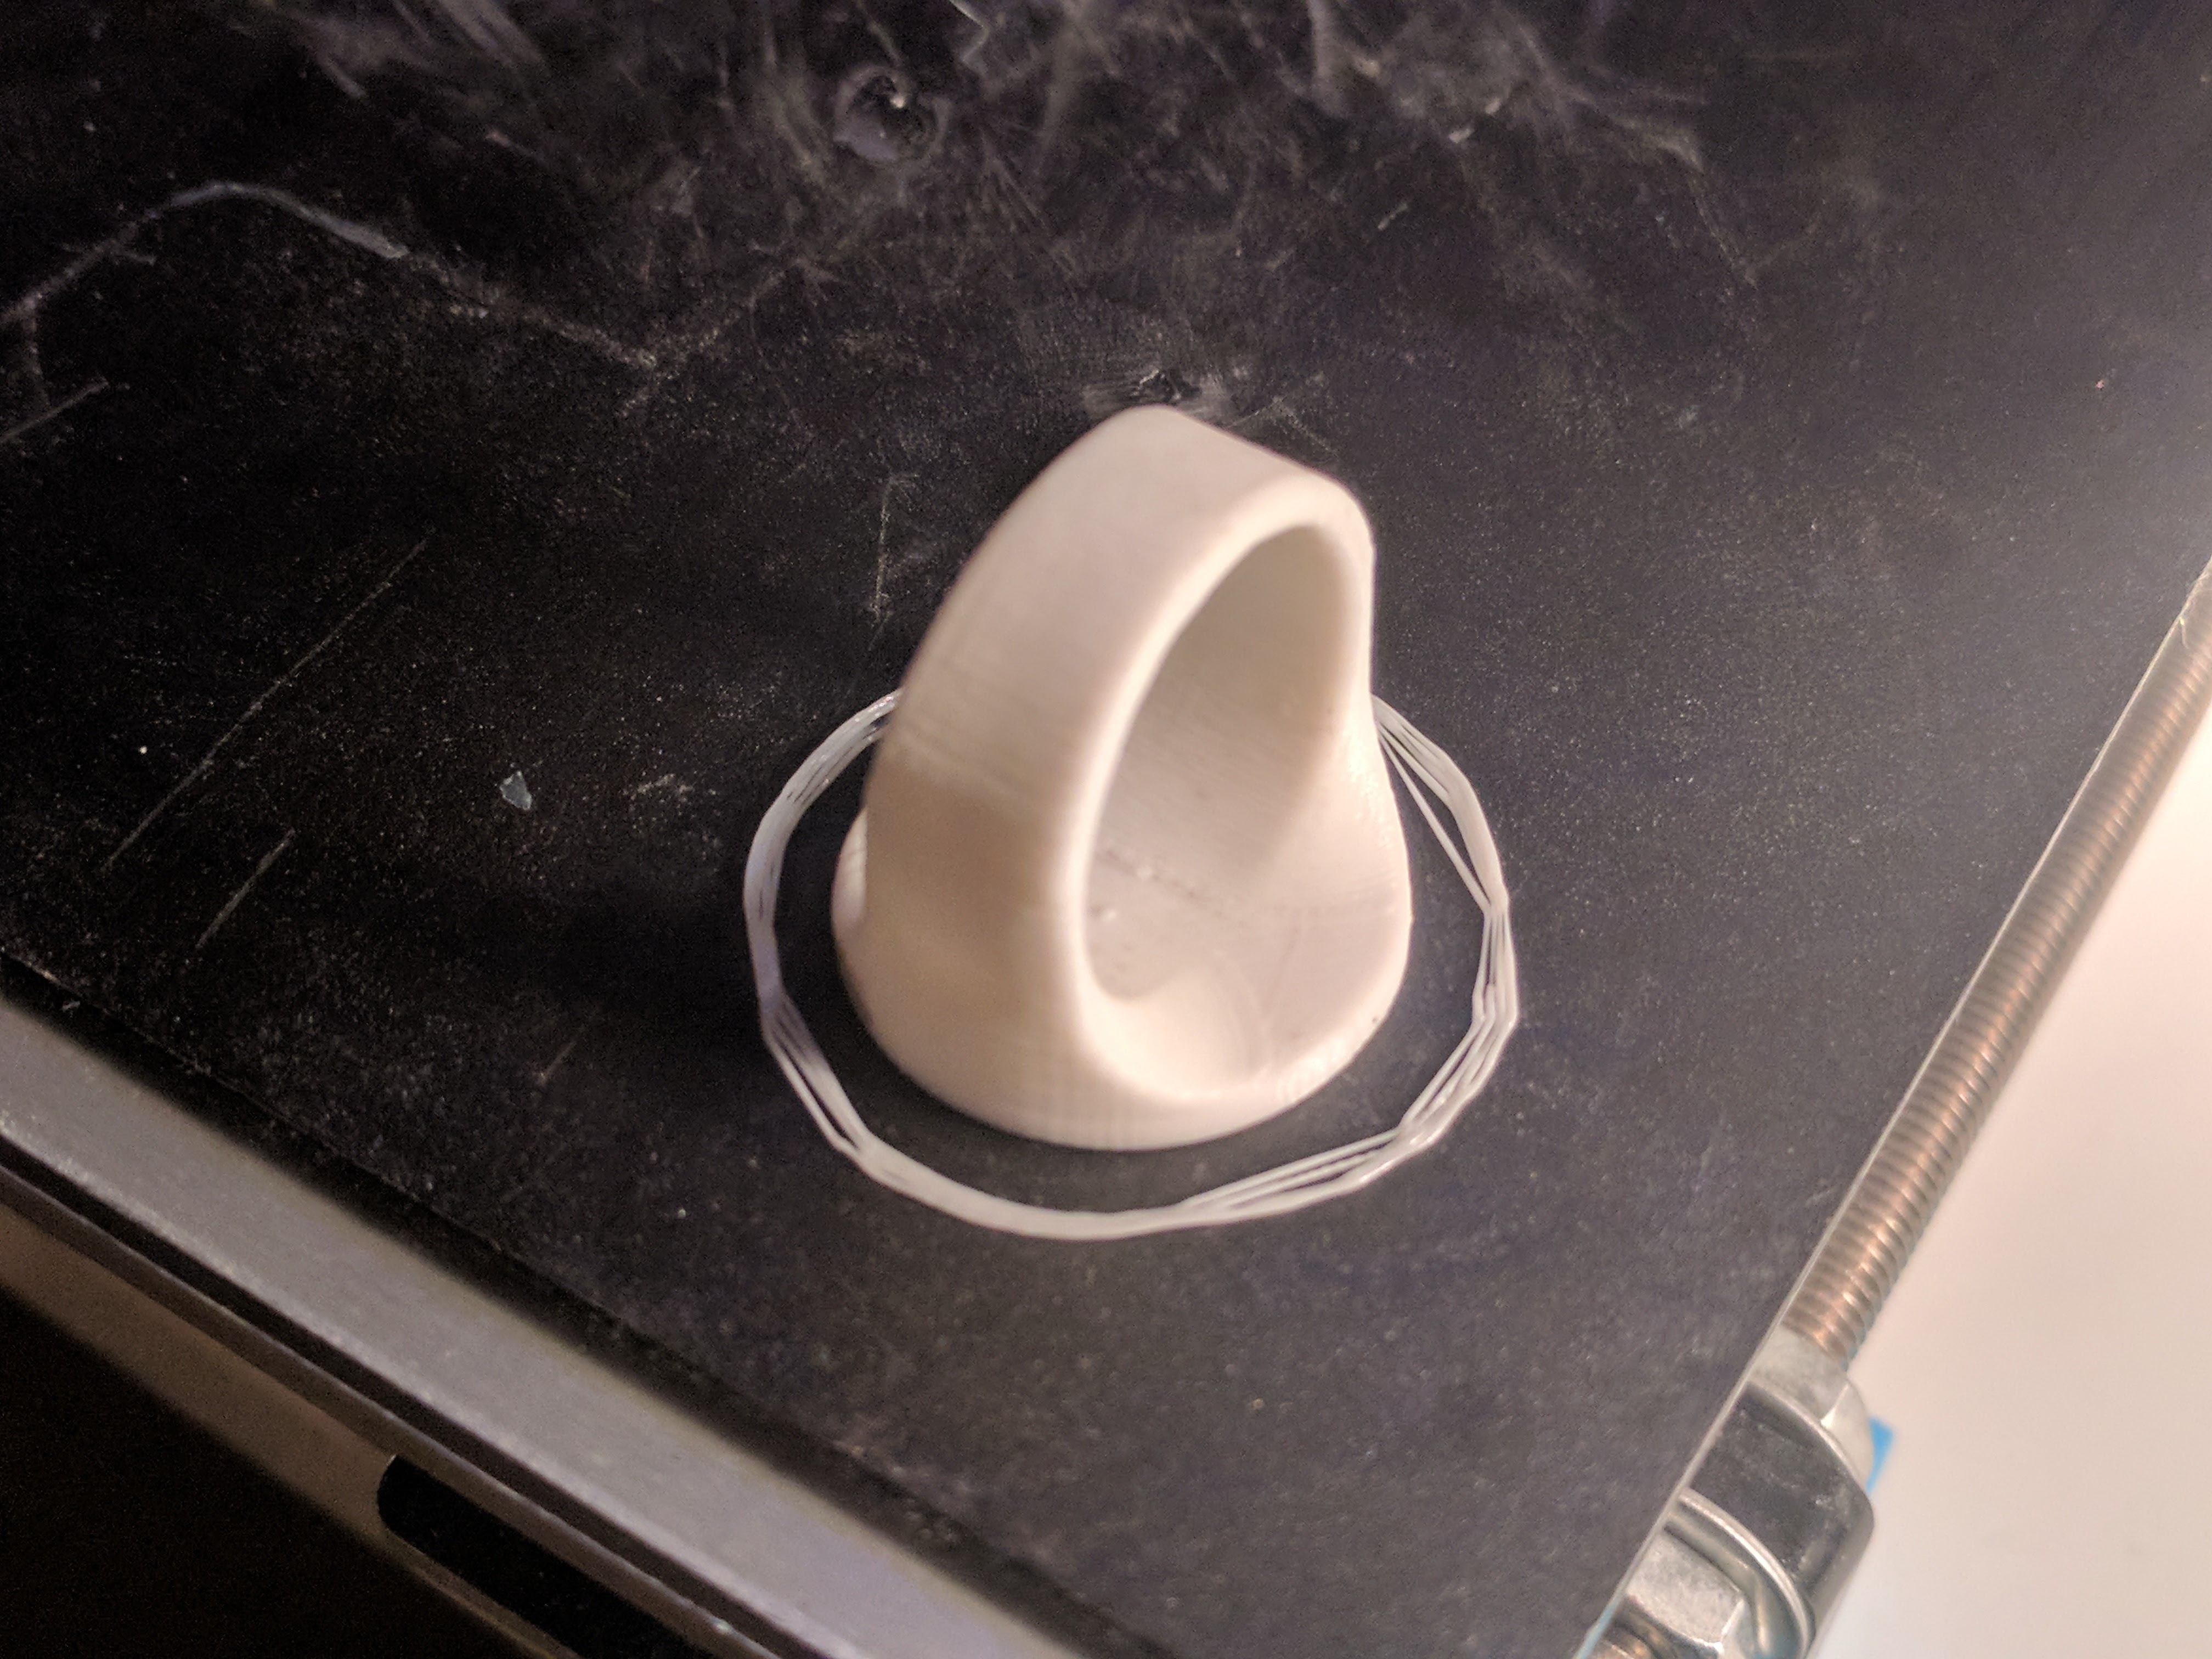
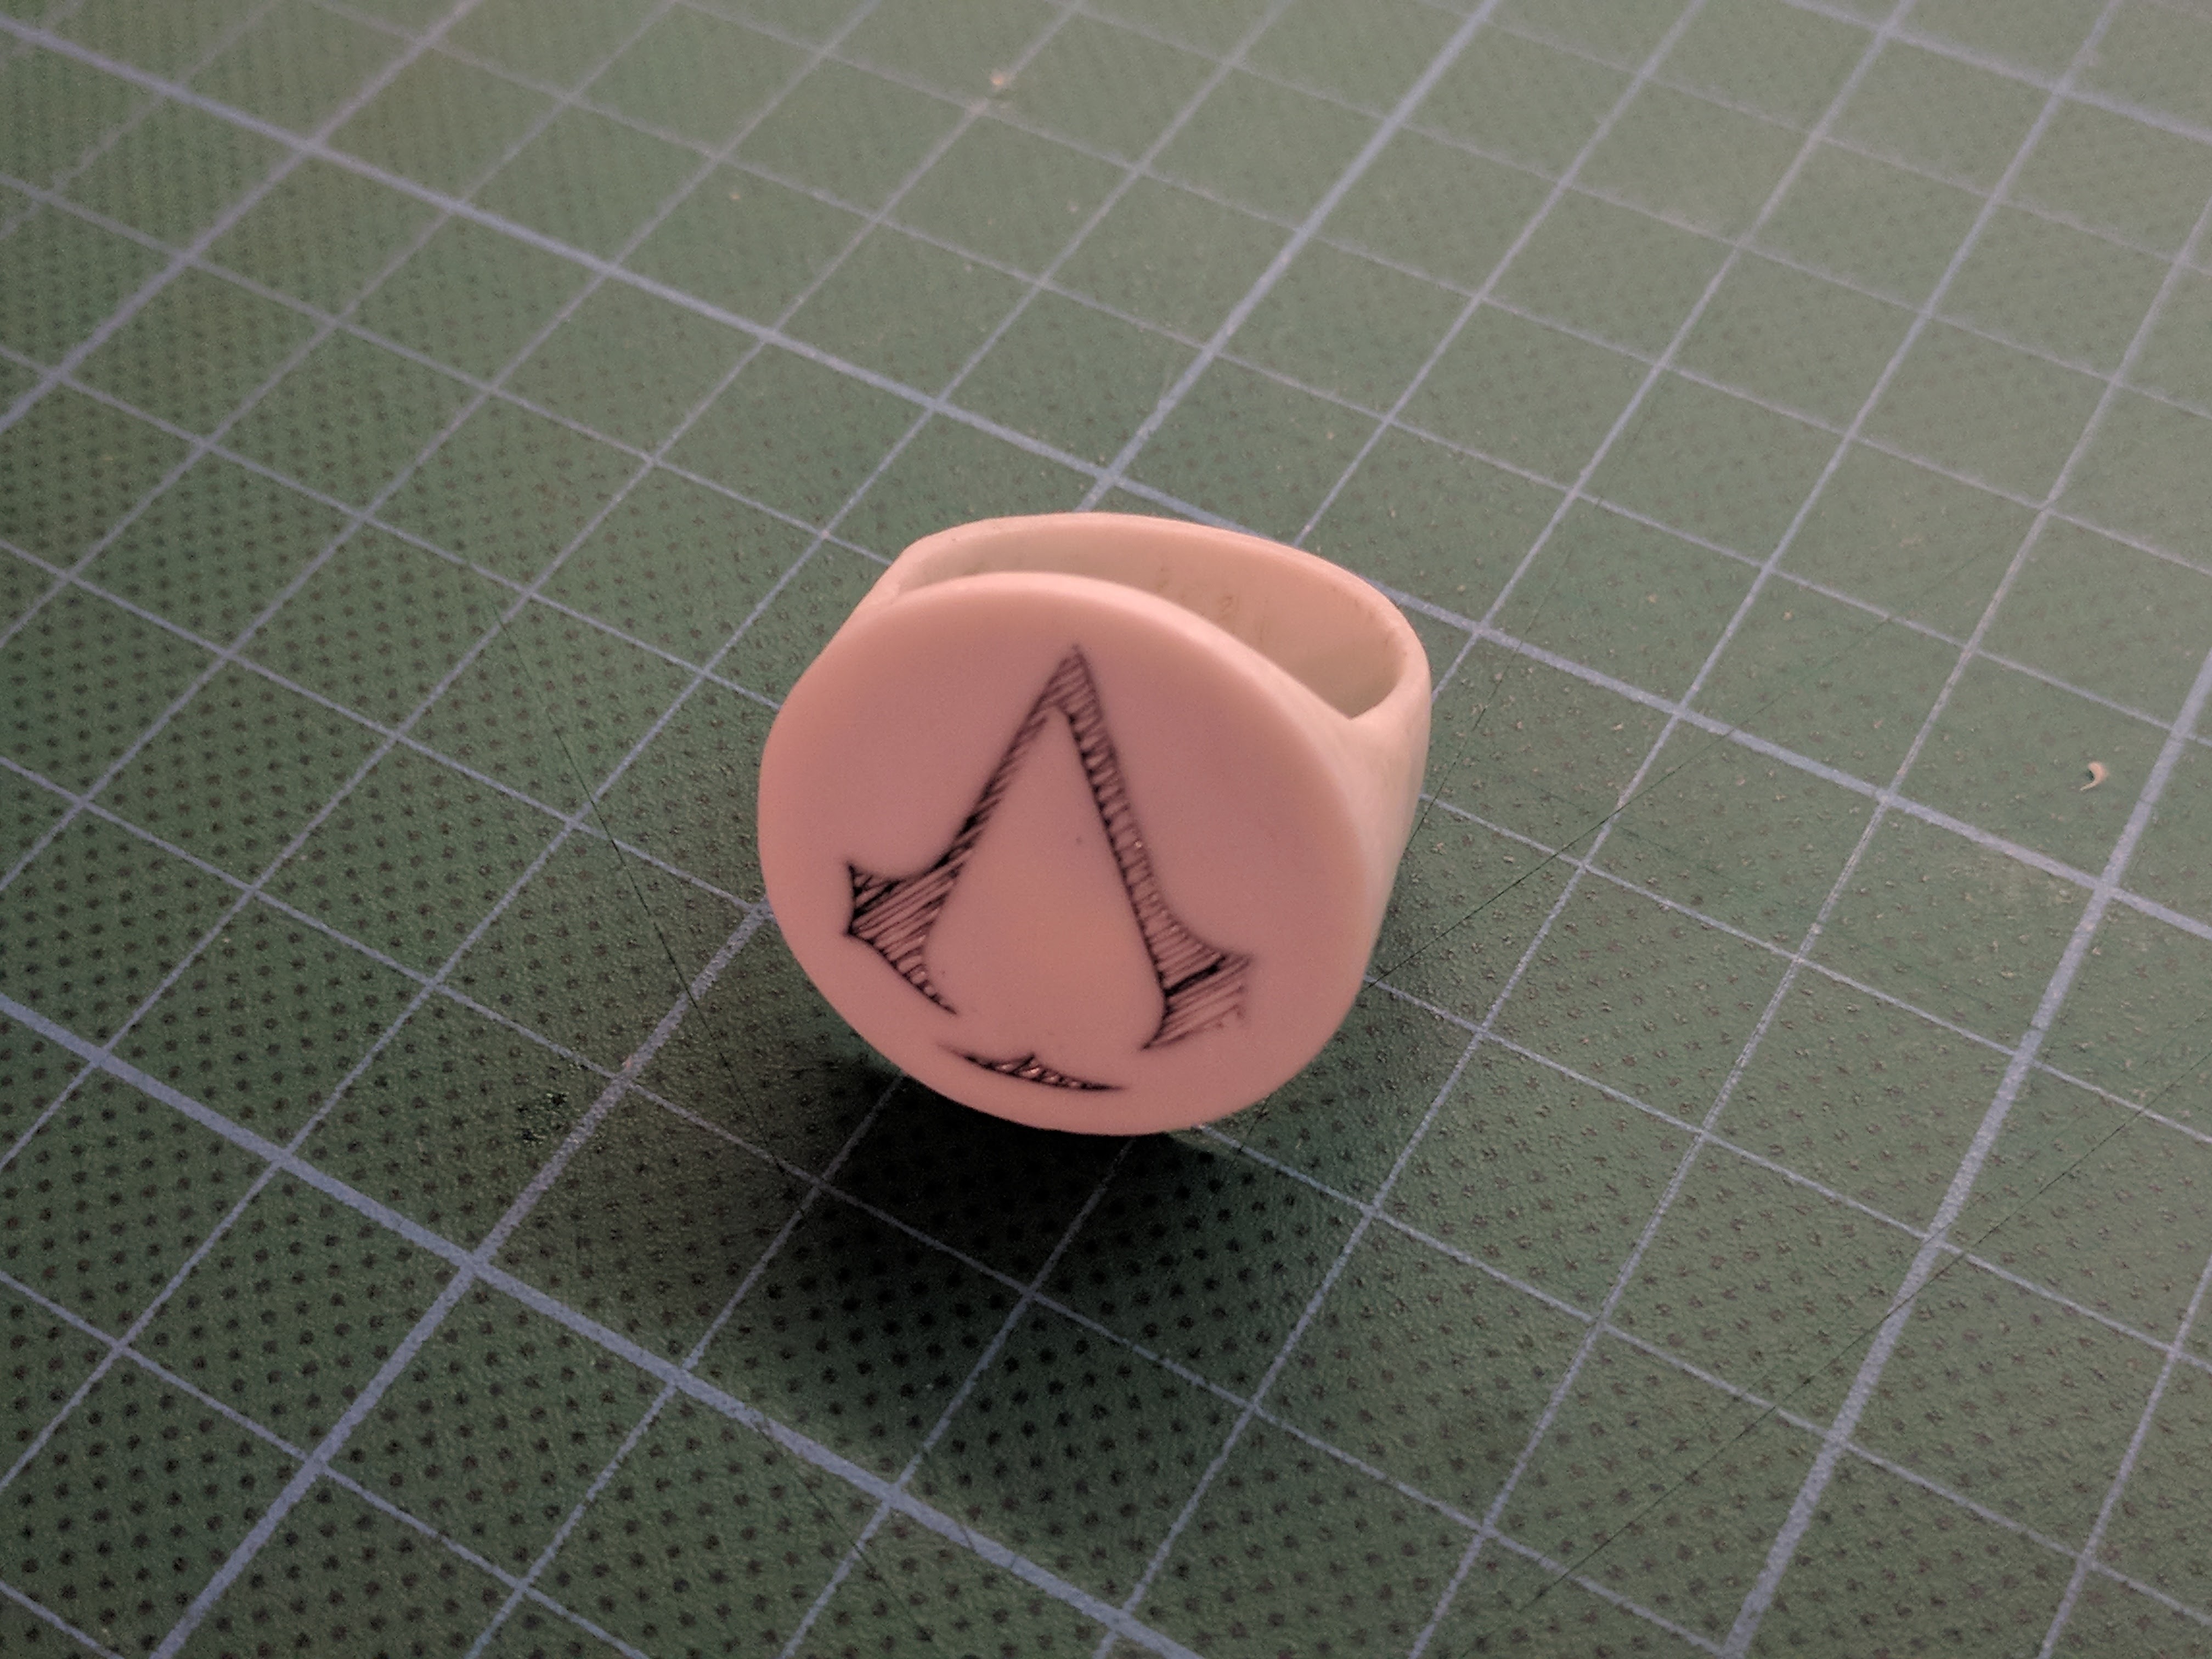
The last step of the project is to print the ring.
Import the STL file that we created in the previous step in the slicer of your choice and chose the appropriate settings. I would recommend printing this at the highest resolution and a low speed to achieve the best results. Make sure to disable support when slicing; otherwise, the cavity for the NFC tag will be filled with plastic. You could also use a slicer which gives you the option to add manual support under the ring arch only (eg. Craftware).
Now we can start the printing process, in which we'll embed the tag into the ring. Start the print and keep the tag nearby. Once the printing height reaches 1.8 mm, pause the print and put the tag in the recess, then continue the print. Try to do this as fast as possible to ensure a good layer adhesion.
Once the print has finished and cooled down, give it a light sanding. You can also color the logo in the ring to make it stand out more.
Test & Enjoy
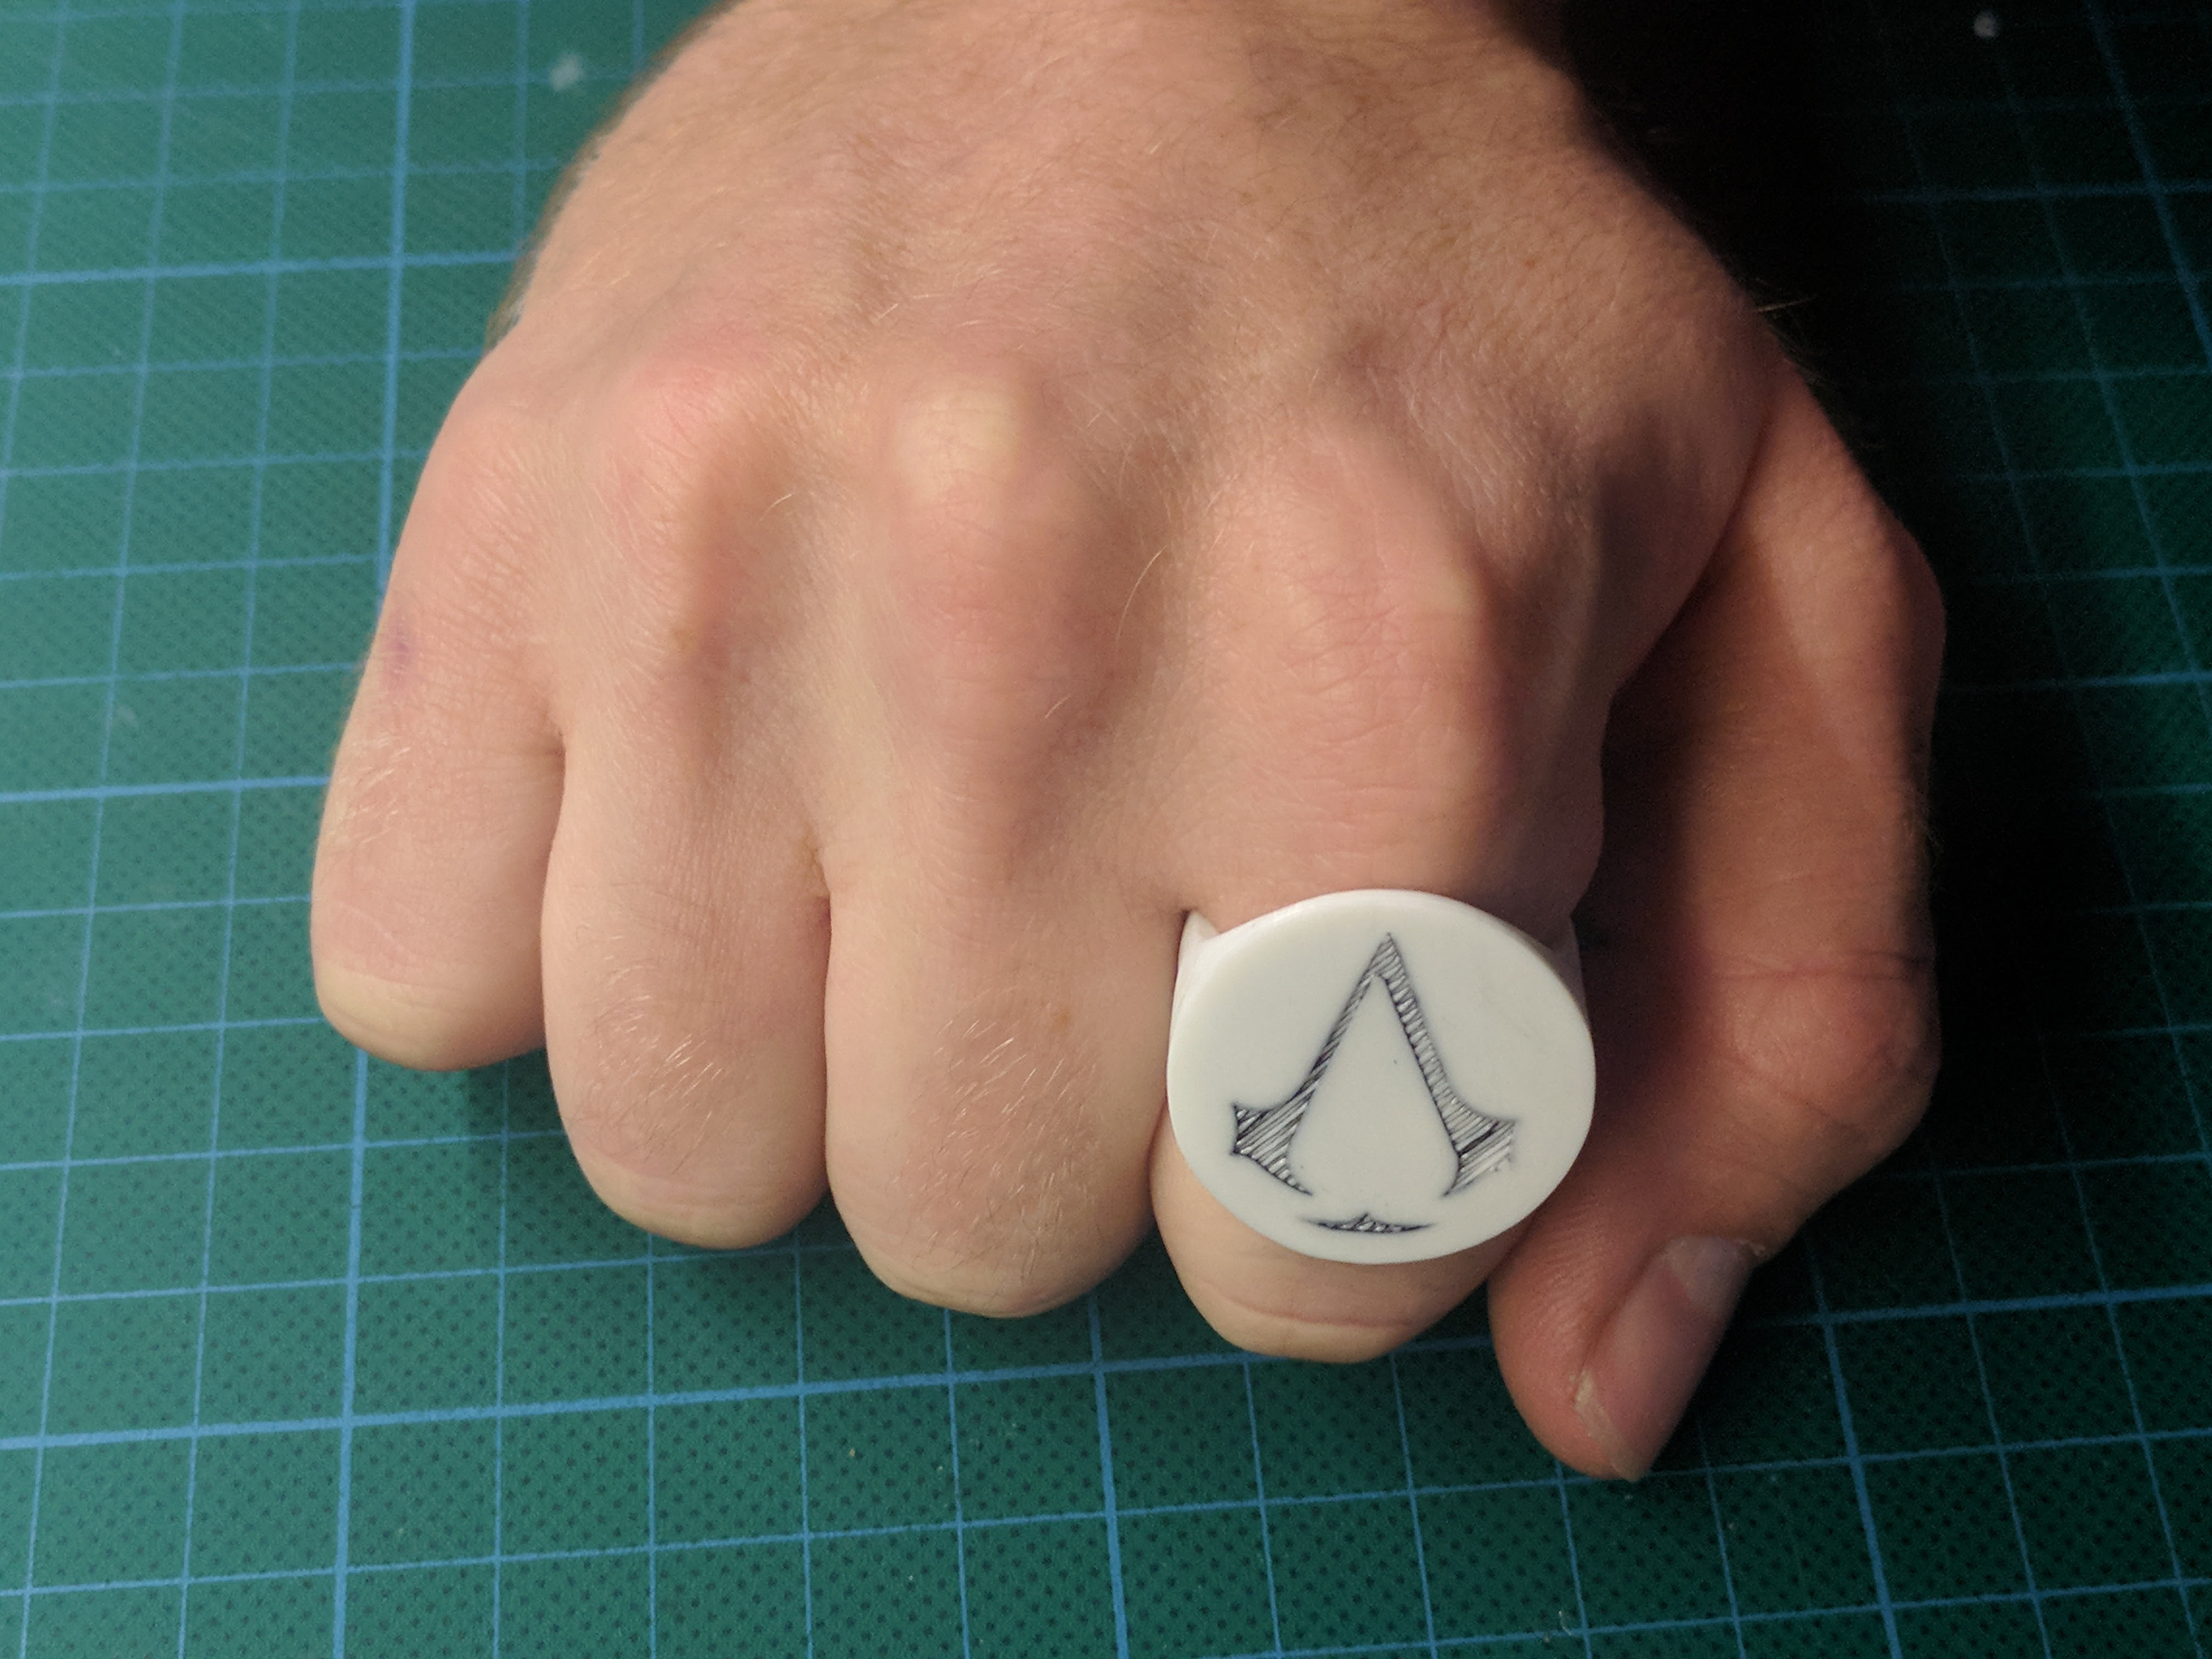
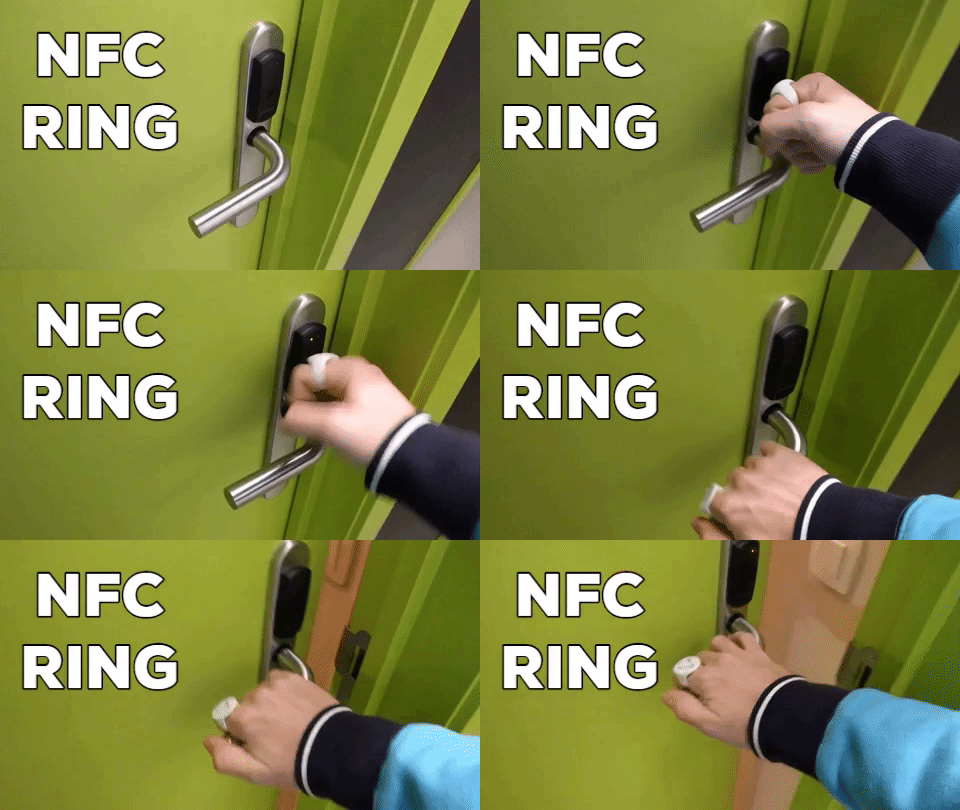
We're done! The only thing left to do is to test our new ring.
Finally, no more need to carry around a stupid badge, just fist bump your door to get in! Wear your ring with style and impress your neighbors.
Since we completely sealed the tag inside the ring, it is watertight; no need to take it off when washing your hands or whats however. I hope you'll find it as convenient as I do!
Feel free to check out my other instructables here :)