"NEON" Led-sign

In this intstructable, i’ll be showing how to make an immitation neon-sign with led and remote control options.
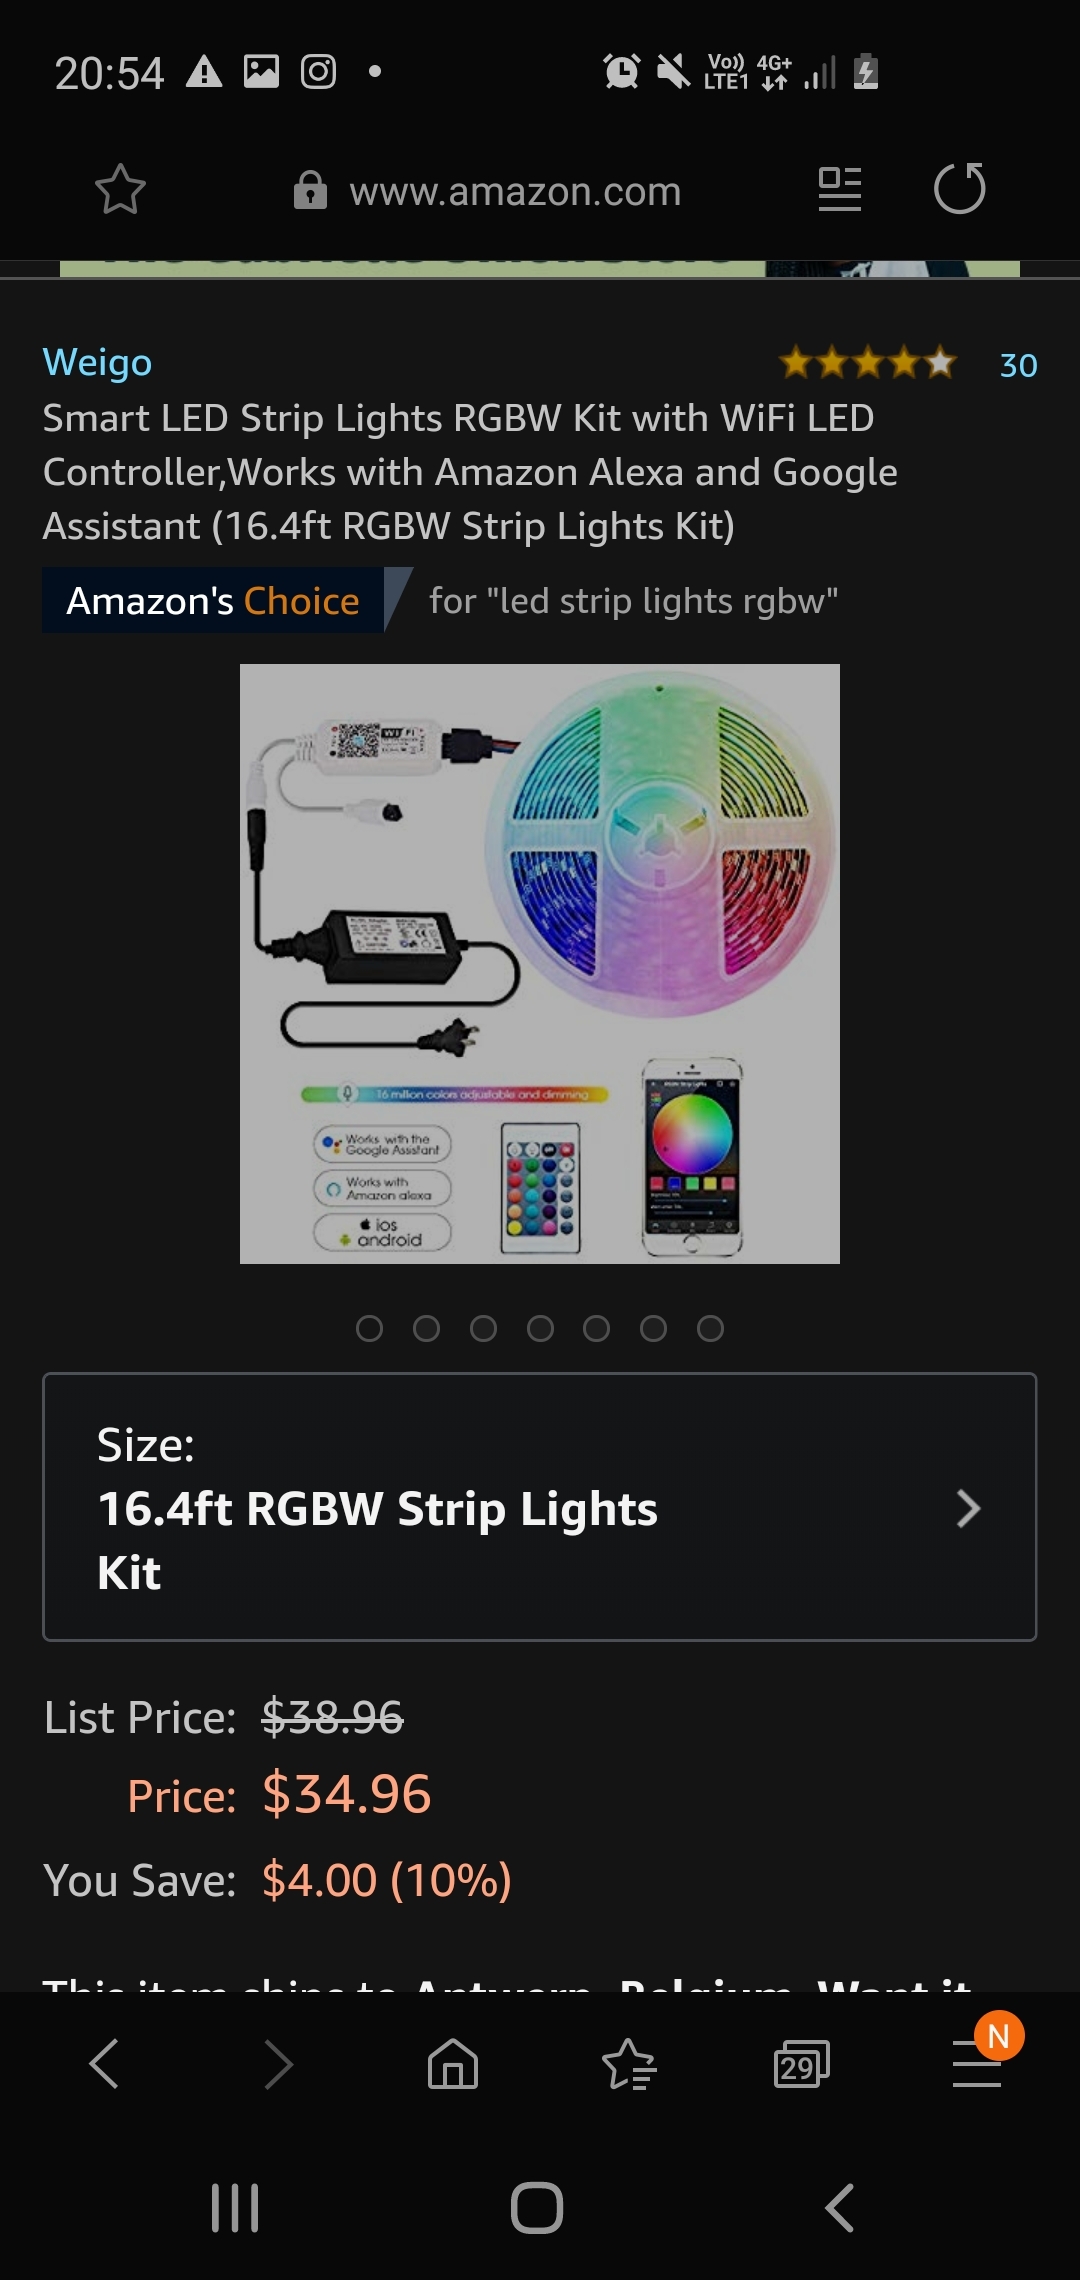
On amazon you can find complete sets of remote controlled led strips for around $25. You can control color, brightness and/or have a pre-programmed loop playing. The newer sets have wifi connection so you can control these options via smartphone. When buying led strips, keep in mind that the smaller the gaps in between the leds on the strip, the better effect you’ll have.
Ofcourse you can also use adressable ledstrips so you can have full controll over the leds and go a bit further with possibilities. But i wont be going over that in this instructable
Supplies
-remote controlled led-set
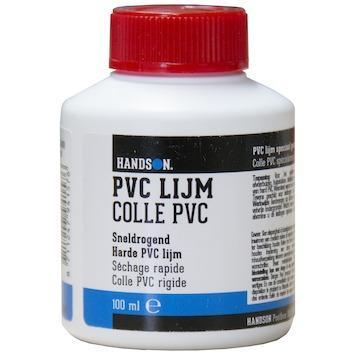
-pvc glue
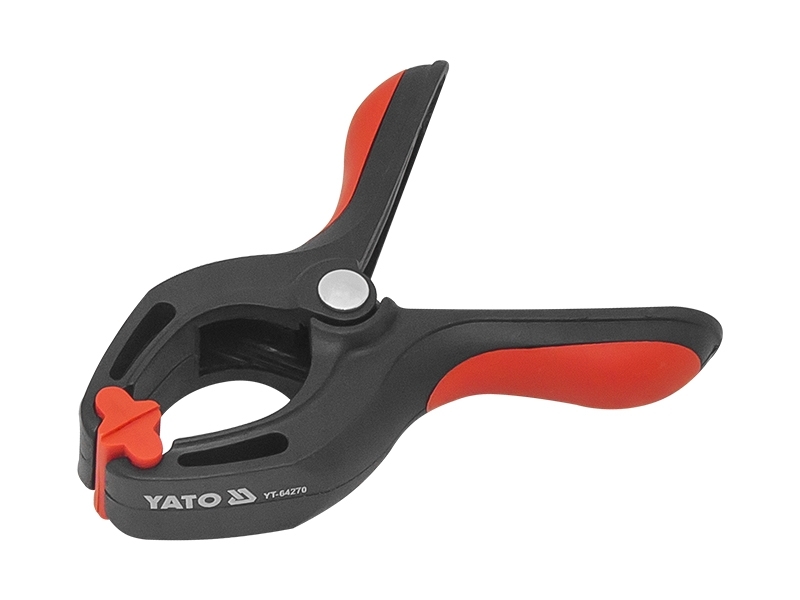
-clamps
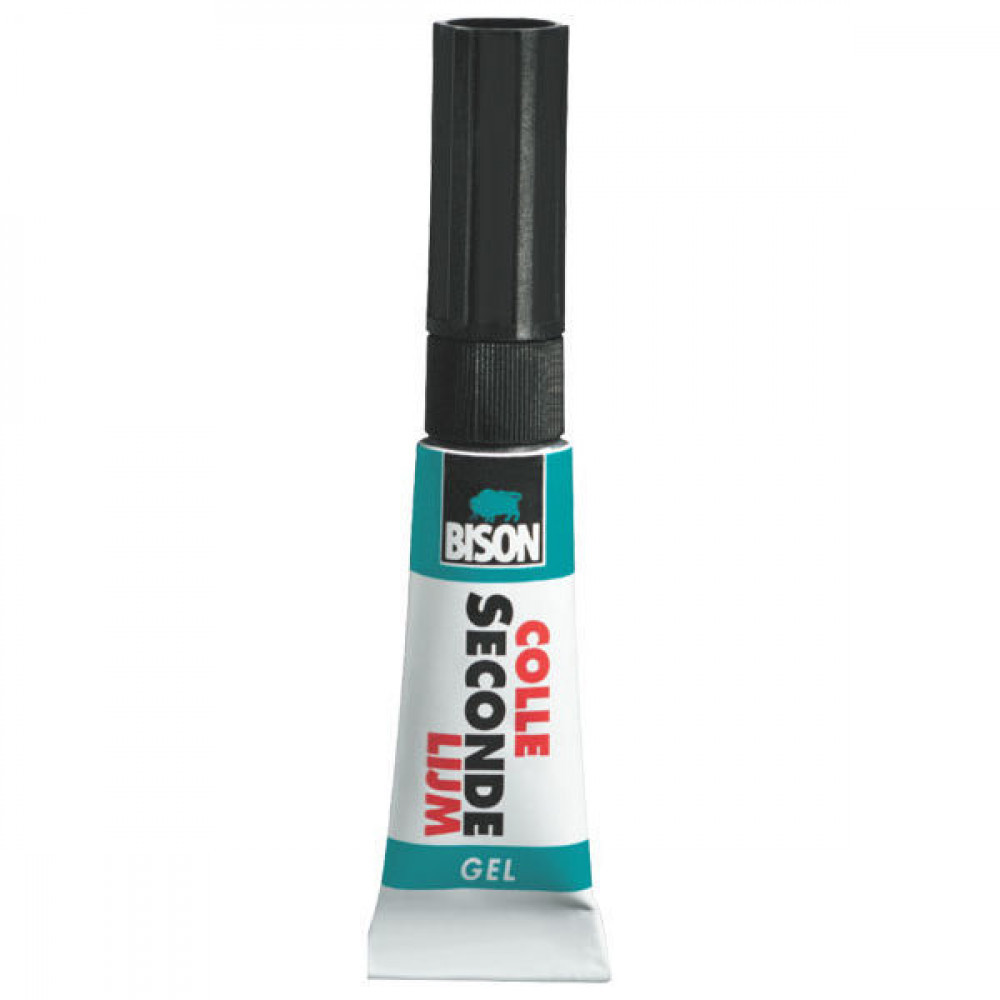
-super glue (other types can work too , silicon, hot glue, ...)
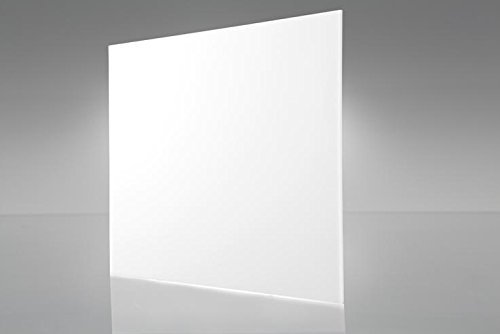
-opaque acrylic 3mm (size depending on design)
-lasercutter (or order lassercutted parts)
Find Your Font
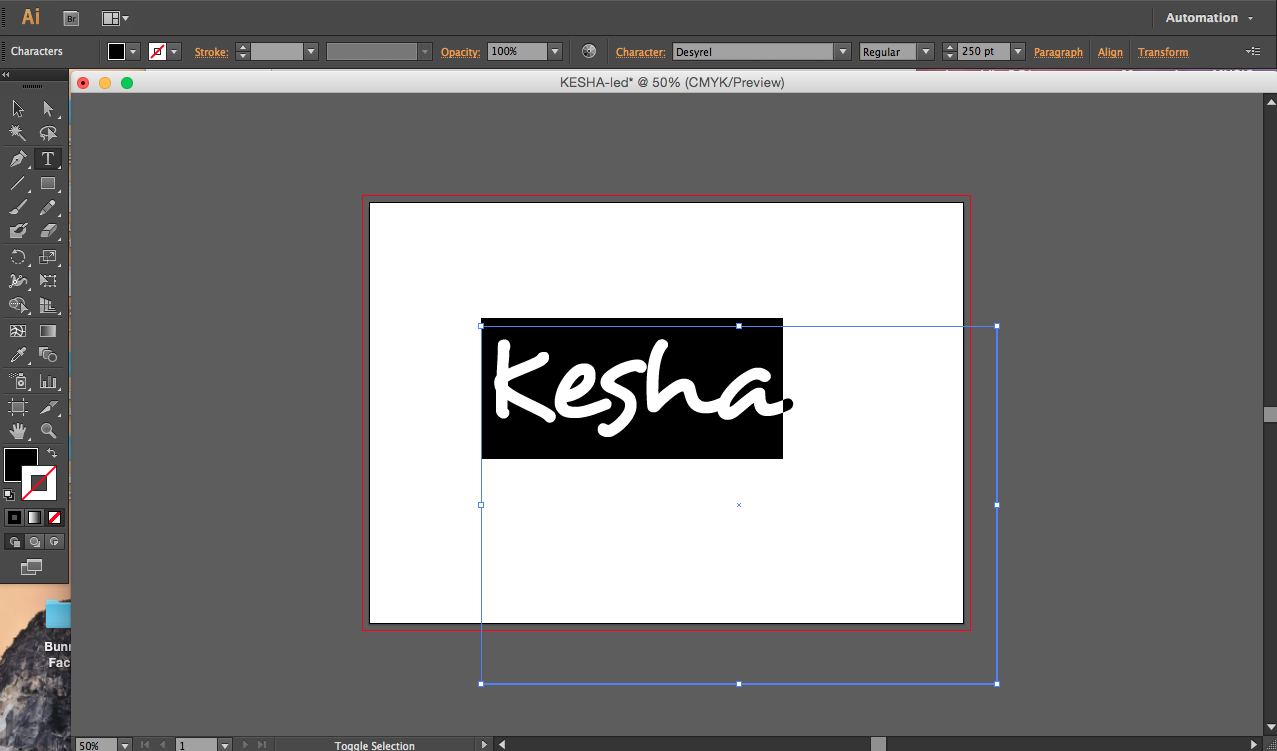
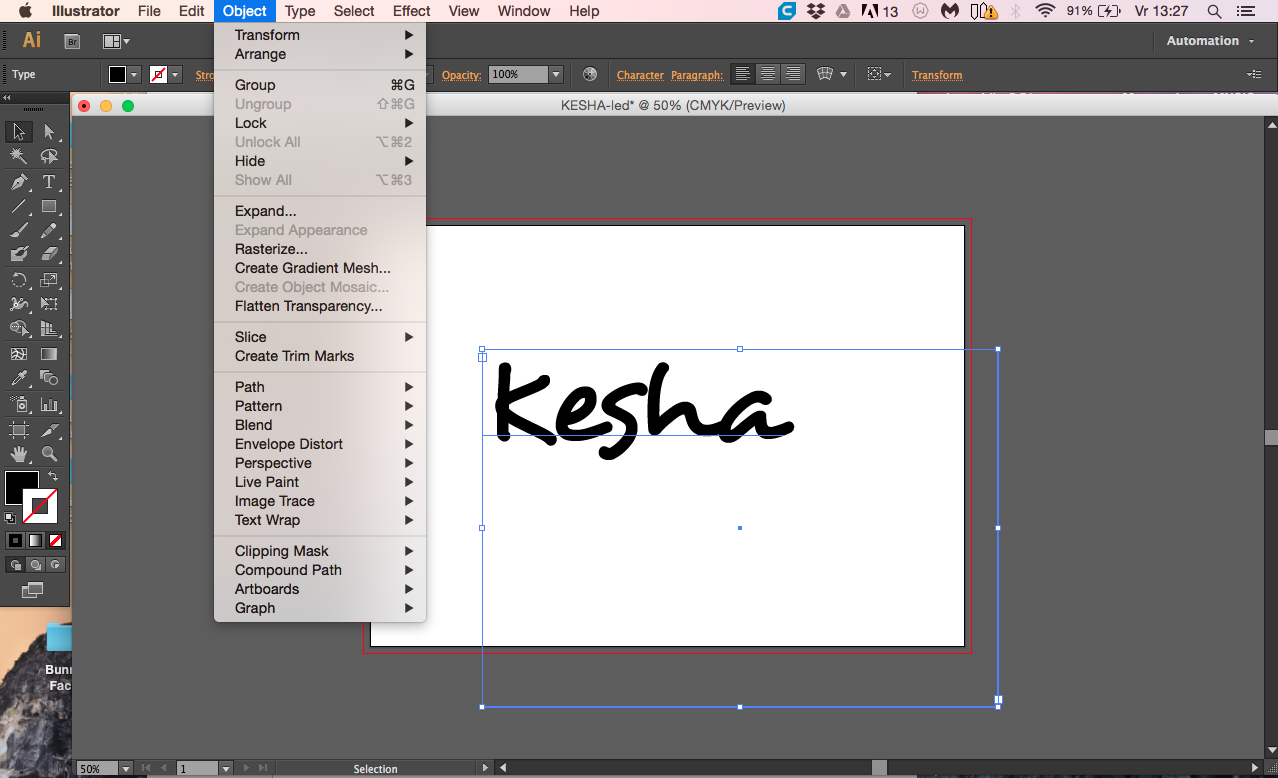
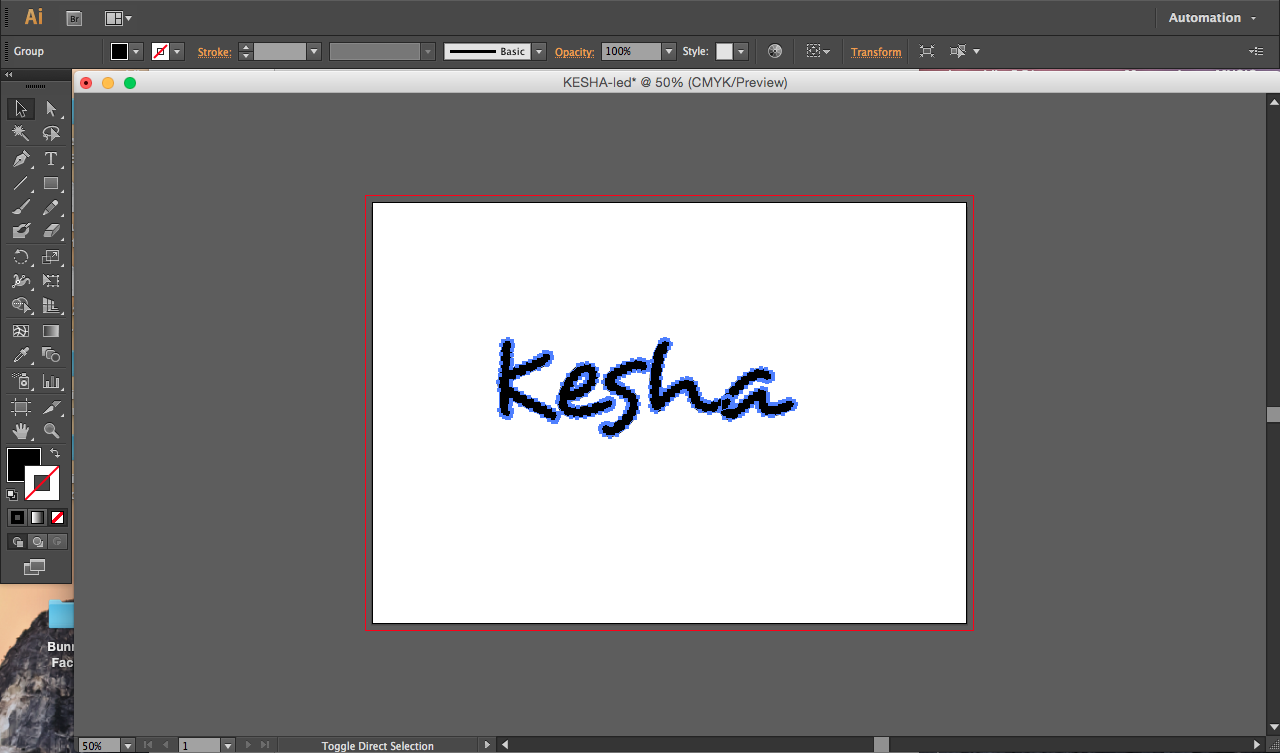
First we start by looking for a nice font in a preferred program, i will be working with illustrator.
Once you’ve found a font wich you're happy with, we’re going to make this into 2 layers wich will be lasercutted.
Make the font big so you can read easy.
Next step is making outlines of the font, you do this by going to object-tab then press expand, make sure the object and fill boxes are checked, then hit ok. Now we have the contour of the font in outlines.
Bridging the Gaps
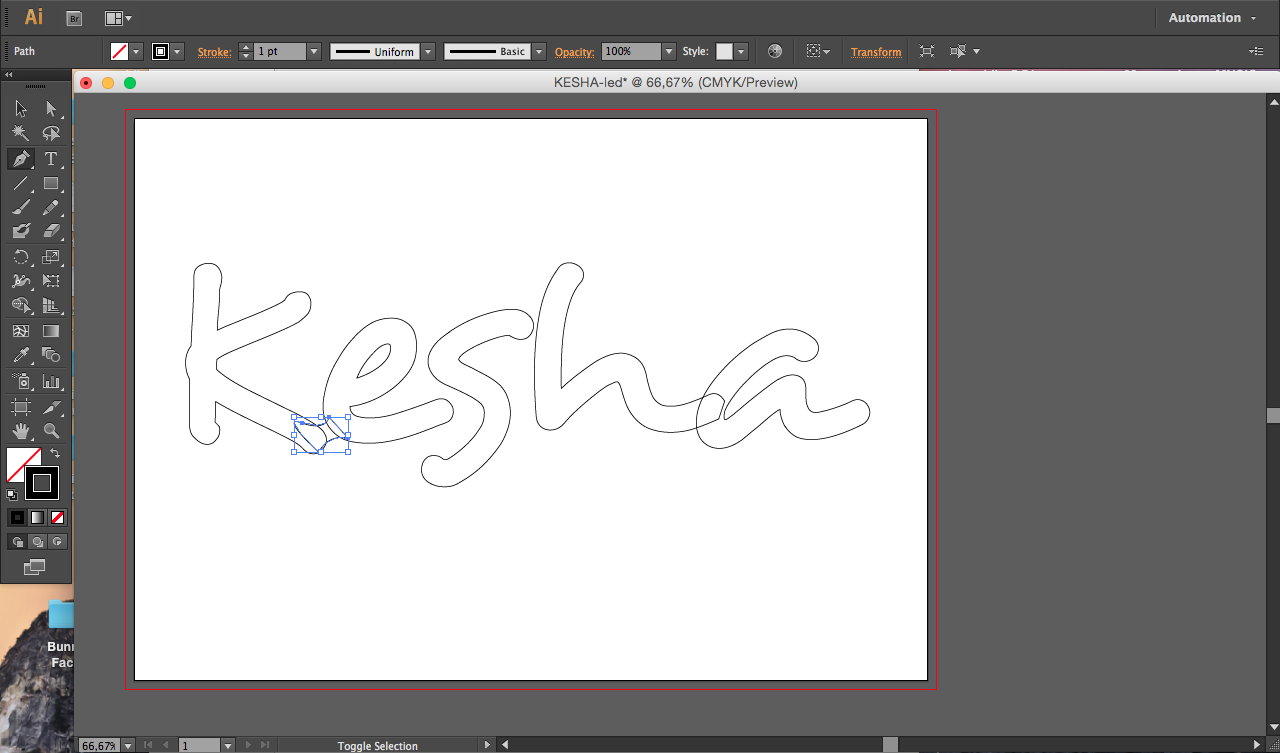
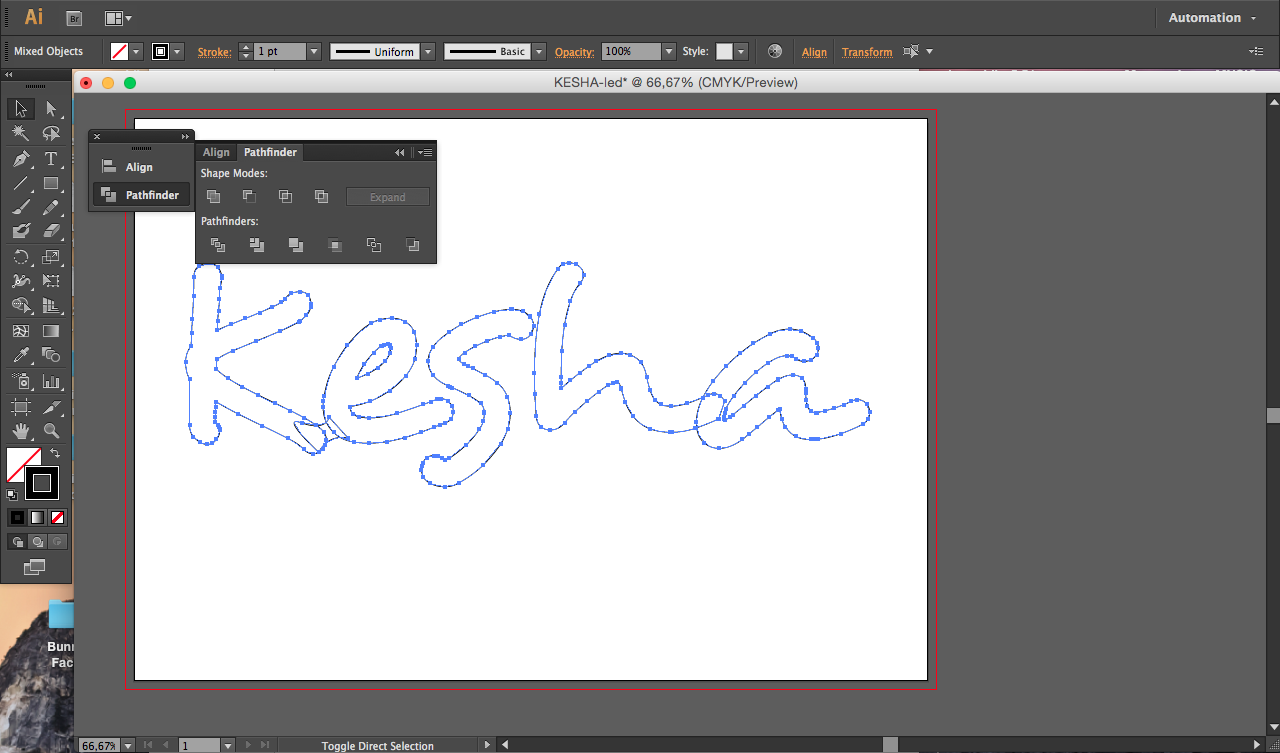
Change the fill color to “none” and the outline to black so we can see clearly what we’re working with.
Next we’ll have to make “bridges” between the letters in order for the led strip to pass through.
You can simply draw a shape with the pen tool, keep in mind that the ledstrip you'll be placing in between has a certain thickness.
So don't make the bridges too small.
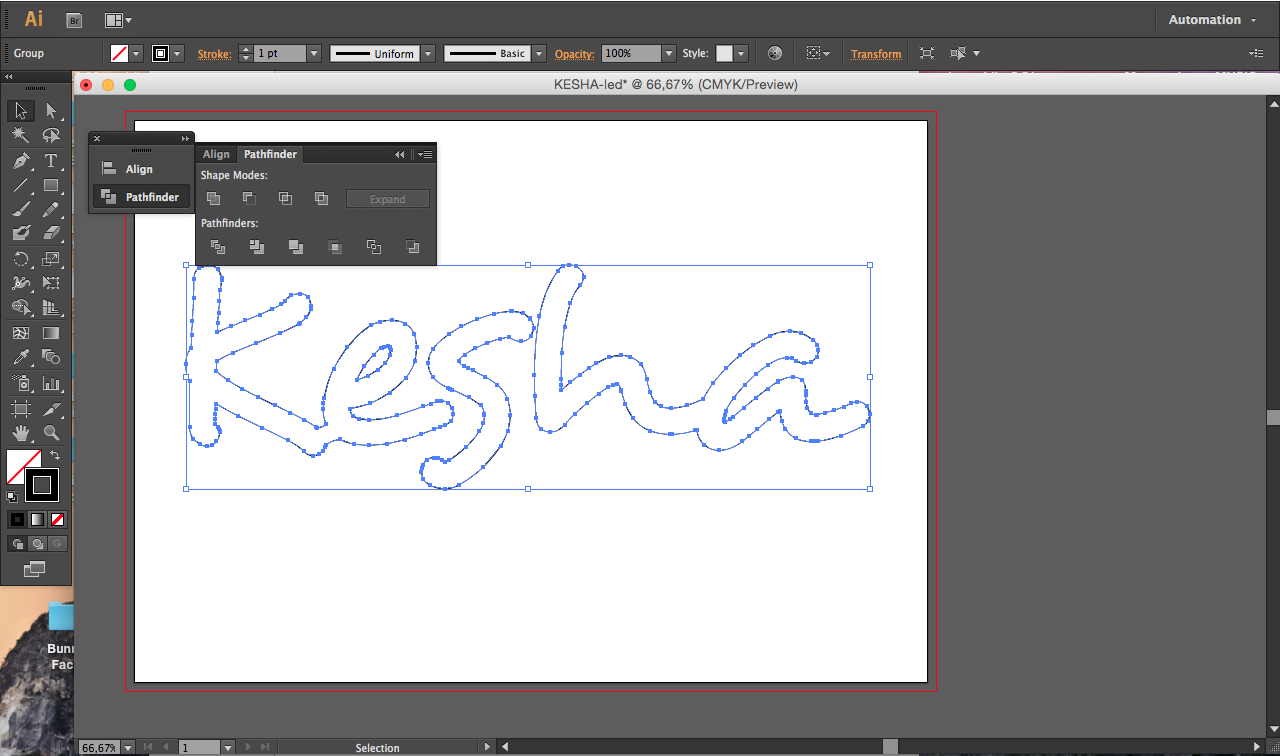
Once you've drawn the bridge use the pathfinder (add) to combine the shapes.
Do this for all spaces or characters that aren't attached.
Spacer
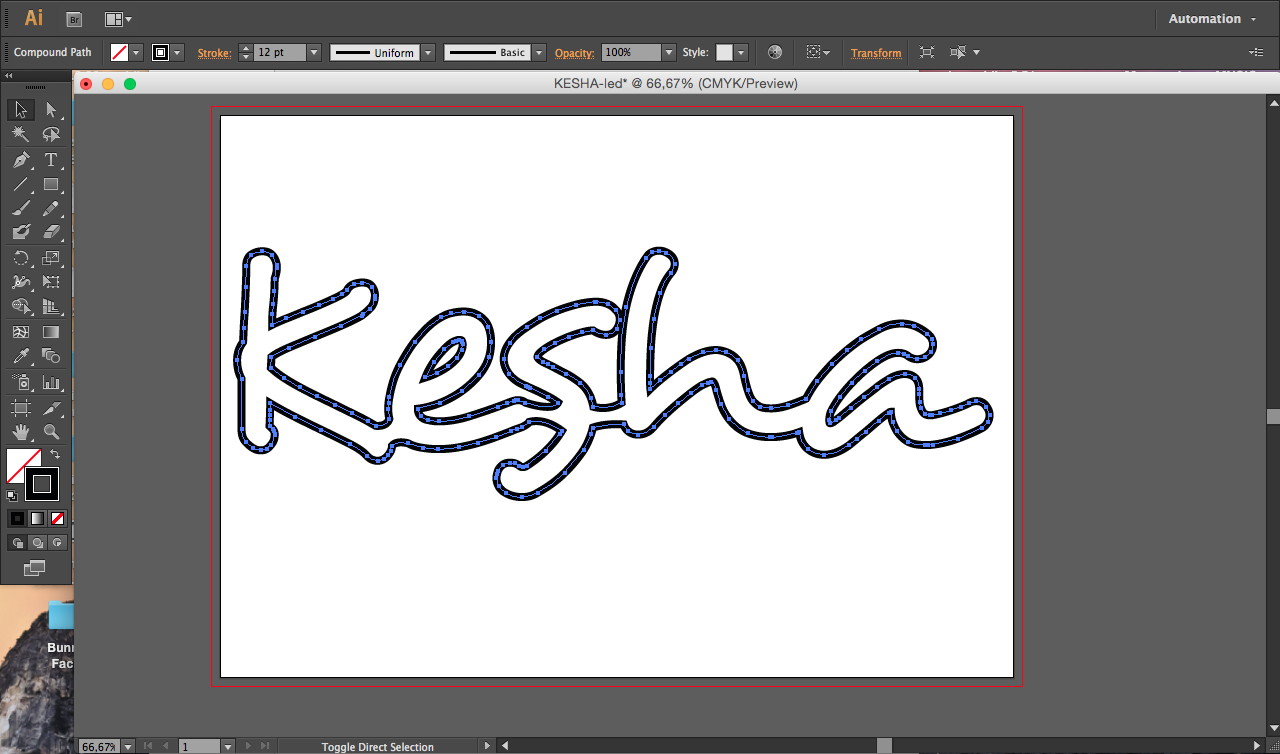
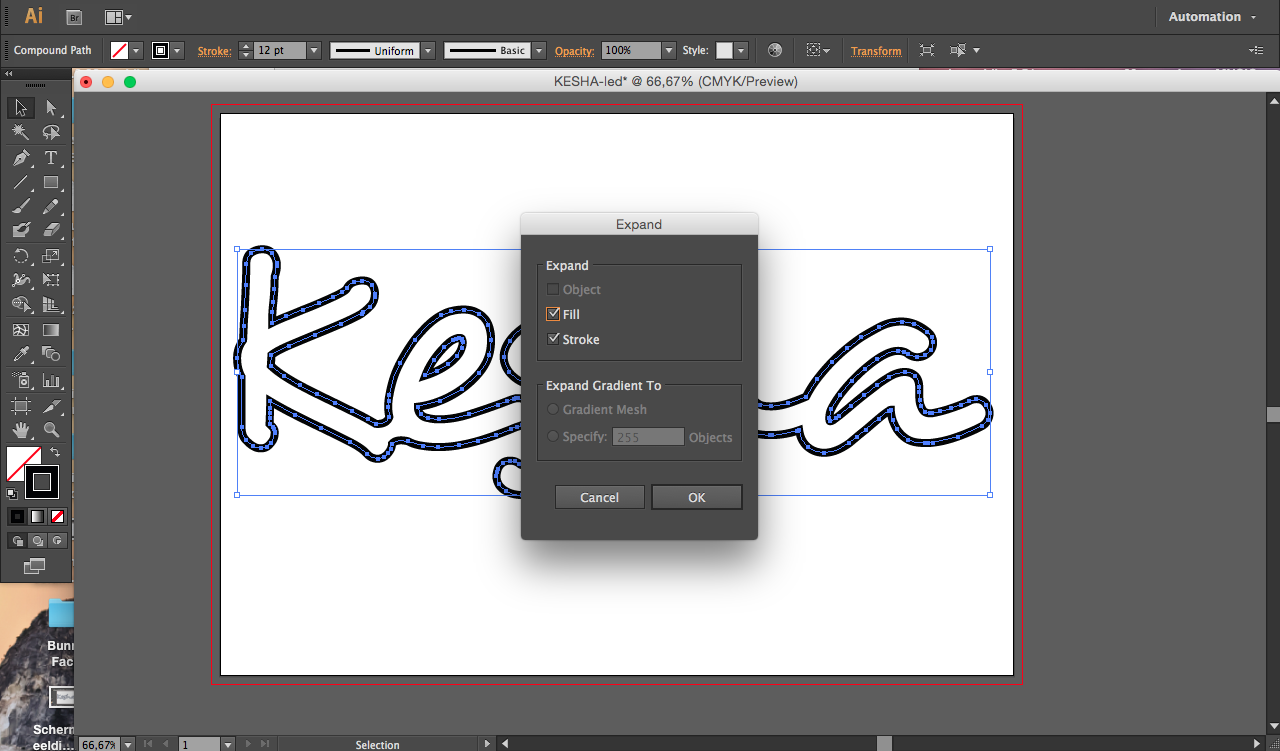
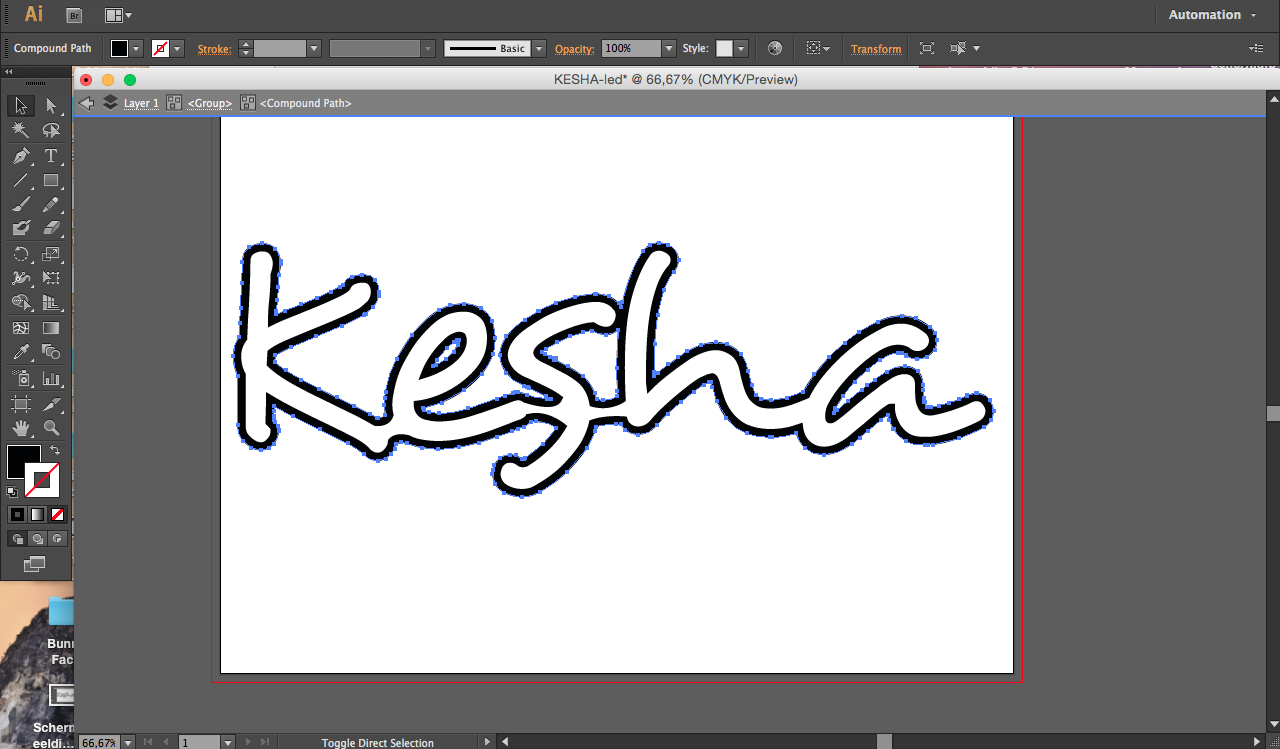
Now set the stroke thickness to at least 16 and make outlines of this again by going to object-tab
then press expand, make sure the object and fill boxes are checked, then hit ok.
Layers
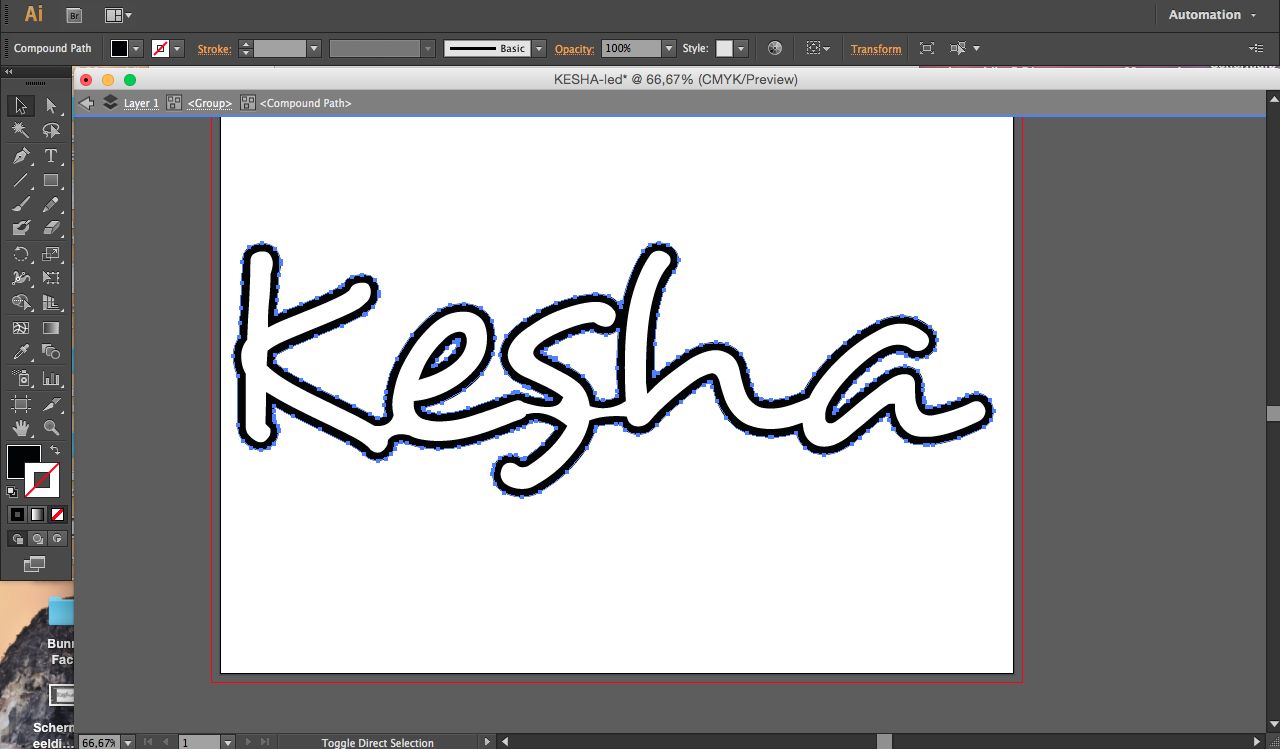
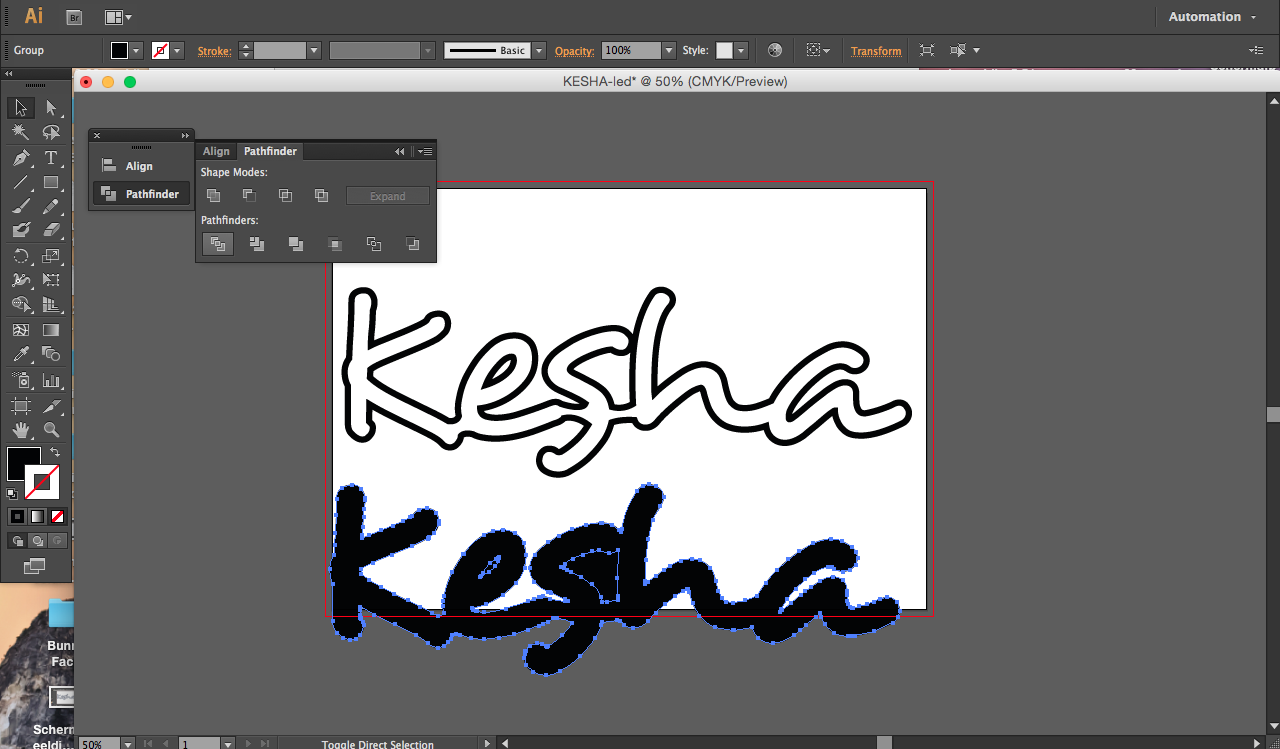
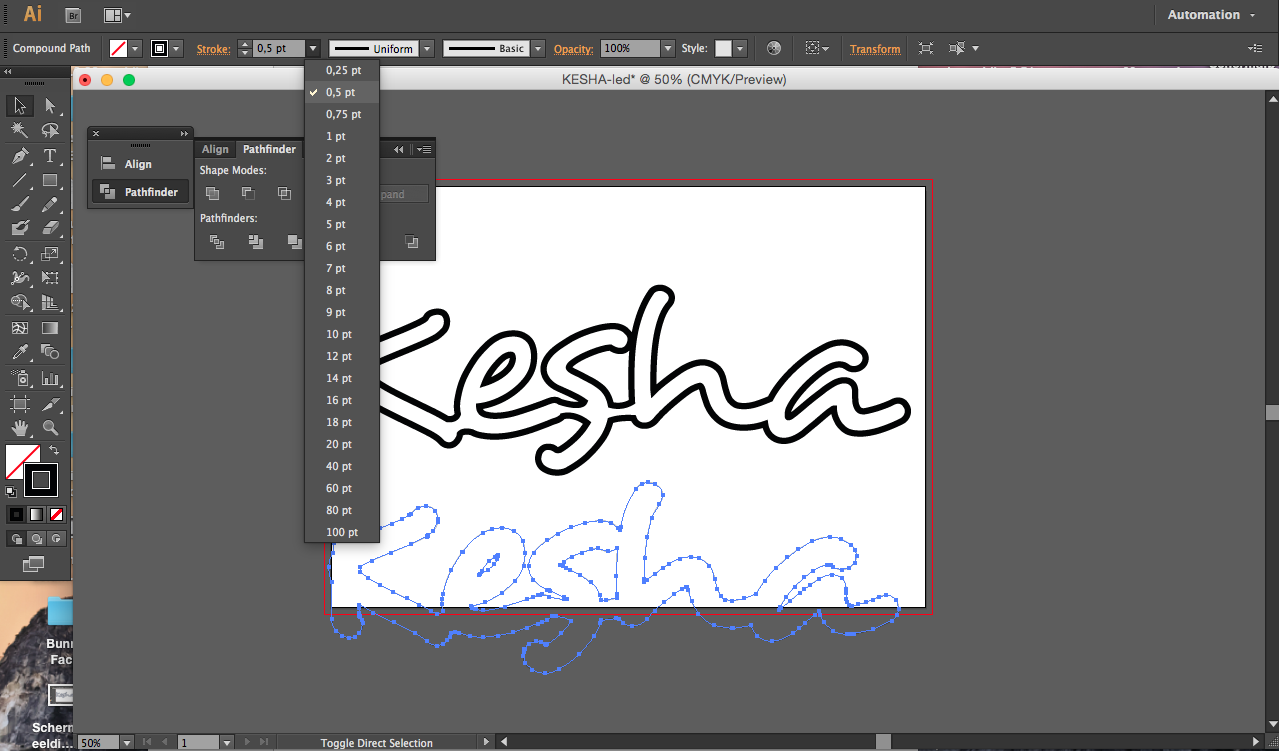
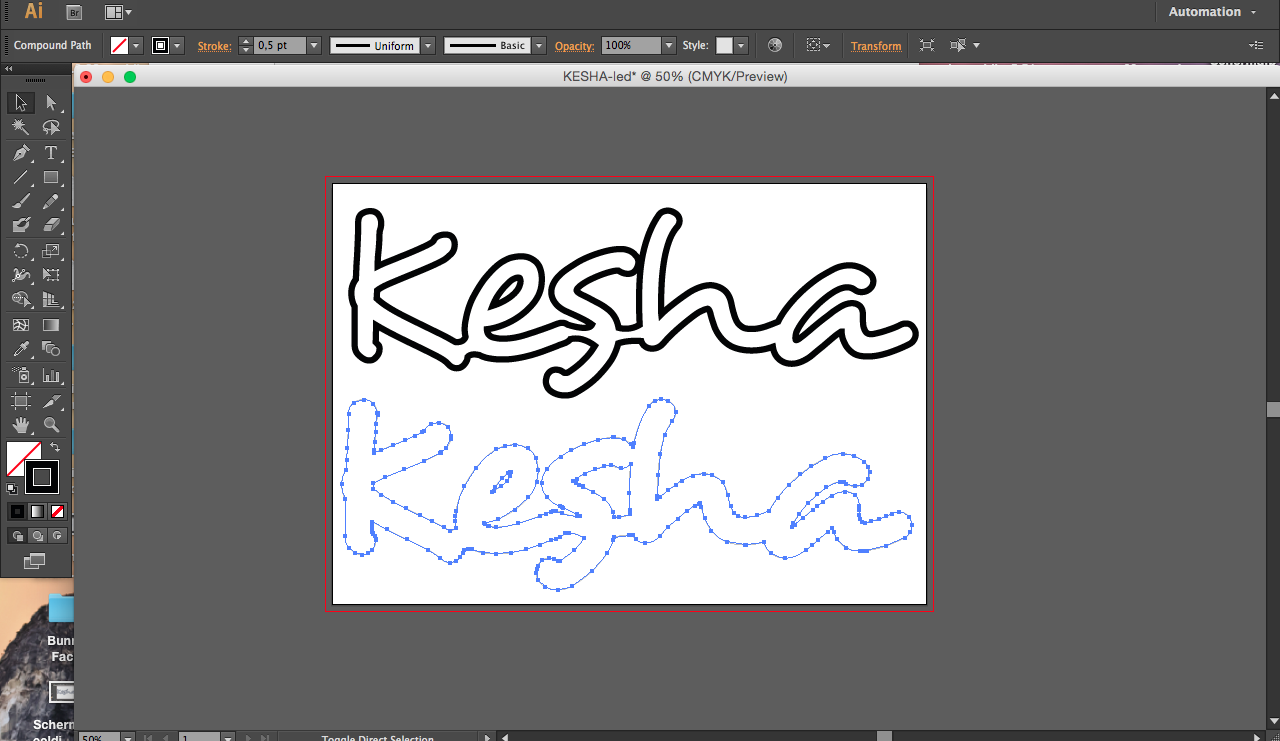
In this step we'll be splitting the design in 2 layers.
In illustrator you can simply double click on the outline of the design and you enter layer mode.
In this mode you can select the outer outline.
If you have inner shapes like i have in the e, you have to press shift (while outline is still selected) and then click on the shape you want.
This way all the shapes we need to copy are selected then we pres ctrl+c to copy.
Now leave the layer mode.
Then pres ctrl+v
We have our to layers but as you can see, the inner shapes are black.
Use the pathfinder trim moder while the black design is selected.
Then press shift cmd G to ungroup the shapes, now you can select the inner shapes you dont need and delete them.
Lasercutting
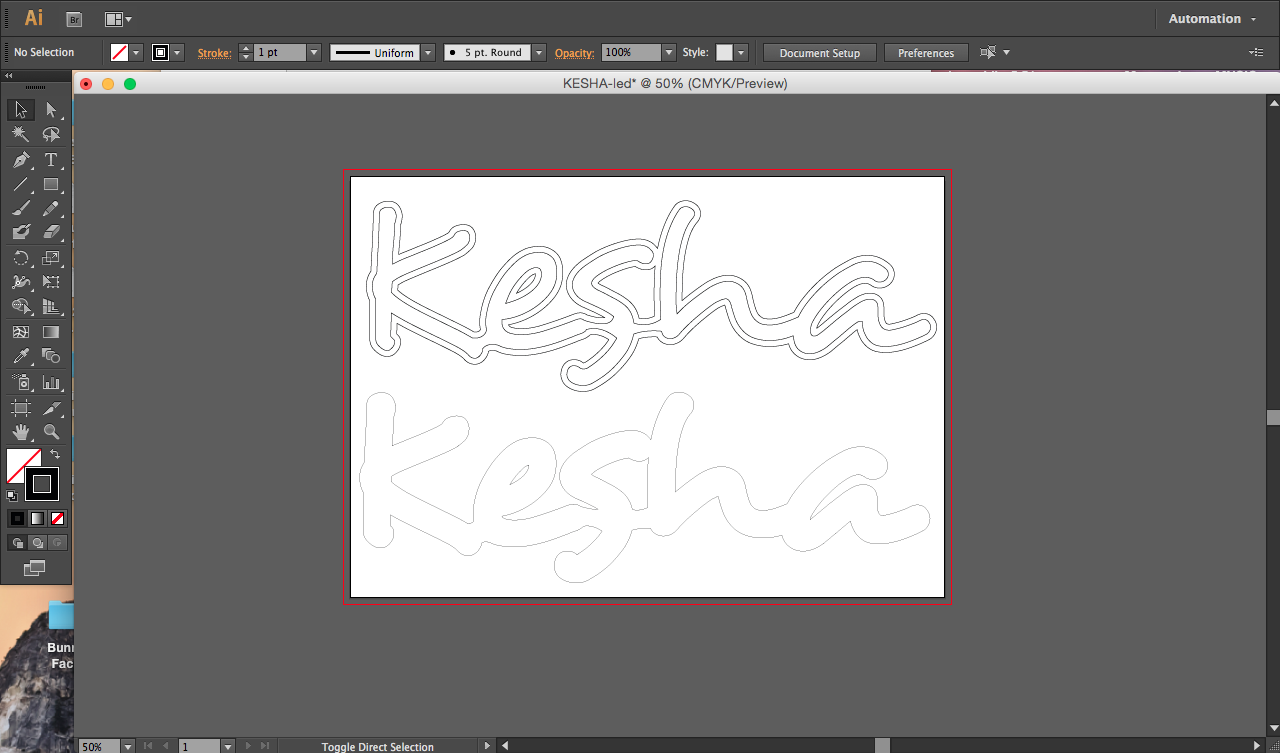
These are our two layers.
The one above will act as a spacer and its inside this one we will be glueing the ledstrip.
The second layer will be the opaque acrylic and will act as a diffusor.
I lasercutted these parts myself, you could also order lasercutted parts if you don't have one.
Keep in mind that the spacer needs to be a bit thicker than the width of the ledstrip.
Led Placement
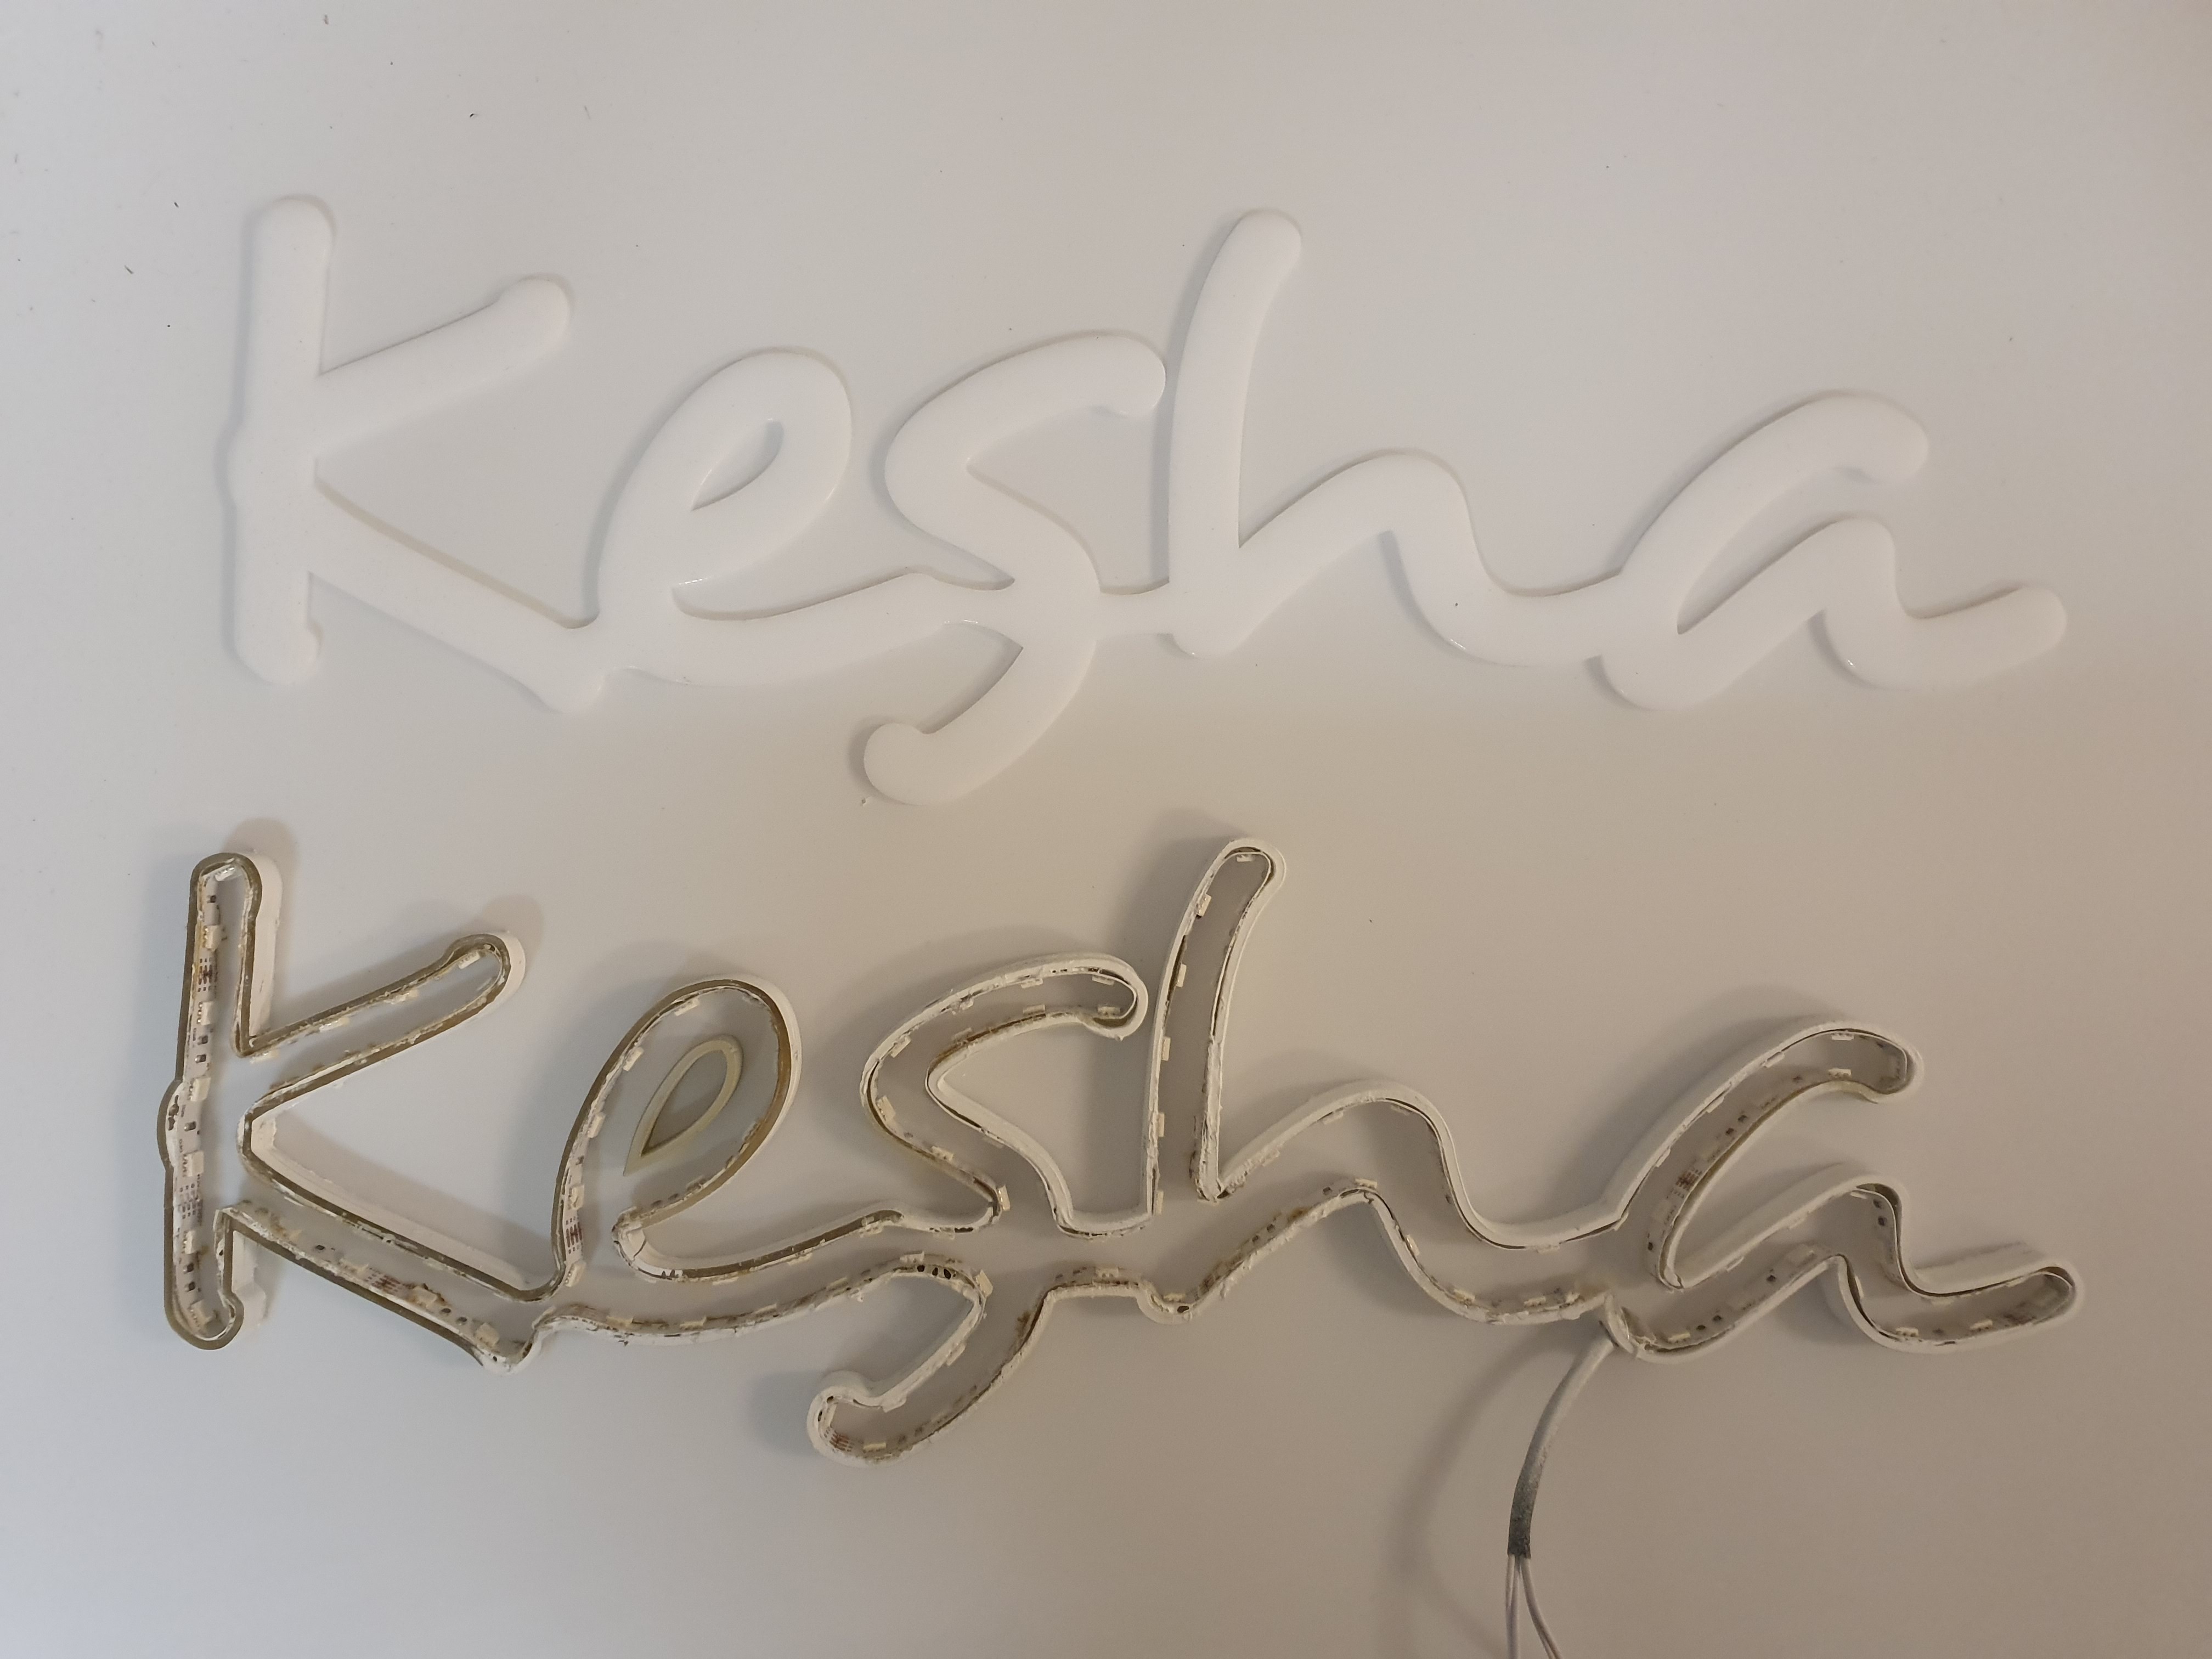
Glue the ledstrip on the inside of the spacer, here the super glue comes in handy.
You can also use silicon or hotglue but i wanted something that dried quikly.
Also, hot glue might bend you'r spacer, depending on the material used.
I drilled a hole in the bottom of the a for the cables to pass through.
Glueing Layers
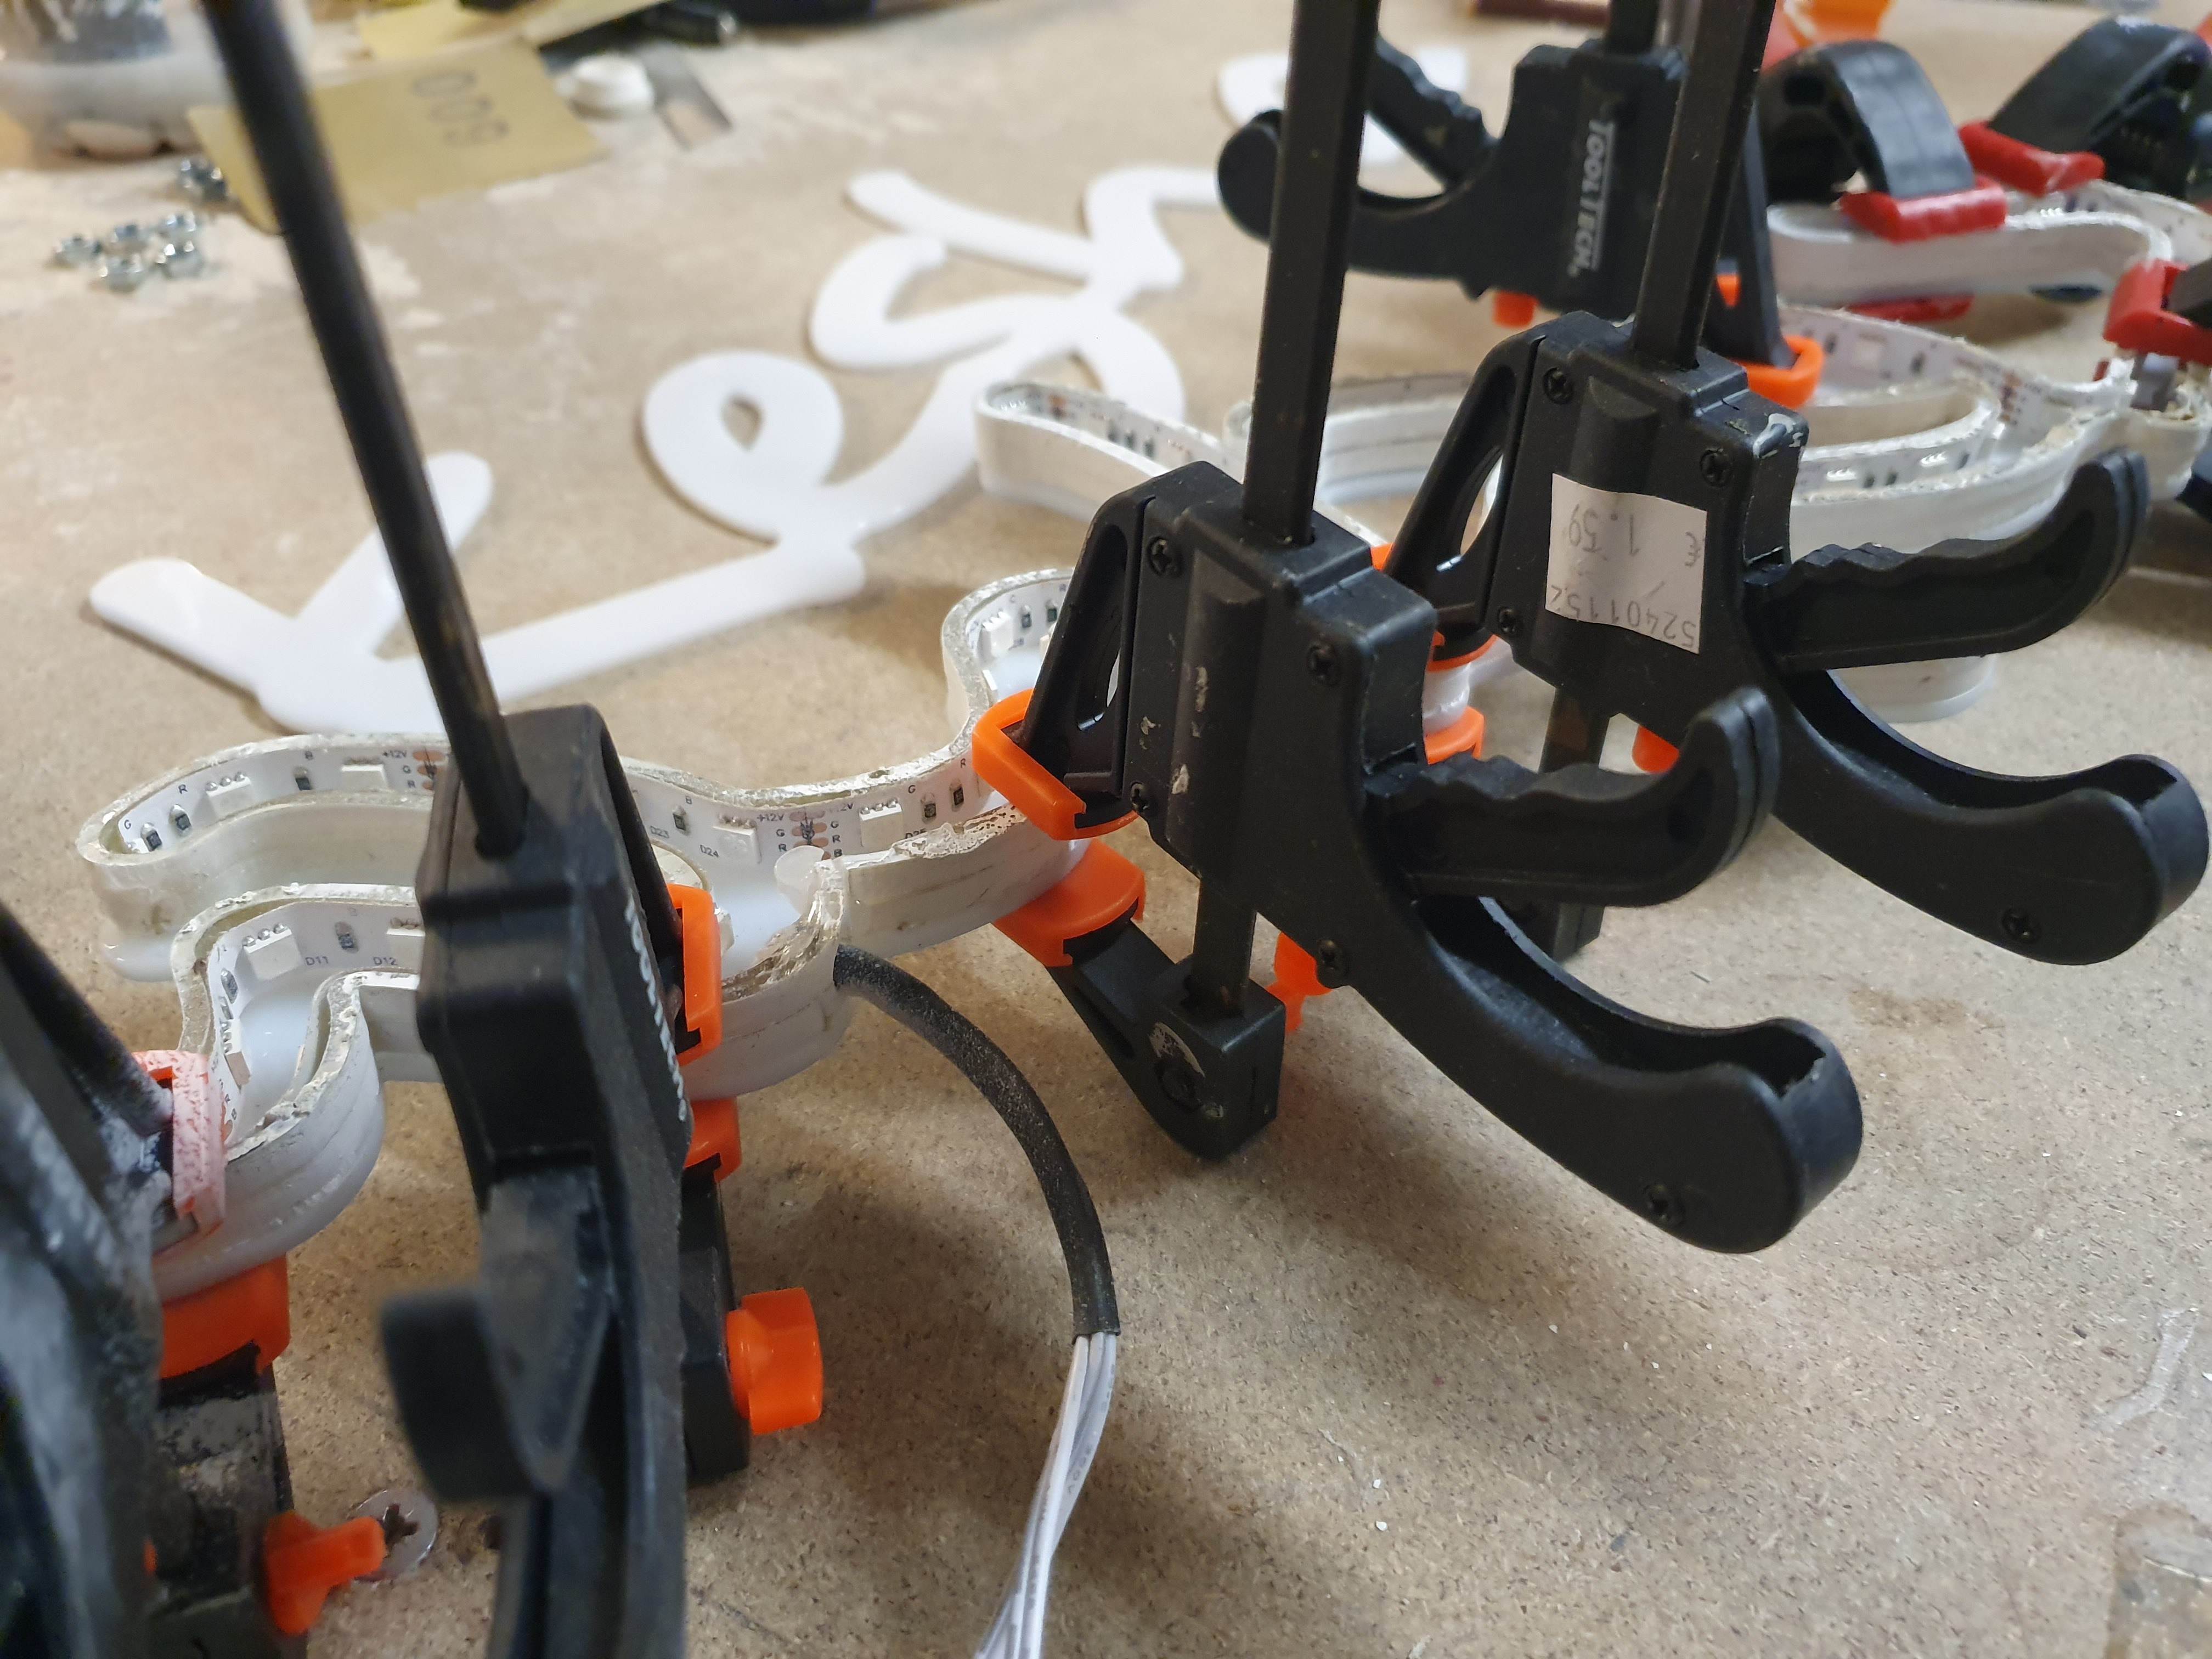
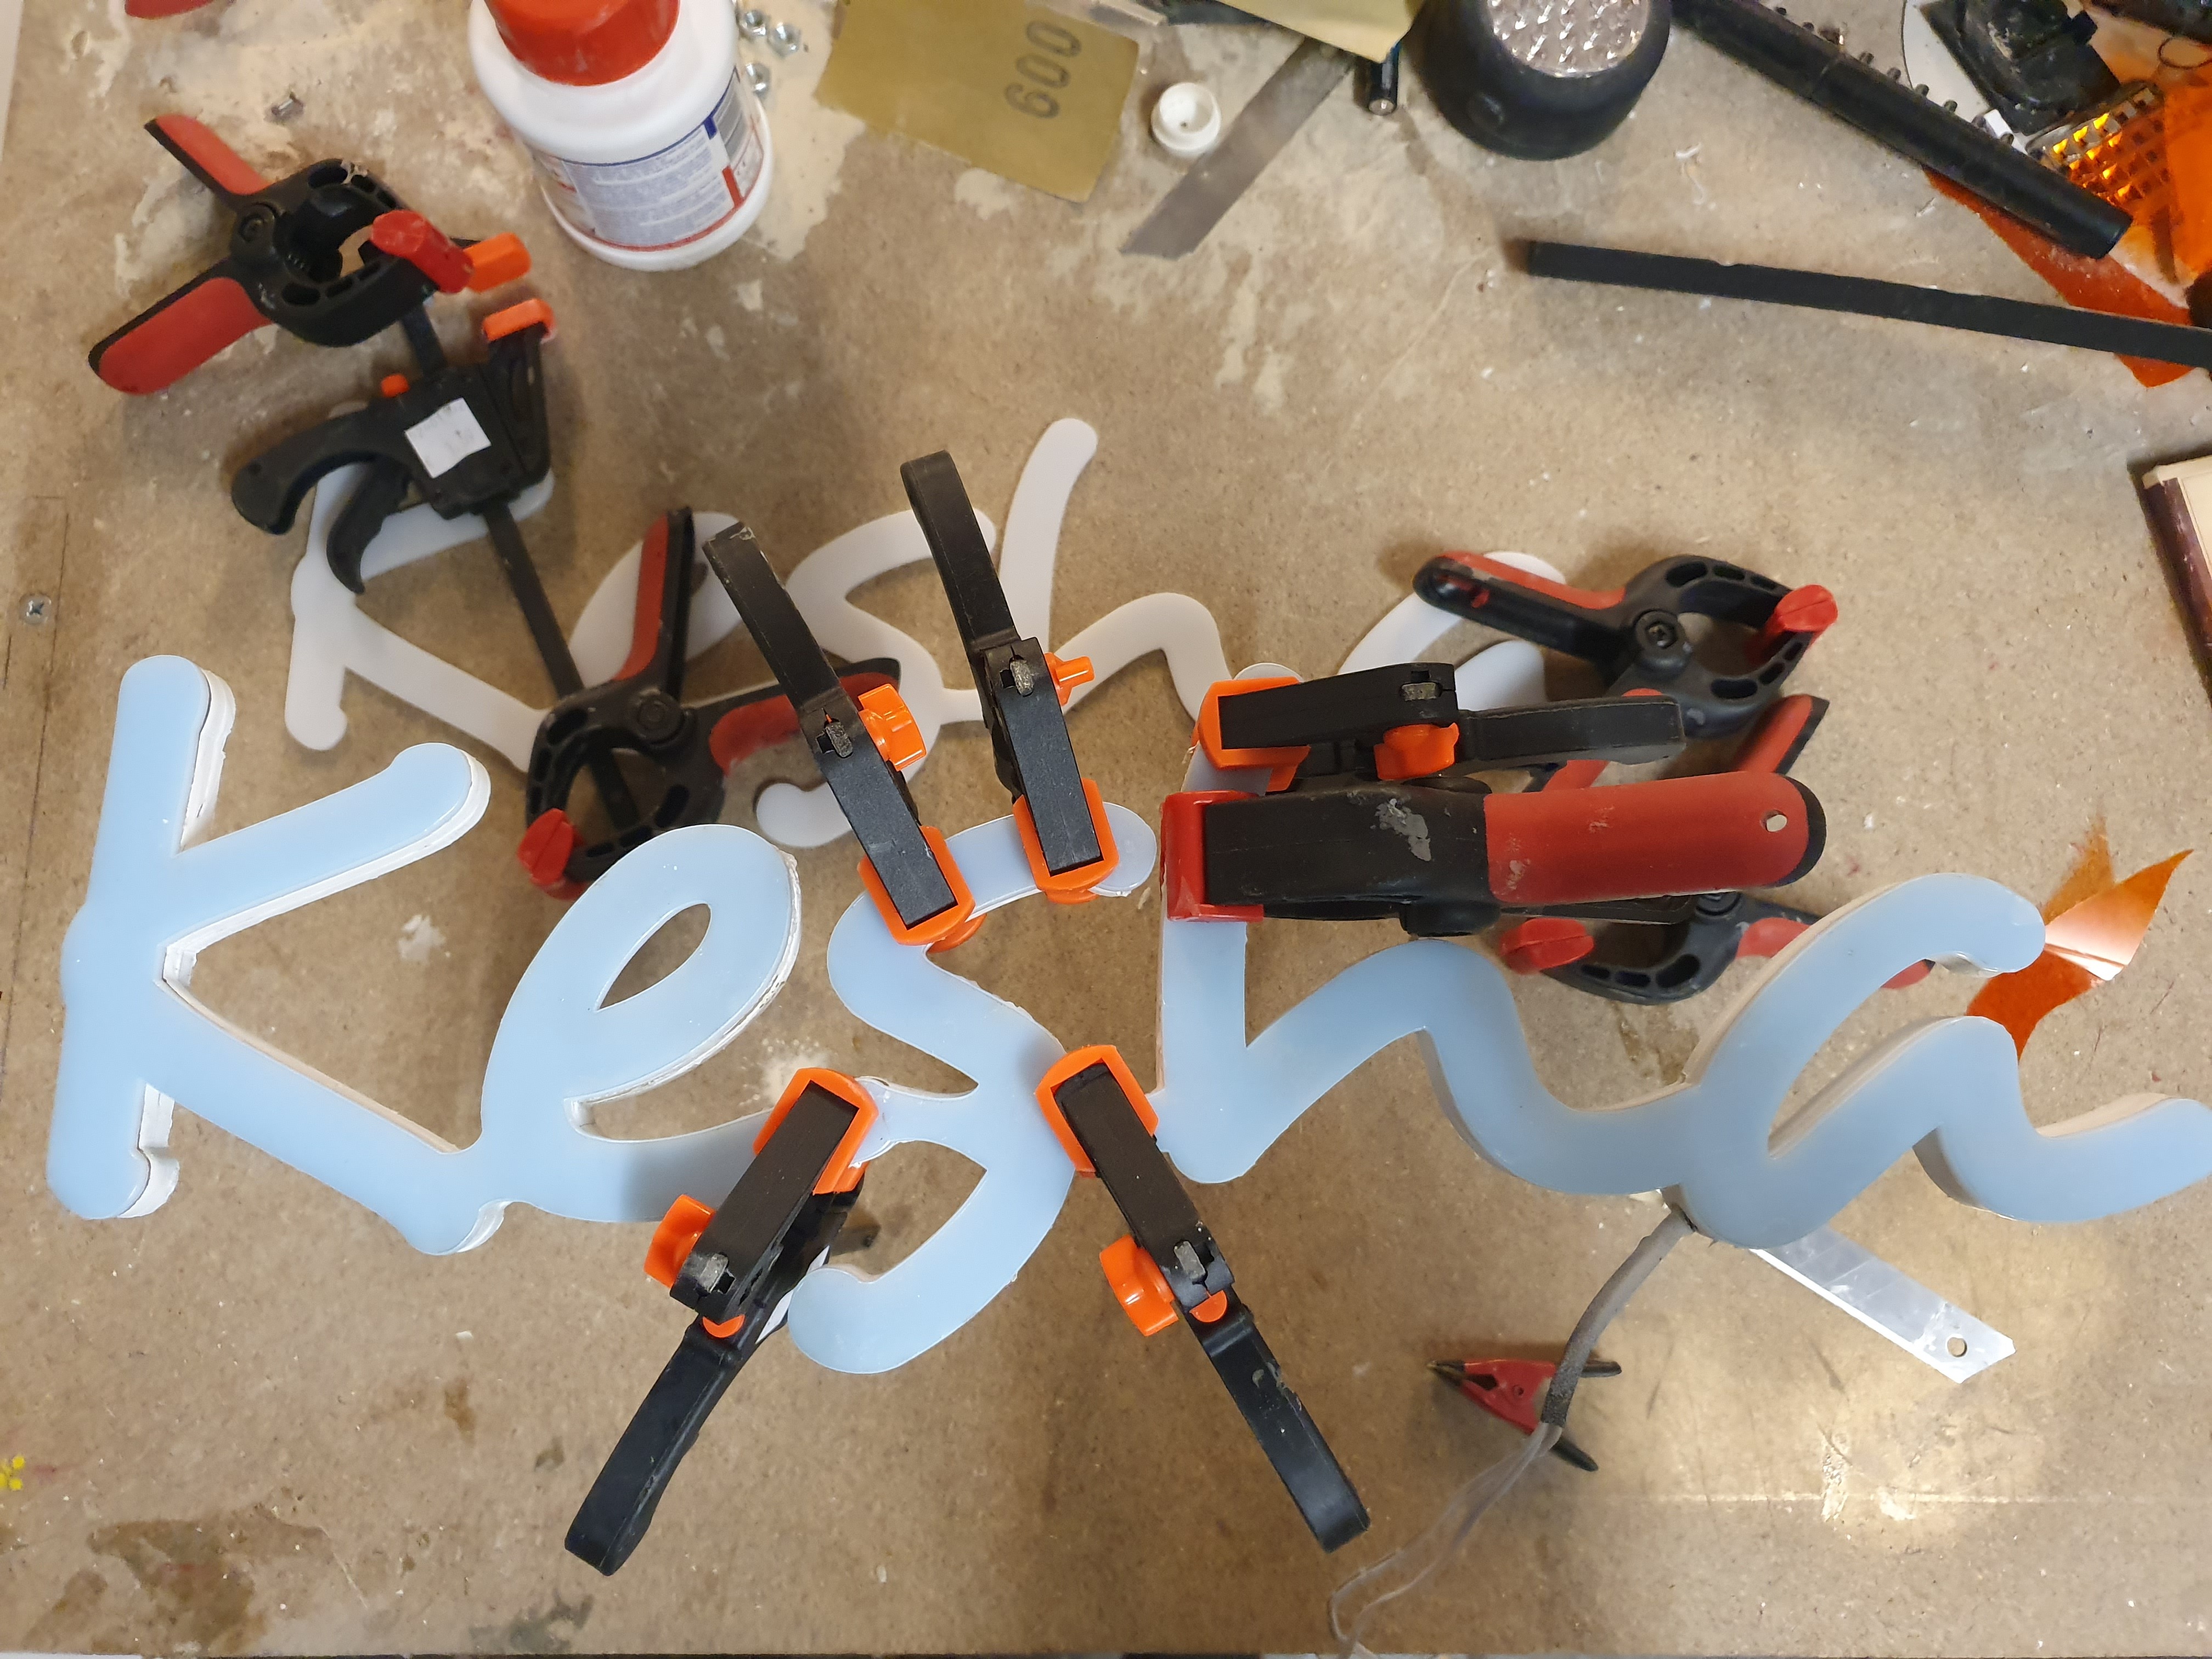
Next step is glueing both layers together.
When doing this, keep the foil on the opaque piece as long as possible.
Use the brush inside the pvc glue to brush some glue on top of the spacer.
Go all the way around, then place the acrylic piece on top an clamp the pieces together.
The glue dries quikly so be mindful of that.
Take of Foil
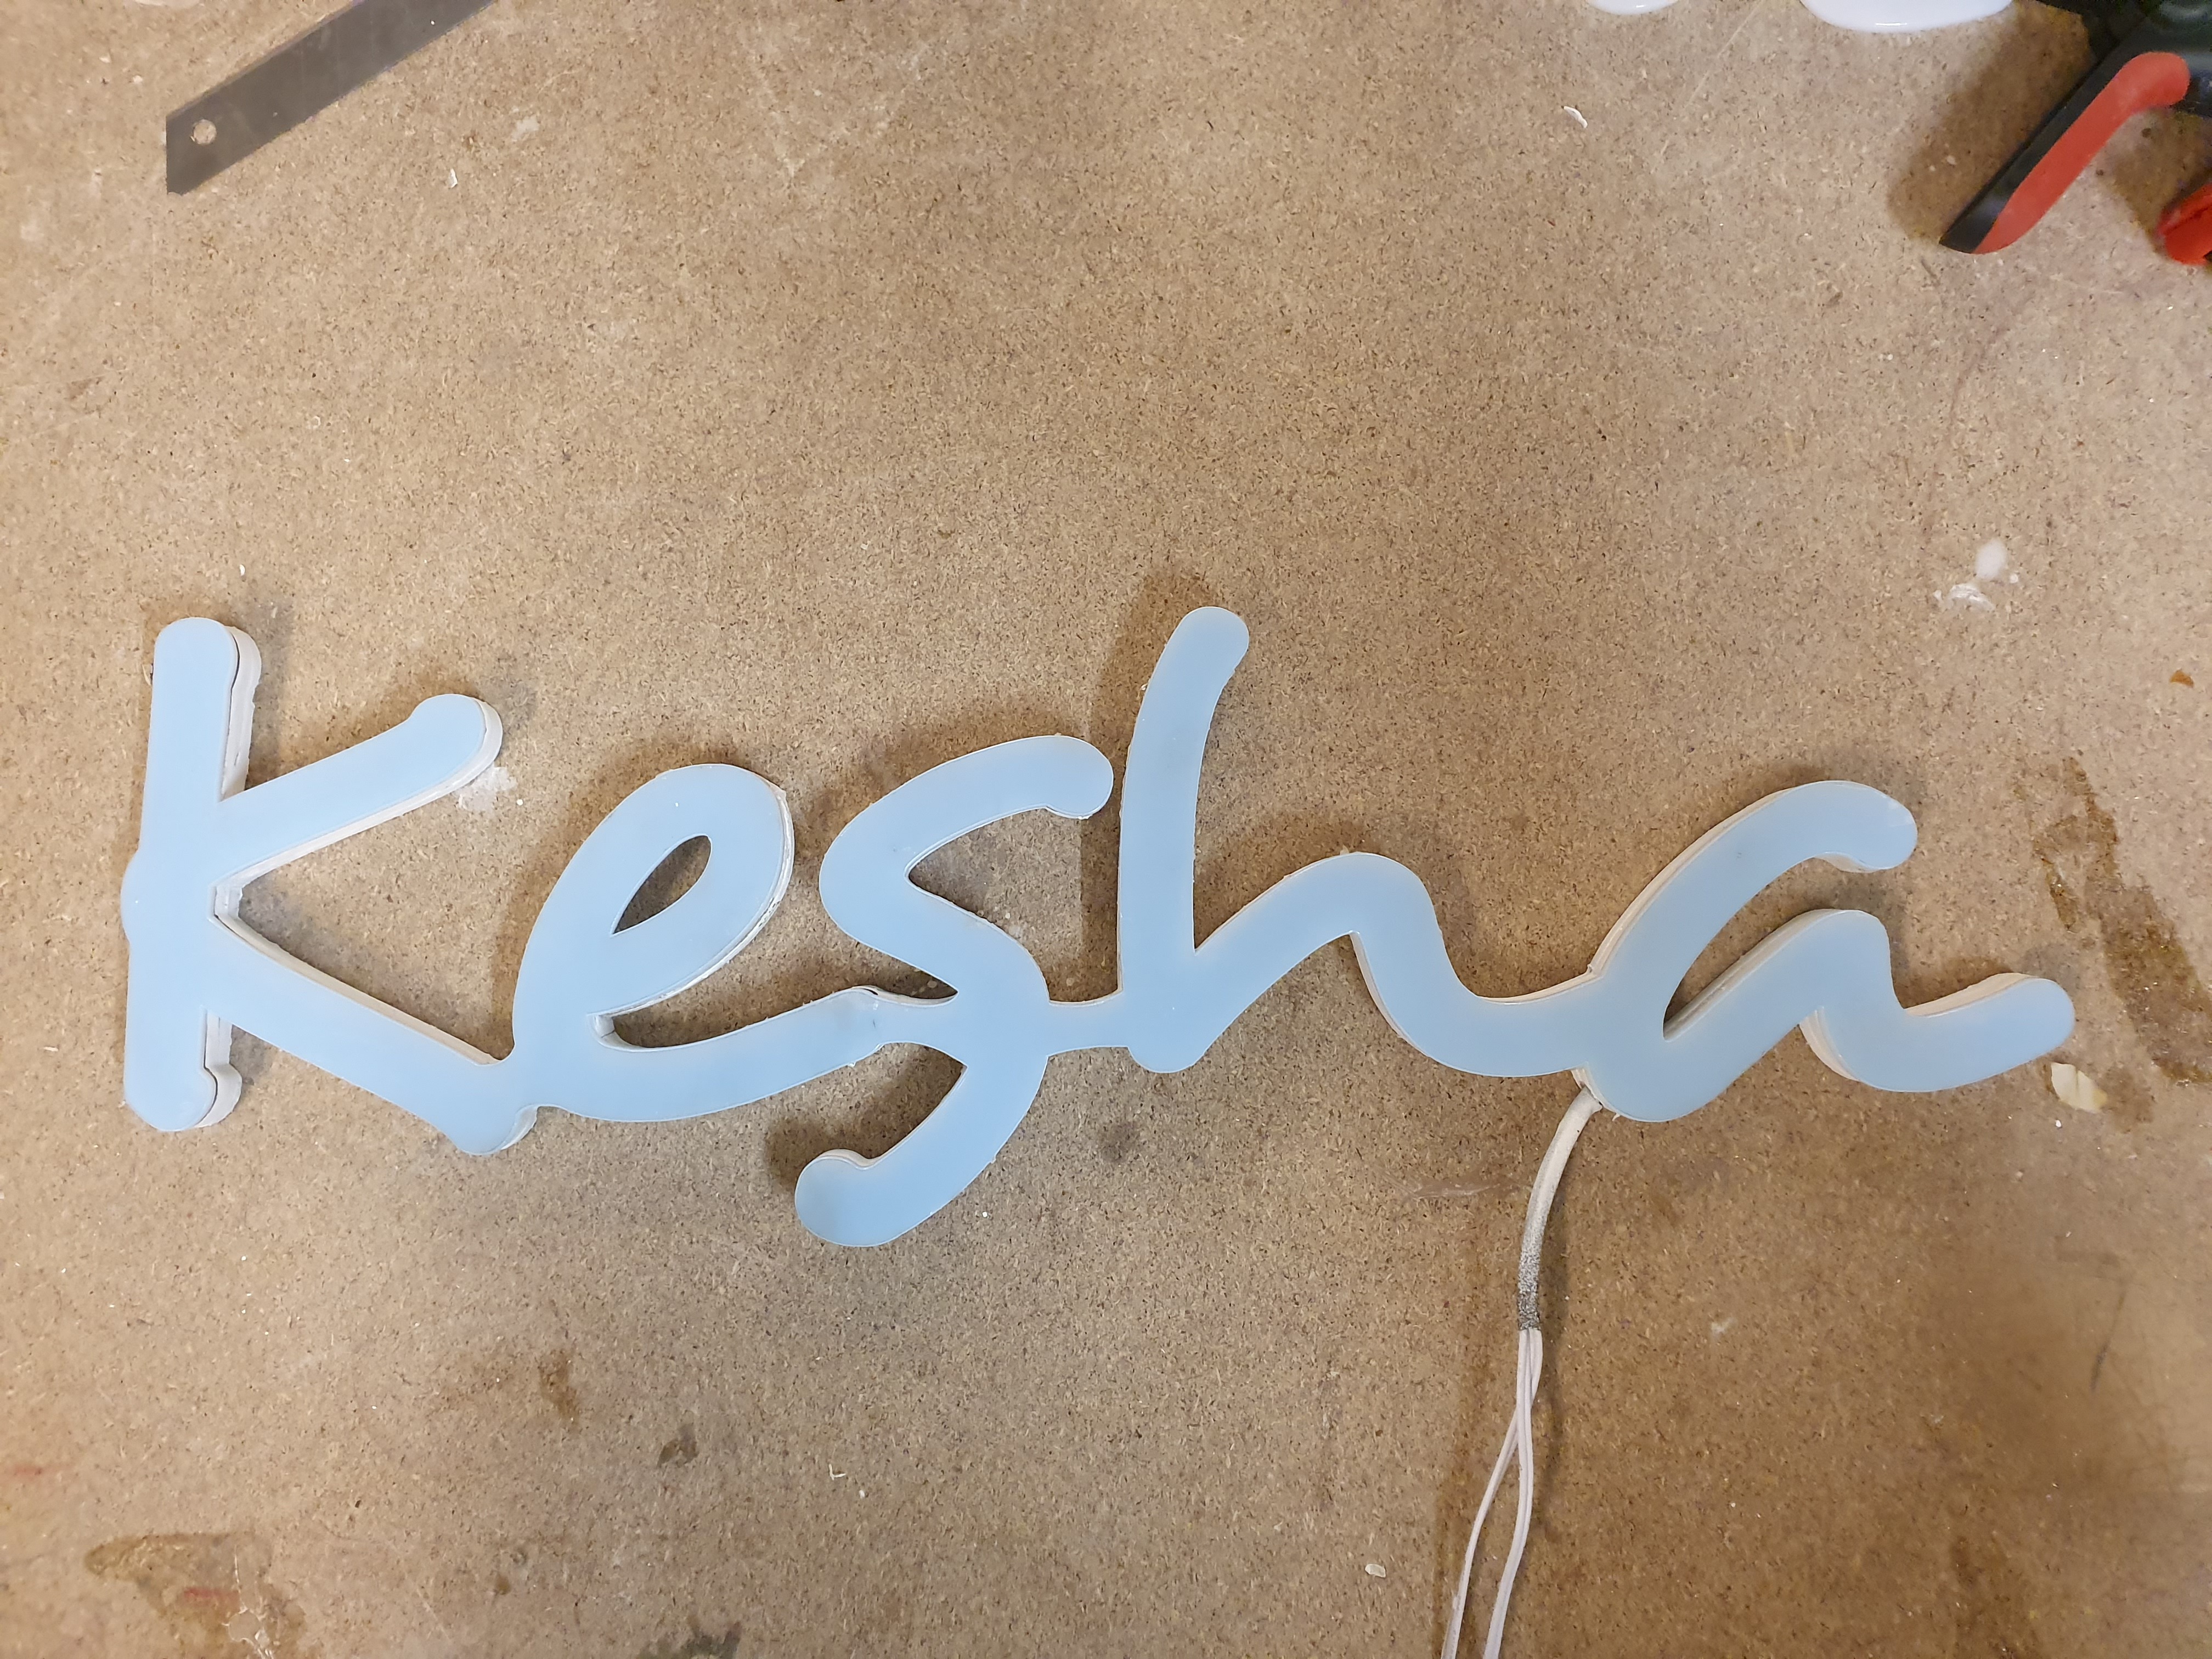
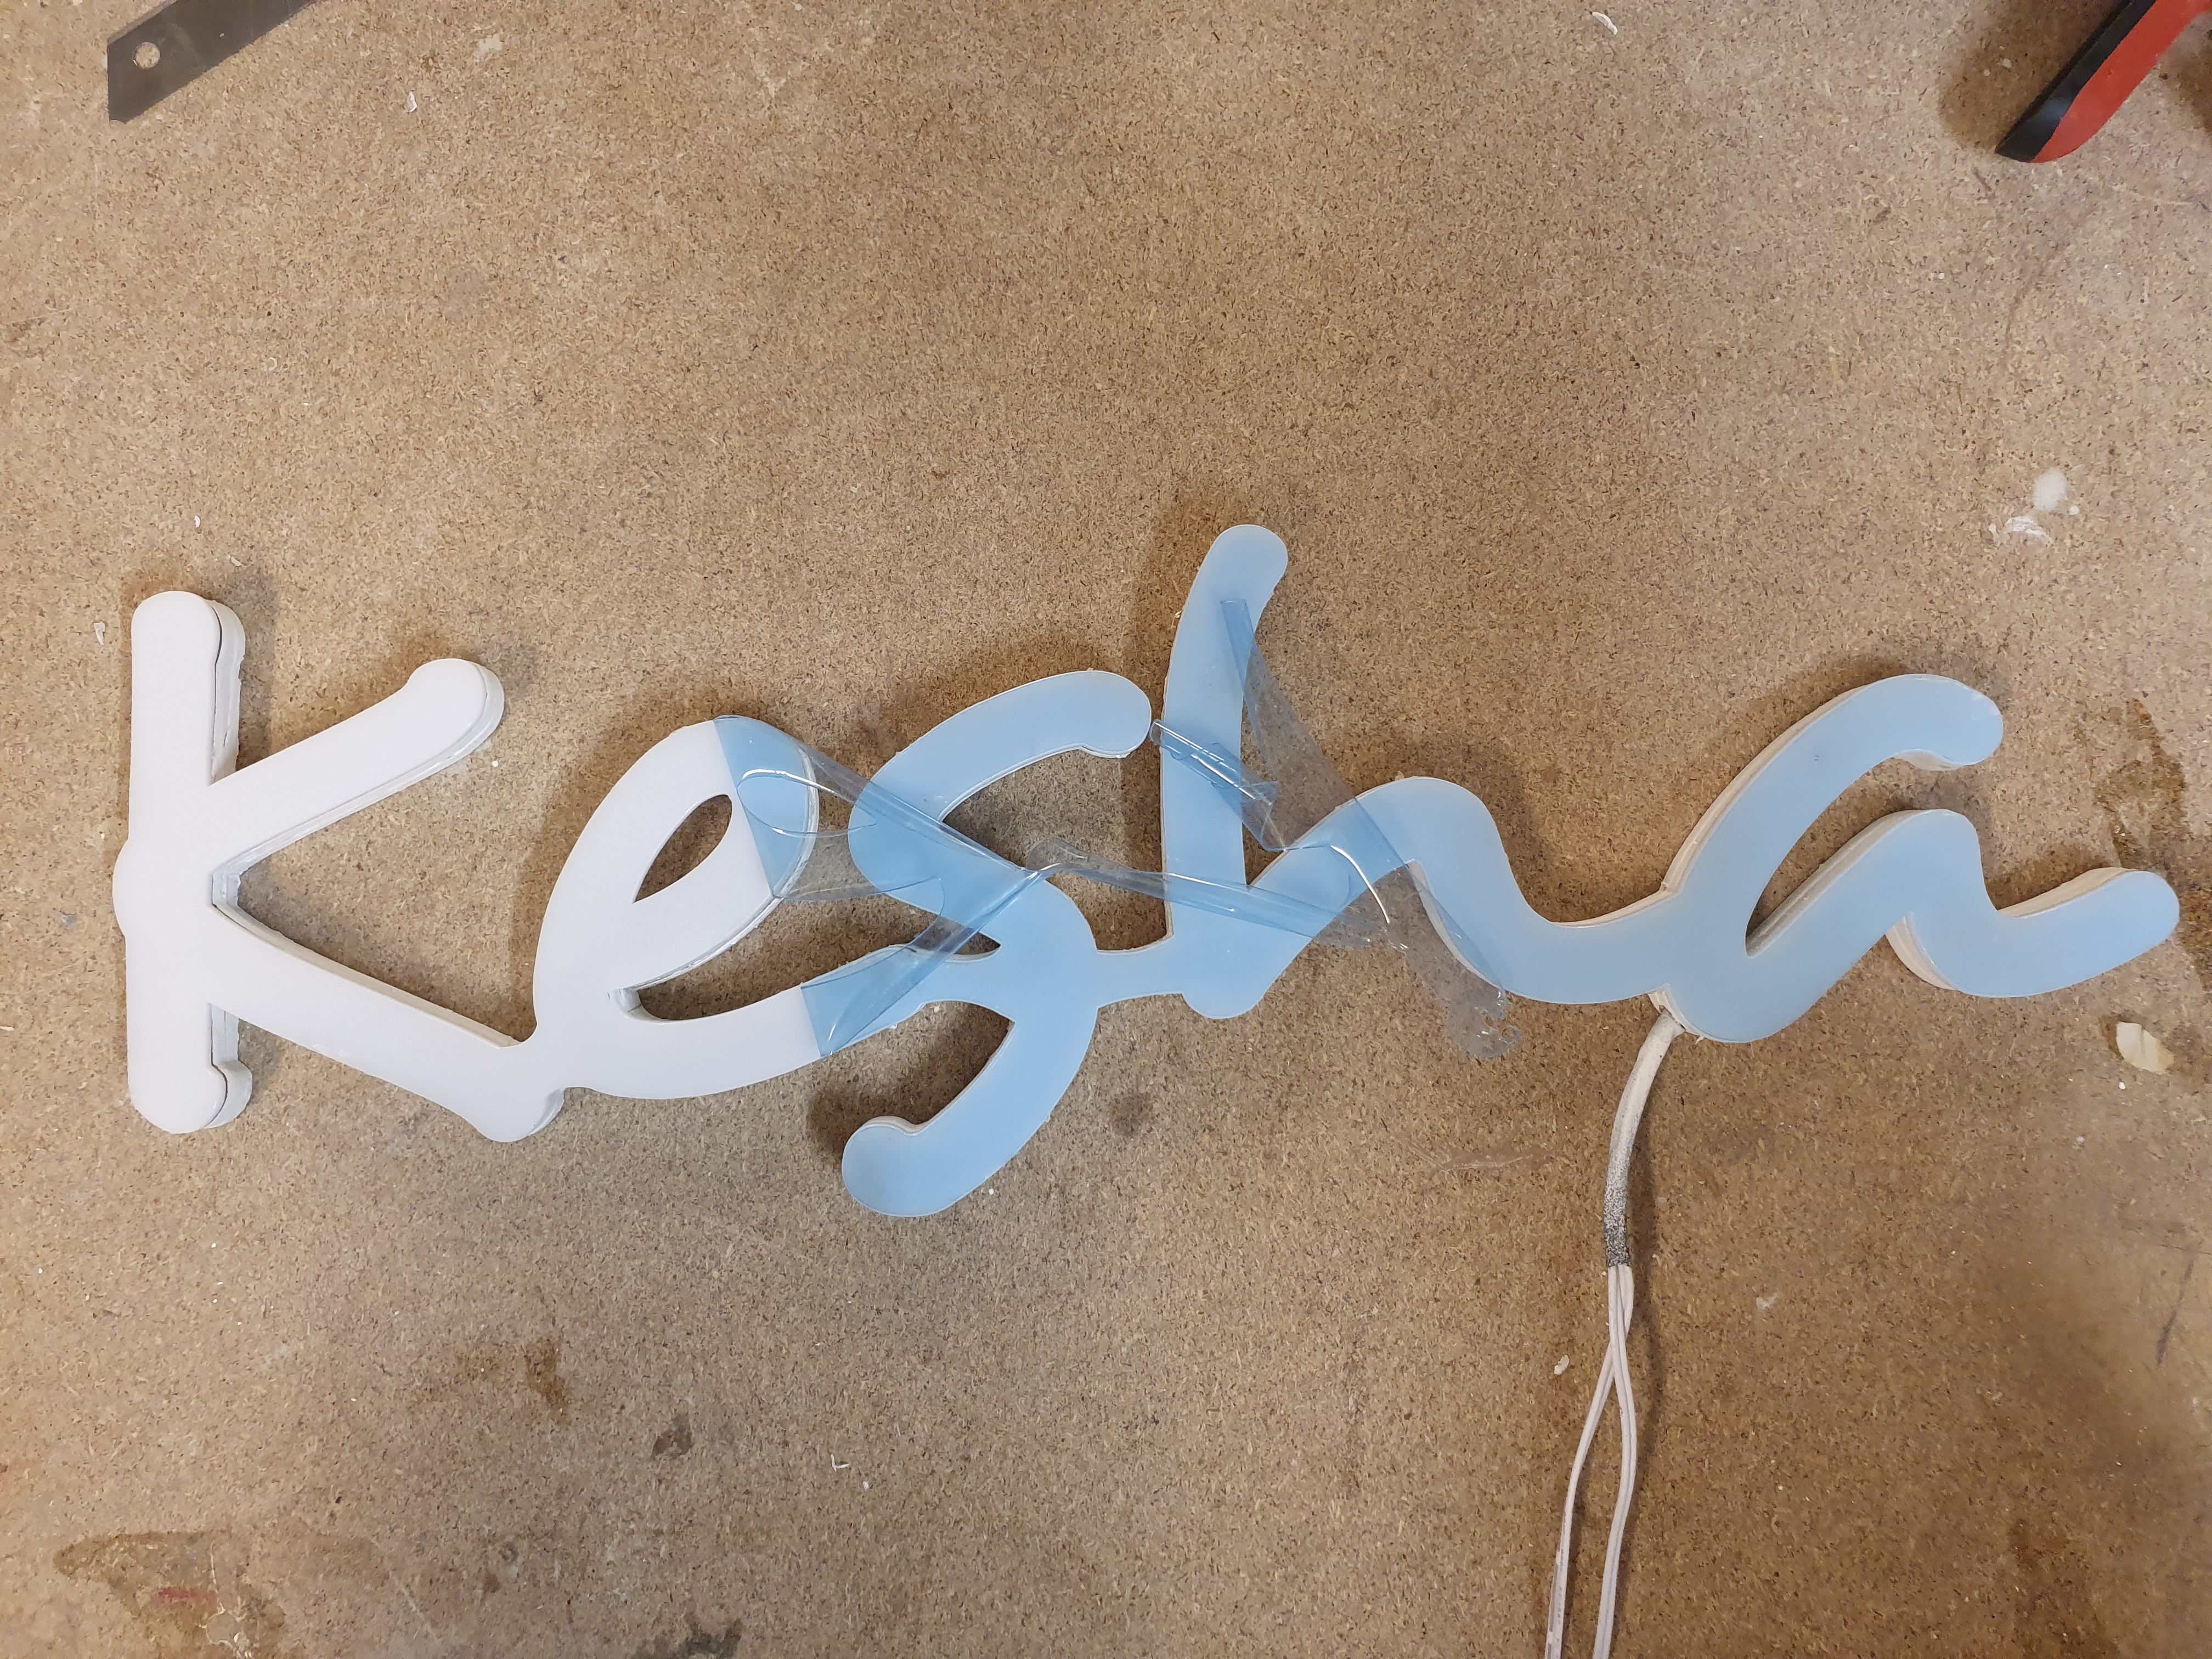
Now you can finally take of the foil.
no glue rests on the acryllic.
Plug in the cables received with the led-set (using their info)
Find a Spot

And now all you got to do is find a nice spot to hang the piece.
This can be easily done with 2 simple nails.
In this picture i used a bit of black electrical isolation tape in between the letters in order to give it a real neon-sign feel.