NEMA 17 - WeMos Mini - Blynk
by AmruthKumarSala in Circuits > Microcontrollers
4070 Views, 6 Favorites, 0 Comments
NEMA 17 - WeMos Mini - Blynk
Stepper motors such as NEMA 17 have many uses and this prototype will help readers understand the method to control NEMA 17 from Blynk App.
This is an attempt to make an IoT that will help us access and control NEMA 17 from anywhere and at any time.
There are many use-cases where Stepper motor is used (Especially when you need precision in controlling the number of turns via code).
Supplies
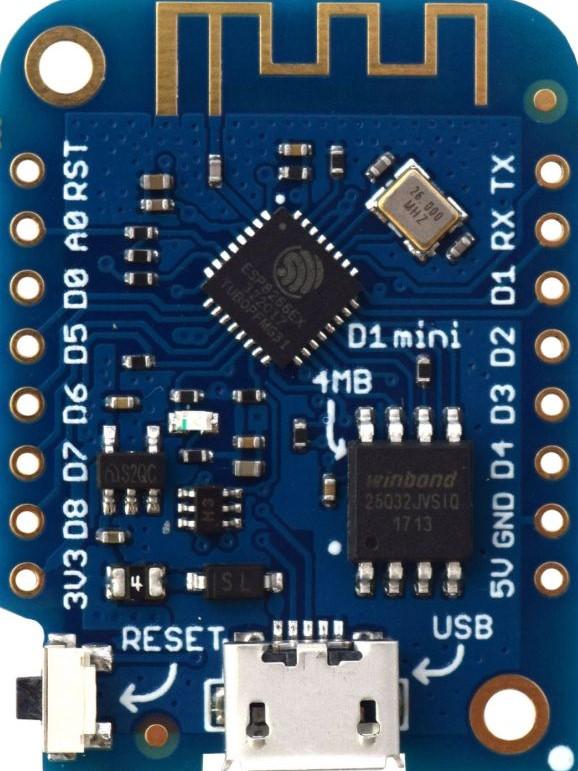
- WeMos D1 Mini
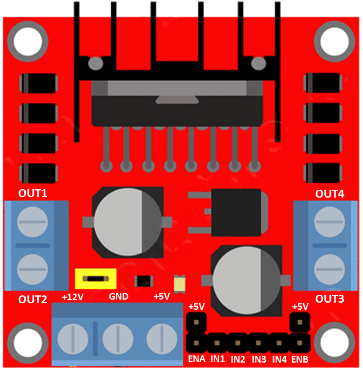
- L298N Stepper motor drive
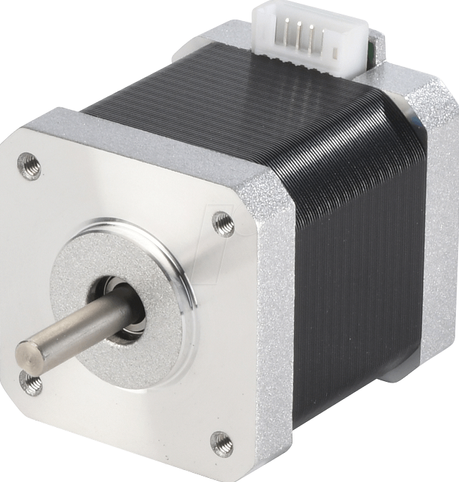
- NEMA 17 Stepper Motor
- Micro USB cable to power WeMos D1 Mini and transfer the code.
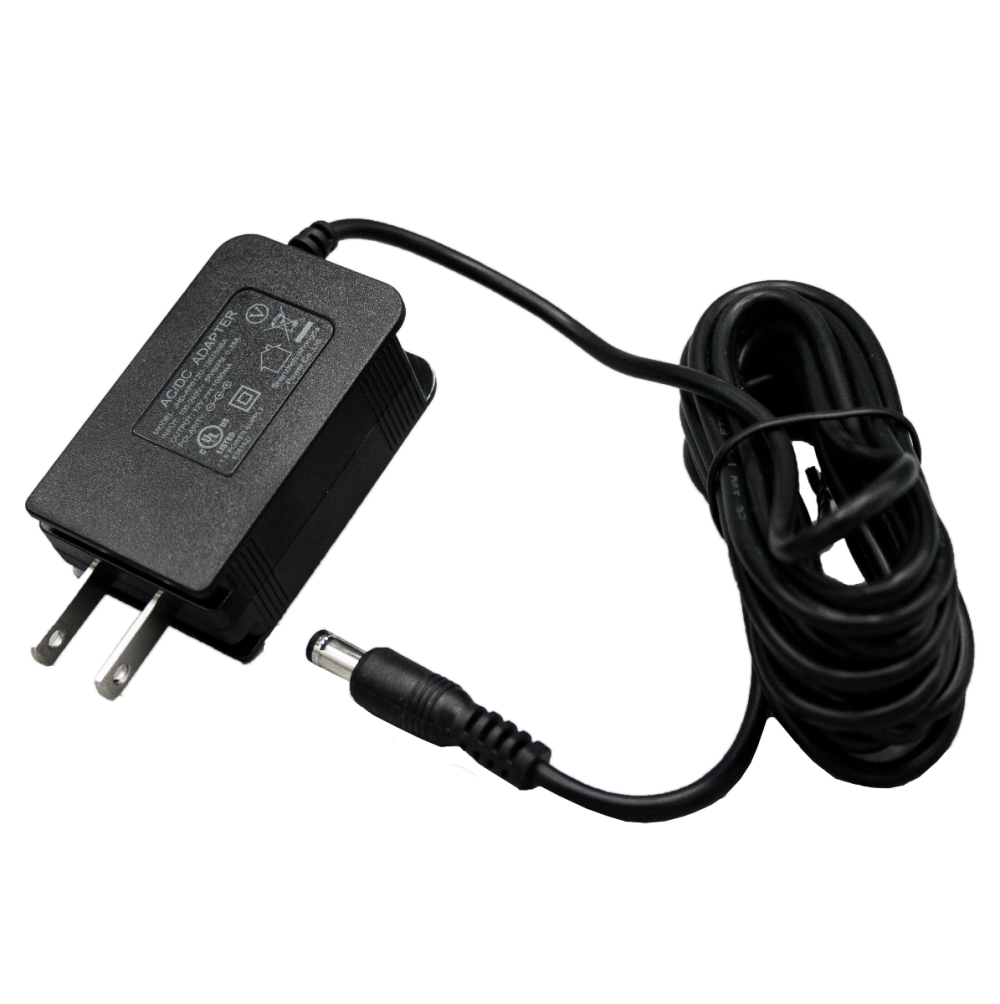
- 12V 1A Adapter to power NEMA 17 Stepper Motor
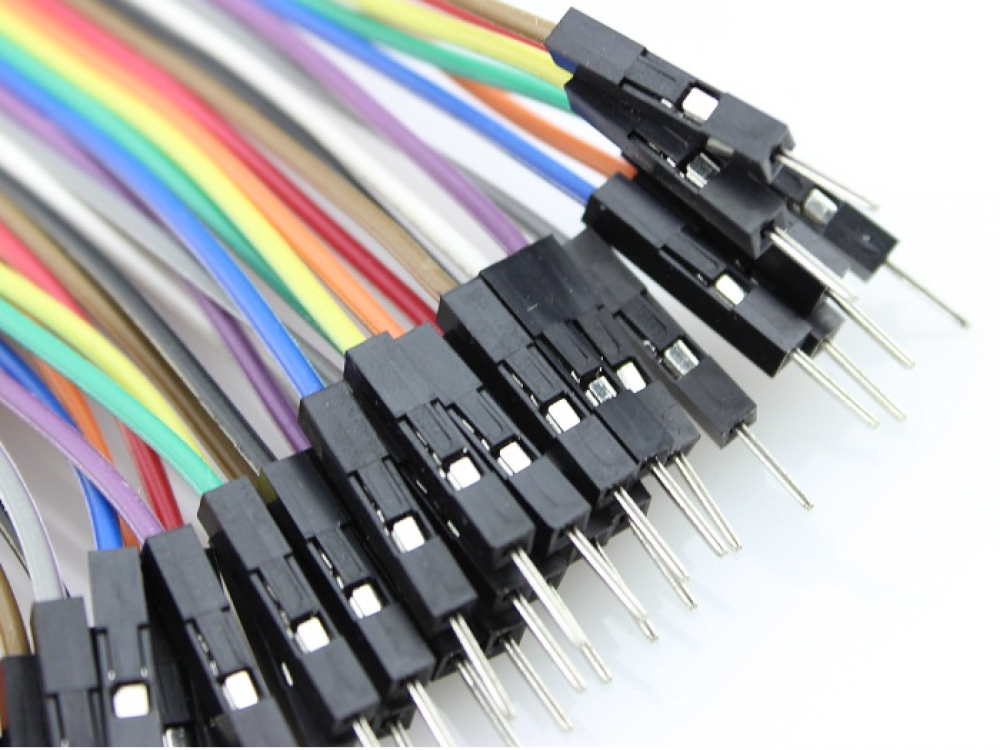
- Jumper Wires Male to Male & Male to Female
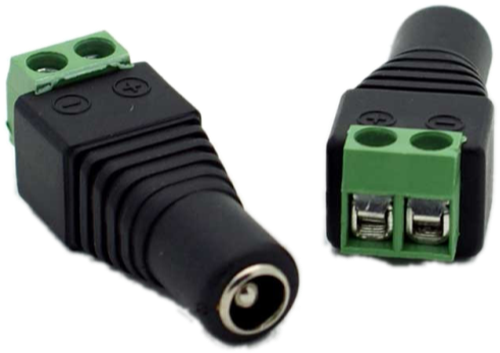
- Female DC Power Jack Adapter
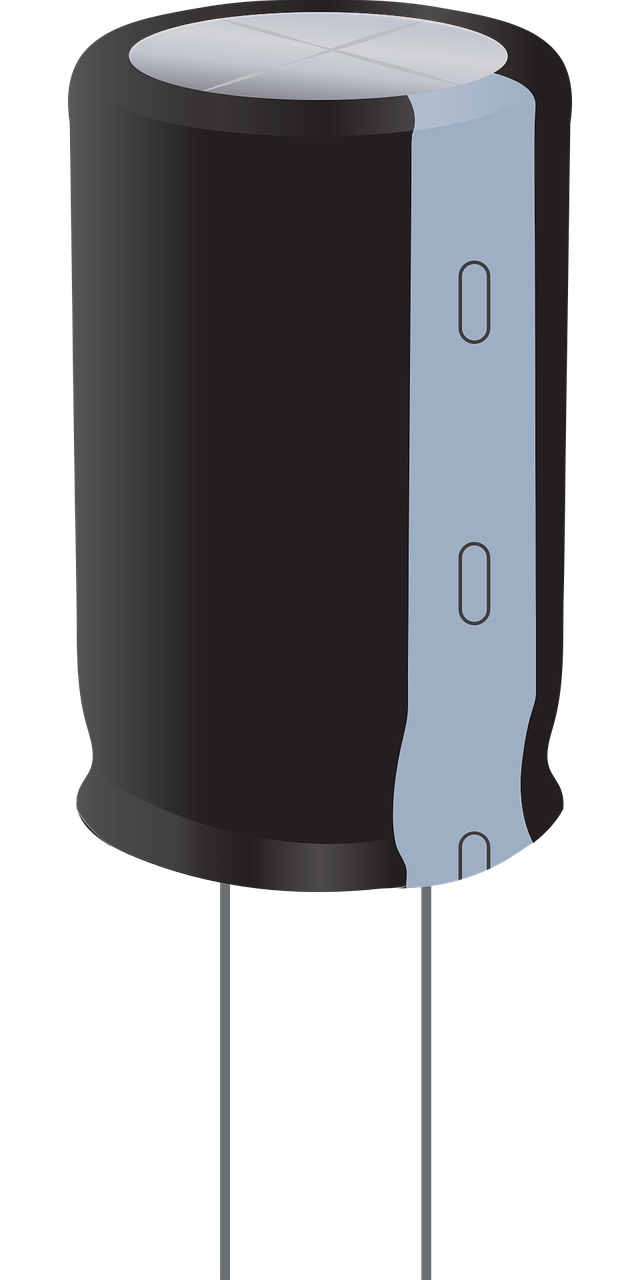
- Capacitor - 100 μF
- Breadboard.
Connection Diagram
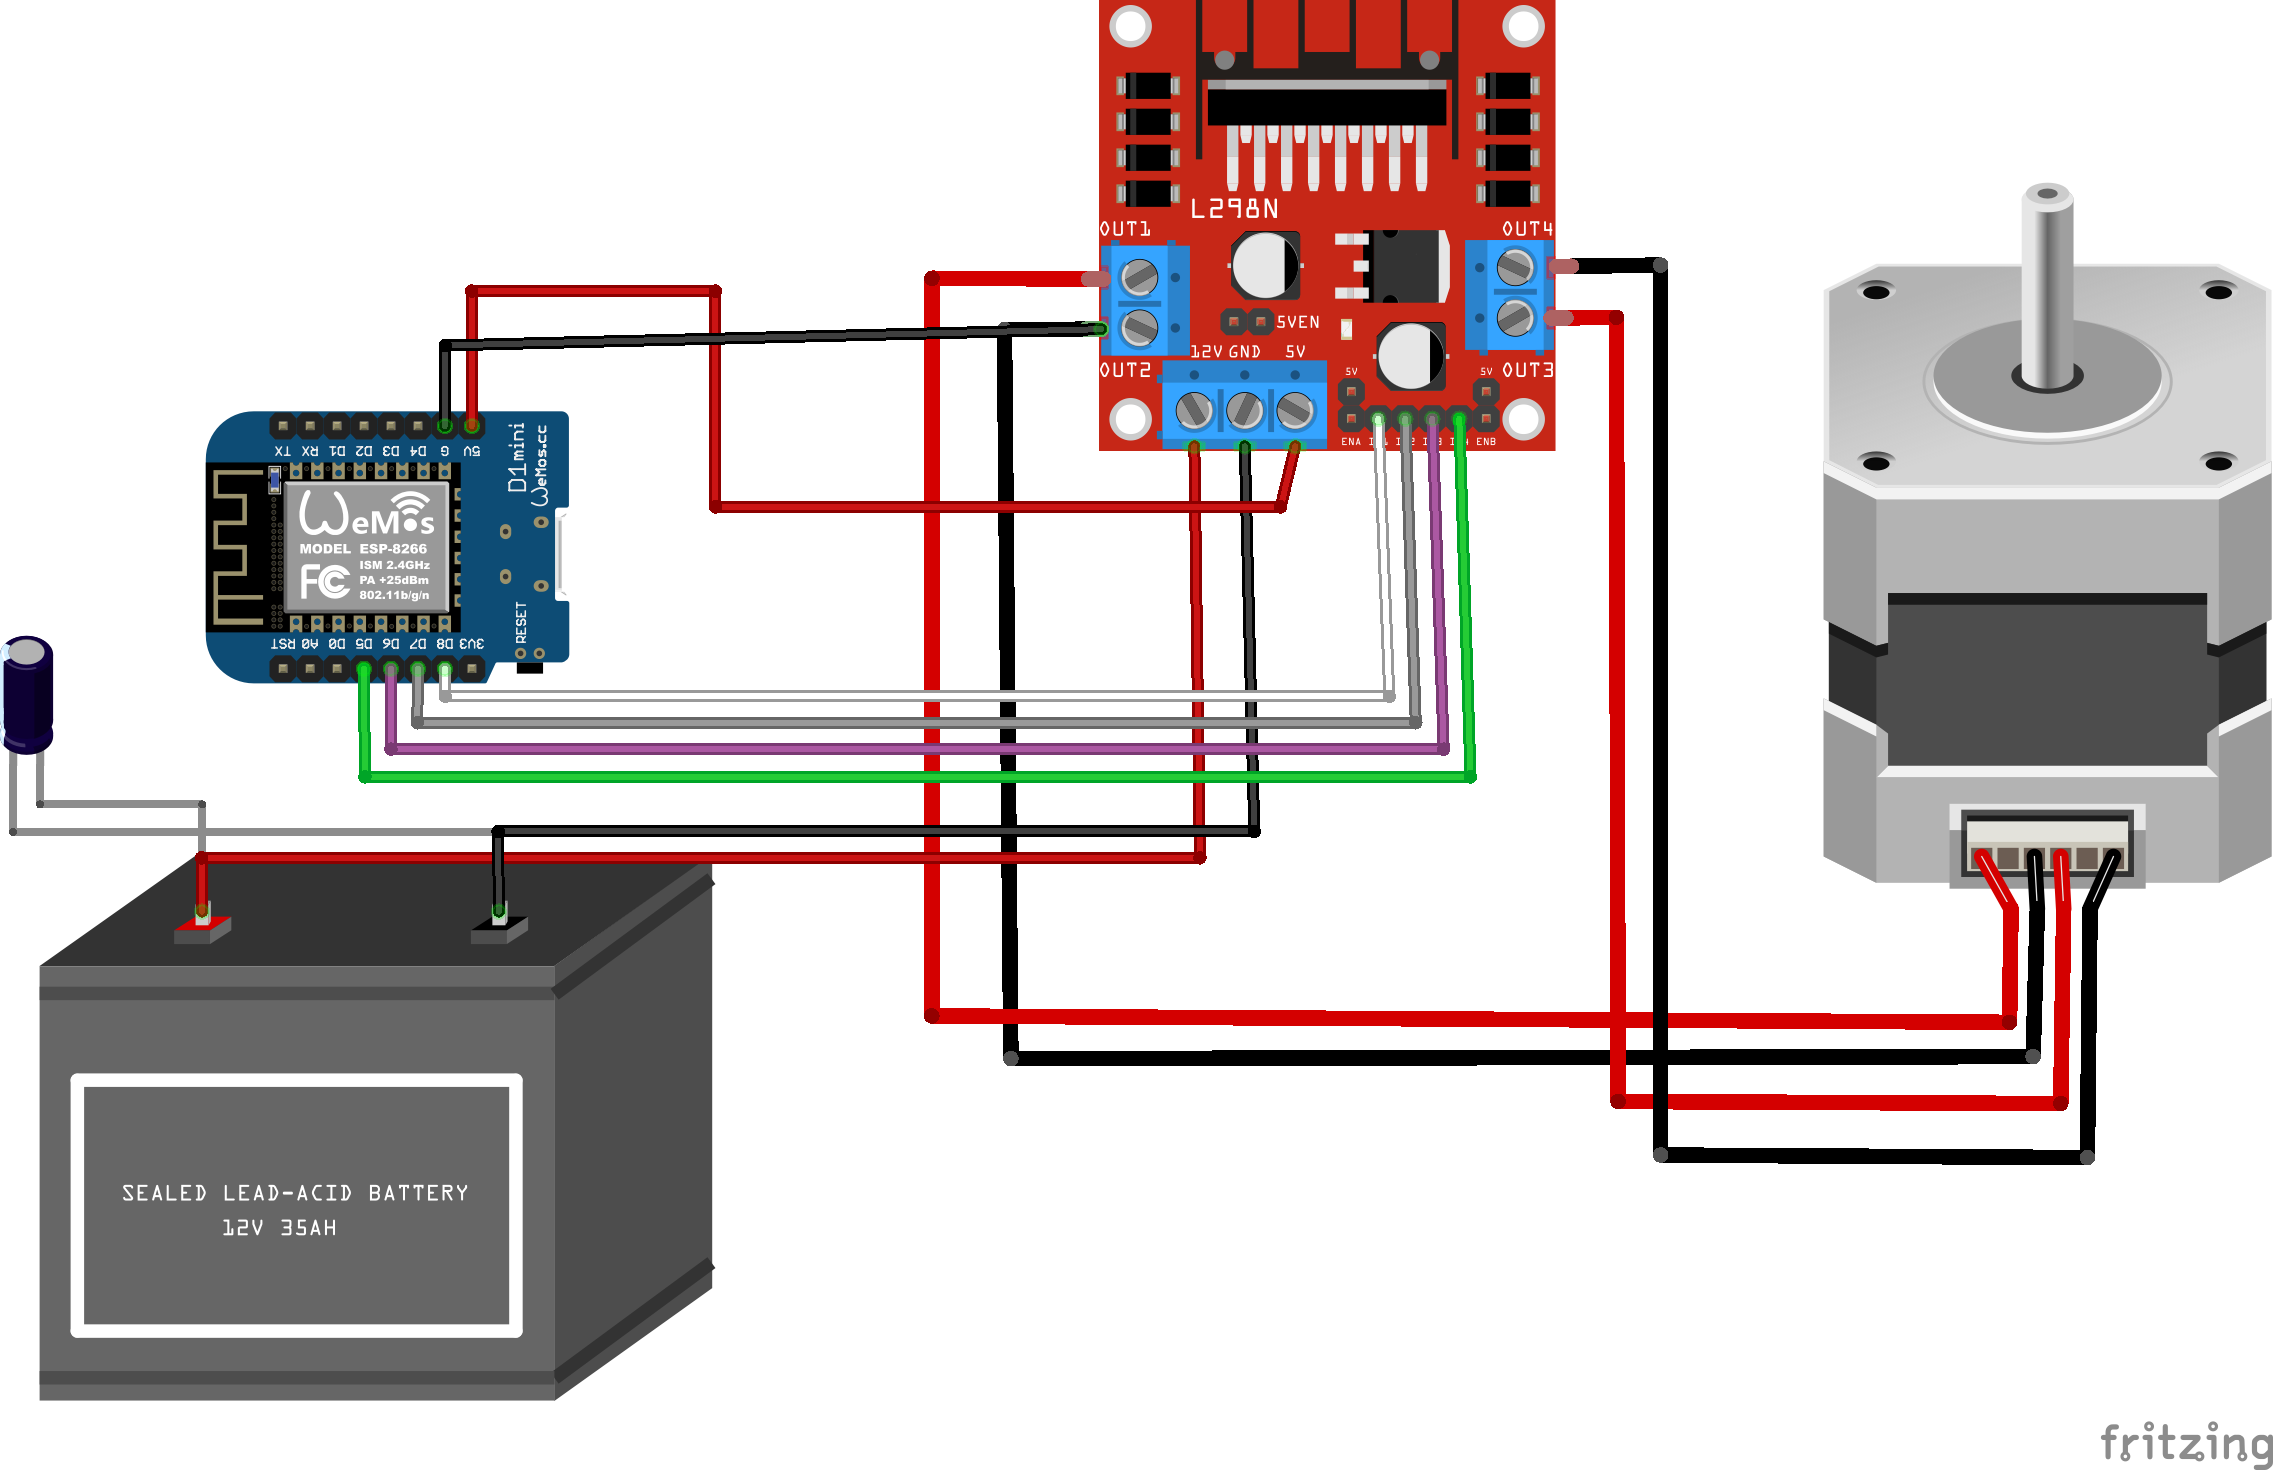
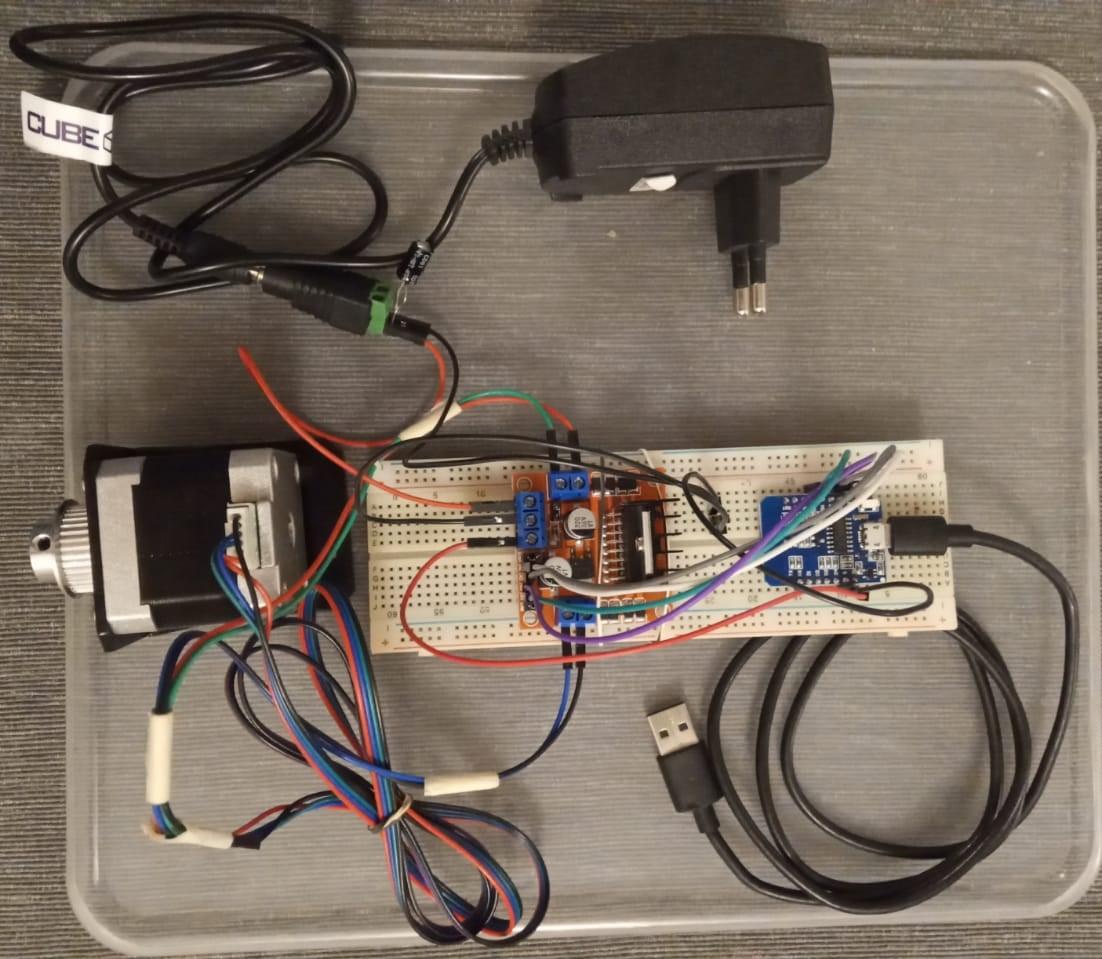
The uploaded image is self-explanatory and the only major change is that I made use of a 12V 1A DC Adapter to connect the L298N driver. You will also not see any breadboard.
- D8 of WeMos D1 Mini > IN1 of L298N
- D7 of WeMos D1 Mini > IN2 of L298N
- D6 of WeMos D1 Mini > IN3 of L298N
- D5 of WeMos D1 Mini > IN4 of L298N
- 5V of WeMos D1 Mini > 5V of L298N
- GND of WeMos D1 Mini > GND of L298N > GND of 12V 1A DC Power supply
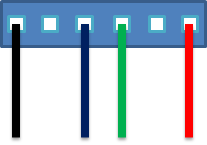
Note: NEMA17 stepper motor that I got has pins that have color-coded Red, Green, Blue, and Black. To identify the ends of two coils the only best way is to touch both the ends and turn the stepper shaft. The Stepper motor shaft moves smoothly if the wires connected do not belong to the same coil, the shaft does not rotate smoothly if they belong to one coil.
In my case, I have connected the wires as follows:
- Red of NEMA 17 > OUT1 of L298N
- Green of NEMA 17 > OUT2 of L298N
- Blue of NEMA 17 > OUT3 of L298N
- Black of NEMA 17 > OUT4 of L298N
Configuring Blynk on Mobile
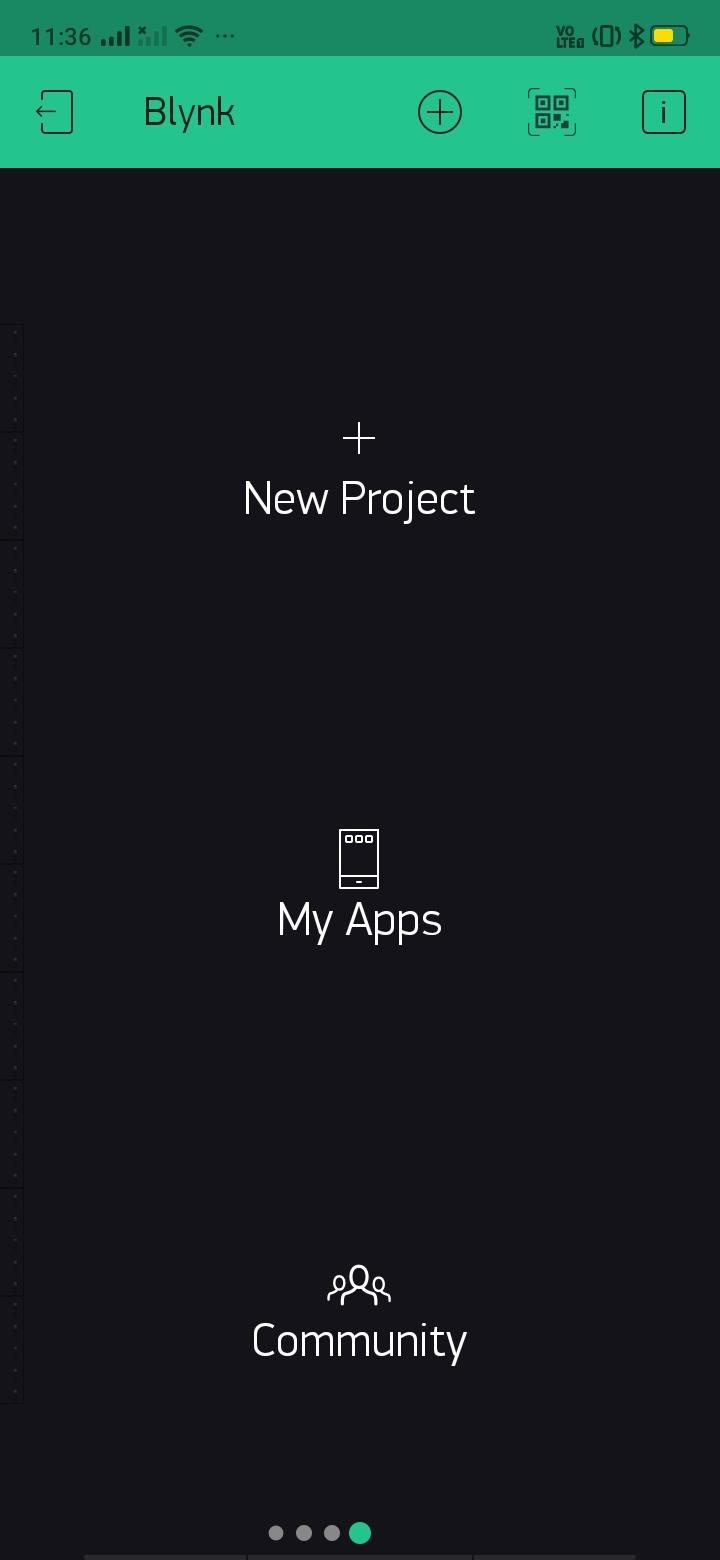
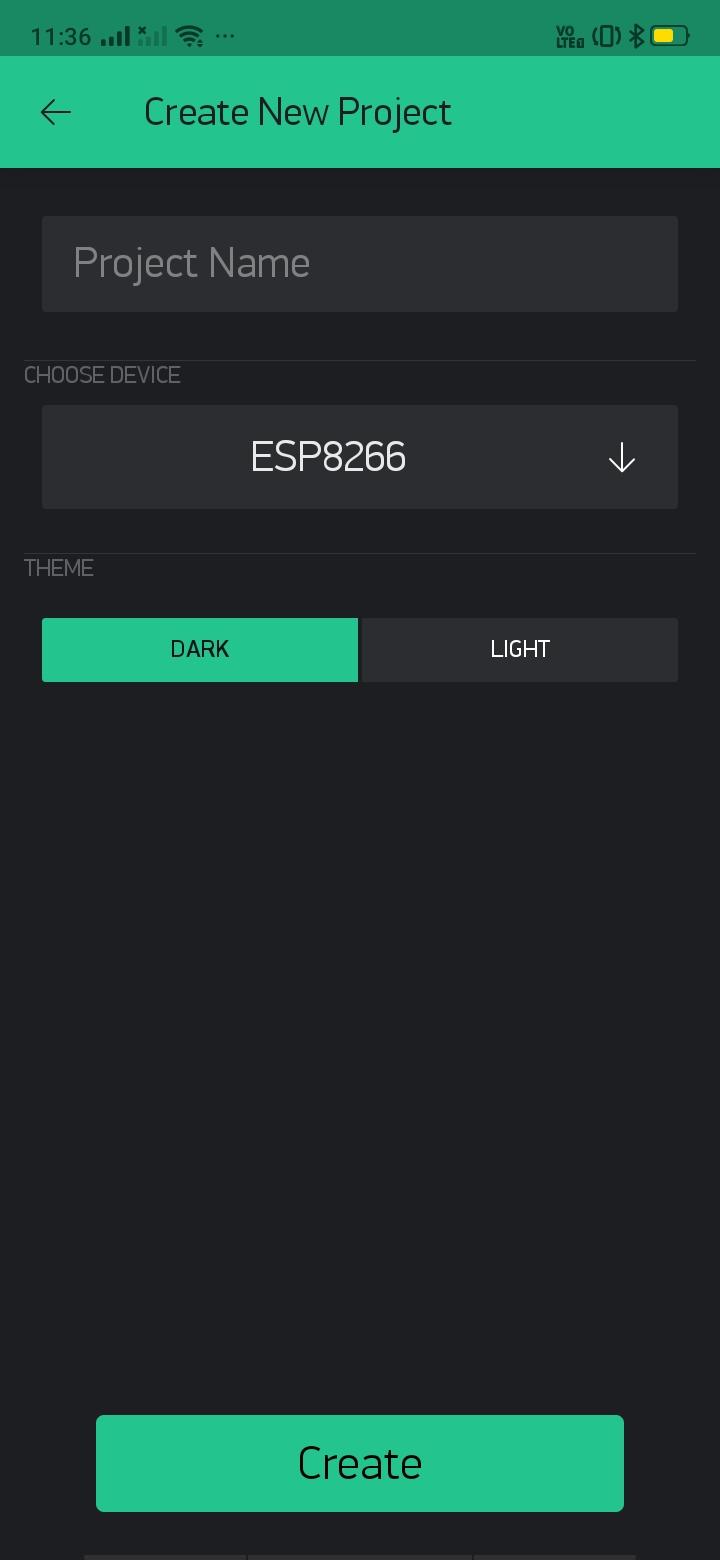
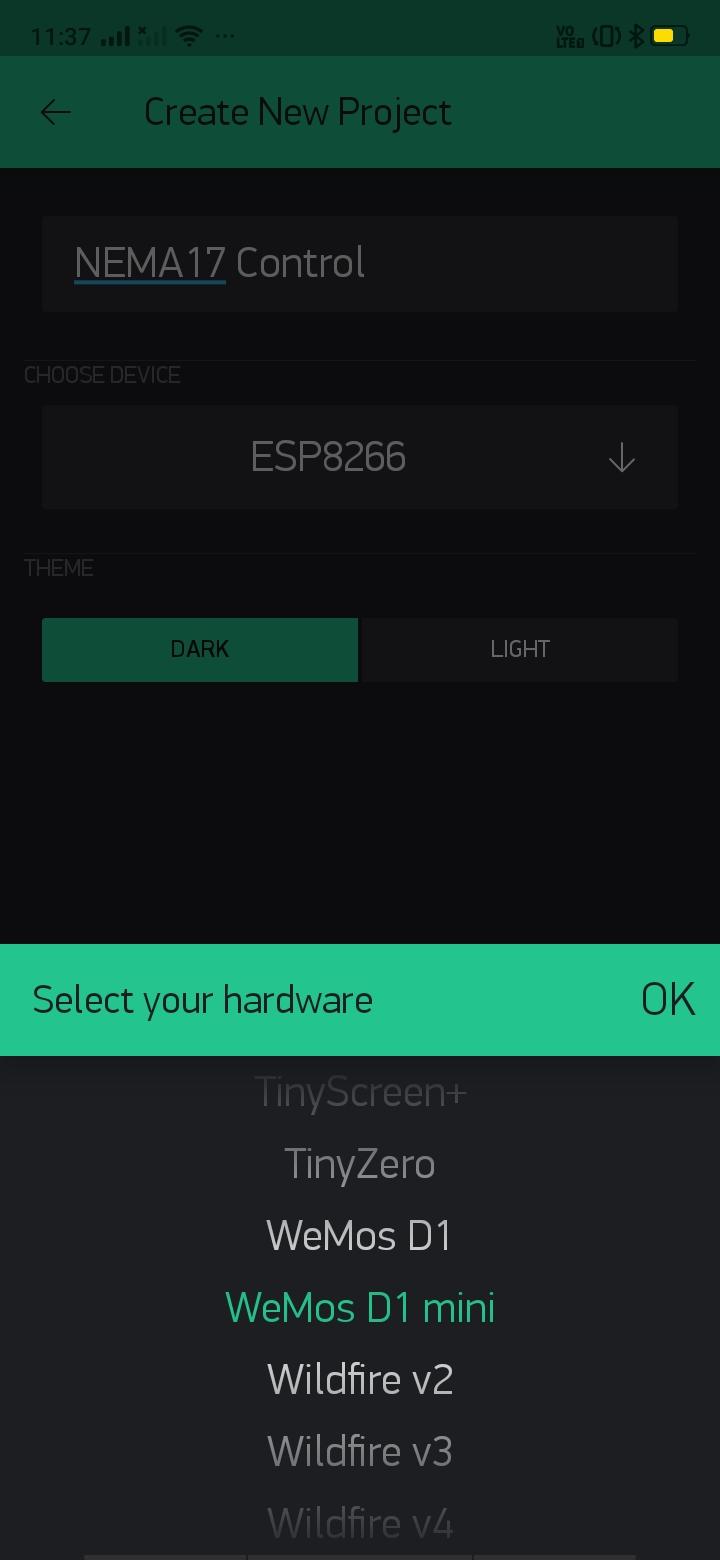
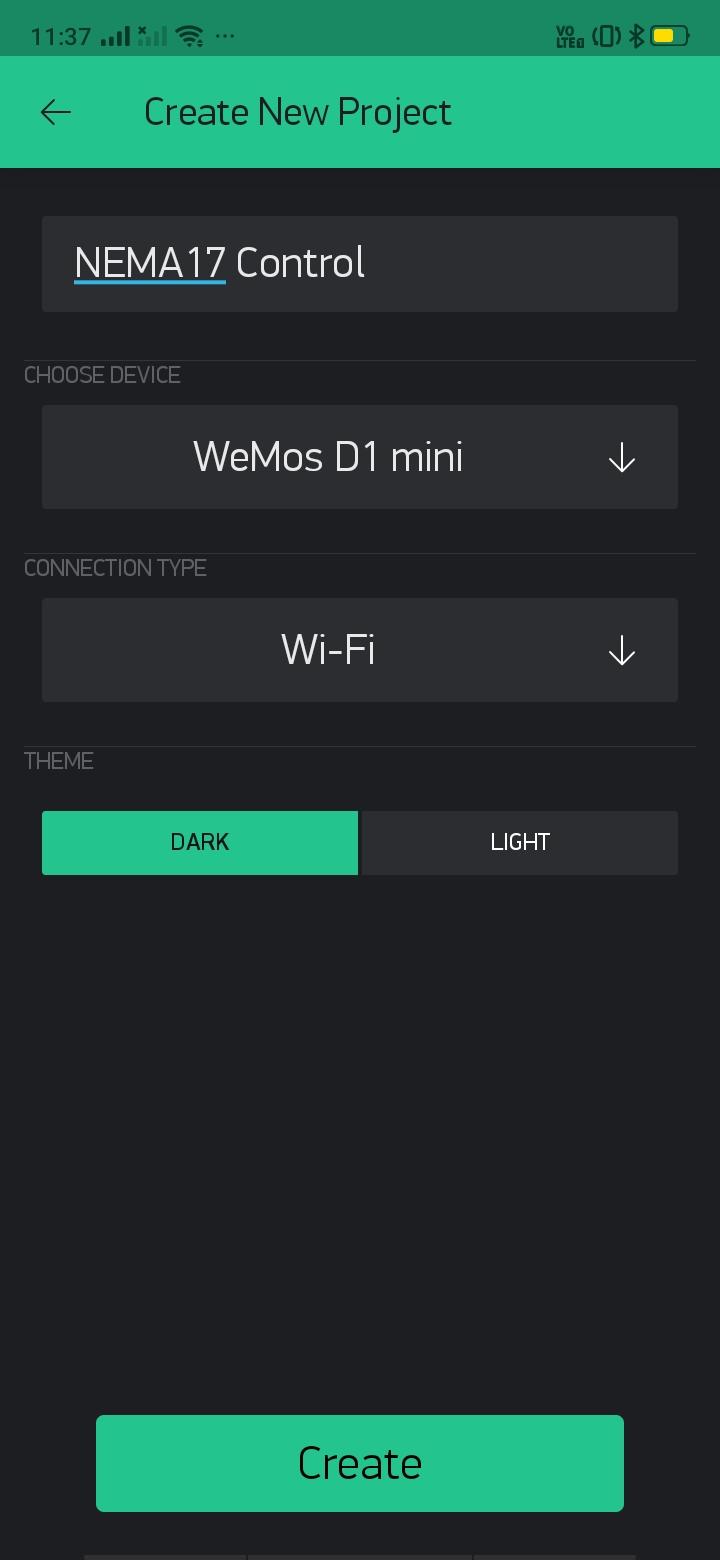
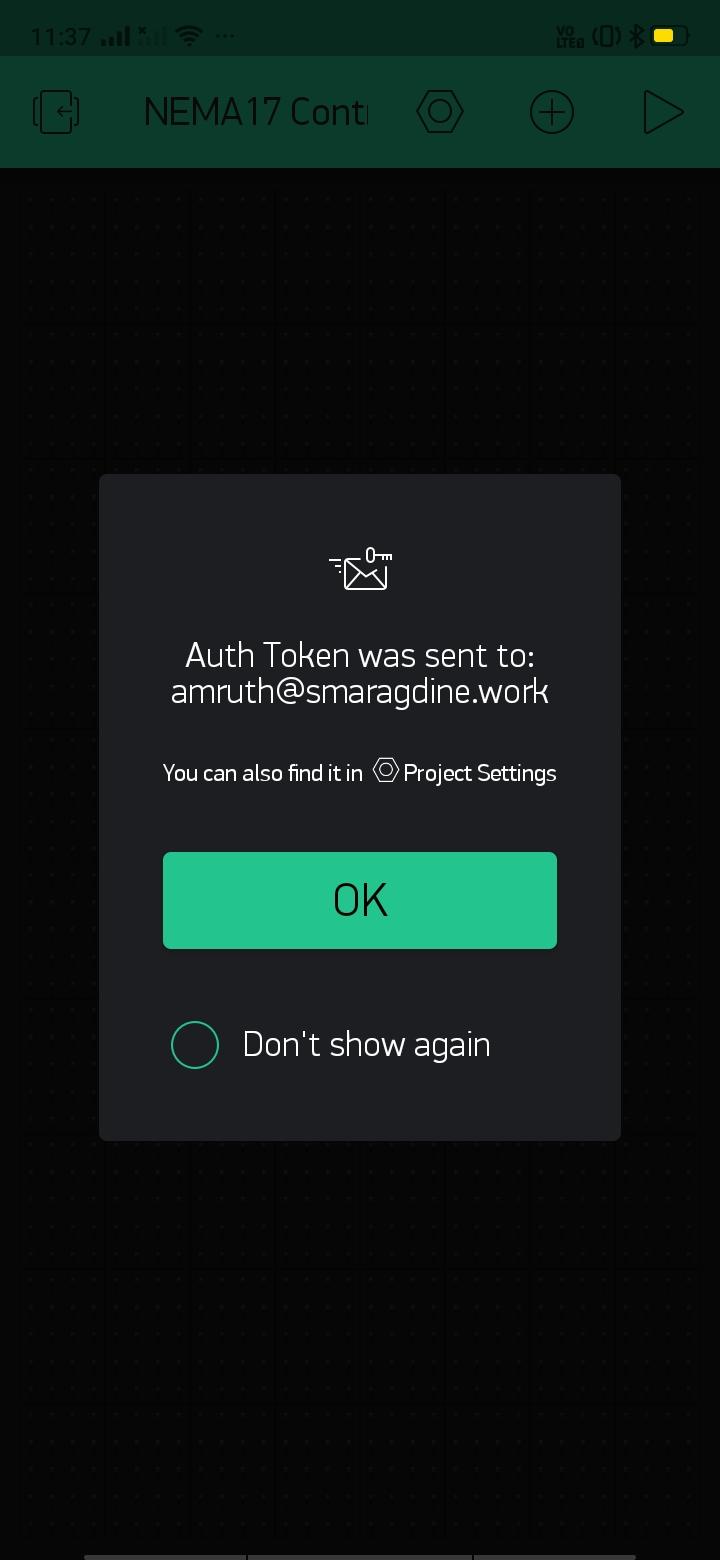
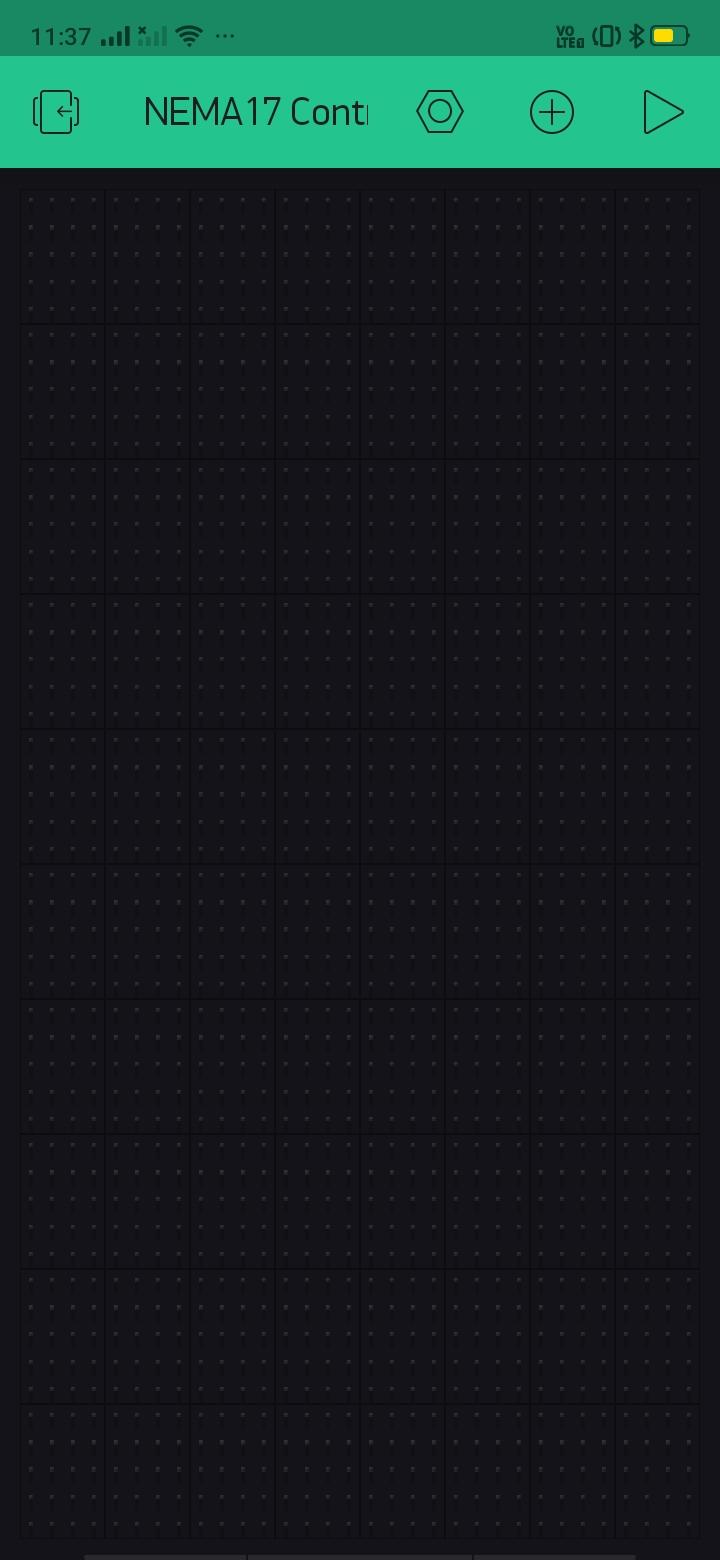
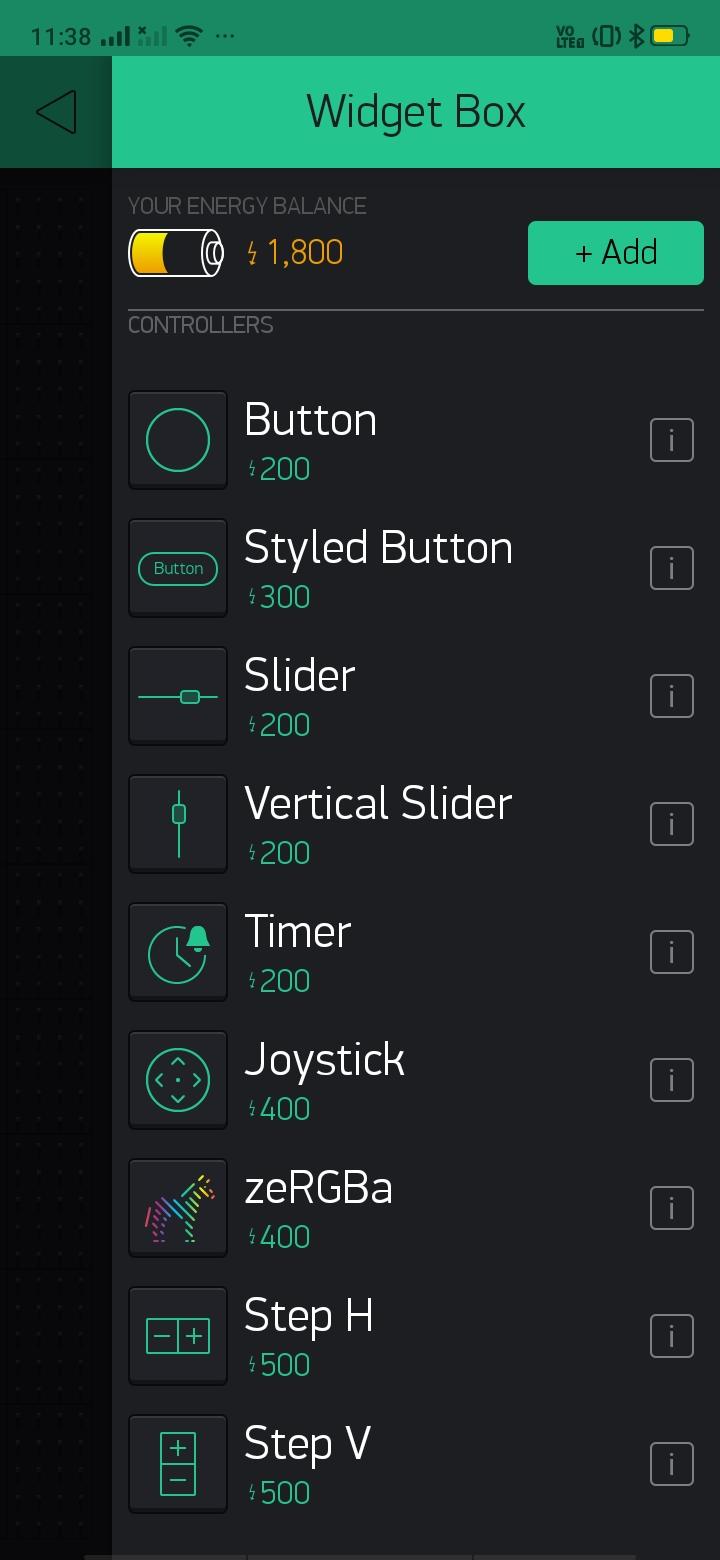
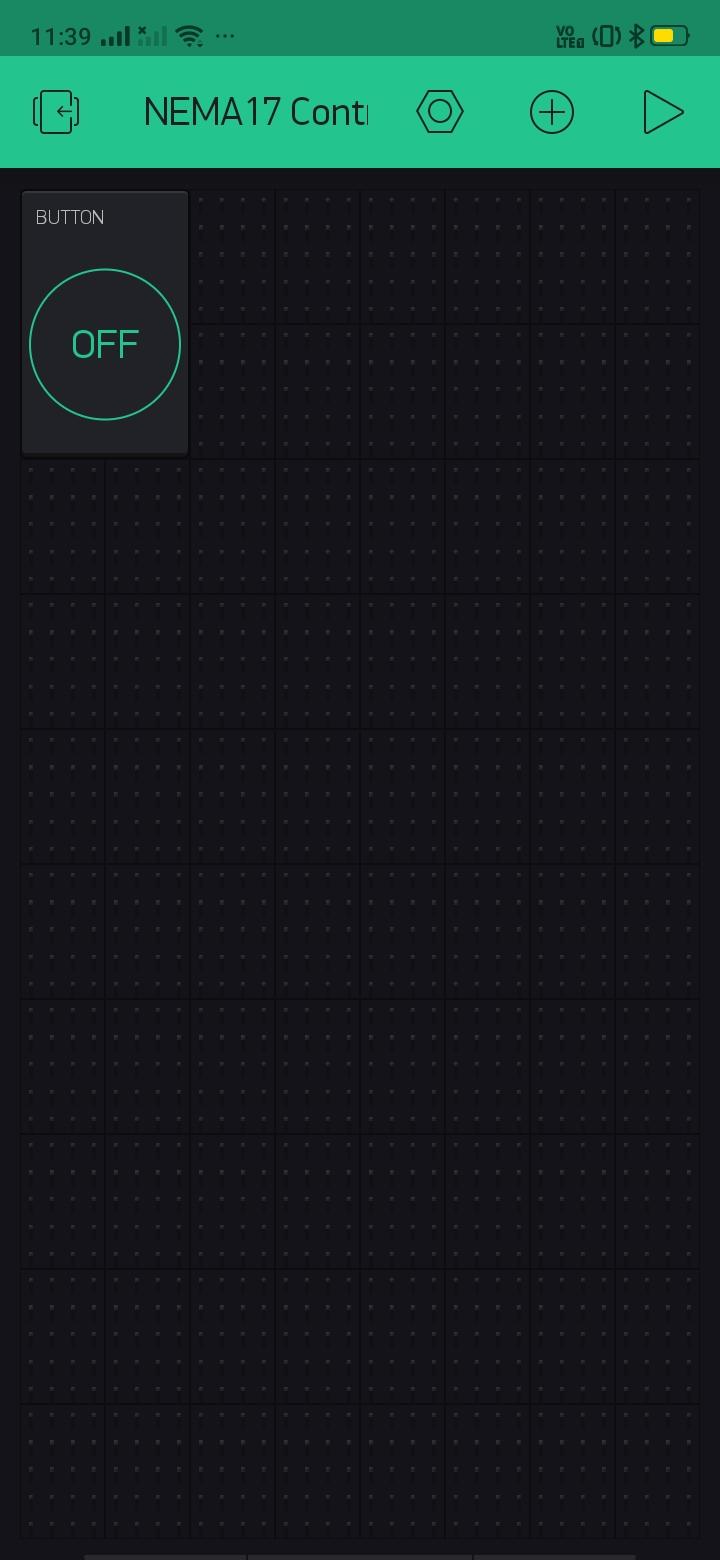
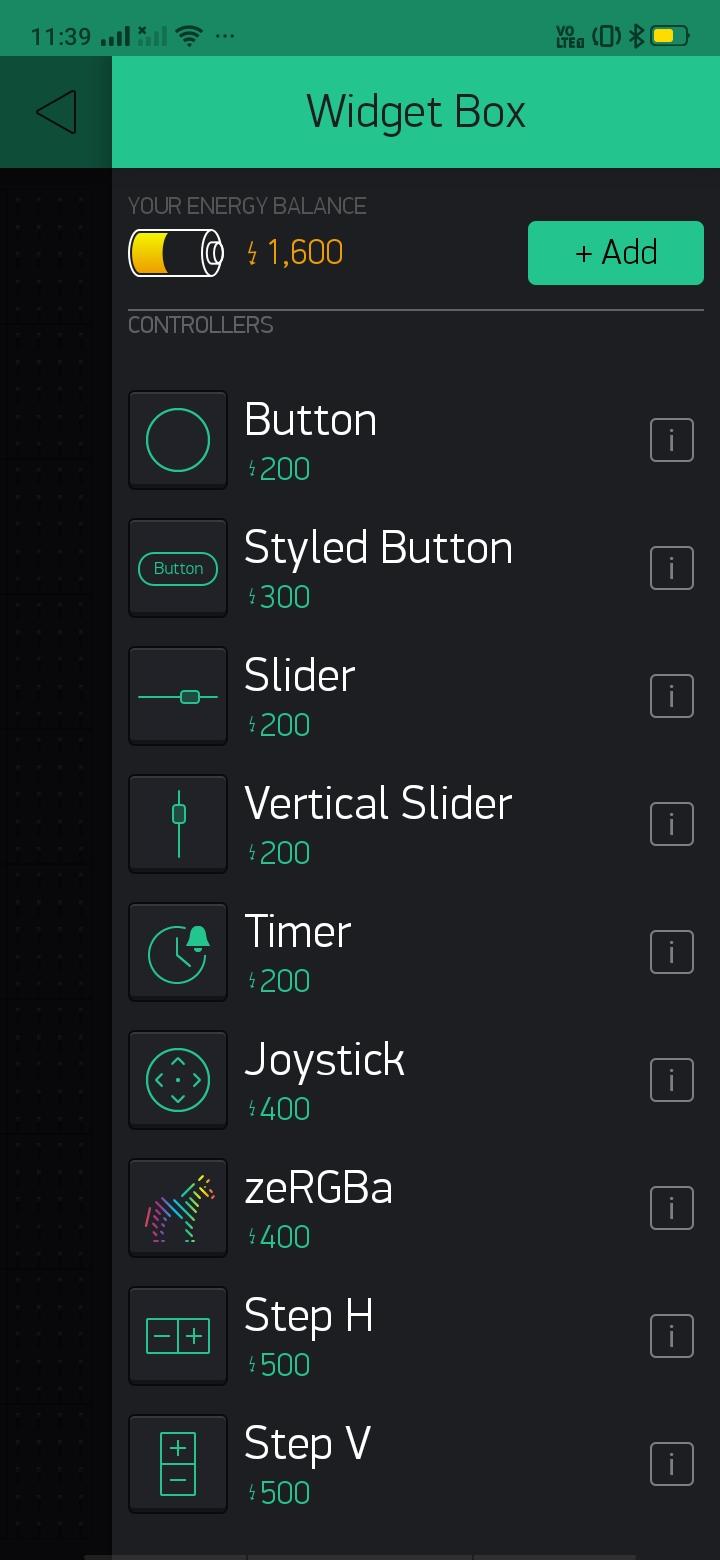
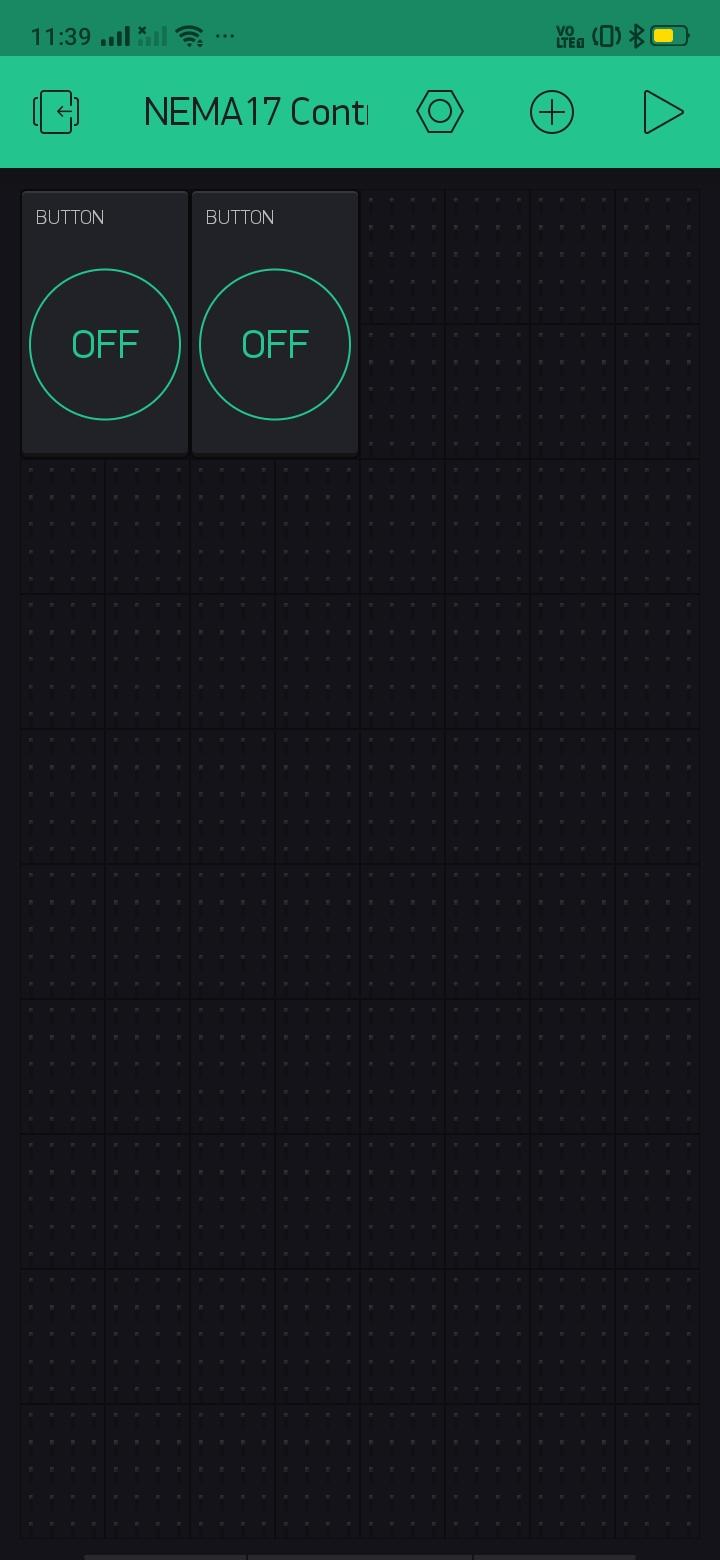
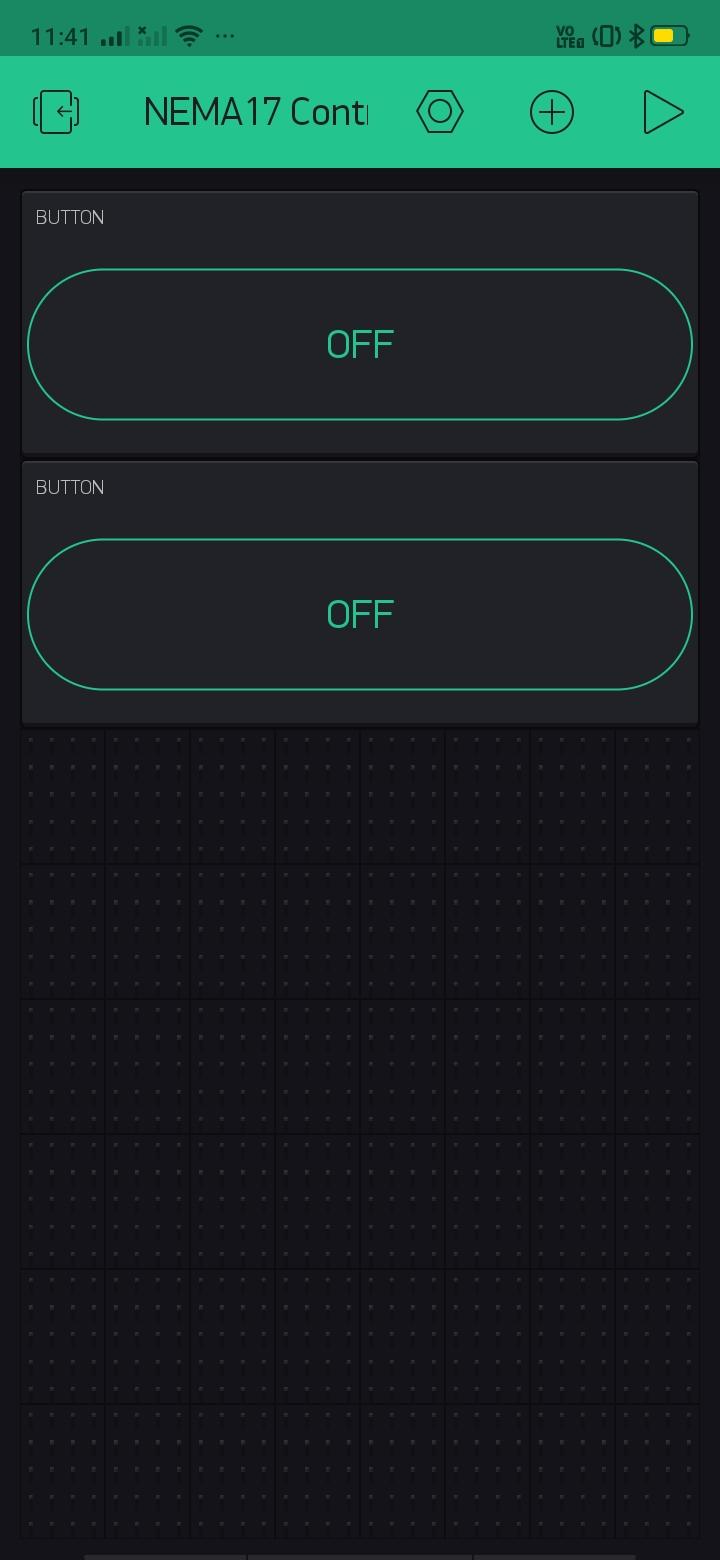
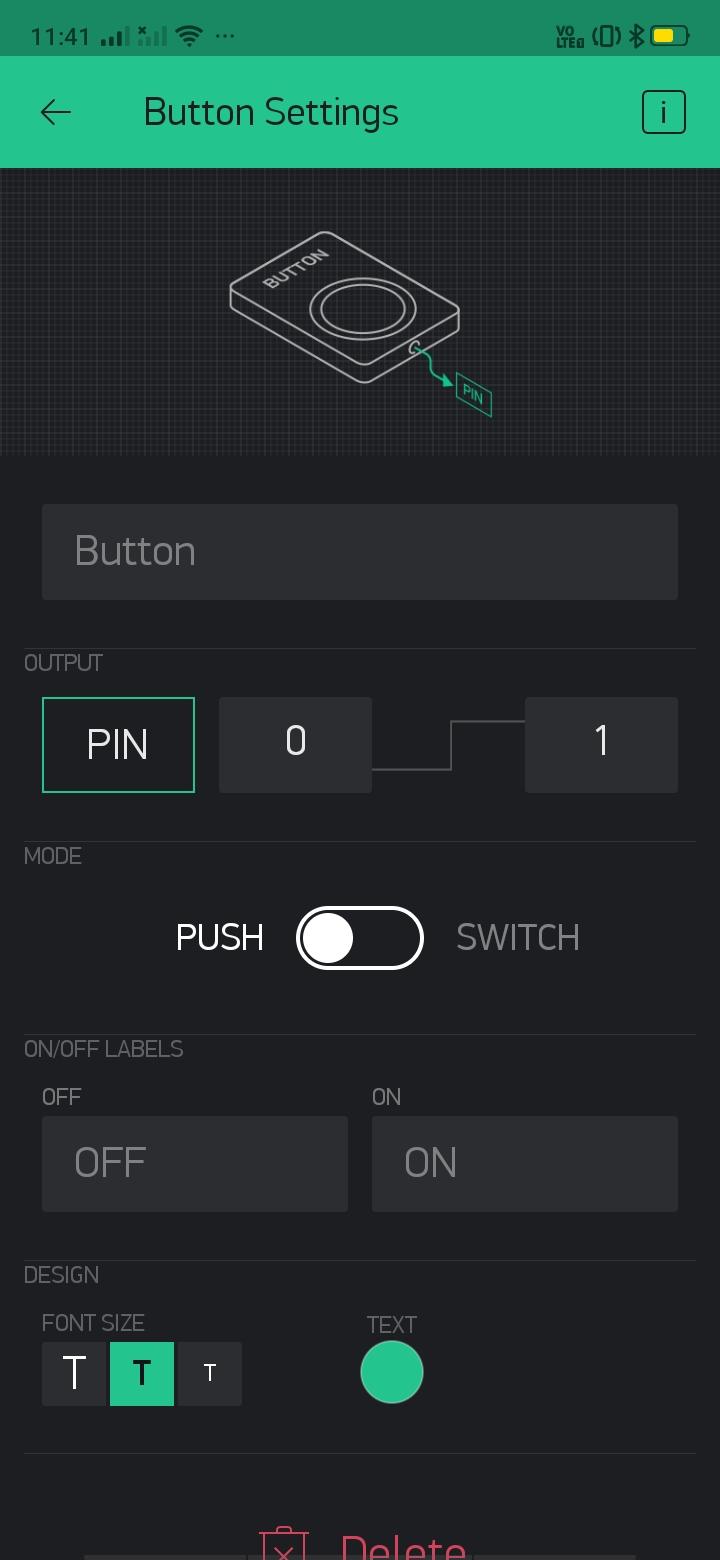
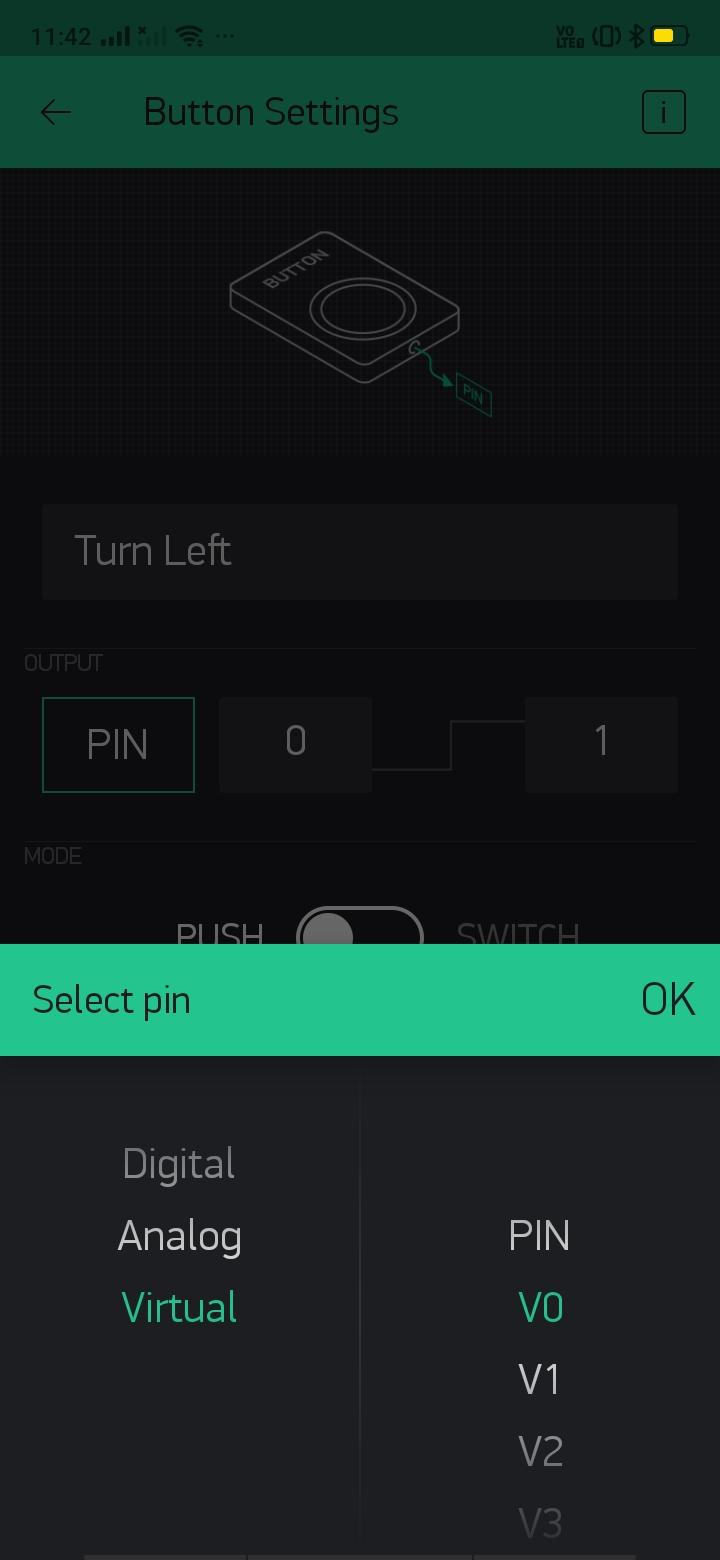
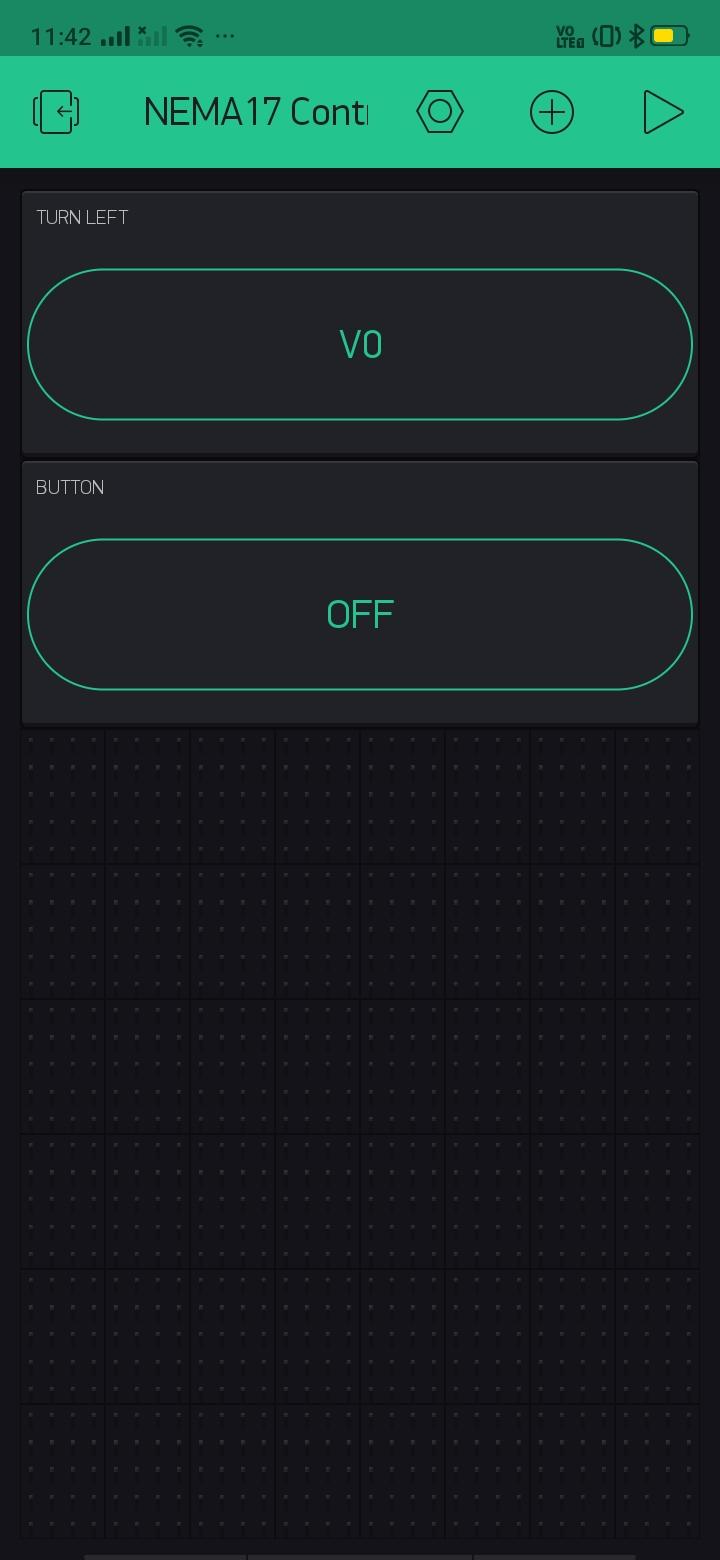
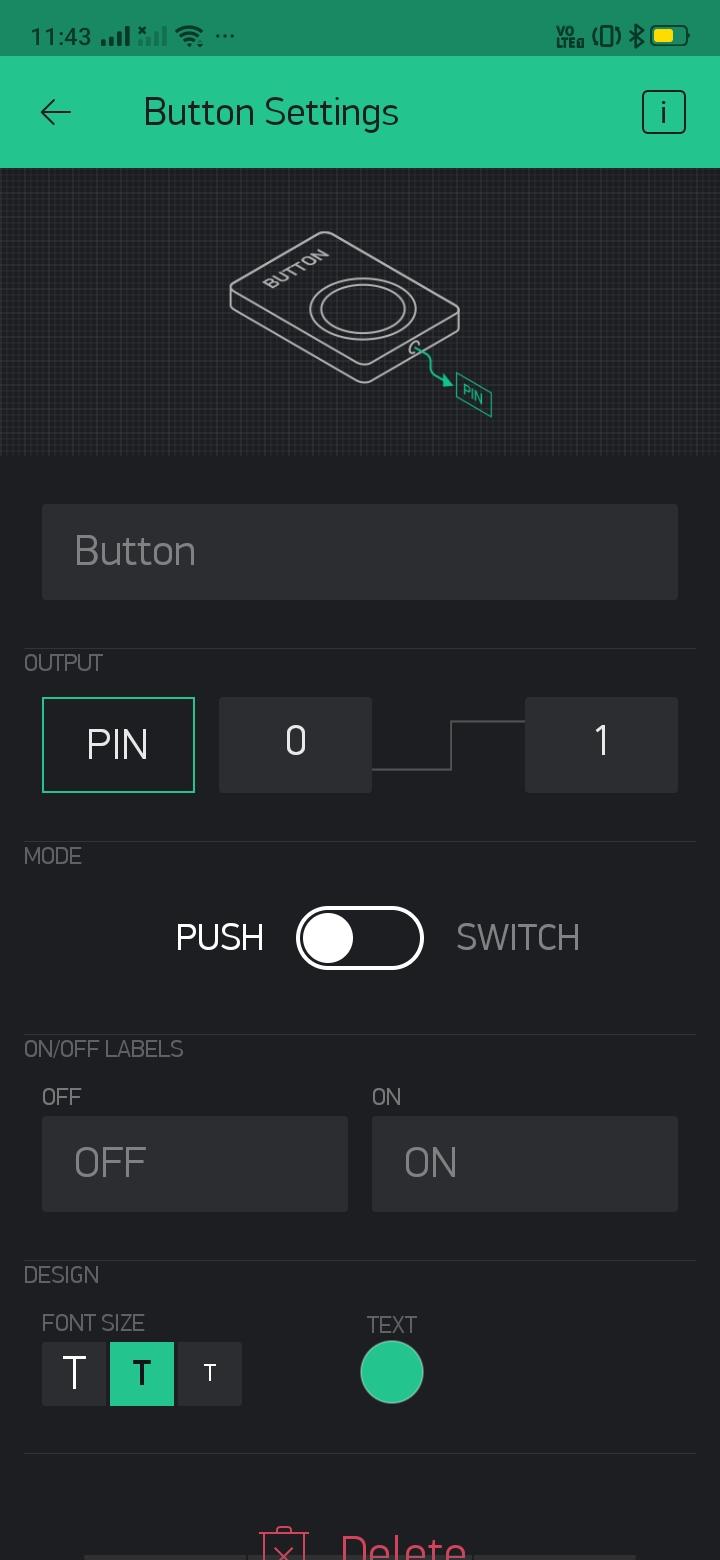
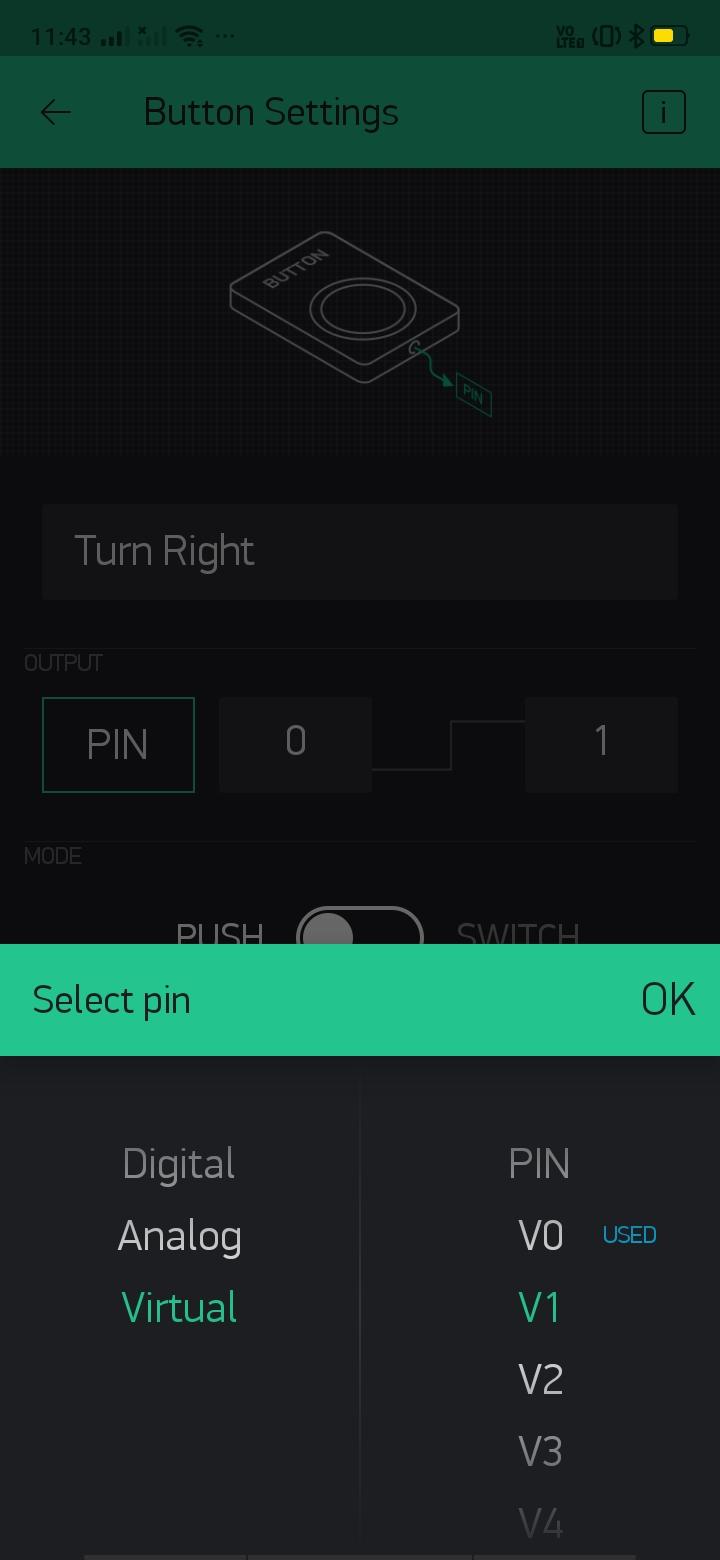
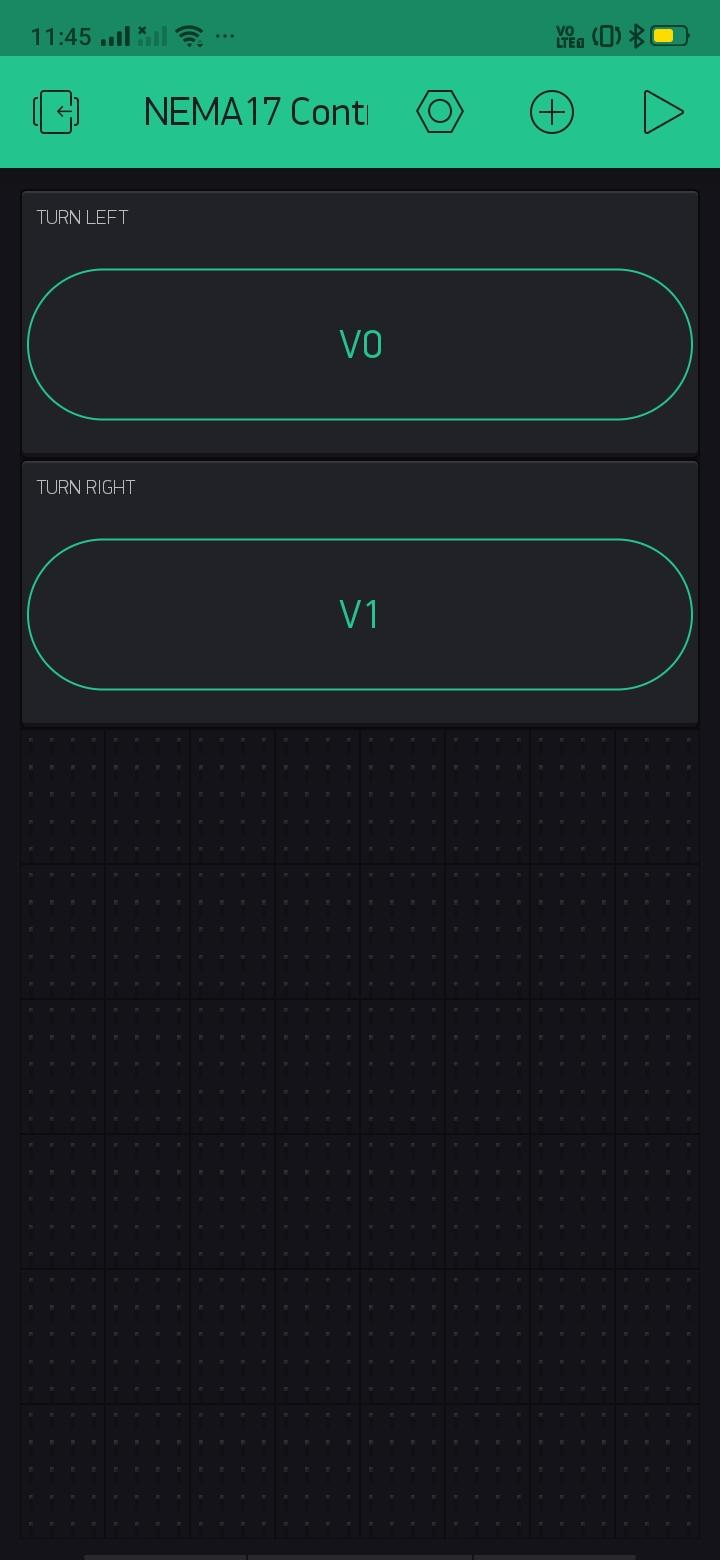
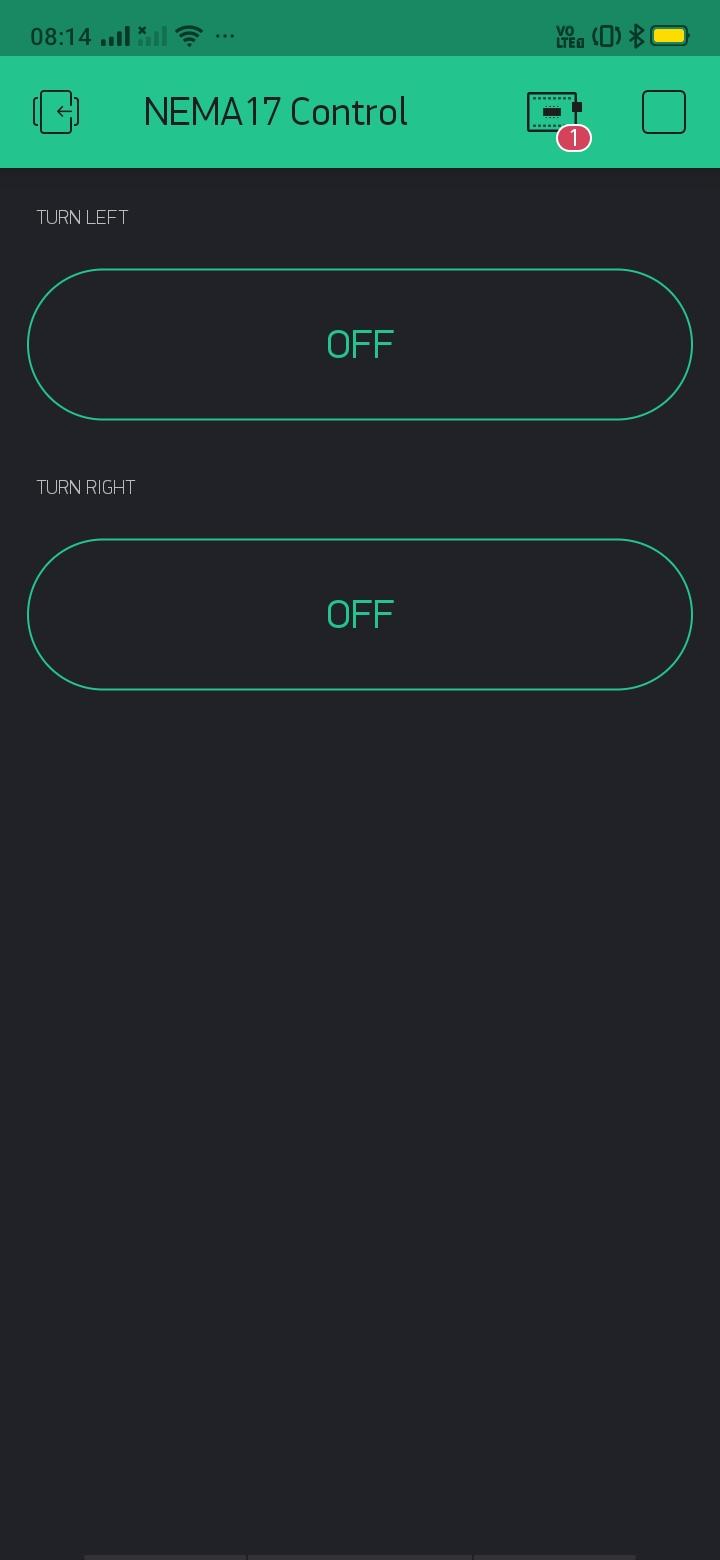
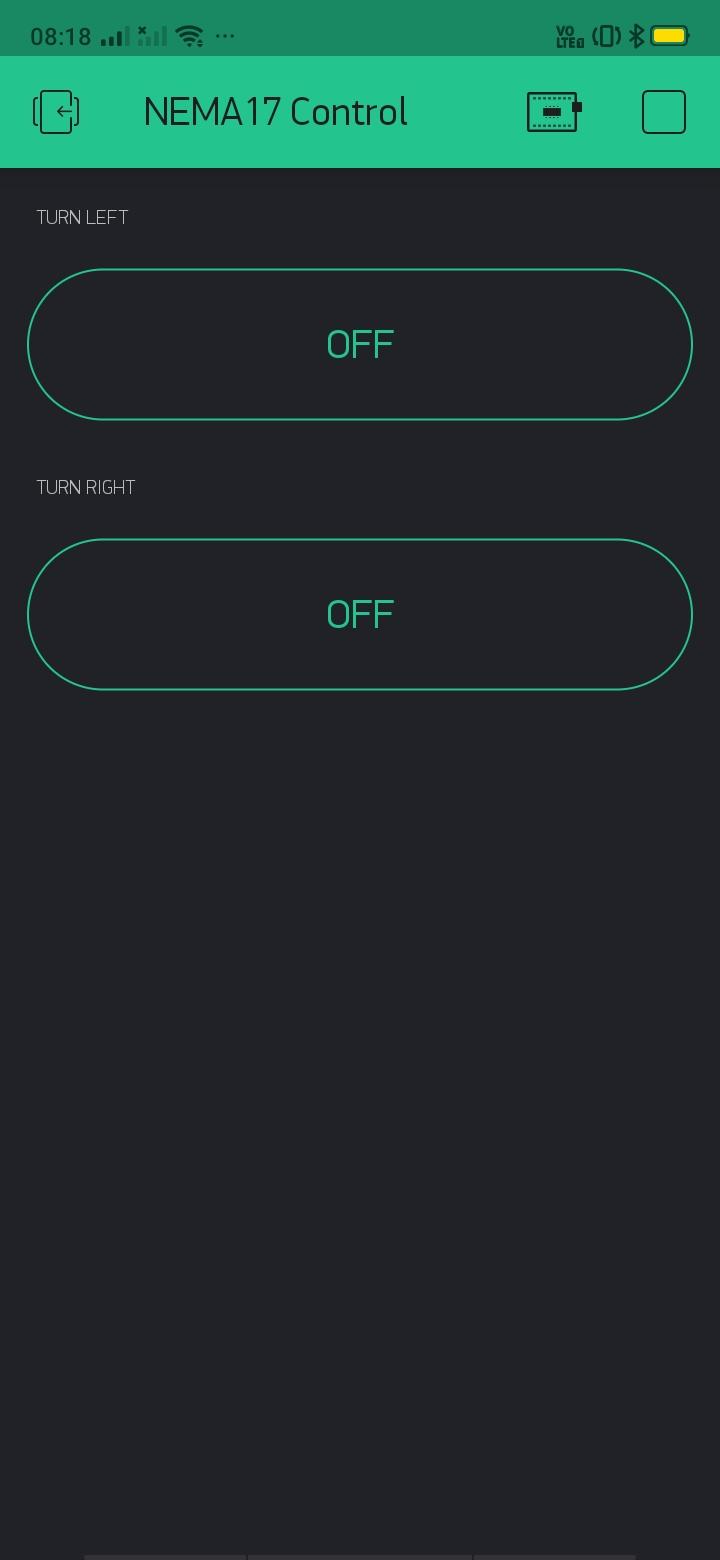
Attached screenshots should give the readers of this article the step by step procedure to configure two buttons that will help the user rotate the NEMA 17 Stepper Motor clockwise (or) anticlockwise. If someone is not able to follow screenshots and complete configuring Blynk, they might as well read through the instructions below:
- Open the "Blynk" app on your mobile and select "New Project".
- Enter Project Name: "NEMA 17 Control" (In this case), select "WeMos D1mini" from the list of "Device". Now select "Create" to proceed with the next steps.
- Check the Email configured in the "Blynk" app to find "Authorization Token" (This will be useful during coding).
- The dashboard appears, allowing us to proceed with the next steps and our main aim will be to add two buttons.
- Adjust the buttons to match the design needs (Step is Optional). In my case, I spread the buttons to match the width of the dashboard.
- Configure the first button with the text "Turn Left" with "V0" as a virtual pin.
- Configure the second button with the text "Turn Right" with "V1" as a virtual pin.
- Navigate to the main menu and click on the "Play" button to check the functionality of the application and controlling the NEMA 17 motor.
- NEMA 17 motor is programmed to rotate 10 times on the selection of the button. It will not turn on and off the moment you push either of the buttons to "Turn Right" (or) "Turn Left". Please allow some time for NEMA17 to stop and then proceed to check the functionality of the second button.
The Code. . .
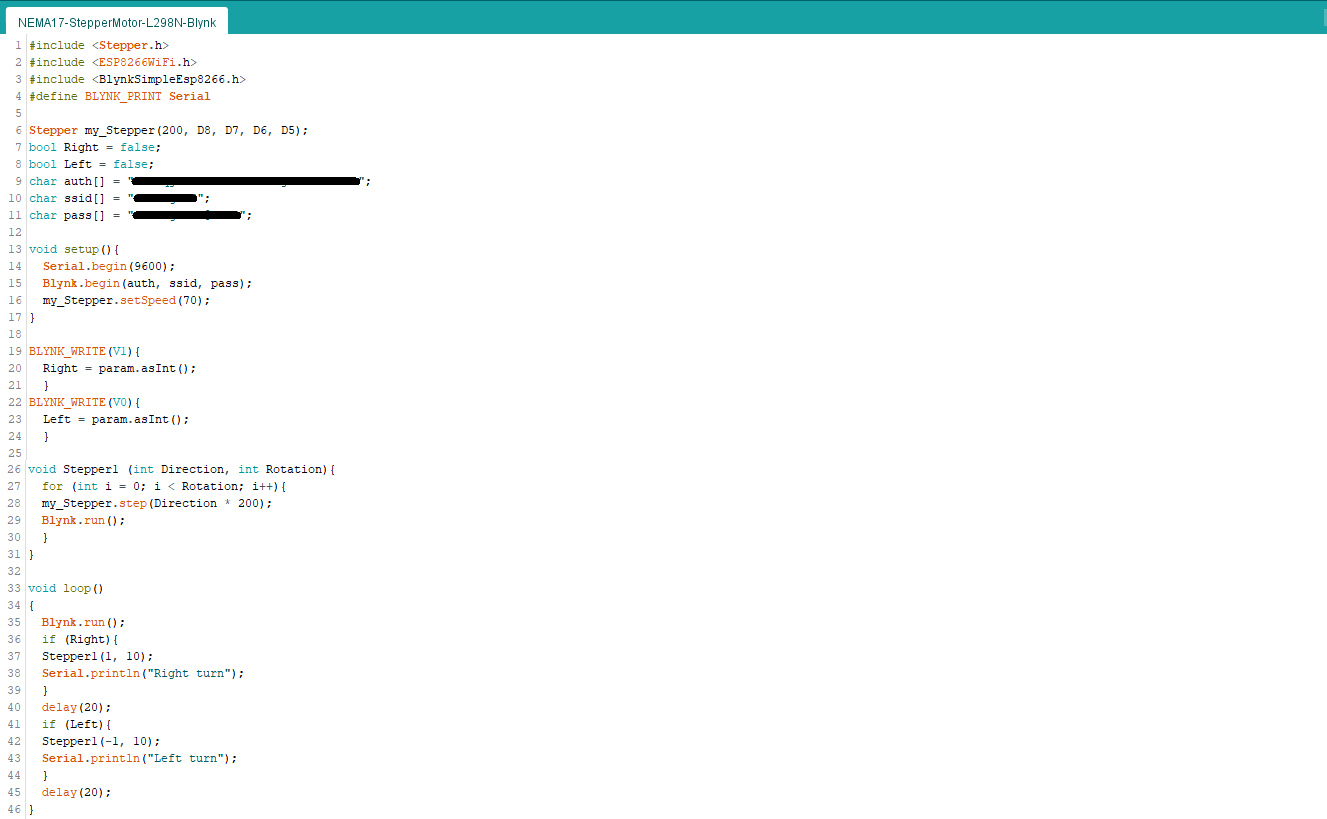
Before uploading the following code, make sure to provide the following:
- Authorization Key from Blynk
- SSID
- Passkey to allow "WeMos Mini" access the Wireless network & get connected to the Internet
Also select the following from Arduino IDE menu: Tools > Board > ESP8266 Boards > LOLIN(WEMOS) D1 R2 & mini.
>>> Start of the Code Snippet <<<
#include Stepper.h
#include ESP8266WiFi.h
#include BlynkSimpleEsp8266.h
#define BLYNK_PRINT Serial
Stepper my_Stepper(200, D8, D7, D6, D5);
bool Right = false;
bool Left = false;
char auth[] = "**********************************************";
char ssid[] = "****************";
char pass[] = "****************************";
void setup(){
Serial.begin(9600);
Blynk.begin(auth, ssid, pass);
my_Stepper.setSpeed(70);
}
BLYNK_WRITE(V1){
Right = param.asInt();
}
BLYNK_WRITE(V0){
Left = param.asInt();
}
void Stepper1 (int Direction, int Rotation){
for (int i = 0; i < Rotation; i++){
my_Stepper.step(Direction * 200);
Blynk.run();
}
}
void loop()
{
Blynk.run();
if (Right){
Stepper1(1, 10);
Serial.println("Right turn");
}
delay(20);
if (Left){
Stepper1(-1, 10);
Serial.println("Left turn");
}
delay(20);
}
>>> End of the Code Snippet <<<
Note: In the above code, please do not miss entering "<" (less than) and ">" (greater than) in the "include" statement. In case of any further issues with the code, you may also refer to the screenshot that is included with this article.
Video Prototype Functionality
Attached is the video that will help readers briefly understand how the prototype works.