NEGATIVE (PHOTOGRAPHY) TO DIGITAL PHOTO
by BMCtech in Circuits > Cameras
1740 Views, 8 Favorites, 0 Comments
NEGATIVE (PHOTOGRAPHY) TO DIGITAL PHOTO
![temp_-935067662.jpg](/proxy/?url=https://content.instructables.com/F0C/SMF6/HRPB9XX6/F0CSMF6HRPB9XX6.jpg&filename=temp_-935067662.jpg)
![temp_278462237.jpg](/proxy/?url=https://content.instructables.com/FCY/T0O3/HRPB9Y07/FCYT0O3HRPB9Y07.jpg&filename=temp_278462237.jpg)
![temp_-1456483380.jpg](/proxy/?url=https://content.instructables.com/F94/Z7F0/HRPB9Y7M/F94Z7F0HRPB9Y7M.jpg&filename=temp_-1456483380.jpg)
![temp_1215045095.jpg](/proxy/?url=https://content.instructables.com/FX1/LUI2/HRPB9Y8X/FX1LUI2HRPB9Y8X.jpg&filename=temp_1215045095.jpg)
![temp_1266803078.jpg](/proxy/?url=https://content.instructables.com/FPW/M4PA/HRPB9YAT/FPWM4PAHRPB9YAT.jpg&filename=temp_1266803078.jpg)
![temp_1743532596.jpg](/proxy/?url=https://content.instructables.com/FLY/8YNV/HRPB9Y9O/FLY8YNVHRPB9Y9O.jpg&filename=temp_1743532596.jpg)
HOW TO CONVERT NEGATIVES TO DIGITAL PHOTOS.
Materials:
¶ White Wooden table (approximately 100x100cm) «tabla de madera blanca aproximadamente de 100x100cm»
¶ White fabric (I used a sheet) « tela blanca, he usado unas sábanas »
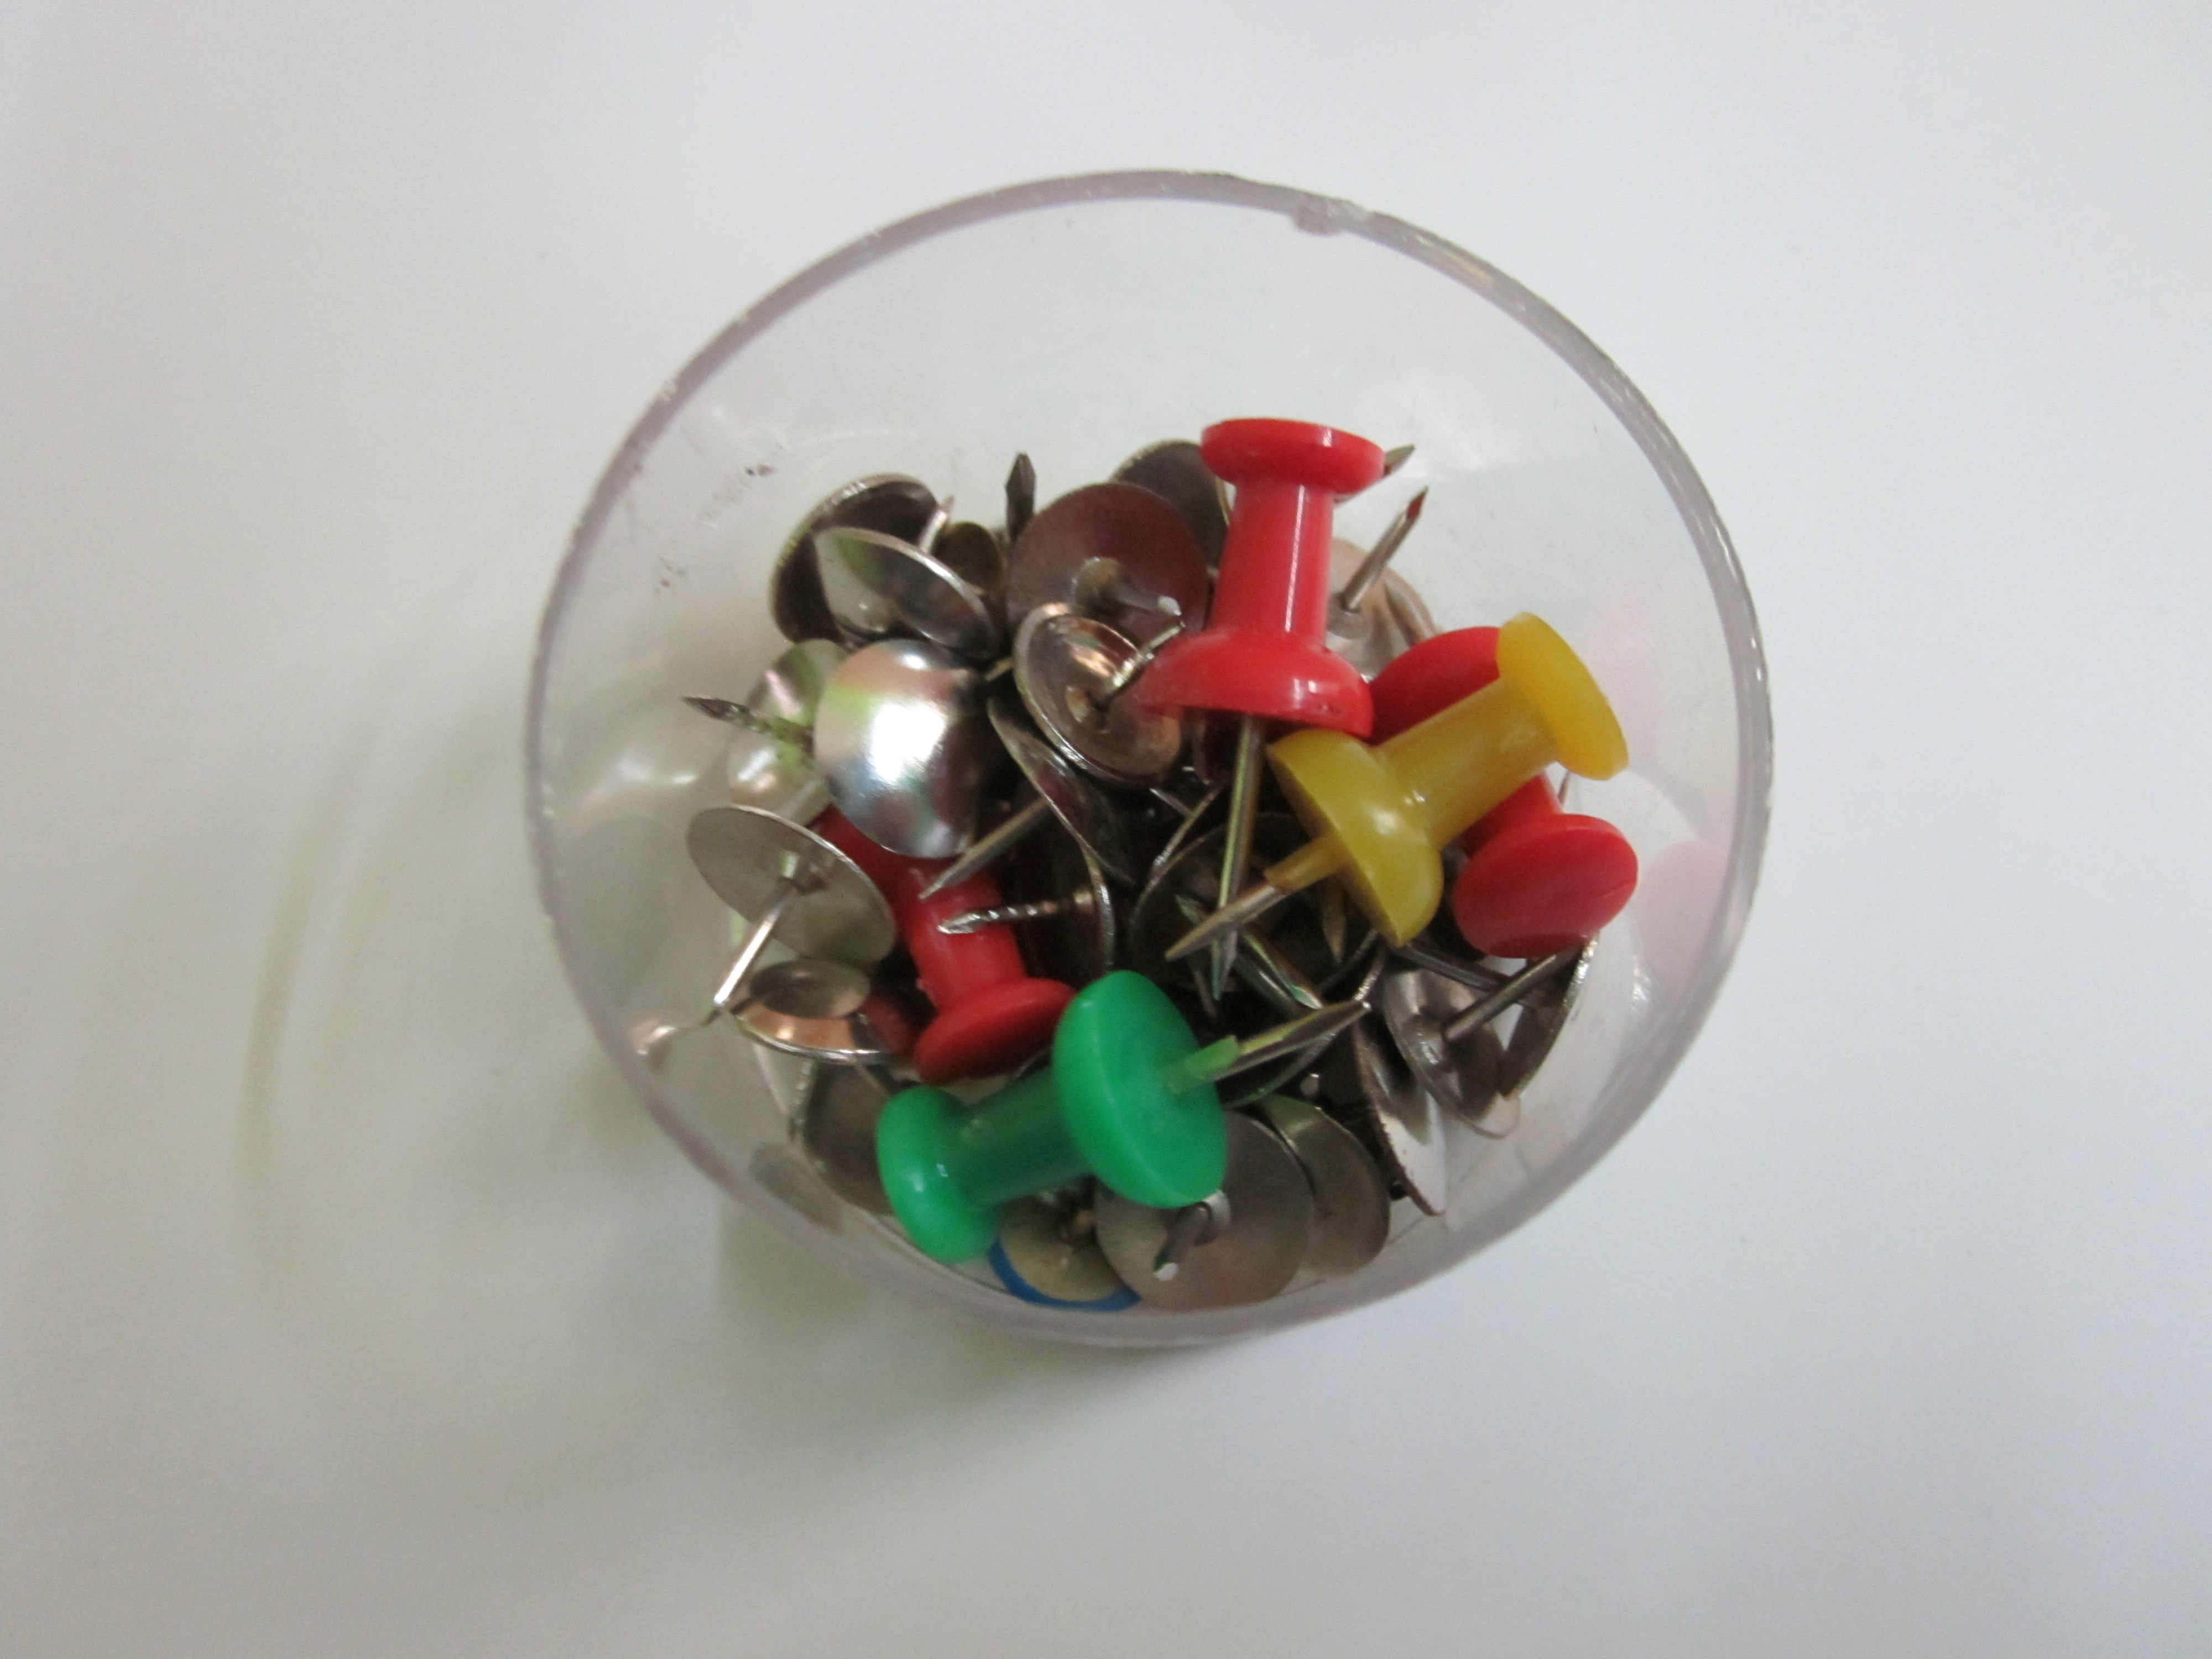
¶ Pins «chinchetas»
¶ Iron «plancha »
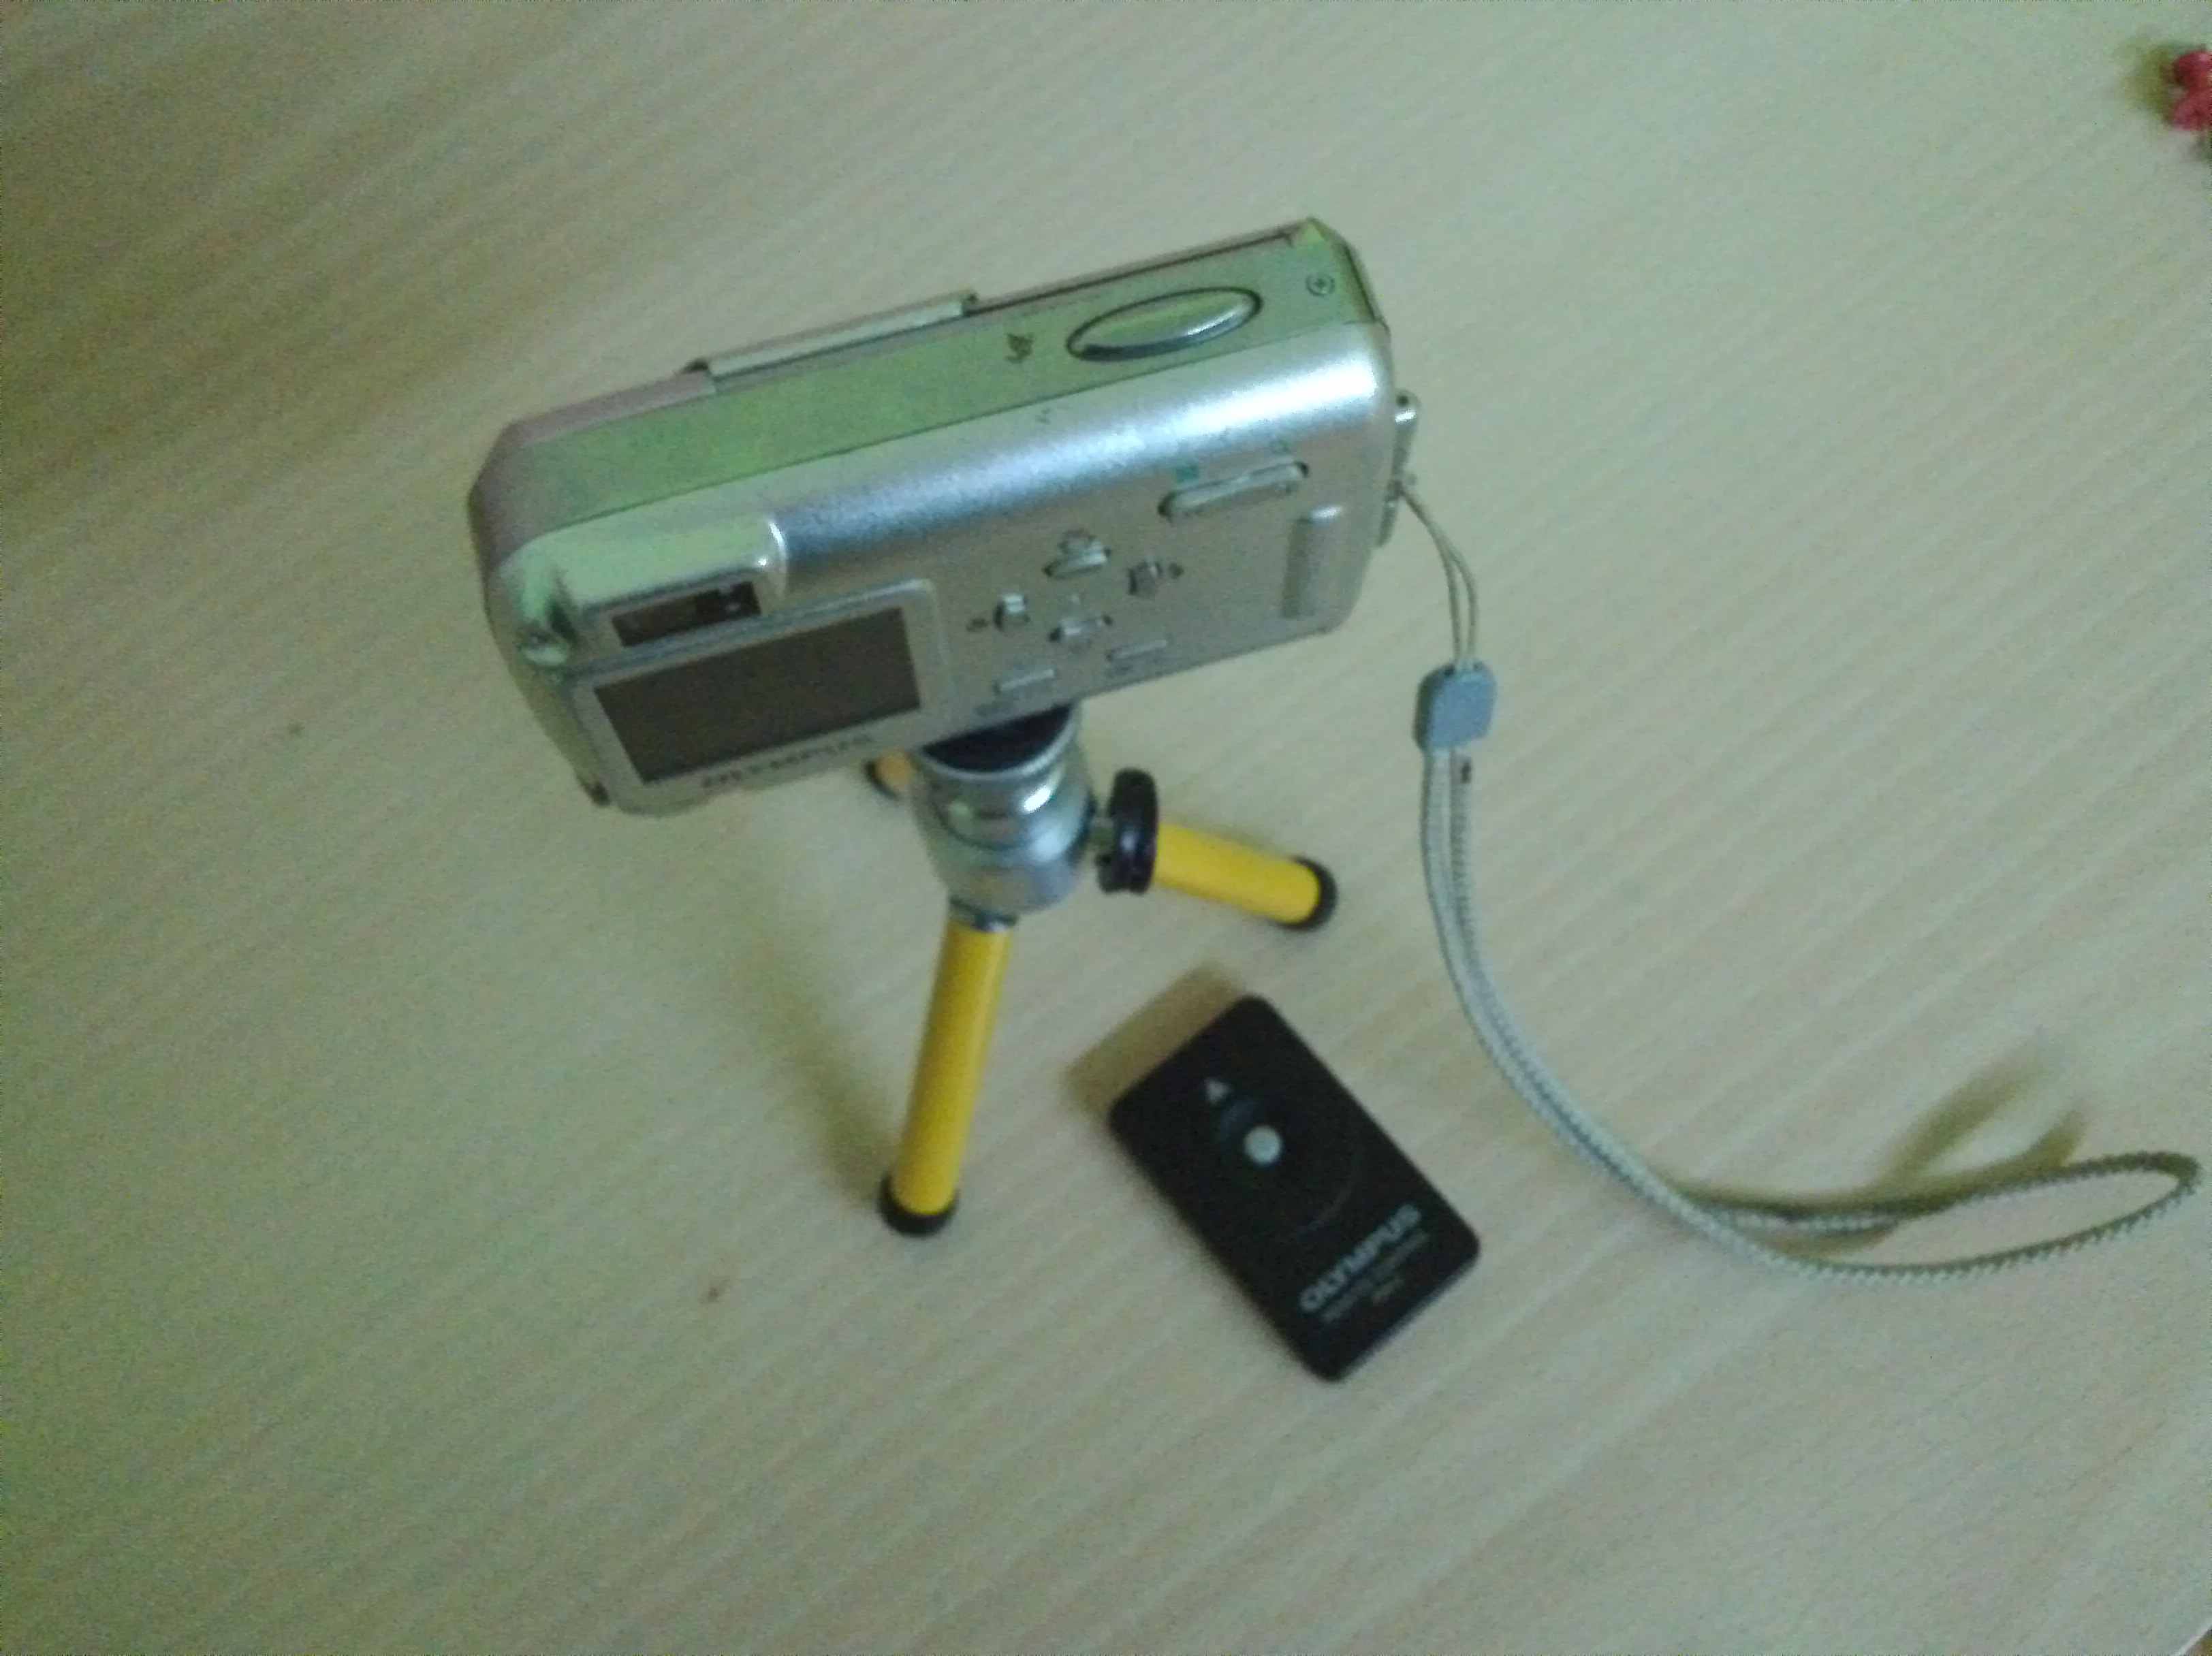
¶ Digital Camera with tripode « cámara digital con tripode»
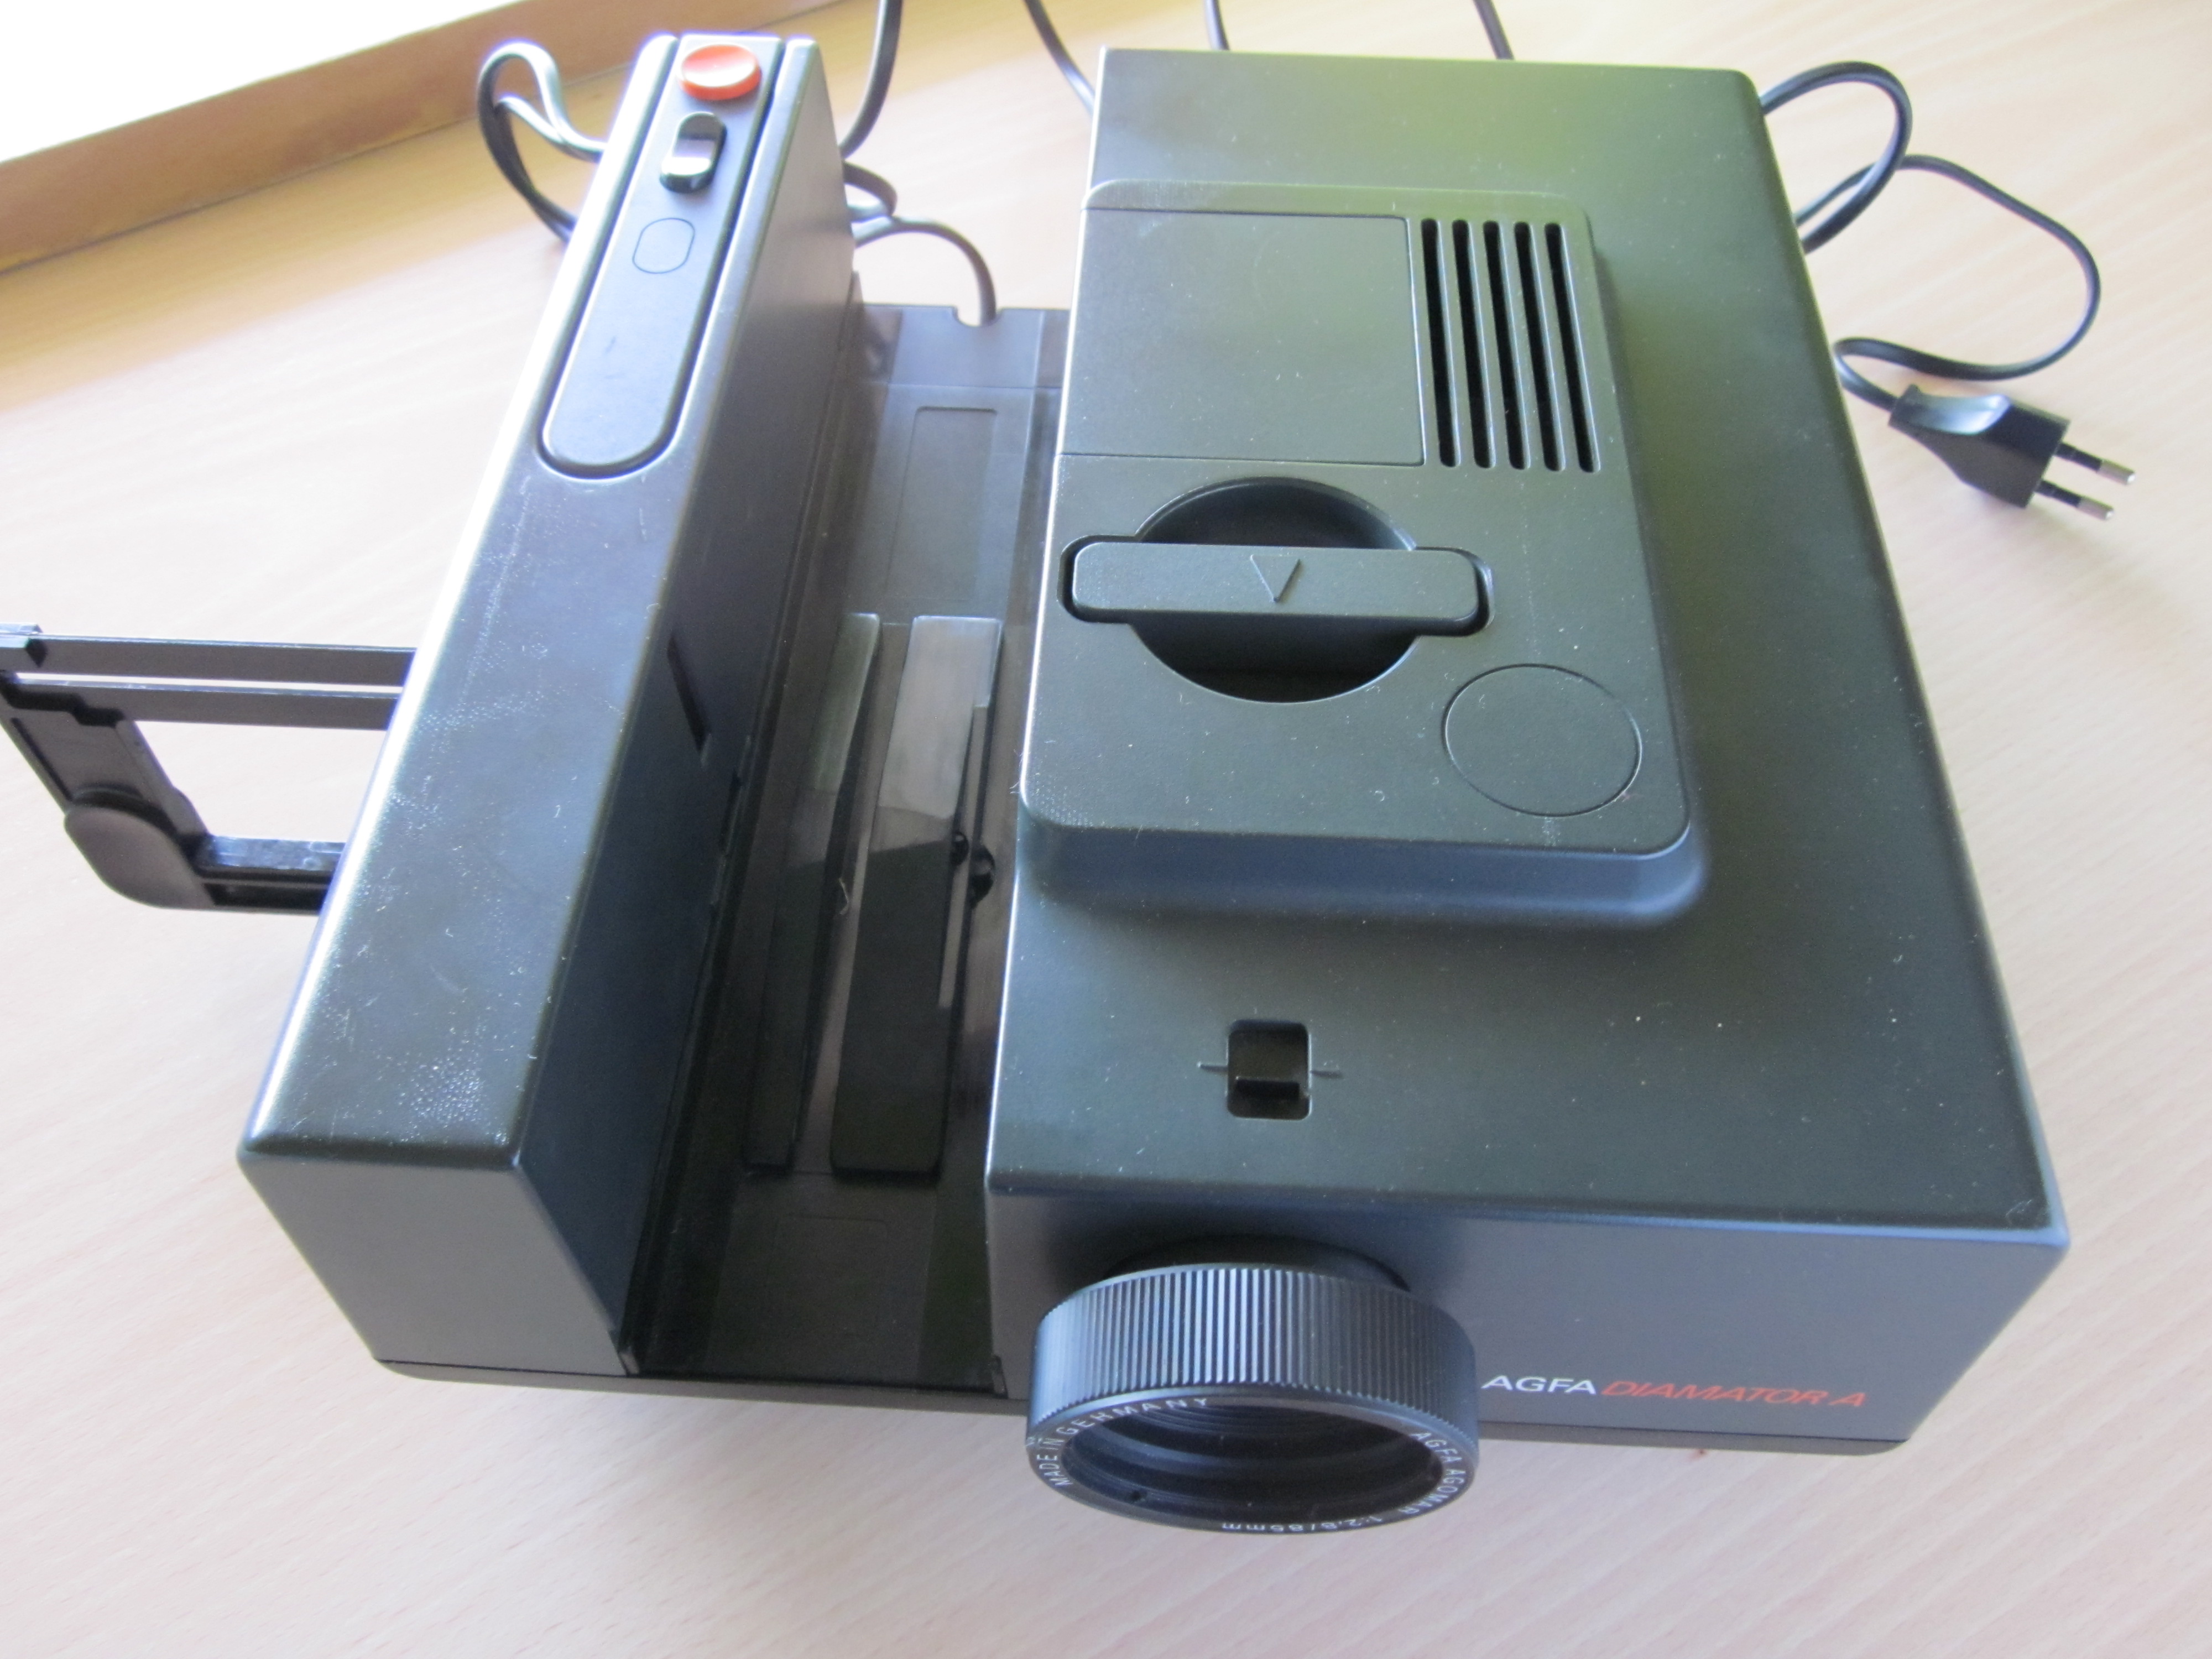
¶ Projector of negatives « proyector de negativos »
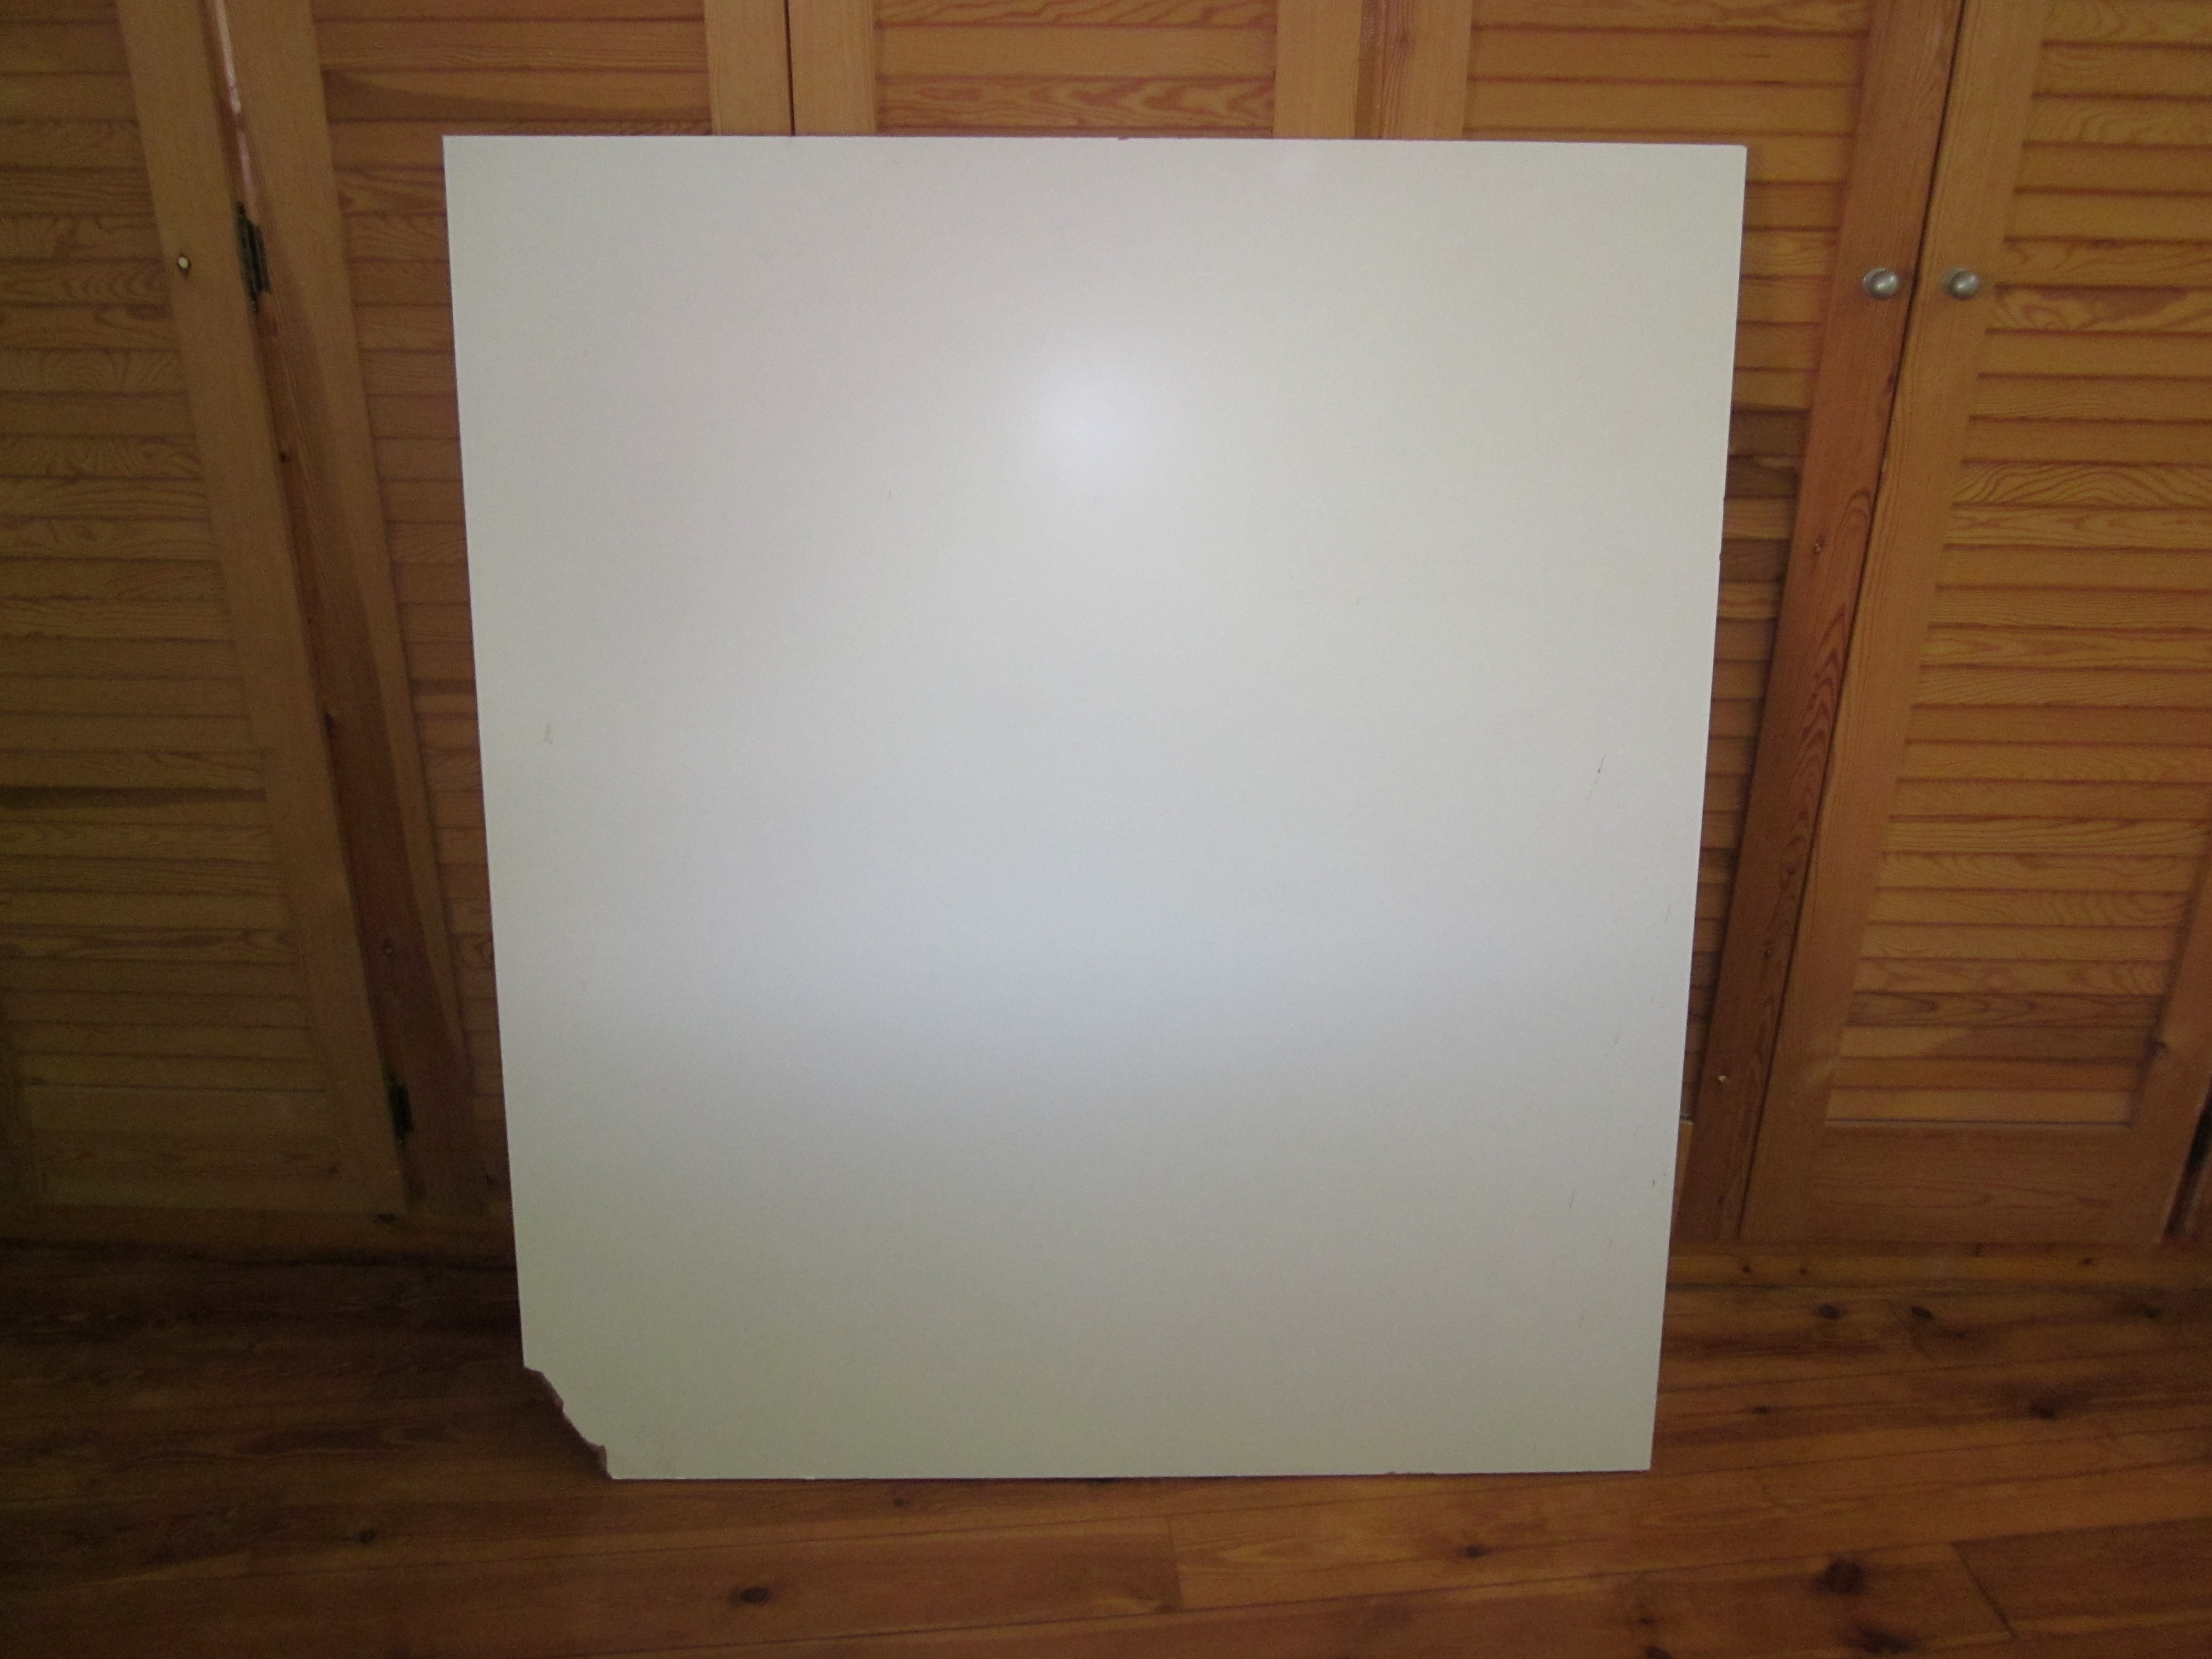
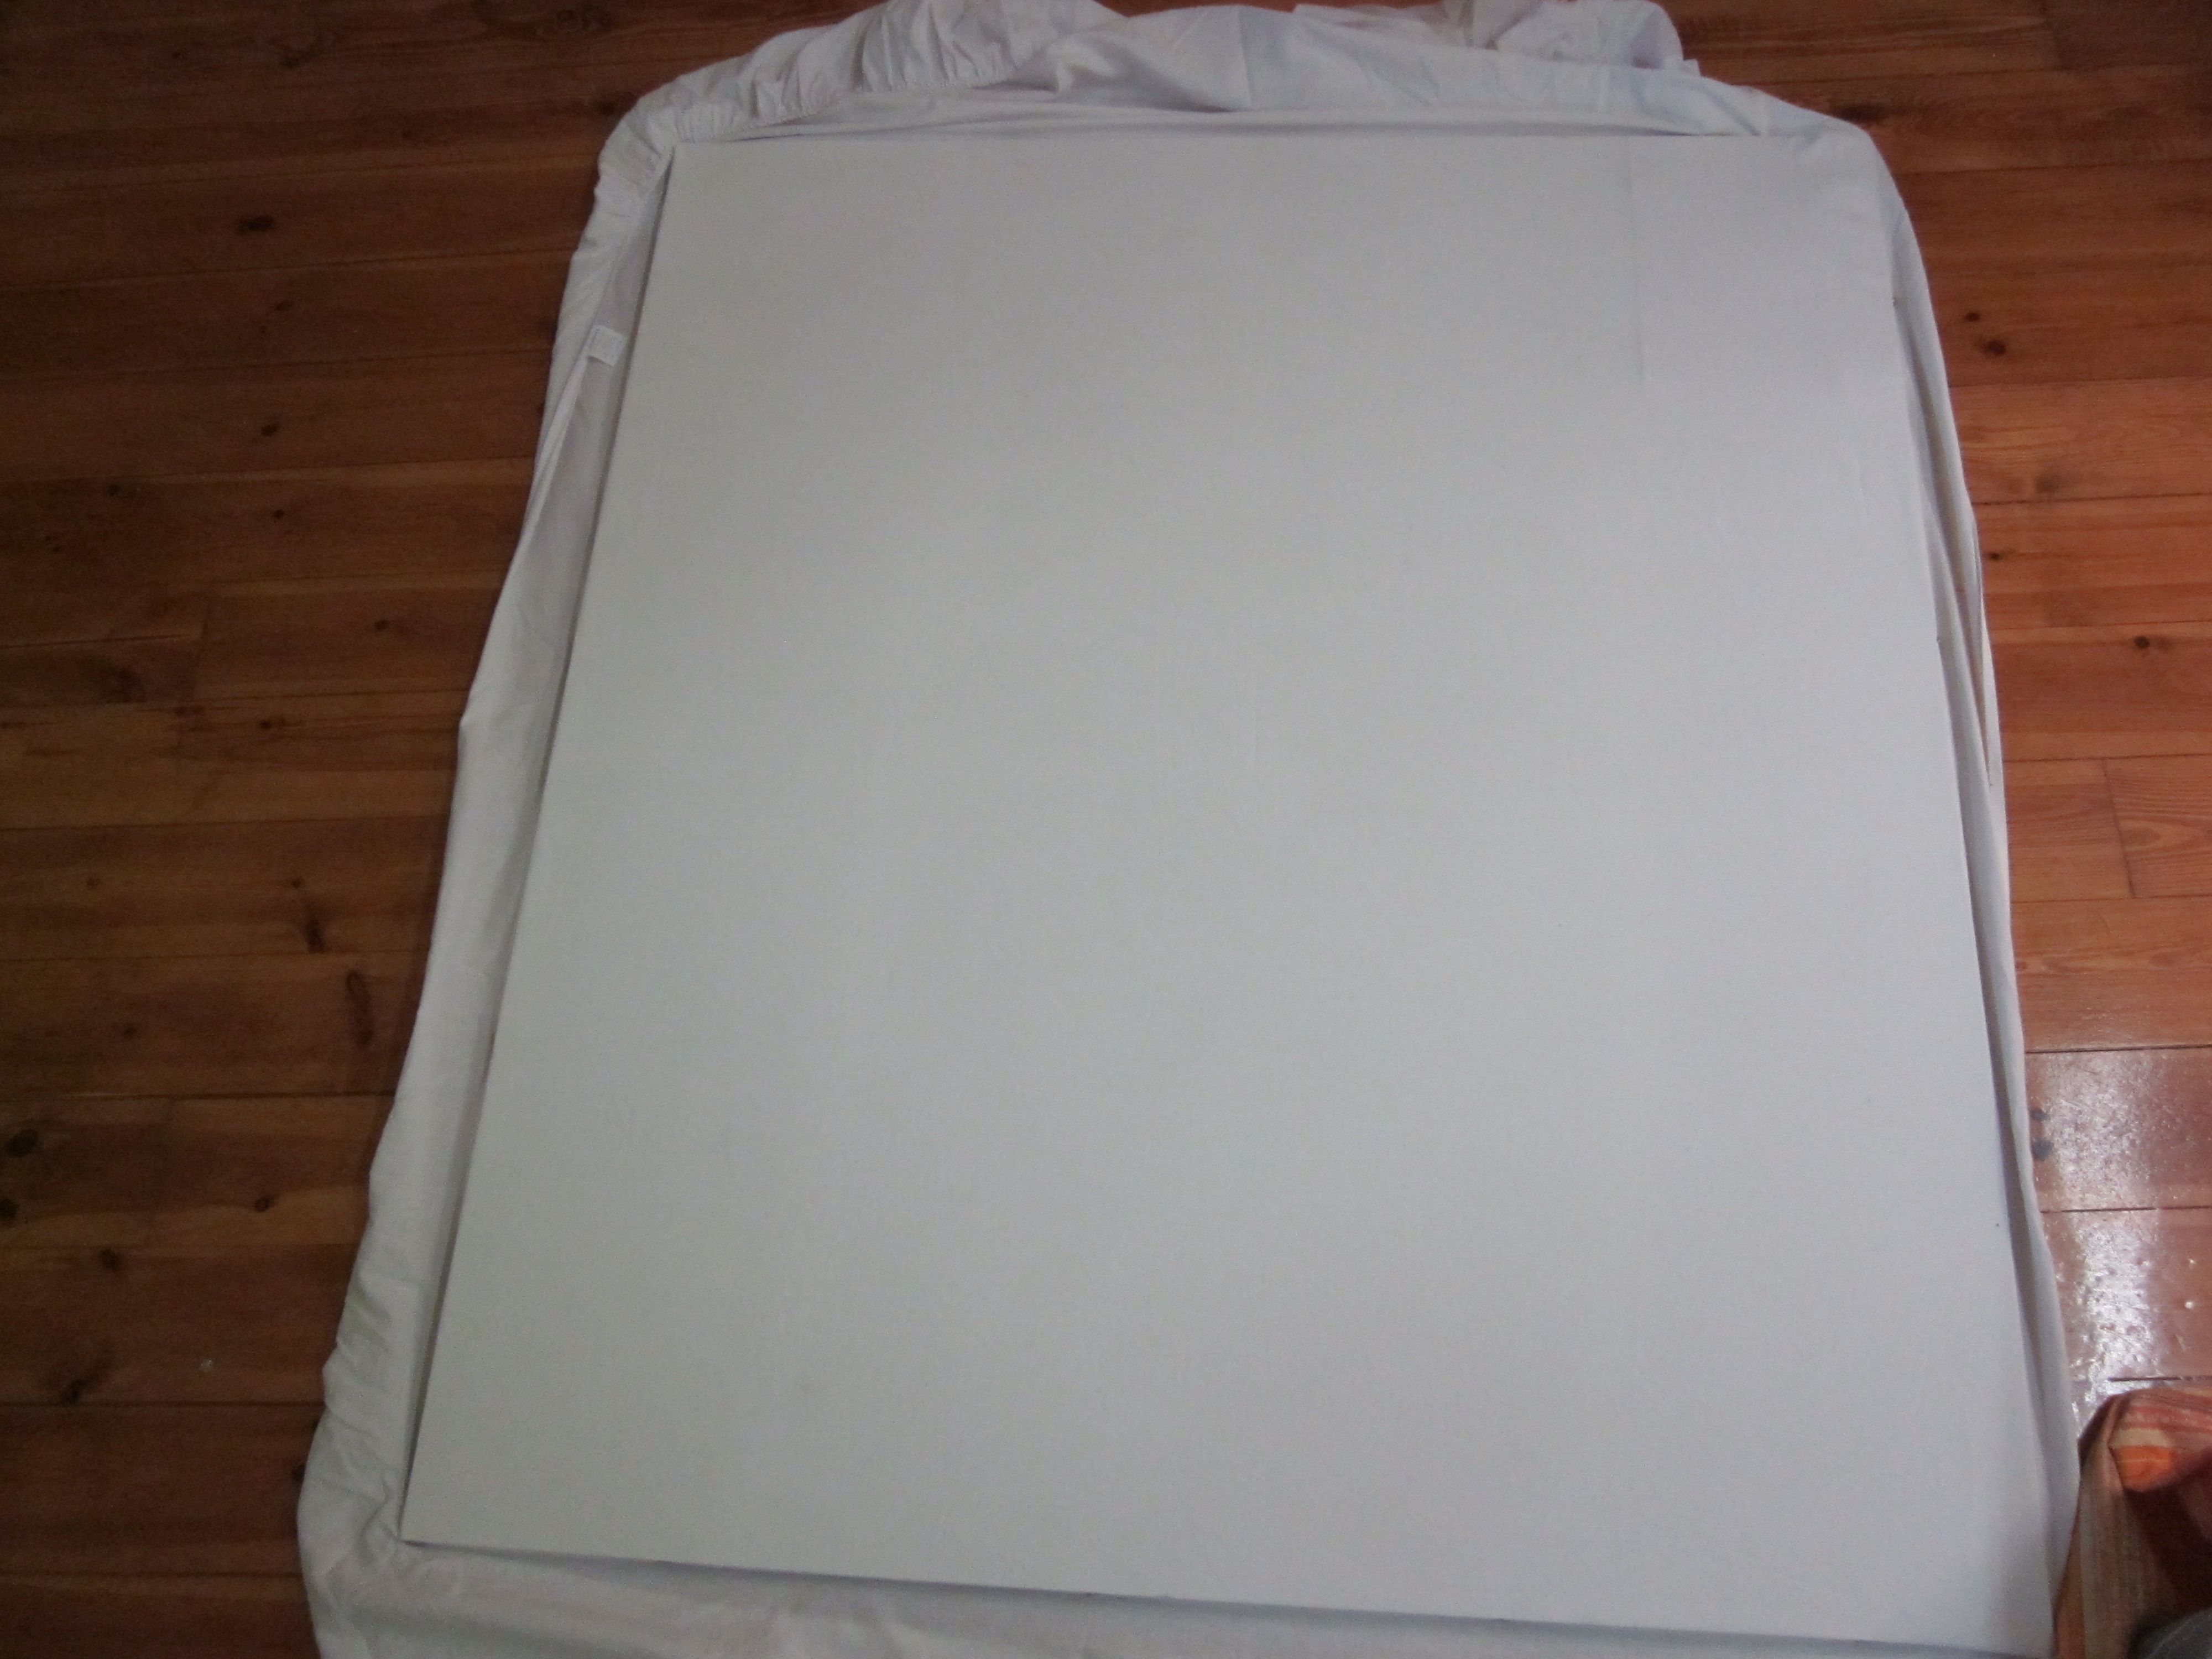
Prepare the Area for Project the Images « Preparar La Zona De Proyección »
![IMG_1600.JPG](/proxy/?url=https://content.instructables.com/FQJ/PGAO/HRTWKCXB/FQJPGAOHRTWKCXB.jpg&filename=IMG_1600.JPG)
![IMG_1602.JPG](/proxy/?url=https://content.instructables.com/FO3/FZU7/HRTWKCXW/FO3FZU7HRTWKCXW.jpg&filename=IMG_1602.JPG)
![IMG_1601.JPG](/proxy/?url=https://content.instructables.com/FP1/YU2D/HRTWKCXG/FP1YU2DHRTWKCXG.jpg&filename=IMG_1601.JPG)
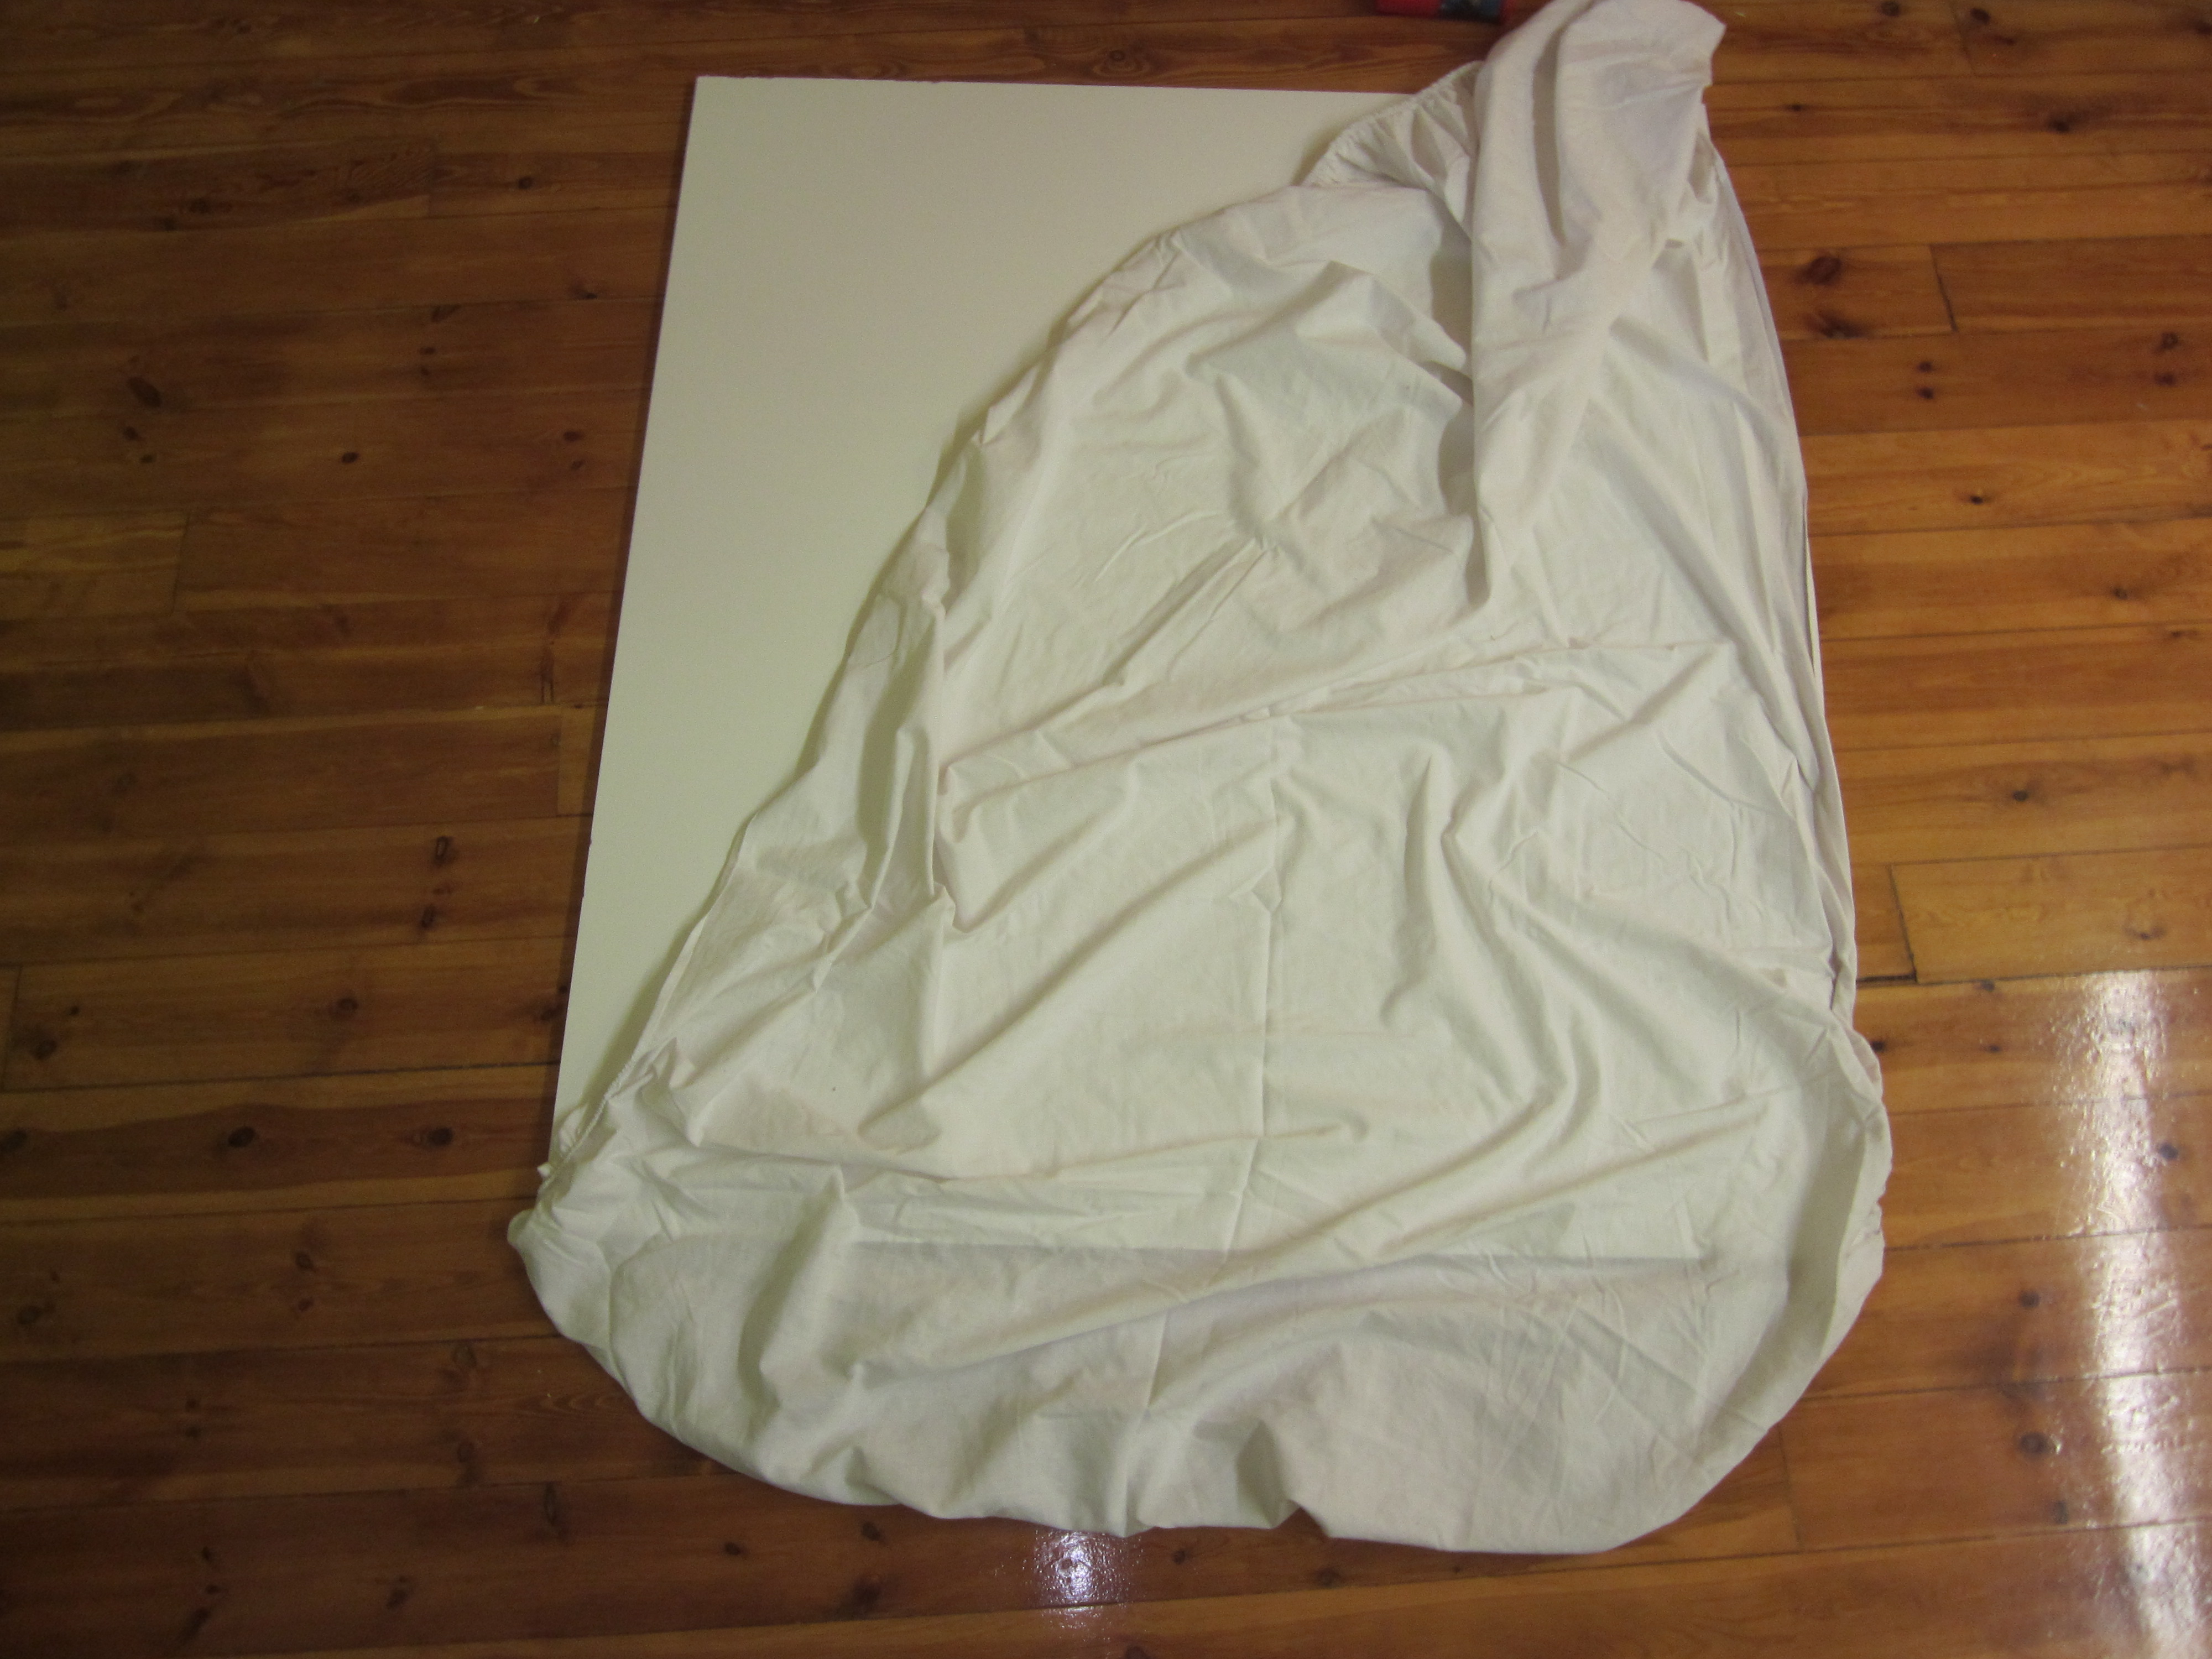
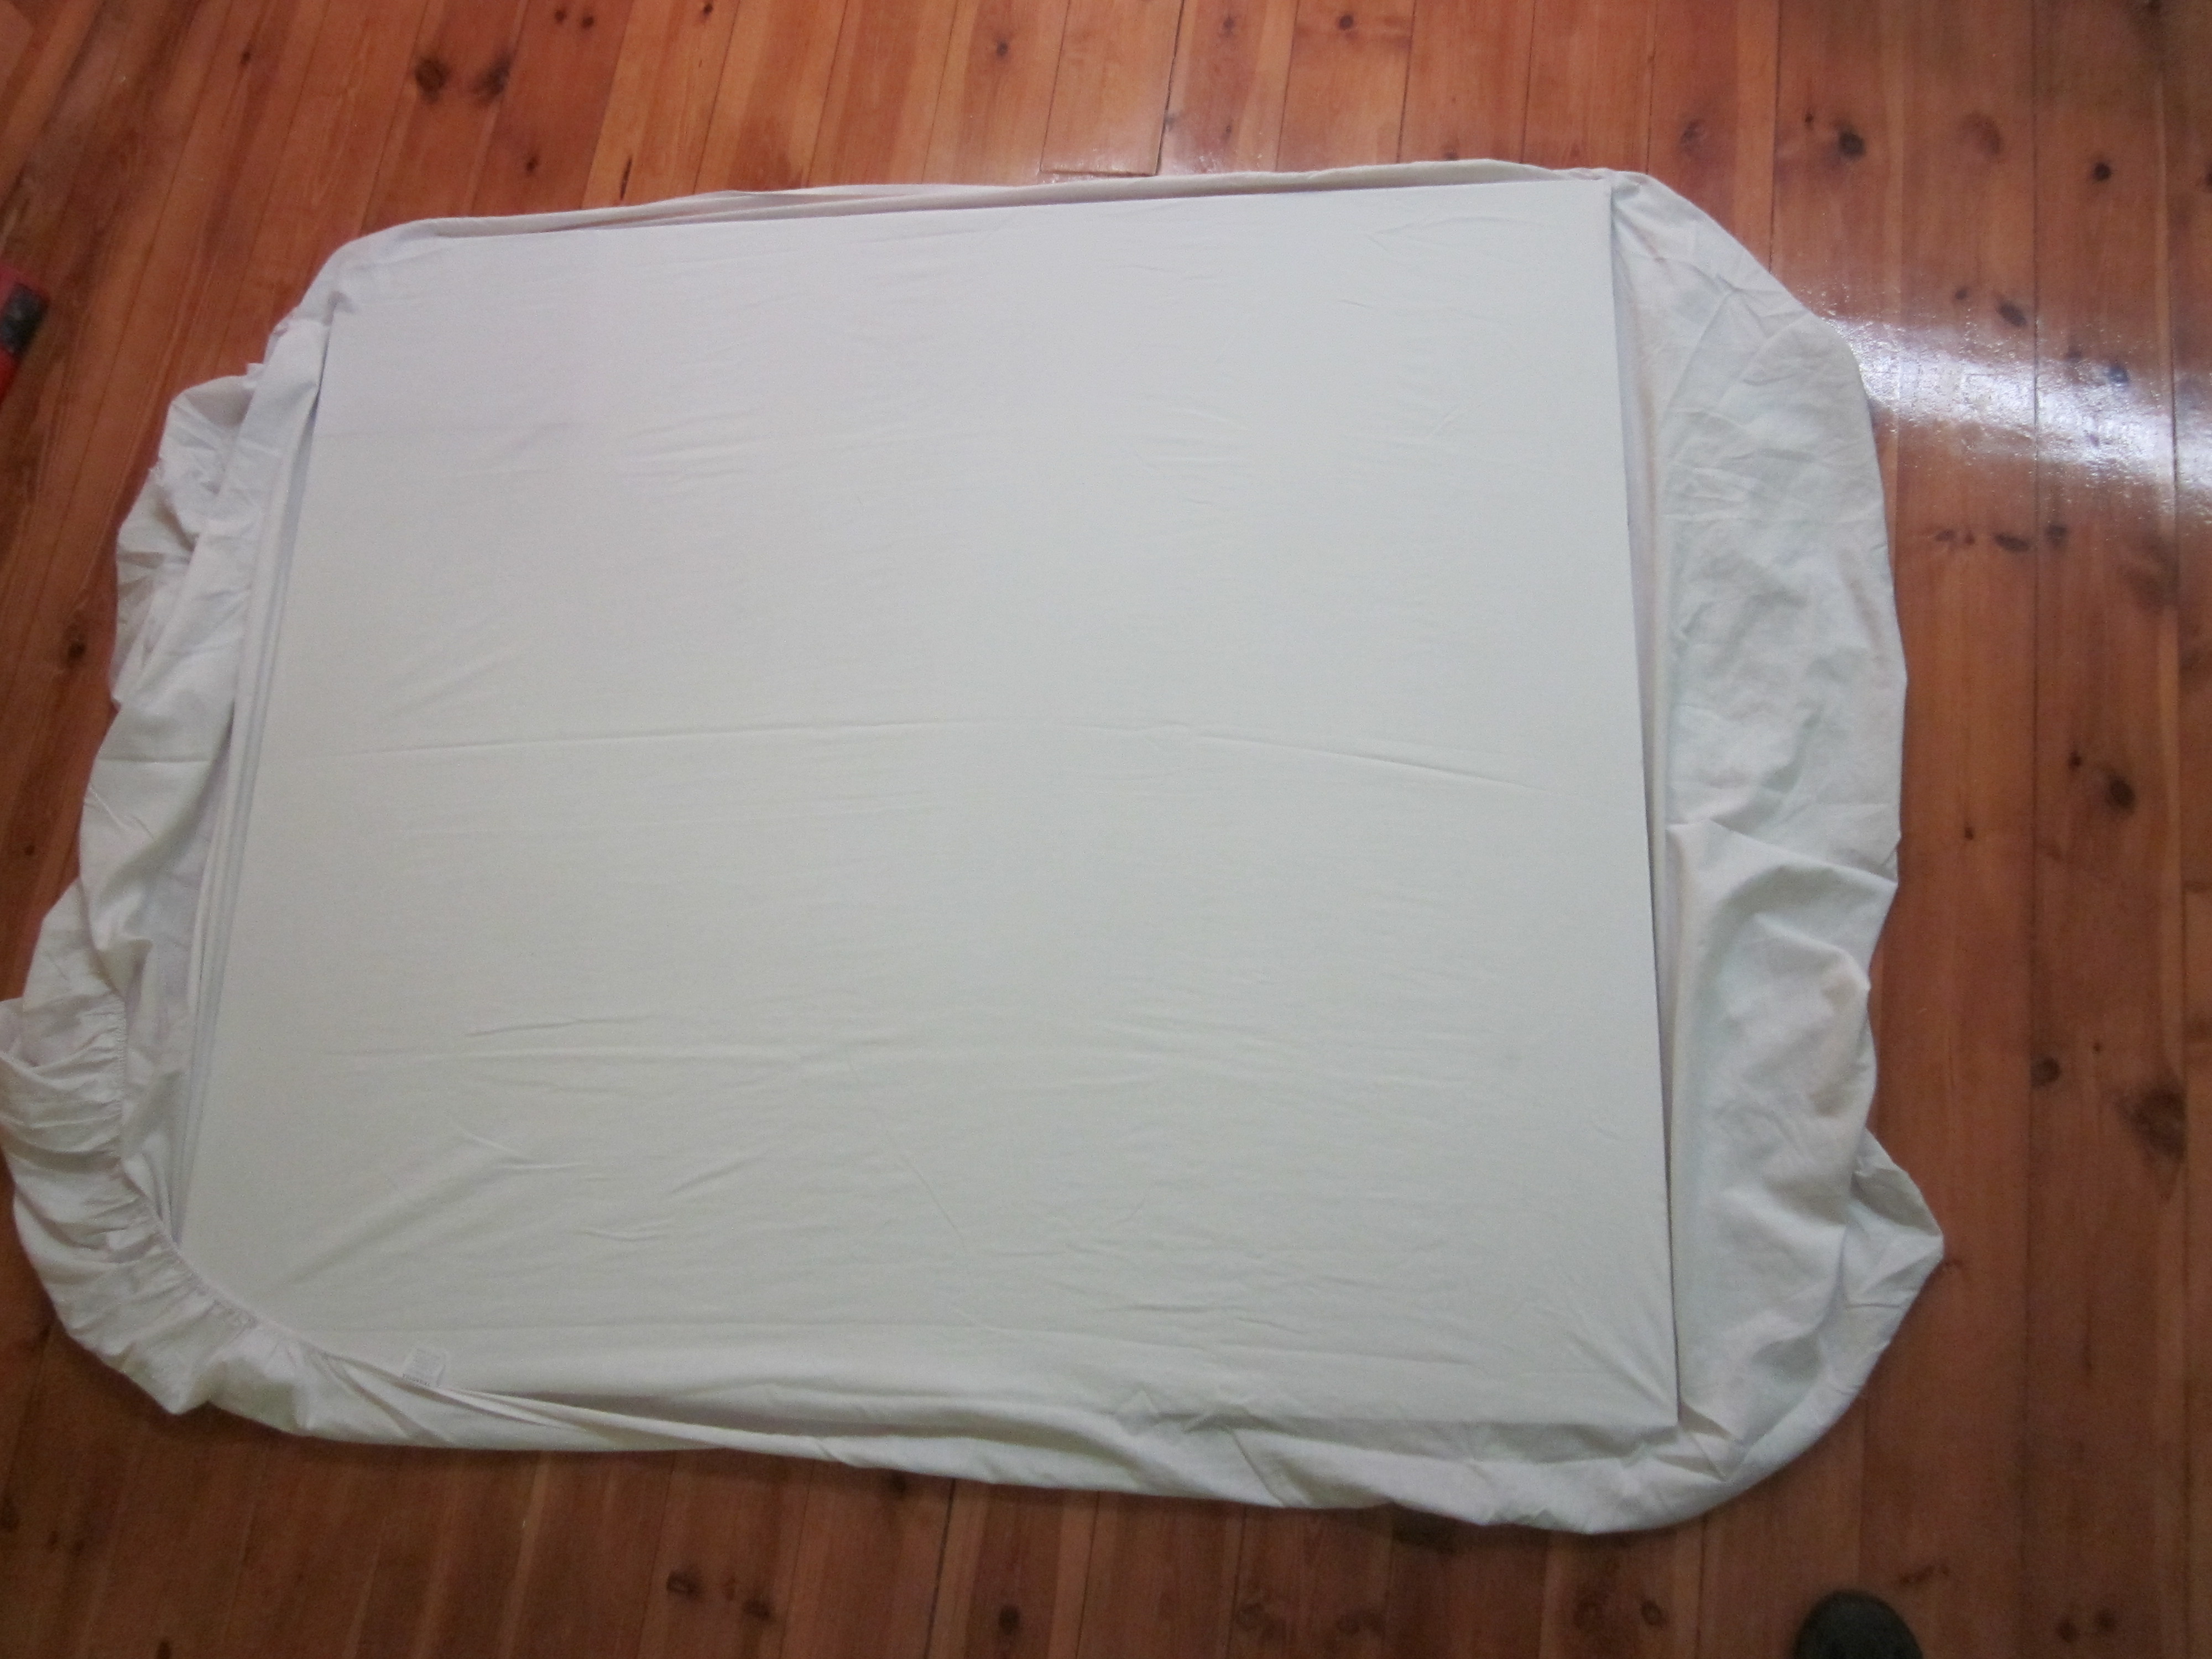
Put the sheet same as the pictures, you can use pins to fix the sheet over/around the wooden table. Try pulling out the wrinkles « Pon las sábanas igual que en la imágenes, puedes usar chinchetas para fixar la sábana alrededor de la tabla de madera. Intenta quitar las arrugas»
Remove All Wrinkles « Quitar Todas Las Arrugas »
![IMG_1603.JPG](/proxy/?url=https://content.instructables.com/FVJ/5BML/HRTWKCNG/FVJ5BMLHRTWKCNG.jpg&filename=IMG_1603.JPG)
![IMG_1604.JPG](/proxy/?url=https://content.instructables.com/F39/LQF4/HRTWKCY9/F39LQF4HRTWKCY9.jpg&filename=IMG_1604.JPG)
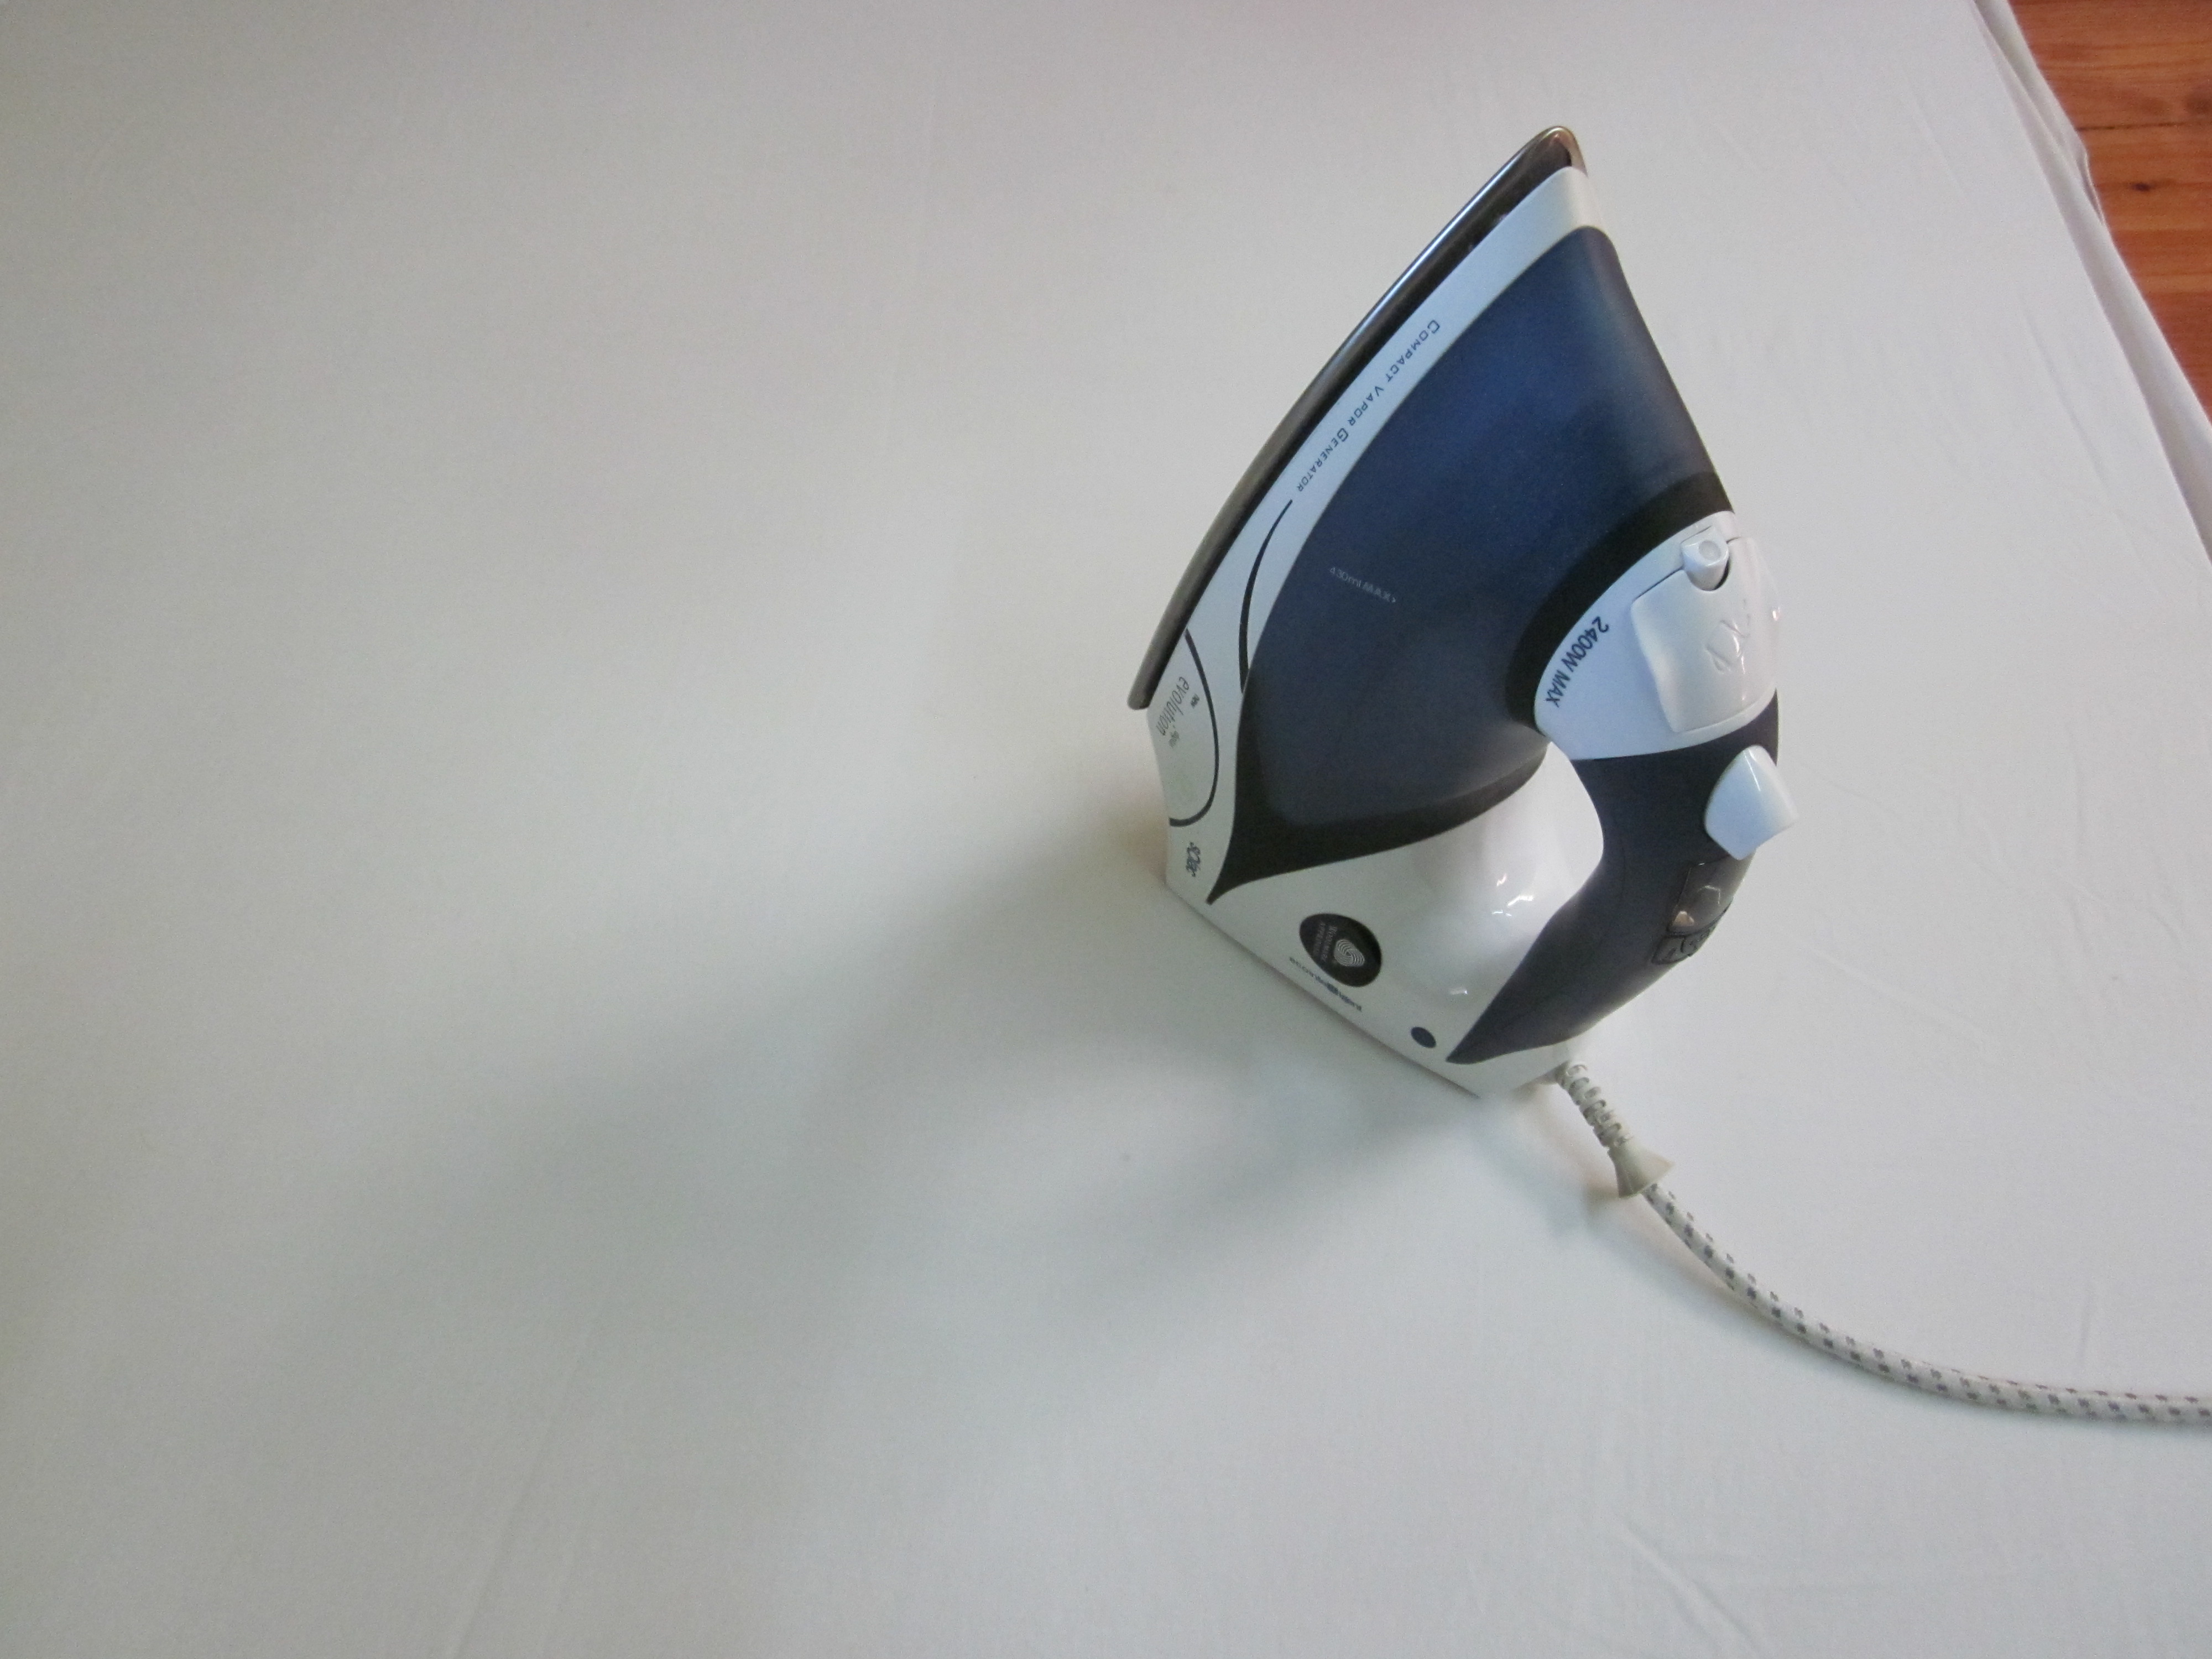
Use the iron to remove all wrinkles, I recommend ironing with steam « usa la plancha para quitar todas las arrugas, recomiendo planchar con vapor ».
Why I use a white fabric? Because the fabric catch better the light and colours and doesn't reflect « Porqué he usado tela blanca? Porque la tela coge mejor la luz y los colores y no refleja»
Prepare the Projector and Camera « Preparar El Proyector Y La Cámara »
![IMG_1616-1.jpg](/proxy/?url=https://content.instructables.com/FBM/2JNK/HRTWKCZE/FBM2JNKHRTWKCZE.jpg&filename=IMG_1616-1.jpg)
![IMG_1628-1.jpg](/proxy/?url=https://content.instructables.com/FRO/RZKH/HRTWKCZQ/FRORZKHHRTWKCZQ.jpg&filename=IMG_1628-1.jpg)
![IMG_1629-1.jpg](/proxy/?url=https://content.instructables.com/FX1/CTVI/HRTWKCZ8/FX1CTVIHRTWKCZ8.jpg&filename=IMG_1629-1.jpg)
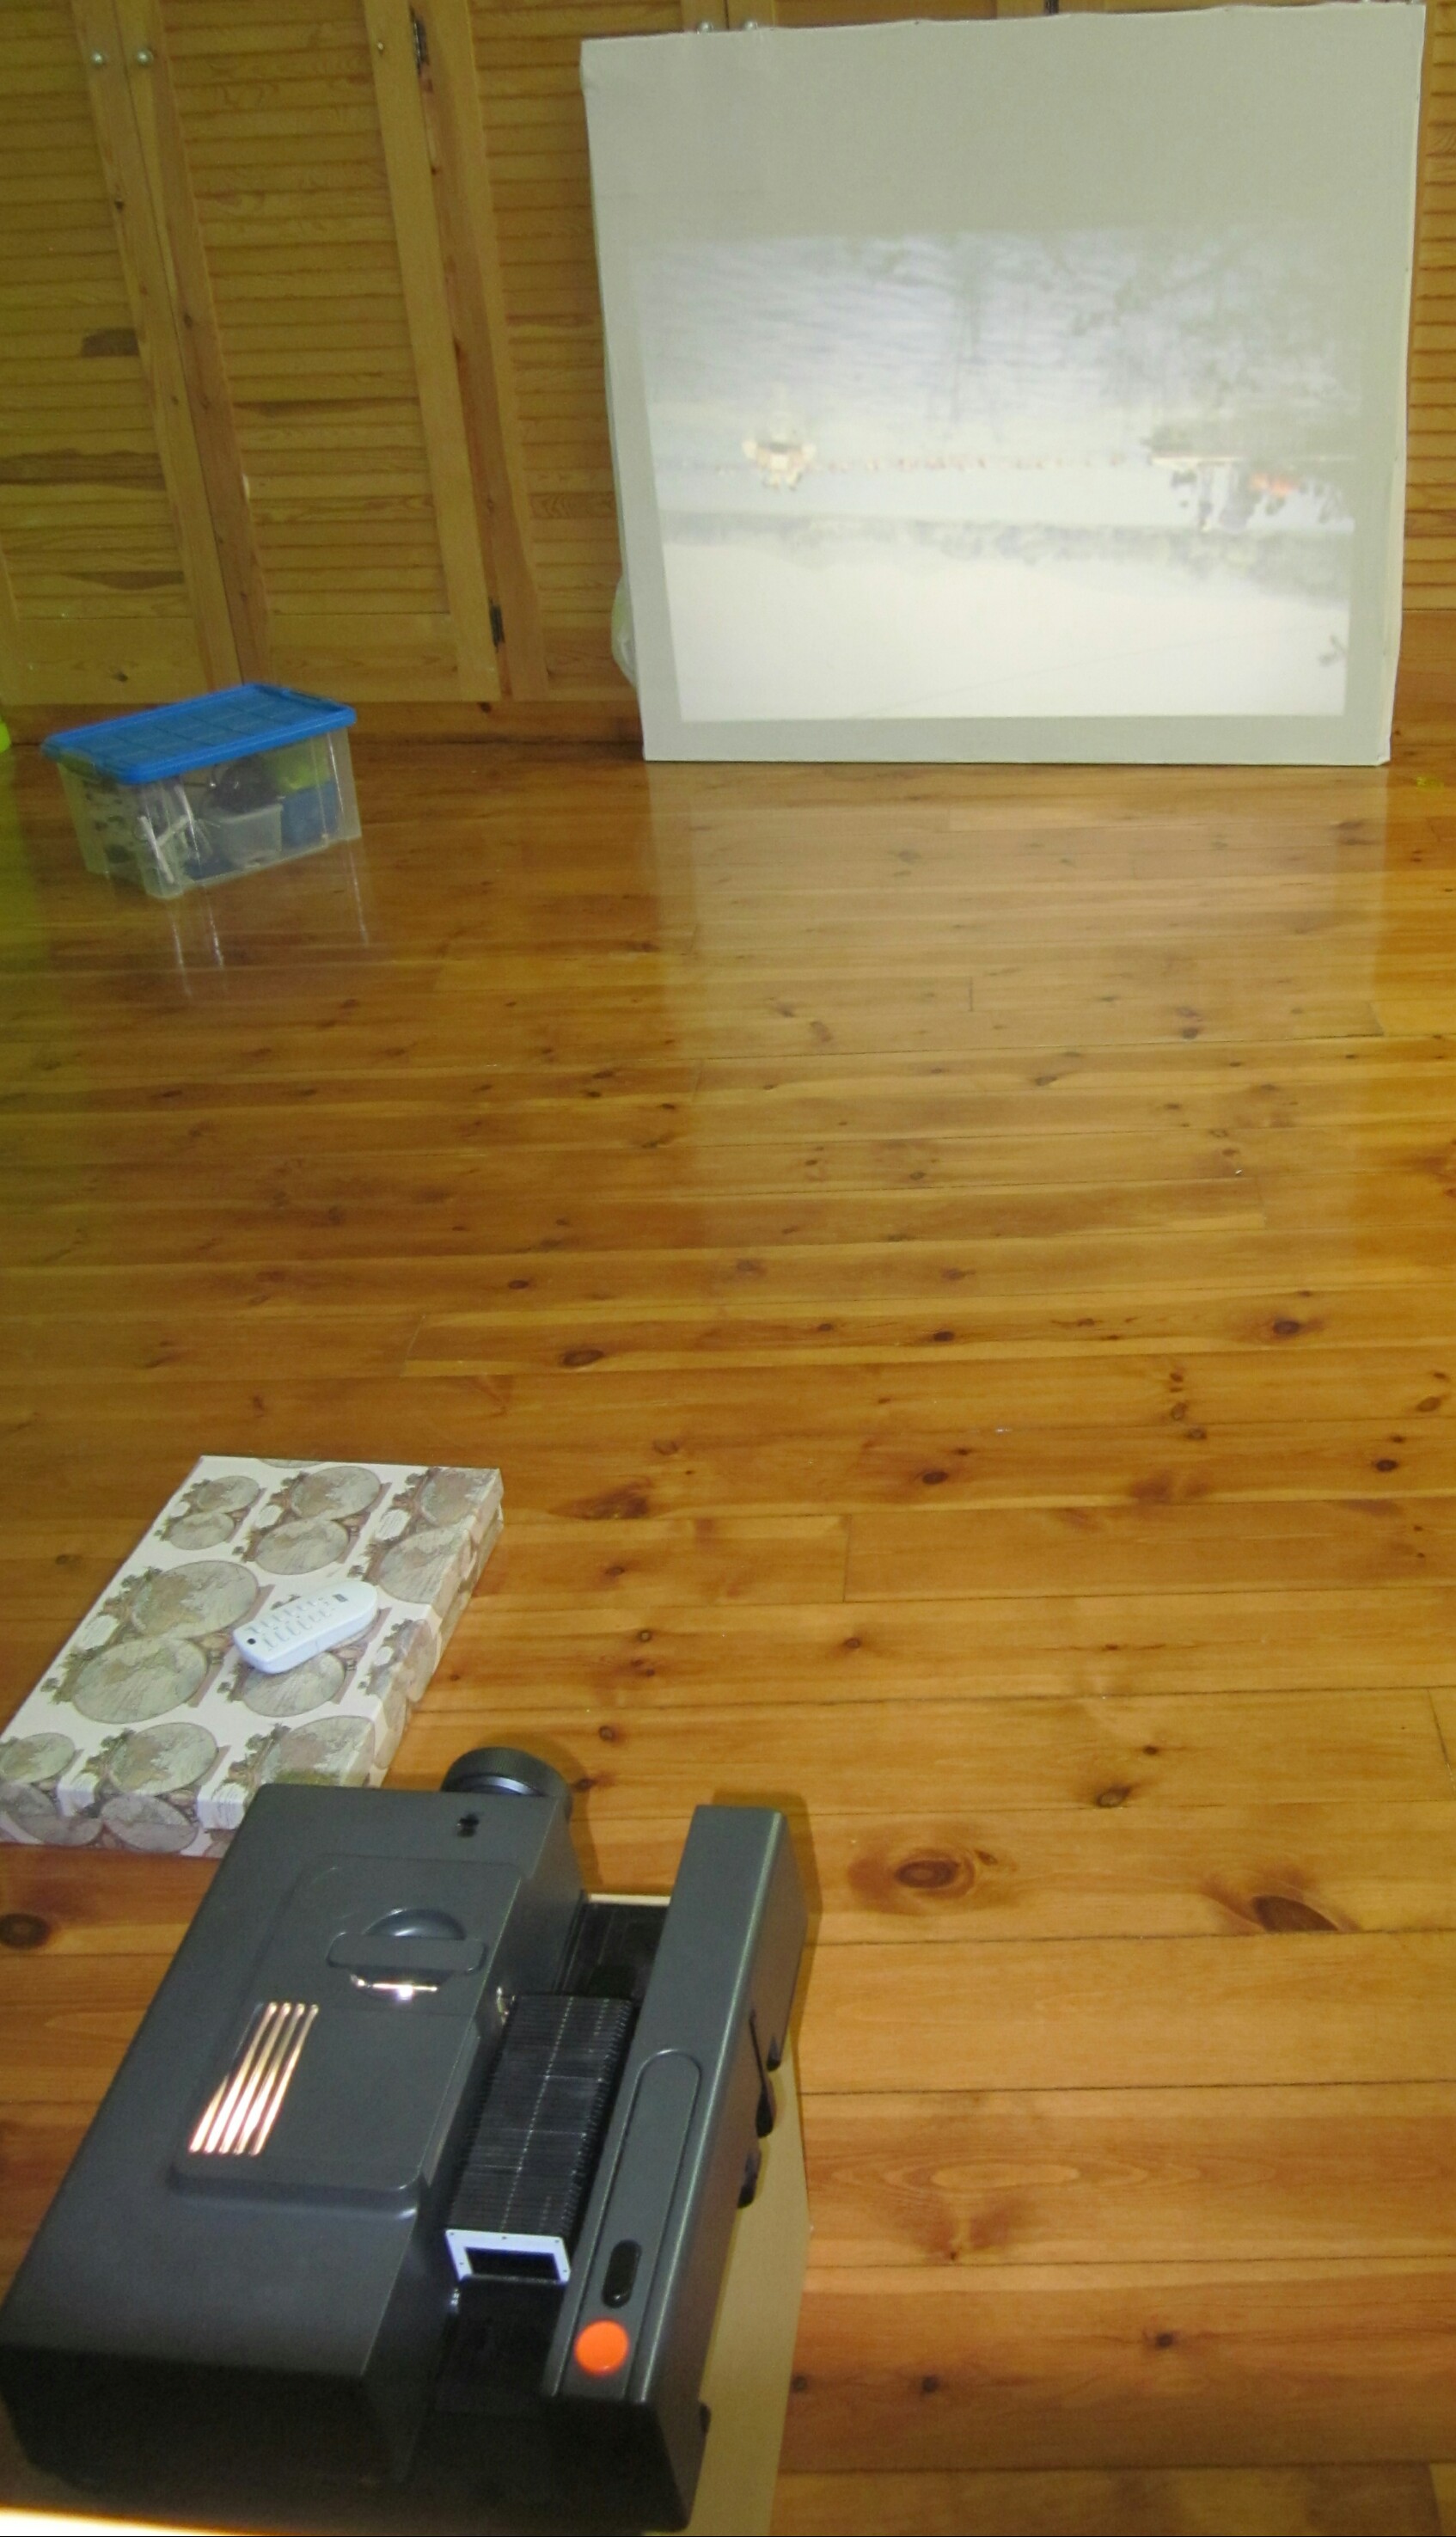
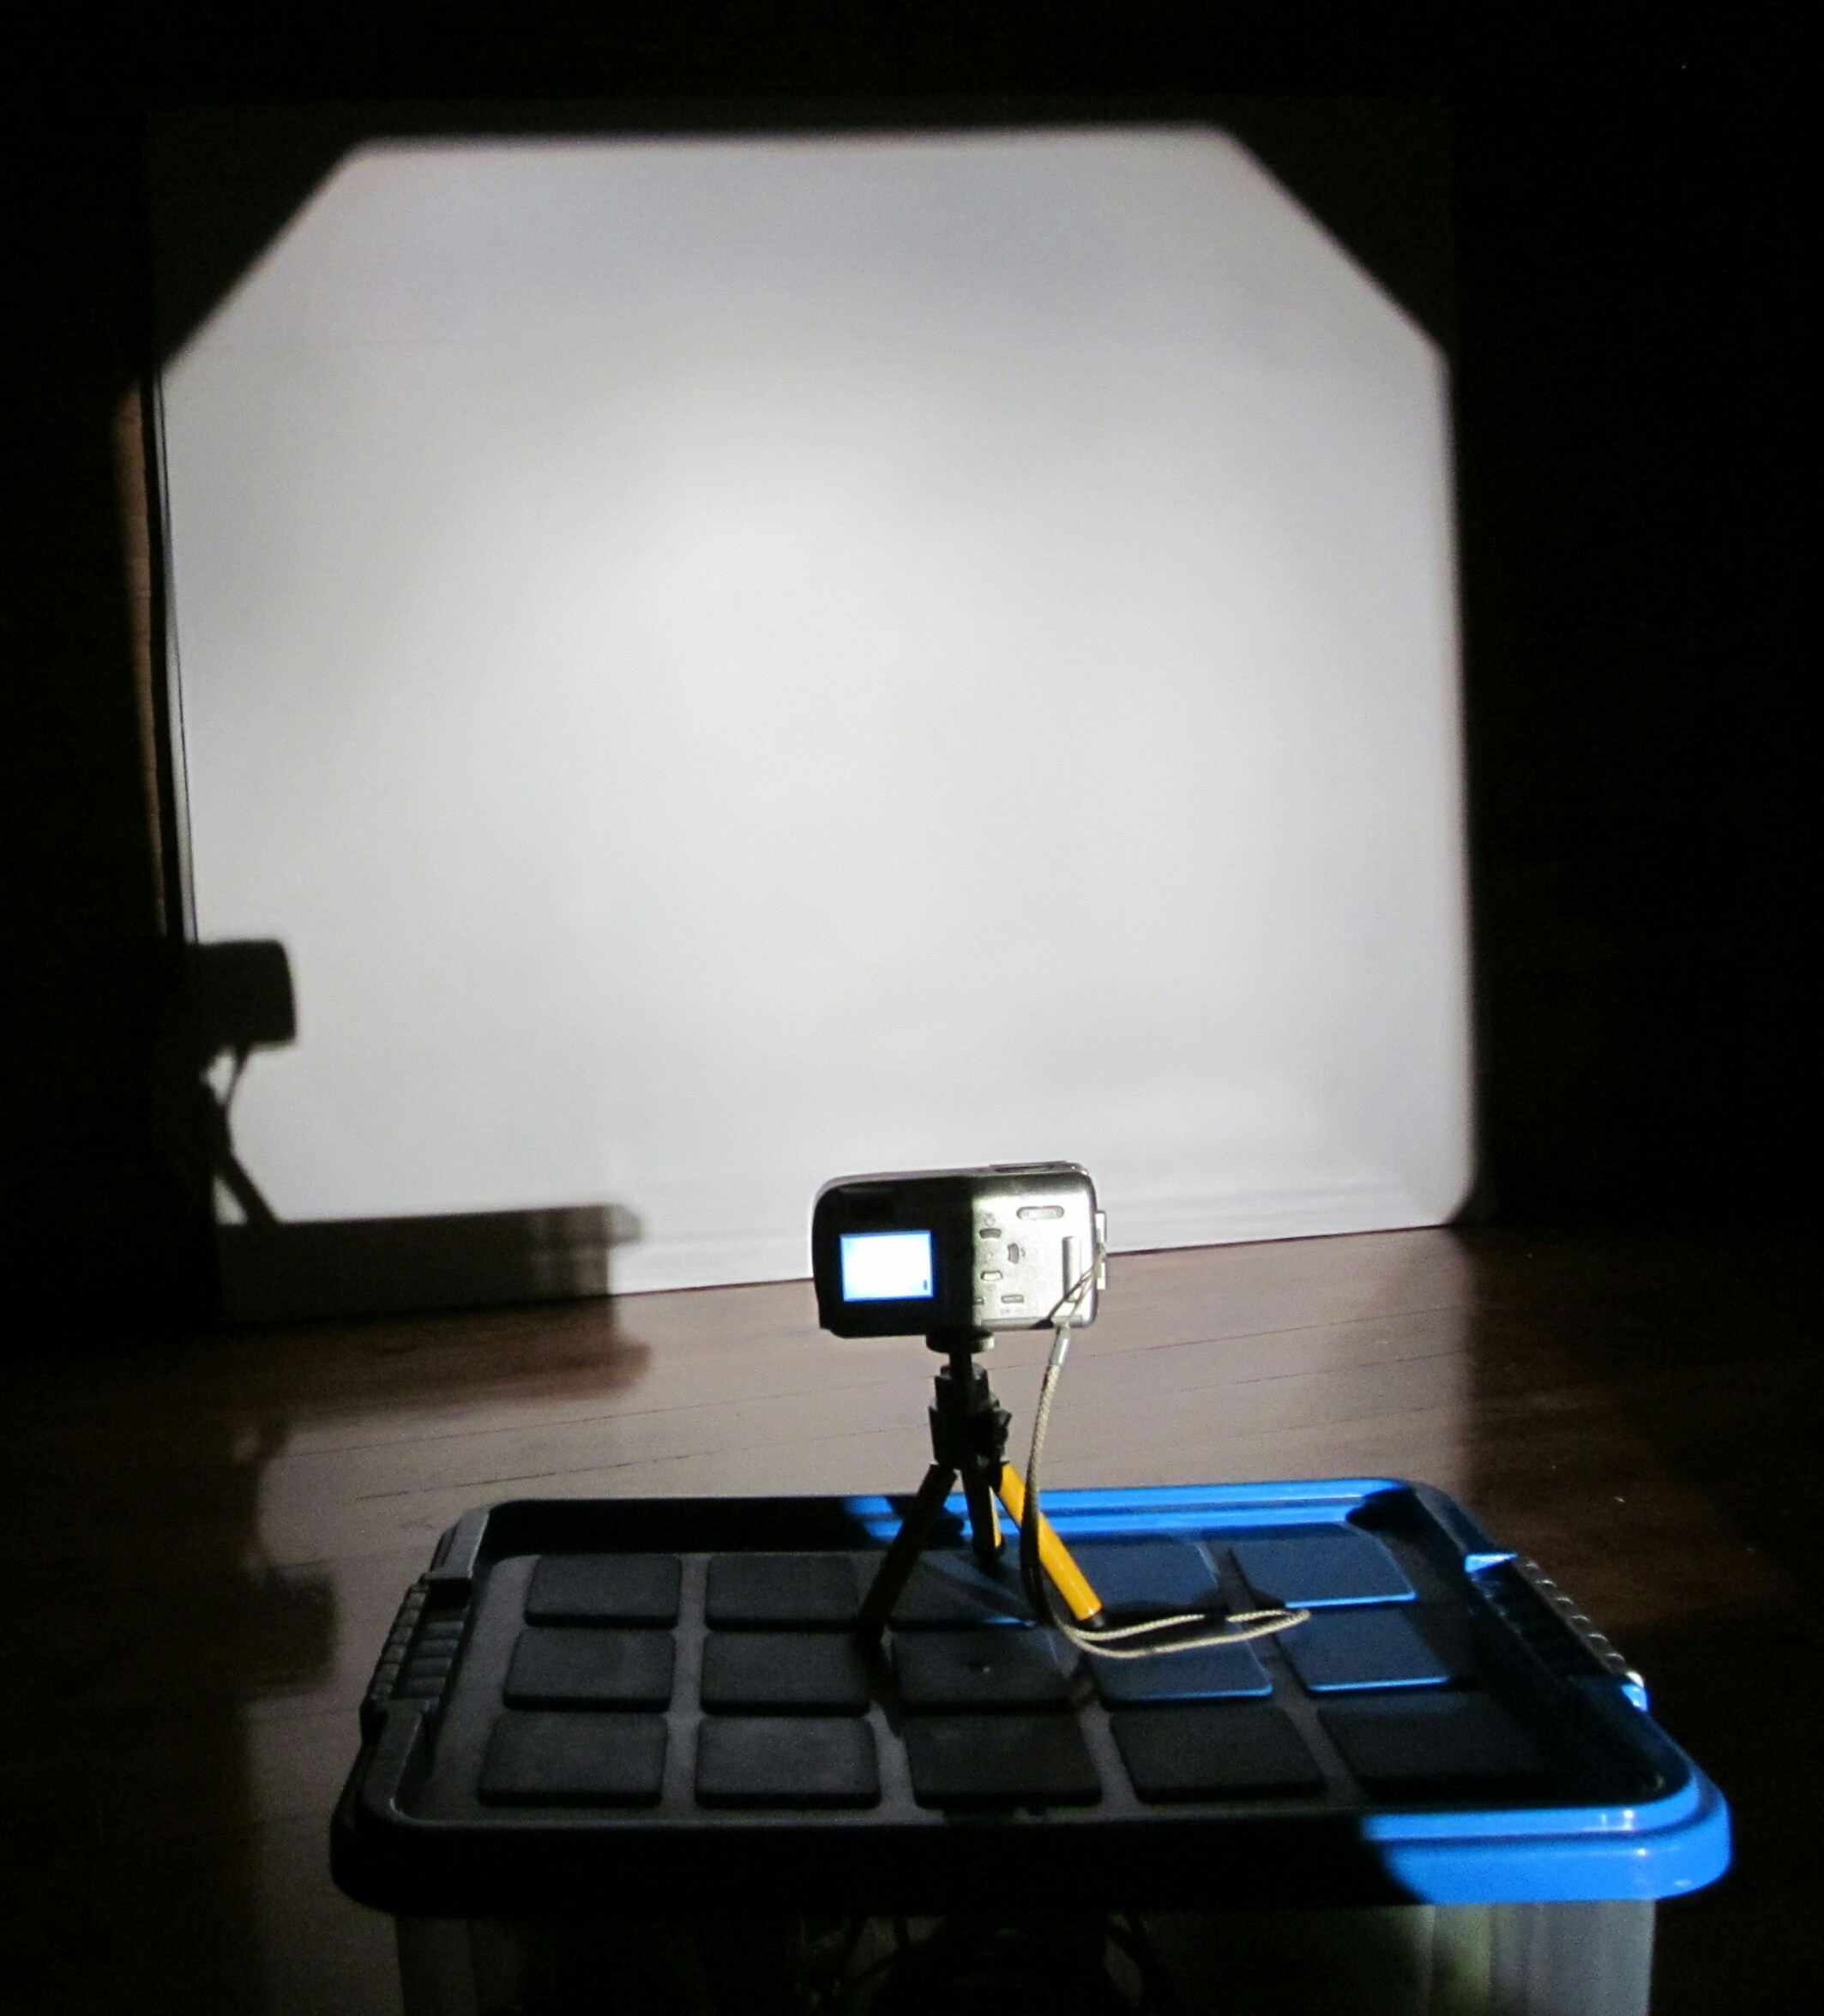
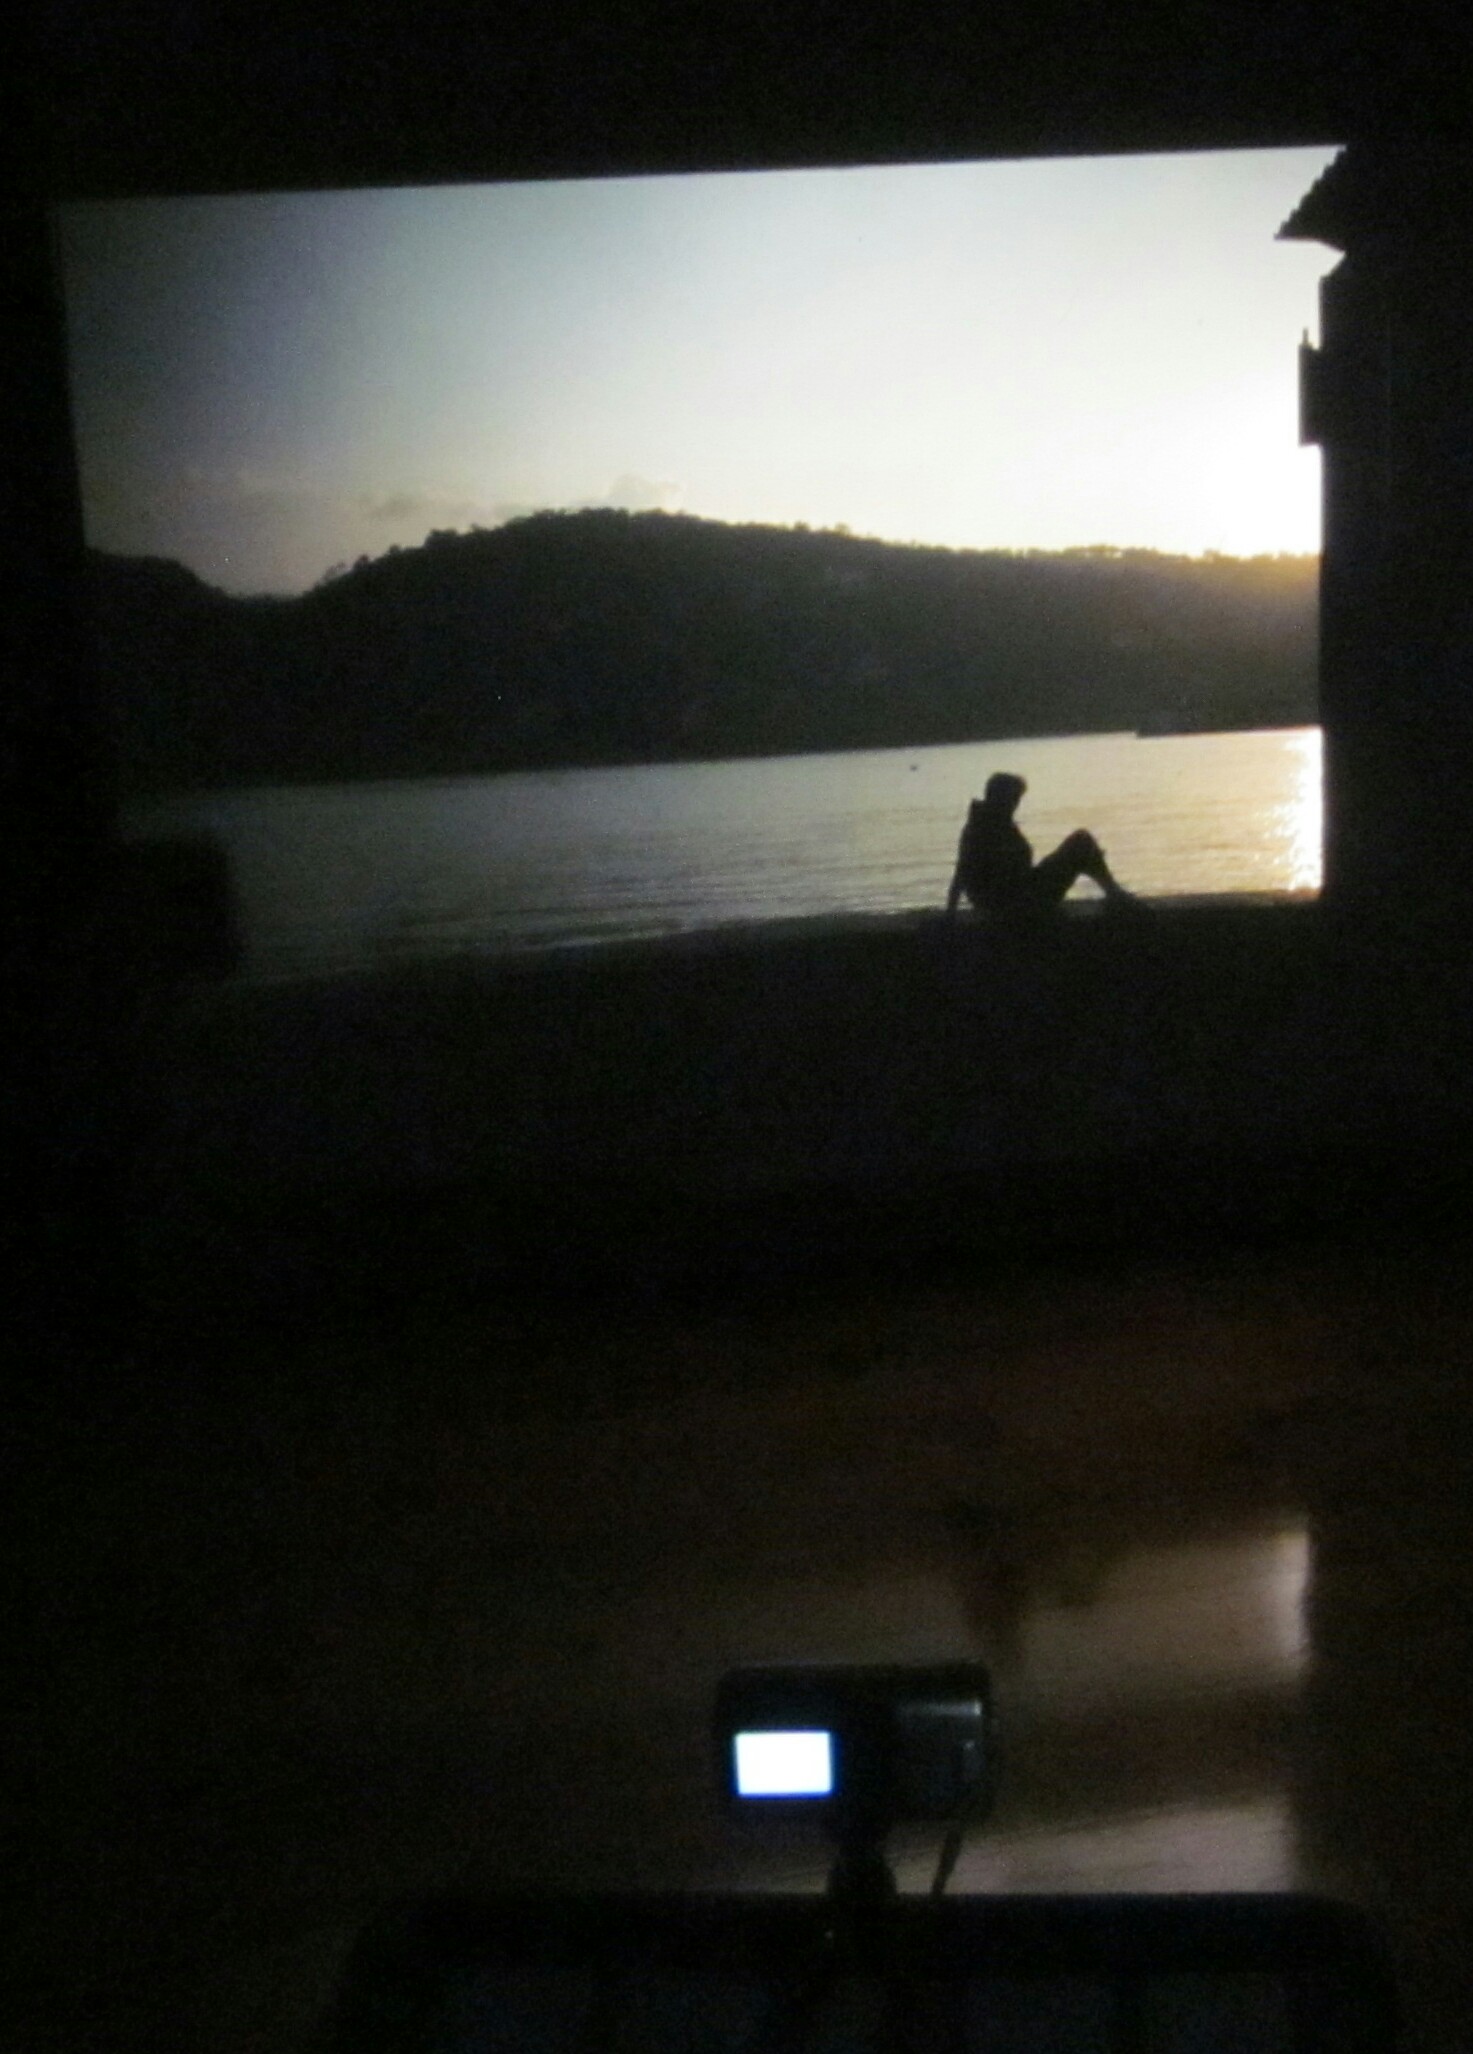
Open the projector and put the camera with the tripode betwen the table and the projector traying to see in the screen the image projected. I use a camera whit remote control to do more easyer the work. Use the zoom to catch better the image « abre el proyector y pon la cámara entre la tabla y el proyector intentando ver en la pantalla la imagen proyectada. Hago servir una cámara con mando a distancia para facilitar la faena. Usa el zoom para emfocar mejor la imagen.»
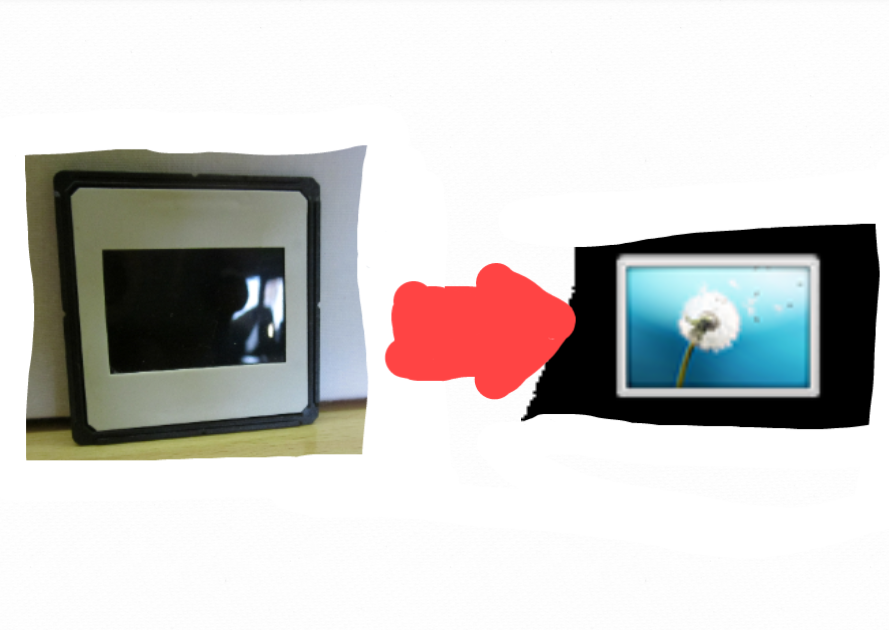
LOOK THE RESULTS << Mira Los Resultados >>
![IMG_20140215_211338.jpg](/proxy/?url=https://content.instructables.com/FZT/AIP1/HRTWKCVF/FZTAIP1HRTWKCVF.jpg&filename=IMG_20140215_211338.jpg)
![P1010020.JPG](/proxy/?url=https://content.instructables.com/FJP/EV4A/HRTWKCWI/FJPEV4AHRTWKCWI.jpg&filename=P1010020.JPG)
![P1010021-1.jpg](/proxy/?url=https://content.instructables.com/FGT/W0EU/HRTWKCWN/FGTW0EUHRTWKCWN.jpg&filename=P1010021-1.jpg)
![P1010027.JPG](/proxy/?url=https://content.instructables.com/FMP/WTVV/HRTWKCWQ/FMPWTVVHRTWKCWQ.jpg&filename=P1010027.JPG)
![IMG_20140215_205505.jpg](/proxy/?url=https://content.instructables.com/FDO/Y7QR/HRTWKCYE/FDOY7QRHRTWKCYE.jpg&filename=IMG_20140215_205505.jpg)
![P1010032.JPG](/proxy/?url=https://content.instructables.com/FOG/XEC3/HRTWKCX2/FOGXEC3HRTWKCX2.jpg&filename=P1010032.JPG)
![P1010031.JPG](/proxy/?url=https://content.instructables.com/F4I/CCUT/HRTWKCWU/F4ICCUTHRTWKCWU.jpg&filename=P1010031.JPG)
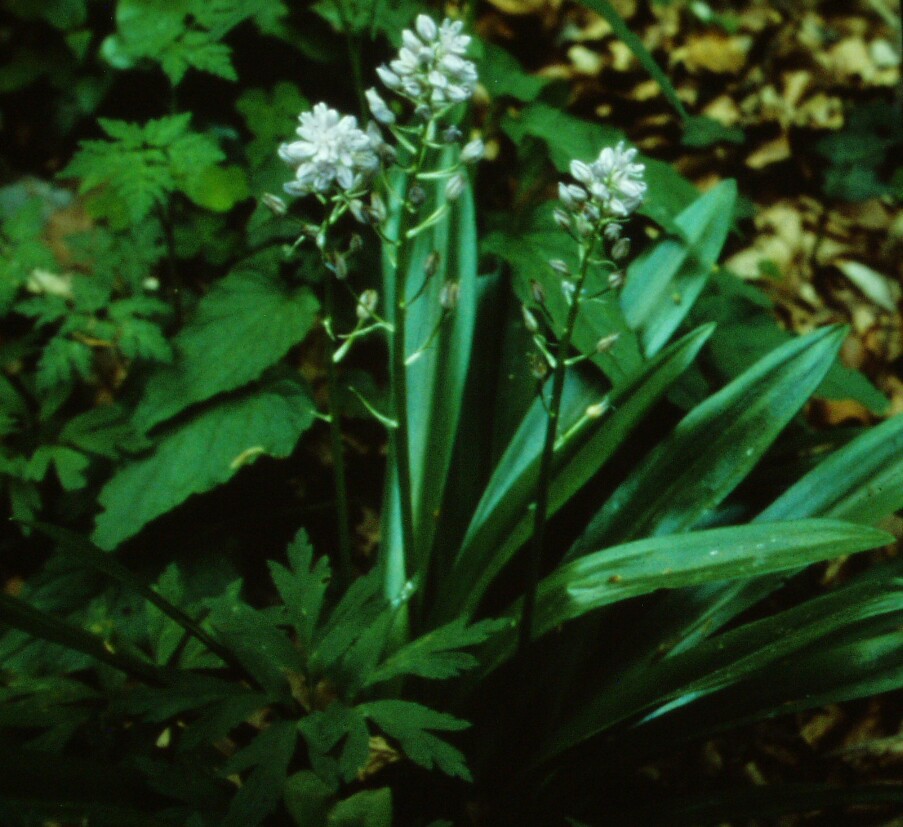
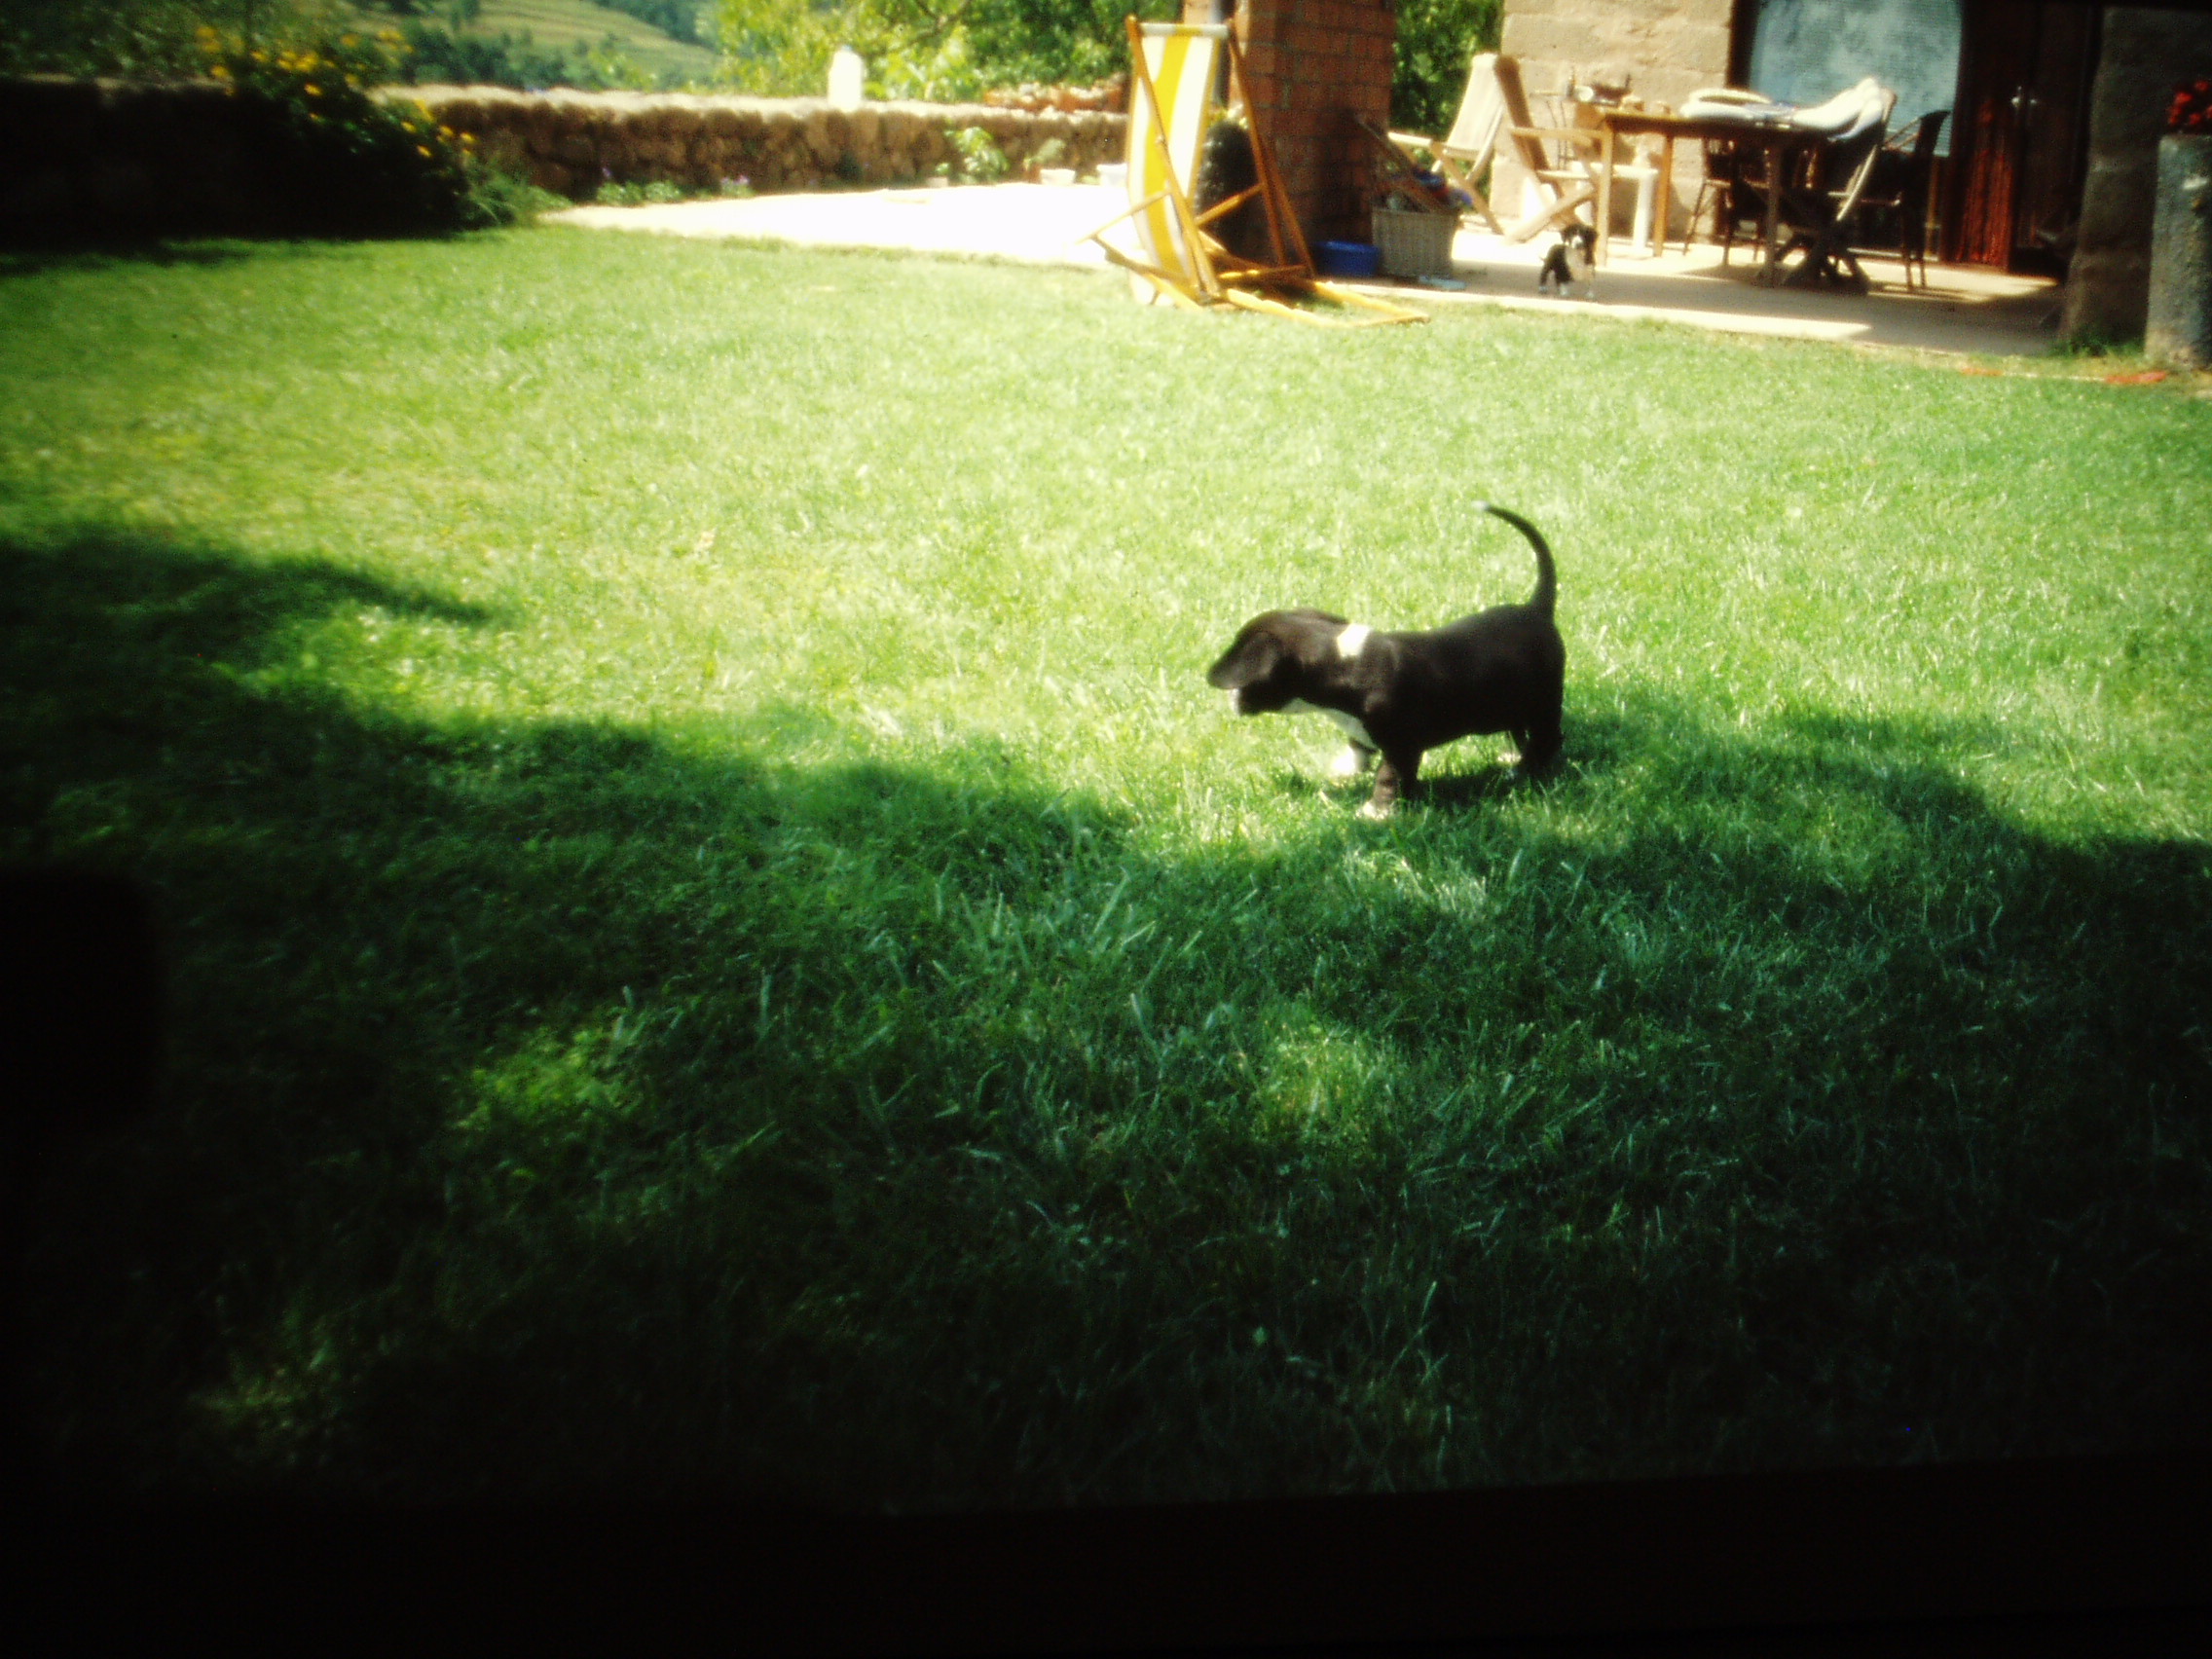
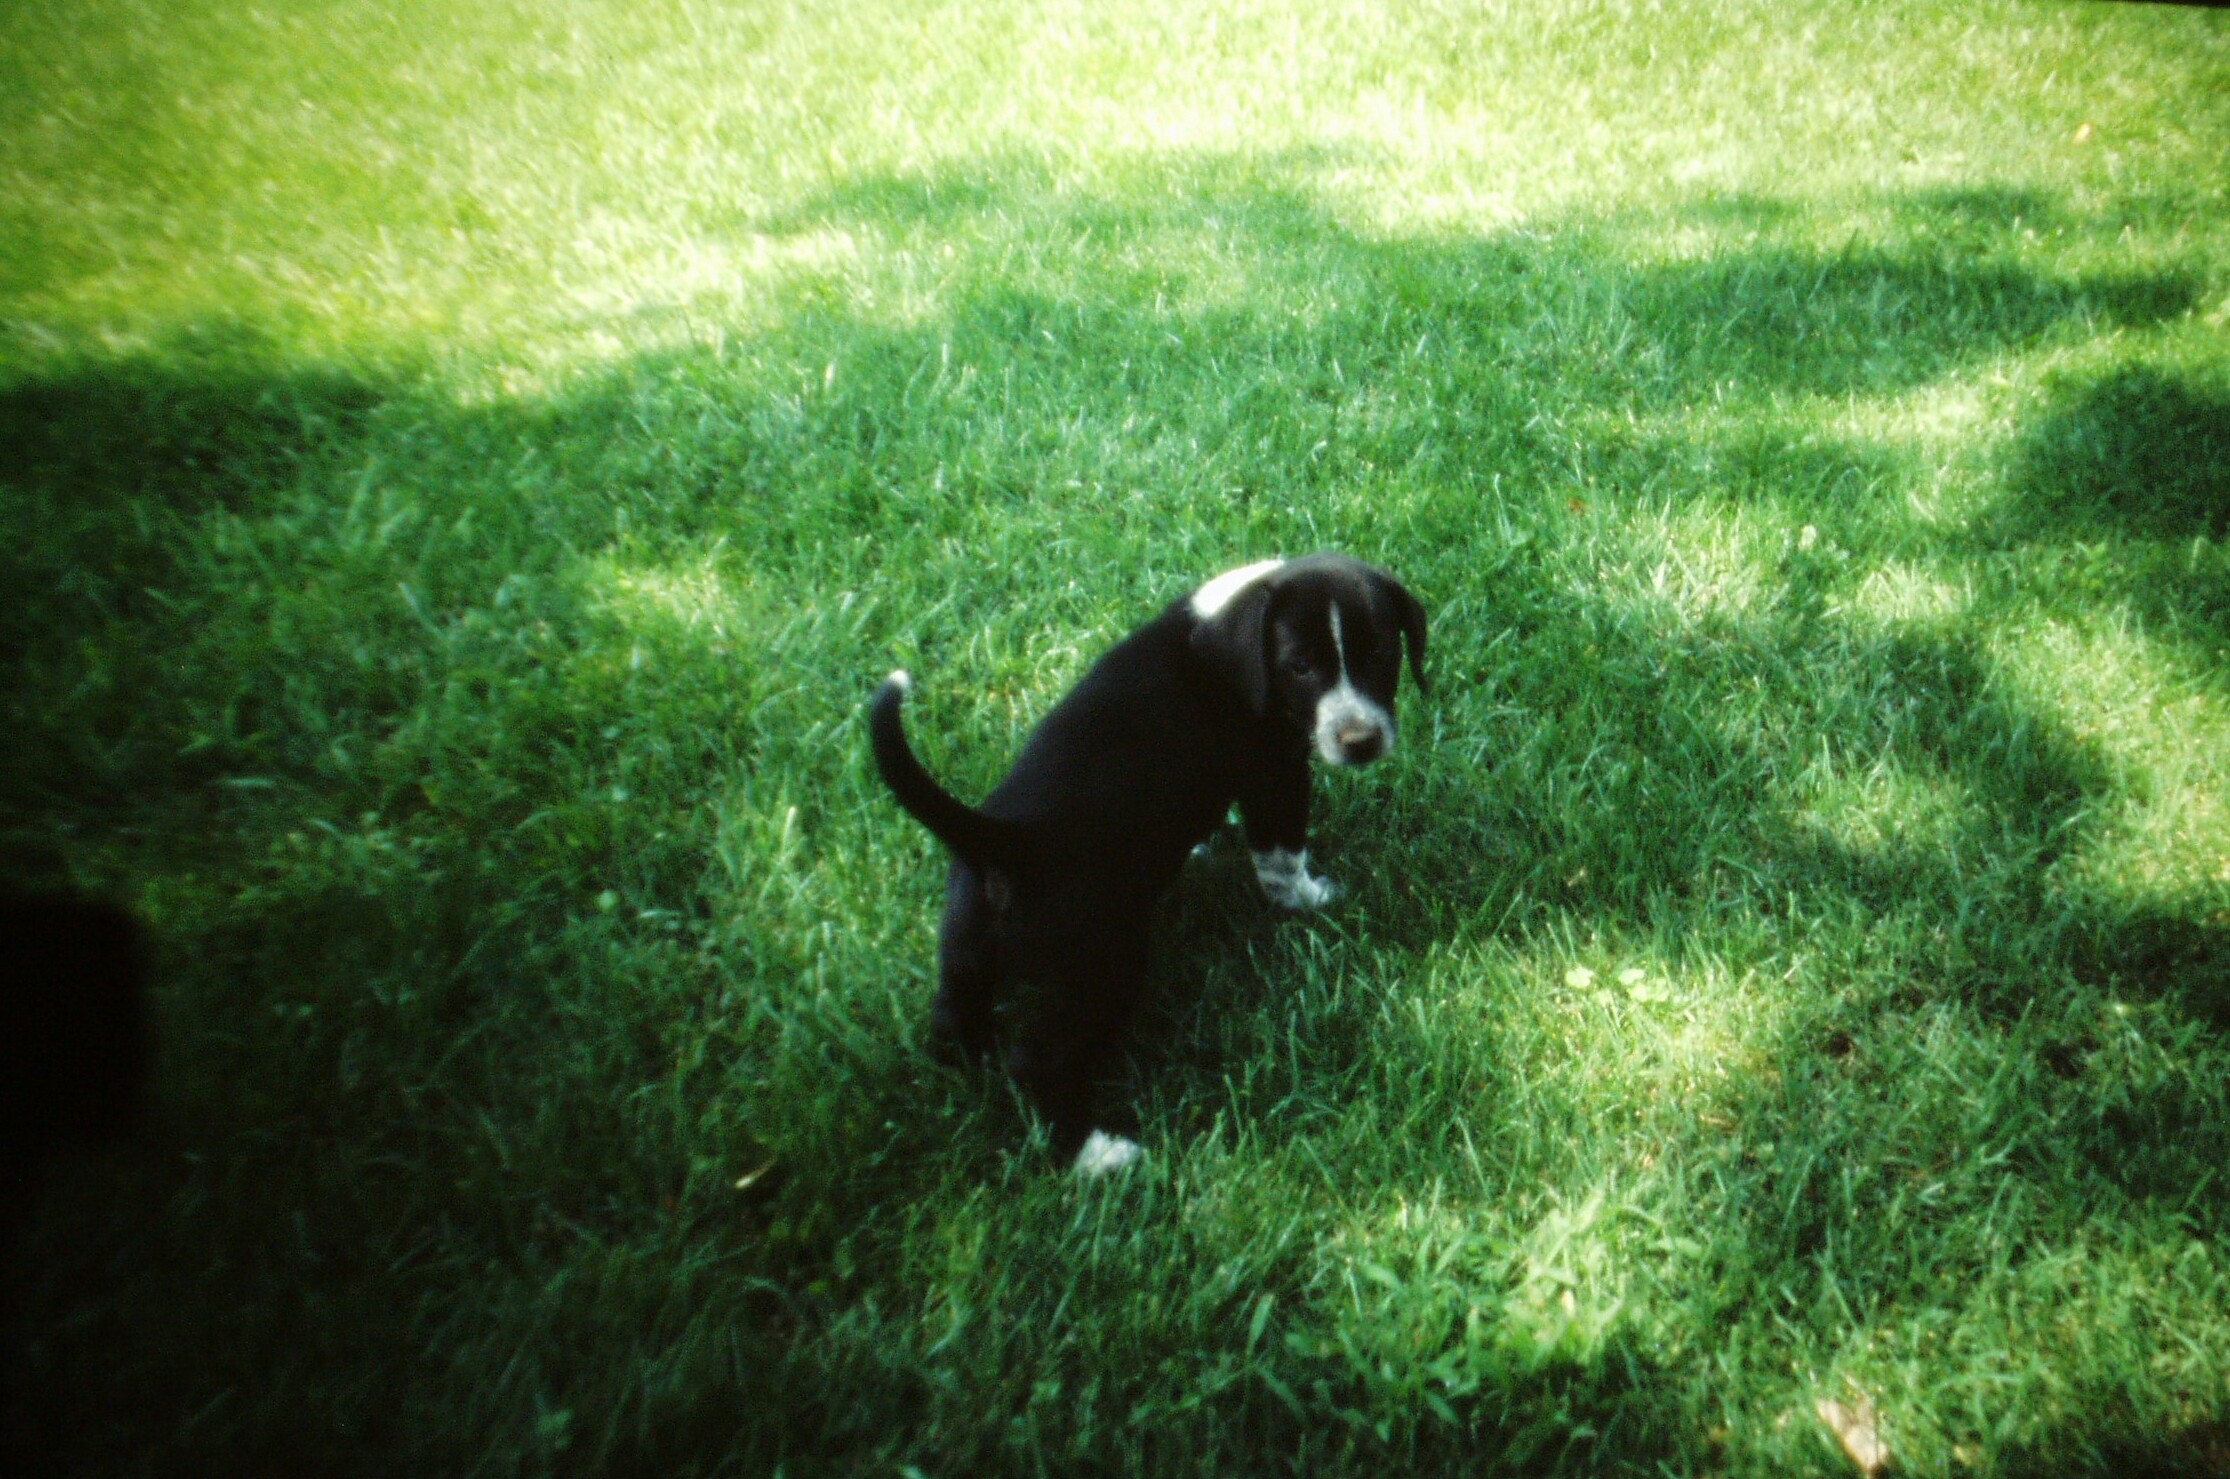
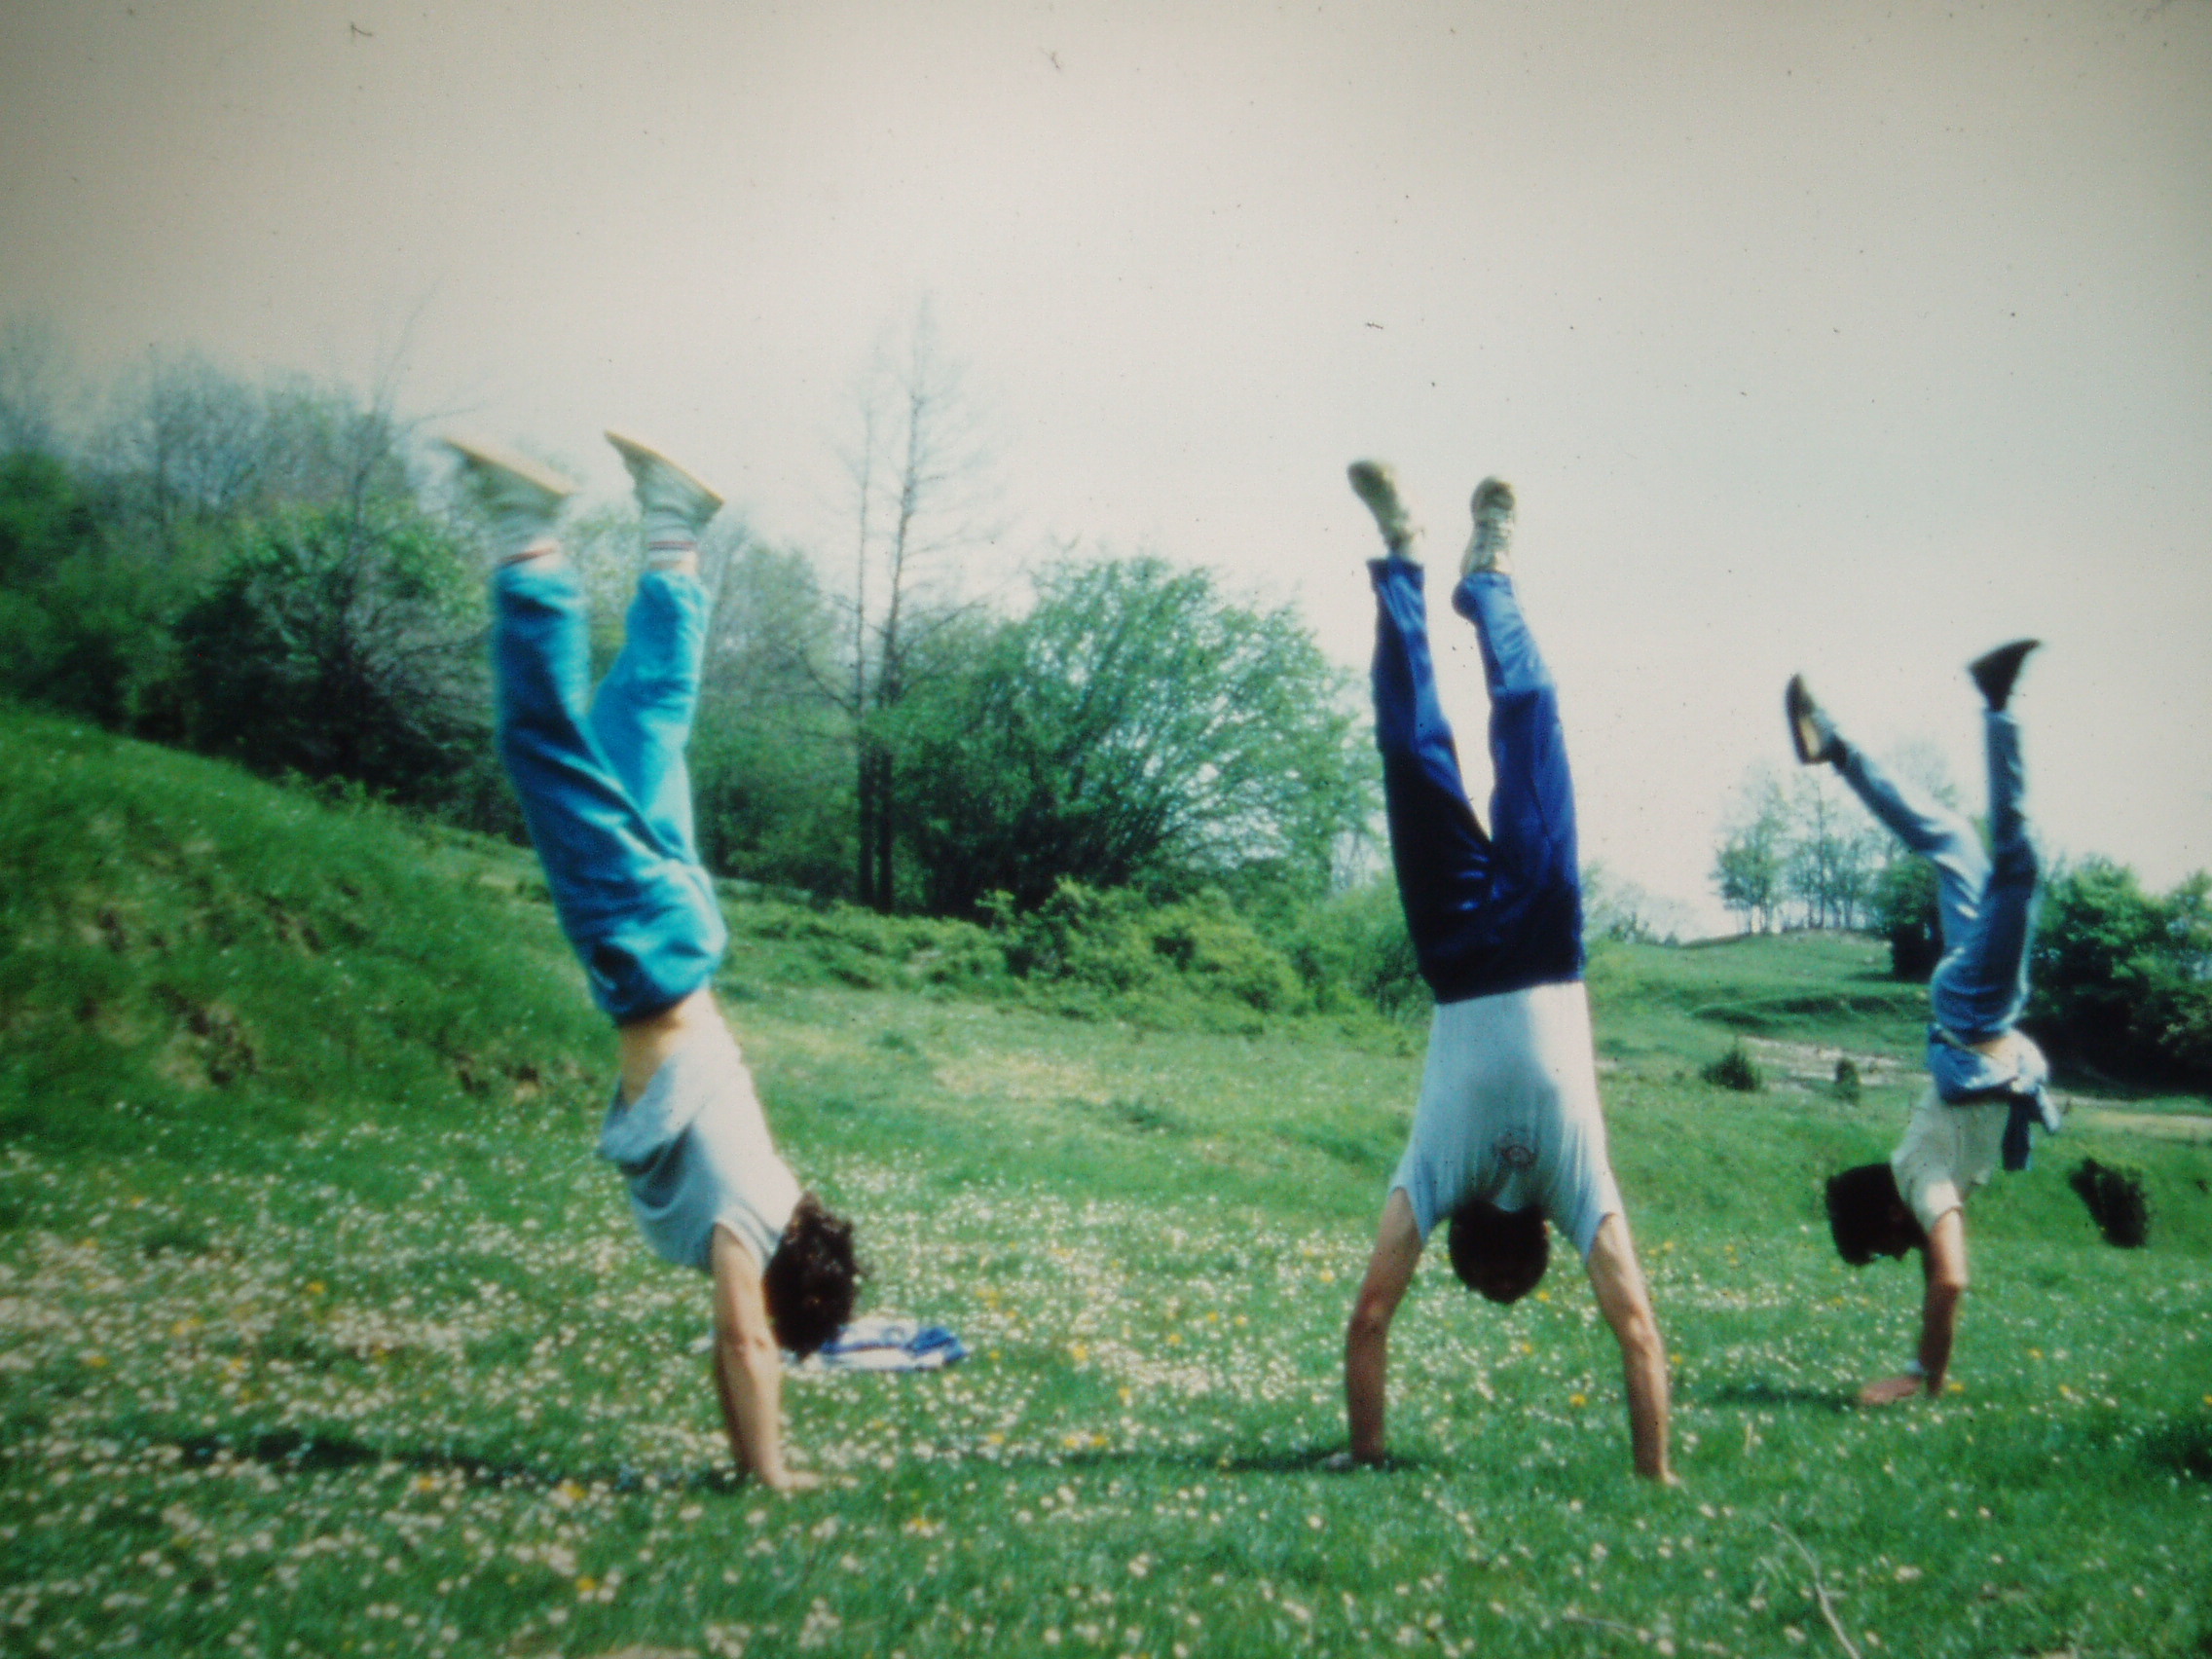
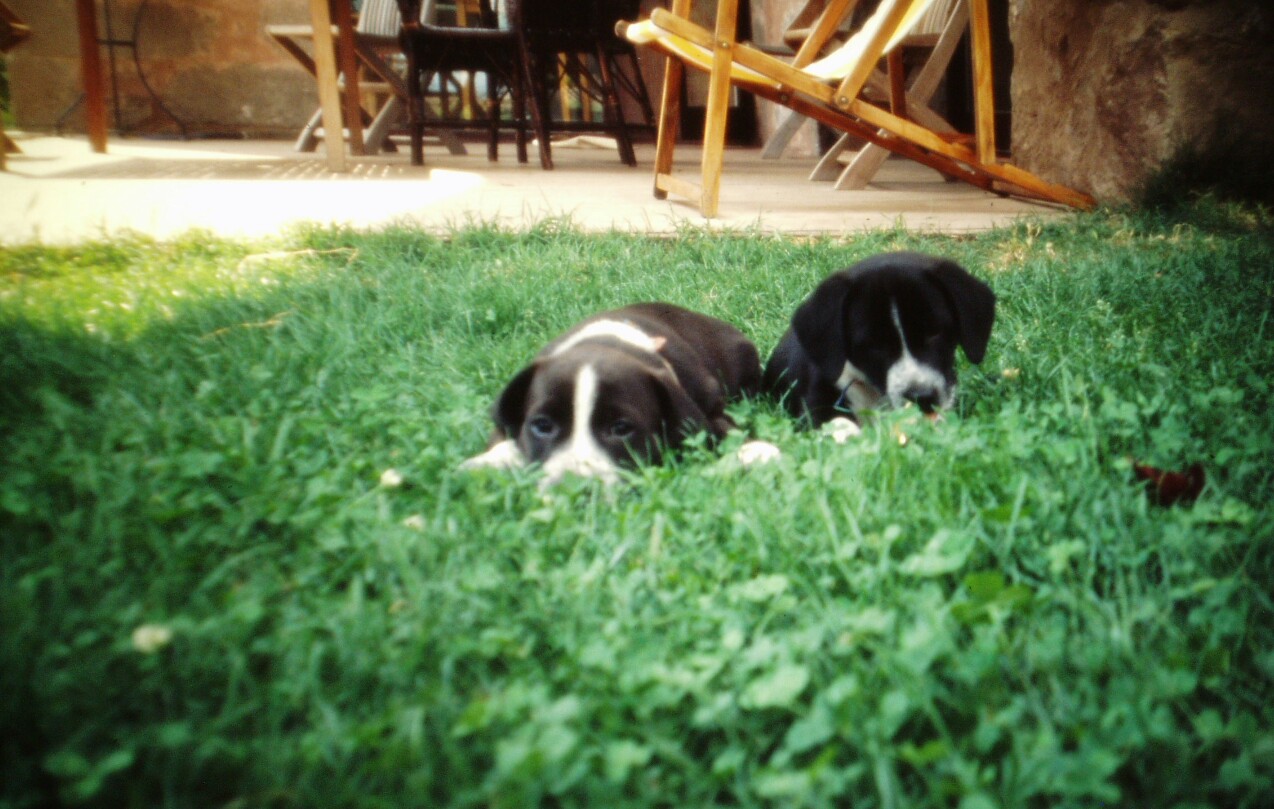
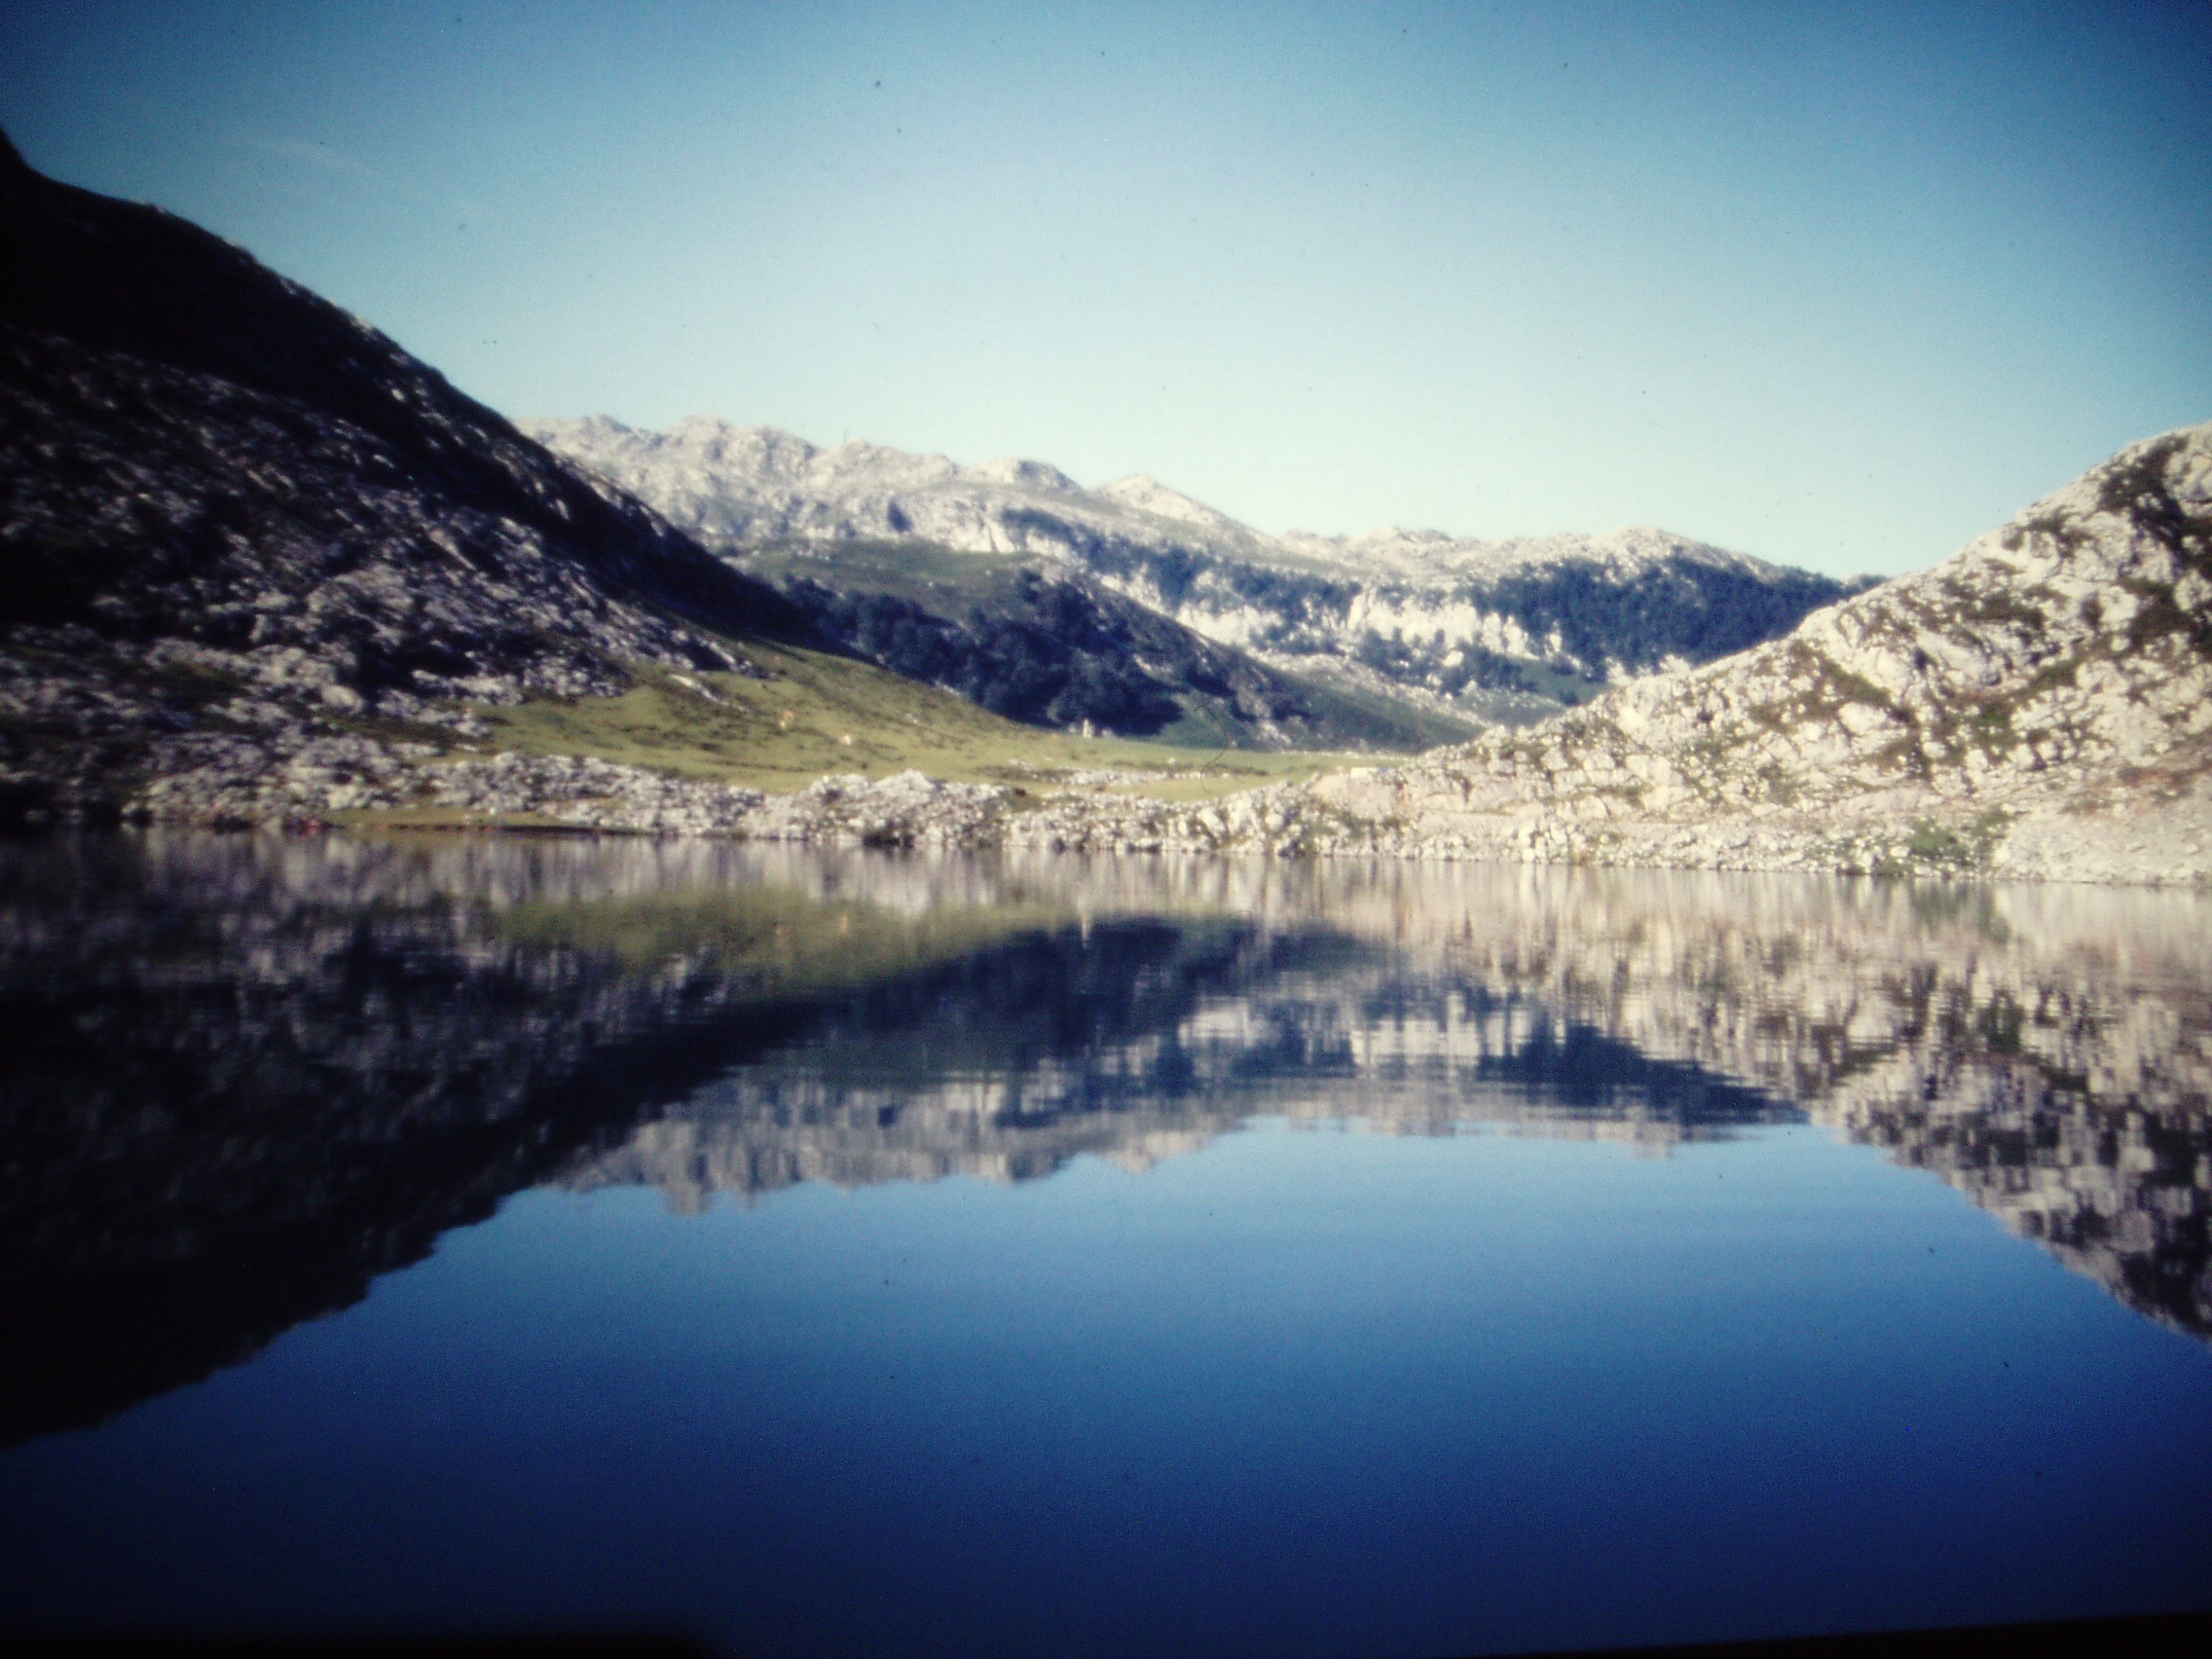
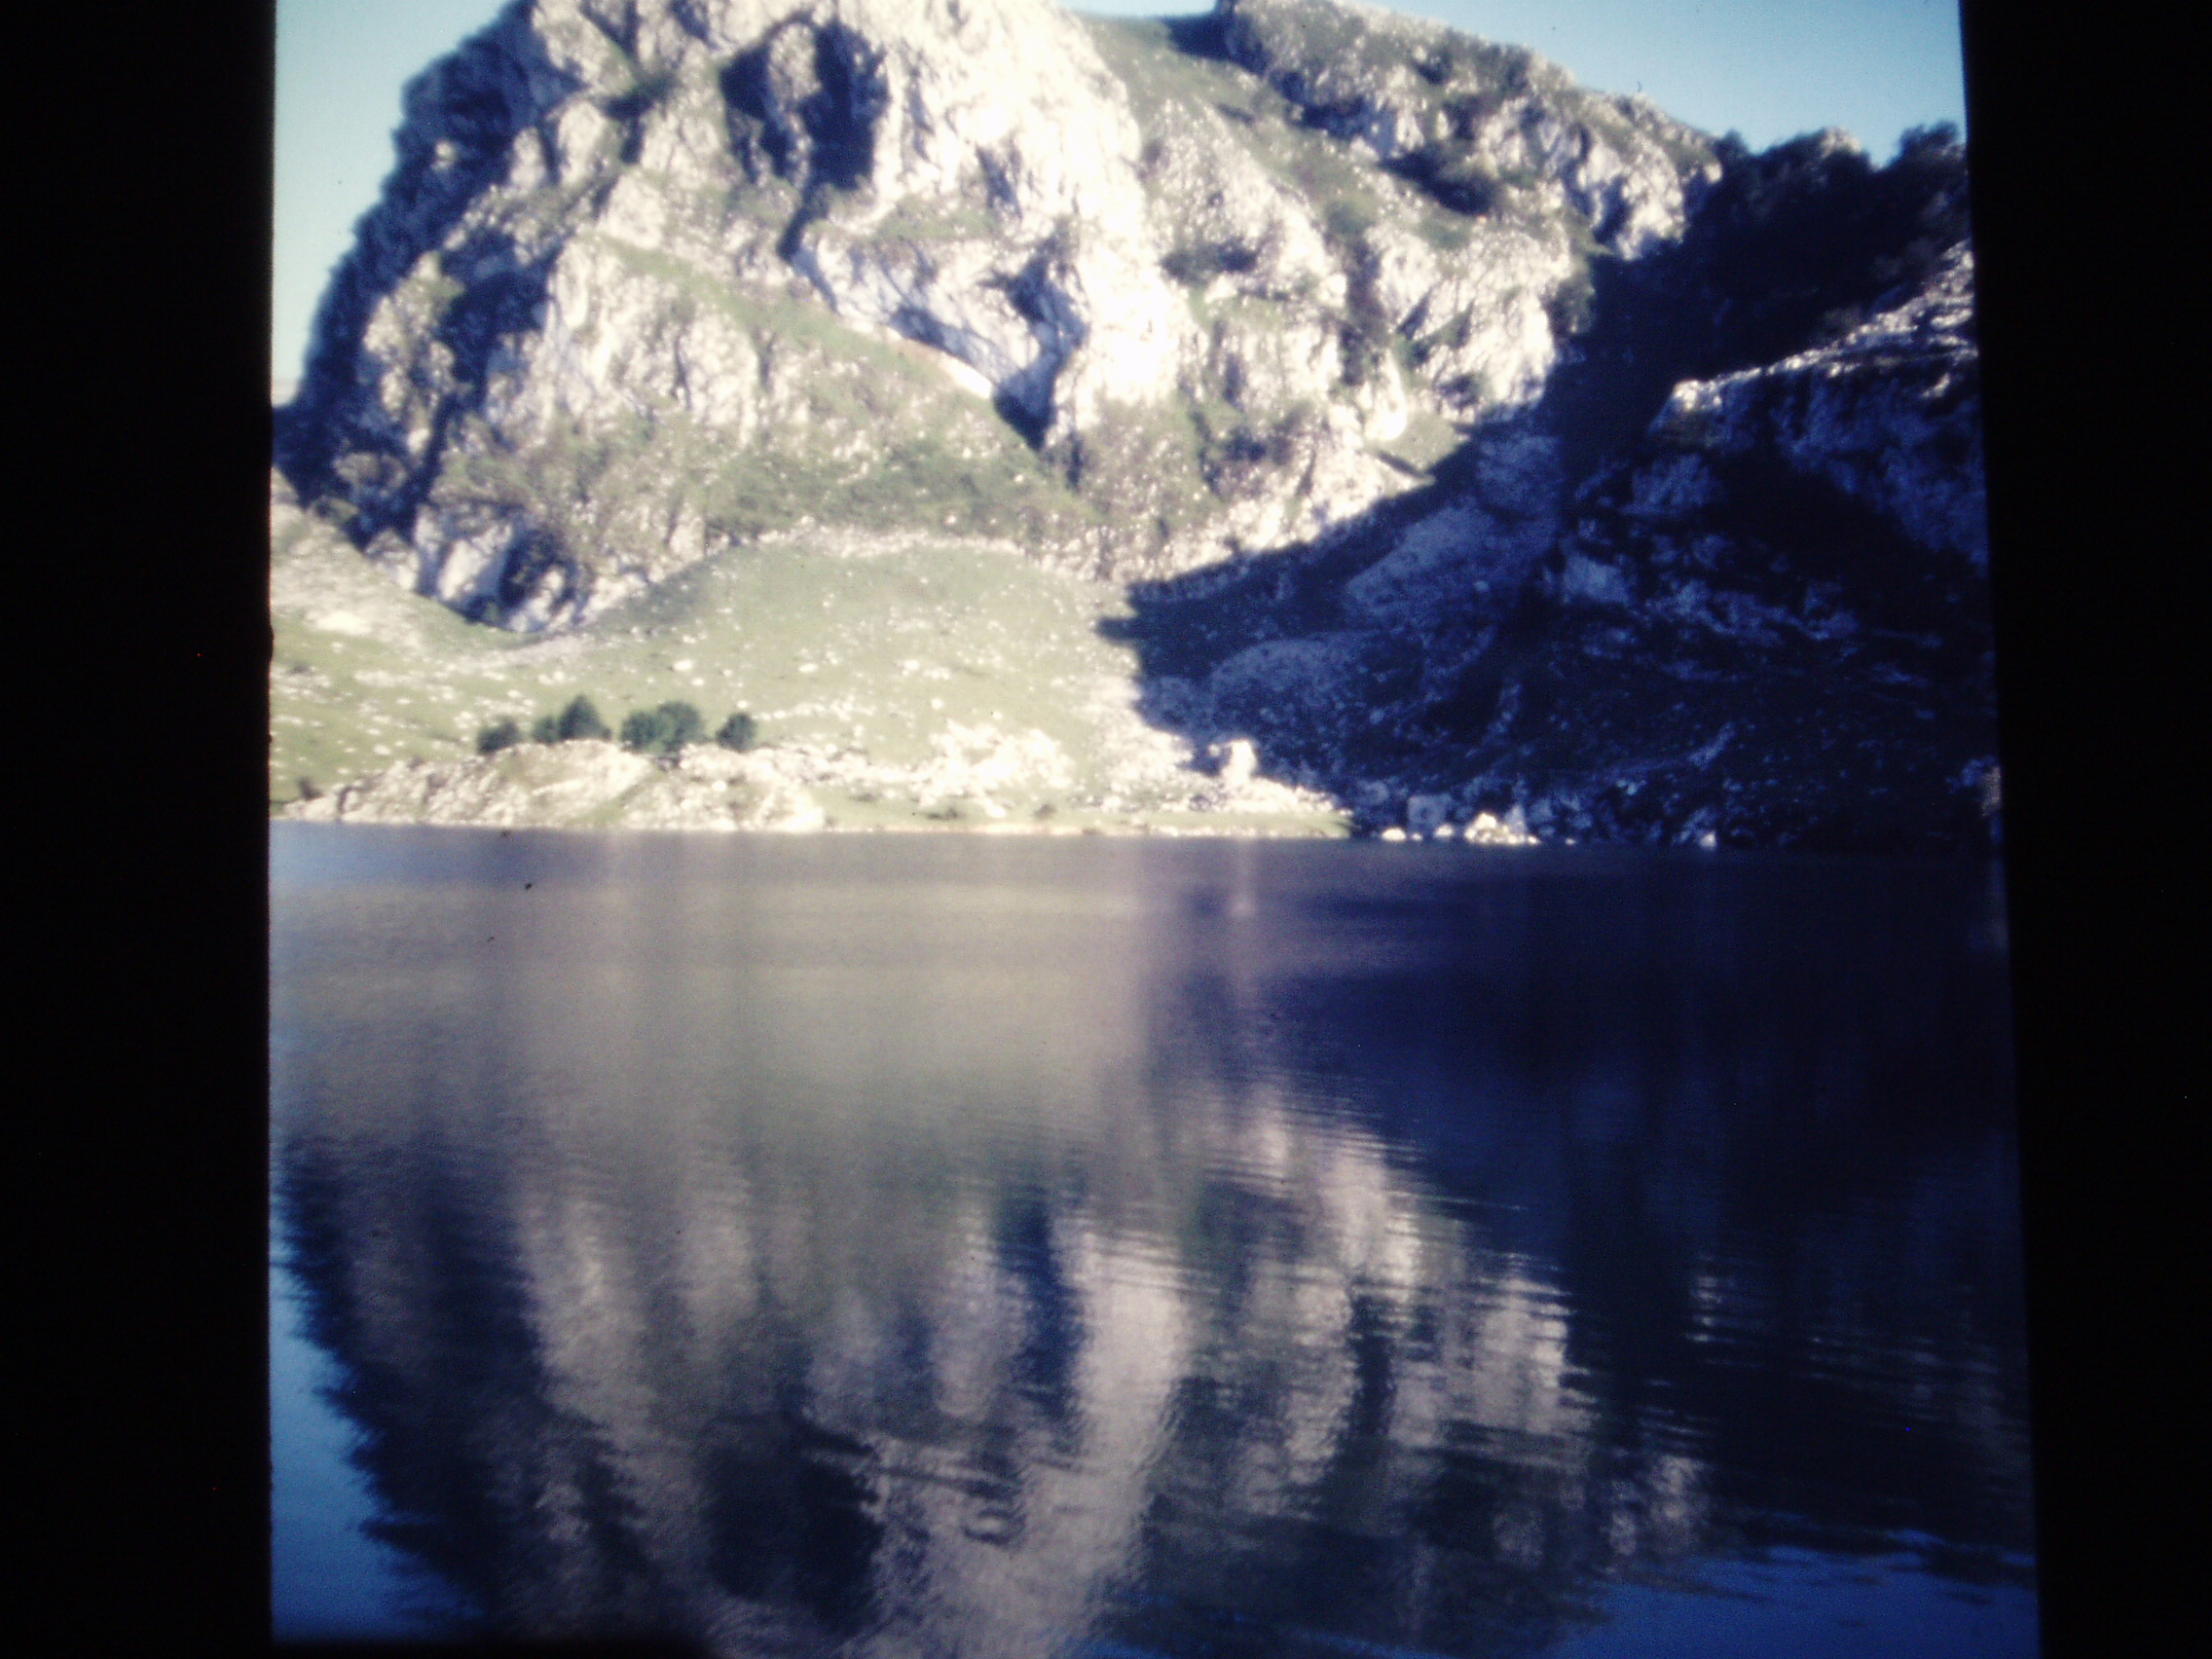
Sometimes you will need to cut the image. You can use PHOTOSHOP or a simple program PAINT.