My Wonderful Shape Park!
by Tinkercadwinner160 in Living > Education
207 Views, 1 Favorites, 0 Comments
My Wonderful Shape Park!
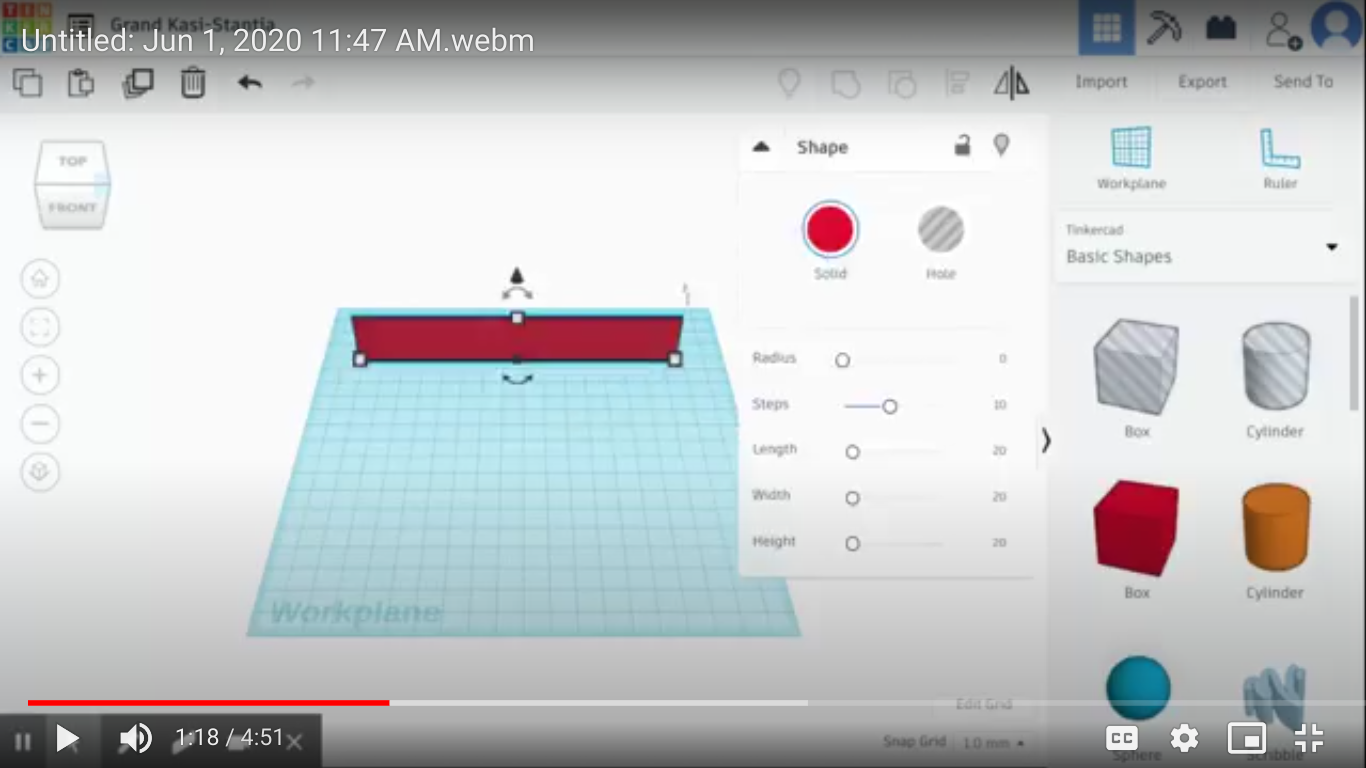
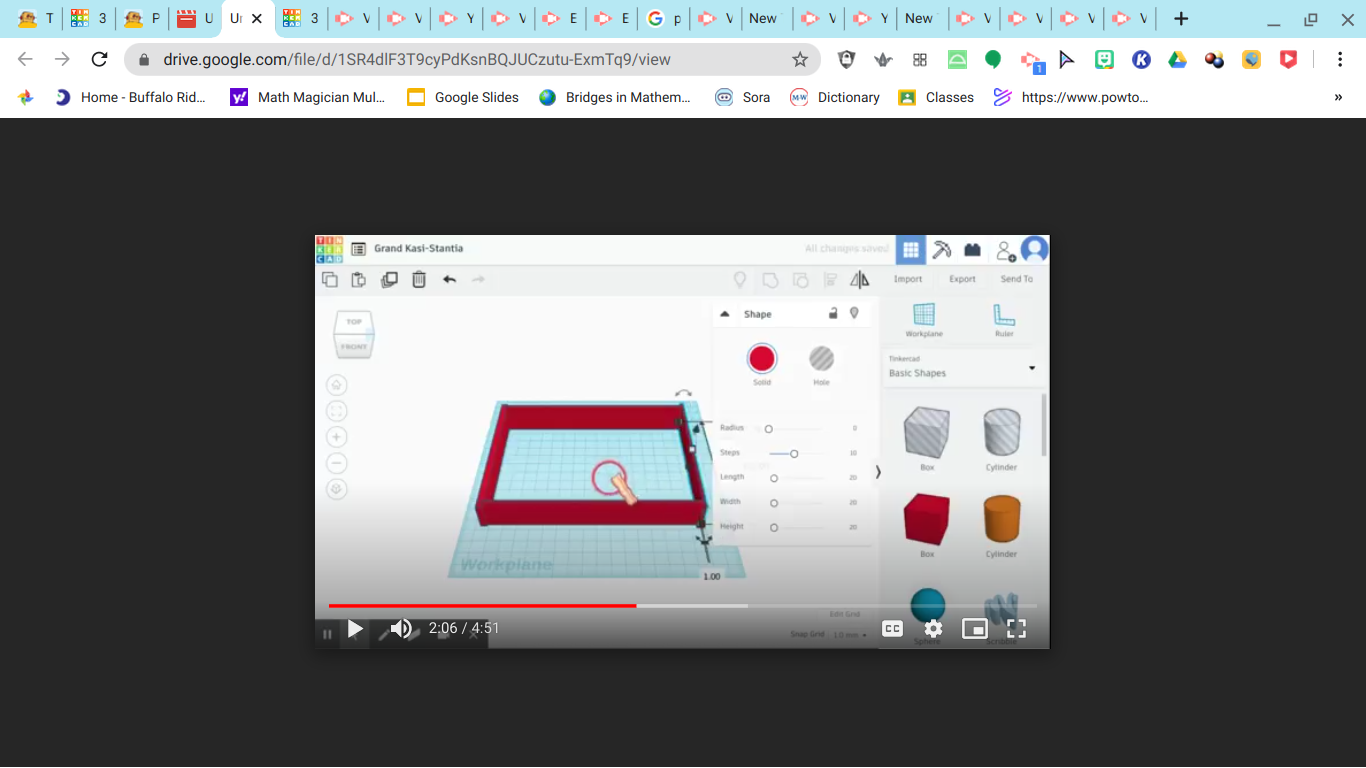
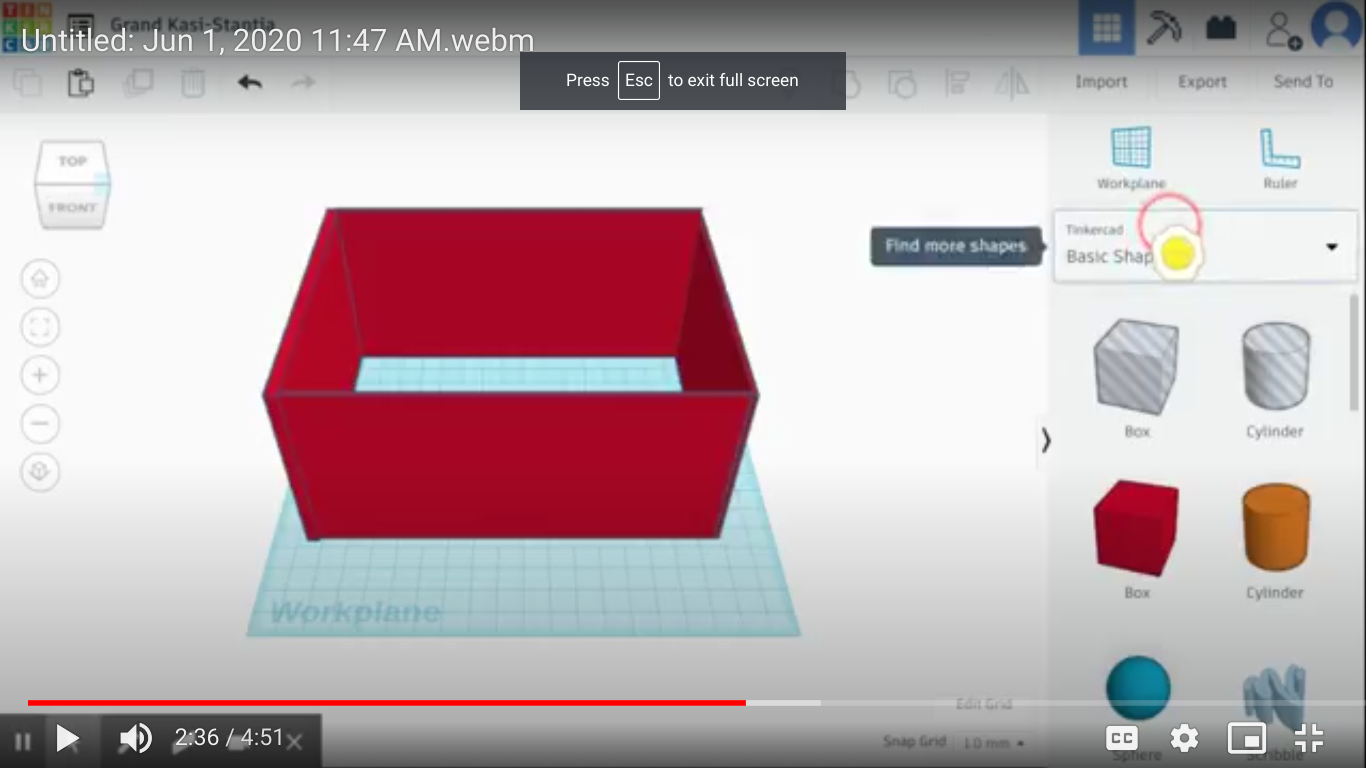
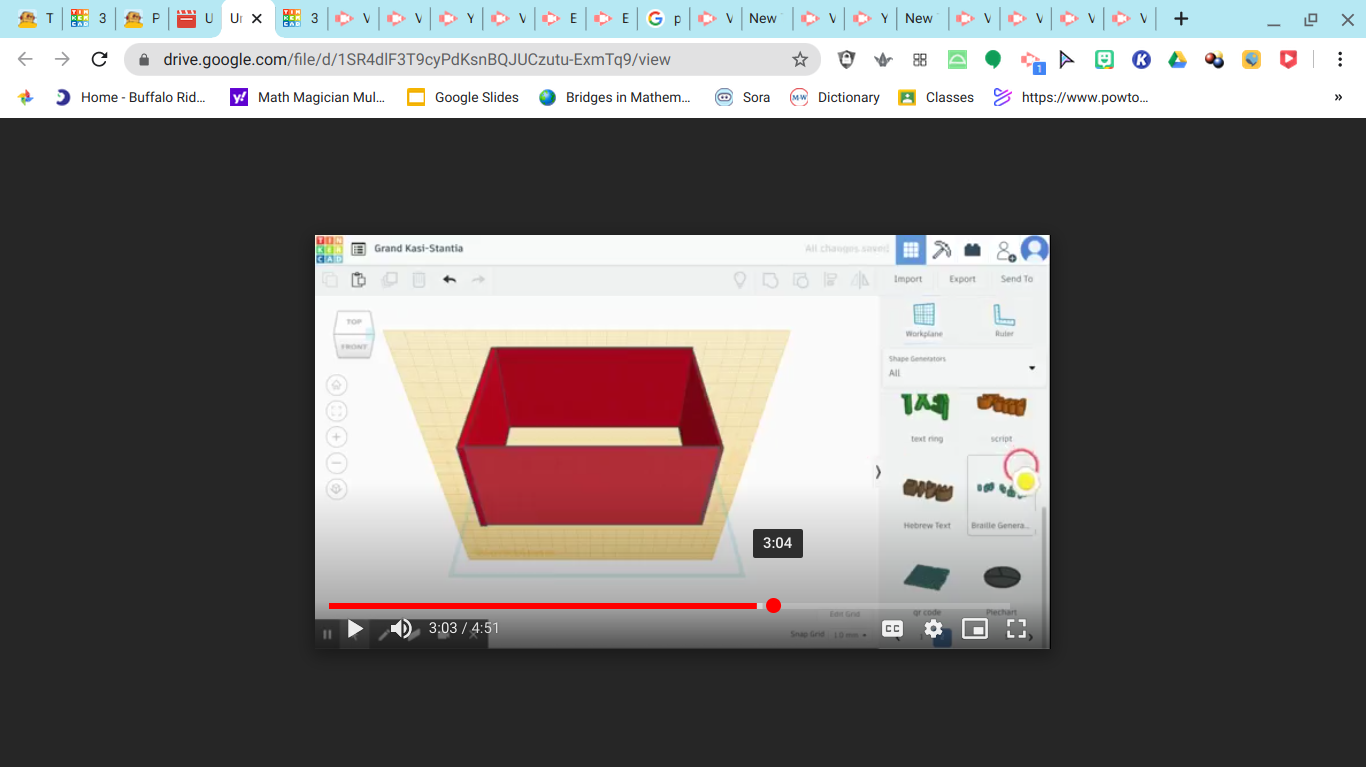
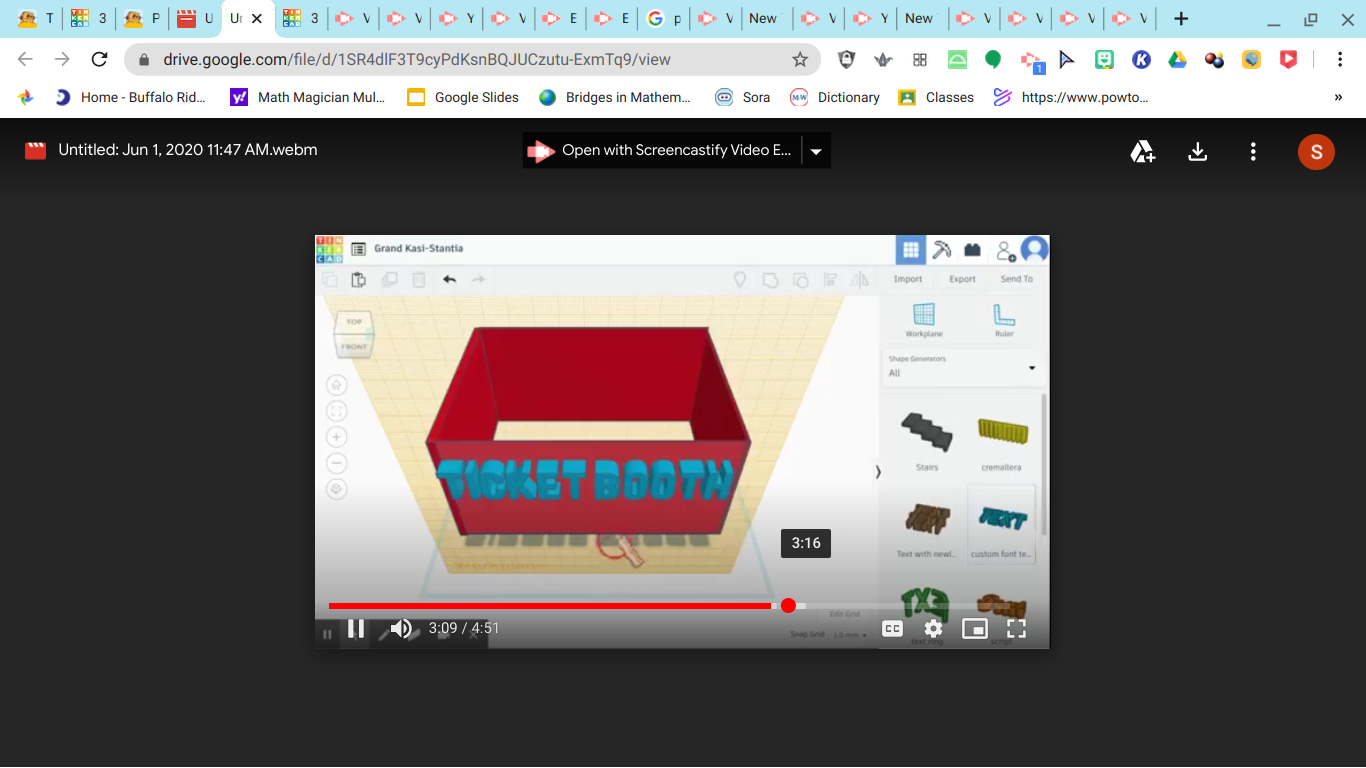
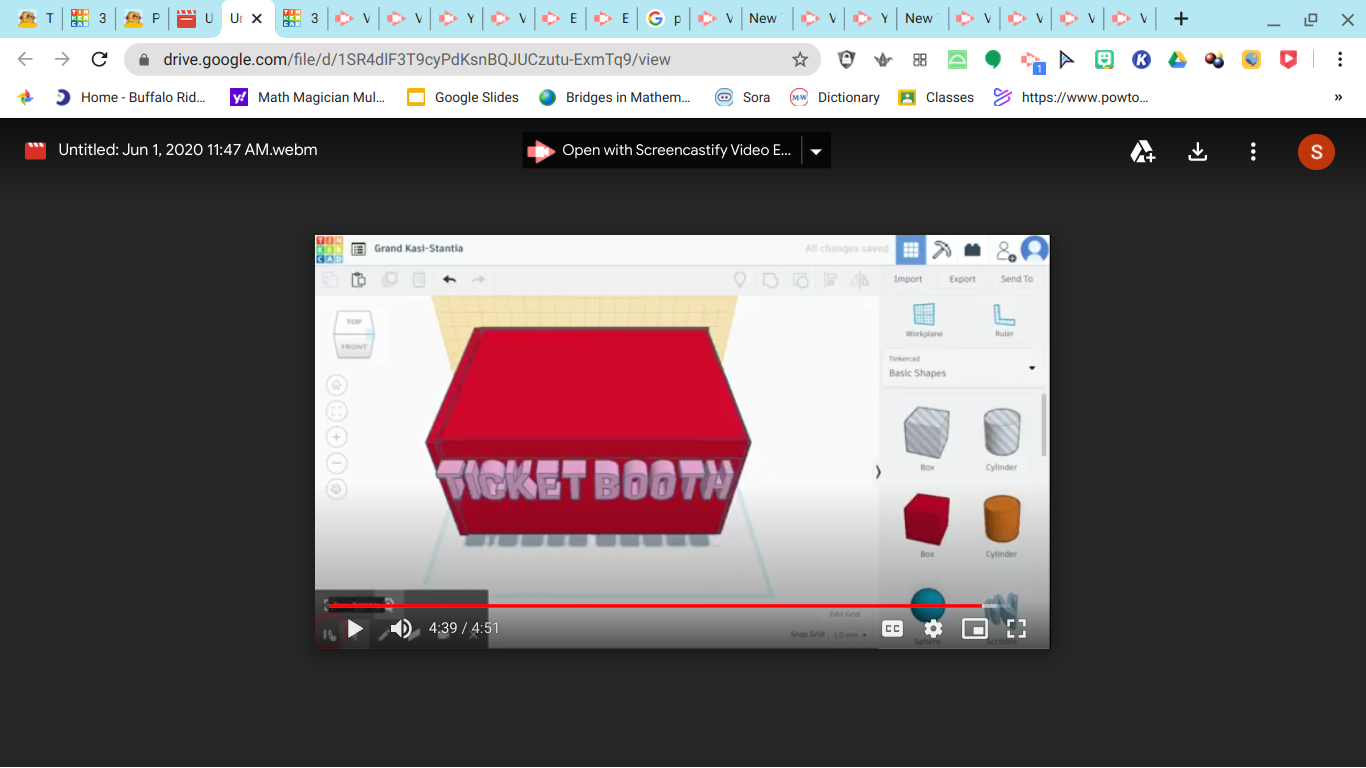
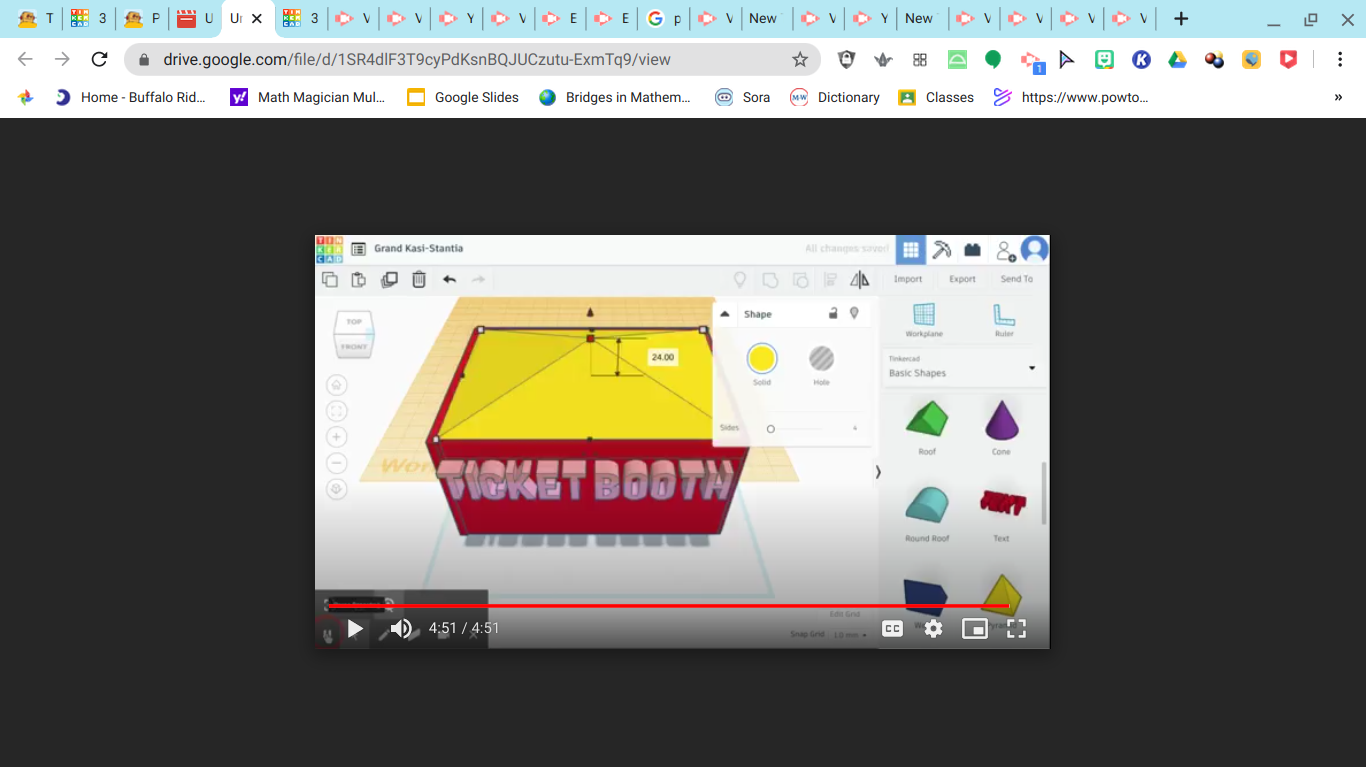
Hi so if you are wondering how you are going to make the ticket booth witch is one of our elements let me show you how! Here is the video!
What is the ticket booth for?
The ticket booth allows people to buy tickets to chose what actives they want to do for the day!
First step you want to take your square like the picture up above and make it skinny so it looks more like a Wall!
Then you are going to press Ctrl d to duplicate and it will look something like the second picture.
Now move the height of the walls up make sure you keep them at the same height!
Now go to the shape generator and select all go to number two and select the title you want. Put the work plane on the wall the drag your font.
Now put the work plane on the back of your wall like seen on picture 6 them grab a square and adjust the sides so it fits.
Lastly put a work plane on the wall you just made. Take a pyramid from the basic shapes and adjust all the sides so it fits.
YAY you did it great job!!!!
Supplies
Square,pyramid,Title,
It's that easy!
Step:2 Connector Guy
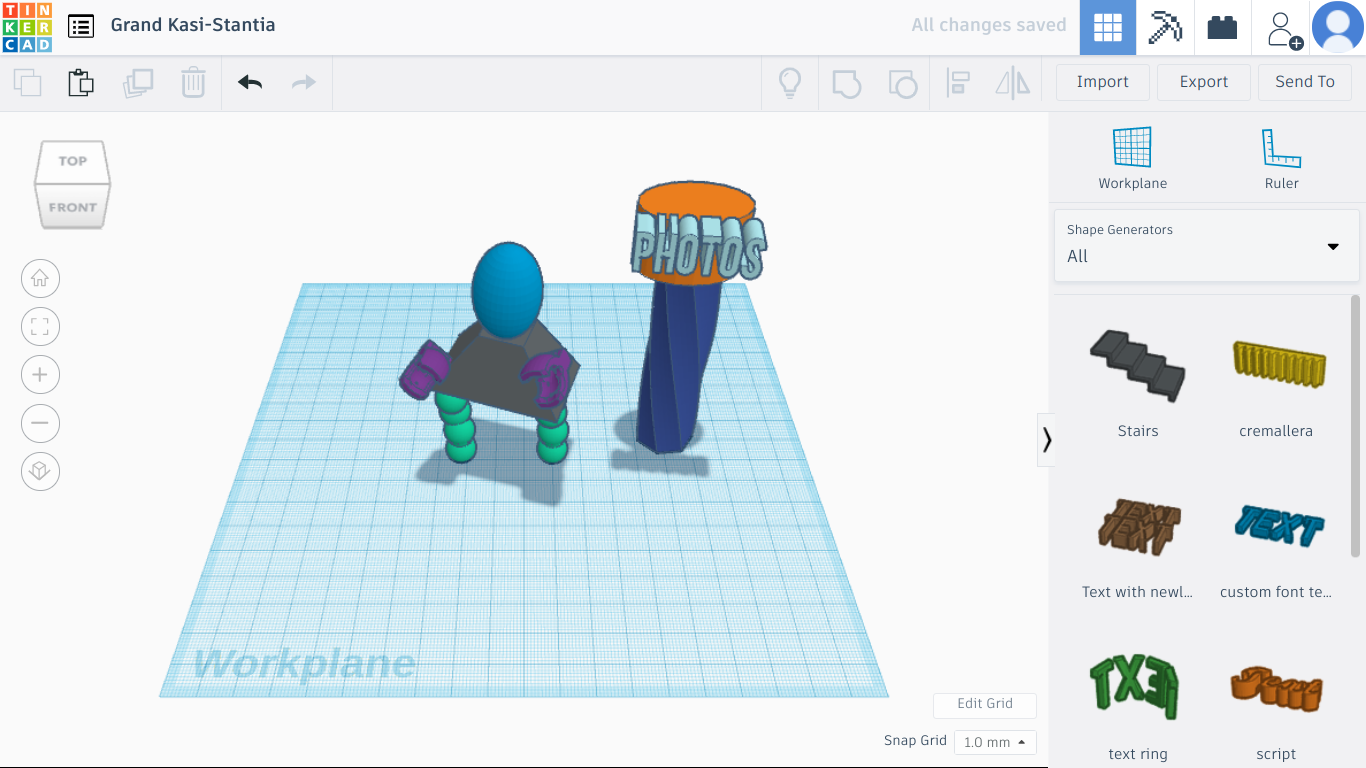
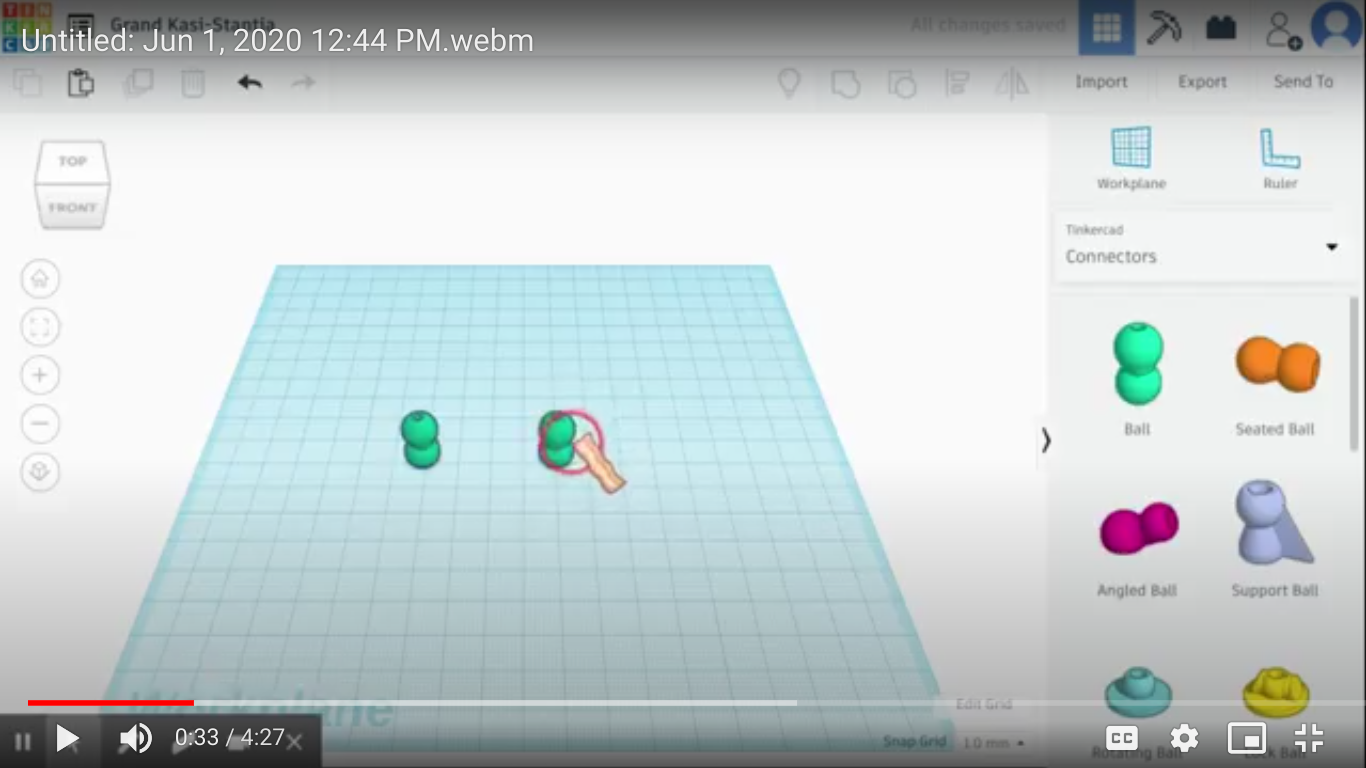
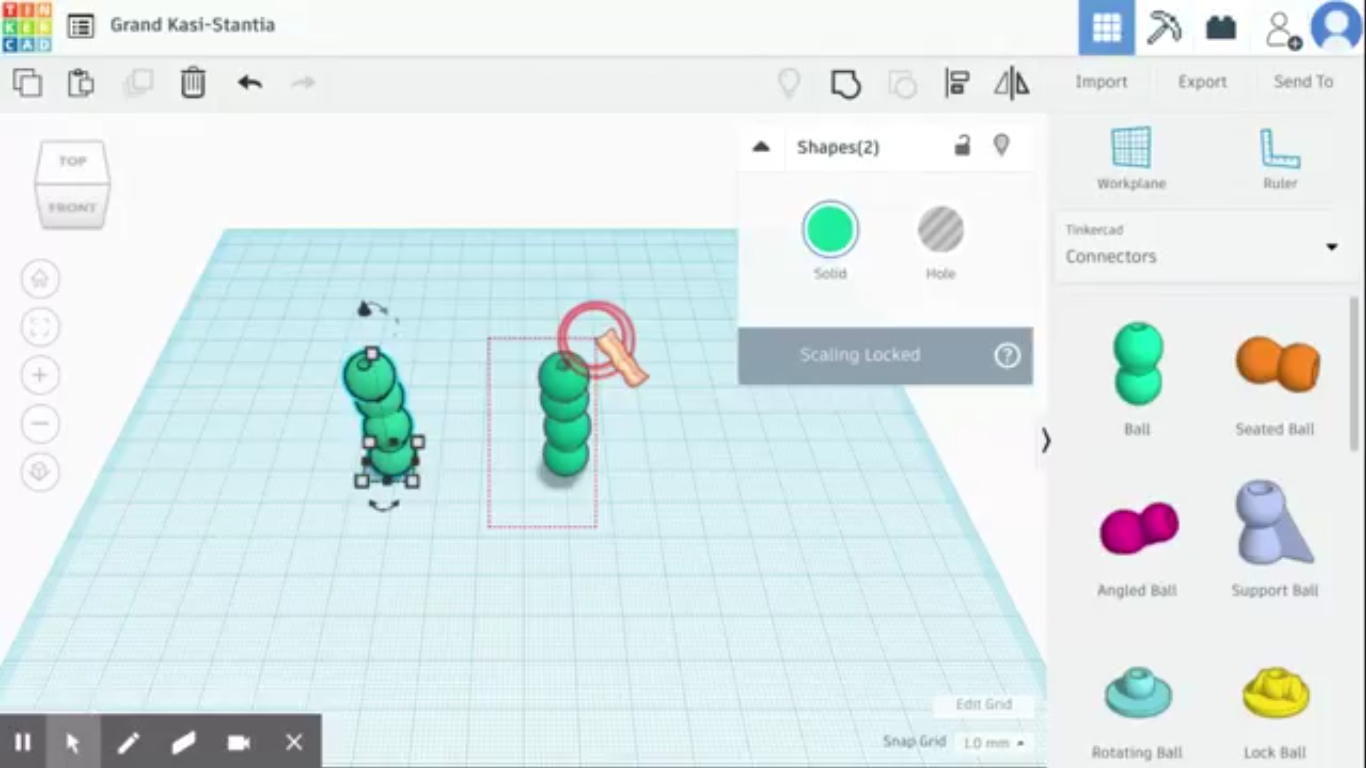
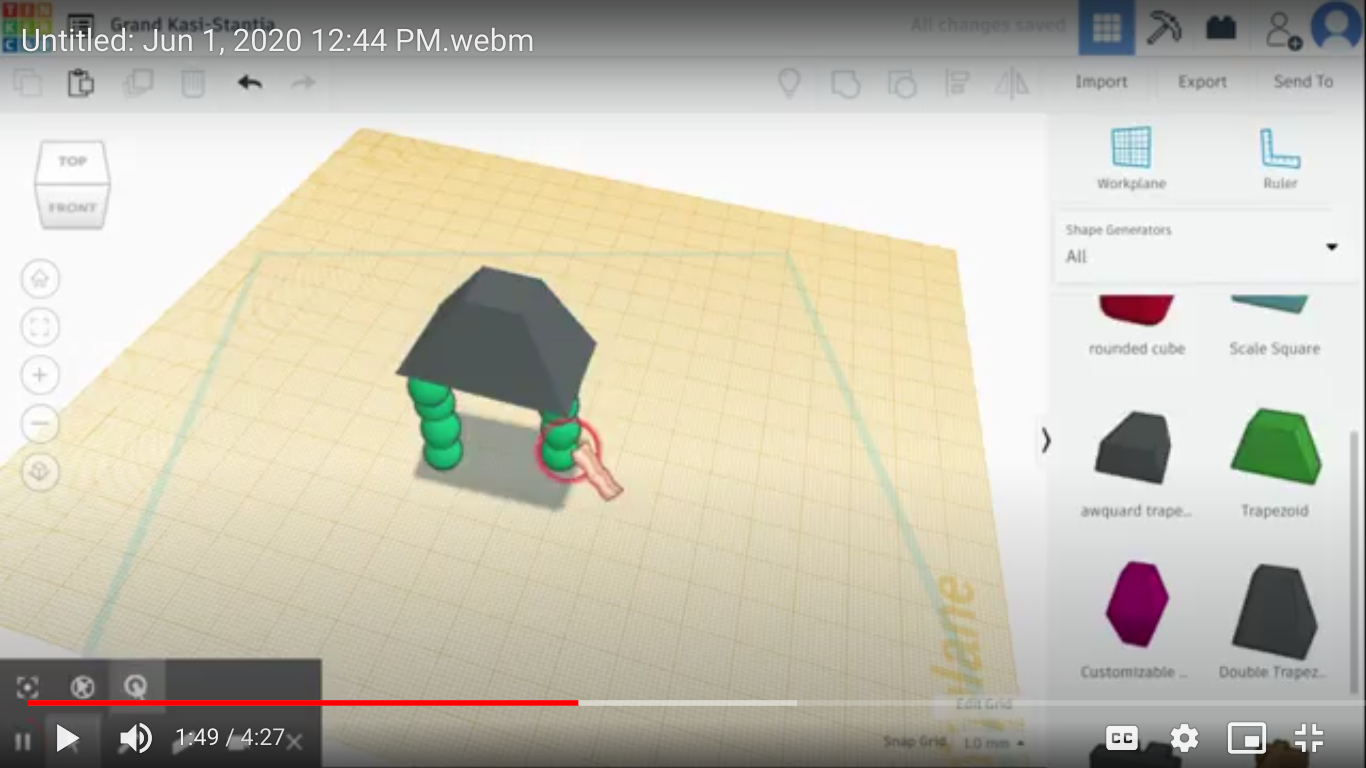
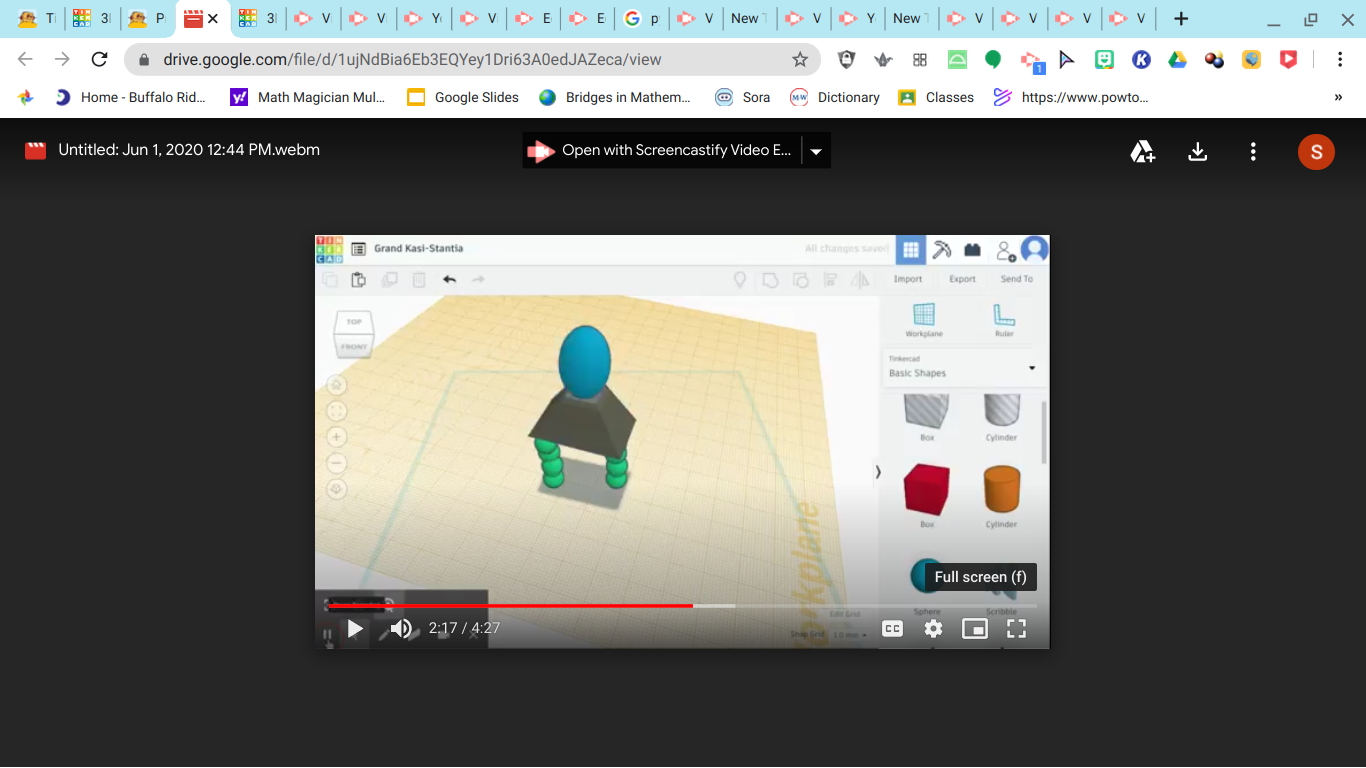
Here is the video for the connector guy This shows you how to build him make sure to watch!
What is the purpose of the connector guy?
Well you can take a fun family picture with him he is also one of the fun actives we made! He is one of the categories for what you are suppose to build CONNECTORS!
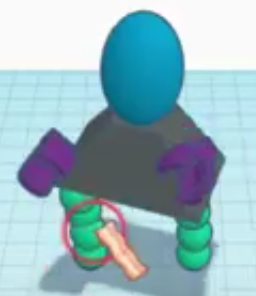
First you are going to go to connectors and you are going to get 2 balls but them close together Optional you can align them if you want I did. (push L for align)
Next you are going to drag the work plane on top of your 2 balls and then drag another one of the balls on each one to create legs you are also going to be wanting to group them.(Push Ctrl+ G for group)
After that you are going to drag the work plane on top of your legs try to make it as flat as possible! Then you are going to take the double trapezoid And put it on your legs that make is the body.
Now drag the work plane on to the trapezoid you just put down go to basic shapes and find the sphere that will be the head.
Now it is time to take your work plane and put it on the sides of the trapezoid go to connectors and drag the socket on to the body that is his arms.
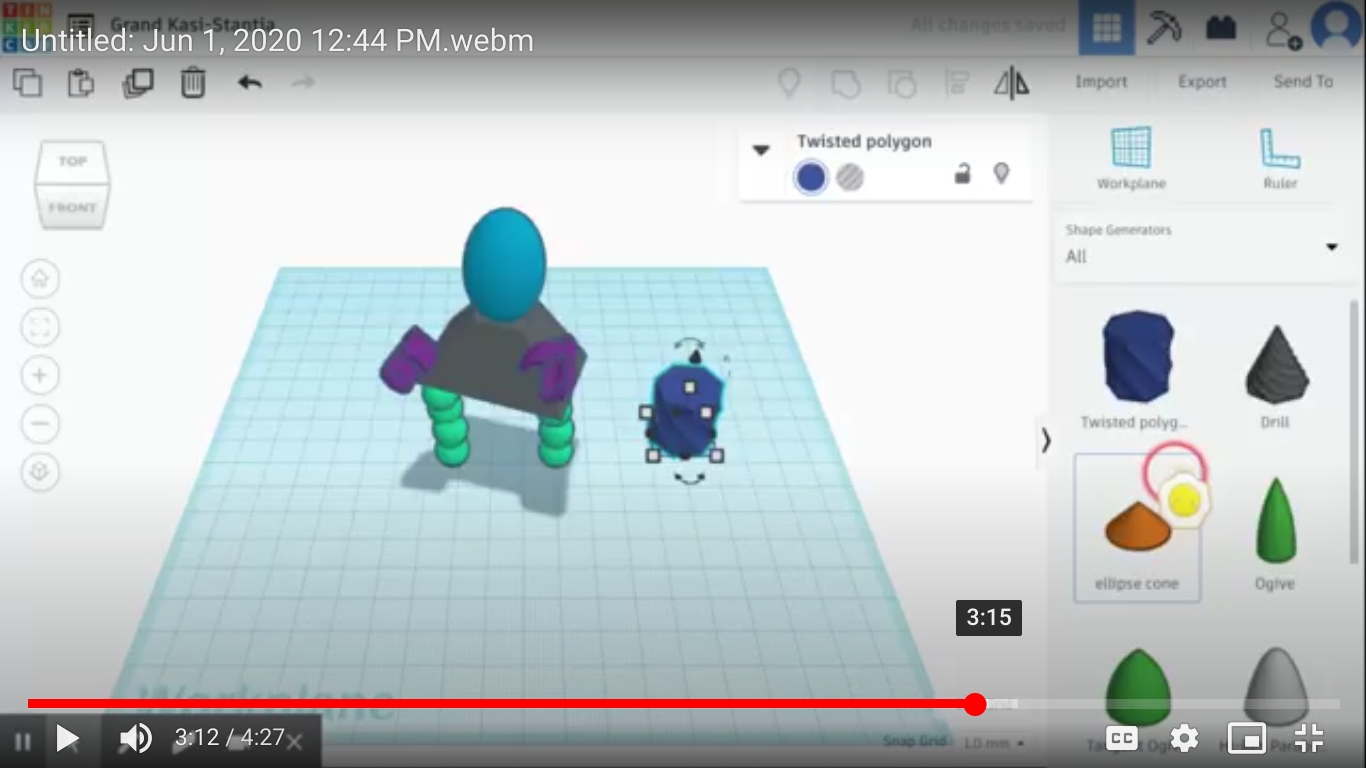
After that we are going to to go to basic shapes and drag the Polly -gon on to the mat.
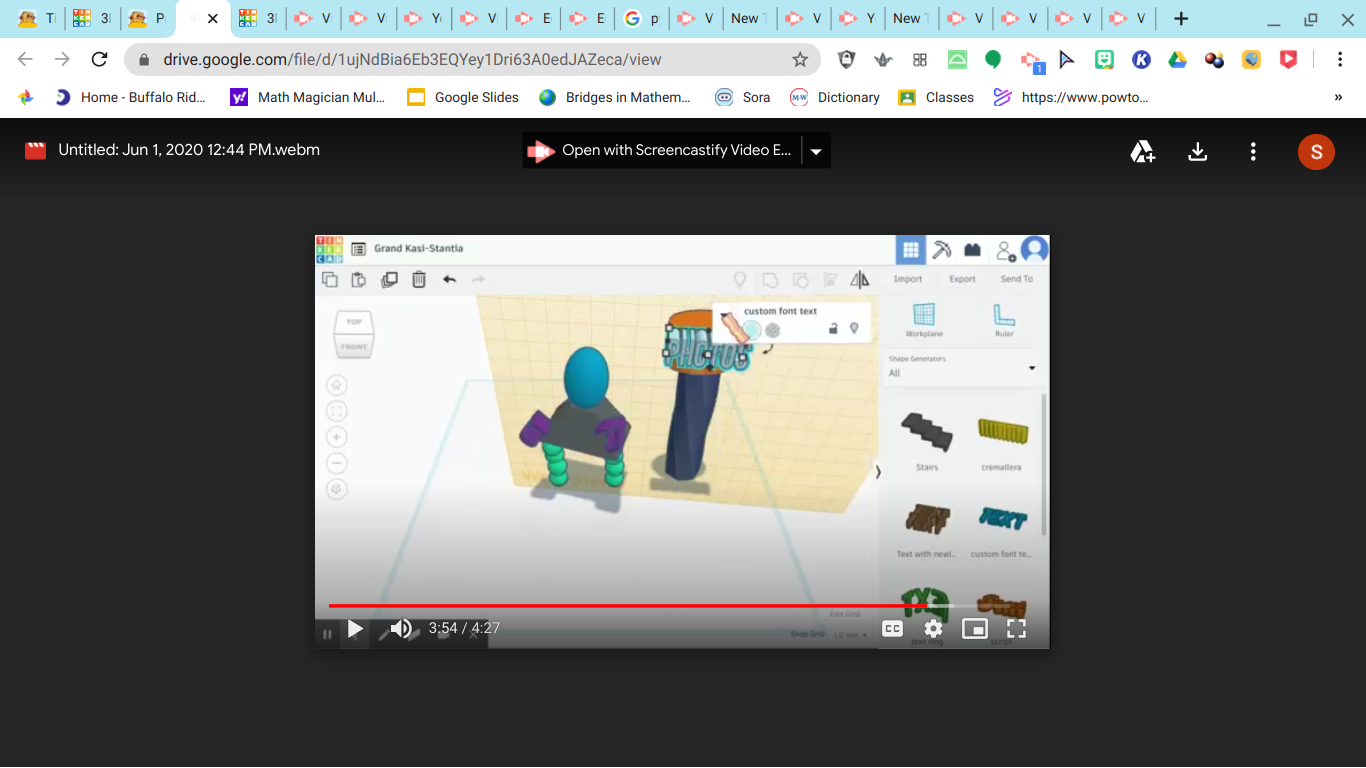
Next we take the cylinder that is also from basic shapes and stretch it out. Then we put on our work plane on our cylinder and drag our title on and type in photos.
You did it!
Step 3: Turtles
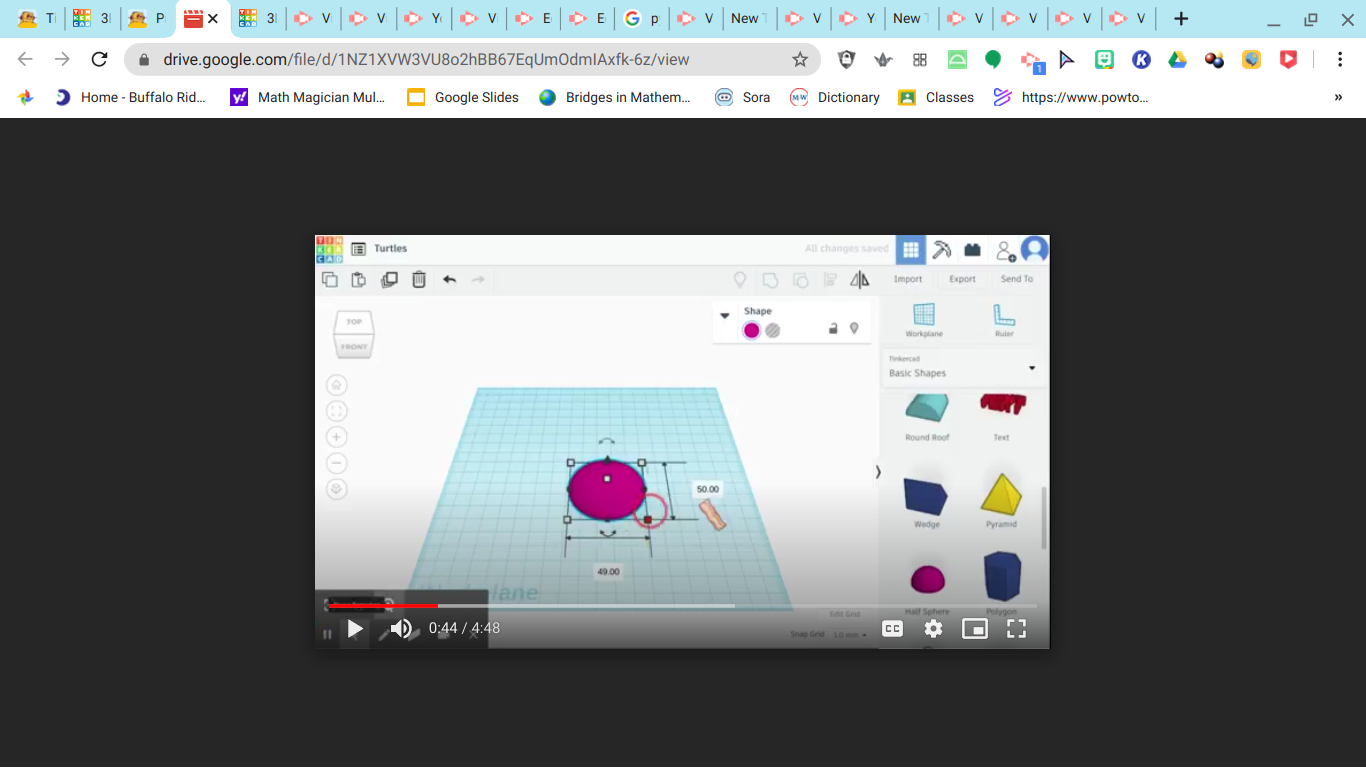
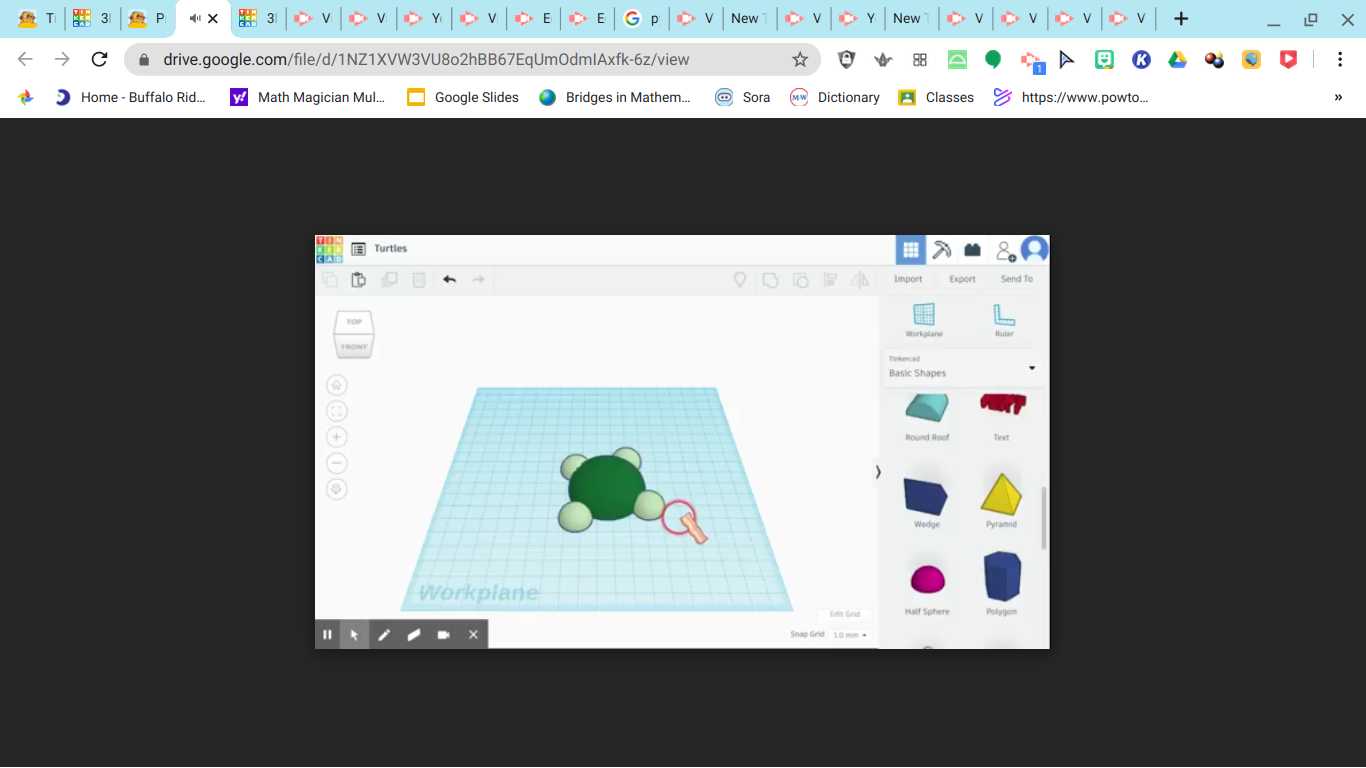
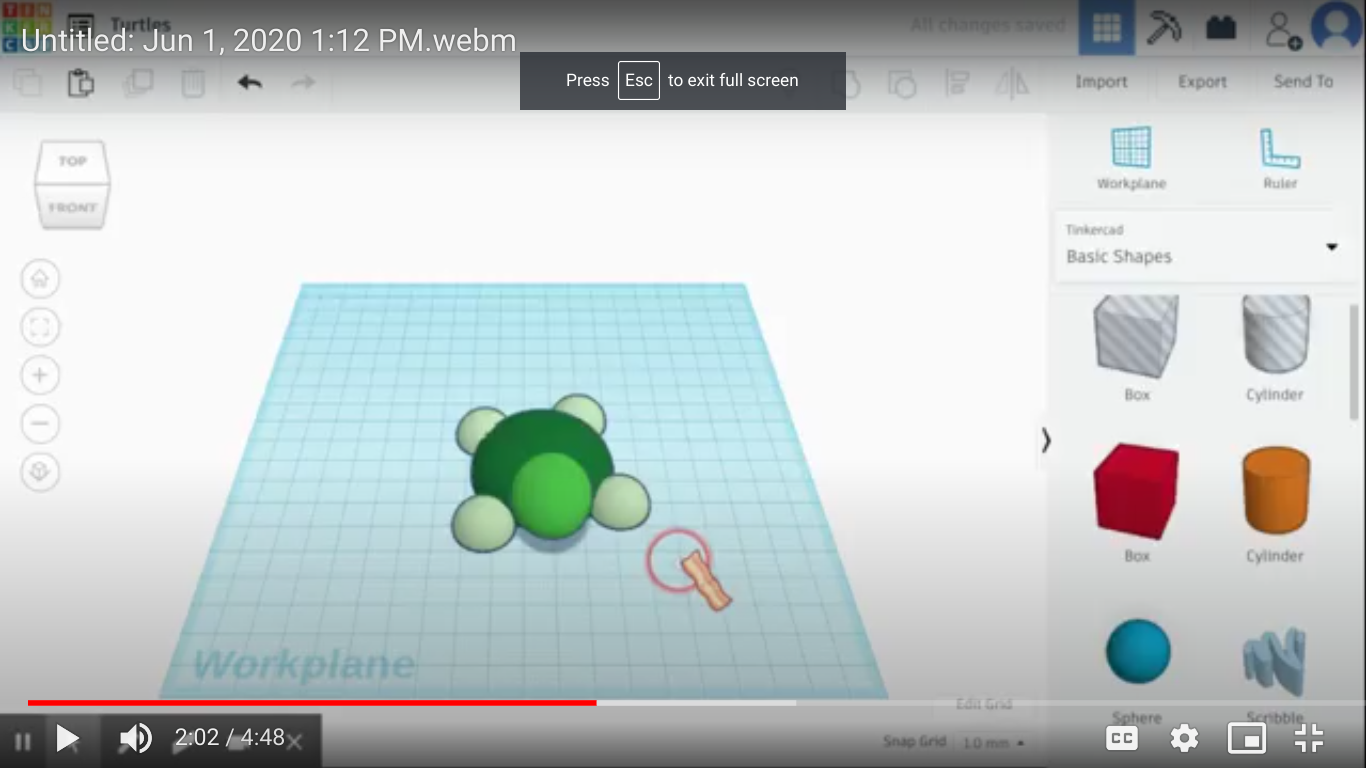
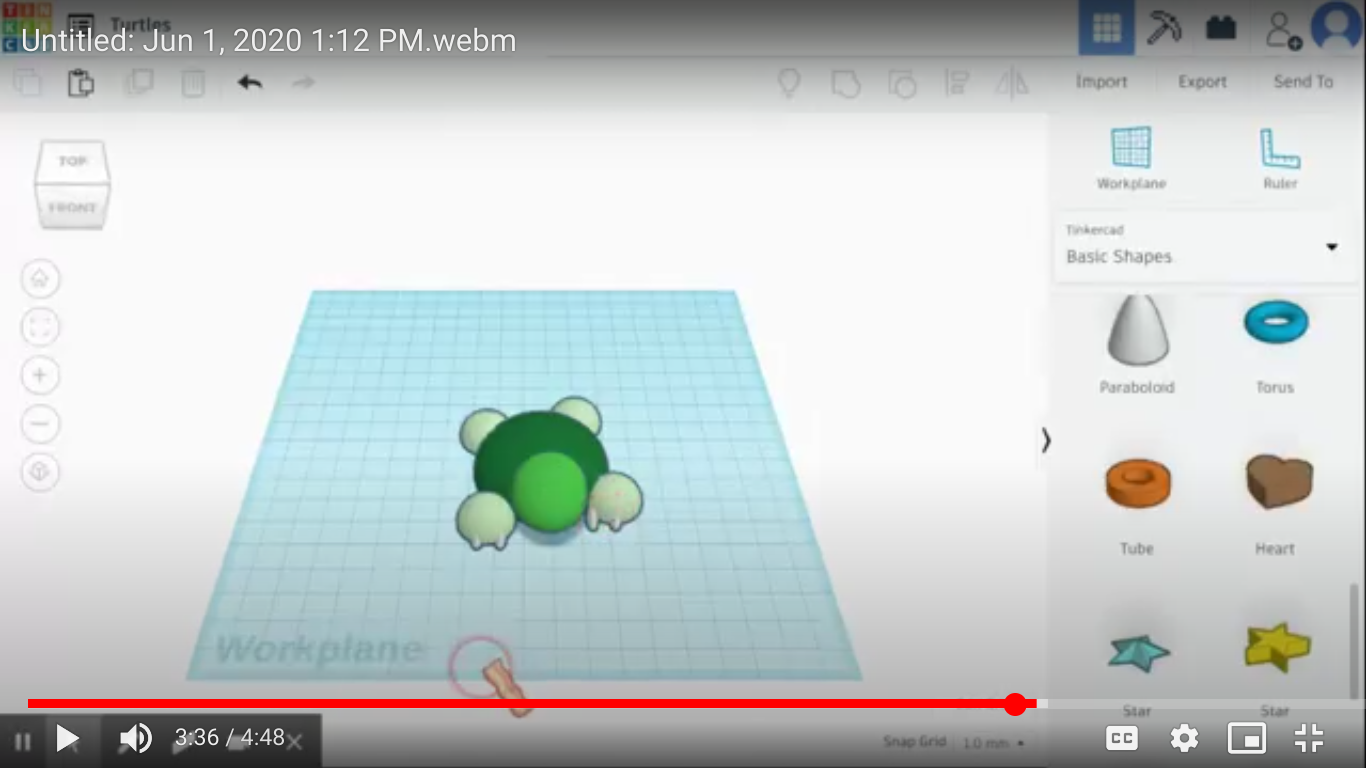
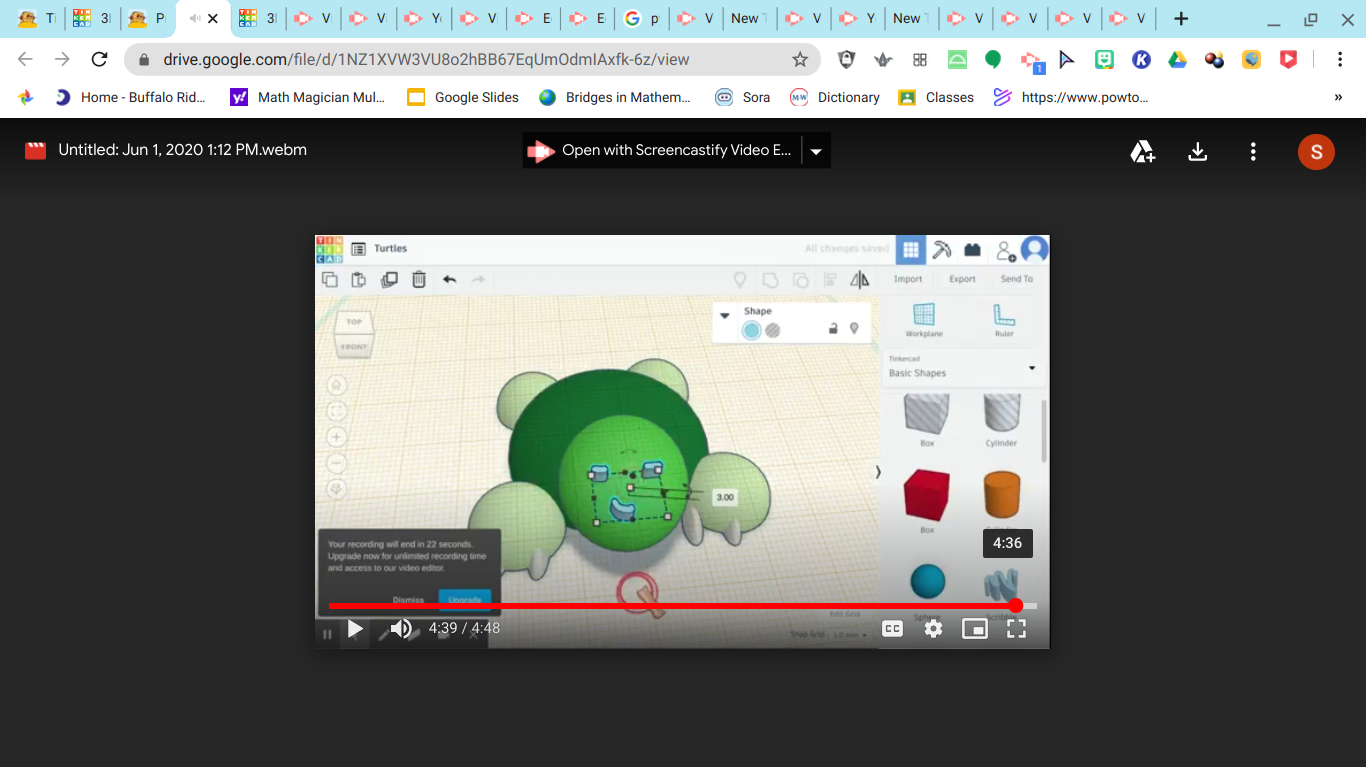
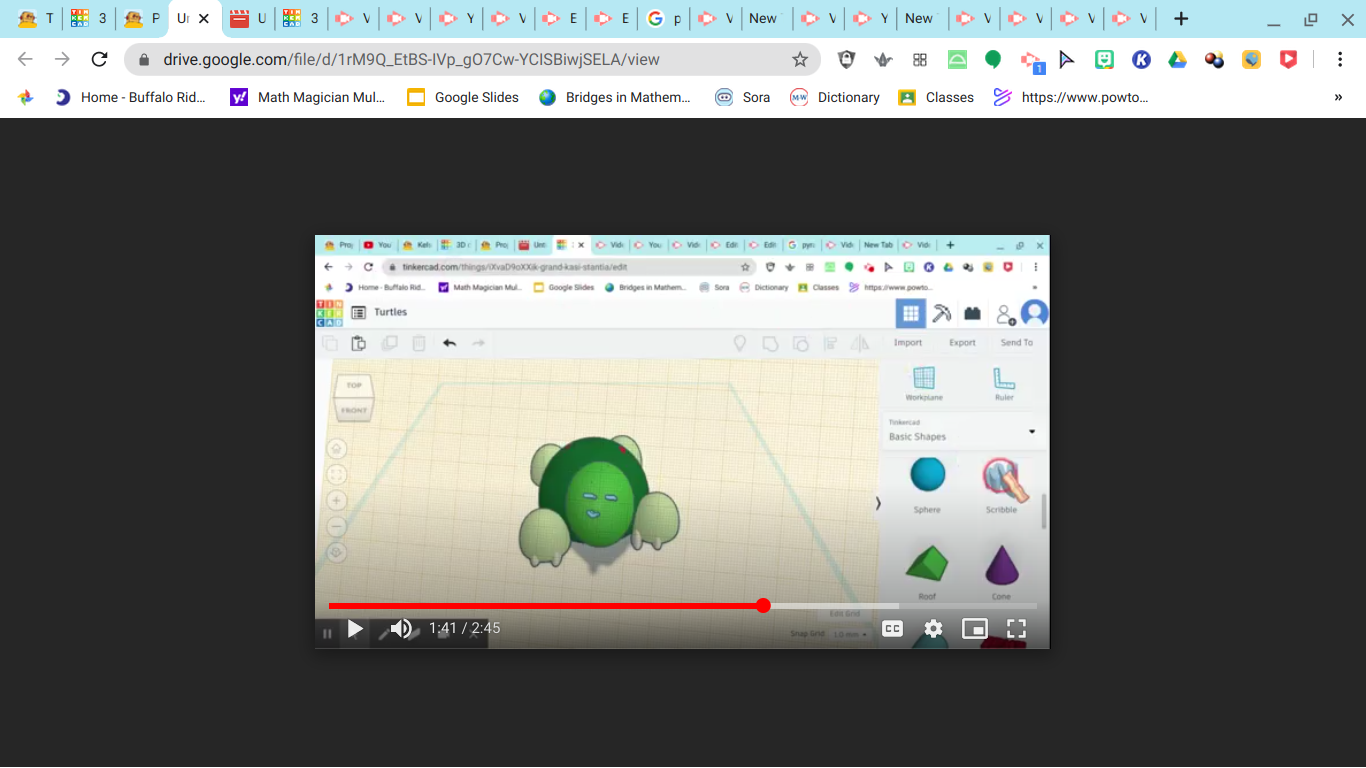
Here is how to make the turtle
Please watch this video after you watch how to make the turtle forgot a few steps!
What is the point of this turtle?
Well it encourages kids to clean up after themselves and to help the environment they are in!
This is for the mash up i love turtles and spending time at parks with my family!
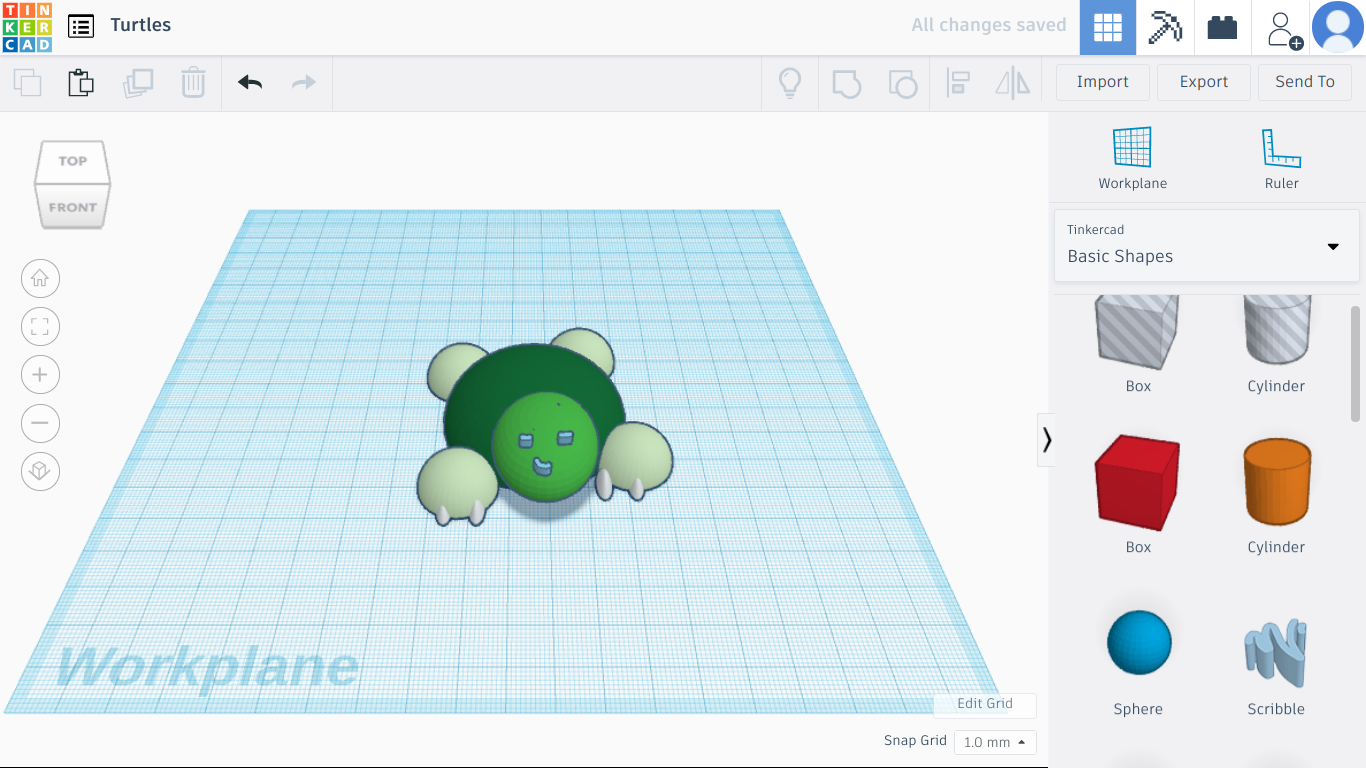
First you are going to go to basic shapes and drag the half sphere on to your work plane. Size it tell it is the right fit for you Raise him up a bit so he has more shell.
Next you are going to take 4 half spheres and use them as feet make them smaller or bigger so they look better to you make sure to Color it.
After that take The sphere from the basic shapes and use it as a head make sure to color it. Group it and go to colors and choose multi color.
Now take the paraboloid shape and size them so they look like little claws duplicate them so they are all the same size.
Next Take the work plane and put it on his face put scribble on and make a cute face for him adjust the size so you like make it not so thick.
Now it is time to make this turtle move go to circuits click assemblies and drag the move component and put it in the turtles shell raise the shell up a bit so you will not see you might have to adjust the face.
Lastly do the same method that we did with the connector guy and how we made the photo stand one your done you finished!
Step: 4 Tree House
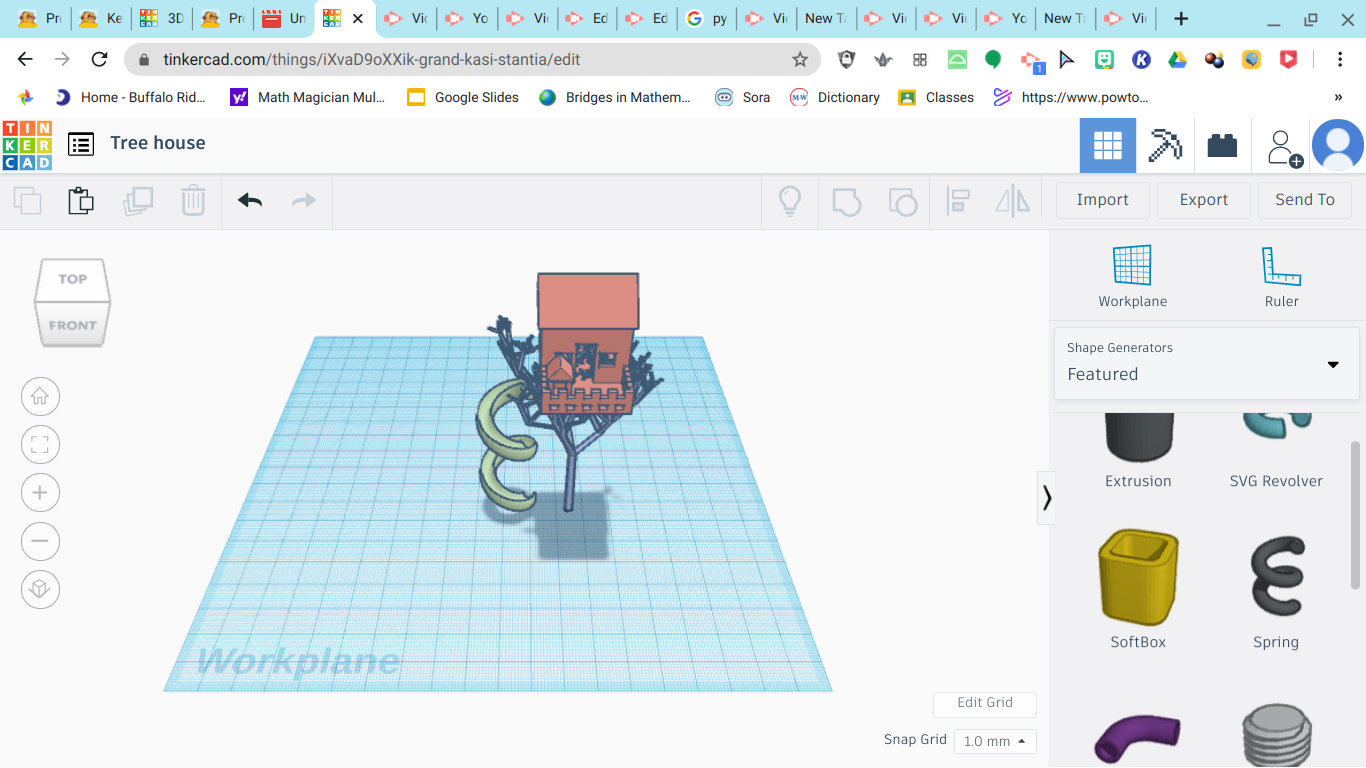
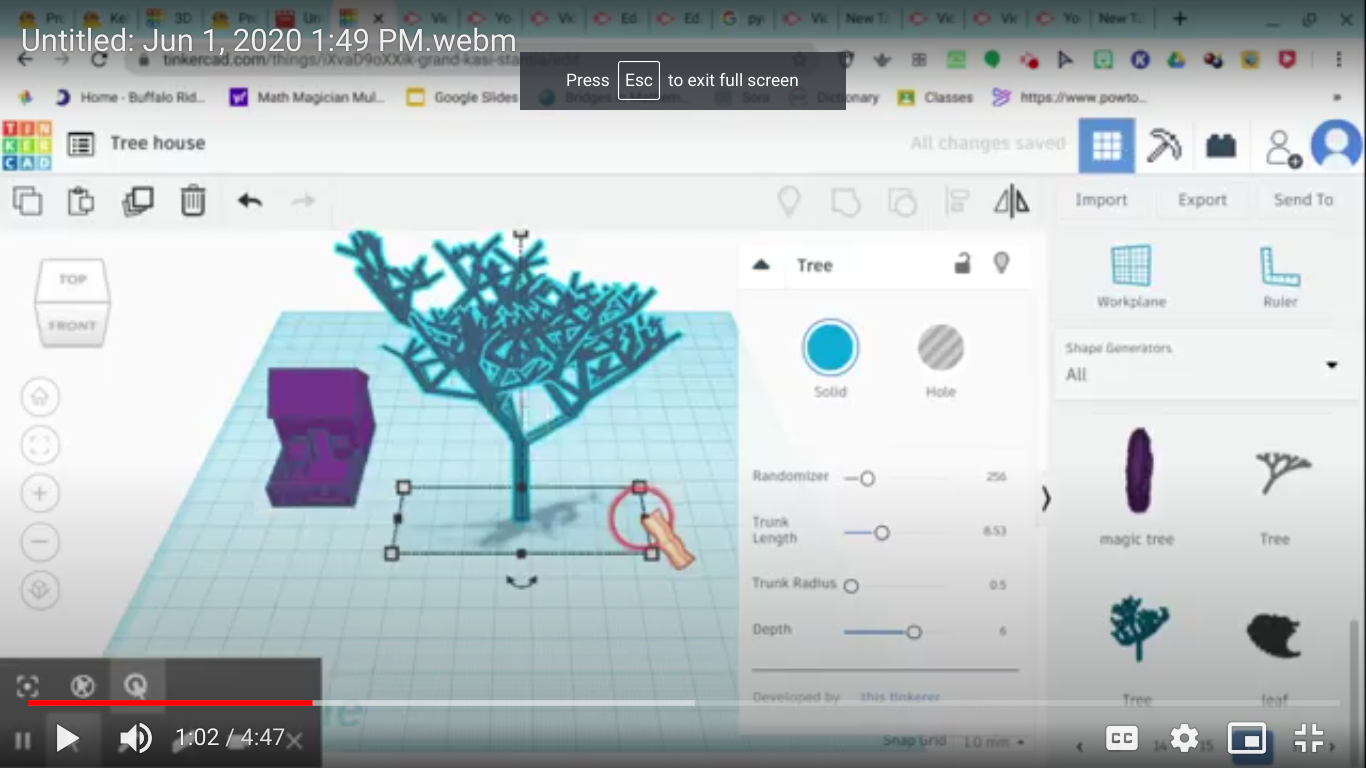
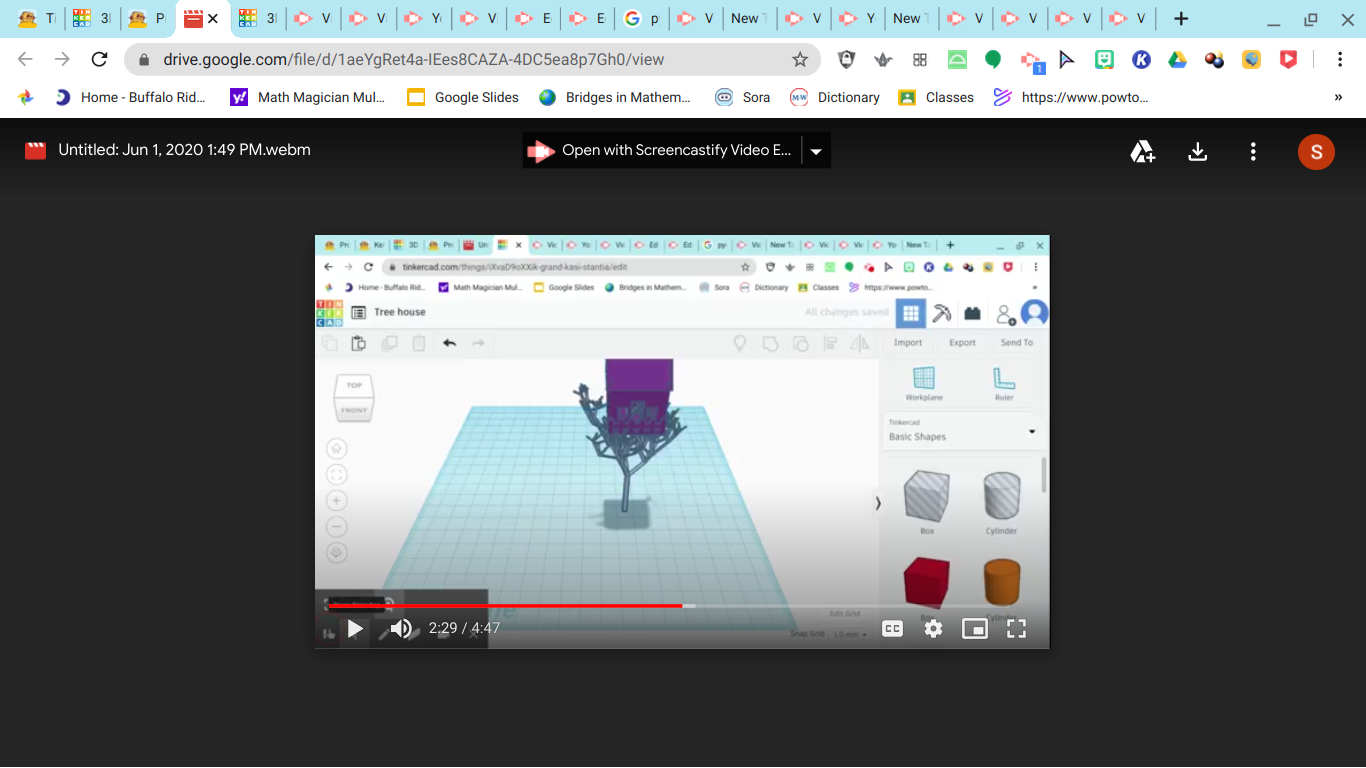
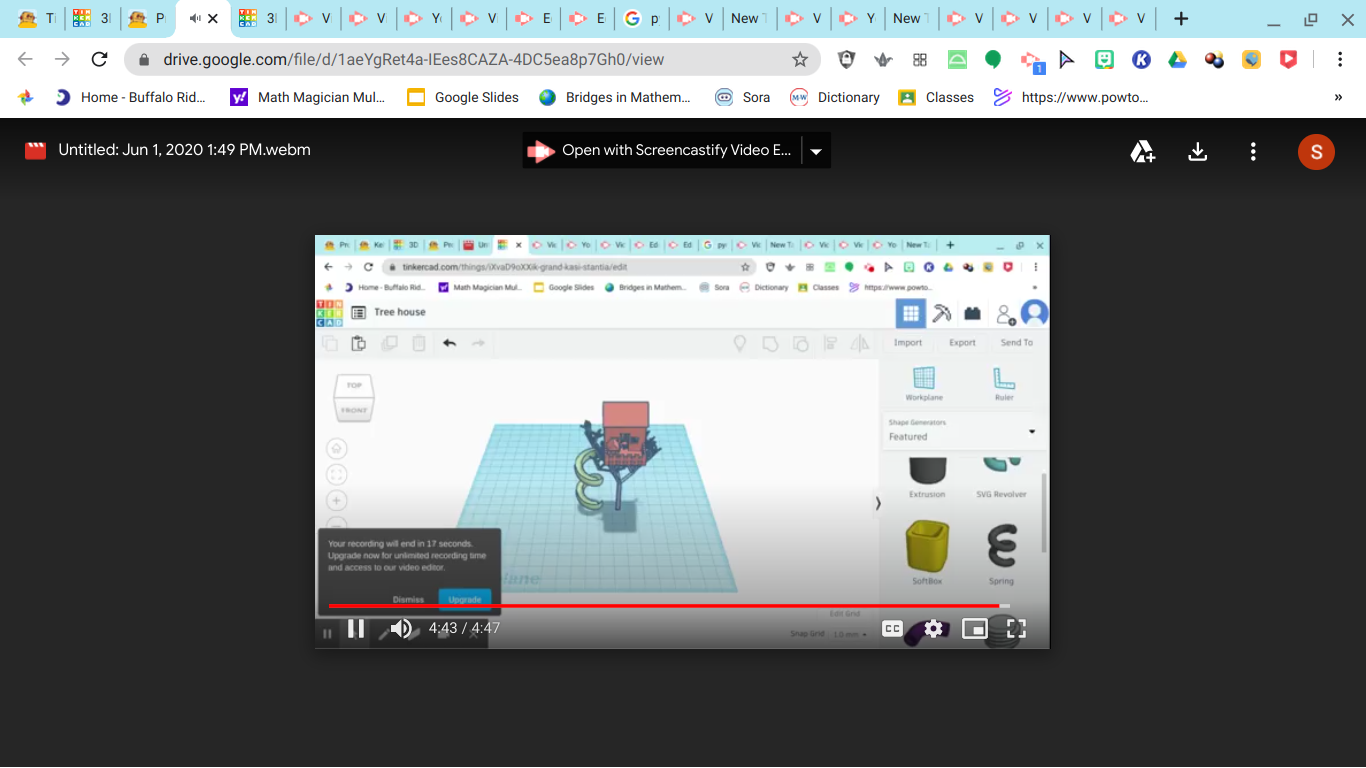
here is how to make the tree house!
What is the purpose of the tree house?
Well it is a fun element for kids and parents to come have fun at and play when your at the shape park!
First you are going to need to go to shape generator and select all on number 16 you are going to grab the tree. while you are doing that you are going to grad the customizable house.
Next Make the tree look however you want It is your tree house! Turn the customizable house's patio to zero.
After that drag your house to the middle of the tree and push ctrl up arrow how many times till it is up in the tree.
Now we are going to make the slide go to shape generator and push FEATURED Once you have the spring make the height bigger and then duplicate it push ctrl up arrow two times then you are going to push group which is ctrl g and then push multi color it and fit it to the house.
YAY YOU ARE DONE CONGRATS!!!!
Step 5: Swing Set
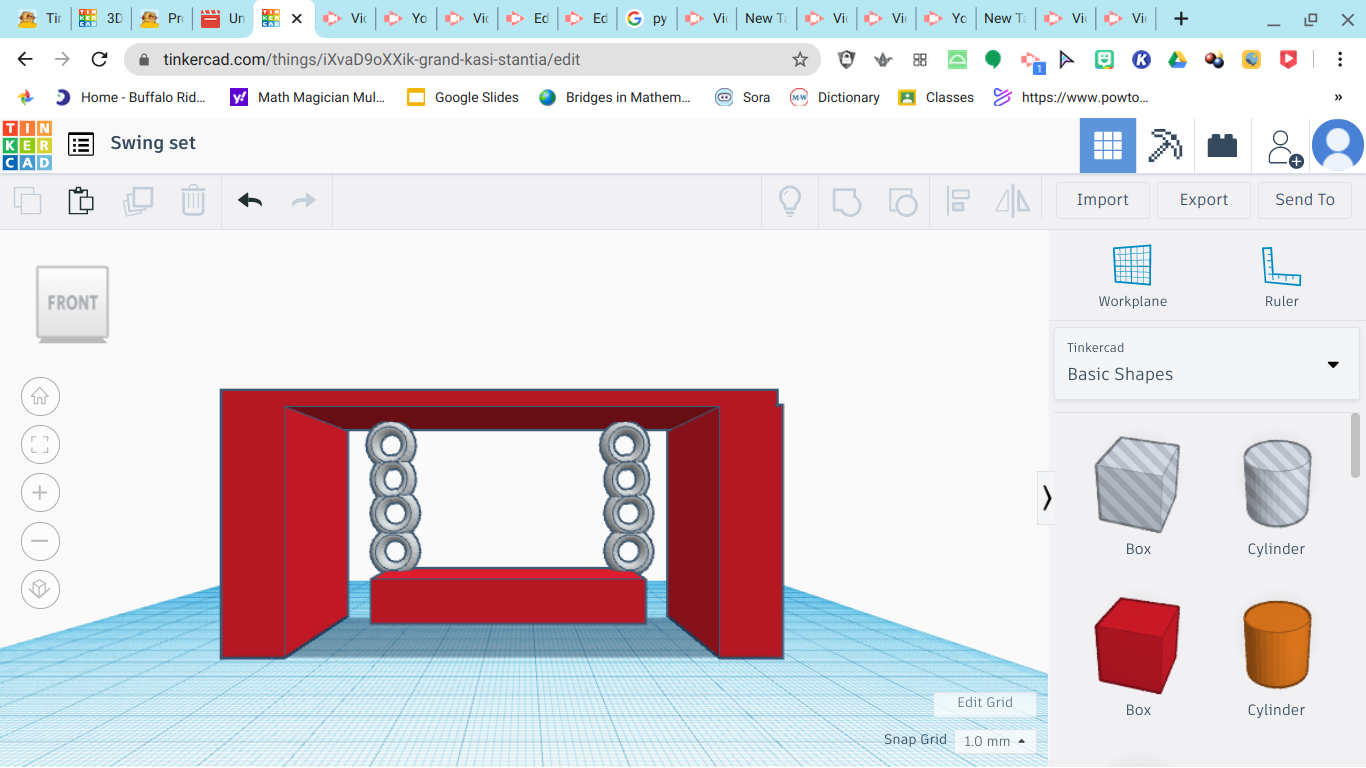
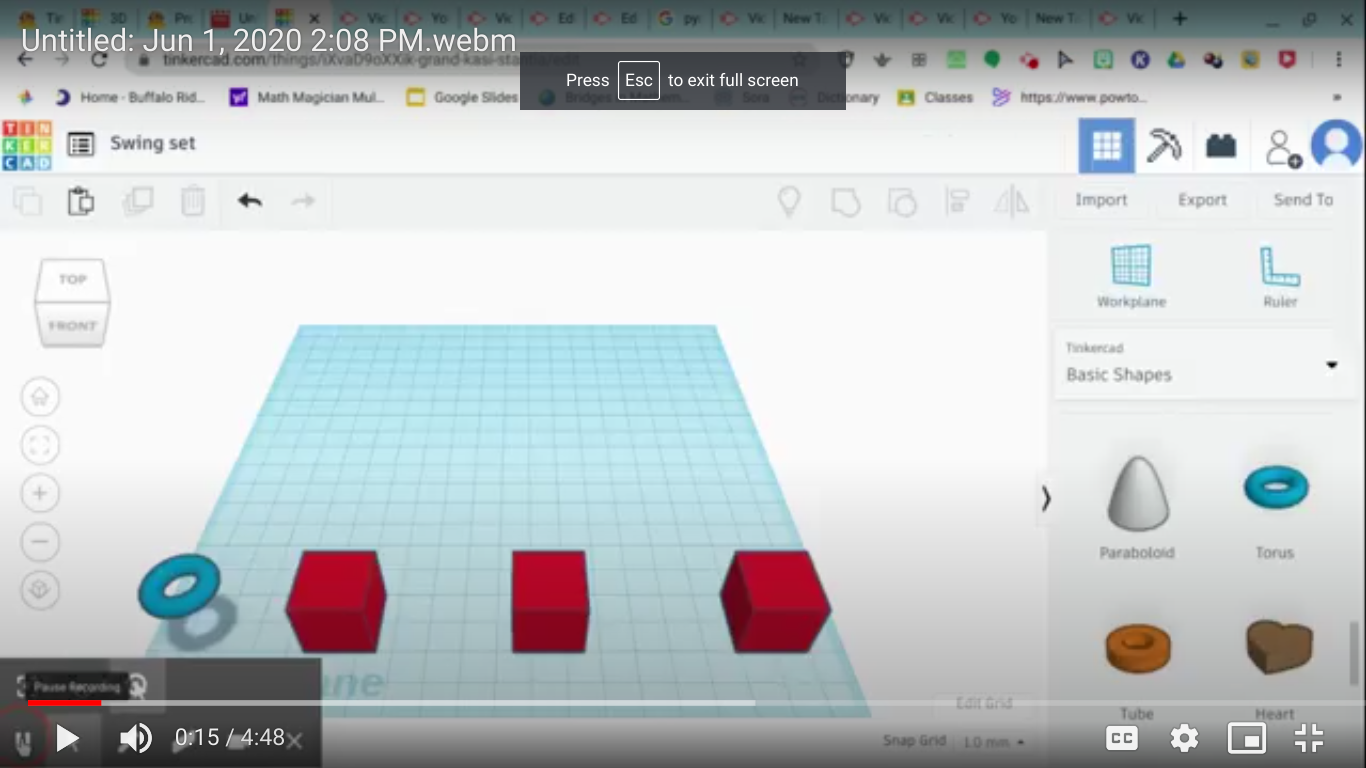
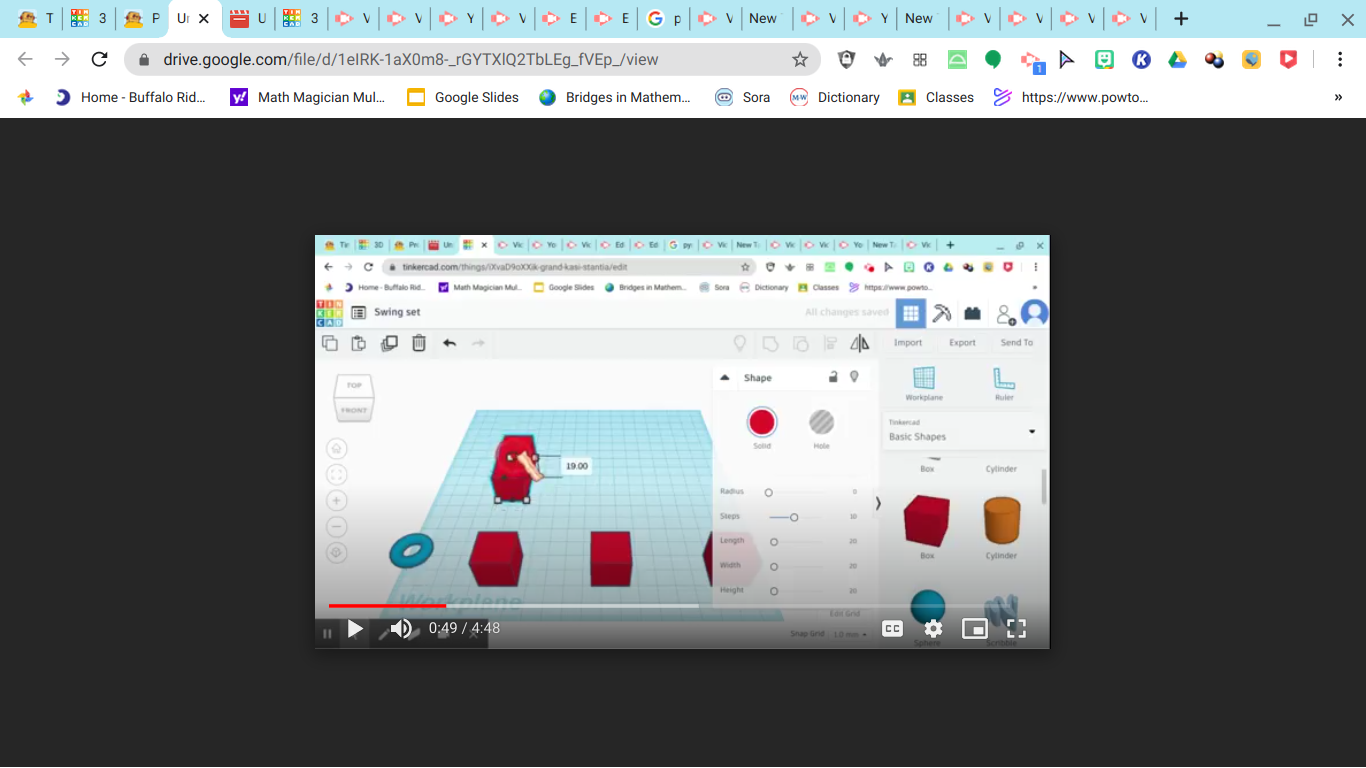
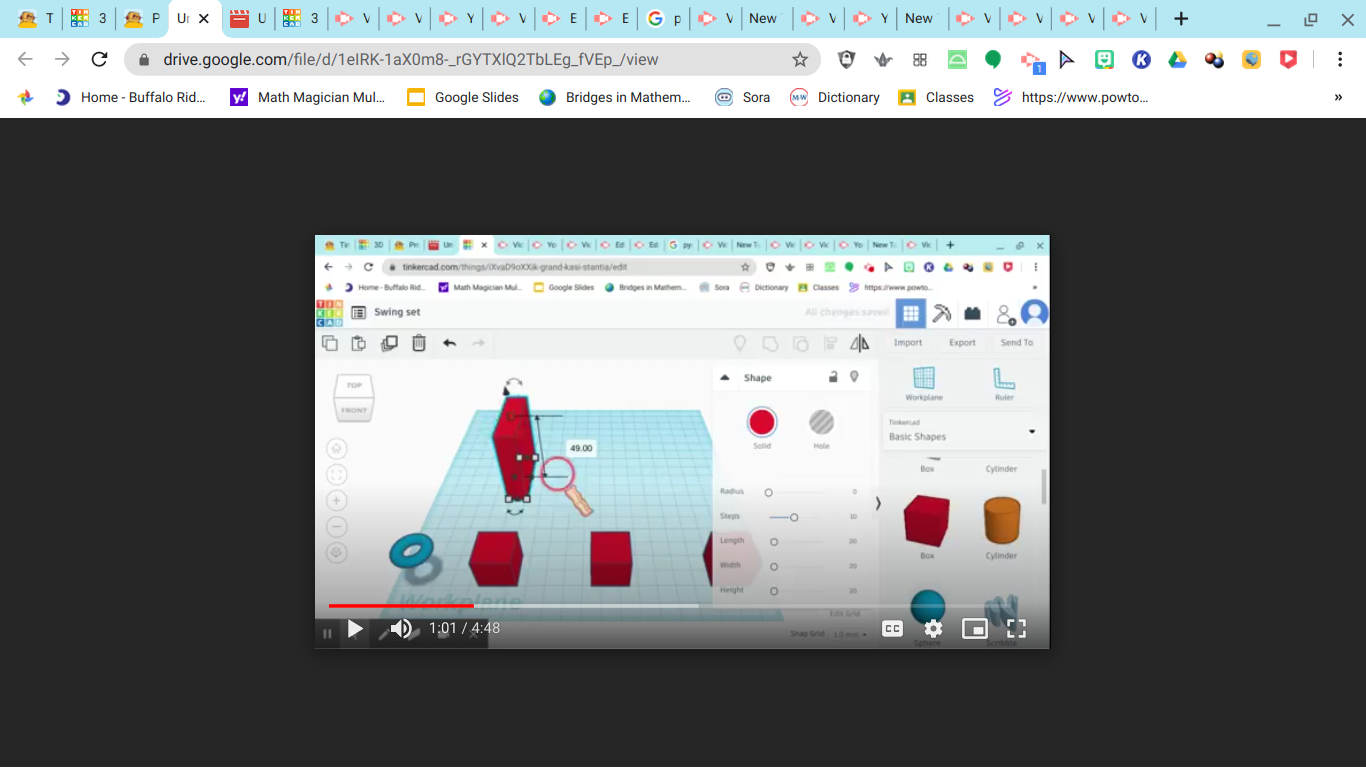
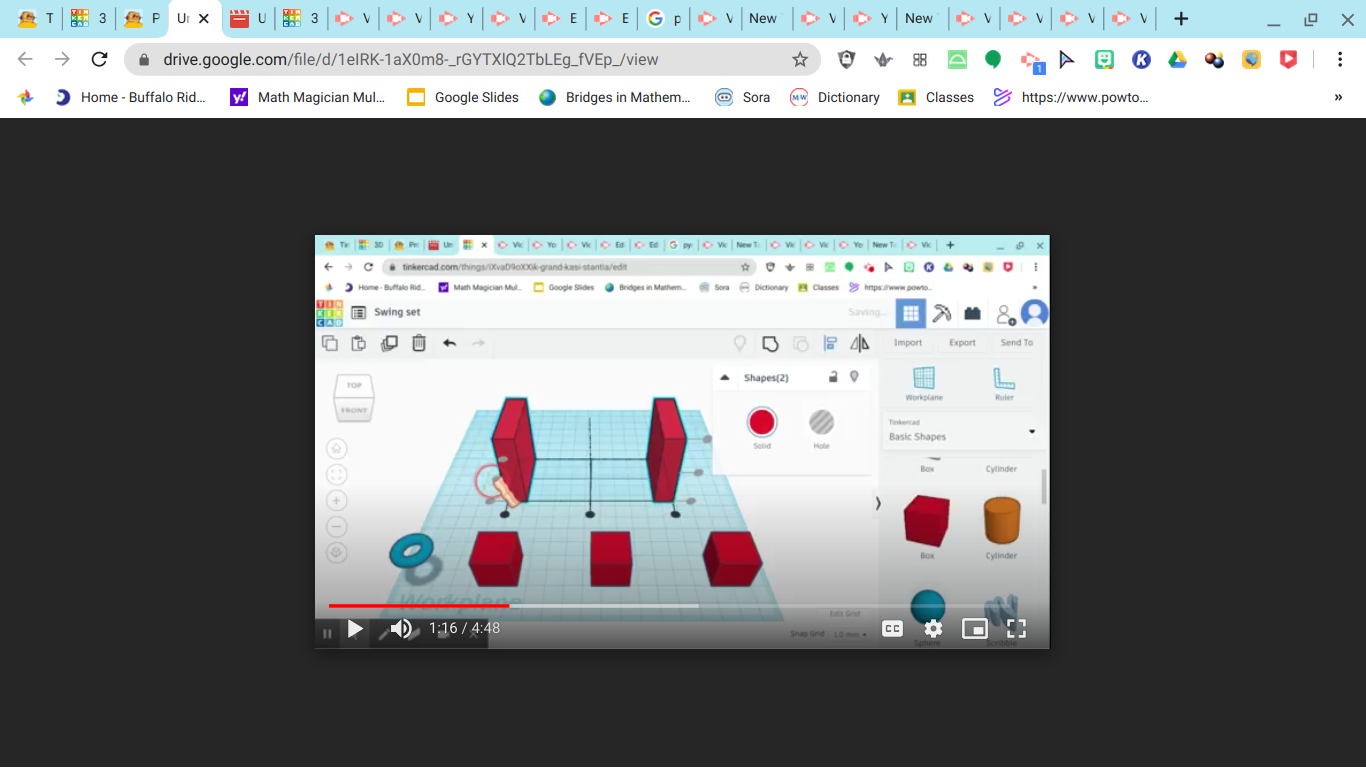
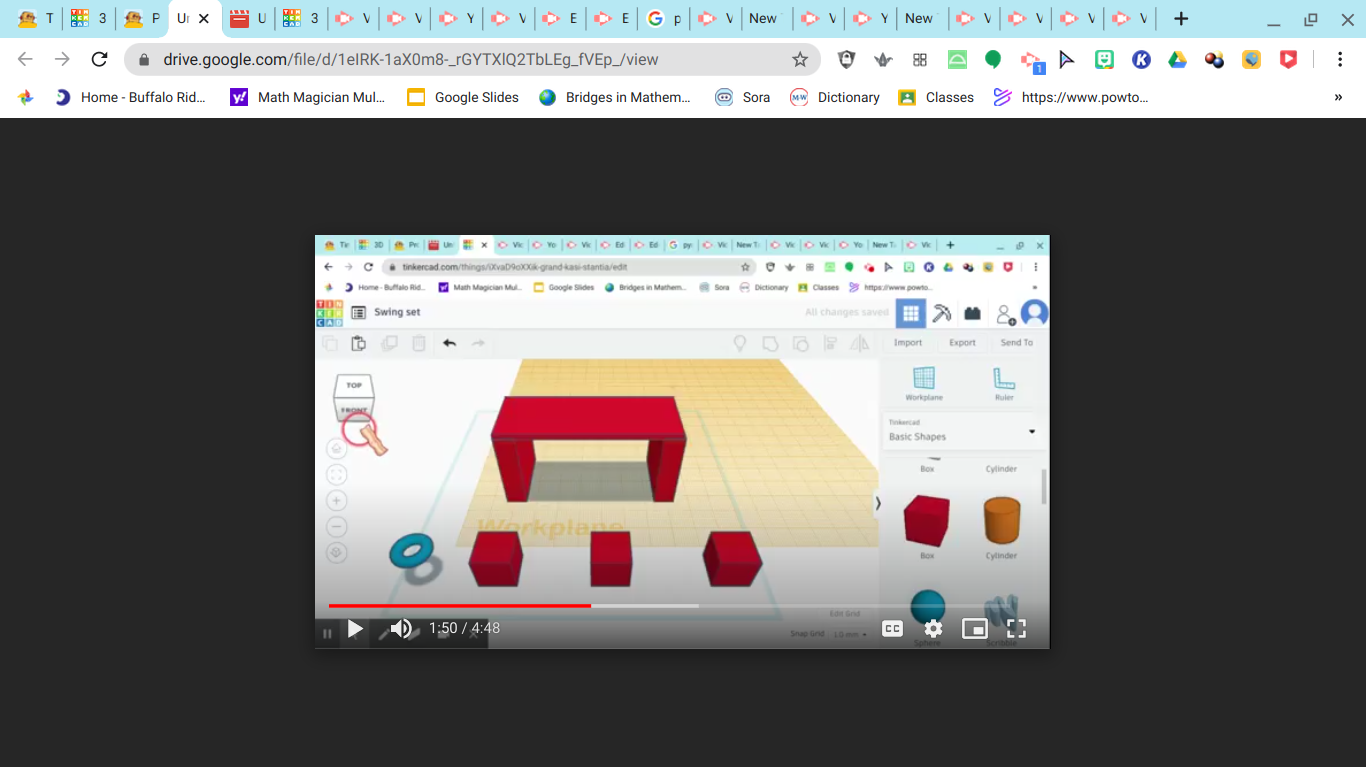
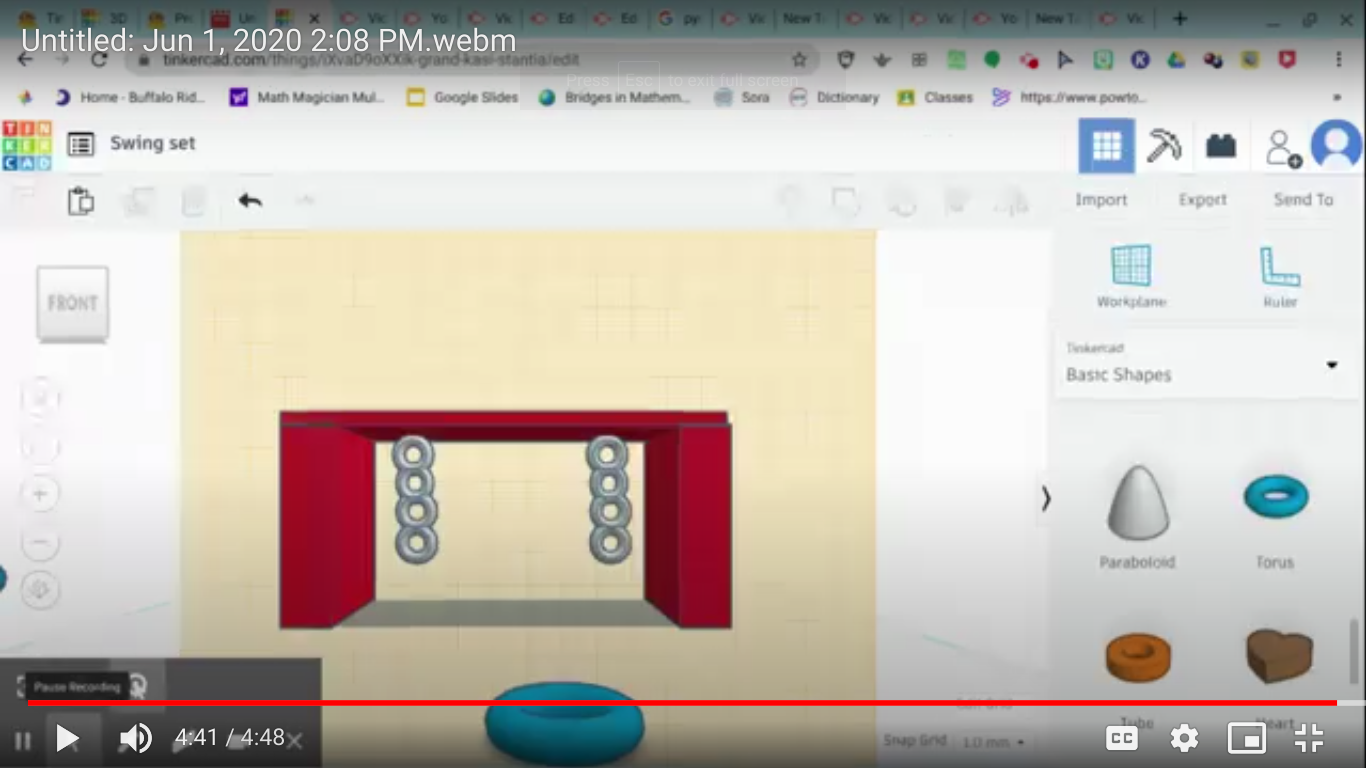
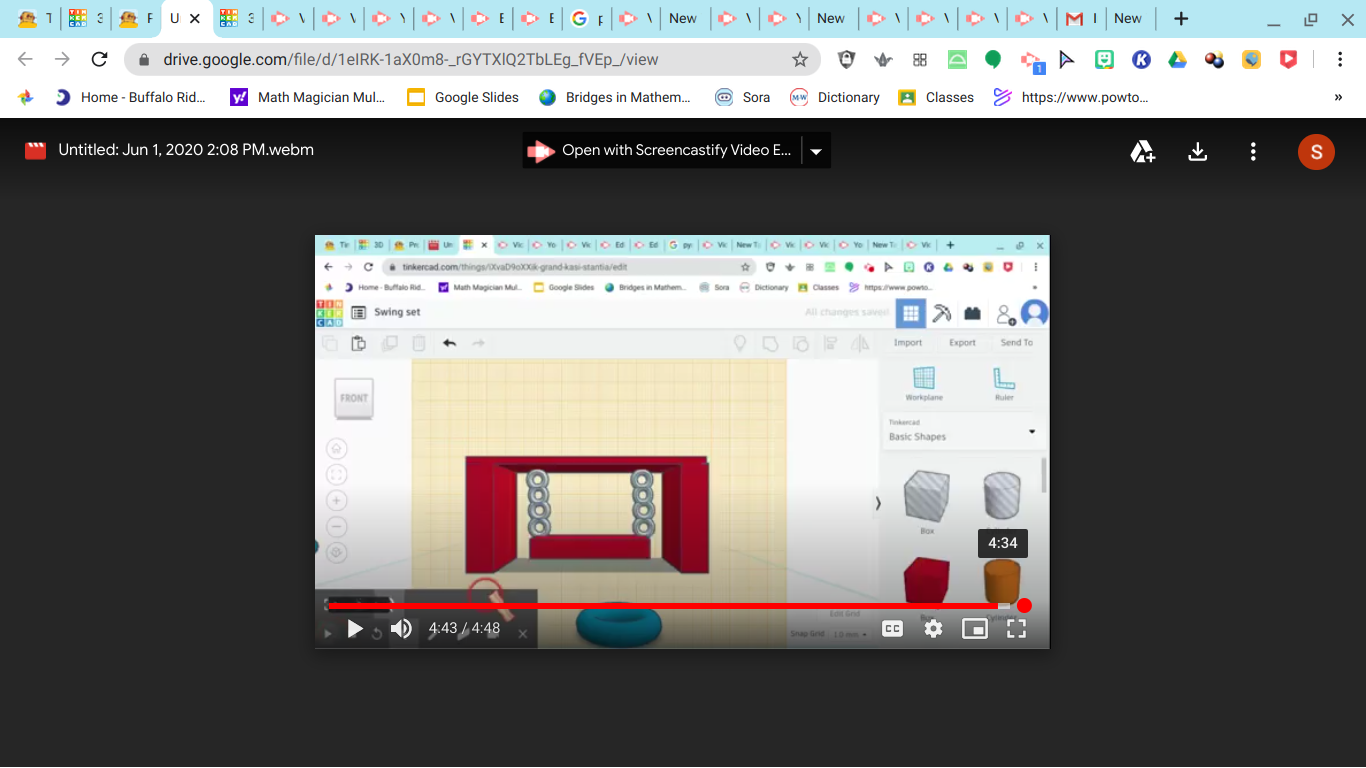
Here is how to build the swing set!
What is the swing set for?
It is another fun element for the park!
First grab the shapes we have up there on photo 1.
Next you are going to take your square/box and stretch tell you think it is the right length.
Now you are going to make it a bit skinnier and make the height bigger.
now it is time to duplicate what you just made push ctrl + D and move the second part over a bit i would align it press ctrl + L.
After that you are going to put a work plane on top of one of the walls and put another square so it is on top of the two walls we just made.
Lastly you are going to make your chains use the shape torus to make the chains you are going to put a square were you think you want your chains to be then you are going to put a work plane on them and then delete the square. Then you are going to use the torus shape and keep overlapping it and making it smaller once you are done group it and colour it gray then duplicate it for the other chaine use the square thin it out to make the seet.
BOOM YOUR DONE!
Step 6: Shape Hunt
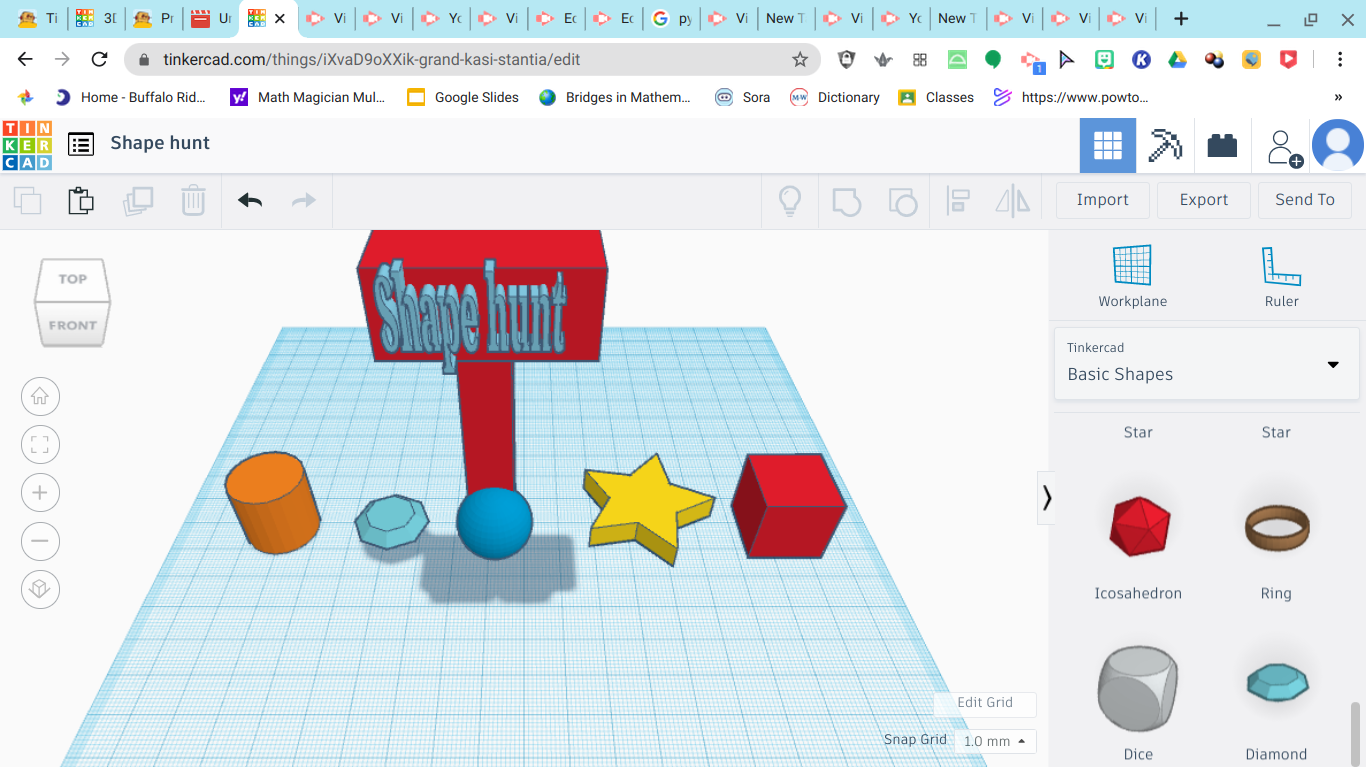
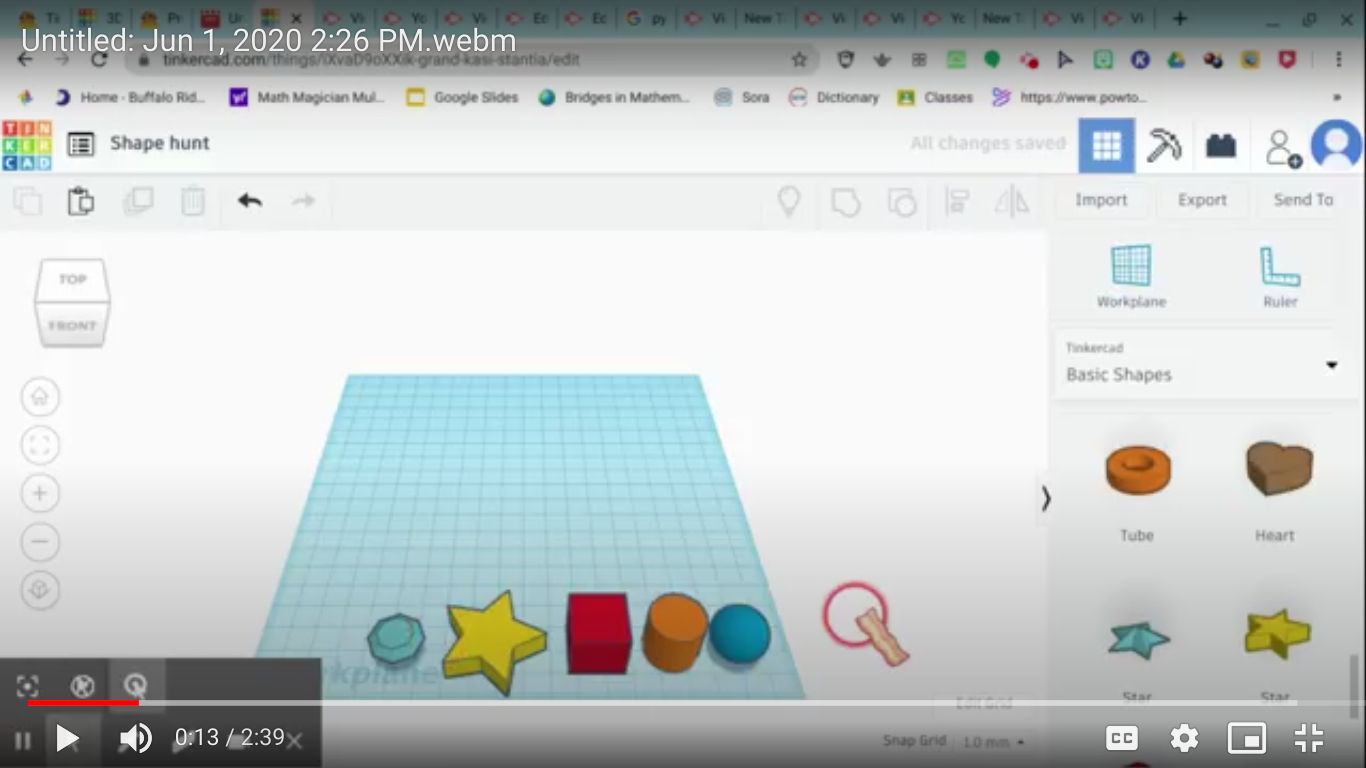
How to make the sign and disguise your shape video right here!
What is the purpose of the shape hunt?
Well you are still learning while having fun!
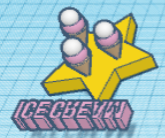
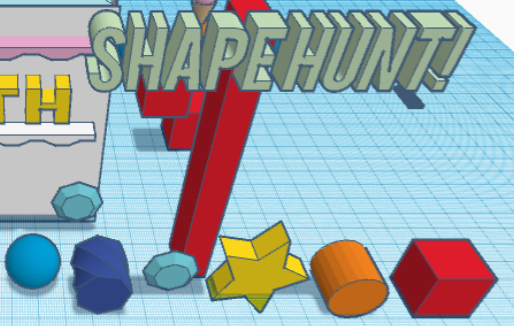
First you are going to need to gather the shape up above.
Now we are going to disguise the star put a work plane on your star and Put ice creams on it also put a title that says ice cream around your model.
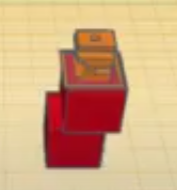
After that you are going to take the 2 square so they the first square where ever you want then you are going to put a work plane on the top of the square and put another square on top. Then on the second square go to hangout space and scroll to the bottom where you will find the art sculpture.
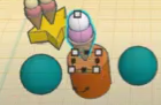
Now we are going to disguise the sphere and cylinder So the cylinder you are going to put wherever you want. Then you are going to put a work plane on top of it and put a ice cream and make the spheres into seats.
Lastly you are going to take a box and this it out and raise up the height Then you are going to put the work plane on it and put another box on it but this time stretch it out a bit then go to shape generator all and go to nuber two chose your text and write shape hunt then put all the shapes your look ling for at the bottom also you can use the diamond for adding some bling to the ticket booth.
Step 7: Pool
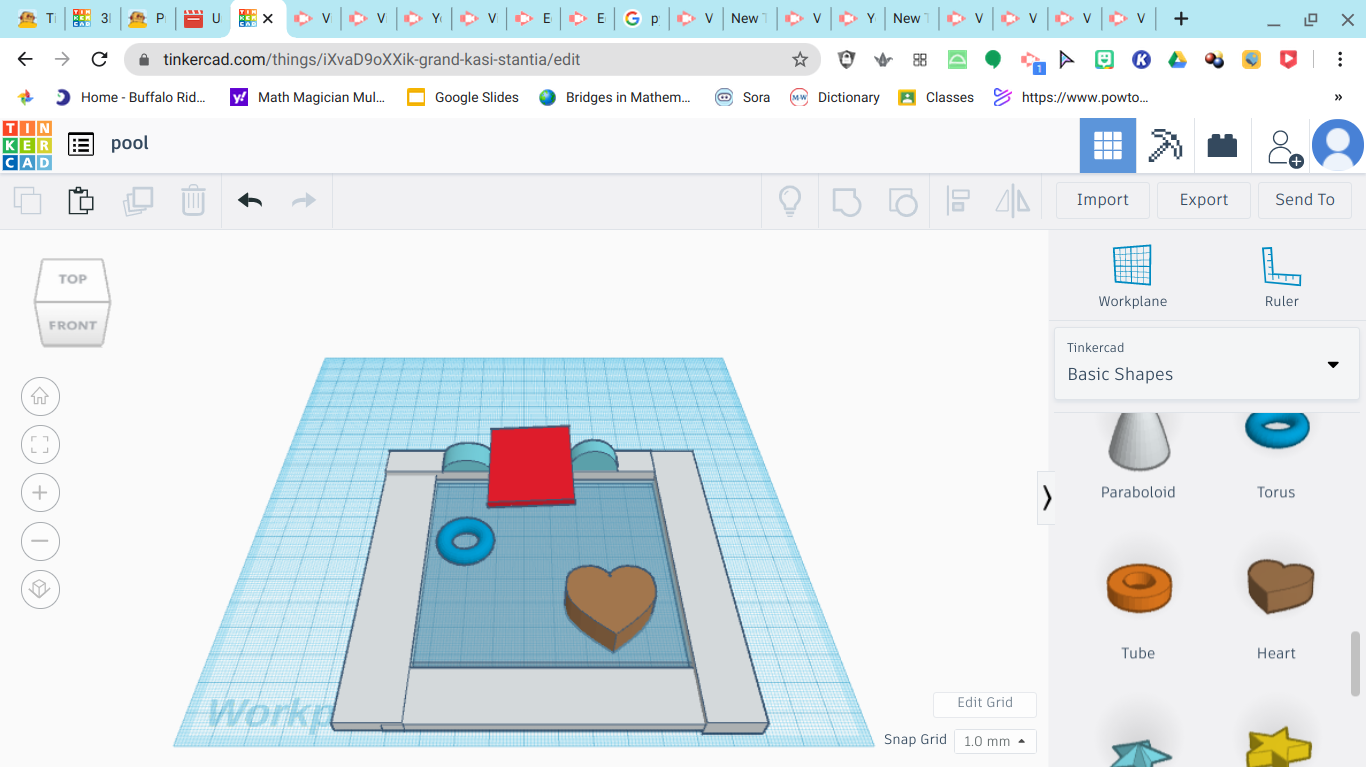
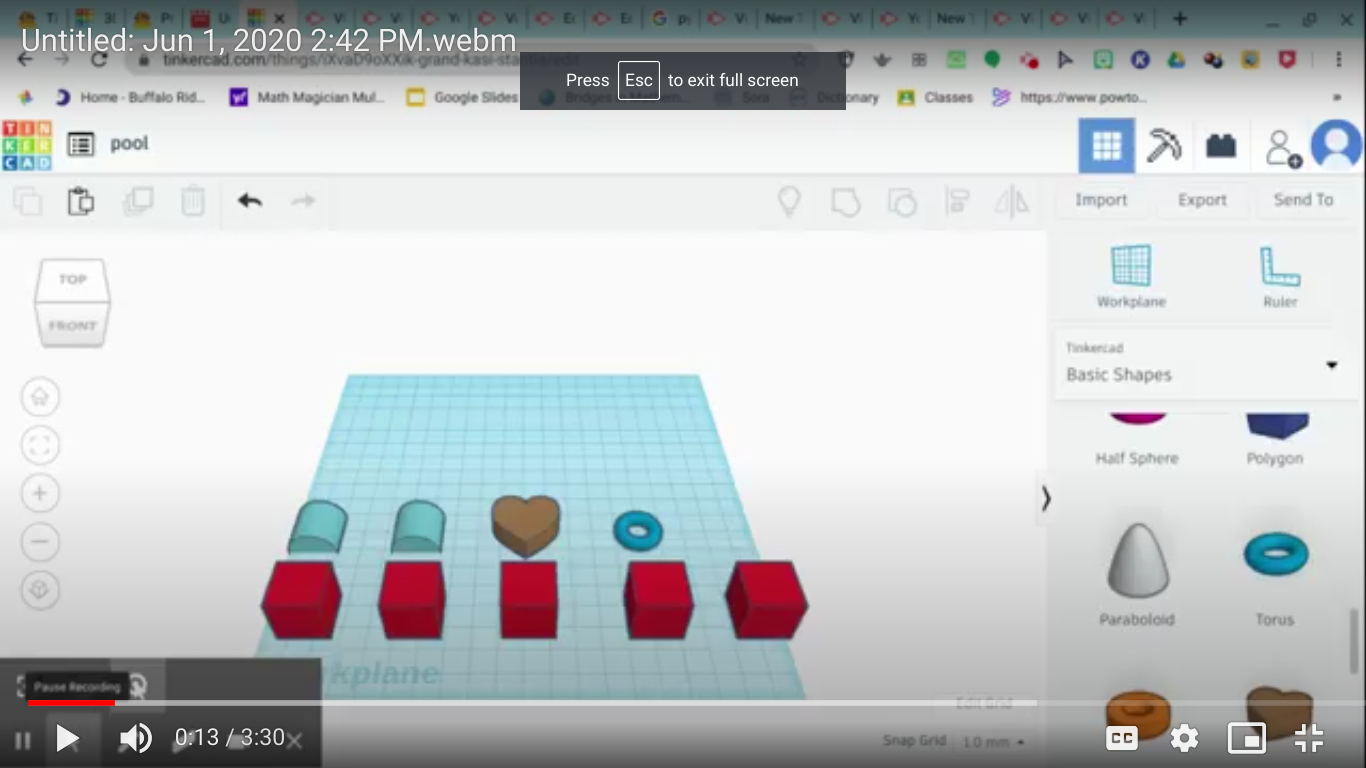
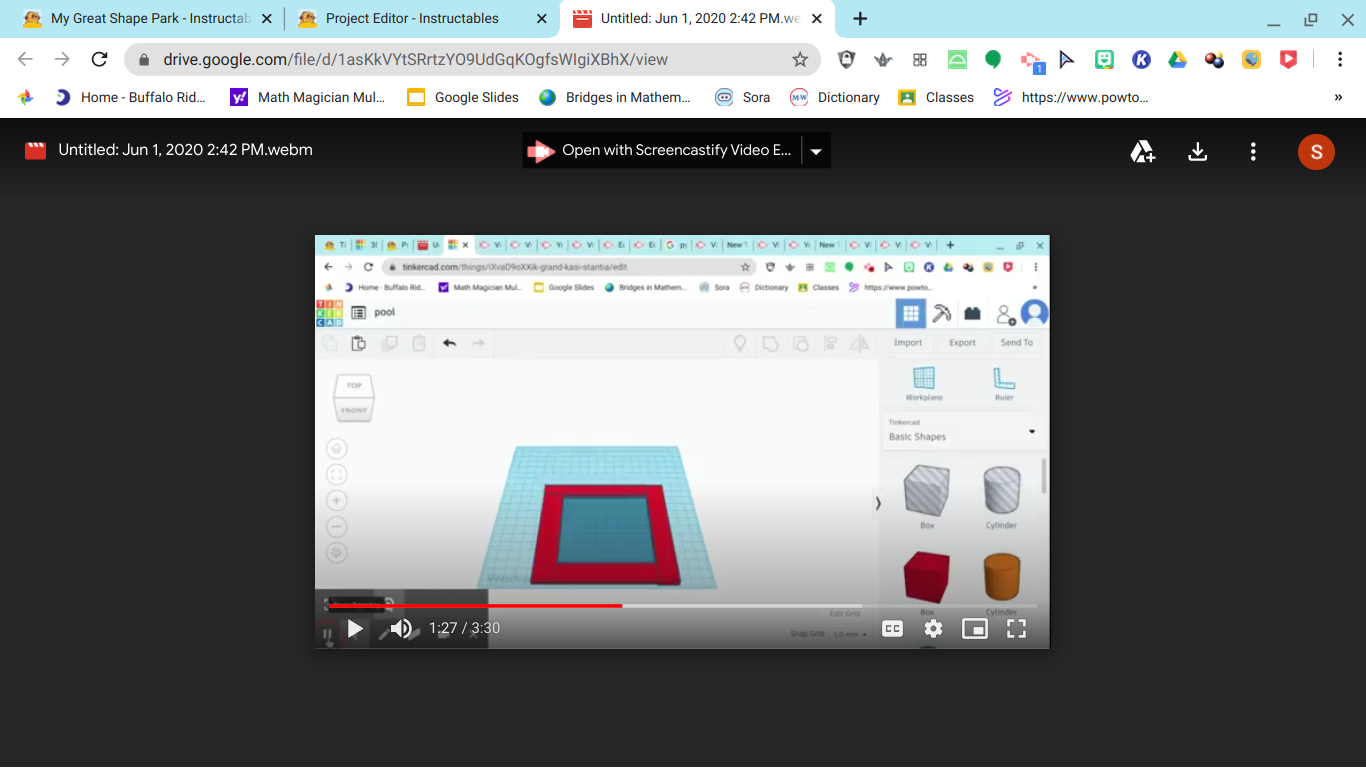
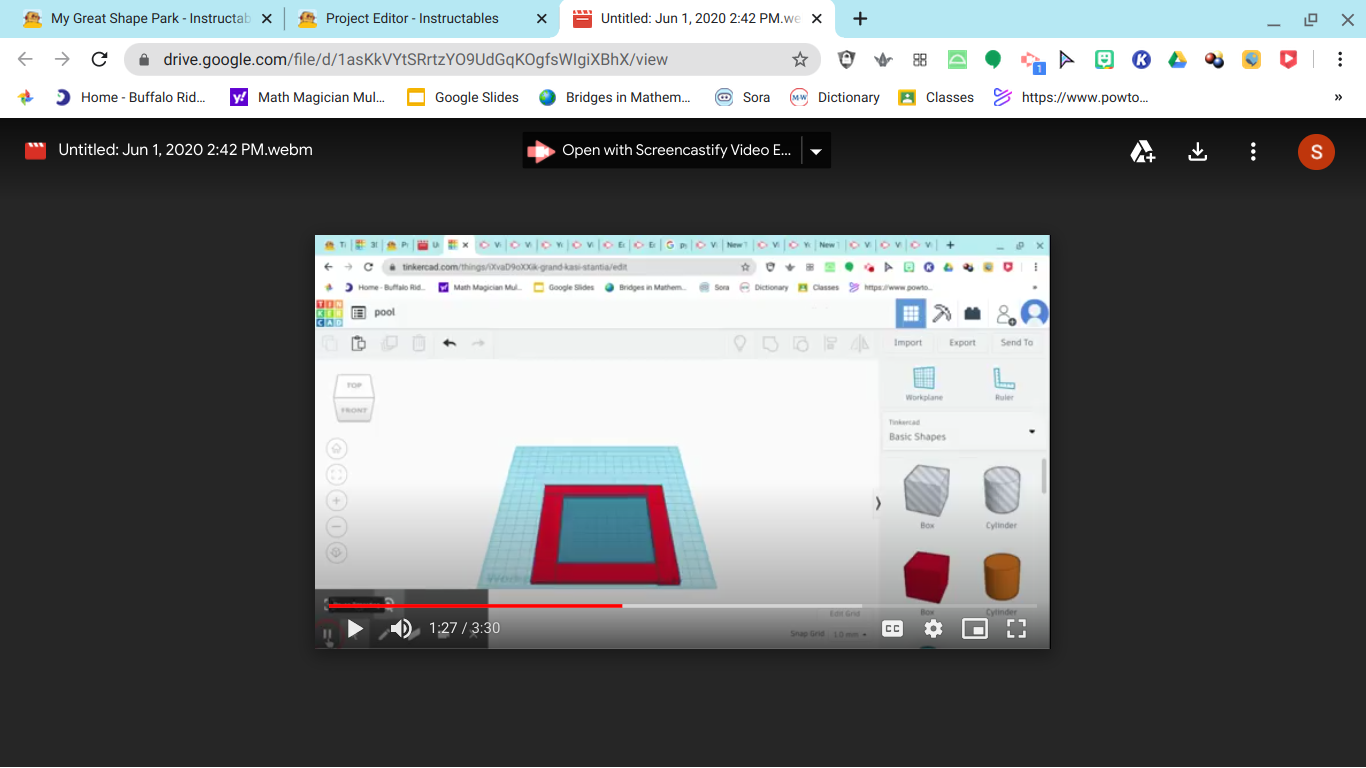
Why do we have this pool?
Because it is another fun activity that we can buy tickets for!
First you are going to need to get the shapes that we have in photo 1
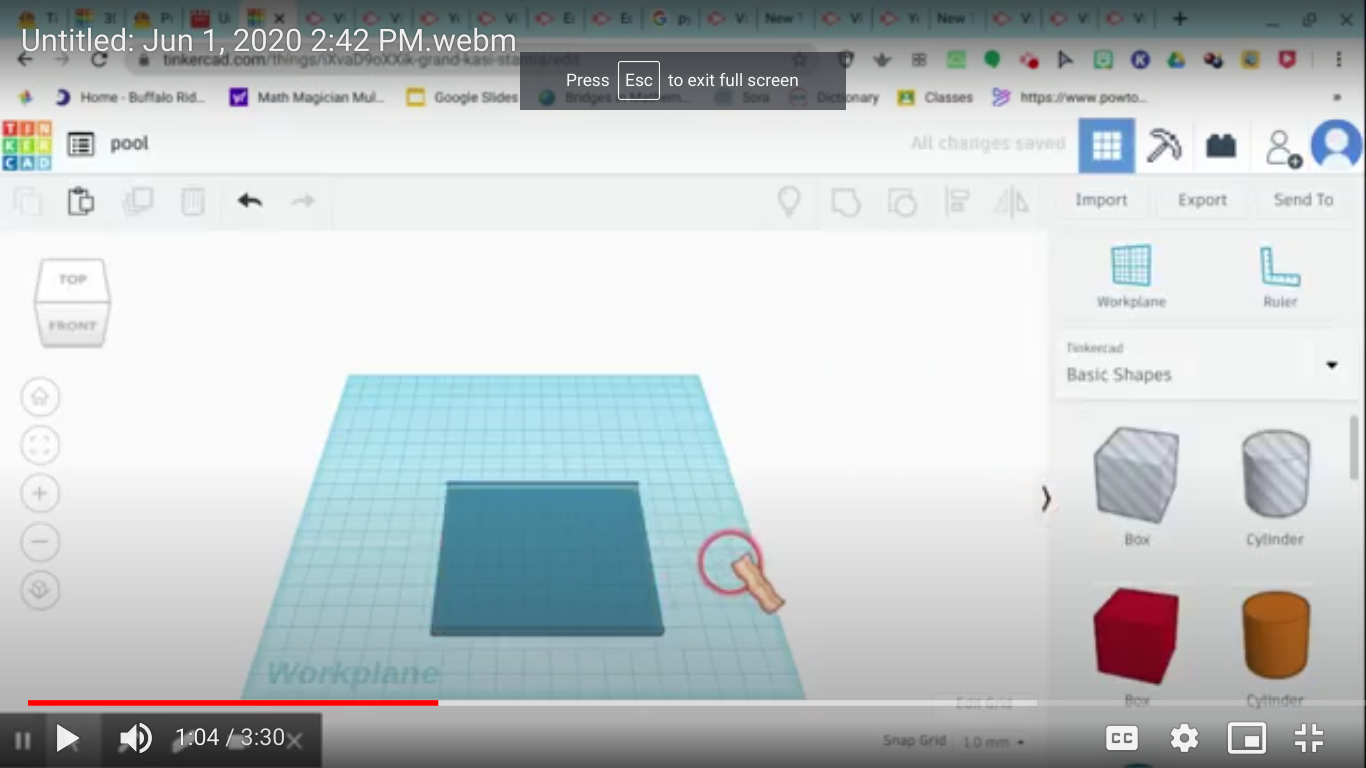
Next you are going to grab a square you are going to spread out how wide you want it to be. Then you are going to flatten it out and push the color circle and choose your color at the bottom by multicolor there will be a transparent button click that.
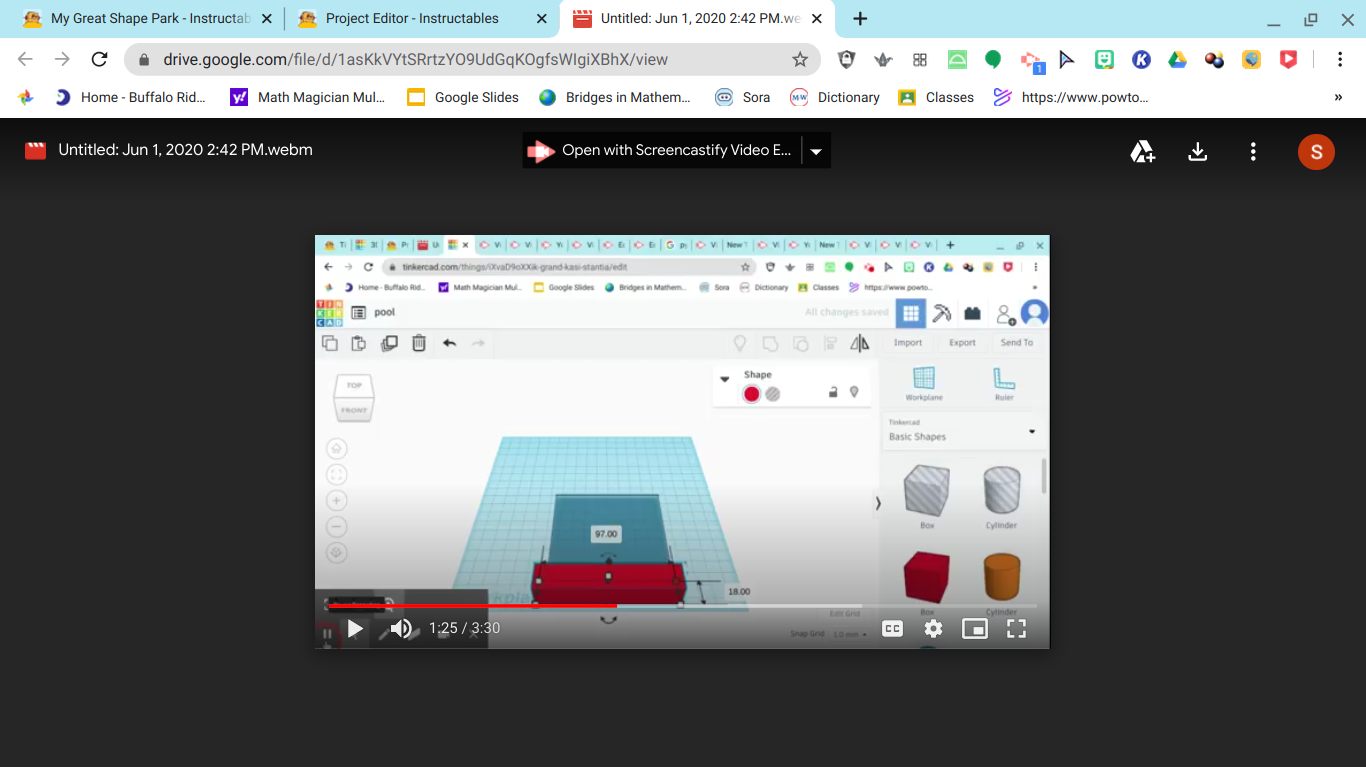
After that you are going to take your box and stretch it out try to make it look like you are making a border around the pool flatten it out too!
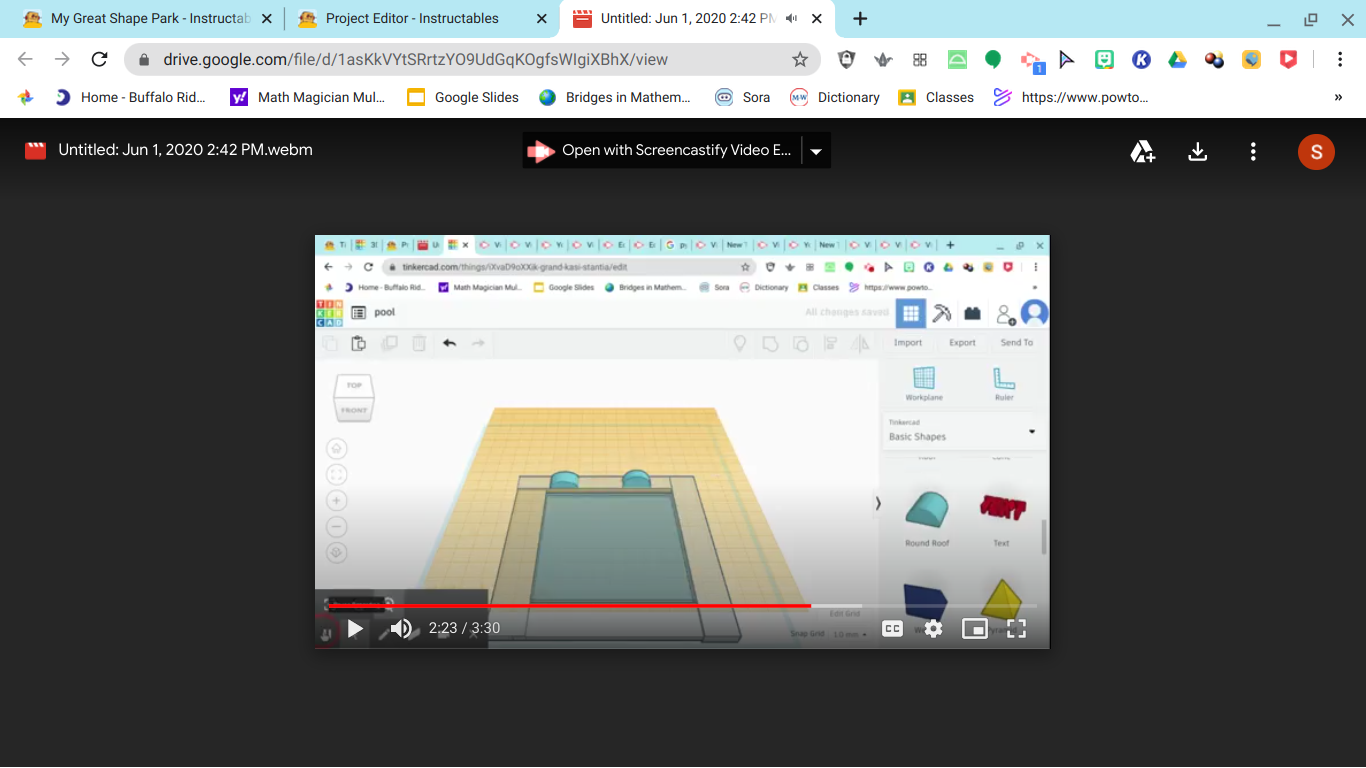
Now you are going to keep duplicating it till you have something like picture 5
Next you are going to Color it! Also you are going to take two round roofs you are going to size them till they fit the edge of the pool like picture 8.
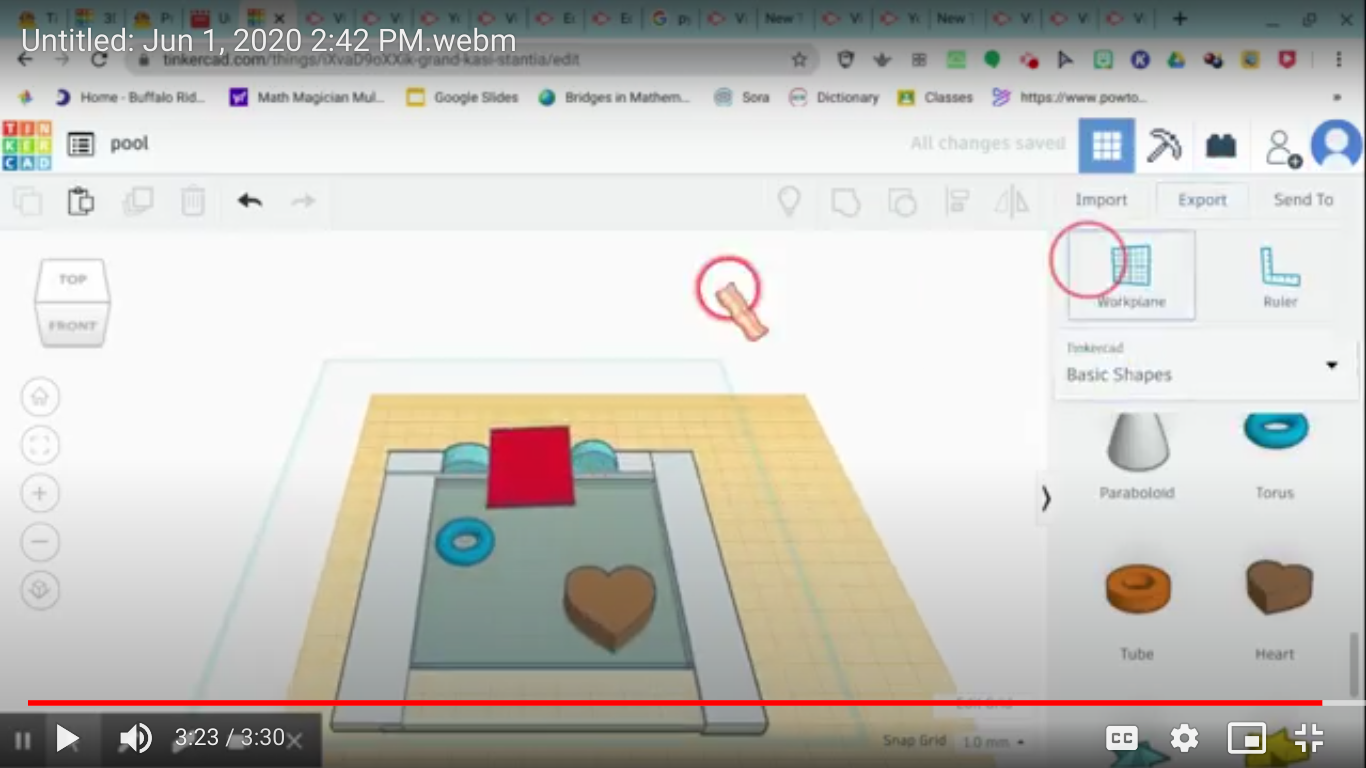
Lastly you are going to take a square and make it so if fits in between the two roofs stretch it out and make it flat then you take the work plane put it on the pool and put in your pool floaties.
This Is Not a Step
this is my gmail email This is my other email if the first one does not work or you could just do both. Mash up: Me loving turtles and going to the parks over the summer with my family so fun!
Silly solutions: Me Showing how to do stuff easier then the harder way.
Make it move: I made a moving turtle that encourages kids to clean up after themselves and their environment.
Connectors: I made a fun guy about connectors that you and your family can take a picture with!