My Smart Mirror
by WoutVanOvermeiren in Circuits > Raspberry Pi
31805 Views, 535 Favorites, 0 Comments
My Smart Mirror

Time in the morning can be limited. You have to get ready for work, school,... Looking up the weather takes some of that limited time away. The Smart Mirror eliminates the time you need to open your phone or computer and lookup the weather. In this project we will make such a mirror. It will be able to tell you the time, the local weather, temperature and humidity of the location where your mirror is hanging. This data will also be shown on a home made website.
The Components You Need
The list of components can be found in a pdf below
- Computer screen with HDMI input (or DVI input with convertor like in my case)
- DHT11 temperature and humidity sensor
- Raspberry pi 3 model B
- Wood
- Hardware to fix the wood in place (screws, glue, brackets)
- Confrontation mirror, try to order the dimensions as close to the dimensions of the screen. I ordered a custom size and measured the outside of the screen, fully assembled, with border. The screen will be able to rest on the access mirror.
- Cables to connect the sensor to your raspberry pi (female-female 2.54 to 2.0mm jumper wires reccomended)
- HDMI cable
Downloads
Raspberry Pi Setup
Now it's time to install some software to control the Raspberry Pi:
- Raspbian OS image
- Win32 disc manager
1) Install the Raspbian OS software from the Raspberry pi website.
Download the ZIP file and extract it to a desired location.
2) Download the Win32 disc manager.
- Click on the folder icon to select the image
- Then select at "Device" your microSD
- Then click on "Write"
When the image is written on your MicroSD card, you can open it in Windows Explorer.
- Open the file "cmdline.txt"
- Add the following line before the word "rootwait": 169.254.10.0
- Then save the file.
Now insert the MicroSD into your Raspberry pi
Apply power to your Pi with a 5,2V power adapter.
Connect a network cable to your Pi and your computer.
Connecting to Your Raspberry Pi
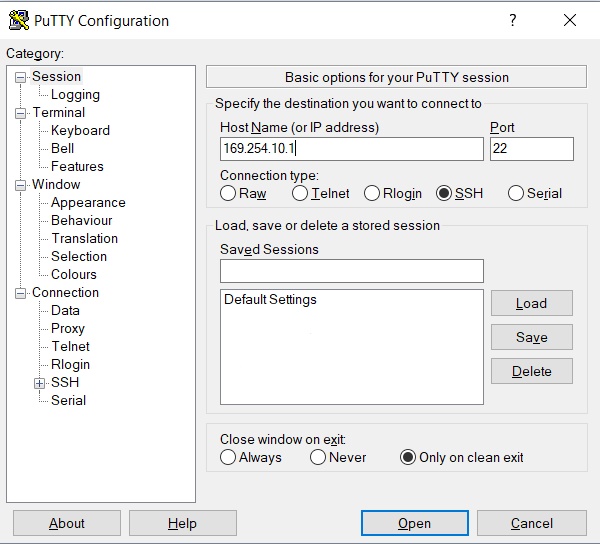
Now we have installed everything you need to use your RPi
1) Install Putty and open it.
2) Create a connection (as shown in the picture)
3) Login to your pi:
- username: pi
- Password: raspberry
4) WIFI setup
sudo nano /etc/wpa_supplicant/wpa_supplicant.conf<br>
At the bottom of the file, you add these lines:
<p>network={<br>	ssid="name of the wireless network"<br>	psk="password of the wireless network"
</p><p>}</p>
5) To connect wireless to your RPi you first need to find your ip adress via this code:
ifconfig wlan0
You can now use this ip adress in putty to login wireless.
Measuring the Dimensions for the Wooden Construction
You will need to measure 2 elements:
- The dimensions of your screen (! only screen, no edge !)
- Dimensions of the plexi mirror you bought
Do remember that these measurements will be the inside of the rectangle. When buying the wood, you will have to add 8 times the value of the width of the wood to have a correct length because it's nice if you saw the wood in miter.
For the front of the mirror, I used a wooden plank of 18 by 69mm and a length of 210cm
Write the dimensions down, we will use them later.
Taking the Screen Apart
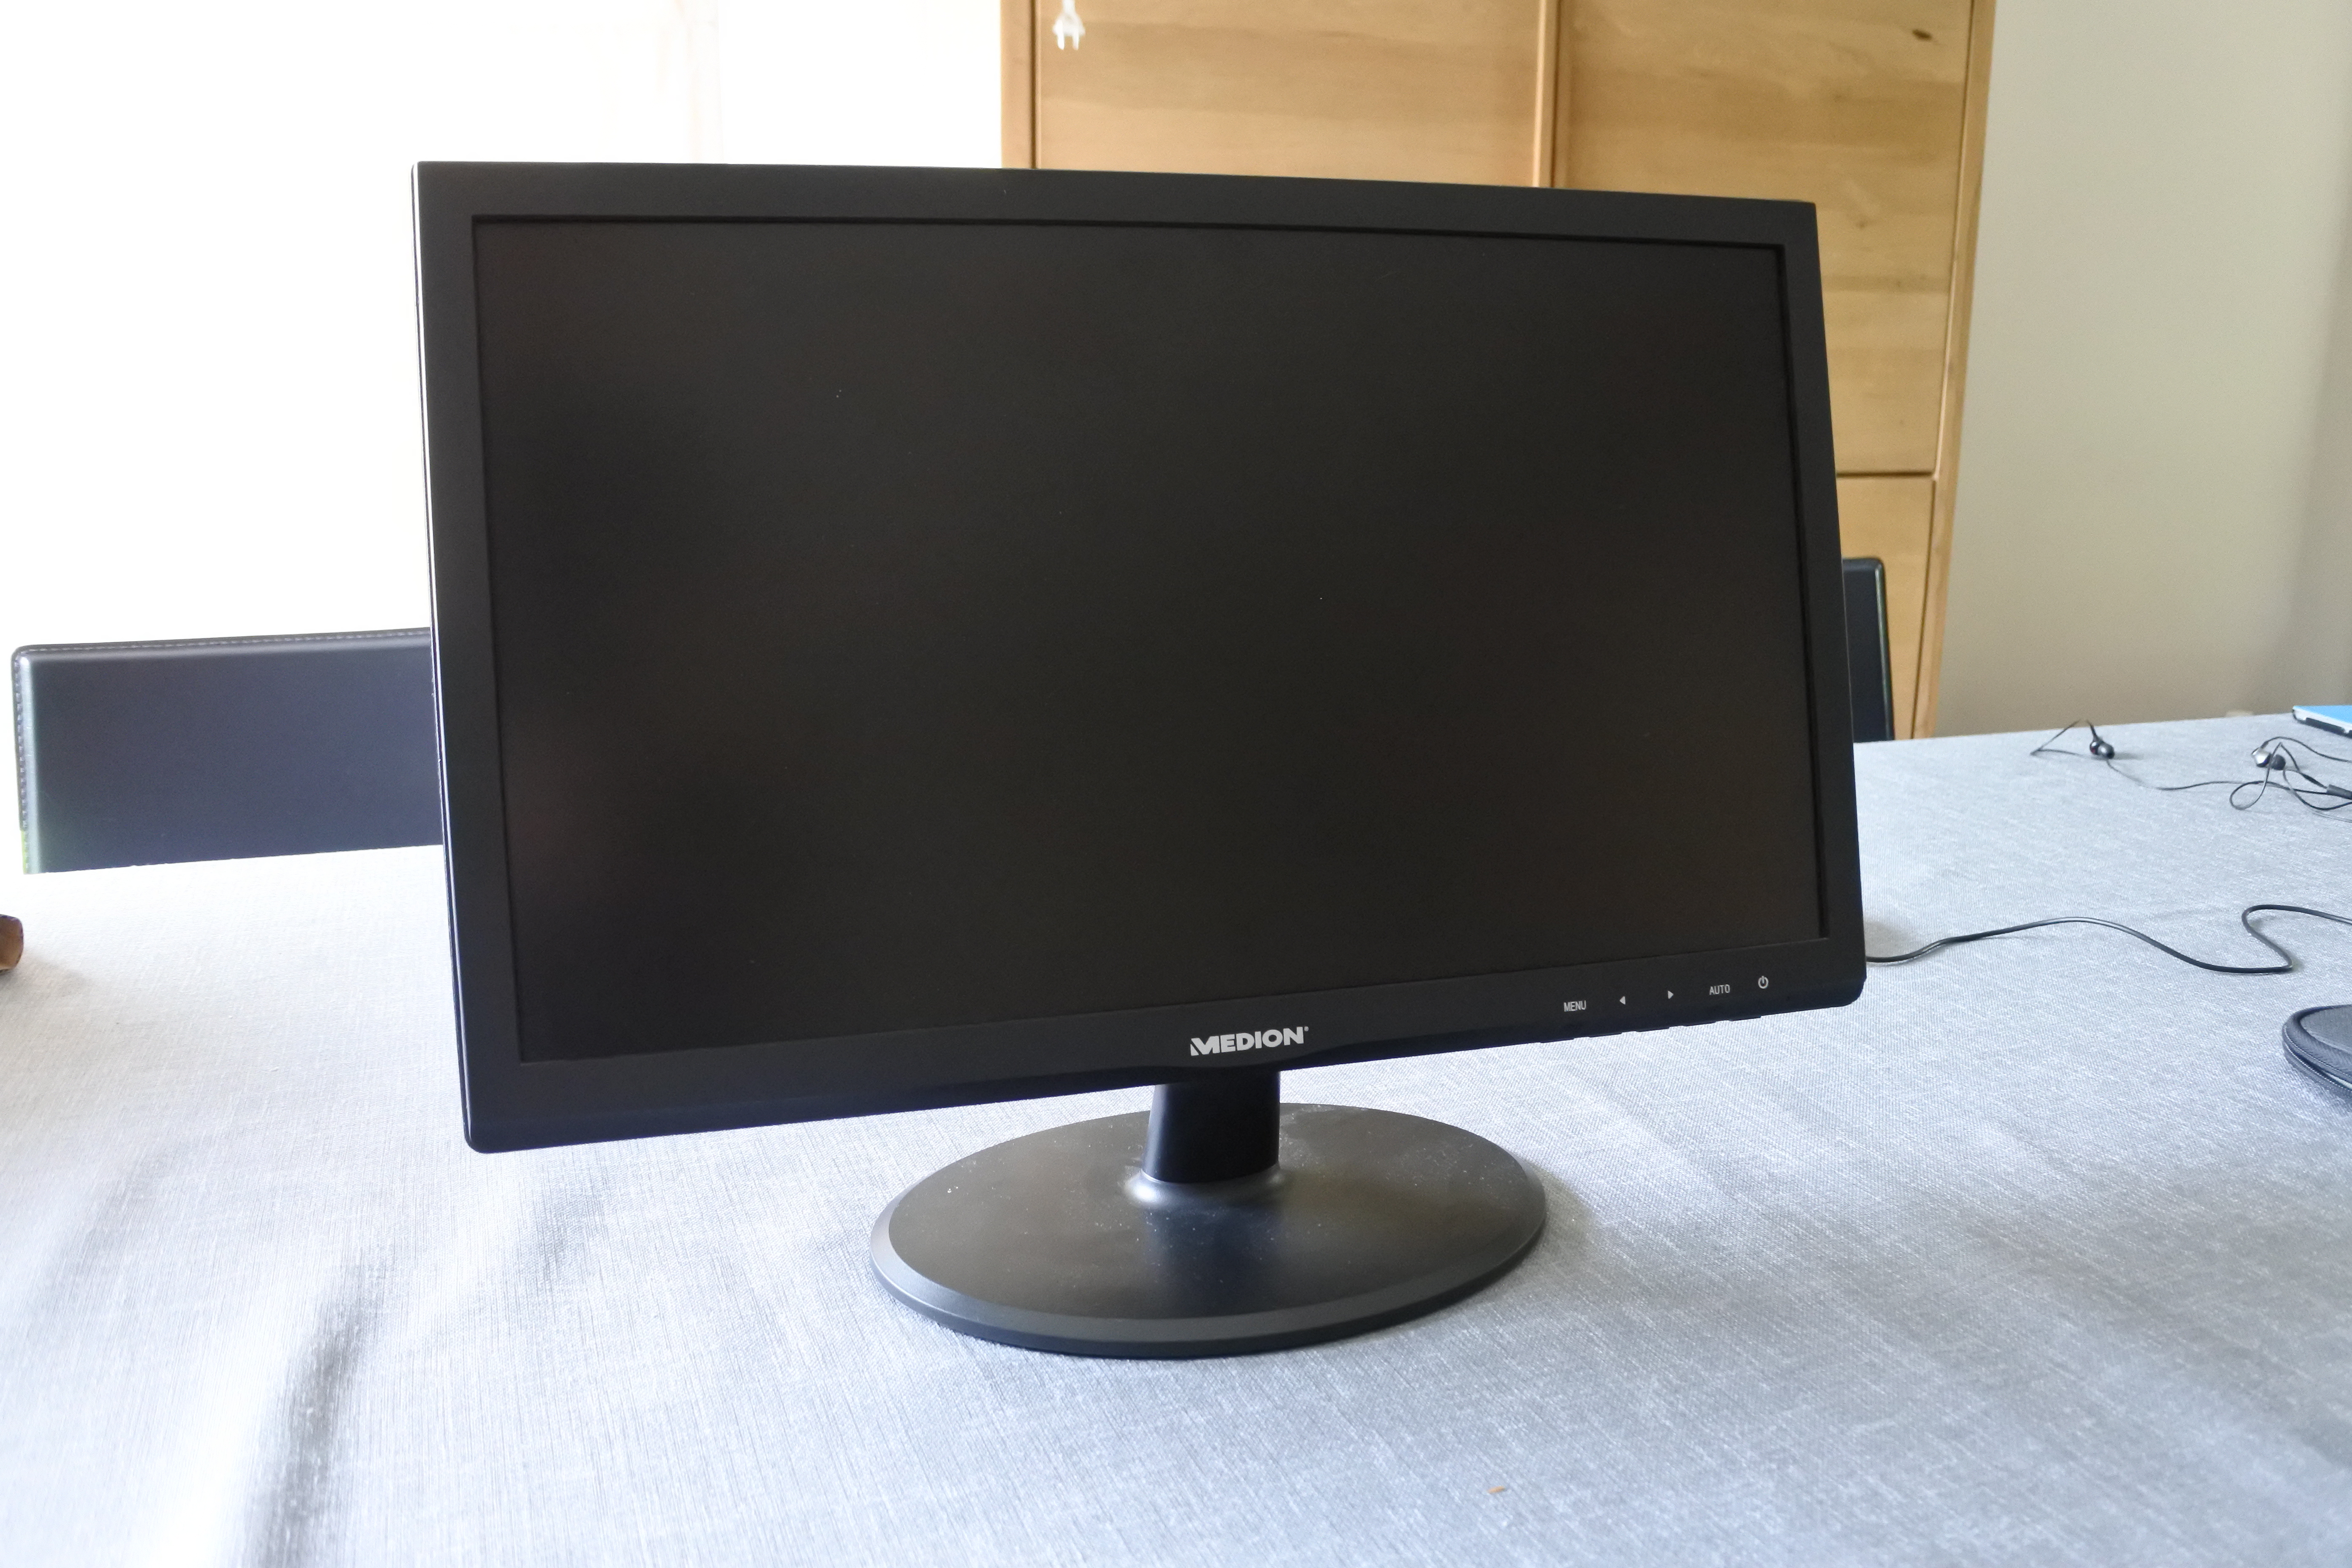
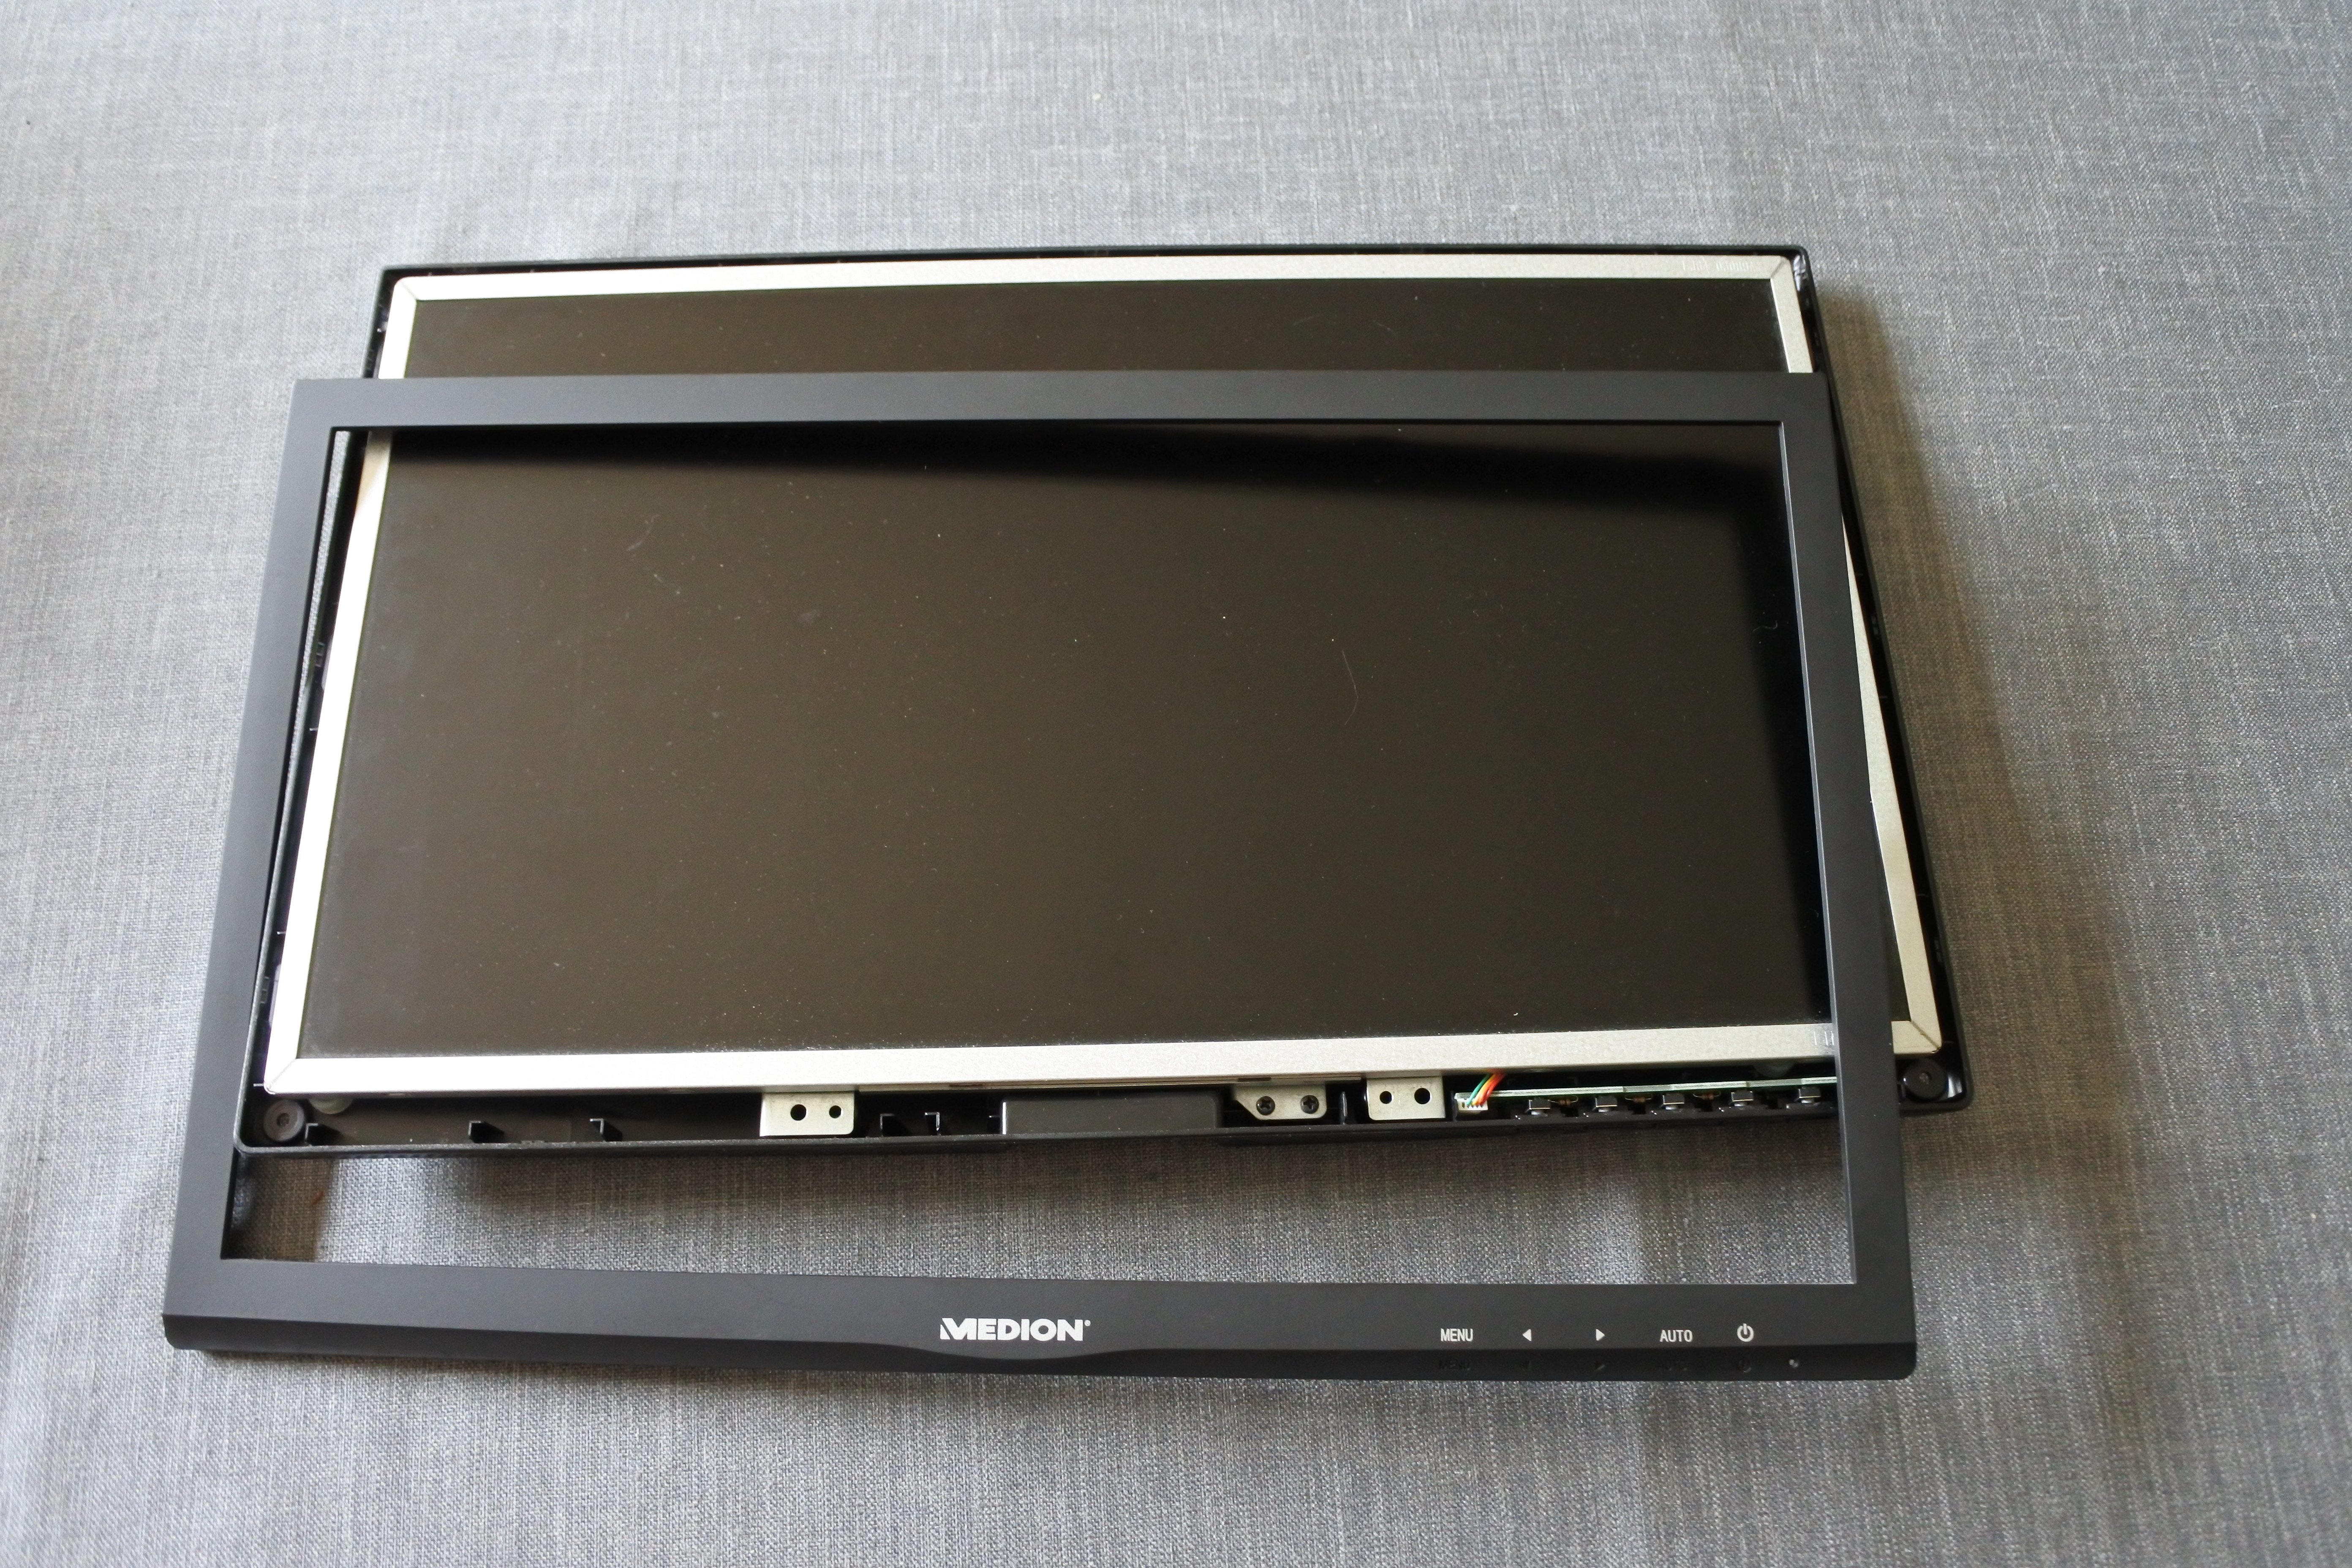
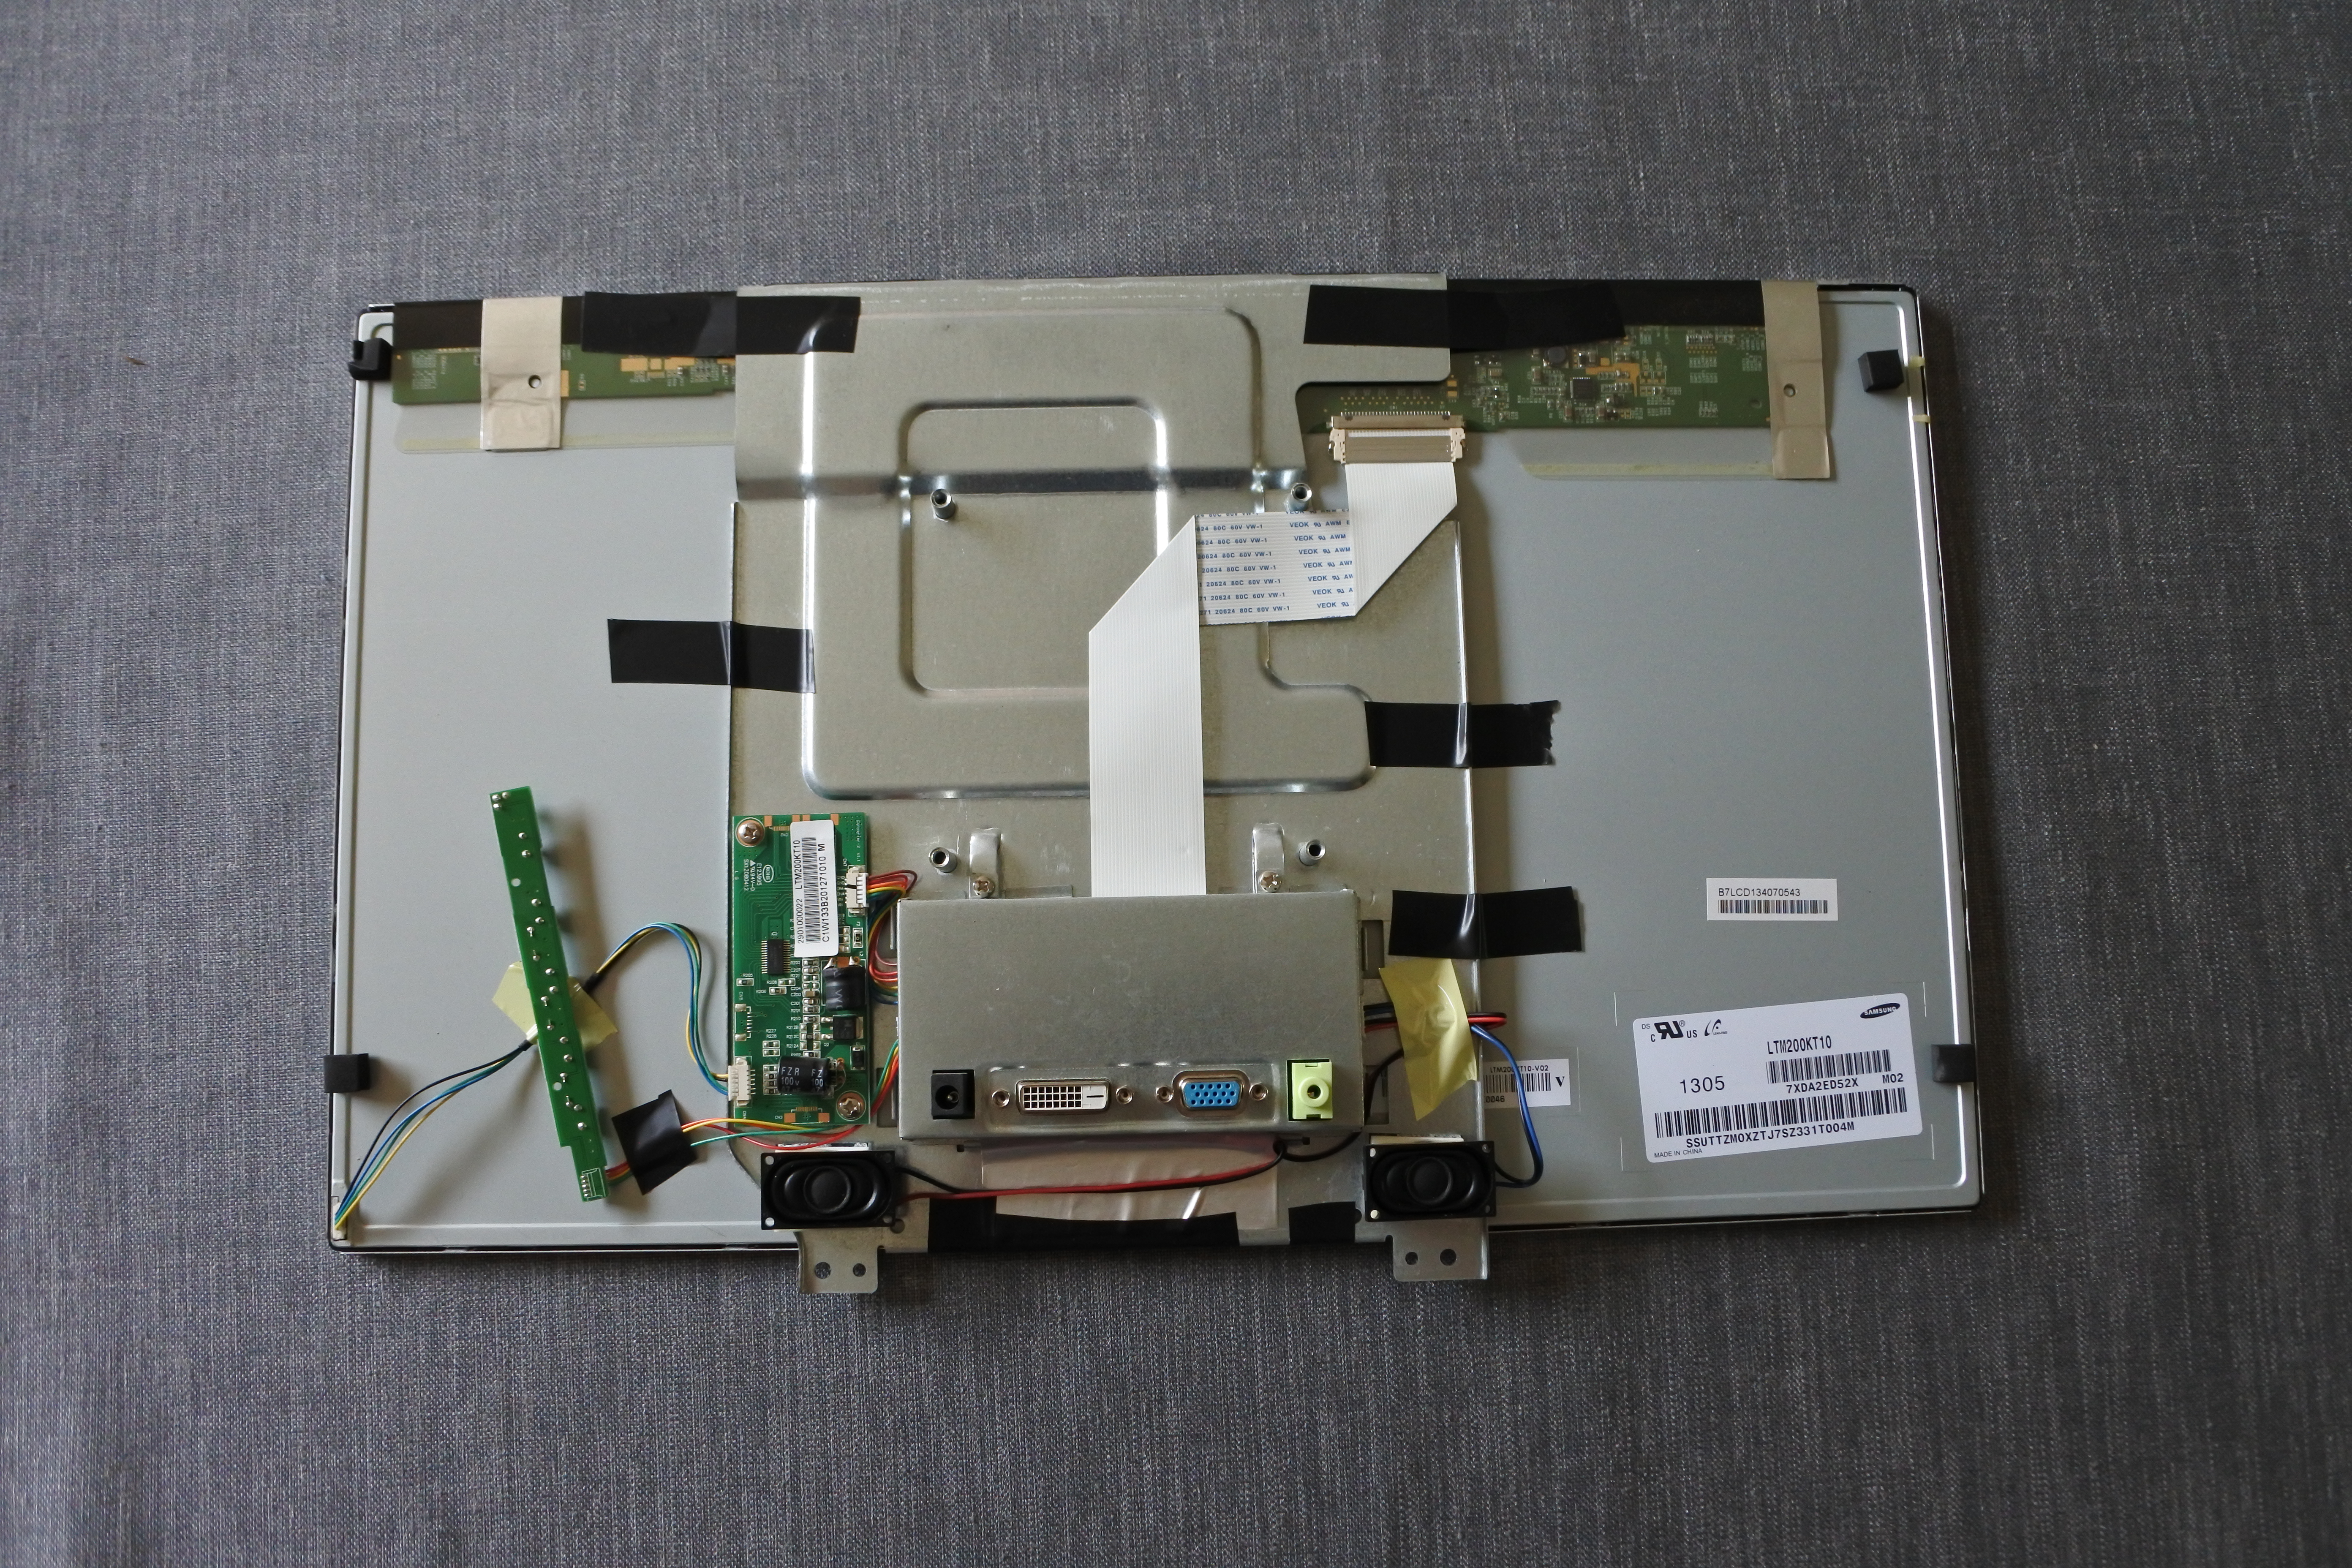
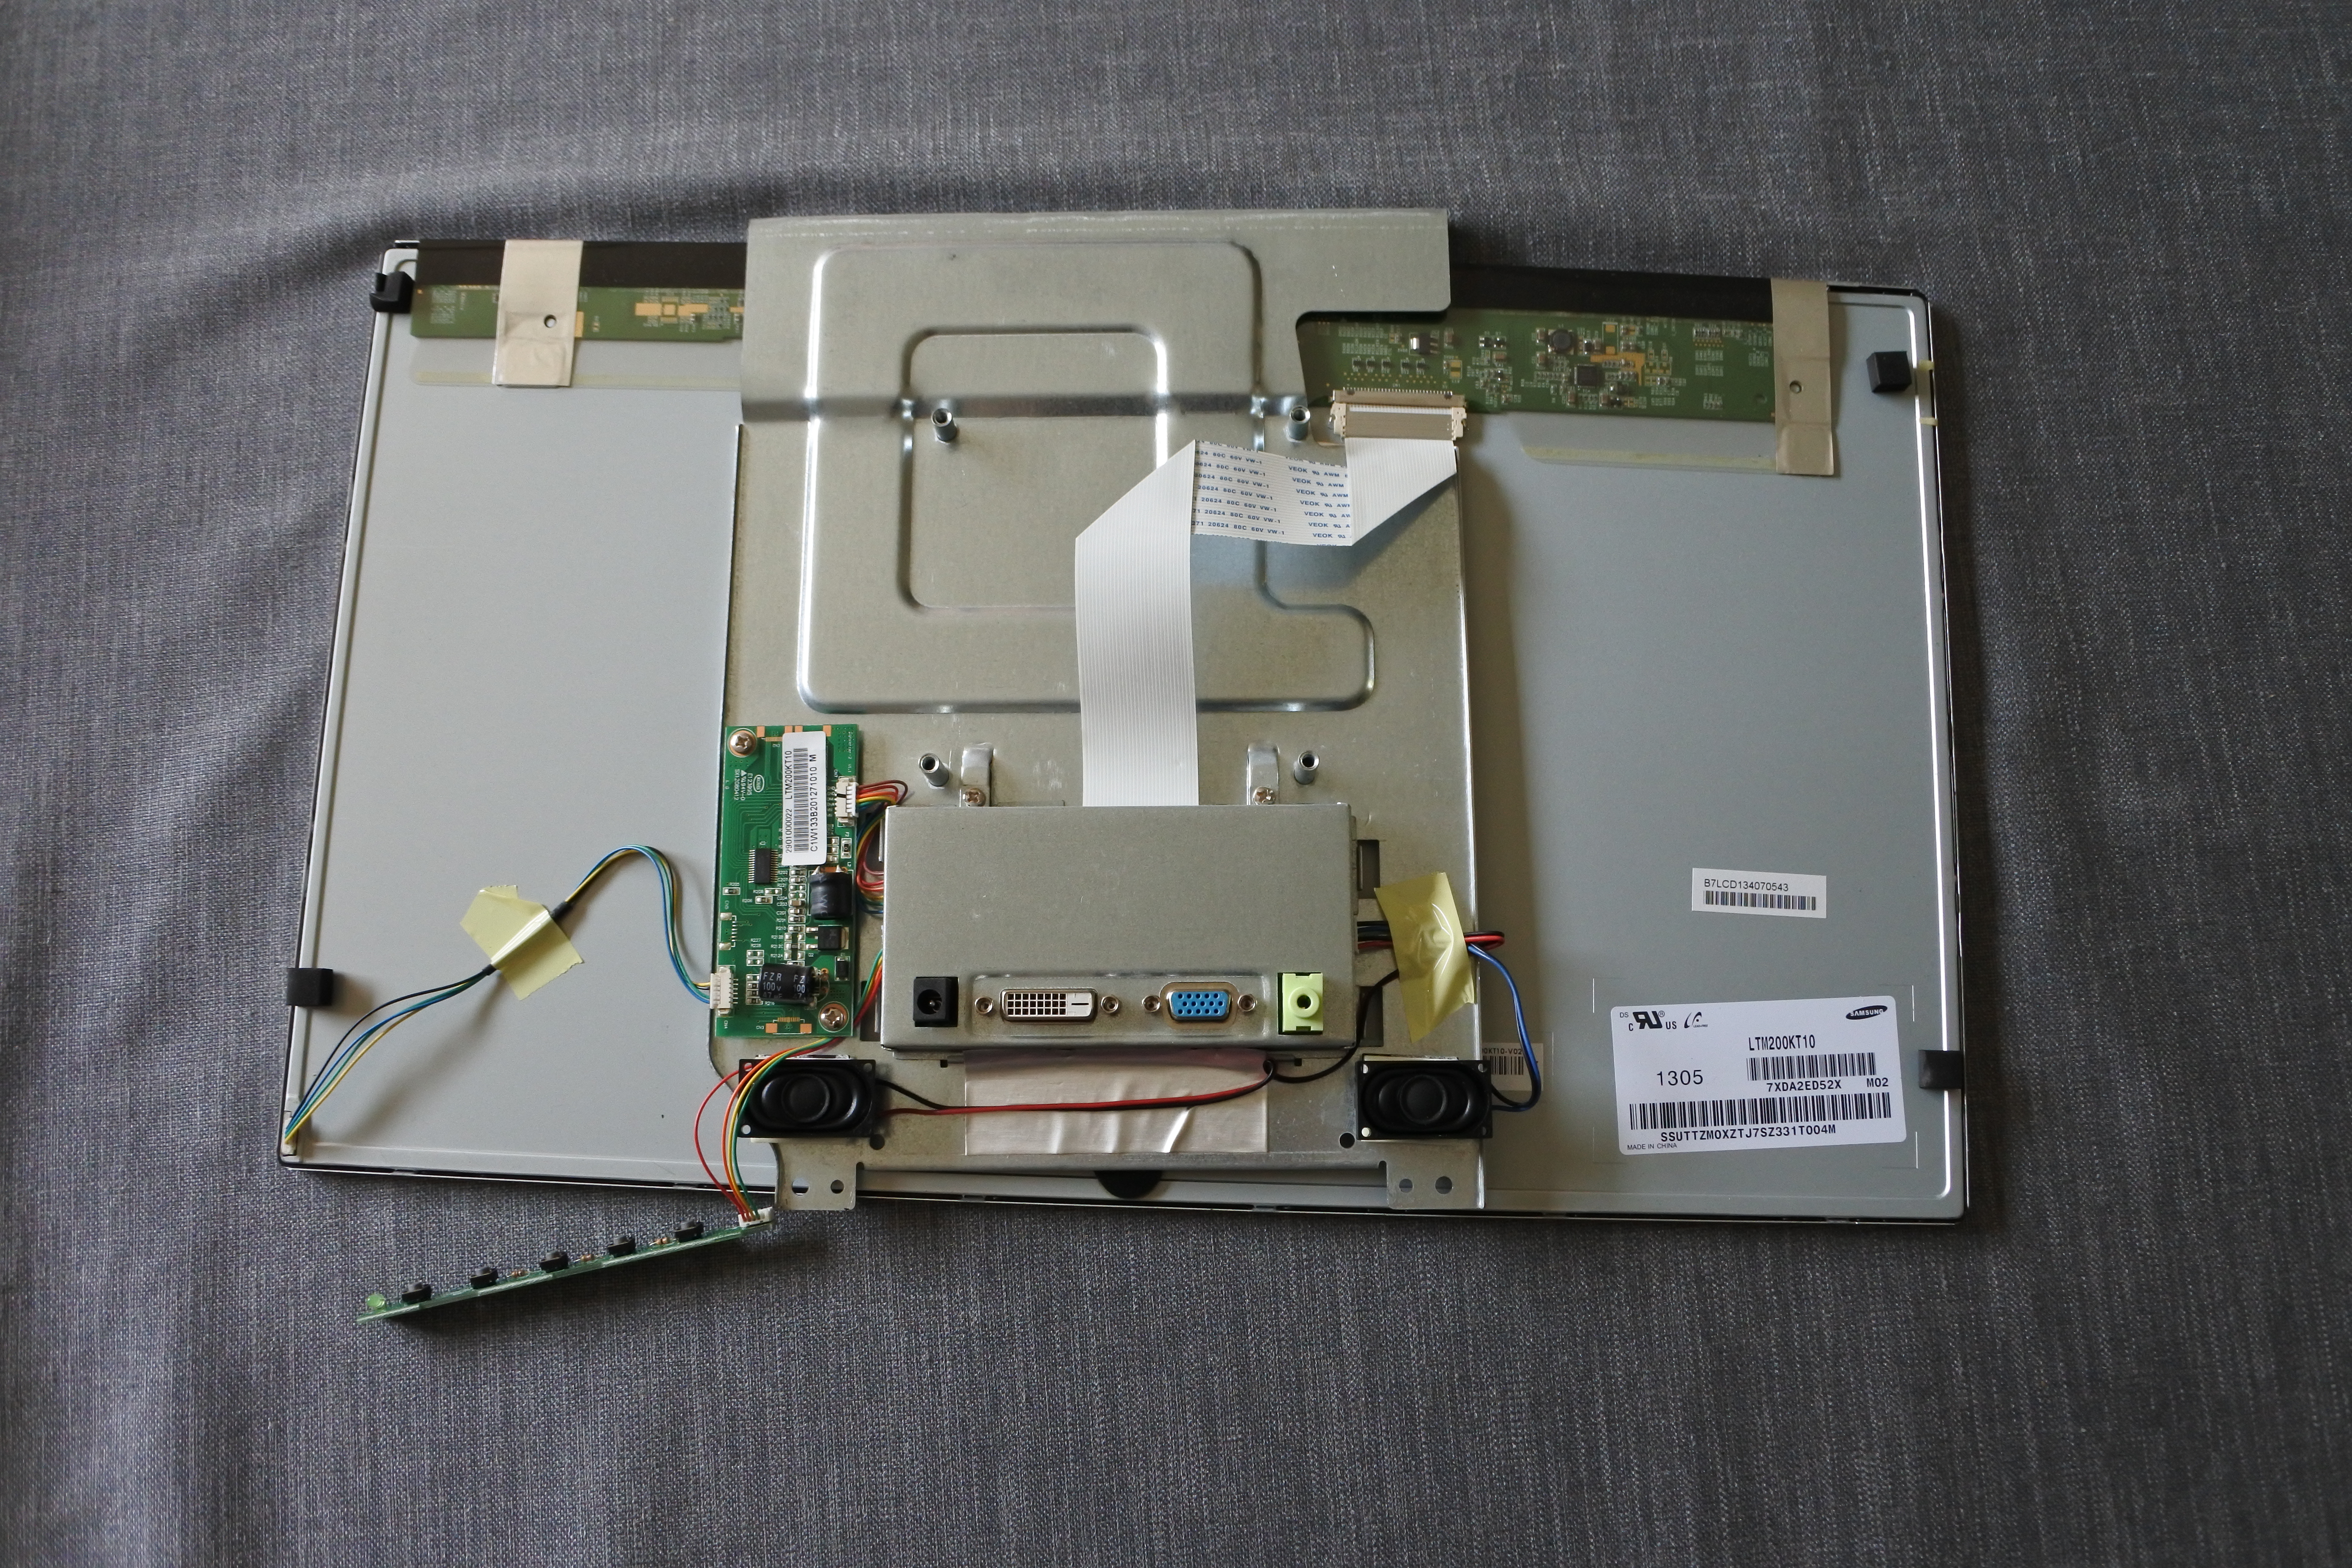
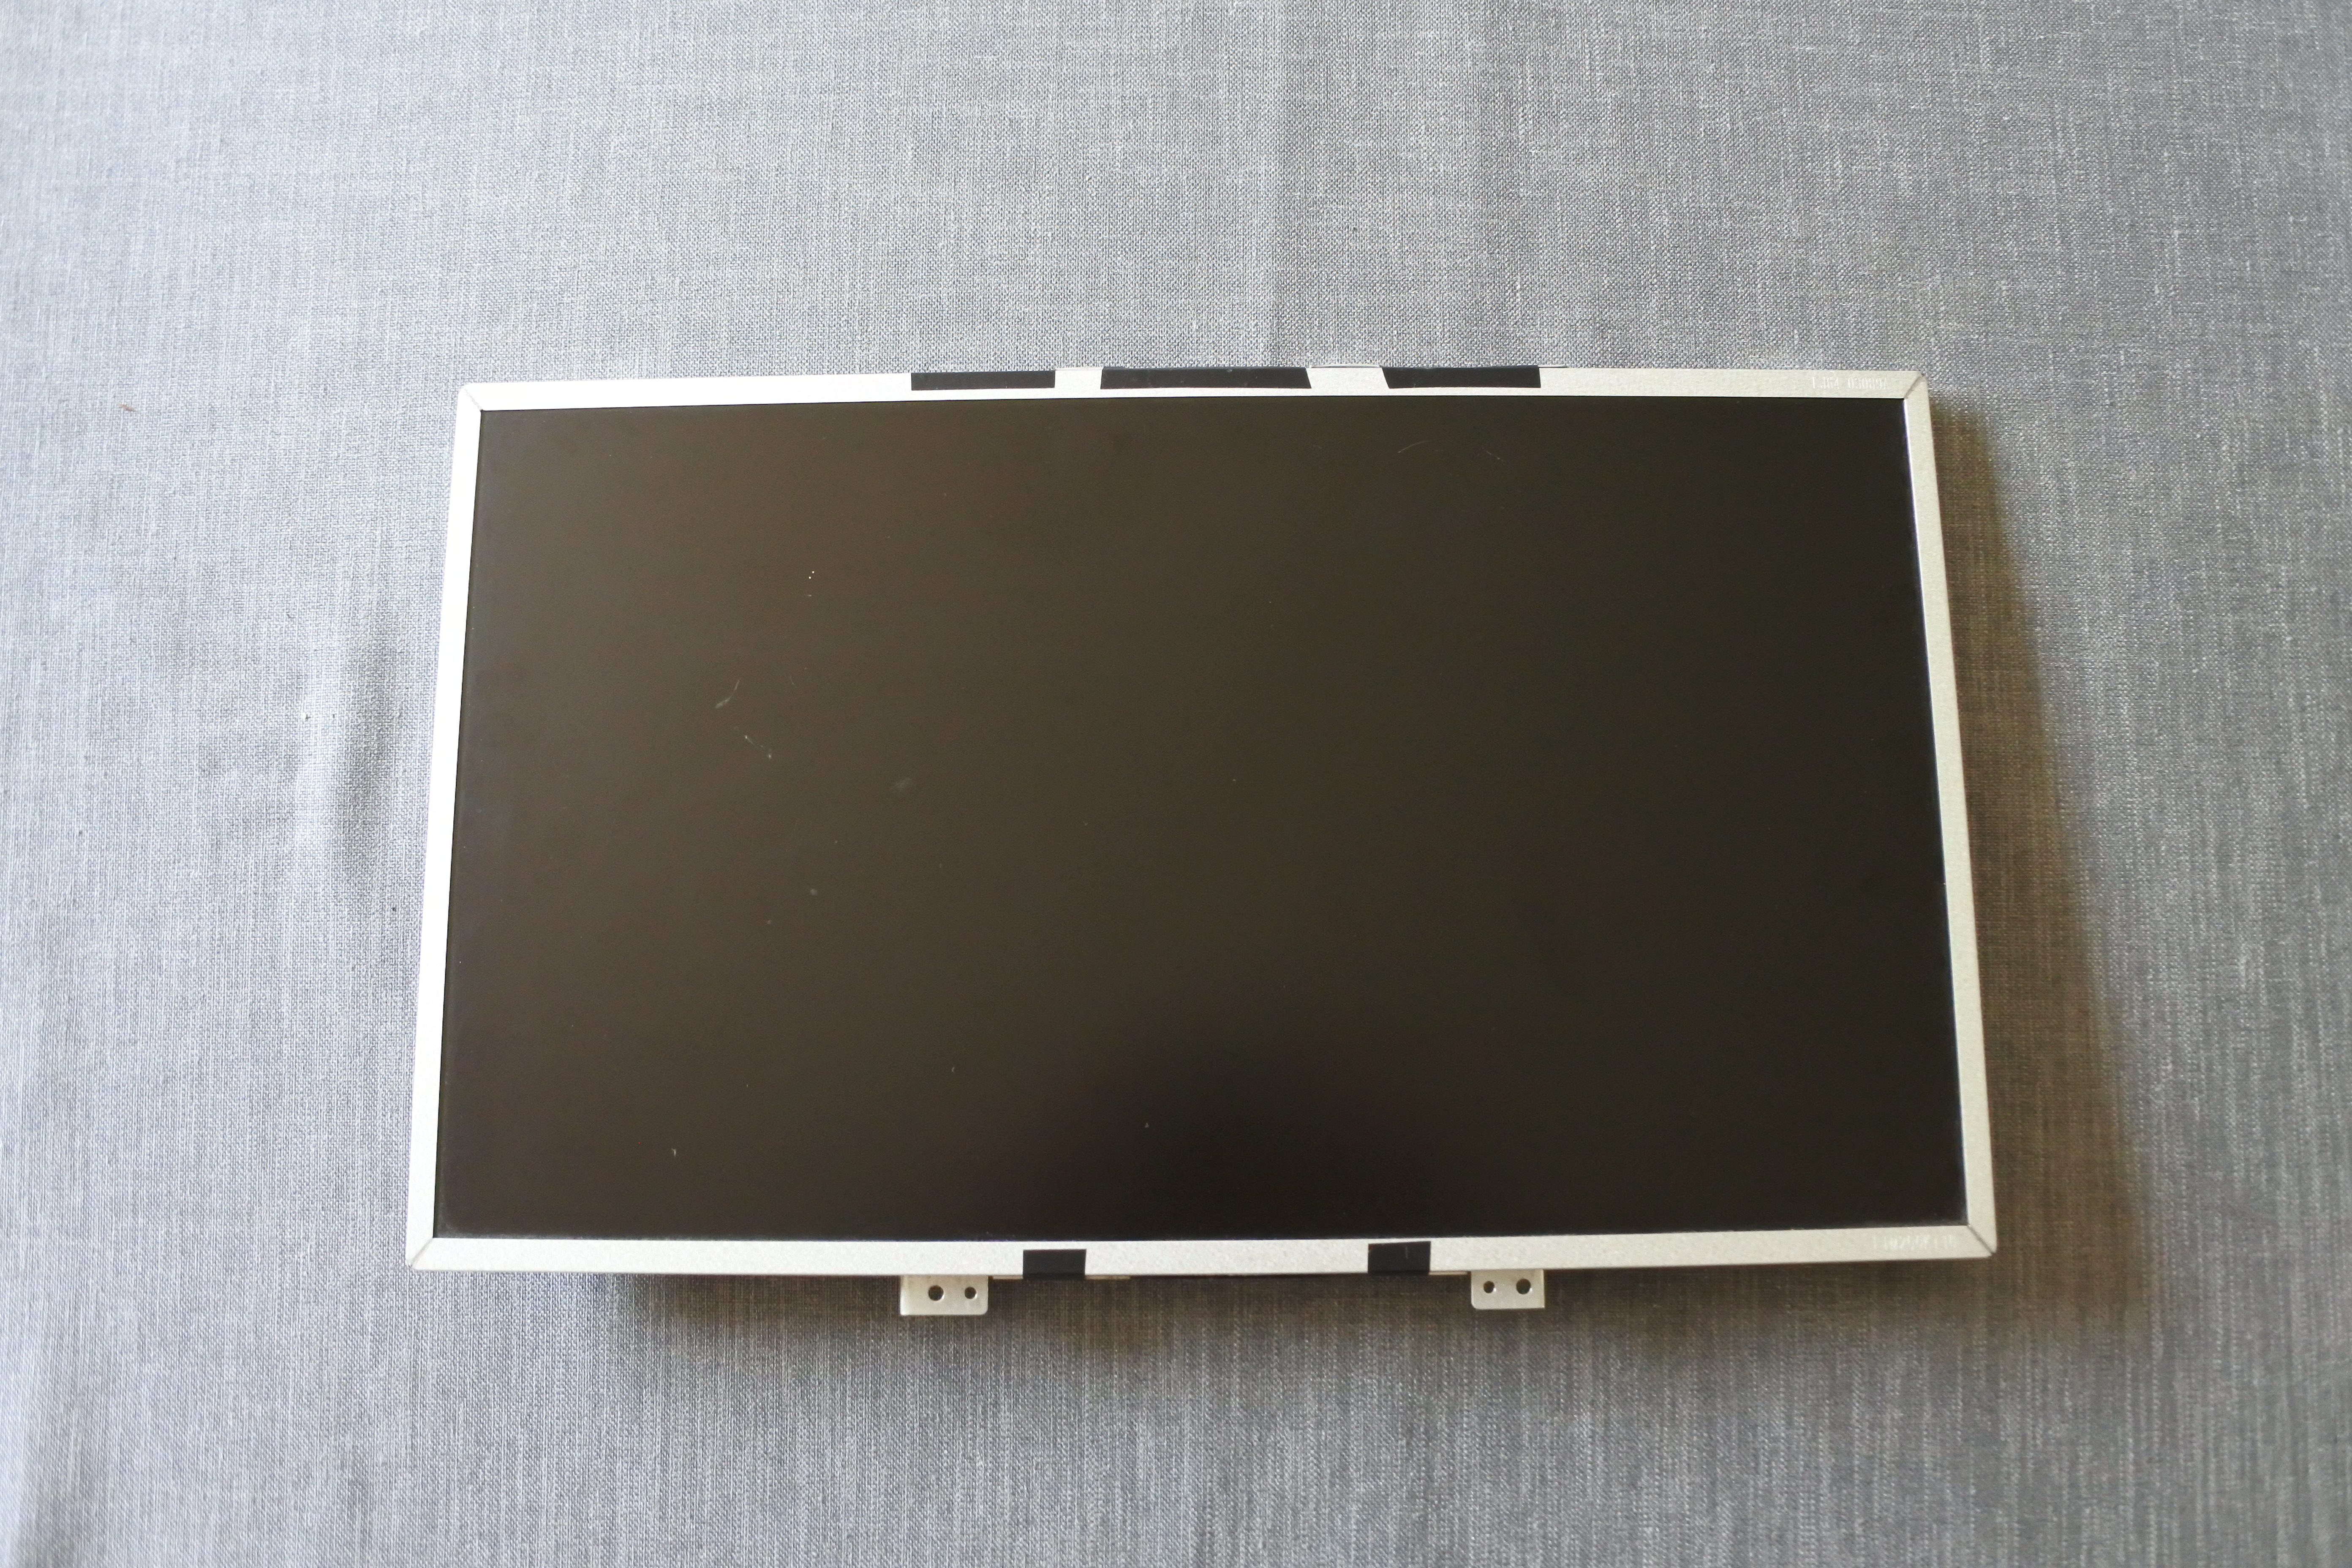
Now we will take the screen apart. Every screen is different, for my screen I had to loosen 4 screws and unfasten clips around the monitor. I my case, the screen was connected to the power supply by only a couple of wires. So I taped the back to the screen itself, so it wouldn't move around.
Making the Front Section of the Mirror
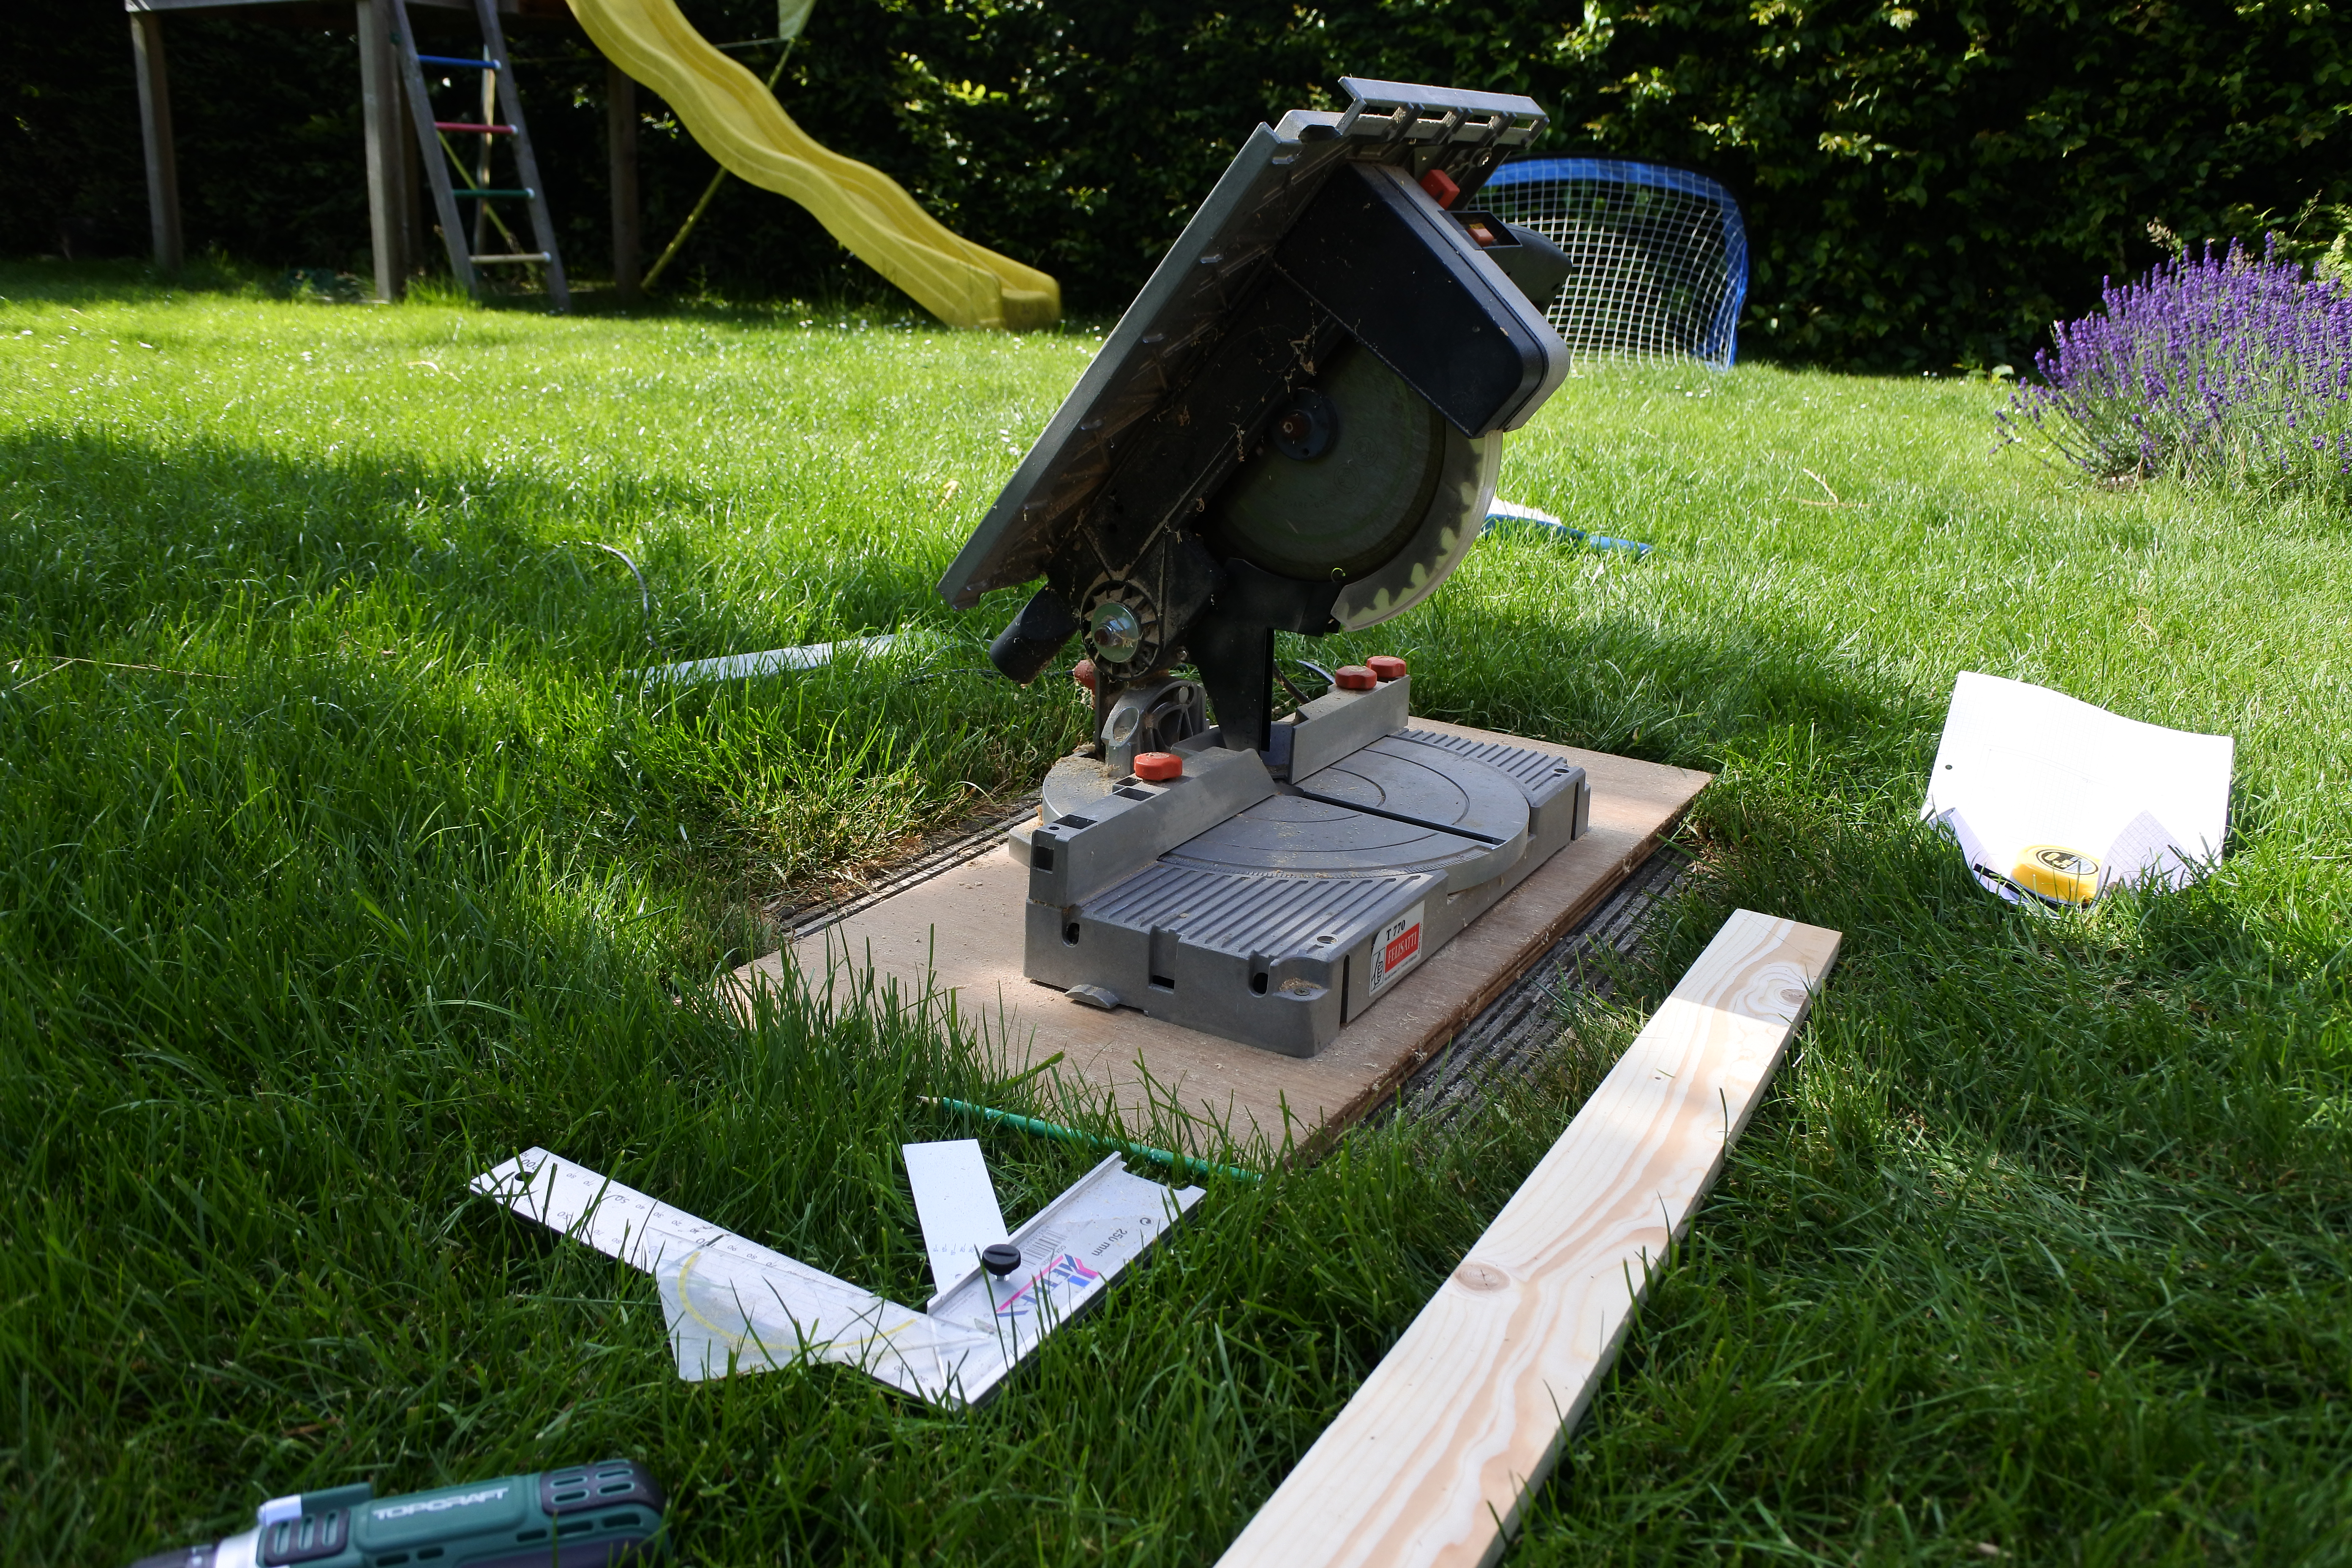
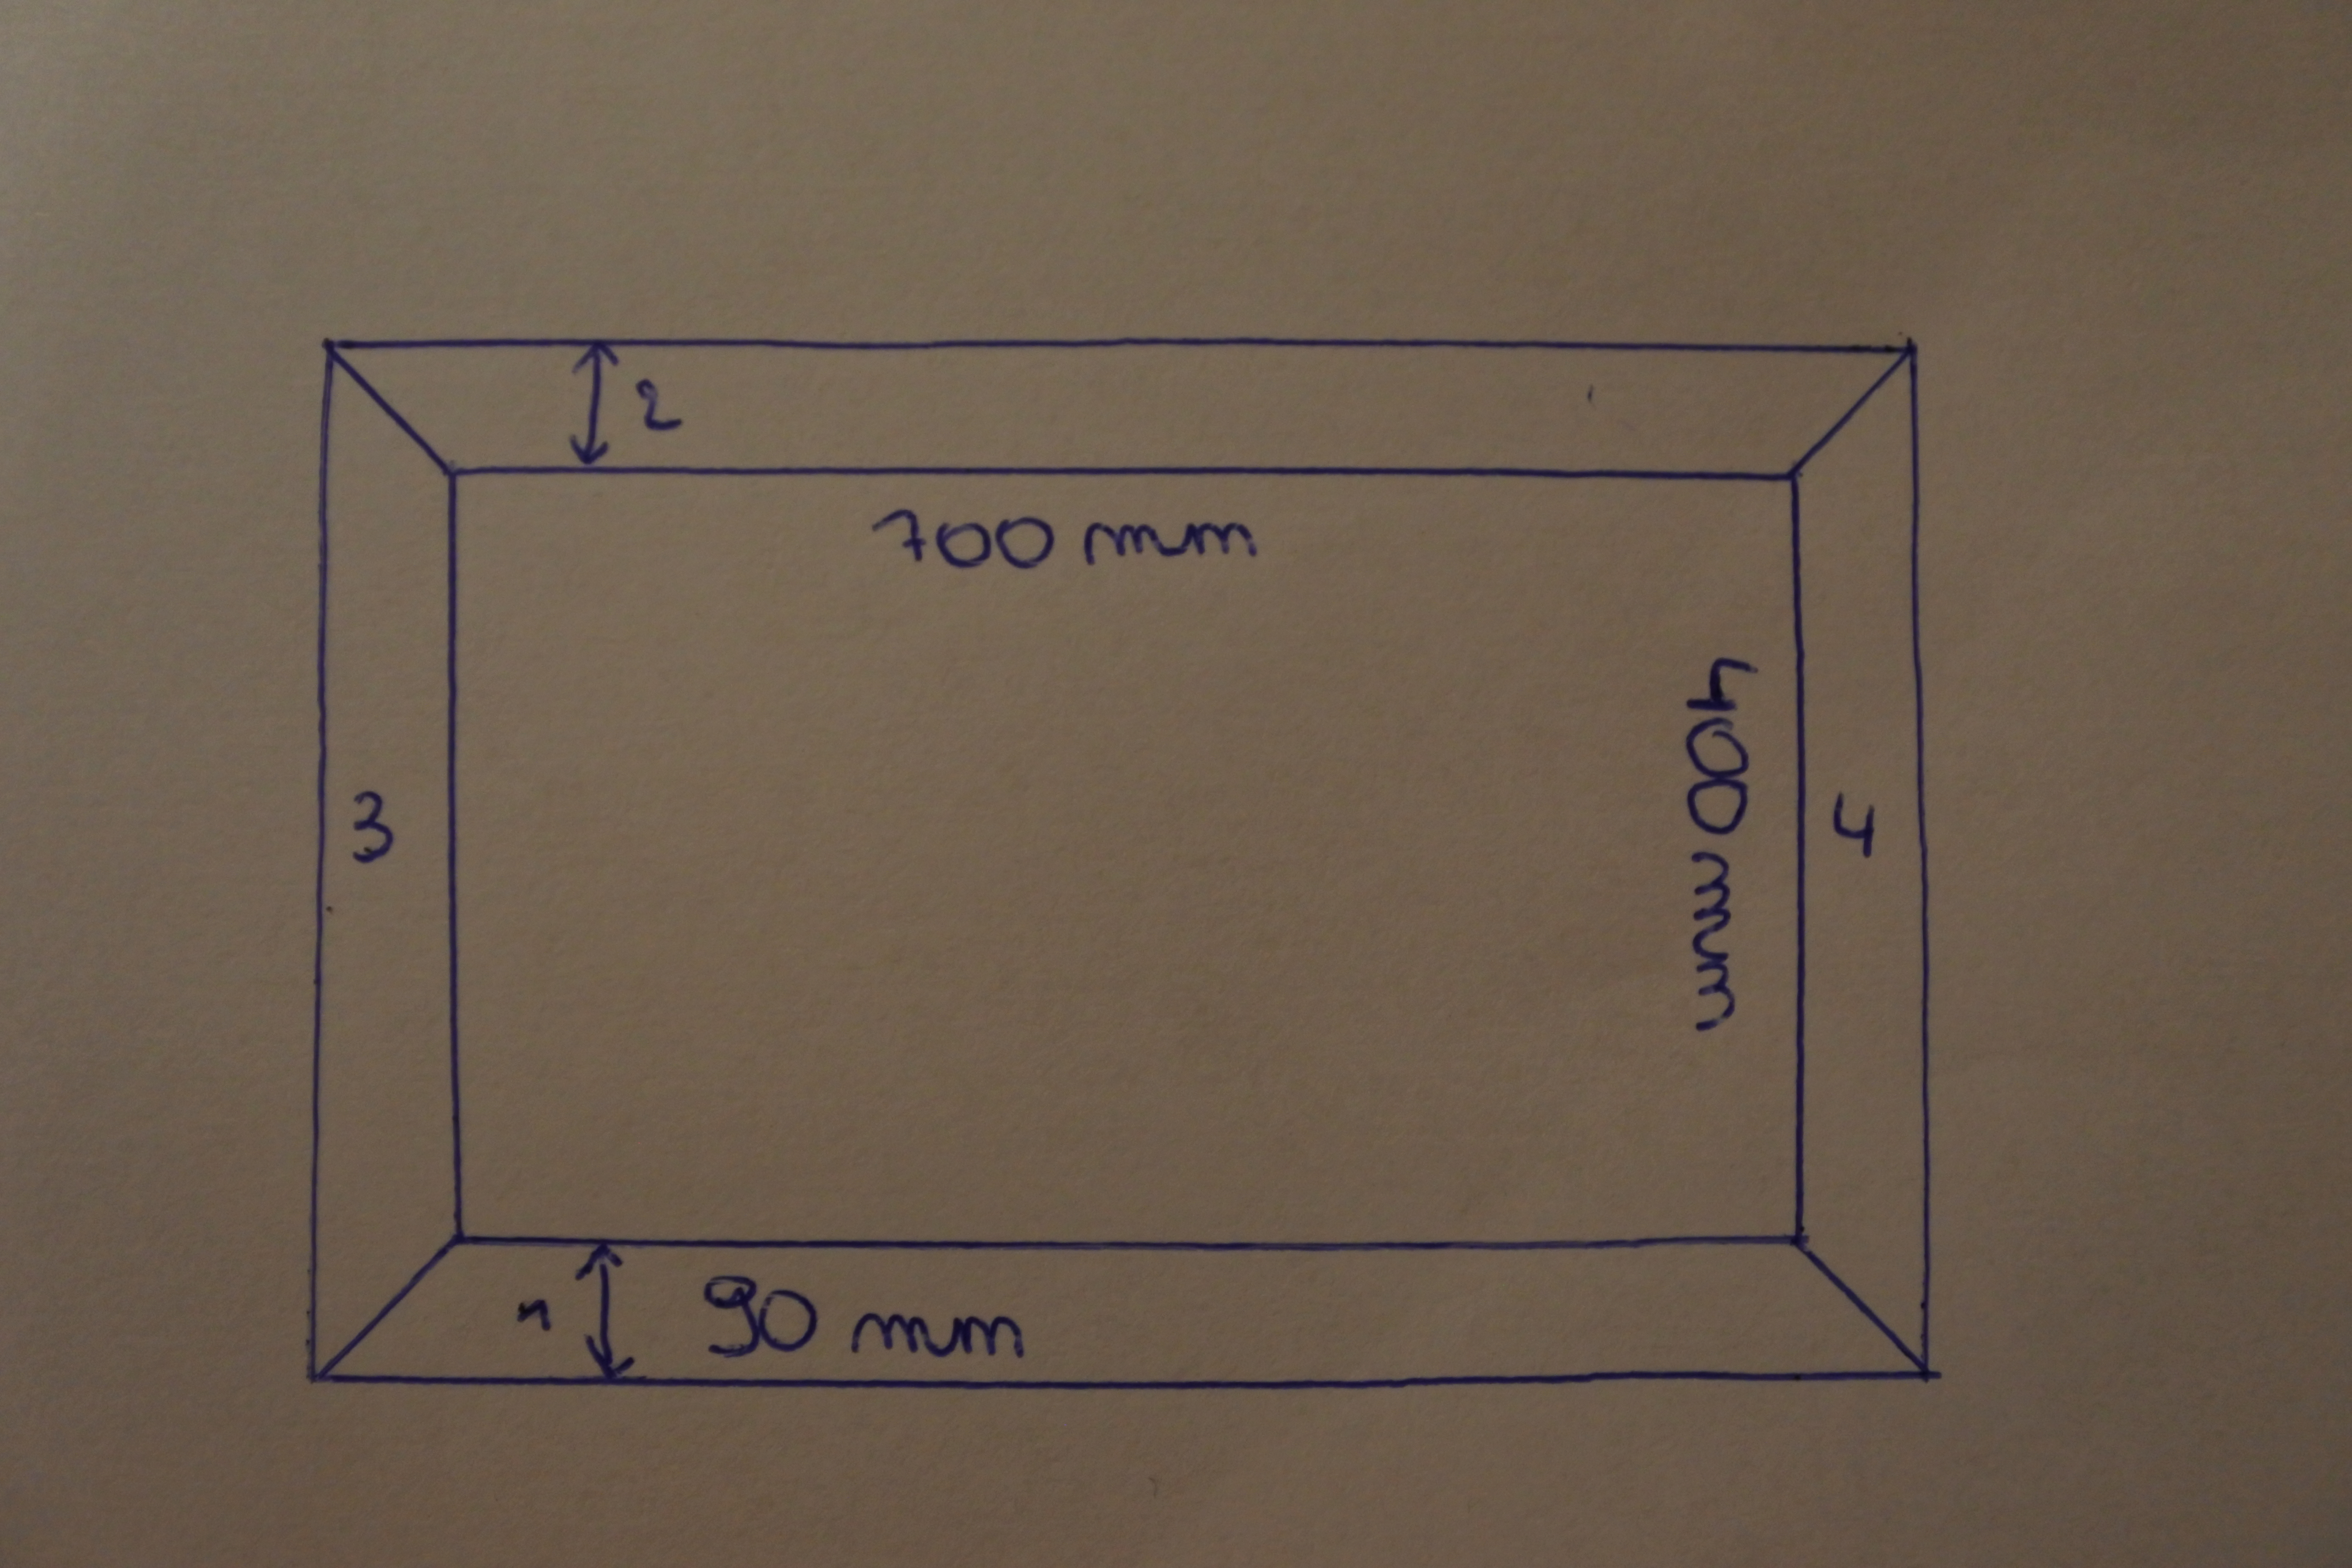
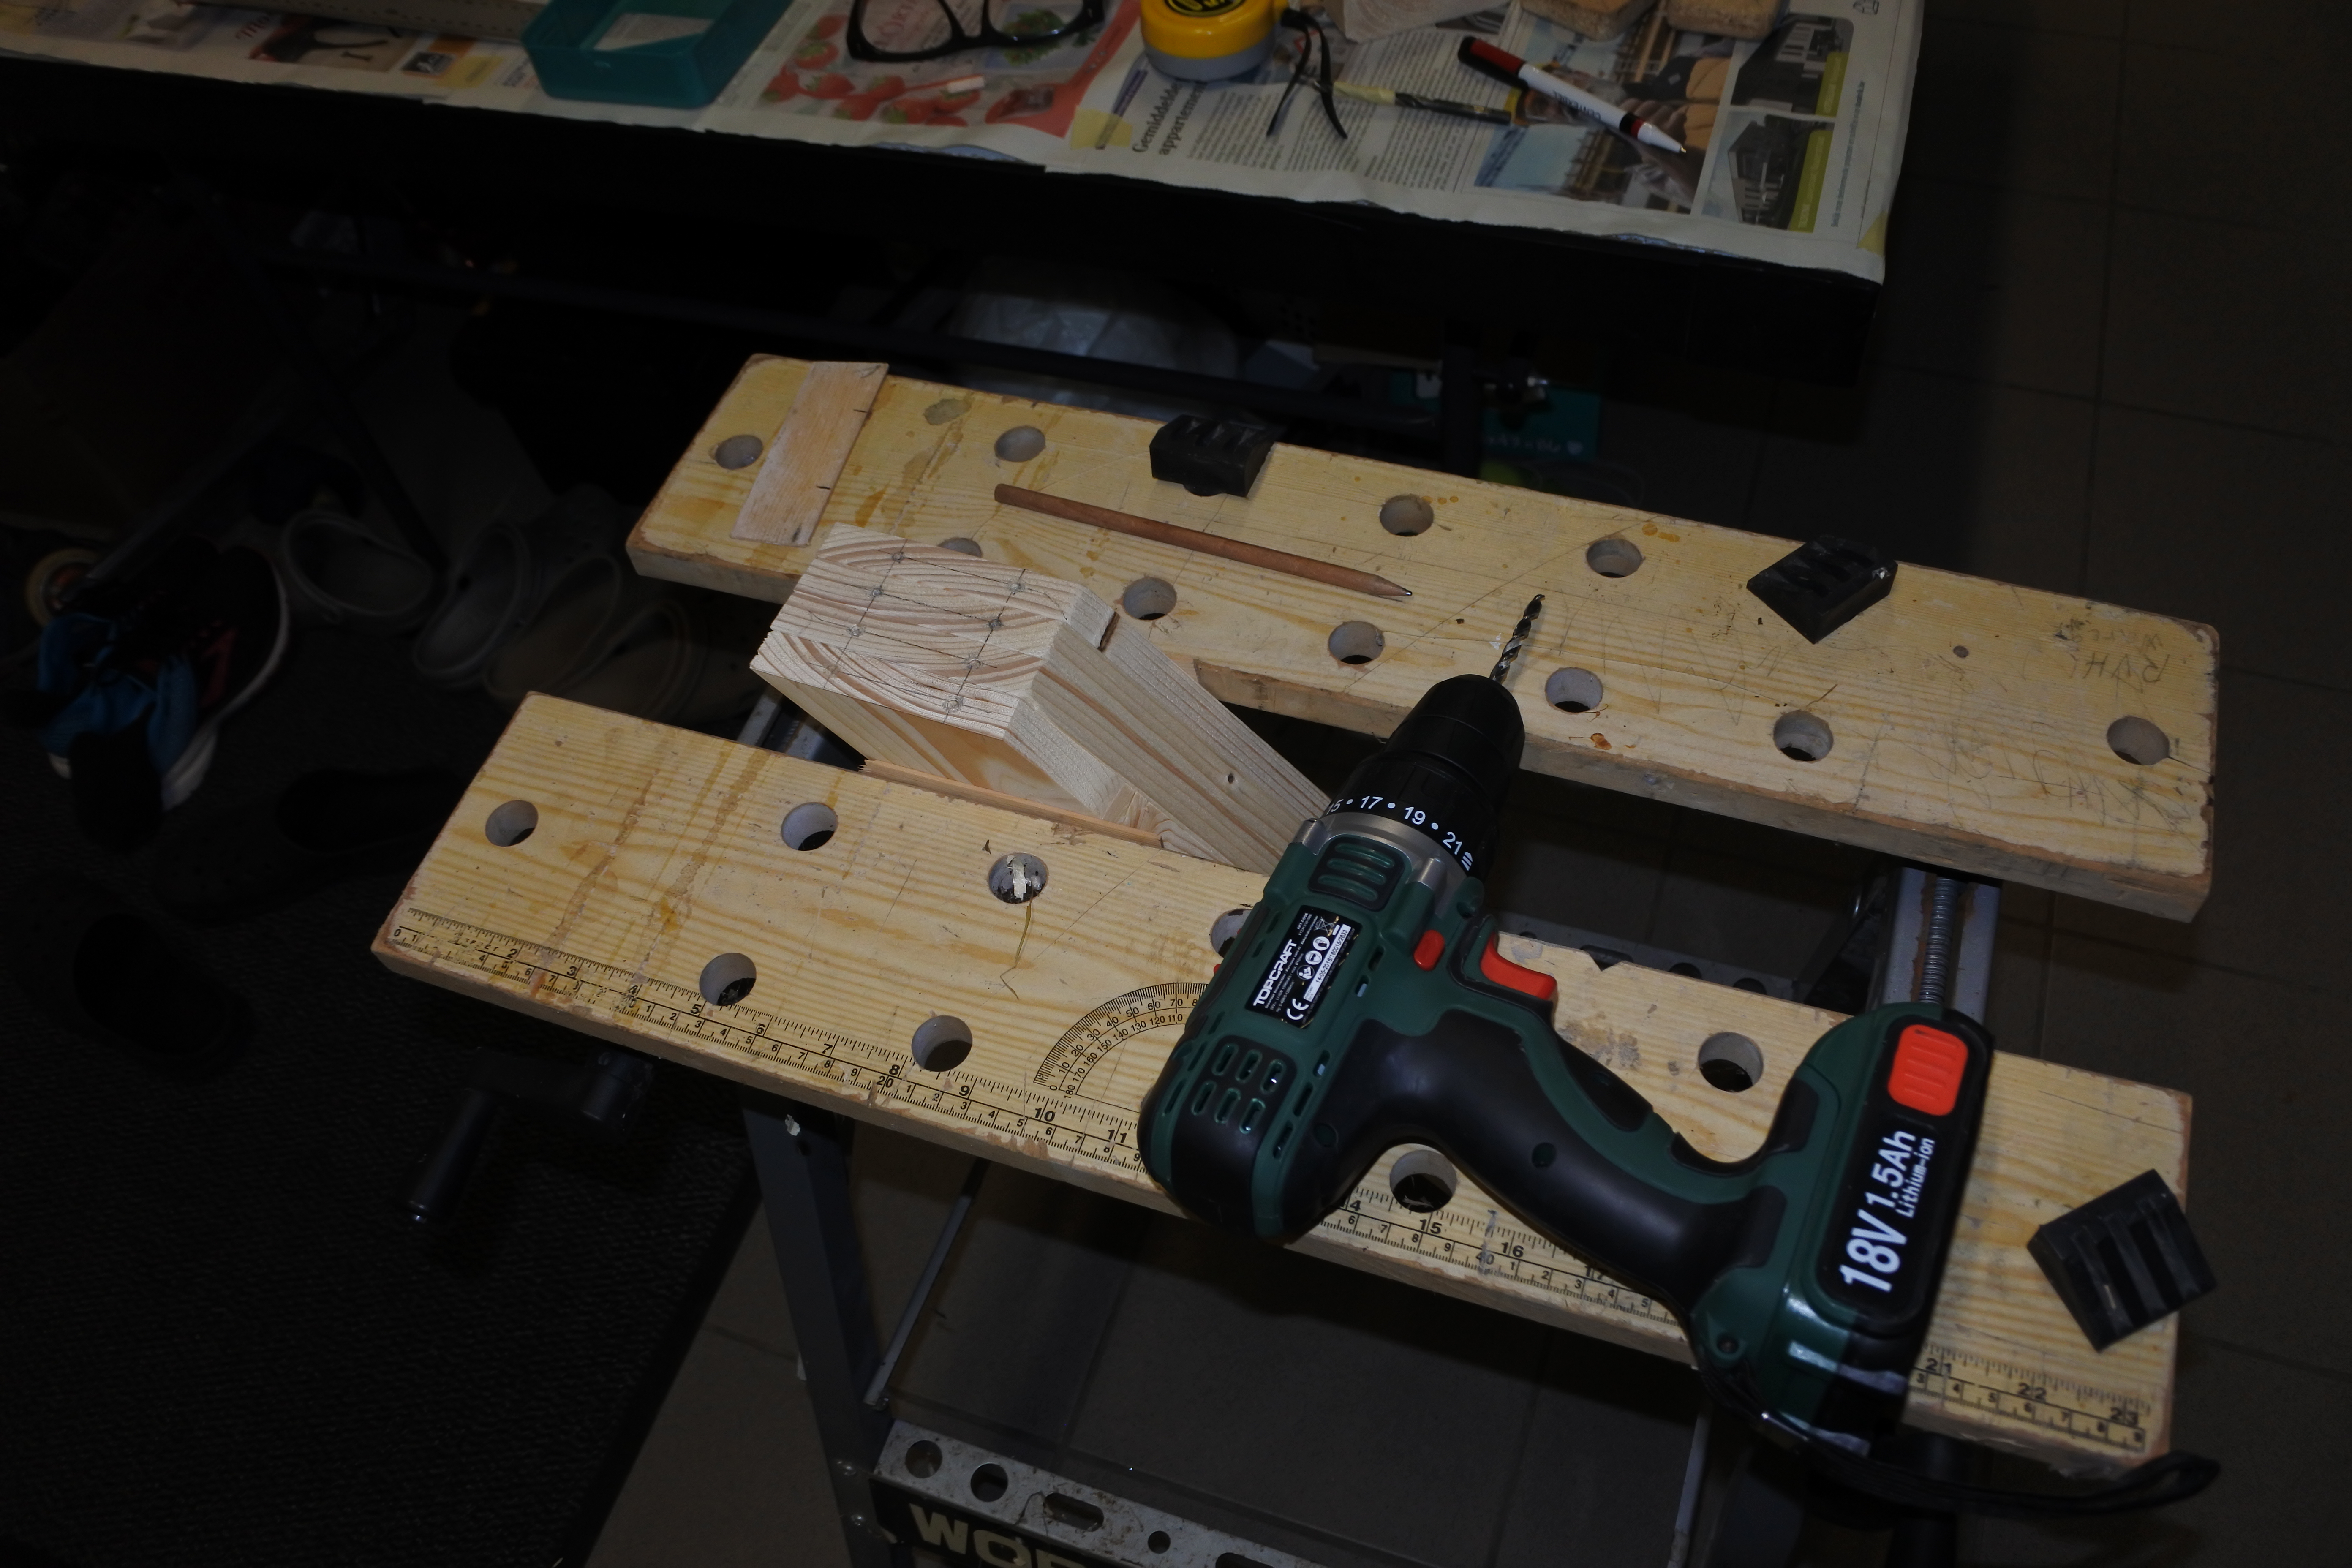
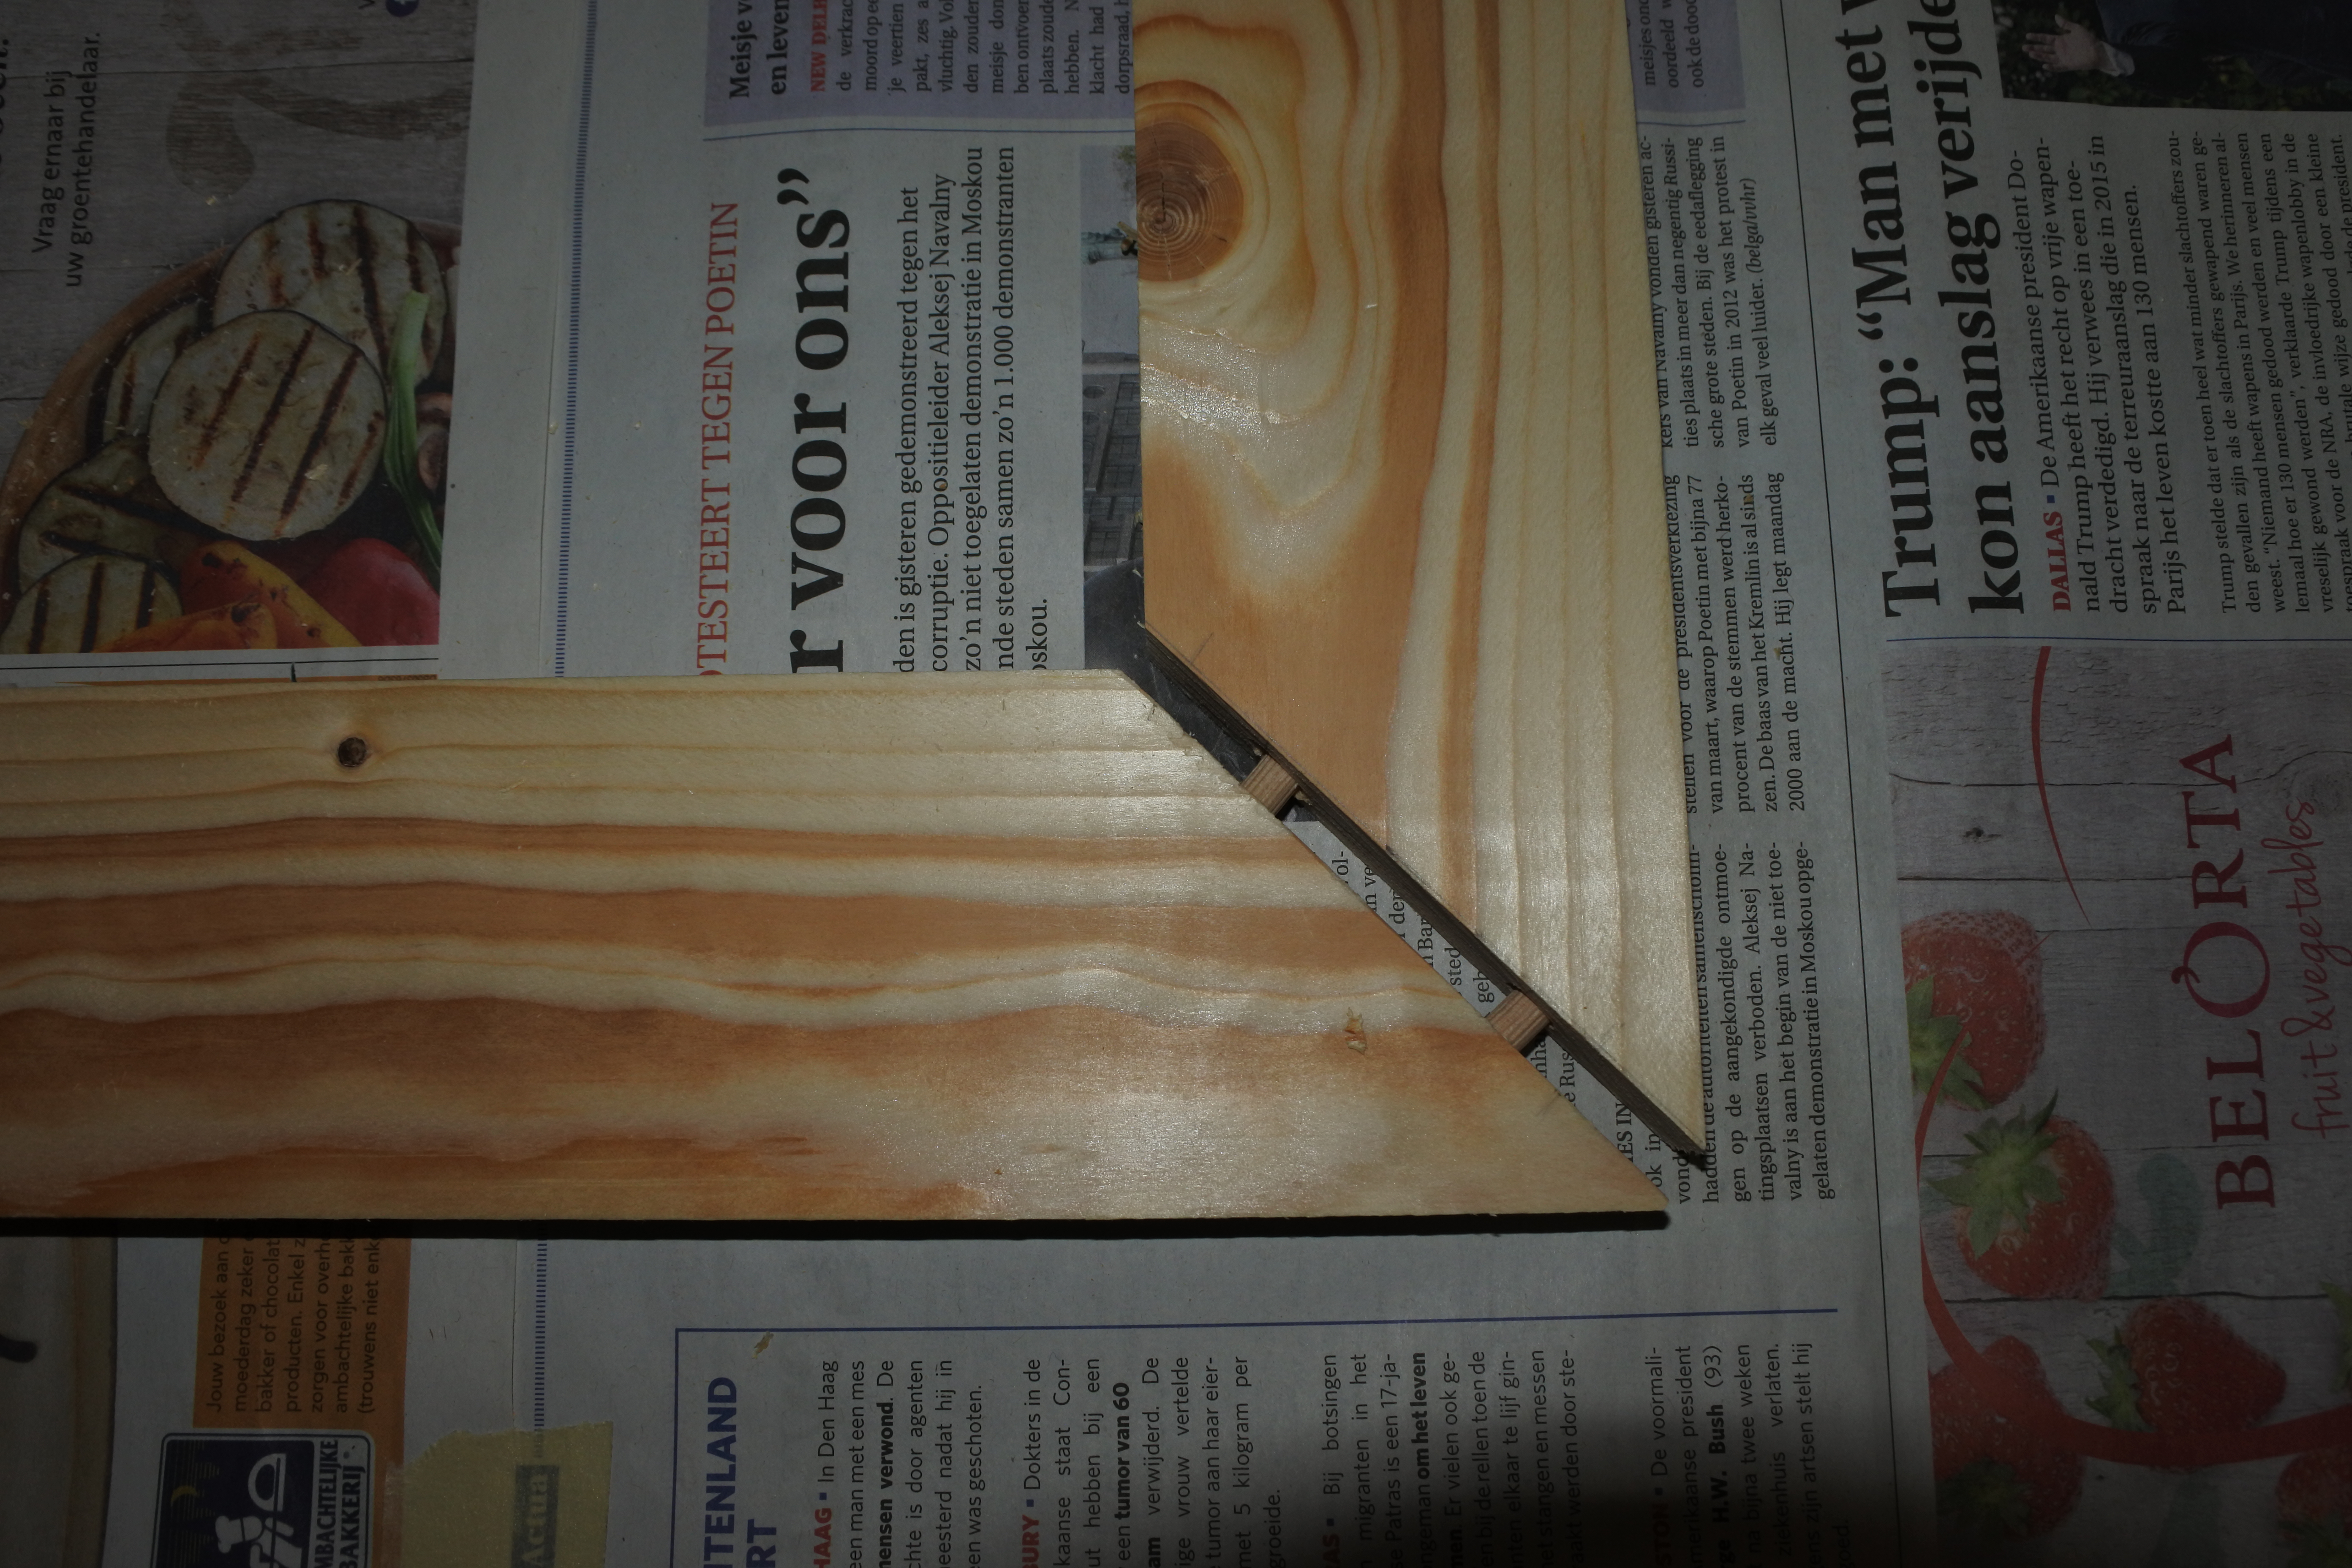
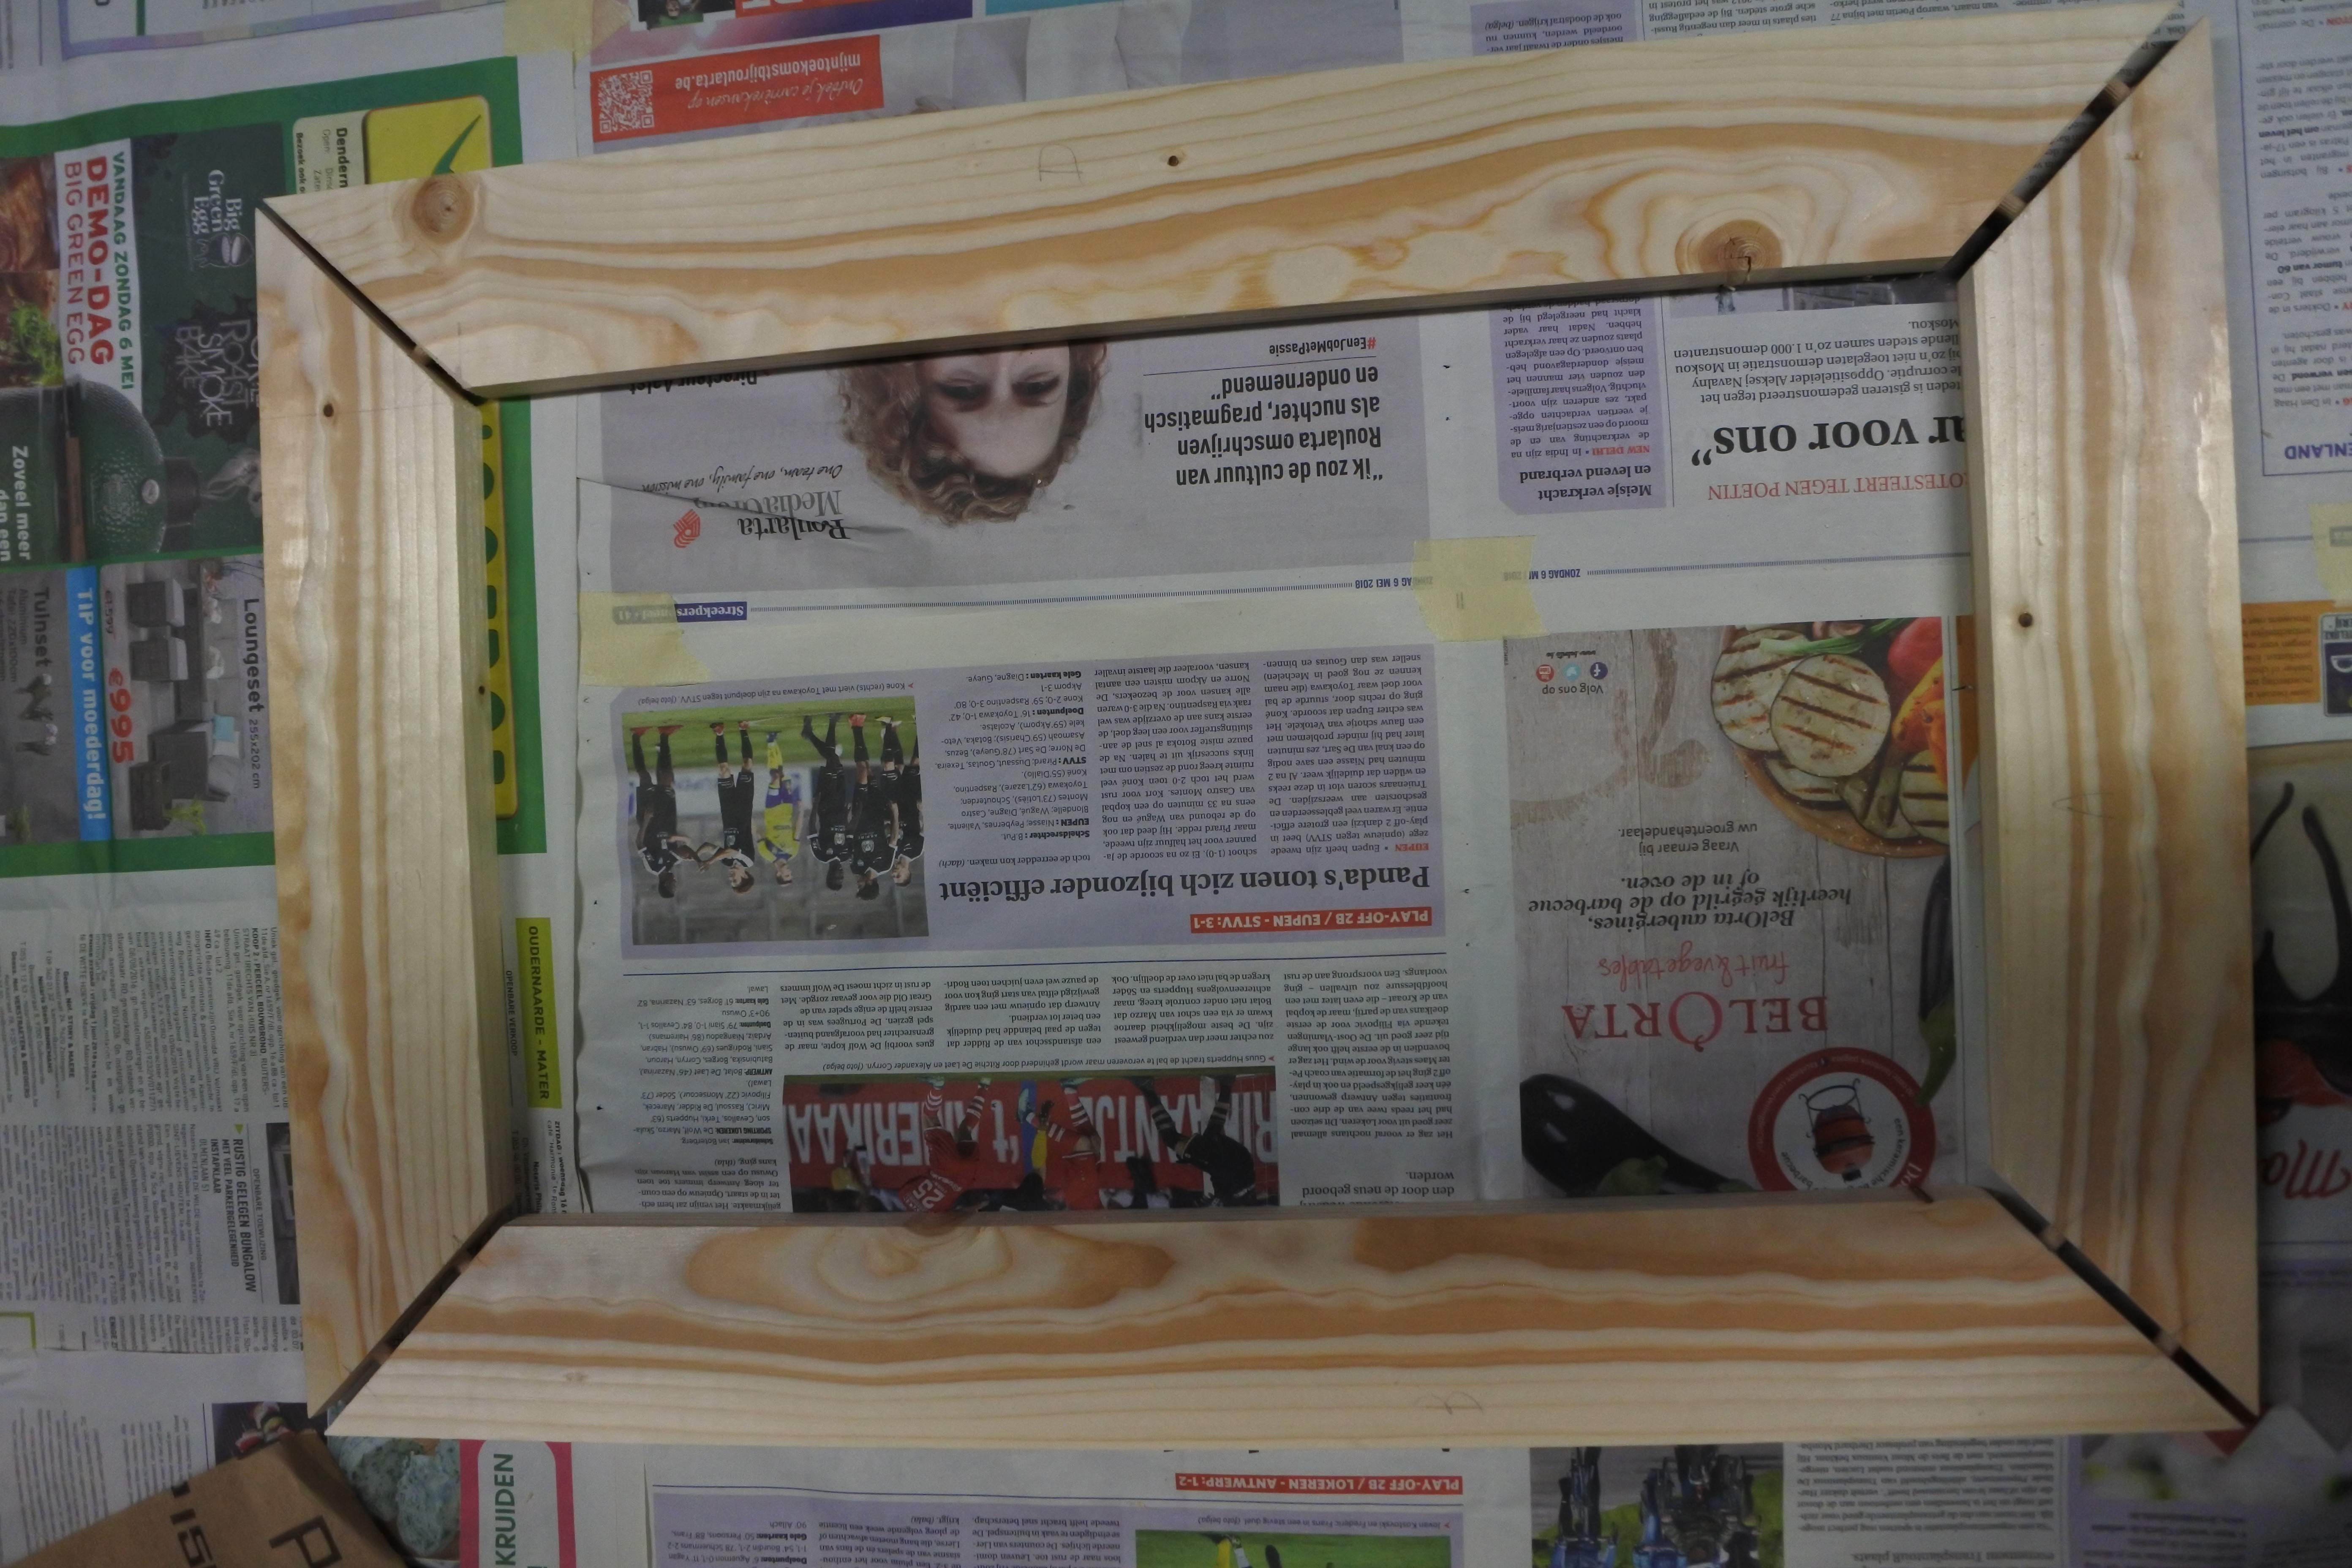
- To make the front section, we need the measurements of the screen without border. You can choose how wide the wood had to be, but I recommend a height of +/- 20mm. The border doesn't have to be that tall.
- It helps if you first make a sketch like in the second picture with your measurements. It helps when cutting the planks.
- Measure the dimensions of your screen on the wood. Draw a corner of 45° outwards at each side. Repeat this for the 4 dimensions of your screen.
- You can cut the planks yourself using a circular saw, or ask the store where you bought the planks to do it for you.
- I drilled 2 small holes per plank per side in the height of the wood, so I could fit wooden taps inside the holes to connect the planks together.
- To permanently fix them together I used wood glue.
- Let the glue harden overnight.
Making the Back Side of the Mirror
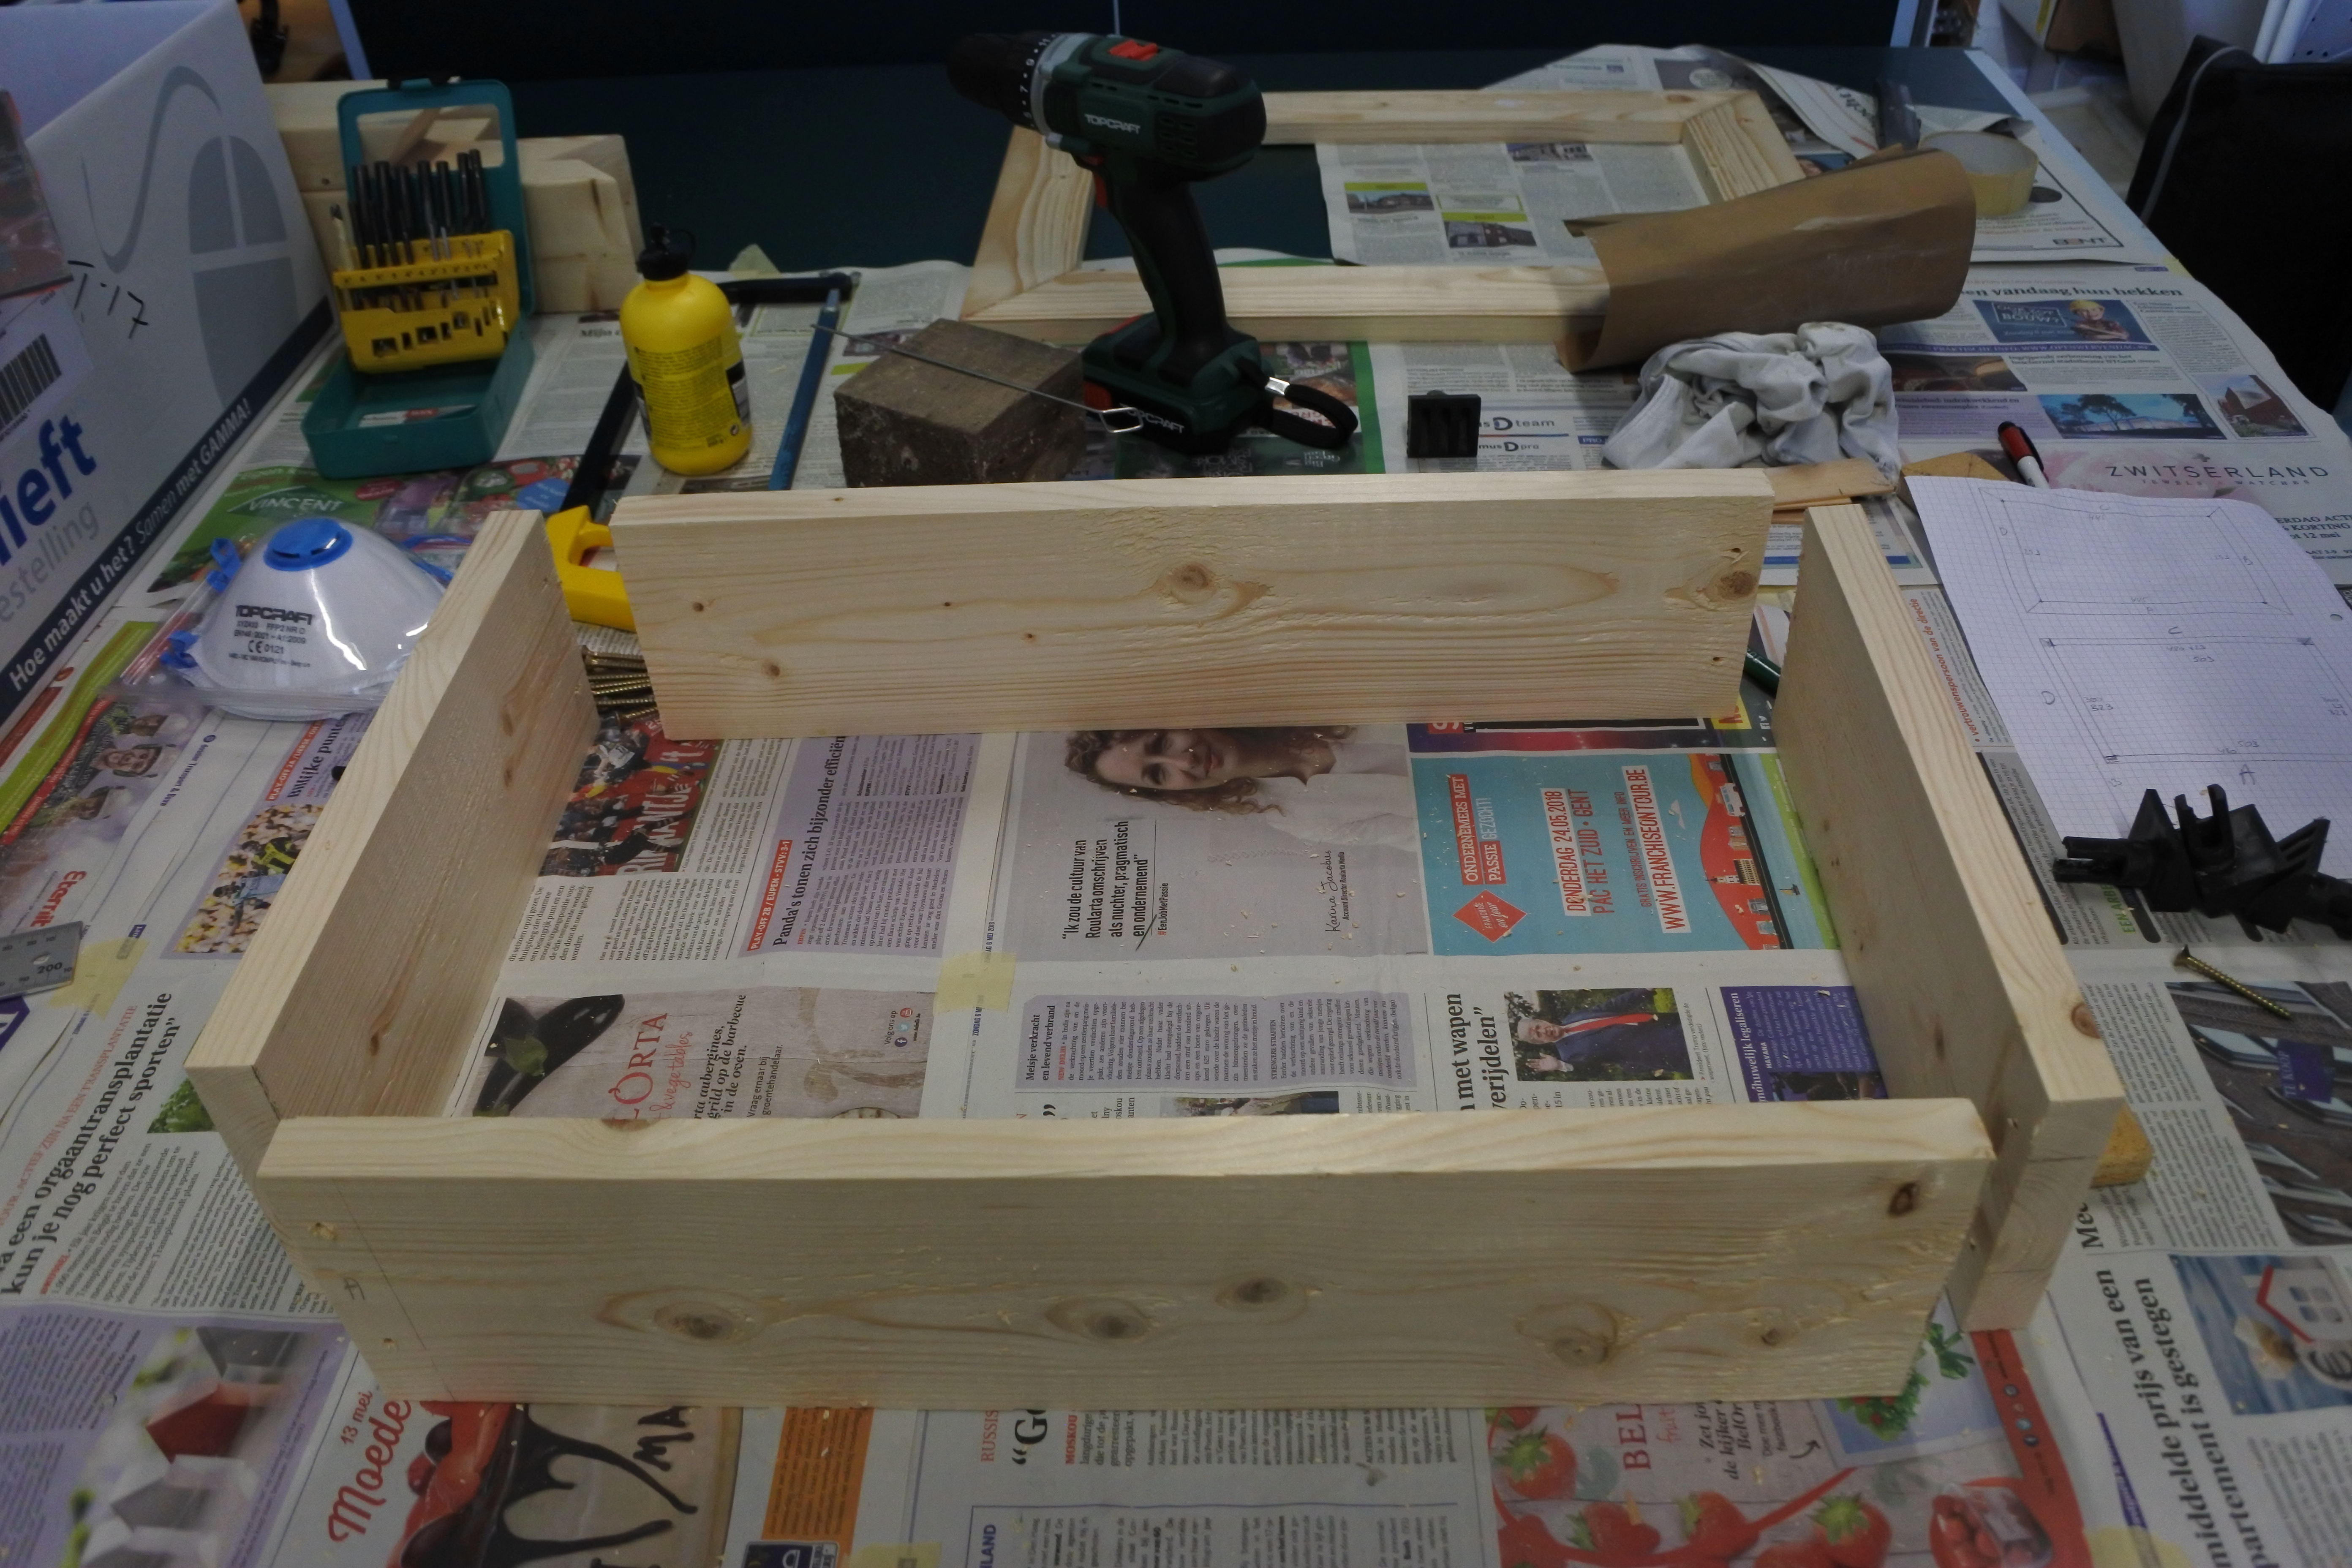
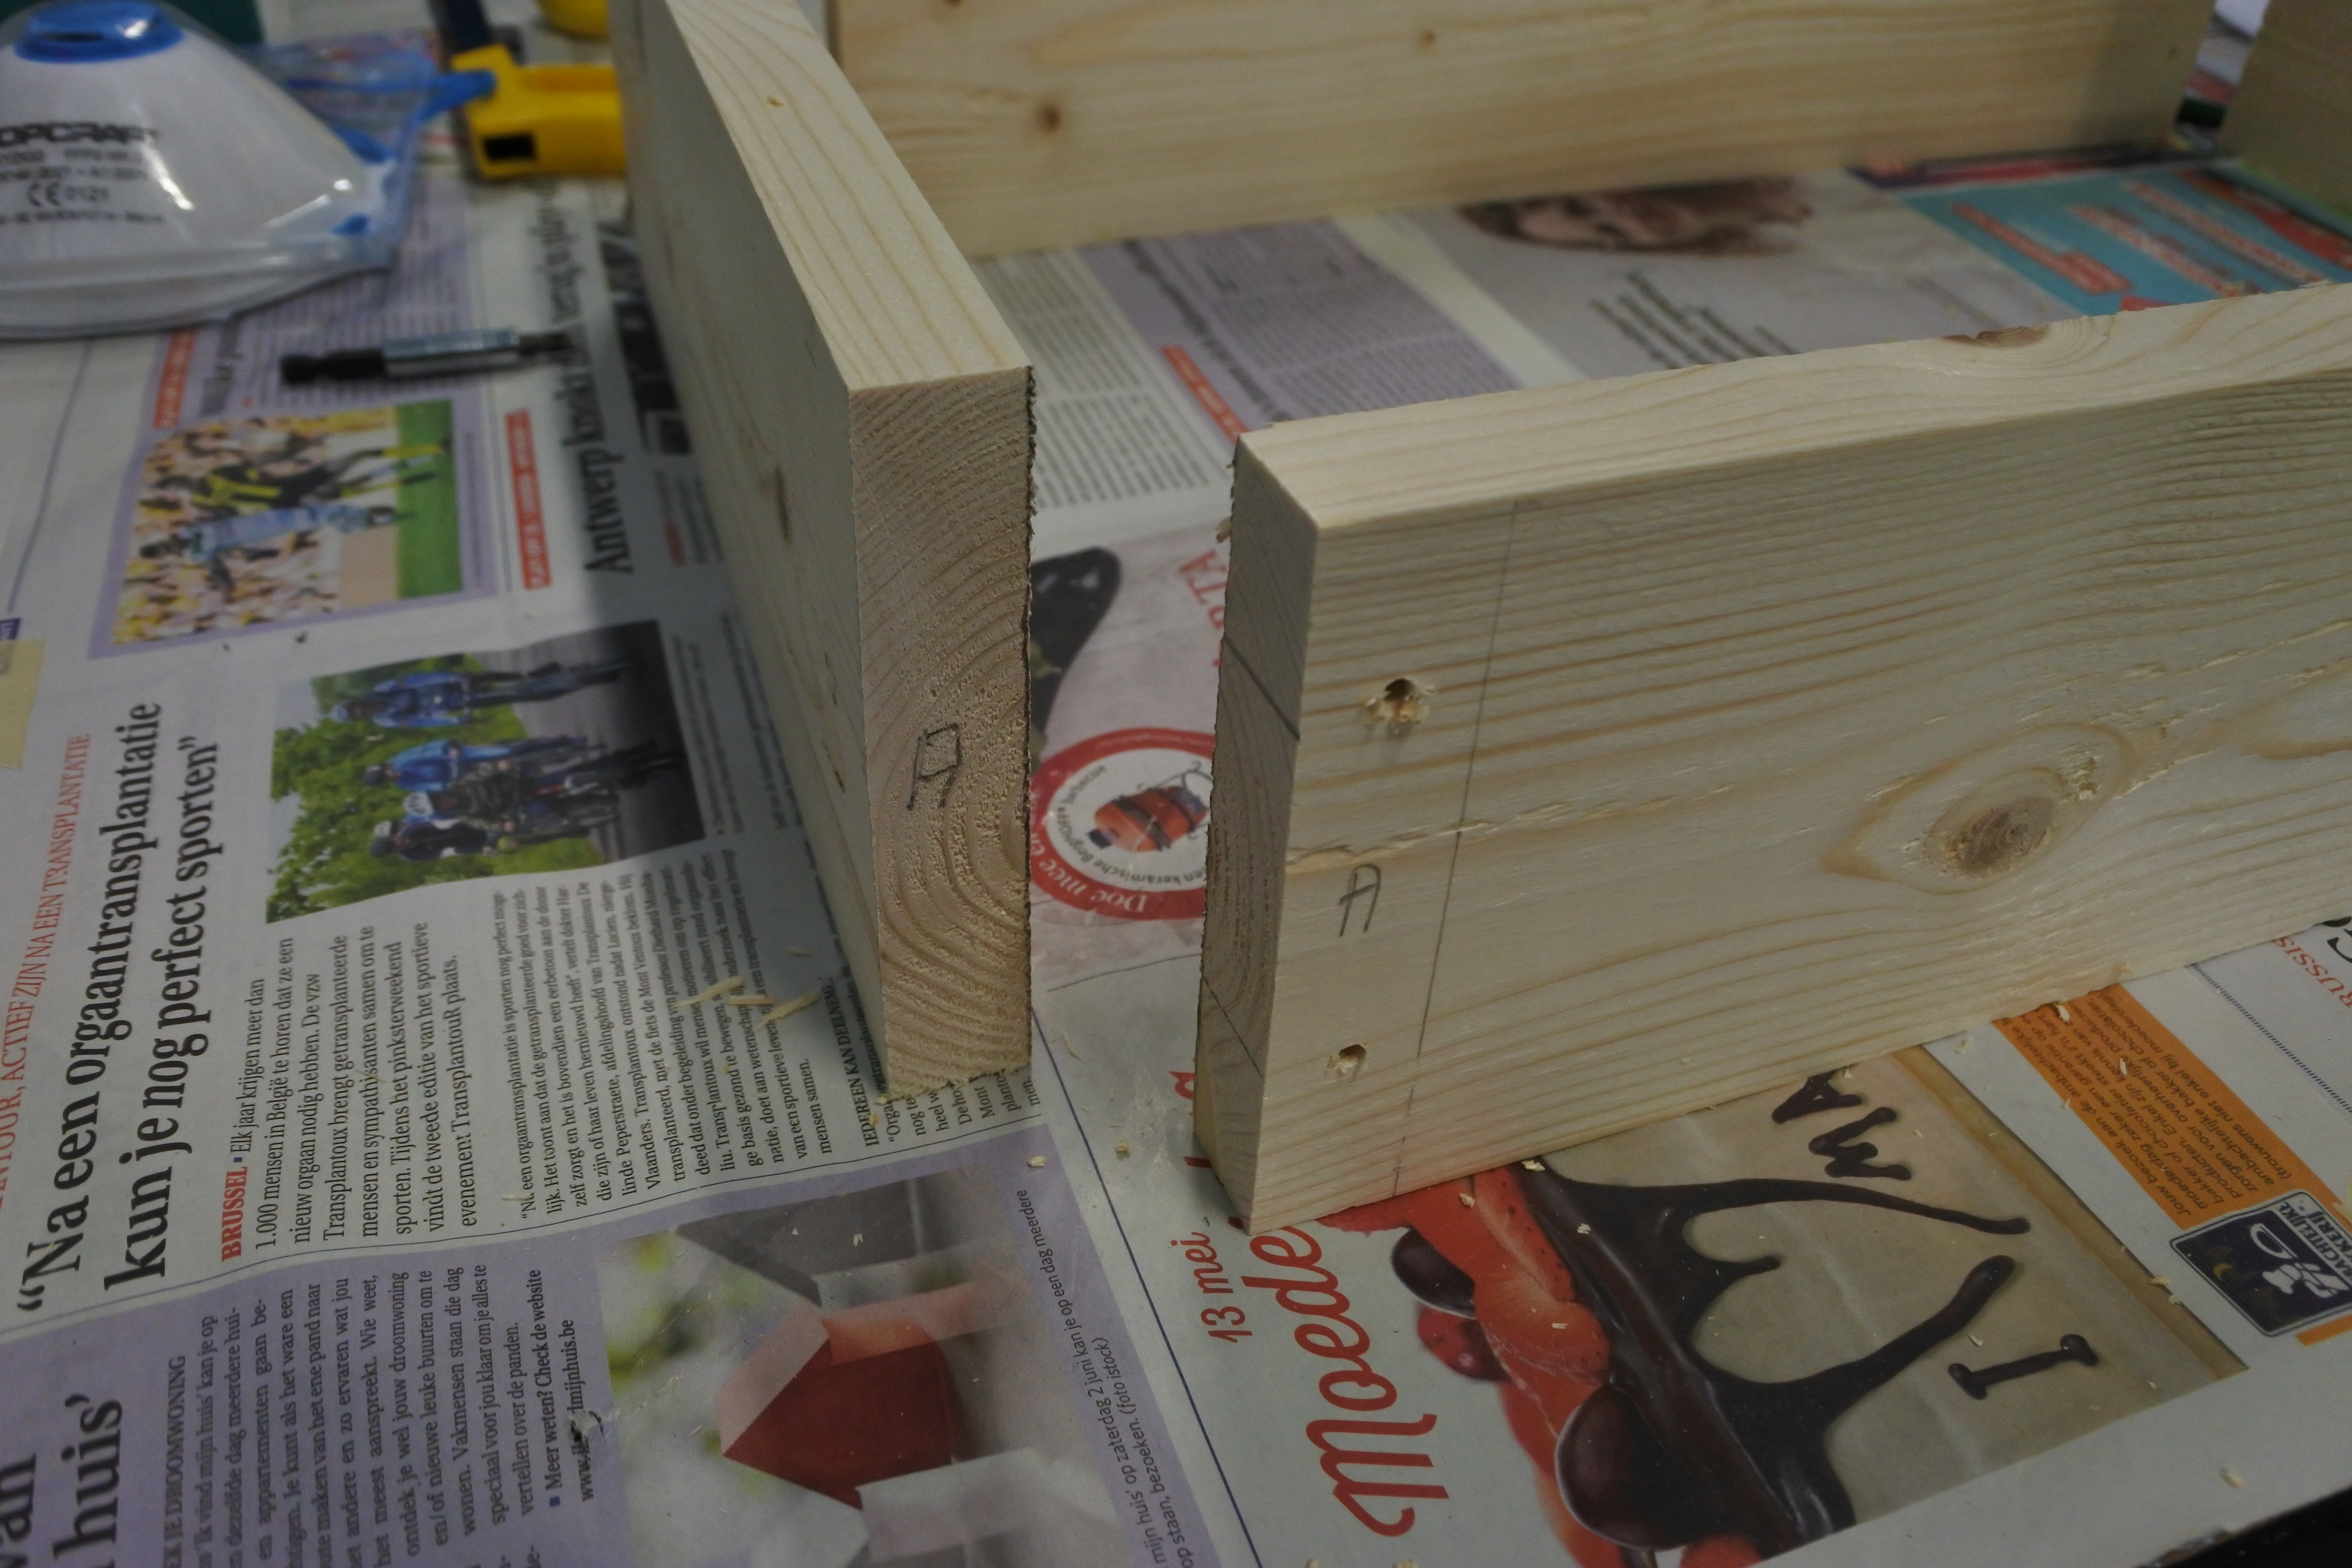
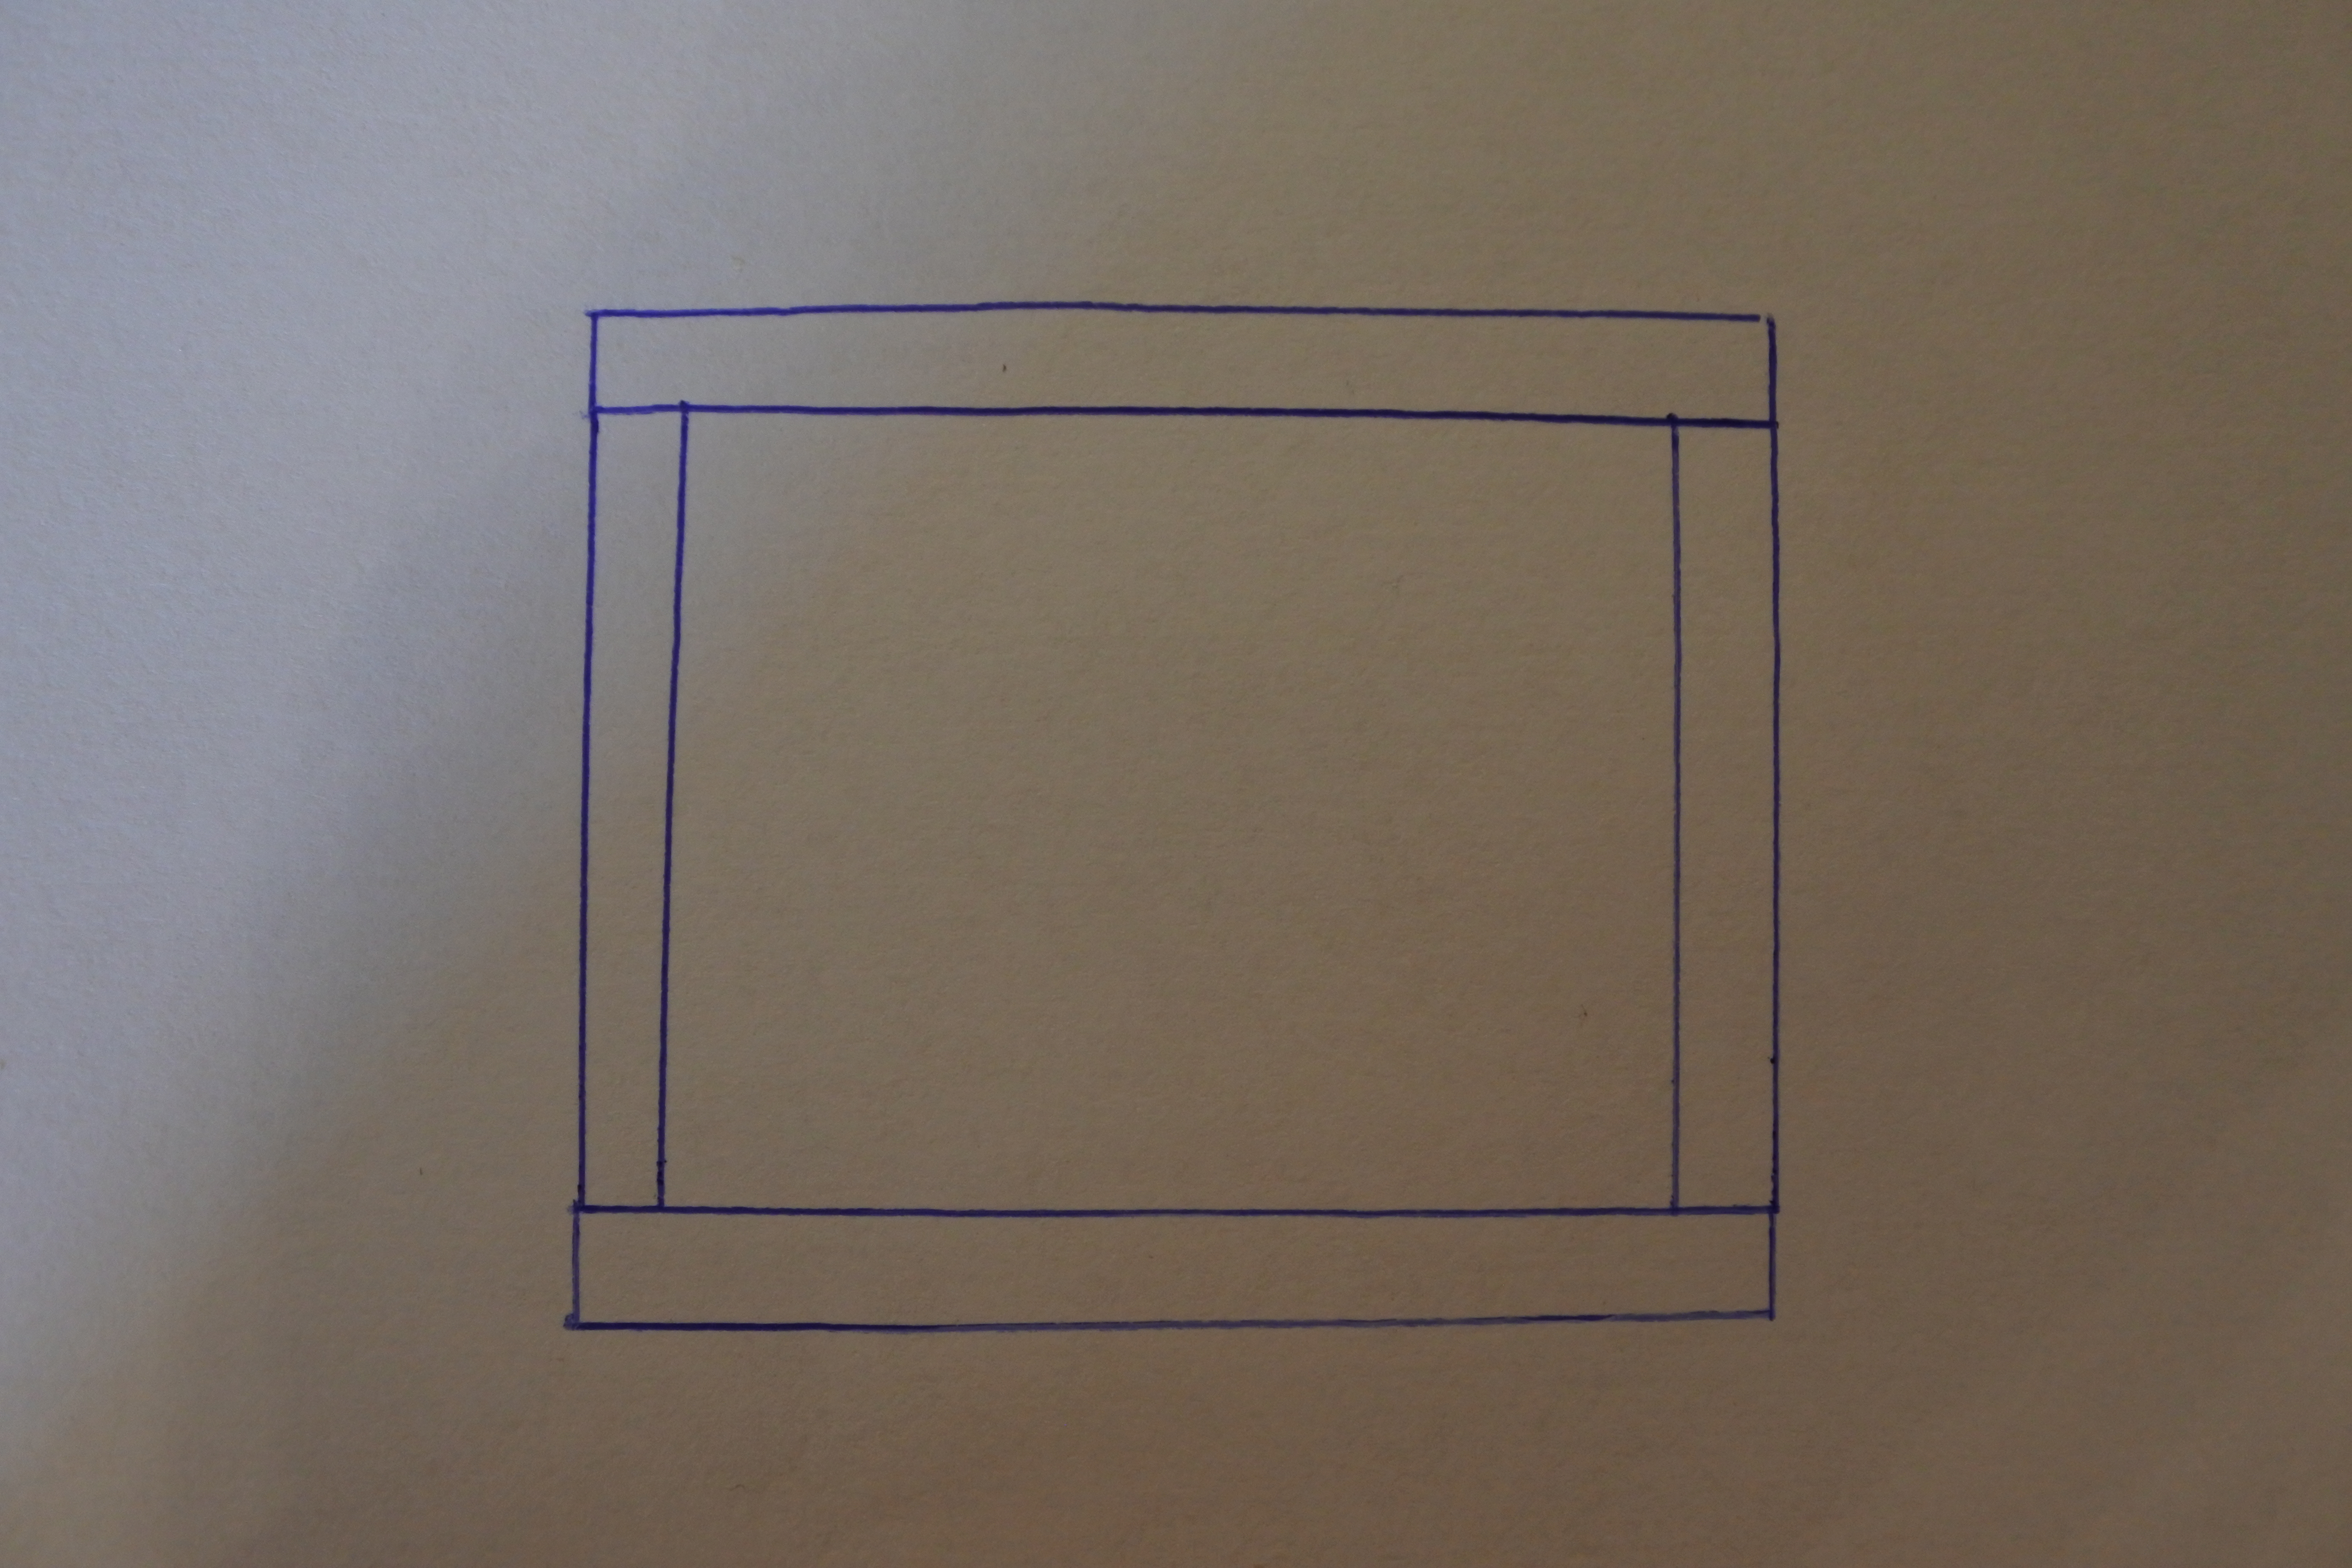
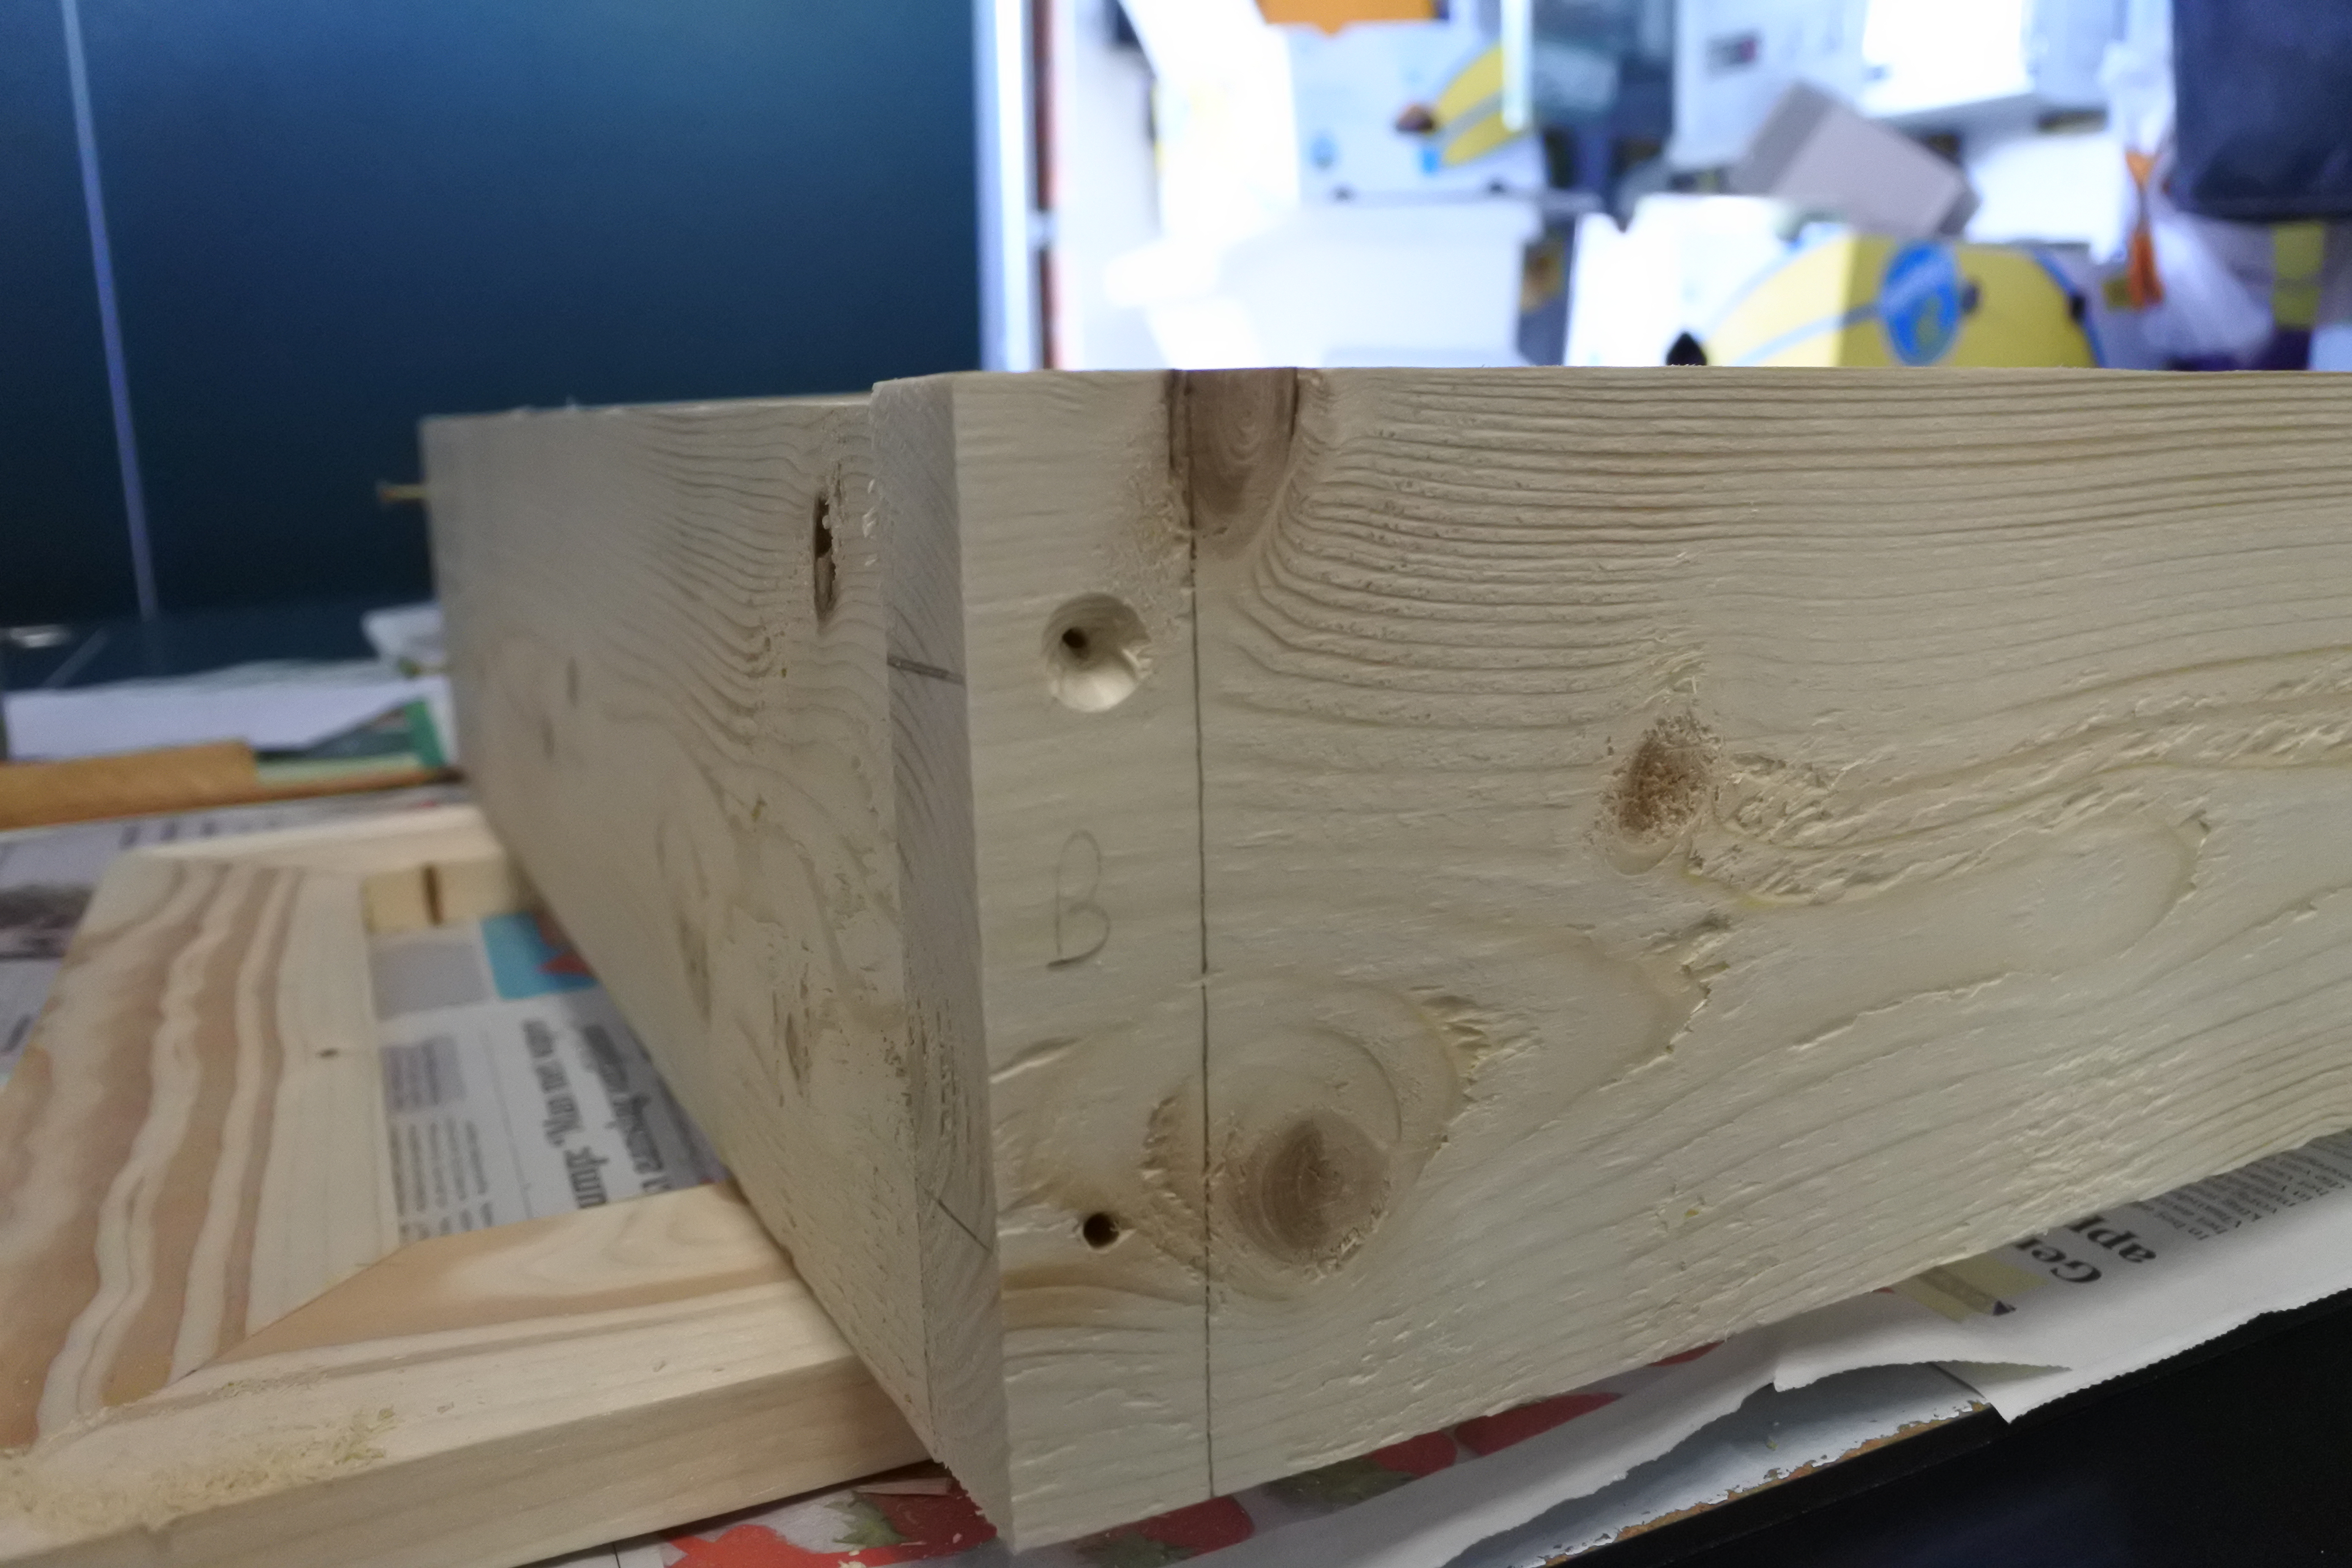
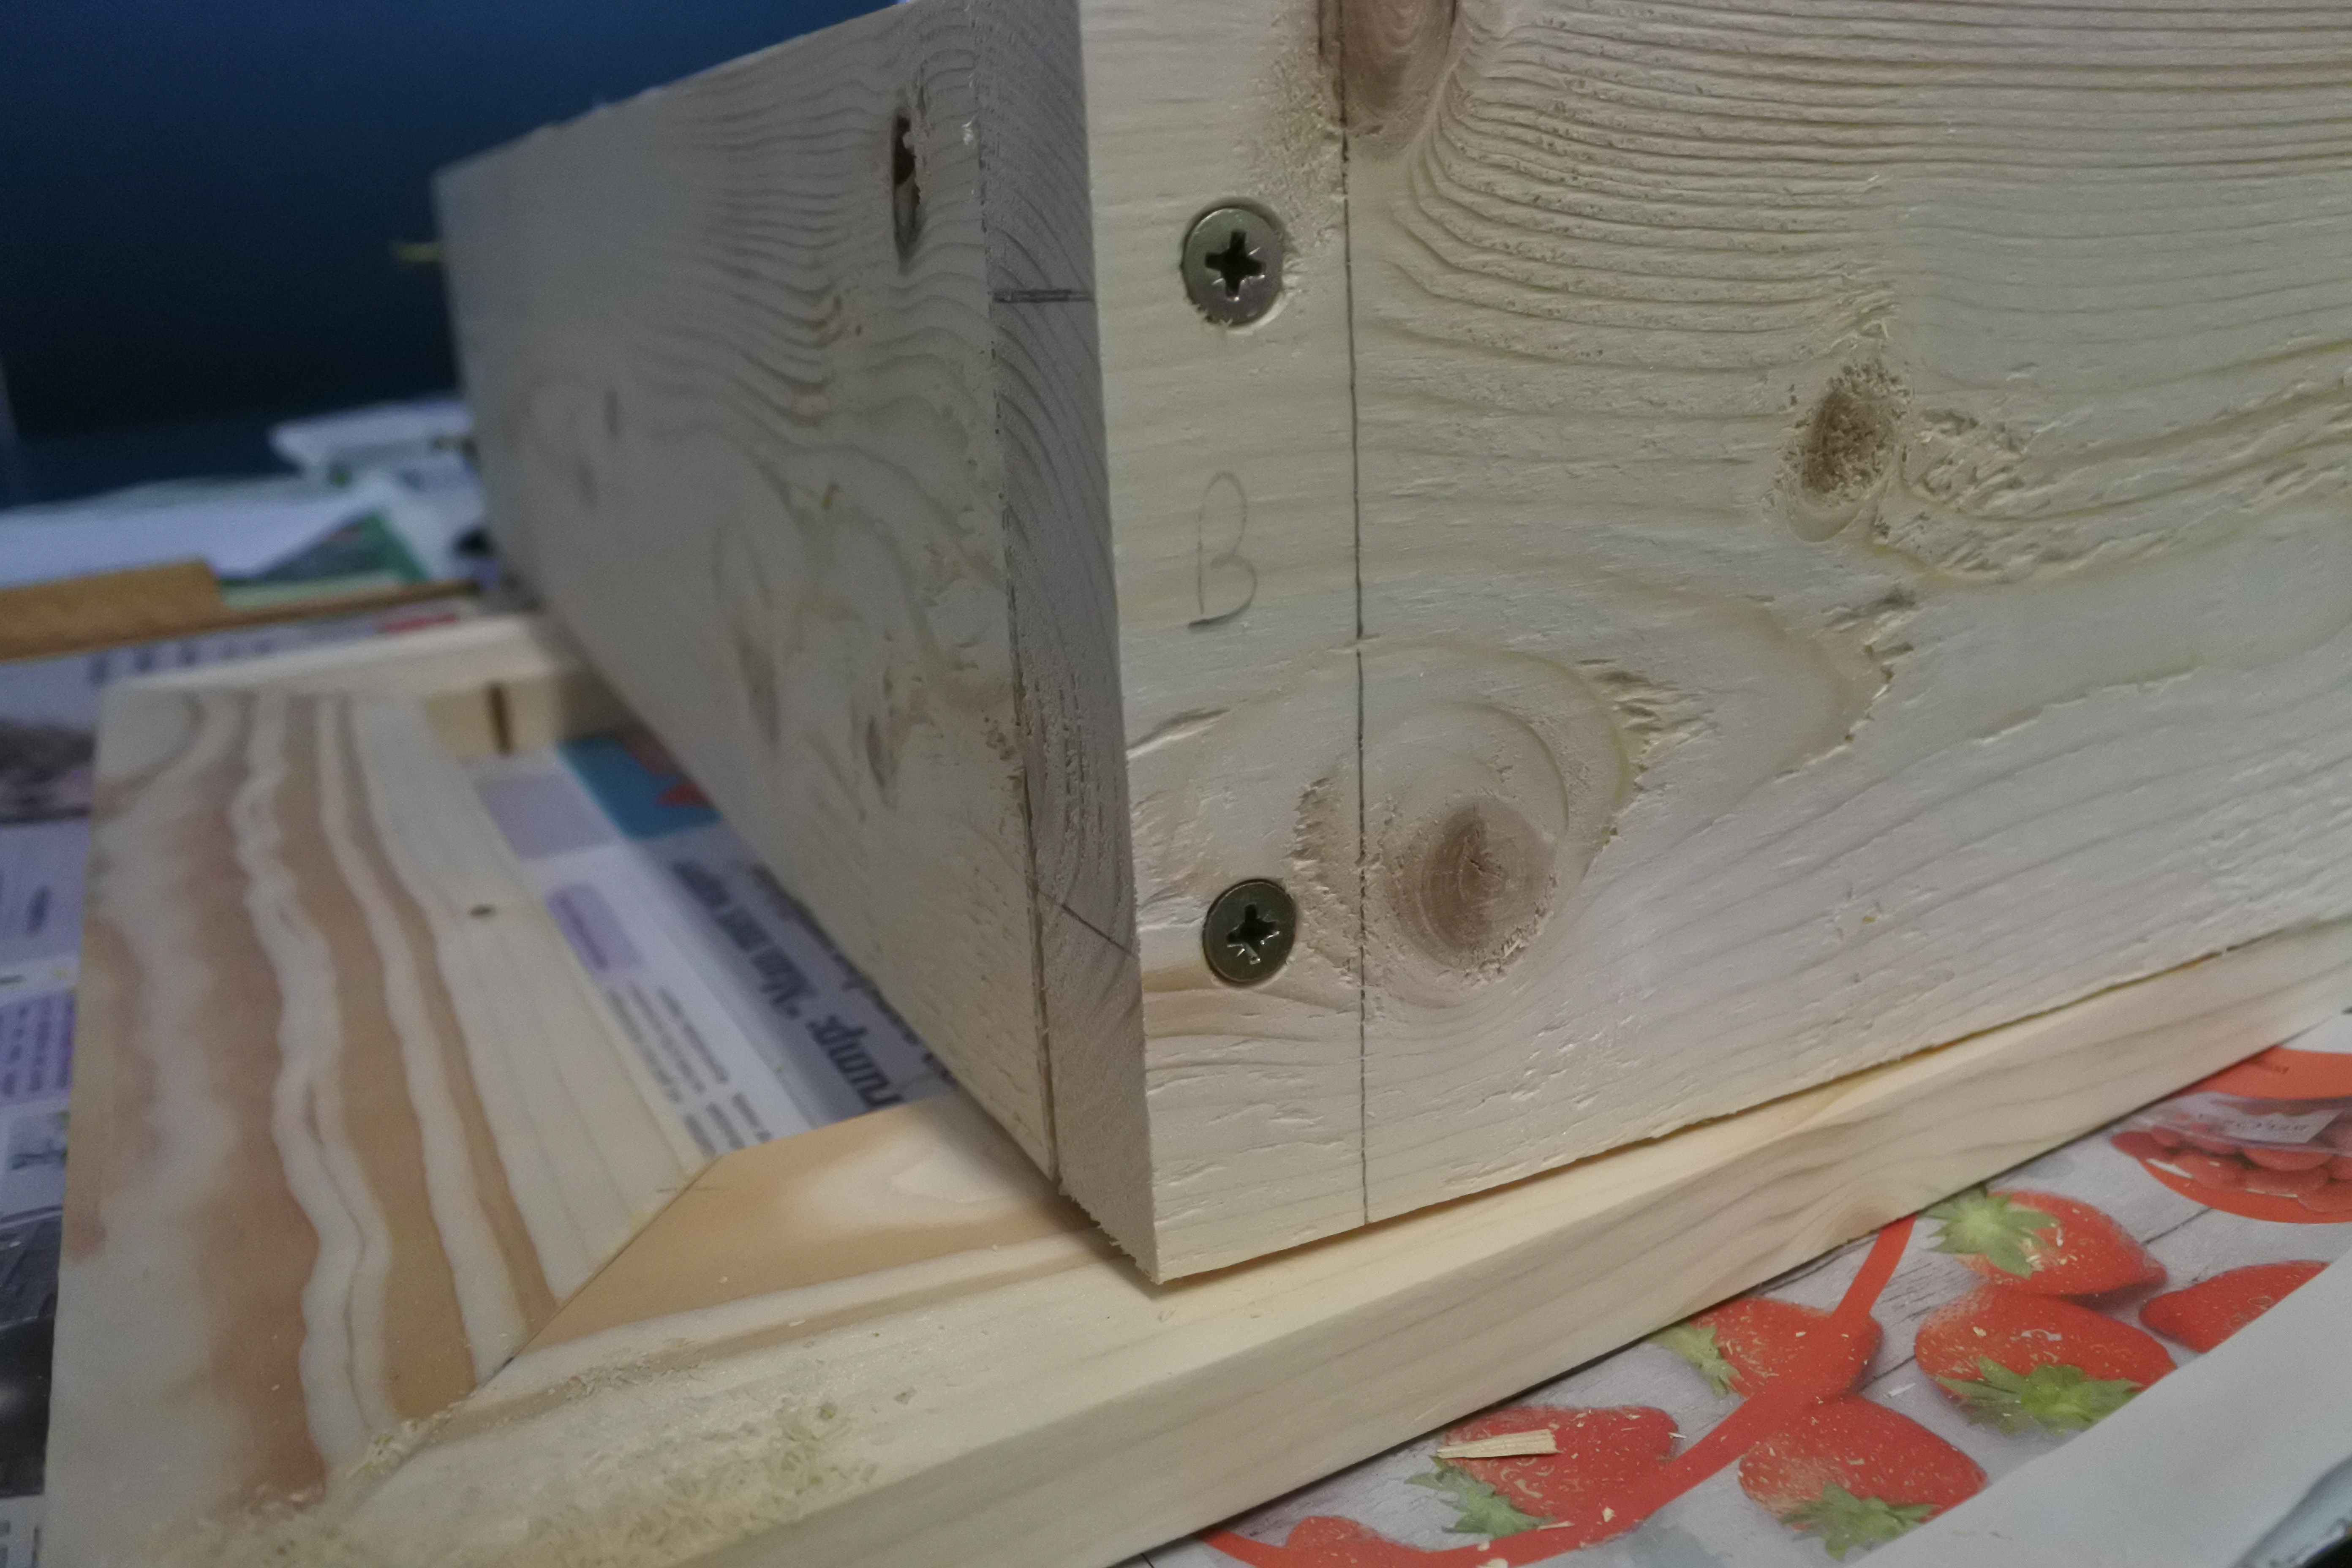
- Now we will need the measurements of the plexi-mirror.
- We aren't going to cut the planks at a 45° angle.
- Your drawing should look like the third photo.
- For the length, we are going to add 2 times the width of the plank.
- For the height, we are going to cut the planks to the measurements of the plexi-mirror. The result is, when placing the planks like in the photo, the inside measurements are identical to the ones of the plexi-mirror.
- To fasten the wooden planks together, I drilled holes and fastened it with screws. Because this will be the back side, the refinement isn't a priority.
Finishing the Wooden Construction
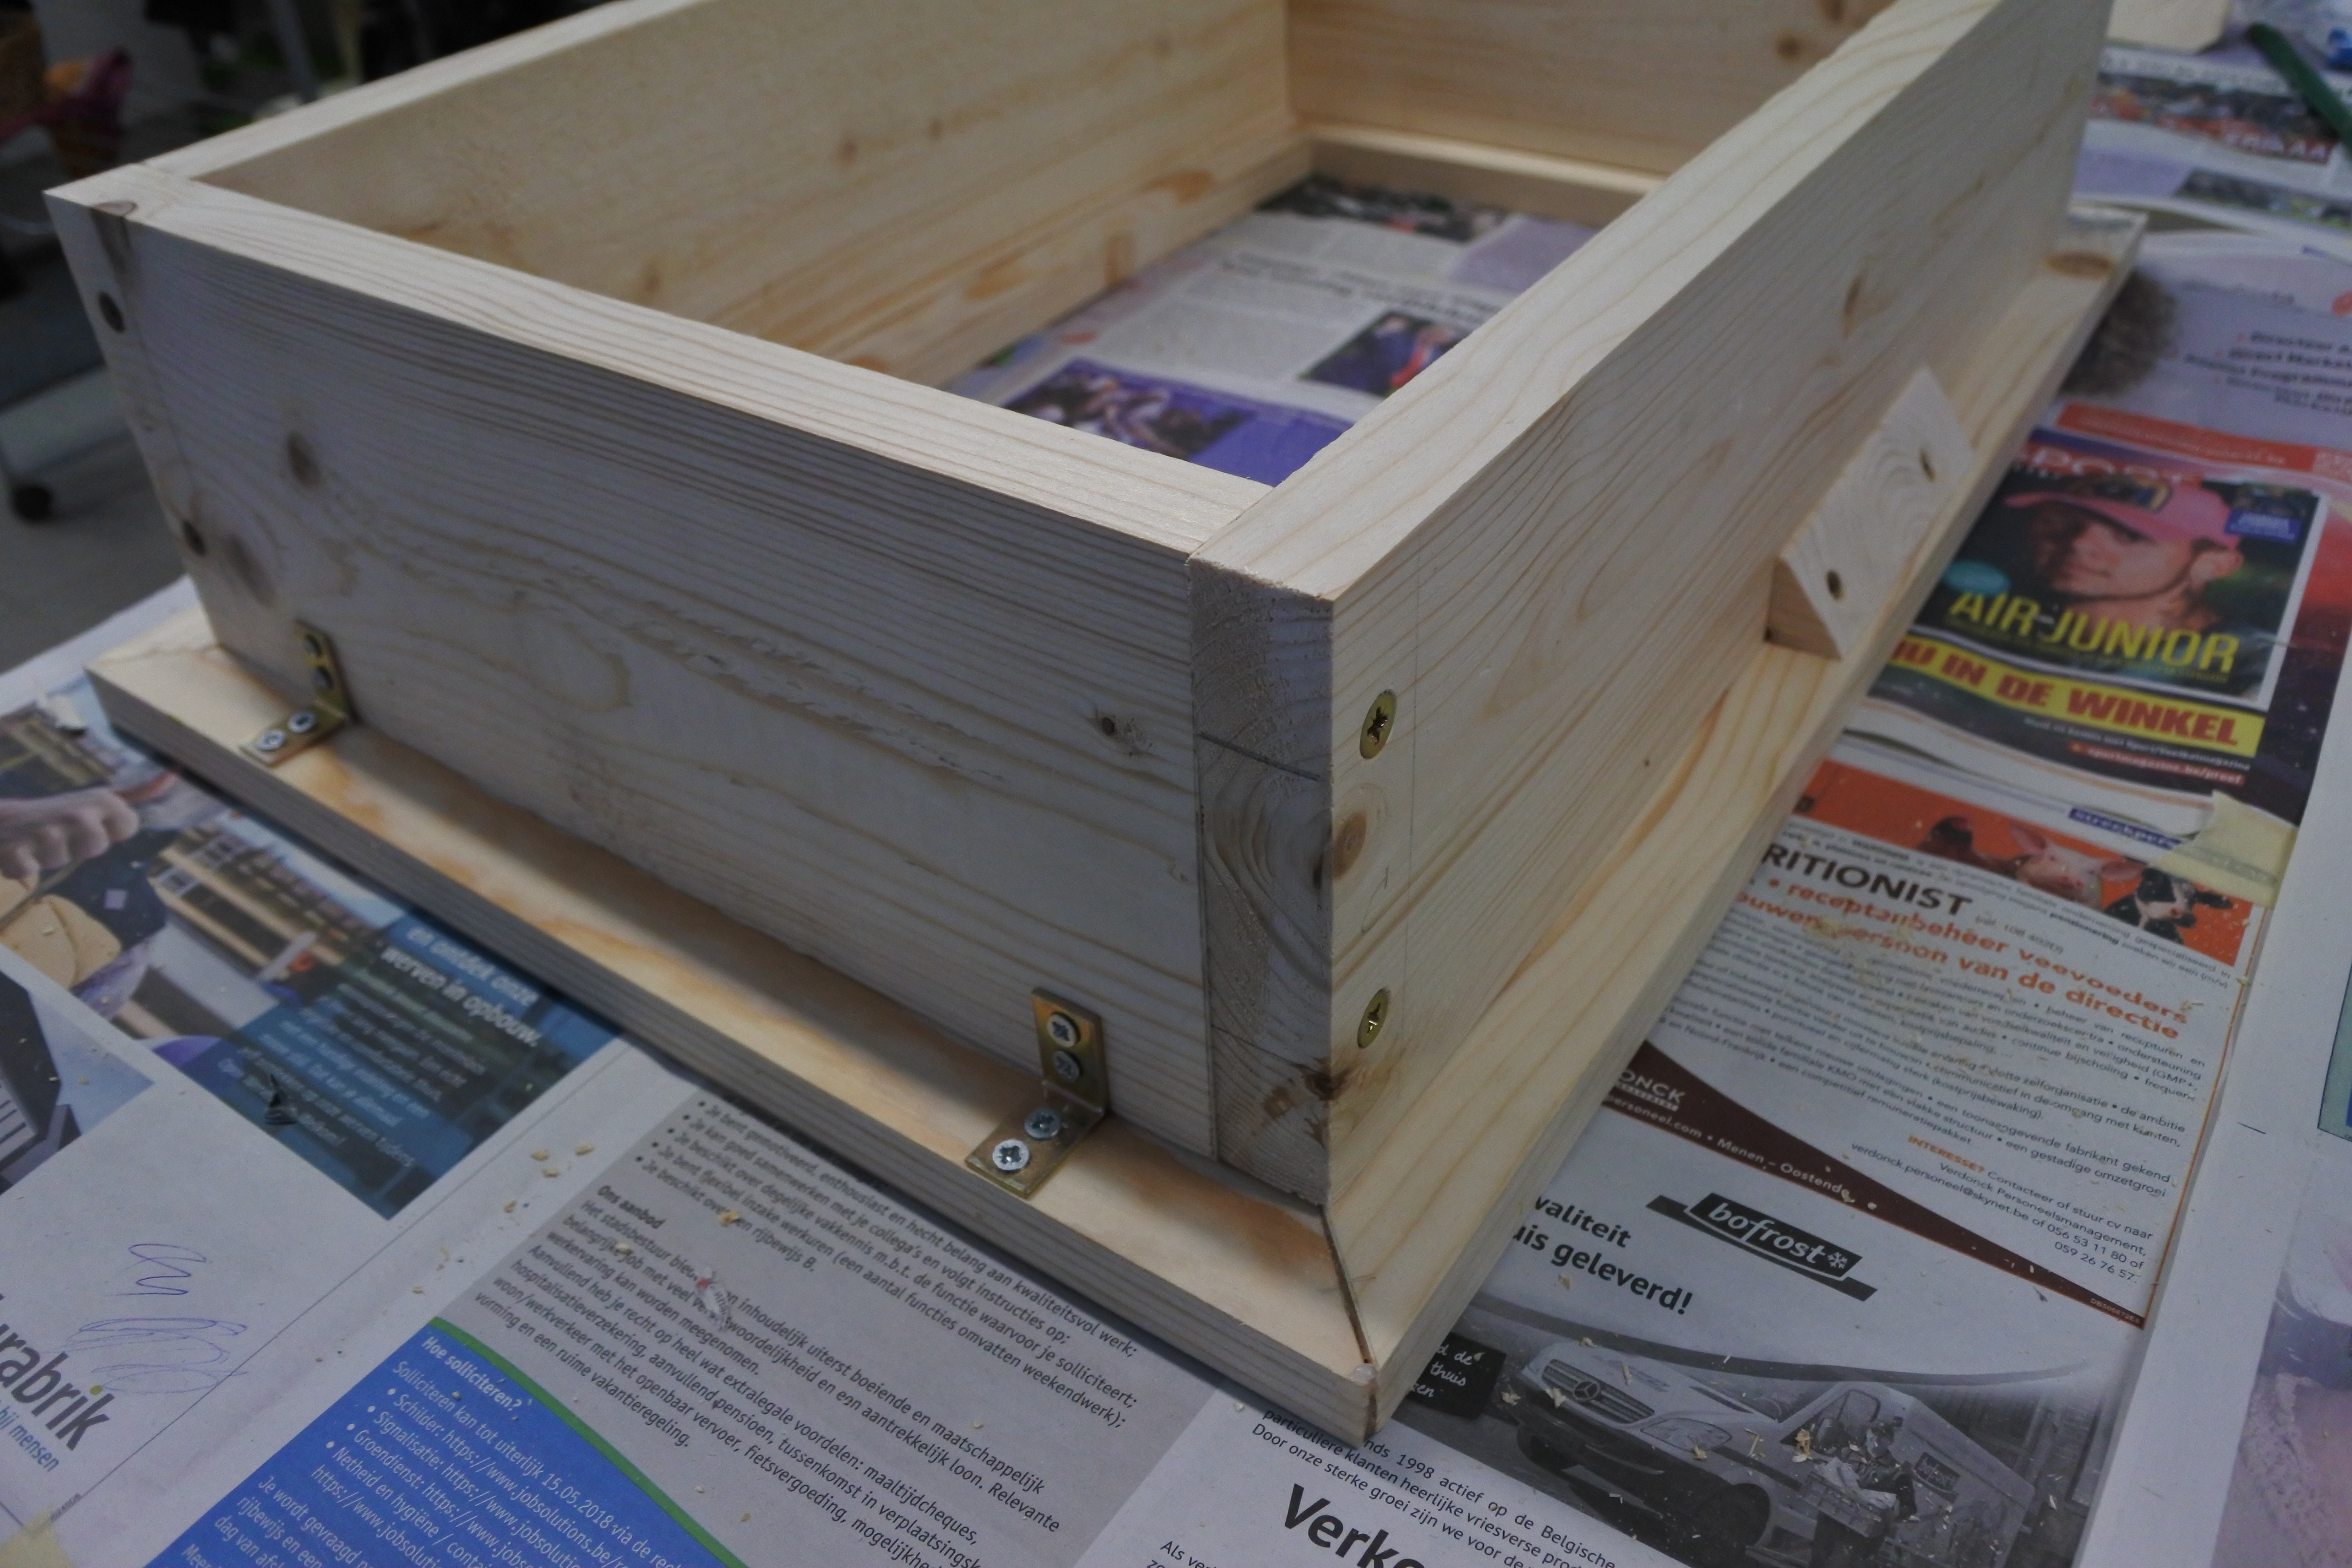
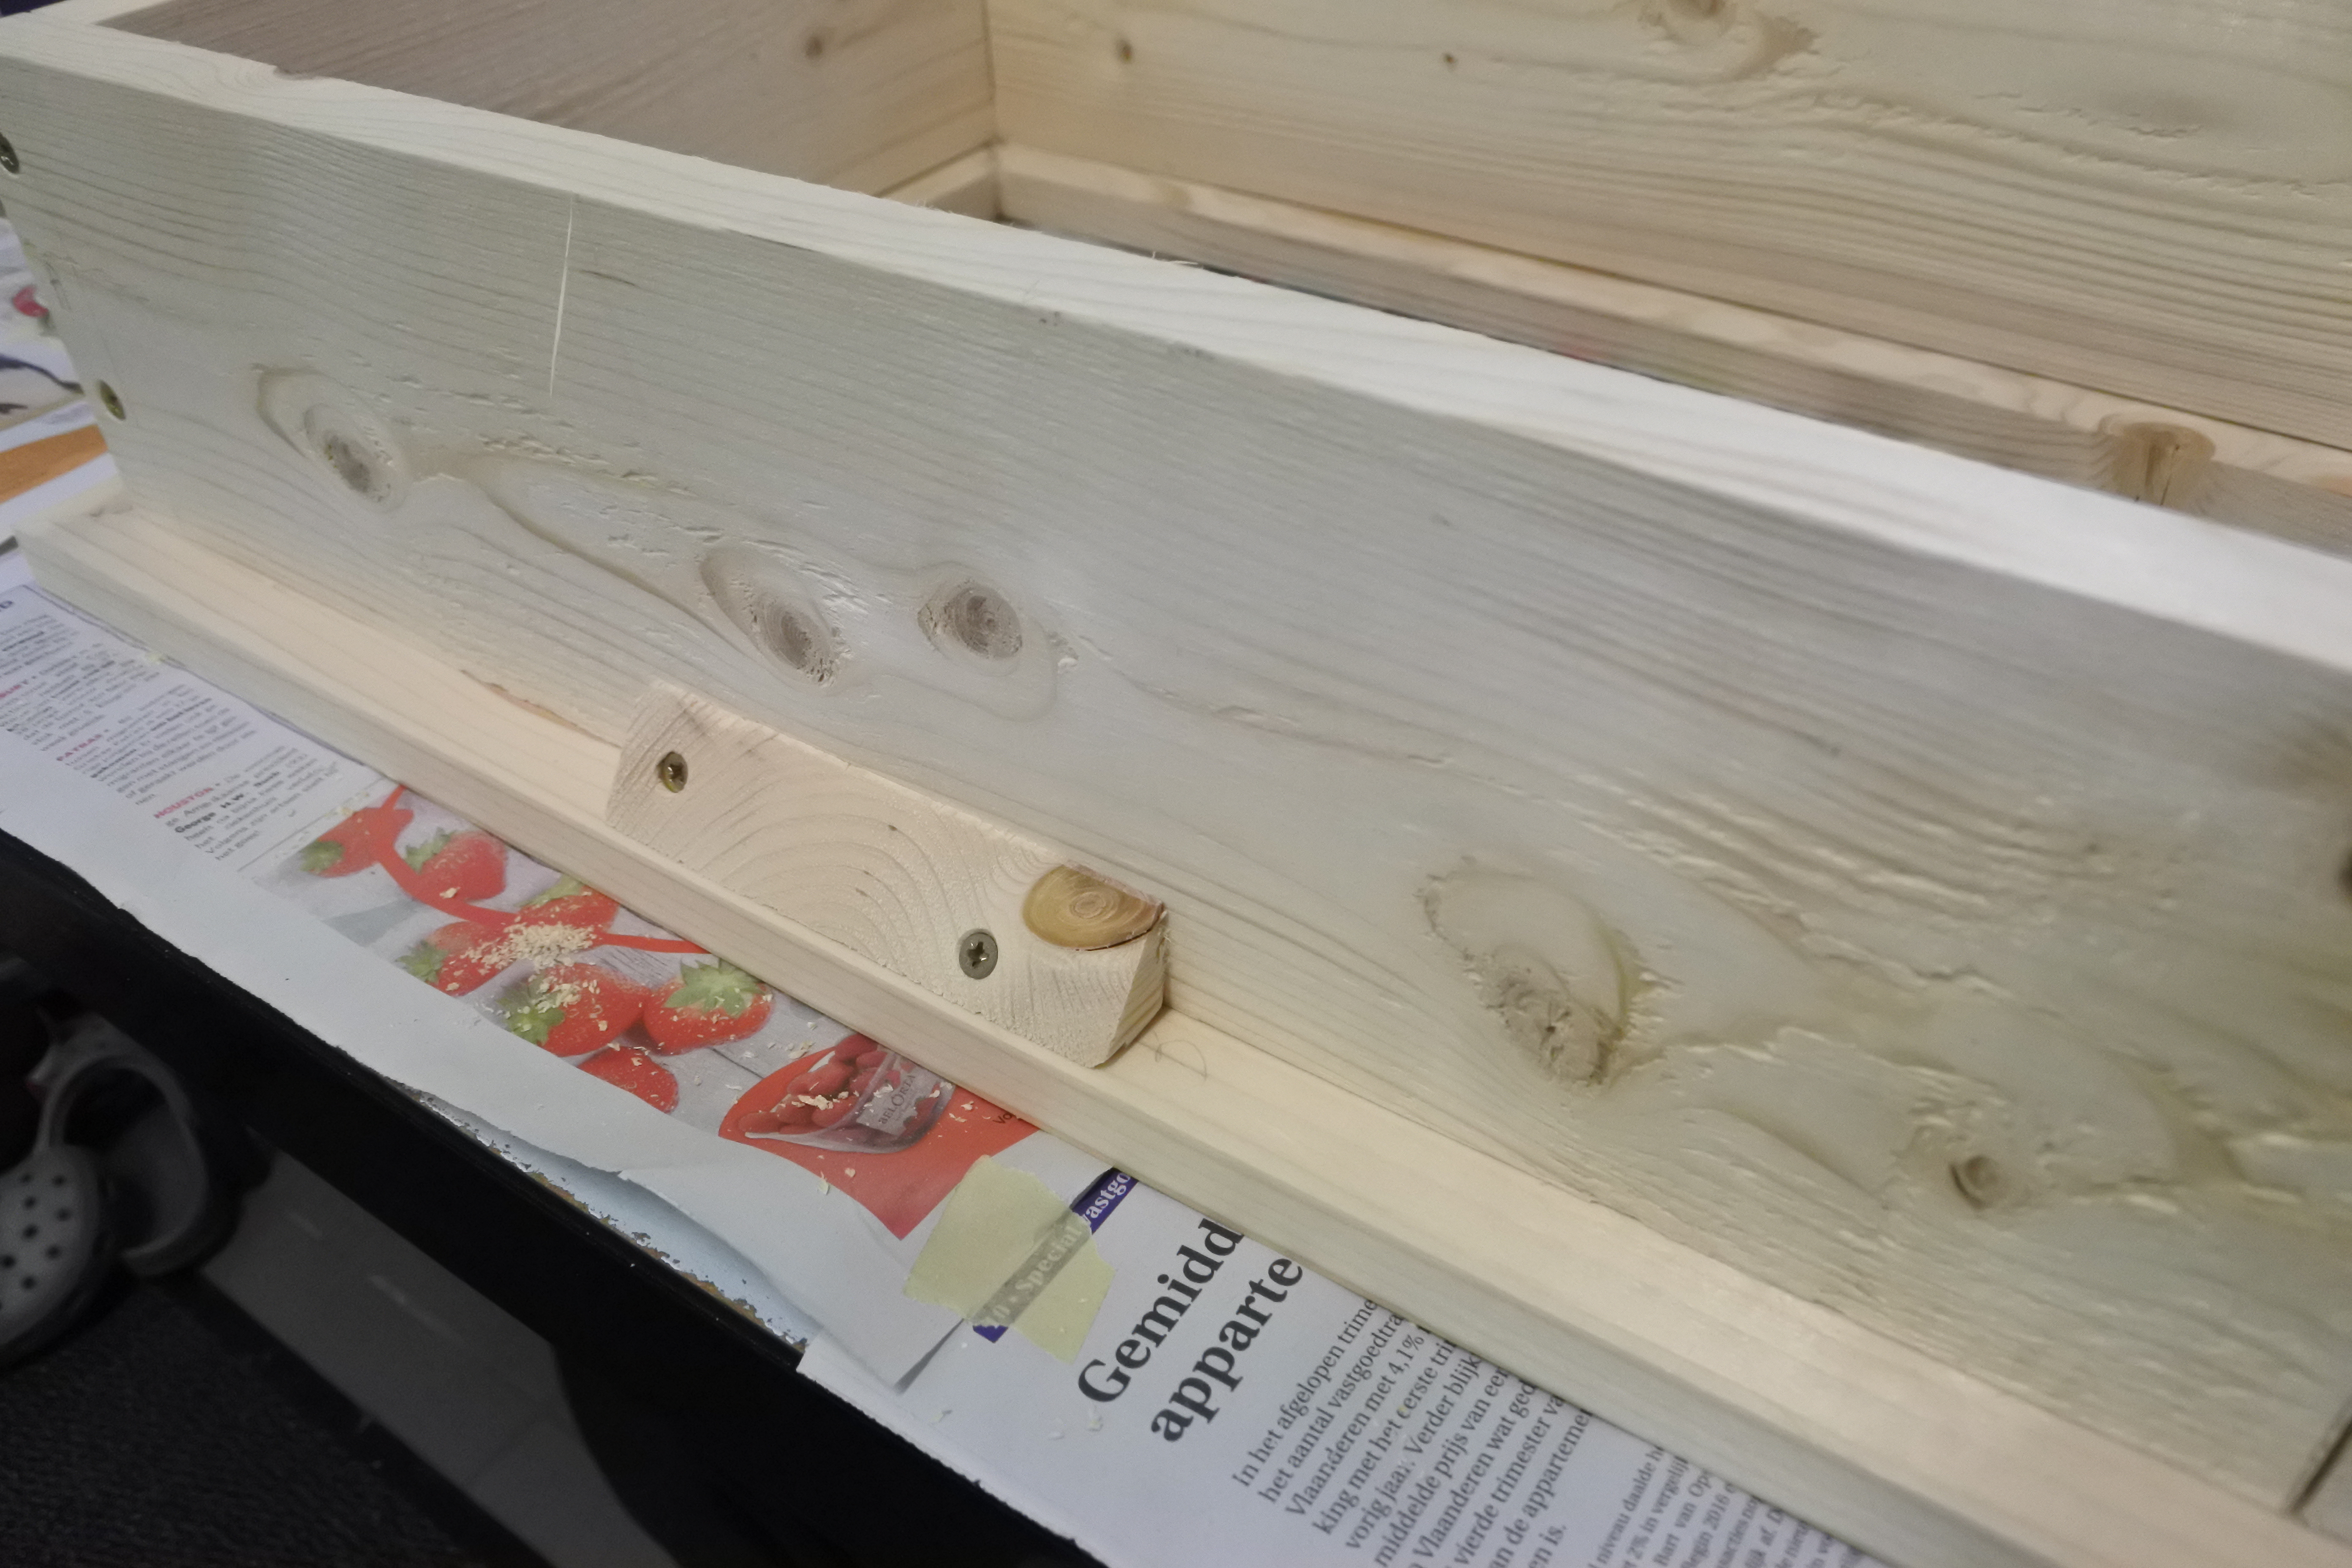
Now, we are going to fasten the 2 constructions together.
I used metal 90° bends and screws to fasten the 2 as shown in the picture.
You can also use these small triangles with screws, but it is not necessary.
Placing the Plexi-mirror and Screen in the Construction
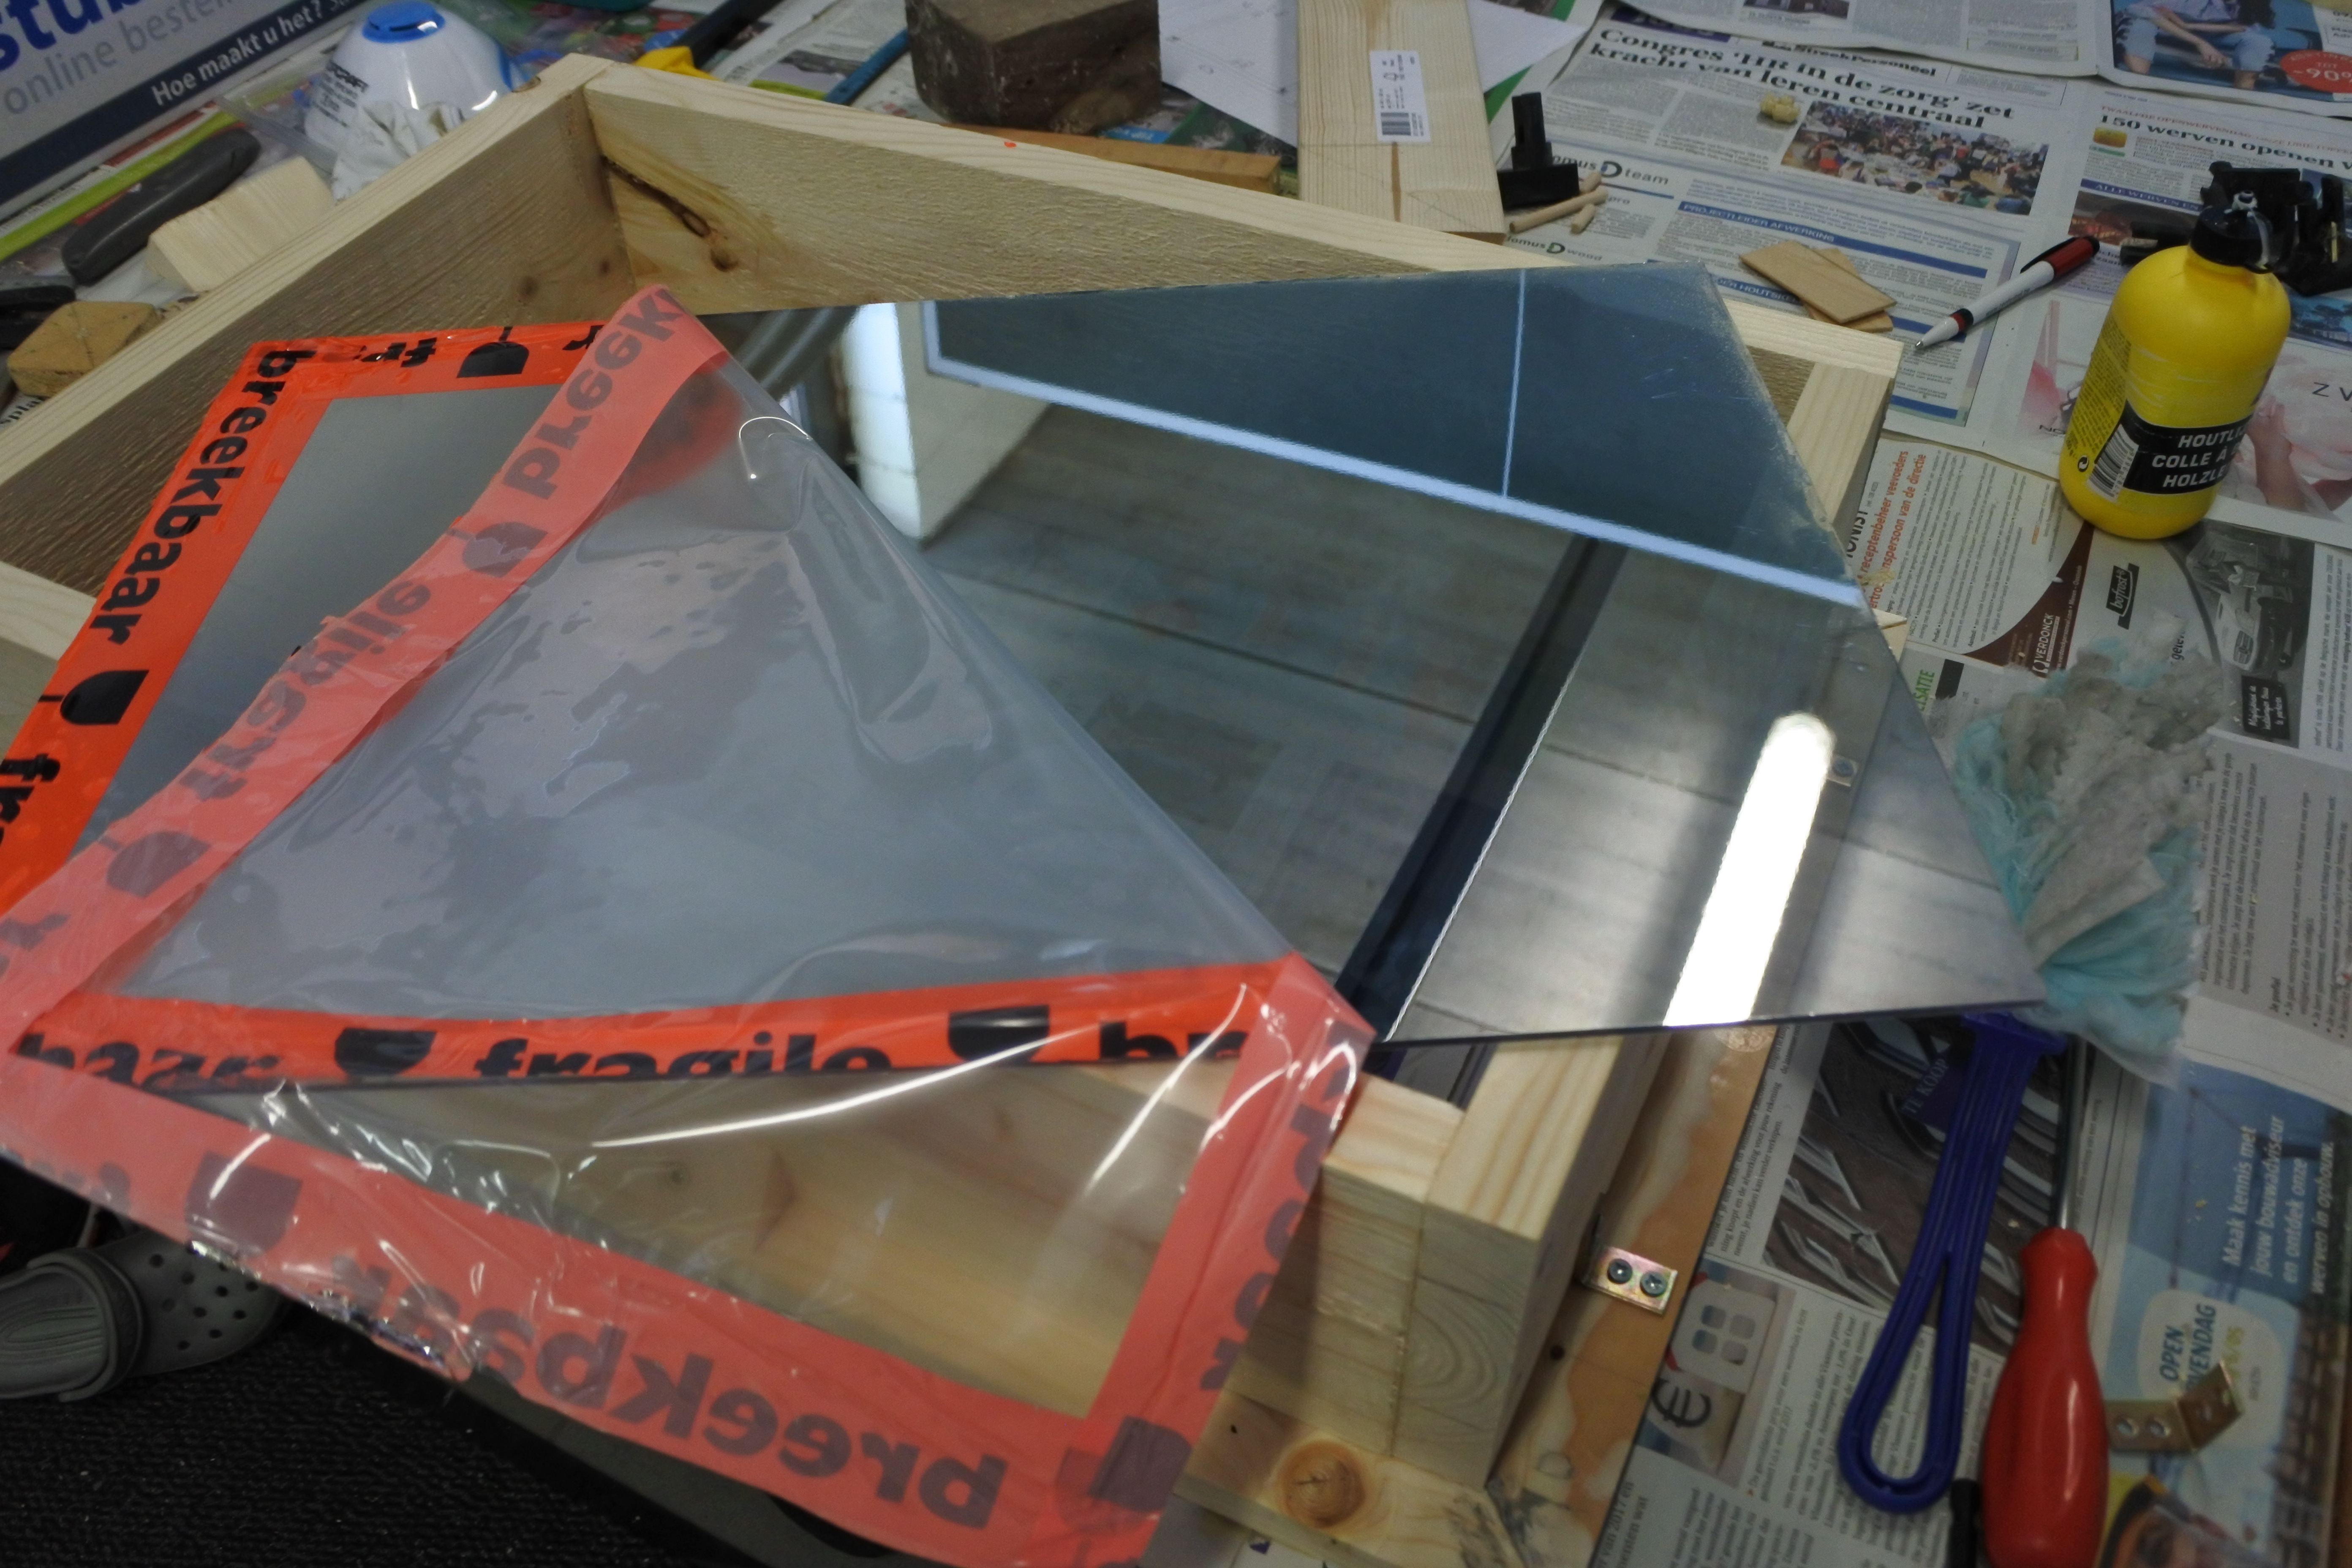
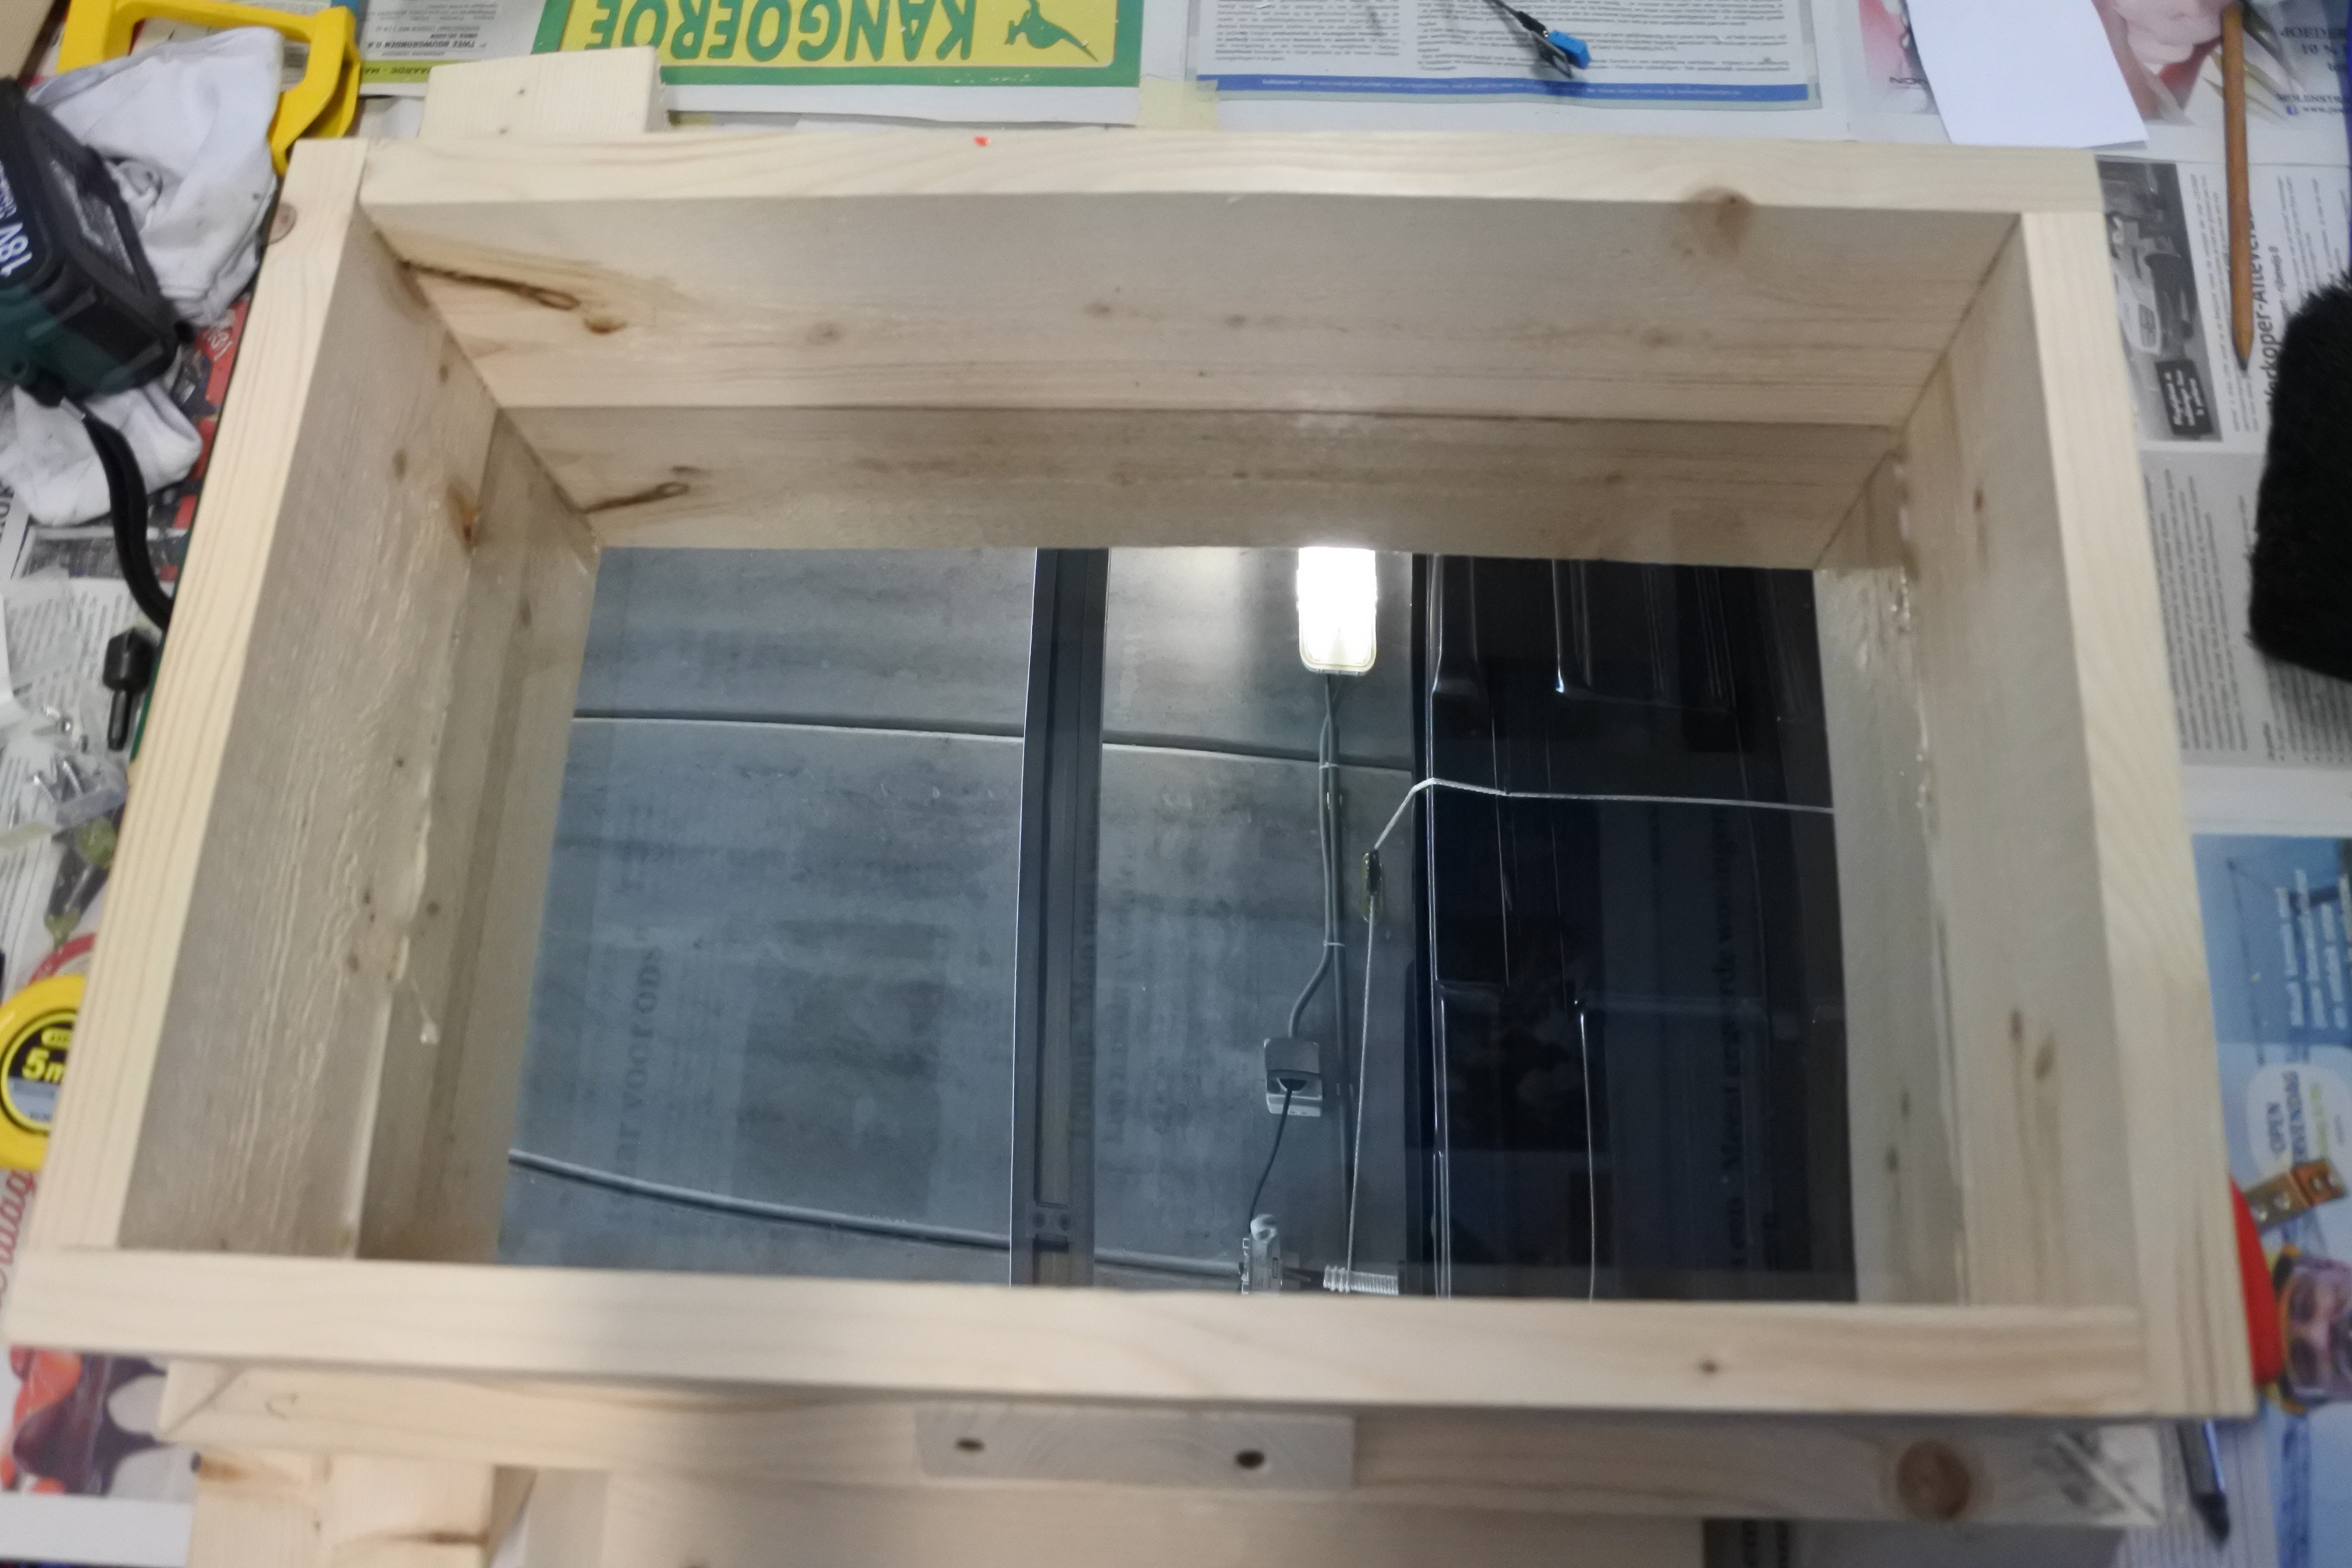
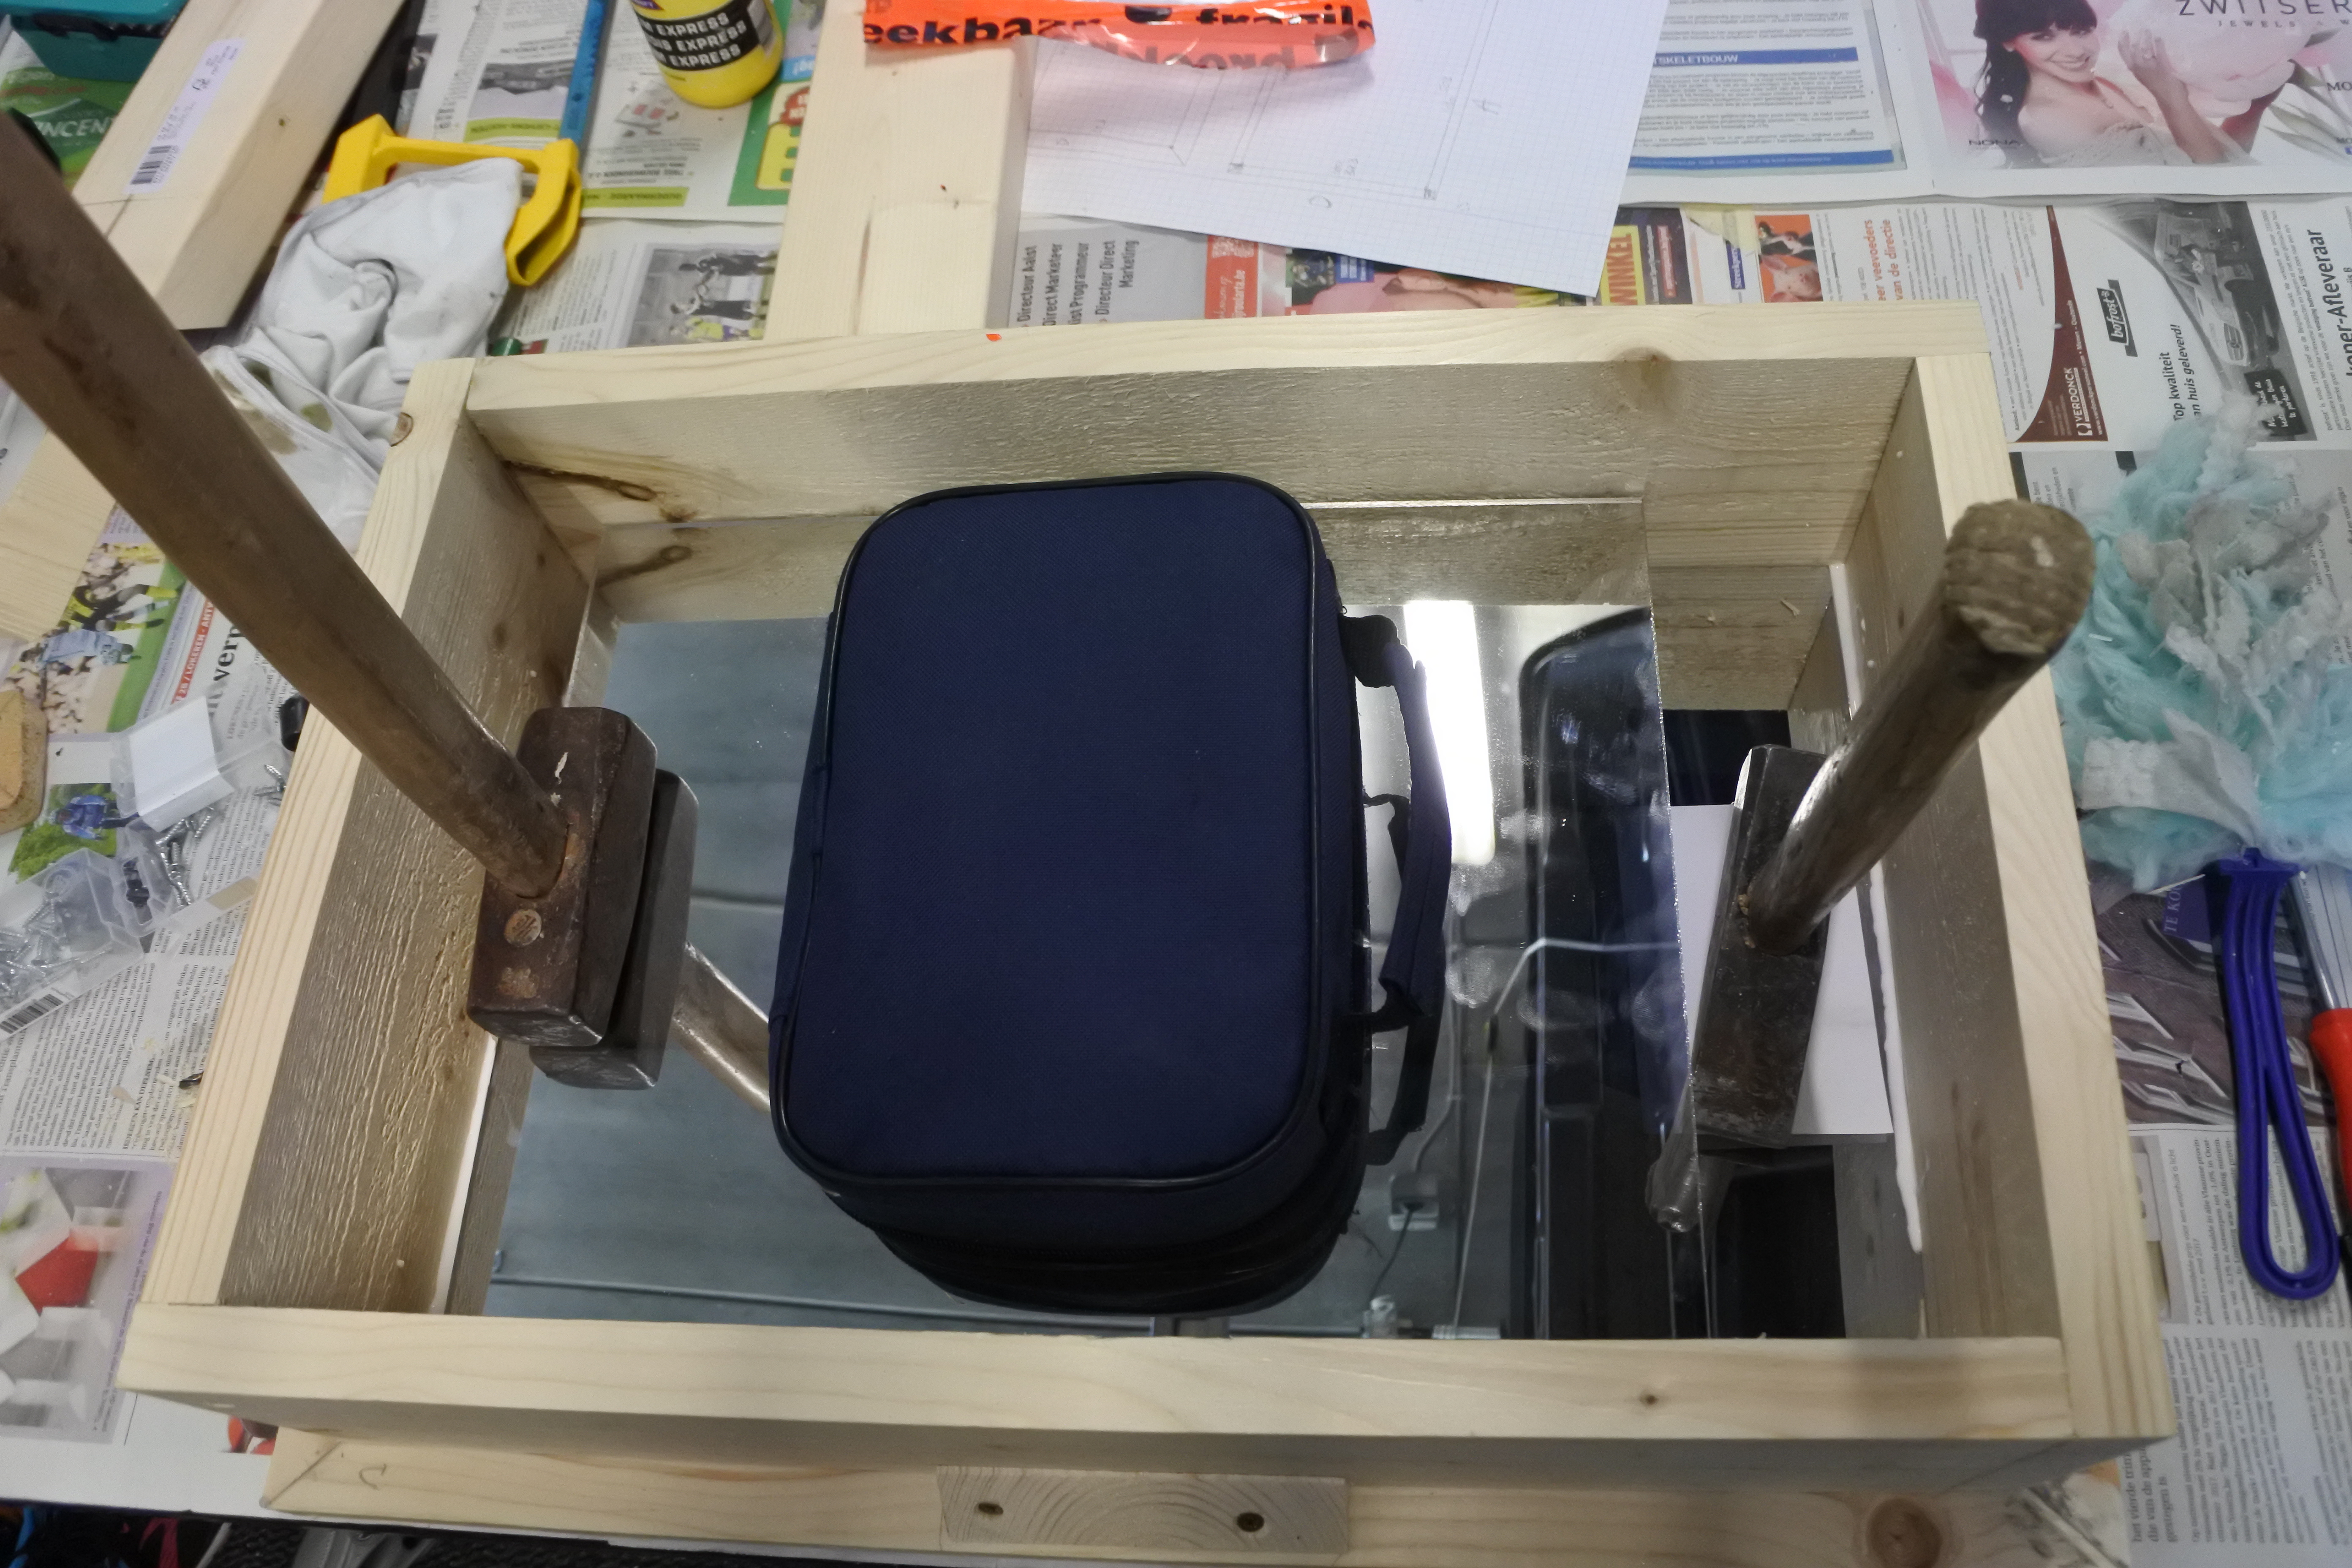
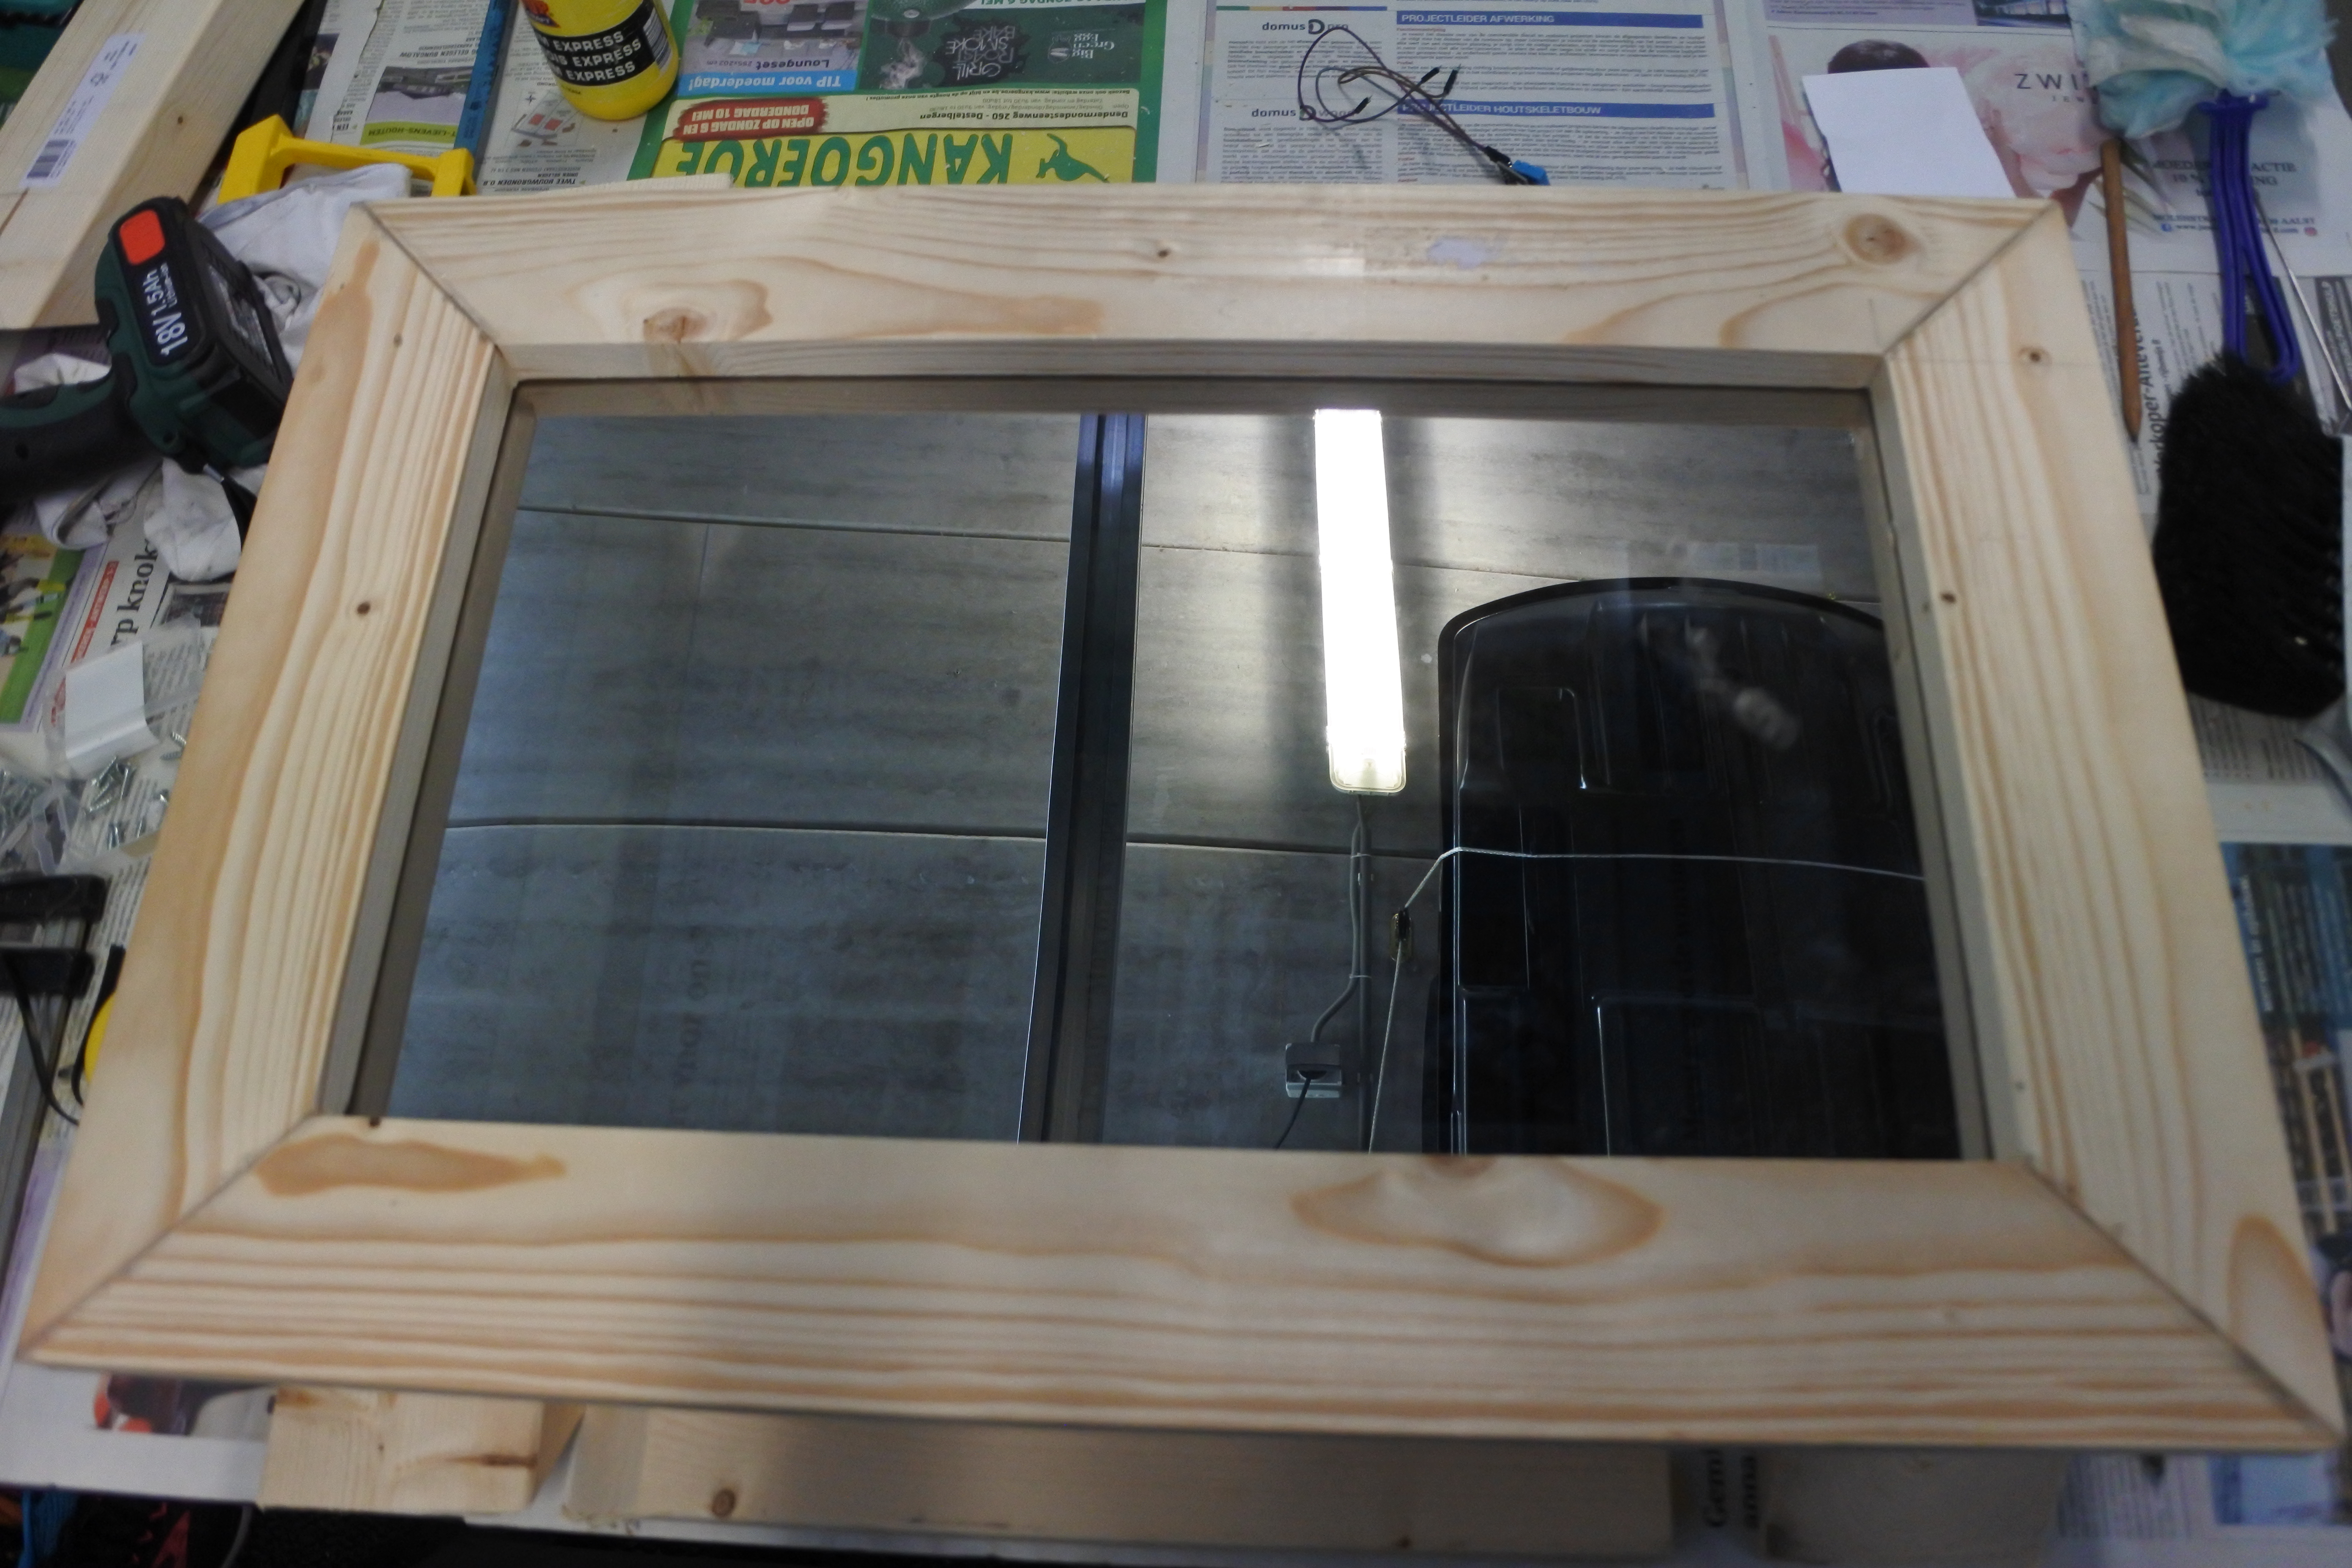
- If everything is correct, your mirror fits nicely in from the back and rests on an edge from the front part.
- I put some glue on the edge and placed the mirror in its final position.
- Place some weight on the mirror, so it dries nicely.
- Let it sit overnight.
Placing It All Together
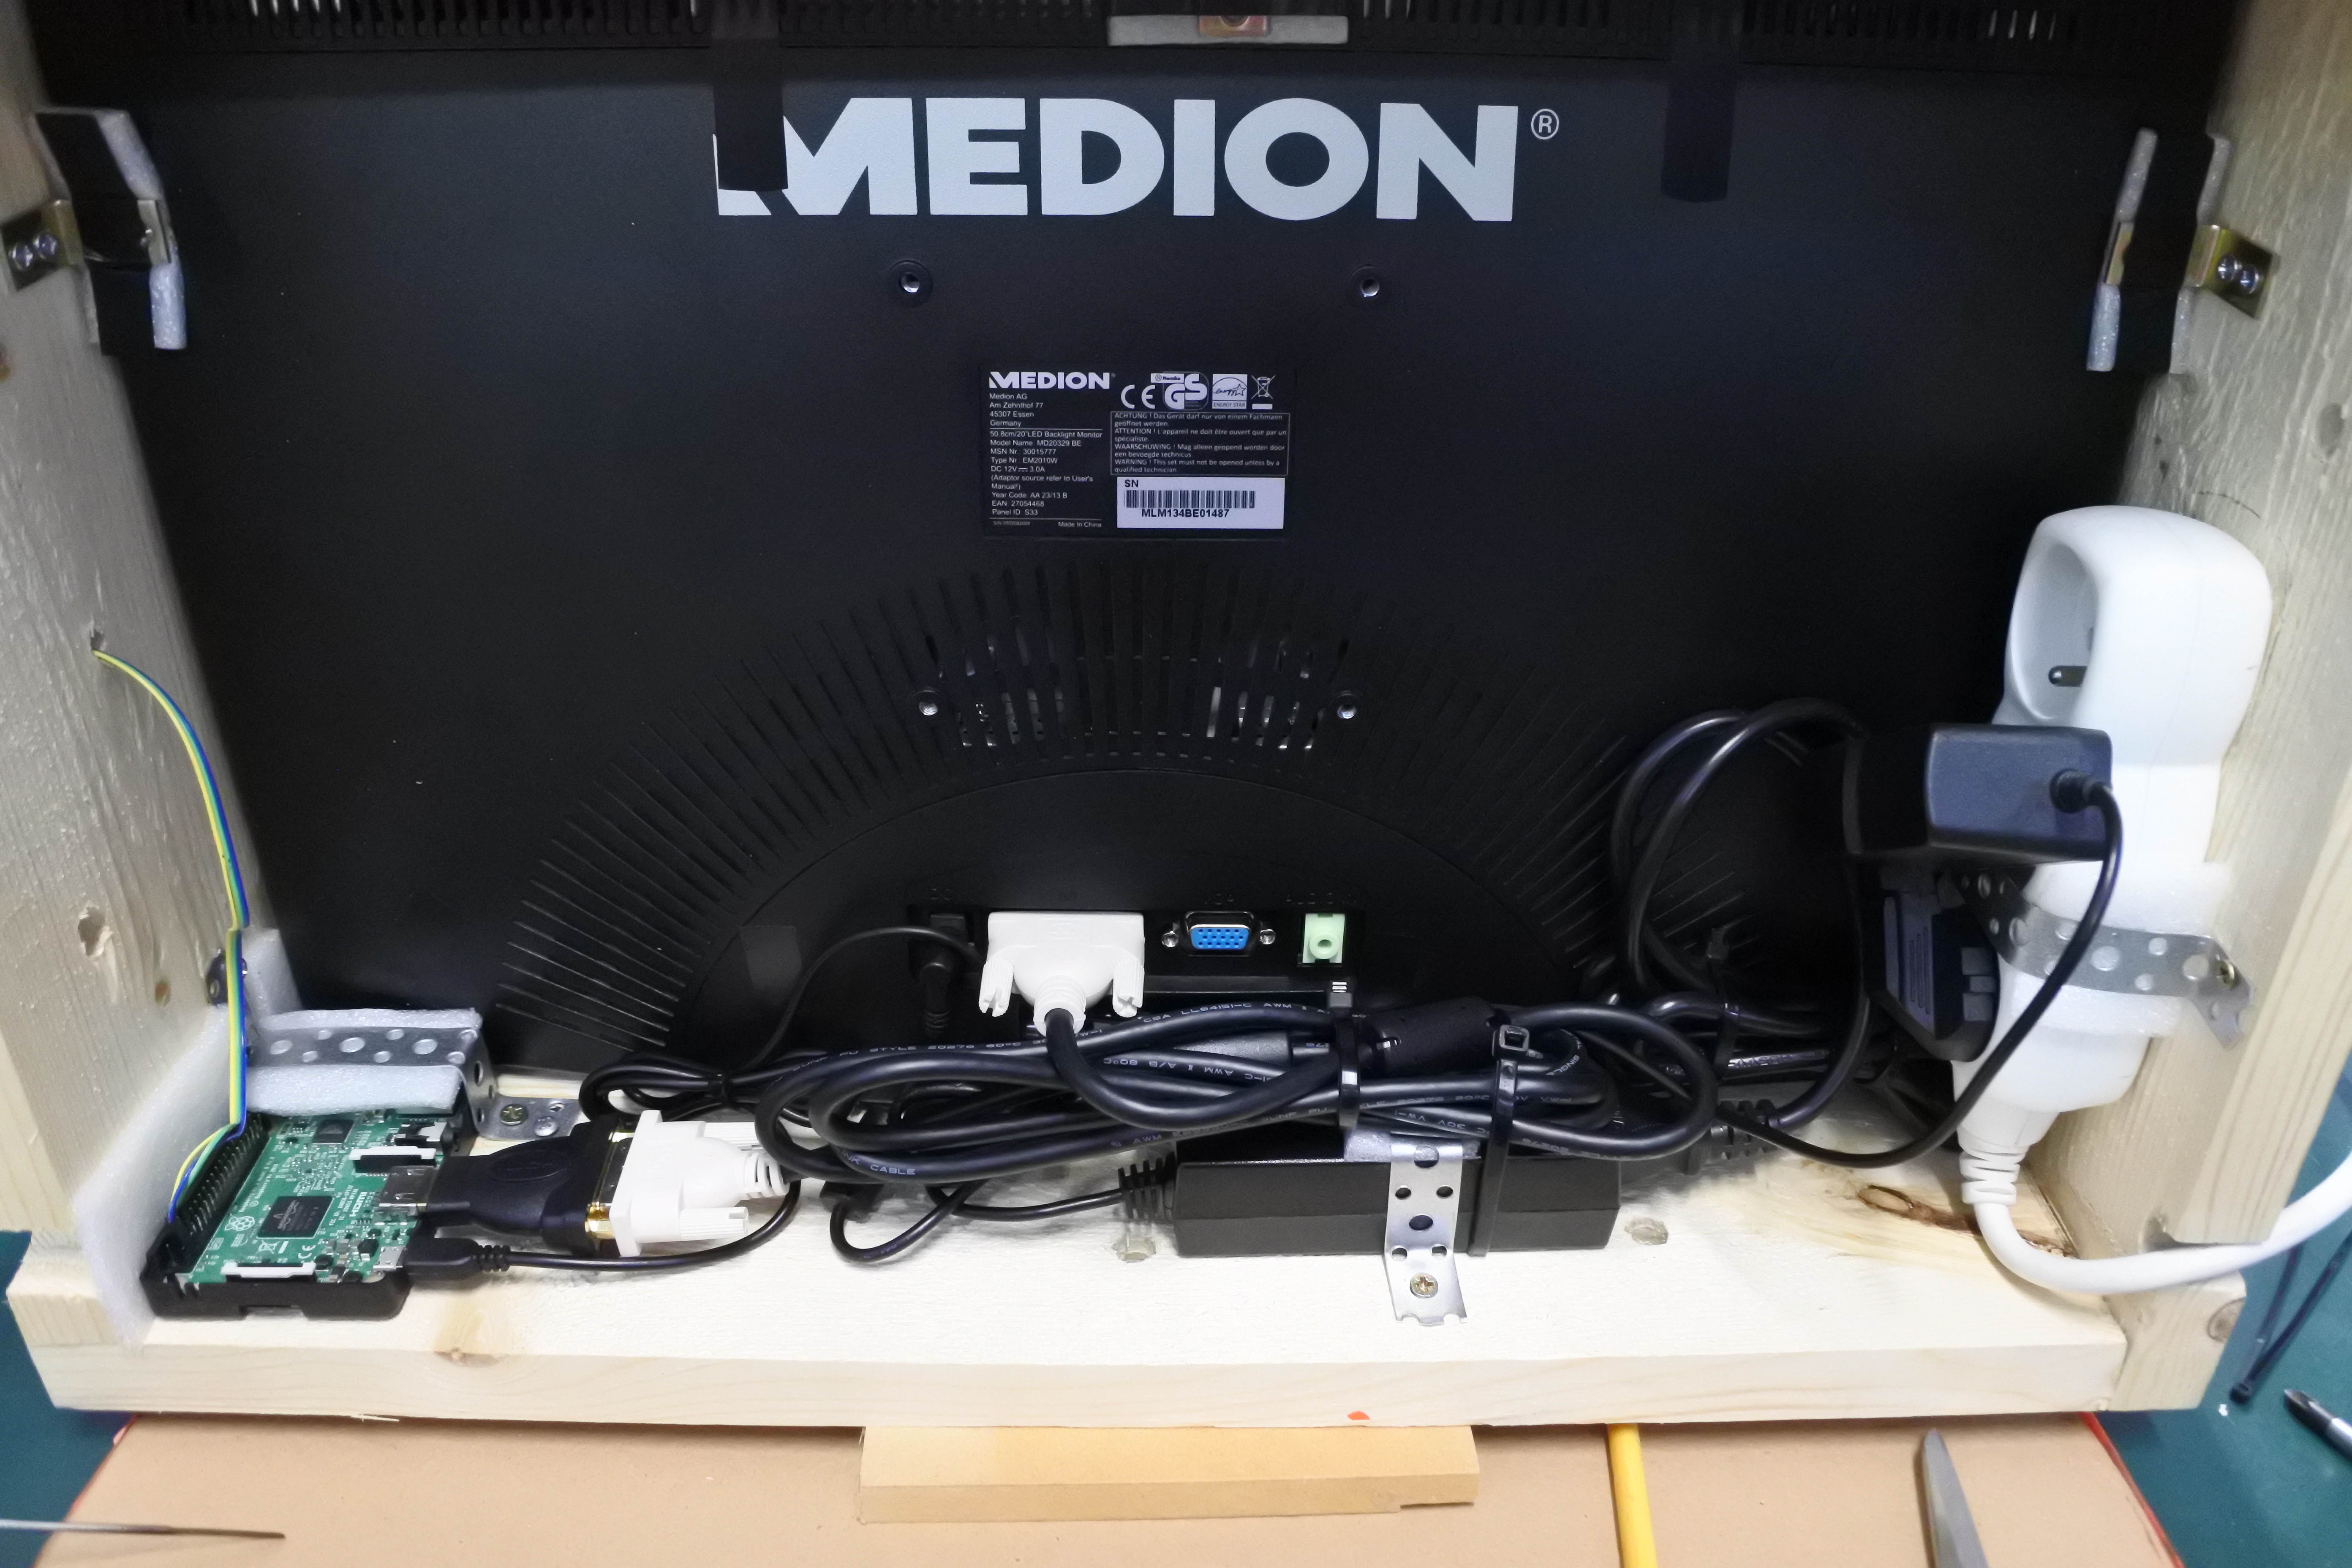

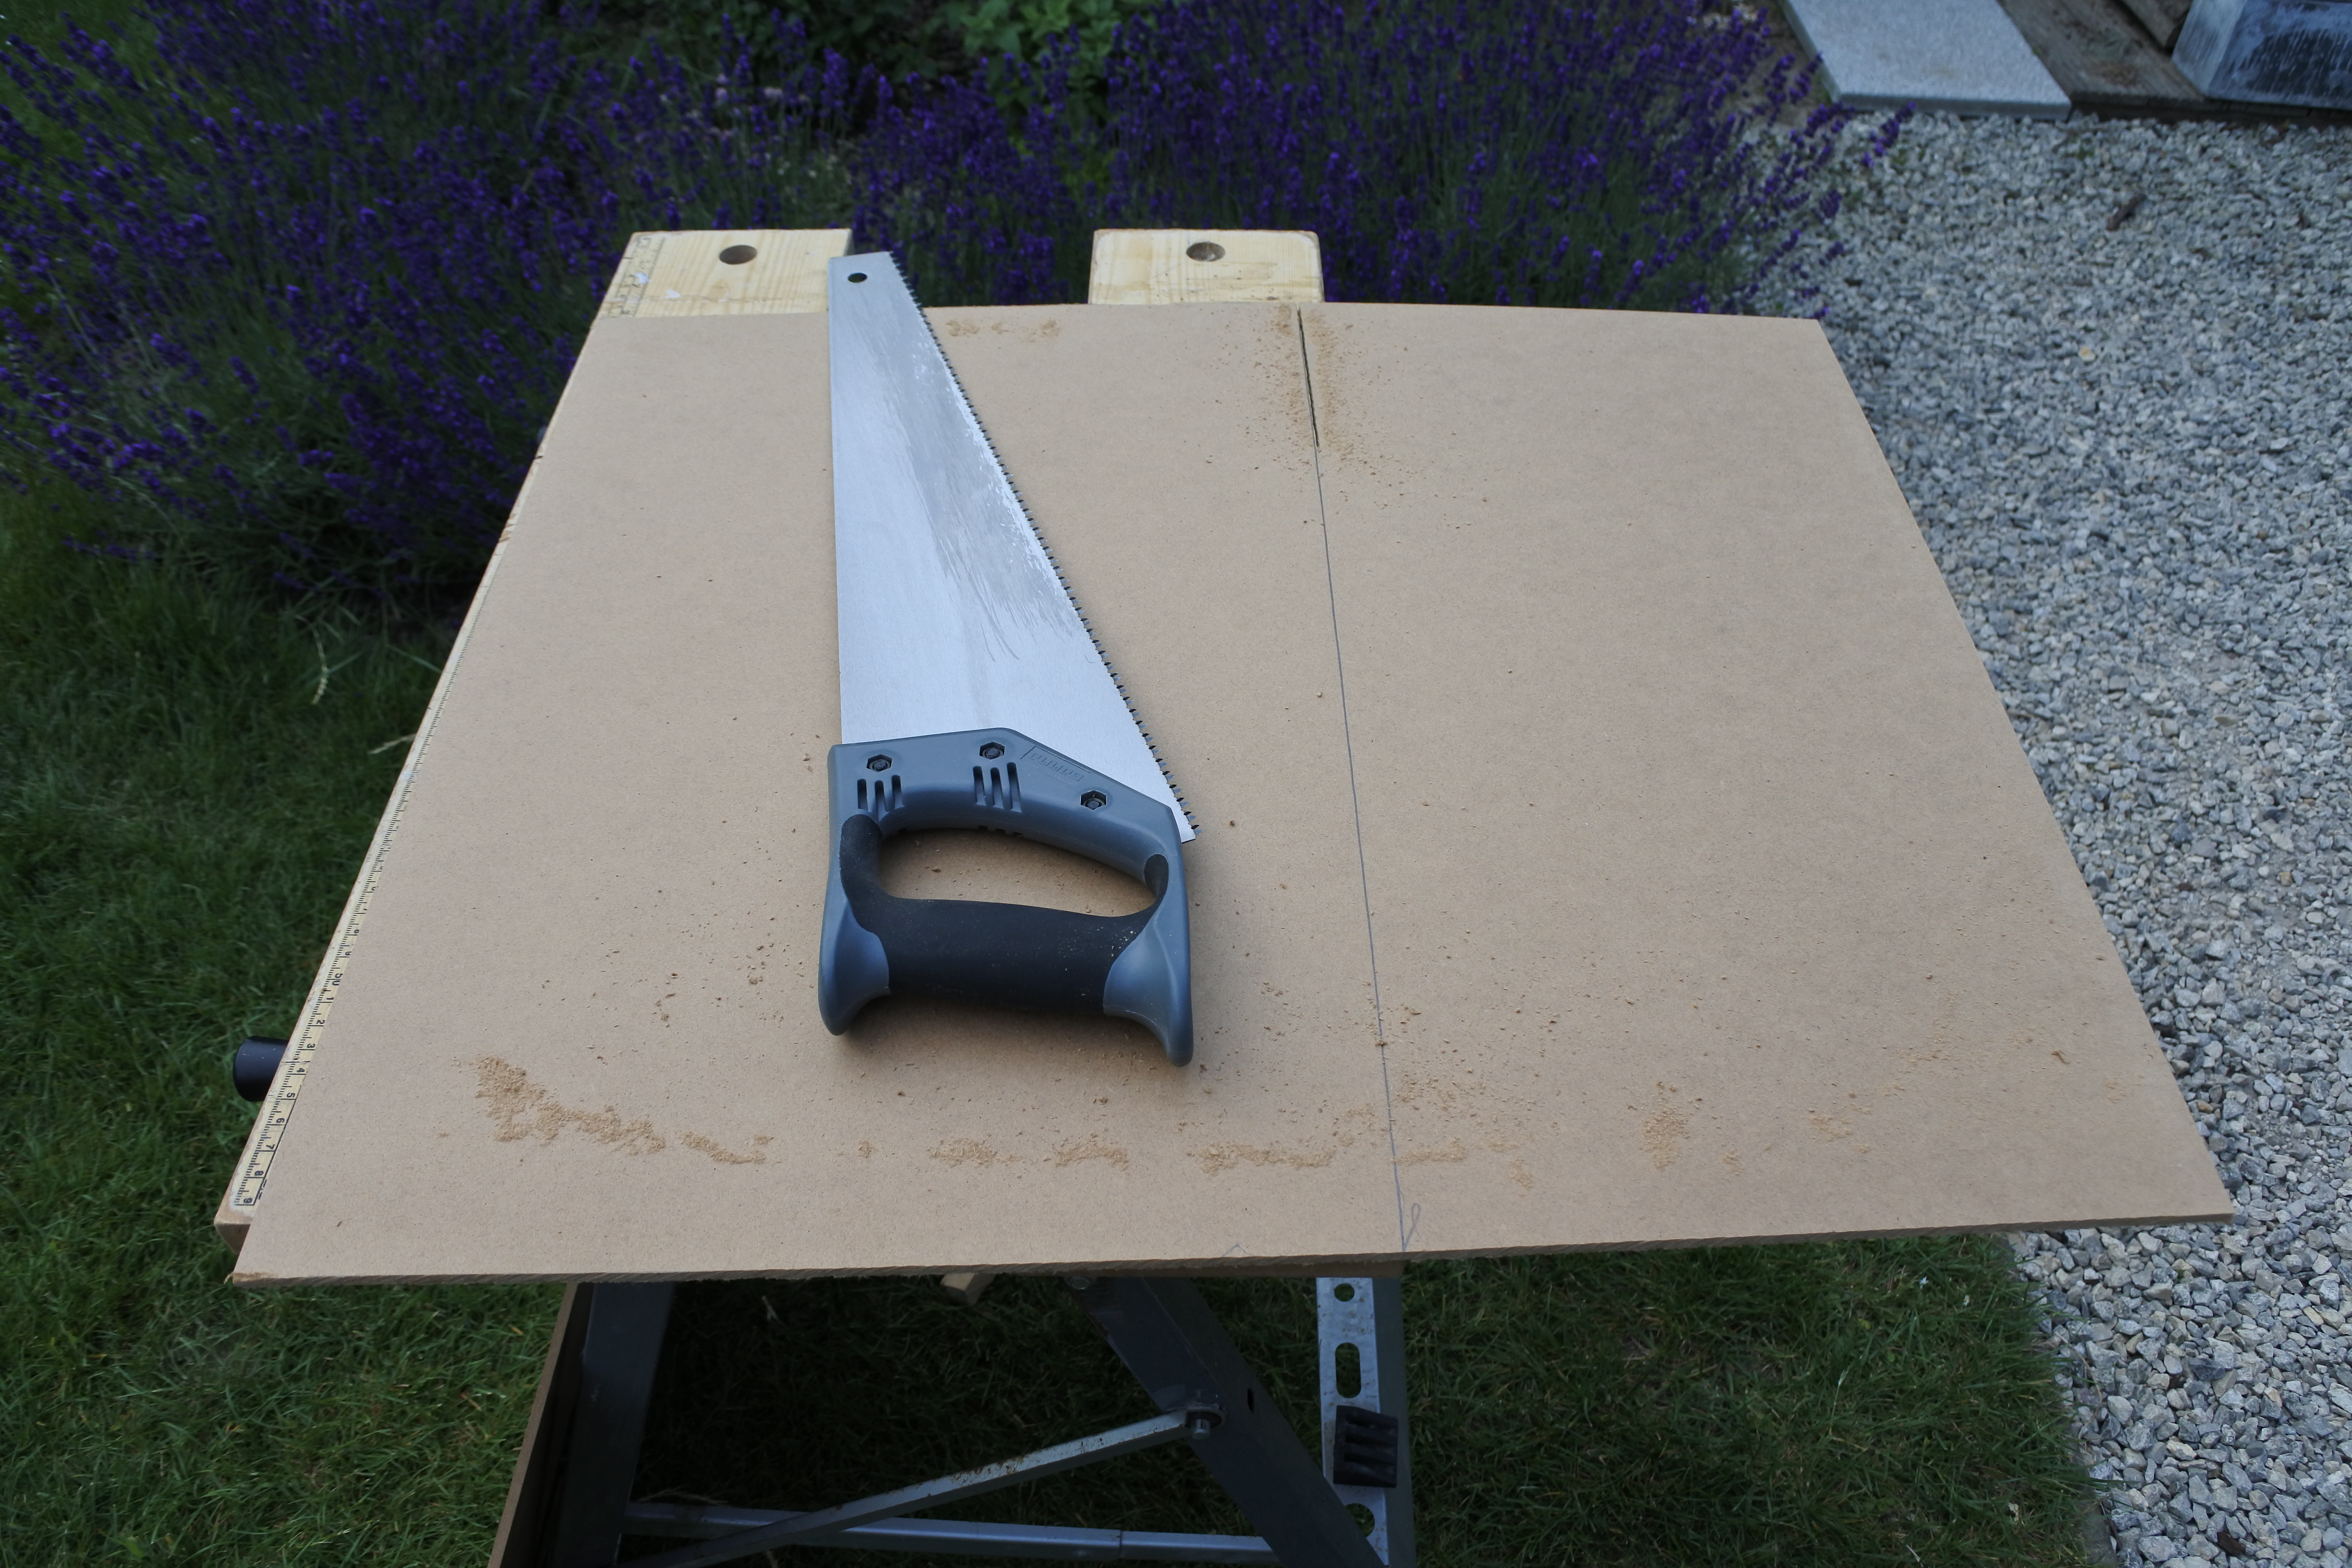
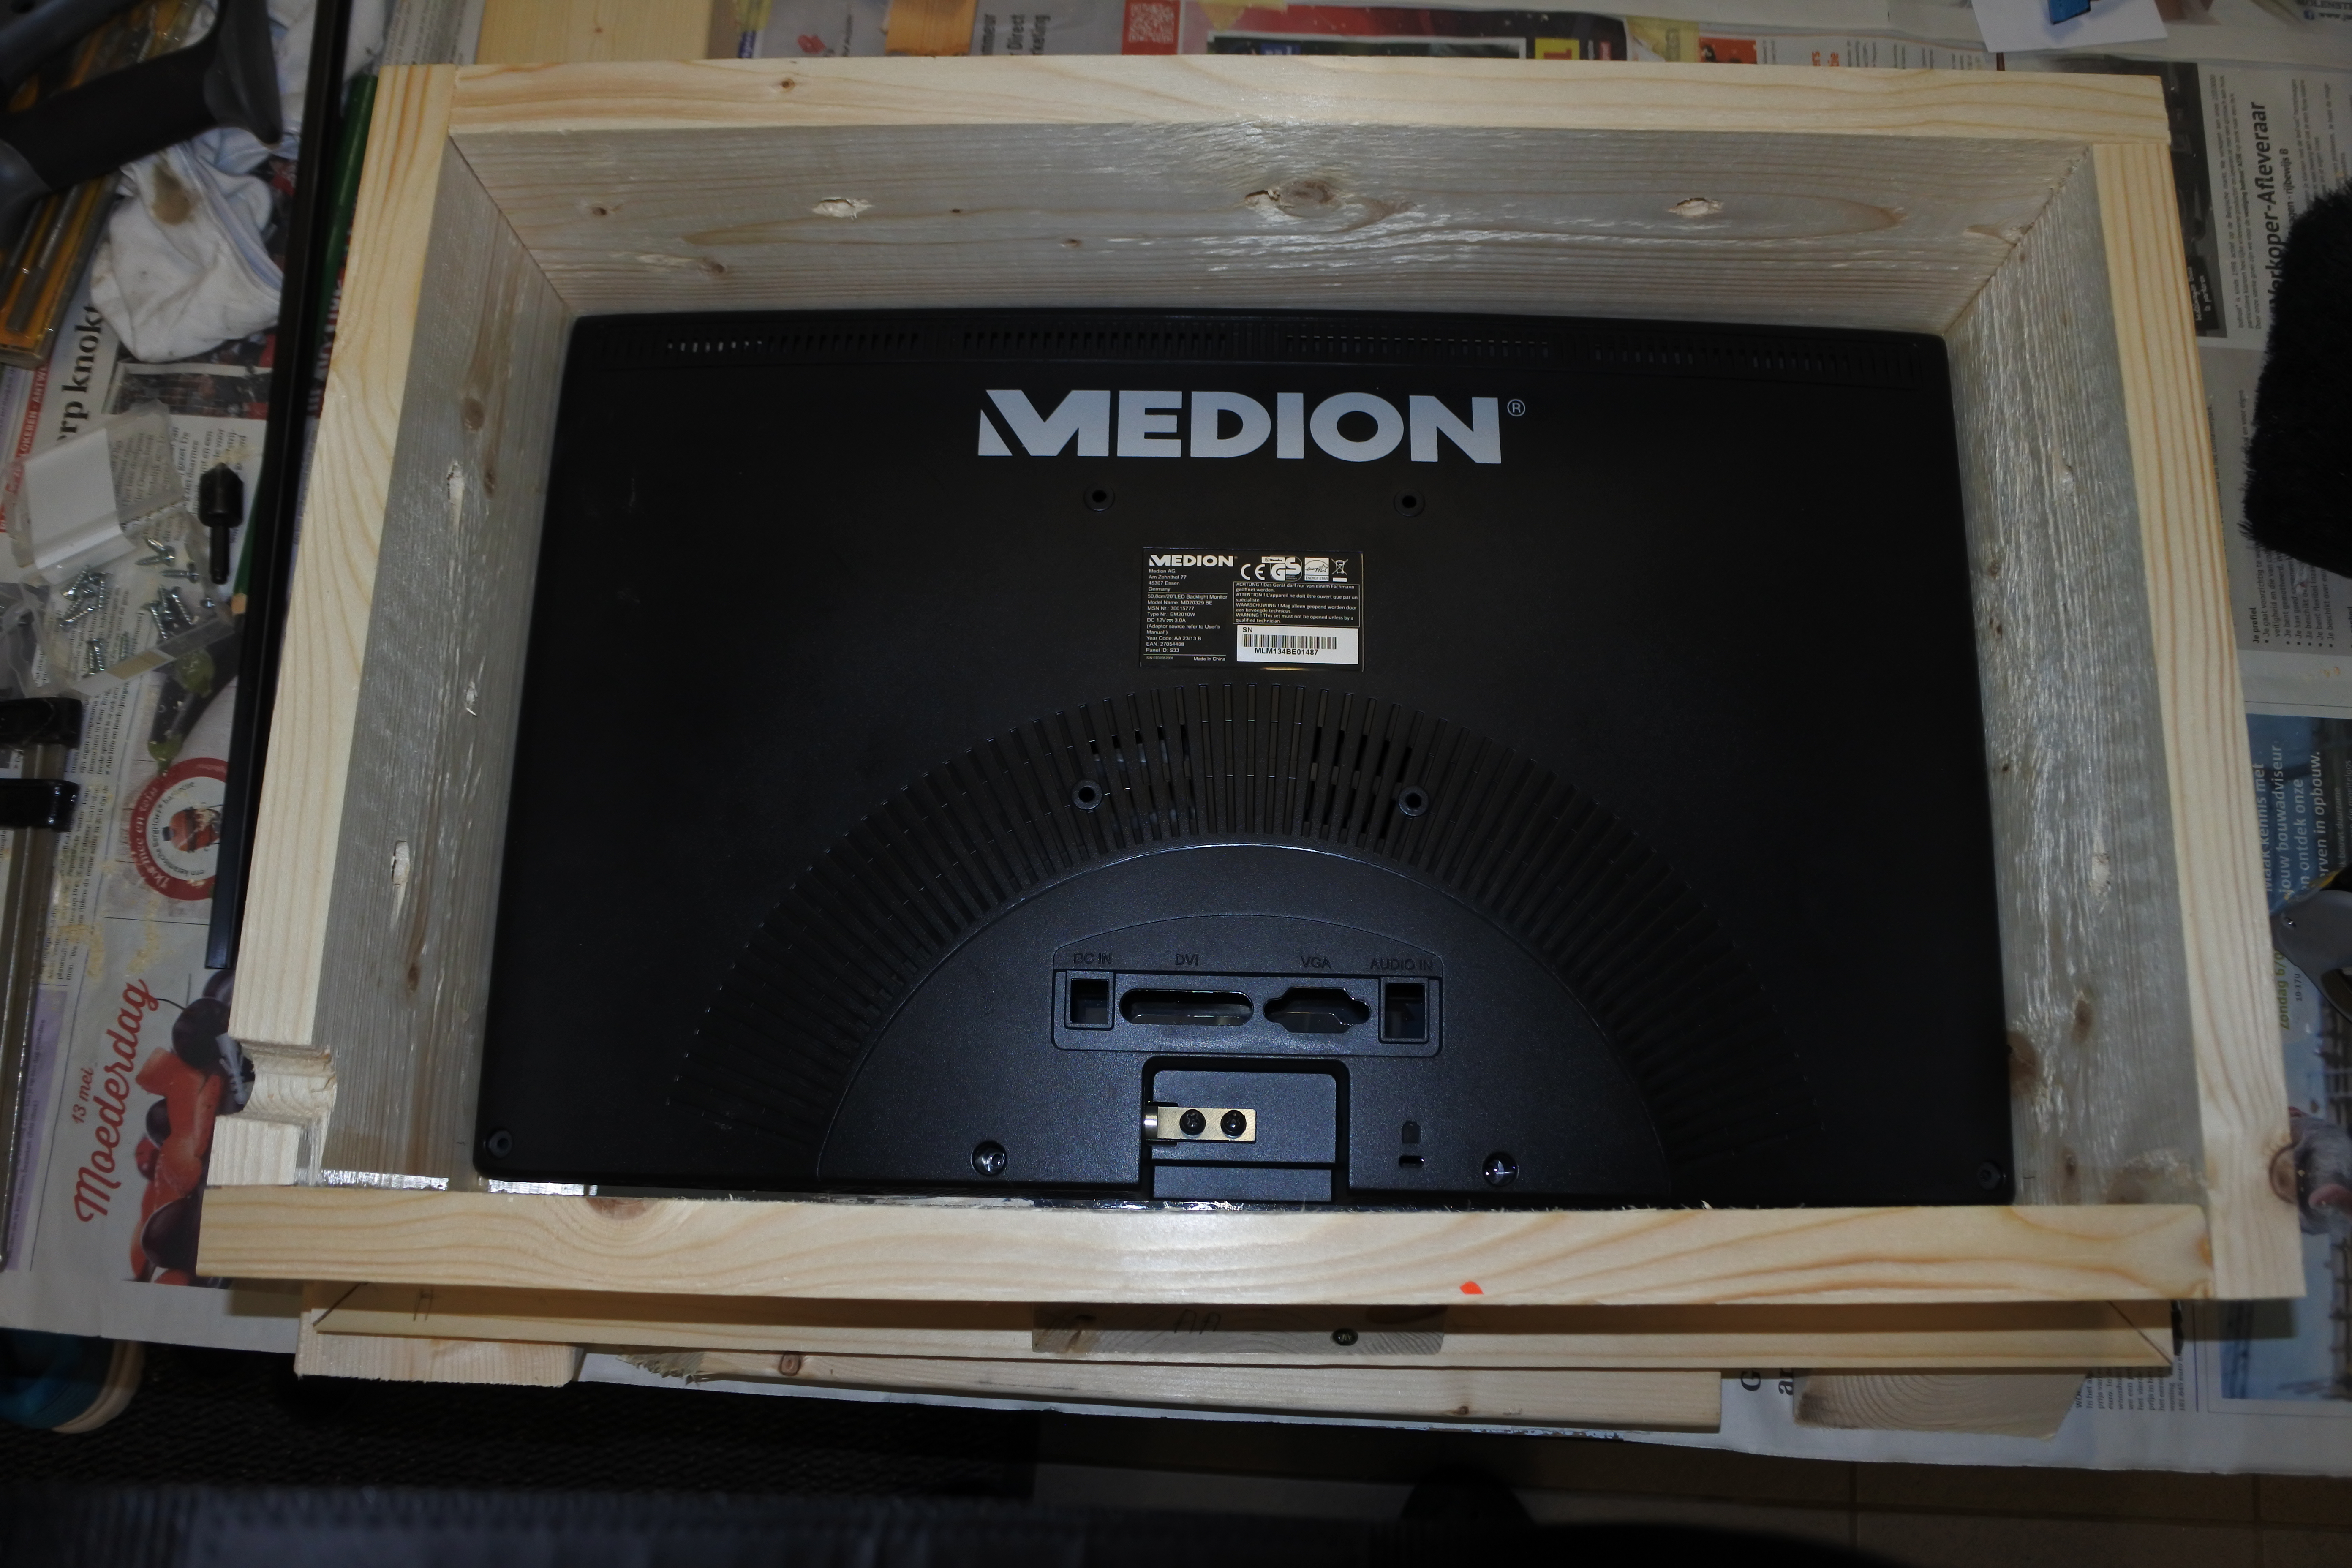
Now our construction is complete, we are going to place our screen in the housing, with the DHT11 temp sensor.
How you fix it, is up to you, just make sure the screen and pi aren't going anywhere.
I mounted the DHT11 temp sensor on the outside of the mirror, so the readings would be the most accurate.
SQL- Database
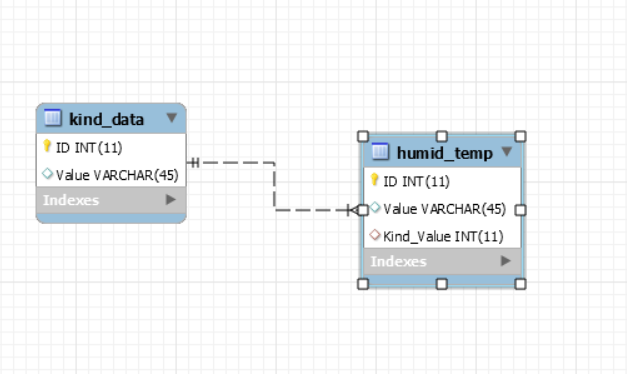
- In this step we will be installing some items that will make it possible to run the database.
-
sudo apt update
-
sudo apt install -y python3-venv python3-pip python3-mysqldb mariadb-server uwsgi nginx uwsgi-plugin-python3
We currently have no user. We use this code to create user, you just need to fill in the user and the password:
CREATE USER 'FILL_USER_IN'@'localhost' IDENTIFIED BY 'FILL_PASSWORD_IN';
CREATE DATABASE smart-mirror;
GRANT ALL PRIVILEGES ON smart-mirror.* to 'FILL_USER_IN'@'localhost' WITH GRANT OPTION;
<p>sudo mariadb < sql/db_init.sql</p>
SQL Connection to Pycharm
We will connect our database to pycharm
- Go to View > Tool Windows > Database and click on the green plus to add connection
- Choose Data Source > MySQL and Download driver, if it comes up
General
- Host = localhost
- Port = 3306
- User = *name you chose in last step*
- Password = * password you chose in last step *
SSH/SSL
- Proxy host = * your ip adress *
- Port = 22
- Proxy user = pi
- Proxy password = raspberry
To insert tables
- you right click on smart-mirror > open console
- Execute sql in the zip file in the console
- Database is made
Downloads
Getting Code for the Project
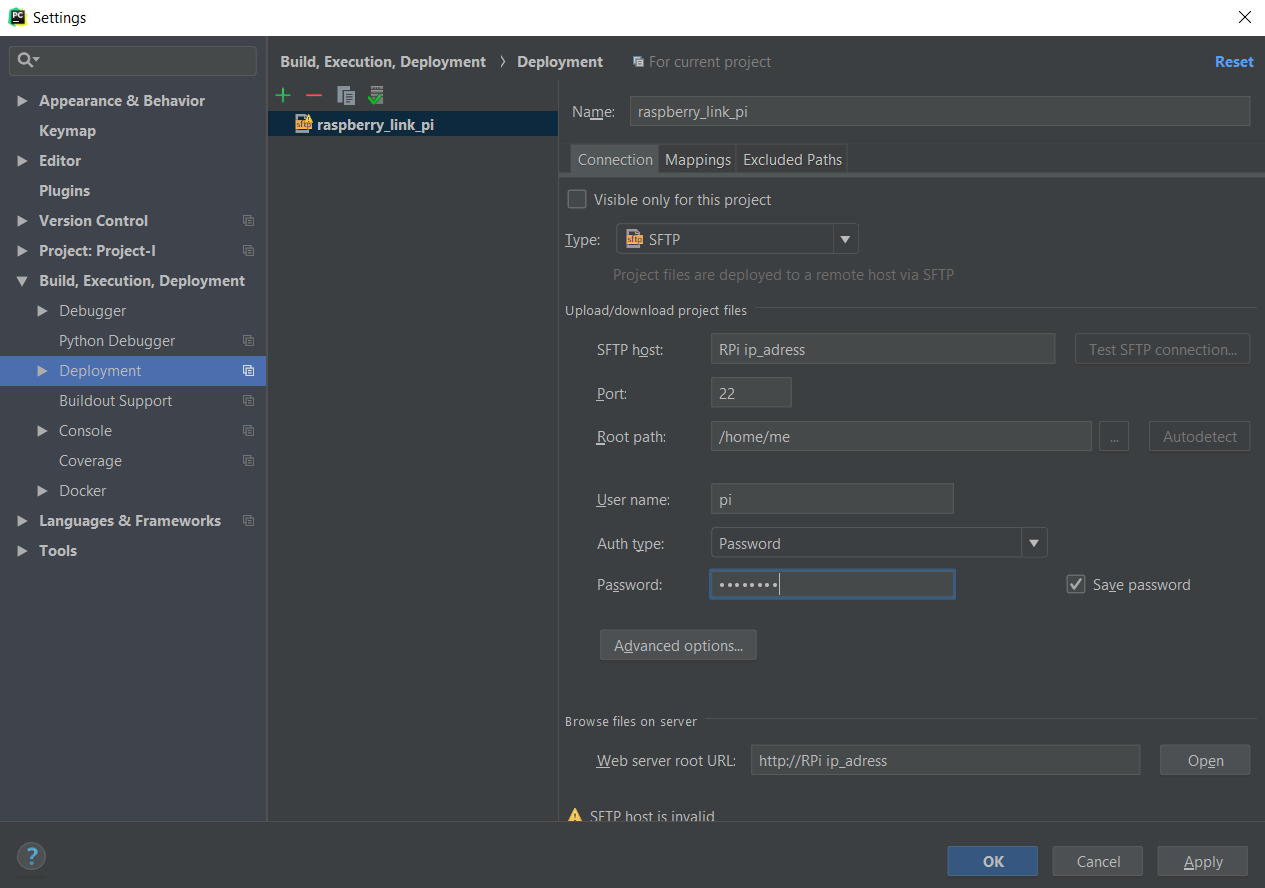
In pycharm go to:
- File > settings > Build, Execution, Deployment > Deployment
Fill the screen in like in the photo
Do the same in
- File > Default settings > Build, Execution, Deployment > Deployment
Now you just download the code from my github and open it in pycharm
Auto Running the Project
To load the screen page on startup, in your Pi, you type this:
<p>cd /home/pi/.config/lxsession/LXDE-pi/</p>
and open the autostart file with nano
nano autostart
You make sure this is what is in the file:
<p>@lxpanel --profile LXDE-pi<br>@pcmanfm --desktop --profile LXDE-pi
@xscreensaver -no-splash
@point-rpi
@chromium-browser --incognito --kiosk 127.0.0.1/monitor
@xset s noblank
@xset s off
@xset -dpms</p>
Now the monitor page will load on startup and the screensaver is disabled.
Enjoy Your Smart Mirror

Now you just power on the screen and pi, and let the mirror do its magic.
It takes some time for the Mirror to boot up, but let it do it's work.
The location on the screen is set to Kortrijk, Belgium, the location where the mirror is made, but if you want to change it, go into web > static > JavaScript folder in the code and search for the line where City = Kortrijk; (it is in the first lines of the code). You can change it to the location where you live. You should change it in the 2 javascript files for the location to change on the site and on the mirror.
Enjoy your Smart Mirror!