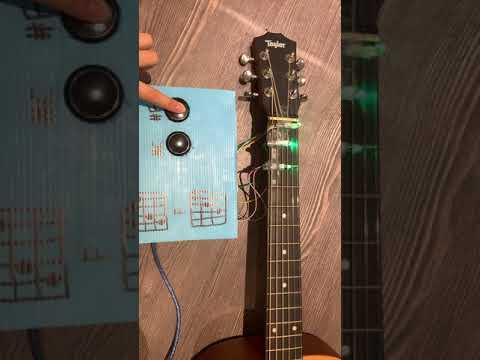
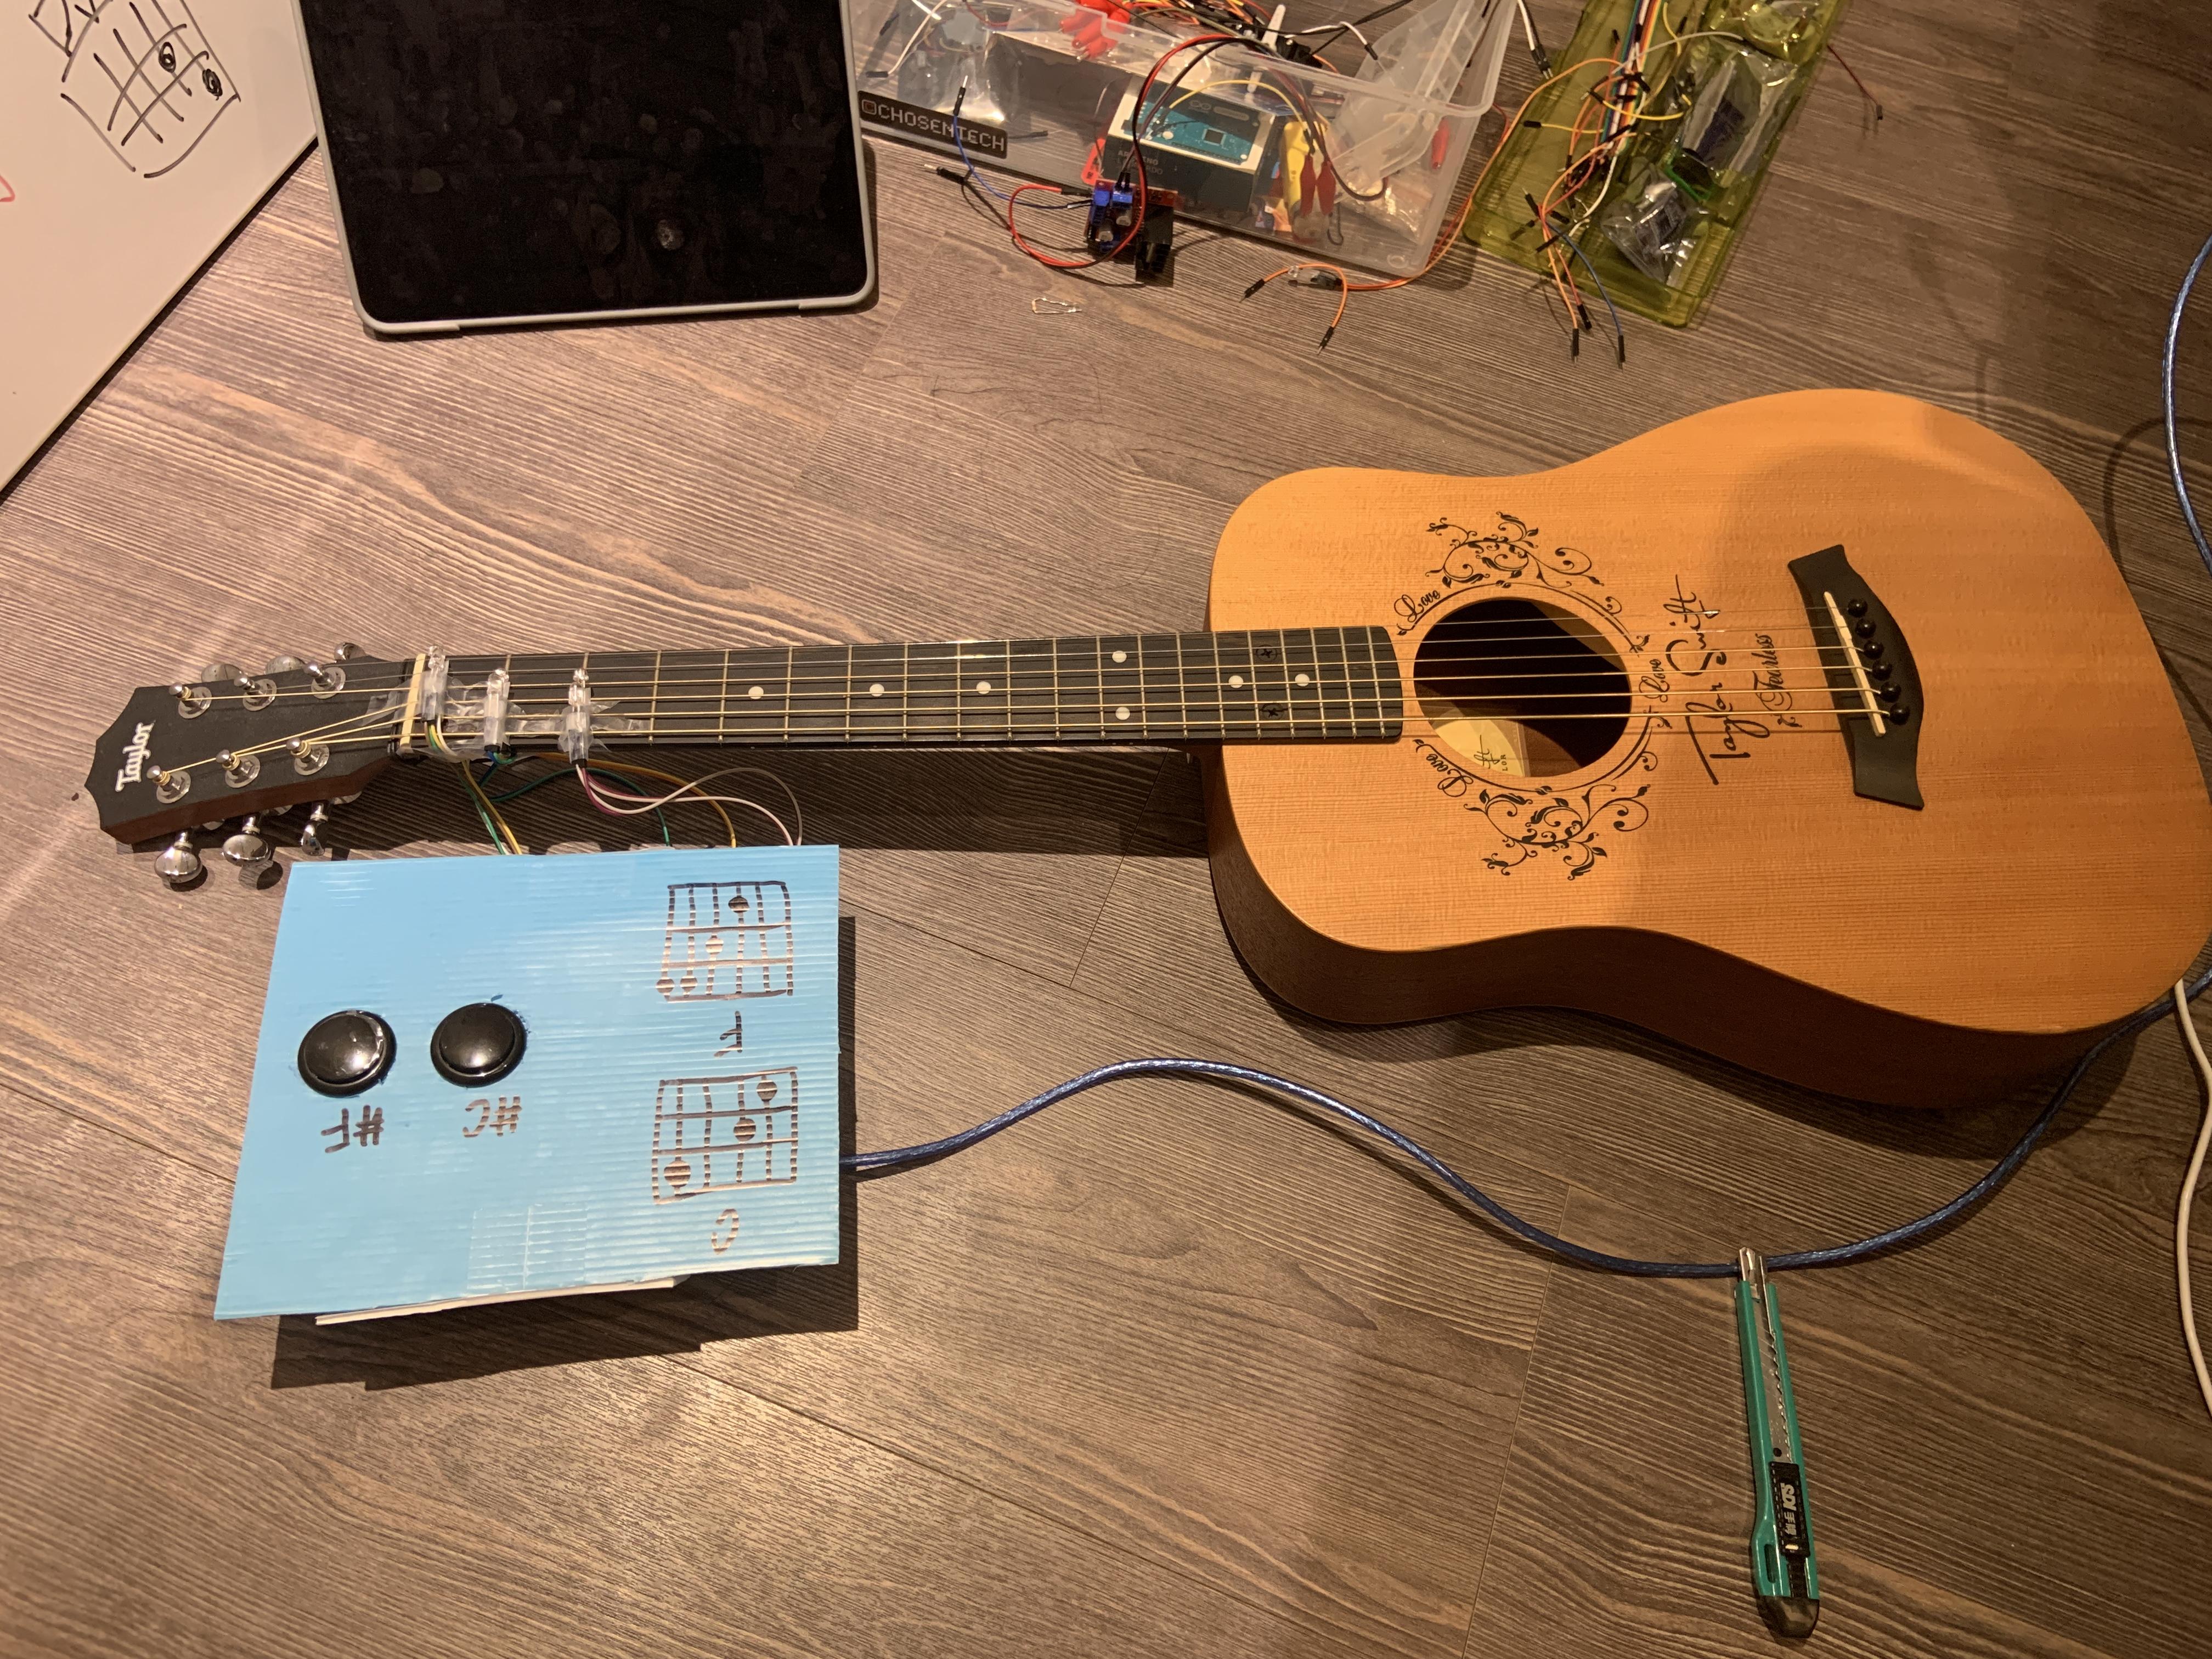
My Guitar Teacher
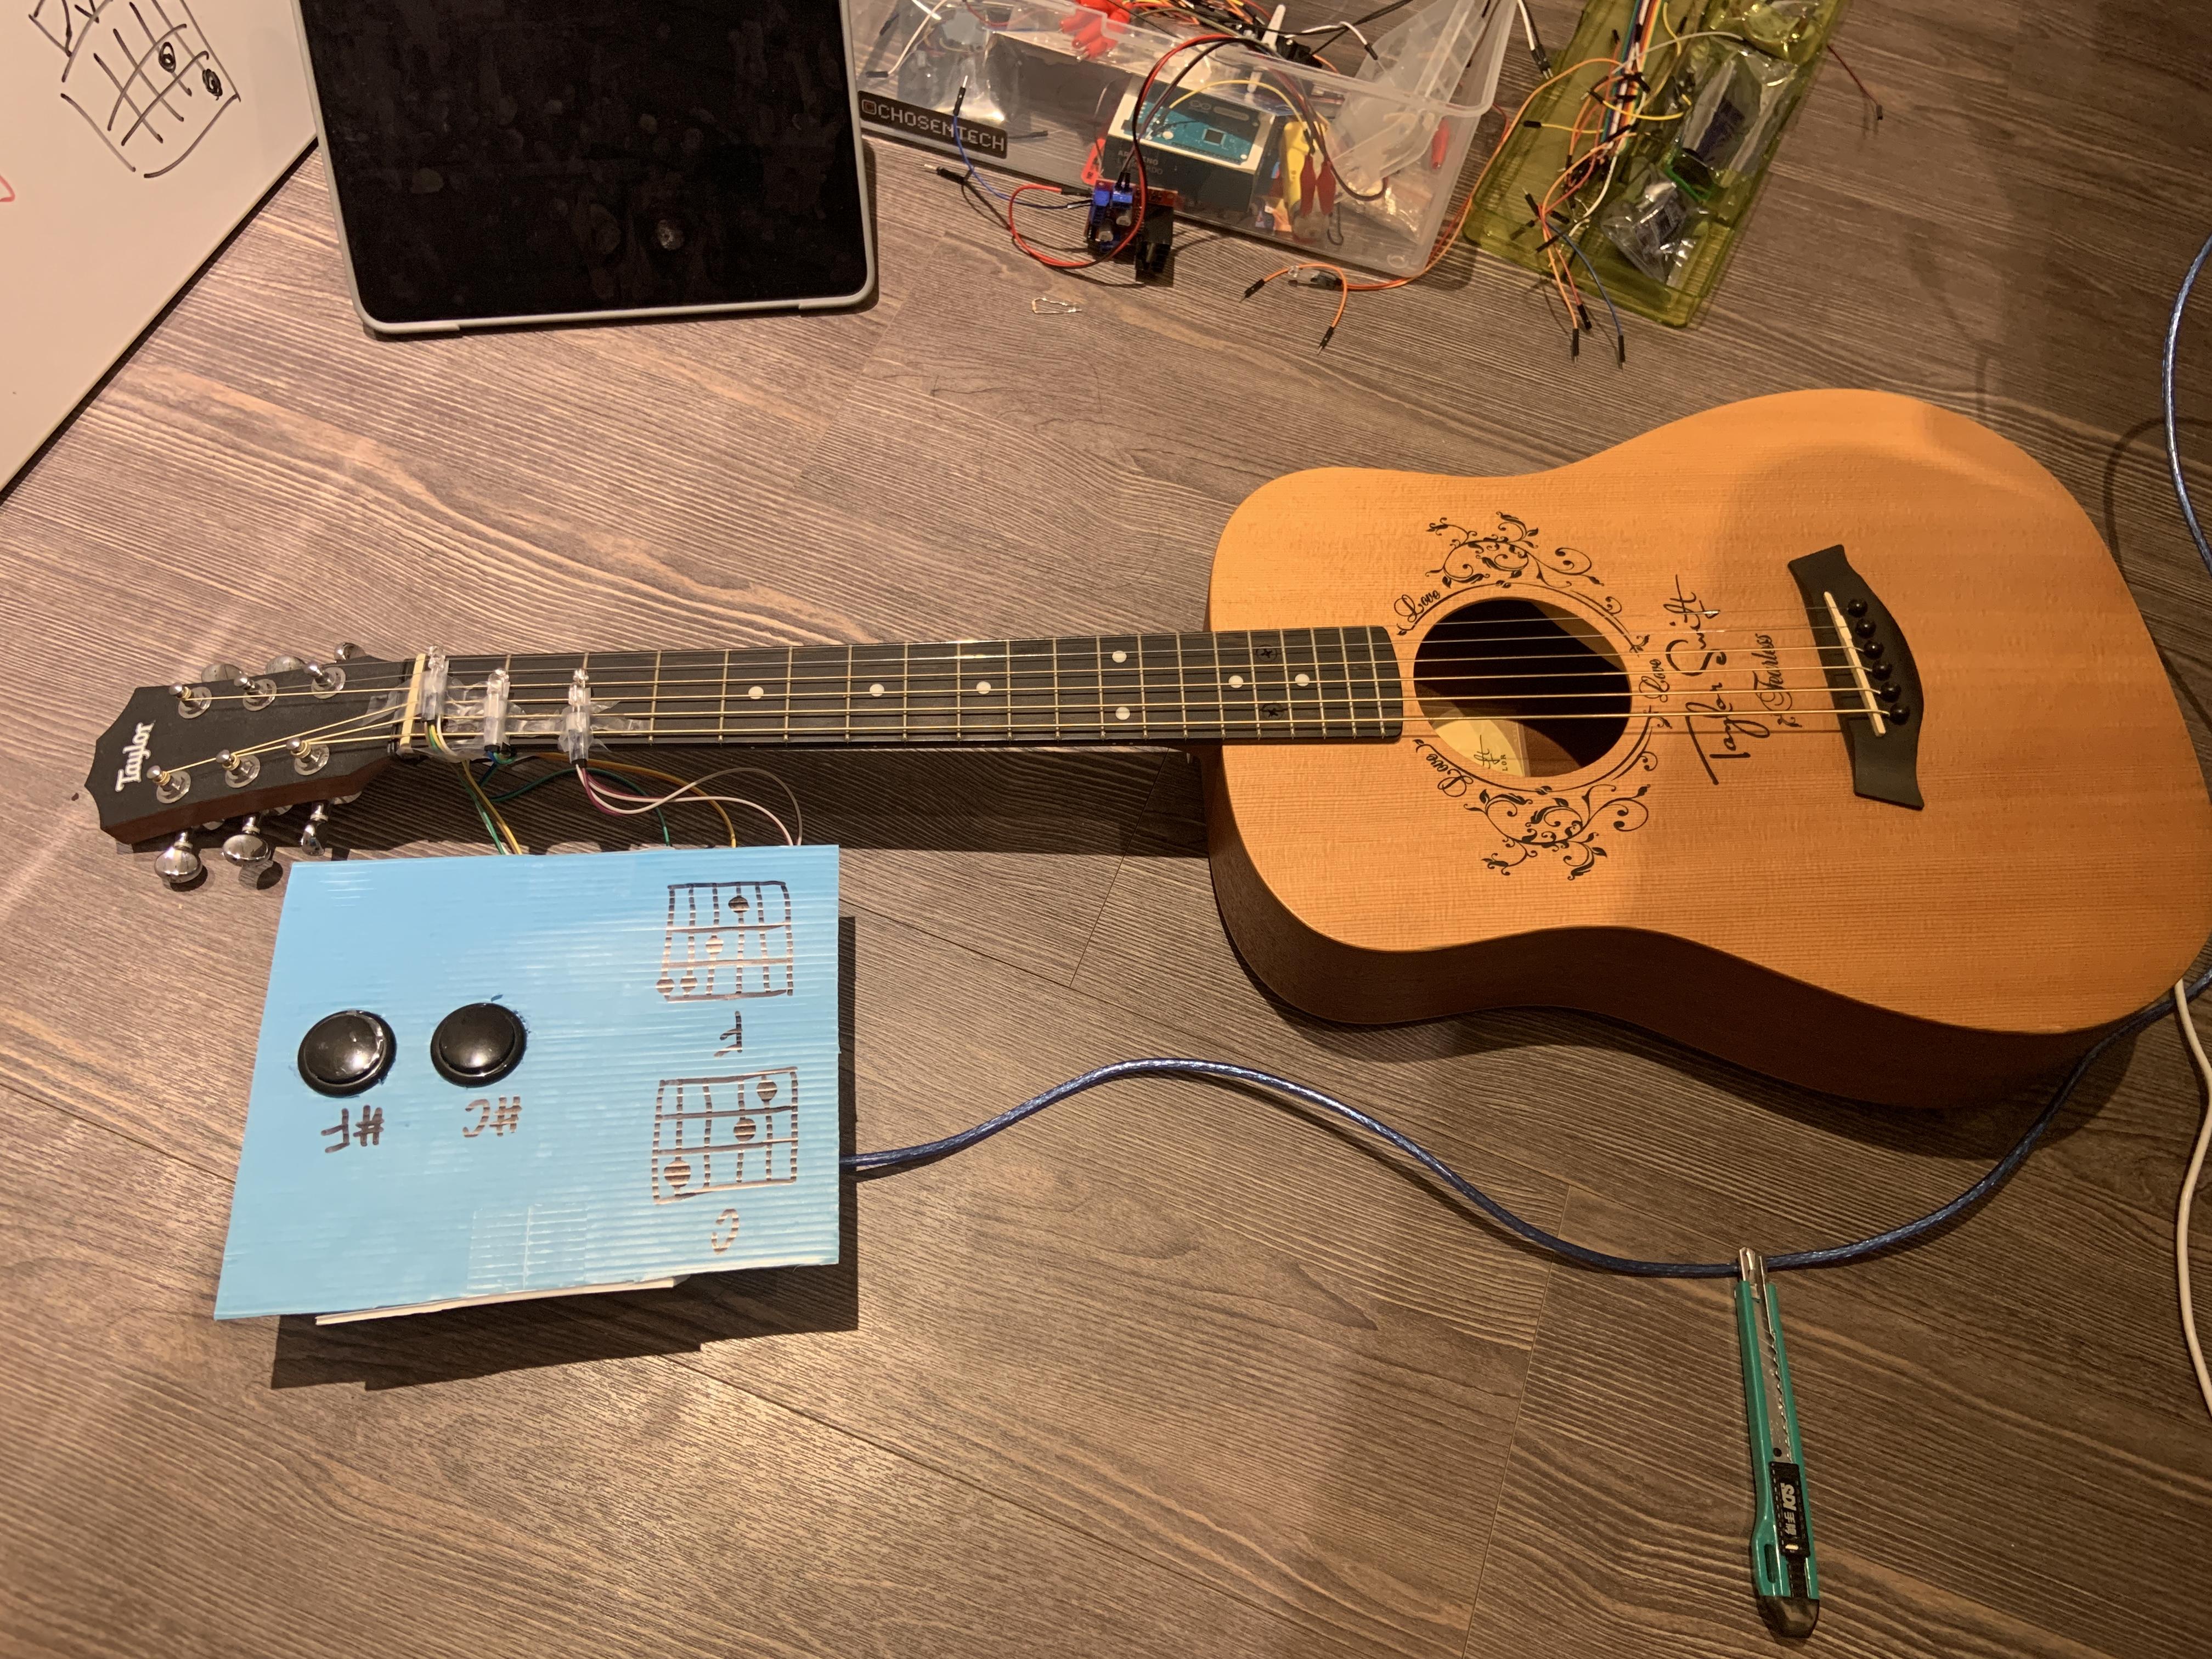
The task for this project is to create a Arduino project with high practicality, and creativity, building a machine that is never seen. Then, the project should be uploaded on to "instructables.com", sharing the steps while making this machine.
As a guitar beginner, I struggle with memorizing the chords. Therefore, in this project, I will be making a machine that reminds me the chords, also helping me memorize them.
The machine works like this:
1. You press the button to show a chord.
2. The LED lights bulbs will light in pattern, according to the chord you pressed.
3. You look at where the light bulb is lit and press on that string.
4. You have the chord.
Supplies
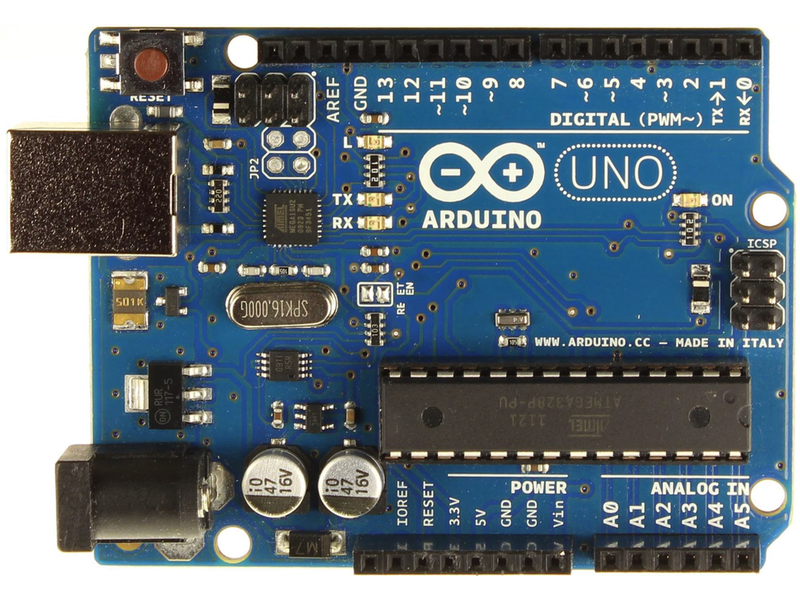
- Arduino UNO R3 control pane
- BreadboardLED
- lightbulb x6
- Arcade push button
- Jumper wires
- 10k Resistor
- Guitar
- Plastic boards
- Tape
Prepare All Materials
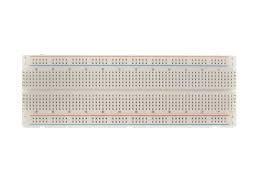
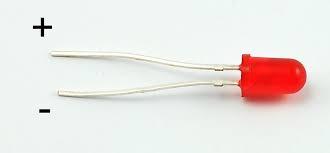.jpeg)
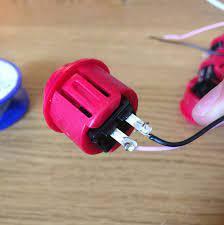

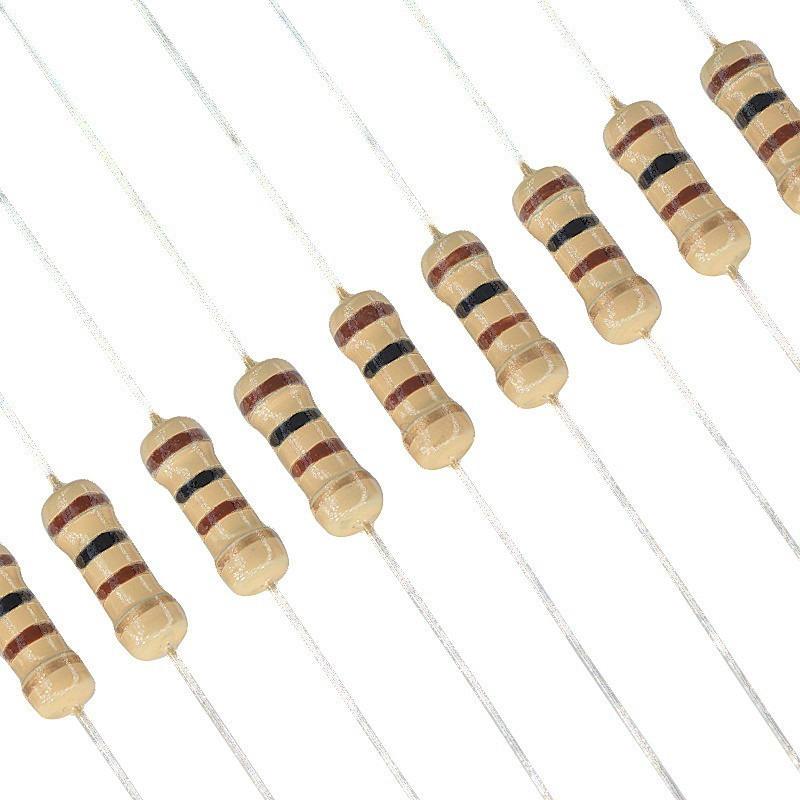


.jpeg)
.jpeg)
Assemble Components & Connect Jumpers
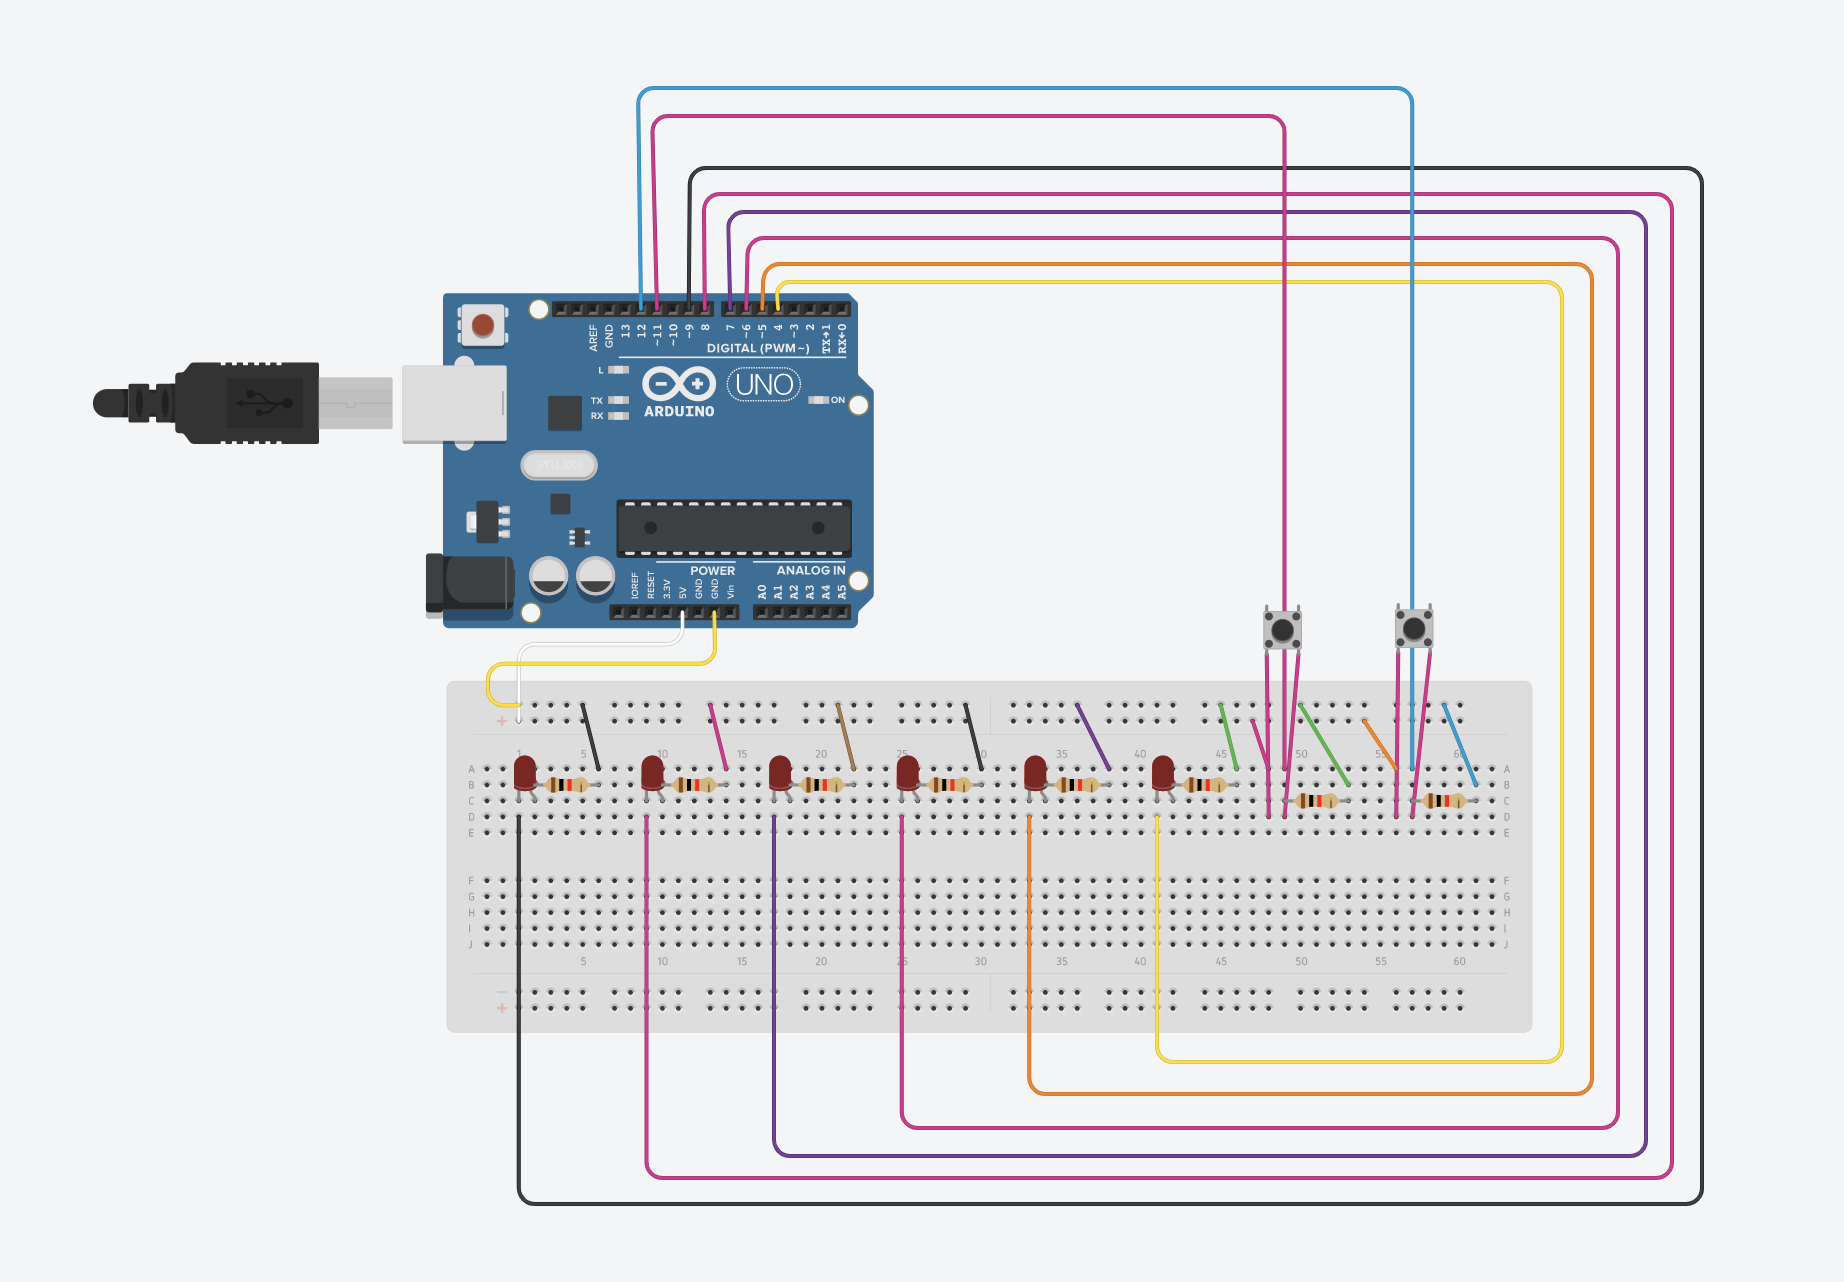
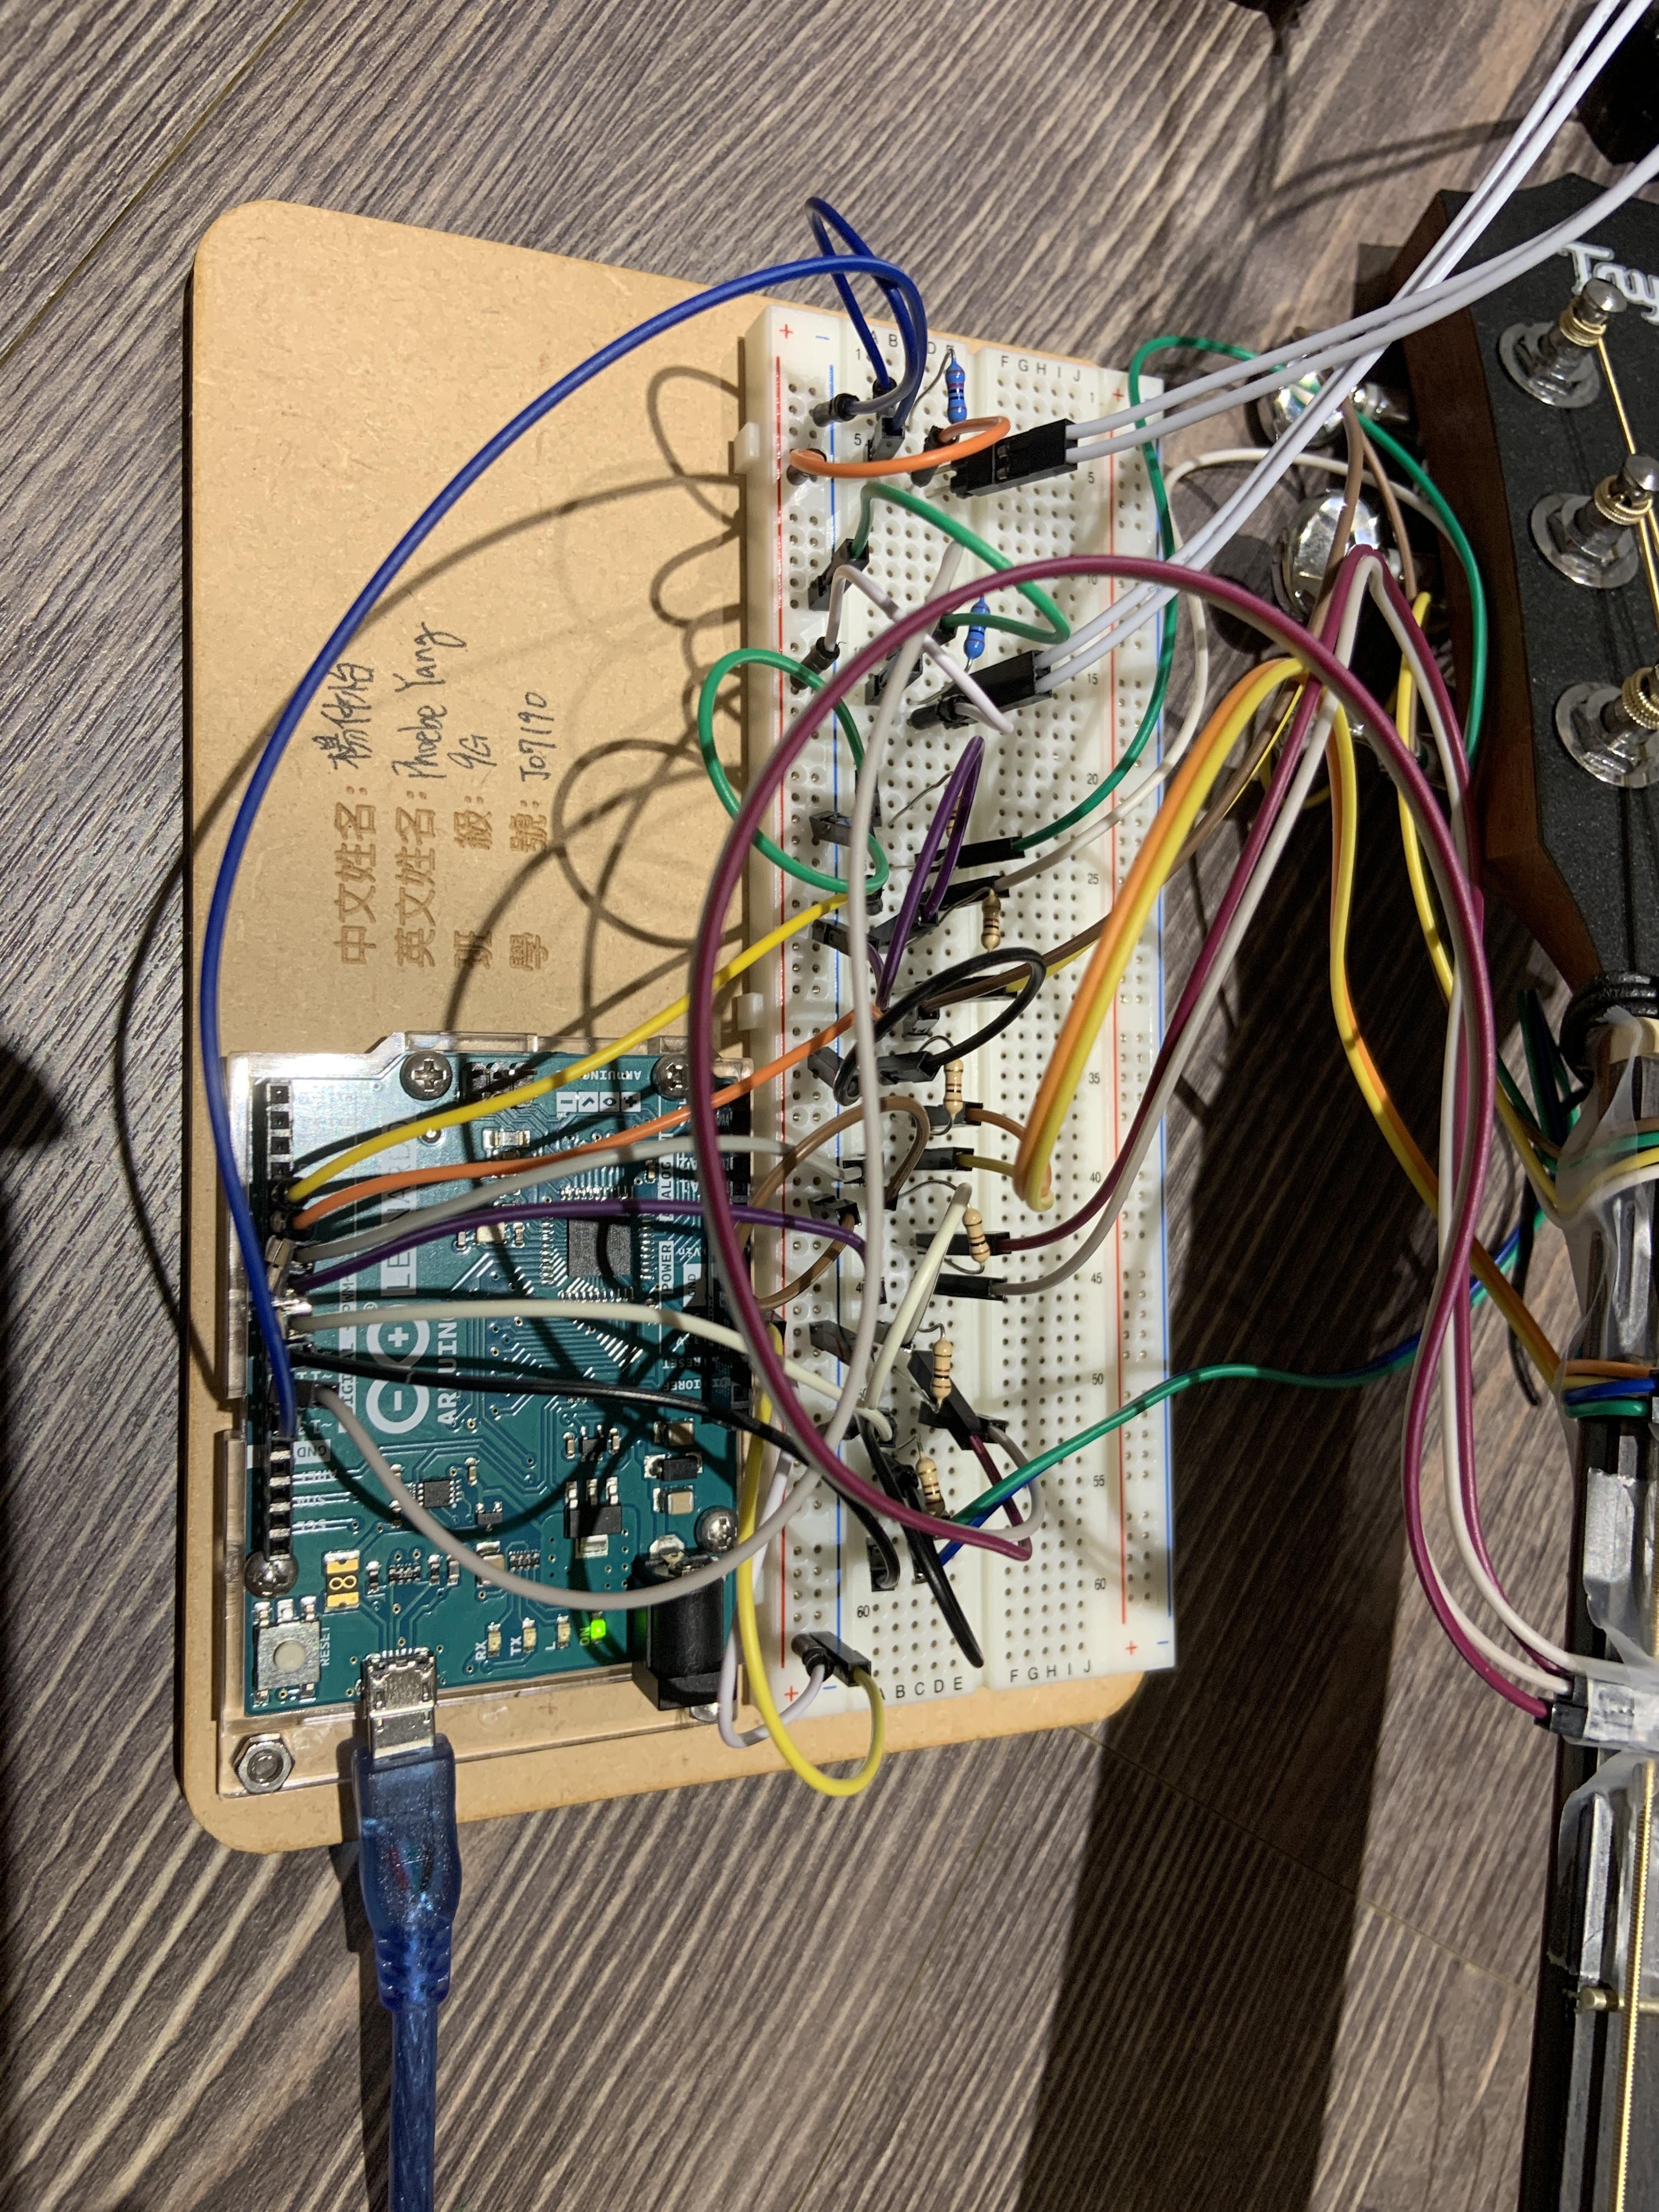
1. Connect the positive to 5V and the negative to GND.
2. Place the LED light bulb in the a dice shape. Remember to leave enough spaces for wires to pass.
3. Place the 10k resistor on the same line to the right leg of the LED light bulb.
4. Connect the lines of the of D-pin and the light bulbs
5. Connect the lines from the 10k resistor to the negative.
6. Connect the lines for the button.
Downloads
Upload Code & Make Changes
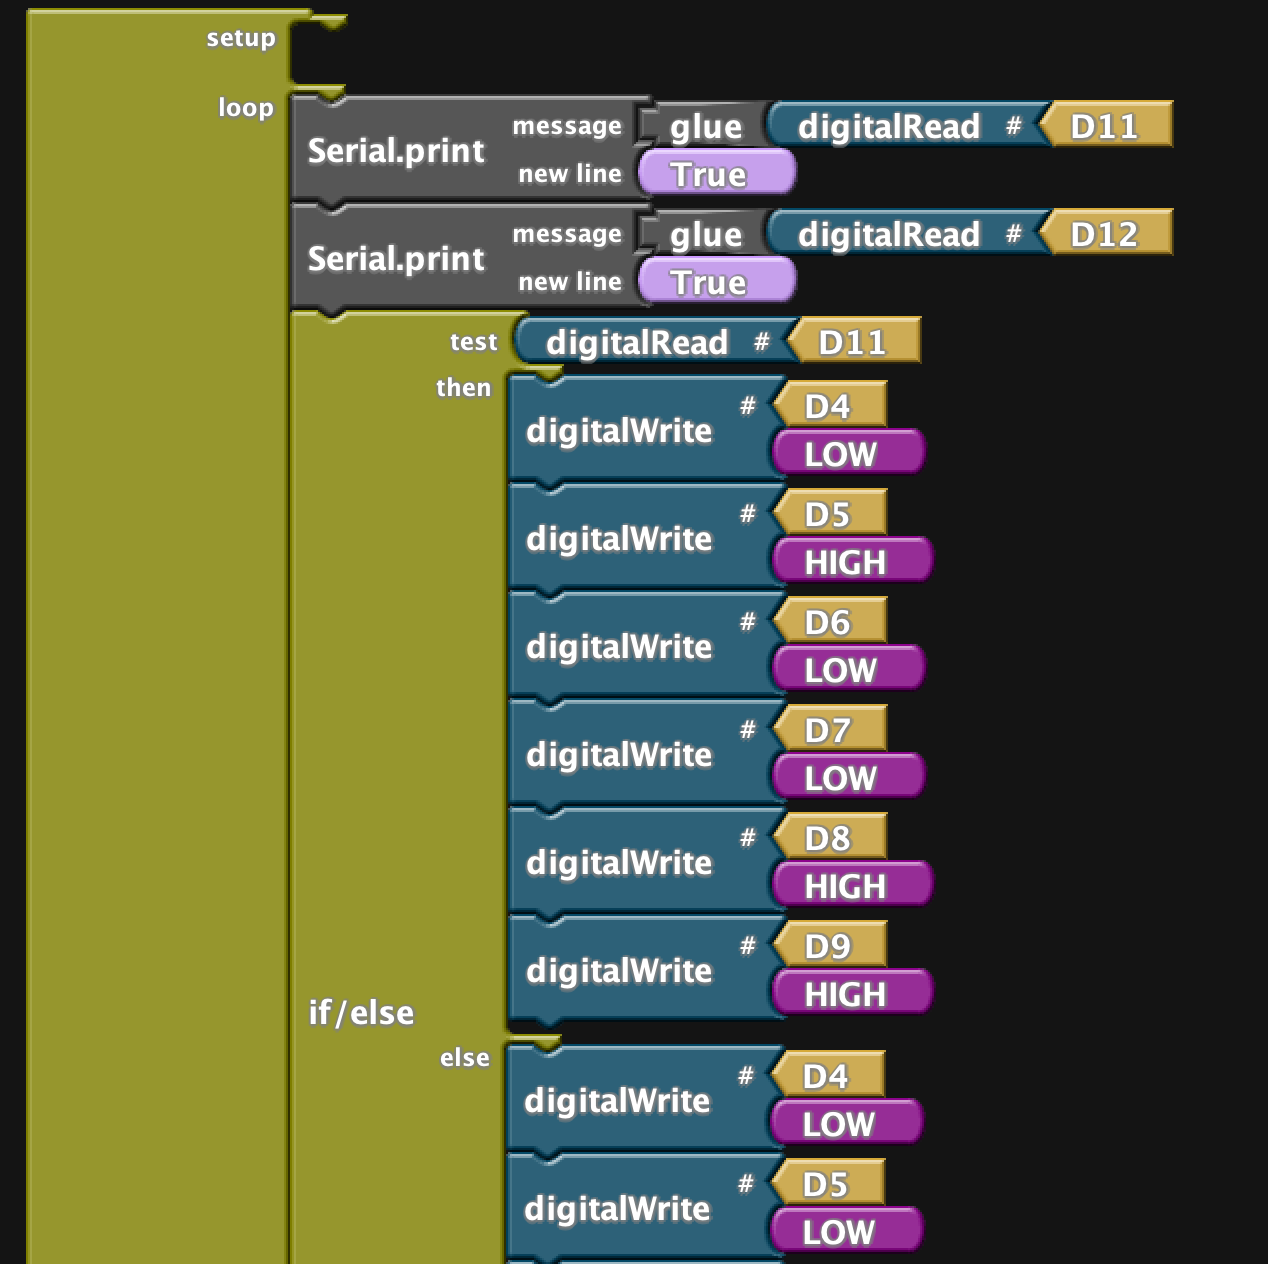
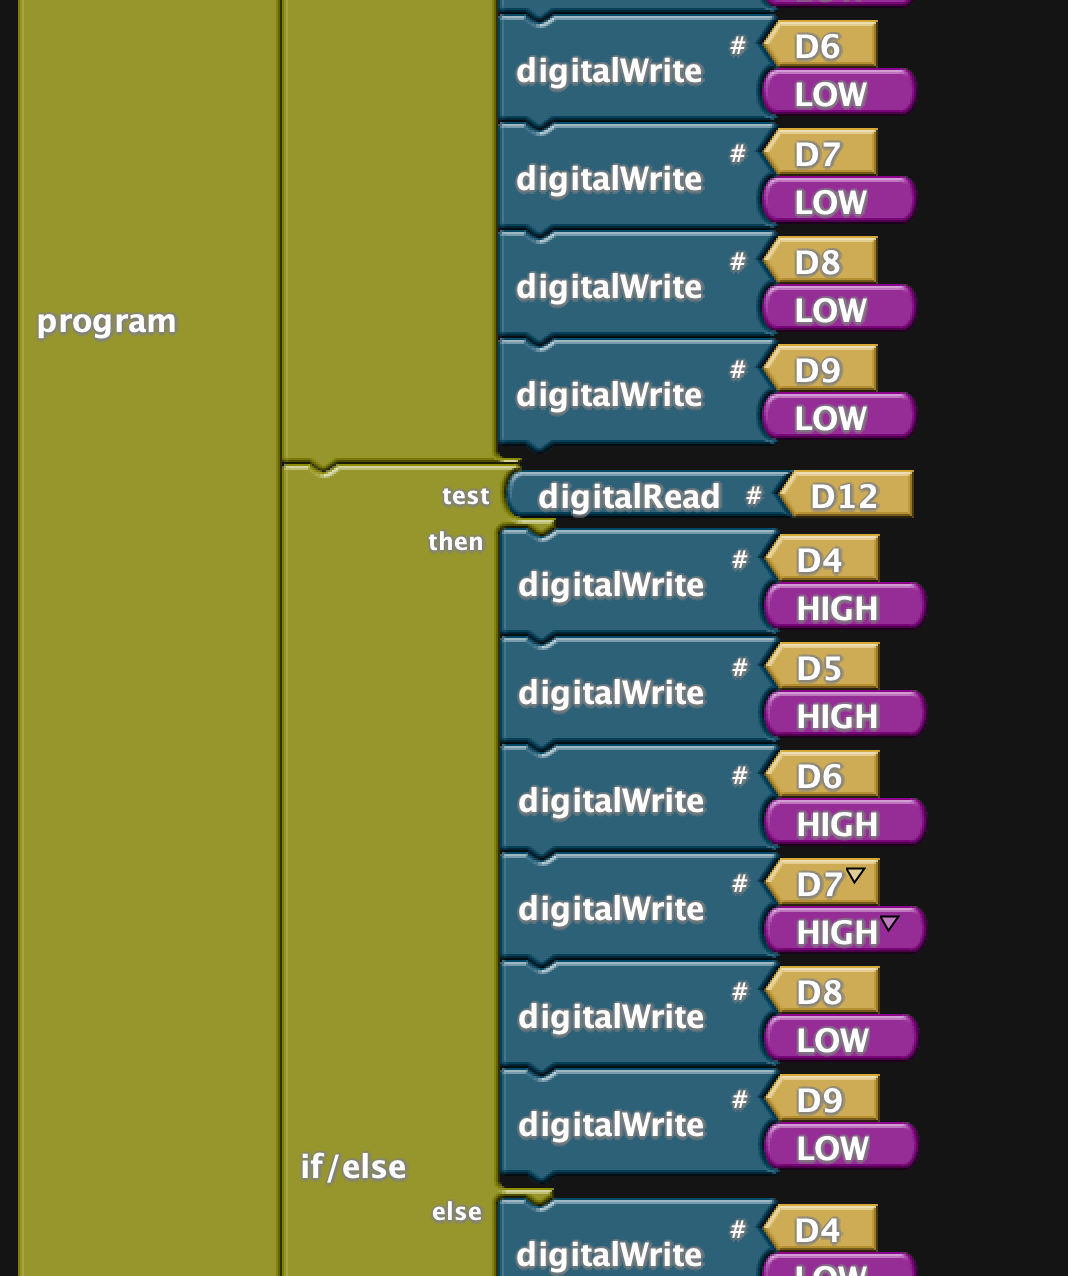

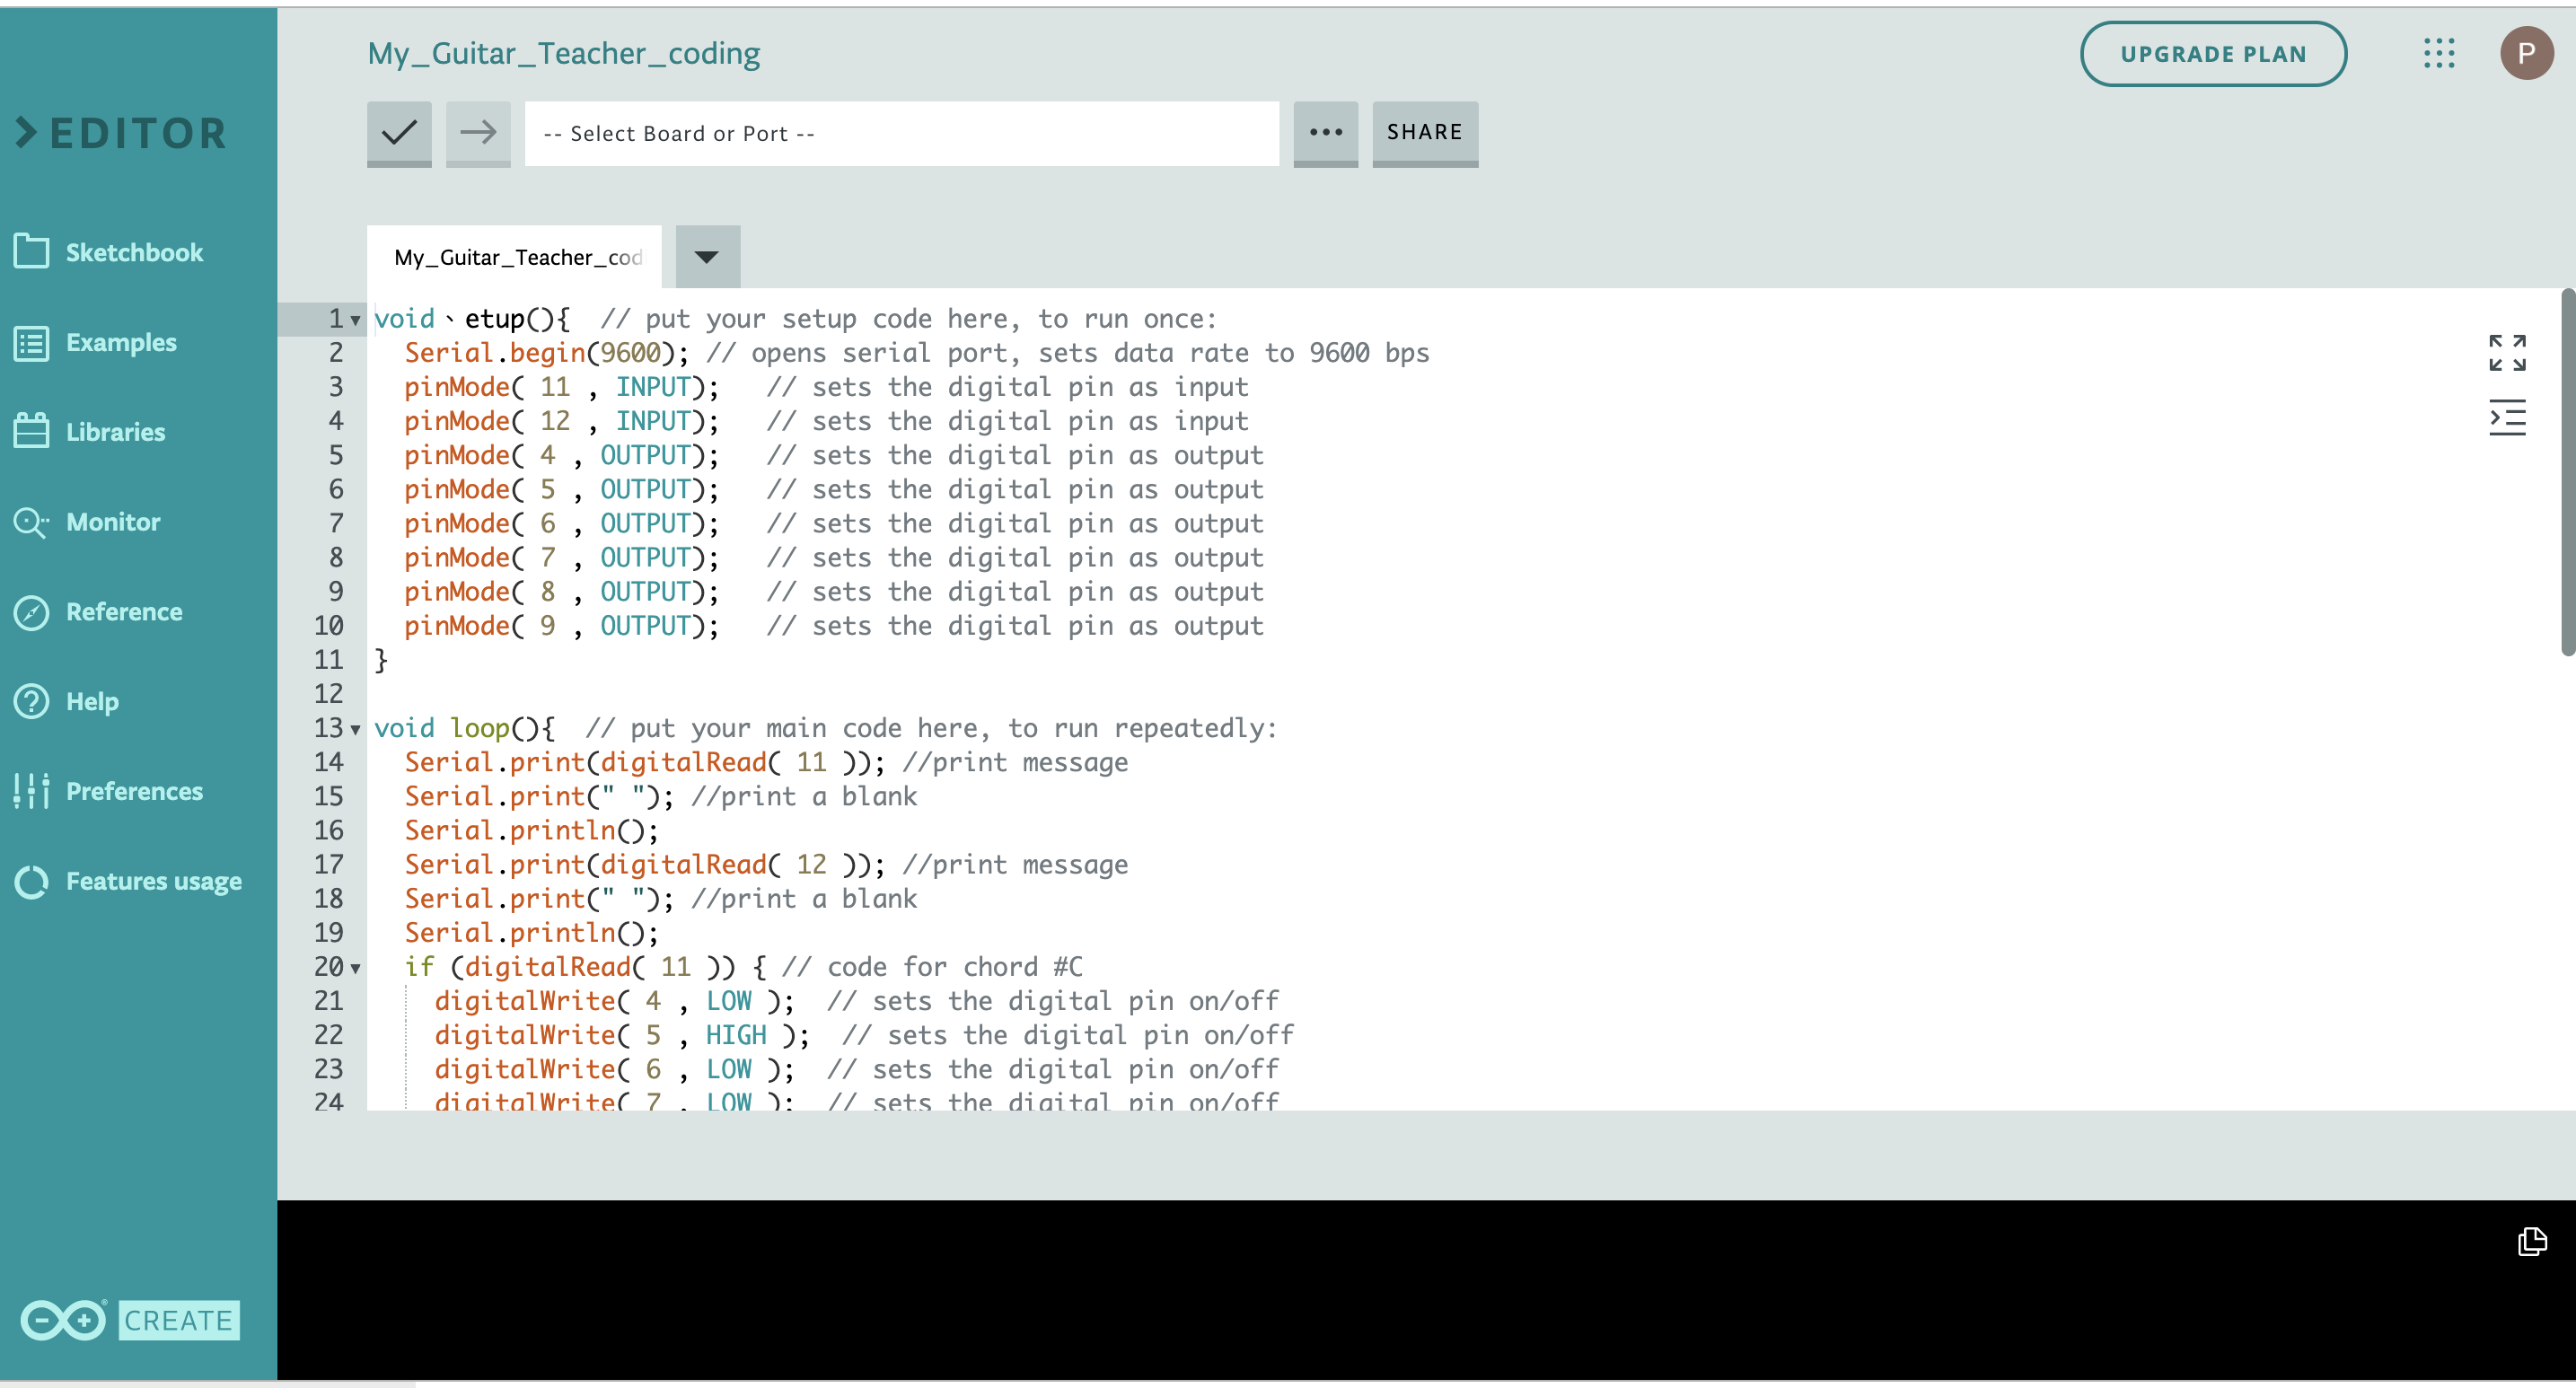
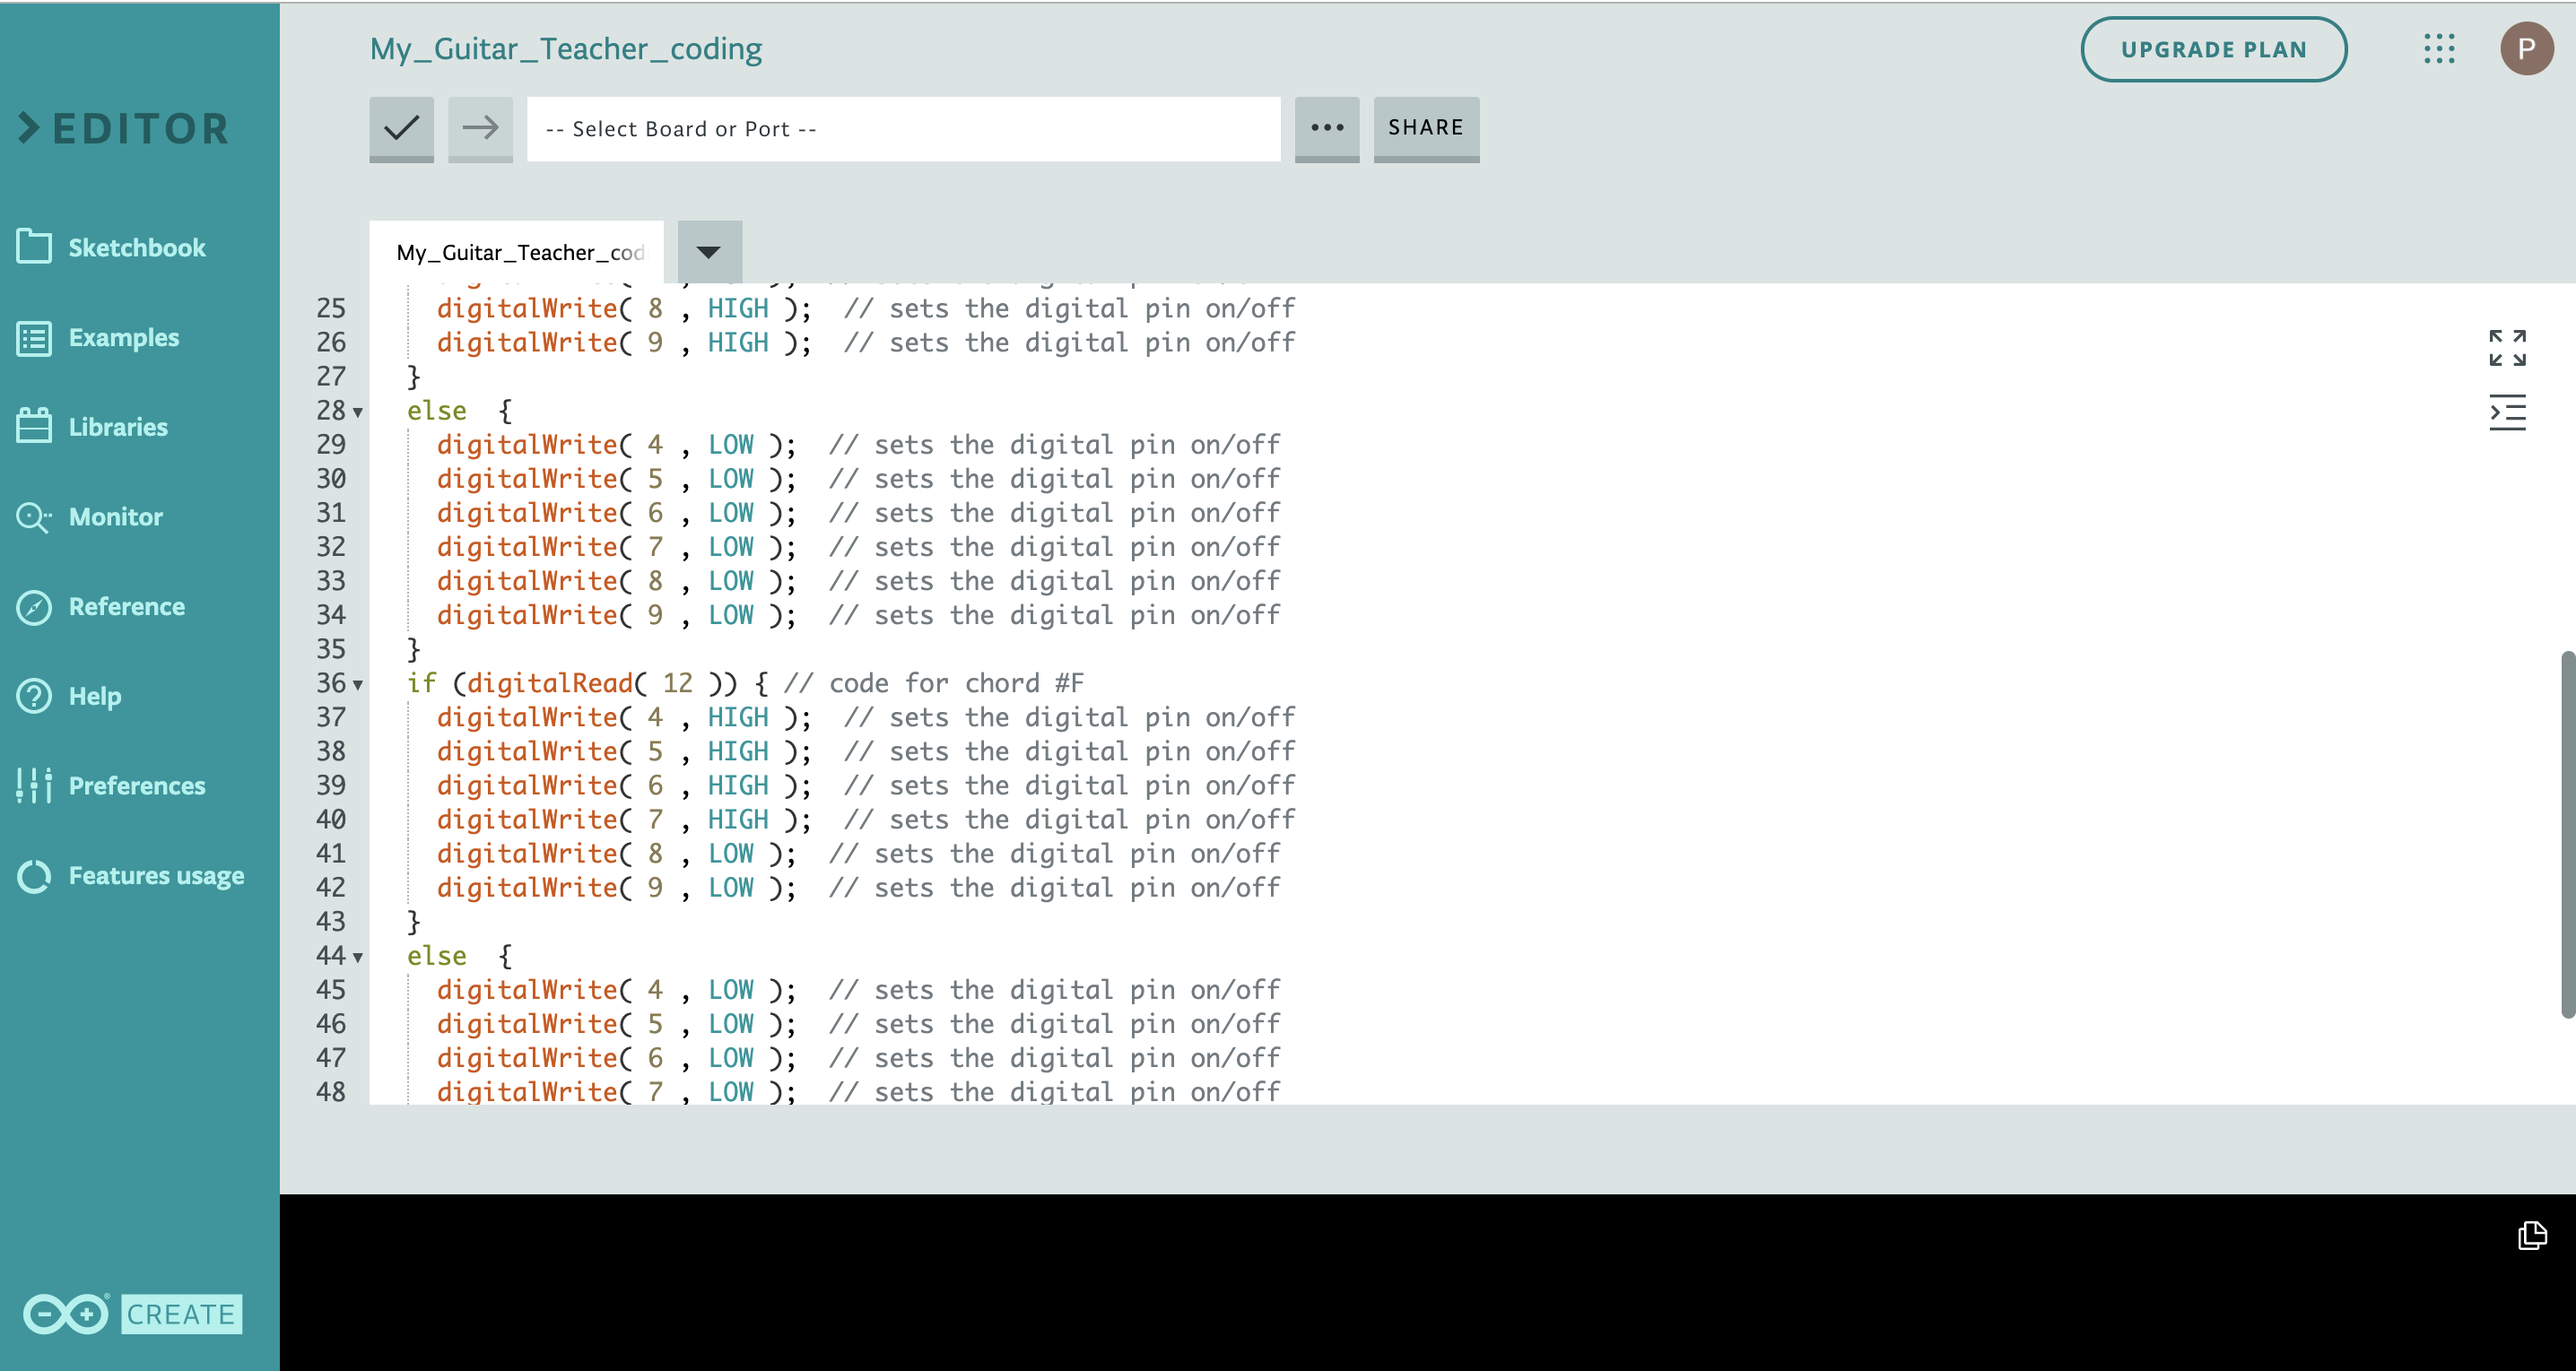
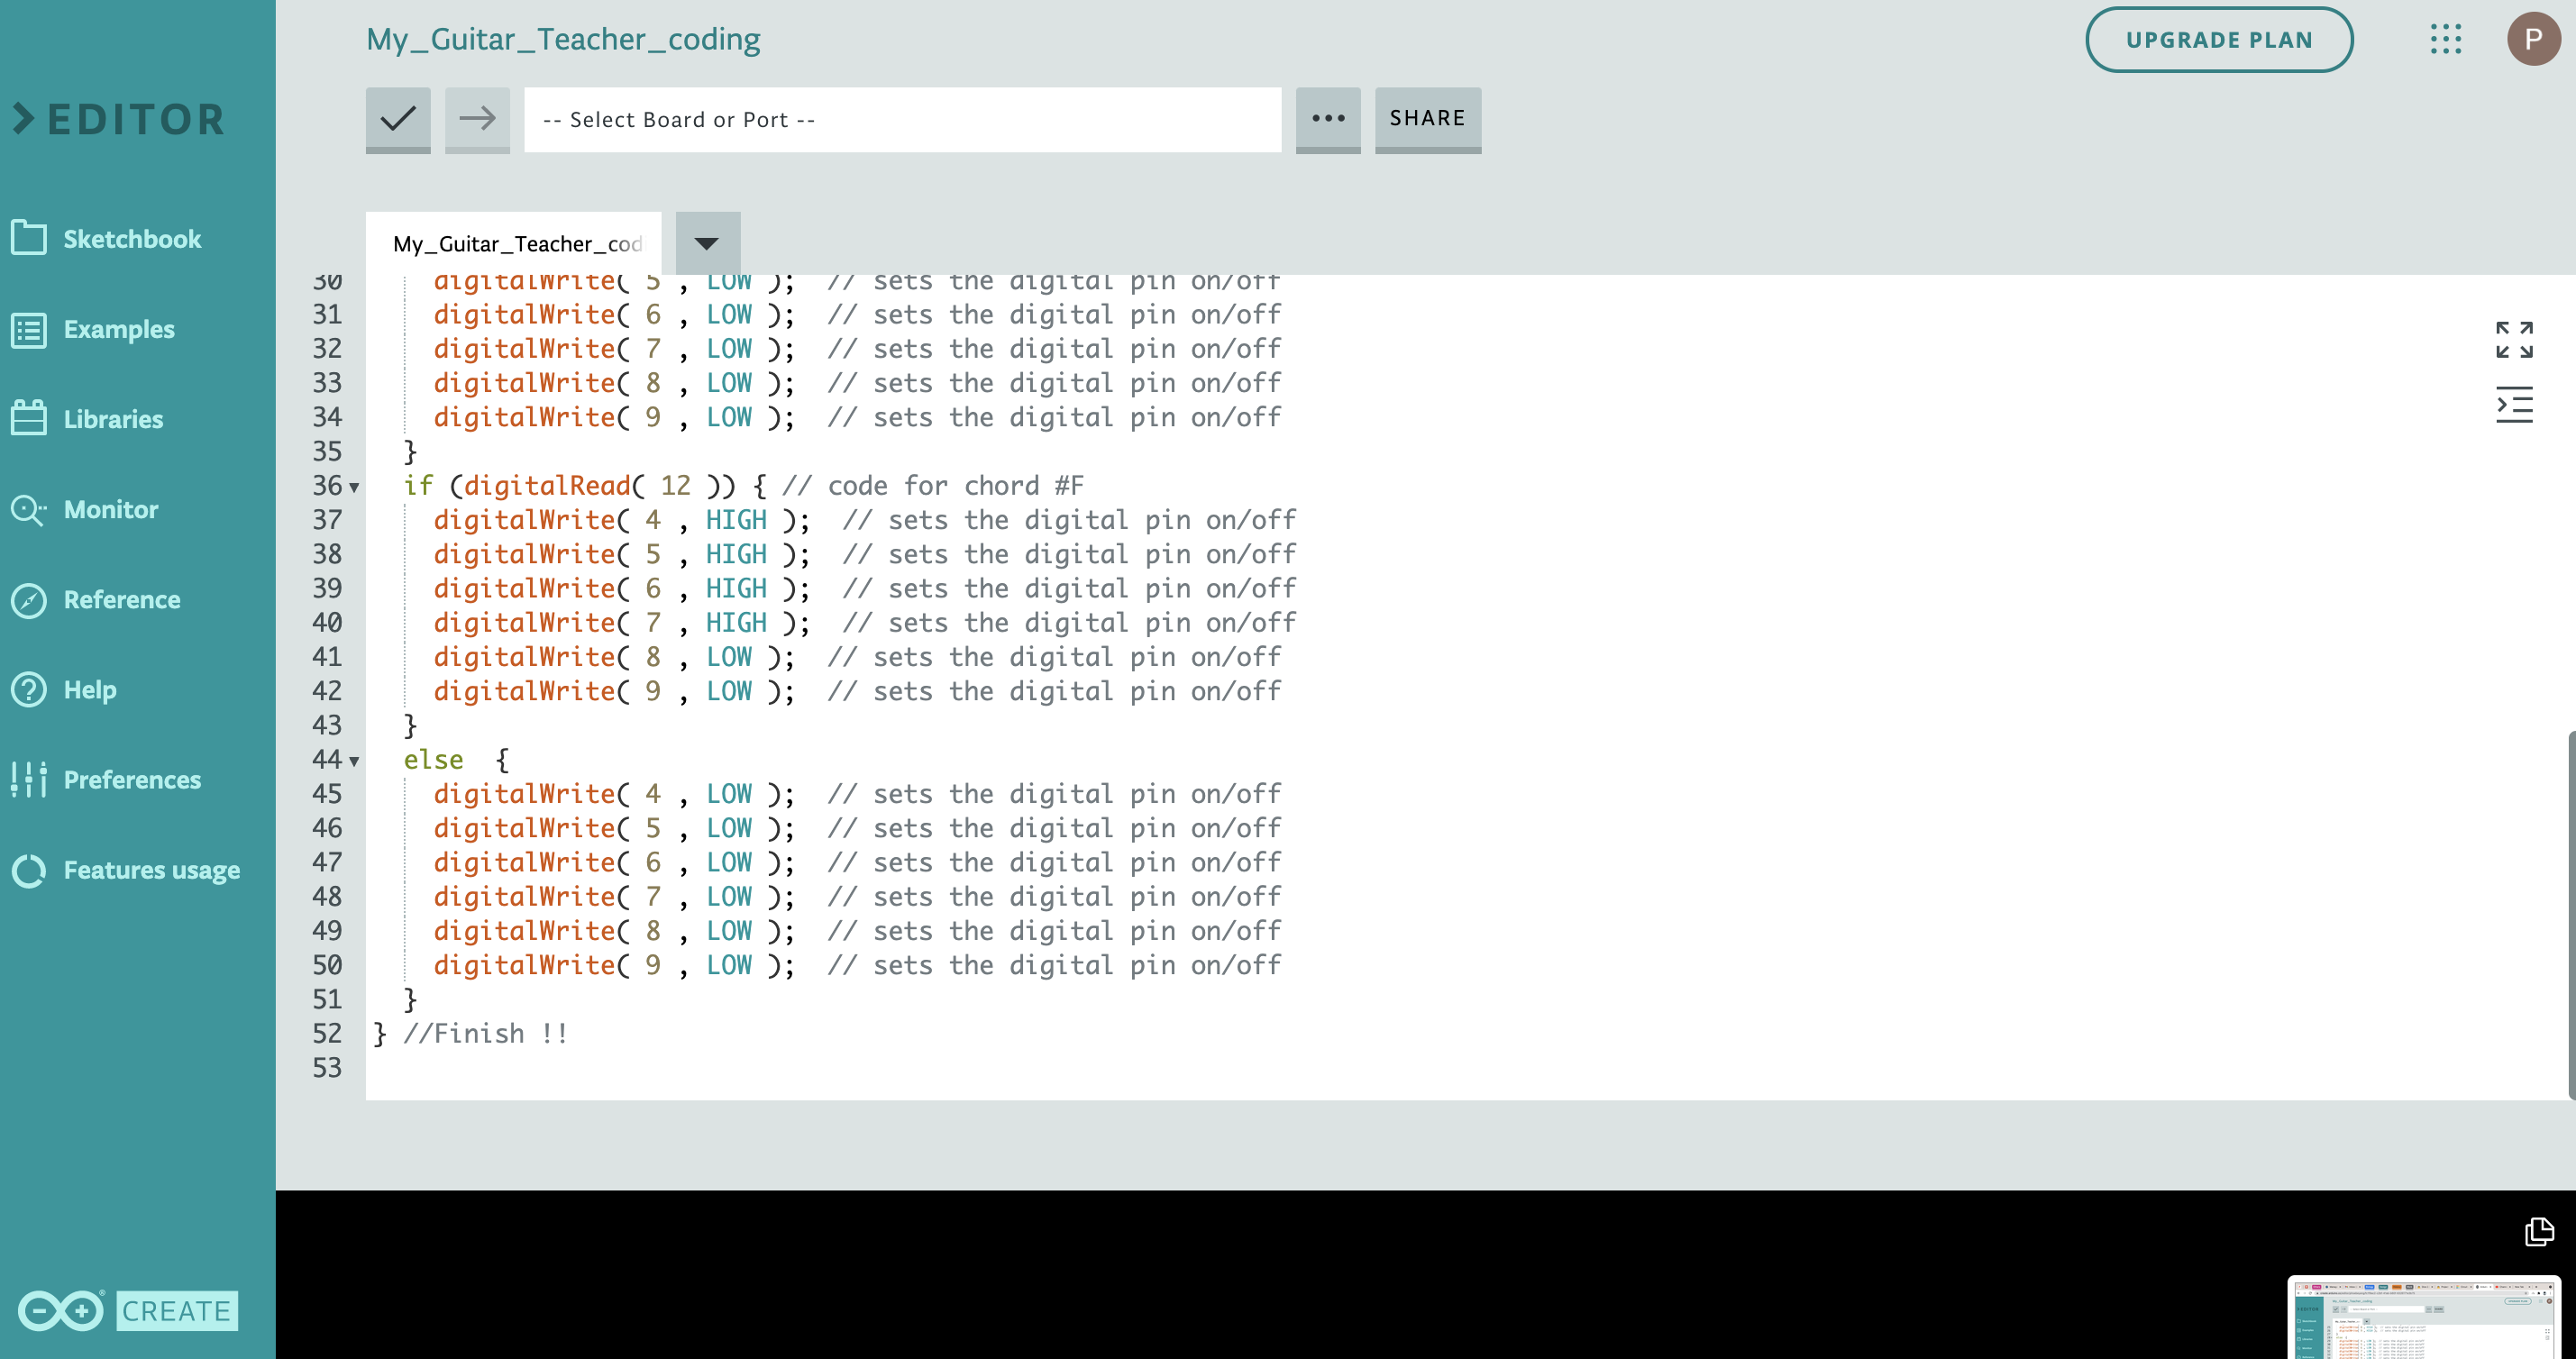
Link to code: https://create.arduino.cc/editor/phoebeyang/fc64a5...
1. The code uses only "If..., else..."
2. In between, use digitalWrite with #D (the number you connected your LED lightbulb to)
3. Either choose "High" or "Low" ("High"-> light on; "Low"-> light off)
4. After "else" choose "High" or "Low" (you should be choosing the opposite of what you chose in "If")
{"Serial.print" is for you to know whether your button works, or find the problem when your machine does not work.}
Downloads
Testing and Revising
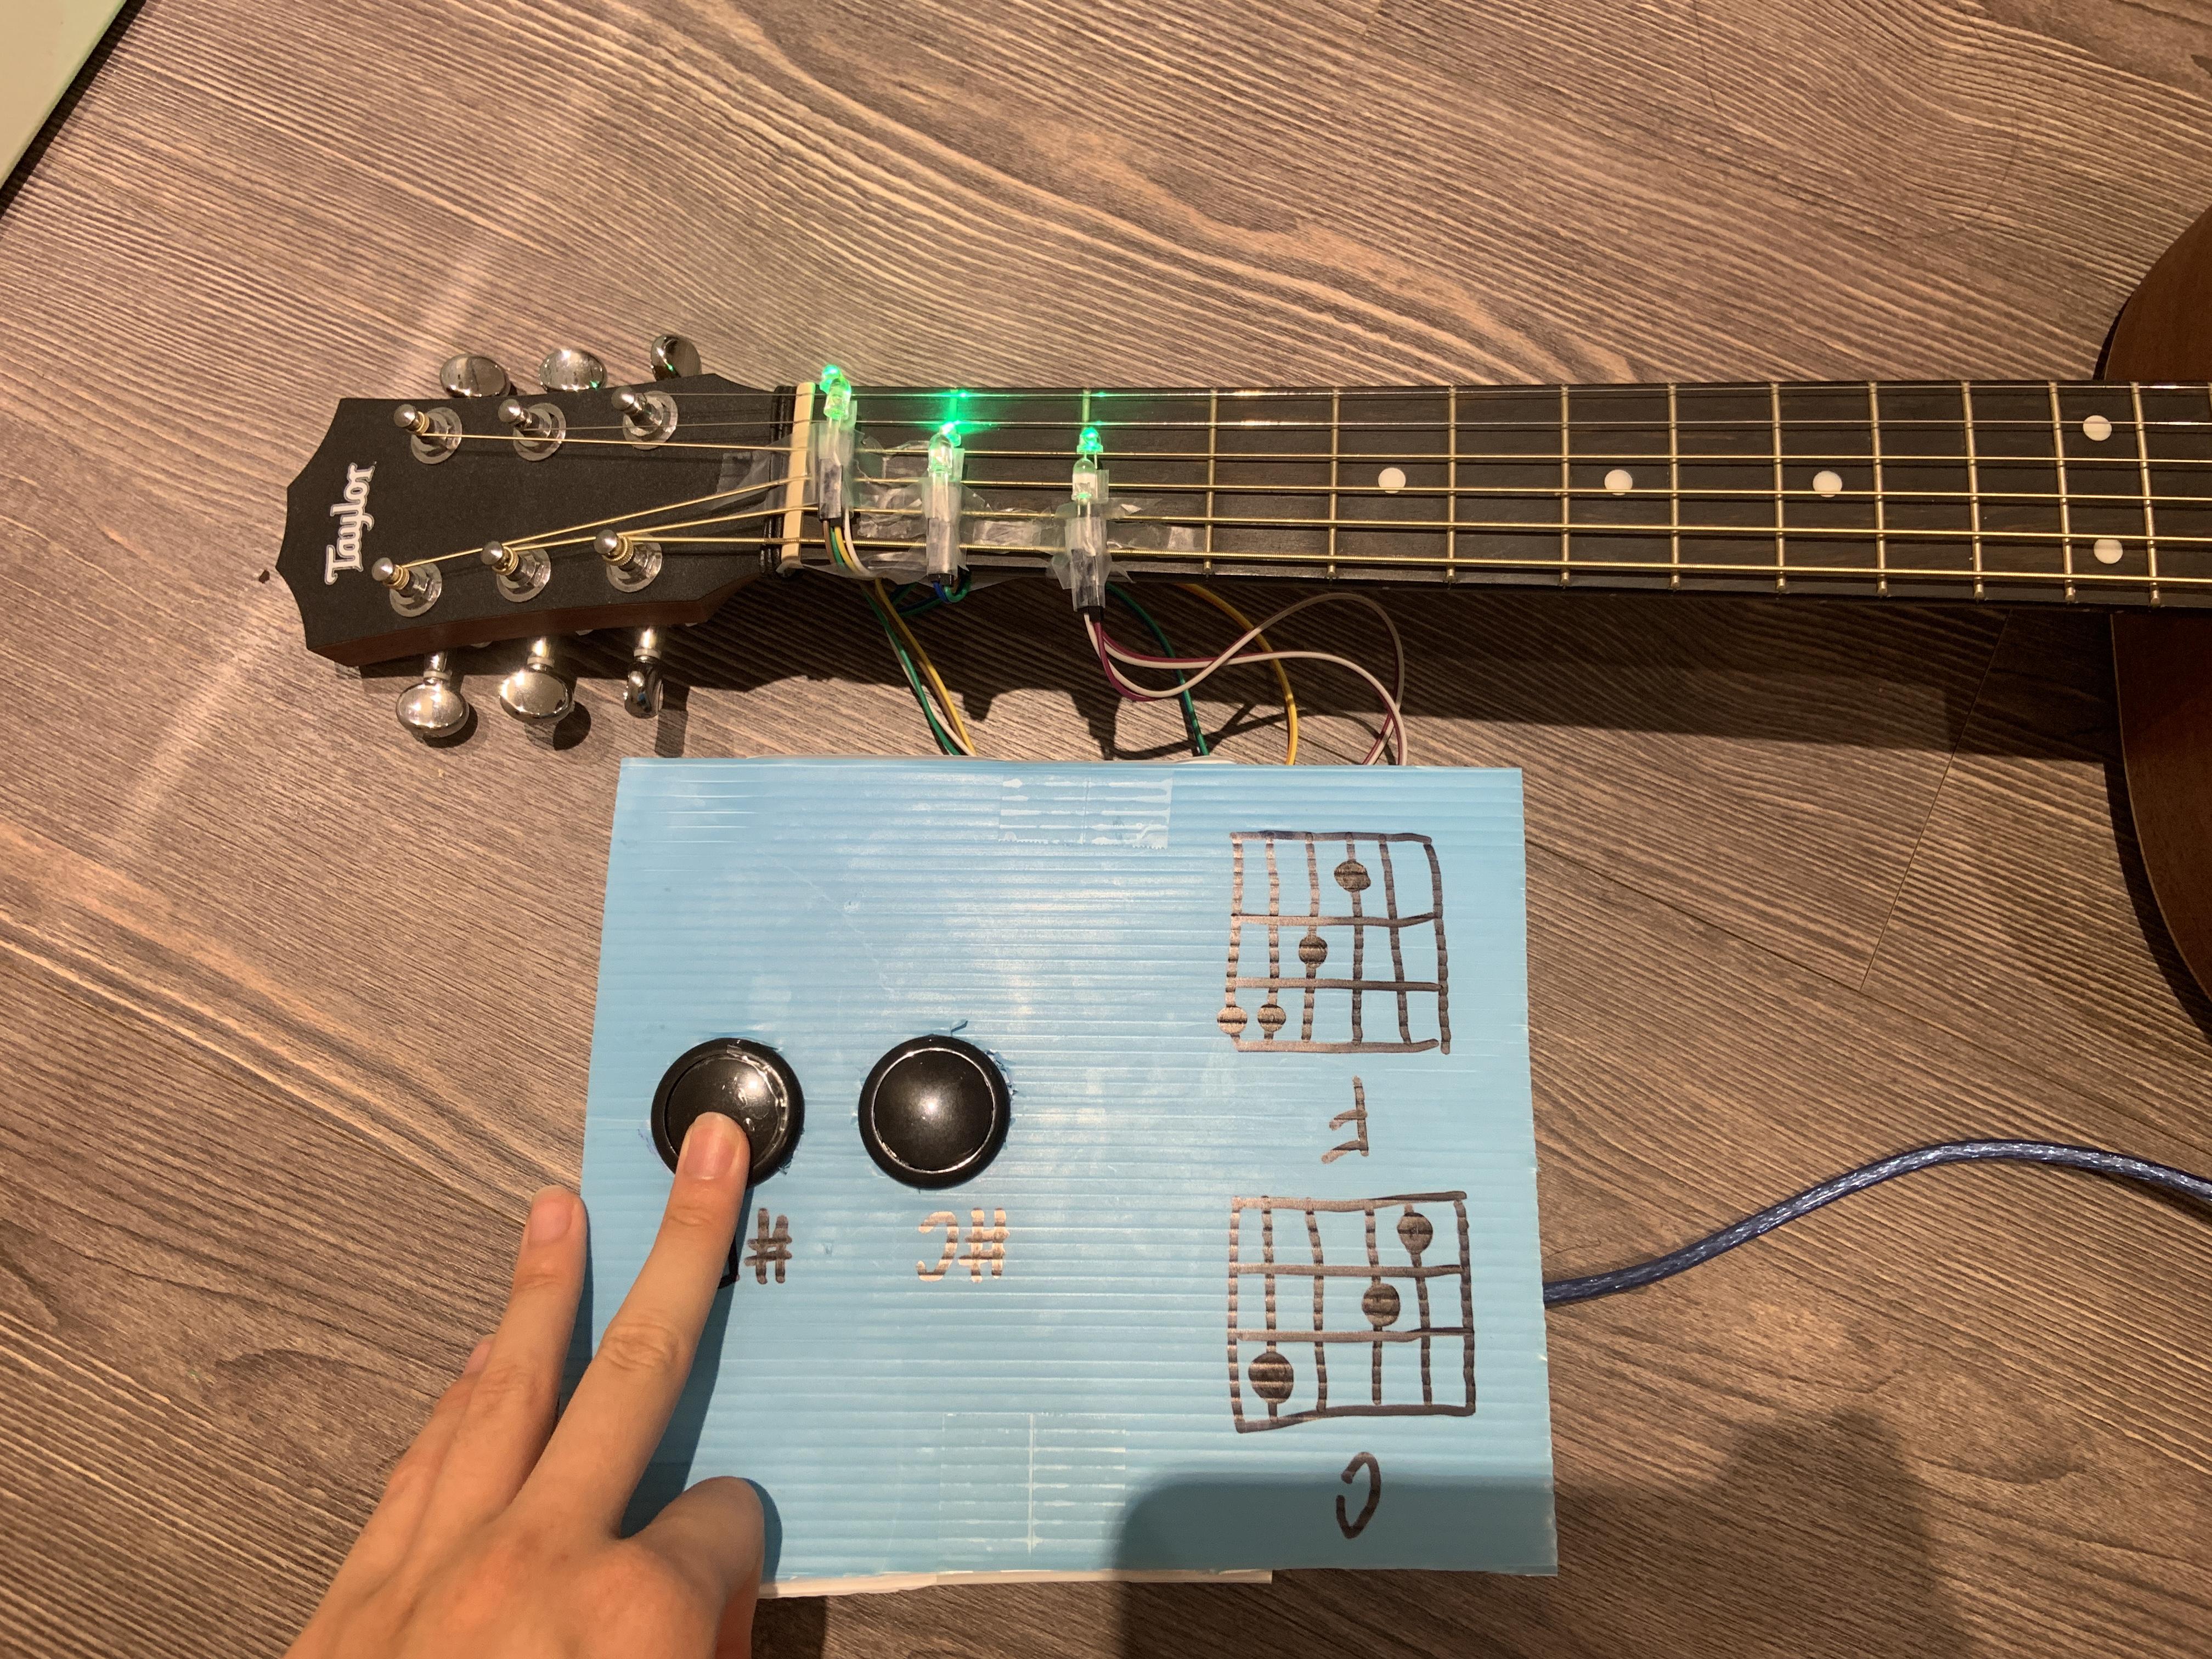
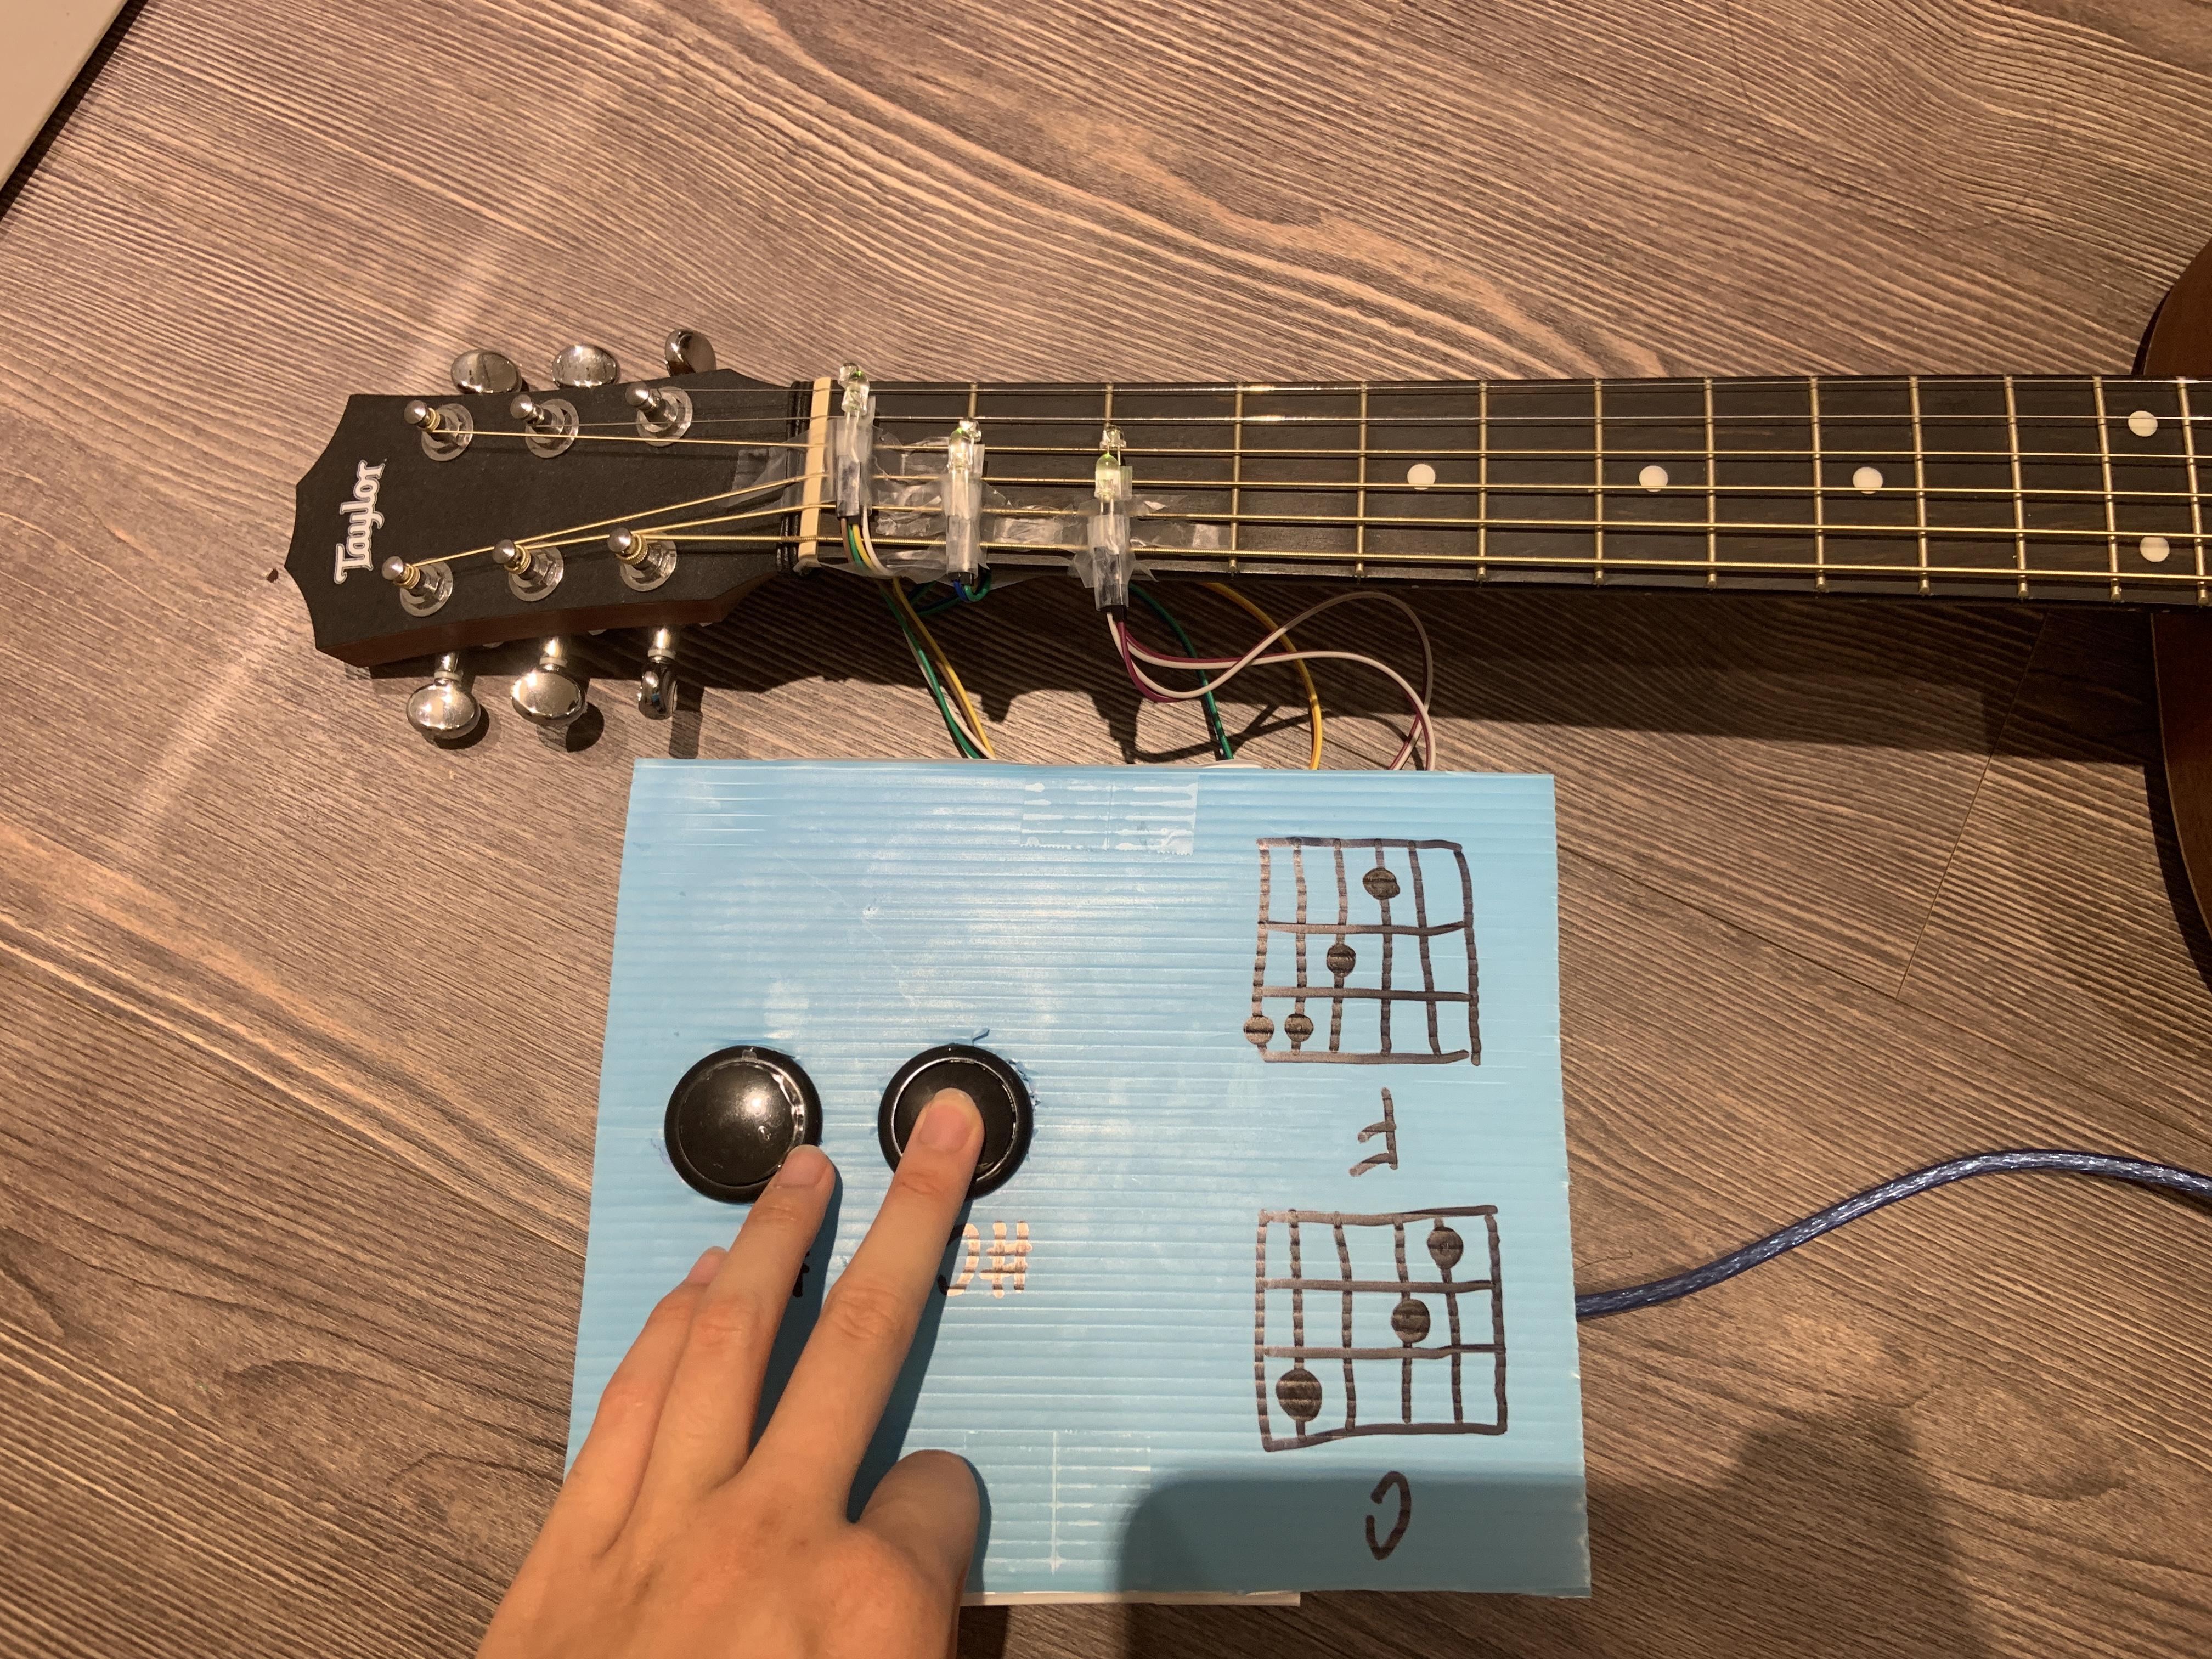
!! Remember to make a simple cover out of plastic boards, to cover all the messy wires. !!
picture 1: F chord
picture 2: C chord
Final Reveal
