My Digital Print Making Workflow for Kids 12+
by heavyweather in Teachers > Art
826 Views, 6 Favorites, 0 Comments
My Digital Print Making Workflow for Kids 12+
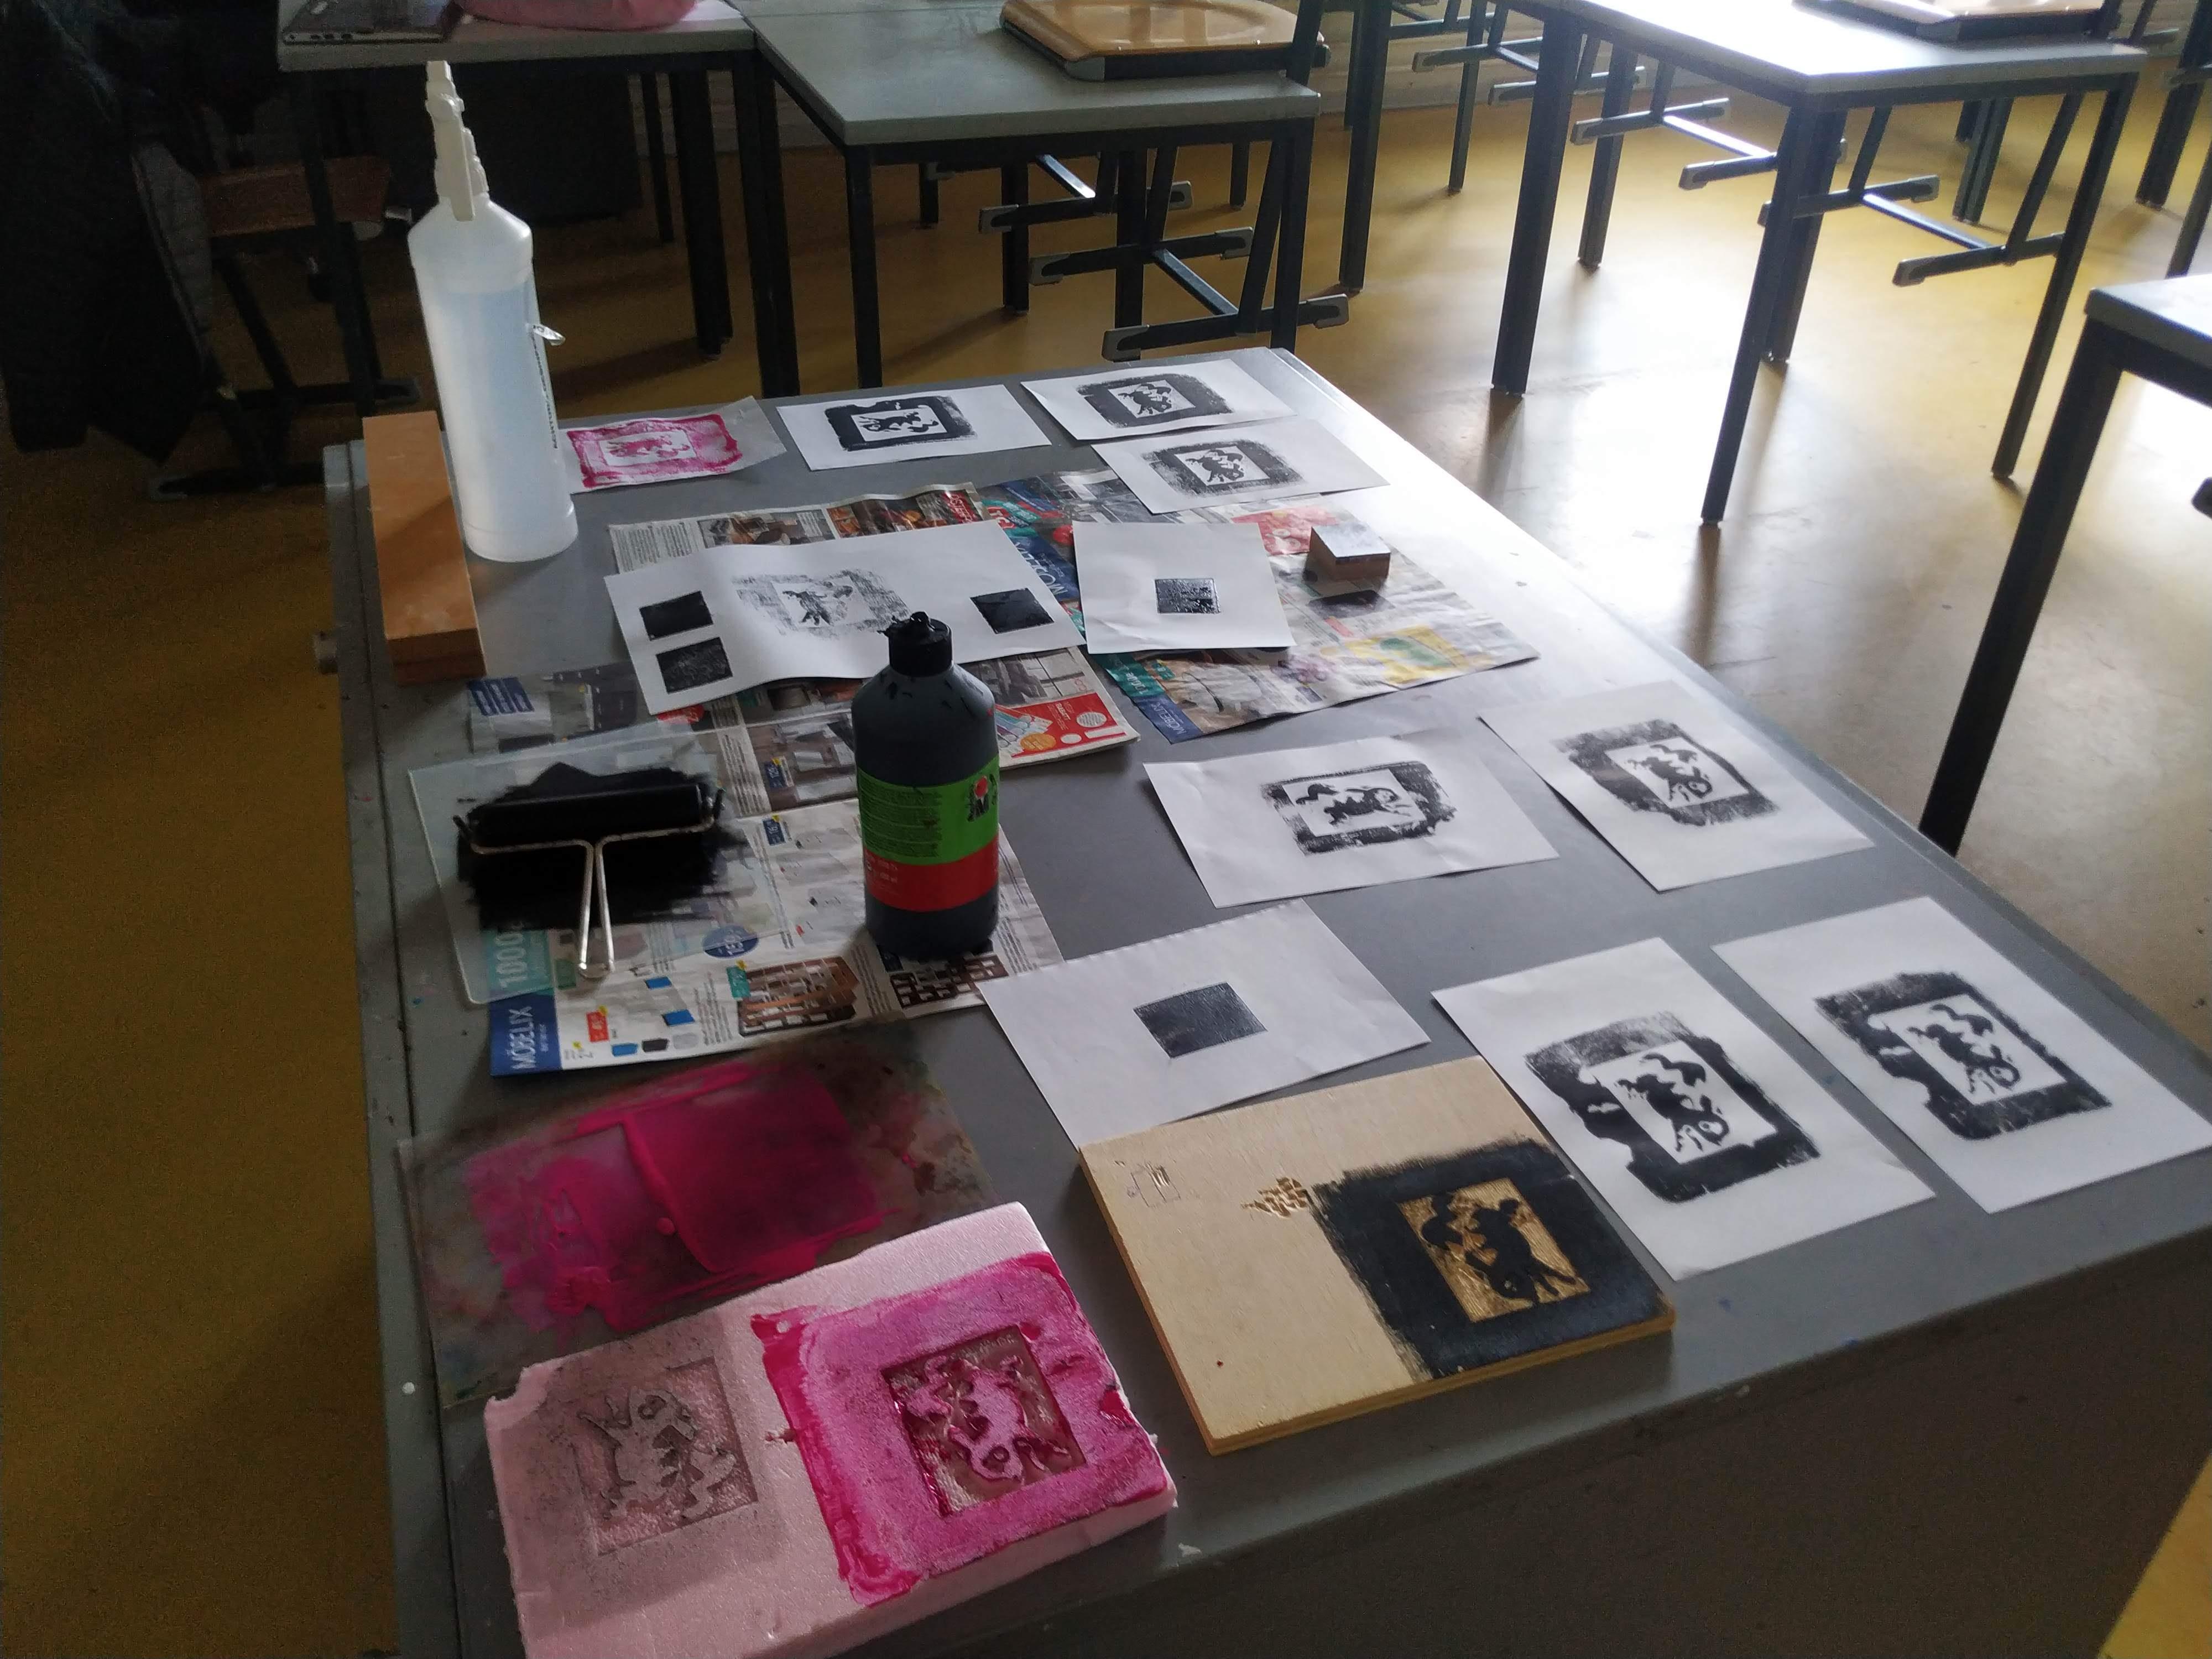
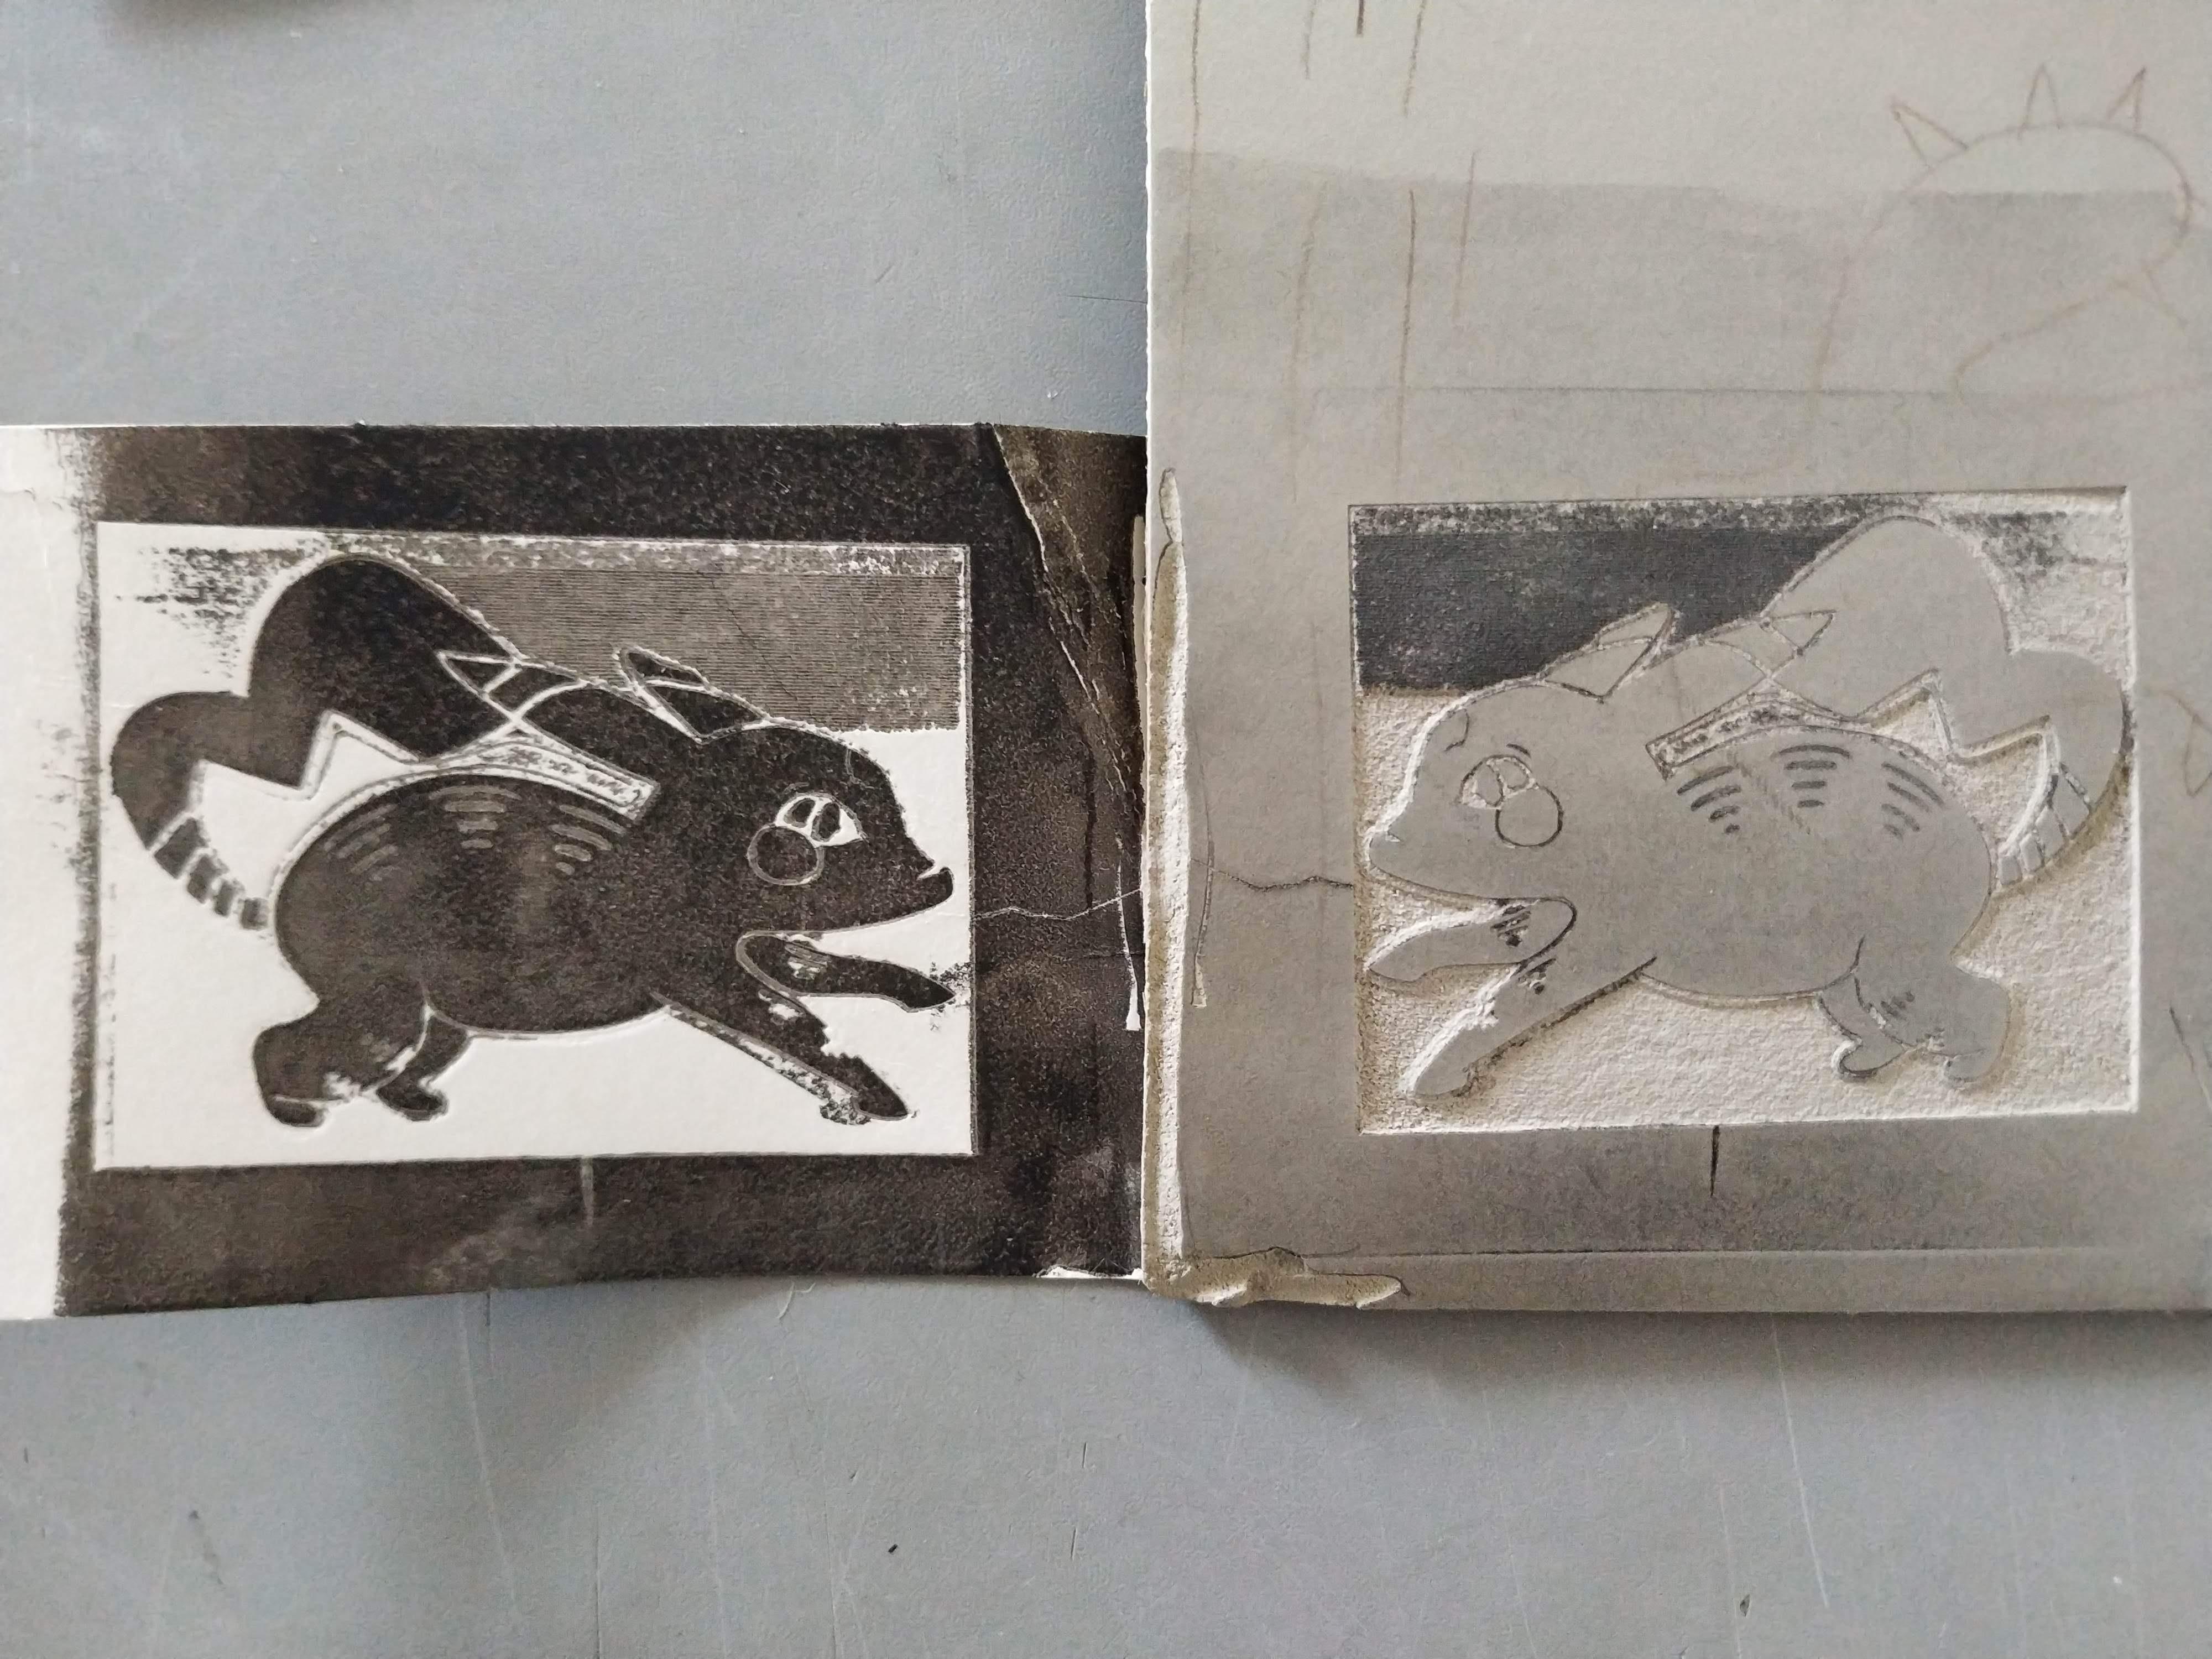
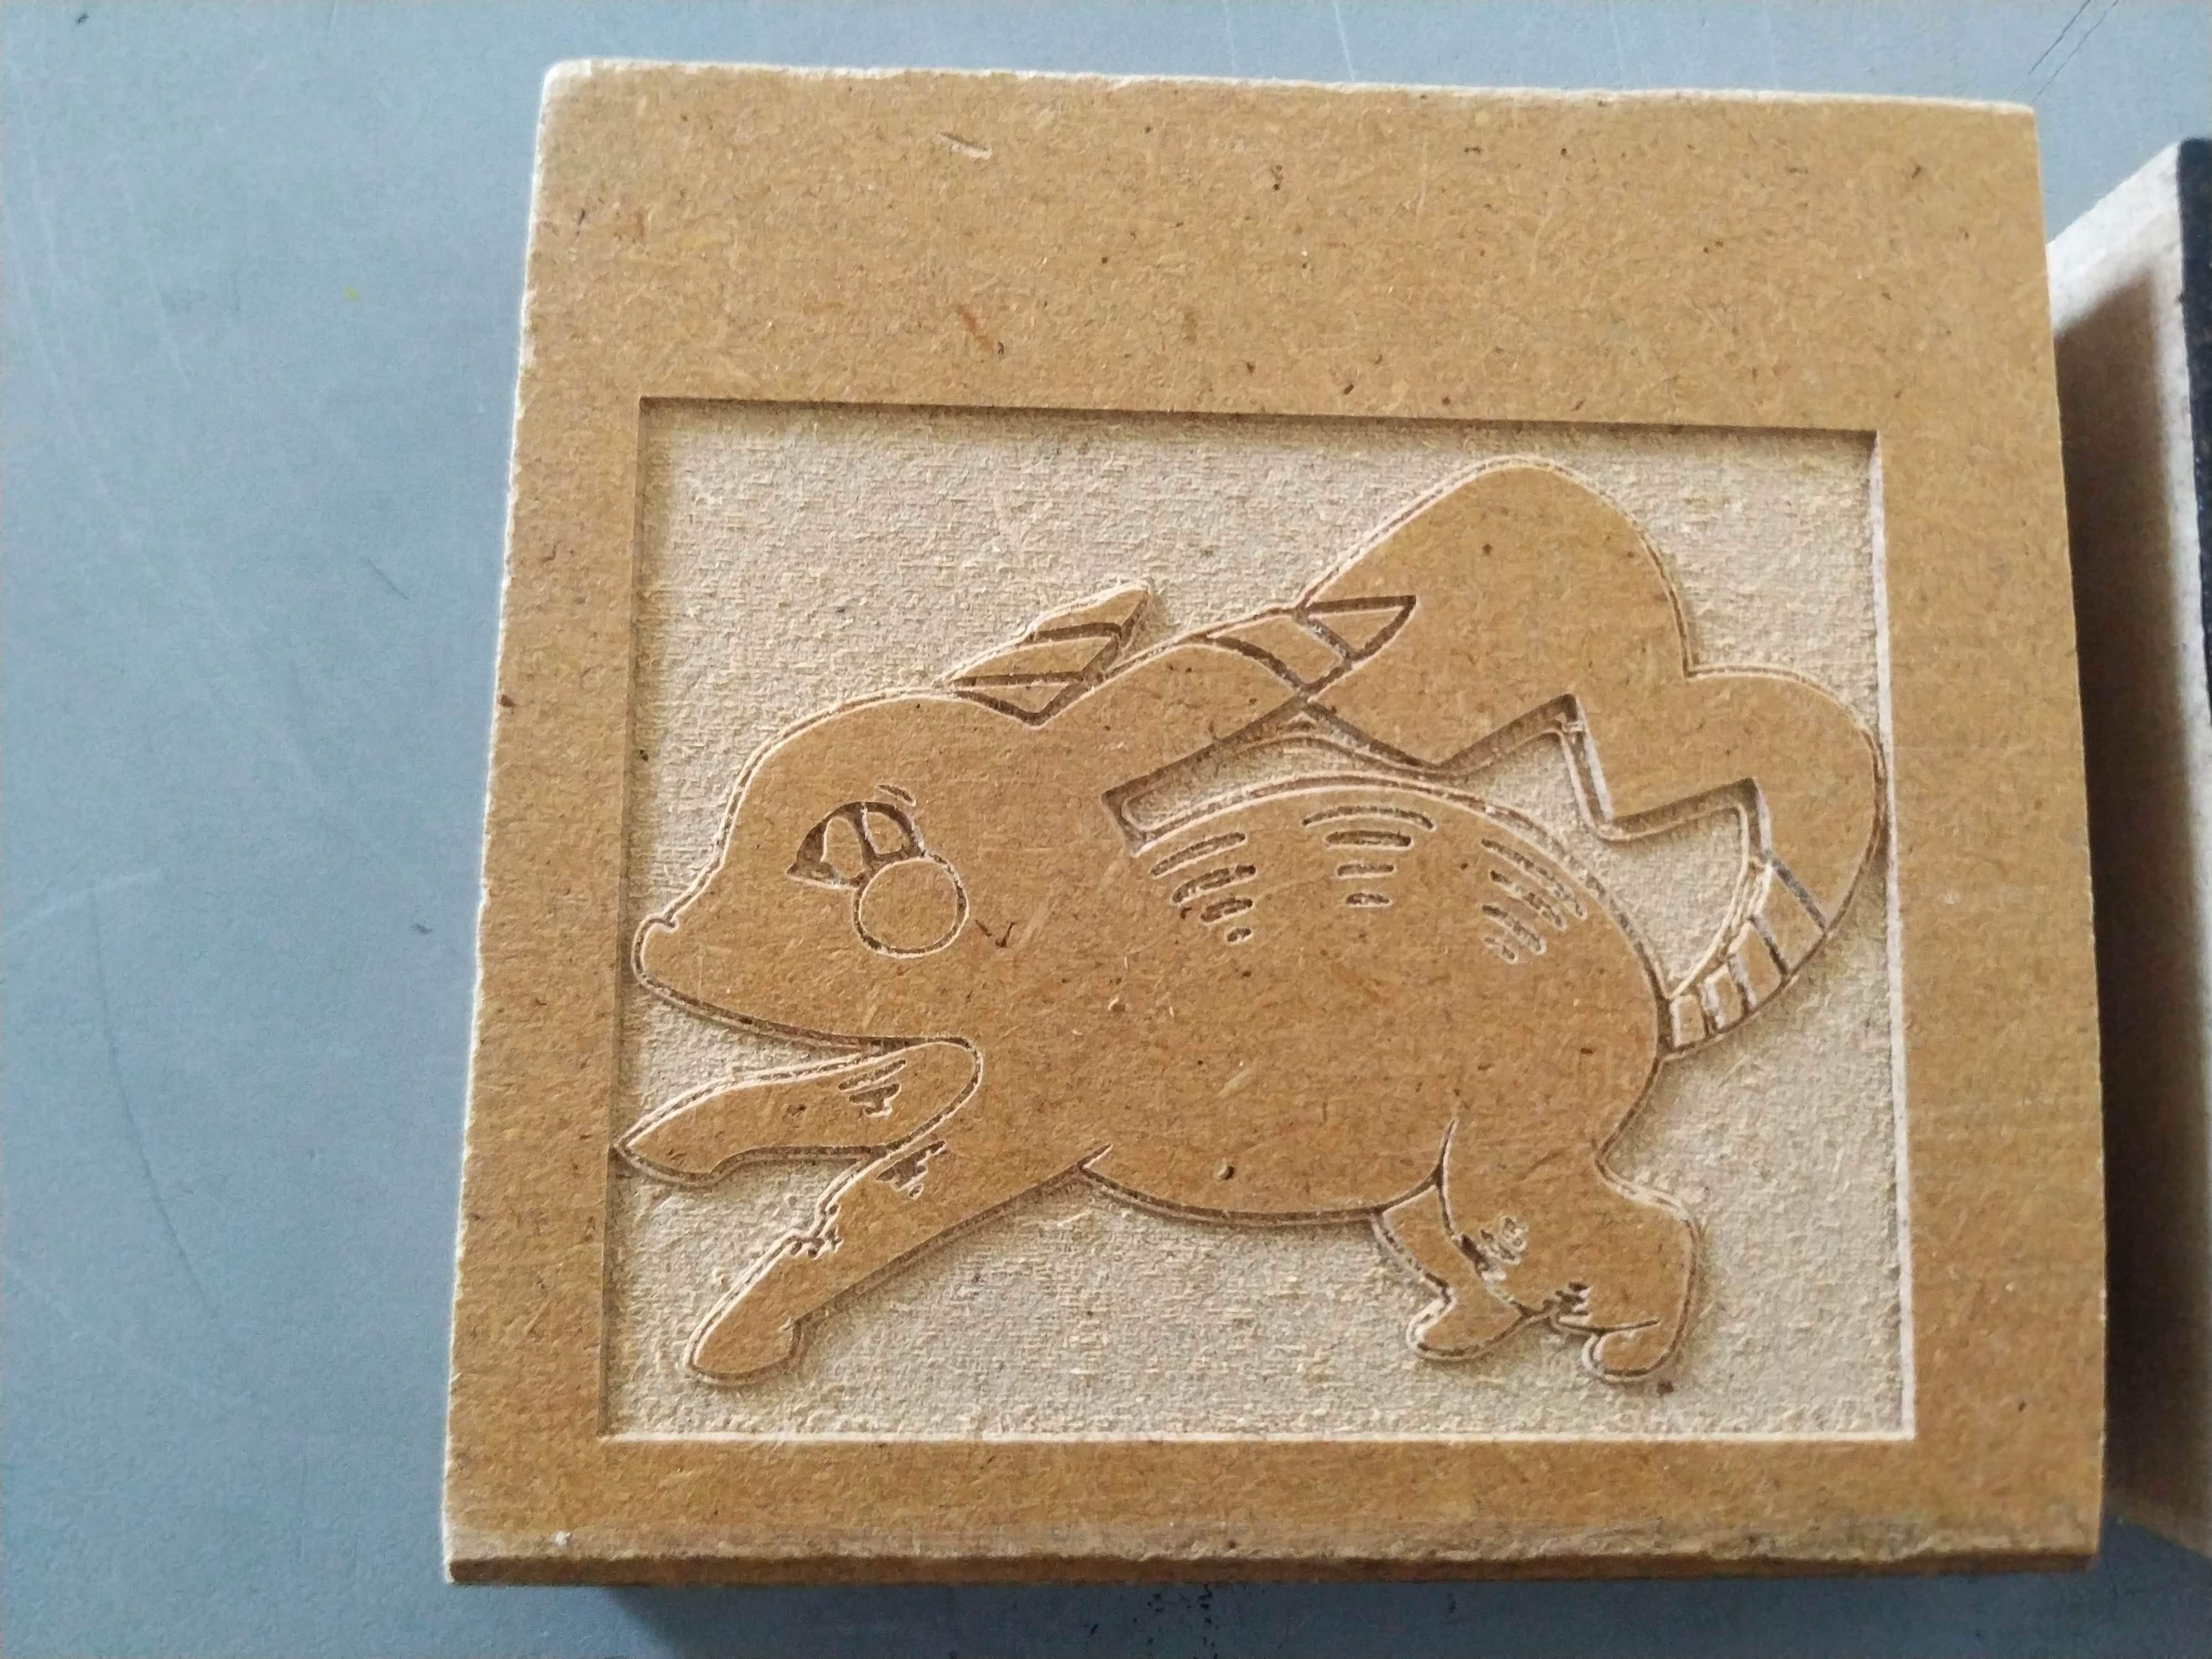
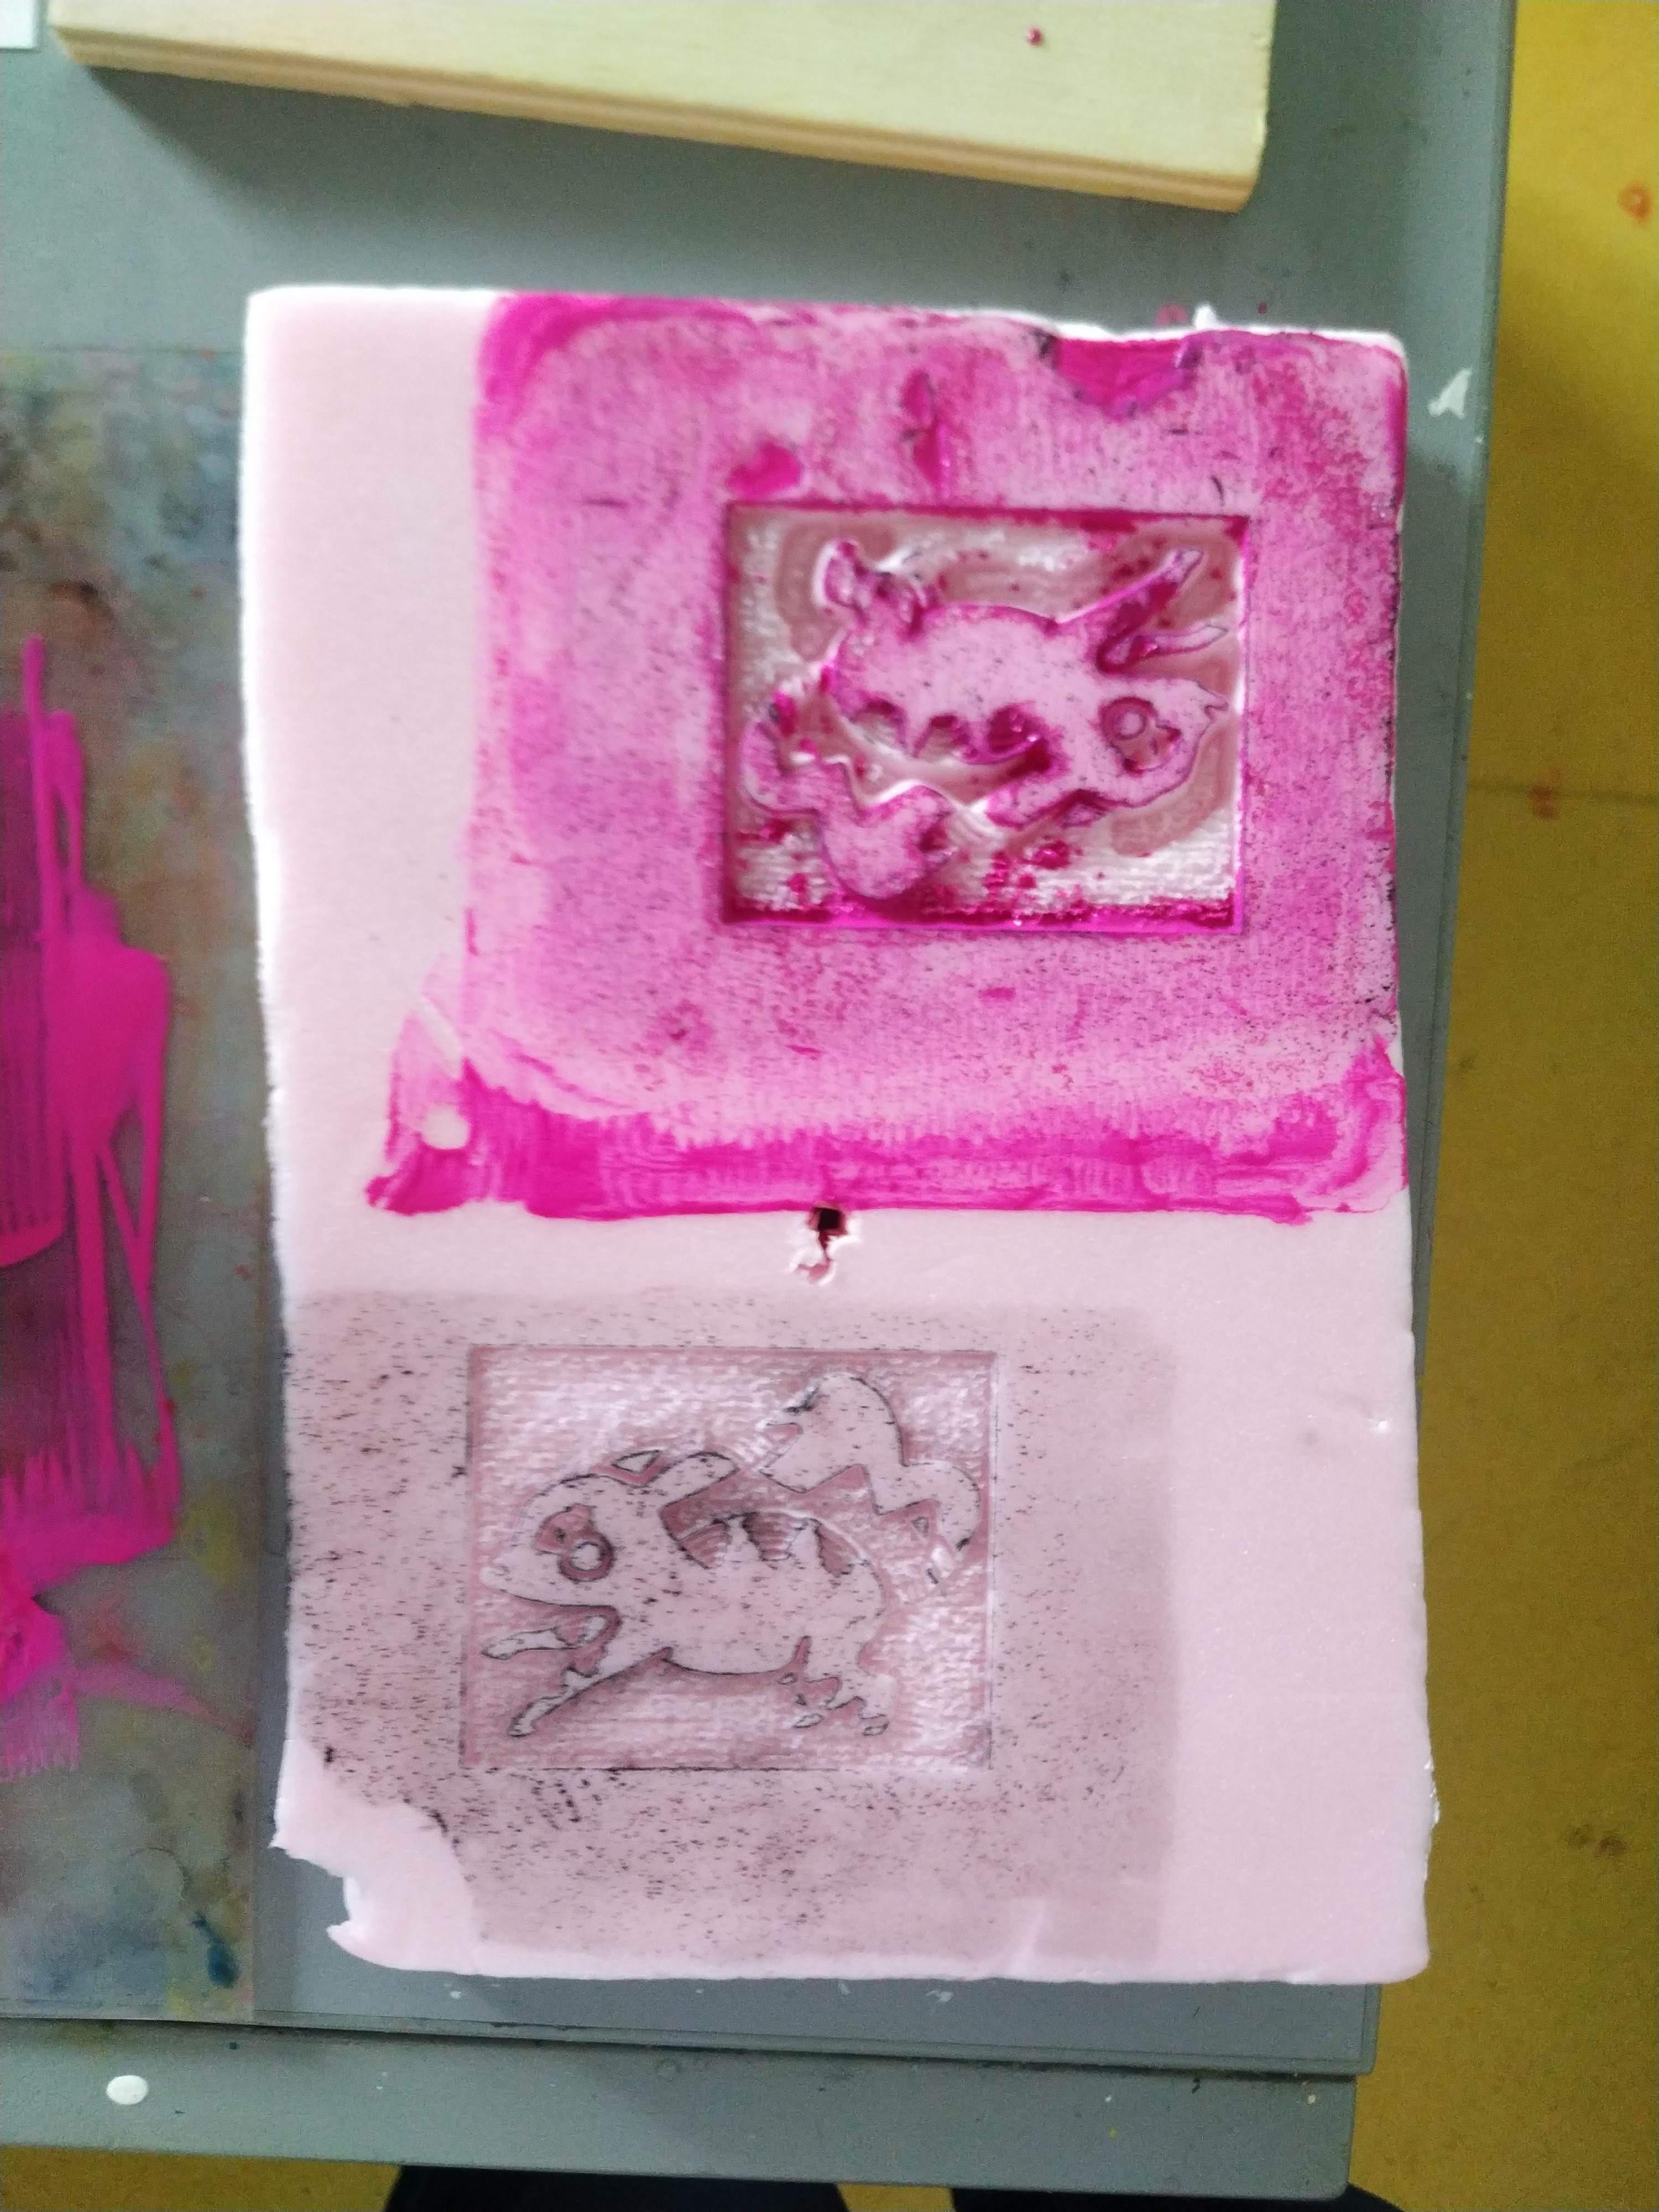
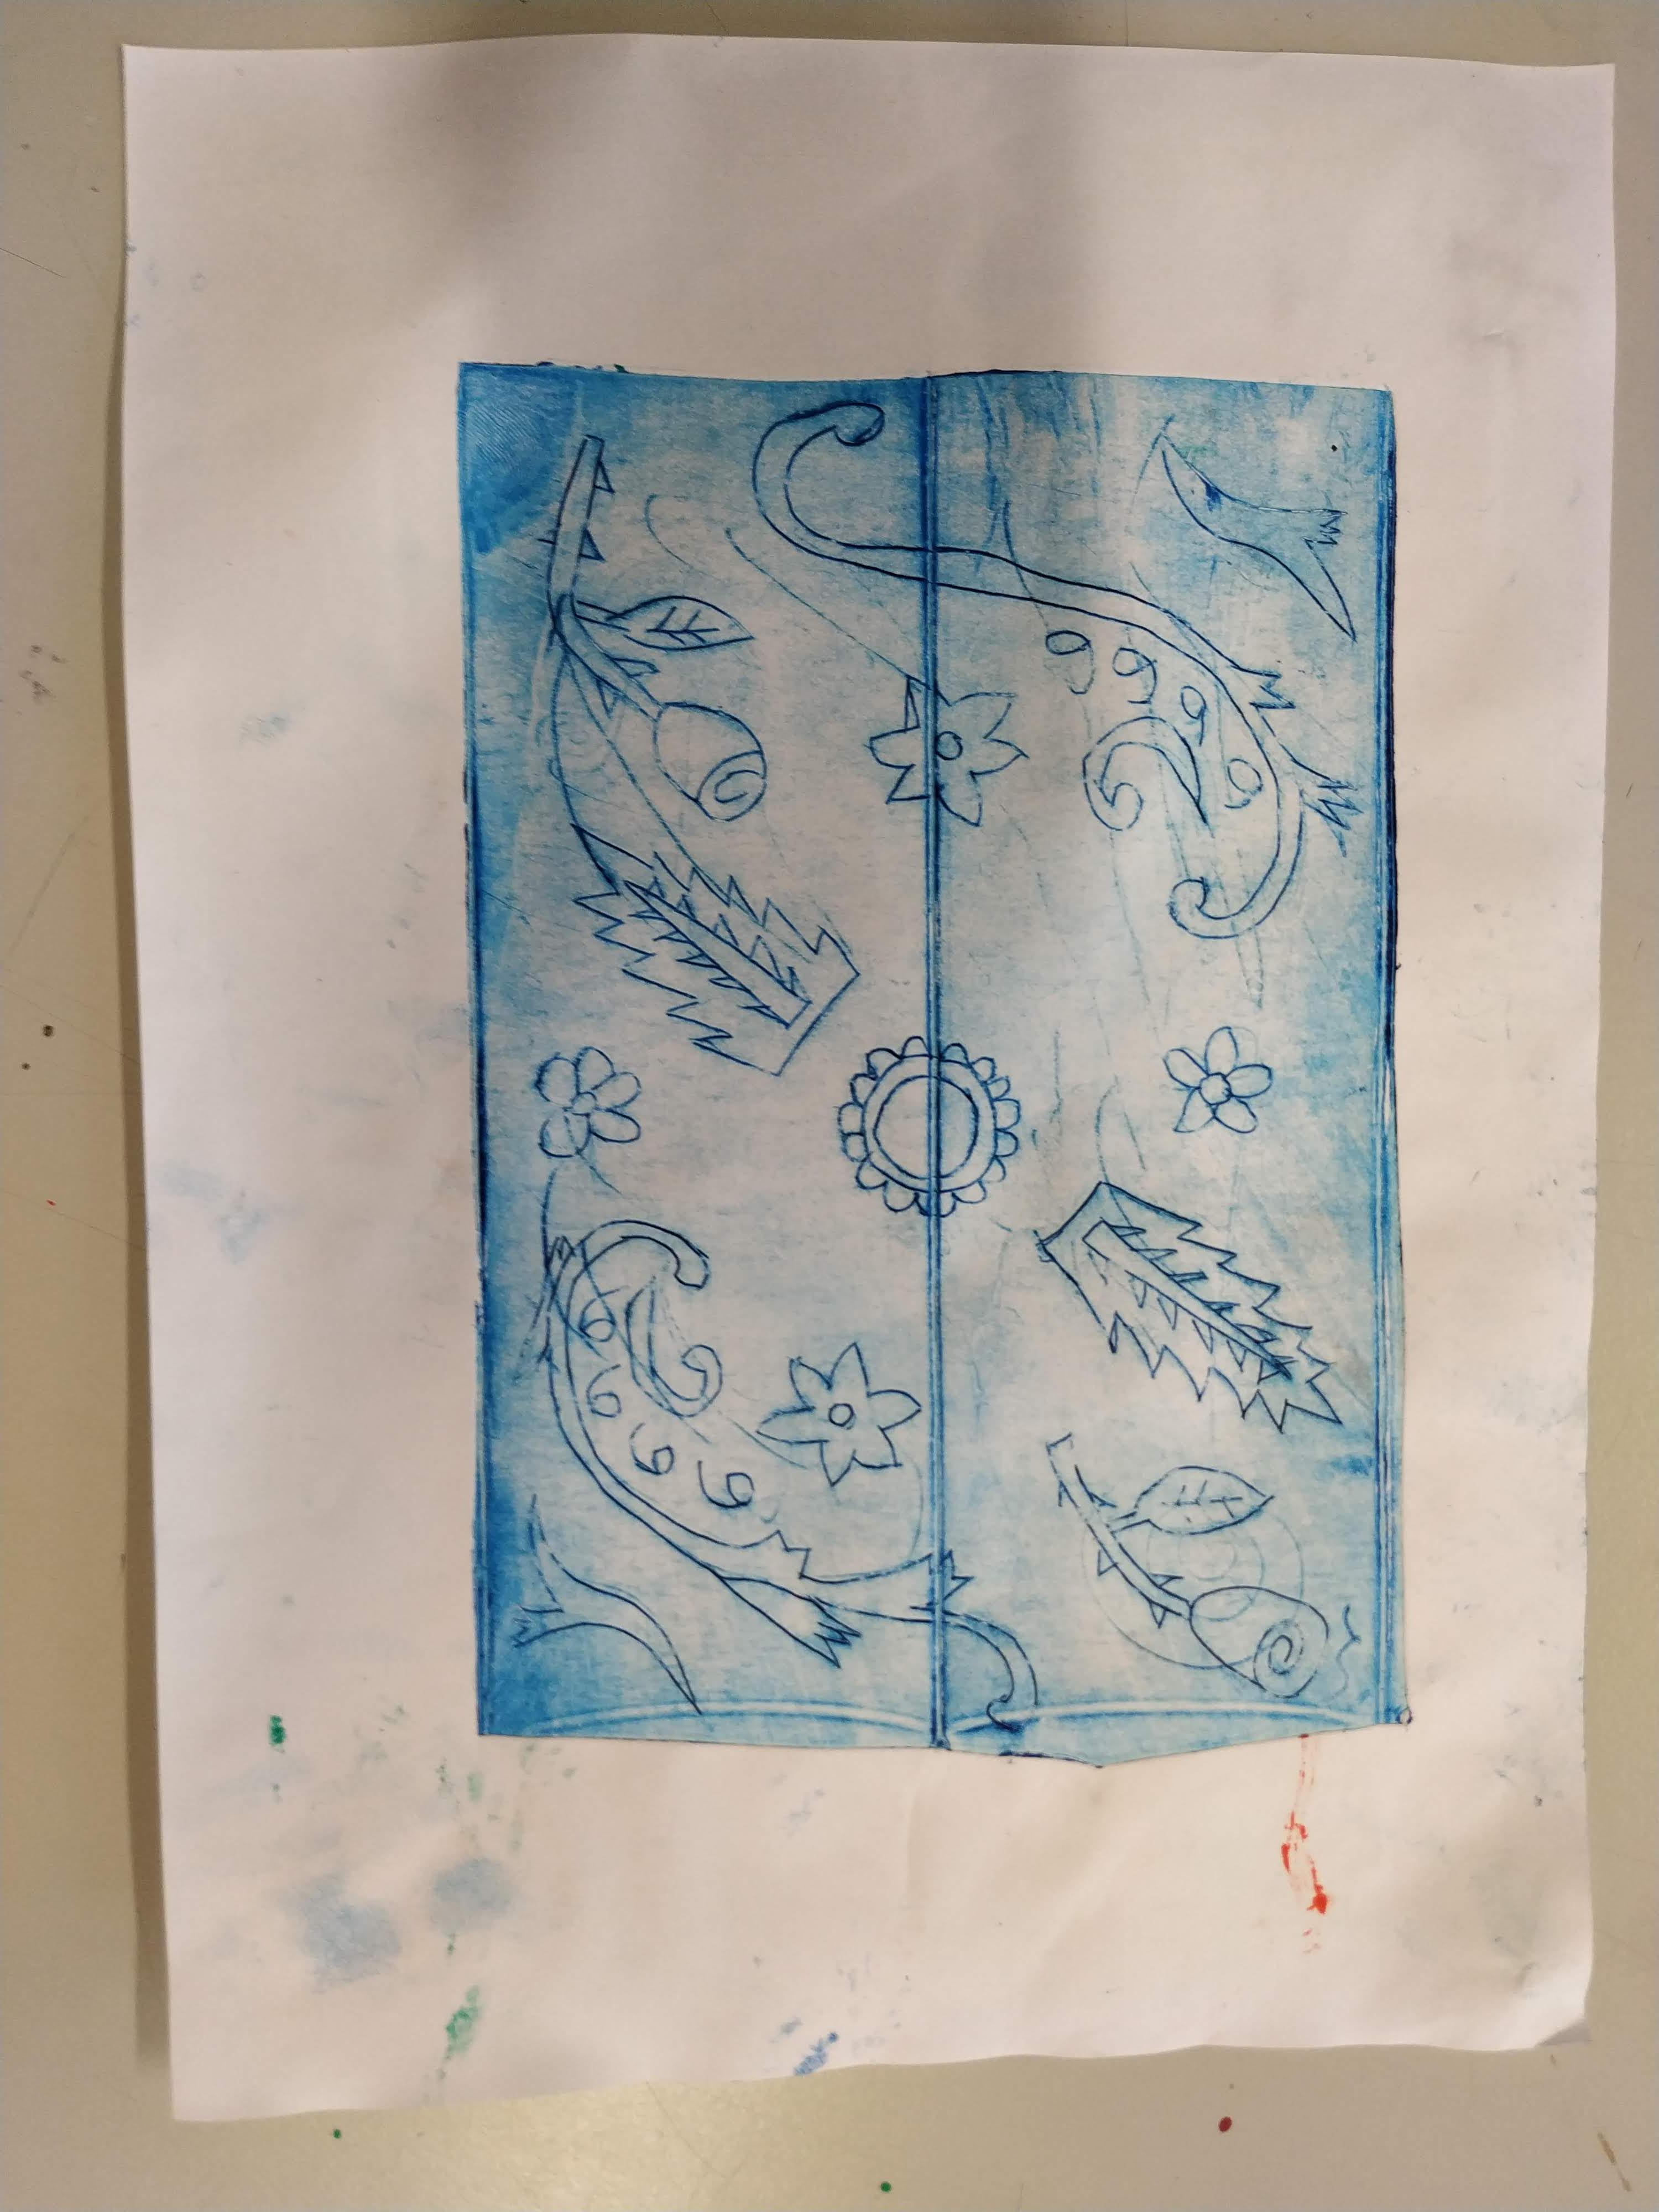
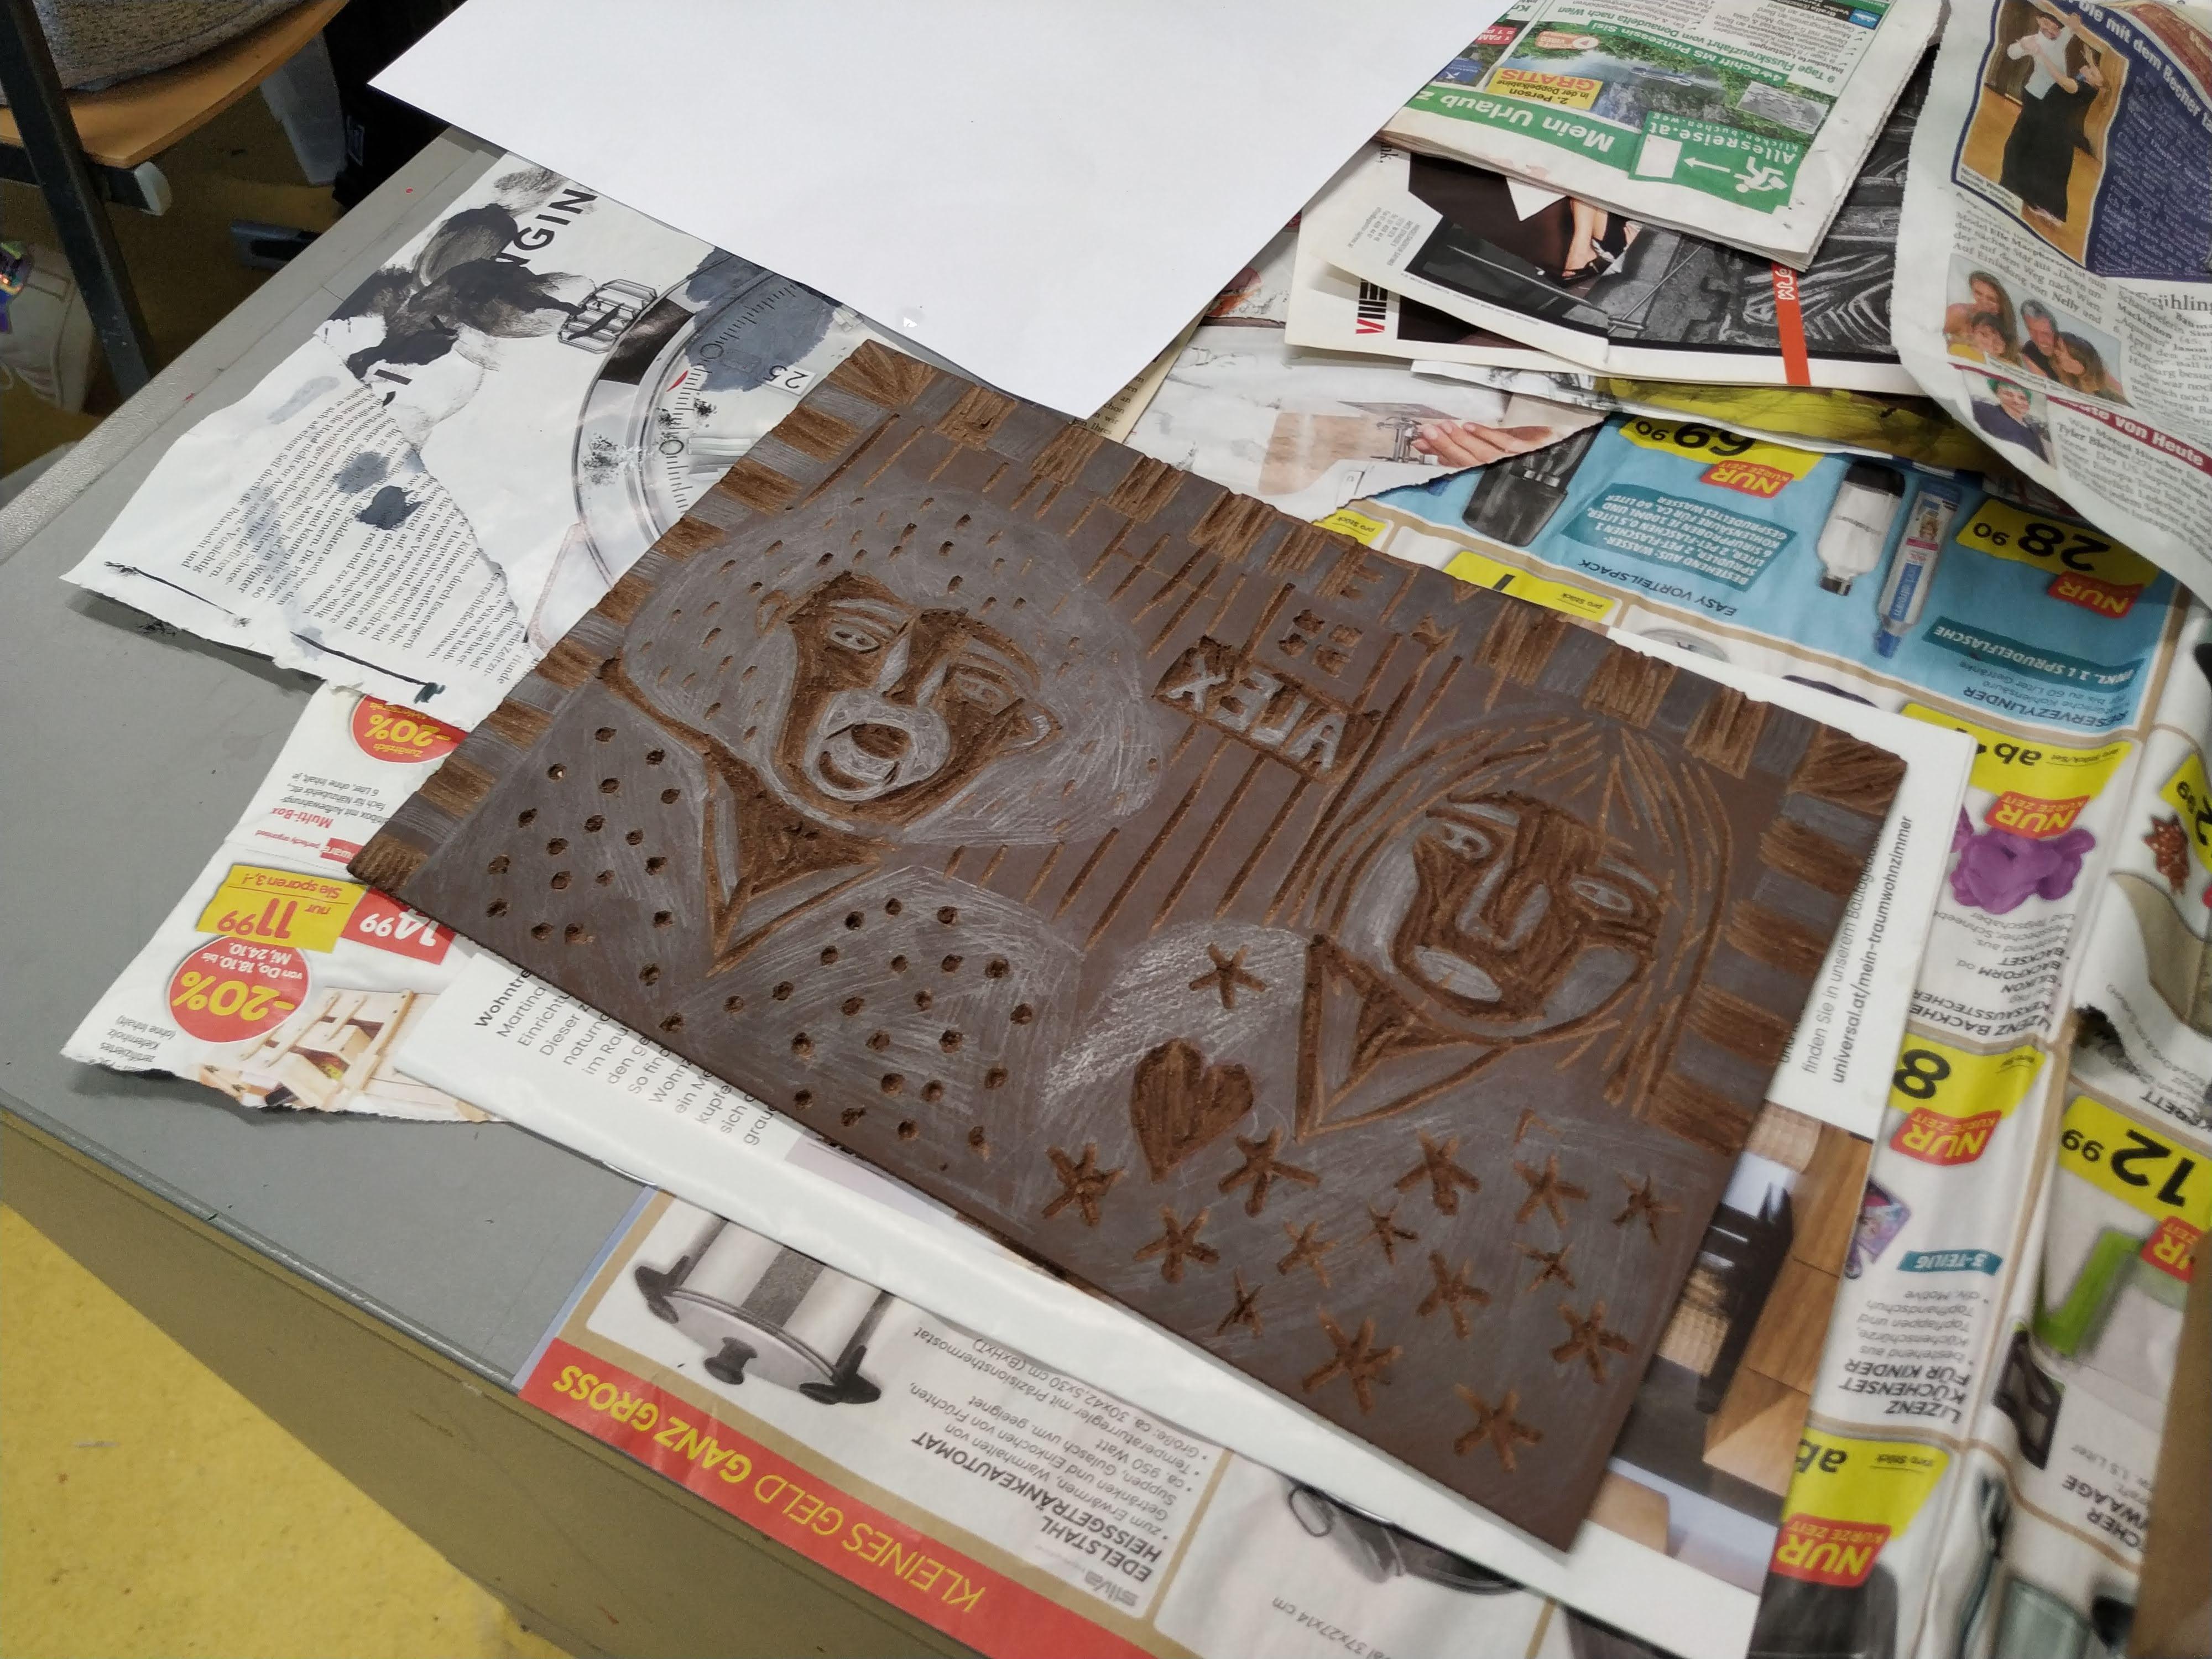
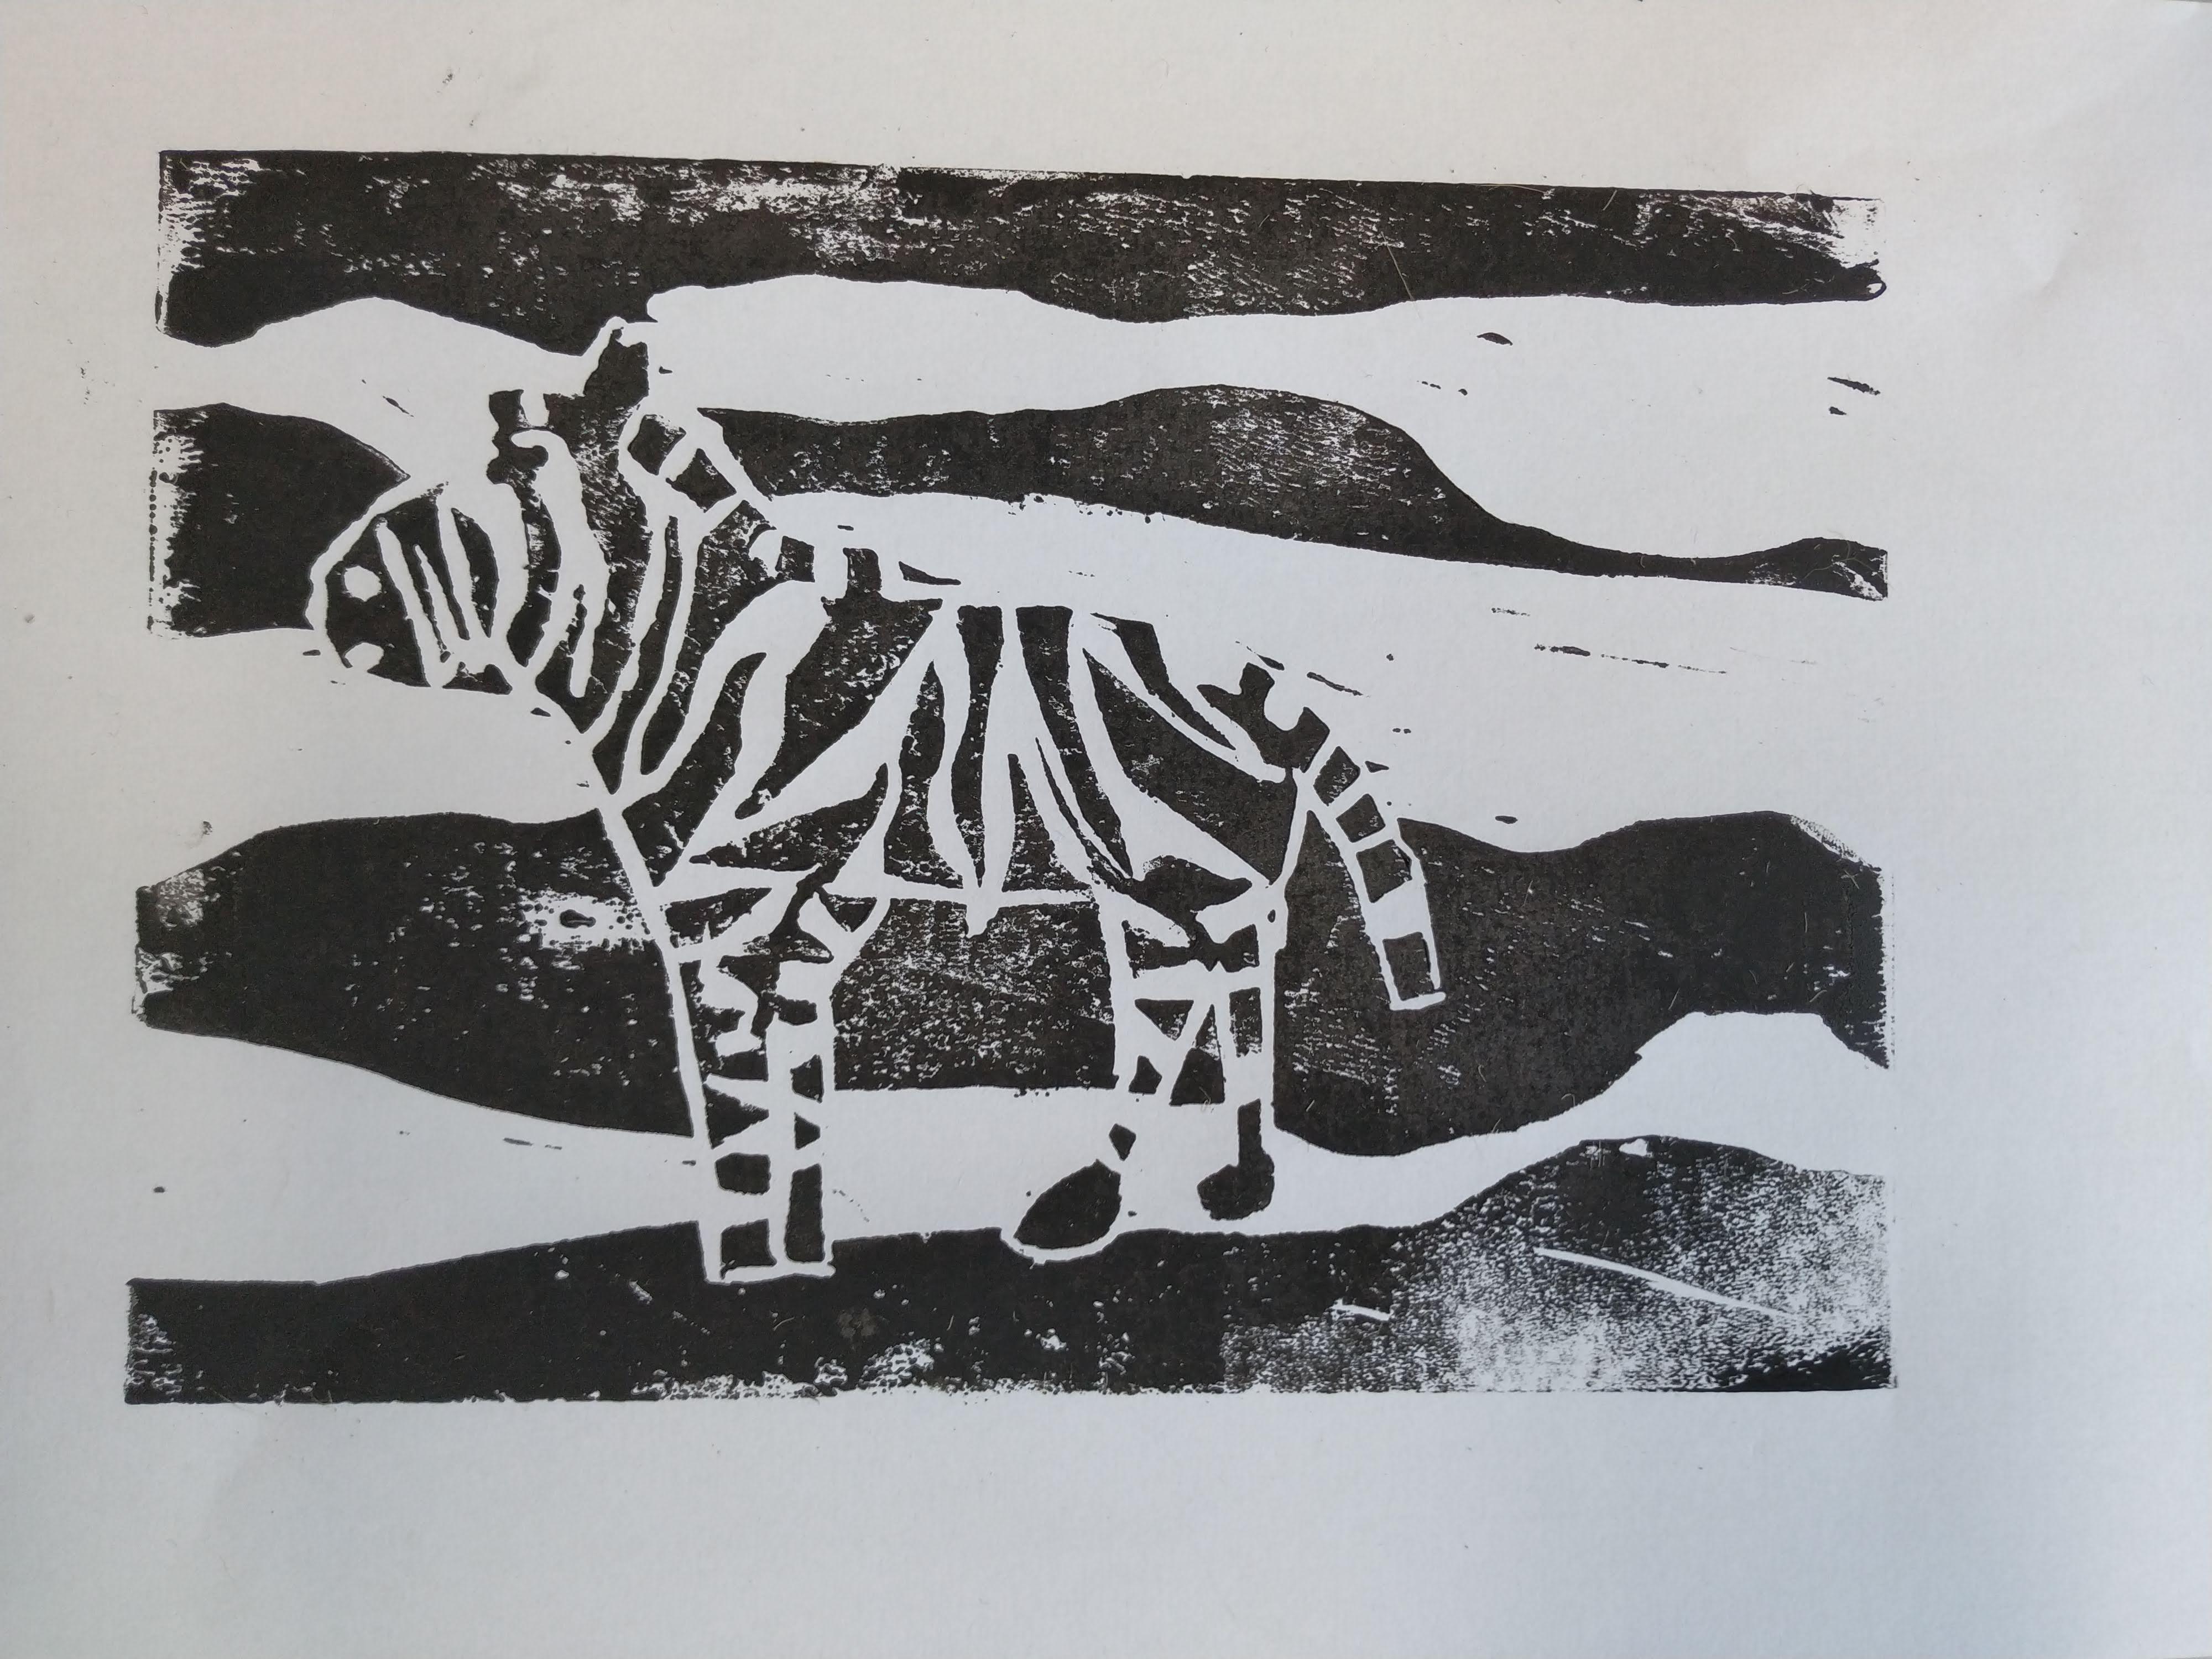
Since we were in permanent lockdown or only had
half of the class any other week we (teachers) didn’t see our pupils that often. That’s is somewhat of a sad situation for arts teachers. Since I love printing, woodblock, linocut, intaglio (etching and engraving) and often do different projects involving printing techniques, I came up with an easy and free workflow for preparing linocuts or woodprints at home with the extra task to use a CAM program and prepare an NC file for CNC cutting the print.
In the process there is a lot to learn including digital graphics design, general understanding of print making and some interesting technical challenges.
I also accidentally found some interesting new possibilities machining Linoleum that I have never before seen anywhere else.
Some inspiration comes from artists Franz Gertsch (massive, photorealistic, monochrome woodblock portrait prints) and Mike Lyon which uses CNC maschines formulticolor wood prints and automated drawing/plotting.
Supplies
For the first stages you only need a PC and free (online) software and tools.
From there on you will have to use a CNC router and different print making supplies.
The Motive and the Manual Way
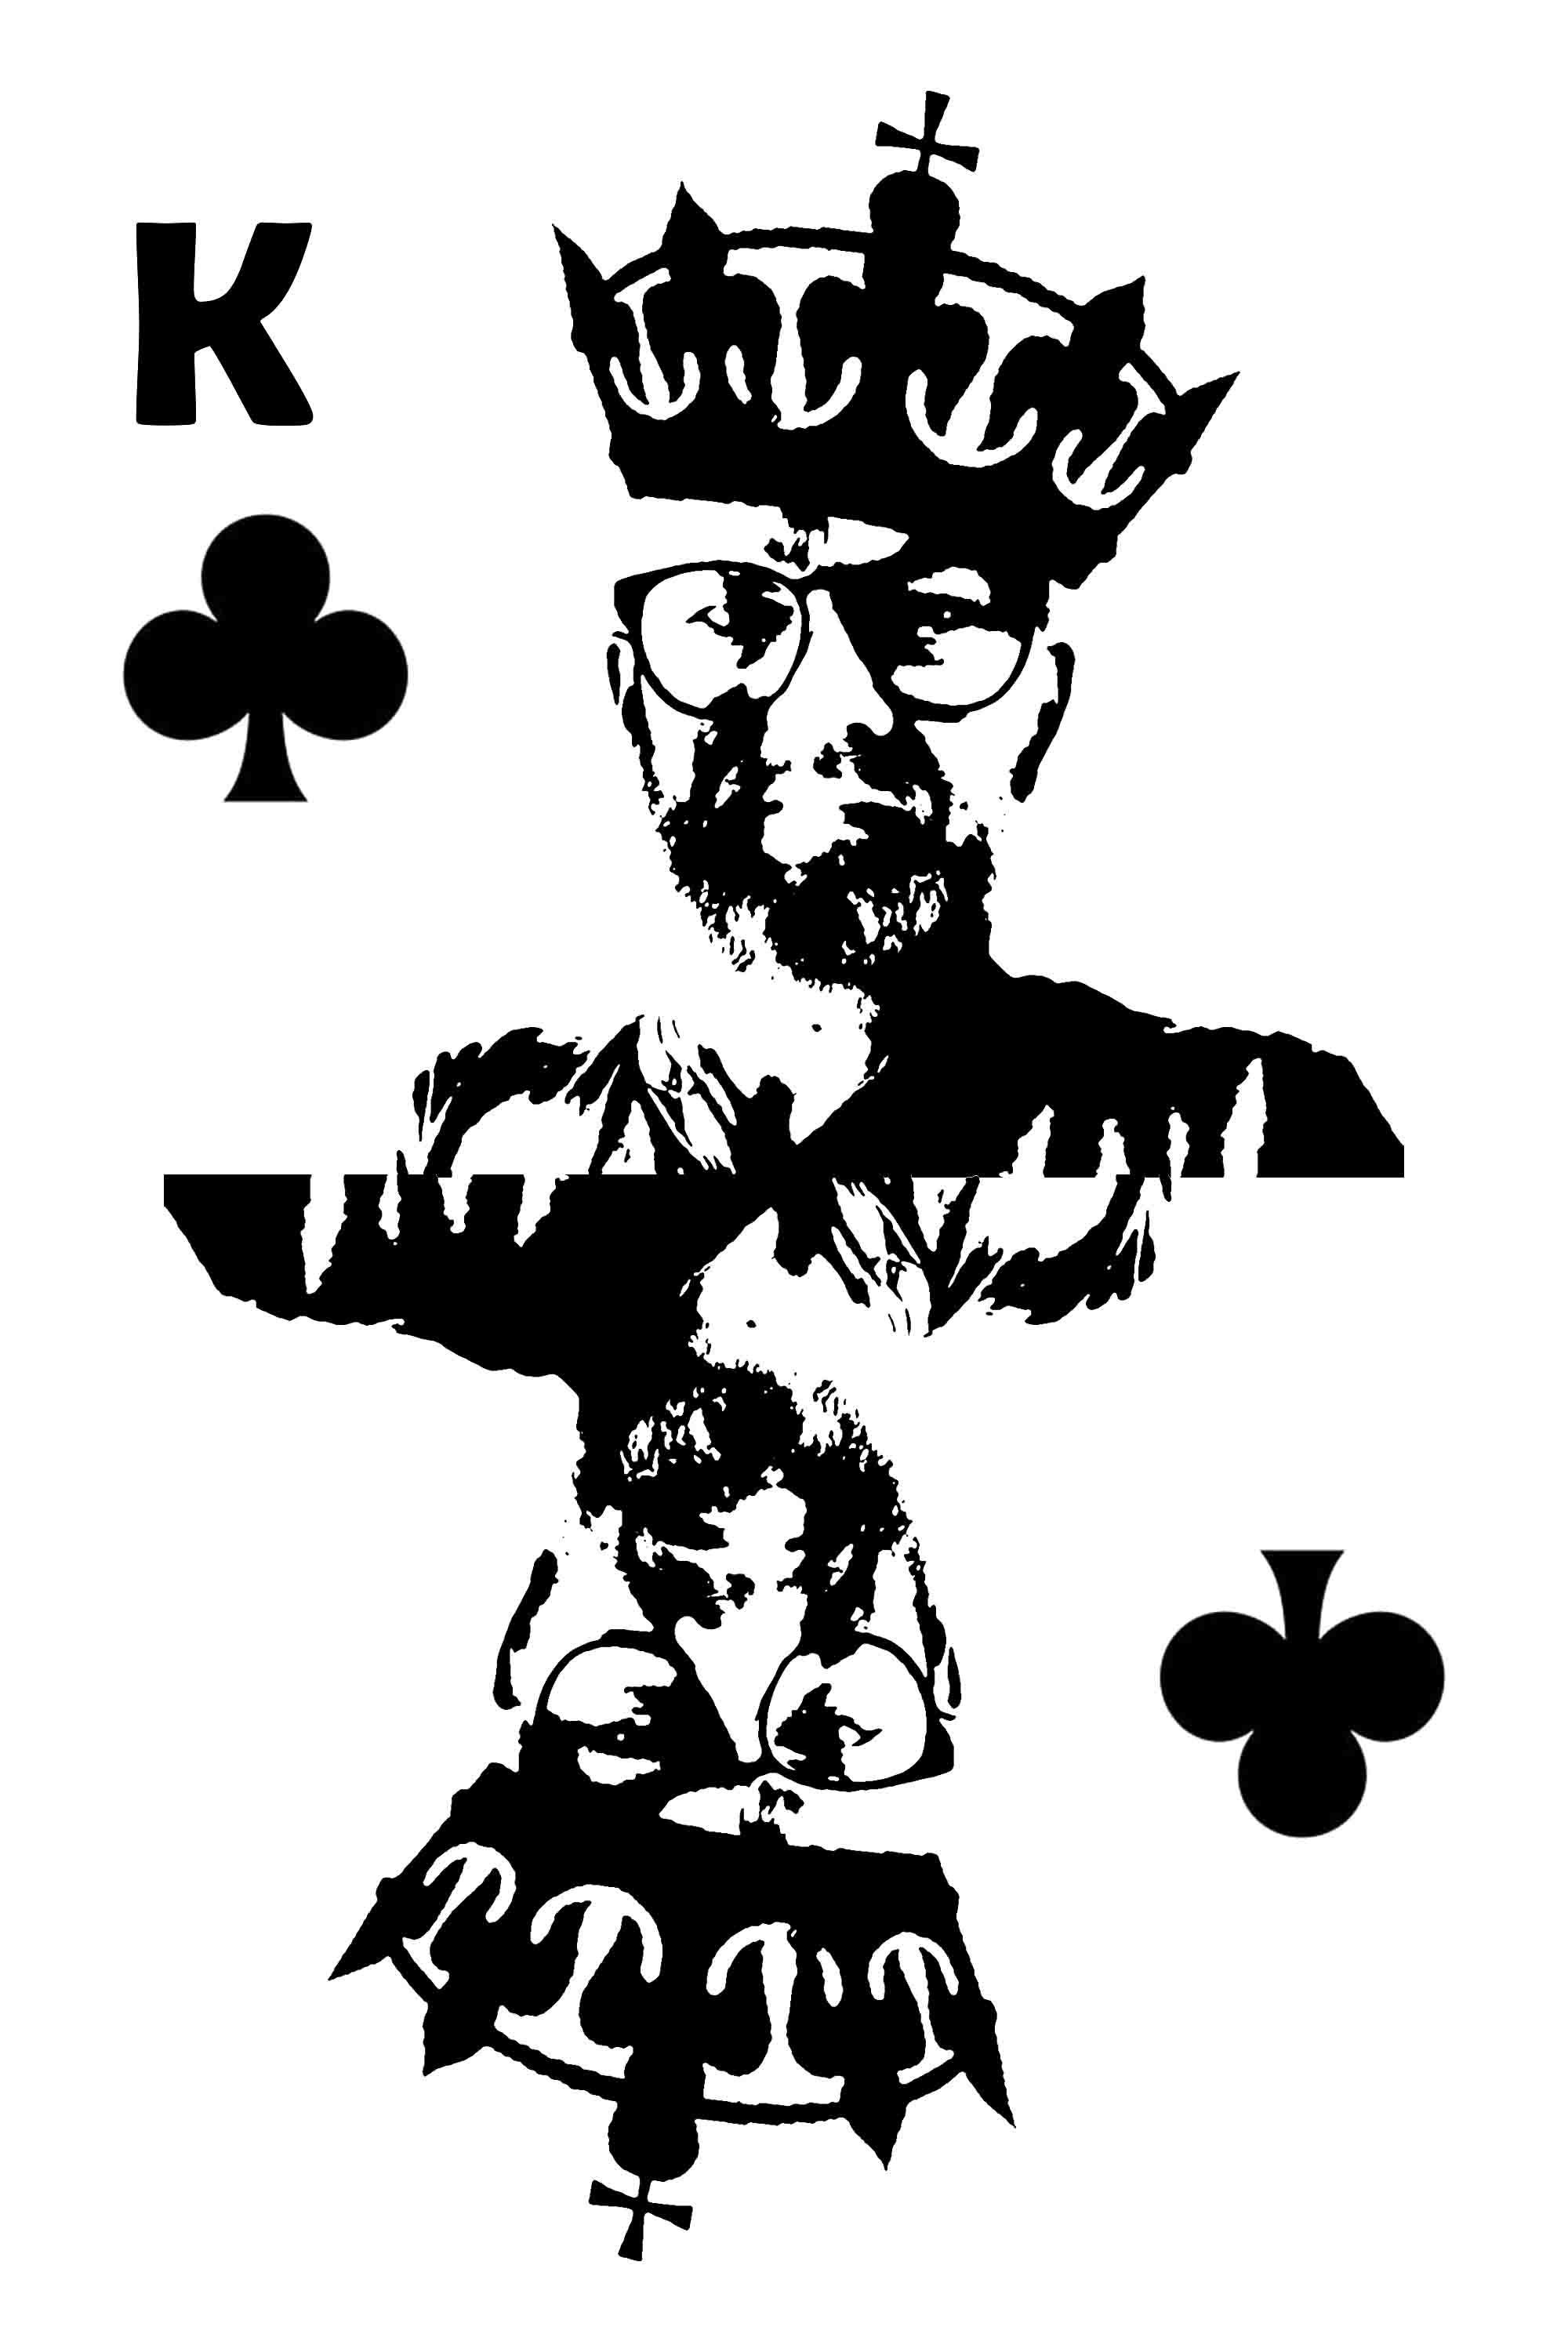
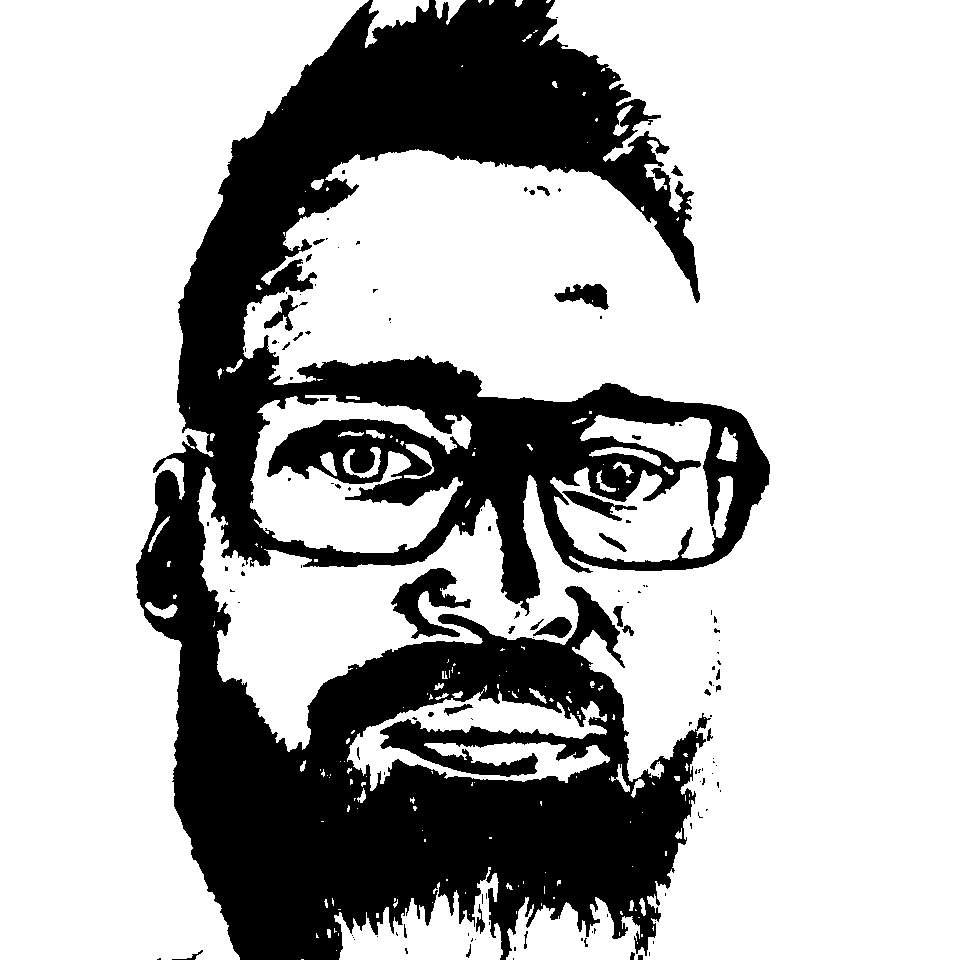
A classic topic for linocuts is portrait. We normally use portrait photos which we just alter the contrast a little and print in A4 or A5, whatever size the Linoprint should turn out. Then we draw on the Photos with a very soft graphite pencil (3B-12B).
The paper is then turned and laid on the Linoleum. We use the handle of the cutting tool to press the Graphite on the Linoleum and then retrace the motive.
If Text is involved the children can now see that the Text is mirrored on the printing plate.
The Digital Workflow
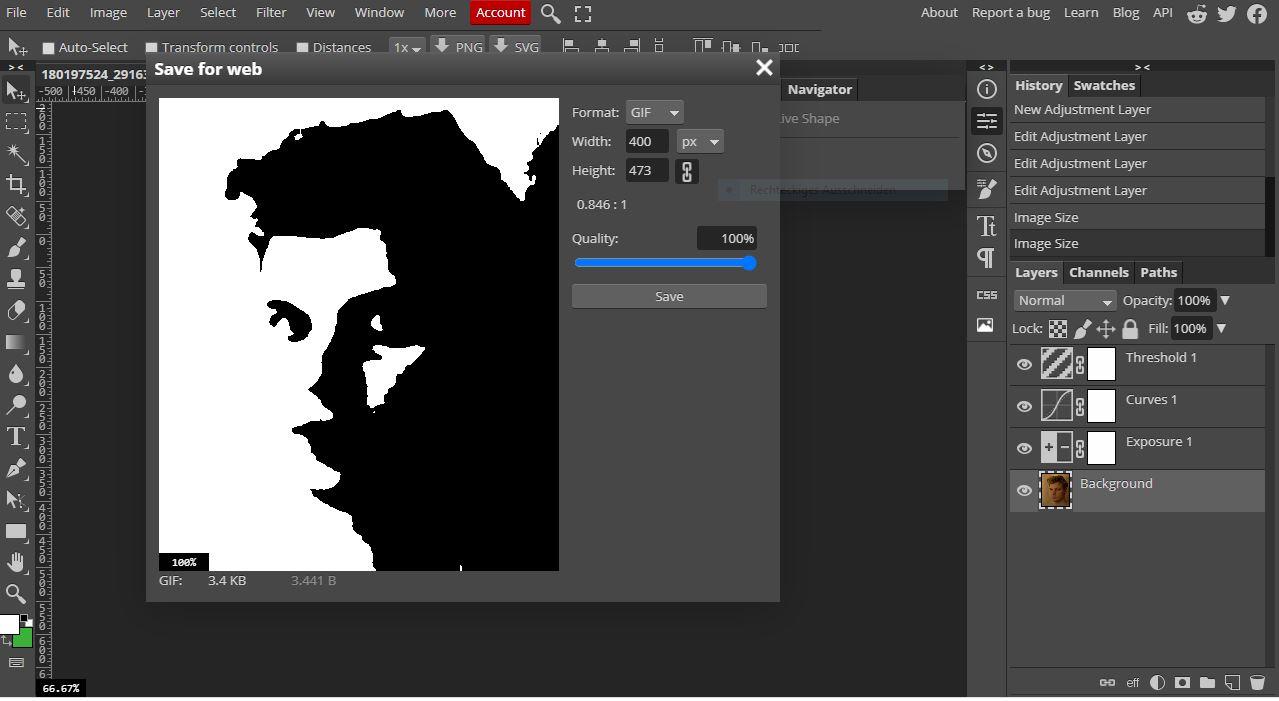
For photo editing we use Photopea.com which is a down to perfect online Photoshop clone.
For homeschooling I upload a step-by-step tutorial with detailed explanations of the tools (how to set a cropping ratio etc.) I will just assume you are capable of basic image editing here…(or able to google relevant video tutorials if you get stuck).
1. Open your Image so that it fills out your frame or choose an interesting crop.
2. Create a new Adjustment Layer using “Curves”.
3. Create an Adjustment Layer using “Threshold”.
4. Now you can play with the settings to find a good contrast.
5. If you happen to have a bad picture with too little contrast or other issues you can try compositing different settings with layer masks.
6. When you are satisfied with the result you have to flip your image horizontally (or just know you will get the mirror image when printing).
7. Reduce your layers (you can keep all layer when you first make copies of them) to the backfround.
8. At this point you might have too many details. A good way to get rid of too much detail is a filter.
Try the “watercolor” filter from the filter gallery.
9. You can also reduce the resolution and resize it again or hand edit our unwanted details.
10.Save your work in PSD format and save a copy in GIF format.
Converting Into Vector Graphics
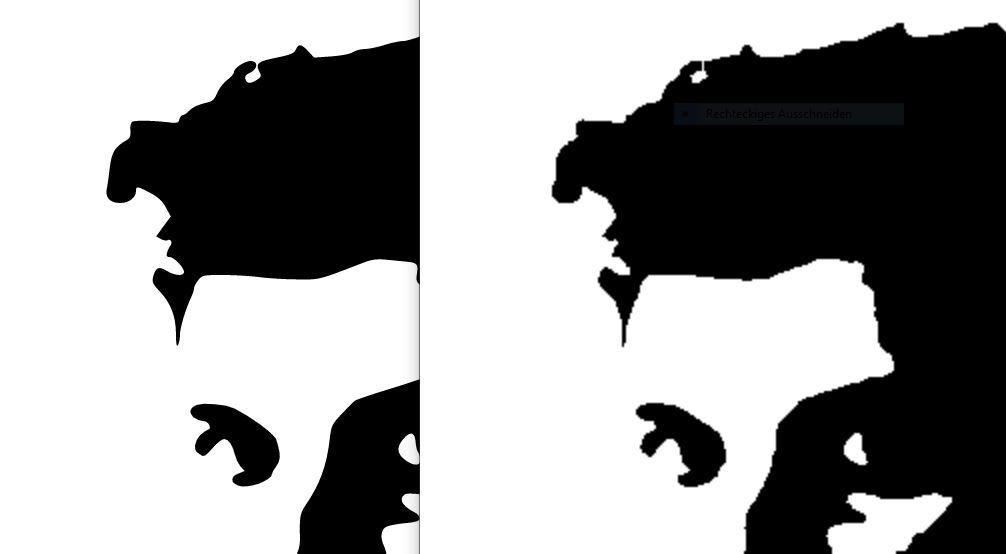
Here is another teaching moment. We discuss the difference between pixel/raster and vector graphics and when to use one or the other.
I use convertio.co or freeconvert.com/gif-to-svg/ to convert the GIF into SVG.
I have tried many online converters and those two are the best. If you want to have a whole class convert their images in one network at school, convertio will display a limit and stop converting files after the first 20 or so images.
Now the children can see the difference between the GIF and SVG when they open both in a browser window side by side and zoom in.
You also can use InkScape to trace pixel images into vector graphics. Using a converter is just the easy way. There are also converters that will output perfectly useable DXF files.
CAM Software
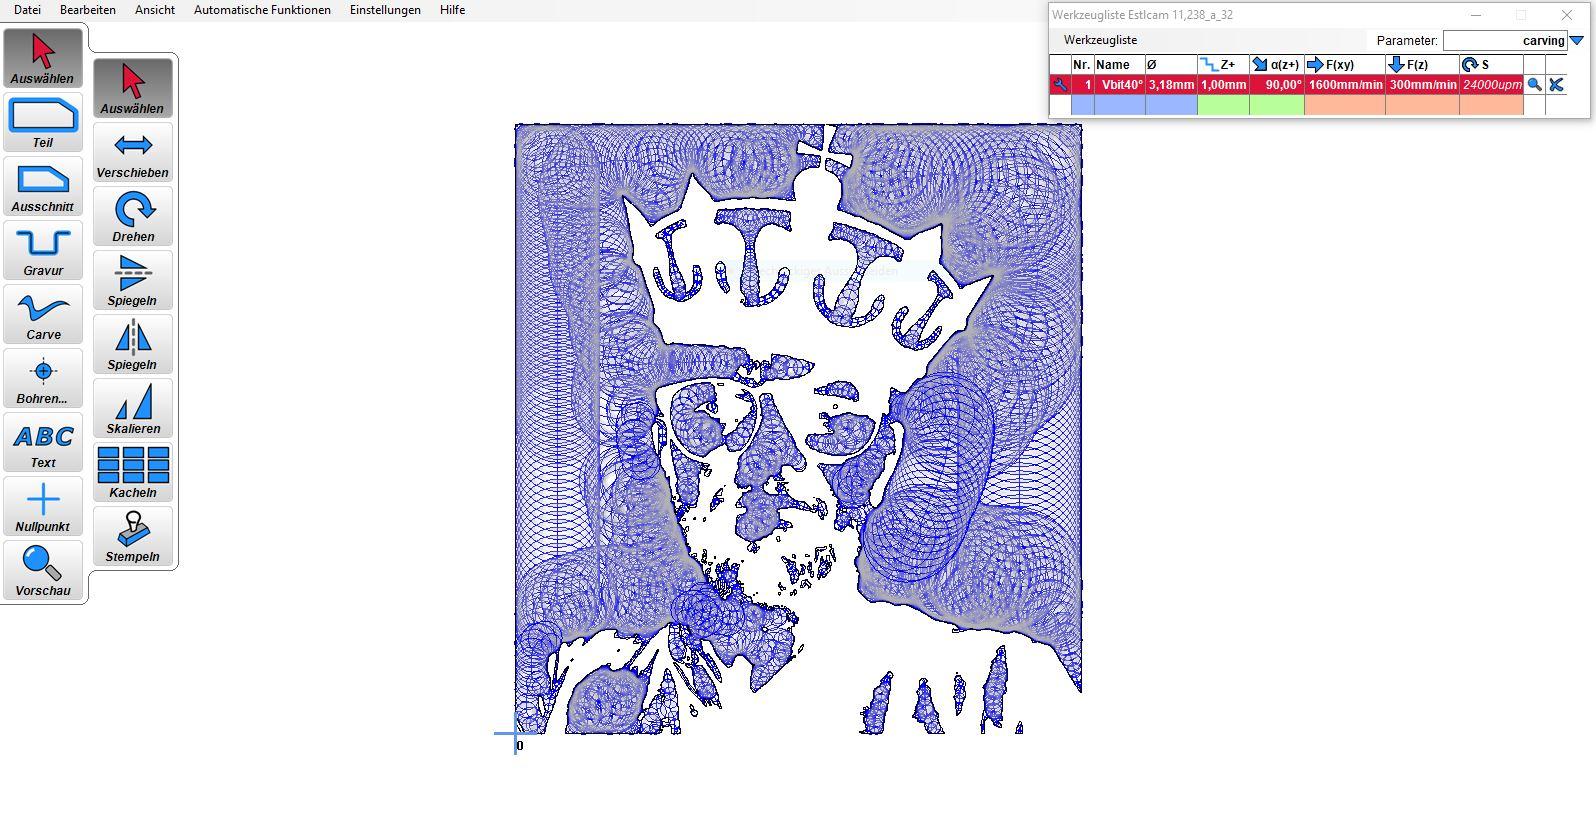
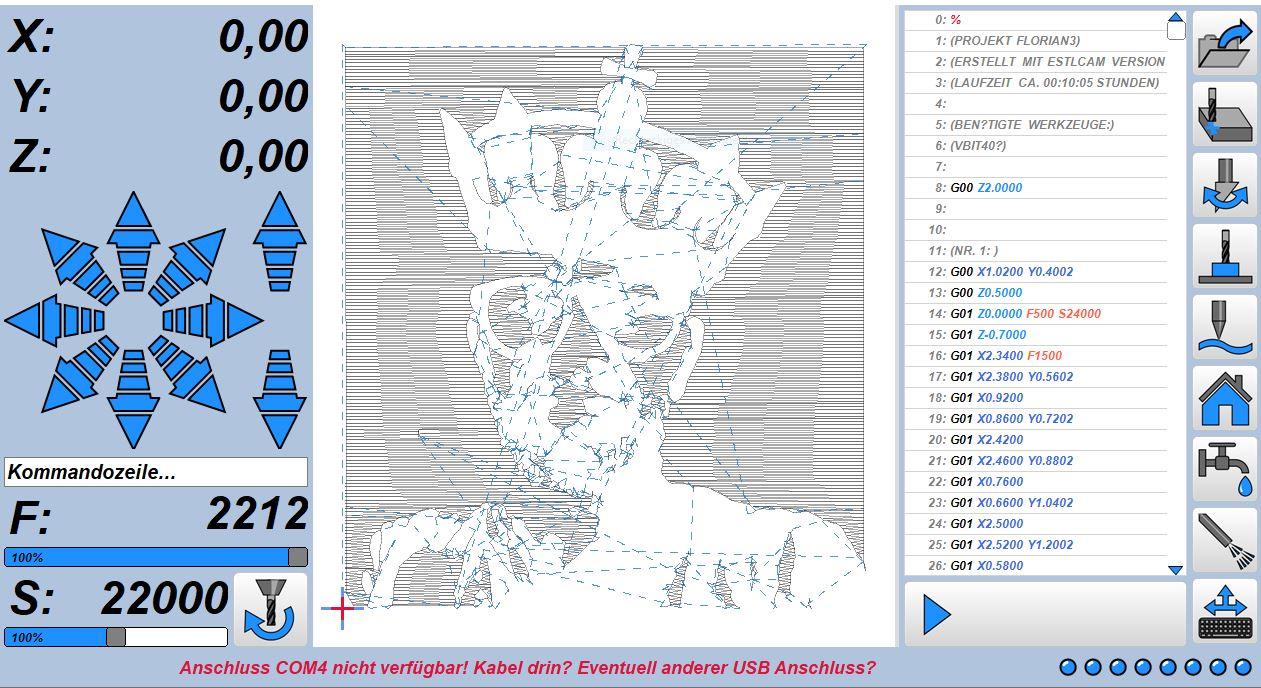
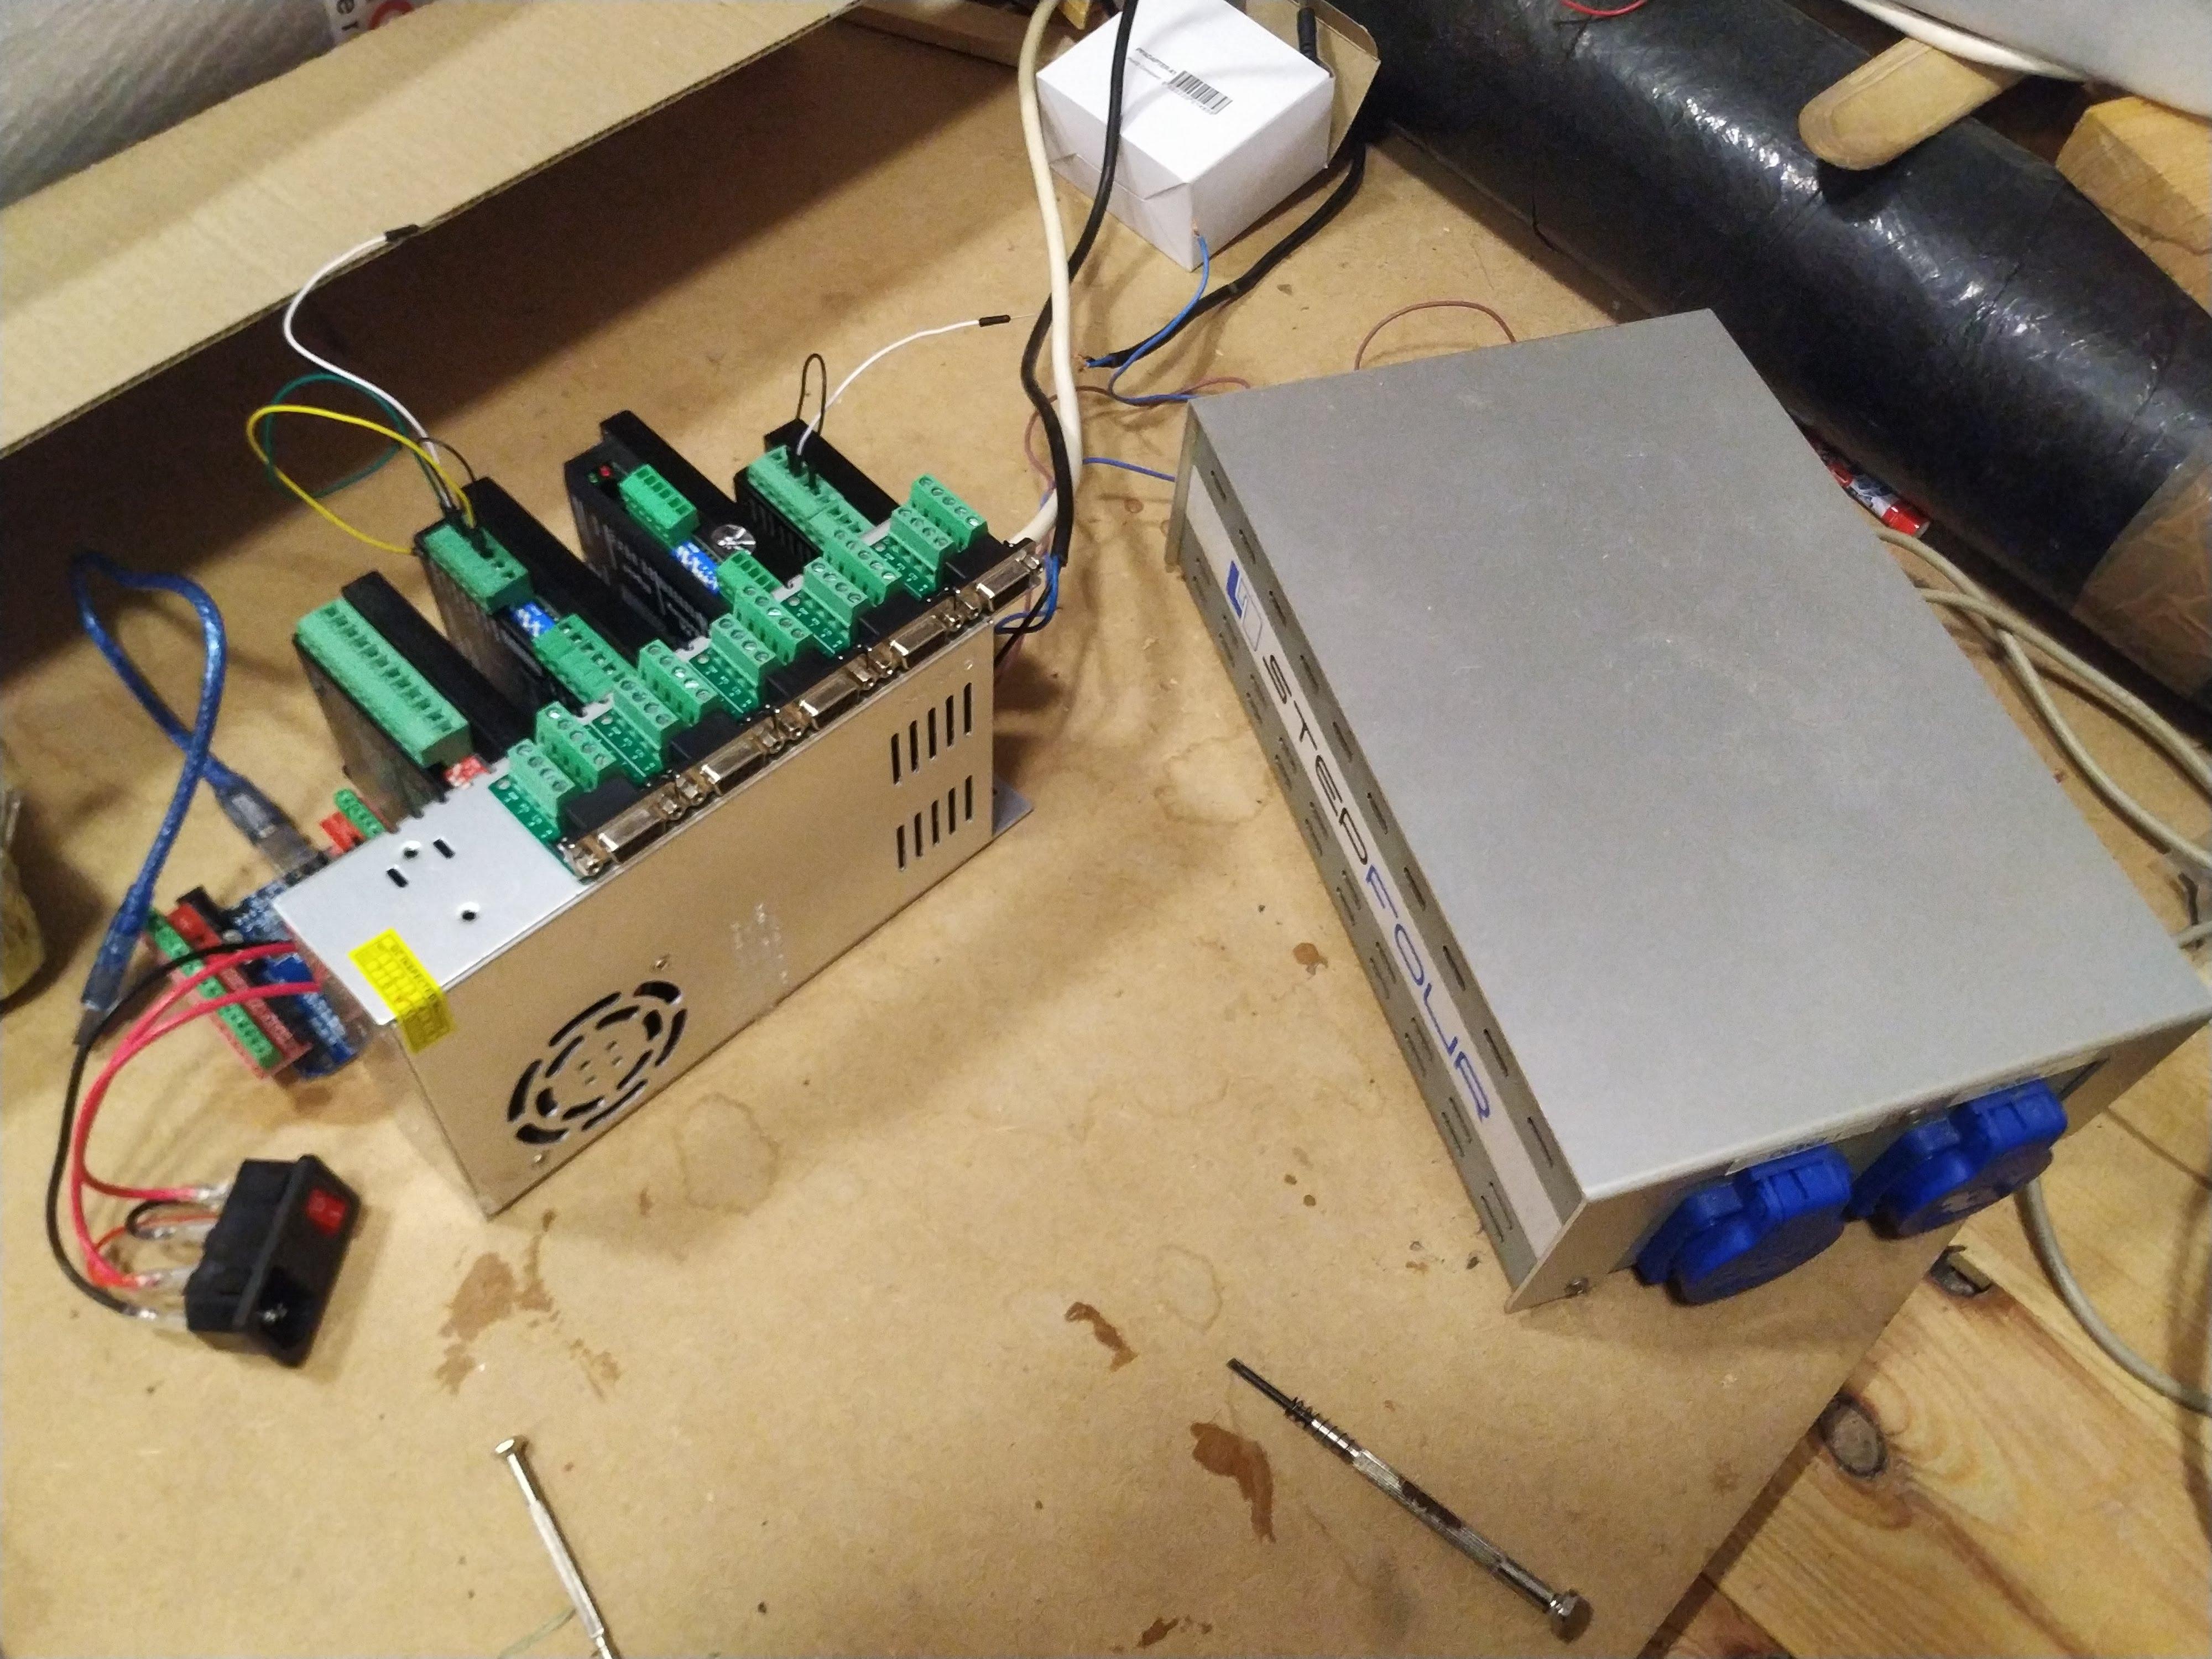
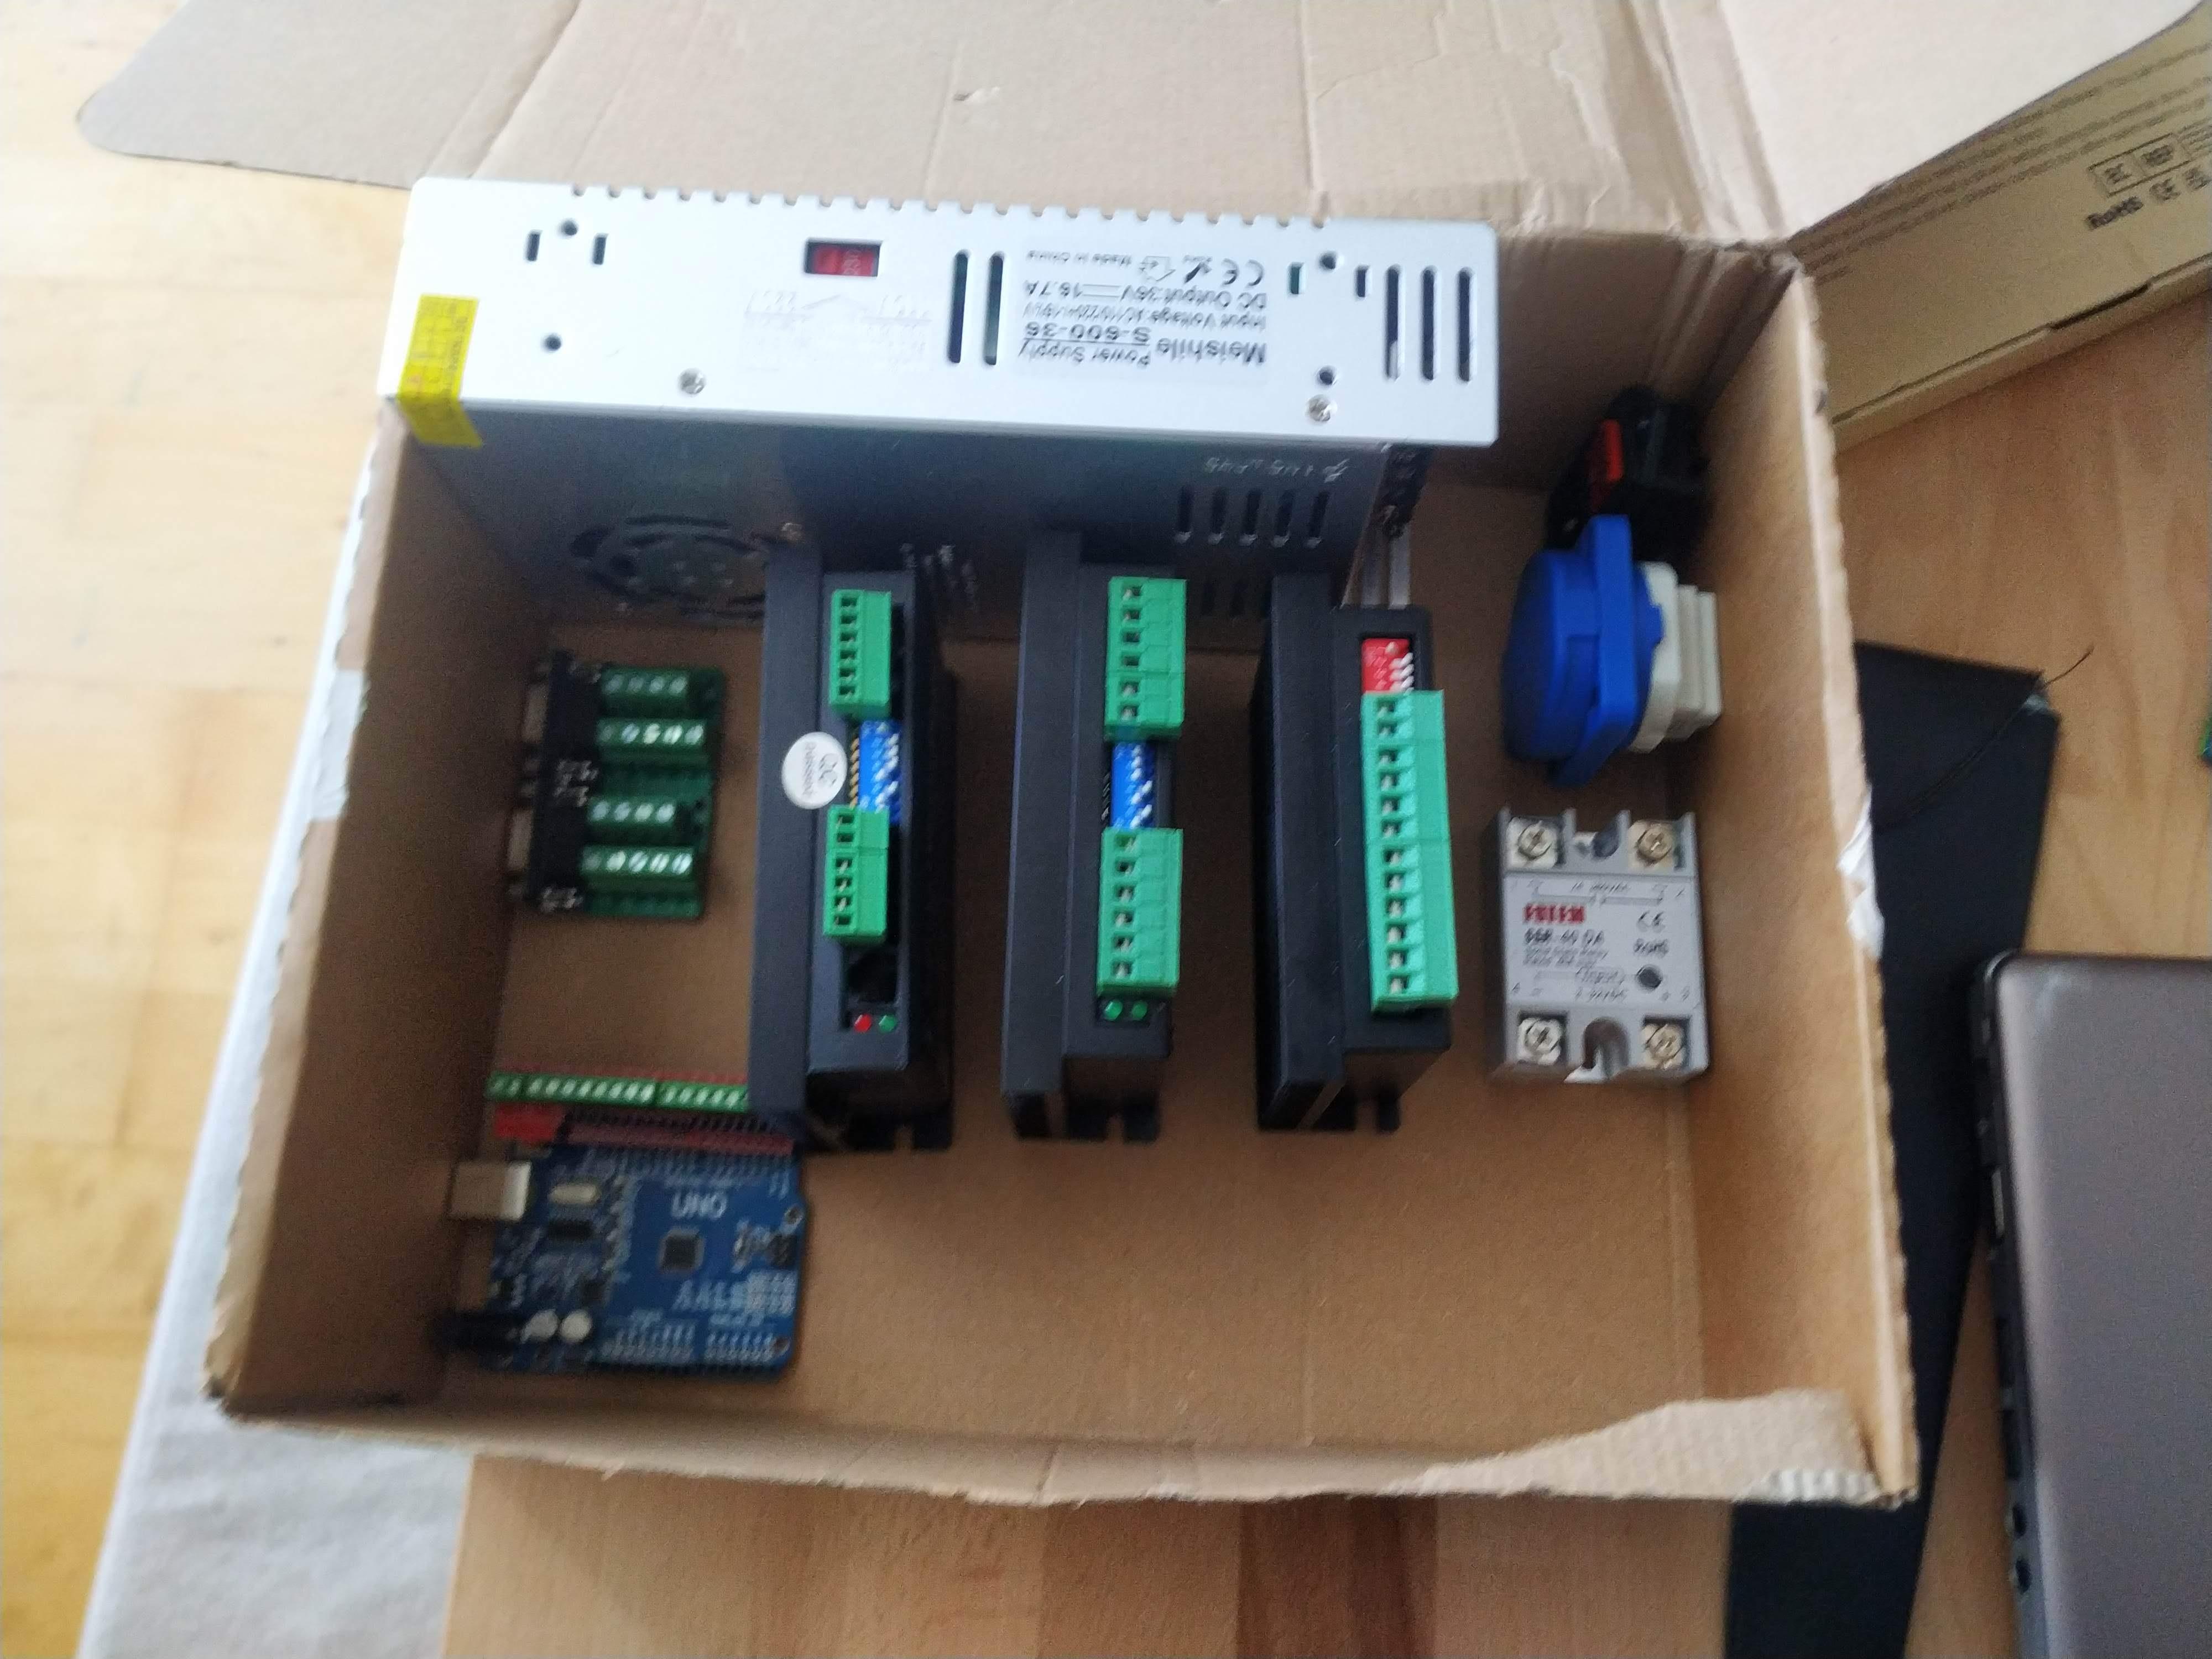
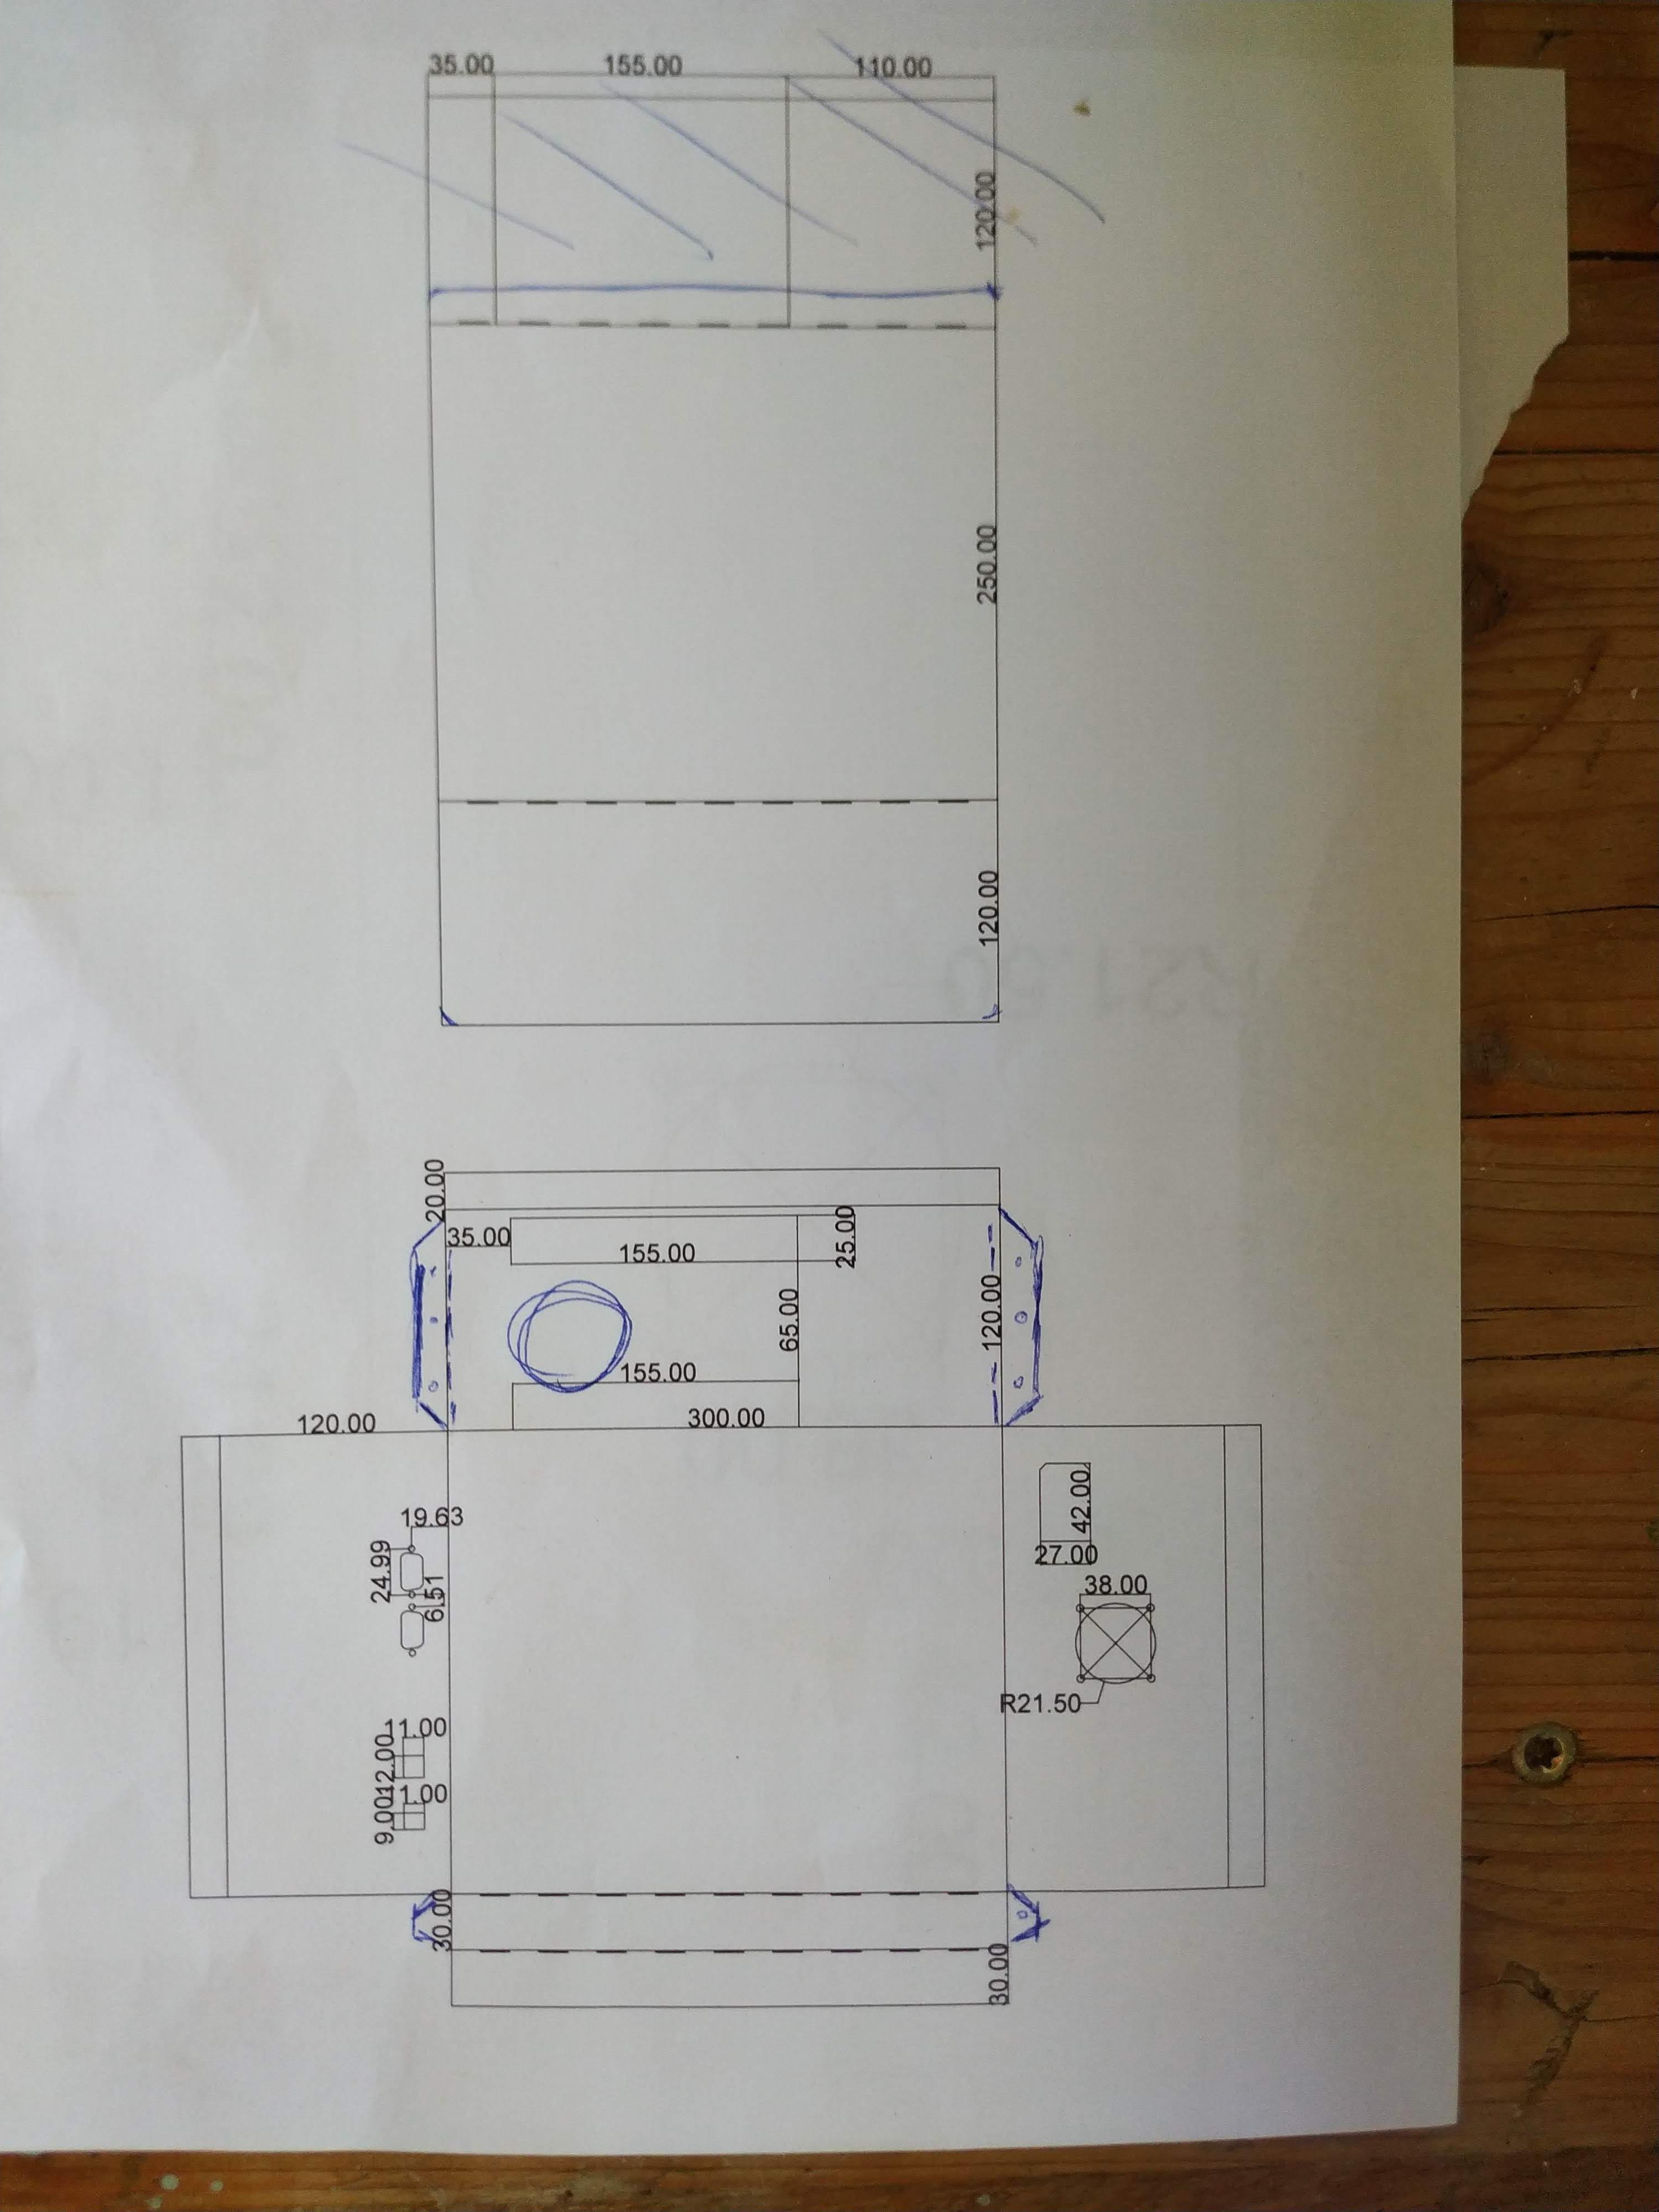
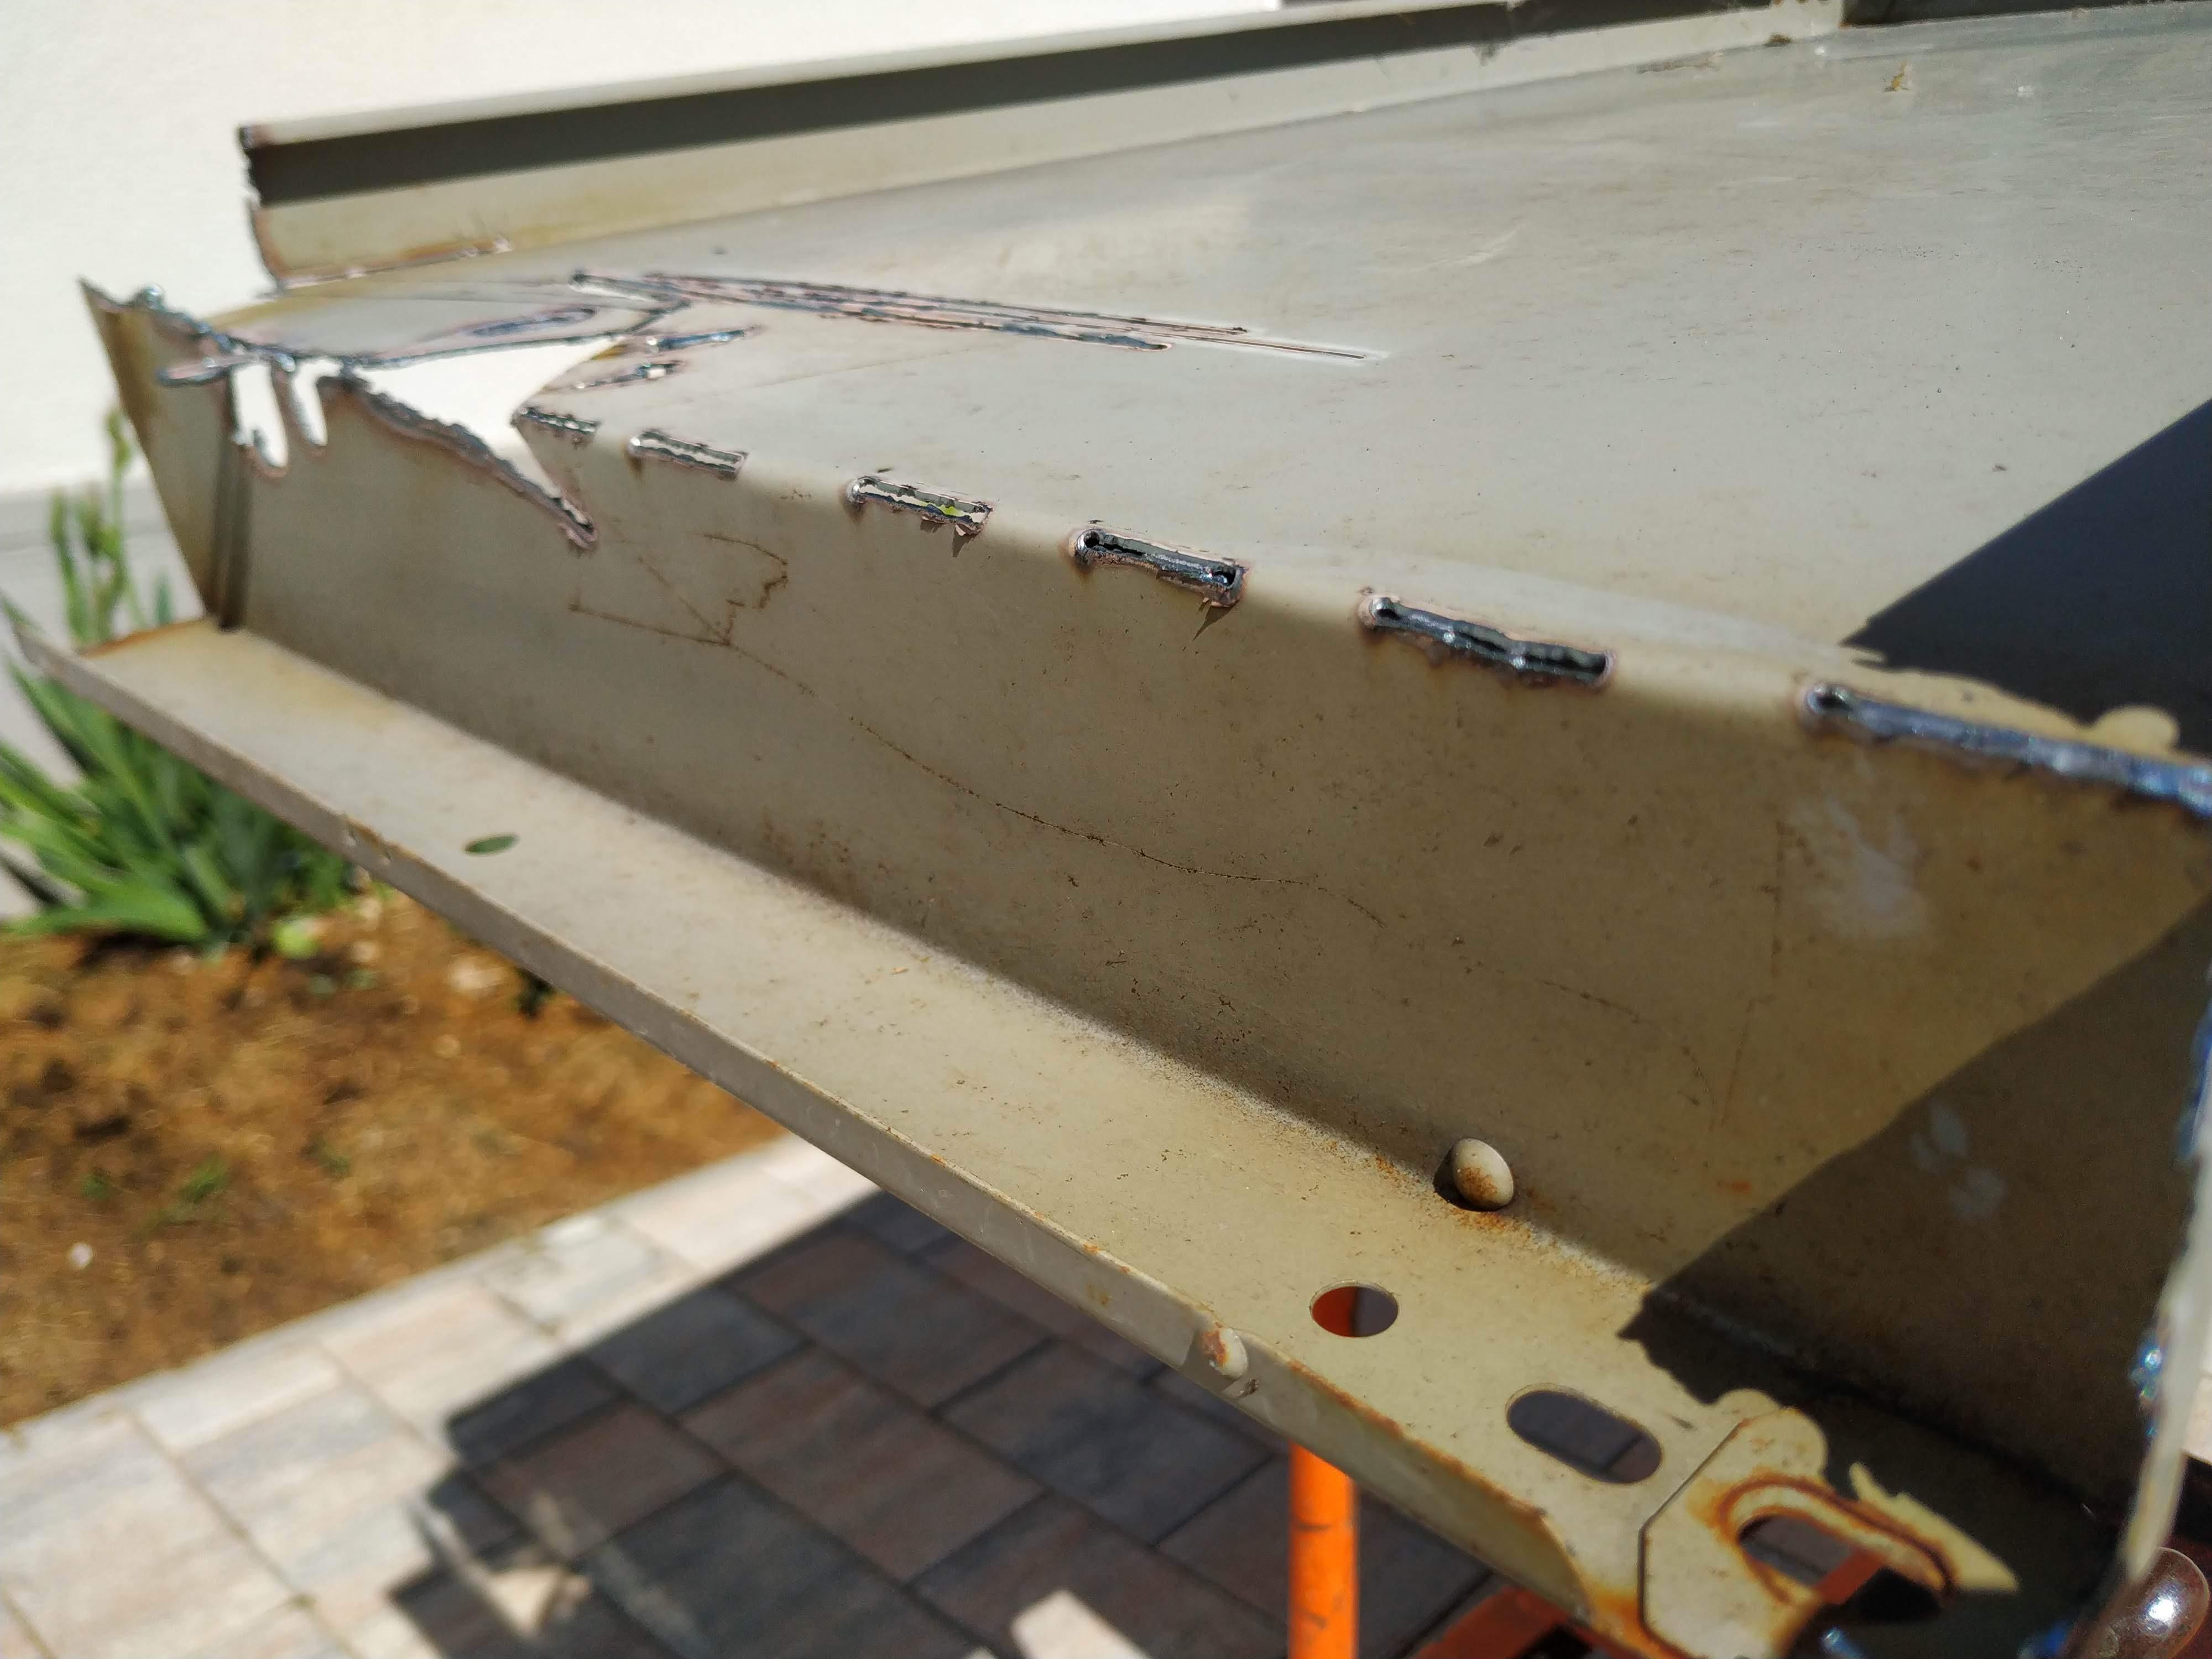
I use EstlCam for the process. It can do carves and is free to use indefinitely. There is only a waiting period, which is getting longer and longer with time, when saving or opening different files.
It also only takes 2 minutes to install and is so easy to learn.
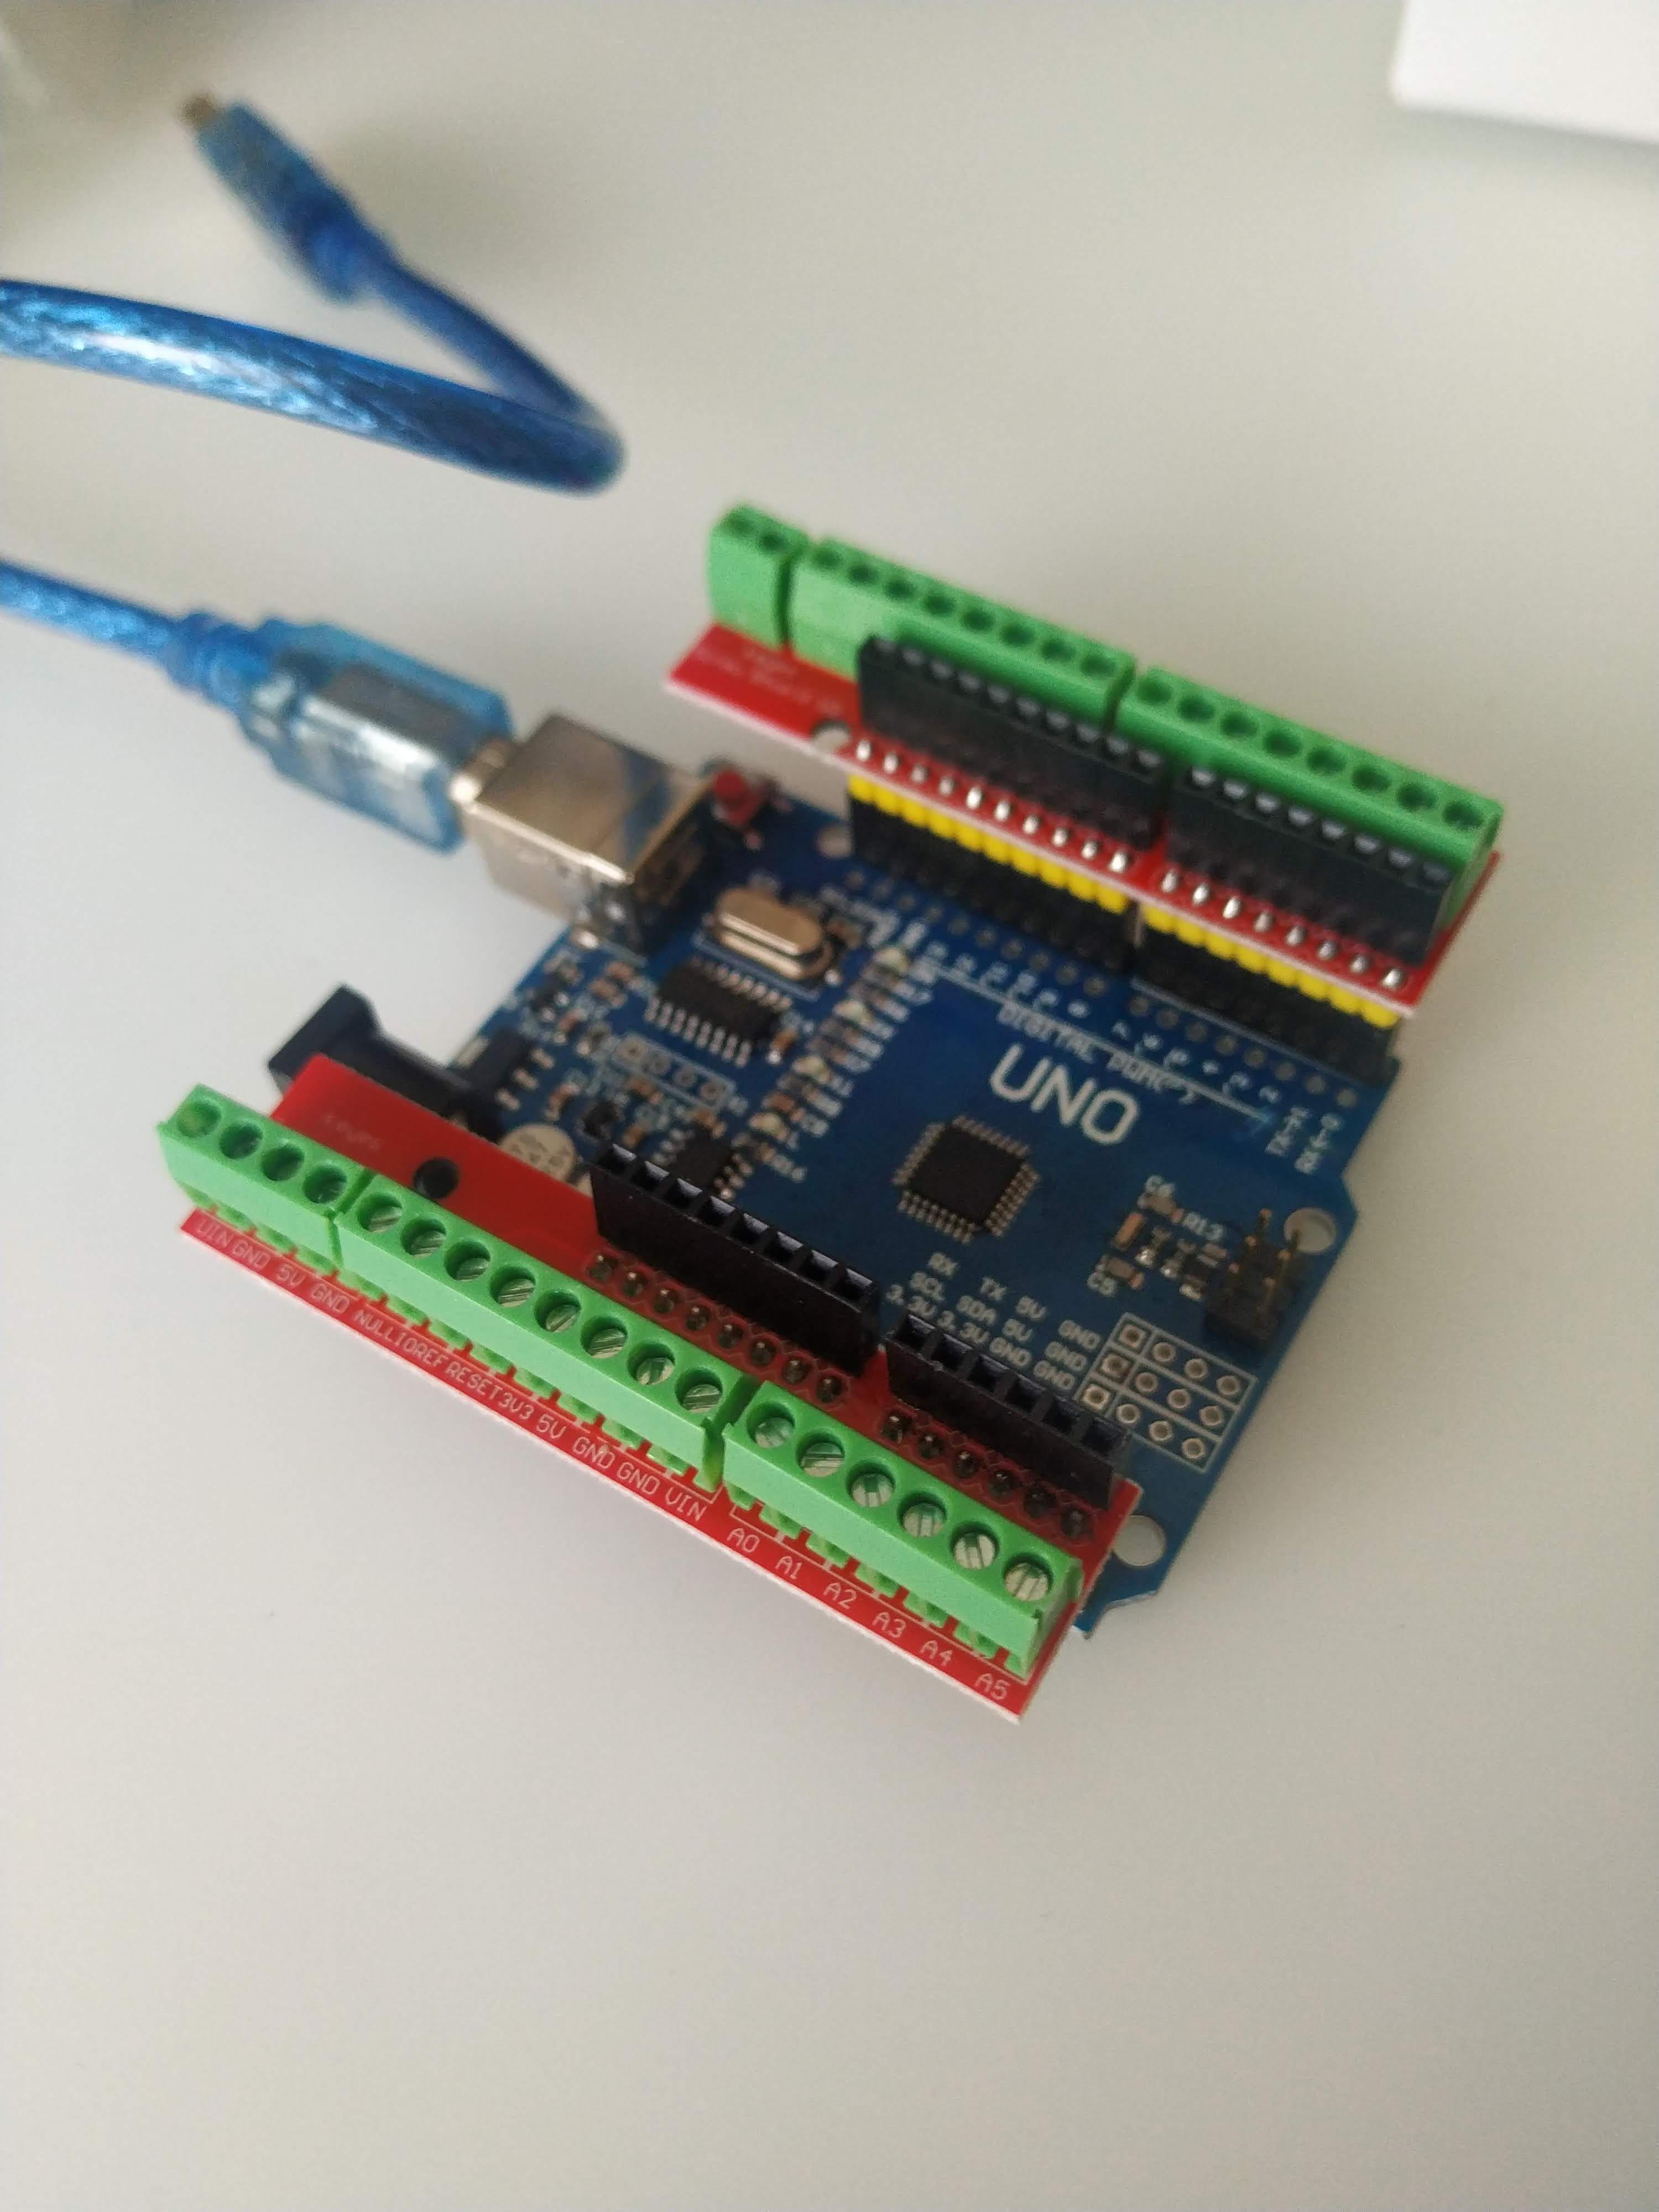
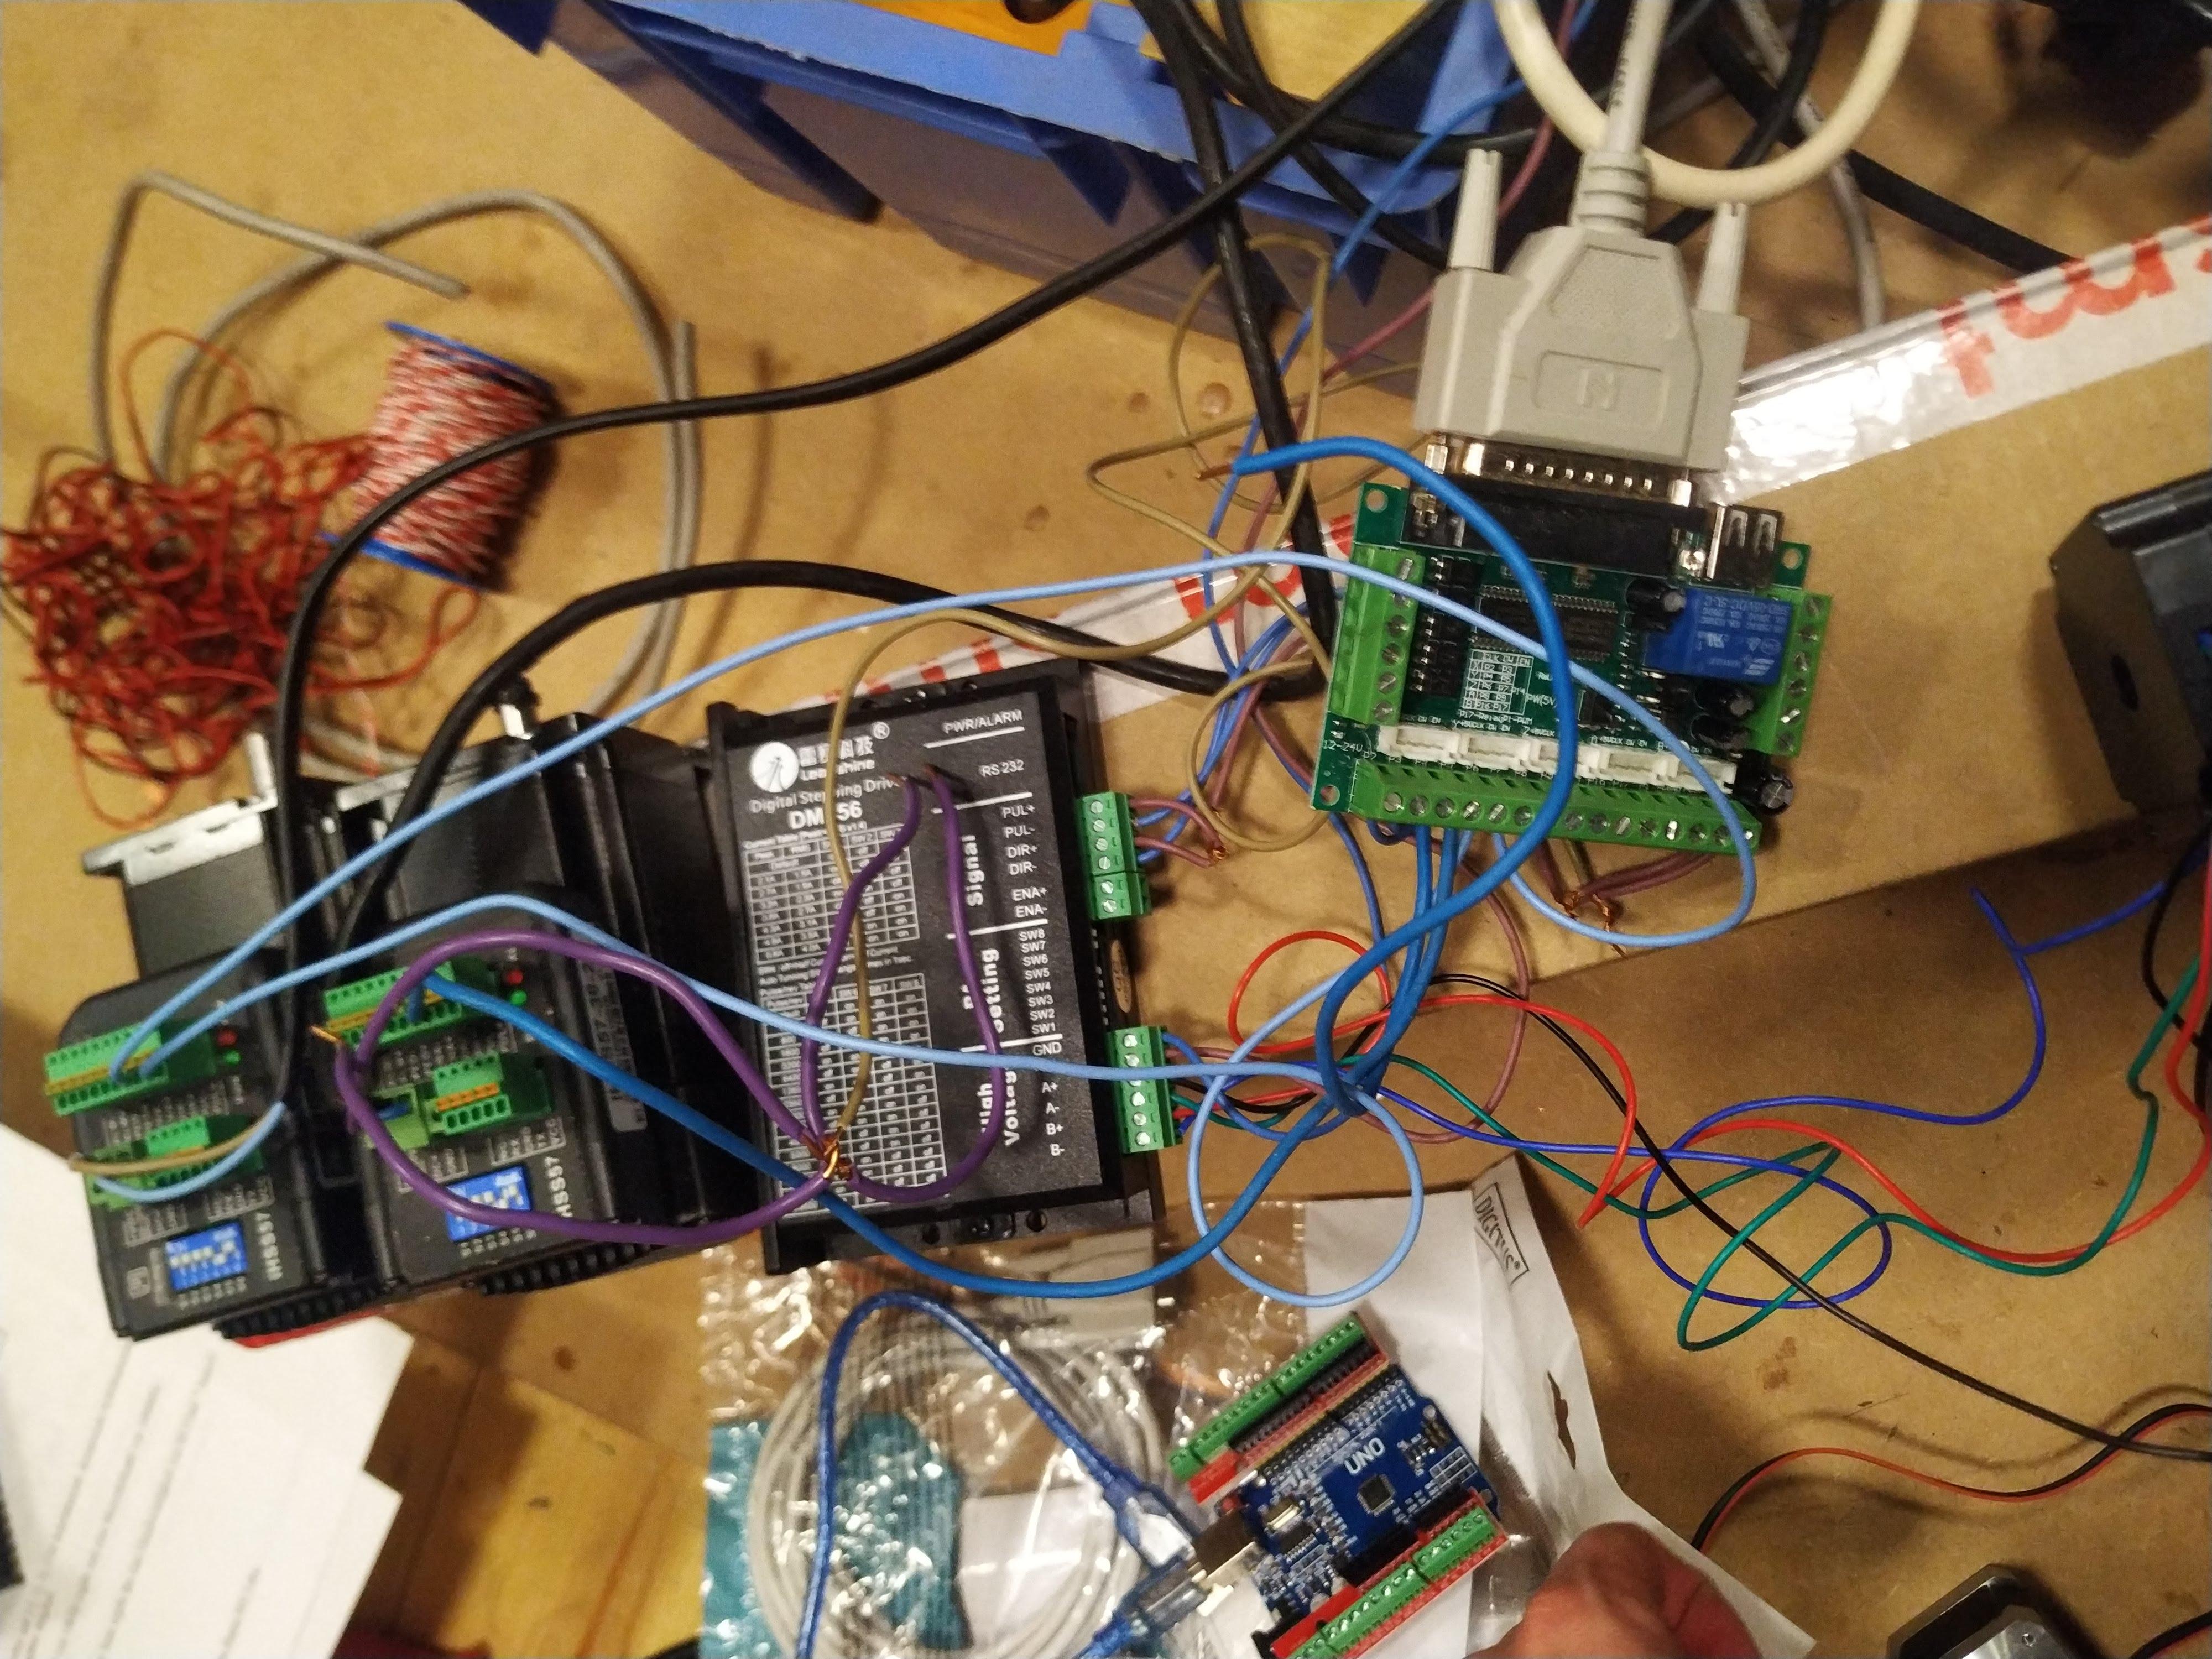
When starting to do cnc woodblock printing I only intended to use it as a CAM, within a week I had ditched my CNC controller and software (XpertMill) and converted to an Arduino UNO I already had and EstlCAM. First with some old drivers (and one Leadshine DM556) and now I installed DM556 from StepperOnline on all 3 axis. EstlCAM can also use XboX controllers to drive around which is the most intuitive and easy way to do it. You can use cheap Chinese copies also as long as they are installed as Xbox controllers on your PC.
In the pictures you can see some test cutting with the plasma torche...I am in the process of building an enclosure for my controller setup...
There are also some JMC closed loop stepper motors in the pictures...once you start playing around with CNC machines you will want to upgrade tp something bigger, faster, heavier....so there is more in my basement you can not see in the photos (2100mm/25mm HGR rail, 1400mm 80*160mm alumium beam for the new gantry....).
Here is the EstlCAM carve tutorial. That’s really all you need to watch to get started.
Other Topics We Like to Work With.
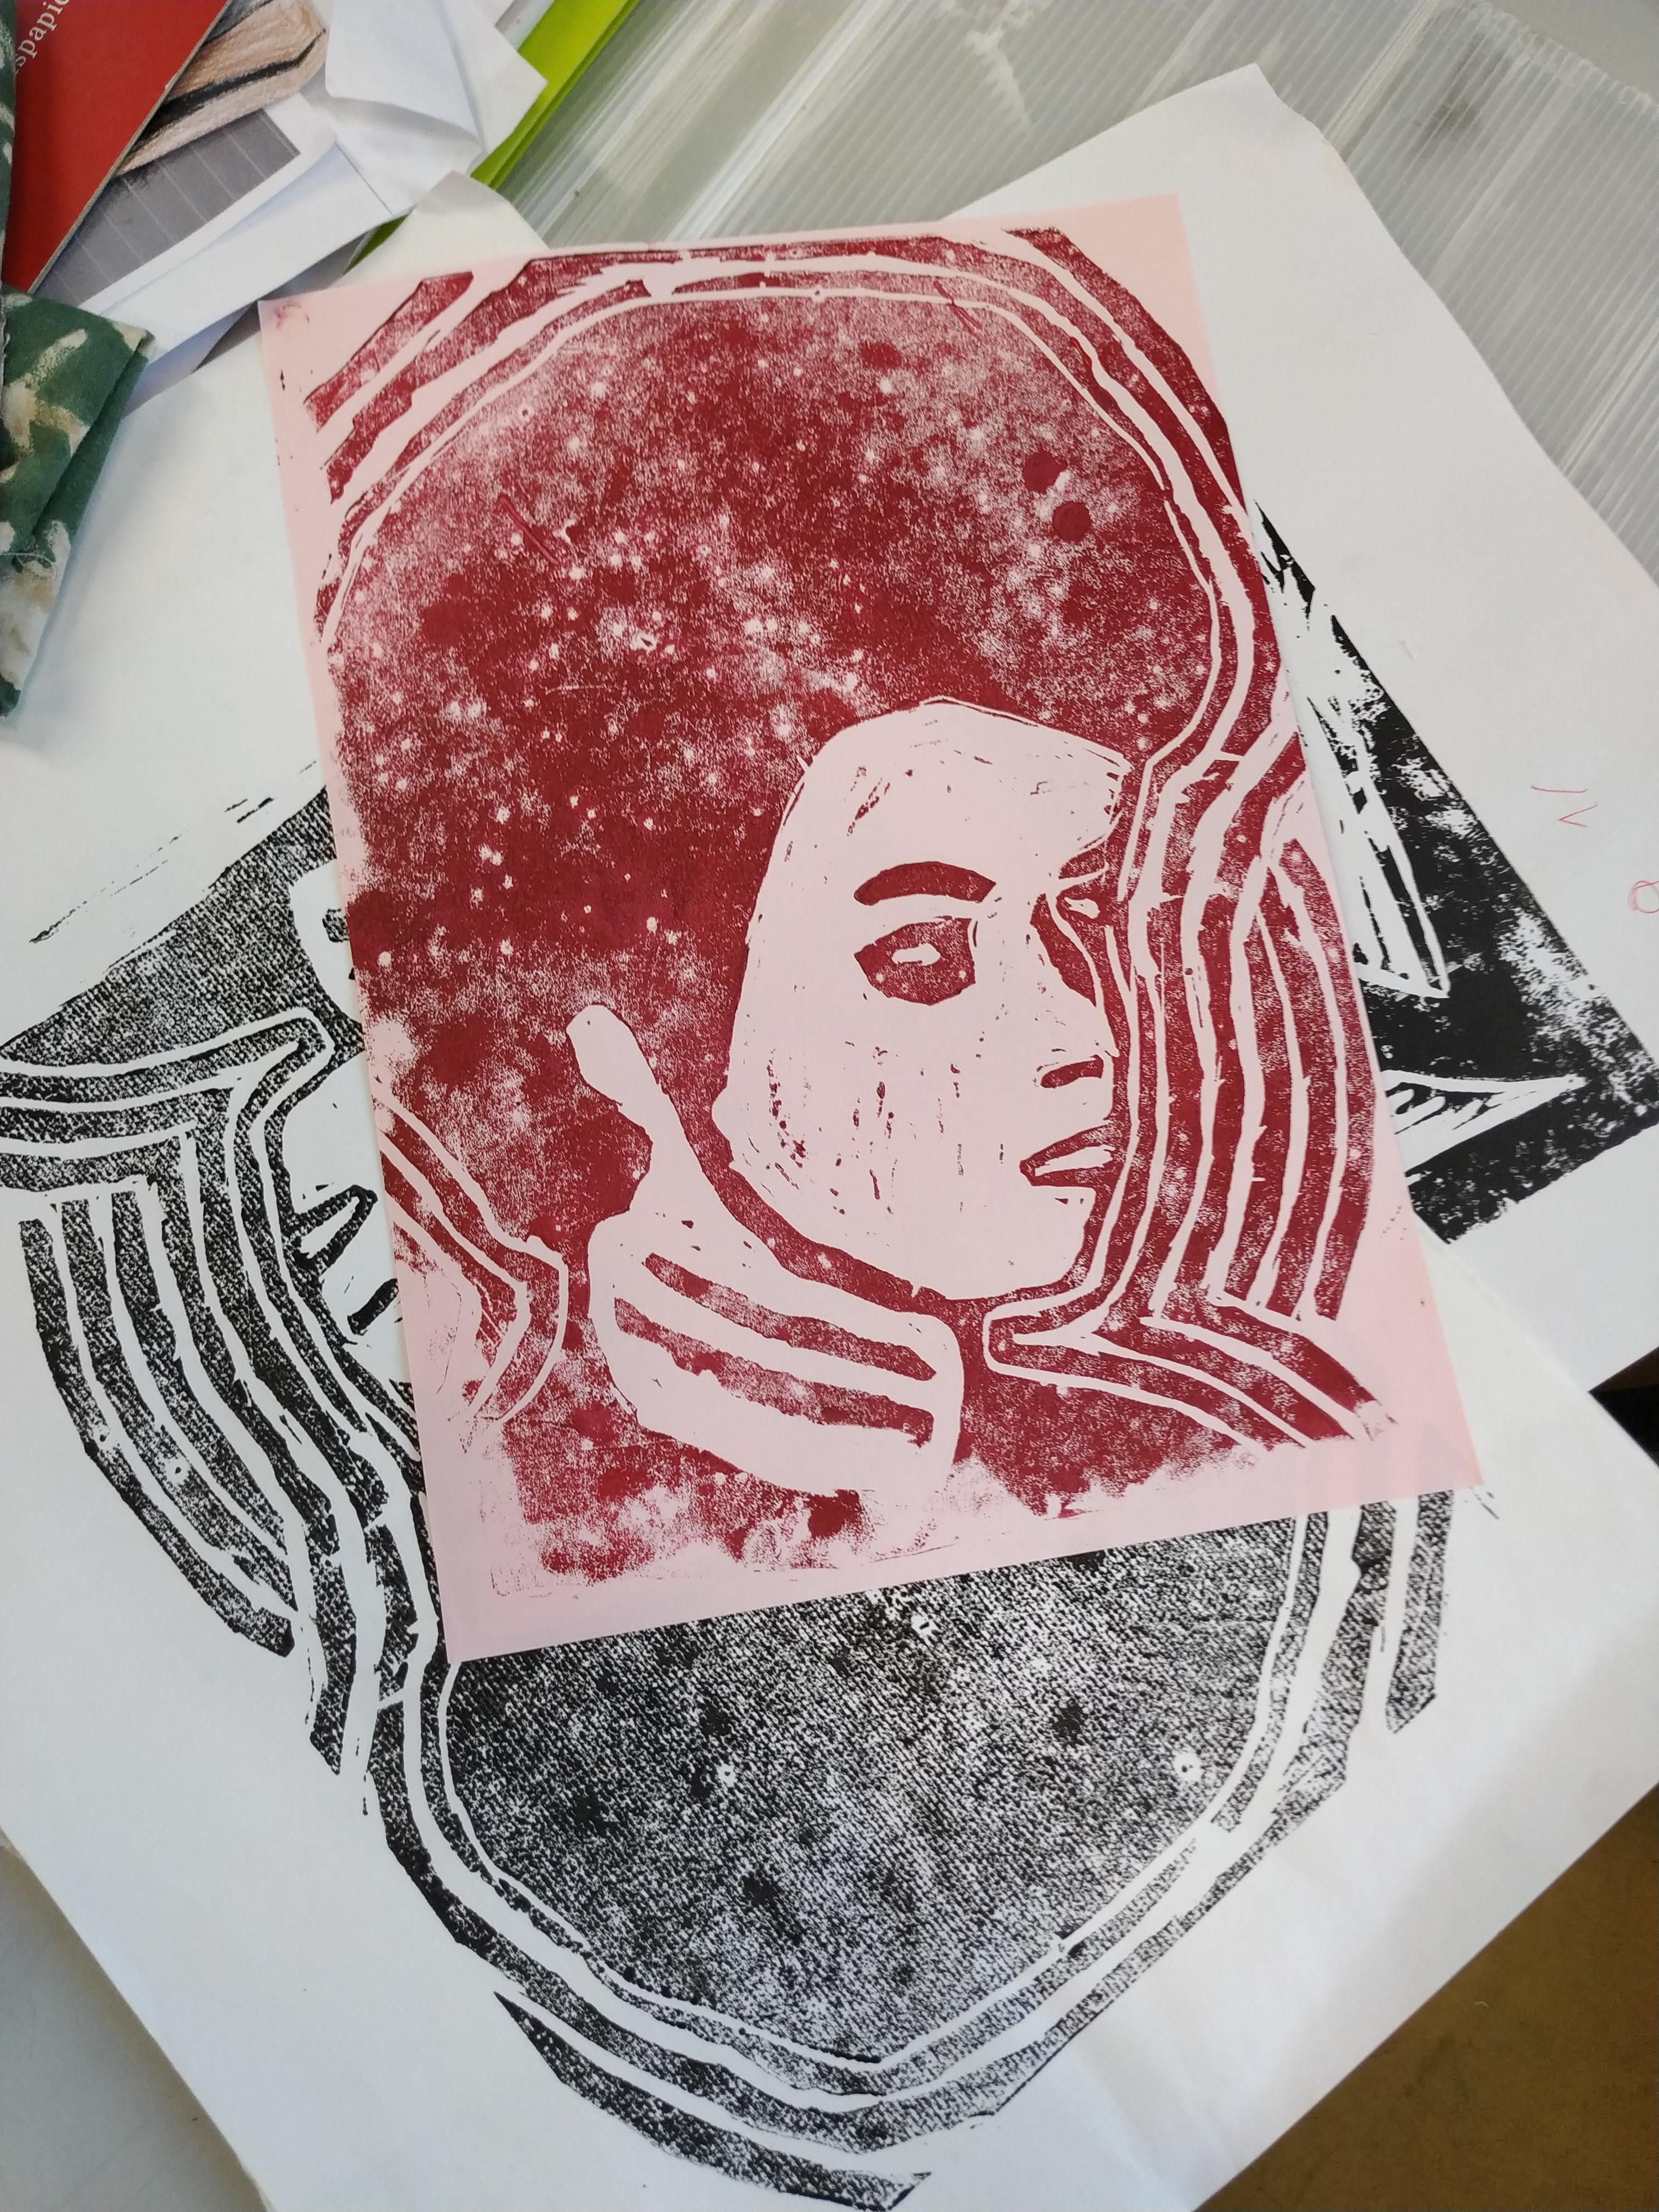
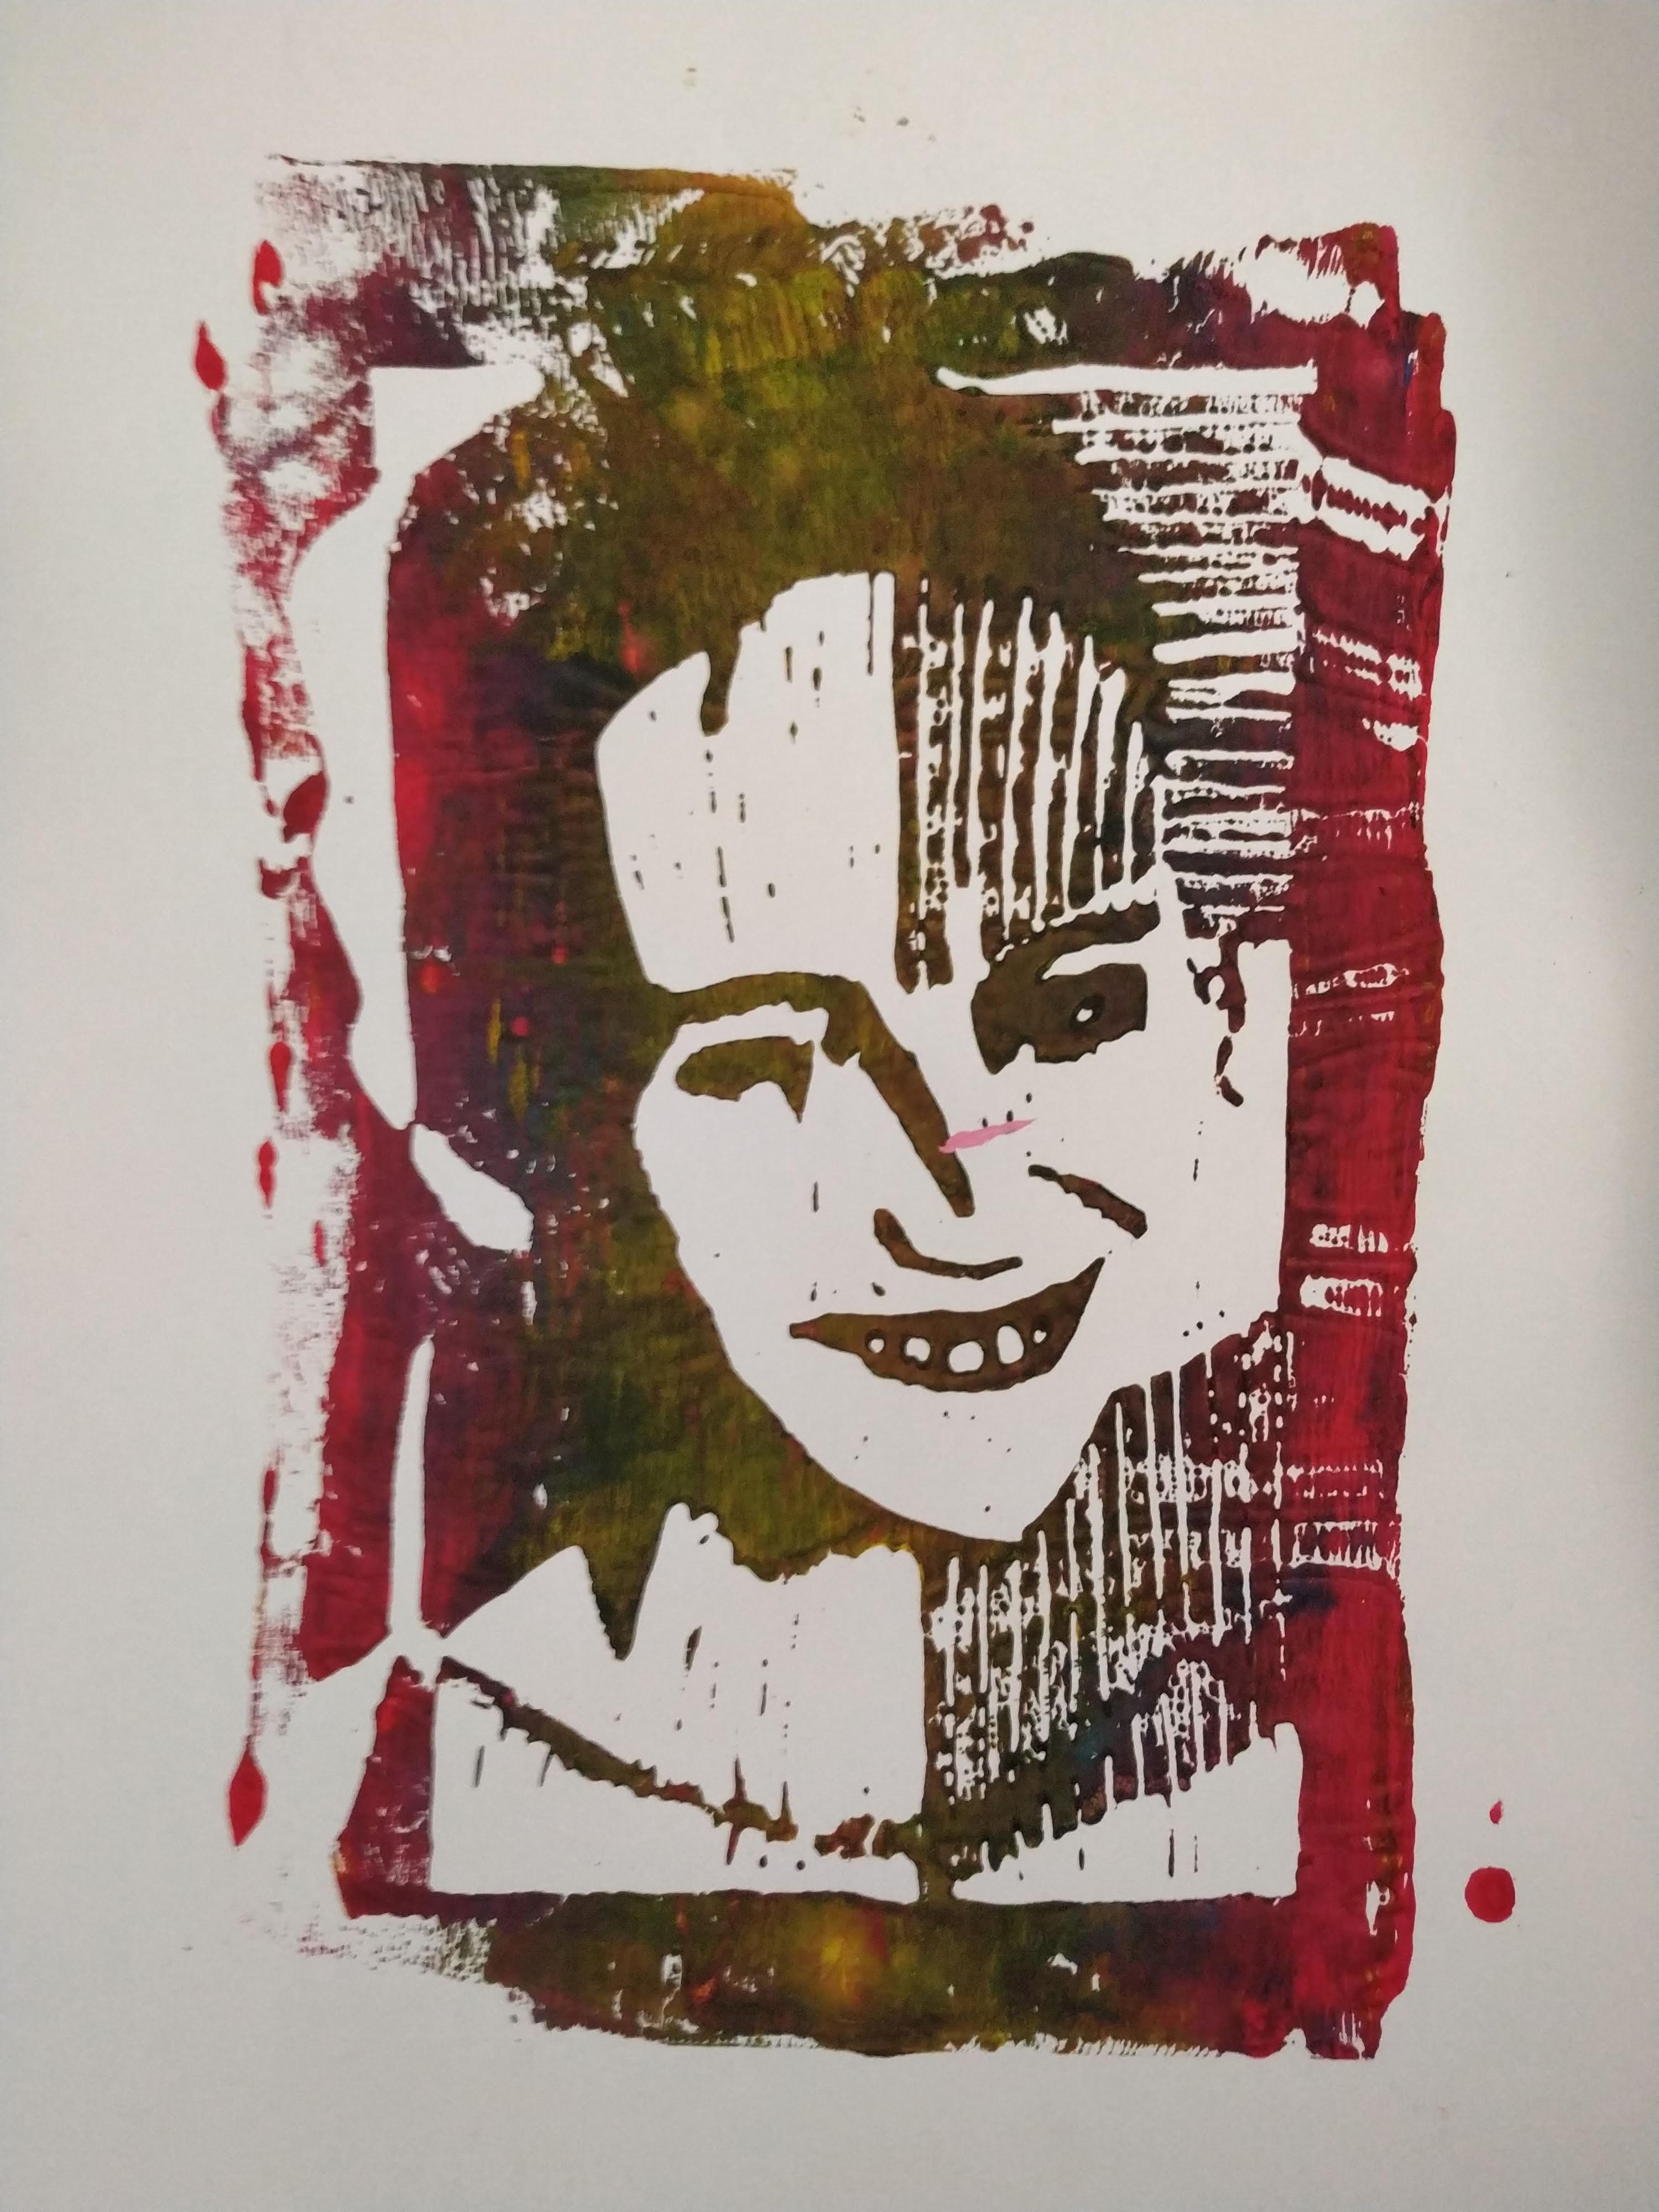
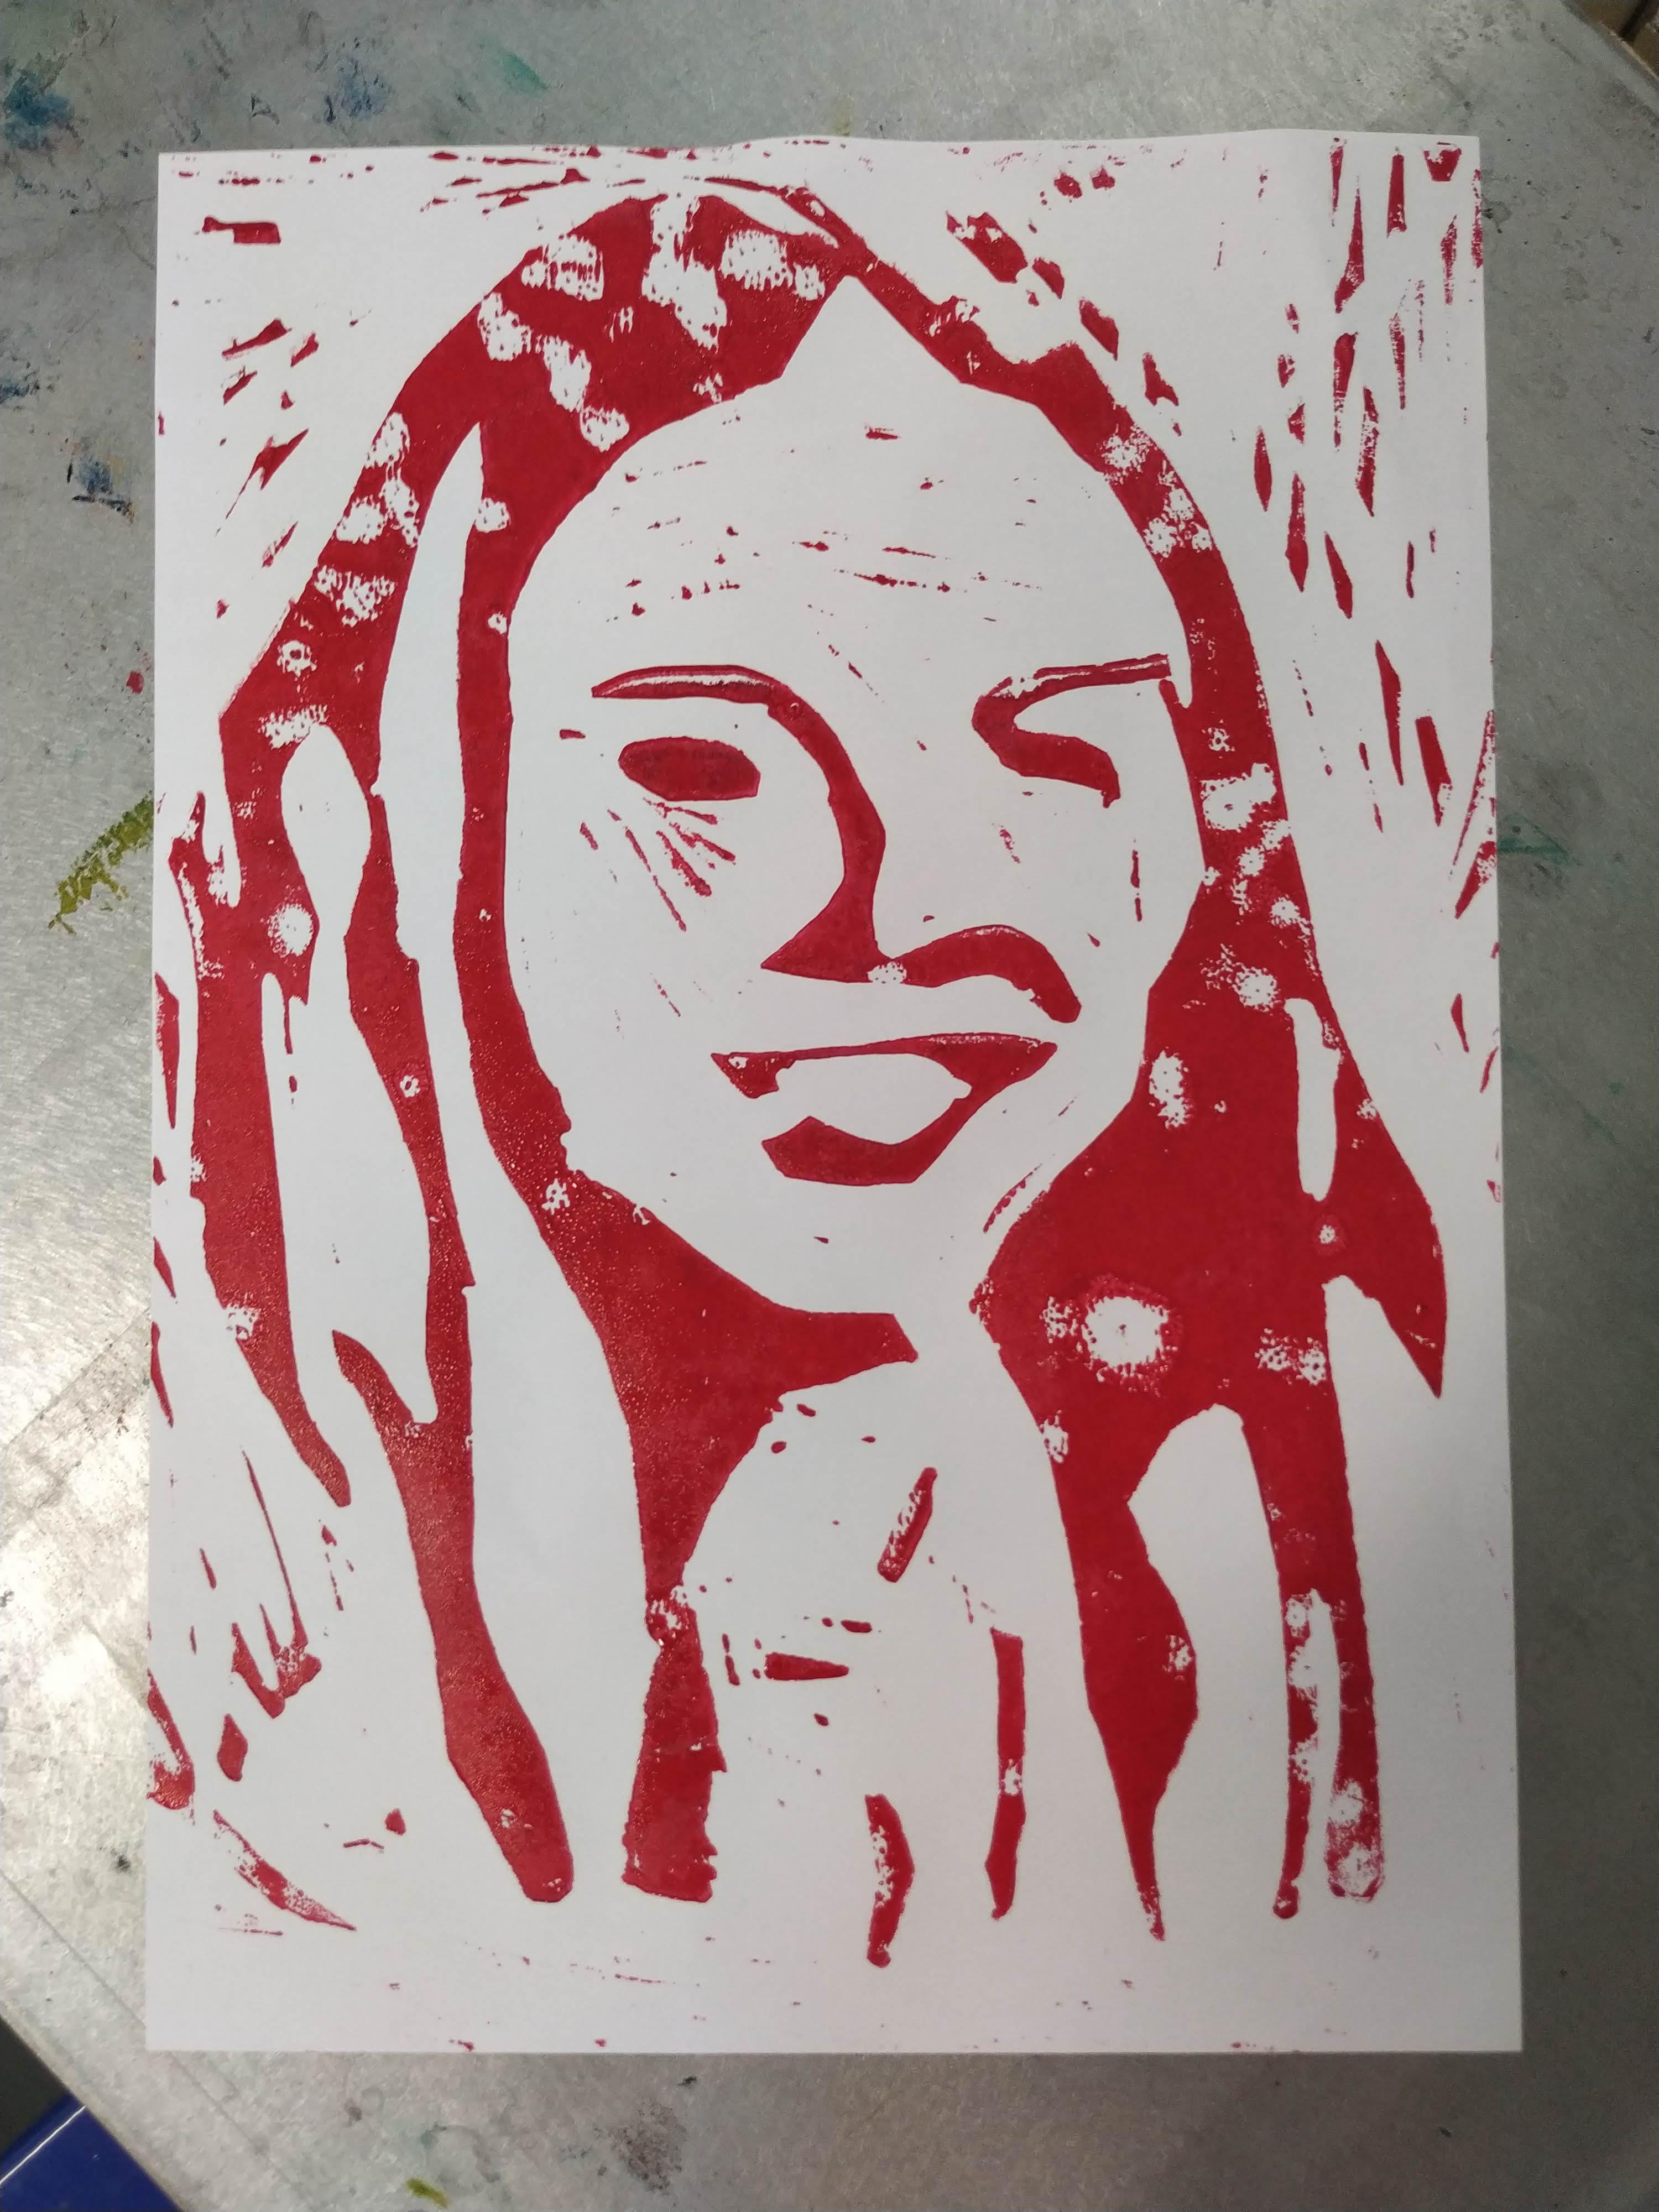
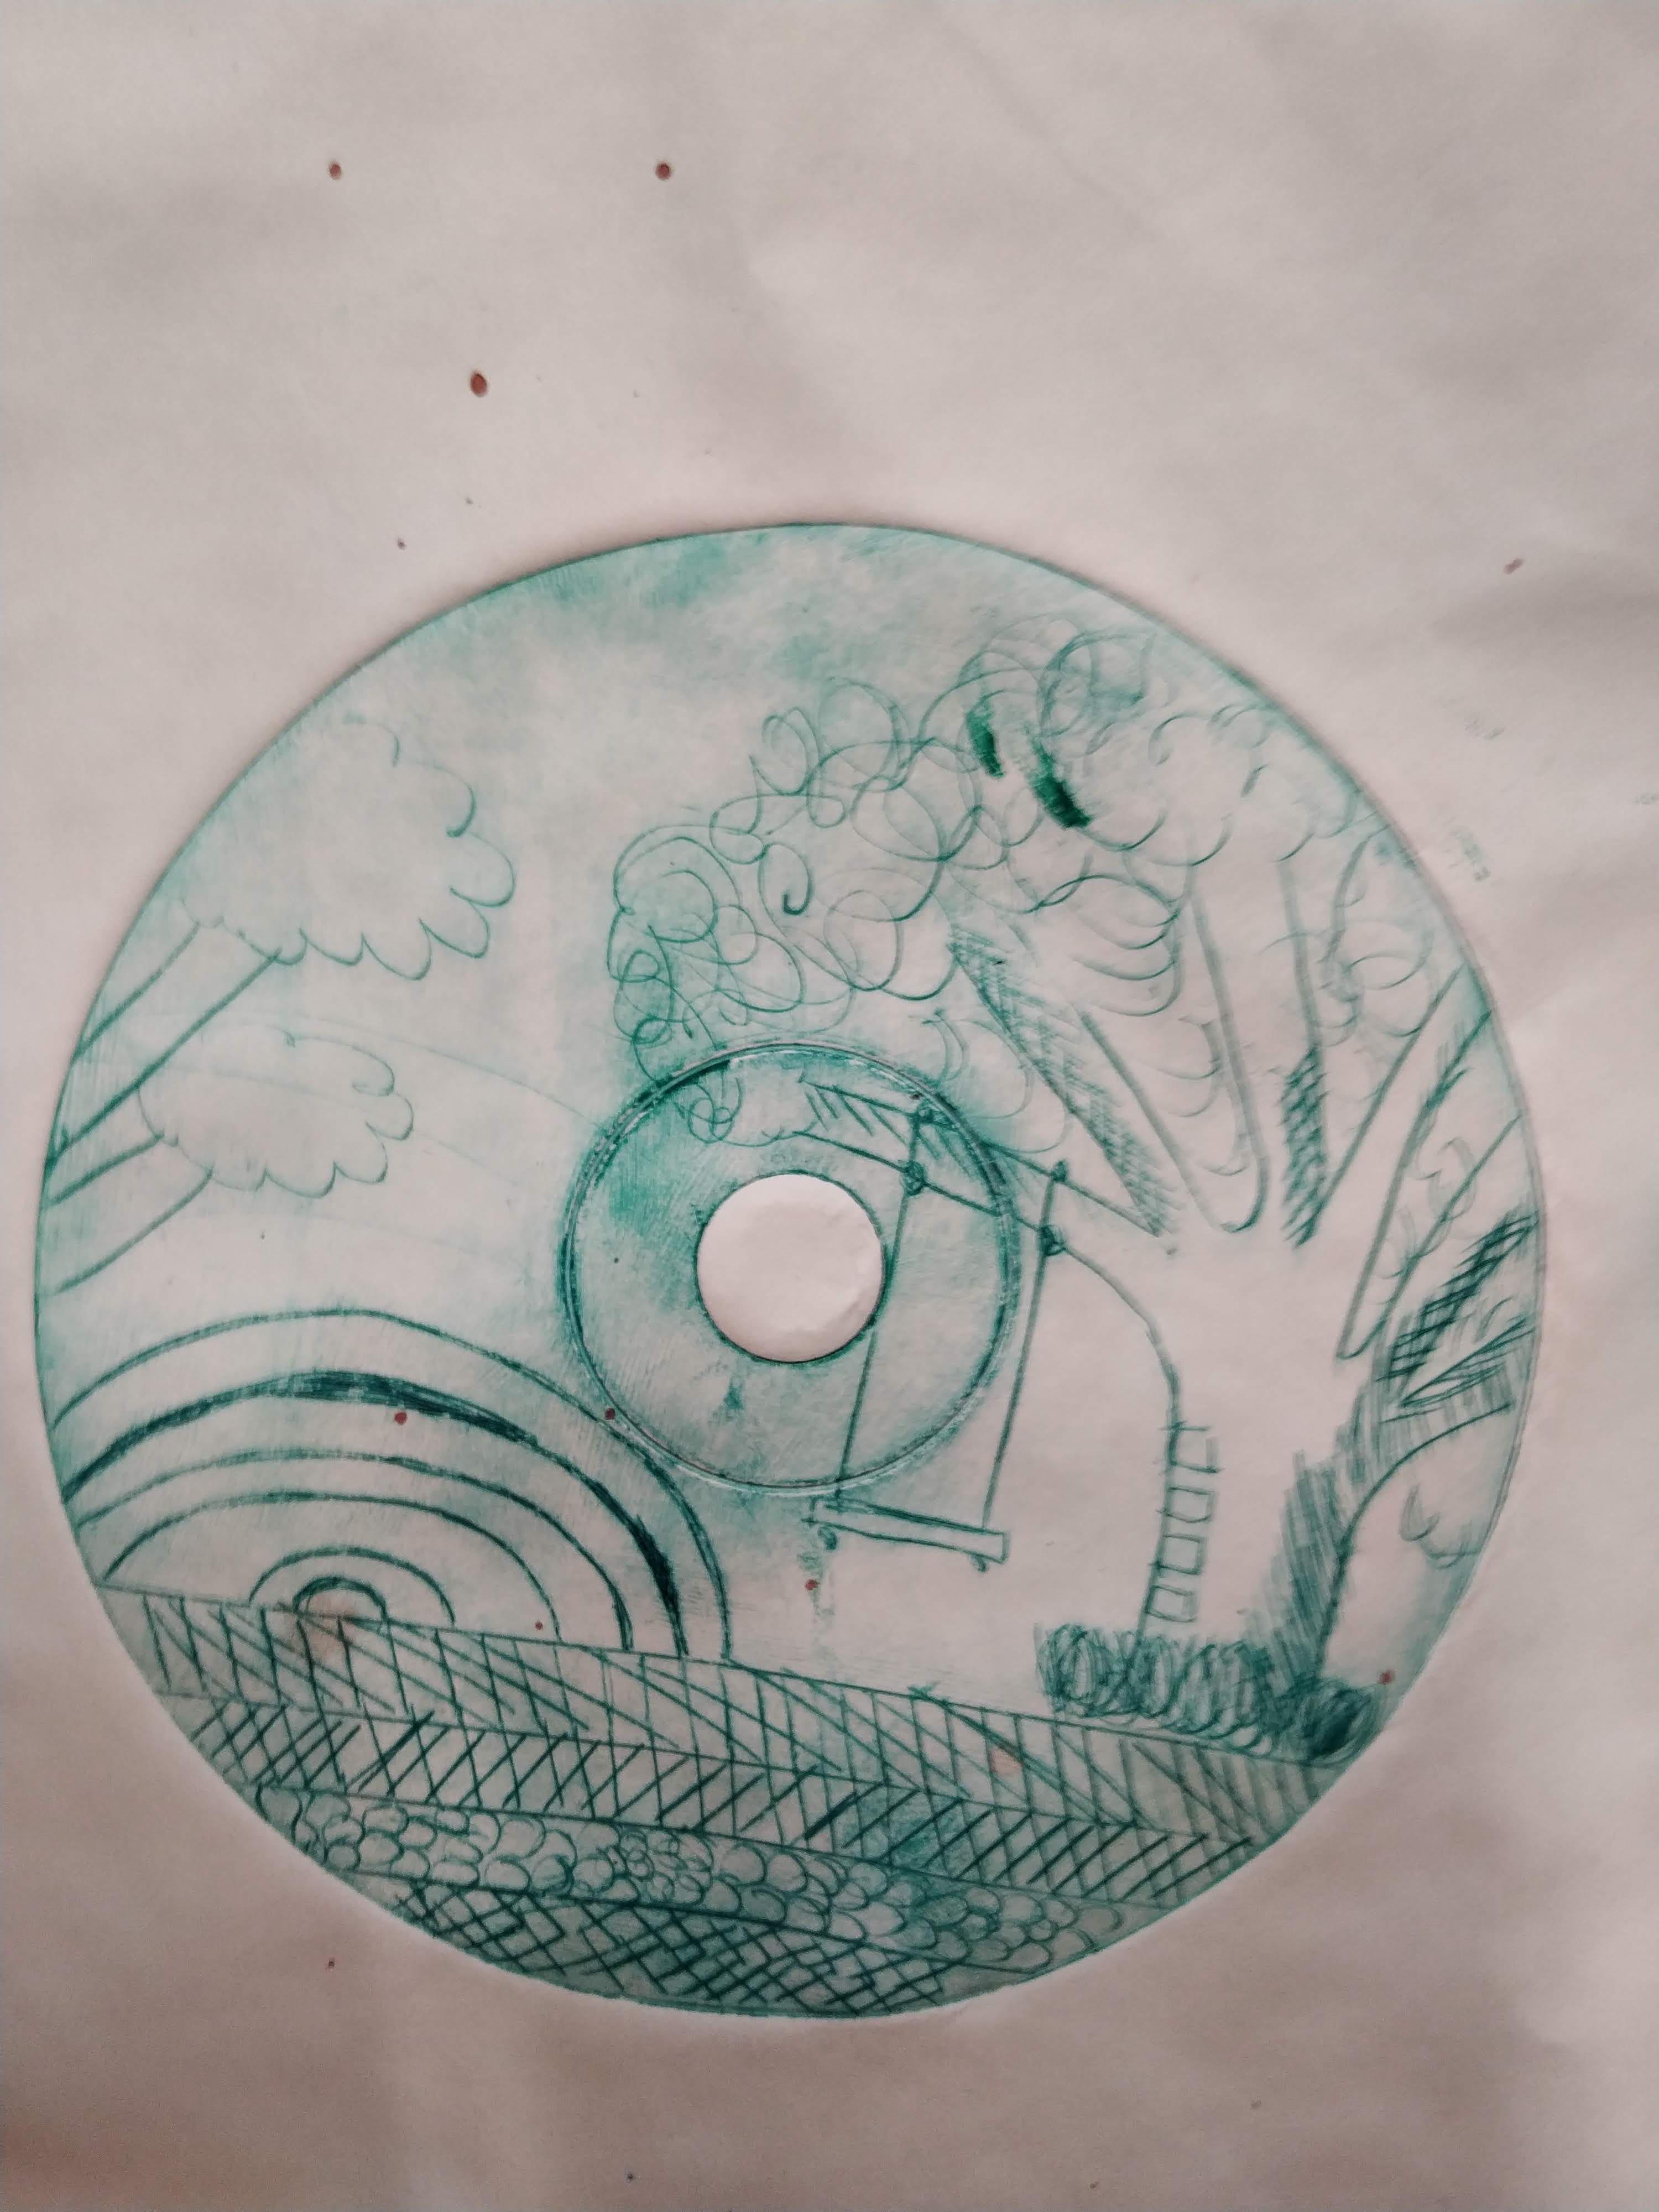
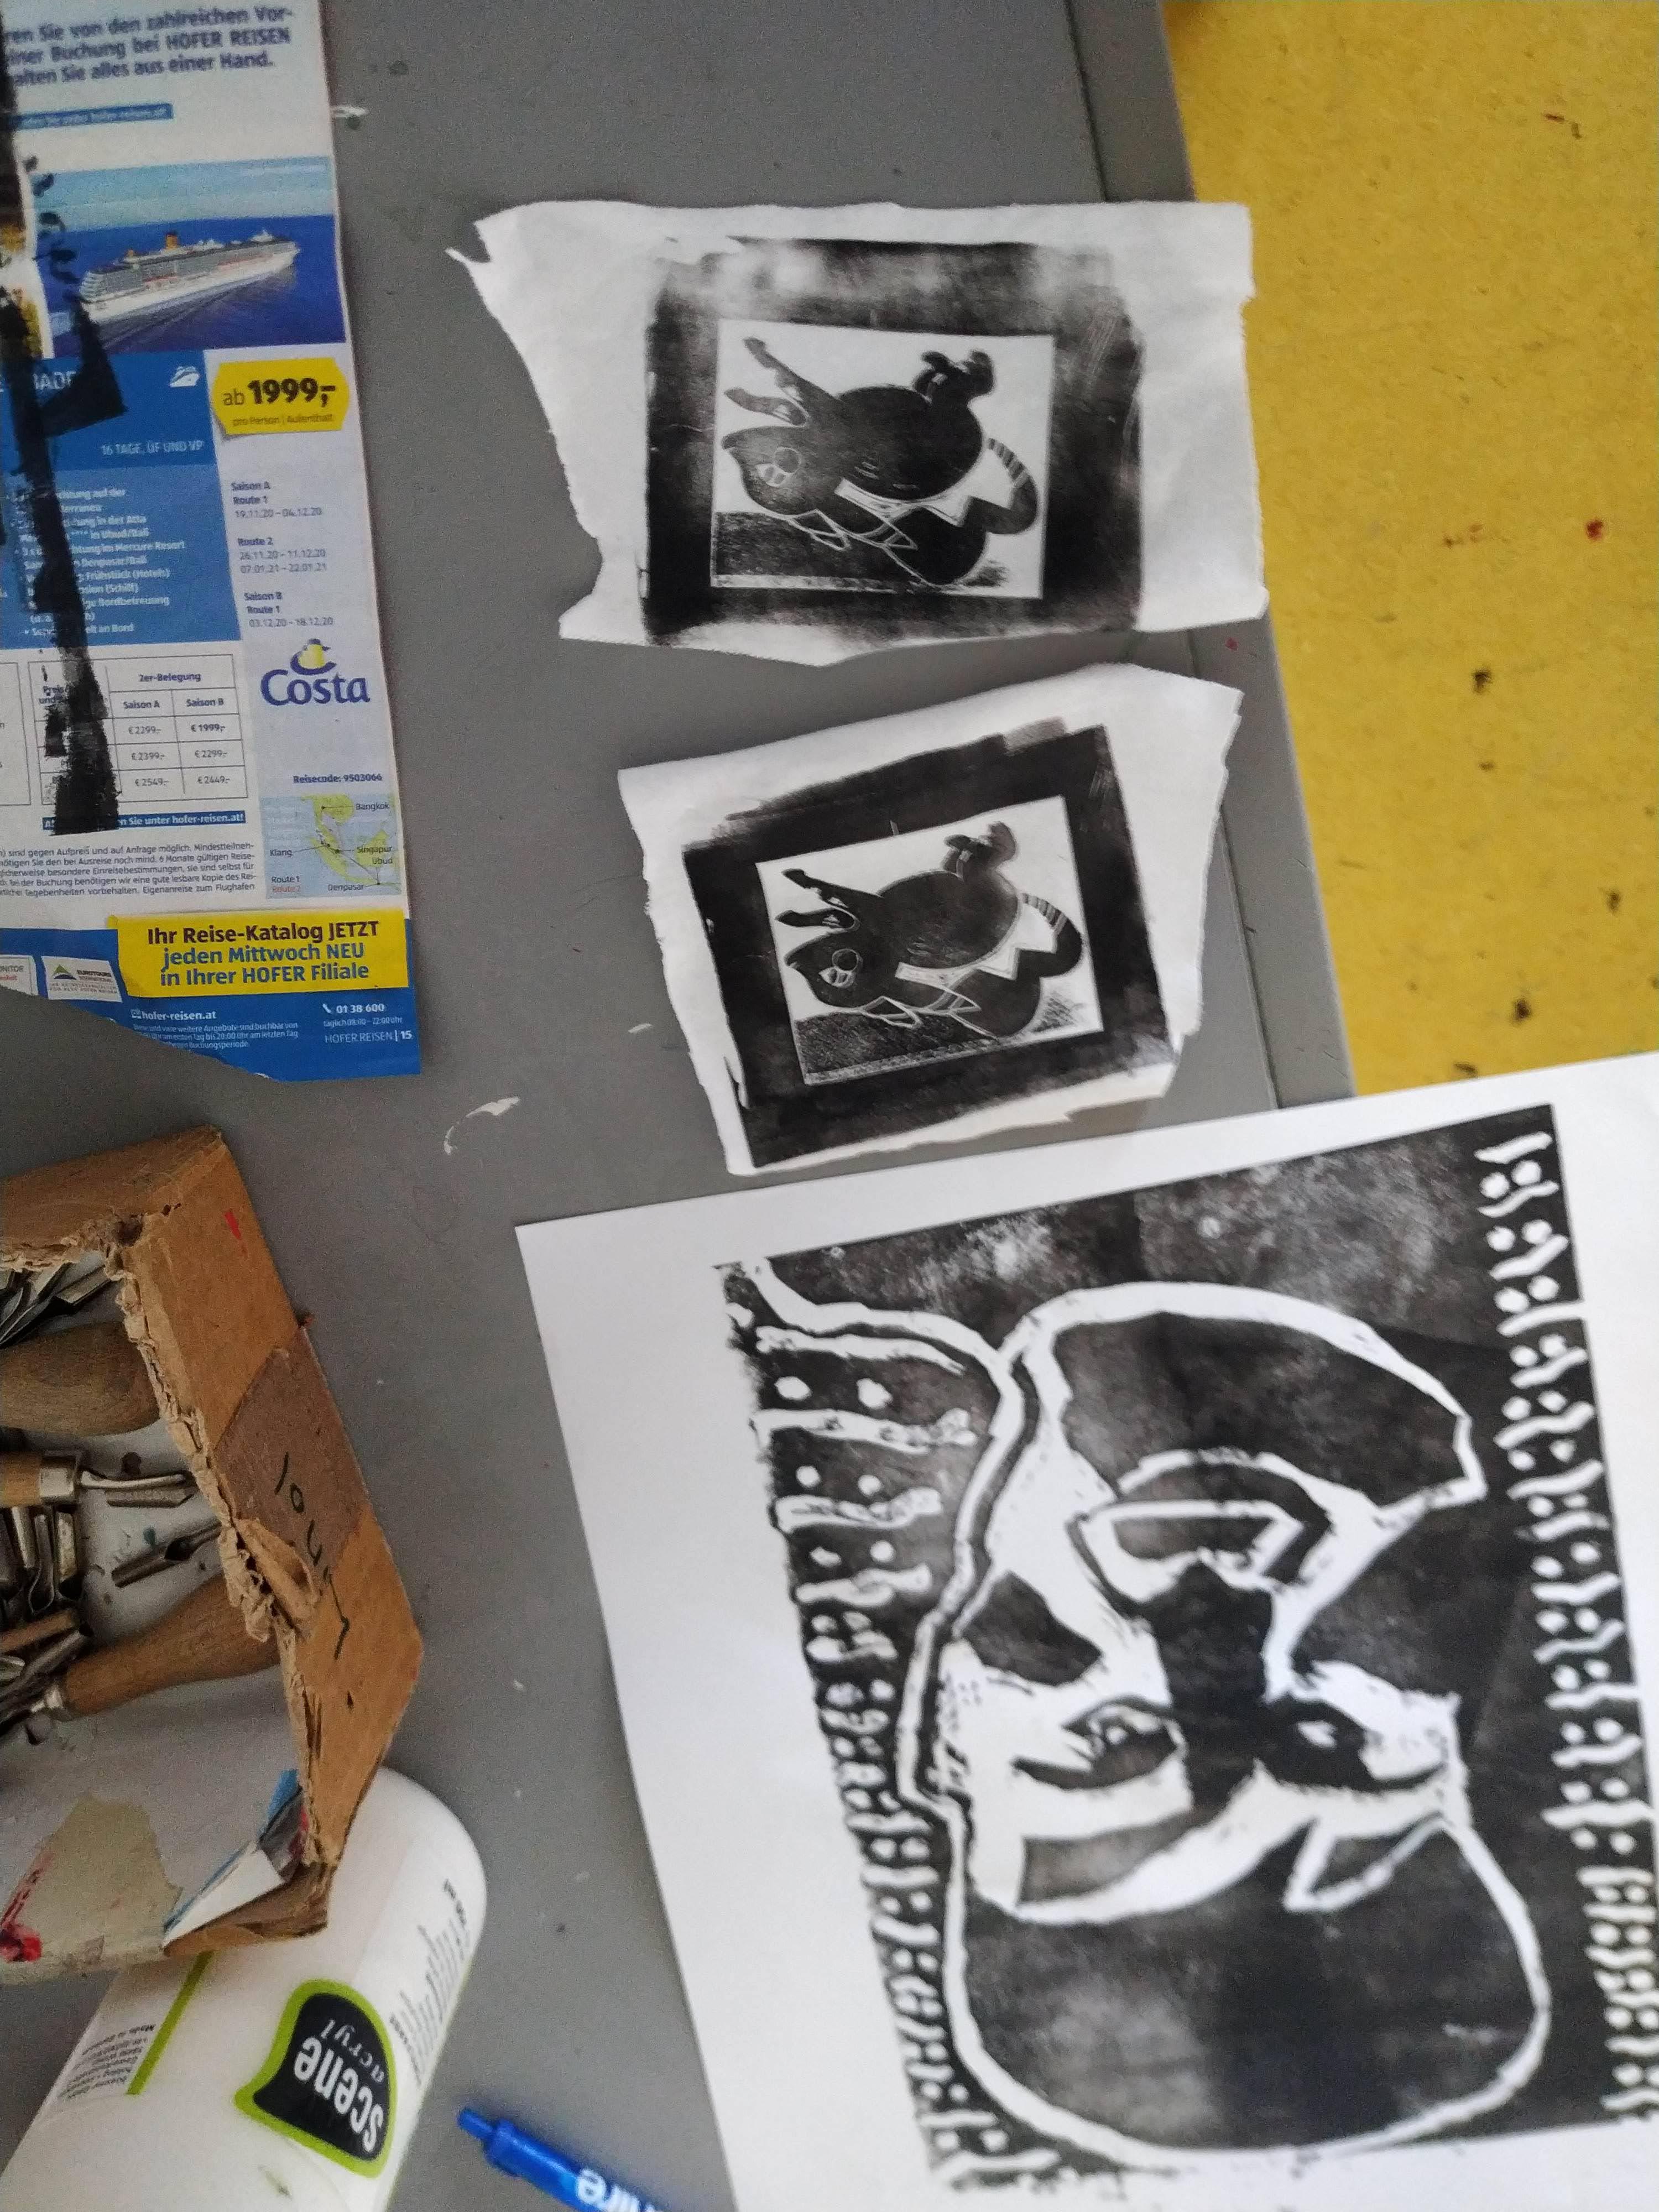
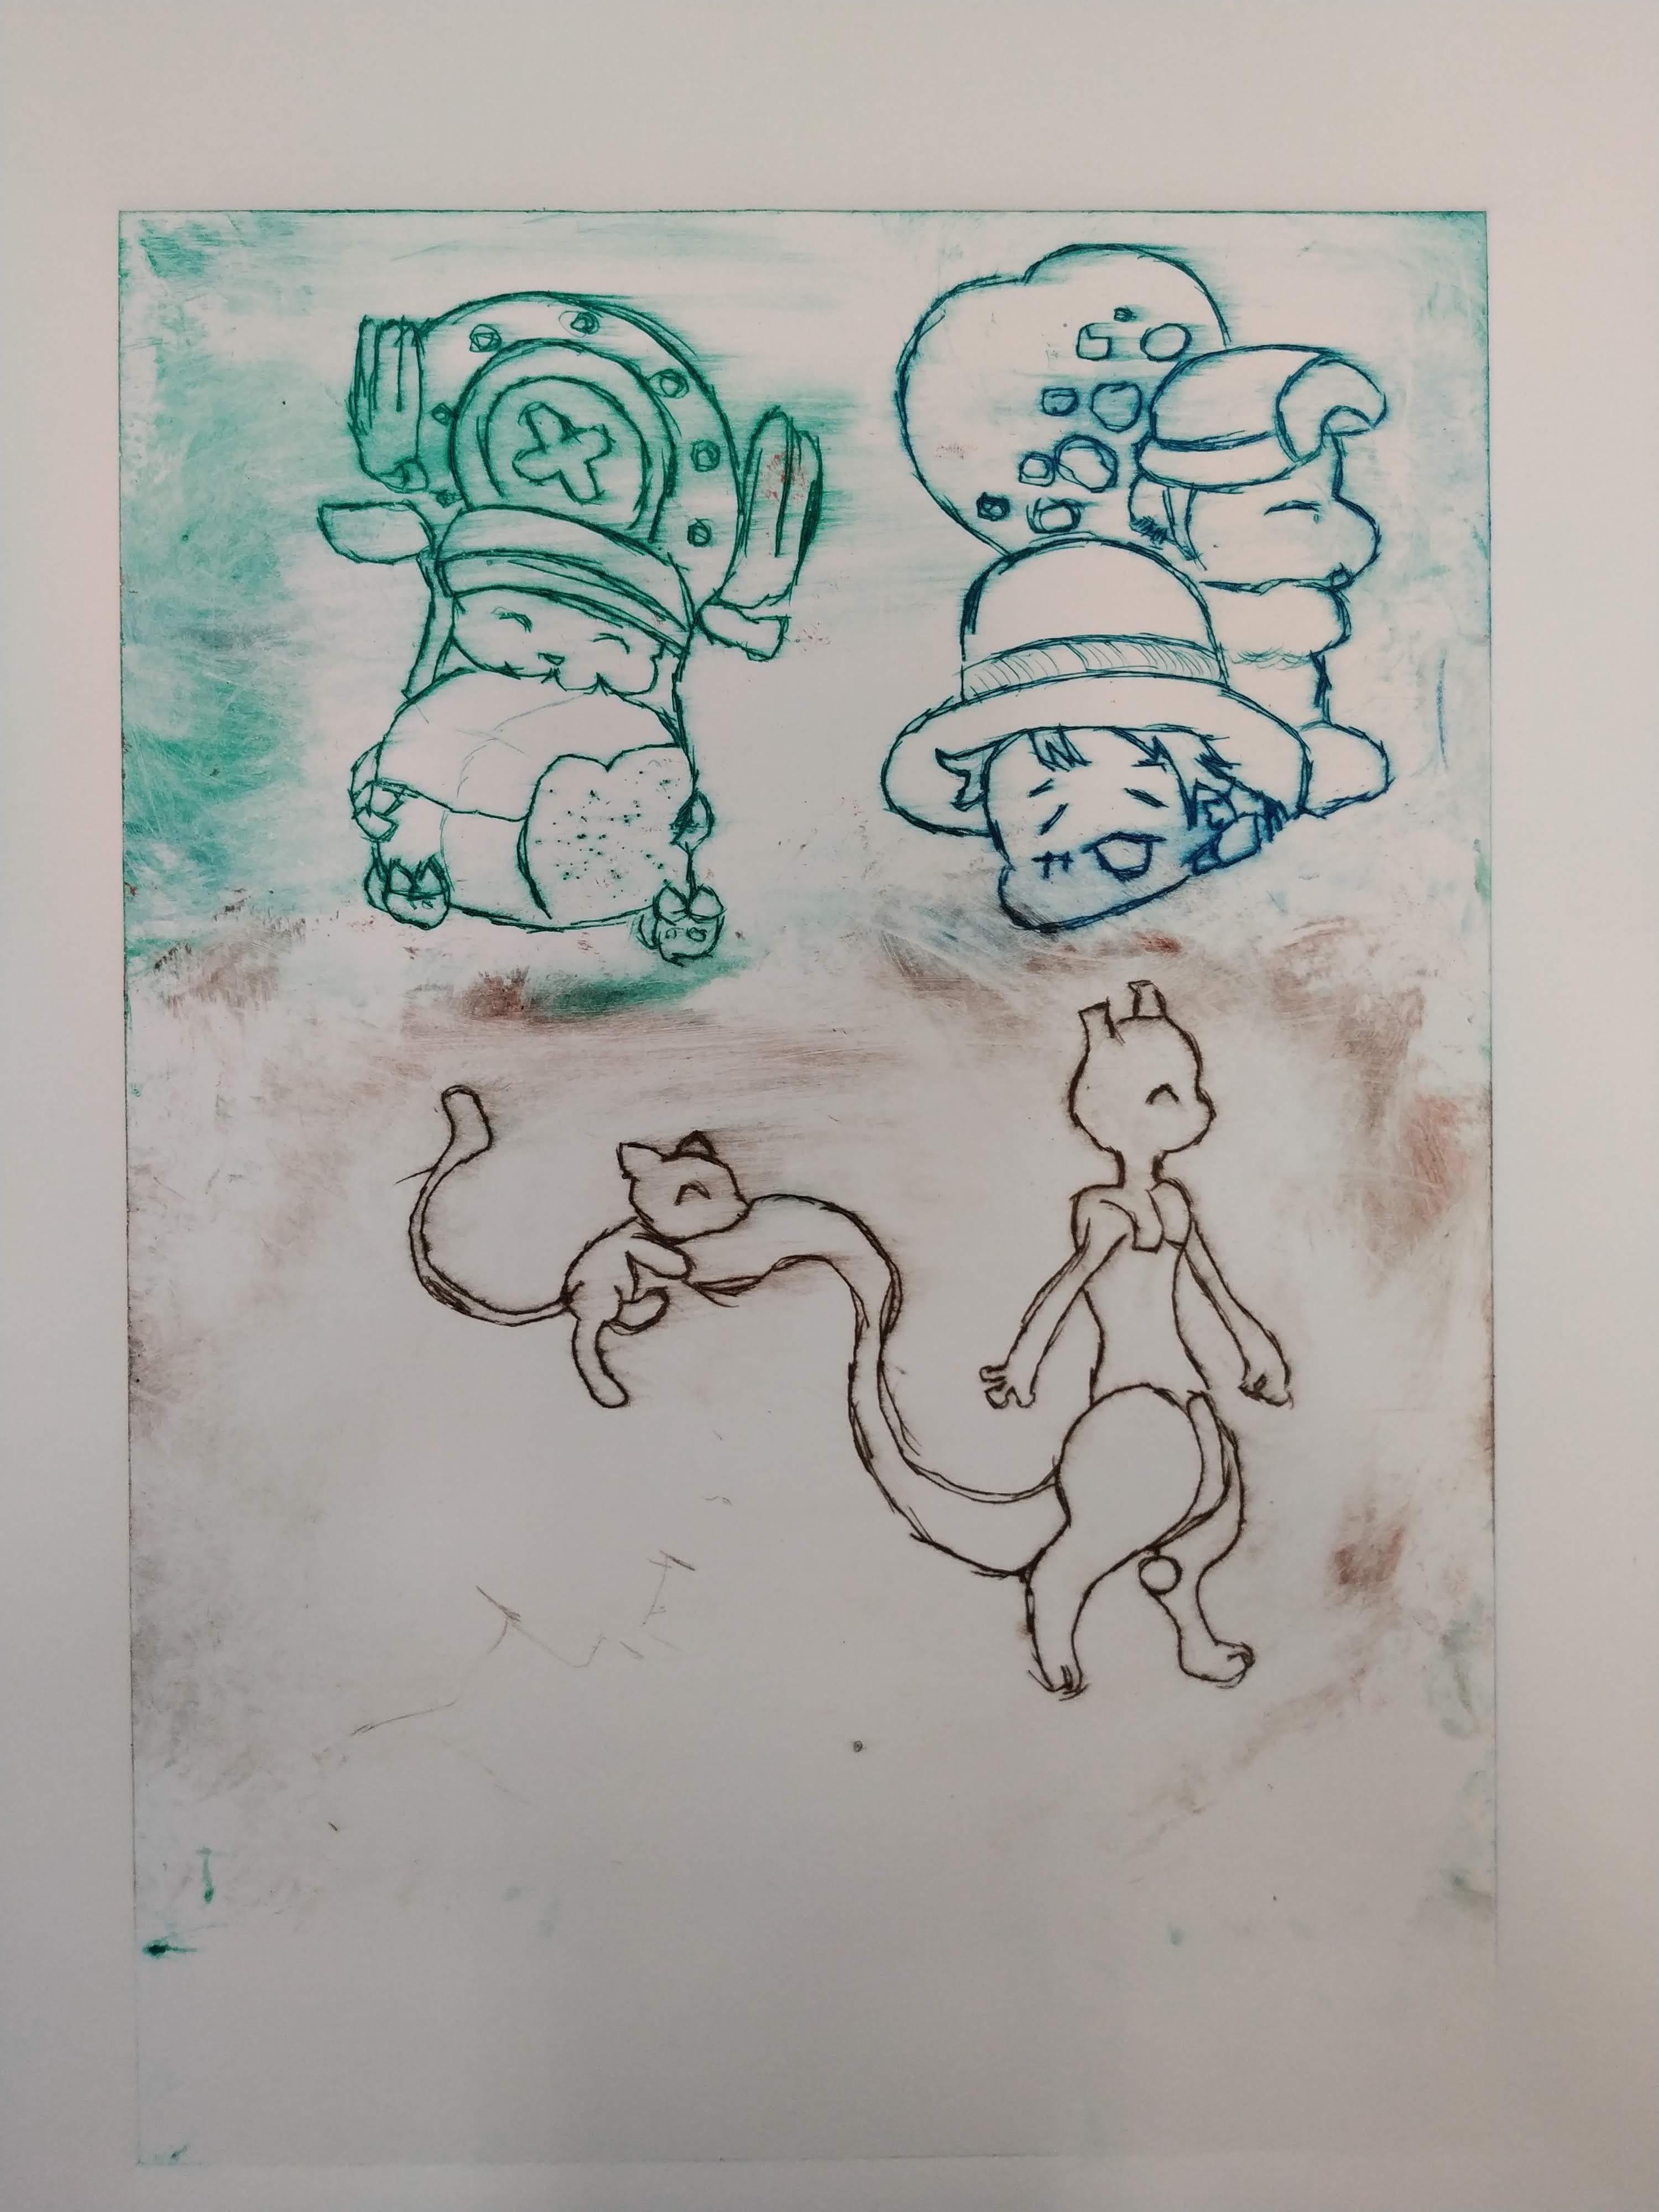
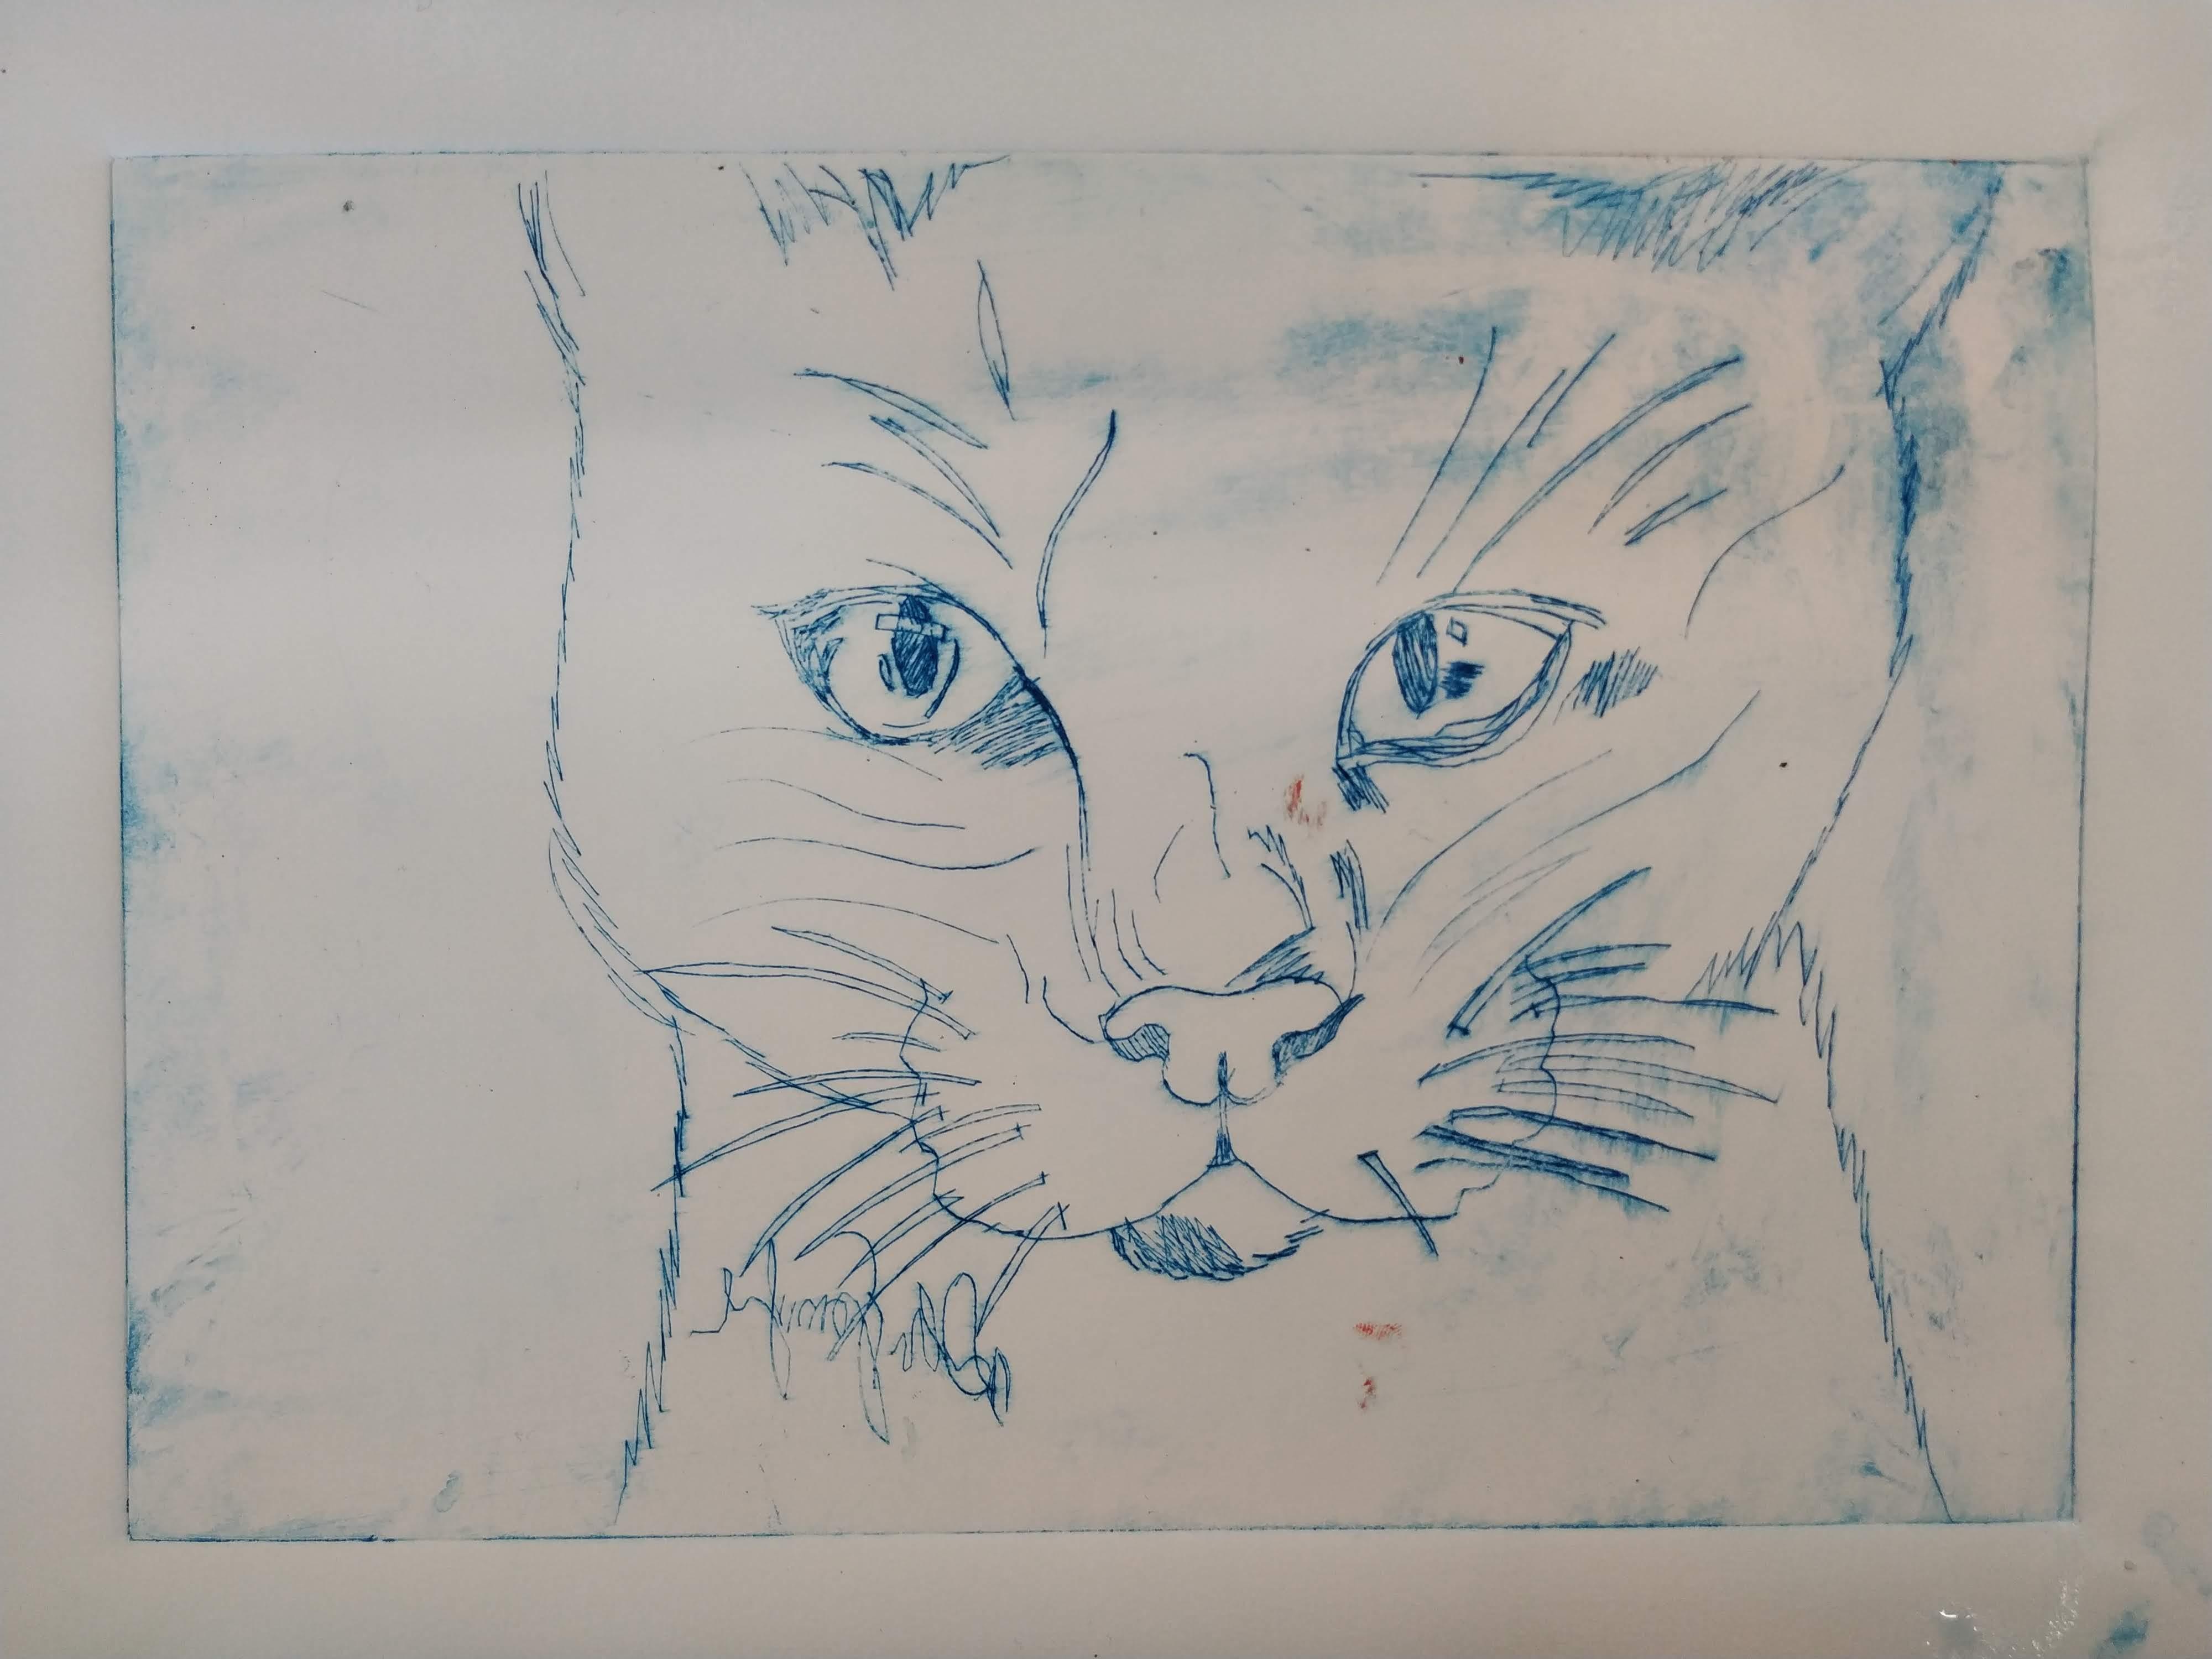
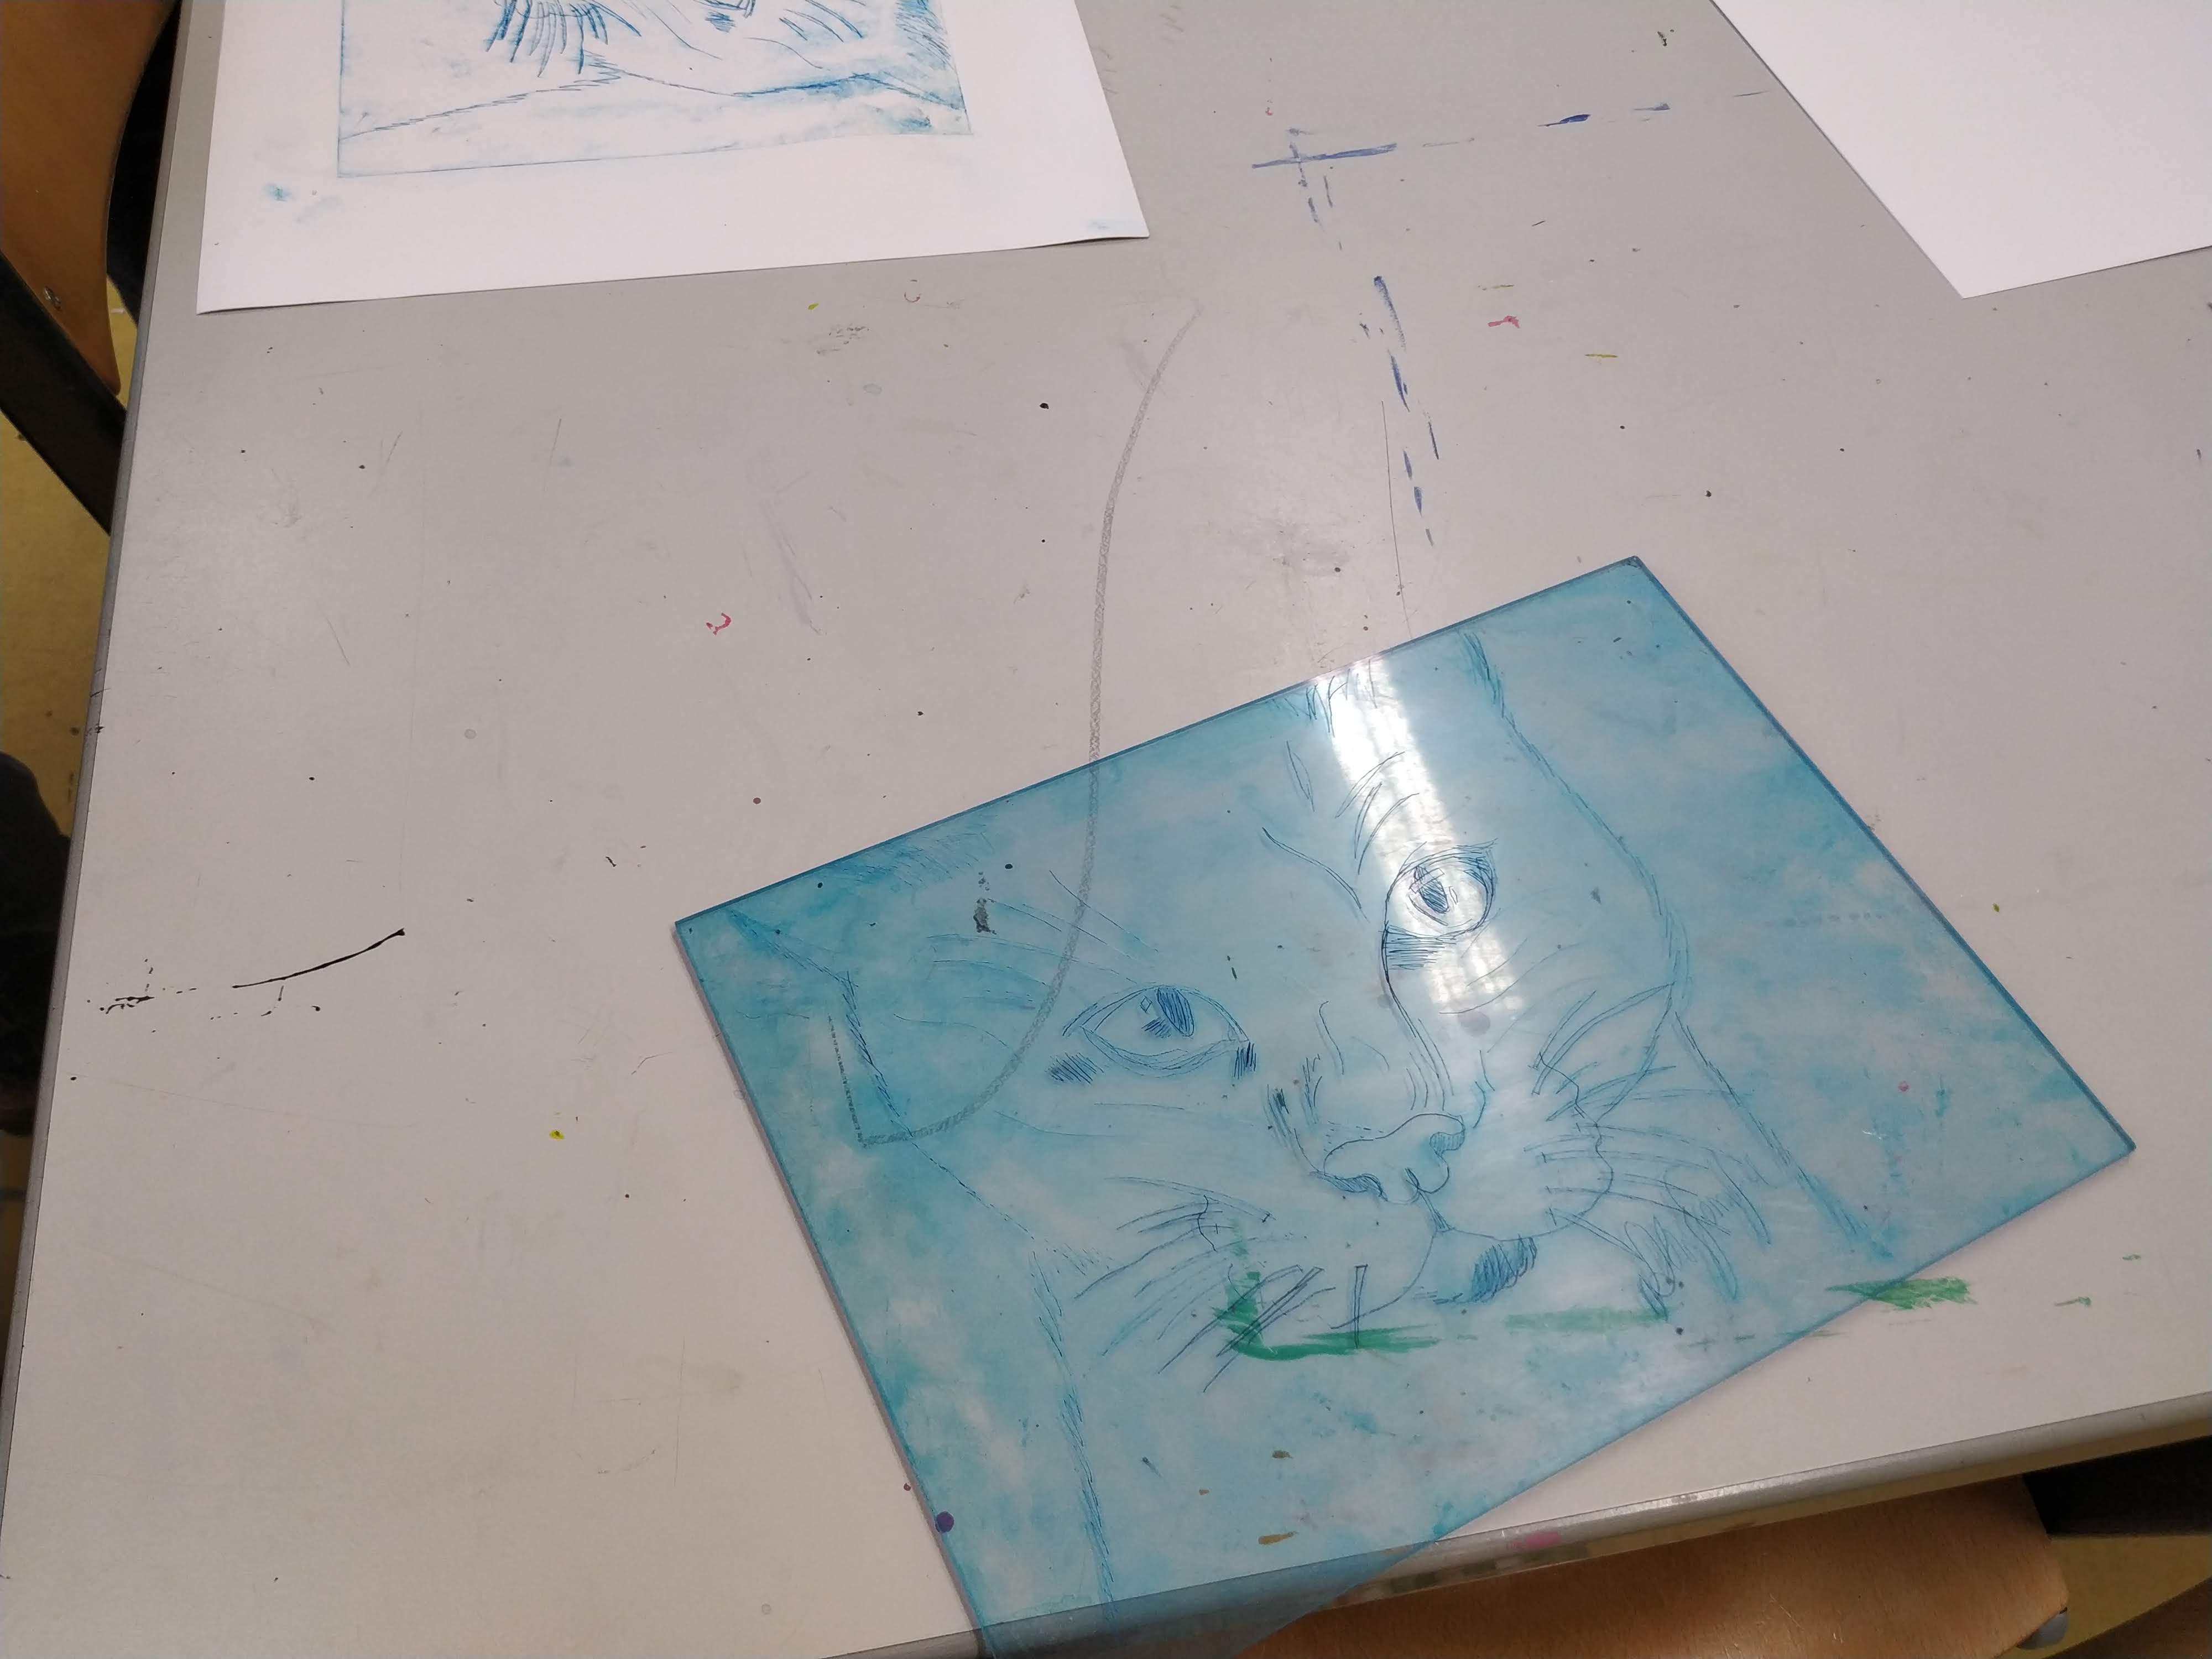
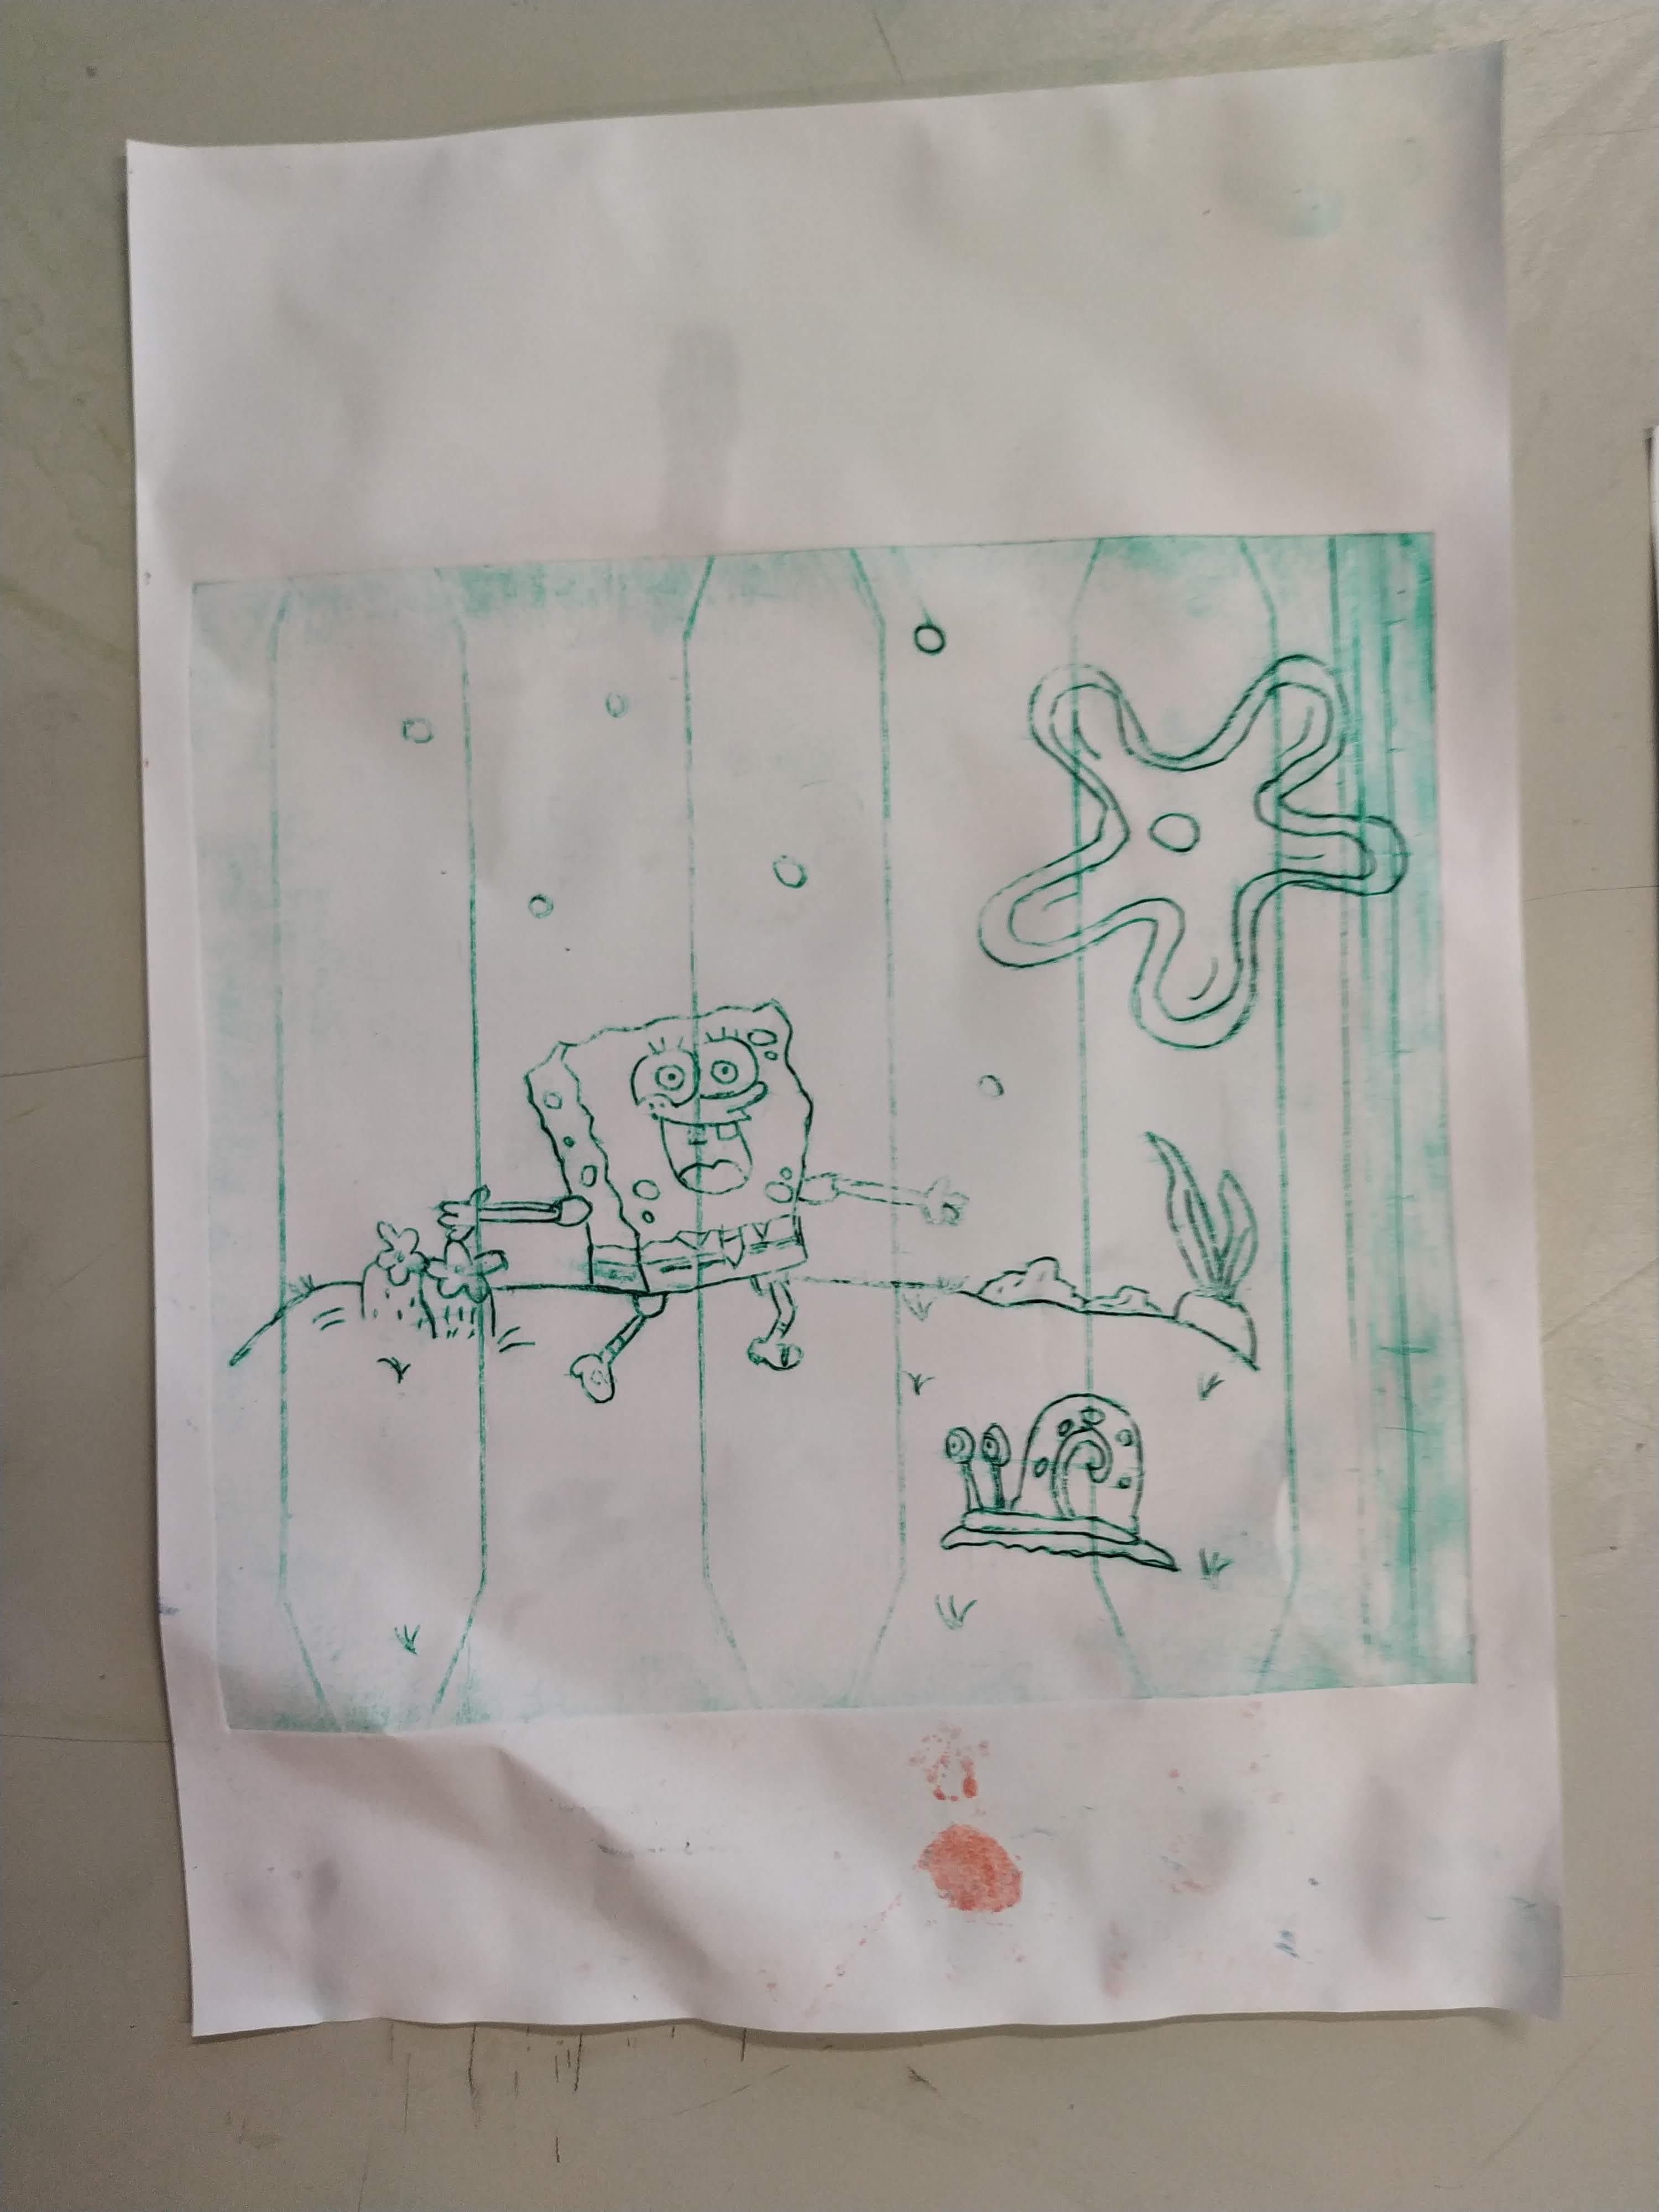
Playing cards.
Another rewarding project are playing cards. That involves research into the history of playing cards and woodblock printing (some say woodblock printing was invented for printing playing cards…probably not I guess). We got one of the oldest card games here in Vienna. It can also be viewed online.
Vanitas Still Life.
Yes…sculls, candles, coins, hour glasses, instruments,….morbidly fascinating.
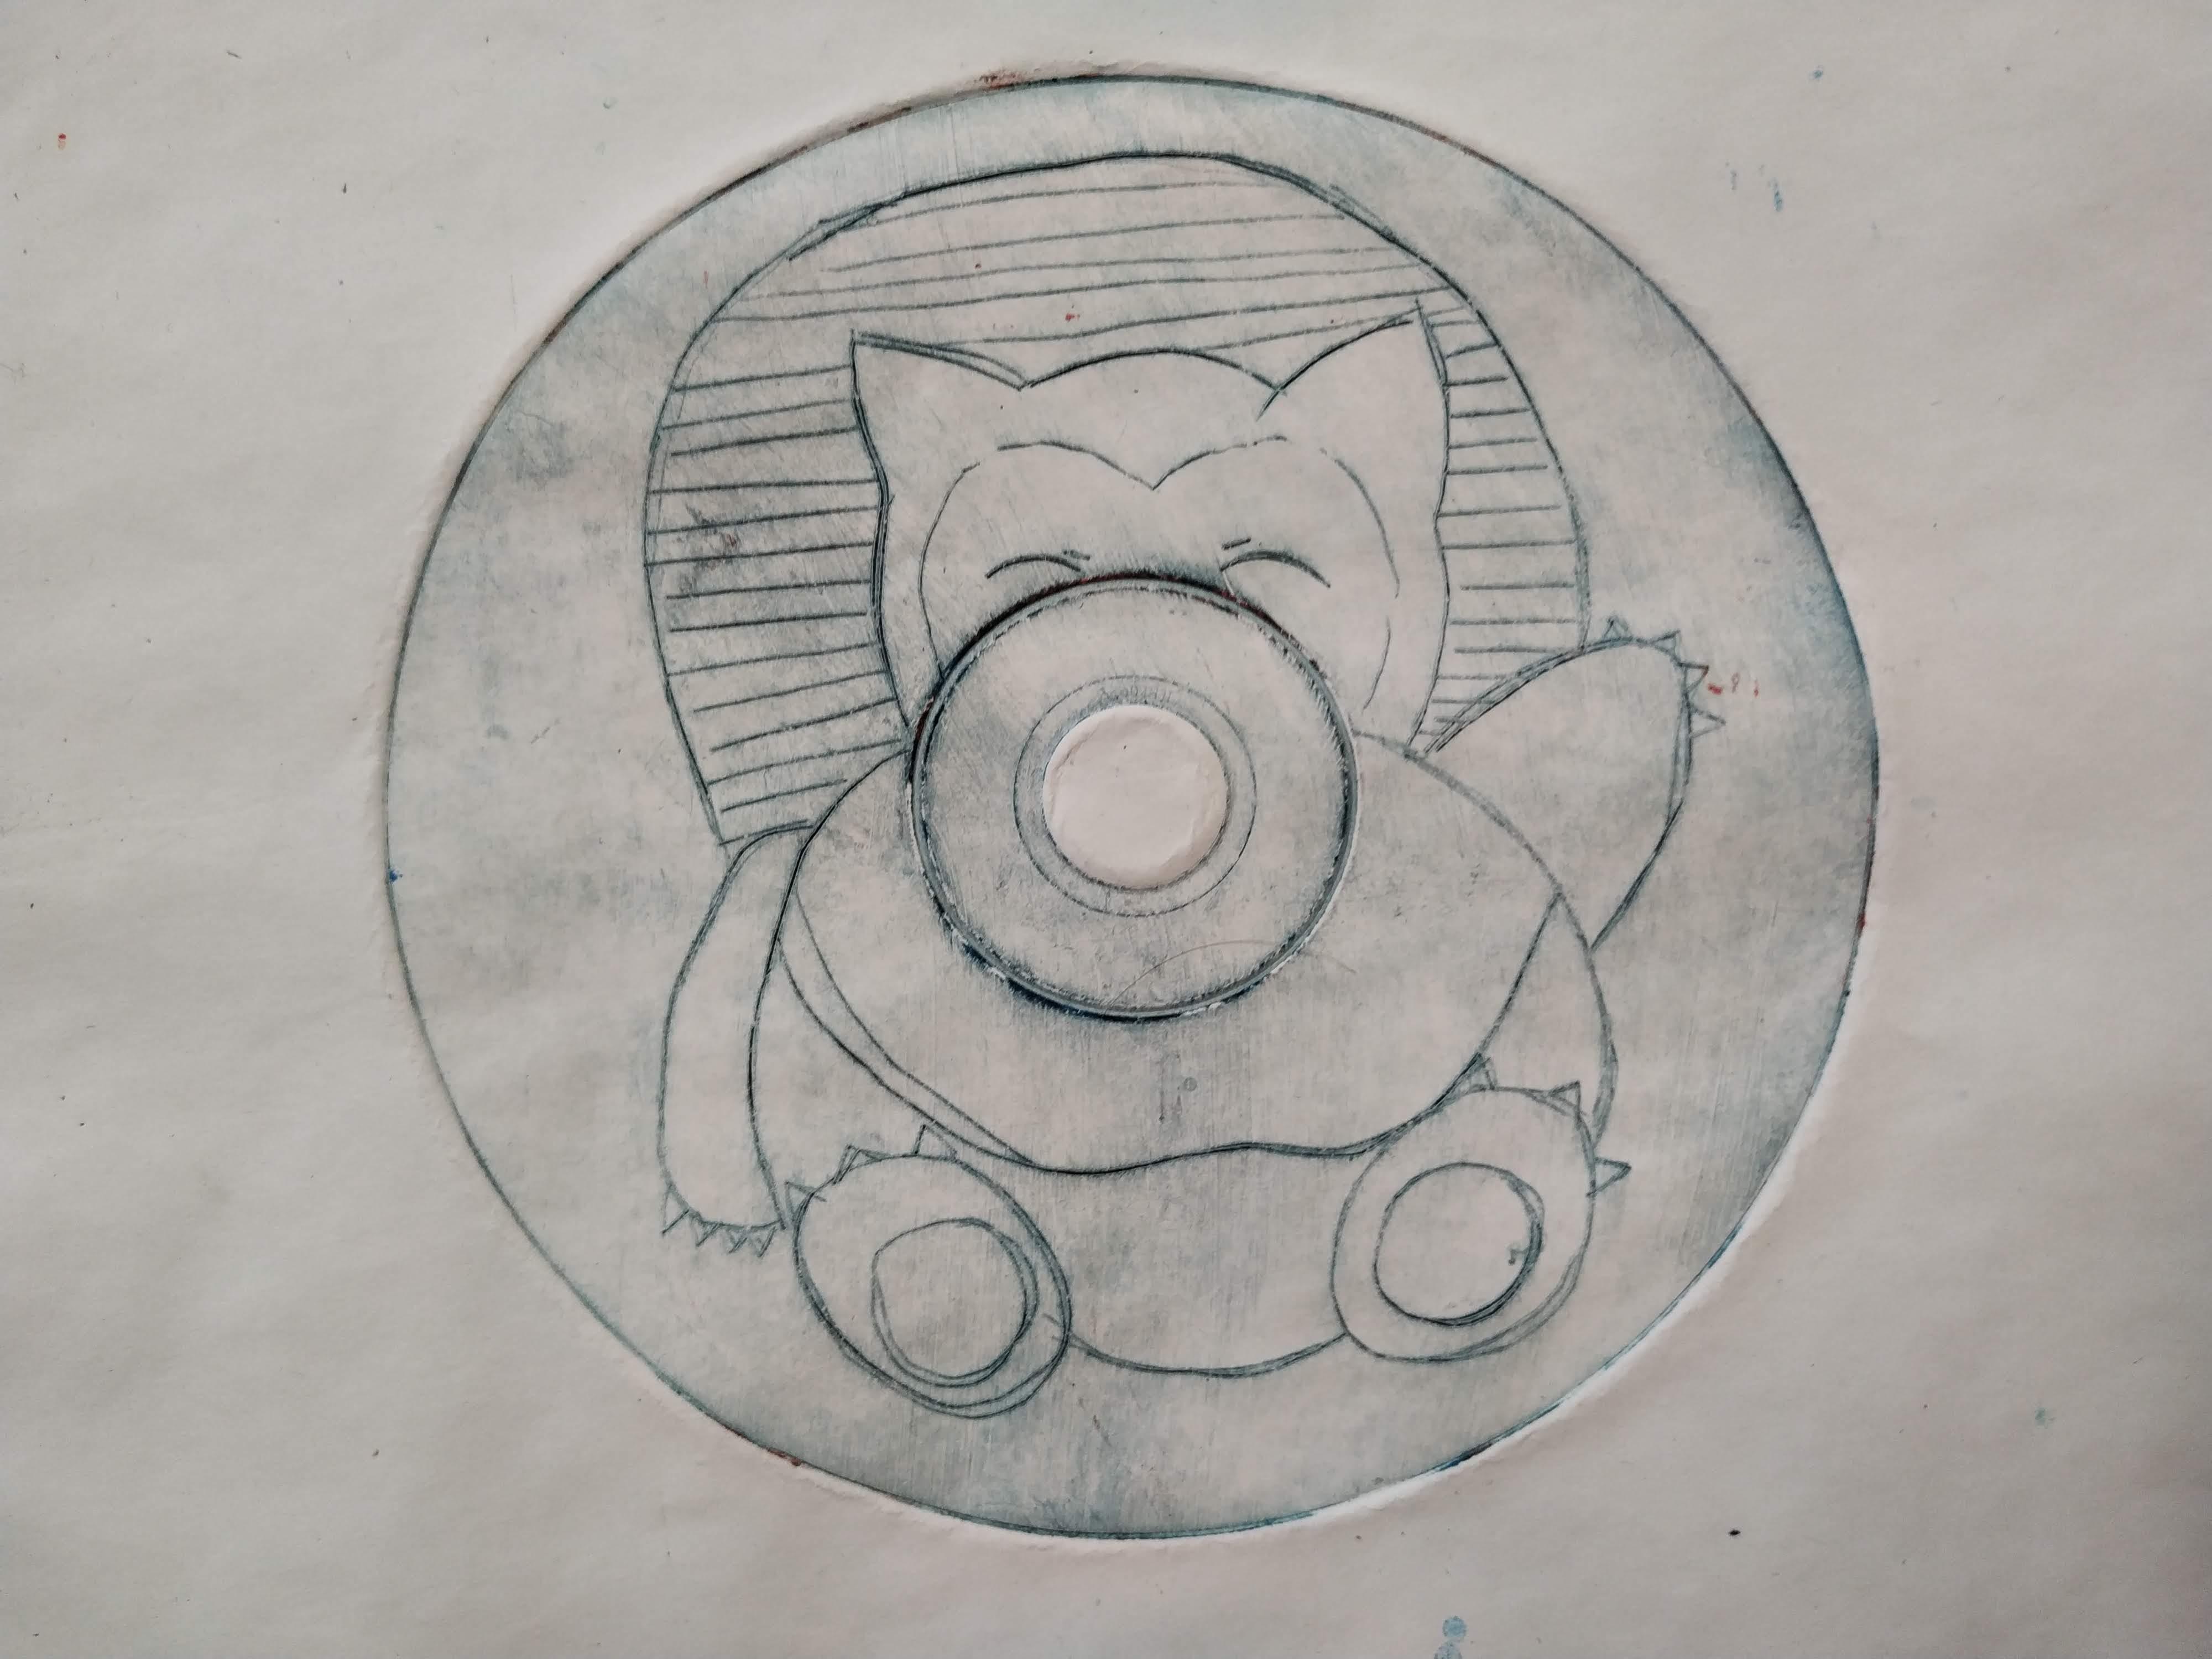
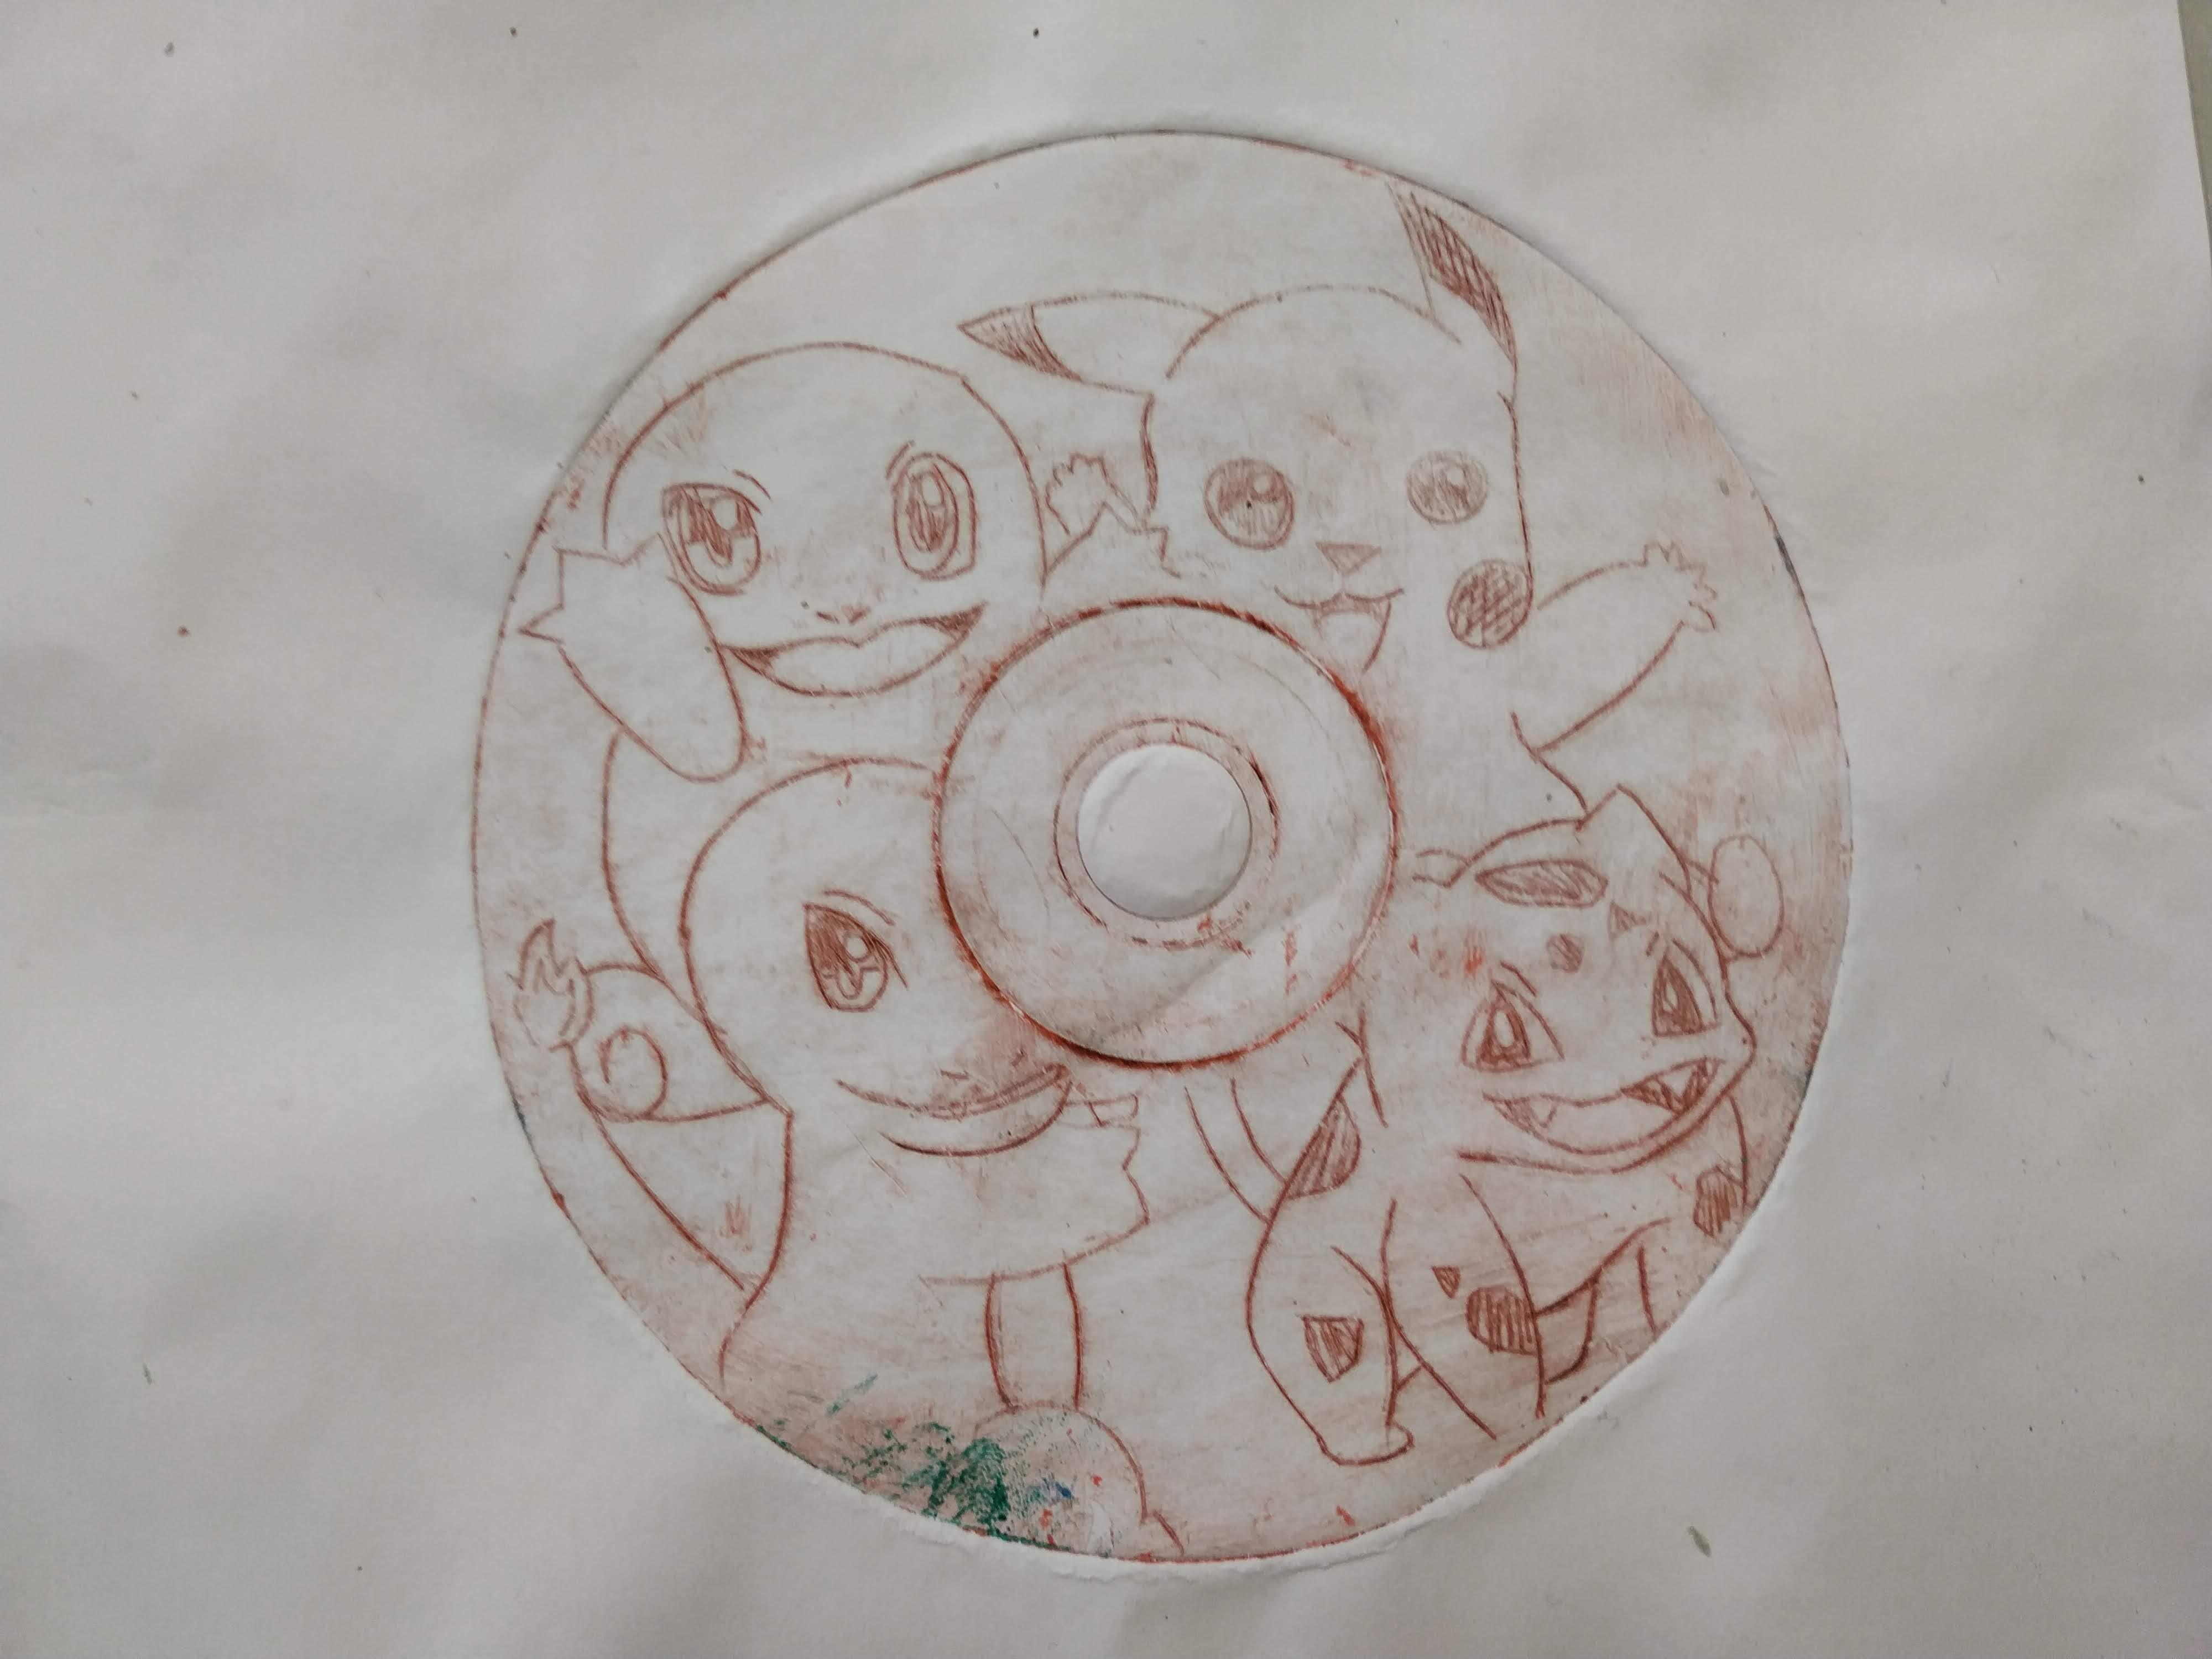
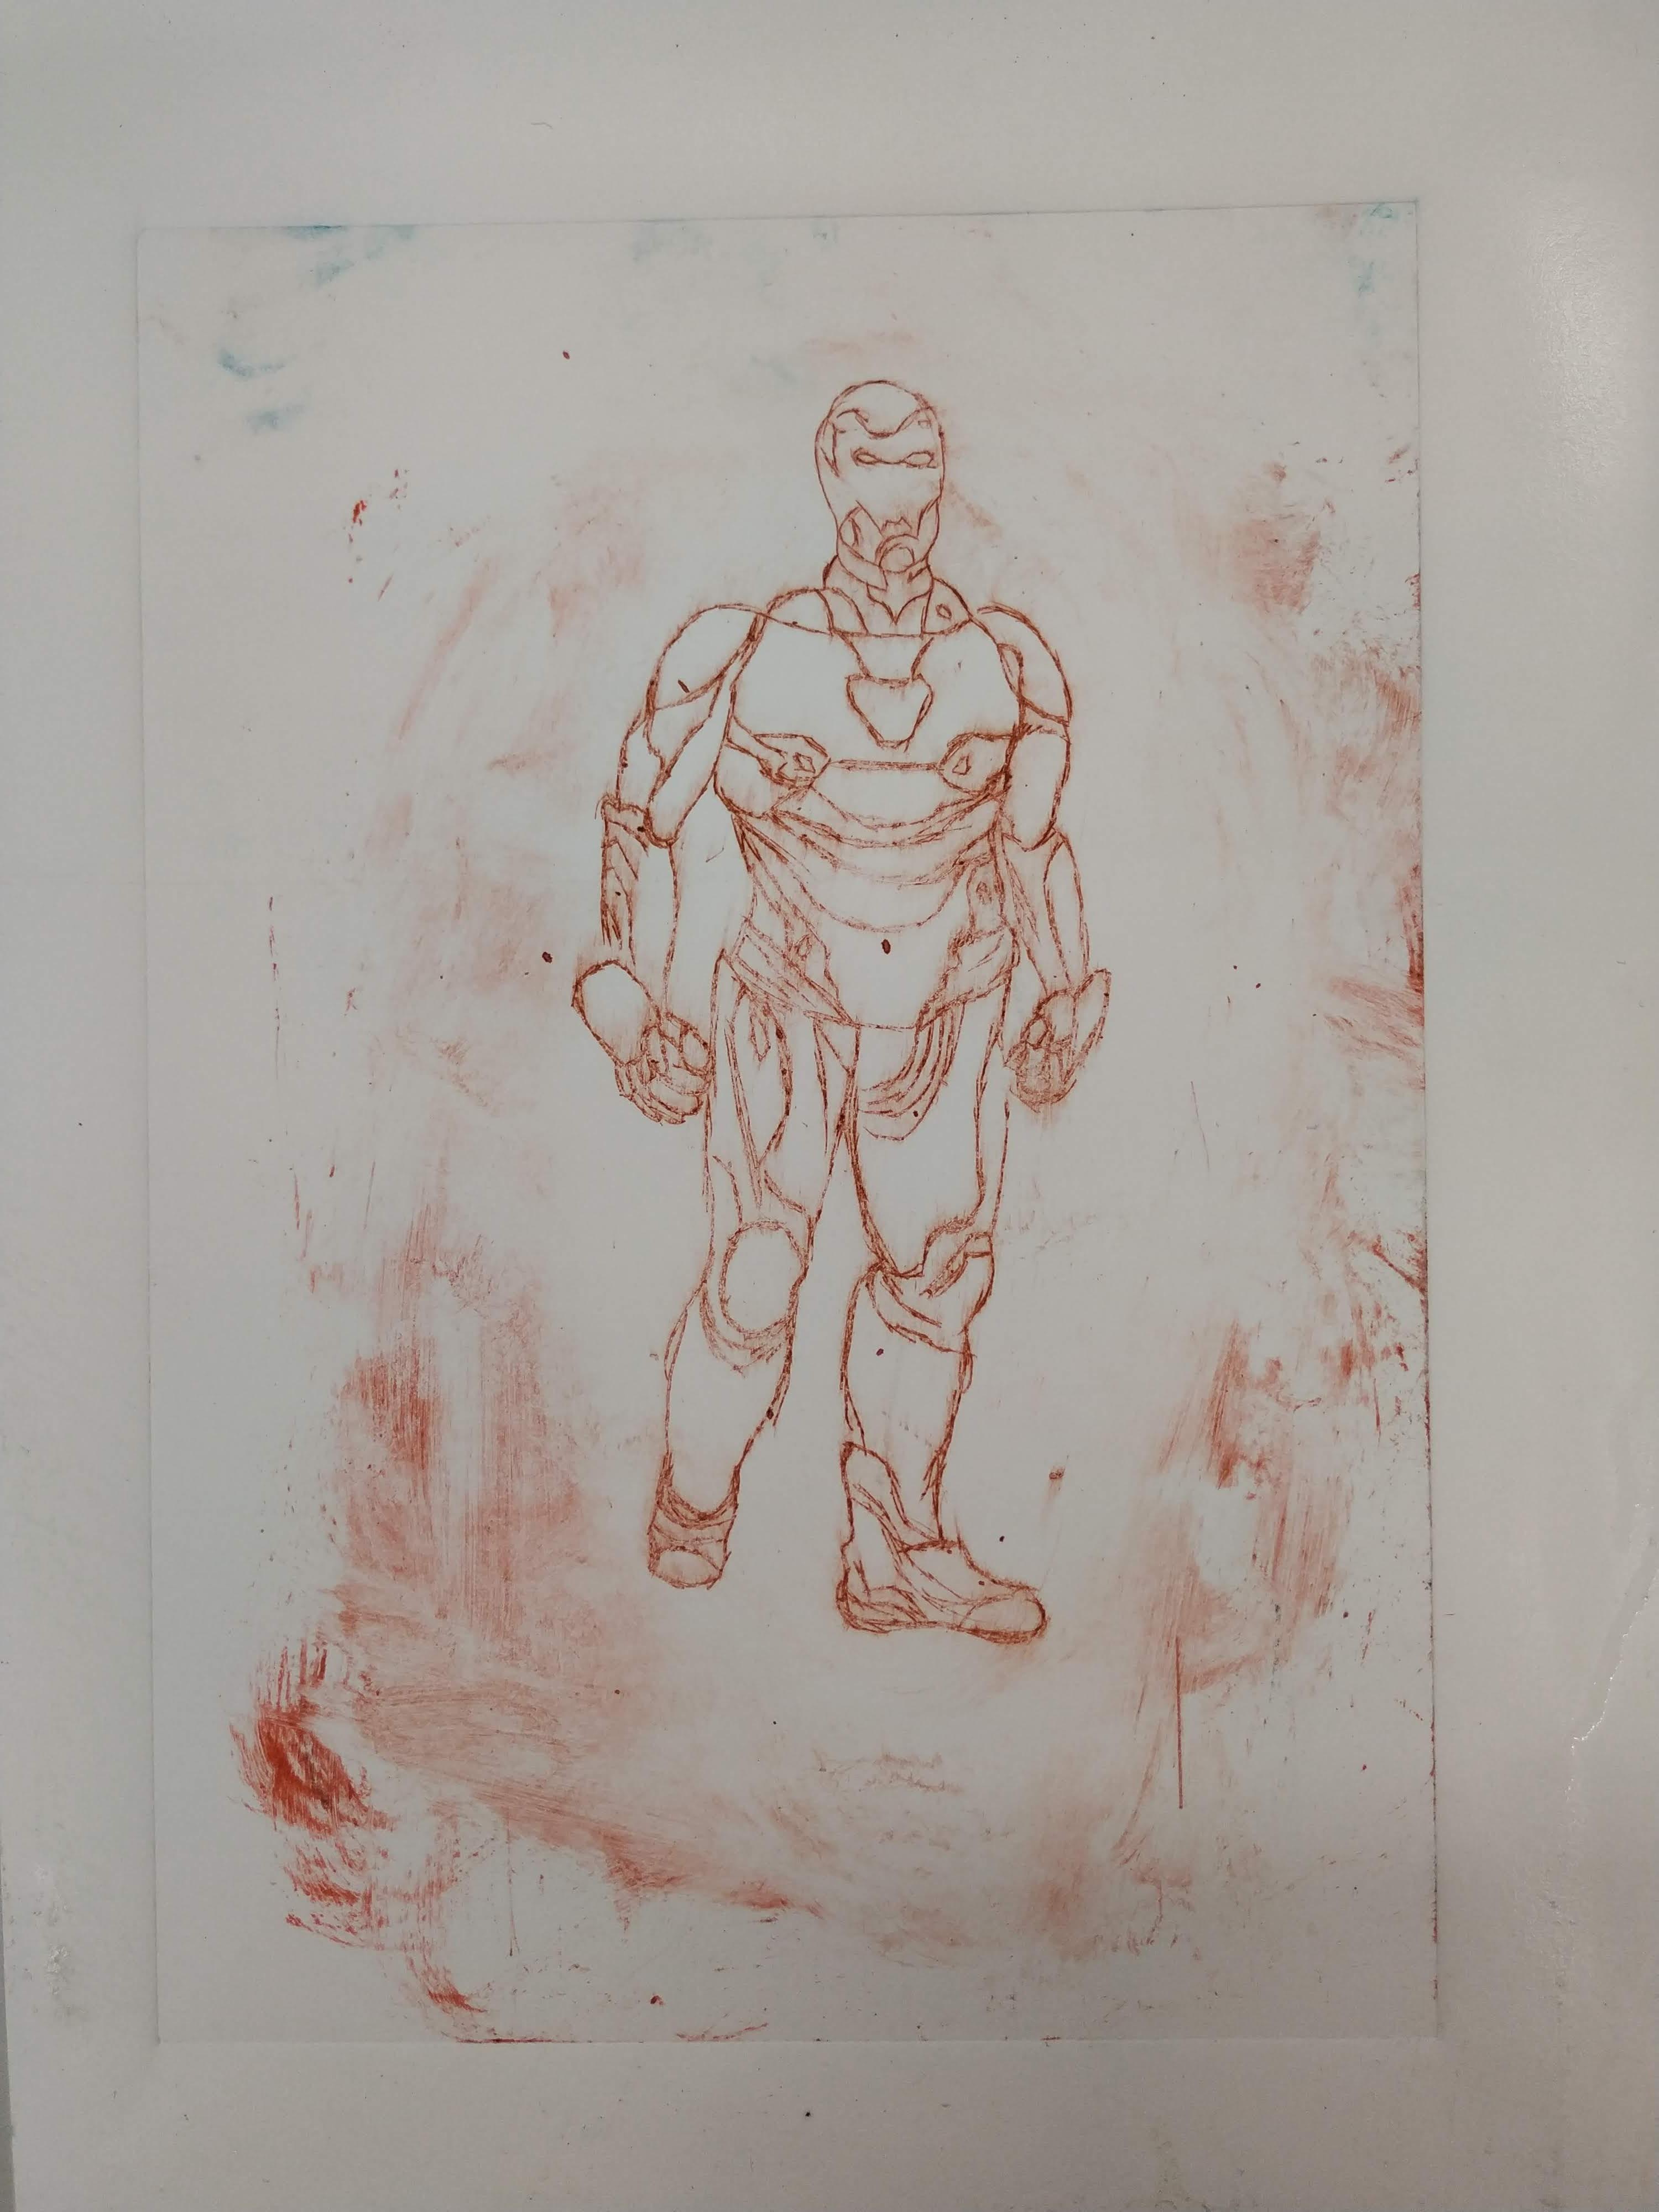
Ex-Libris (often Dry Point in Copper or Acrylic, cut open aluminium cans, TetraPak!!!, old CDs)
We also bind books at school so that is another topic I like to work on.
Branding Iron
Machined from brass or aluminium.
Stencils Banksy Styler
For graffiti or reverse graffiti, made from hardboard (or cardboard if you happen to have access to someone that works on oscillating knife CNCs…fortunately my brother works with cardboard).
Wooden Stamps or XPS Stamps for Clothing, masks for screen printing.
I am very much impressed by lot of great works that are created during
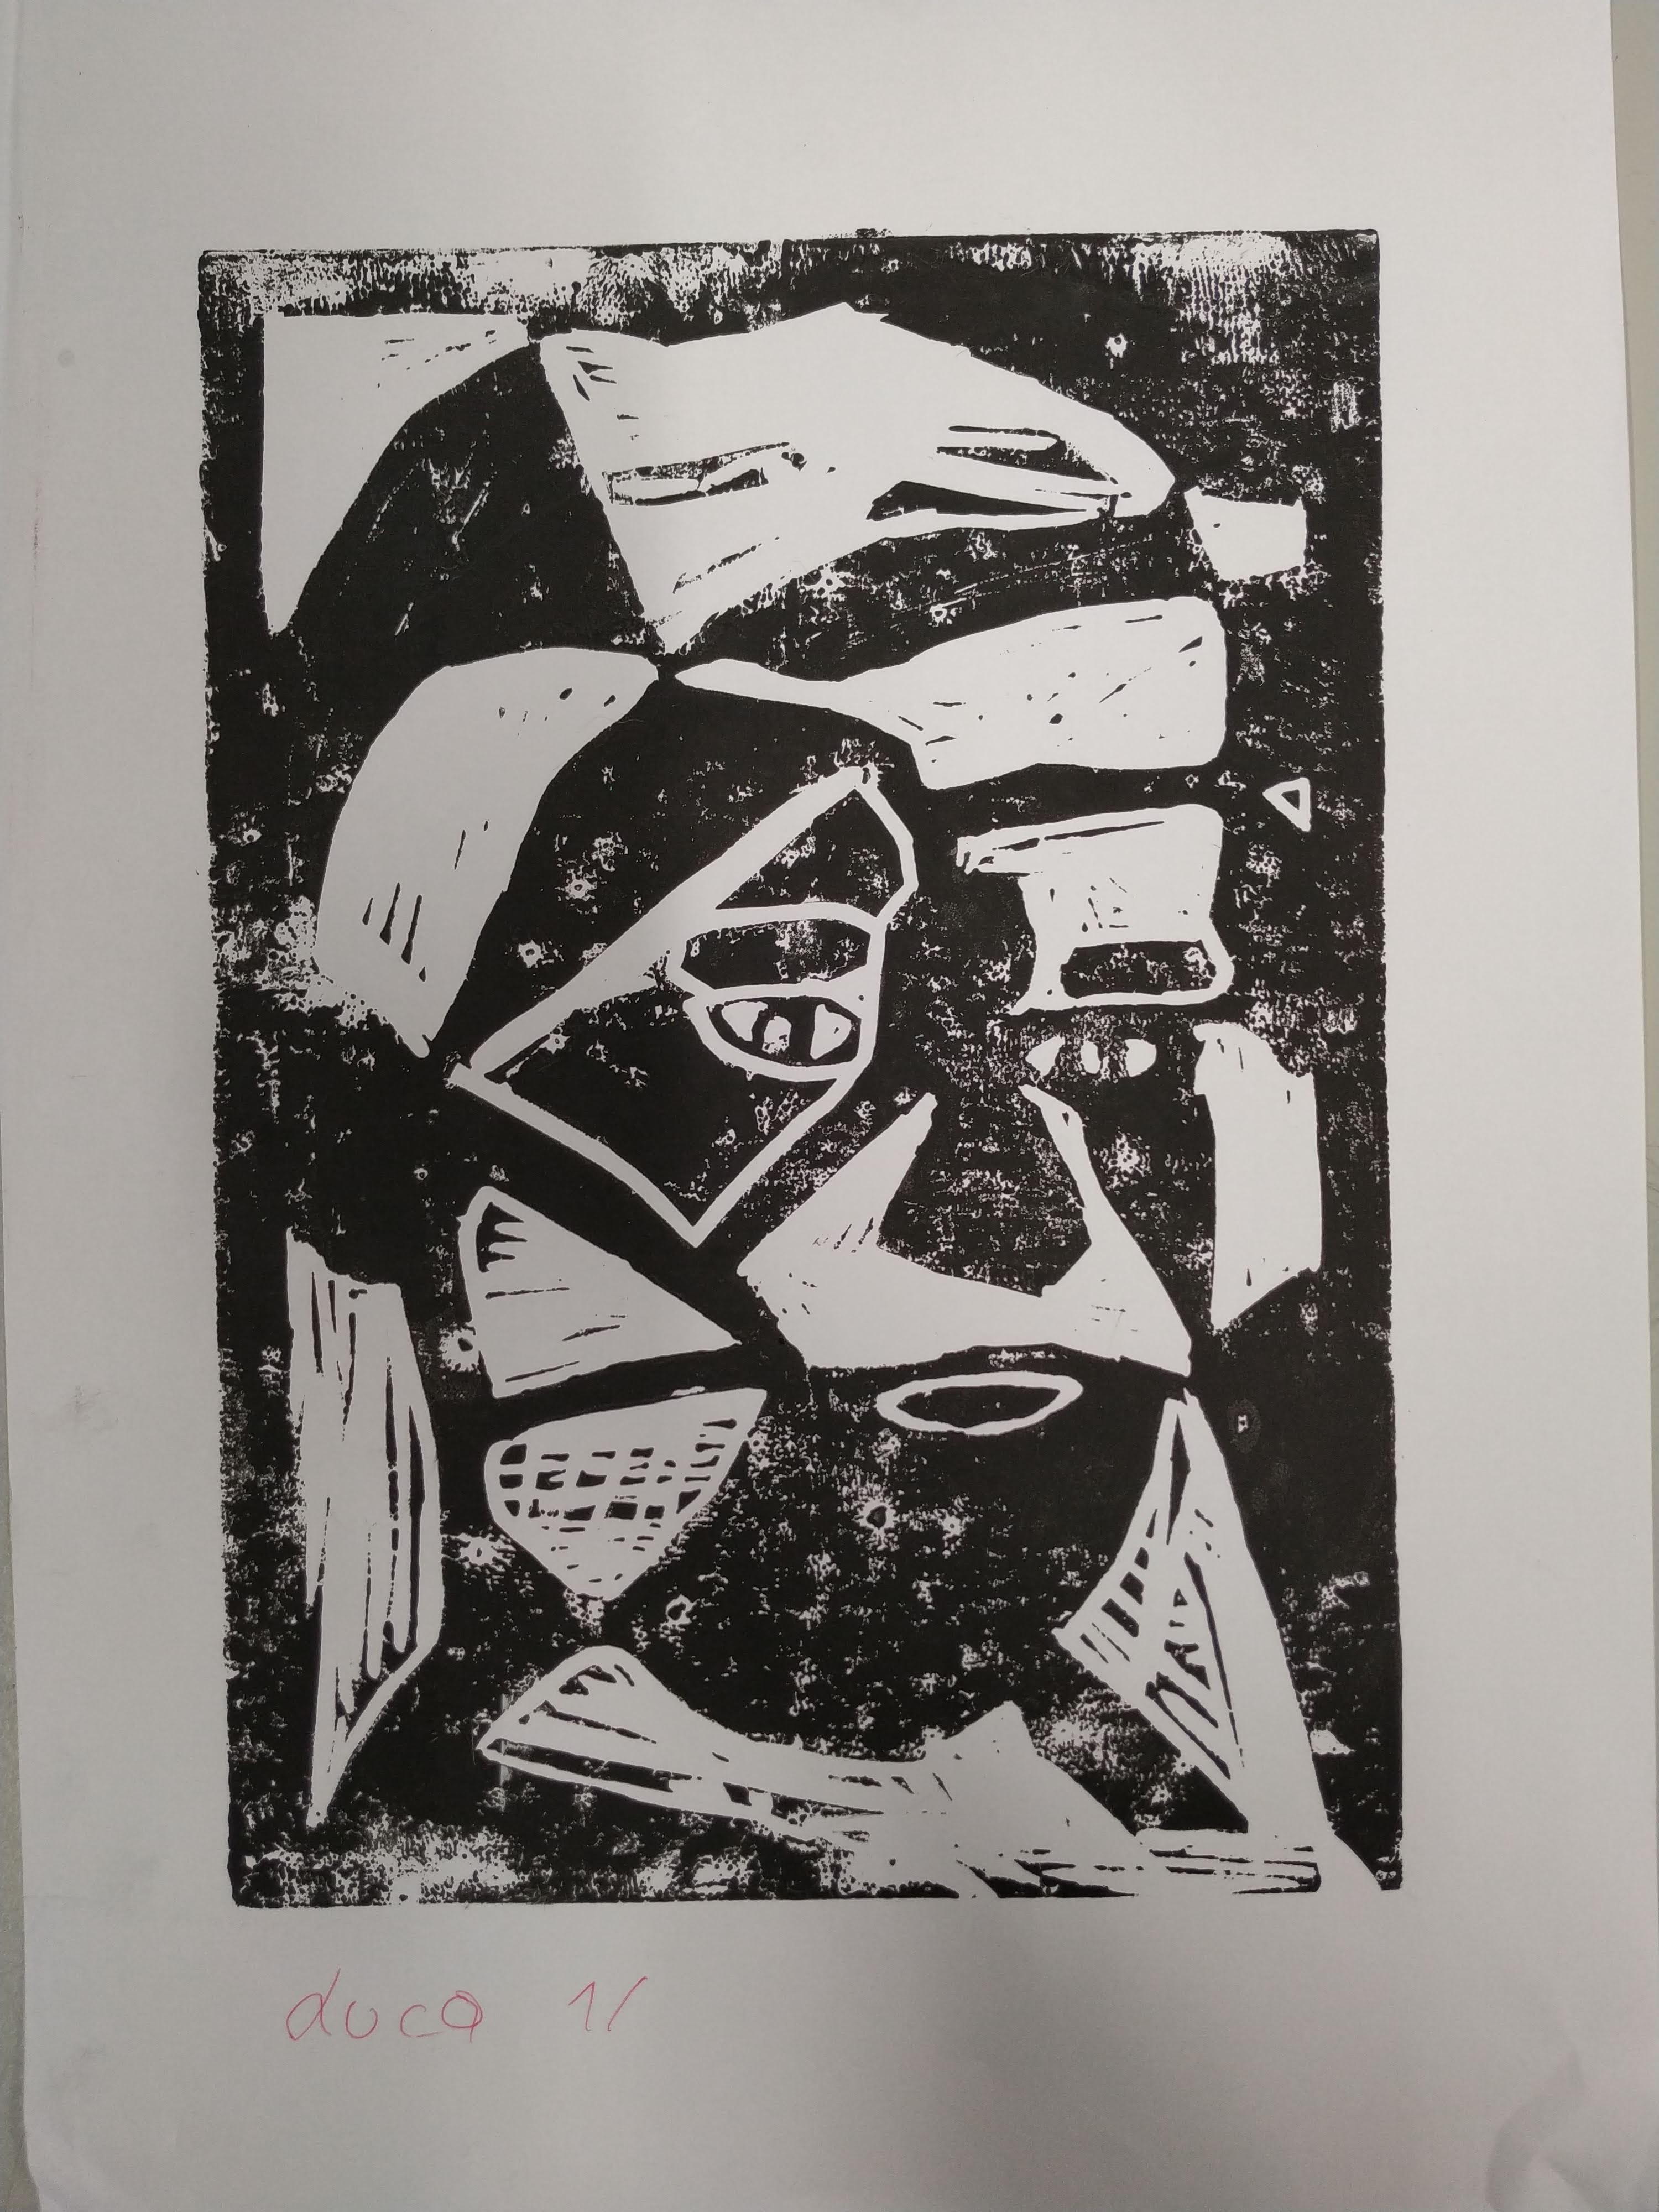
art class. Once in a while there is someone with great talent or just creates a stunning, expessionistic print by accident.
Machining, Cutting Tools, Materials and Printing
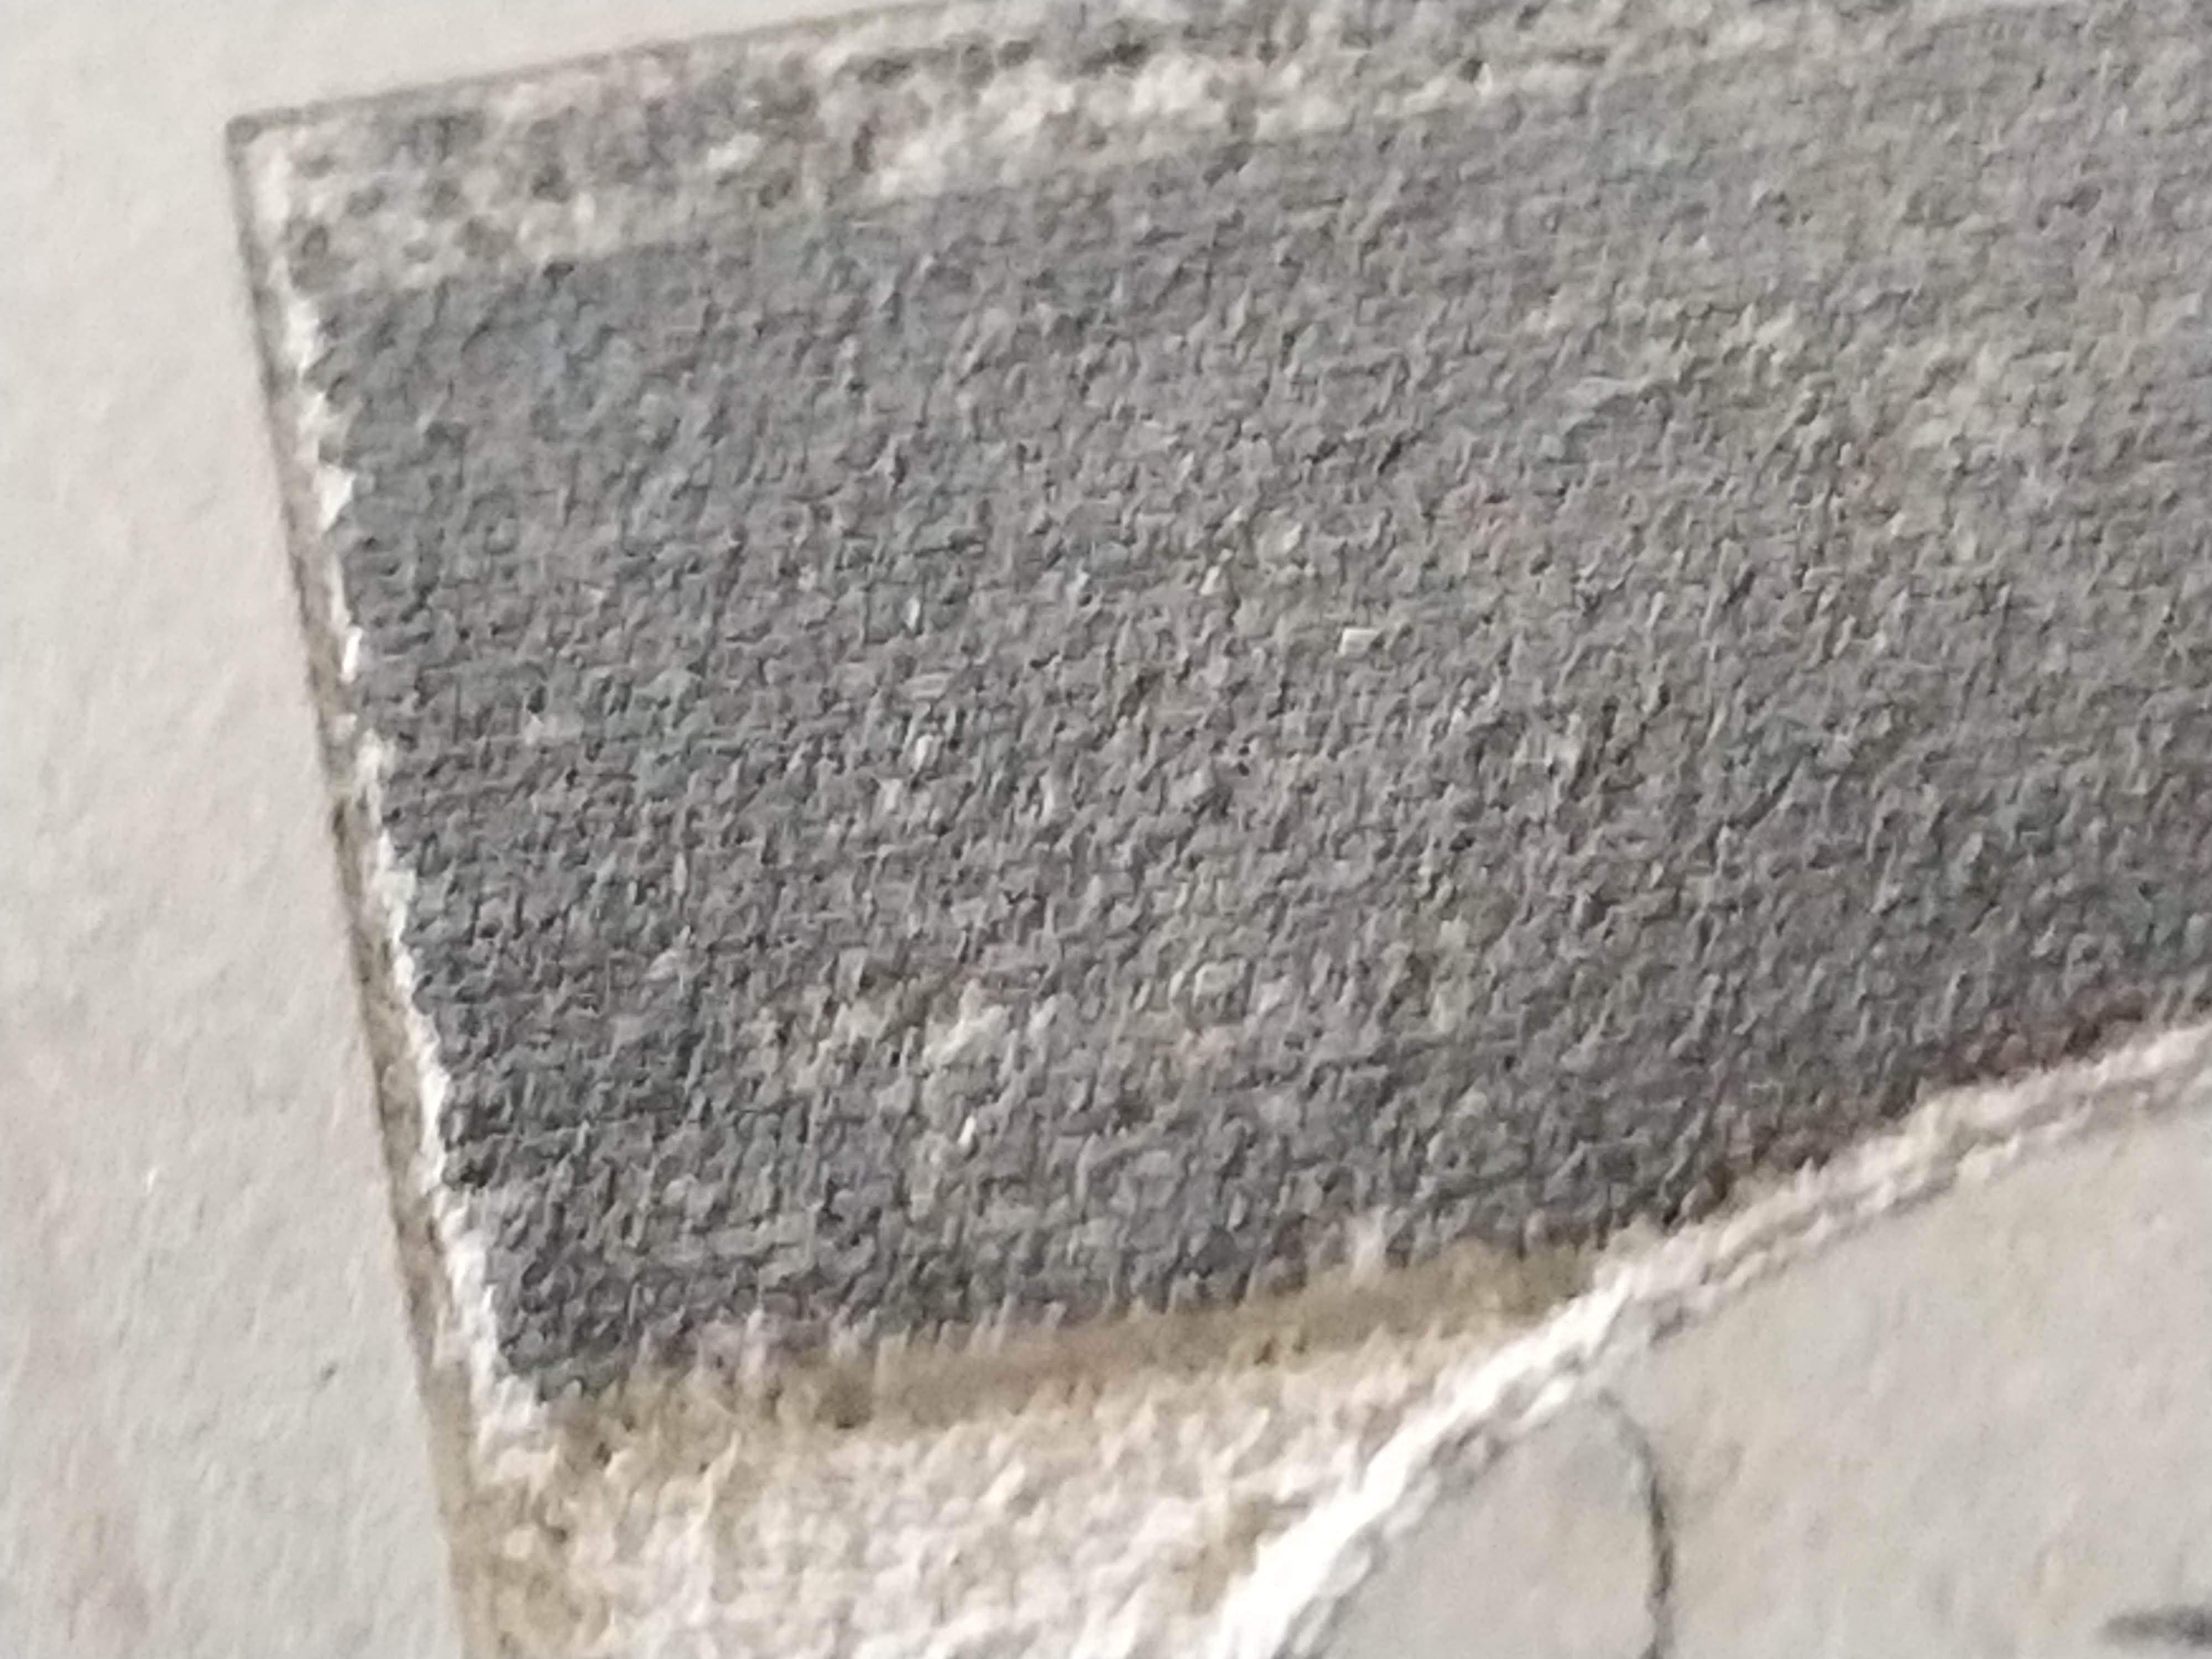
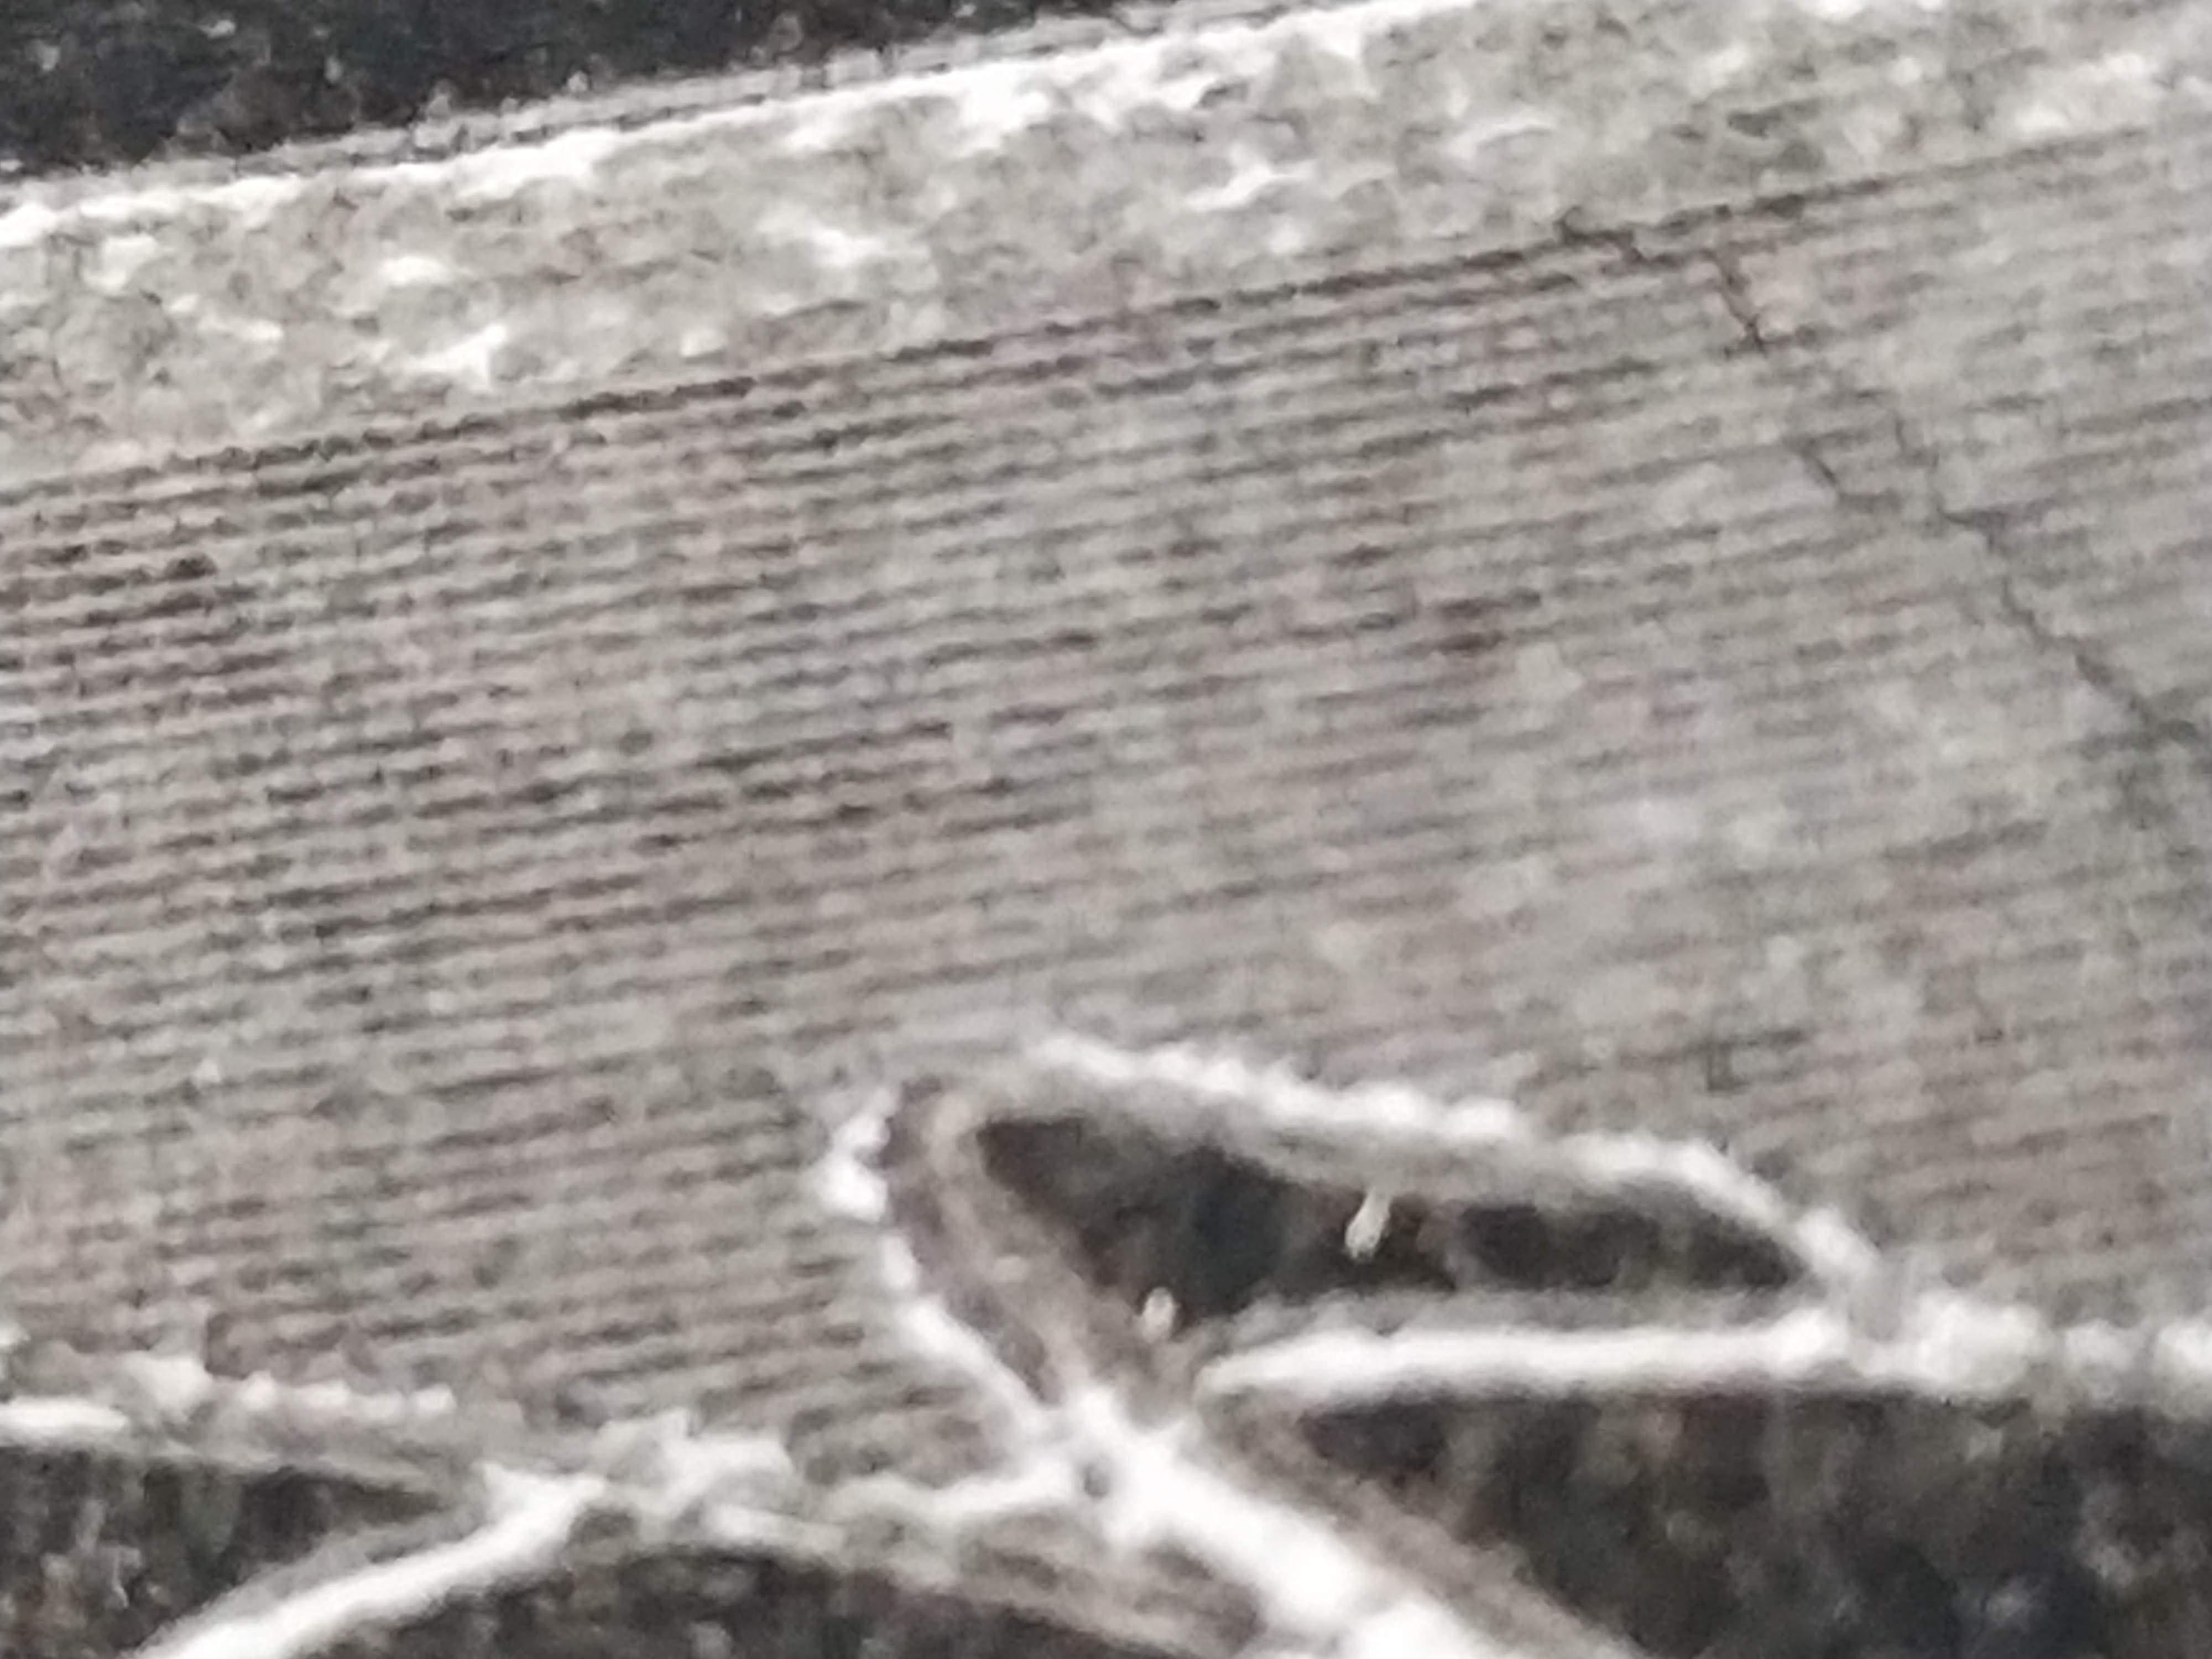
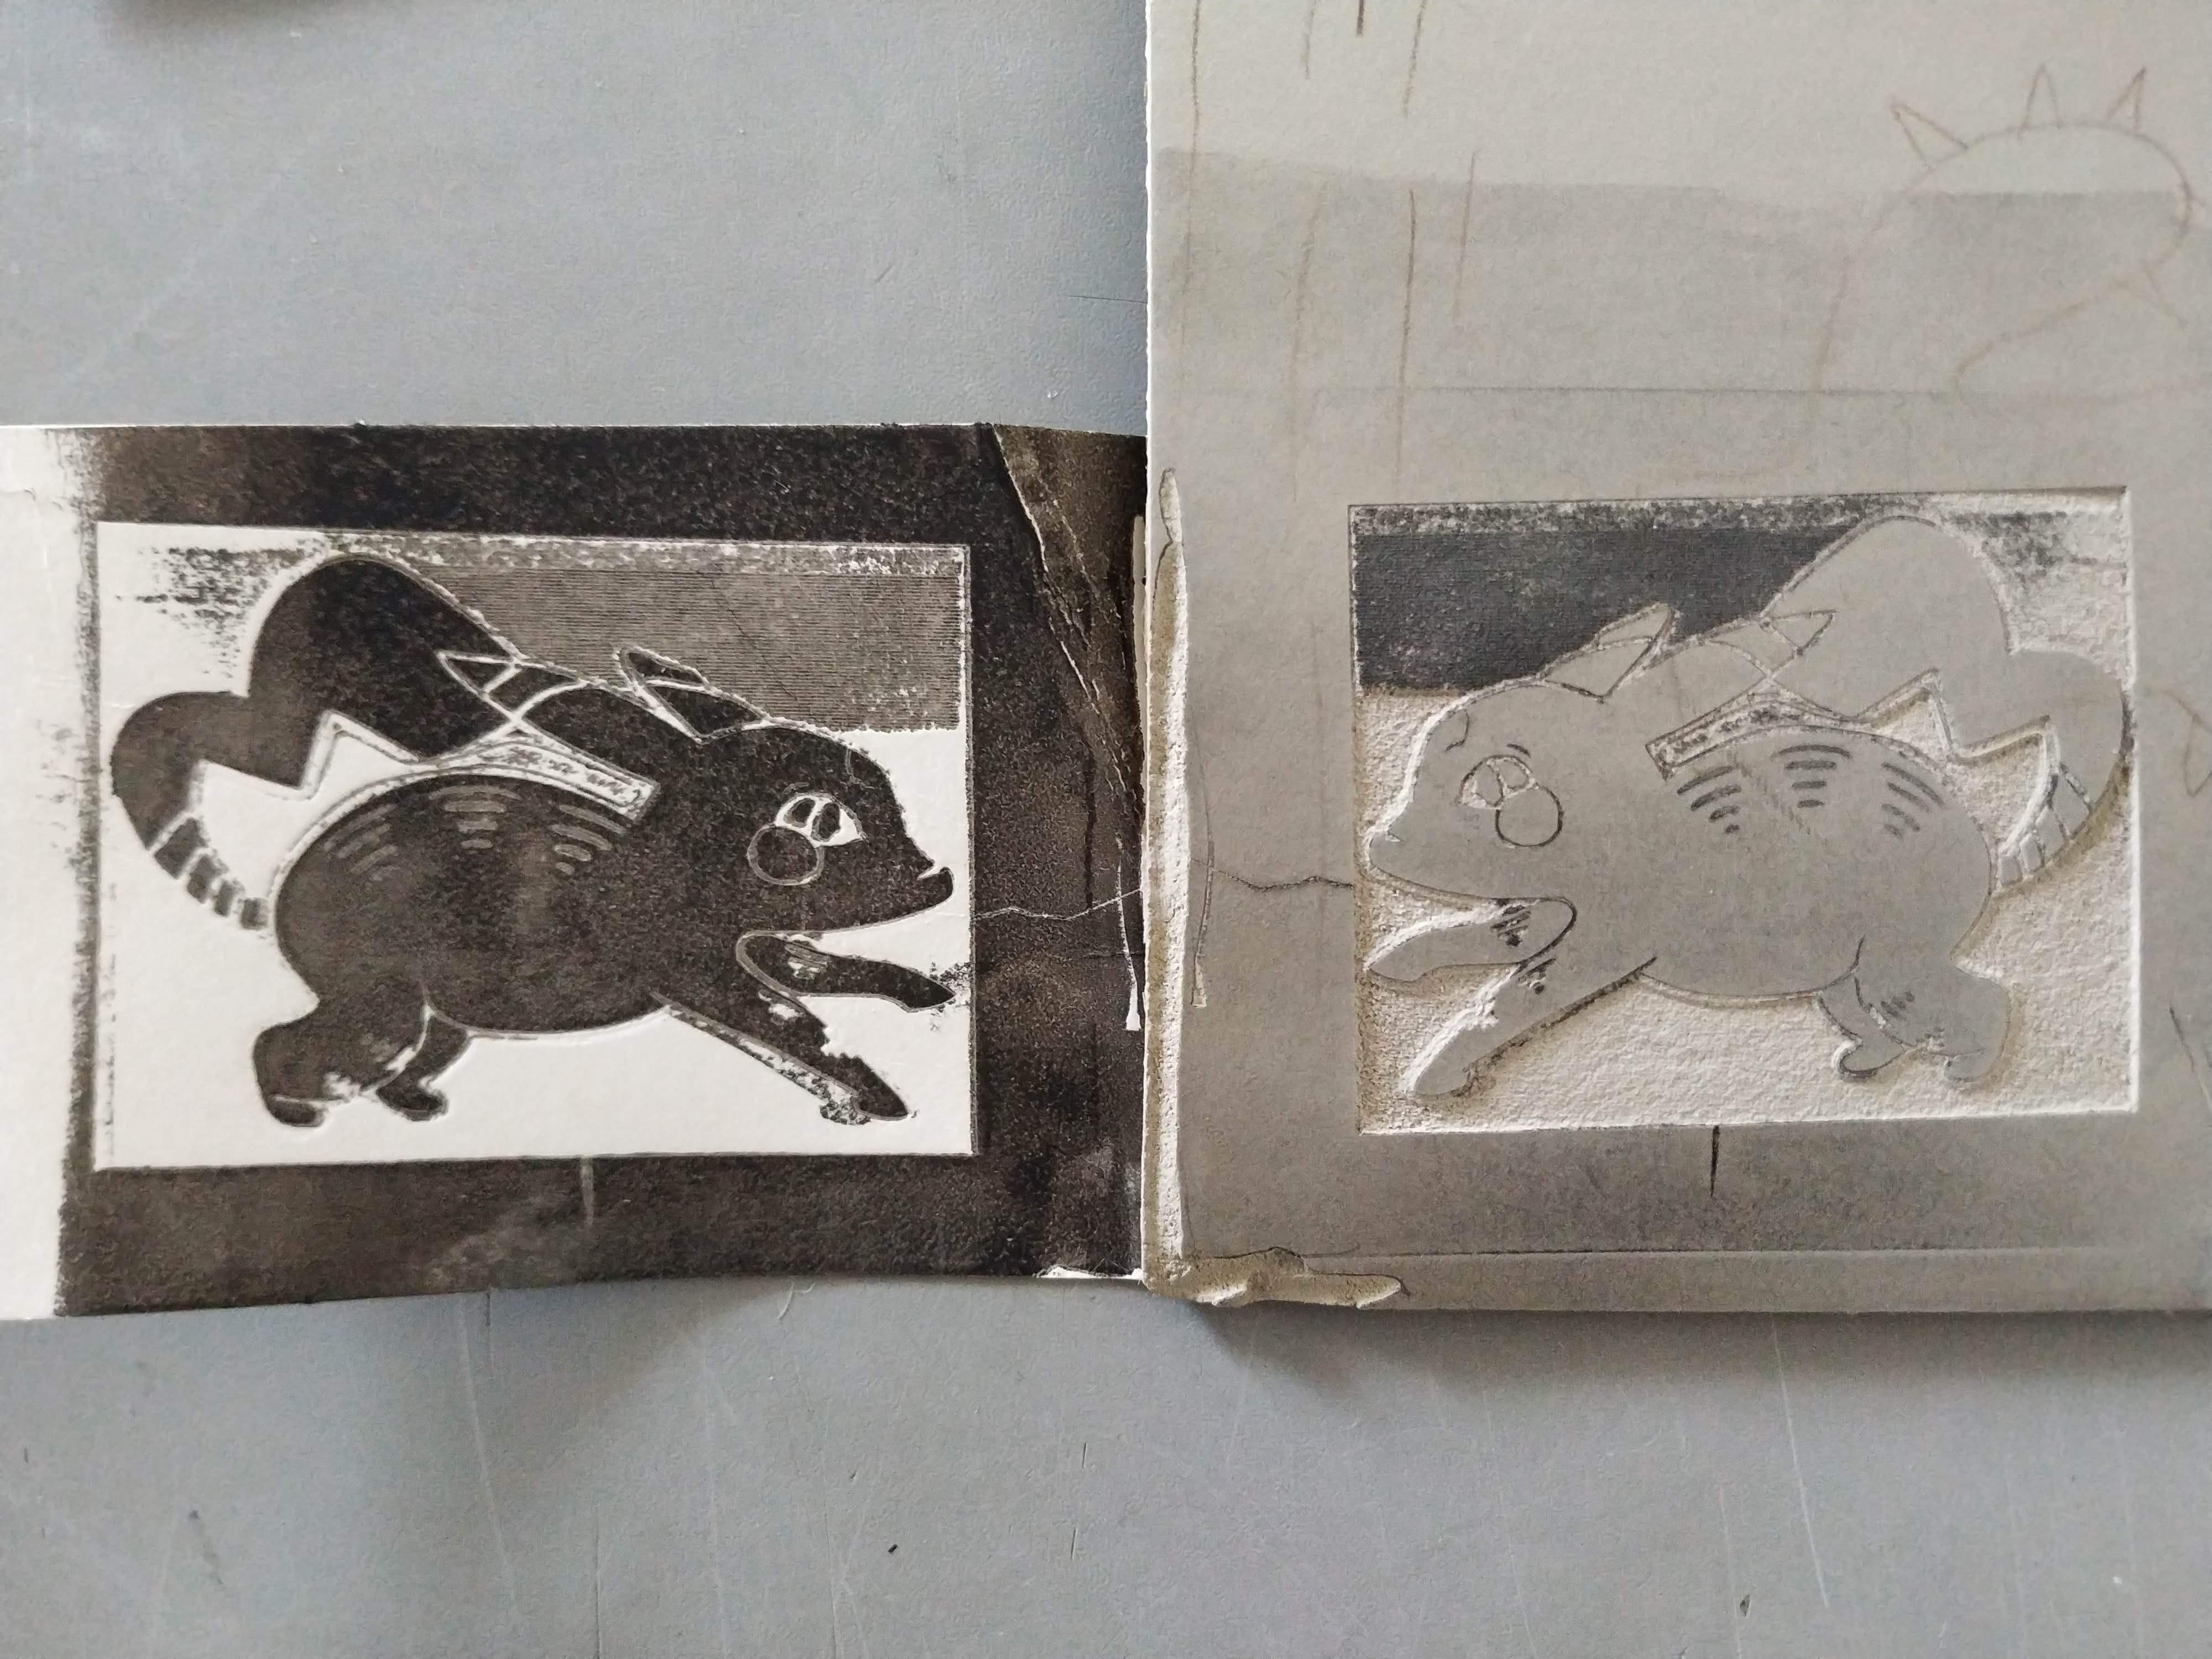
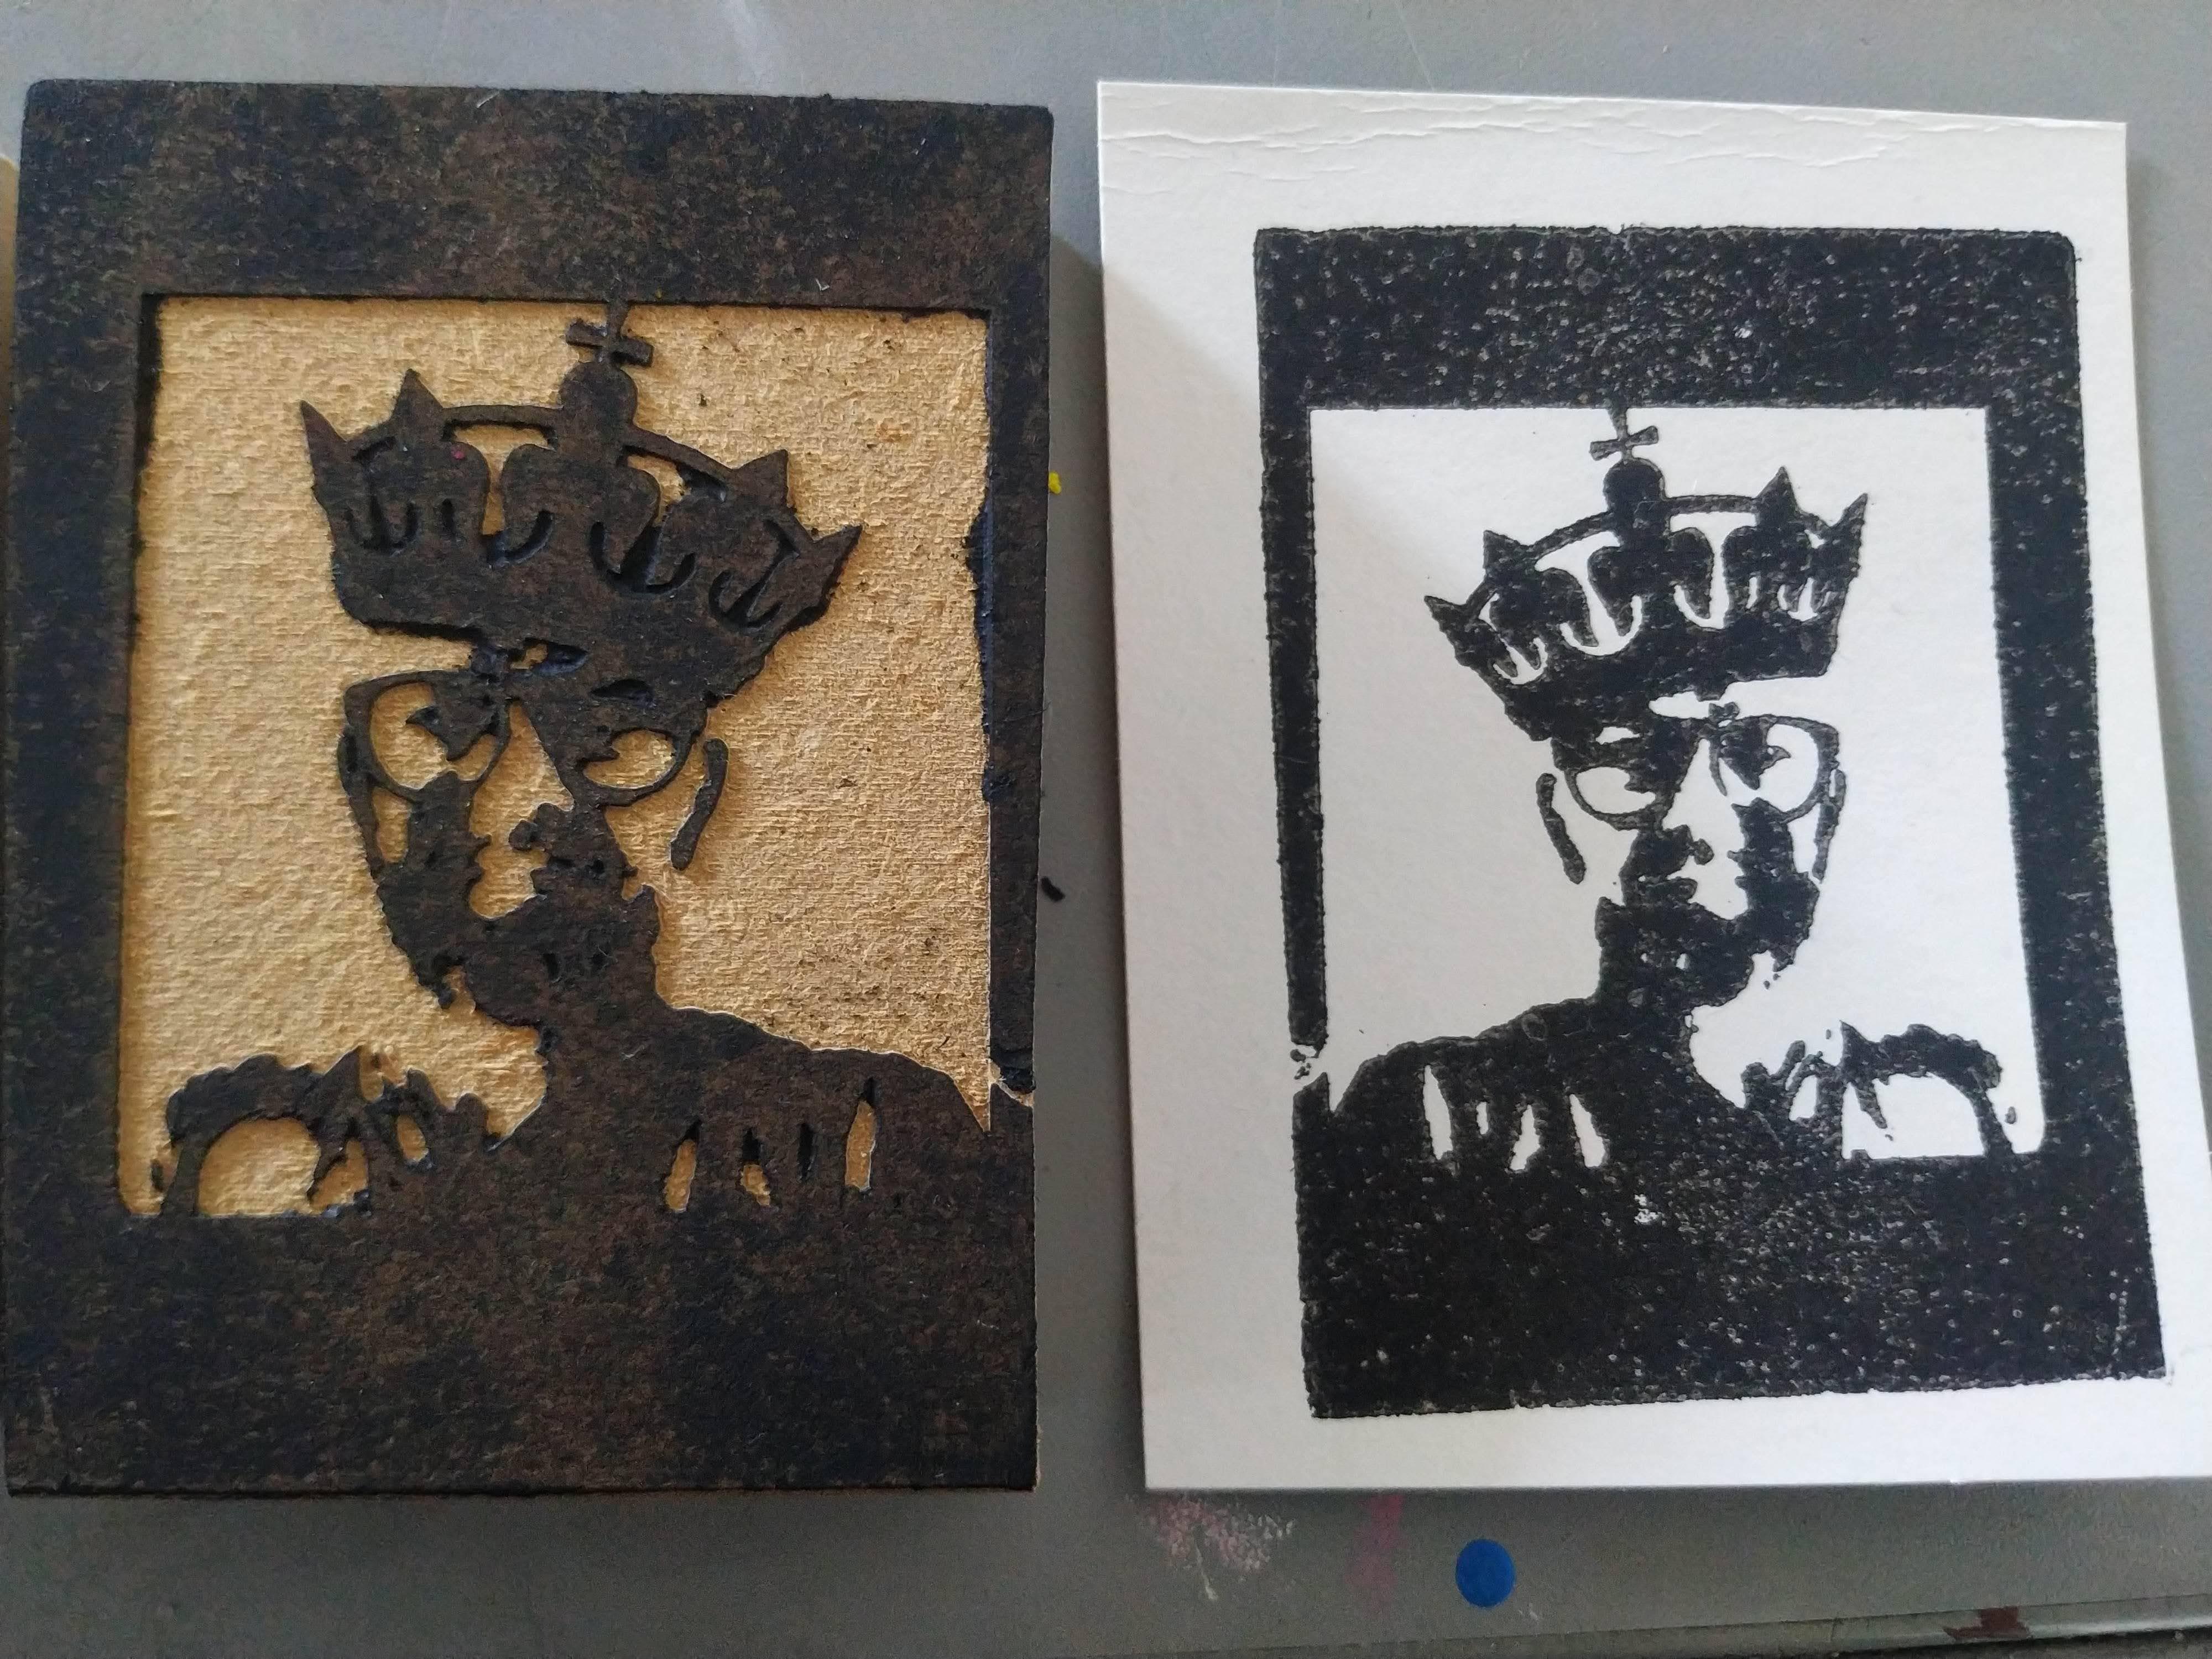
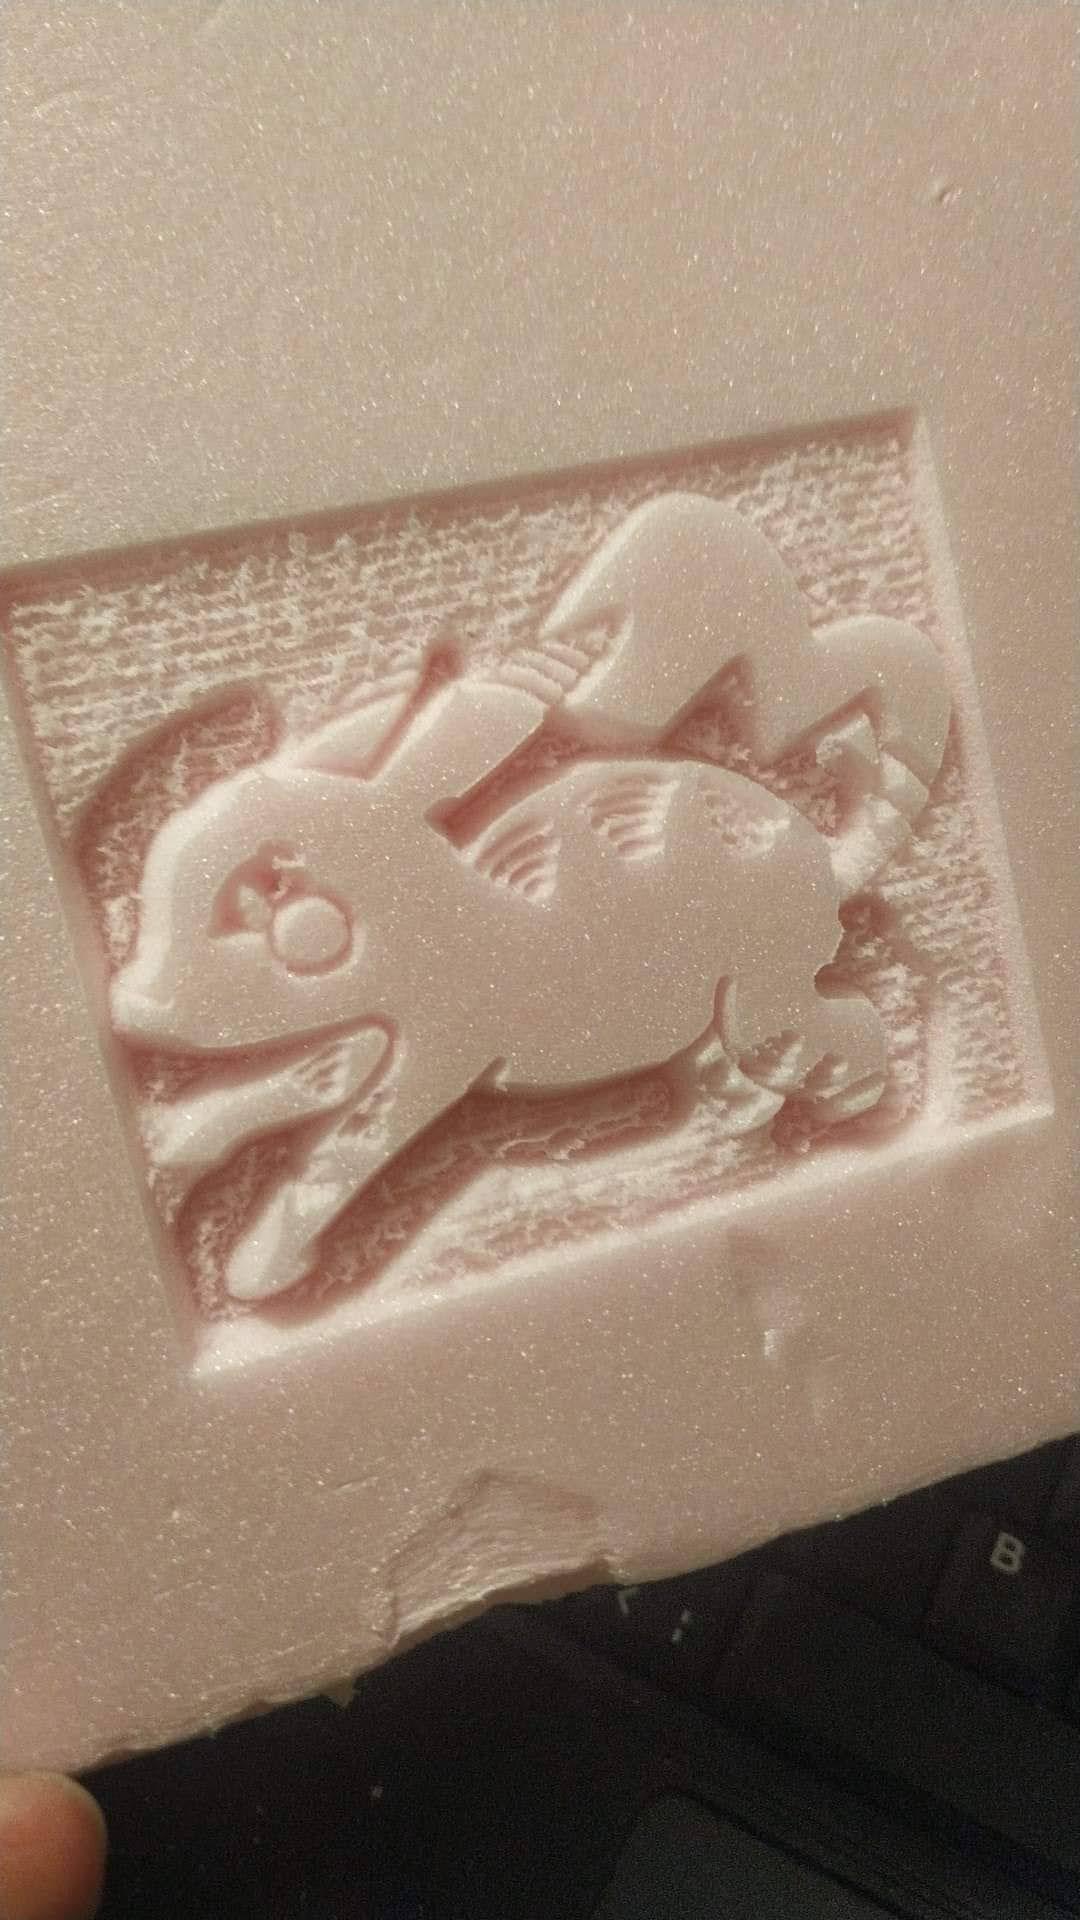
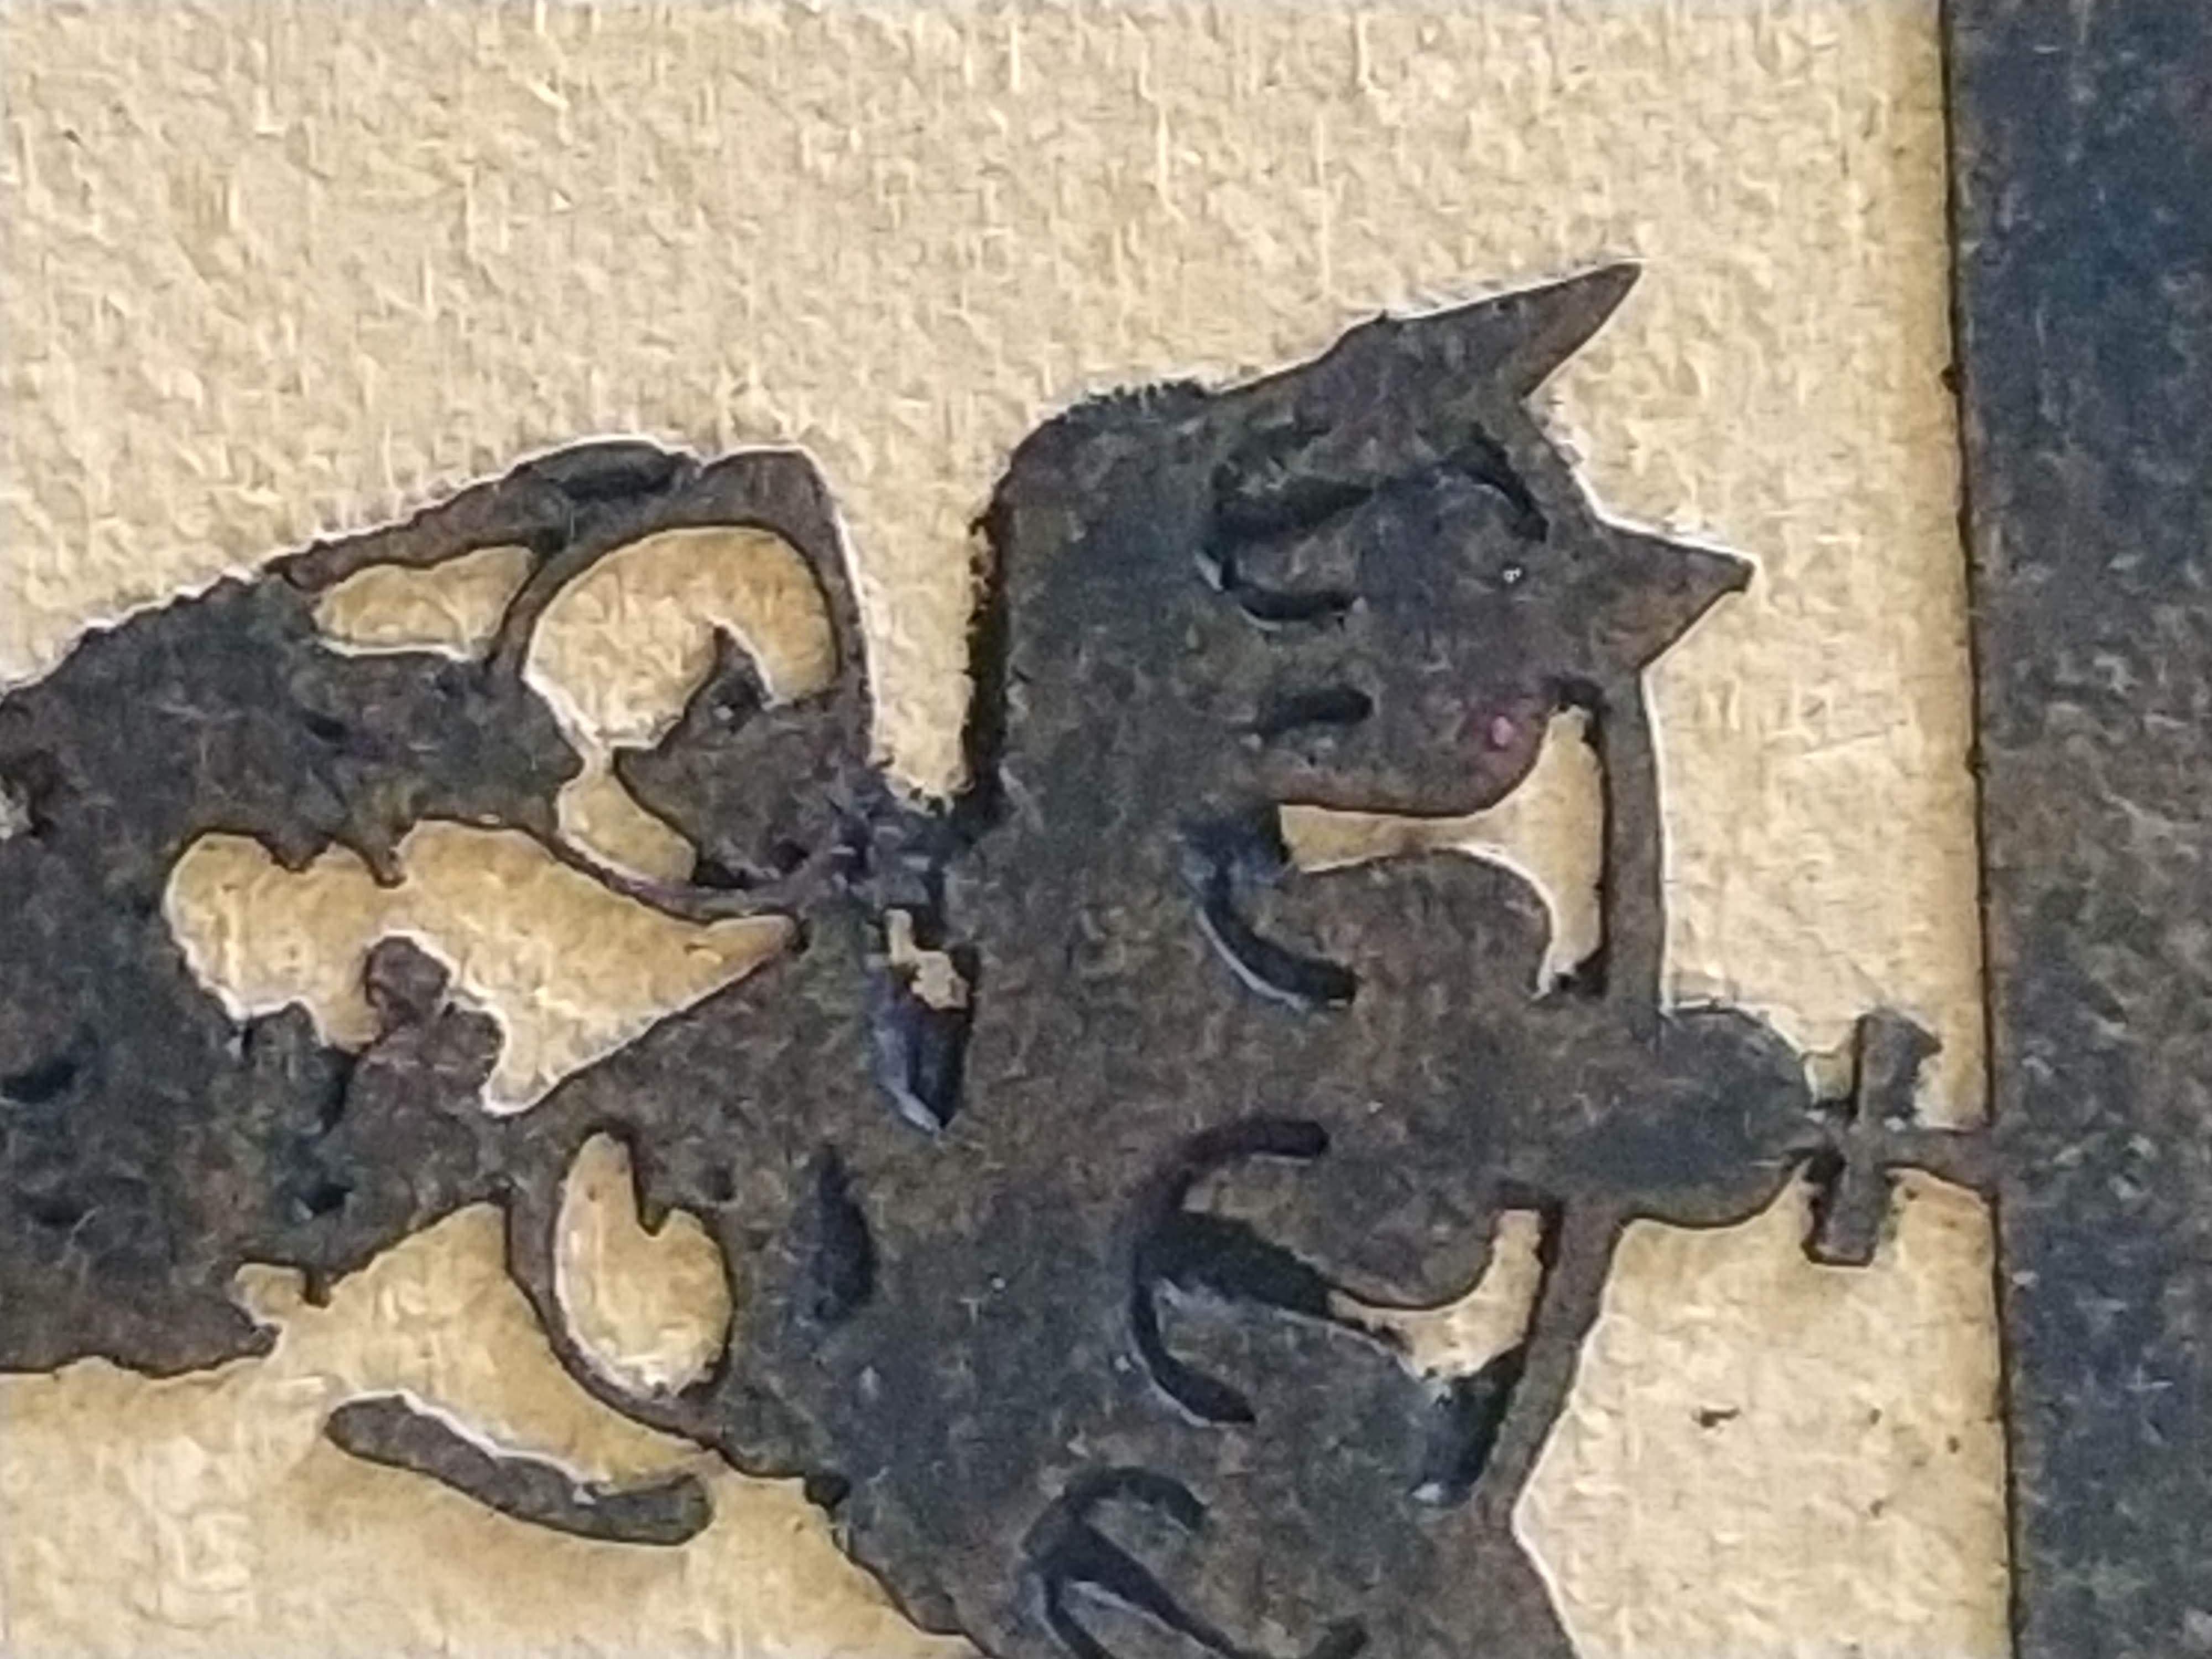
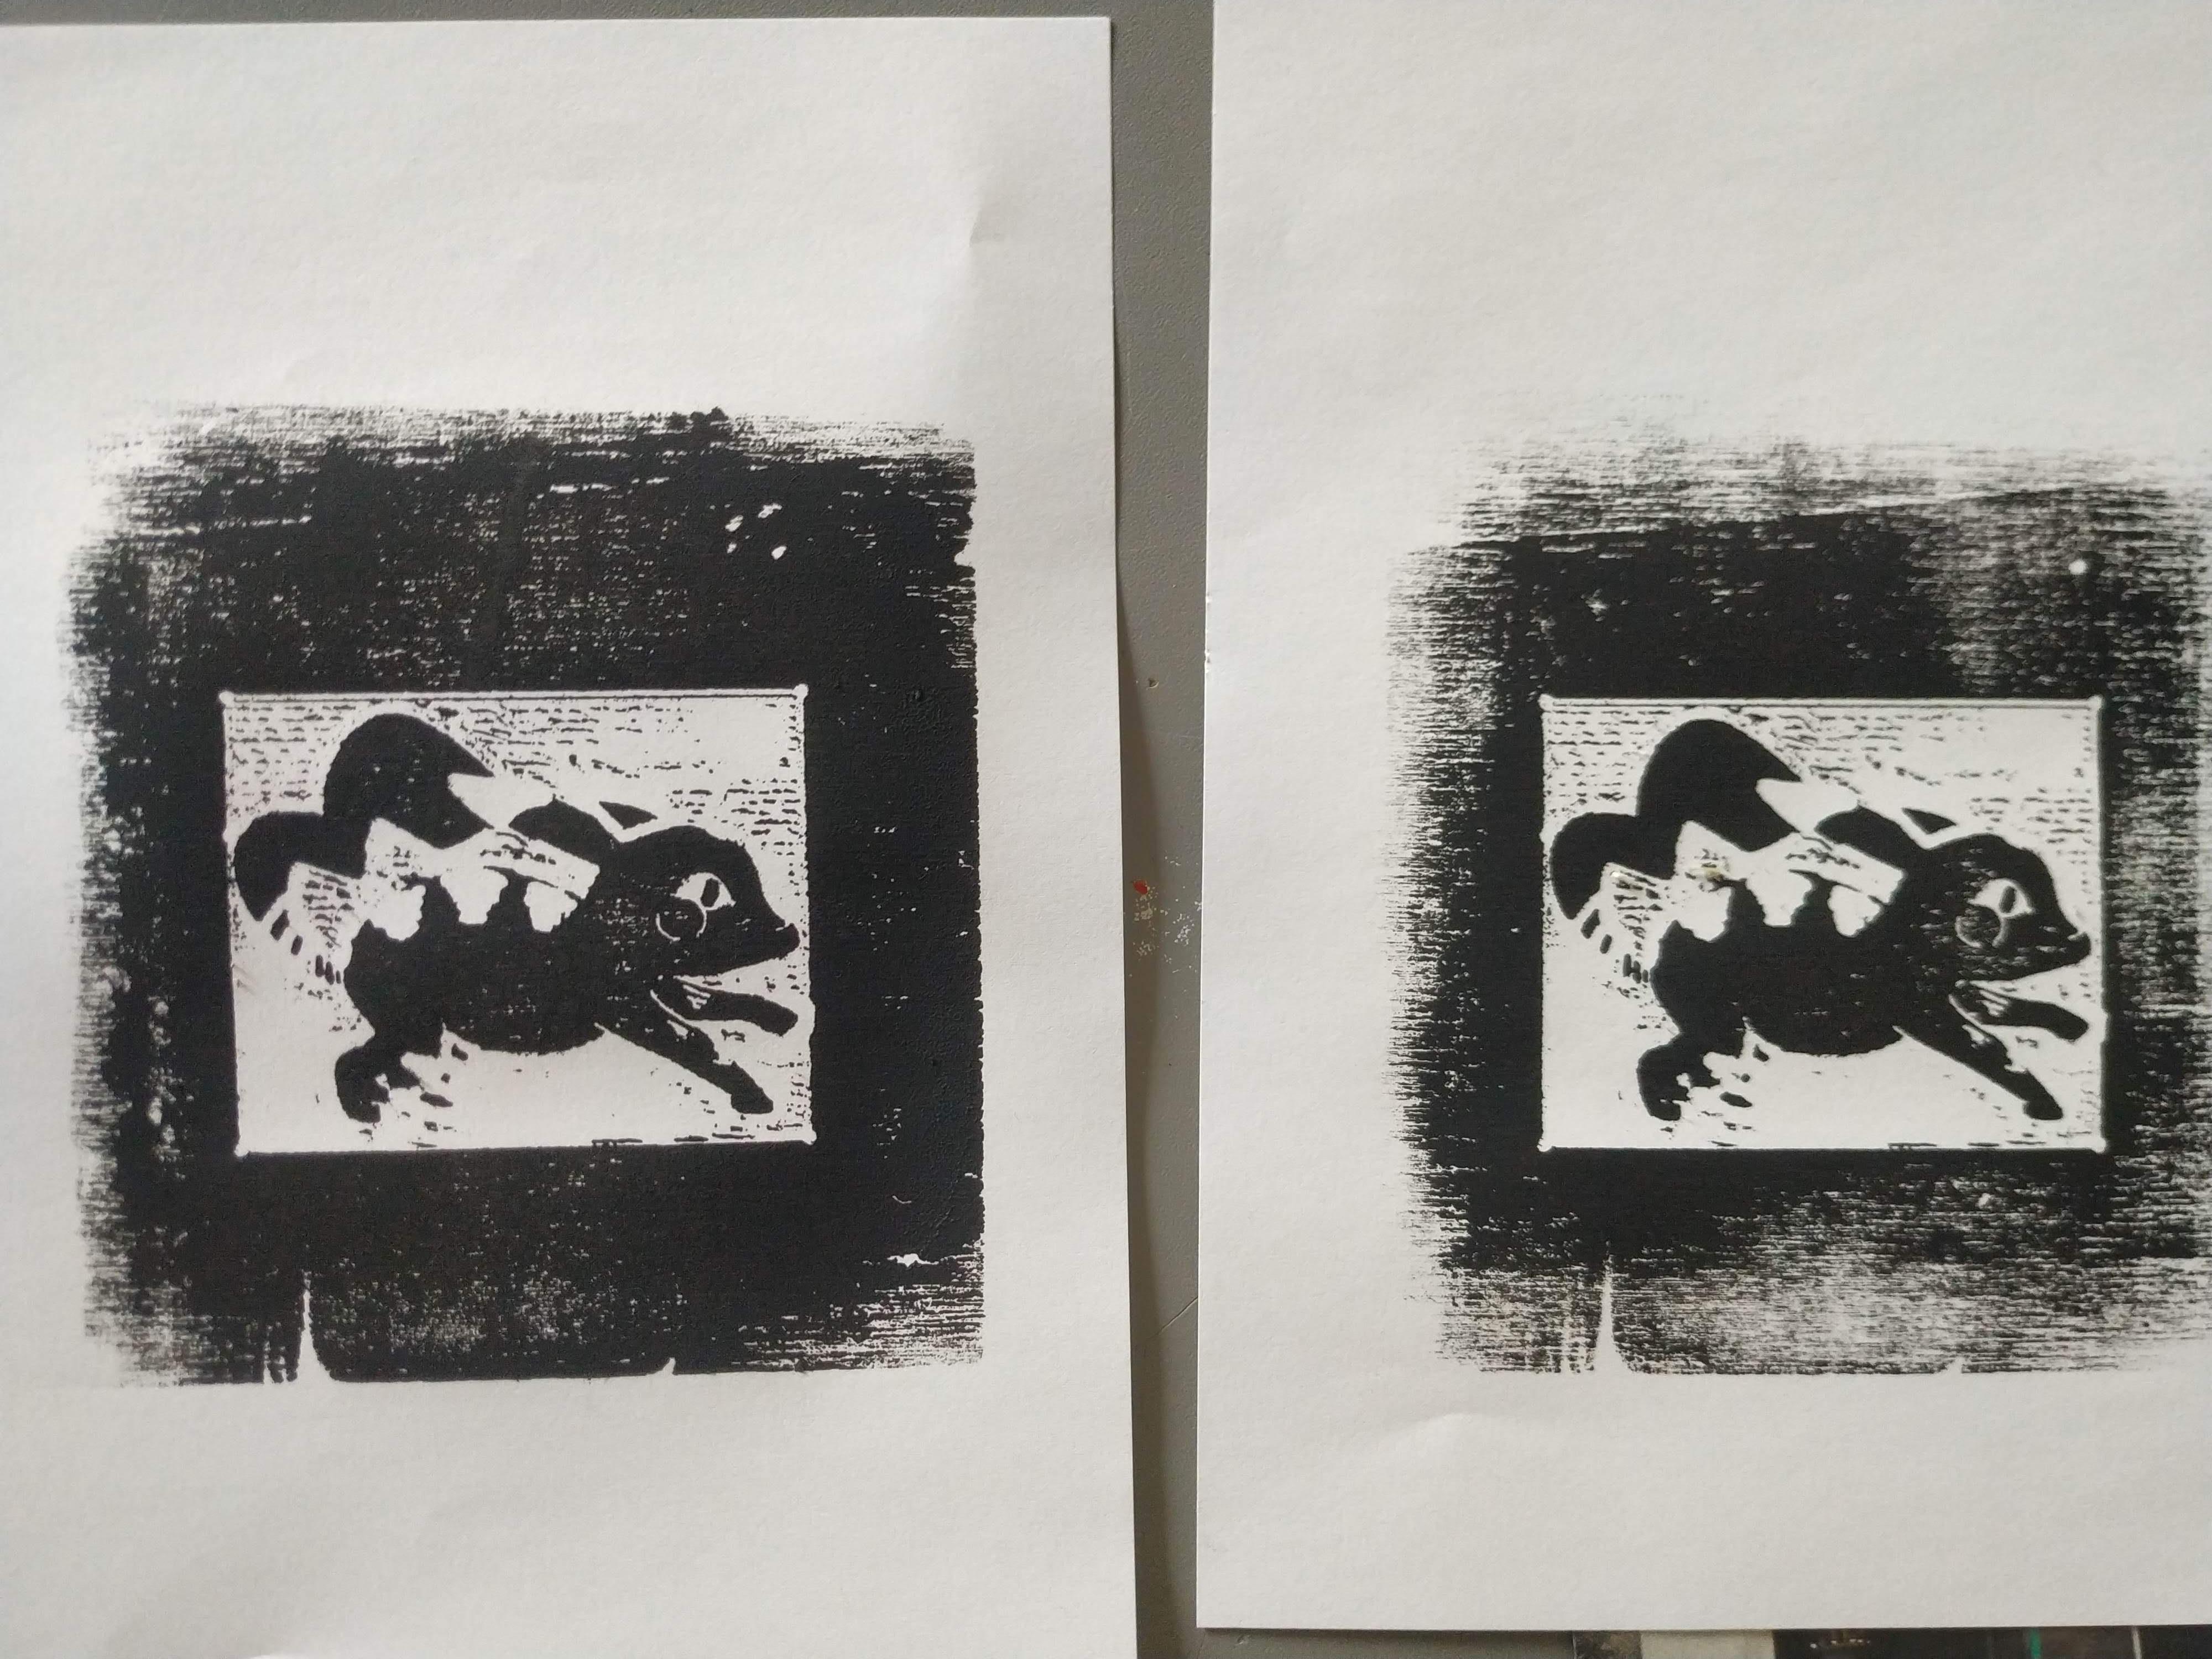
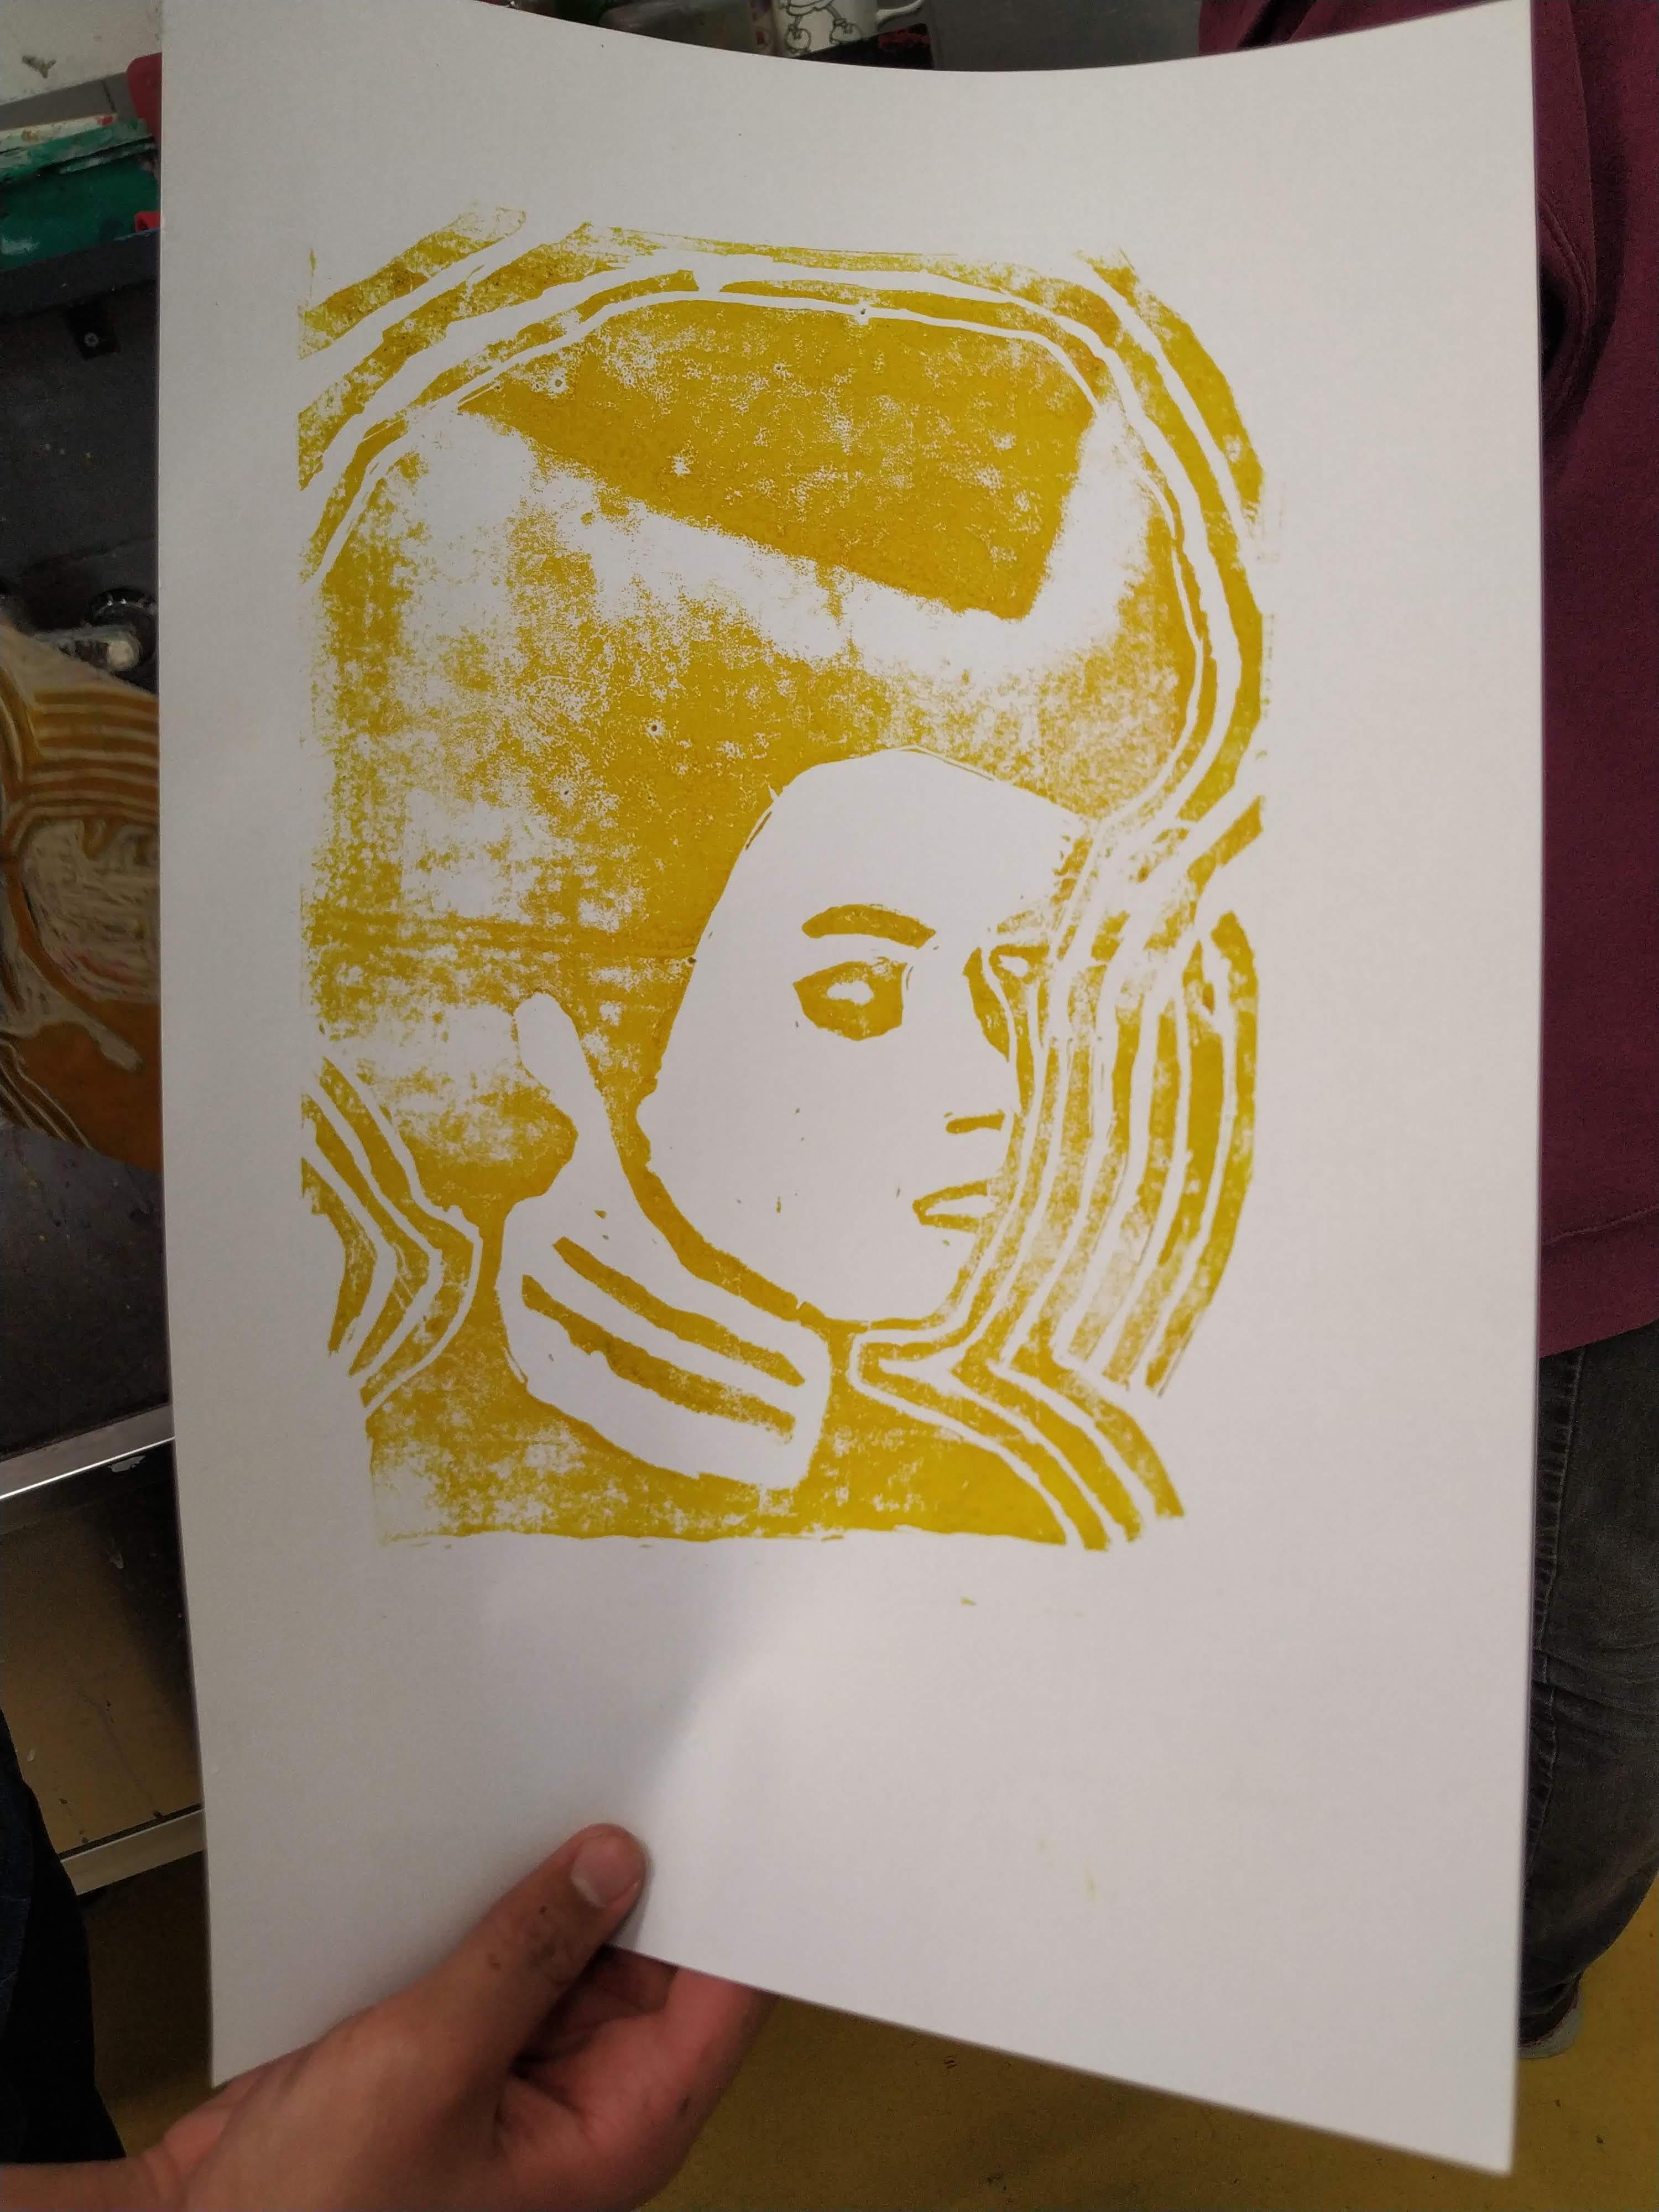
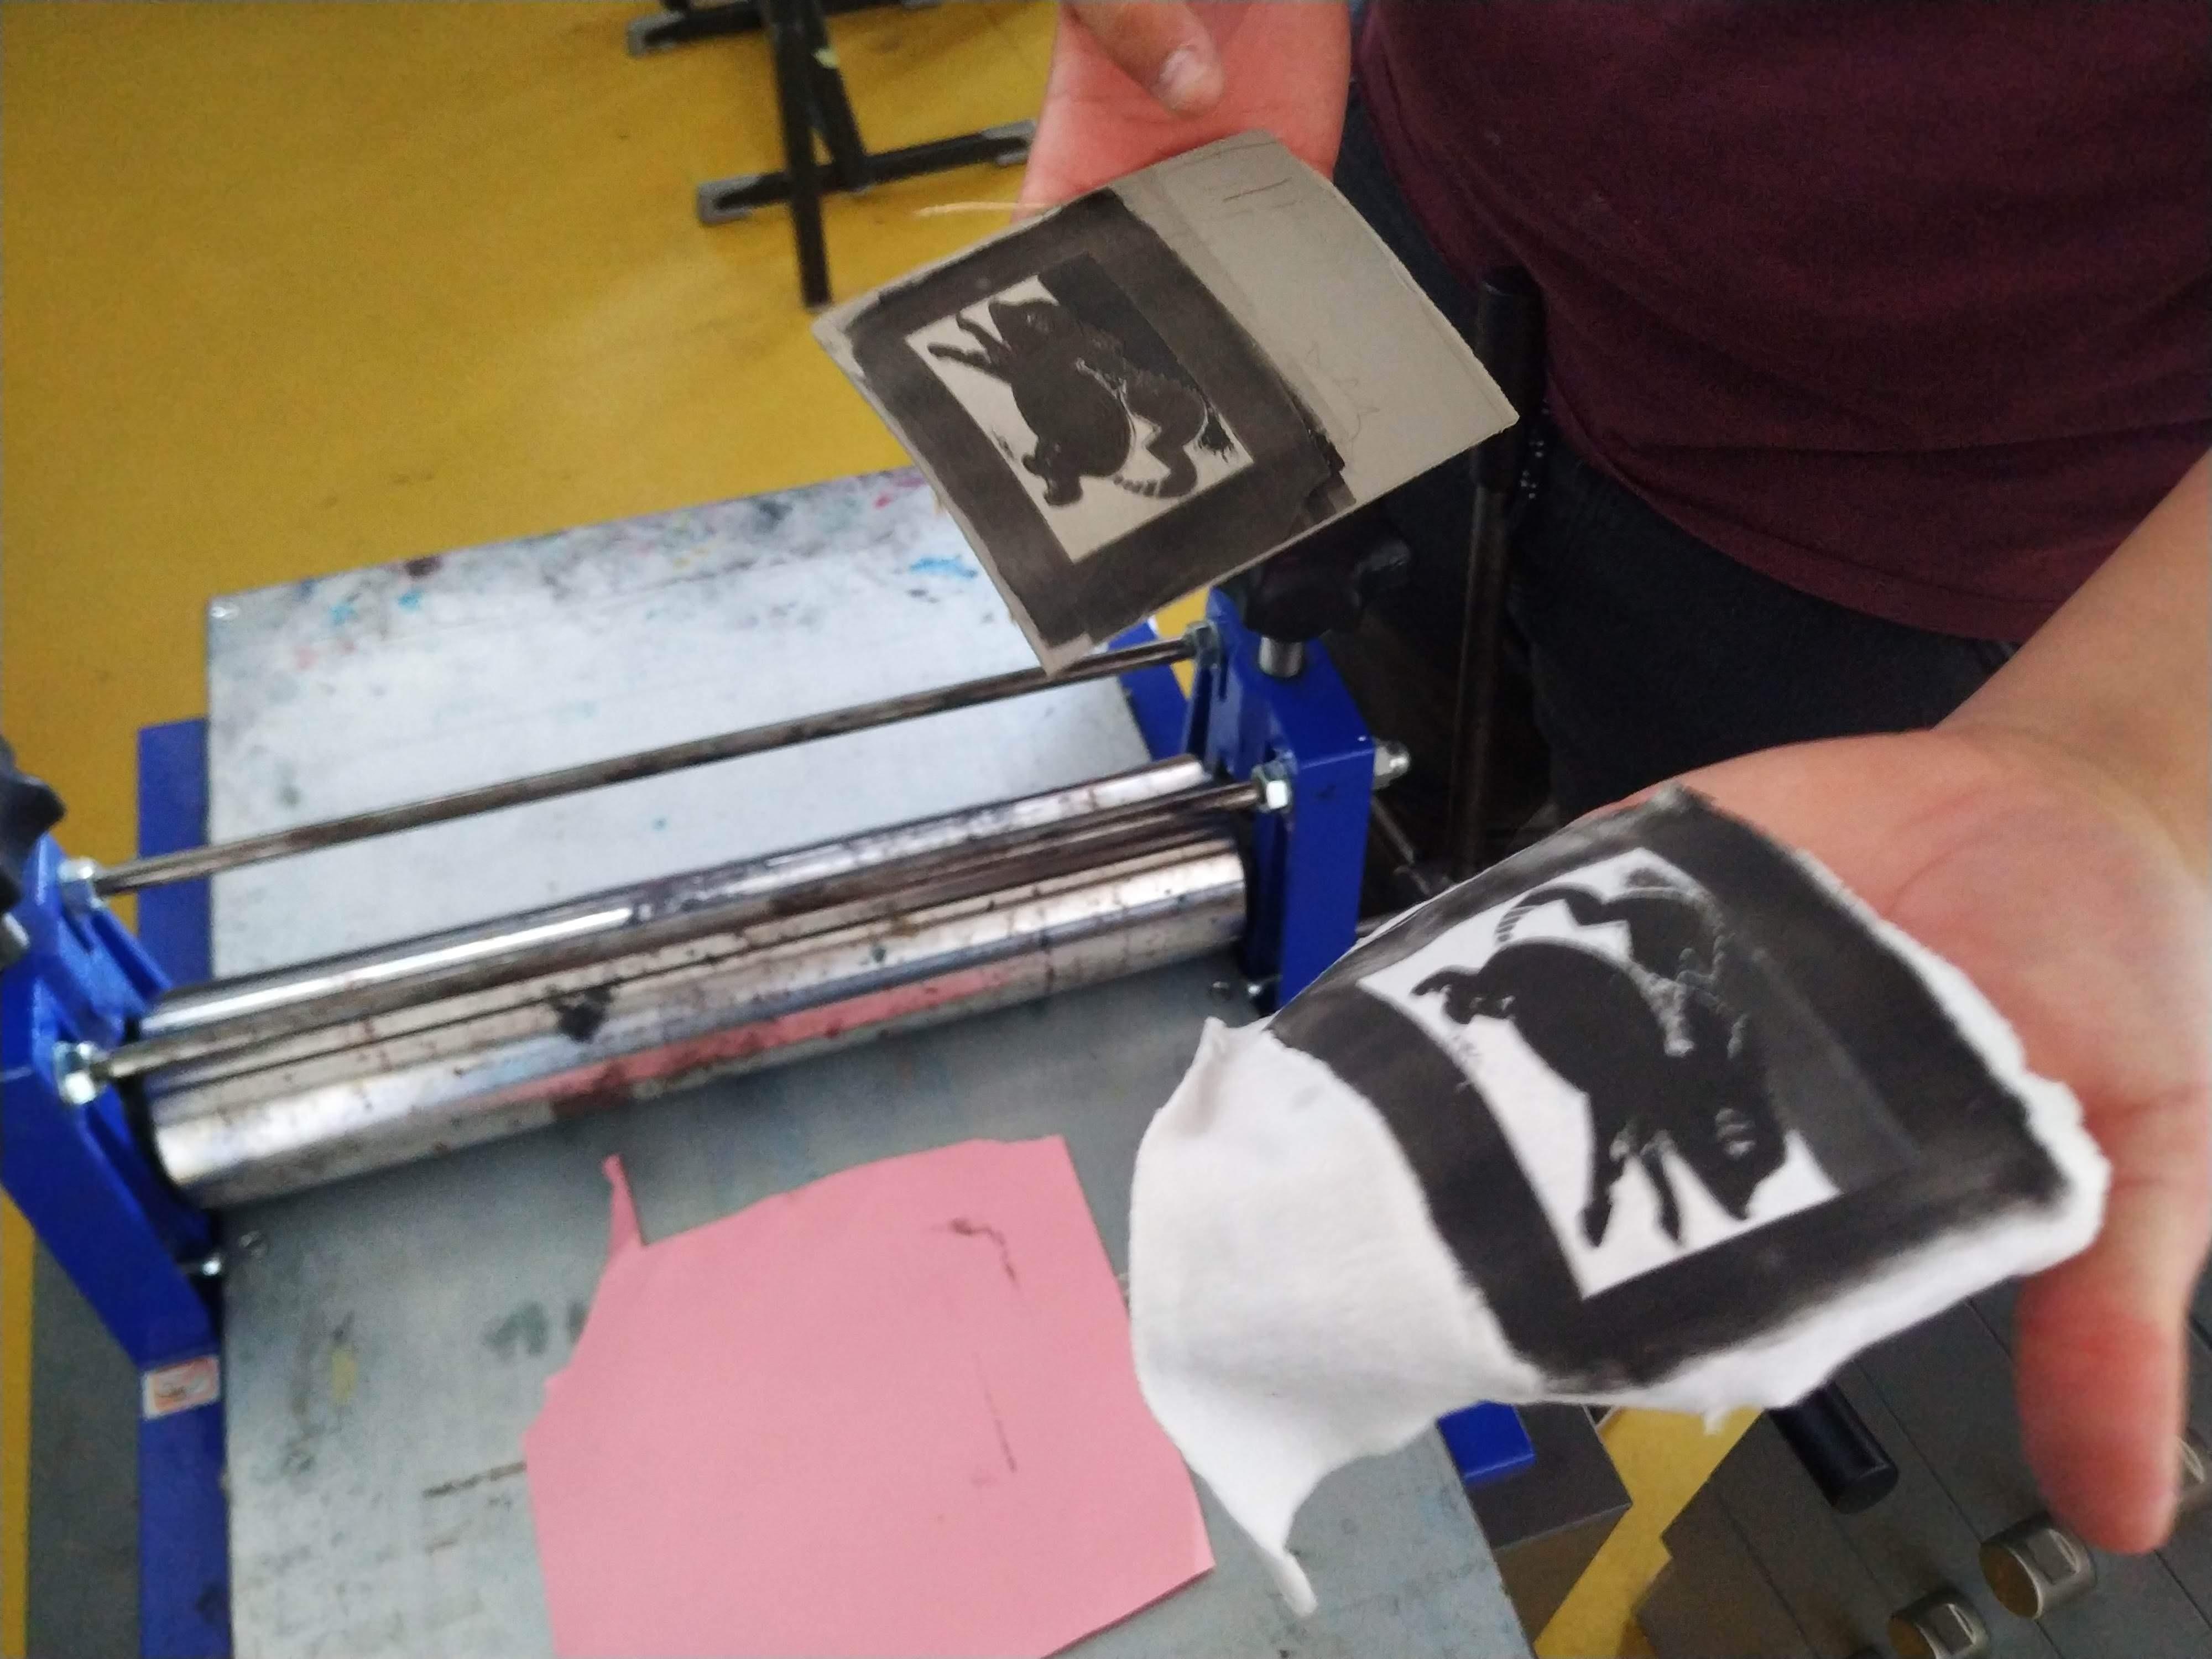
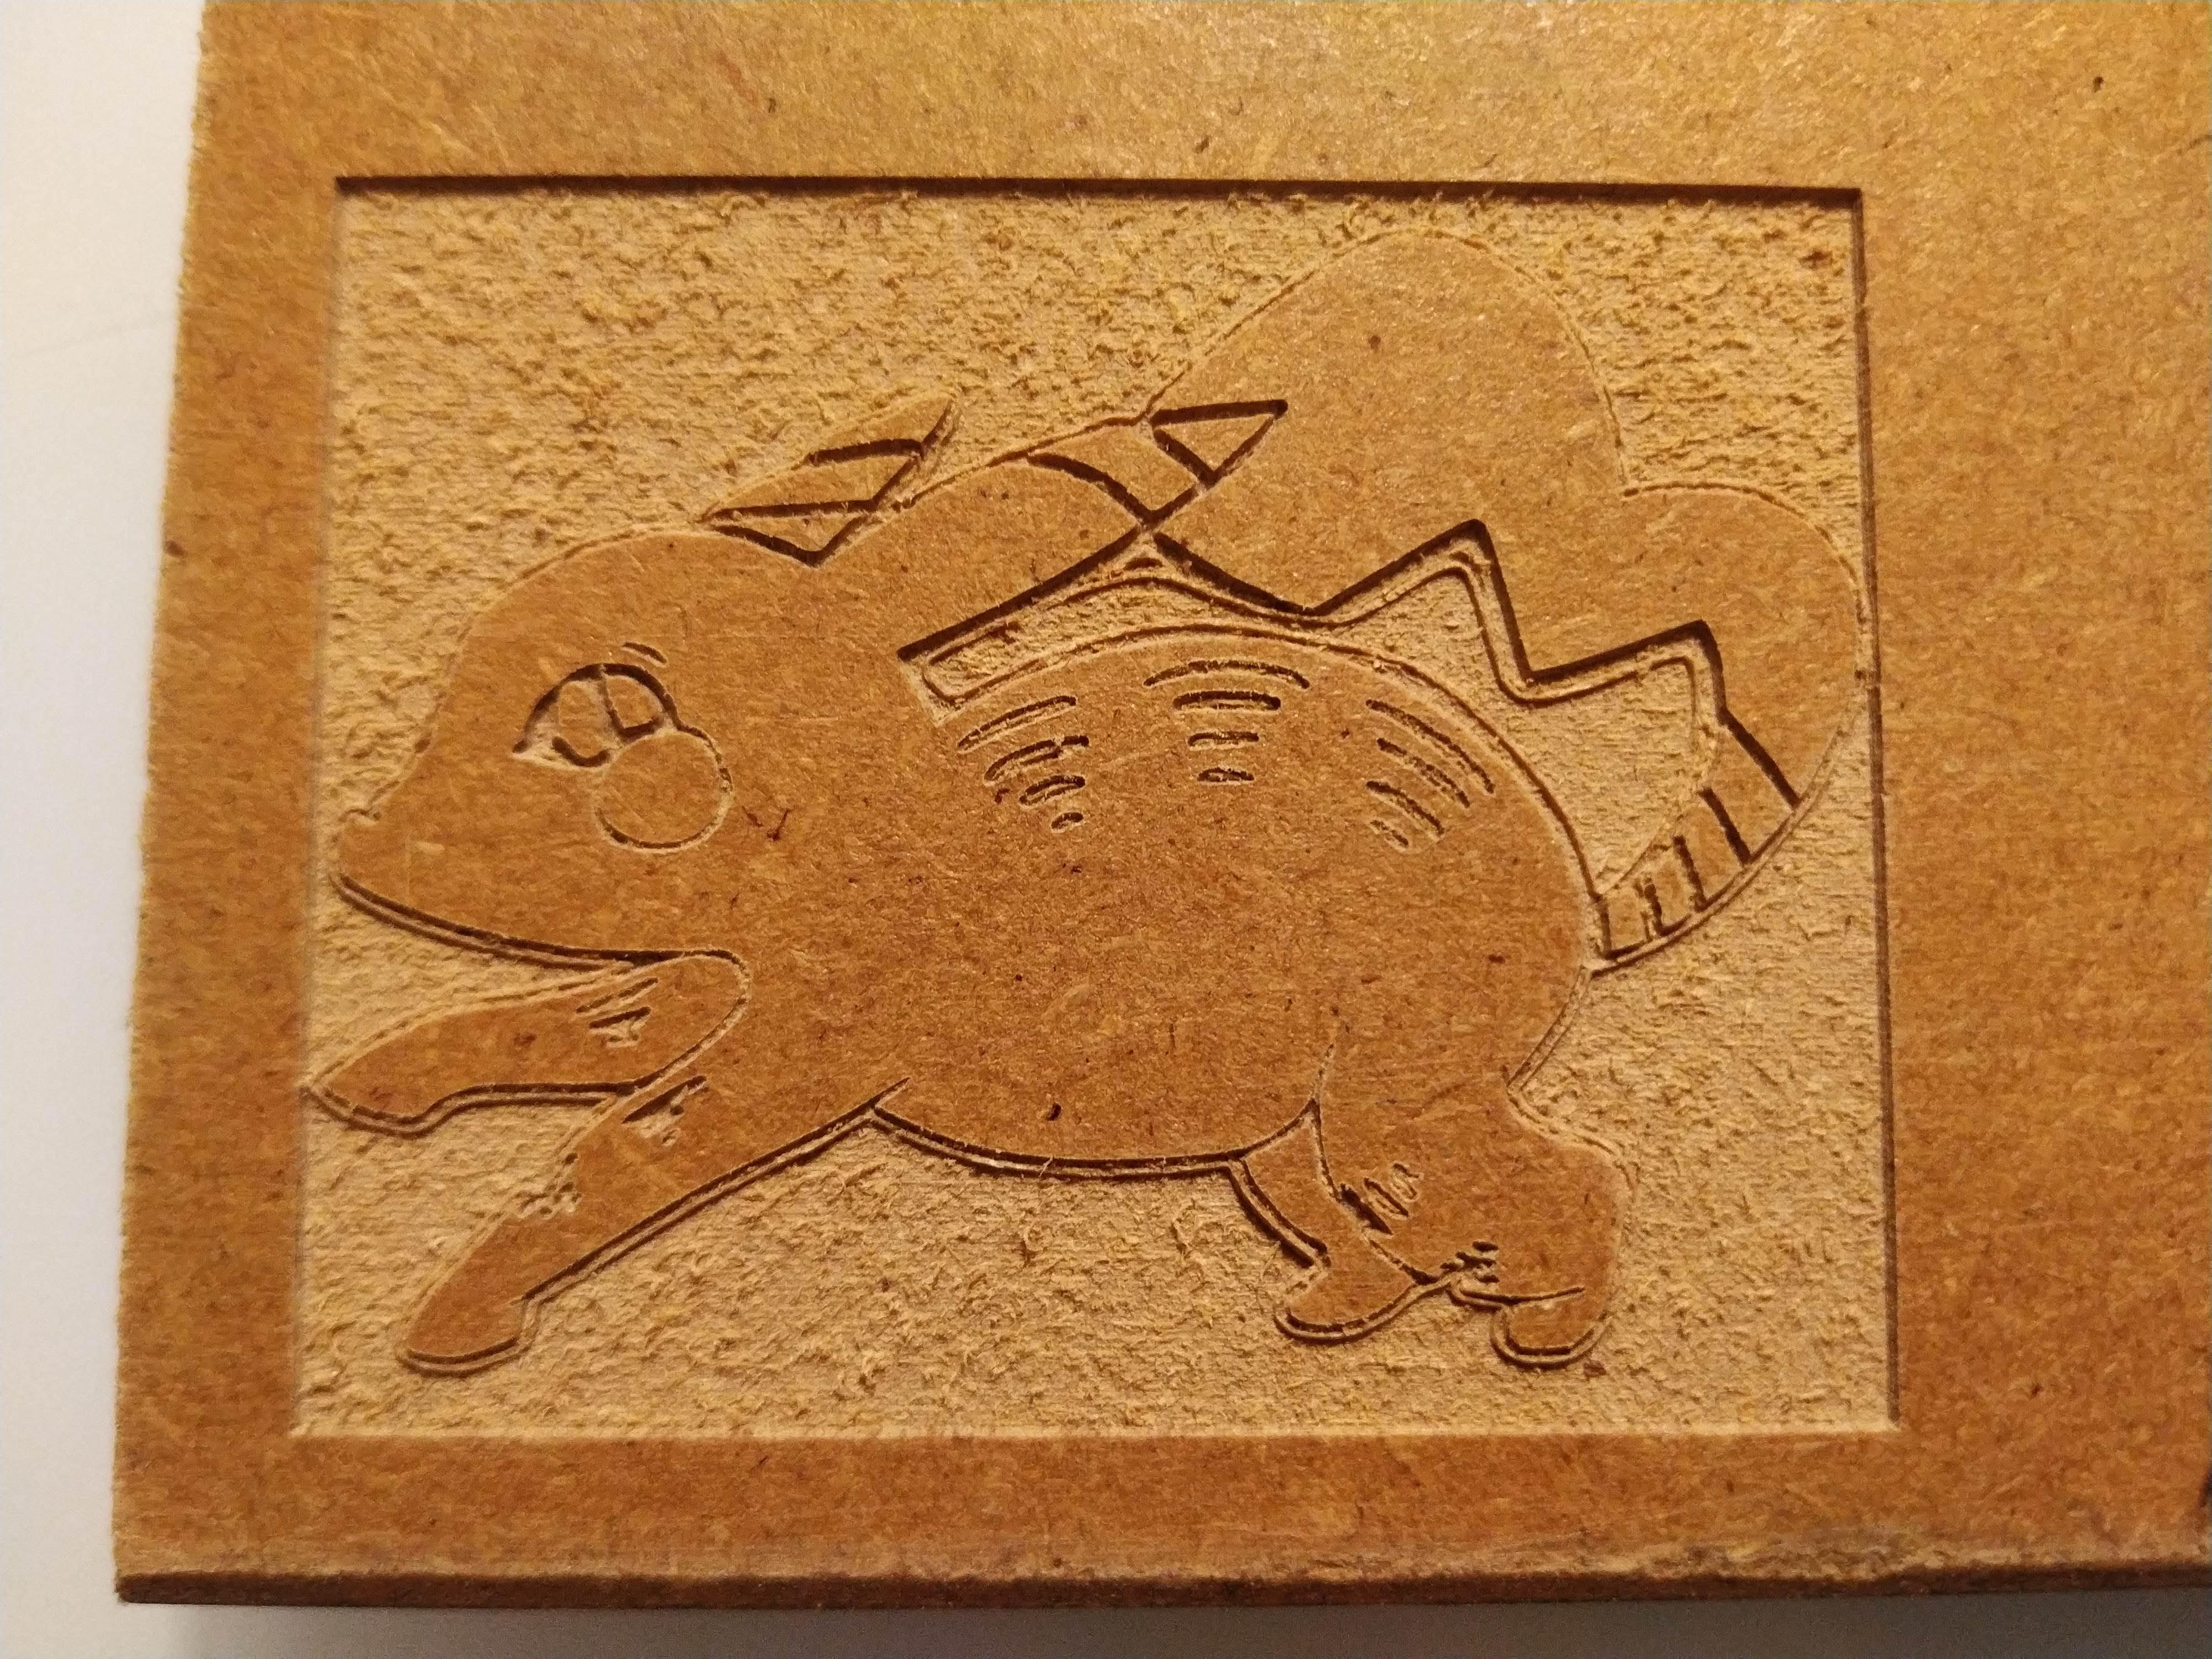
For school I mostly machine from MDF, Hardboard, XPS foam or any free wood we can get our hands on.
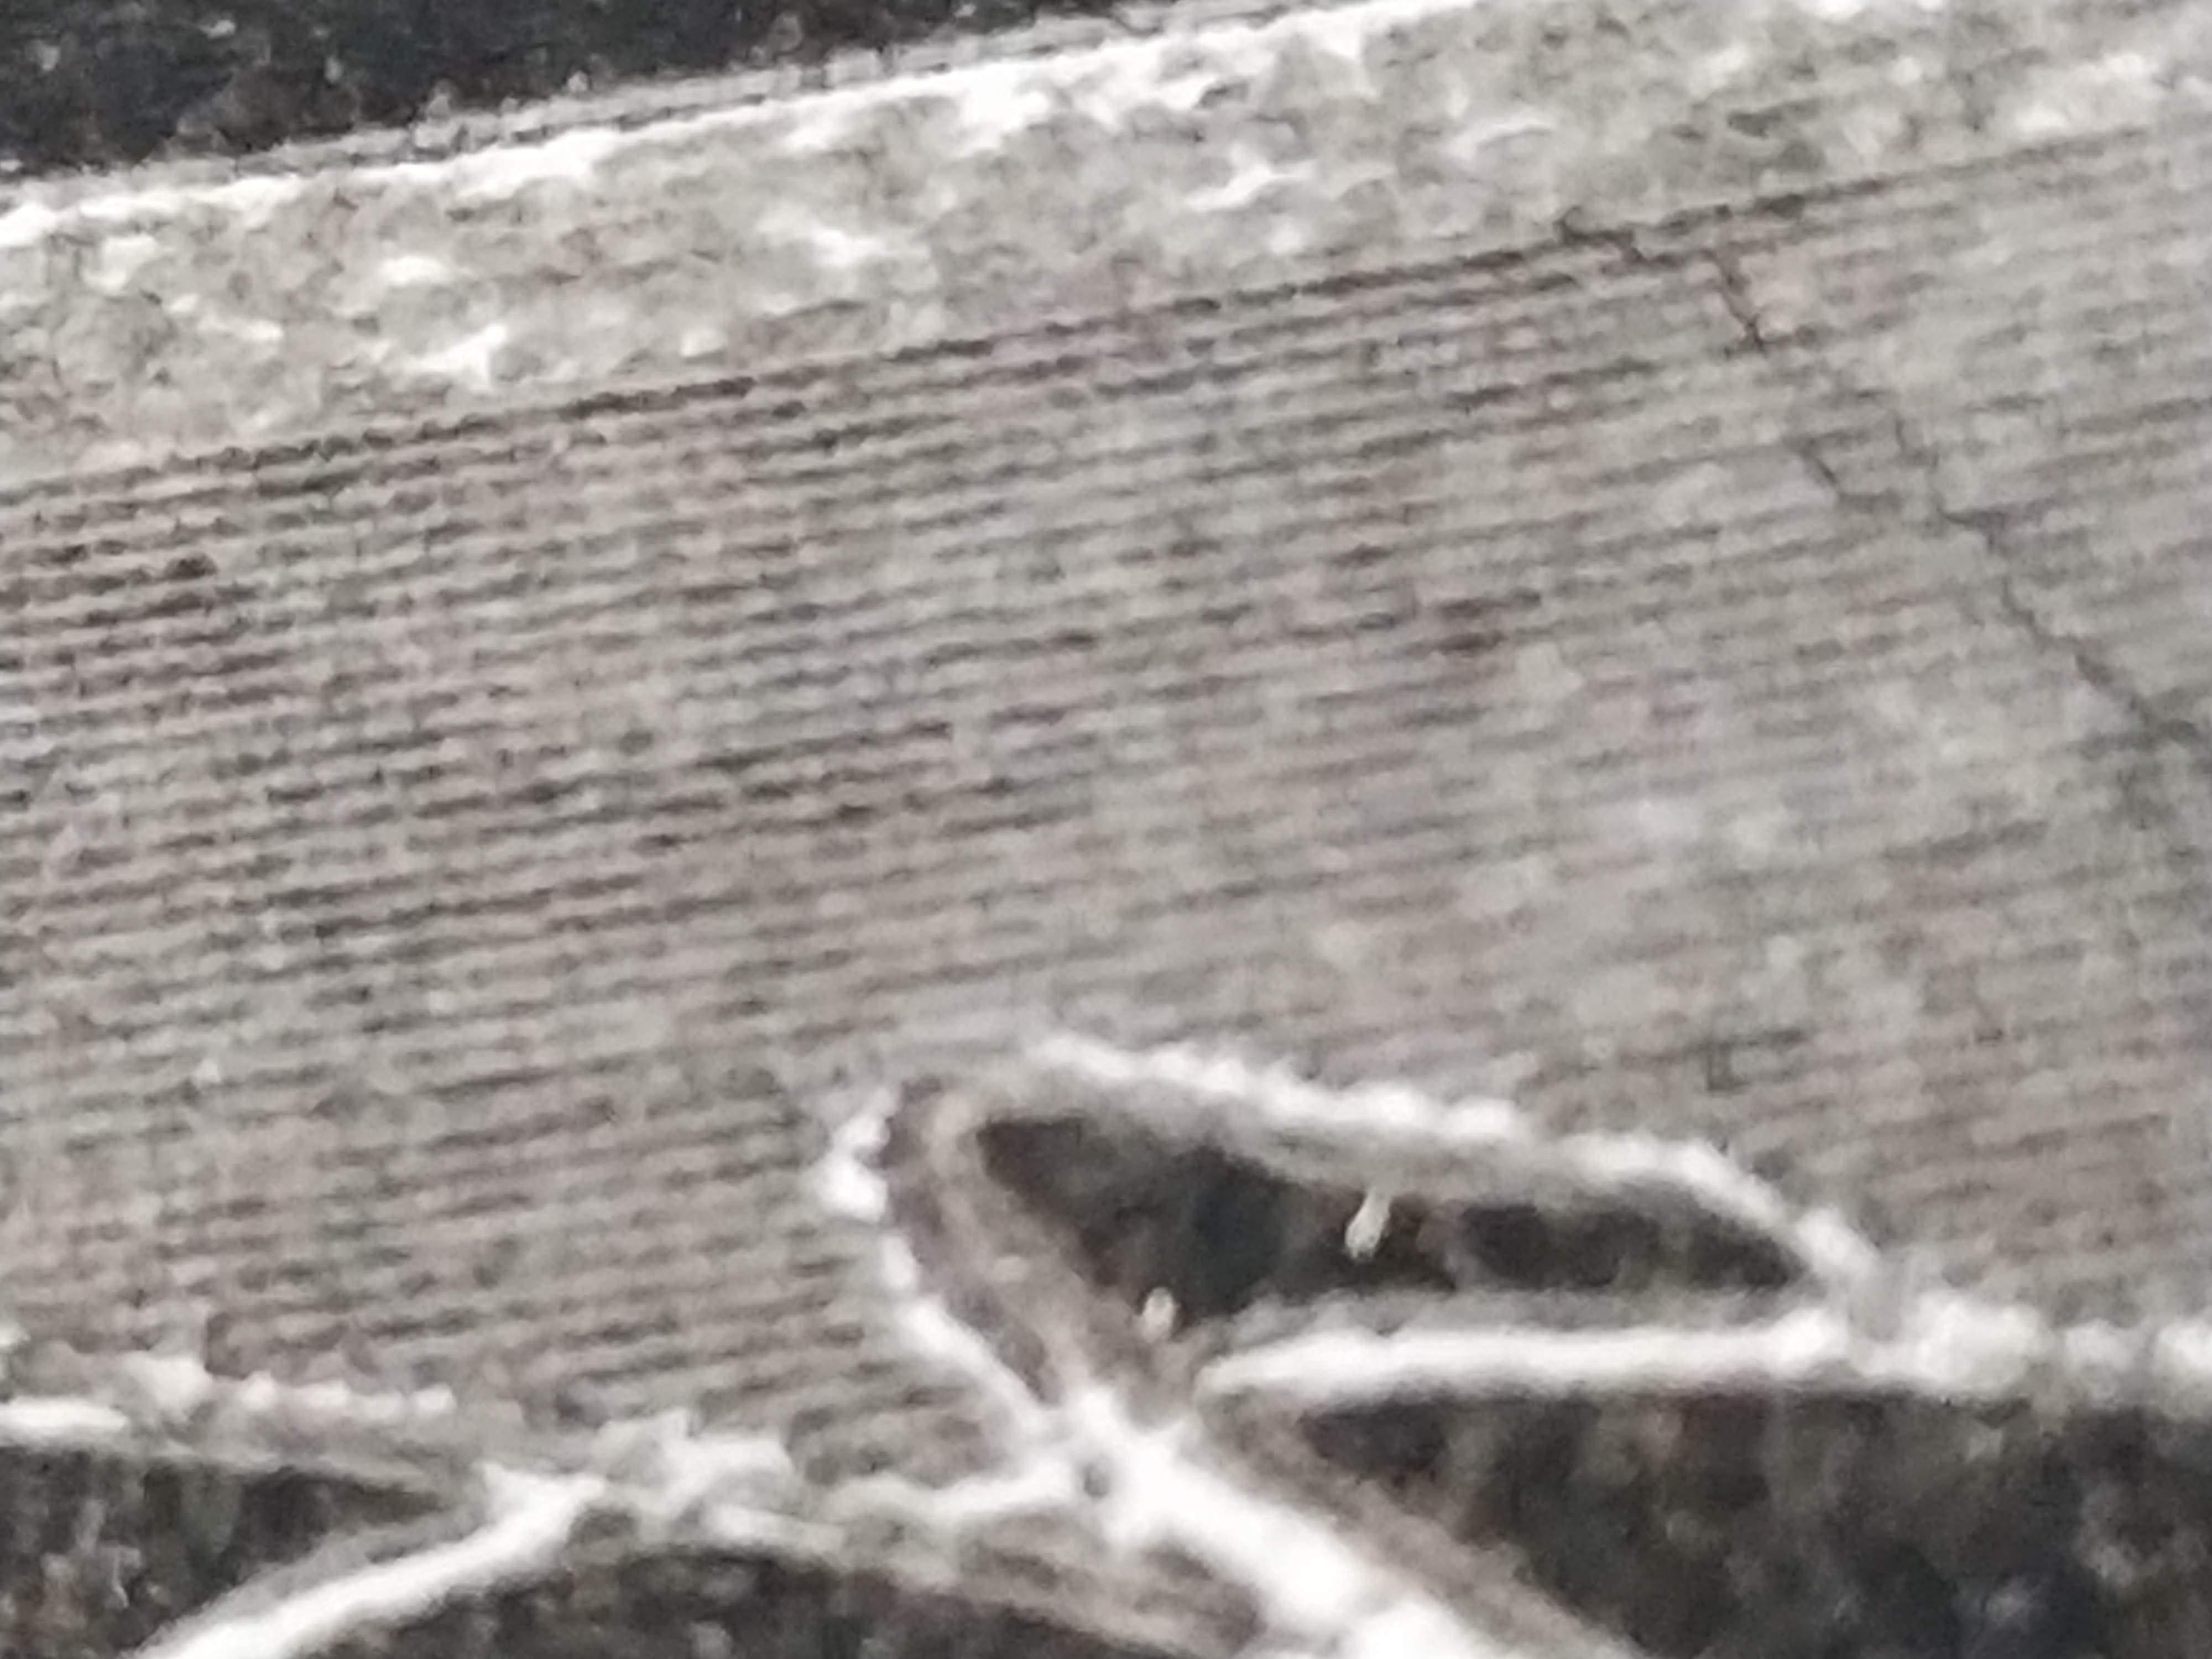
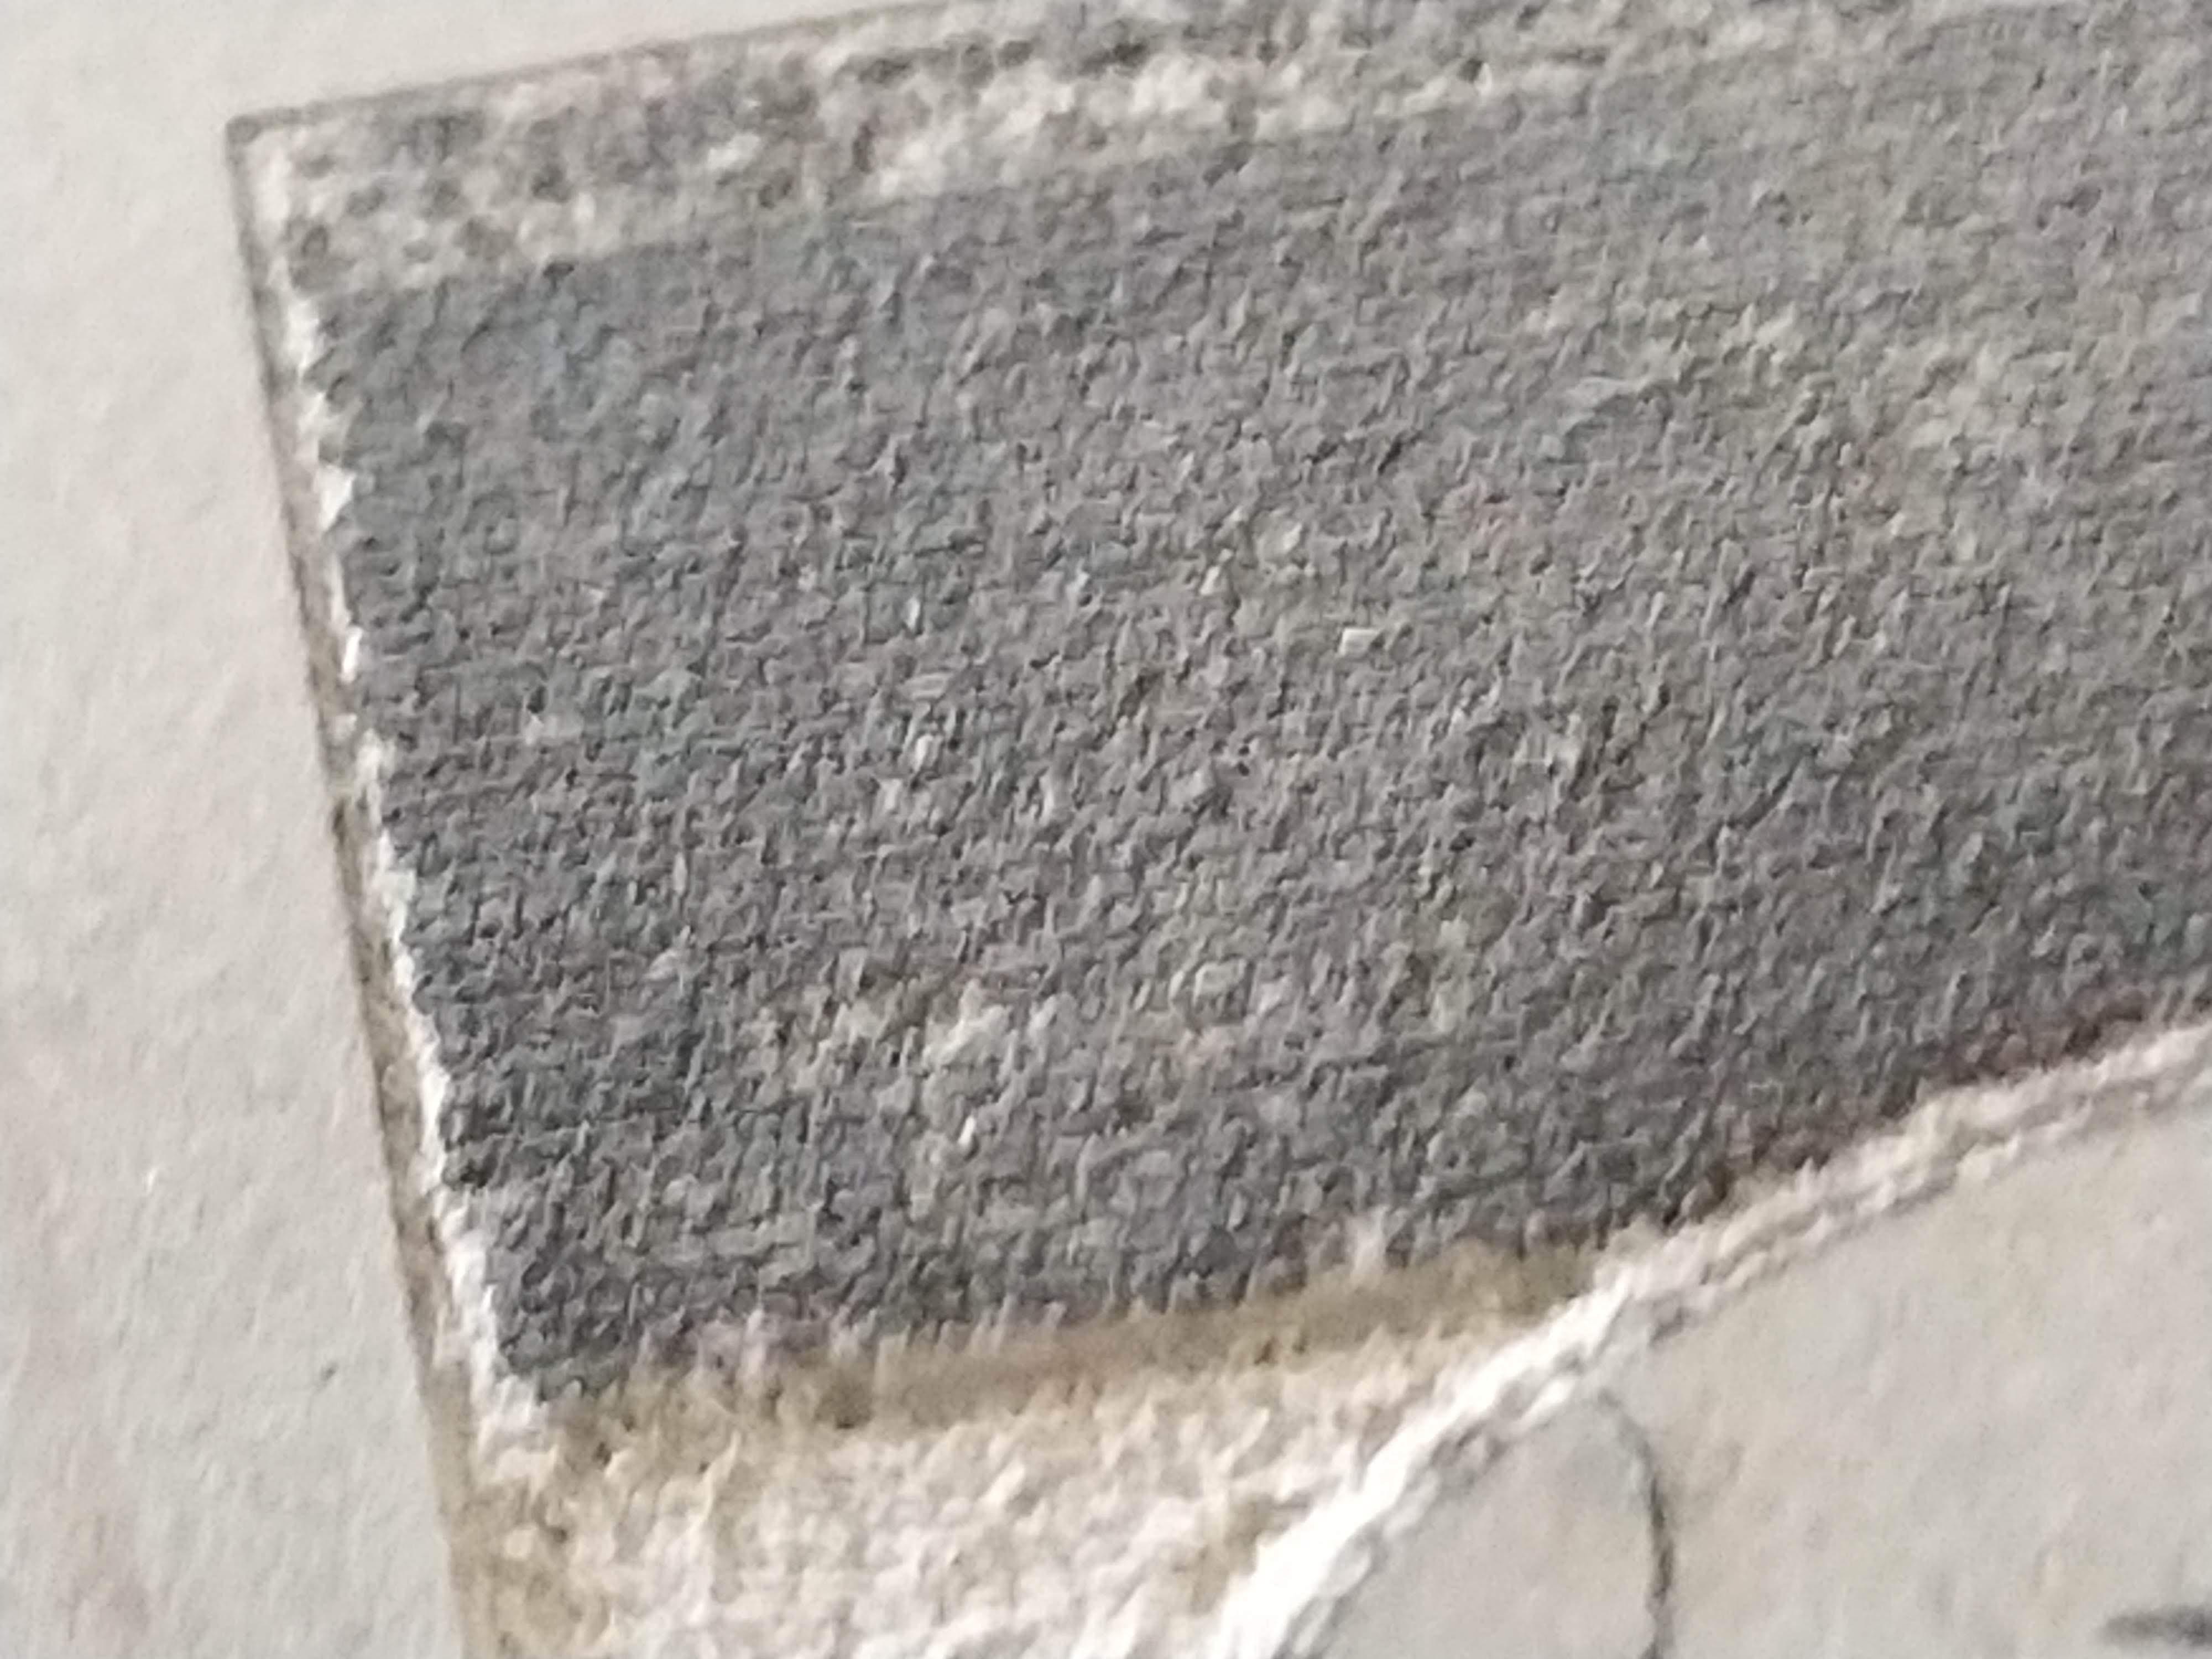
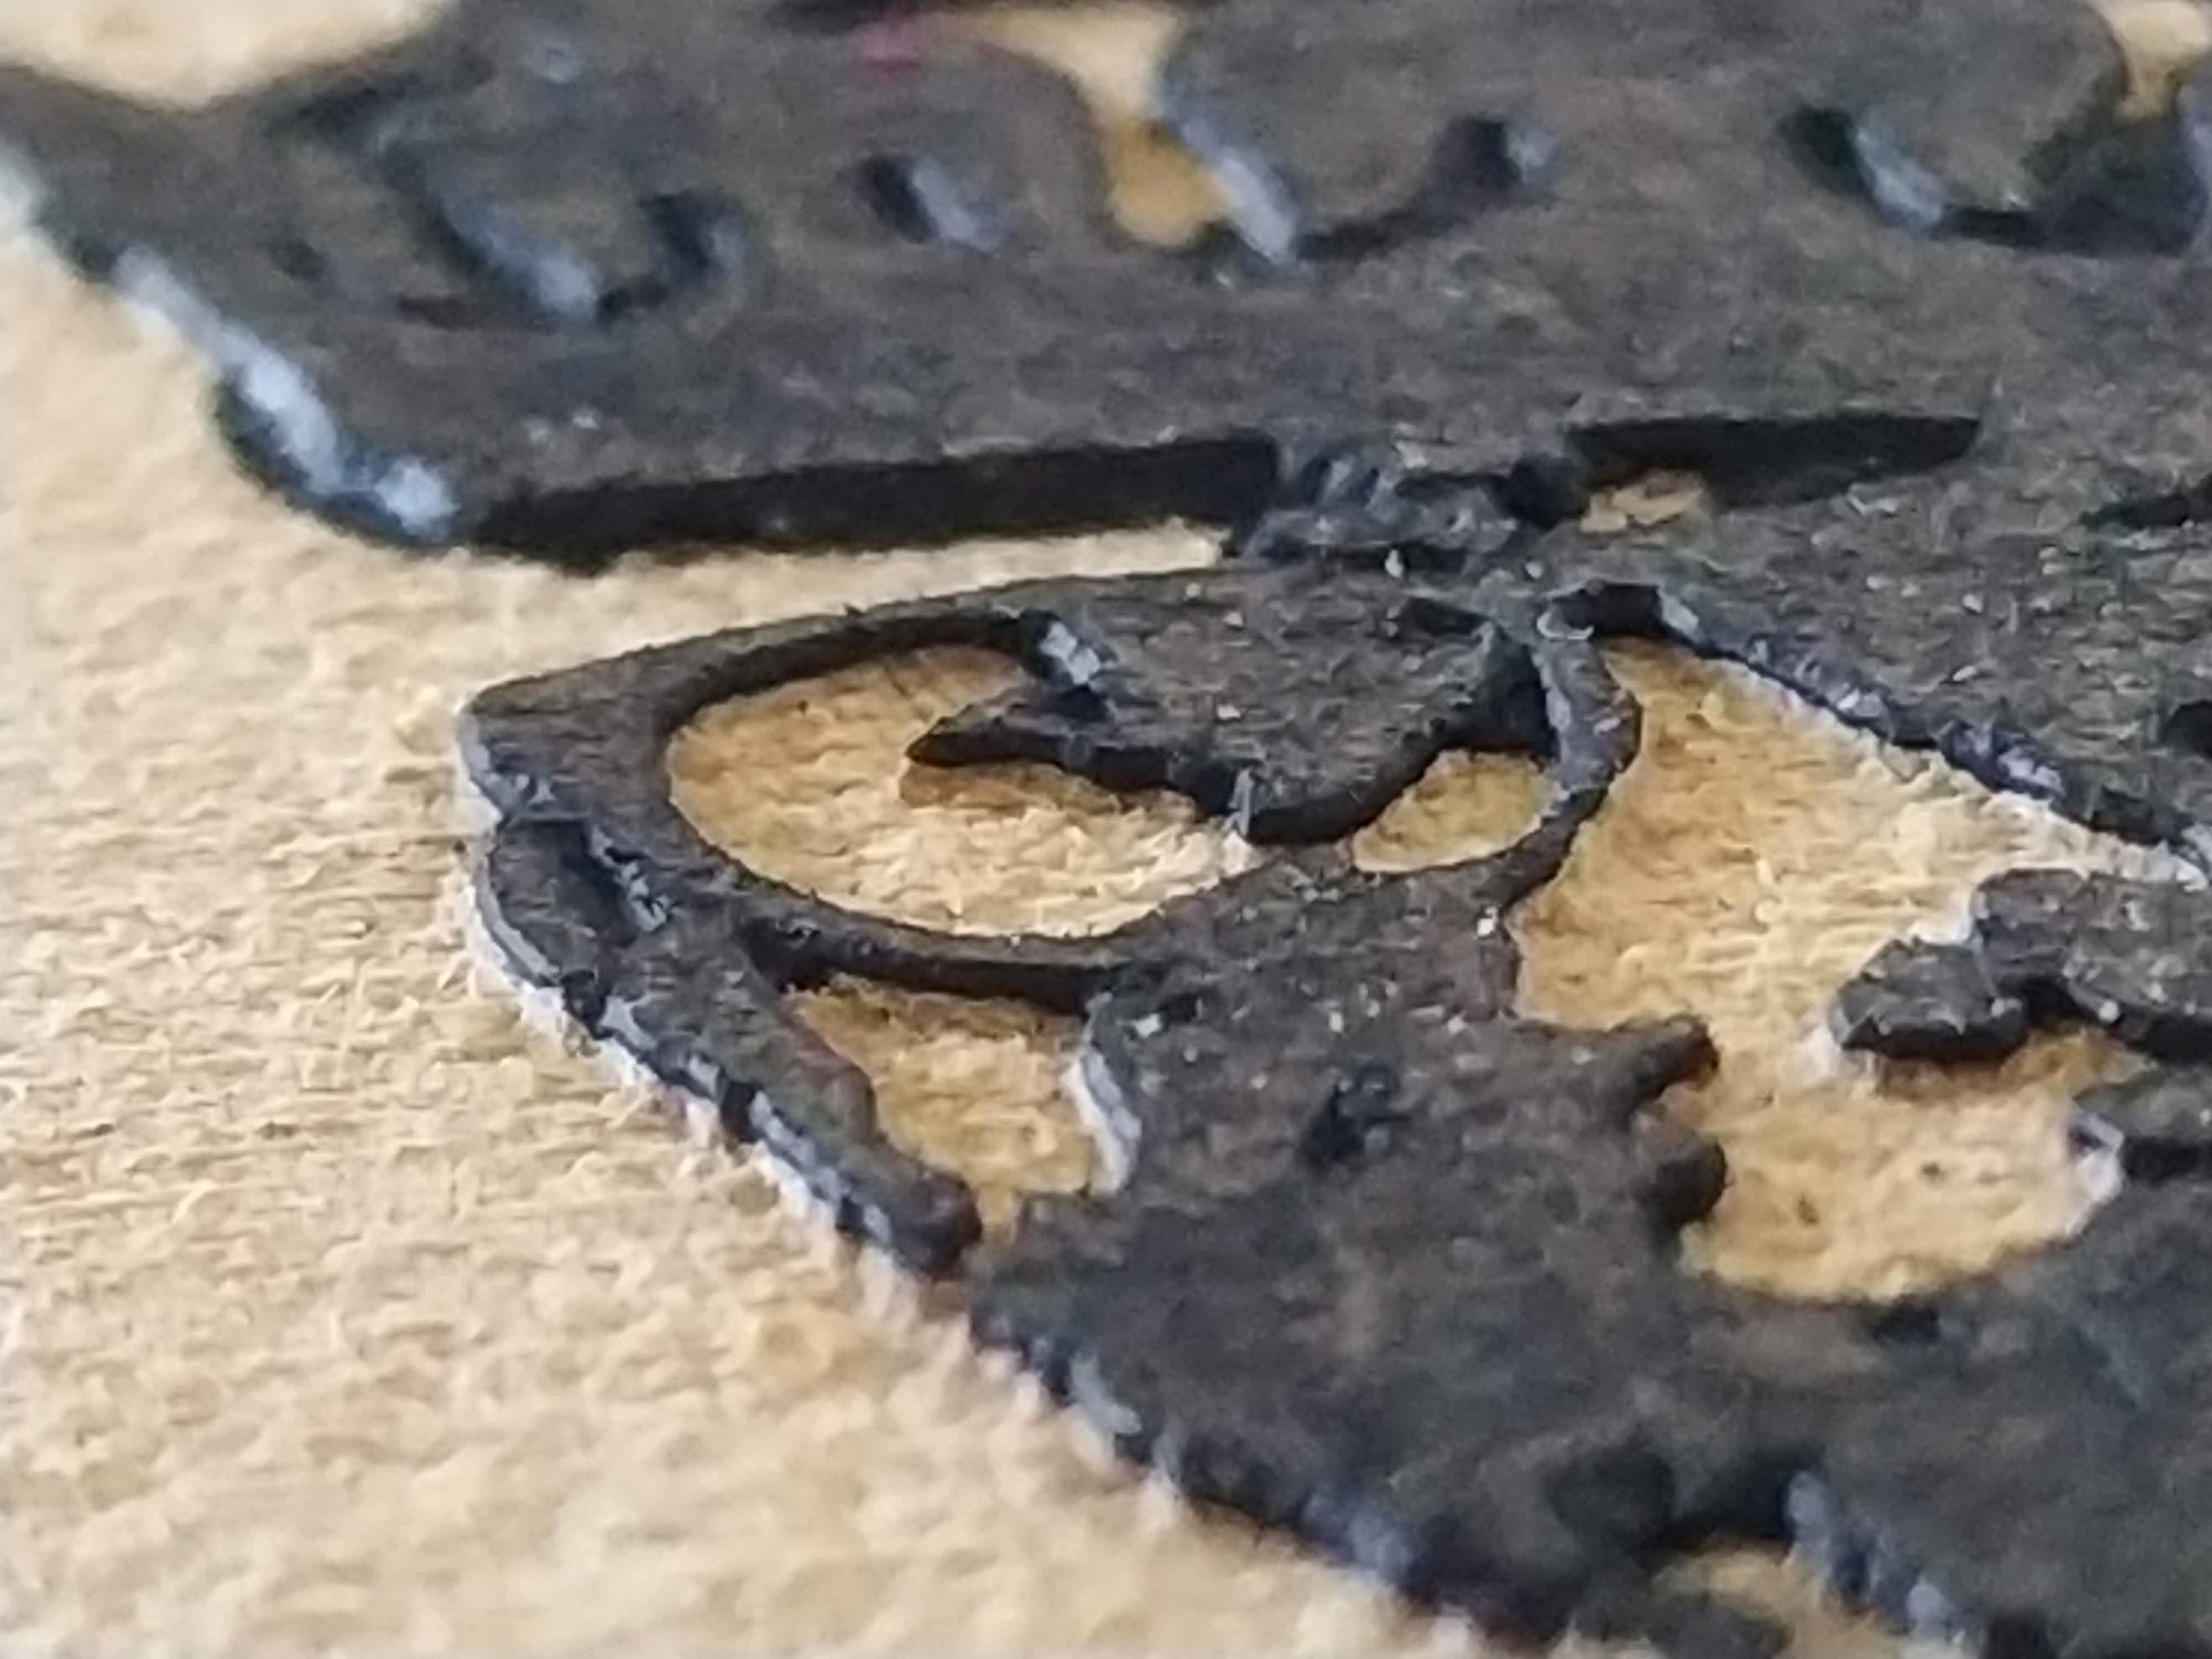
While exploring and developing useable techniques I also experimented with Linoleum and had some interesting results. It does not machine very well and needs a really sharp tool. It is very soft and doesn’t cut to depth, meaning it stays very shallow even if your tool goes deeper.
Using these I did some cuttings using a 40° V-tip tool with 5% overstepping and got an area with very fine relief lines that displays half tones when printed (I initially wanted to cut the whole area deeper but aborted the process because I wanted to see if the shallow cut would print at all). Such fine details are normally only achievable with dry point metal engraving. (Unfortunately the Linocut is in my school cupboard and my macro equipment is under the bed my wife is sleeping in so I will update the bad cell pictures with fabulous macros in some days)
Carving is only possible with V-Tip tools. With any other tool you can't get into V corners. If you do bigger prints you could use small flat endmills. You can only get round inner edges from those though.
You will only have to cut ~0.7mm deep for a good MDF print. I am excited what fine details are possible with the CNC machine. High parts are often as fine as 0.6mm. Make sure to use a new cutter when doing fine details and limit your overal cutting deepth or the carve will get deeper in wider areas.
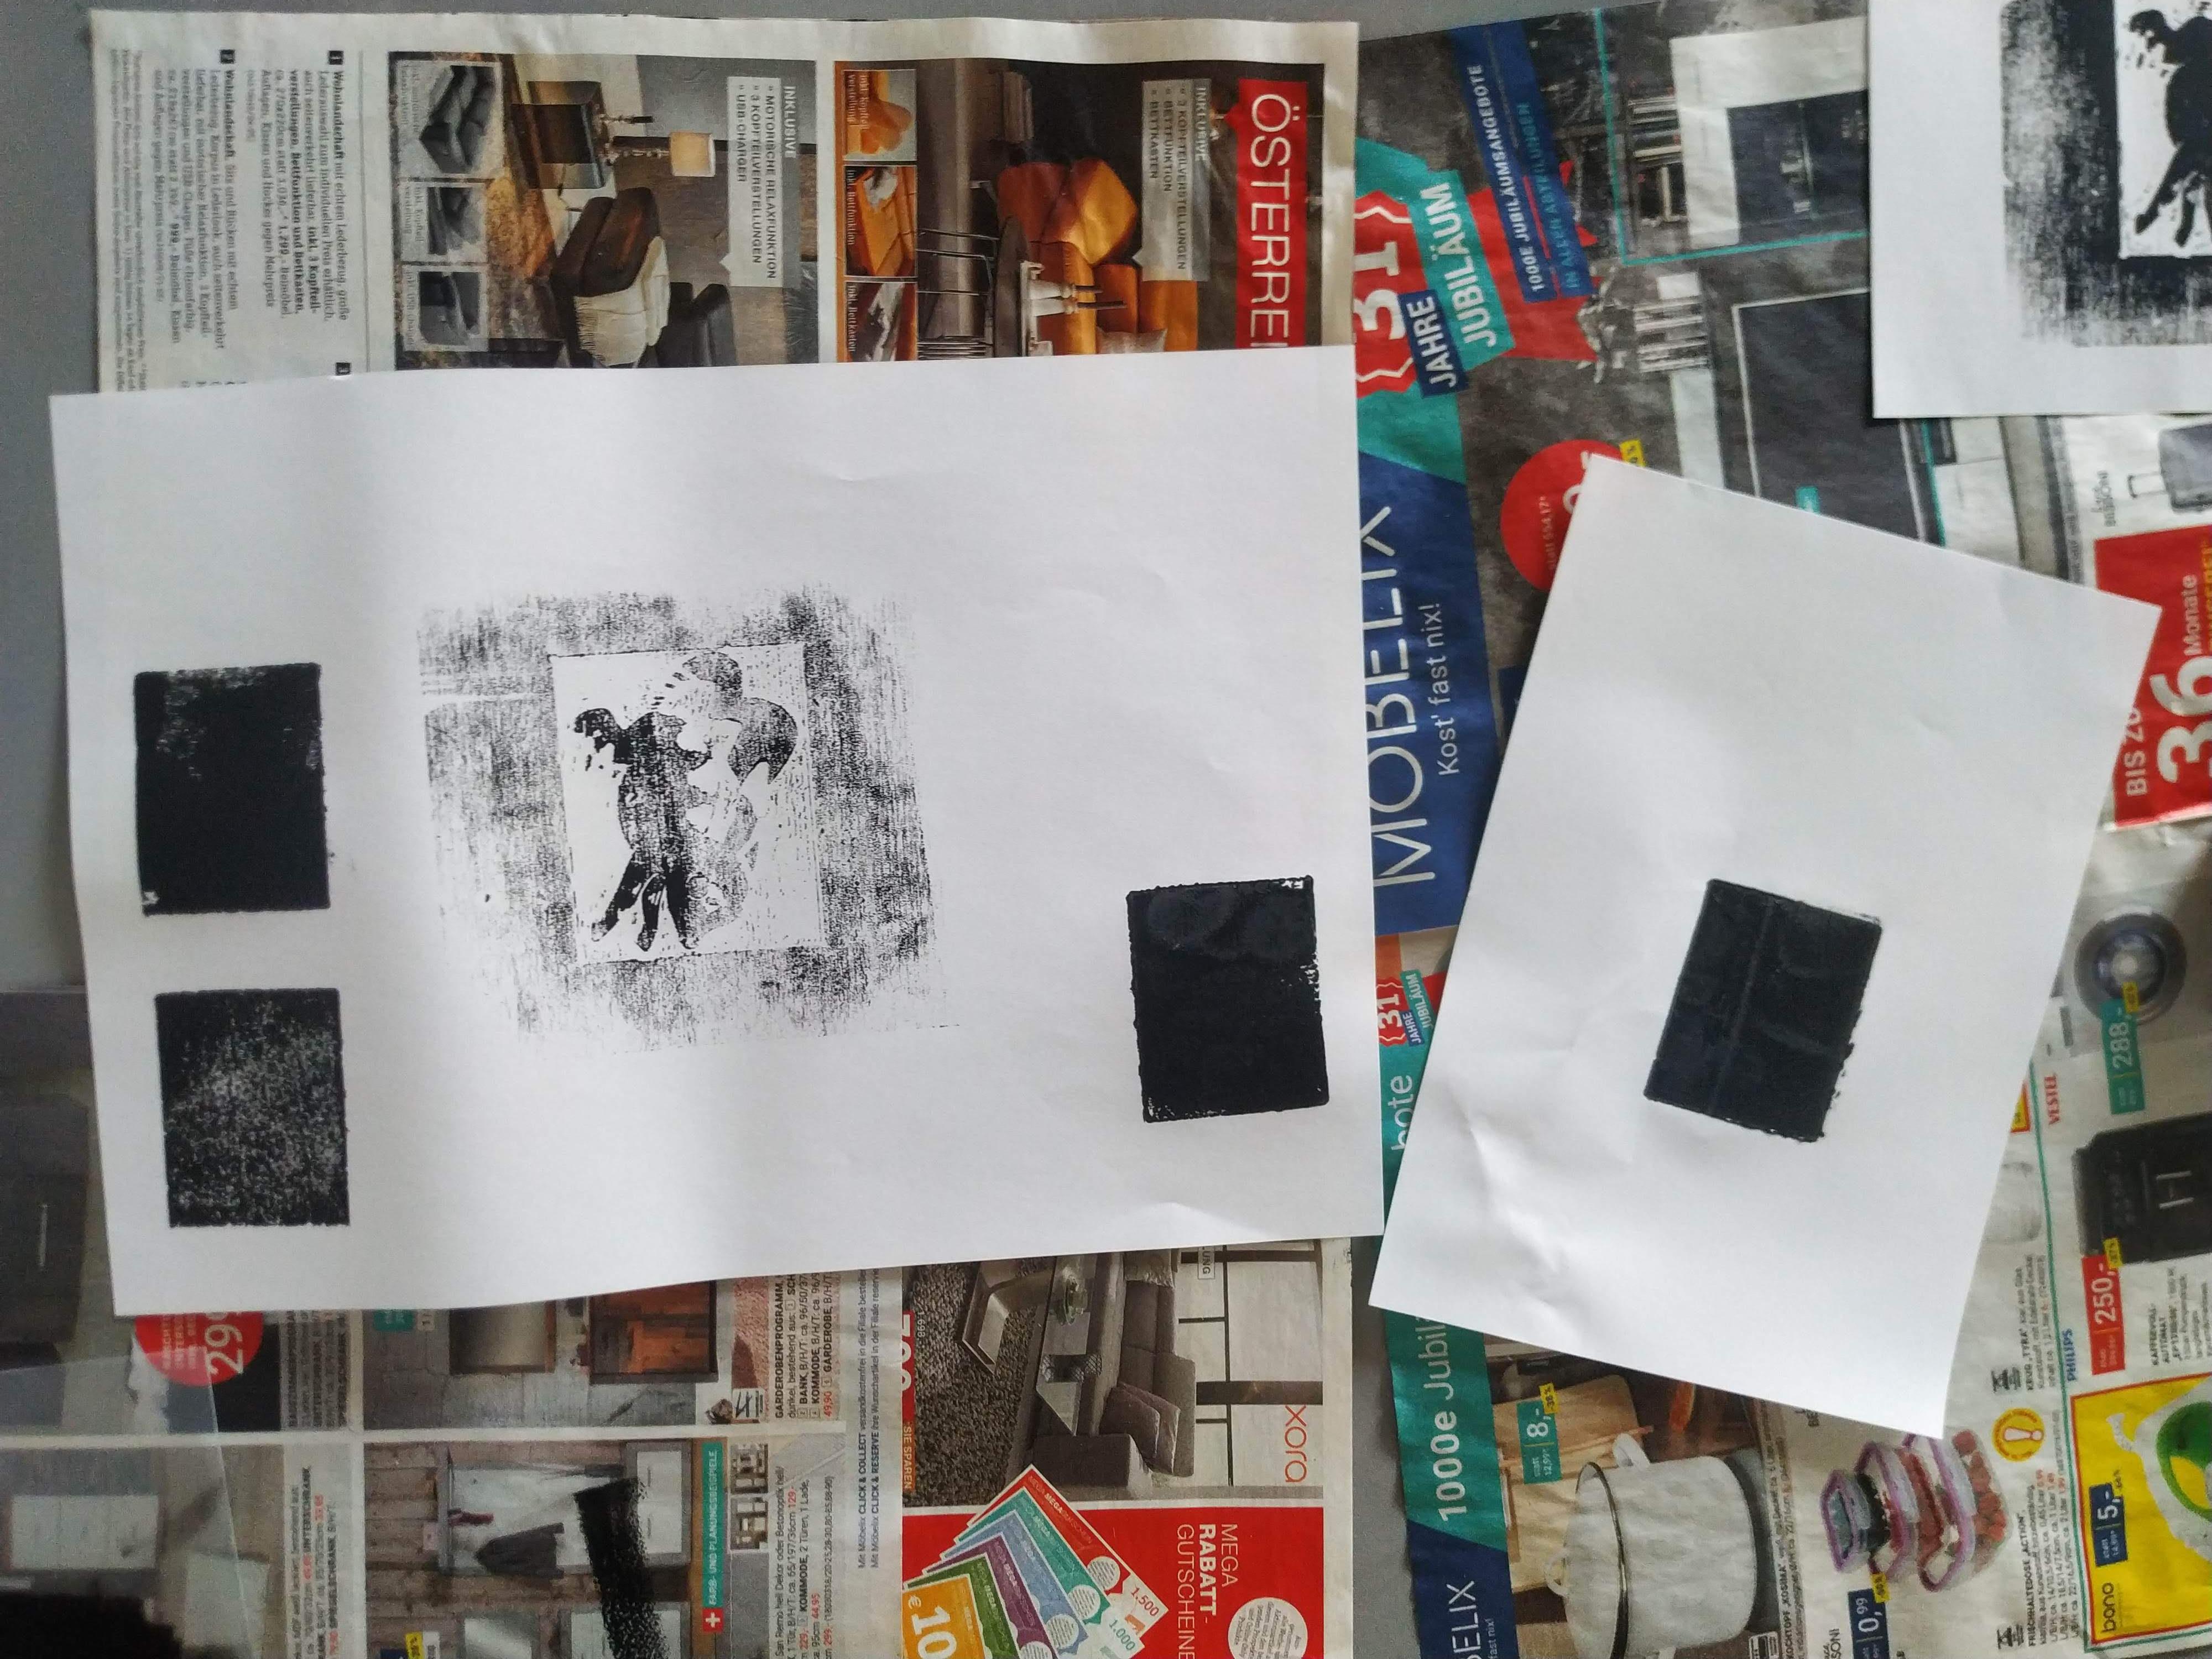
Printing
We use Linoleum printing color, either the roller press or do hand prints with the Japanese Bamboo Leaf Baren.
We also plan on building a CNC machine at school if get we can somehow get the funding...