Muzzle Flash in Windows Movie Maker
by Mythbuster Kid in Circuits > Cameras
8450 Views, 10 Favorites, 0 Comments
Muzzle Flash in Windows Movie Maker
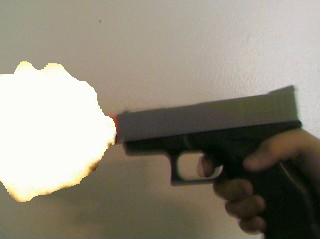
This is how to do a simple muzzle flash in Windows Movie Maker.
Materials
What's Needed:
Internet Search Engine (Google Images, preferablly)
Windows Movie Maker
Microsoft Paint (or Photoshop)
Video Footage
Internet Search Engine (Google Images, preferablly)
Windows Movie Maker
Microsoft Paint (or Photoshop)
Video Footage
There Are Thousands of Choices!

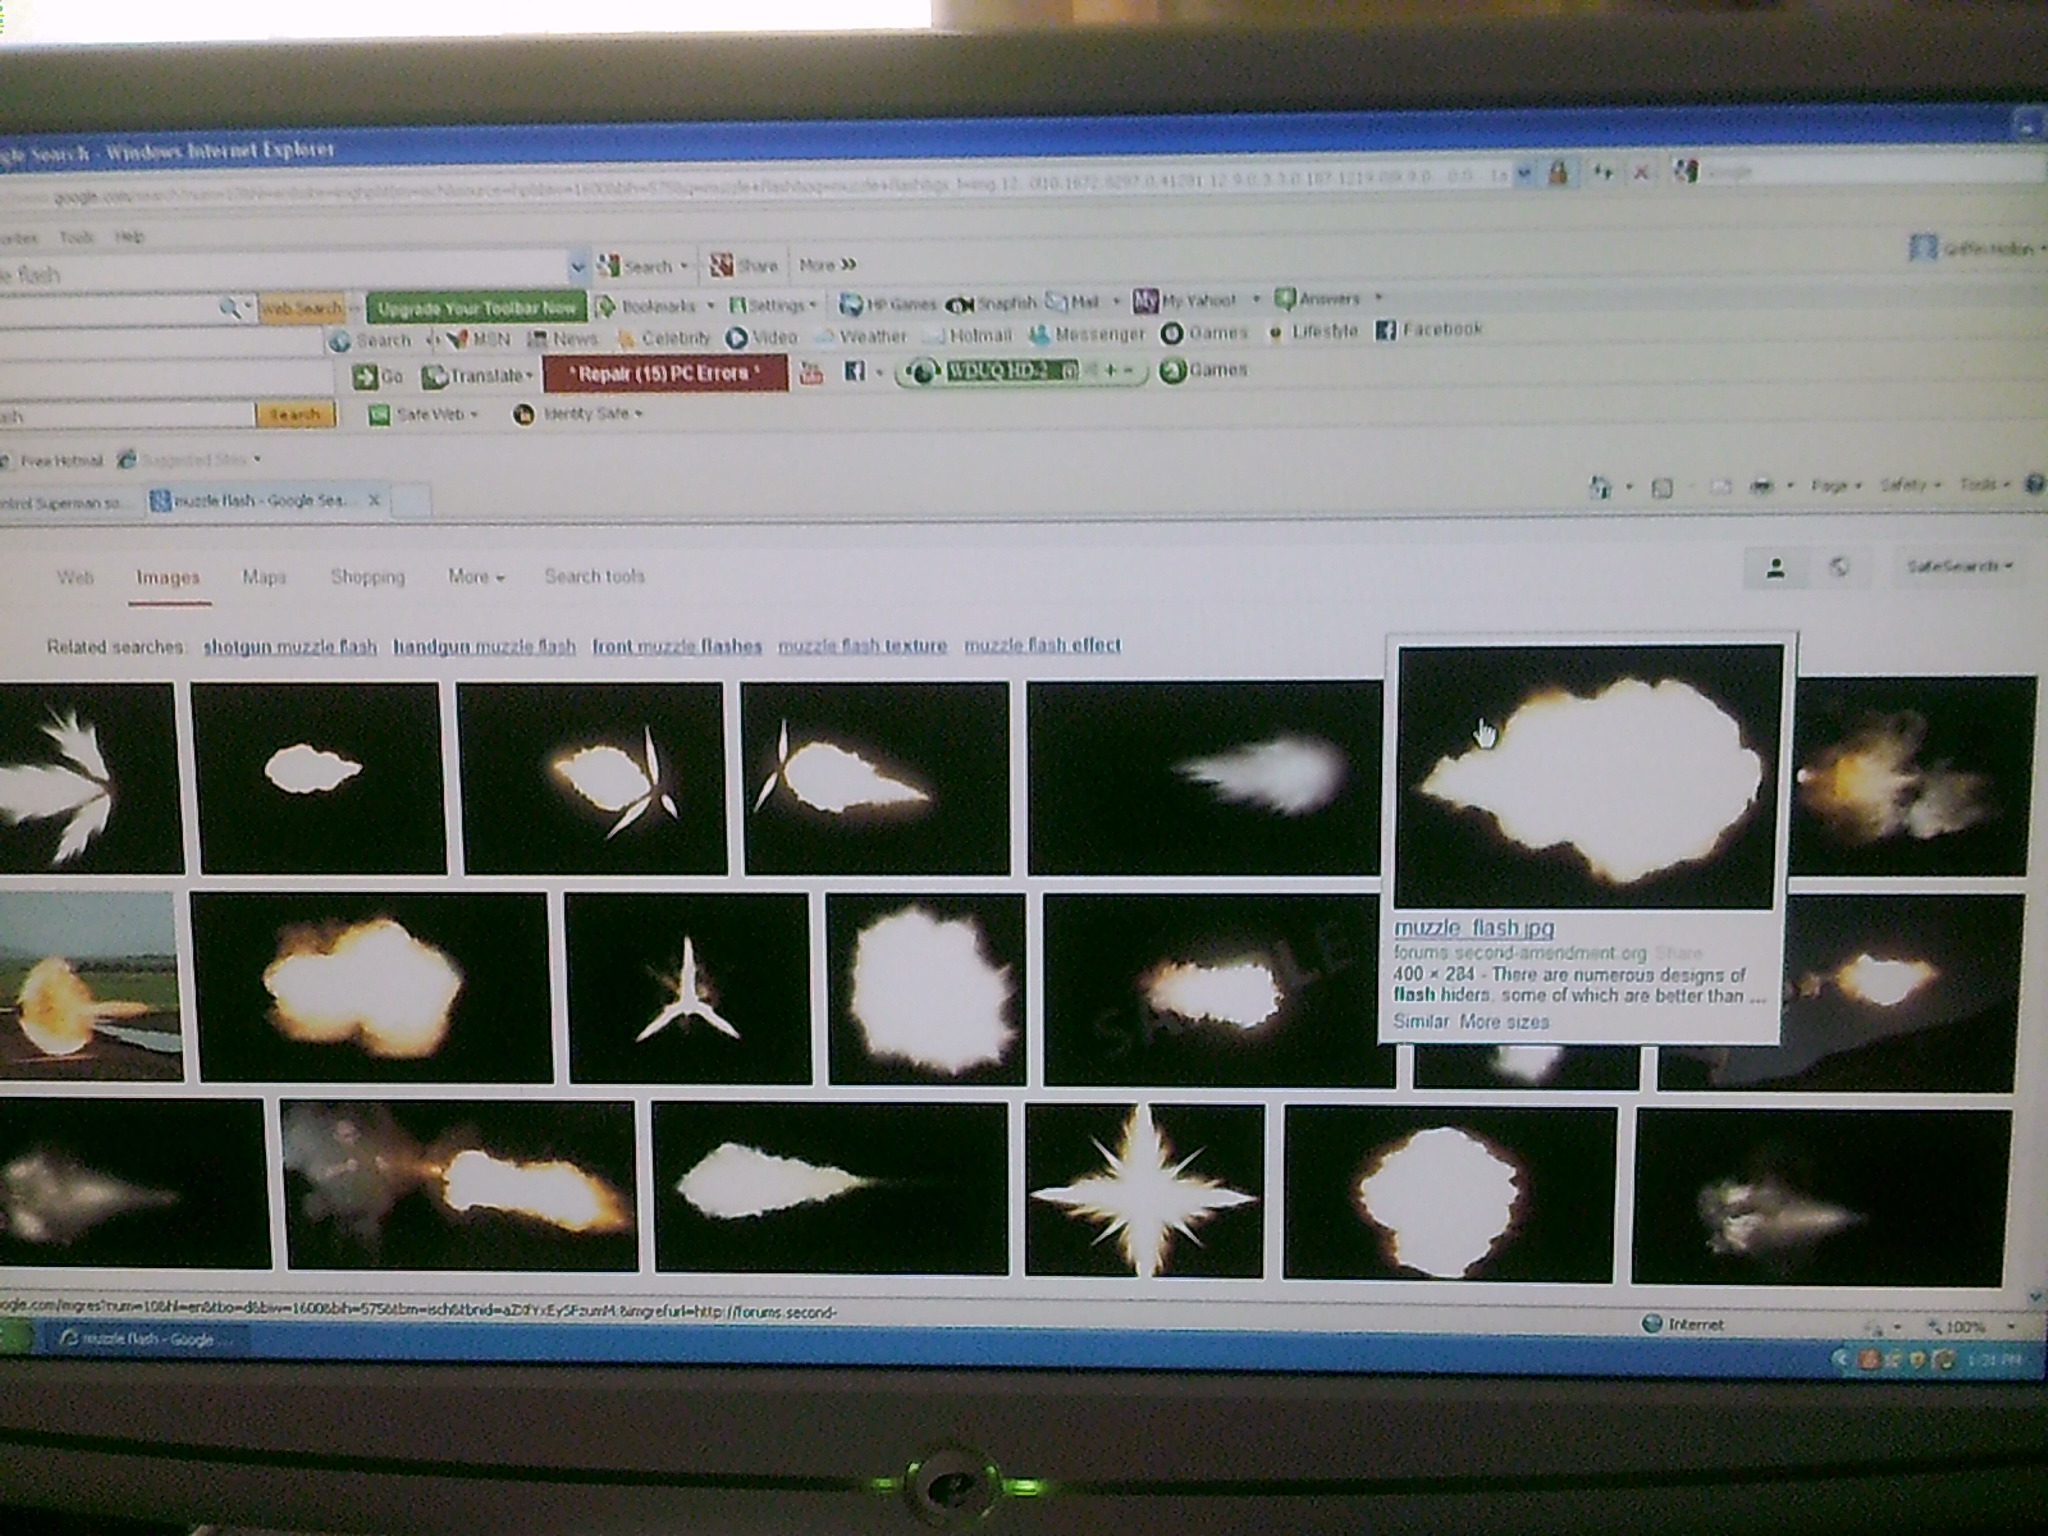
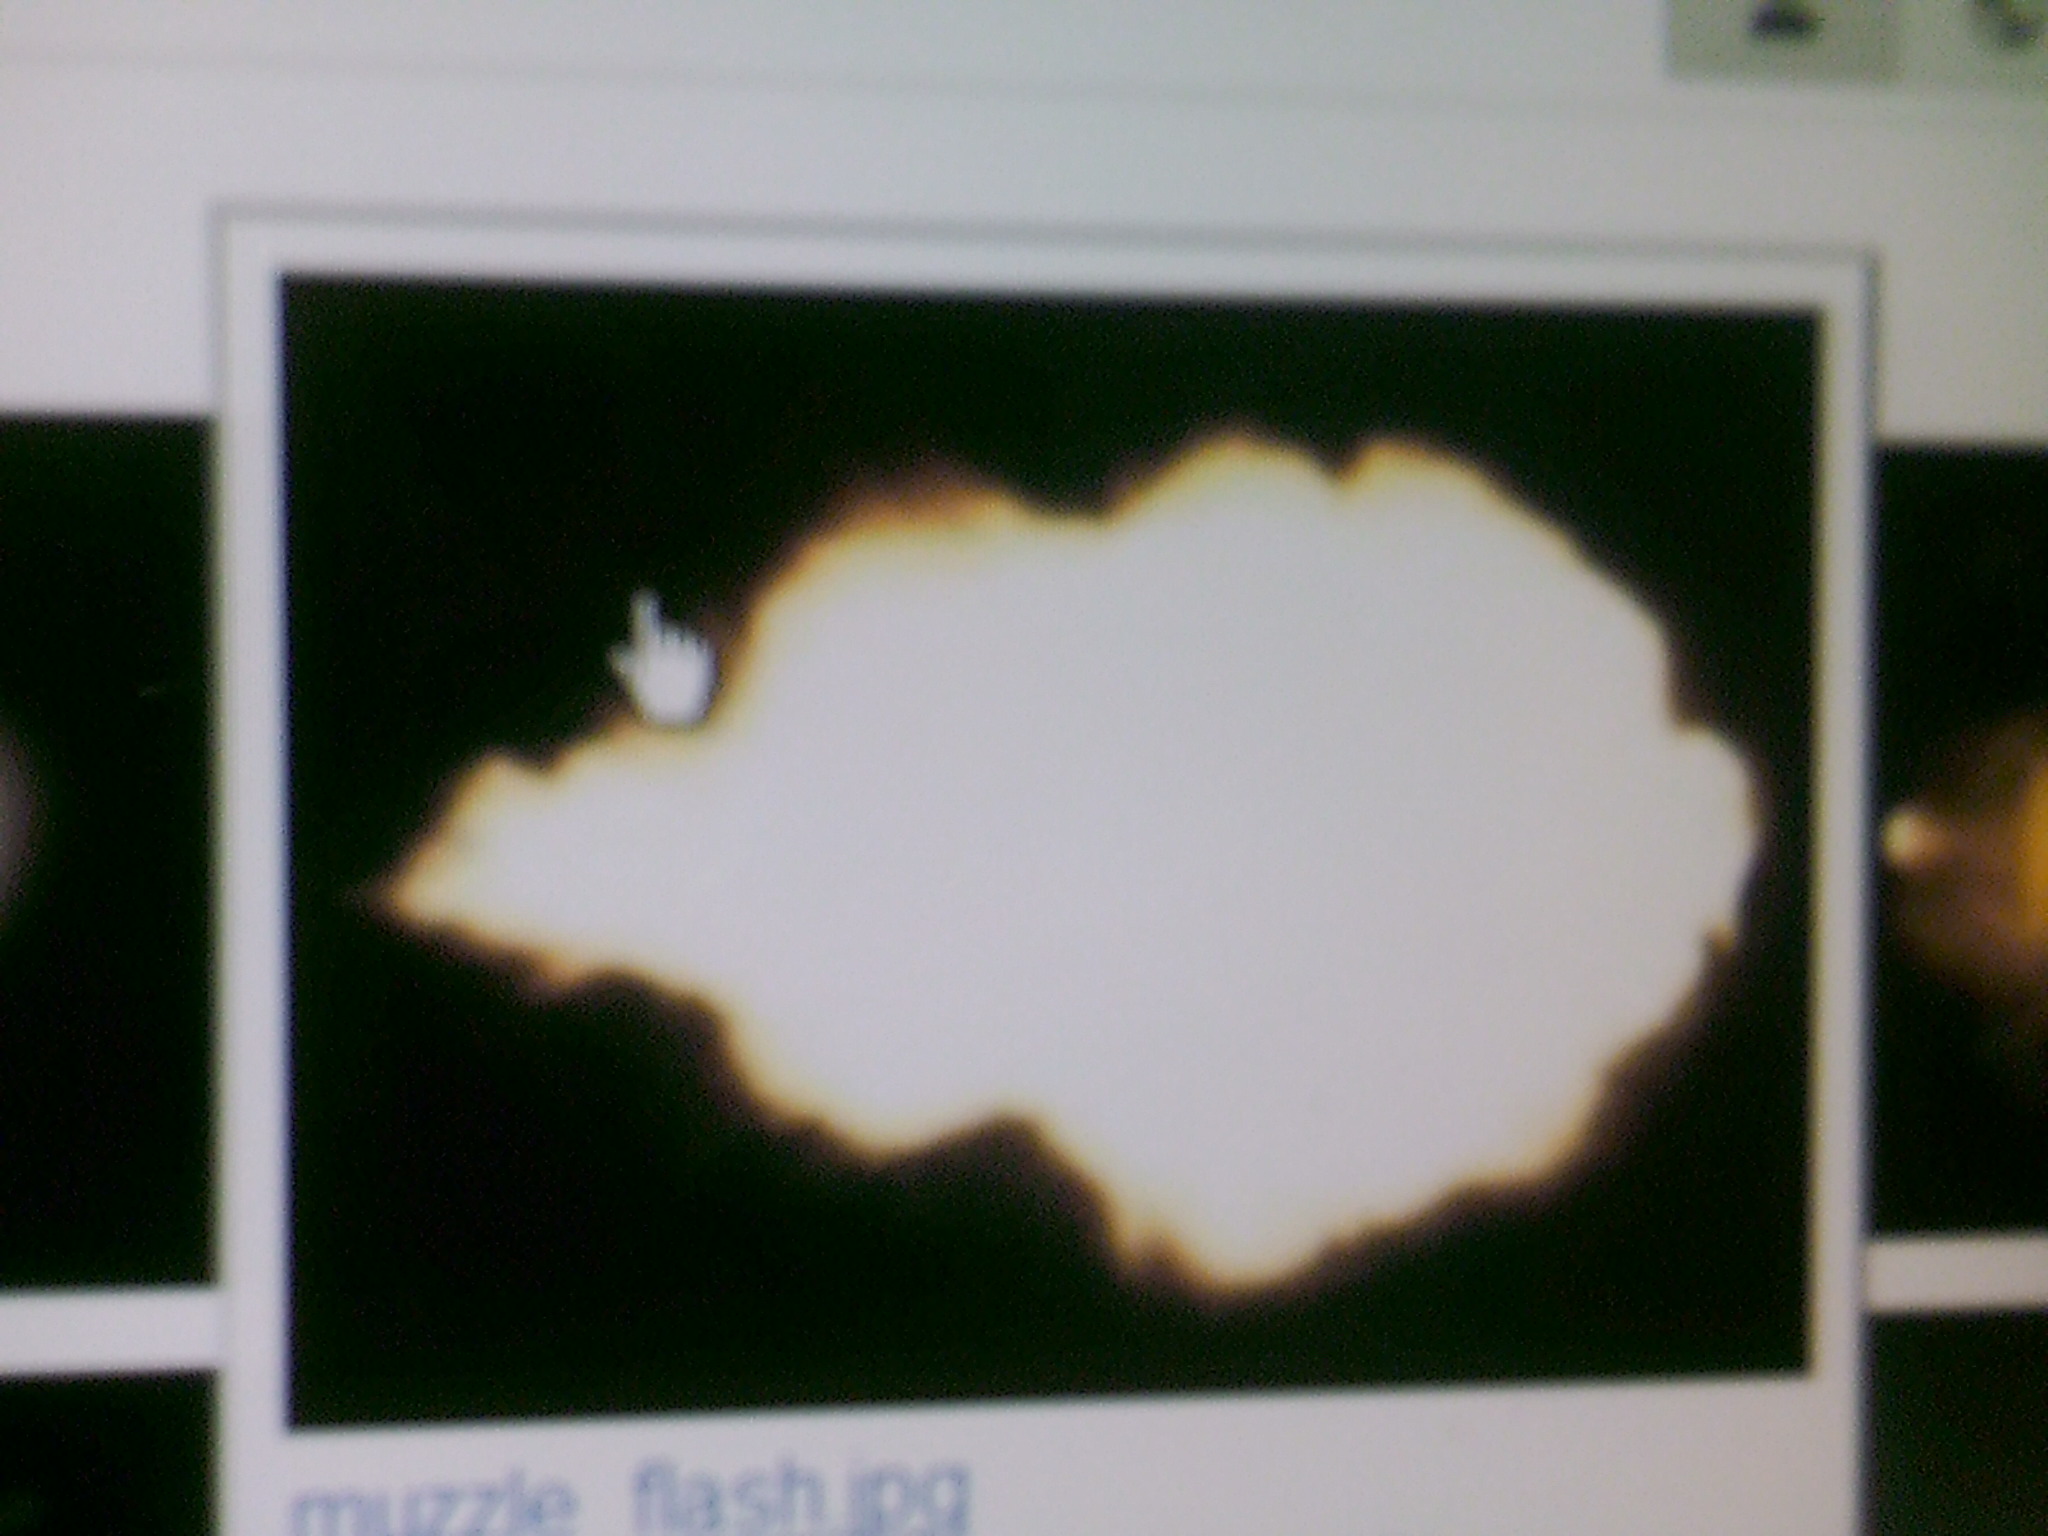
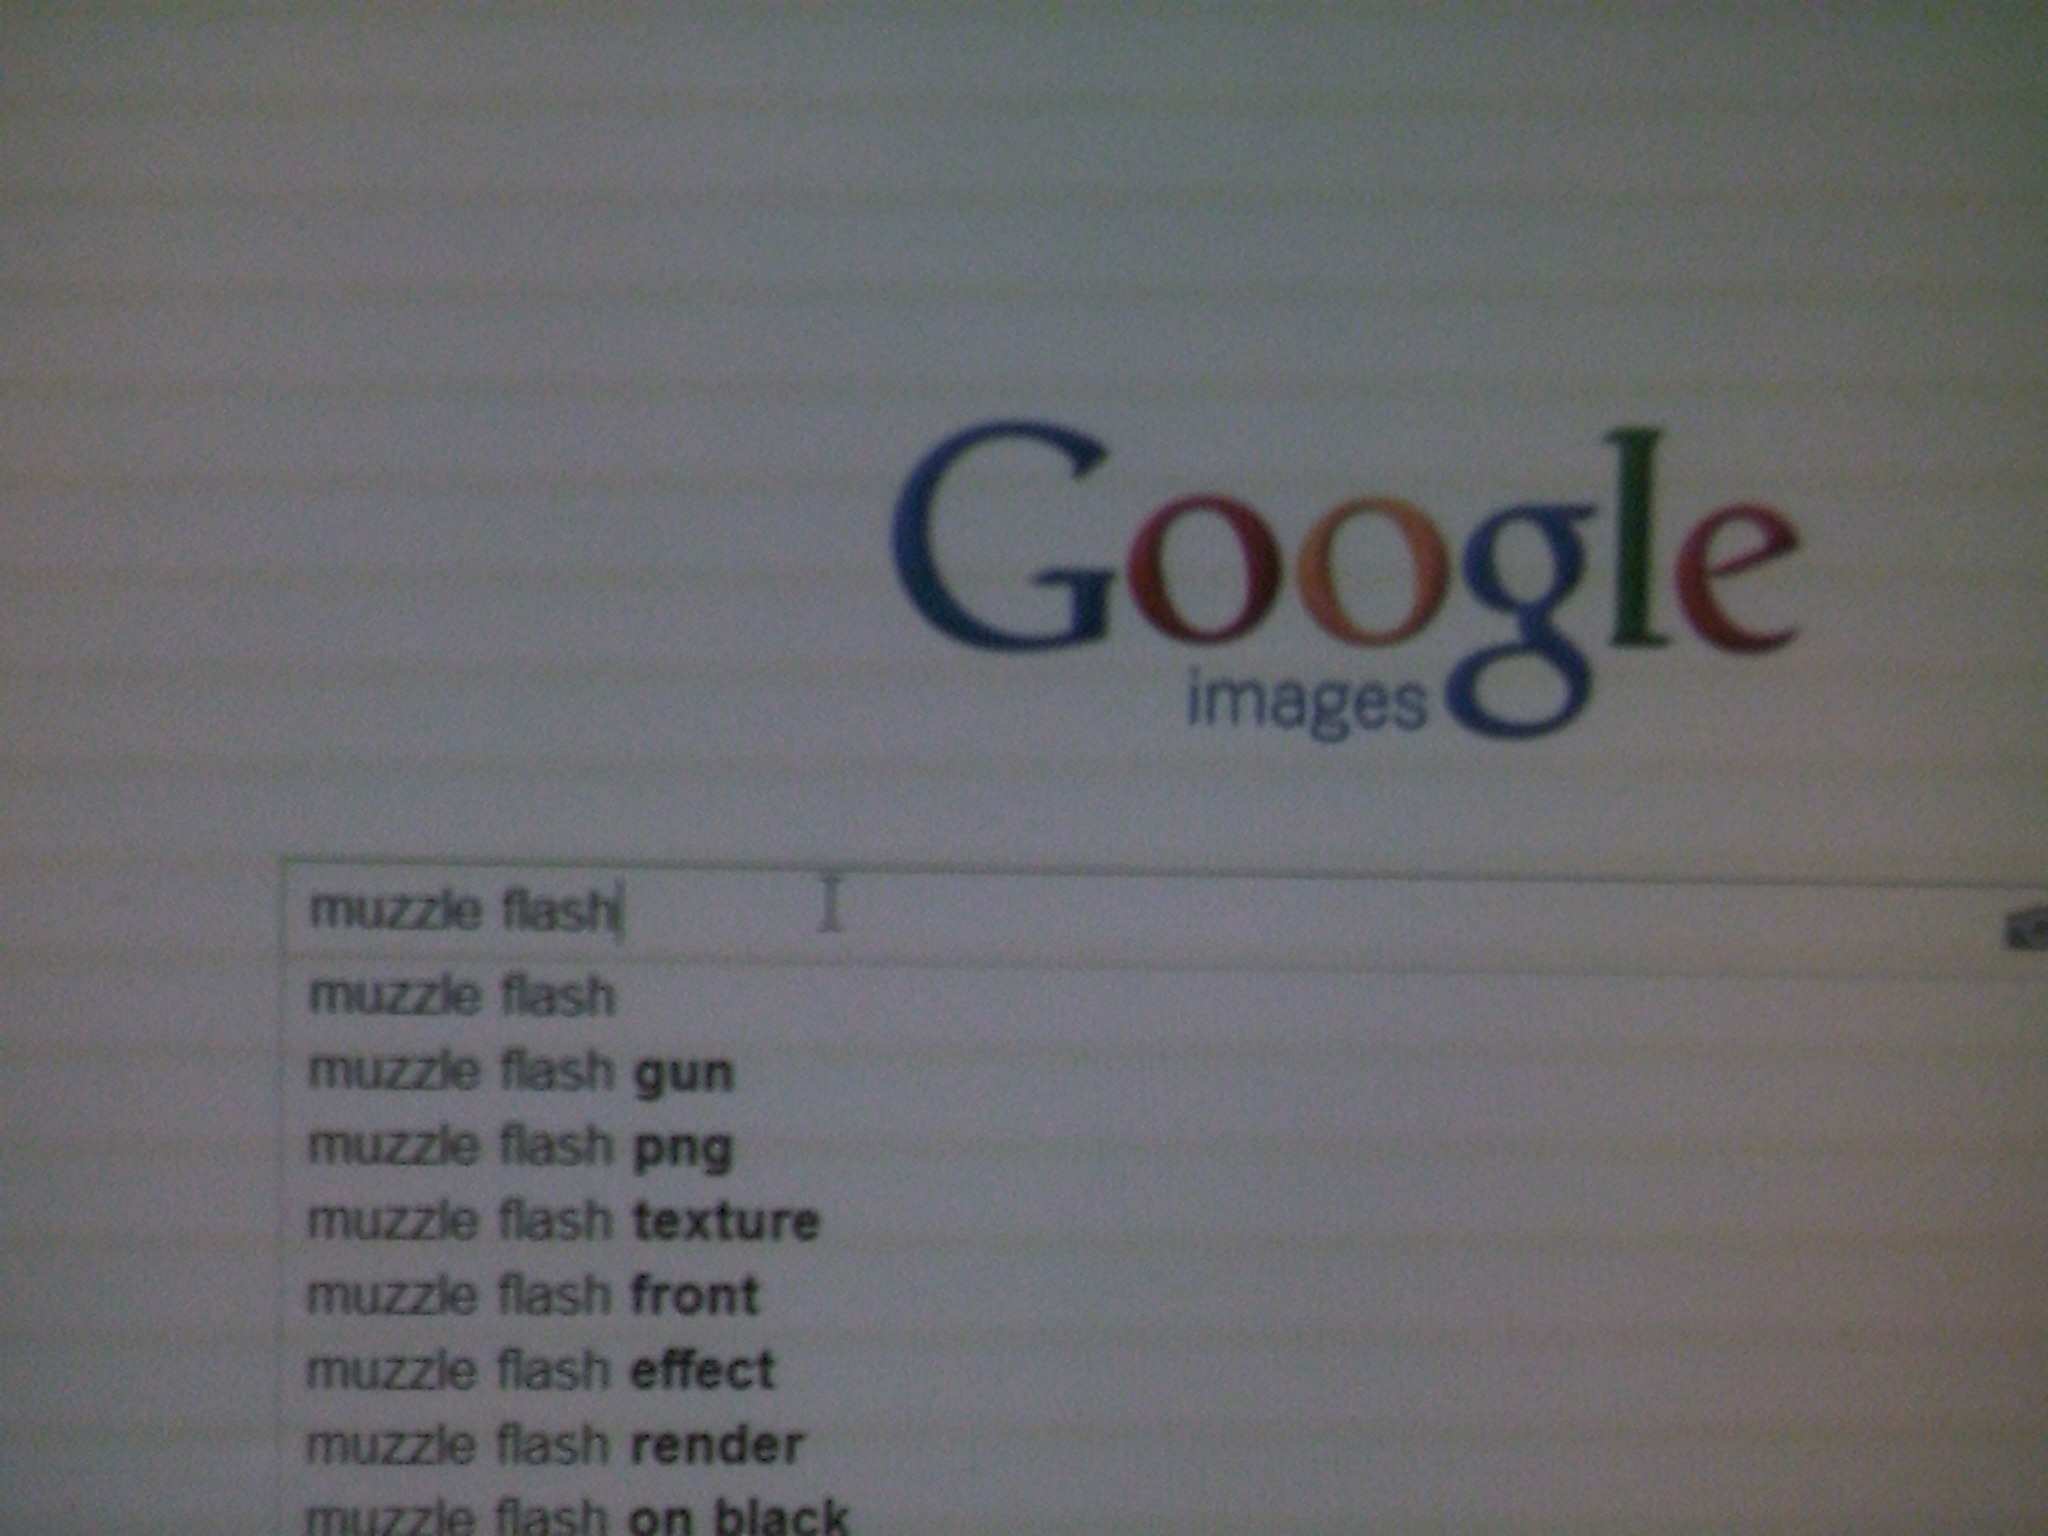
Type in "muzzle flash" into a search engine capable of images. You will probably find hundreds of thousands of images for muzzle flash. Choose the one that will work best for your scene. The third image (on this Instructable) usally works best for most kinds of scenes. After you have chosen the image you want, right-click, then choose copy.
Import!
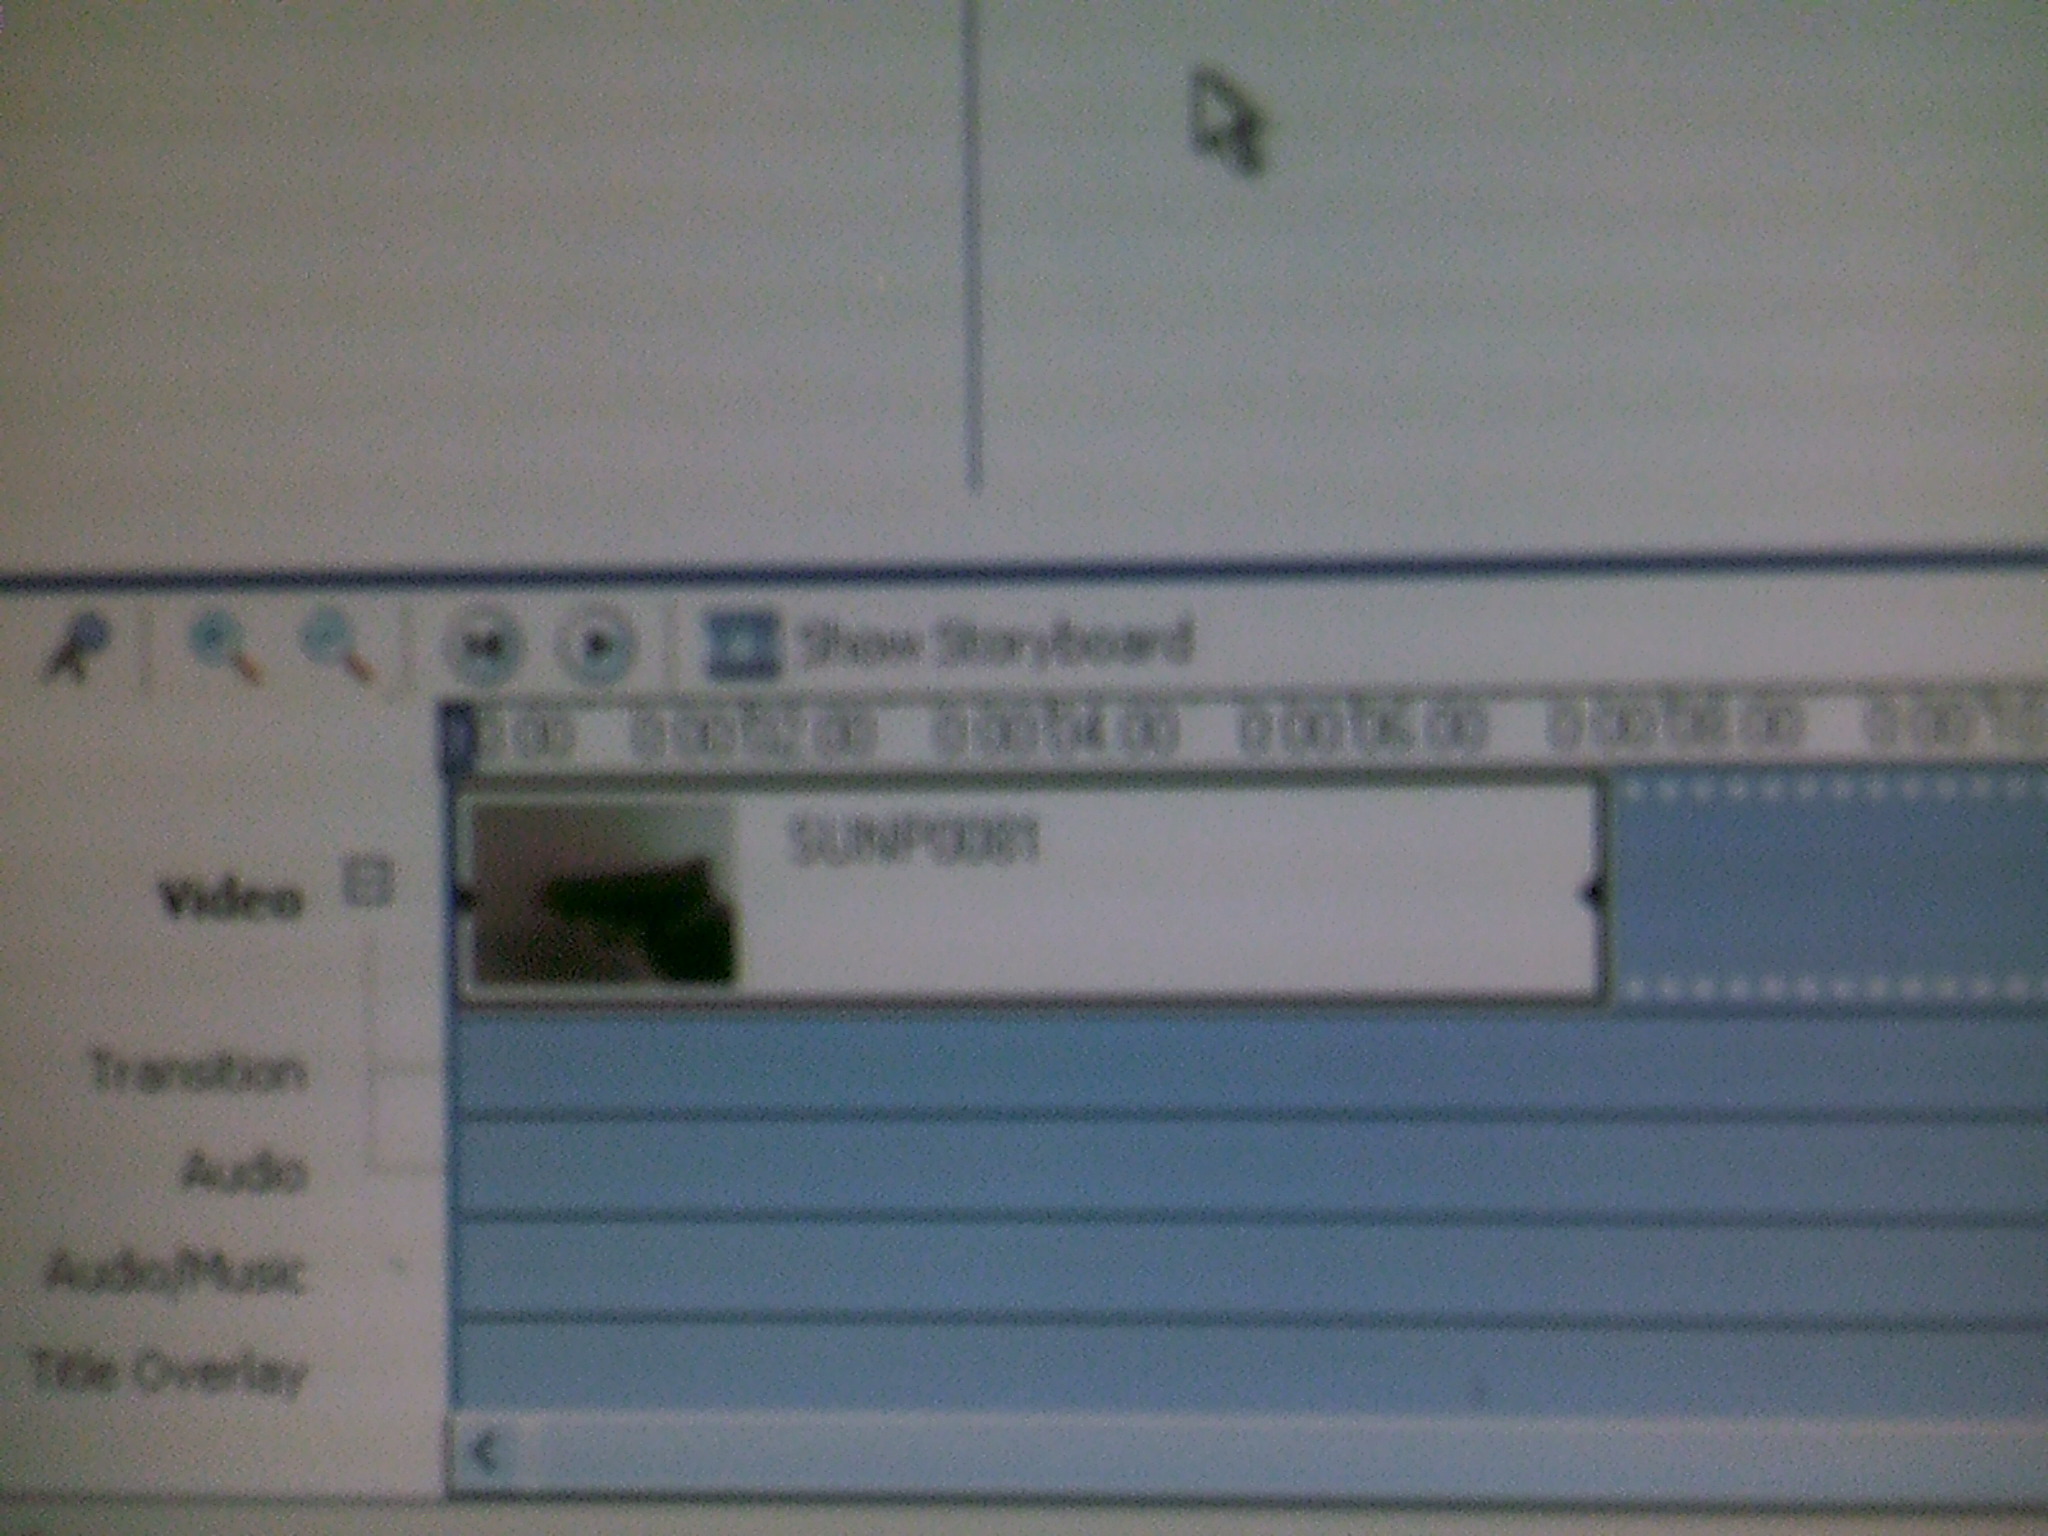
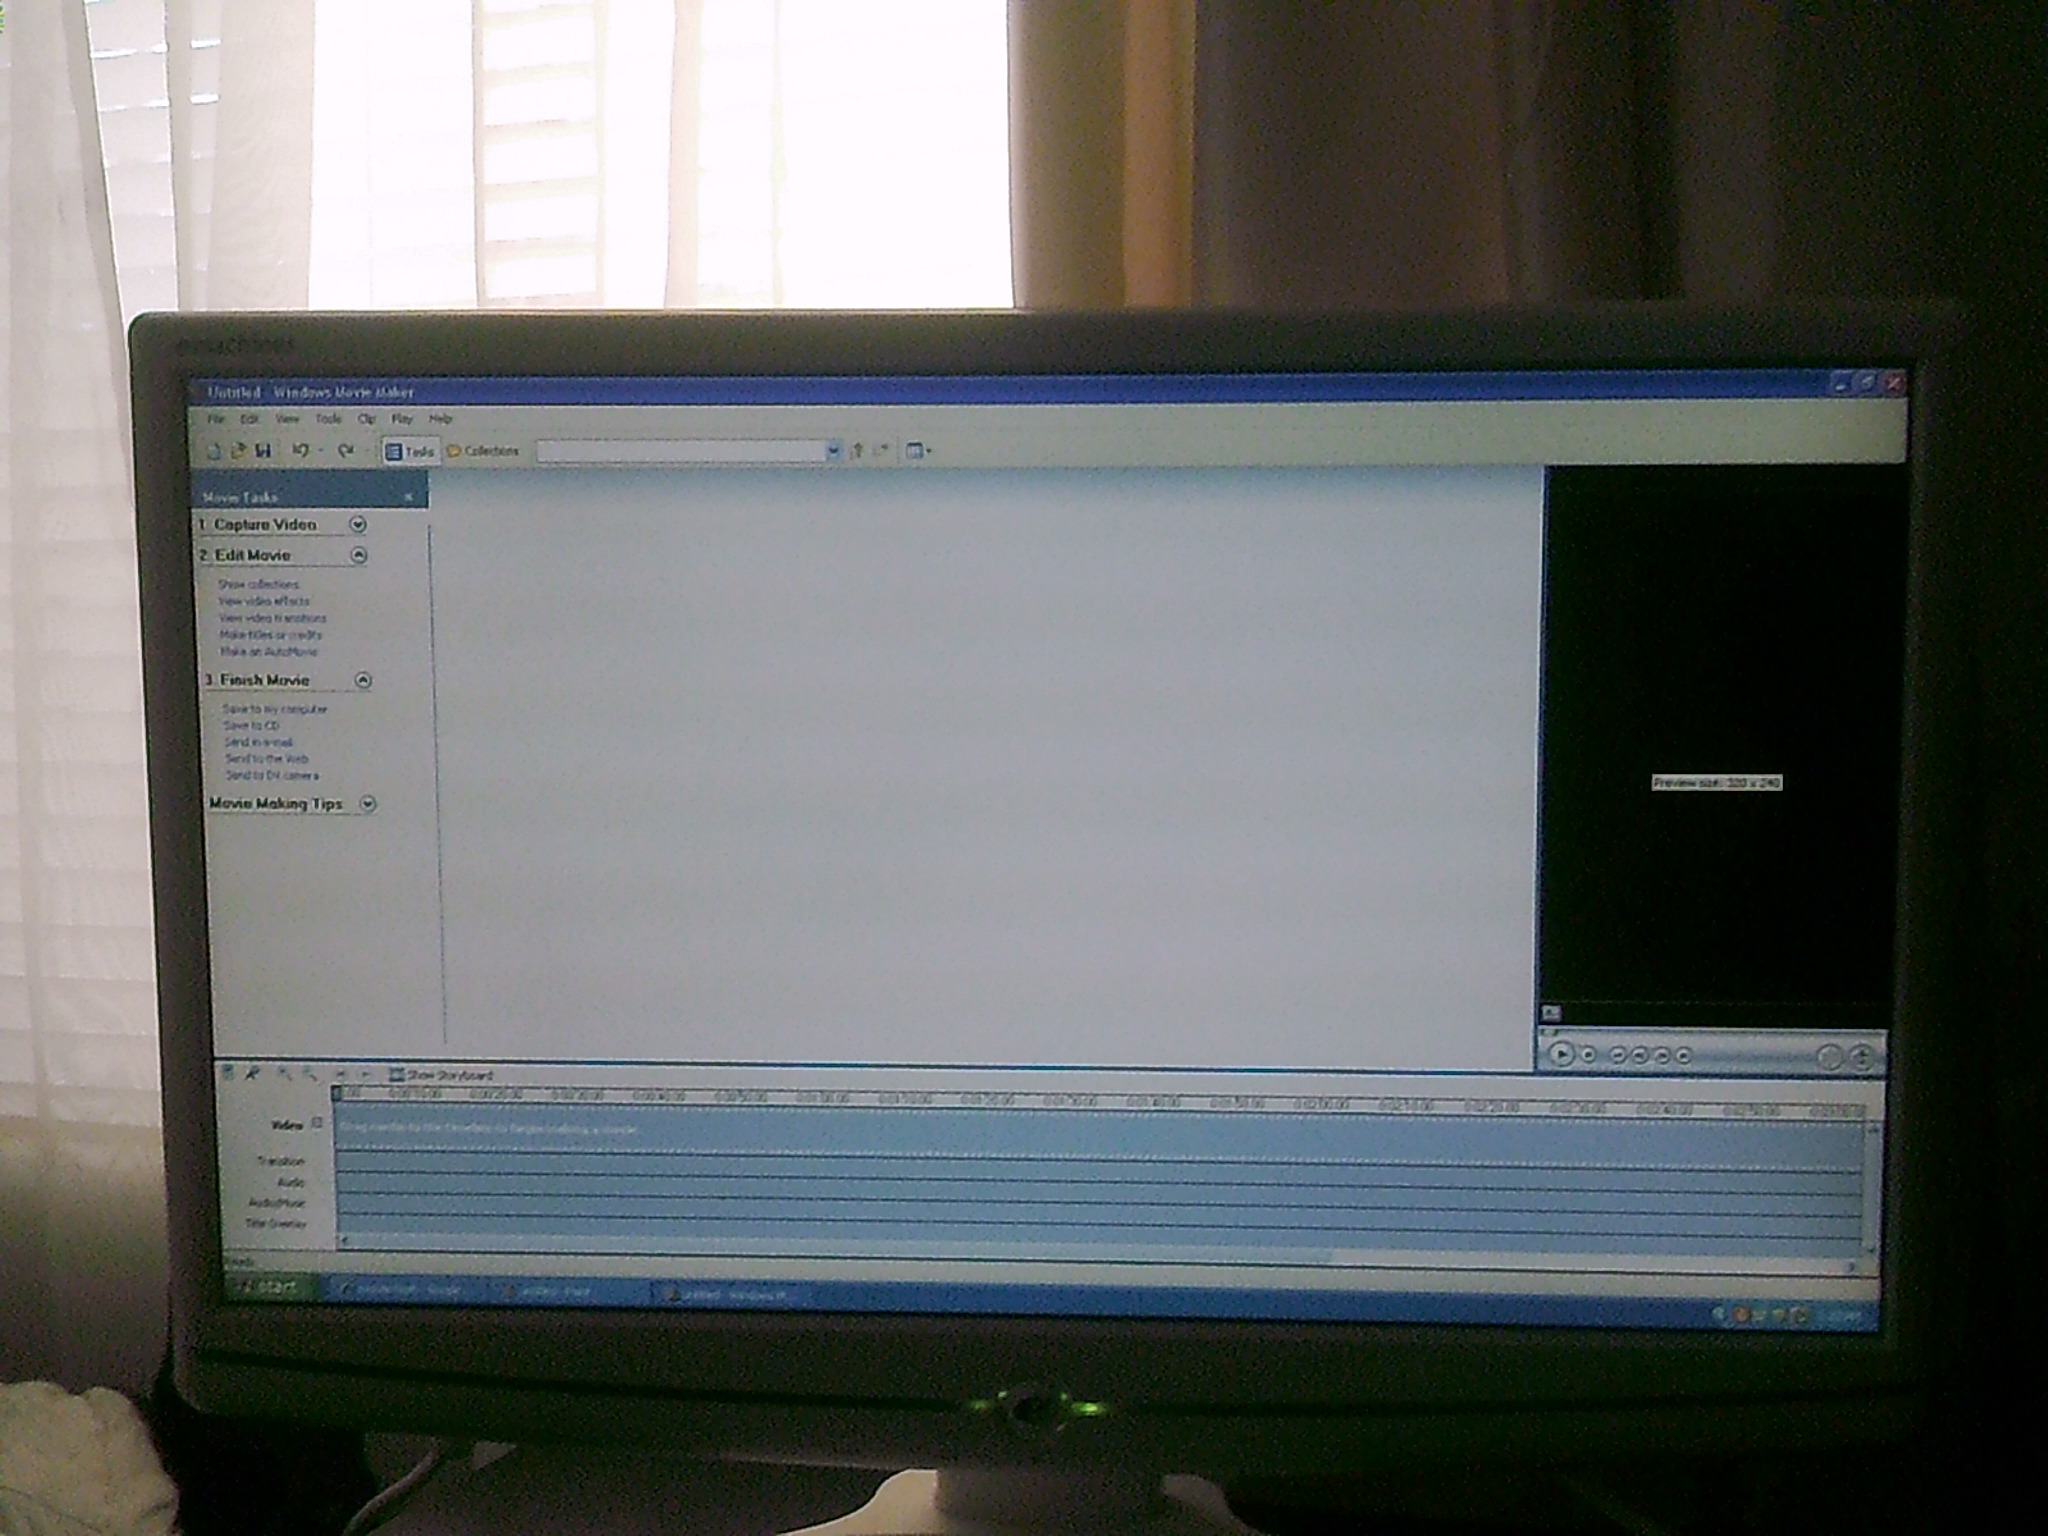
Go to where your videos are stored and choose your video. Put it in Windows Movie Maker. Make sure Windows Movie Maker is set on timeline and zoom it in (magnifying glass witha plus sign in the middle) all the way.
Splice the Clip

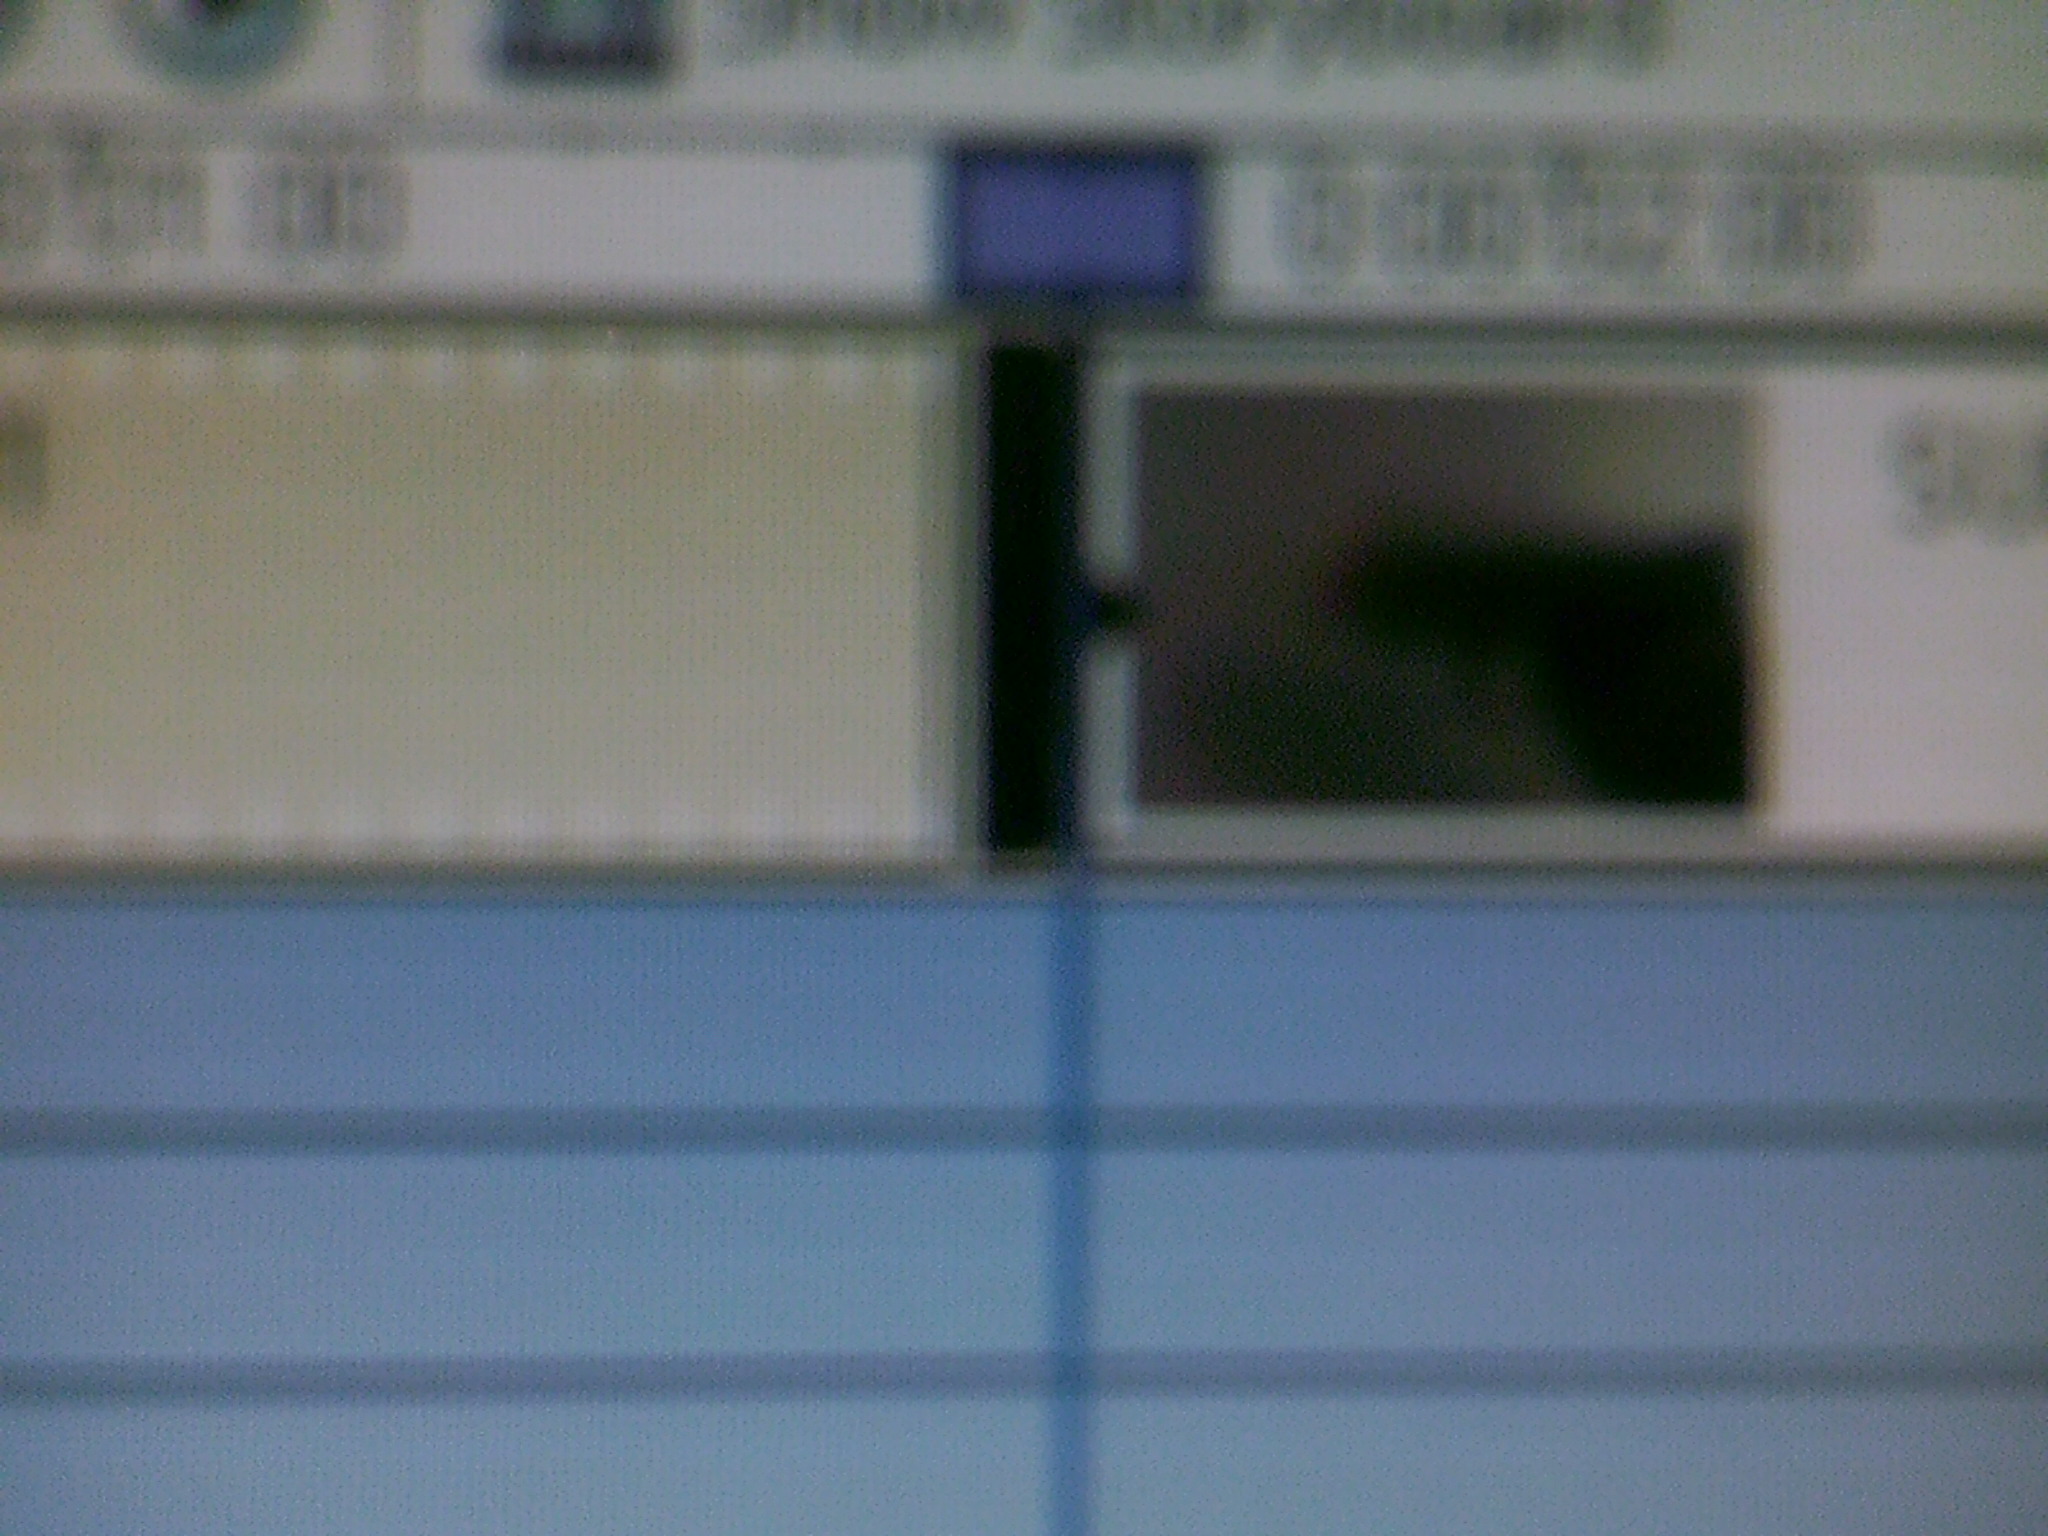
Go frame by frame, right when your gun is supposed to fire ( the frame before the recoil). Hit the video splice button. Go ahead one frame again and hit the video splice again.
Freeze-Frame It
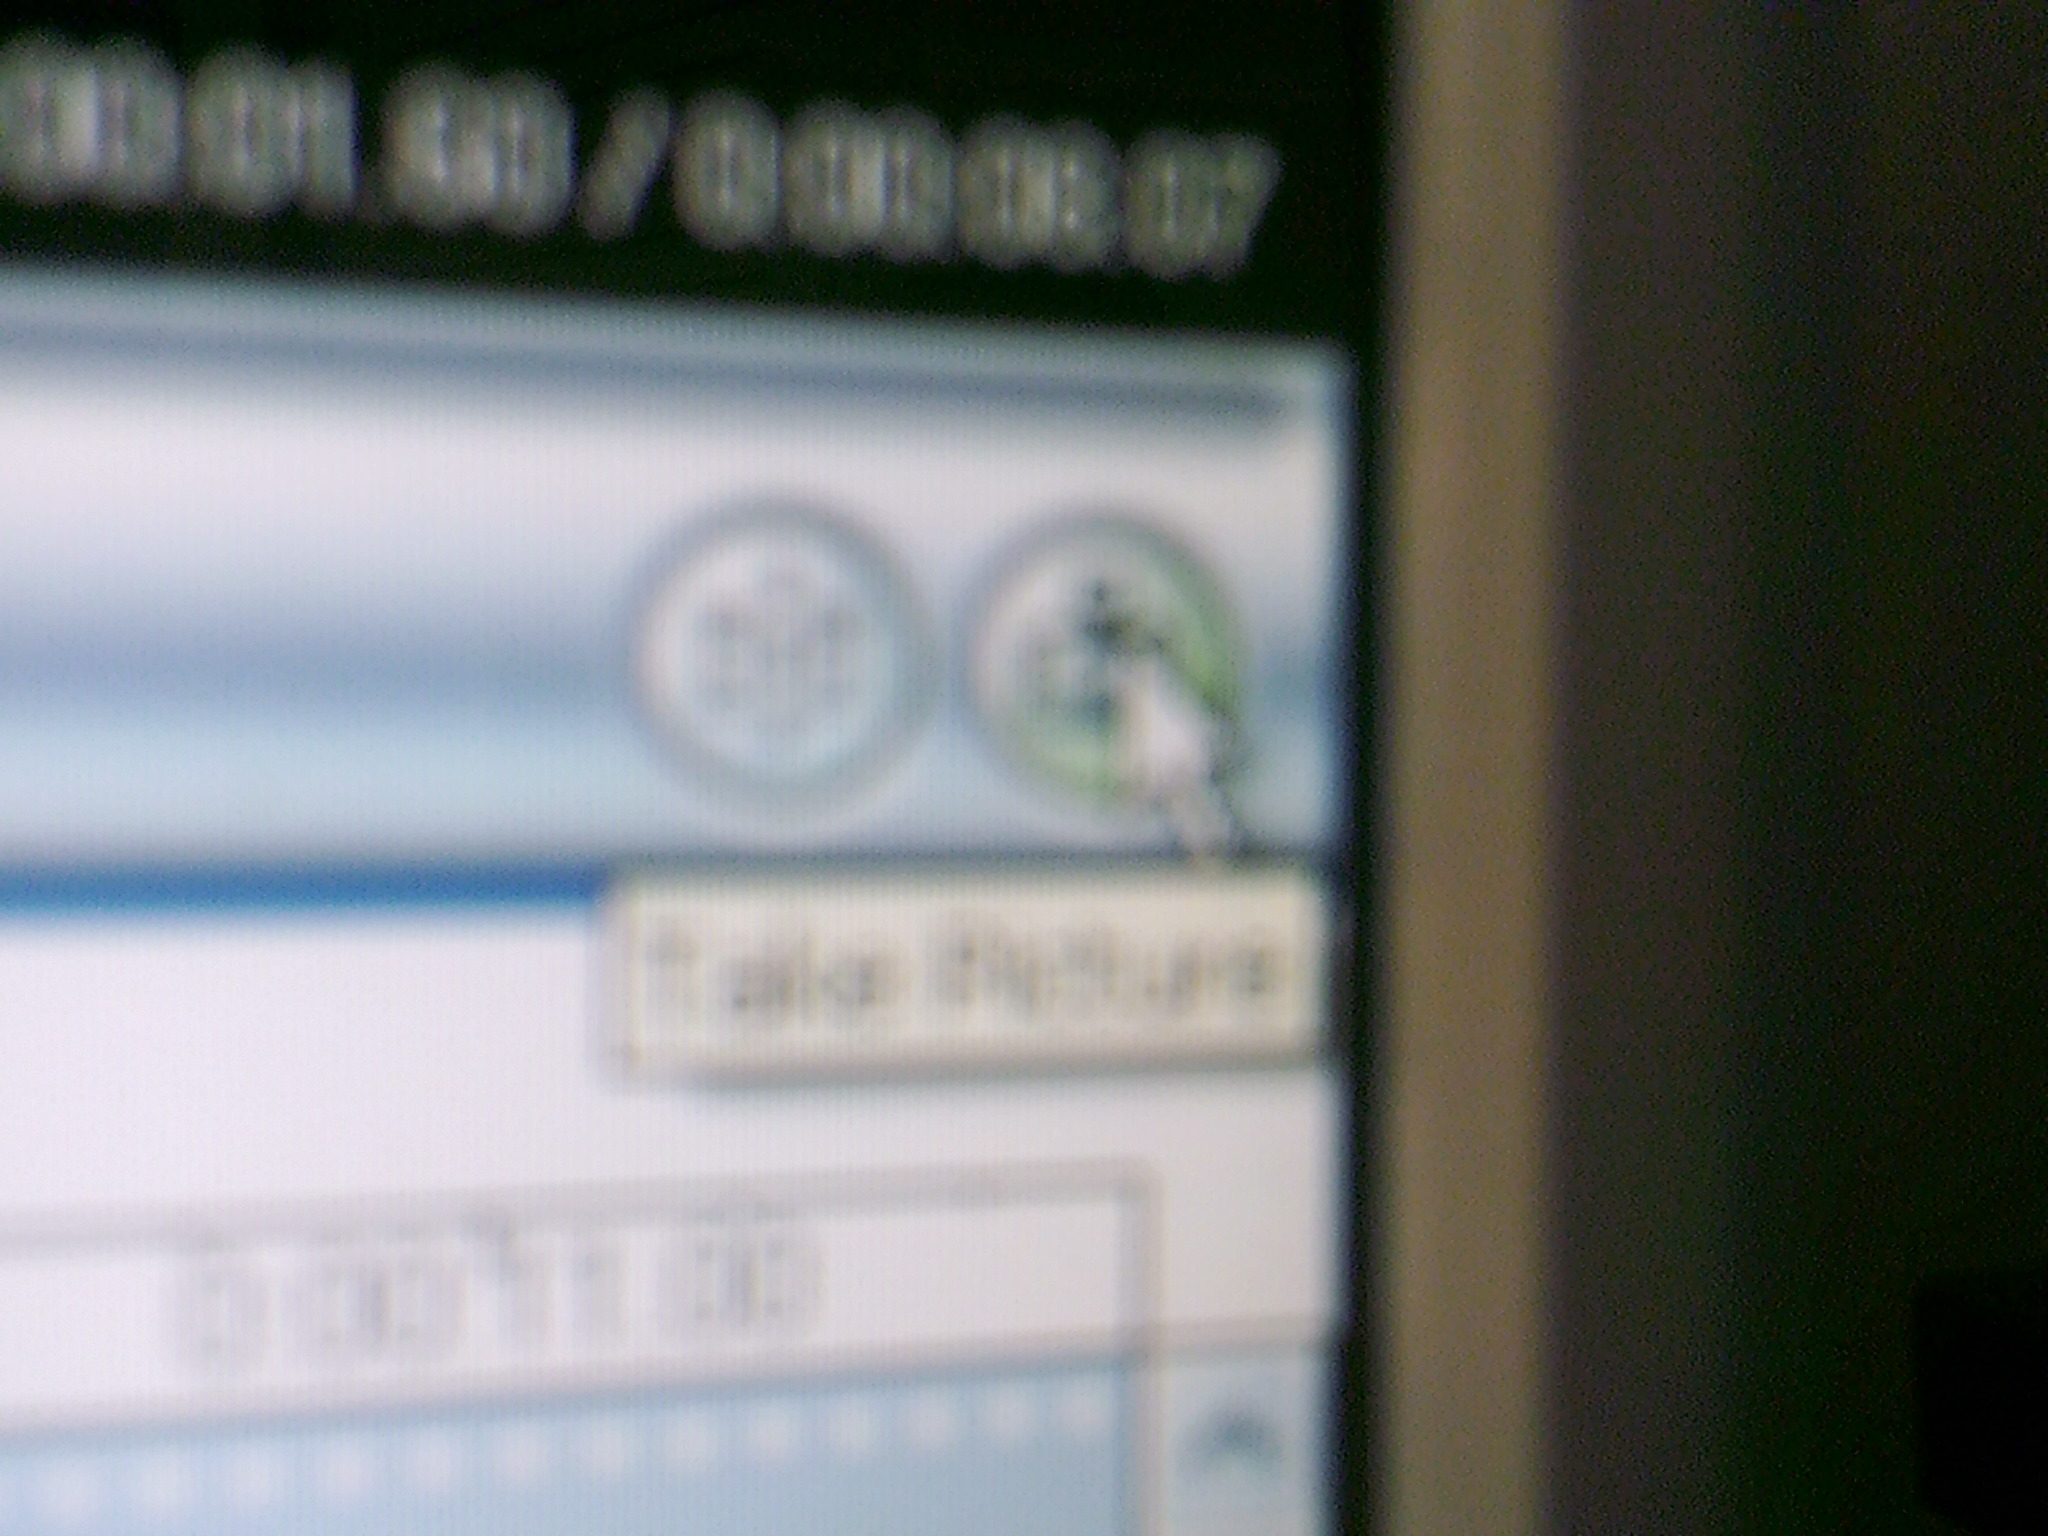
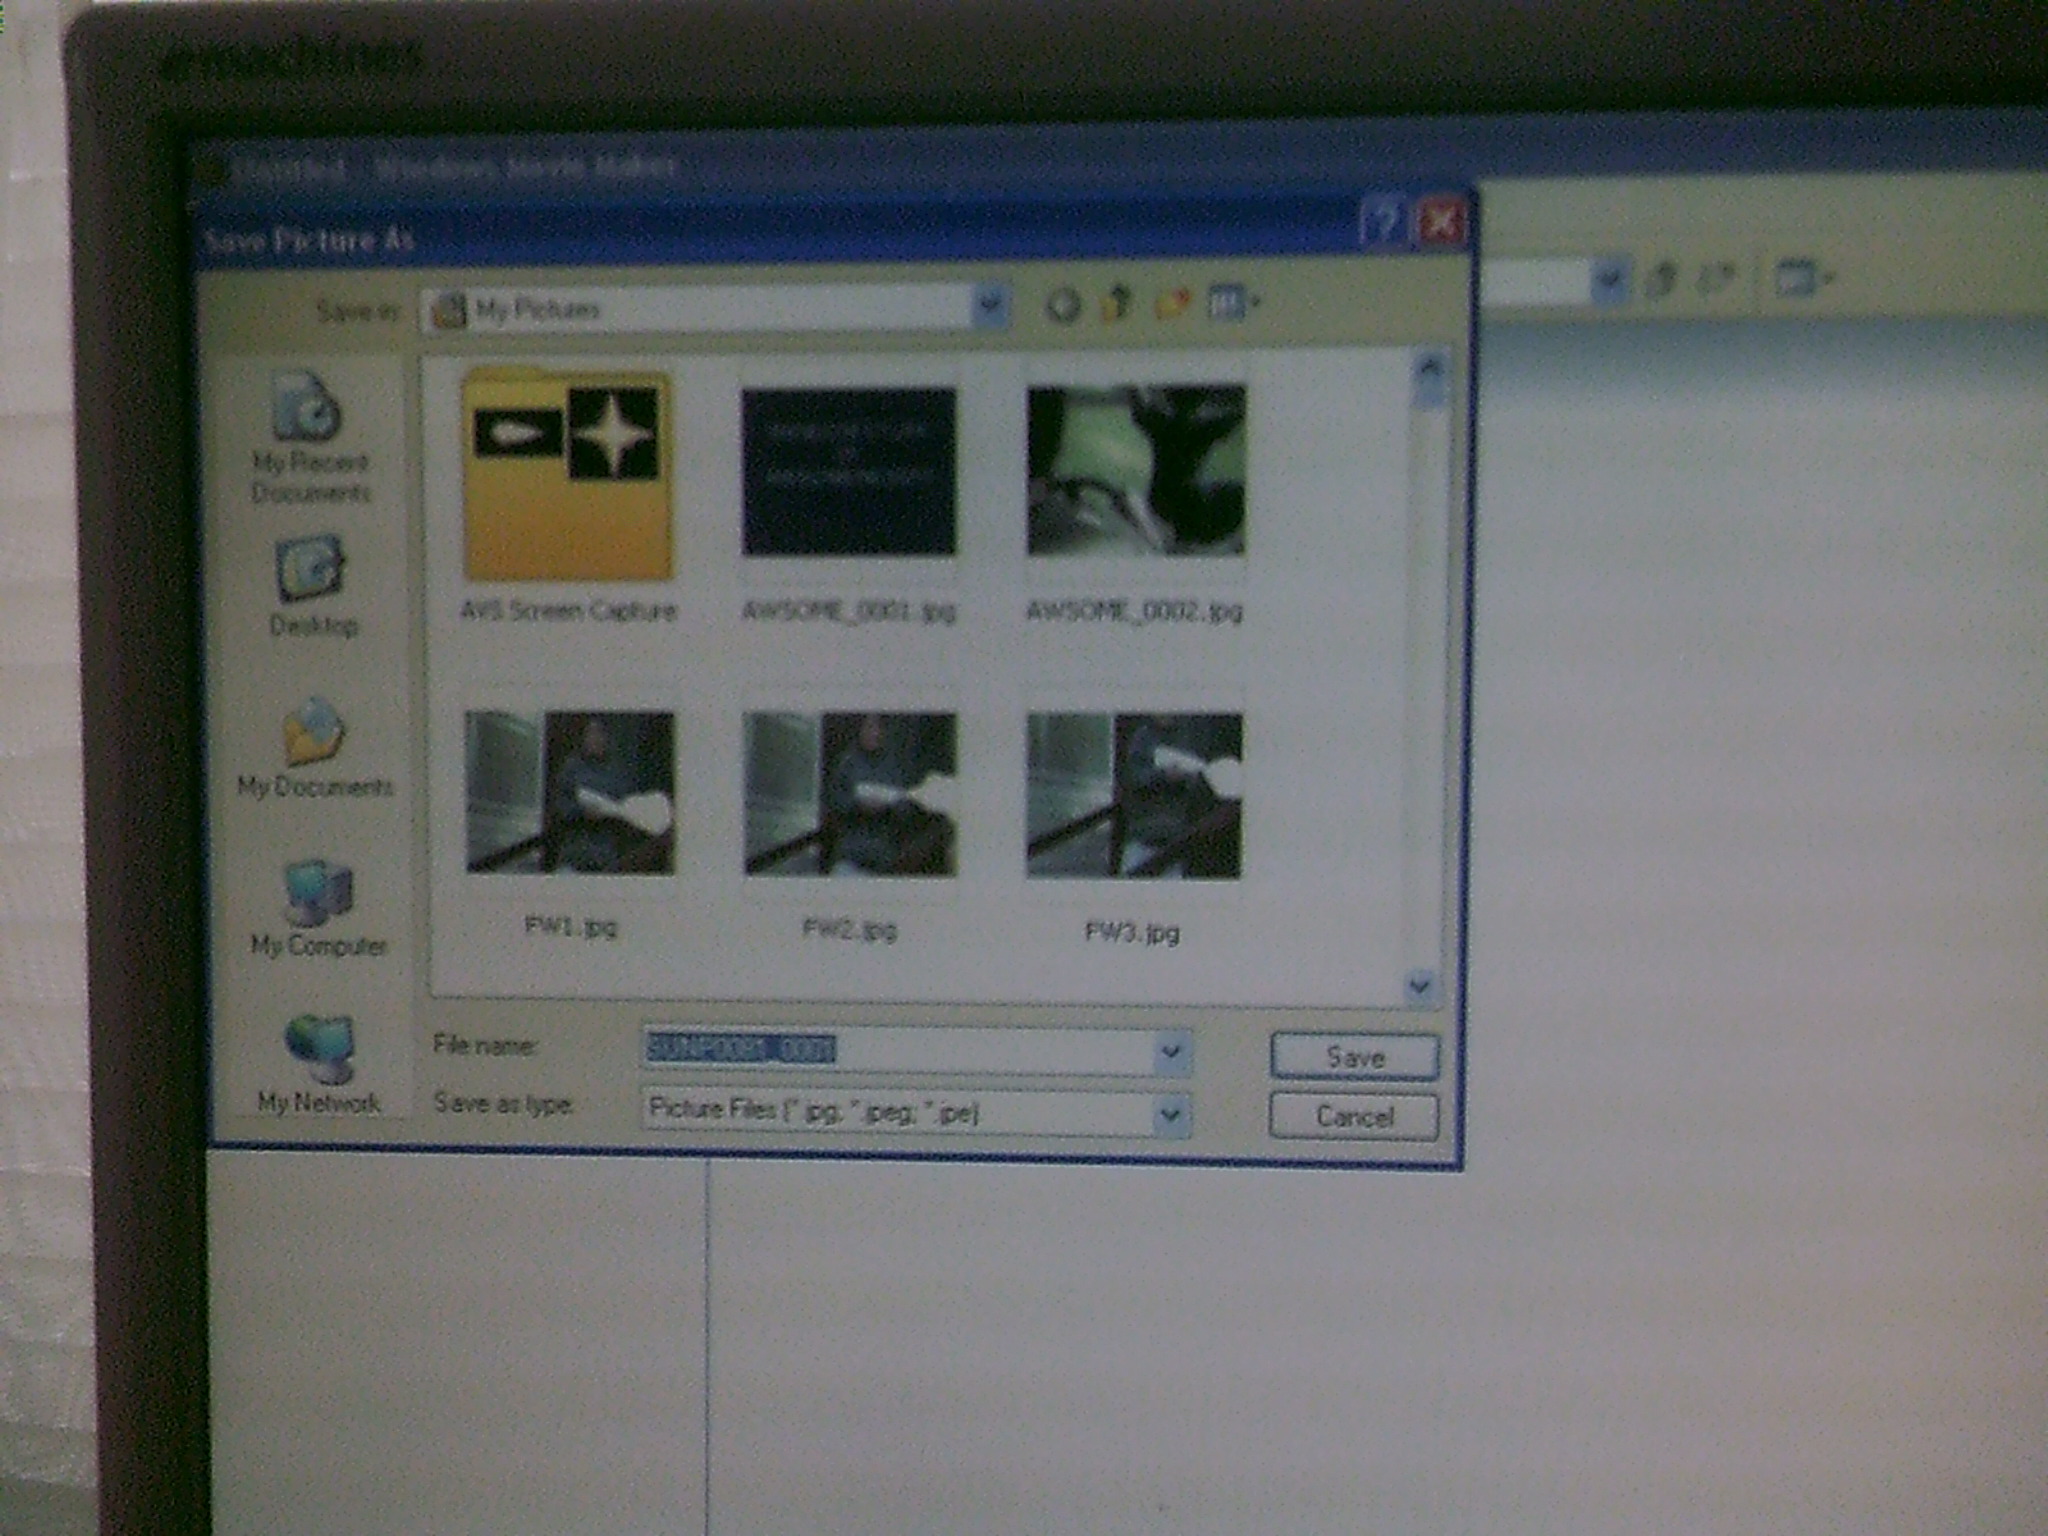
Move the "blue vertical bar" over the spliced amount and select the camera icon to take a picture (freeze-frame) of it. Save it.
Edit the Picture
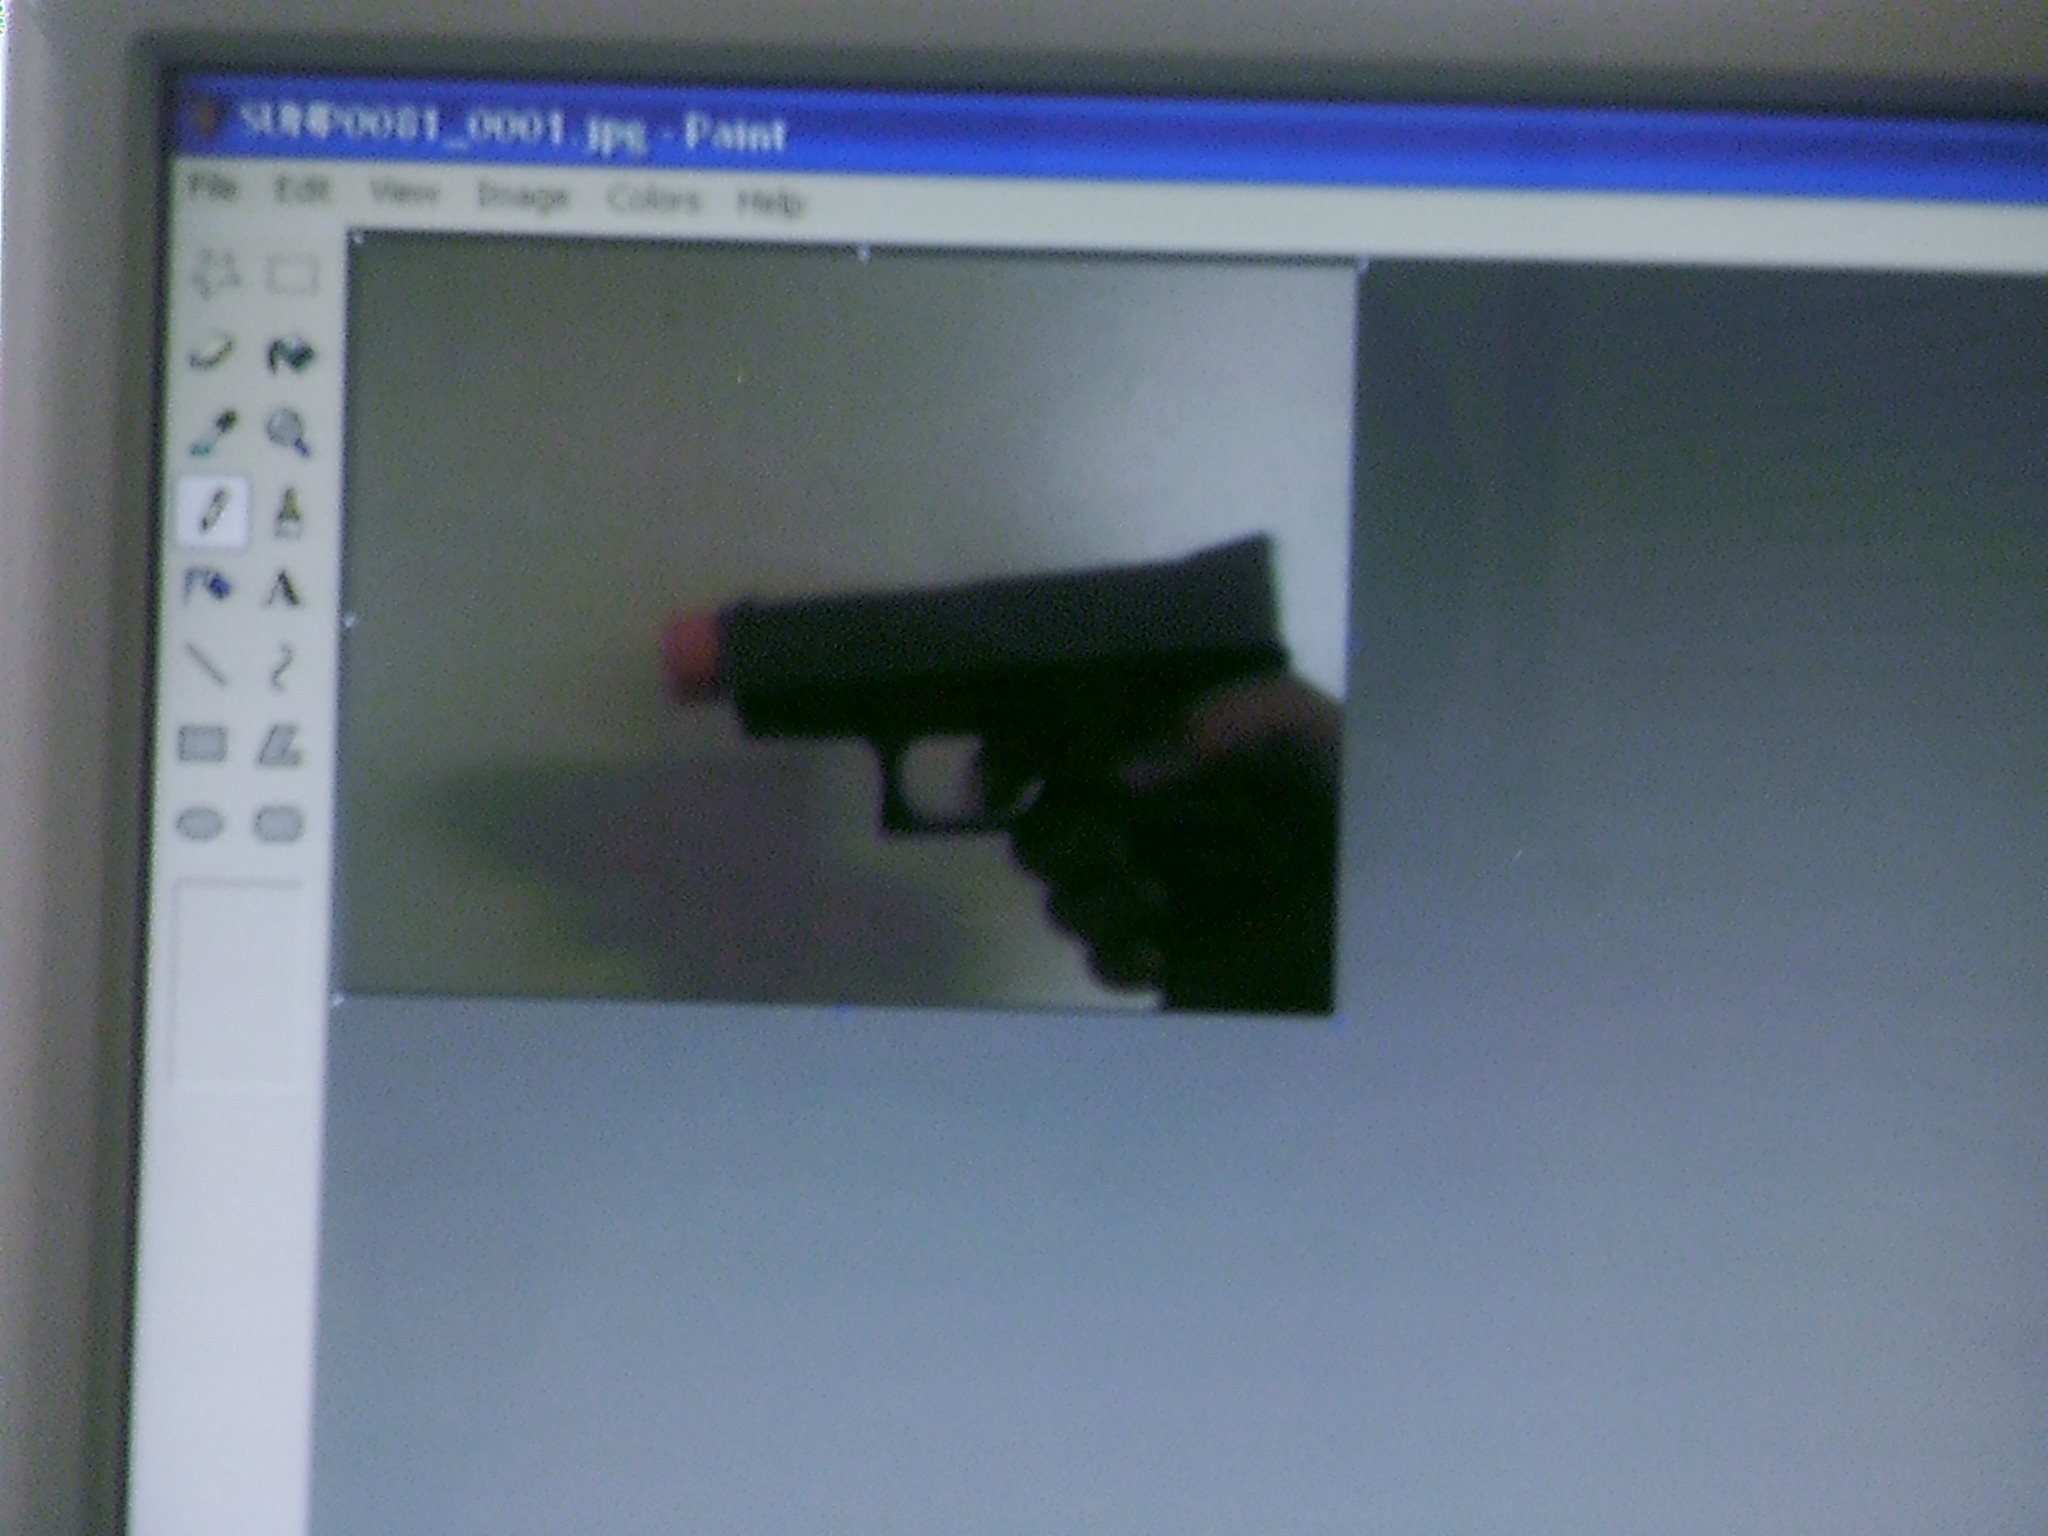
Bring the image into Microsoft Paint (or Photoshop). If you are using Paint, you will need to pull out the white ( I am not sure how to explain it) all the way.
Import (Again!)

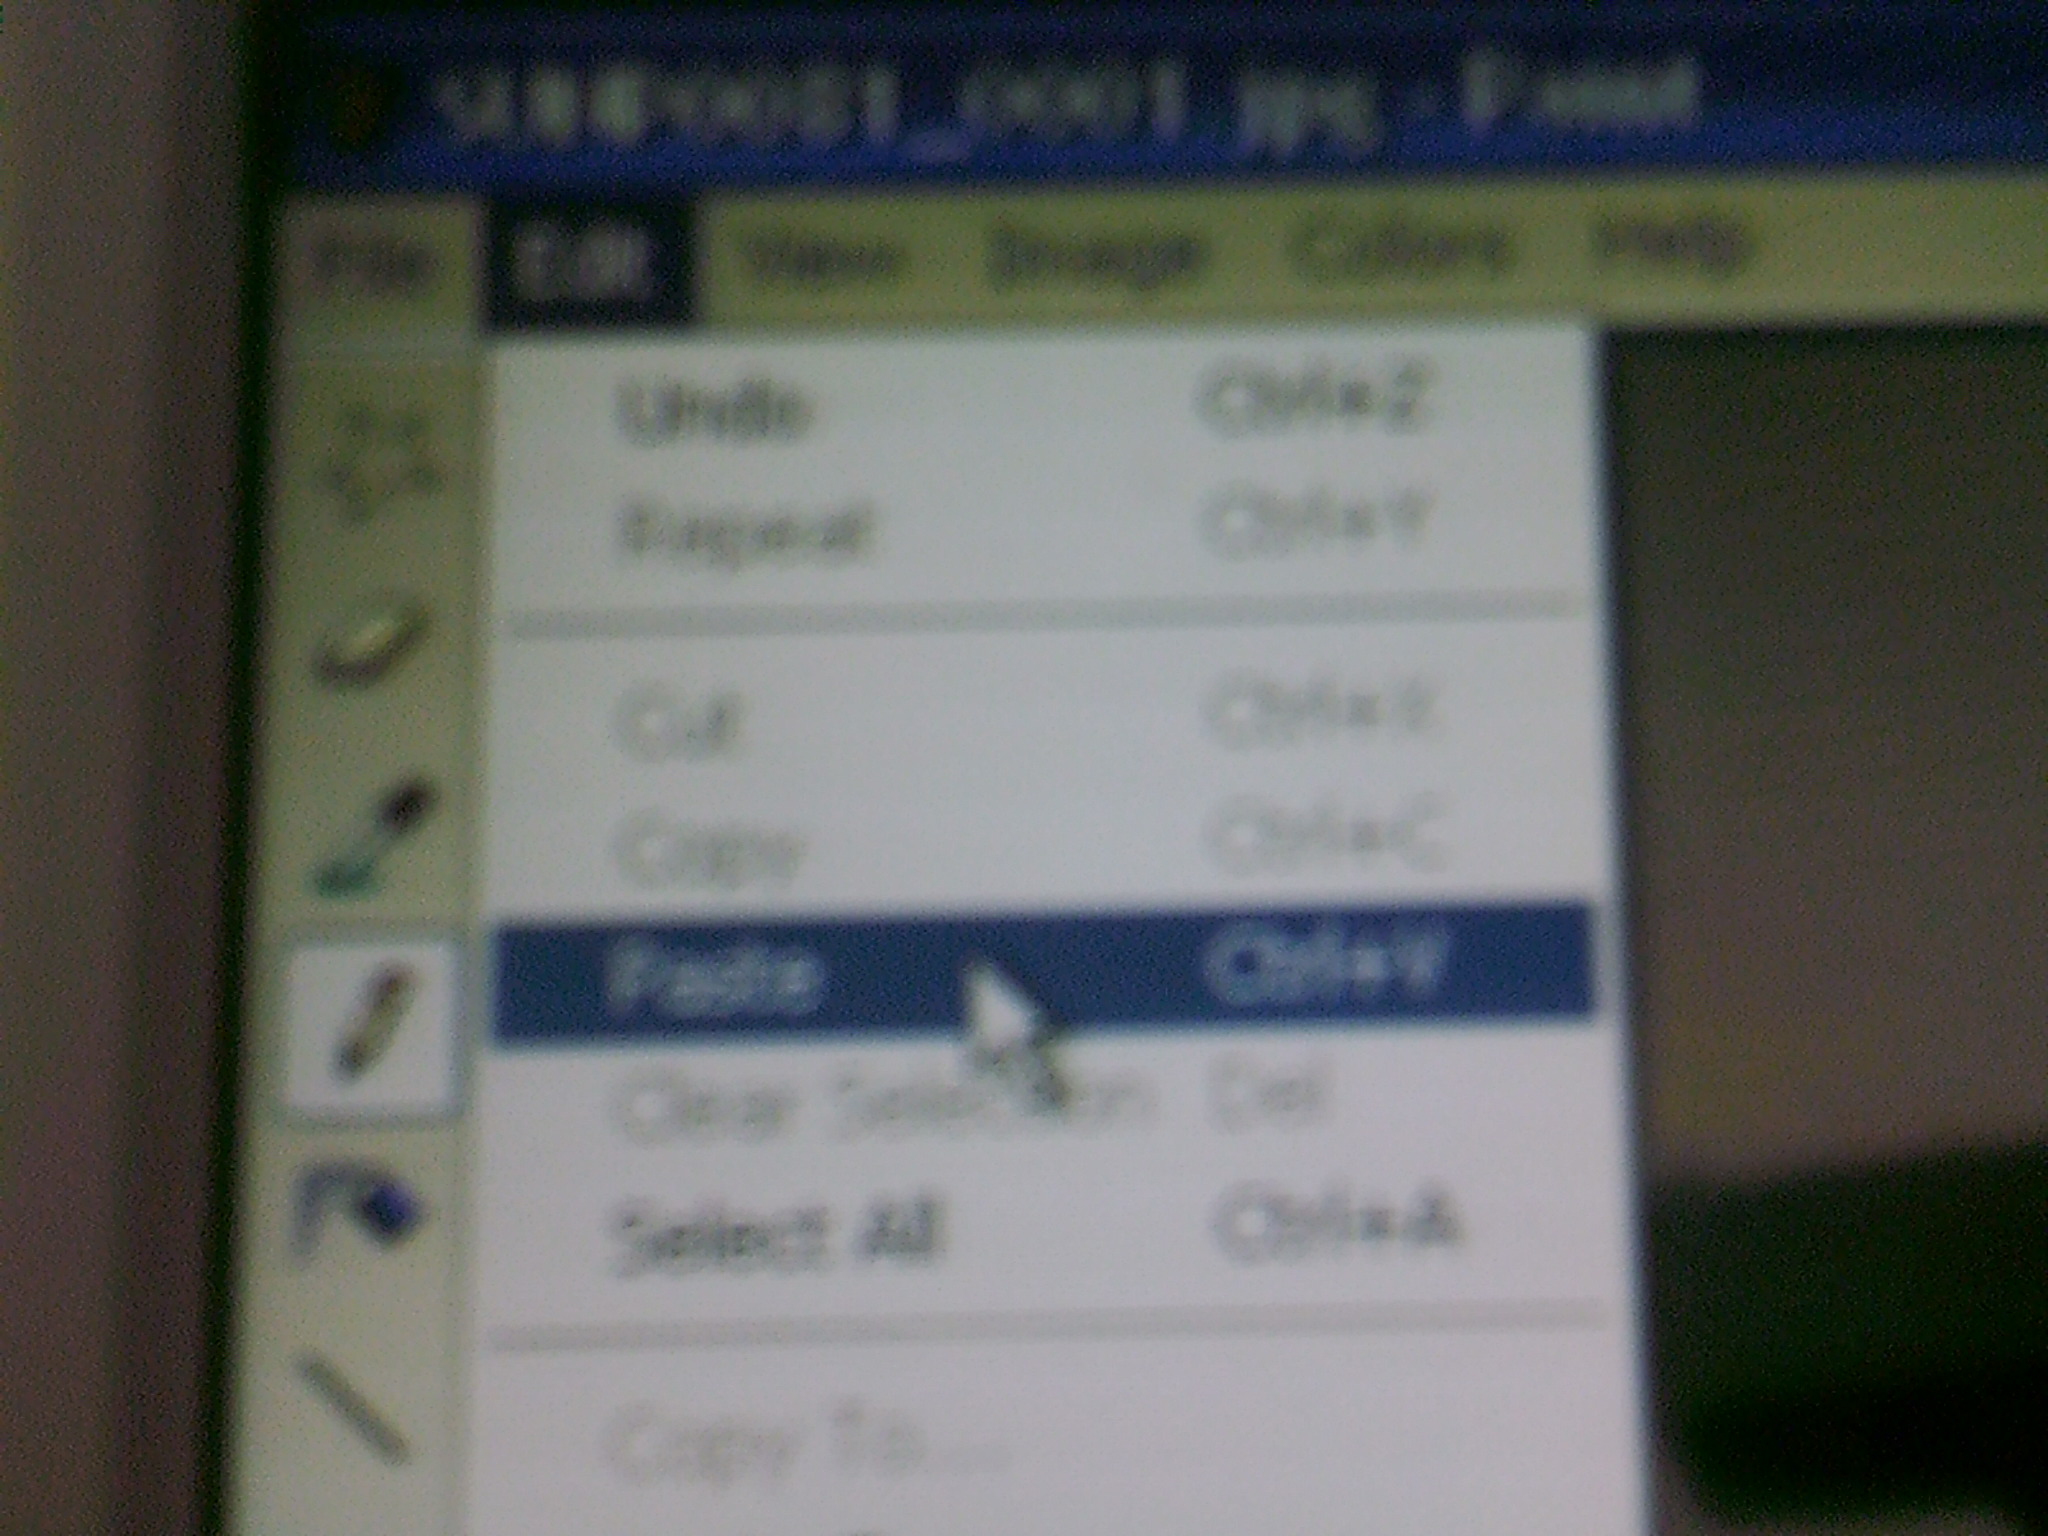
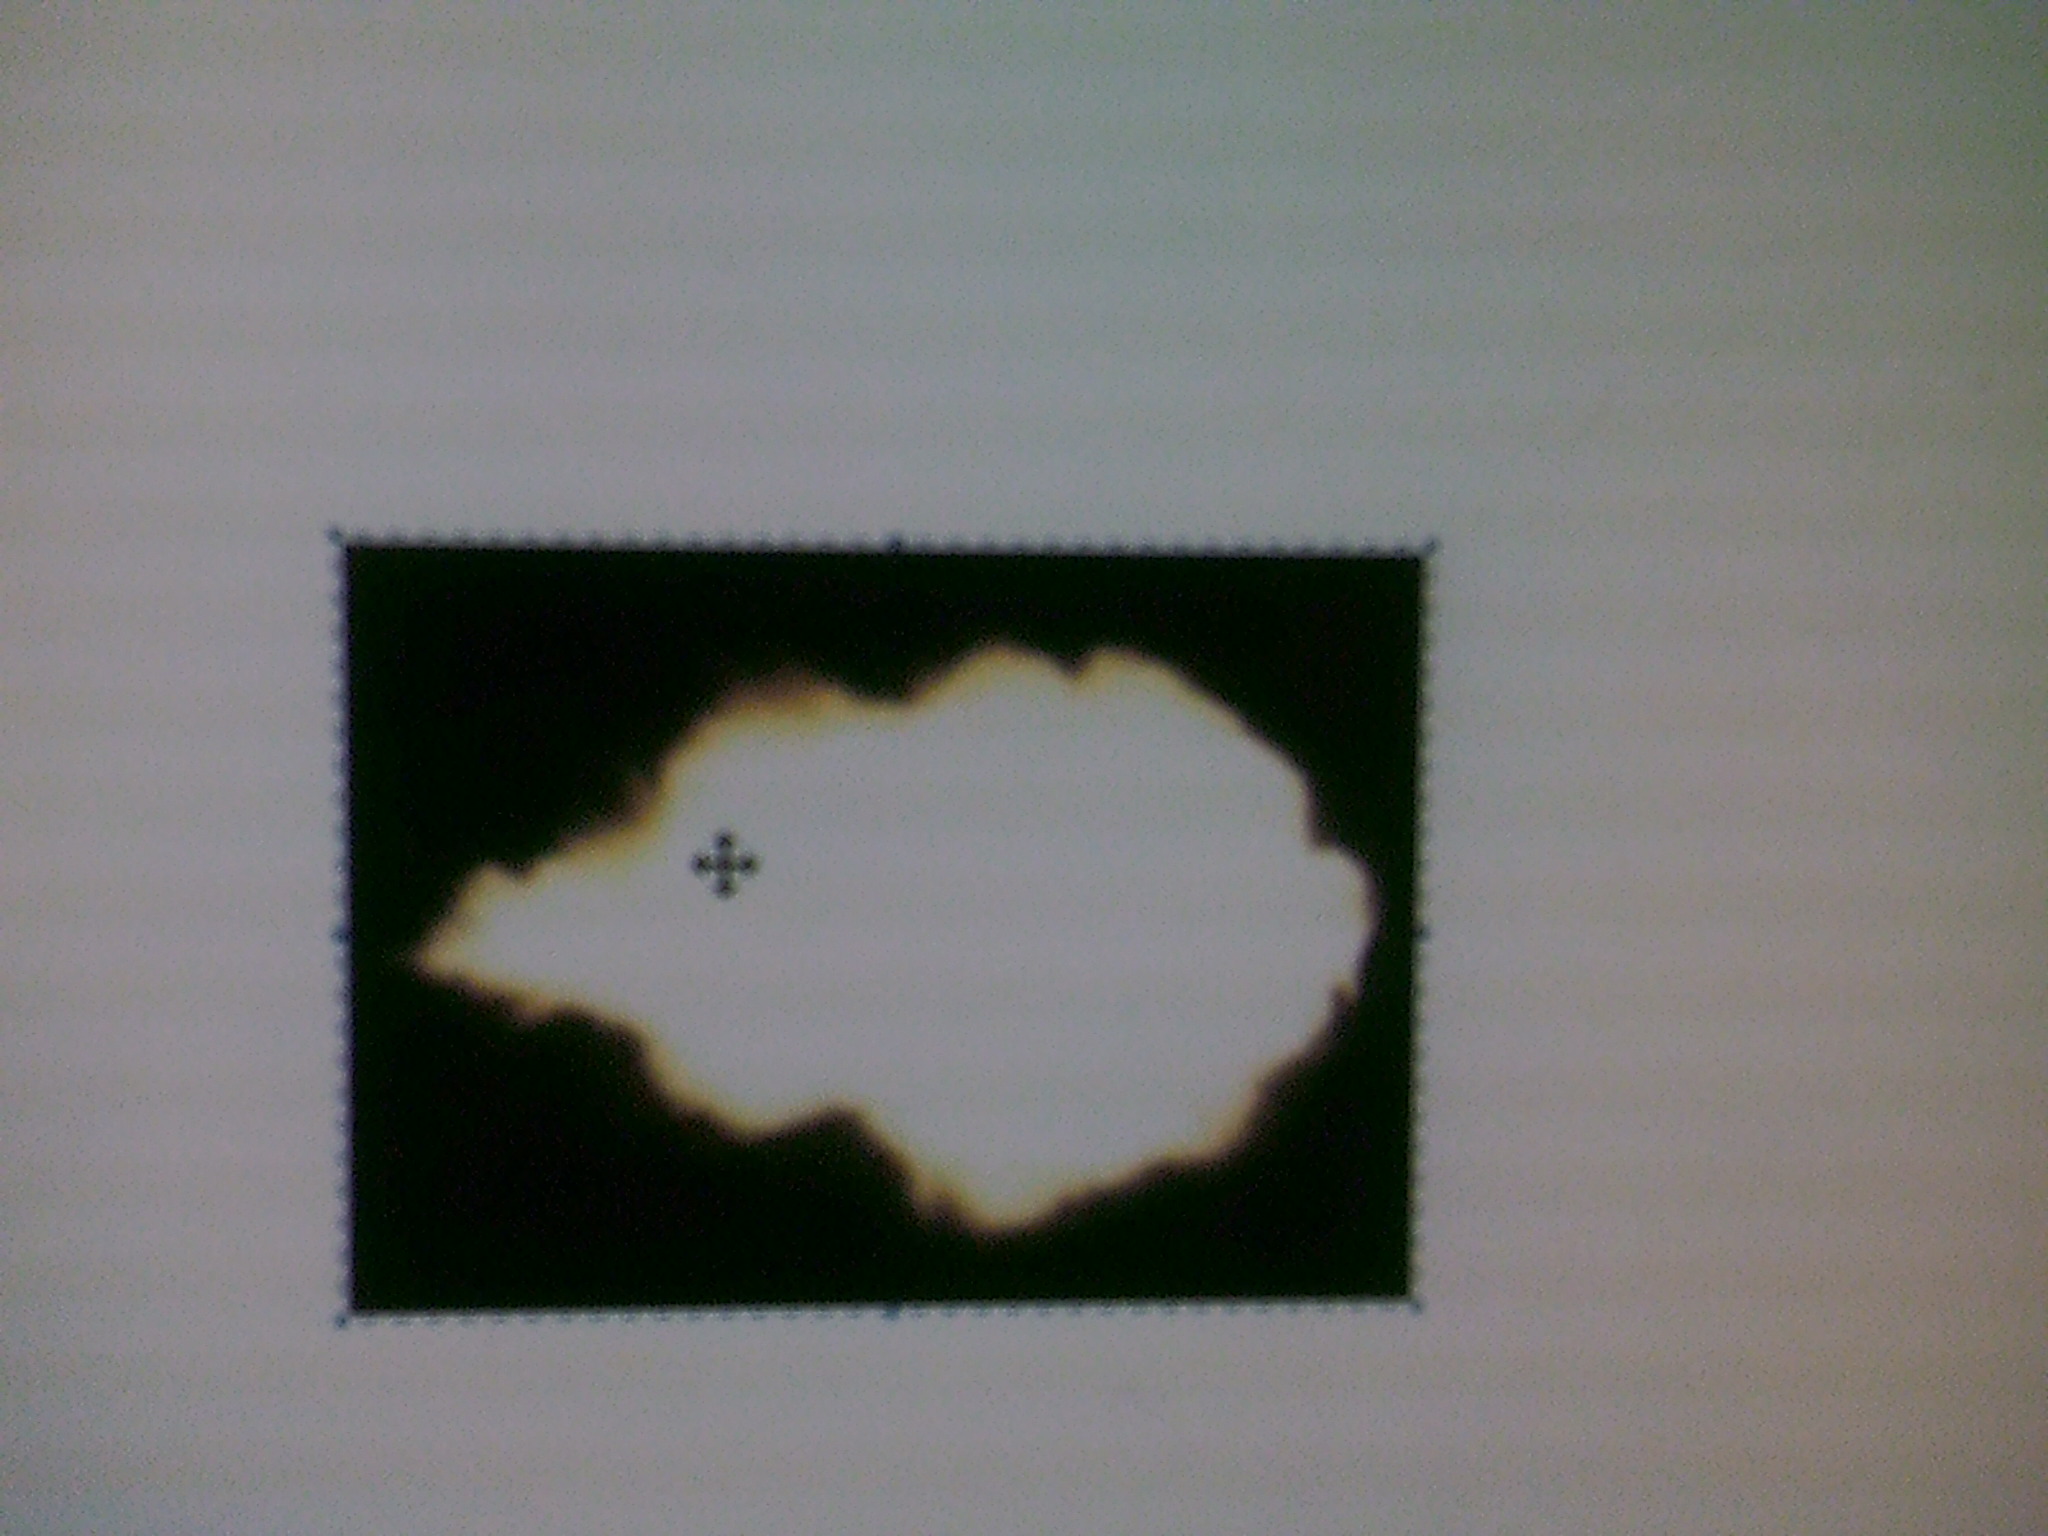
Go to "Edit" in the toolbar and select "Paste." The image of the muzzle flash should appear. Drag the image to the center of the page.
The Star Can Edit

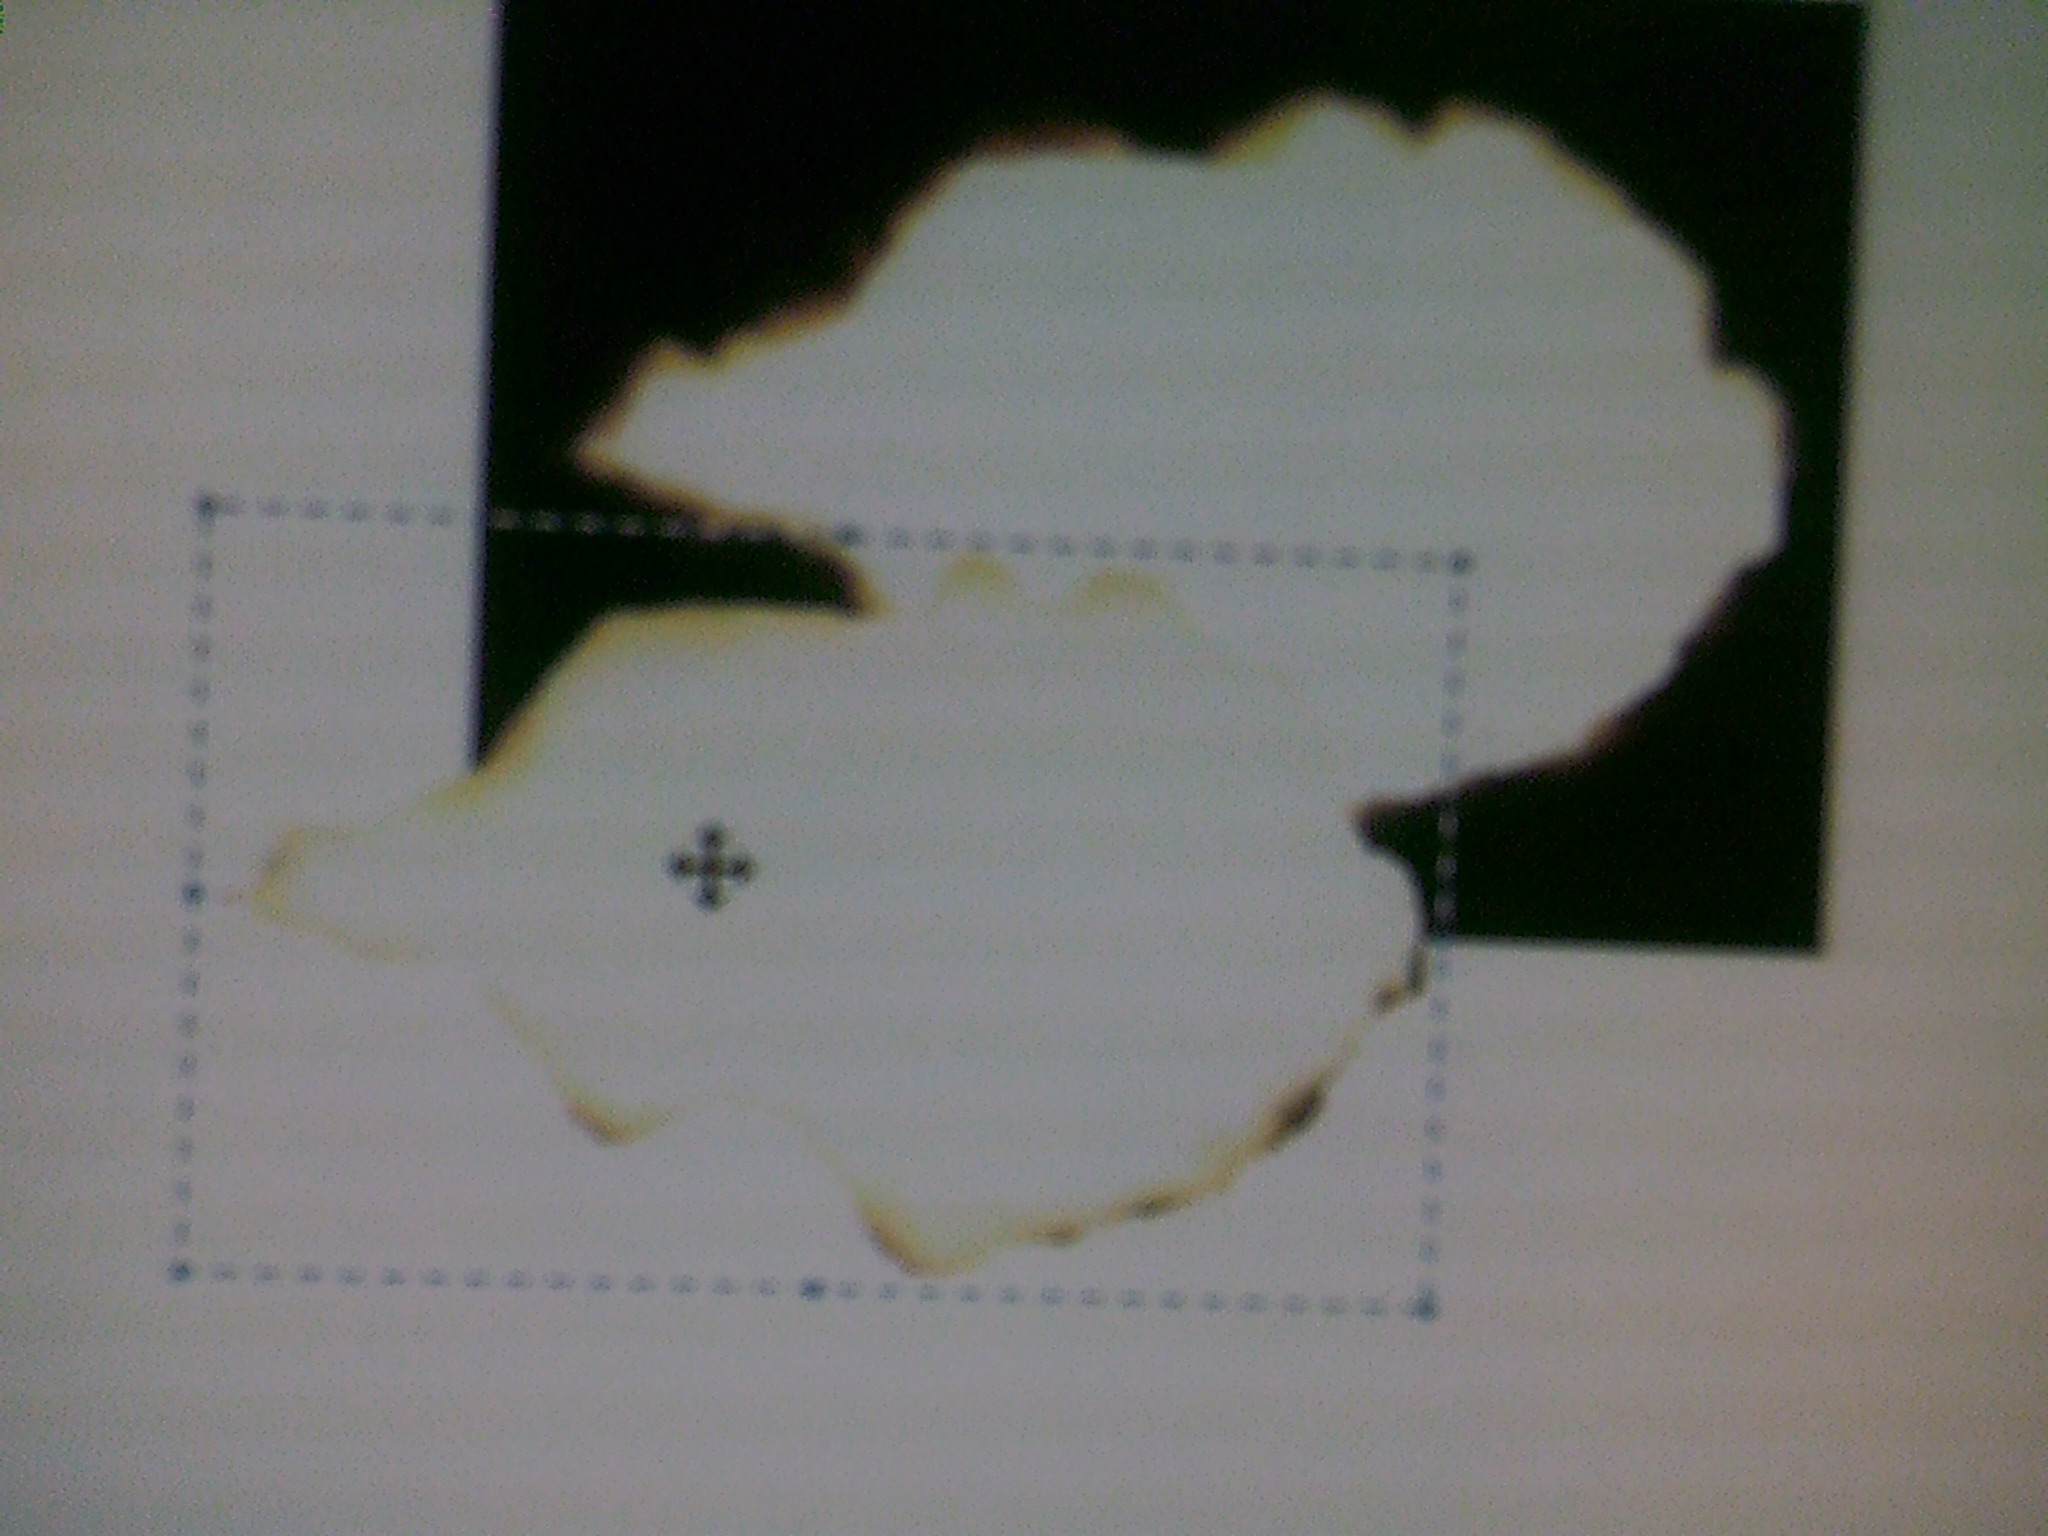
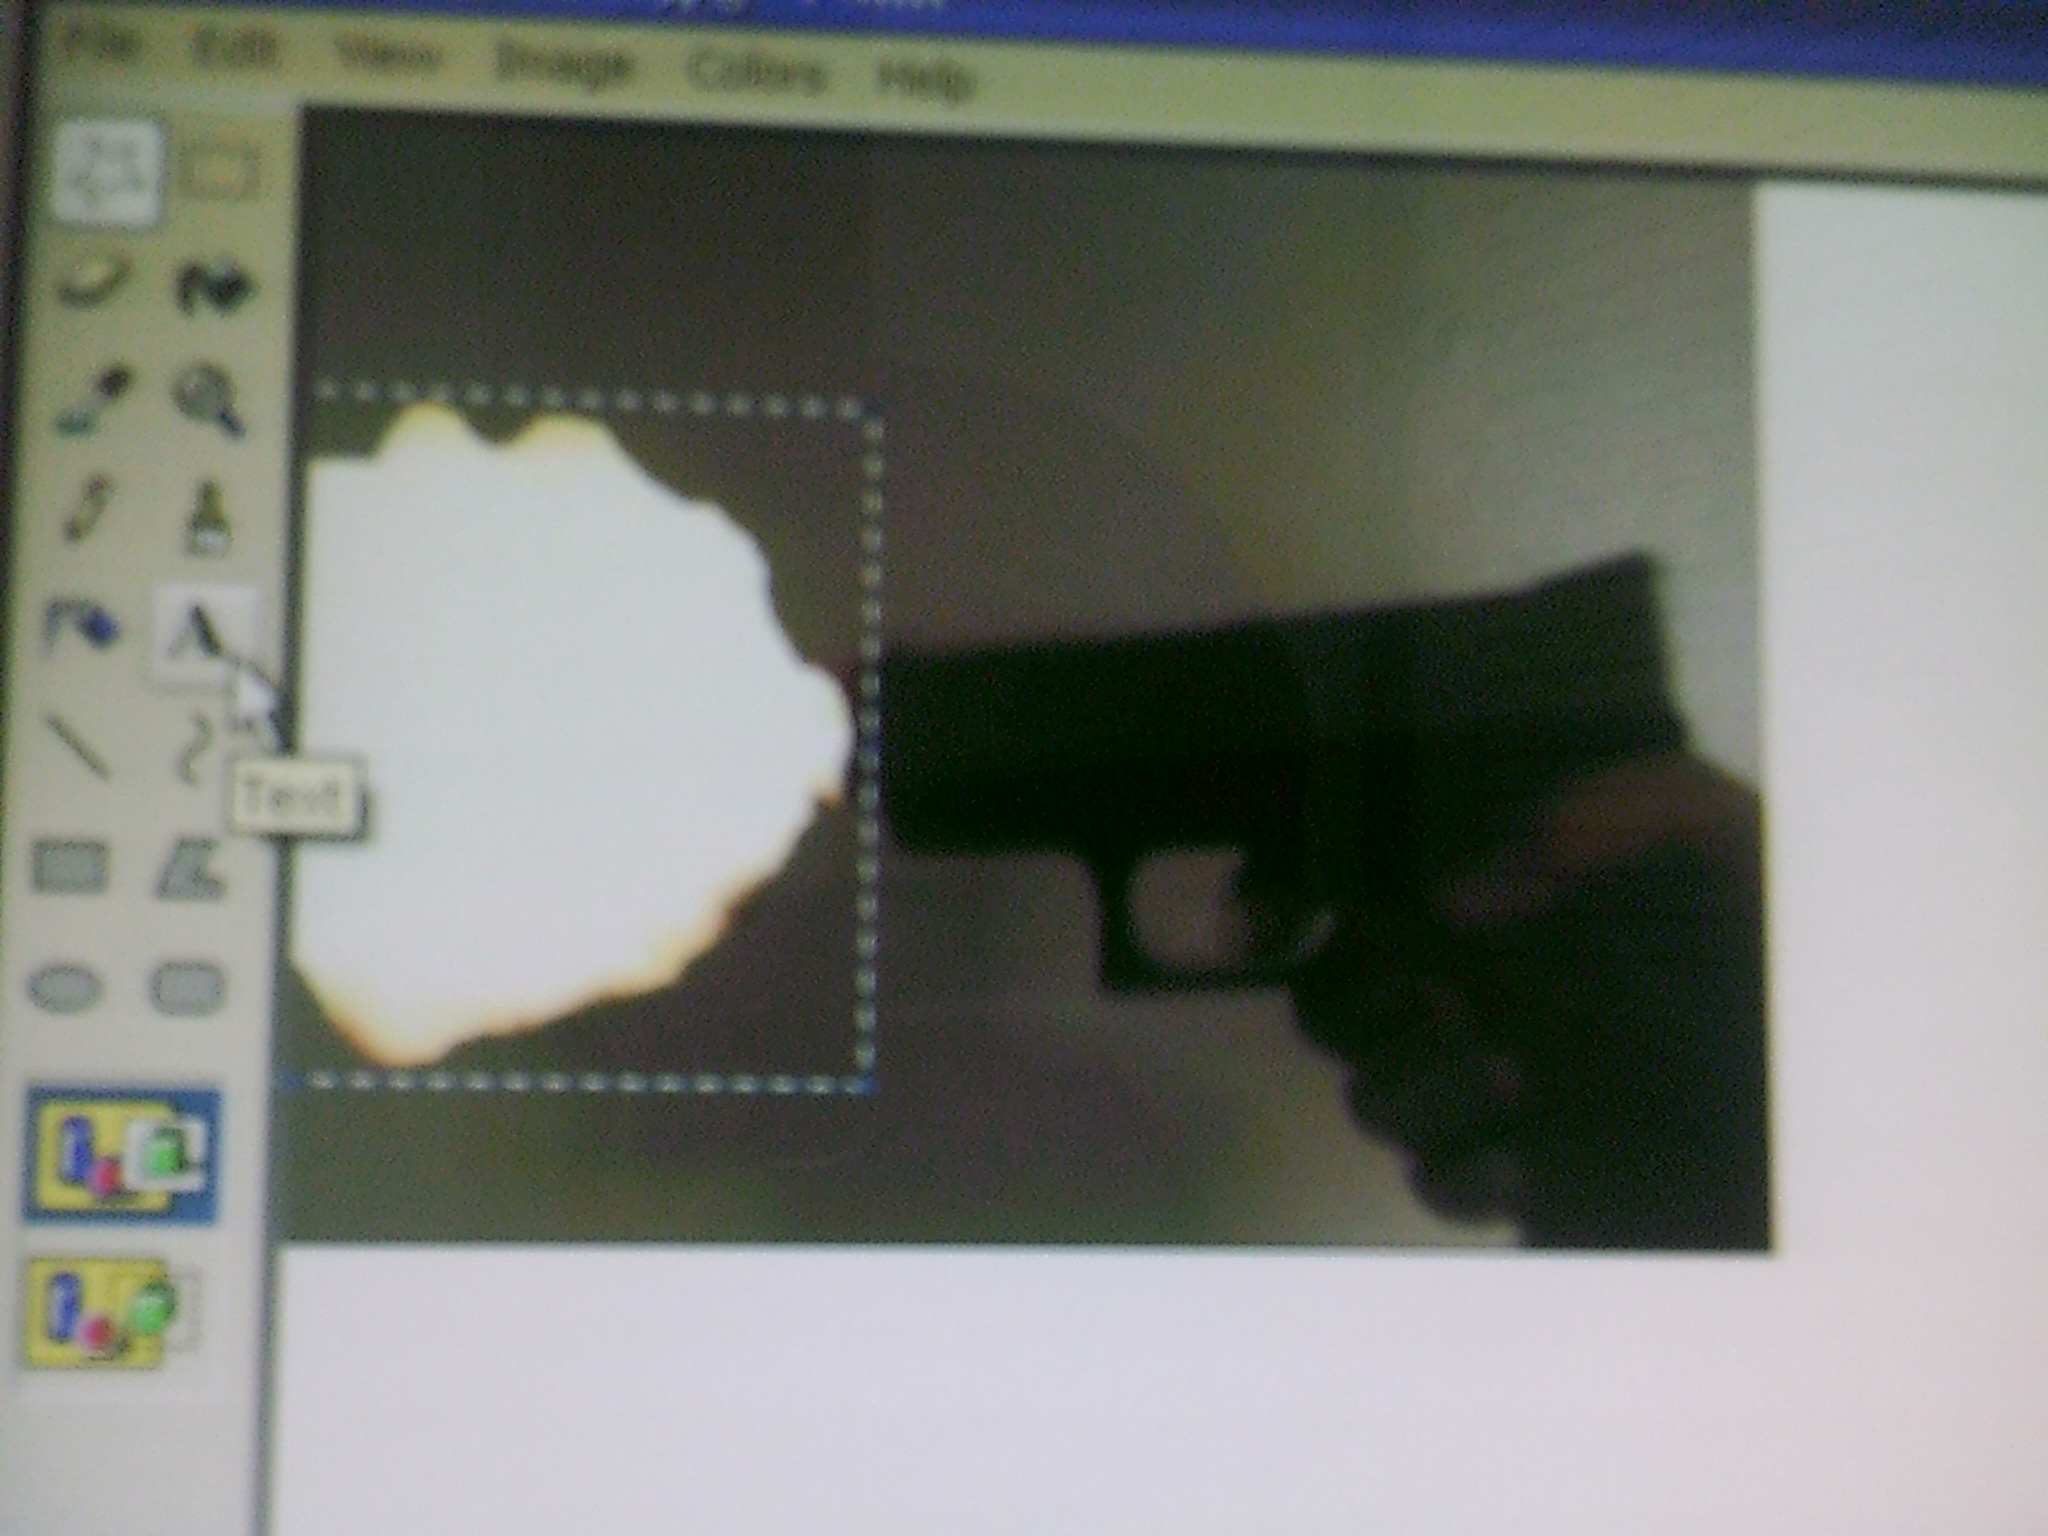
Select the "star" from the toolbox menu. Trace the muzzle flash how you want it to look. Drag the image to the end of the muzzle of the gun.
Dispose of the White, Save, Exit Out
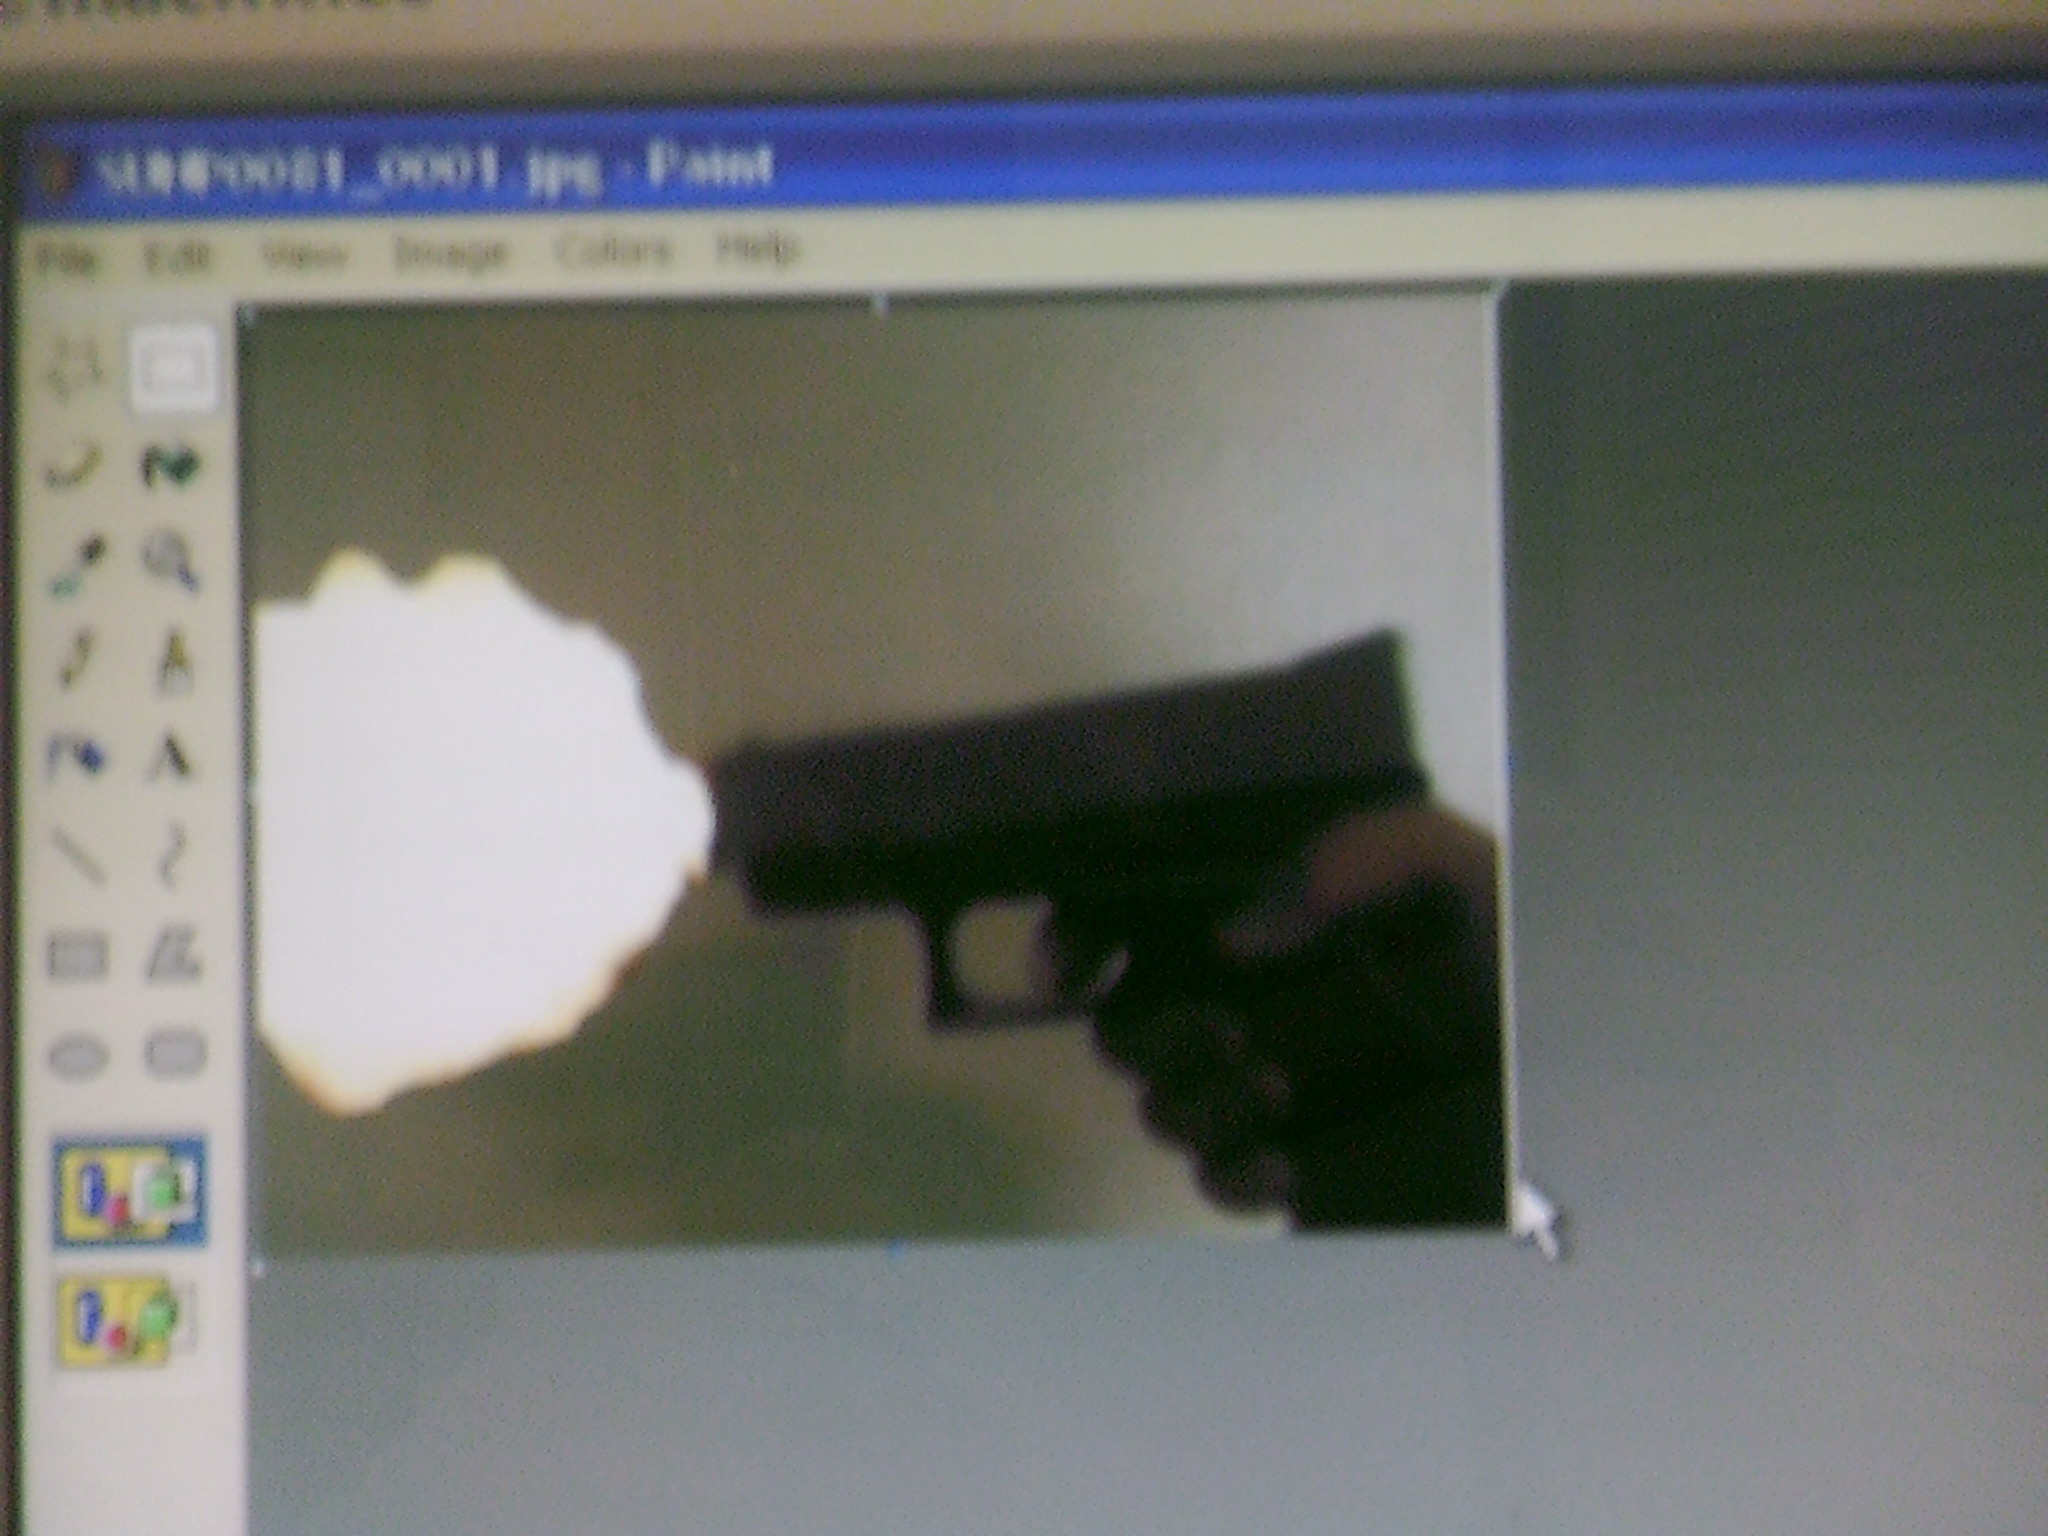
Select the "square" from the toolbox and get rid of the white (I'm not sure how to explain it either). Make sure no white is left on the picture. Save it. Exit out.
Delete, Paste, Trim Down (or Cut)
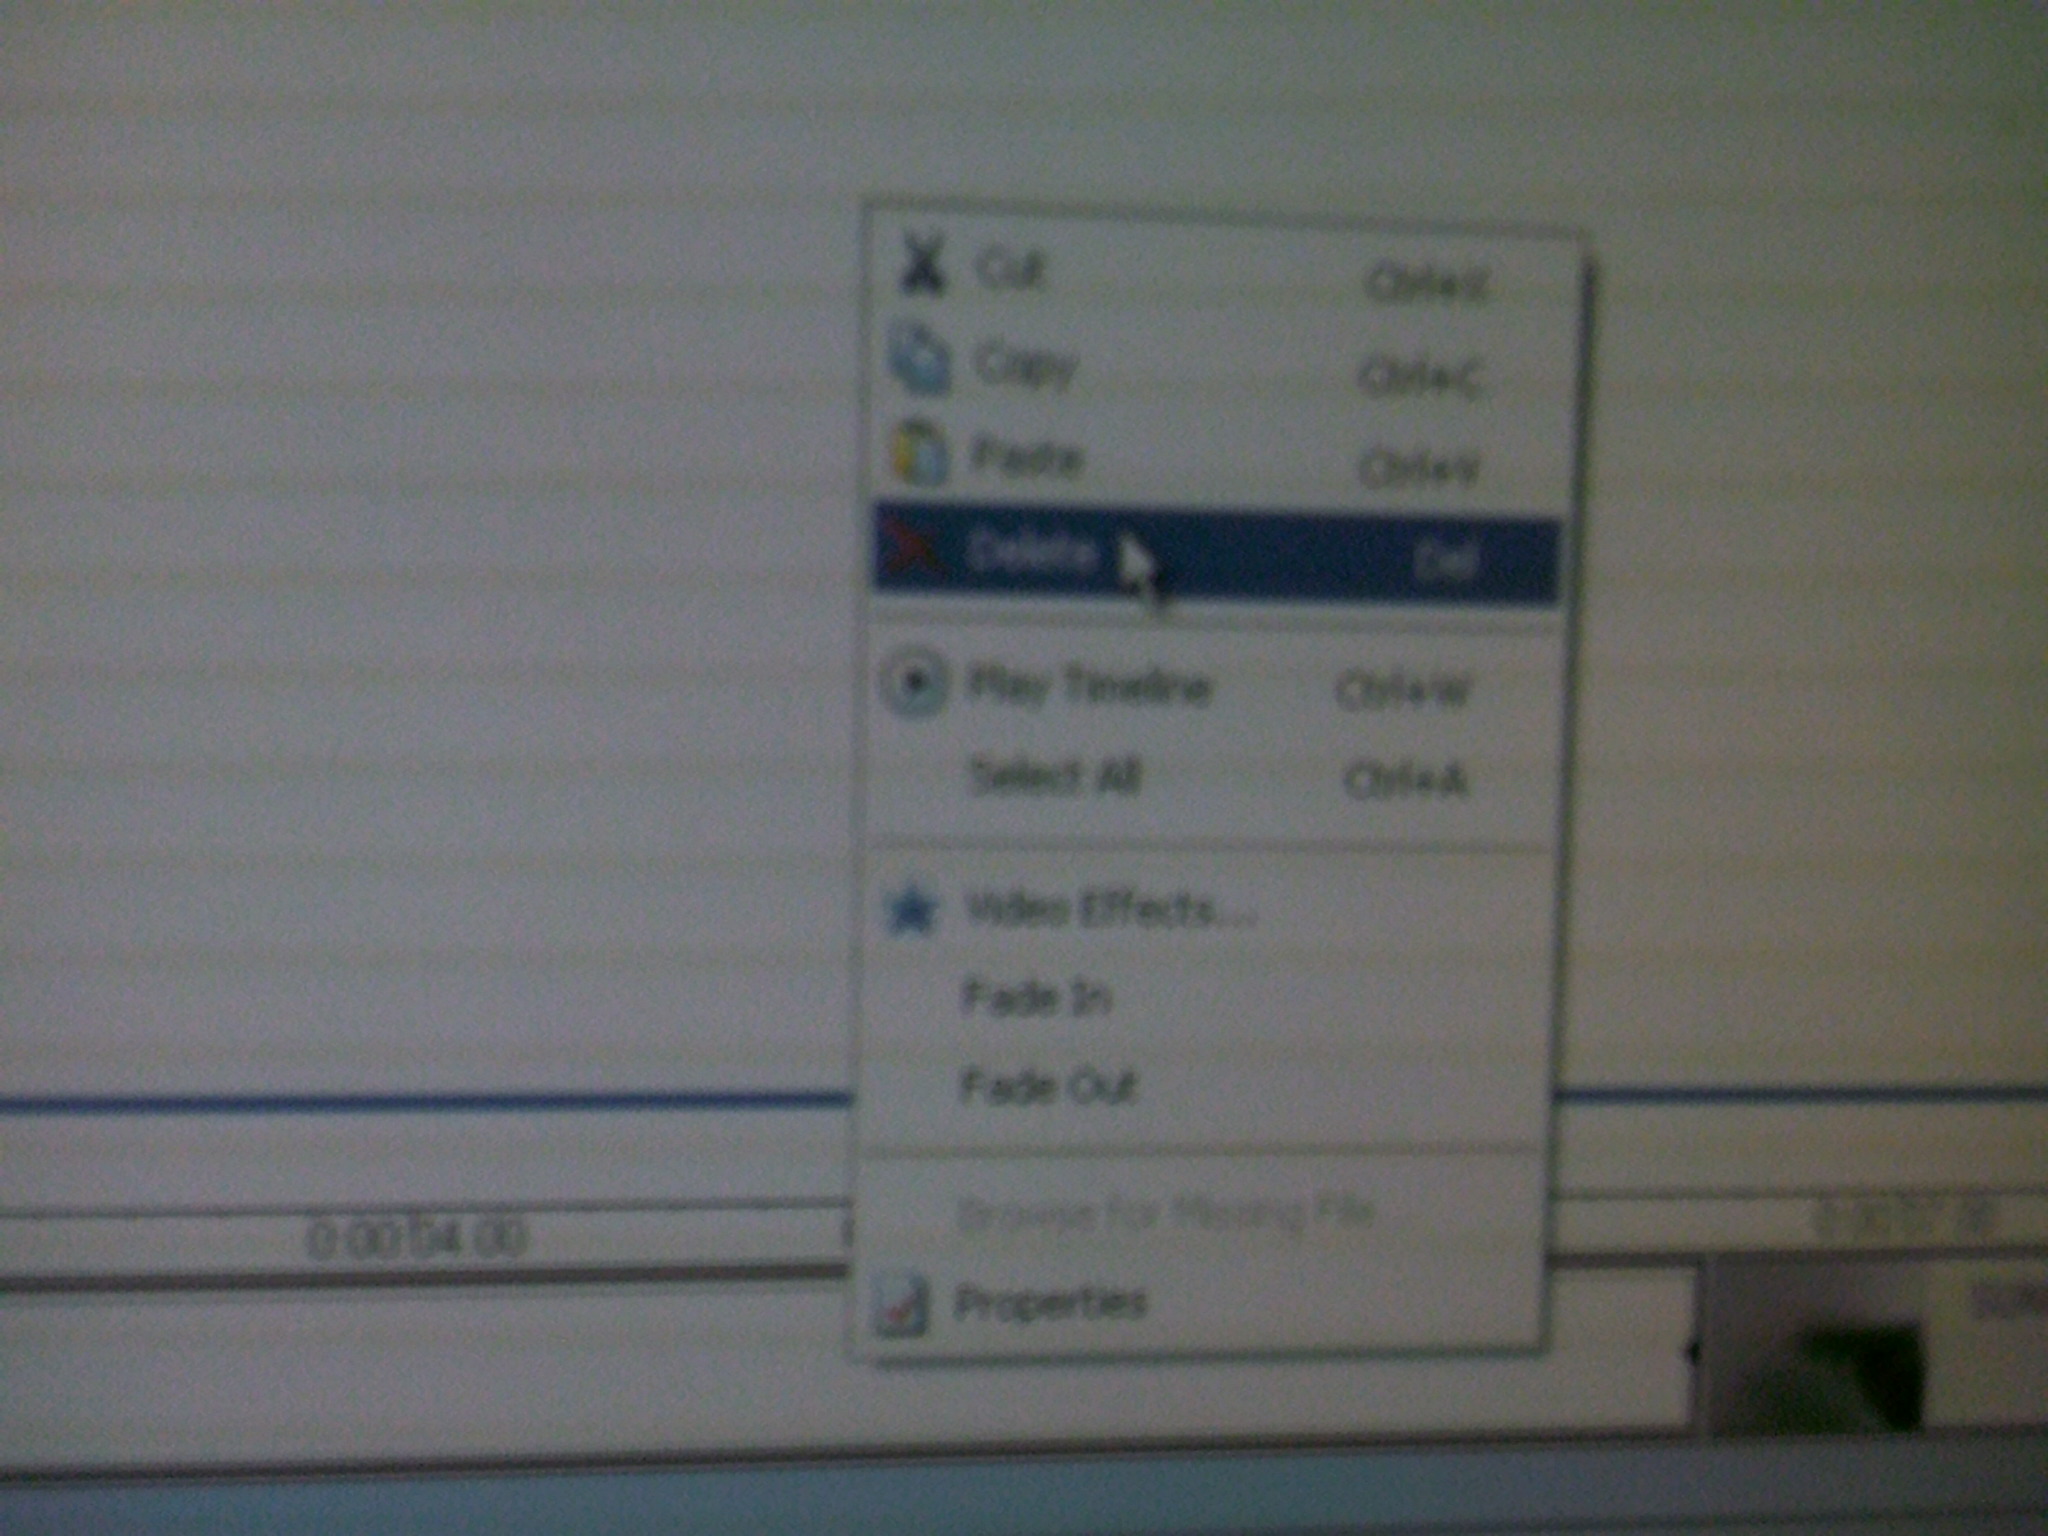
Delete that little spliced video exert that we took the photo of. Bring in the muzzle flash image that we edited. Place the image where we deleted the other. Go ahead one frame, splice, then delete the excess.
S(Sound)FX(Effects)
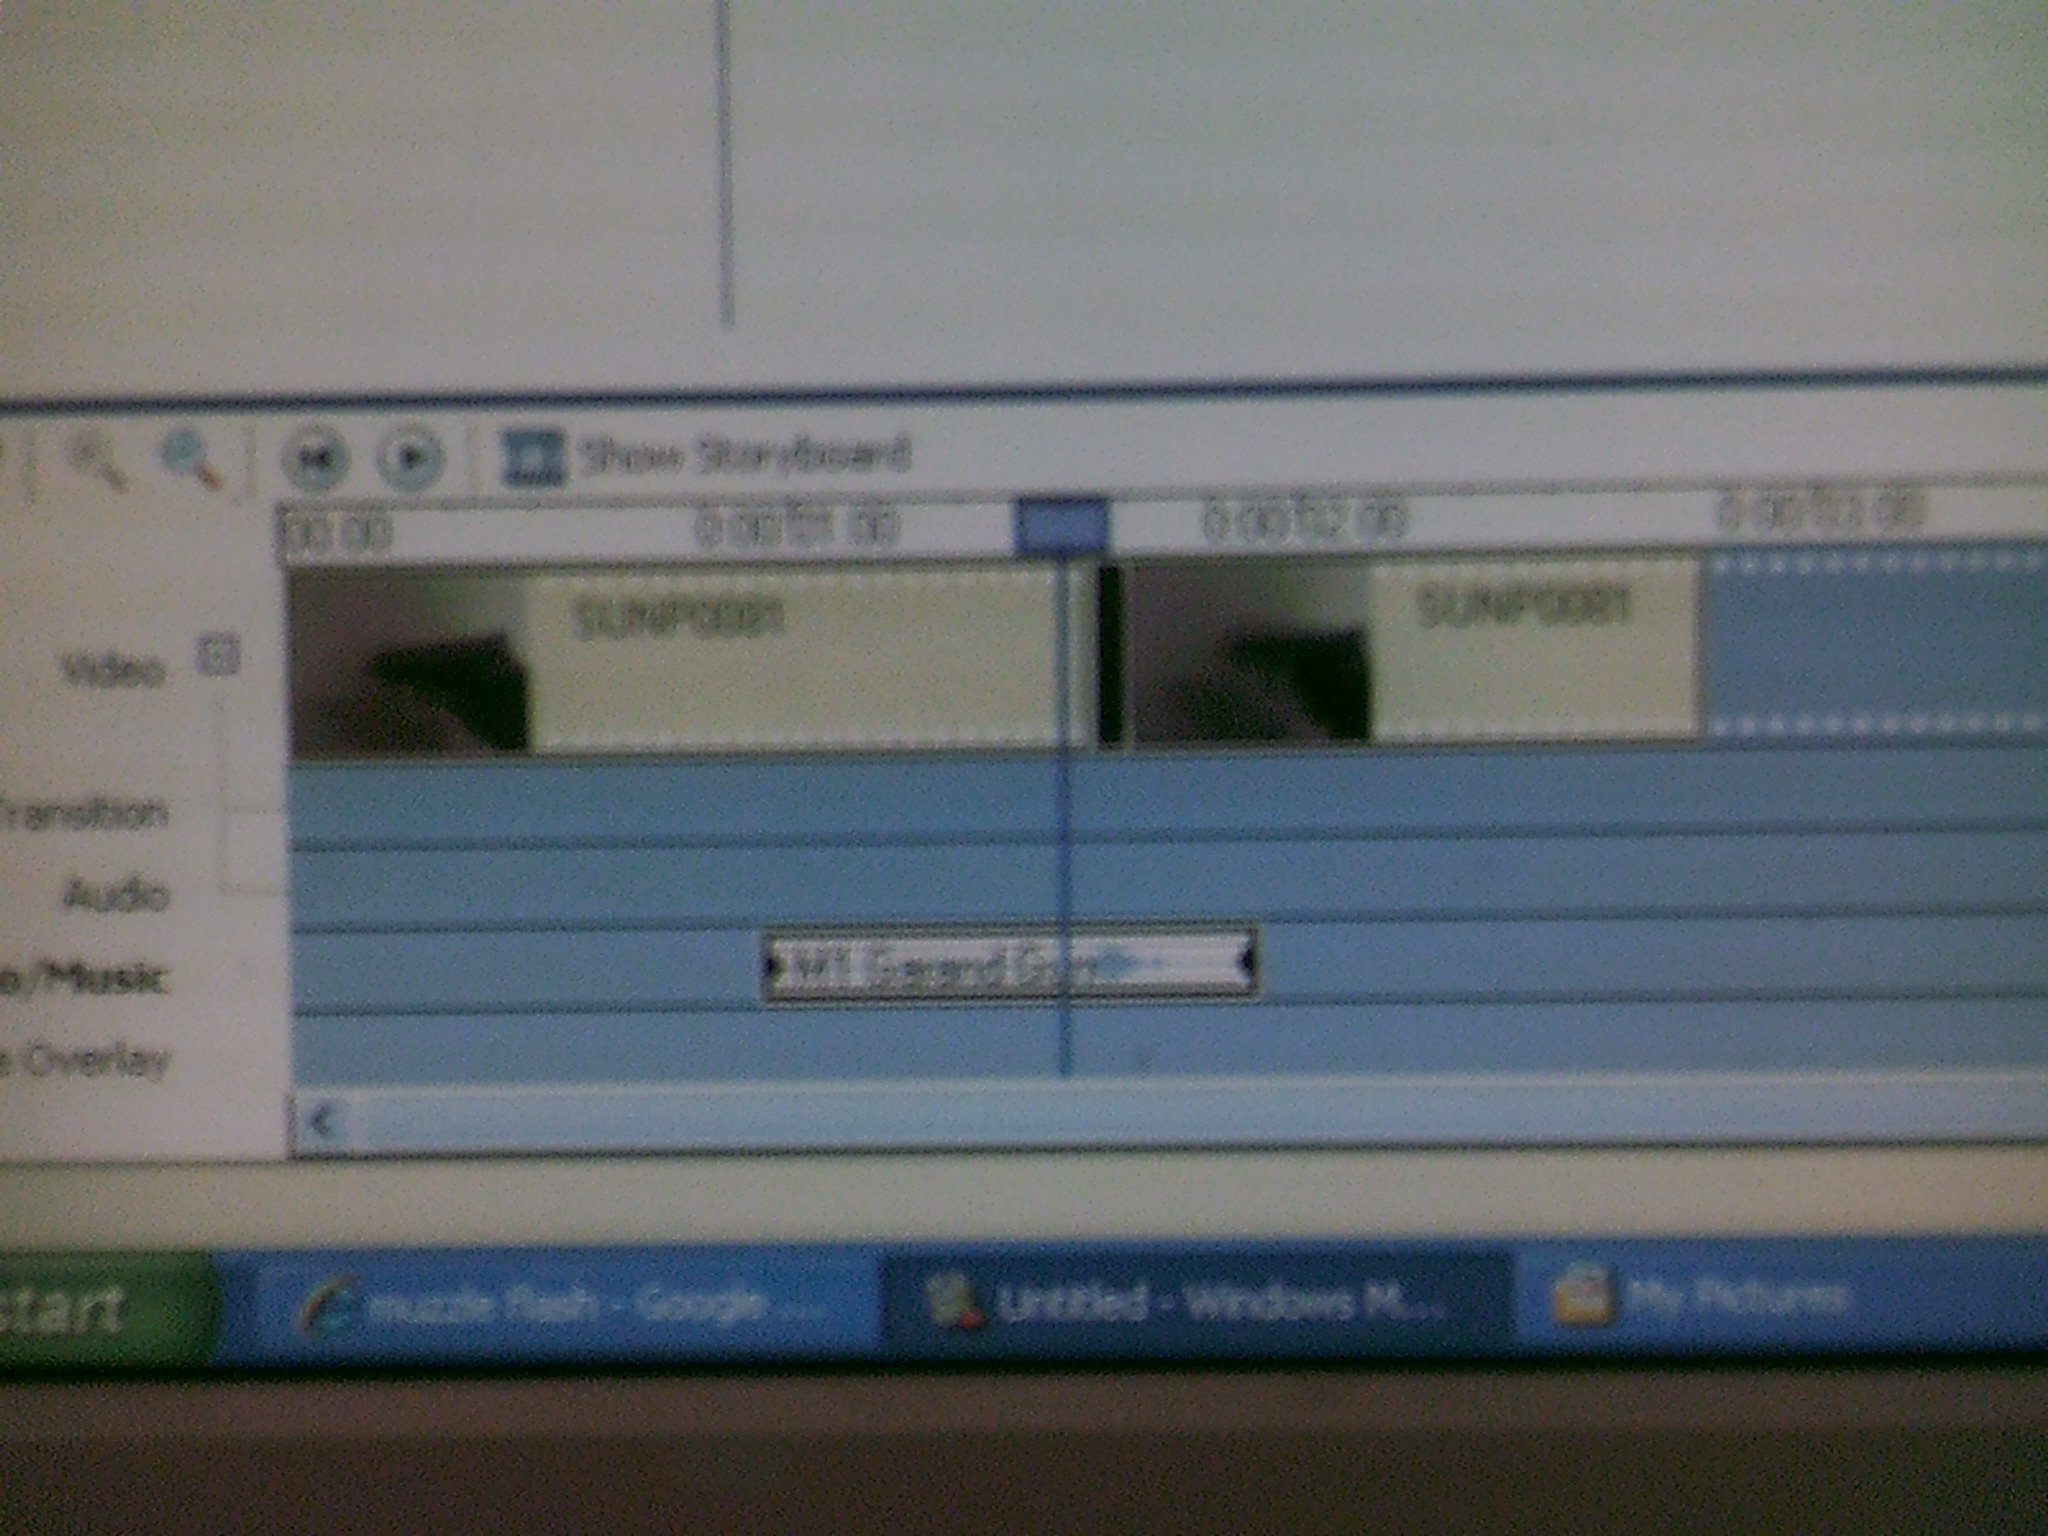
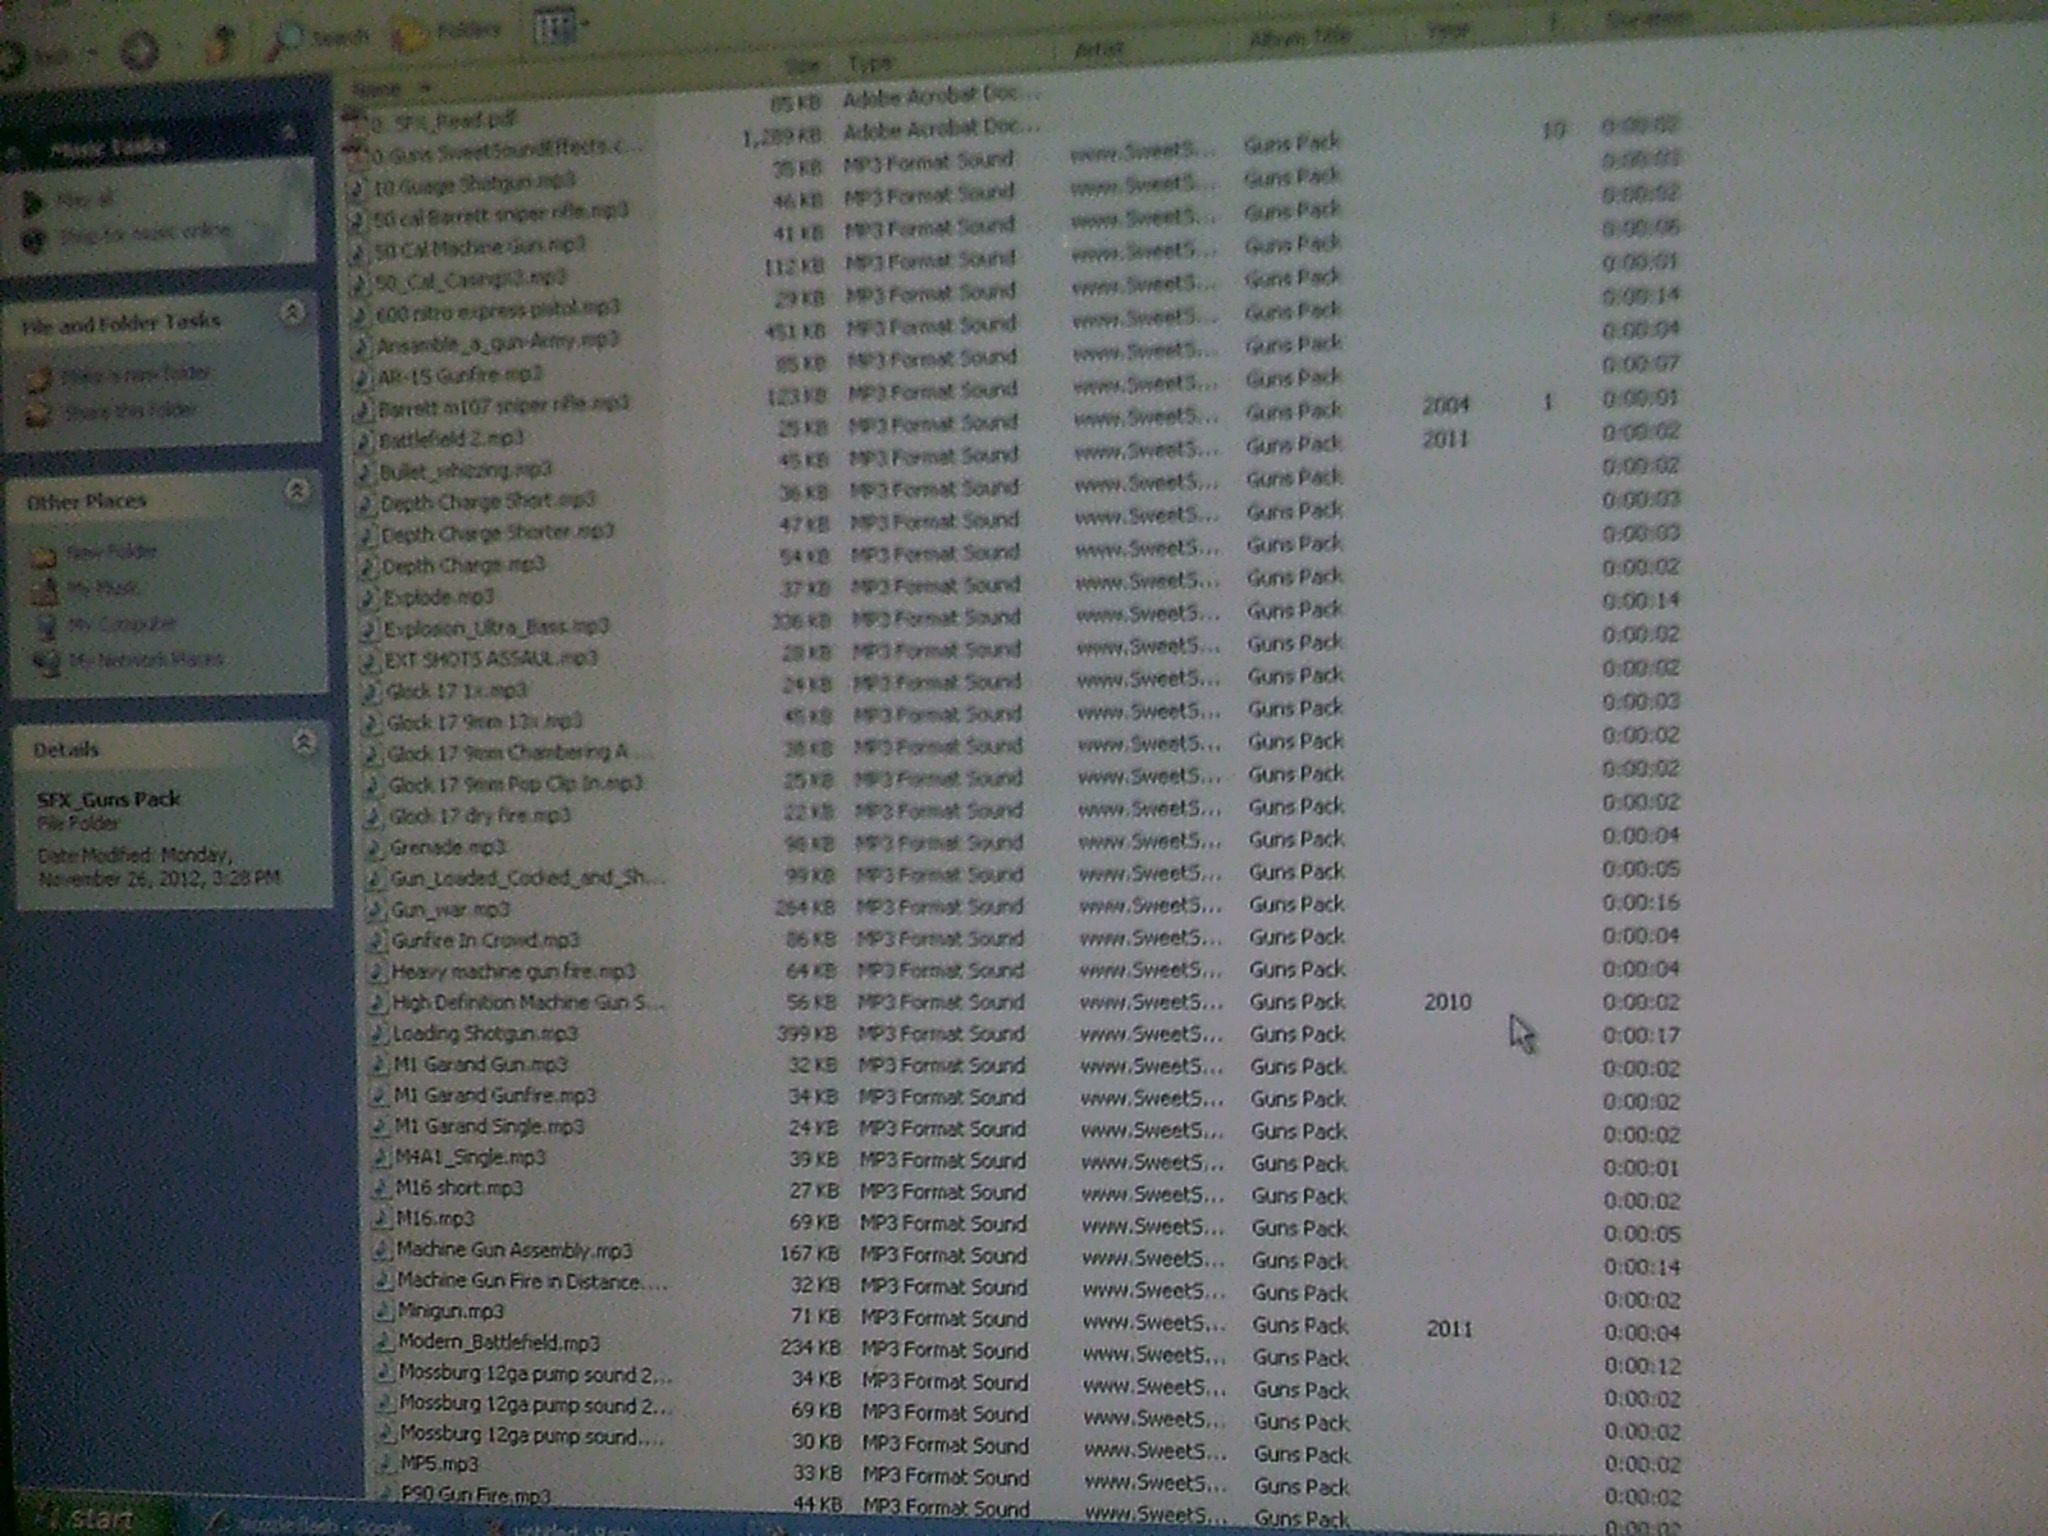
You may want to add a sound effect to the gun shot. I get my gunshot sound effects from http://www.sweetsoundeffects.com. This website was created by "FinalCutKing" from Youtube.
Line Up the SFX With the V(Video)FX(Effects)

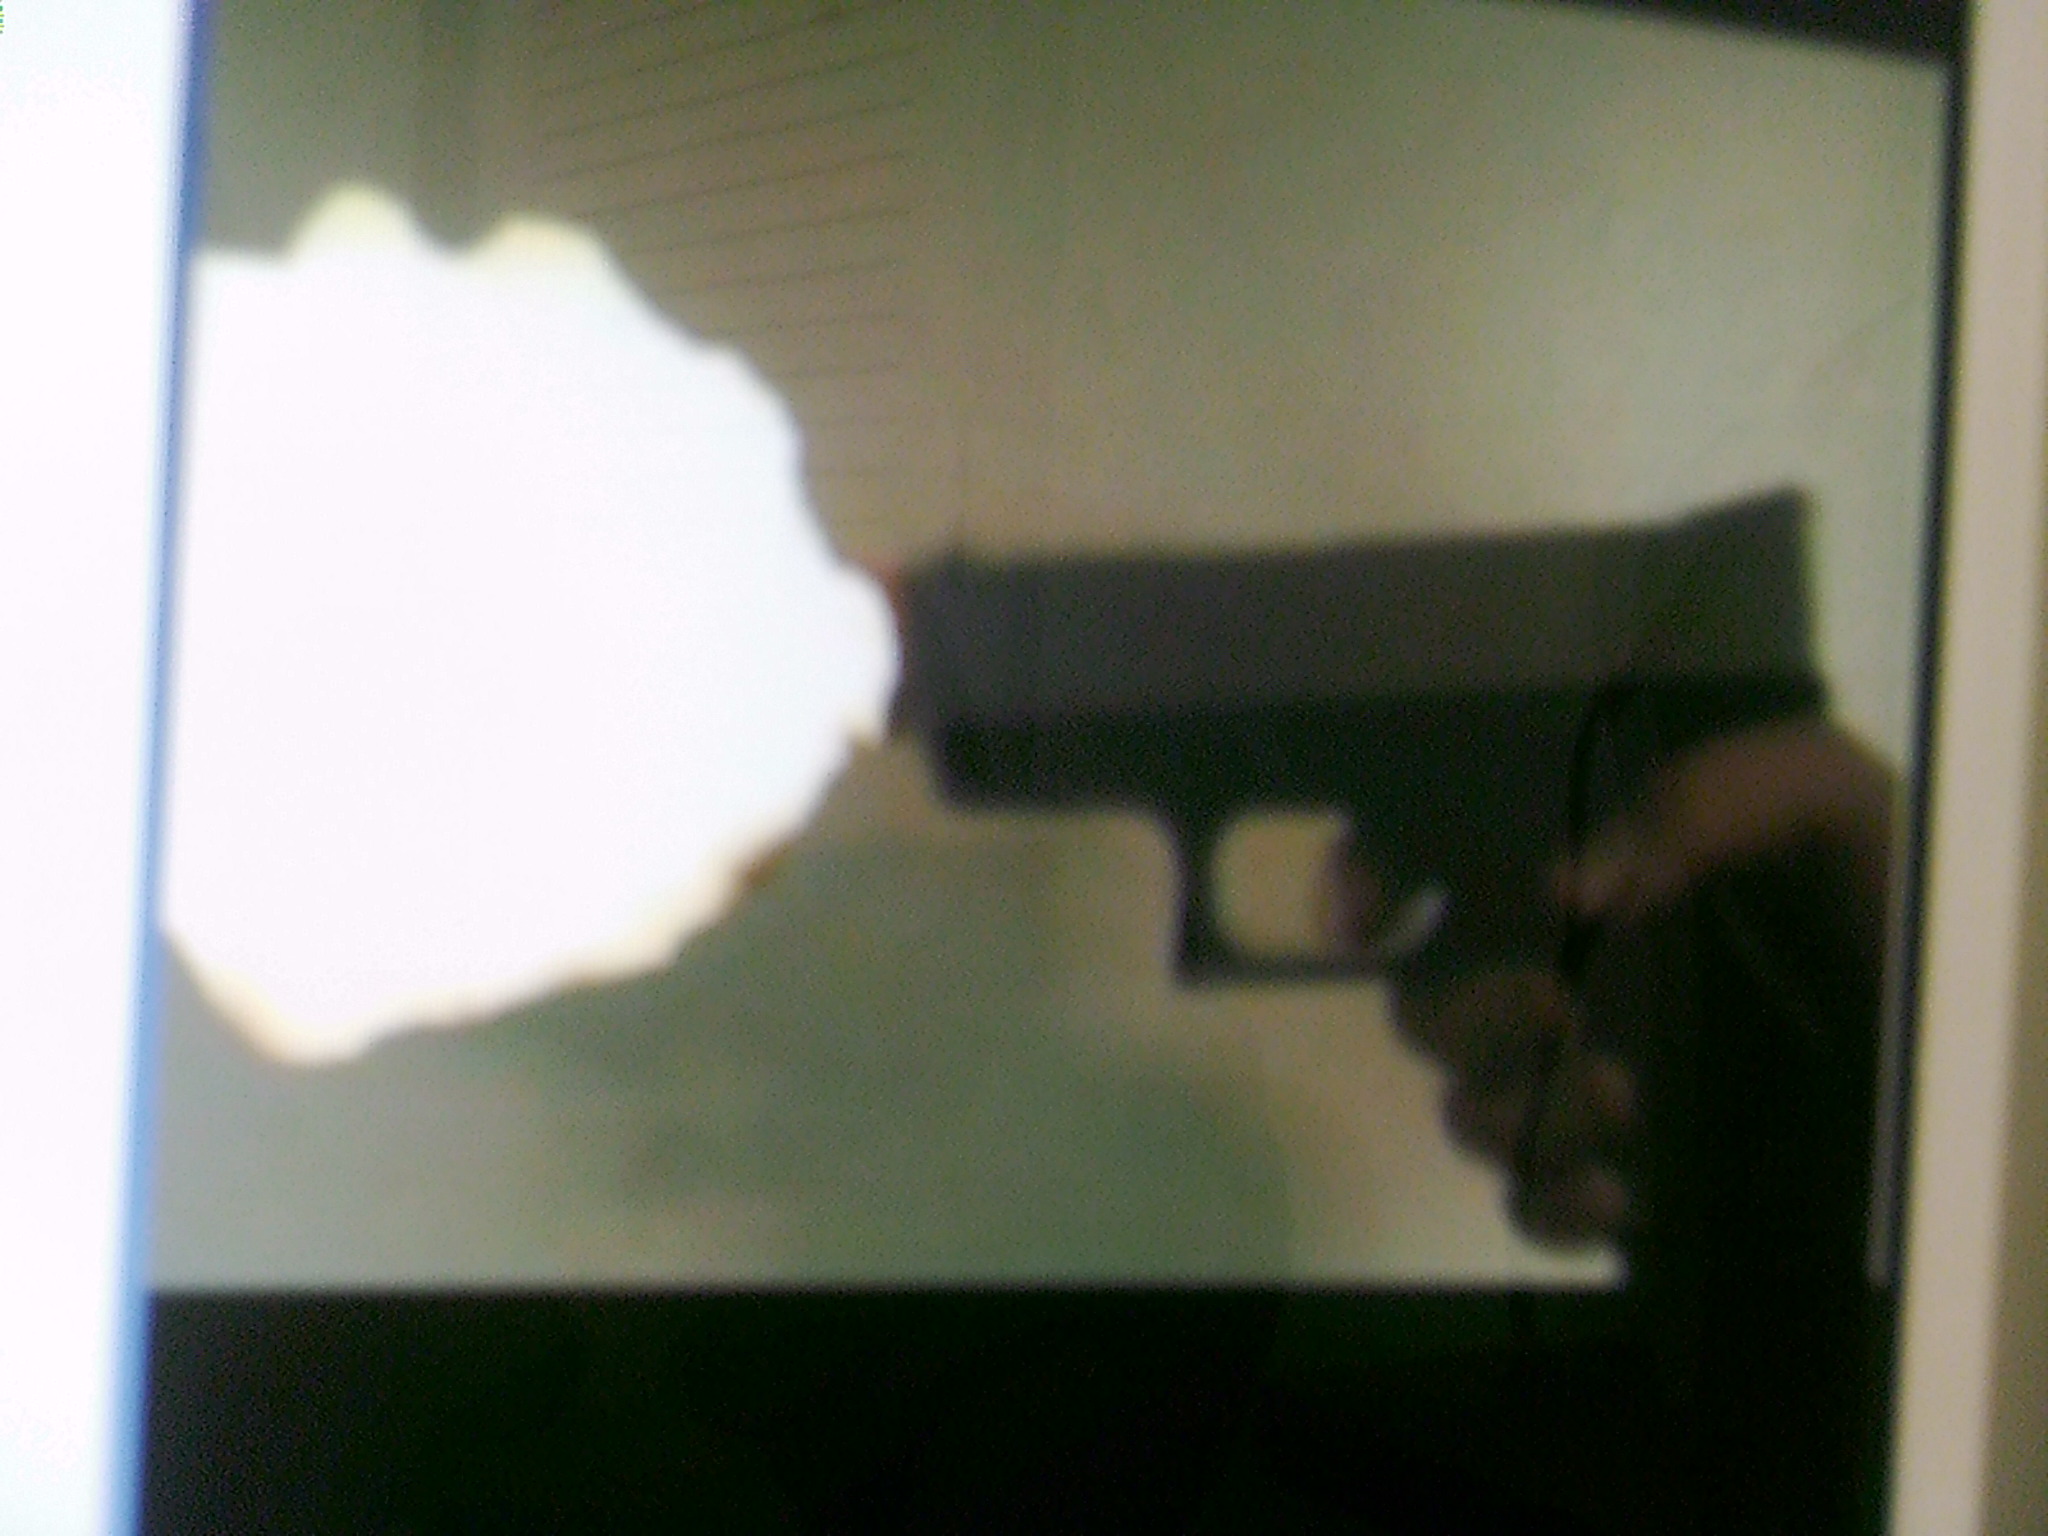
Choose you gunshot sound effect. Then line up the gunshot sound effect at the beginning of the muzzle flash.
It Was That Easy!

After you have done this for a while it gets easier.
If you have any questions leave it in the comments.
Please leave a comment.
If you have any questions leave it in the comments.
Please leave a comment.