Musical Soda Can

by LucasOchoa in Circuits > Speakers

10630 Views, 54 Favorites, 0 Comments

Musical Soda Can

IMG_3249.JPG

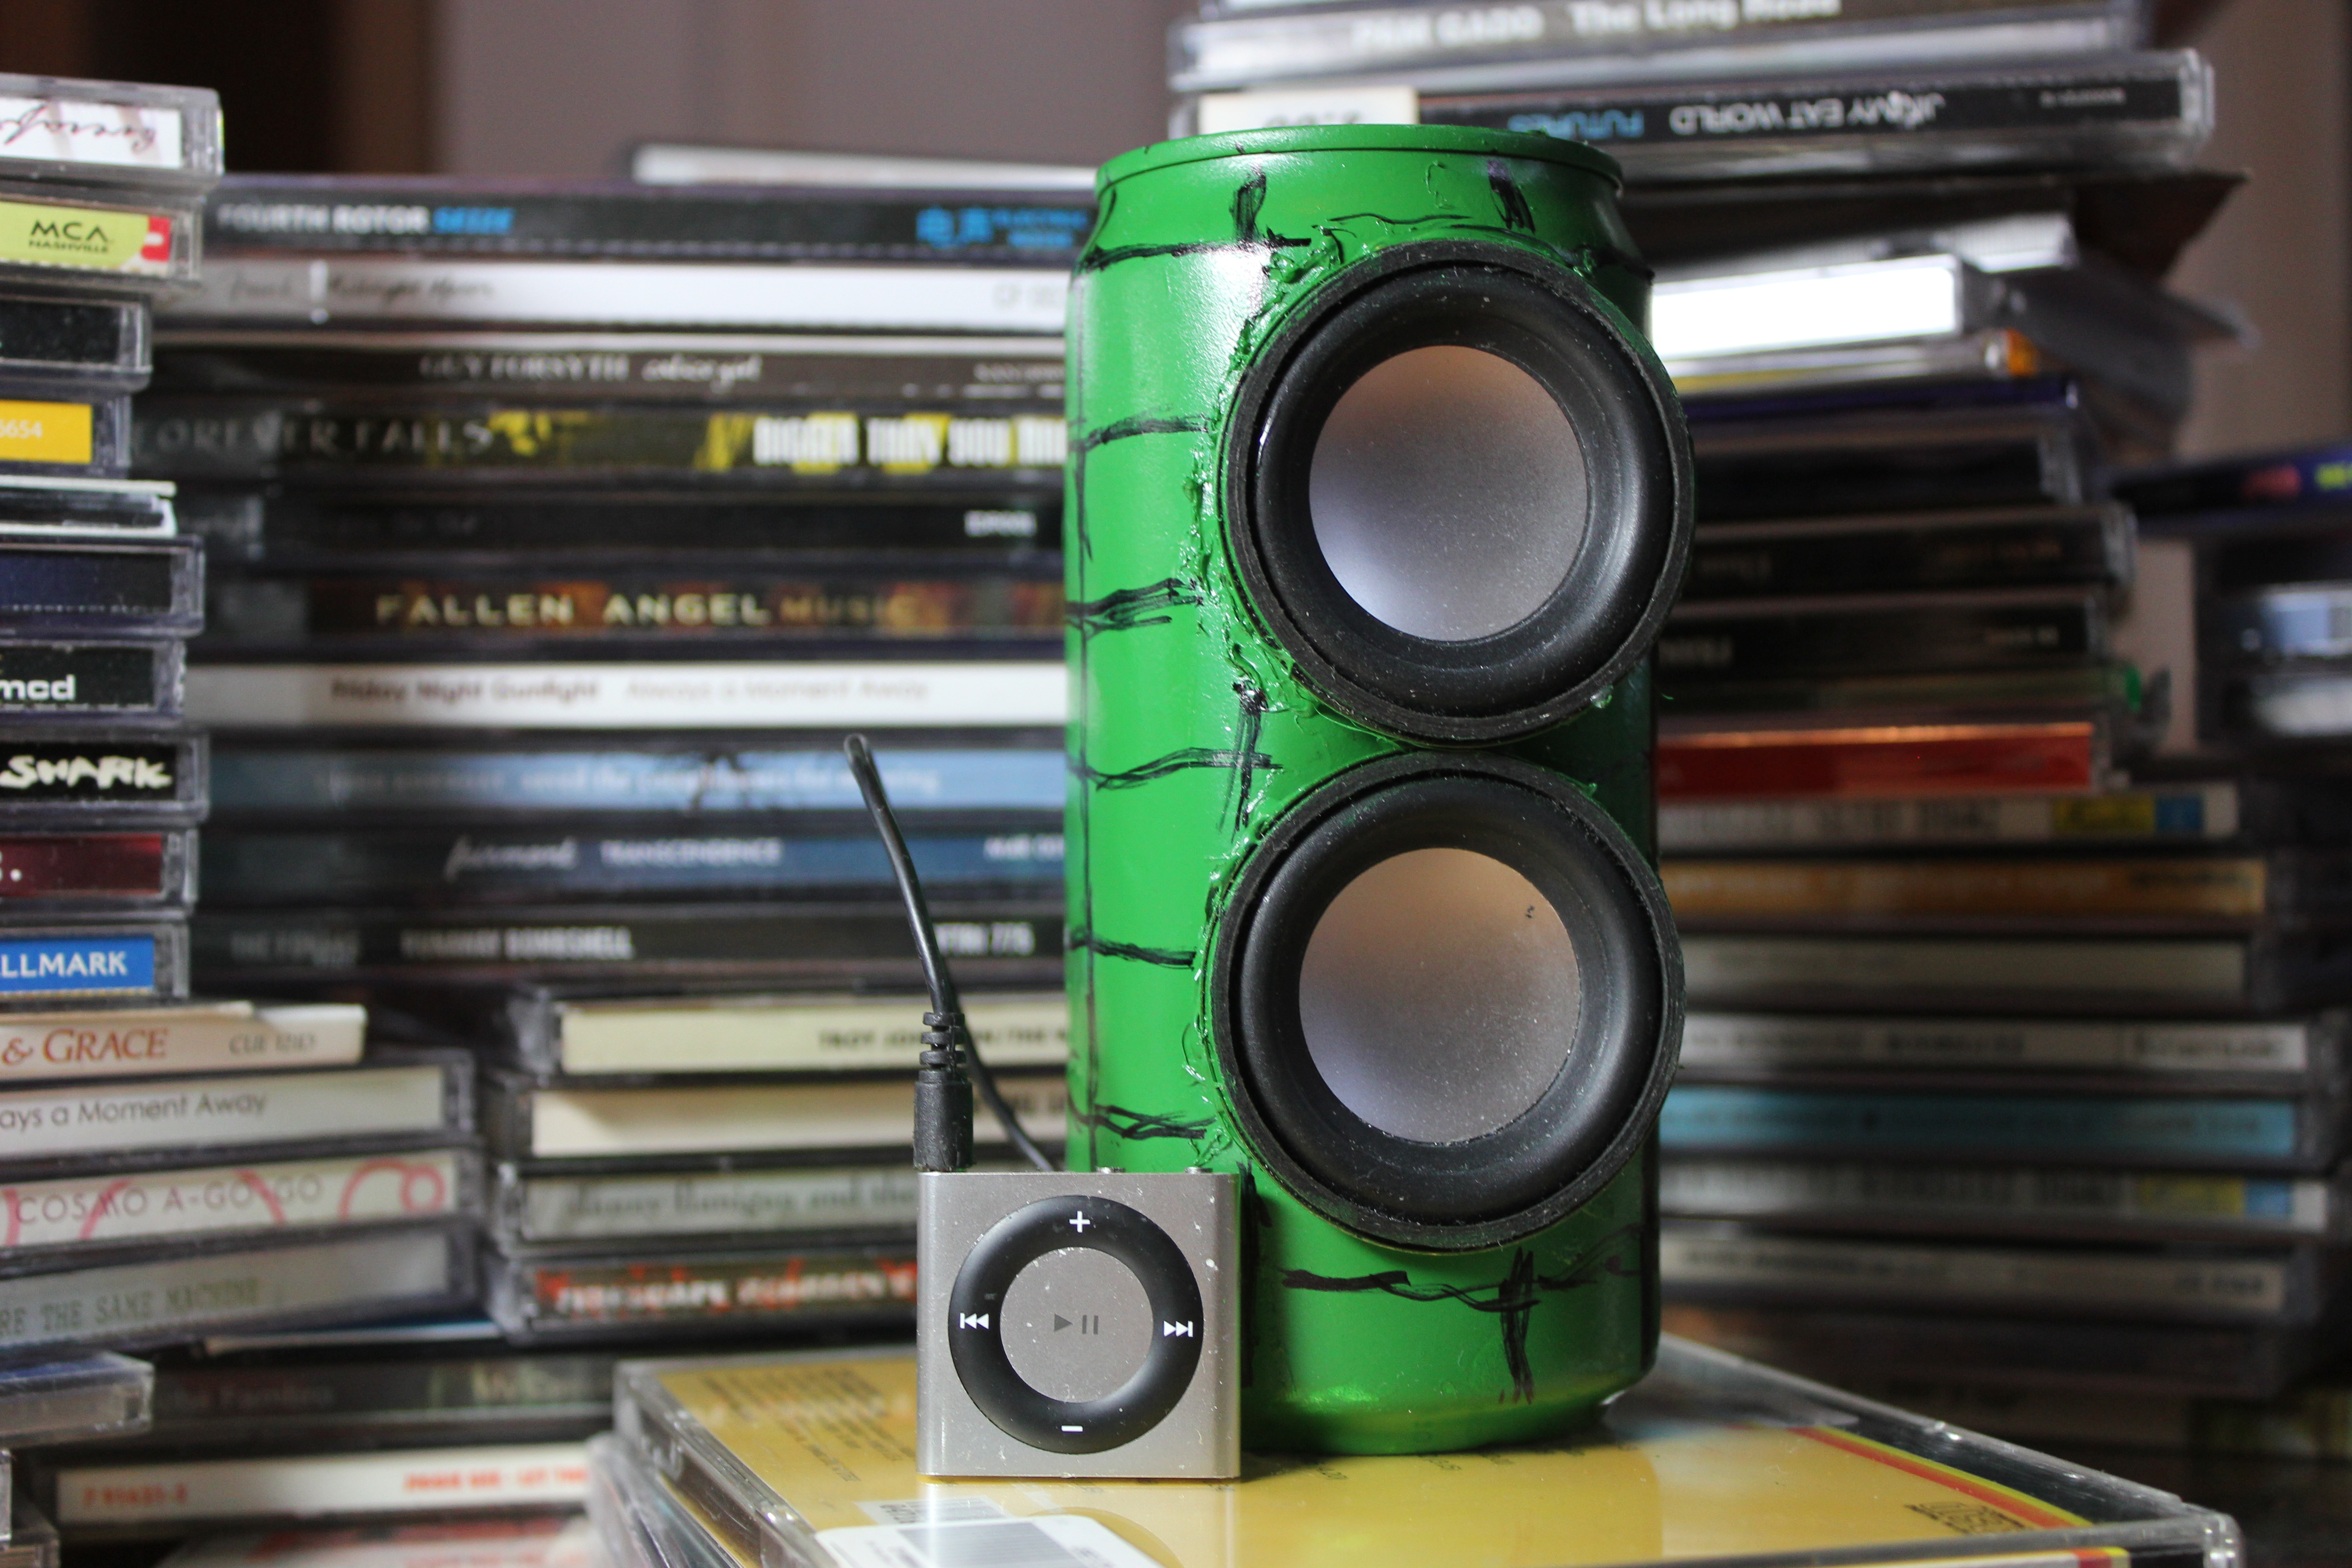
For those situations that just need the extra lightening up, or a portable rick roll machine, what ever audio you have on your ipod will shuffle will come to your rescue when you have the musical soda can on your side. I hope to see other peoples inventions of these sort because there are tons of things you can do with this with an Arduino board.

(A video of this in action will be available in a week or so)

Please rate, comment, and subscribe it really is a great help to me.

Materials

IMG_3190.JPG
Items:
1.Speakers with Ipod aux connection.
2. Large beer can, or Arizona ice tea can (just go for something bigger then a standard coke can.
3. and an iPod, preferably a shuffle... something you can throw around a little bit more. 
Tools:
1. Spray paint and Sharpie 
2. Dremel, grinding bit, and cutting bit
3. Soldering iron and solder.
4. A vice is useful.
5. Hot glue gun and Pliers 
6. Proper safety equipment 

Releasing the Pressure

IMG_3225.JPG

Cutting Speaker Socket

IMG_3226.JPG
IMG_3227.JPG
IMG_3229.JPG
IMG_3228.JPG
IMG_3230.JPG
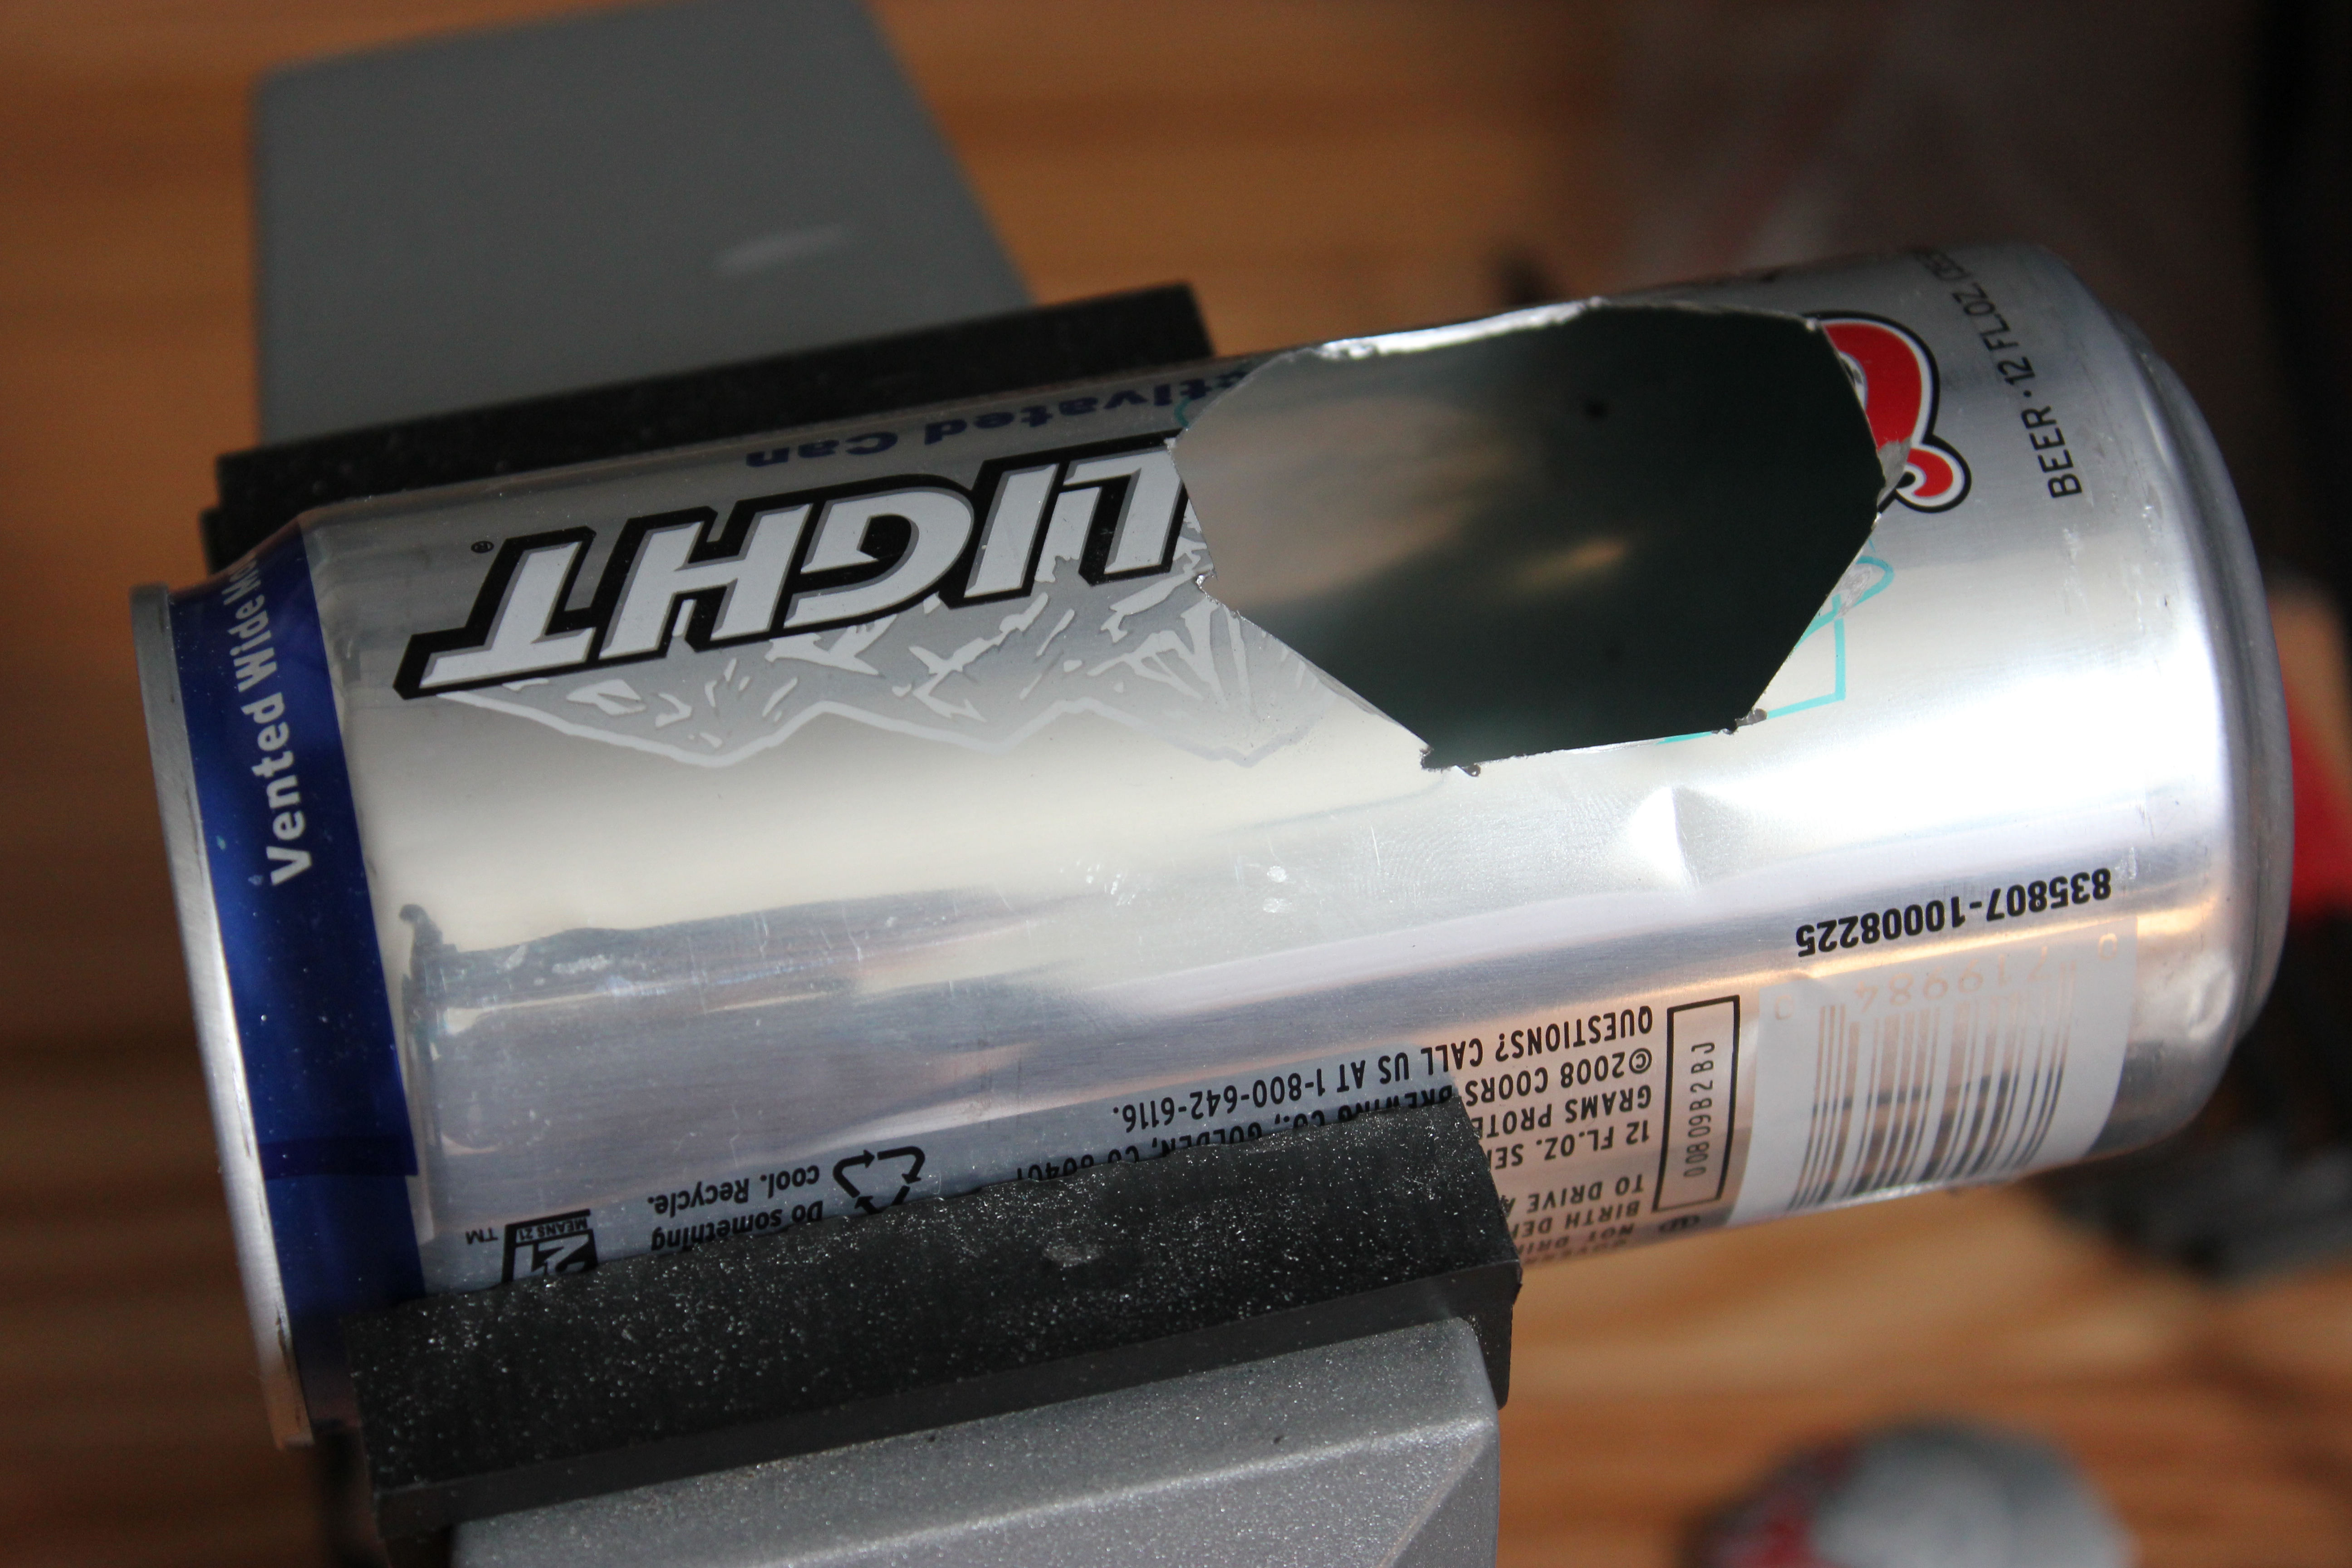
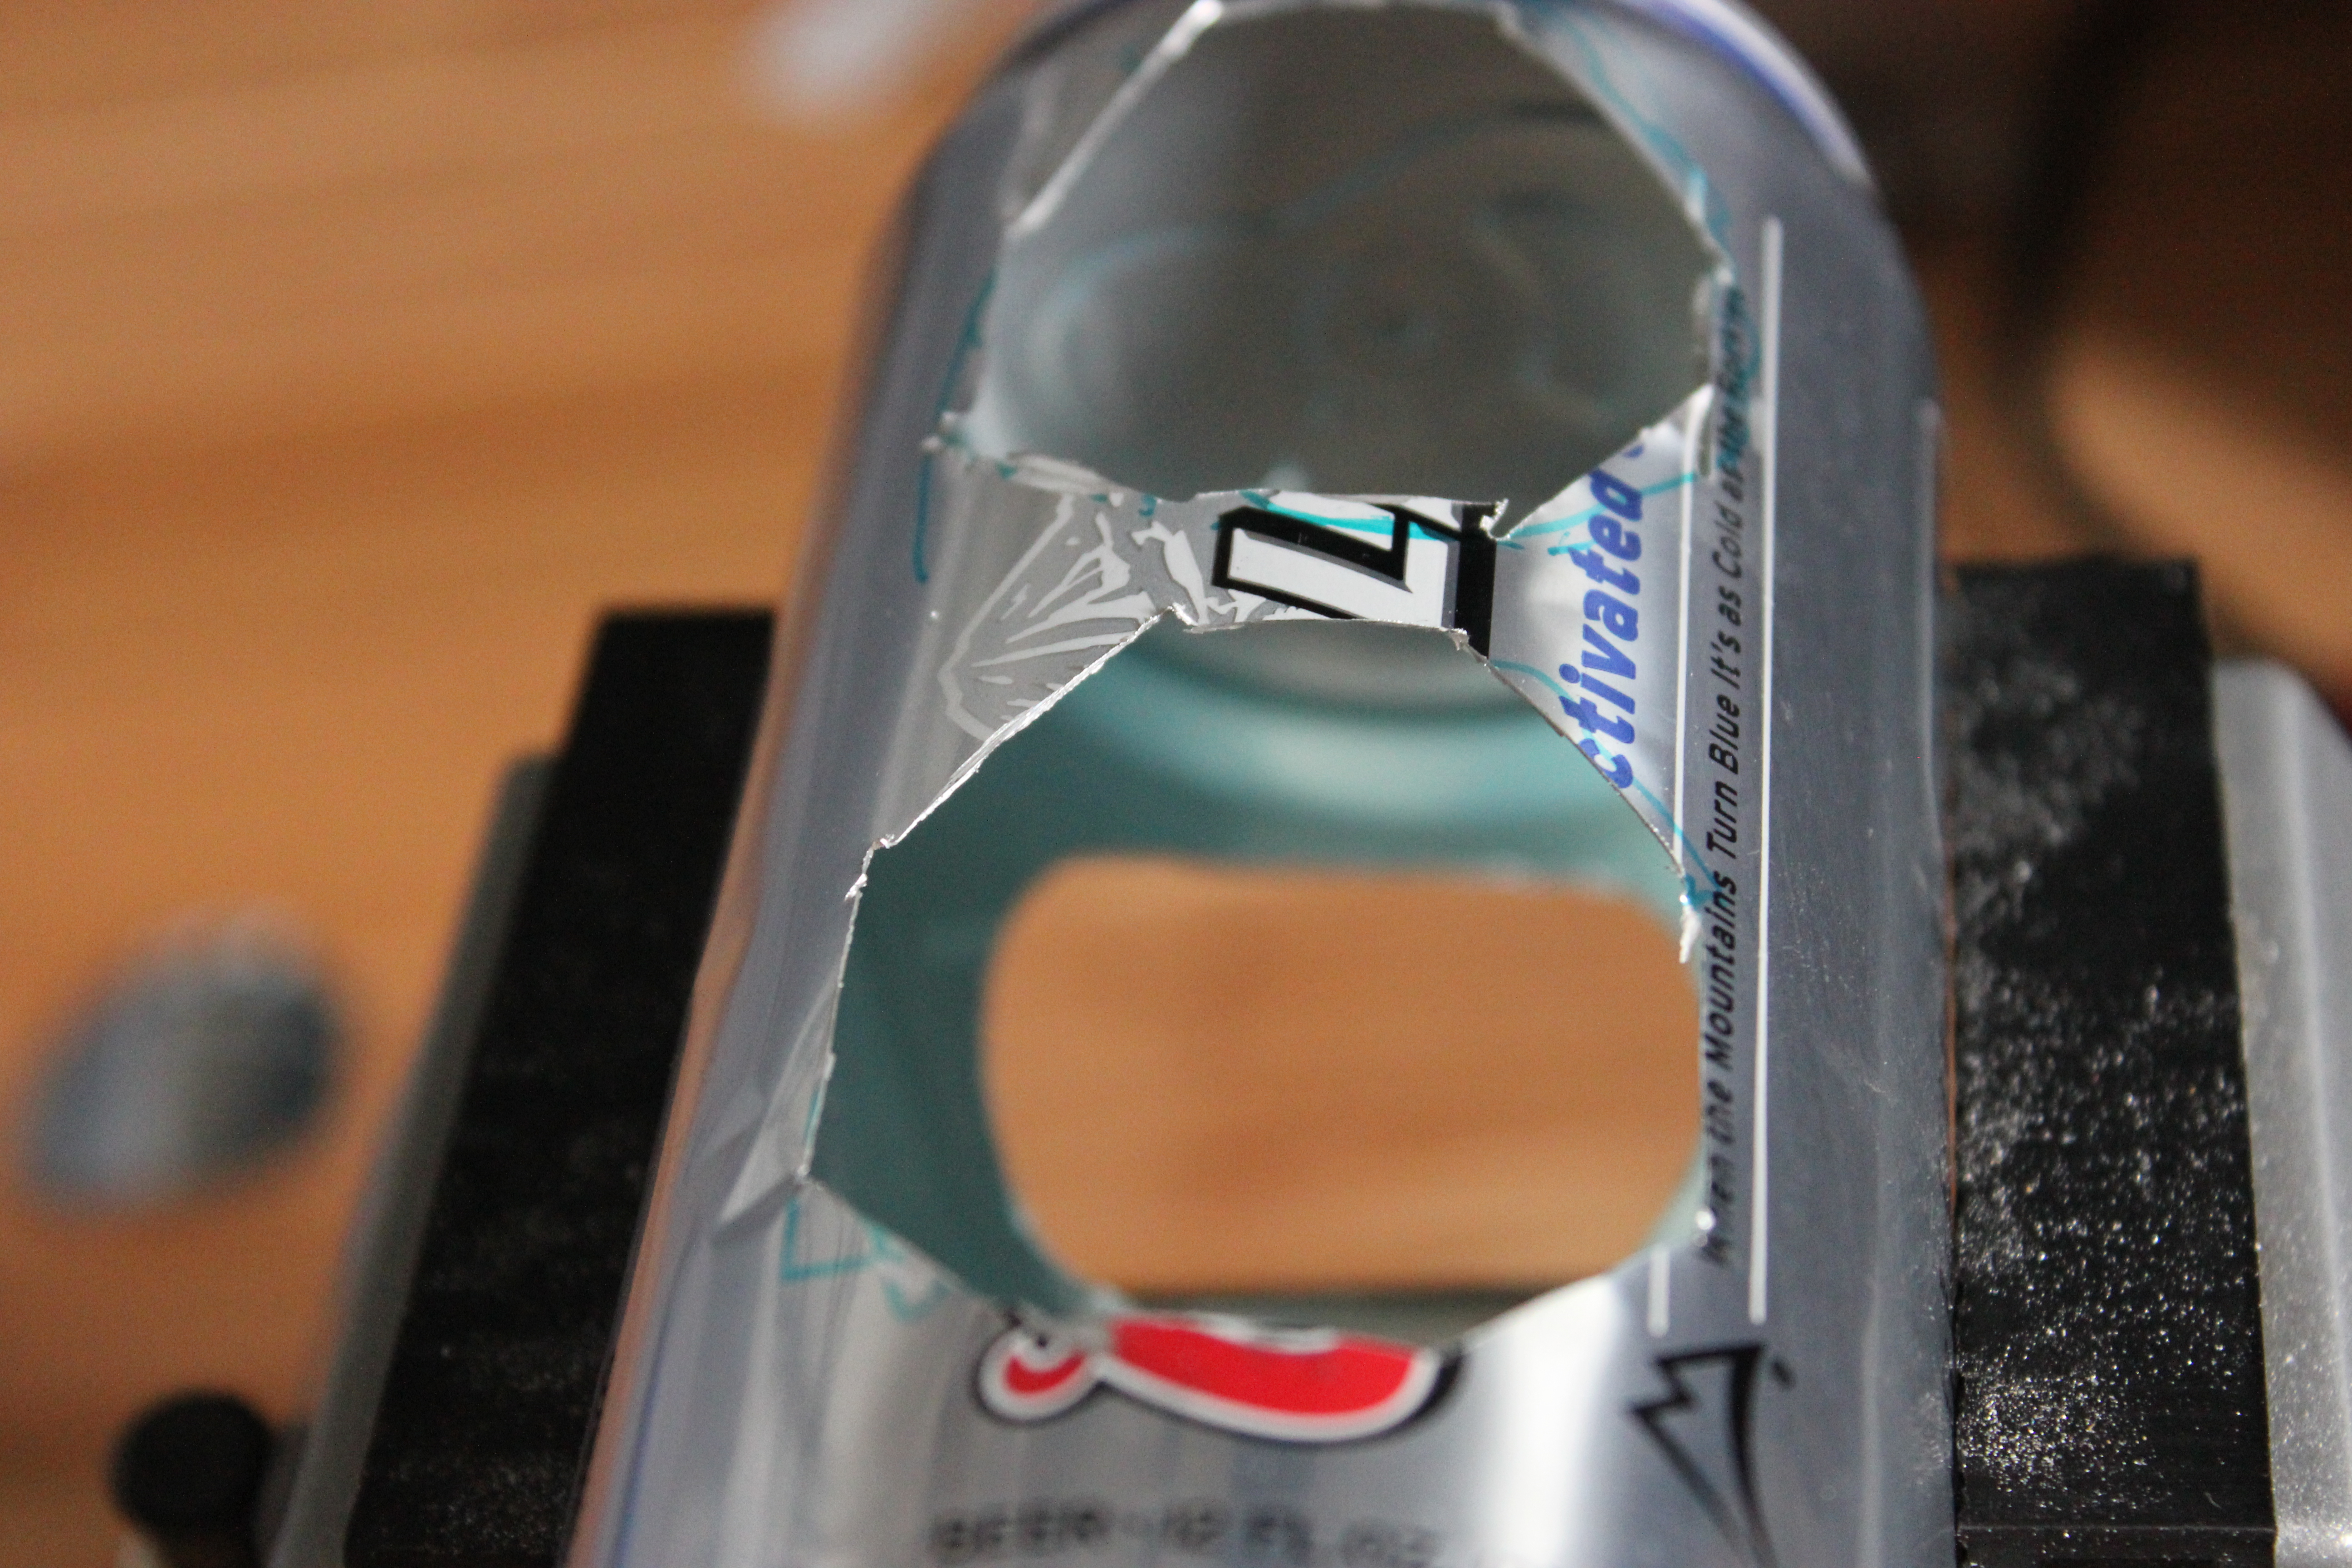
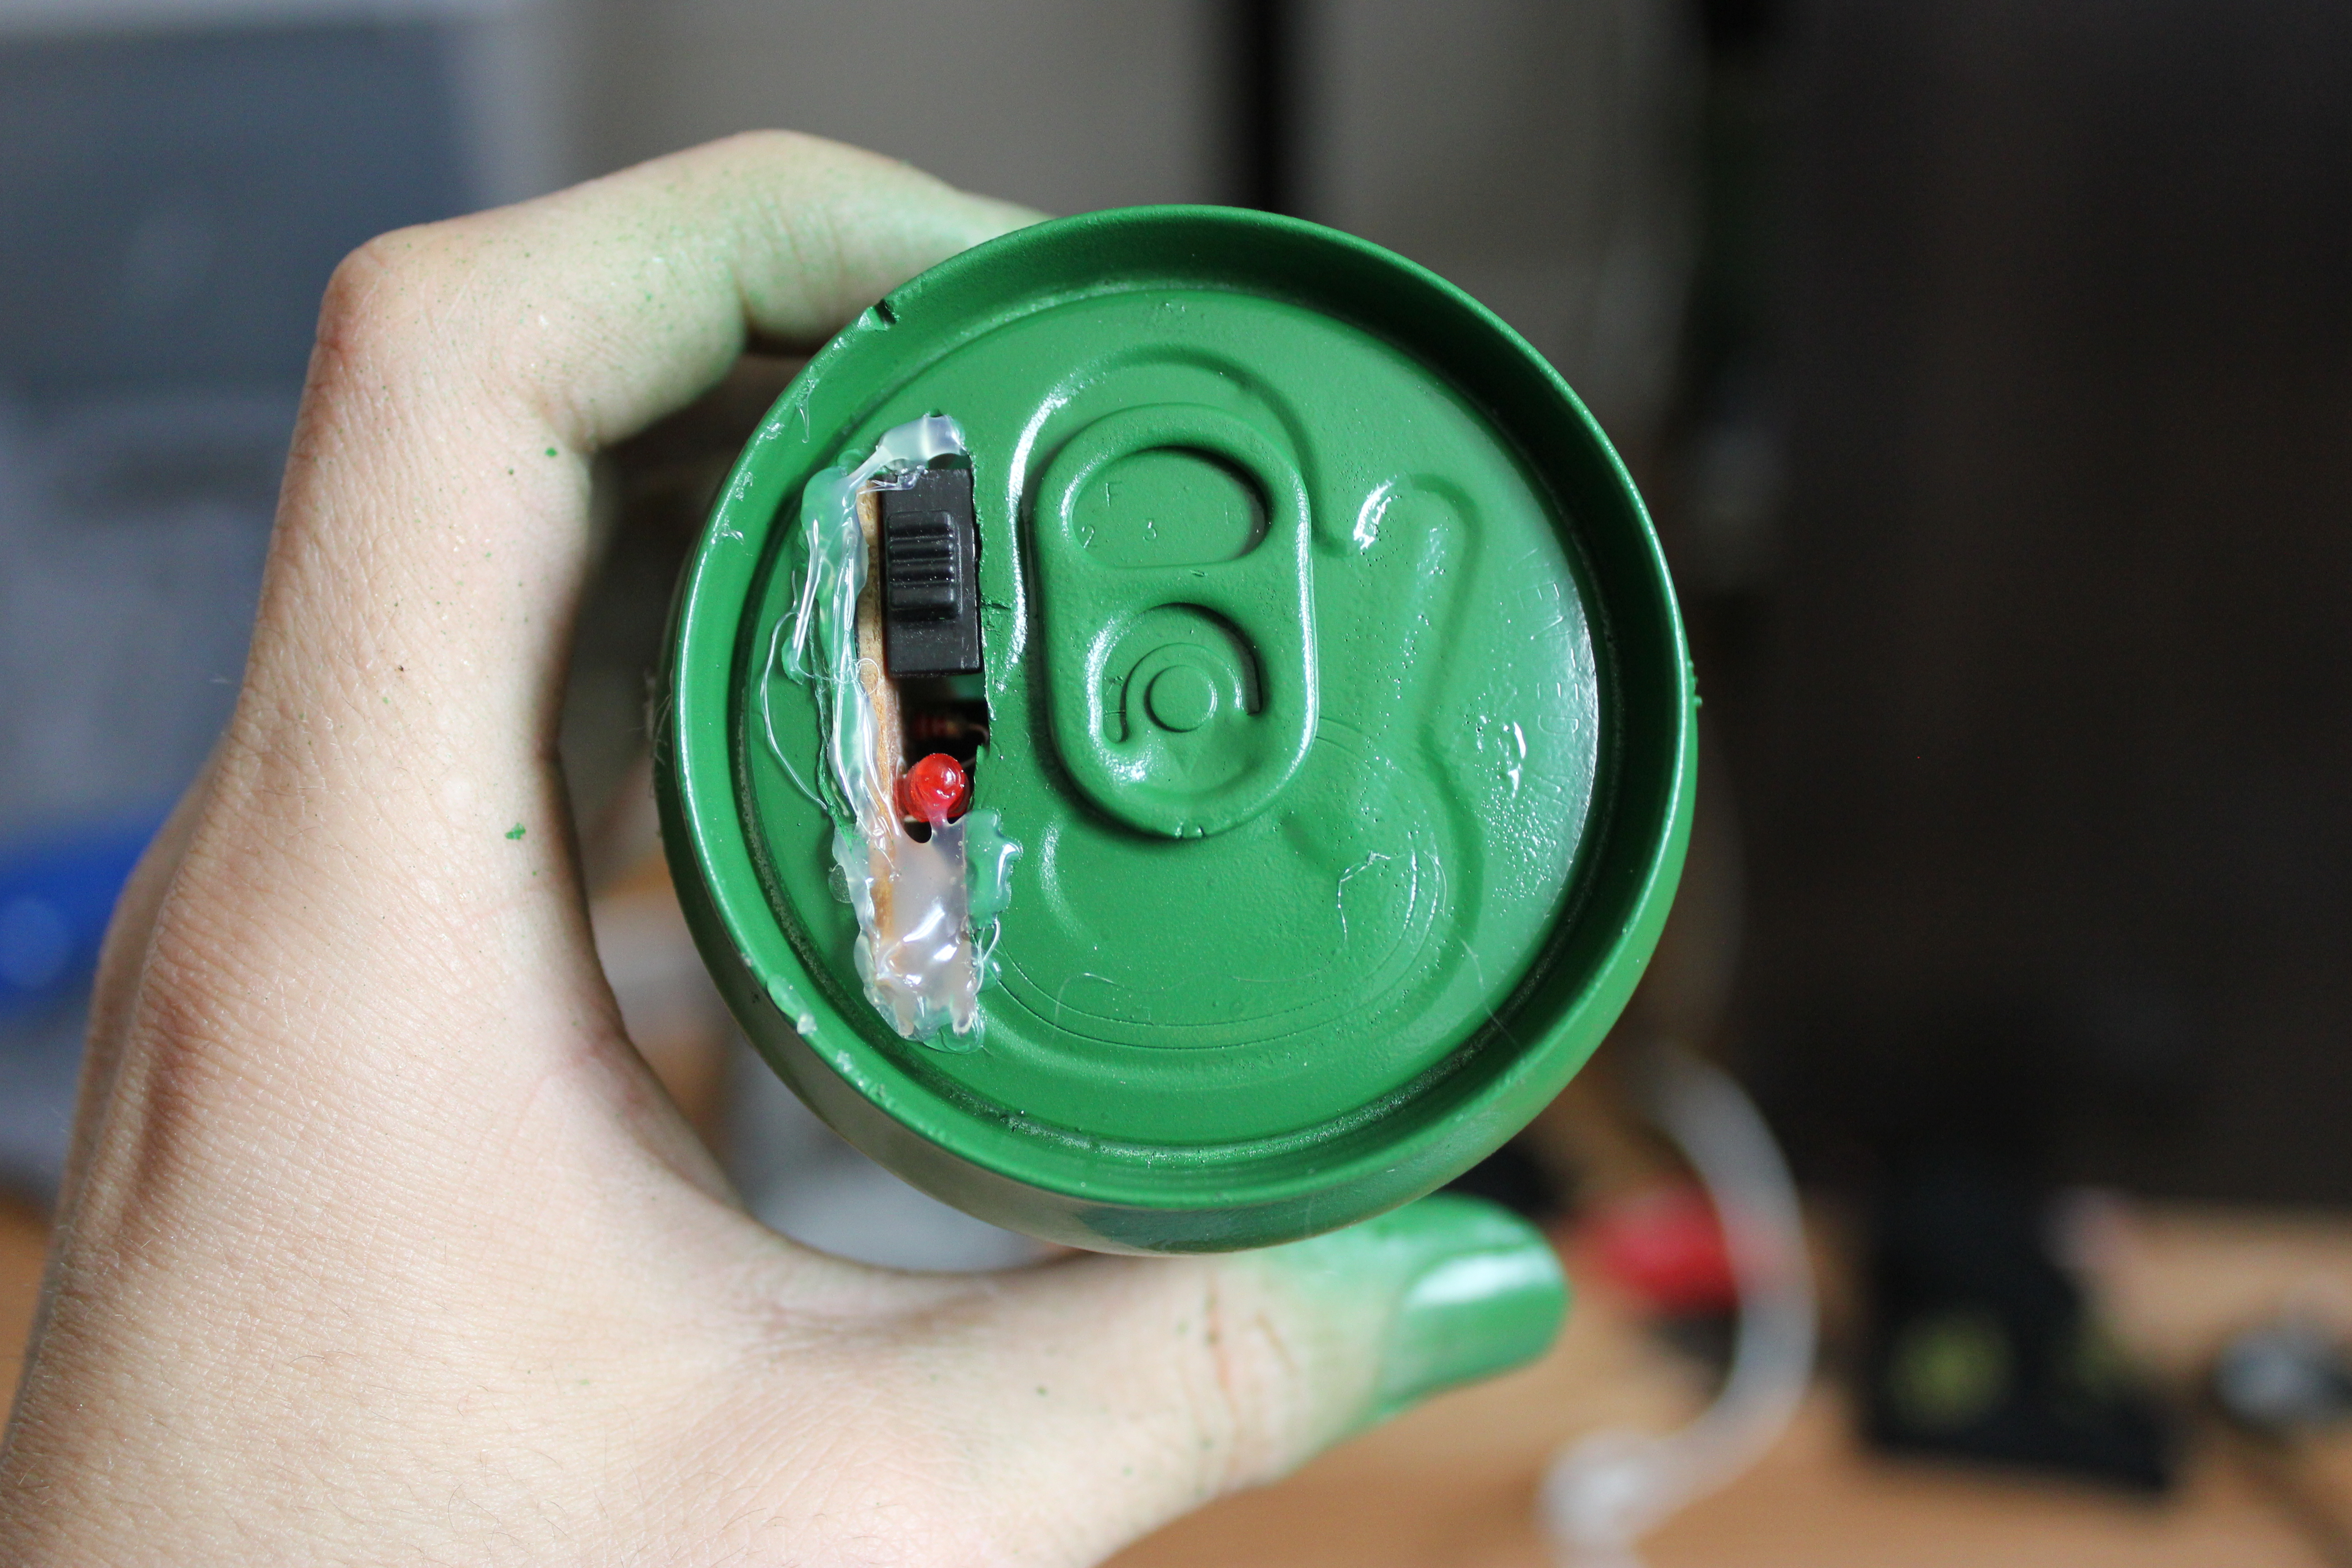
For this step i began by putting the can in a vice with a loose grip so it doesnt crush the can. Then i drew around one of the small speakers i had taken out of the speaker system. I cut two hexagonal shapes per side of the can. Change the bit to your grinding bit and dry fit the speakers so that they fit nice and snug. As for the last picture, i needed a place that i could fit the controls on the circuit board, and placed it at the top of the can. 

First Layer of Paint

IMG_3231.JPG
I decided to fit in my first layer of paint in between the wiring stage and the final stage, Its pretty self explanatory, find a place you can spray paint and go ahead. It doesn't really matter if the paint gets inside.

Fitting the Electronics

IMG_3232.JPG
IMG_3233.JPG
IMG_3234.JPG
IMG_3235.JPG
IMG_3236.JPG
IMG_3237.JPG

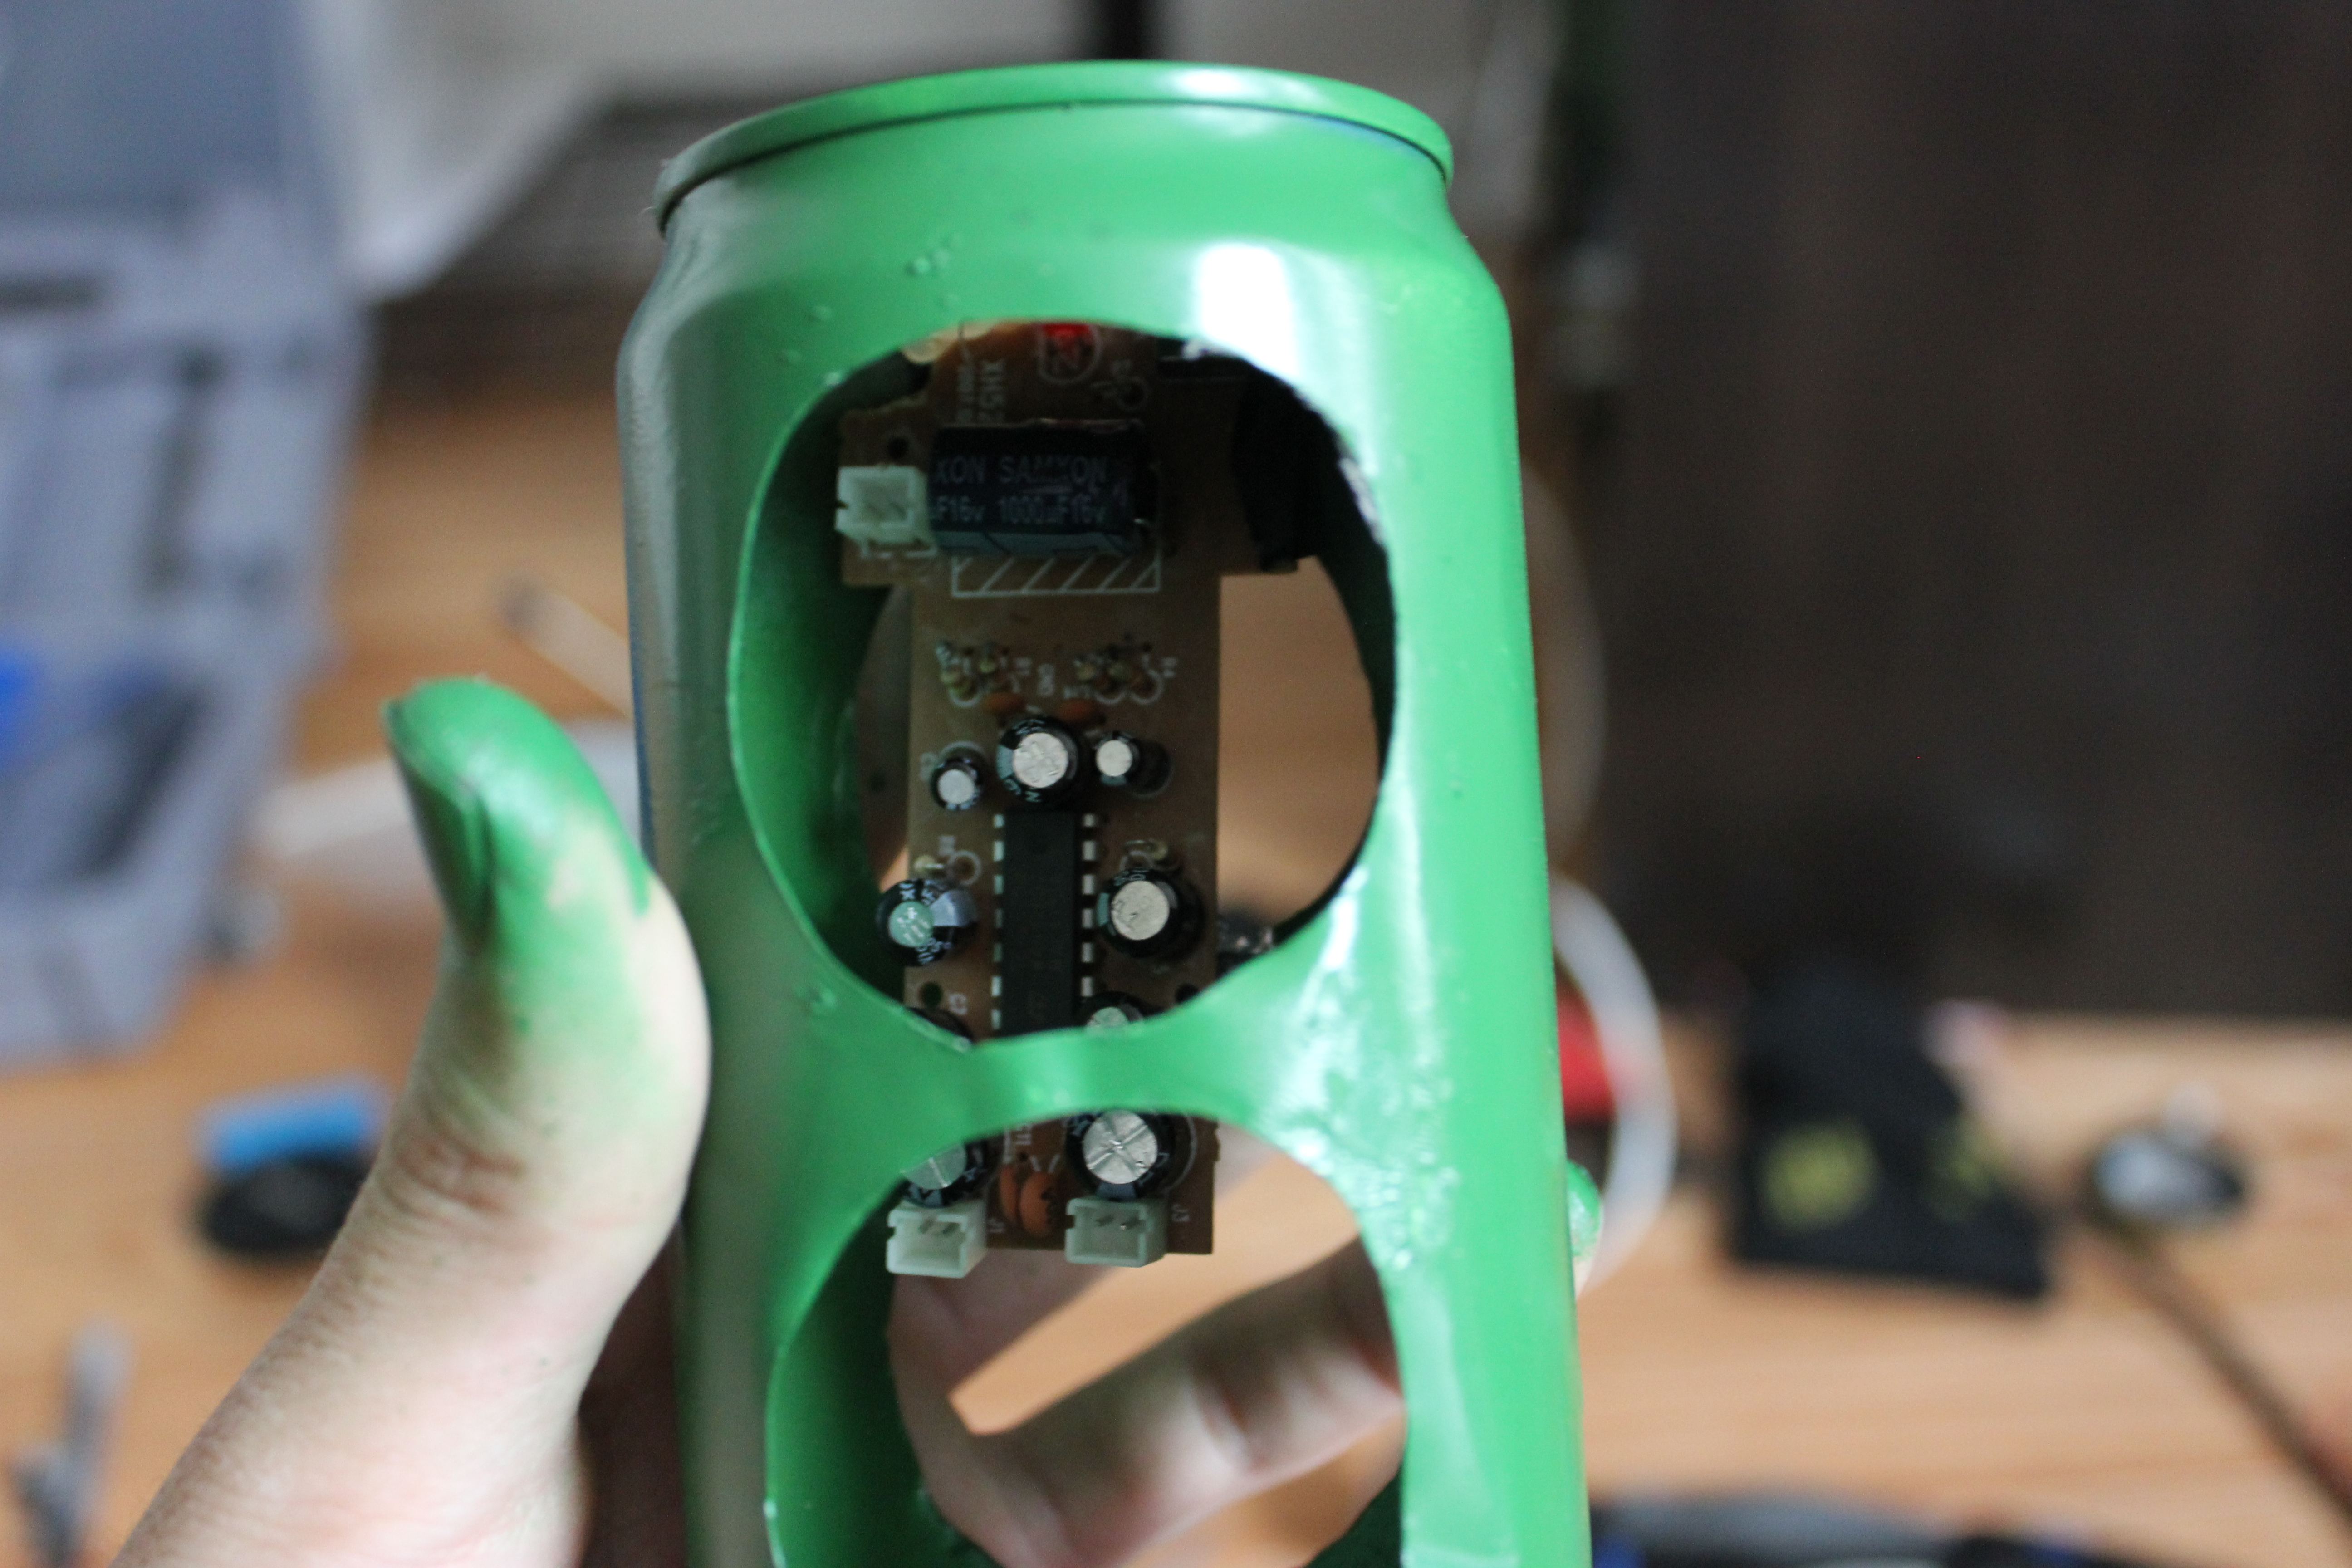
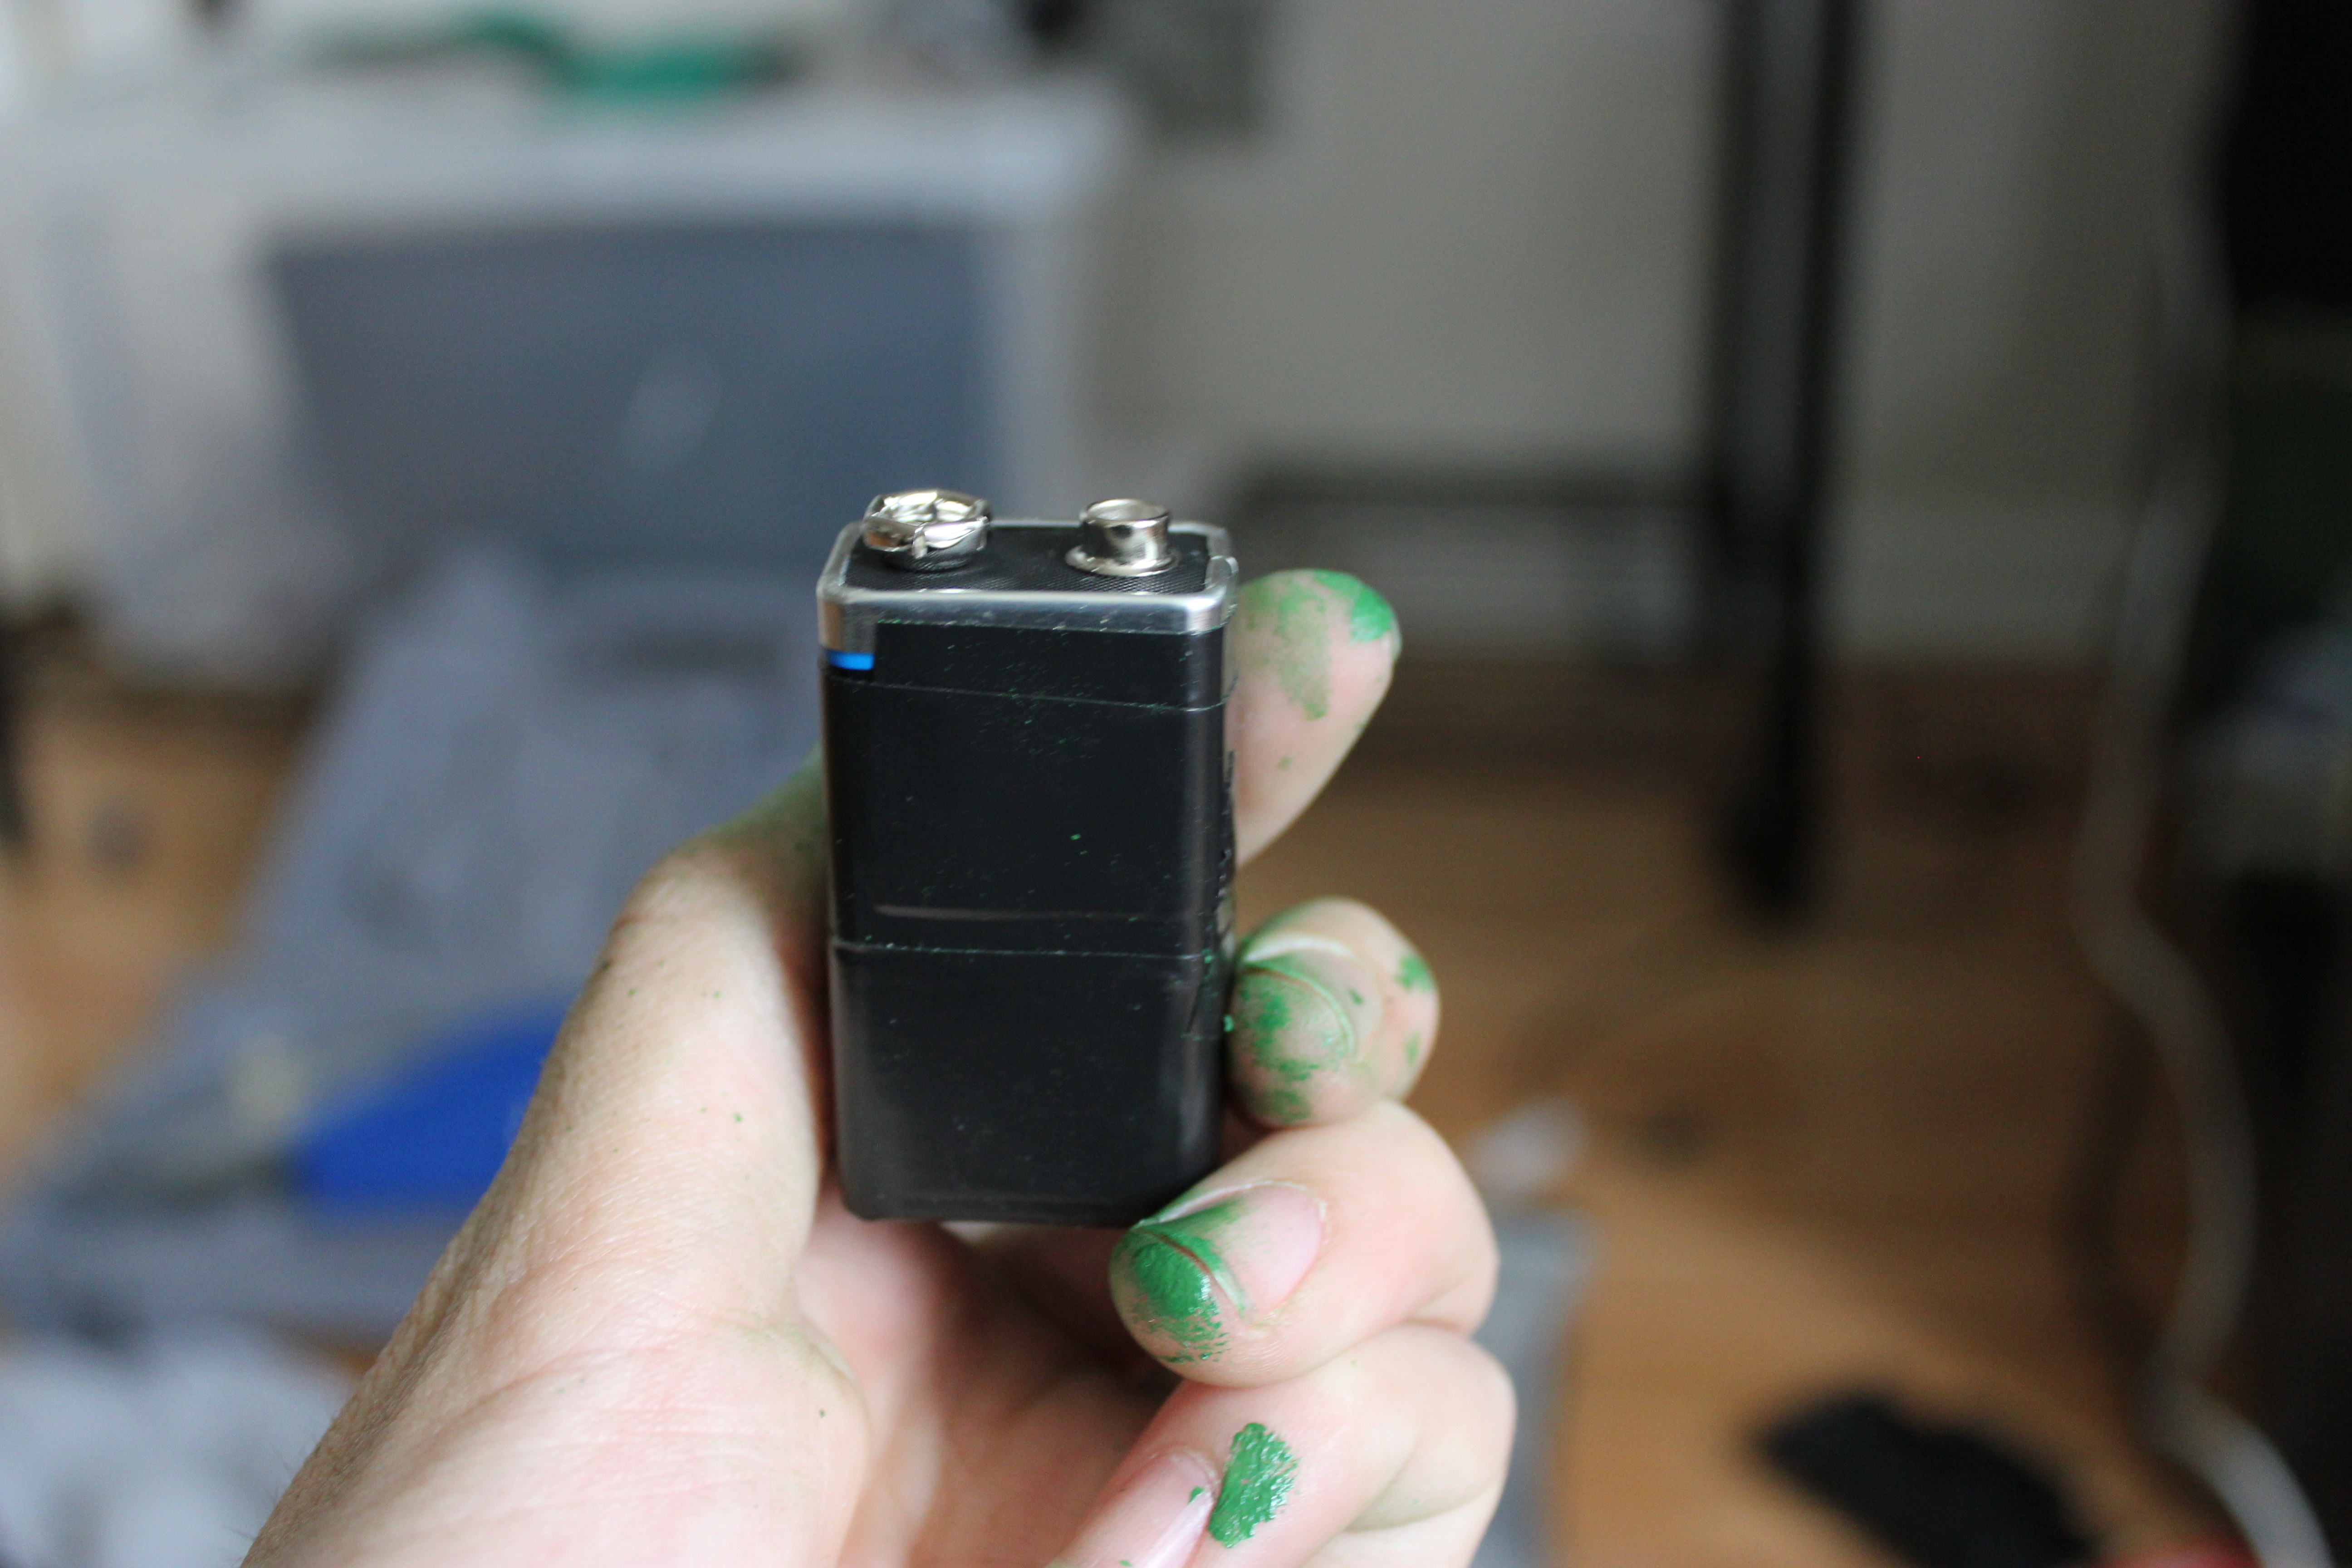
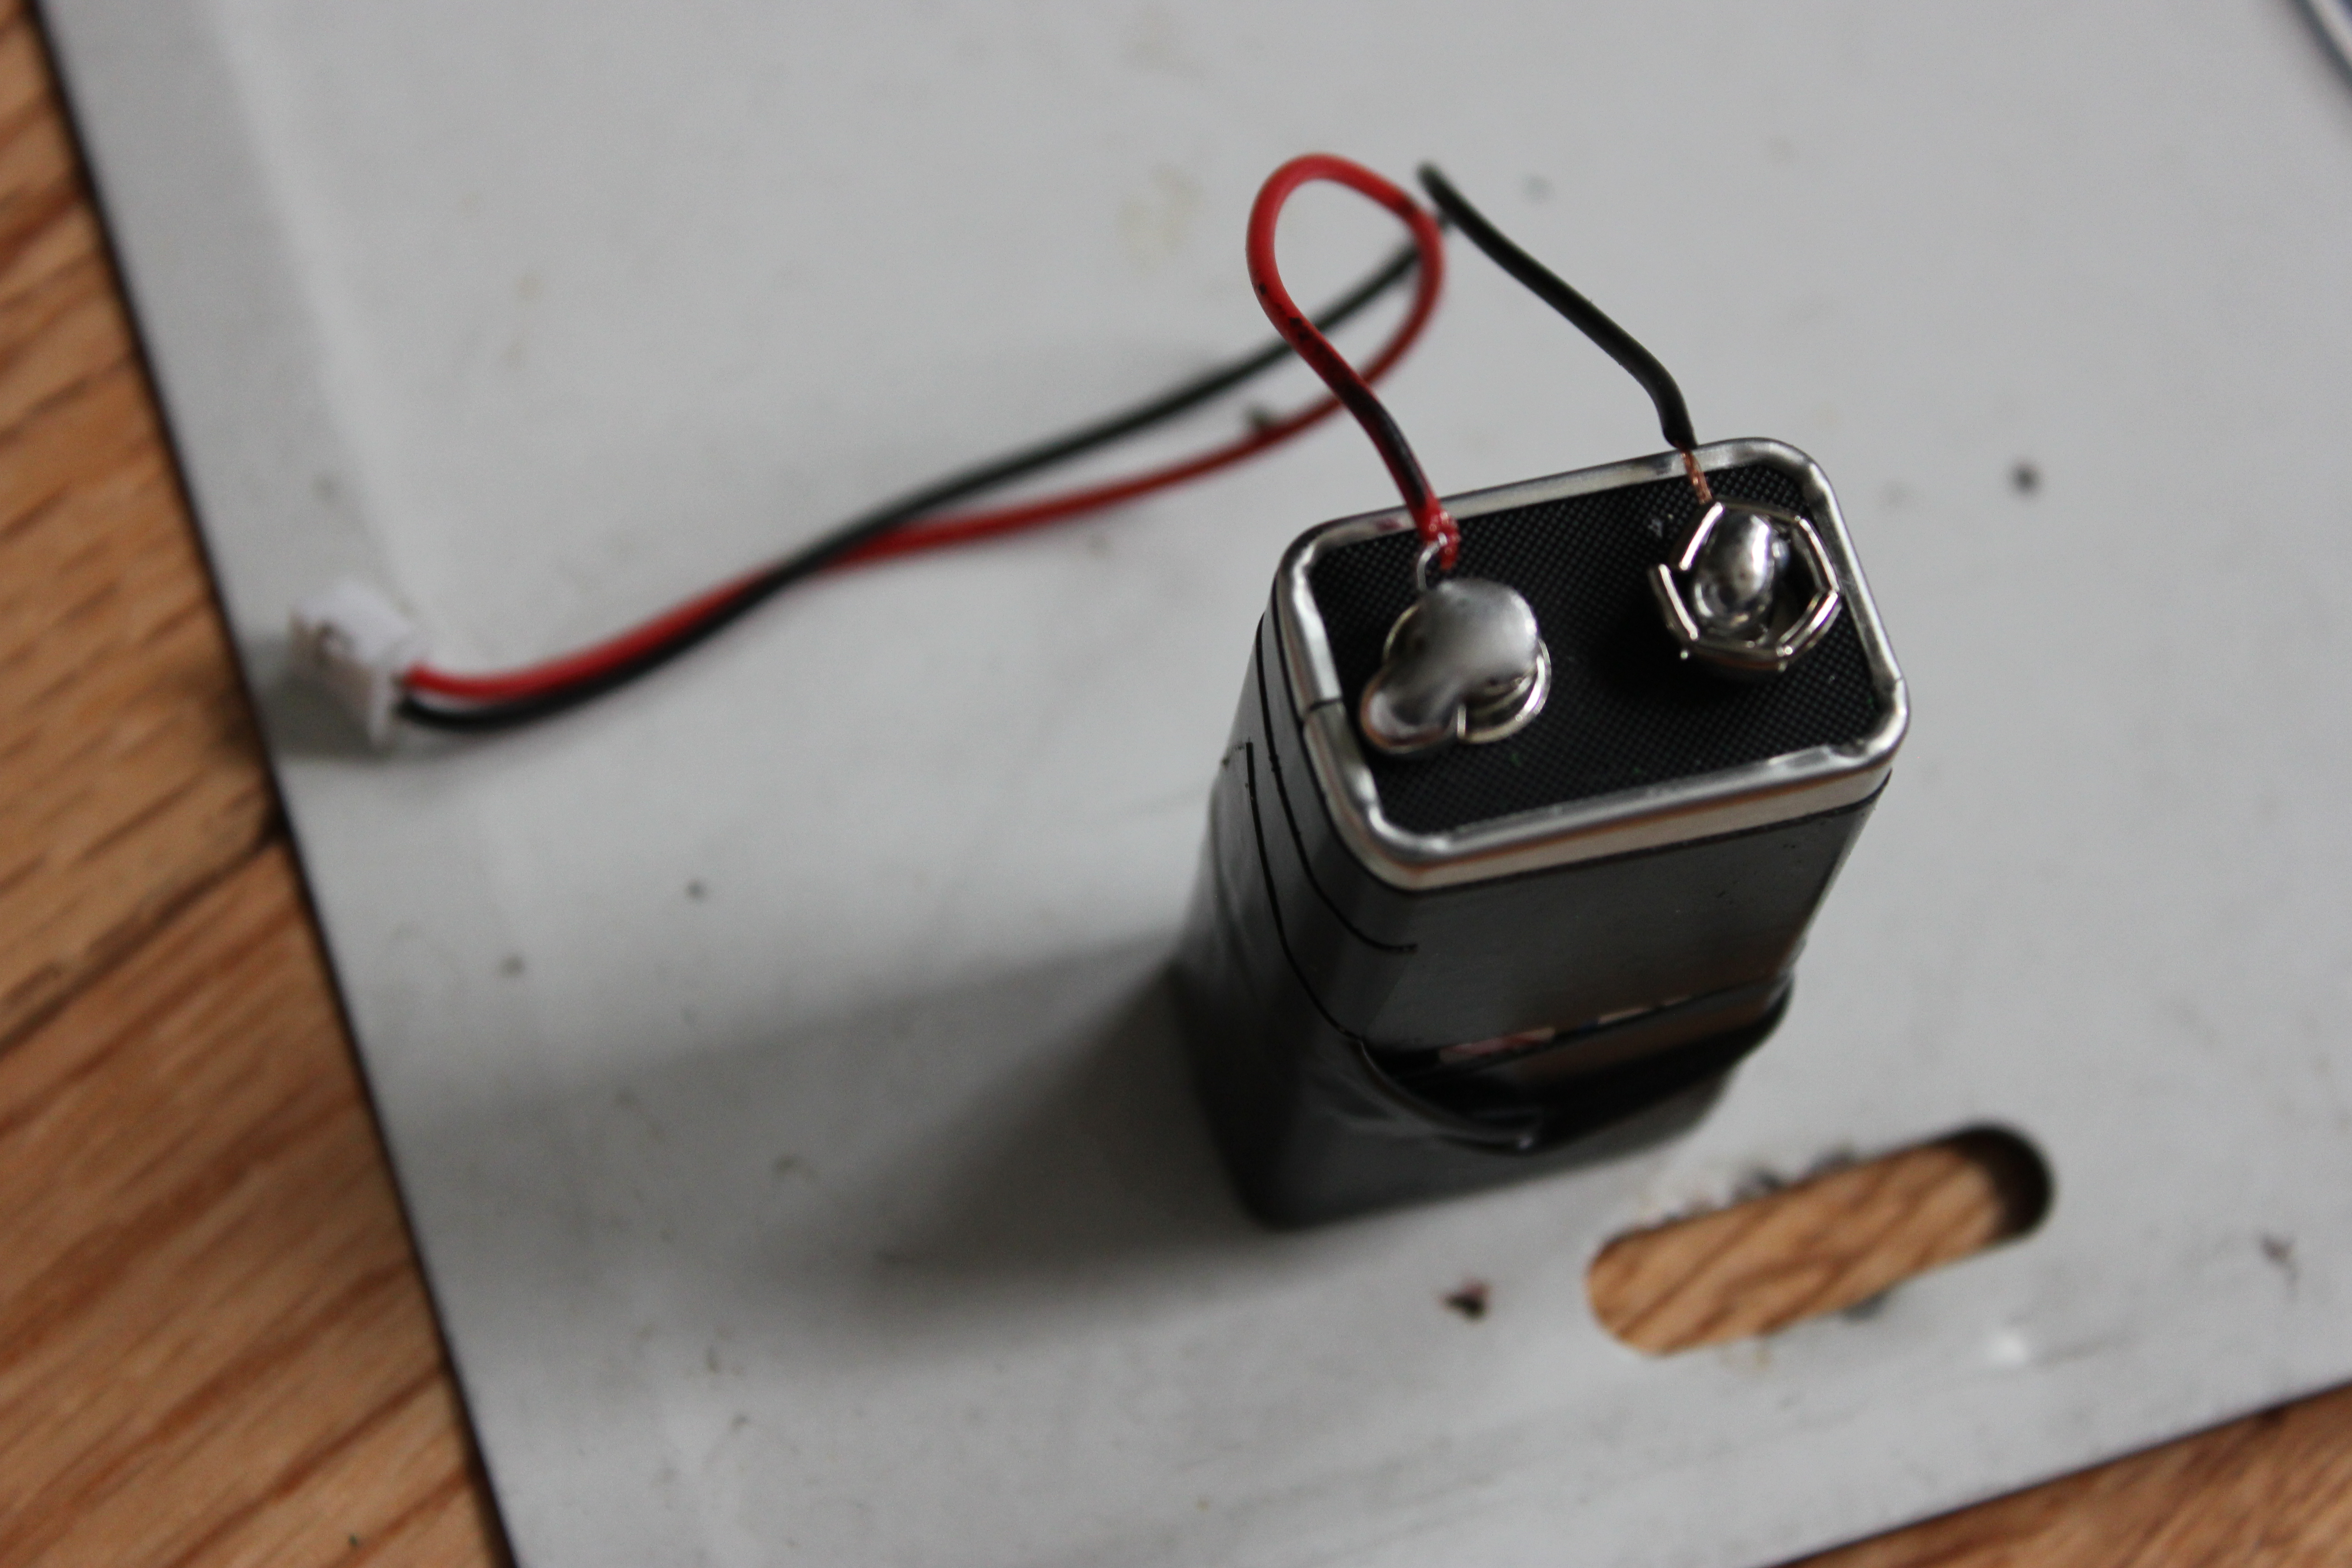
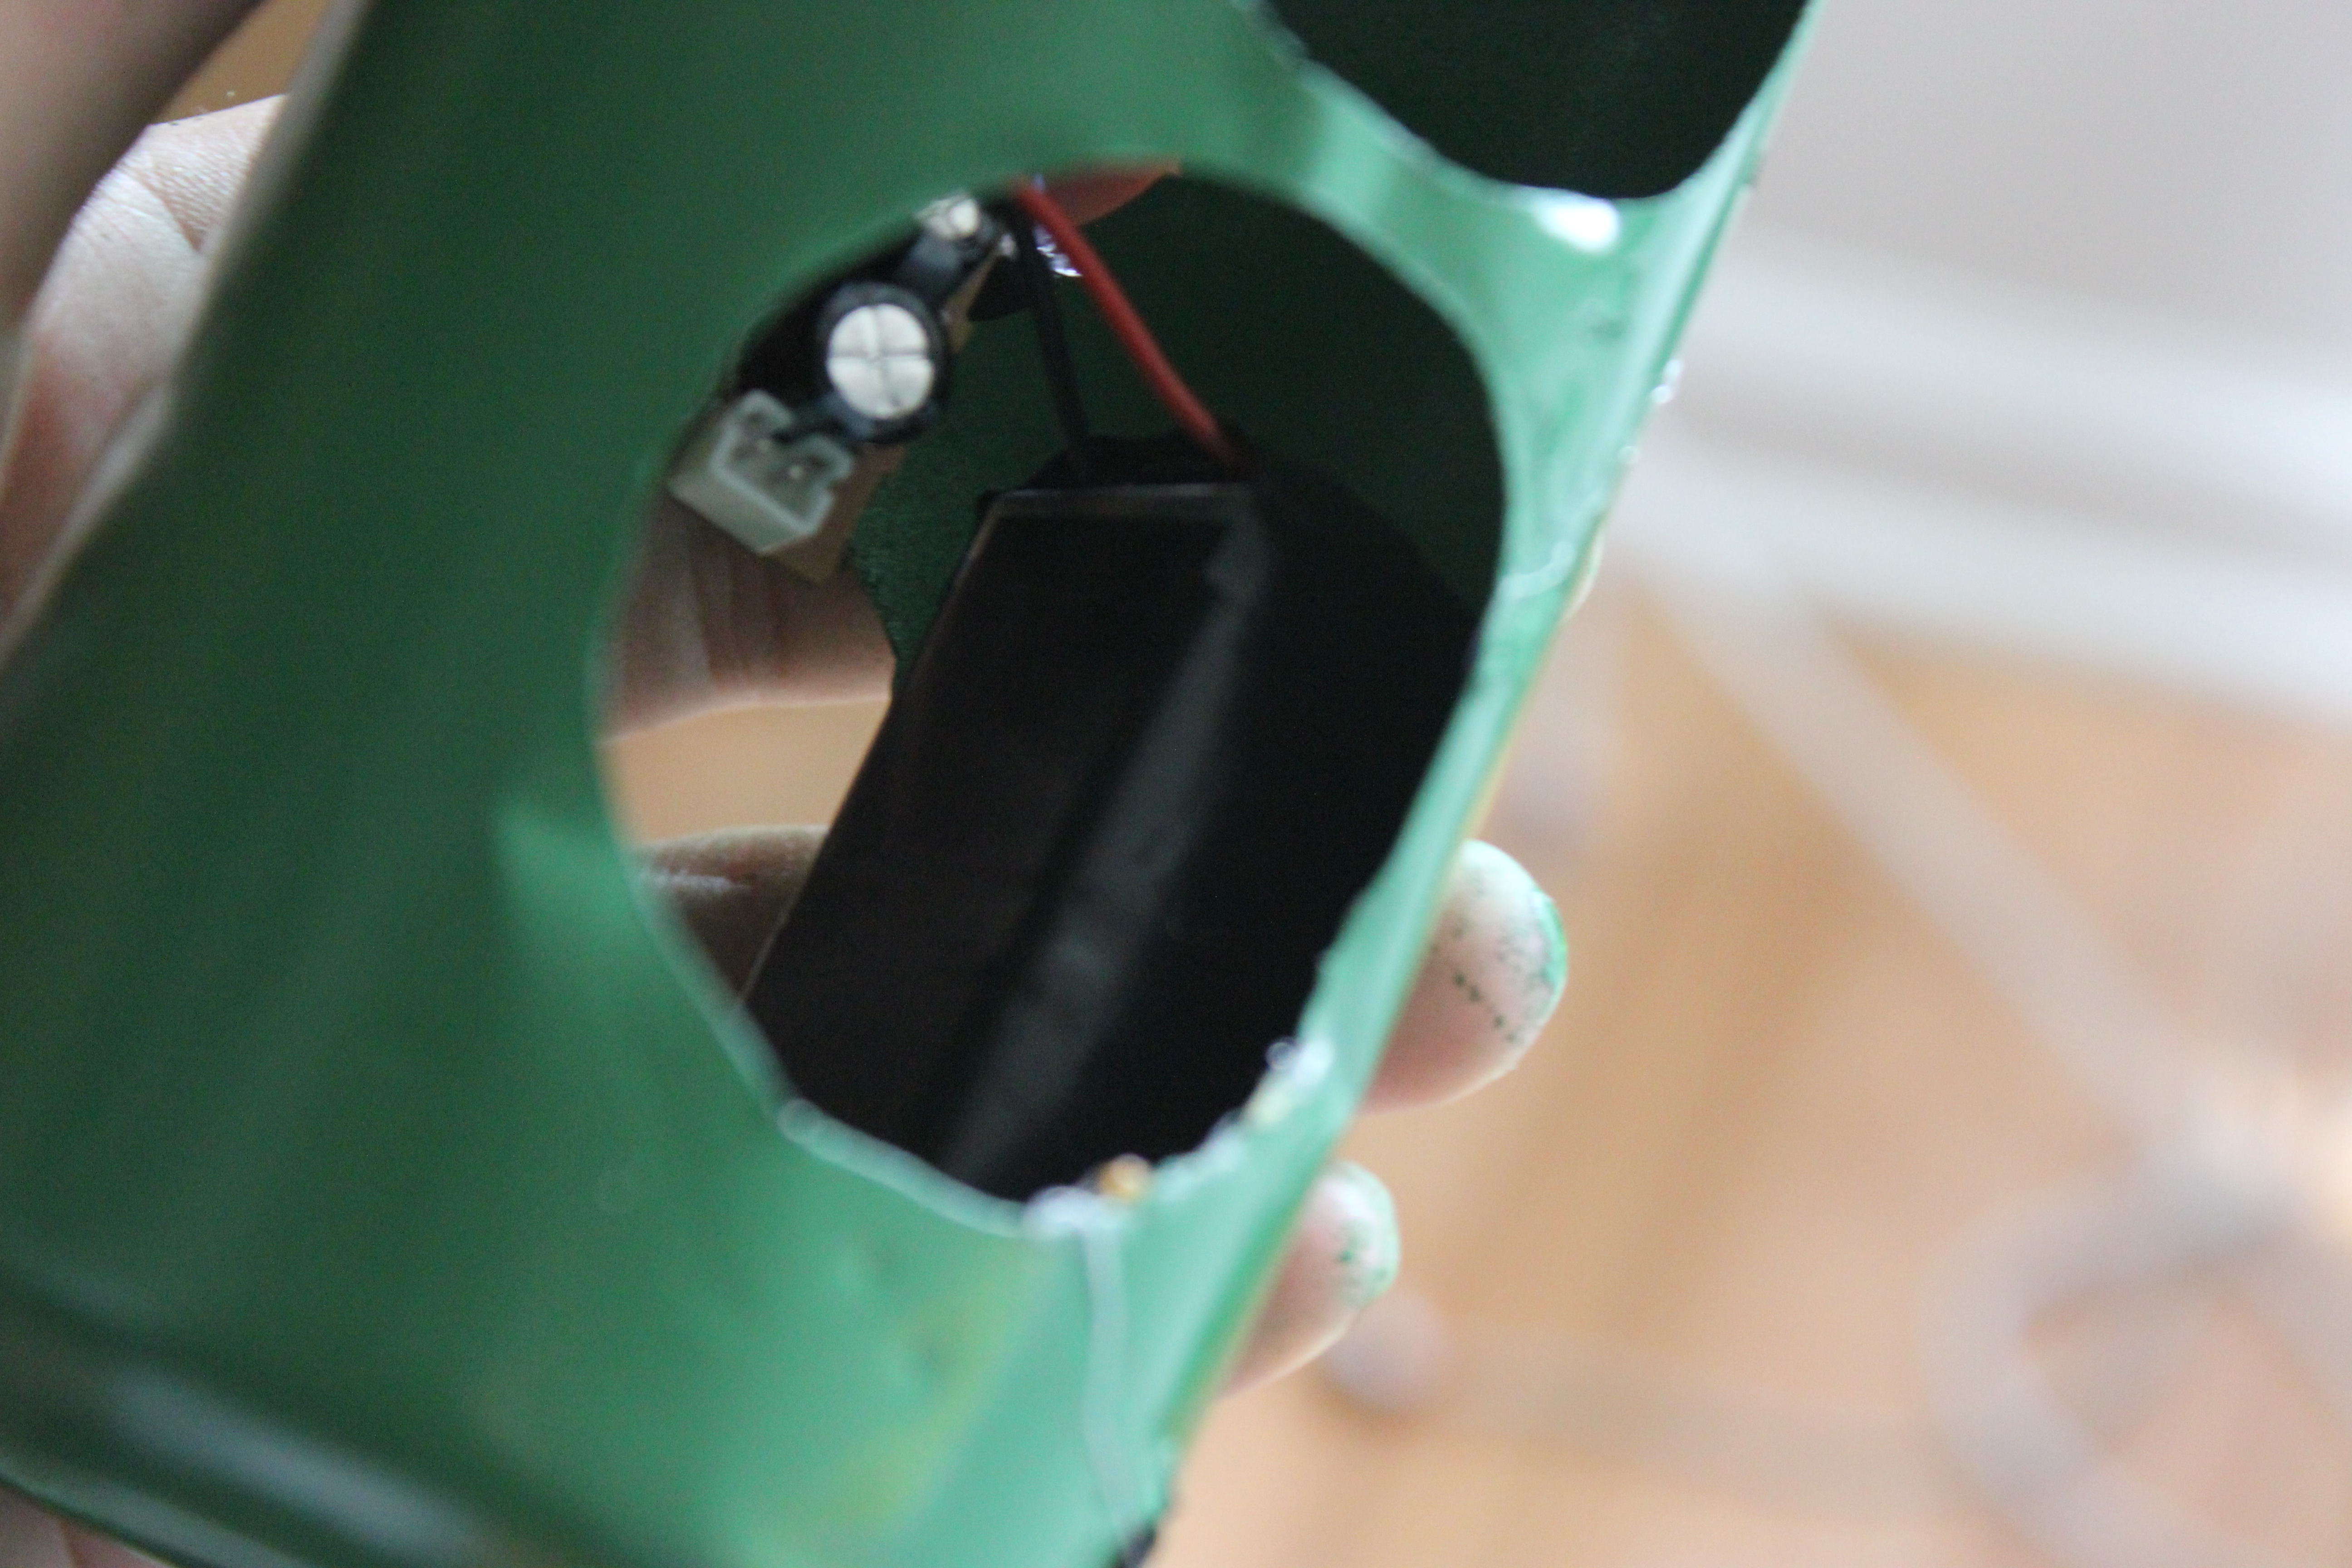
You will need to put in the speakers last, so don't worry about those. My speaker set conveniently had a removable wire clip, but i ended up breaking the solder bonds anyway. First figure out how you are going to get your power source. (my portable speakers used 6 AA batteries so i just substituted them for a 9 volt battery. Solder your power source to your circuit board and fit them in nice and tight. Stupidly i glued the circuit board before soldering the power source in.

Putting in the Speakers
IMG_3238.JPG
IMG_3240.JPG
IMG_3241.JPG
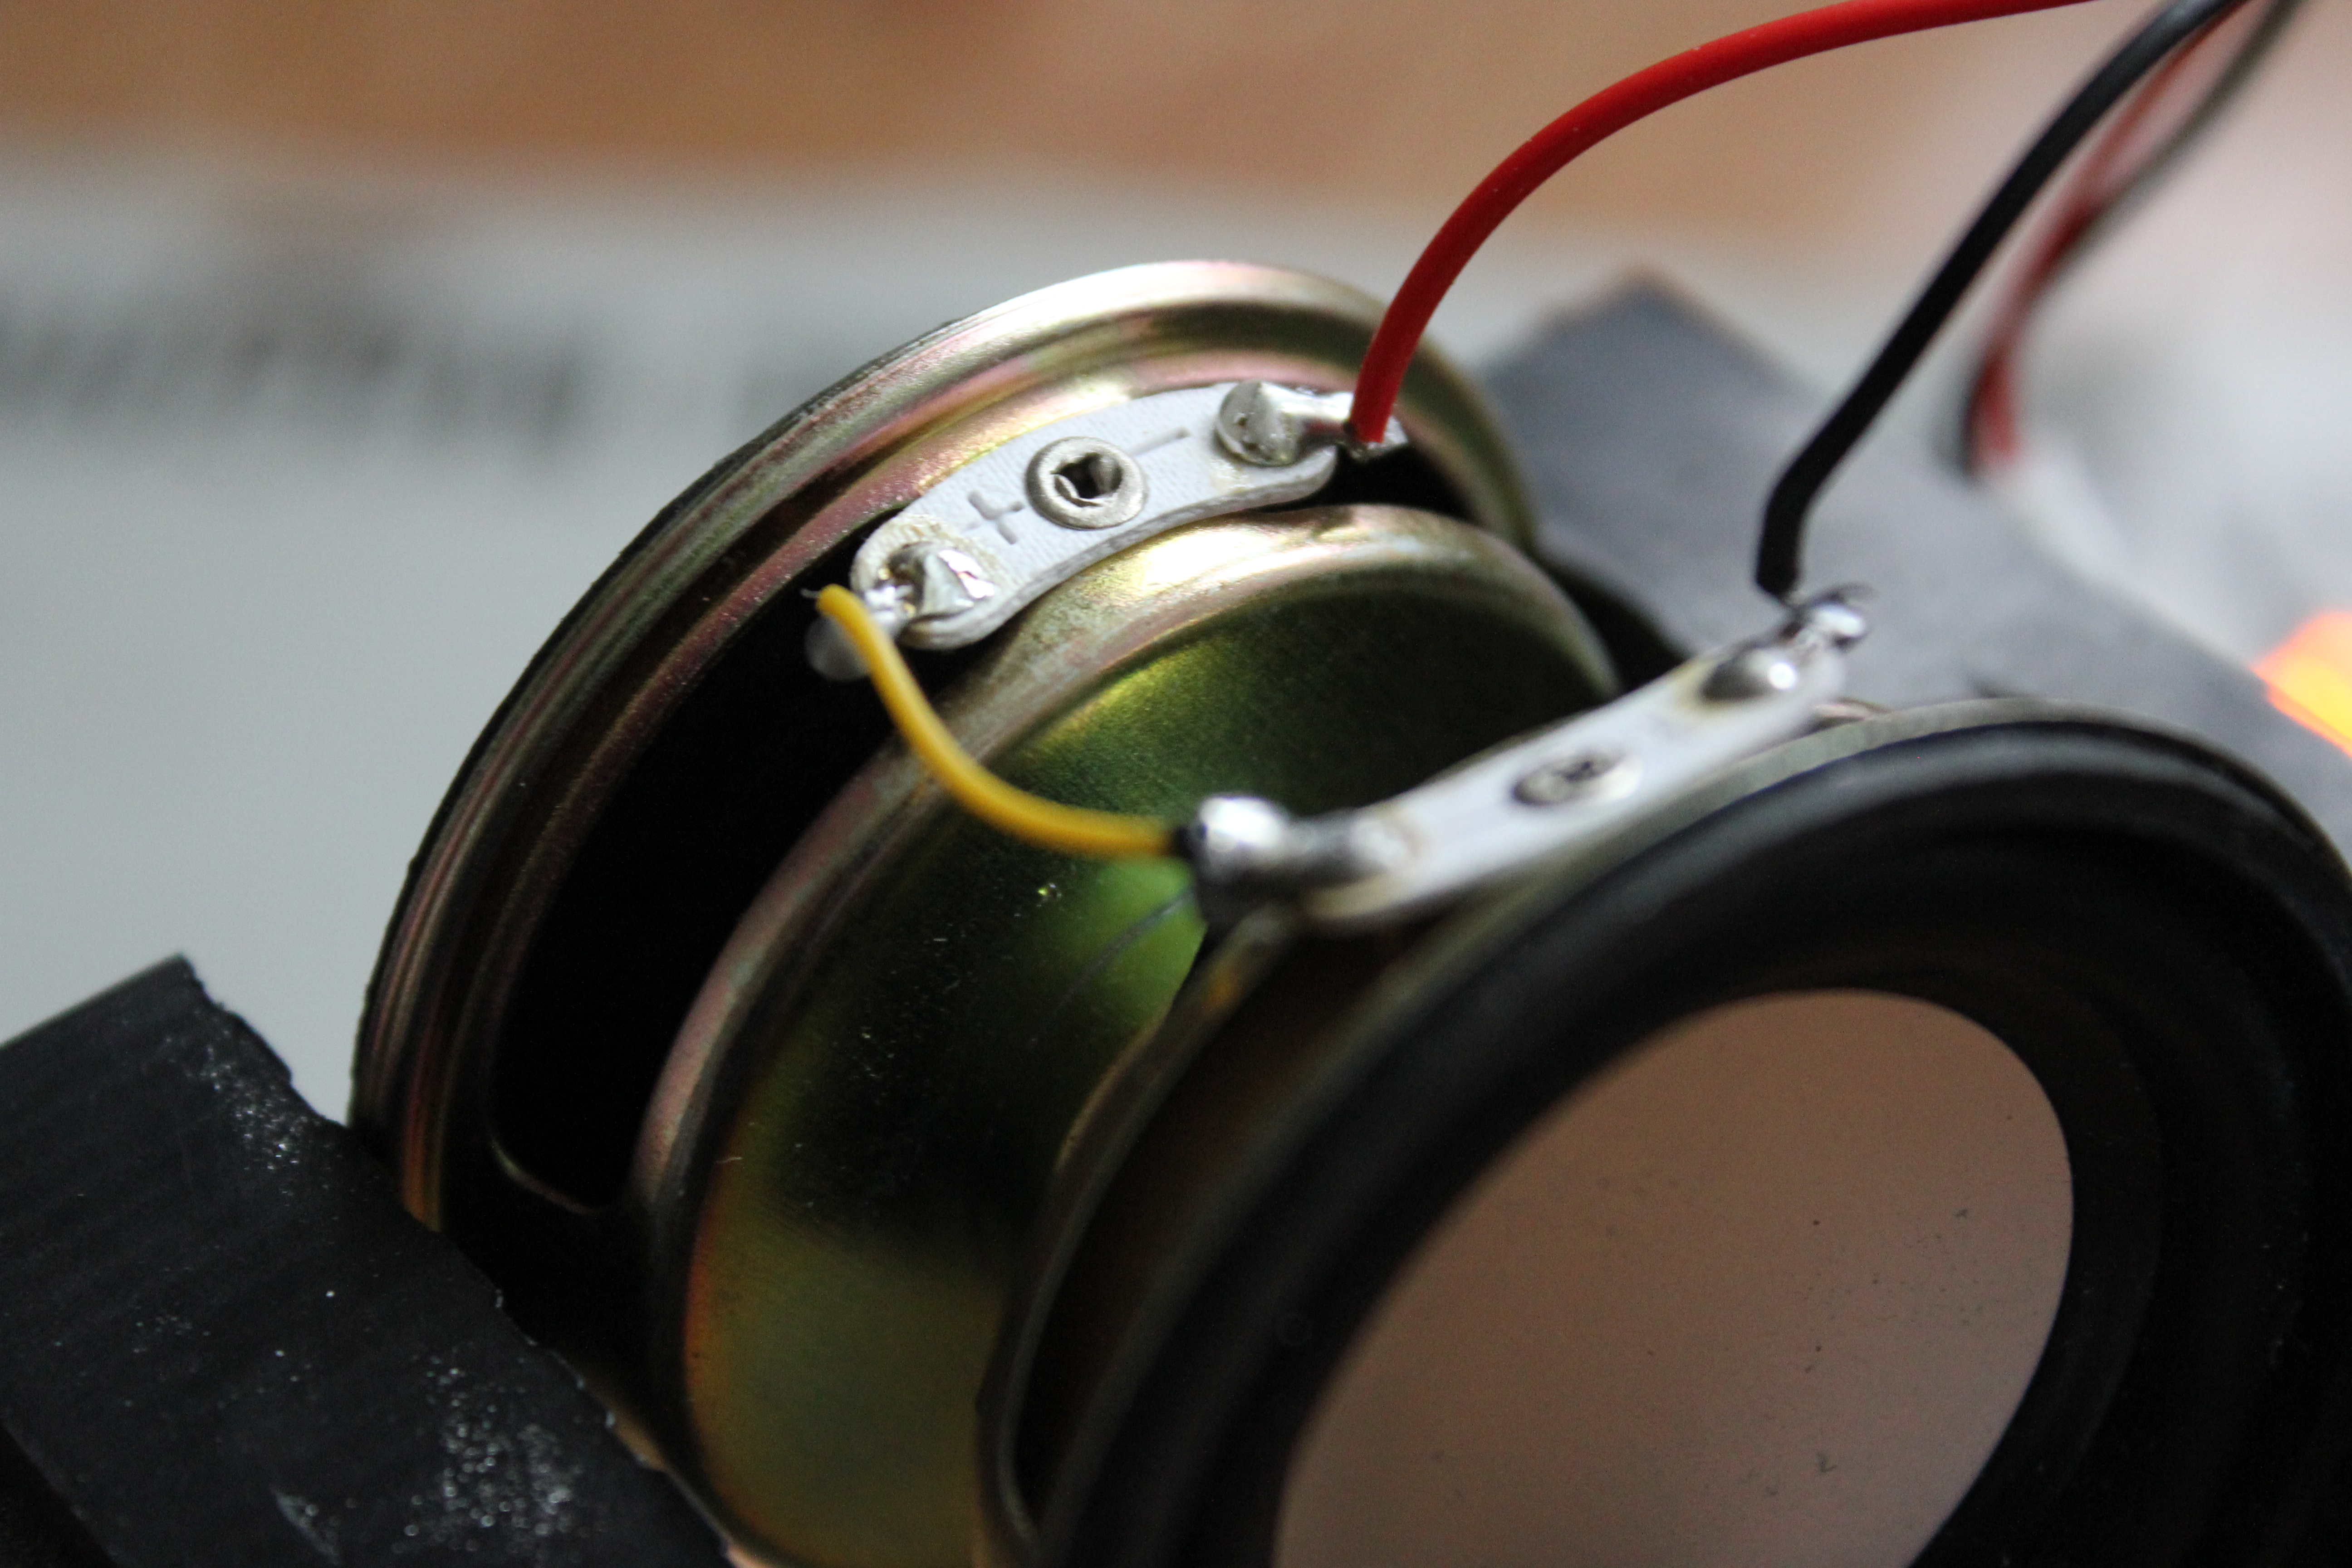
(Instructions for one side of two speakers, for other side do the same) This part was especially tricky, given the tight space constraint. the speakers are connected in series so it makes sense that they would both slide in easily.  WRONG the speakers have to be put in separately and soldered together while they are held there. The first thing you want to do is connect the positive wire to the positive terminal of the first speaker, the connect the negative wire to the negative terminal of the second speaker, go ahead and loosely fit them in, not while they are in solder a wire from the positive end of the second speaker to the negative end of the first one. Make sure to insulate the can in what ever places seem like they could cause a short circuit with electrical tape. Also the aux audio cable connected to the mother board can be threaded through the pressure release hole on the first step or you could go ahead and use your arduino and make what every adjustments you want to make for the audio. After you are done go ahead and attach all of the speakers neatly with hot glue. I really want to see what people do with this because what i did was just a simple plug and play but imagine what you would be able to do with a programmable board inside this piece of hardware. 

Paint Second Layer

IMG_3242.JPG

I completely forgot to take pictures of this step but go ahead and cover the essential parts of the grenade in tape such as the speakers, on/off switch, aux cable, and indicator LED with painting tape and give it a nice finish of fresh spray paint.

Use
IMG_3245.JPG

With an Ipod shuffle attached to the bottom you can go ahead and set the song or audio file before throwing it. Hopefully if this ible gets a good response I will be able to put in stamp and show you some cool stuff you will be able to do with it.