Music Sync RGB Wearable Spike (Arduino)
by StevenSnow in Circuits > Arduino
981 Views, 5 Favorites, 0 Comments
Music Sync RGB Wearable Spike (Arduino)
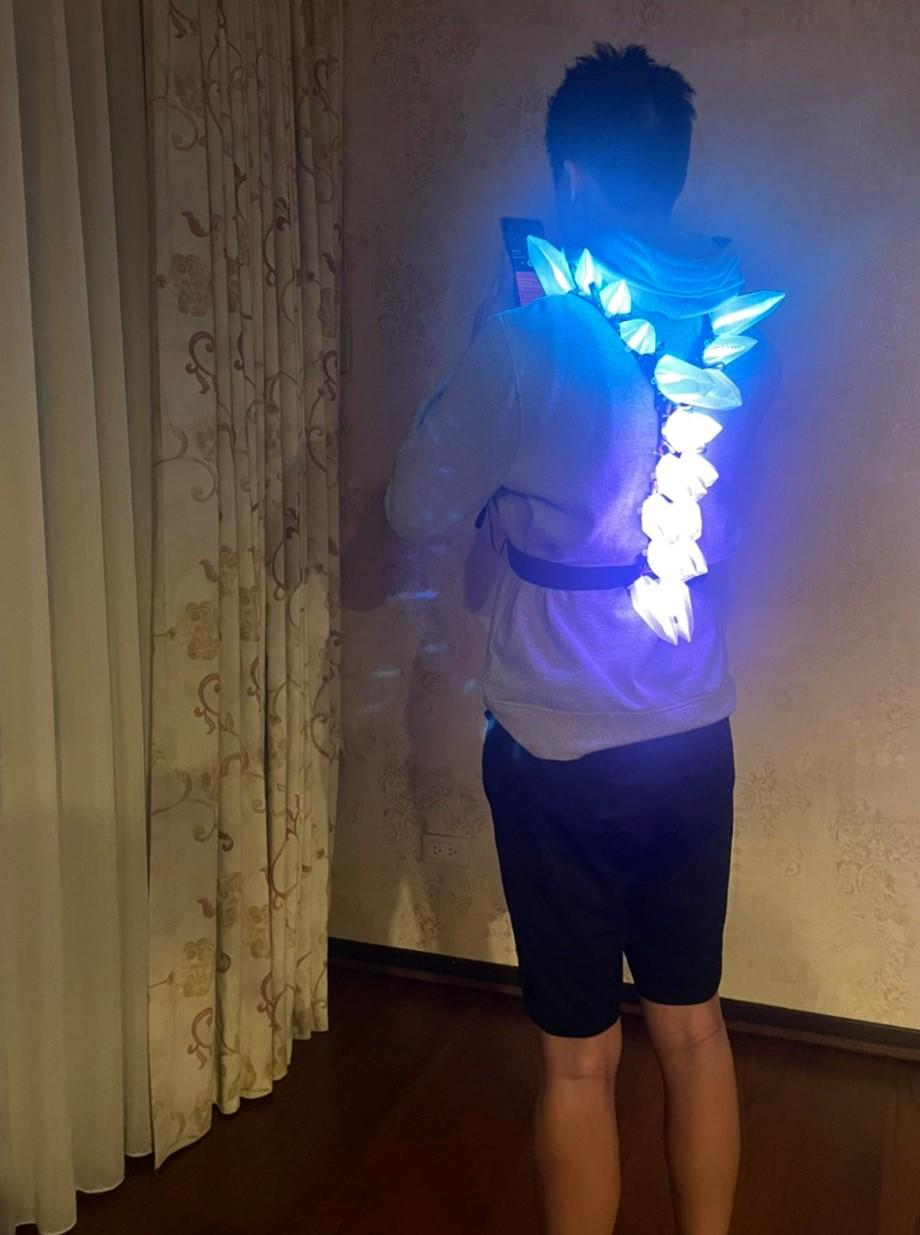
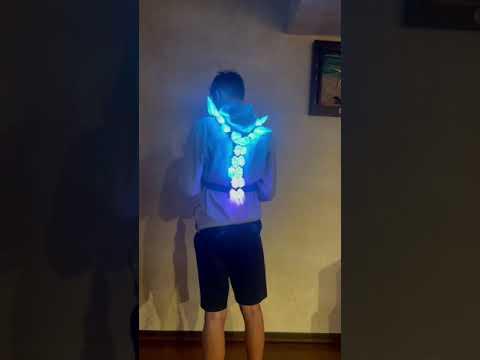
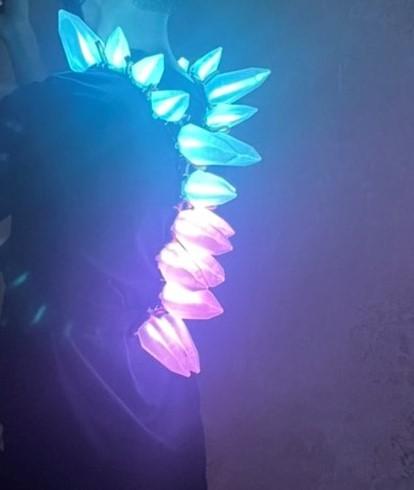
"This RGB Spike is created from the LED Stego Flex Spike Hoodie by Becky Stern. Follow this link to his design on Adafruit.com. "
Dress up with this RGB LED Spike that you can custom your own color and style. Also, it can sync with your music to make it ever cooler! All the component are all tied with one backstrap, with a battery that power hours of shiny fun. These hollow 3D printed Spike are transparent to diffuse LED.
Supplies
Here are the material you need to create this fabulous spike by your self:
// -------------------------------------- Require material for RGB spike------------------------- //
3D Printed Spike ( Recommended wall size: 2mm ) - 20 pieces
WS2801 RGB led strip ( 20 LED, each one have an individual WS2801 chip)
Arduino Main Board
Backstrap
3m Double Sided Tape
Hot Glue
USB battery pack
Single core cable and Dupont Line
Pins - 40 pieces
// -------------------------------------- Require material for sync music ------------------------- //
1uf Capacitor - 1
1k ohm resistor - 1
3.5mm audio jack 4 pole male to 3 pole female (Not require if your playing device is 3 pole 3.5 mm audio hole)
3.5mm audio jack 3.5mm 3 pole audio jack splitter
A playing device ( Mp3, phone, etc.... )
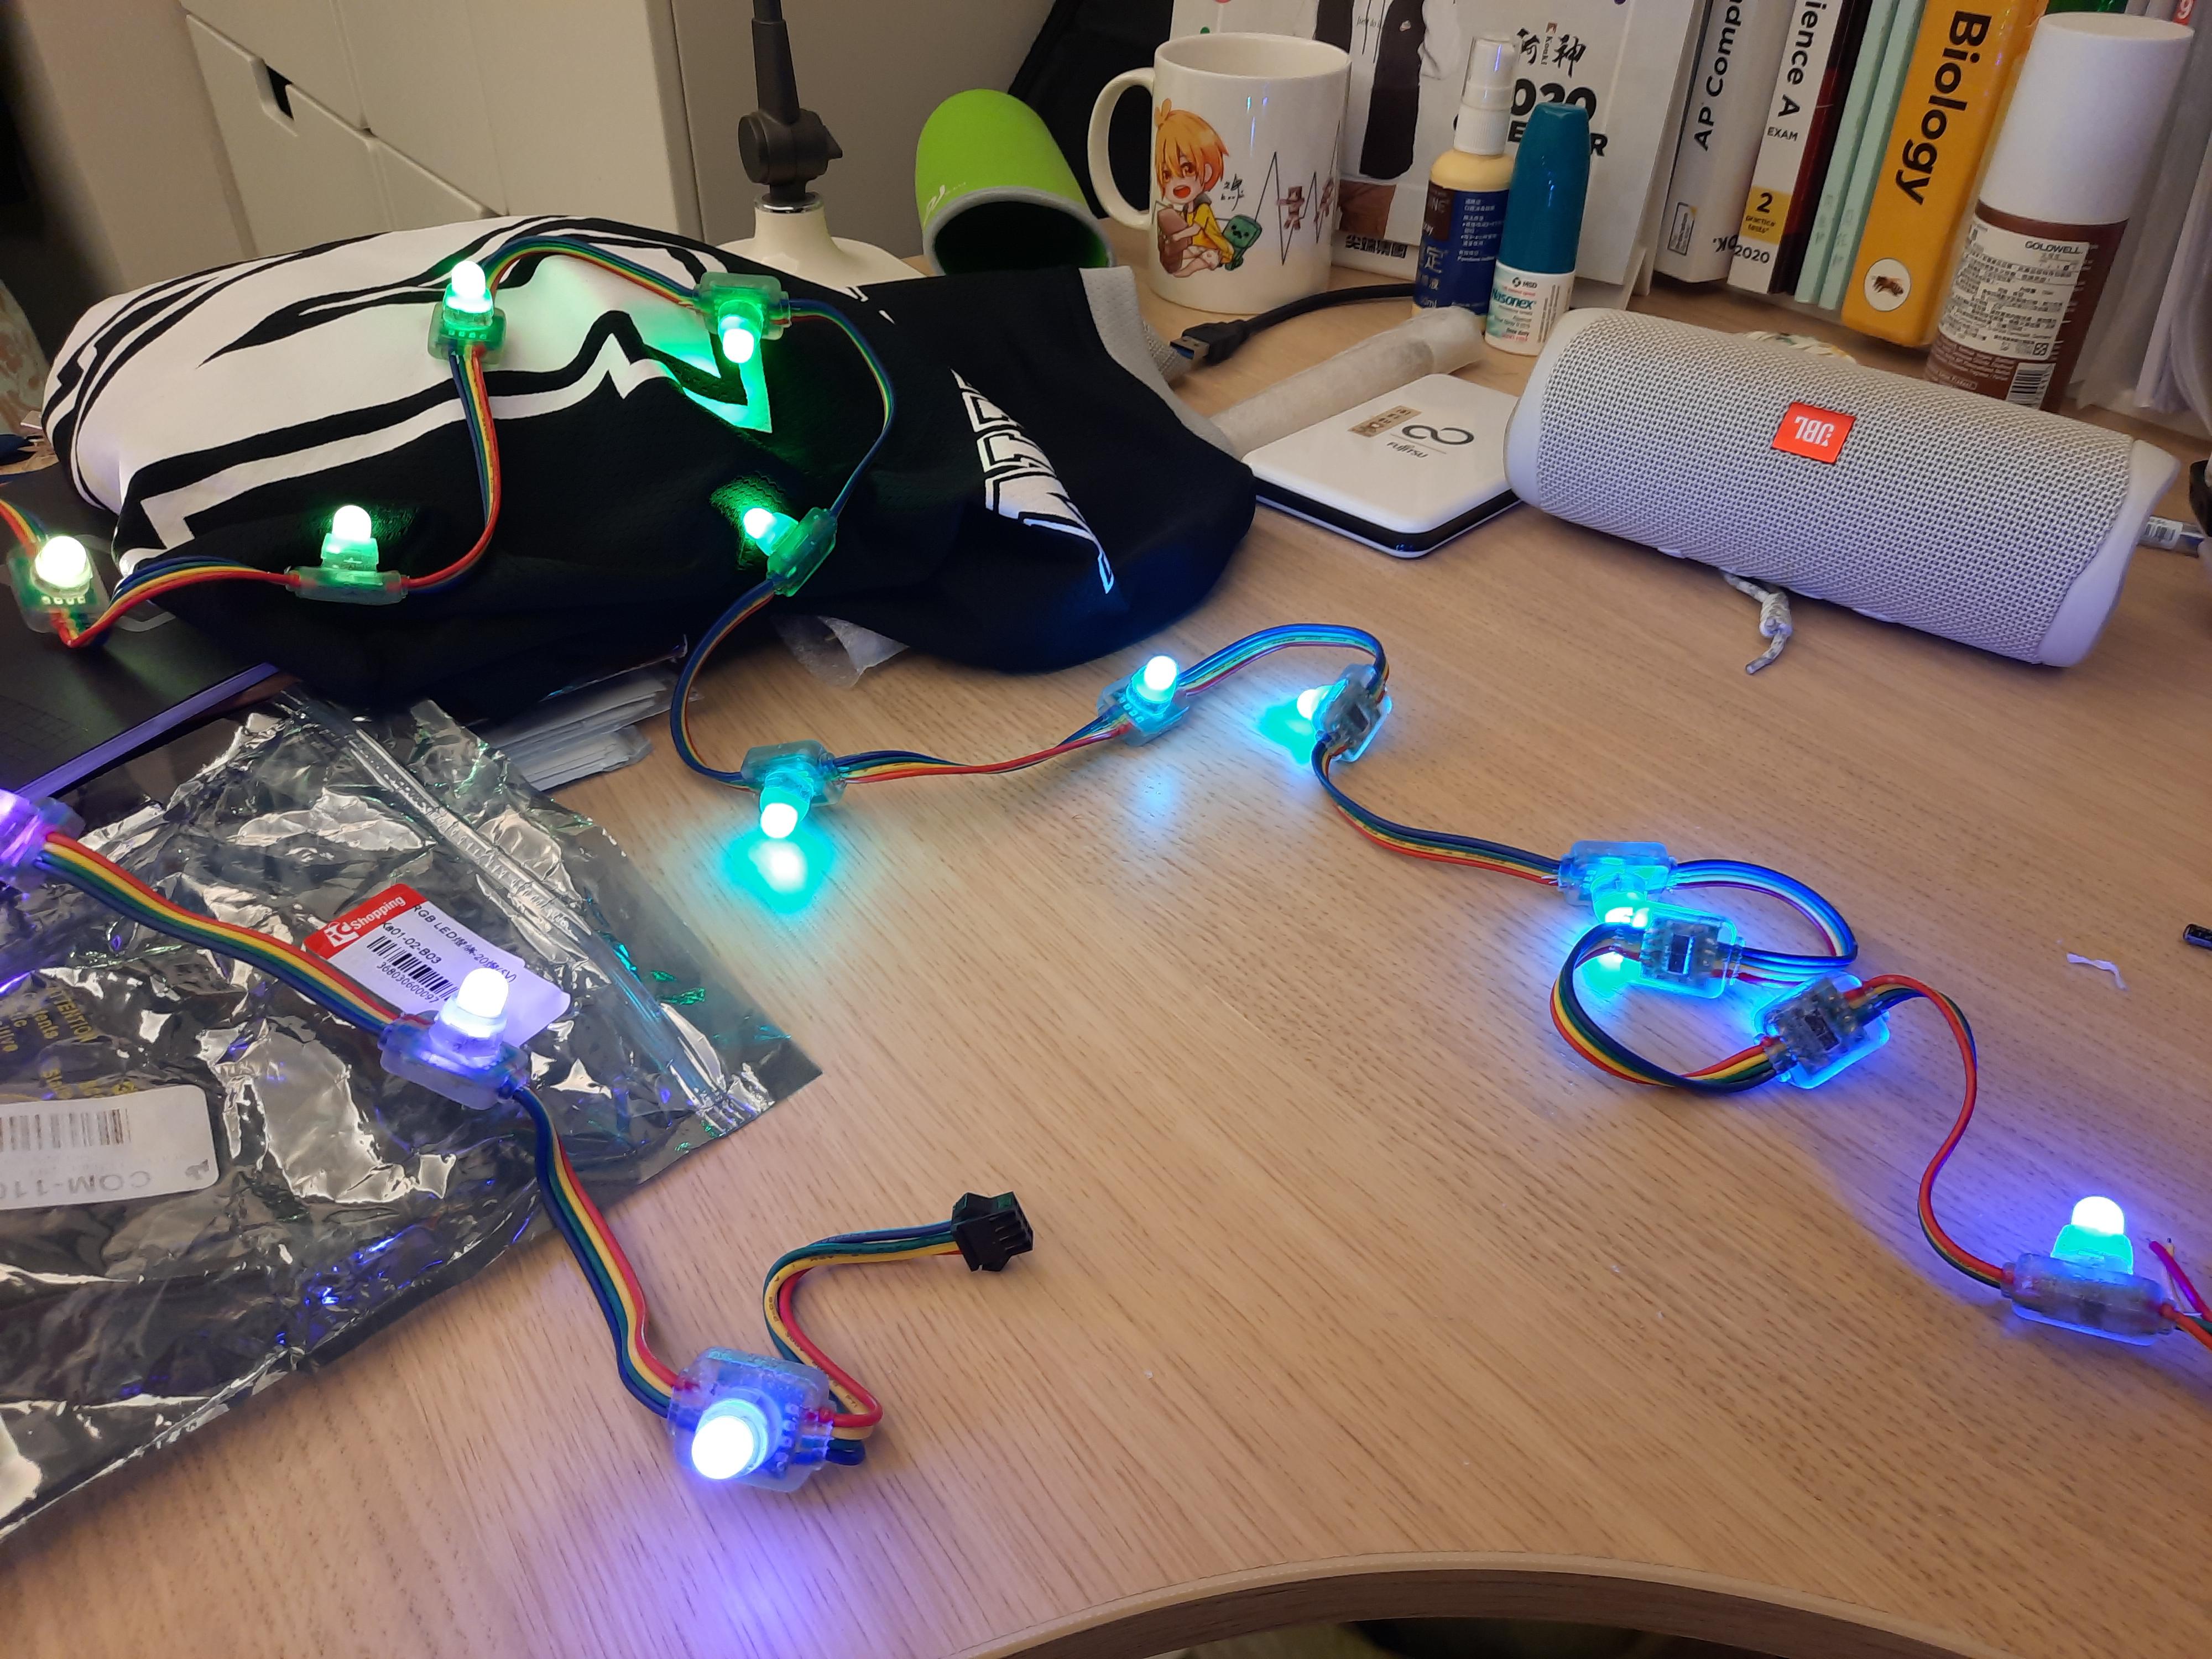
Setting Up the LED Strip
.jpg)
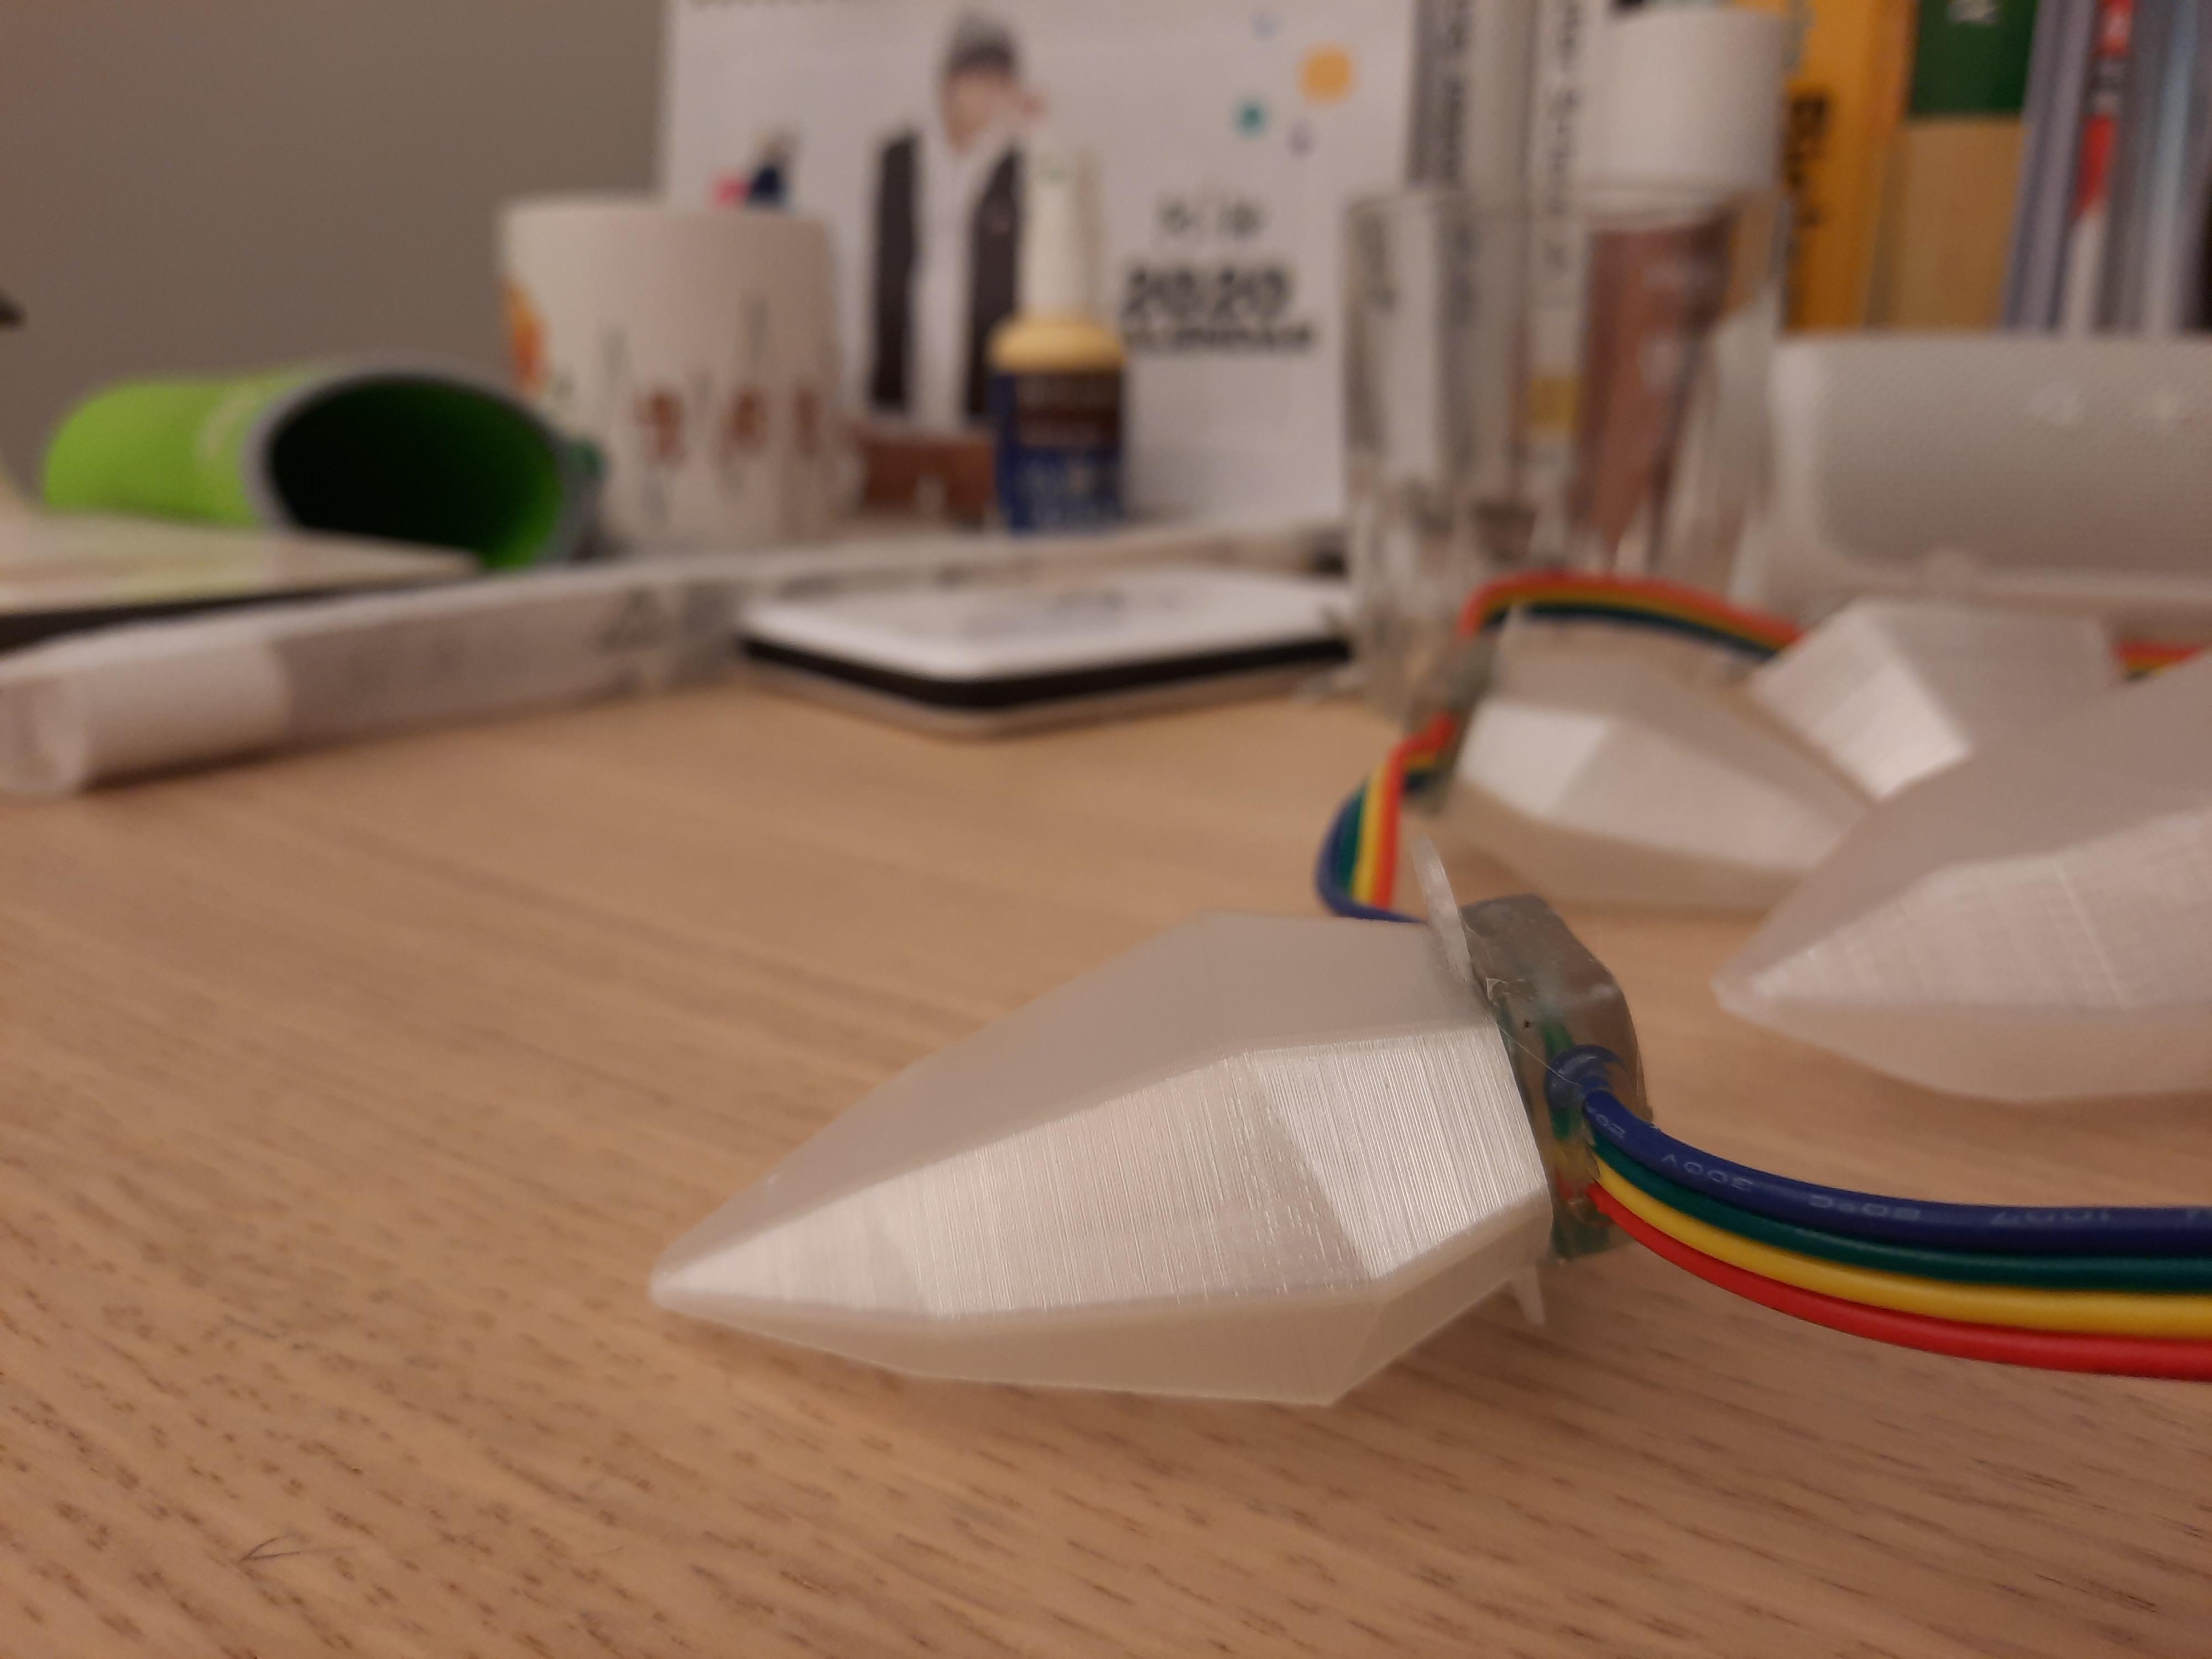
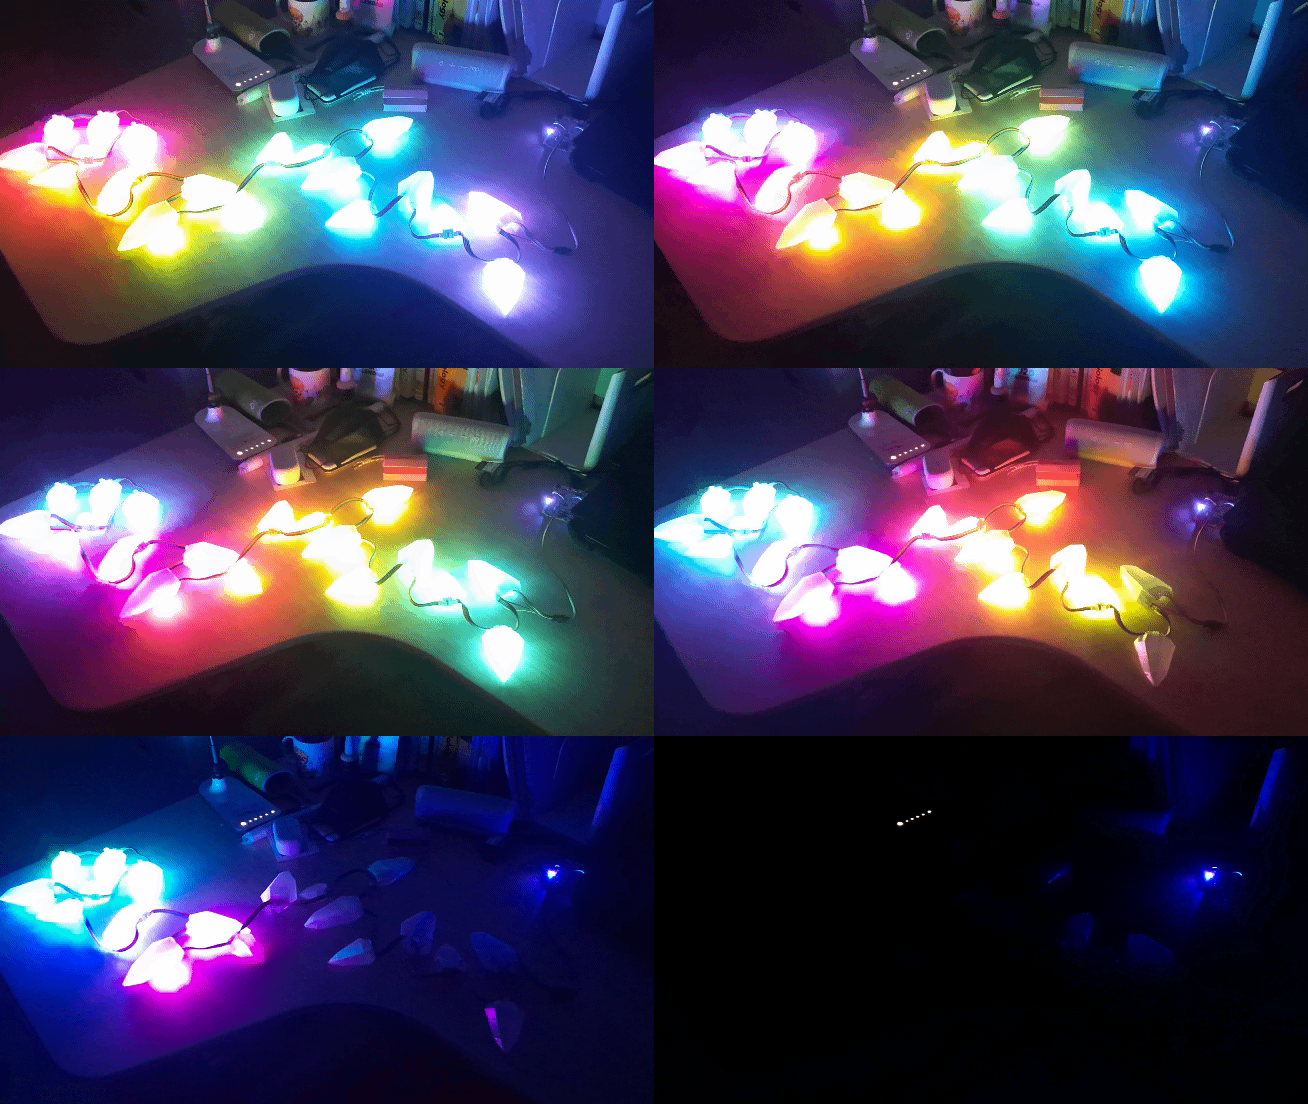
The WS2801 chips are communicating with SPI, so find your strip's library, SPI.h library and instill it.
Hot glue each spike on to the LEDs
Connect the input of the strip with the Dupont Line ( 4 lines )
Red --> 5 volt --> 5 volt on the Arduino board
Yellow --> GND -- > GND on the Arduino board
Green --> Data pin ( MOSI ) --> Arduino digital pins
Blue --> Clock pin ( SCLK ) --> Arduino digital pins
Main Board
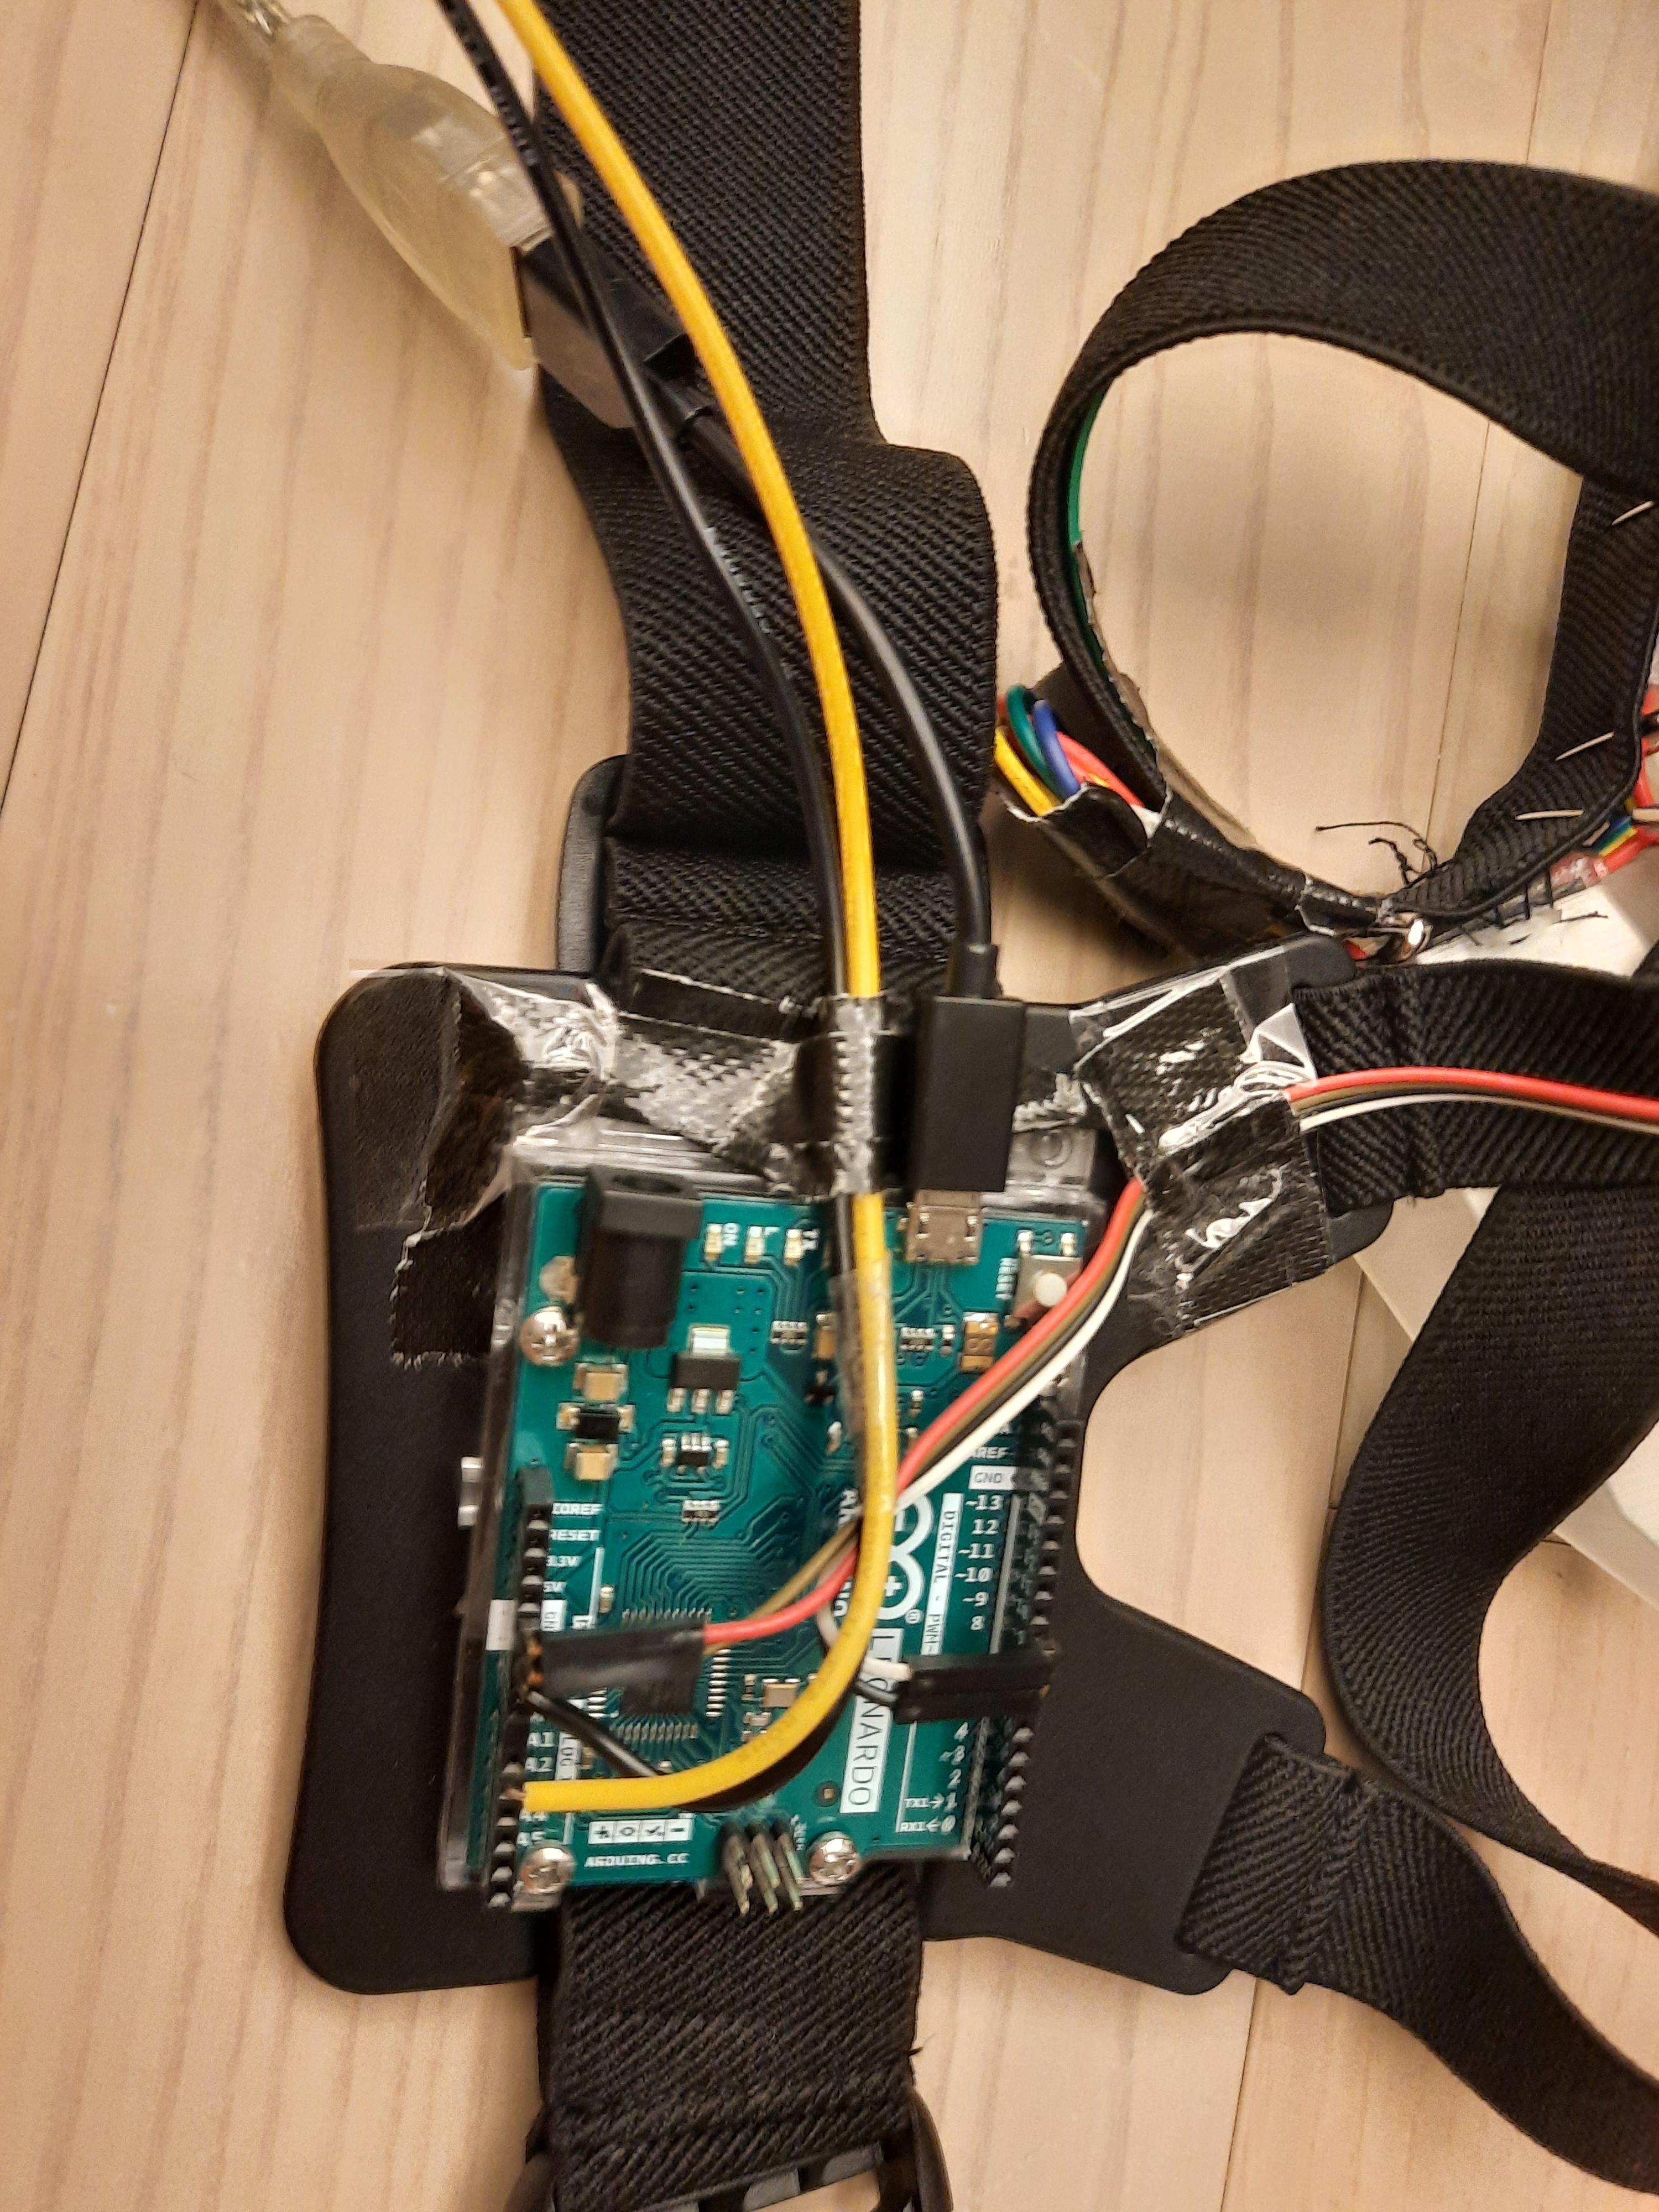
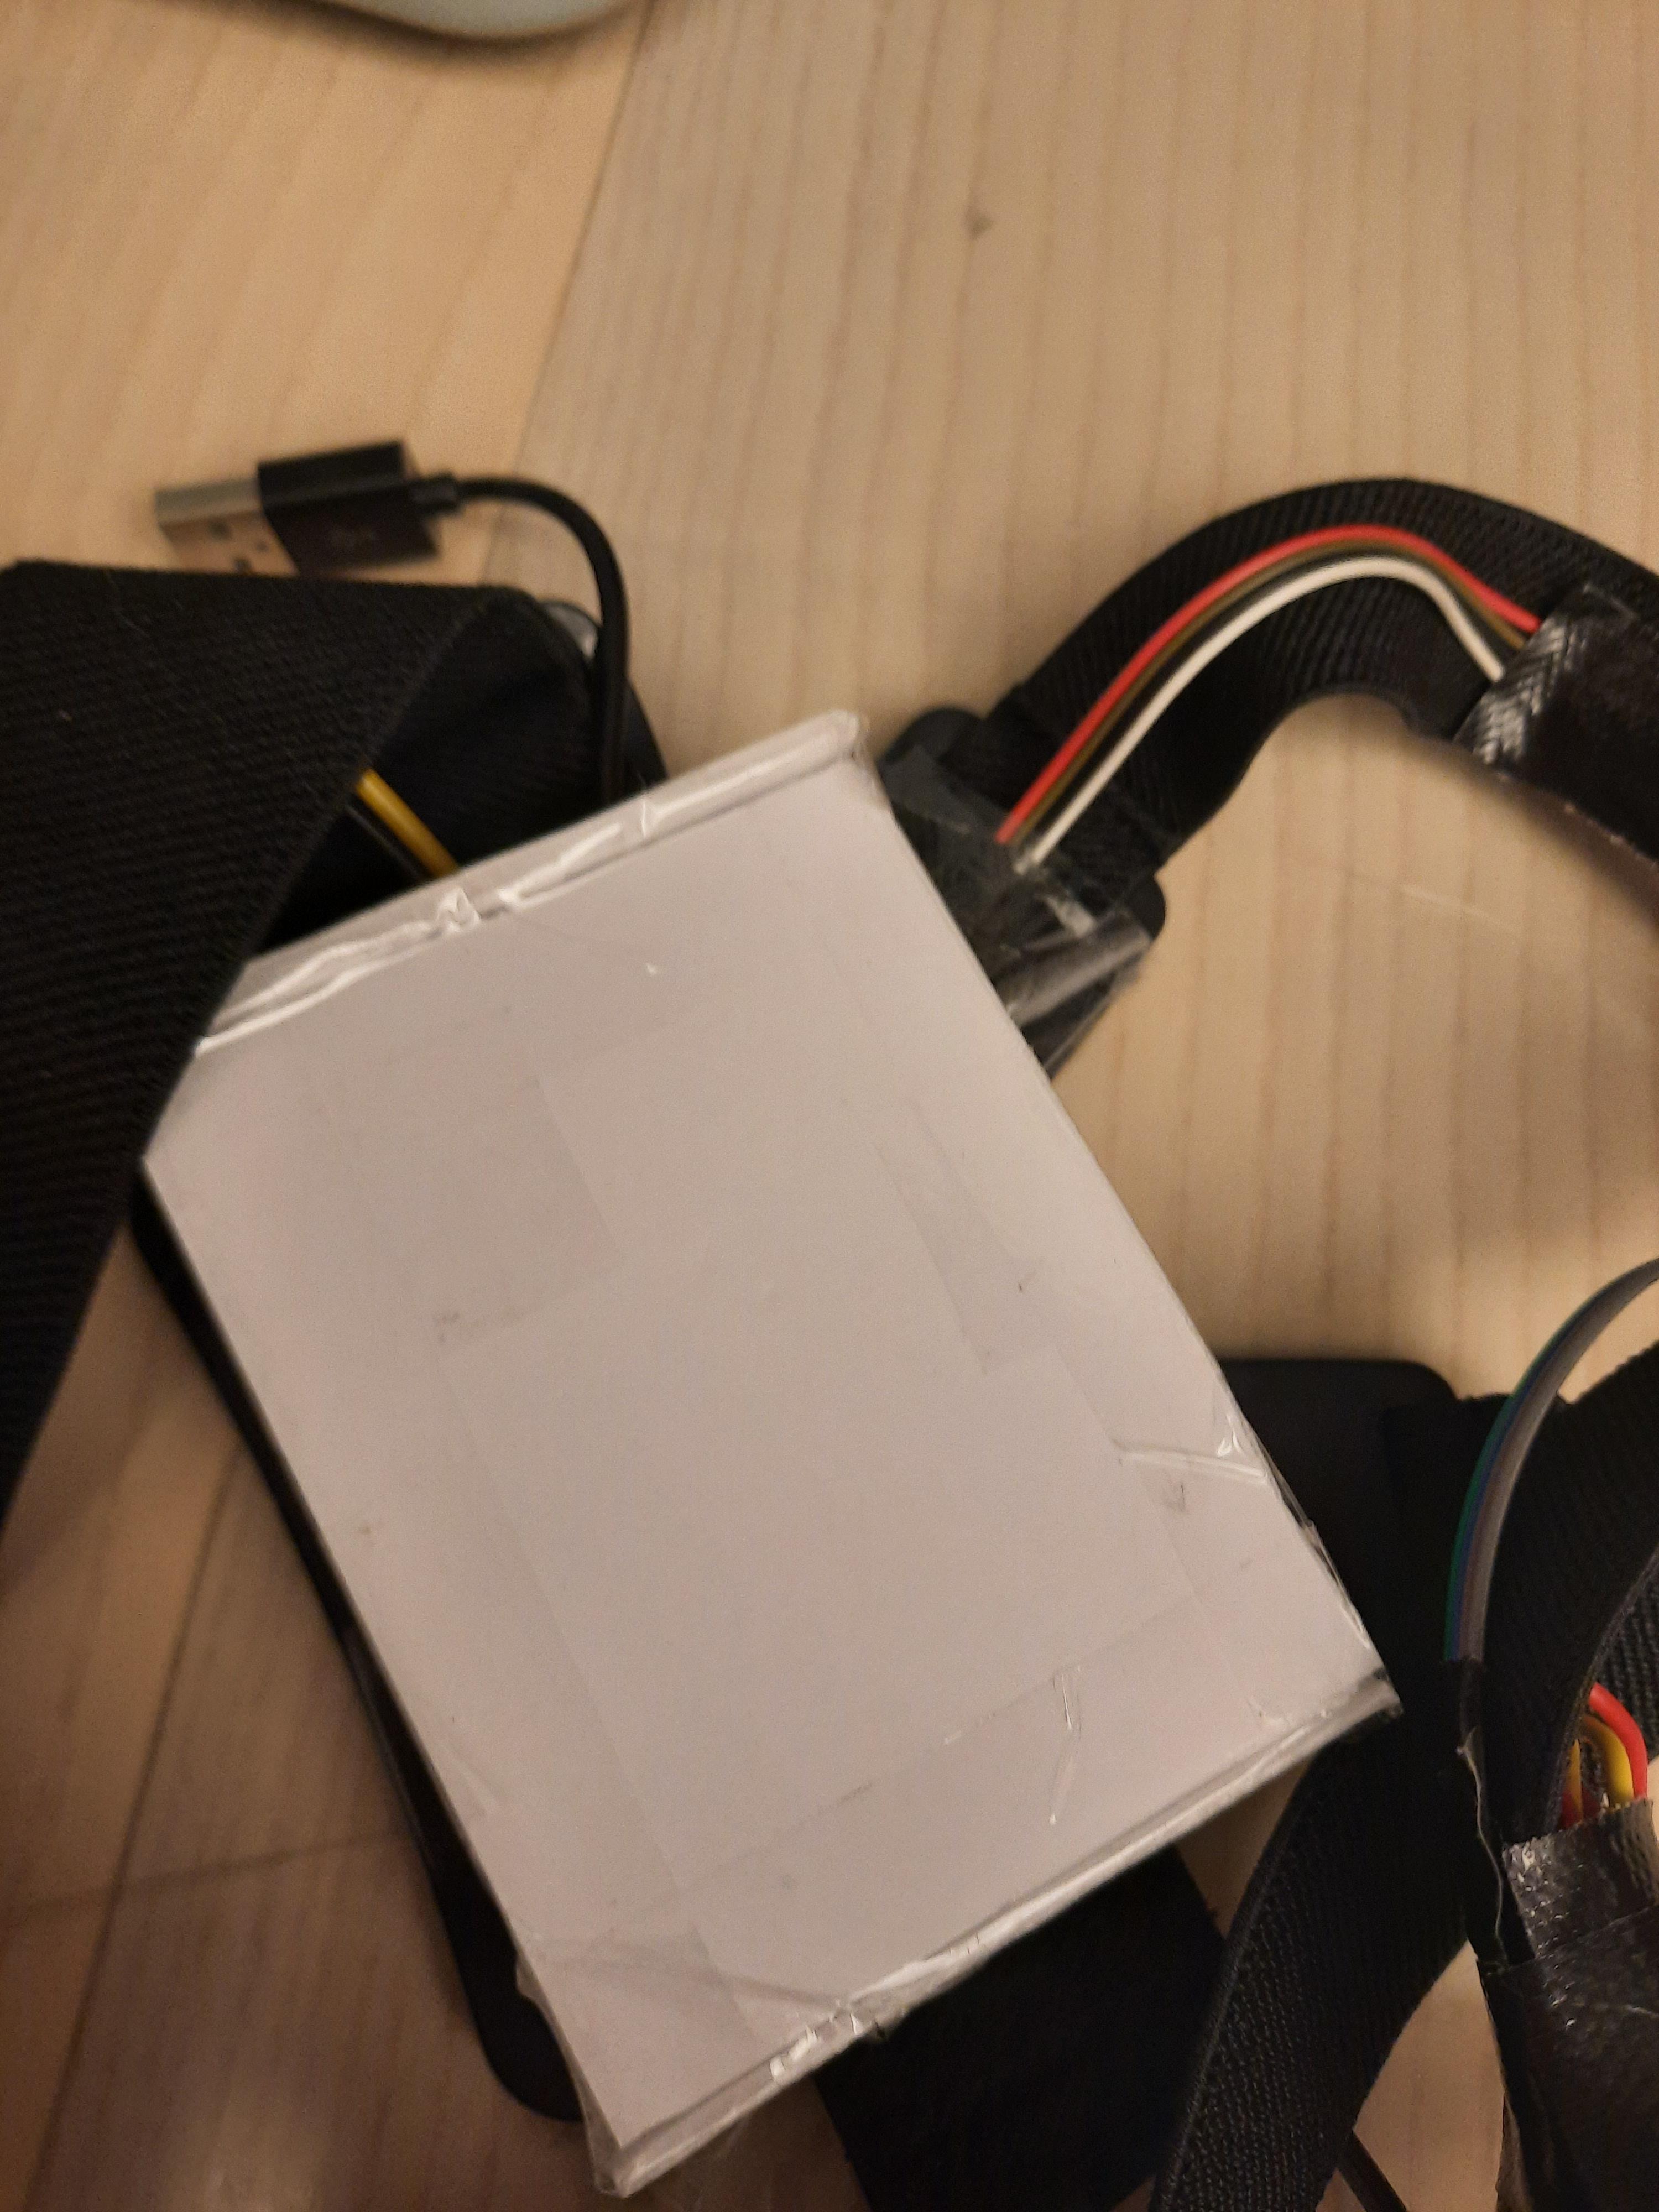
Stick the Arduino board on the center platform of the back strap
Connect the four wire from the LED strip and two Single core cable to the Arduino
One cable to GND, one to Analog
Hide the cable at the back of the black strap
Attach the Strip
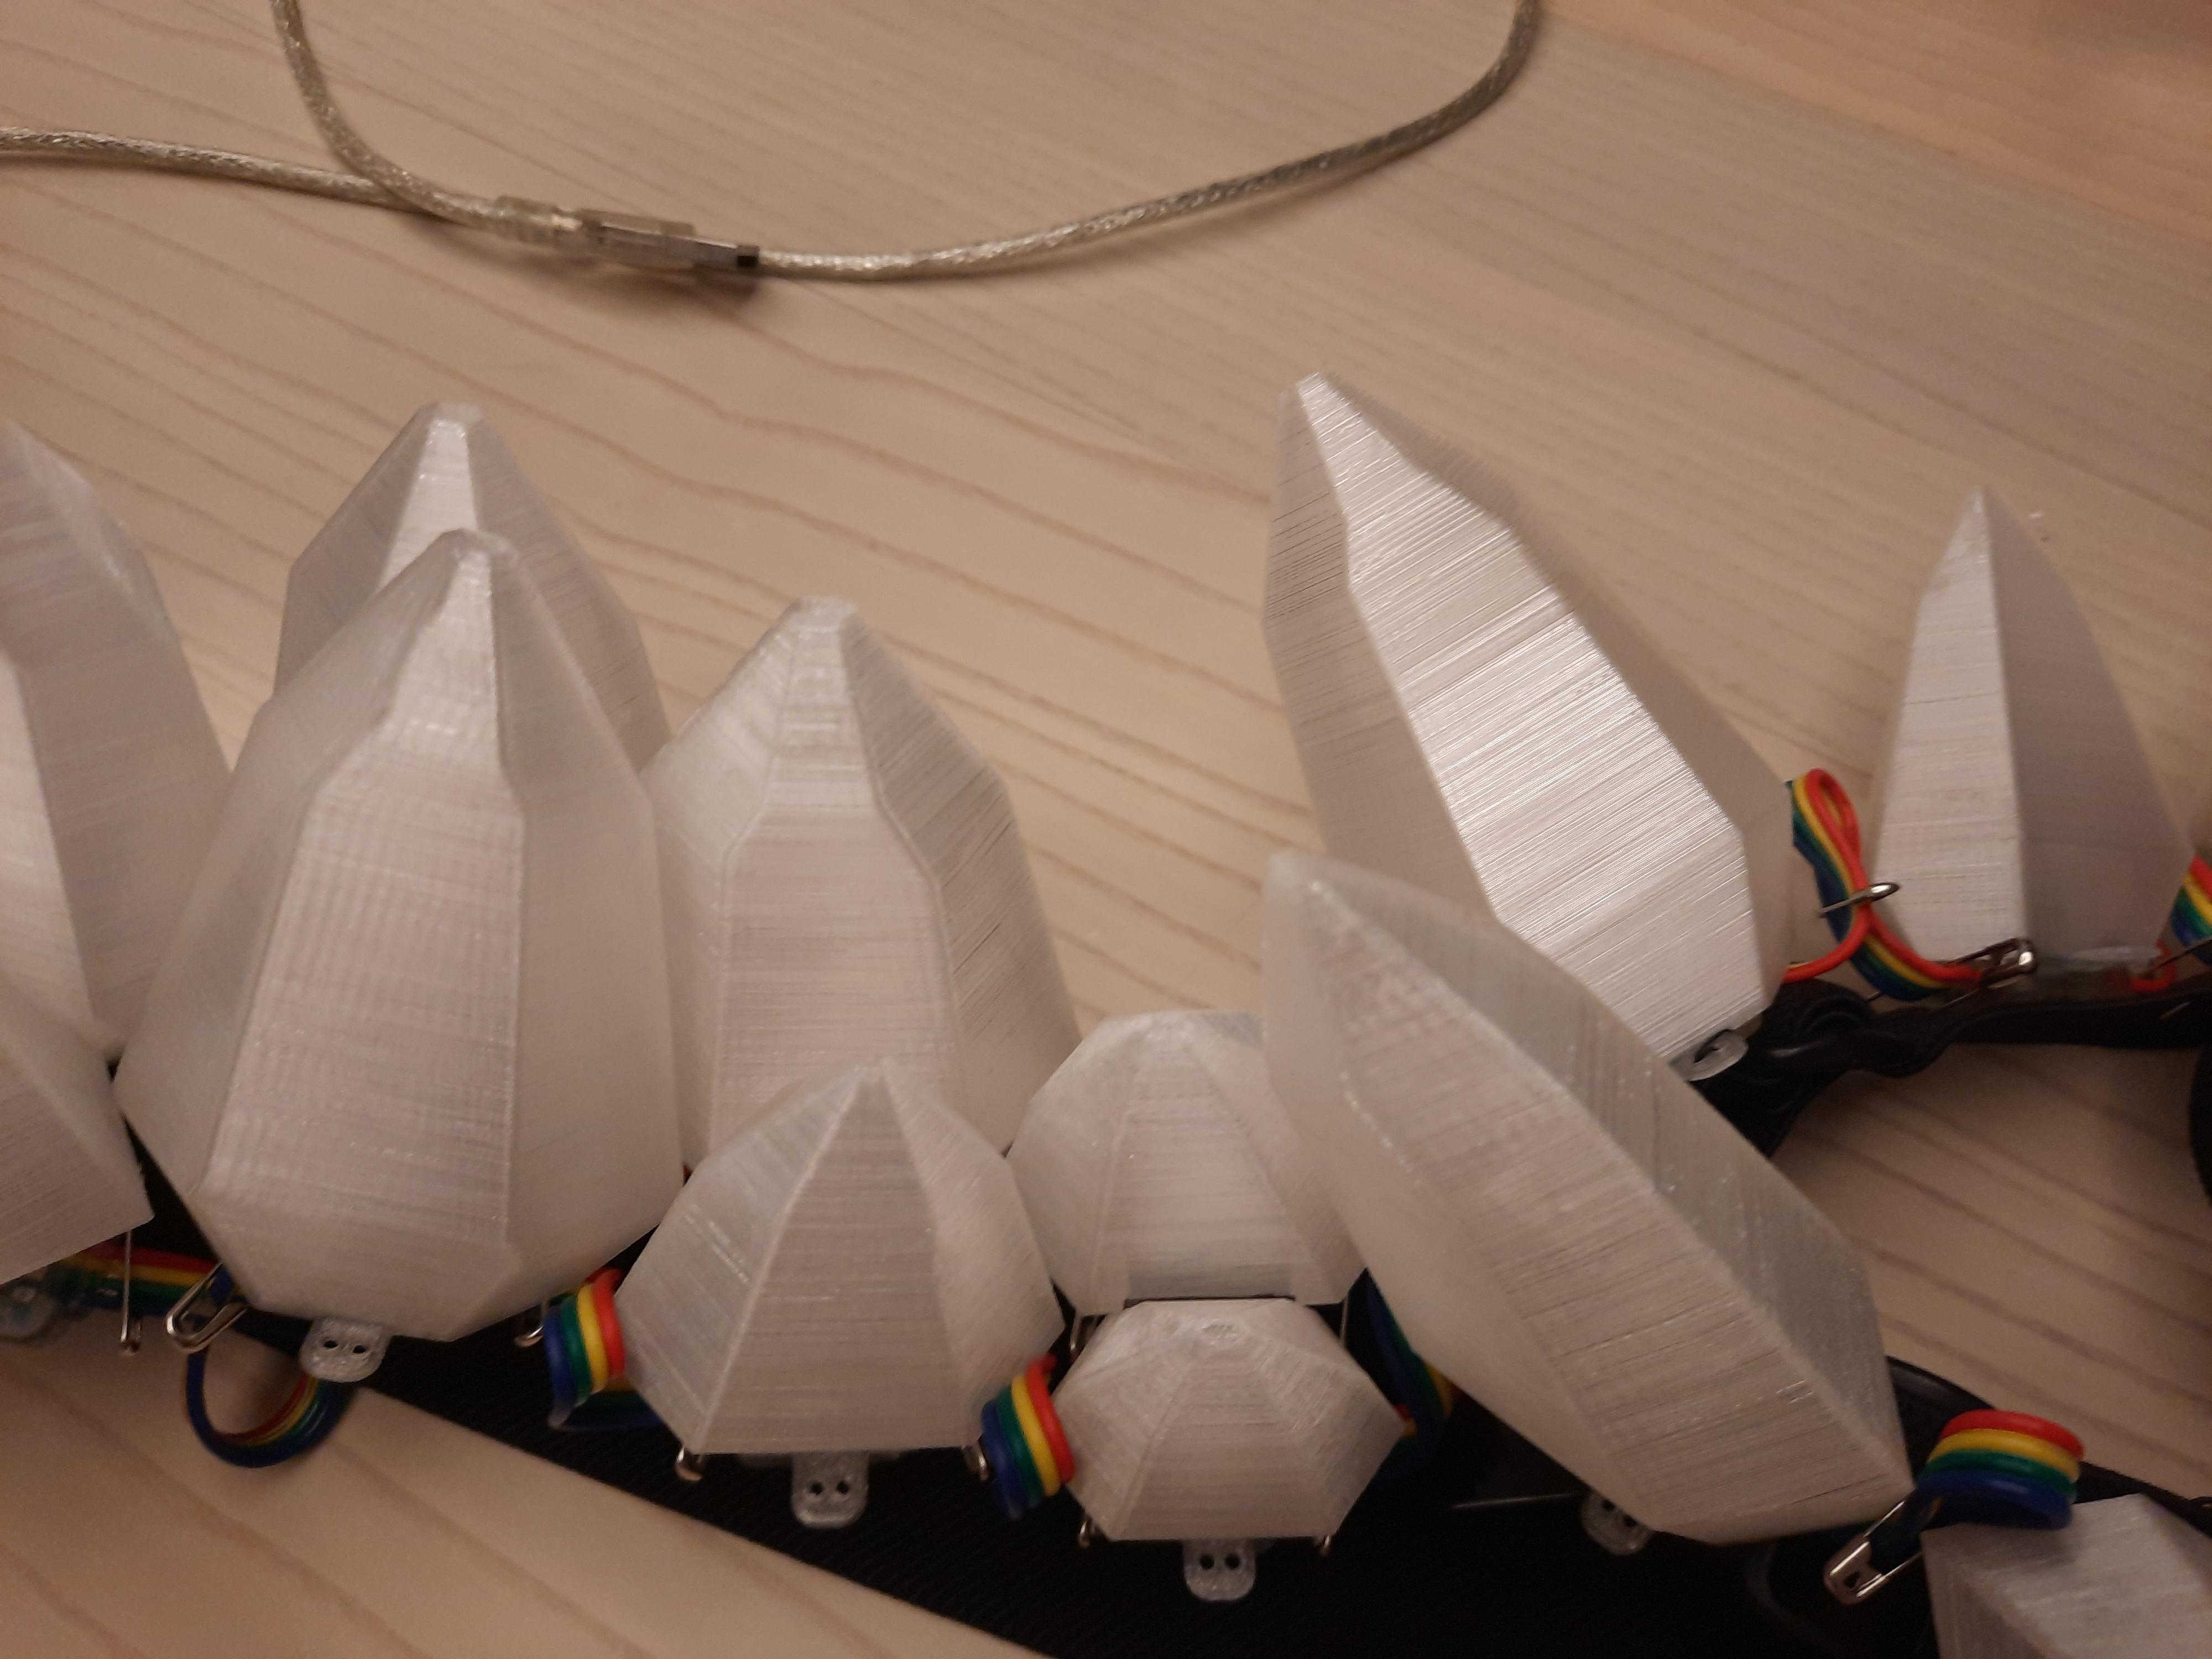
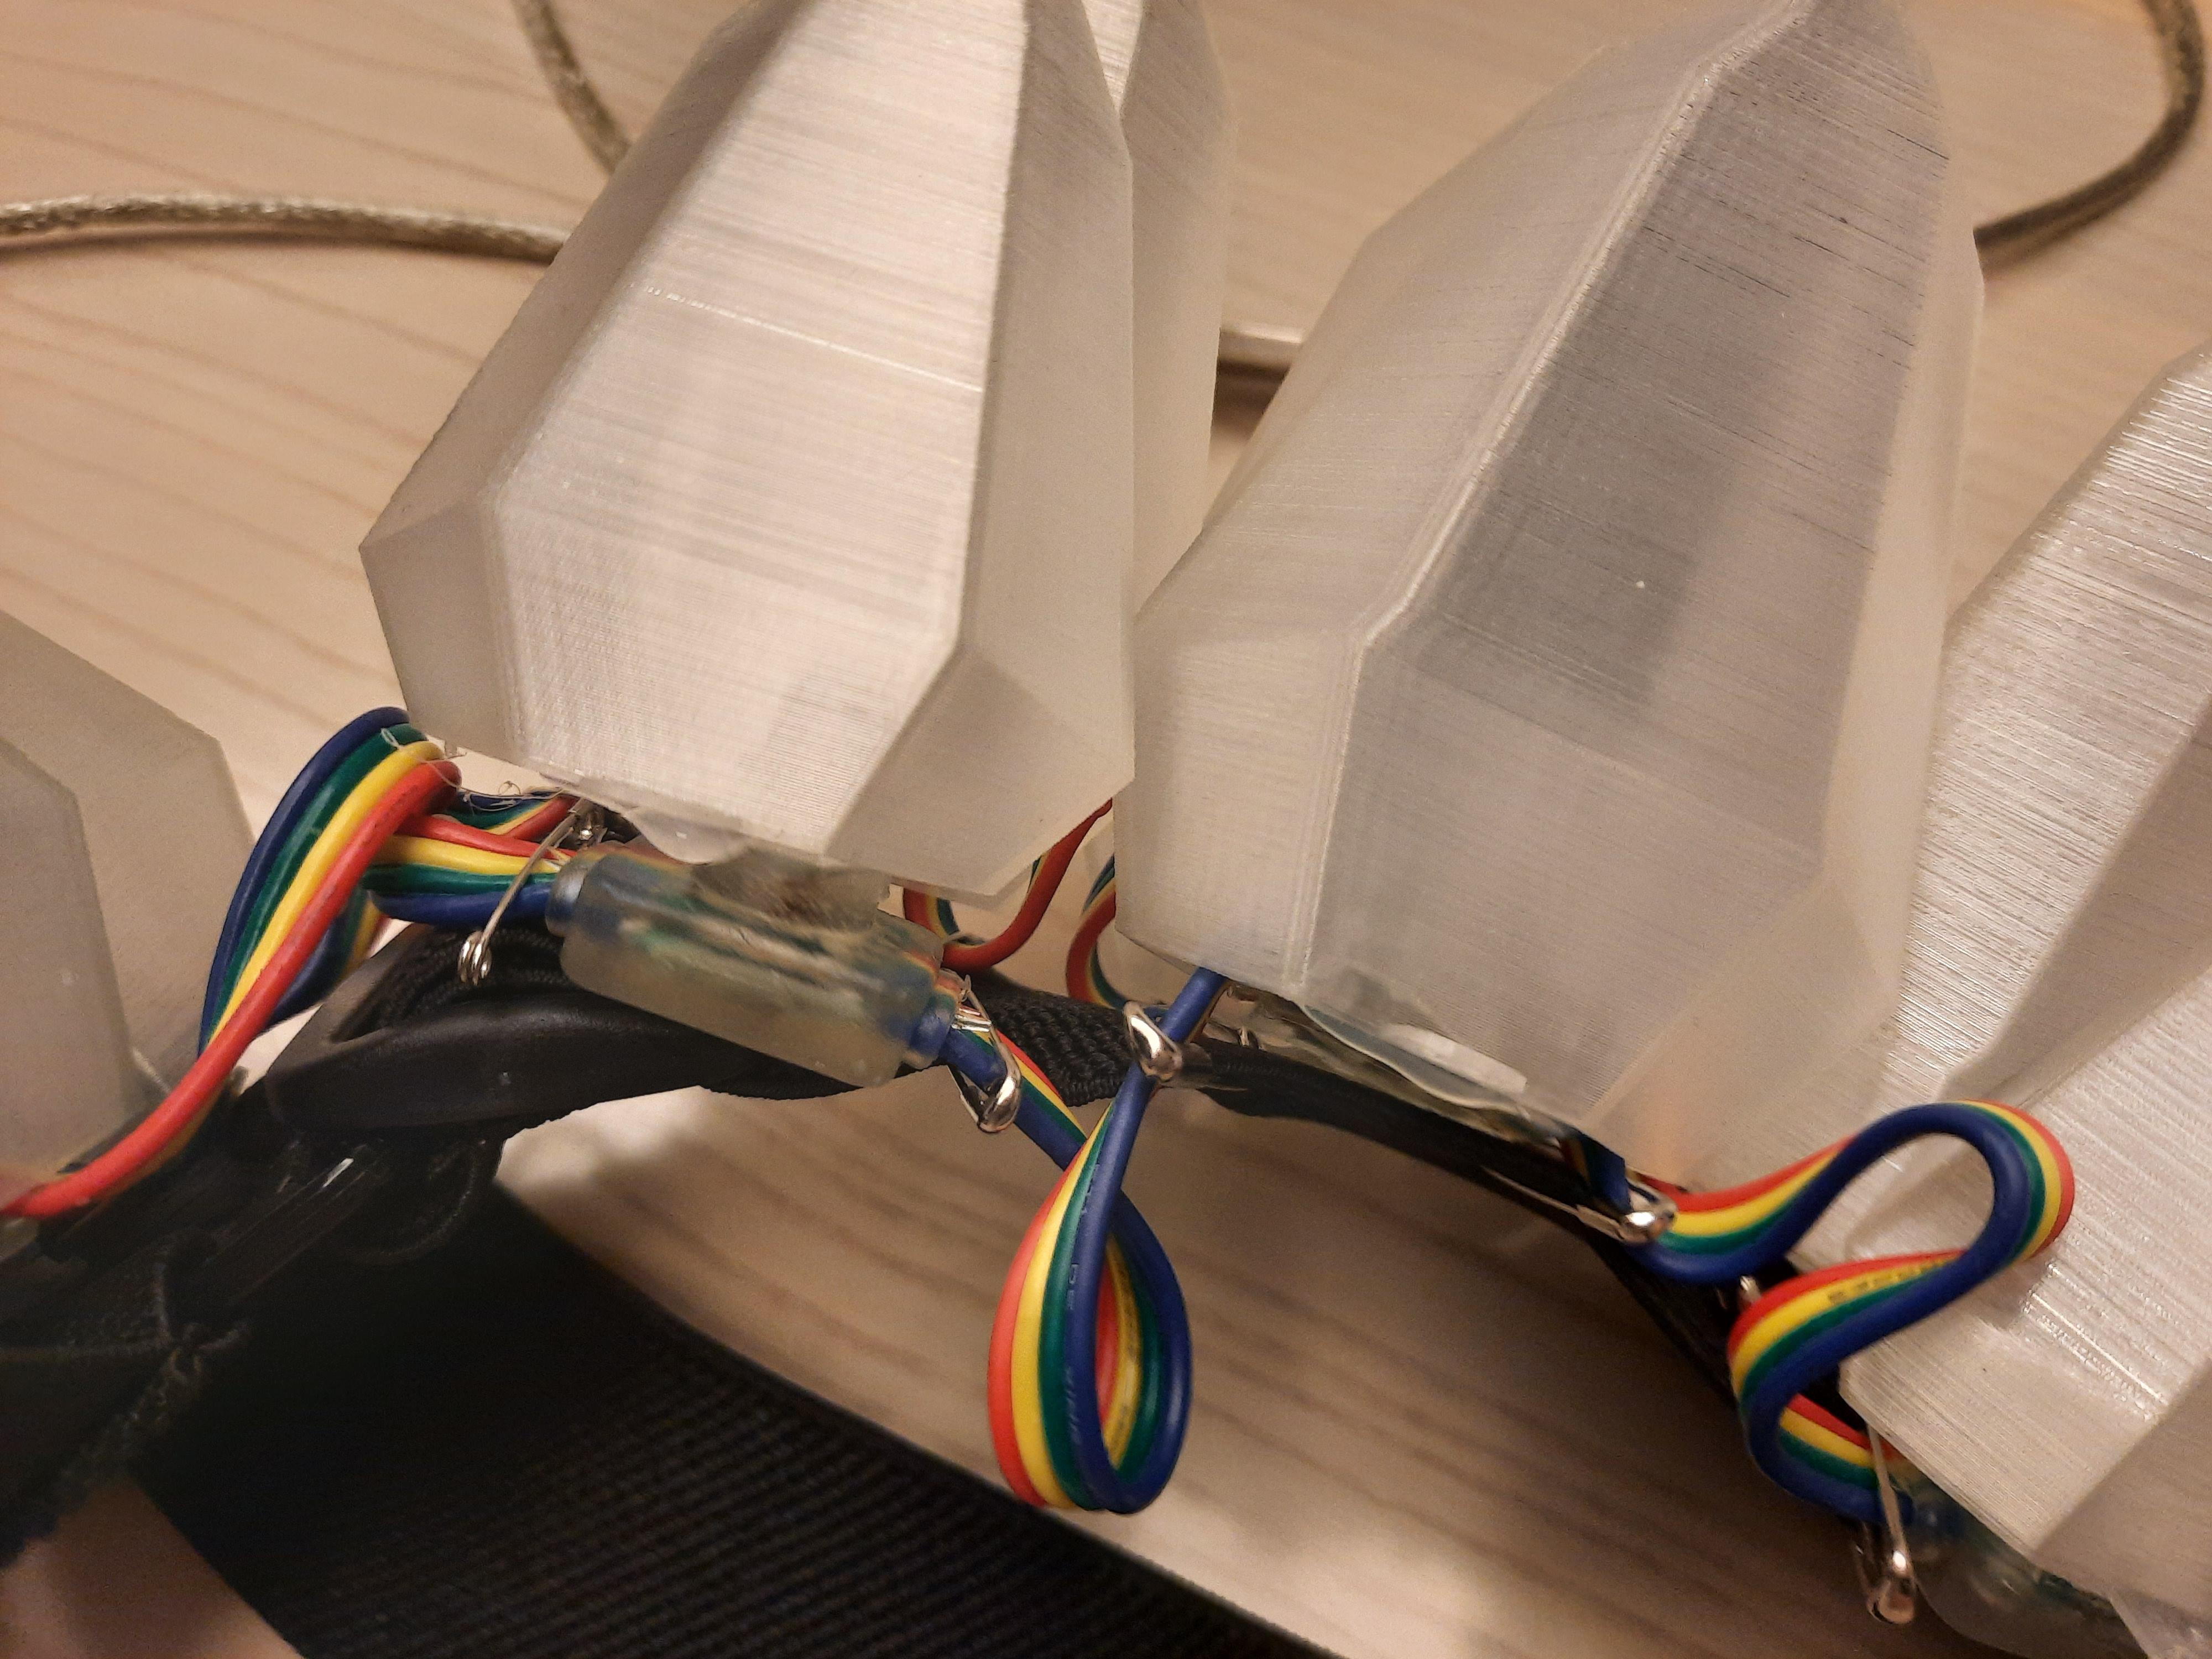
Attach the led strip with the spike in to the backstrap.
--> Use the pin to attach the wire to the black strap
--> Use some hot glue if it is not stable enough
The strip should start from one side of the shoulder and end on the shoulder on the opposite side.
The bottom of the spike should be the middle of your strip, which is number 9 and 10.
number = address of the led
Left shoulder ----------------------------------Right shoulder
-------------0 -----------------------------------------19
------------------1 ---------------------------------18
--------------------2 ---------------------------17
-----------------------3 -------------------16
---------------------------4 ----------15
--------------------------------5 14
--------------------------------6 13
--------------------------------7 12
--------------------------------8 11
--------------------------------9 10
Audio to Analog
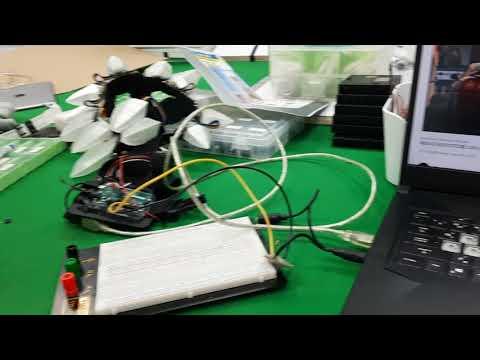
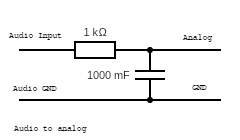.png)
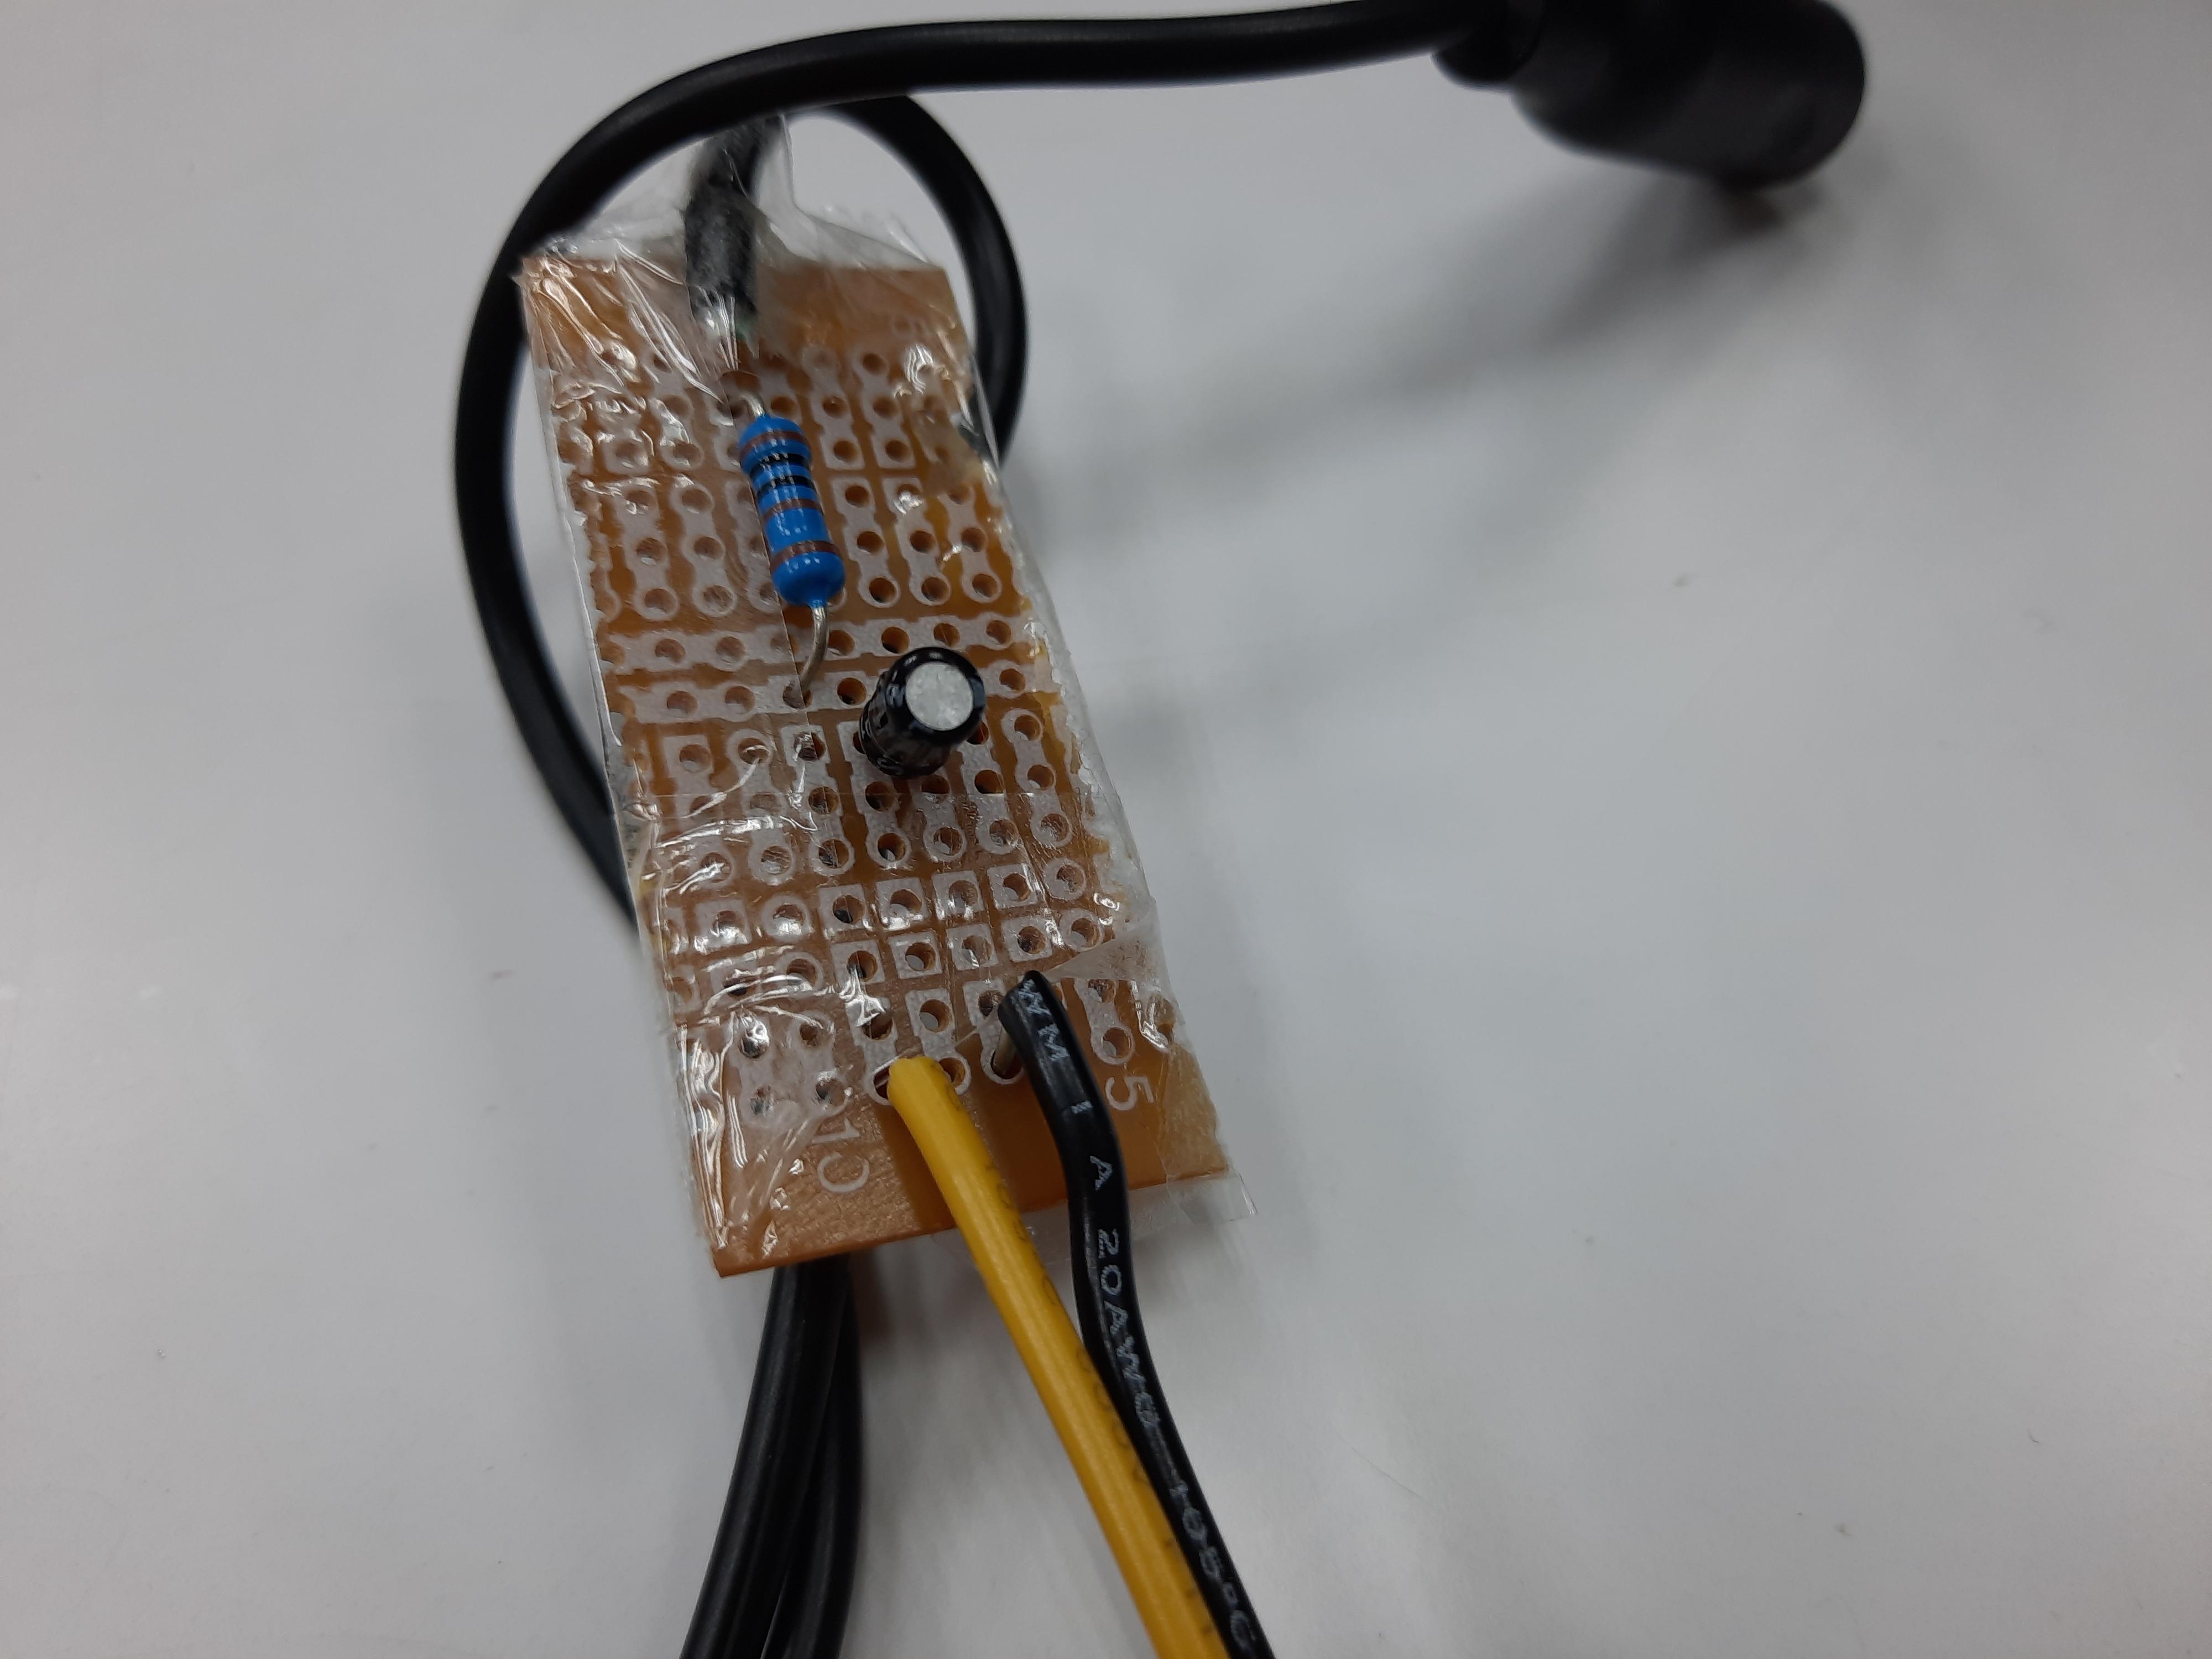
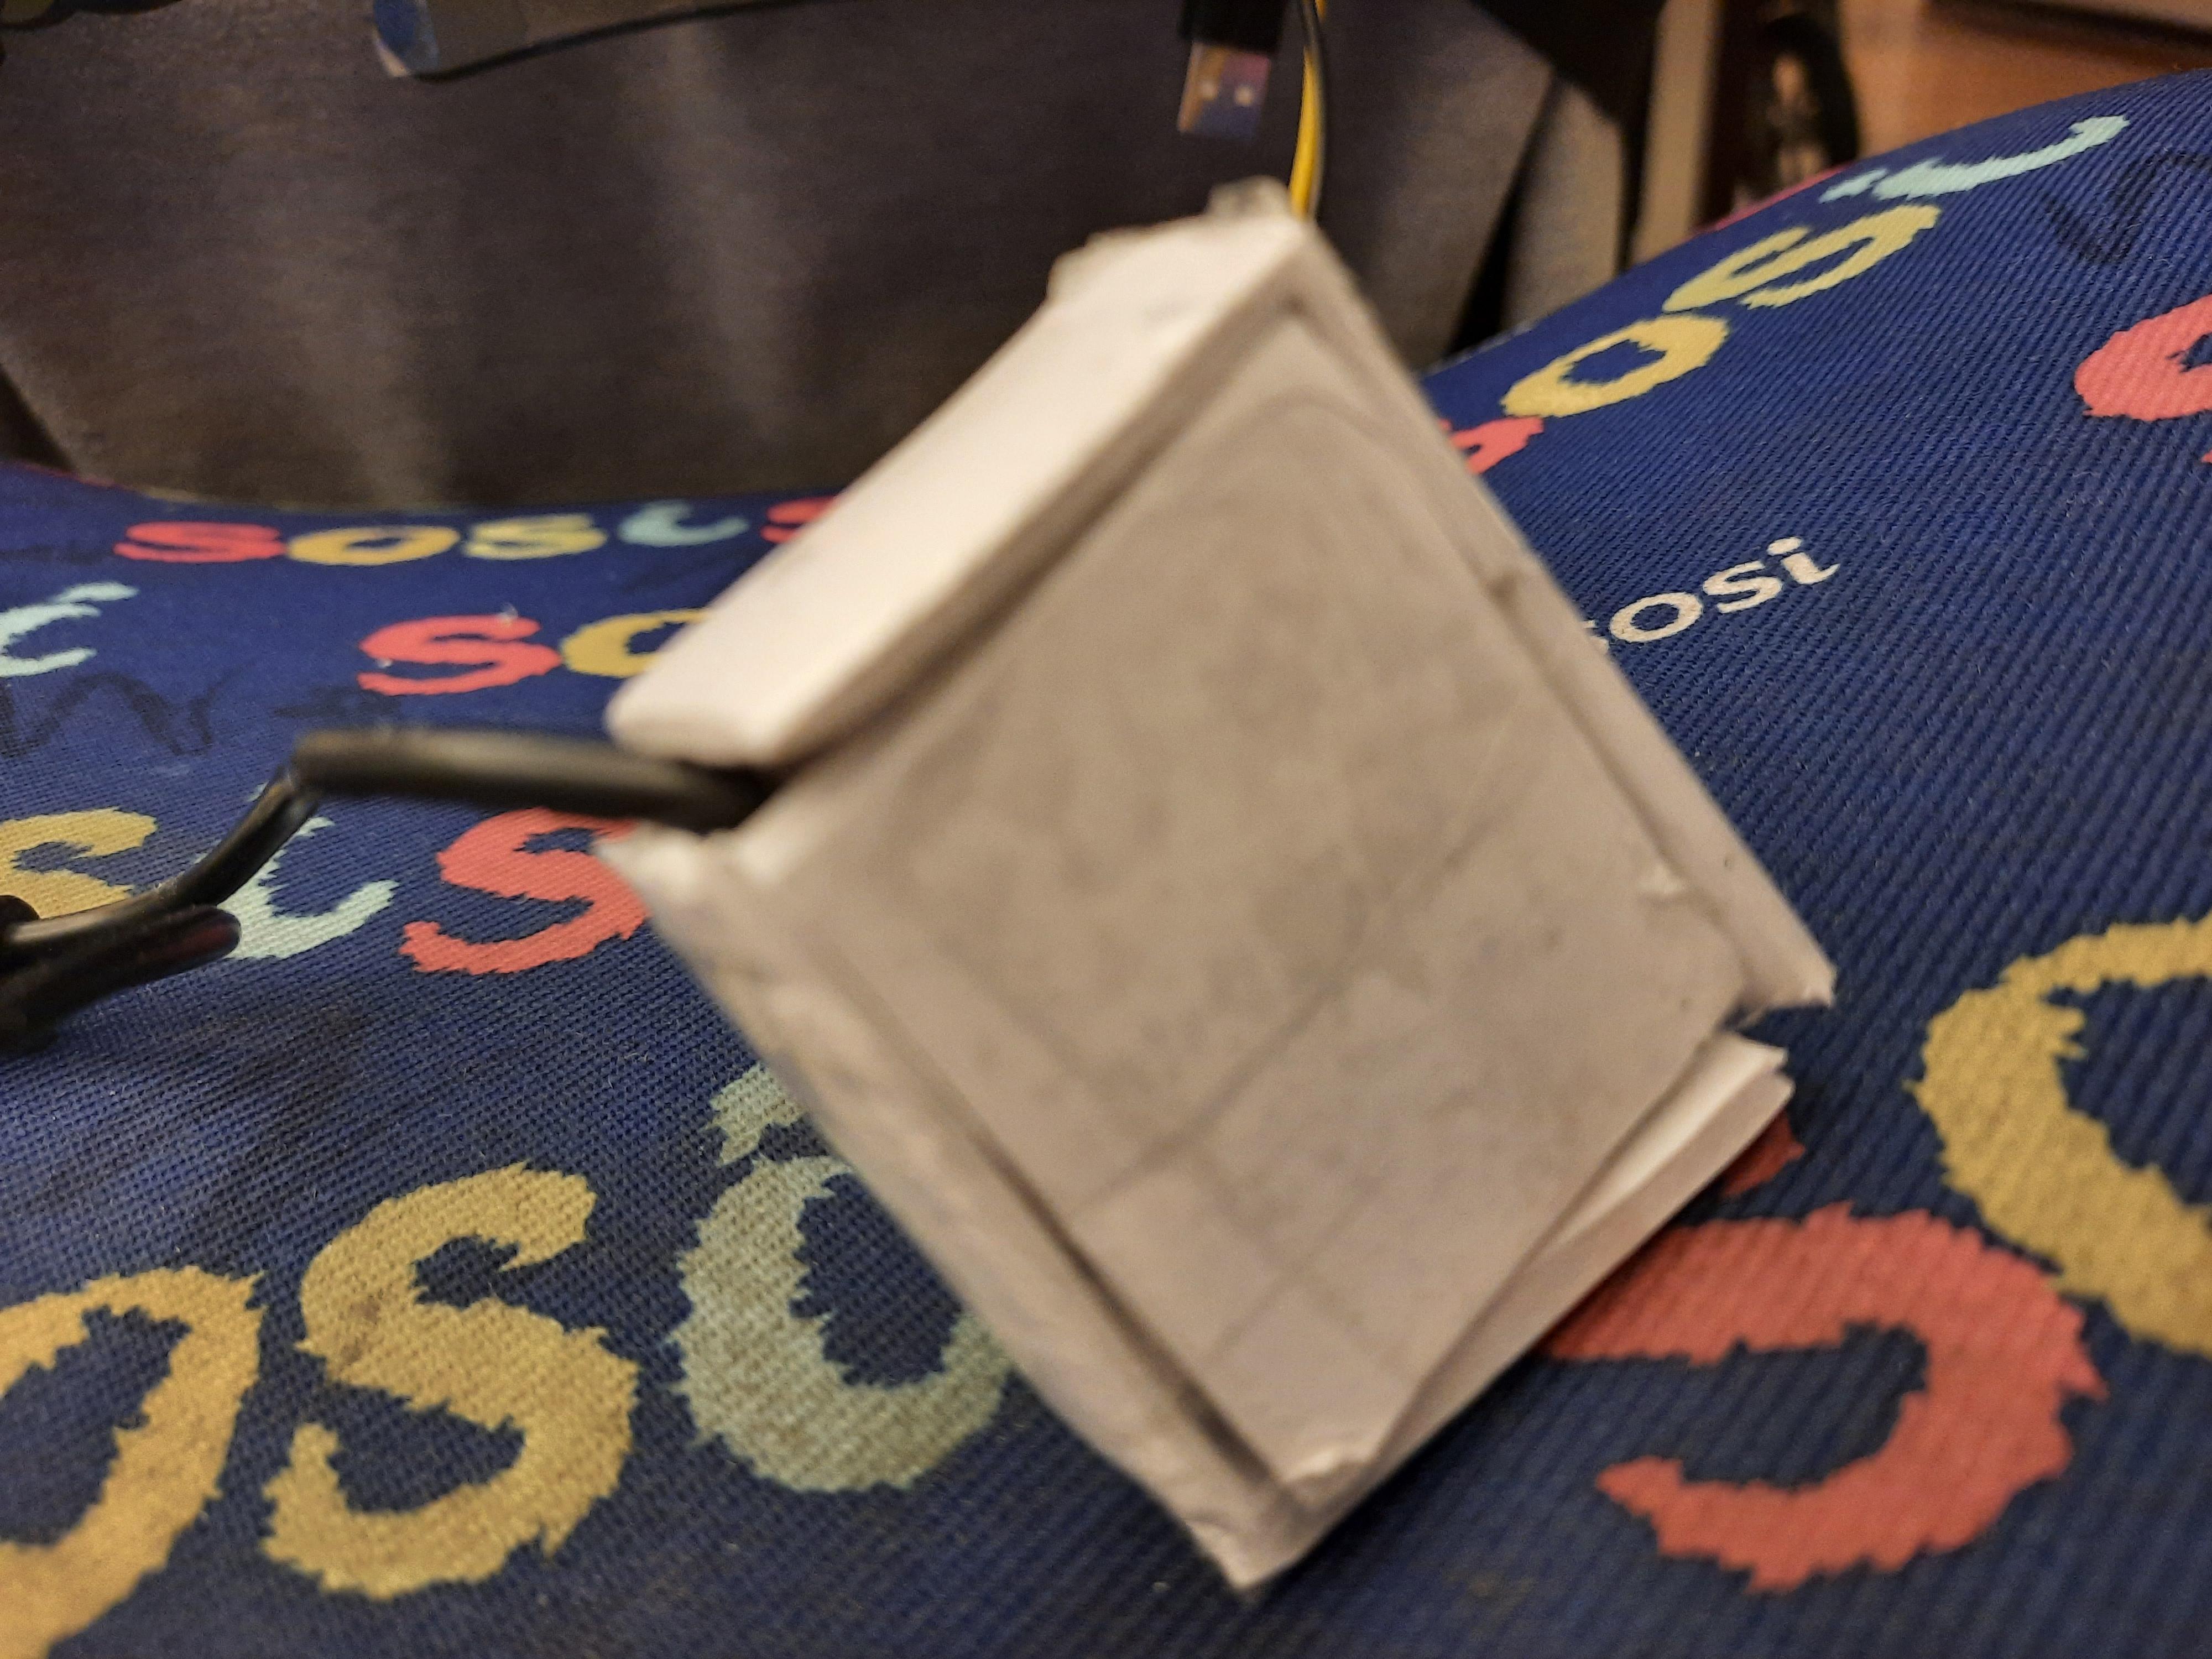
Cut one output wire of the 3.5mm audio jack splitter, and pull out the GND and the audio line
Create the circuit following the top diagram with the GND and audio line of the wire.
Plug in the 4 pole to 3 pole audio jack into the audio splitter and connect the 4 pole side to your device
Note: If Arduino didn't read the audio, remember to turn your volume to the loudest so the single will stay from 0.1 volts to 1 volts so Arduino can read
Combine Everything
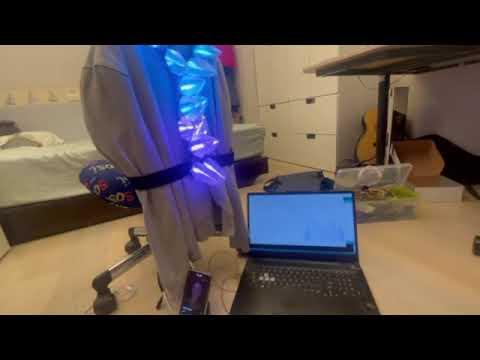
Load the following script to the Arduino Script Here
This sync the music with the Arduino and the LED spike
Now power your Arduino with the battery pack, and there should be a startup animation to make sure all of the led is working correctly. It should start from the bottom of your spike.
Customizing to Fit Your Style
To change the color of the Music sync spike: Change the following place in the script
Color(R,G,B)
Color of the audio display
Line 43: SoundToLed(SoundToLedAmount,Color(232, 100, 255)); Change the color's r g and b value
Color of the background
Line 68: c = Color(30, 200, 200); Change the color's r g and b value
To change to other display mode:
Remove: Line 43: SoundToLed(SoundToLedAmount,Color(232, 100, 255)); Turn off the music sync
Open: effect options
colorWipe(Color(232, 100, 255), 150); Set your color to create a wiping effect
rainbowCycle(10); Want some rainbow? Try this. The number is the duration
flashRandom(5, 8); Create some random color with this.