Multipurpose Cup
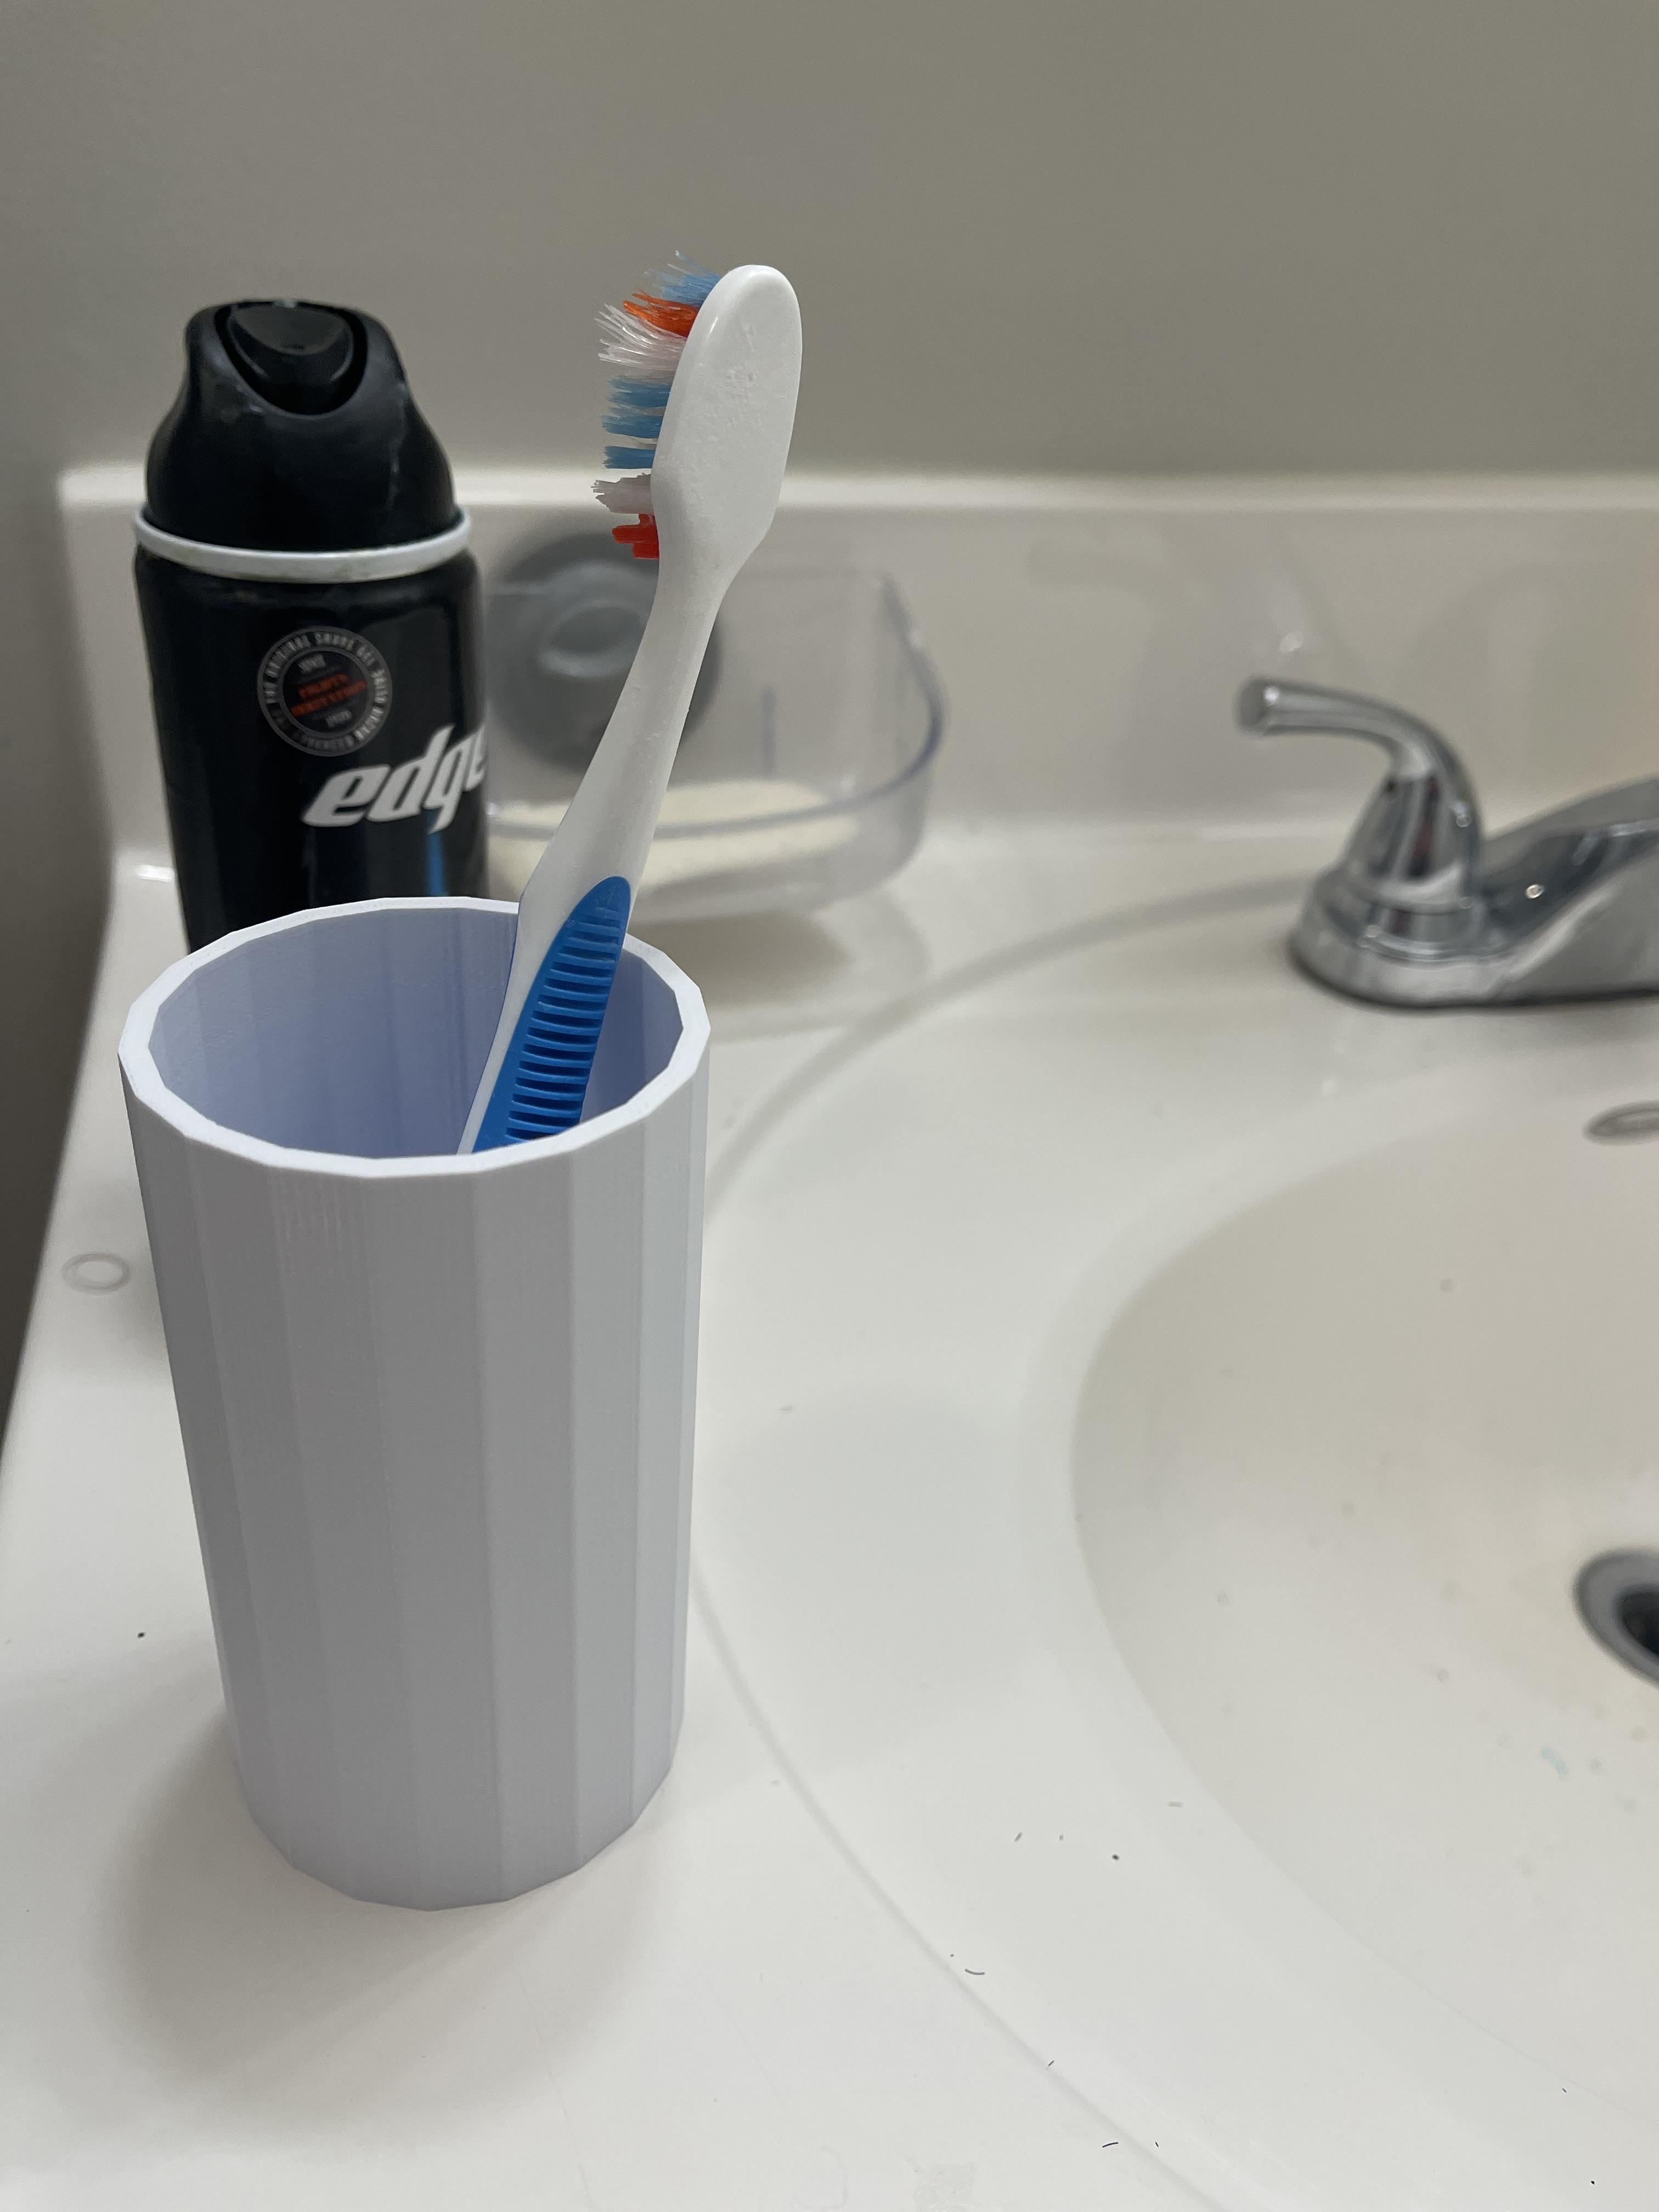
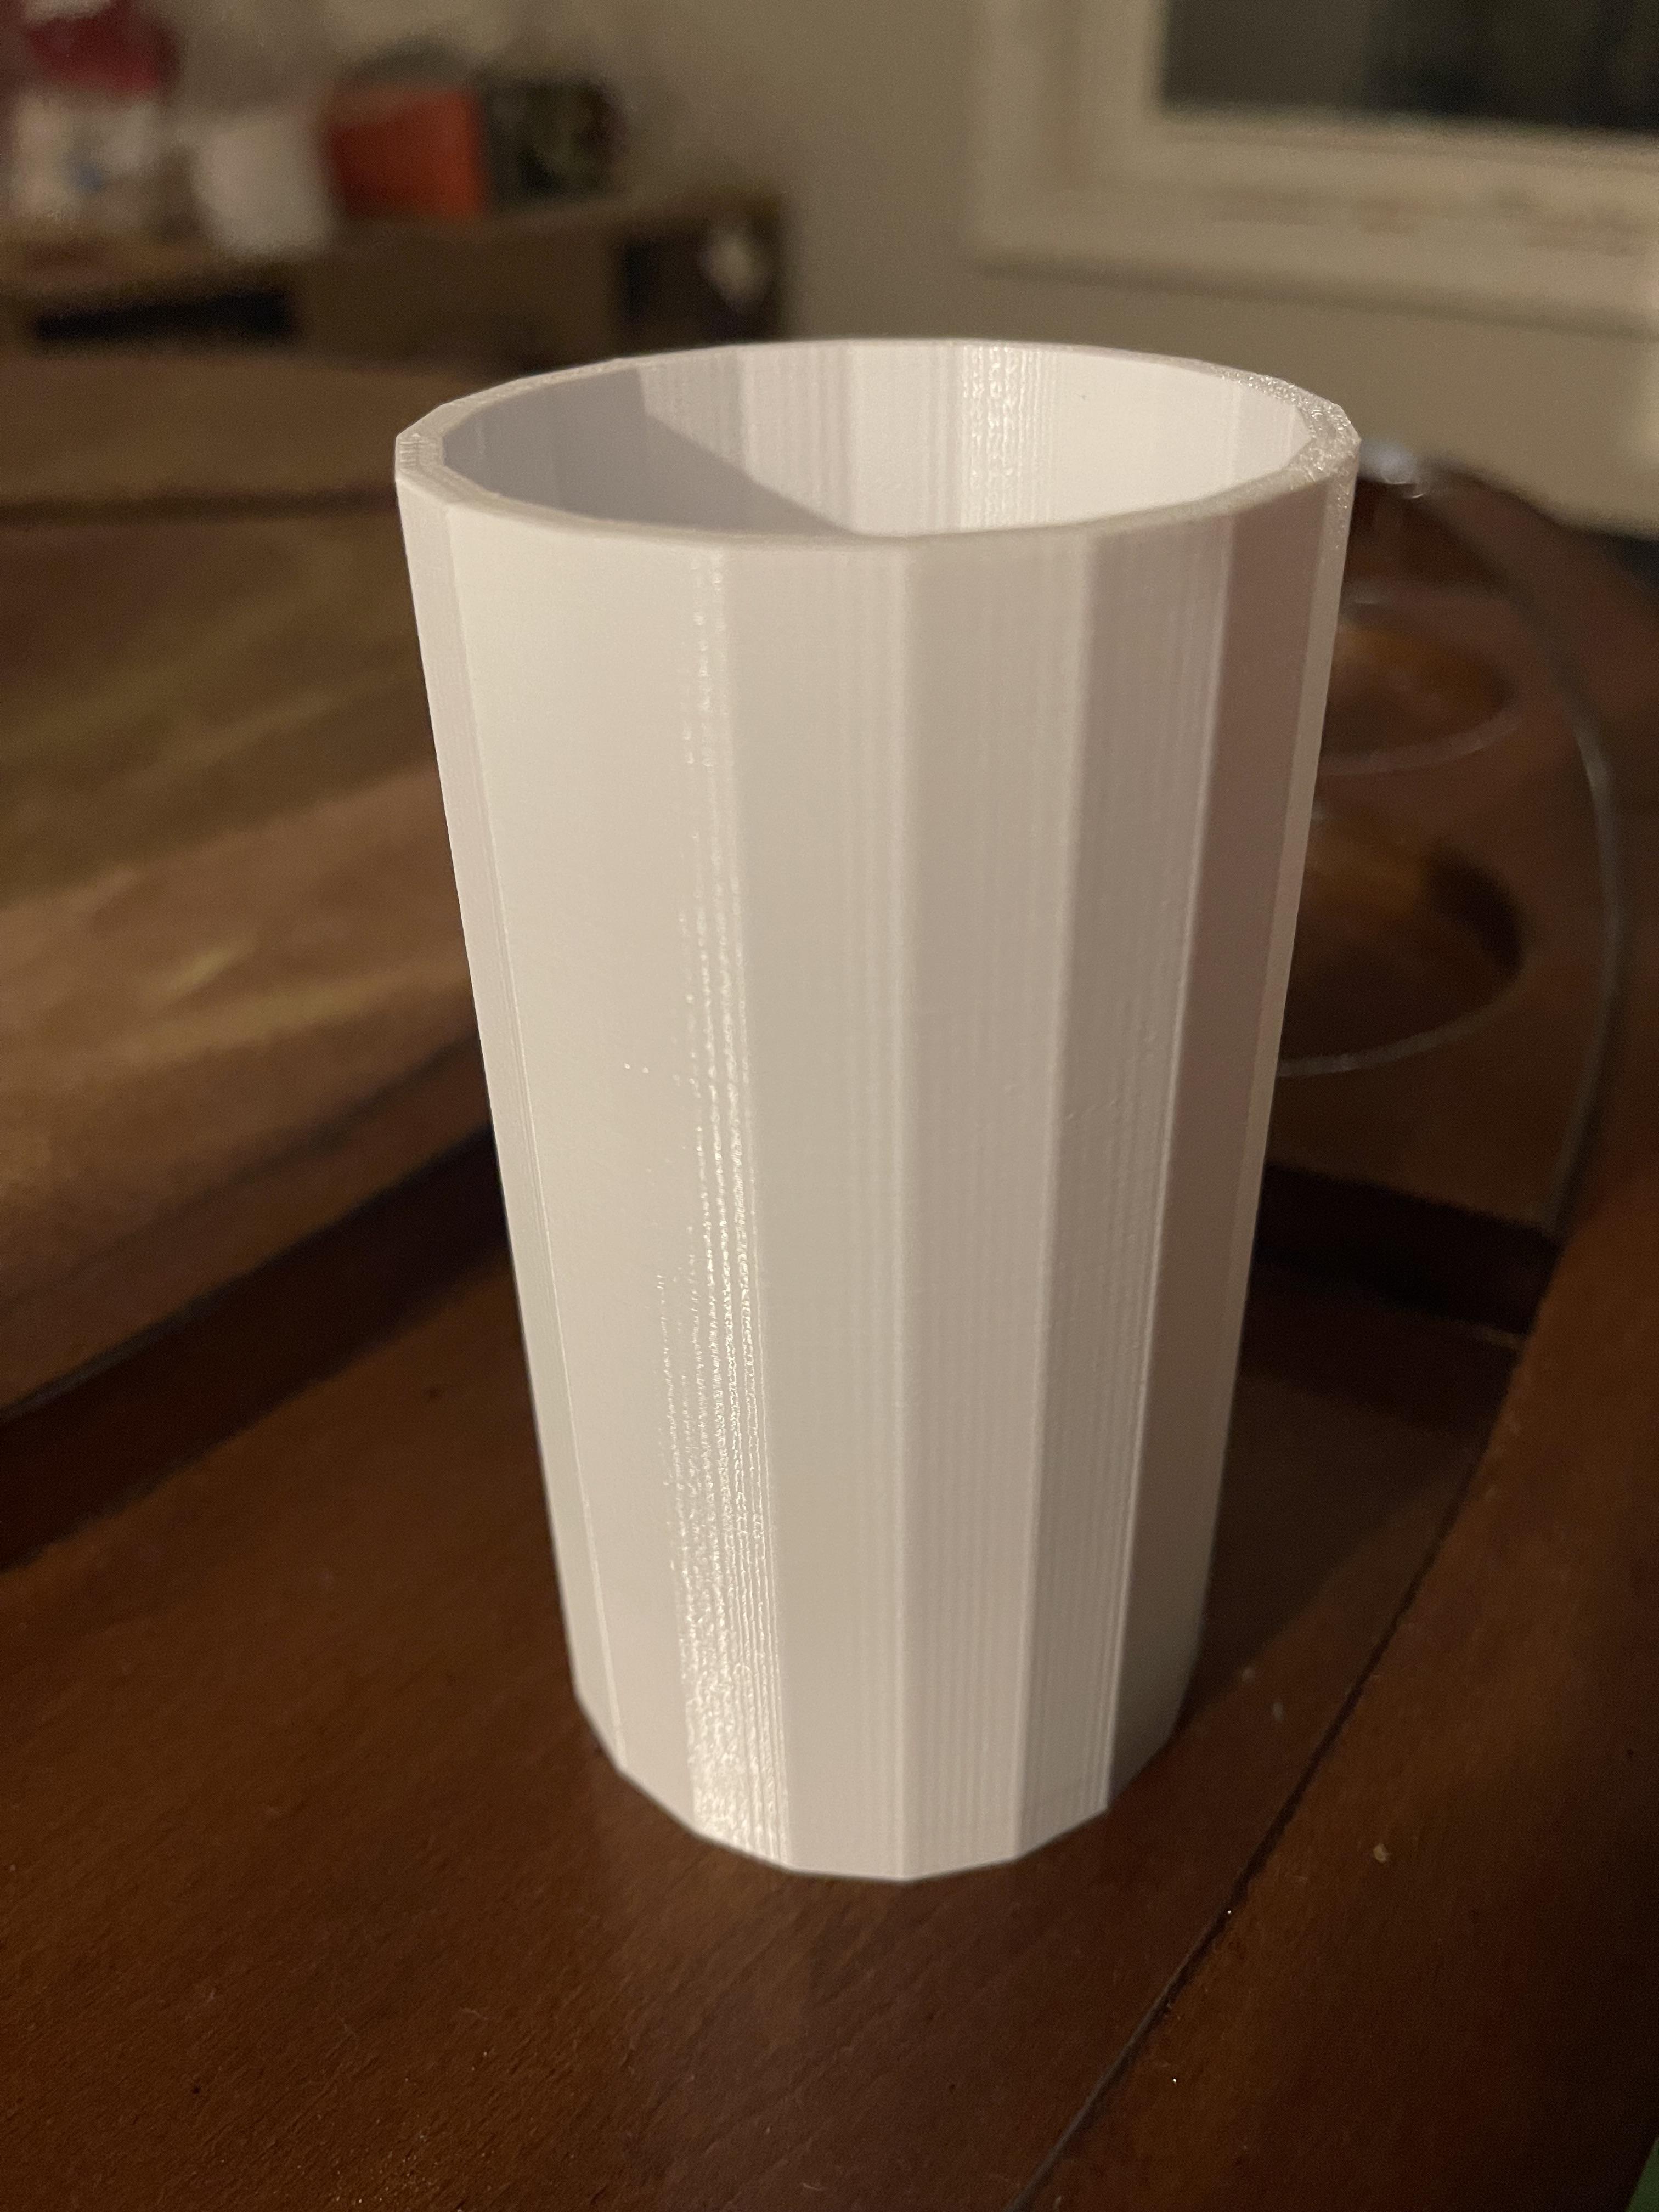
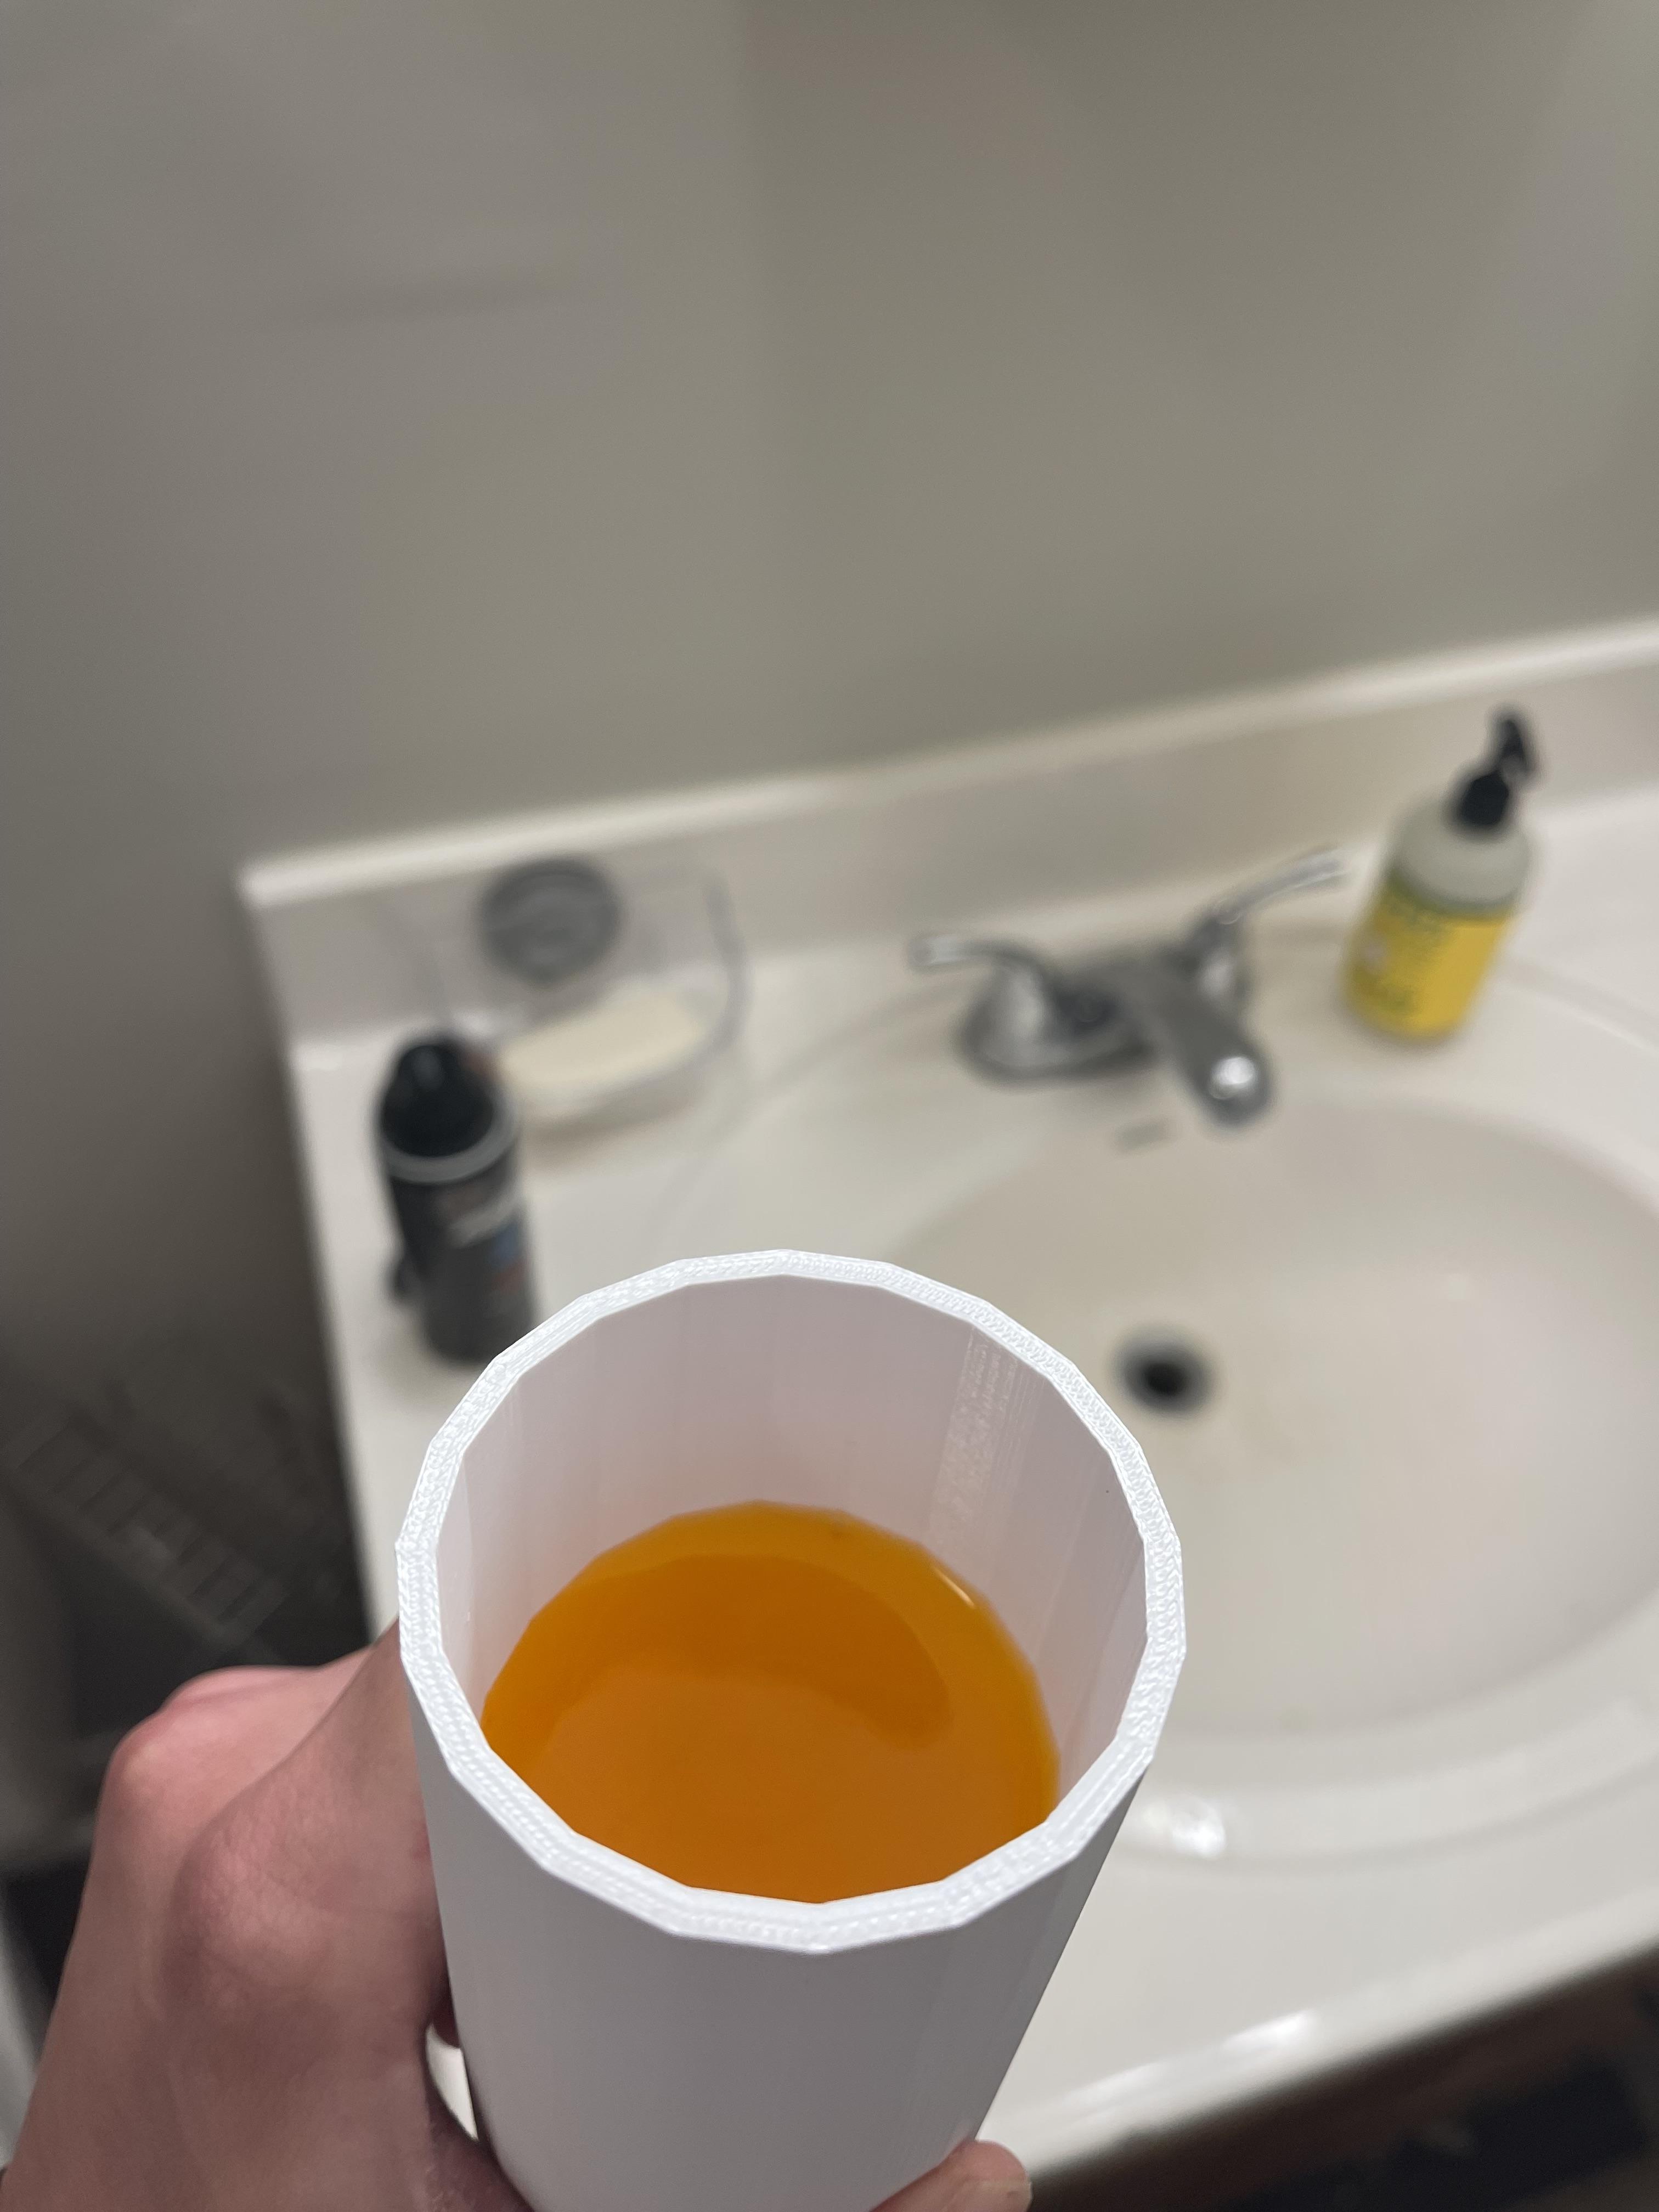
Do you ever want to make your own cup that you can use for multiple things, like toothbrush storage or drinking gatorade out of? Yea not many people do, but in case you are interested in making your own 3D cup, I will describe every step needed to do so for you right here.
Supplies
- Computer with Internet Access
- For using Tinkercad, Ultimaker Cura, and managing design files.
- Tinkercad Account
- Free account on Tinkercad.com to design your cup model.
- 3D Printer (Ultimaker S5)
- A 3D printer with high accuracy and a reliable build volume, suitable for detailed prints like your cup.
- PLA Filament
- PLA is easy to use, widely available, and provides a smooth finish ideal for this project.
- Wi-Fi Connection
- To transfer your sliced G-code file from Cura to the Ultimaker S5 printer.
Optional:
- Sandpaper for smooting
- Spatula for safe detach from printer
- Food Safe Epoxy Resin
- Whatever else you need to paint/customize your cup
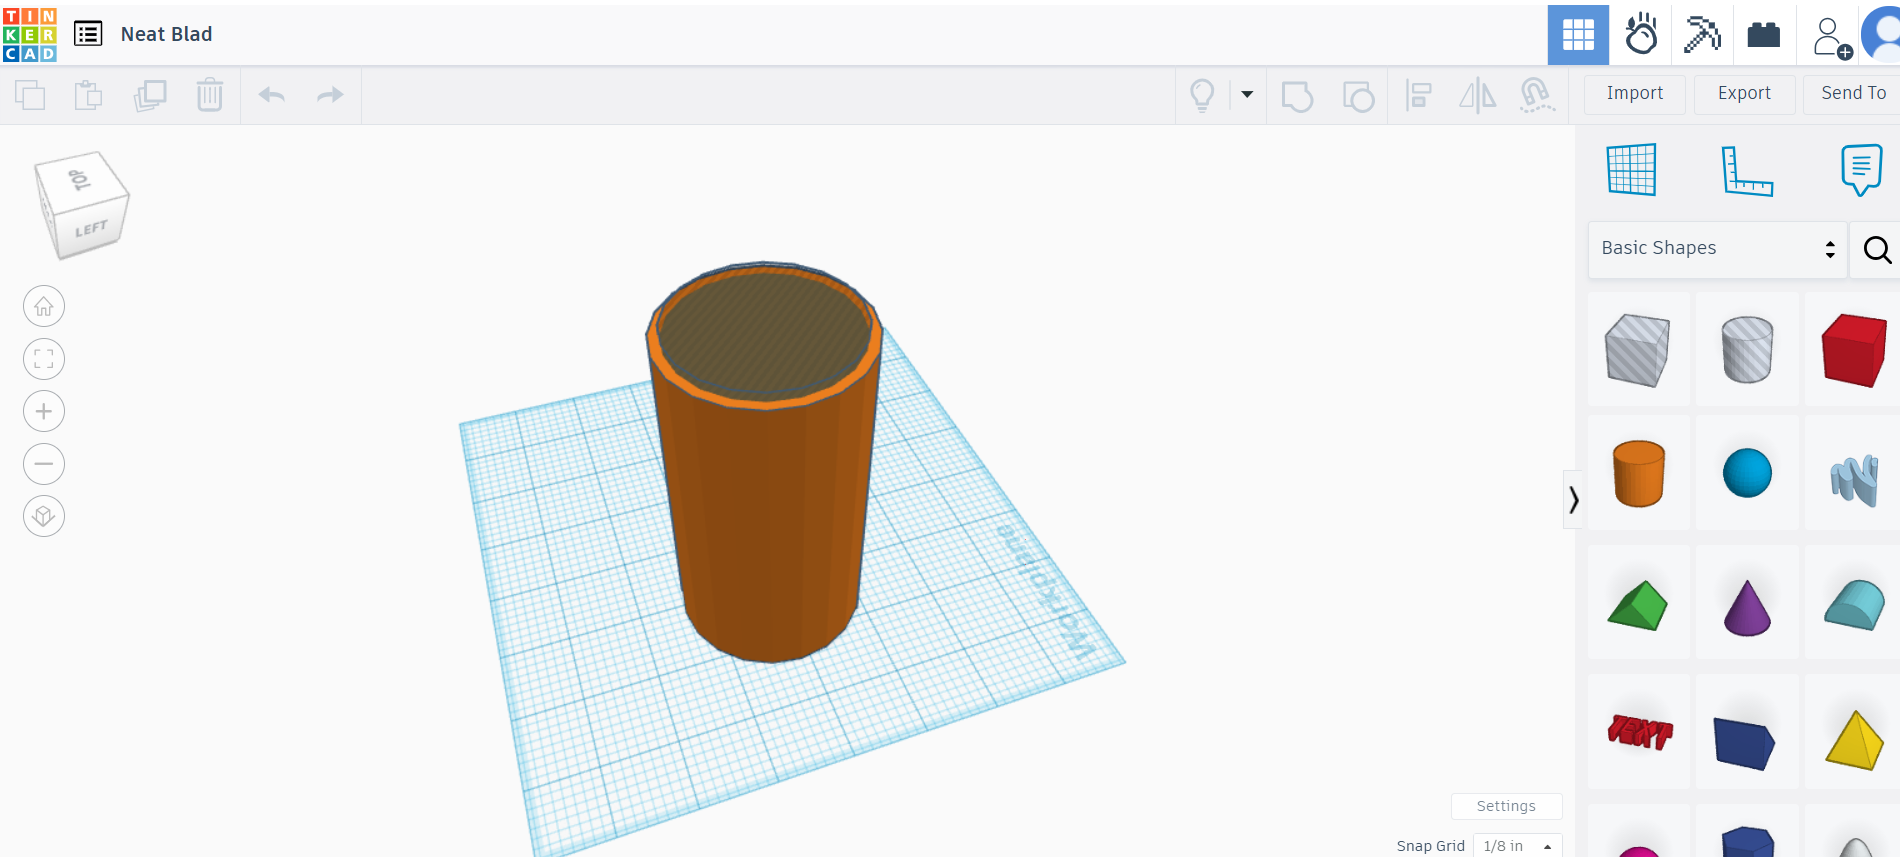
Step 1: Setting Up and Designing the Cup in Tinkercad
- Log In and Open Tinkercad
- To begin, log into Tinkercad (or sign up for a free account if you don’t already have one). Once logged in, navigate to the “Create New Design” button, which opens a new workspace where you can begin designing. Tinkercad's intuitive, browser-based platform makes it accessible and is compatible with STL file export, ideal for 3D printing.
- Setting Units and Adjusting the Grid
- Since your specifications are in inches, go to Tinkercad’s grid settings, usually found in the lower-right corner, and set the units to inches for more straightforward scaling. Adjust the grid snap settings to a comfortable level, such as 0.01 inches, for precise measurements.
- Create the Outer Cylinder
- Select a cylinder shape from the shape library on the right-hand side of the workspace and drag it to the center of the grid. Now, click on the shape and change its dimensions by setting its diameter to 2.5 inches and height to 4.5 inches. This outer cylinder will act as the outer wall of your cup, so ensure its proportions match your intended design.
- Create the Inner Cylinder (Hole) to Hollow Out the Cup
- Next, to hollow out the cup, add another cylinder from the shapes library and position it over the original cylinder. This second cylinder should be set as a “hole” in Tinkercad by selecting the “Hole” option in the shape menu. Change its diameter to 2.25 inches, slightly smaller than the outer cylinder, and its height to 4.25 inches to leave a solid base of 0.25 inches at the bottom of the cup. This creates the interior hollow area and ensures the cup has a sturdy base.
- Position and Align the Cylinders
- Use Tinkercad’s “Align” tool, located at the top of the screen, to ensure that the inner “hole” cylinder is centered precisely within the larger cylinder. This step is crucial to maintain even wall thickness, which should be approximately 0.25 inches around the cup. The Align tool will help automatically adjust any off-centered elements to ensure symmetry.
- Combine the Shapes (Grouping)
- Once aligned, select both the outer and inner cylinders by dragging over them with your mouse or holding shift while clicking on each. Then, click the “Group” option, which merges the two shapes. This operation subtracts the inner cylinder from the outer cylinder, forming a hollow cup structure.
- Export the Design as an STL File
- After completing the design, go to the “Export” option in the top right corner, choose STL format, and download the file. The STL format is standard for 3D models, making it compatible with most slicing software, including Cura.
Step 2: Preparing the Model for 3D Printing in Ultimaker Cura
- Import the STL File into Cura
- Open Ultimaker Cura, the slicing software compatible with the Ultimaker S5. Drag the STL file into Cura or use the “Open File” option. Cura will automatically generate a visual representation of your model on the virtual print bed.
- Configure Printer and Material Settings
- Ensure Cura is set to the Ultimaker S5 and select PLA as your material. PLA is easy to print, requires relatively low temperatures, and works well for models like cups that don’t need extreme durability or flexibility.
- Adjust Layer Height and Quality Settings
- A 0.2 mm layer height is generally recommended for a balance between quality and print speed, though you could lower it to 0.1 mm for finer details if desired. For a basic cup design, 0.2 mm provides a smooth surface and keeps printing time reasonable.
- Set Infill Density
- Since the cup is already hollow, infill density mainly affects the base’s strength. Set infill to about 20-25% to reinforce the base without adding too much printing time or material.
- Enable Supports if Needed
- If your design includes a handle or any overhangs, enable supports under Cura’s “Support” settings to prevent drooping. For a simple, cylindrical cup without any handles or protrusions, supports aren’t necessary.
- Preview and Slice the Model
- Use the “Preview” button to view a layer-by-layer breakdown of the print. Examine the layers closely, ensuring that they follow your intended design and that the base appears solid. Finally, slice the model and save the G-code file either to a USB drive or directly to your printer.
Step 3: Setting Up the Ultimaker S5 Printer
- Load PLA Filament into the Printer
- Begin by loading PLA filament into the Ultimaker S5, following the on-screen prompts for filament insertion. PLA typically requires nozzle temperatures between 200–220°C and a heated bed at around 60°C.
- Clean and Level the Print Bed
- A clean, well-leveled bed is essential for ensuring that the PLA adheres correctly, minimizing the risk of warping. Use a scraper to remove any debris from the previous prints and check the leveling using the Ultimaker S5’s leveling feature if it has been adjusted recently
Step 4: Printing the Cup
- Start the Print Job
- Start the print directly if your Cura software is connected to the printer over Wi-Fi.
- Monitor the First Few Layers
- Watch the first few layers as they print. Proper adhesion is crucial, so ensure the PLA sticks to the bed without lifting or detaching. If issues arise, such as the filament not sticking, you may need to pause the print and clean the bed again or re-level it slightly.
- Allow the Print to Complete
- Printing a cup can take several hours, especially if you’ve chosen a higher-quality setting. Allow the print to finish, and check periodically for any print errors, like layer shifting or filament clogs.
Step 5: Post-Processing and Final Touches
- Remove the Cup Carefully
- Once the print completes, let it cool on the bed for a few minutes. A cooled print is easier to remove, as the PLA contracts slightly, loosening its grip on the print bed. Use a spatula or scraper carefully if needed to avoid damaging the cup.
- Clean Up Edges and Remove Any Supports
- If supports were used, they should be easy to snap off with minimal effort. Sand any rough edges around the lip of the cup or base if needed to achieve a smooth finish. A fine-grit sandpaper (400–600 grit) is ideal for finishing PLA prints without scratching the surface.
- Seal the Cup (Optional)
- Although PLA is not food-safe, you can apply a clear, food-safe resin coating to make it waterproof and more resistant to damage from liquid. This step is optional but can add a professional touch if you plan to use the cup for display purposes.
This project was an awesome way to make something that can be useful around my house and in my everyday life, while allowing myself the oppurtunity to learn more about the ins and outs of 3D design and 3D printing. If you love creating things and being crafty, this would be a great project for you. There are endless possibilities of what you can make with a 3D printer after learning the proper ways to use design tools such as Tinkercad. I highly recommend this project if you have access to a 3D printer, but are more of the beginner side like I was.