Multiple Frame Card
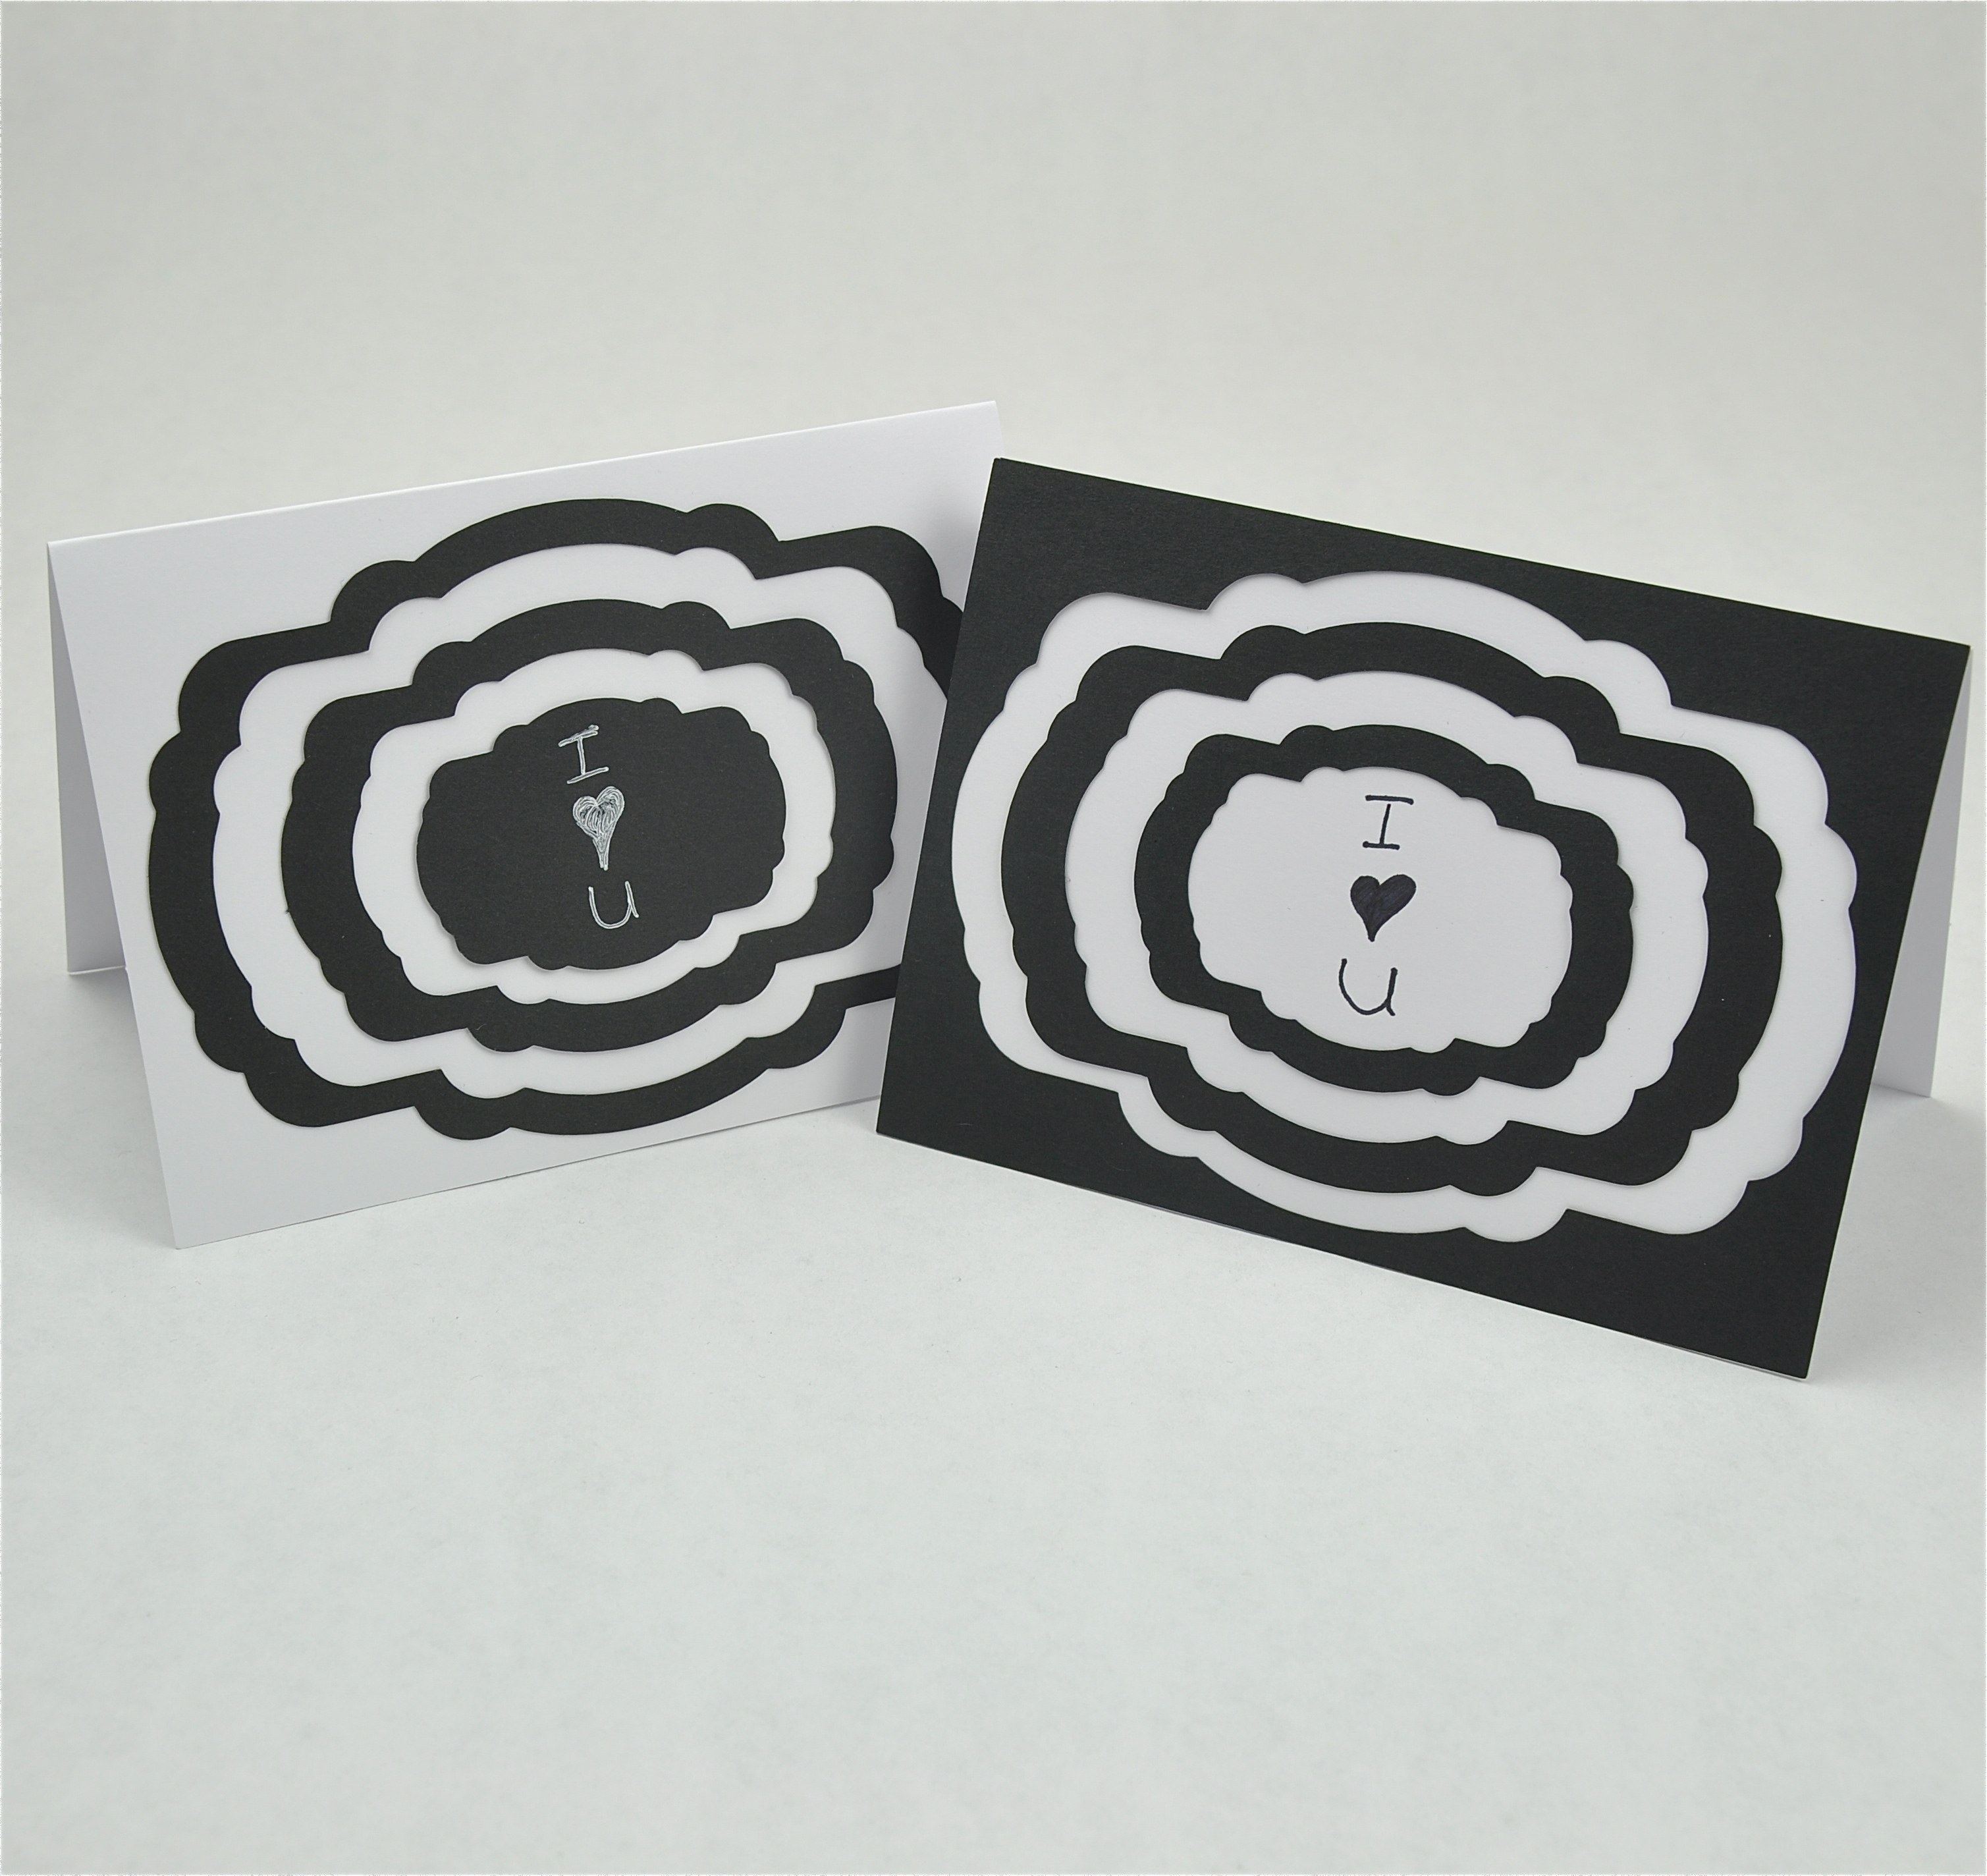
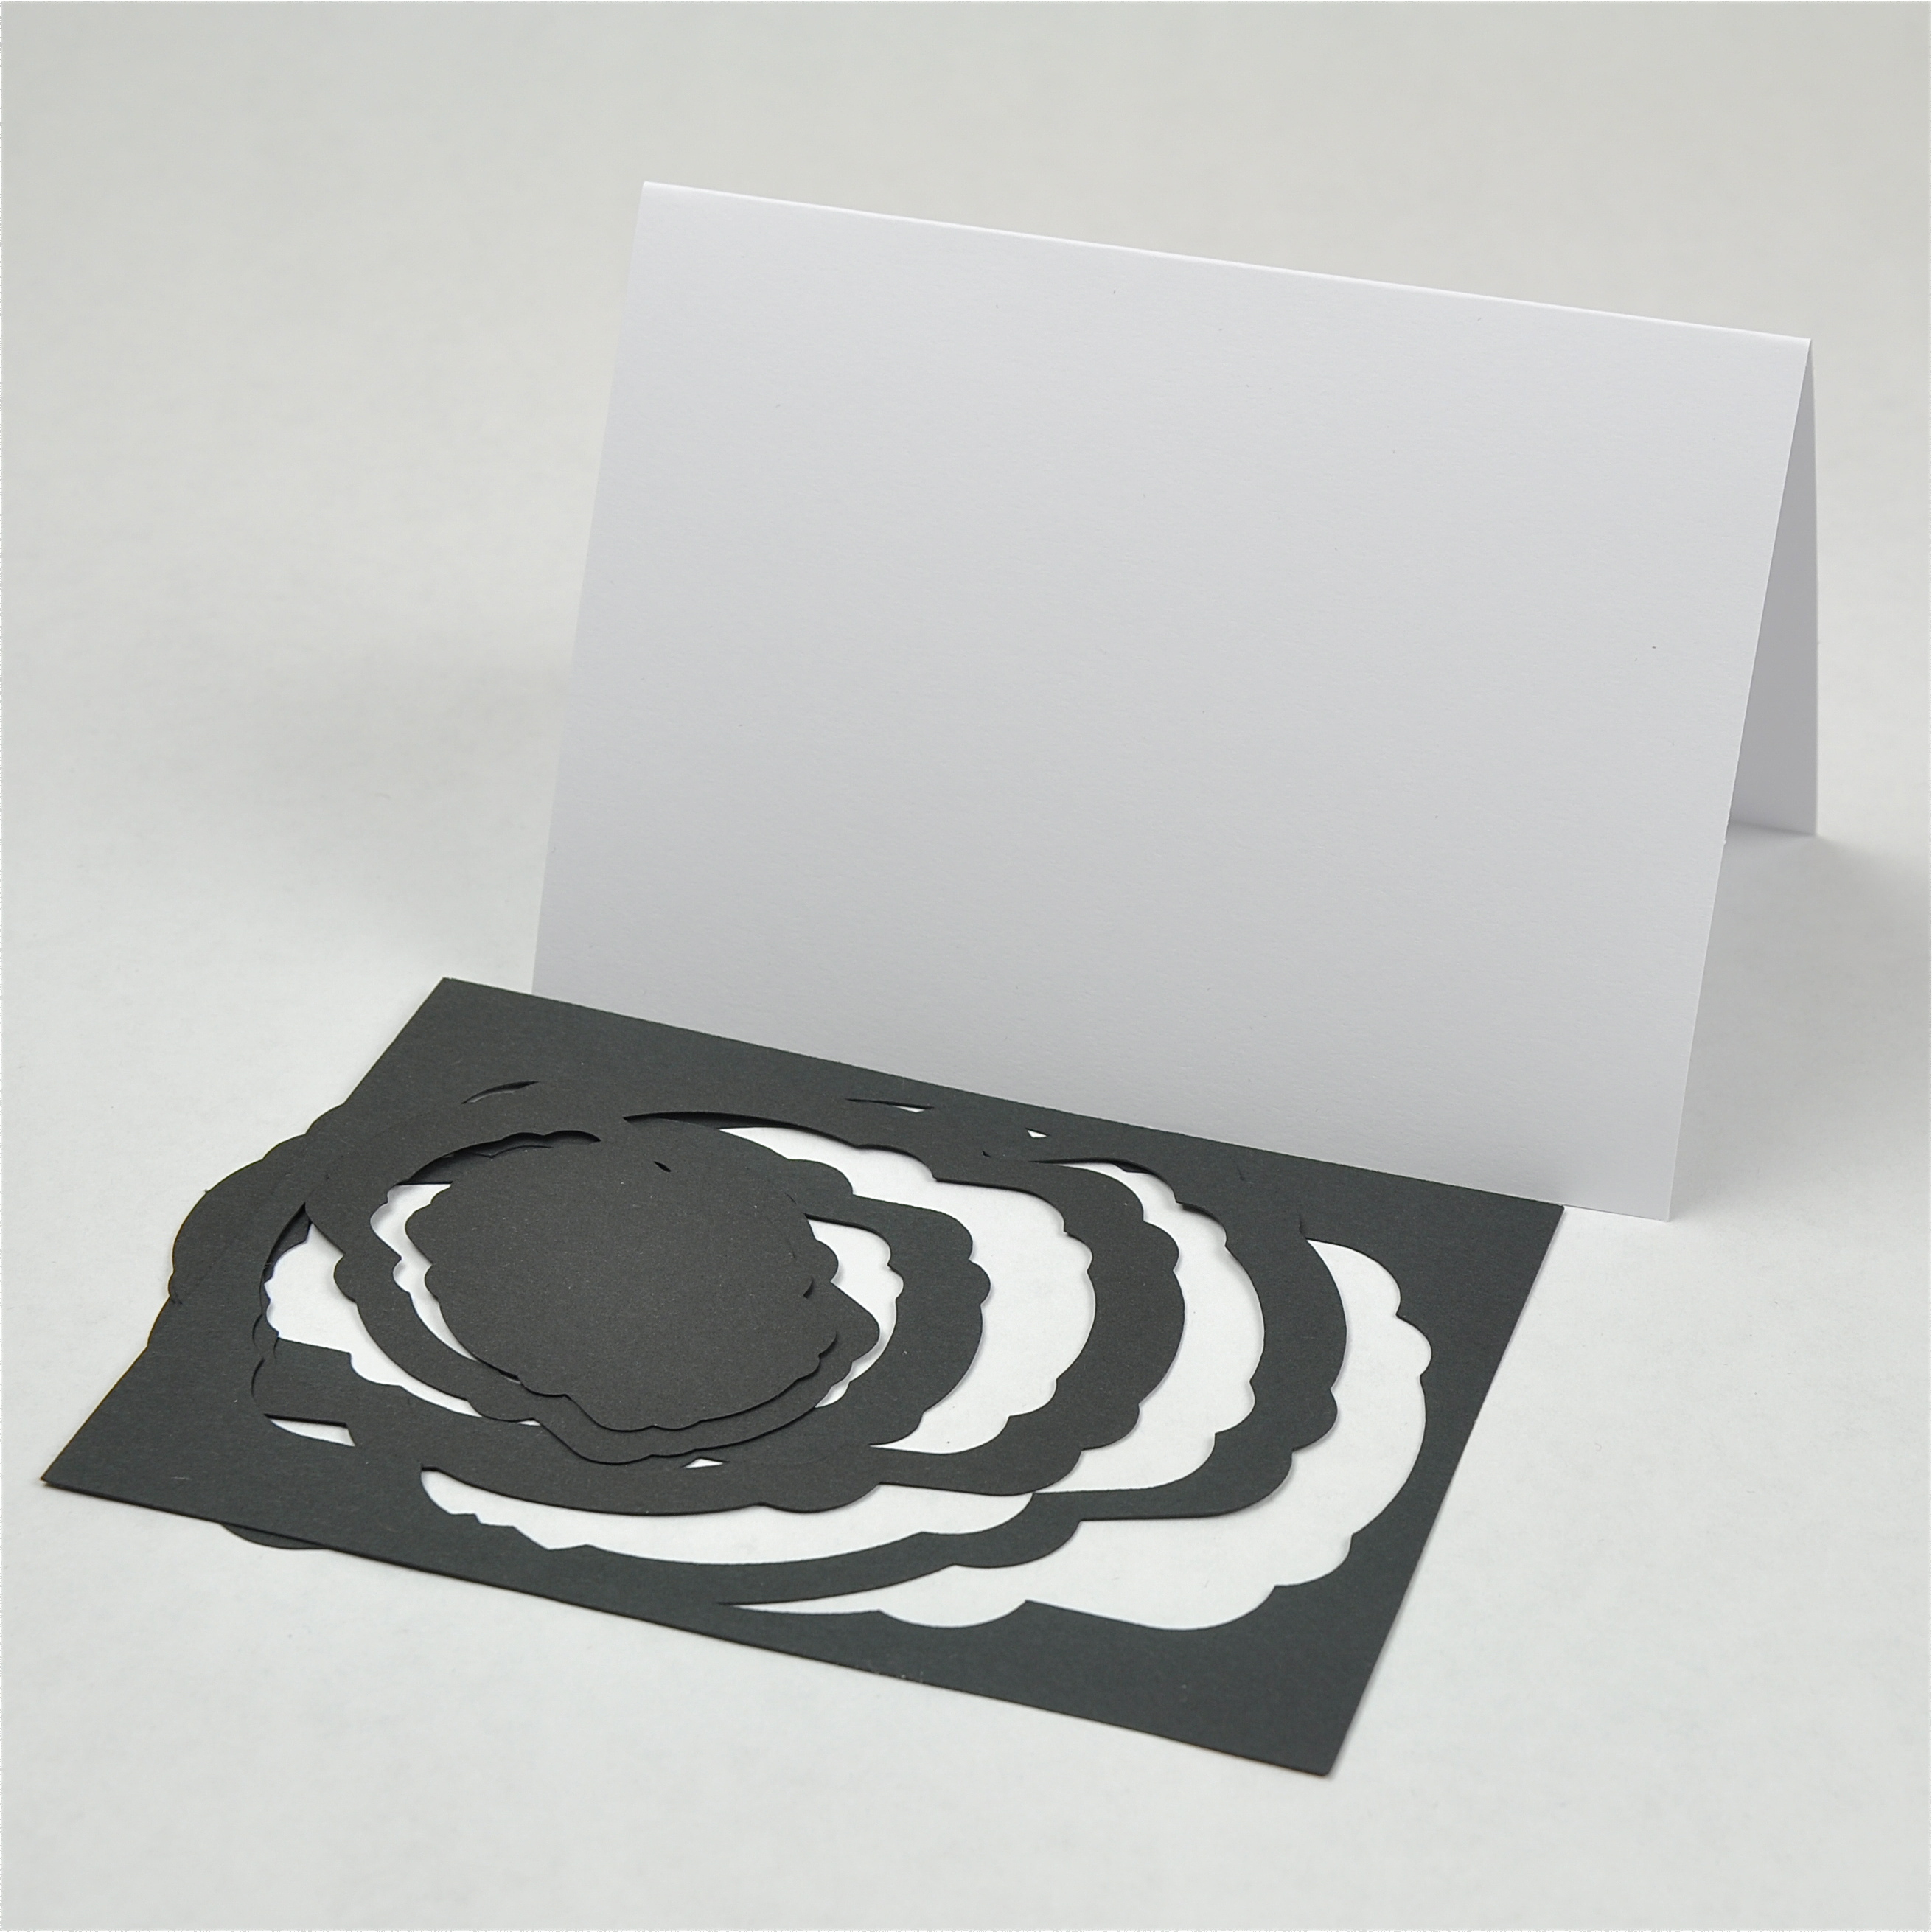
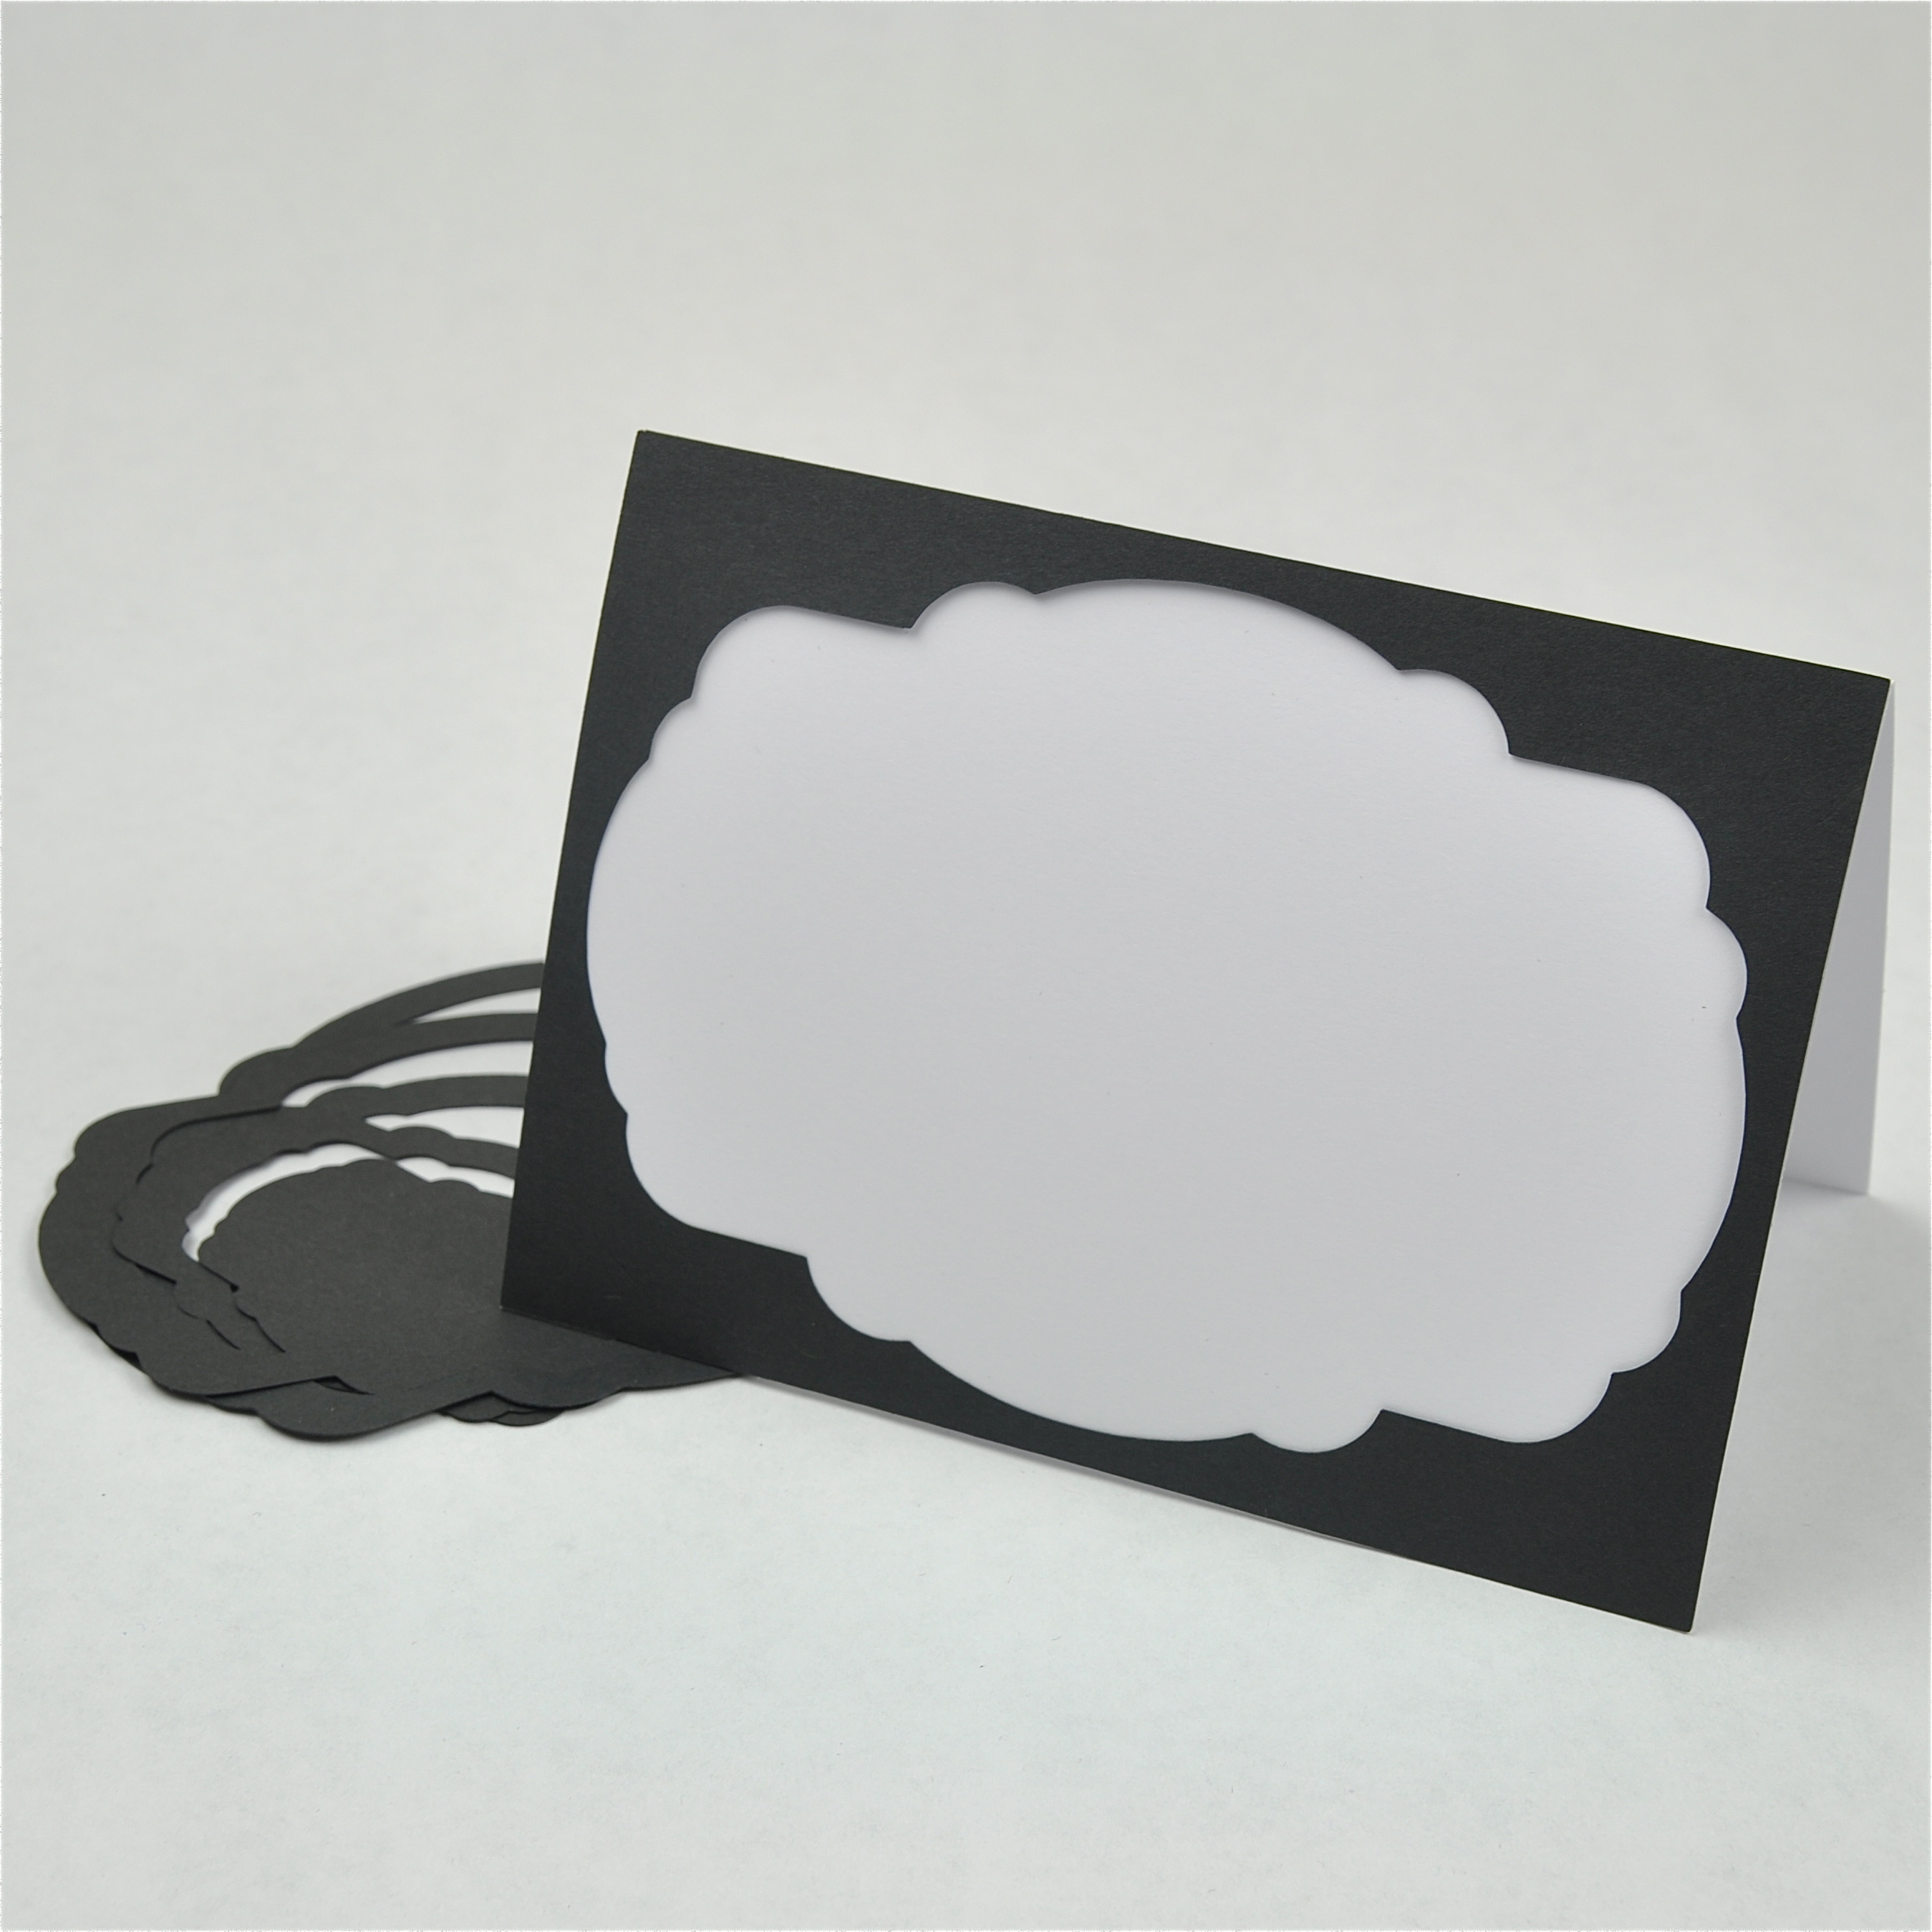
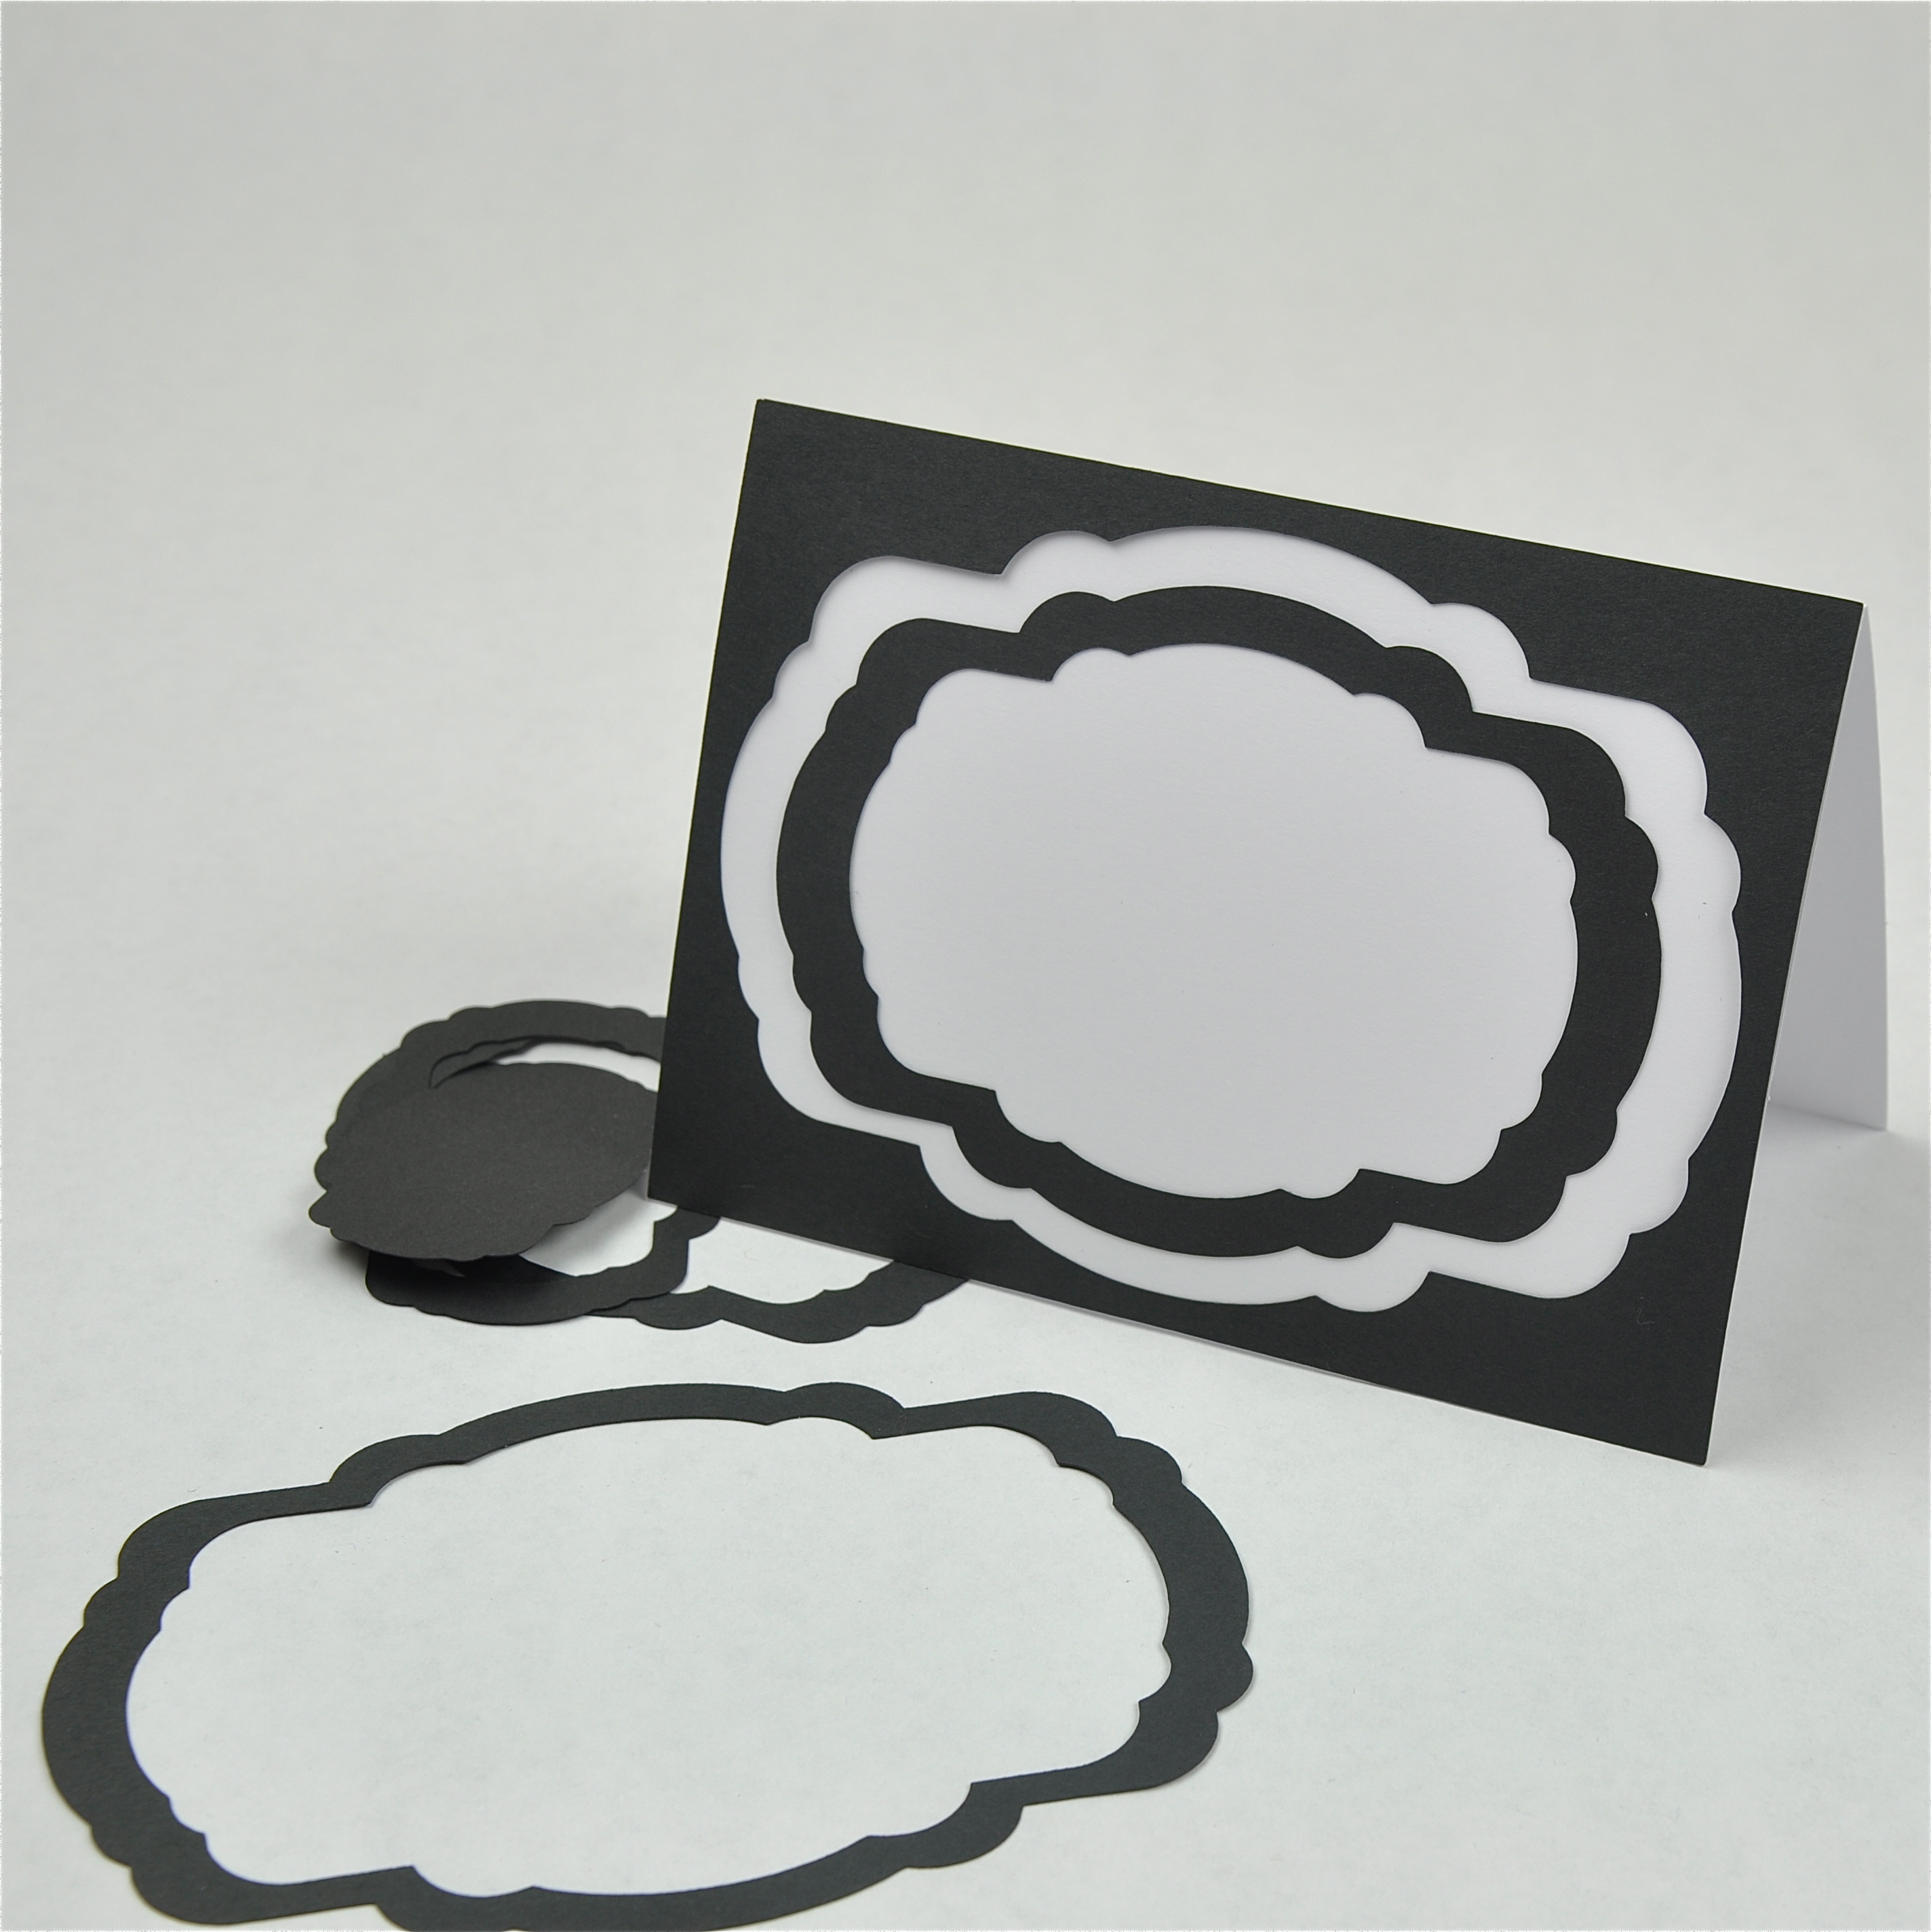
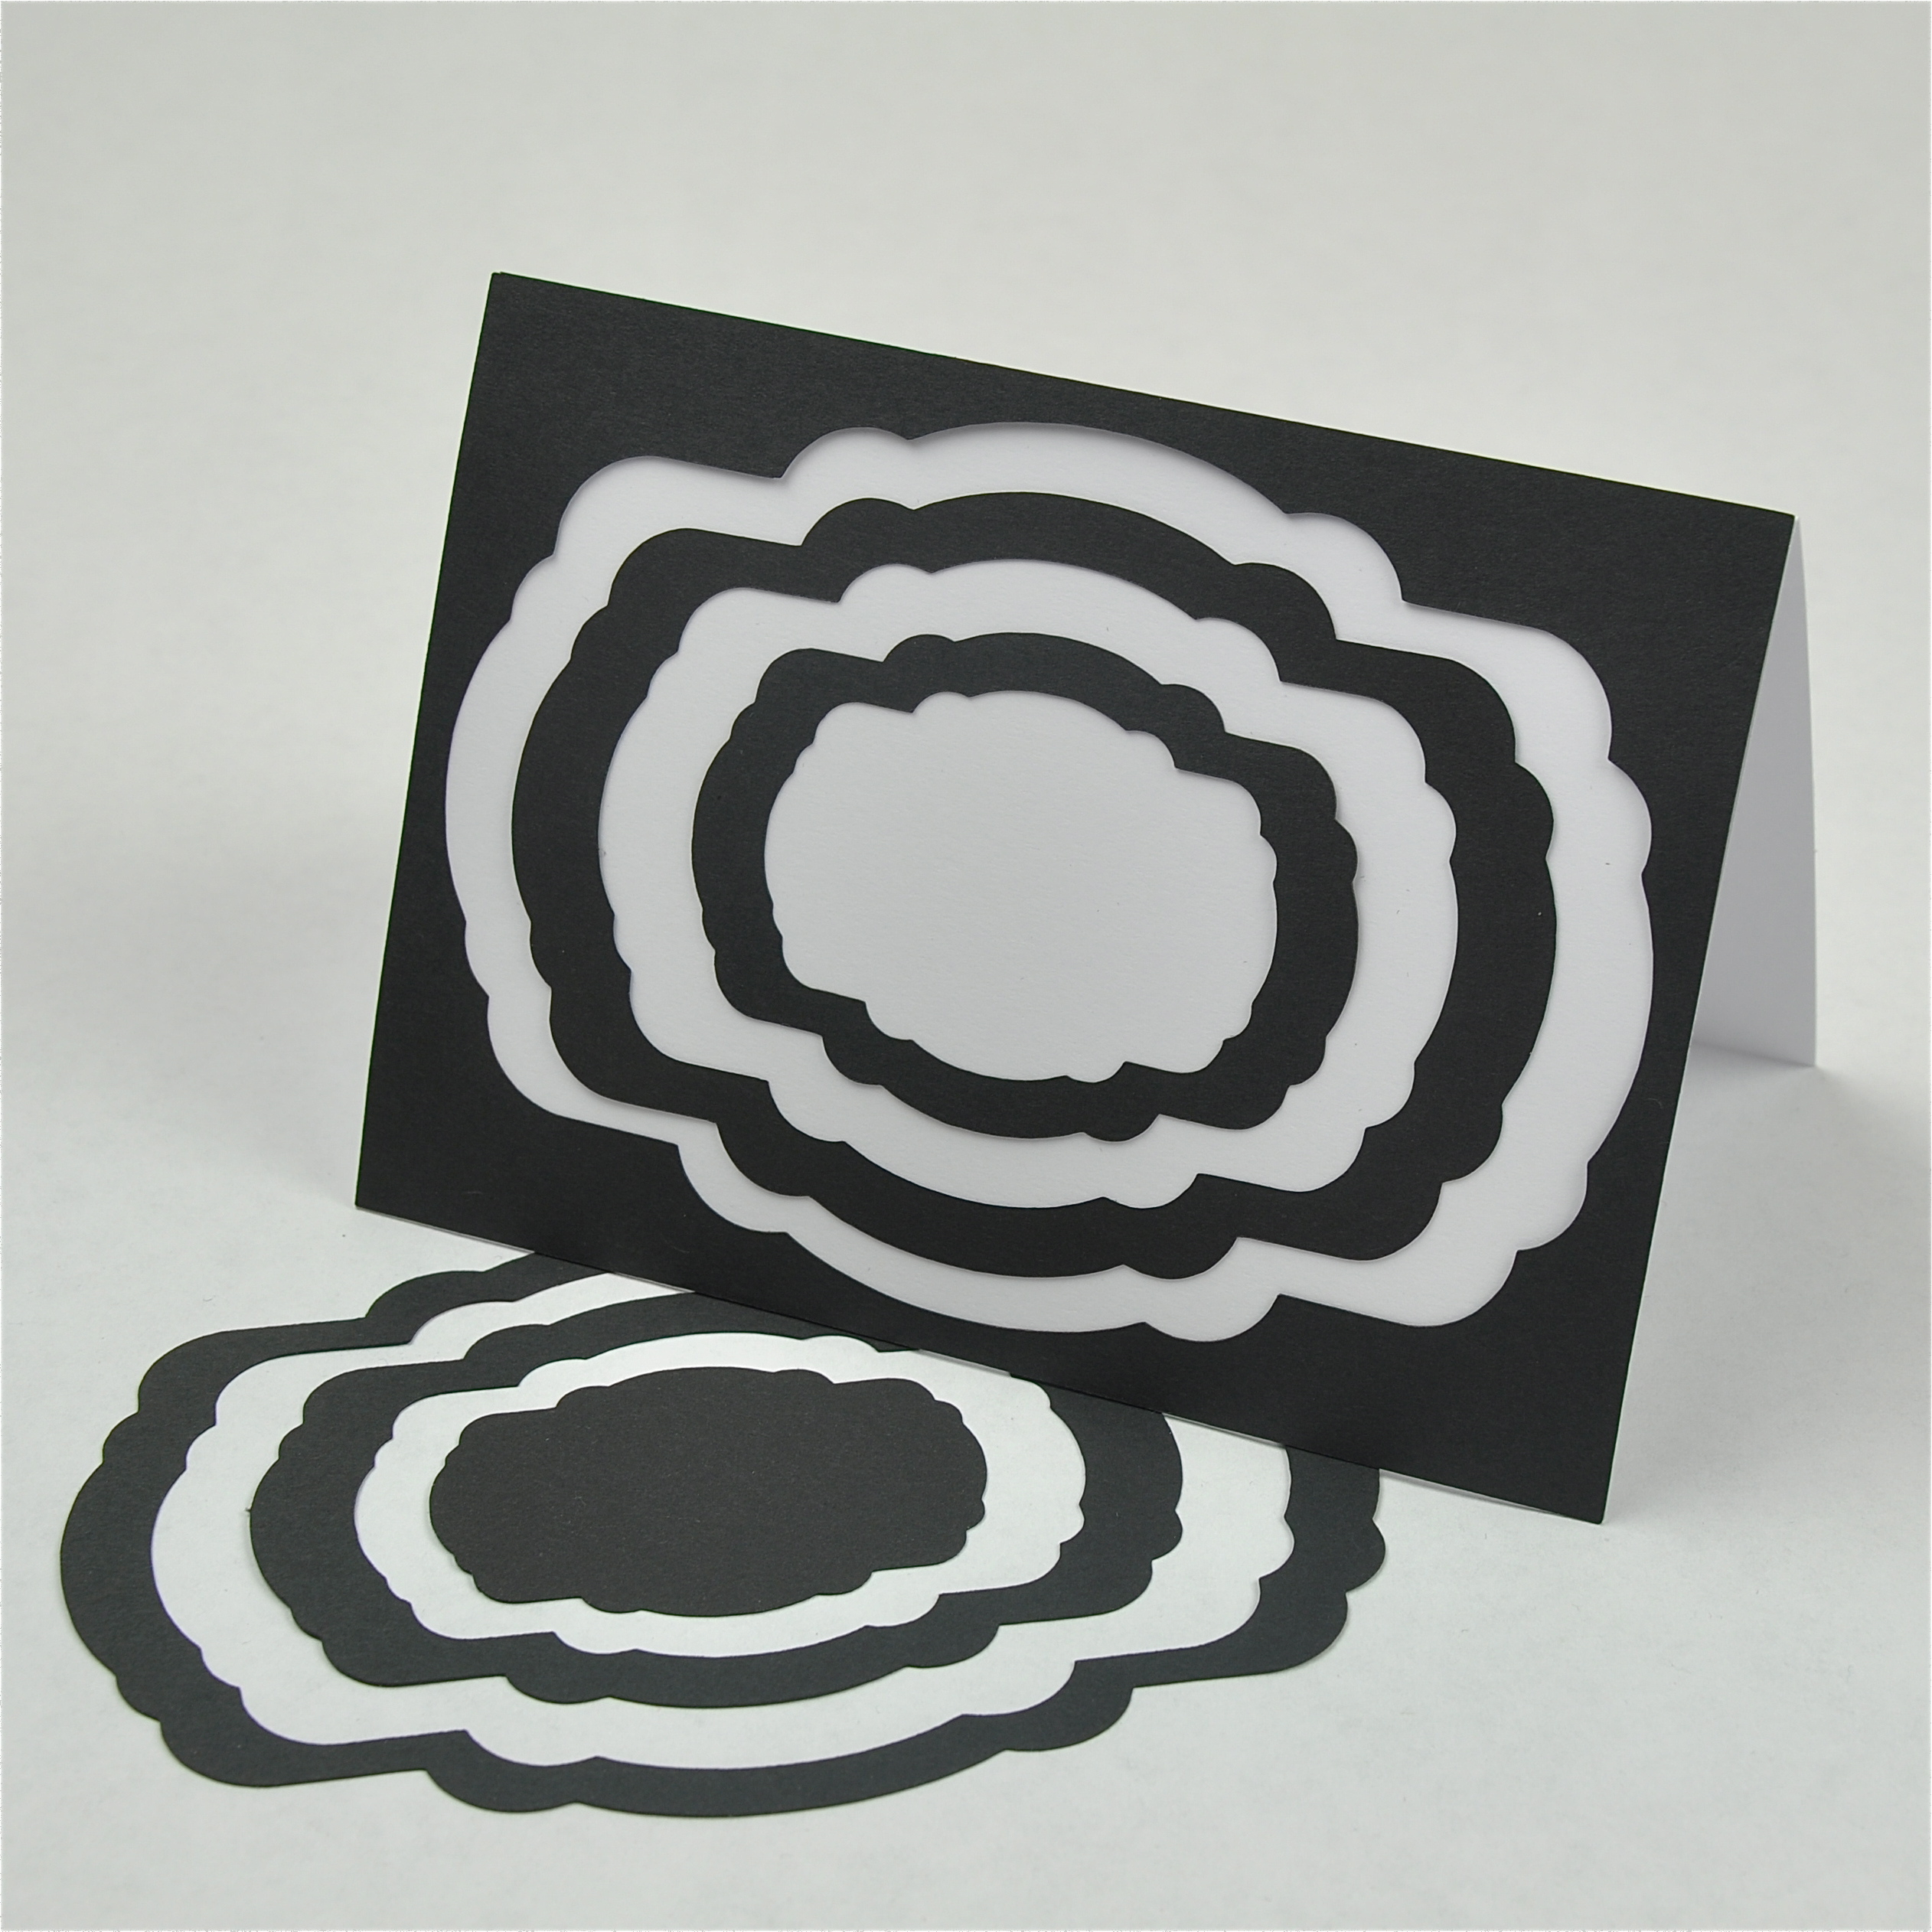
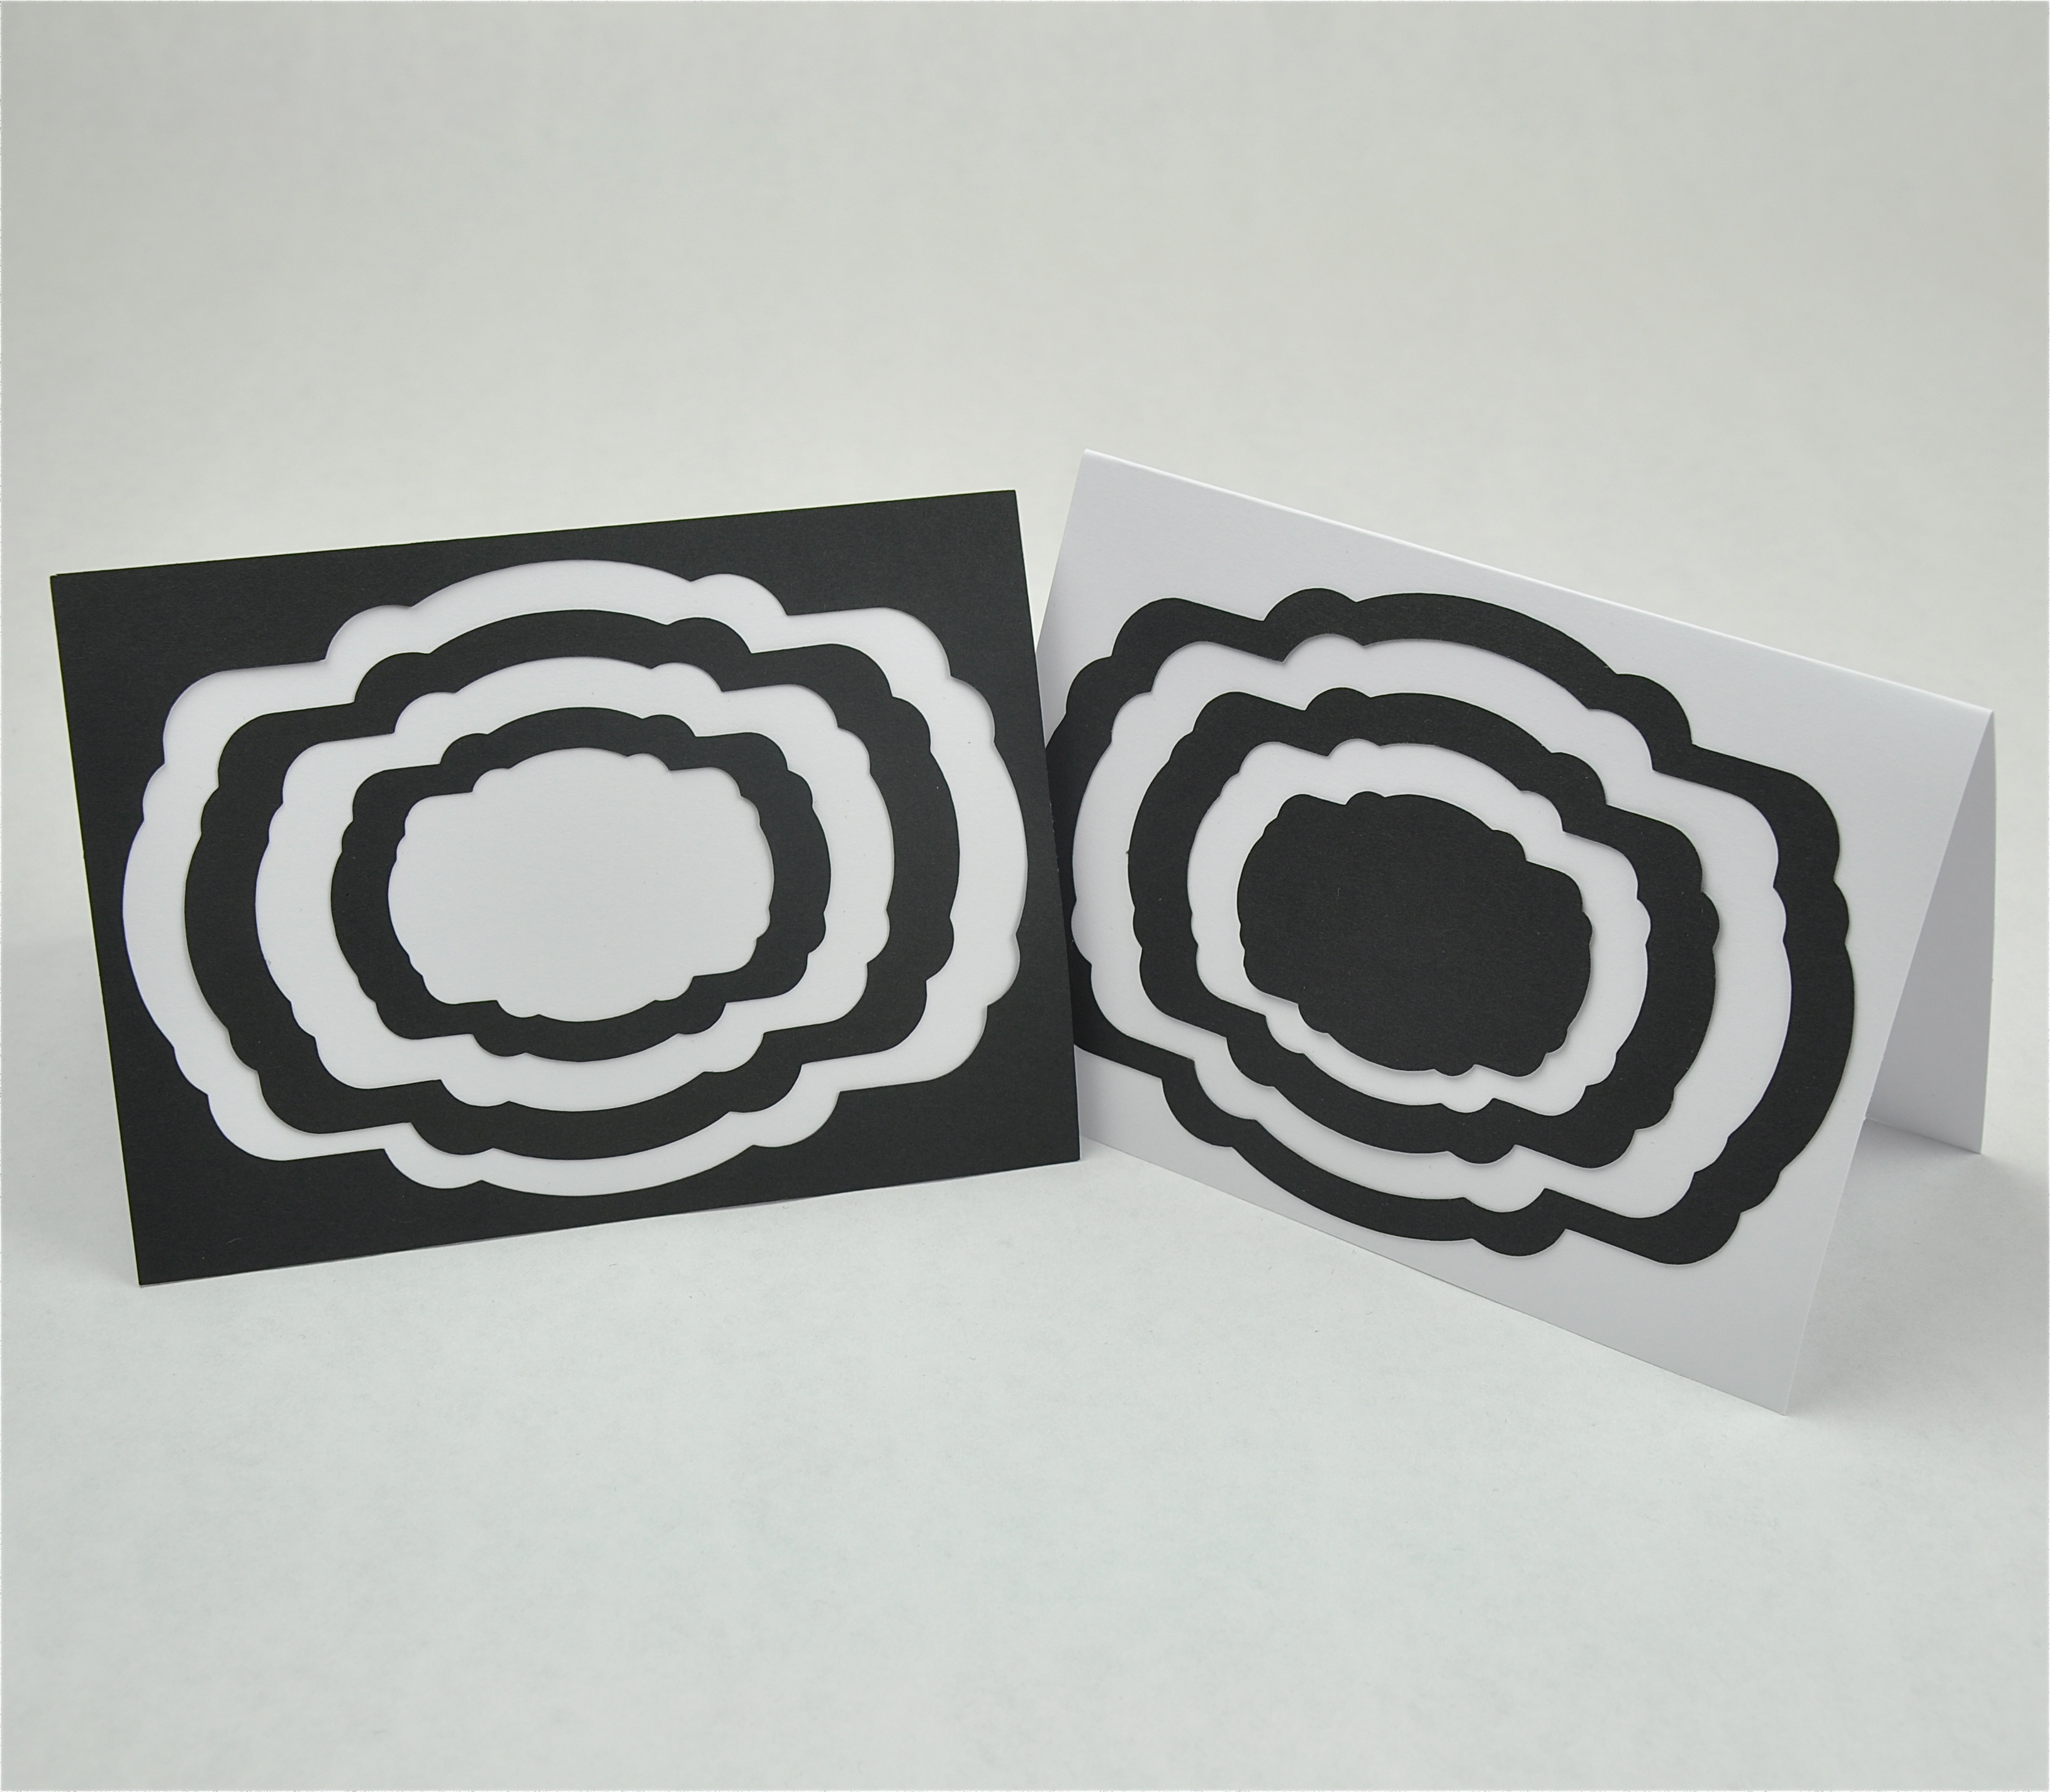
This is a simple way to make interesting card easily.
Supplies:
Creating the Image:
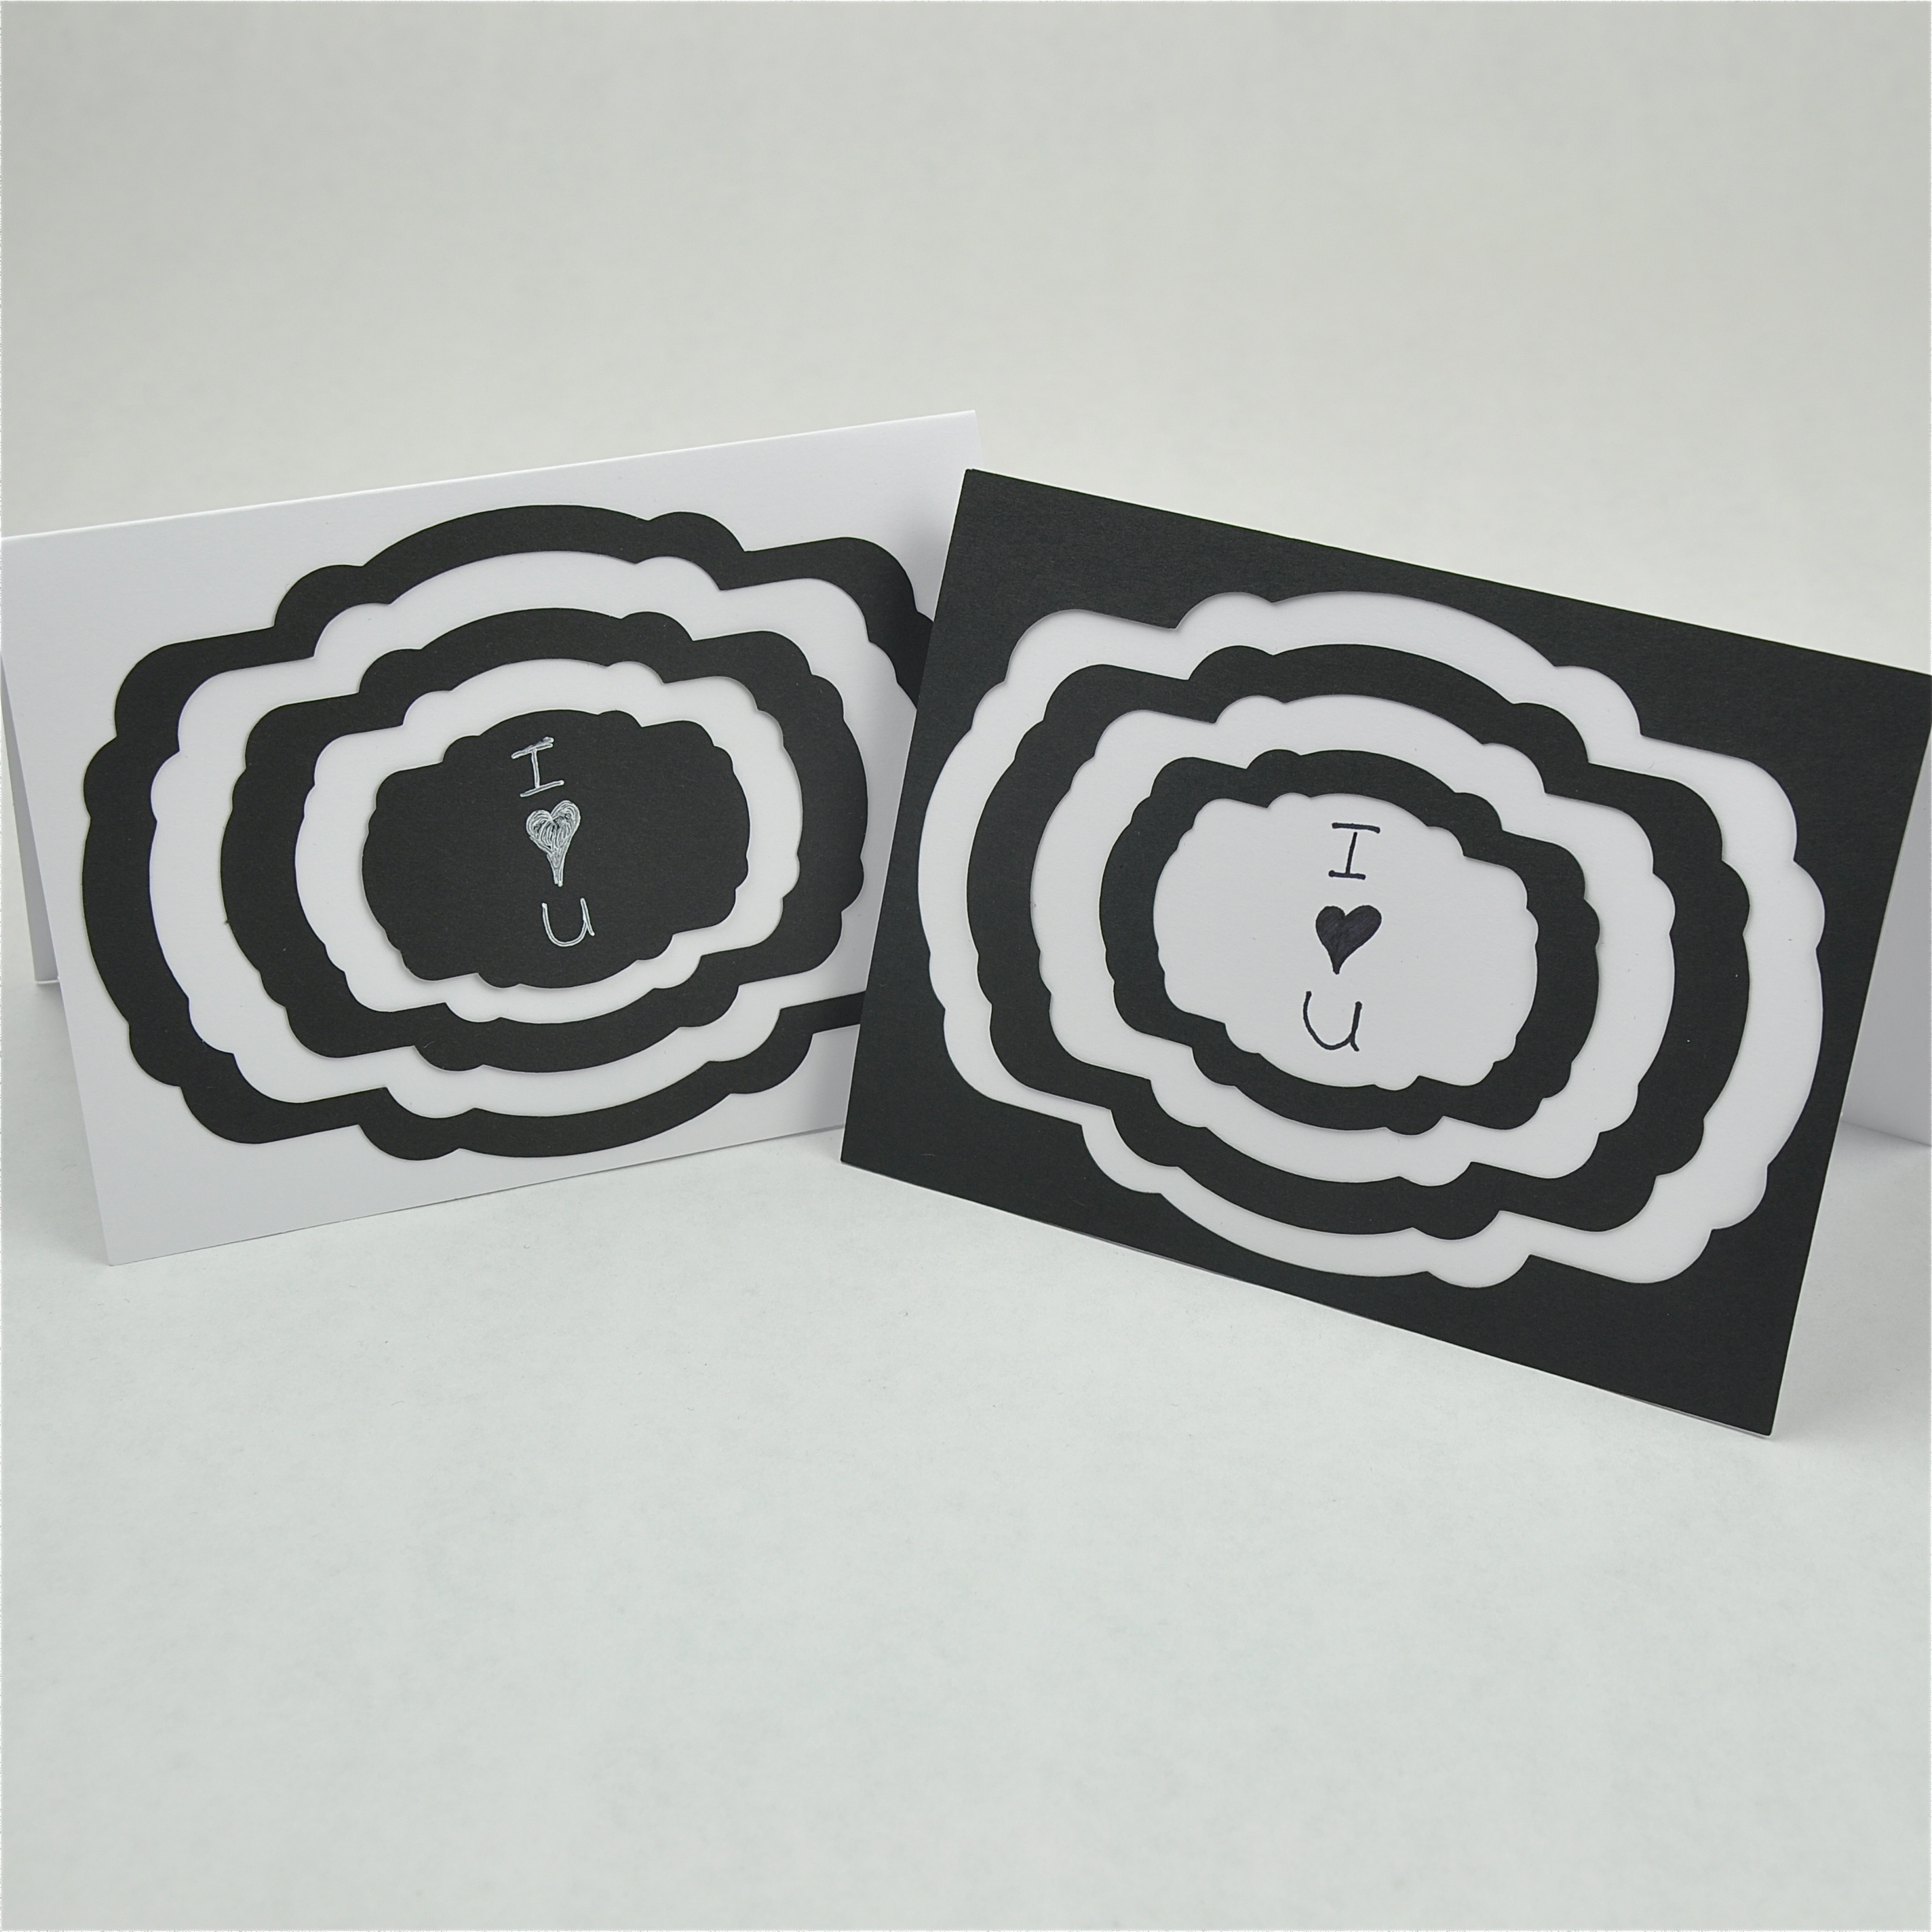
Now you just have to simply tape or past your frames on your card. Use every other one so you have white spaces showing in between. I showed how you can use all of the pieces to make two cards easily. Now you can leave it as is or write a little message in the middle!
Done!
Supplies:
- Silhouette Cameo
- Black Paper
- White 4 x 5.5 Card (I got mine in a pack from Michaels that came with an equal number of envelopes)
- Glue or Sticky Squares
Creating the Image:
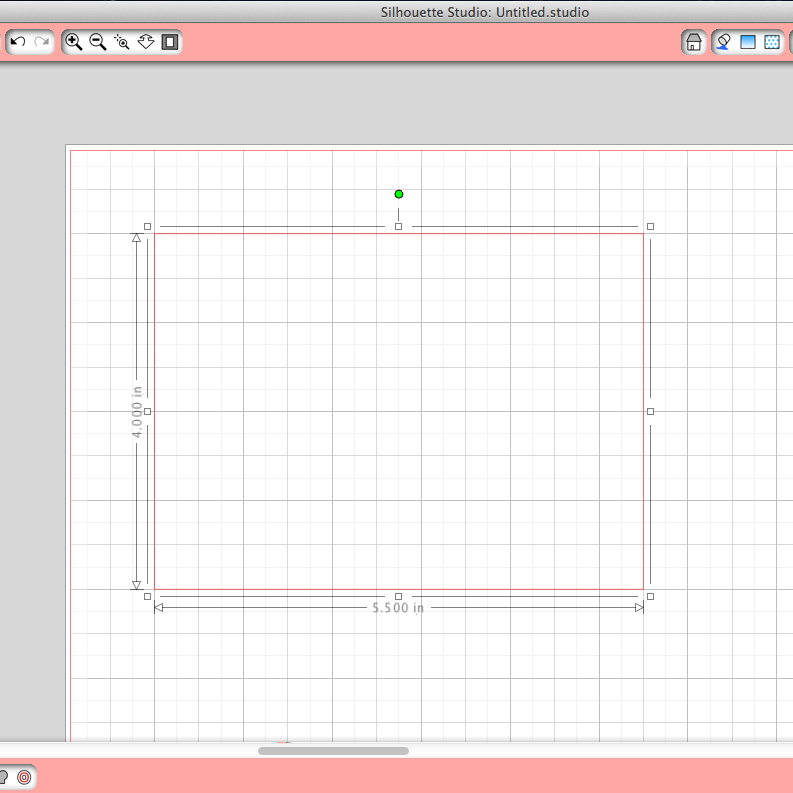
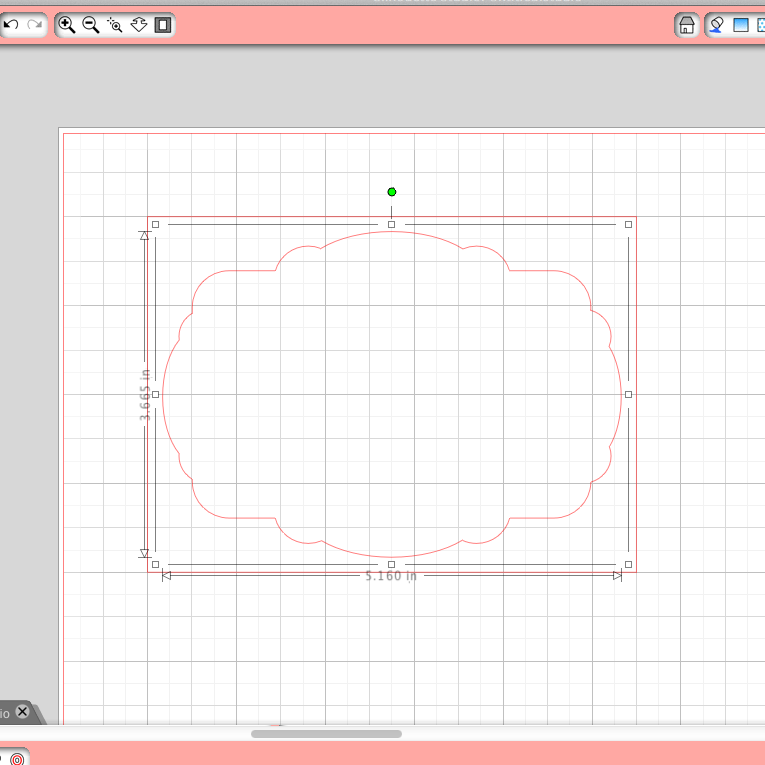
- To create your own design, first draw a rectangle that is the size of the front of your card. Mine was 4 inches by 5.5 inches.
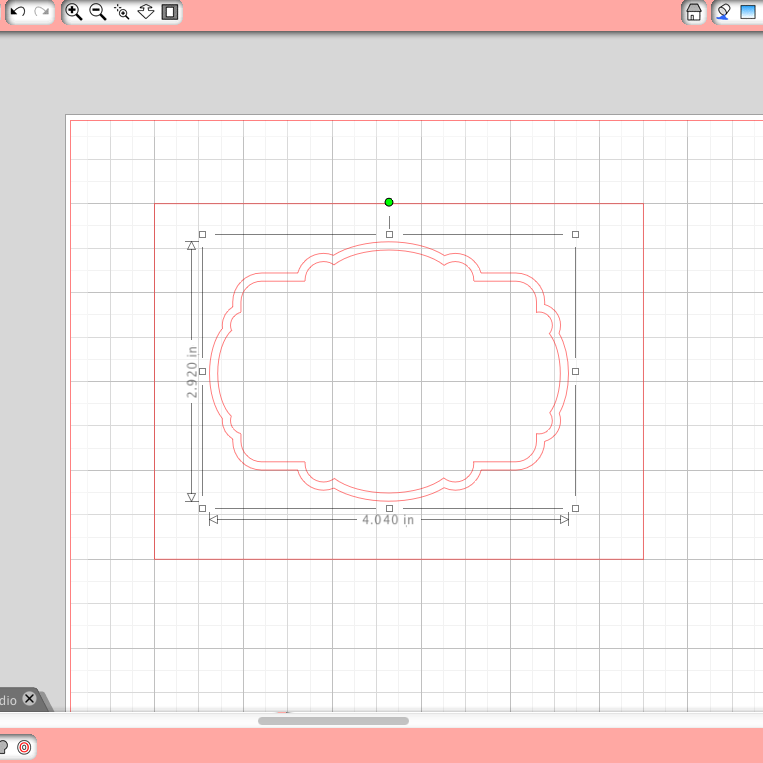
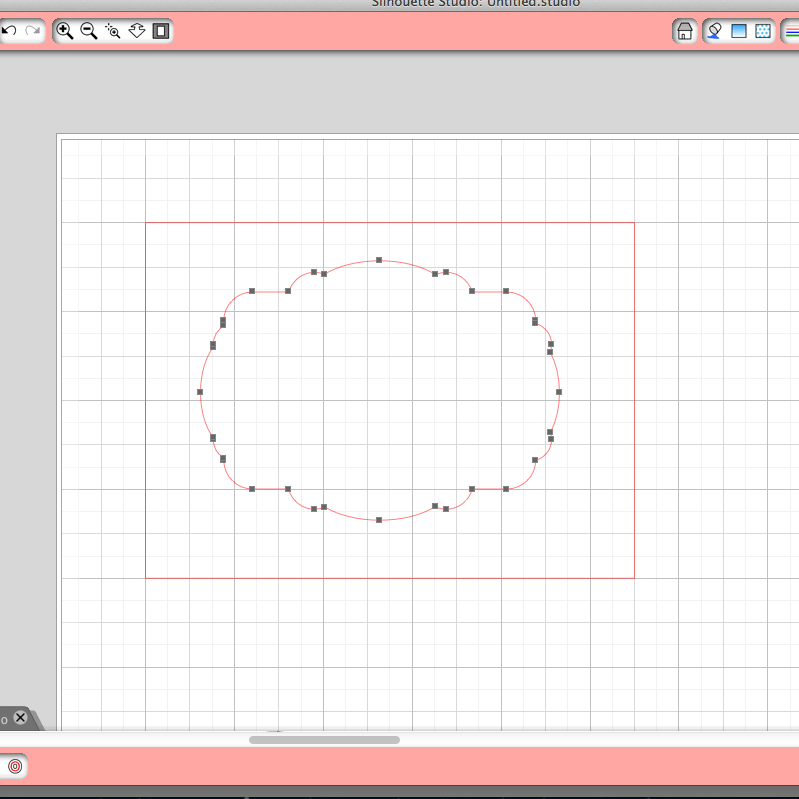
- Choose a shape. I chose the "frame" from the library. This image had two lines to it, so I ungrouped the image and deleted point by point one of the frame, leaving me with one image.
- Make the image so each edge is about 1/4 of in inch from each edge of the rectangle.
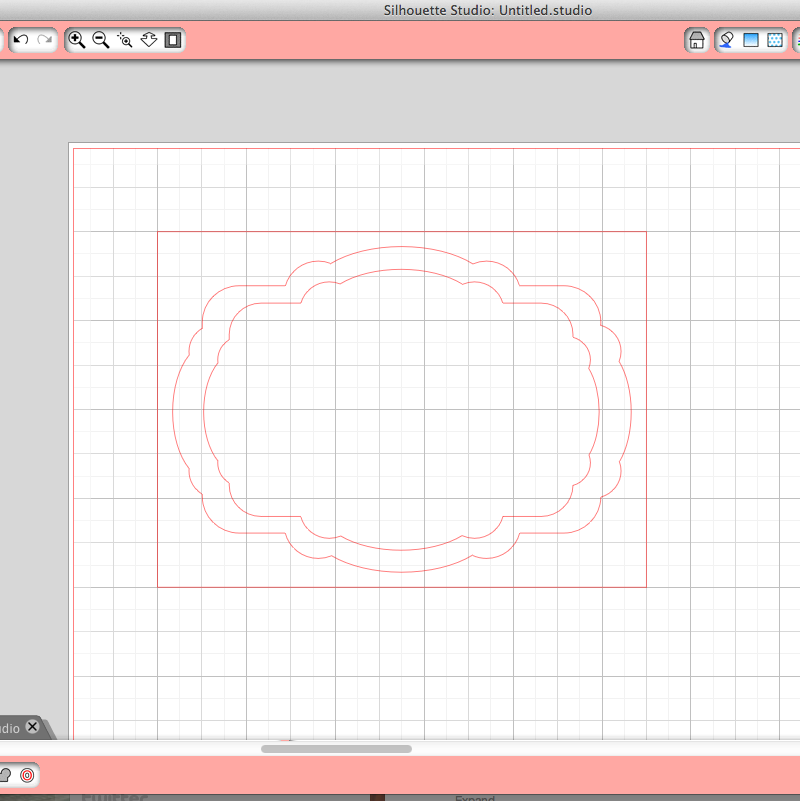
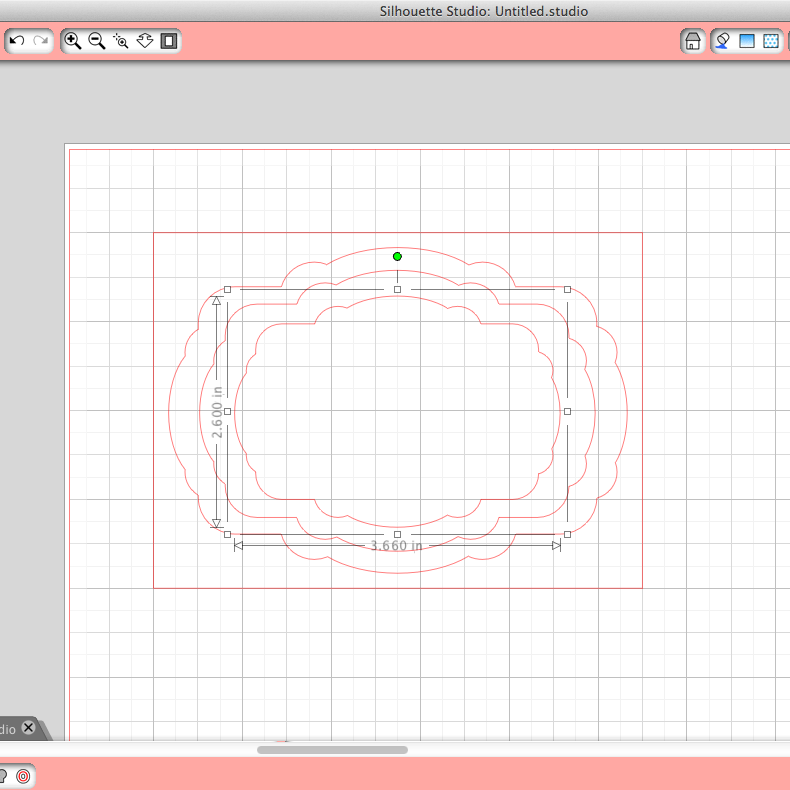
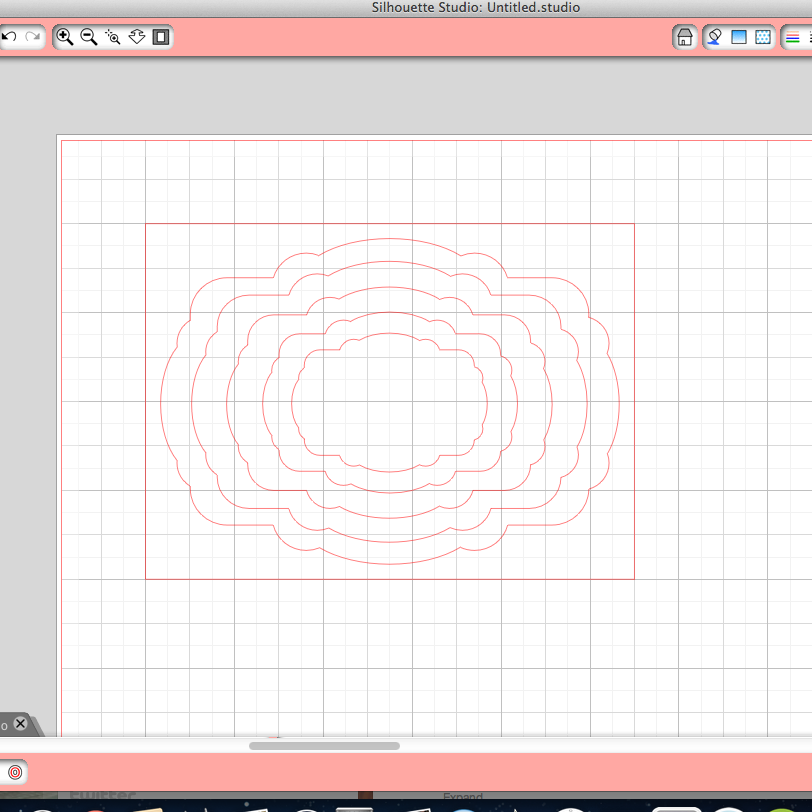
- Simply copy and paste placing each image about 1/4 an inch in from the previous image.
- I created the image 5 times which is perfect if you want to use the outside rectangle. If you do not want to use the rectangle frame, repeat the image 6 times.
- Make sure all of the lines are cut lines and sent it to the silhouette.
Now you just have to simply tape or past your frames on your card. Use every other one so you have white spaces showing in between. I showed how you can use all of the pieces to make two cards easily. Now you can leave it as is or write a little message in the middle!
Done!