Multiple Blinking LED on the Arduino
by The Electrodog Show in Circuits > Arduino
358127 Views, 53 Favorites, 0 Comments
Multiple Blinking LED on the Arduino
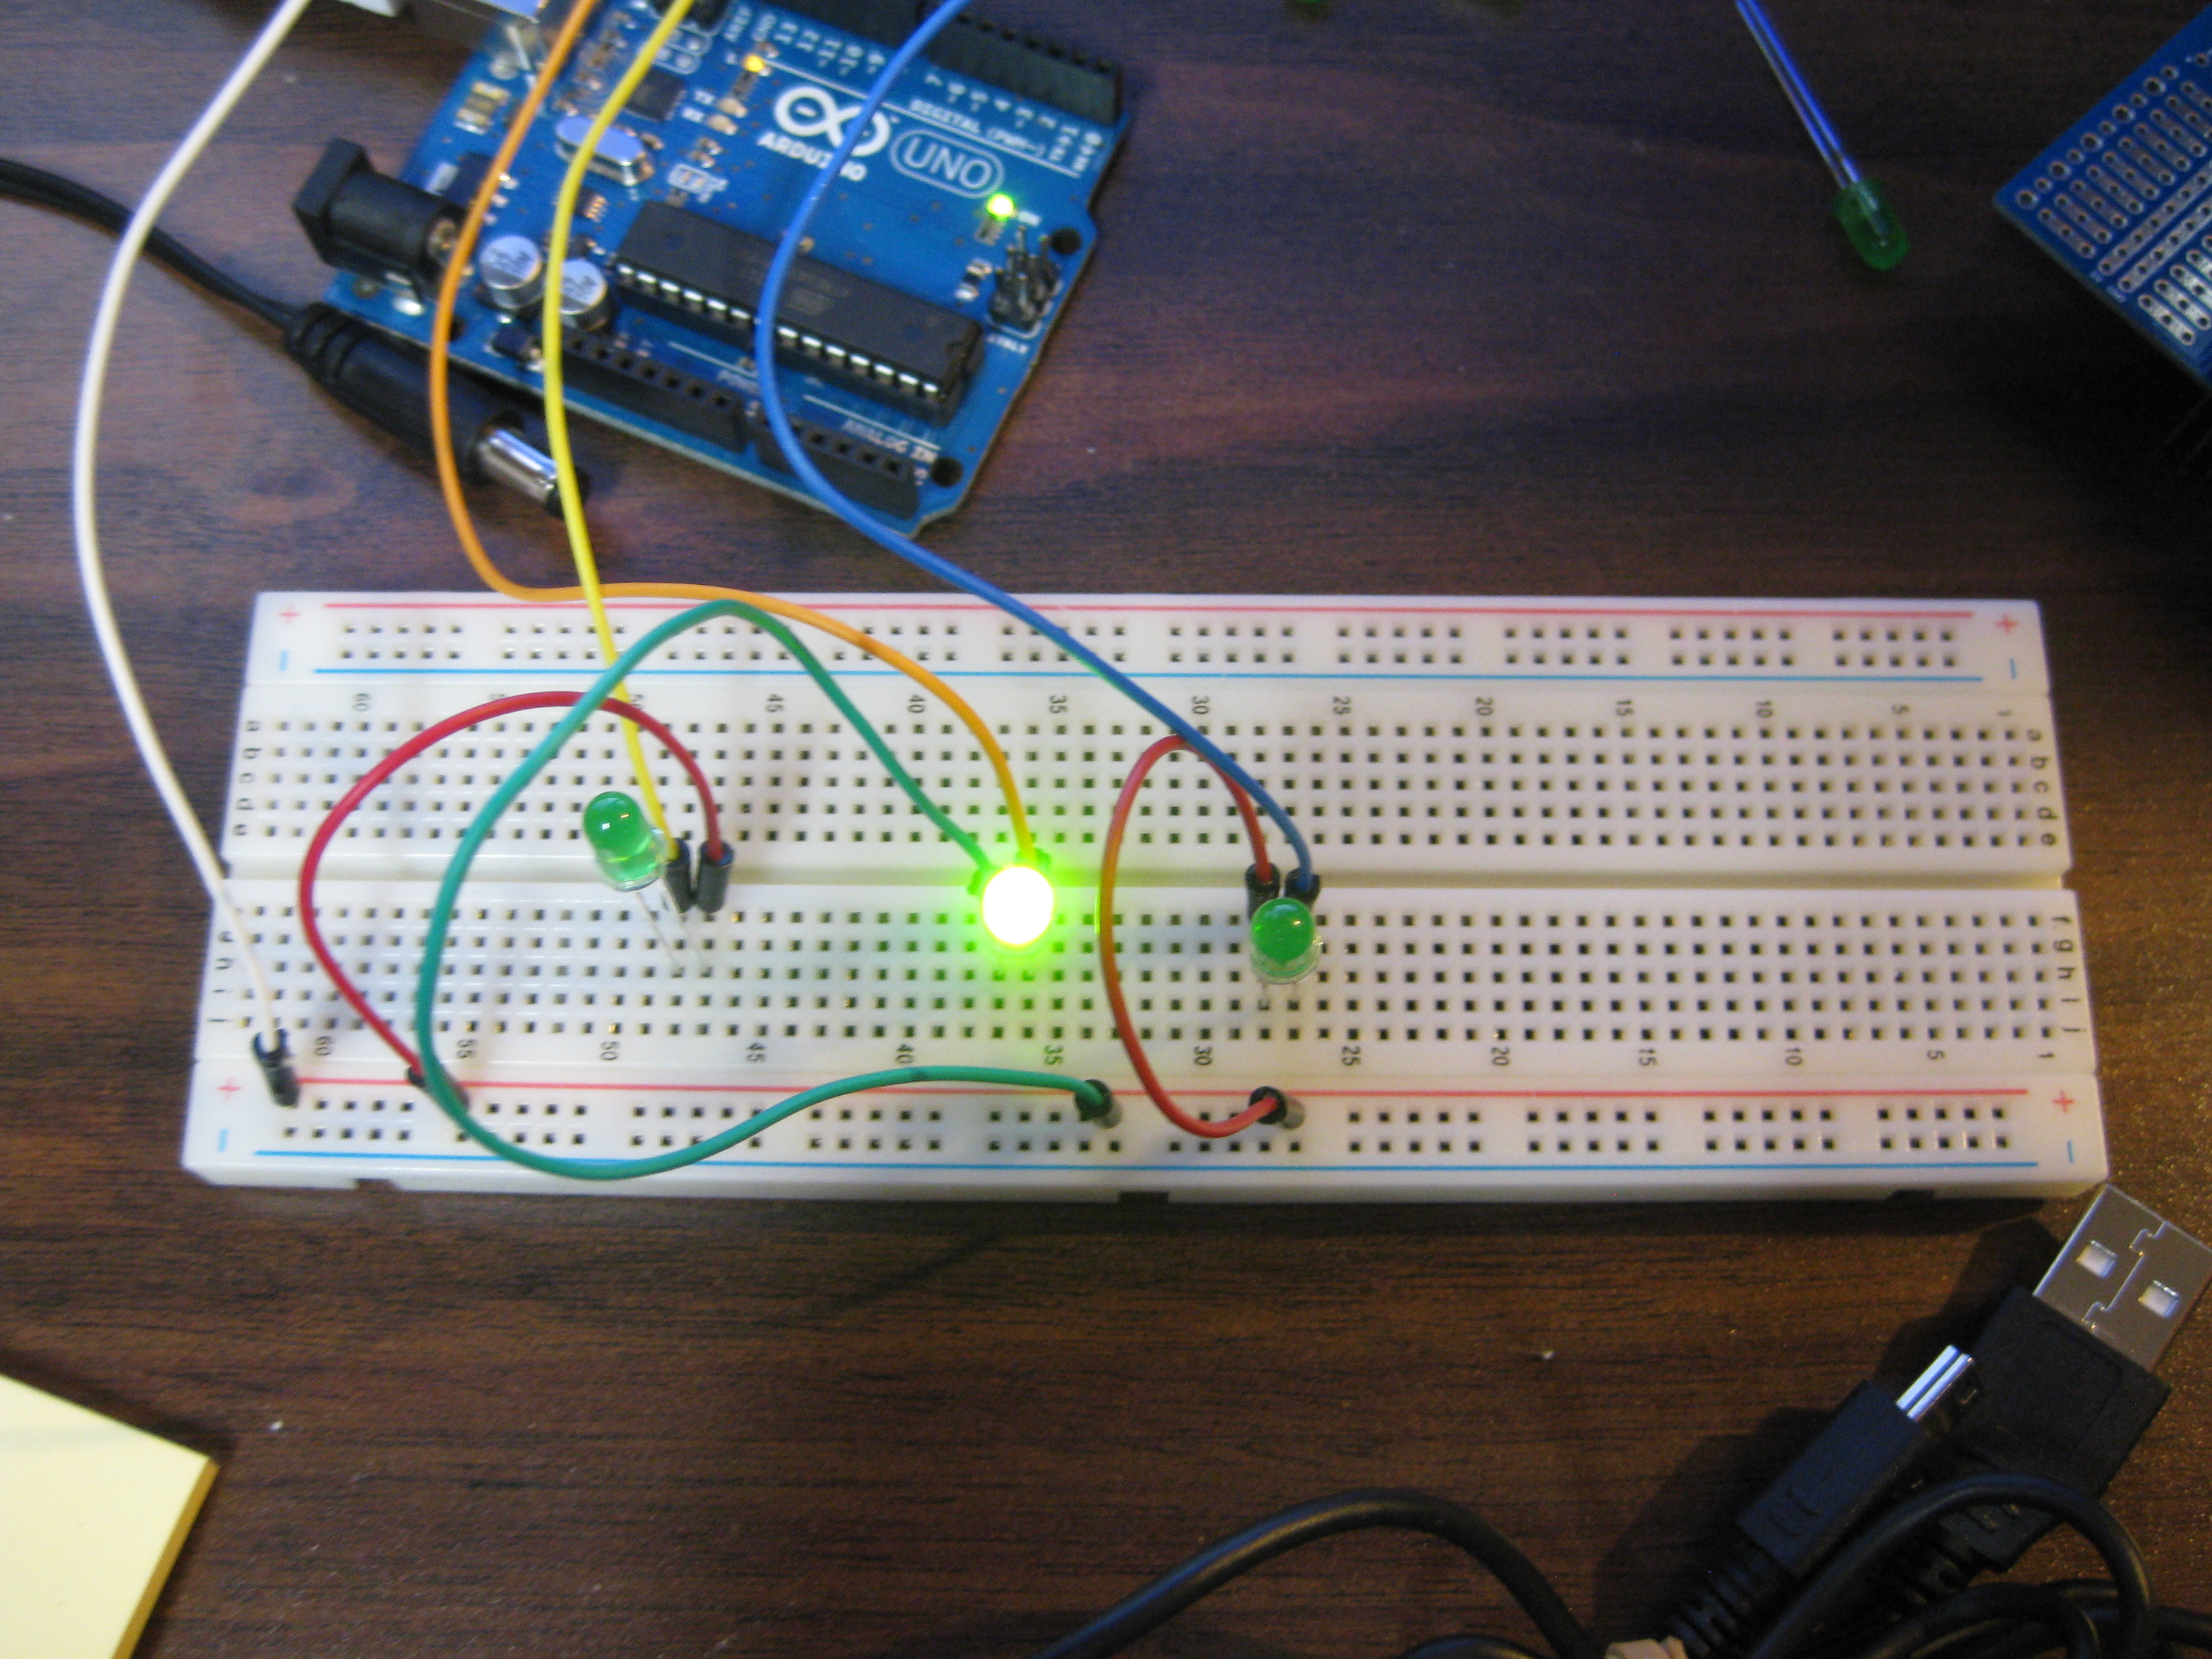
In this tutorial I will show you how to make multiple LEDs blink with Arduino. You will need three LEDs, jumper wires, breadboard, and Arduino.
Program the Arduino
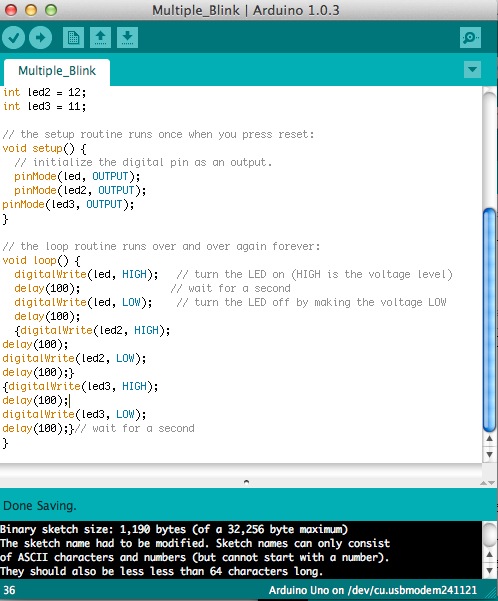
Now you will need to paste the following code into the Arduino software and upload it to the Arduino.
int led = 13;
int led2 = 12;
int led3 = 11;
// the setup routine runs once when you press reset:
void setup() {
// initialize the digital pin as an output.
pinMode(led, OUTPUT);
pinMode(led2, OUTPUT);
pinMode(led3, OUTPUT);
}
// the loop routine runs over and over again forever:
void loop() {
digitalWrite(led, HIGH); // turn the LED on (HIGH is the voltage level)
delay(100); // wait for a second
digitalWrite(led, LOW); // turn the LED off by making the voltage LOW
delay(100);
{digitalWrite(led2, HIGH);
delay(100);
digitalWrite(led2, LOW);
delay(100);}
{digitalWrite(led3, HIGH);
delay(100);
digitalWrite(led3, LOW);
delay(100);}// wait for a second
}
Connecting GND
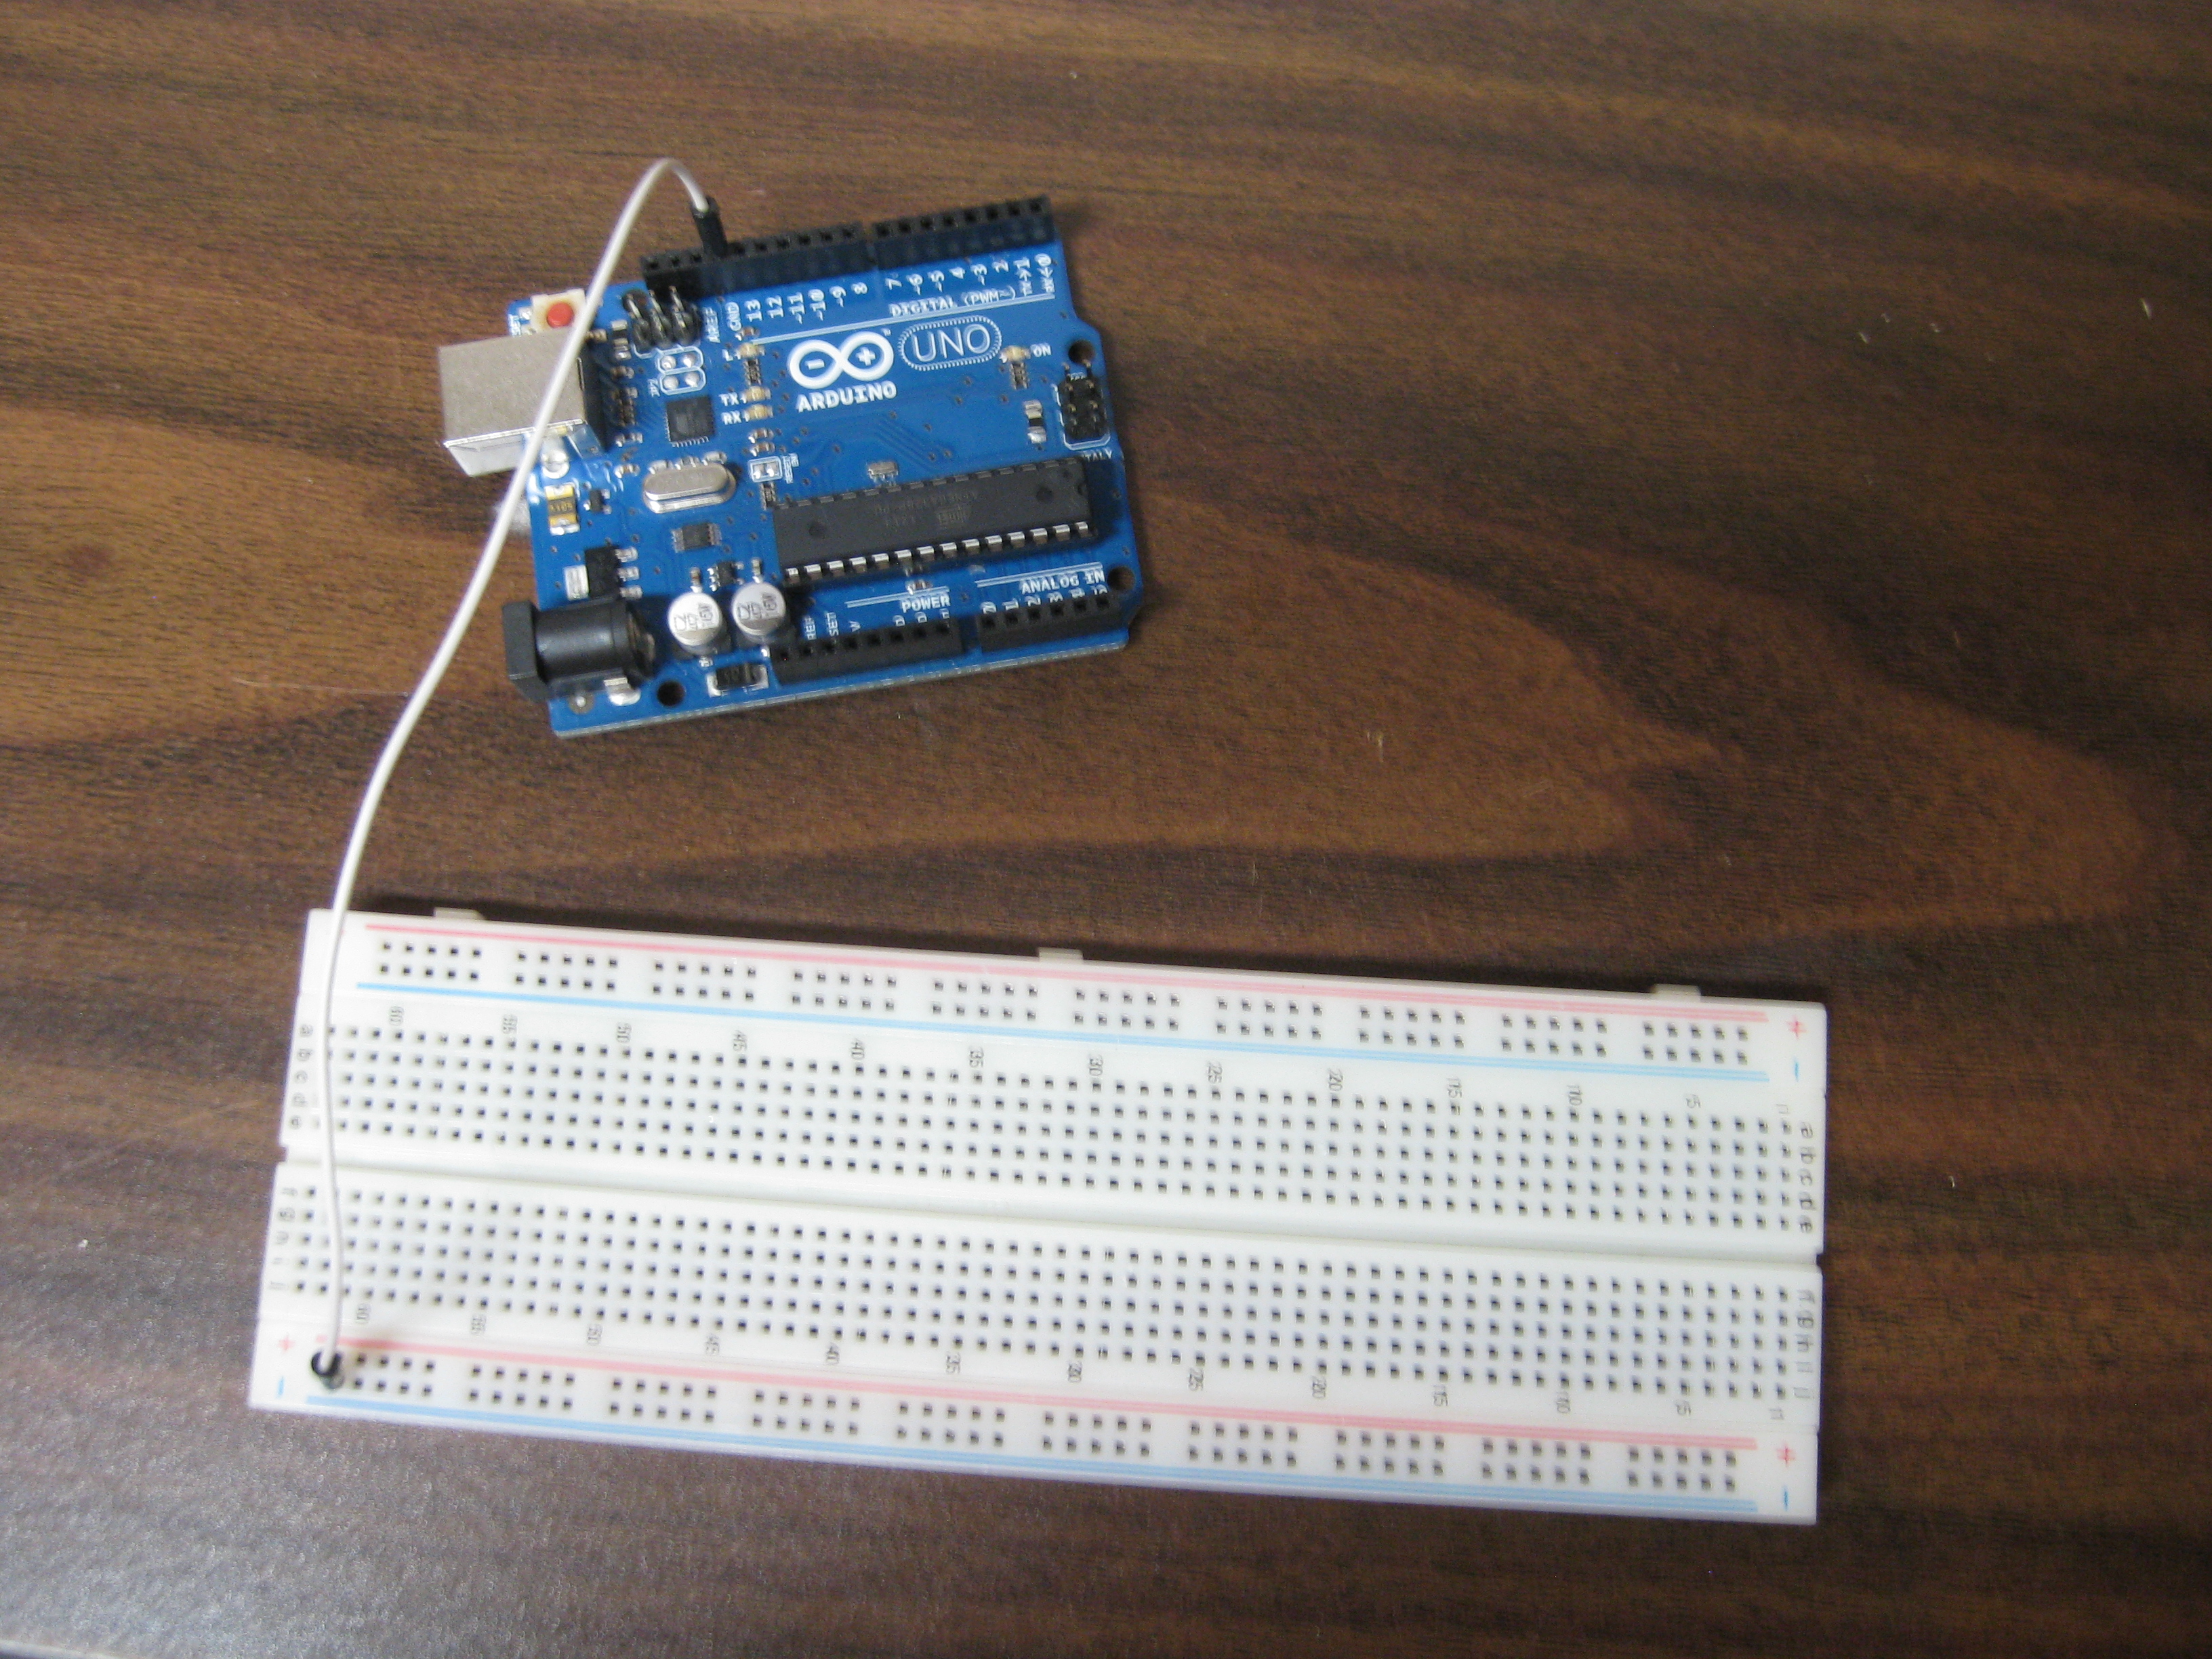
First connect a jumper wire from GND to the negative rail on the breadboard.
Connecting the LEDs.
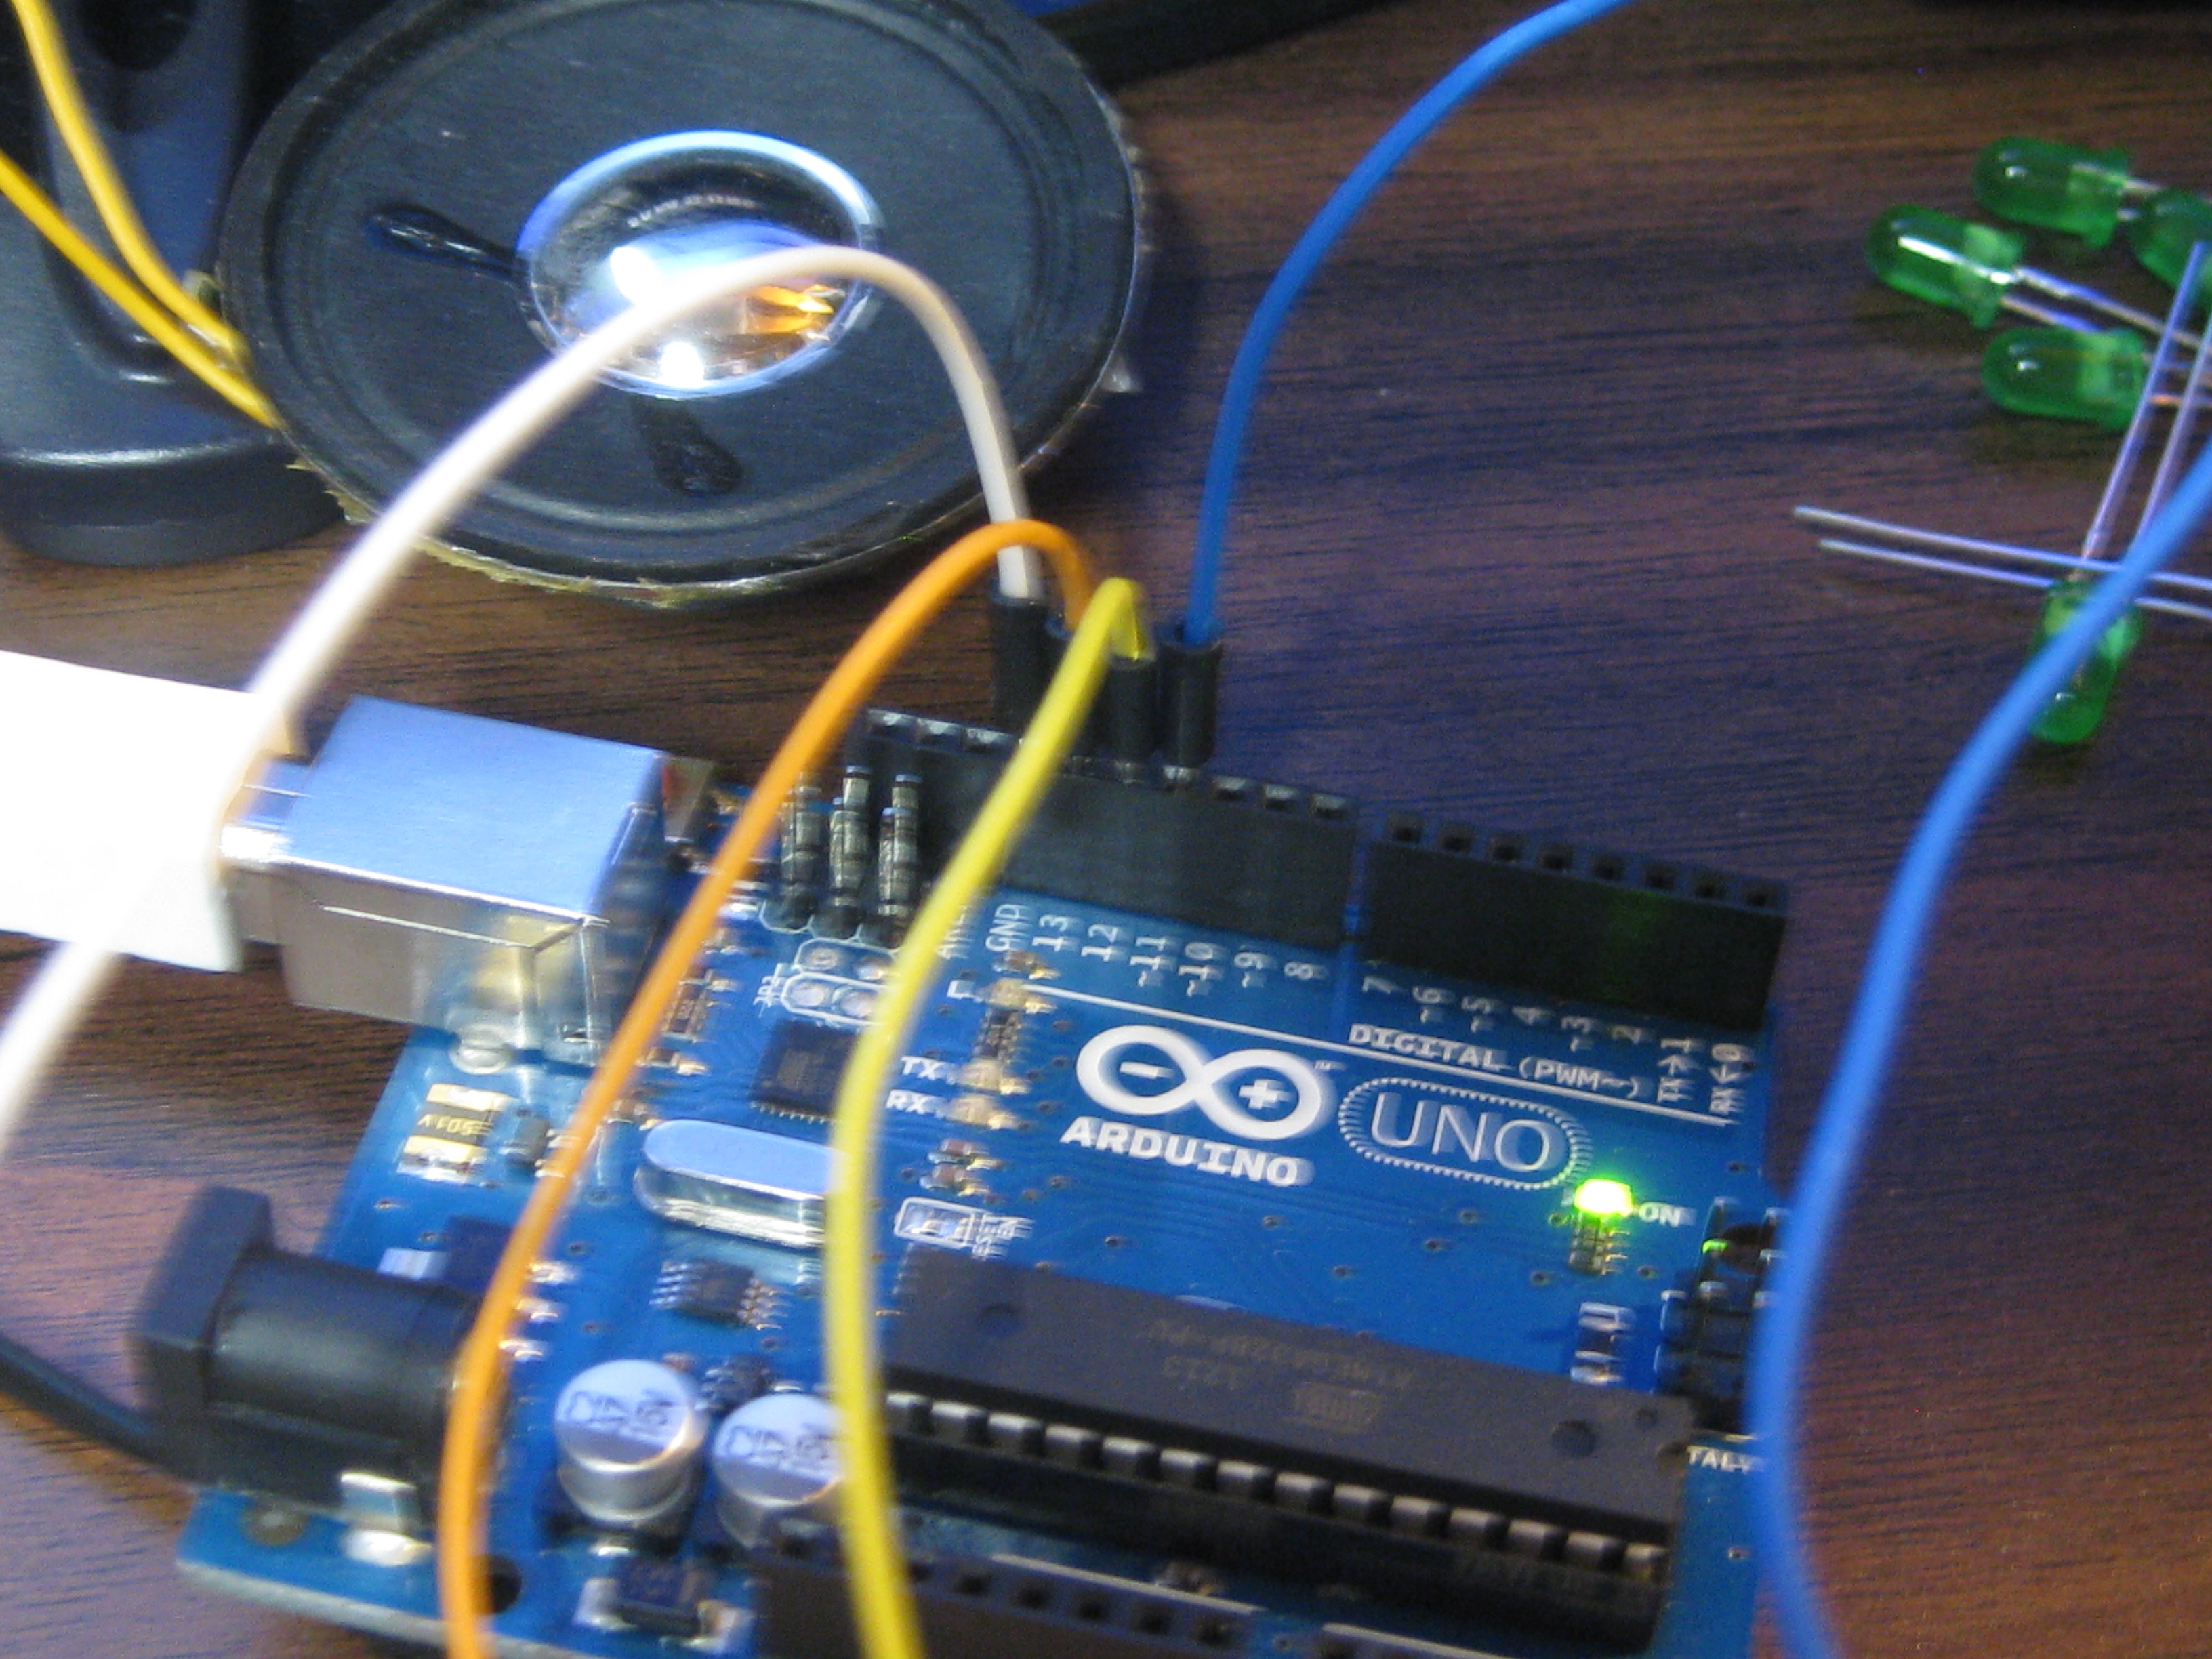
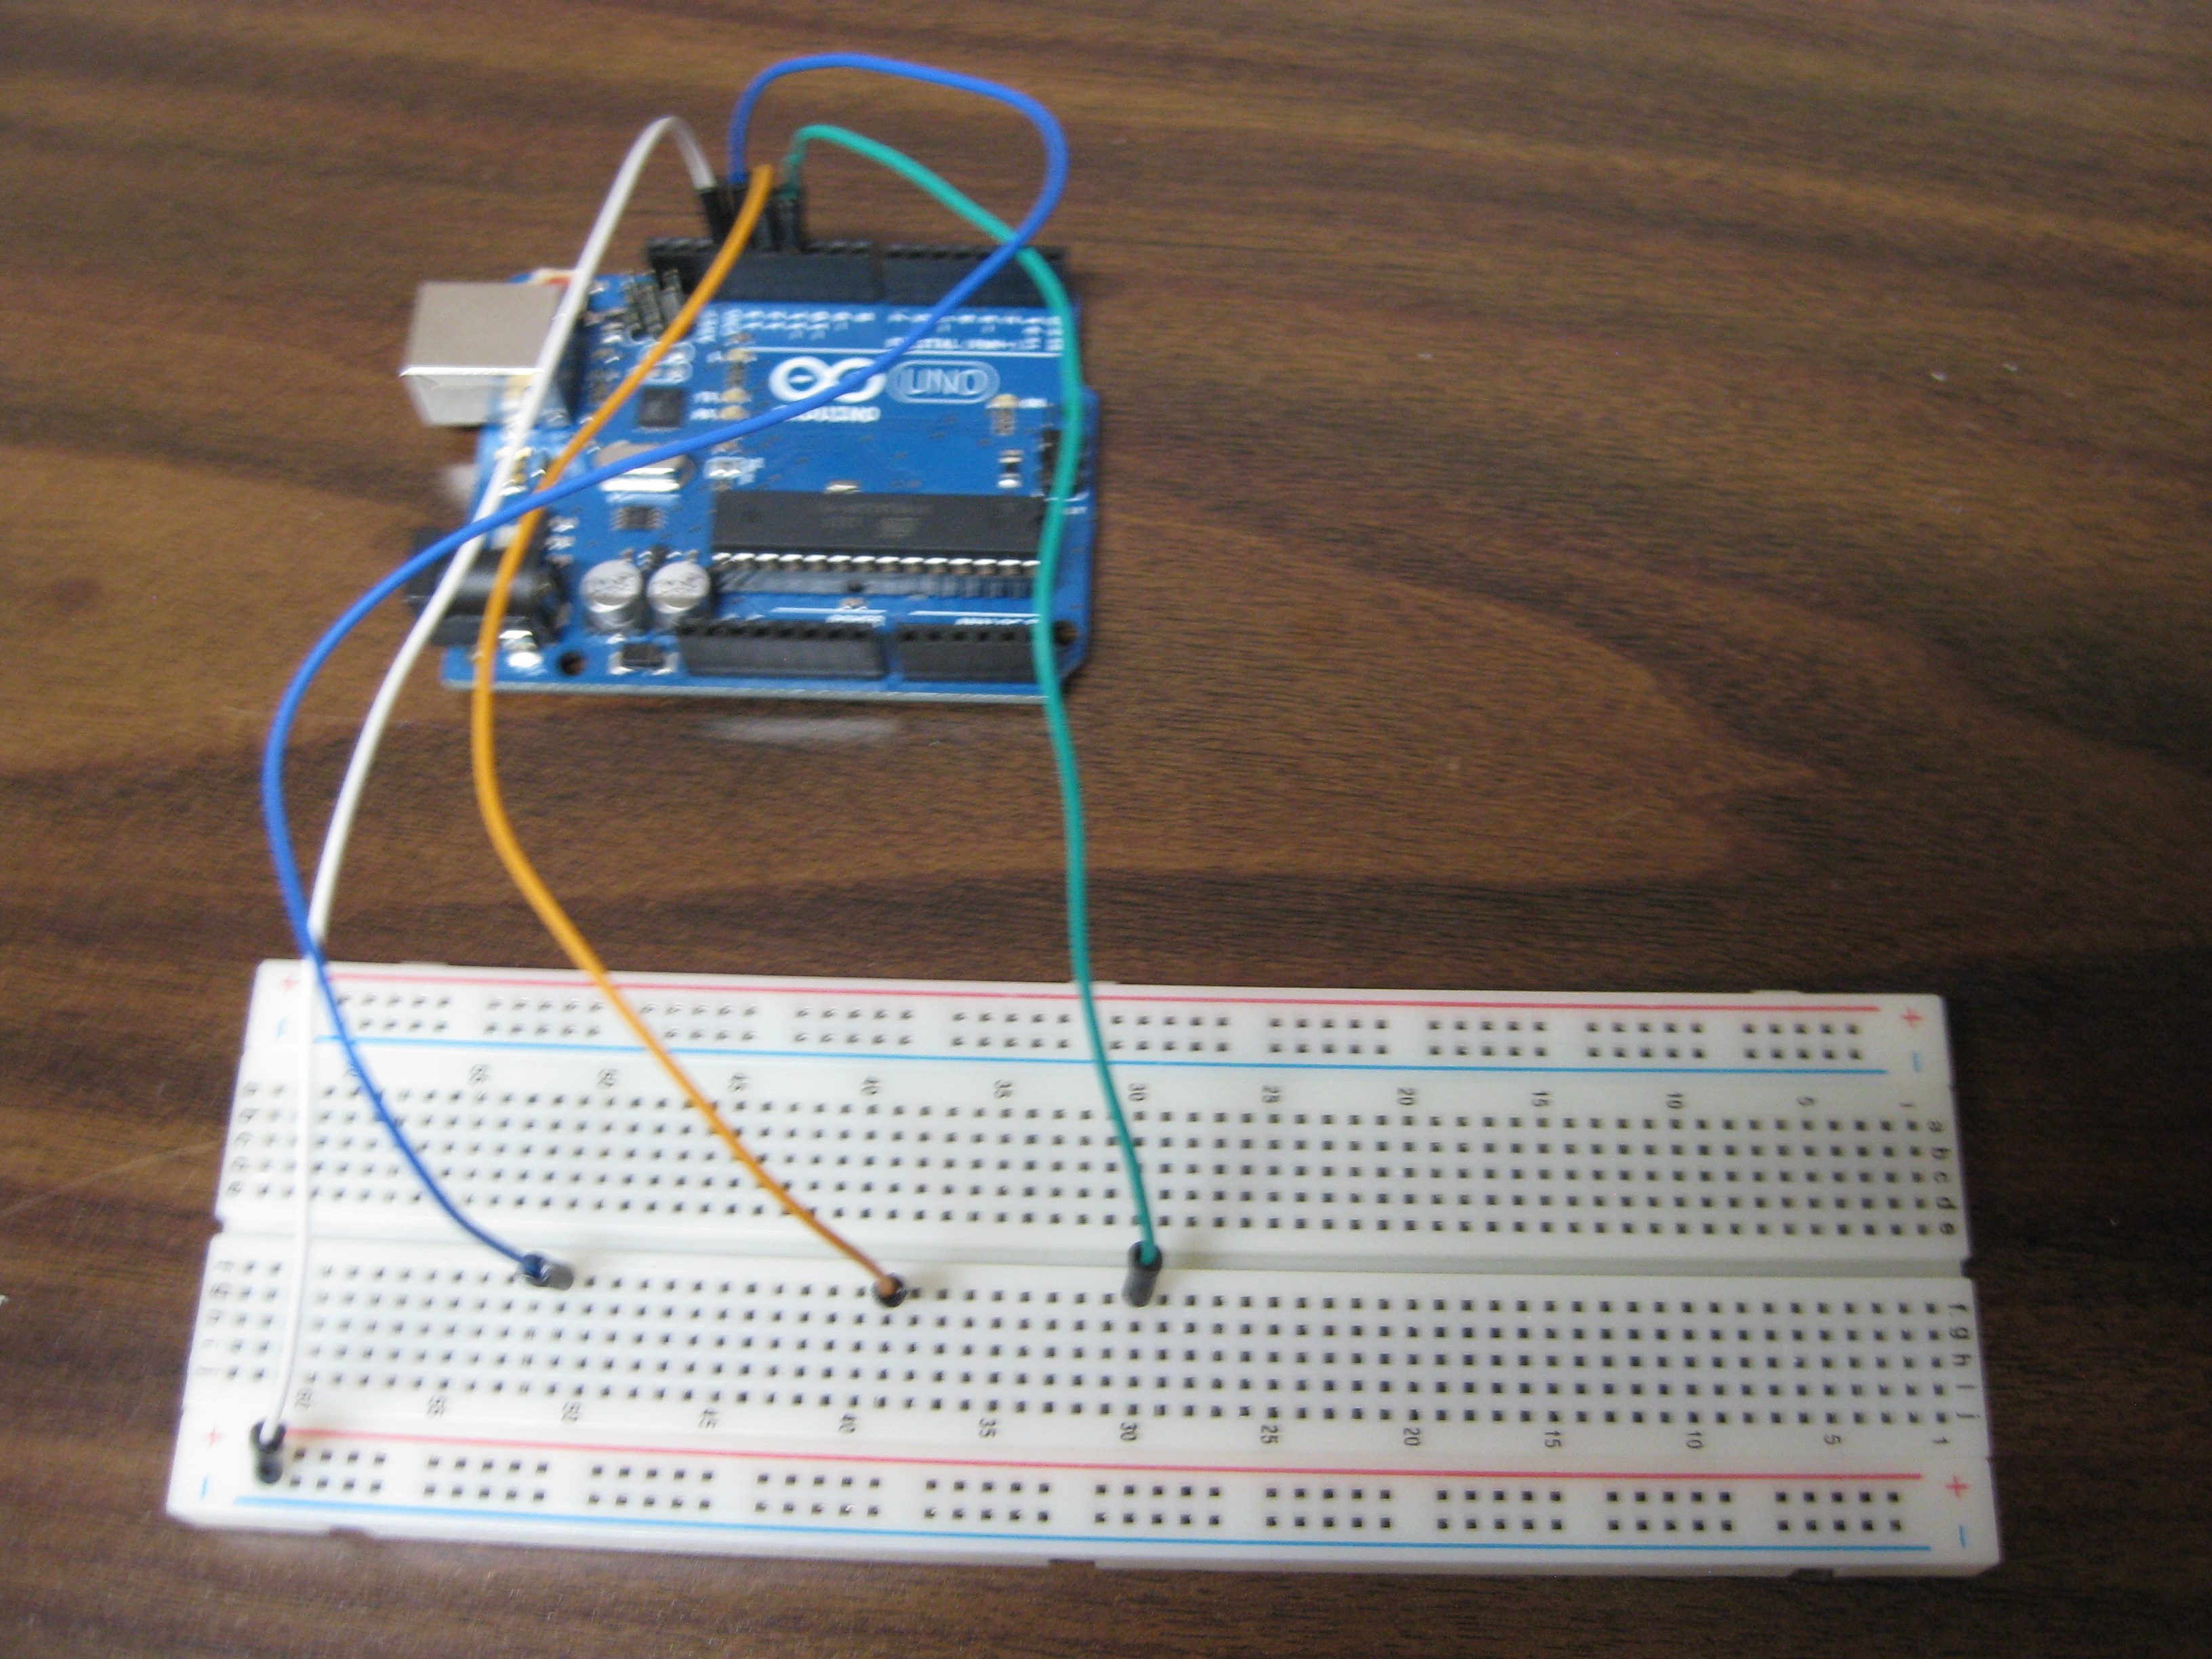
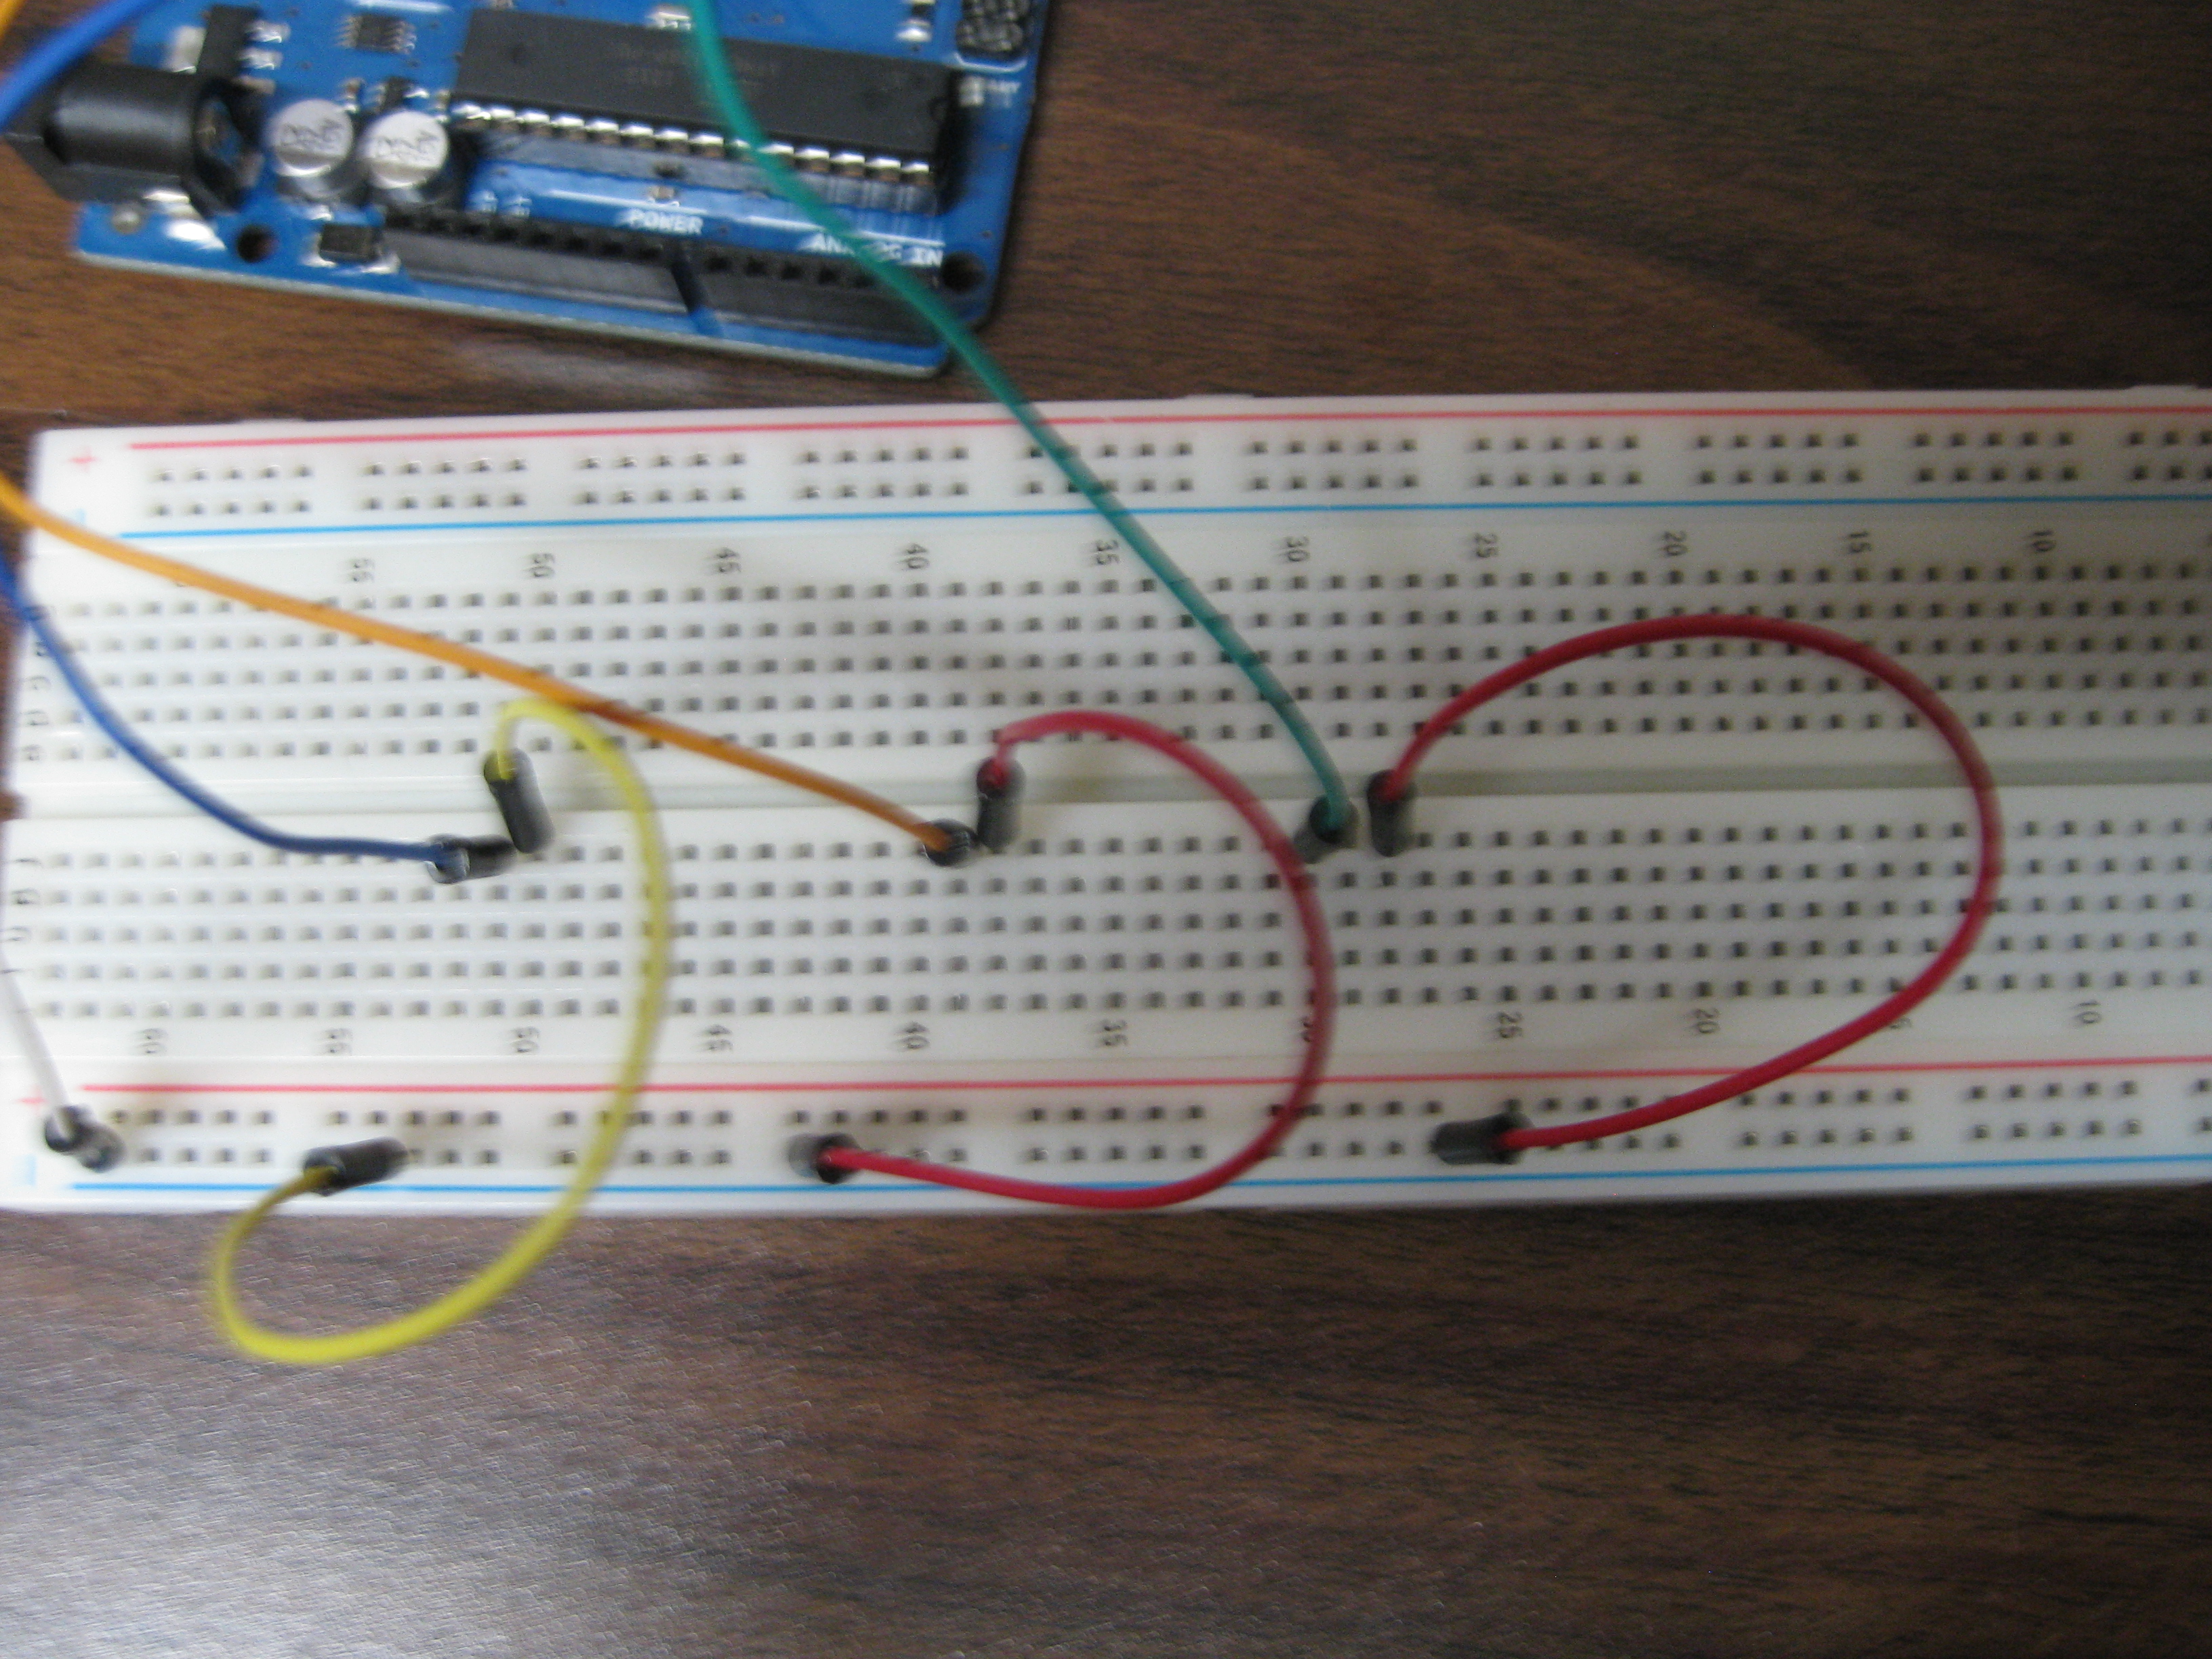
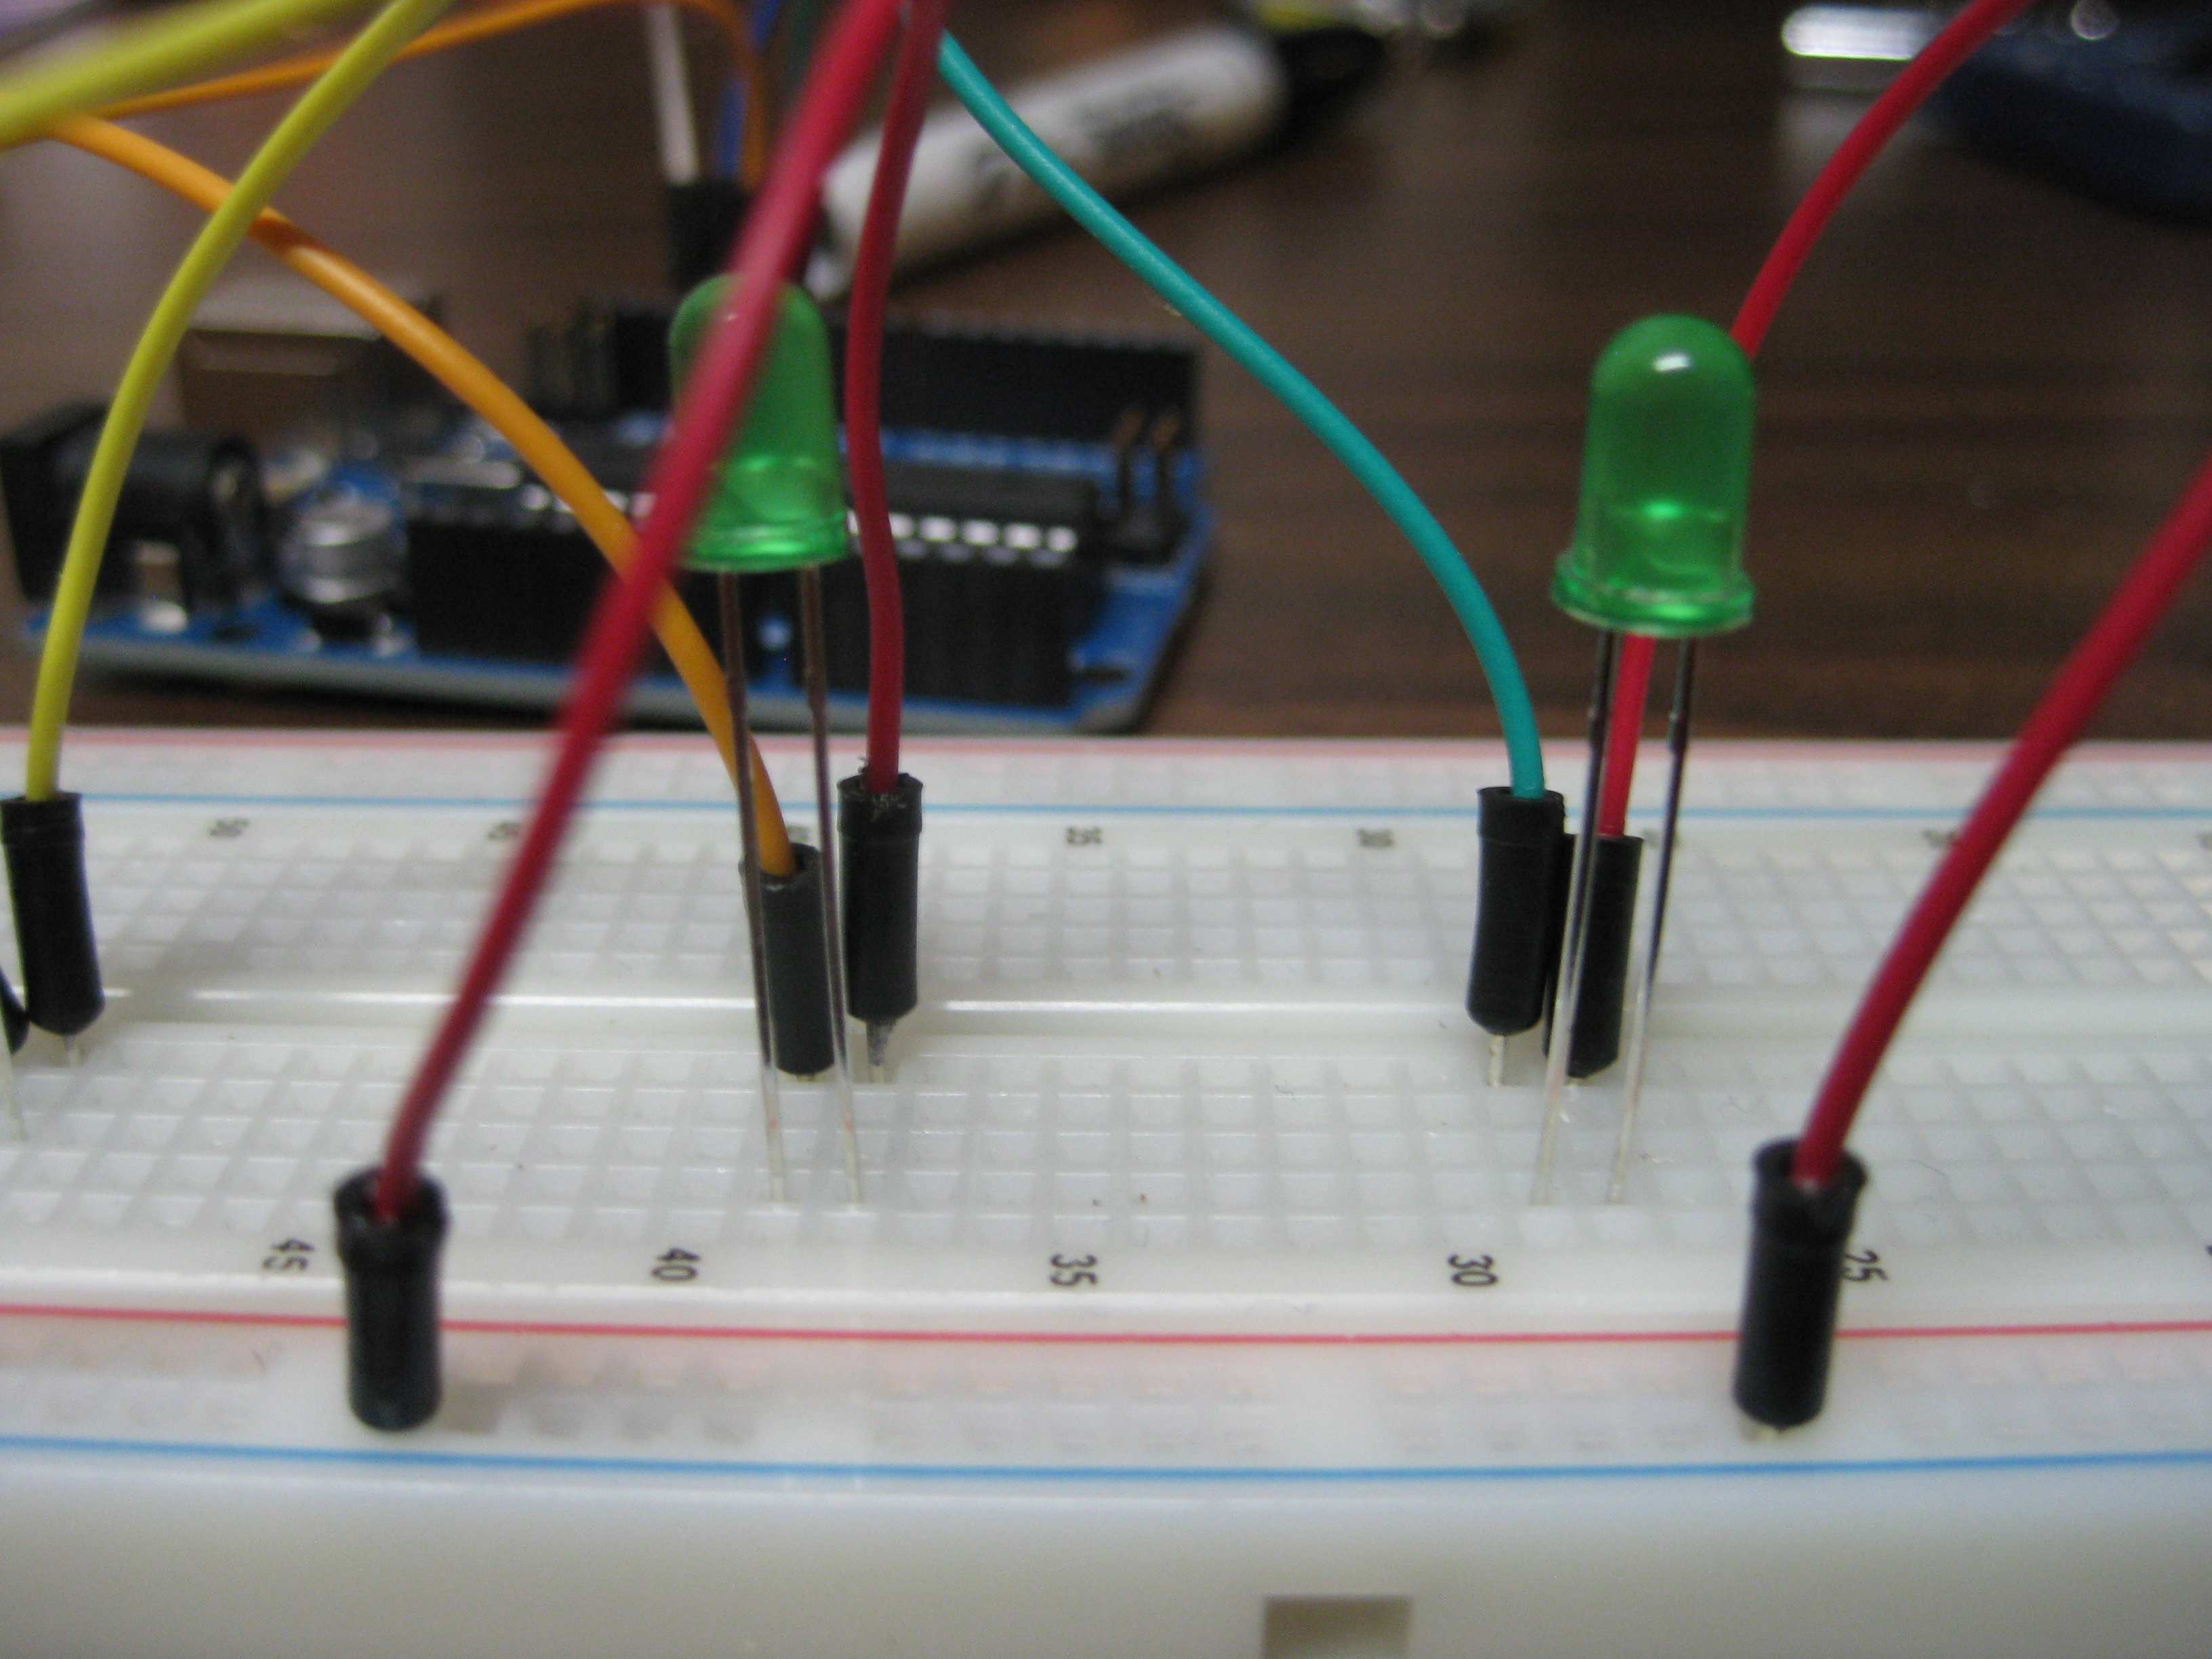
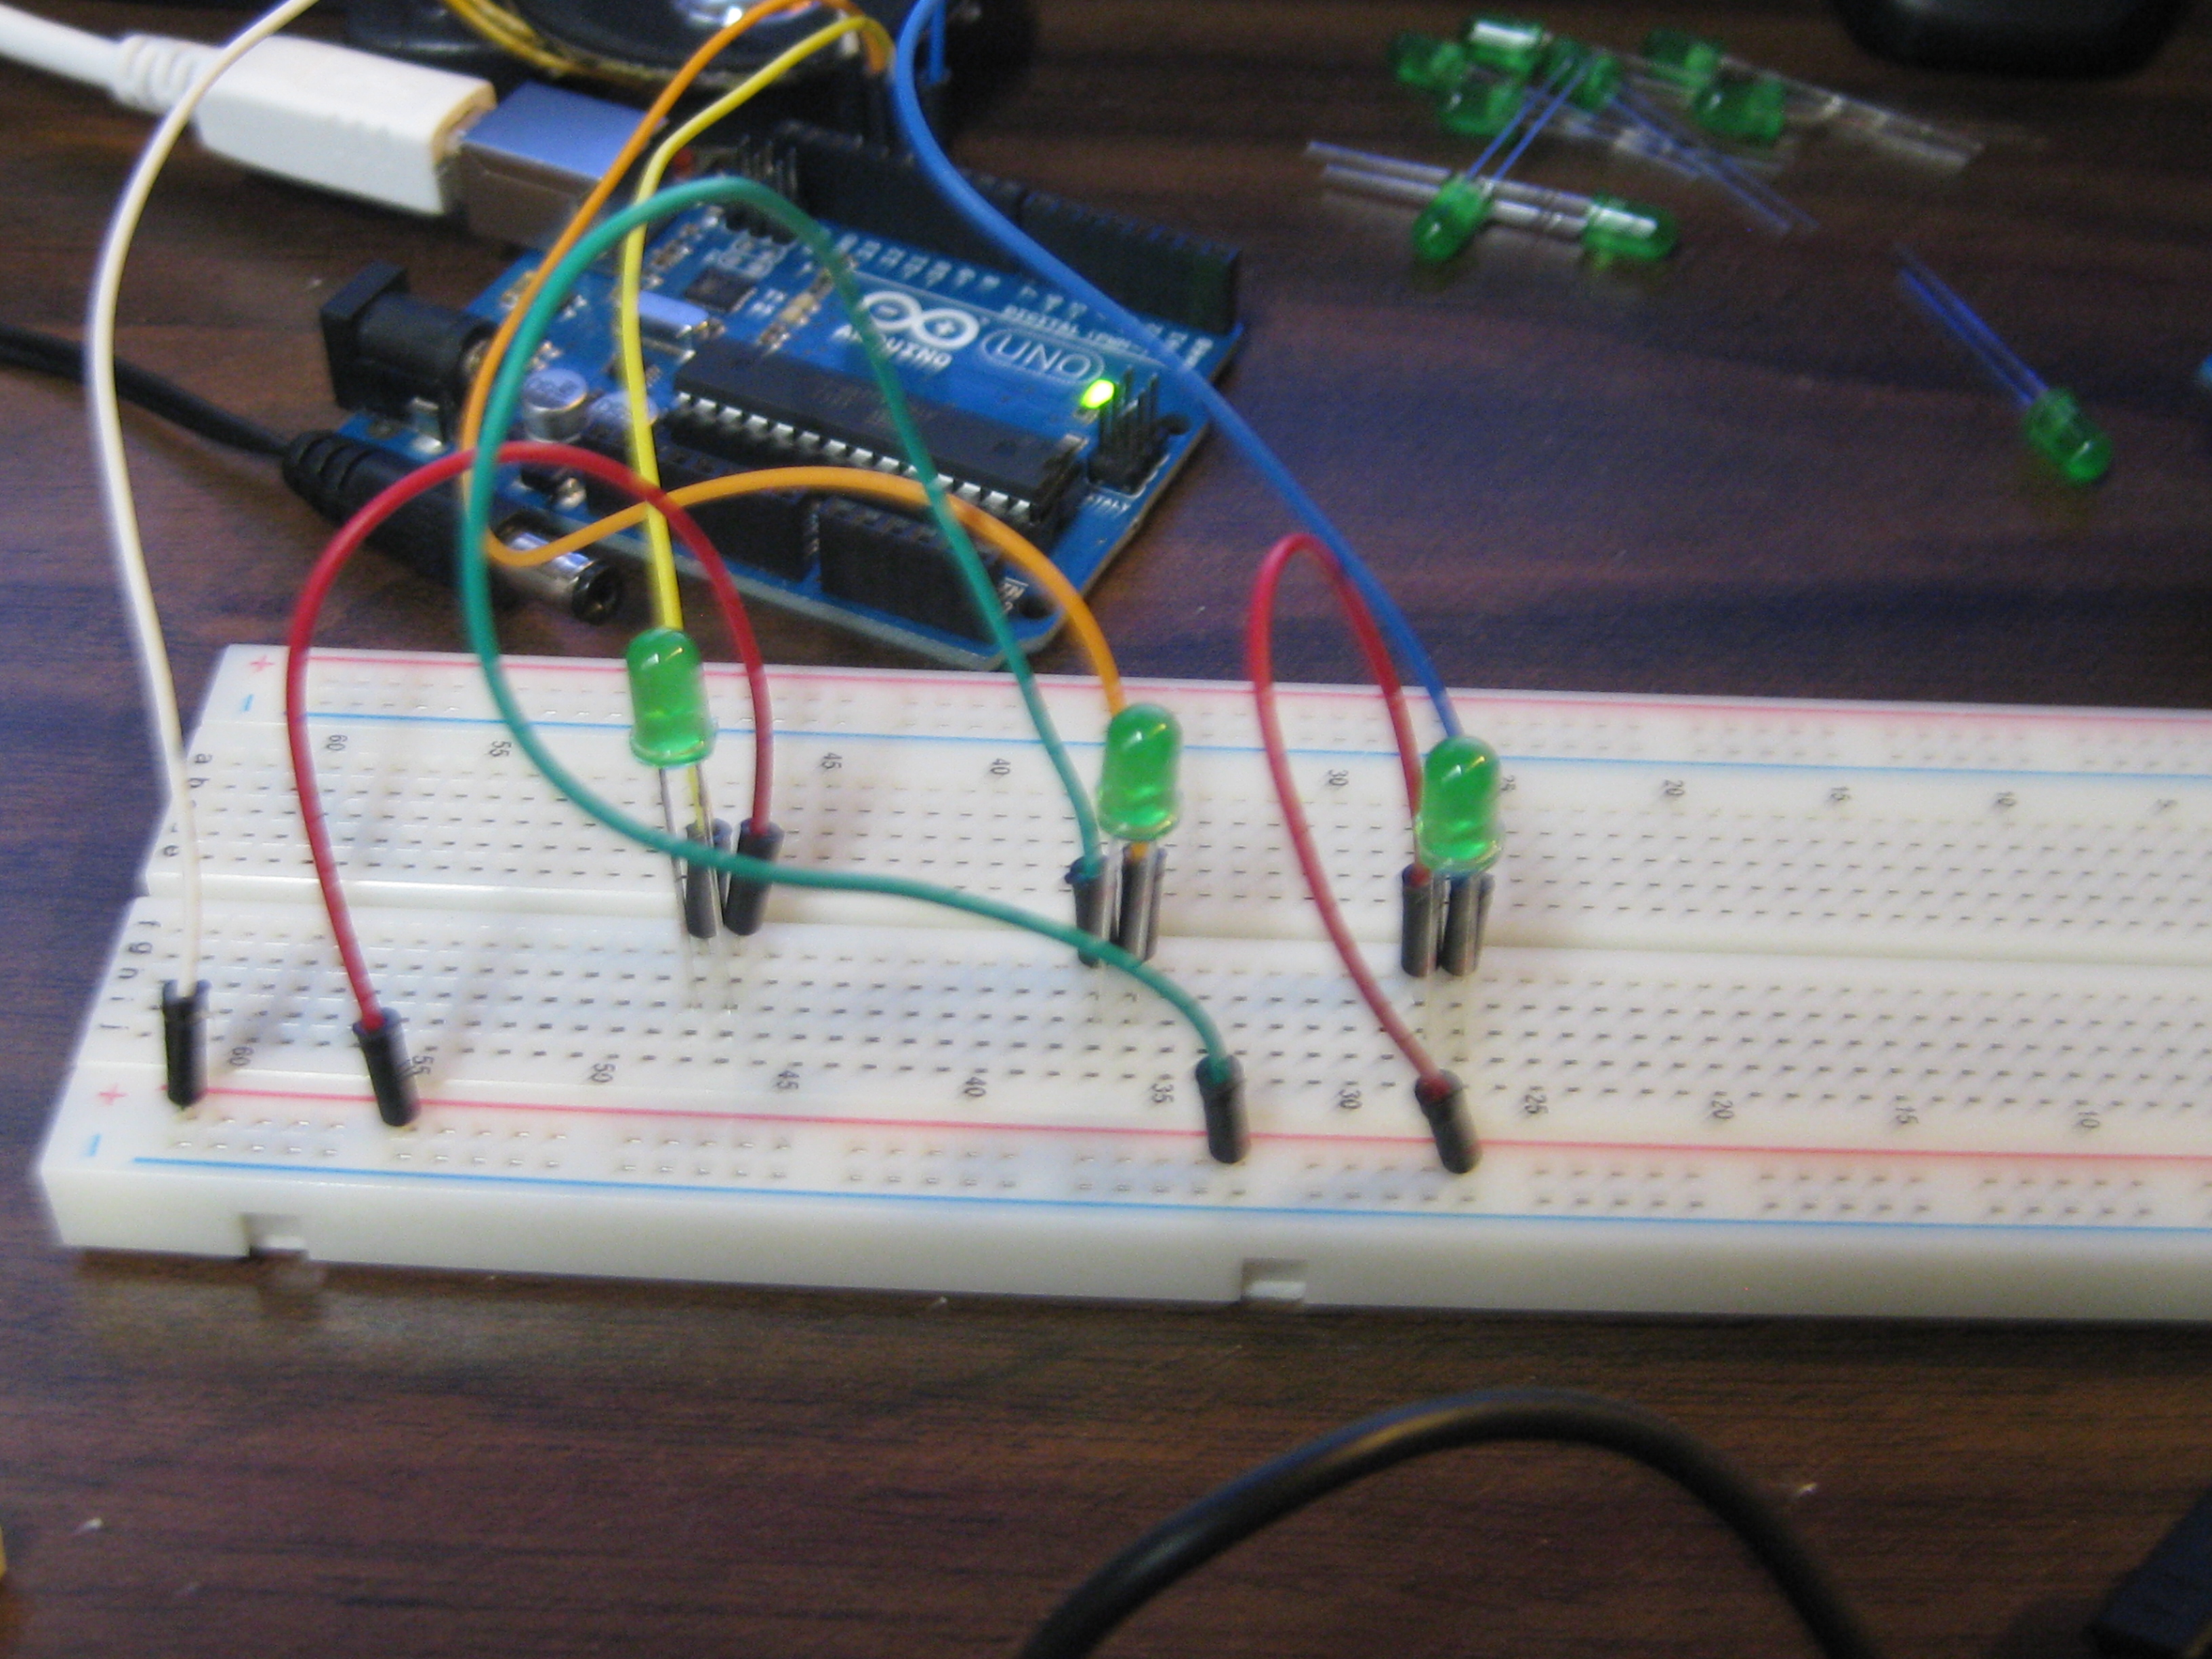
Then plug in the other jumper wires like this:
First, plug a wire from 13 on the Arduino to the top row on the breadboard.
Next, plug a wire from 12 on the Arduino to the top row on the breadboard.
Then plug a wire from 11 on the Arduino to the top row on the breadboard.
Space these out well. Use the picture to help you.
Now connect a wire going from the negative rail to the right of the other wires on the breadboard.
Lastly, put the longer leg of the Led (+) under the wire that goes to the Arduino. The shorter leg of the LED goes under the port that connects to the negative rail.
Video of It Working
