+50 Words 3D Ambigram Decoration
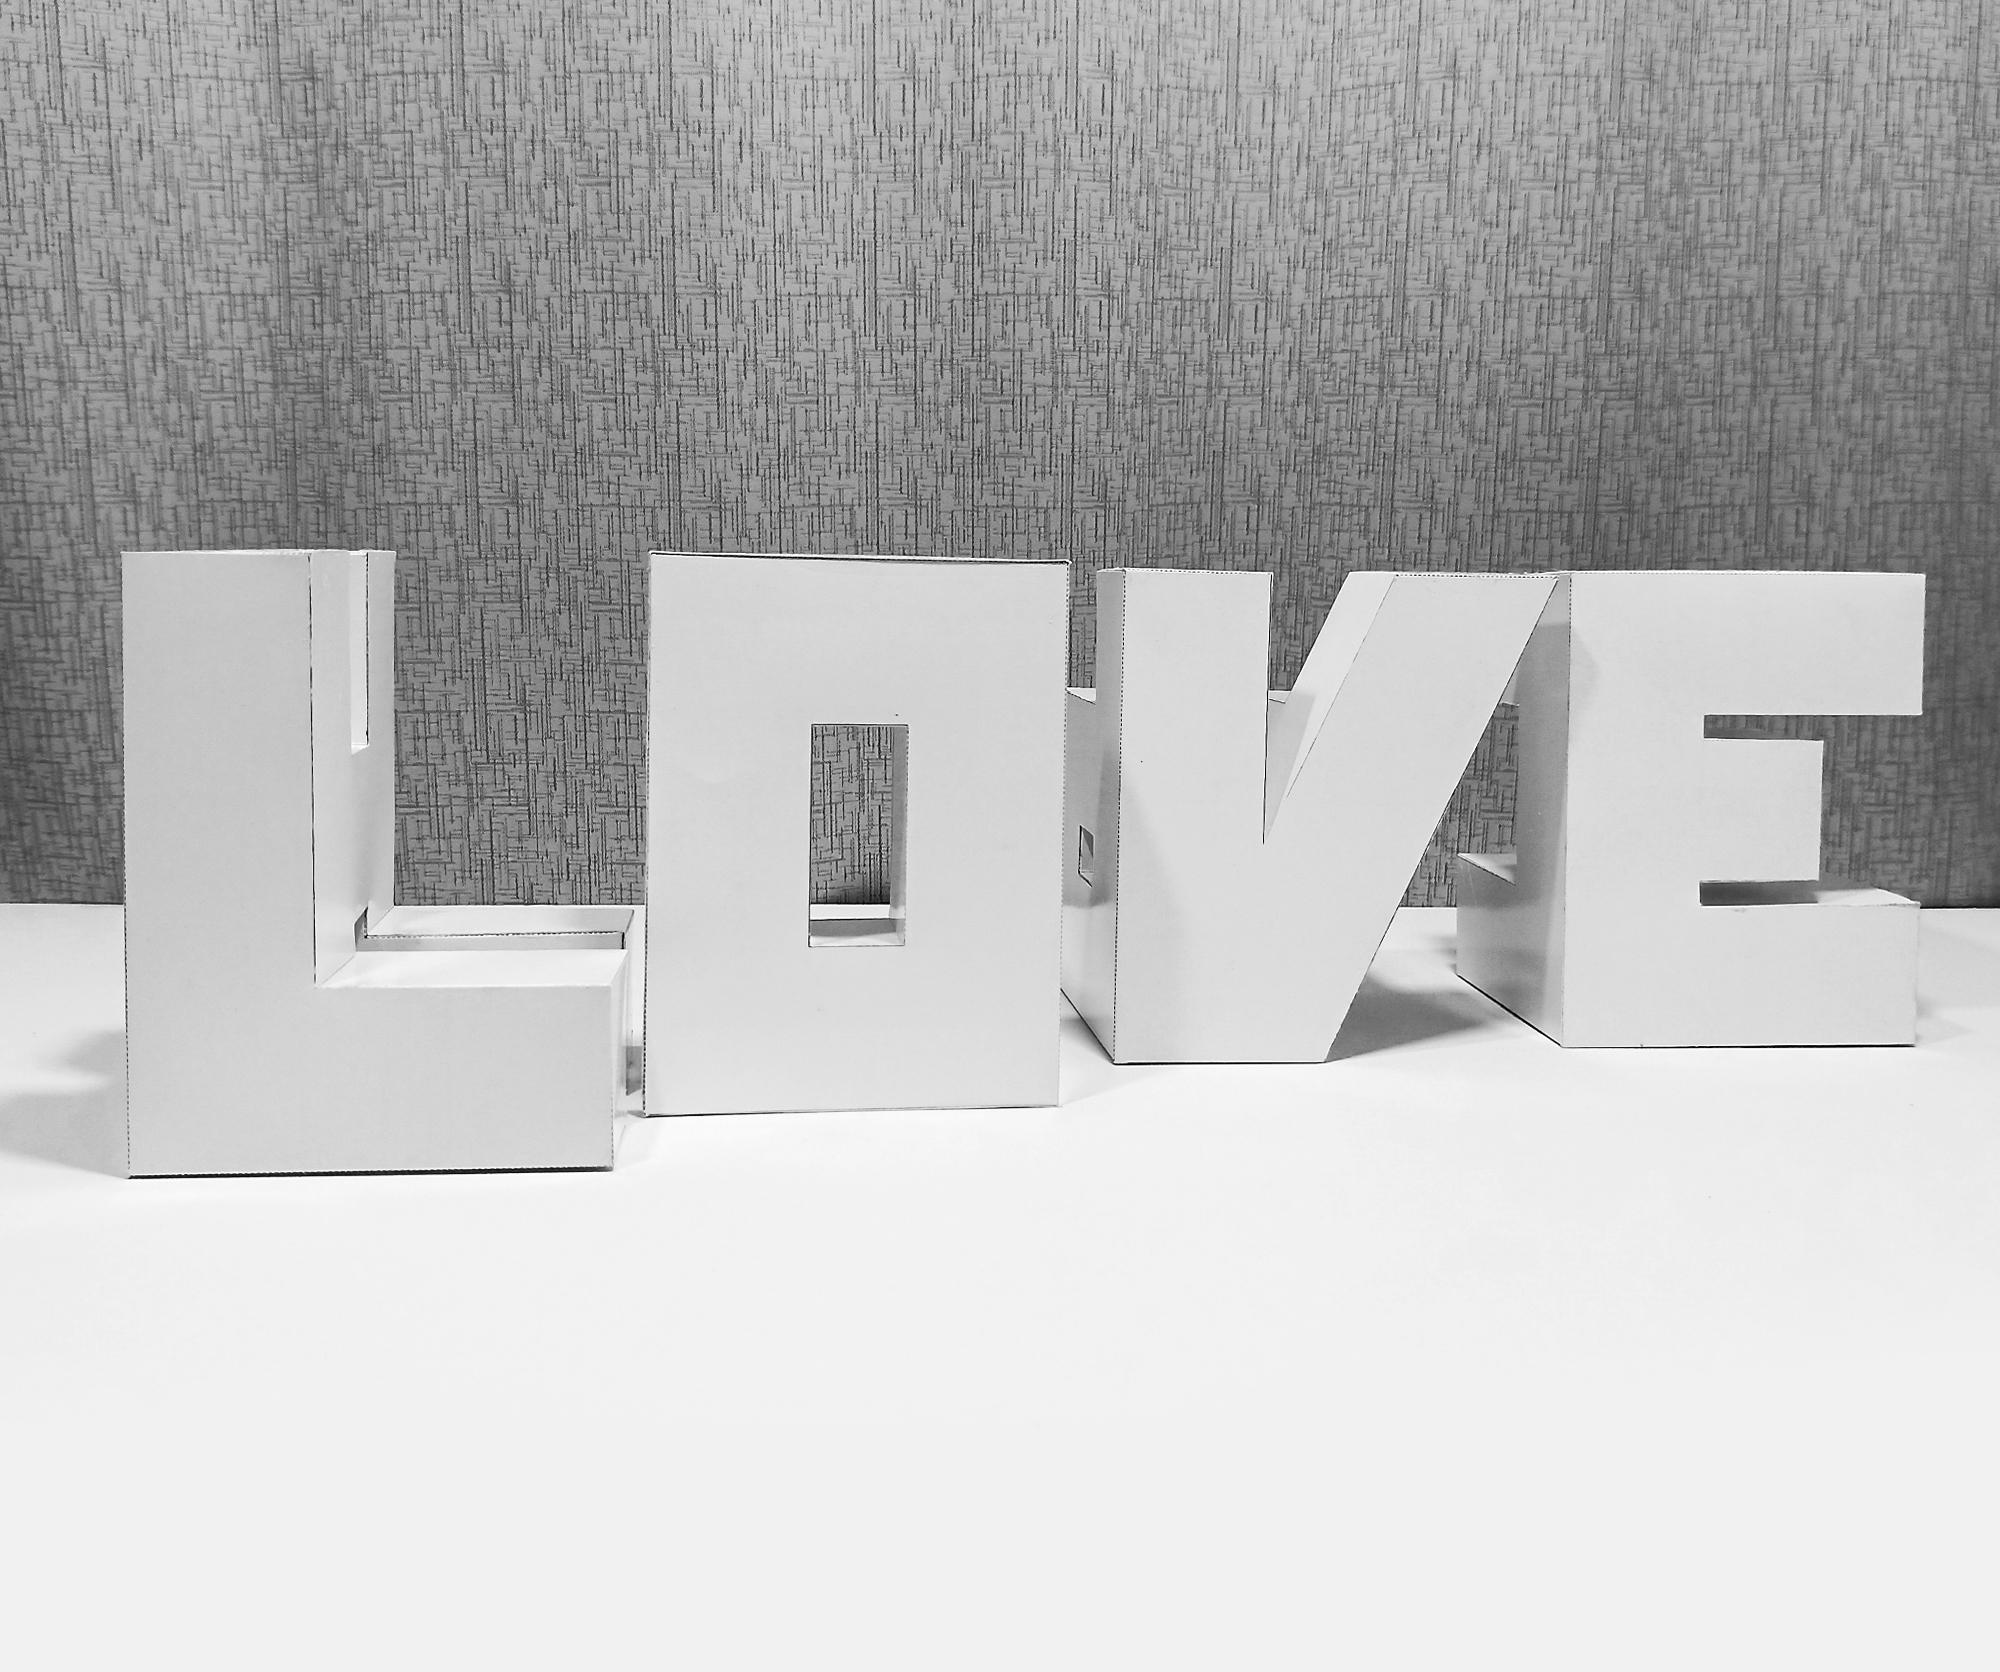
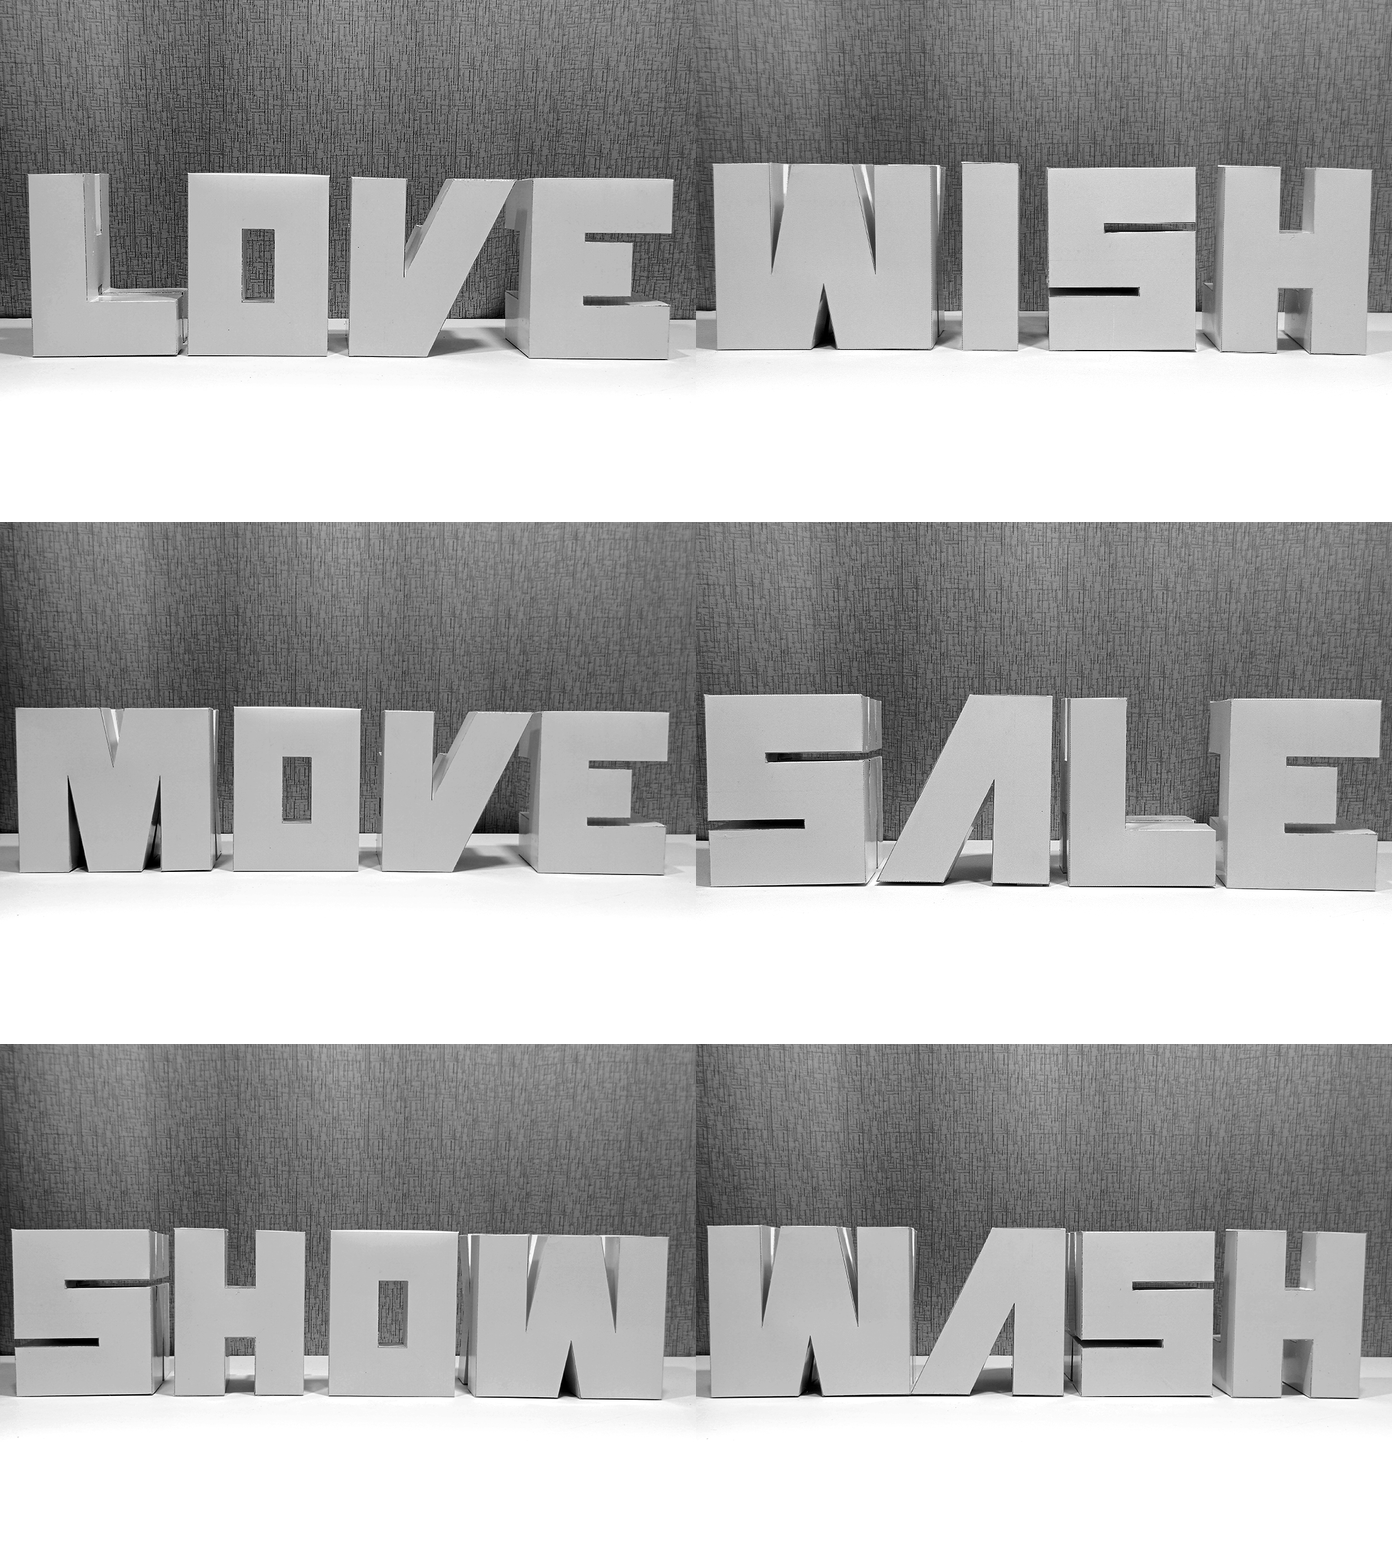
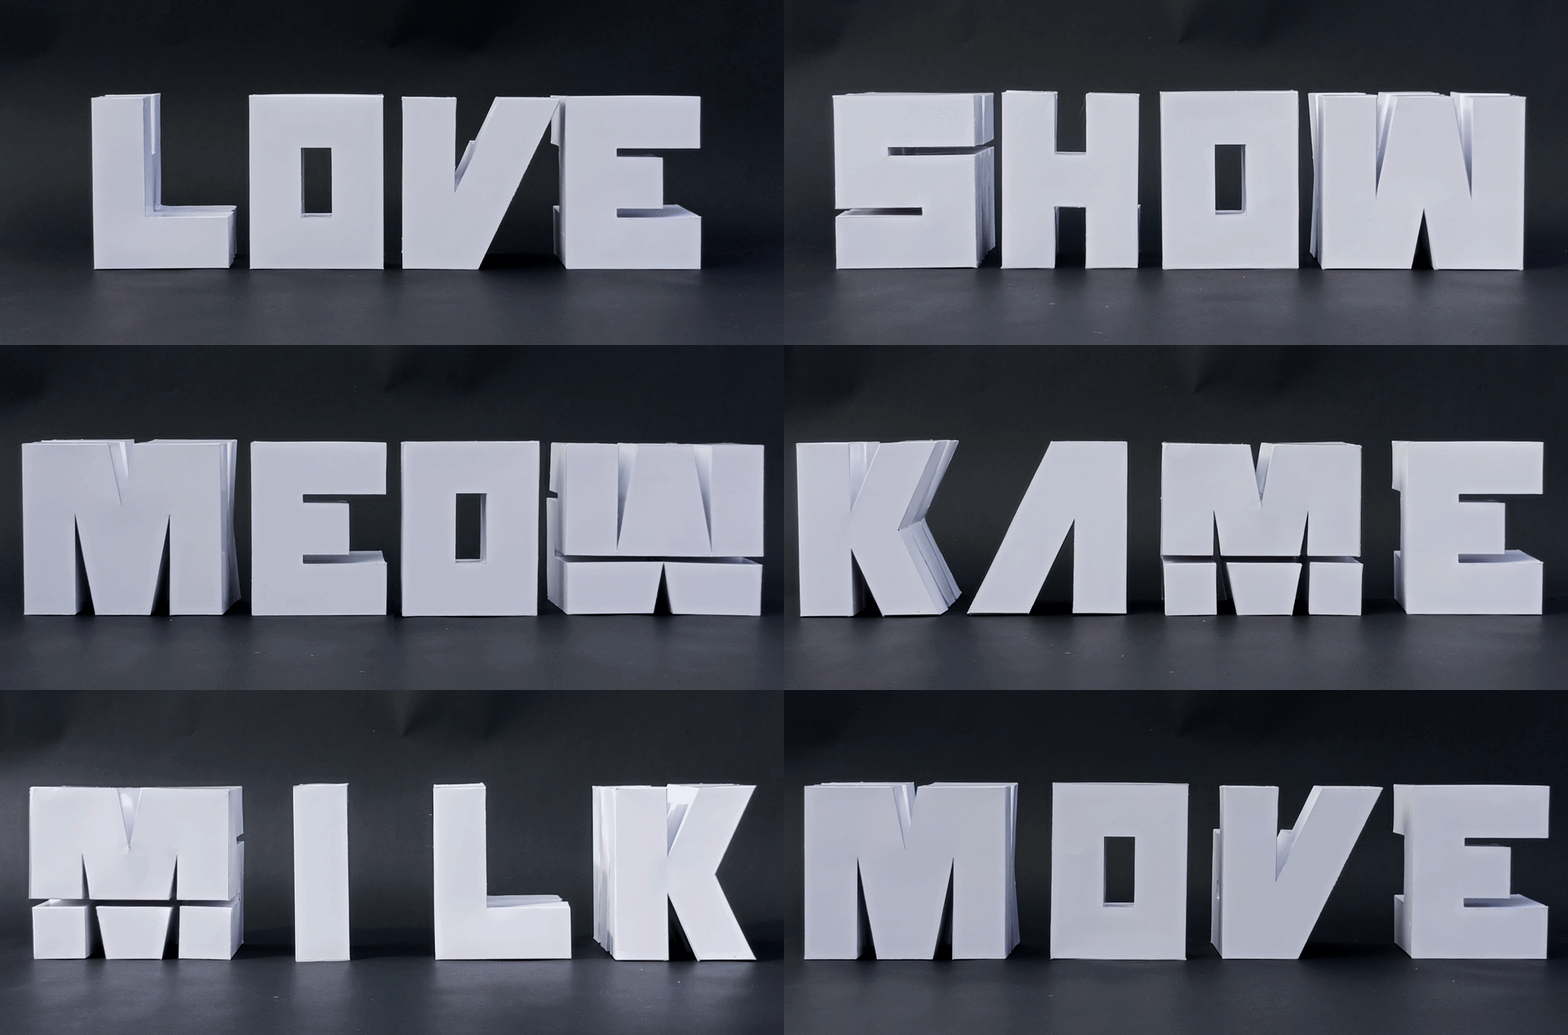
Today we will make an ambigram with three-dimensional volume to decorate our personal spaces, our businesses, or any place you can think of, you can put it on the floor or on a shelf, the sky is the limit.
The design we will make will be based on the fusion of two letters of the alphabet. For this we will use its front views, and we will work as if a cube were sculpted on each face to generate the respective view of the chosen letters.
So come with me, to show you along the way the steps I follow and the creative process to make these volumetric letters.
Supplies
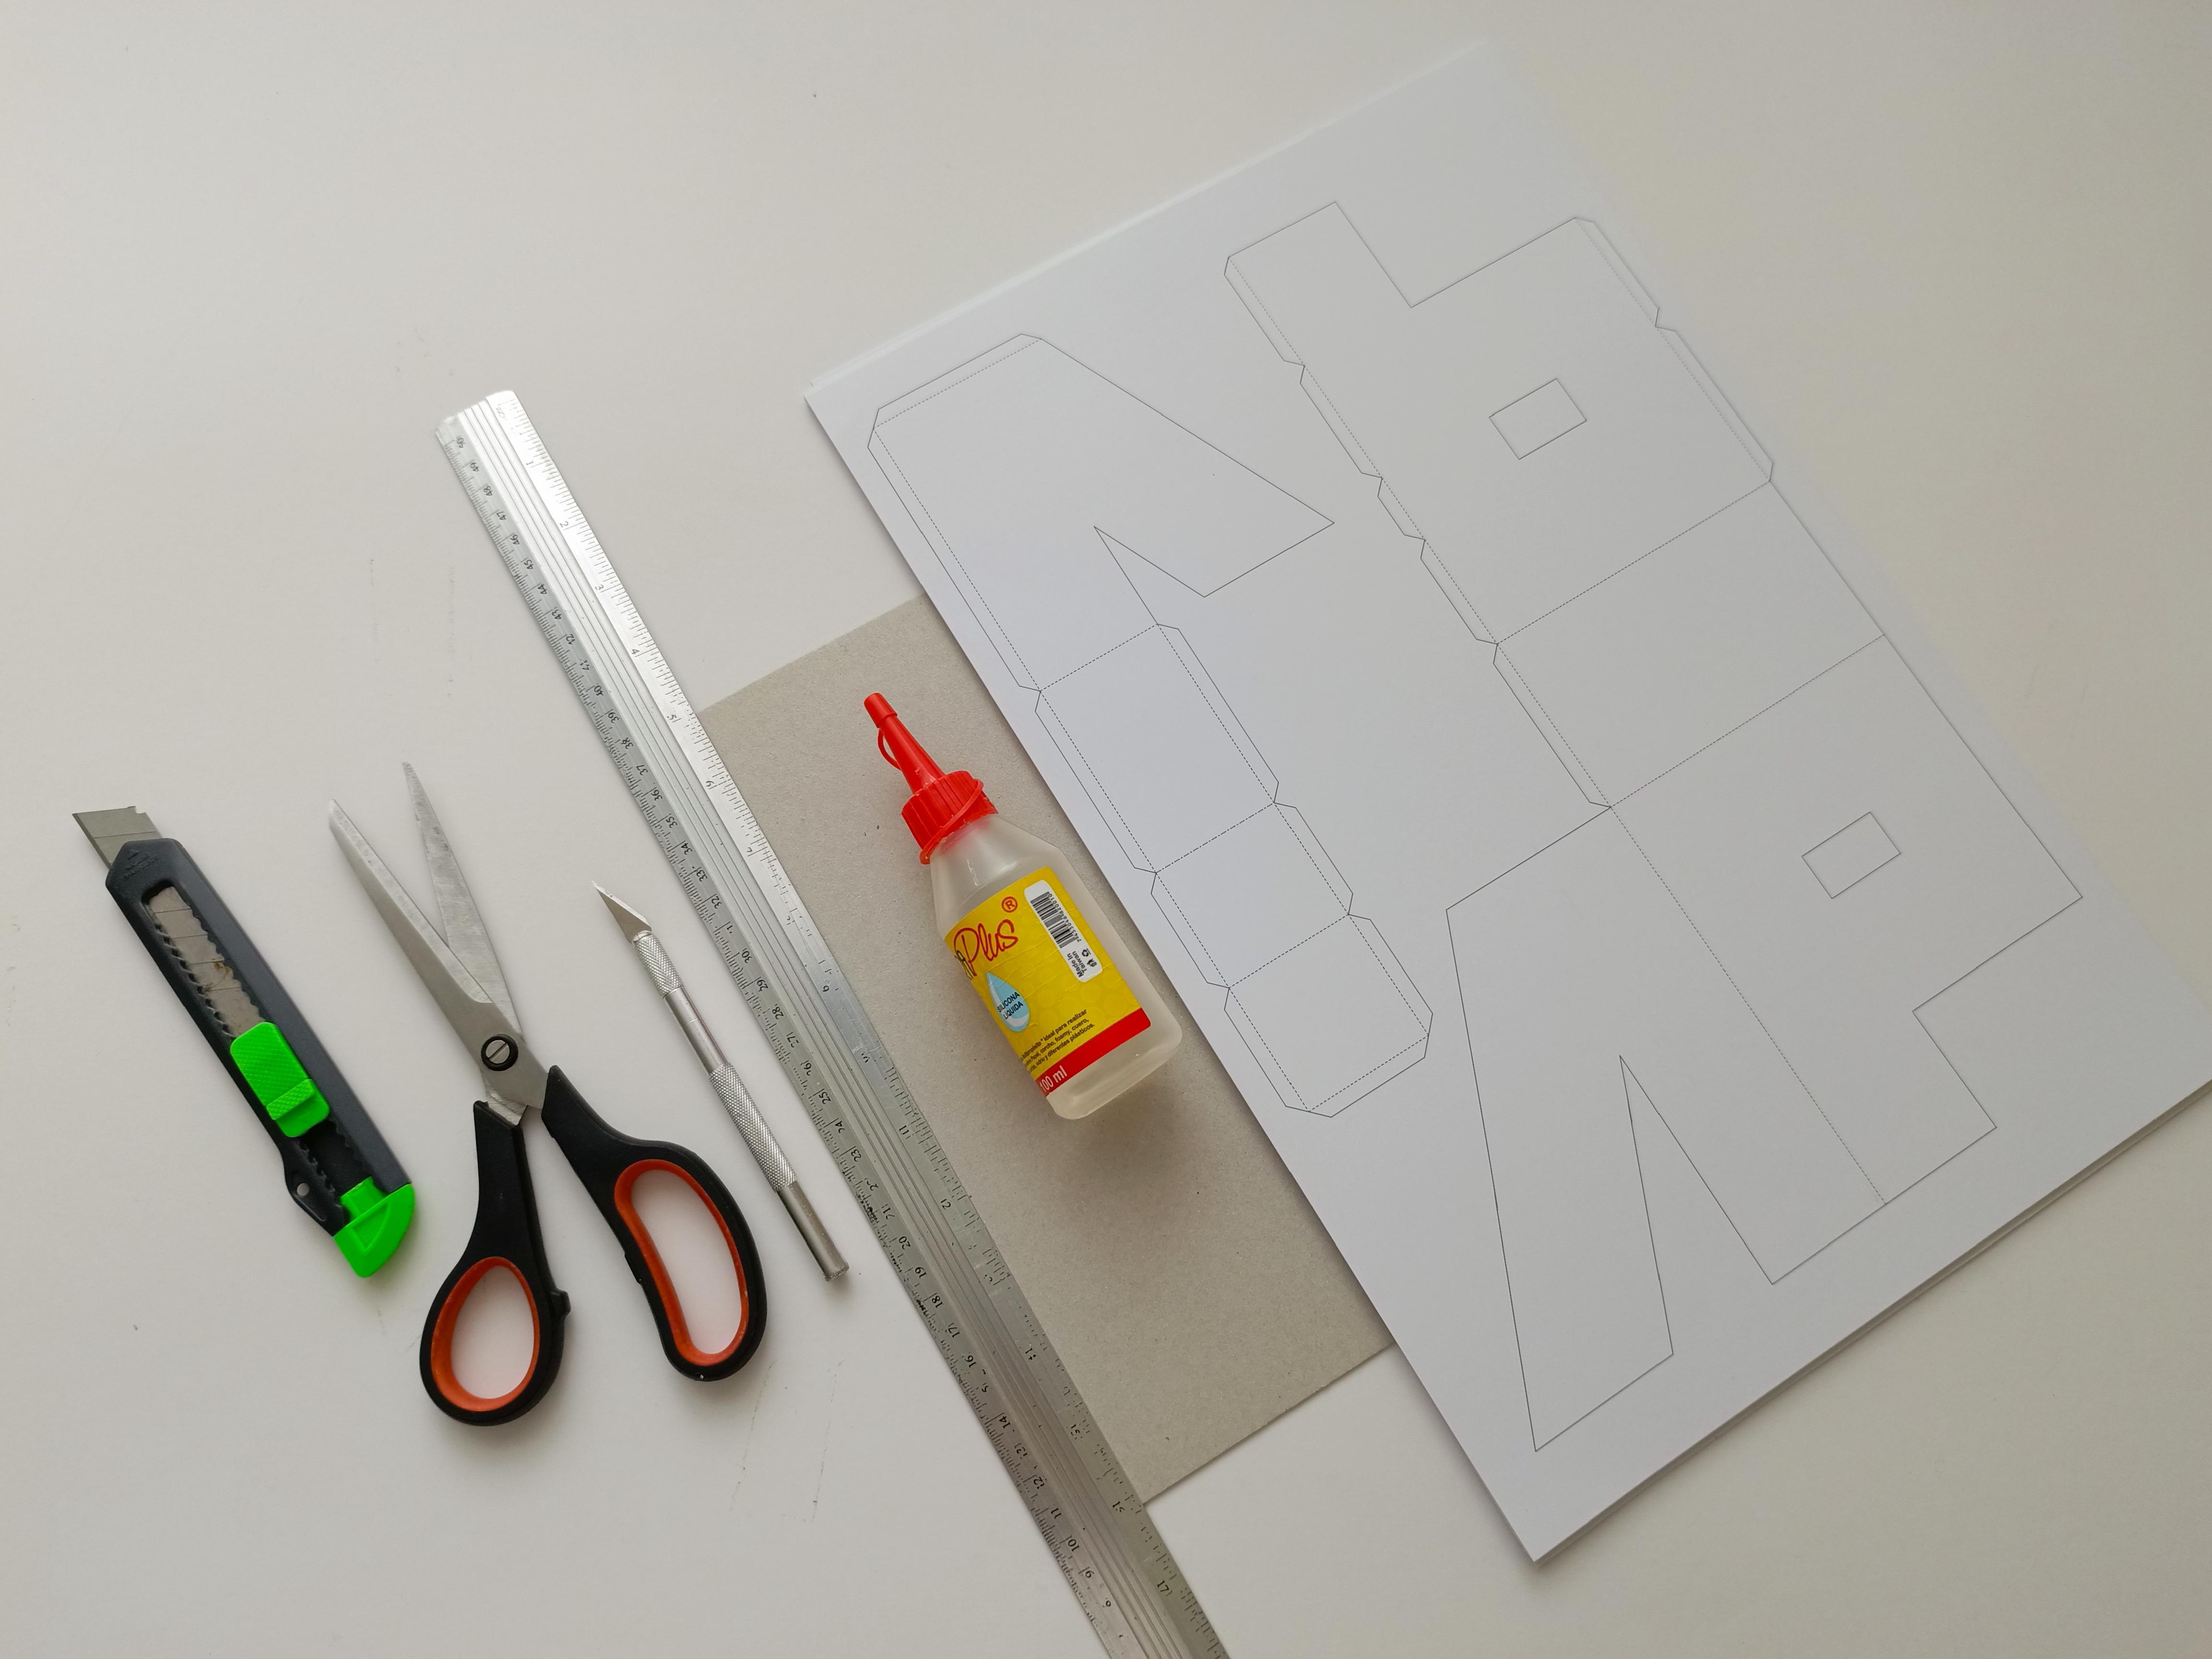
- Respective templates and prints
- Glue/Hot Glue
- Scissors
- X-acto
- Embosser
- Pencil
- Marker
- Ruler
- Cut Mat
Ambigram
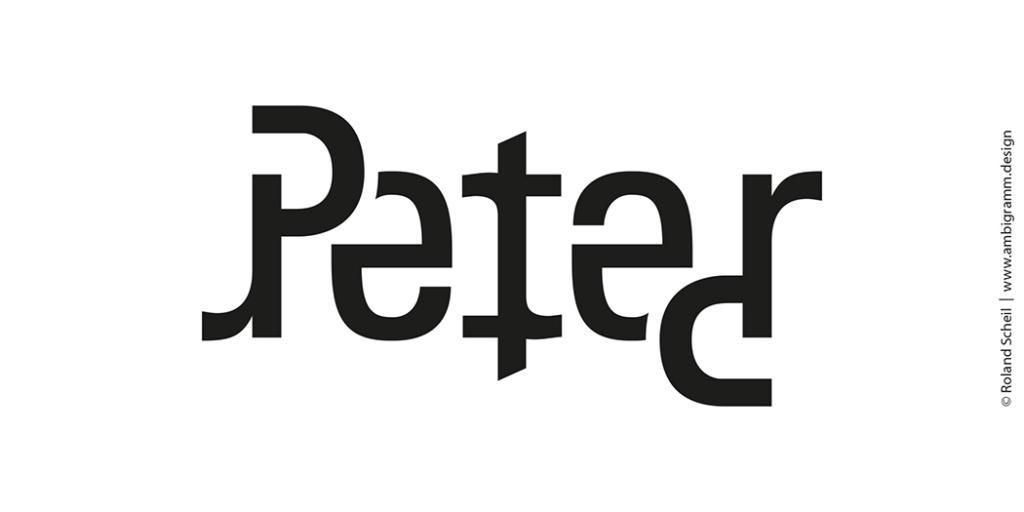
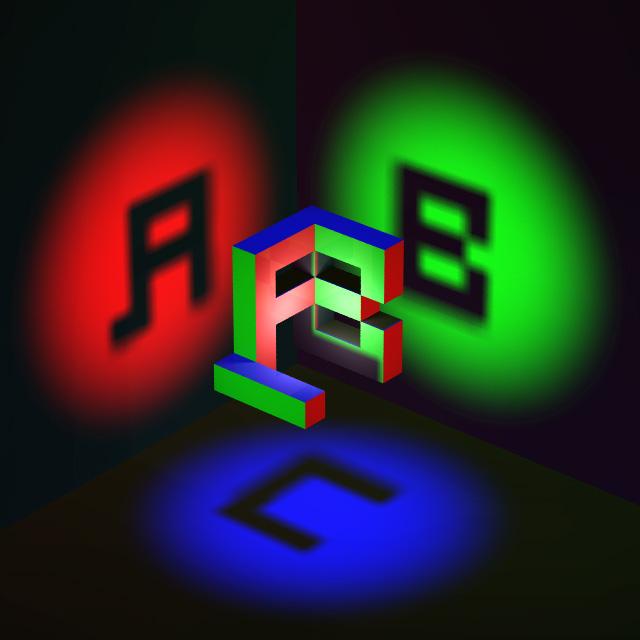
An ambigram is a calligraphic composition of glyphs (letters, numbers, symbols or other shapes) that can yield different meanings depending on the orientation of observation.
But 3D?
A 3D ambigram is a design where an object is presented that will appear to read several letters or words when viewed from different angles. Such designs can be generated using constructive solid geometry
(images taken from the web only intended to be used as a reference)
Concept.
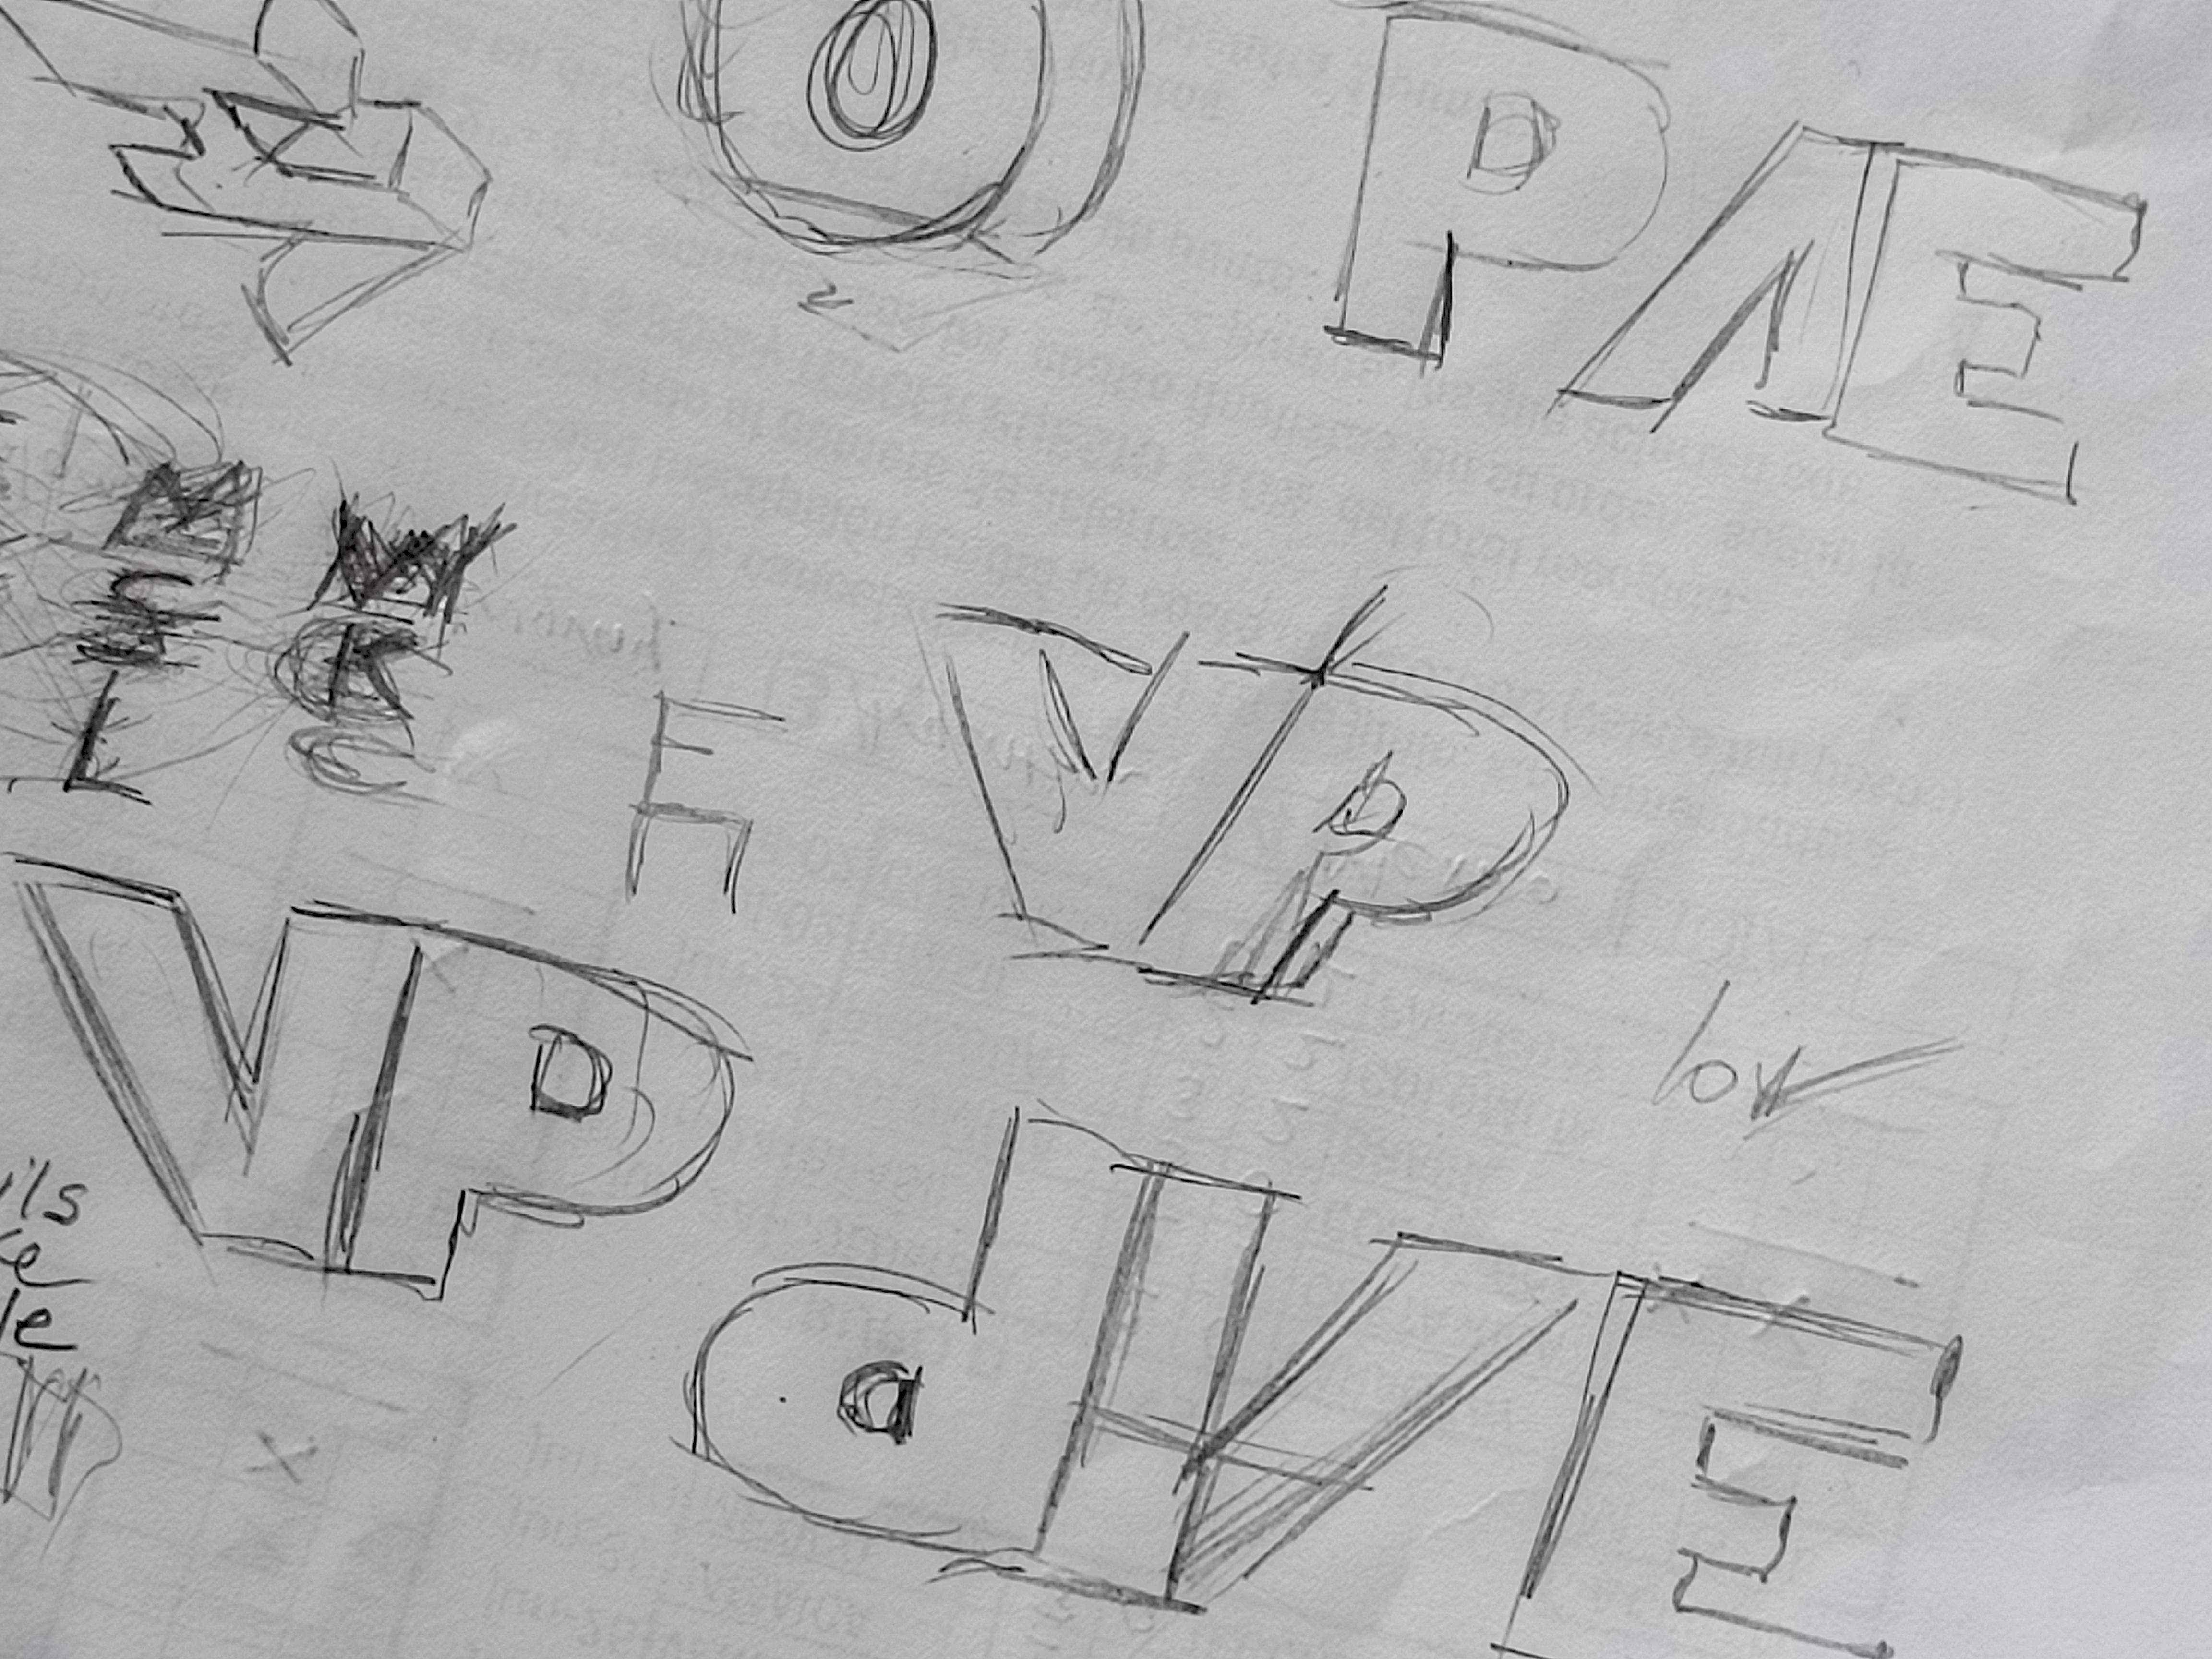
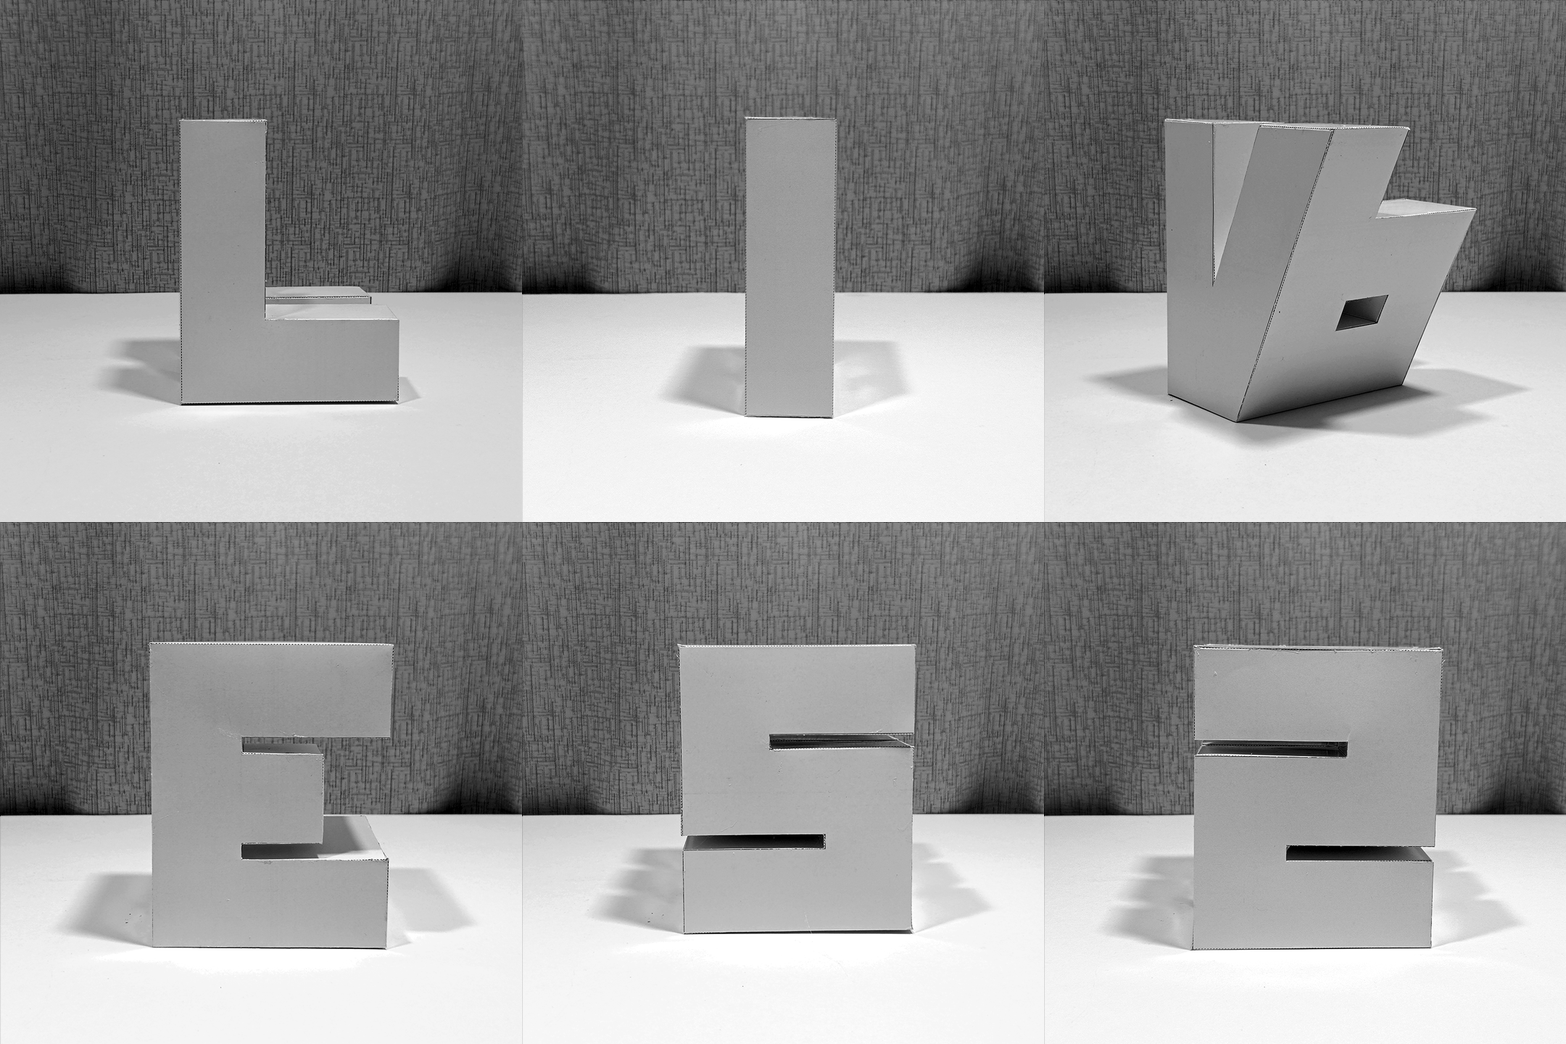
The original idea was born after having made the Pi memorial sculpture project, (which you can find in my profile) when I made this project I had a lot of fun but in part it was very rigid and contained so I wanted to do something more free and dynamic but maintaining the same idea and concept, but this time the forms would be free, manipulable at will and with a broader objective: to create inspirational or functional texts. Initially I thought of the word HOPE and LOVE, which by changing their consonant letters would fit the meaning, but then I felt very limited by only having these 6 letters to work with (L, H, O, P, V, E) so I decided add other views to the vowels, in order to obtain instead of 4 or 6 letters: the amount of 8 letters, but why stop here, if doing 2 more letters would increase to a total of 12 letters, and also the letter V when rotated I could transform it into A, so I got a total of 13 letters that I can play with and create words for all occasions, but enough chattering, let's get crafting.
Design.
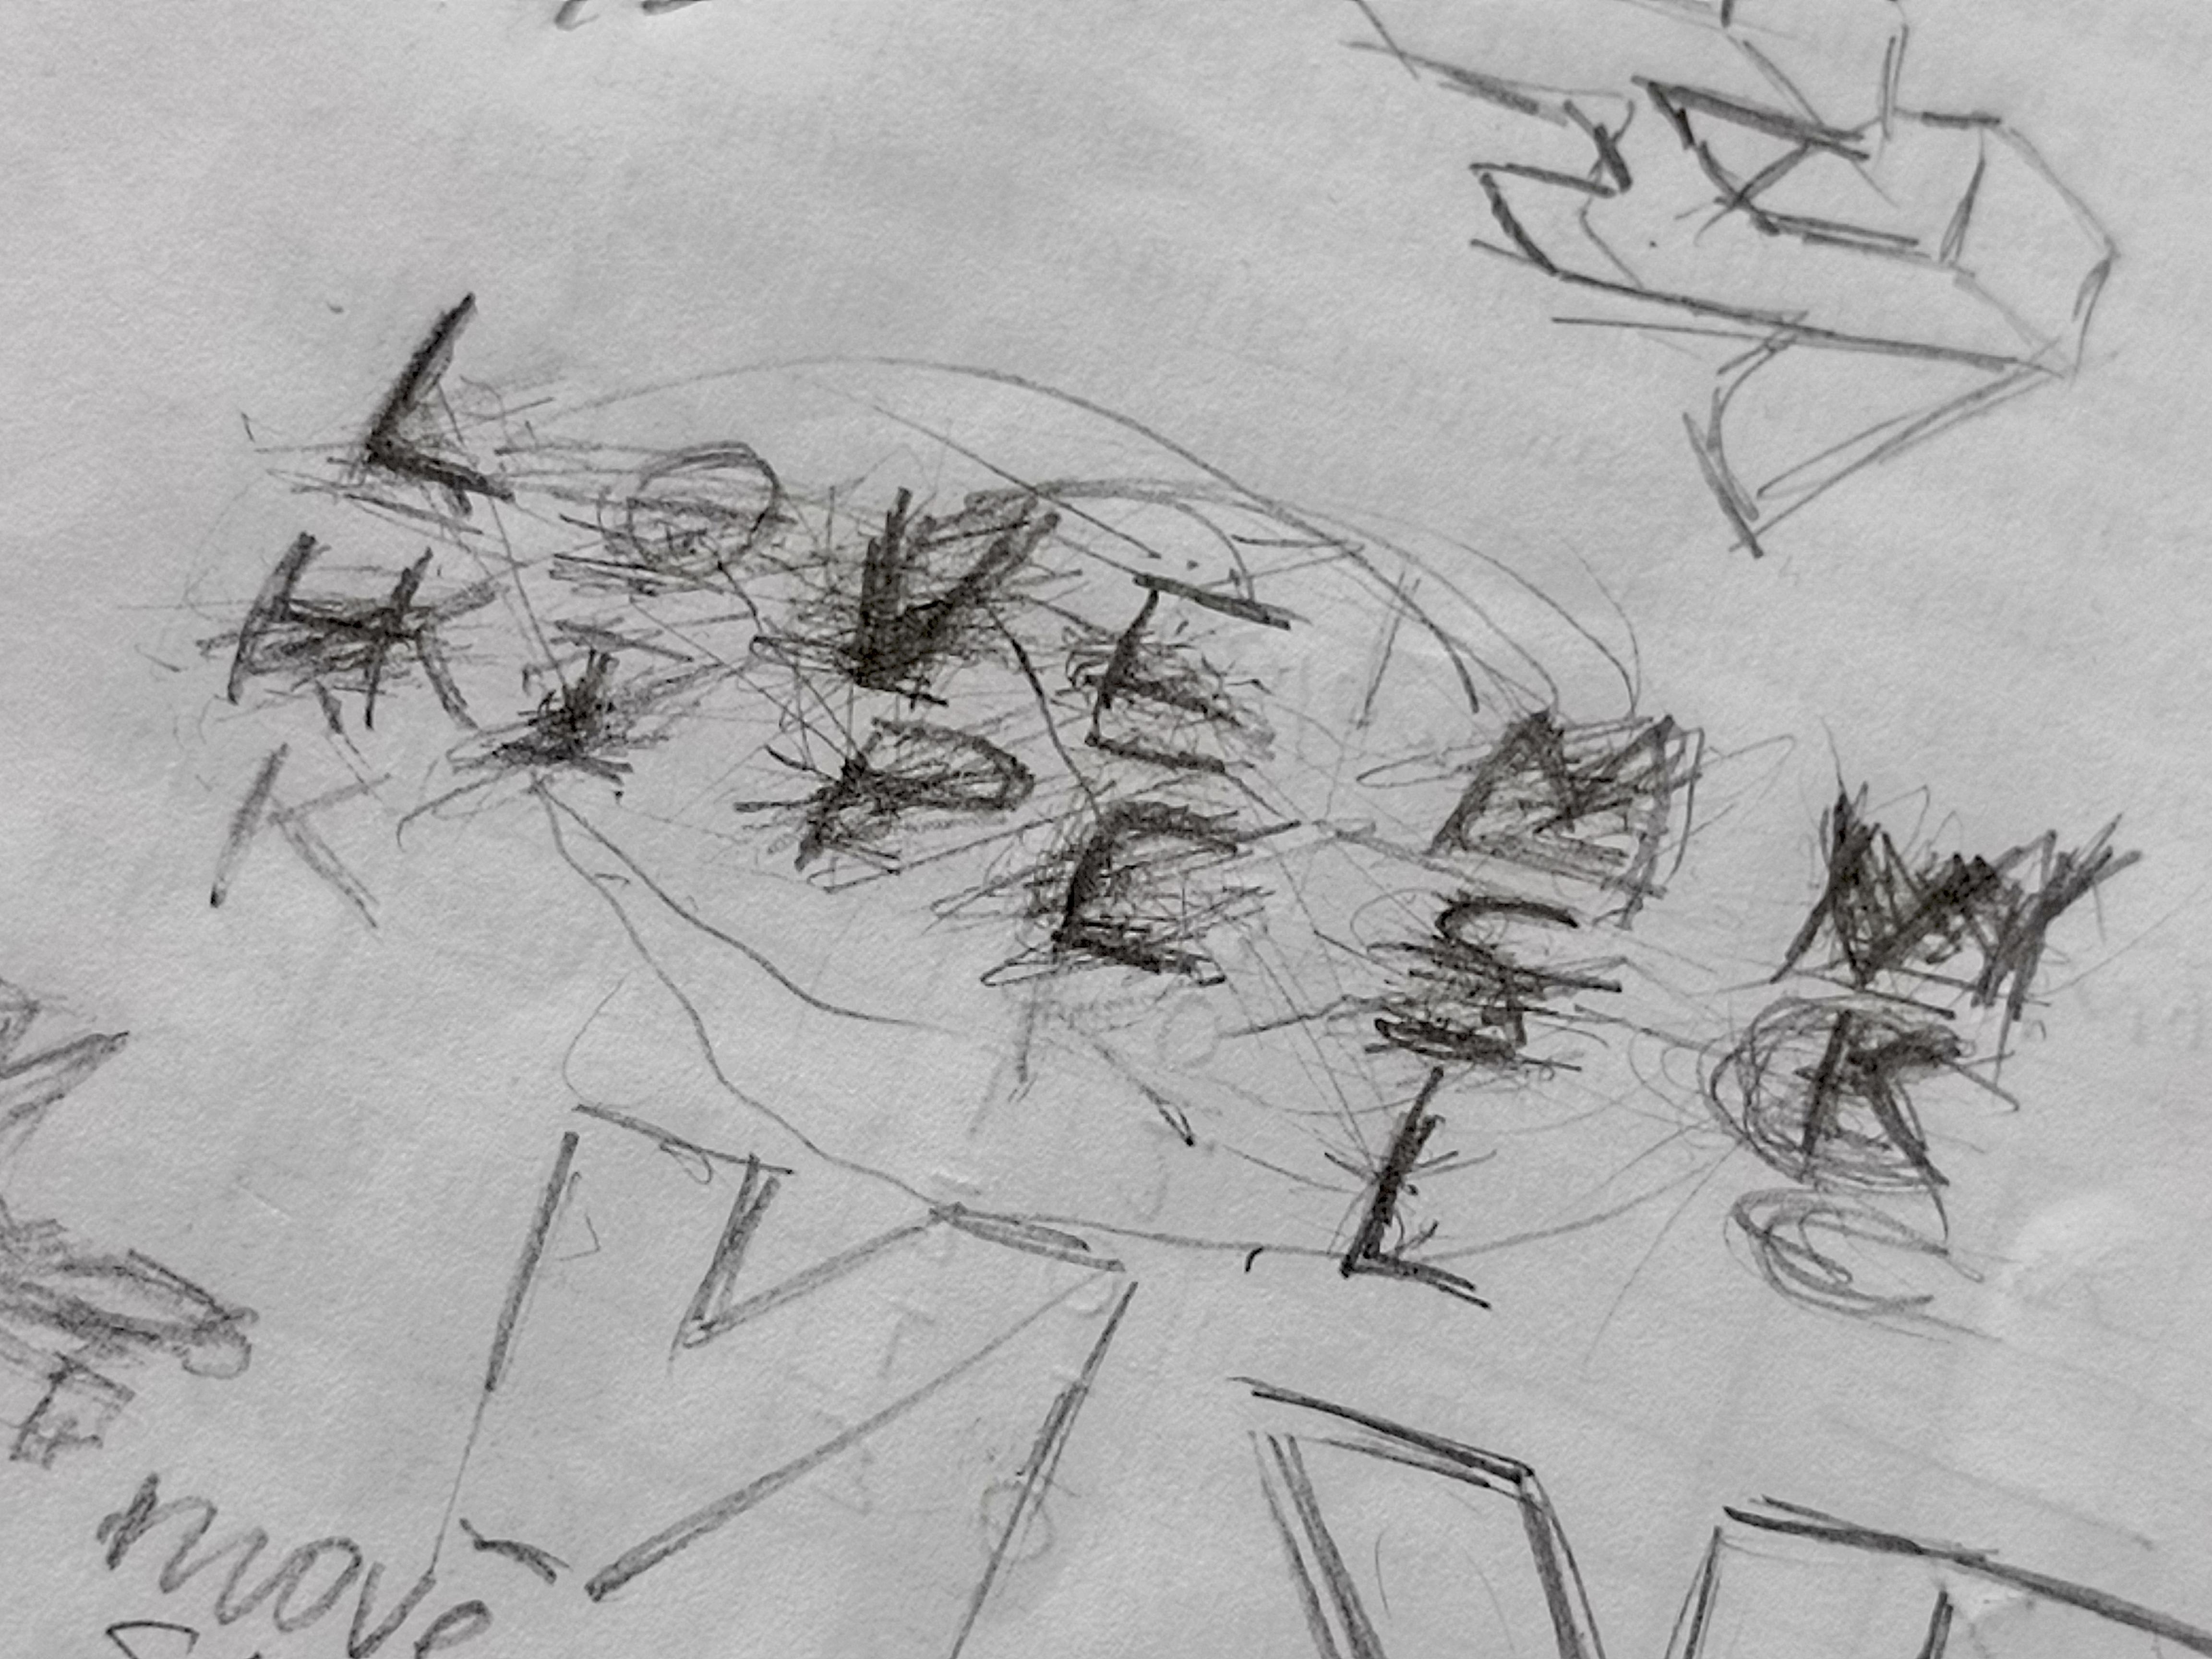
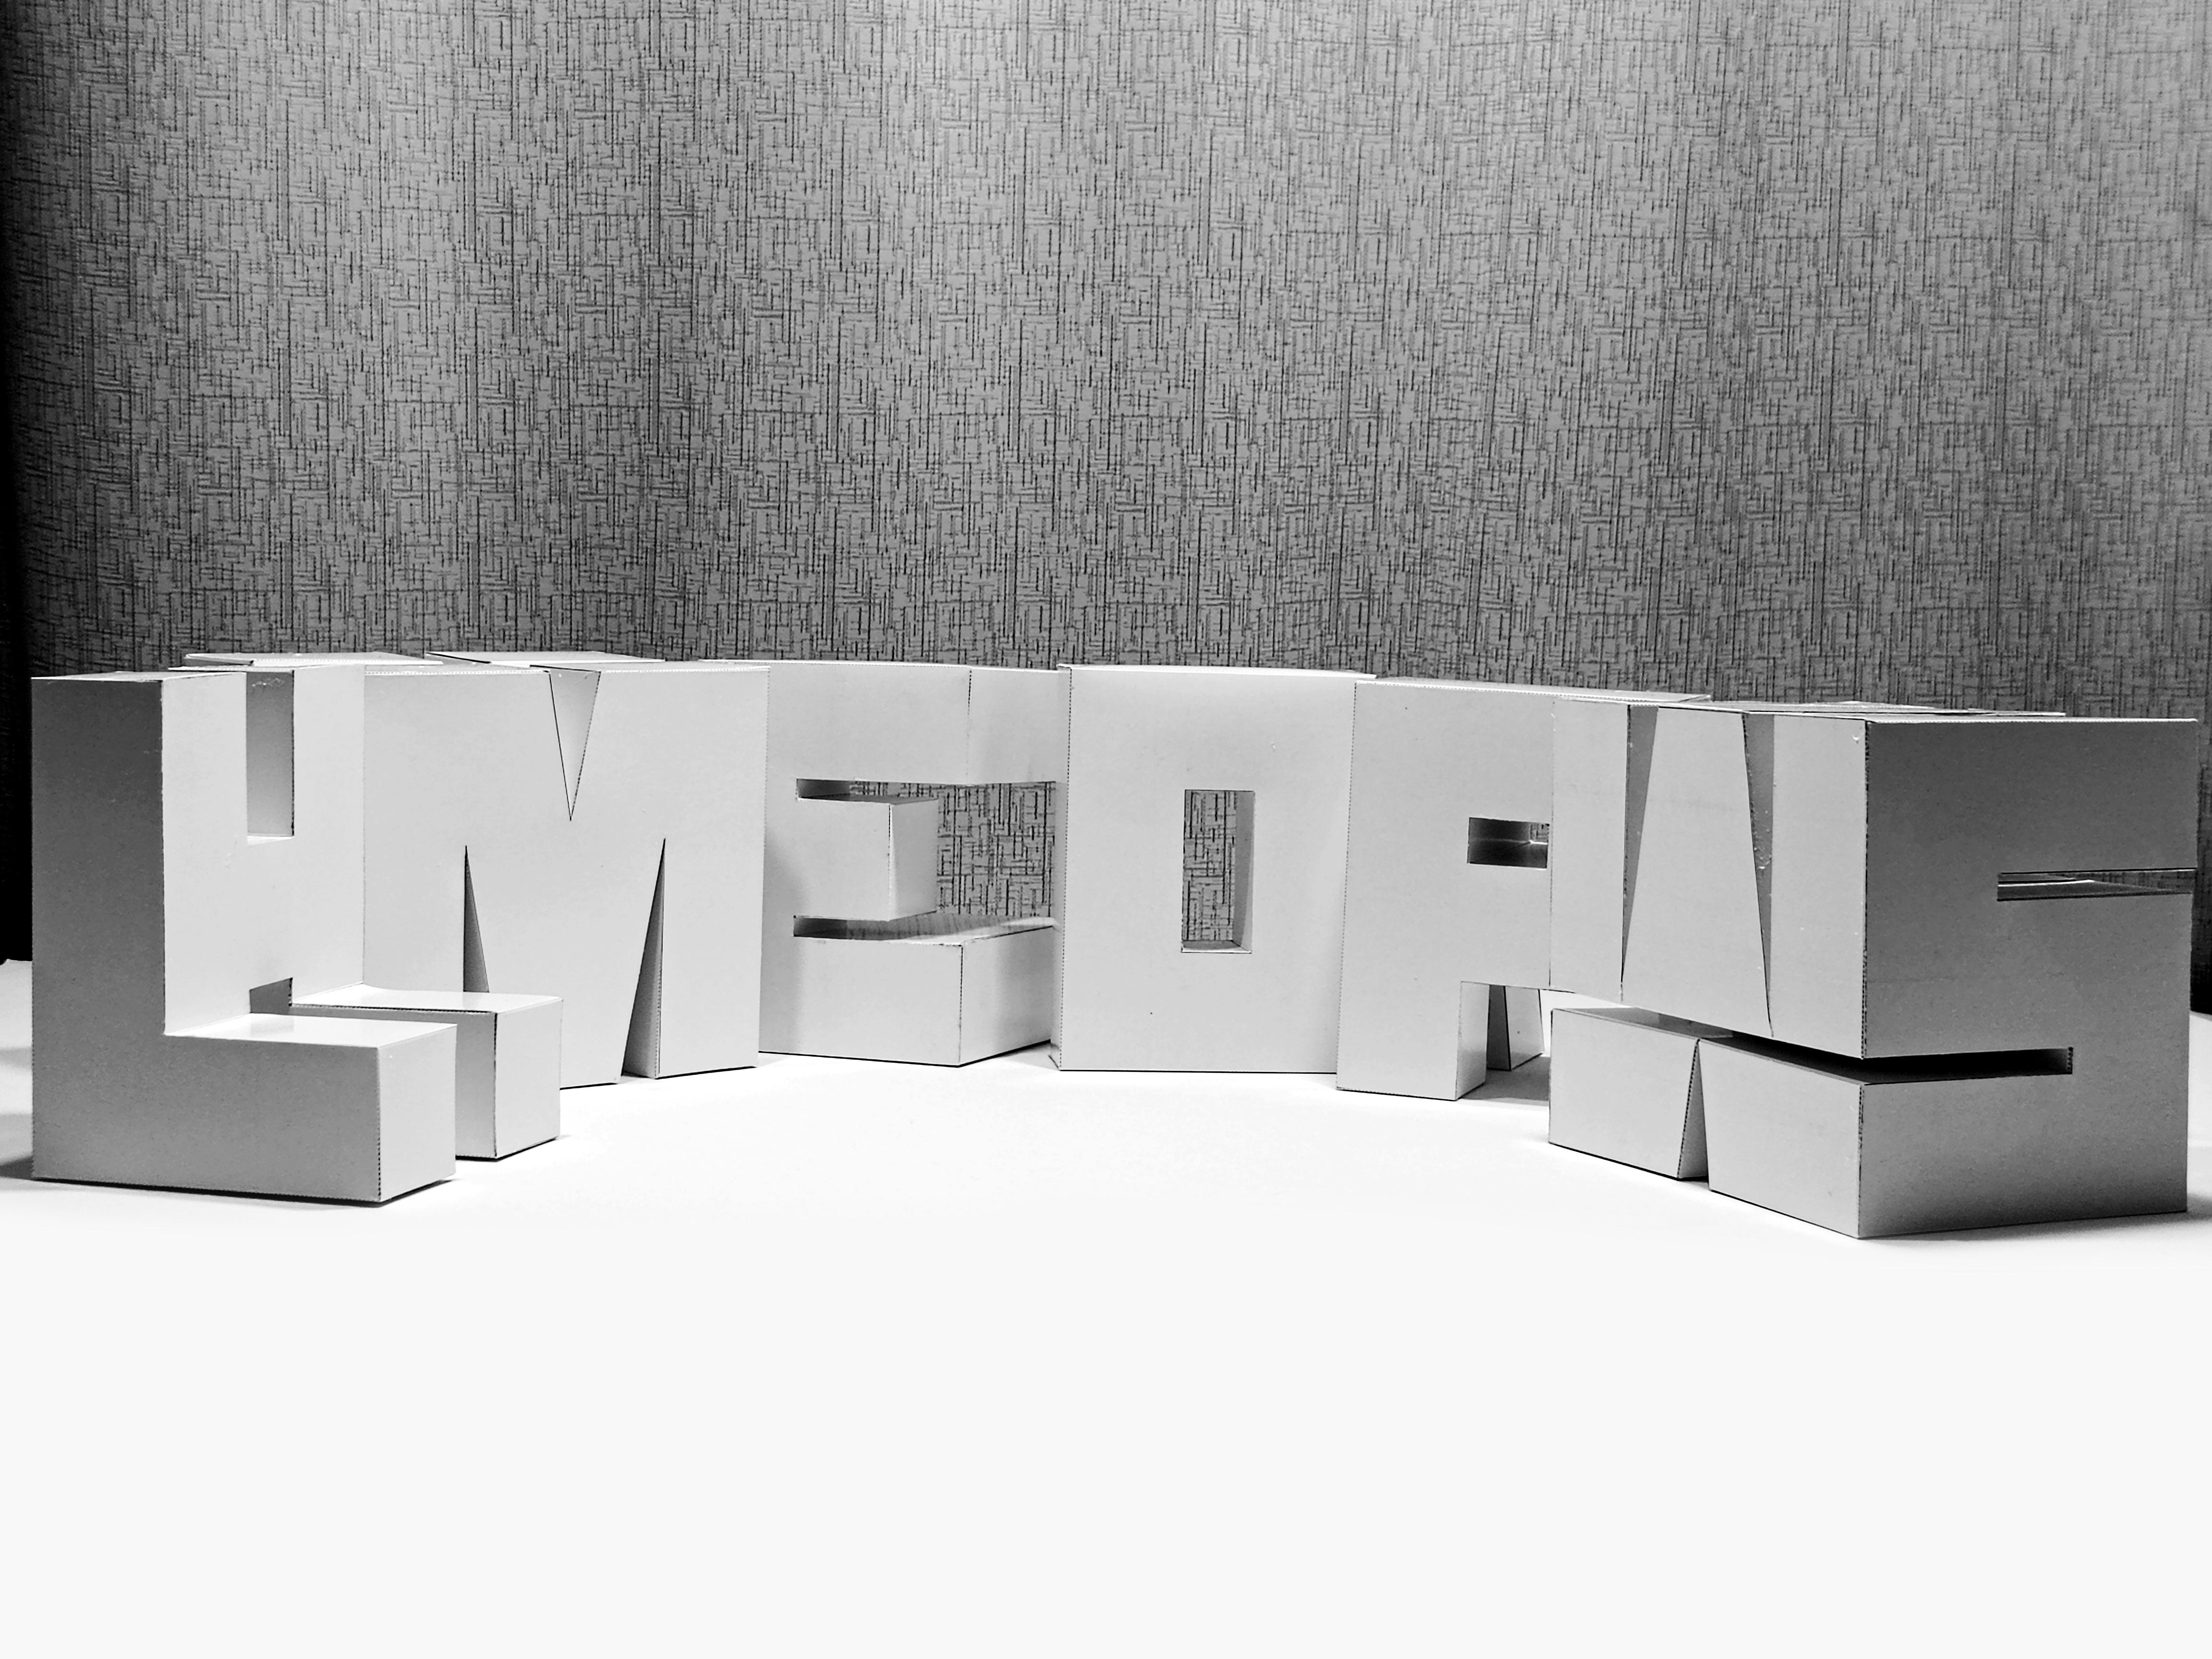
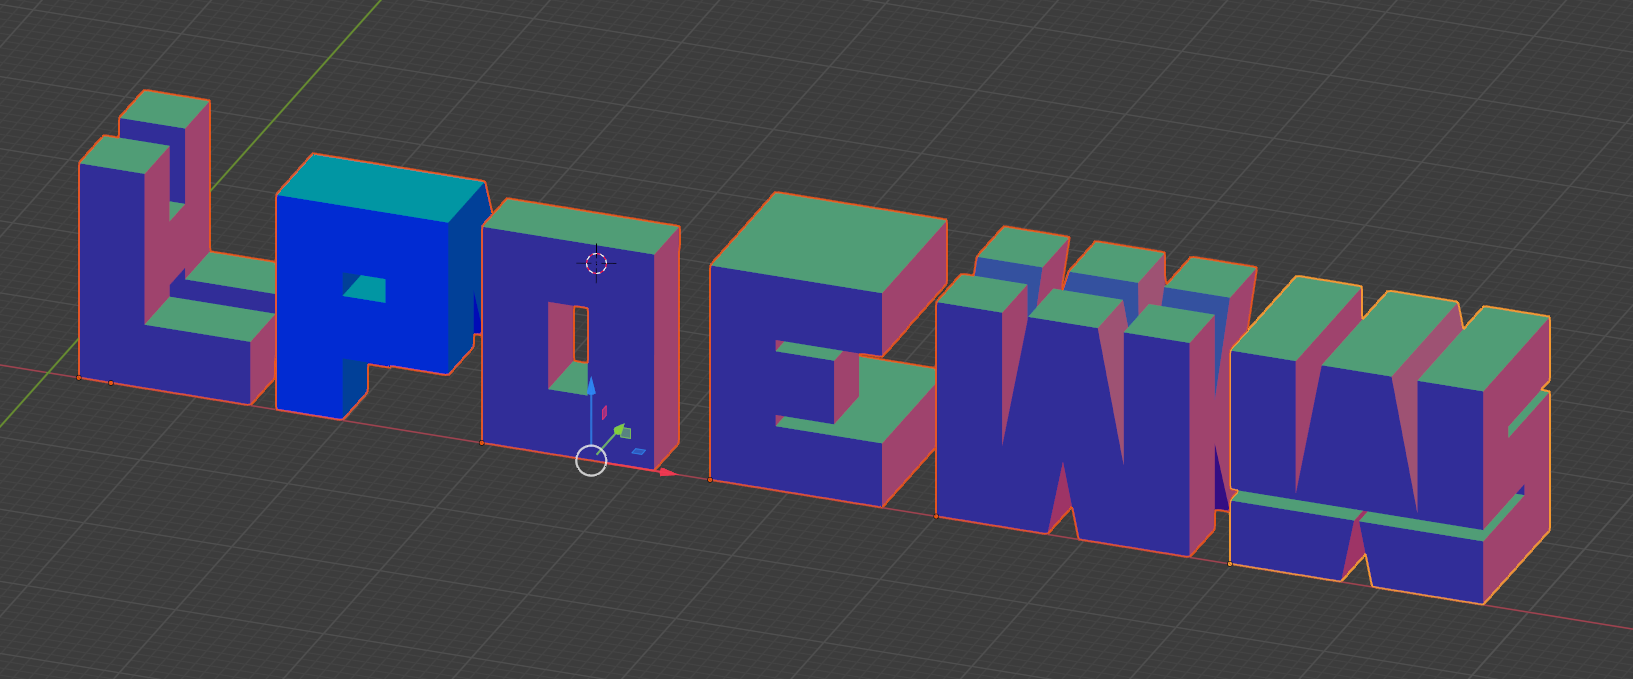
Now it was time to arrange our letters, before entering the field of editing, so that we are sure of how they will be distributed, to form as many words as possible.
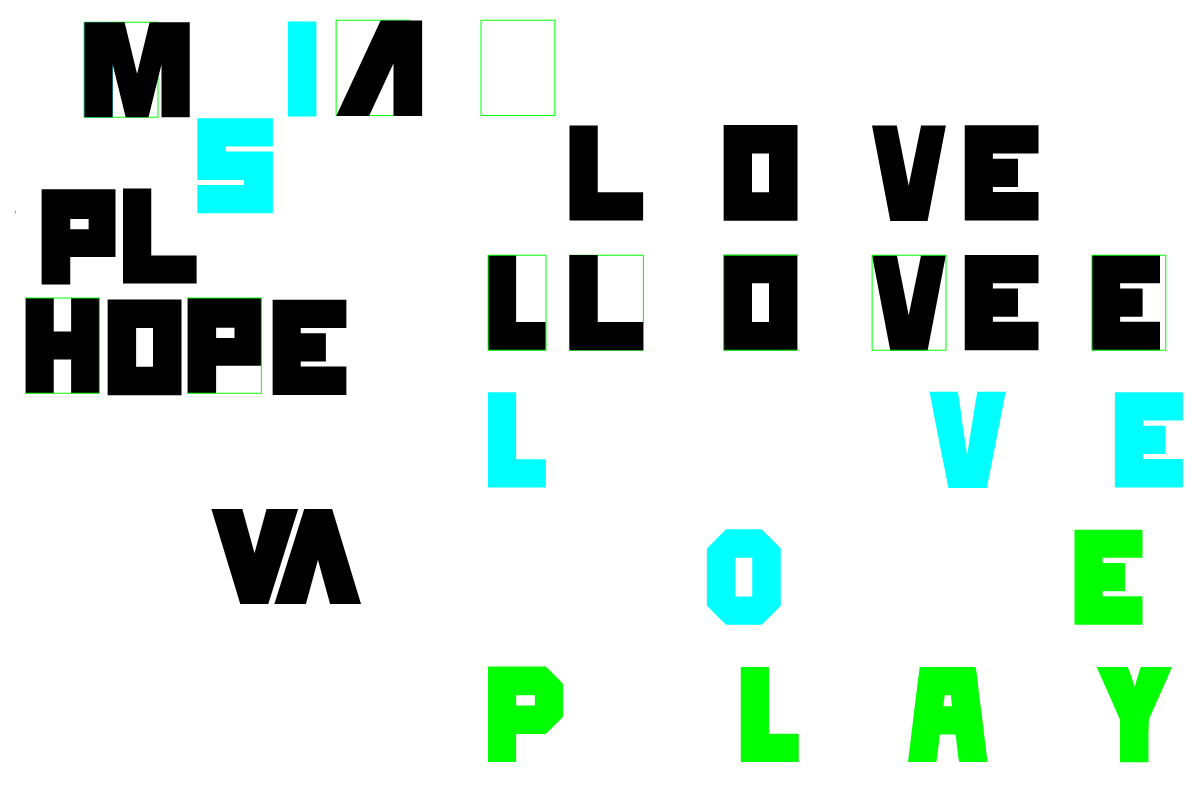
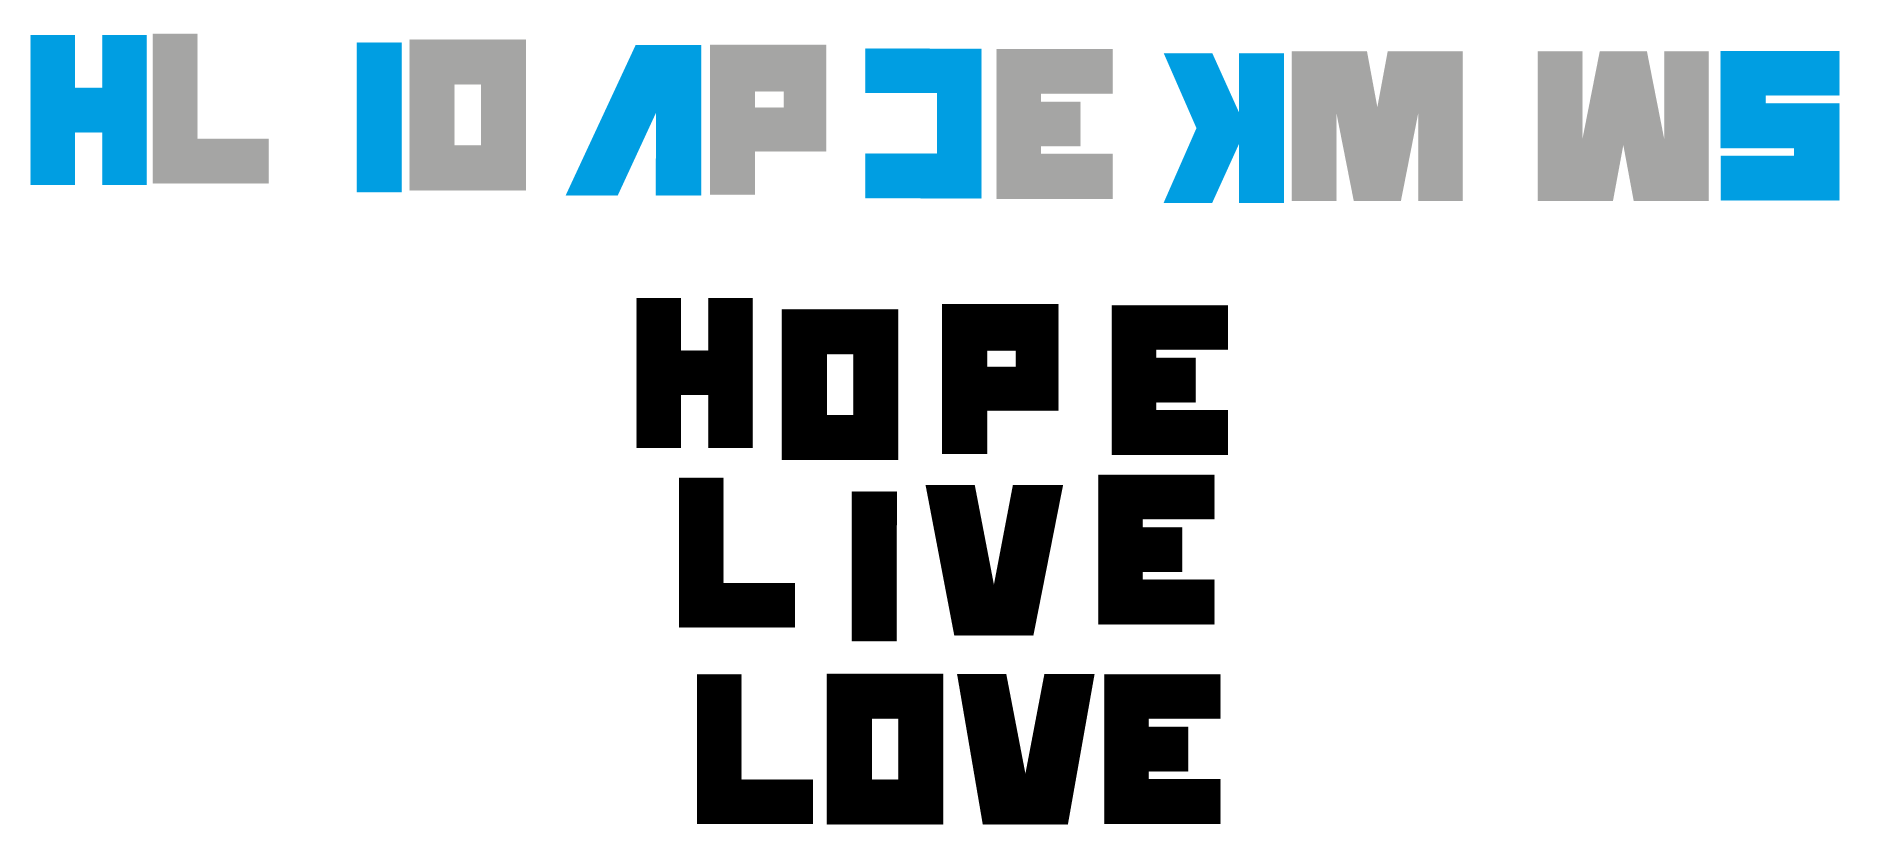
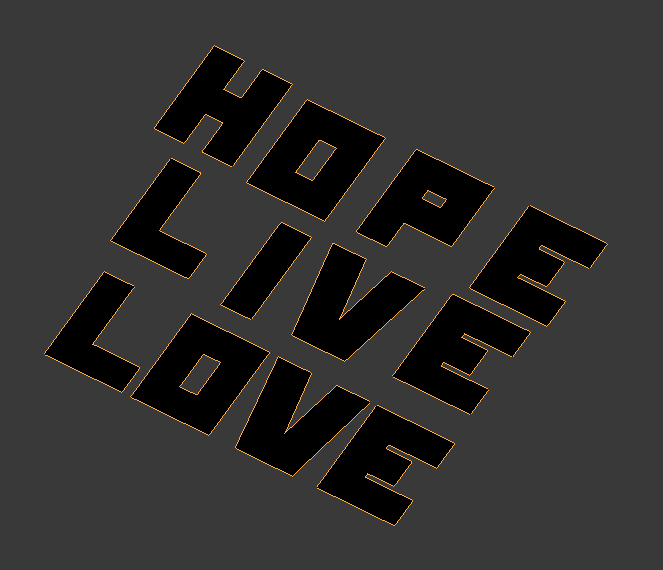
Everything starts with a "LOVE" and from there I start to make minor modifications like "LIVE" then "HOPE" and from there I simply limited the views of each piece and how to organize them so that they were congruent with the desired texts, avoiding repeat letters but taking advantage of the functionality of letters like the "M" which, by turning it, can work like a "W"
FONTS
.png)
.png)
For the font in my case I used a sans serif font, since being square it fit better when merging our letters, I also made some grid adjustments so that the letters would have the same size when they finished being assembled.
In this part of the process, I also did a face-to-face meeting to see and analyze which was the best and most functional way for the combination of the two letters.
Blender Operations 1
.png)
.png)
.png)
.png)
.png)
.png)
.png)
.png)
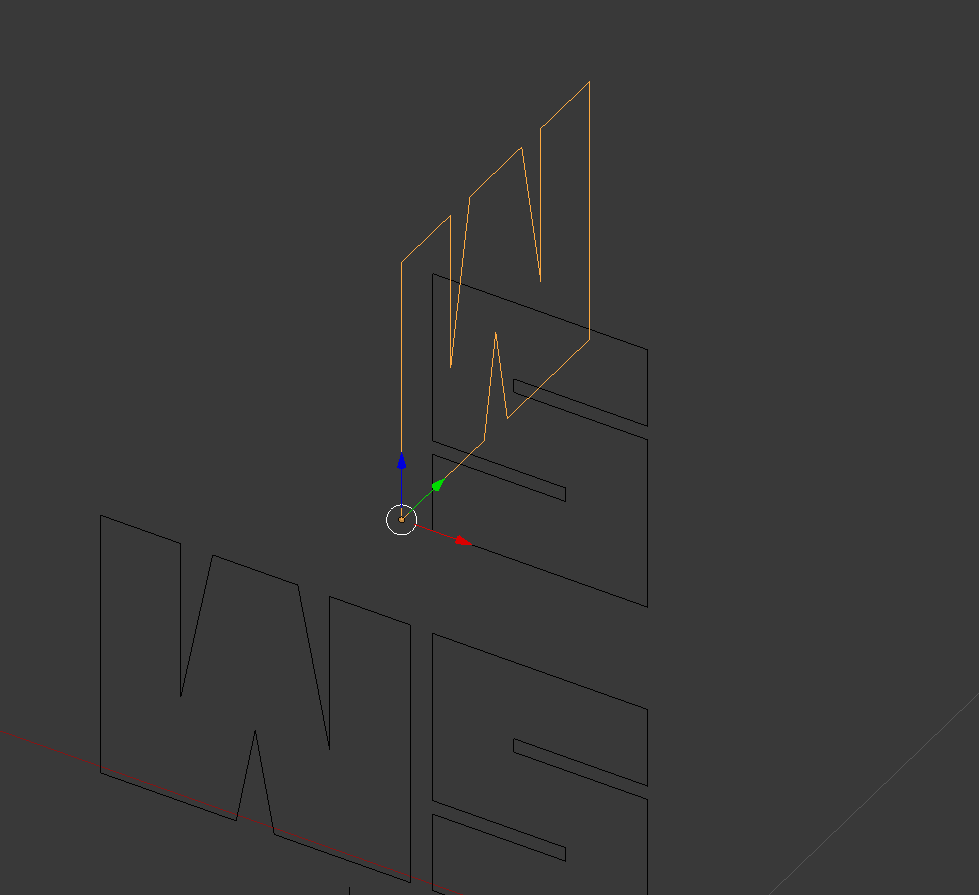
After choosing the font that we will use from the editing program where we are, we will save it in SVG (Scalable Vector Graphics) format which we will import into Blender. Below you will find screenshots of two versions of Blender, and you will wonder why? I work with 2 versions since sometimes the results of the boolean modifier can vary, so I always stay with the most optimized and functional results for subsequent steps.
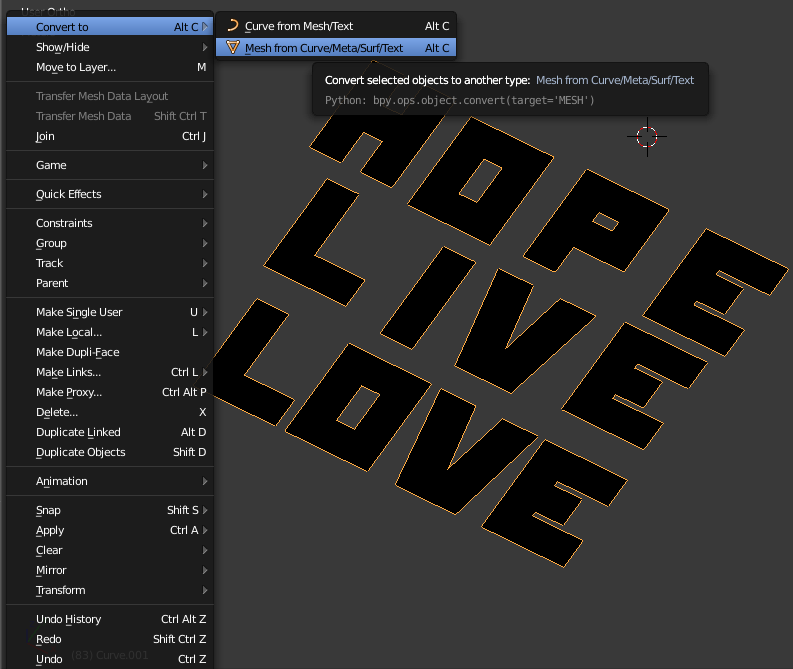
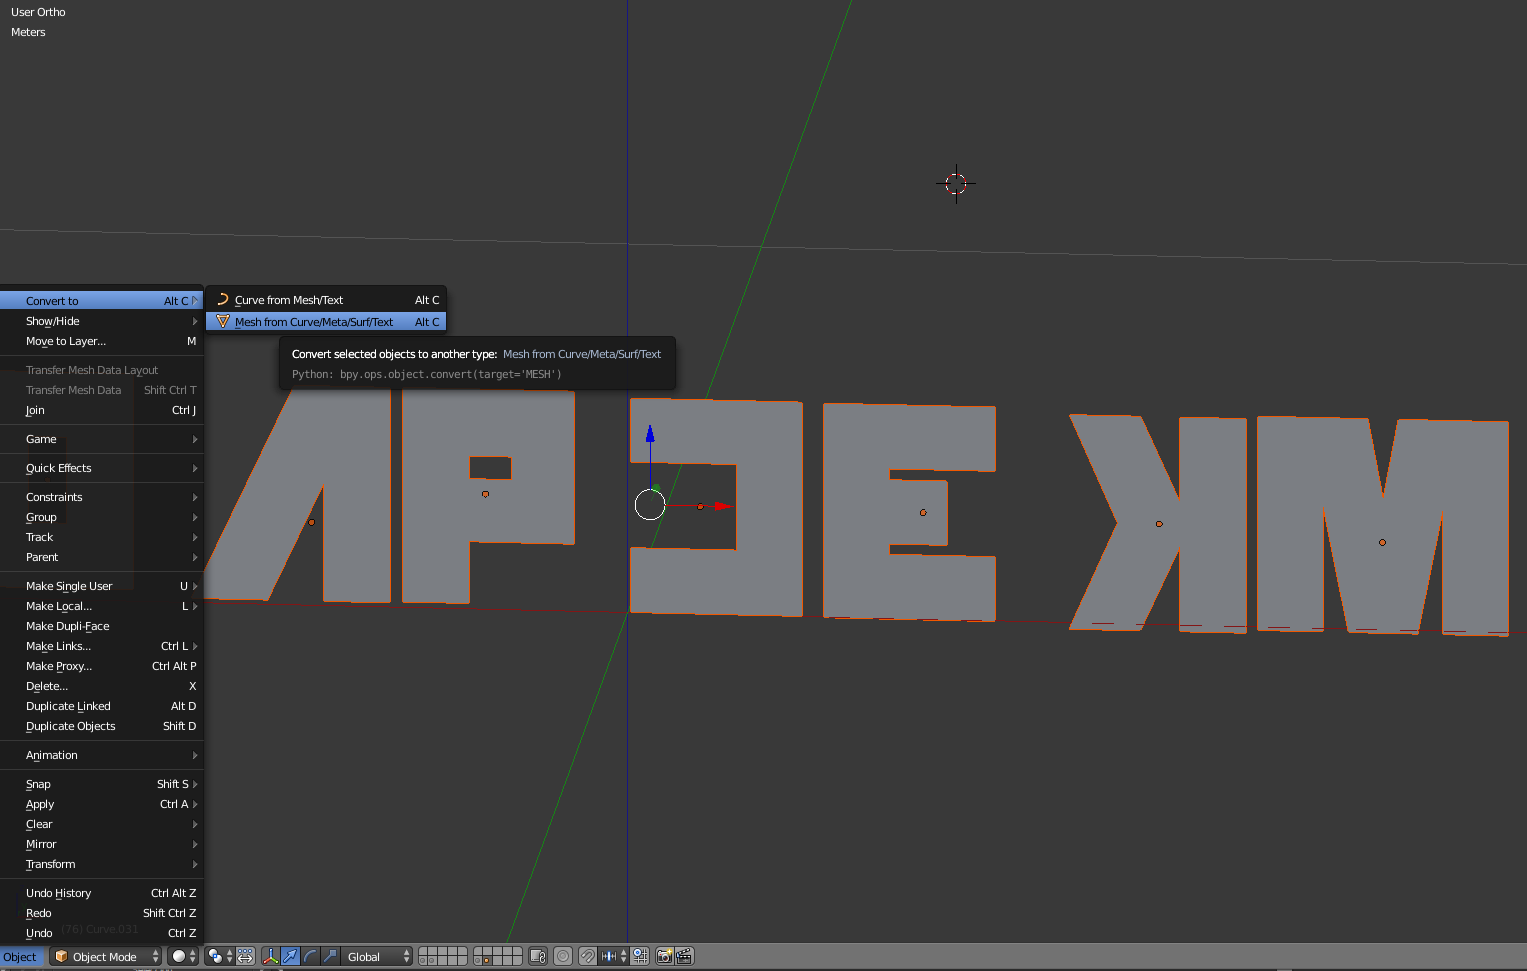
first of all import the svg file, then convert it to mesh from curve as indicated in image 2
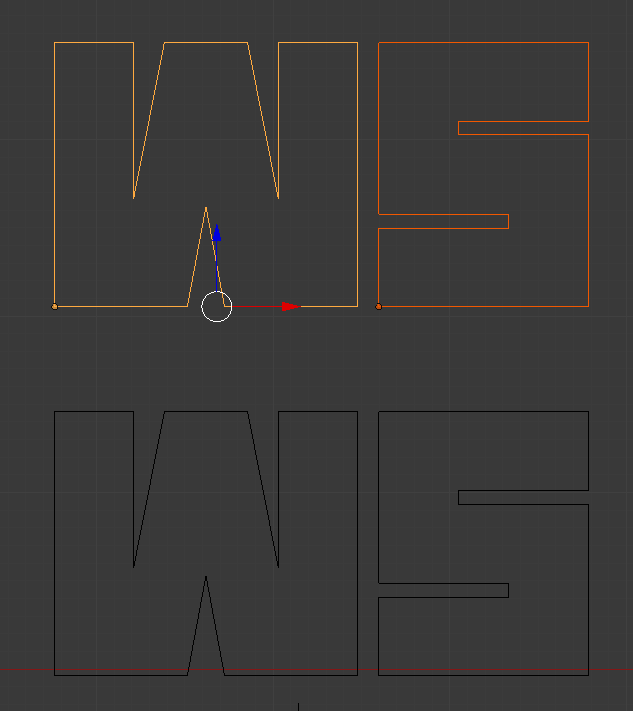
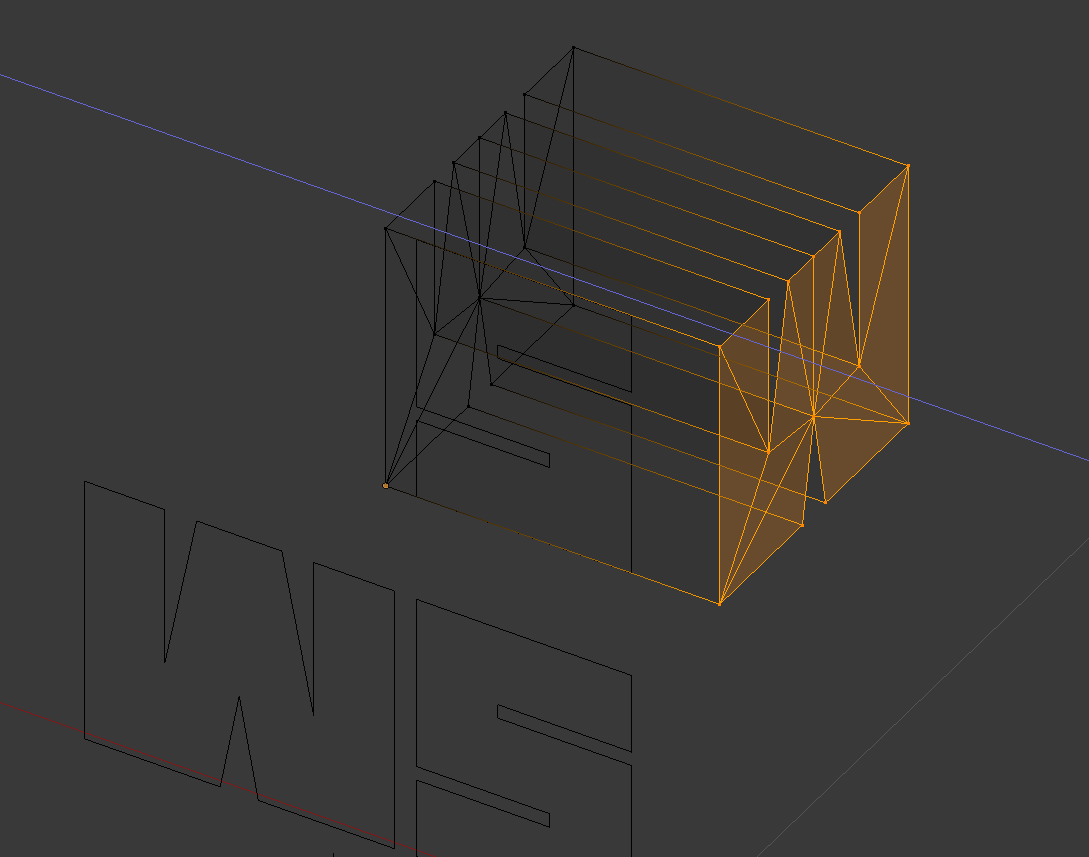
then locate the faces of the letters in the best possible way and so that there are no structuring conflicts in the bodies of each letter and at their intersection, you must review very well.
Blender Operations 2
.jpg)
.png)
.png)
.png)
.png)
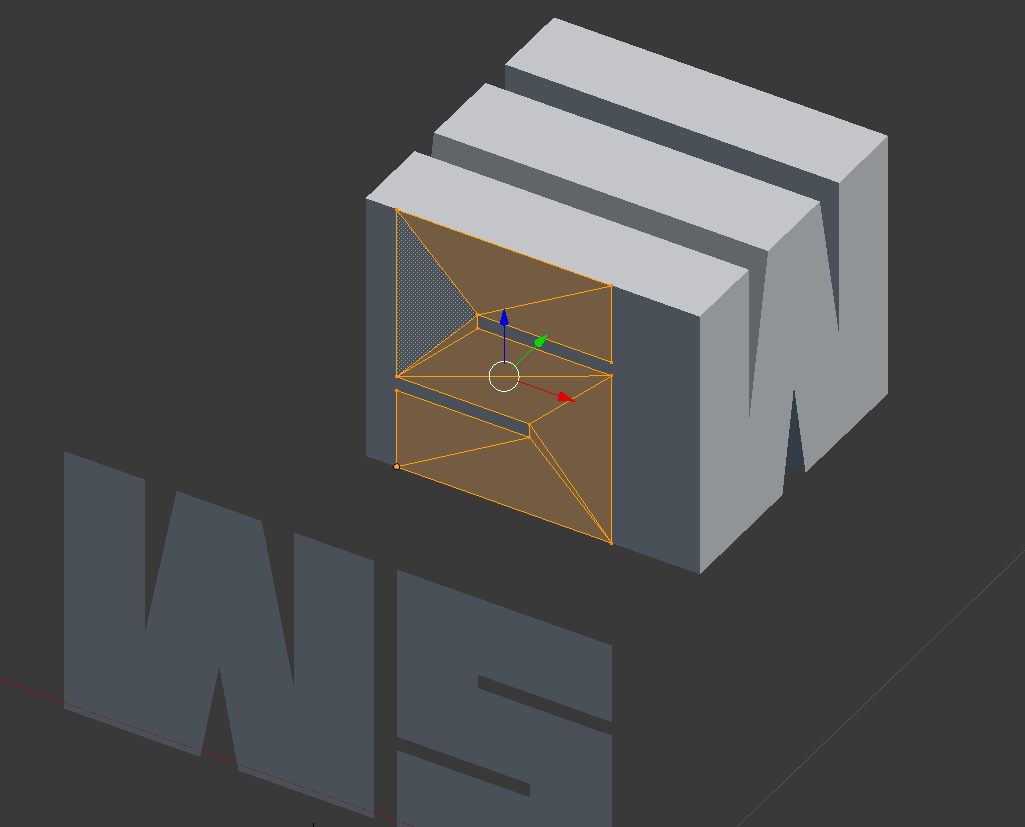
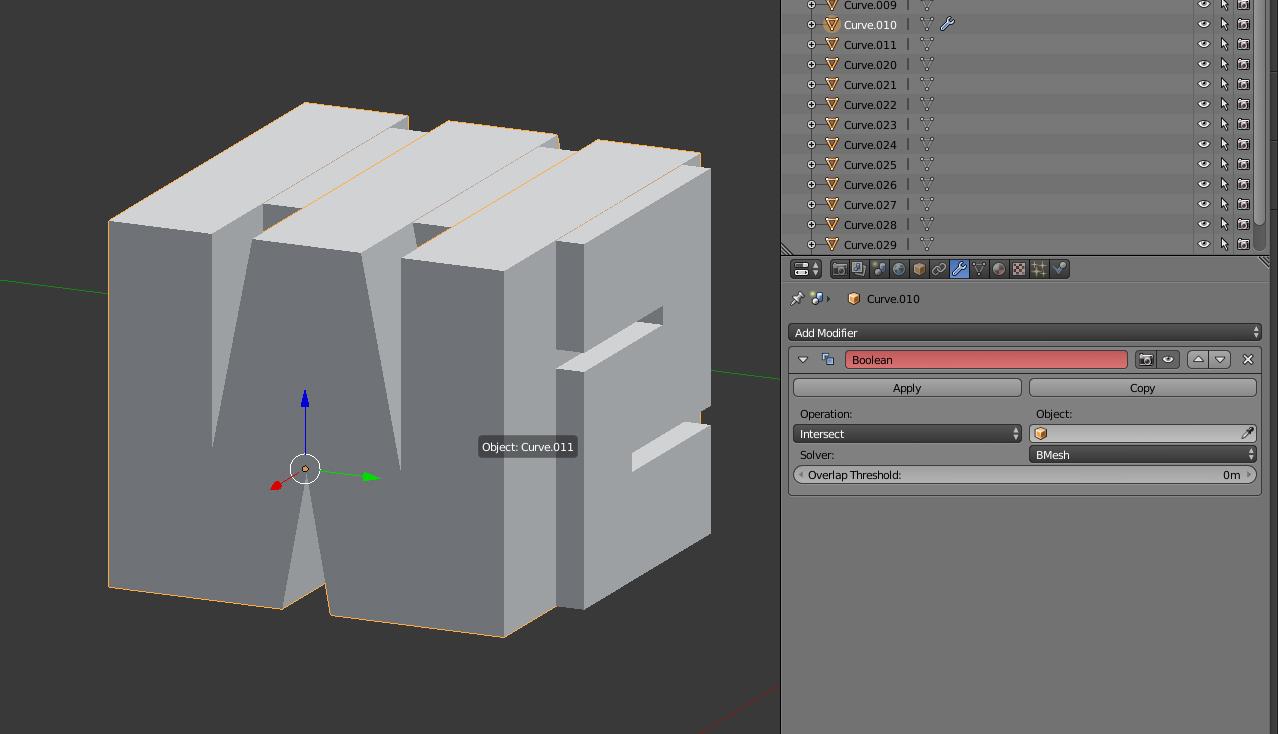
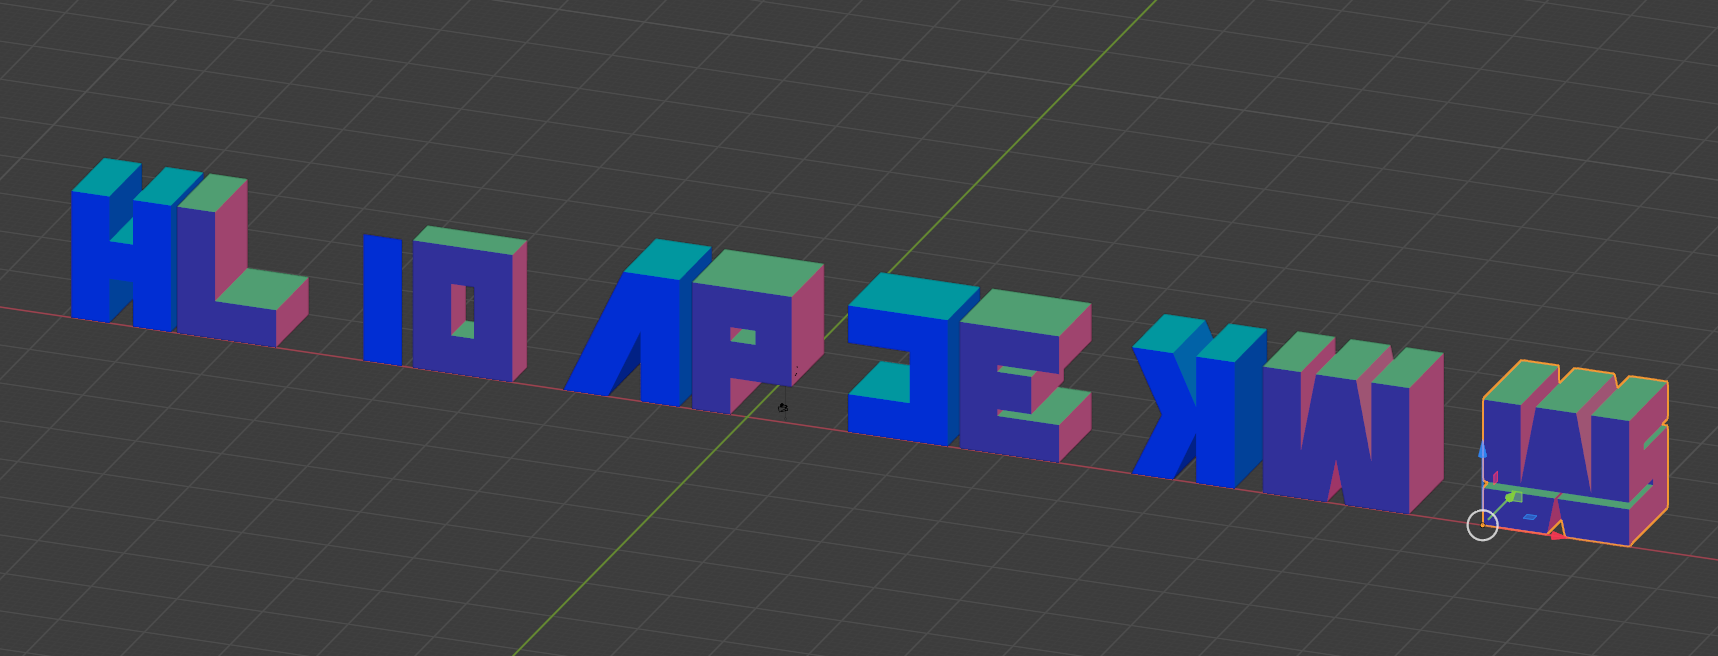
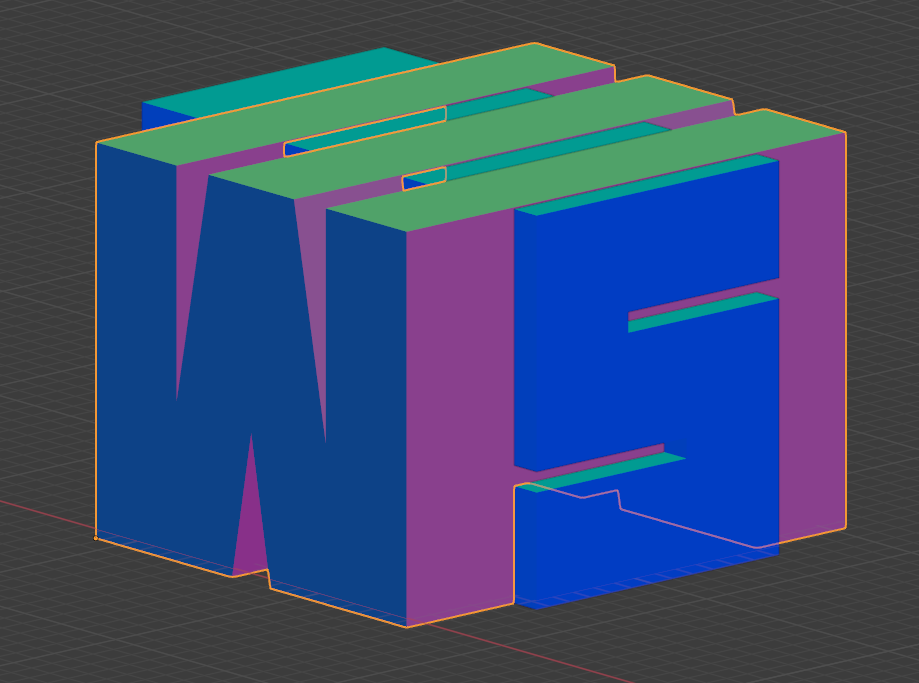
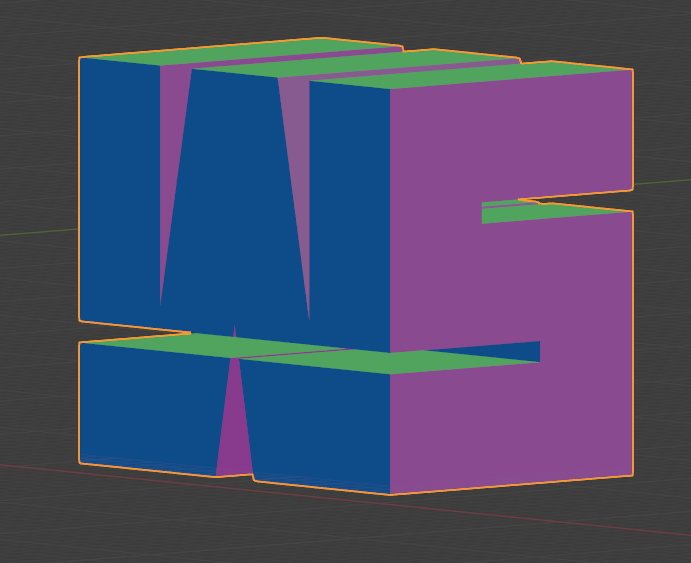
Then we will apply the boolean modifier to any of the two letters and in the modifier object options we will drag the dropper to select its counterpart, that is, the missing letter to generate the space difference.
Blender Operations 3
.png)
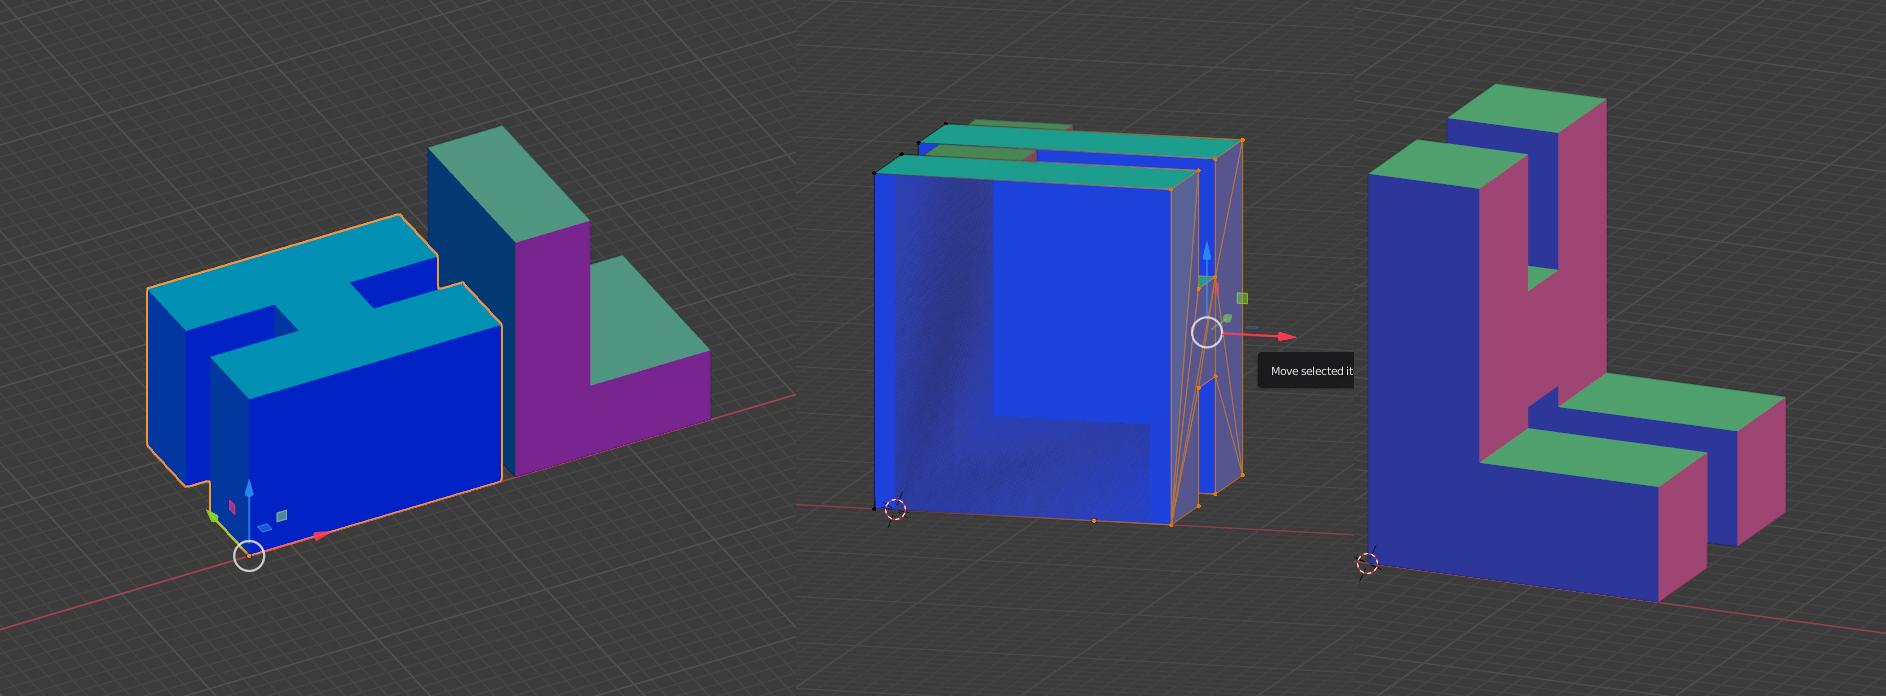.jpg)
.png)
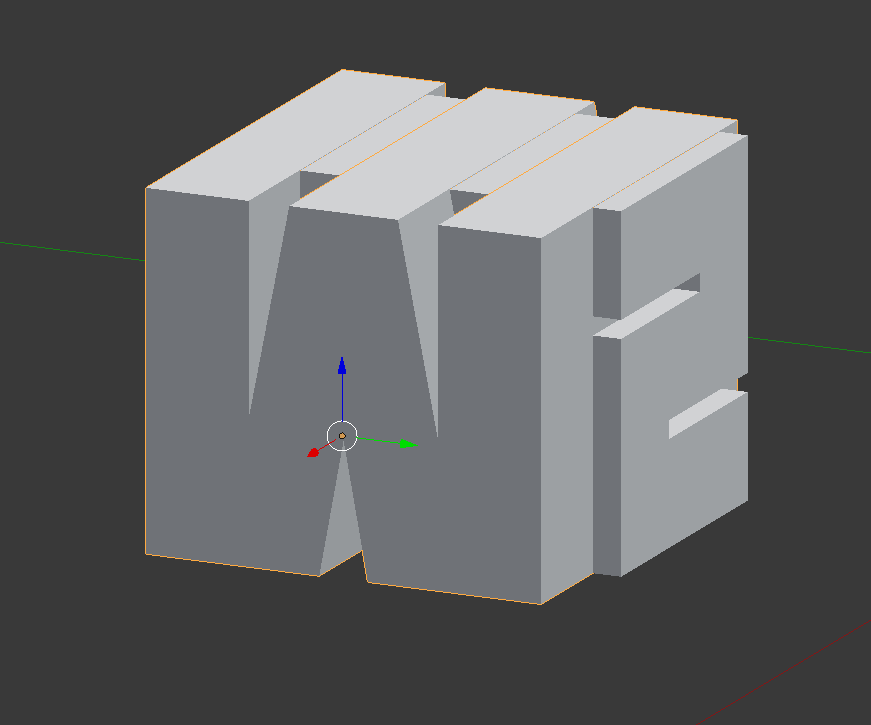
To finish, do the same process for the remaining letters.
Keep in mind that it is always good to first place the pieces in the best possible way to blend together, so that the letter seen from the front looks as natural as possible.
After that you will get 6 pieces with 12 different views.
PEPAKURA Unfolds
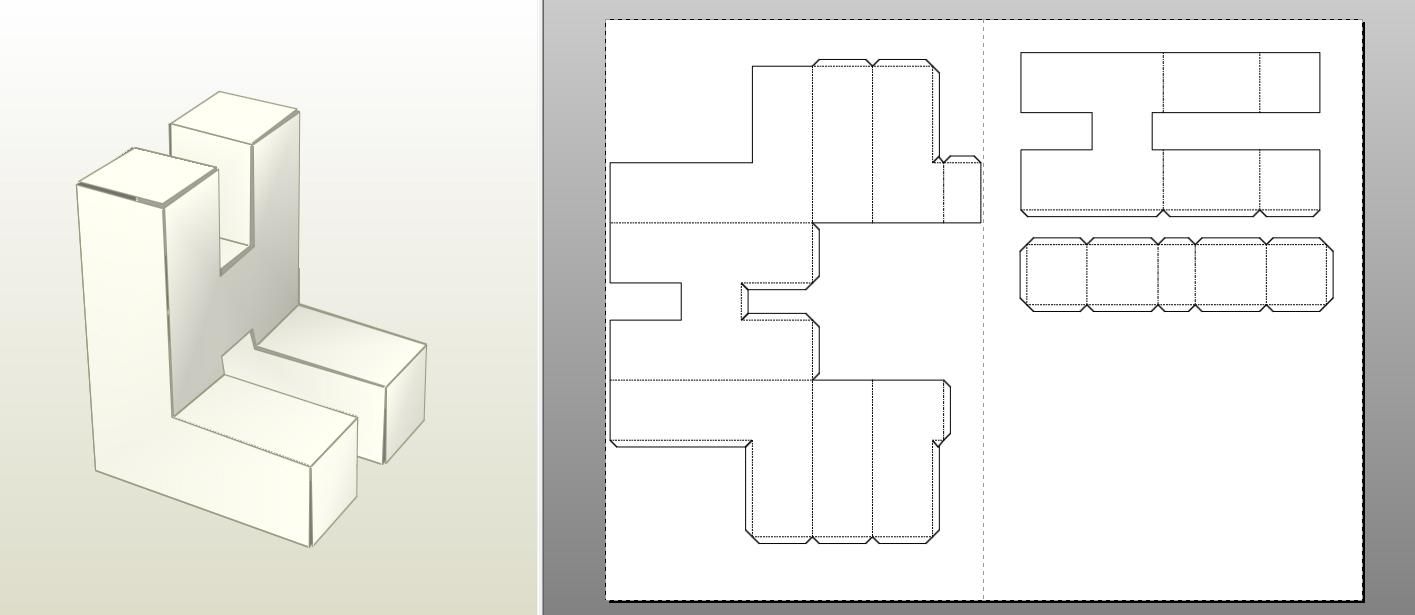
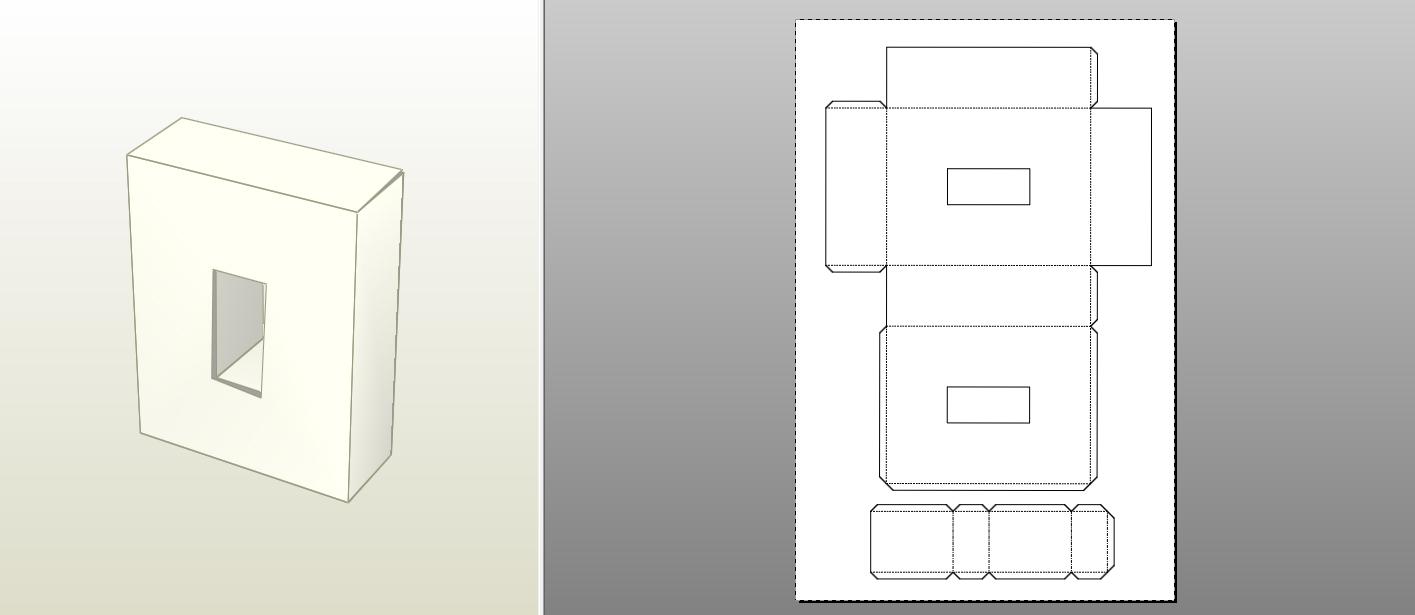
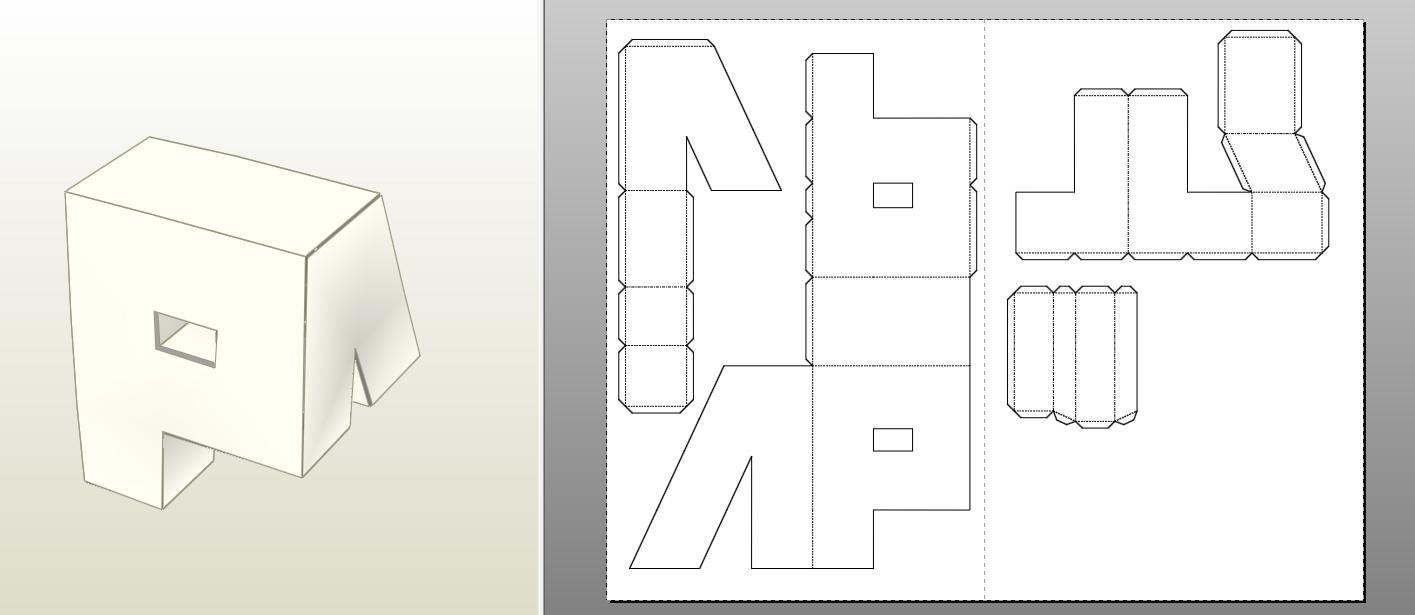
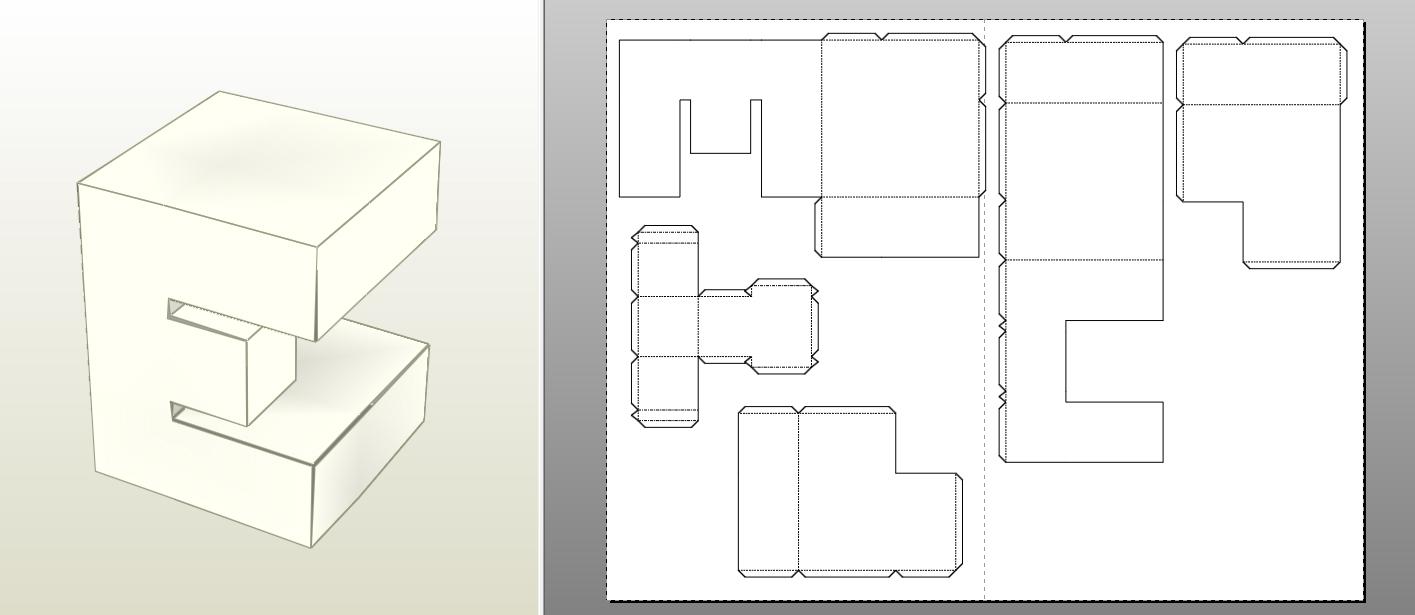
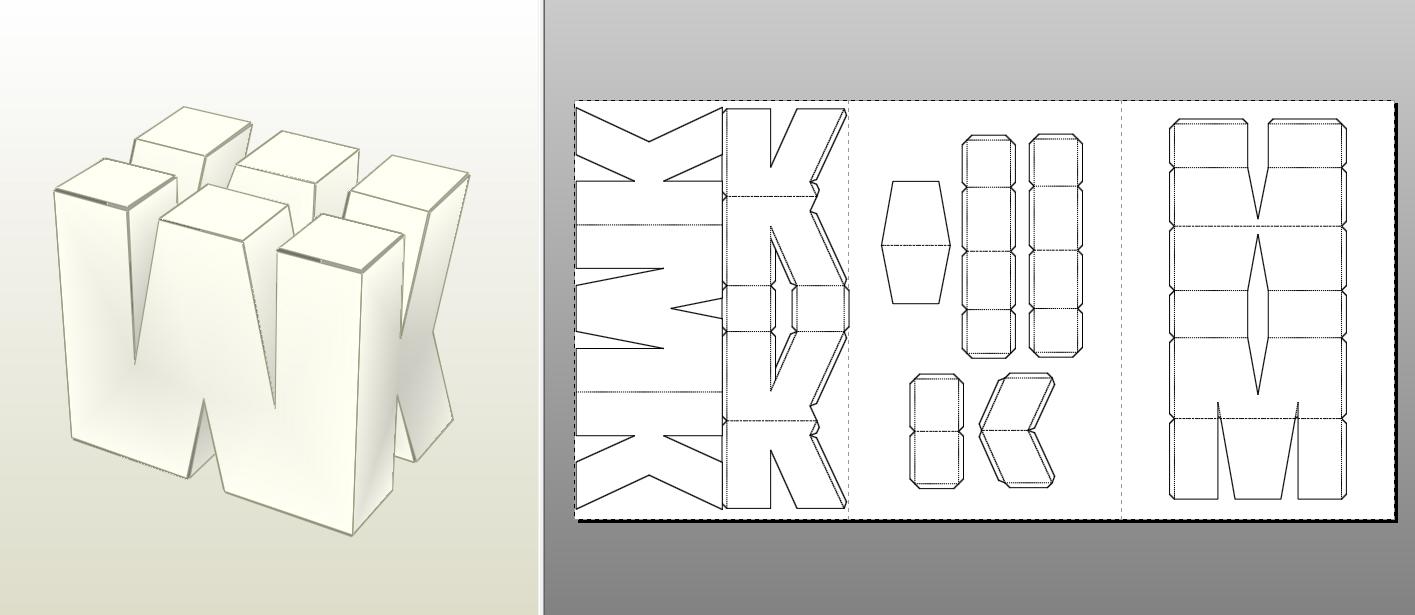
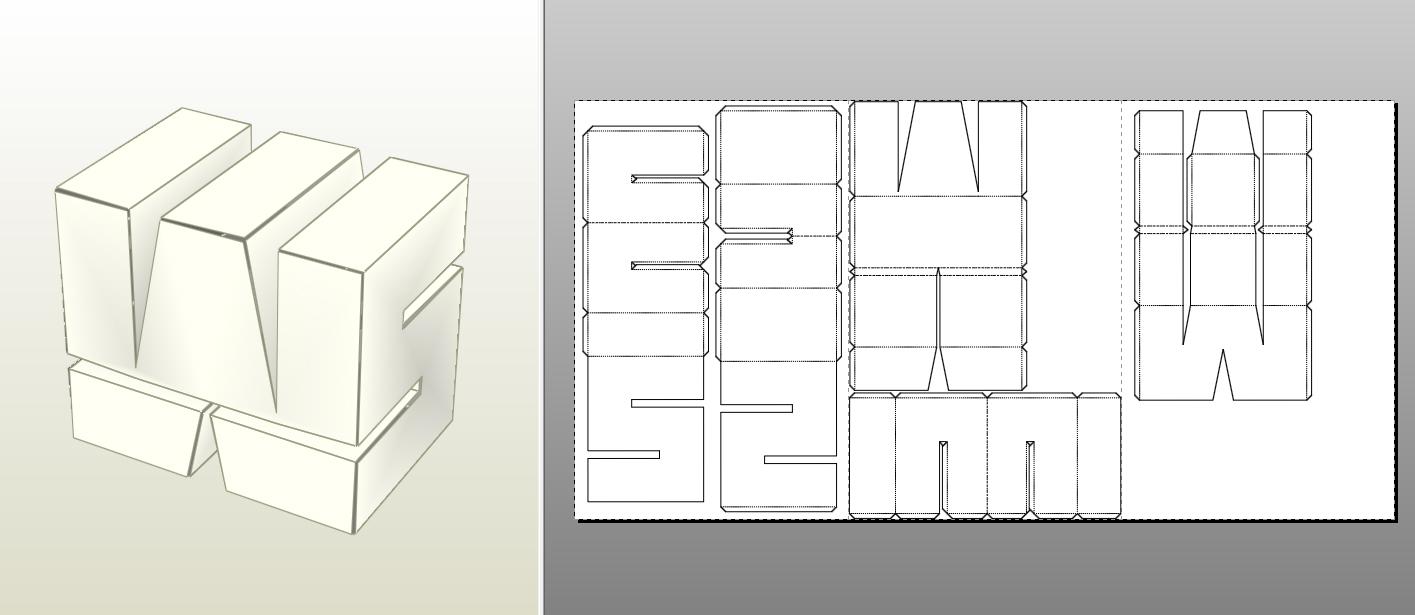
After having our finished pieces in blender, we will export them in OBJ file format from the drop-down menu: FILE: EXPORT: OBJ.
and we will take these files to the Pepakura app, to carry out the respective unfold of the 3D model to plans, which will allow us to carry out a physical assembly of the model in question, in my case I used the Pepakura software, daring to say that It is the most complete for this type of work due to its vast options and qualities, but there are other options that are also very good and easy to use. There is even an online site that allows you to display a 3D file, you can take a look here: https://papercraft-maker.com/
Templates
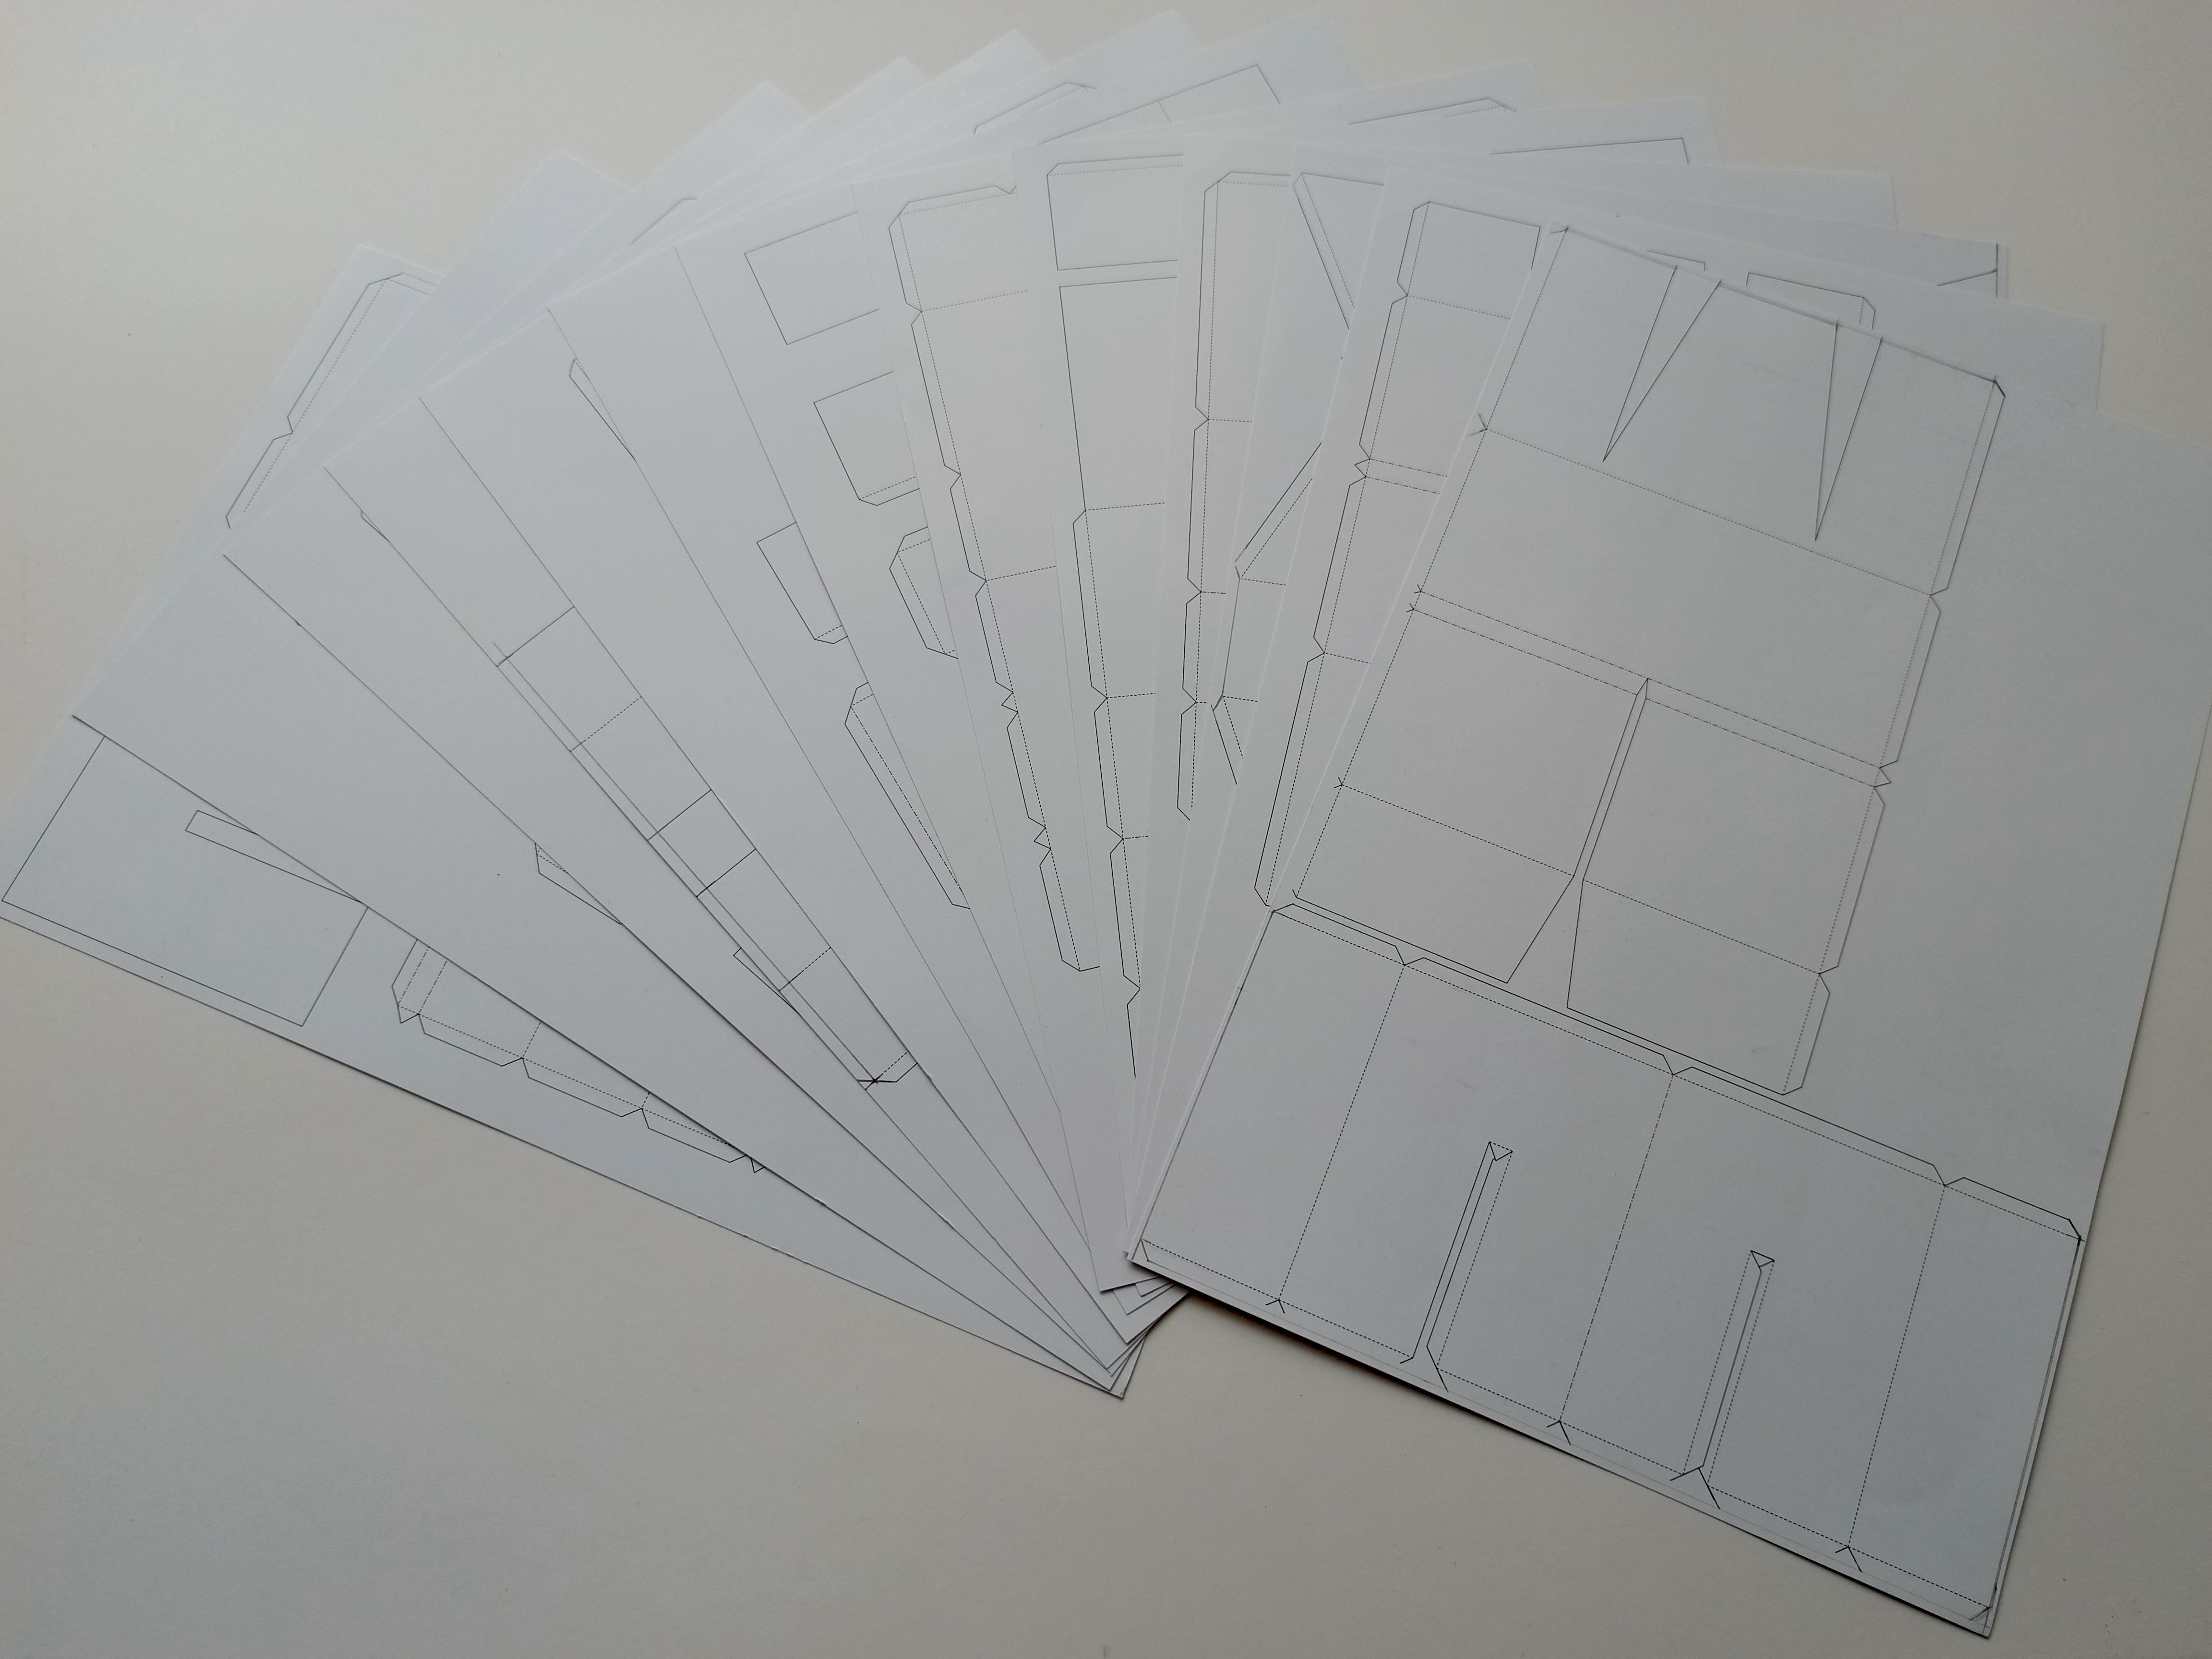
To start assembling our letters on a physical model, we will have to download the corresponding assembly templates. which we generate in pepakura from the 3d model that we developed in blender in the previous steps
The templates you will find in this tutorial come in tabloid size (279 × 432 mm / 11 x 17 inches) consist of 13 pages to print on paper (propalcote in my case) of 180 to 200 grams.
The measurement of each letter is 15 centimeters high, but if you want these templates in a smaller size, let me know in the comments.
CUT
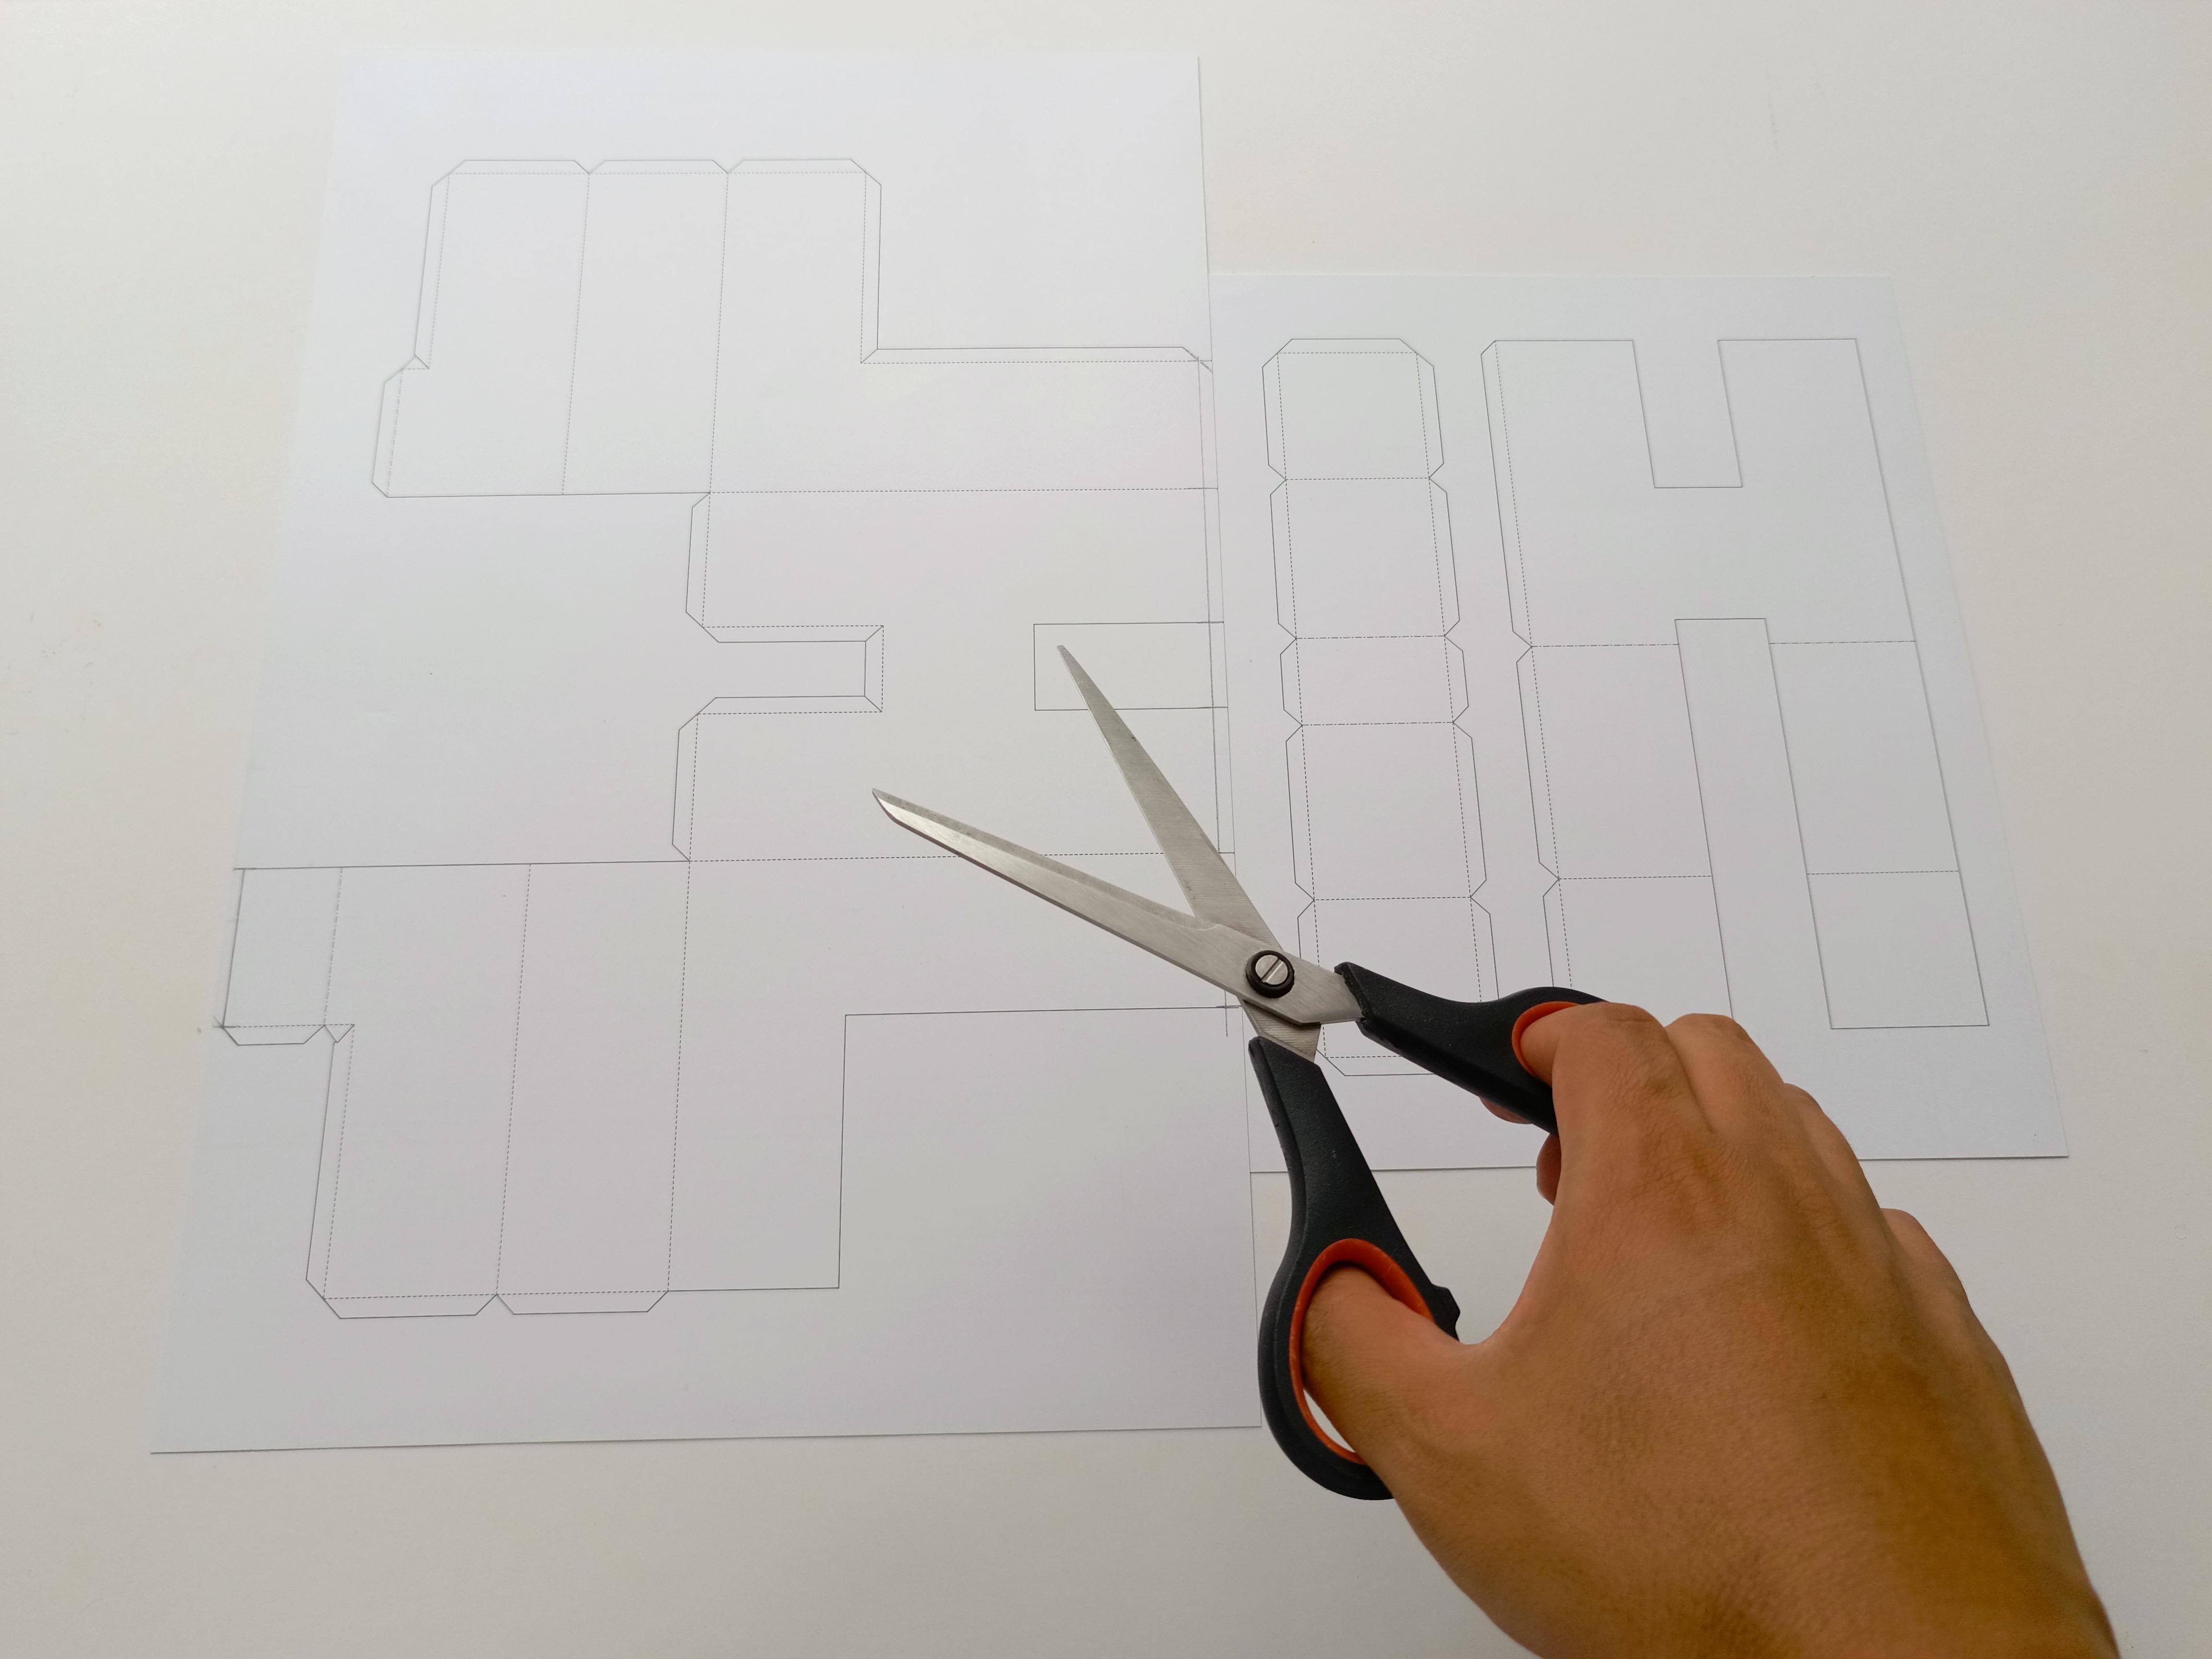
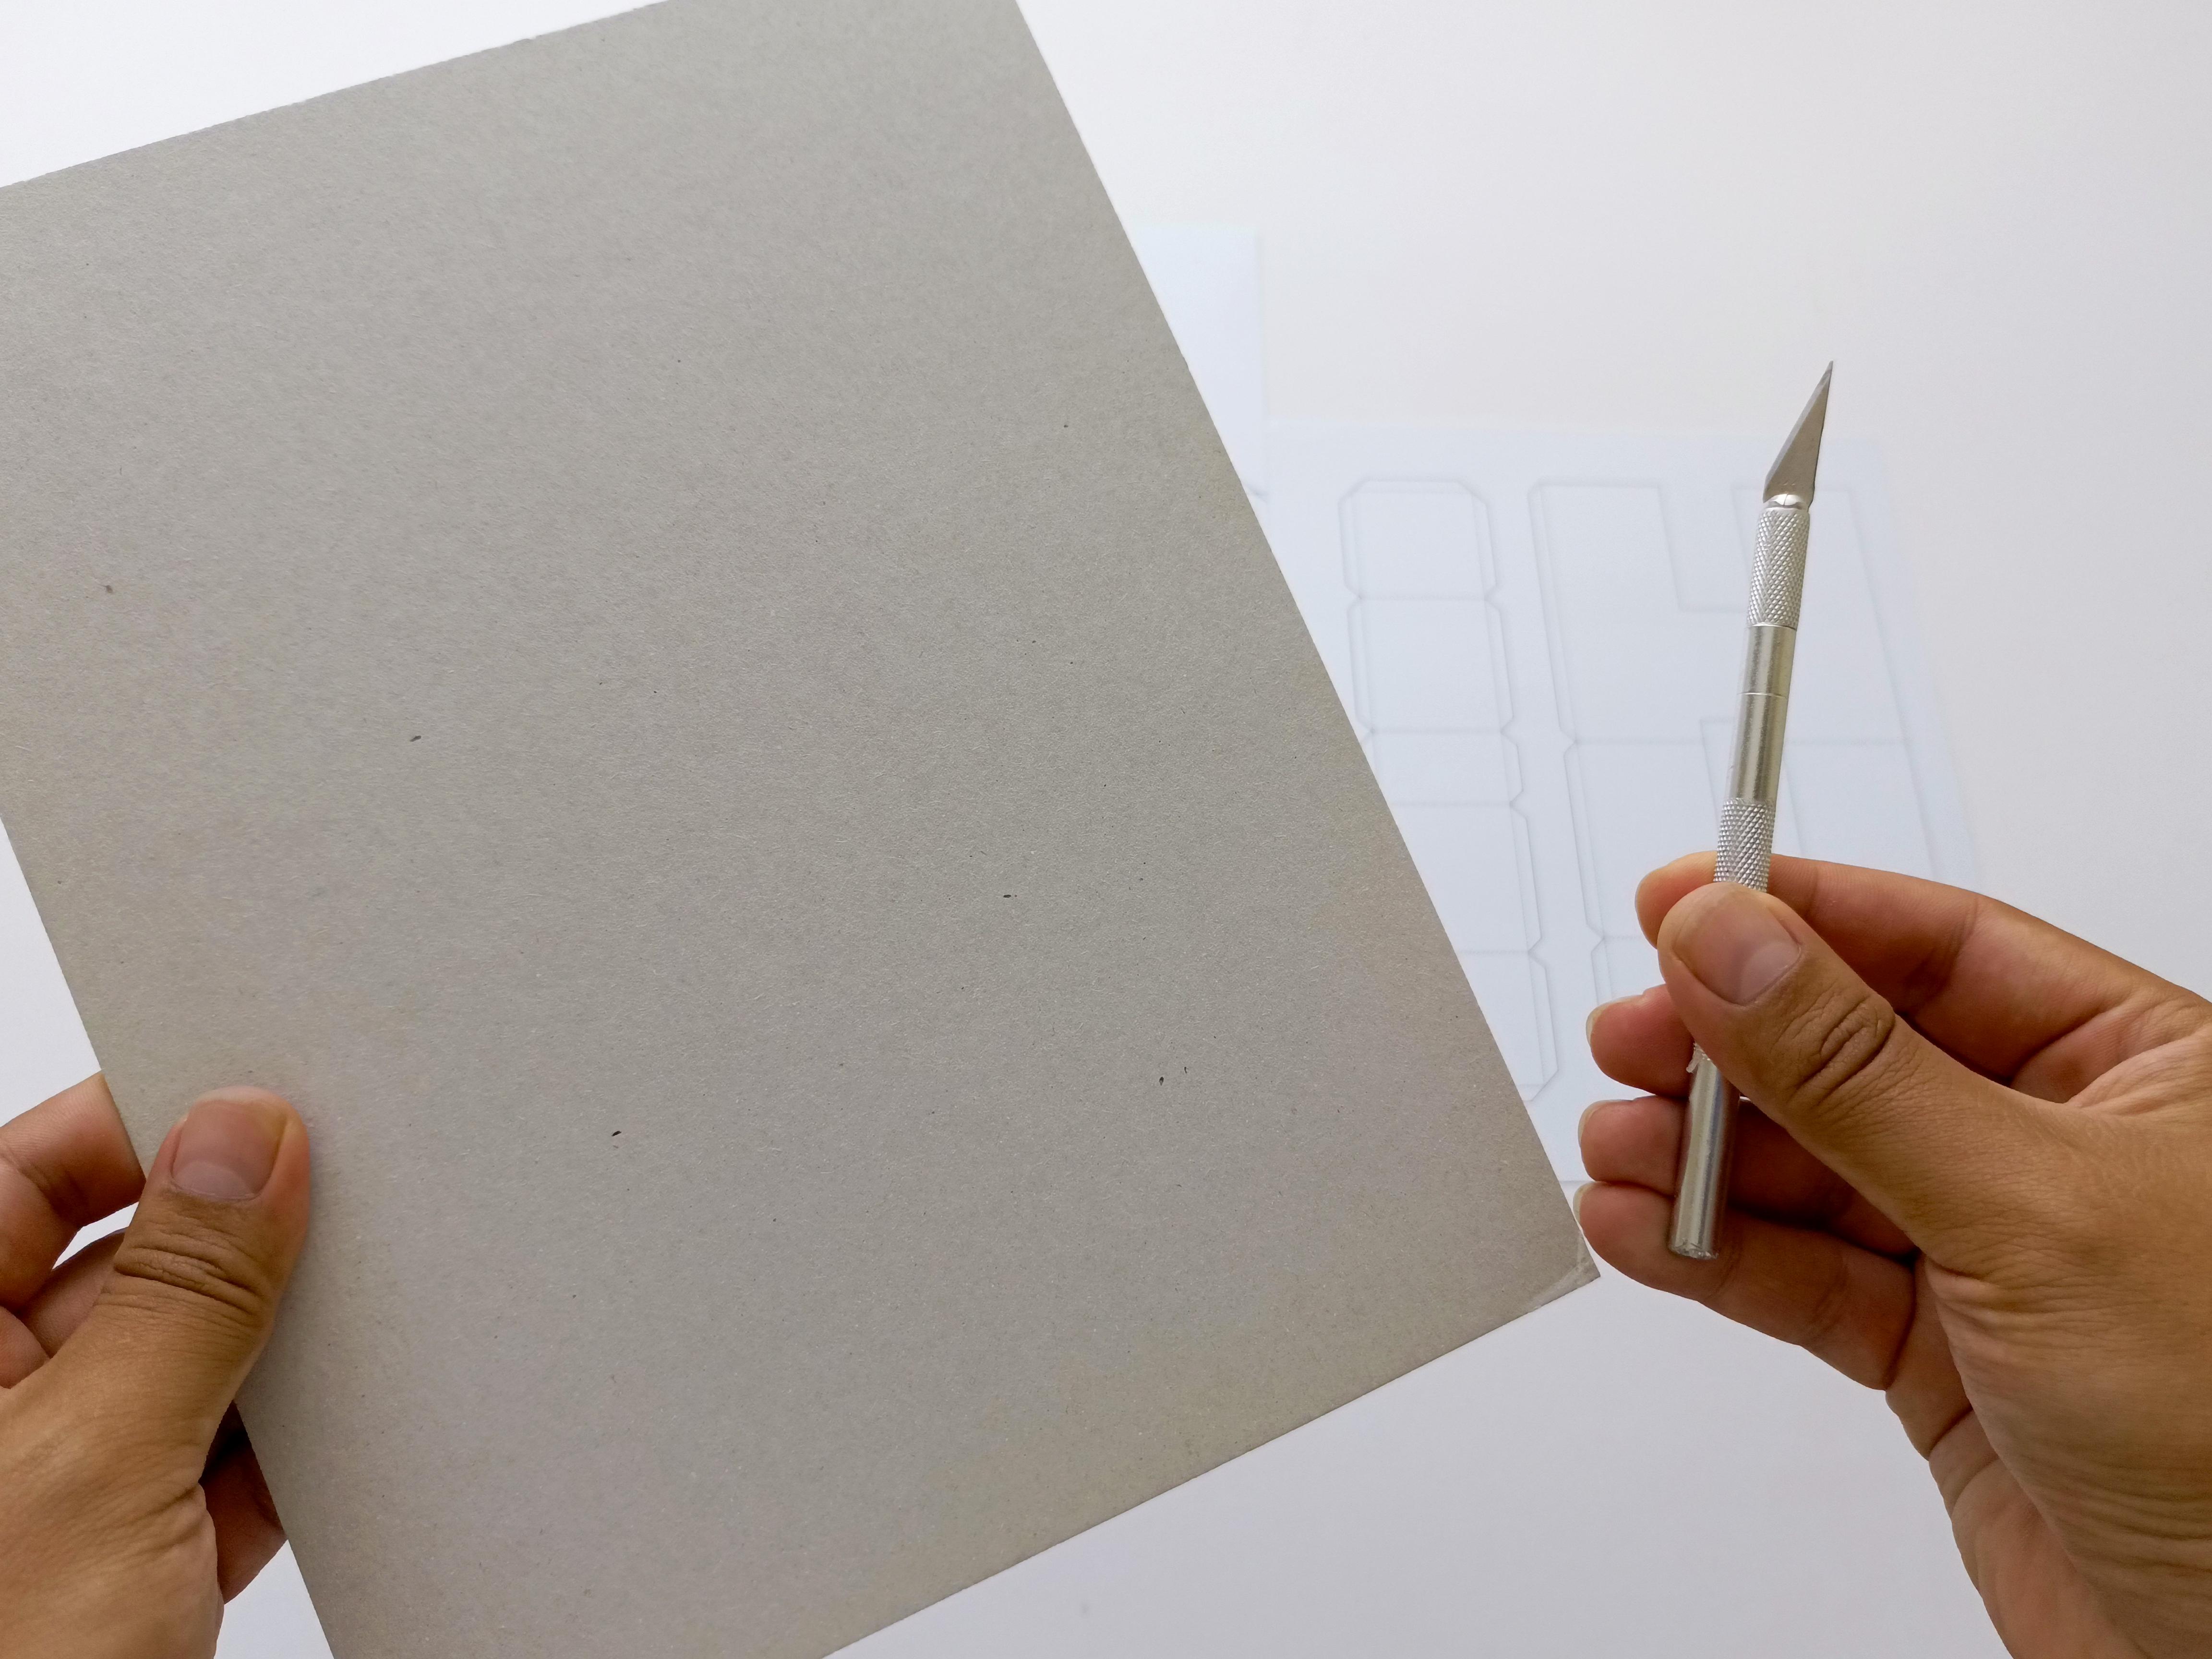
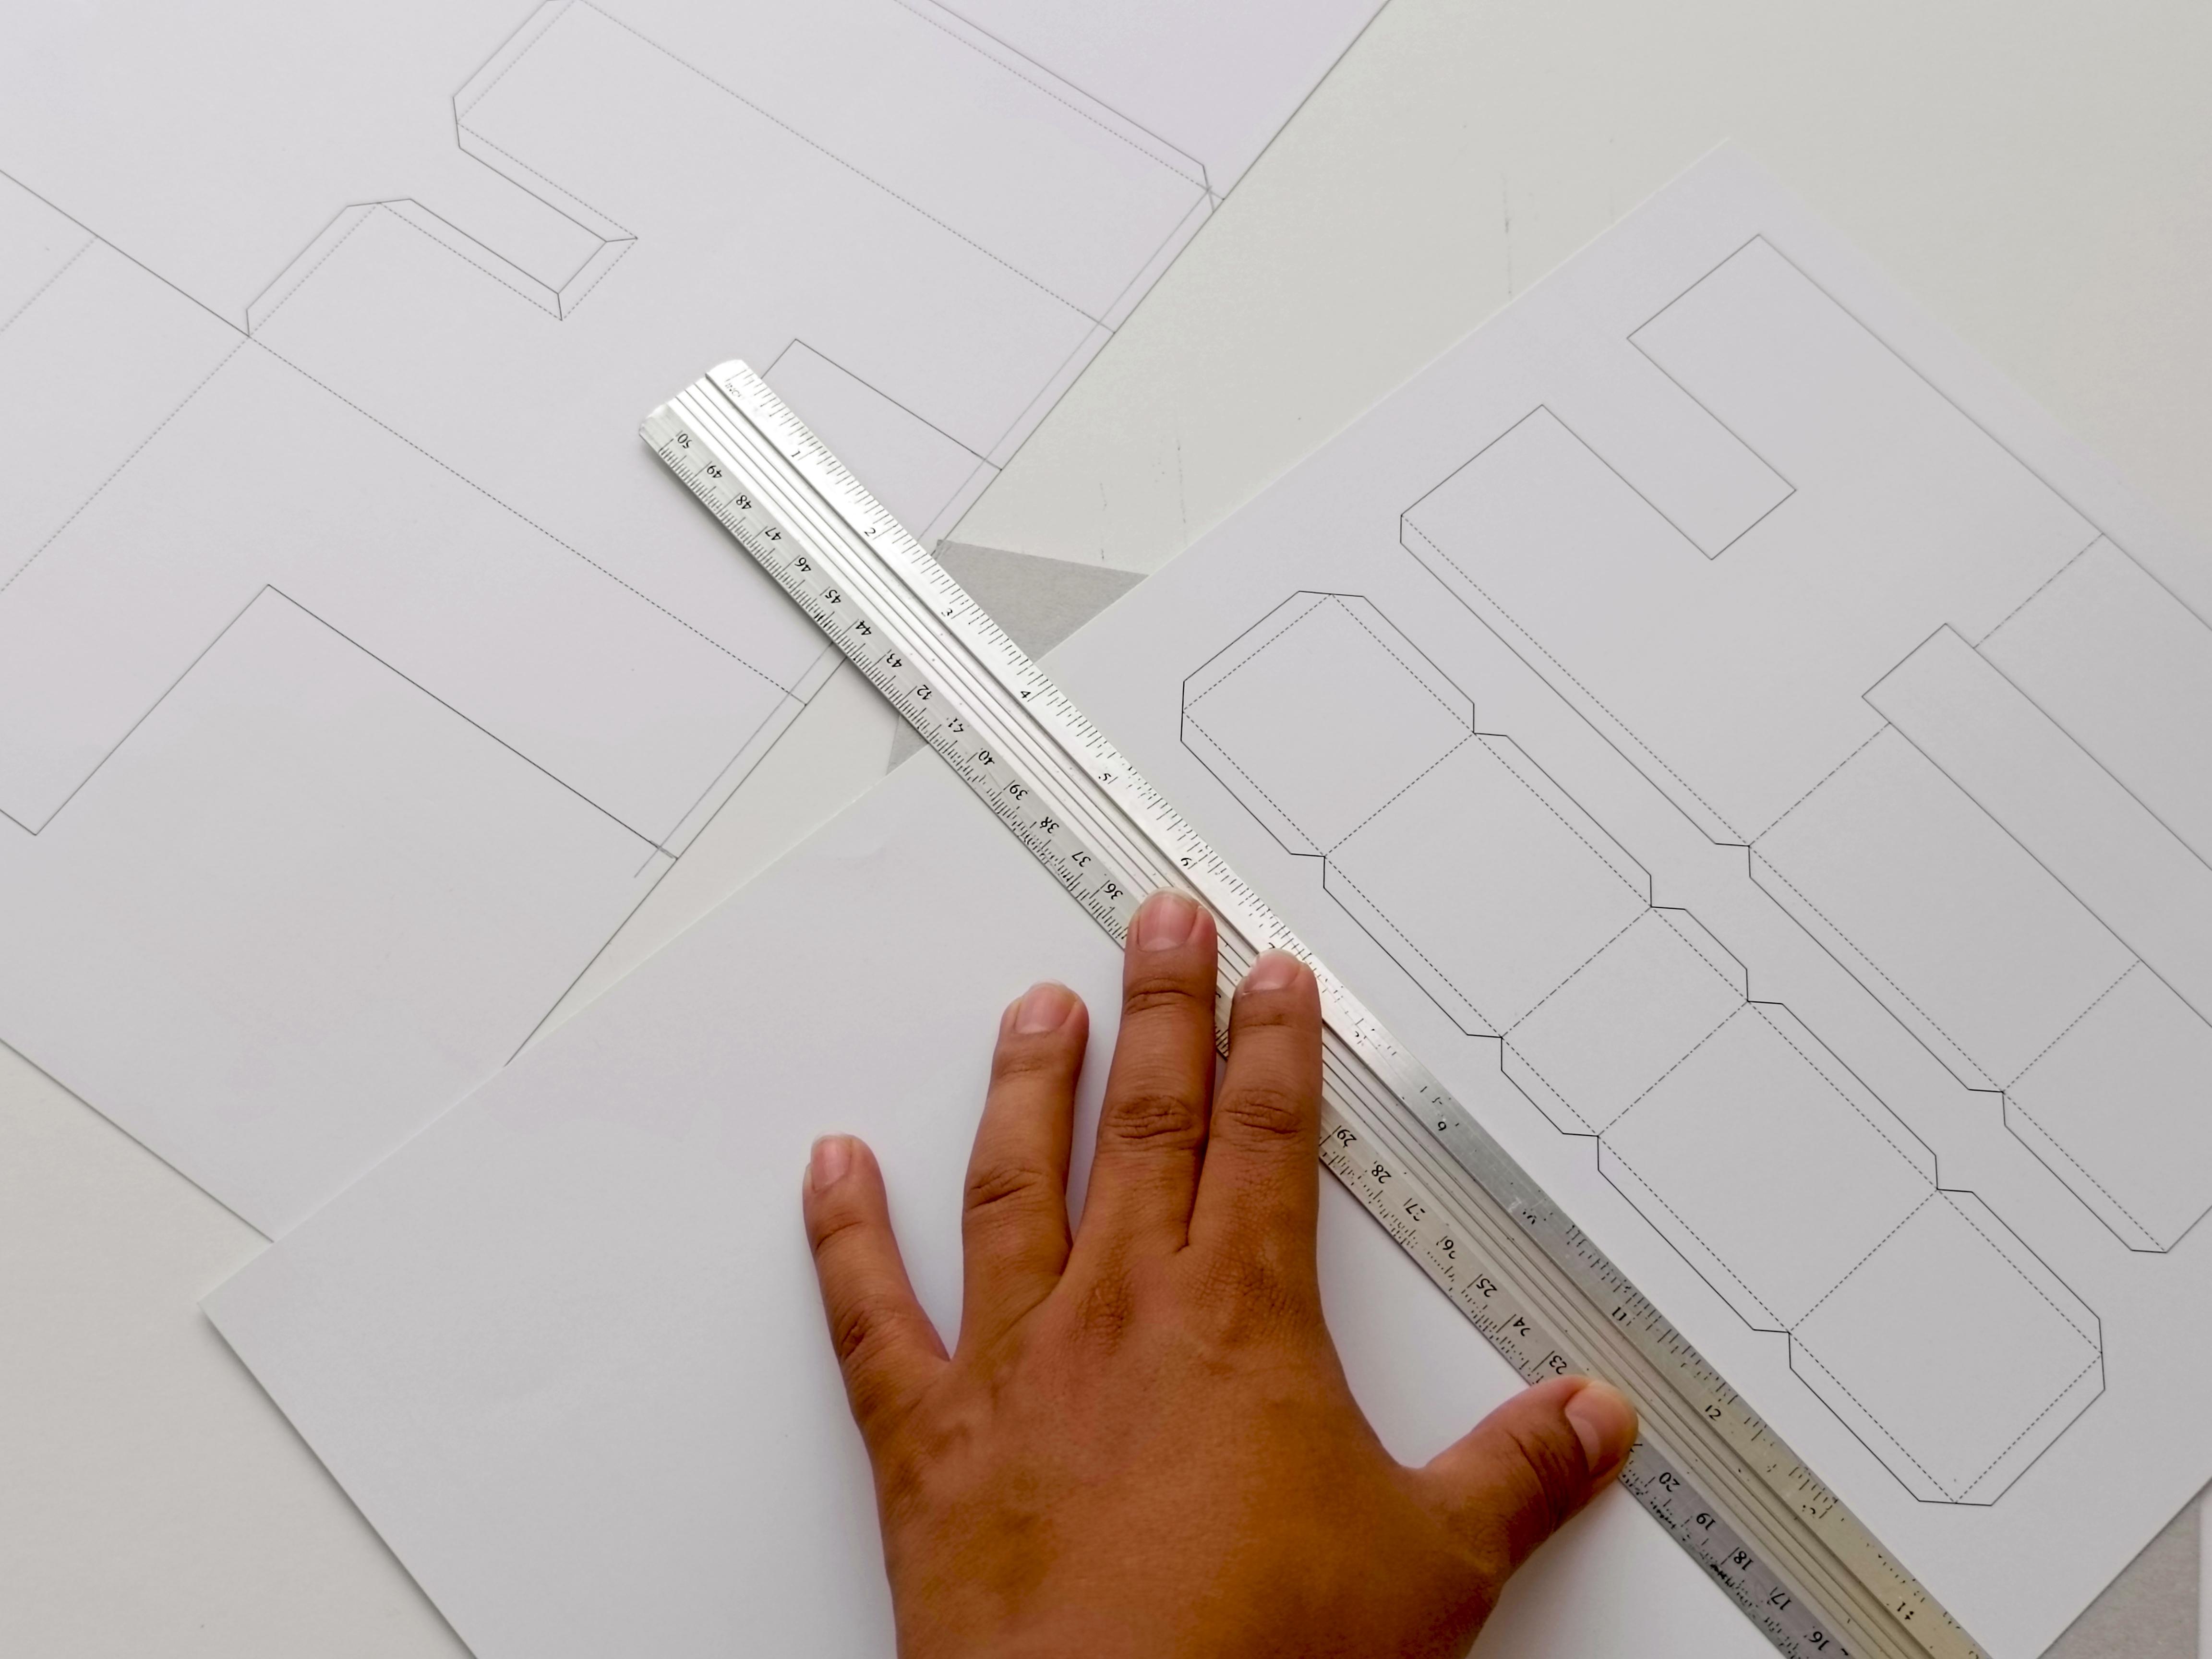
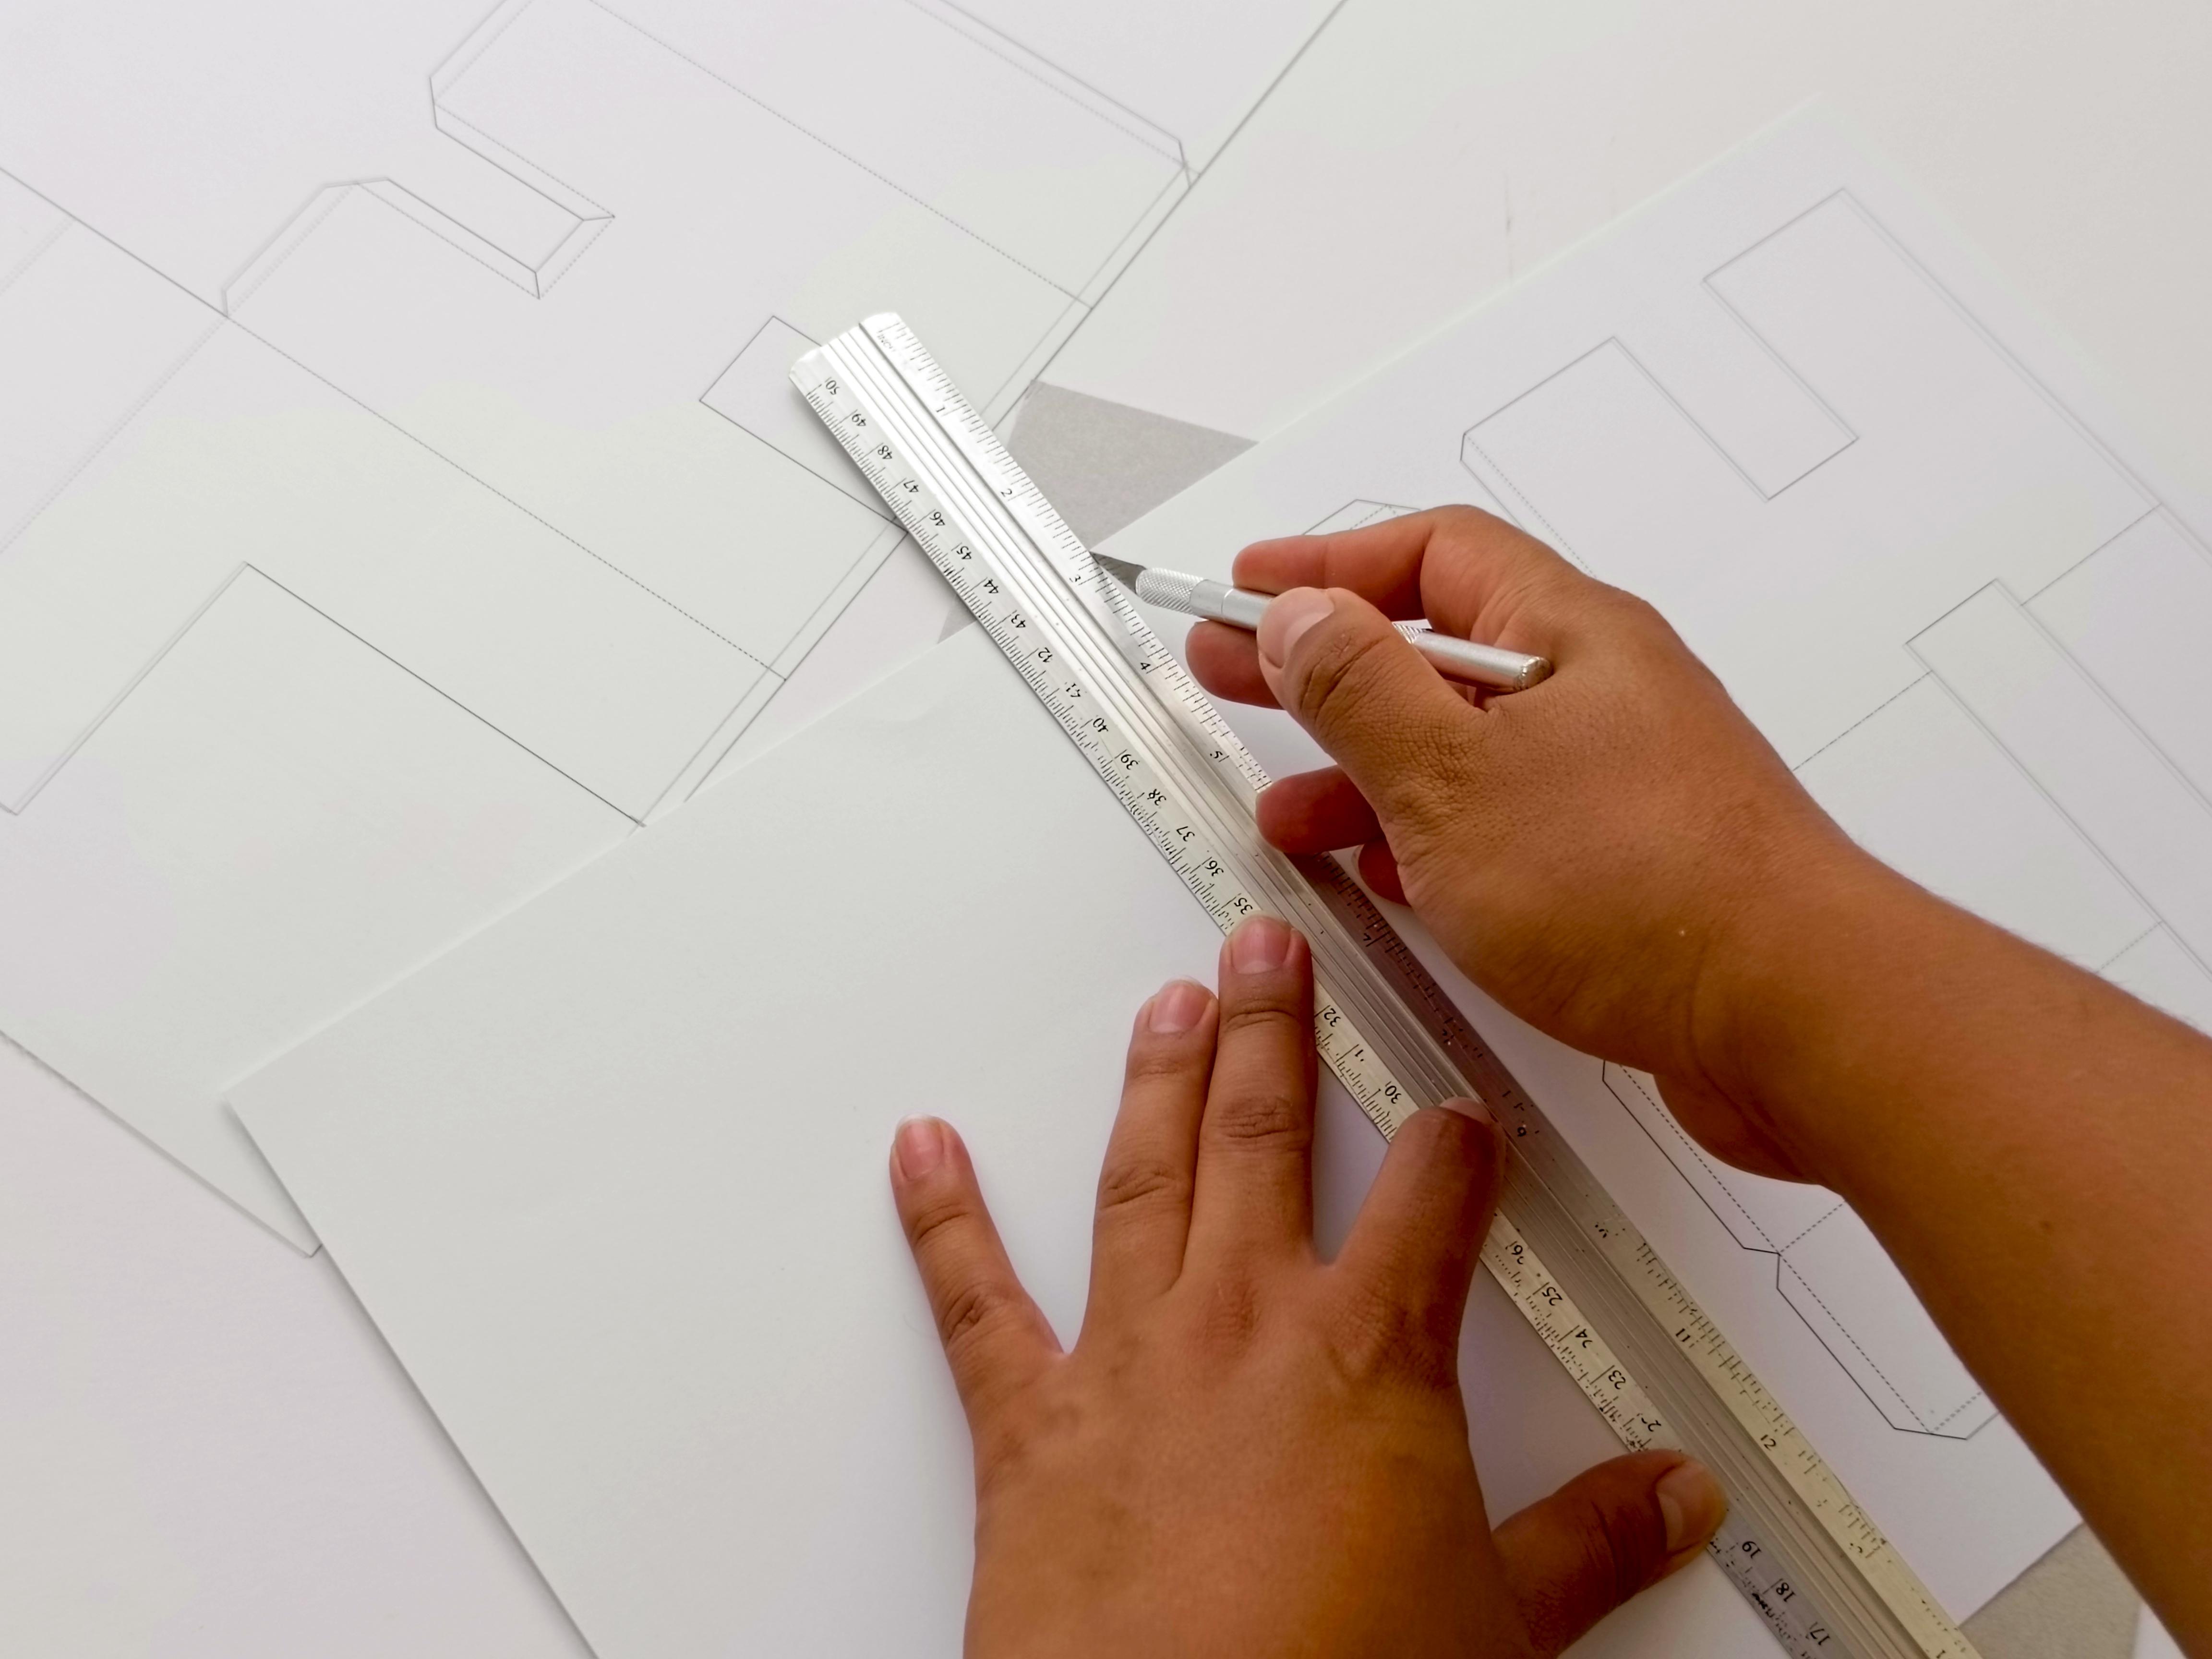
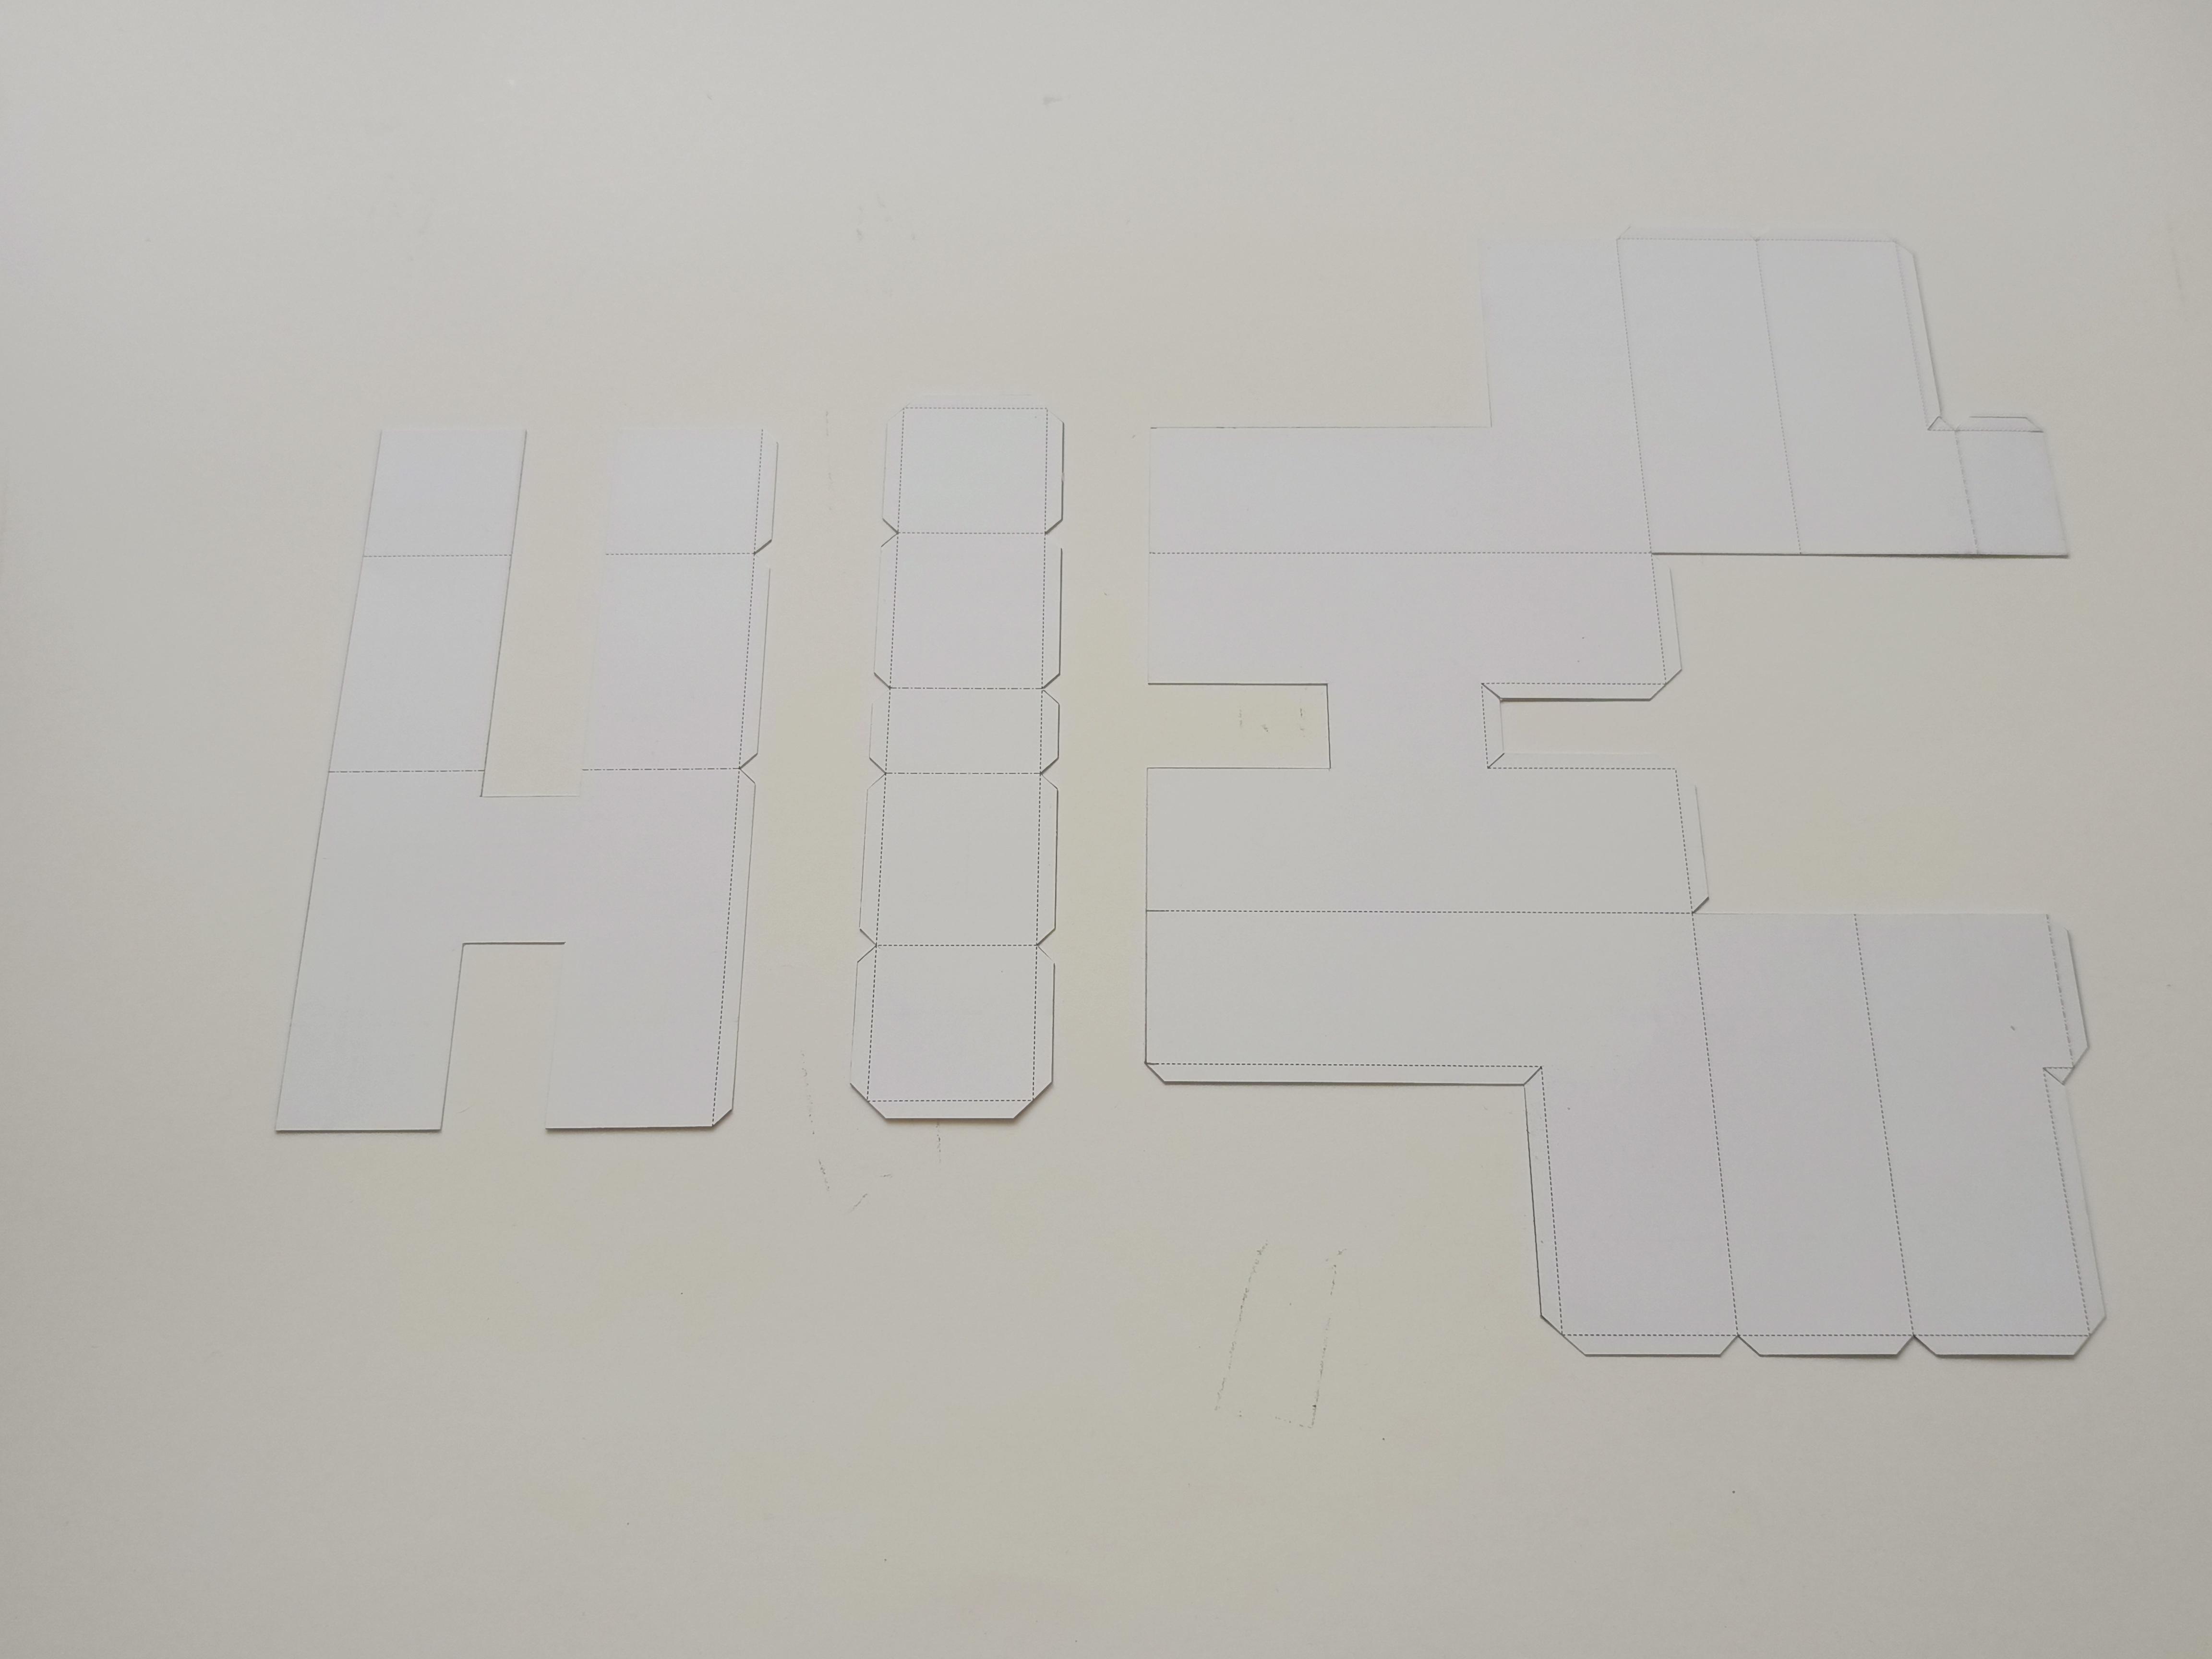
Now it is time to cut our templates, what I recommend is cutting file by file to avoid errors and confusion, and building letter by letter.
I also recommend using a cutting mat or, failing that, a piece of rigid cardboard to avoid unwanted scratches on your table.
For the trimming step I used 2 types of excatos and some scissors, but you can use the tools you think are necessary.
Emboss
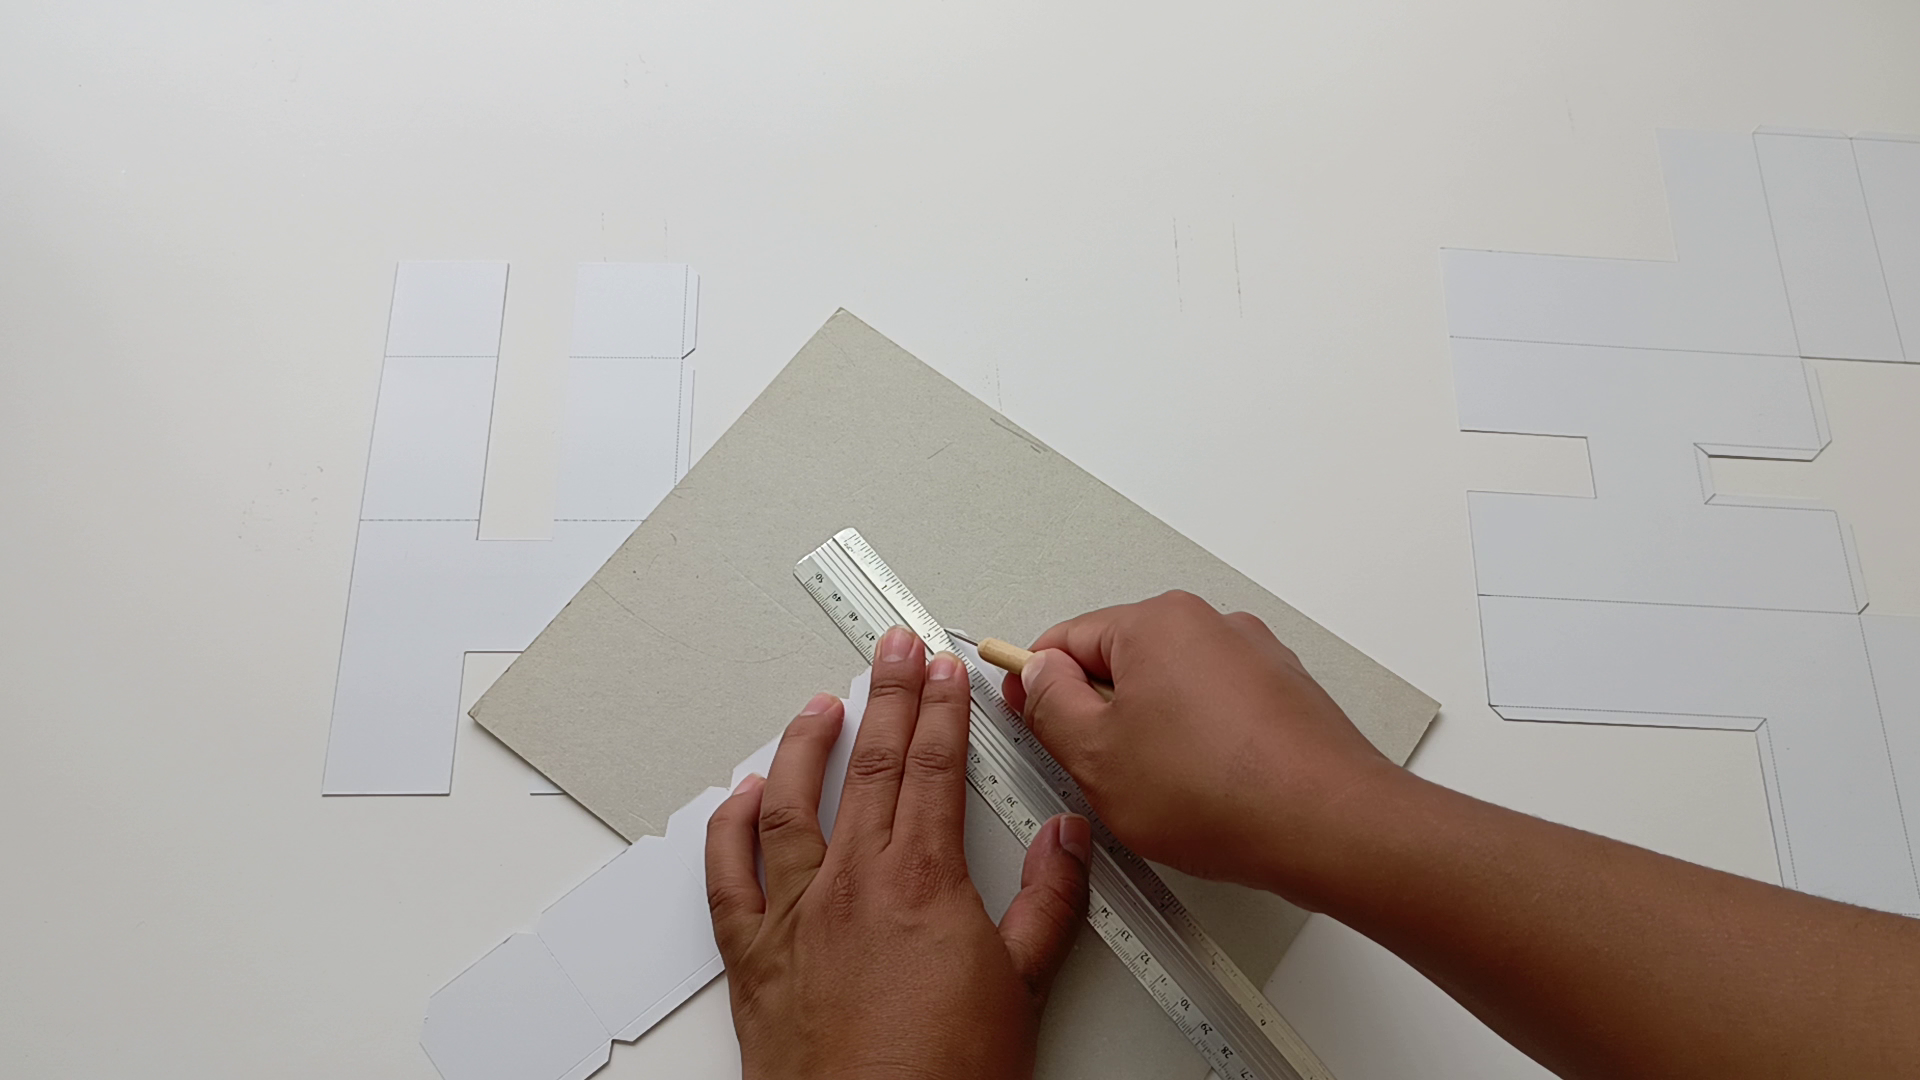
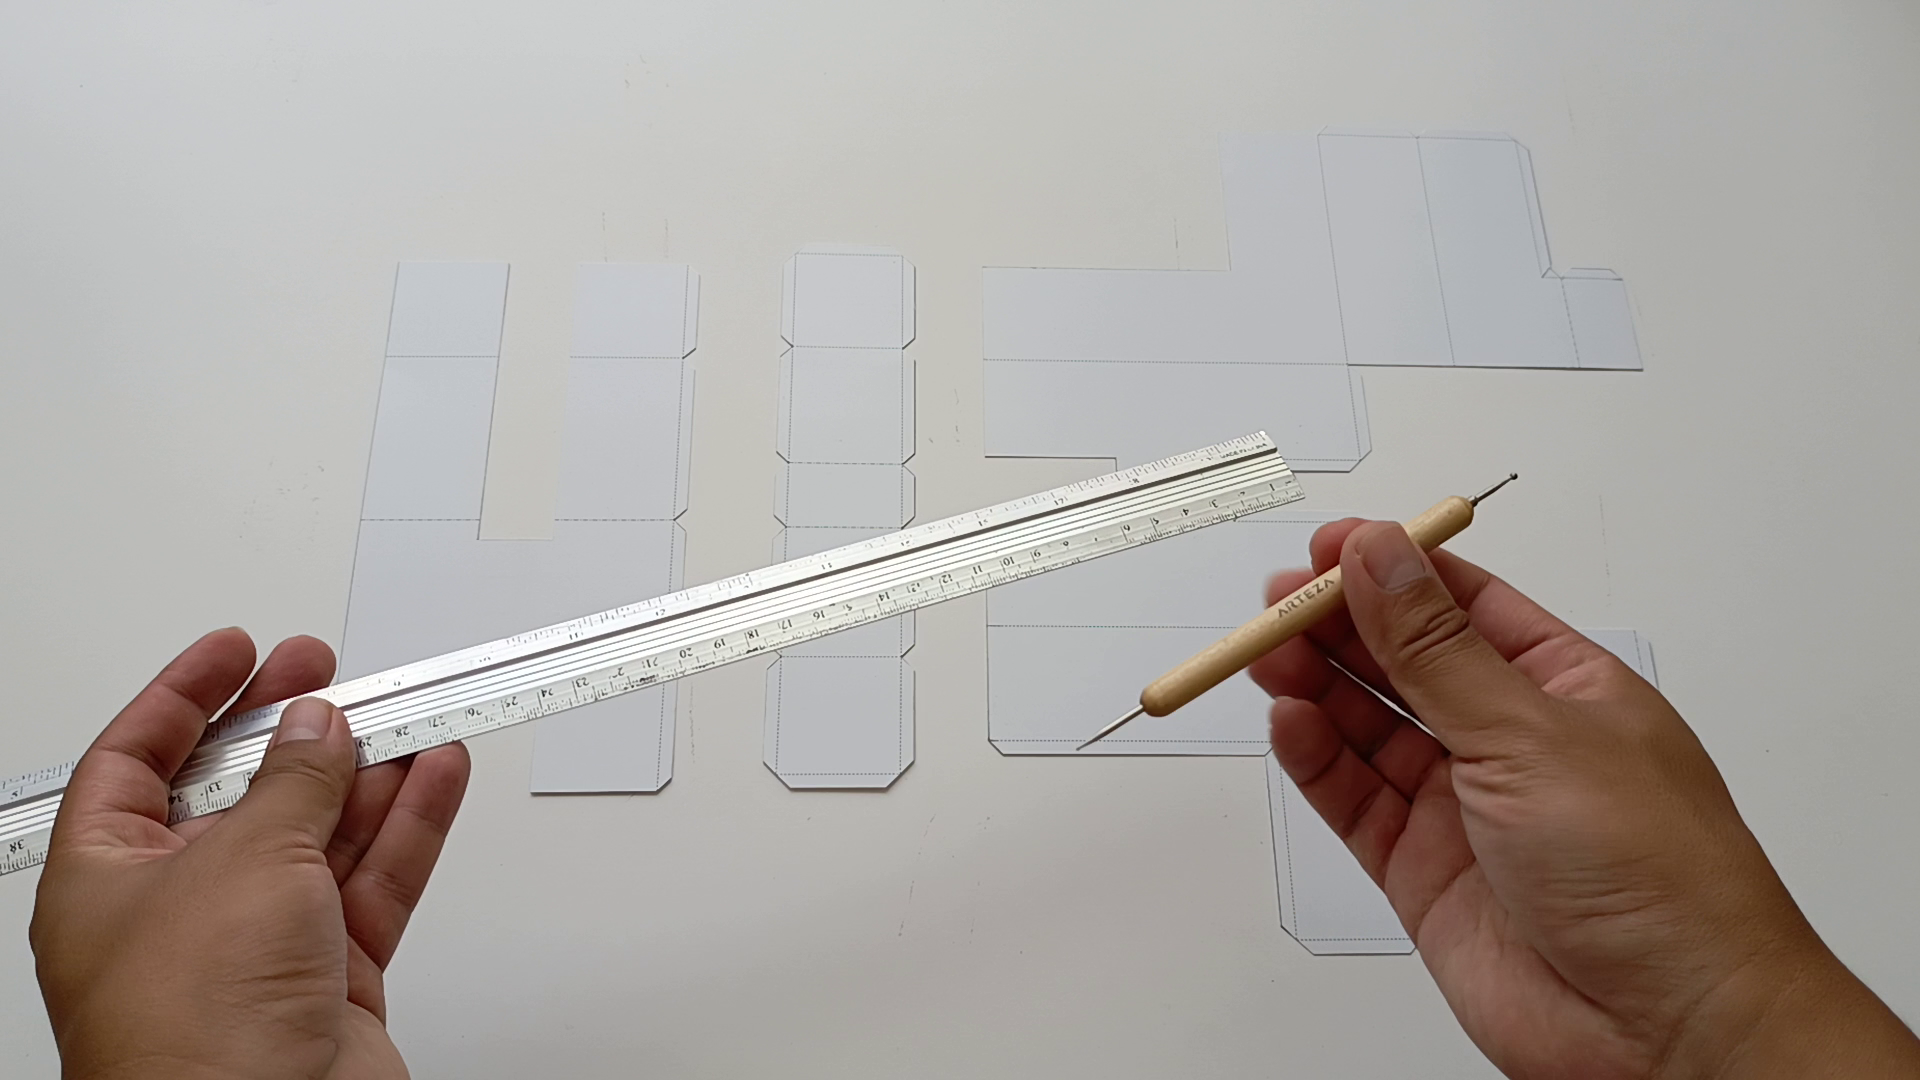
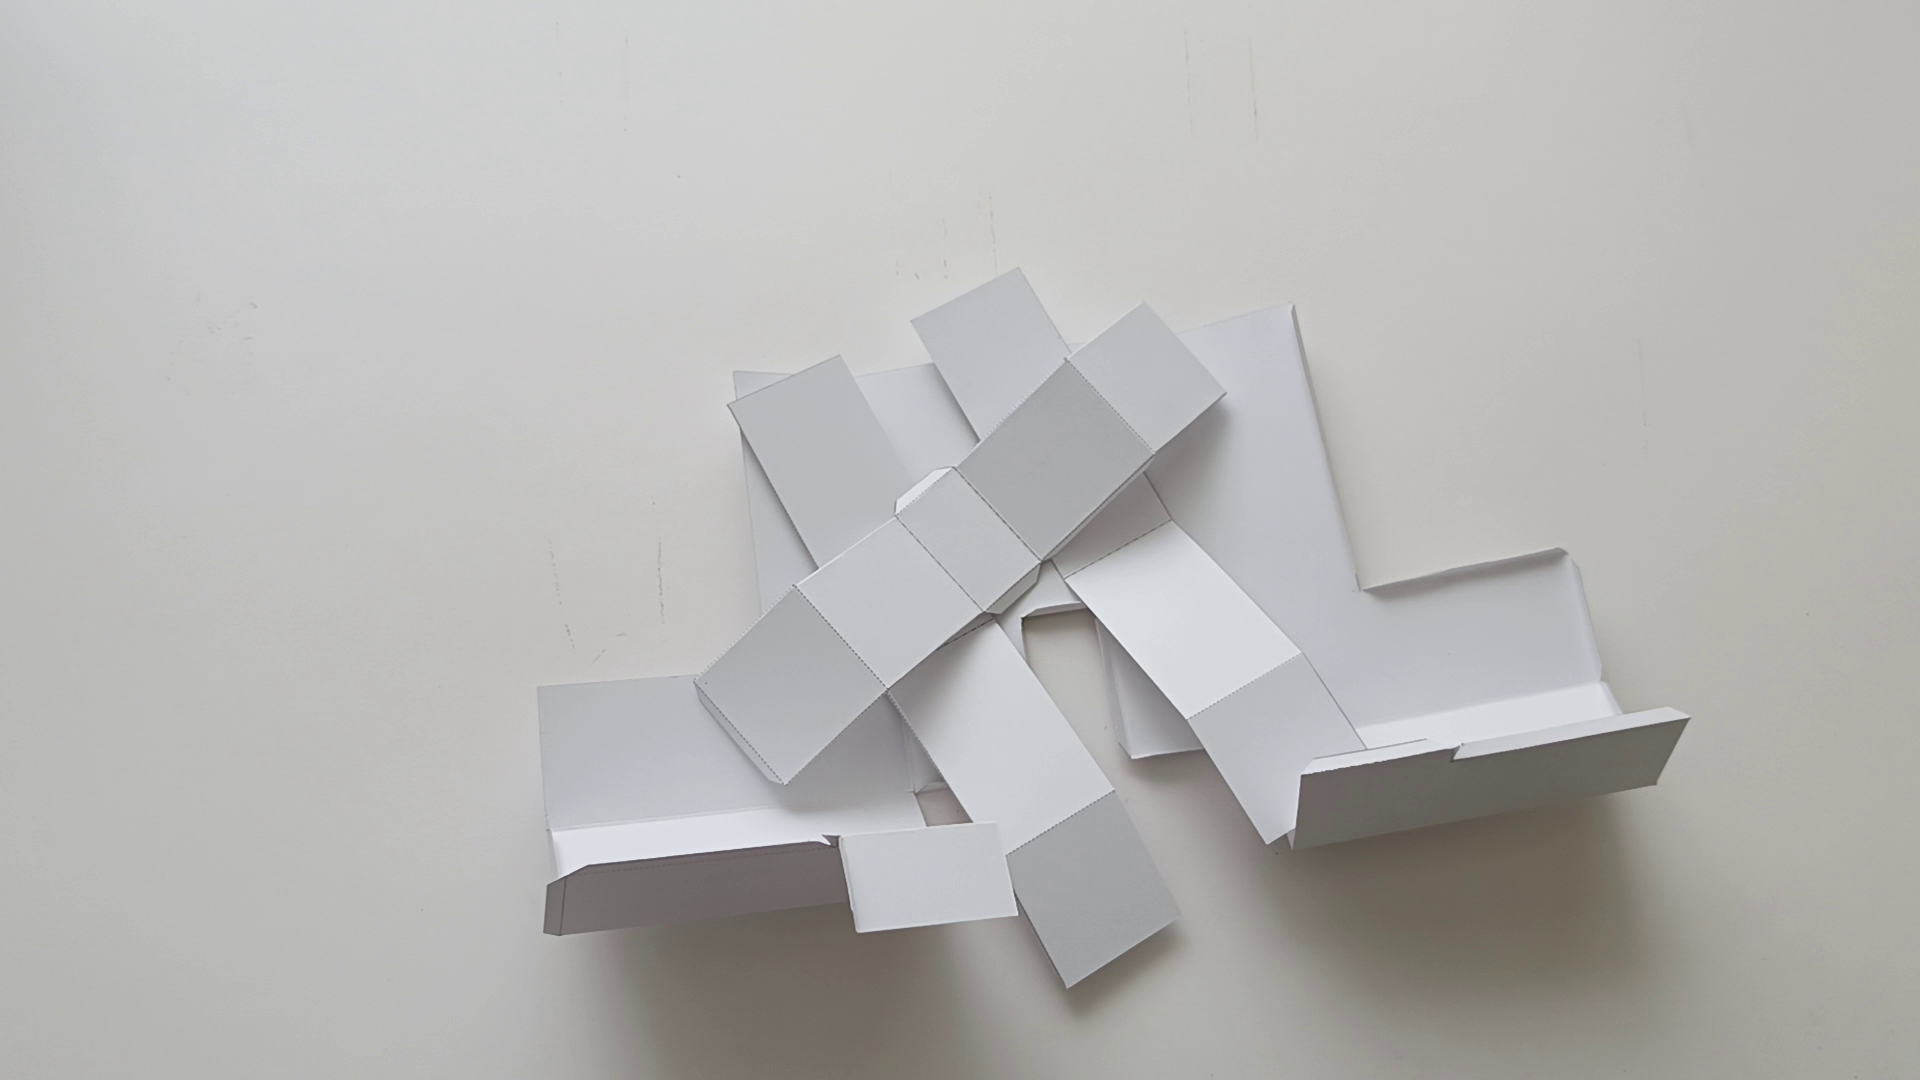
For the folds we will use a Ball & Cup embossing tool and the help of the ruler to be able to mark more pronounced and fine lines.
Glue
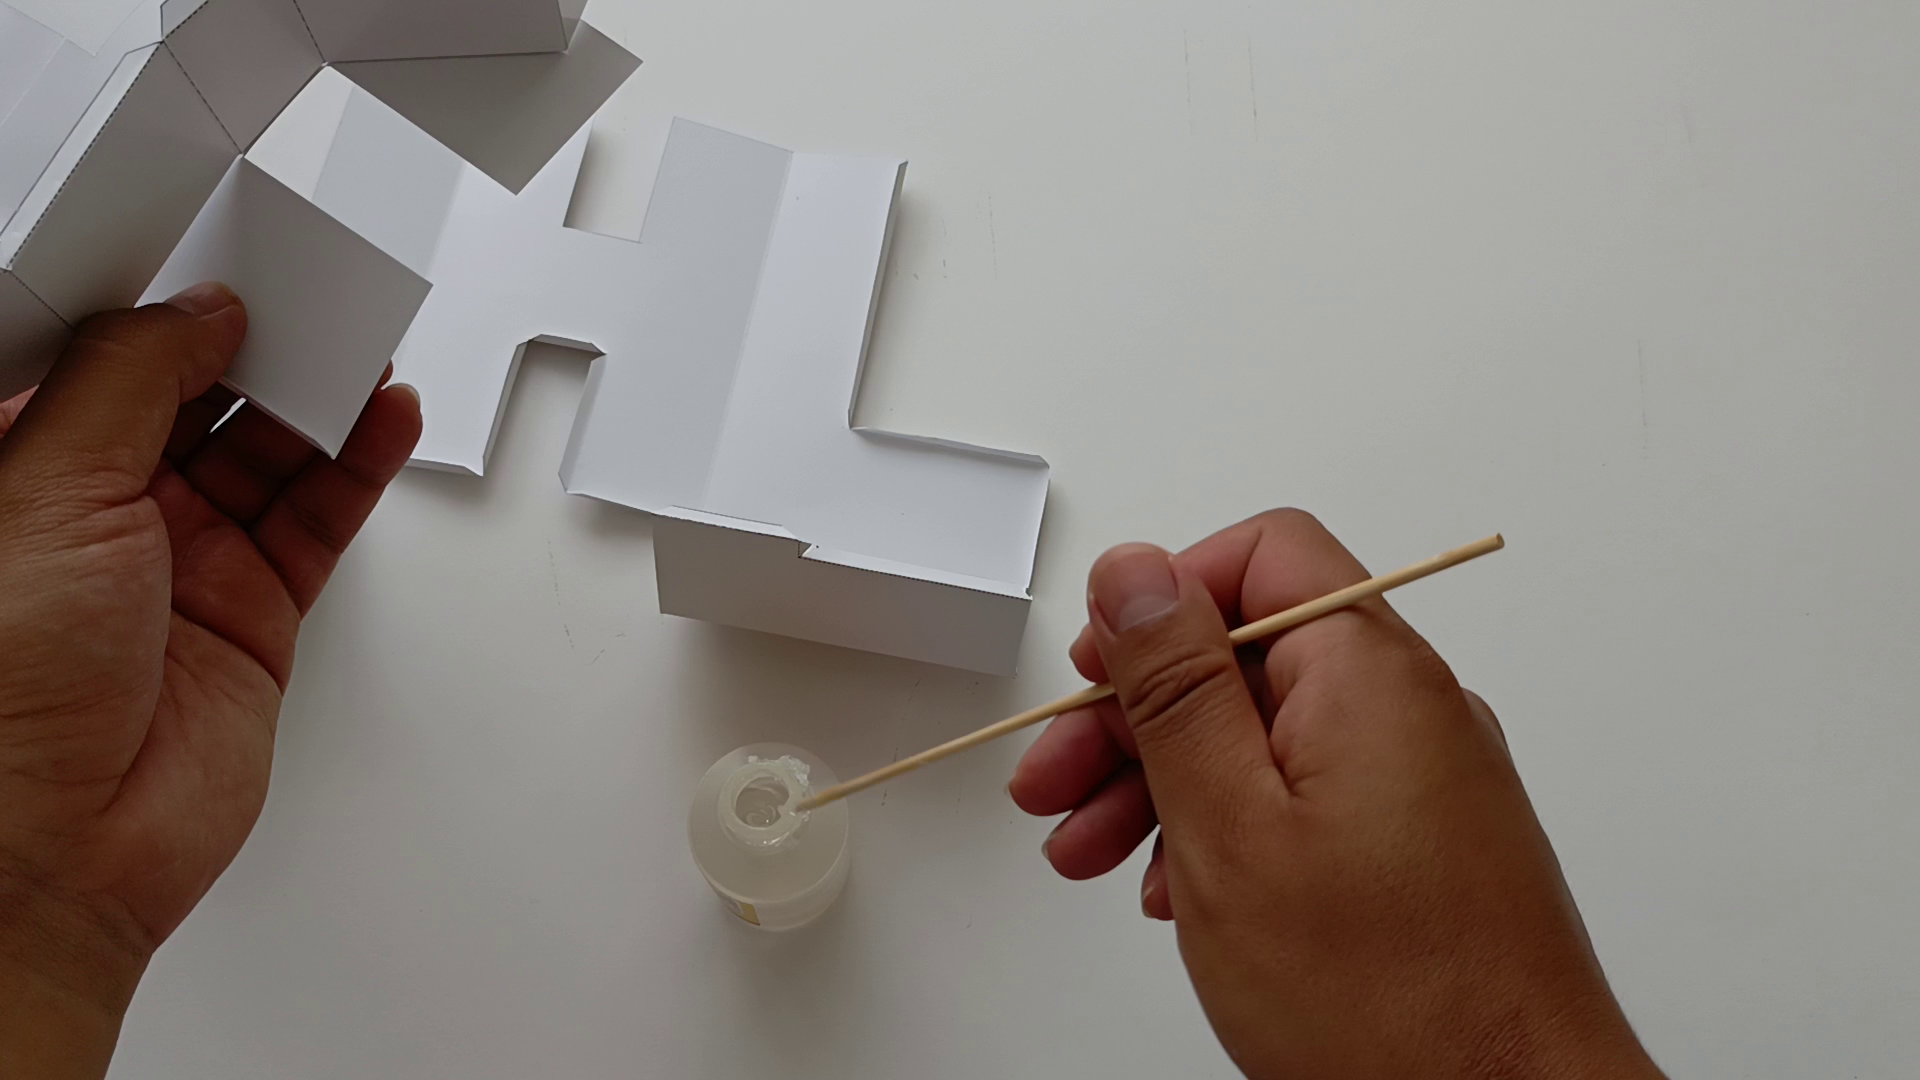
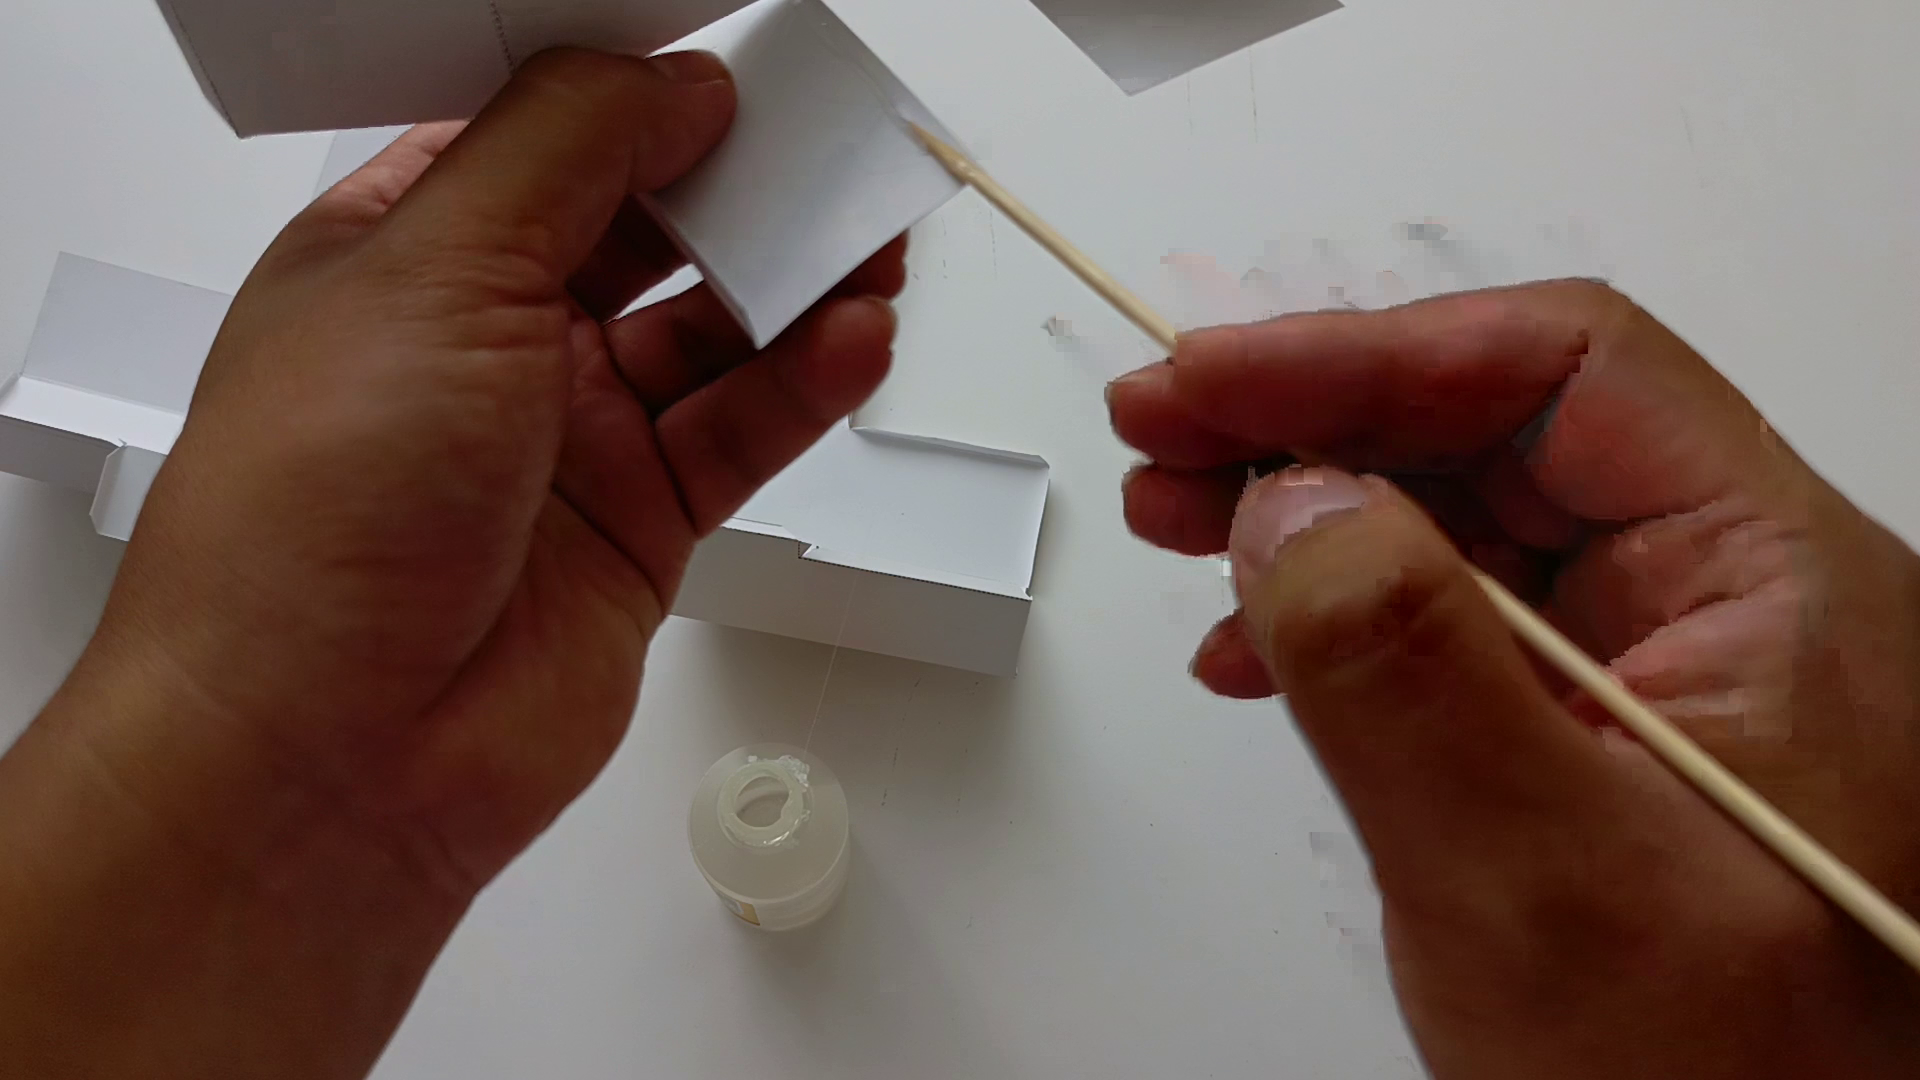
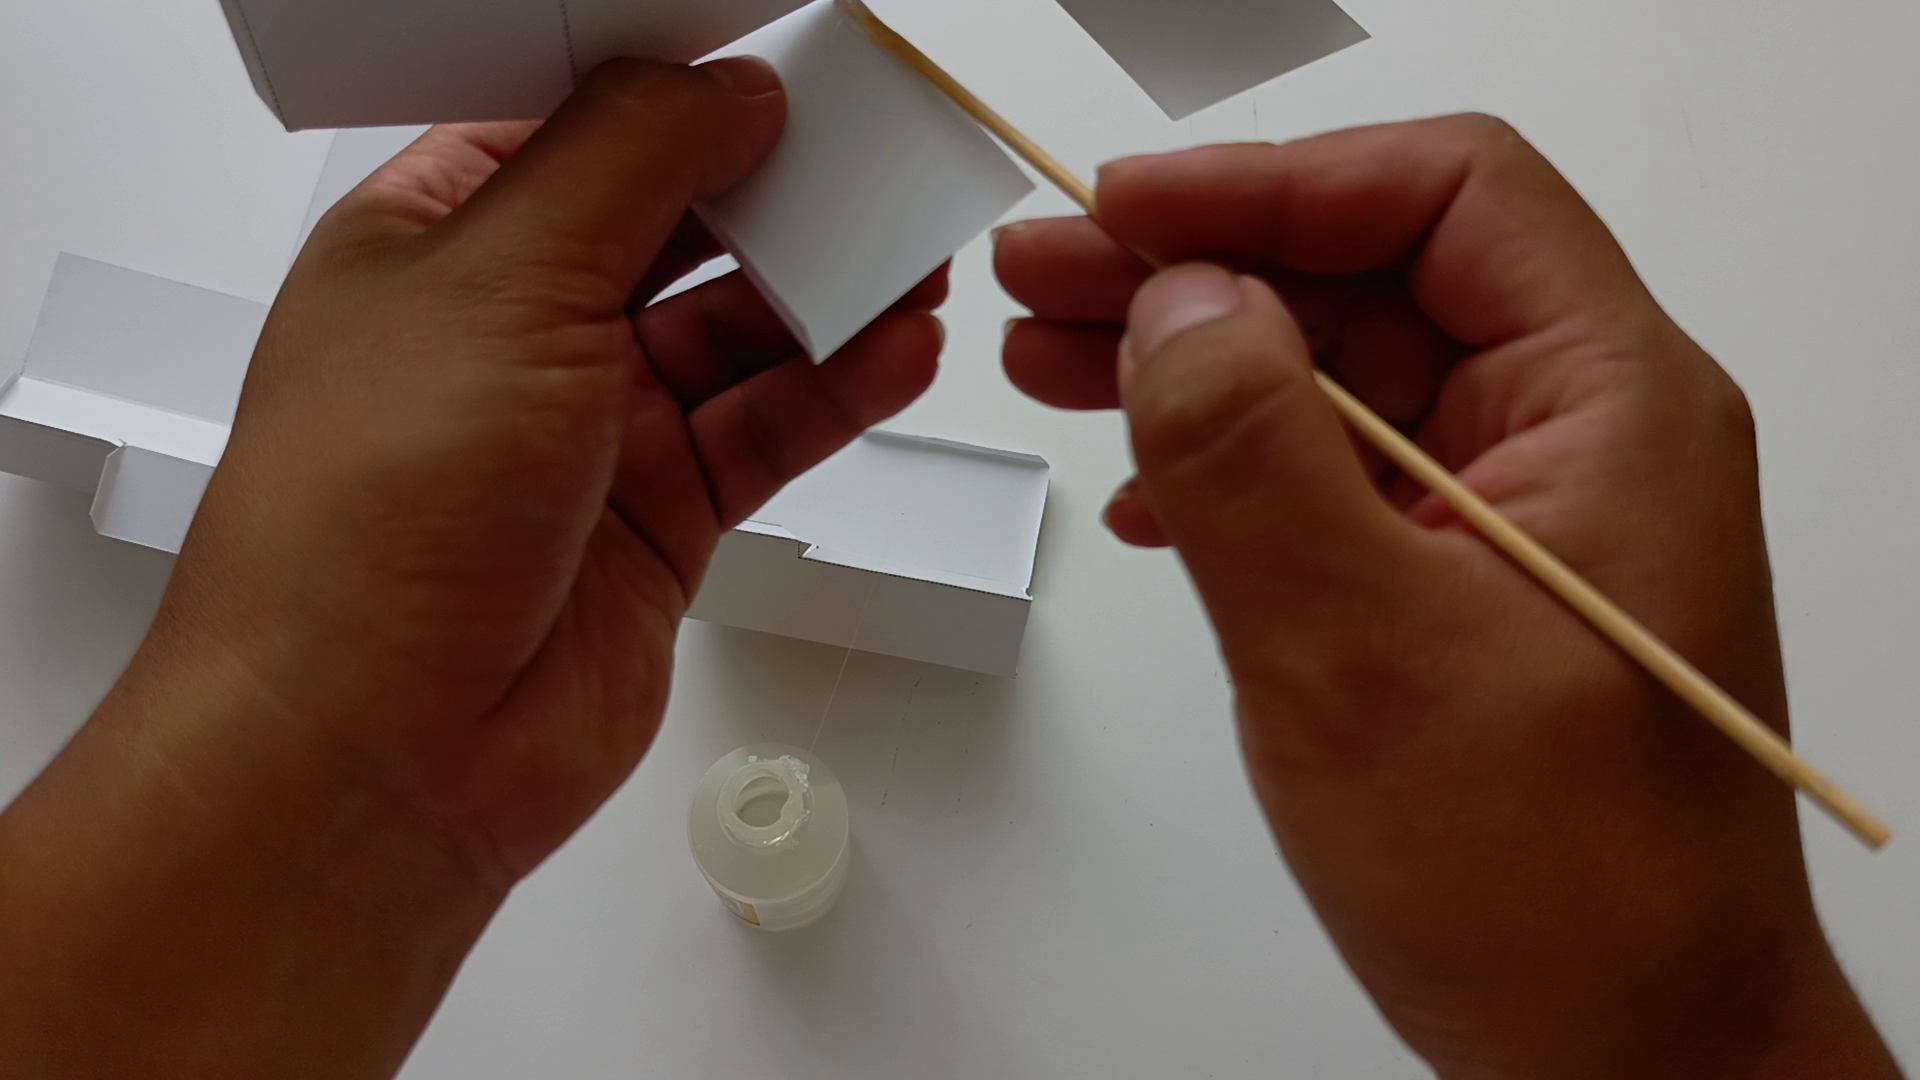
To glue the pieces we will use a toothpick to spread the glue in the desired area, this way it will be easy to apply it and we will not waste or ruin the piece, remember that the glue dries very quickly and any excess can damage our piece, help yourself with your finger too
HL
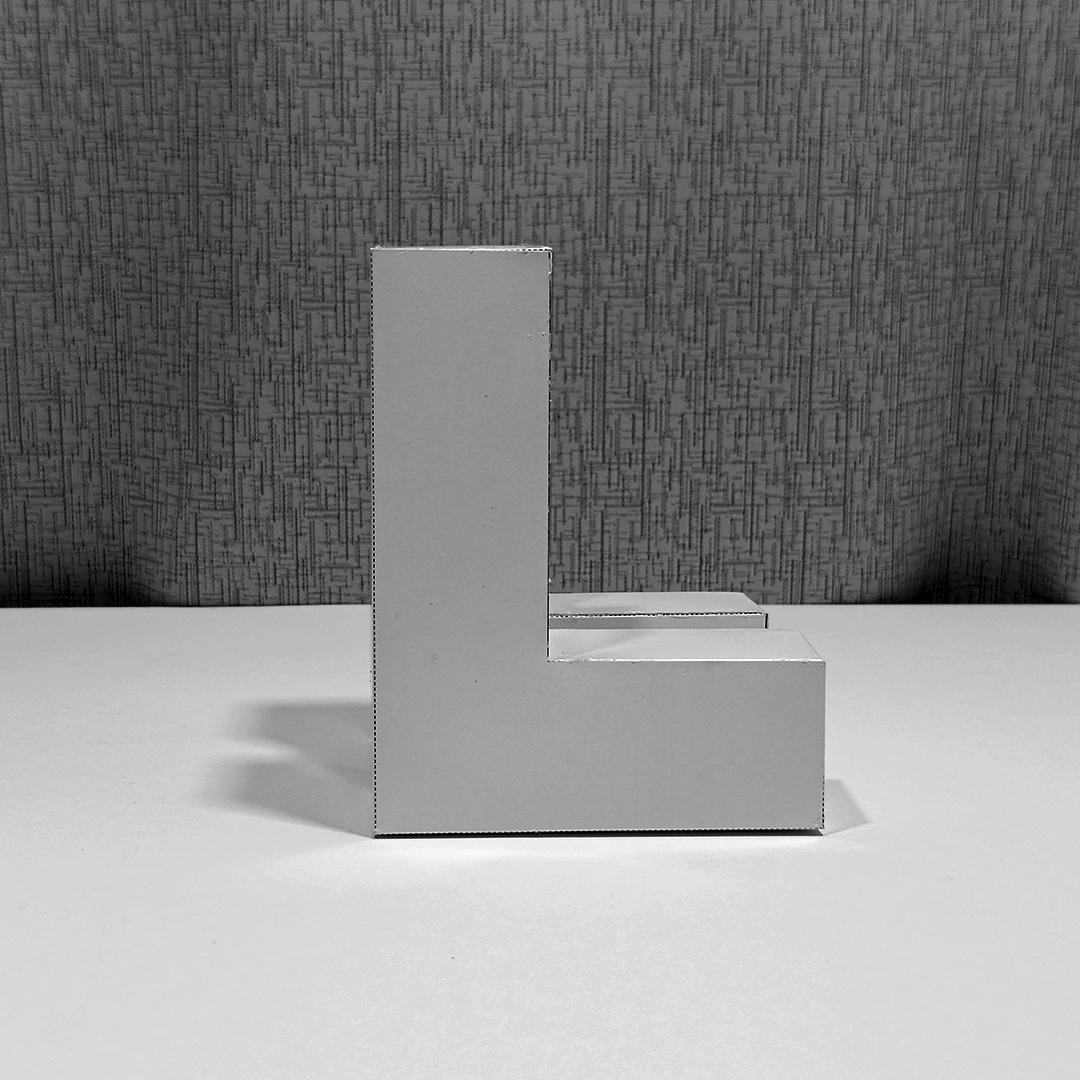
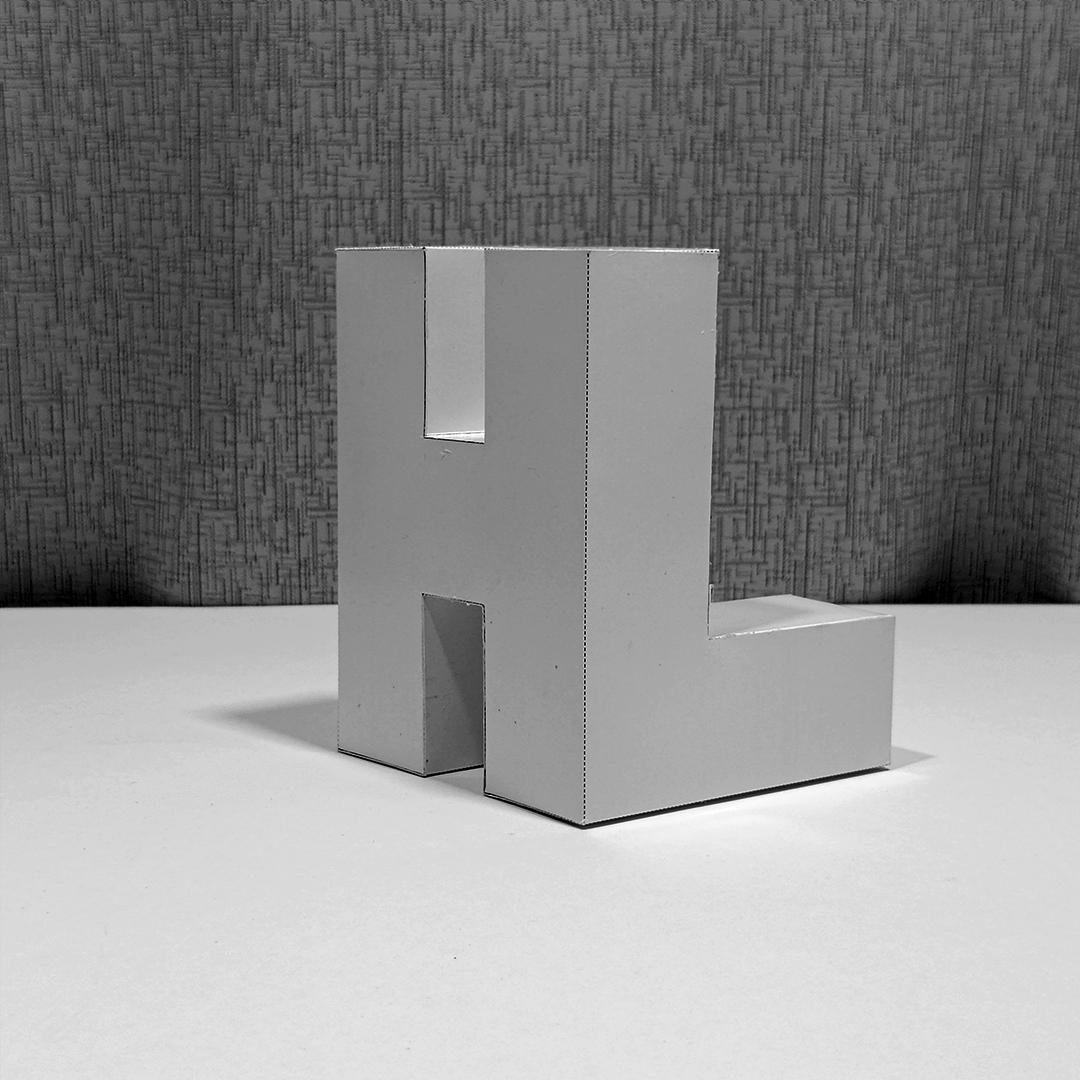
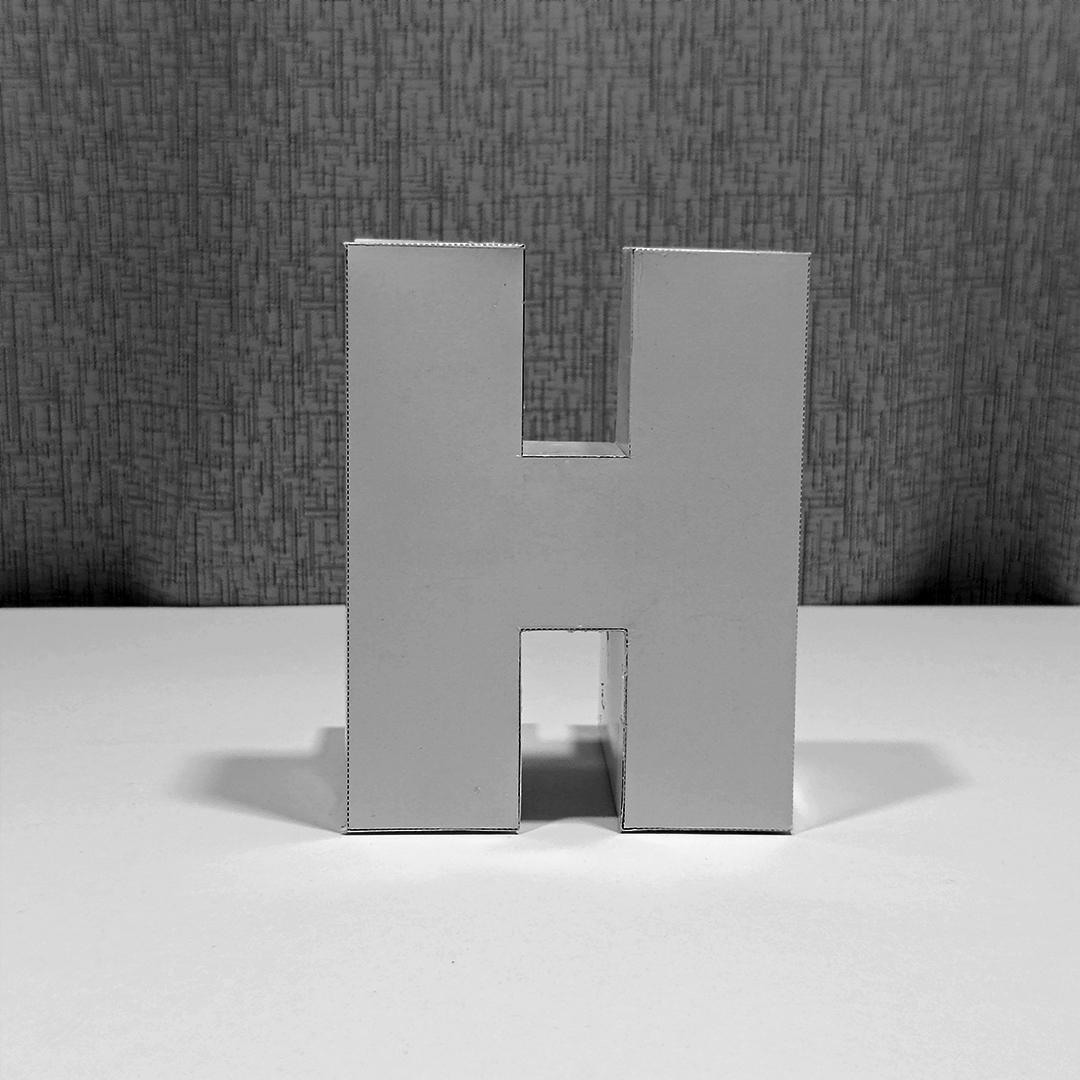
Use these Letters HL views to guide you in assembly
HL Assembly
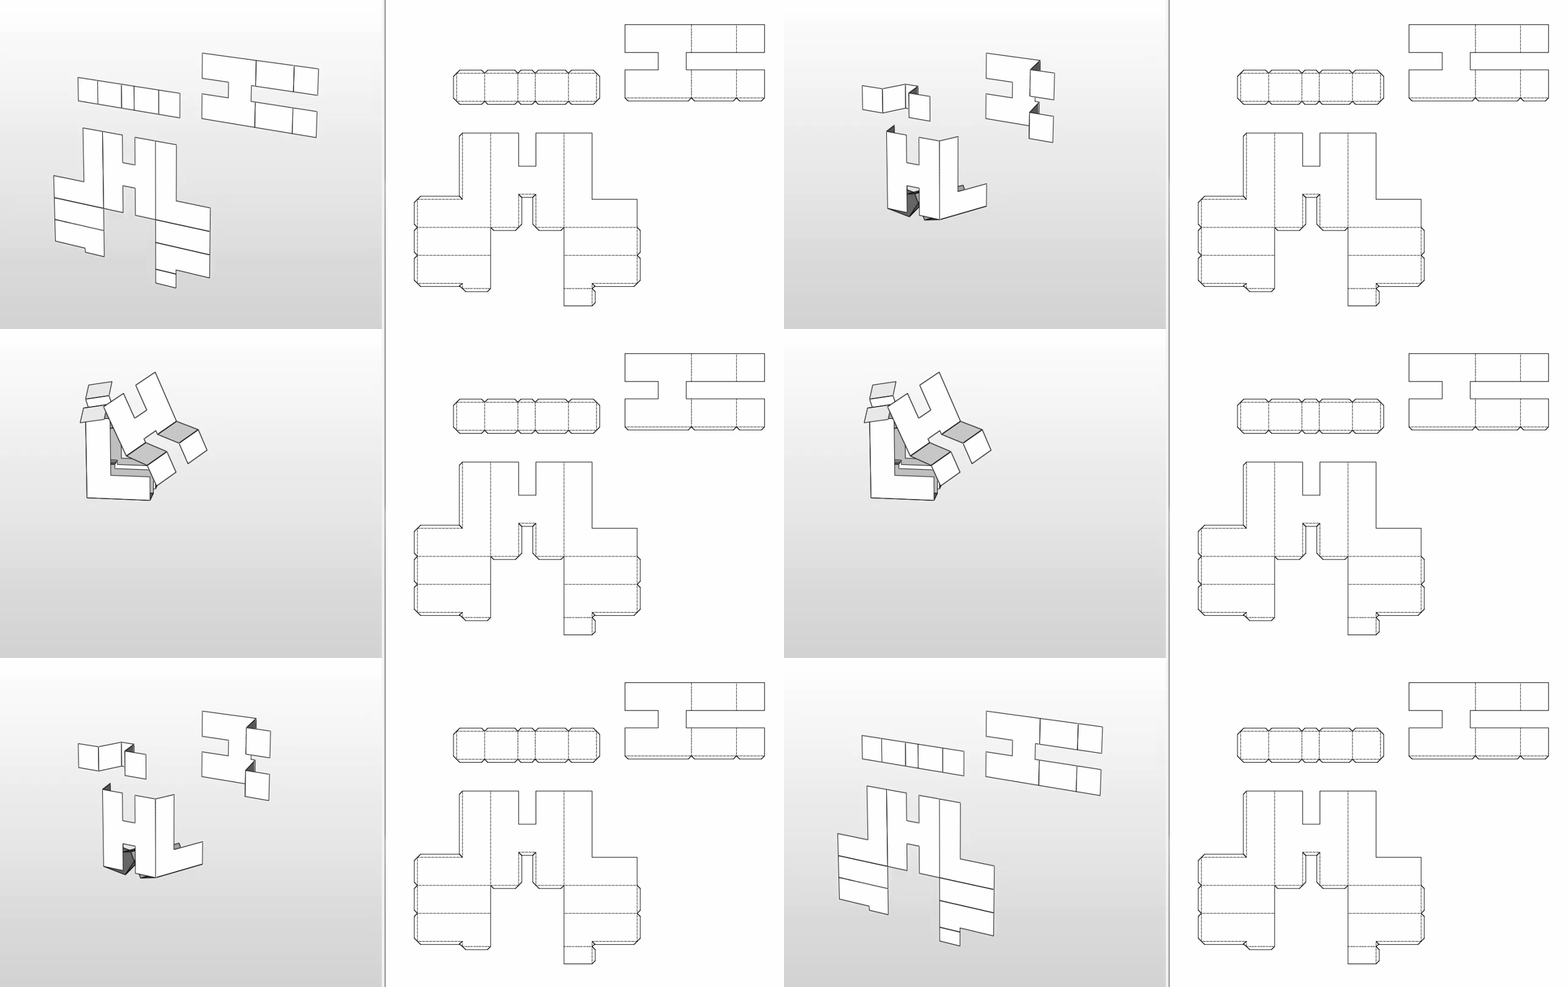
Check the video guides for each letter of the text
HL CUT
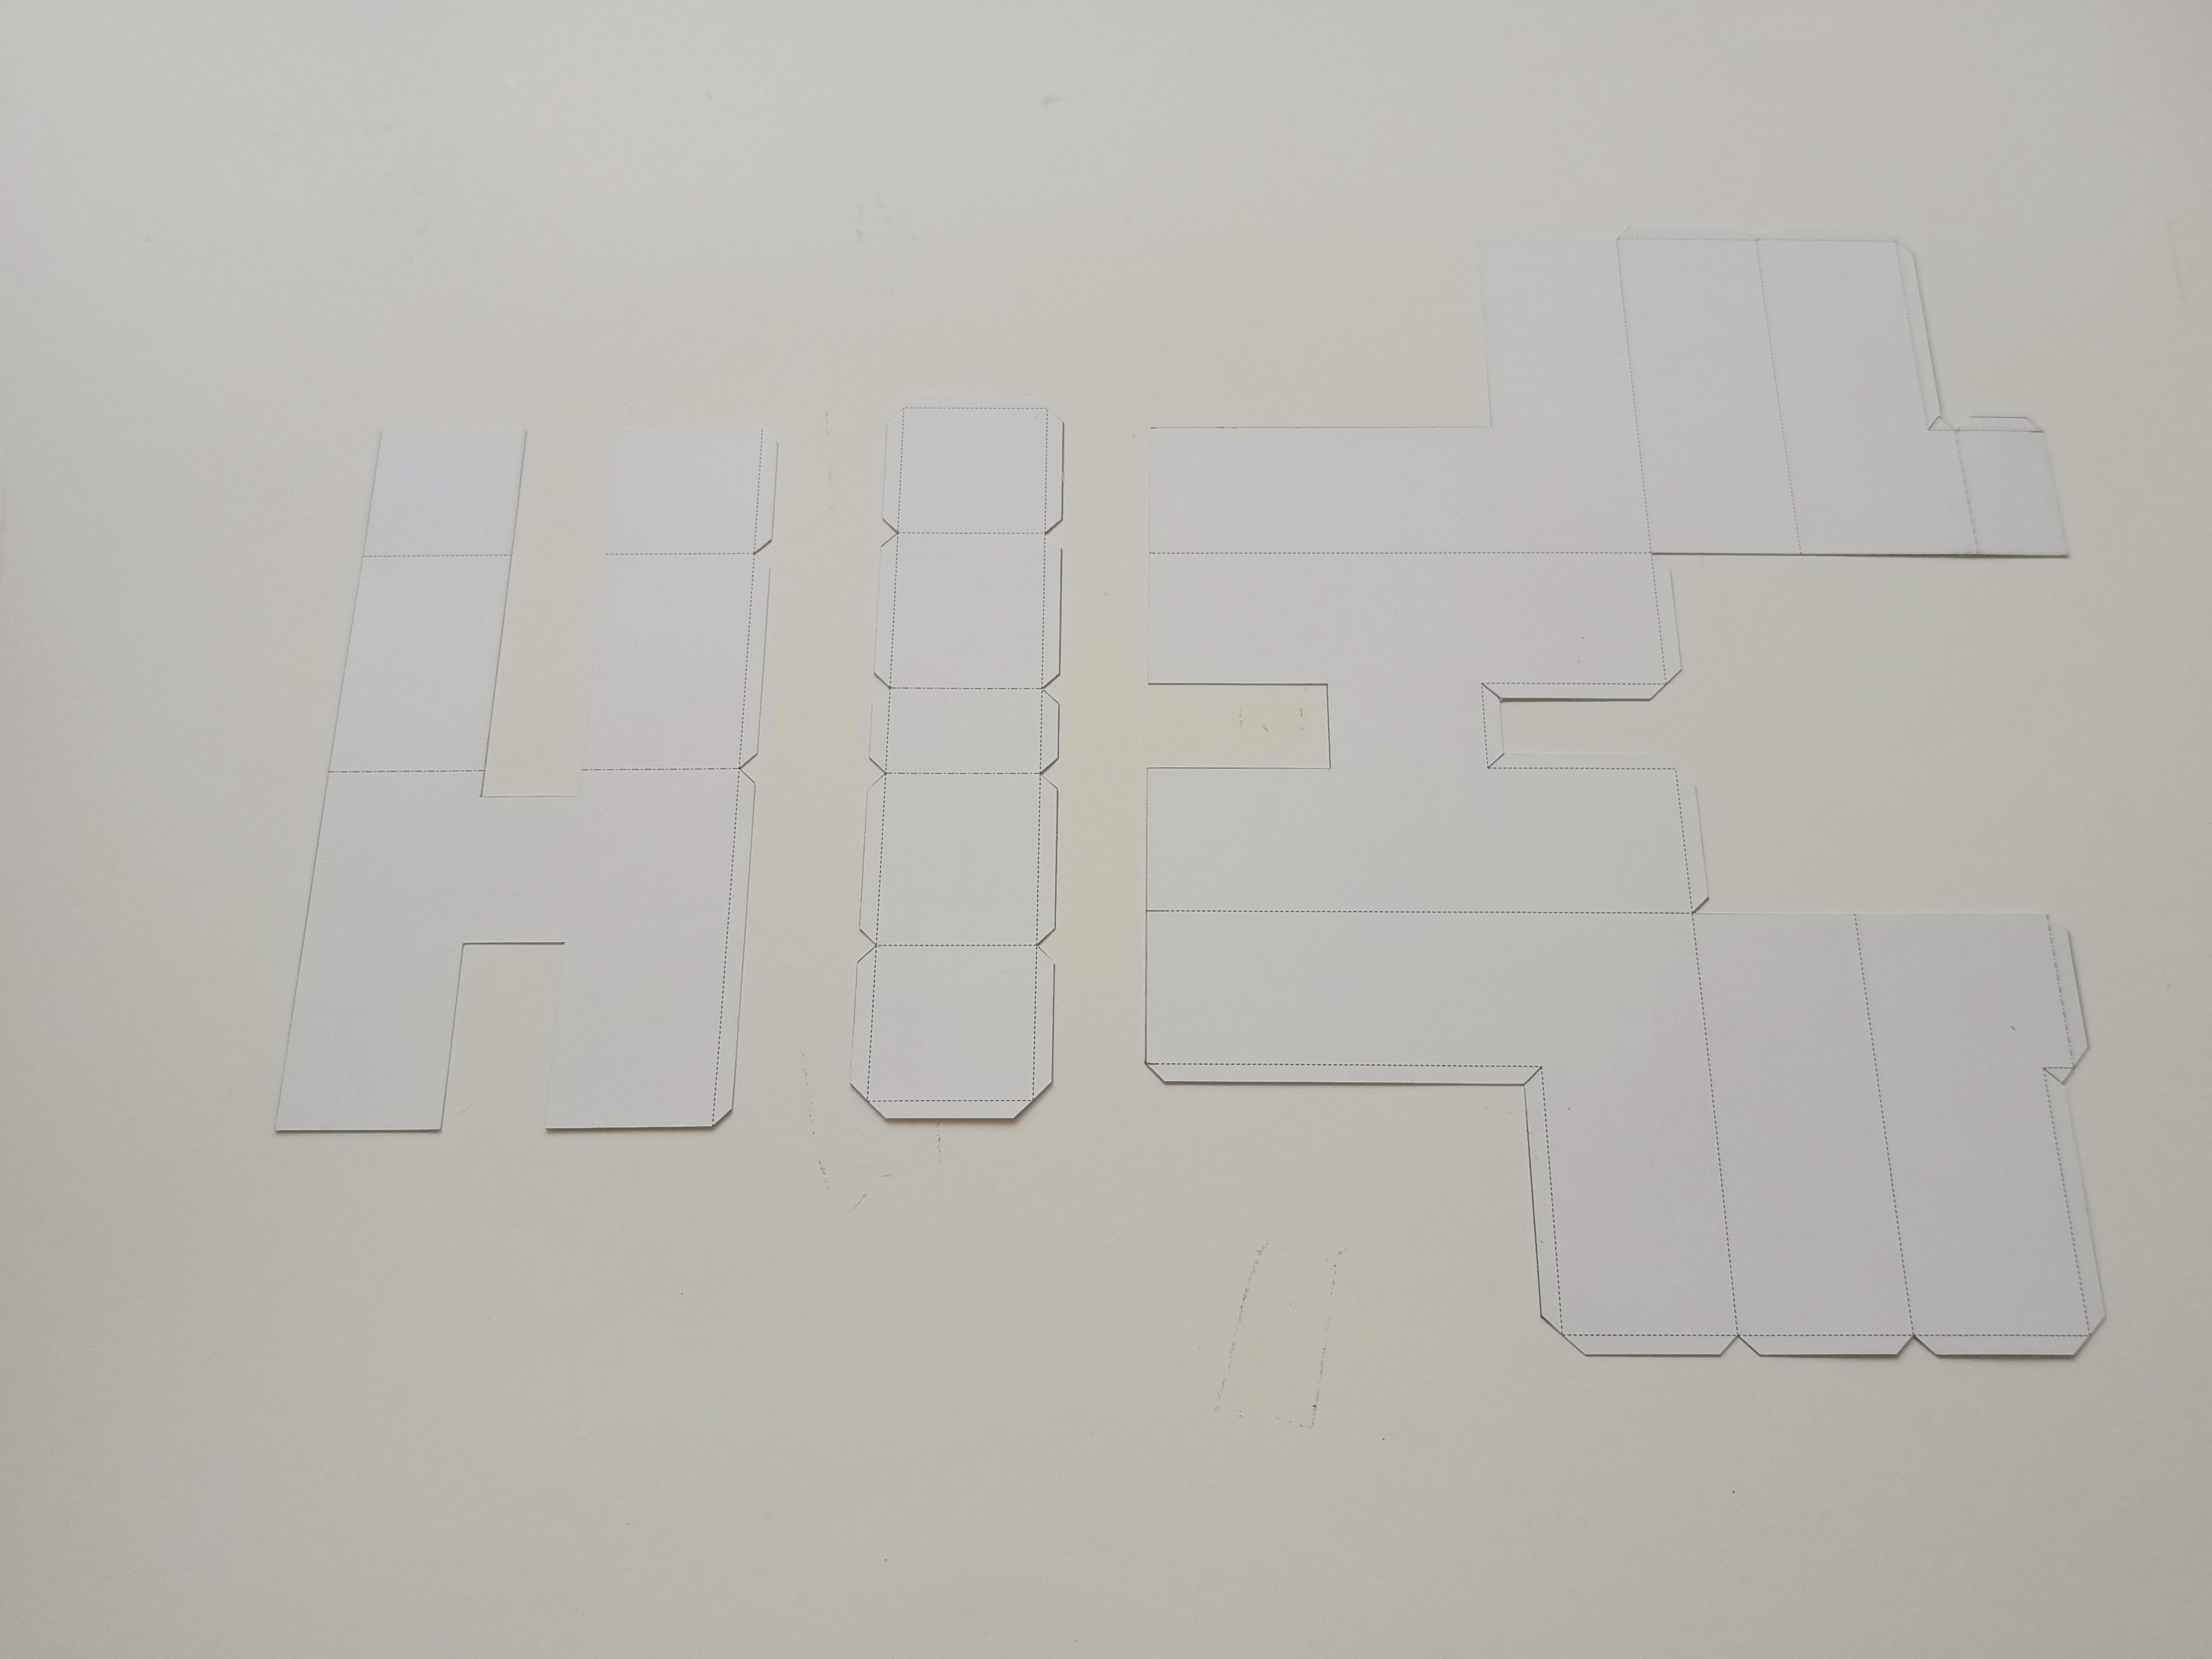
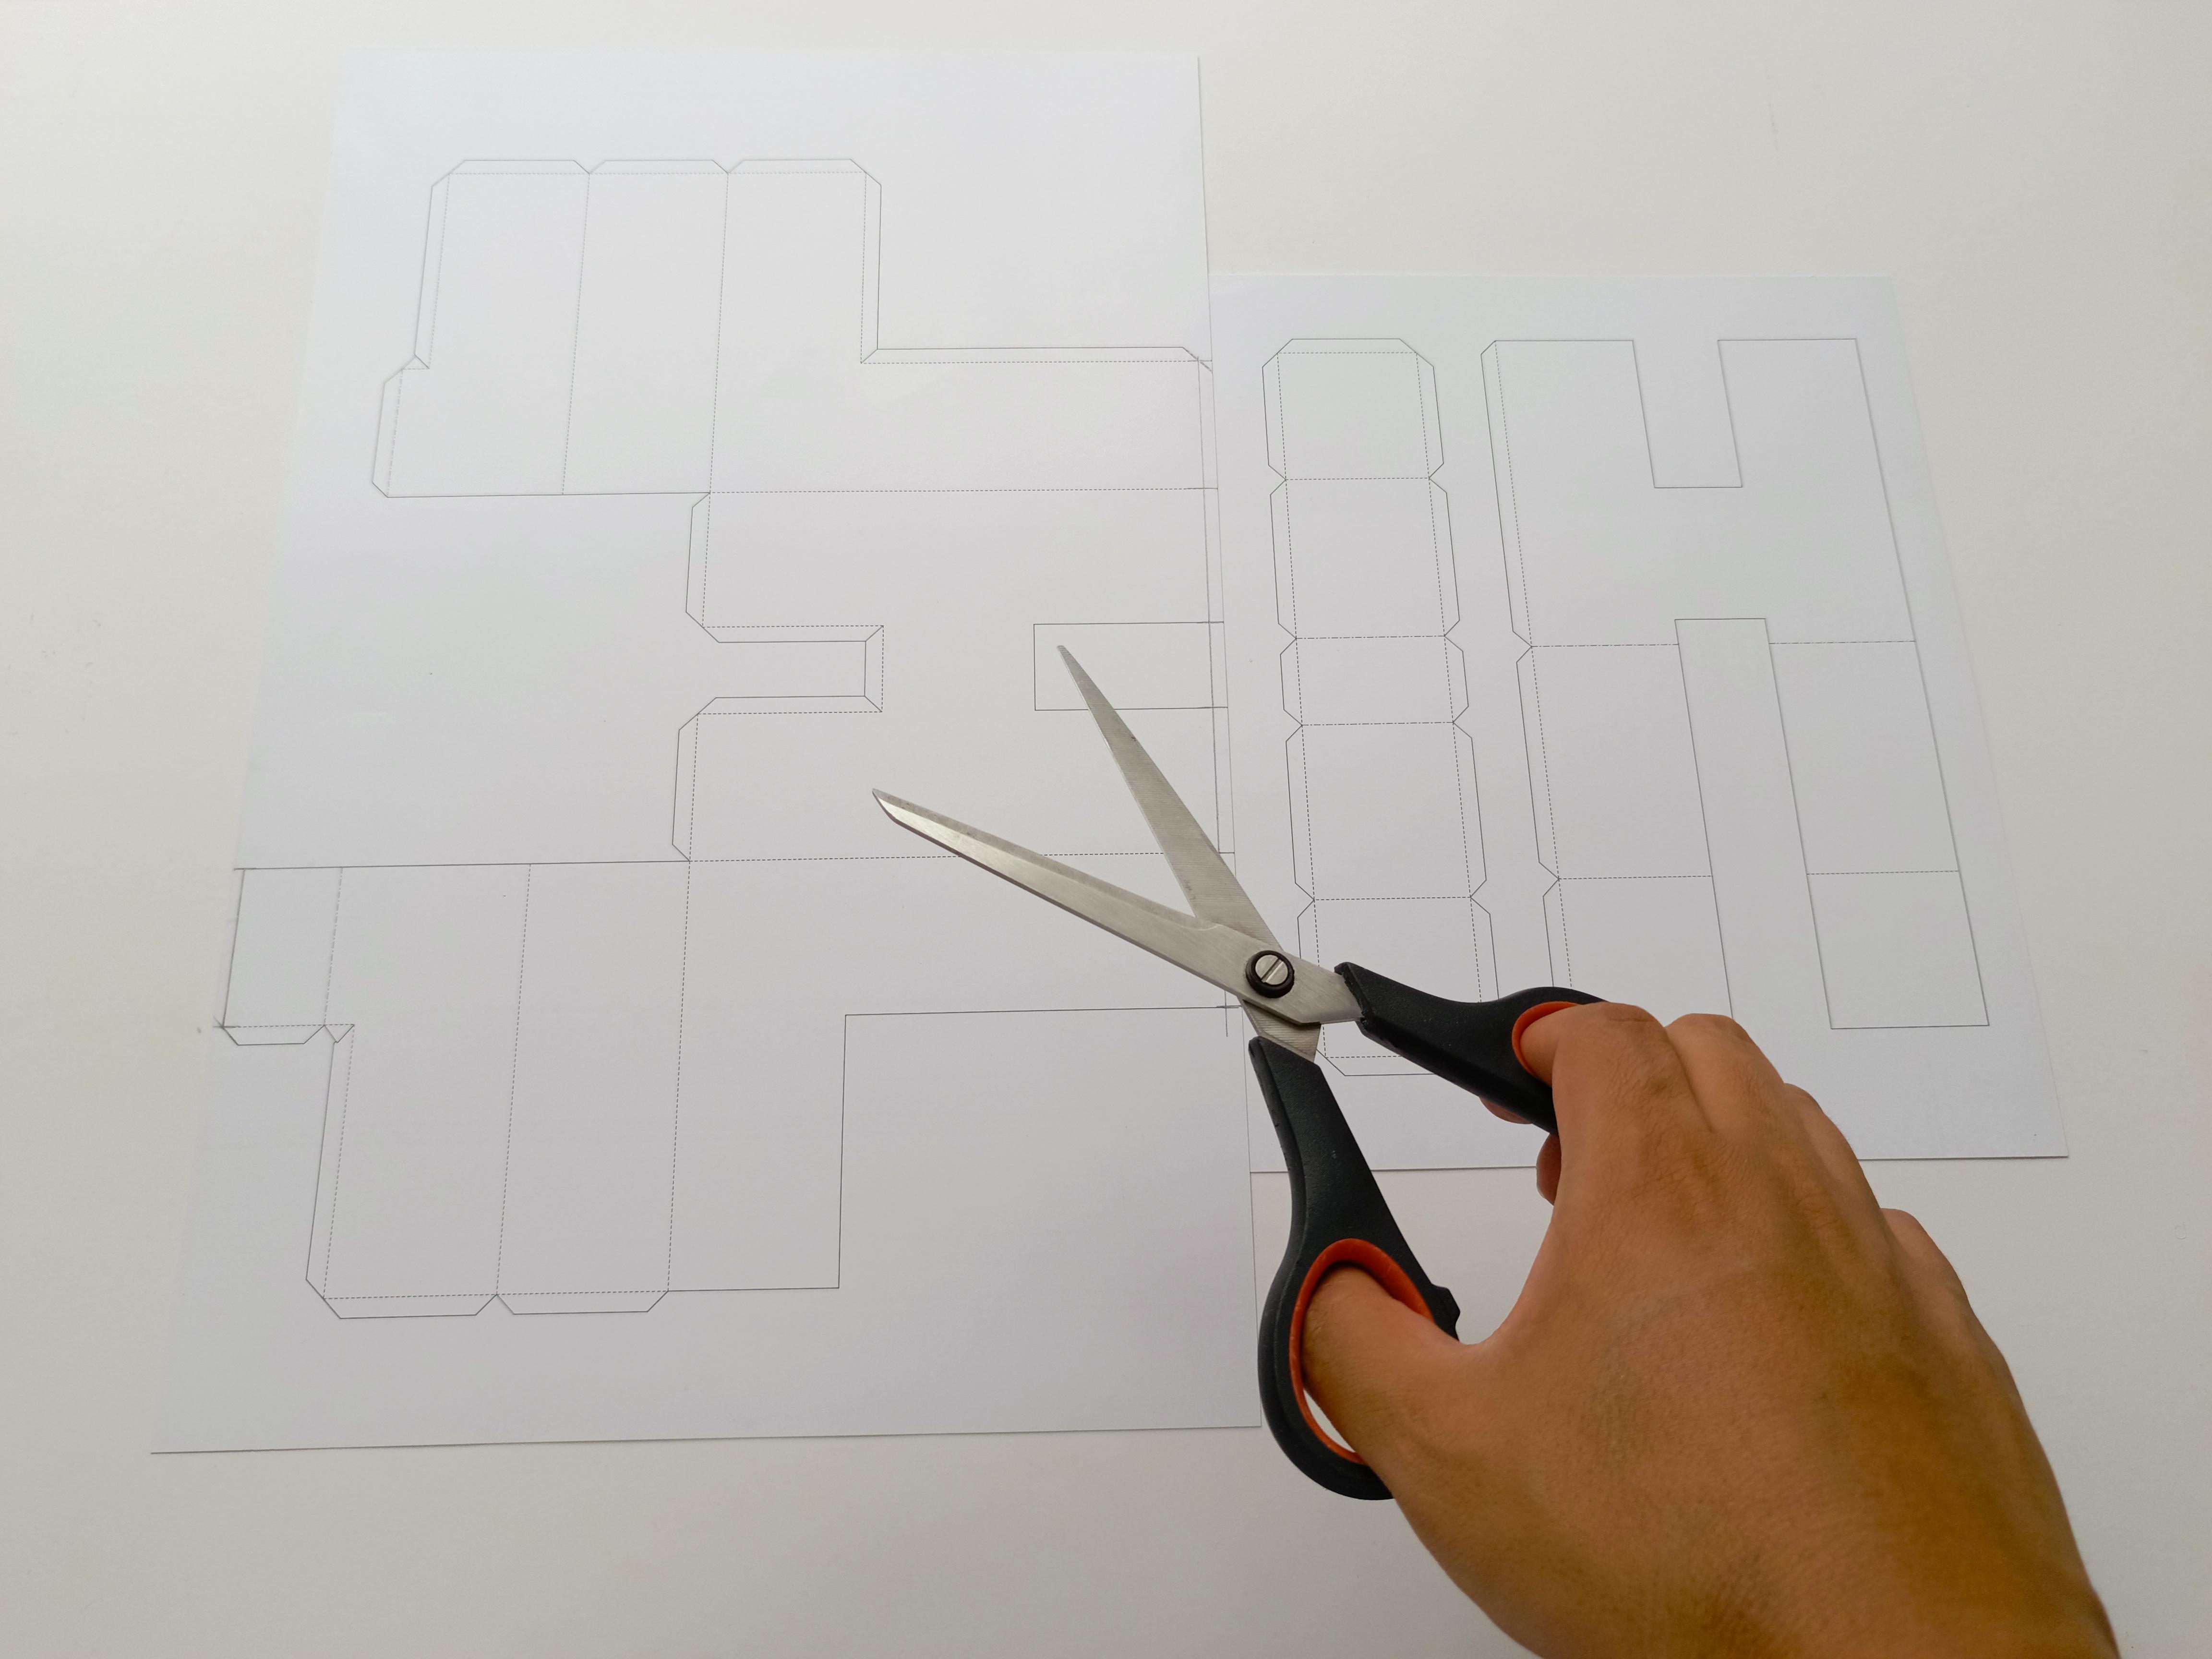
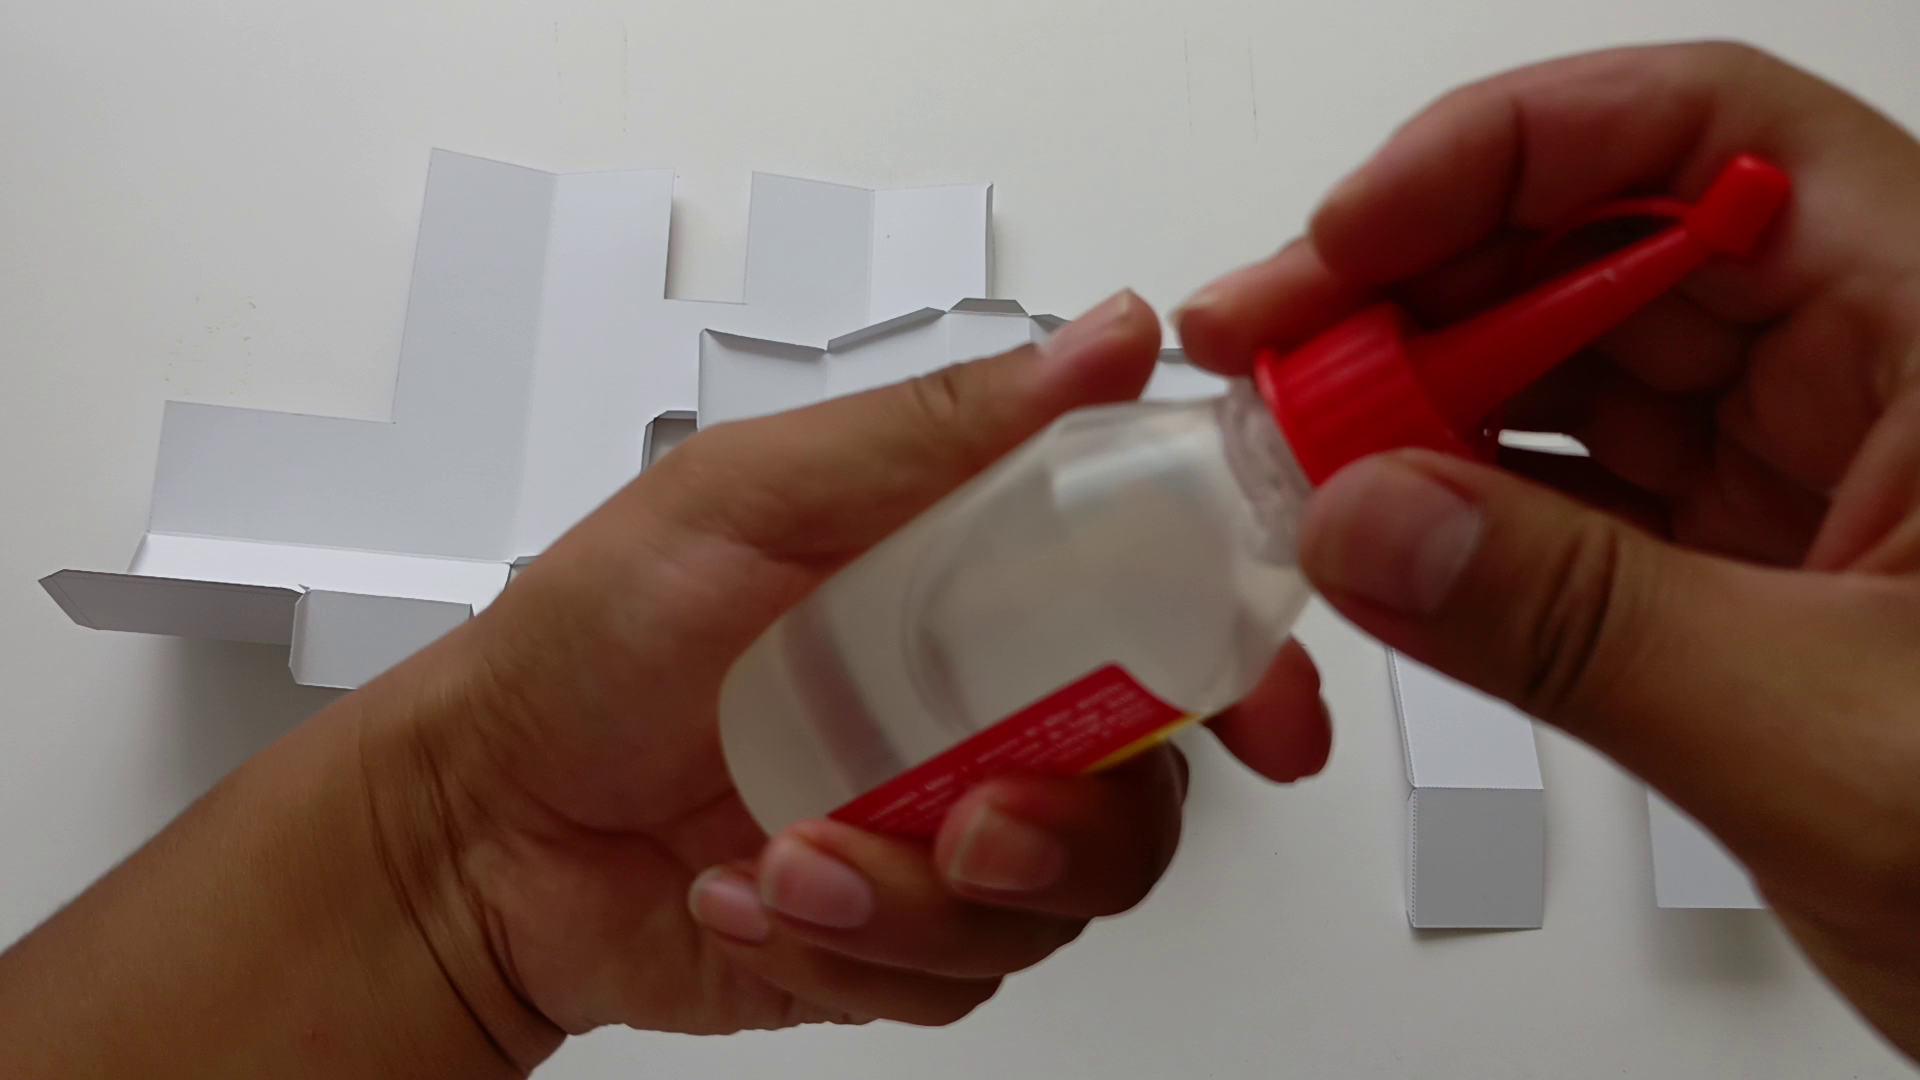
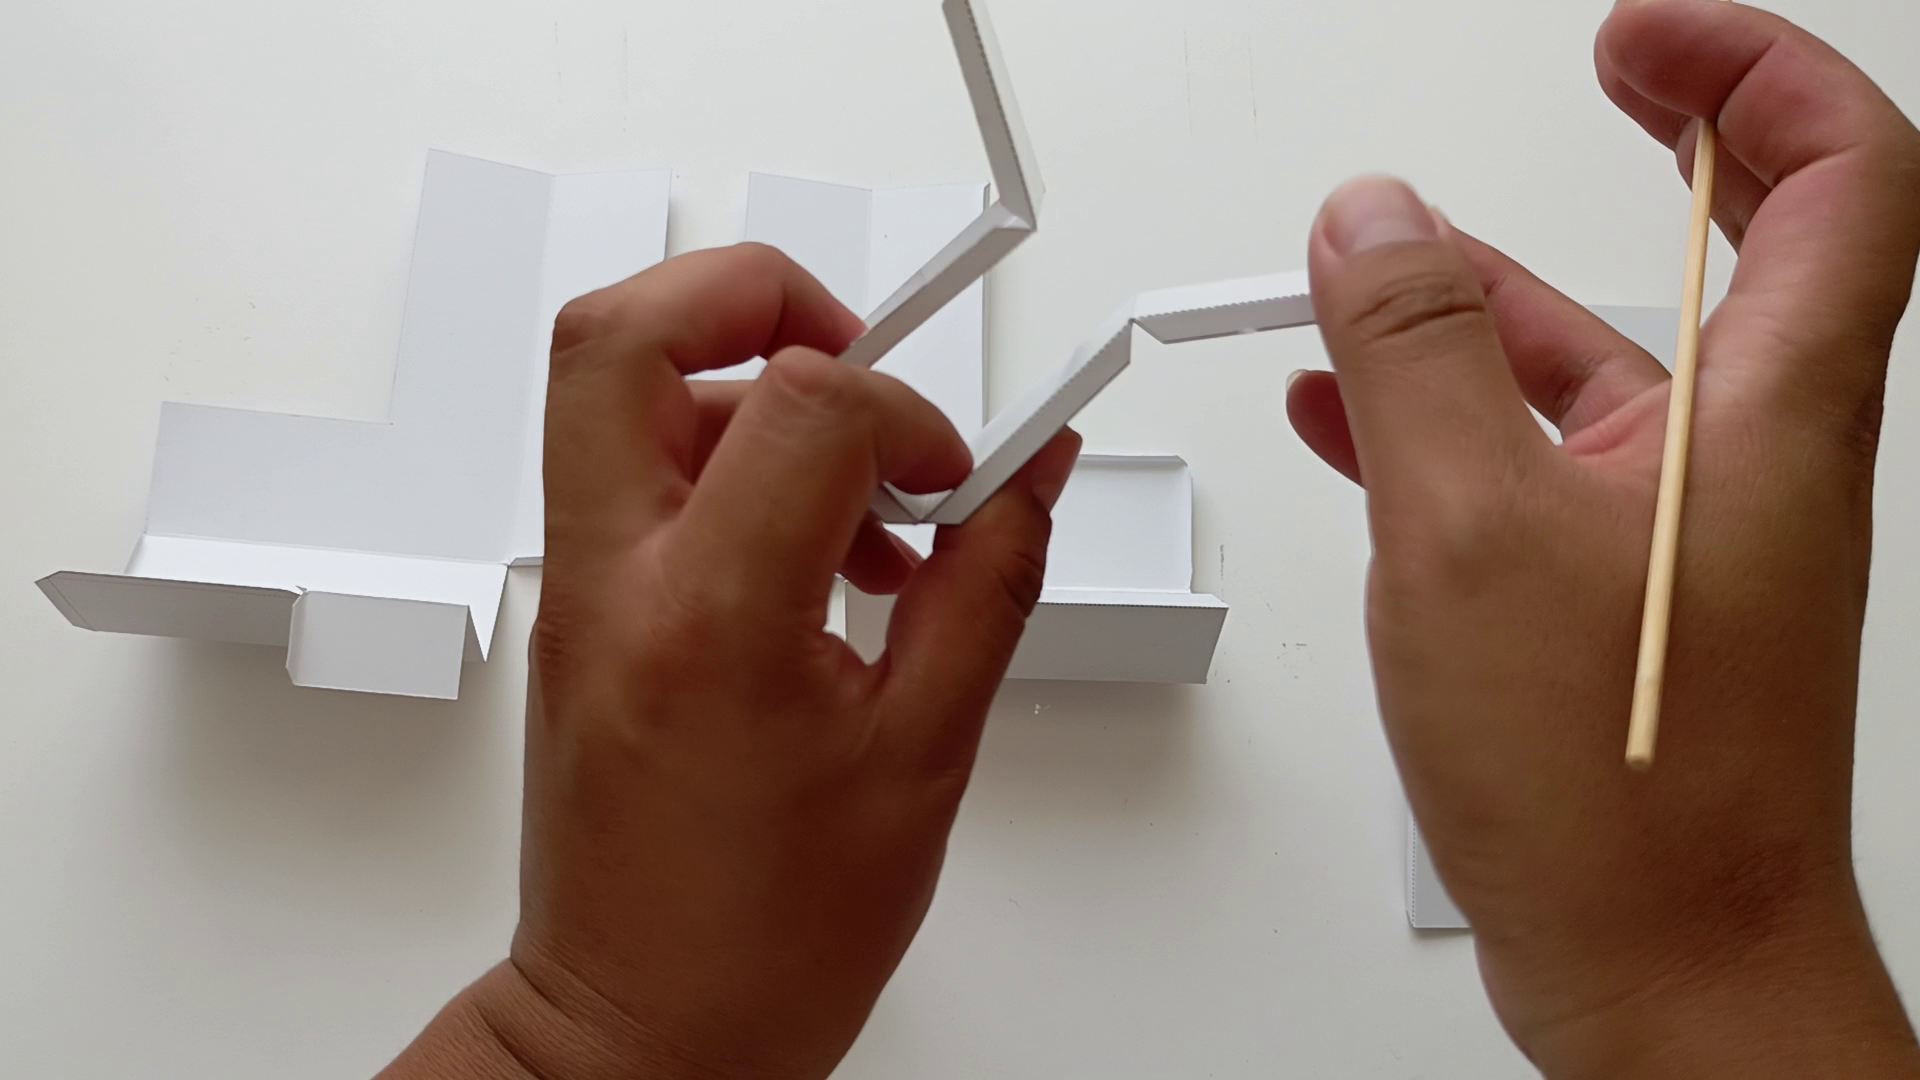
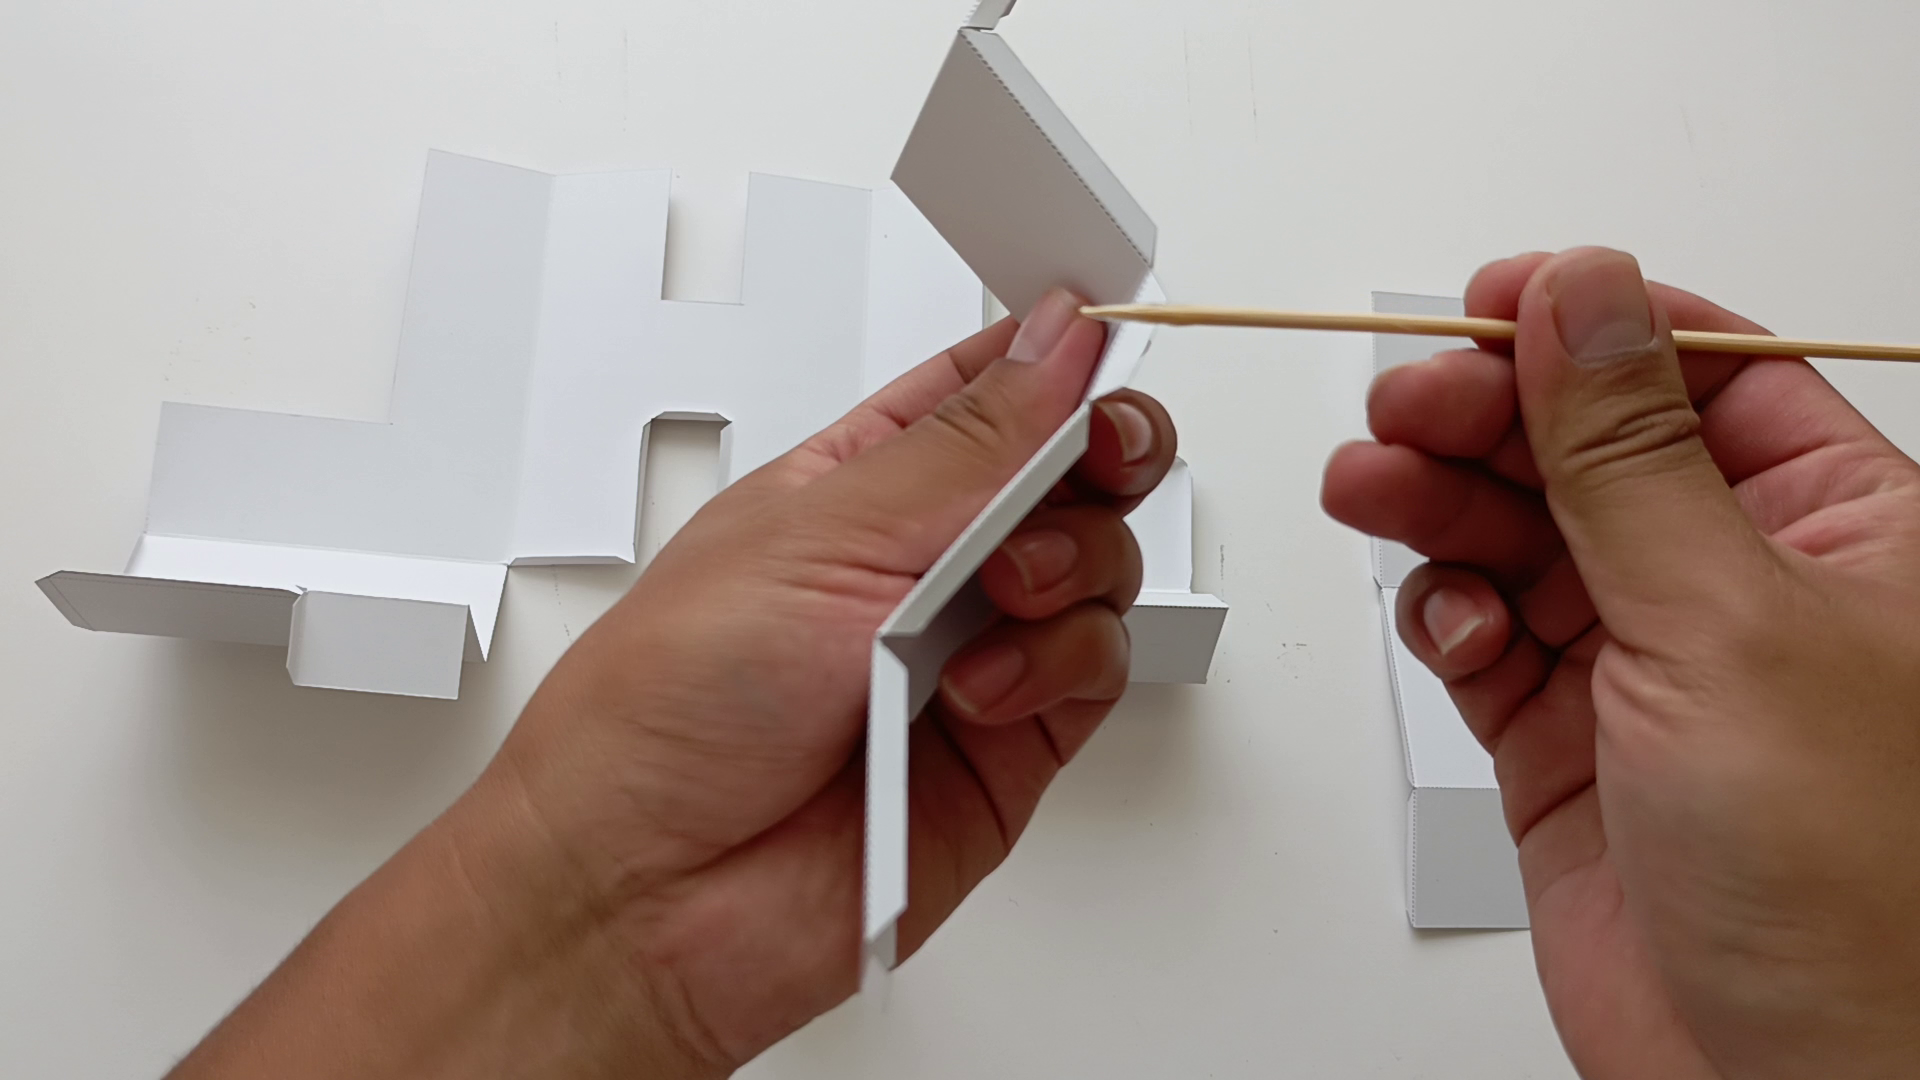
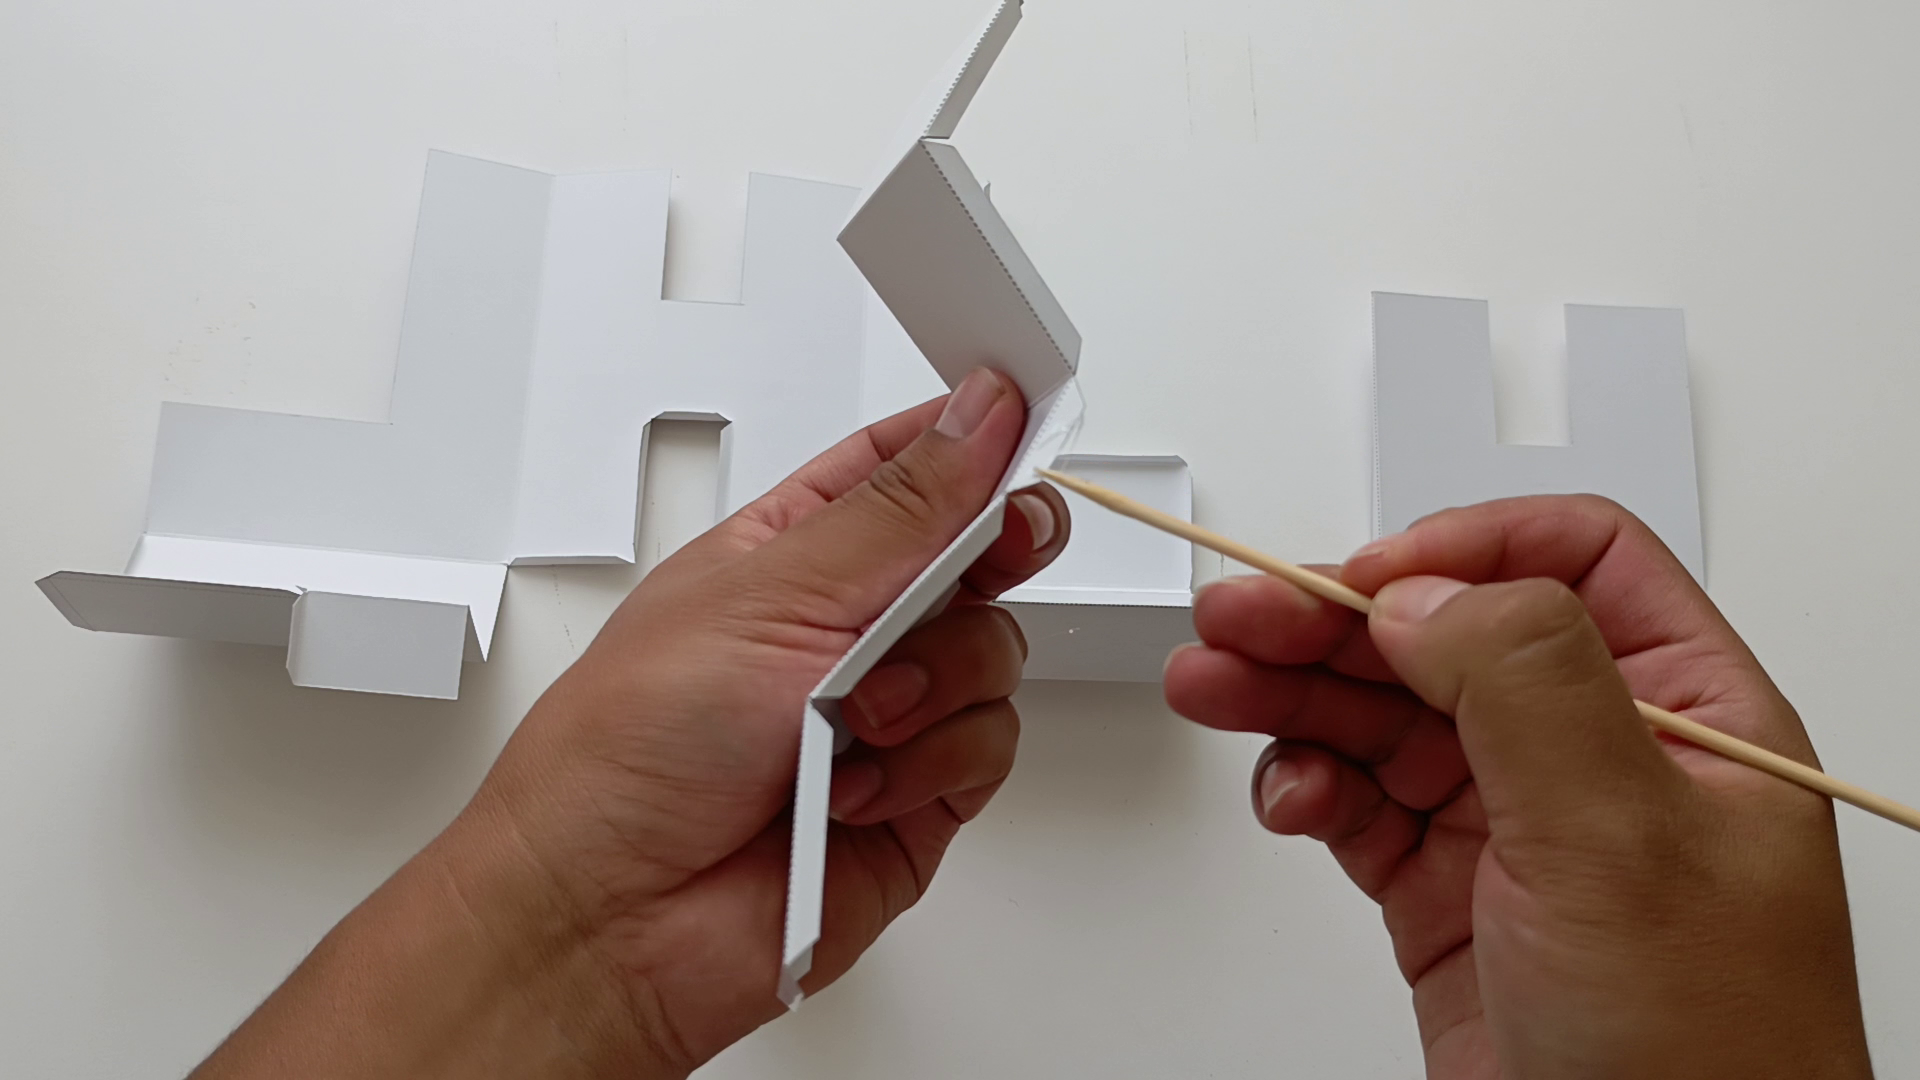
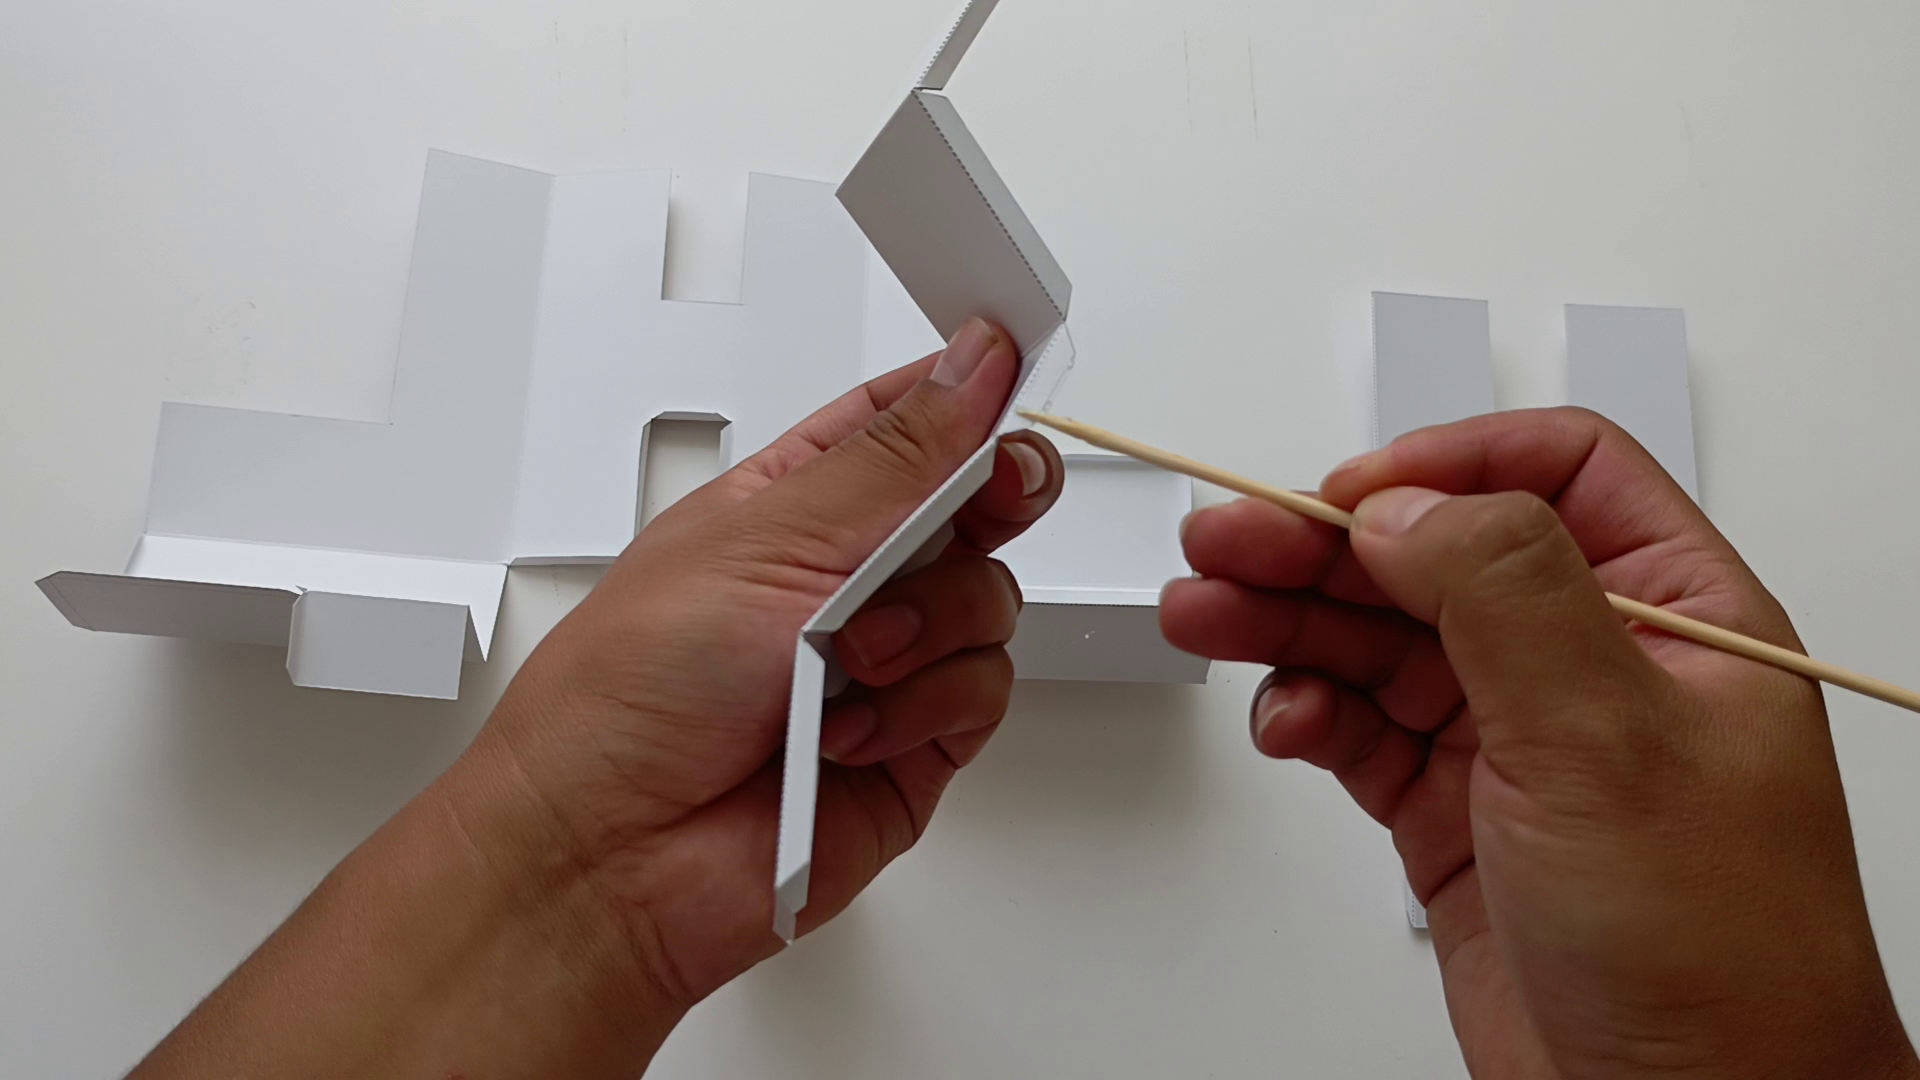
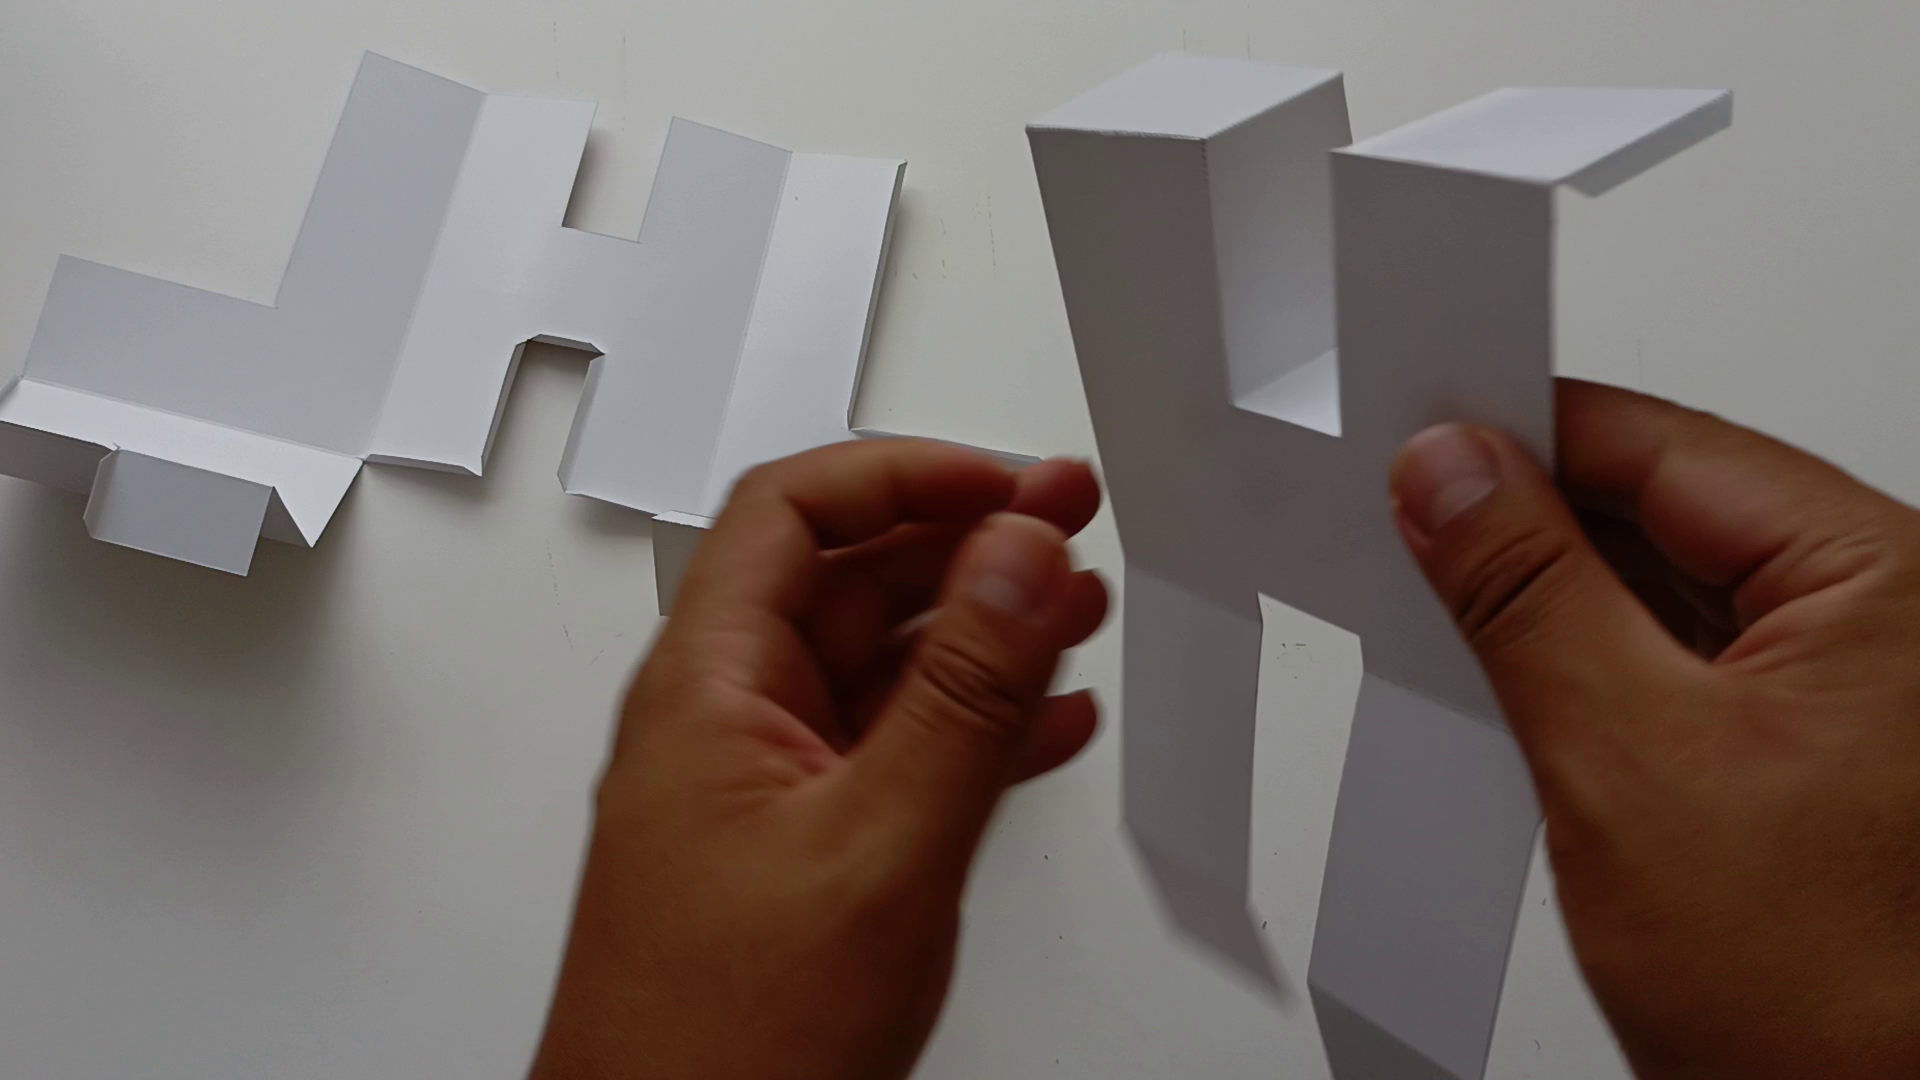
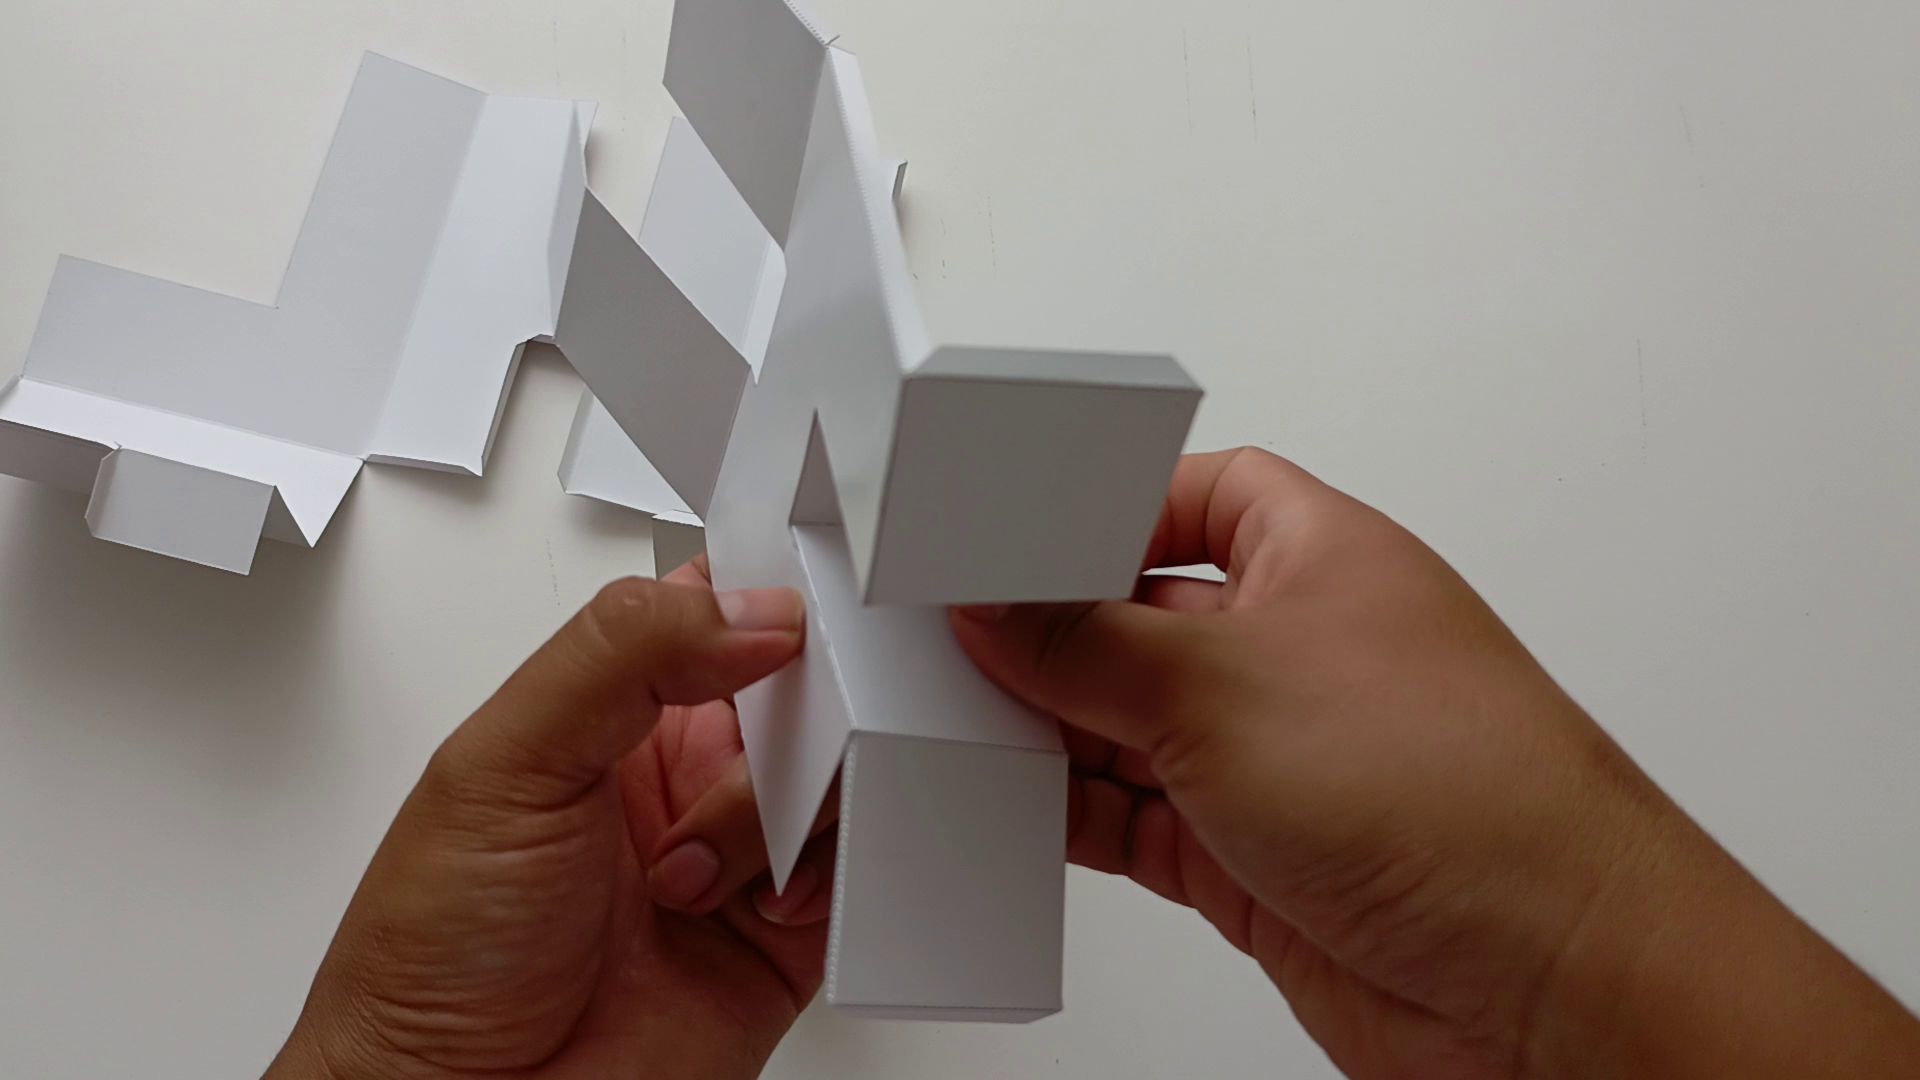
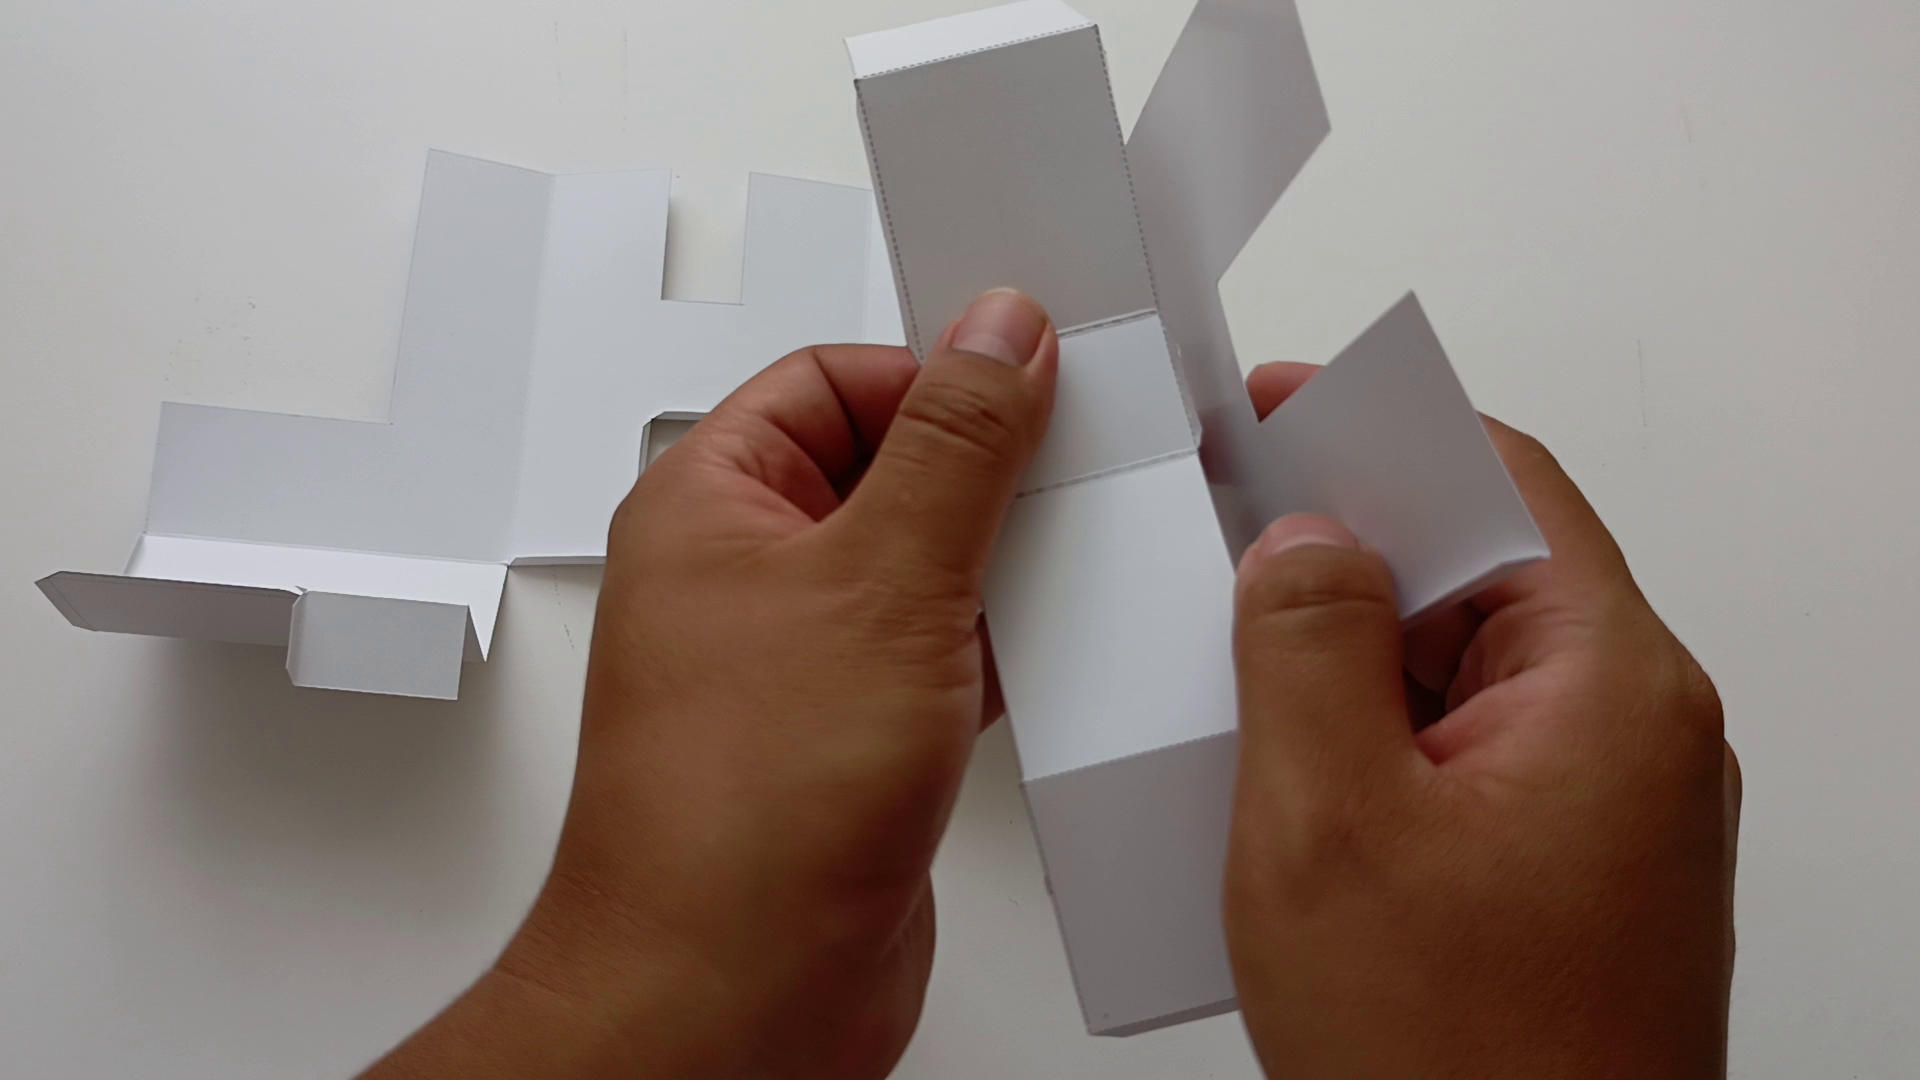
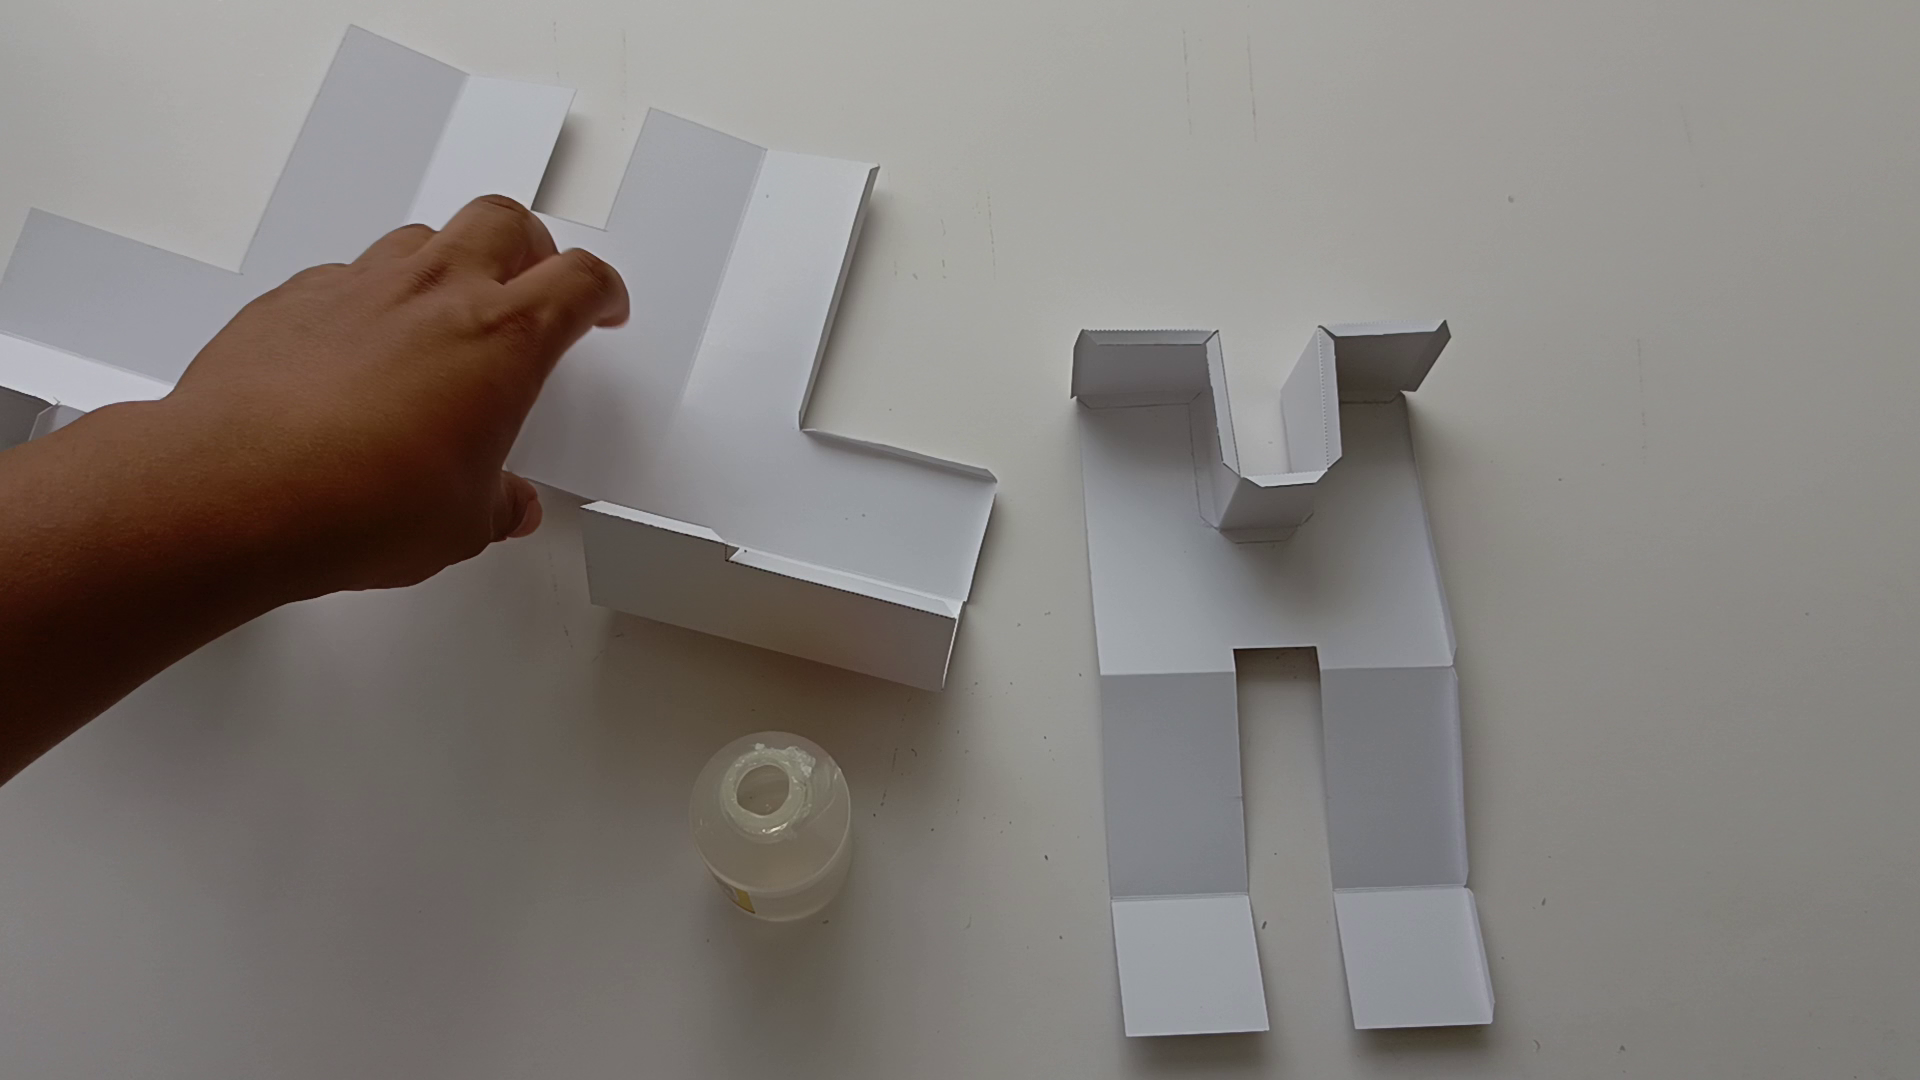
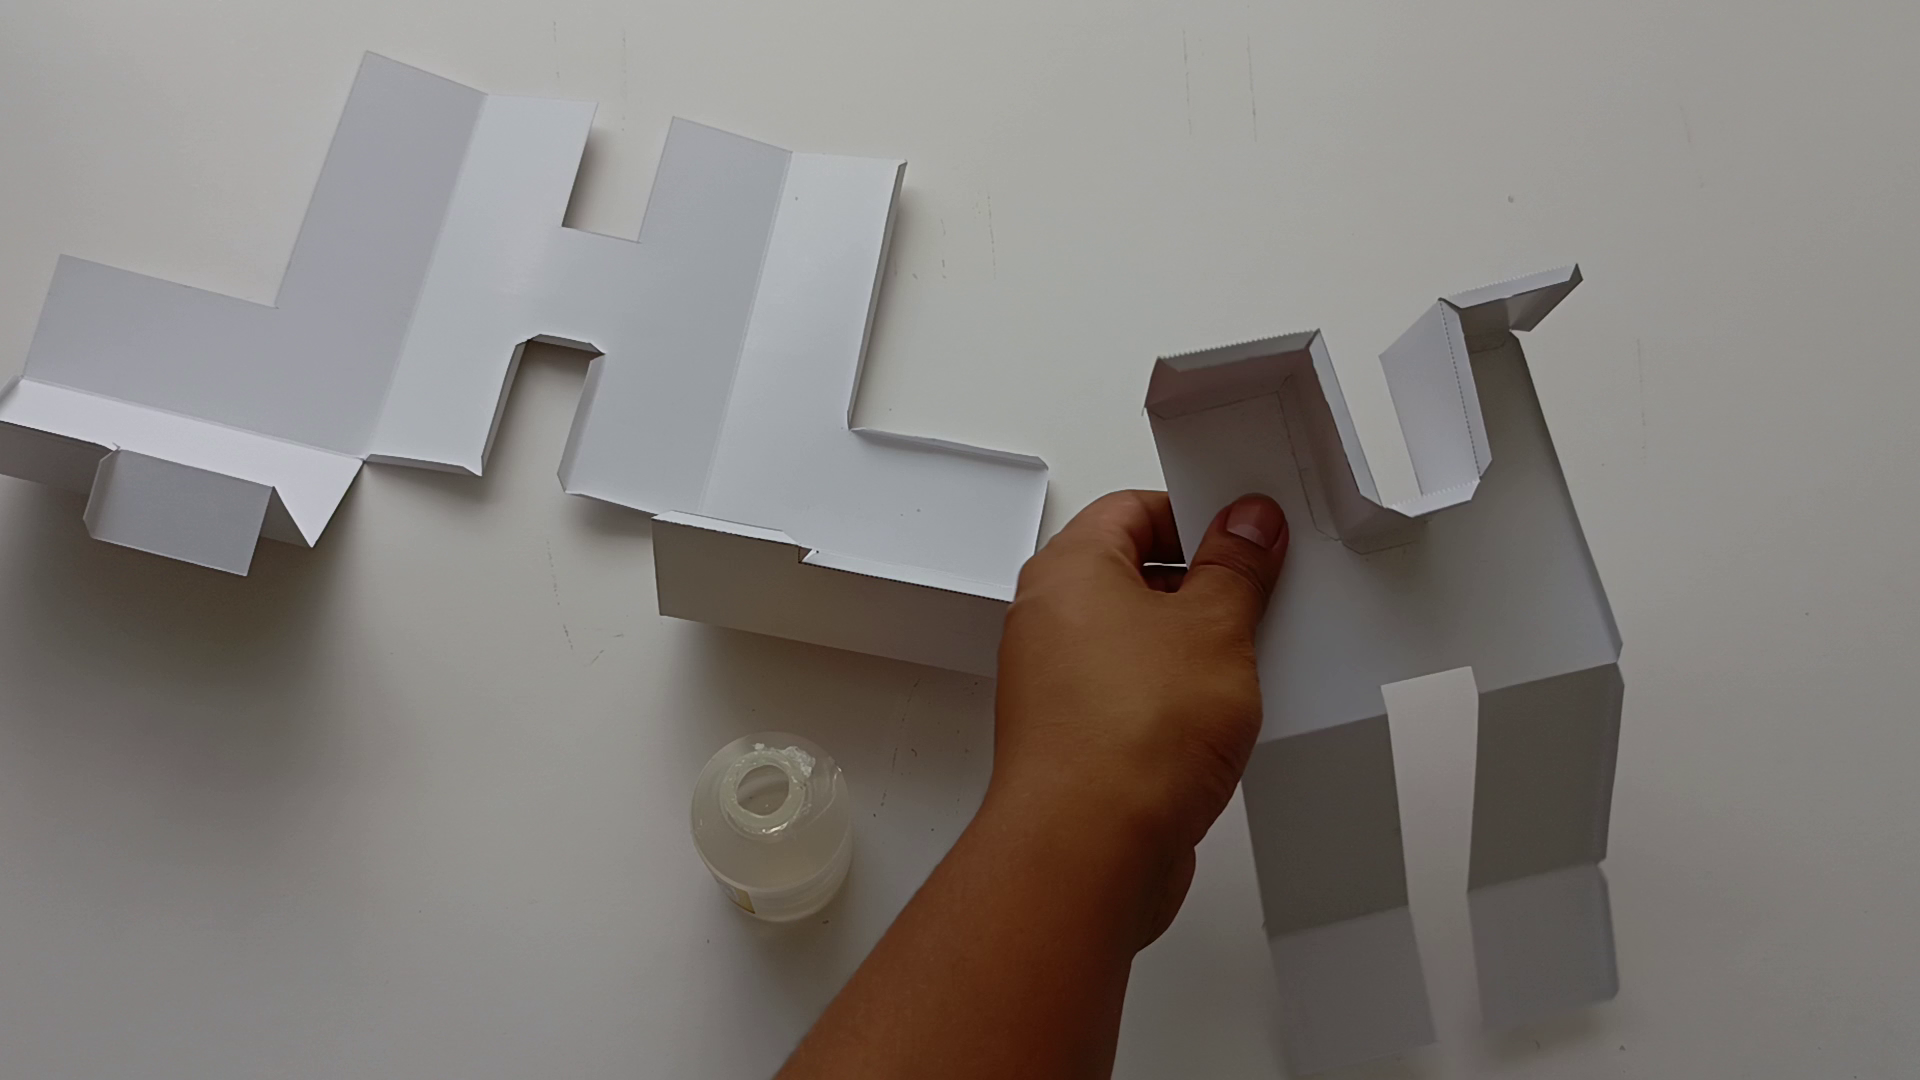
cut the respective parts of the piece to form the figure HL, then join the pieces with the glue with their corresponding counter part.
OI
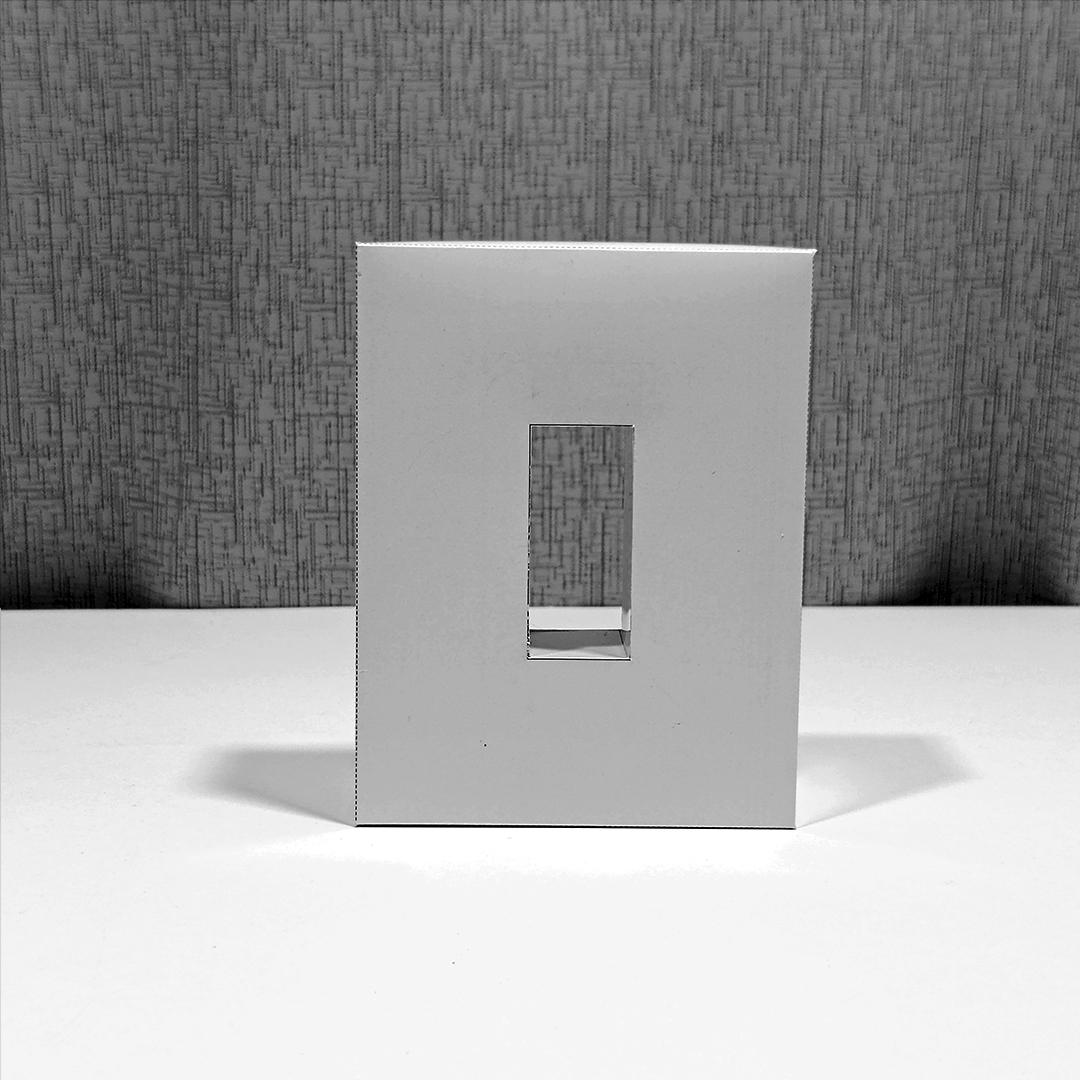
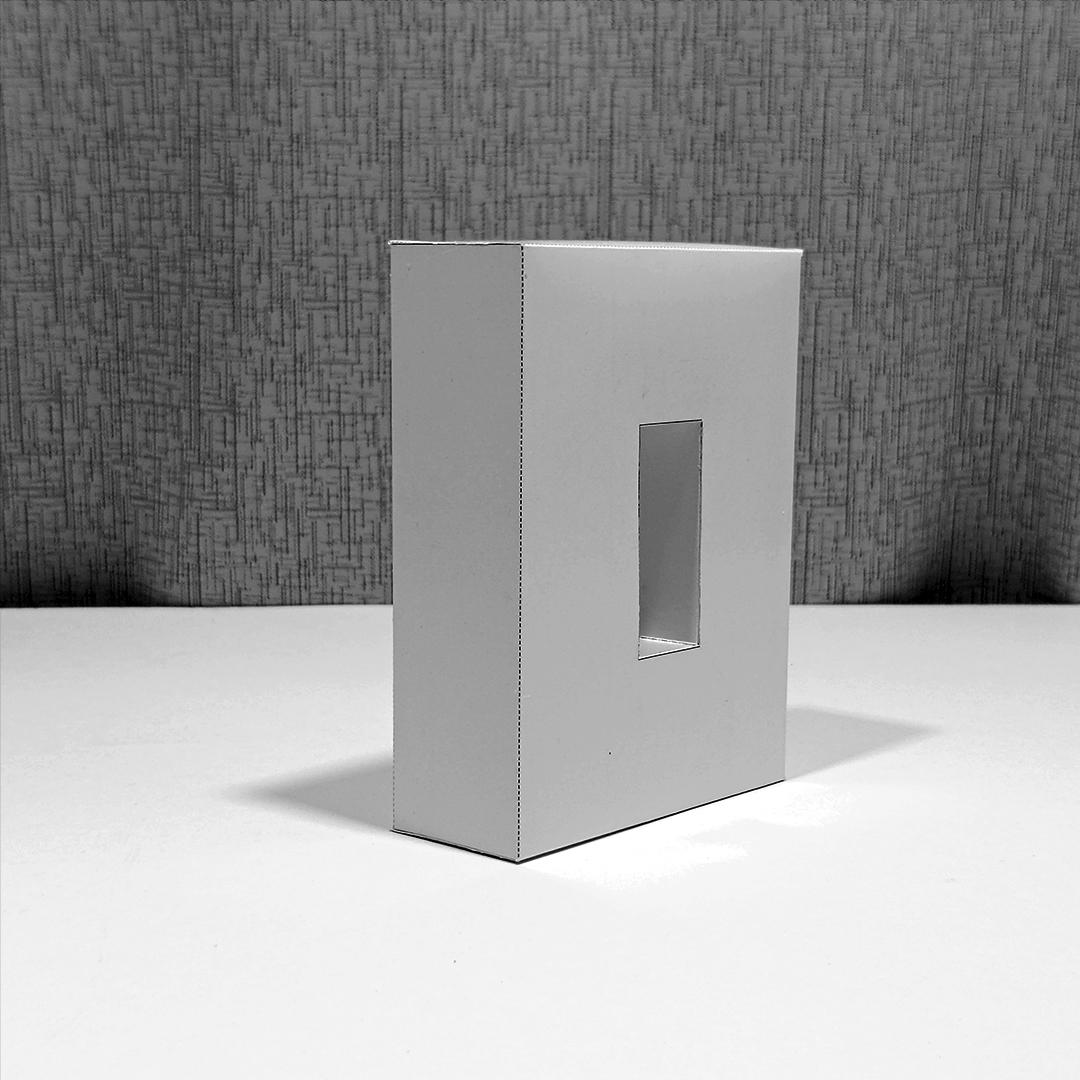
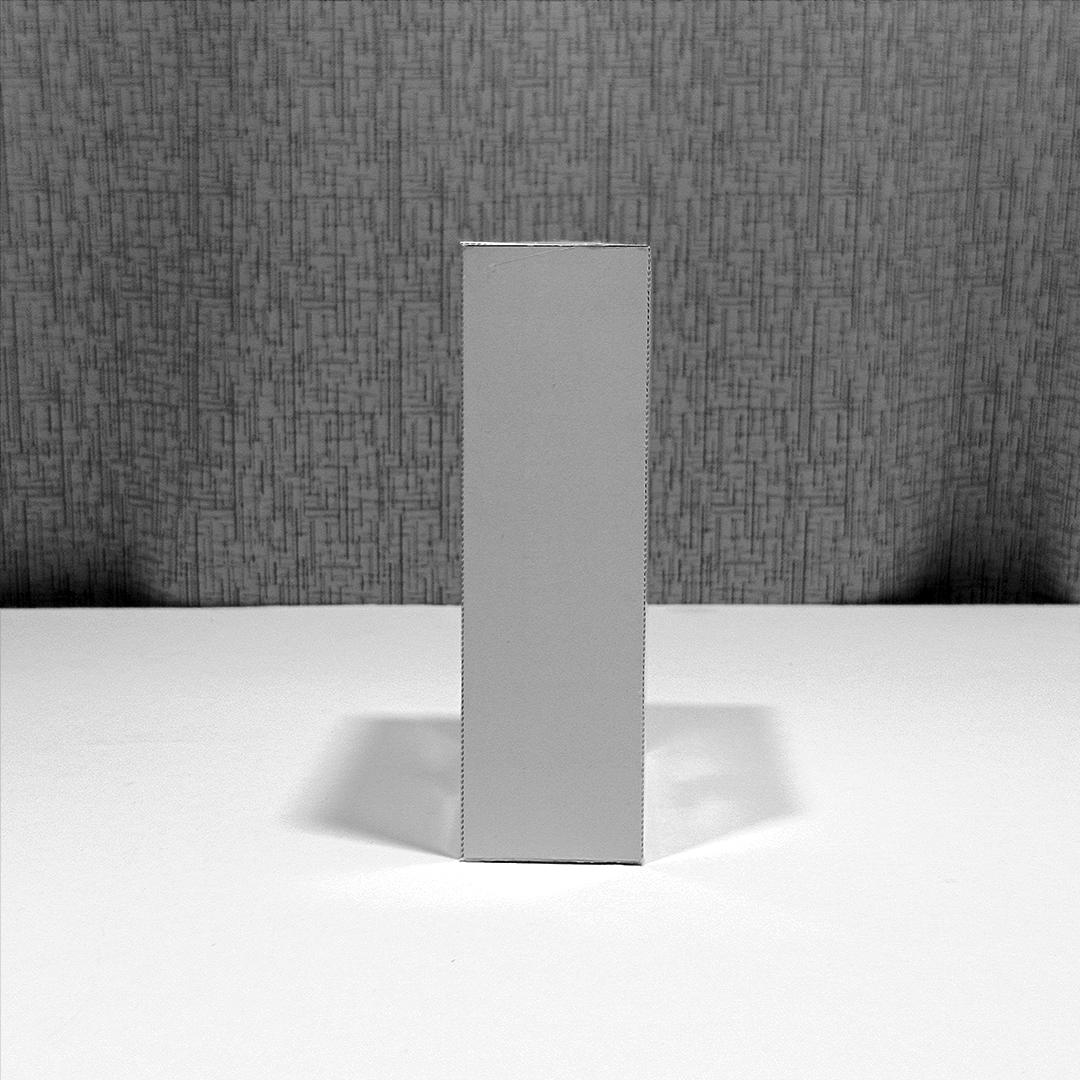
Use these Letters OI views to guide you in assembly
OI Assembly
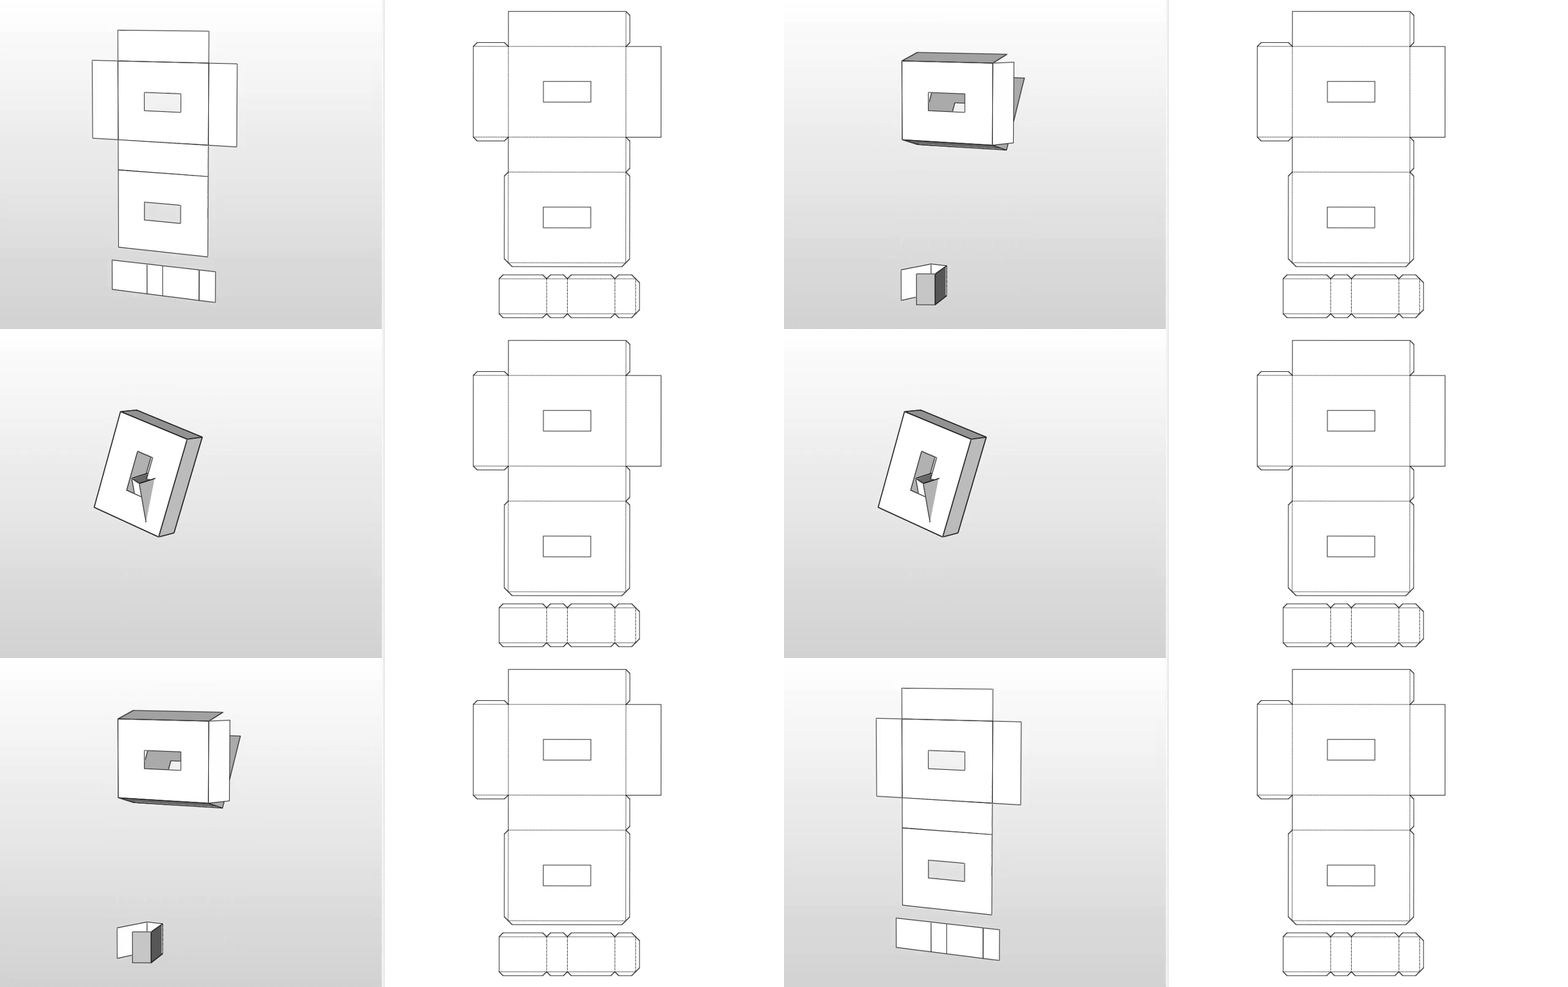
cut the respective parts of the piece to form the figure OI, then join the pieces with the glue with their corresponding counter part.
PAV CUT
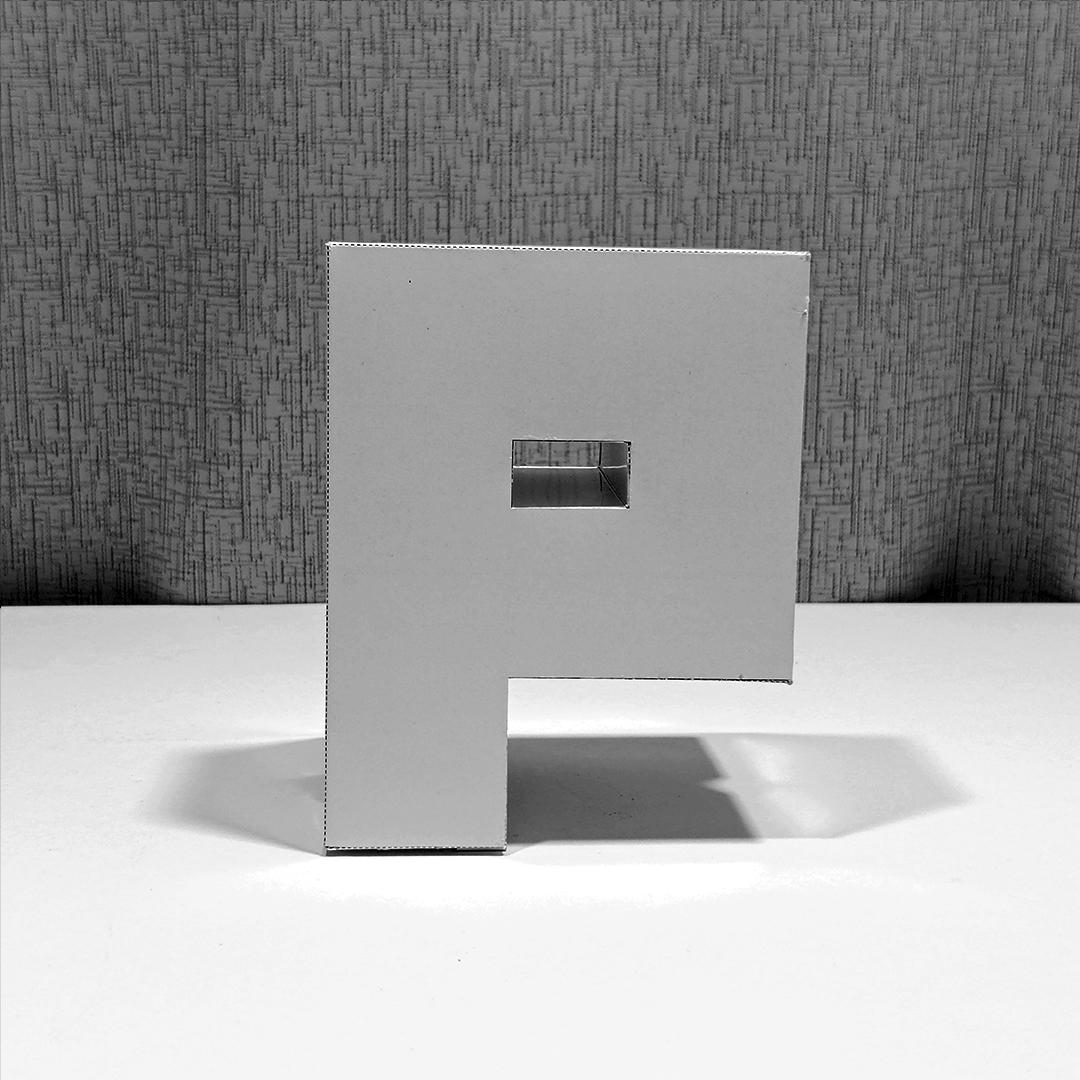
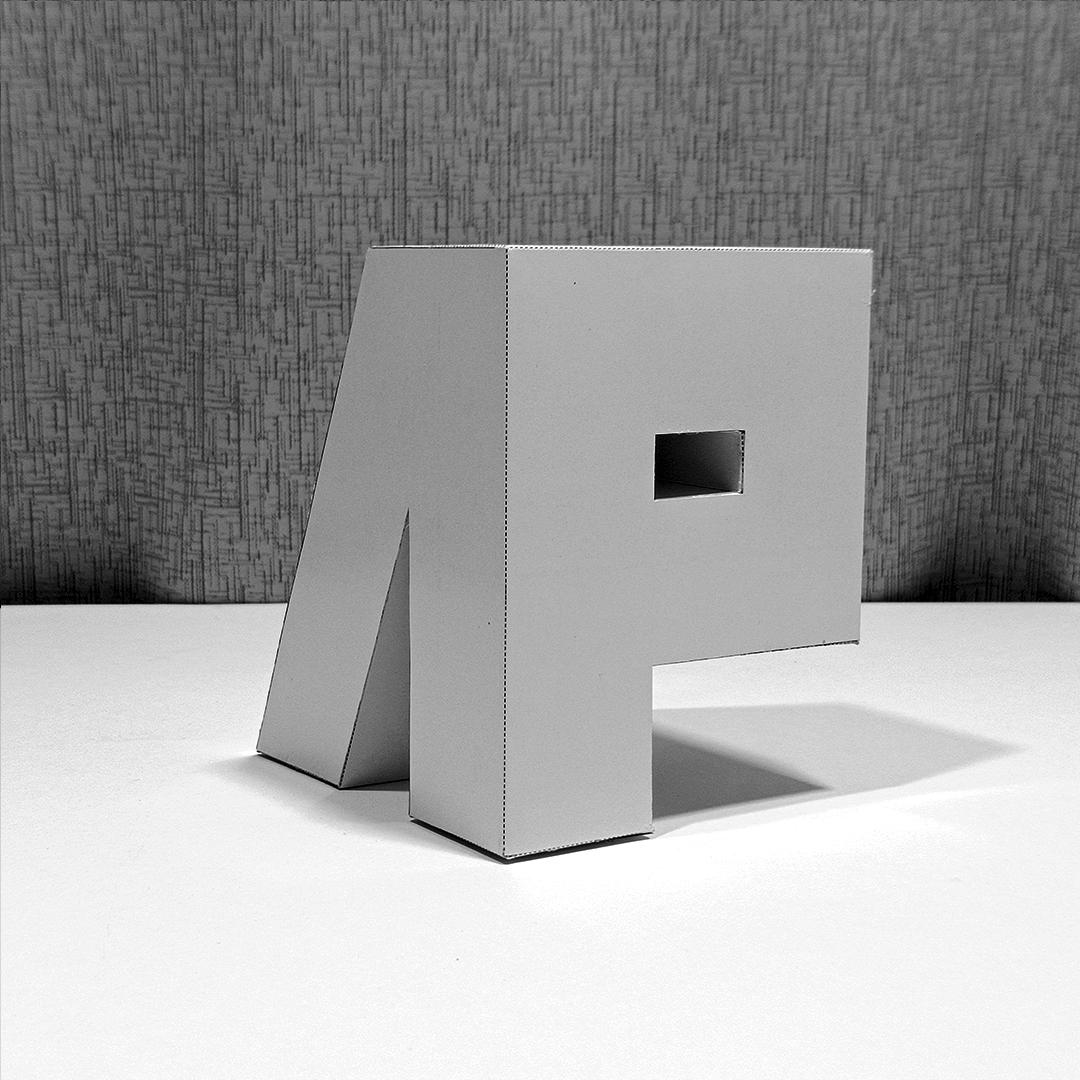
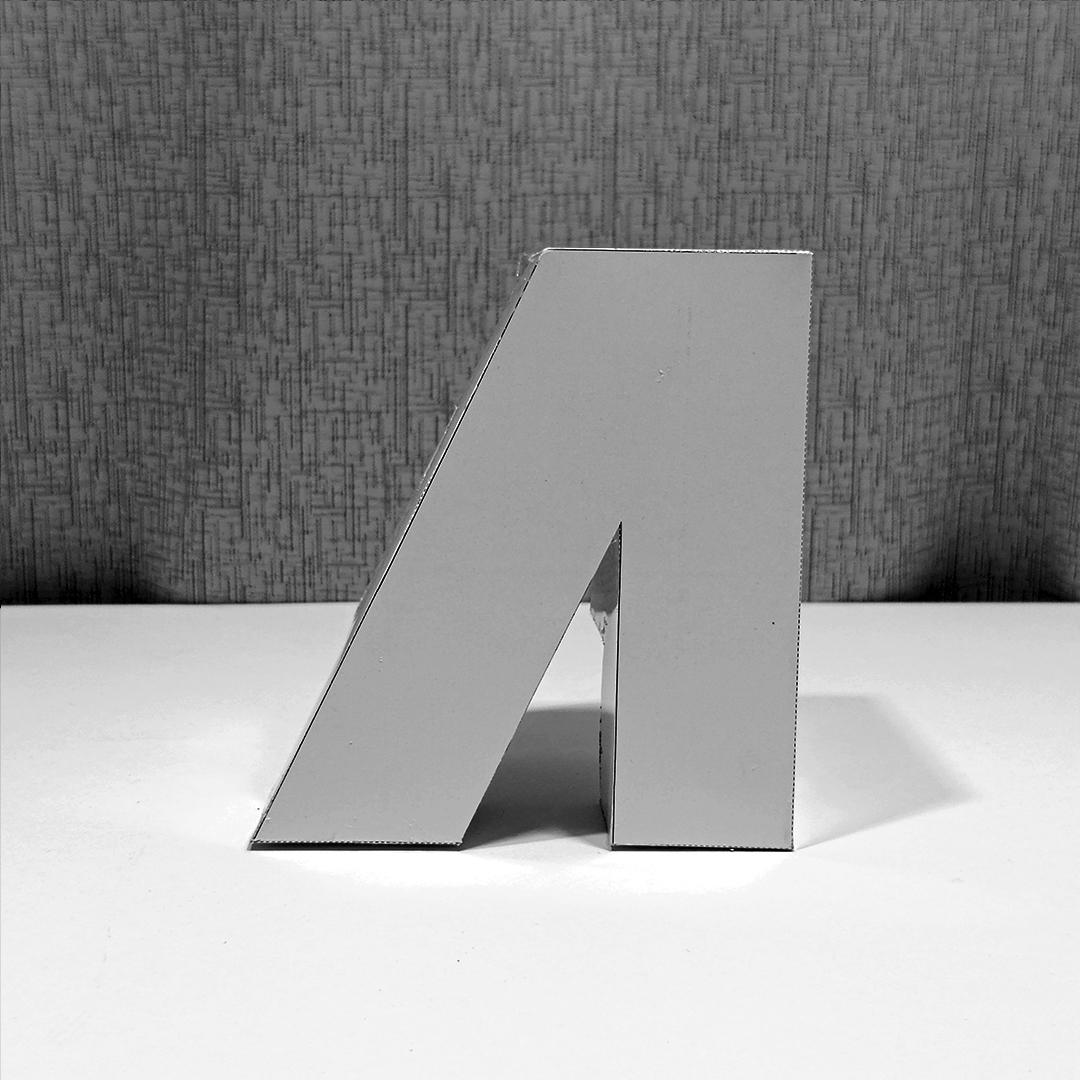
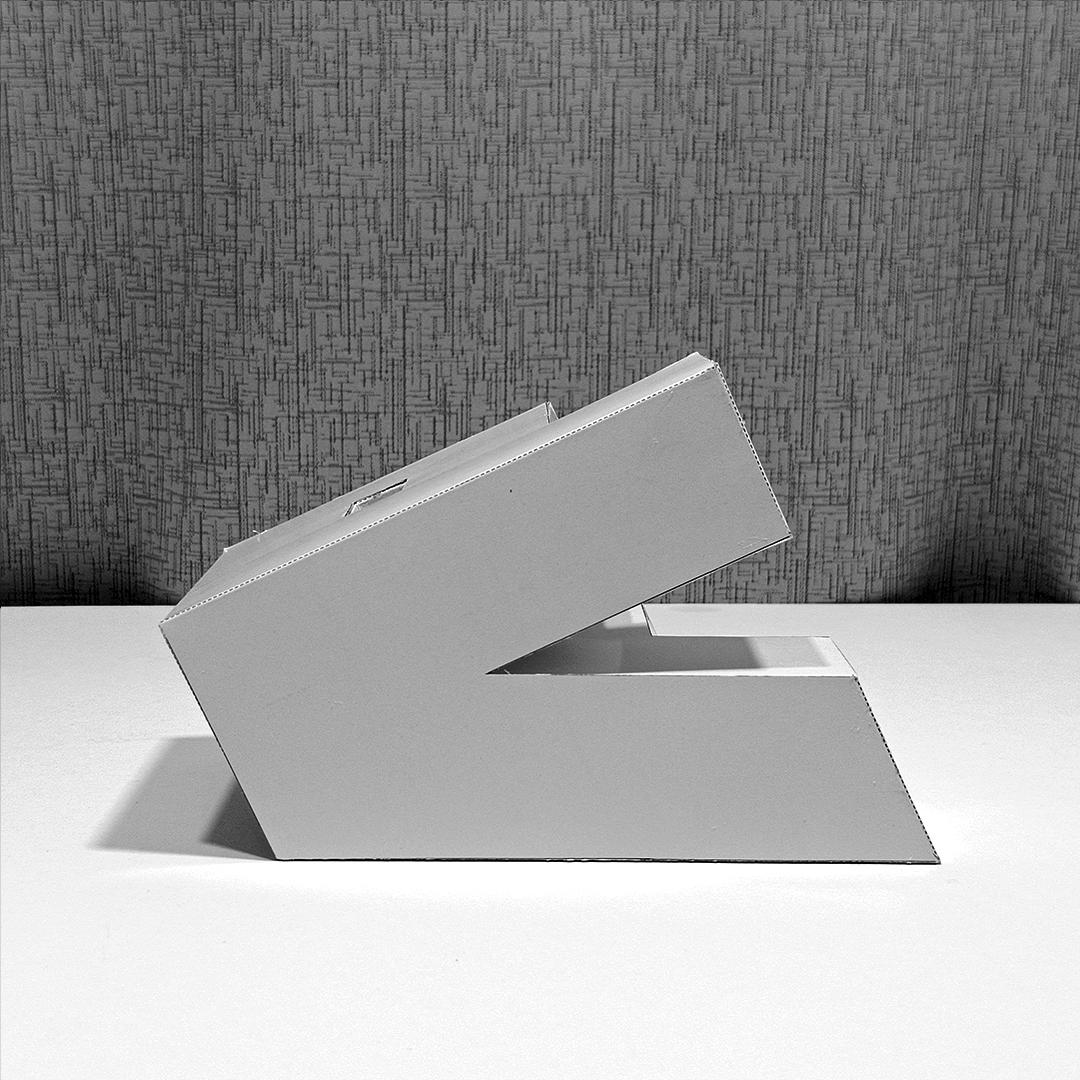
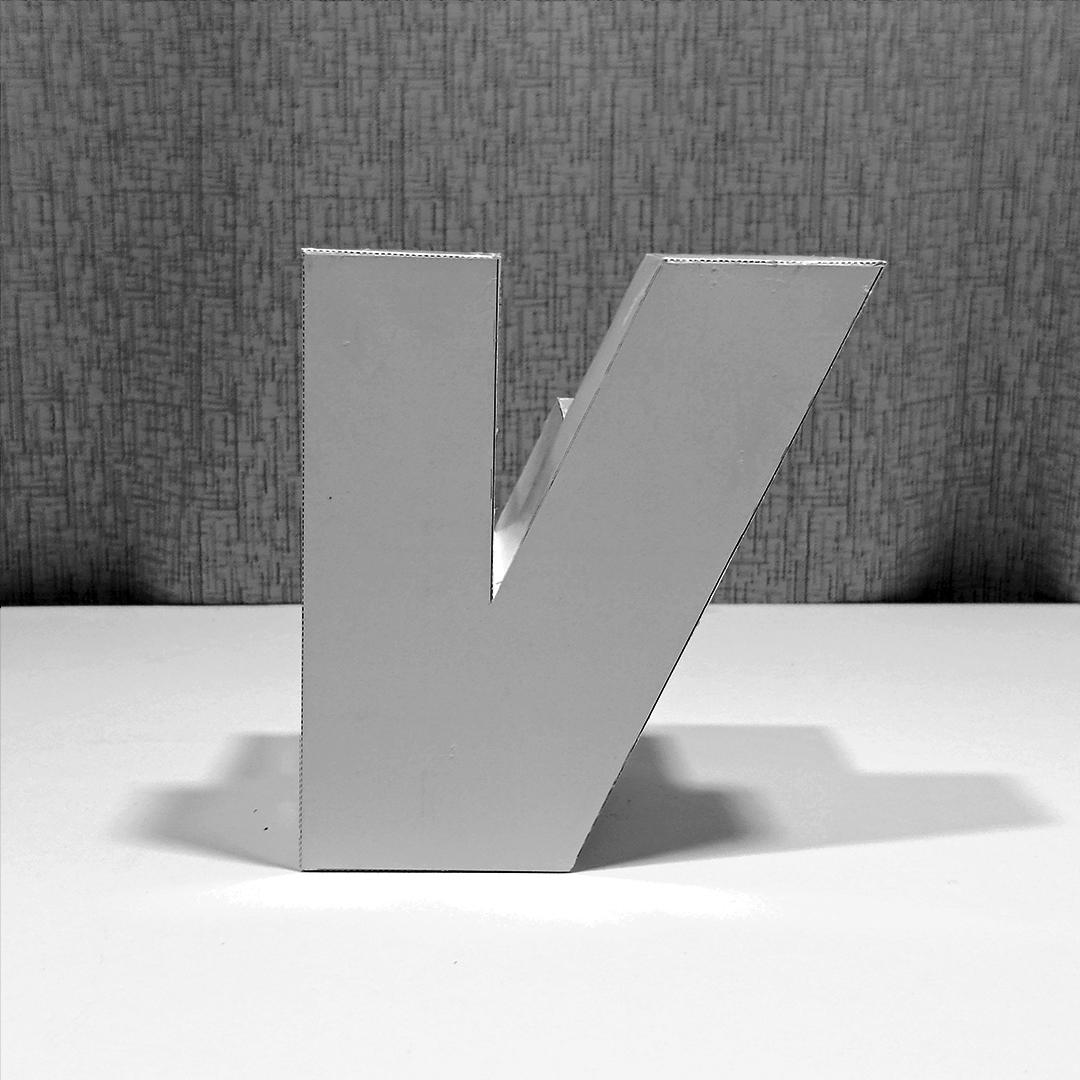
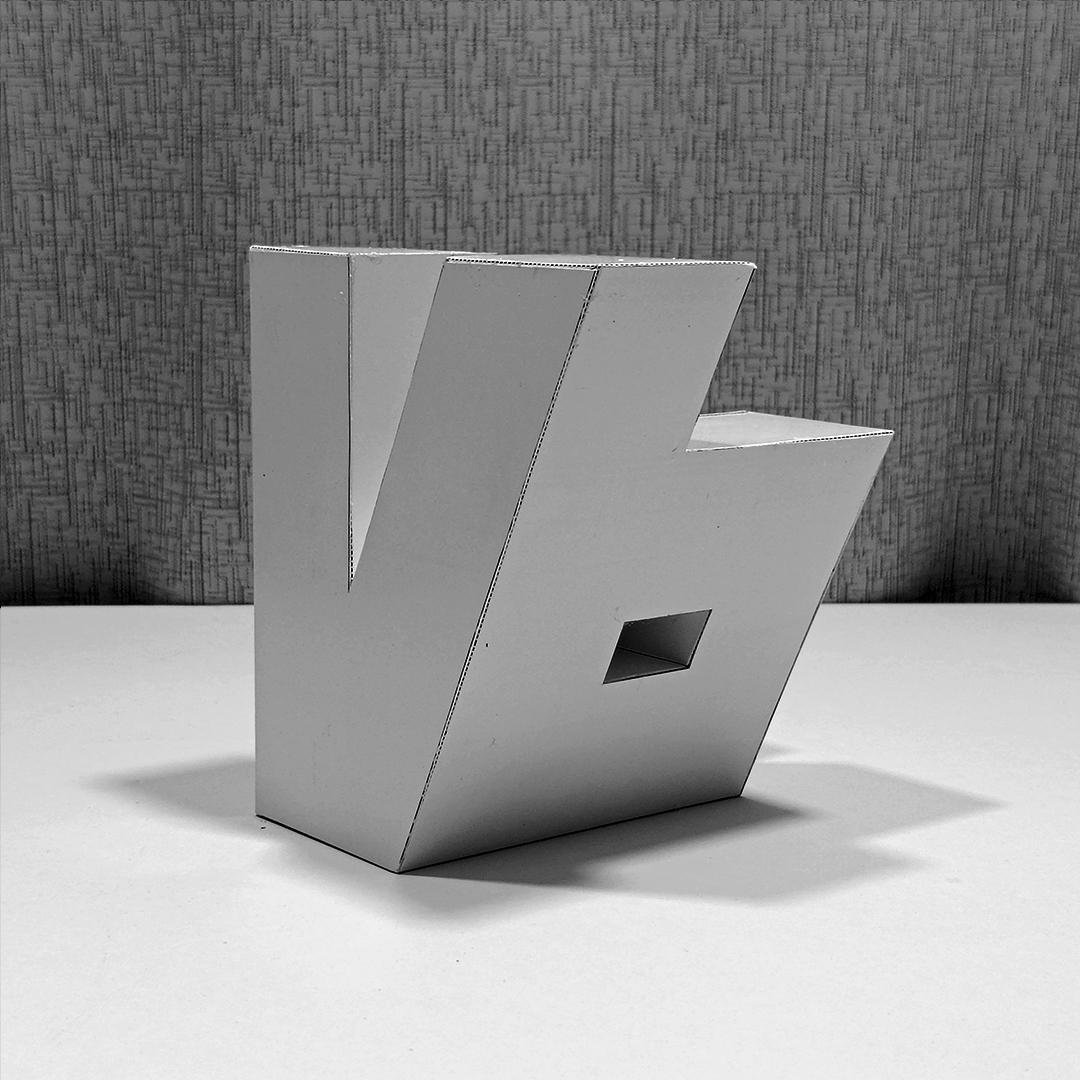
Use these Letters PAV views to guide you in assembly
PAV Assembly
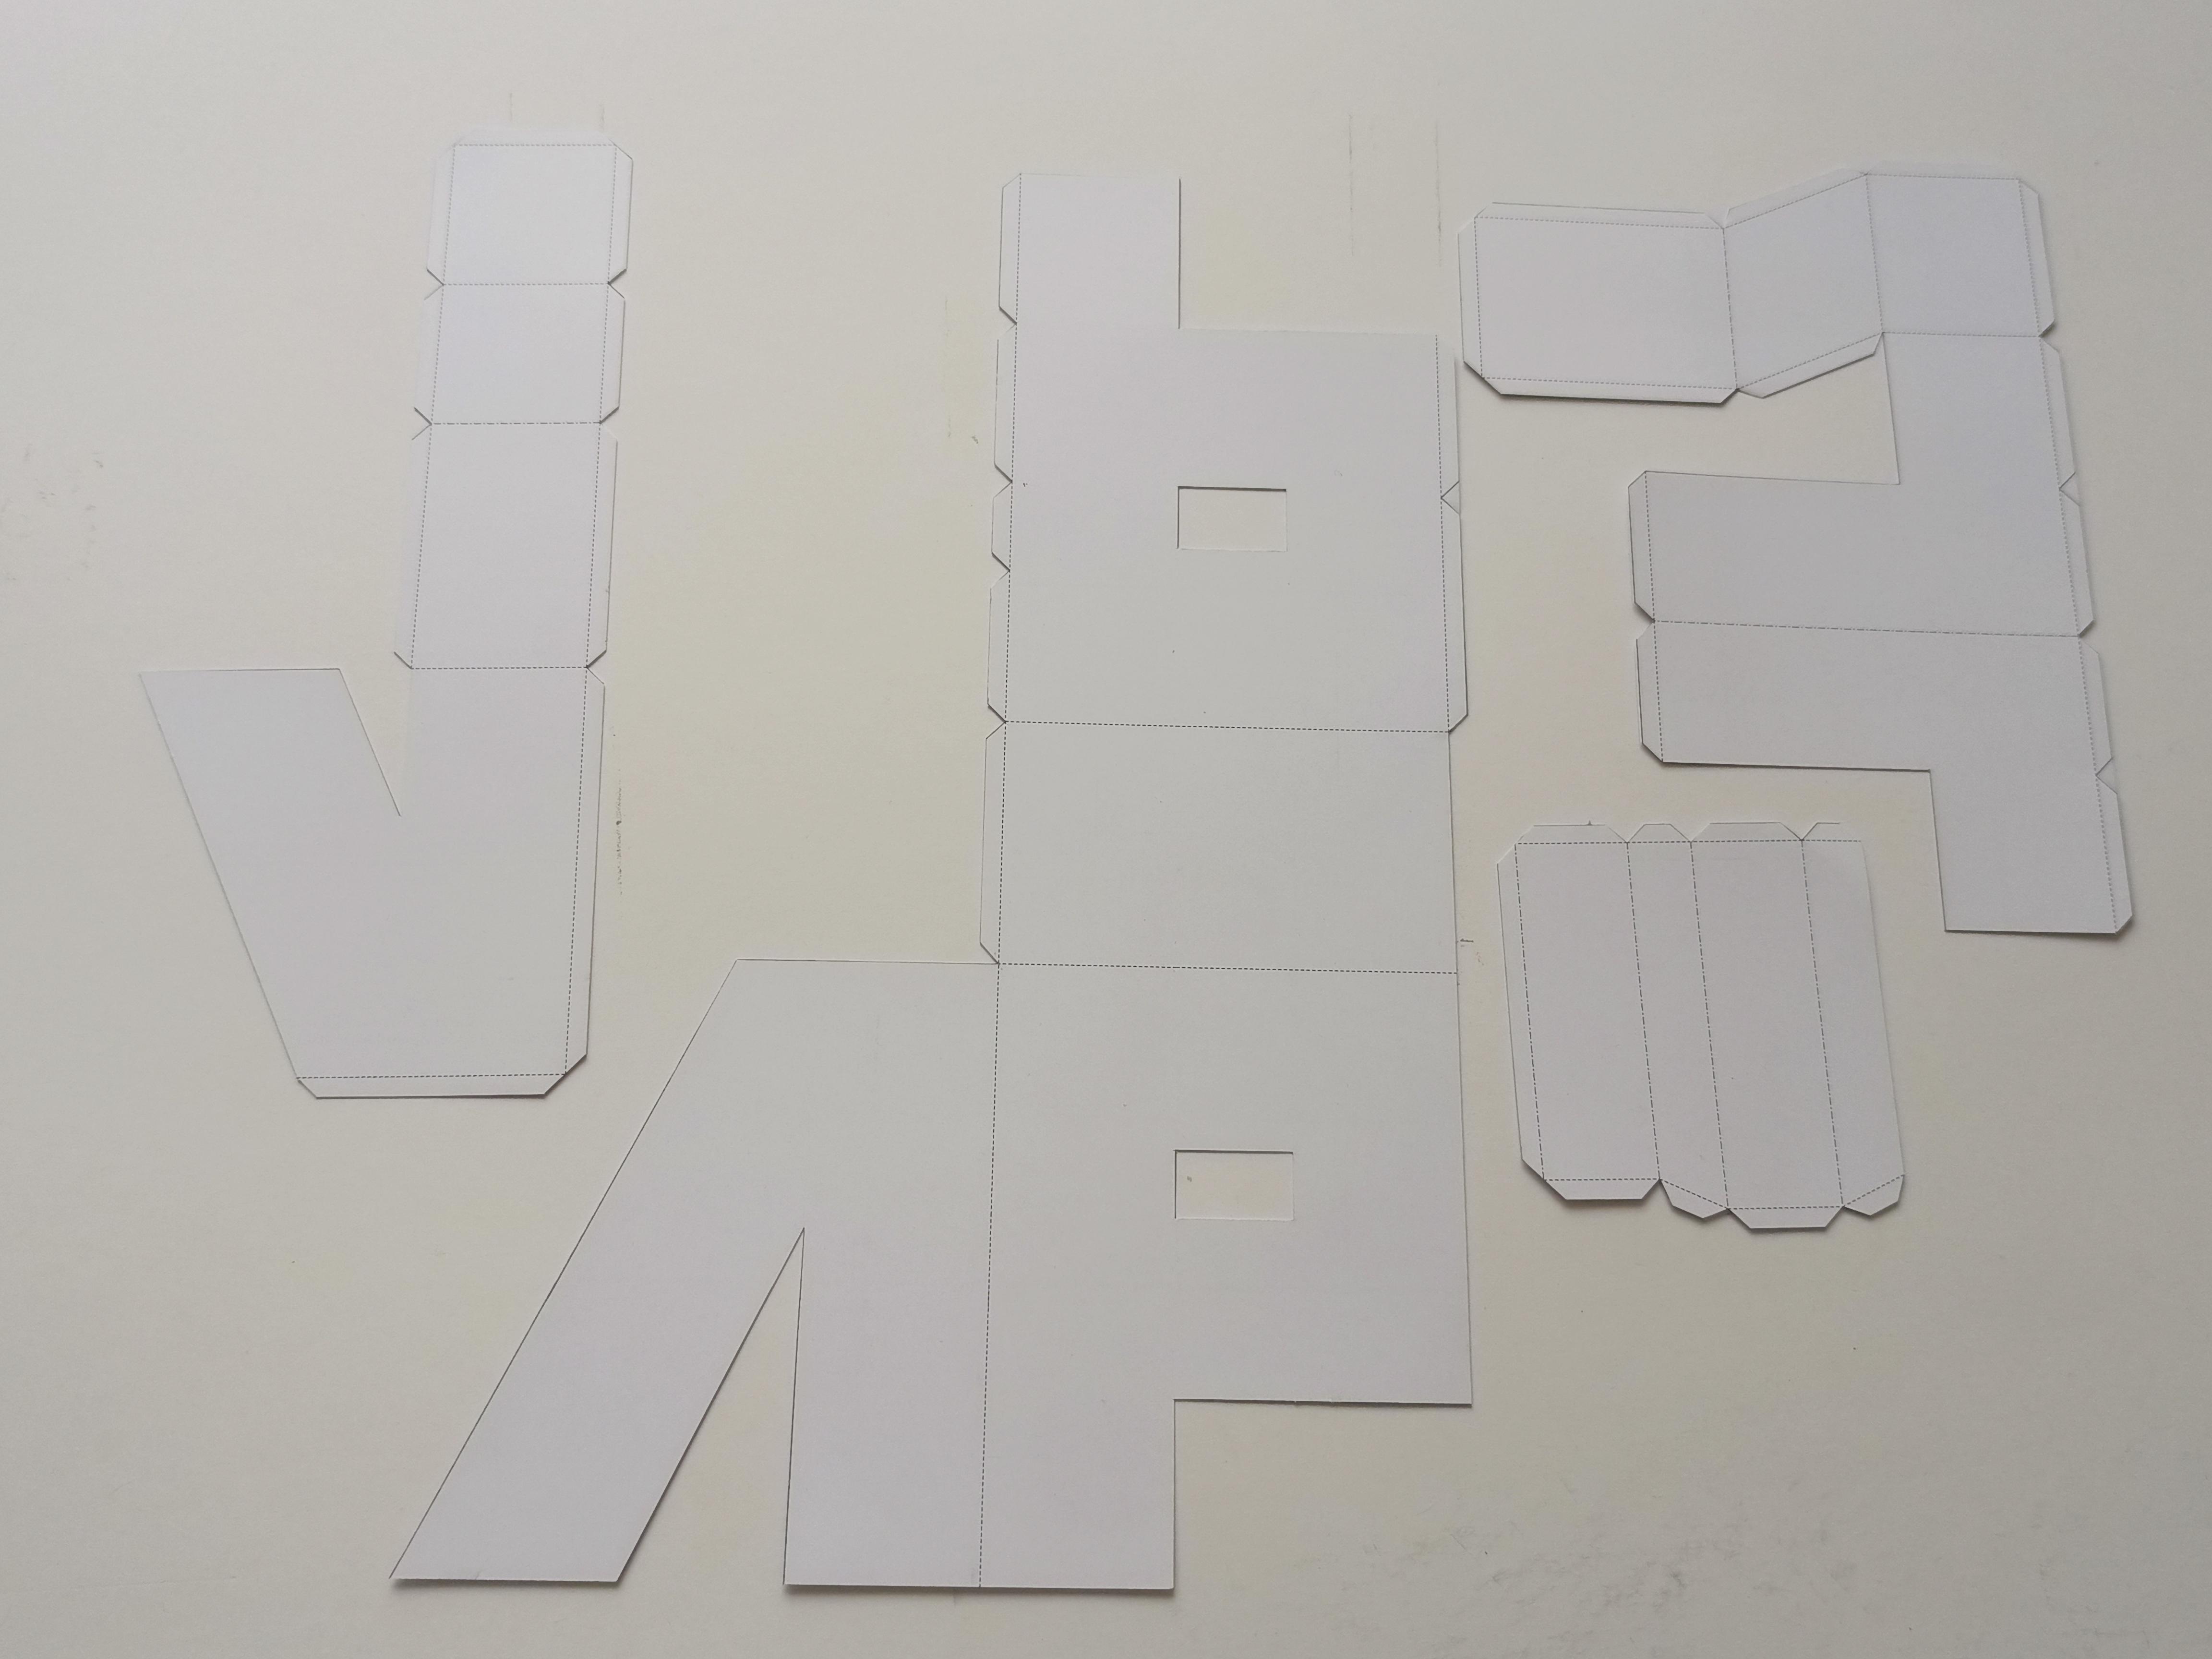
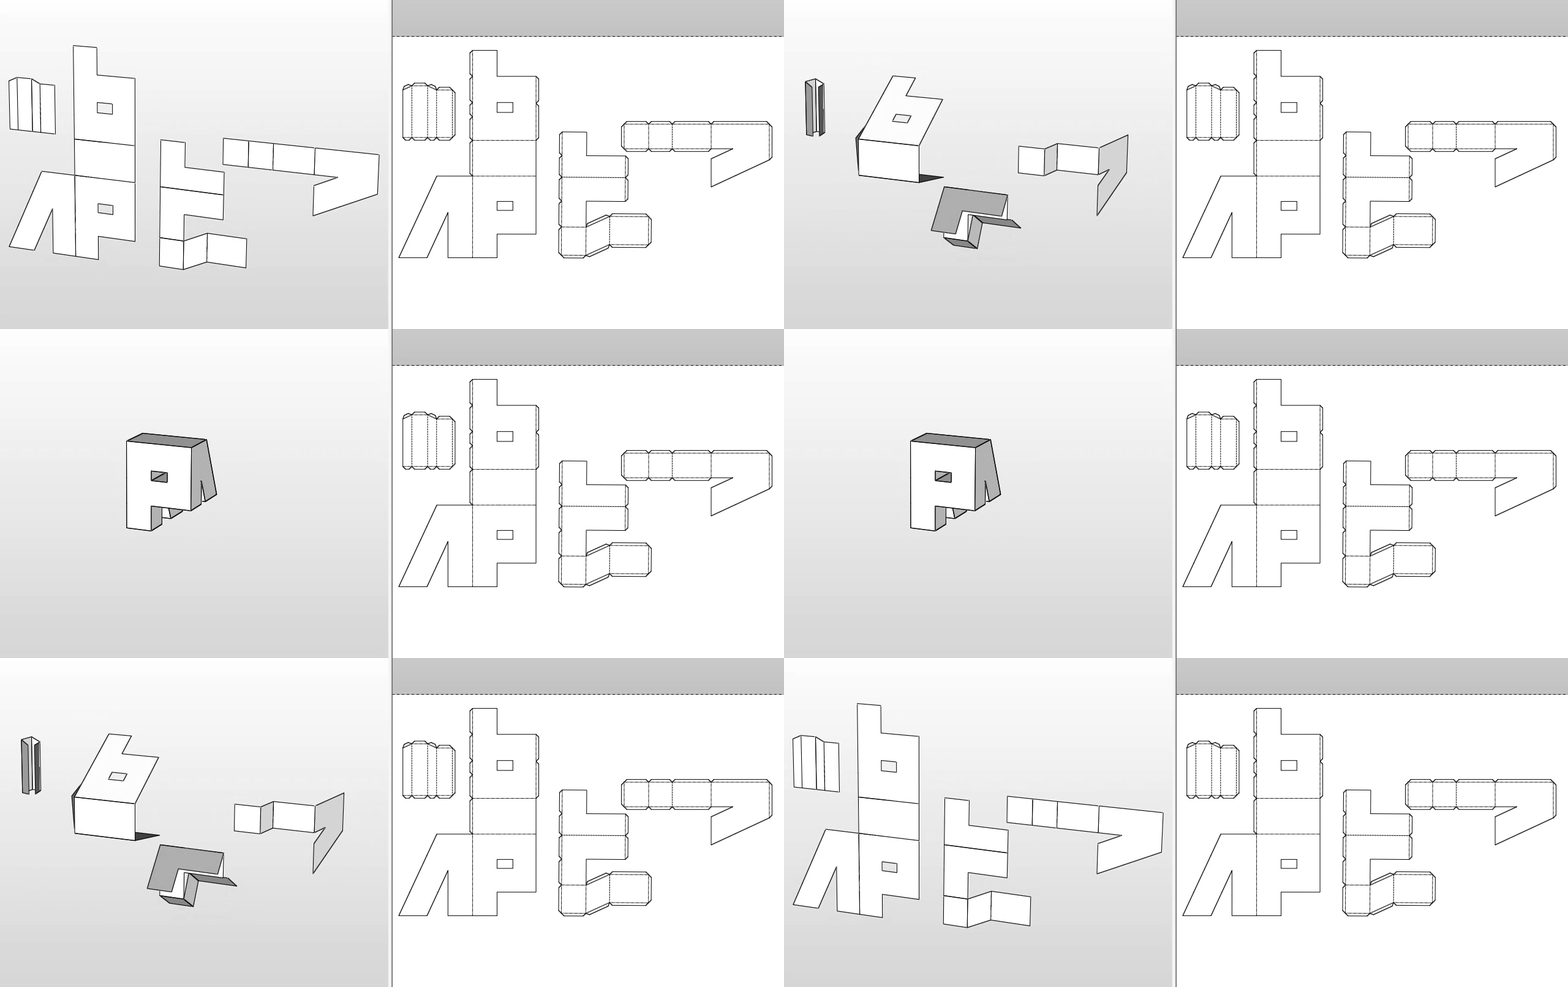
cut the respective parts of the piece to form the figure PVA, then join the pieces with the glue with their corresponding counter part.
CE
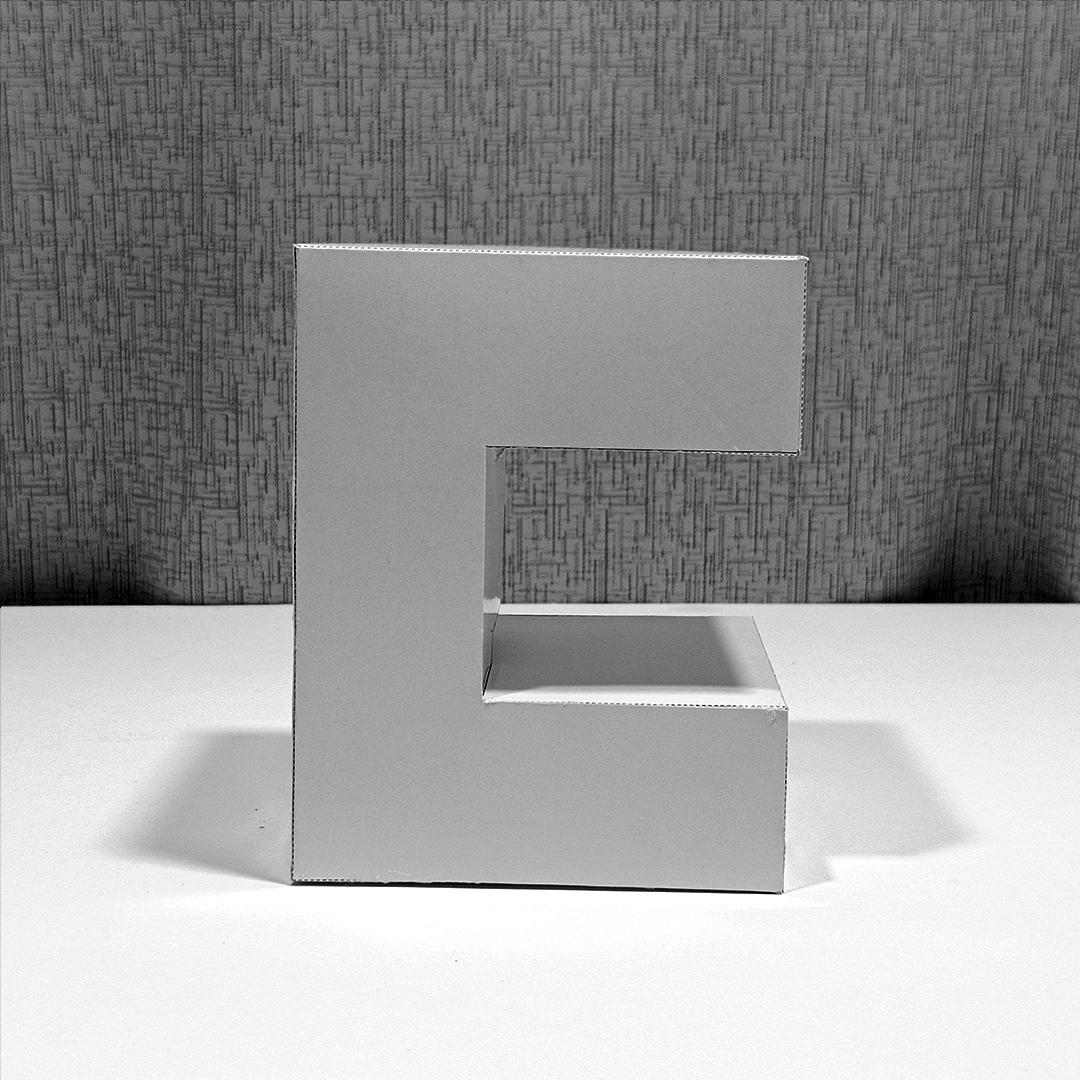
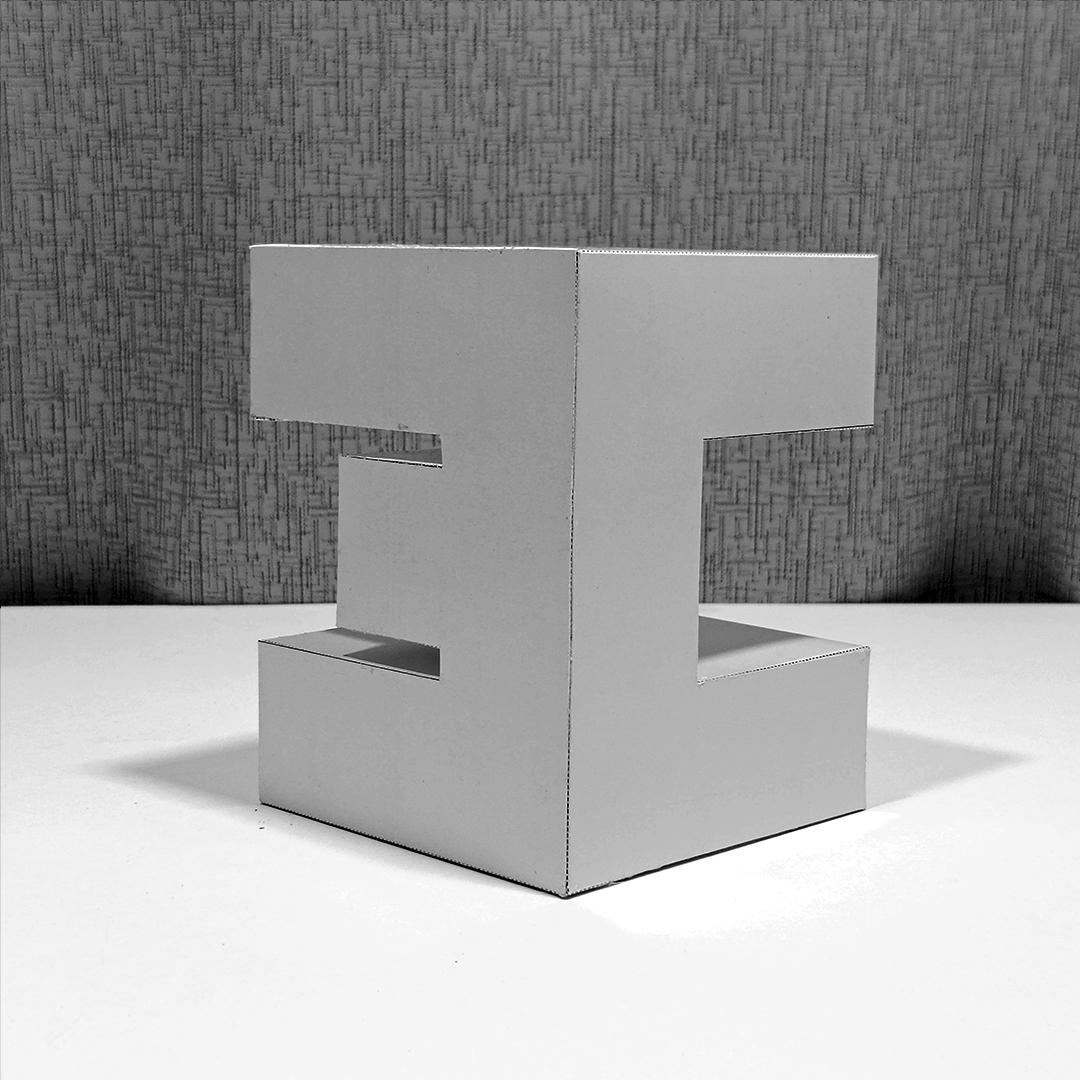
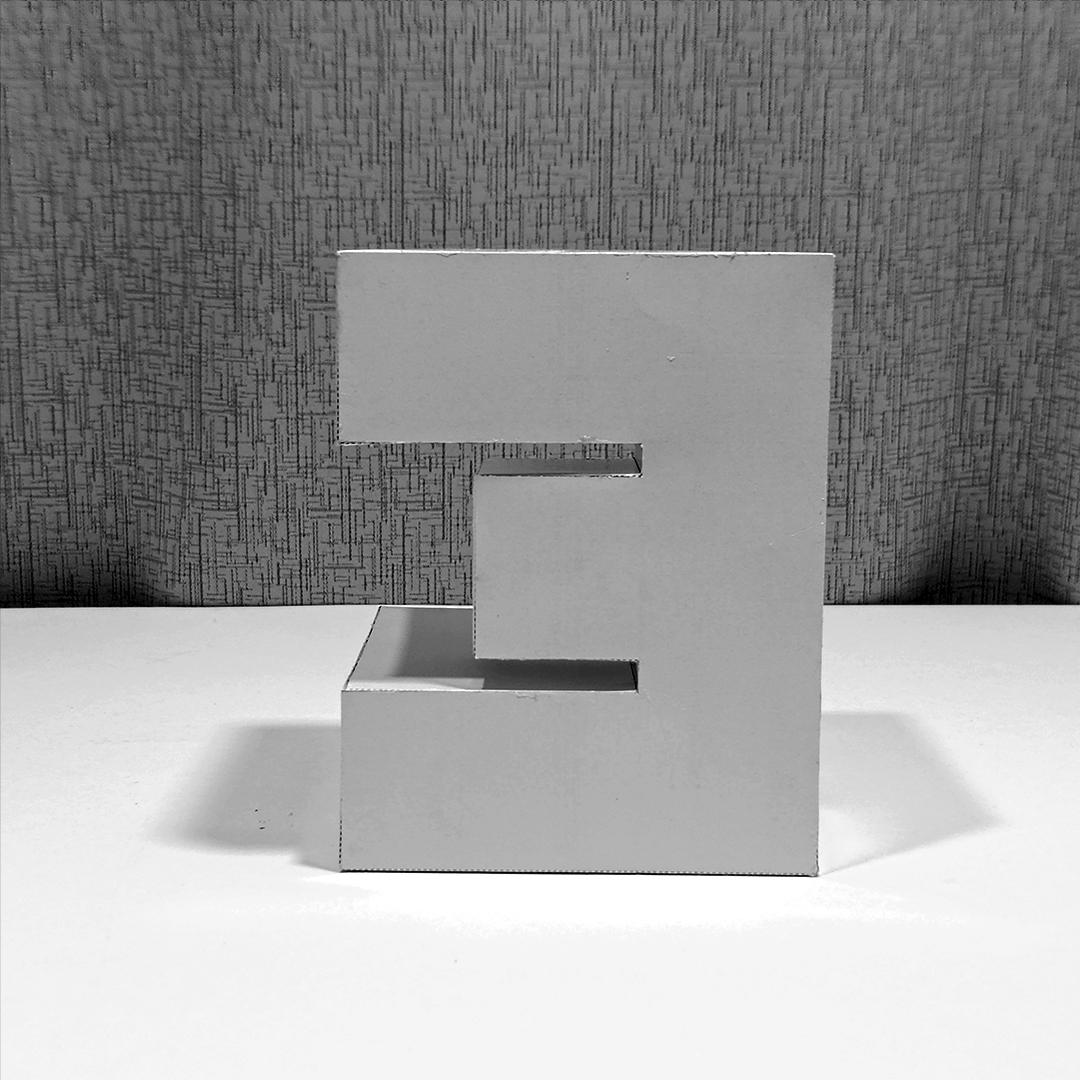
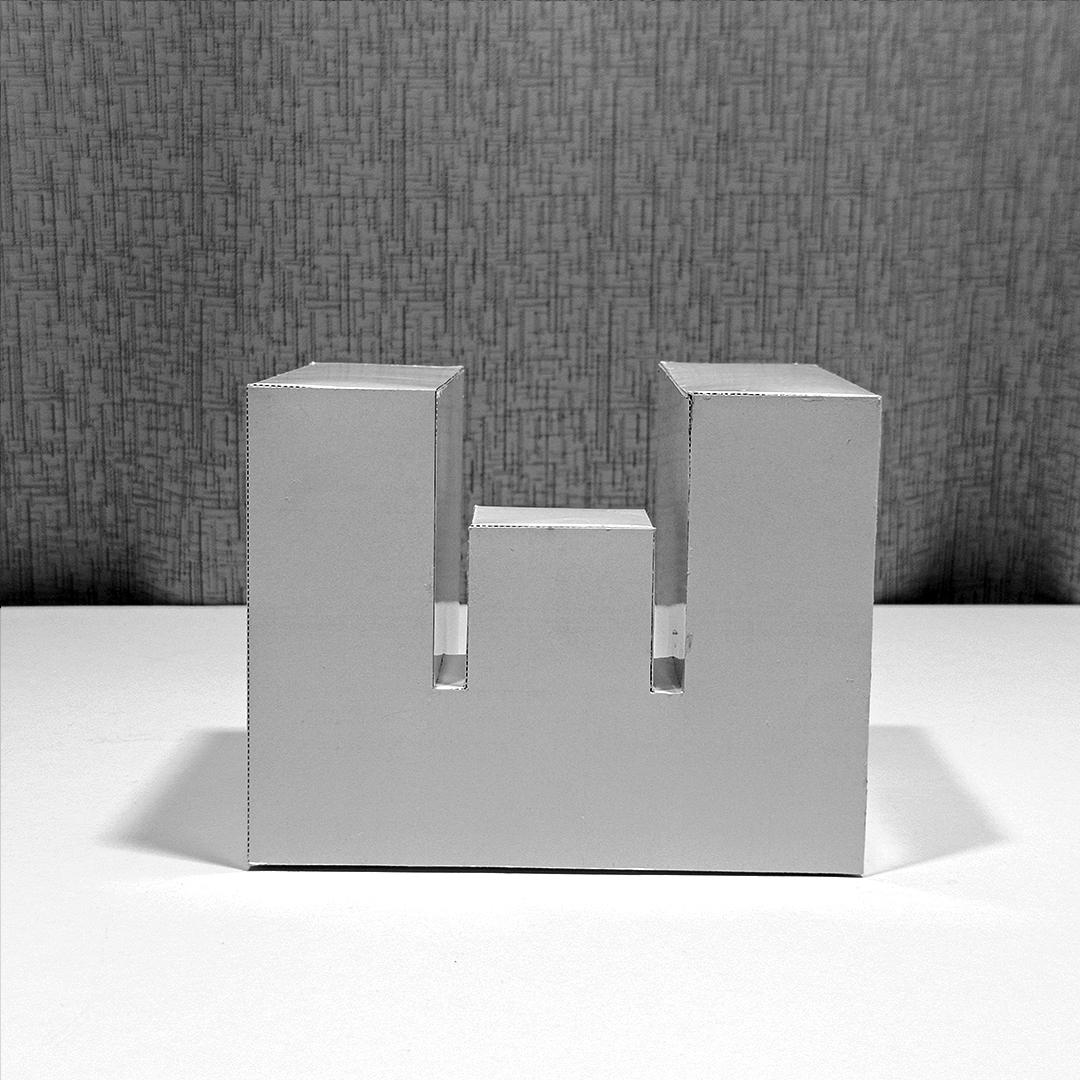
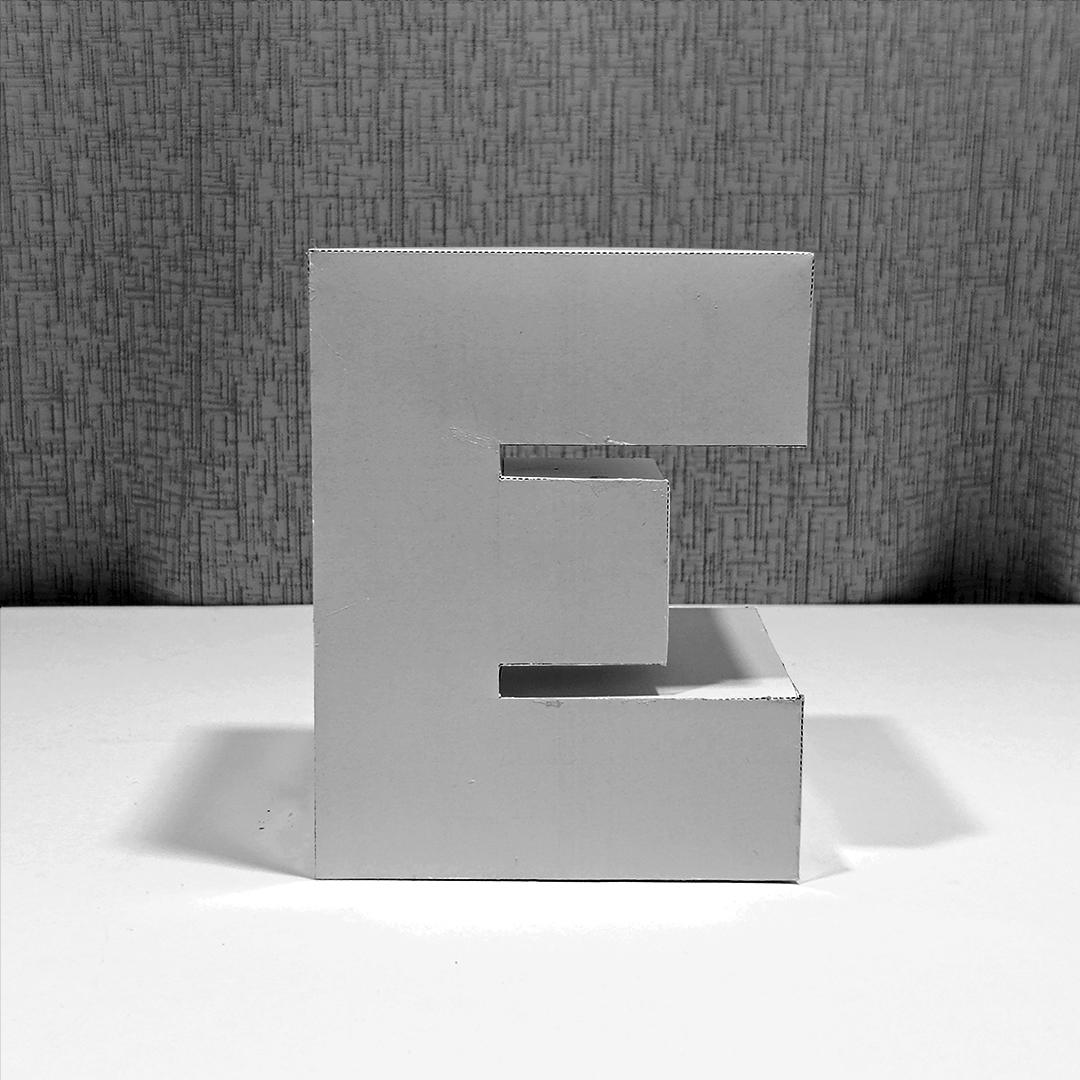
Use these Letters CE views to guide you in assembly
CE Assembly
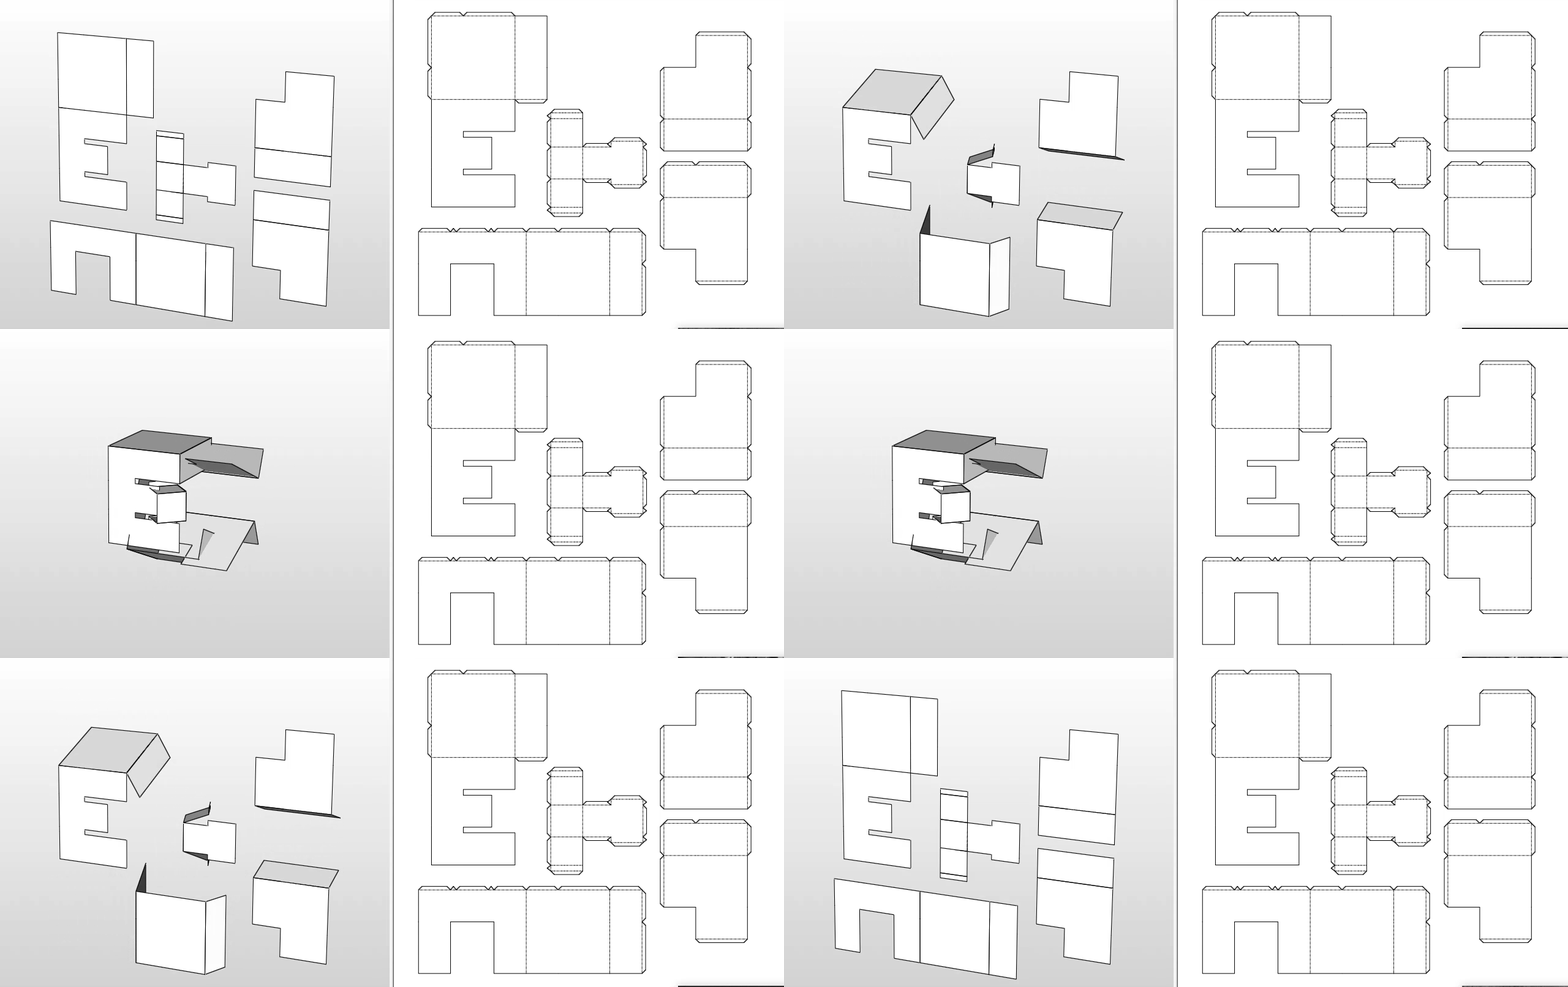
cut the respective parts of the piece to form the figure CE, then join the pieces with the glue with their corresponding counter part.
MKW
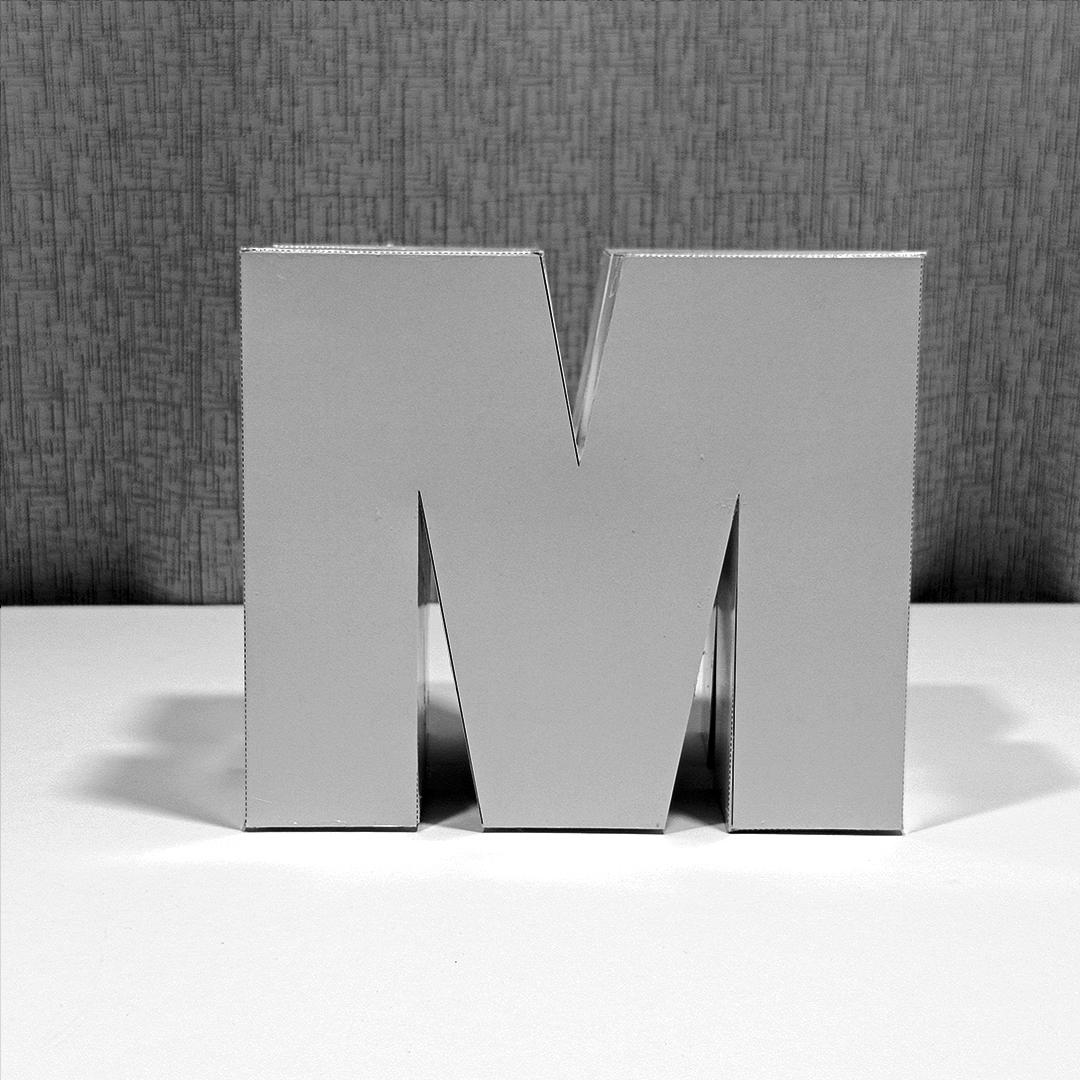
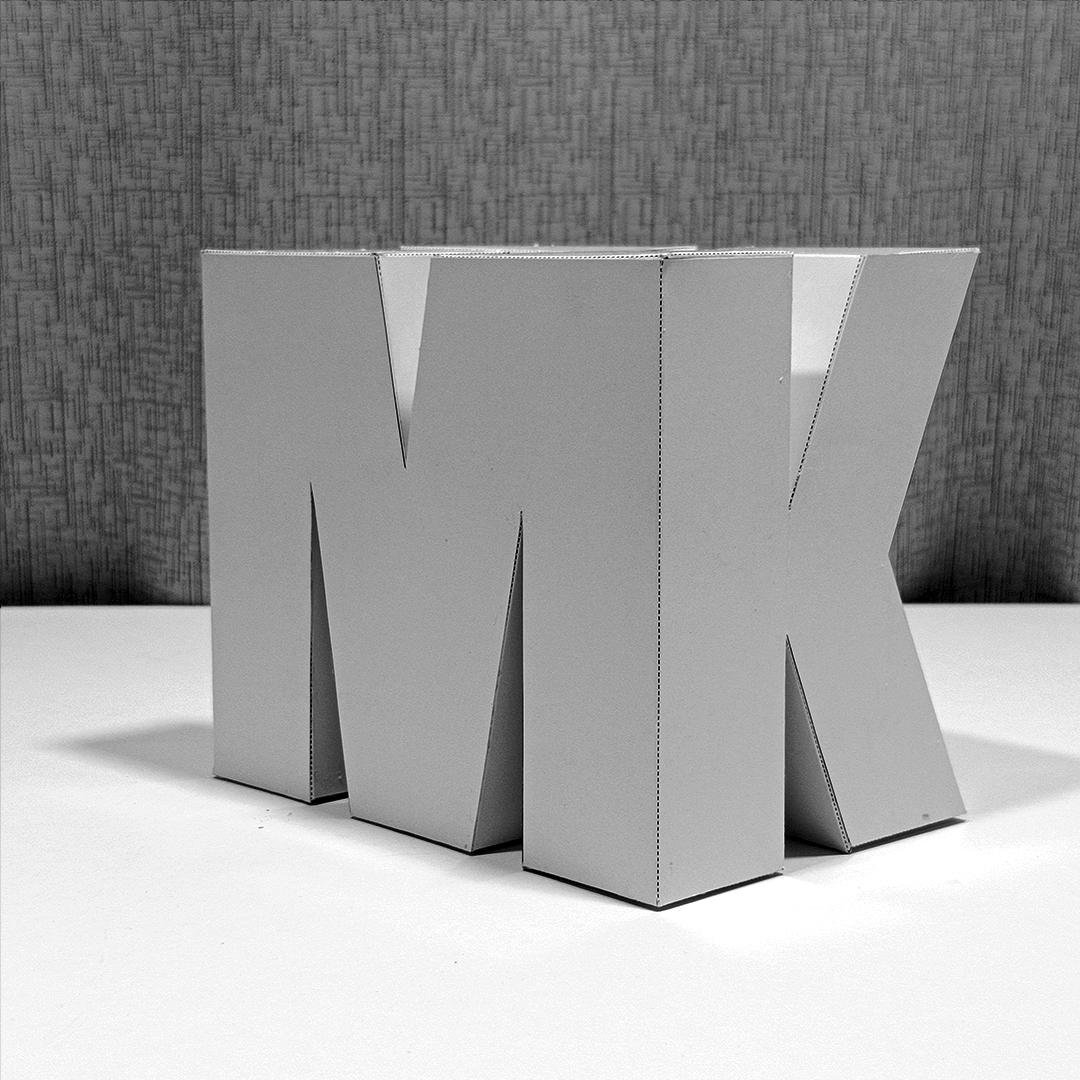
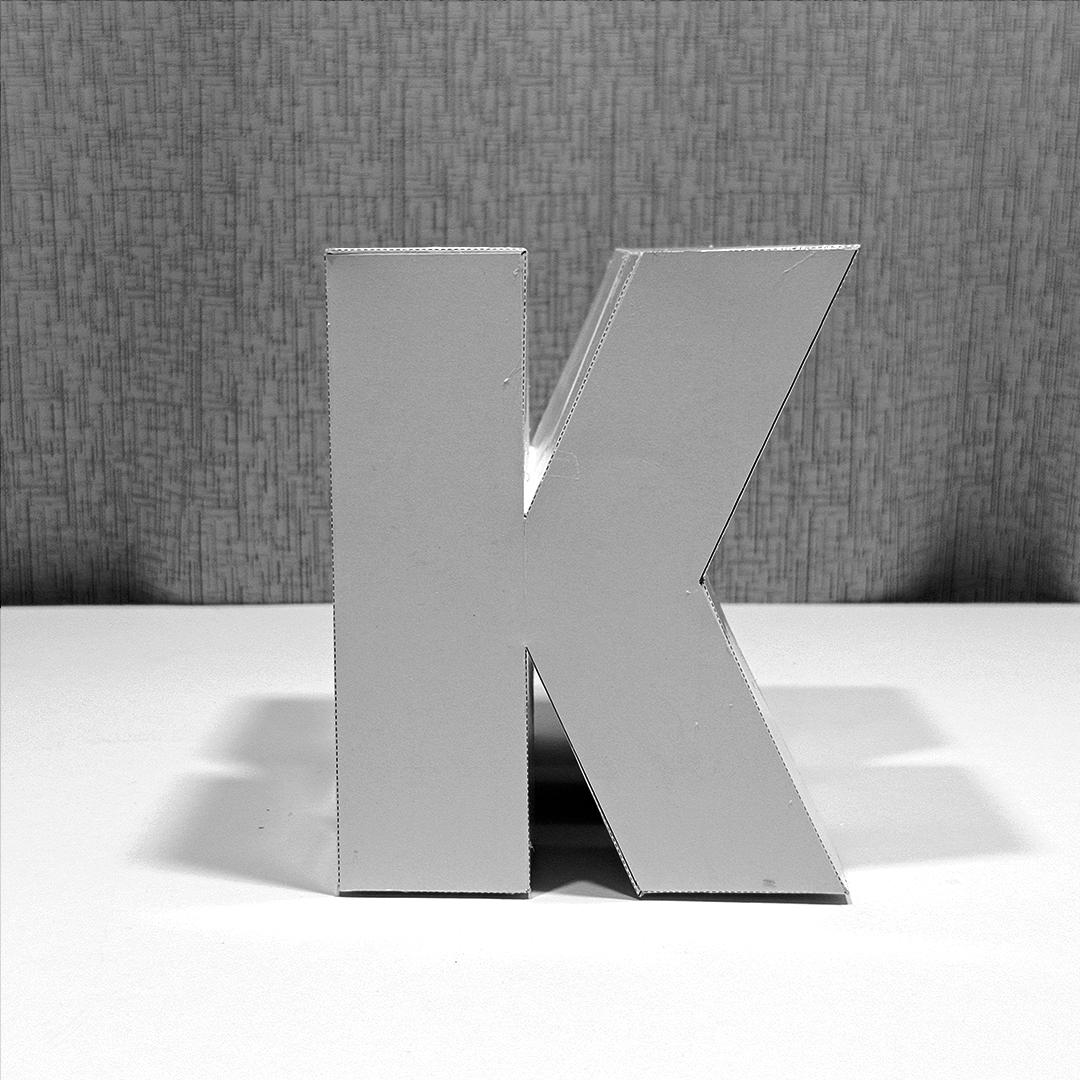
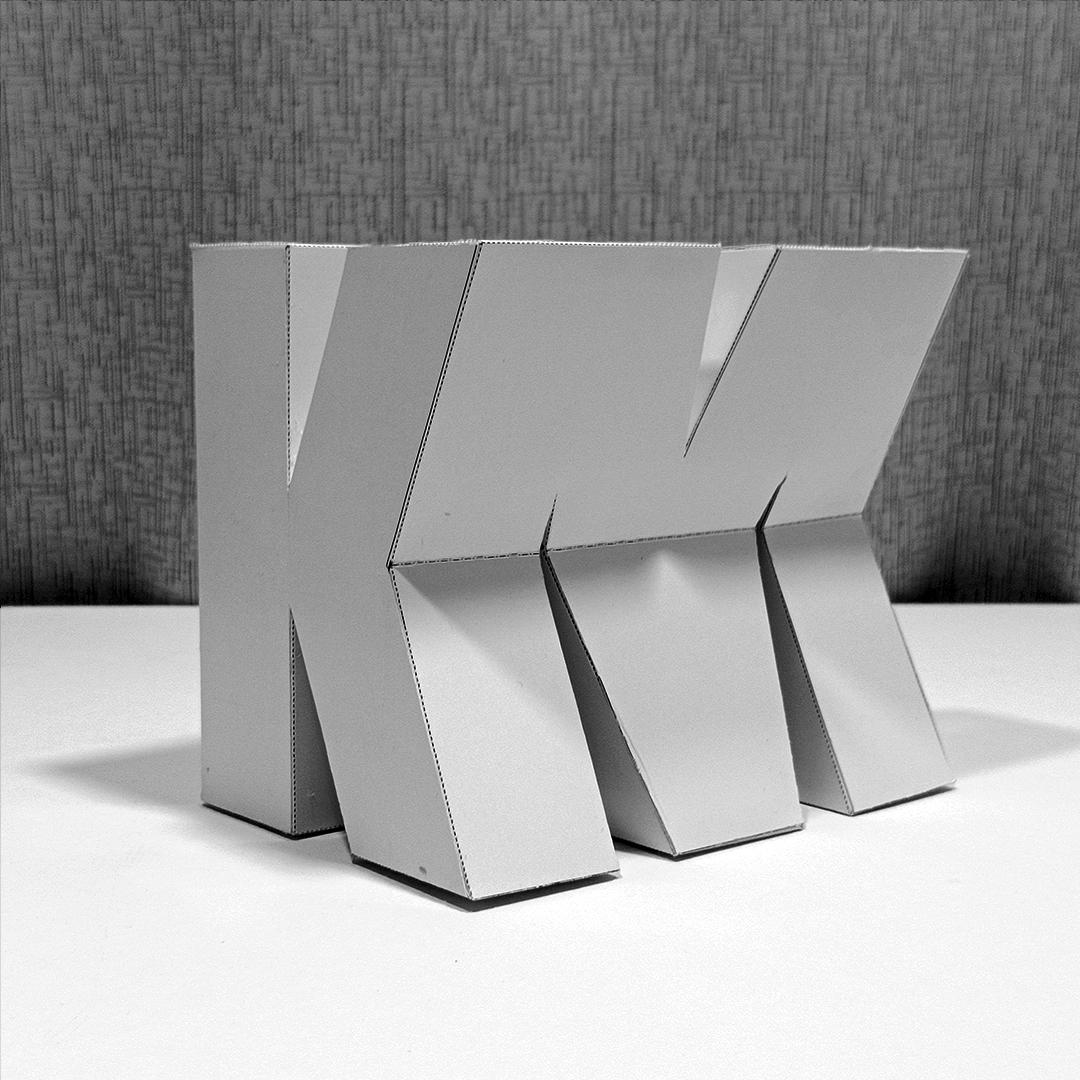
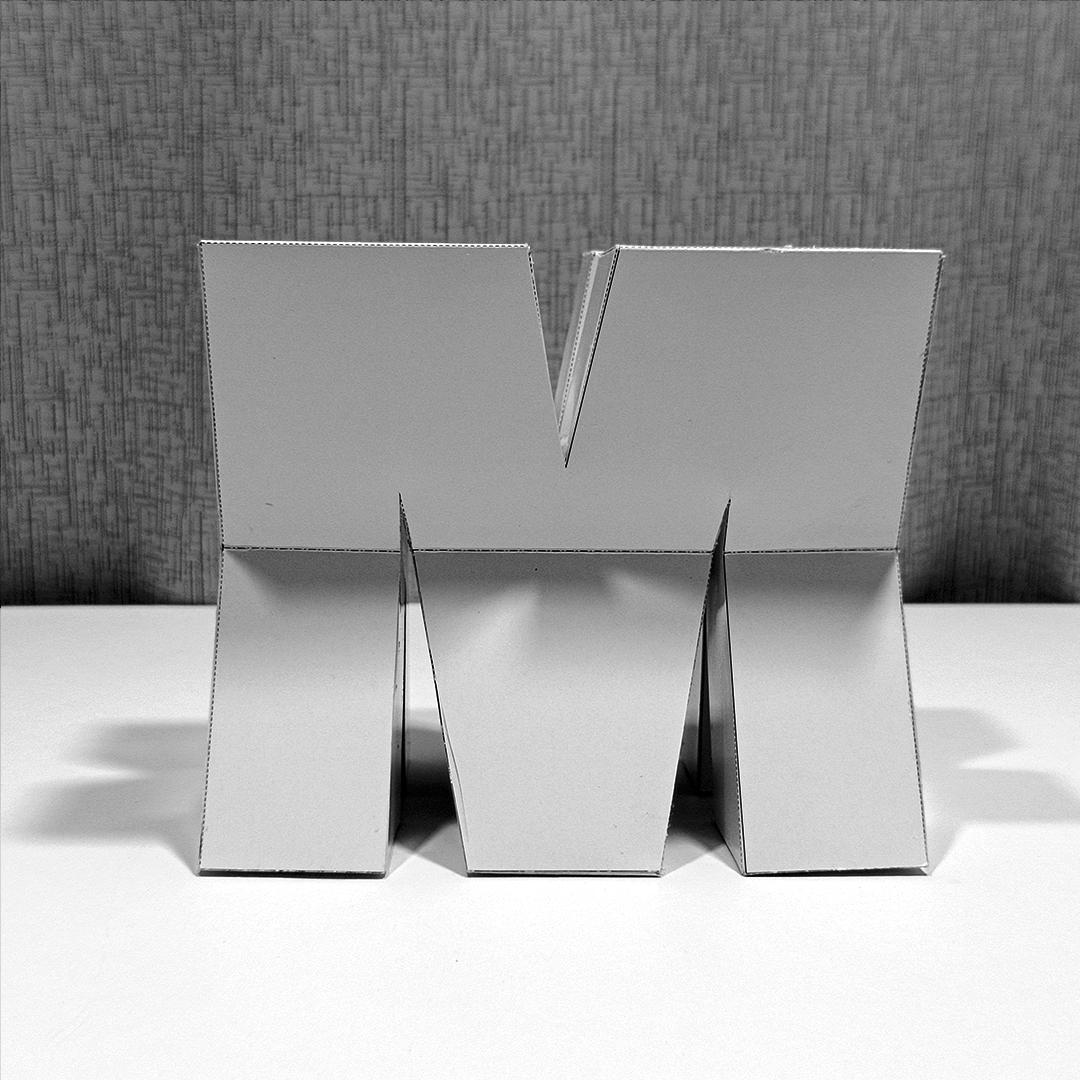
Use these Letters MKW views to guide you in assembly
MKW Assembly
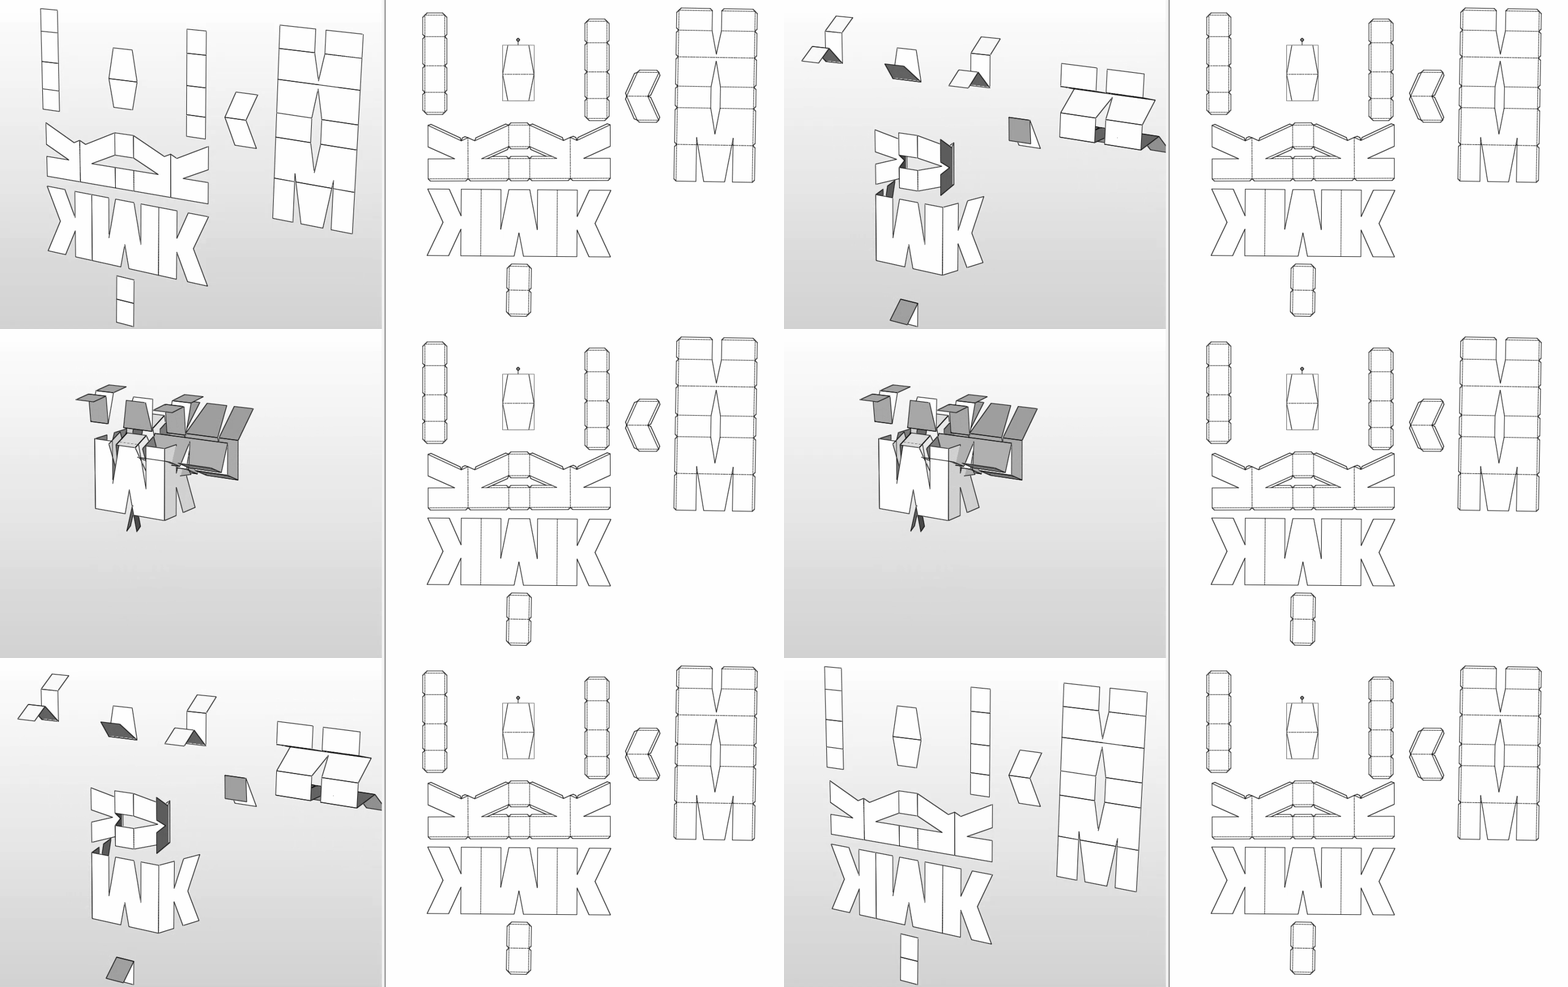
cut the respective parts of the piece to form the figure MWK, then join the pieces with the glue with their corresponding counter part.
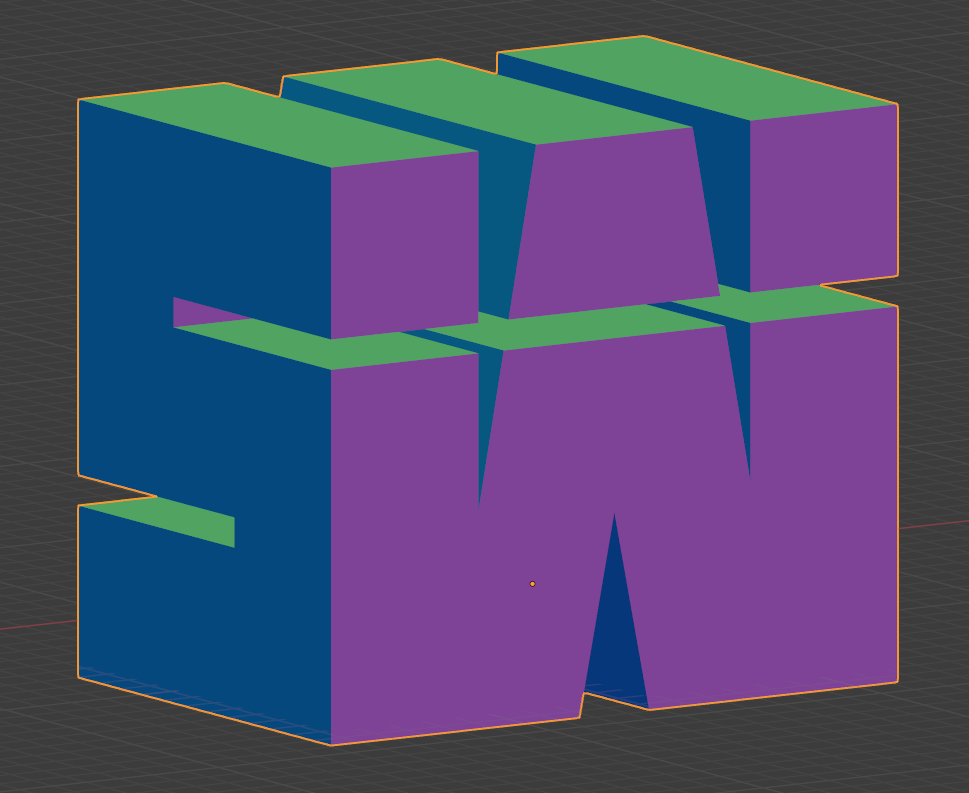
SWM
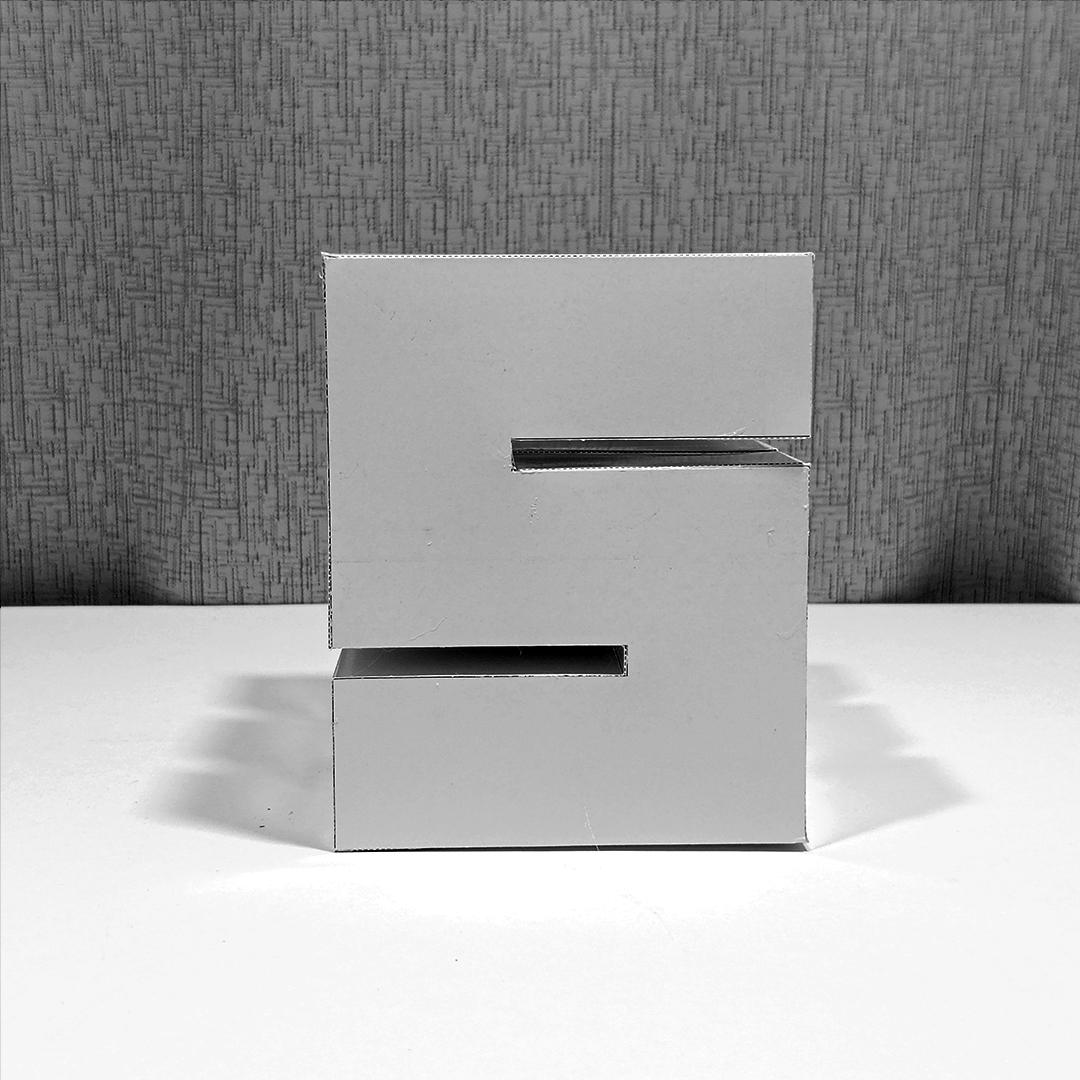
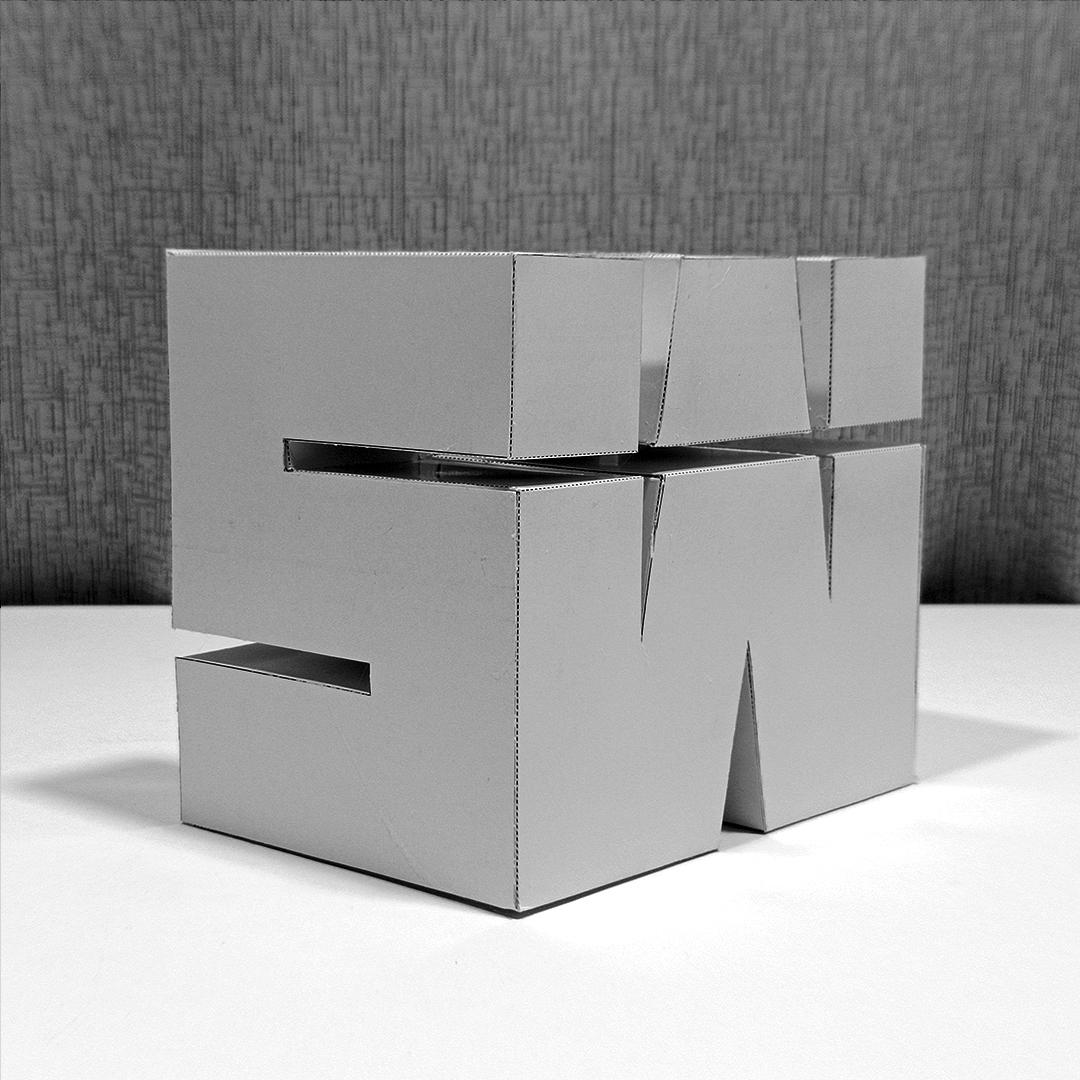
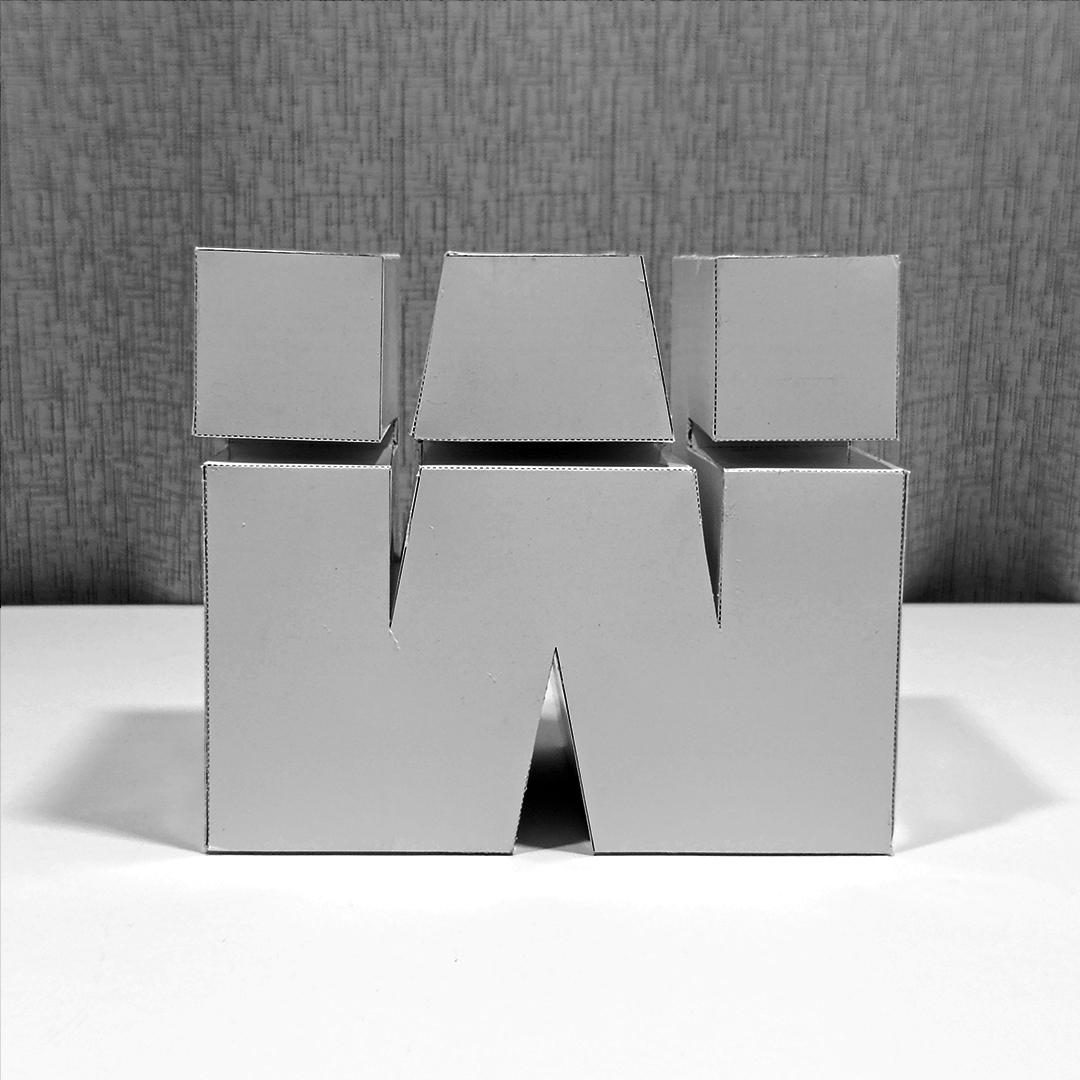
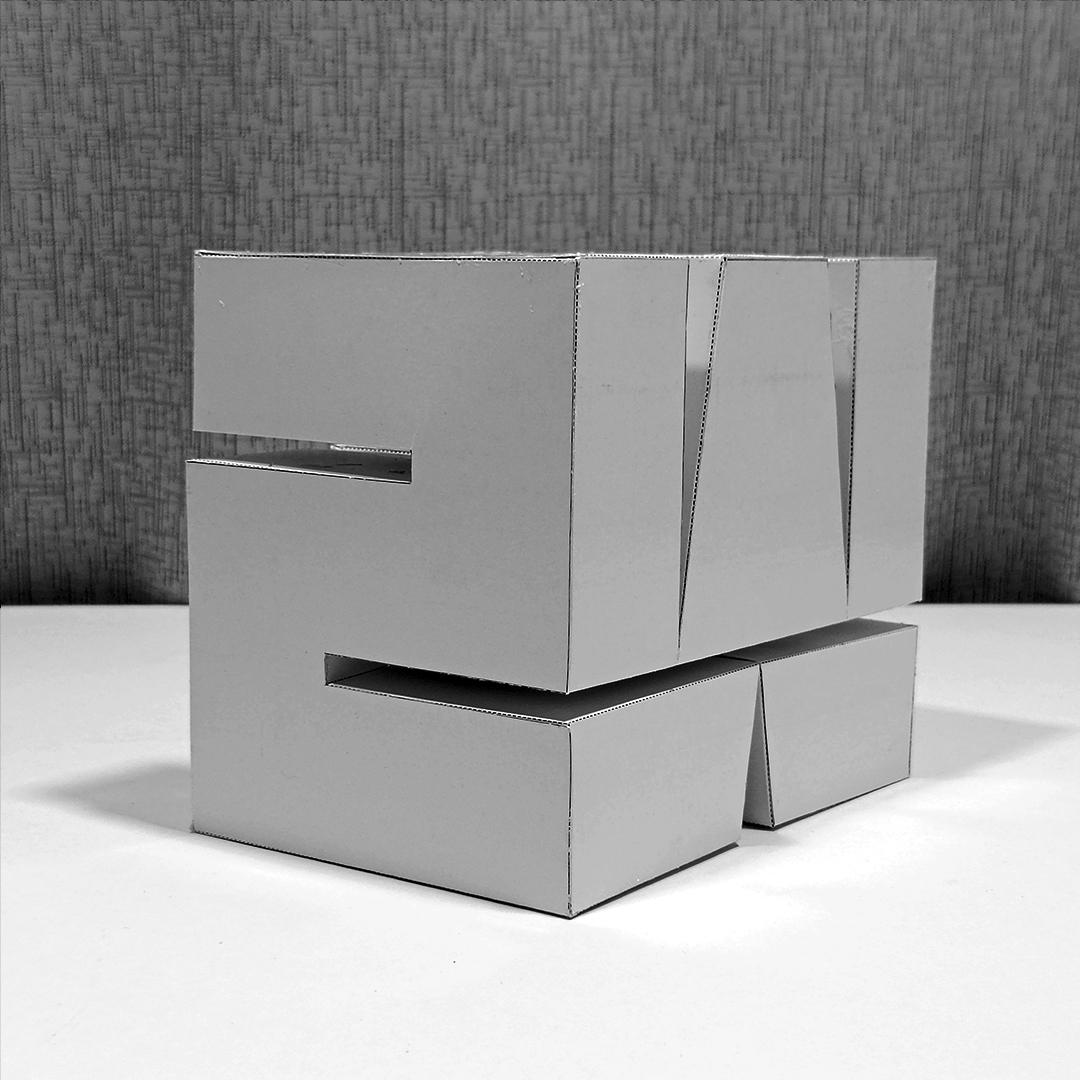
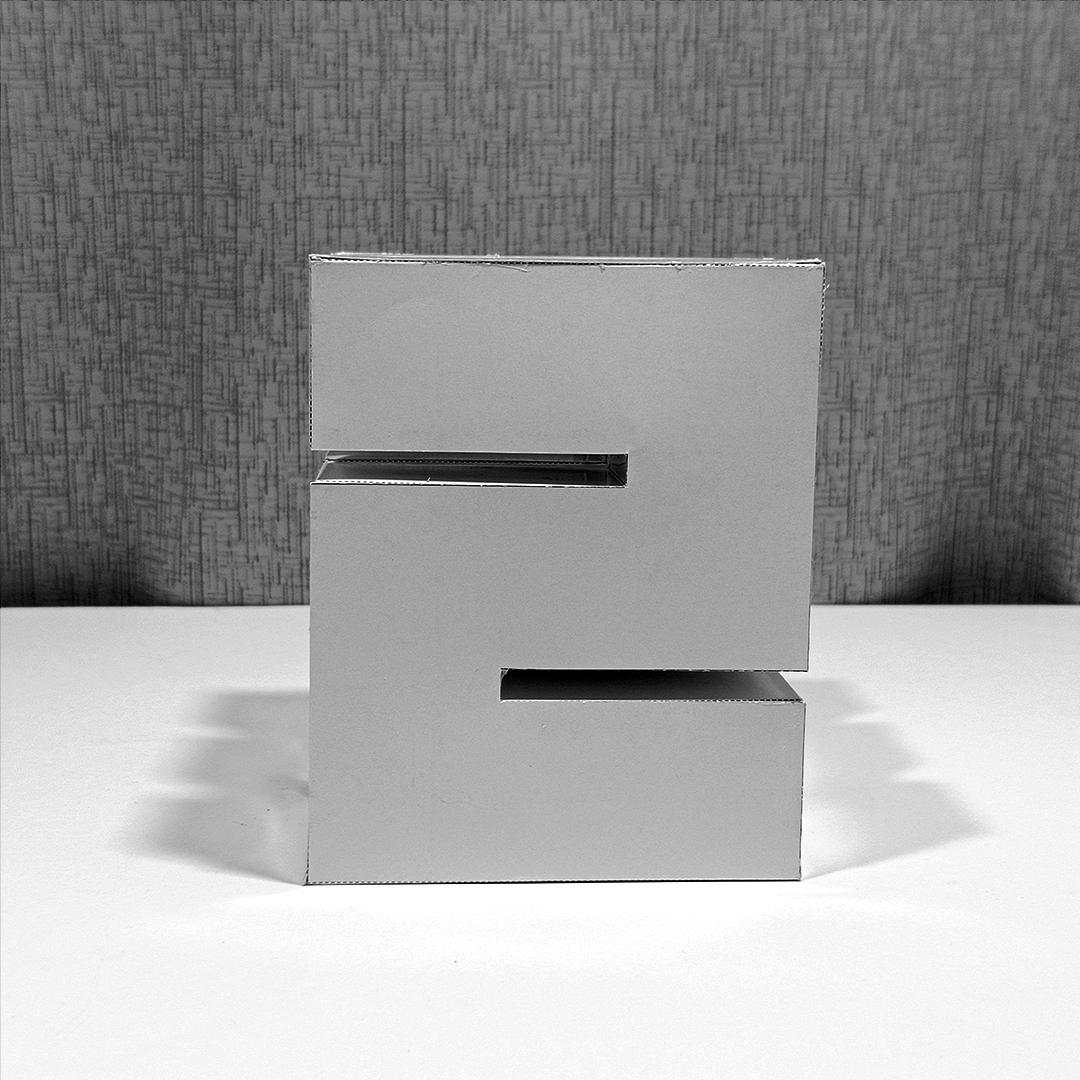
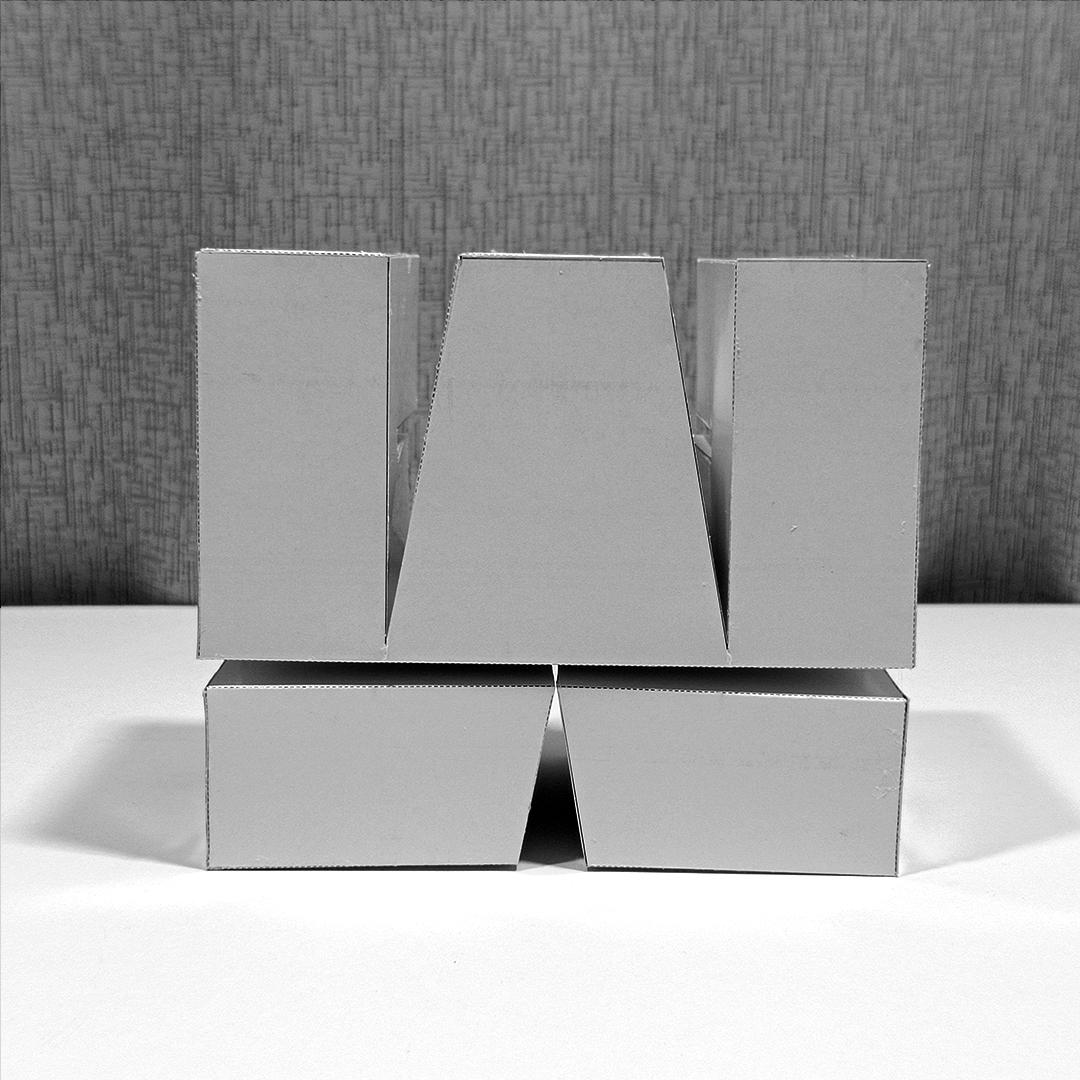
Use these Letters SWM views to guide you in assembly
SMW Assembly
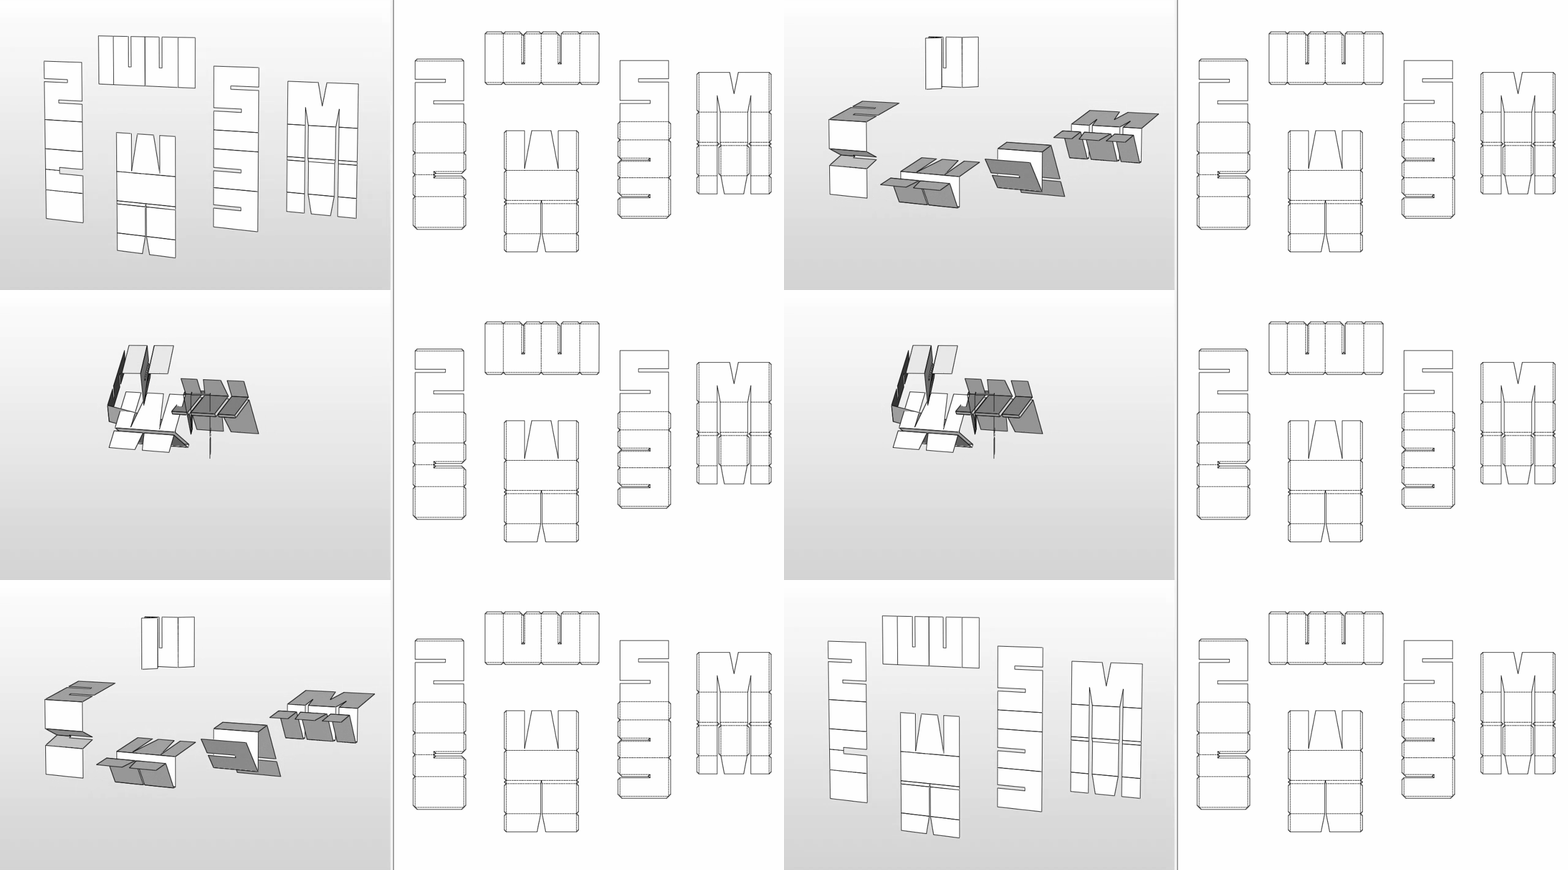
cut the respective parts of the piece to form the figure WMS, then join the pieces with the glue with their corresponding counter part.
CUSTOMIZE
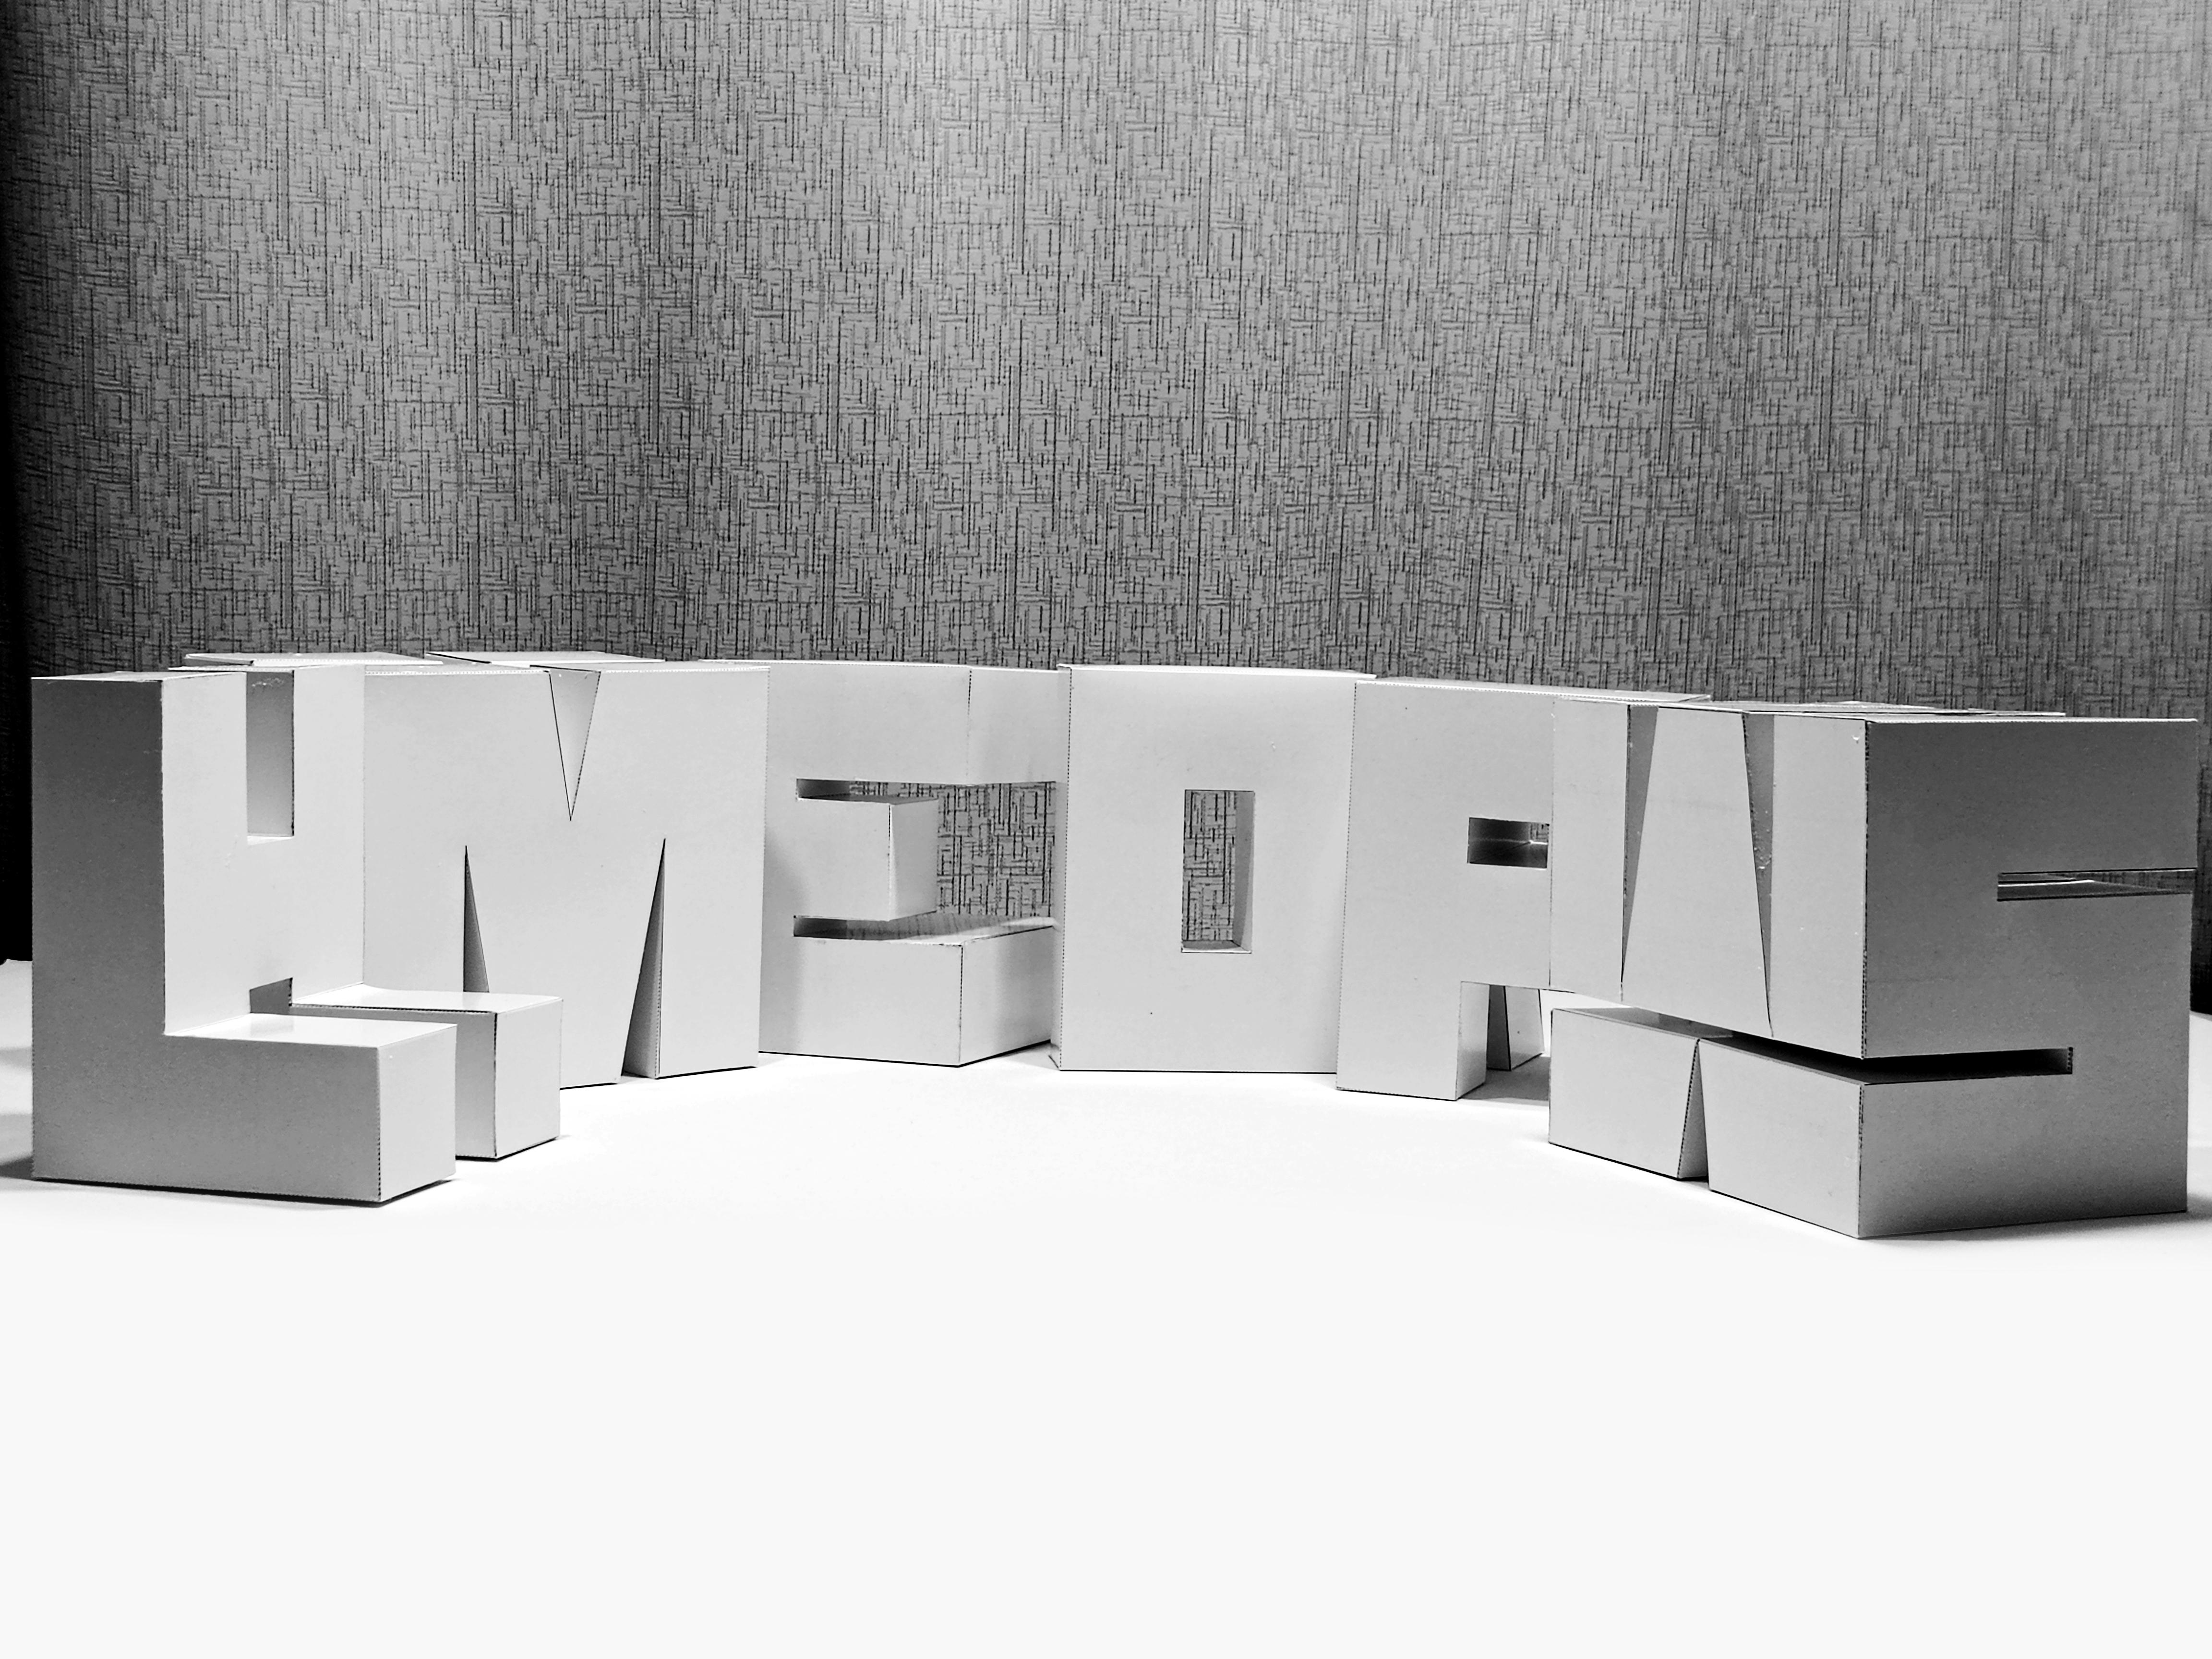
The letters come in white but after they are assembled you can do whatever you want with them, paint them, break them, sculpt them, color them with crayons, give it your unique touch and combine it with your private space or living room.
If you make it, show me those creations.
Conclusion.
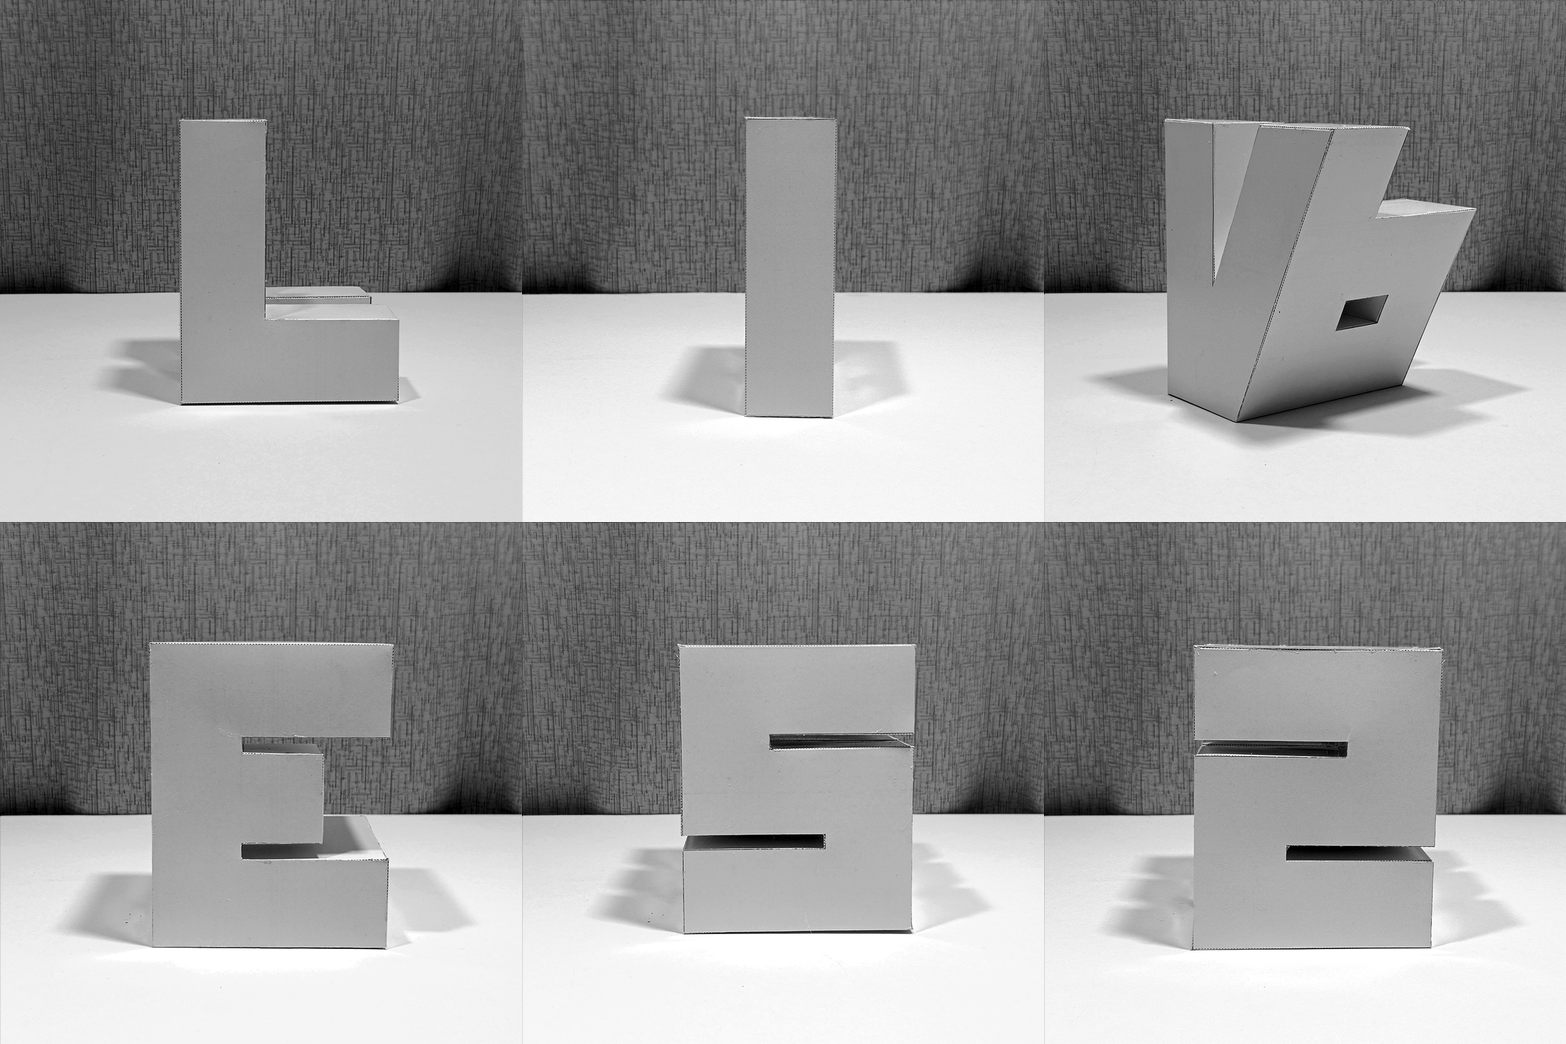
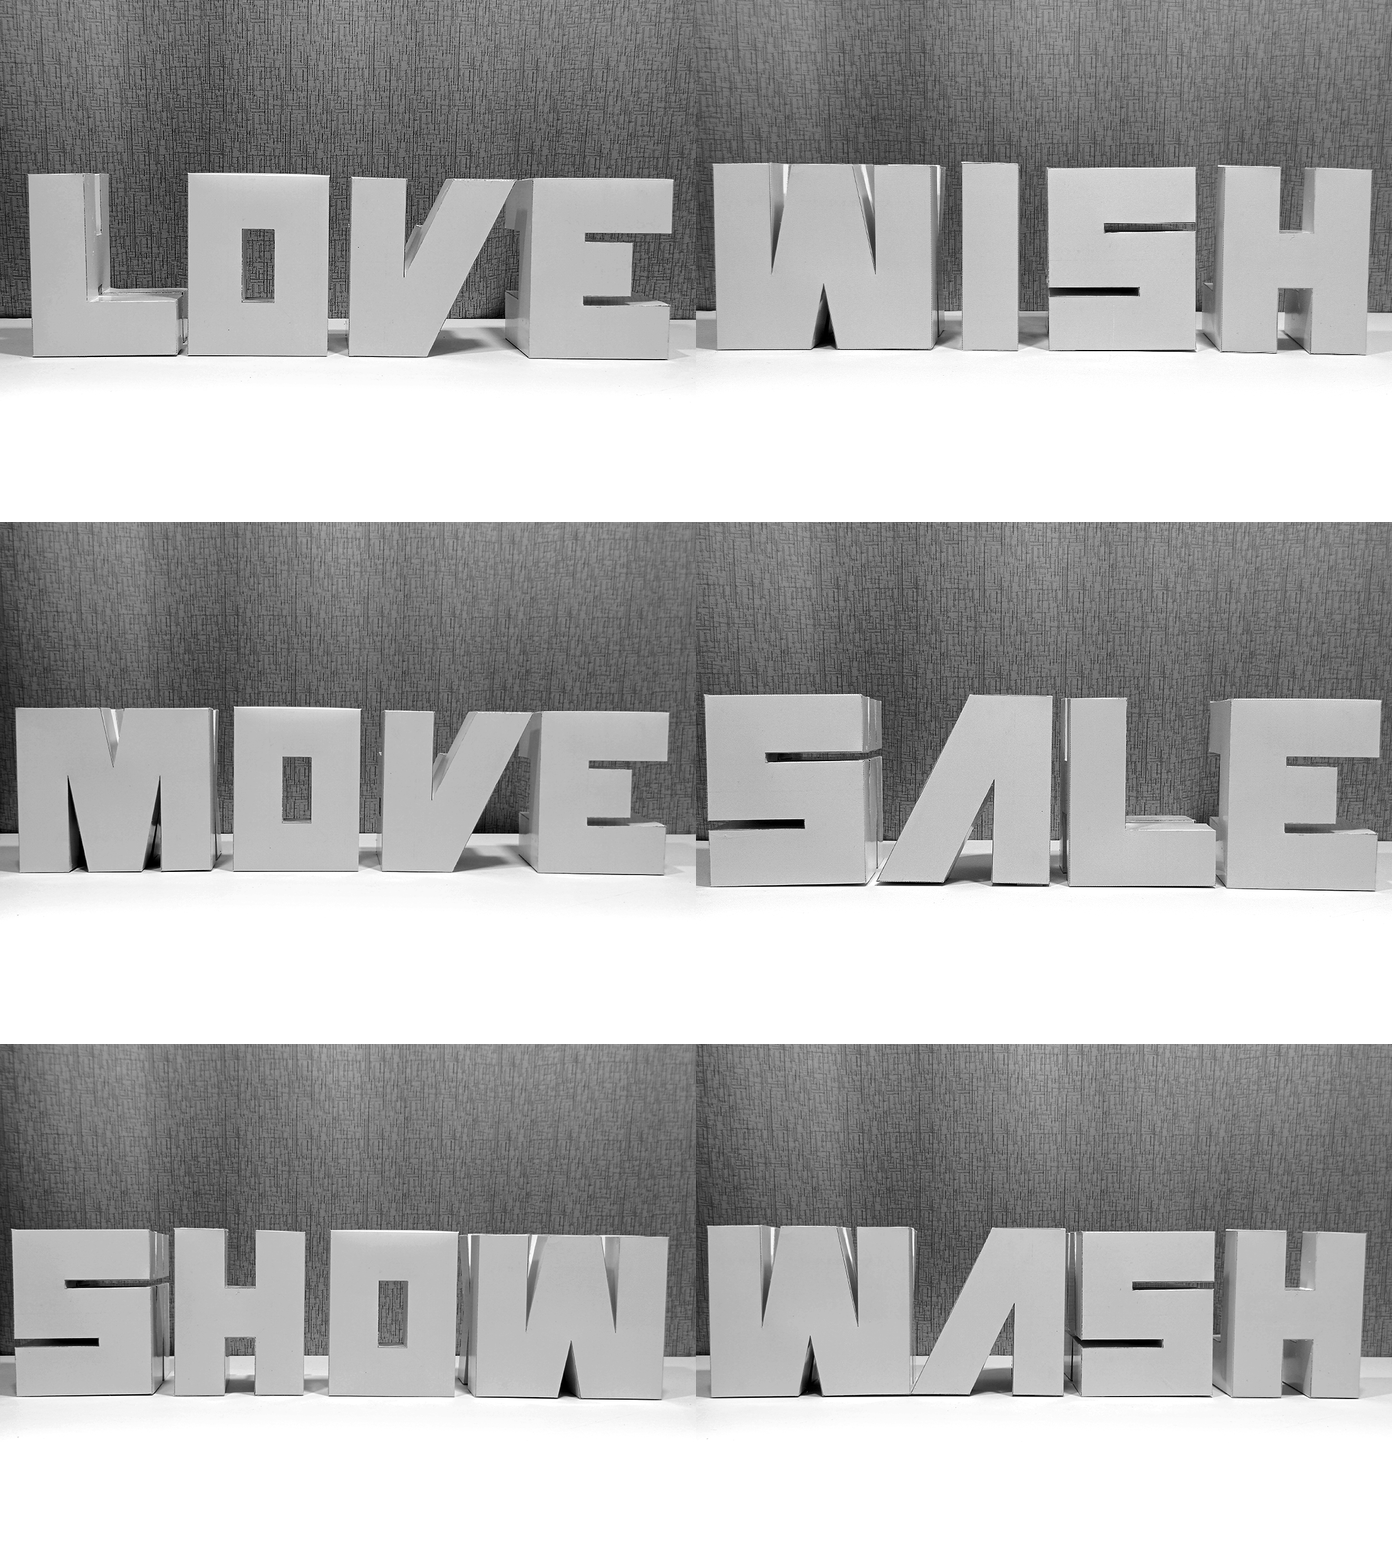
This project is very fun and functional for any space, whether it is a yoga studio, a fashion store or a live broadcast, no matter your mood, you just have to look for what text you can form with the available letters that can lift your spirits. and change the vibe of your day
THANKS FOR WATCH.
and have a good time making it.