Multi-Tool Stand


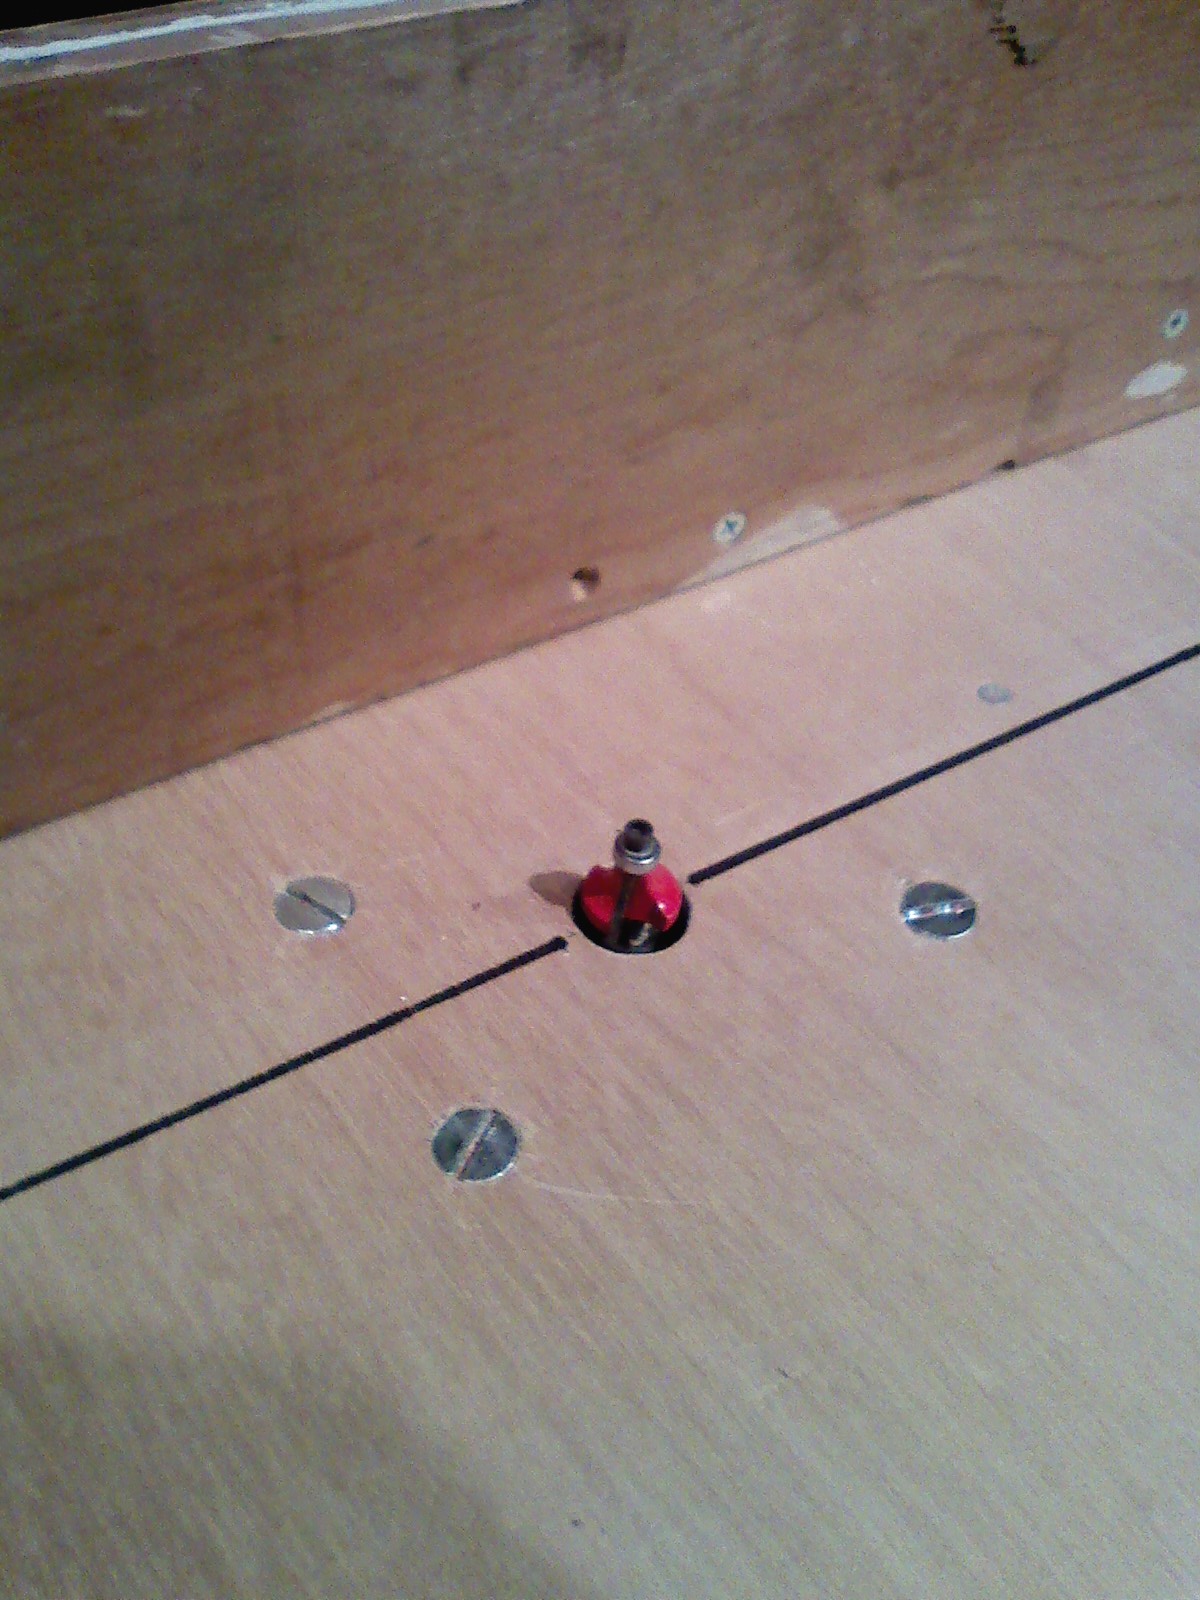


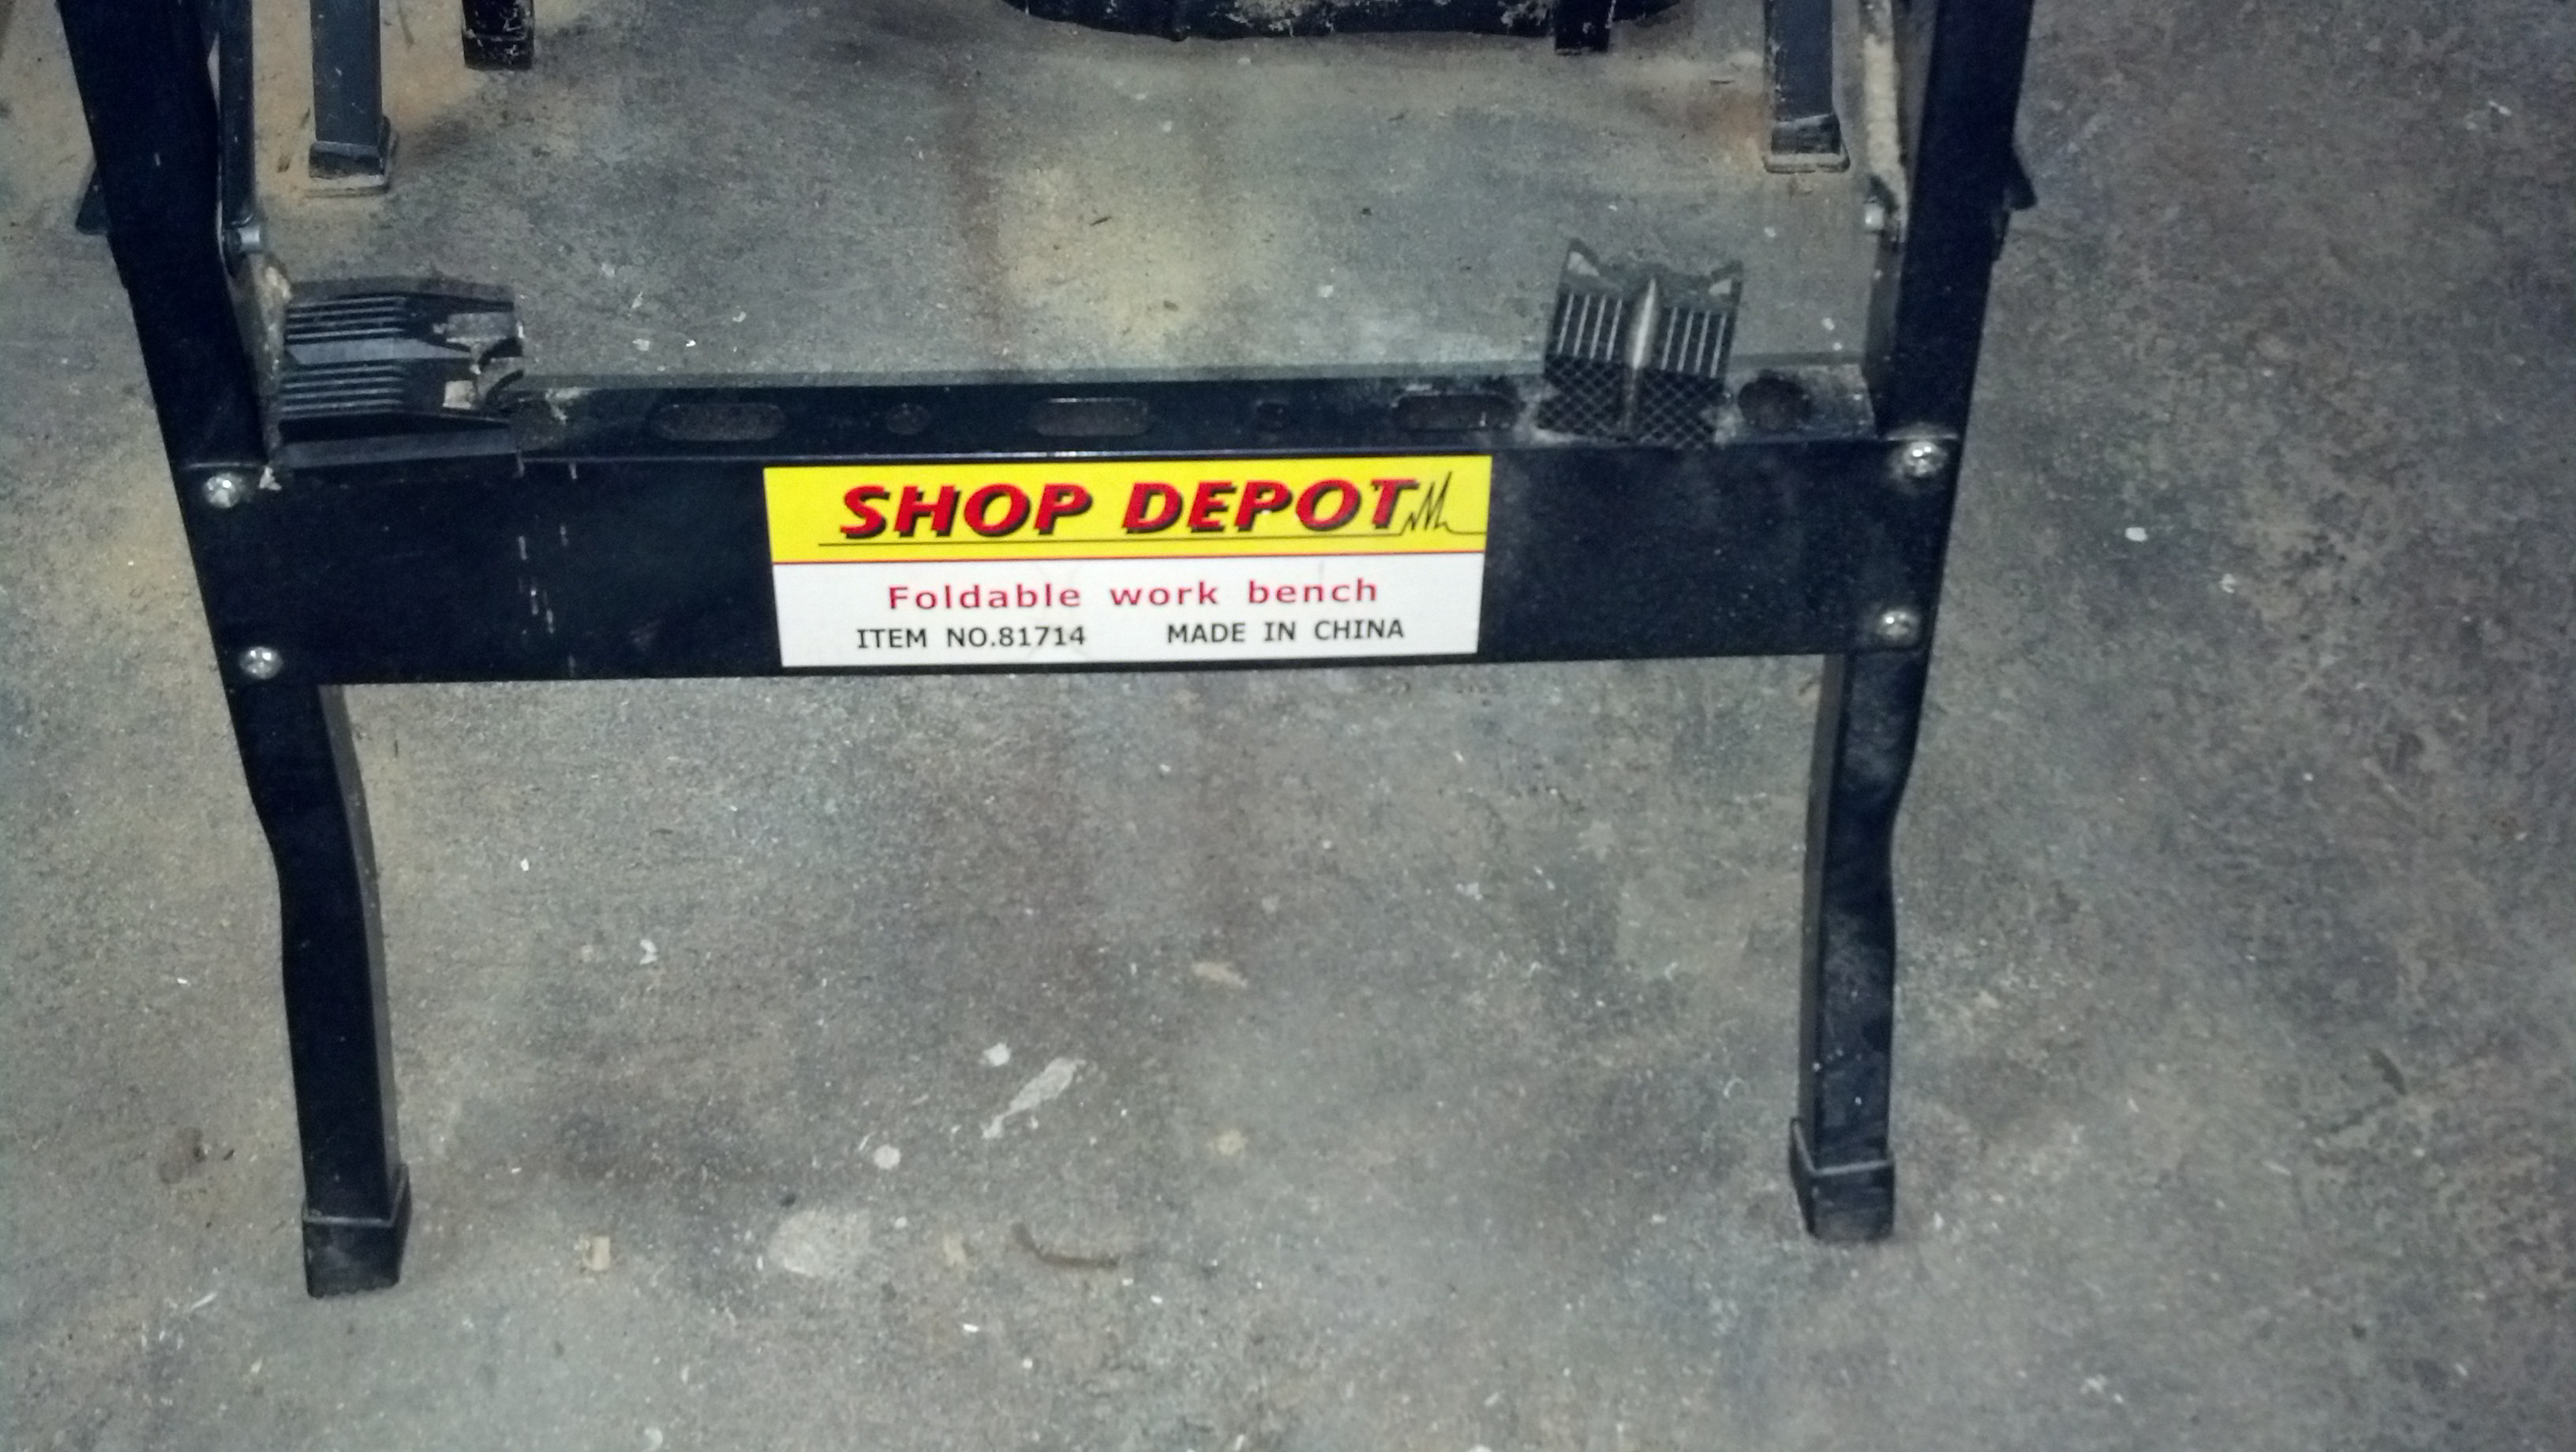
When I was making my Radiator Cover a few years back, I needed a way to make a rabbet on the back to accept the plywood back. I didn't have my table saw yet, but I did have a handheld router. I didn't have the fence attachment for my router, but I had this little knock-off workmate that I thought I could modify to work as a router table. I had already bolted my miter saw to the top, and I liked the idea of making it into a more versatile tool base.
Compound Miter Saw


This part was pretty straightforward. The legs of the saw have mounting holes on them, but for them to line up with the tabletop of the worktable I had to open the clamps most of the way. I marked the holes and drilled them out. I bought some bolts with wing nuts to hold the saw down on the table and so I could remove it without too much effort.
Because I didn't open the clamps all the way, the second time I had to put the saw back on, I had a little trouble lining up the holes. To prevent this, I traced the outline of the saw feet on the table top in permanent marker.
Because I didn't open the clamps all the way, the second time I had to put the saw back on, I had a little trouble lining up the holes. To prevent this, I traced the outline of the saw feet on the table top in permanent marker.
Router Table






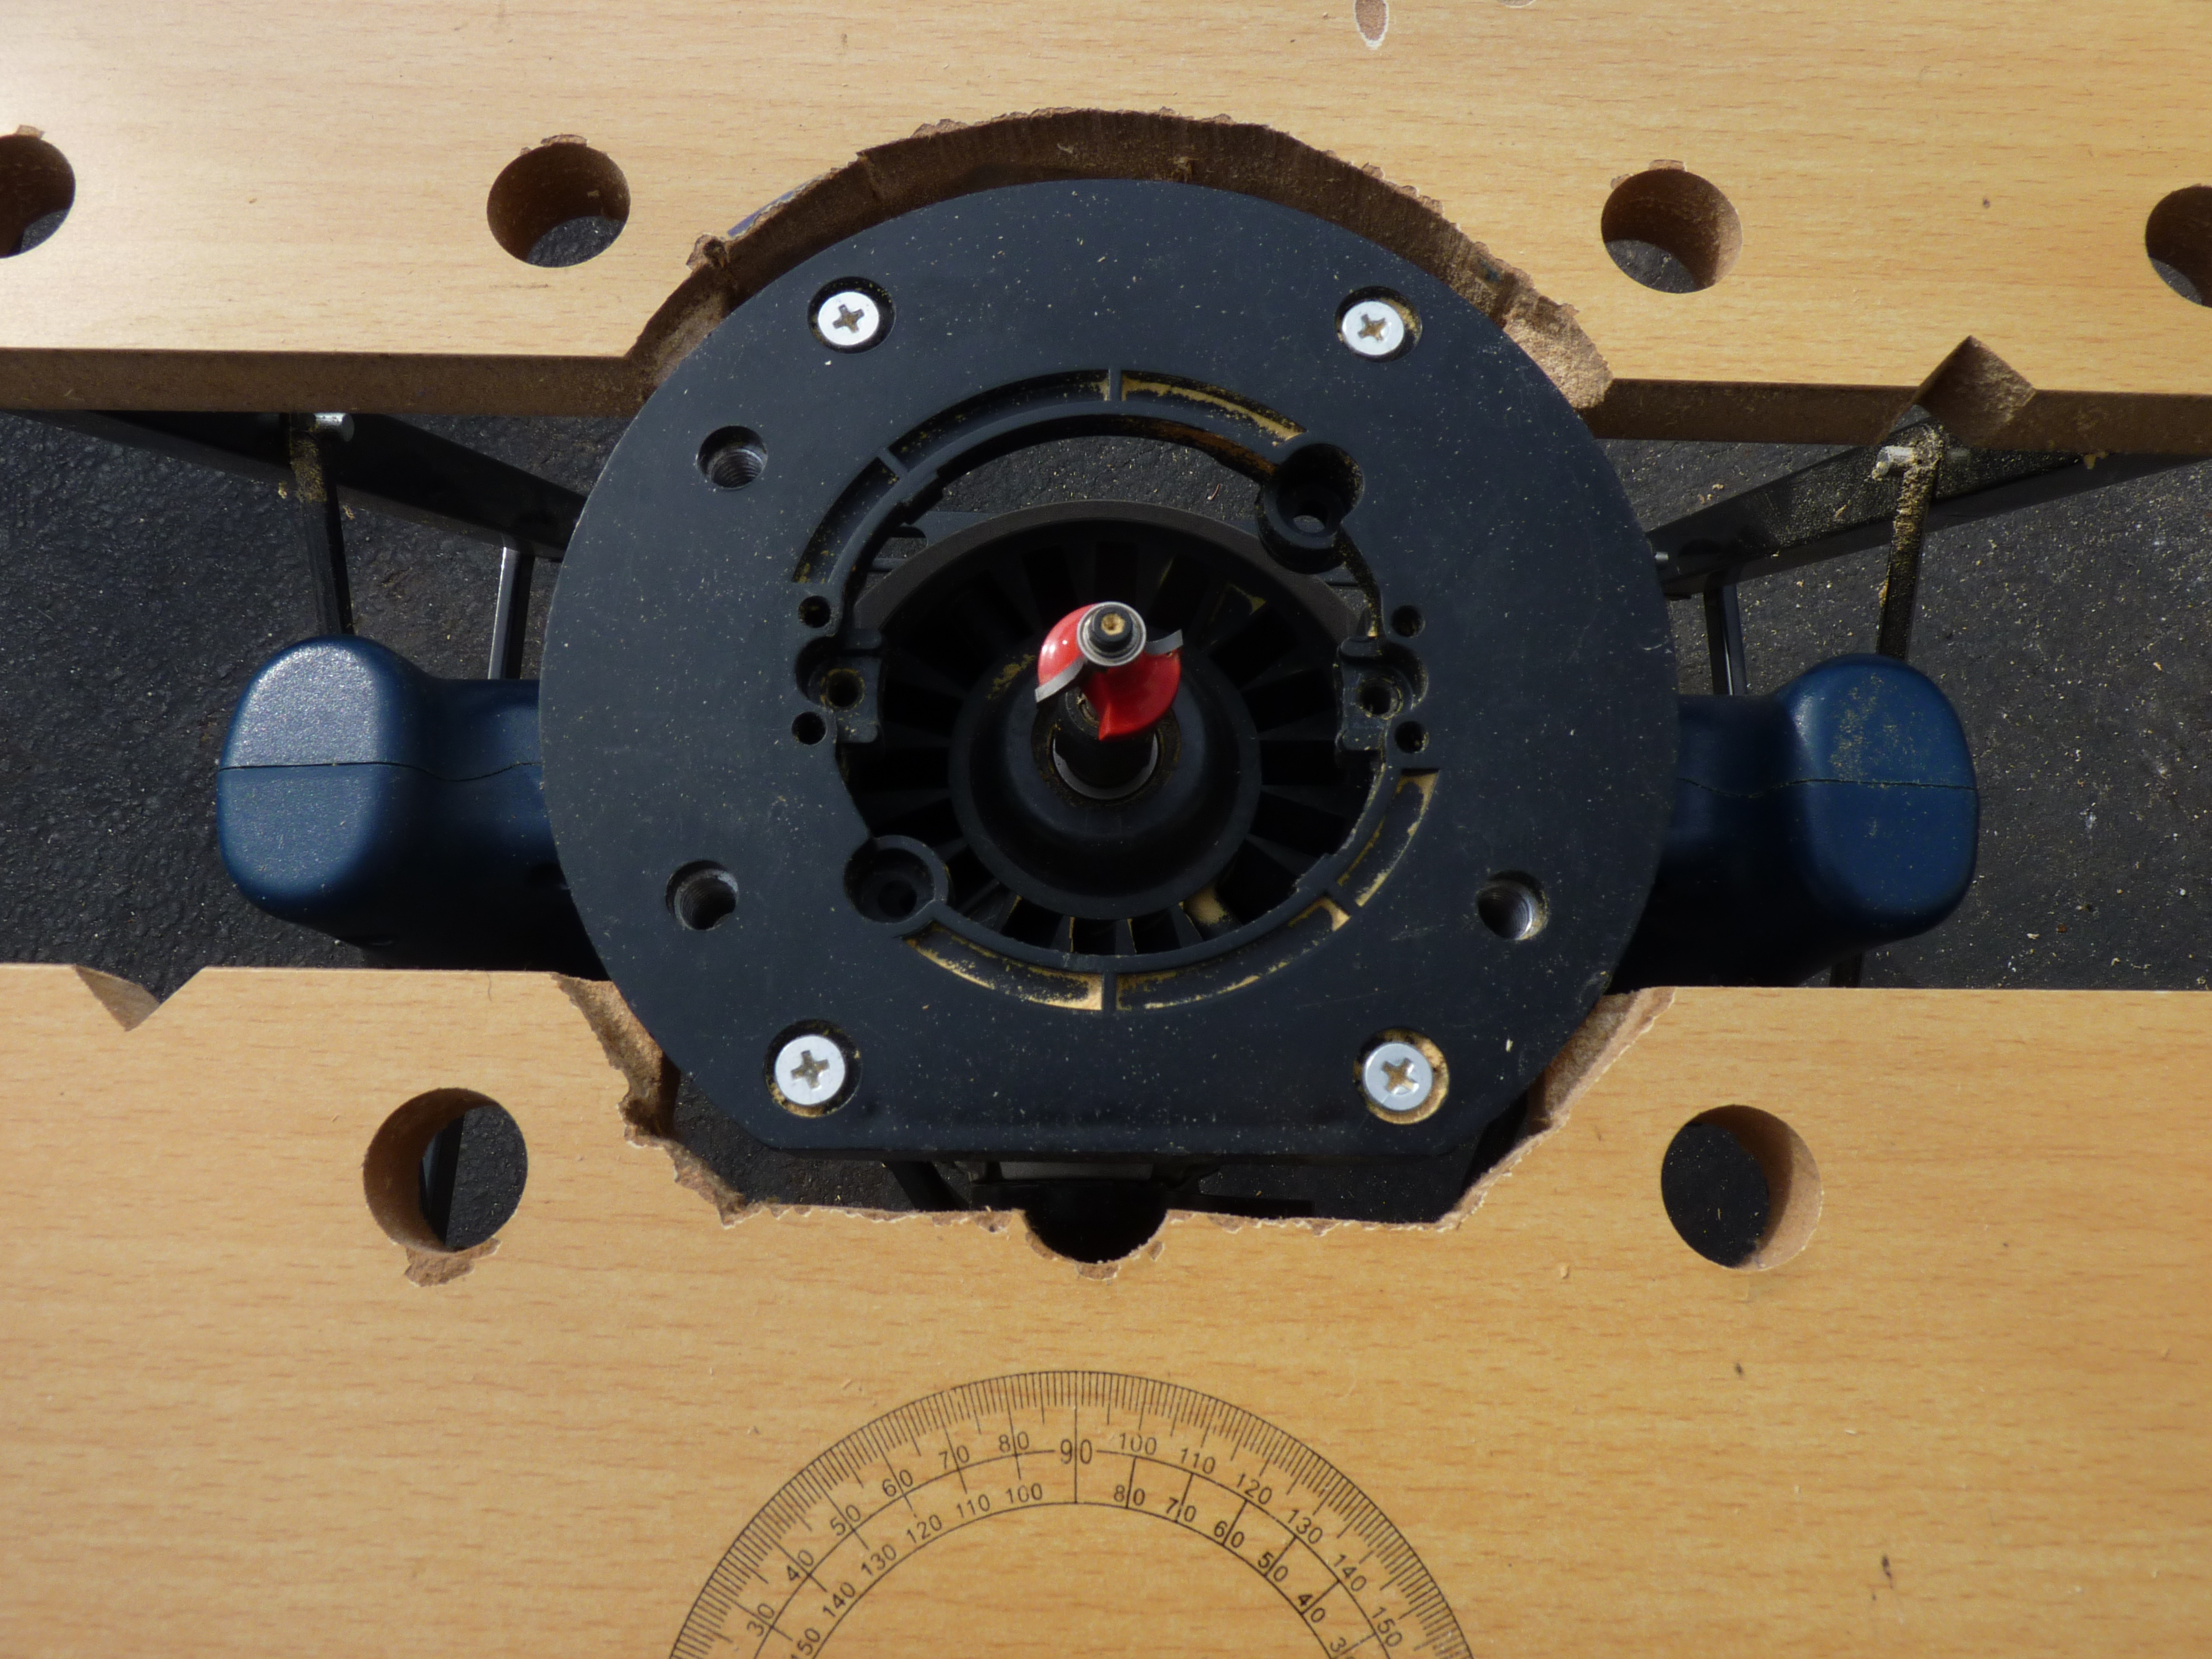
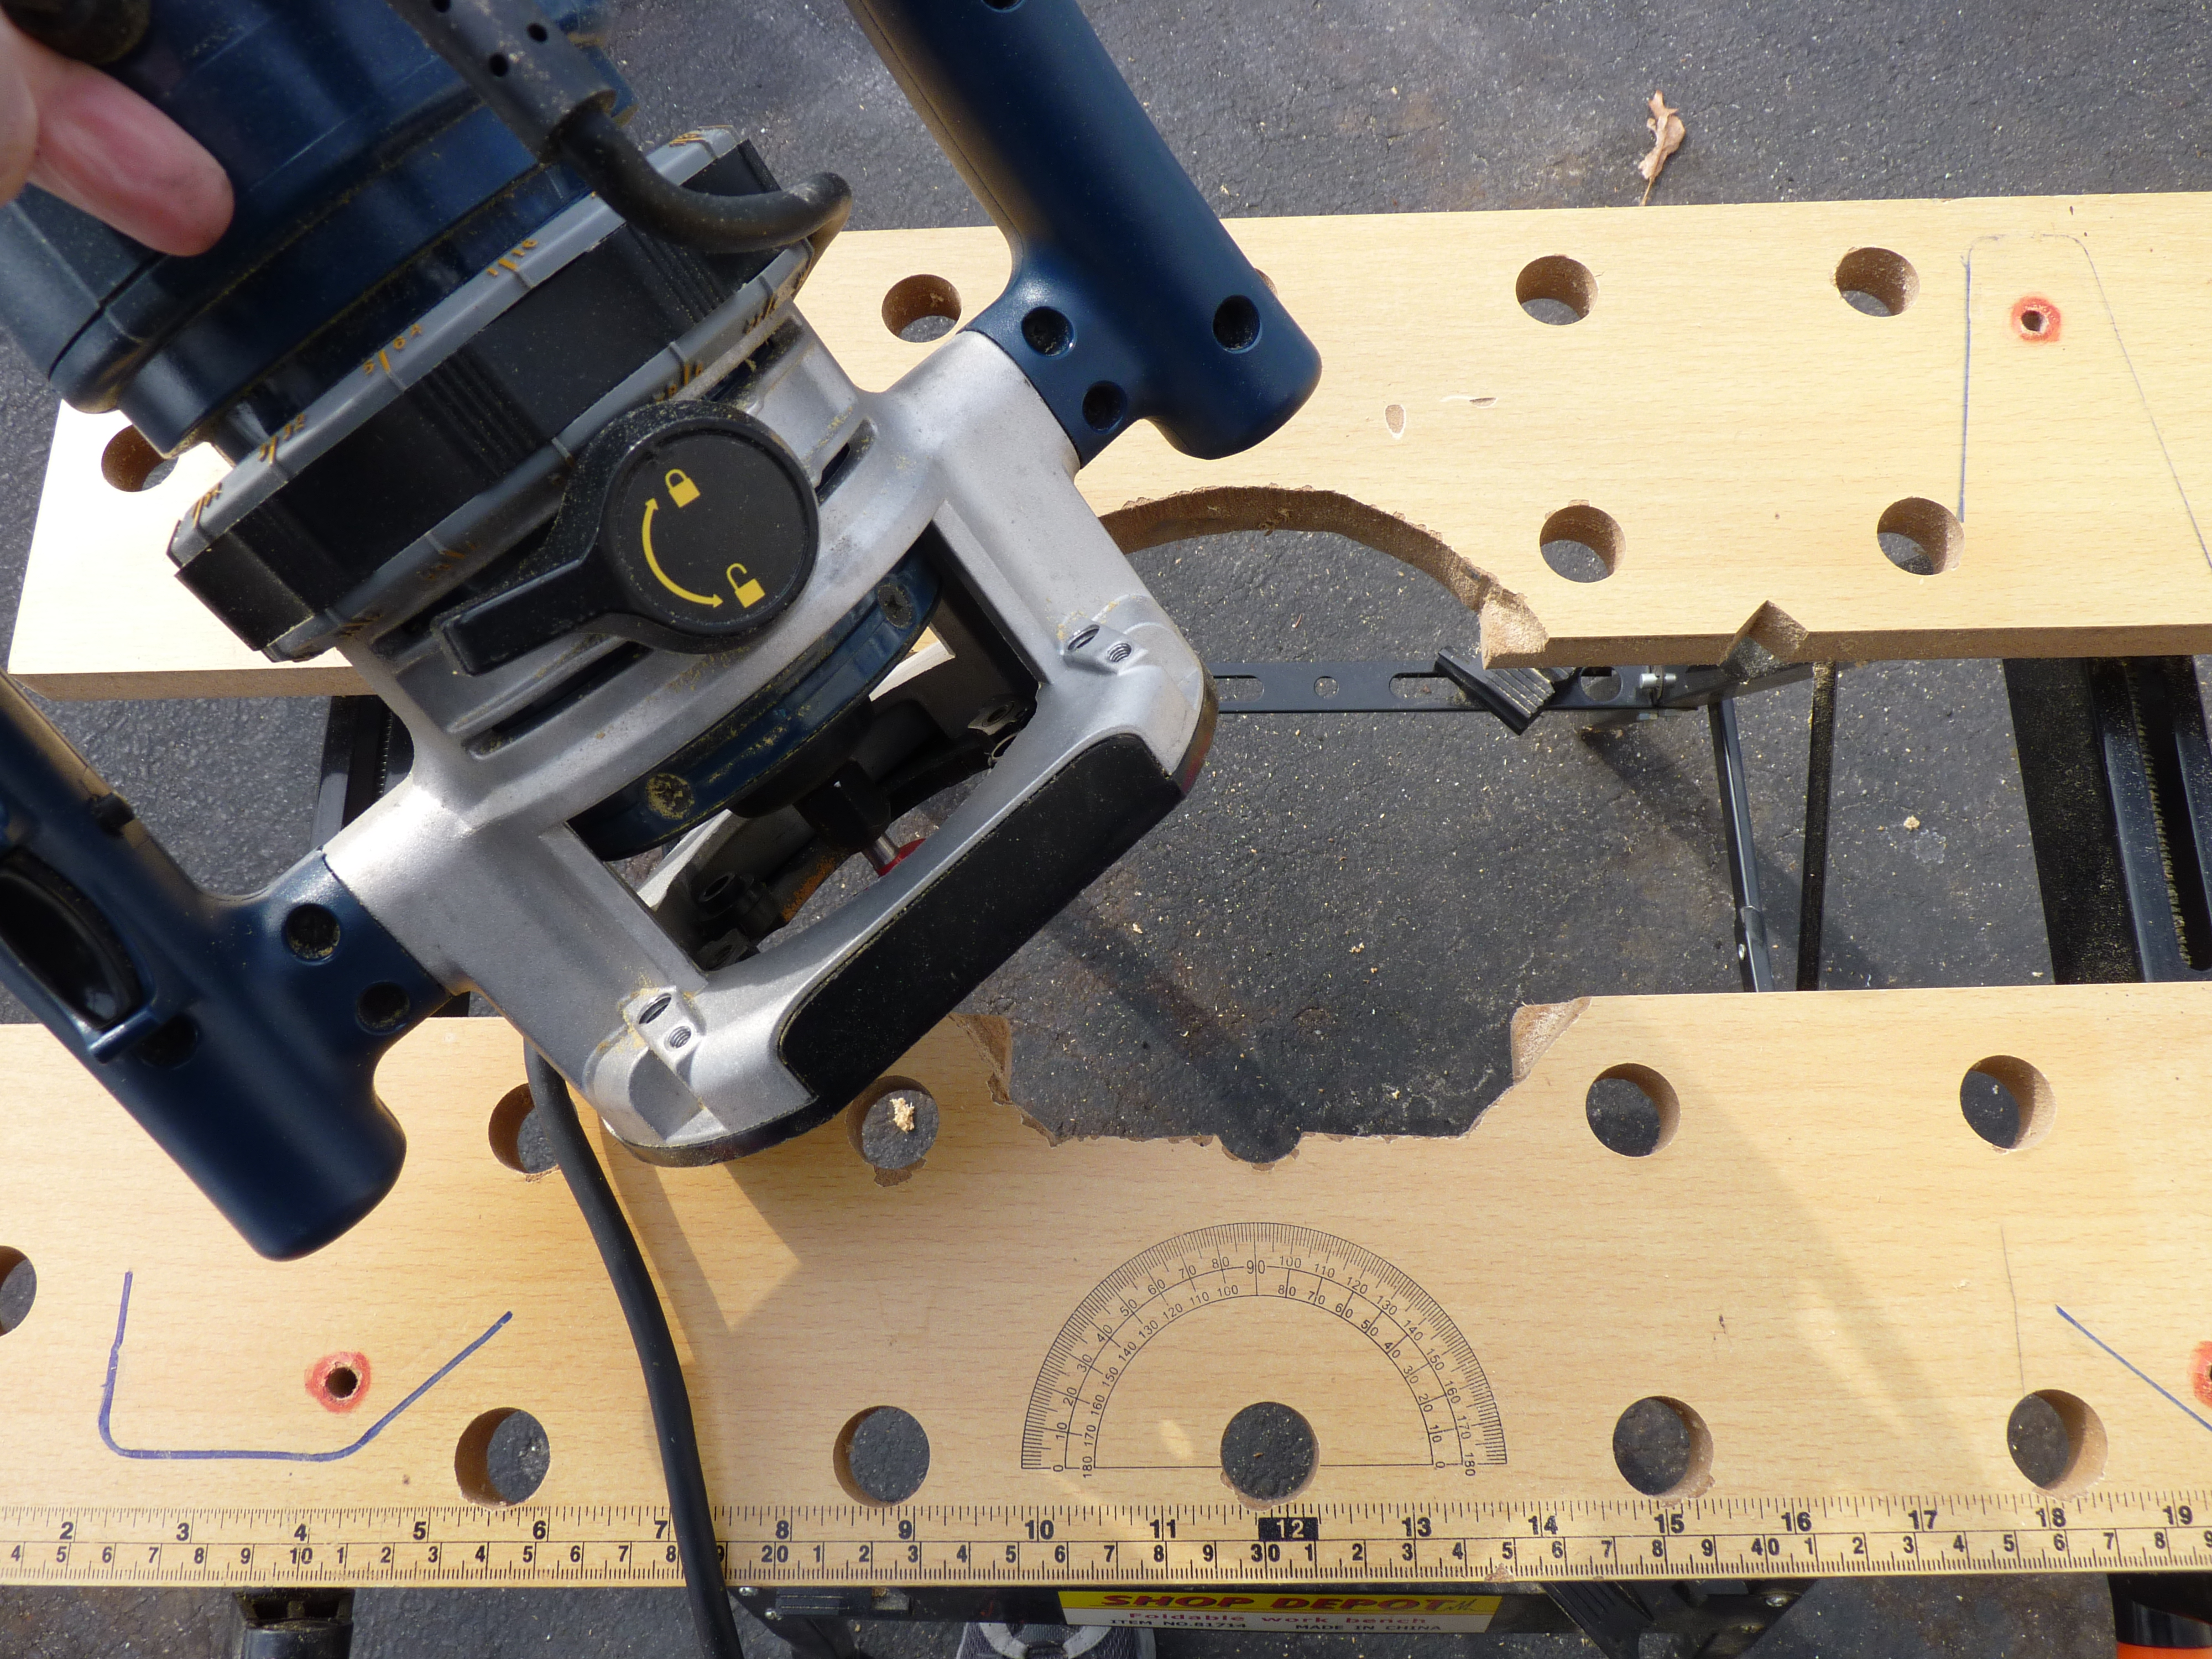
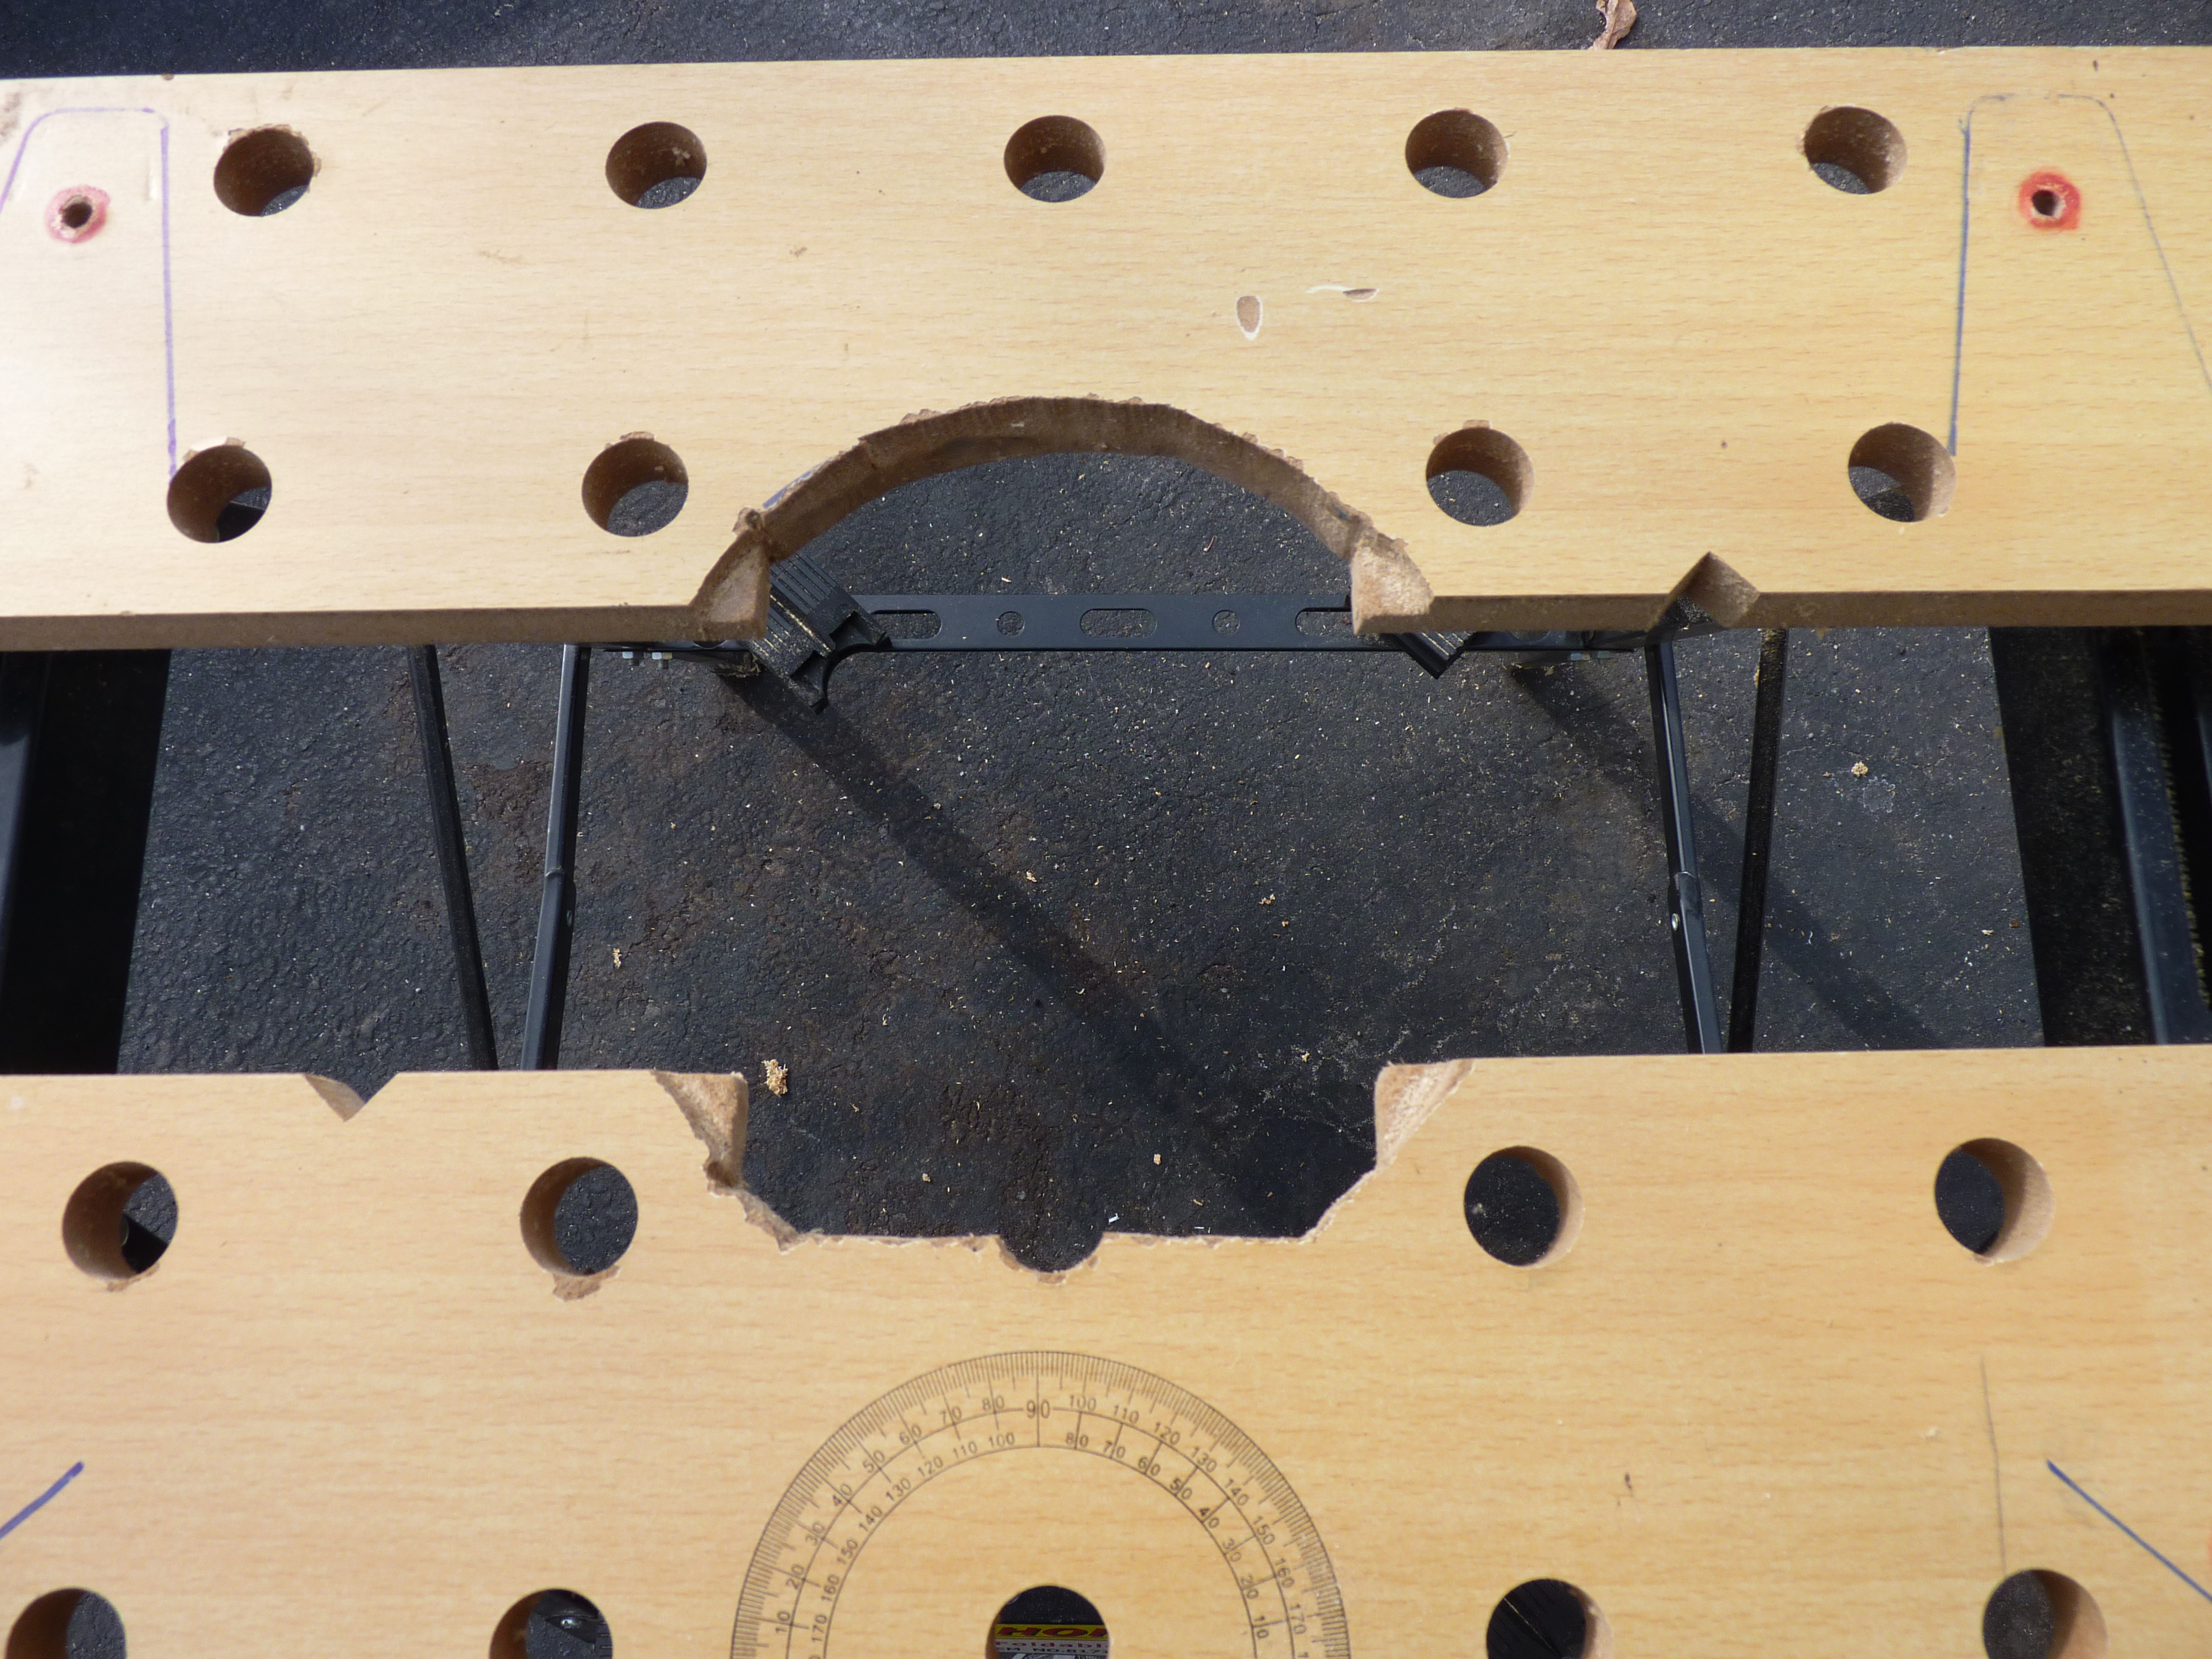
Originally, I thought I might be able to just clamp the body of the router in the jaws of the table, but it would have been awkward and dangerous so I decided to cut out this shape that fit into the recesses of the router.
Tabletop
The table top is made of some pretty soft MDF, so I had to be careful with the little notches. I cut out the basic shape by hand with a jigsaw and coping saw. I shaved them down with a chisel until I had jut the right size that the router would sit flush with the tabletop. These little teeth hold the saw in place from below, and also give me something to rest the router one while I tighten the clamps.
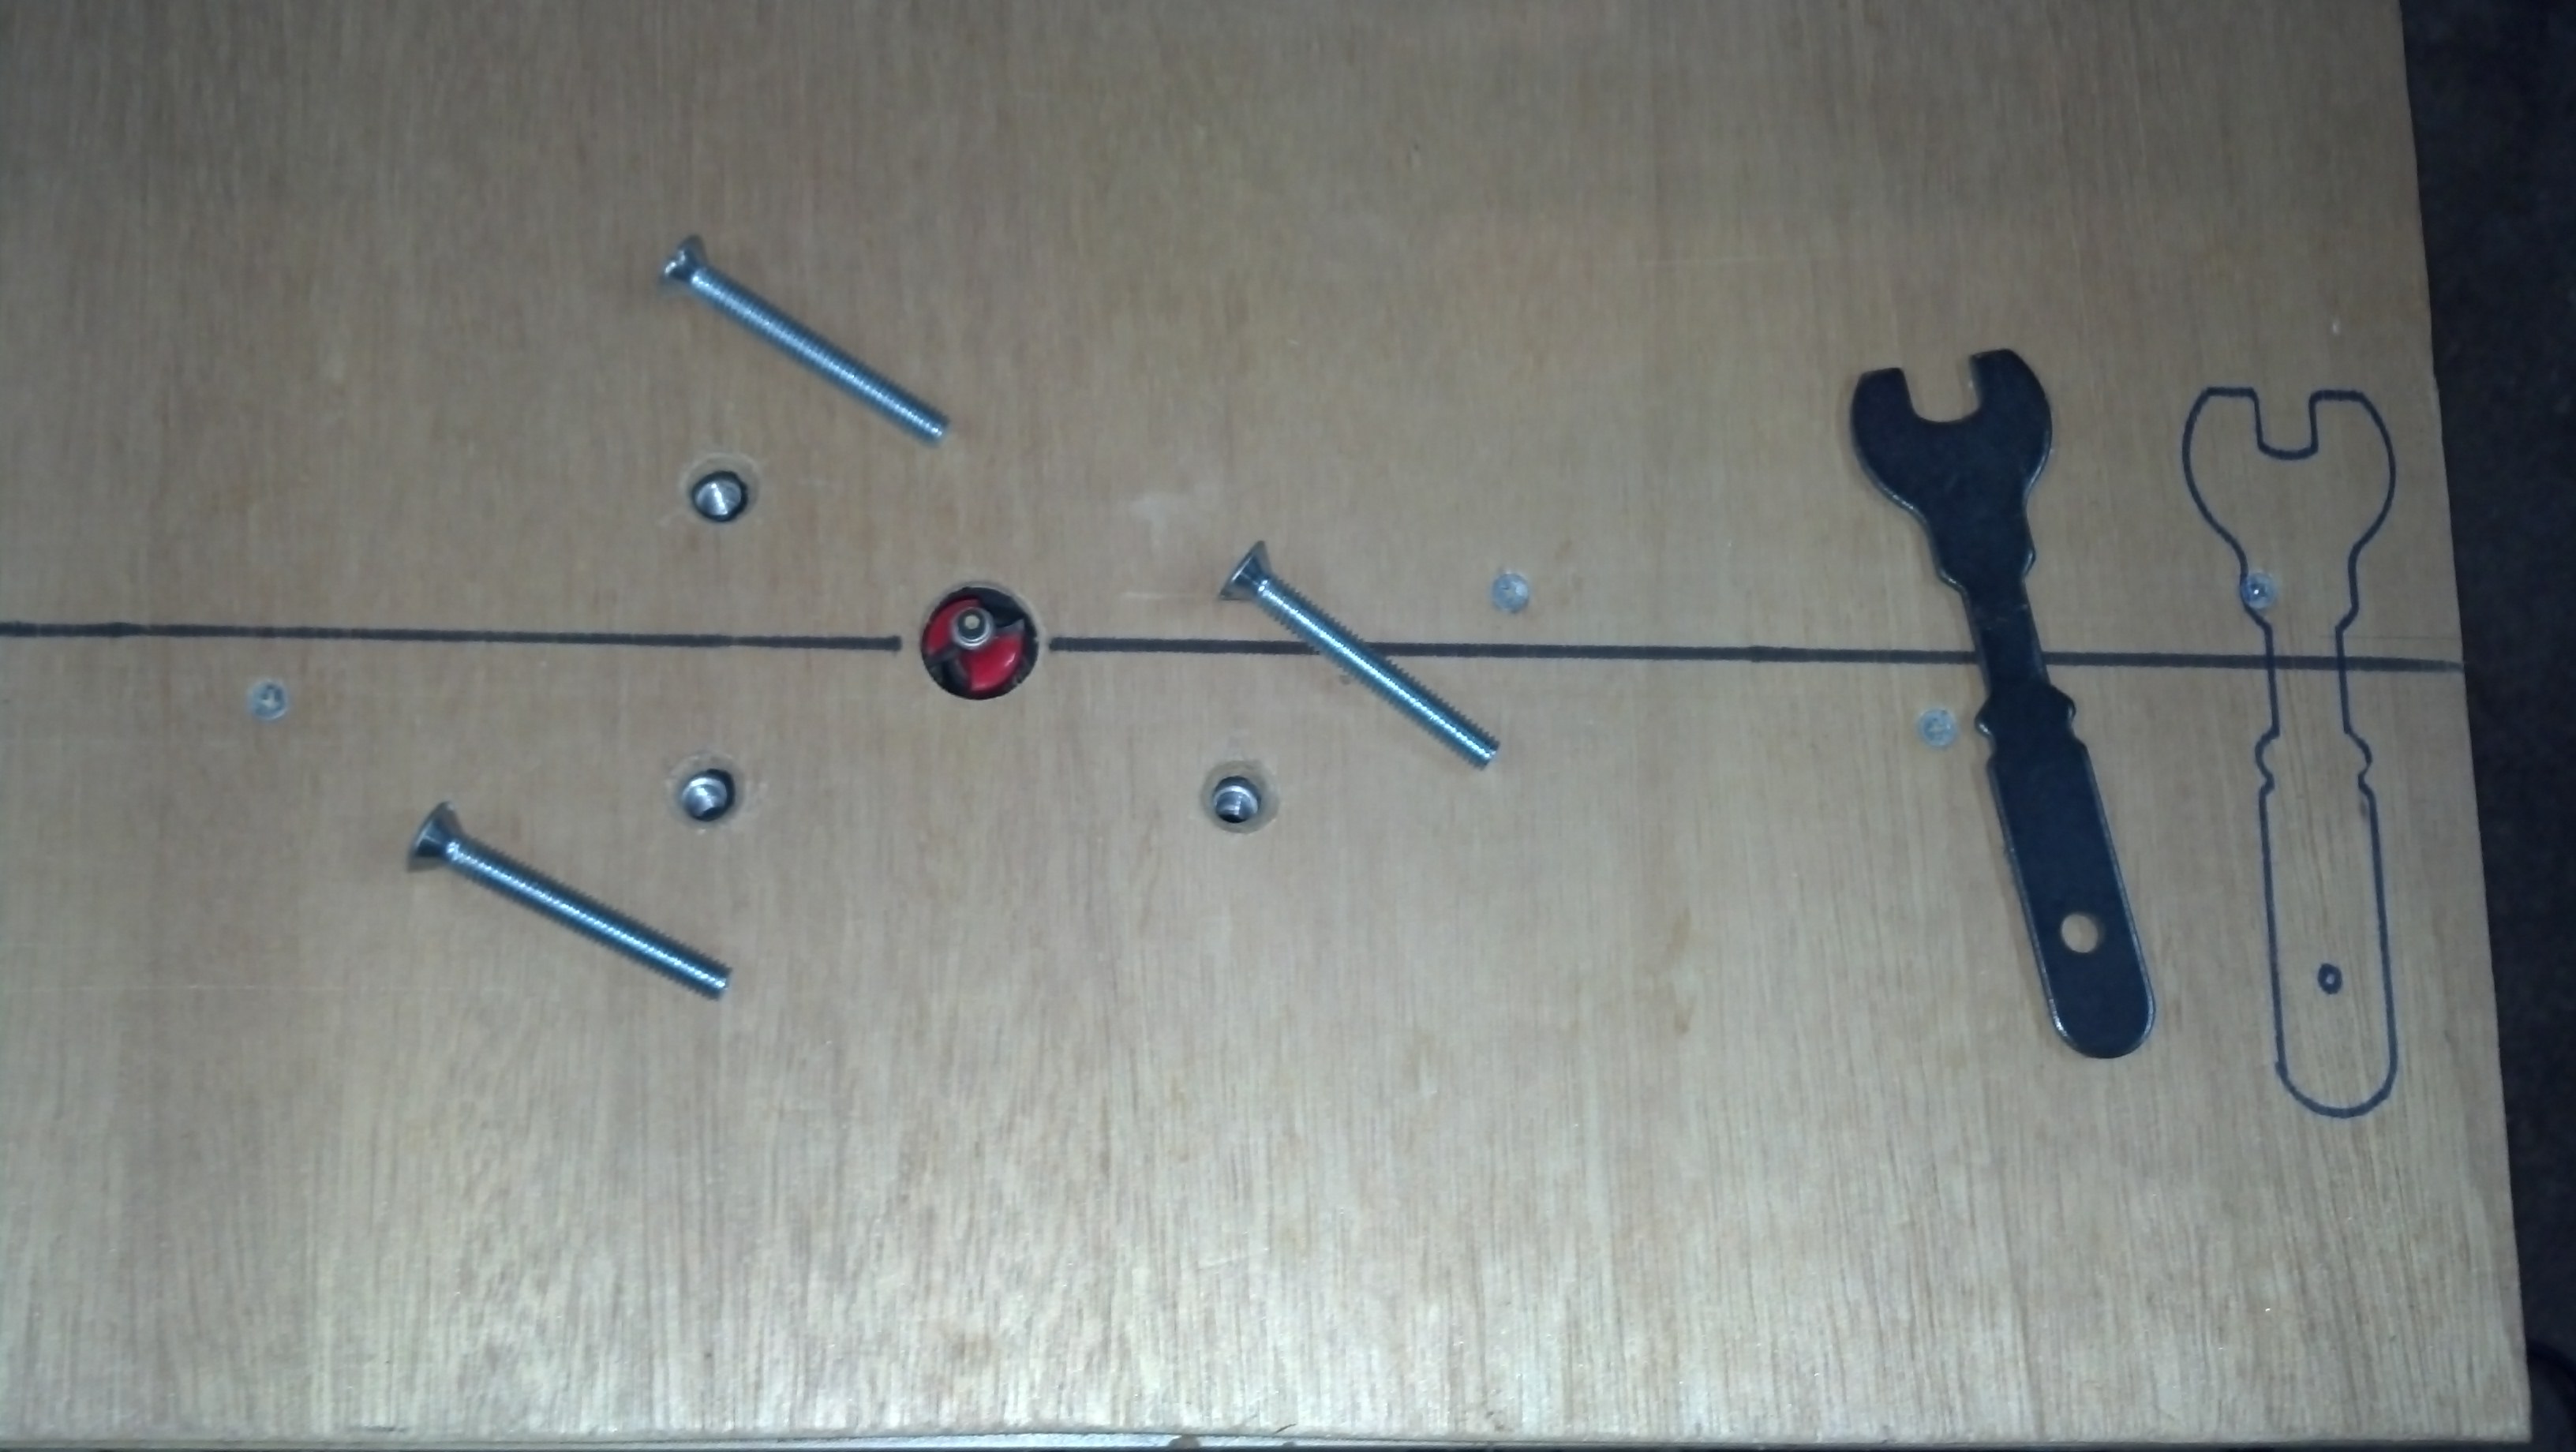
I bought some countersunk bolts that fit the 3 mounting holes on the face of the router. I took a piece of 1/4" plywood I had laying around and drilled and countersunk some holes to match the ones on the router. I took some 1x3" scraps and filled in the void in the table top and screwed them to the underside of the plywood with very small countersunk screws.
I drilled a hole in the tabletop for the router bit and then I drew a center line to help align the fence.
Fence
I took a scrap piece of an old door jamb and cut it to the length of the tabletop. I put some wood putty in the holes and sanded it smooth. I screwed a piece of 2x2" to the back to give me something to stand it up and clamp it to the tabletop. At first I used some big C clamps, but now I use some quick grip clamps to hold the fence to top.
Tool Storage
I like to use magnets to hold the chuck/collar/arbor tools close-by. I don't like having to look far for the tool to change a bit or a blade, so I added an old hard drive magnet to the underside of the top. I traced the tool's shape on the top above where it lives, so I won't forget it's there.
Finish




I use the Miter saw most often, so this is what usually sits on the stand. It's convenient enough to move around my small garage, but it does get awkward and top-heavy if I try to fold it up with the saw attached.
The router doesn't get used very much anymore, but I have had to use it a few times when I need a smooth cut with a router bit that doesn't have a bearing. I'm a lot more comfortable moving the wood through a machine like this, than wielding a heavy tool and hoping for precise results.
The router doesn't get used very much anymore, but I have had to use it a few times when I need a smooth cut with a router bit that doesn't have a bearing. I'm a lot more comfortable moving the wood through a machine like this, than wielding a heavy tool and hoping for precise results.