Multi-Partitioned USB ThumbDrive
by JavaNut13 in Circuits > USB
38221 Views, 13 Favorites, 0 Comments
Multi-Partitioned USB ThumbDrive

I am a devoted Linux user, and only use Windows when I have too, and avoid Mac at all costs. I came up with this moderately easy-ish hack, to stop Windows users from reading, or even seeing, the contents of part of my thumbdrive.
Its all based on partitions, and filesystems. Windows can only read NTFS, and FAT filesystems, whereas Linux can read NTFS, FAT, Ext2, Ext3 (and soon Ext4), and some others, but I'm not quite so up-to-speed on those.
Basically, we split the thumbdrive into two parts, one FAT (so anyone can read it) and the other Ext3 (so any linux user can read it.) Simple.
Ingredients
These are the basic bit of software and hardware you will need:
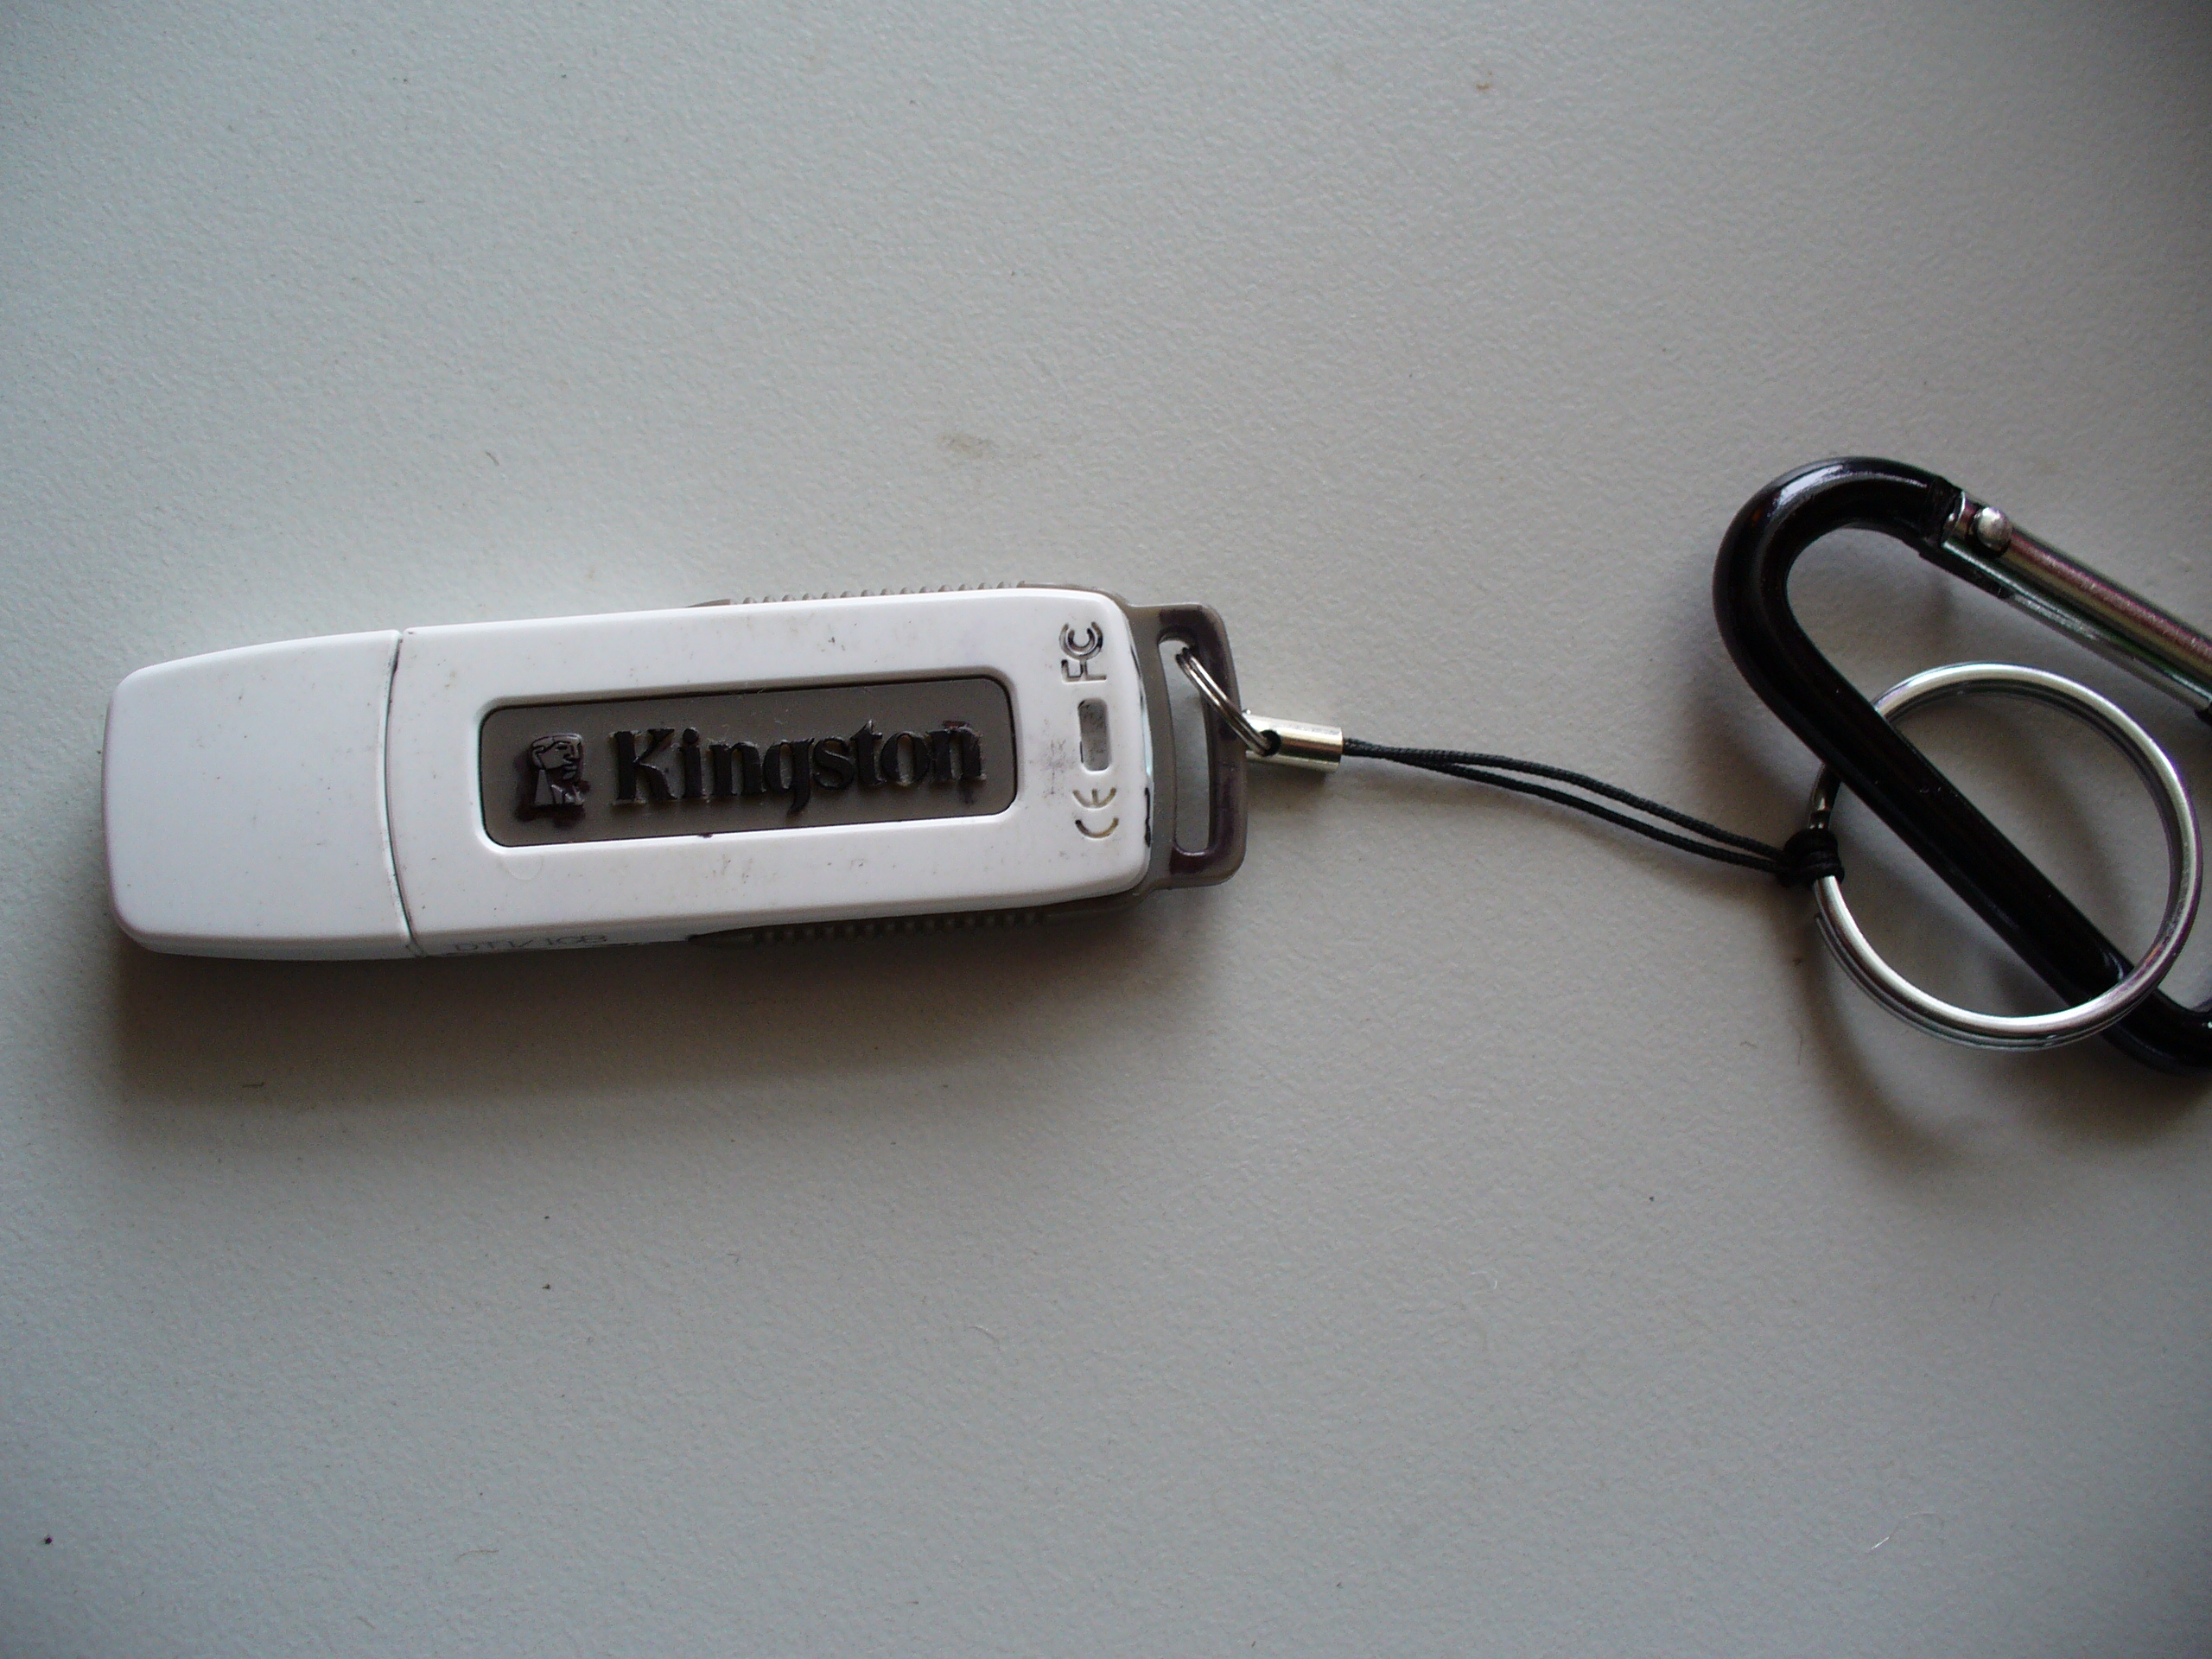
Thumbdrive (AKA USB flash memory stick, jump-drive, pen-drive, etc) The bigger storage the better.
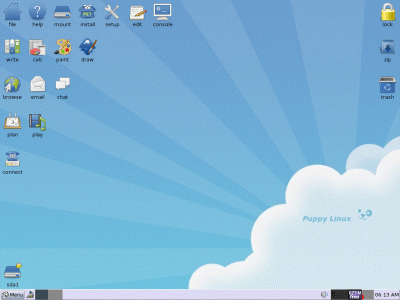
Puppy linux (a ~100M operating system) head to: http://www.puppylinux.org/ (I used version 4.1.1, but they are pretty similar.) on a live CD.. (I'll get to that later)
--OR--
An Ubuntu installation, with GParted Installed (this is slightly better)
A working computer with a writeable CD Drive (with power, screen, tasteful desktop background, keyboard mouse, etc..)
Download and Install Puppy

This step can be skipped if you have GParted installed onto Ubuntu, or any other Linux distribution.
Once you have downloaded the Puppy Linux ISO file, and write it to a CD, there is an inbuilt ISO writer in Windows XP, so all you need to do is head to where you saved the ISO, and right click, and you should find 'write to CD' or something like that. Finish going through the ISO Wizards steps, inserting the blank CD on command, and so on..
Once you have downloaded the Puppy Linux ISO file, and write it to a CD, there is an inbuilt ISO writer in Windows XP, so all you need to do is head to where you saved the ISO, and right click, and you should find 'write to CD' or something like that. Finish going through the ISO Wizards steps, inserting the blank CD on command, and so on..
Start Up GParted

Put your Puppy linux CD into the CD tray, re-boot your PC and Puppy should start up, go through the set up, choosing your mouse type, keyboard layout and screen resolution.
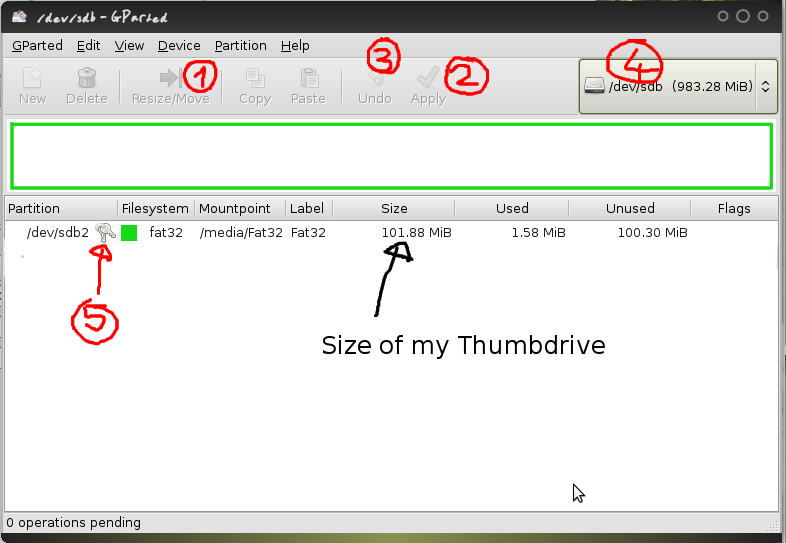
Click 'Menu>System>GParted' (this may differ from version to version) a dialog window should pop up, asking which drive you want to edit, click the one with the make and version of your thumbdrive, then click OK.
A window should pop up, looking something like this: (without the numbers, and arrows)
Click 'Menu>System>GParted' (this may differ from version to version) a dialog window should pop up, asking which drive you want to edit, click the one with the make and version of your thumbdrive, then click OK.
A window should pop up, looking something like this: (without the numbers, and arrows)
Start Partitioning!

My recommended order (use instructions below as guidelines)
I.Select device
II.Fomat it to Ext3
III.Click Apply, this may take some time..
IV.Click Resize/ Move
V.resize the Ext3 partition, the left-over size will be FAT32
VI.click 'Resize/ Move' in the dialog, to confirm the resize
VII.click the 'Unallocated', grey partition
VIII.Format that to FAT32, not FAT16
IX.Click Apply
Use dropdown (4) to select your device, make sure you have the right one
Use button (1) to resize the partition. If the partition won't resize, try formatting it to Ext3 first.
Click 'Partition>Format to>FileSystem' to change the filesystem type.
(3)May come in handy
(2) click to apply.
Fin. Finis. Finish. Kaput.

Once that has finished, shut puppy down, remove the disk.
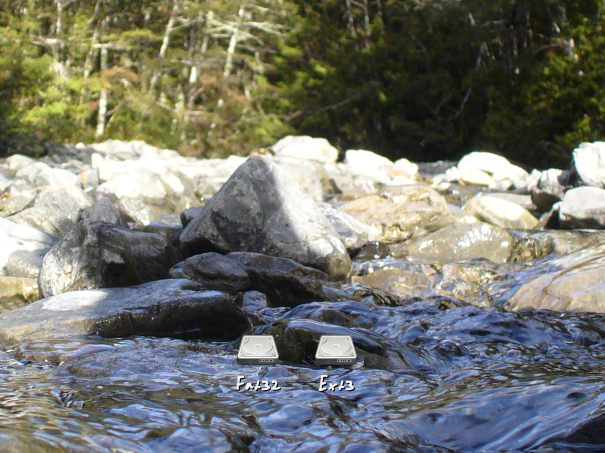
When you boot onto Windows, only the FAT32 partition will show up.
When you boot onto Linux, both will show up. Amazing.
When you boot onto Windows, only the FAT32 partition will show up.
When you boot onto Linux, both will show up. Amazing.