Multi-Colored Glow Resin Engraving With a CNC
by StrangelyAmusing in Workshop > CNC
2821 Views, 4 Favorites, 0 Comments
Multi-Colored Glow Resin Engraving With a CNC
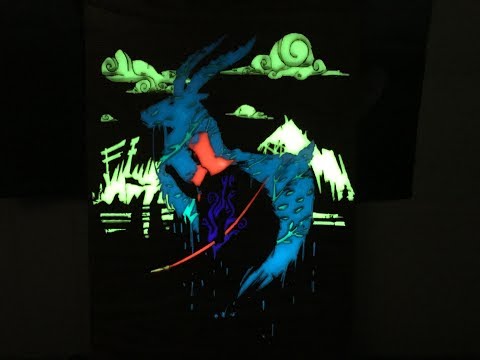
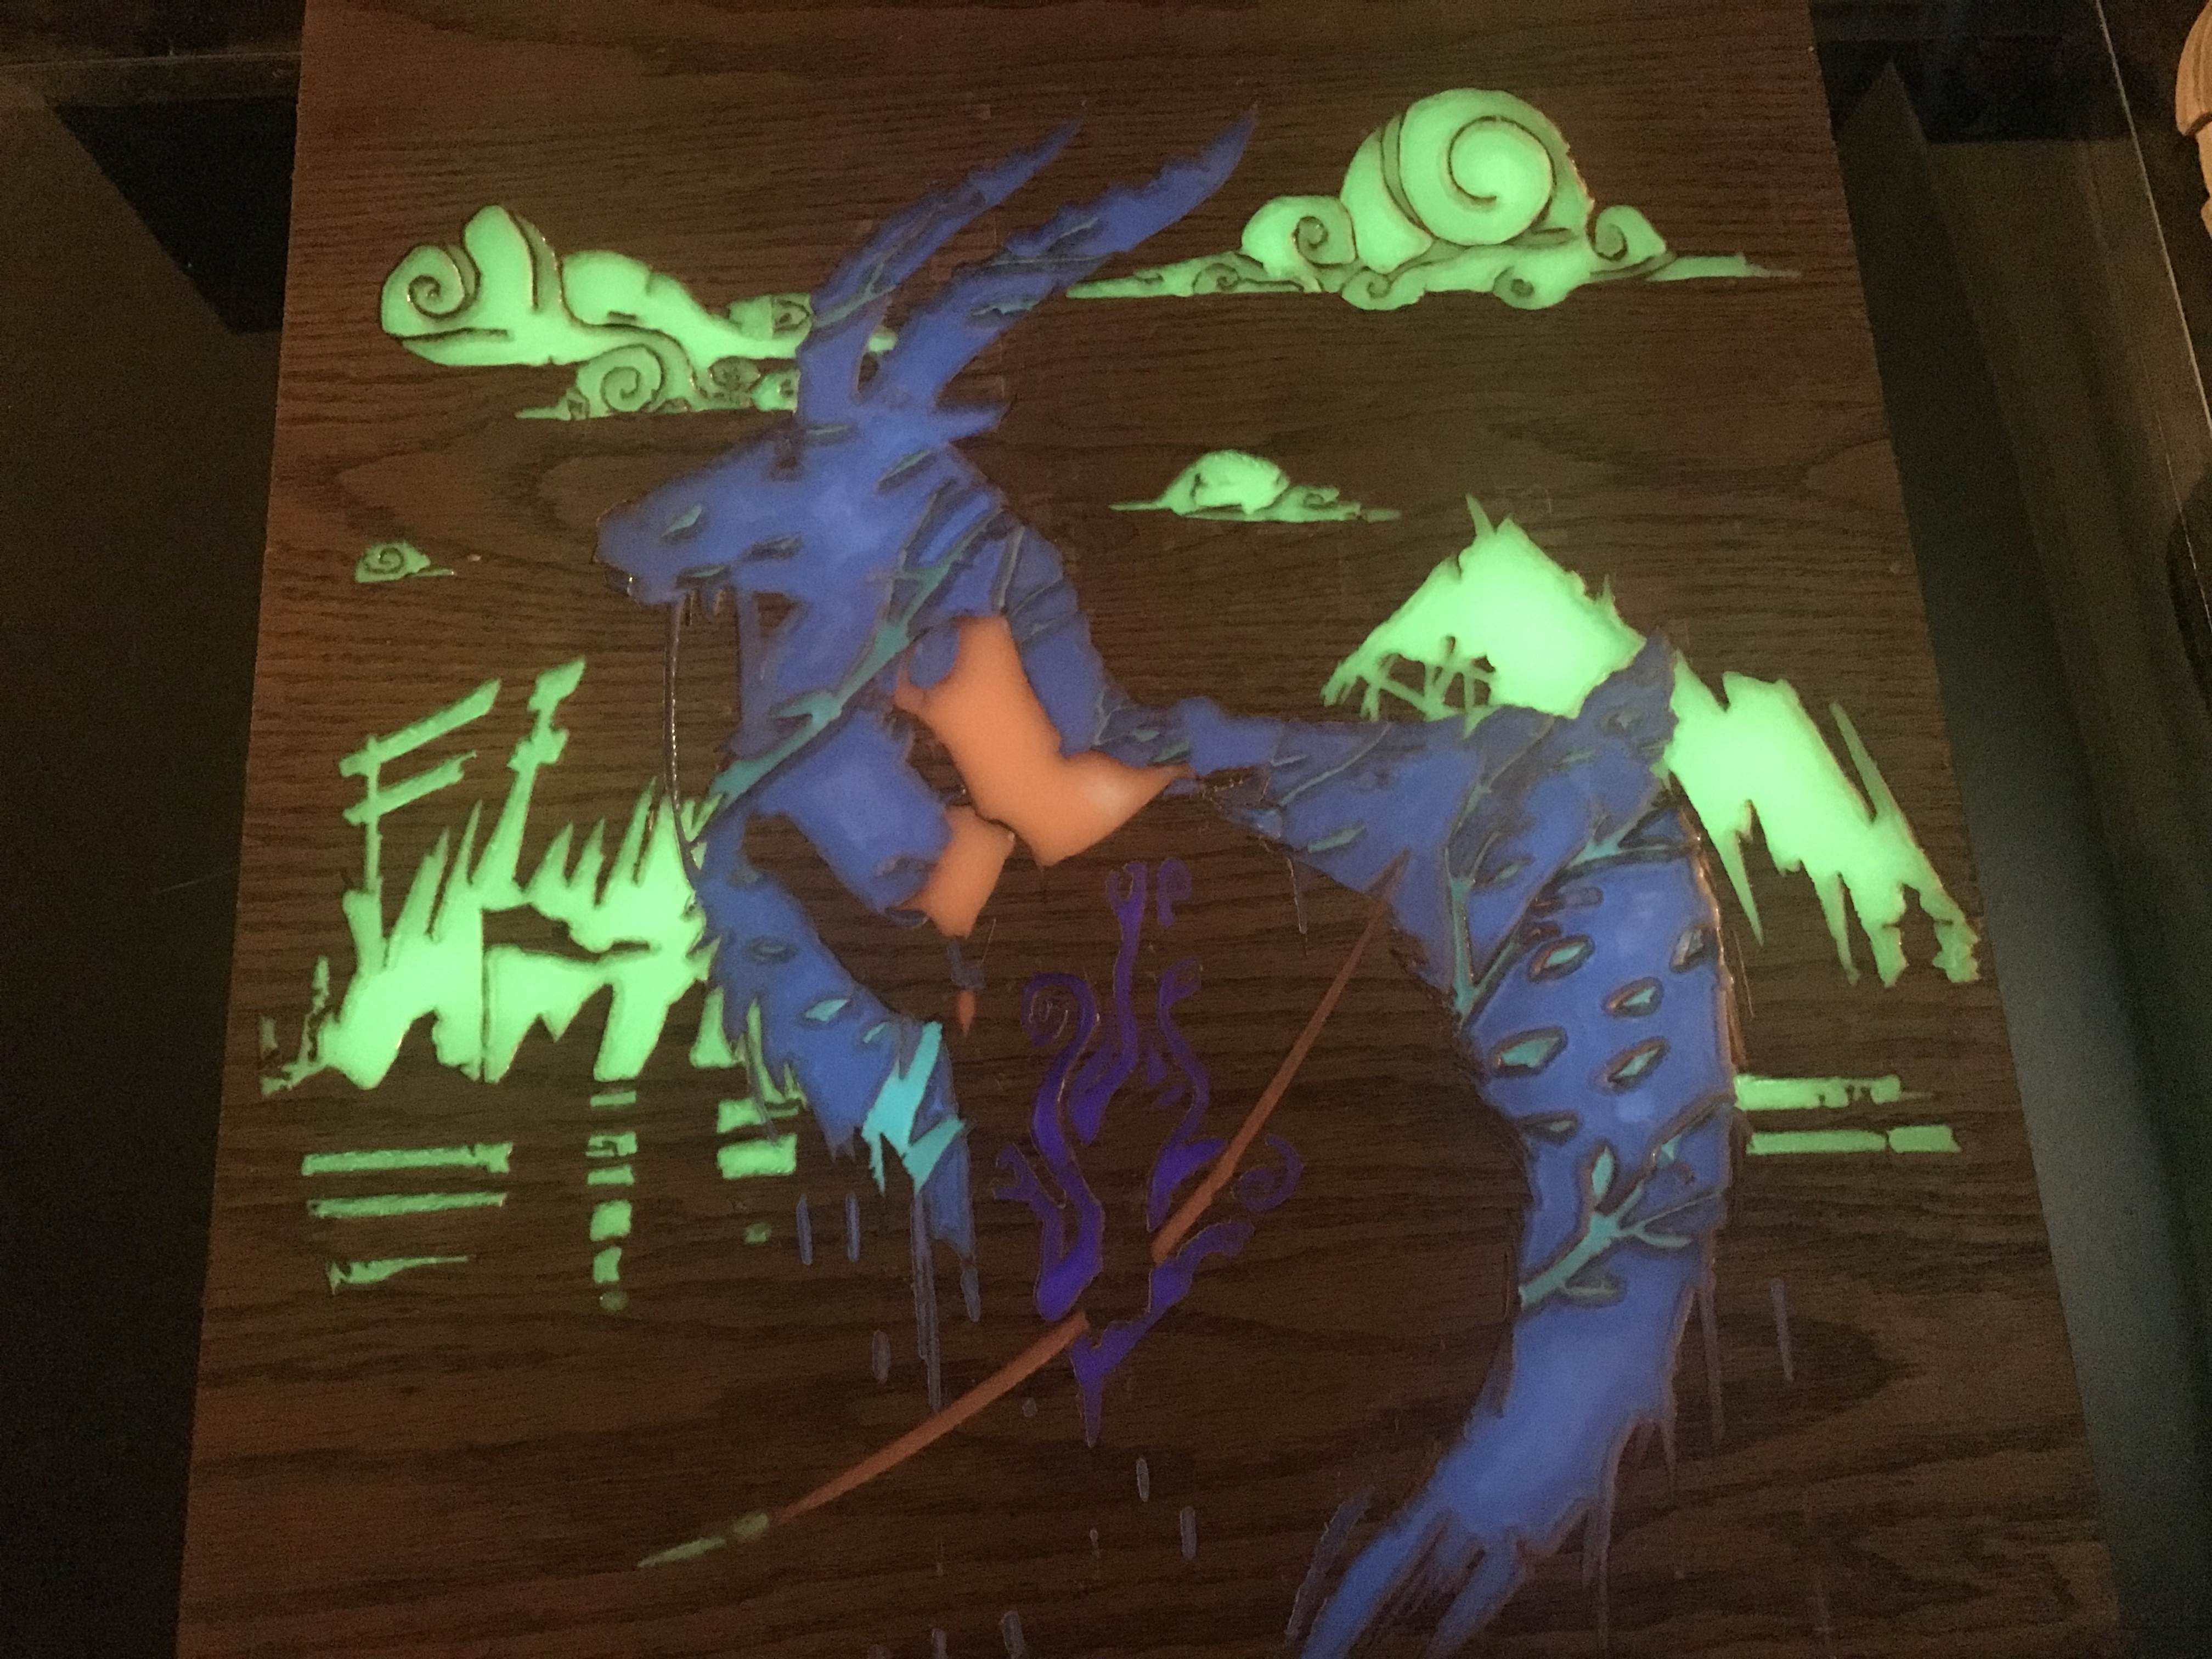
I wanted to make an art piece for coffee table that glowed as I sipped my morning coffee or my evening tea. The issue in this is that I am an engineer, not an artist. Though, because I am an engineer, I am clever. I found some Princess Mononoke art inspired by Sergio Mancinelli (More Info below). I developed a primitive framework to turn simple art into semicomplex engravings that are reminiscent of stained glass. This was as much an experiment as it was a challenge and from my mistakes, of which there were several, you loyal reader may learn a few new tricks as you sit sipping your coffee in the glow of your own art piece as well.
Supplies
Software
Inkscape
Fusion 360
Materials
5 types of glowing powders. I used Strontium based powders
16-20 ounces of clear resin
Wood to engrave. I used MDF board for the prototype and Oak veneered plywood the final
1 can Espresso wood stain
1 can lacquer
Vegetable oil
Equipment
CNC
Laptop
Prepare the Image
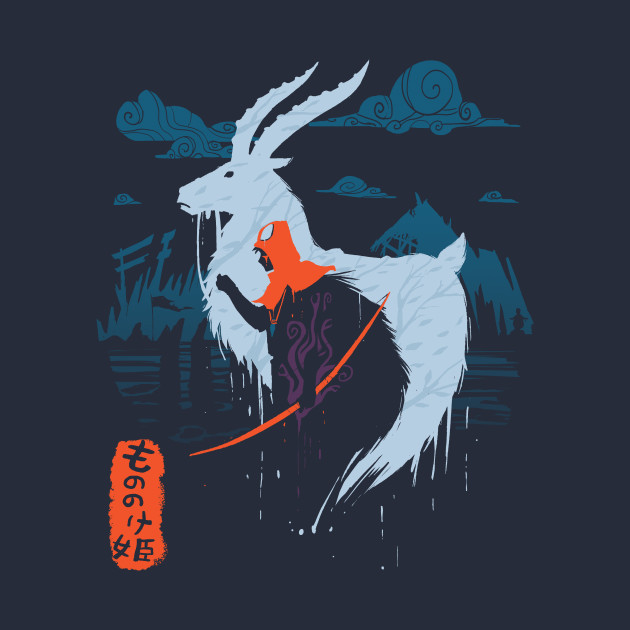
It's best to choose an image without several colors. This is primarily because the varieties of glow resins are fairly limited. Greens and blues are common but red and purples are more rare due to short glow times. So I chose 5 colors.
Green for the clouds. (Took a little inspiration from Homers Illiad)
Blue for the elk
Blue/Green for the trees
Red for the hood and bow
Purple for the curse flames
I used Inkscape to separate the image into 5 colors after hours of frustration and annoyances.
I found the image online so I'd like to take a moment to promote the artist. Sergio Mancinelli, he has several designs and t-shirts for sale and let me just say, they are awesome. You can find them here.
https://www.teetee.eu/en/author/serjartworks
Prepping the CNC
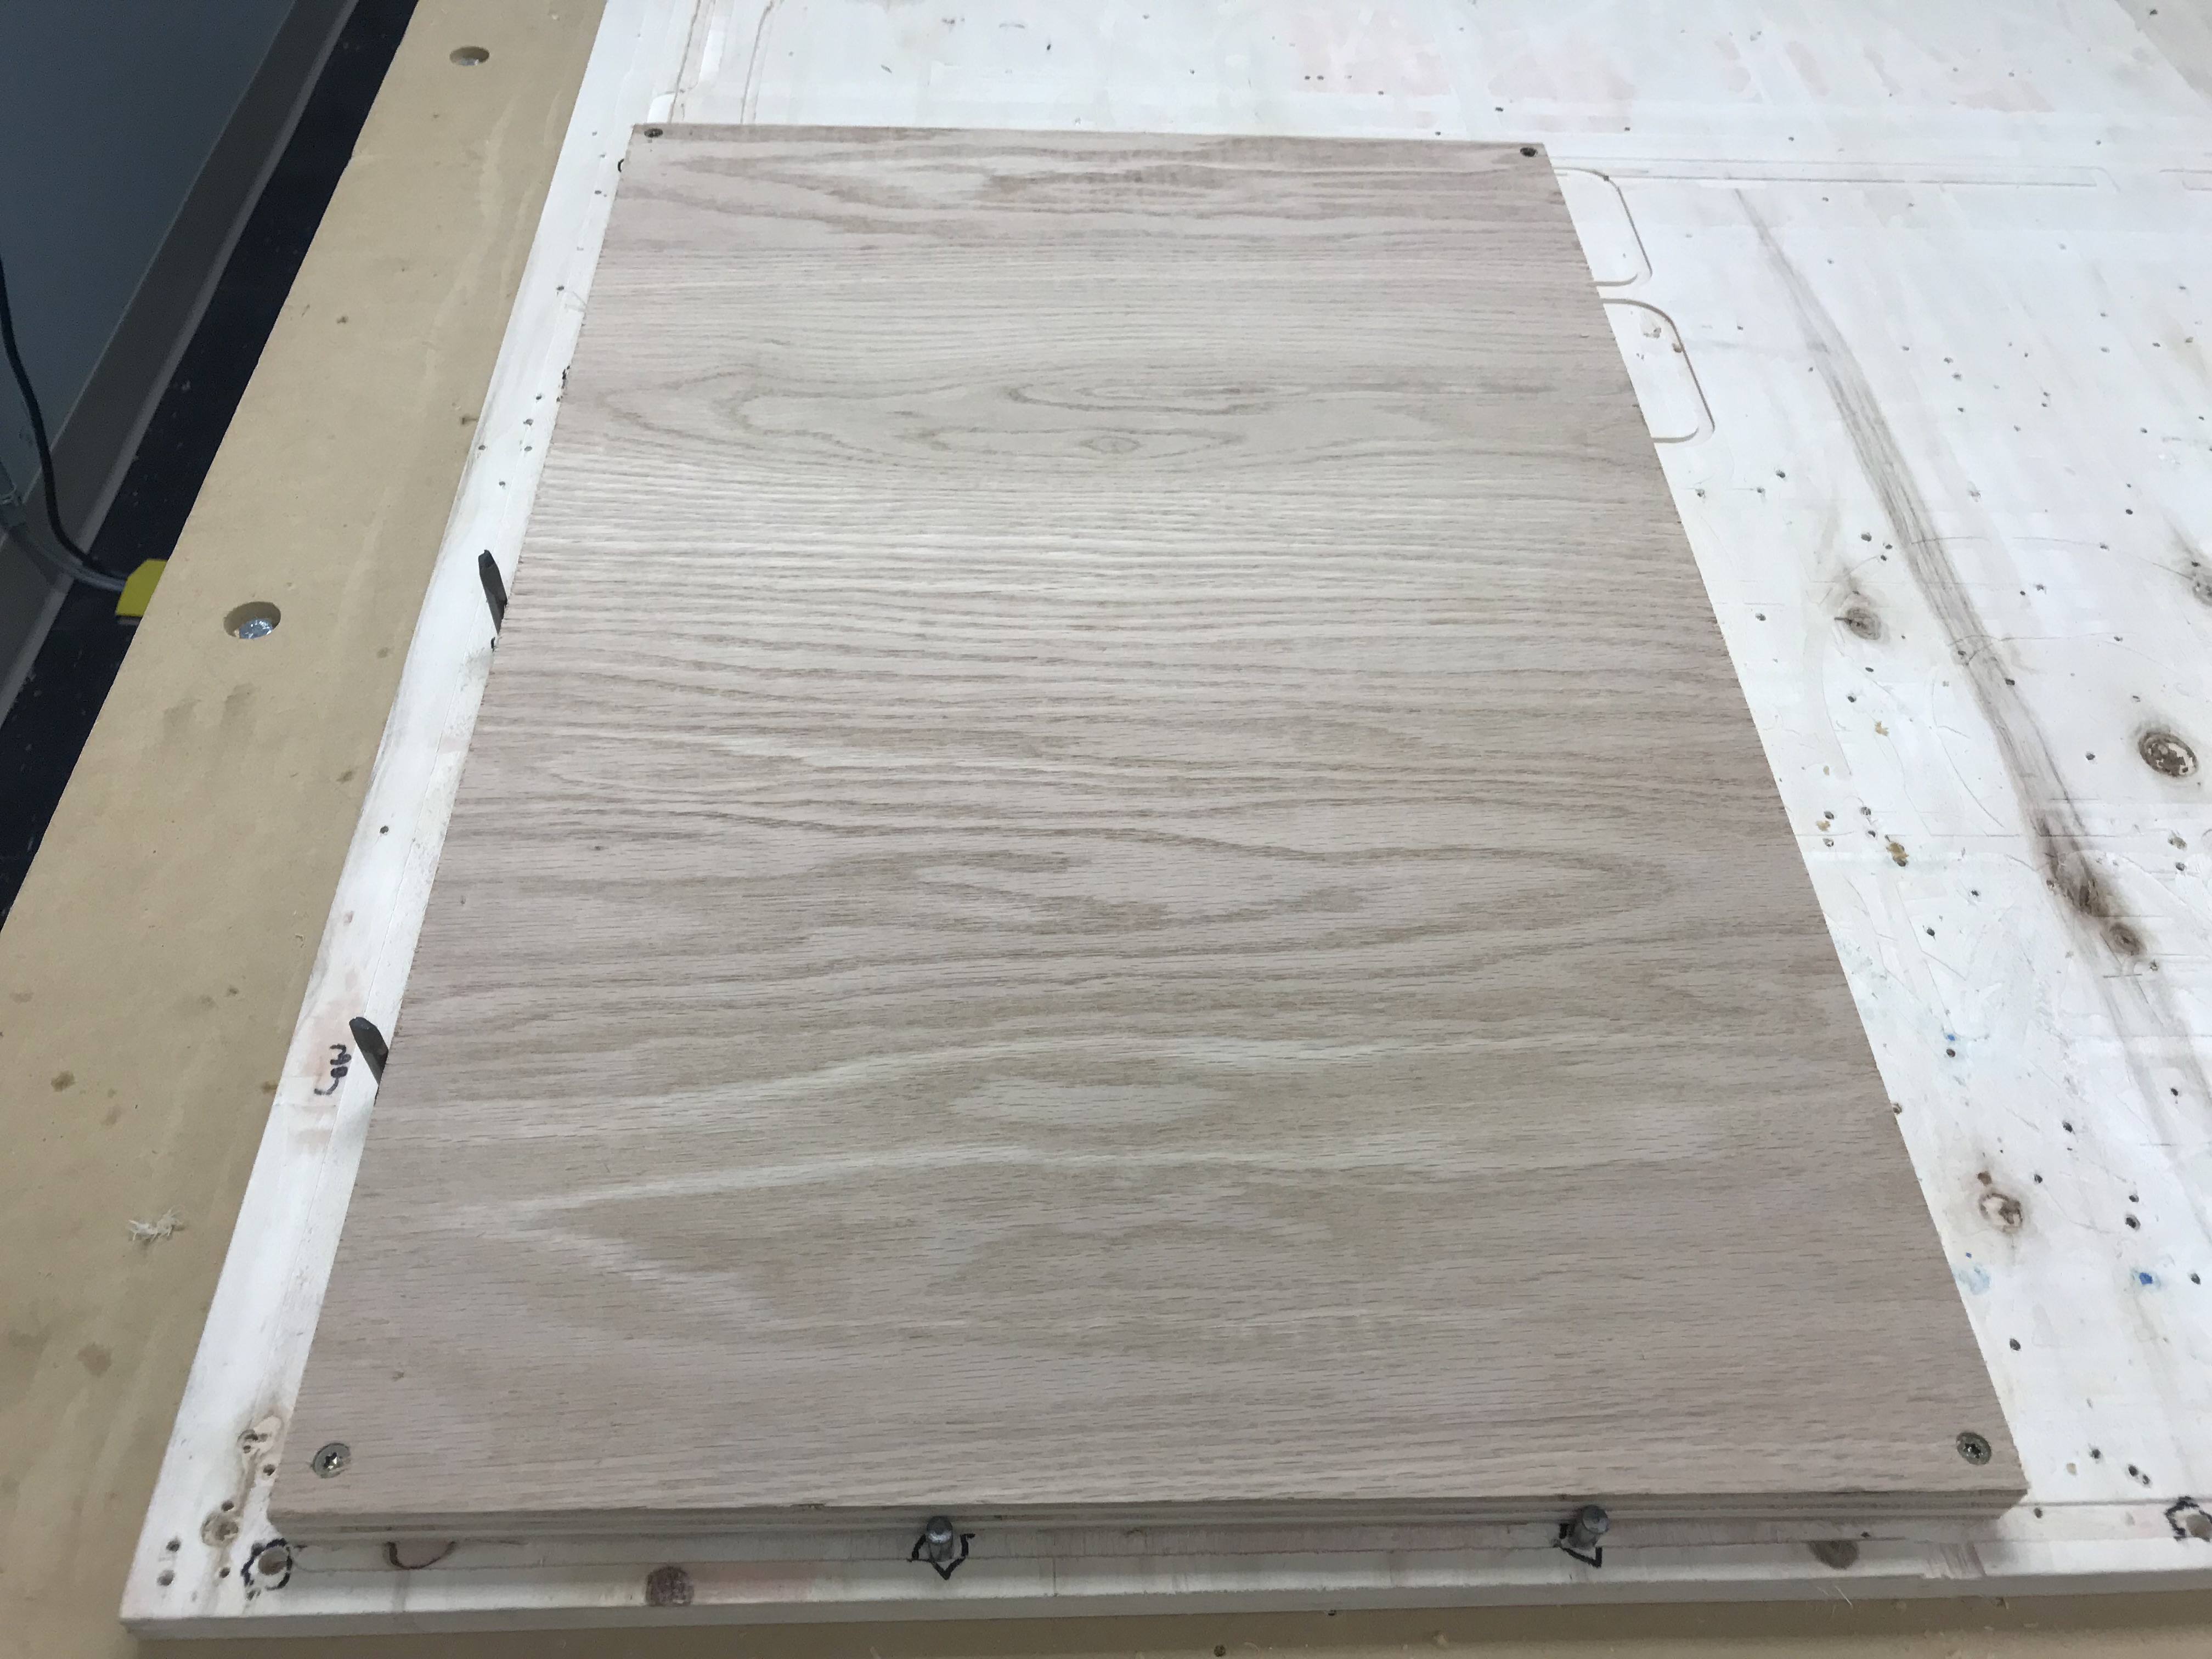
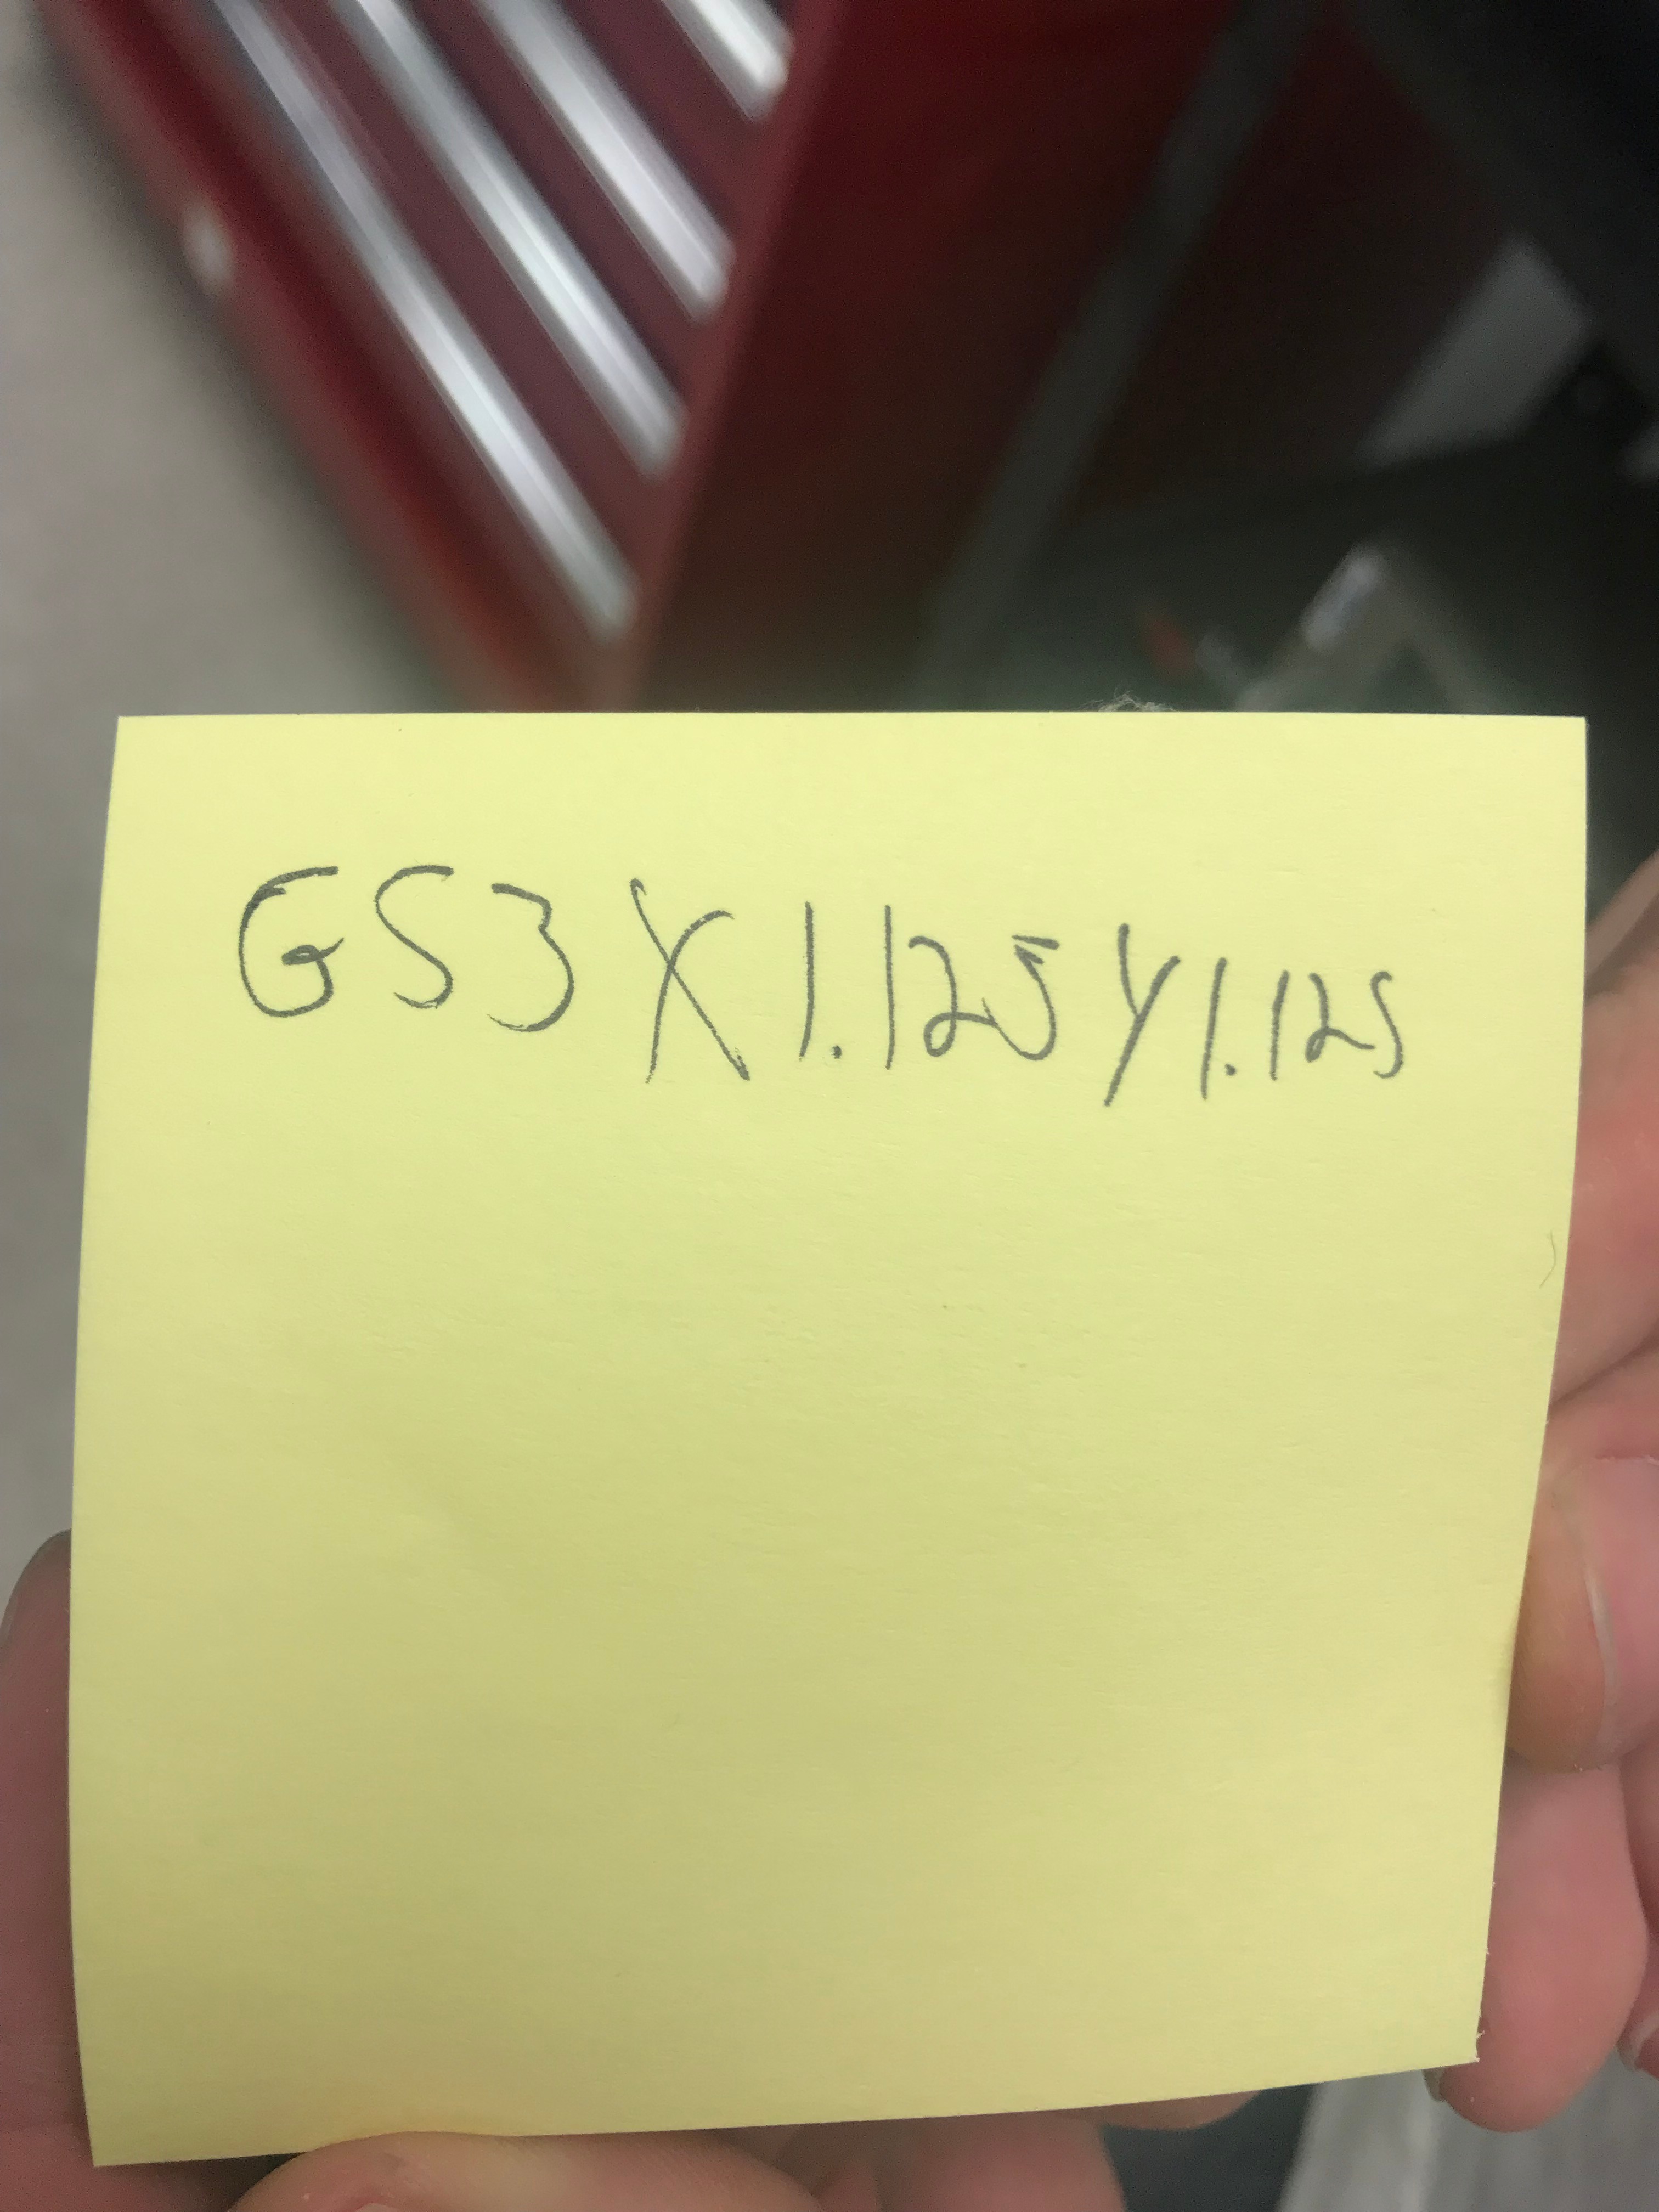
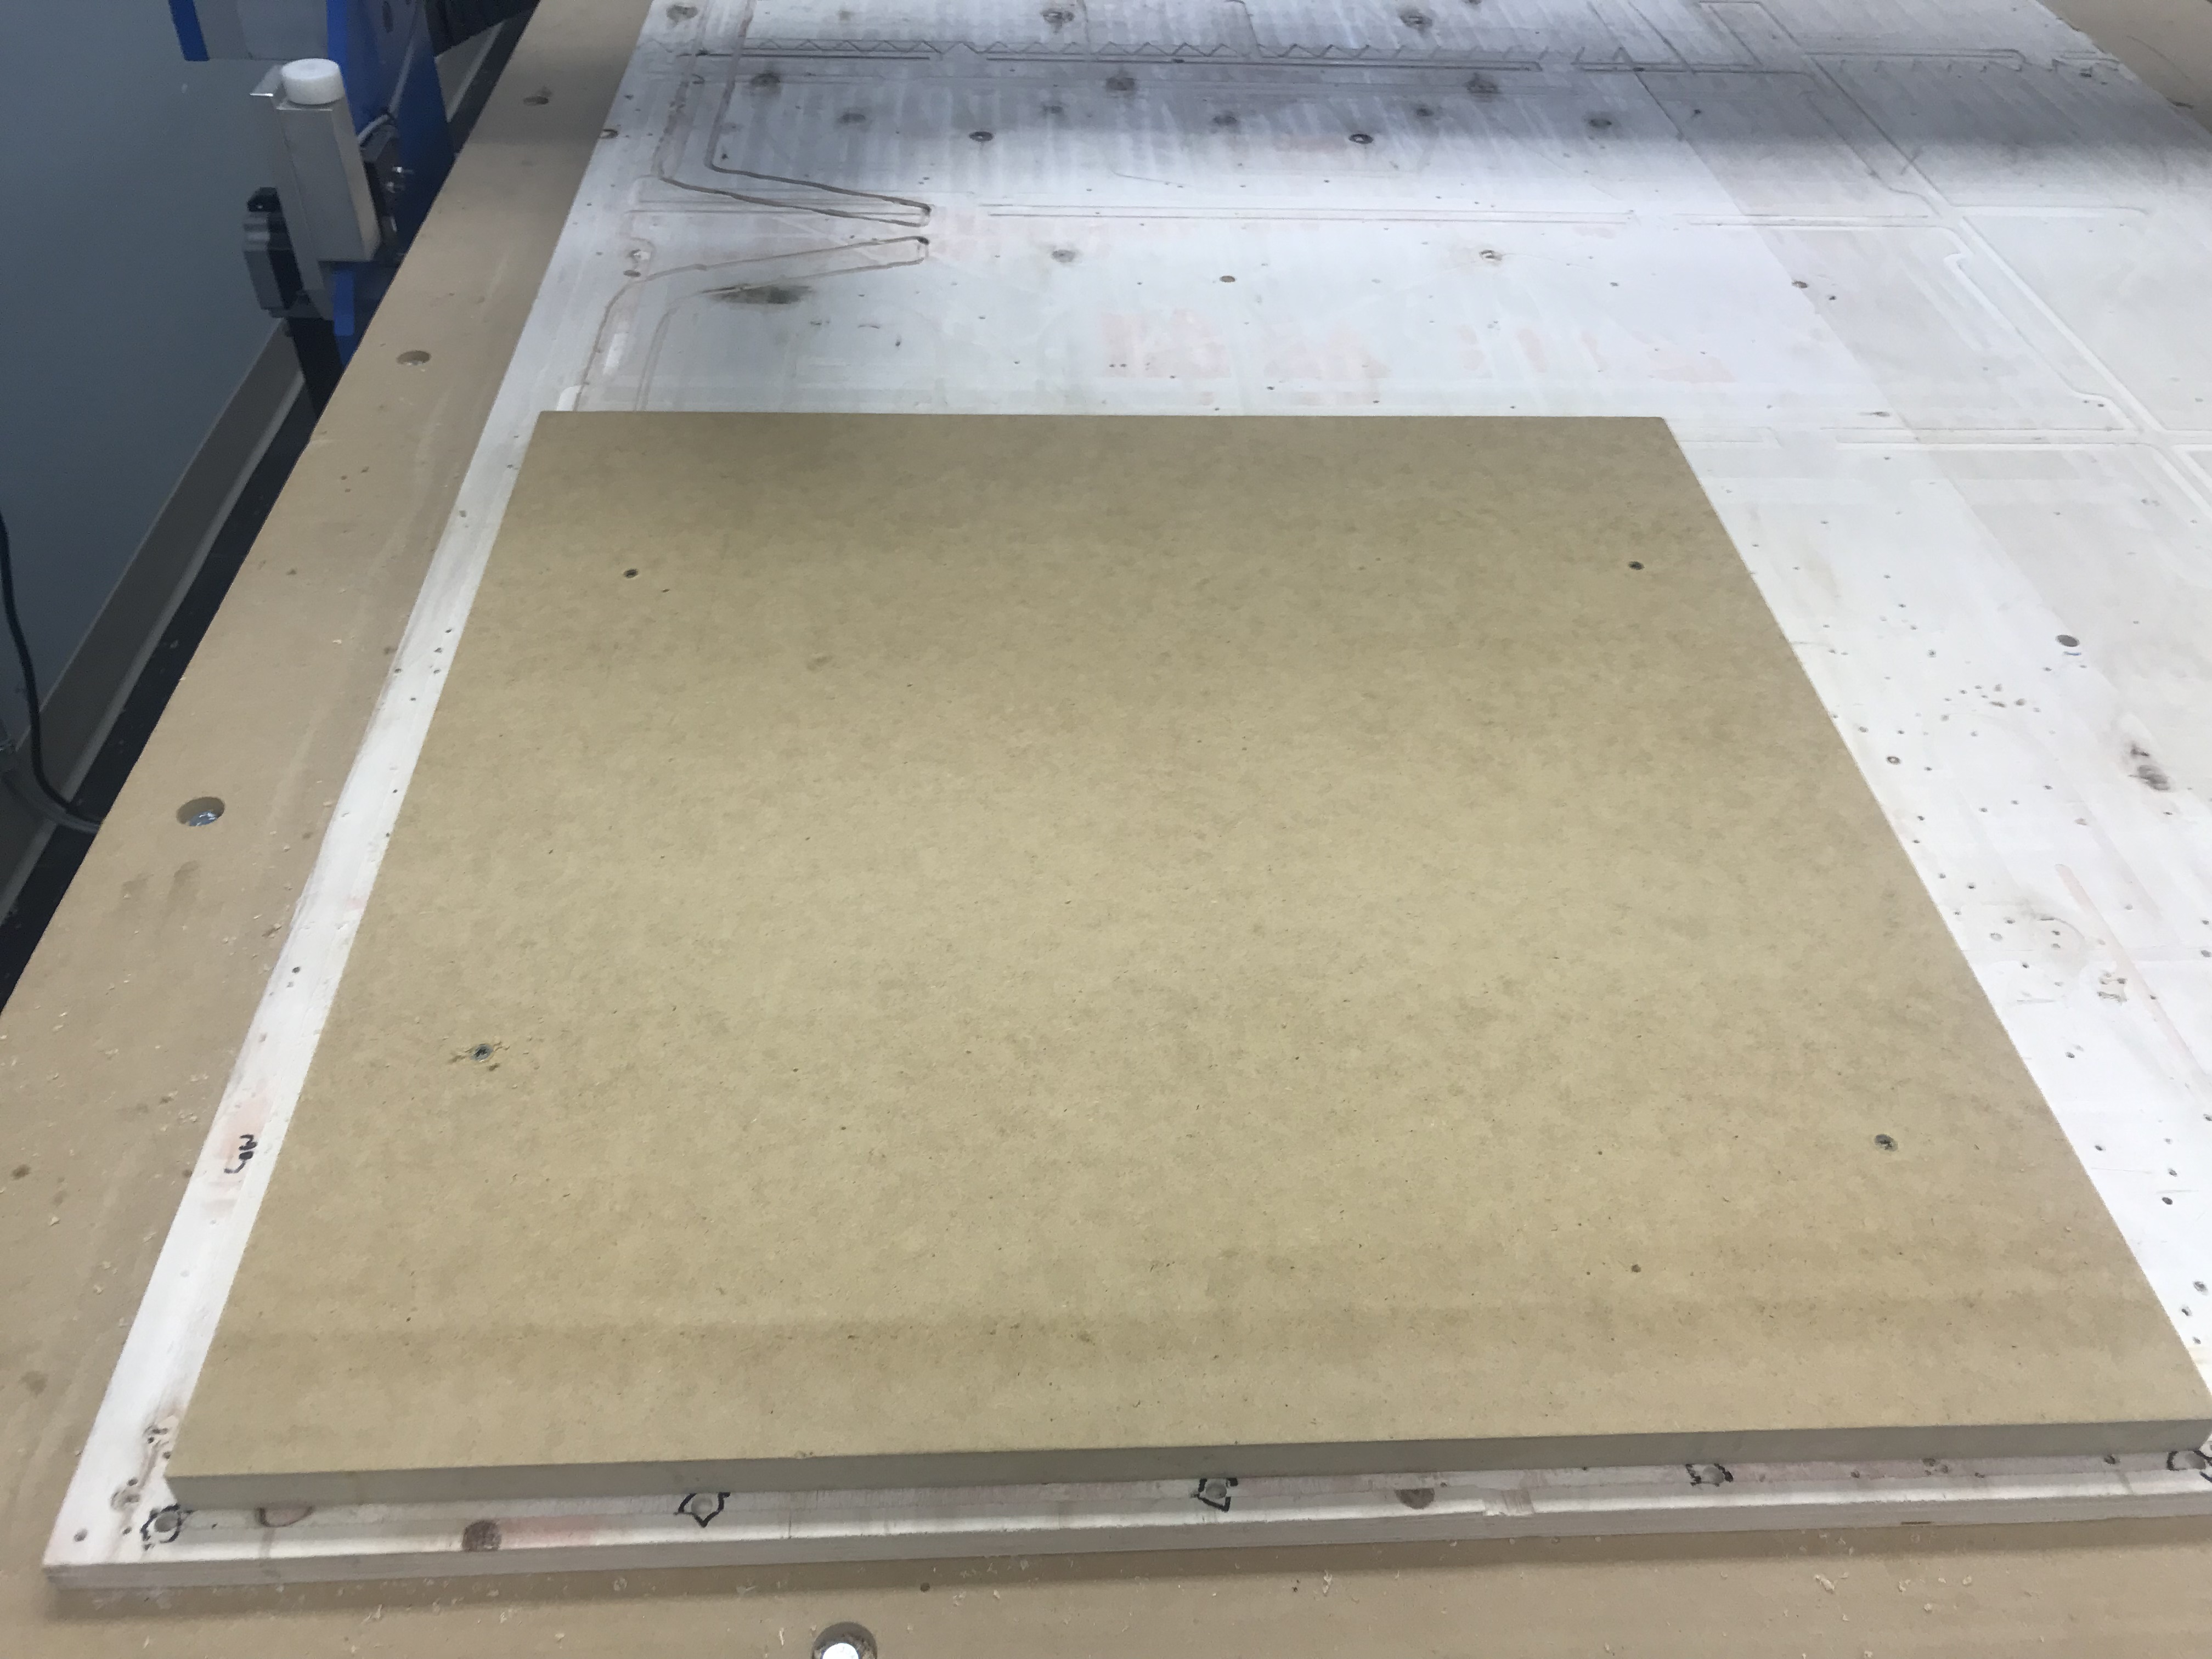
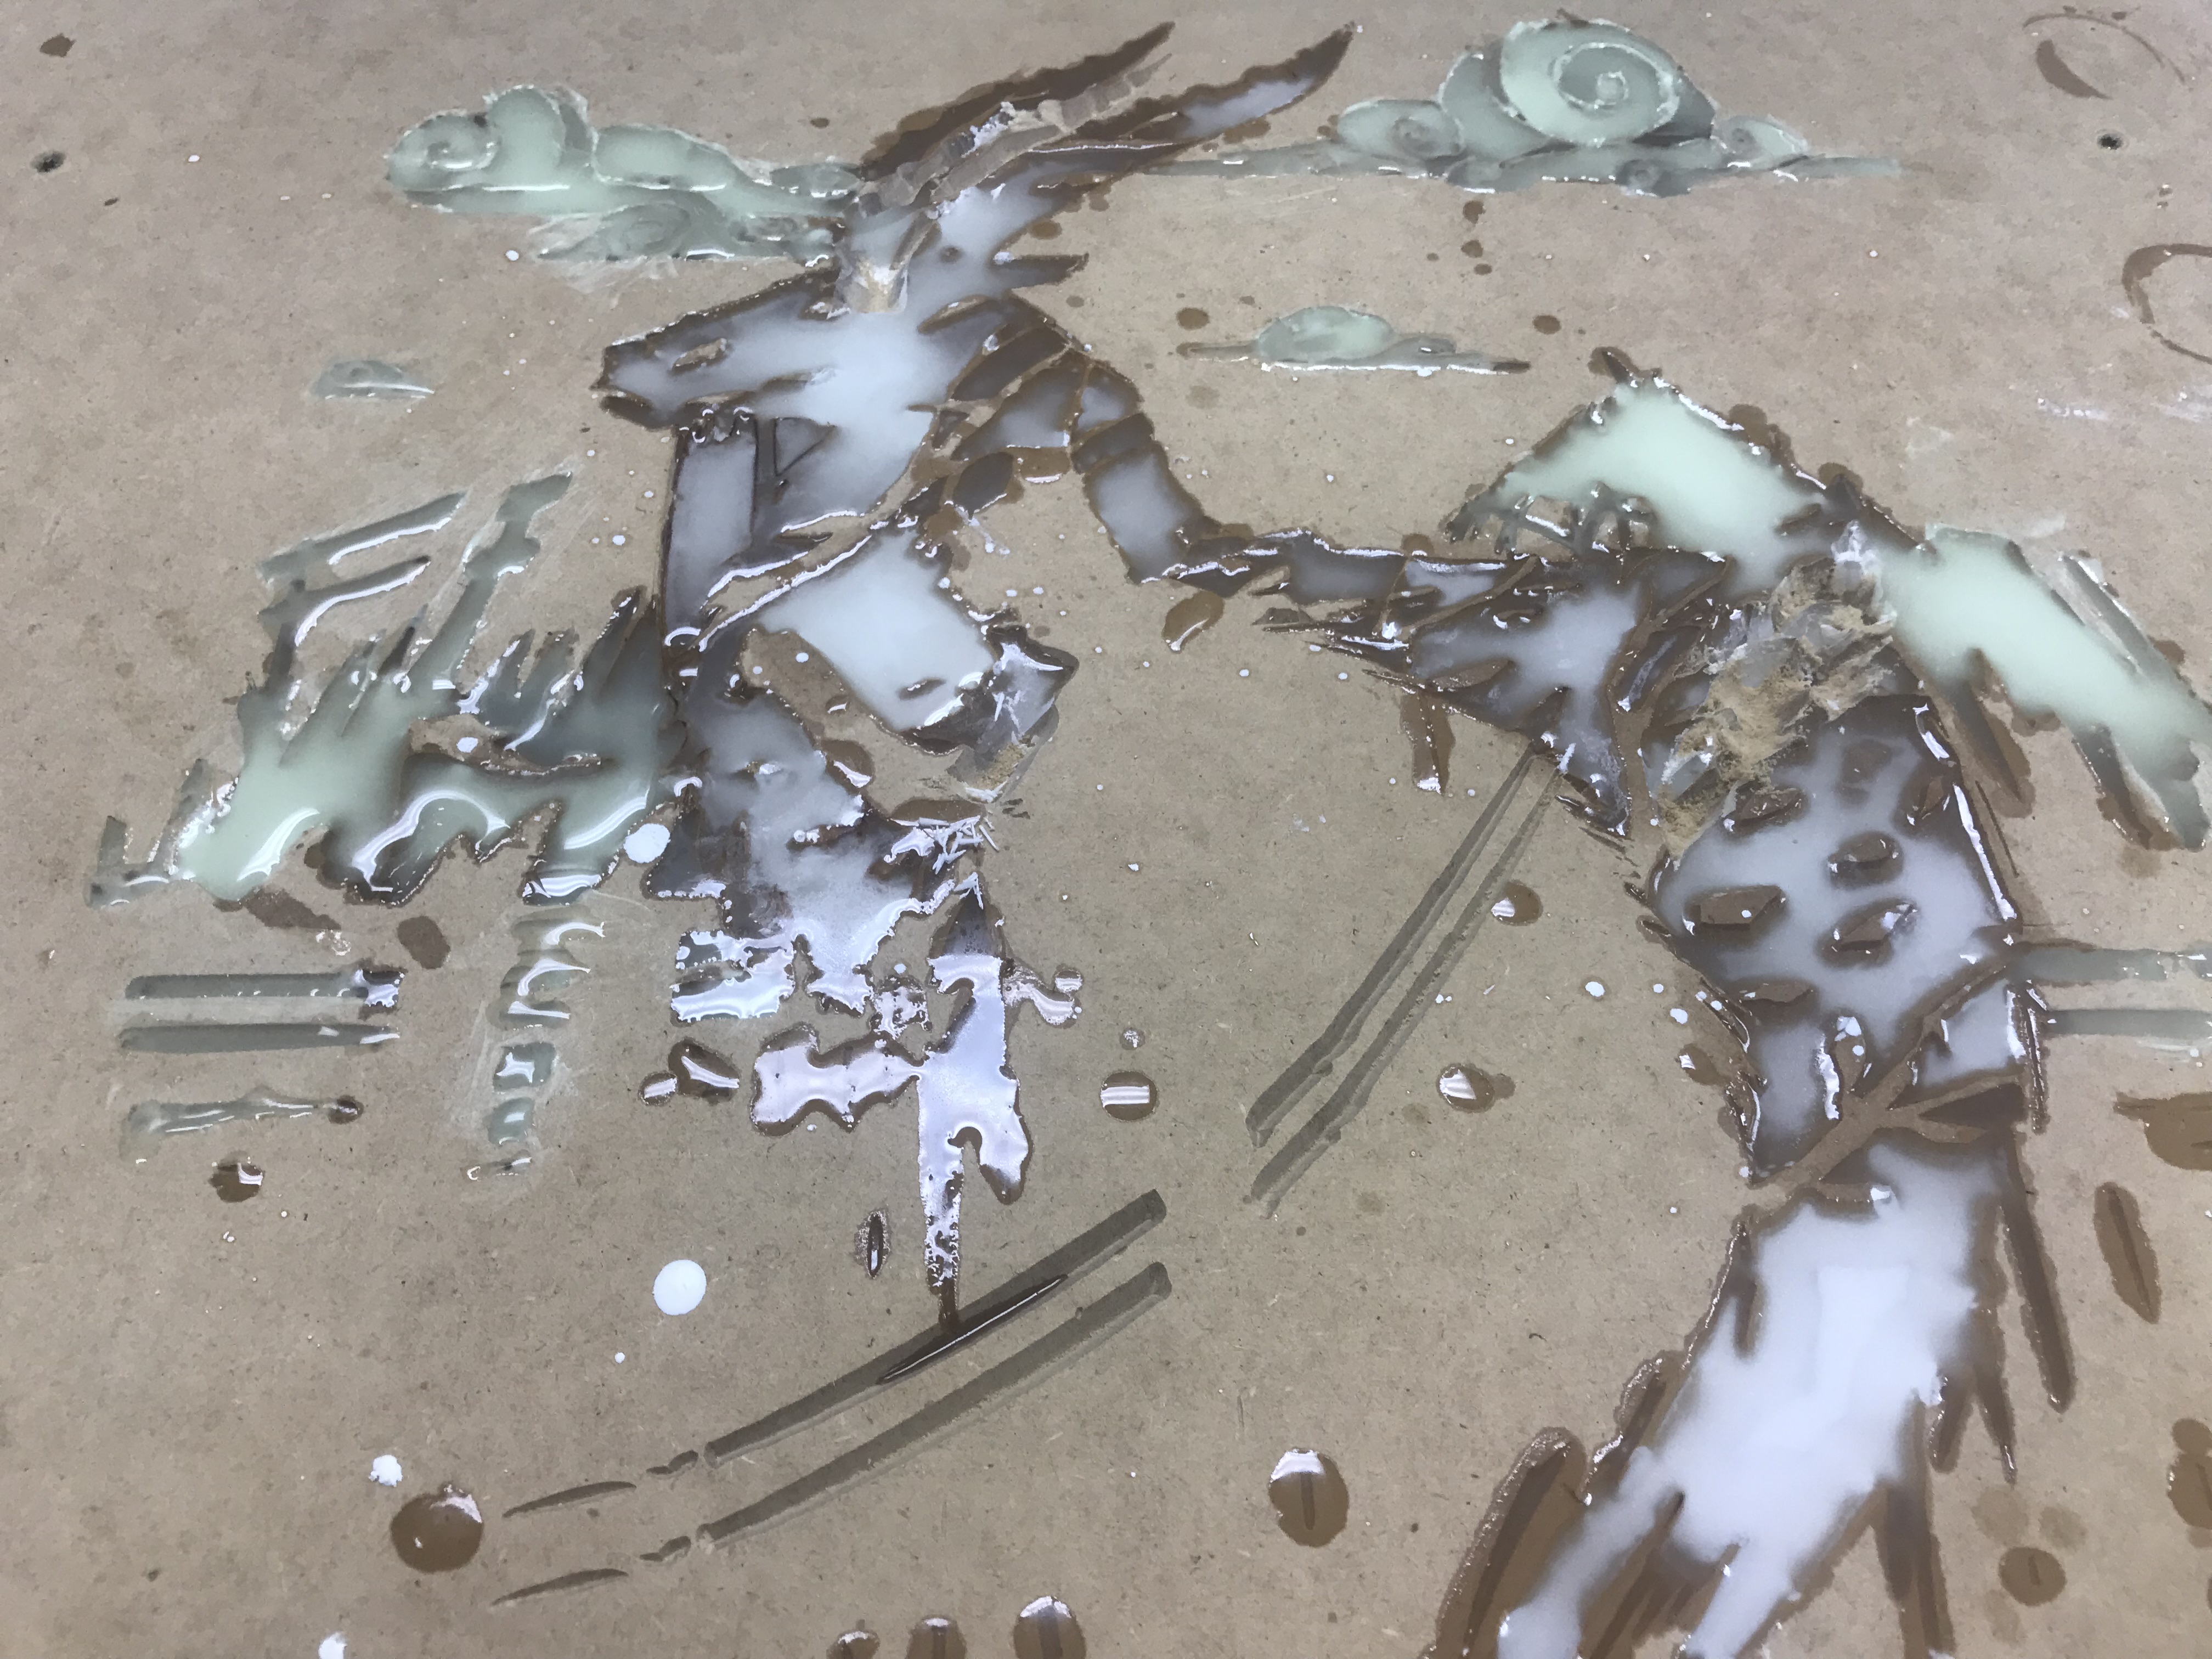
The entire project hinges on this step. Each color needs its own engraving and with increasing complexity the number of engravings will increase. This means that if your stock material is off by the smallest margin then the entire project may be ruined.
To do this a friend and I created a new set of X and Y coordinates and lined them up with pins that we'd align the stock to before screwing down.
Photo 1: The pins can be seen at the side and bottom. This was what made sure I didn't screwed up....again.
Photo 2: We programmed the origin point to be at the bottom left corner of stock. We'd just type in the code and the CNC would always go to that position.
Photo 3: The MDF board, the protoboard.
Photo 4: The screw up that inspired this system.
The Fusion Setup
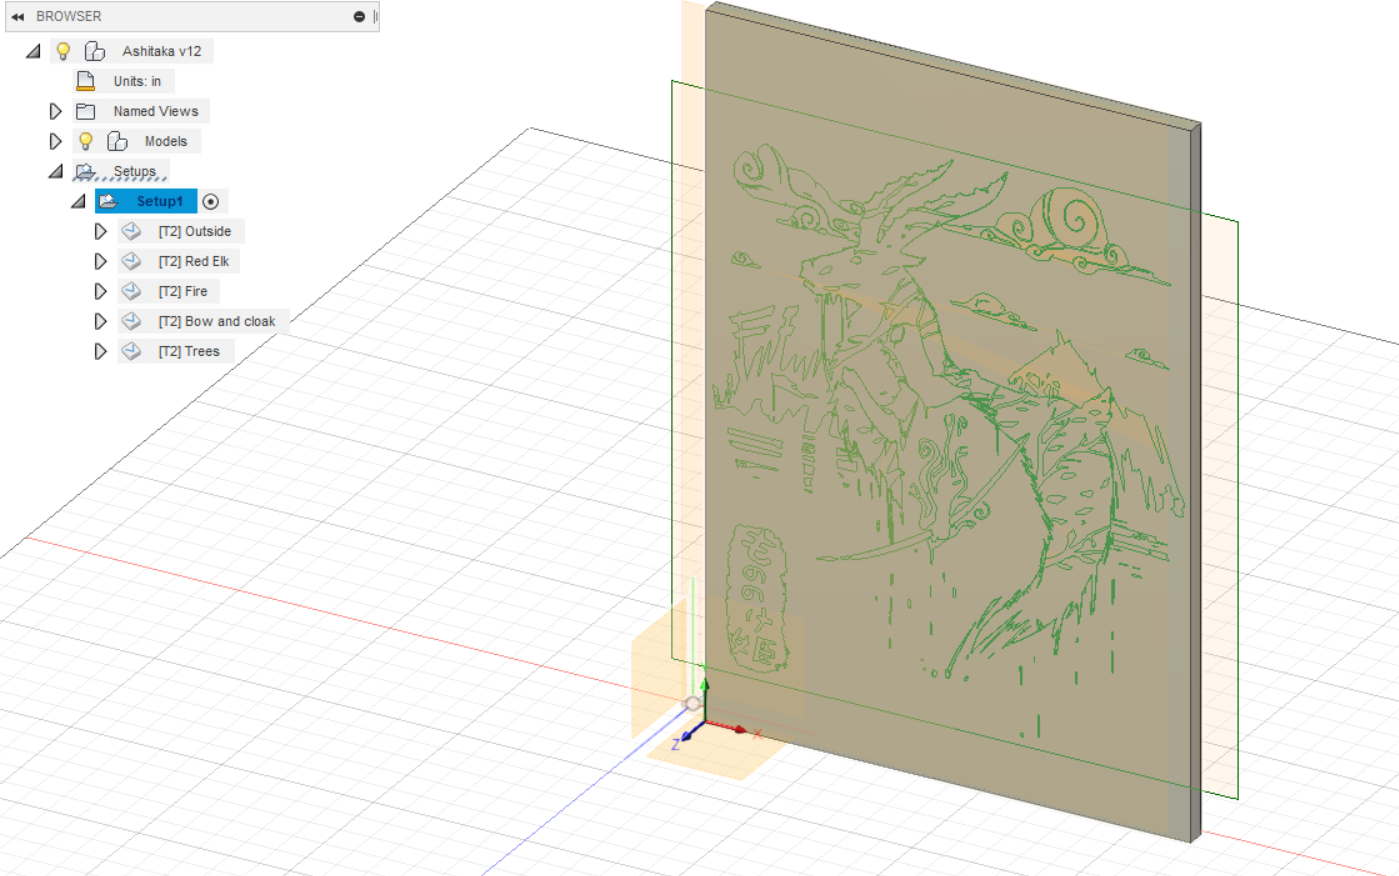
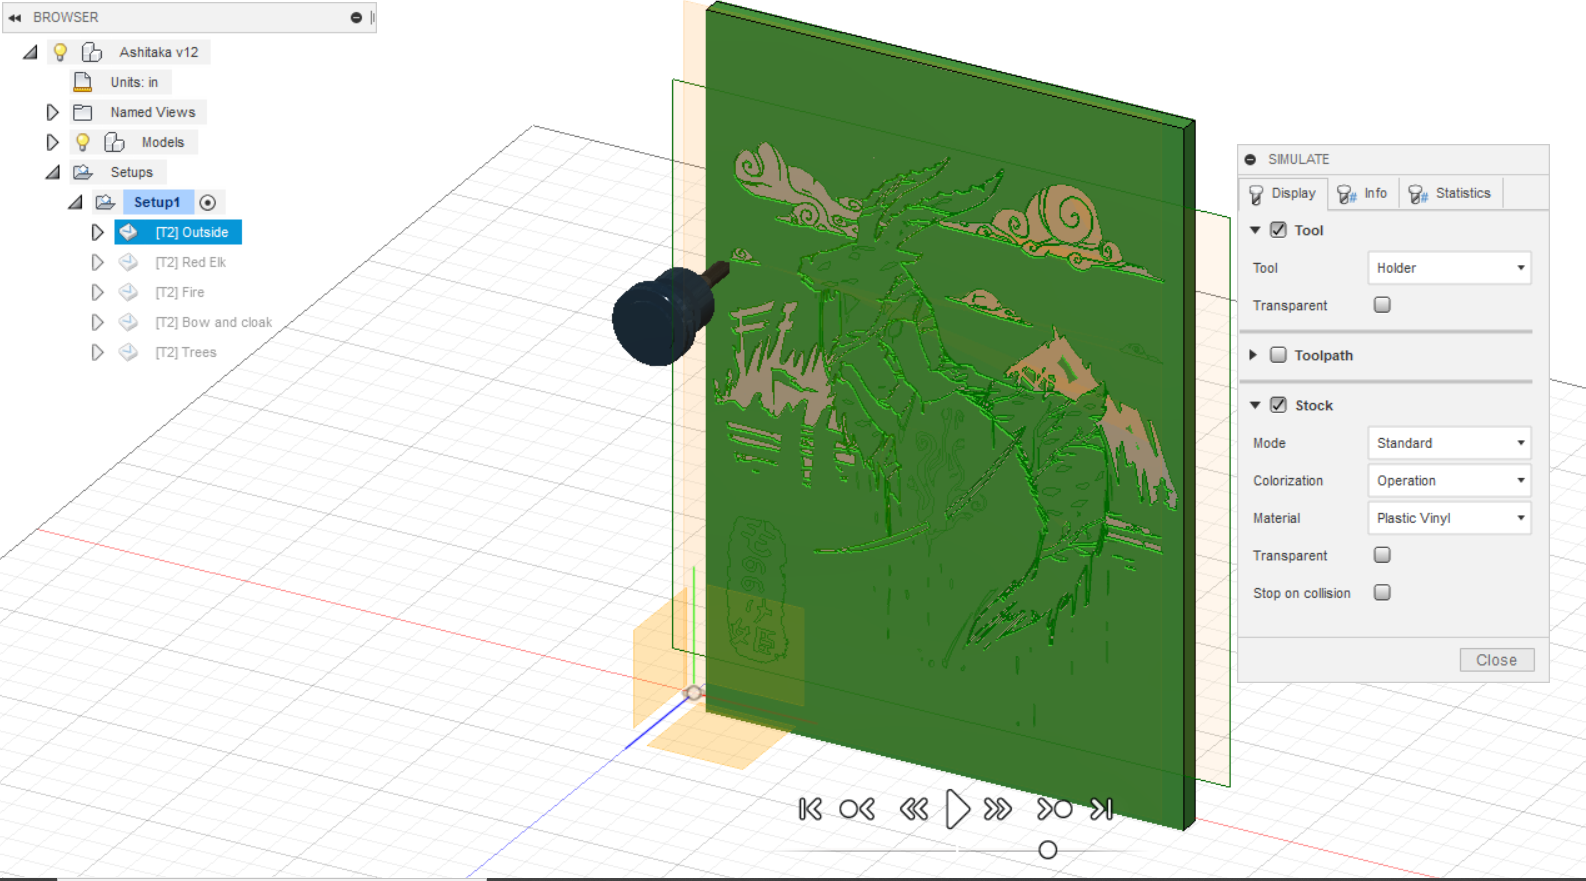
After taking your image and turning it into an SVG, import it to Fusion 360. There are several How-tos that show you how to do this better than me.
Model the stock to be the same dimensions as your work piece and start the fun part, selecting contours.
When bringing over SVGs your image turns into line art, those lines are called "Contours", this is why it's necessary to have an image with few colors, preferably just a black and white image. I've gotten proficient to use up to a few colors. Each unbroken section of color gets its own contour that bounds that area.
Photo 2. The clouds and mountains are one uniform color, so each cloud and mountain only had one or two contour lines.
This is a multi color engraving so that means we will need to engrave, remove the work piece, fill with resin, then mount and engrave again. So while we could engrave everything at once, it could be a problem if you overfill a groove and resins mix. This is why I did it color by color.
After making the set up you need to make the jobs, I used 5 separate Engravings from the 2D drop down menu.
First Engraving
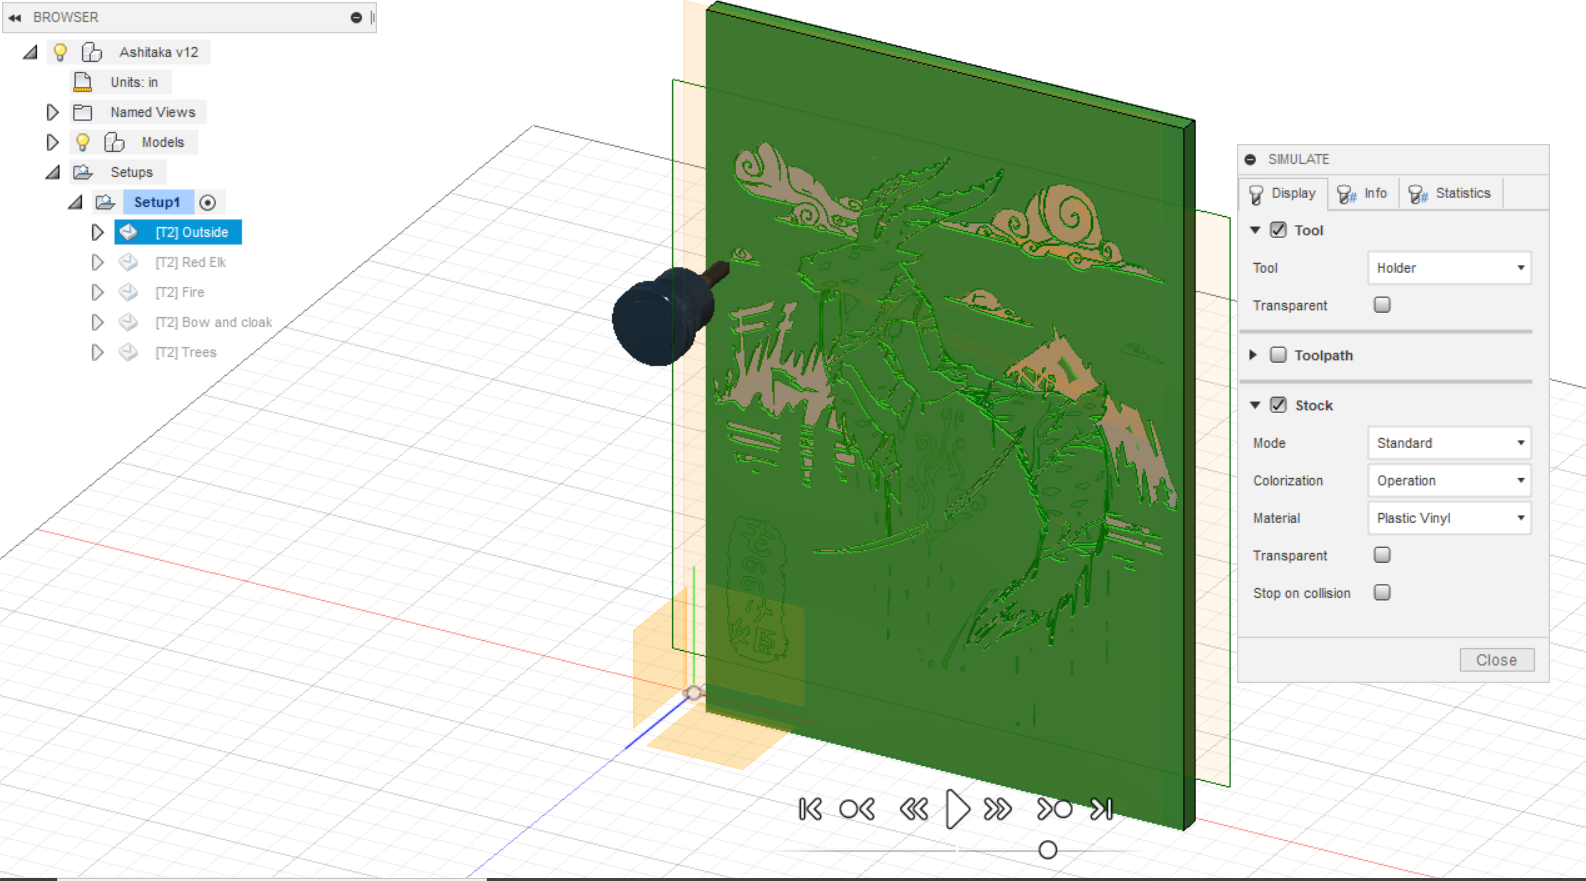
Time for the first Engraving, so select Engraving in the 2D menu and select the contours(Colors) you want to engrave, always Simulate and make sure the colors you want are the only ones being selected. You can see that the a small outline of other objects are cut in picture above, this shows the difficulty in only selecting one contour.
Remove Any Islands
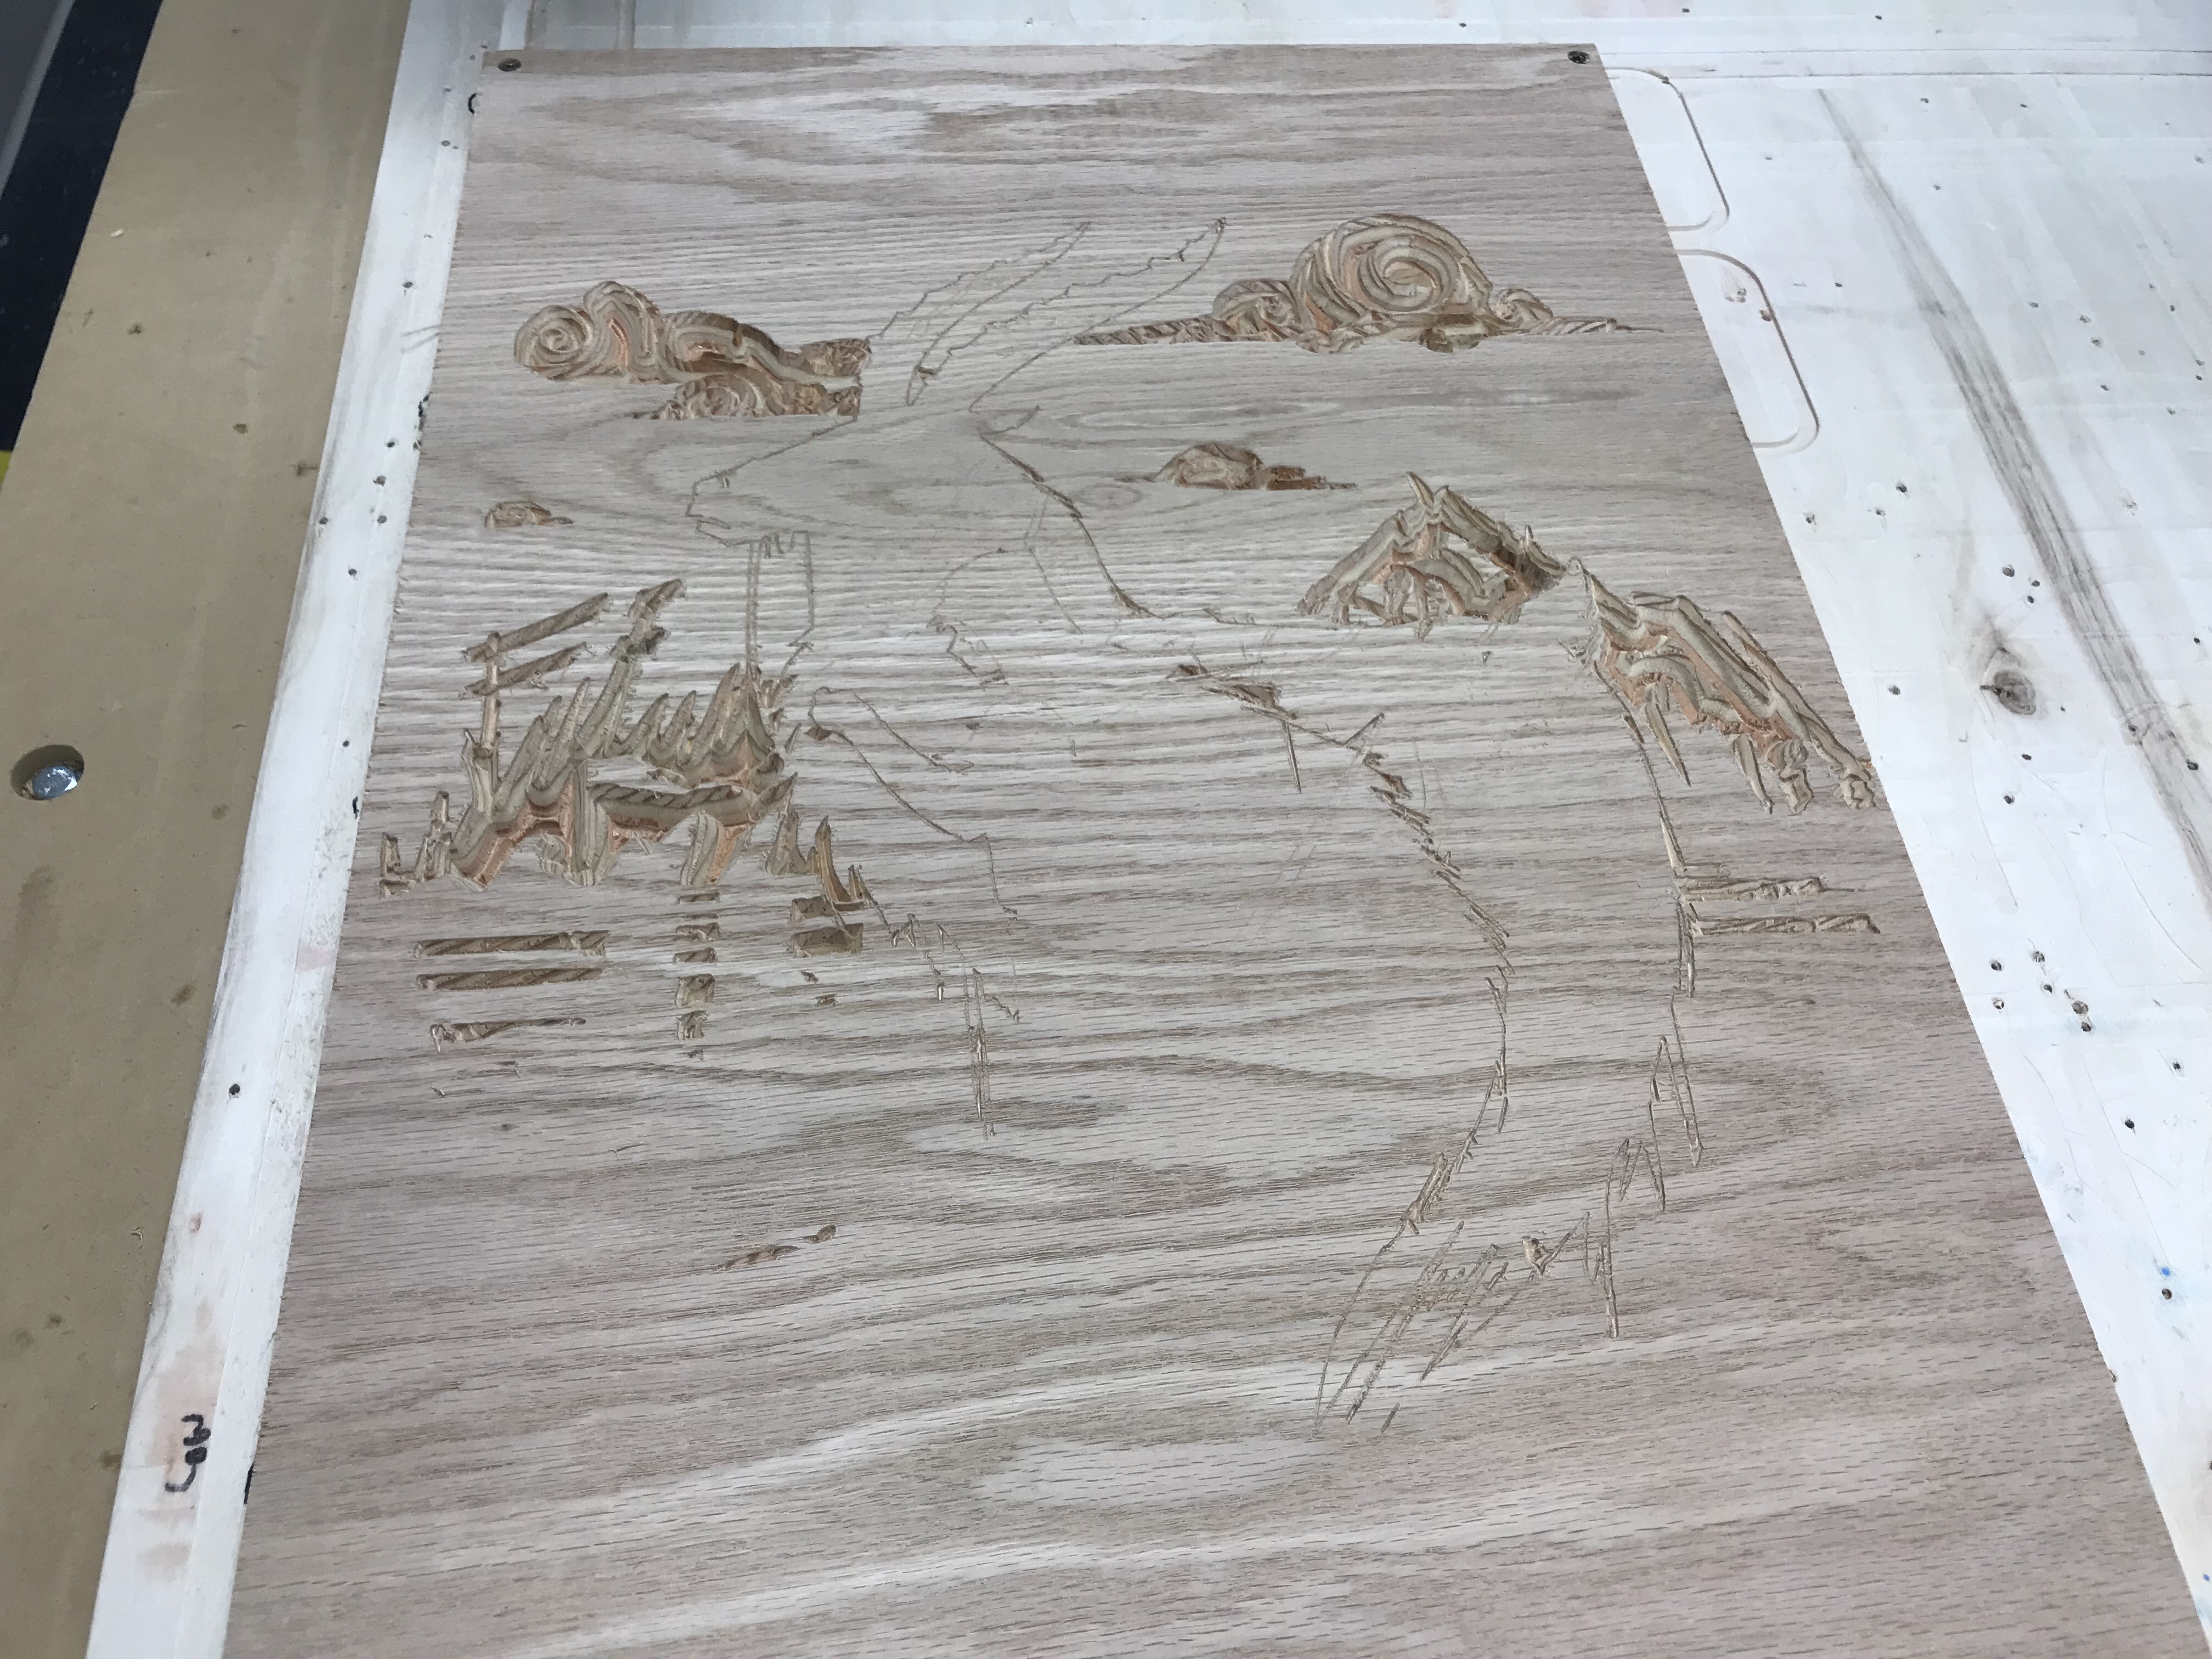
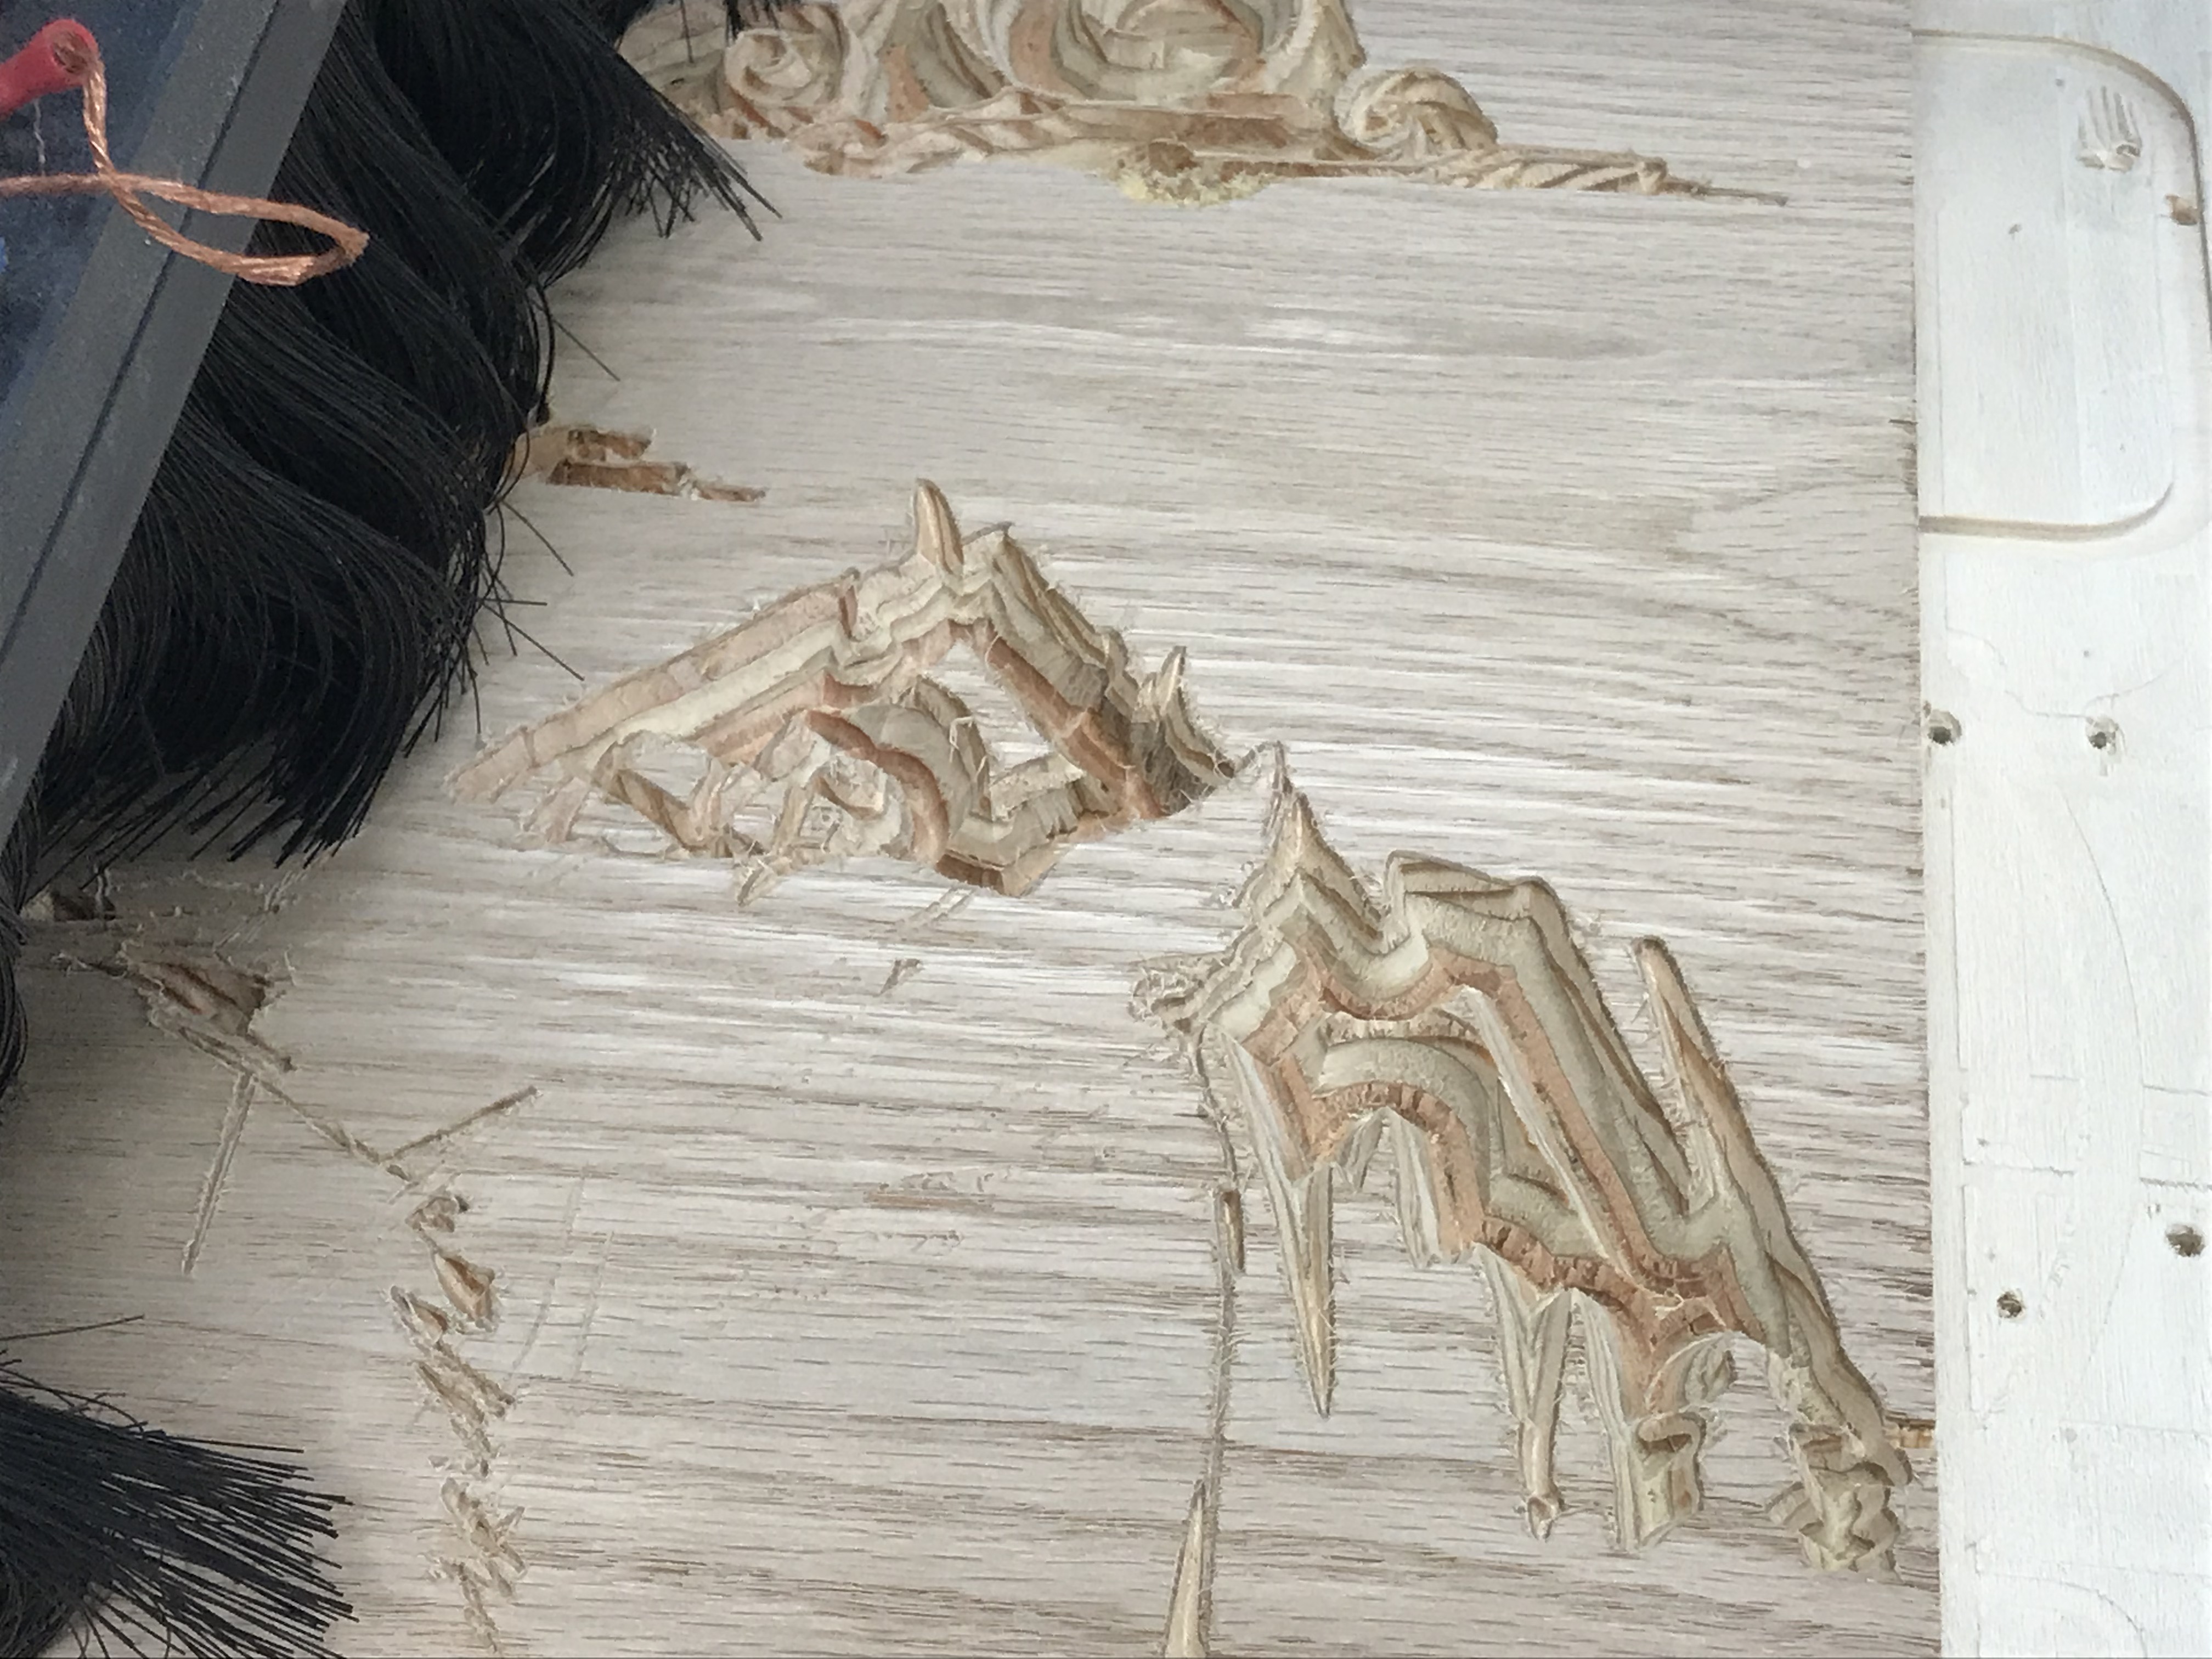
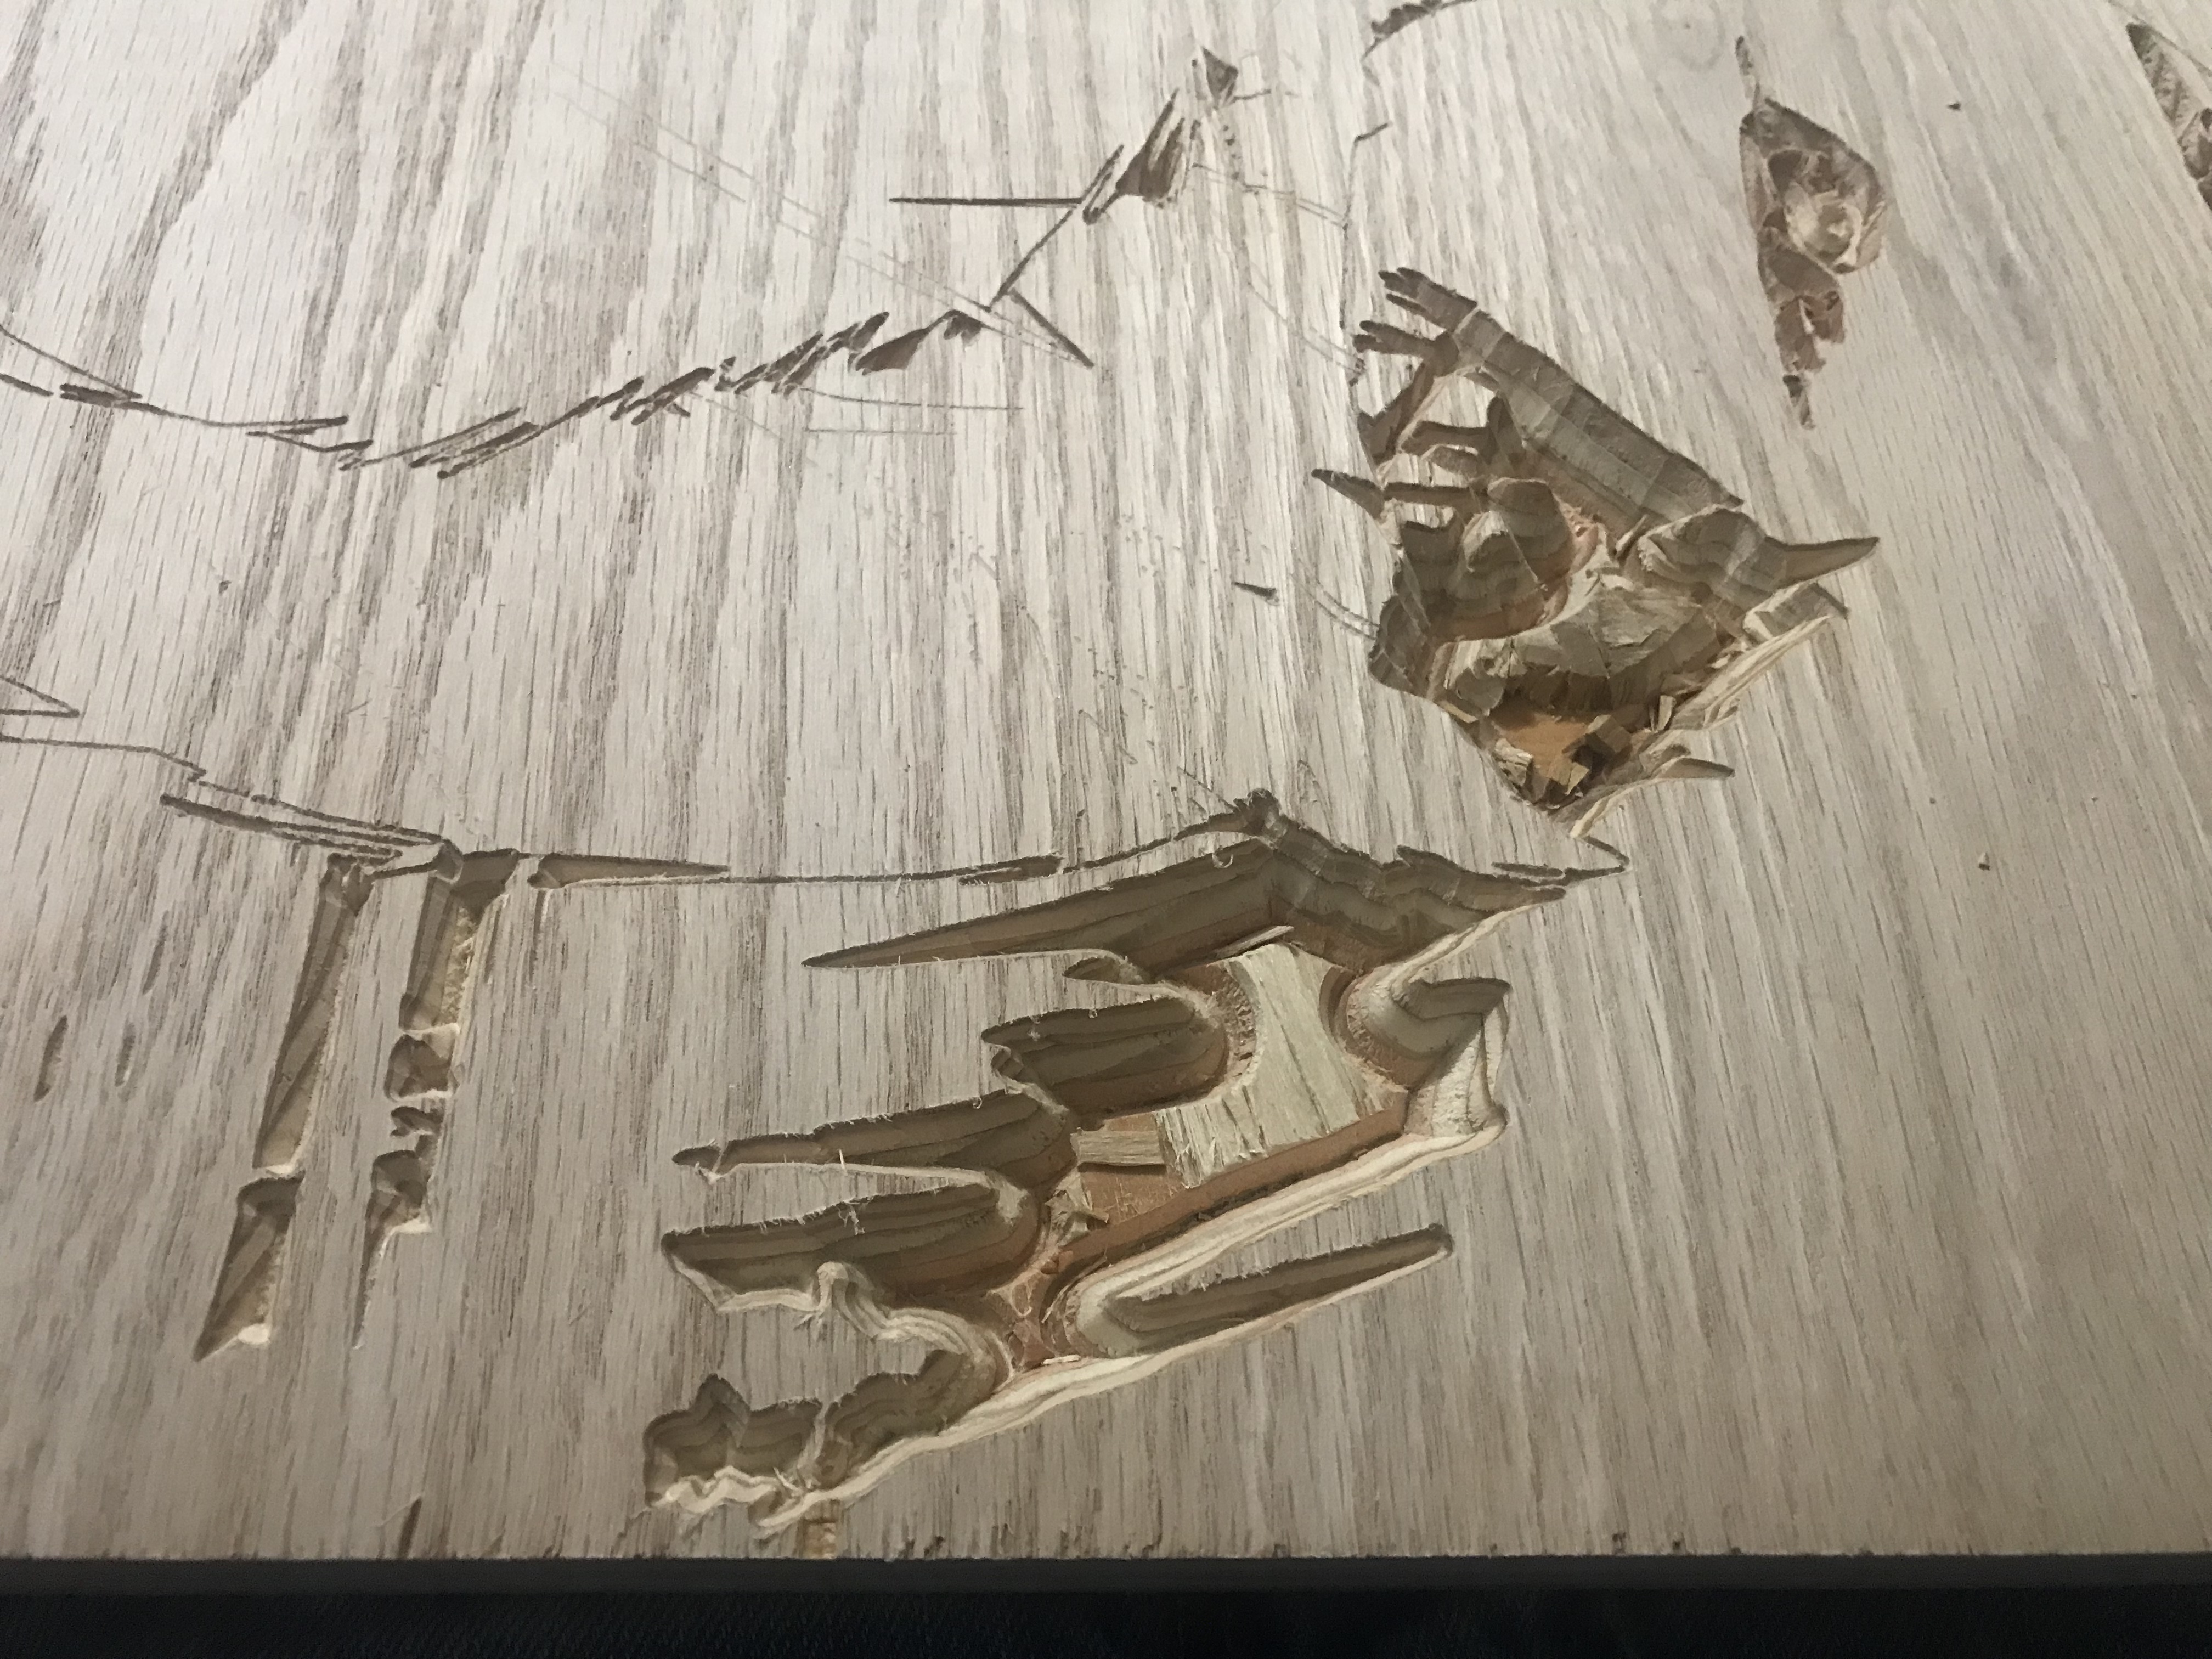
During the engraving process islands may be left behind, I used a chisel to just pop them off. The benefits of using plywood. MDF was much more difficult.
Stain the Wood
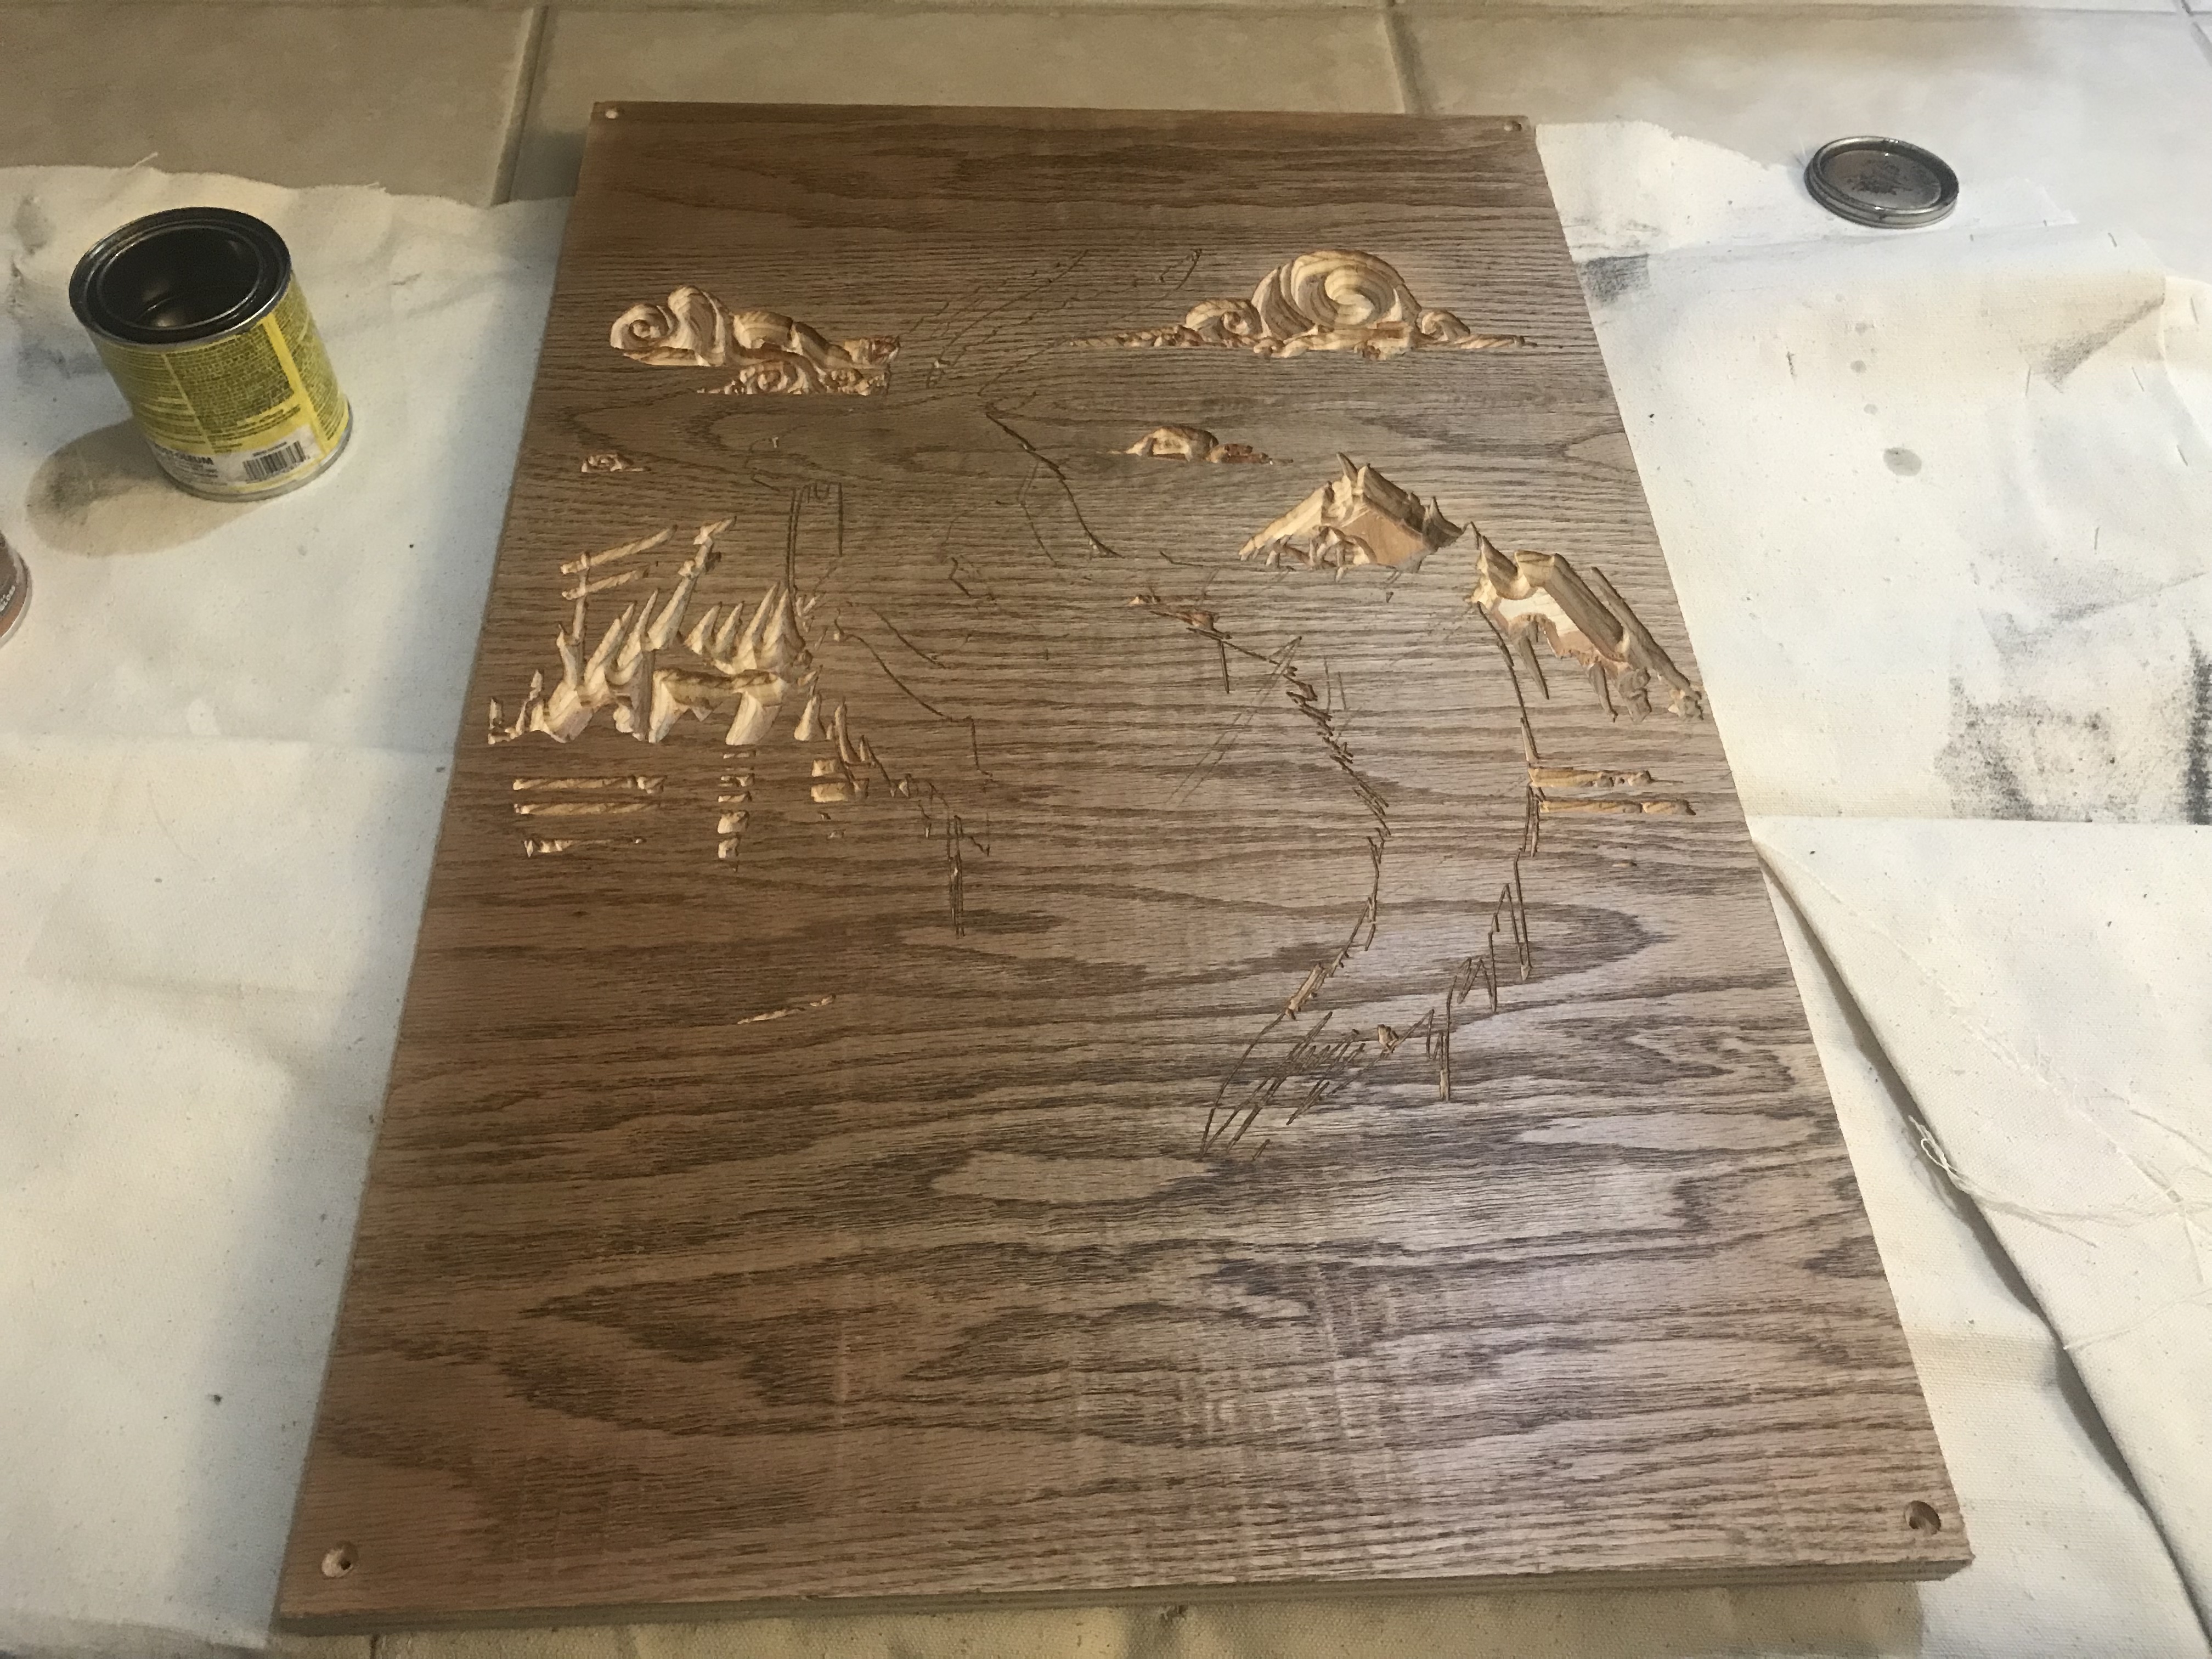
Ok, this could have been a starting step but as long as you stain and lacquer before you pour the resin you're fine. This is plywood with veneer so I didn't want to mill off the oak by accident if resin stained it or soaked it before staining.
Pour the Resin and Possible Wax.
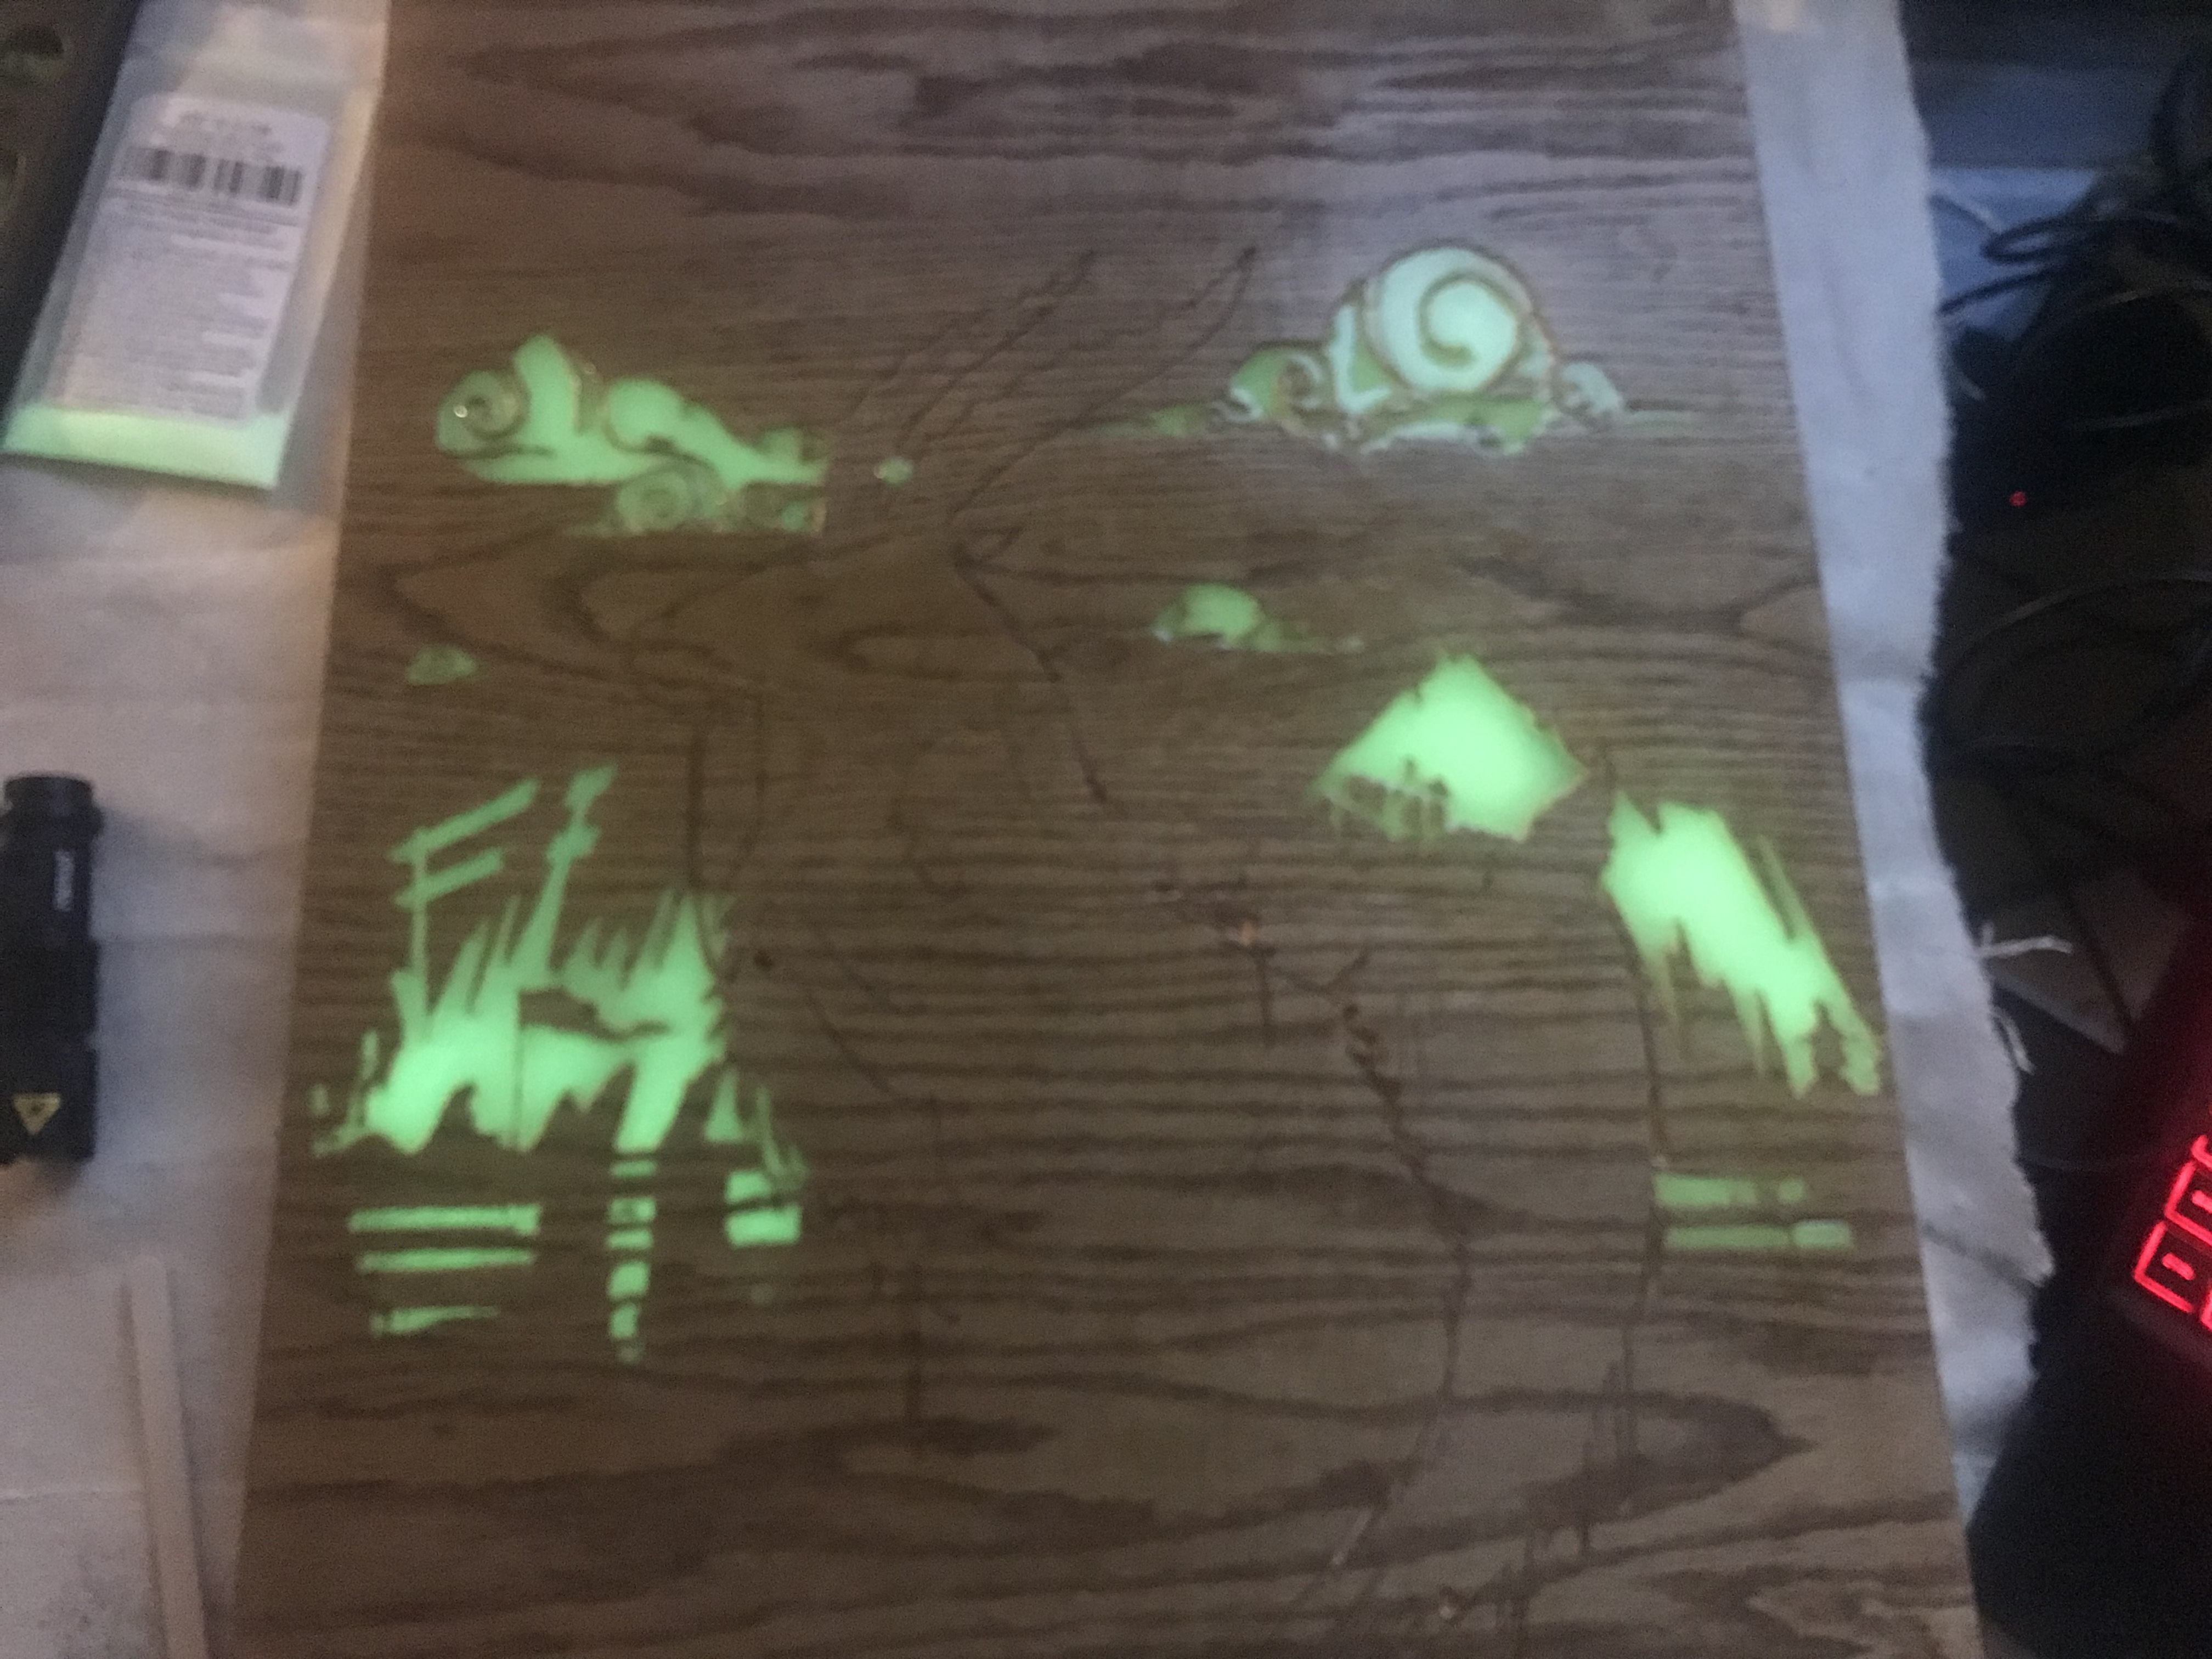
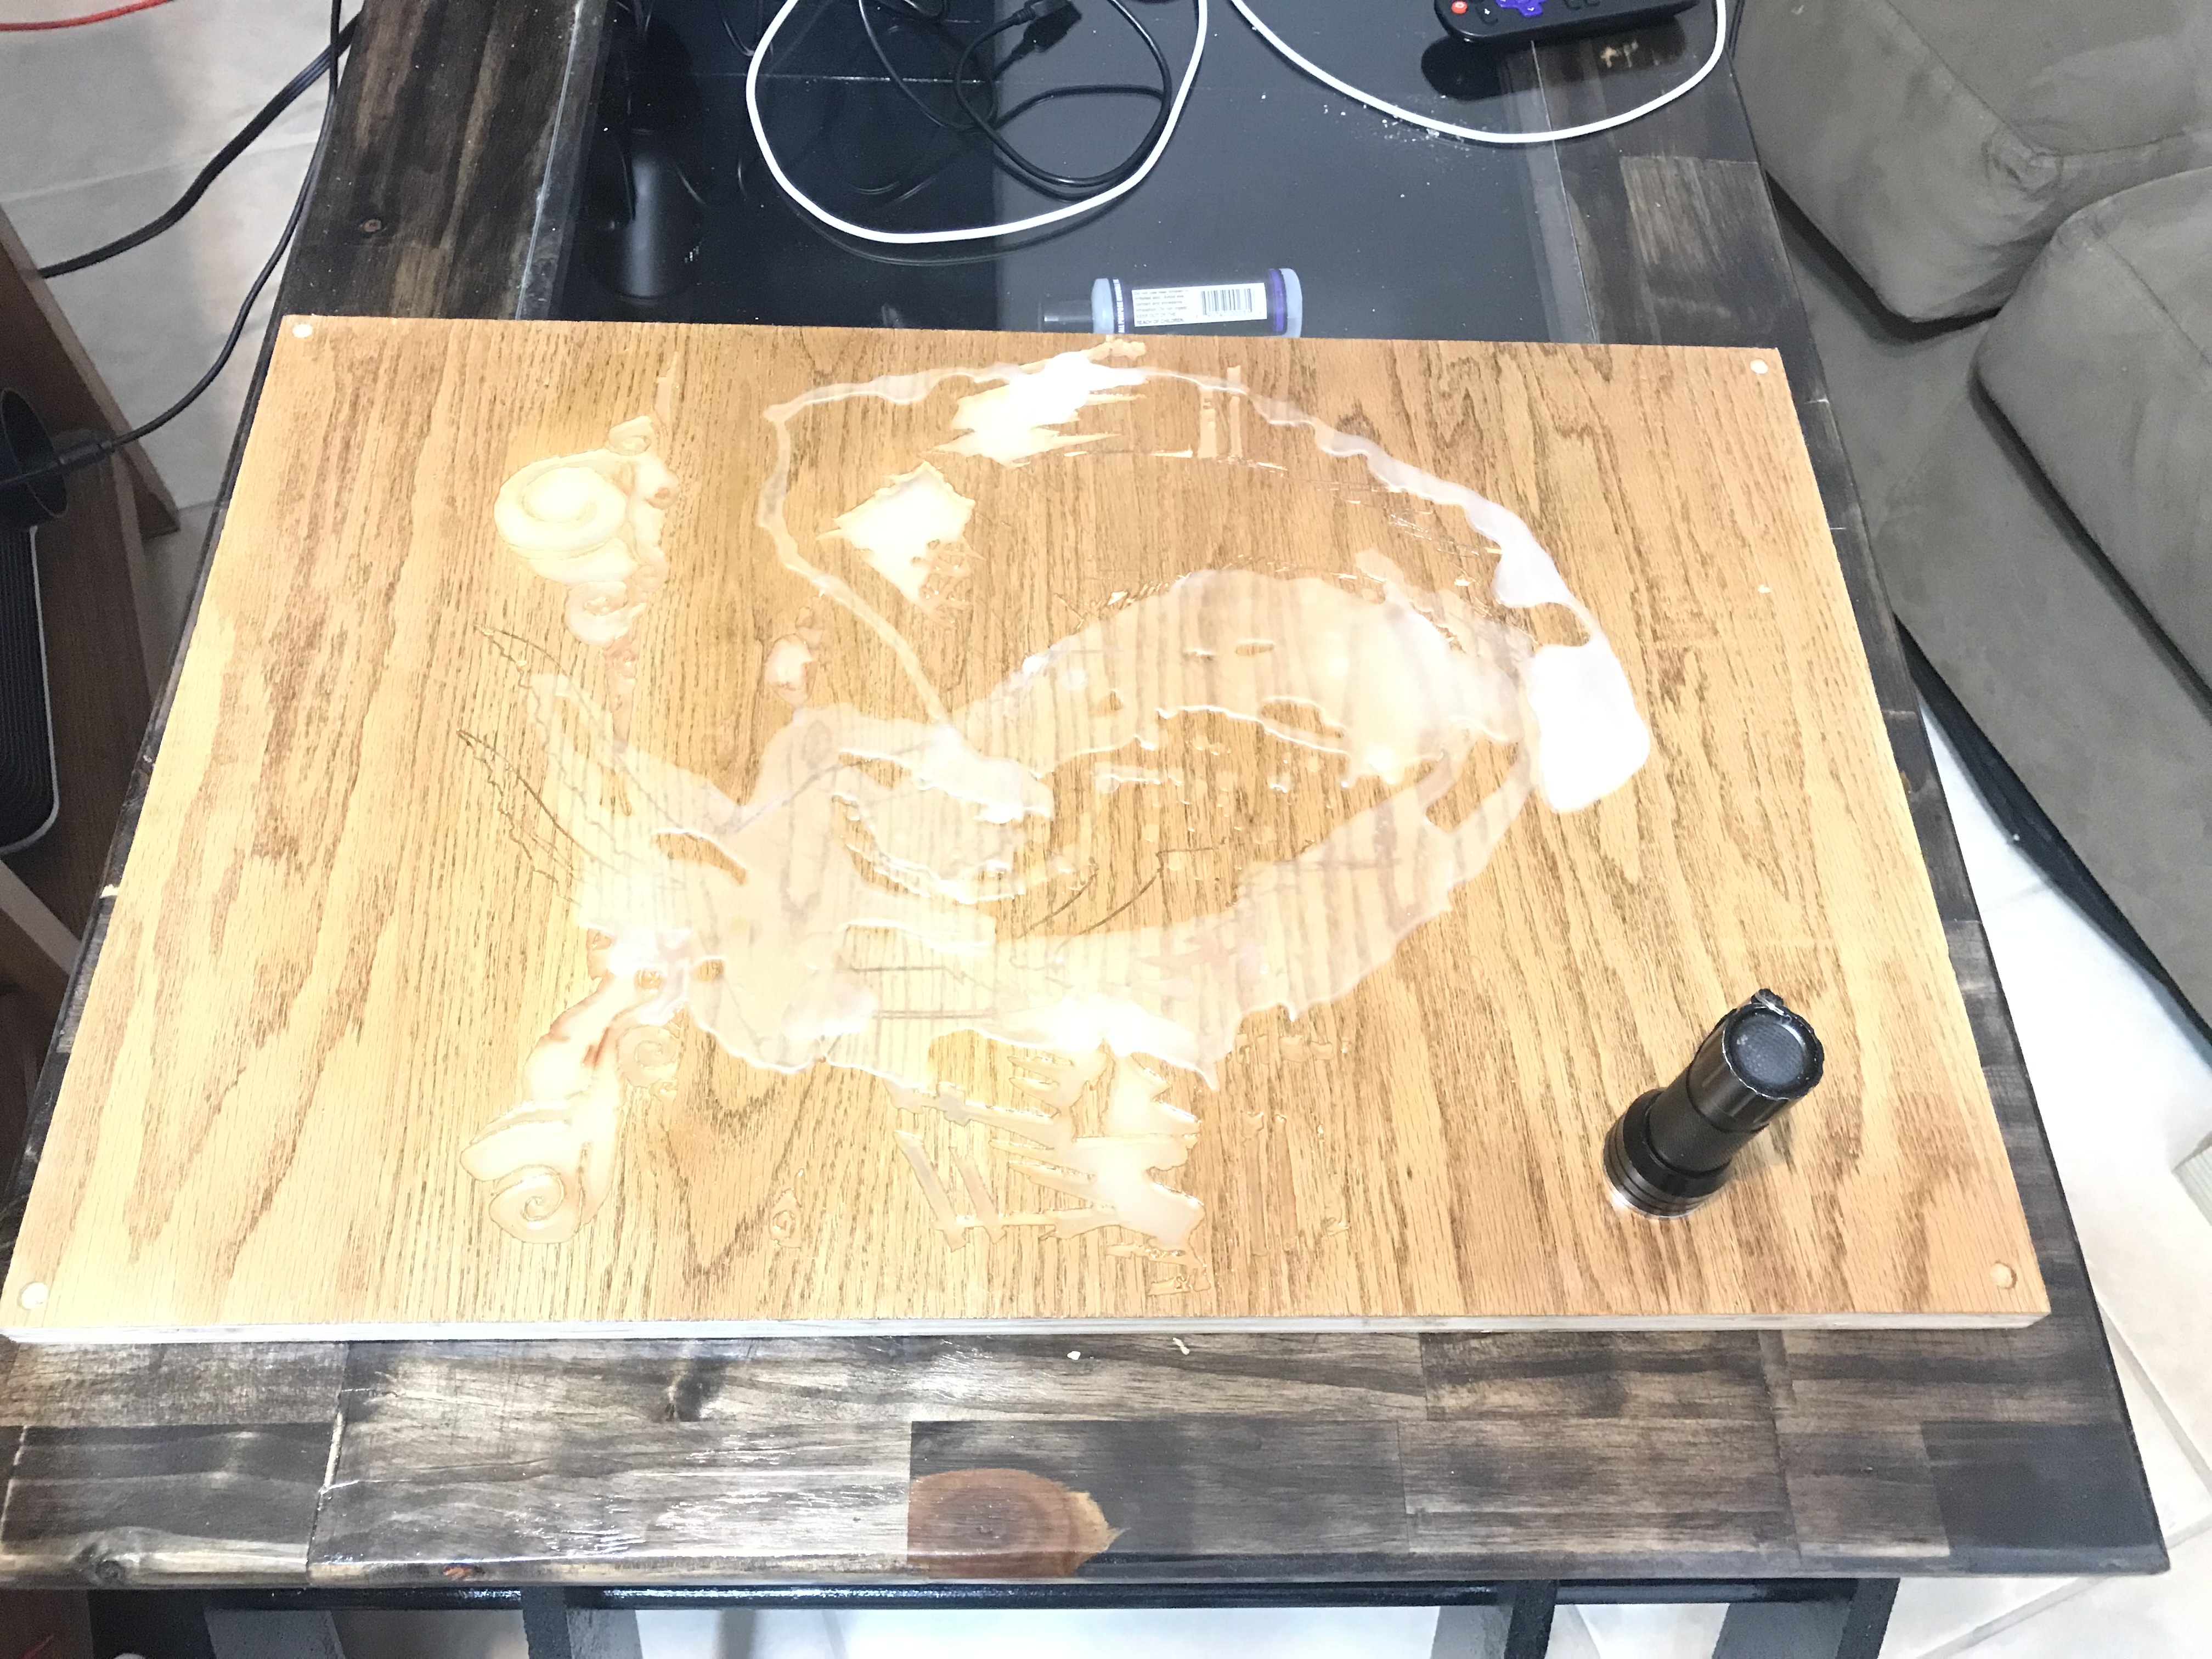
The resin is self explanatory but I used the wax because it acted to keep layers more separate and contained, it also made the resin set higher giving the final piece slightly three dimensional effects in some places.
Elk and Fire Engravings
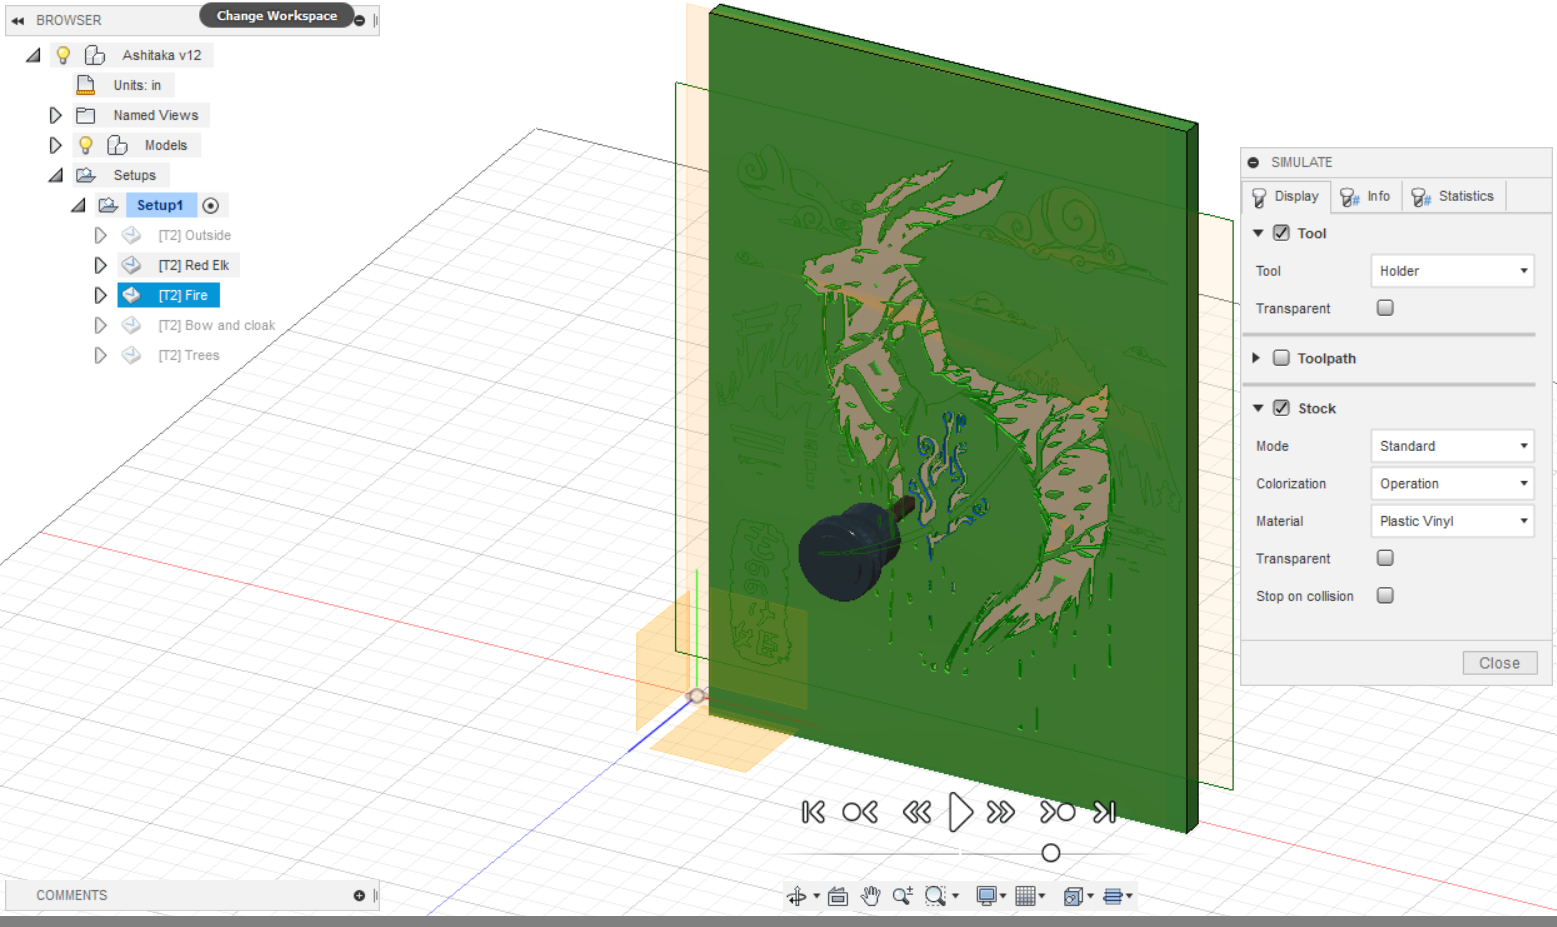
I created two different engraving jobs for the Elk and Fire colors and decided to engrave them both at the same time, Here I can show you that it may be a good idea to select two or more engraving steps using (CTRL+select) for windows and (IHAVENOIDEABECAUSEMACSAREEXPENSIVE) for Macs. Simulate them both and if nothing conflicts then start engraving.
Engrave and Pour Resins

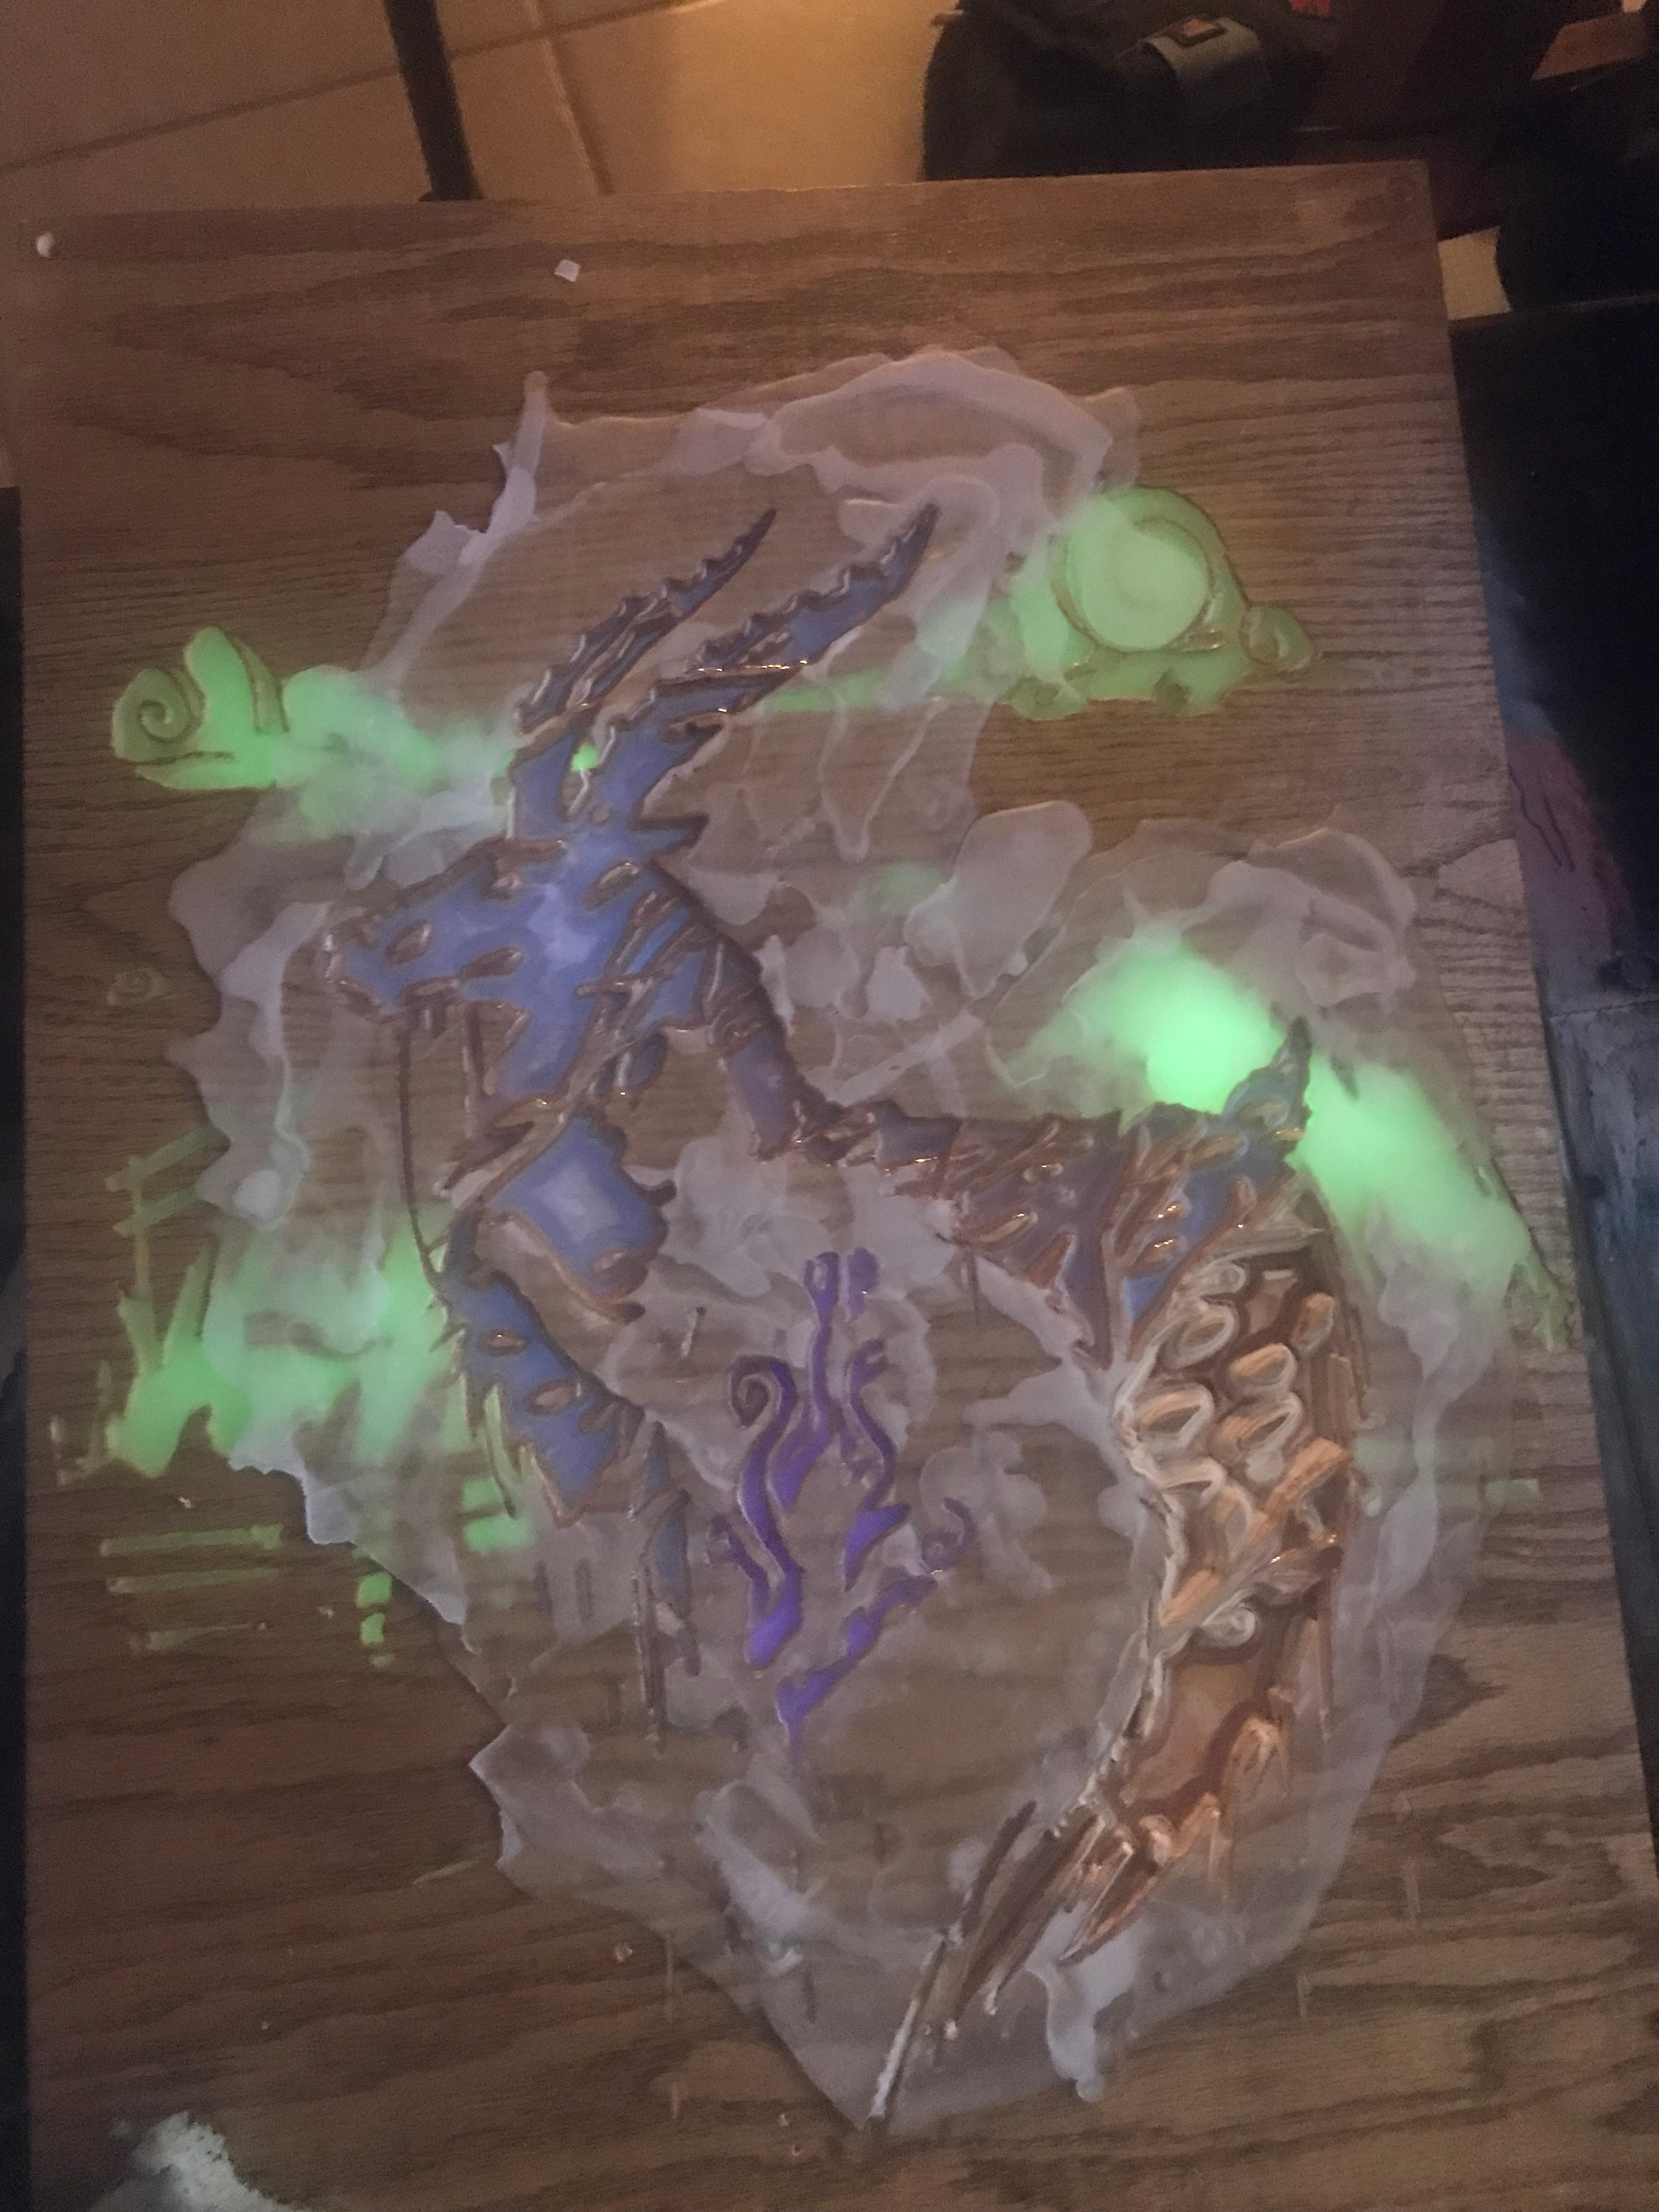
I engraved the elk and the flames at the same time because they were suitably apart from one another. So I poured the separate resins and let them set.
Remove the Wax With Science
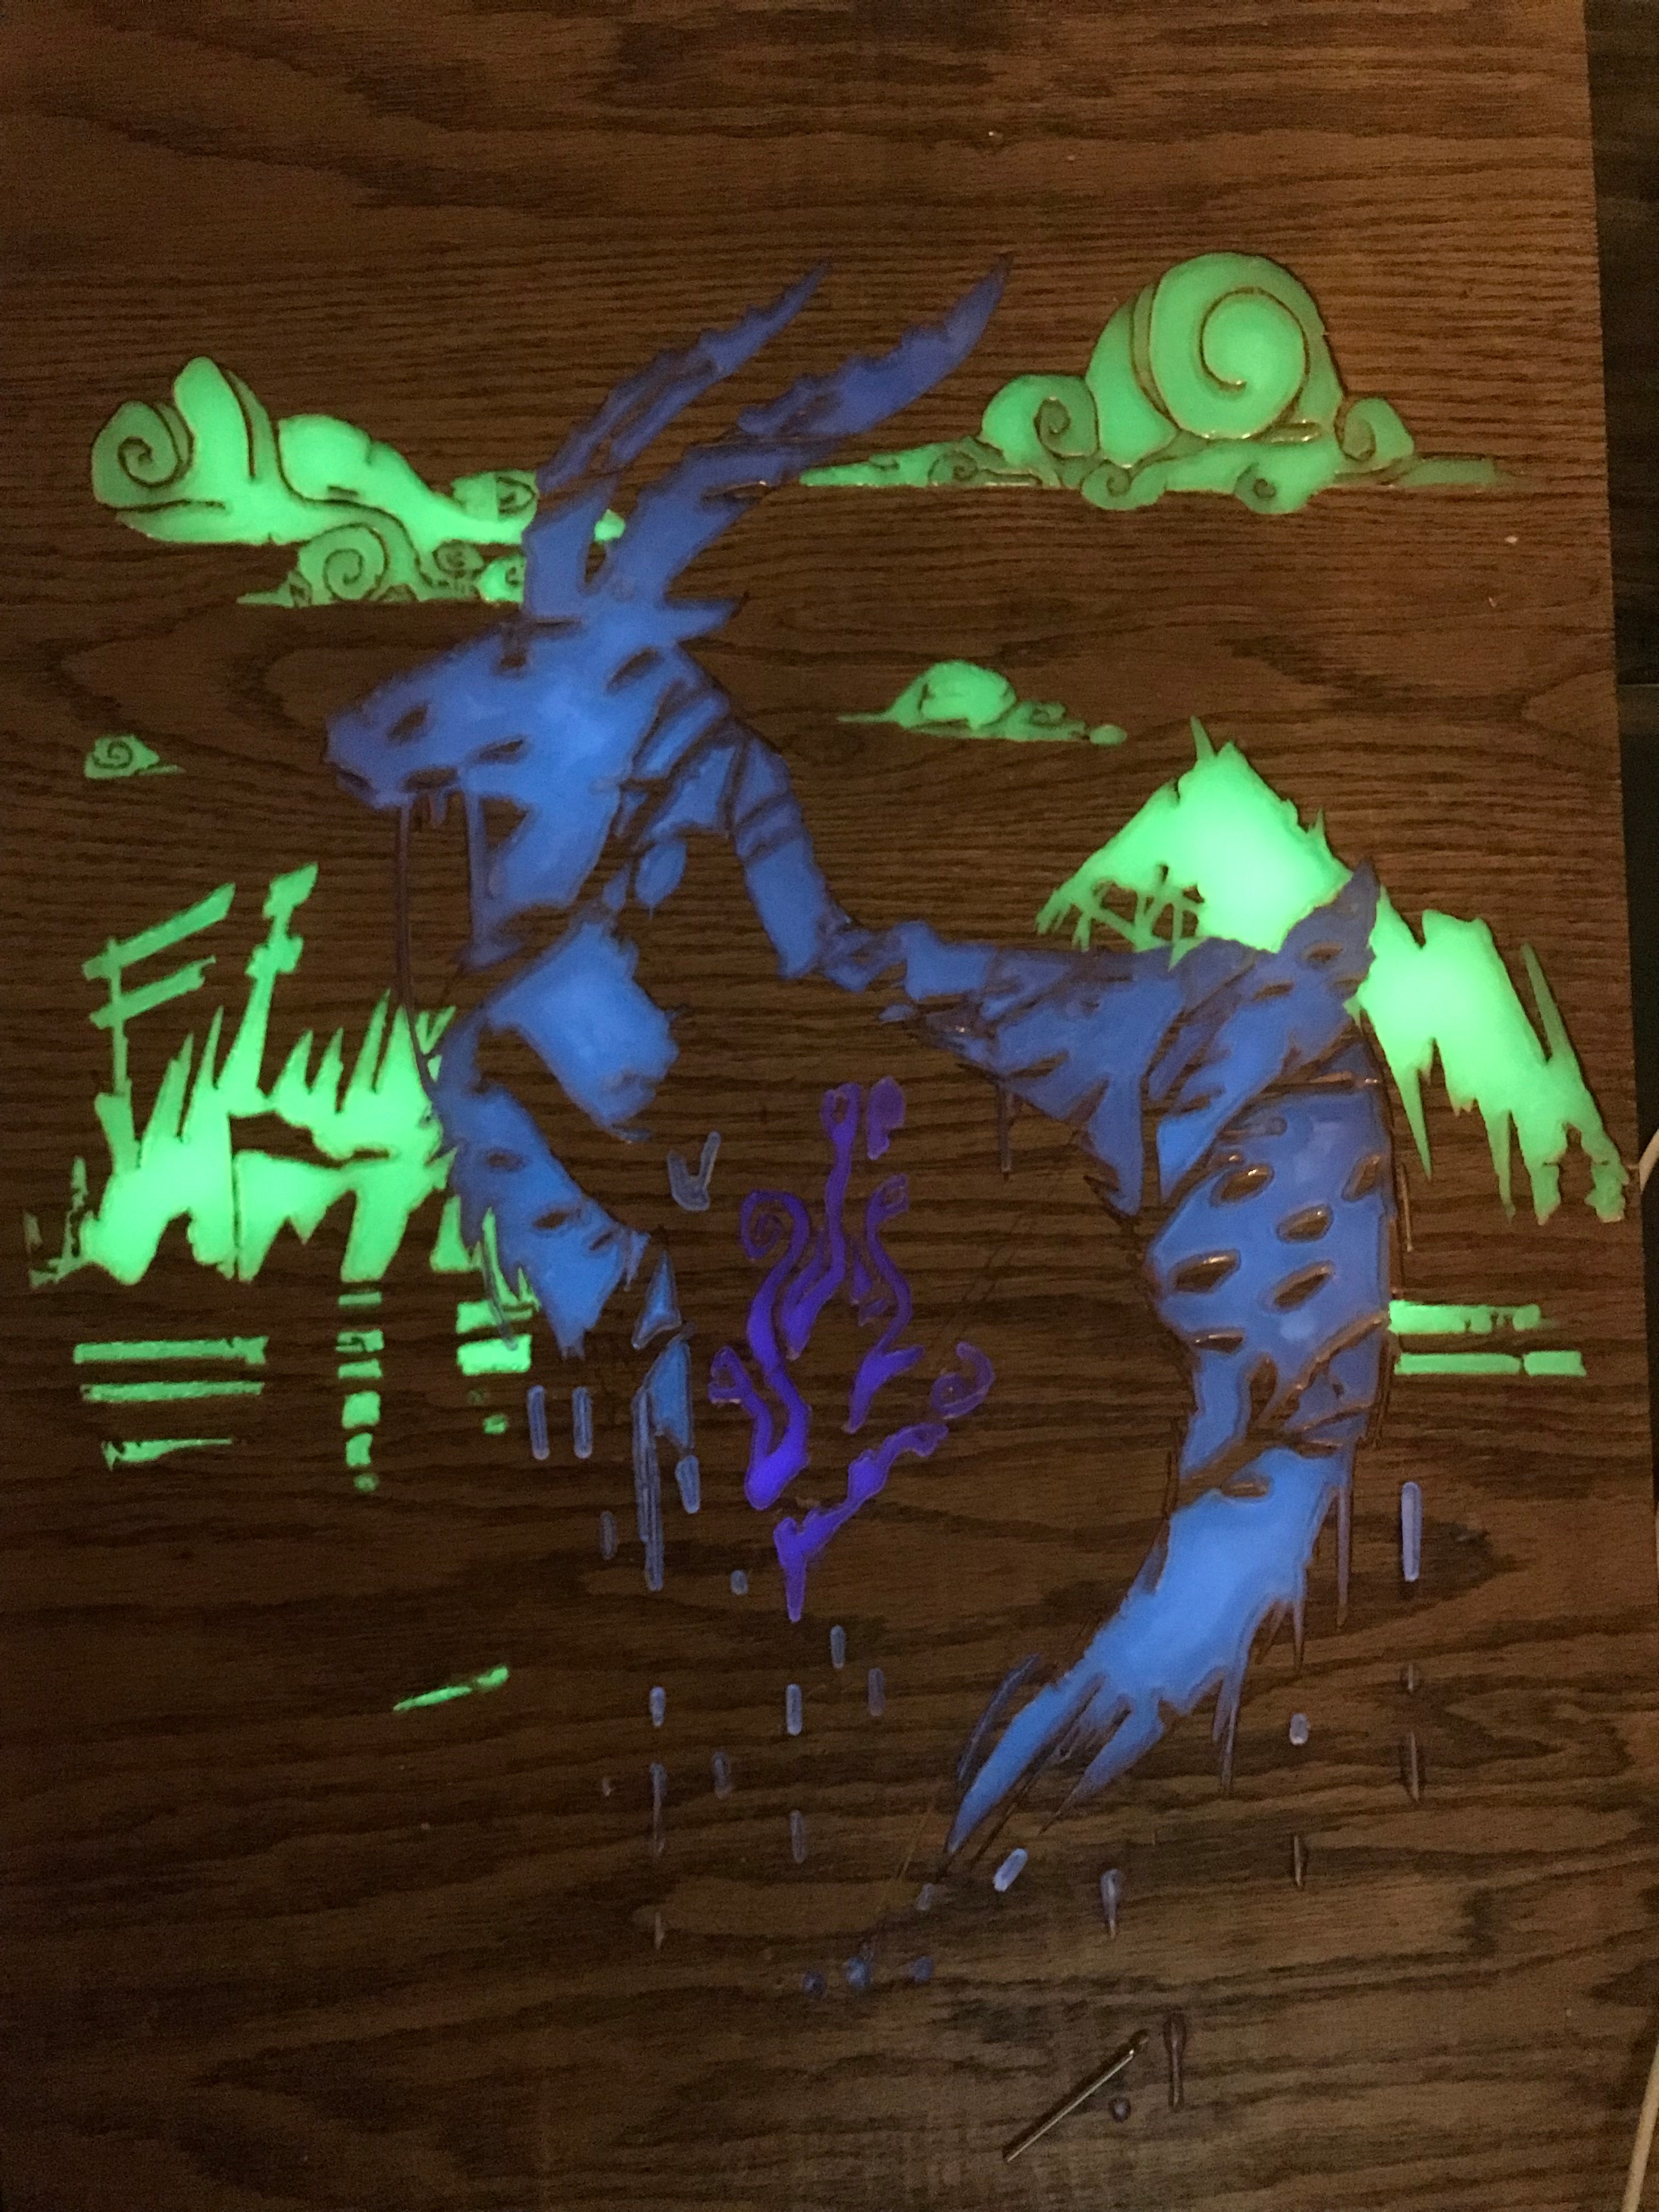
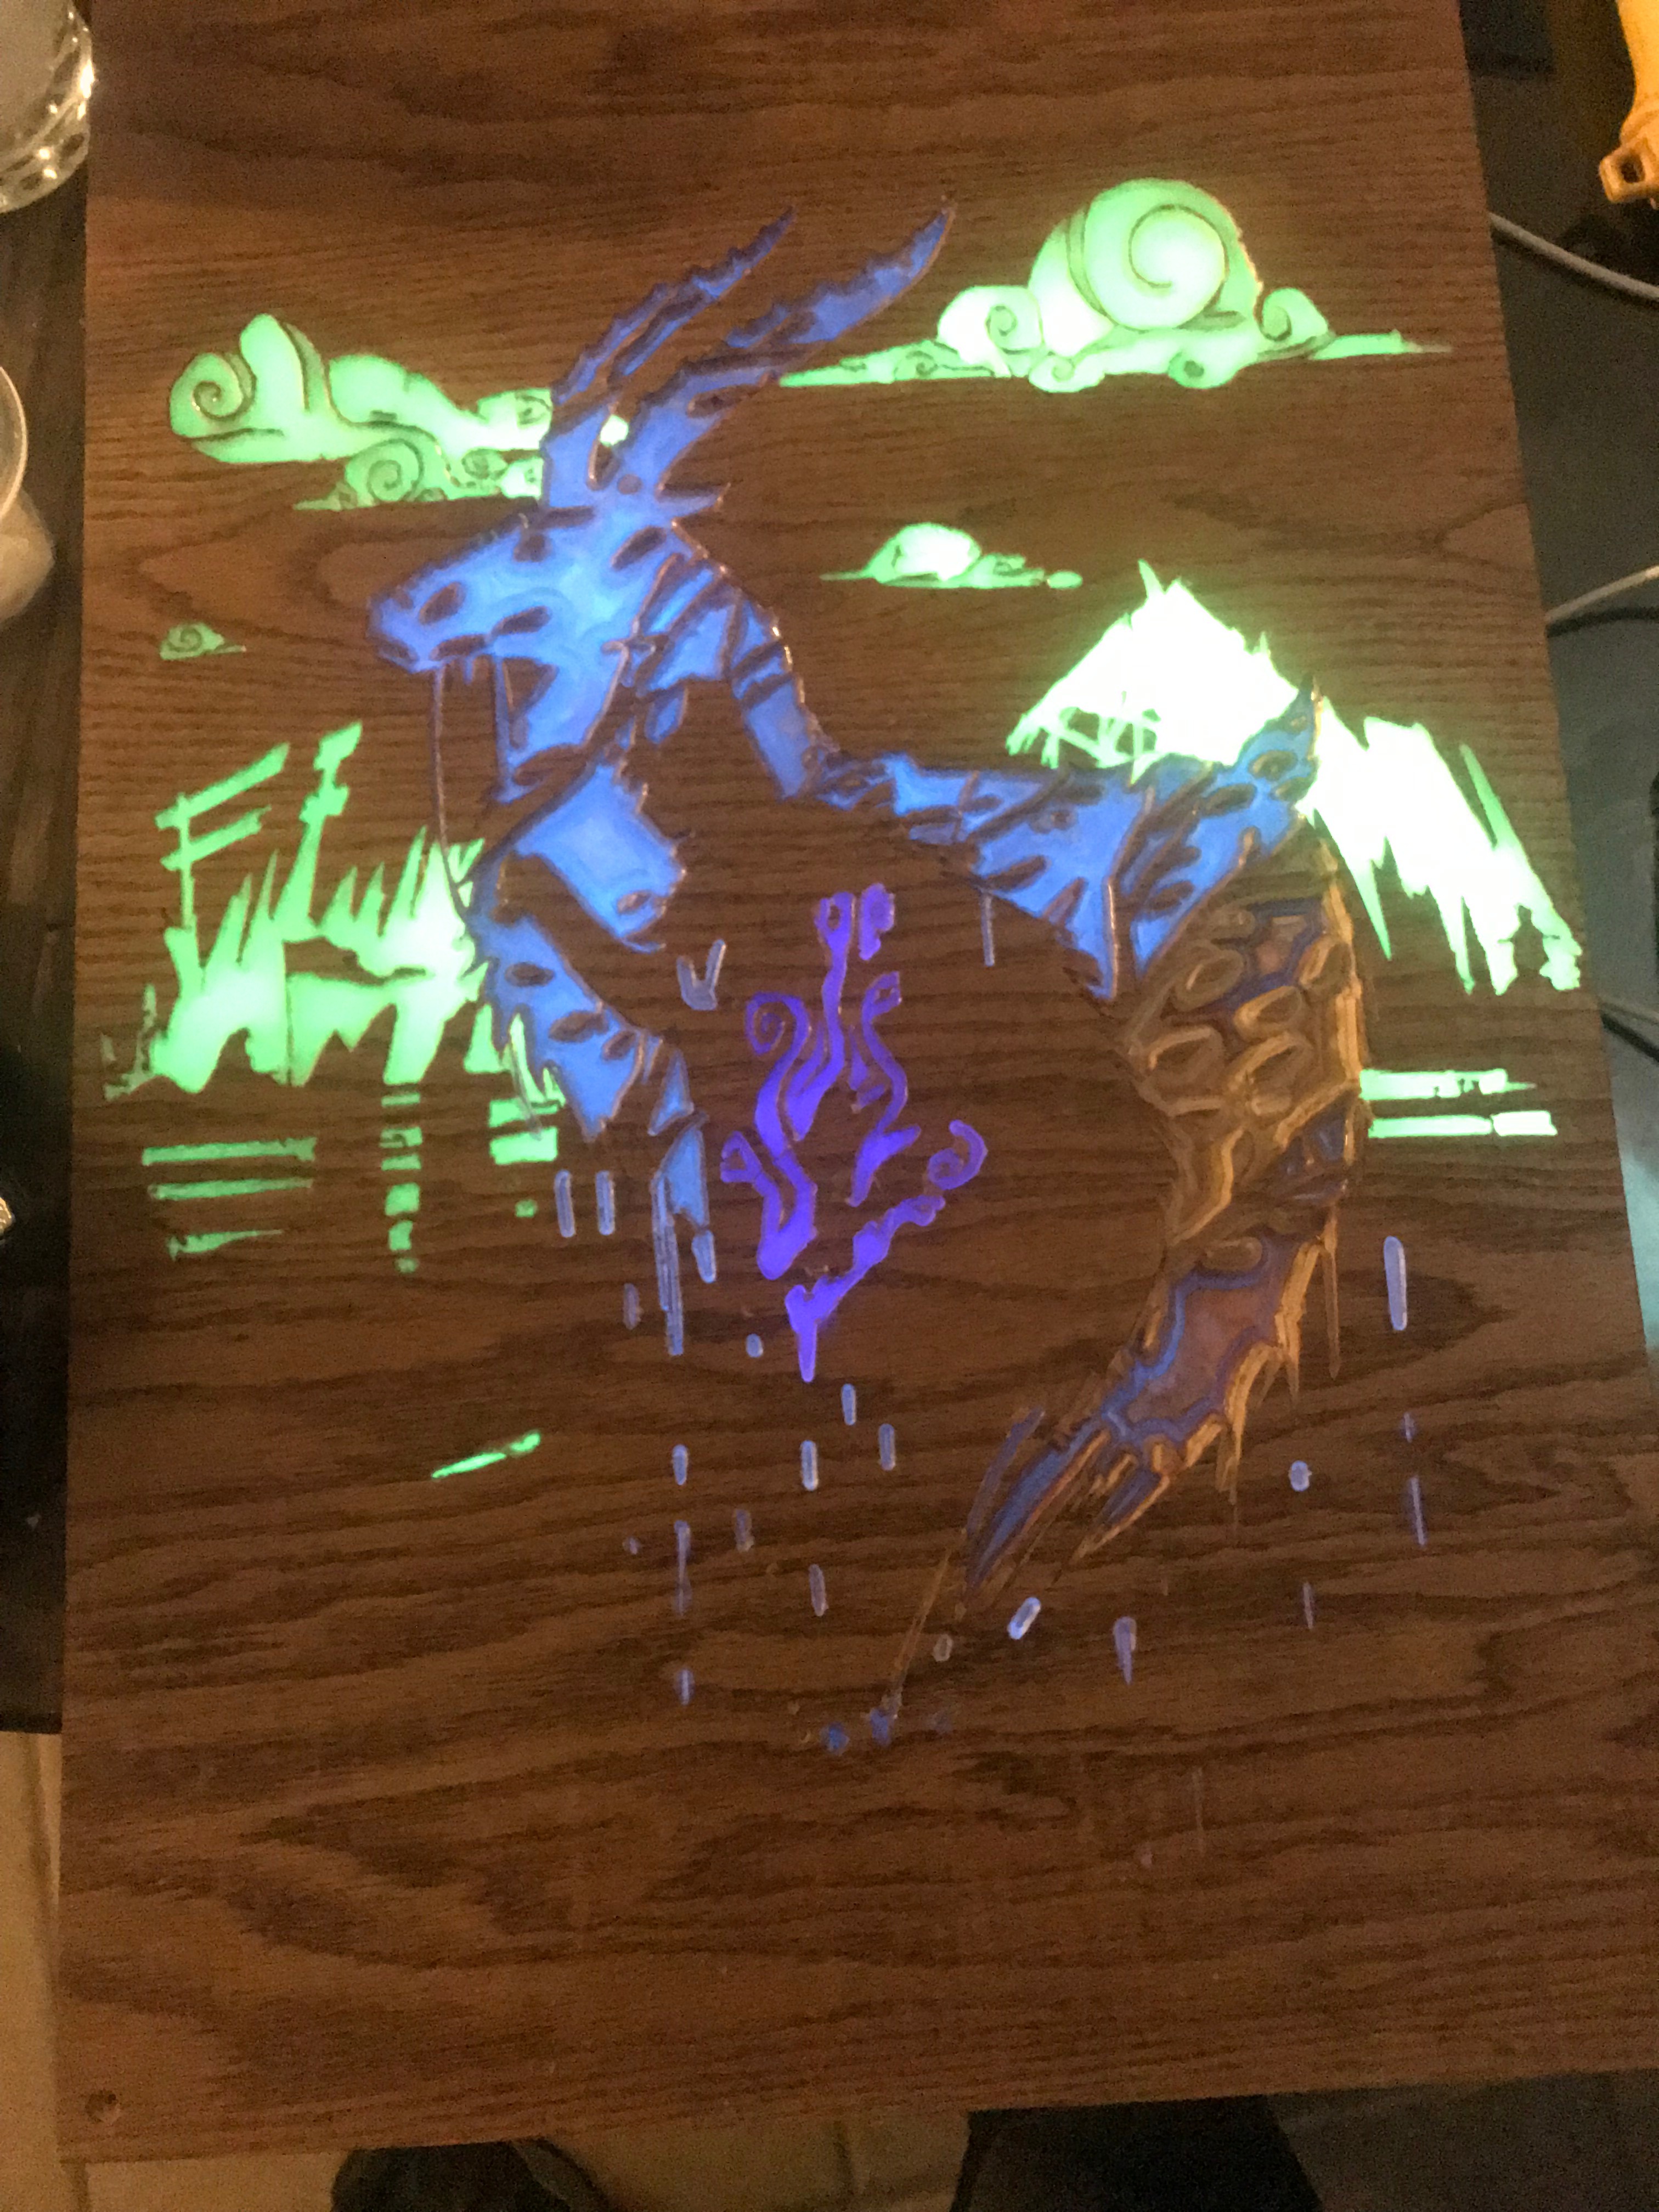
At this point the wax had served its purpose so I gently scraped most of it off then used vegetable oil and a rag to dissolve the remaining wax. Any places that resin could spill would be removed in following engravings, it also impairs fine detail when pouring.
I used a petroleum based wax but most waxes in general are all nonpolar compounds, in chemistry, "Like dissolves like", as such, you can dissolve nonpolar compounds can be dissolved by other nonpolar compounds, vegetable oil being one.
You Know What to Do
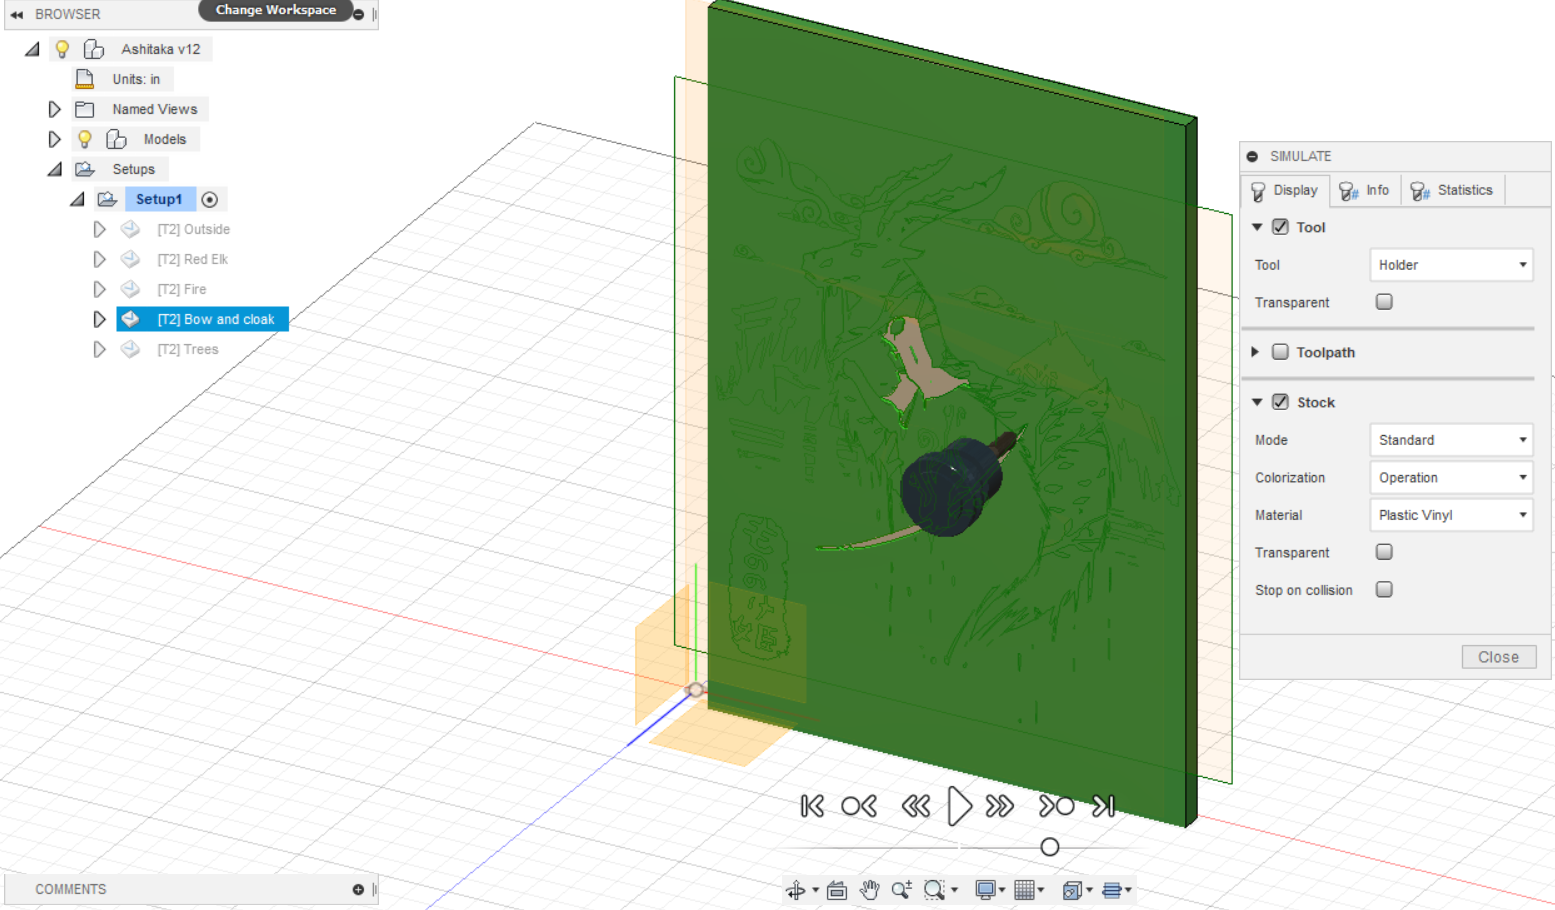
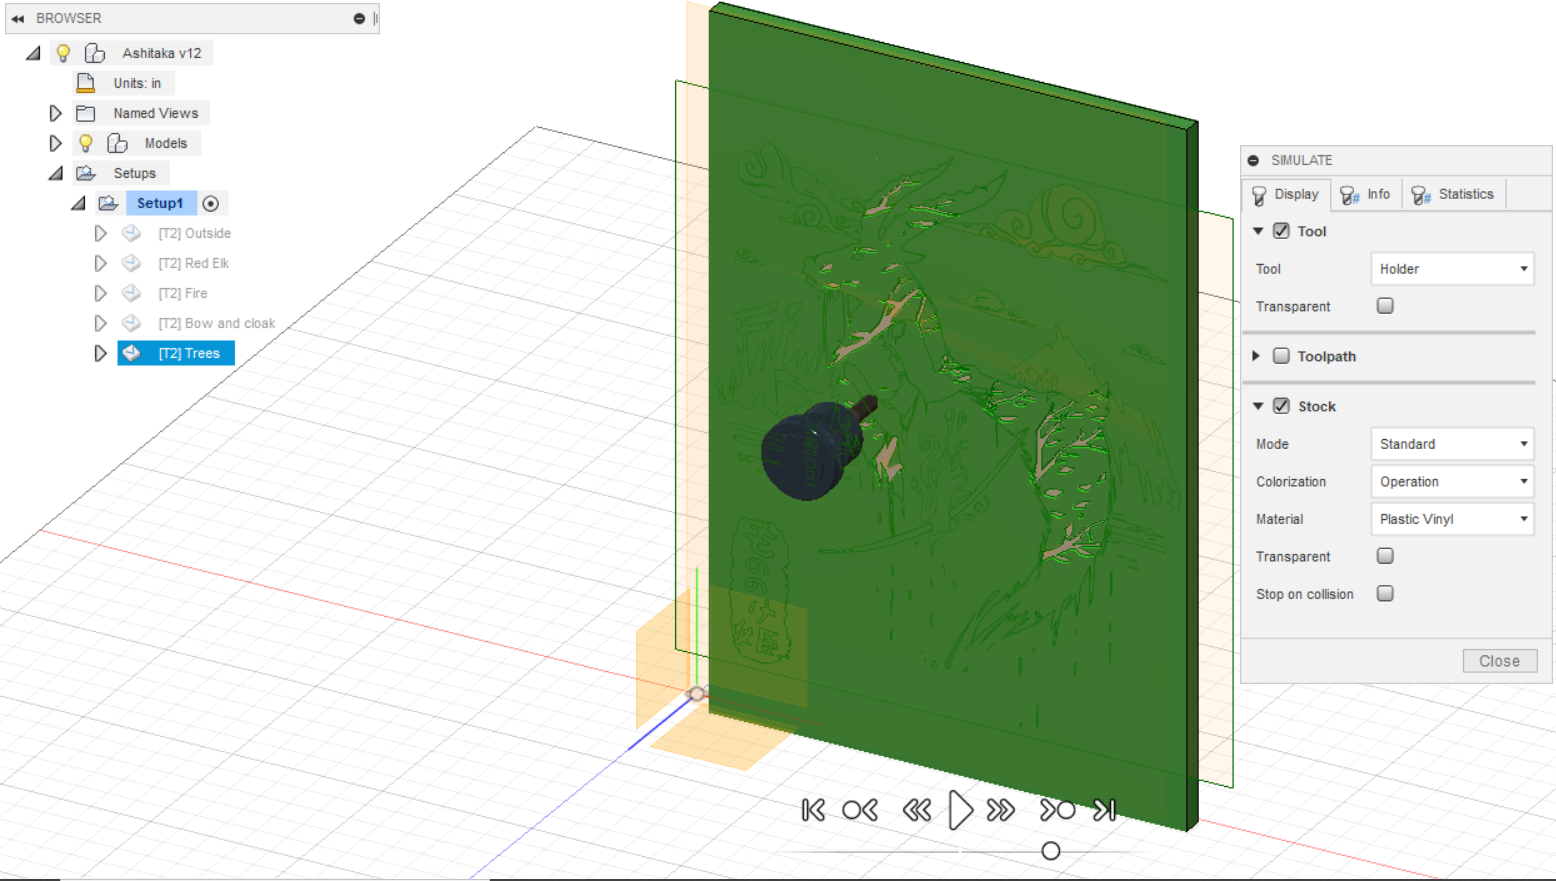
Make a new Engraving, select contours, and repeat. I believe in you.
Rinse and Repeat
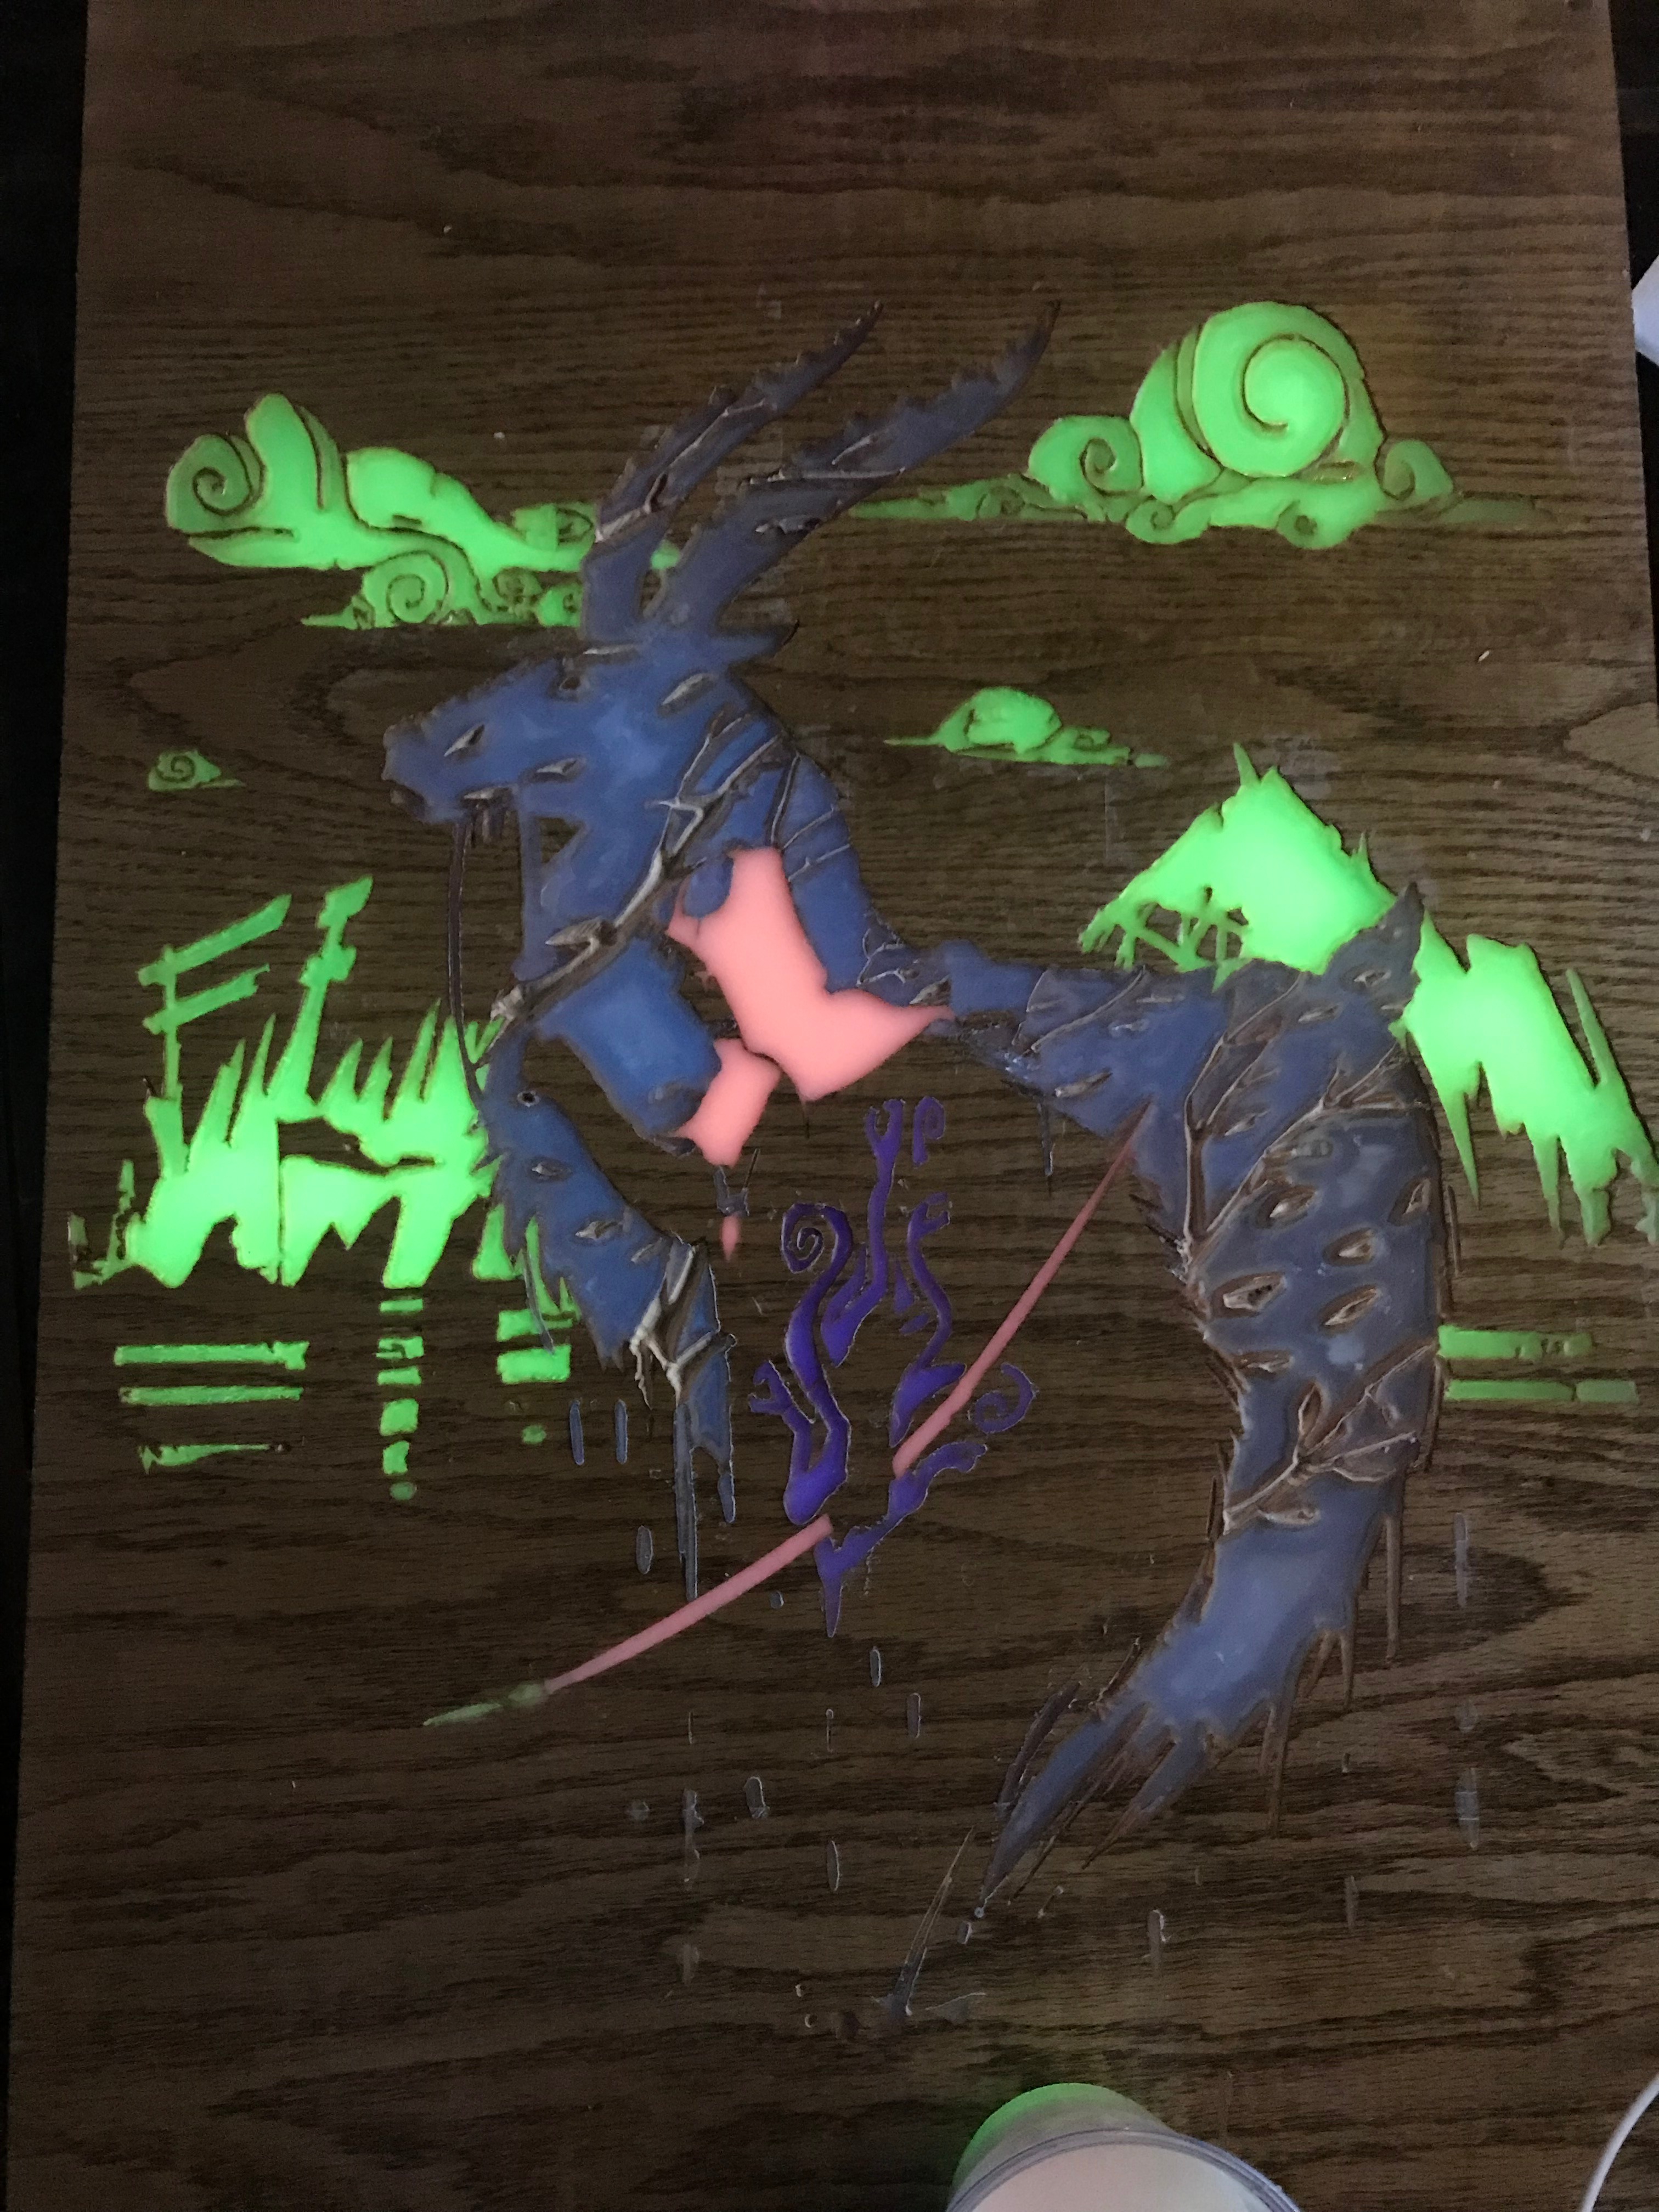
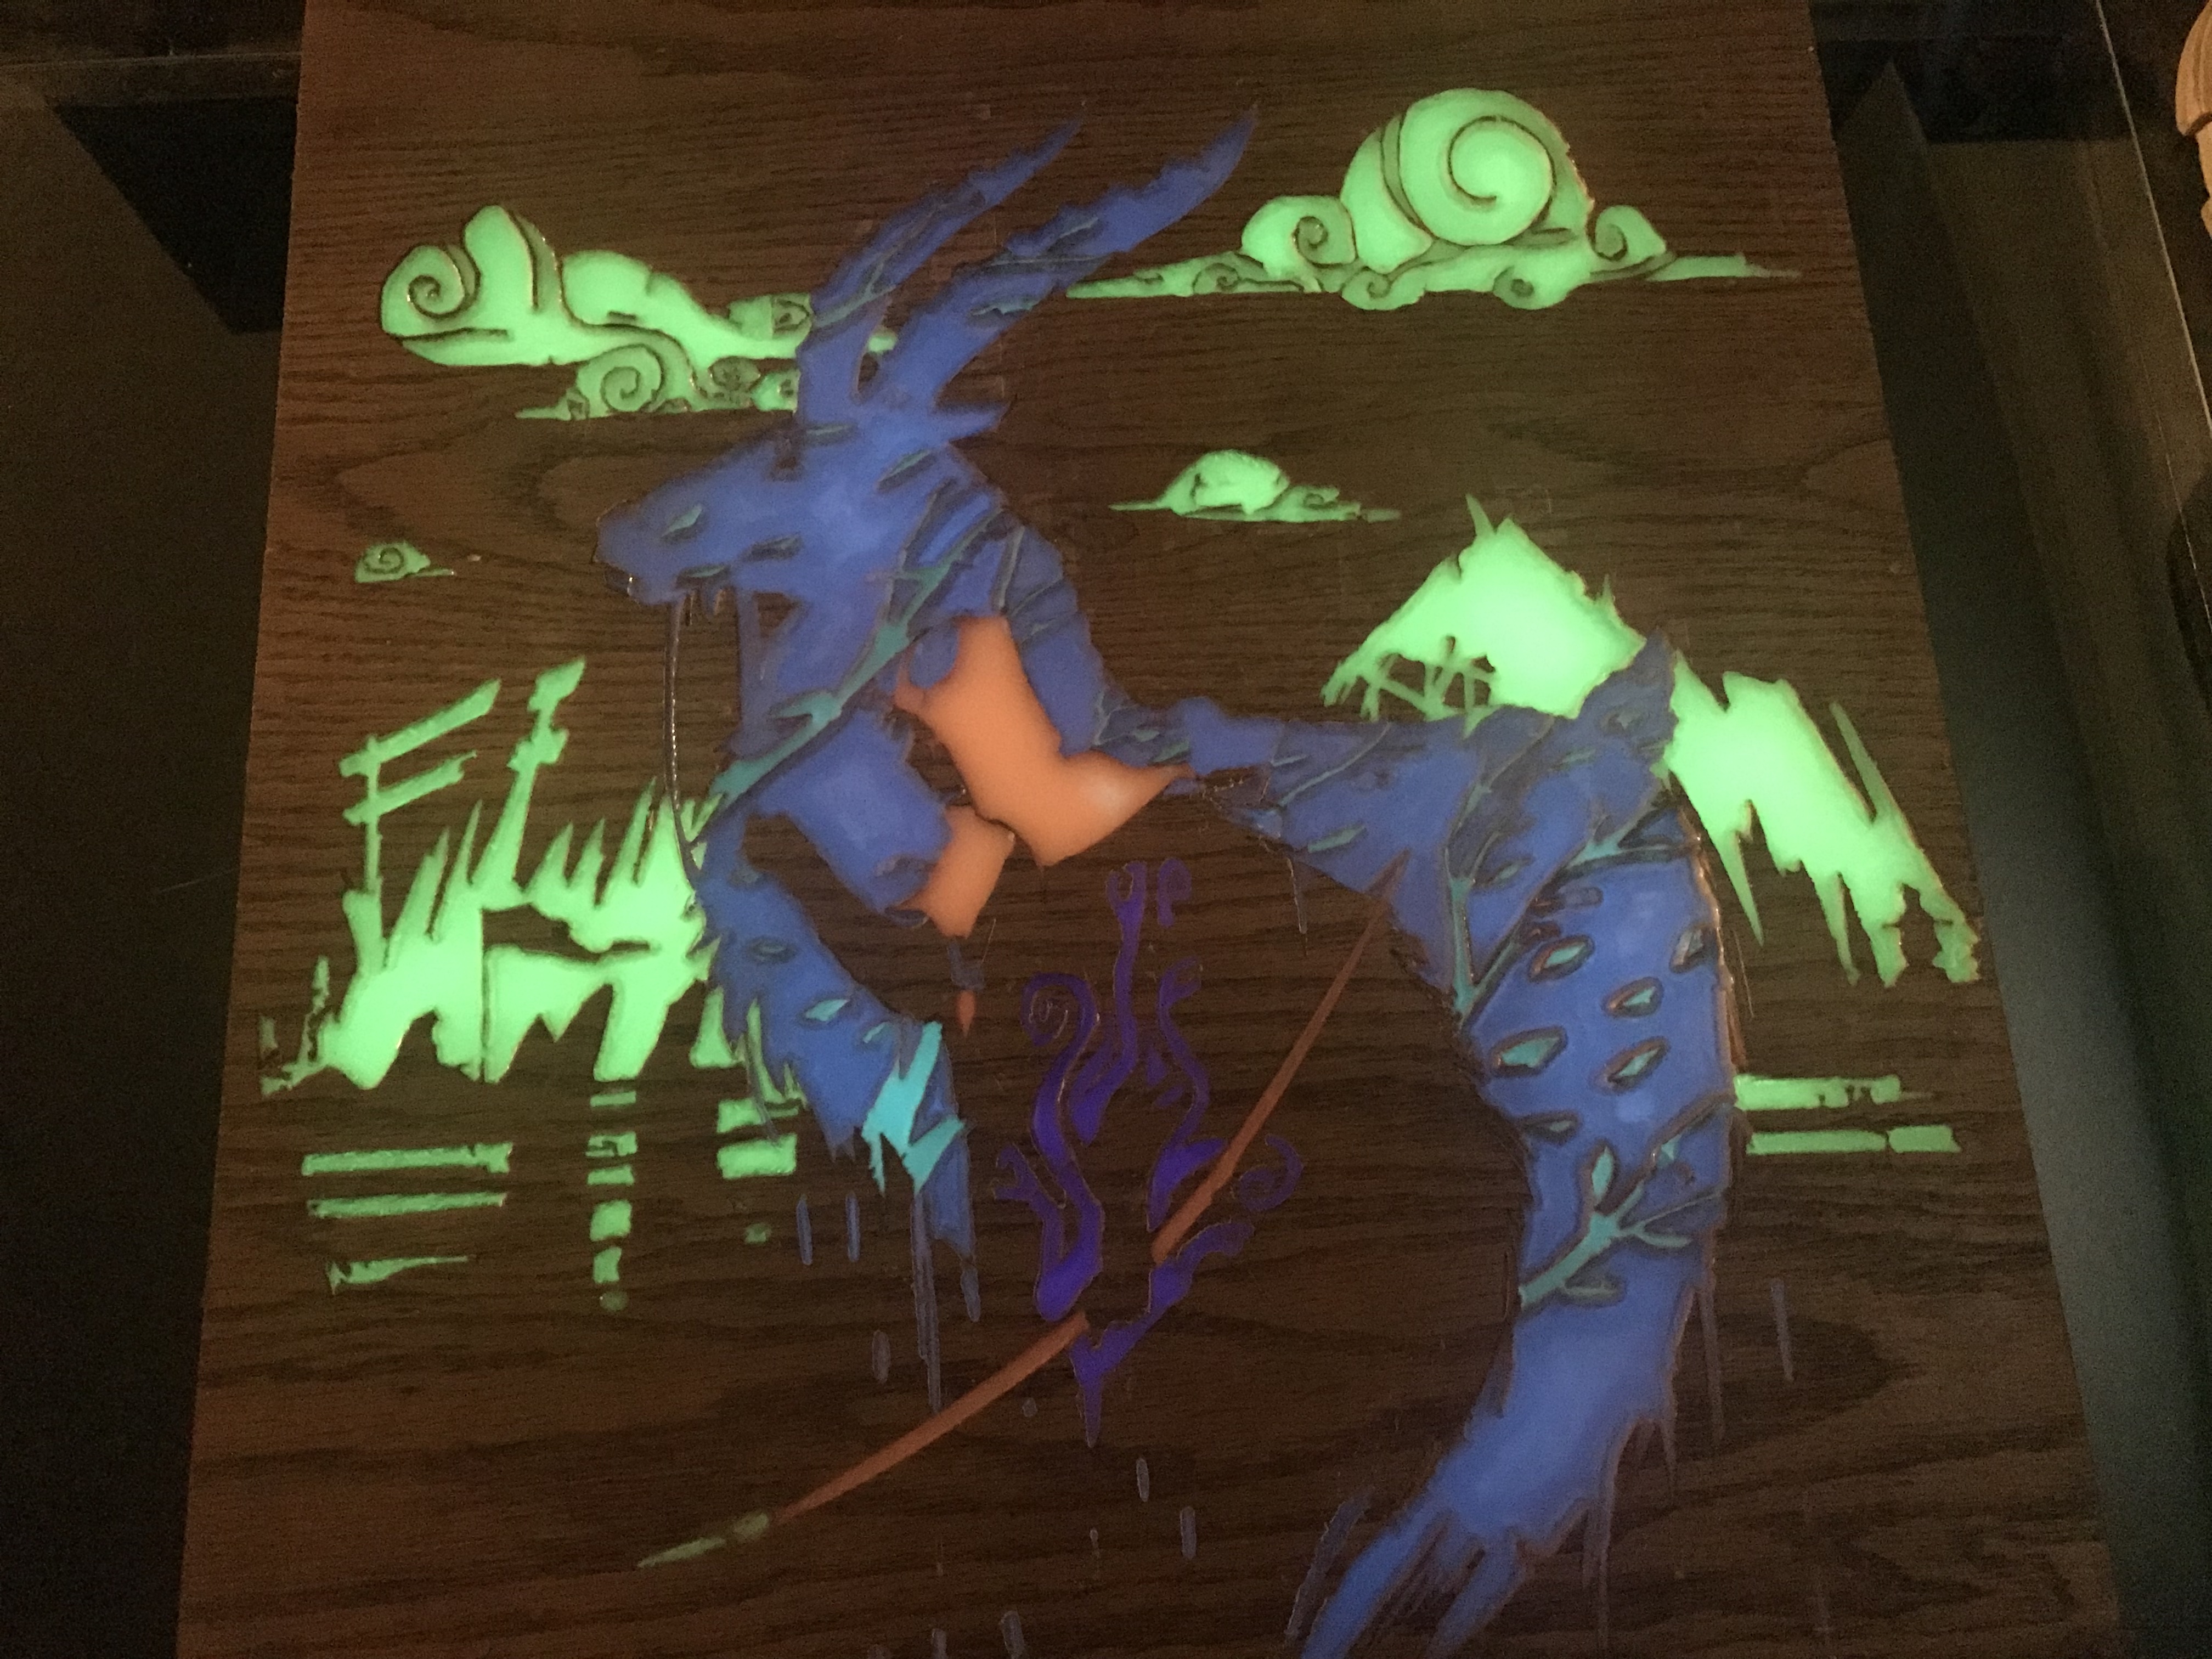
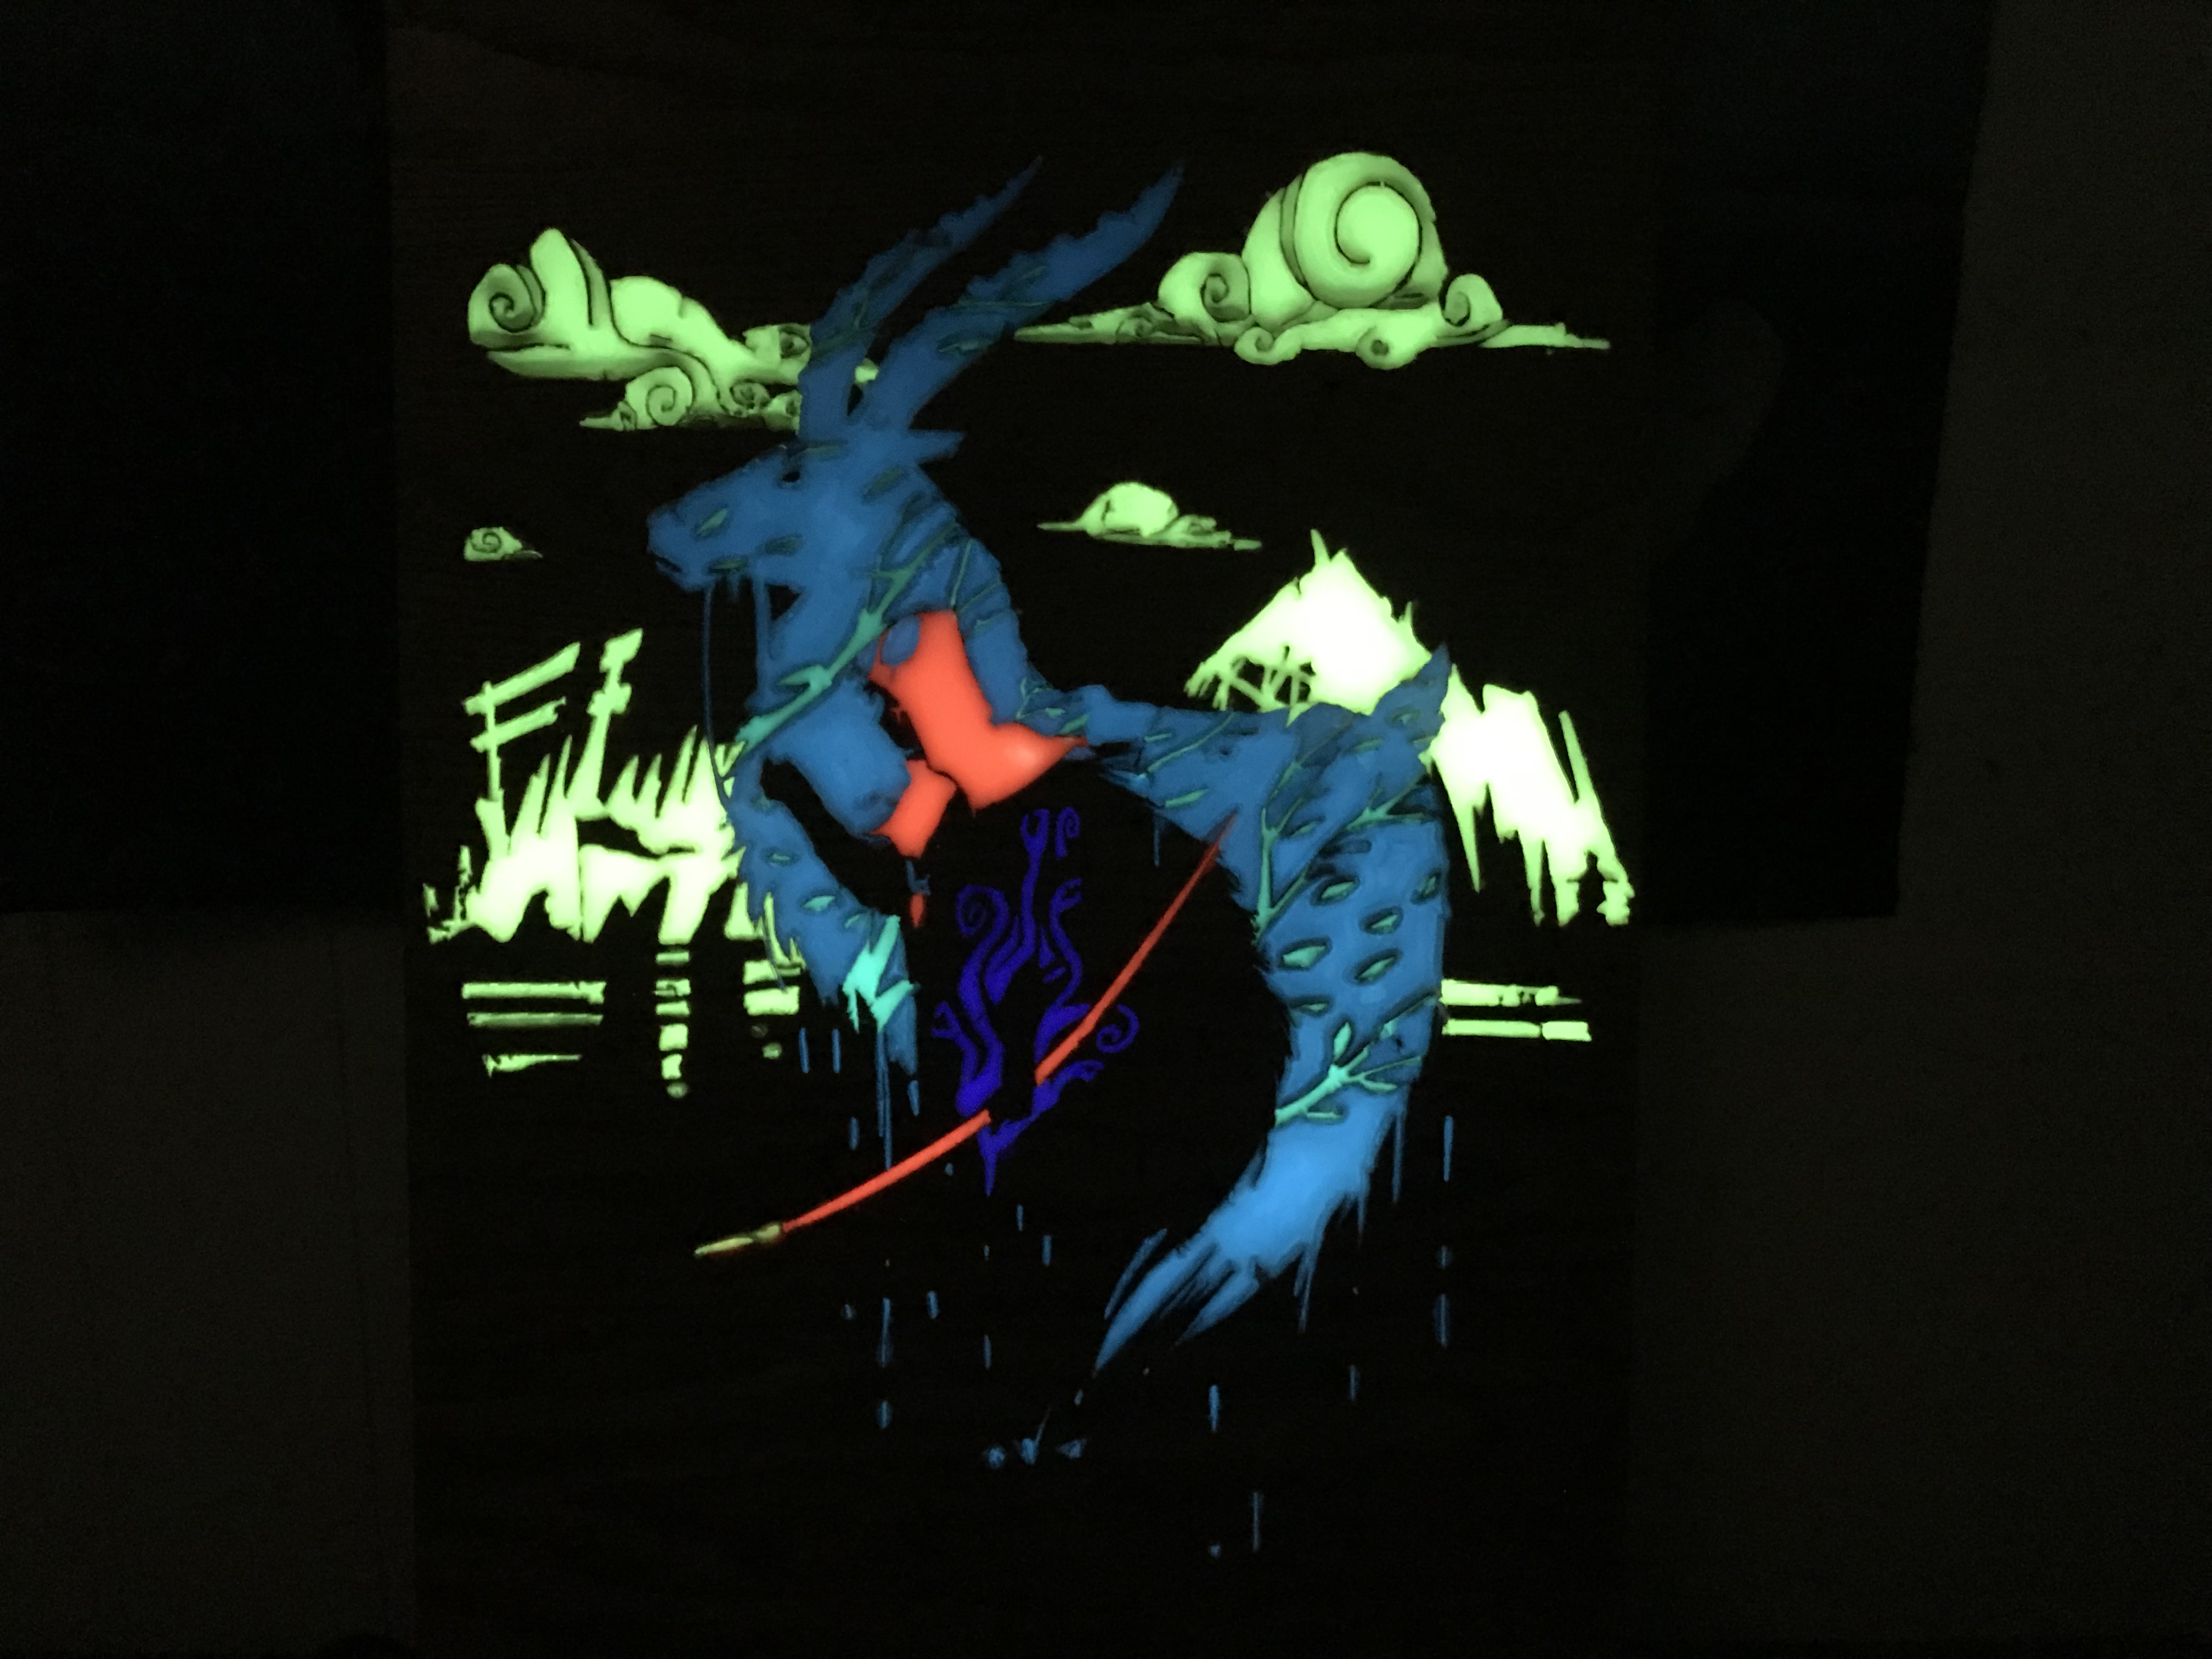
I forgot to record the red resin and engraving but at this point Its just a repeating cycle of engrave, pour, and set.
So the order in this case was;
1 Clouds and mountains(Green)
2 Elk(Blue) and flames(Purple)
3 Cloak and bow(Red)
4 Trees(Blue/Green)
Then you're done.
Additionally....
Always save your glow resin, it's great to confuse pets.
Conclusions
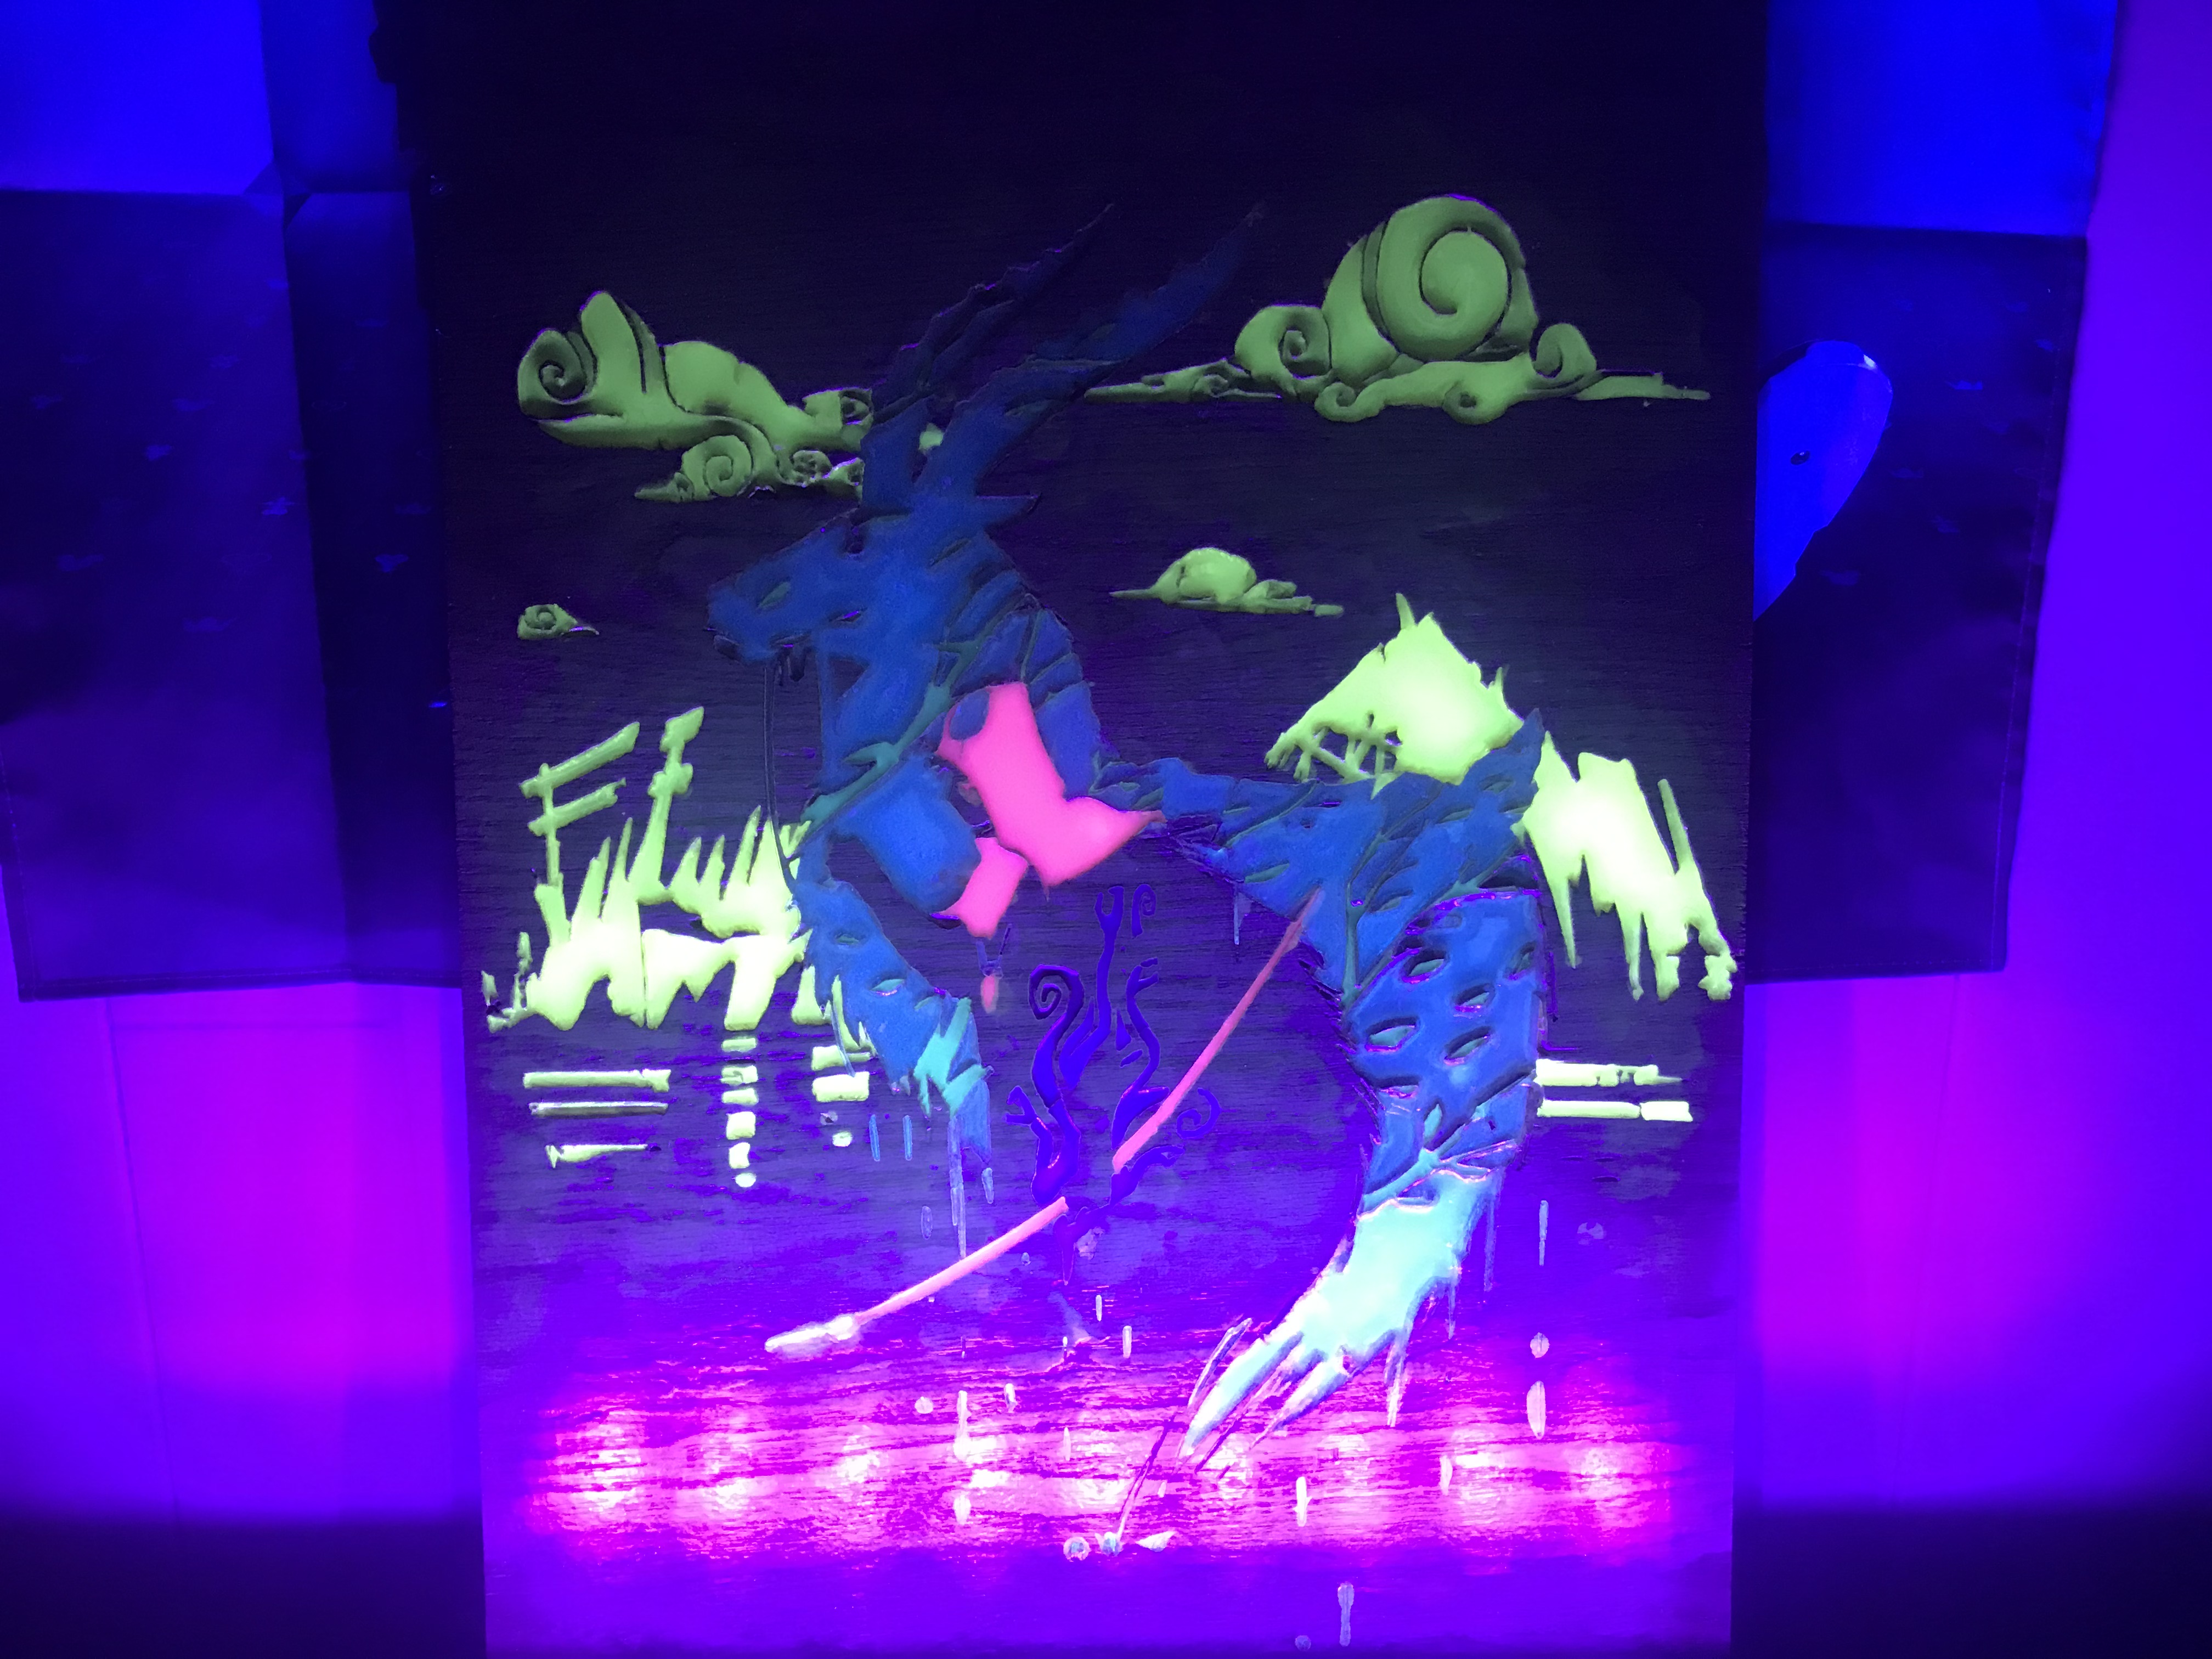
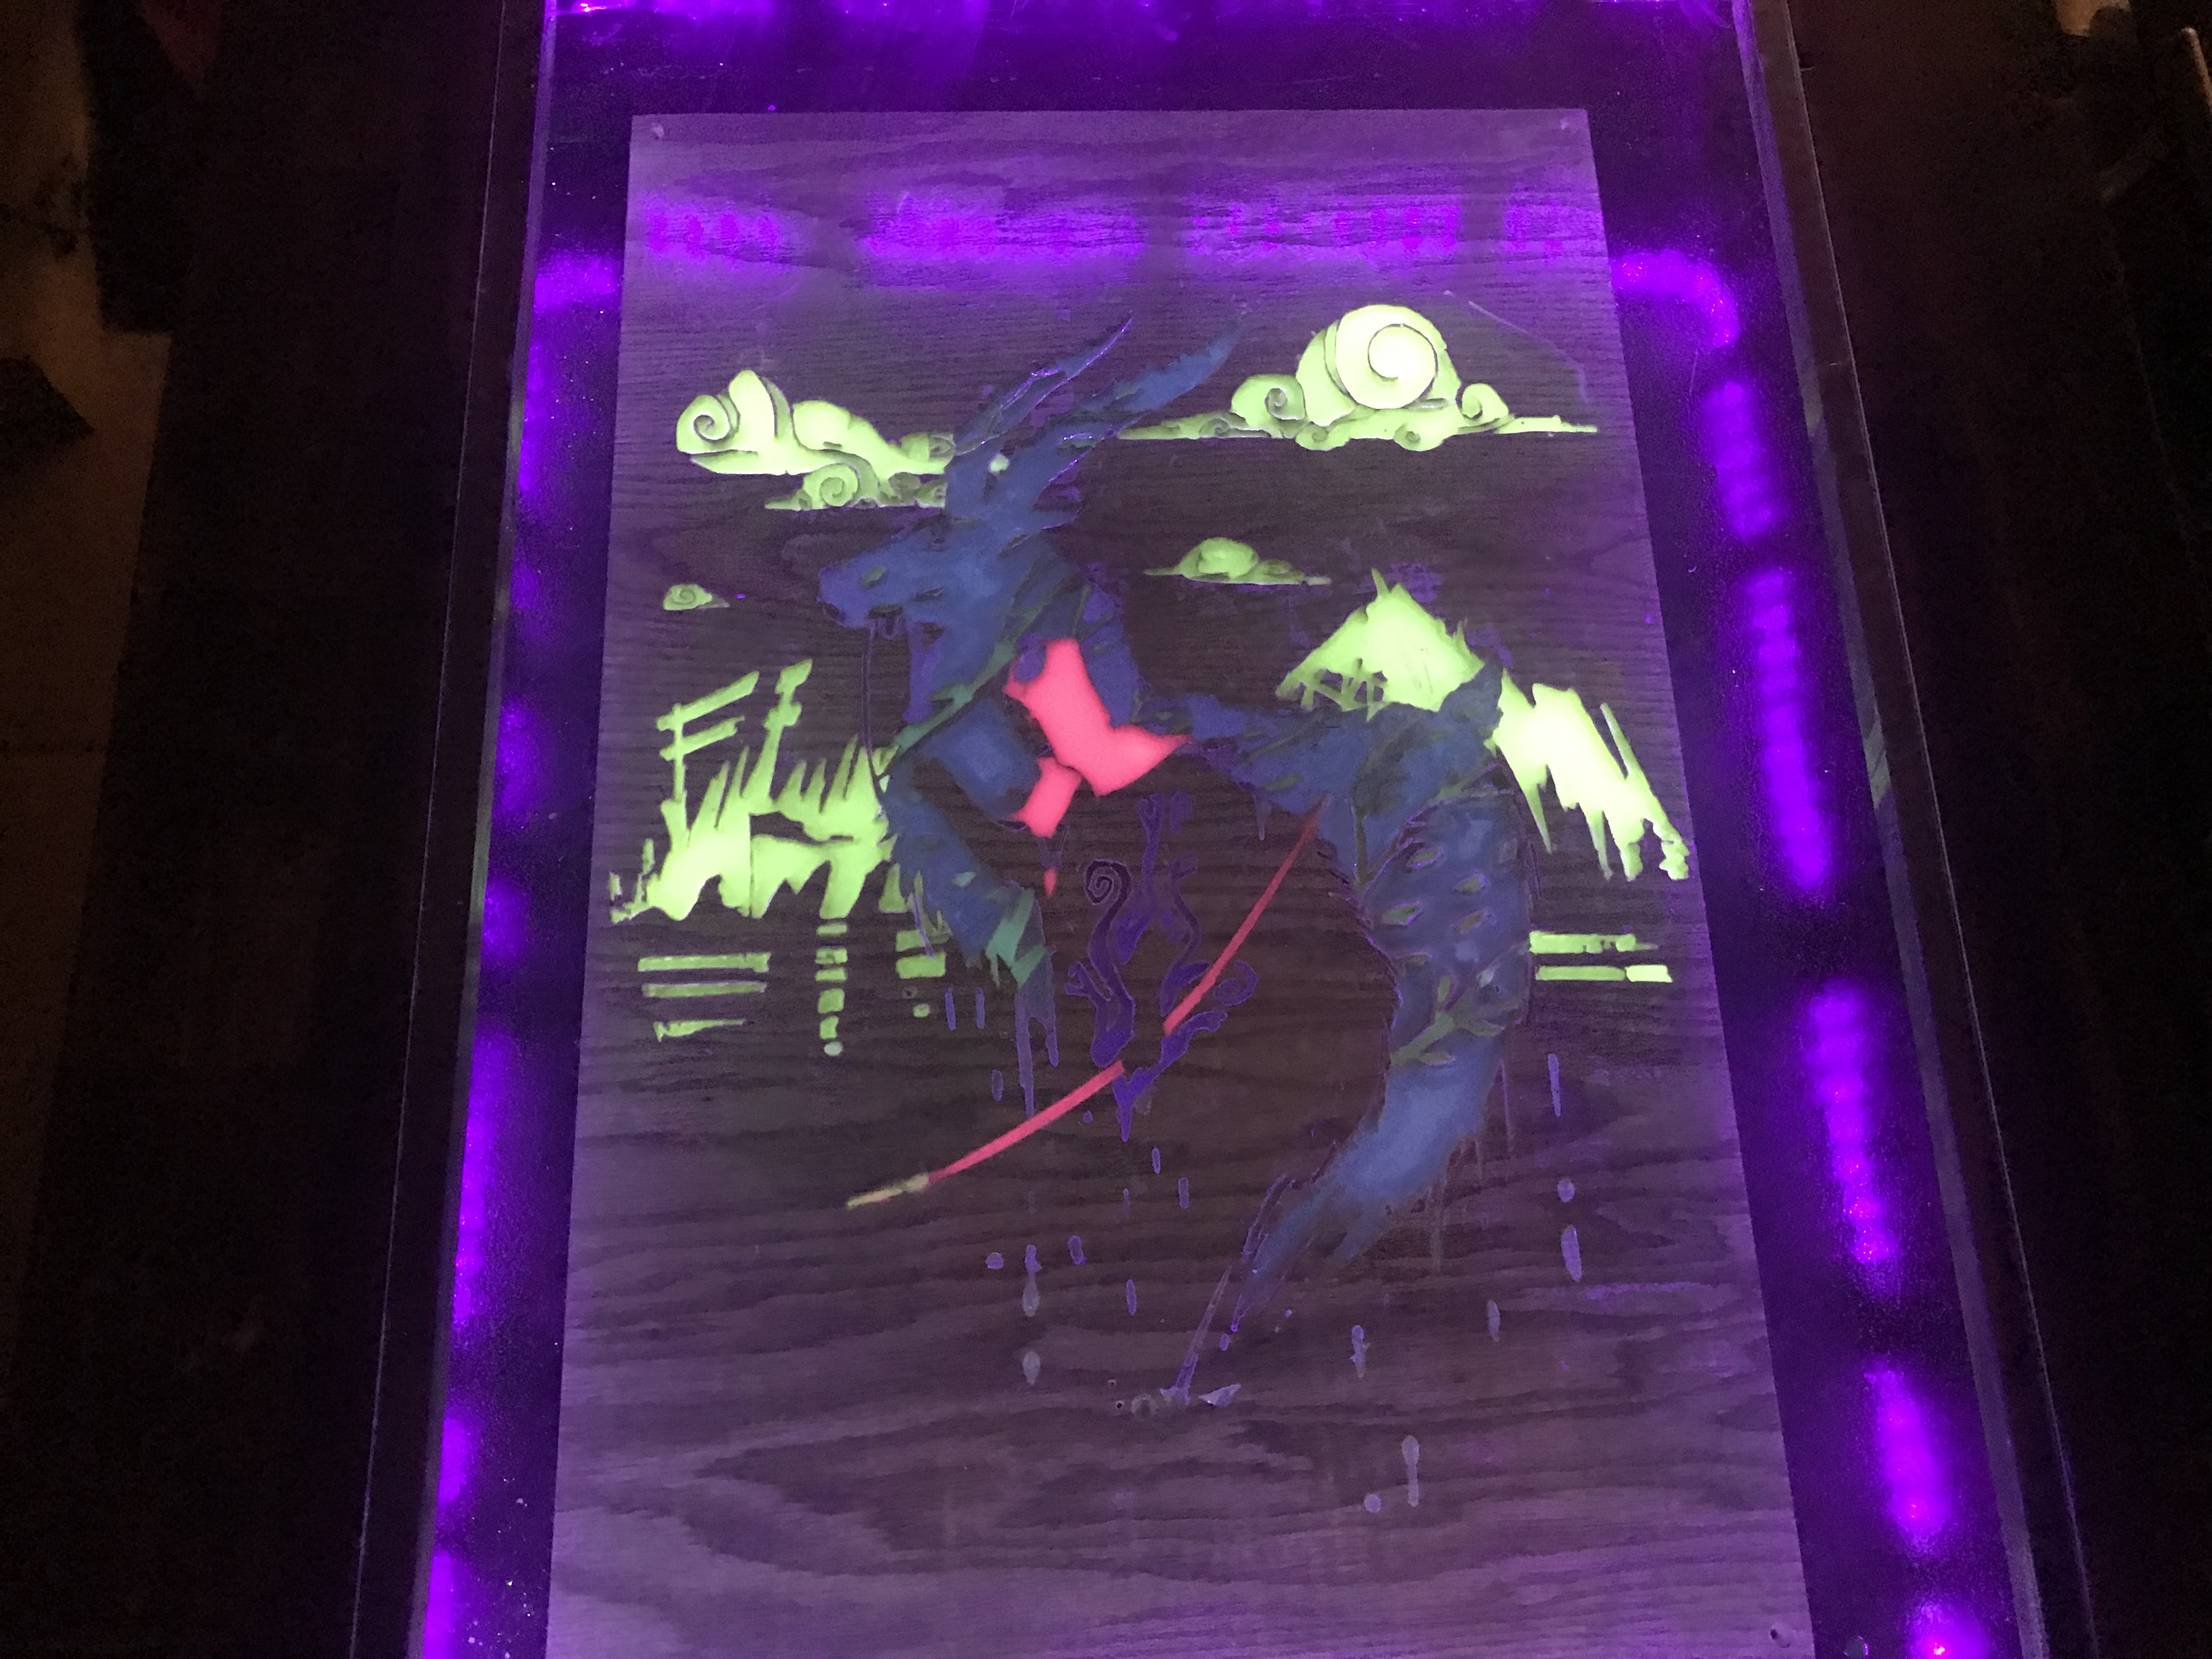
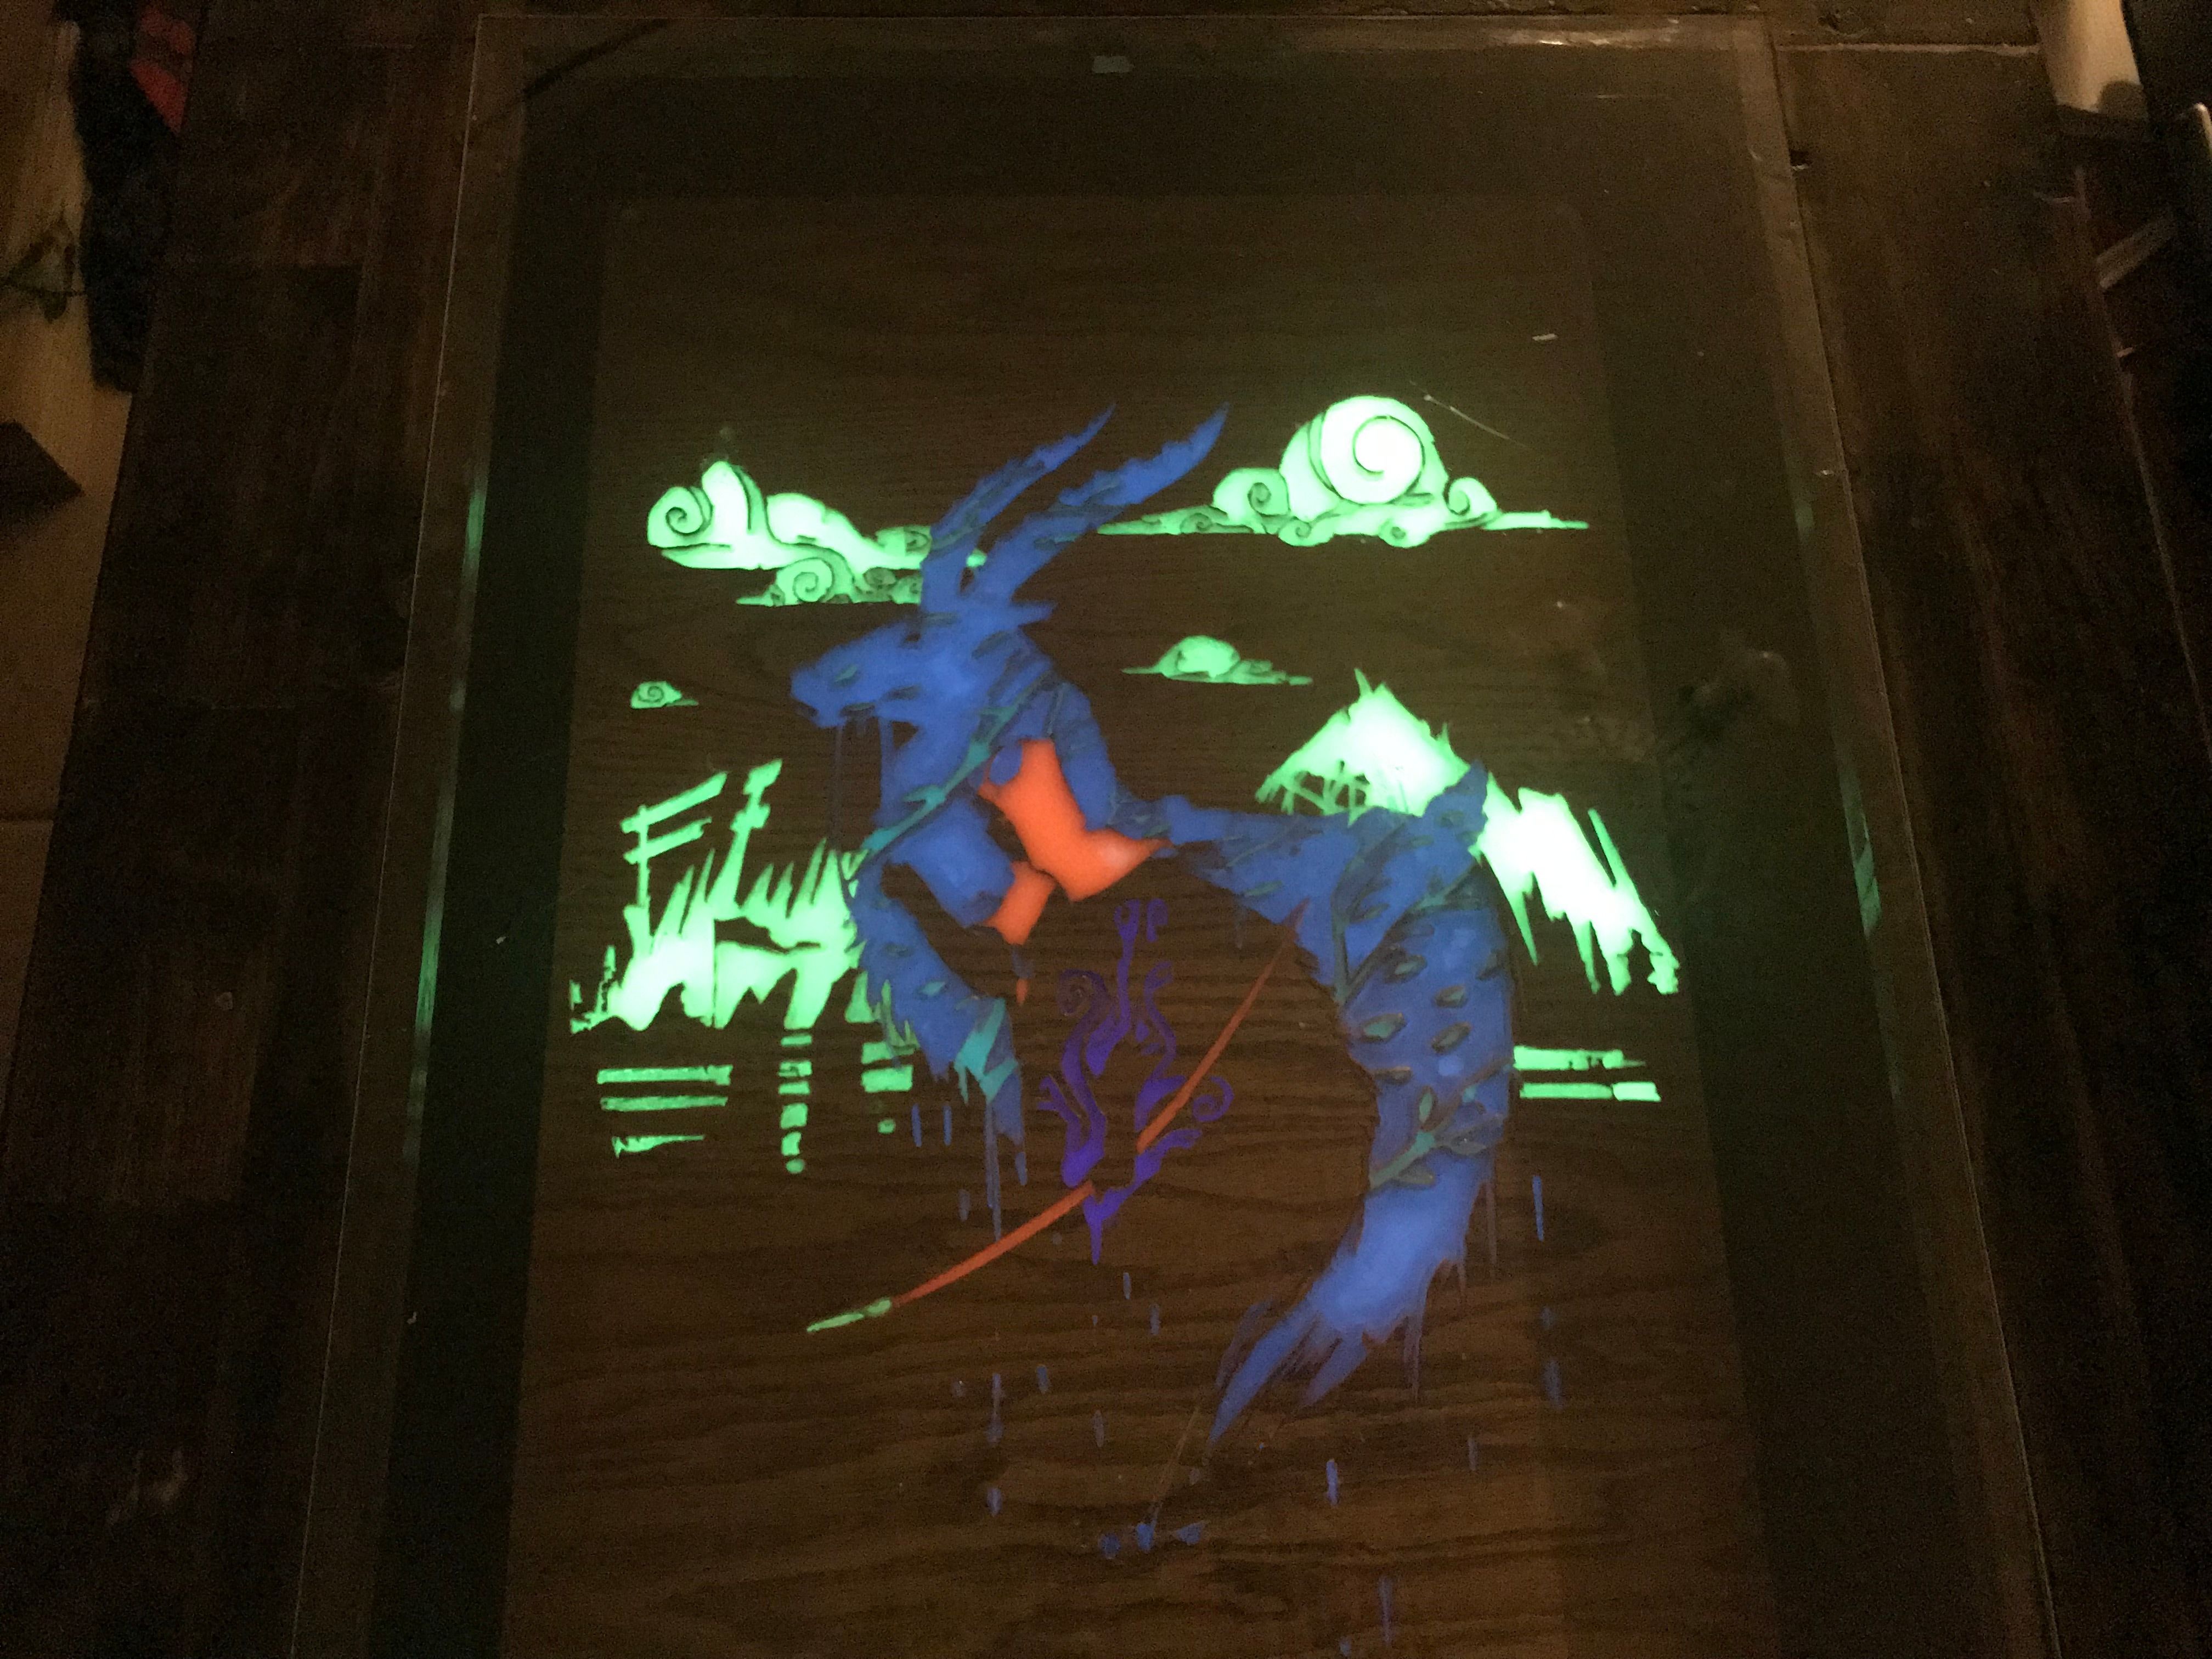
This was a fascinating challenge to me but I enjoyed it. The only issue was that it was so time consuming, between the setting times, engraving, and software, this project was over a week of hard work. If you do this, then expect the difficulty to increase with the complexity but if you do it right, you'll love the pay off.