Multi Camera Video Gstreamer
by AndrewG166 in Circuits > Cameras
4726 Views, 5 Favorites, 0 Comments
Multi Camera Video Gstreamer
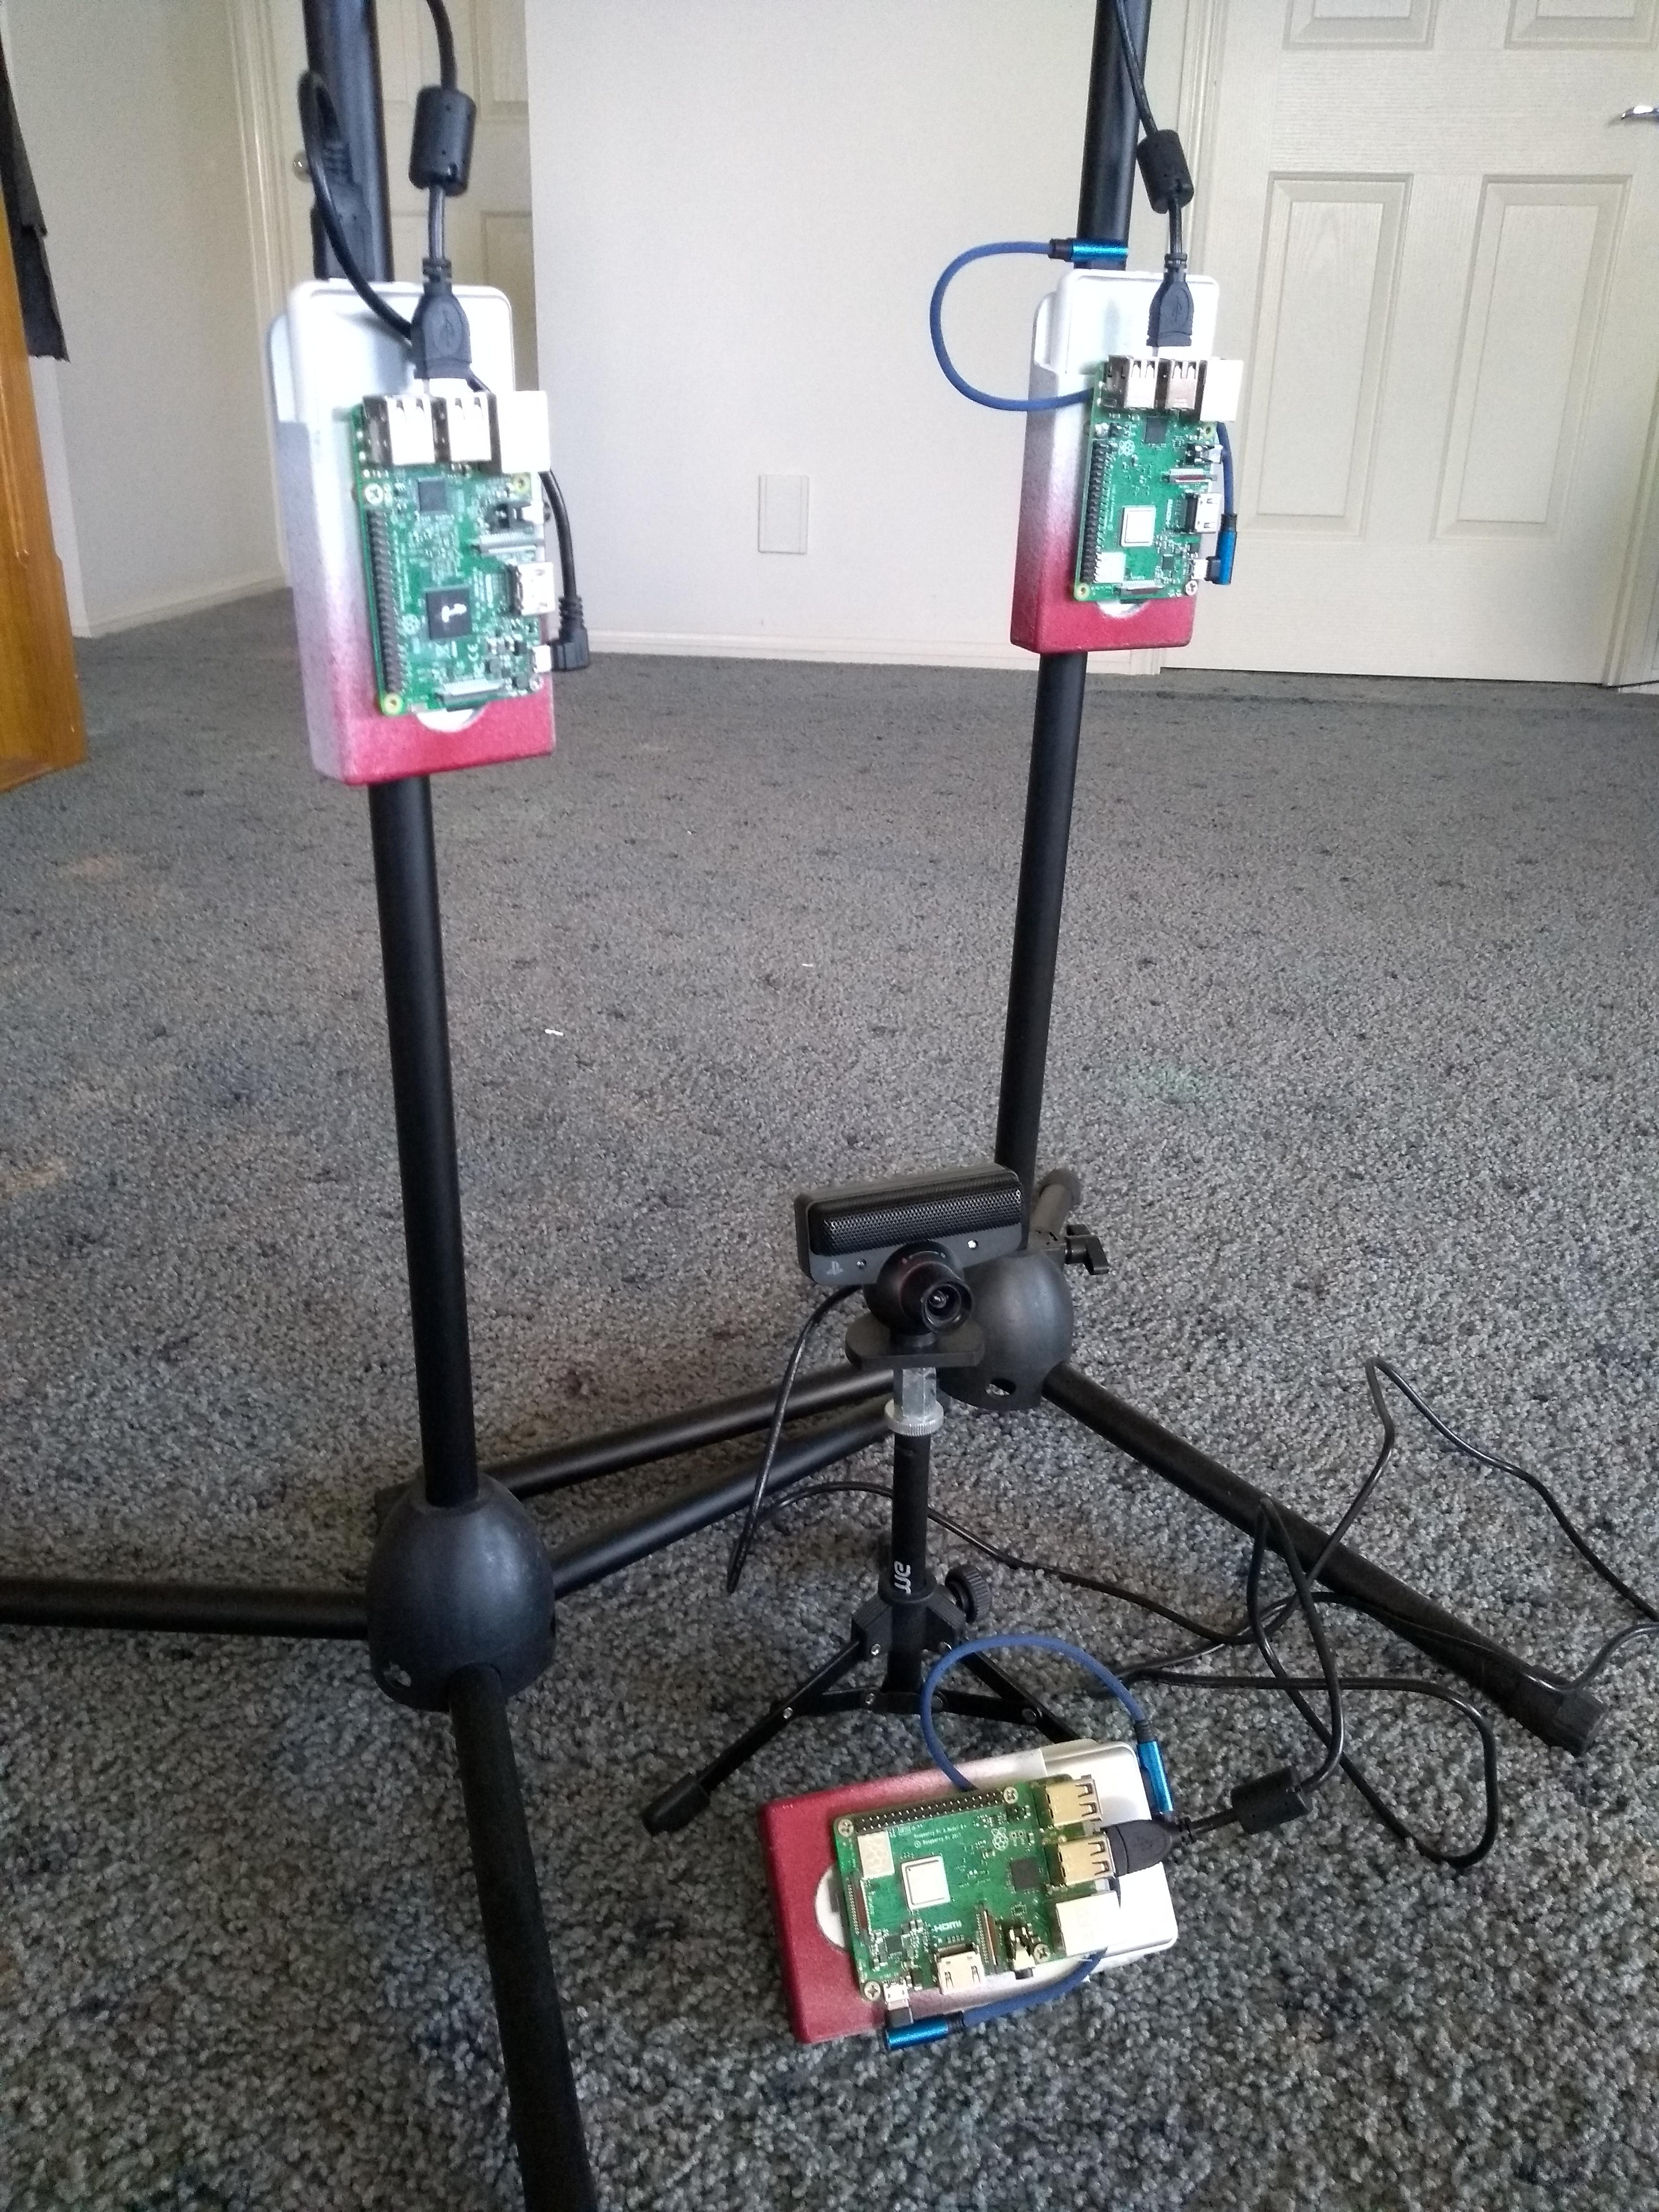
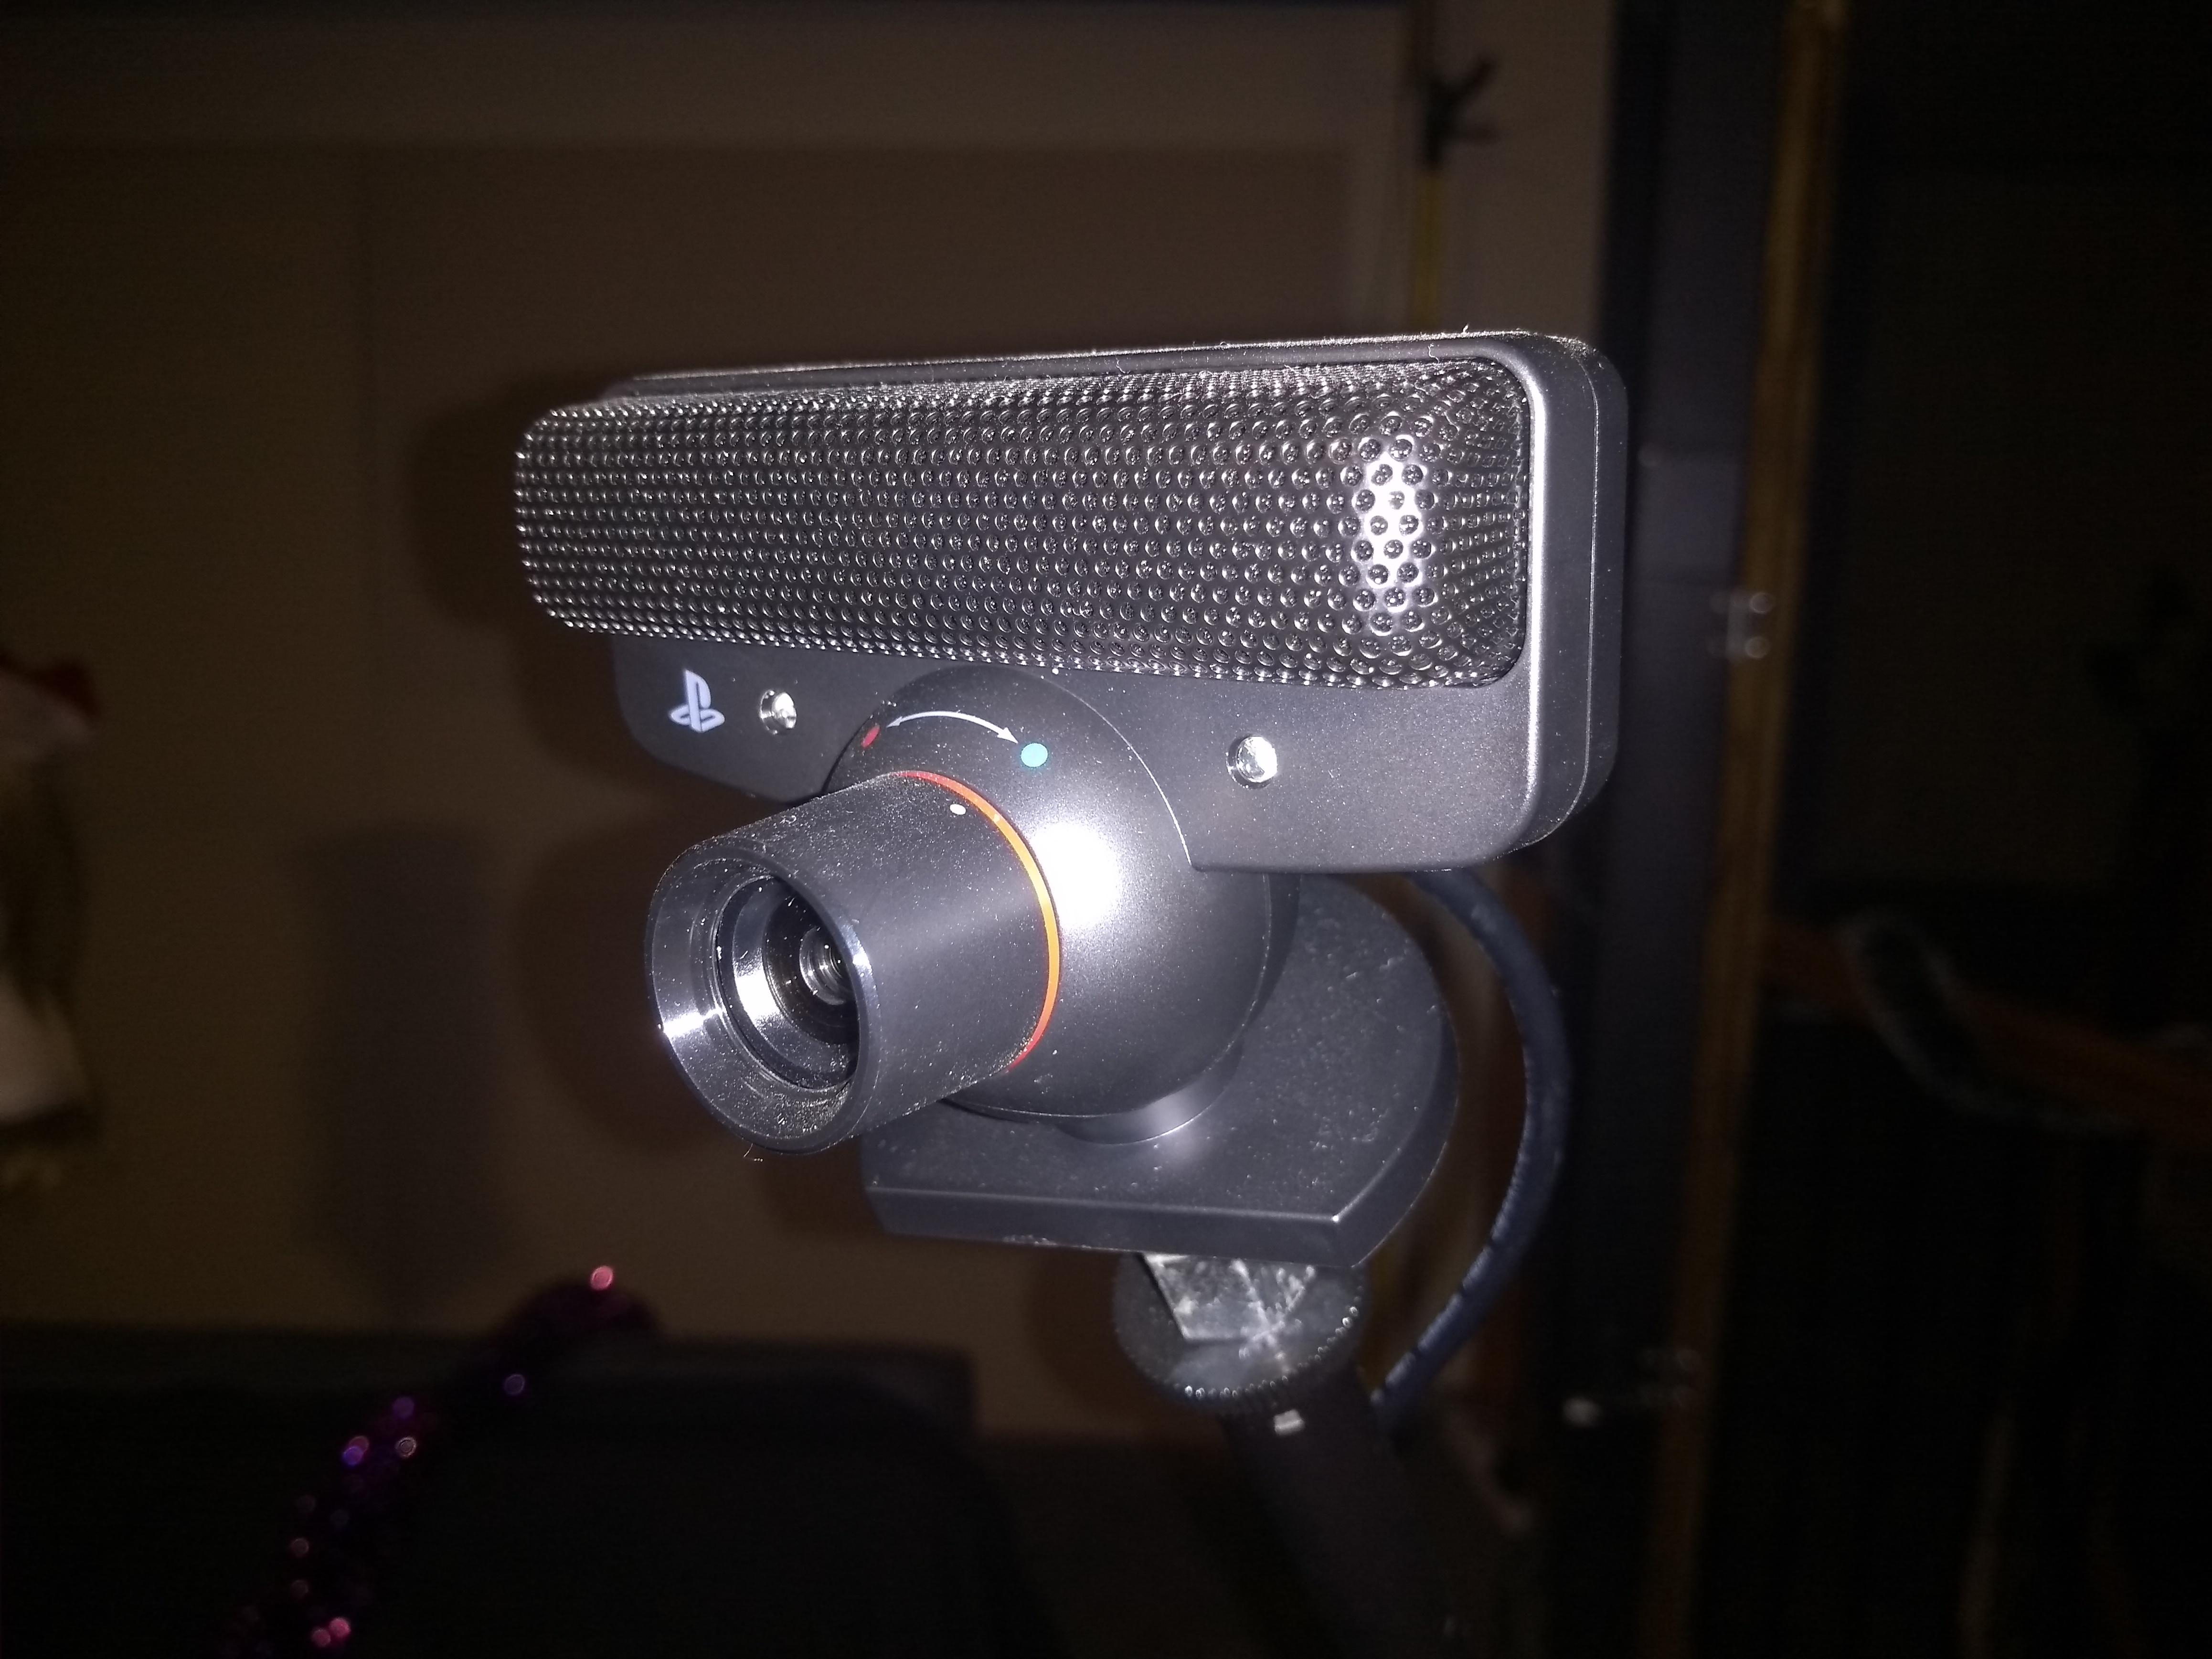
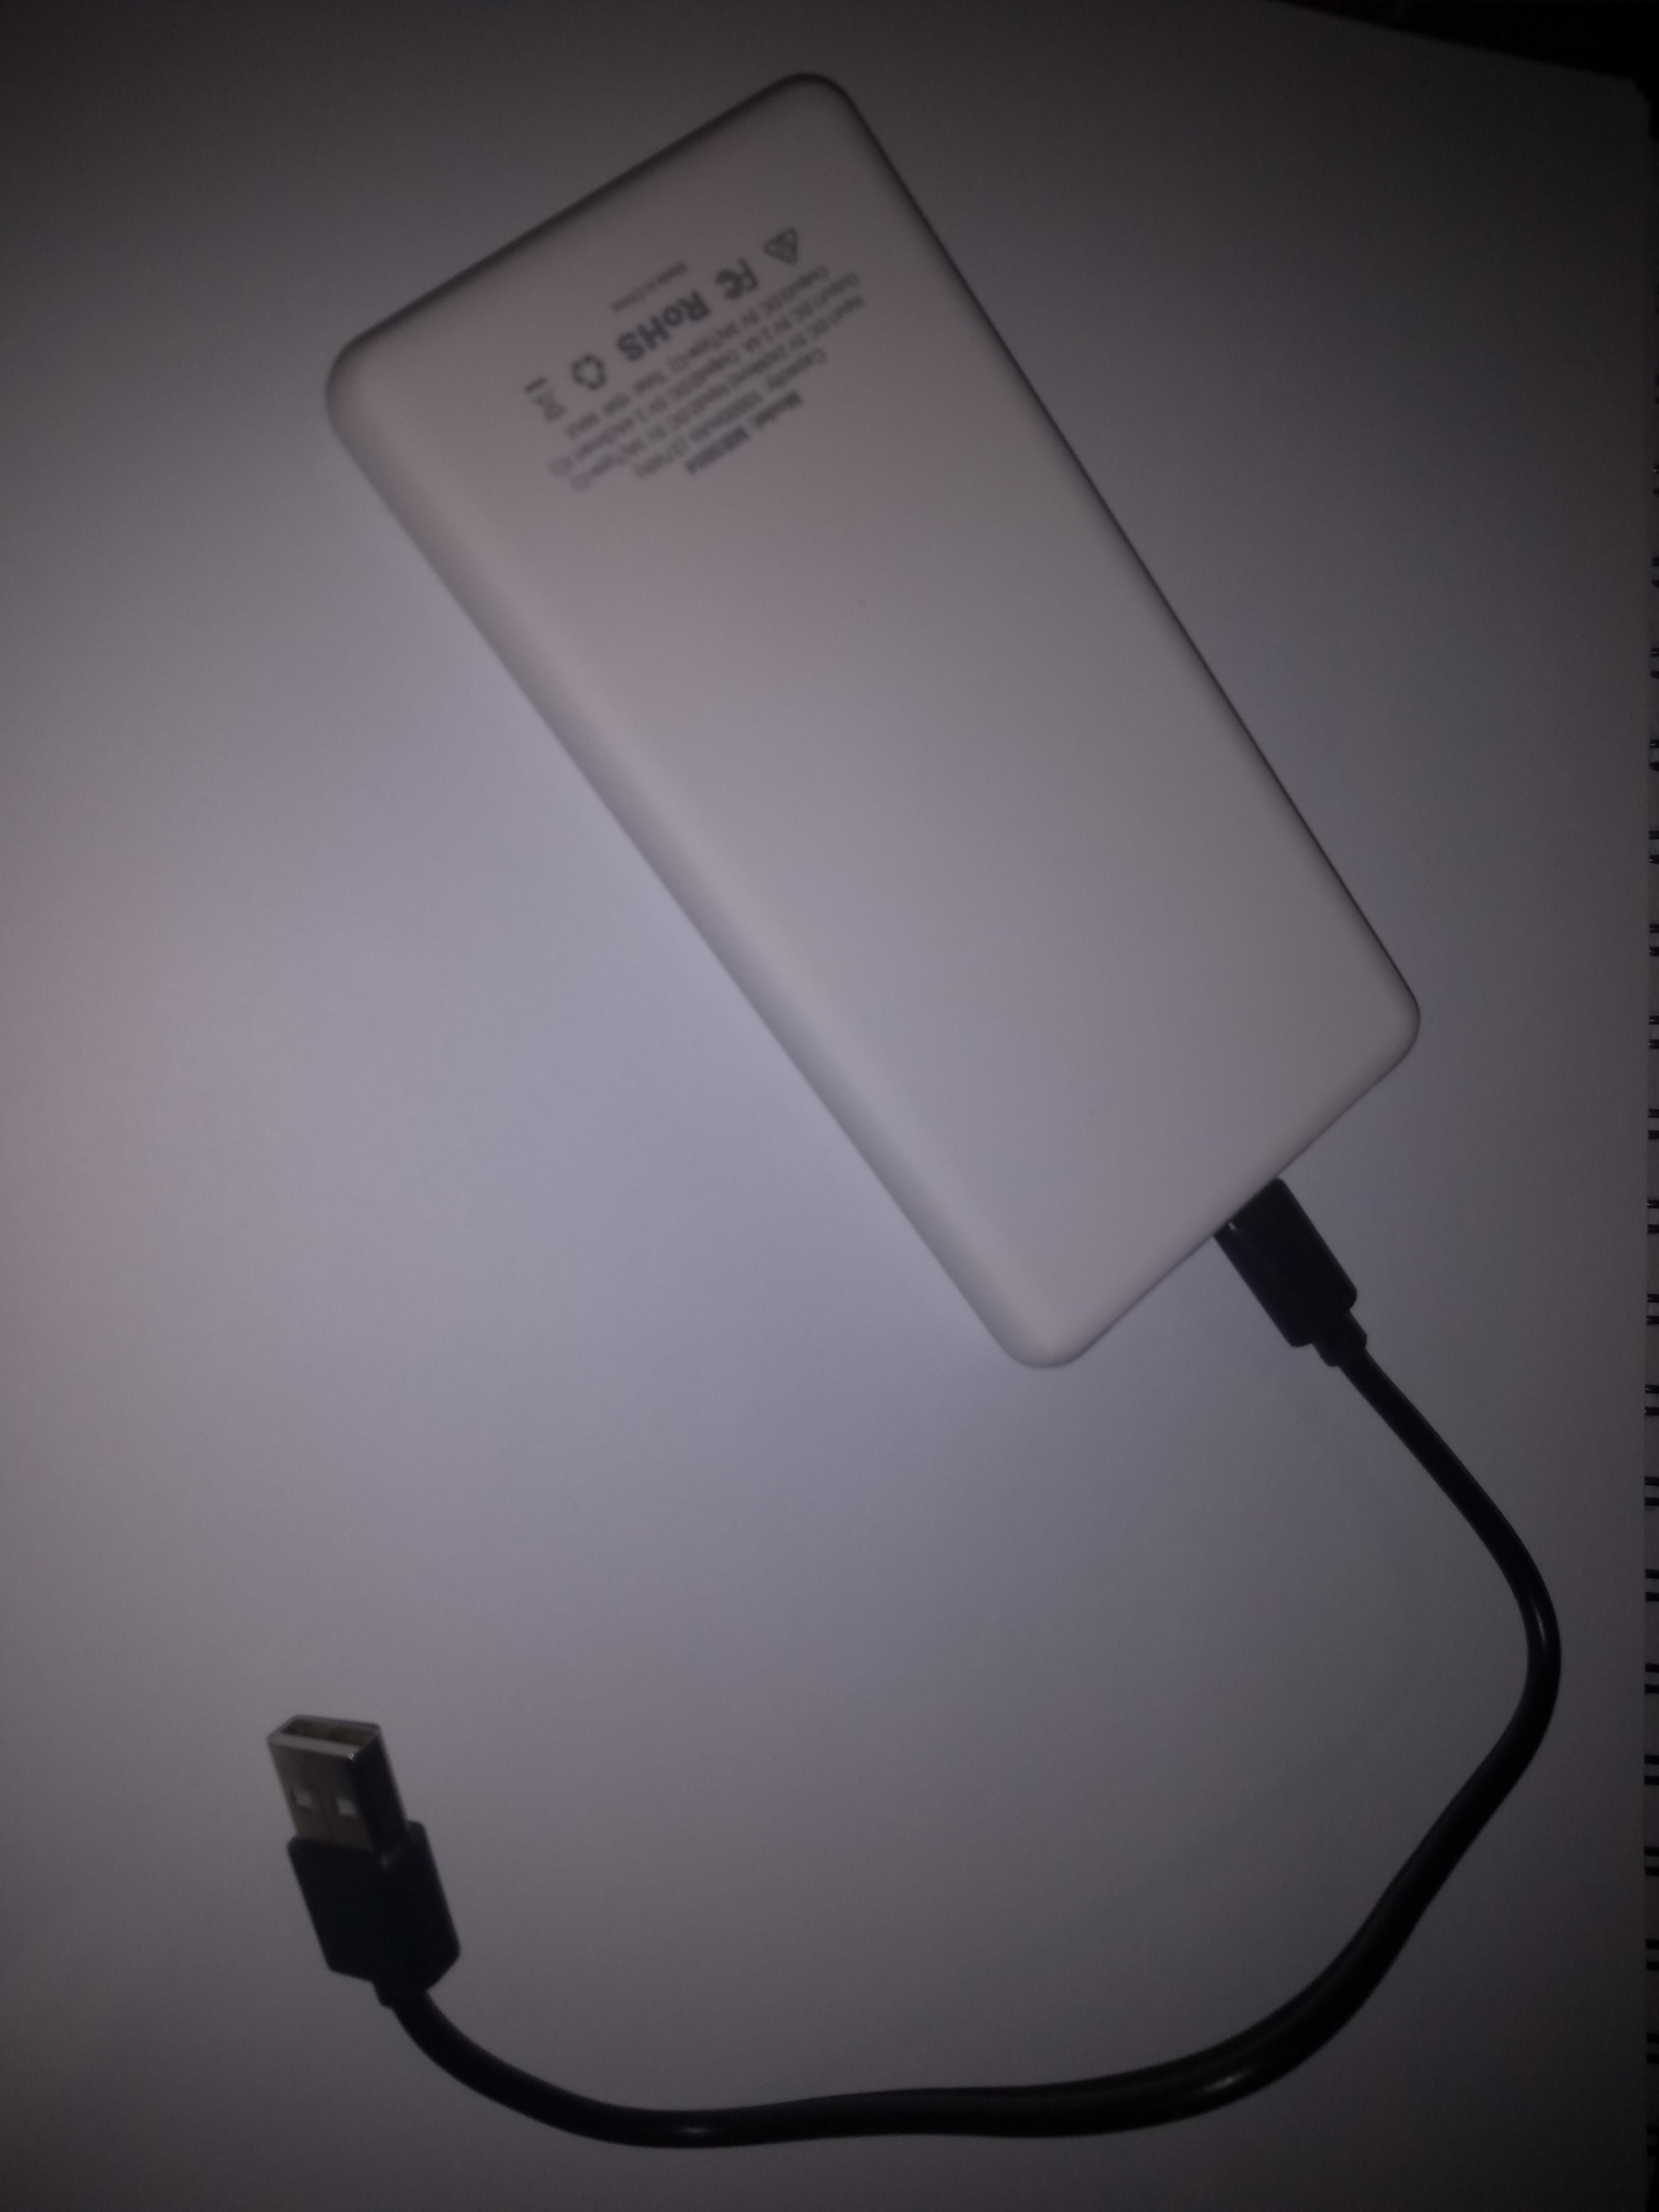
Rasberry Pi + Sony PS3 Eye USB Camera
This is part one of a multi-stage project where I'm trying to get some video based motion capture put together. More on that in a later project, but for now, this part covers building a multi-camera, portable (no leads) and low latency video streamer over wifi using a cheap camera and raspberry pi streaming to a workstation that will both display and save the video to disk for later processing.
For my motion cap setup, I have 4x camera streams. For a security monitoring system, you may need more, for a baby monitor, just 1.
Parts List: These are what I used, variations in camera and raspberry pi should not make much difference. All prices in $AUD, because this what I earn, and this is what I pay for stuff with. Listed components is per camera stream. The USB charger brick brand/type is not critical, there are hundreds of different brands. 10,000mAHr will run a good 5-6 hrs.
- Raspberry Pi 3+, Cheapest on-line I could find is RS-Components (RadioShack Aust) $56ea.
- USB Charger brick, two USB outlets, 10,000mAhr. Jaycar Electronics $30 (on special)
- Sony PlayStation Eye Camera from a PS3, Ebay approx $28
- USB Cables around $3-$4.
- Raspberry Pi plastic case, Ebay from china, still waiting for these to arrive, but $4 ea
- Optional, cheap microphone boom stand. EBay, approx $22
It shouldn't need saying, but you also need a computer to view/save the video to.
If portable is not important to you, you can run them off a USB power wall plug and not buy the charger brick. I want to be able to pick them up and move them around with the encumbrance of leads.
The reason I went with the Sony Eye is that for the price, it does a moderate fast frame rate (60fps) and for motion capture, the relative low resolution (640x480) is not critical. The streaming system is camera agnostic as long as the Raspberry Pi will recognize the camera. It will in theory do 120fps at 320x240.
Skills you will need:
You should be able to setup a raspberry pi with wifi networking, and edit files on it. I wont be covering this in any detail. Once you have this setup and can ssh (command line remote access) to the raspberry pi, I will provide all the needed detail for services and package installs.
About me, and why you care.
Amongst other things, I'm a unix systems admin, so this means I did most of the development on an ubuntu linux workstation and it's not tested on windows. The gstreamer software is available on windows, but I just didnt do any testing on windows.
Raspberry Pi: Base OS Install, Versions Etc
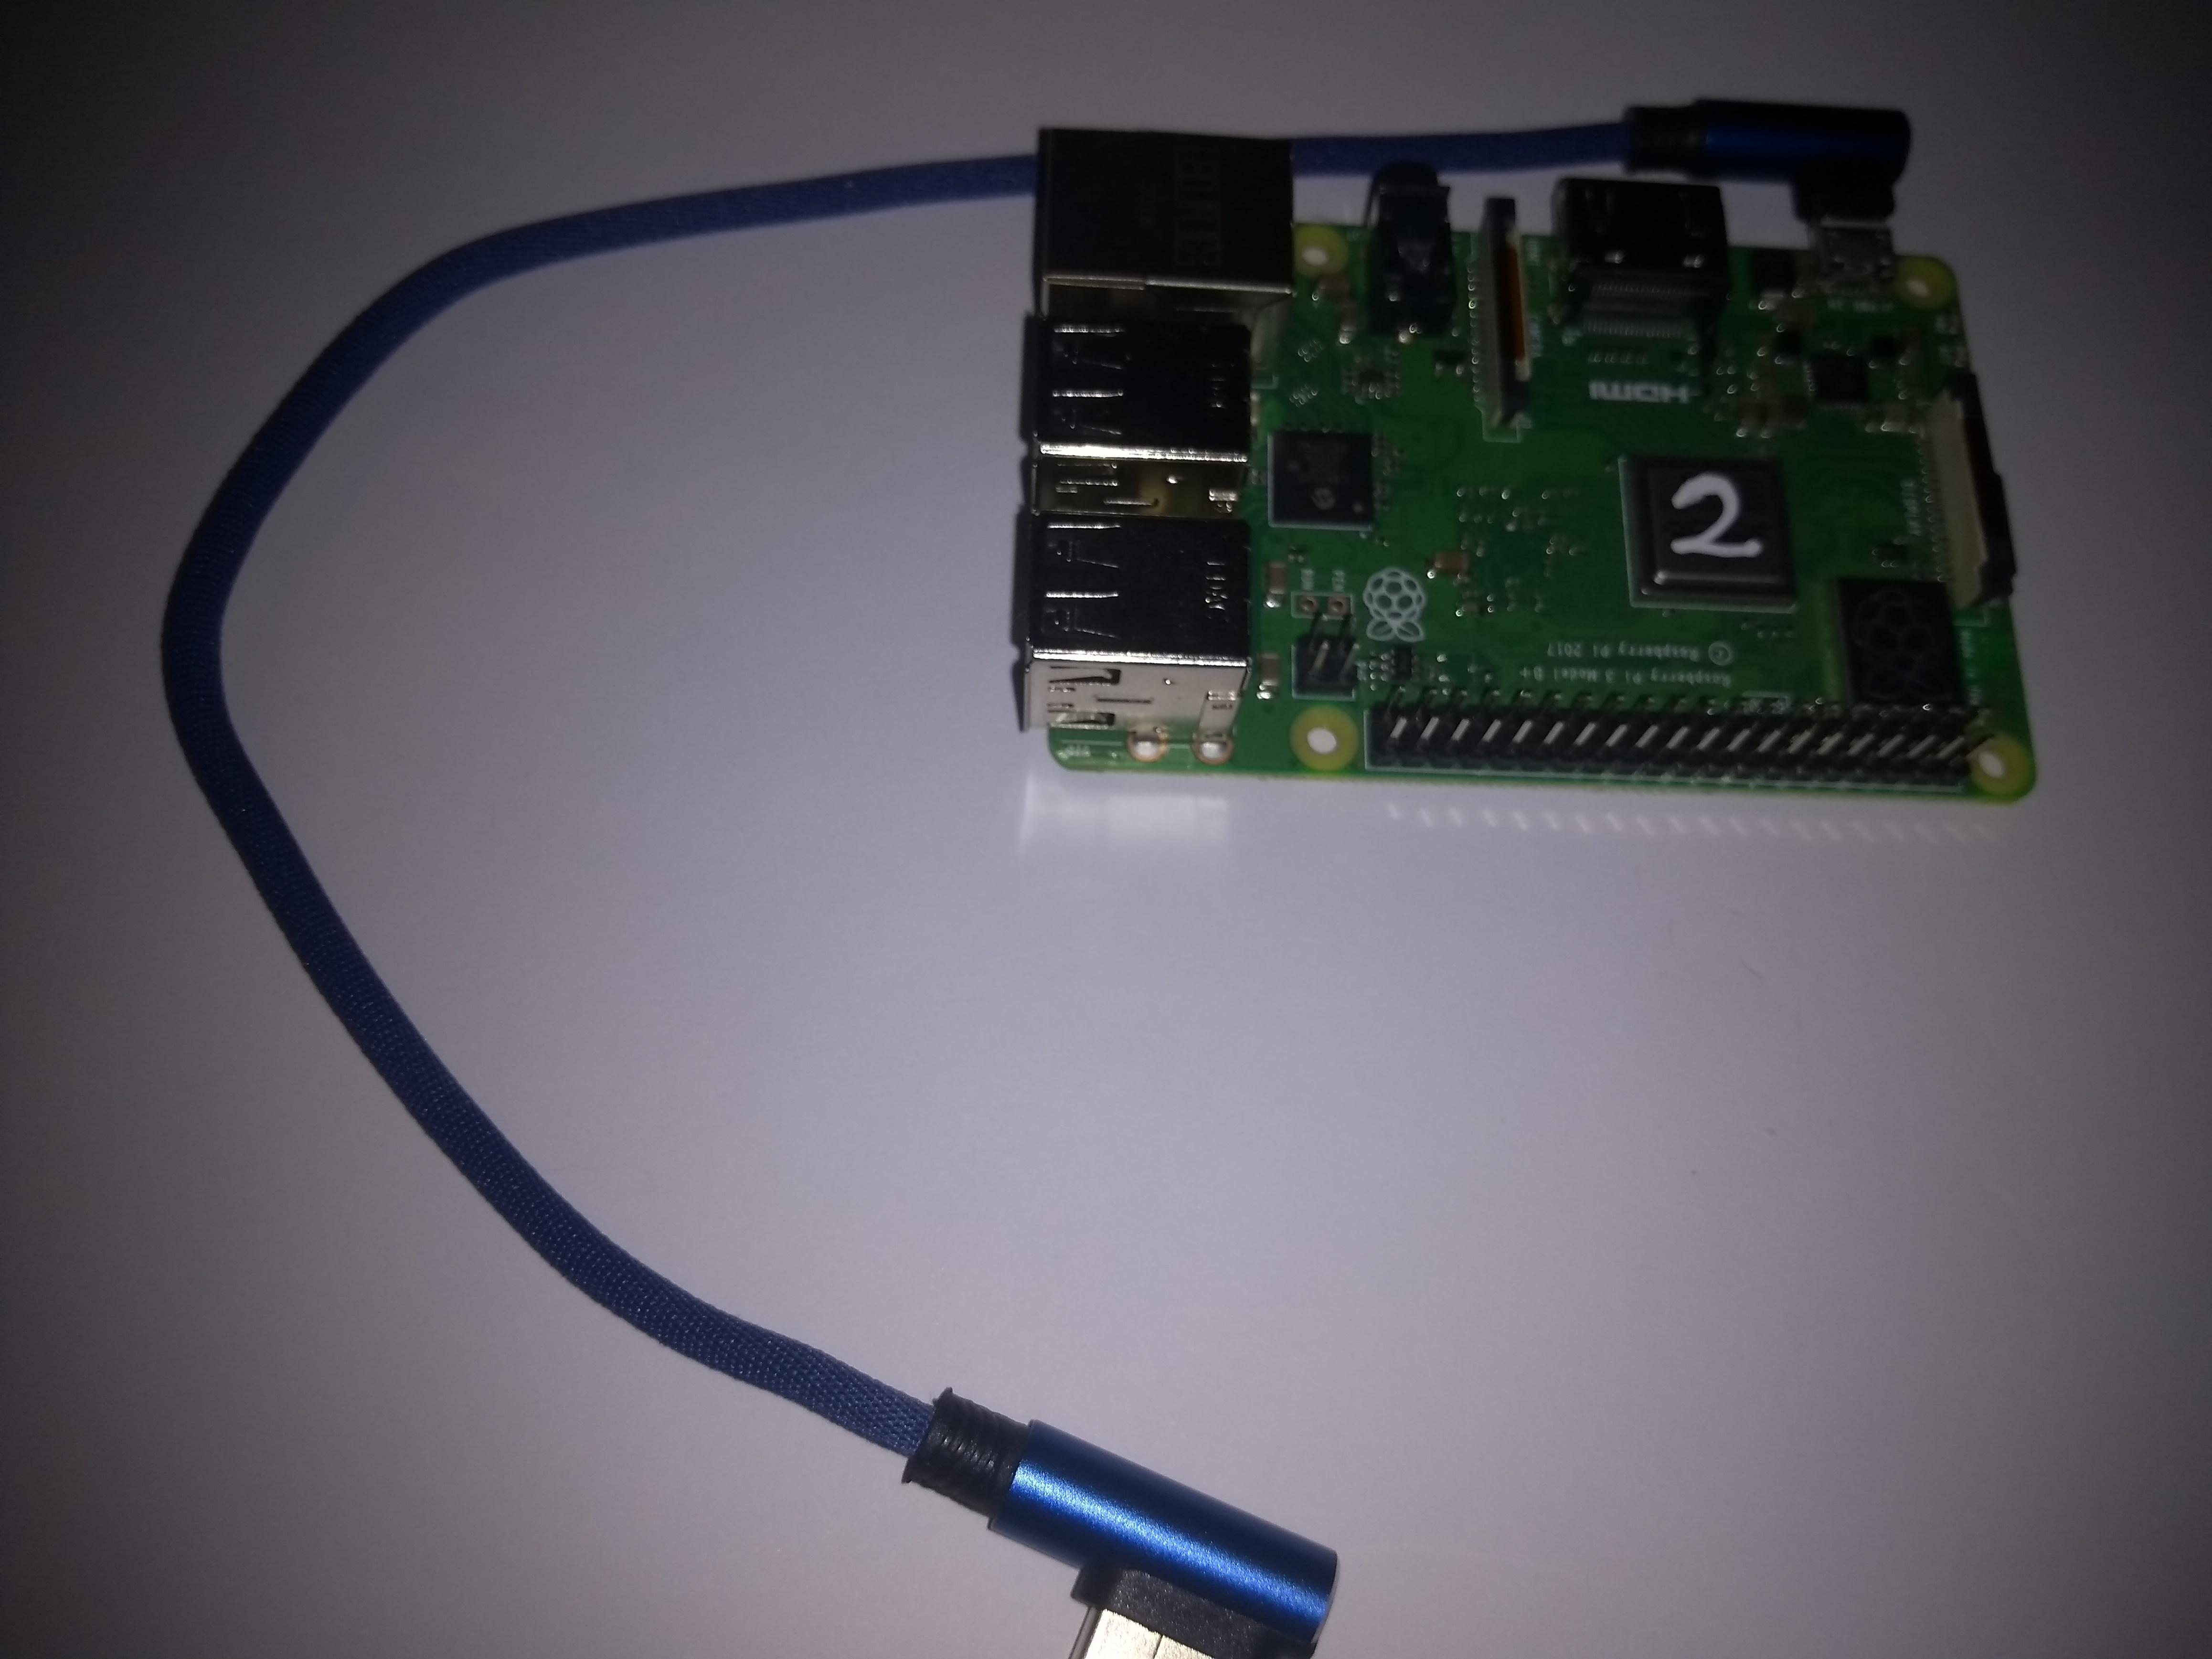
For the raspberry Pi, we need to setup wifi networking, and a couple of services.
1. Download the operating system image and burn to micro usb card of 4G or larger.
I have "2020-08-20-raspios-buster-armhf-lite.img" from the raspberry pi web site, or a torrent link
The specific version is not critical. I chose the "lite" version as I am comfortable with command line installs (no gui), and I want to minimize battery consumption.
See the raspbery pi website on how to burn the image to a microSD card for your os of choice ...
Once you have the microsd programmed with the OS.
Insert the programmed sd card, plugin a hdmi monitor and usb keyboard to the pi and power it up via the micro usb socket. Login as the "pi" user with the password "raspberry".
run the raspi-config command by typing "sudo raspi-config"
- Choose 1. Advanced Options -> S1 Wireless LAN, Enter wireless SID name and password at prompt
- Choose 1. Advanced Options -> S3 Password. Change "raspberry" to something you wont forget.
- Choose 1. Advanced Options -> S4 Hostname, give the pi a hostname.
- Choose 1. Advanced Options -> S5 Boot/AutoLogin -> B1 Console Text Console require login.
- Choose 3. Interface Options -> P2. SSH Enable.
- Choose 5. Localisation Options -> your country, timezone, keyboard layout. Default is Great Britain, which is not so great for everyone else because keymappings are wrong.
- Choose 8. Advanced Options -> A1. Expand File System
- Choose 8. Update .... this will take a little while, and assumes networking is OK and your pi is connected to the internet by now.
exit.
run the command "ip addr". If you see an IP like 192.168.1.xxx in the wlan0 section, then dhcp networking is setup and OK.
enable the ntpd (time sync) service using "systemctl enable ntp". This ensures accurate time stamps on the videos, which will be important if you are trying to accurately collate them later.
reboot.
Why Choose Gstreamer Software?

GStreamer is a super flexible, swiss army knife of video and audio software, and in my experience, sadly lacking in coherent documentation as evidenced by the fact this represents about 4 days to get it working, when it should have taken about 2 hrs.
nevertheless, it is the software du jour if we want to minimize latency (delay) over the network. My setup over standard wifi gives a latency of about 200-300mSec, and you get to enjoy the advantage of my wasted 4 days.
Gstreamer operates a series of operations, with each operation receiving it's data from the previous operation, doing something to it, and passing to the next operation, this is called an operation pipeline.
Stuff I learned along the way on how to make it go faster.
Use the gstreamer1.0-omx codec which leverages the built-in raspberry pi nvidia hardware codec to encode video into the h264 video standard using hardware instead of software. This reduces lag and reduces cpu load by an order of magnitude (5 -> 0.5).
Gstreamer is quite finicky about formats and codecs, and not very informative when you get any of these wrong.
Raspberry Pi: Install Gstreamer Pkgs and Configure Systemd Services.

All of this code is available on github where I will be making any updates.
this is the list of required pkgs to run gstreamer on the pi. Cut and paste the code into the raspberry pi command line to install.
list='gstreamer-1.0
gir1.2-gstreamer-1.0
gstreamer-tools
gstreamer1.0-gl
gstreamer1.0-libav
gstreamer1.0-plugins-bad
gstreamer1.0-plugins-base
gstreamer1.0-plugins-good
gstreamer1.0-plugins-rtp
gstreamer1.0-plugins-ugly
gstreamer1.0-pulseaudio
gstreamer1.0-tools
gstreamer1.0-x
libgstreamer-gl1.0-0
libgstreamer-plugins-bad1.0-0
libgstreamer-plugins-base1.0-0
libgstreamer0.10-0
libgstreamer1.0-0
libqt5gstreamer-1.0-0
gstreamer1.0-omx-rpi-config
gstreamer1.0-omx-rpi'

apt-get -y install $list
Create the following service file using an editor (vi), /etc/systemd/system/eyestream.service, noting that the GST_IP number must be the hostname or ip number of the raspberry pi.
[Unit]
Description=Sony Eye video gstreamer (eyestream)
After=network-online.target
Wants=network-online.target

# get the port and (my raspberry pi) ip from the env
# start the service, if it fails, sleep 10 and restart
# if you edit this file then, `systemctl daemon-reload`

[Service]
Environment=GST_IP=192.168.1.121
Environment=GST_PORT=4953
Environment=GST_QUEUE=16777216
#
ExecStart=/usr/bin/gst-launch-1.0 -e v4l2src device=/dev/video0 ! videoconvert ! clockoverlay font-desc='Sans, 20' text="Cam1: " ! omxh264enc ! h264parse ! queue max-size-bytes=${GST_QUEUE} ! rtph264pay config-interval=1 pt=96 ! gdppay ! tcpserversink host=${GST_IP} port=${GST_PORT}
#
Restart=always
ExecStartPost=/bin/sleep 10

[Install]
WantedBy=multi-user.target
run the following 3 commands from the command prompt to activate the service
systemctl daemon-reload;	# make systemd notice changed eyestream.service file
systemctl enable eyestream;	# set the service to autostart on boot
systemctl start eyestream;	# start the service now.
Linux (ubuntu) Workstation Software

On your workstation you want to be able to view and save the output of the camera stream in a usable format. I chose to use the mp4 format, equally if you want to use some other format (like matroska - mkv, whatever) you could do that instead by using different codecs.
The script generates a directory tree under ~/Videos to save the files in a different directory for each camara stream (remember that for my setup, we have 4 going simultaneously).
Install the required gstreamer pkgs and codecs on the workstation computer using the terminal window.
apt-get install gstreamer1.0-tools gstreamer1.0-libav gstreamer1.0-x gstreamer1.0-plugins-ugly gstreamer1.0-plugins-good gstreamer1.0-plugins-bad
Run this script to both view and save to disk the output video streams for the listed IP addresses.
#!/bin/bash

# this script runs on a linux workstation. It receives and saves the video streams from multiple
# raspberry Pi's with usb camera's attached. It does not do audio (yet). Intended for use as motion capture with IPIsoft analyser.
#
# the r.pi's (source end) have a systemd script that runs something like ...
# /usr/bin/gst-launch-1.0 -e v4l2src device=/dev/video0 ! videoconvert ! clockoverlay font-desc='Sans, 20' ! omxh264enc ! h264parse !\
#       queue max-size-bytes=${QUEUE} ! rtph264pay config-interval=1 pt=96 ! gdppay ! tcpserversink host=${GST_IP} port=${GST_PORT
#
# ver 1.0, 30Dec2020, andrewgray1965@gmail.com
#

SUBNET='192.168.1';				# first three quads of the IP number range you are using.
LIST='121 122 123 124';				# last quad list of rasp pi streamers.
FILEMAX=52428800; 				# 50 MBytes, roll files when we get to this size, upto 99 rolls
AGEMAX=600000000000;				# 10 mins in nanoSec ... seriously? nanoSec? wtf!

DIR=`date +%s`;					# random date based name to stop file overwrites.

while true; do
	for IP in $LIST; do			# list of static rasp pi ip numbers running the sony camera.
		mkdir -p ~/Videos/$DIR/$IP || exit;	# fail if we cant write to a directory
		if [[ `ps auwx | grep gst-launch | grep -w host=${SUBNET}.${IP} | grep -v grep` == '' ]]; then		# test it's not already running

			gst-launch-1.0 tcpclientsrc host=${SUBNET}.${IP} port=4321  ! gdpdepay !  rtph264depay ! h264parse ! tee name=t \
				t. ! queue ! splitmuxsink location=~/Videos/$DIR/$IP/video_%02d.mp4 max-size-bytes=${FILEMAX} max-size-time=${AGEMAX} muxer=mp4mux -e \
				t. ! queue leaky=1 ! decodebin ! videoconvert ! autovideosink sync=false &

		fi;
	done;
	sleep 5;
done;
exit;	# stop here.
this code is tested on an ubuntu 20.04.1 (debian derivative) workstation.
Making a Casing
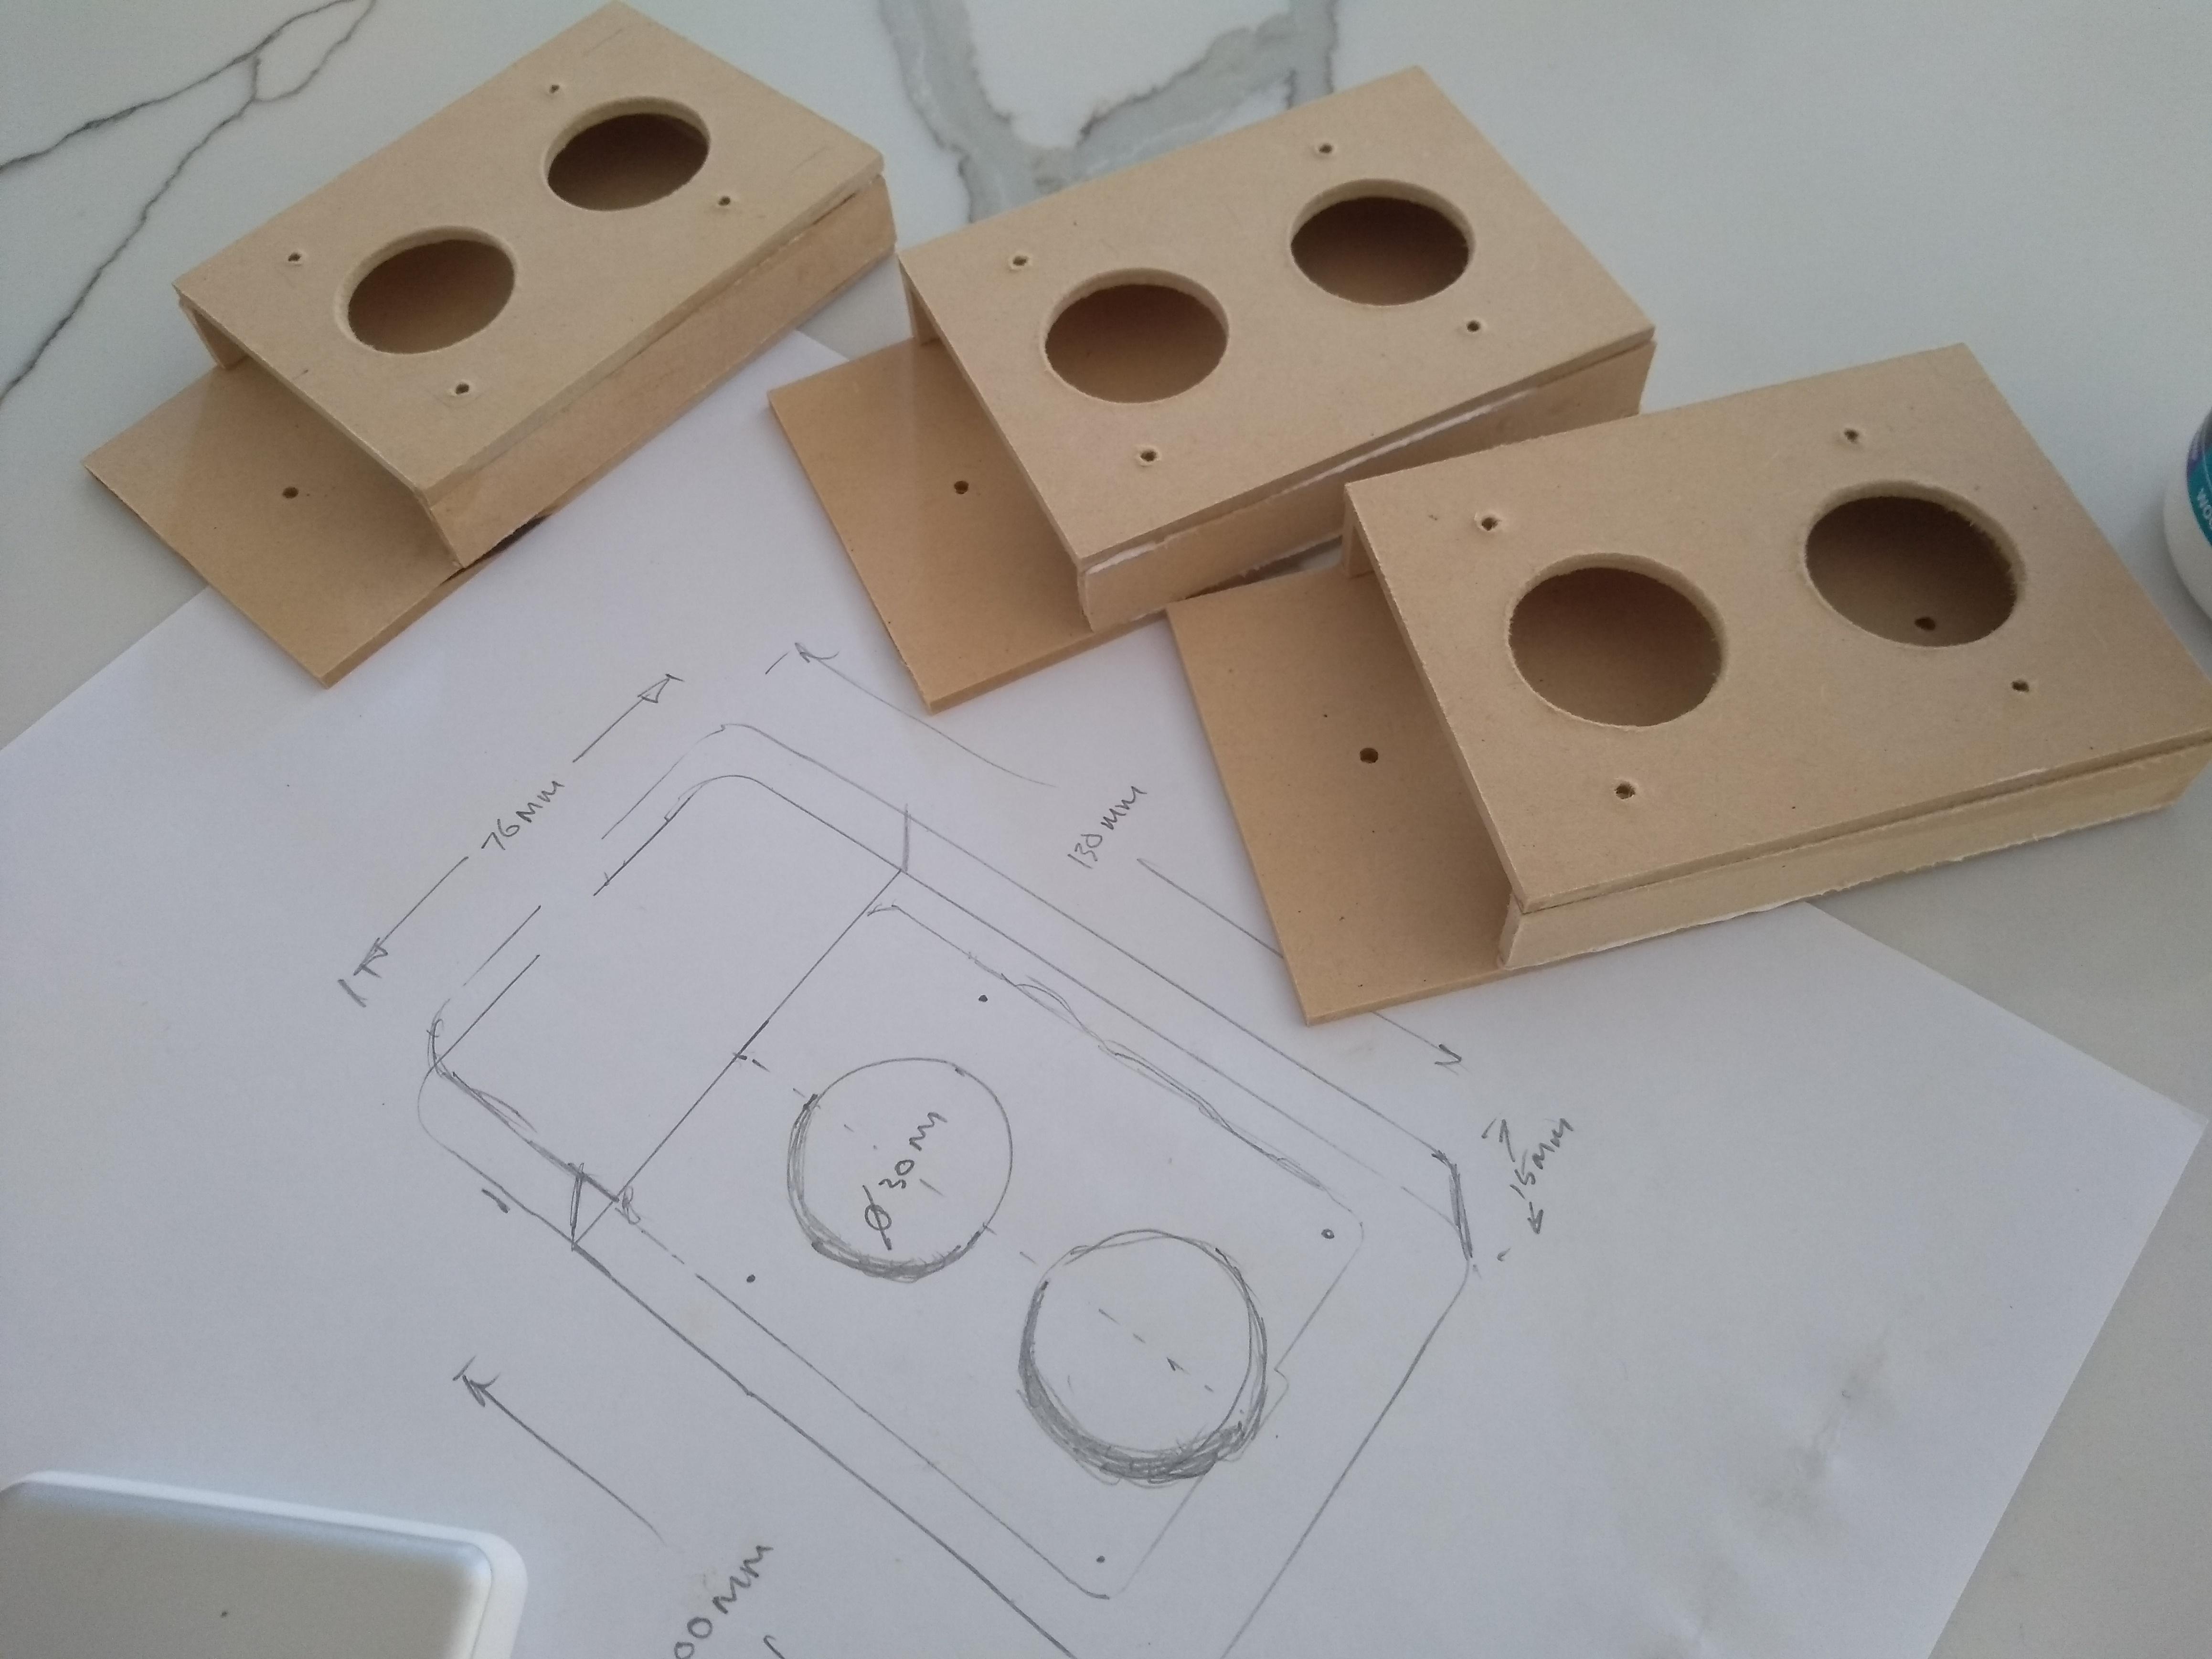
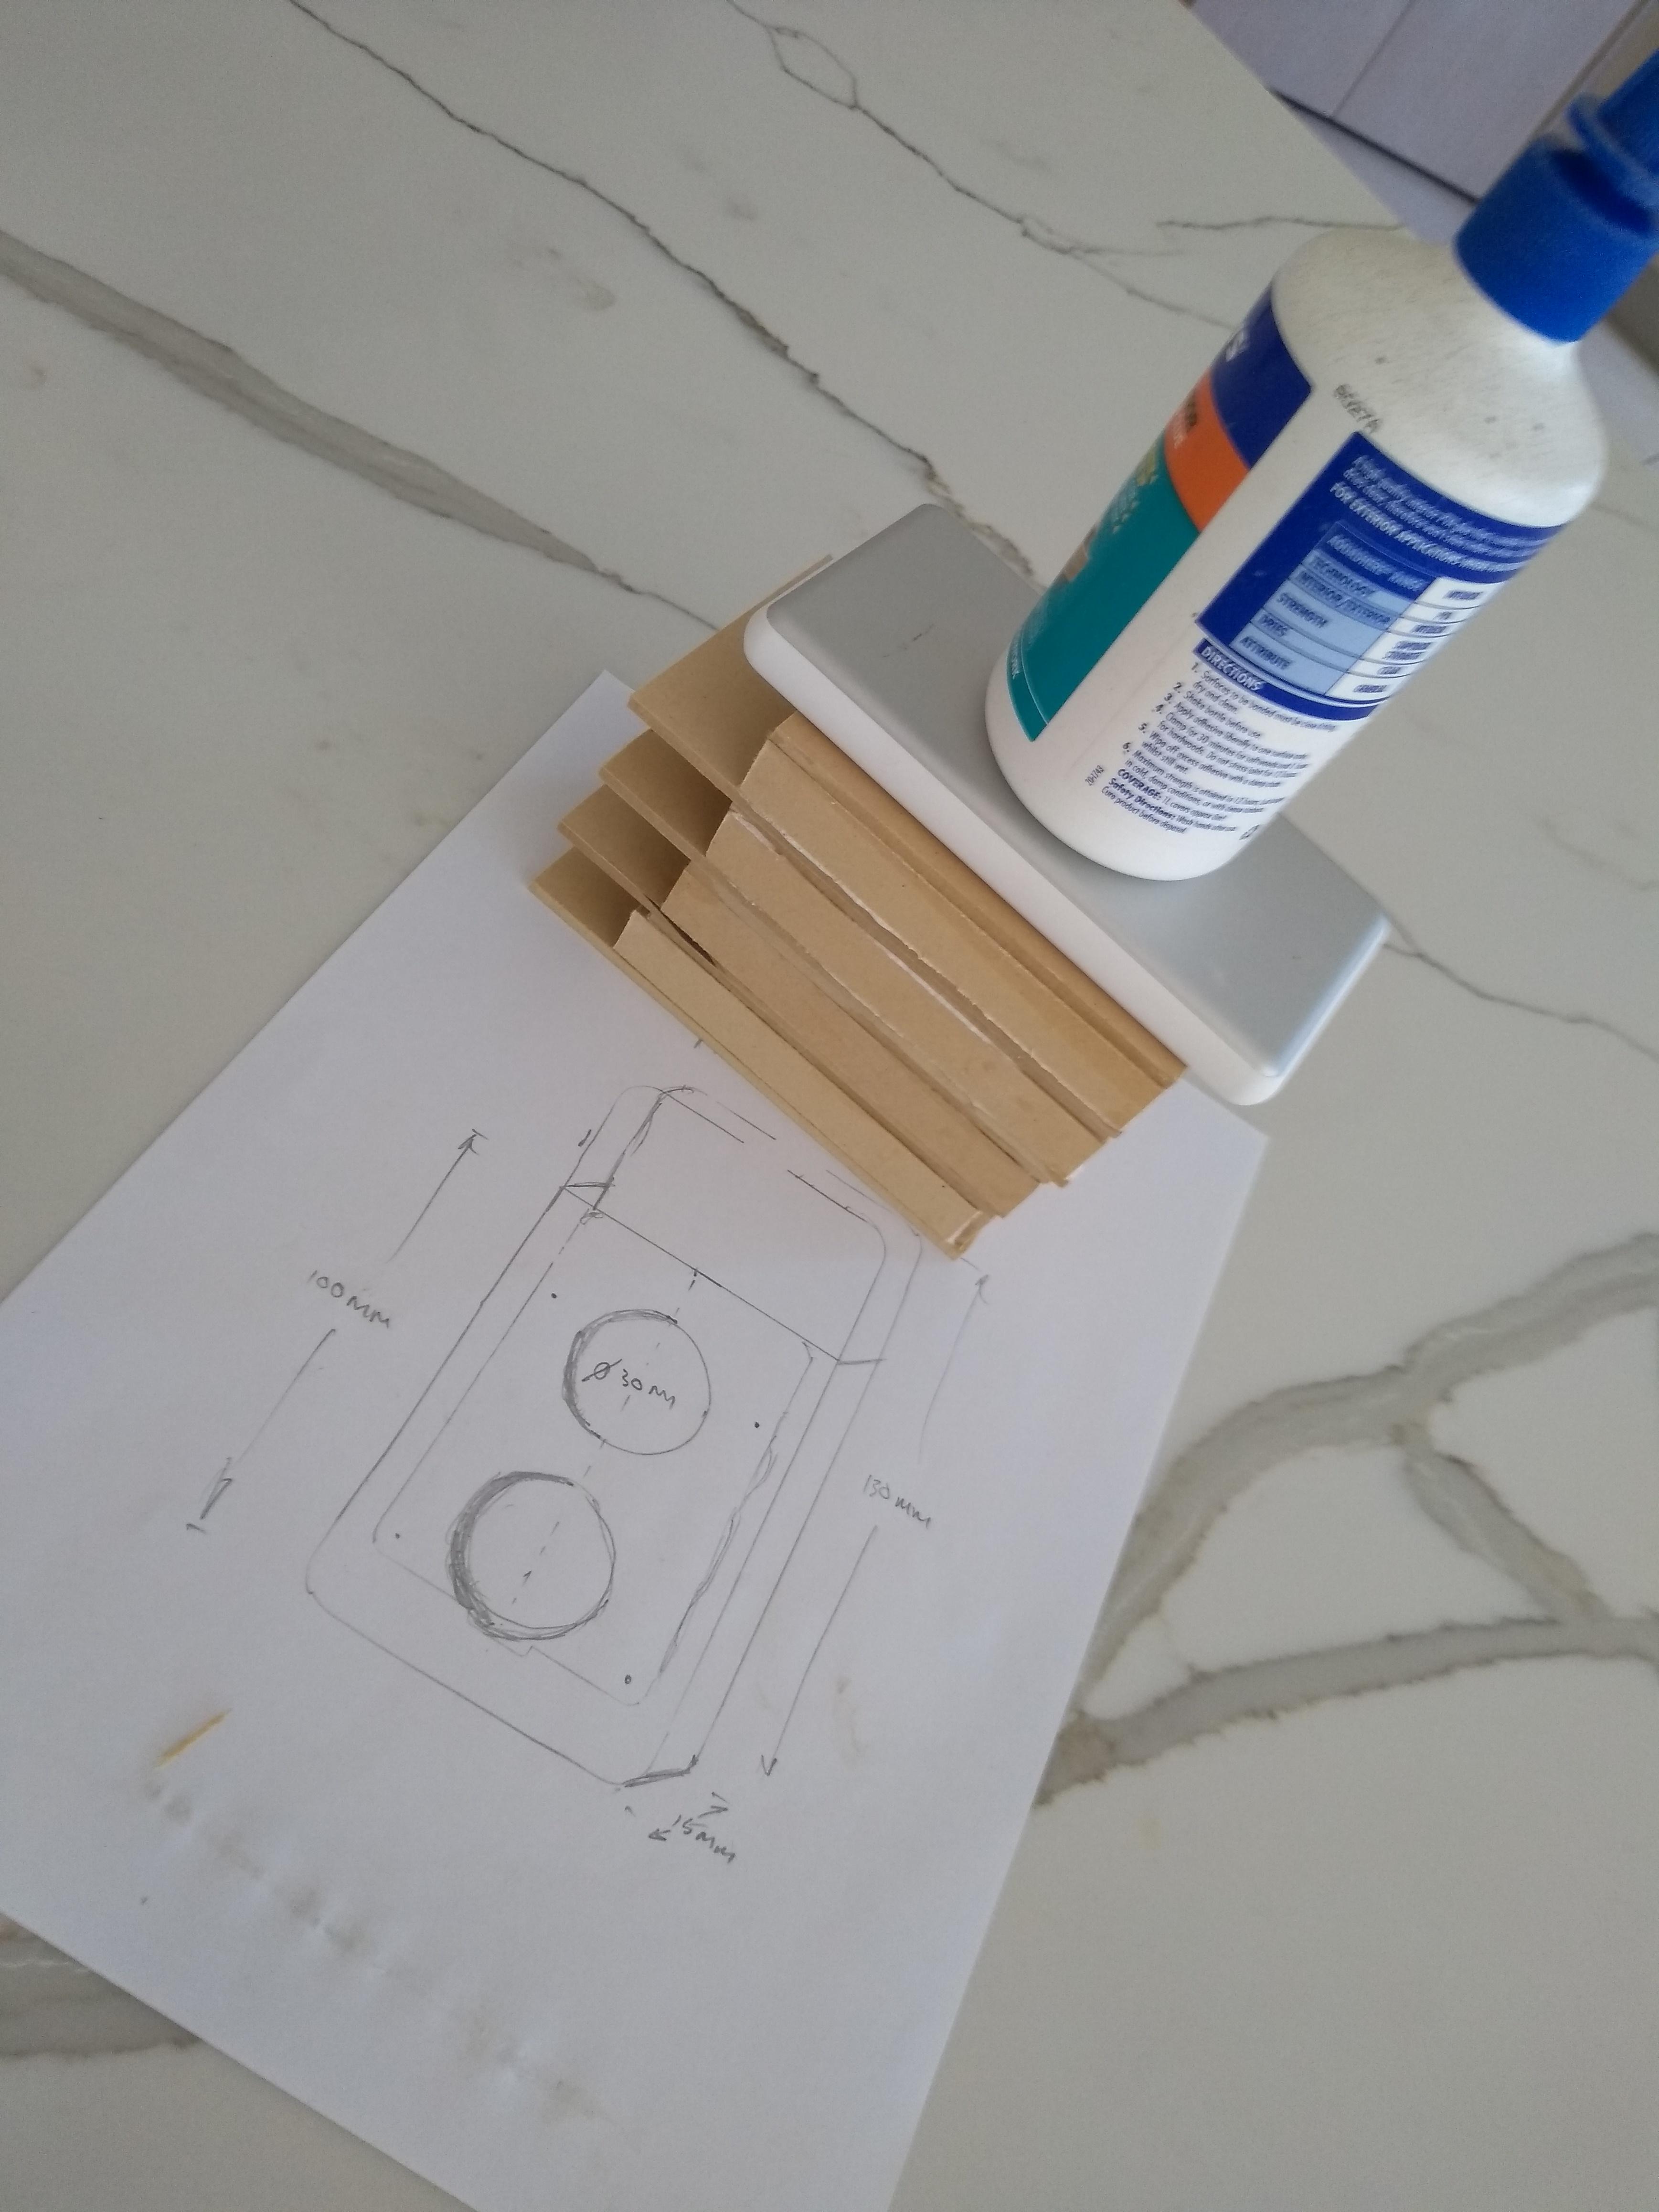
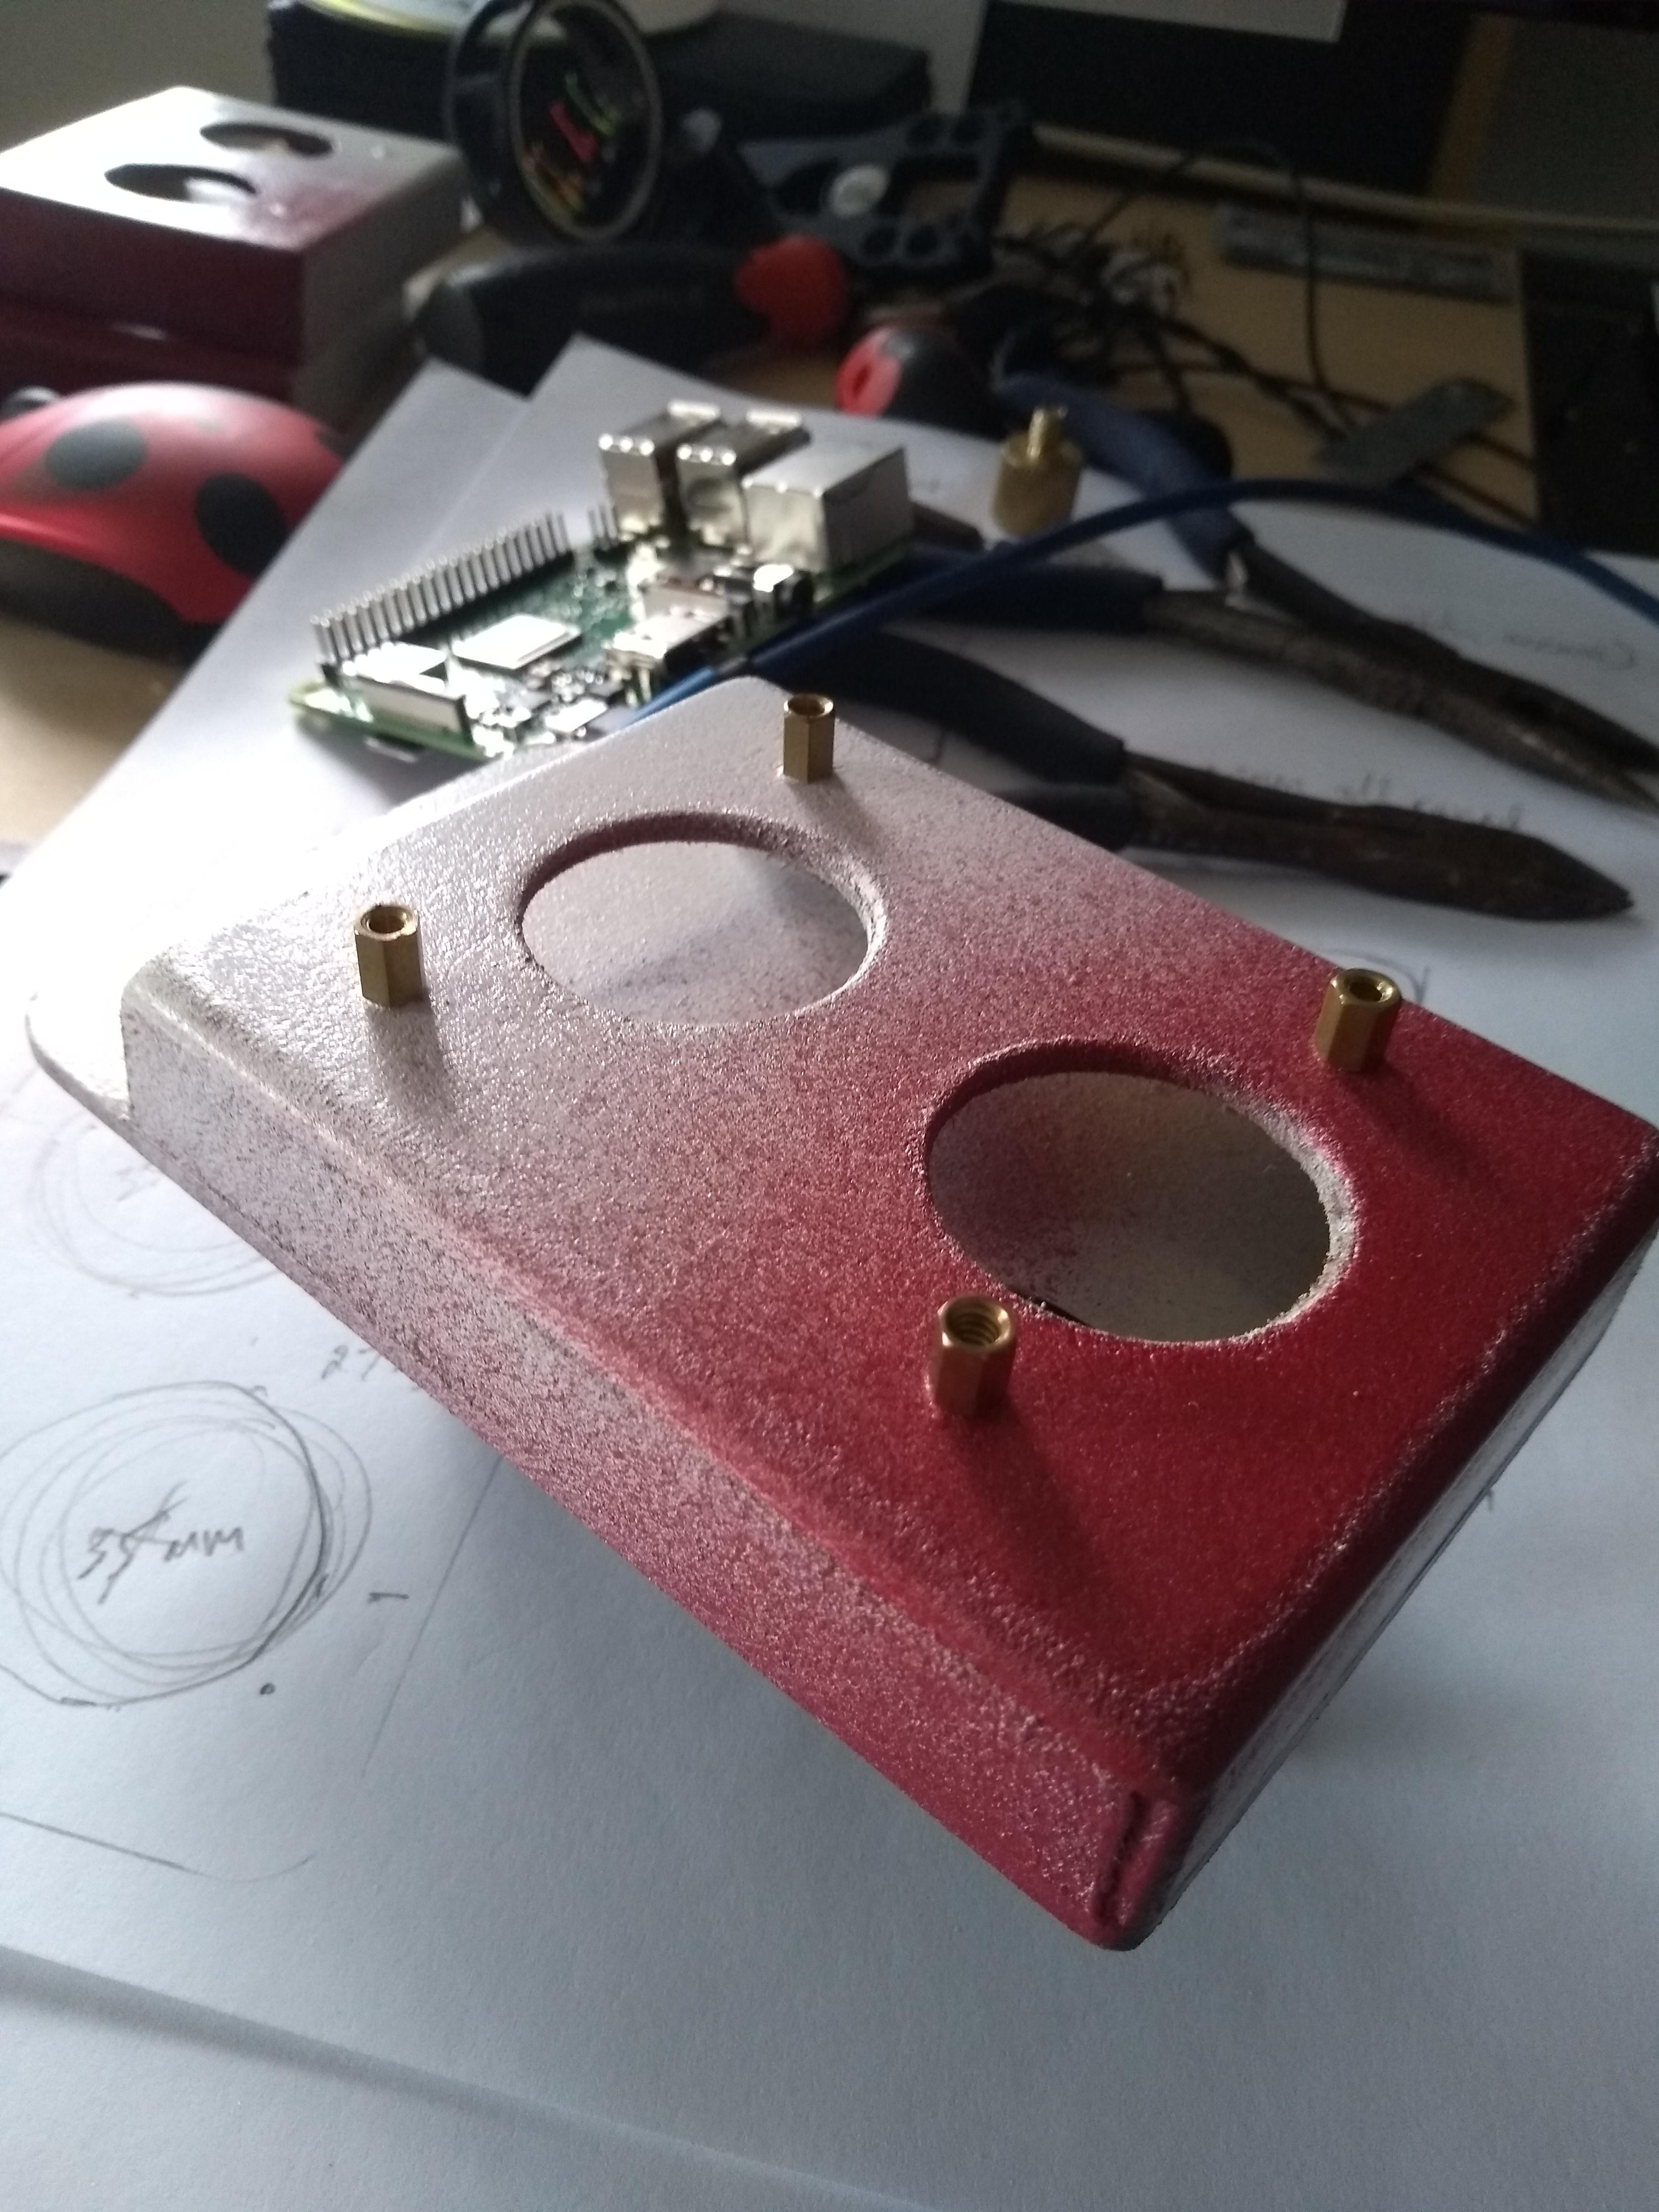
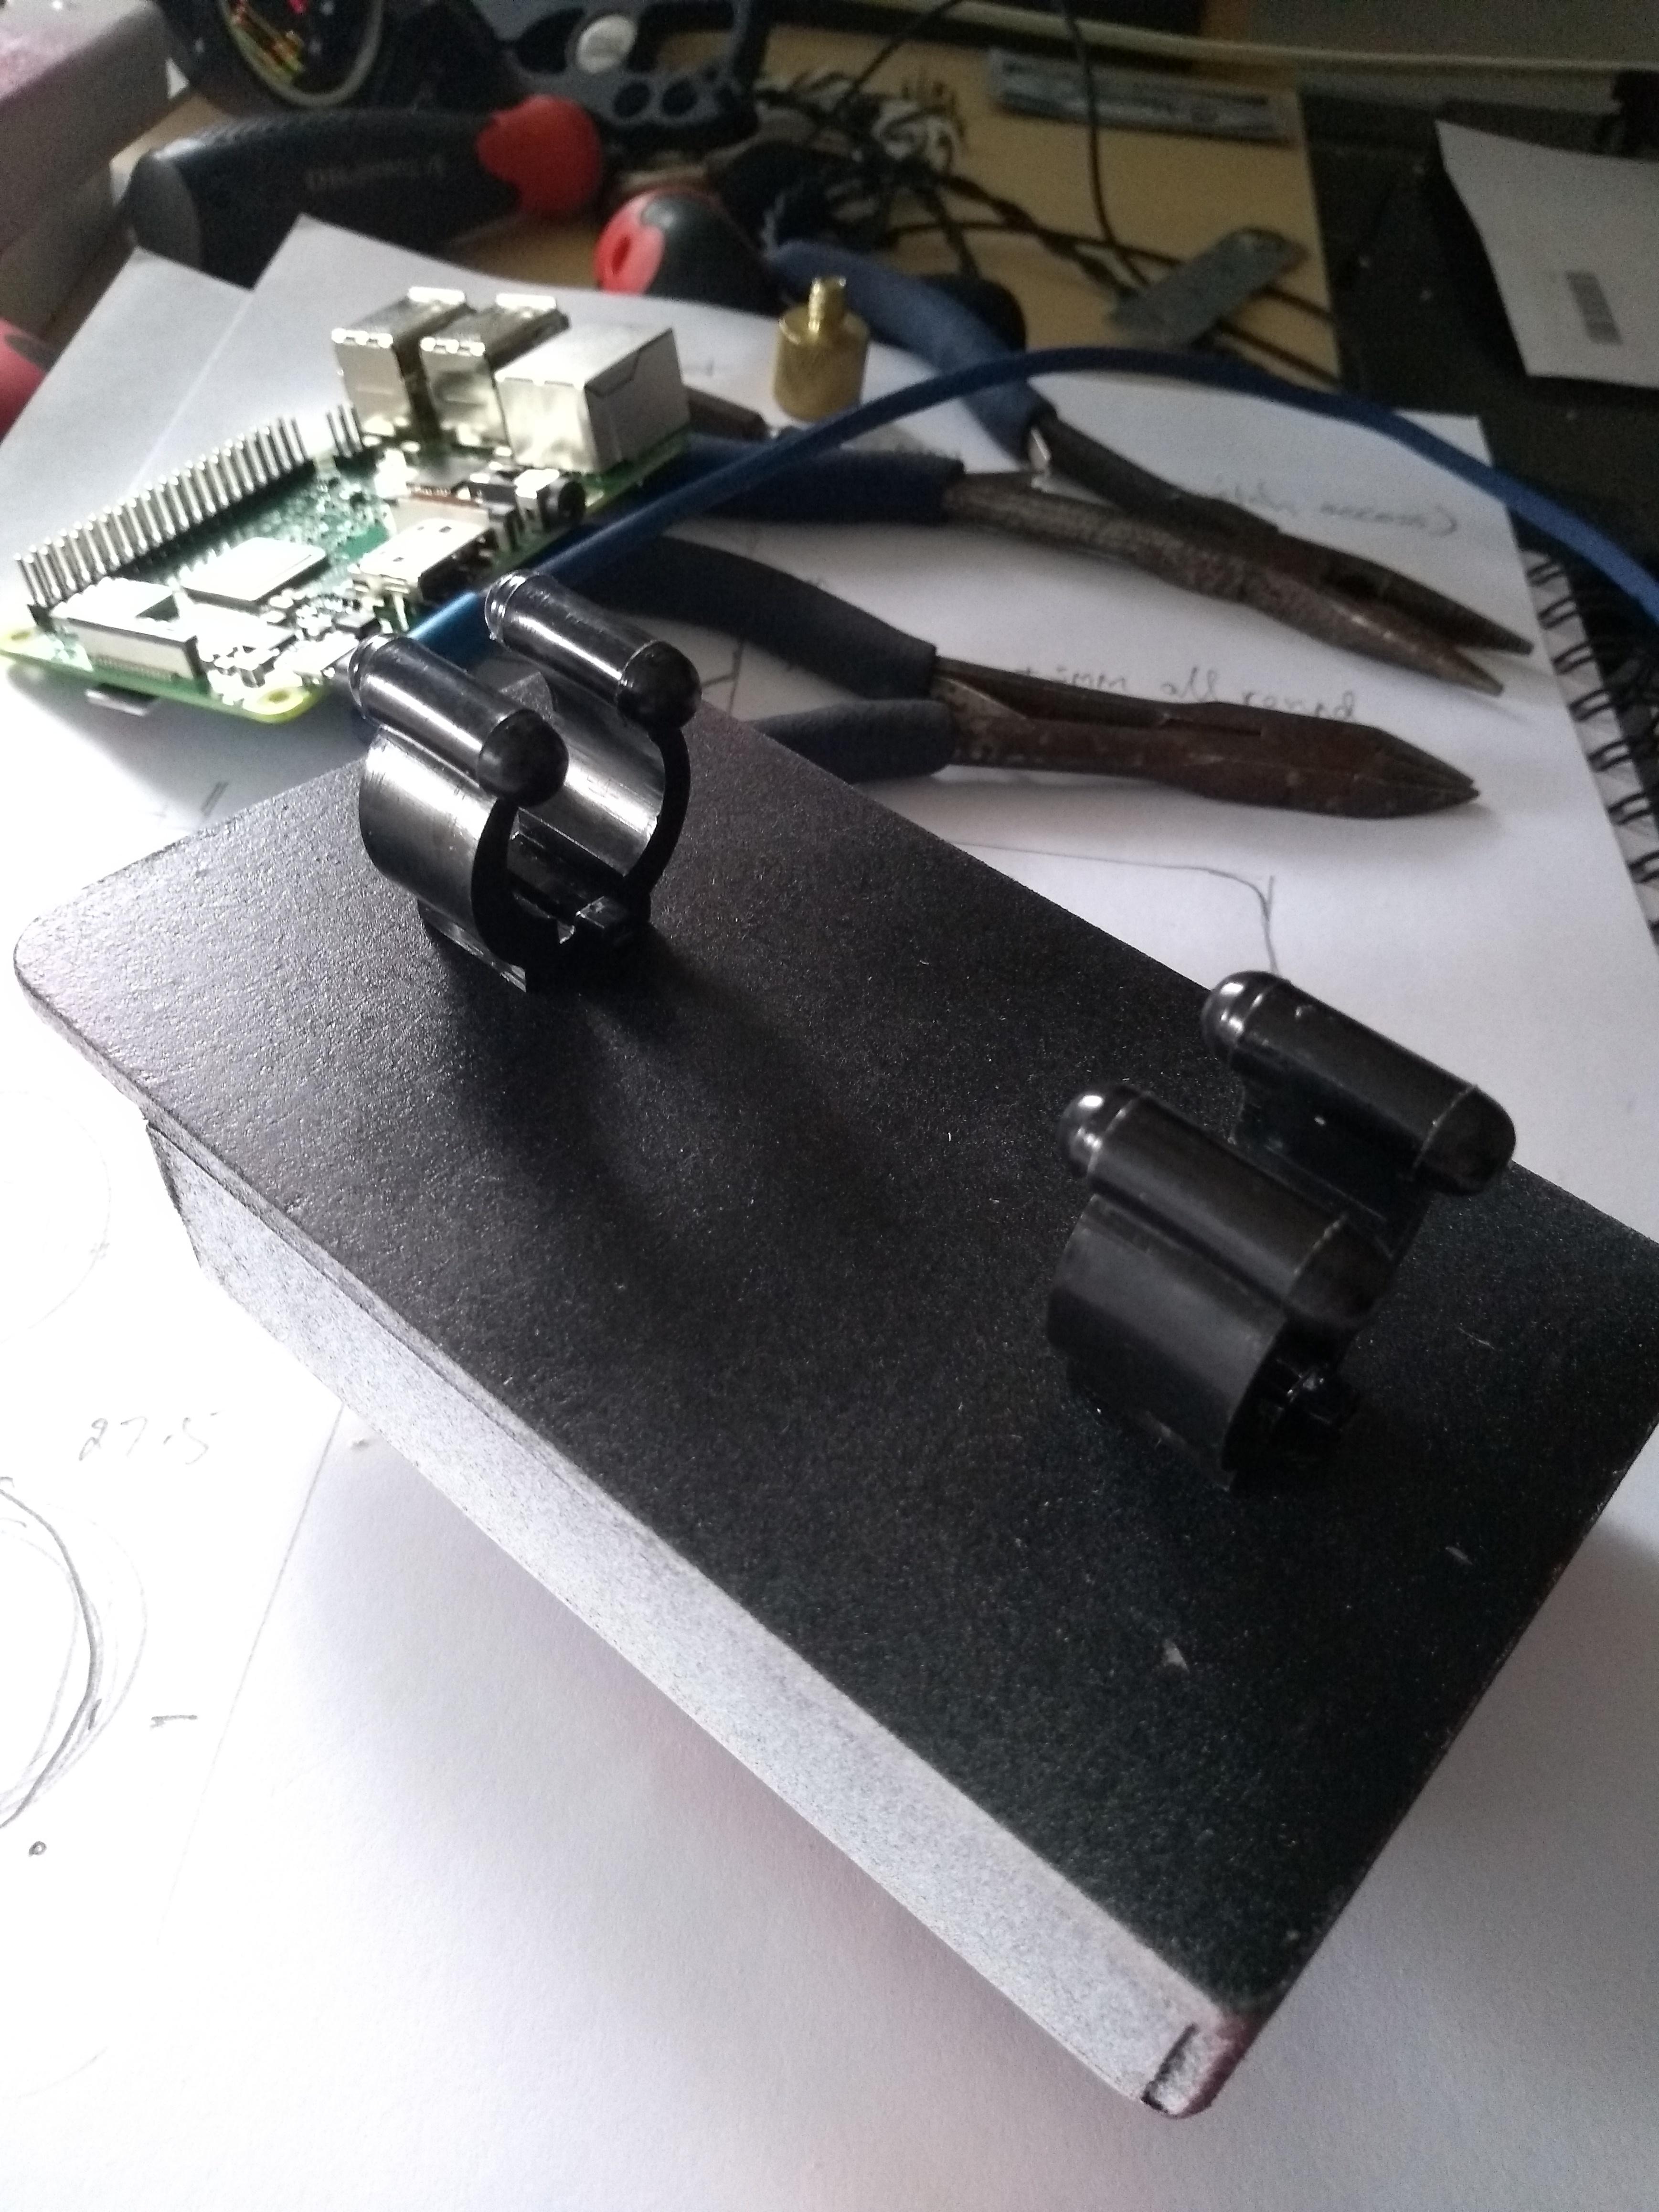
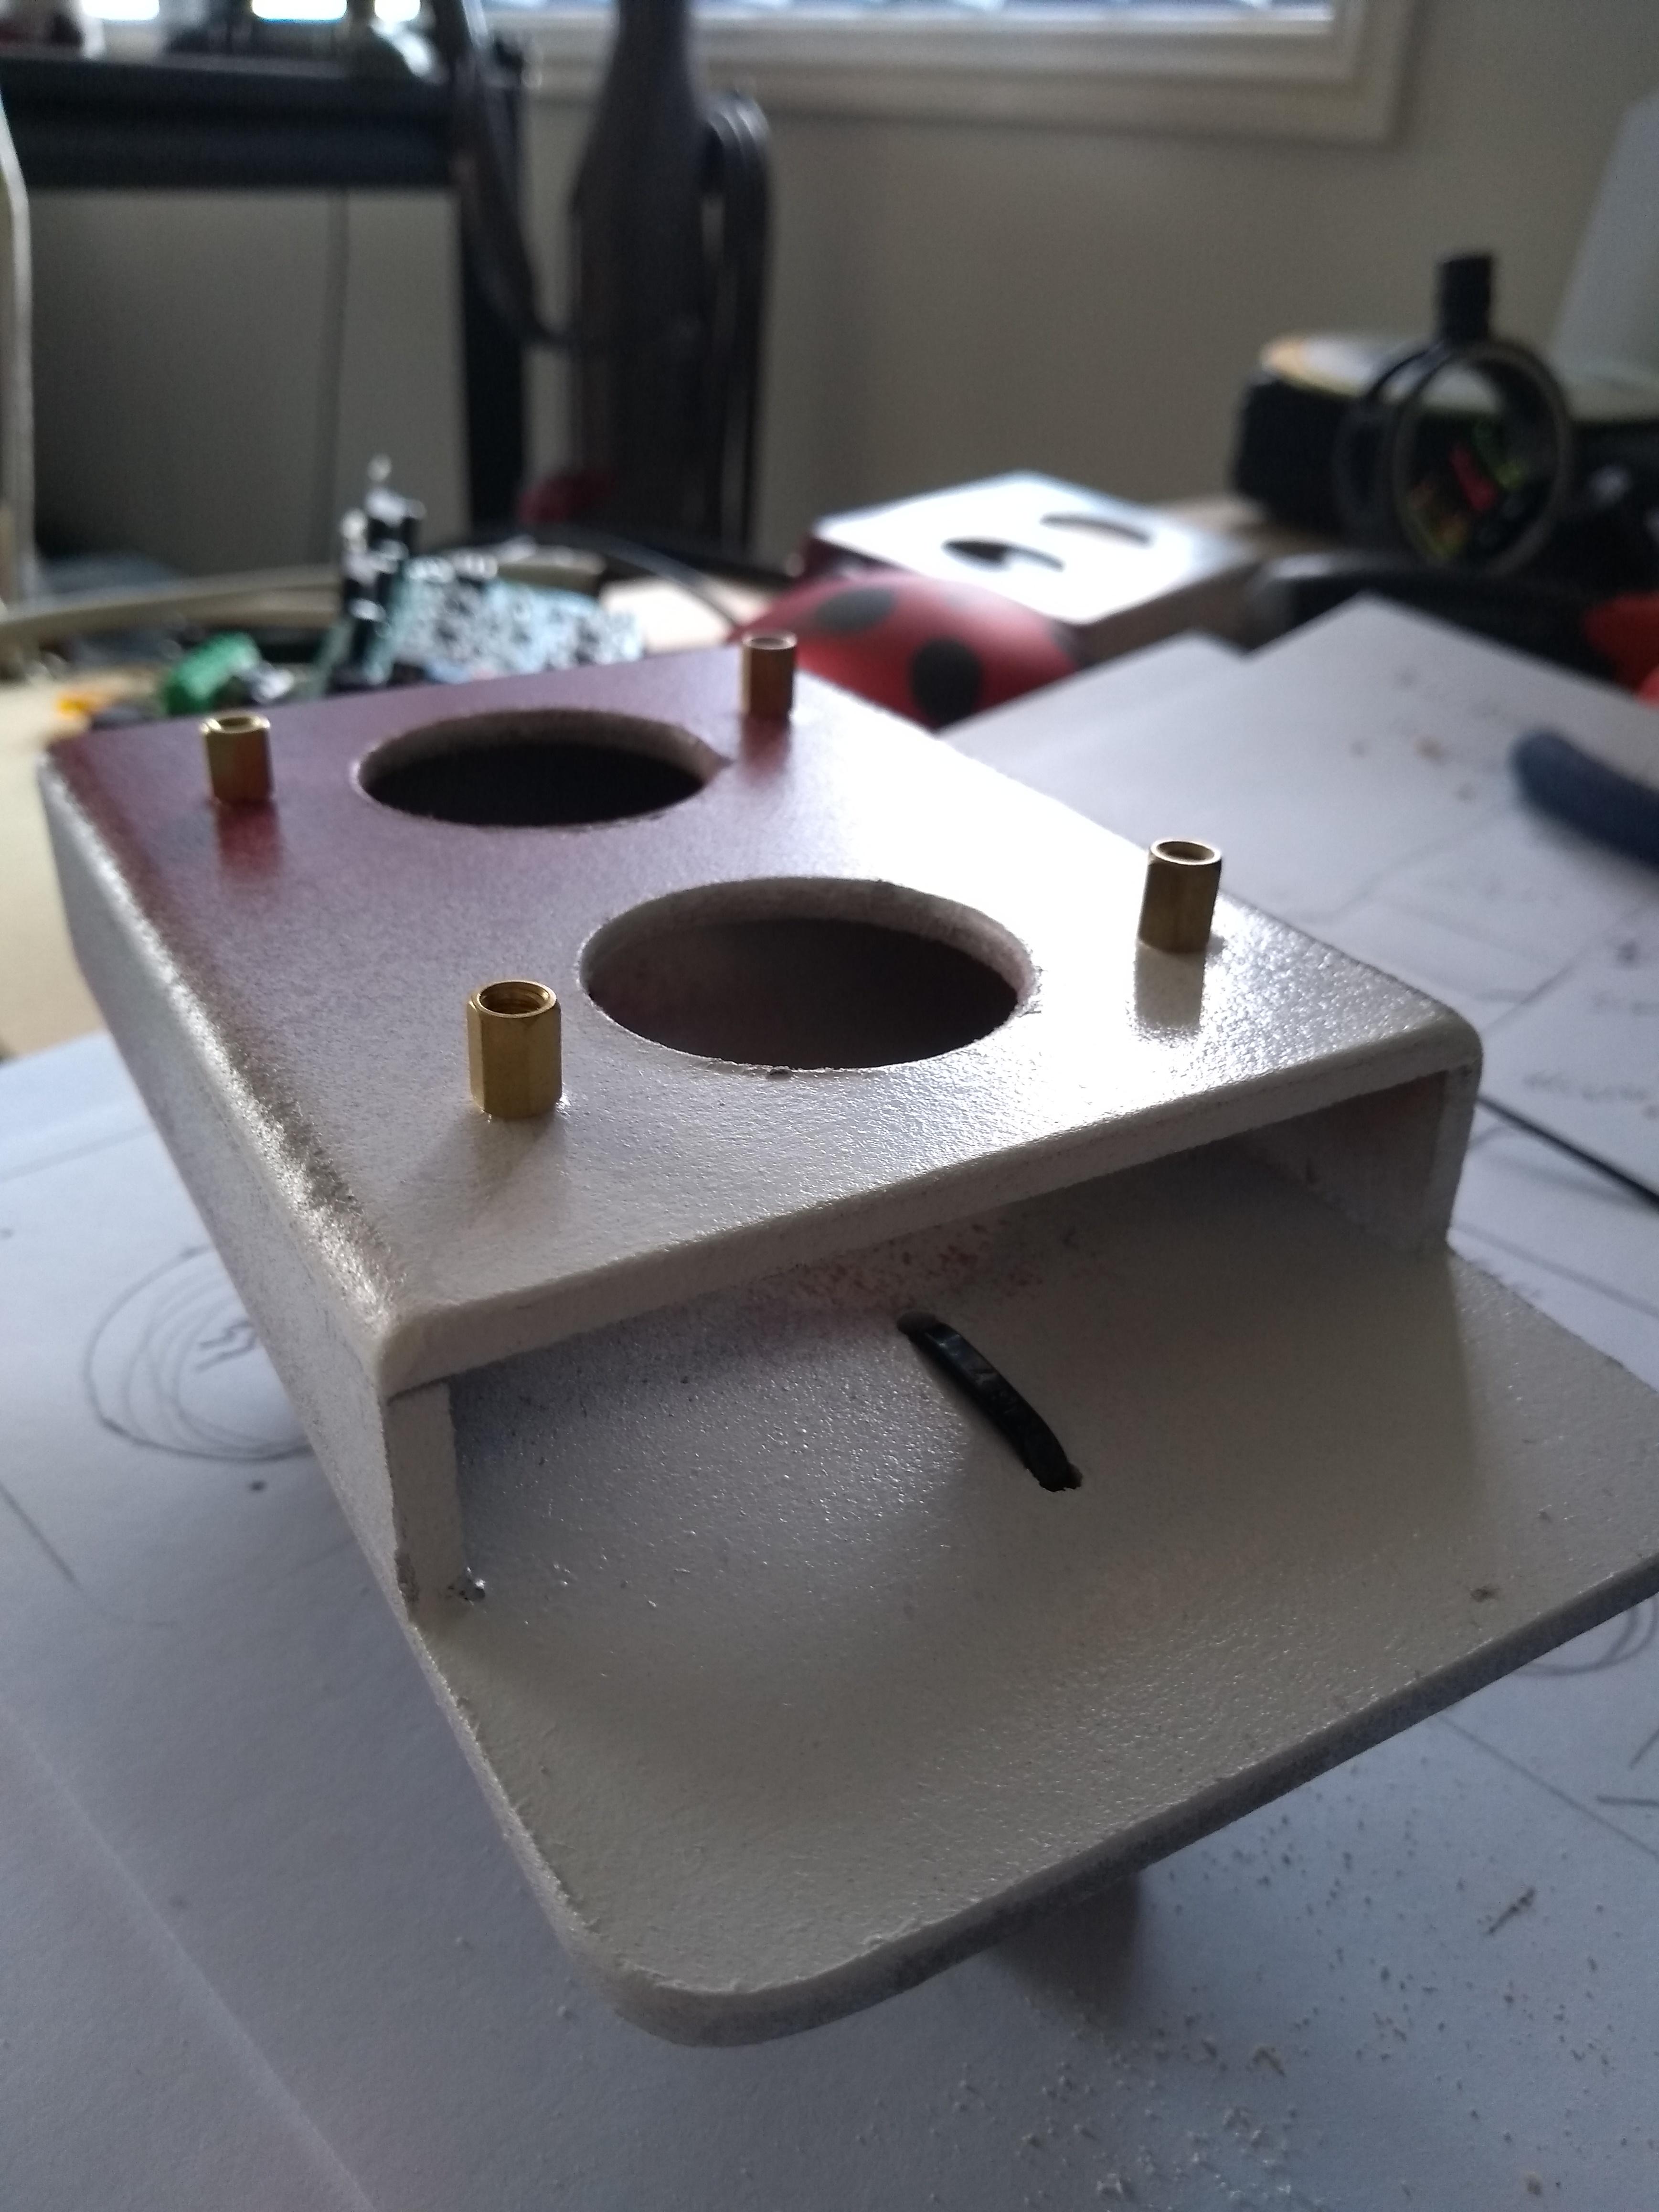
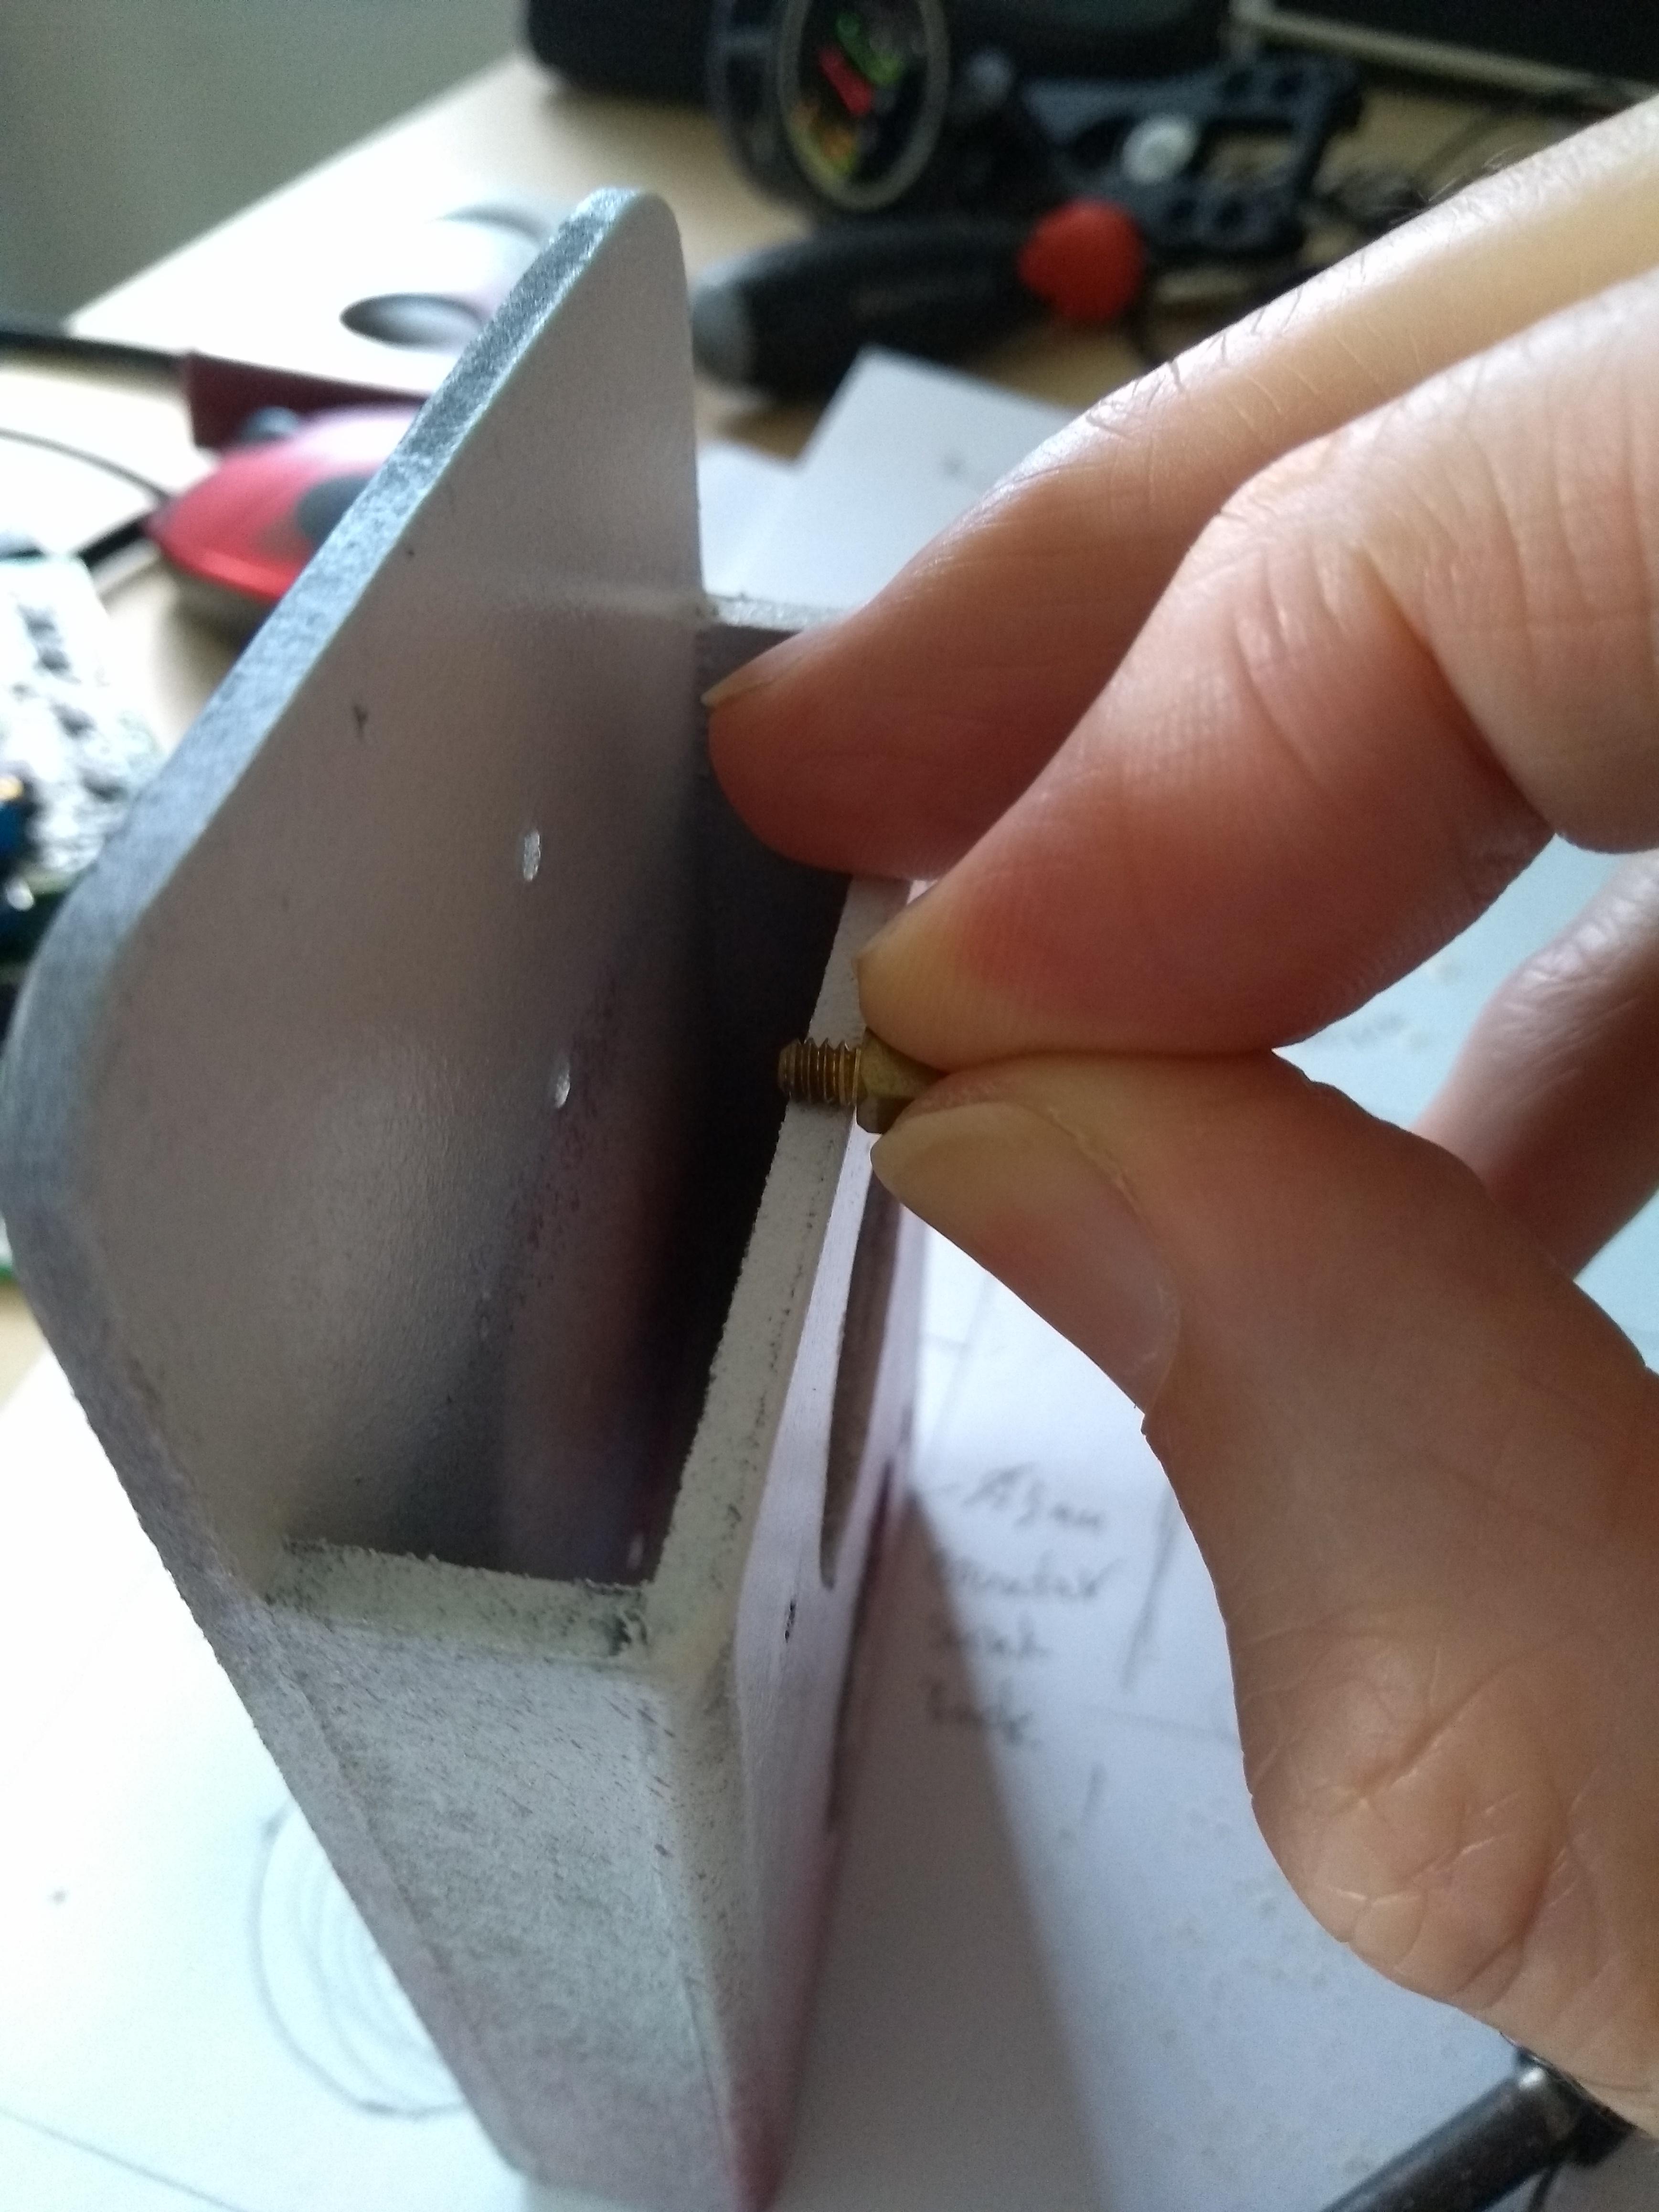
I needed a box to hold all this together, so I ripped one up out of 3mm mdf. Drilled some large holes for heat venting. Sanded, painted, added some brass pcb standoff's from old computer motherboards, and some fishing rod clips to hold it to the microphone stand. The fishing rod clips are cable tied on because the small bolts would have just pulled straight out of the mdf (not enough material to hang onto).
The Final Product
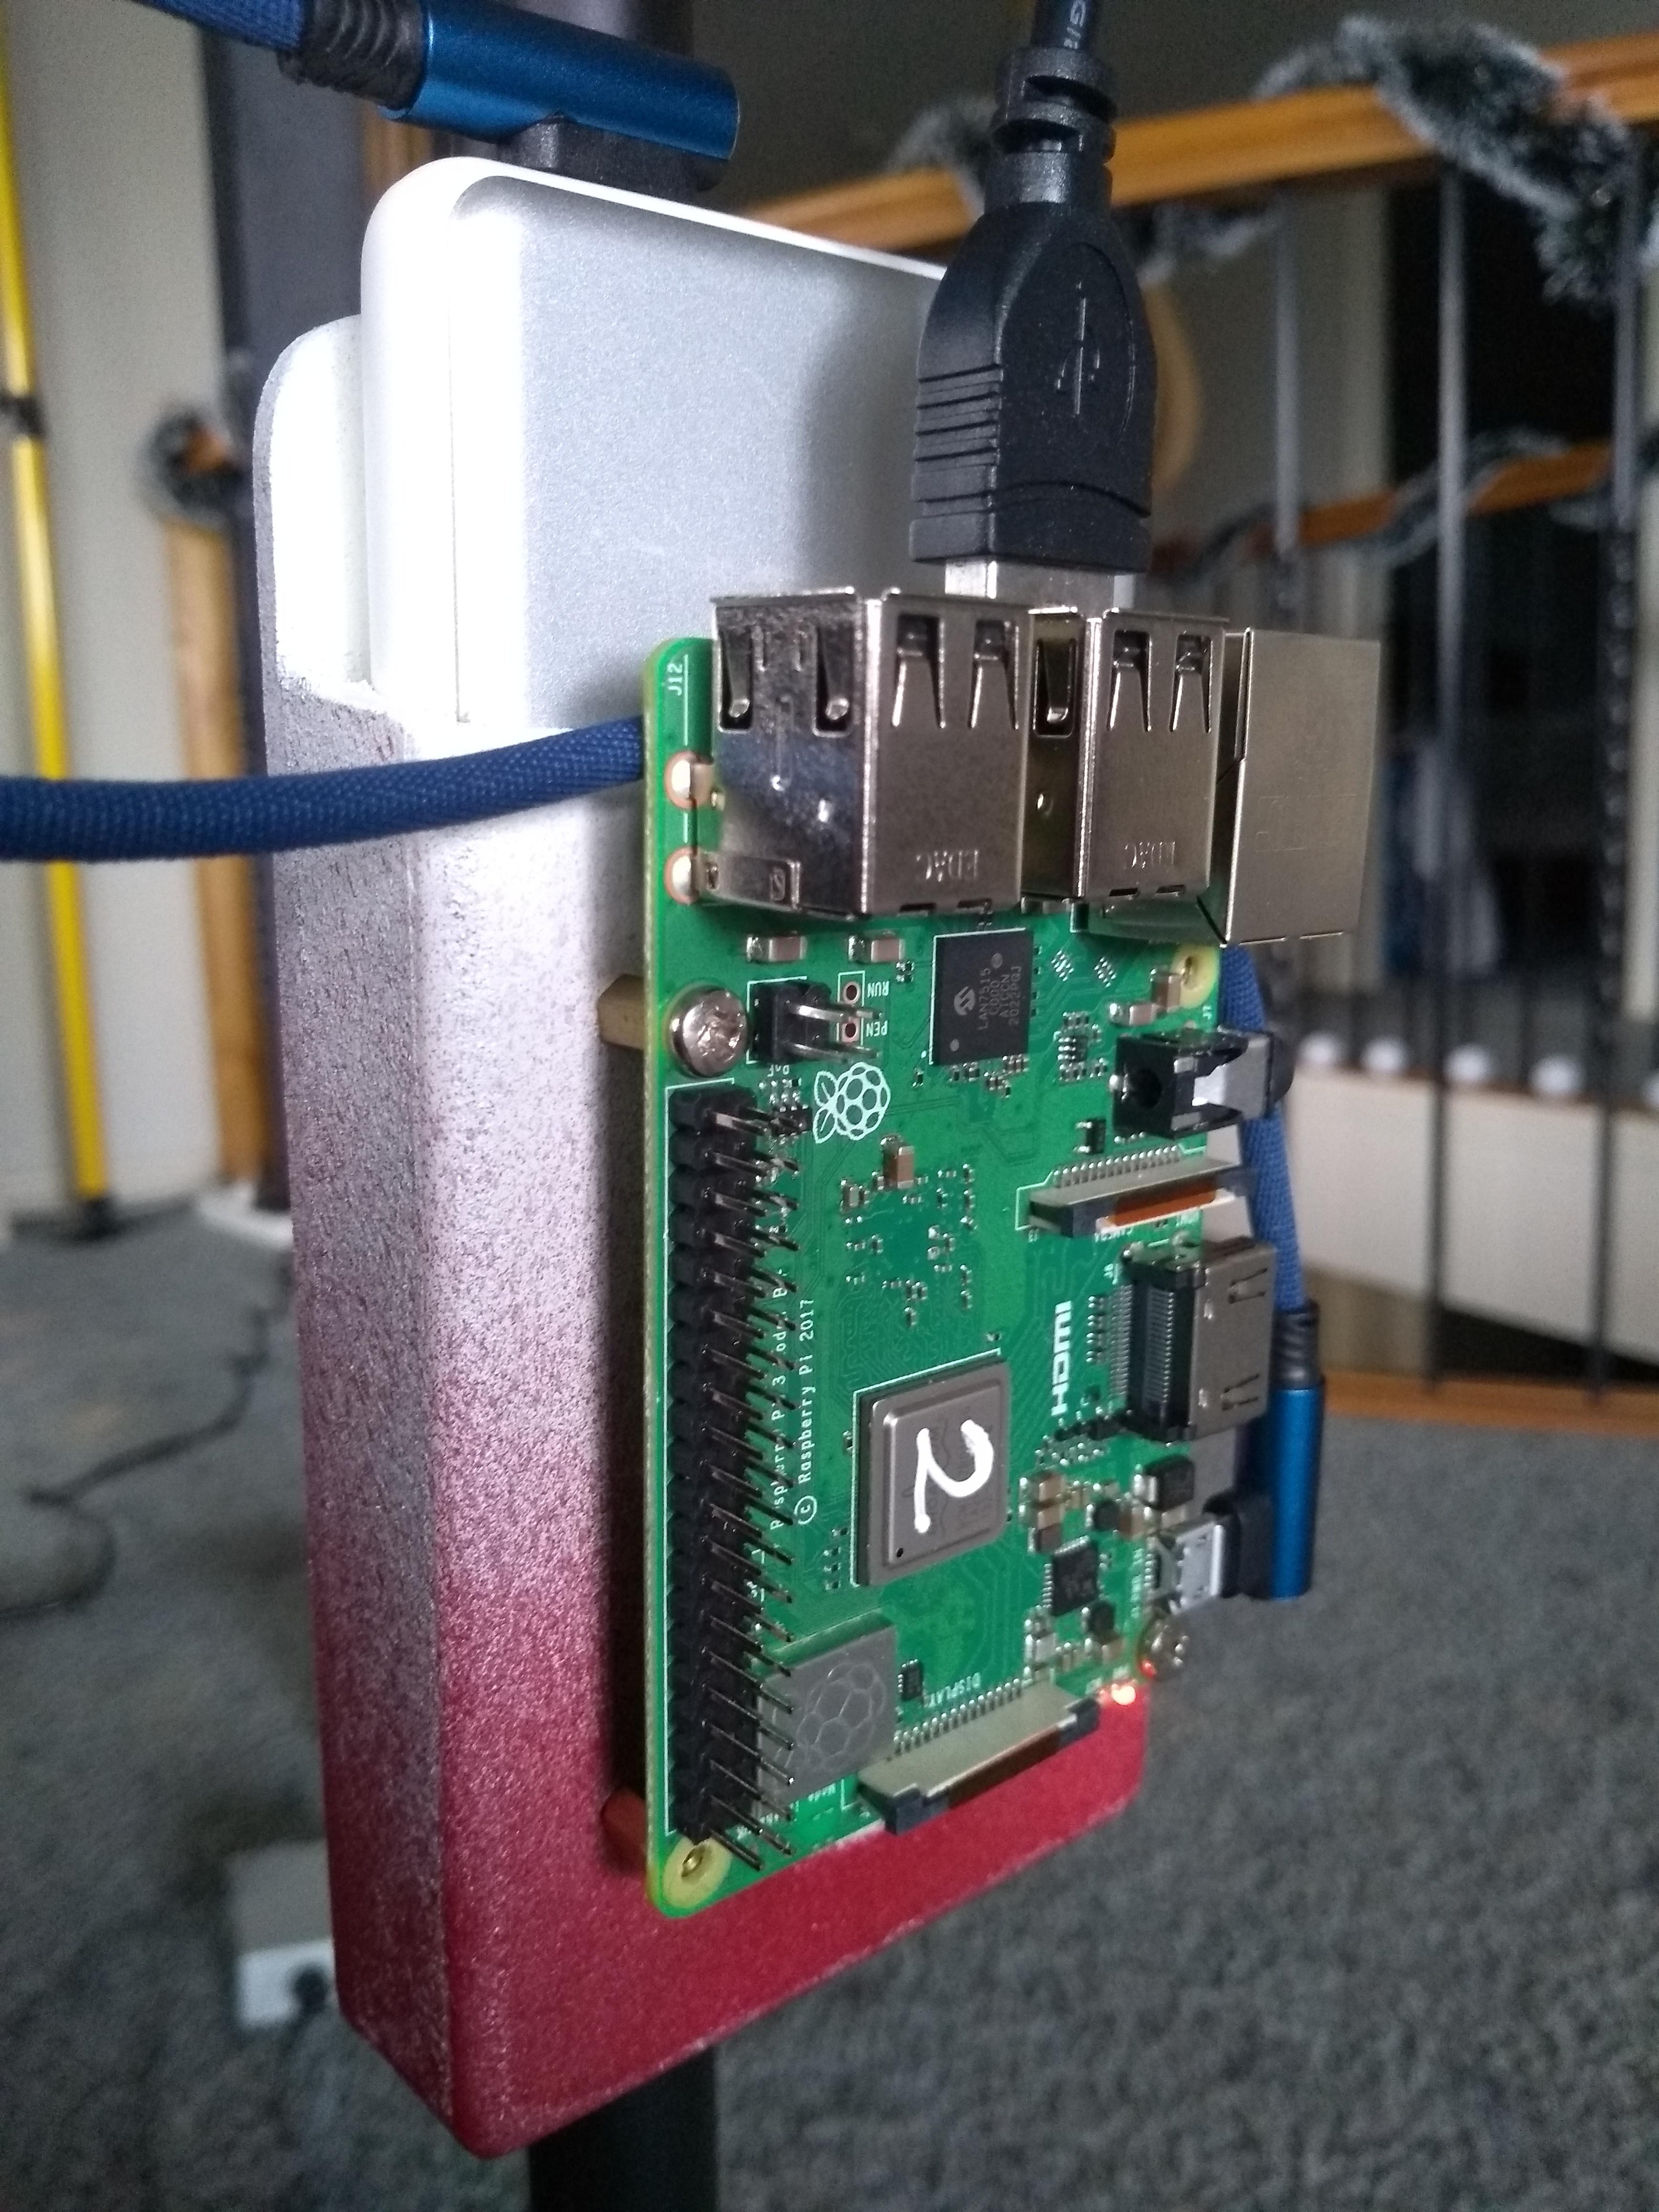
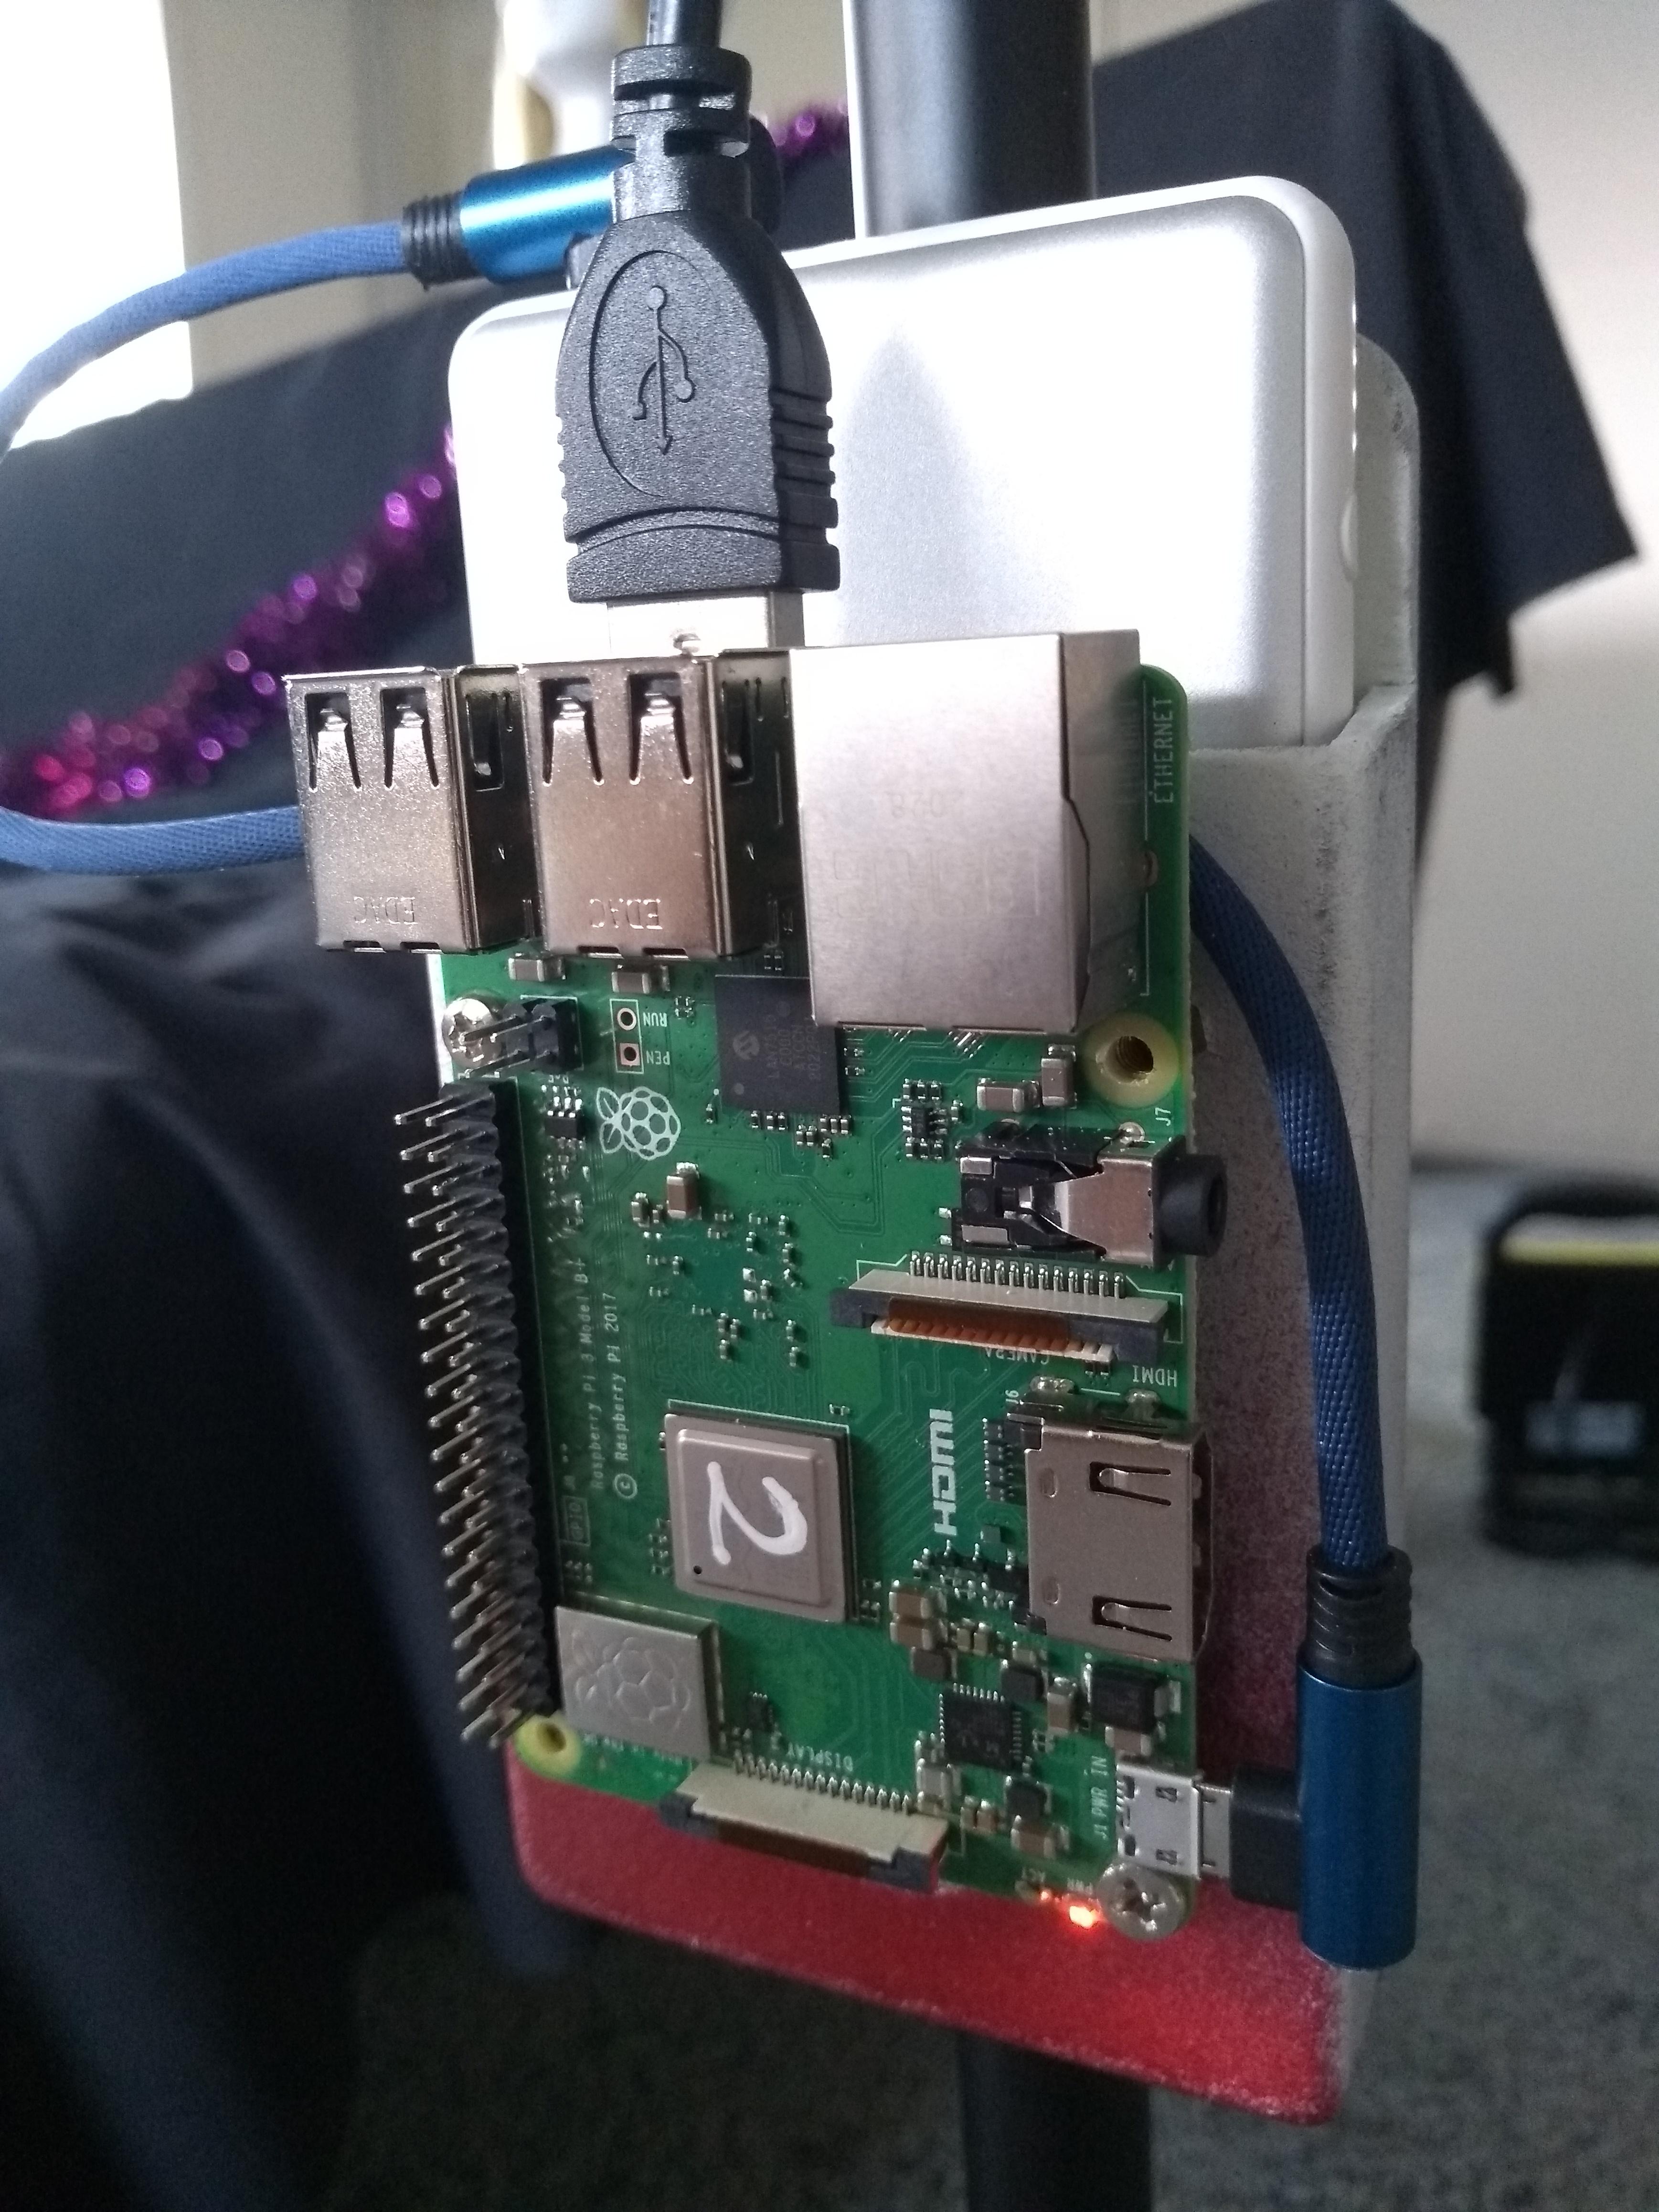
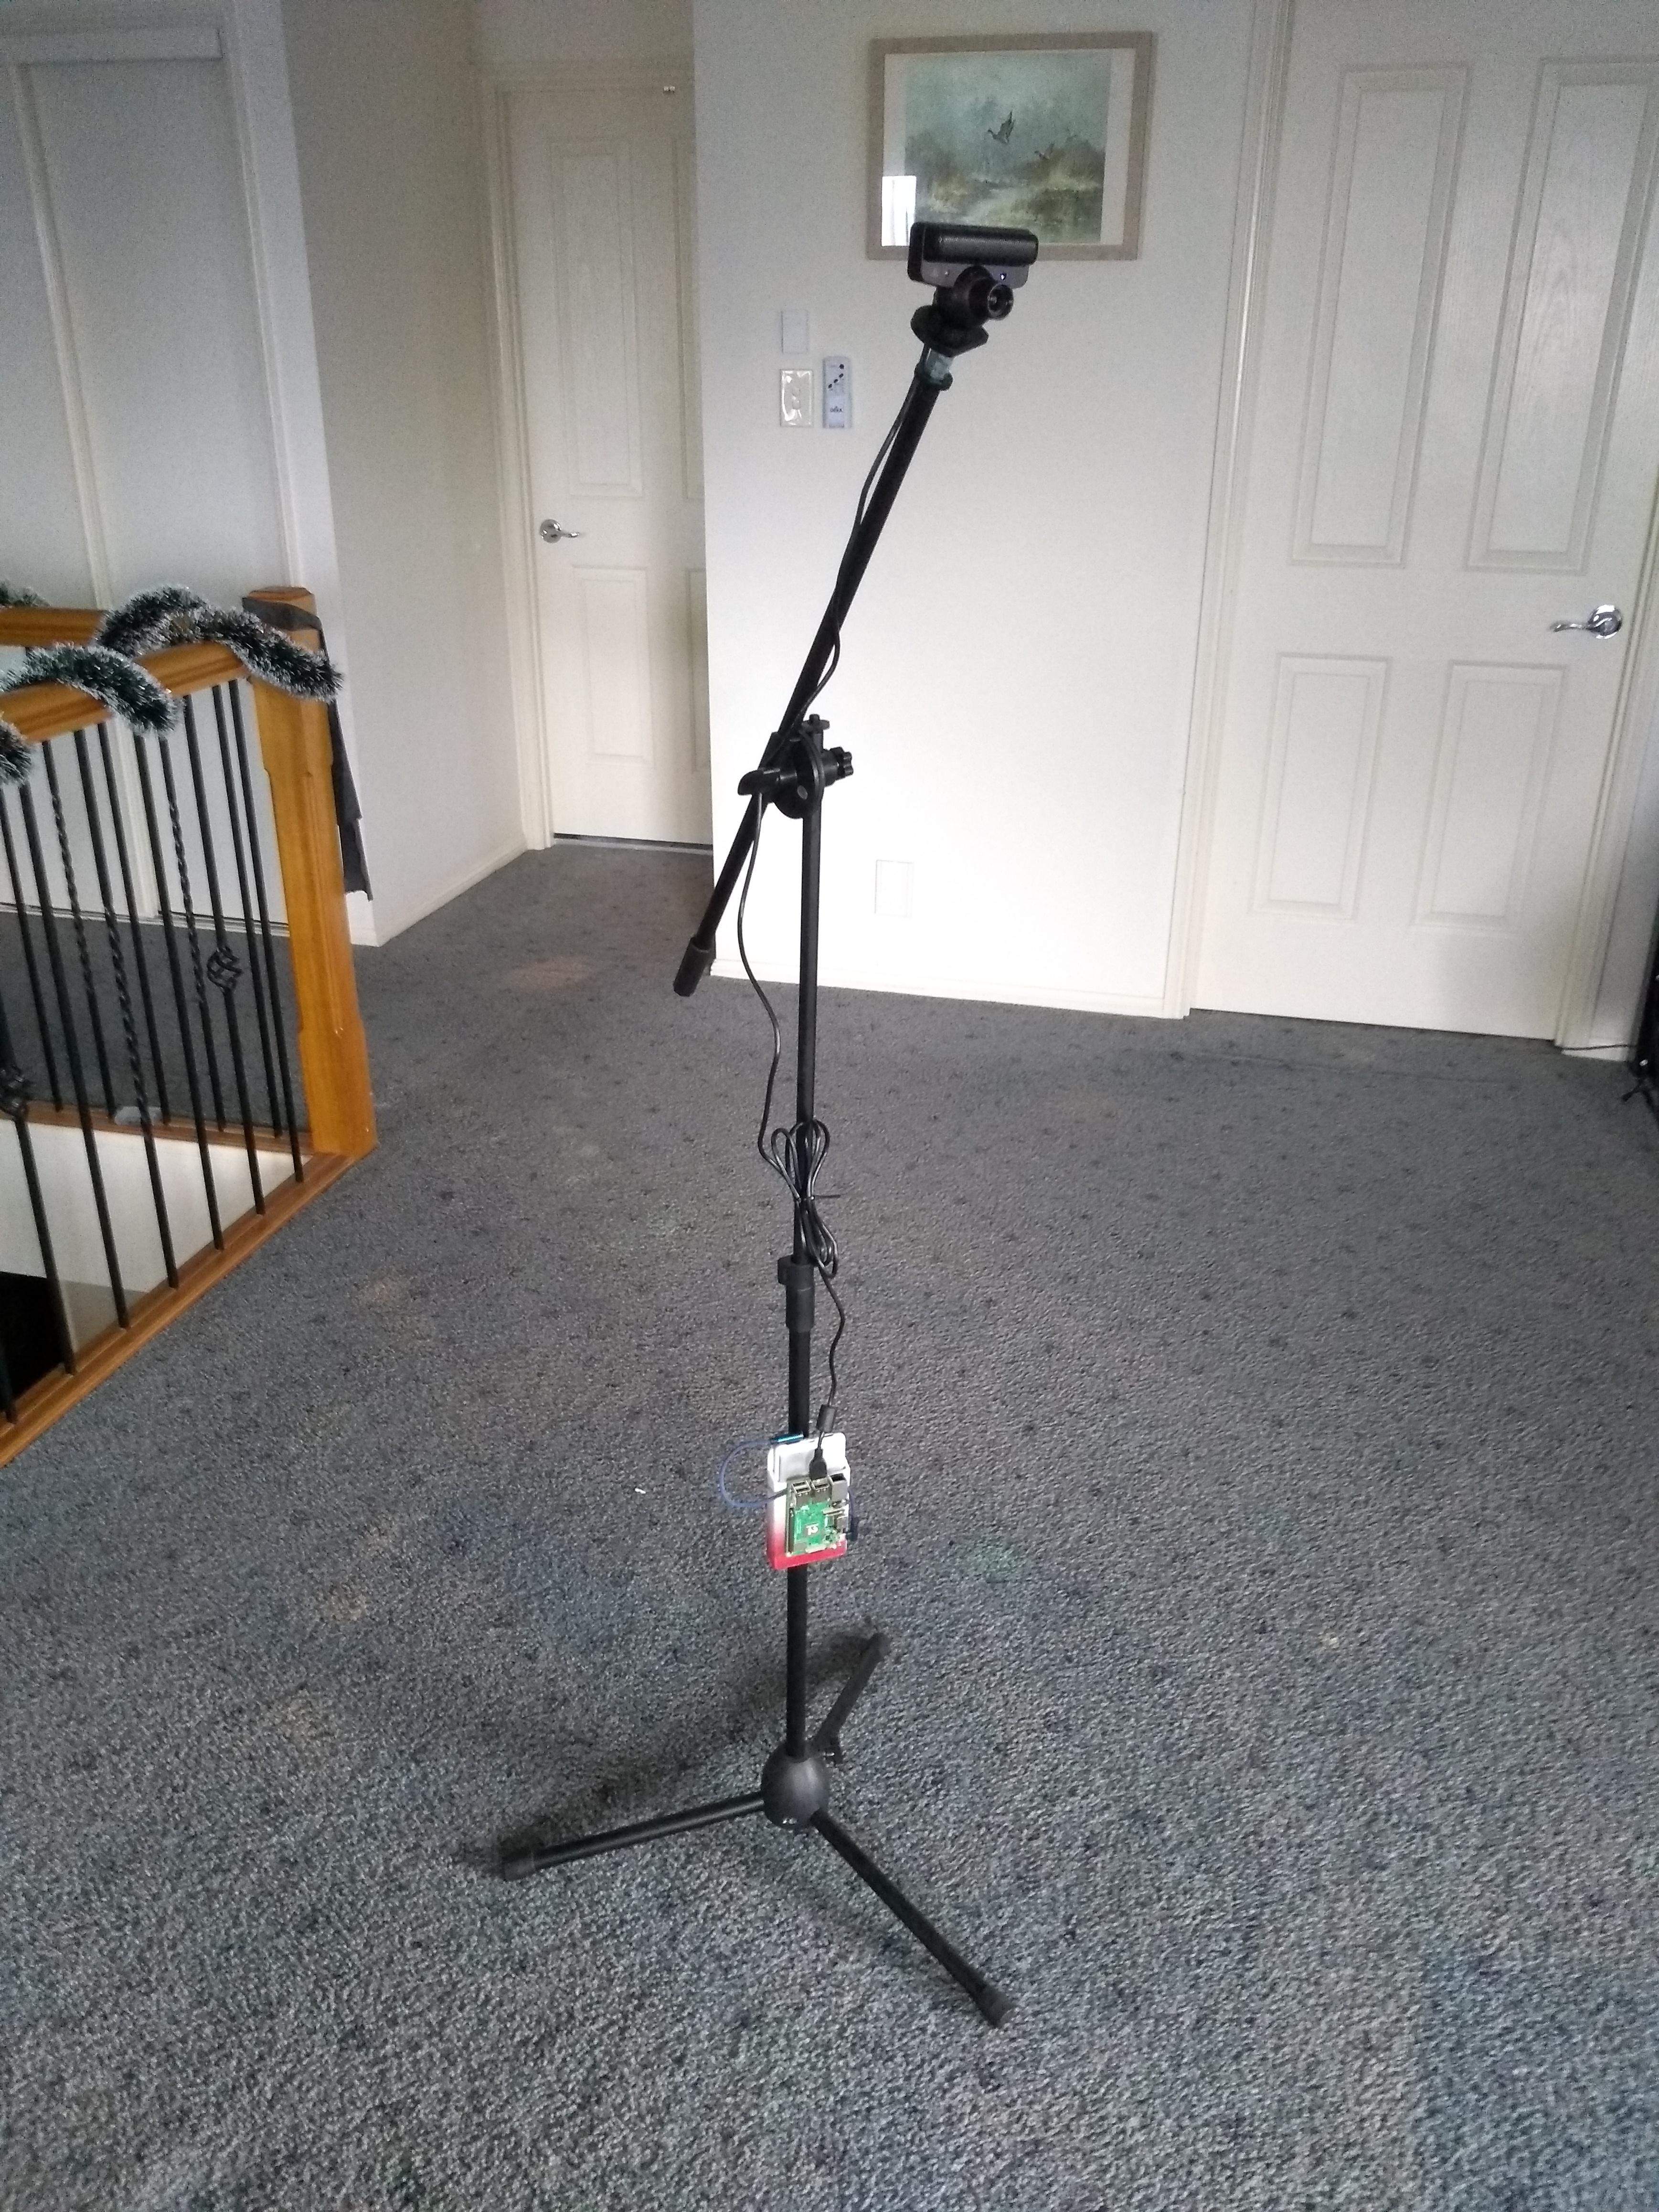
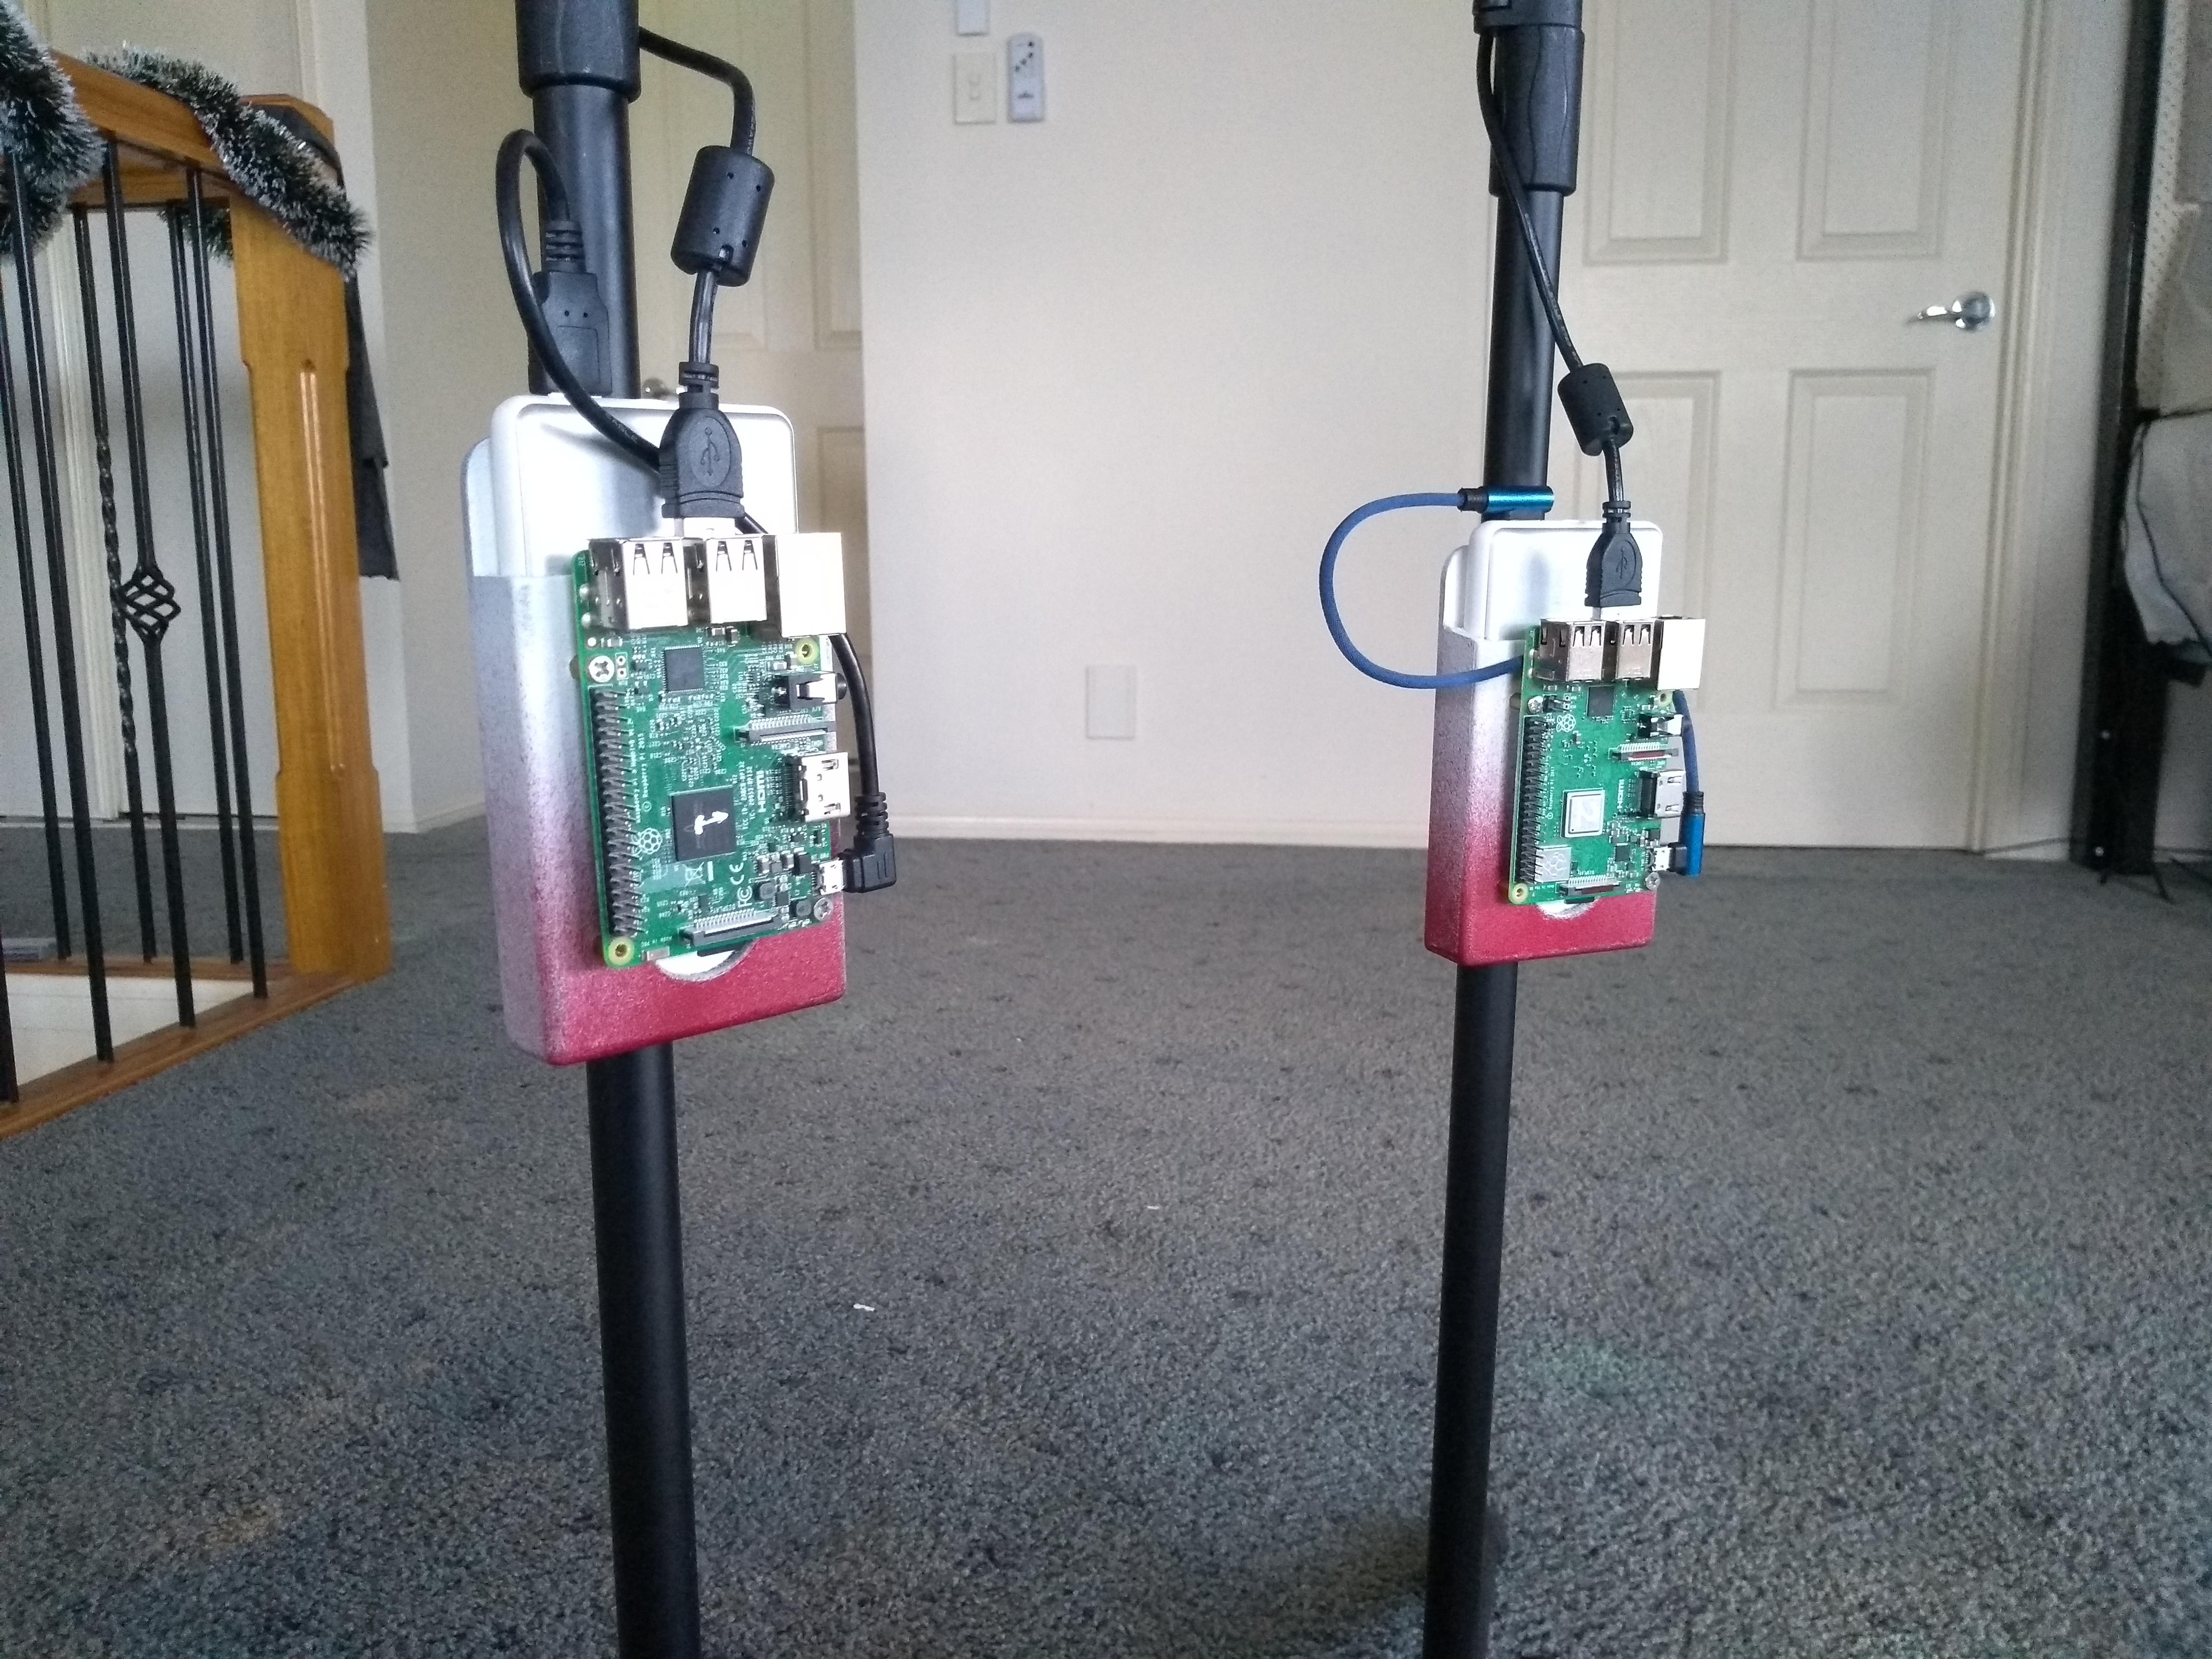
I'm actually pretty happy with the way all this works. As you can see from the photo's, it's all self-contained, and you can pick them up and move them around the room without having to worry about cables being a trip hazard etc etc.
I'd like to think that supplying some well documented examples of the software in a working state is adding some value too.
Still Waiting
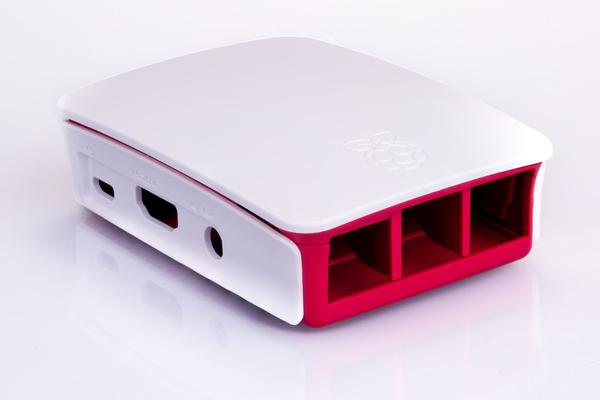
To be fair, getting stuff from china to Australia is slow. Getting stuff done anywhere over the Christmas break is slow. Getting stuff from China over the Chinese New Year celebrations is slow. I'm really not expecting this to arrive for another month or two.
You can now however see why I painted the battery holder in white and red ombre.
Some Post Analysis
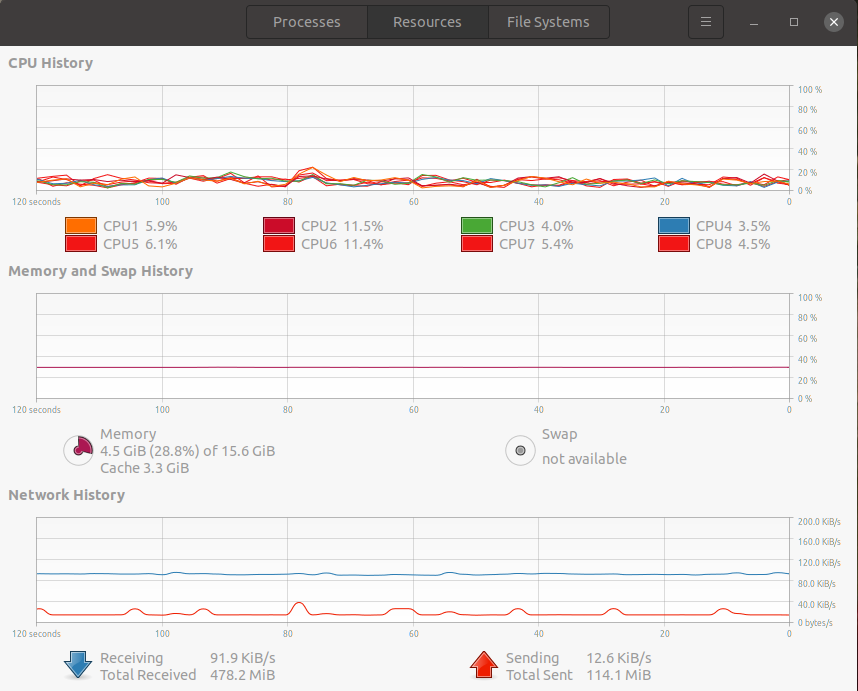
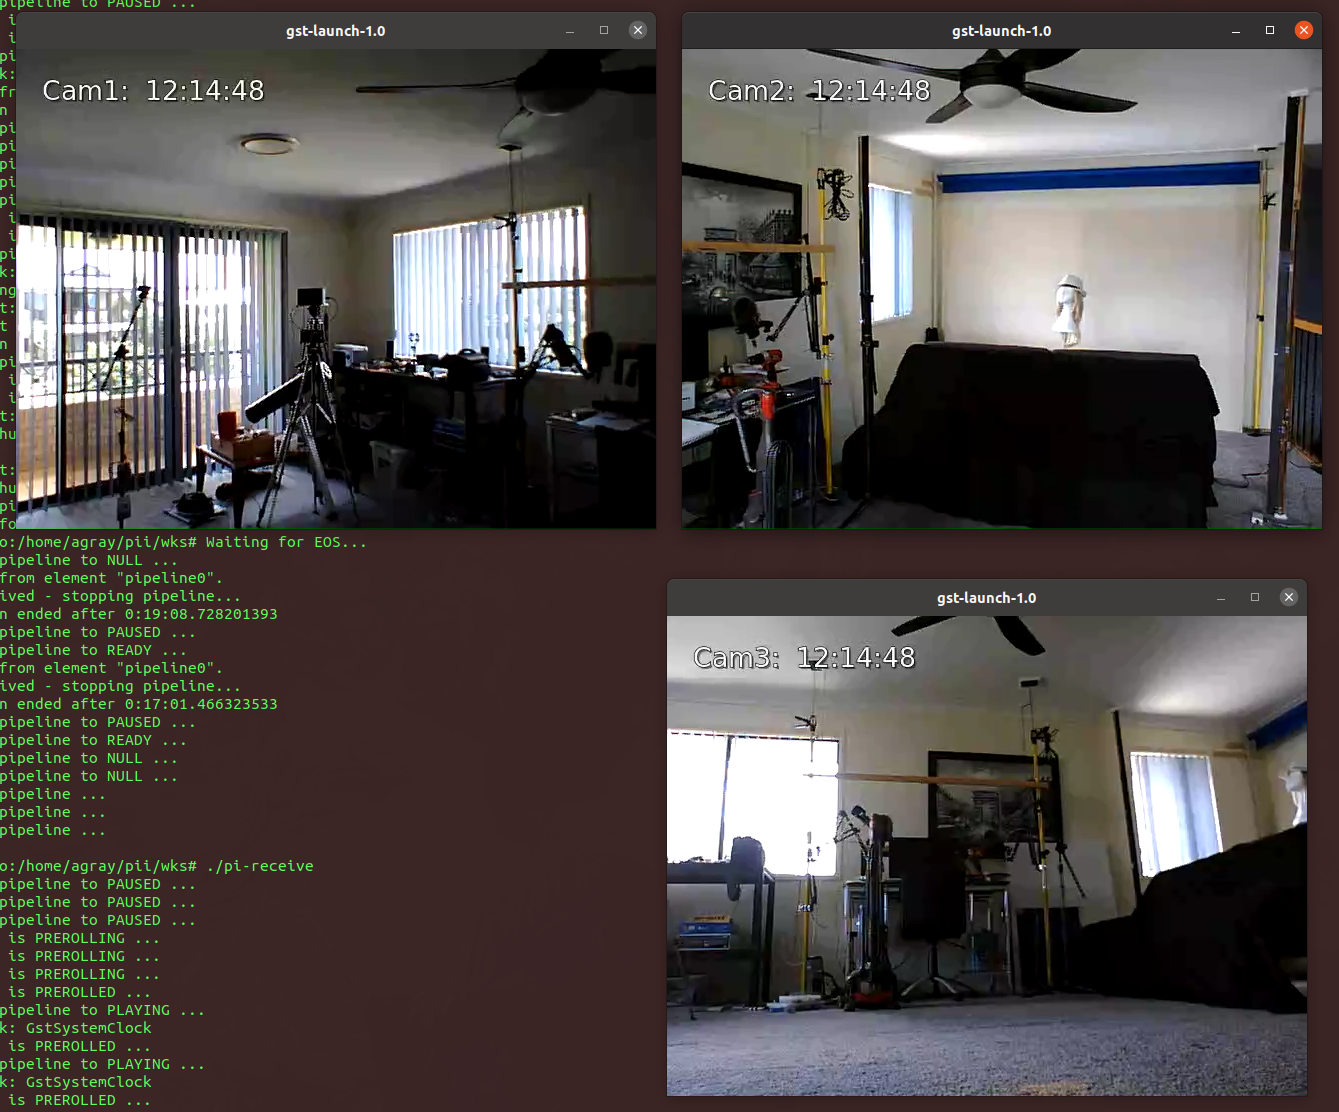
3 cameras streaming simultaneously shows about 90KiB/Sec on my workstation, and minimal cpu. This is pretty trivial. If you start looking at higher res, higher frame rates etc, this may become significant for you.