Miss Minutes Voice Assistant Using Raspberry Pi Zero W
by Neutrino-1 in Circuits > Raspberry Pi
16977 Views, 200 Favorites, 0 Comments
Miss Minutes Voice Assistant Using Raspberry Pi Zero W
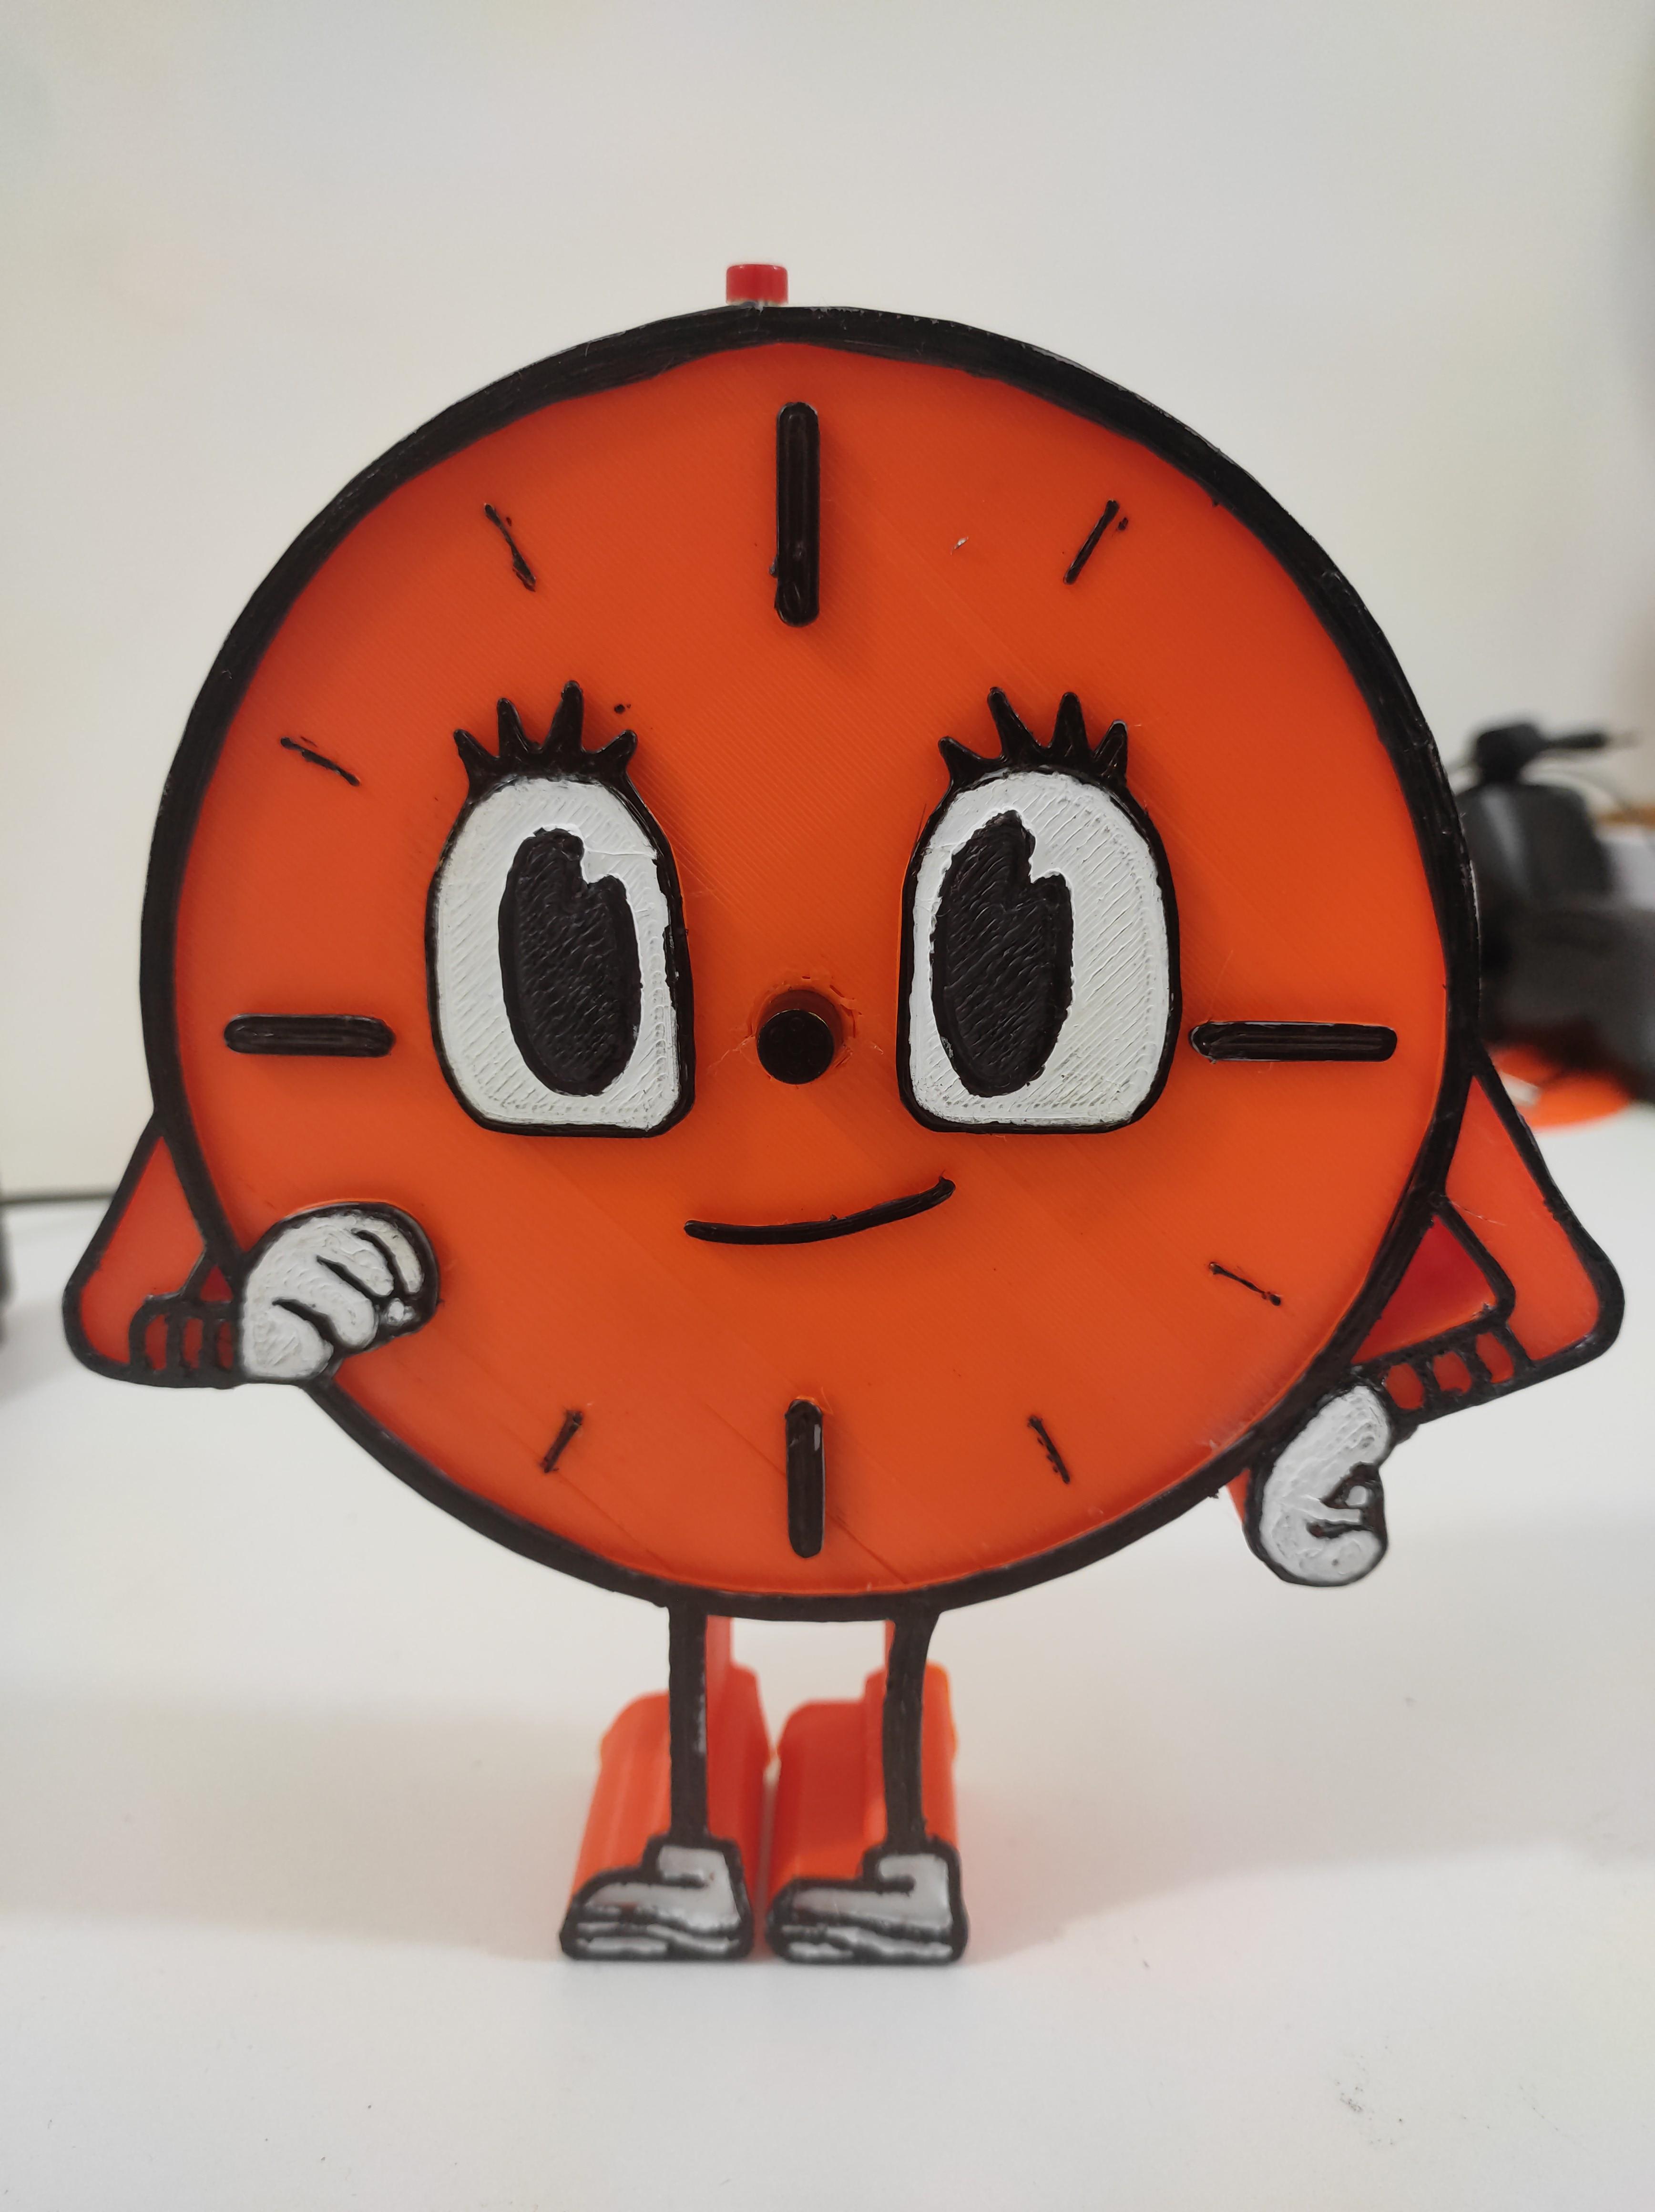

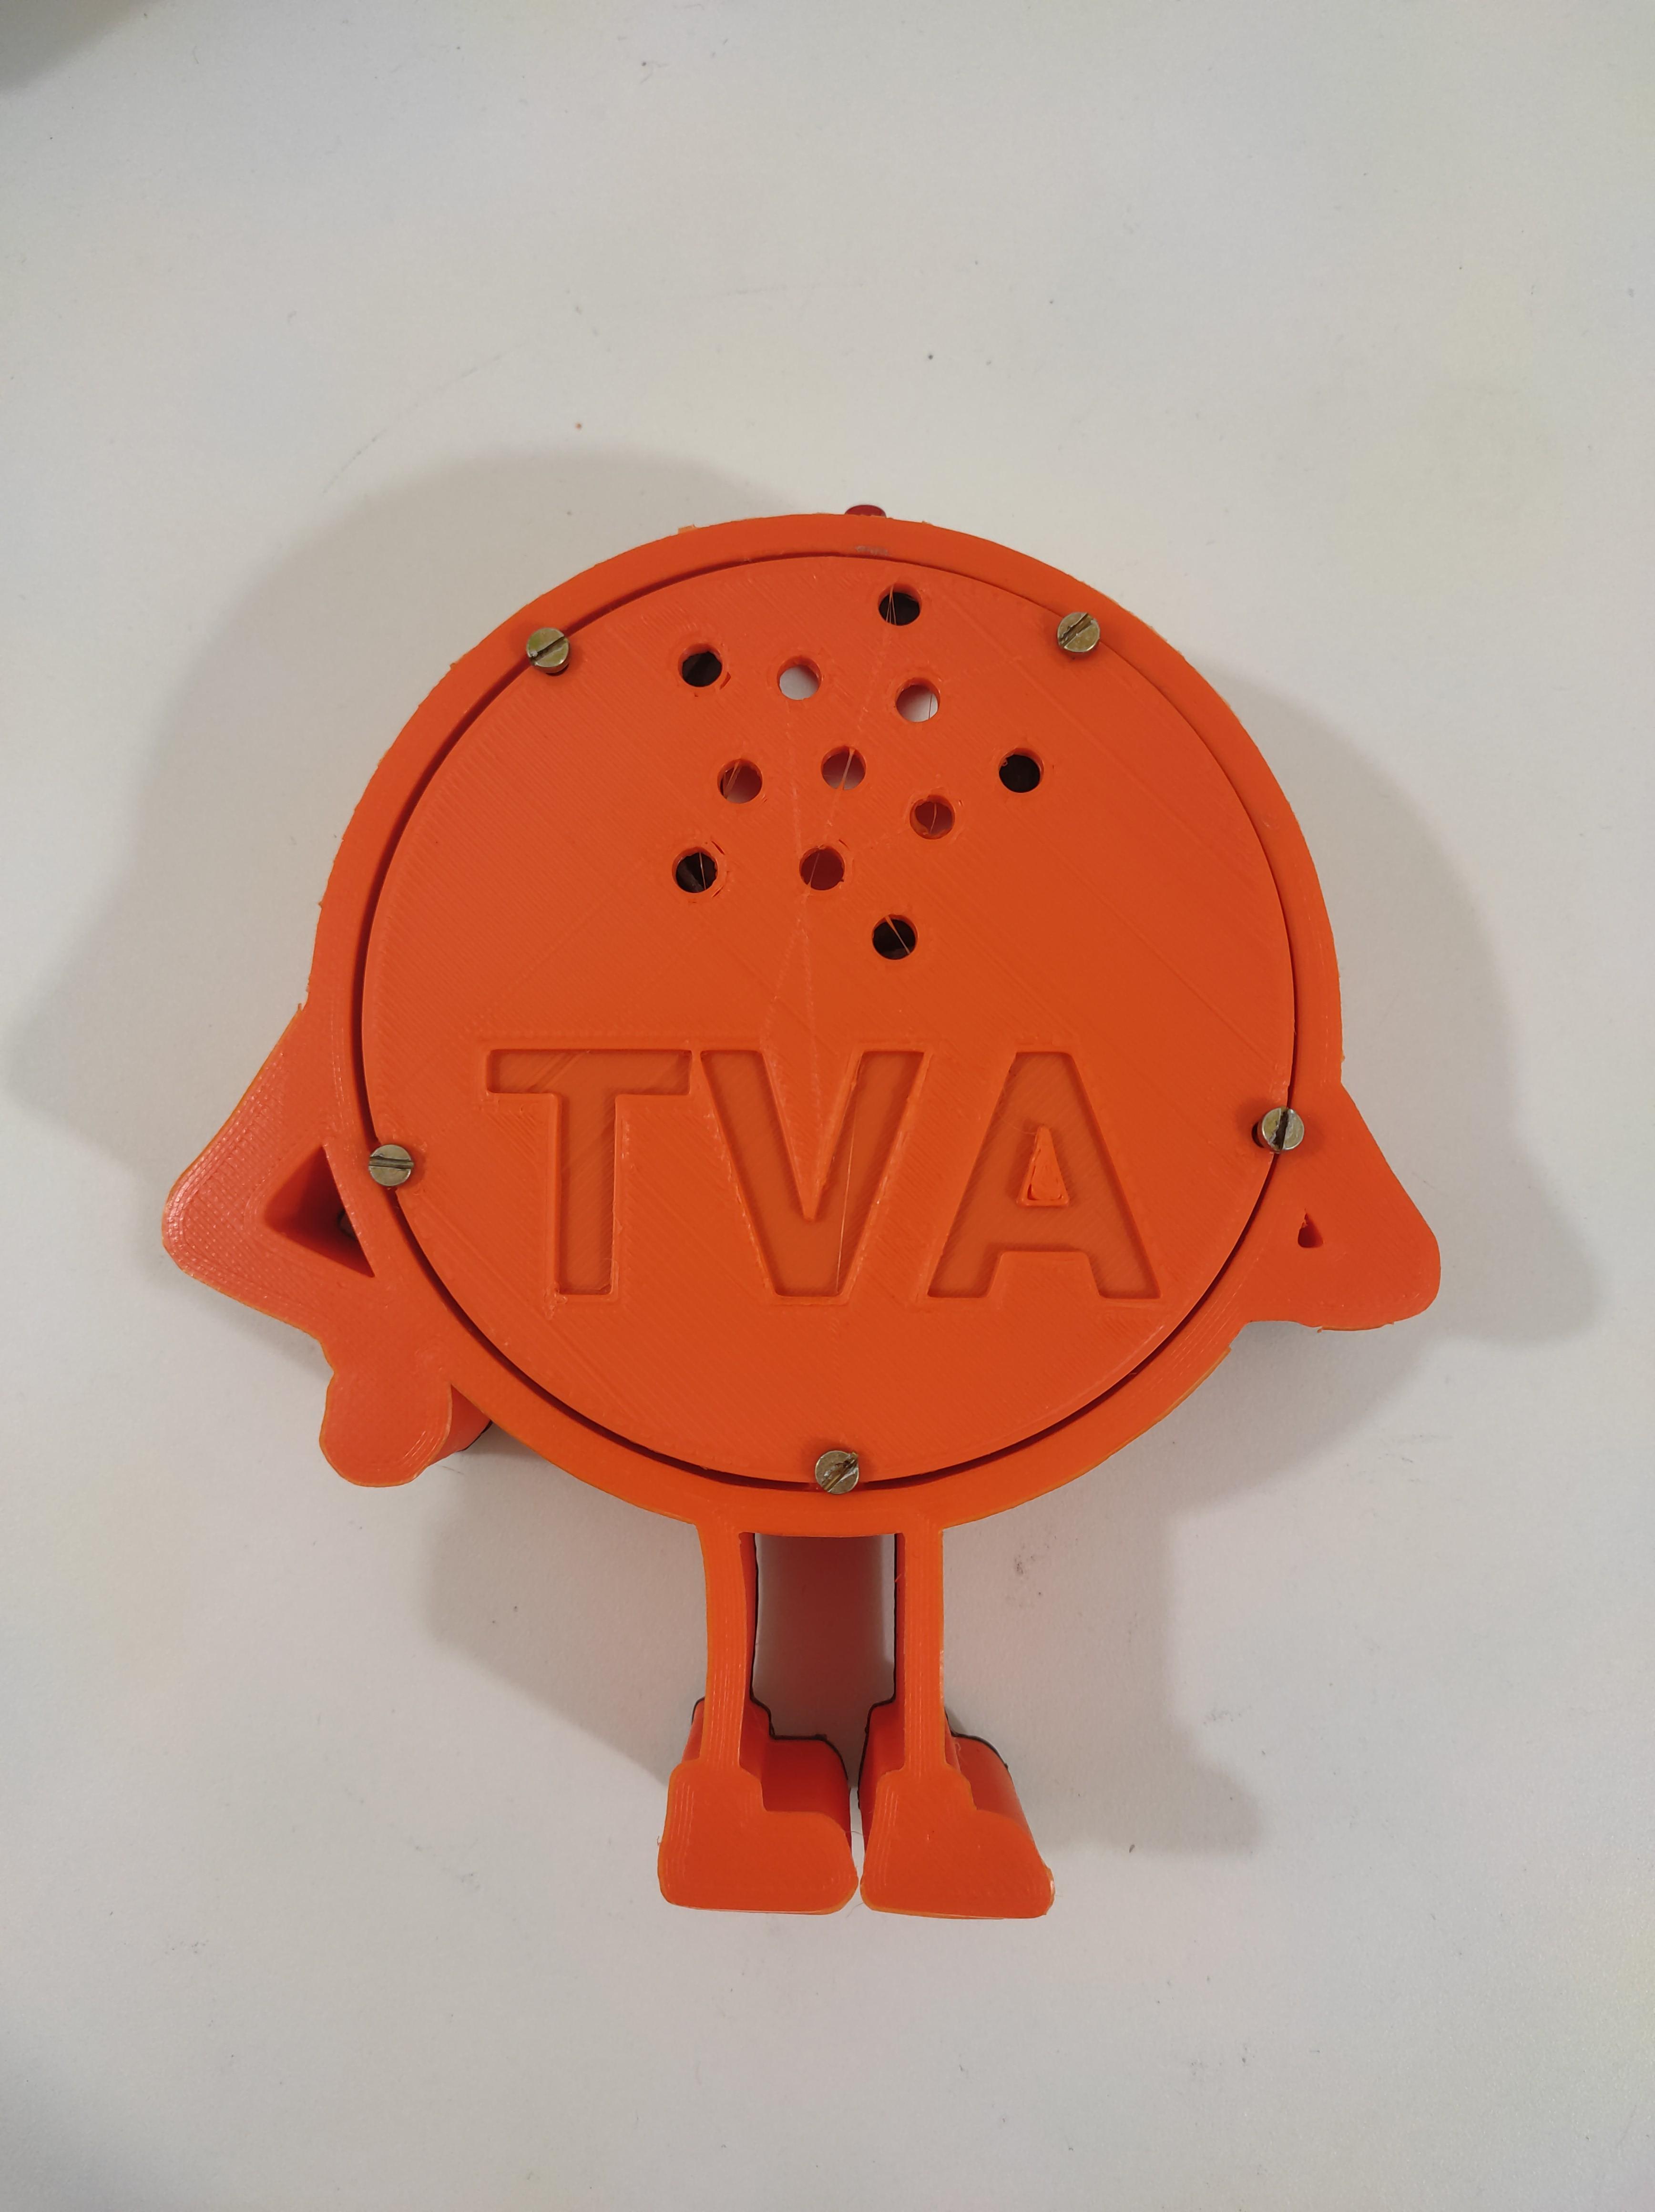
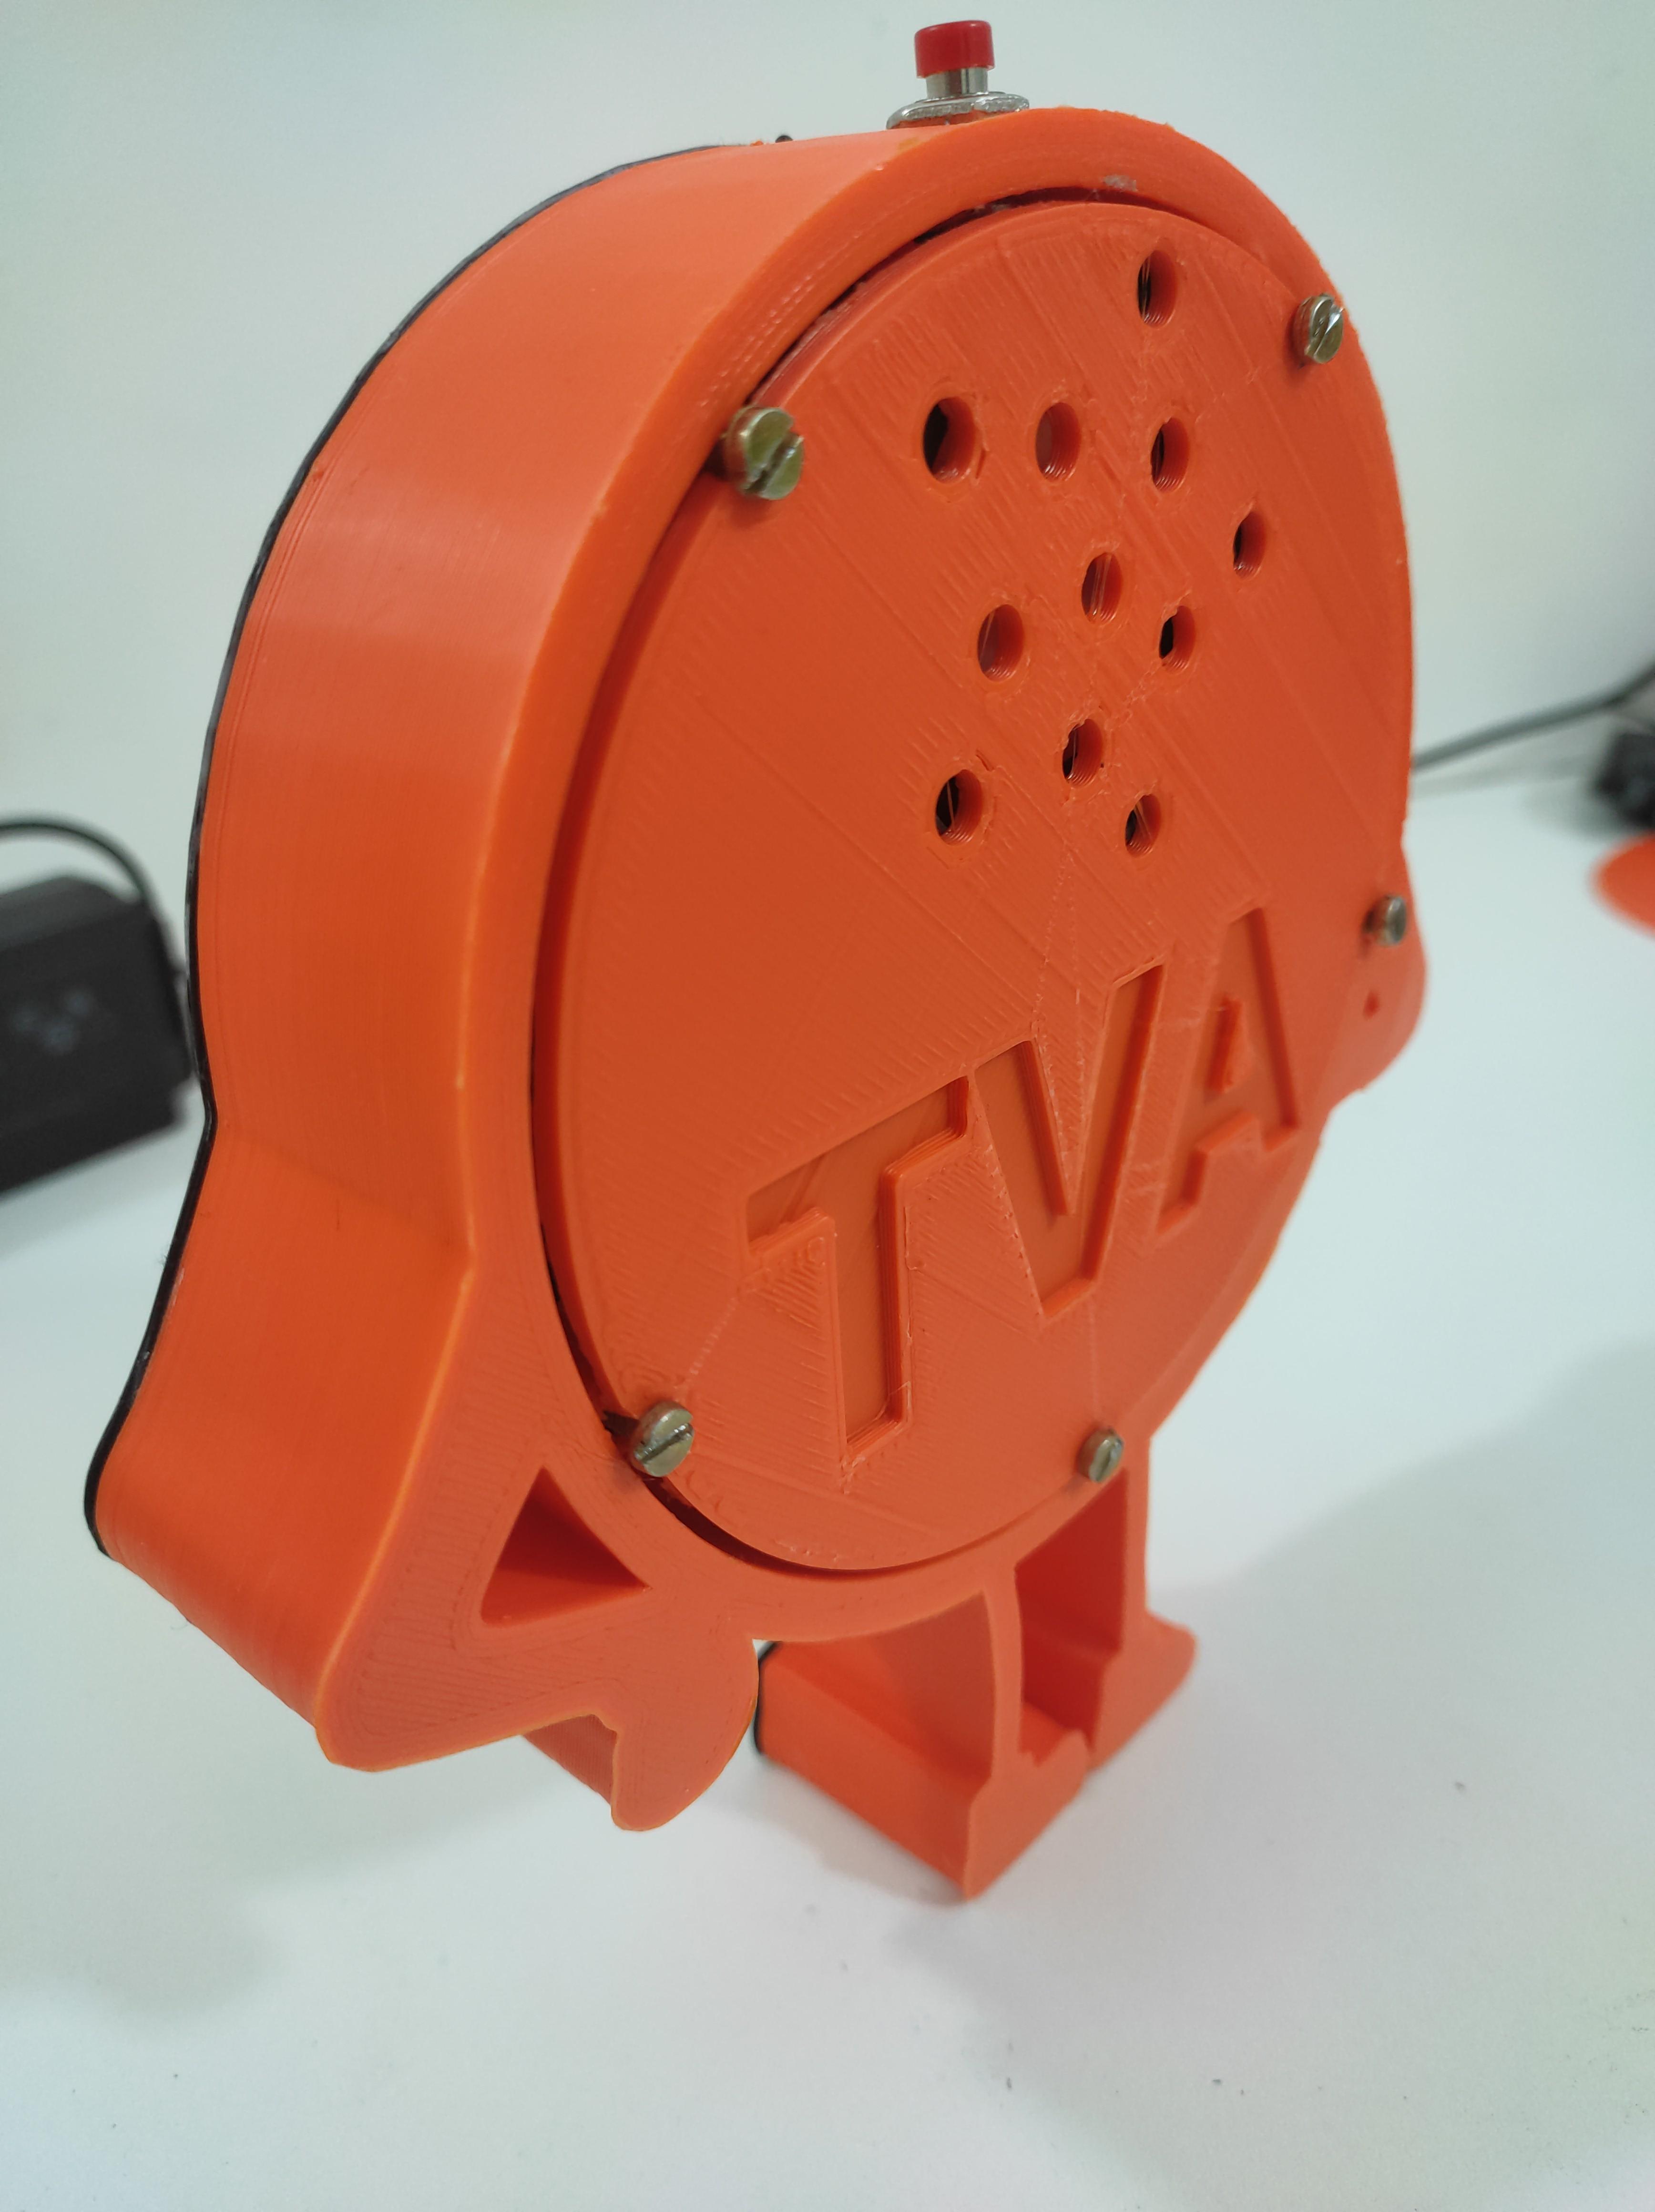
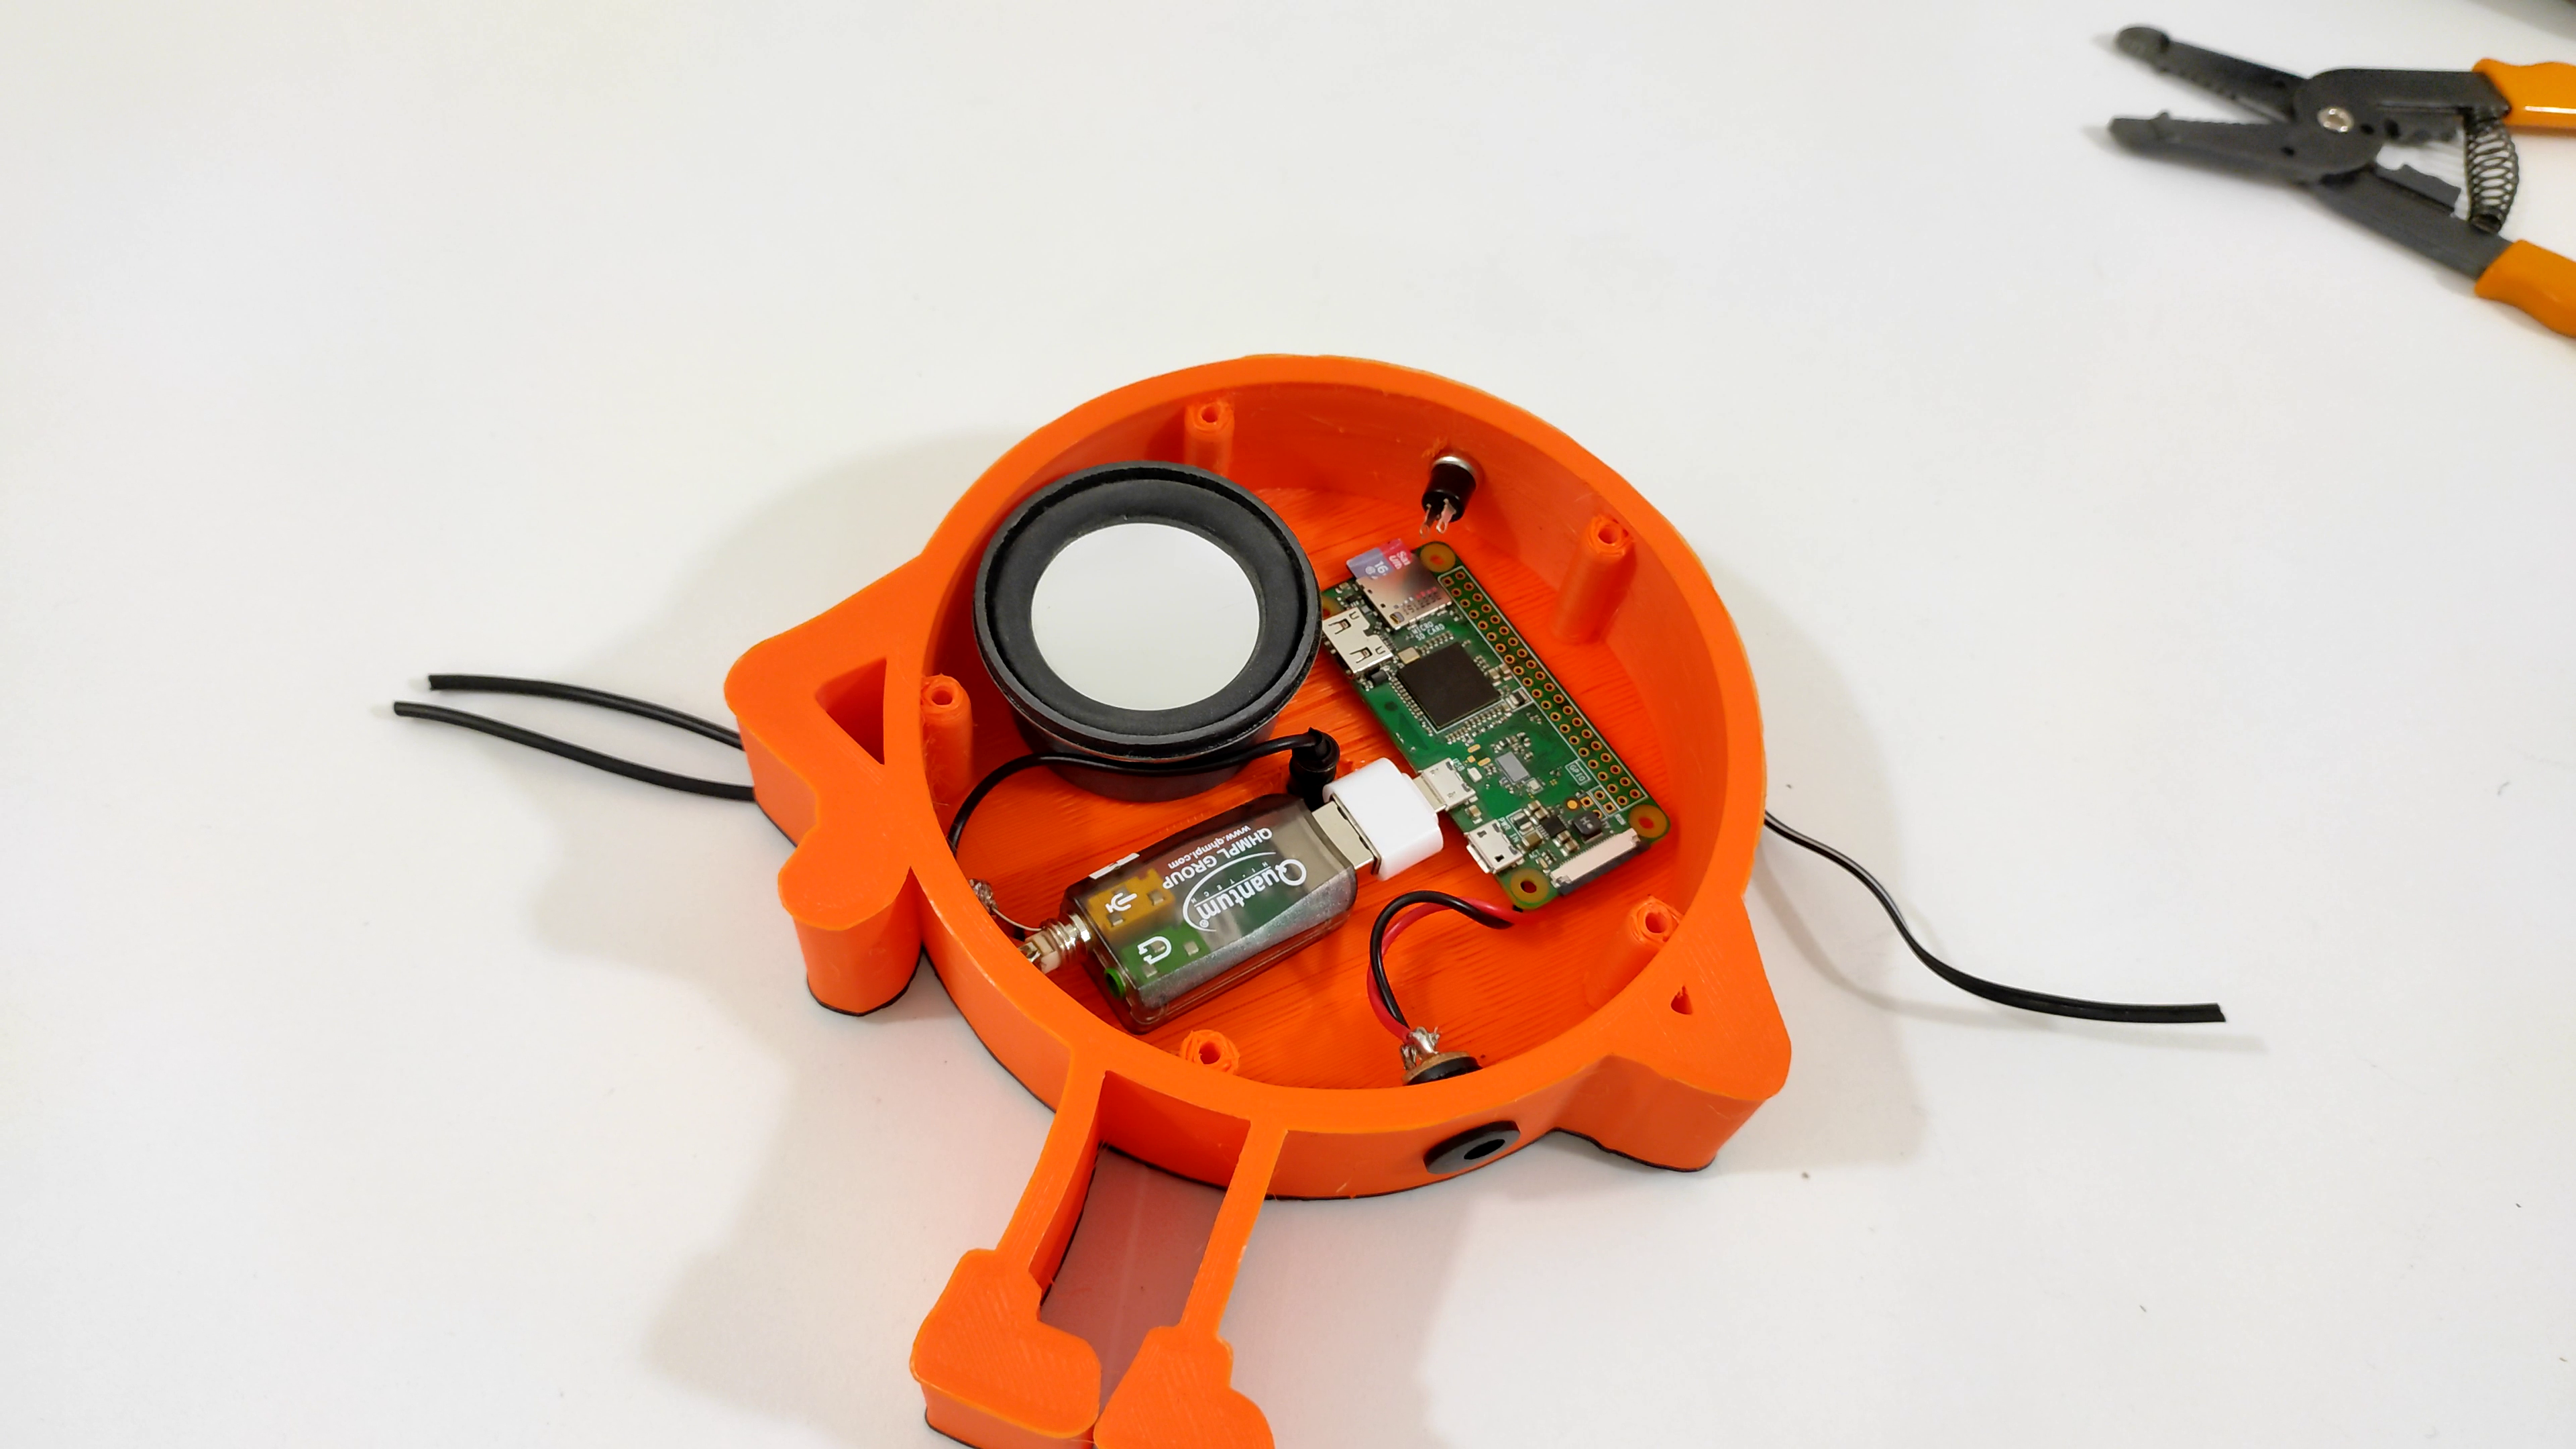
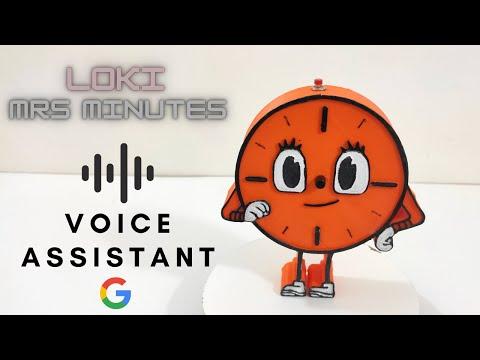
Just so you know, I’m a very big fan of marvel, and recently their new series LOKI is by far my most favorite series of all time. So, I thought it would be fun to make one of the characters come to life.
Meet Miss Minutes is an AI character in Loki, who works for a fictional agency called Time variance authority which is controlled by Kang the conqueror. Miss minutes can do a lot of stuff in the series, she talks, interacts with other characters, and of course fetch data and information almost like Friday and Javis in Iron man movies.
So, that’s what I exactly did.
But I did cheat (or let's say borrowed a lot) a lot to get to this point. So, Make sure to read the full instructions to build your own AI Miss Minutes. Also, make sure to grab the supplies below to do the project with ease.
Supplies
This are the list of products that can help you do this project with ease
(Affiliate Link)
- 3d printer : https://amzn.to/3trVWKw
- printer upgrades : https://amzn.to/3hbK3Ga
- Orange filament : https://amzn.to/3DbhpxG
- Collar Mic : https://amzn.to/3kixsRx
- Desktop speaker : https://amzn.to/2XR4wIT
- raspberry pi zero w : https://amzn.to/3B9RkgD
- sound card : https://amzn.to/3mlMlFo
- OTG : https://amzn.to/3grDnTc
- Female DC jack : https://amzn.to/3B2dvFp
- 5v dc adapter : https://amzn.to/2UFLofA
- Male Audio jack : https://amzn.to/3yfMnAS
- Glue gun :https://amzn.to/2WiuKUa
Building Miss Minutes Enclosure
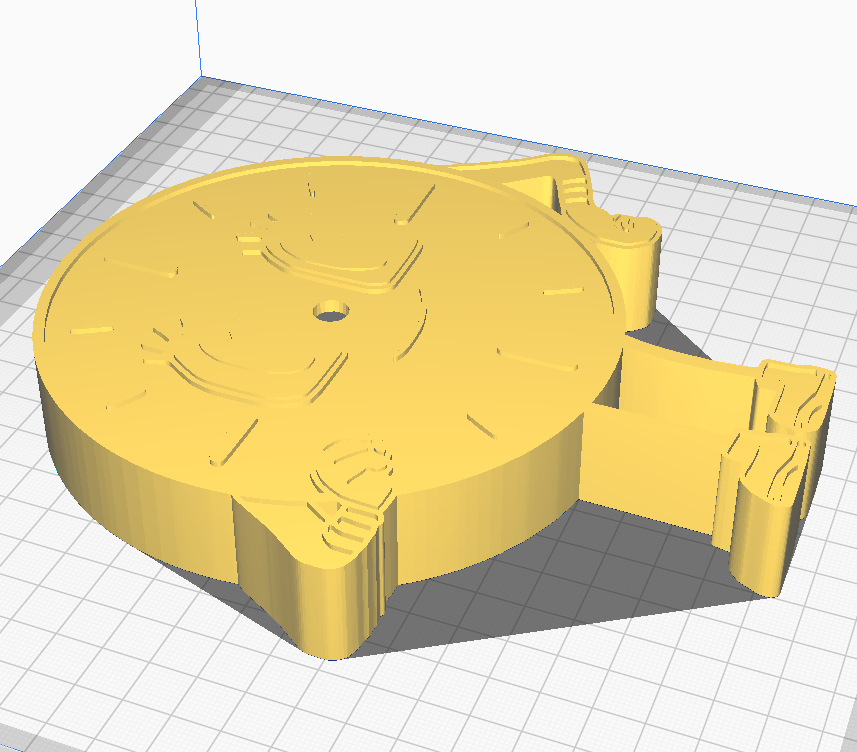
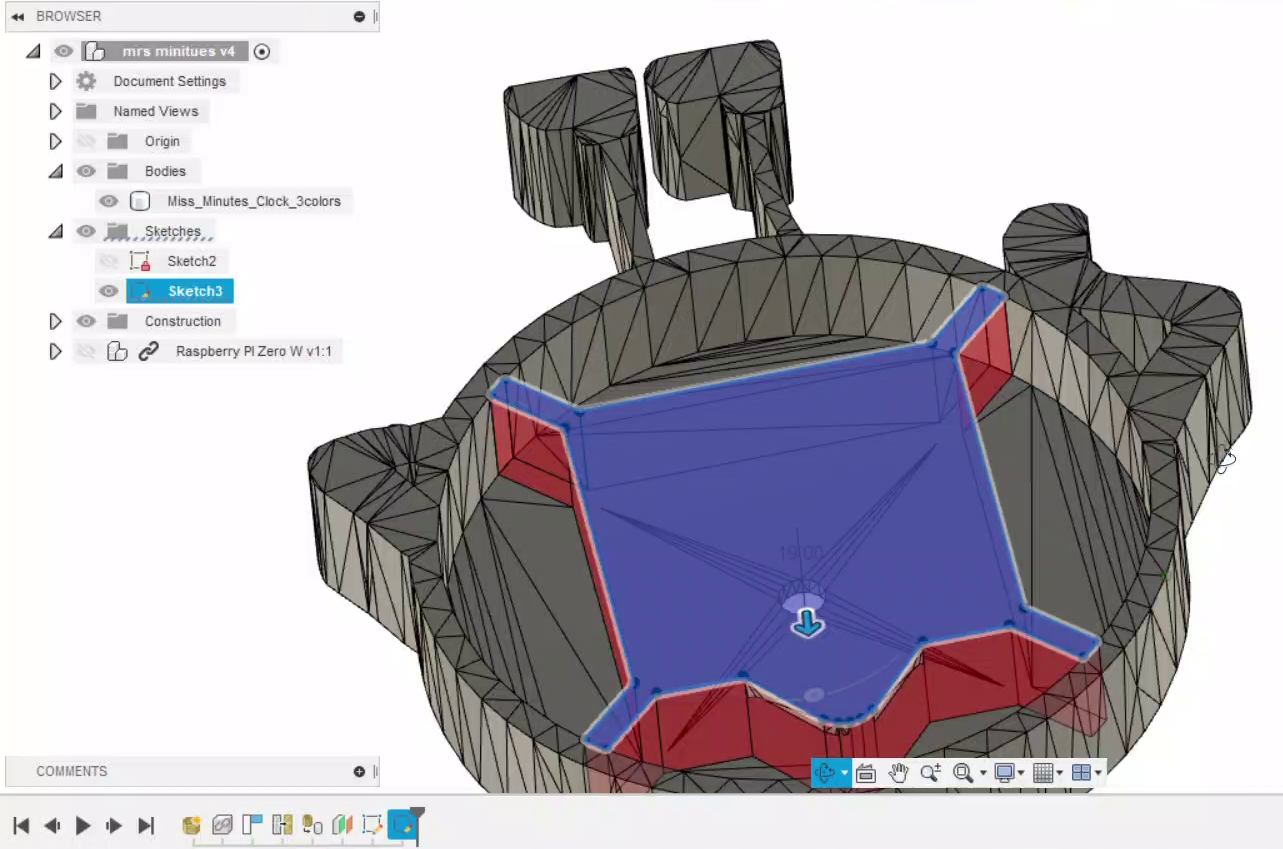
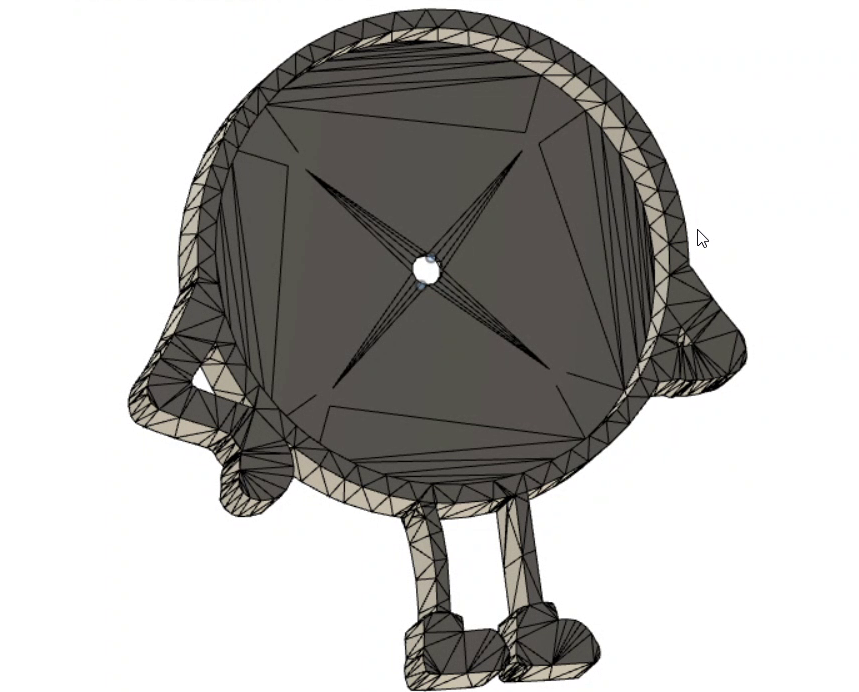
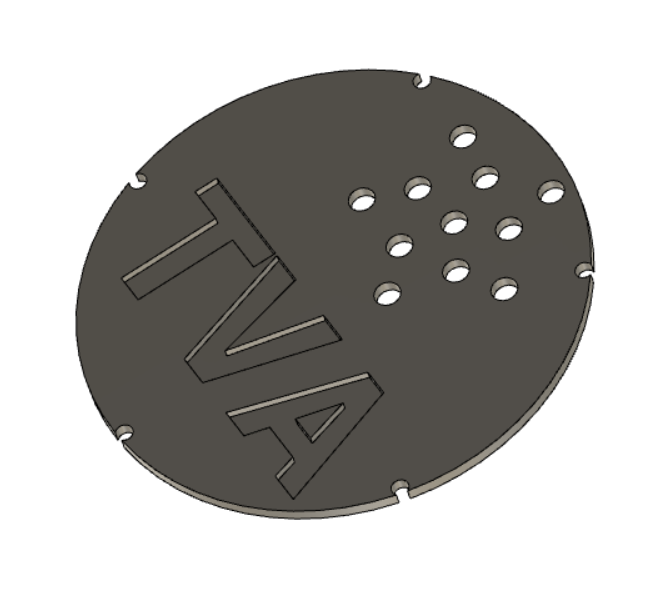
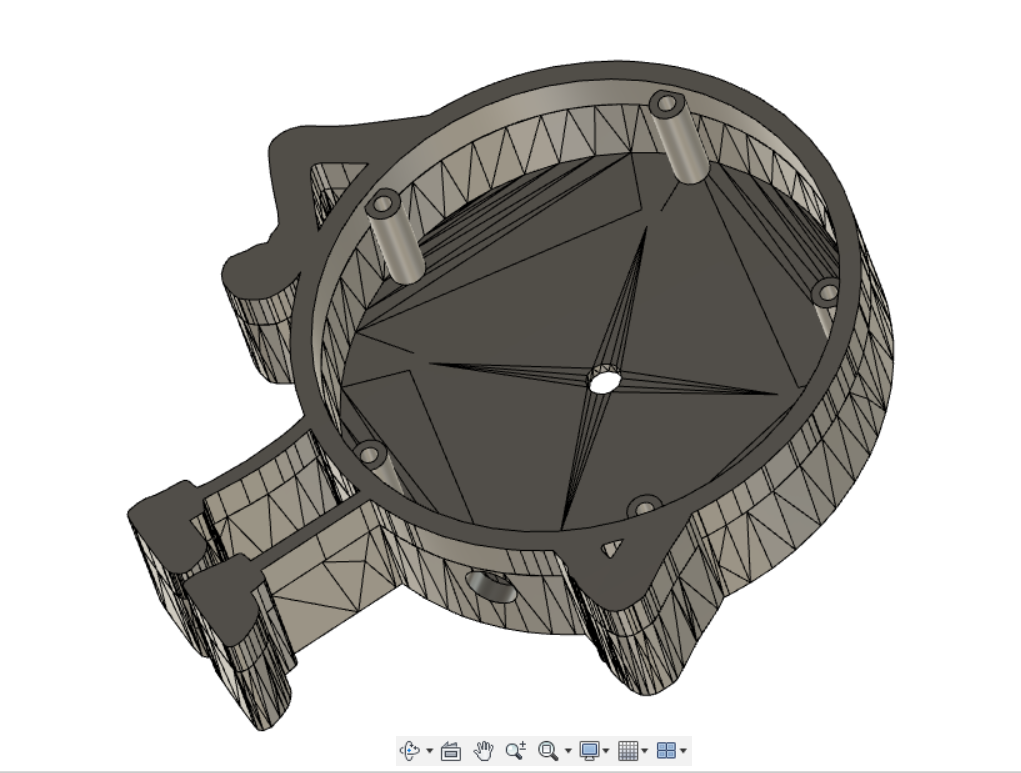
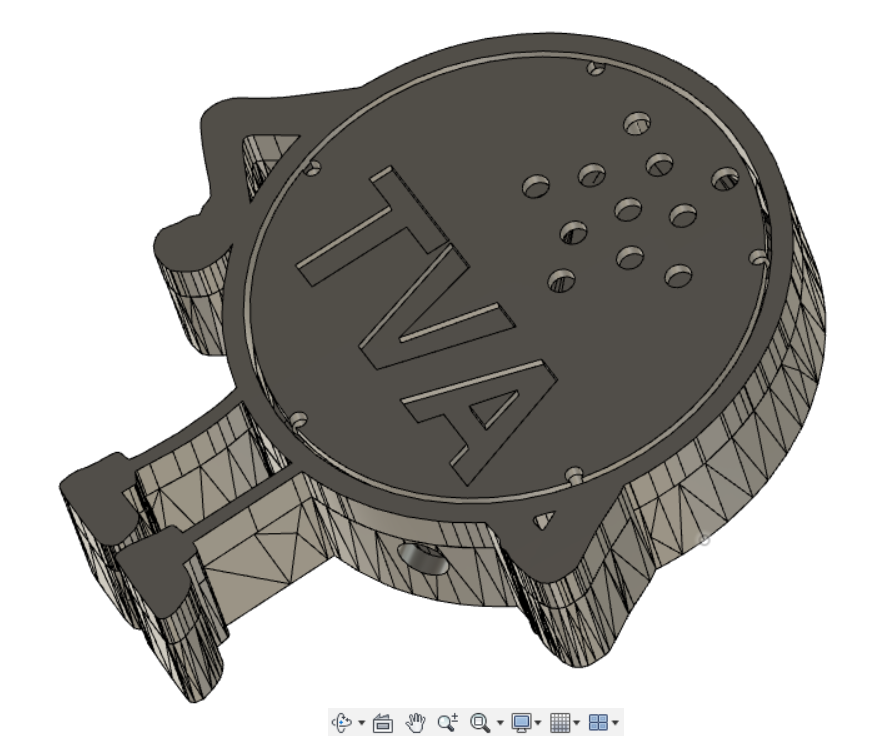
Usually, I start with electronics and work my way up to building the enclosure but in this instructable, I'm going to approach this project a little differently. First I’m going to make the enclosure and then later fix the electronics within it.
Before I started modeling I tried searching if someone has done a similar project already and I found this amazing Miss Minutes clock project by a Thingiverse user PhilippHee. But unfortunately at the time of documenting the project page is down on Thingiverse, I will make sure to update the link once the page is back up.
Anyway, I had downloaded the STL file a few weeks back. So, instead of me creating the project completely from scratch. I edited and remixed his project for my need by using fusion 360. You can see the images above to see how the image was modified to meet the need for this project.
Multi-color 3D Printing
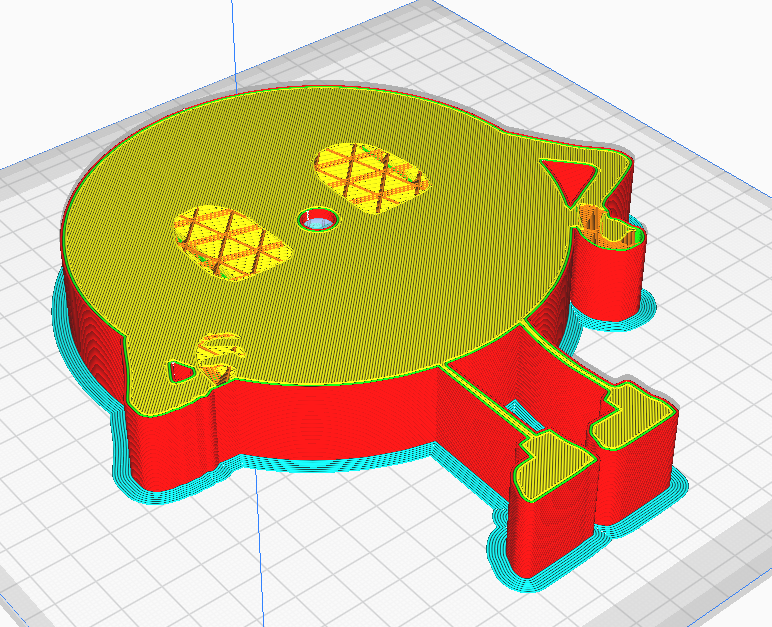
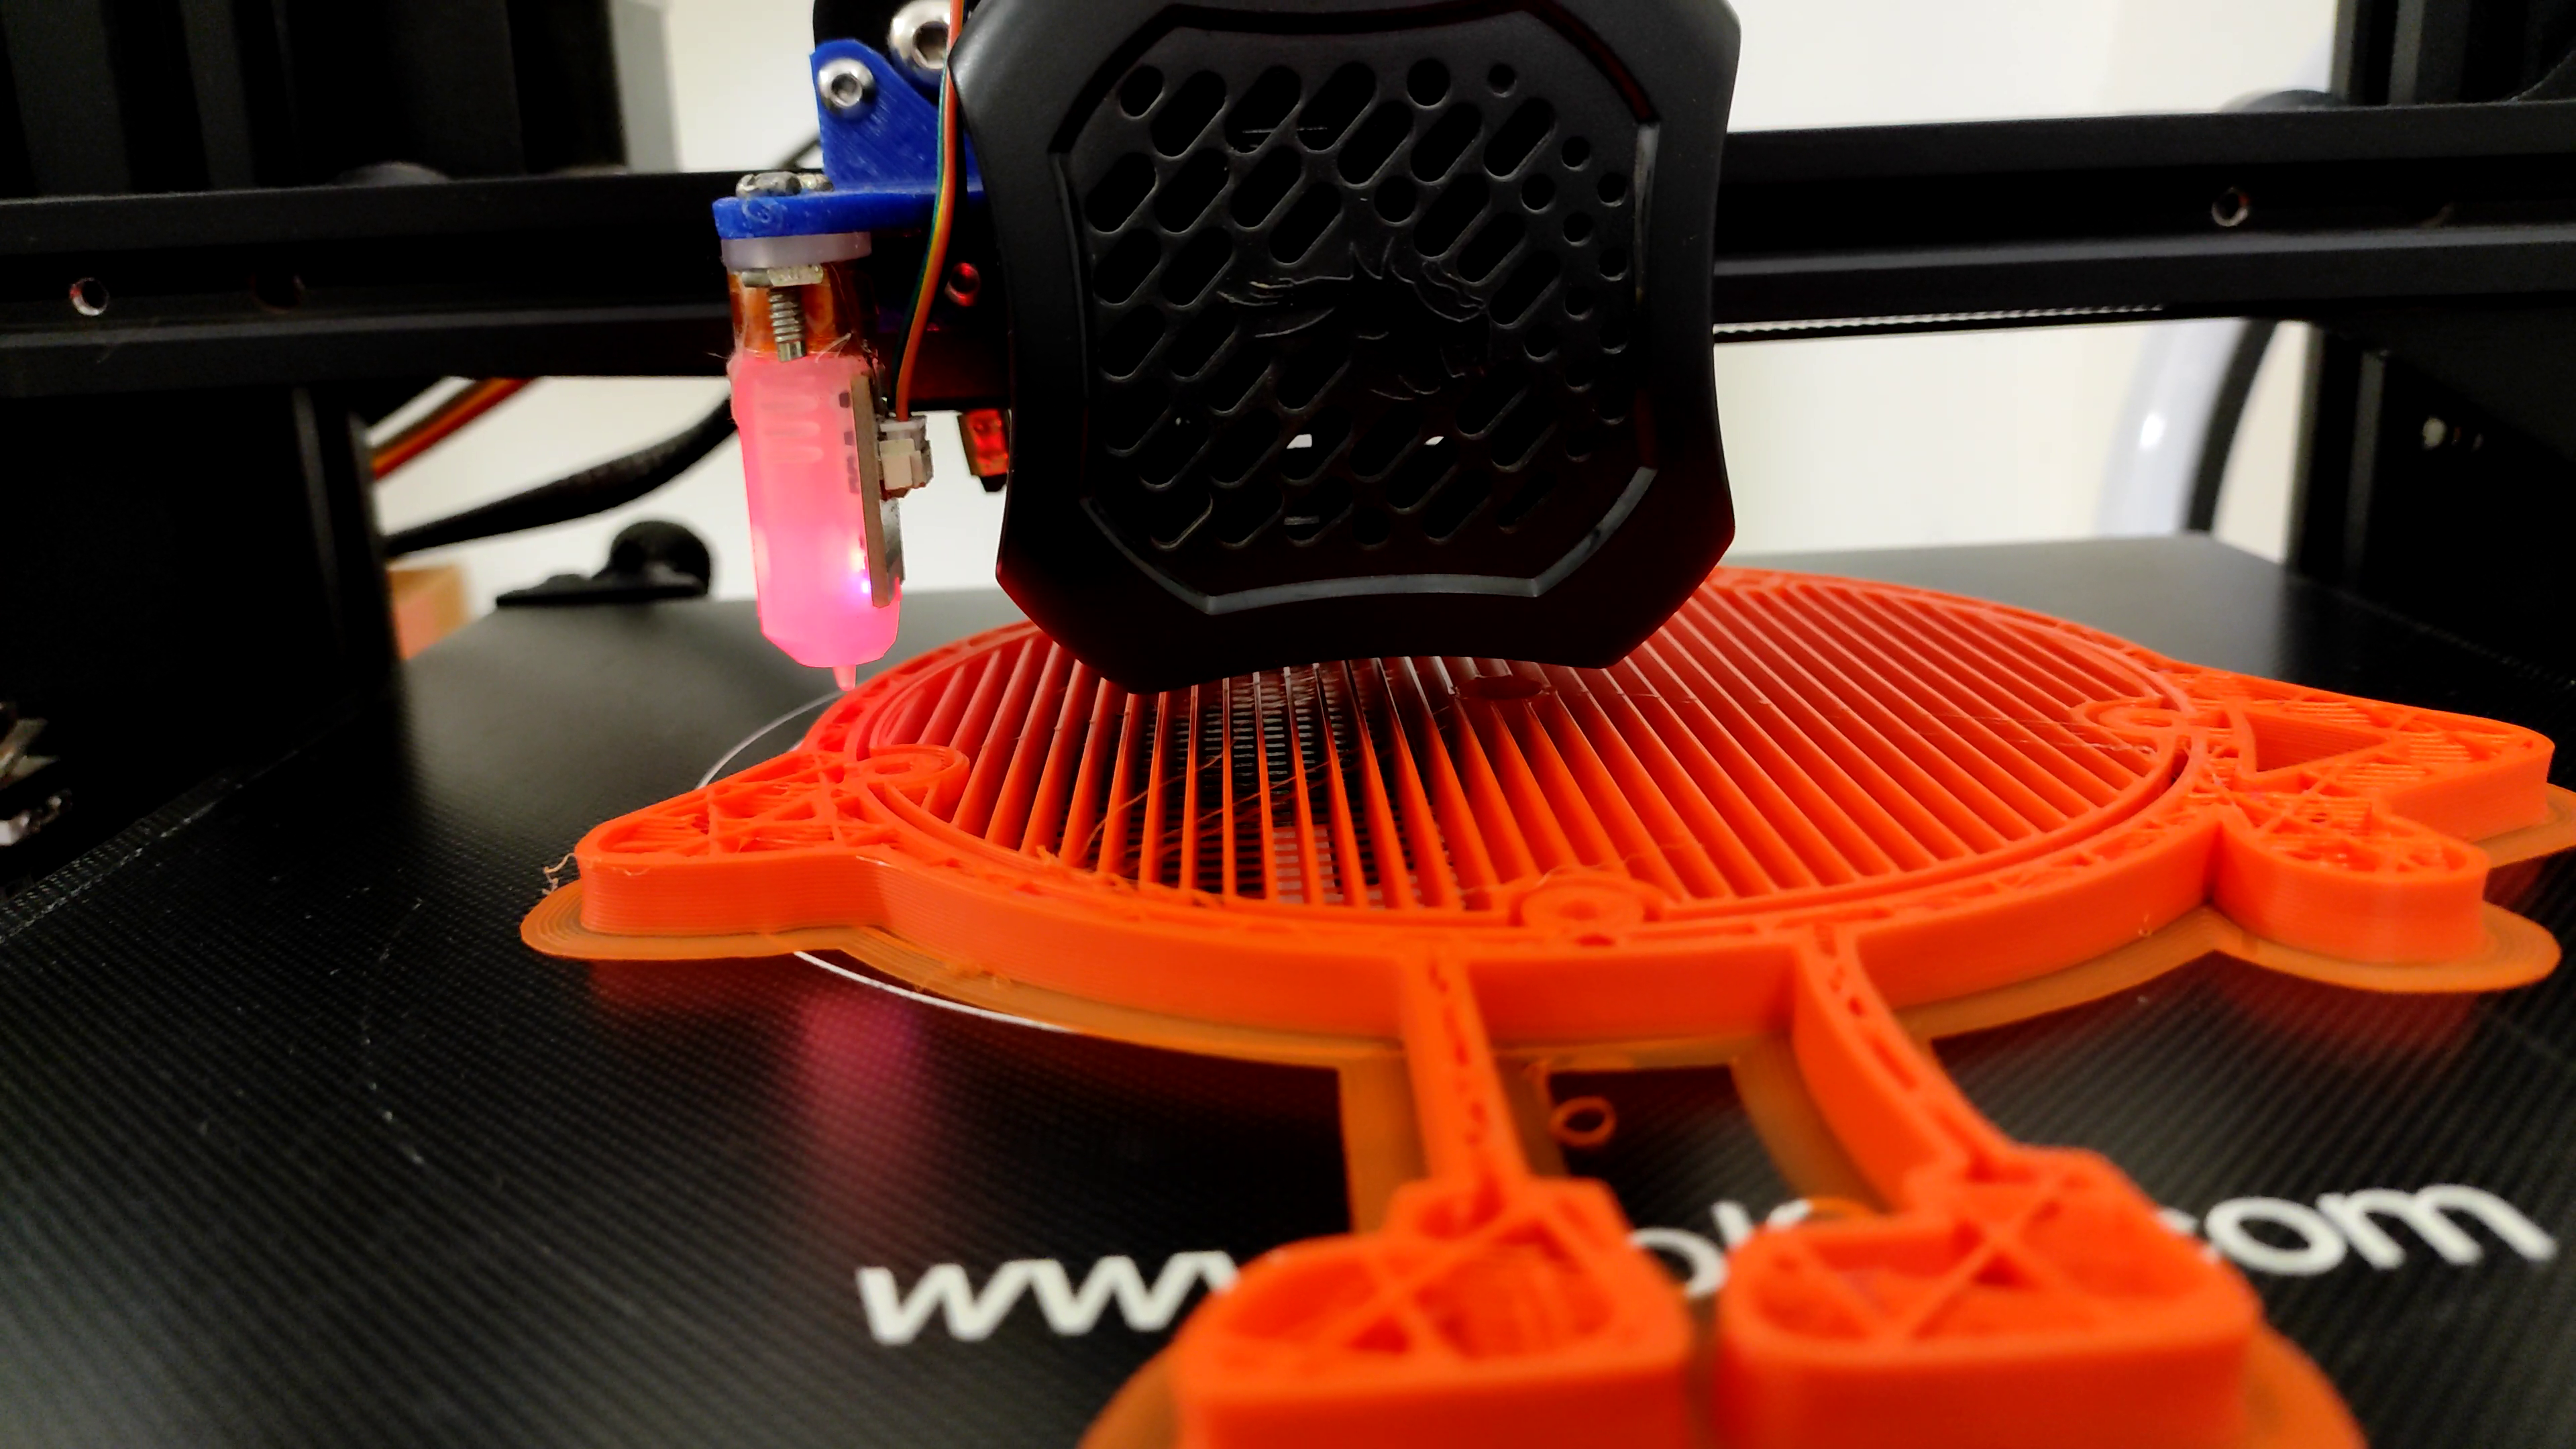
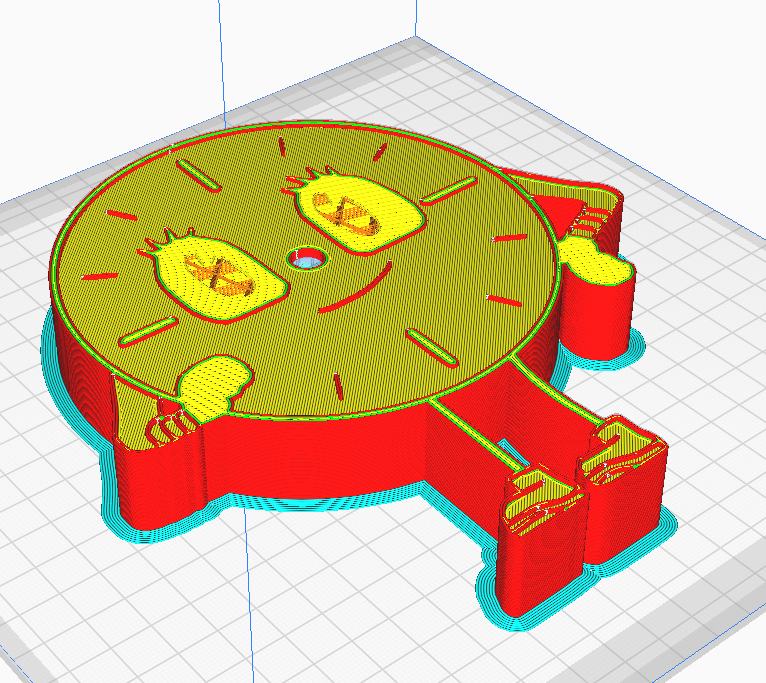
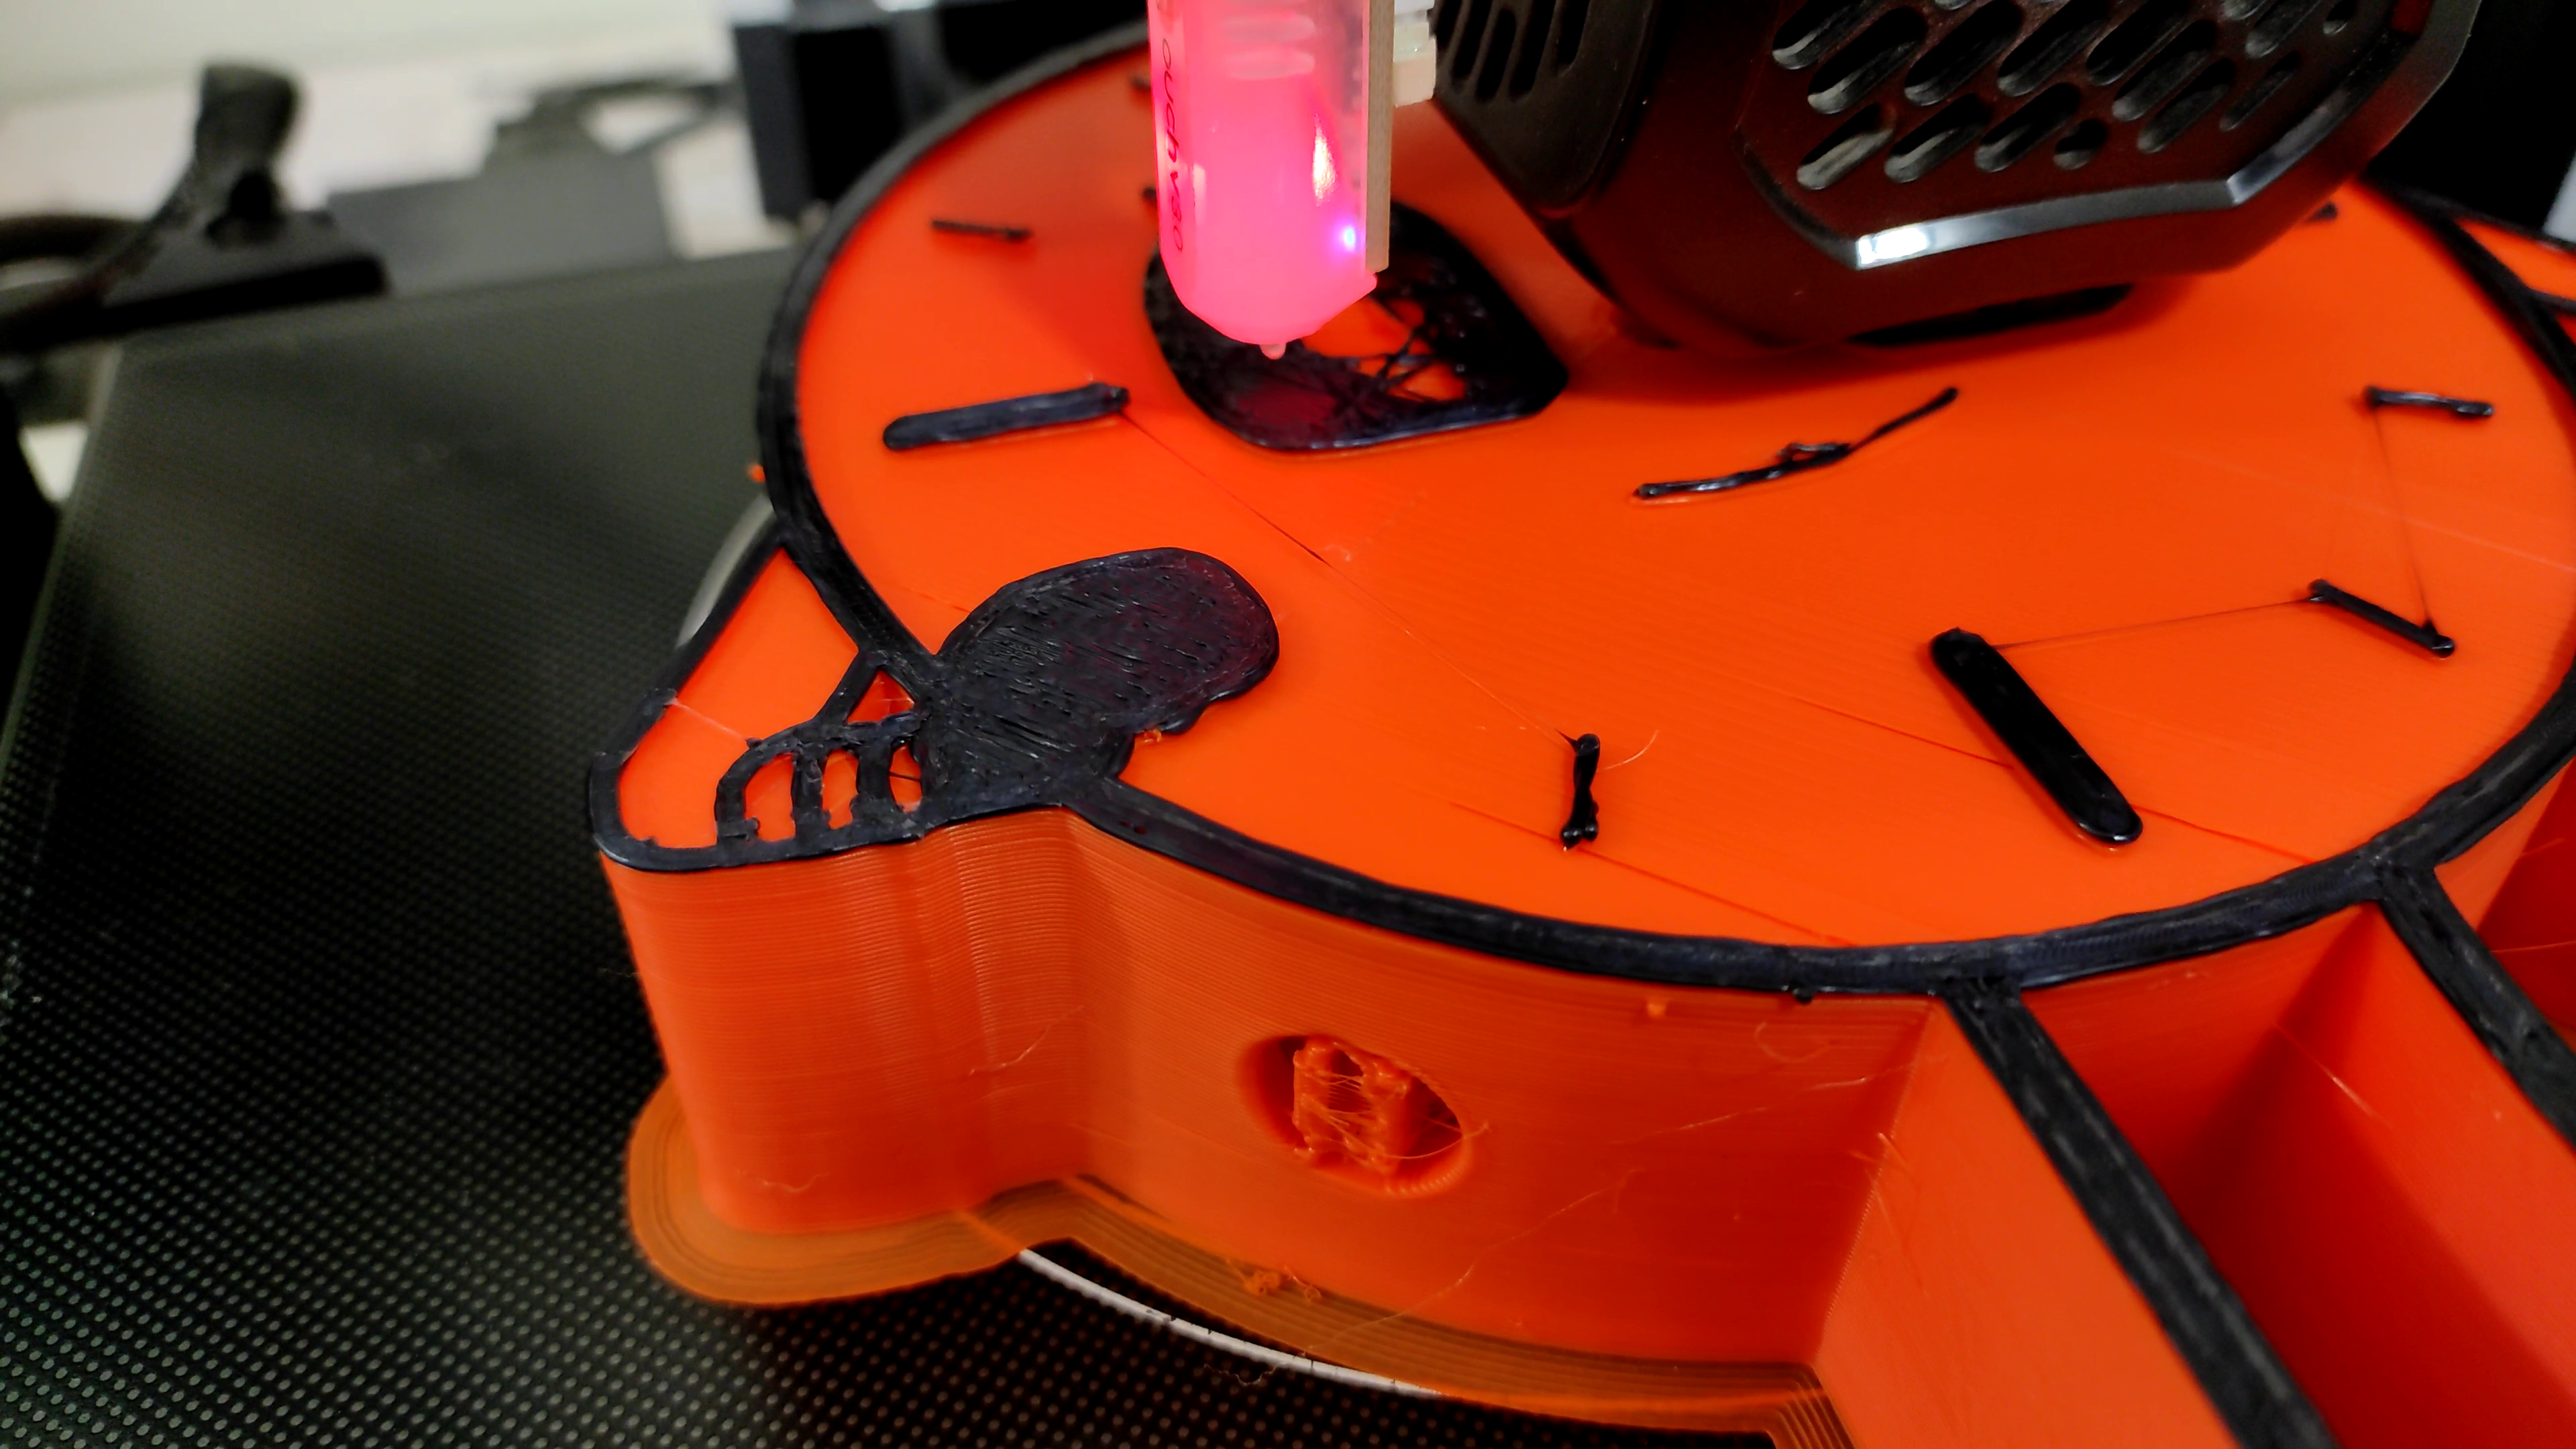
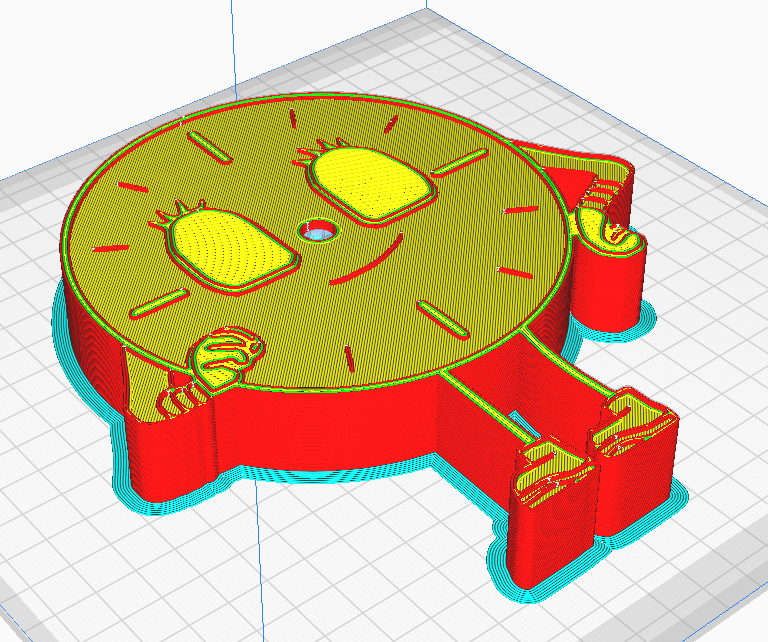
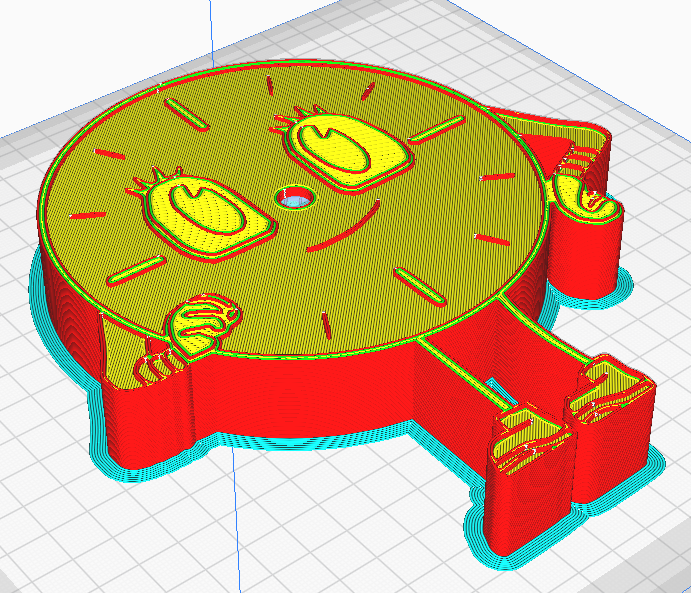
Once the STL file was ready, it was time to print. I took the model into Cura and sliced it. You can either use a single color to print and then paint the eyes and the outlines on top of it. Or change filaments while printing as I did.
You can check this link to see how to change the color while printing just using one nozzle.
The above images are reference images where you need to pause to change the color of the filament.
- Initial - Orange filament
- First change - Black Filament
- Second change - White Filament
- Third change - Black Filament
To print this model I used PLA and a larger nozzle with a diameter of 0.6mm and a layer height of 0.4mm for faster printing. It approximately took 9 hours for the complete print for this model, during the print I had to change the filament 3 times. But still, I managed to mess it up by not selecting the proper layer height to change the color.
Anyway, this gave an opportunity to explain, how you could change the colour if you had not used the multi-color 3d printing technique.
Post Processing the 3D Print
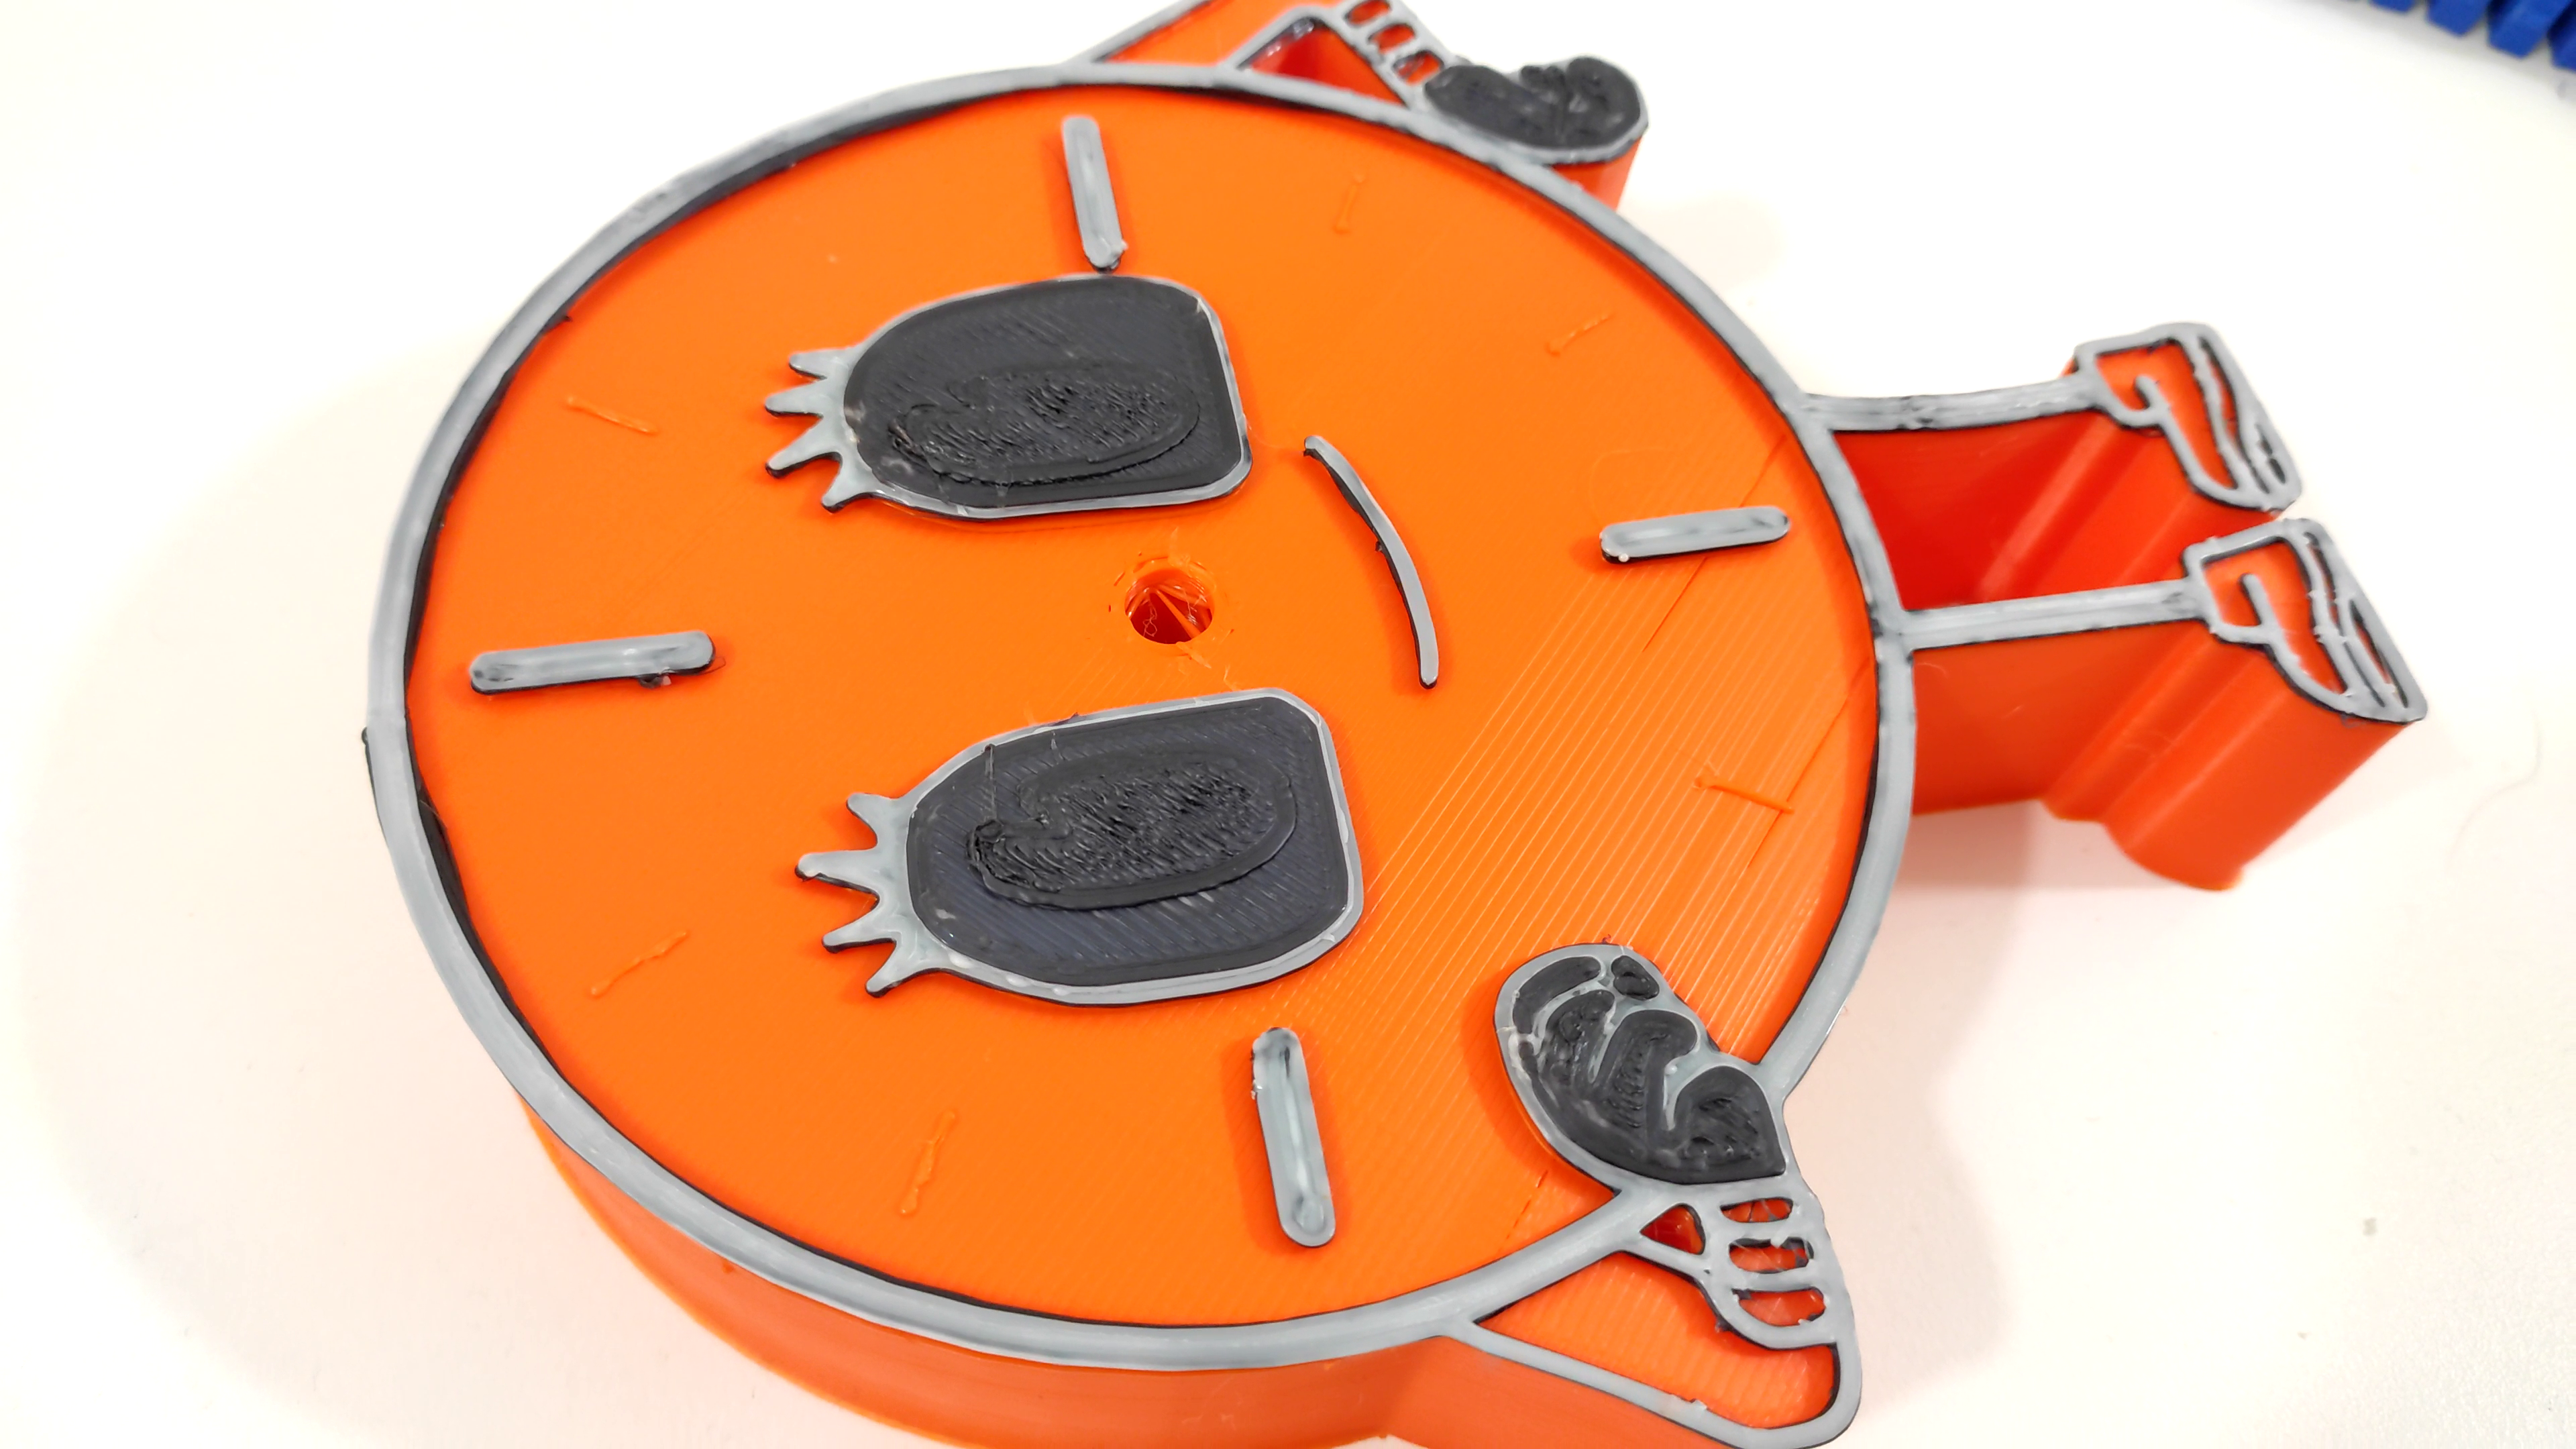
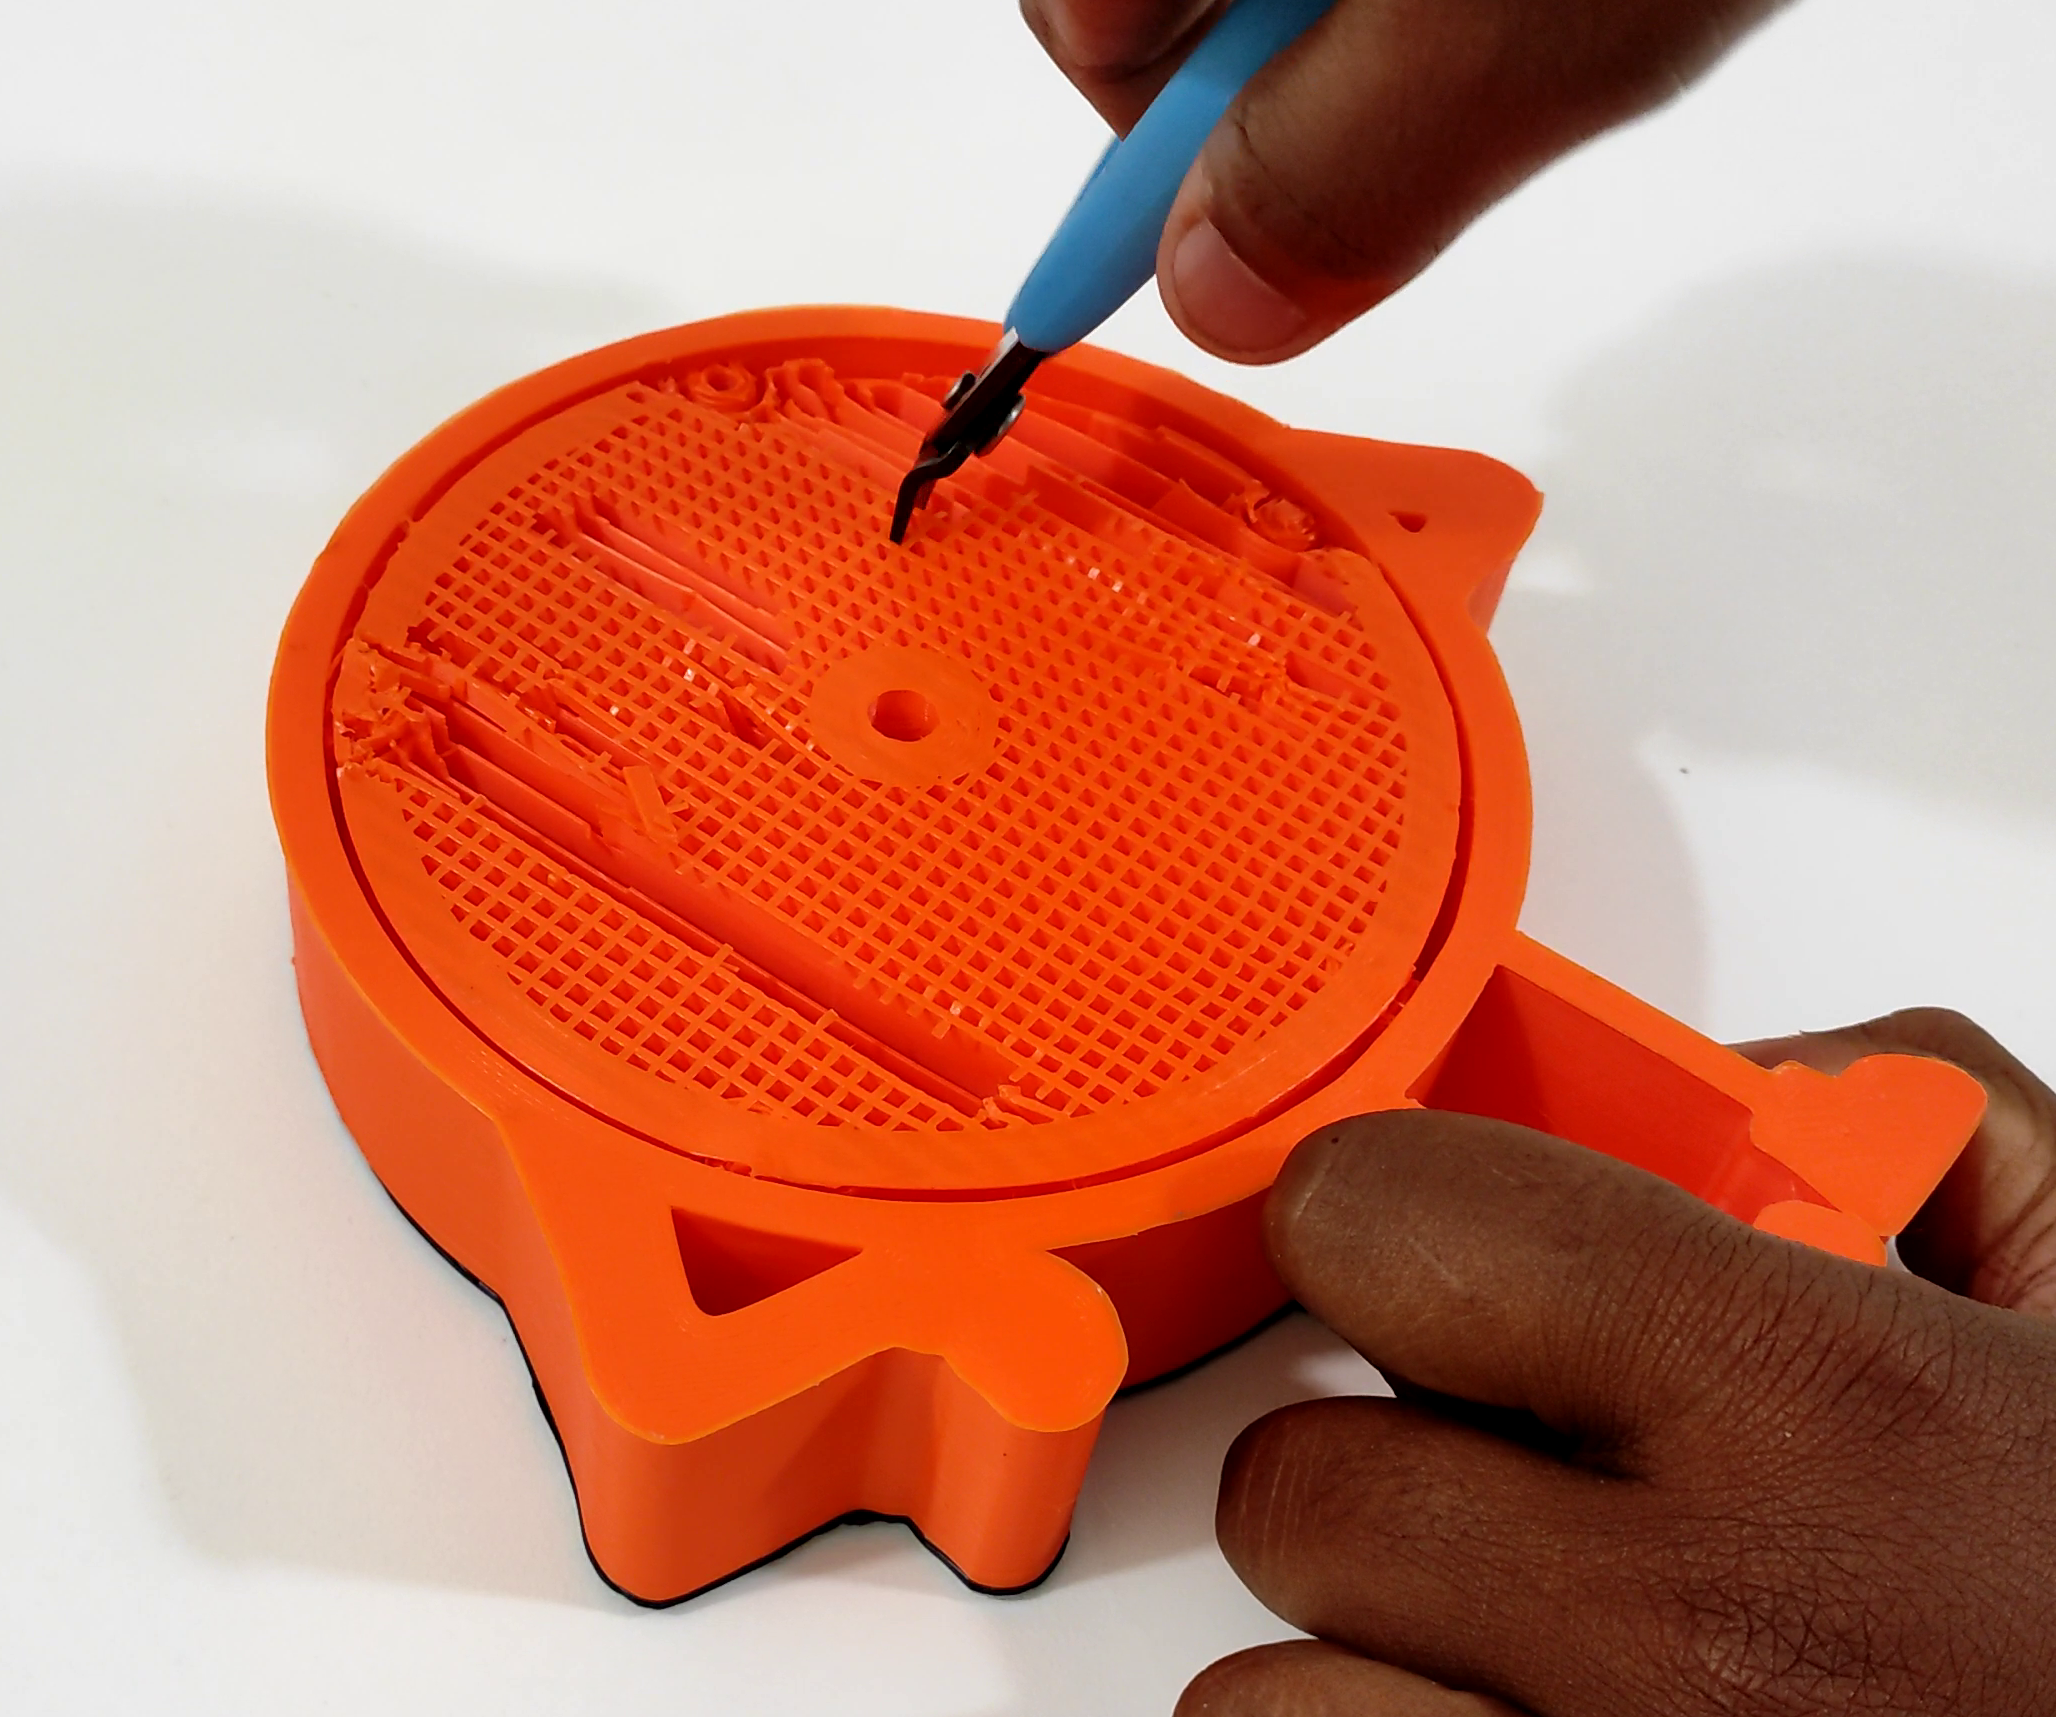
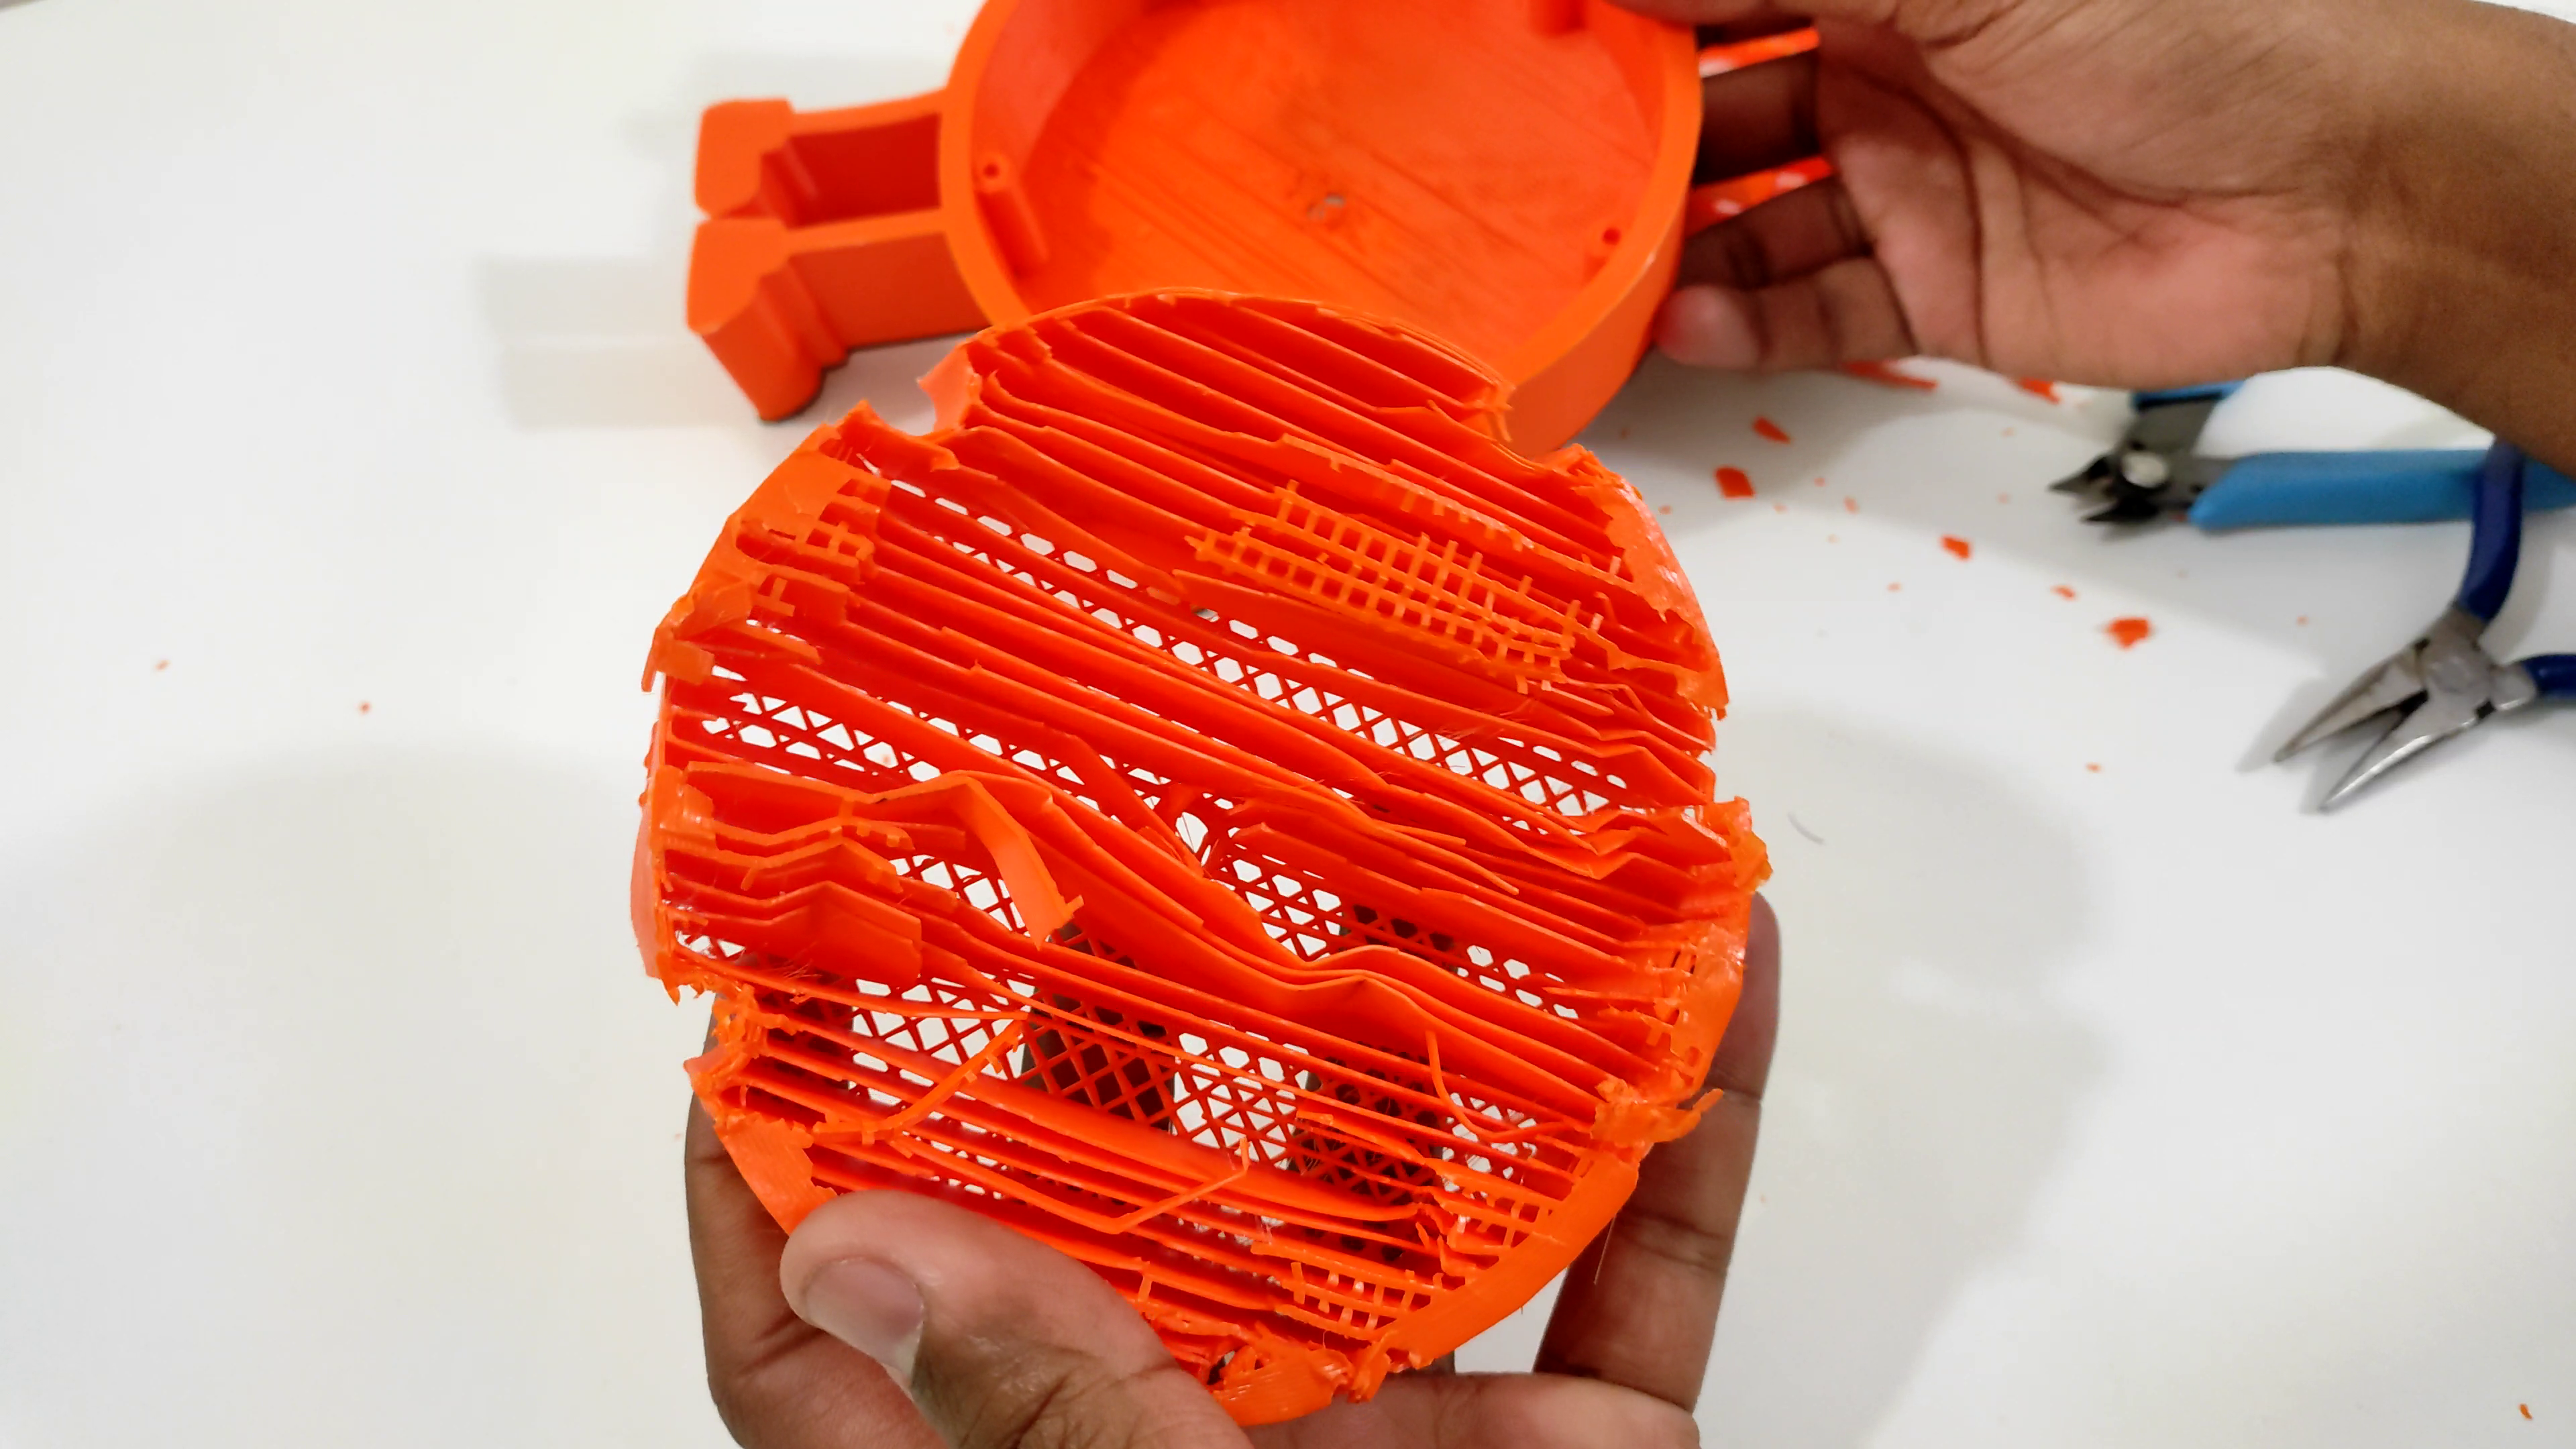
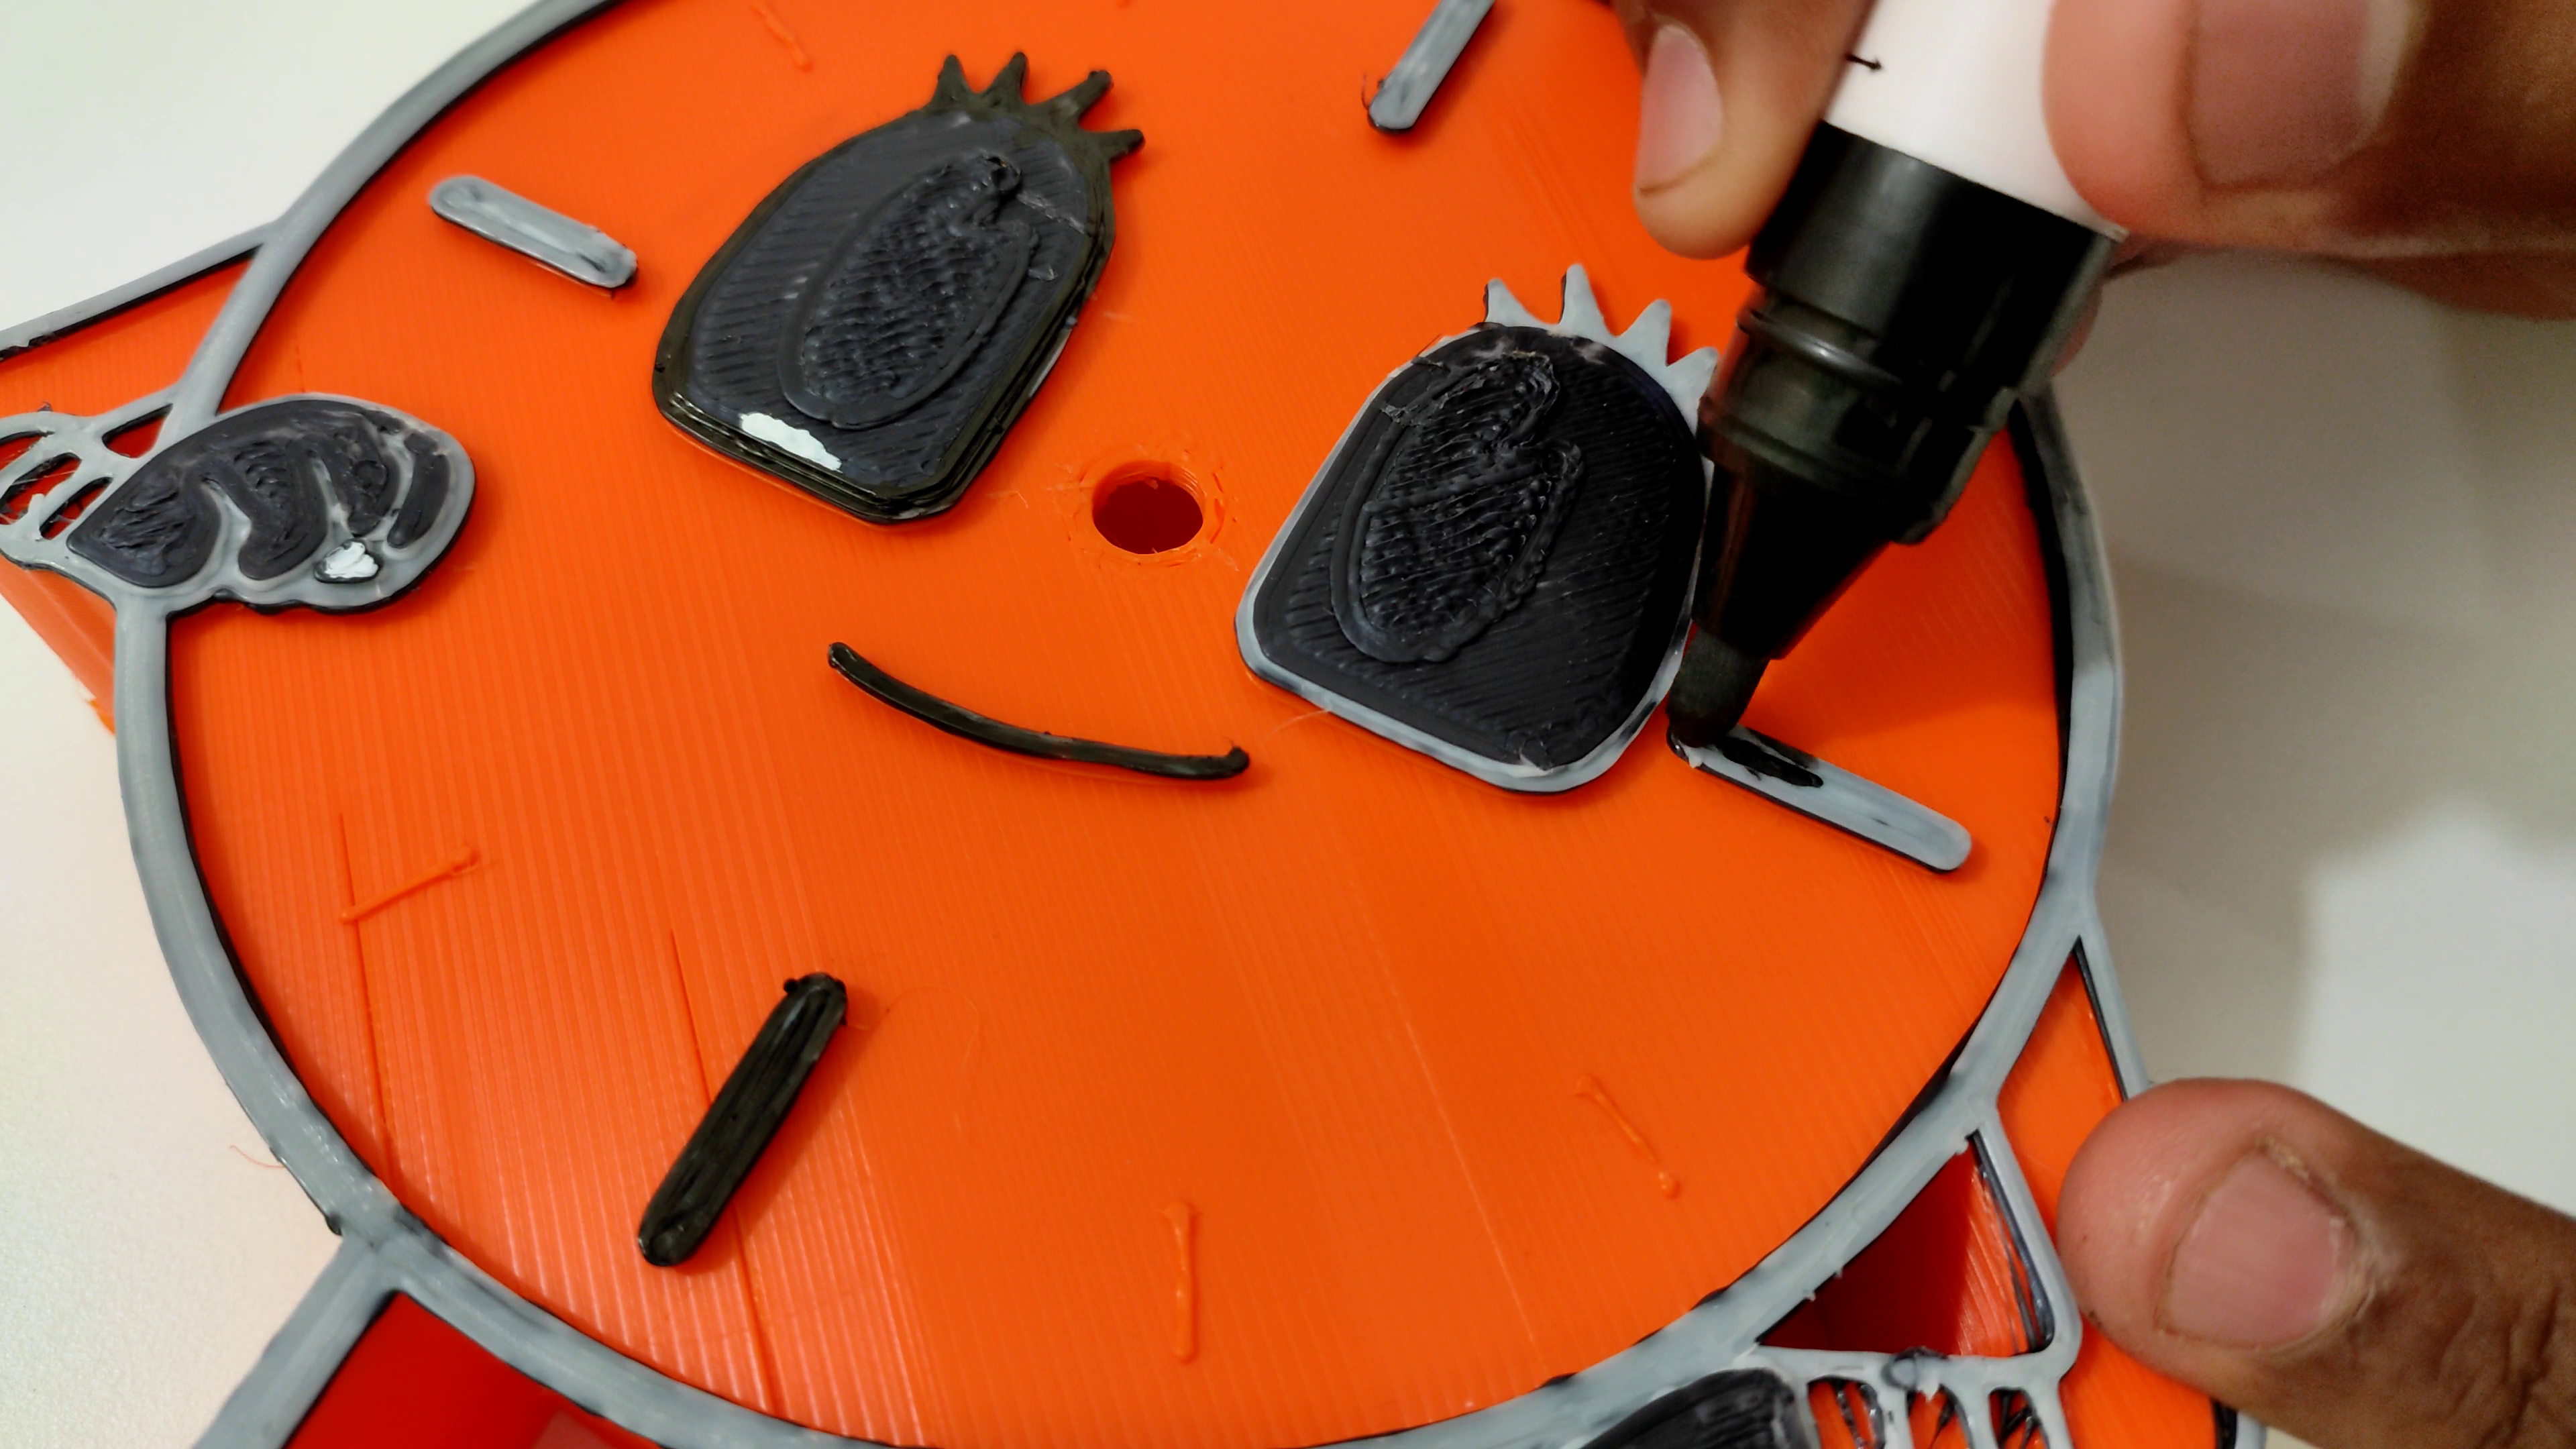
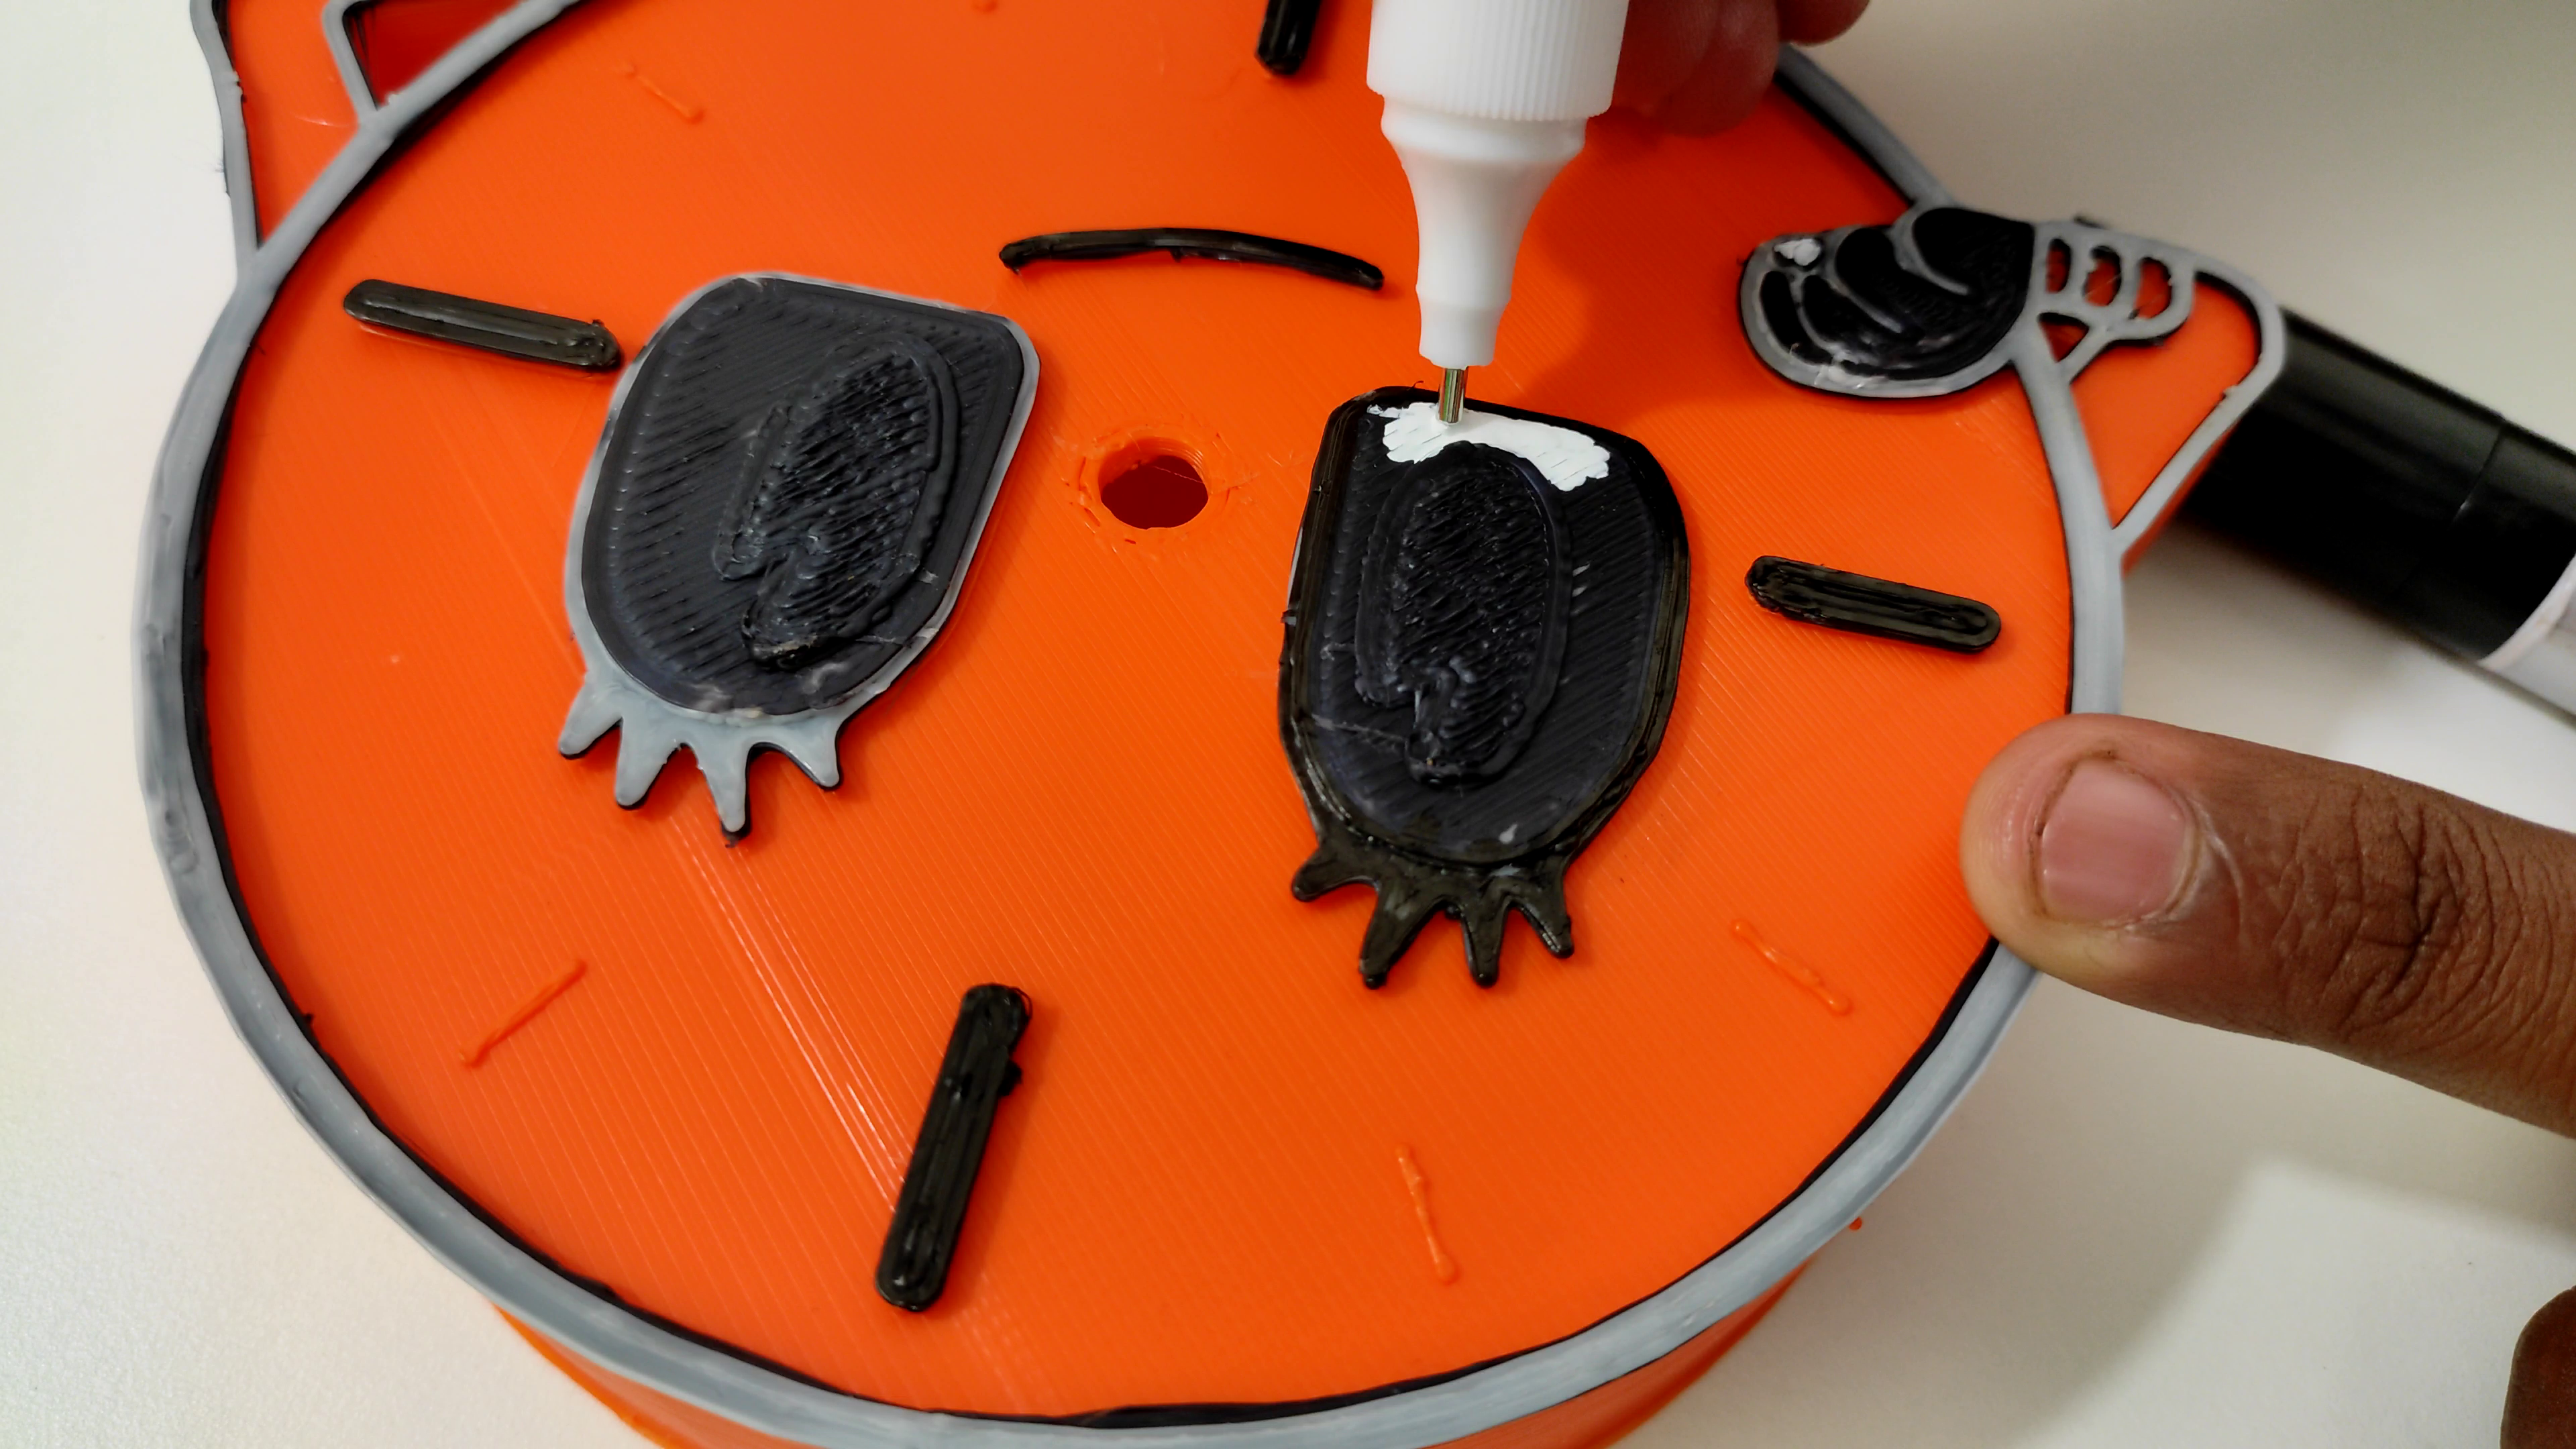
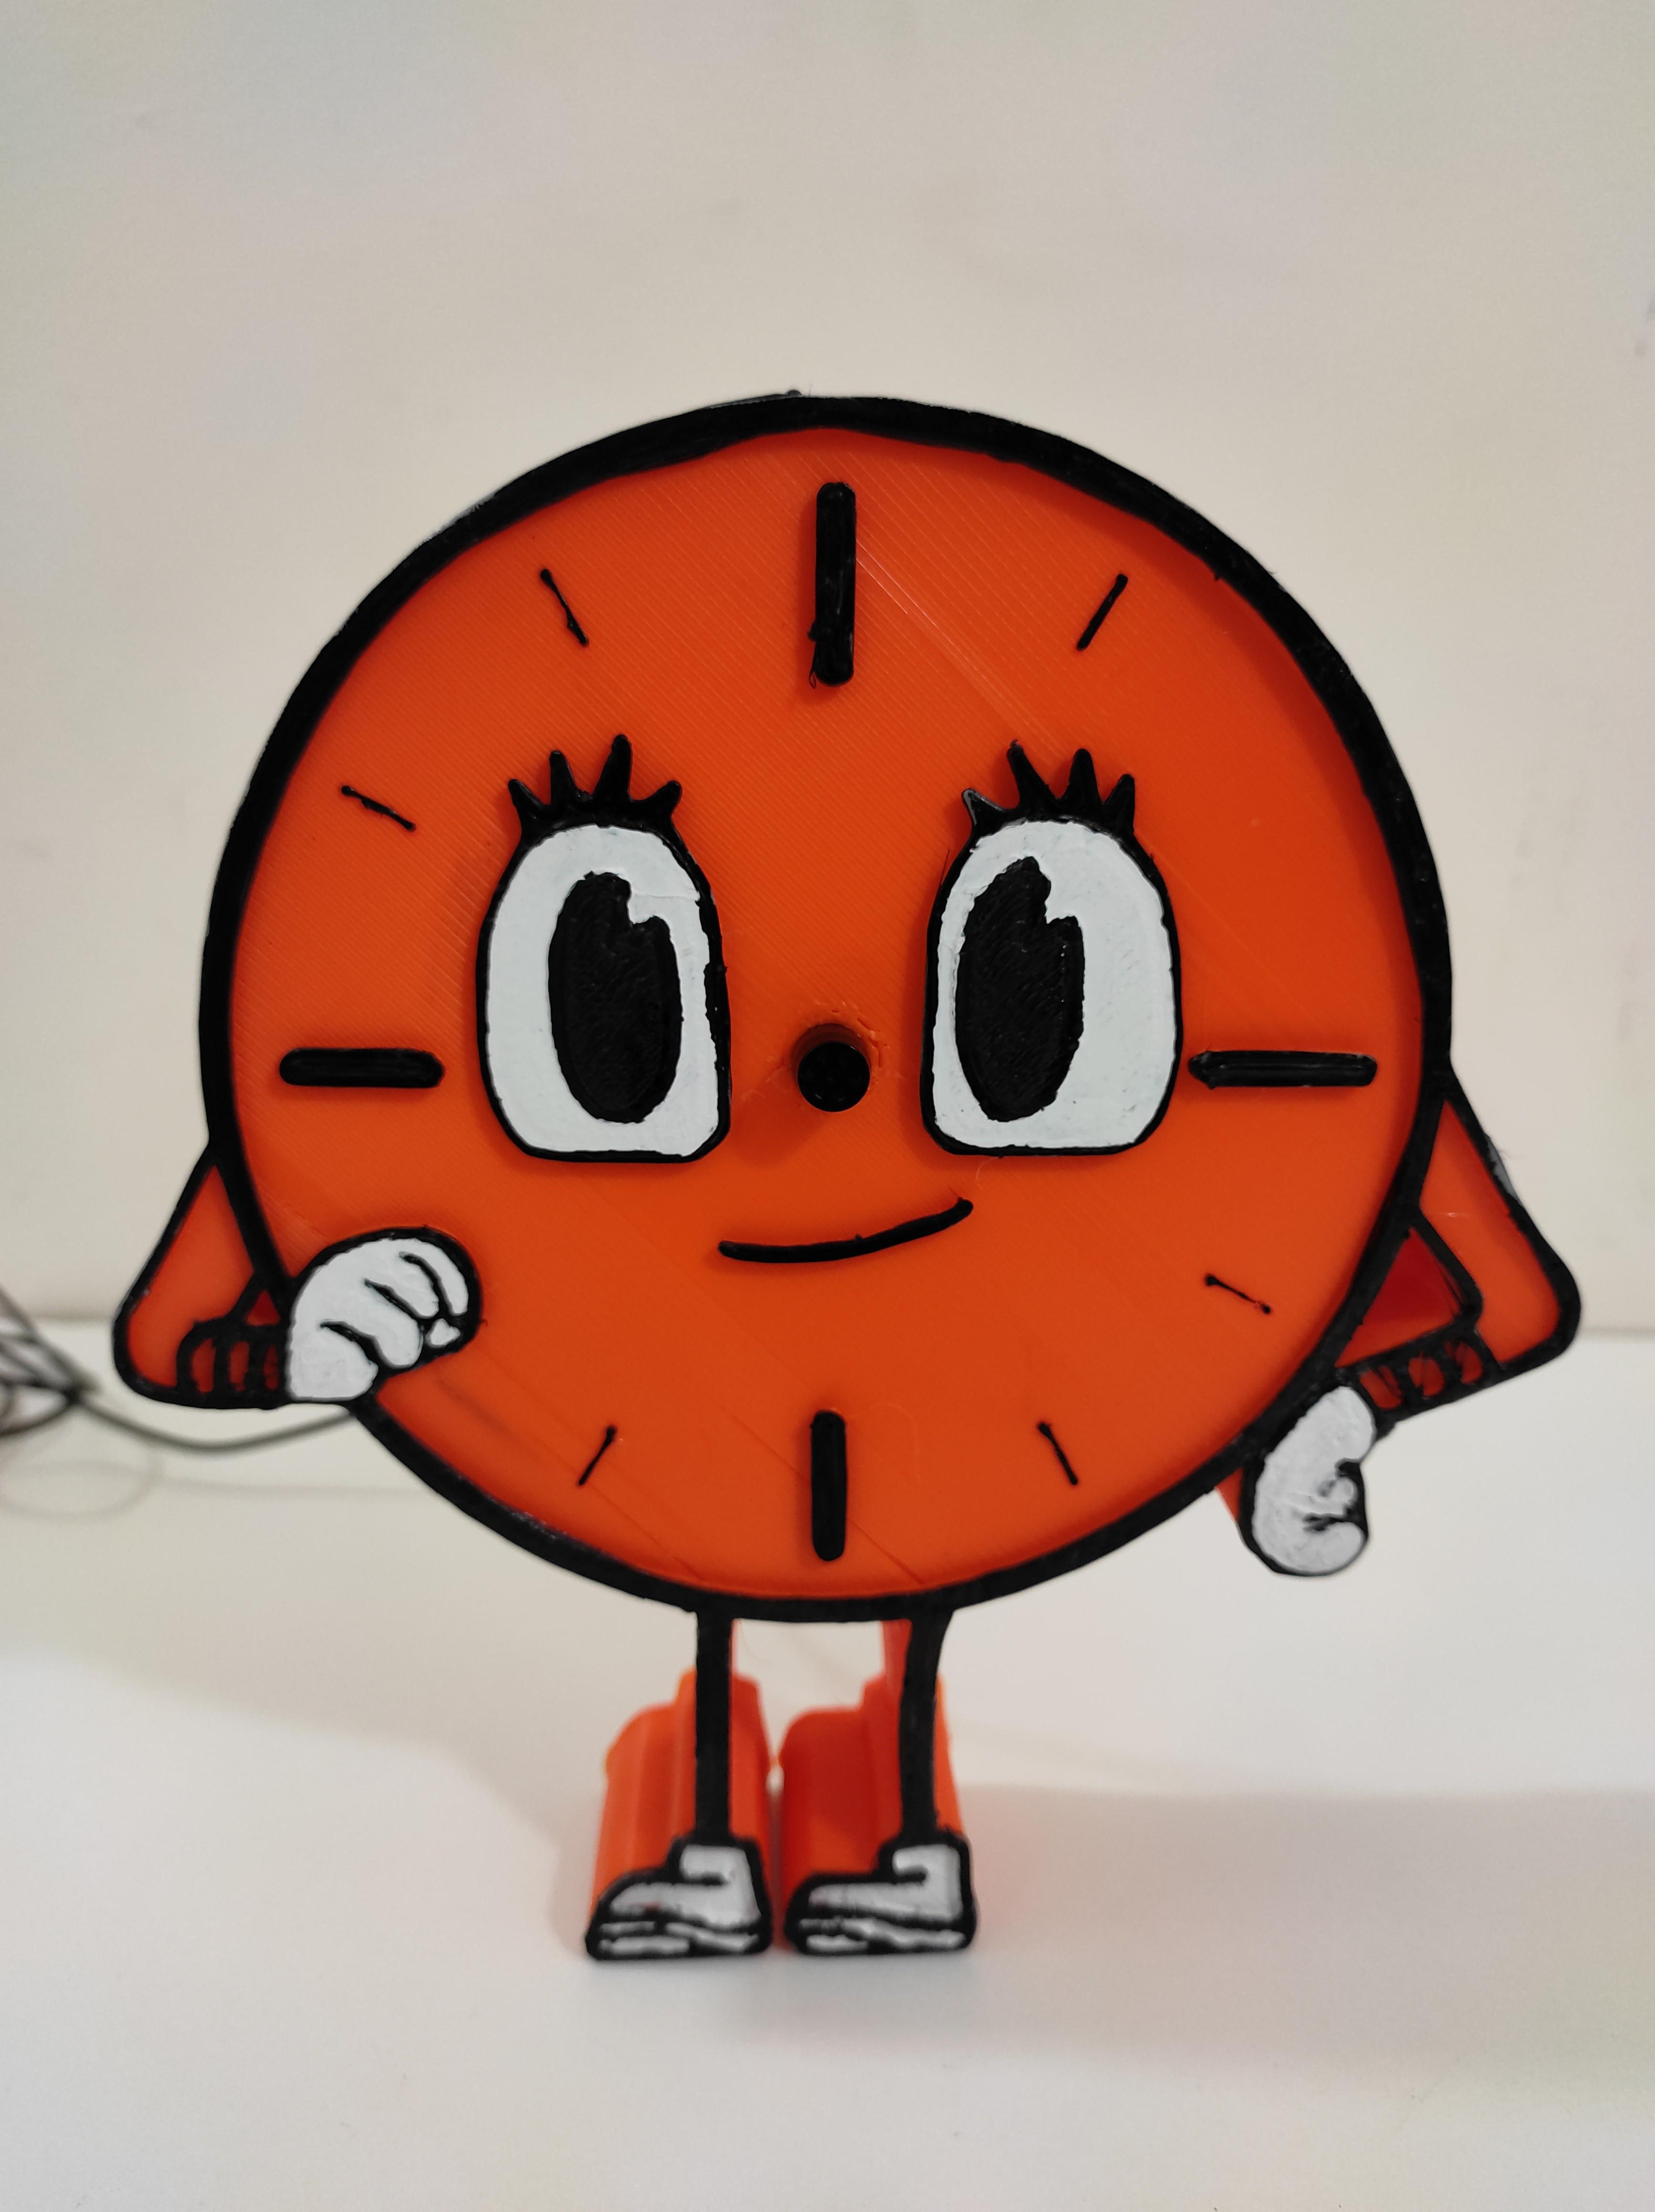
Once it’s printed I spent few minutes carefully removing the support materials.
Note: Don't make any large motions while removing the support material, the thickness of the face is very small and can break quite easily.
You can just stop here and continue with the rest of the instructable but for me, the color wasn't that appealing so I fixed the color. I used a black marker for the outline and a whitener for the eyes. After messing with it for a while I changed the colors completely! You can see in the image above It looks way better than the original color I printed it with.
Raspberry Pi Zero W + Google Assistant
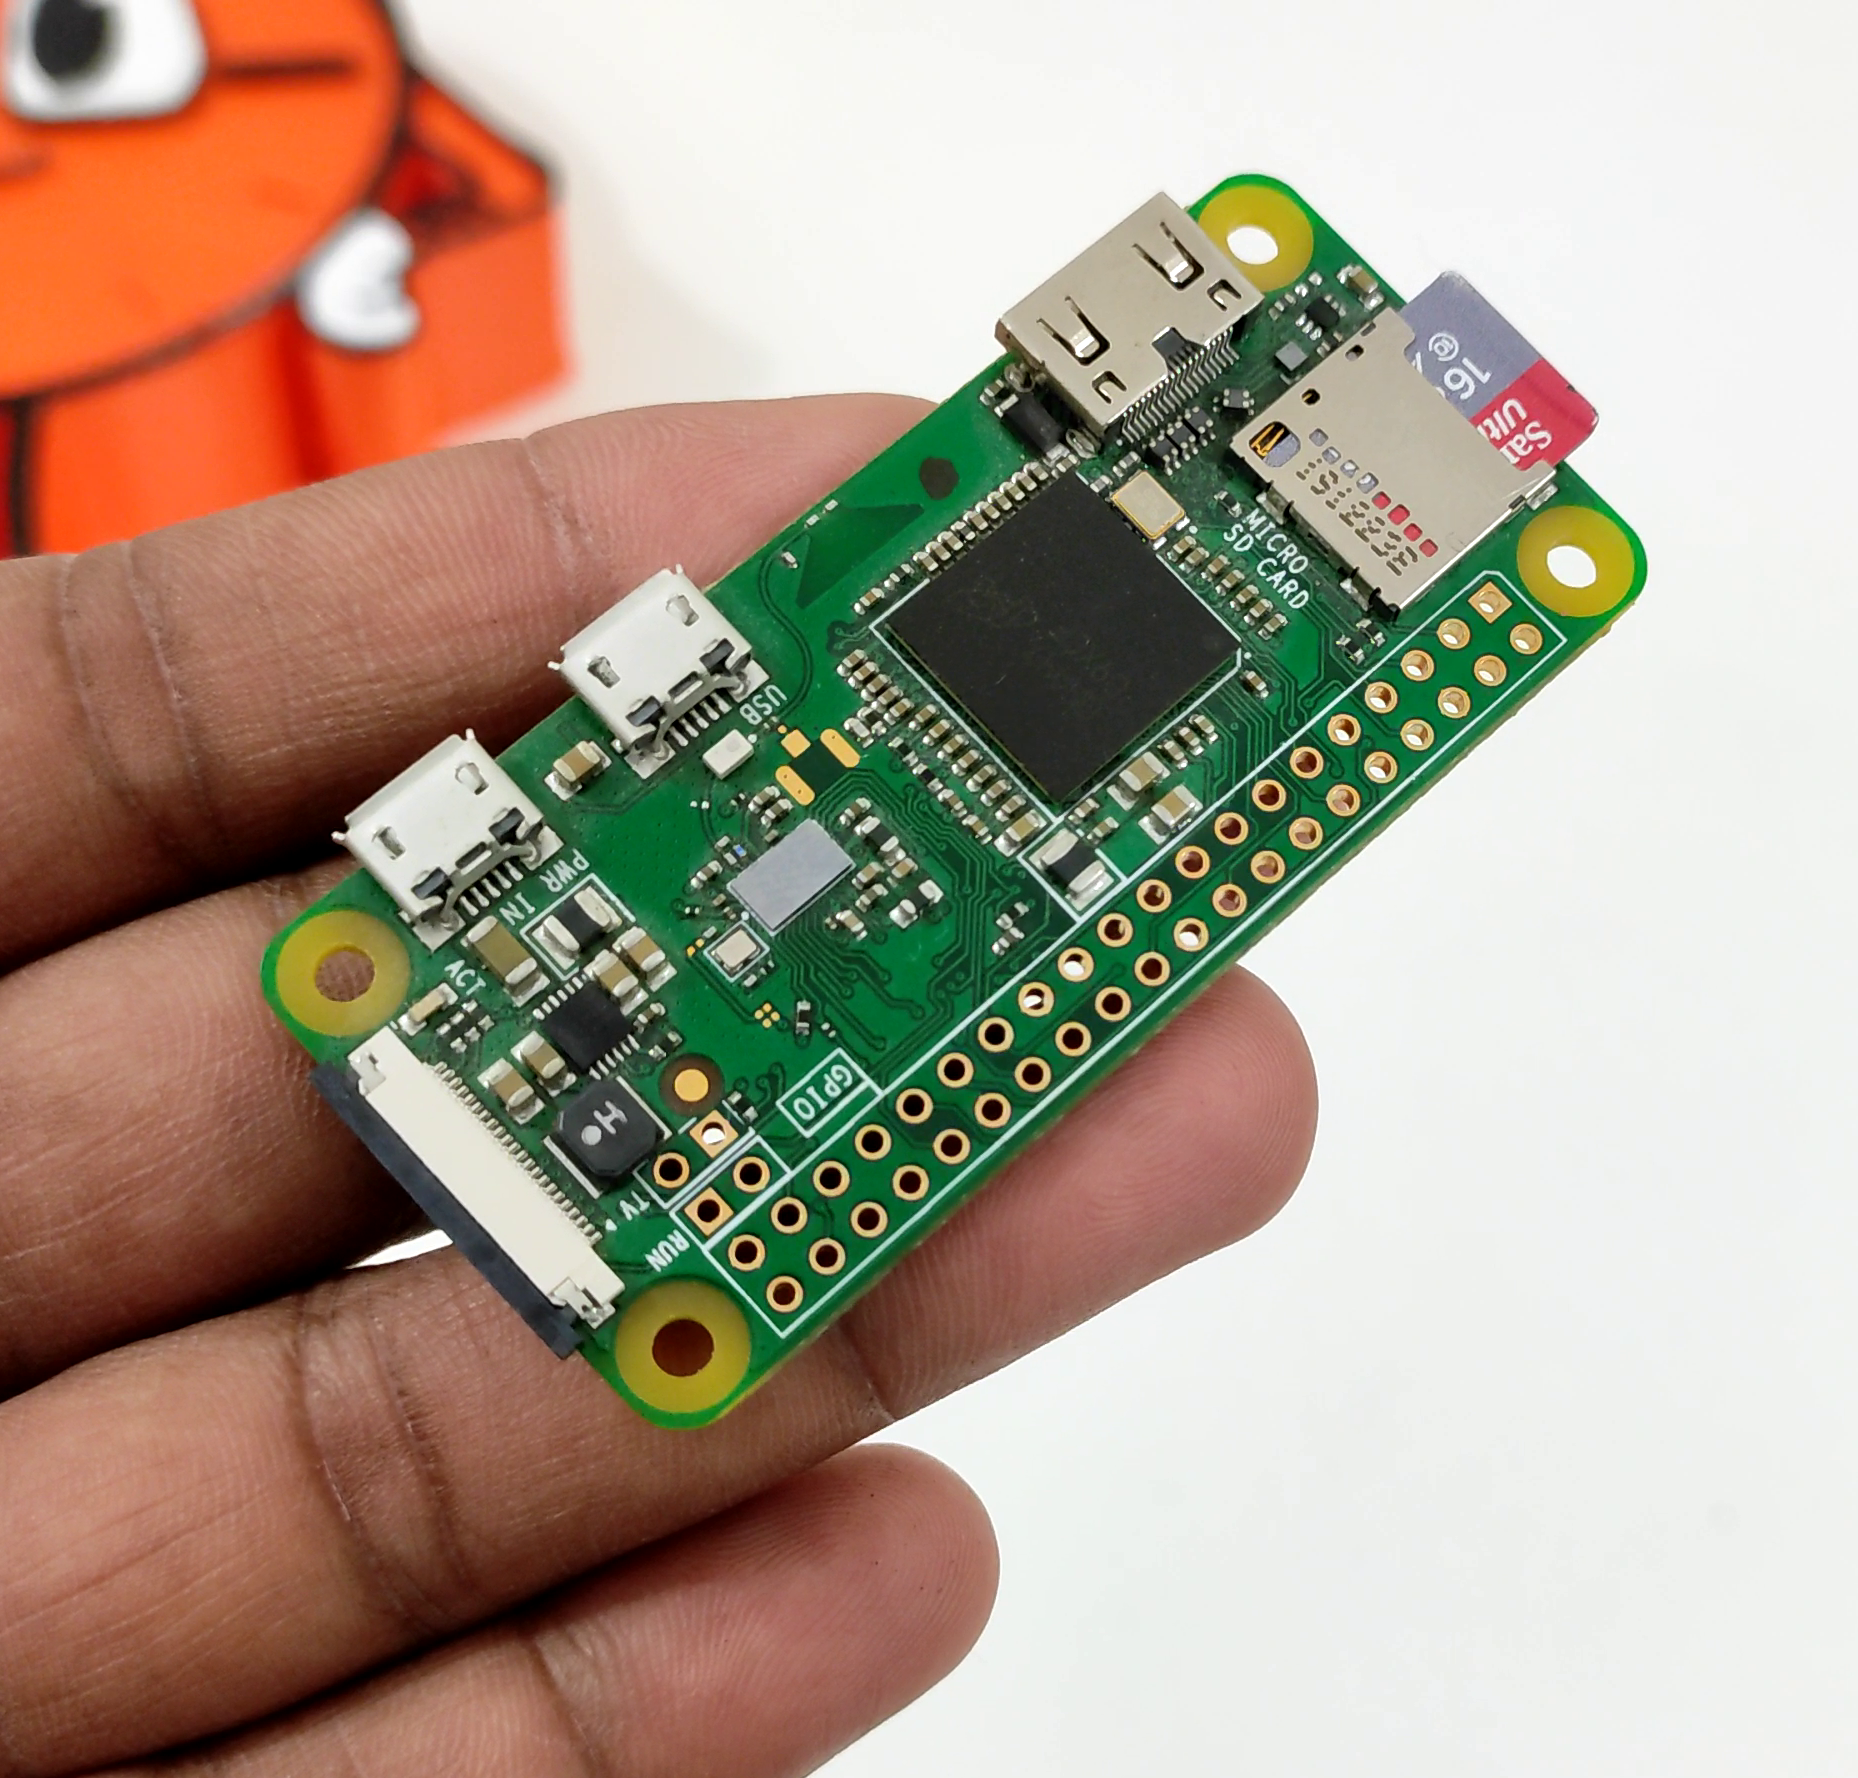

Since the 3d model is ready we can start with the brain for Miss Minutes.
I’m going to use raspberry pi zero w for the hardware and for the software I’m going to cheat a bit, instead of writing any custom AI or use fancy libraries to build a voice assistant. I’m going to use google assistant SDK.
This wouldn’t be possible 2 years ago, because google assistant SDK did not support raspberry pi zero. But recently last year they released a new google assistant service, which does support all sorts of hardware including raspberry pi zero w.
Audio Hardware
.png)
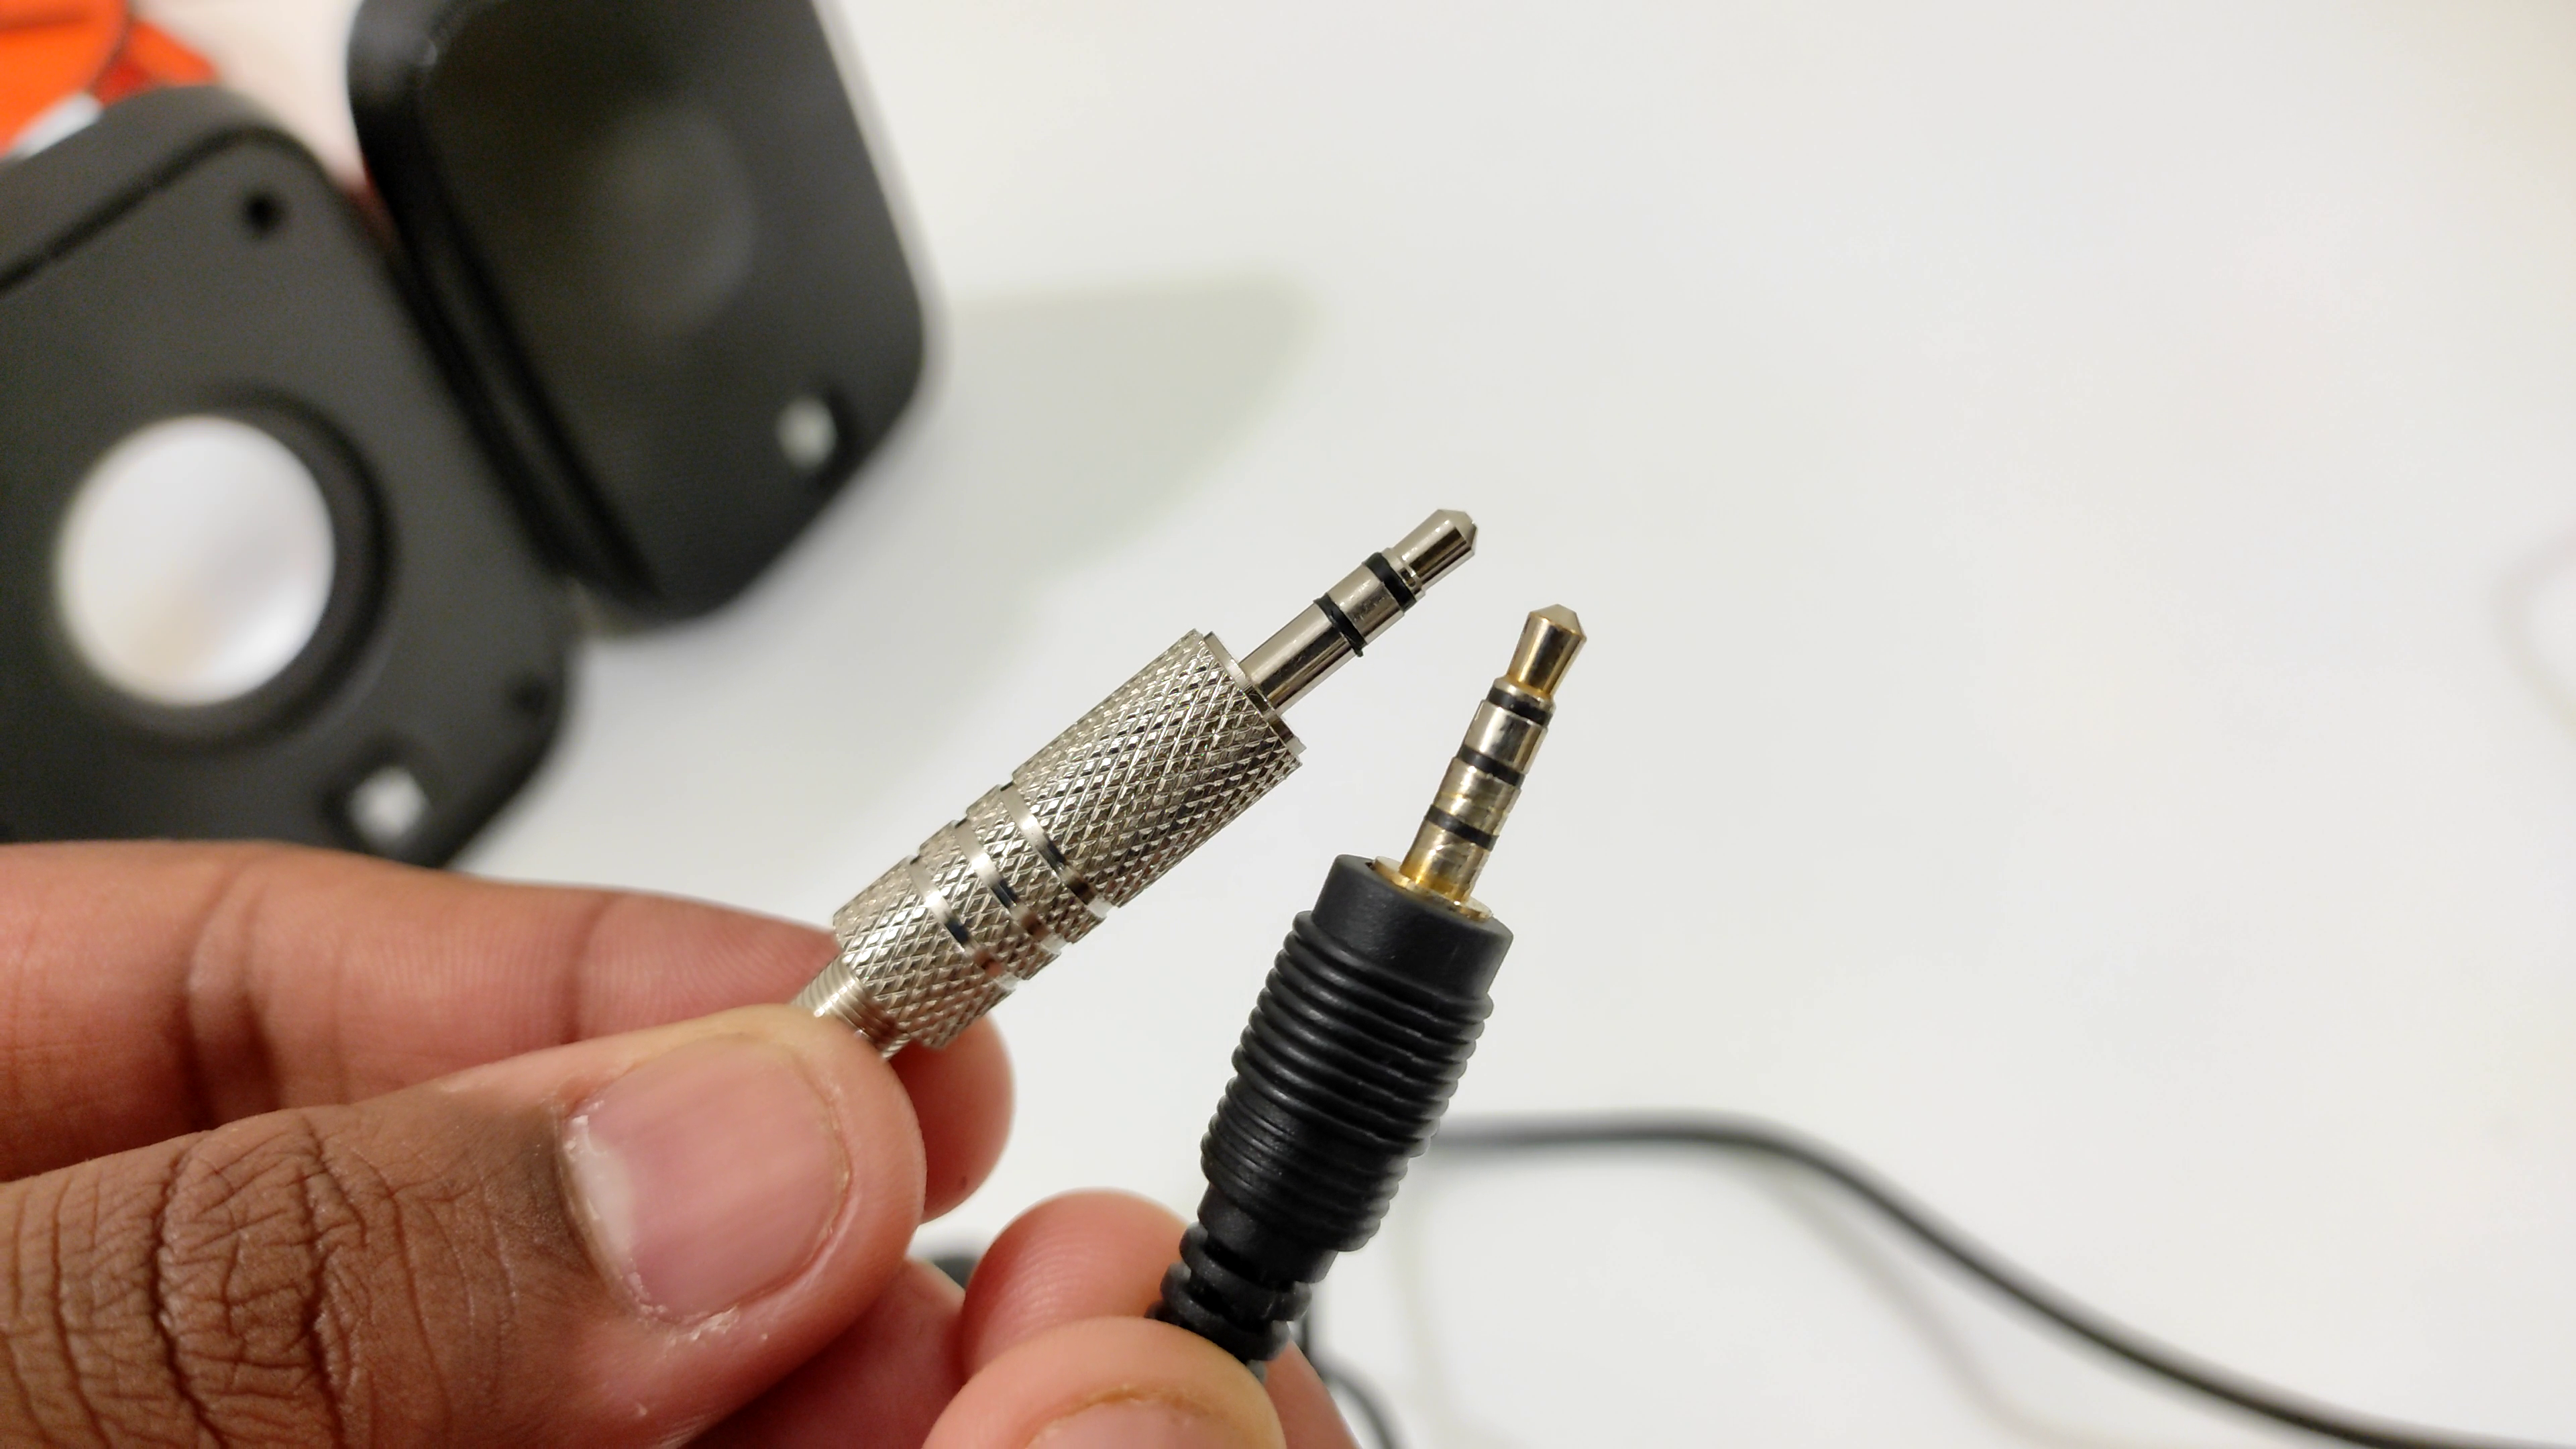
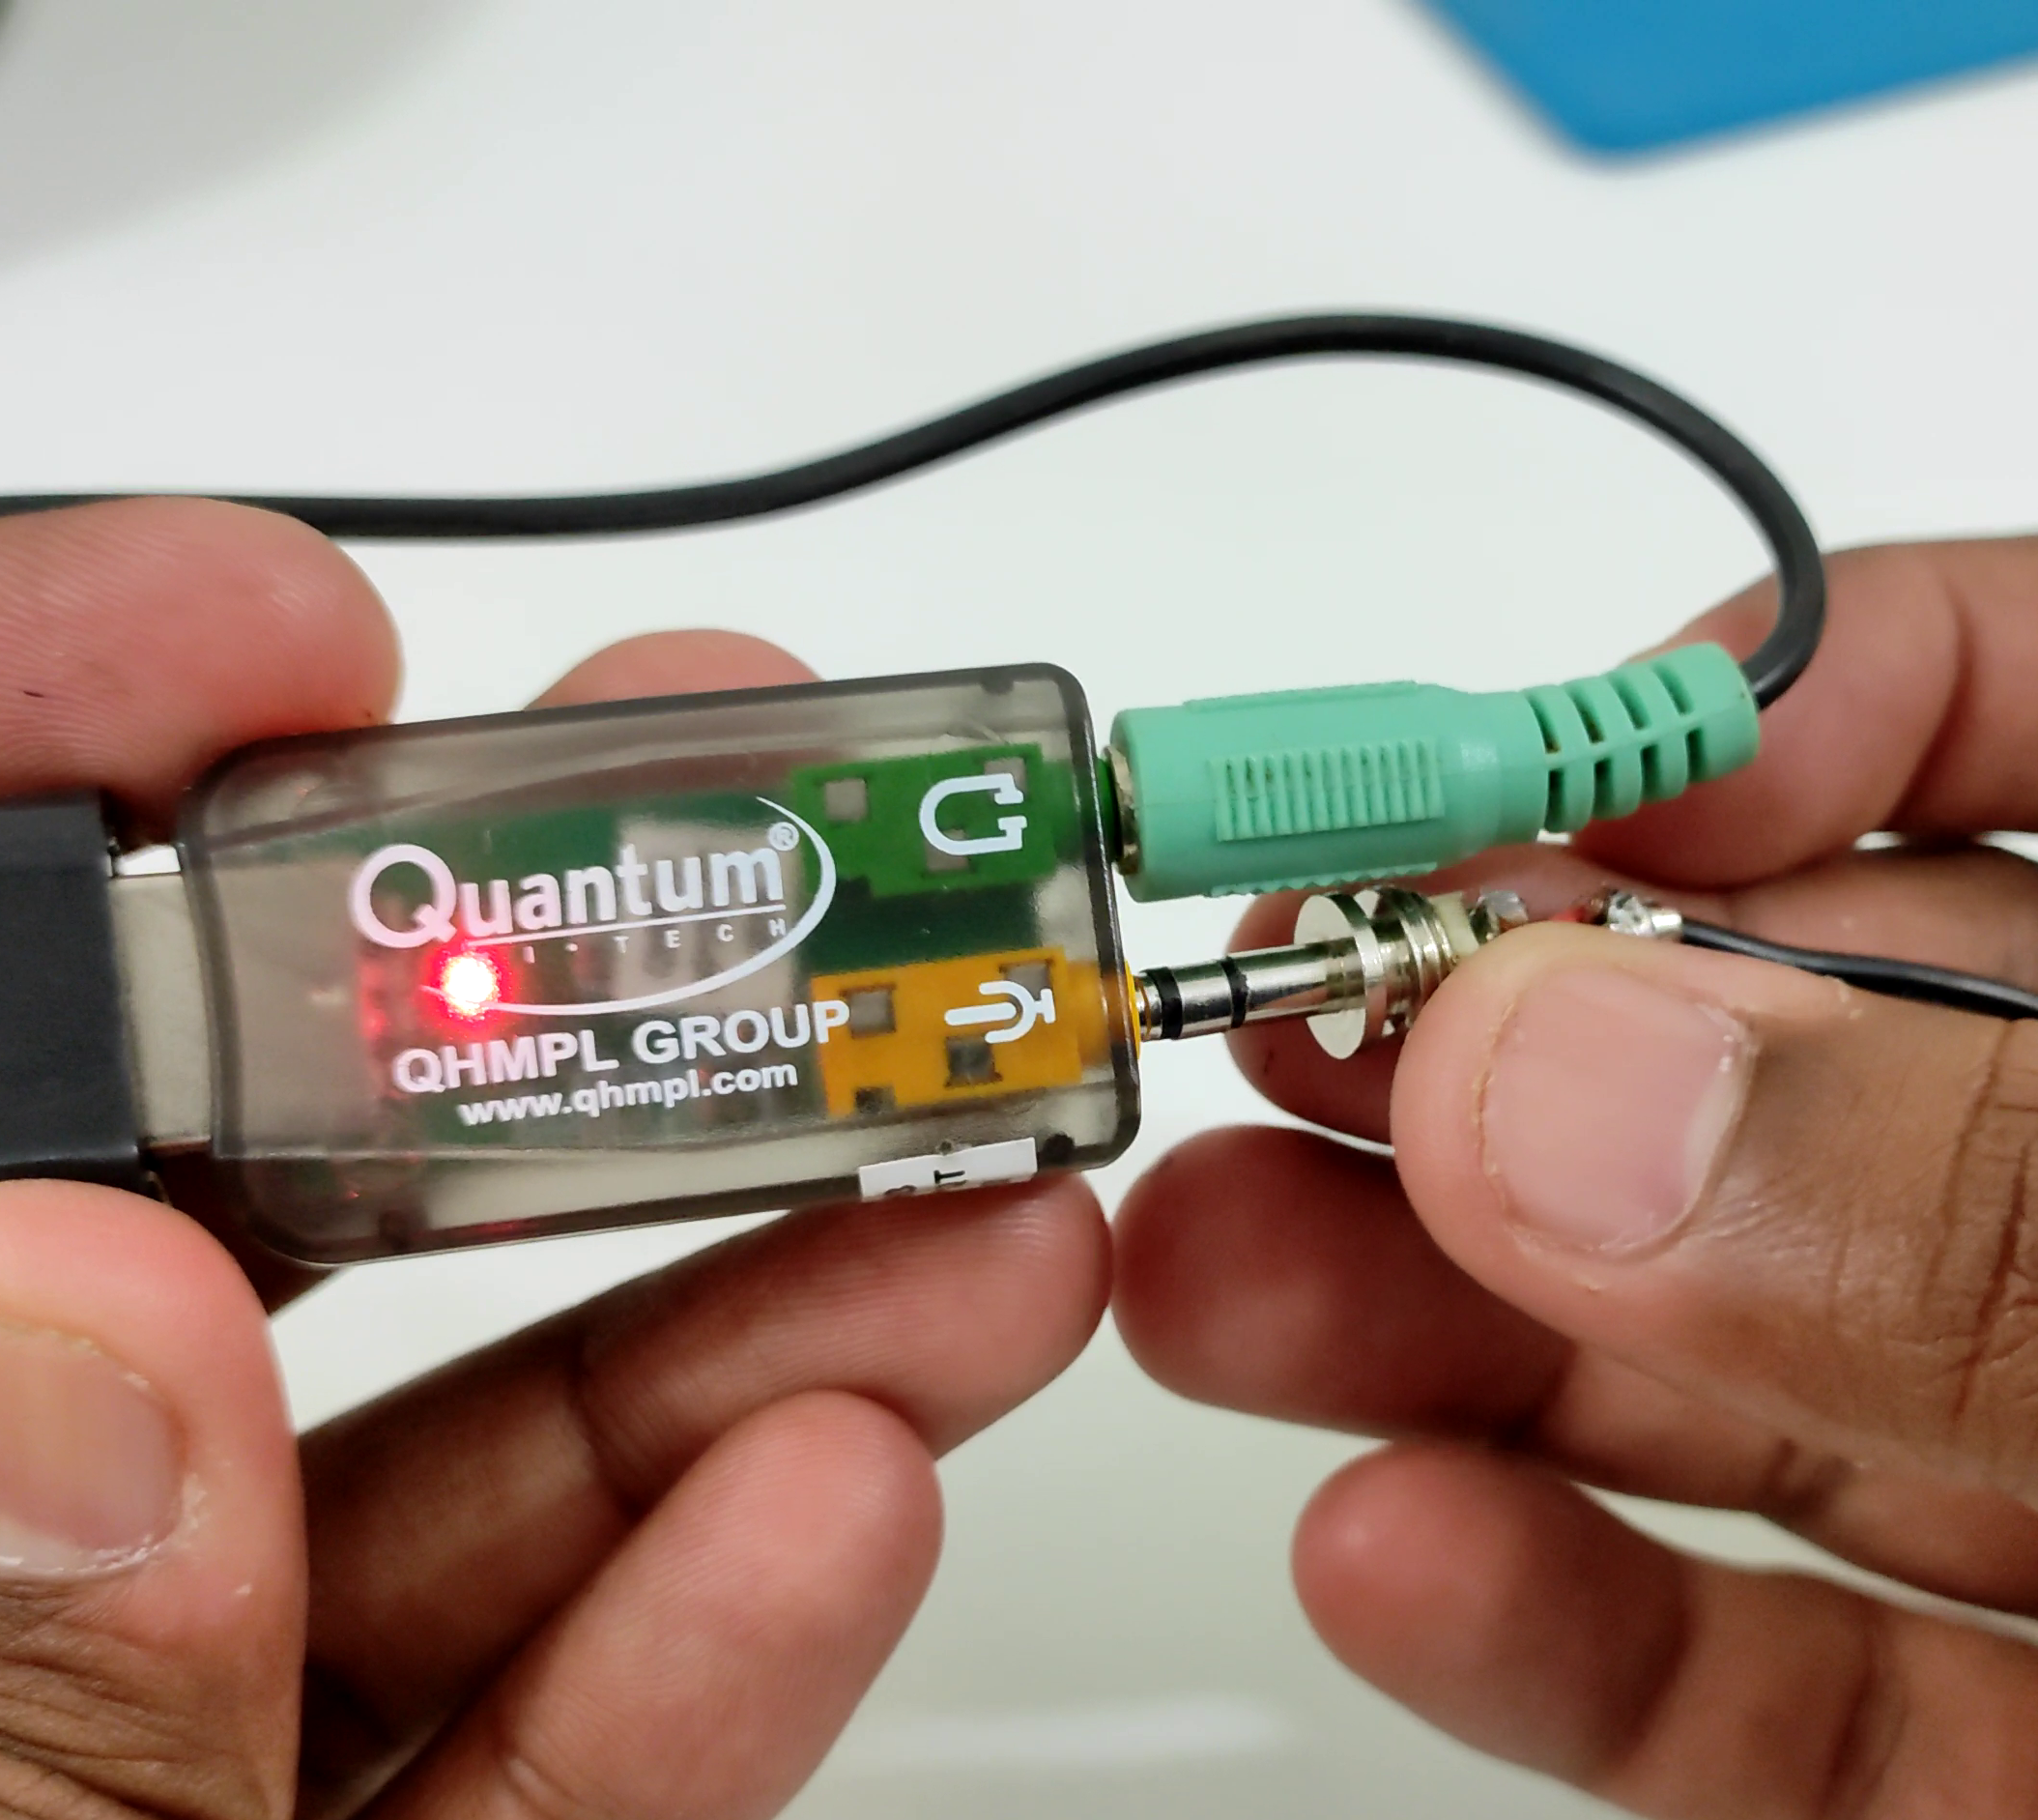
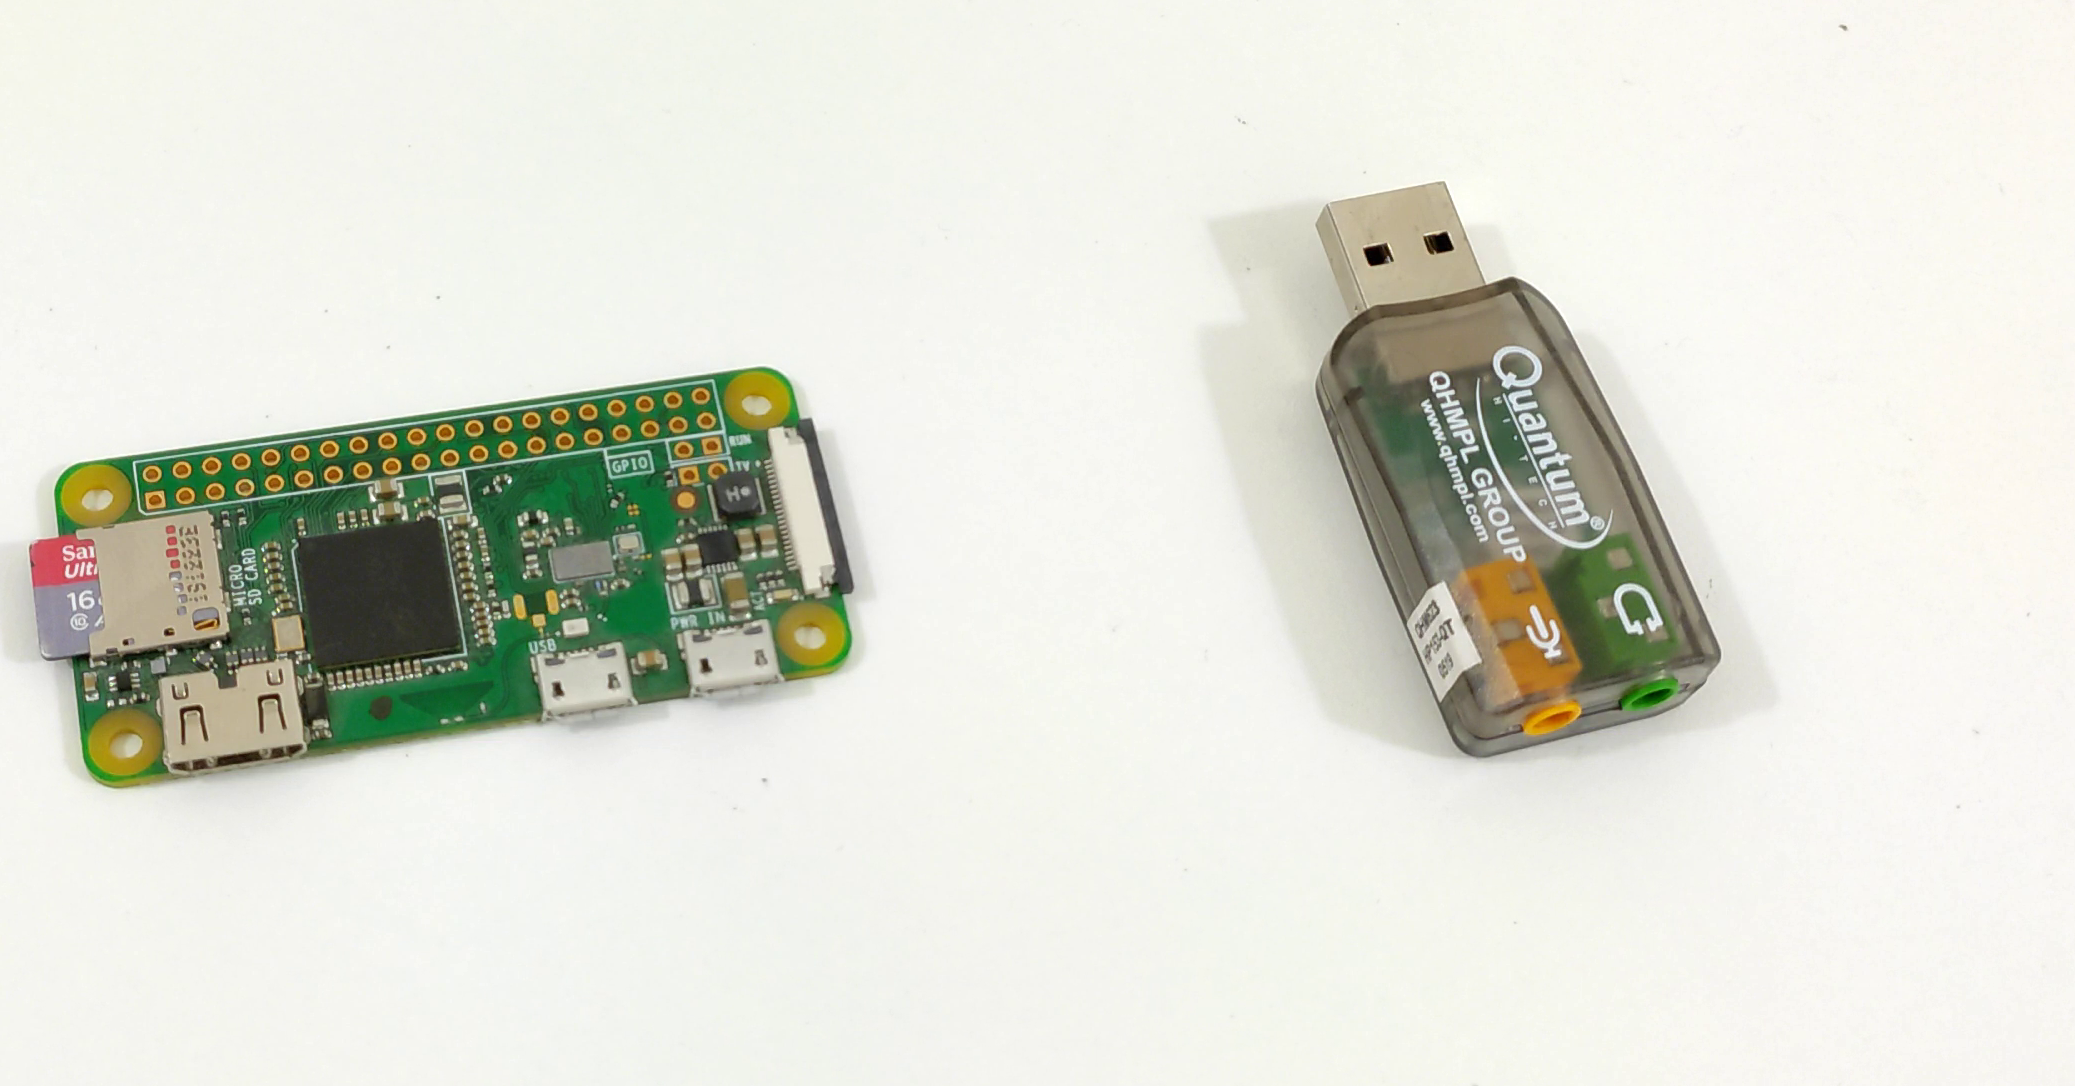
Before messing up with voice assistance let’s deal with the hardware issue we have first. You can see raspberry pi zero w does not have any sort of Audio input or Audio output.
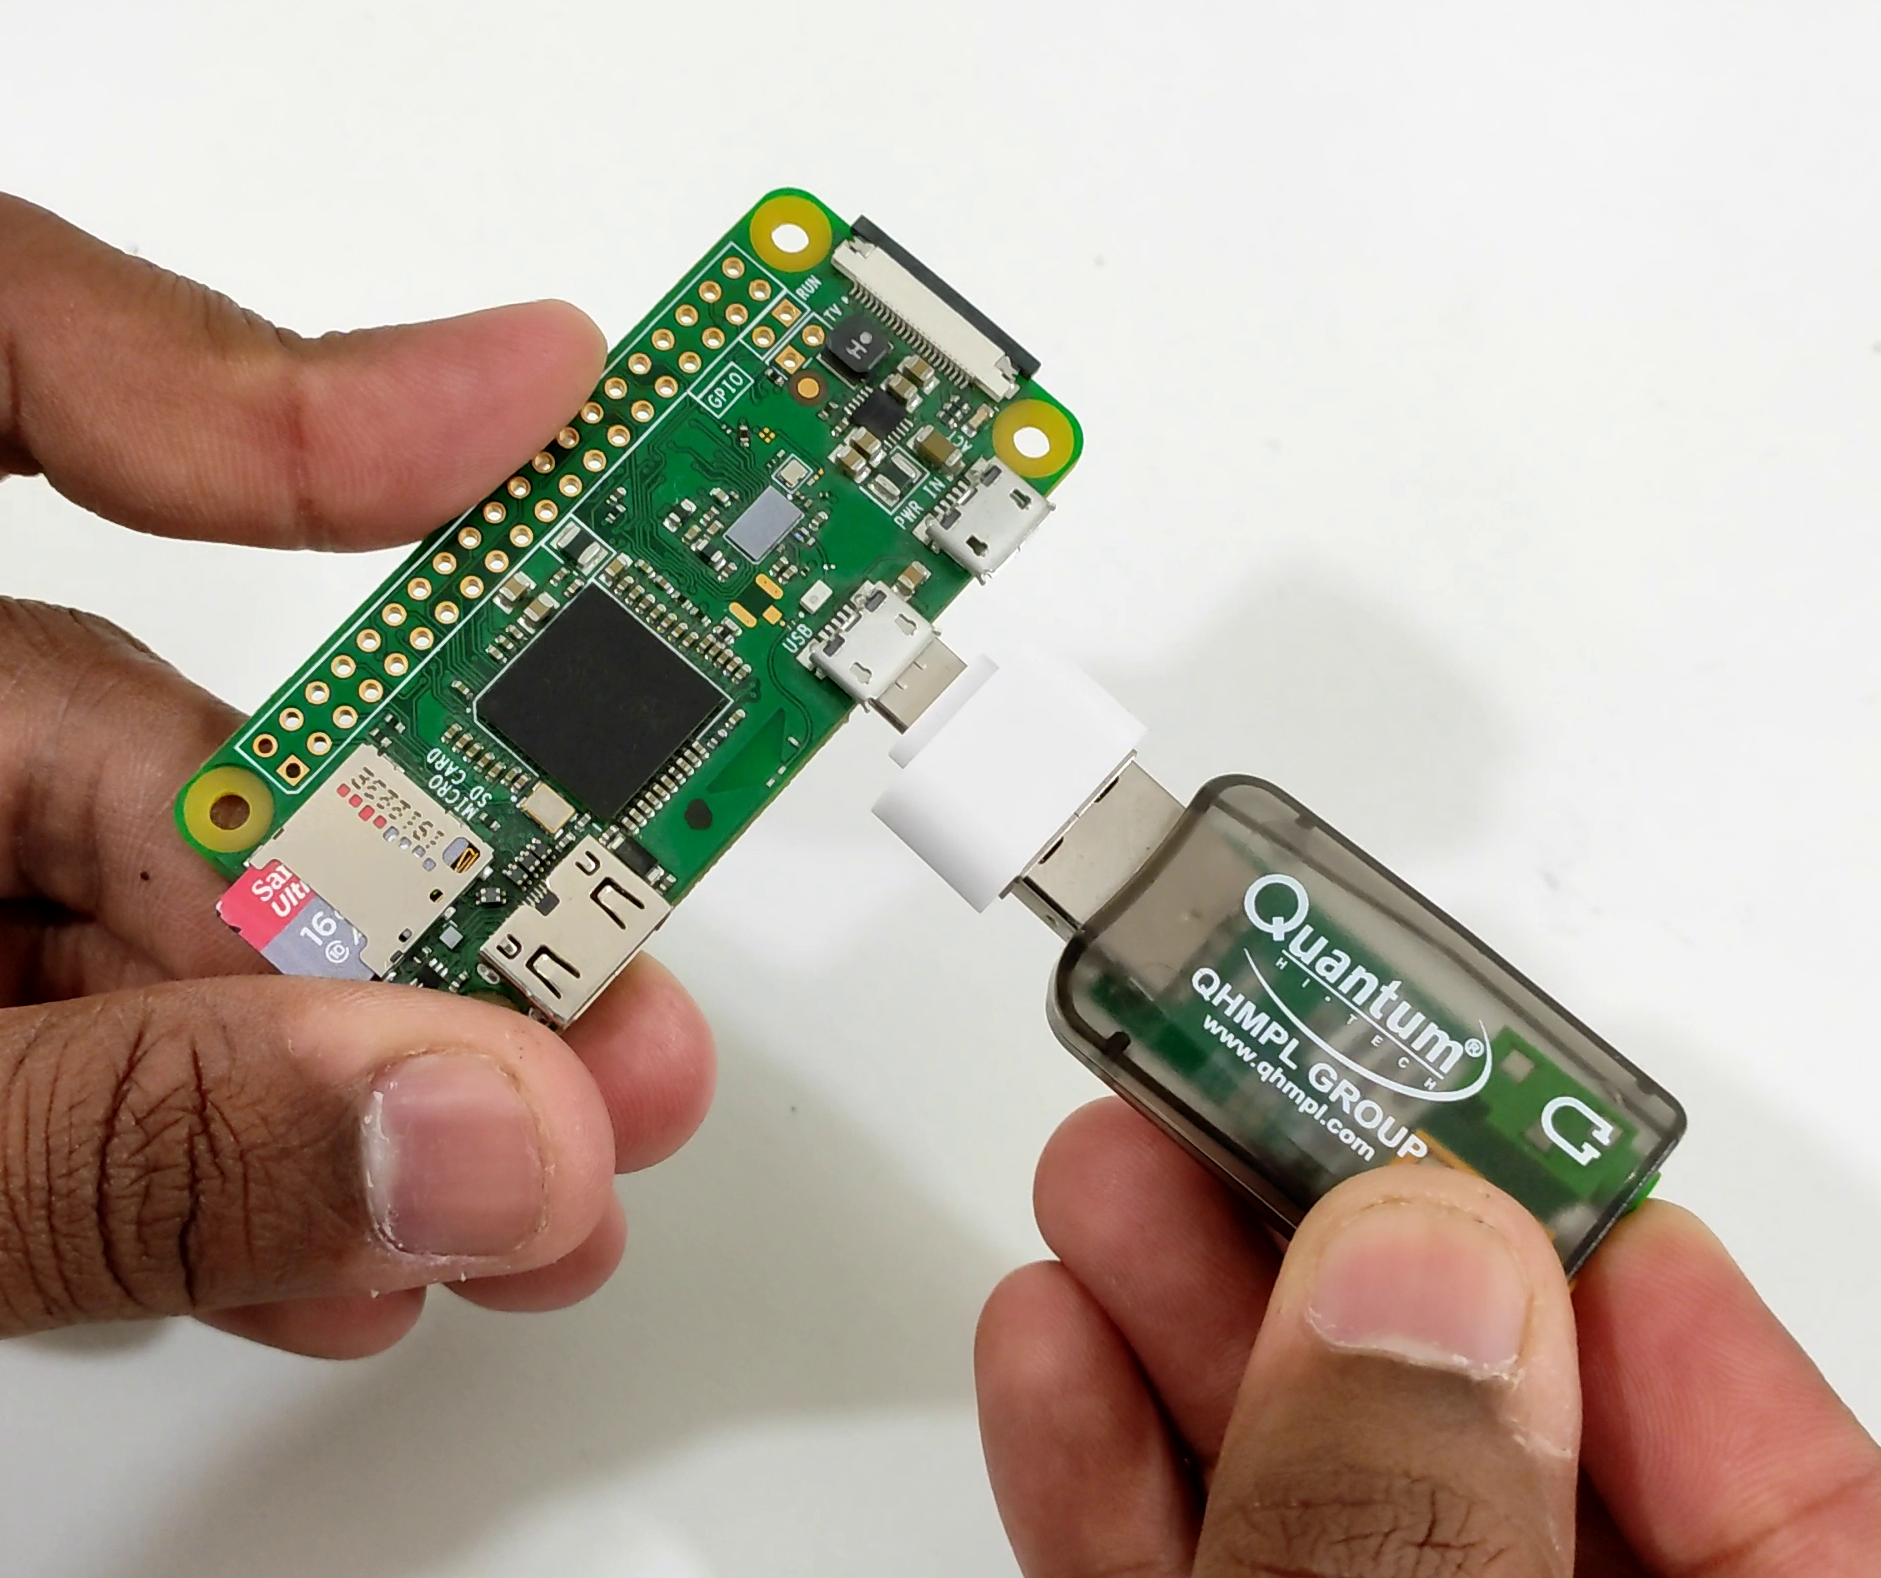
To fix this I used a USB sound card with a micro USB to Full-size USB adapter. This will take the audio input and output through USB and send it to respective audio peripherals.
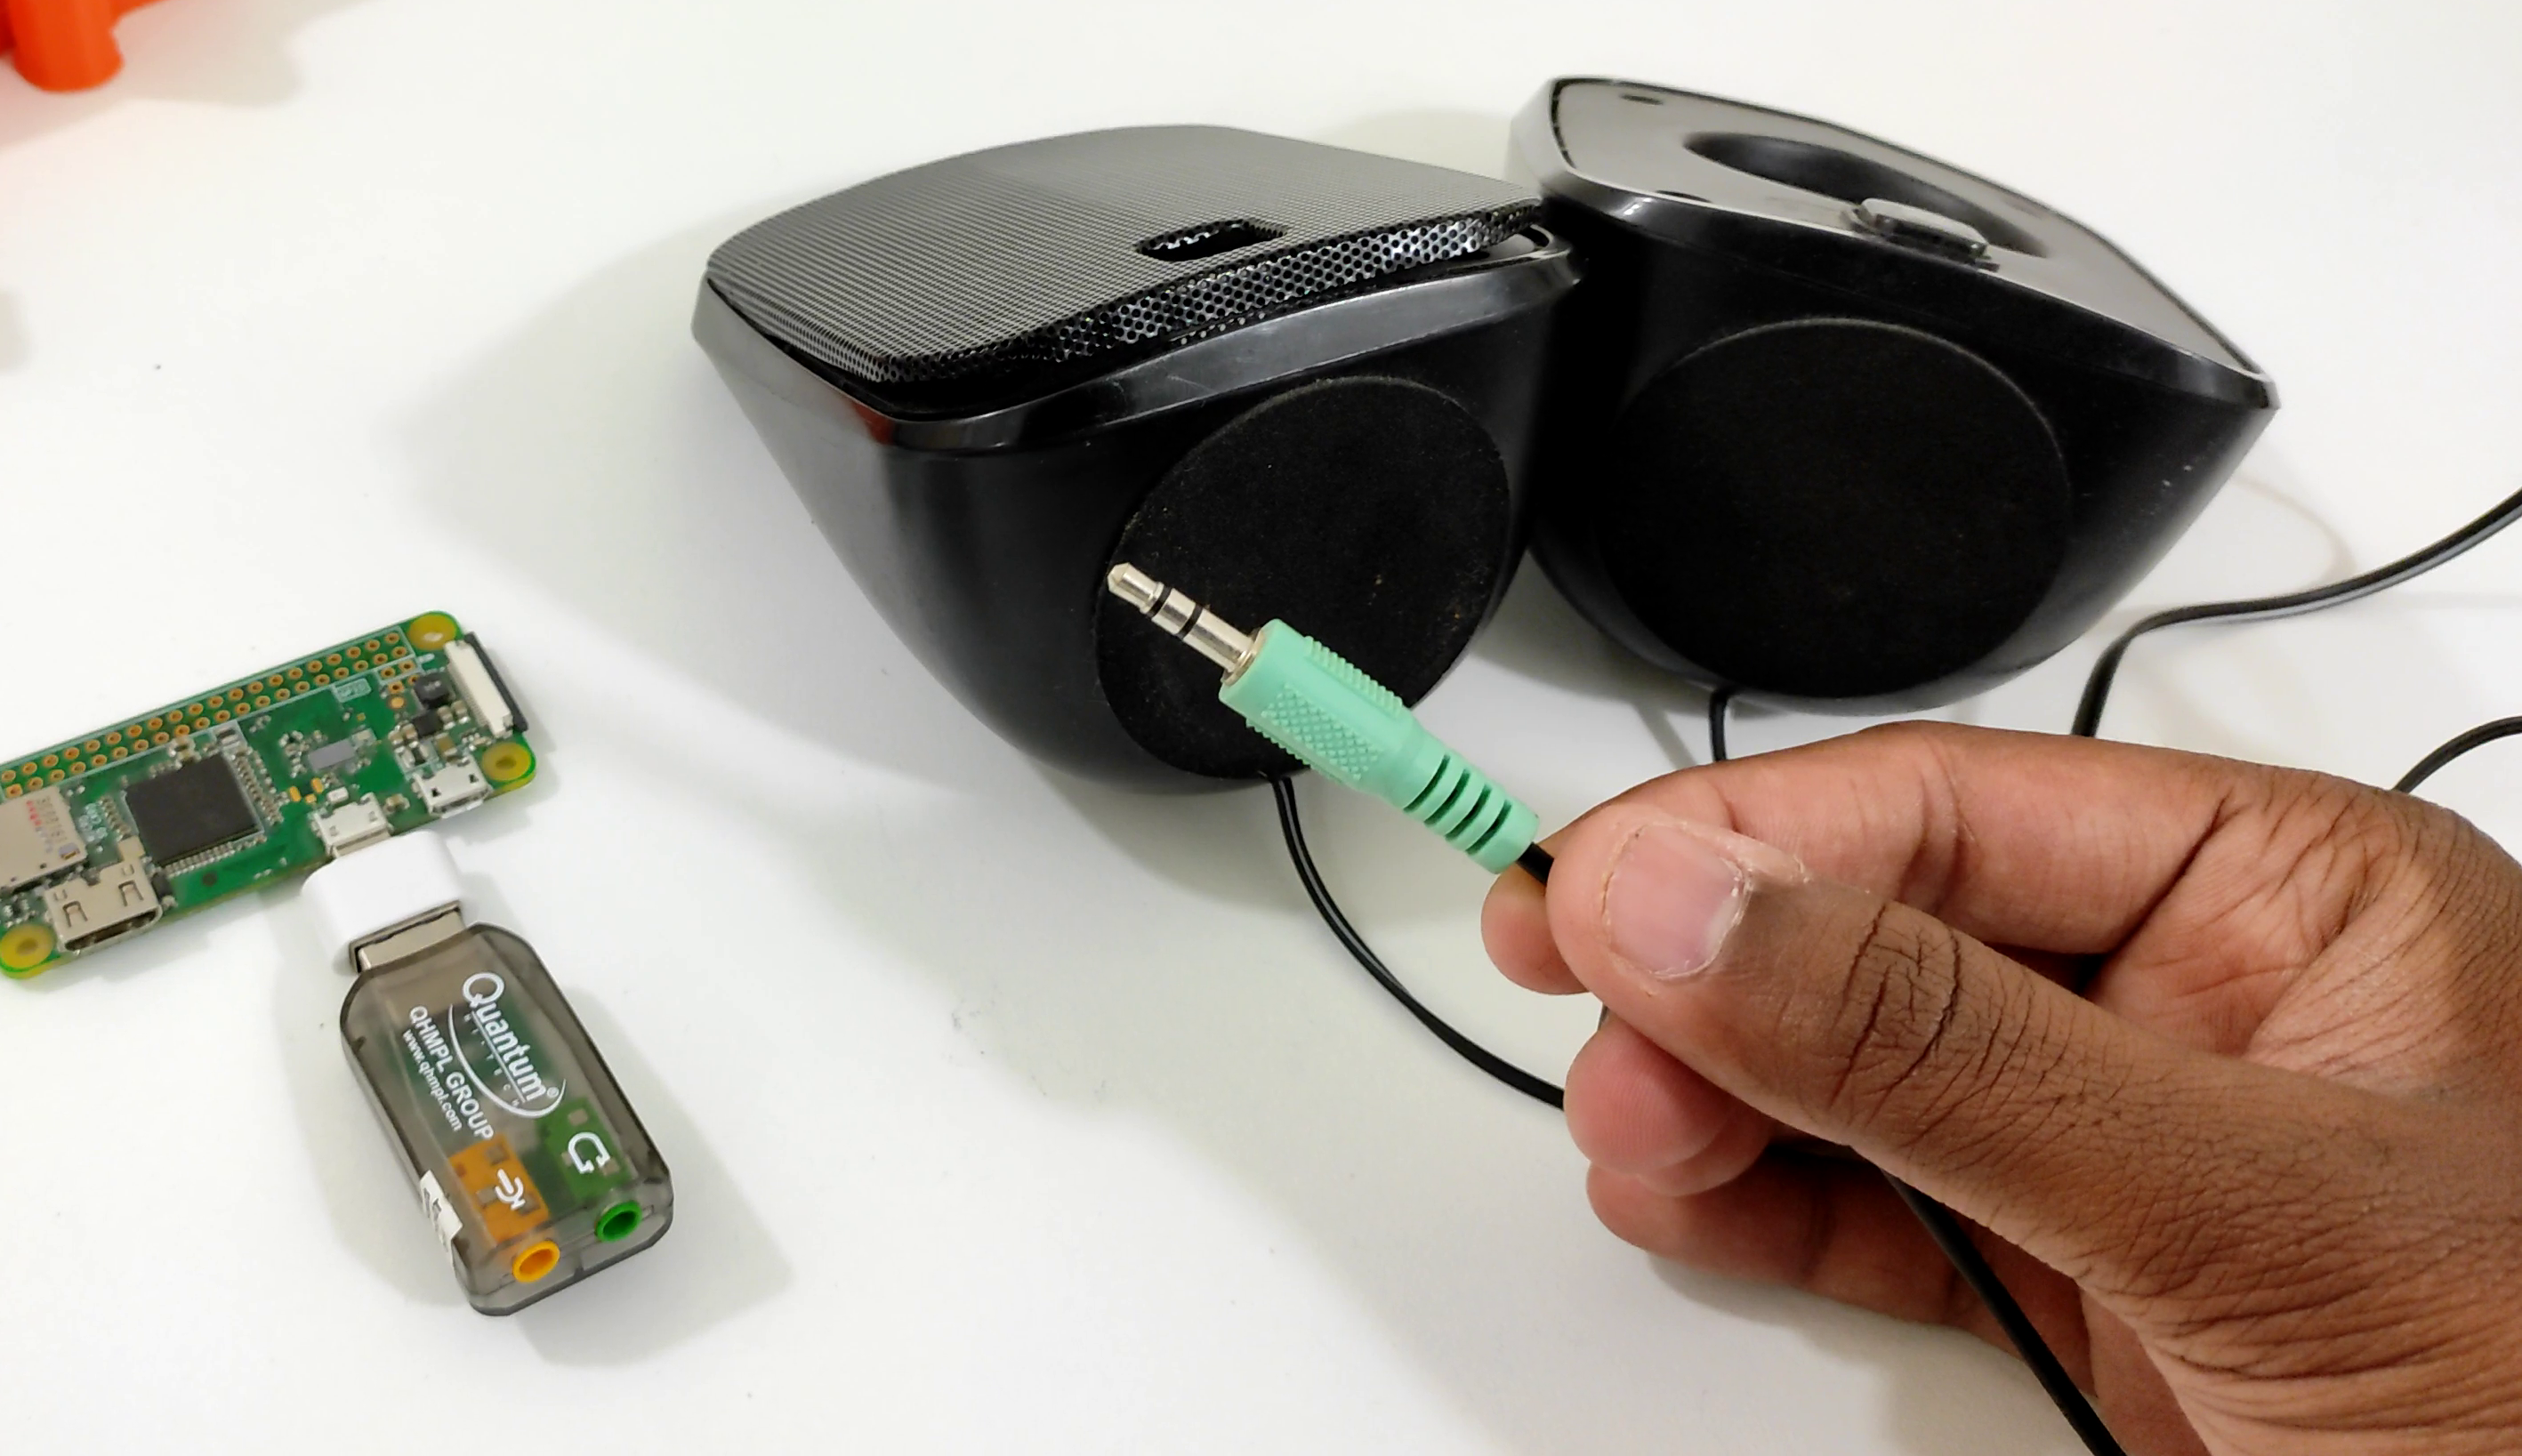
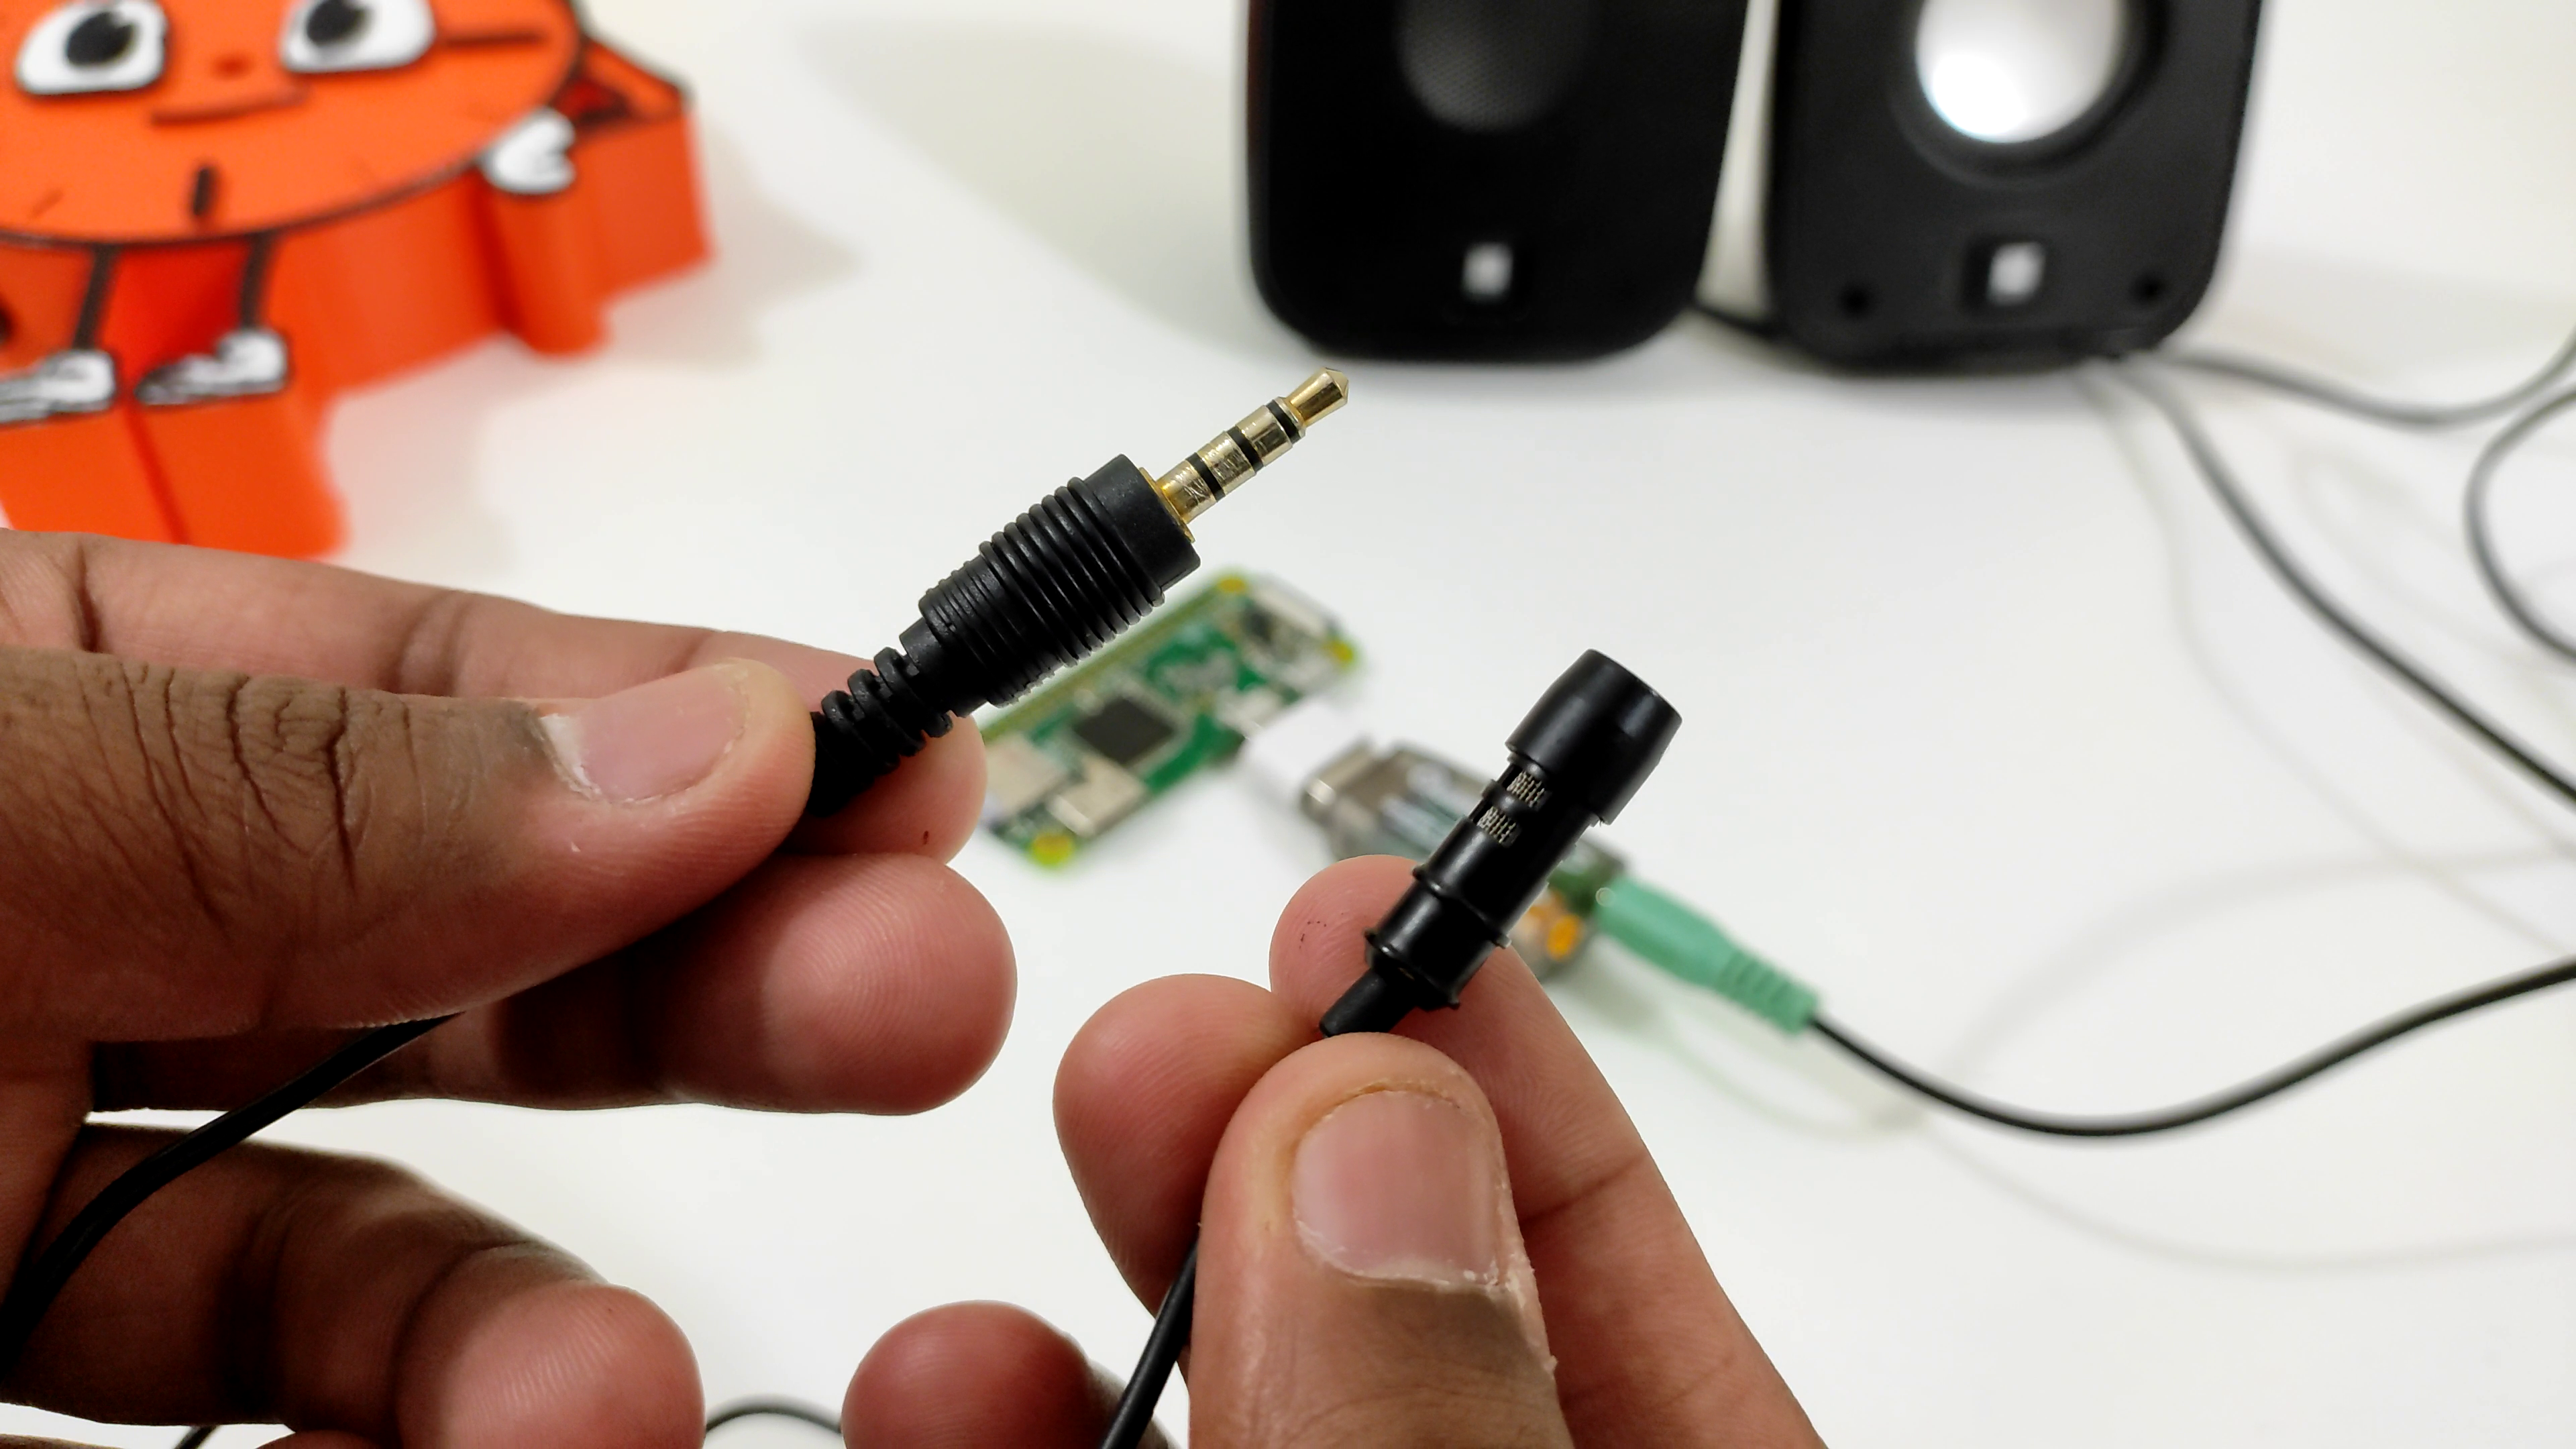
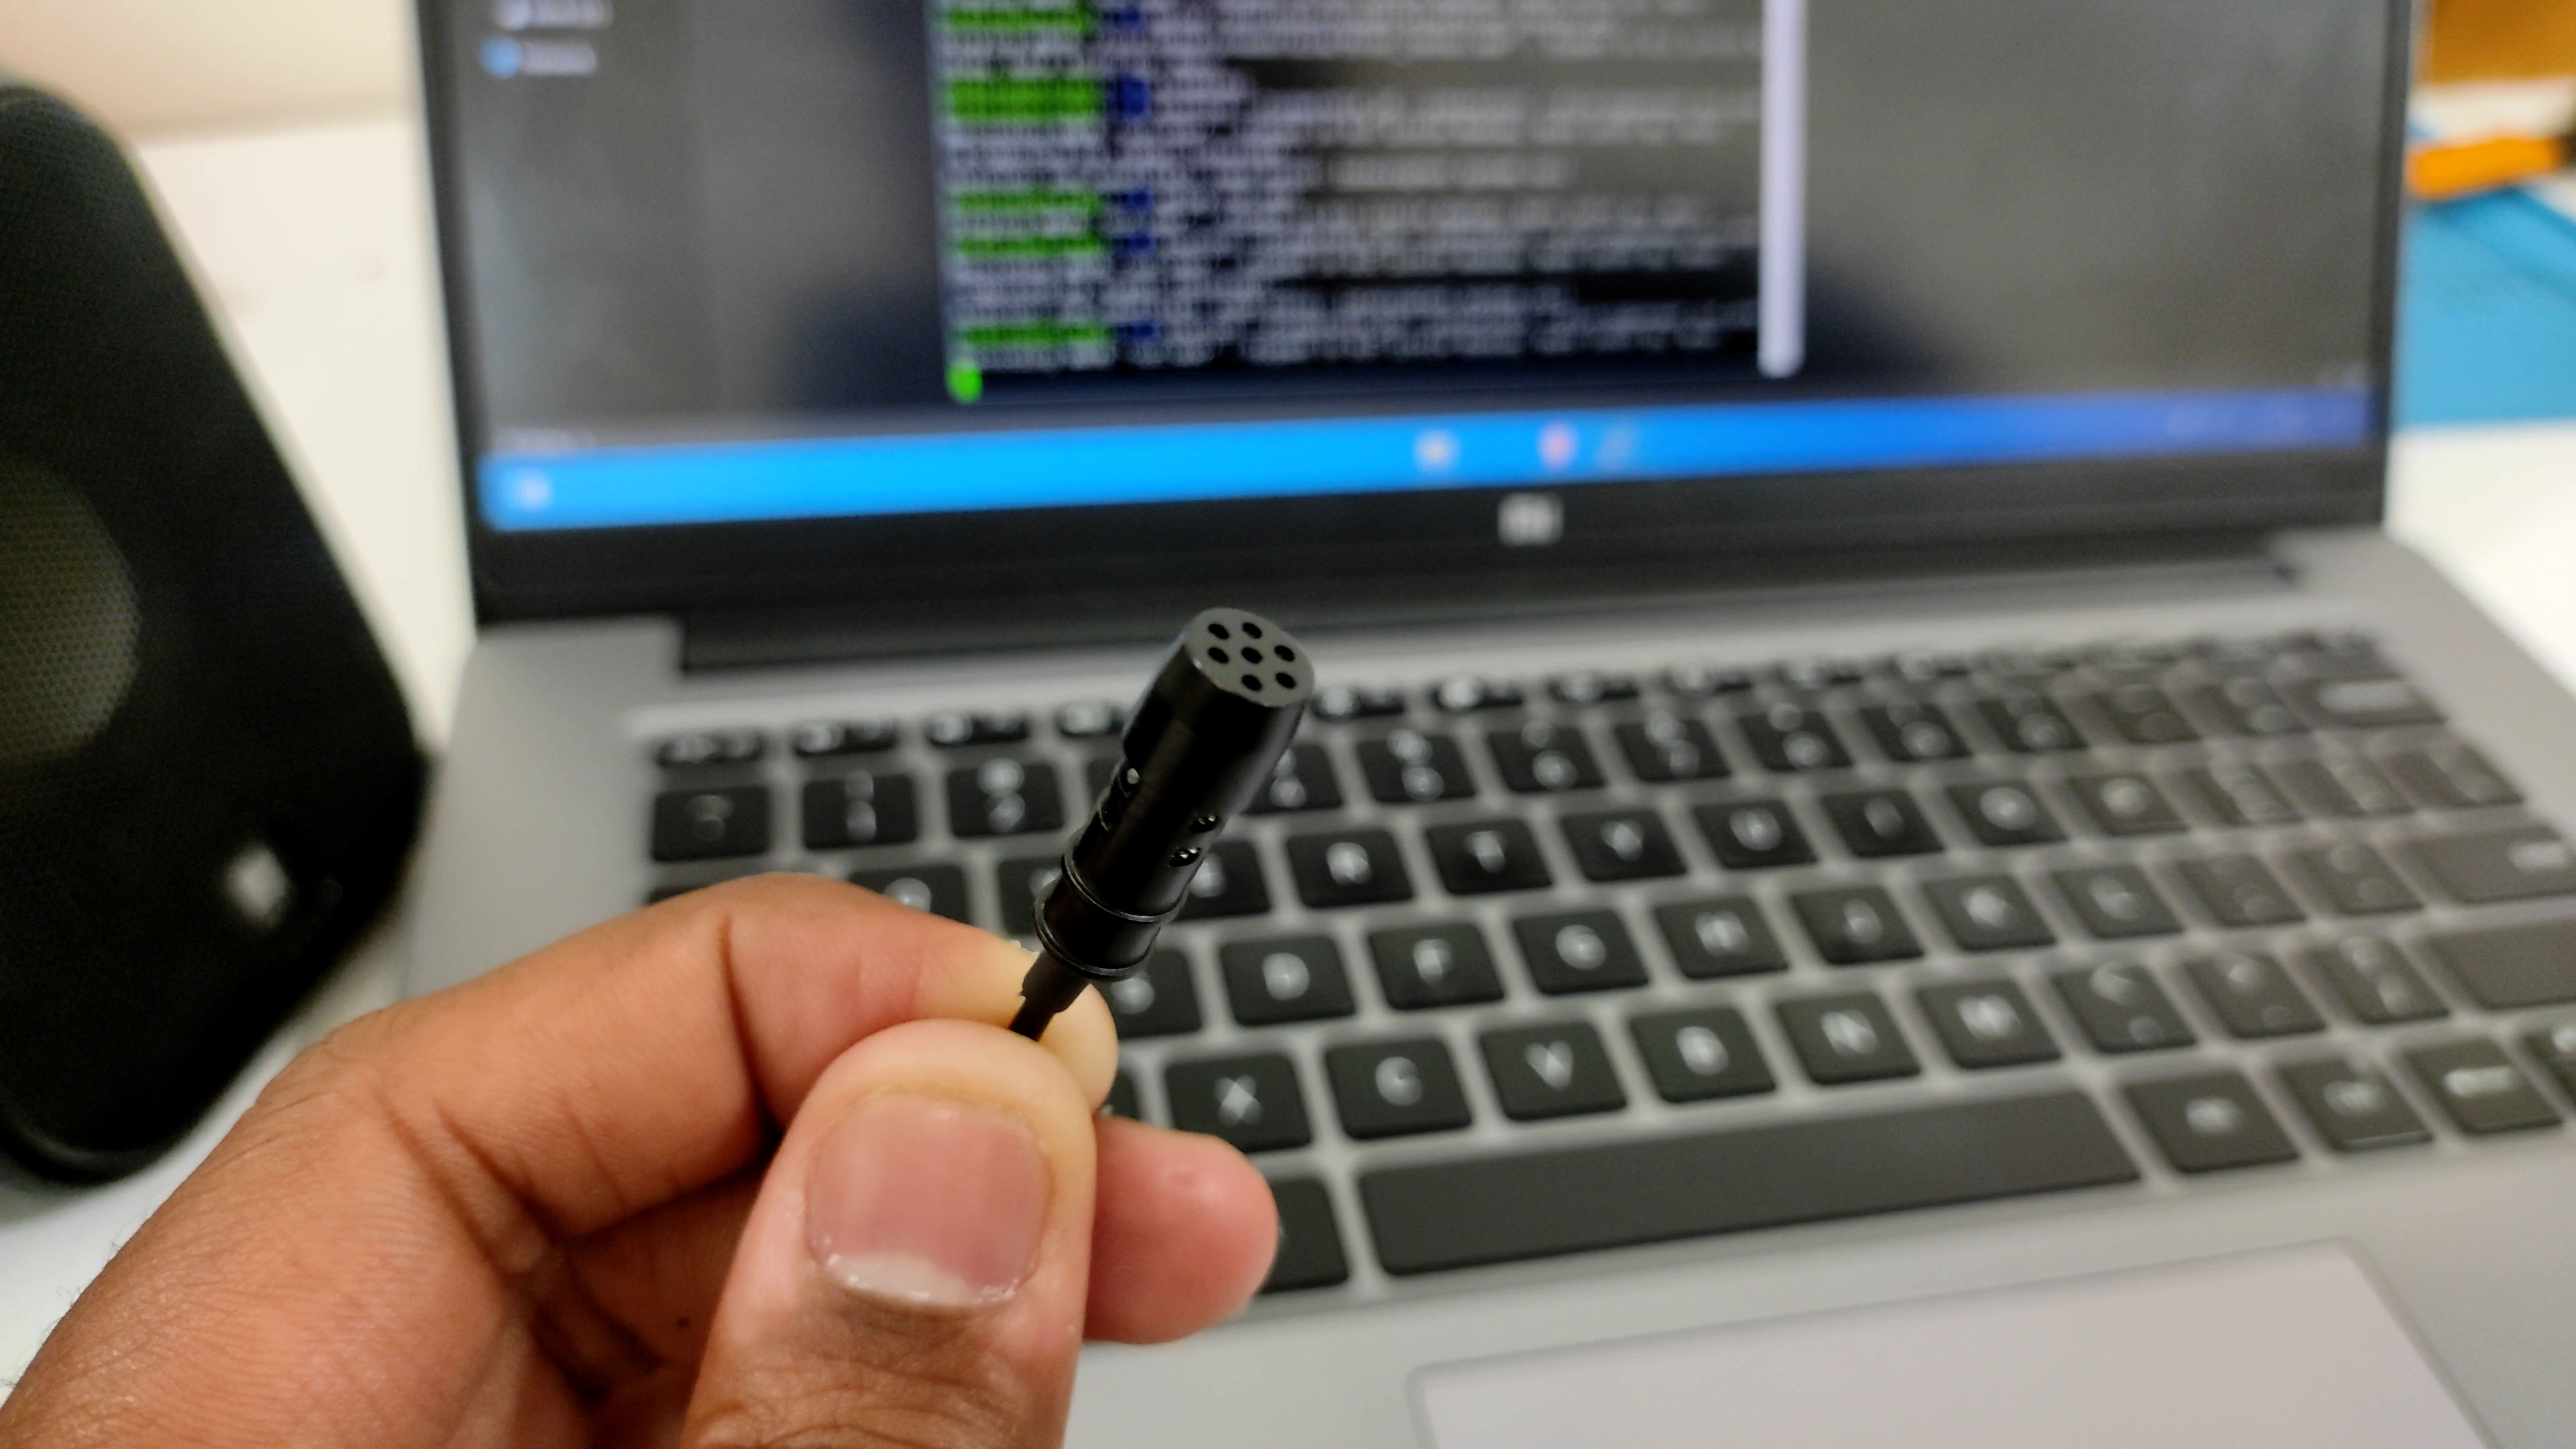
For the audio input, let’s use a collar mic because this will nicely fit within Miss minutes nose. But the 3.5mm stereo jack that comes with the mic won’t work with the sound card. So, I replaced it with this audio jack. And for the audio output, we can use any regular speaker. But in this case, we’ll end up building an audio amplifier circuit as well. So, instead, I’m going to use a desktop speaker which is power by USB.
Speaker and Microphone Setup for Raspberry Pi Zero W
This might seem a bit tricky to set up, but it’s fairly easy and even the google assistant service documentation page have a hardware guide on how to set up the speakers and microphone.
First, install the raspberry pi OS on the SD card. If you are not sure how? check out my video on how to set up raspberry pi without a monitor and keyboard. Once you have the OS installed, SSH into the raspberry pi using putty.
Now follow the below command
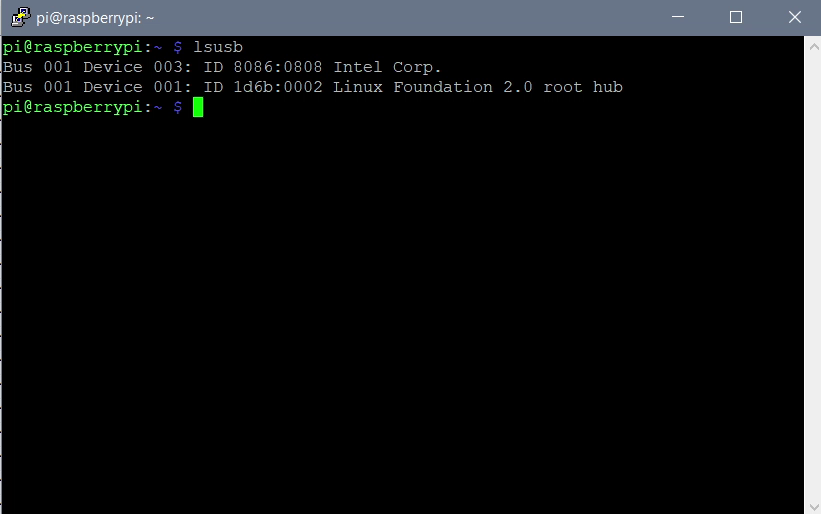
Check if the raspberry pi is detecting the sound card by using the command
lsusb
Now check the microphone and speaker connection by the command
arecord -l
and
aplay -l
Note down the card ID and device ID.
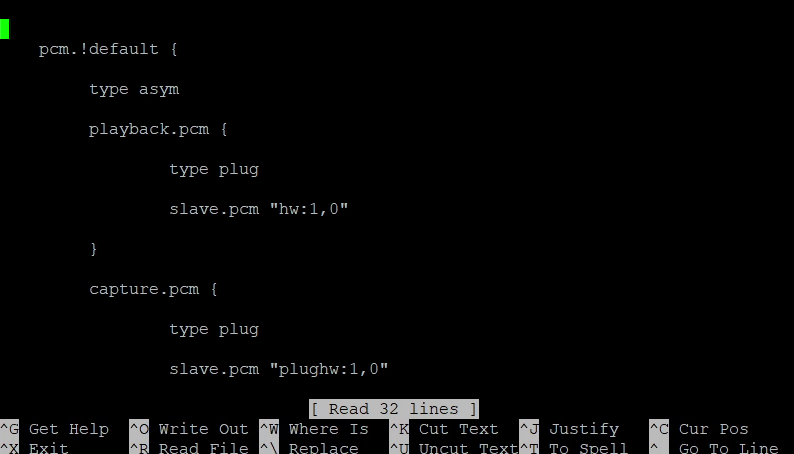
Once you have the ID, create a new file called .arecordrc in /home/pi using the below command
sudo nano /home/pi/.arecordrc
paste this code into the nano editor
  type asym
  capture.pcm "mic"
  playback.pcm "speaker"
}
pcm.mic {
  type plug
  slave {
    pcm "plughw:[card ID]<card number="">,[device ID]<device number="">"
  }
}
pcm.speaker {
  type plug
  slave {
    pcm "hw:[card ID],[device ID]"<br><card number=""><device number="">  }
}</device></card></device></card>
And replace the Card number and device number with the ID you found in the previous command. Then press ctrl+X to exit and press Y to save the file.
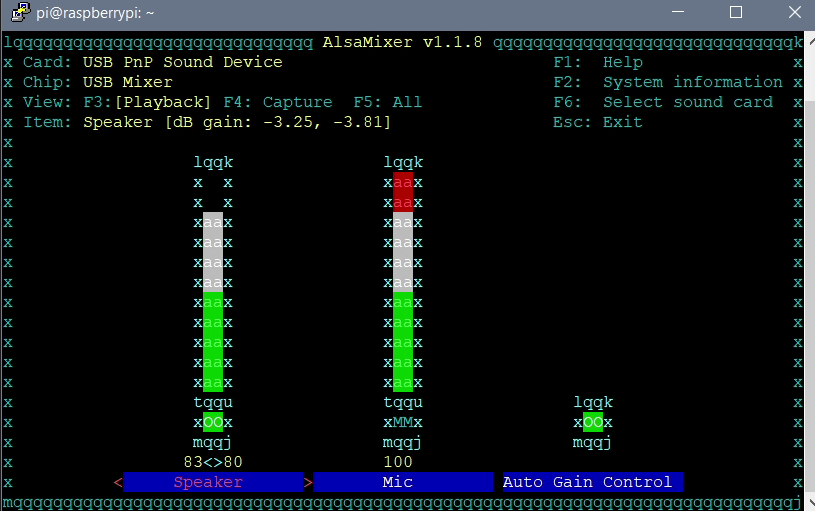
Finally, adjust the volume using the command
alsamixer
This sets up the audio input and output for raspberry pi zero w
Testing Audio and Microphone
Test speaker
speaker-test -t wav
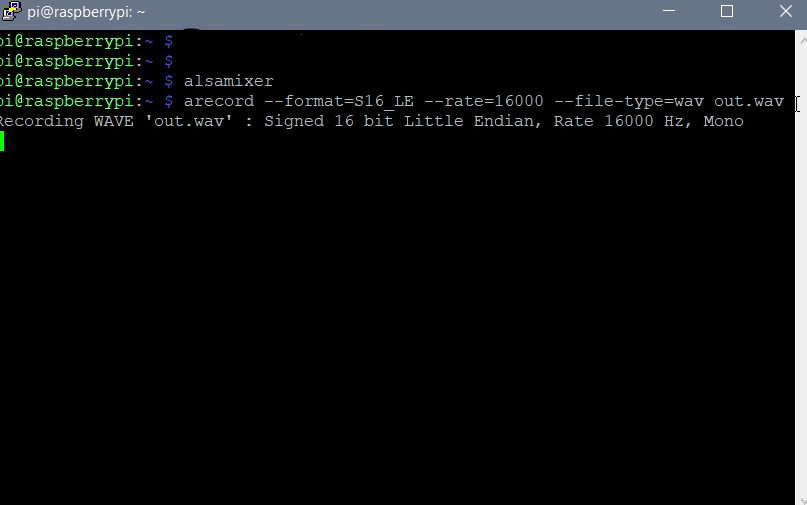
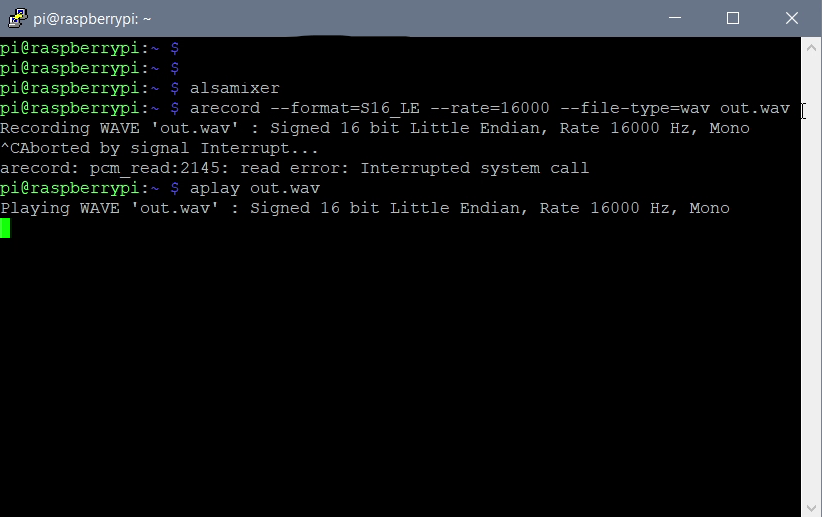
You can use this command to record the audio
arecord --format=S16_LE --duration=5 --rate=16000 --file-type=raw out.raw
and this command to play the audio you recorded.
aplay --format=S16_LE --rate=16000 out.raw
Setting Up Google Assistant
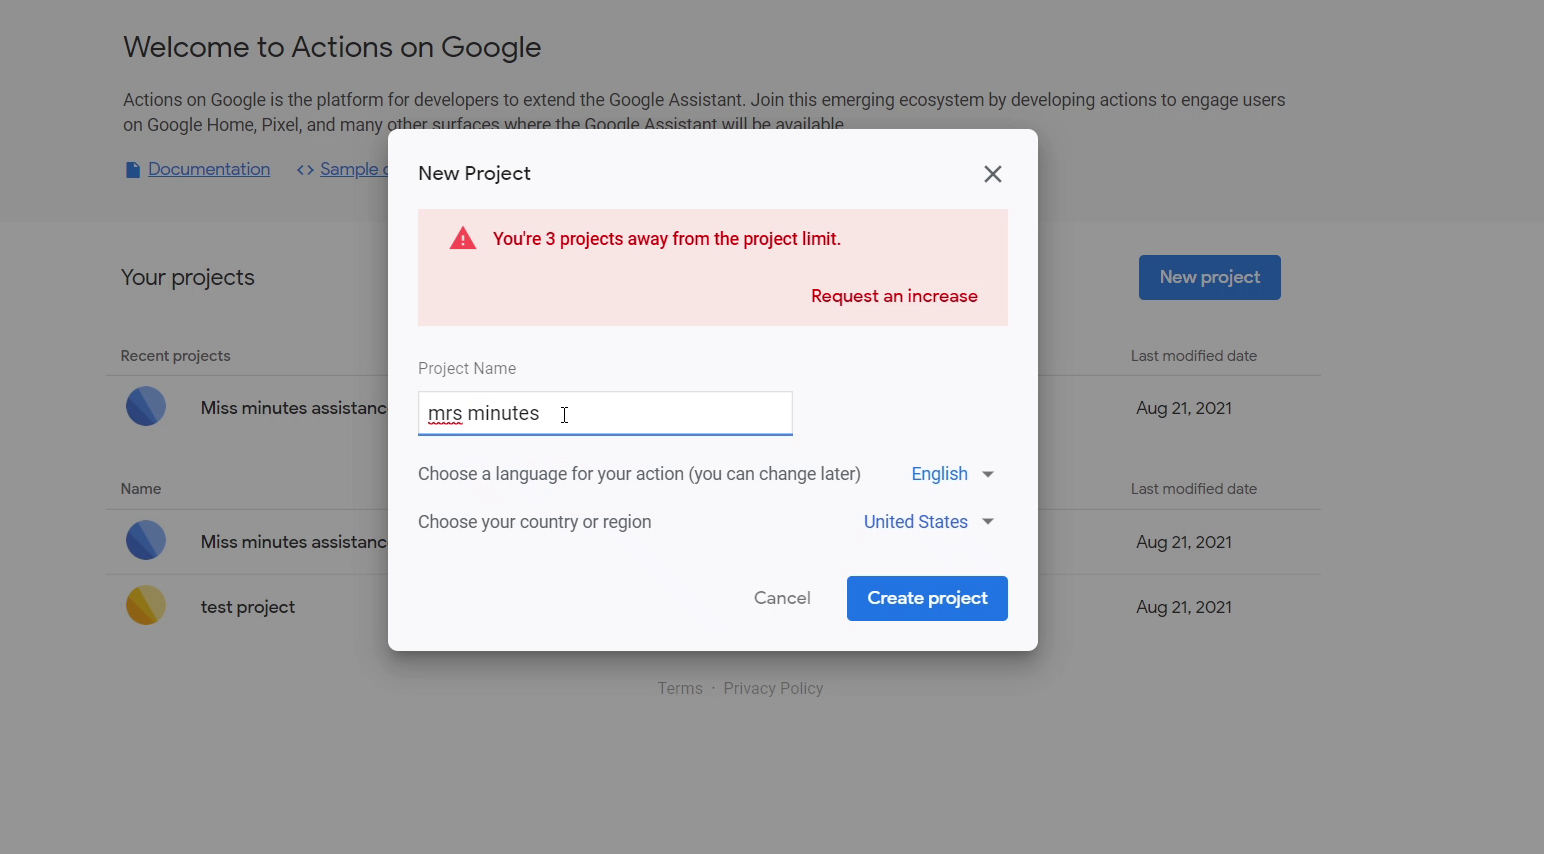
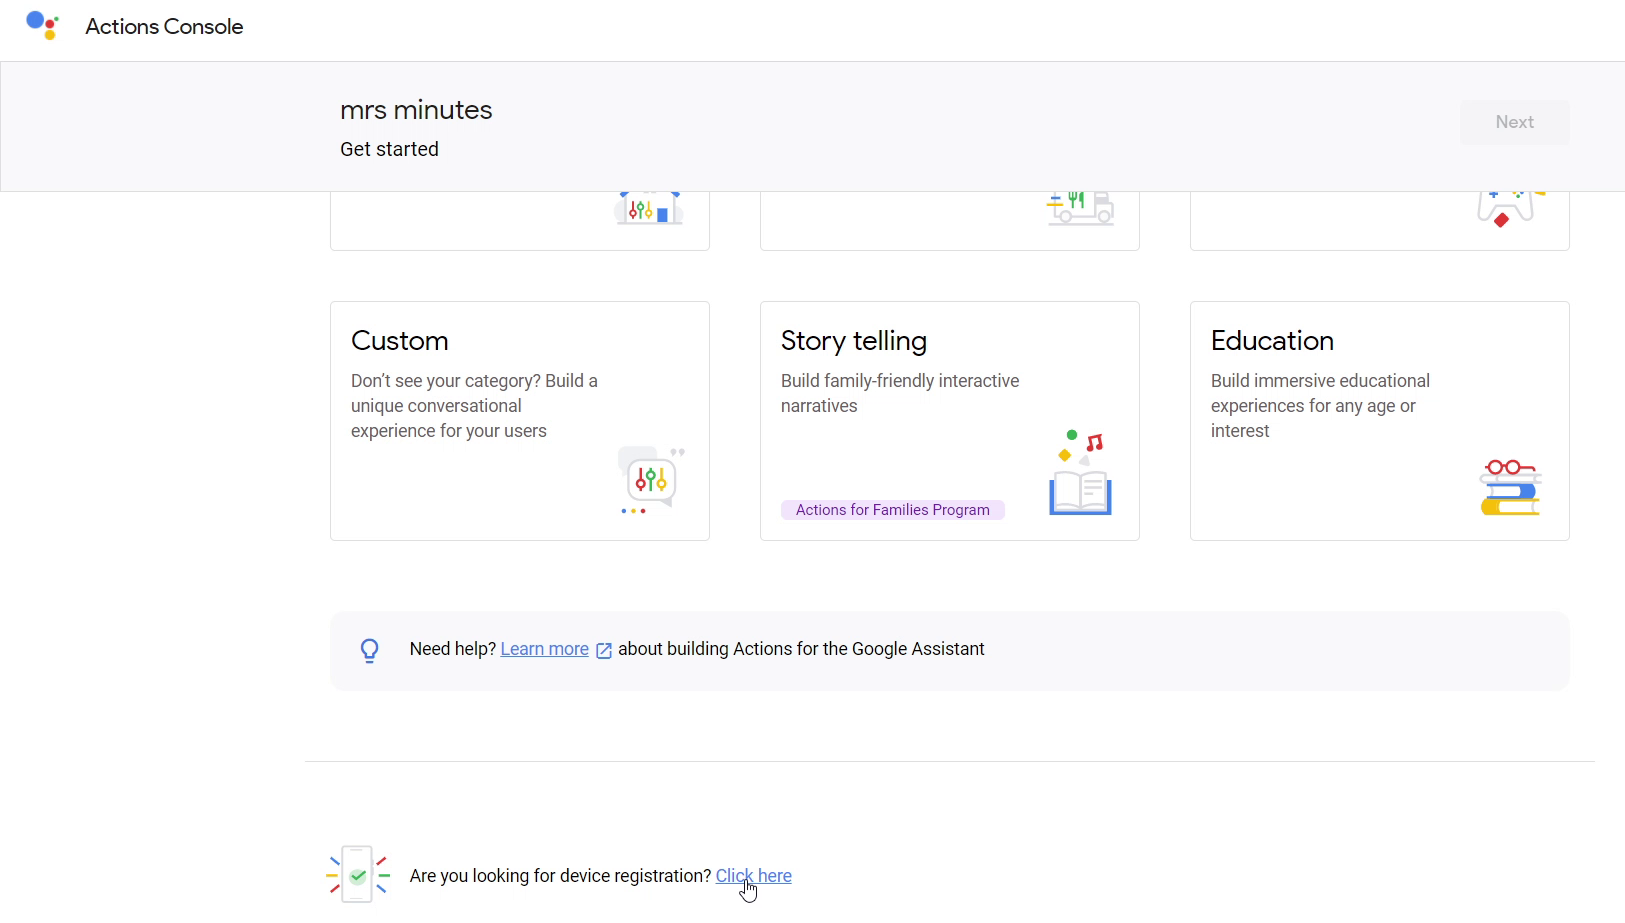
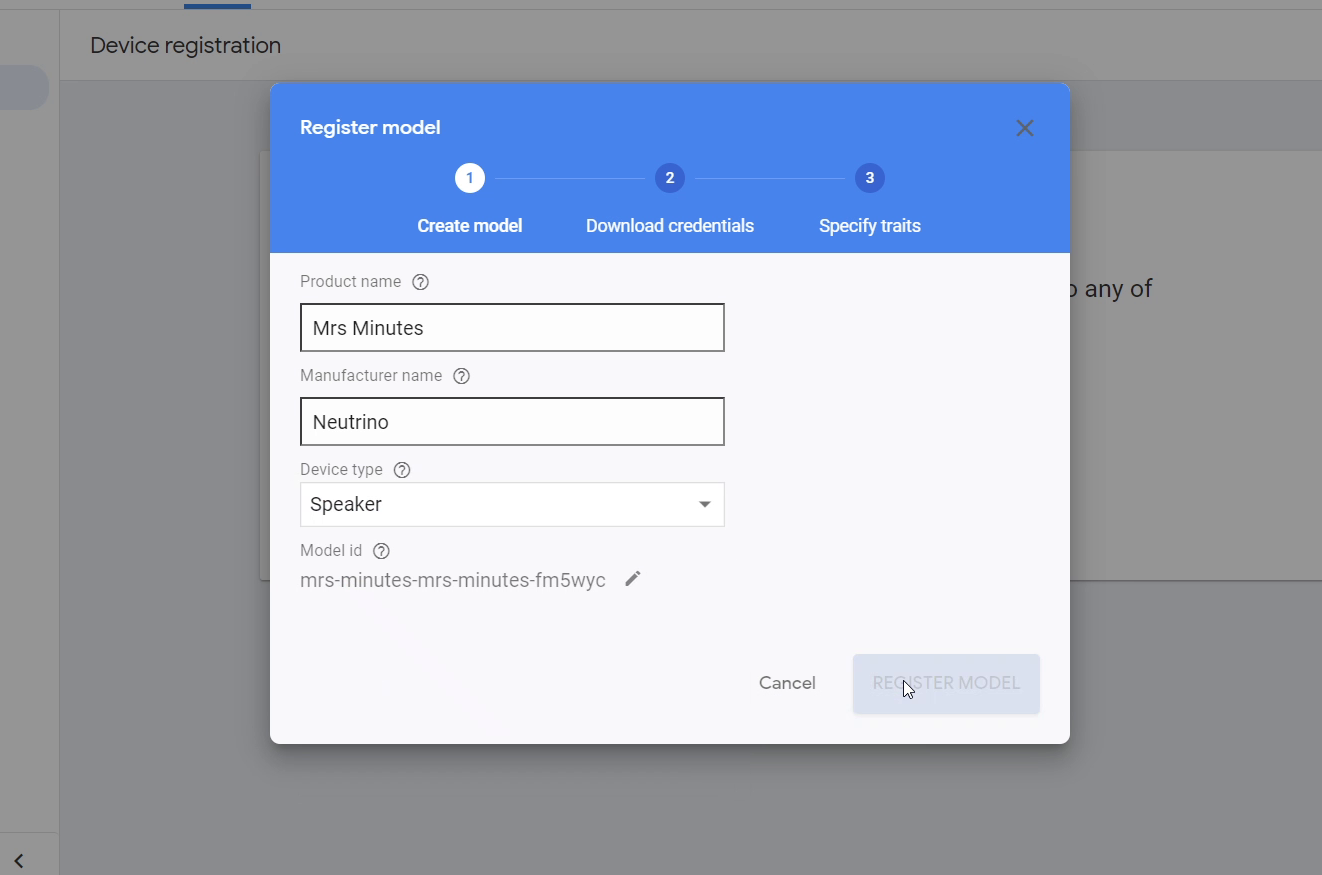
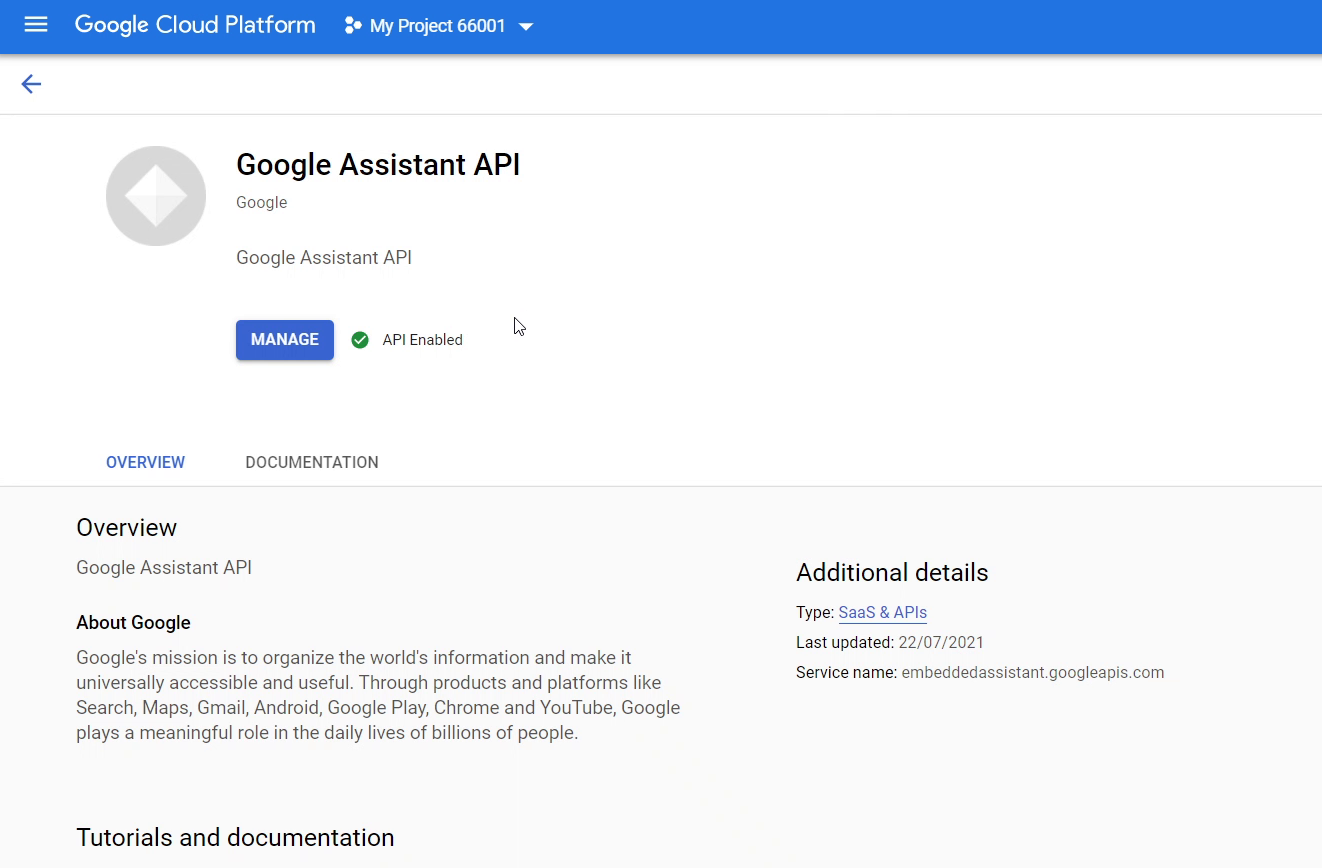
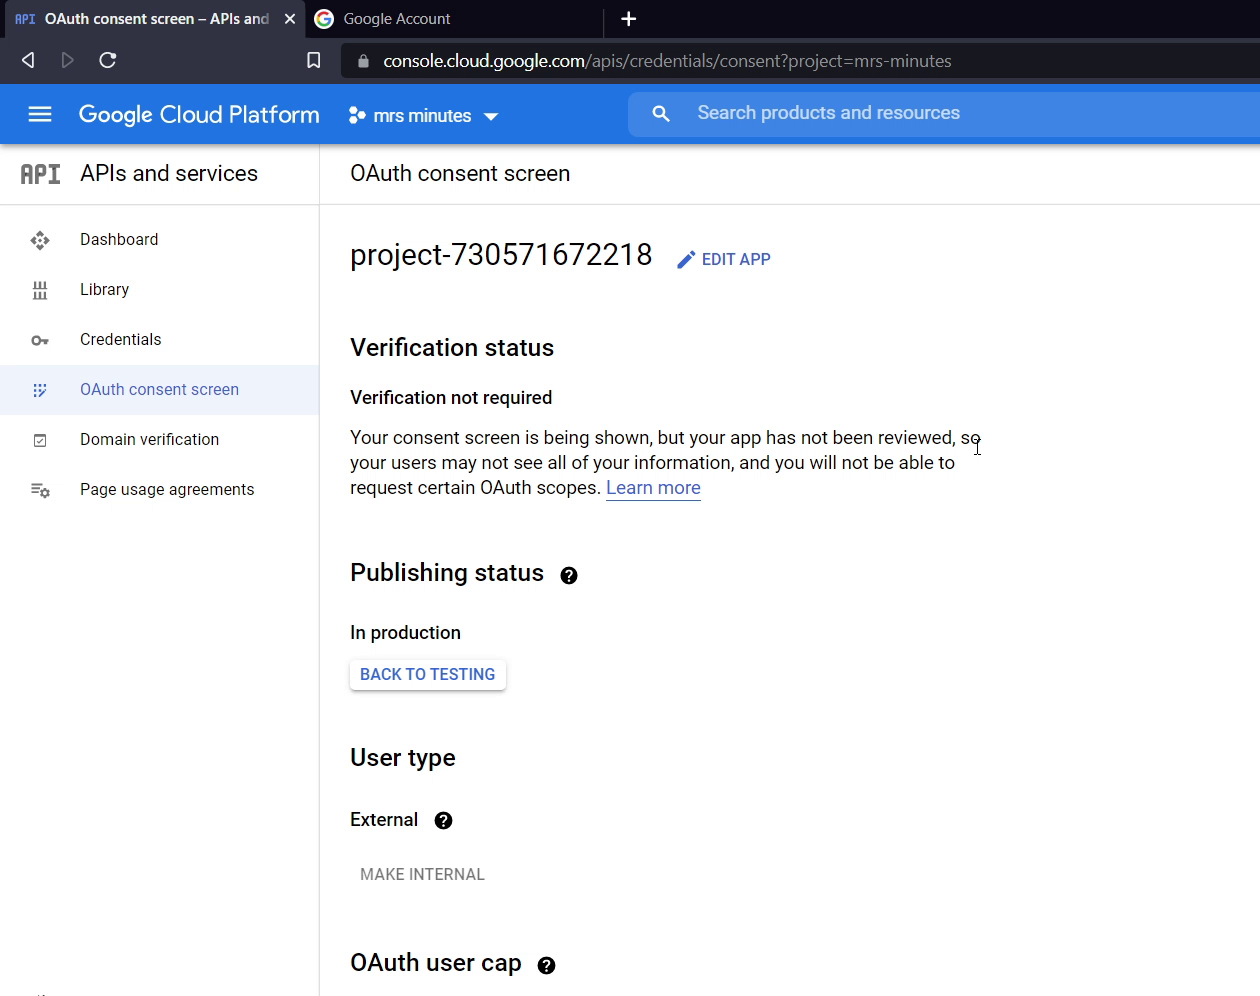
To use the google assistant SDK you need to go to this link
Then create a new project, and you set any arbitrary name.
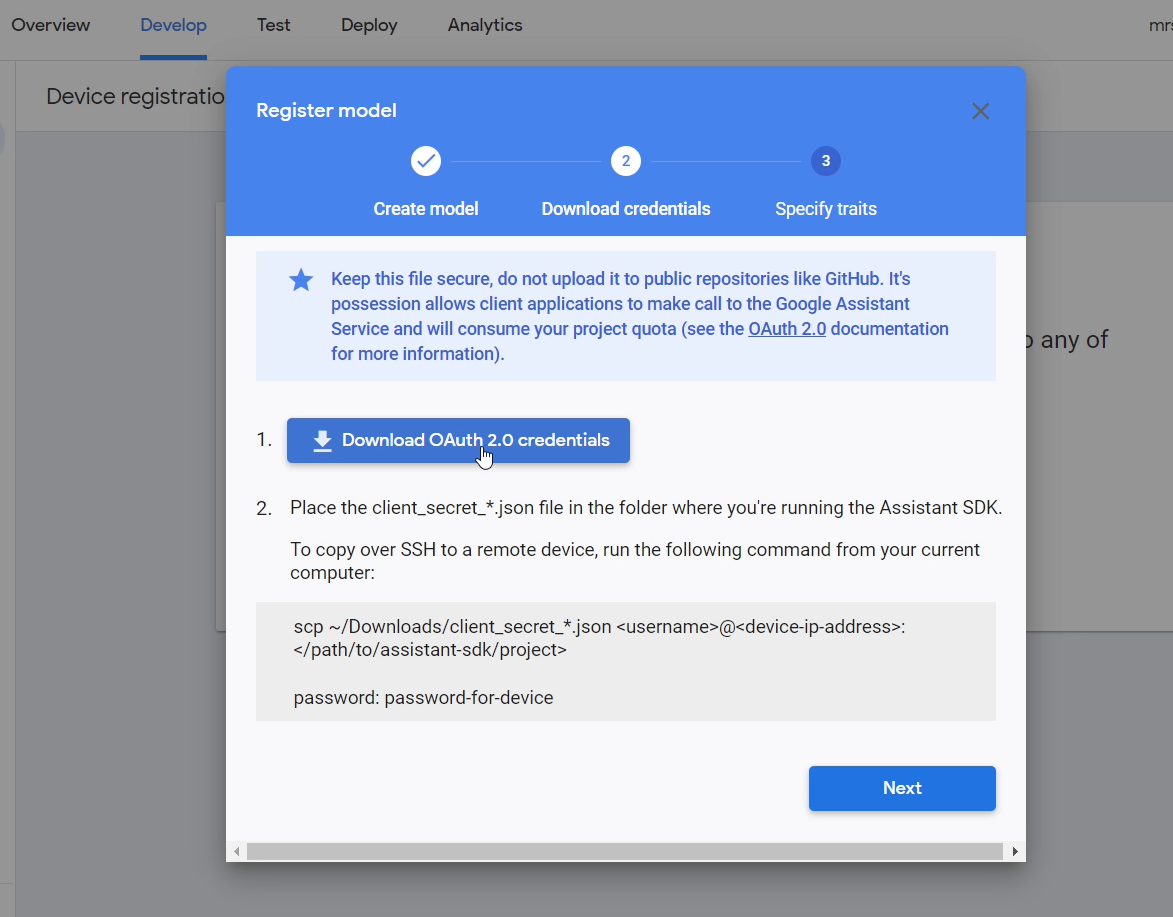
On the next page, scroll down to the bottom and select the device registration and set up the device. Once it's done, download the credentials which we'll use later.
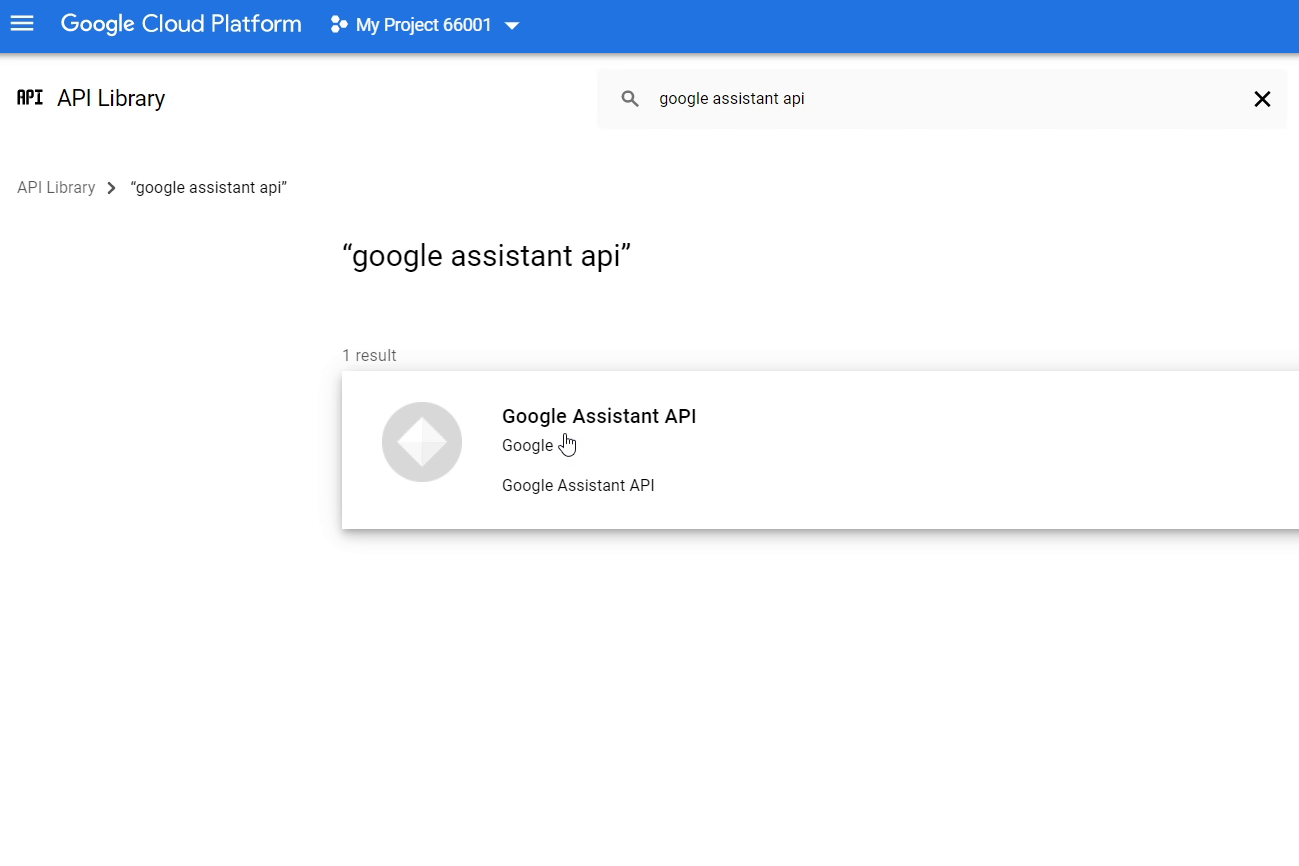
Then go to this link and enable google assistance API.
Finally setup the oauth consent screen.
You can follow google documentation for more detail information
Installing the Google Assistant SDK

In the documentation, the python packages are installed in the virtual environment, but later this could be a problem when running the script on the startup.
So, I used the following command
update the raspberry pi OS
sudo apt-get update
Install python 3
sudo apt-get install python3-dev
Install the package's system dependencies:
sudo apt-get install portaudio19-dev libffi-dev libssl-dev
Install google assistant SDK
python3 -m pip install --upgrade google-assistant-sdk[samples]
Getting the authorization code
<pre>google-oauthlib-tool --scope https://www.googleapis.com/auth/assistant-sdk-prototype \
      --save --headless --client-secrets /path/to/<a rel="nofollow"></a>client_secret_client-id<a rel="nofollow"></a>.json
If everything was successful, you will see a response similar to the following:
credentials saved: /path/to/.config/google-oauthlib-tool/credentials.json
Modifying Pushtotalk.py
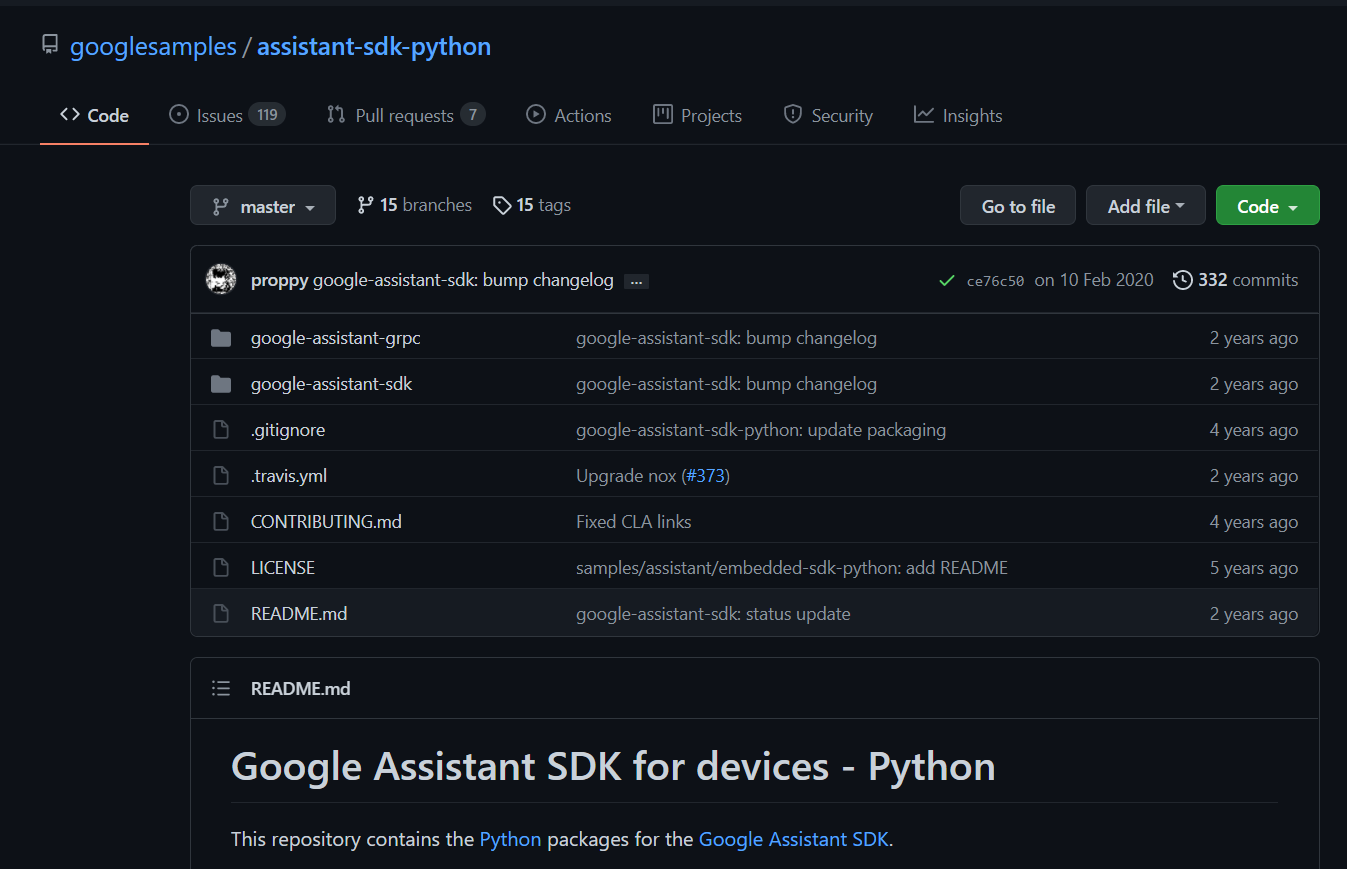
First clone the repo: https://github.com/googlesamples/assistant-sdk-pyt...
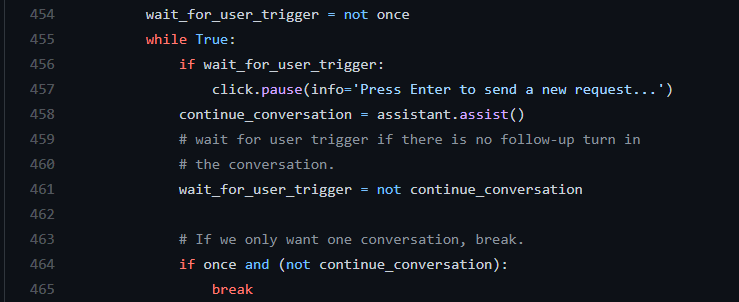
and open the file (path : assistant-sdk-python/google-assistant-sdk/googlesamples/assistant/grpc/) pushtotalk.py
remove the line 456 to 465 and replace it with
assistant-assist()
Downloads
Run Google Assistant on Startup
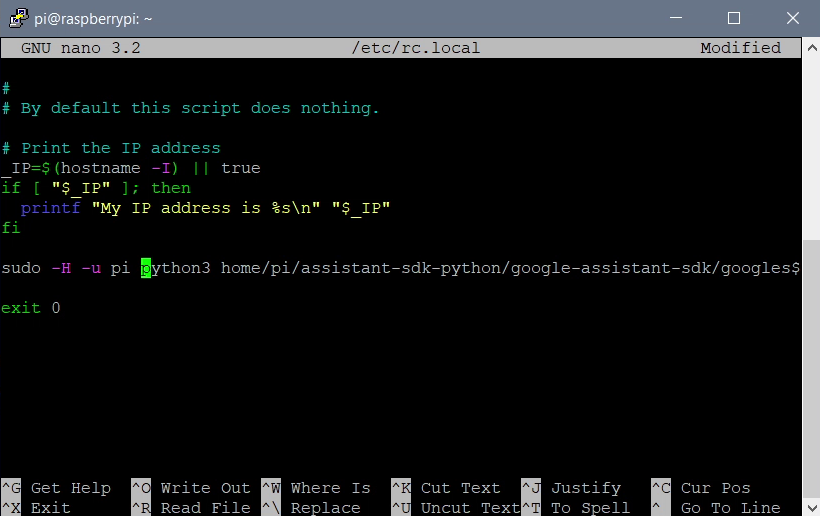.png)
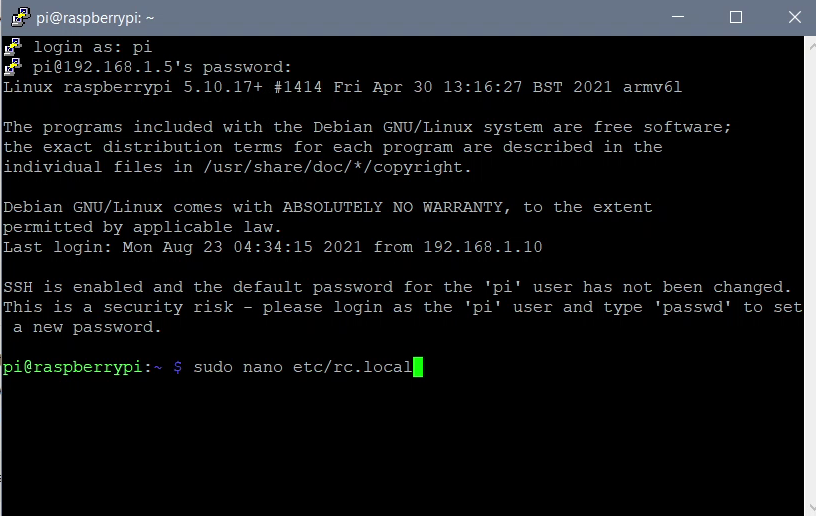
Run the command
sudo nano /etc/rc.local
Enter the following command with your file destination and followed by '&' before exit 0
sudo -H -u pi python3 /[path to pushtotalk]/pushtotalk.py &
To make sure you have an internet connection before running the assistant
type this command
sudo raspi-config
then select boot option and then enable wait for the Network at boot
This will start the google assistant during boot with a stable internet connection.
Testing Google Assistant
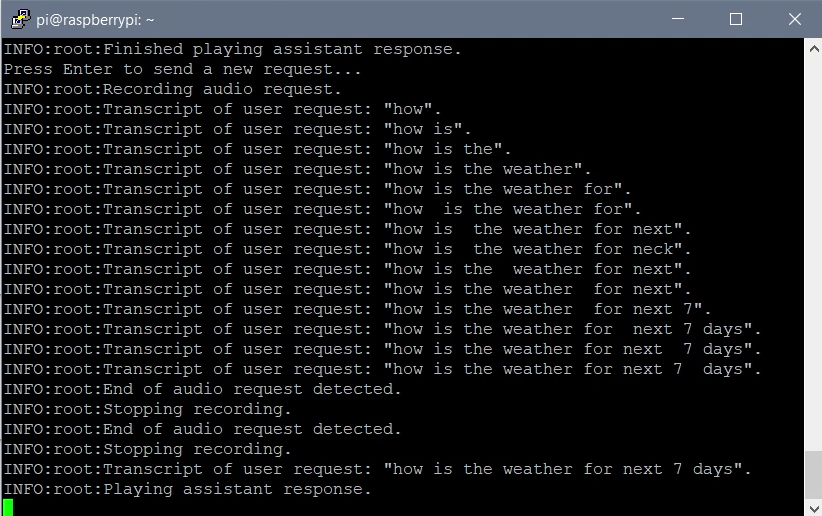
Once the raspberry pi is restarted, raspberry pi won't boot until it is connected to a wifi network. Once it's connected to the network, raspberry pi boots and start running the pushtotalk.py script.
Since we have modified the pushtotalk.py, google assistant will always be listening and we don't need a trigger word. This is where we turn a bug into a feature. Since the microphone is omnidirectional and the voice is muffled (as well as the recording volume is low) other than the uni-direction the assistant won't get triggered because of the background sounds and voices.
Now you can interact with your assistant without any trigger word or press a button to start talking. Just face the assistant and start talking.
Putting Everything Together
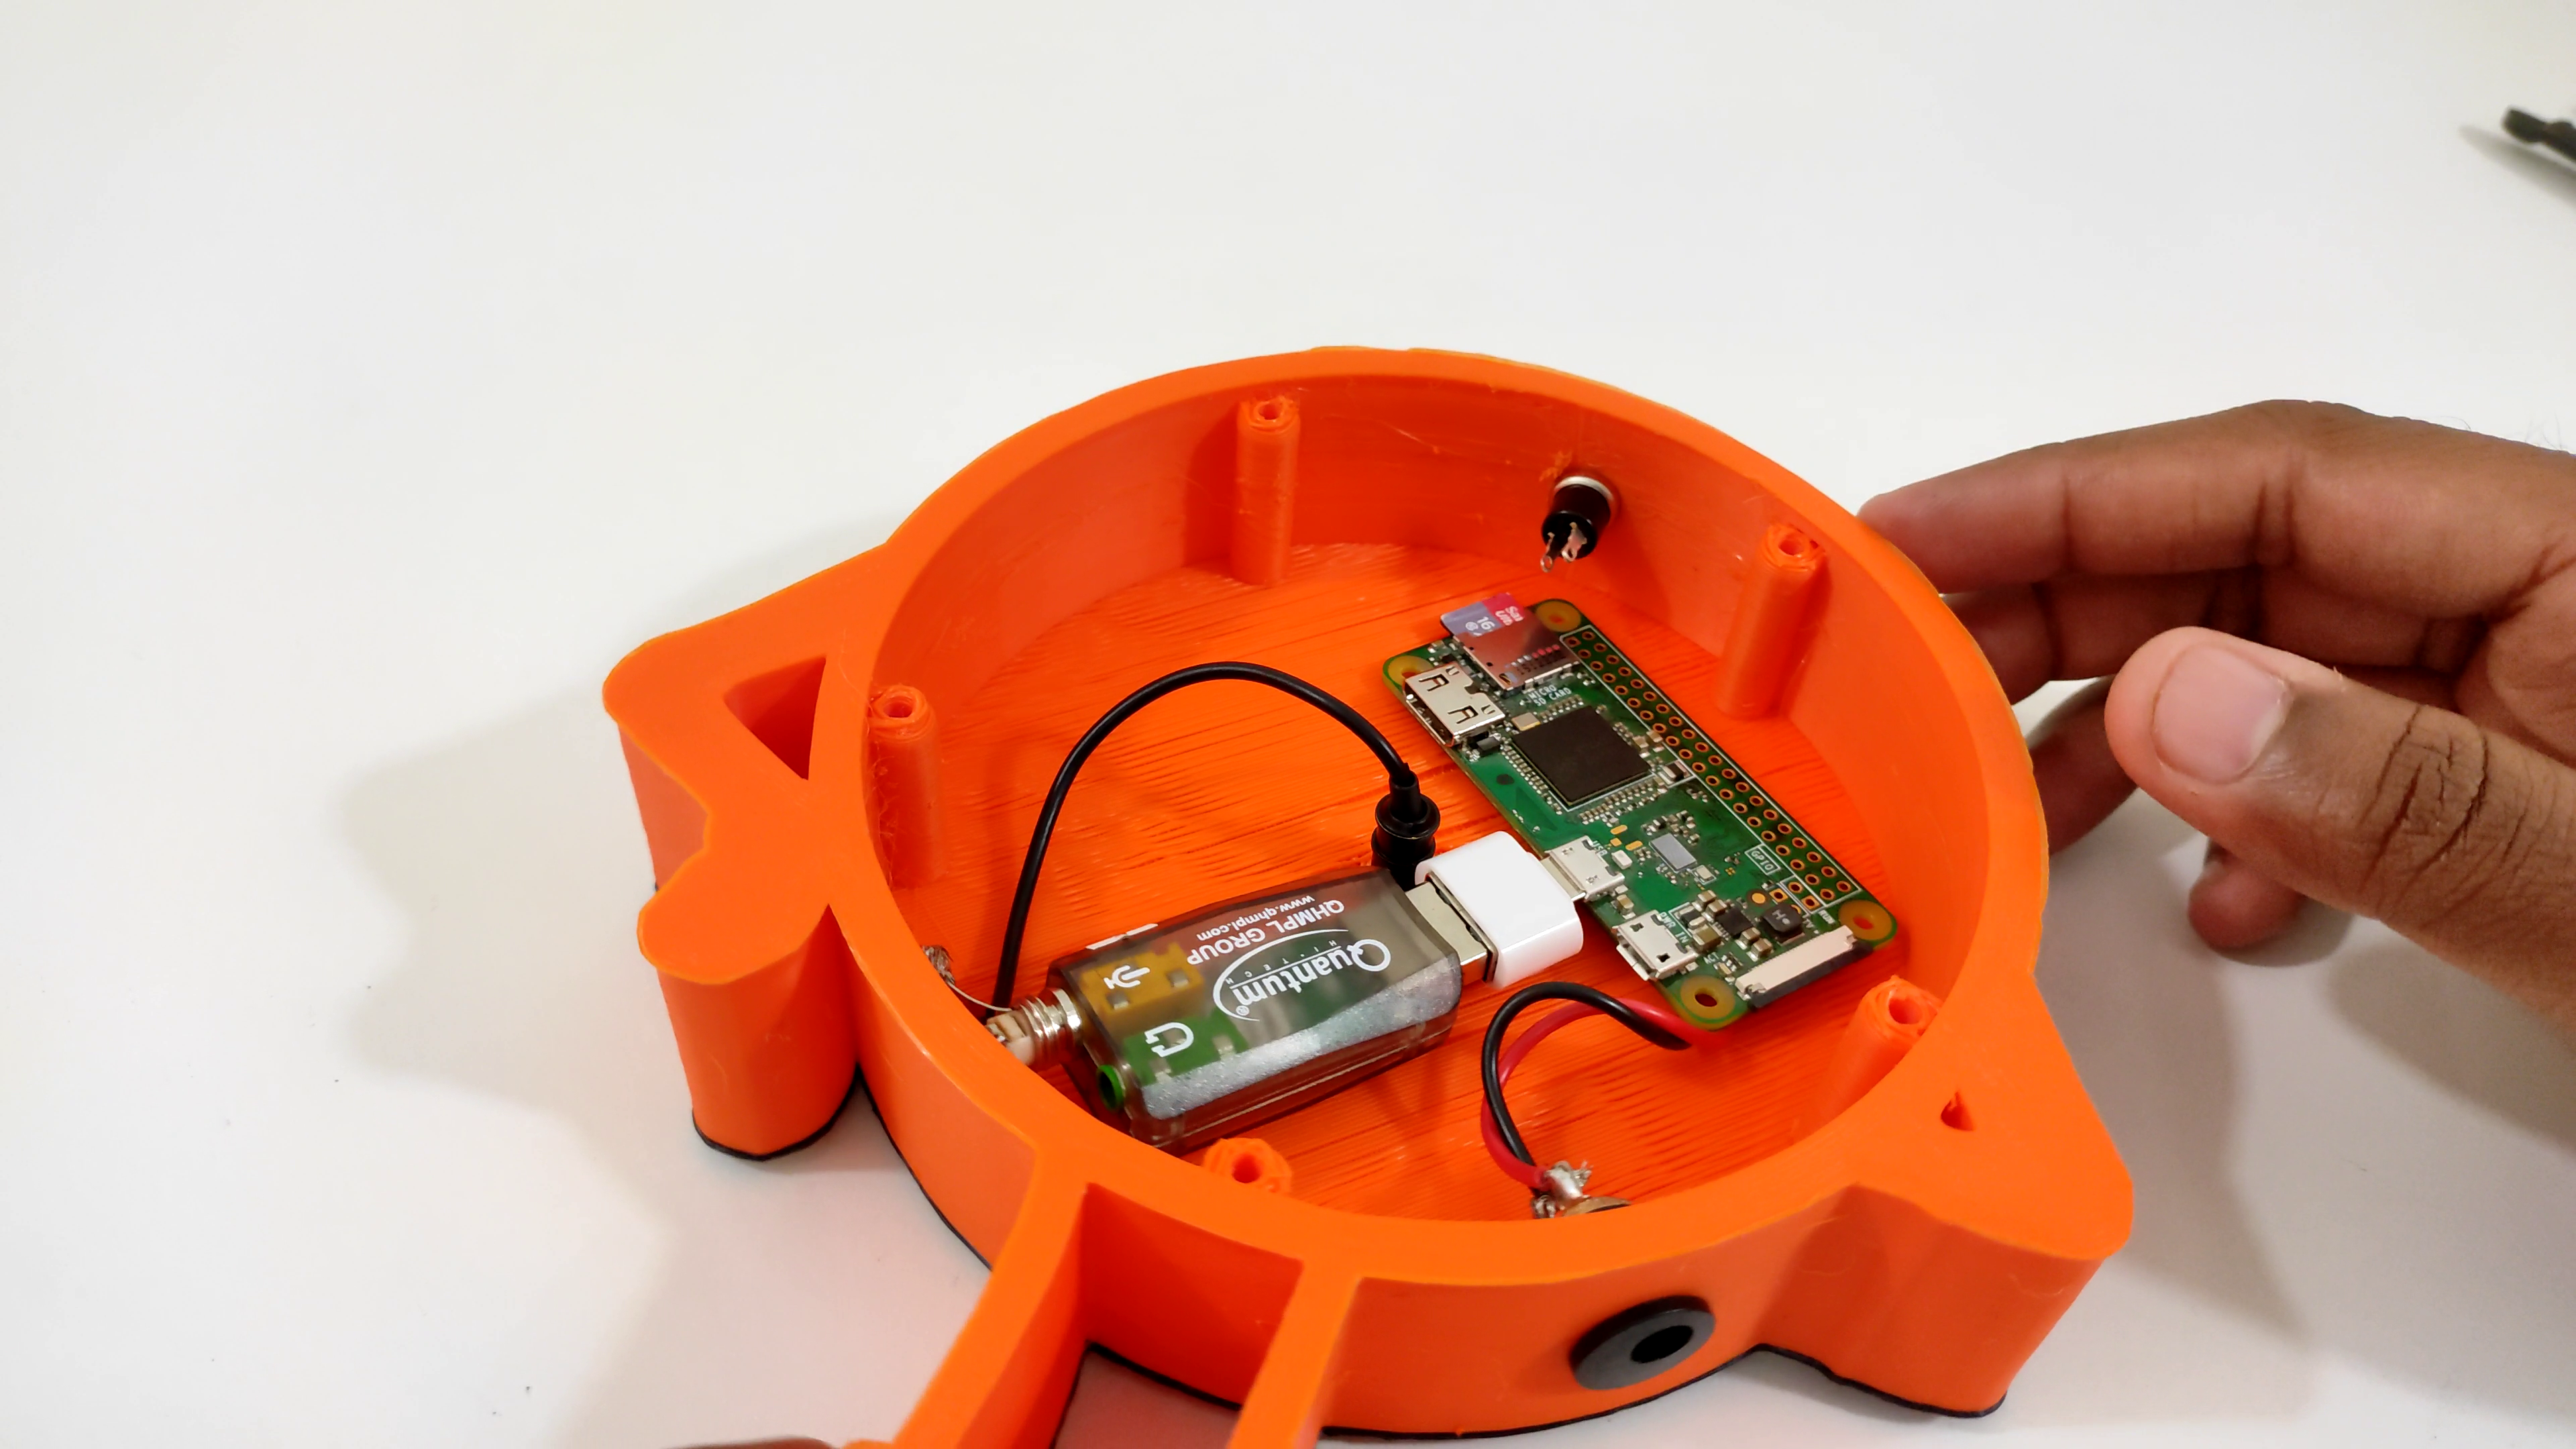
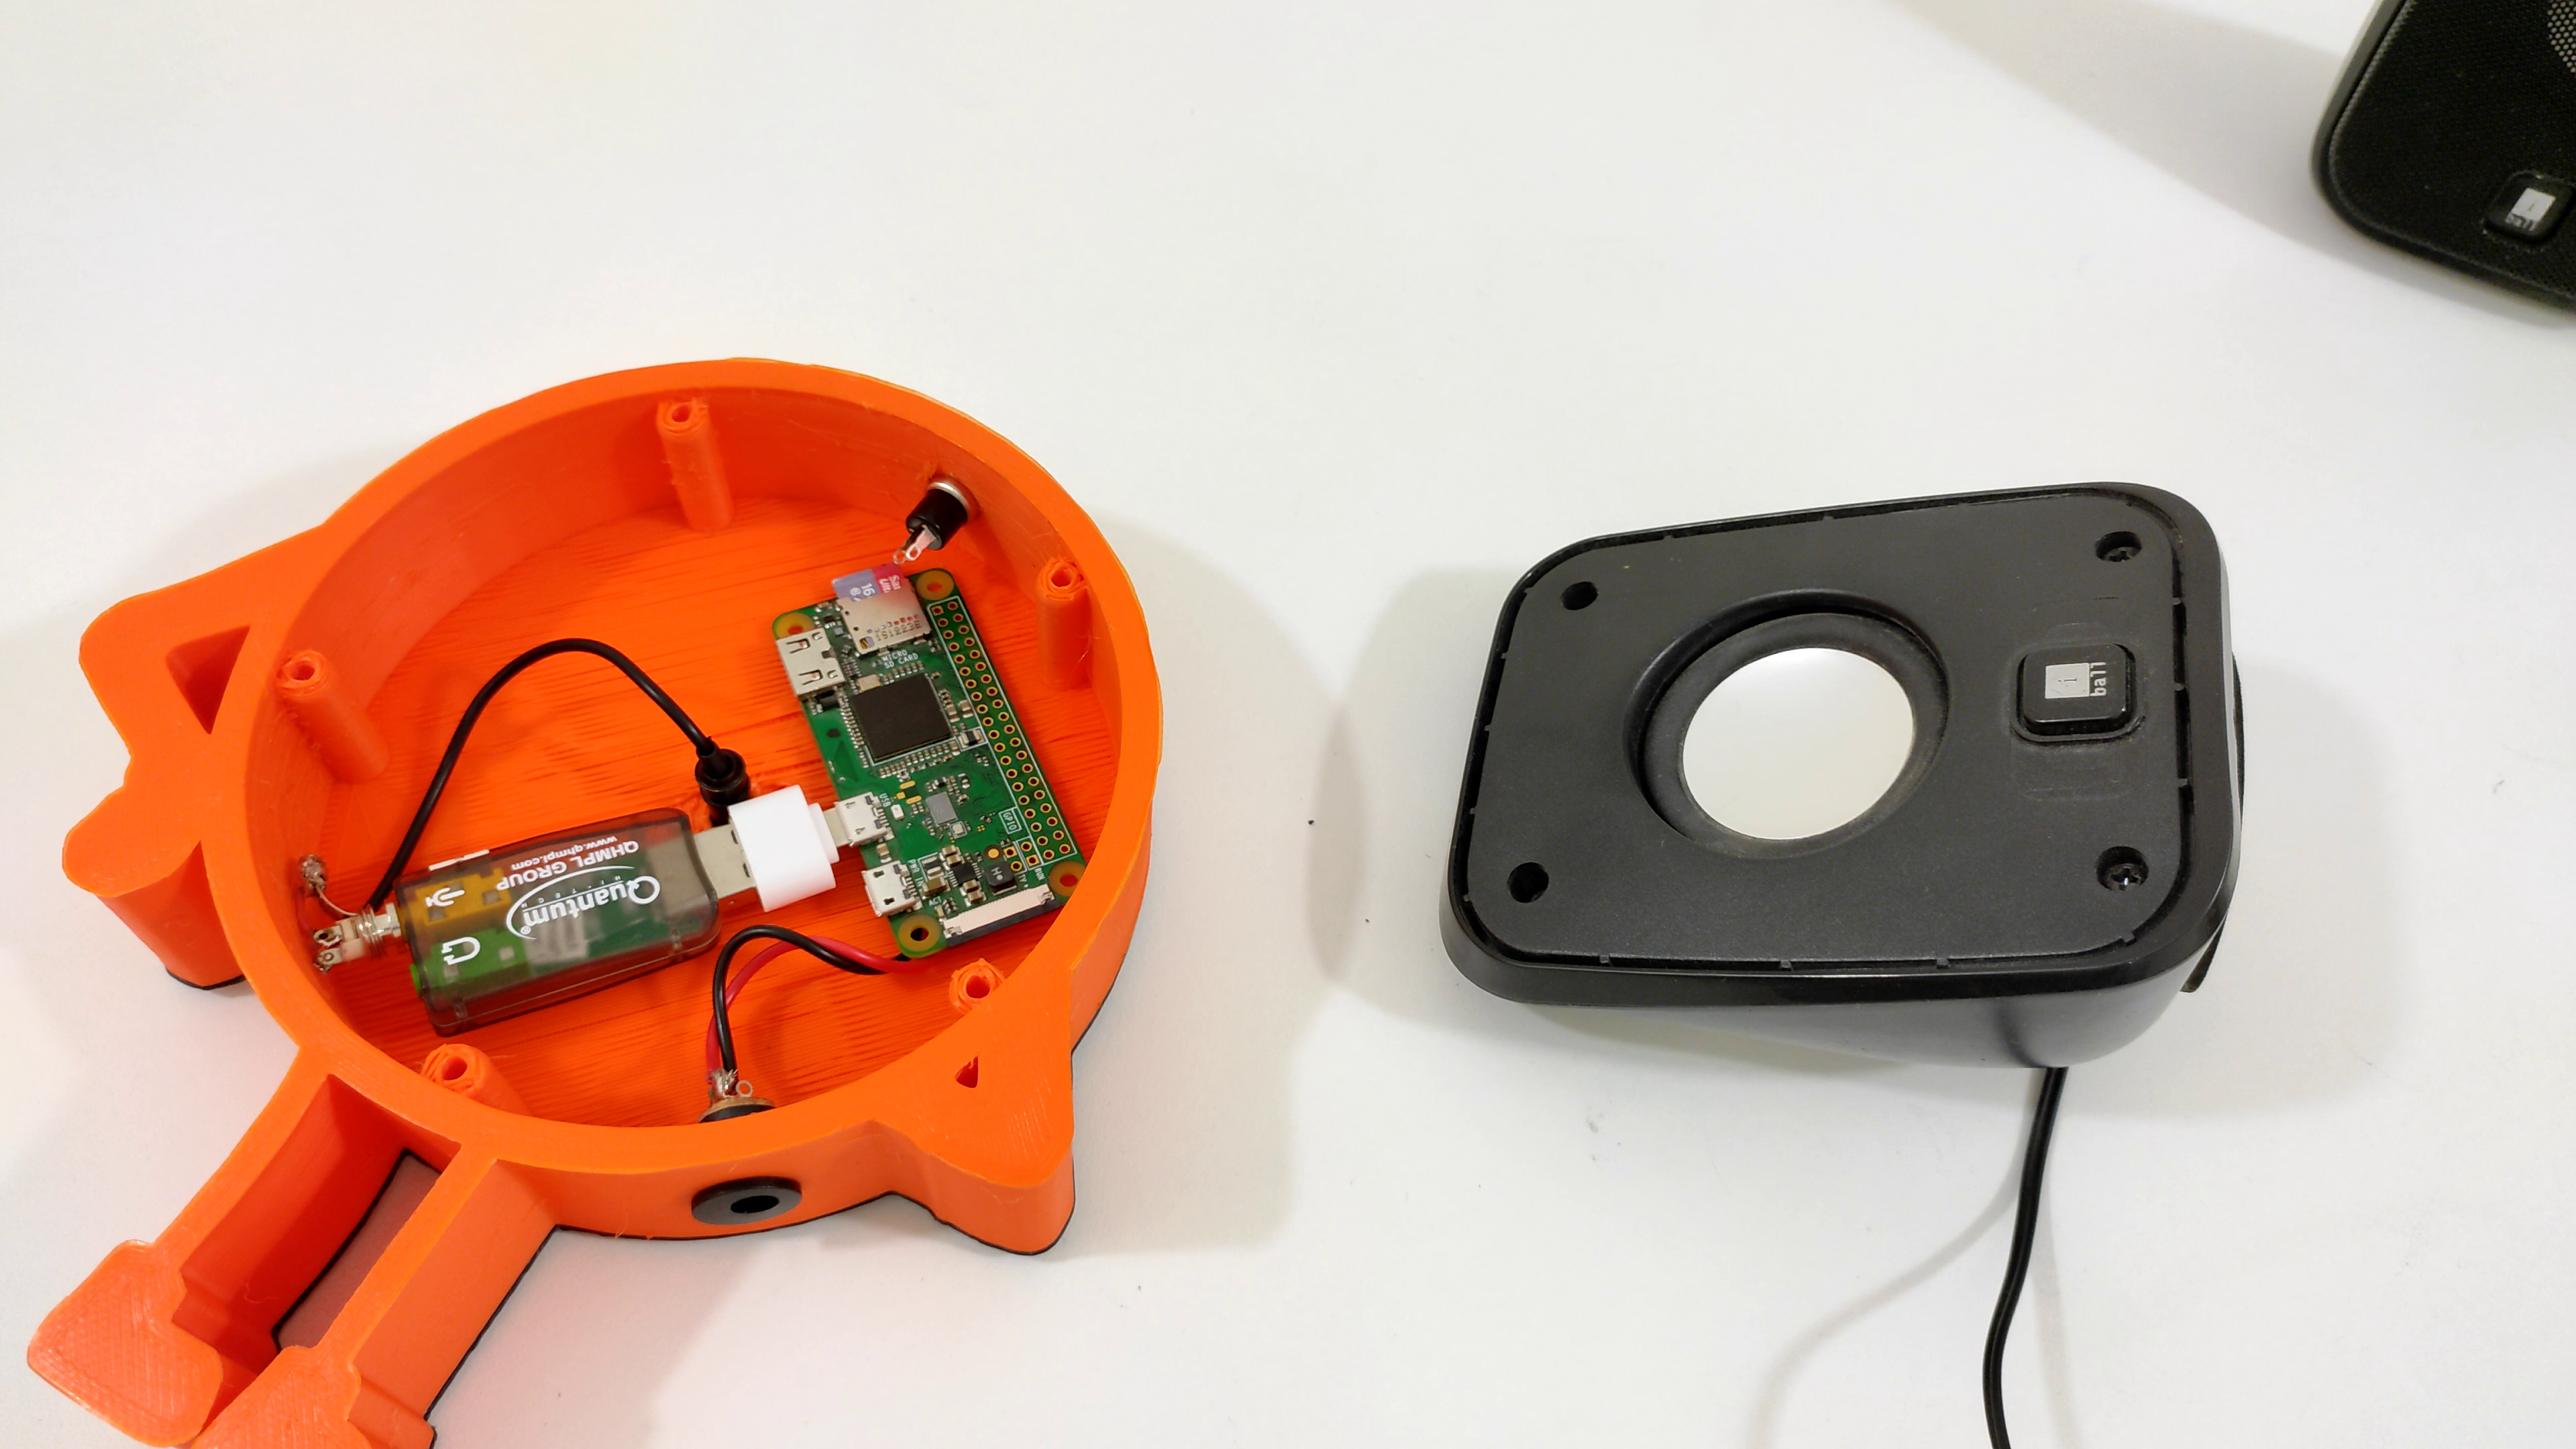

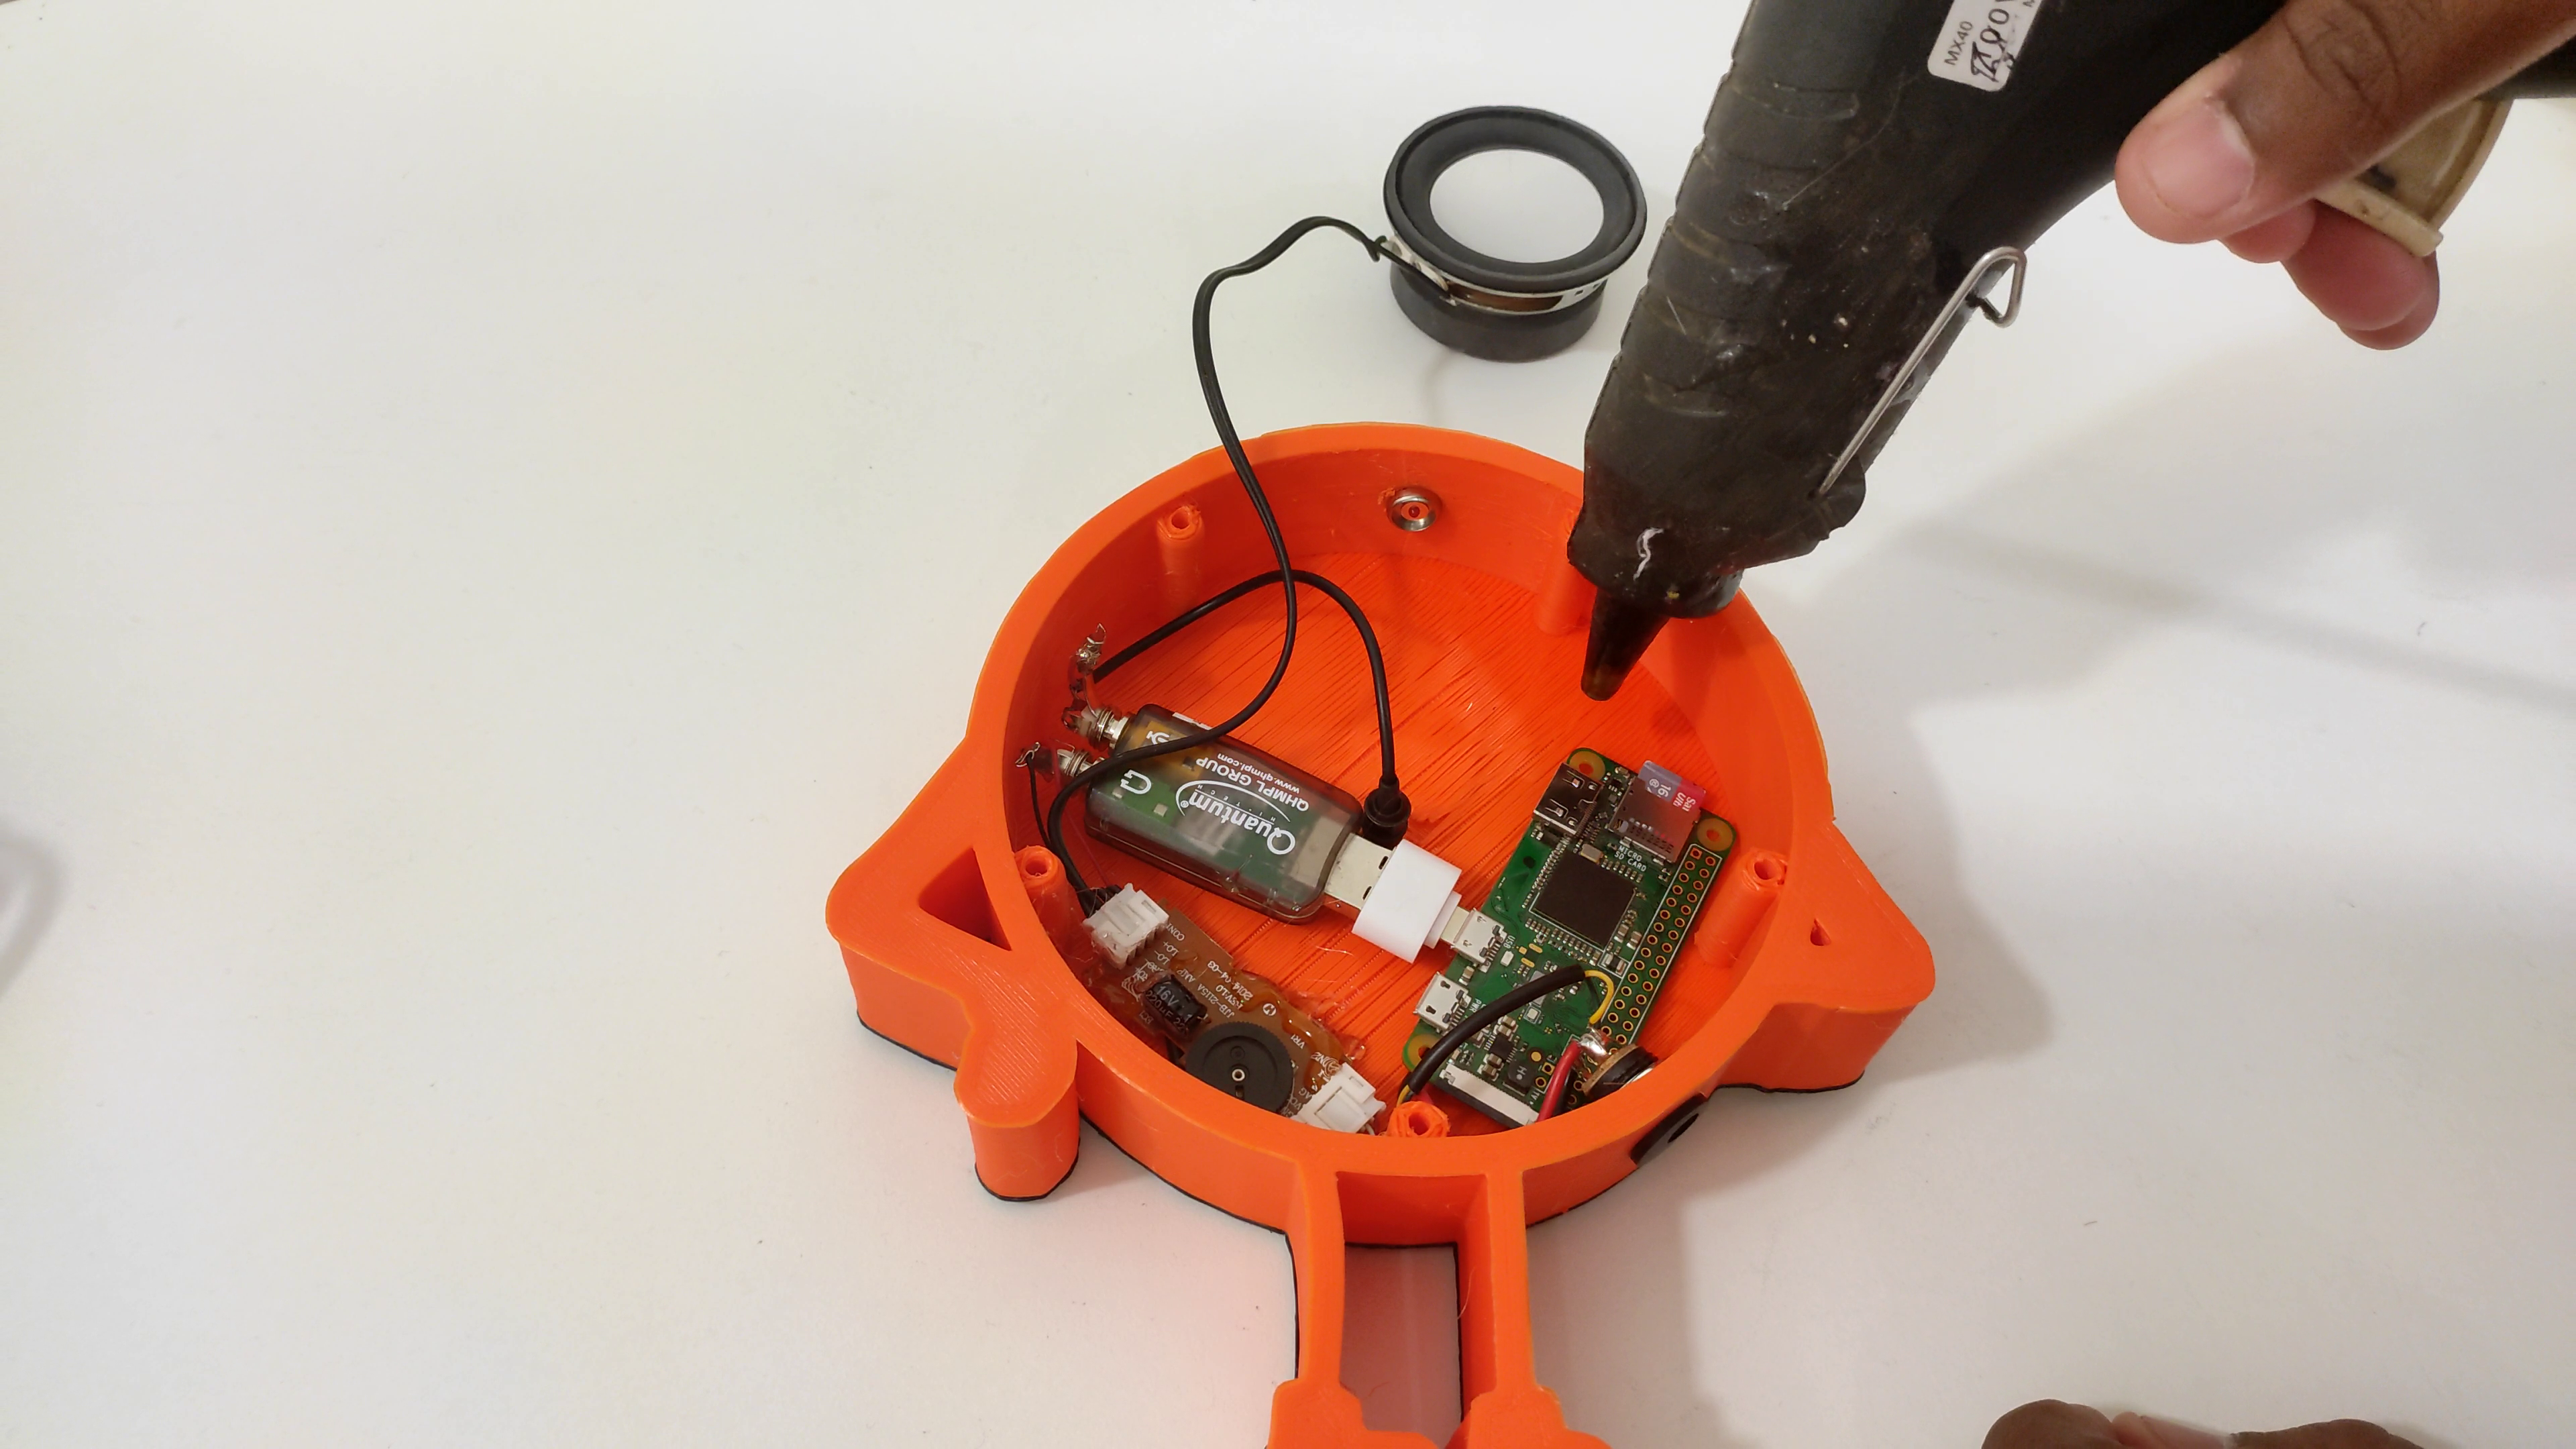
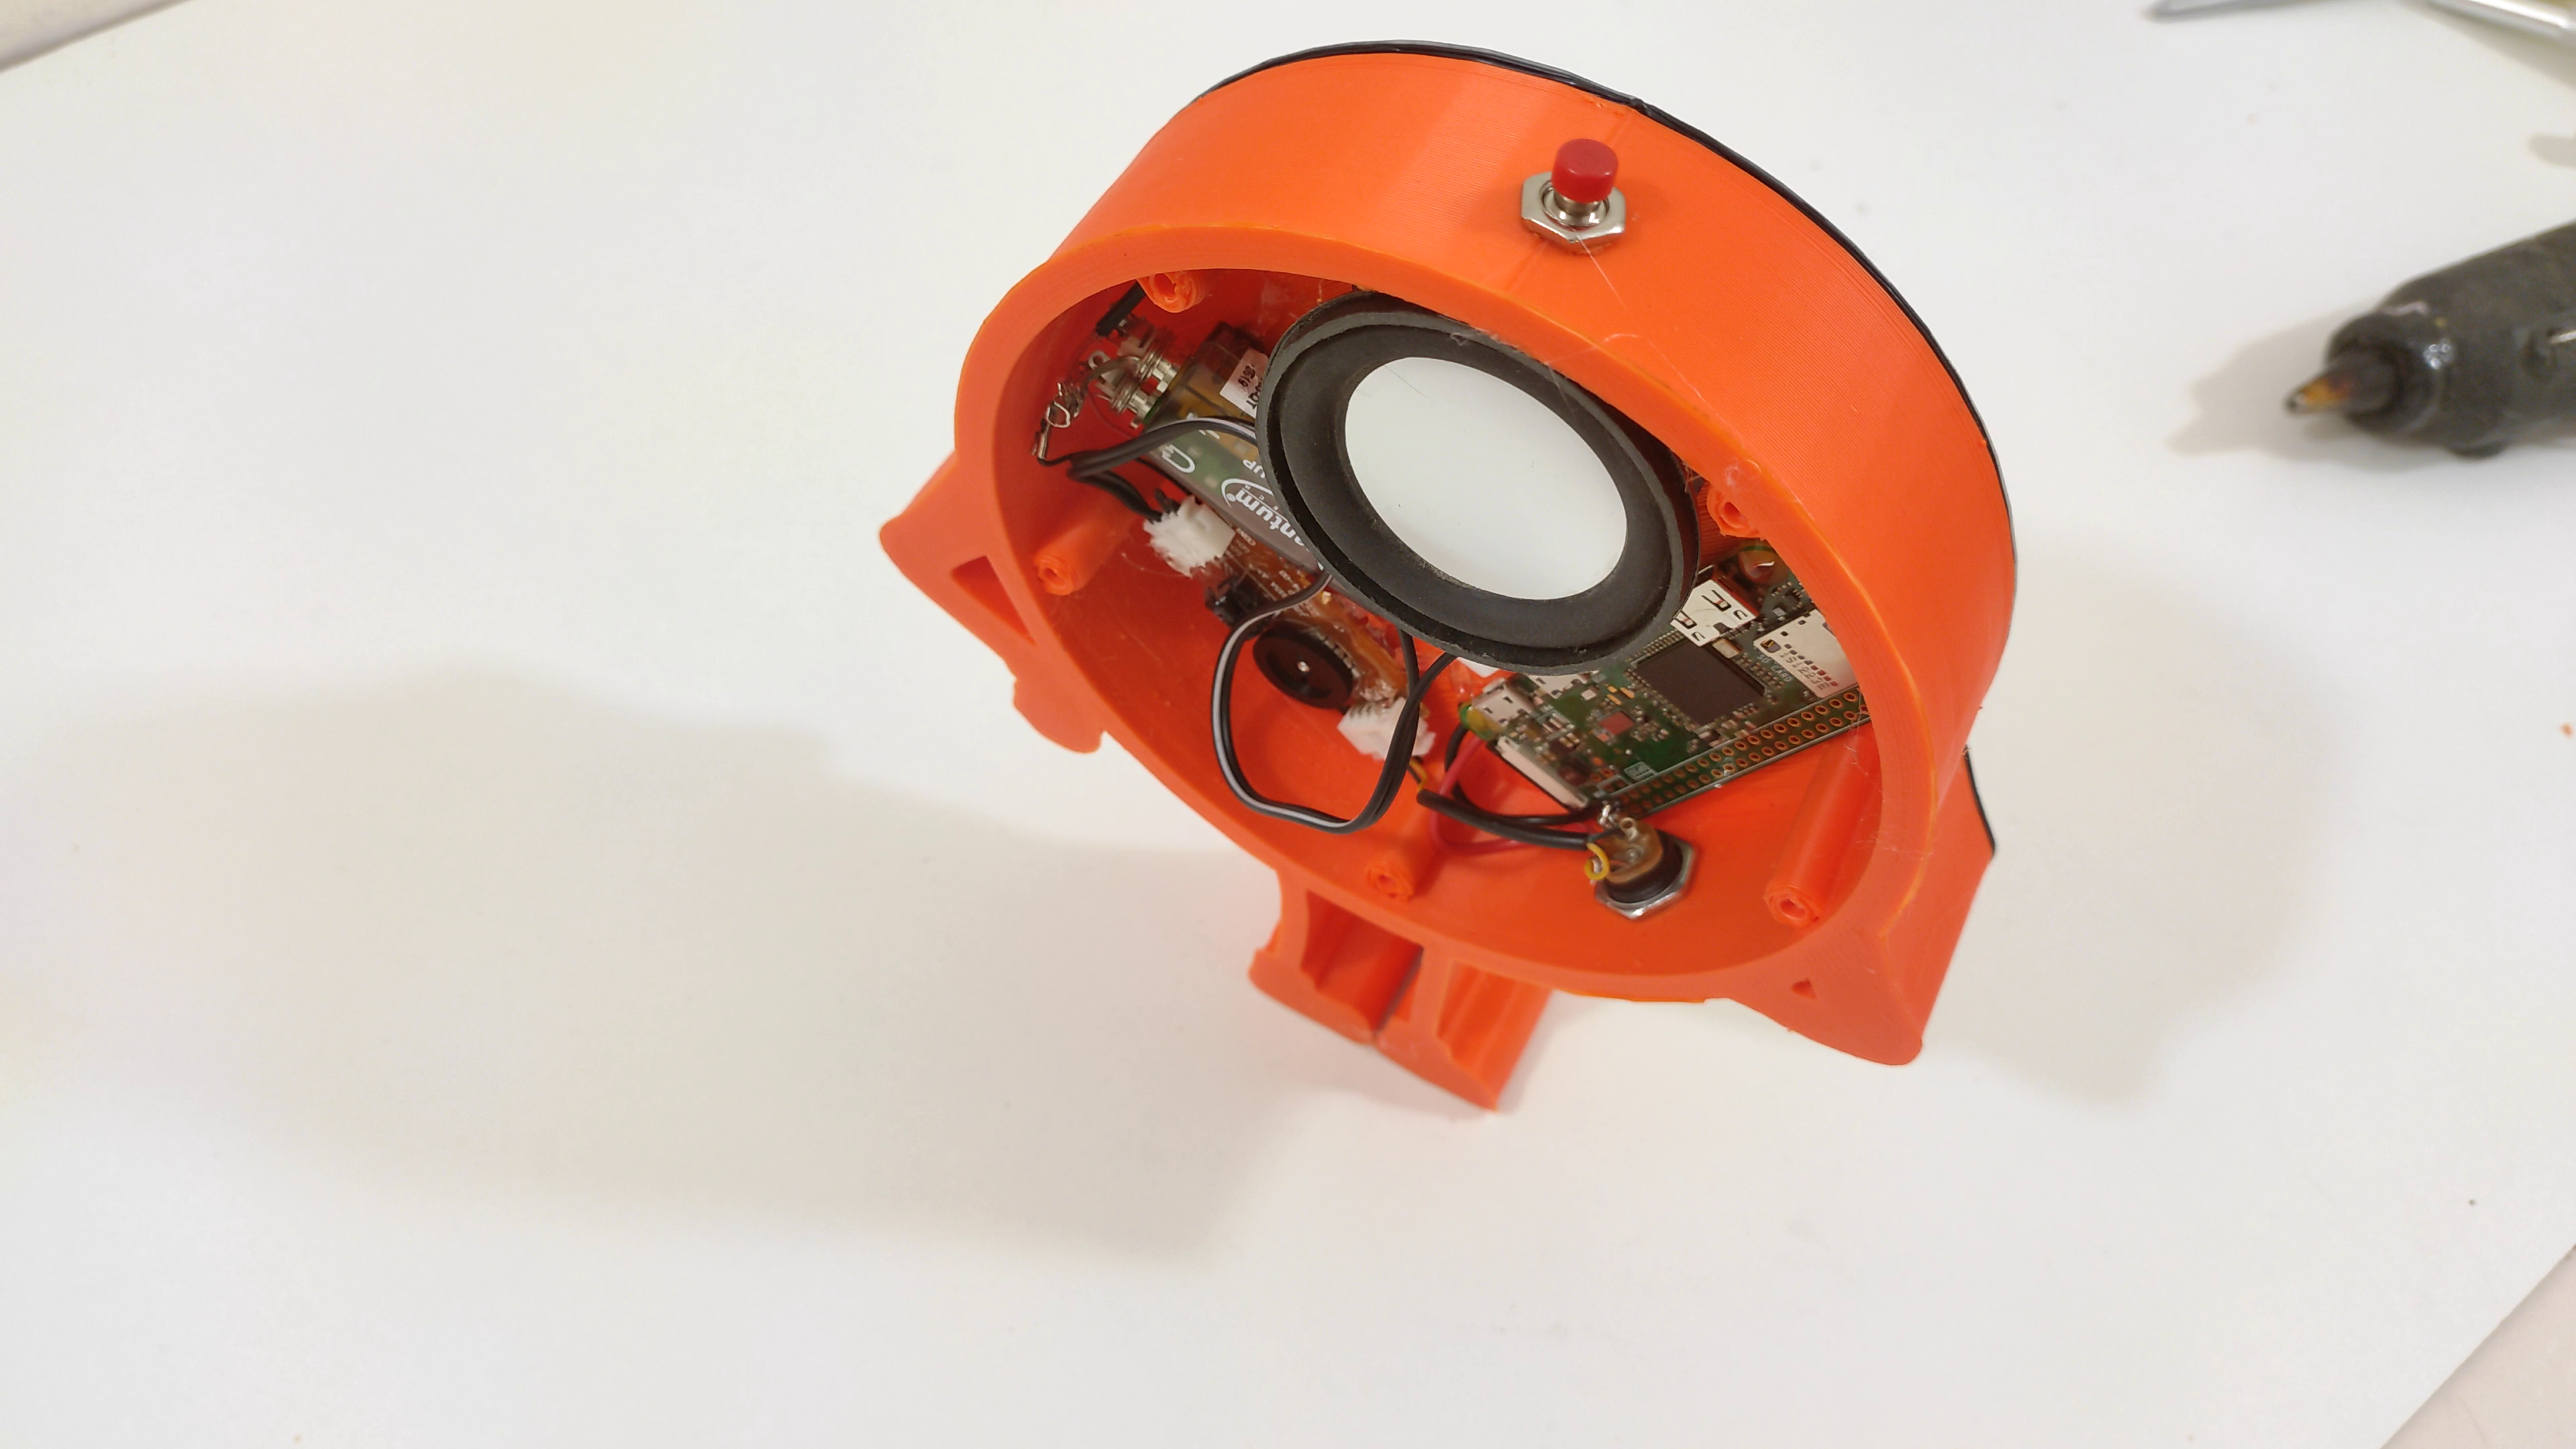
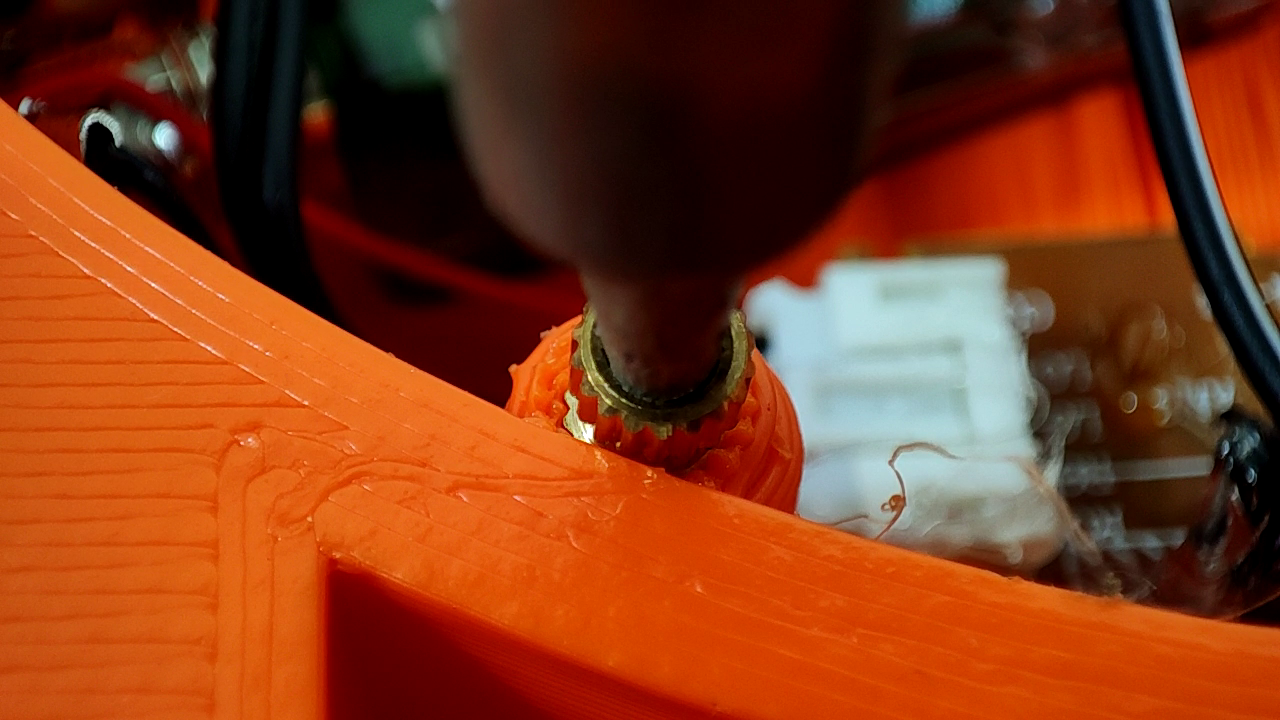
It’s time to put everything into the enclosure, First, let’s start with the placement for the power supply and then followed by the raspberry pi zero w and the sound card. Now we can fit the microphone. For the speaker, I’m going to open up the desktop speaker and take the speaker out, and just like we did with the microphone, I will change the audio jack of this speaker as well.
Then solder everything together and stick em up with some hot glue to stay in place. Finally, add some heat inserts and cover the back of Miss minutes.
Need to Develop This Project Into a PCB?

Getting a electronics project into production would be nightmare. To ease you into the production world we have developed a platform (PCB CUPID) for PCB enthusiasts and hobbyists to ask and answer questions related to PCB design, fabrication, and assembly.
In addition to the Q&A feature, this website also has a wealth of blog posts and useful resources to help you learn about developing and manufacturing printed circuit boards. Whether you're a beginner looking for a crash course on PCB basics, or an experienced designer looking for tips and tricks, you'll find something of value on the site
So head on over and check it out, and don't forget to participate in the Q&A community to get help and share your own knowledge. Thanks!
Final Thoughts


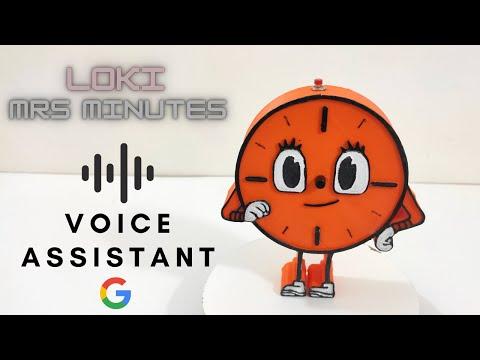
There are many changes that can be done.
- The simple one would be, adding a battery to make it portable.
- Even though the trigger word bug is used as a feature, it's not perfect! it sometimes takes in wrong input so you have to say the same command twice to correct it.
- A custom trigger word would have been perfect, but most of them are complicated to implement and I couldn't find any easy way, If you know any please let me know in the comments.
So, this brings us to the end of the instructable if you like this article make sure to follow me to read more upcoming projects and also make sure to subscribe to my youtube channel!