Moving a Motor Using Arduino and Serial Communcation
by bww1 in Circuits > Microcontrollers
44588 Views, 282 Favorites, 0 Comments
Moving a Motor Using Arduino and Serial Communcation
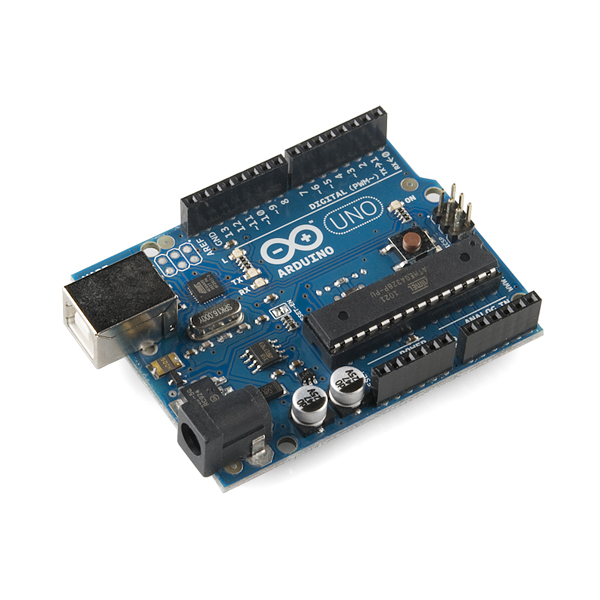
Have you ever wondered how robots move? Have you ever wanted to write a program to control a robot? If so, this tutorial will be an excellent starting place to learn electronic controls with the Arduino Microcontroller. You will be making a control system composing of an Arduino Microcontroller, a servo, and your personal computer.
A Closer look at Embedded Systems
An embedded system is typically defined as a computer system with a specific purpose, used inside of a larger mechanical and electrical design. Embedded systems typically read and write data from sensors, as well as send control signals to certain hardware devices, such as motors. They are useful because of their reliability, low cost, and low power constraints. Desktop environments are usually costly and power hungry. The Arduino is a great platform to learn embedded systems on, and makes several parts of the process more manageable for beginners.
Purpose
The purpose of this Instructable is to educate the user on the process of developing an entire embedded system. The platform used will be the Arduino development board.
Components
-Arduino Microcontroller (Preferably newer, any one should work)
-Any 4.8v rated digital servo
-Personal Computer (Preferably 10 years old or newer)
-Internet Connection
-At least 3 Breadboard to Breadboard wires
Required Knowledge
-How do navigate the Internet
-Which operating system is present on your personal computer
-How to copy, cut, and paste files into different folders on your computer
-Which Arduino Board you have
Installing the Arduino Development Software
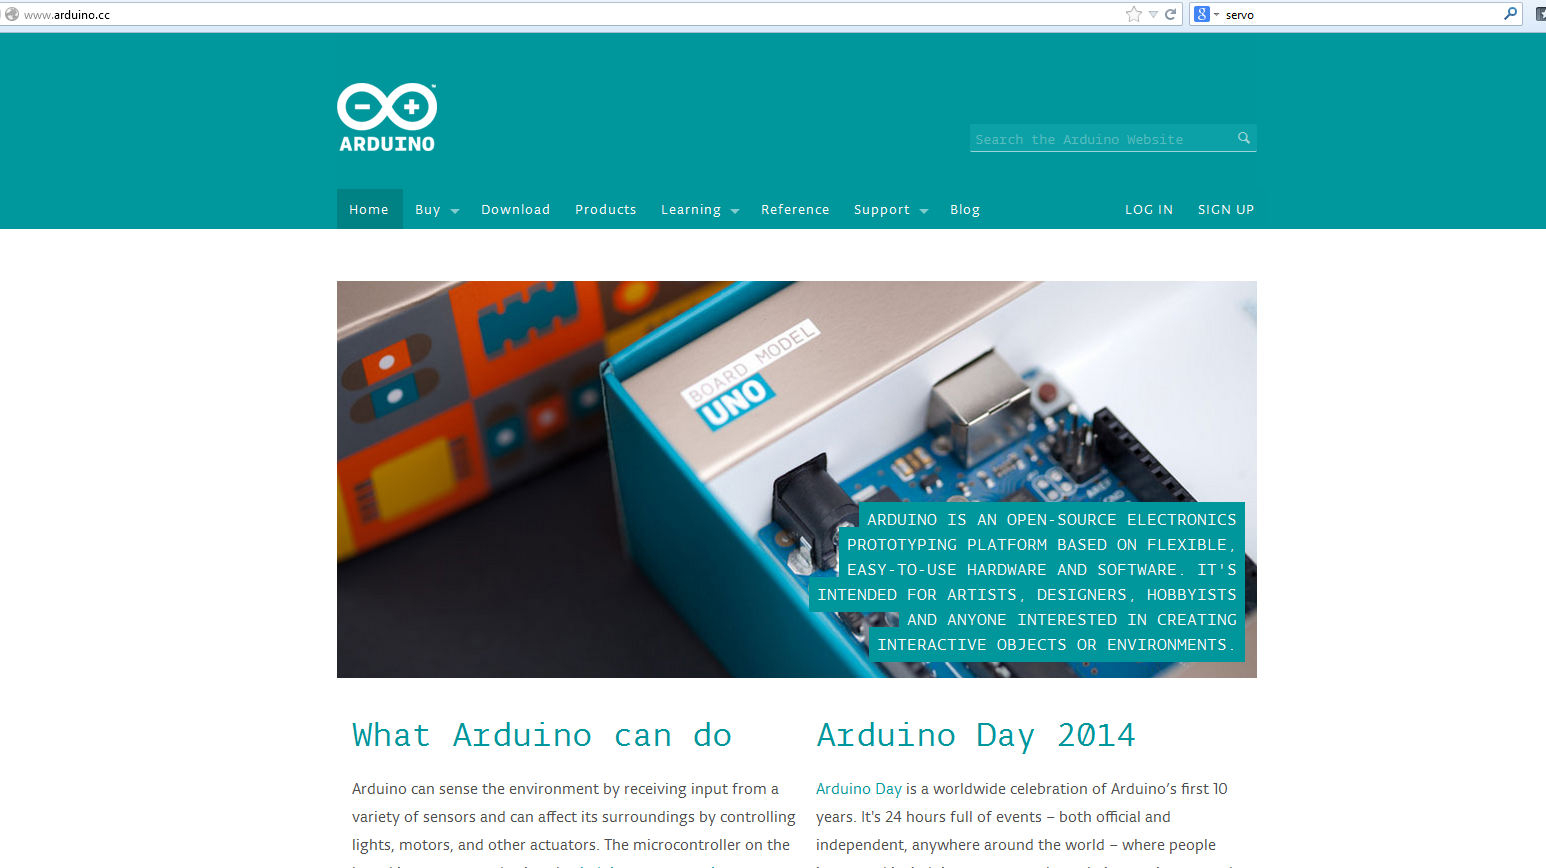
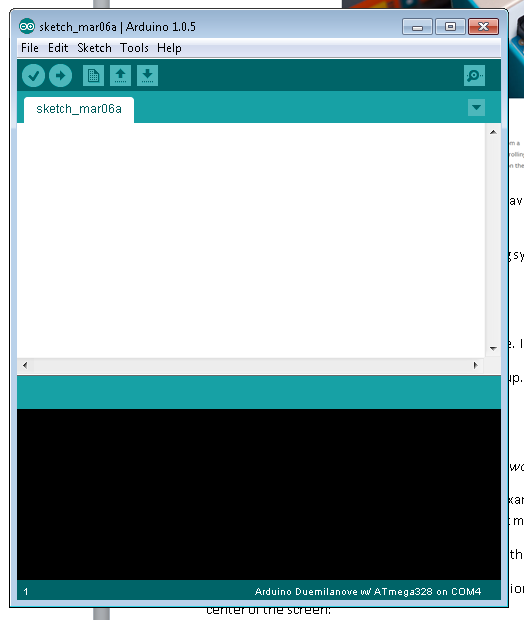
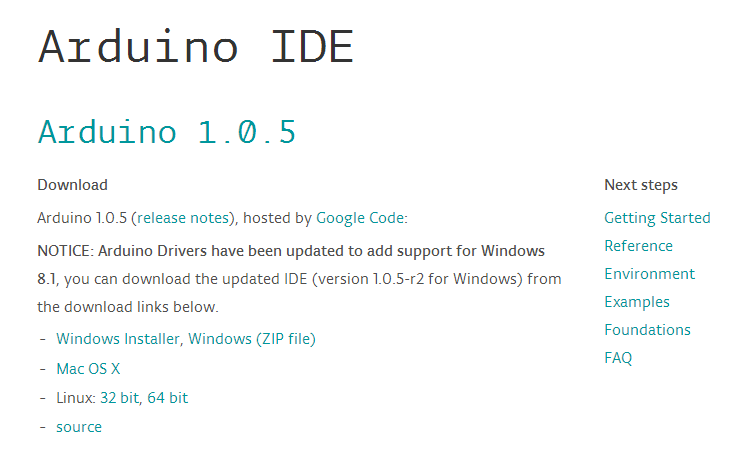
THIS STEP ONLY APPLIES IF YOU DO NOT OWN A COPY OF THE ARDUINO IDE
Click here to be directed to the main Arduino website.
Click "Download" located in the upper navigation bar. Navigate down the Downloads page to the latest Arduino IDE (it should be the first choice listed.)
Click on the appropriate installer for you operating system (linux, Mac, or Windows.) If you aren’t sure whether to get 32 bit or 64 bit, get the 32 bit.
You should see the package begin to download.
When it is finished, simply run the downloaded file. If Arduino requires any extra permissions, hit "Allow" and resume your installation.
Double click on the Arduino Application to start it up. Your screen should open to a blank editor window.
Installing the Processing Development Software

THIS STEP ONLY APPLIES IF YOU DO NOT OWN A COPY OF THE PROCESSING IDE
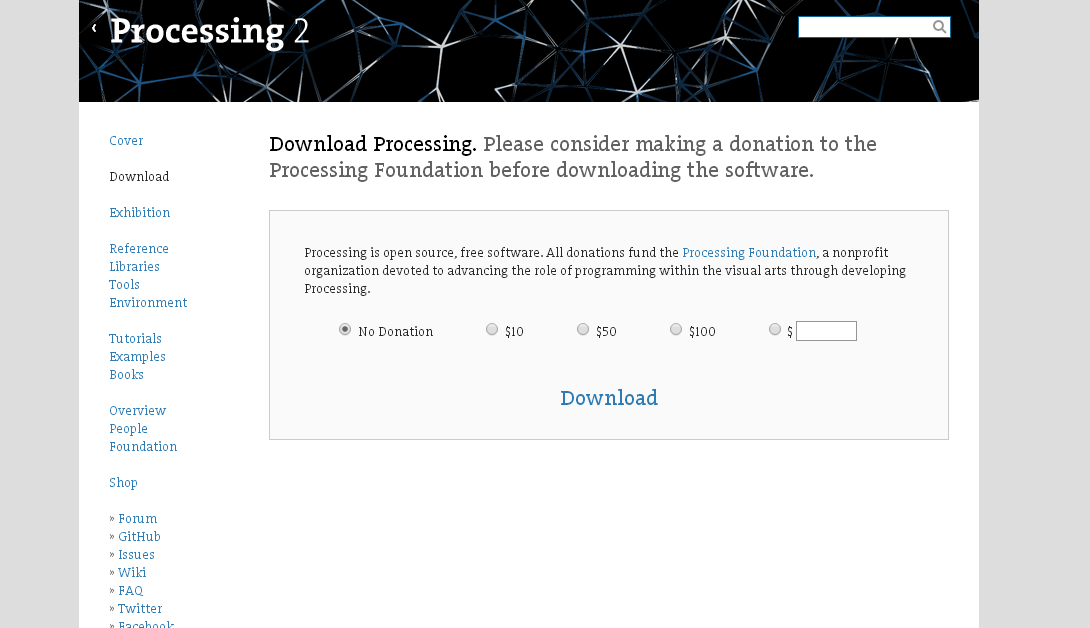
Processing is an interface we will be using in this example to do serial communication with our Arduino. Serial communication is one method that different machines use to be able to “speak” with each other.
Click here to be directed to the download page for the Processing Software.
No donation is necessary. After filling in the donation field, click the big blue “Download” button at the center of the screen.
On the next page, select the distribution for your operating system. Again, if you do not know whether to do 32 or 64 bit, choose 32 bit.
After your file is finished downloading, open up the directory and extract all downloaded files.
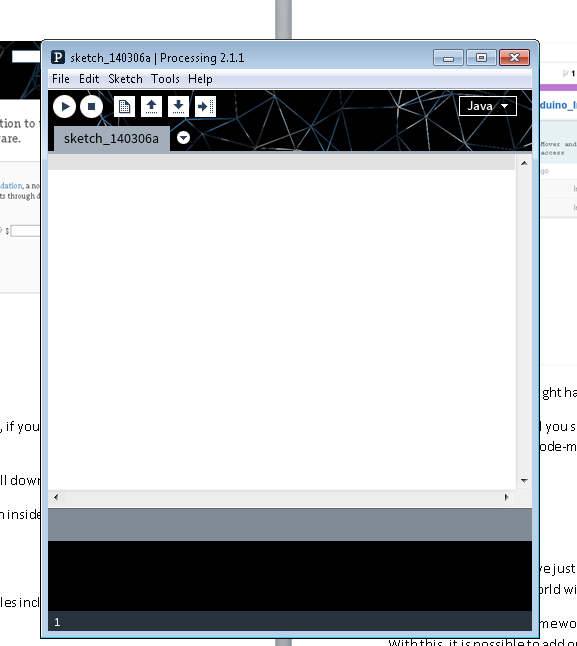
After your extraction is finished, double click on the processing application inside the processing 2-1.1 folder. You should open up to a blank editor window.
Obtaining the Source Code
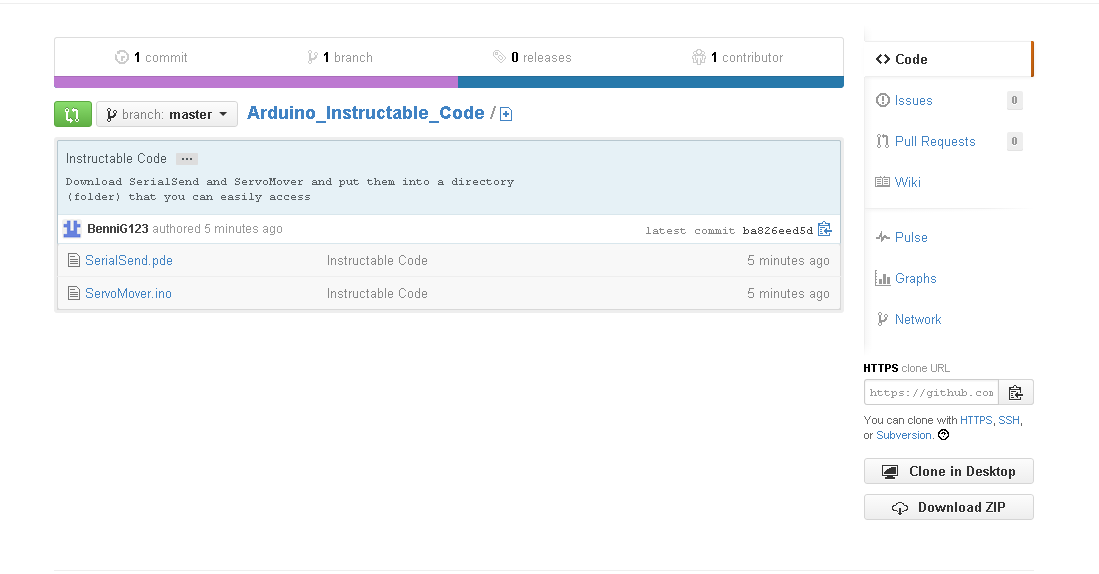
Click here to go to the Github repository with the necessary source code files included. You should see something resembling the following when you open up the page.
Github is a source code sharing platform for developers worldwide. For any collaborative or open source software project, Github is a valuable resource for sharing.
Go down to the bottom right hand corner, where you should see a button titled “Download ZIP”.
Left click that button, and you should see that you have begun to download a folder titled “Arduino_Instructable_Code-master.zip”. Extract the contents of the folder into a directory you can easily access.
Configuring the Hardware
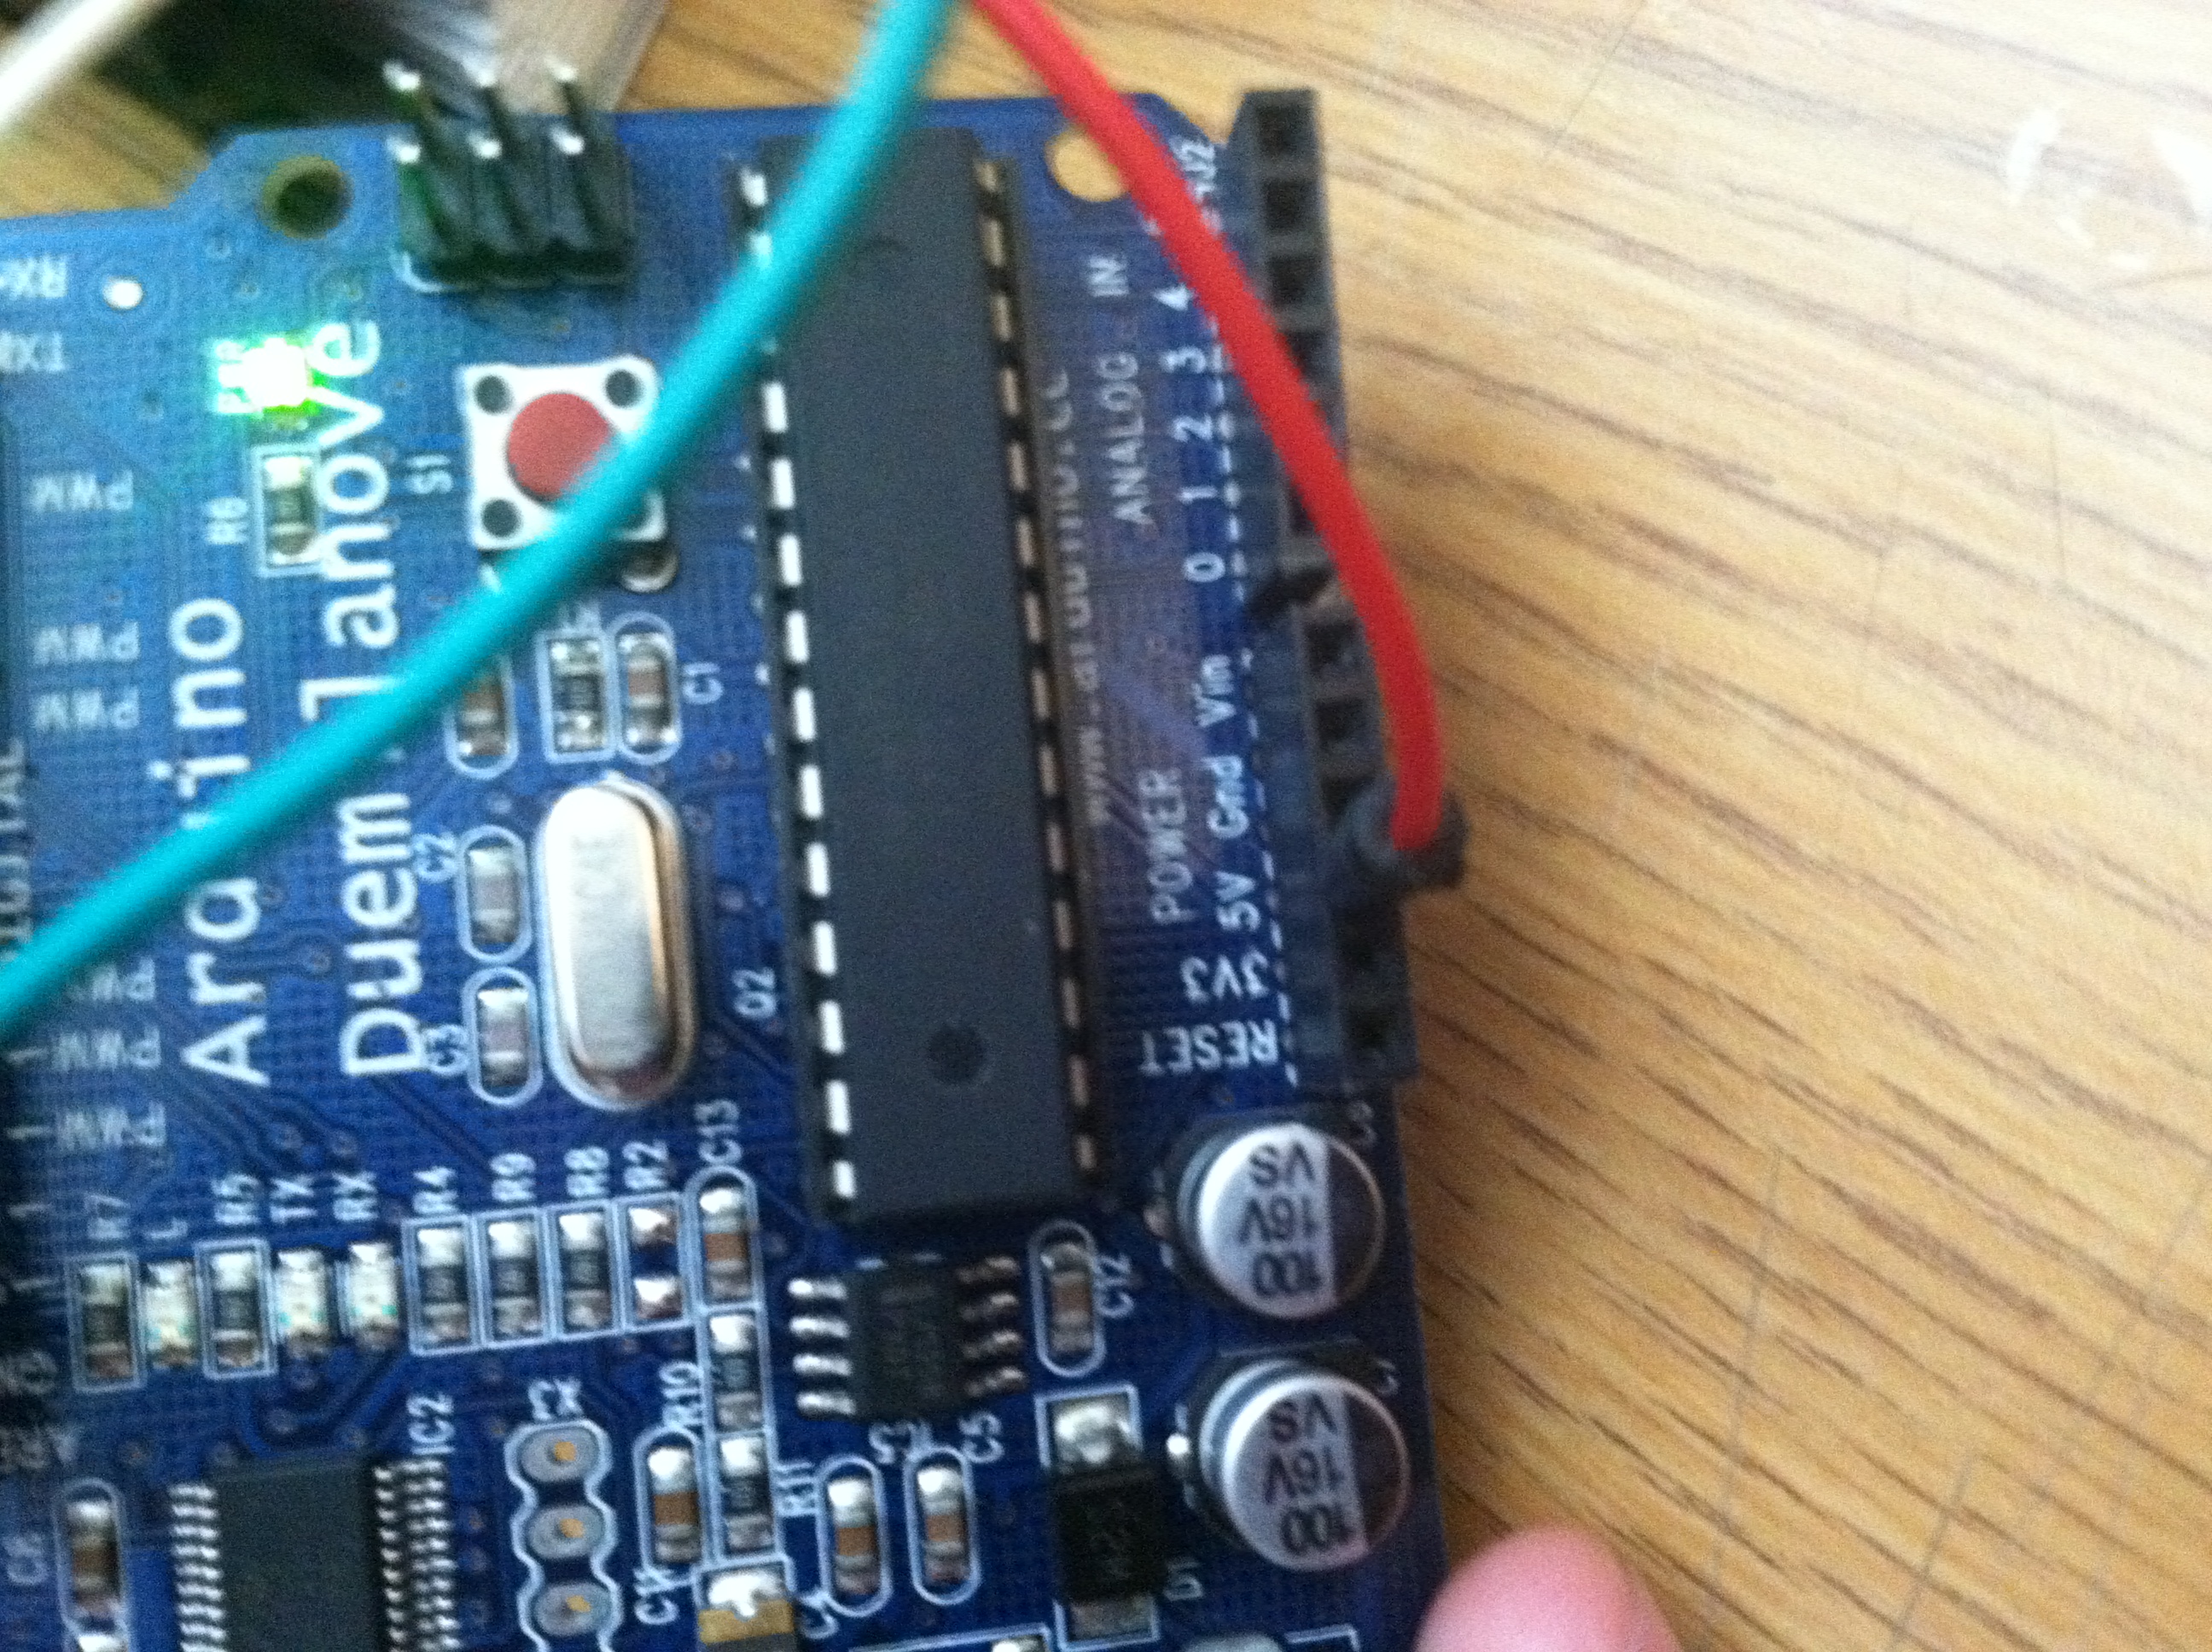
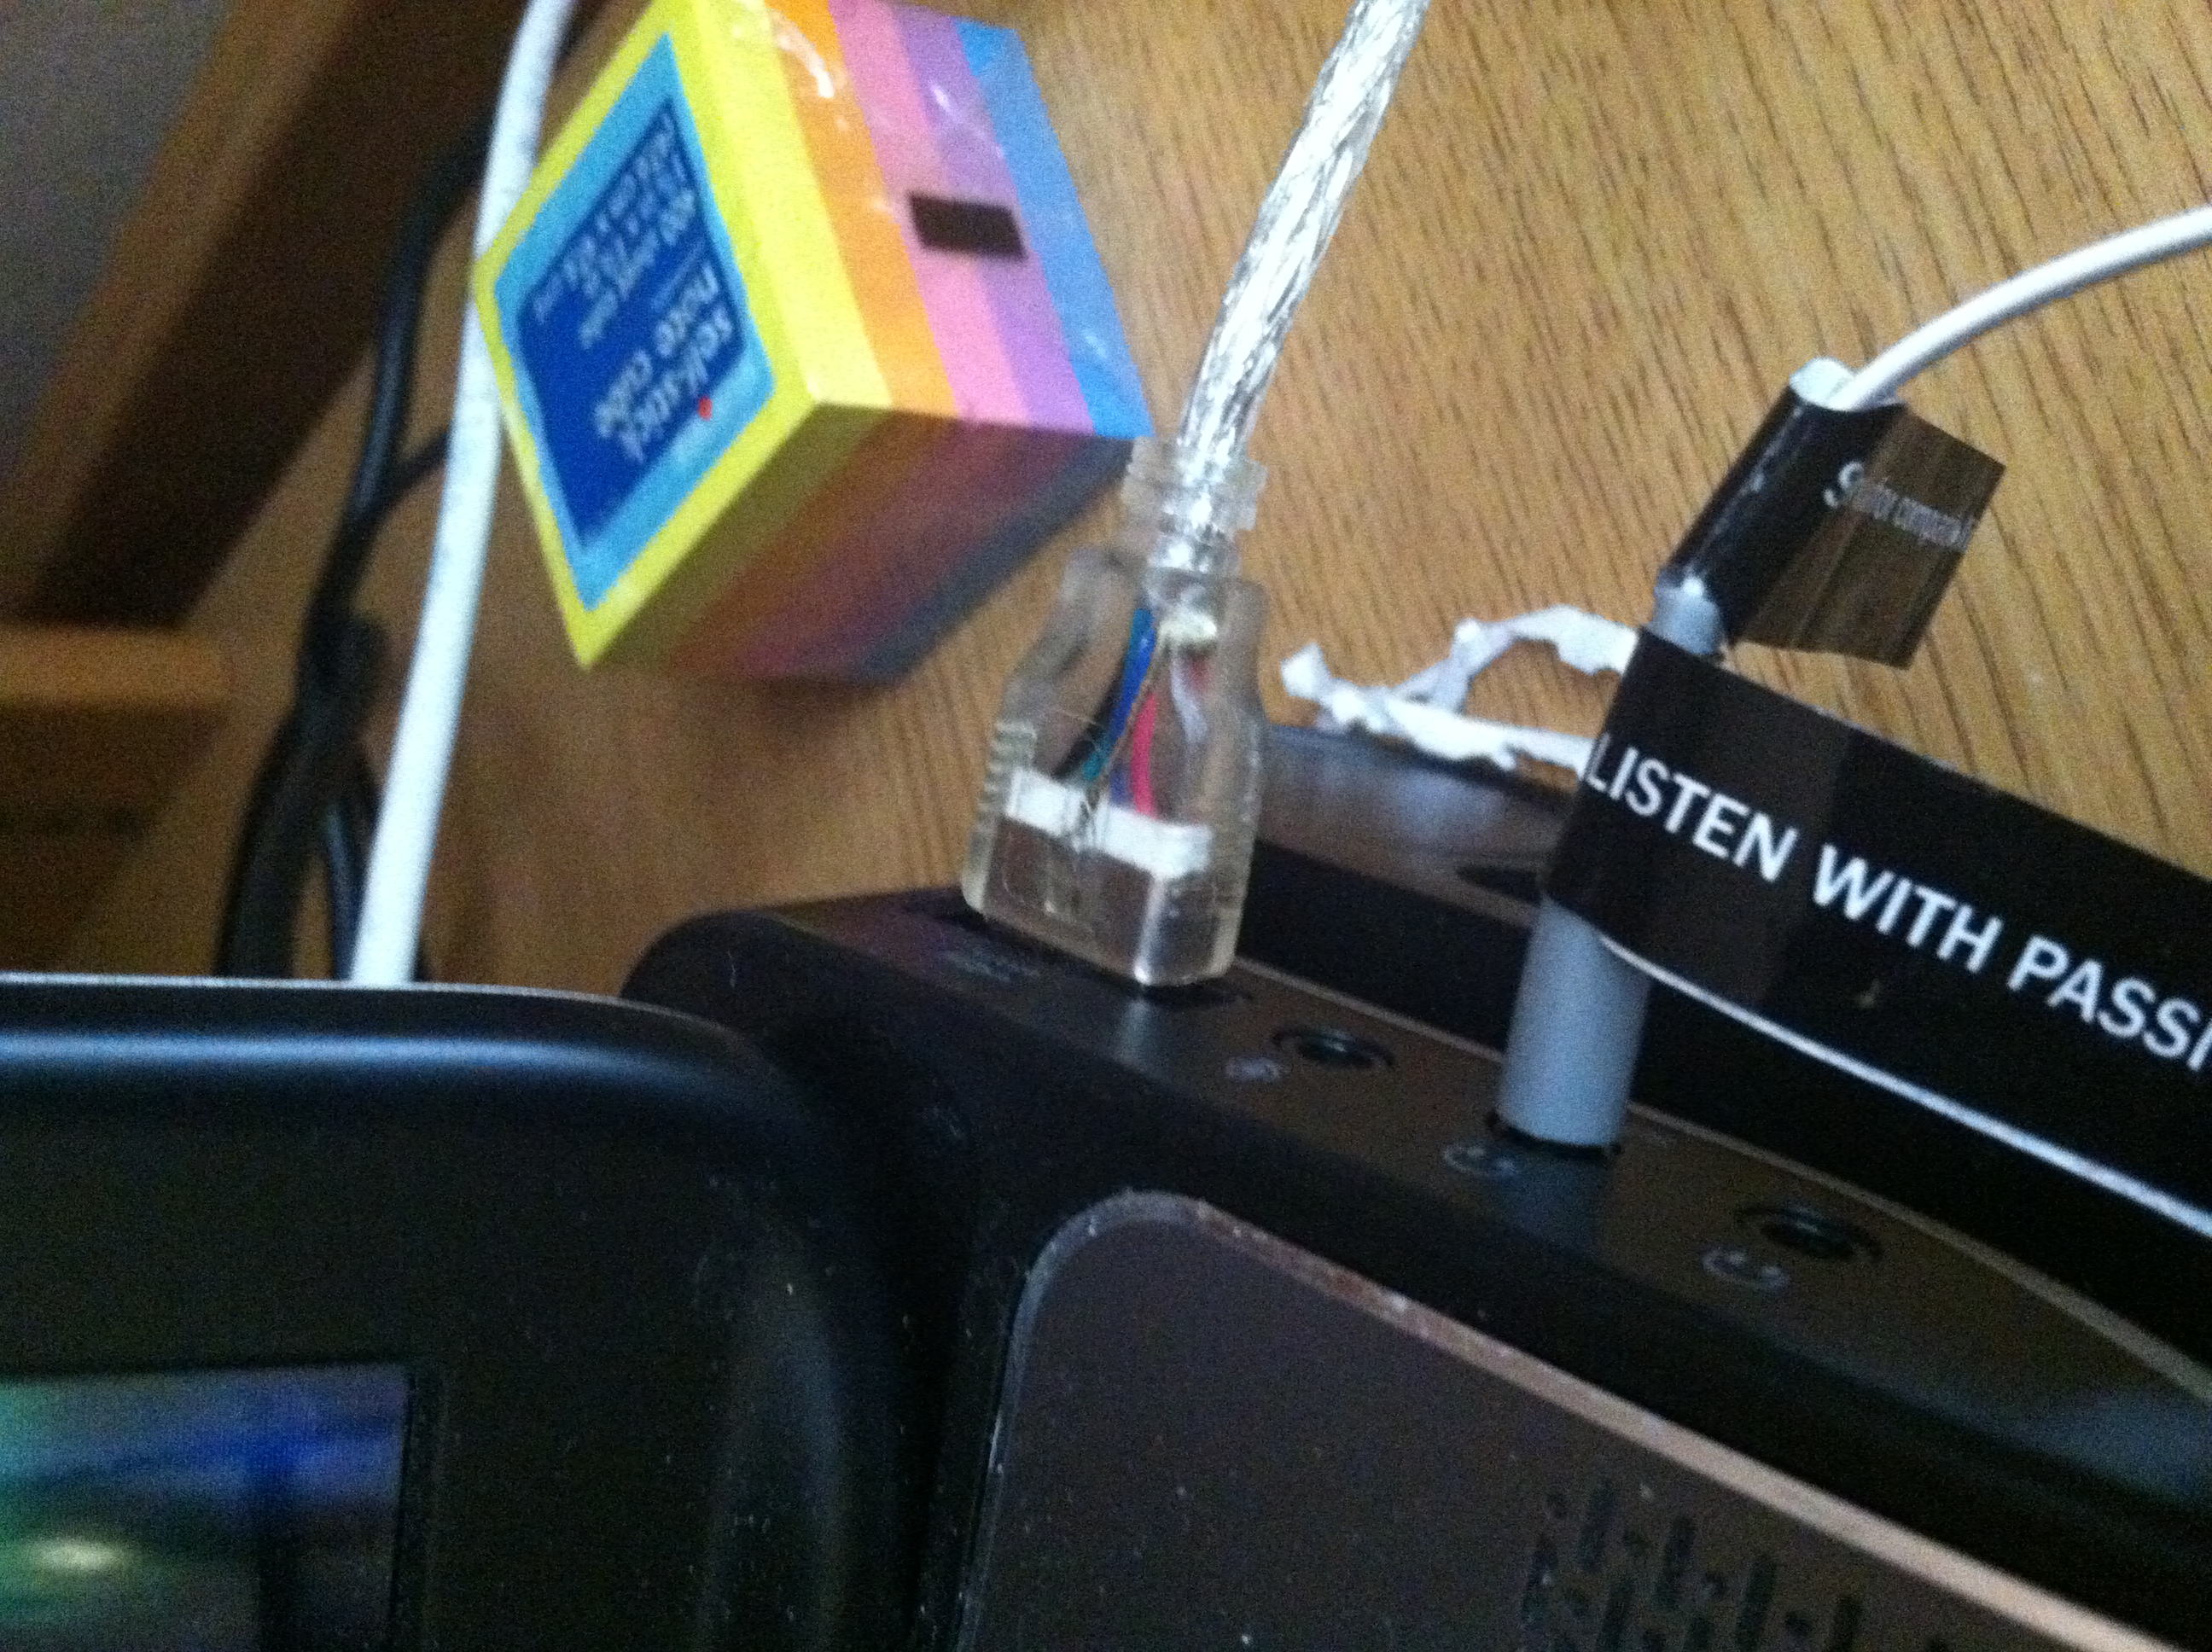
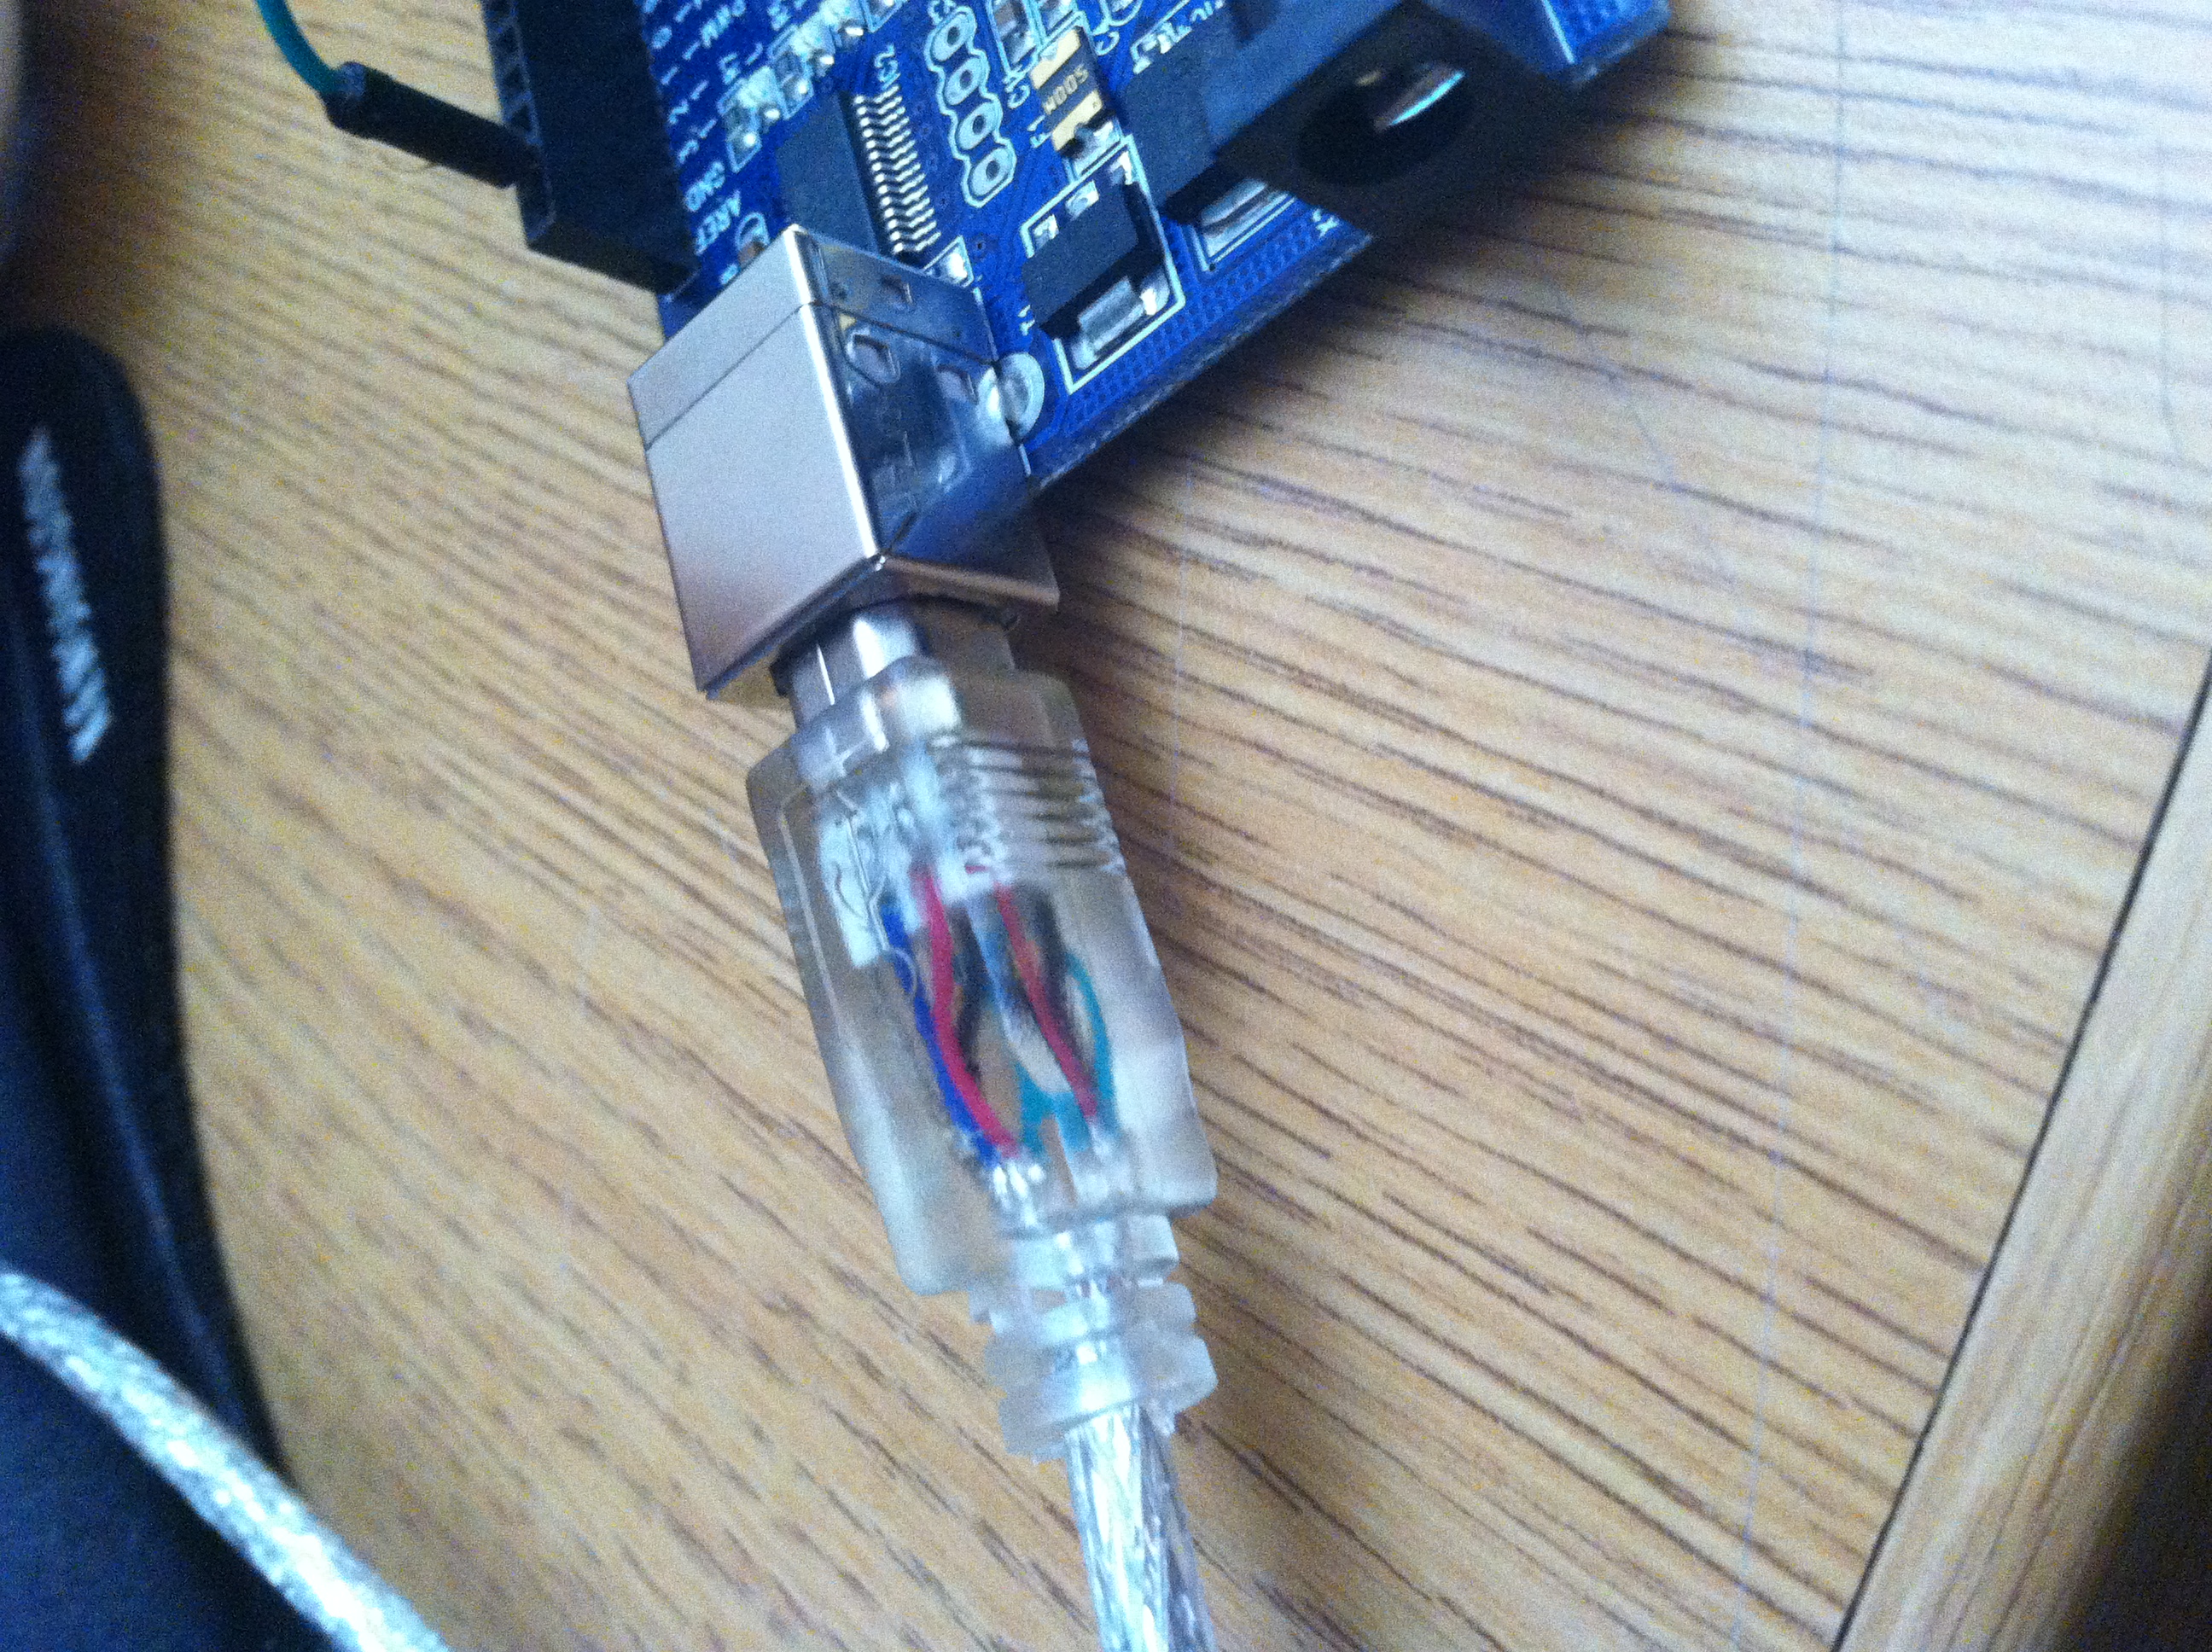
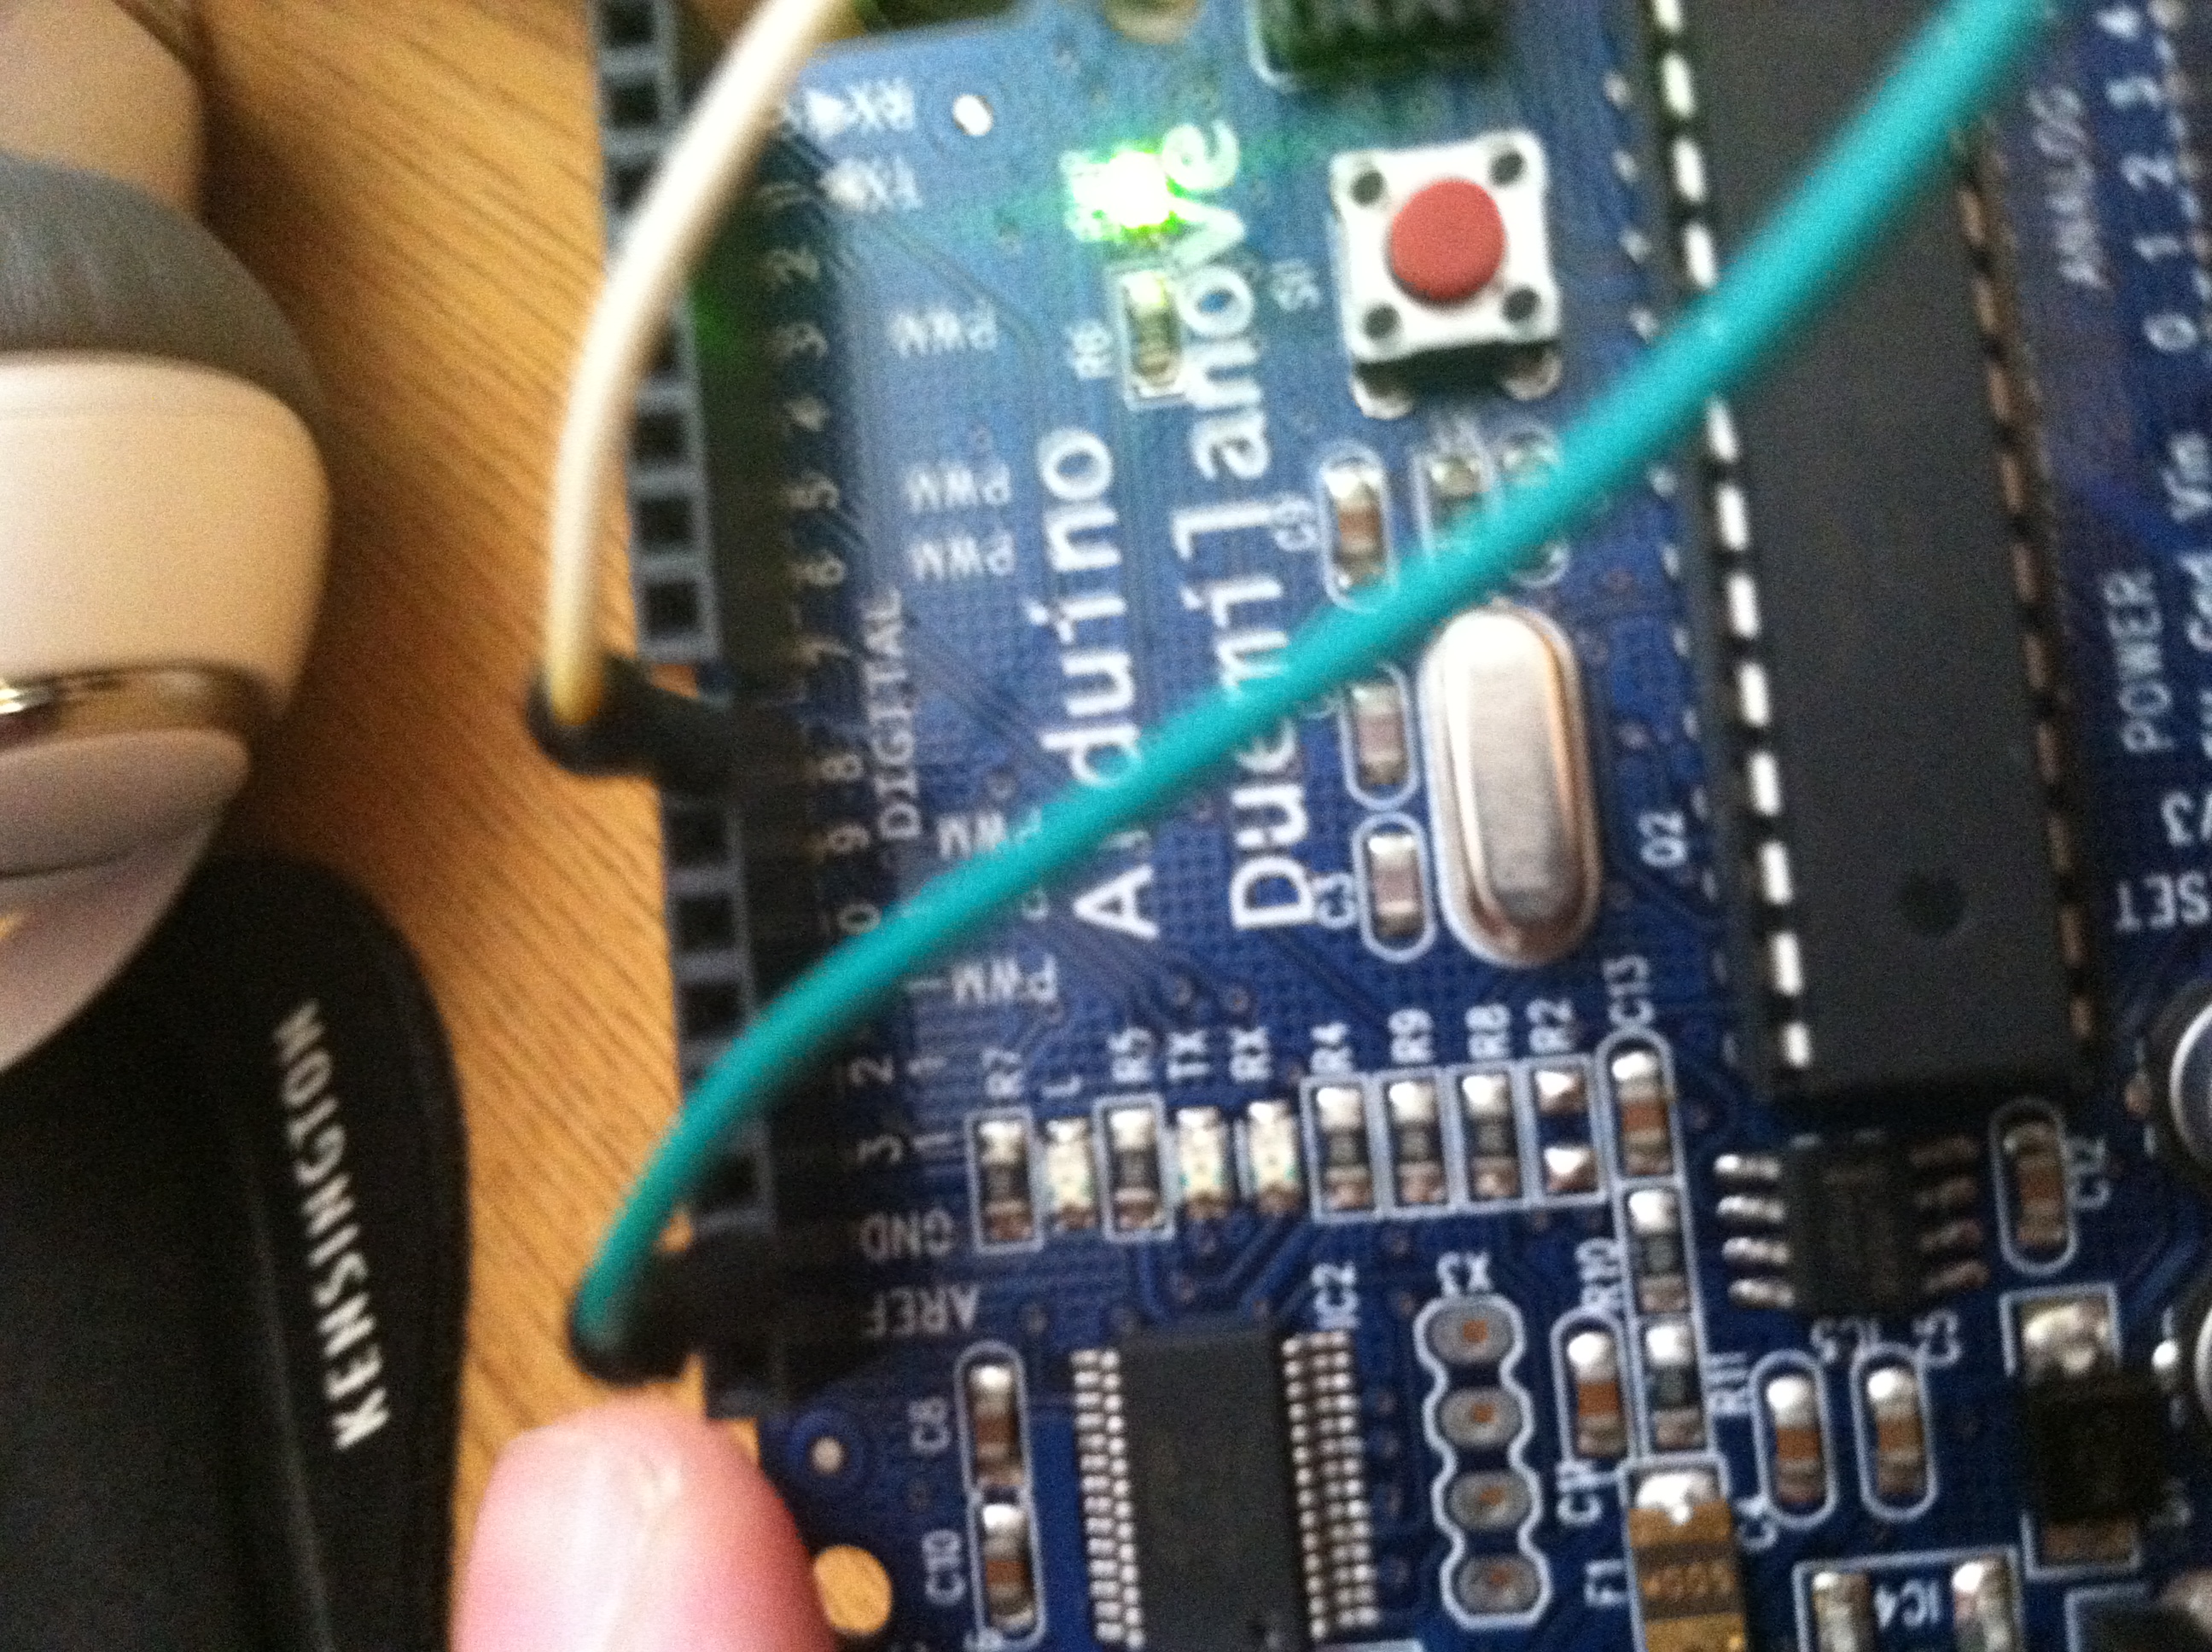
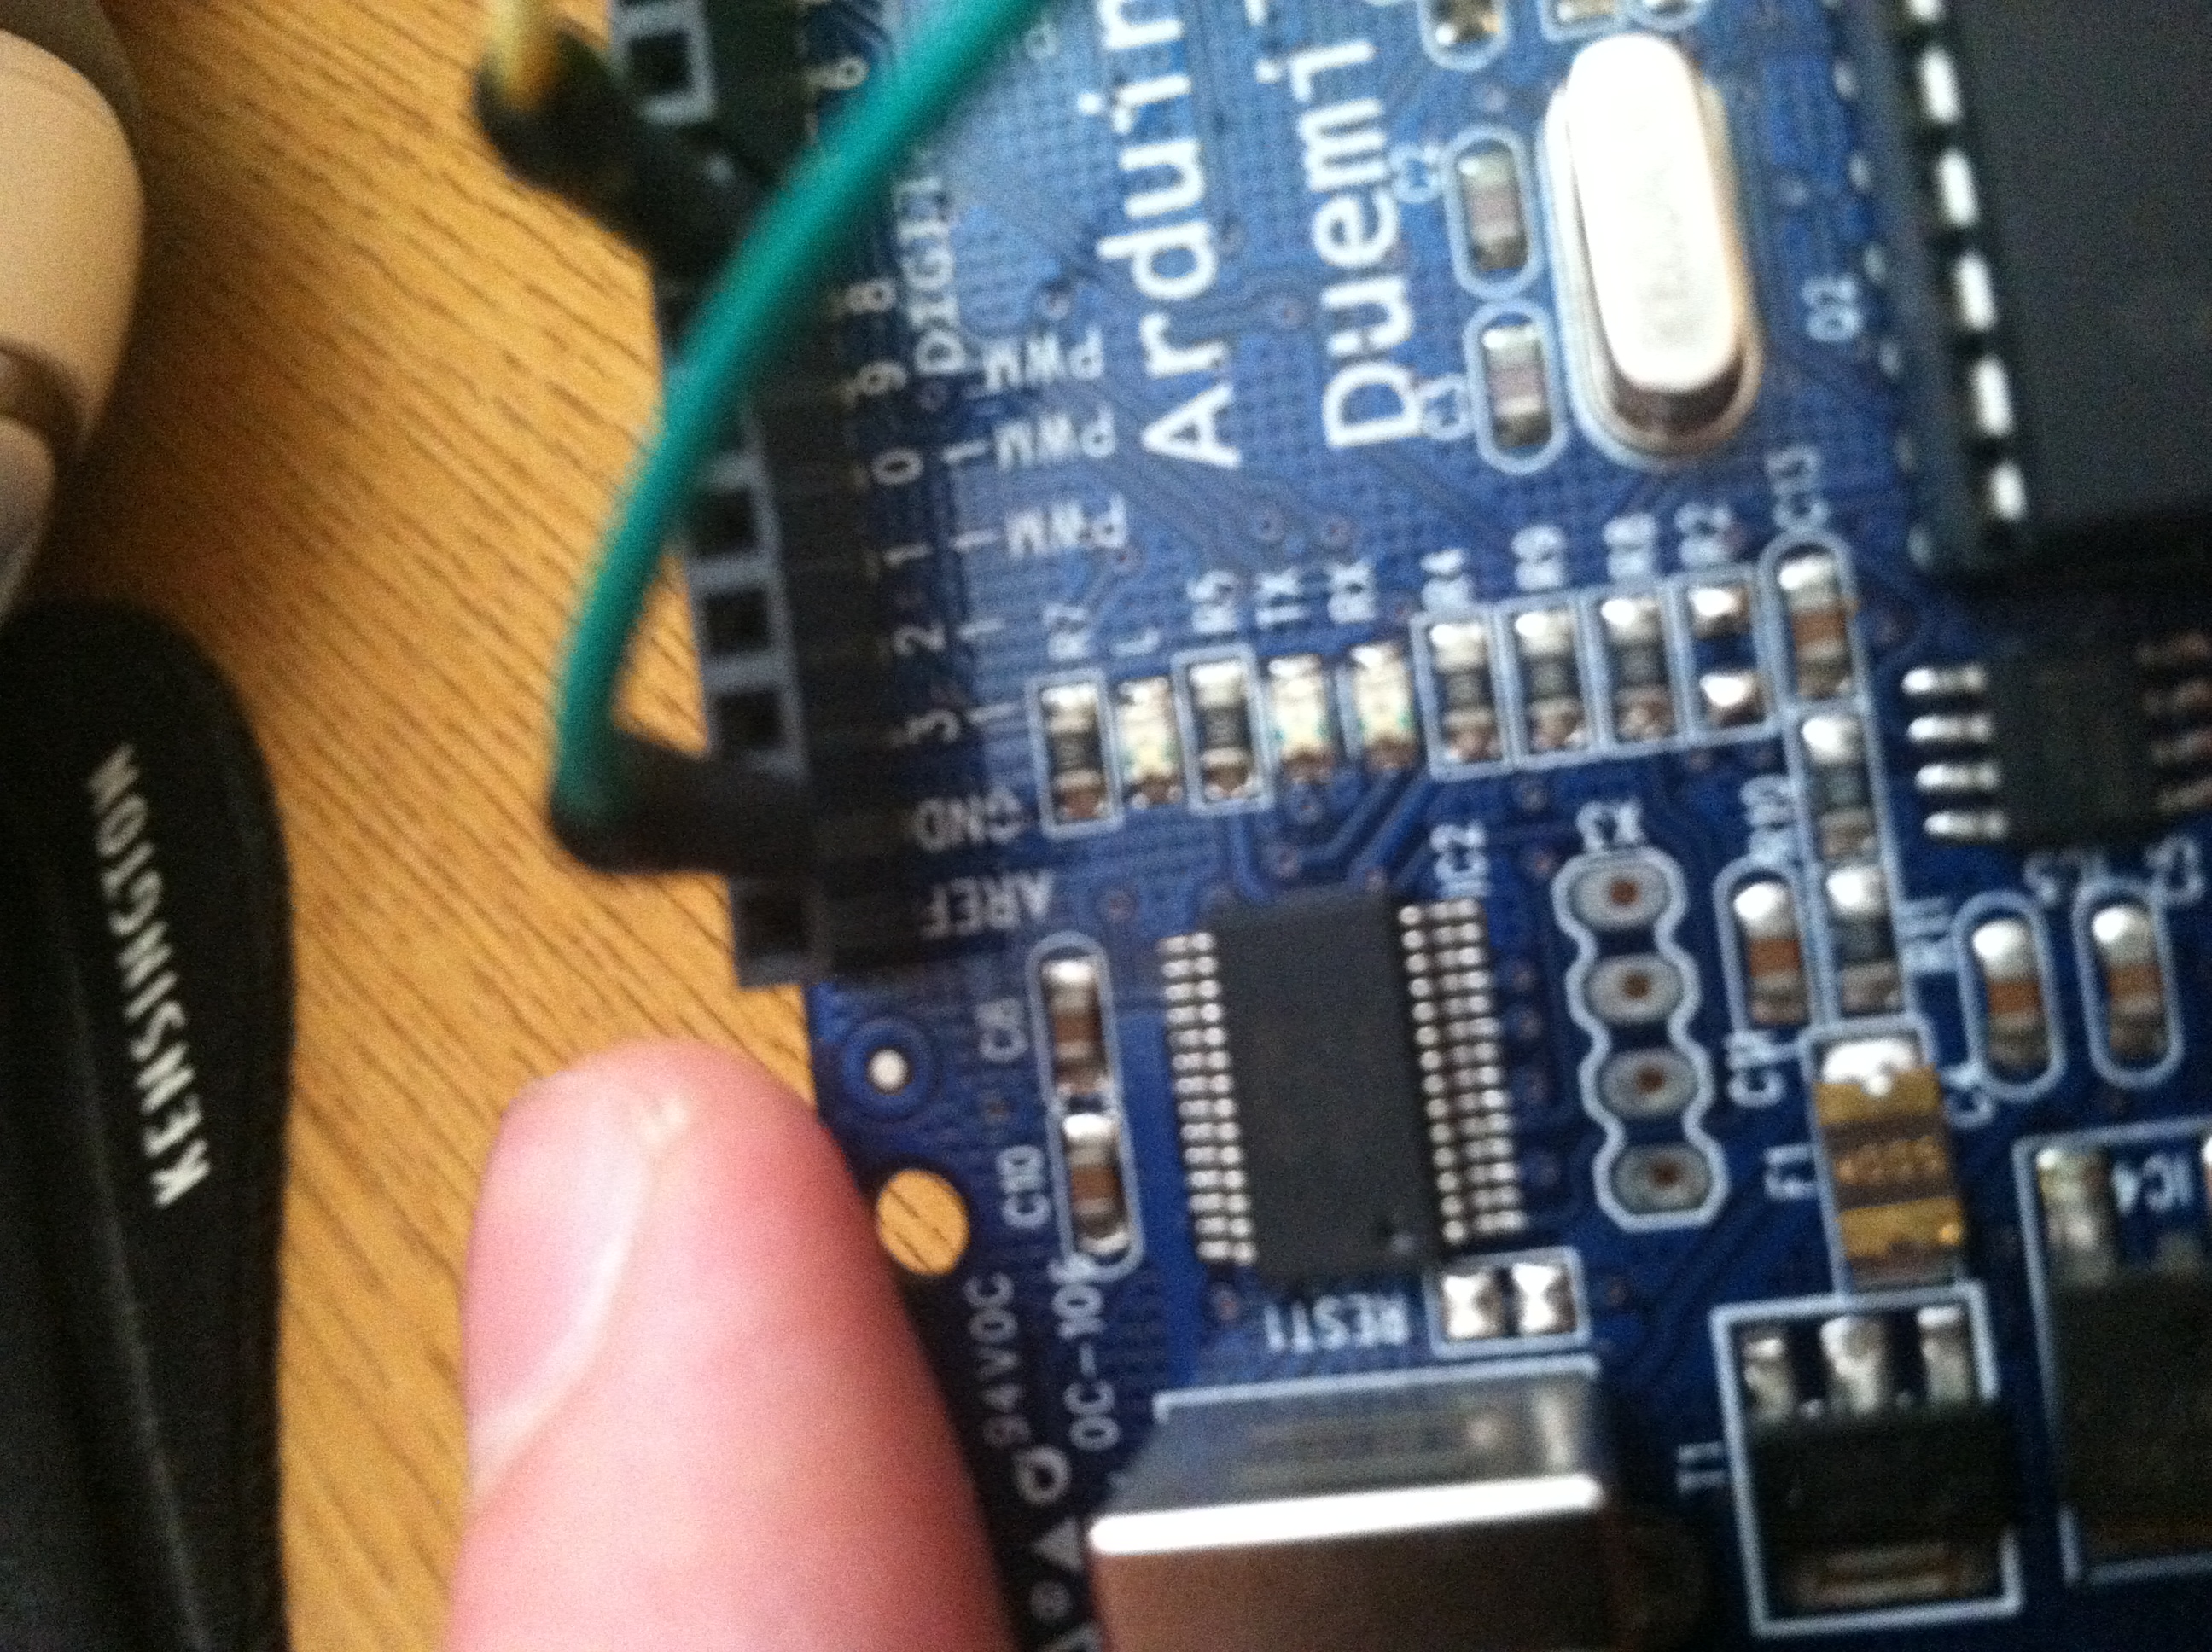
Take your Arduino, and attach it to a to a USB port on your computer using the provided silver Arduino to USB cable.
When your Arduino is recieving power through your USB port, the green PWR LED should be lit up.
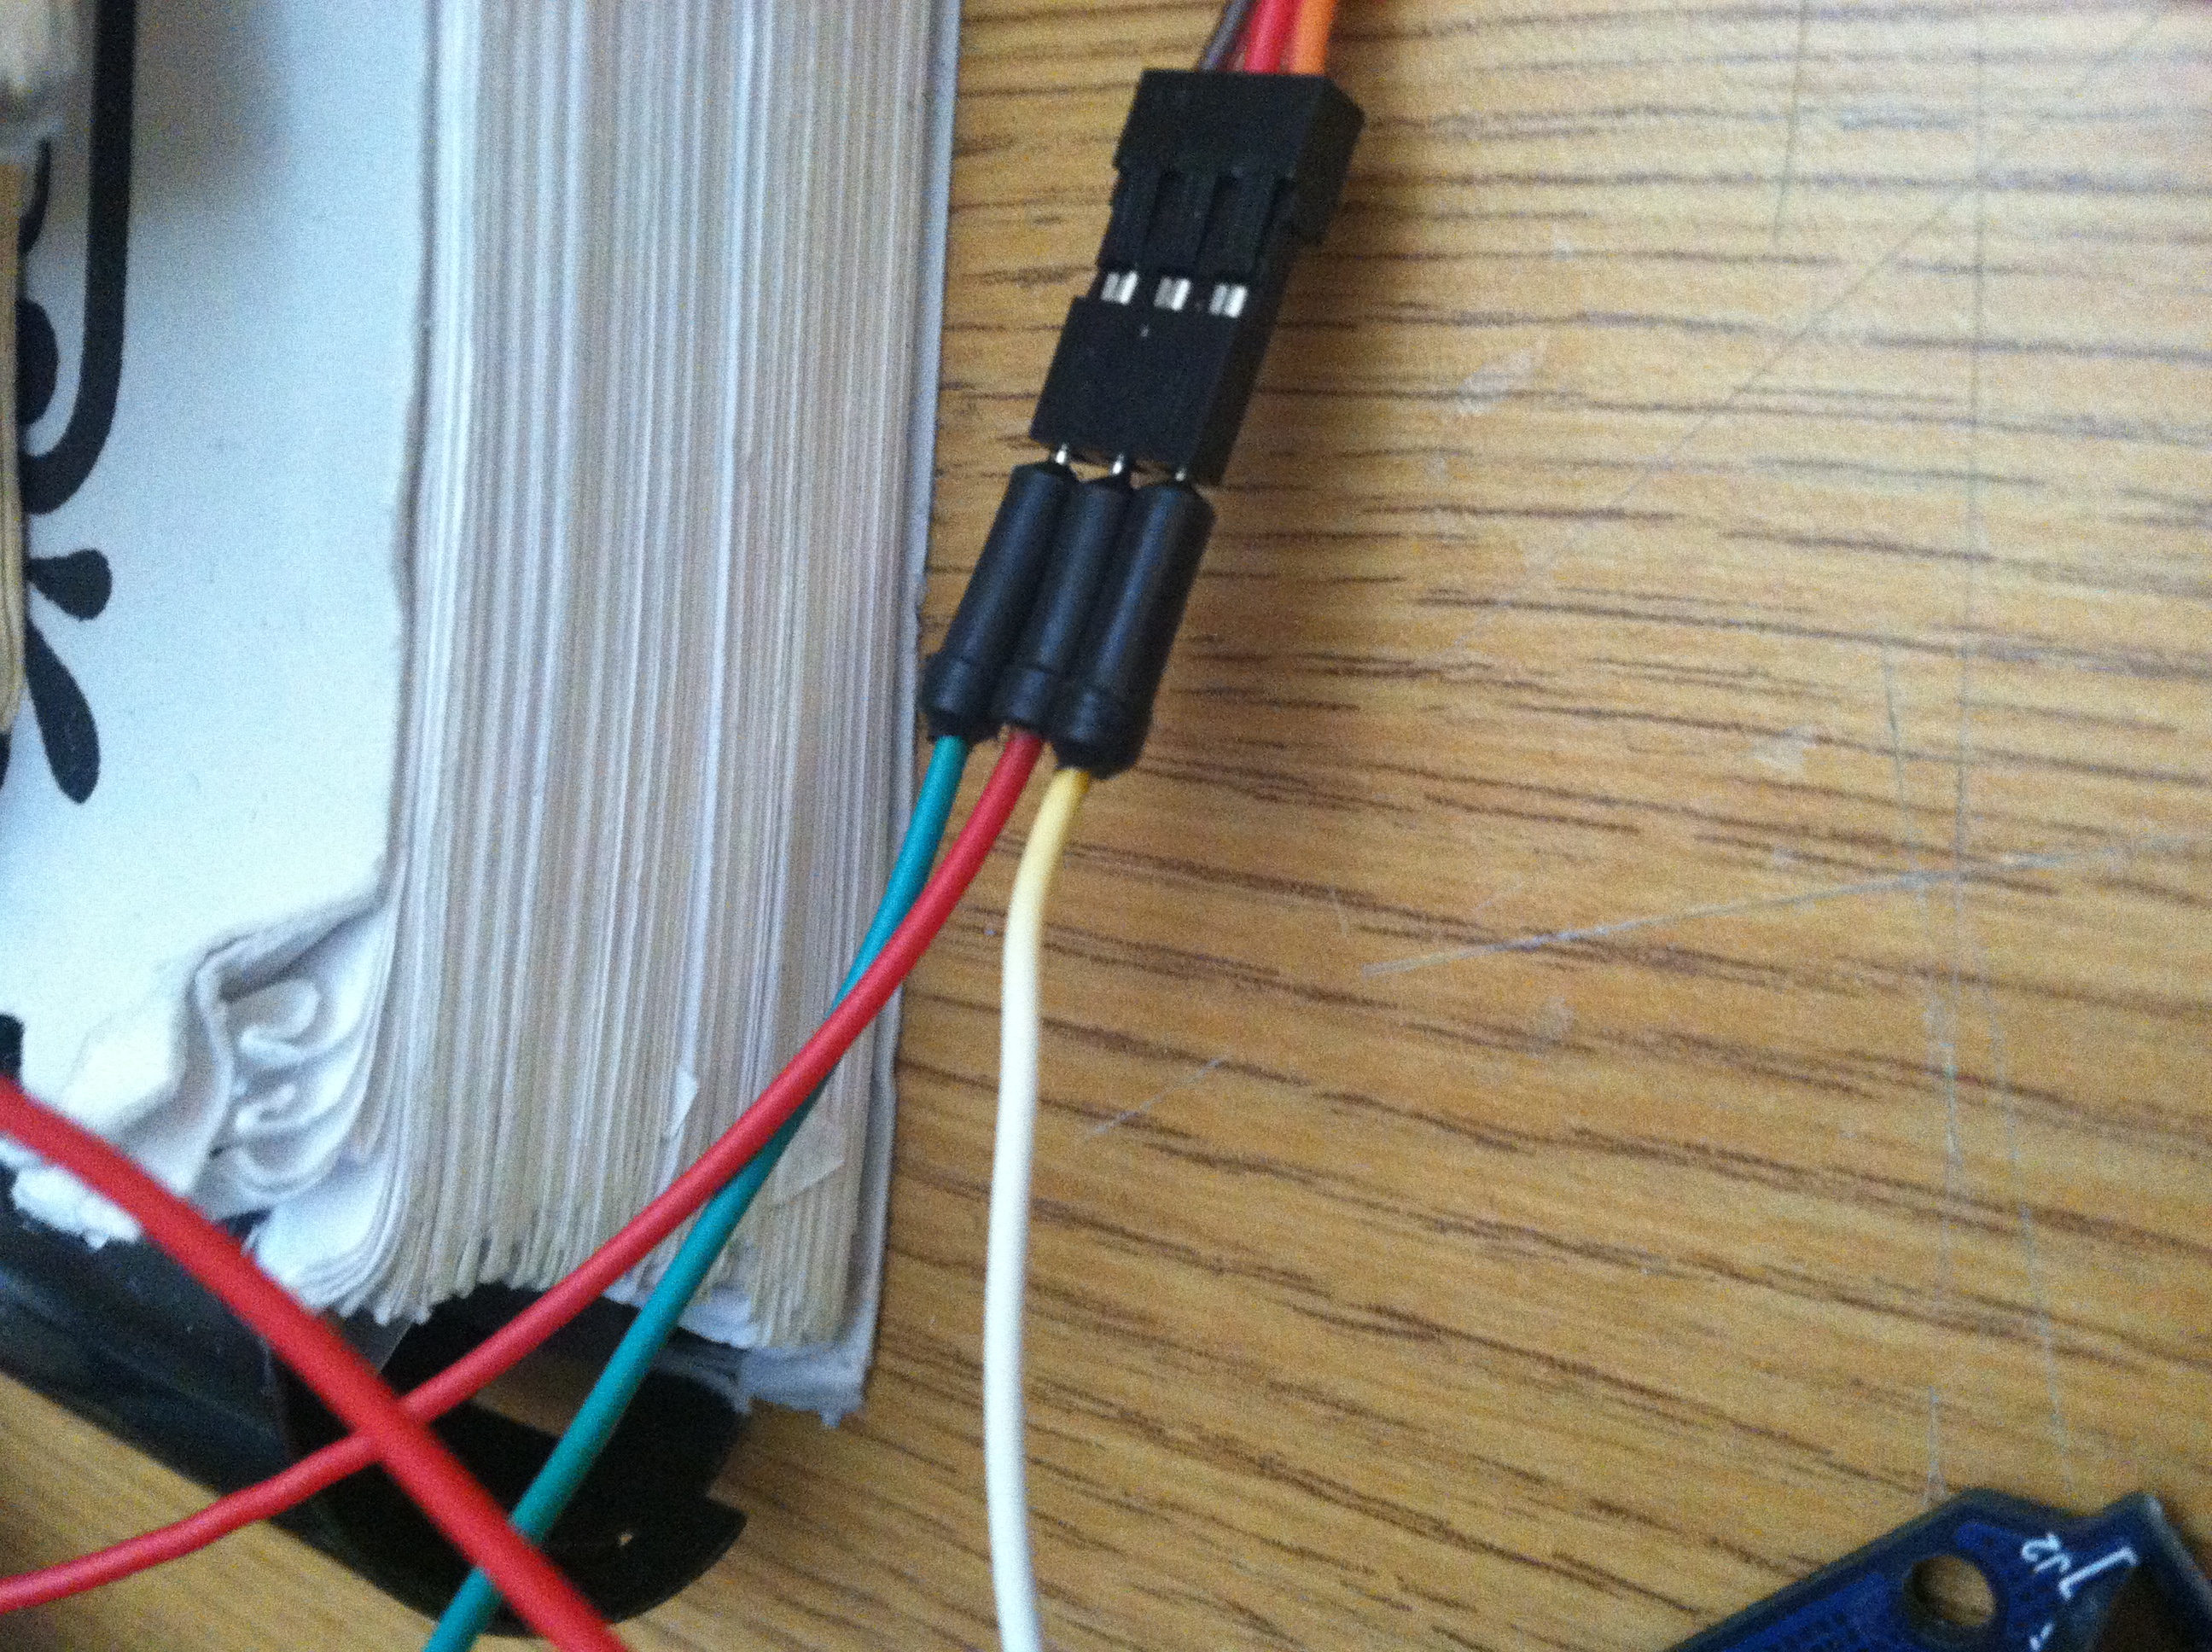
Take your motor, and observe the connector hanging off the end. You should observe that there are 3 different wires stuck together on the pin.
The lightest colored wire should be the “control”. It will typically be either orange, white, or yellow. Insert one of the ends of one of your three wires into the control pin, and the other end into Digital Pin 8 on your Arduino.
MAKE SURE YOU ATTACH THIS WIRE TO DIGITAL PIN 8.
The darkest wire is the “ground” wire. This wire is almost always black or brown. This pin should be attached to the GND pin on your Arduino. This is necessary because all electrical circuits require a closed loop to induce current. With 0 current, there will be 0 power.
MAKE SURE YOU ATTACH THIS WIRE TO GND.
The medium shaded wire is the “Voltage Source” wire. This wire is always red colored. Attach this wire to the 5V Pin the Arduino. The 5V pin supplies a constant 5 Volts to any attached circuit elements. Since our servo should be rated to handle inputs between 4.8 volts and 6.0 volts, this is the ideal input voltage.
MAKE SURE YOU ATTACH THIS WIRE TO 5V.
Loading Code Unto Your Arduino
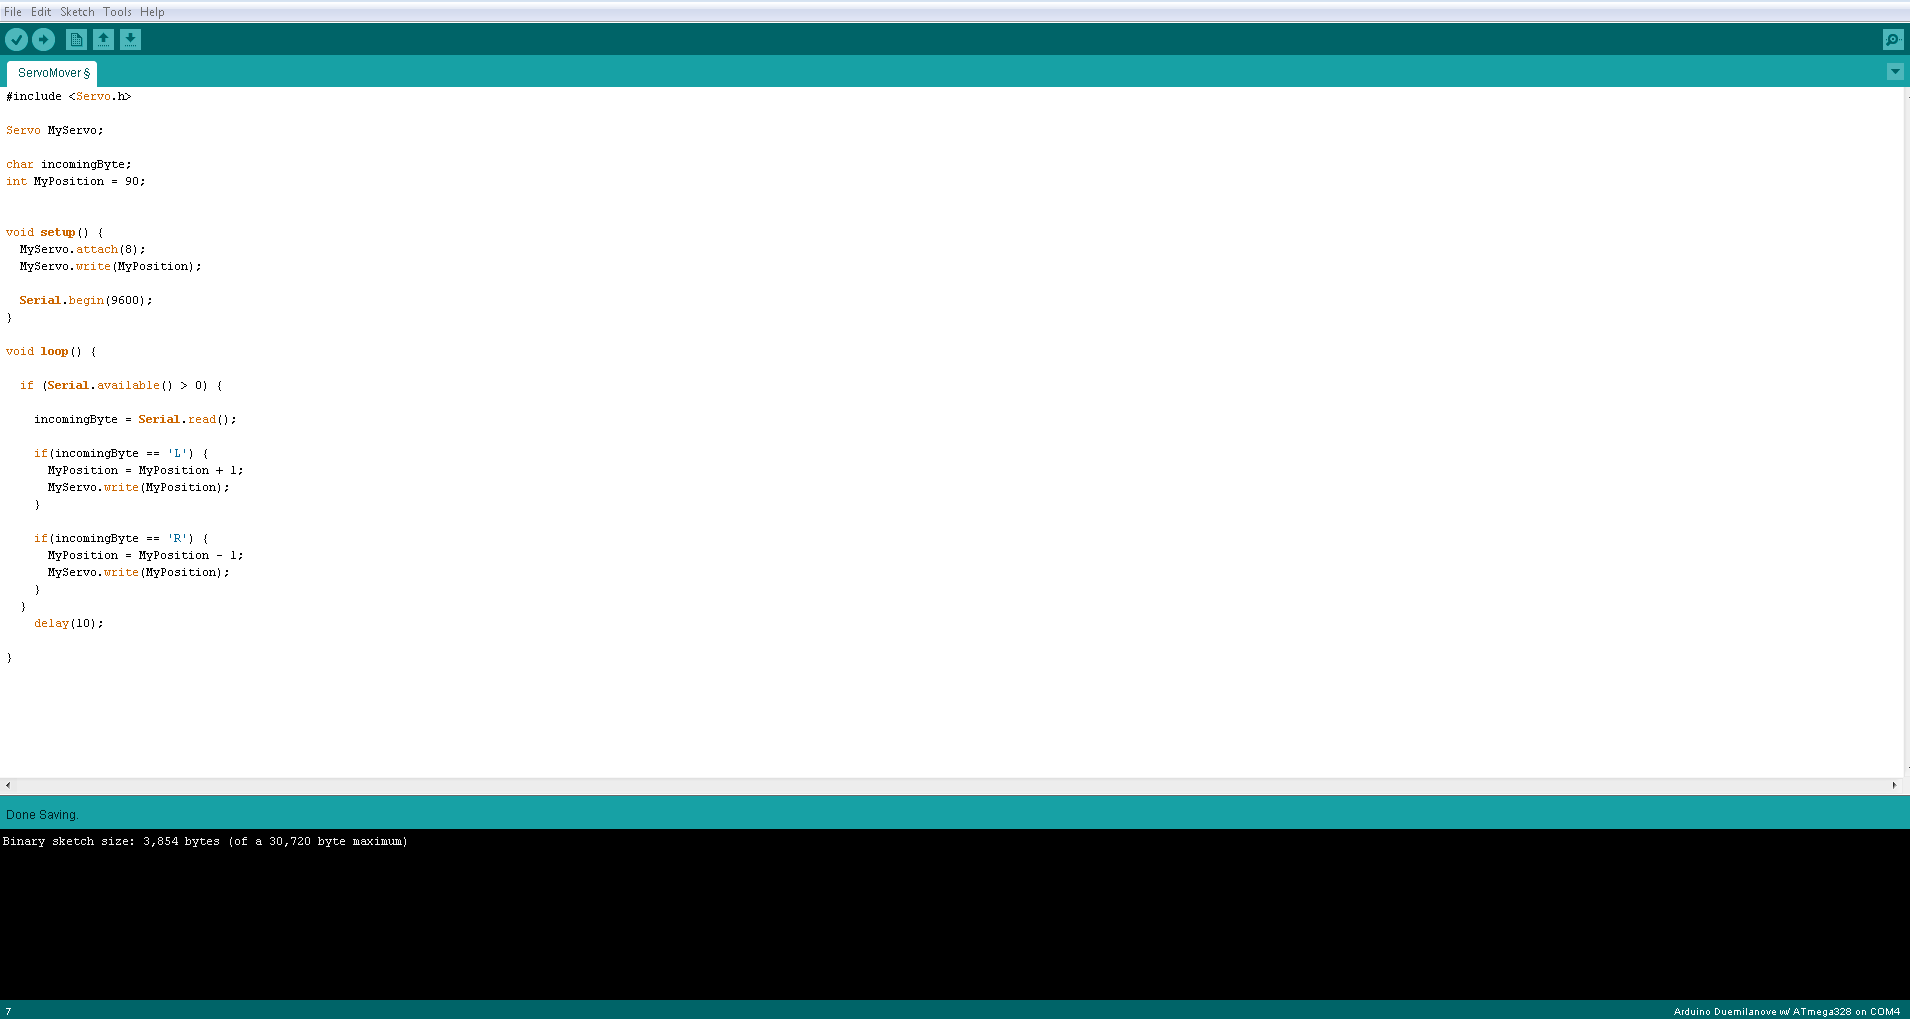

In your Arduino Development Environment, click “File” and navigate to and click on “Open”.
Navigate to the directory that you saved the source code in.
Select “ServoMover.ino”.
DO NOT SELECT “SerialSend.pde”
Hit ”Ok” and you should now see code in your editor window.
DO NOT EDIT THIS CODE.
Go to “Tools” -> “Boards” and select the type of Arduino board you have from the list. In the example, an Arduino Duemilanove w/ ATmega328 is selected.
Now select which serial port your Arduino is connected to. Go to “Tools” -> “Serial Port” and then select one of the available ports.
Generally, unless you have several Arduinos connected, there should only be one option.
Now, with both options correctly selected, select “Upload” from the upper left hand corner of the Arduino (the right facing arrow.)
The TX and RX pins on your Arduino should be flashing. The Arduino IDE should show a “compiling”, and then an “uploading” green bar on the bottom console. Your servo should set itself to 90 degrees.
Moving the Servo With Serial Communication
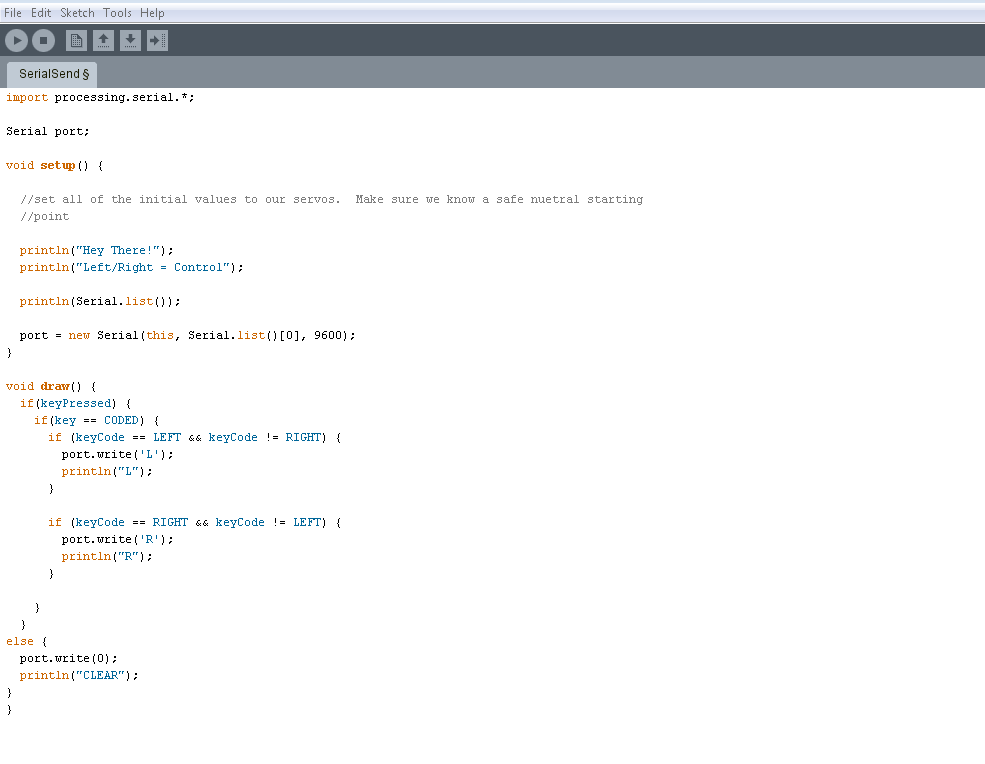
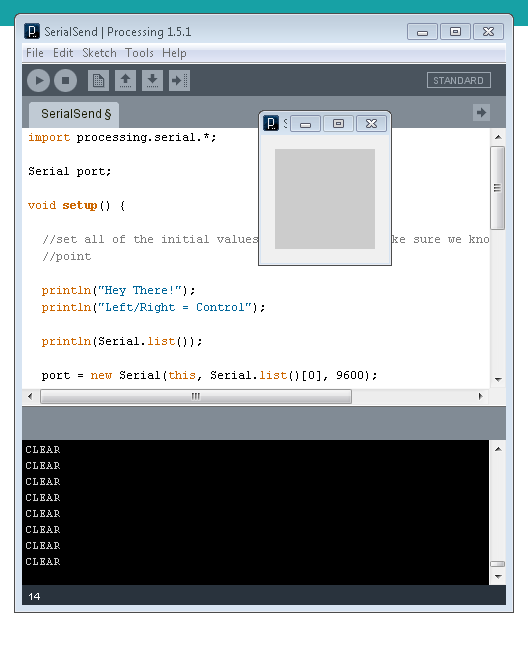
Open up the processing editor window. Click “File” -> “Open” and go to the directory that the source code is saved in. Select “SerialSend.pde”.
Hit “Run” in the top left hand corner of your program. It is the circular button with the arrow in it.
You should now see a square grey application open up in the middle of your screen titled “SerialSend”.
You should see the red RX LED lit up on your Arduino (it means that the Arduino is successfully receiving data.)
When SerialSend is the focus on your computer, hitting the left or right arrow keys on your computer should move the arm of your motor, as depicted in the following video:
You should see the output to your console in Processing change whenever you send an output to your servo. By default, it will print “CLEAR” to a new line, and will print “L” or “R” to a new line if that character is being sent over serial communication.
WARNING- Don’t hold down the arrow keys to make the arm go further past the range of motion than it was designed to move. This could potentially damage your servo or Arduino.
Conclusion
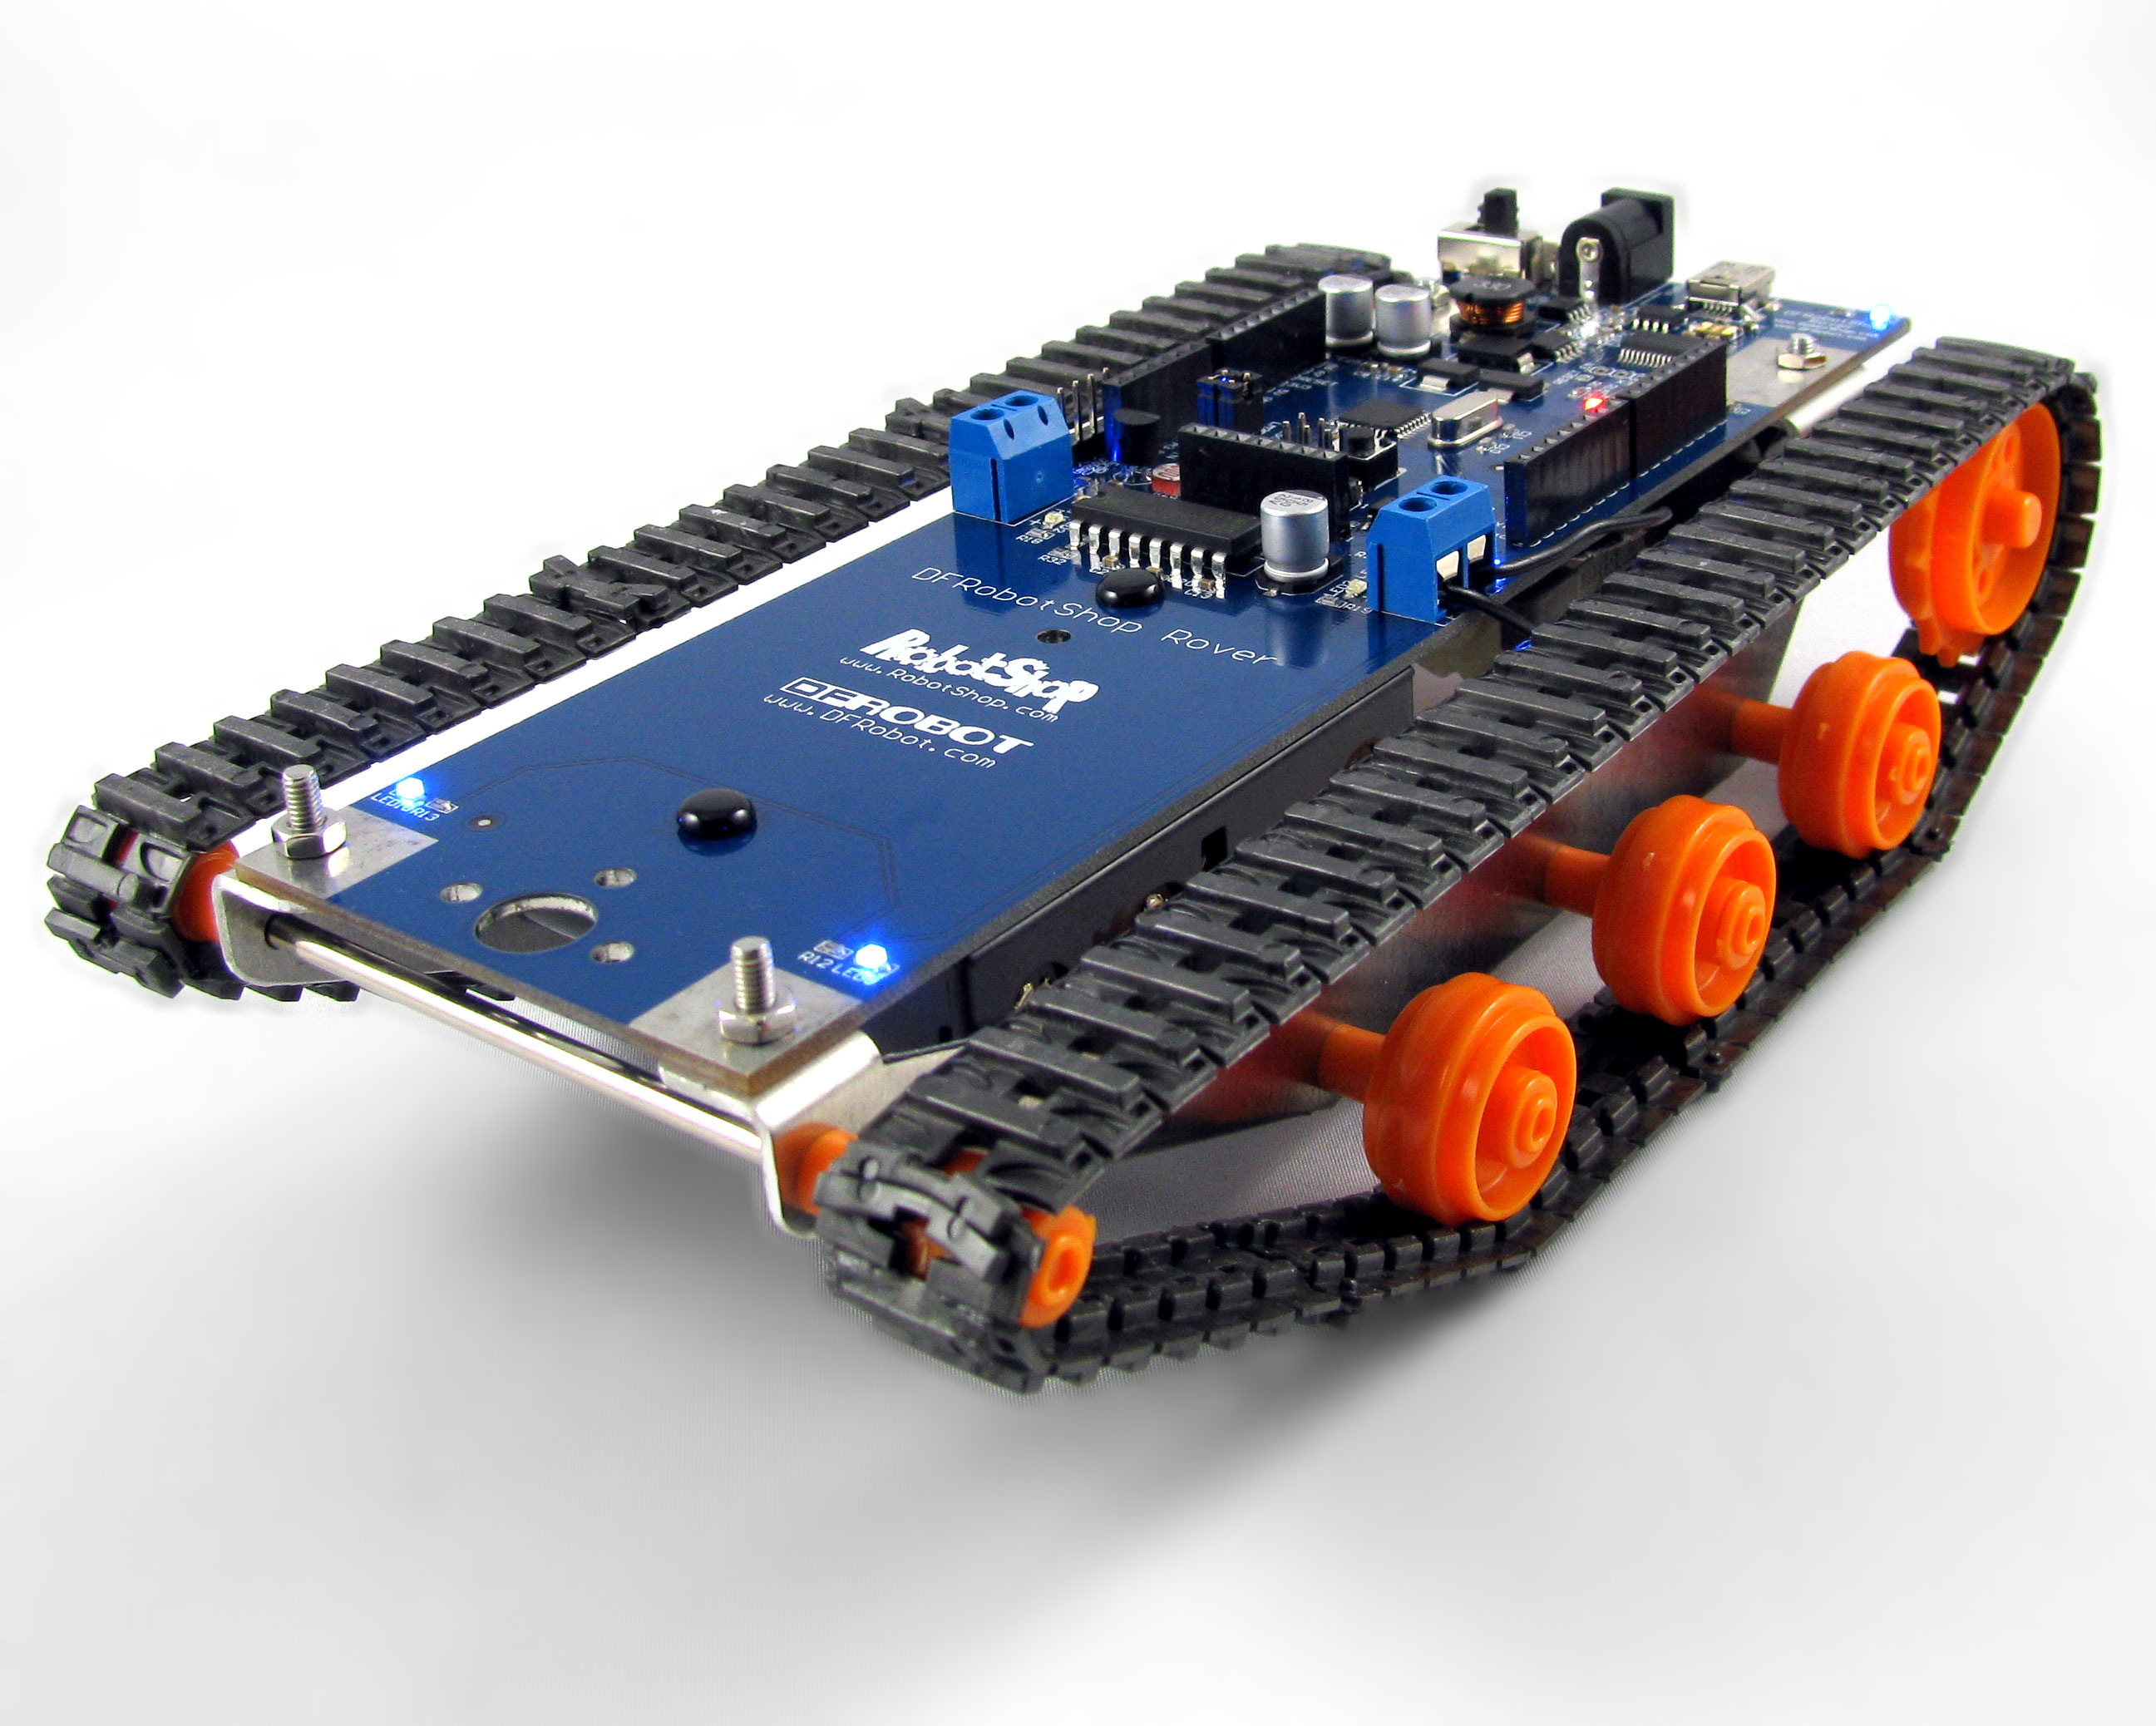
Congratulations! You have just successfully made a working embedded system! You are quickly on your way to taking over the world with your fiendish robotic inventions.
You now have a small framework of knowledge to work with to create more intricate, complex systems. With this, it is possible to add on to the code given to you, and use this to create something useful in your day to day life!
The embedded systems field is growing daily, and more and more experts are needed to increase the level of automation that is present in modern society. Without embedded systems, there would be no modern electronics. We need more embedded systems now than ever before in history, to increase our productivity and quality of life.
Moving Forward
Follow this link to learn more about the Arduino. You know the basics of compiling and uploading a sketch, but without knowledge of the programming, you will have a difficult time managing to get it to do anything useful.
I would suggest getting an electronic starter kit to continue your learning with your Arduino. With some experience with wires, resistors, and LEDs, you will be quickly on your way to mastering hardware/software interaction.