Movie Flipbook You Can Make at the Office (No Drill or Workshop Tools Needed)
by SwitchGirl in Design > Digital Graphics
50181 Views, 71 Favorites, 0 Comments
Movie Flipbook You Can Make at the Office (No Drill or Workshop Tools Needed)

Make a Flip Book from iHeartSwitch on Vimeo.
(REFERENCES: https://www.instructables.com/id/Handmade_Flipbook_2/ AND http://thecurio.us/blog/?p=14)We had to make something for the Christmas exchange this year that was $10 and under. I looked to the cinema for inspiration, and found the flipbook. A flipbook is a stack of paper hinged at one side with "a series of pictures that vary gradually from one page to the next, so that when the pages are turned rapidly, the pictures appear to animate by simulating motion or some other change." (Wikipedia)
Many of the flipbooks from the early 1900's were promotional items or something cartoonists would make on their own or to sell. Today, you can still find these old flipbooks on eBay or at antique shops.
It's the perfect gift that blends old technologies with modern appliances. All you need is a video recorder**, a printer, and some leather and screws. You can see my flipbook video and learn how to make one yourself following the steps below. While my Flipbook was made for a Christmas present you can make one for any occasion.
Materials and Tools
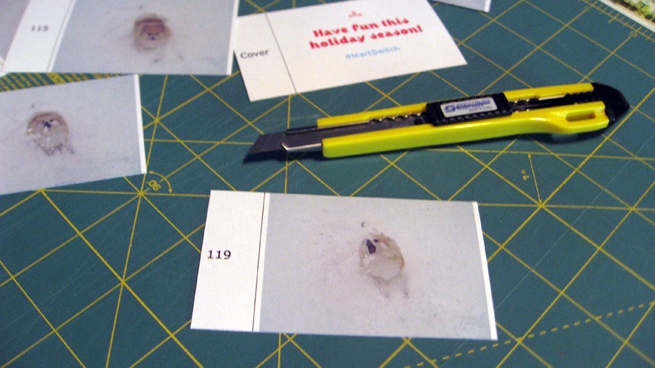
You will need the following:
- Video Editor Software. You can use a simple one like iMovie or QuickTime Pro or a more advanced one like Final Cut. Here, I used QuickTime Pro.
- Microsoft Word
- Your digital movie. (I used a Flip Cam to make mine)
- Color printer with lots of ink
- 3-hole punch
- #10, 1 1/4” Long Bolt and Nut
- Small scrap of leather
- Cardstock or cover weight paper
- X-Acto Knife & straight edge
- Download the SWITCH FLIPBOOK WORD TEMPLATE
Trim and Prepare Your Video
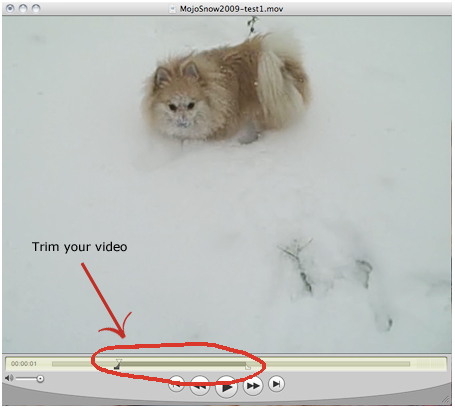
Export Images From Your Video
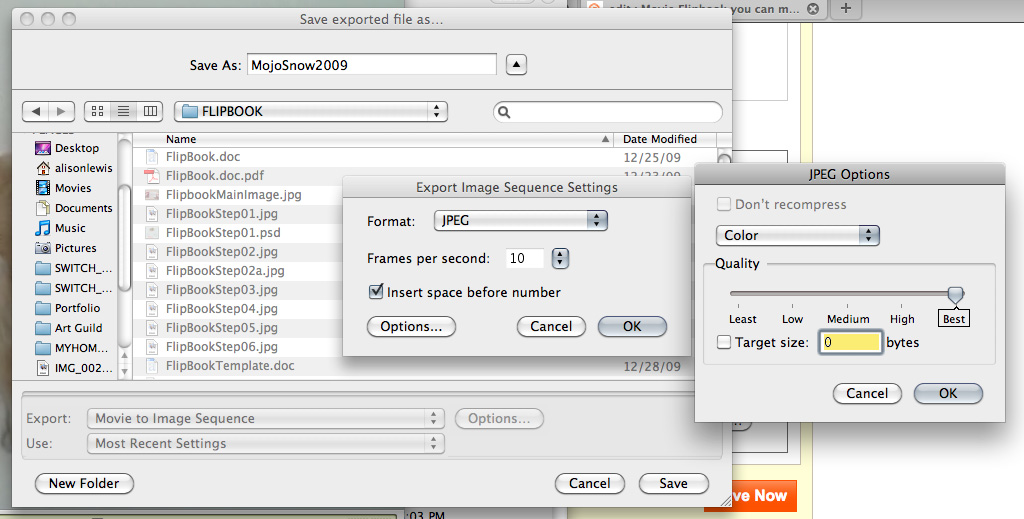
Scale Your Images
Import Your Images Into the Template
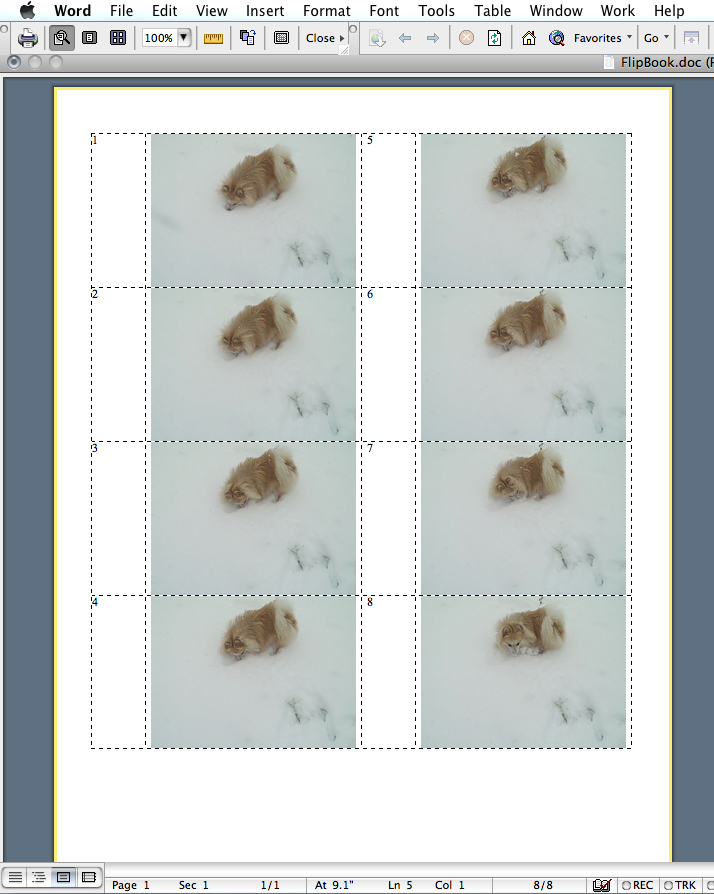
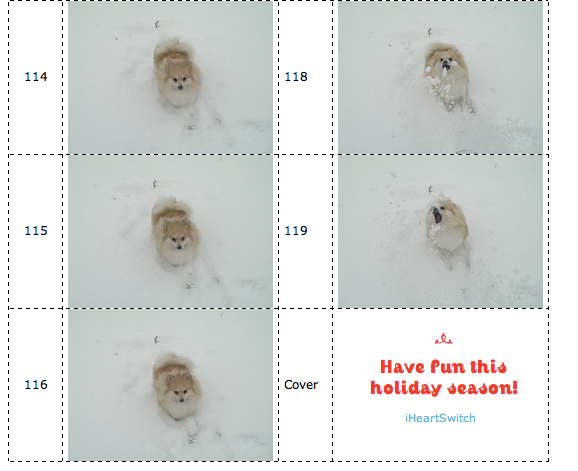
In the last cell write whatever you would like for the cover of your flipbook. We said “Have some fun this holiday season!”
Print and Cut Your Images
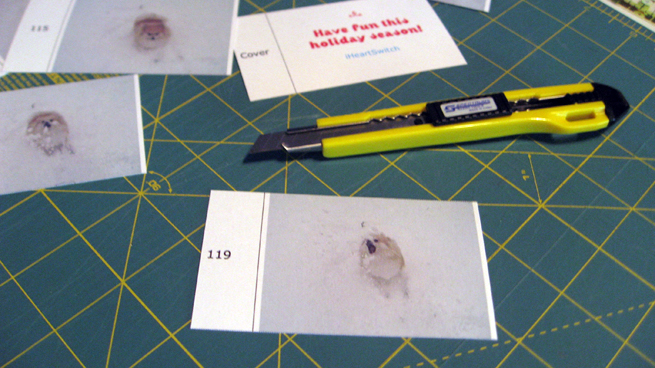
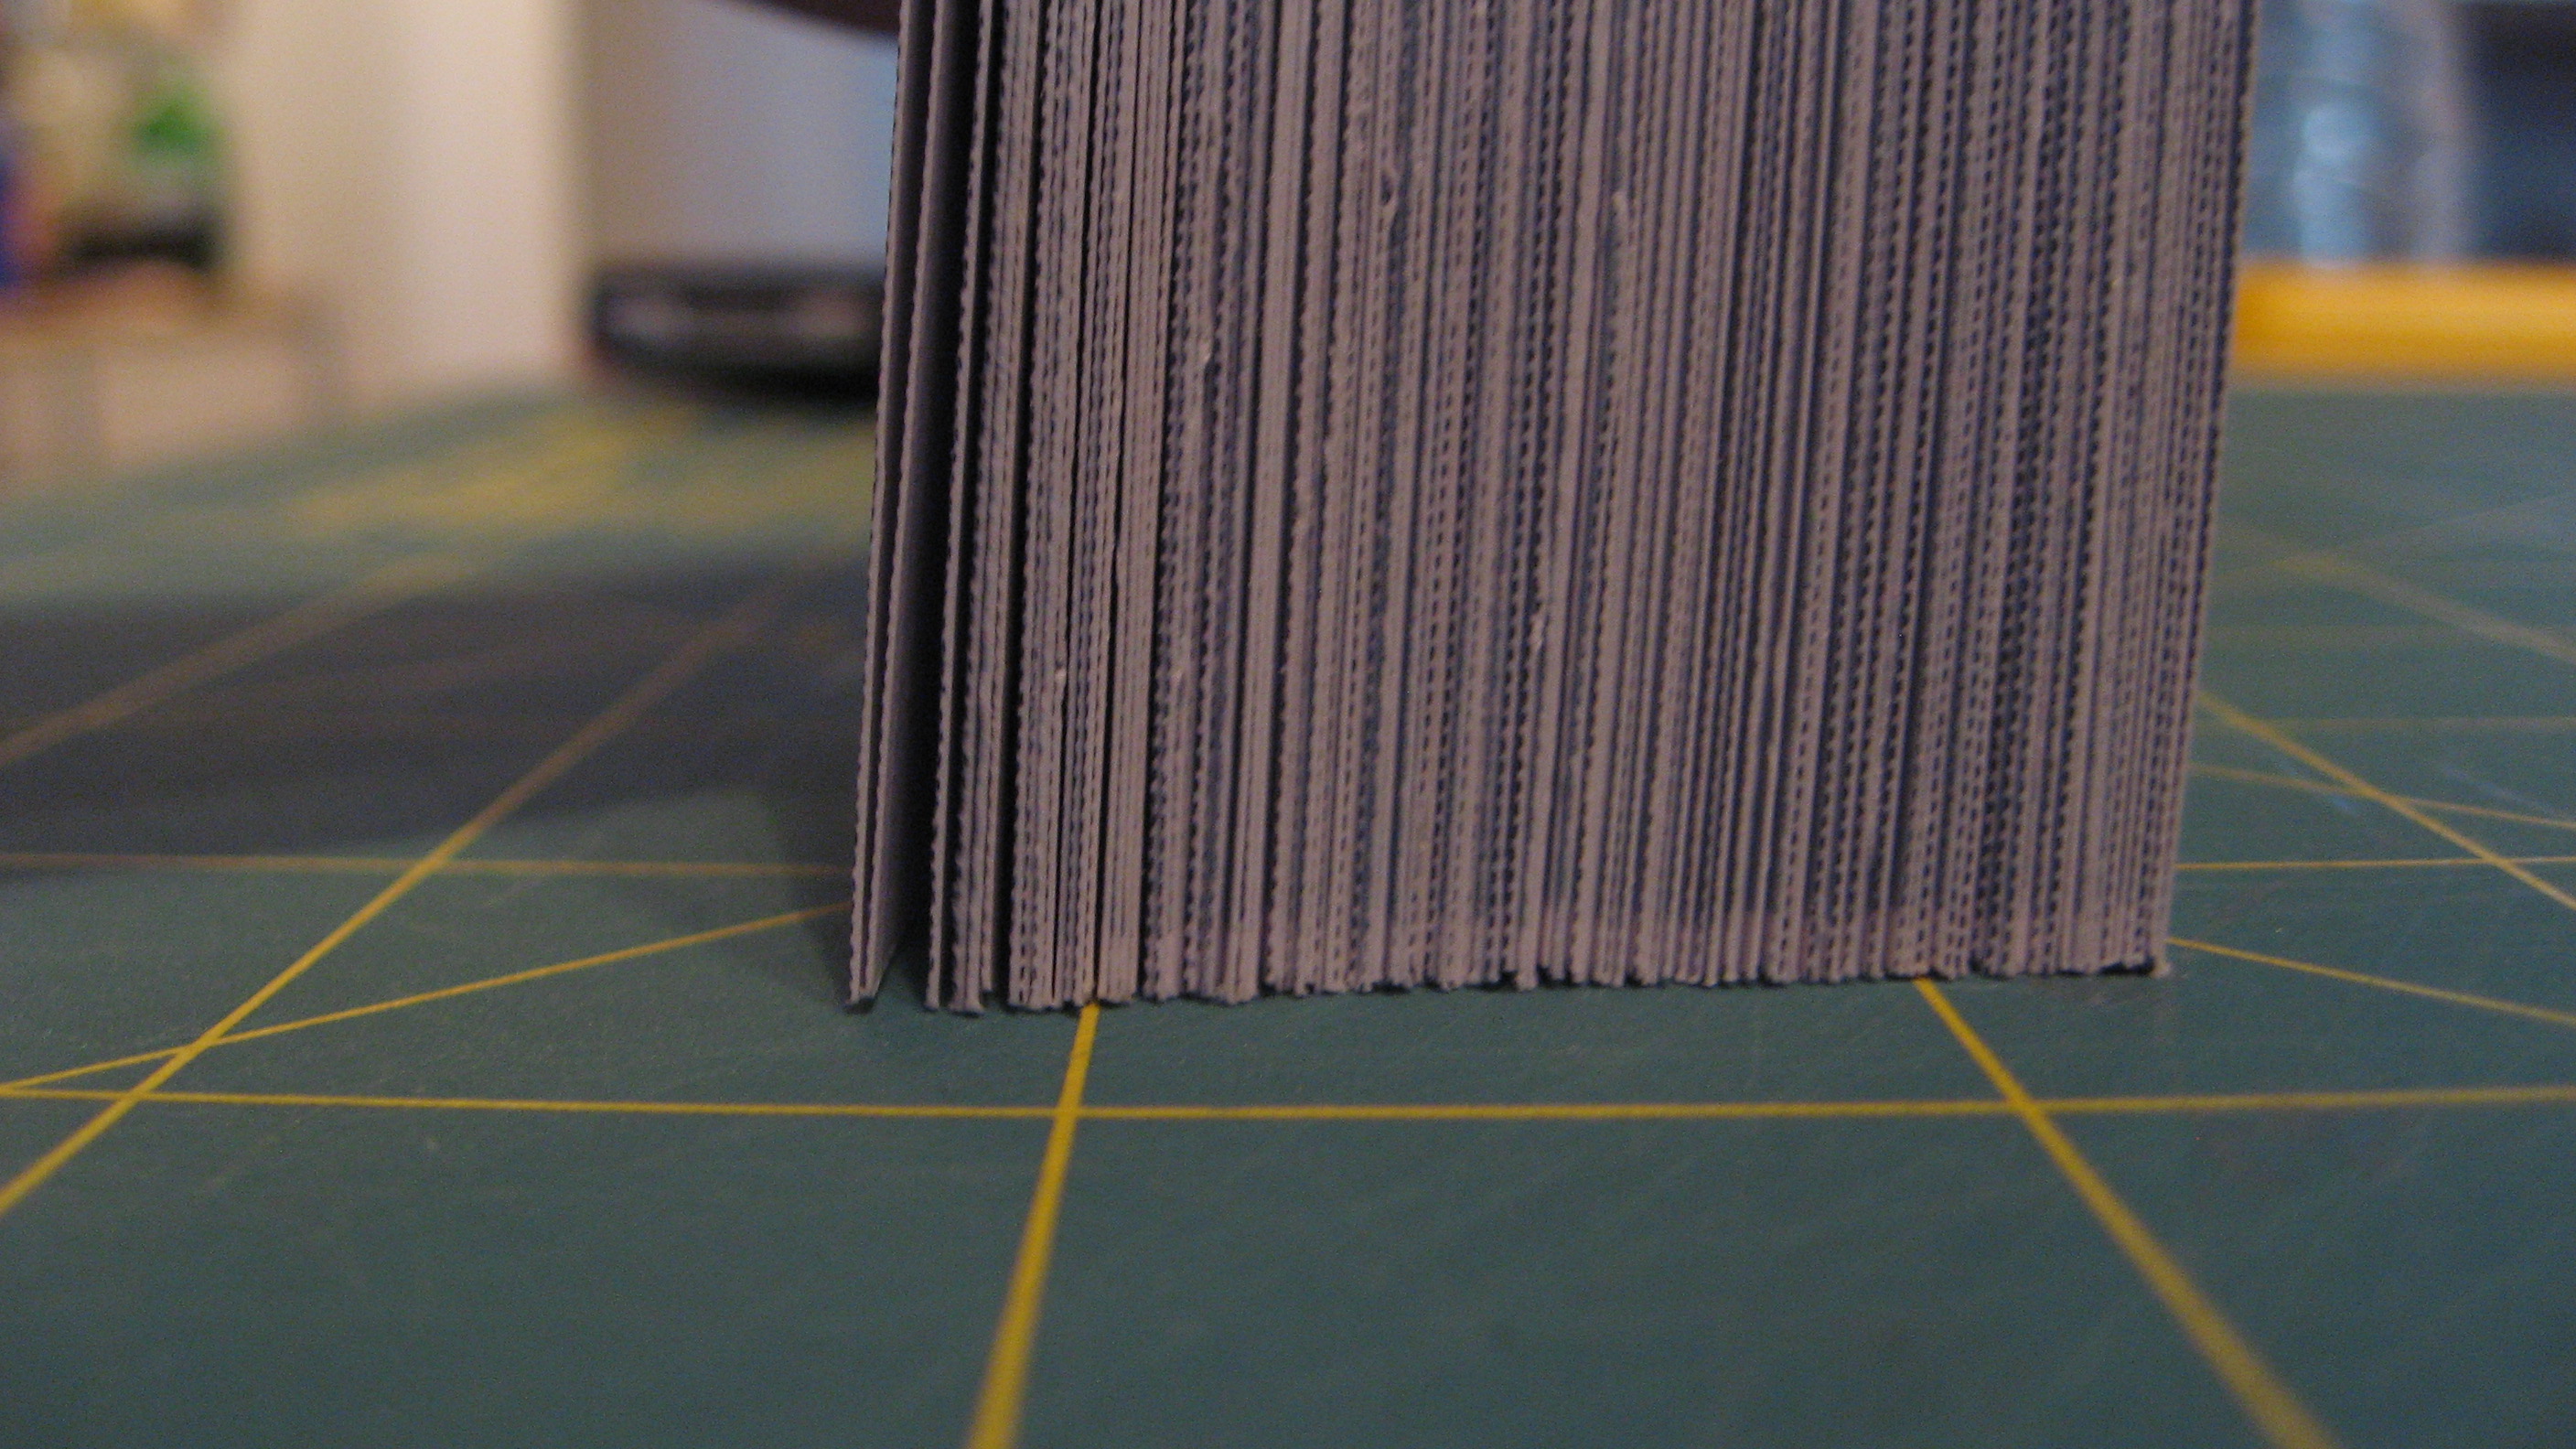
Using an X-Acto knife and a straight edge, cut out the pages along the dotted lines. It is important that all the vertical edges are as even as you can make them. Stack them on their side to see where you may need to trim.
Remember, the numbers and text in the cell to the left of the image will be covered up with the leather binding later, so don’t worry about it right now.
Make the Holes With a Hole Punch
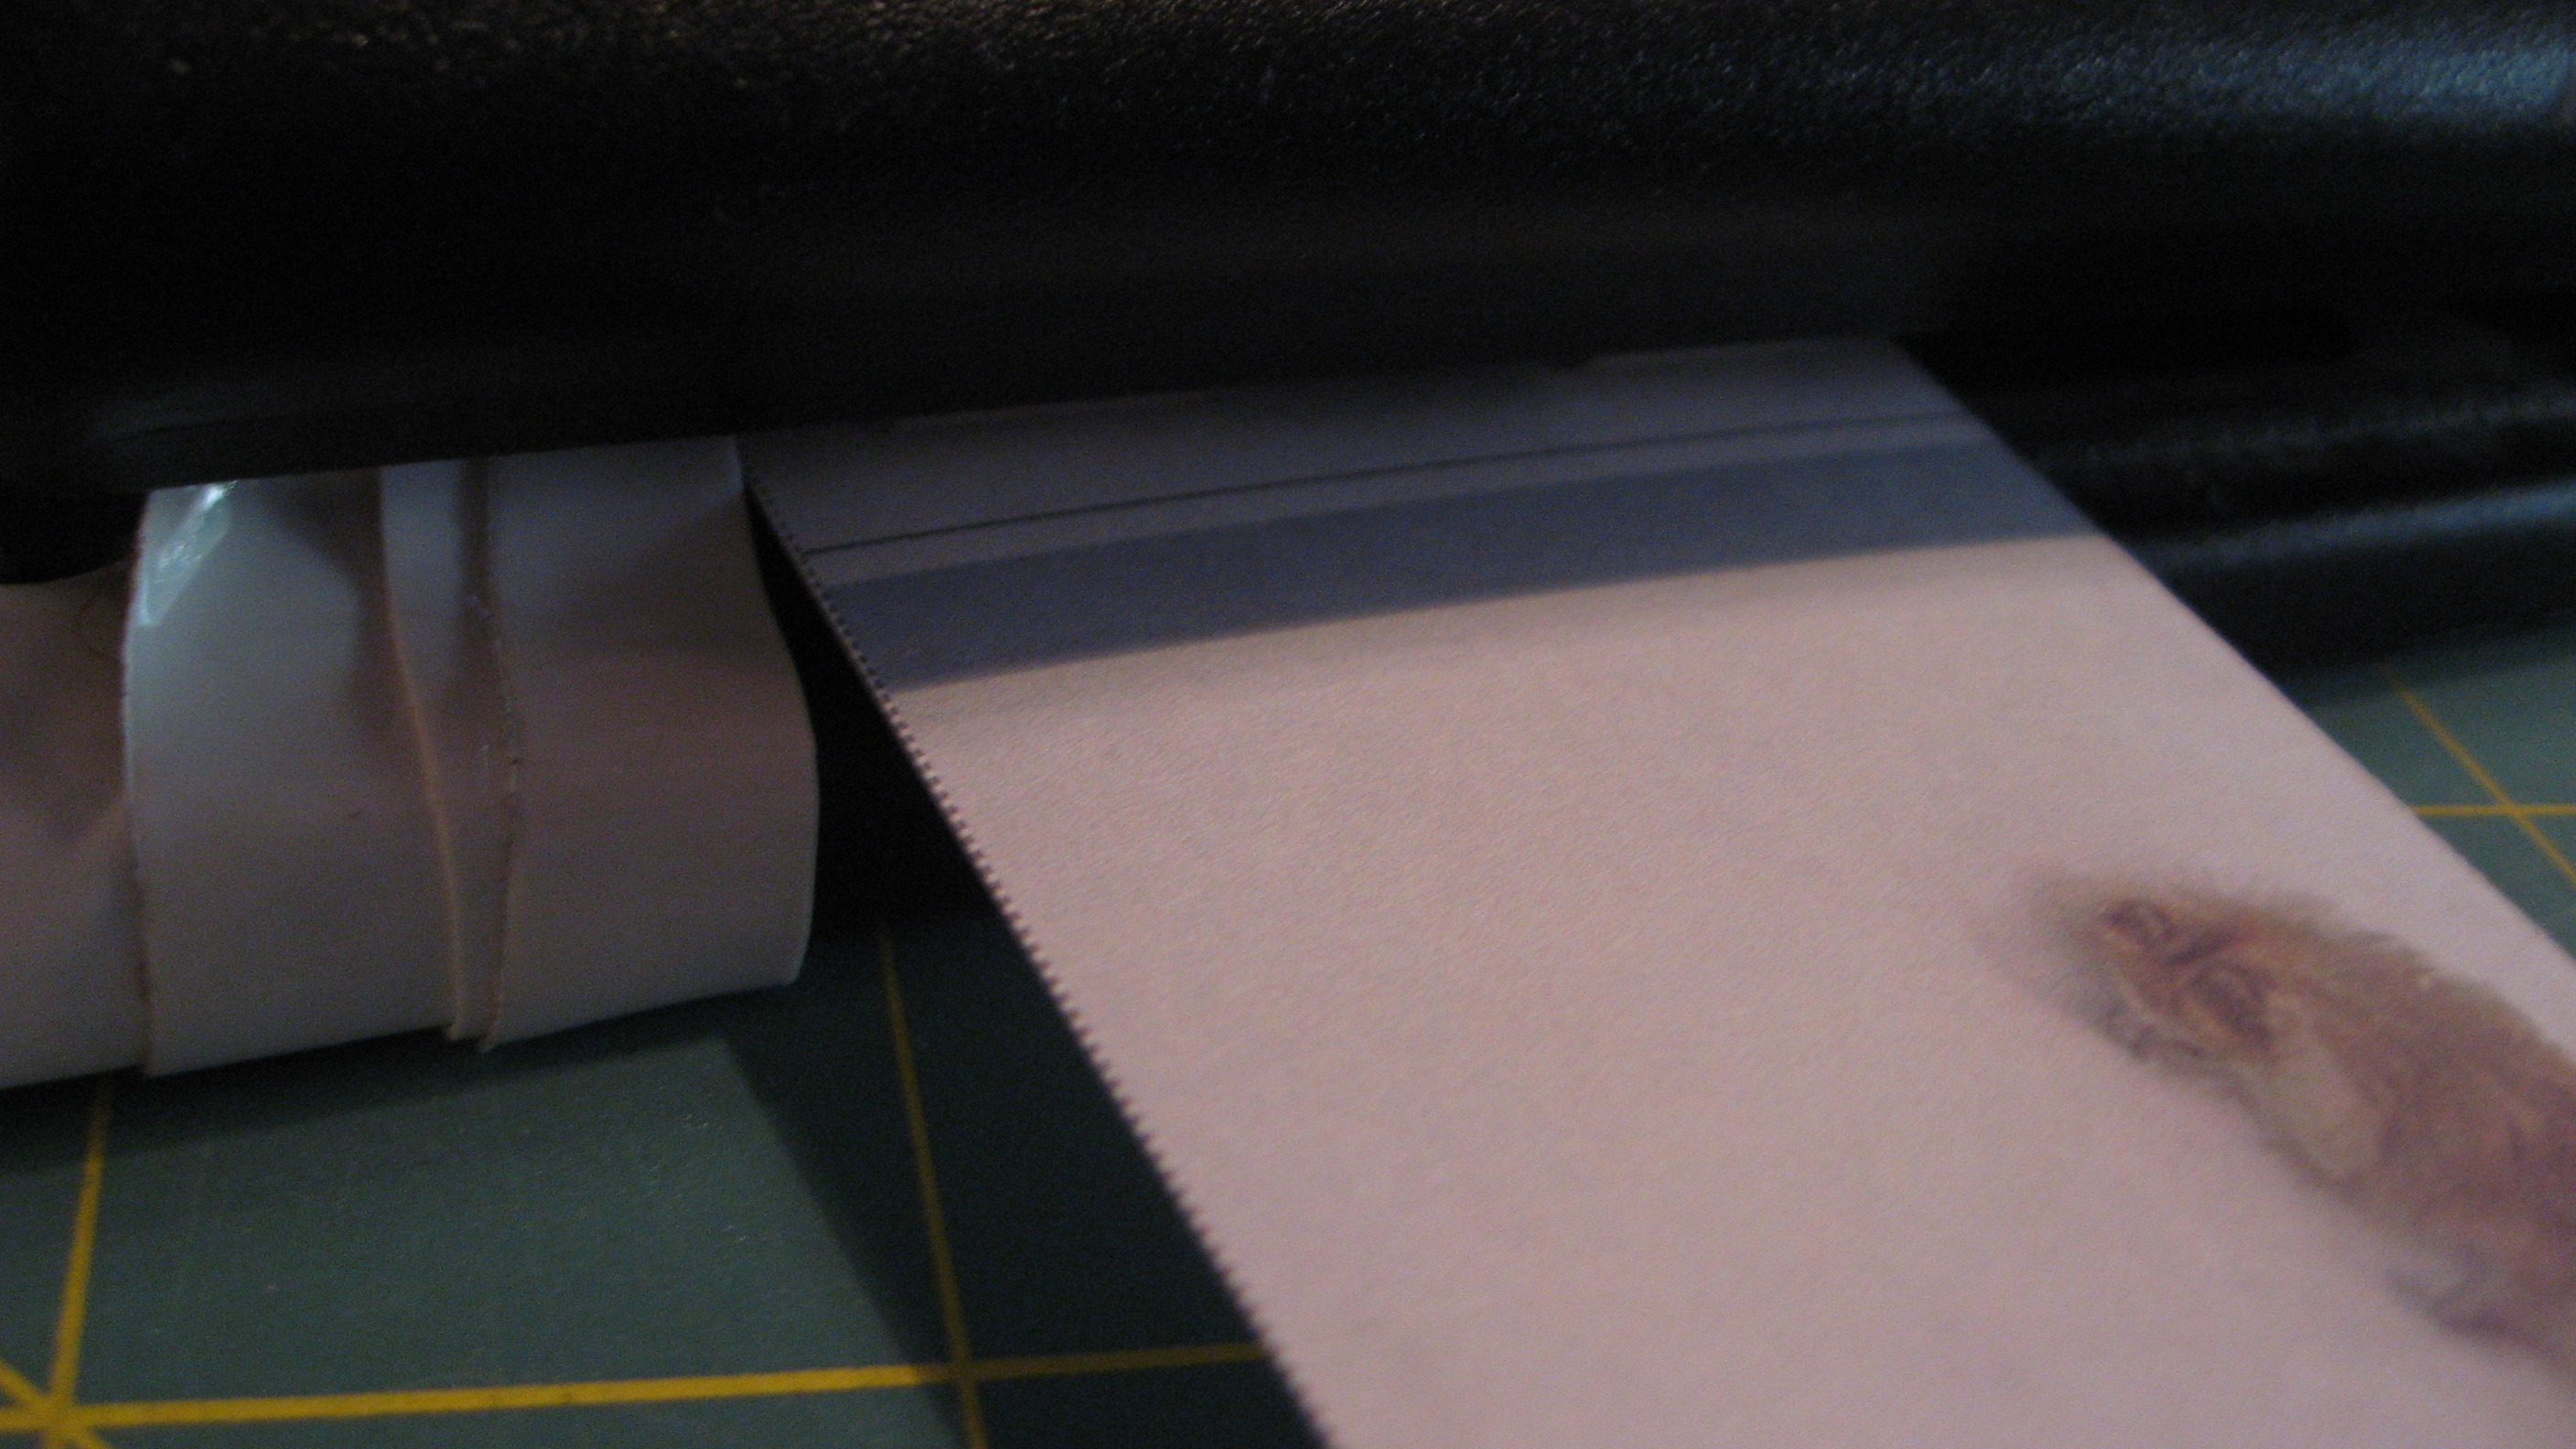
Stack and Secure the Leather Binding
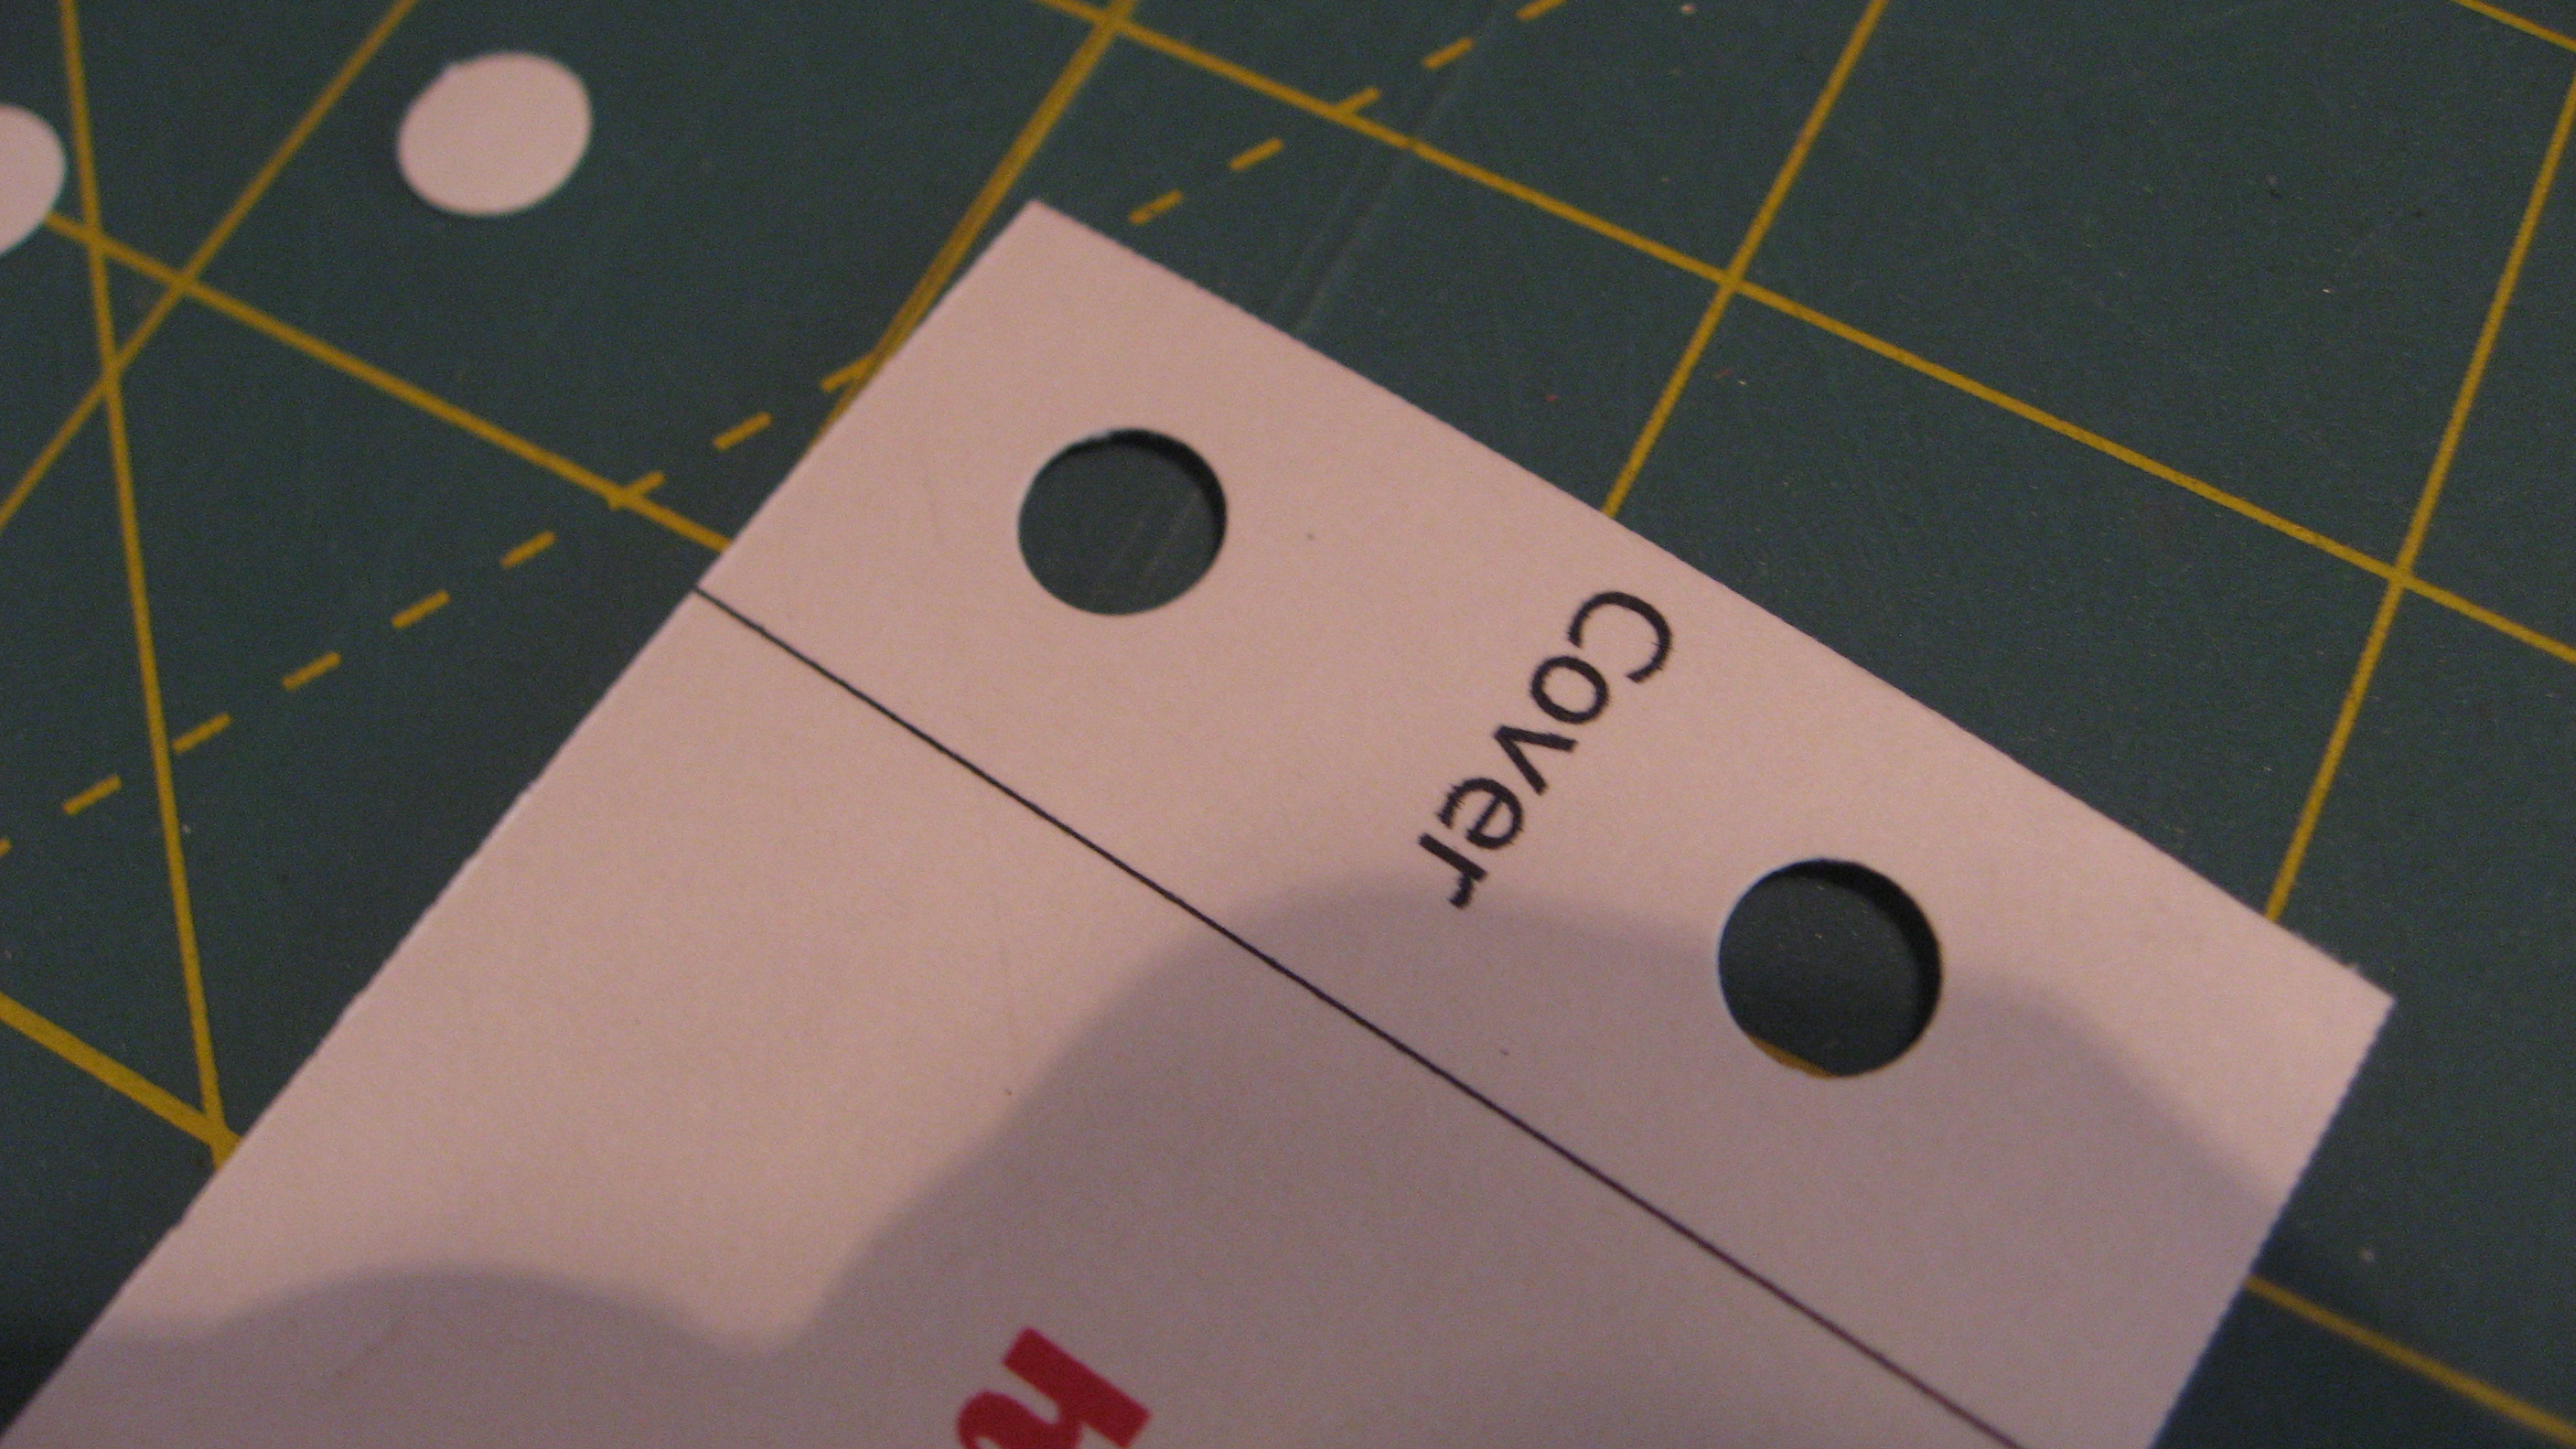
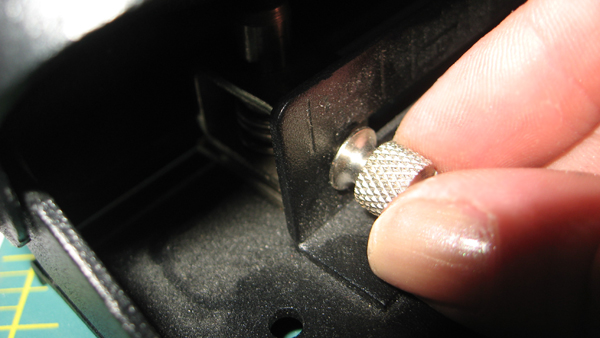
Using your X-Acto Knife, punch holes in the top and bottom of the leather directly over the holes in the cards. Put the bolt through and tighten down the nut on the back side.
Done!