Movement and Speech Controlled Wifi Camera Bluetooth Car
by Eric_Hill in Circuits > Remote Control
13177 Views, 18 Favorites, 0 Comments
Movement and Speech Controlled Wifi Camera Bluetooth Car
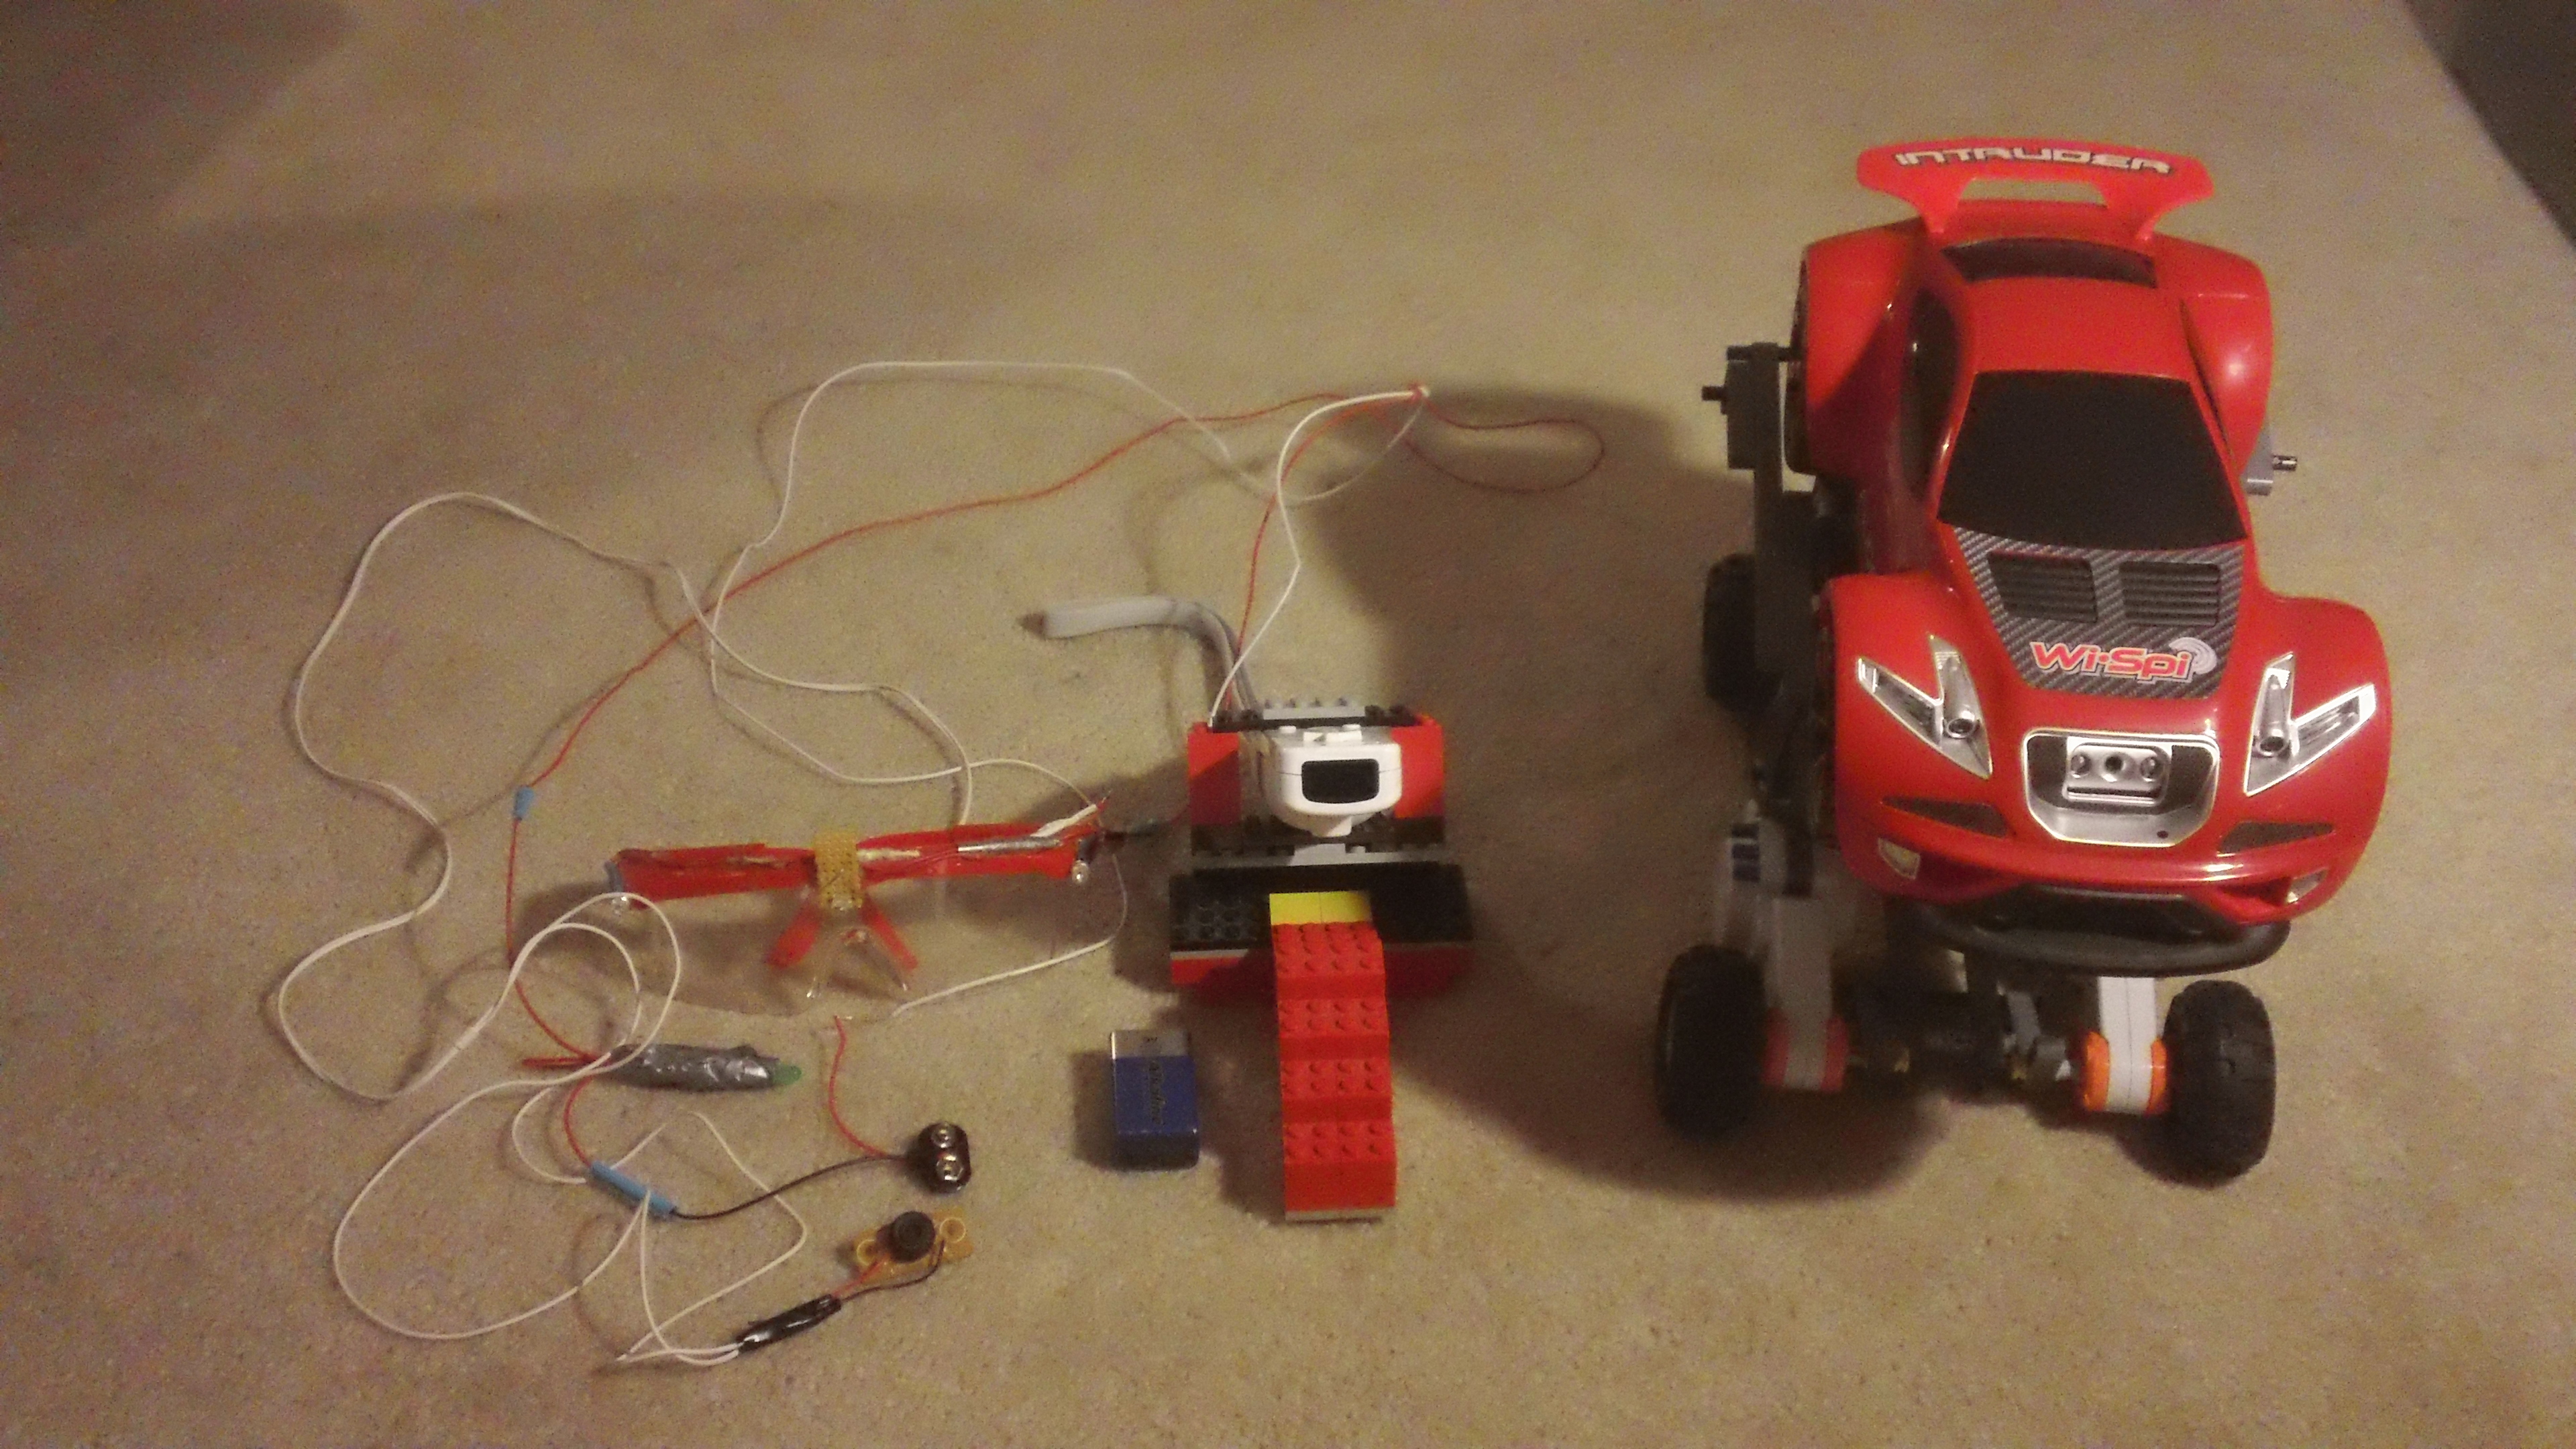
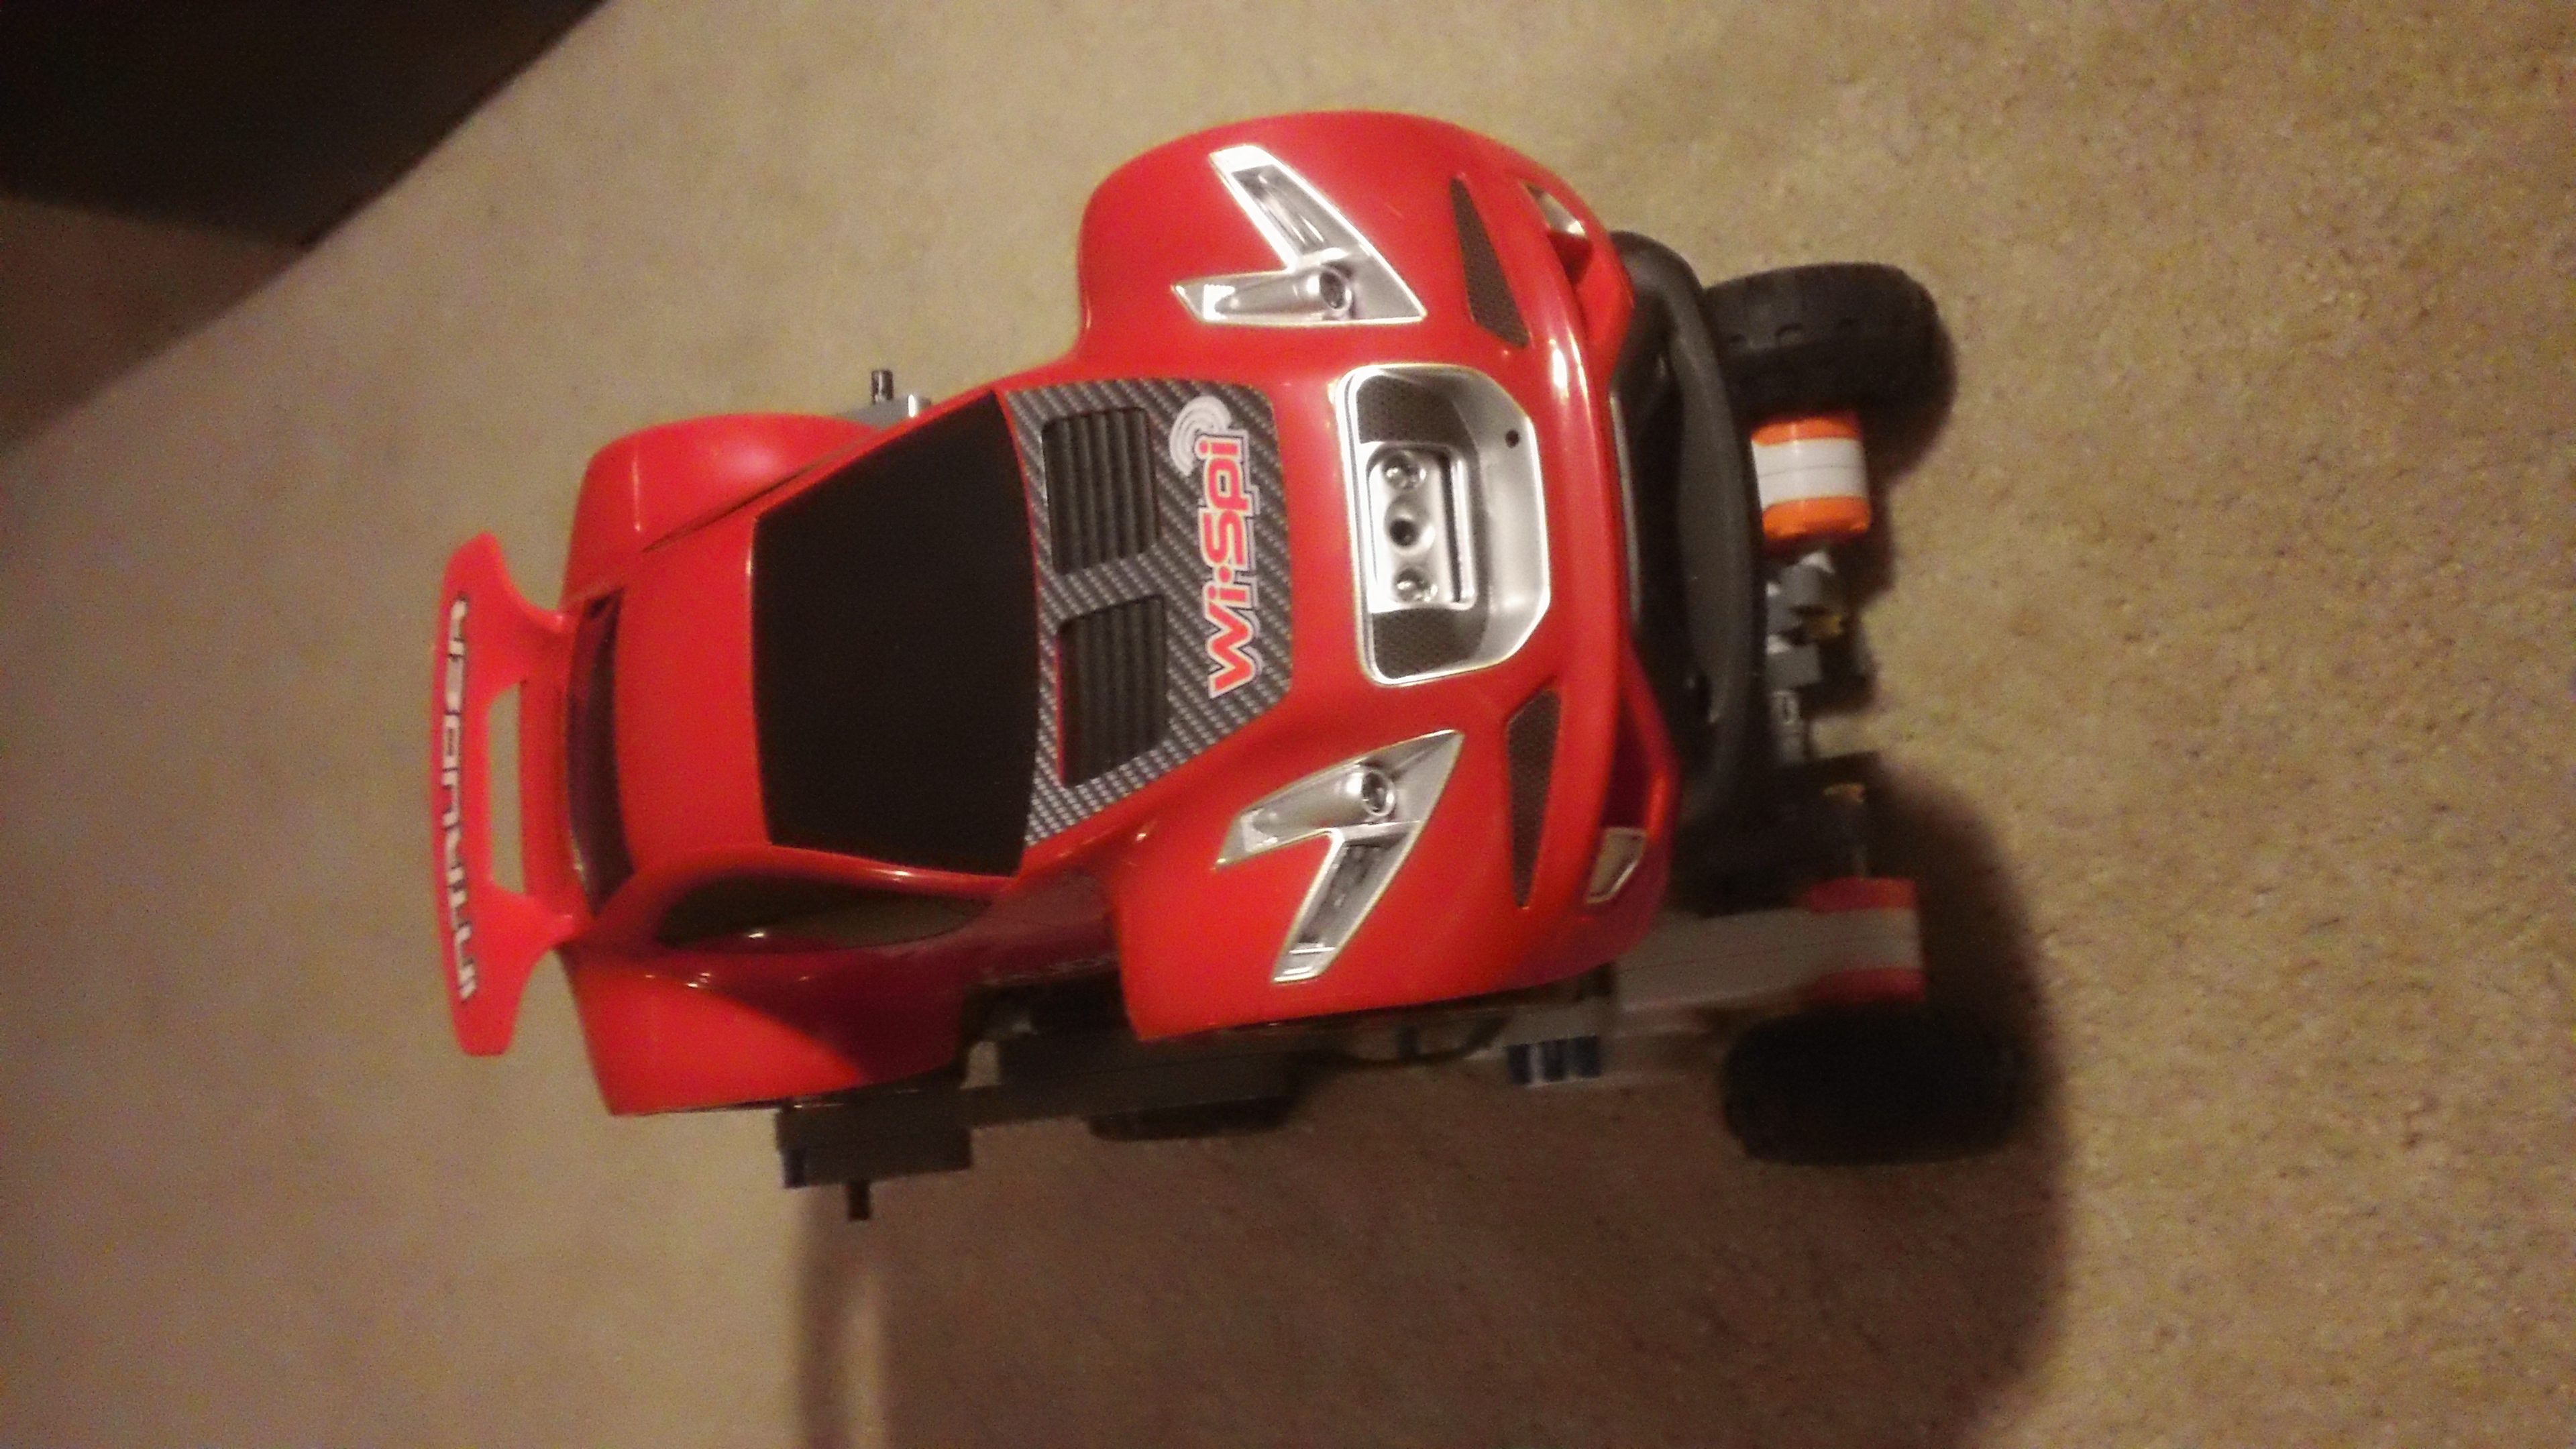
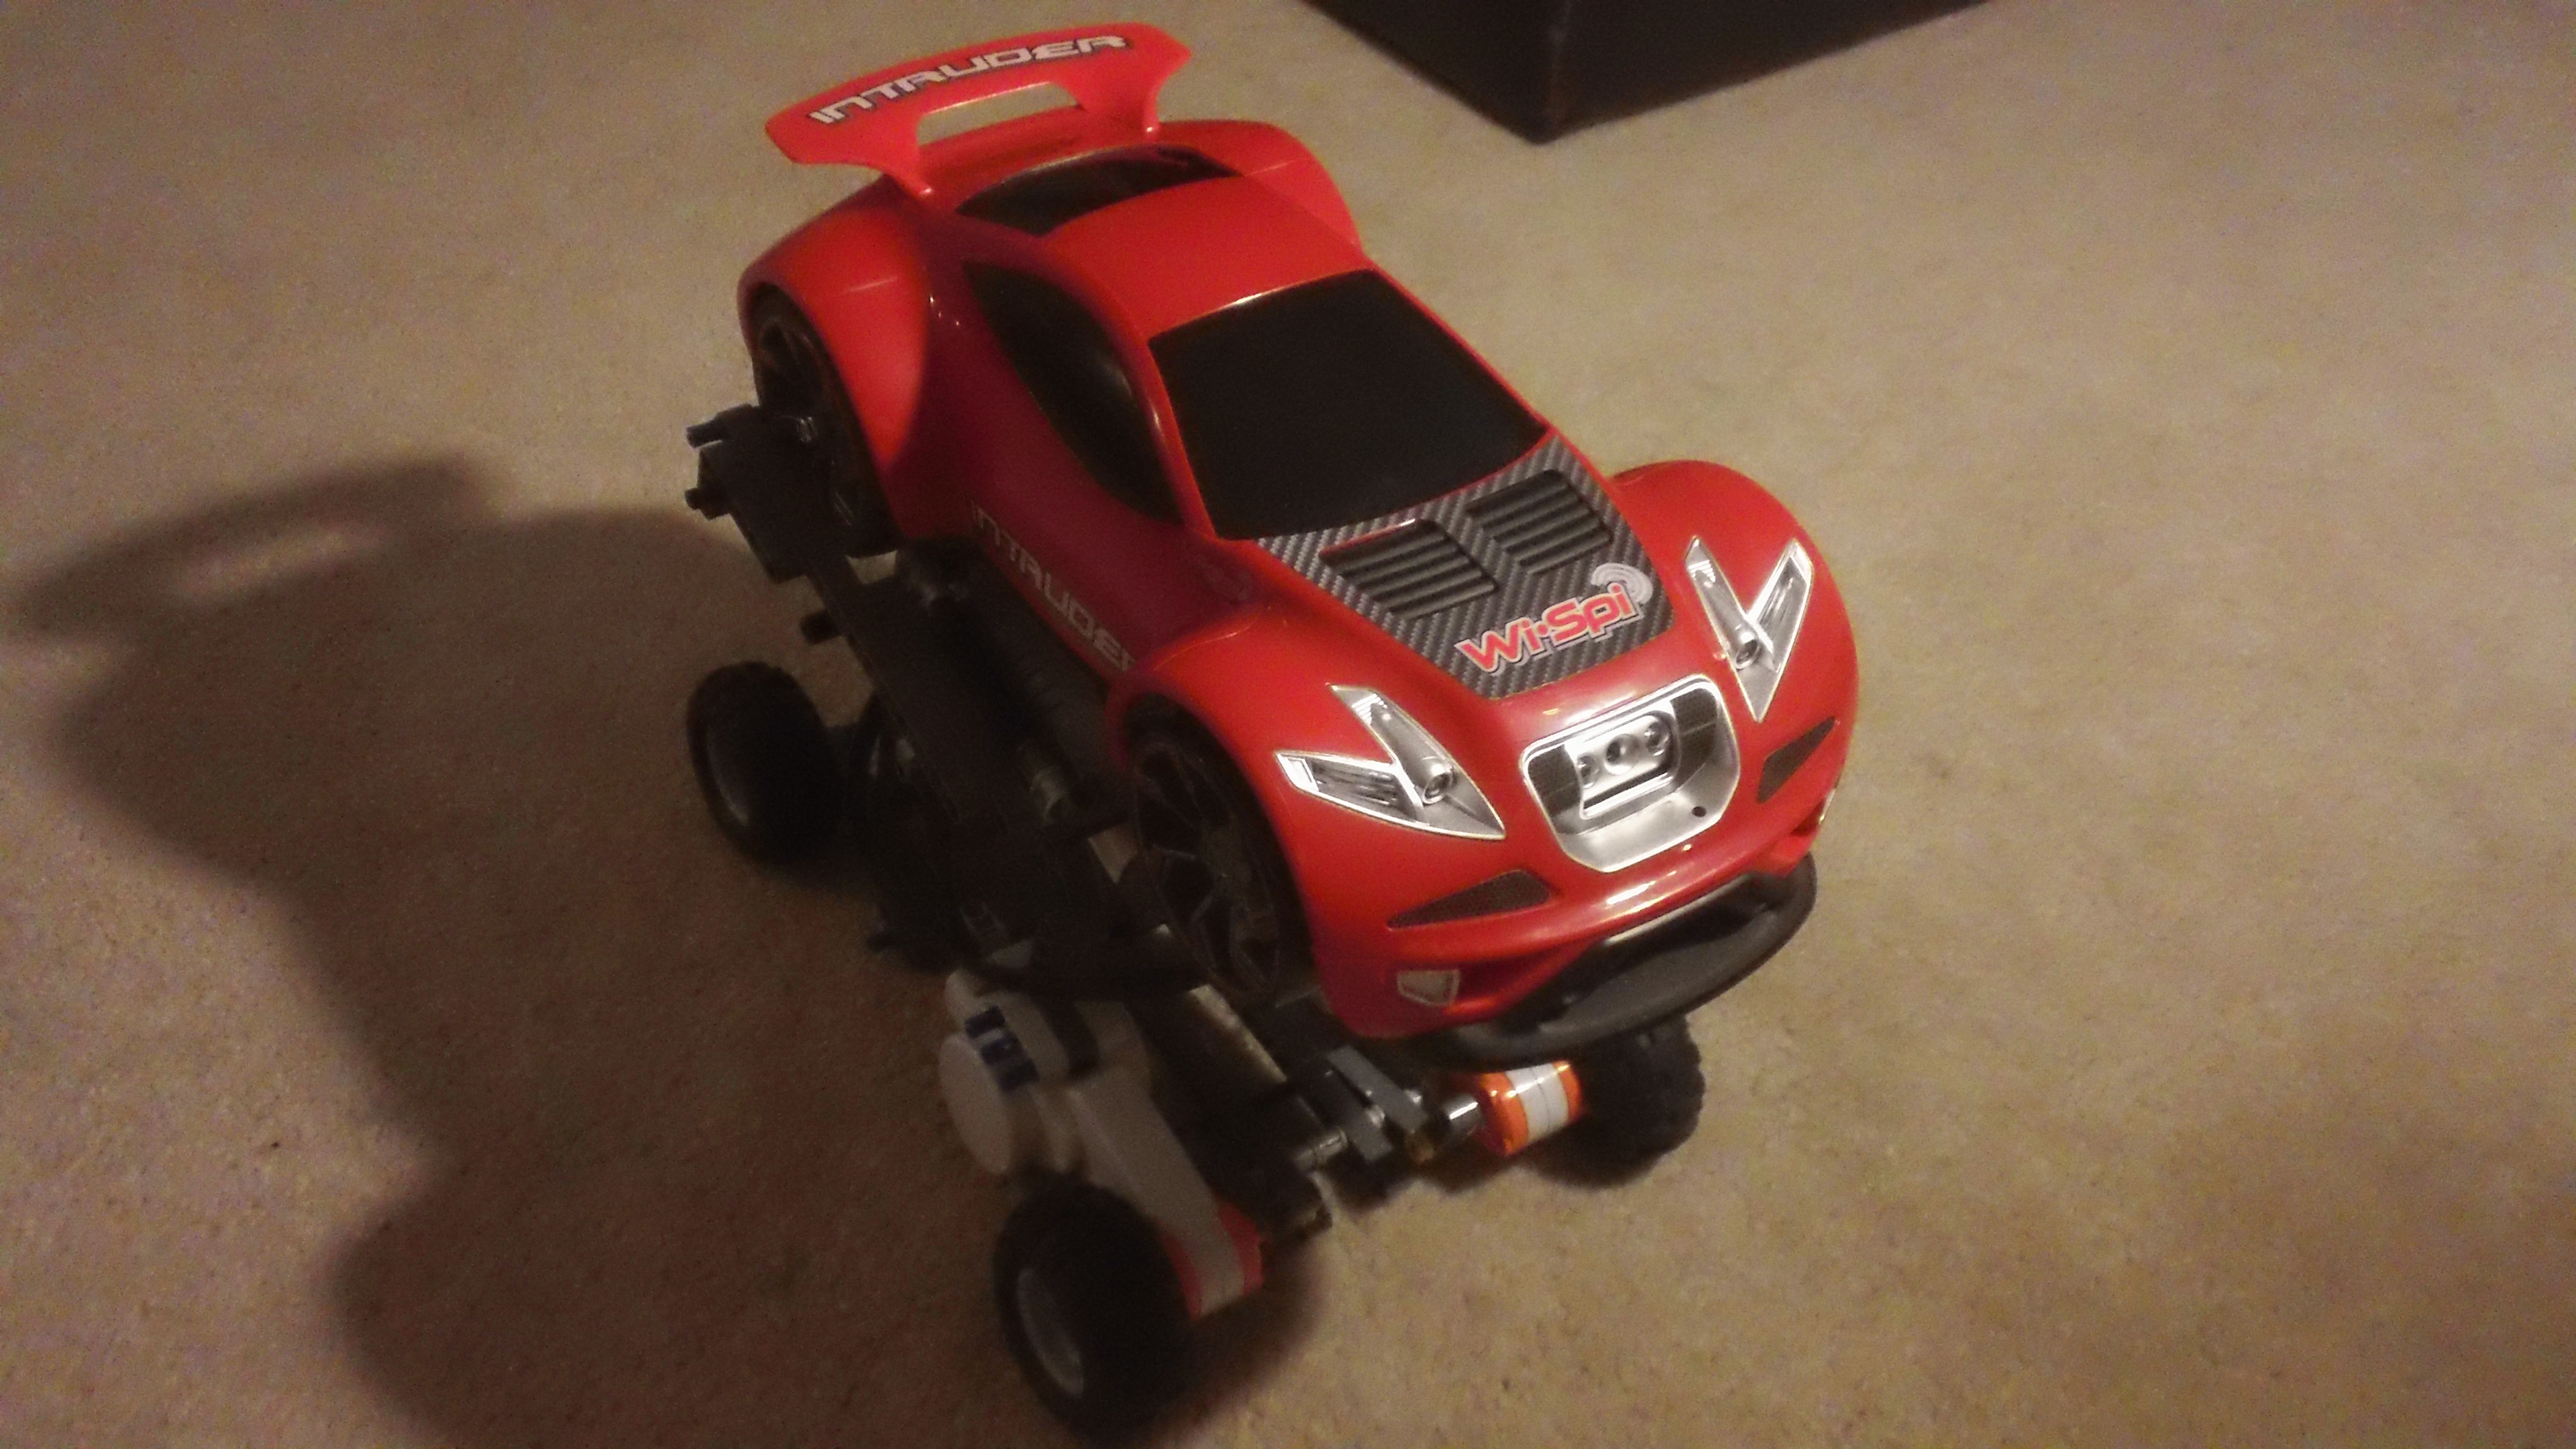
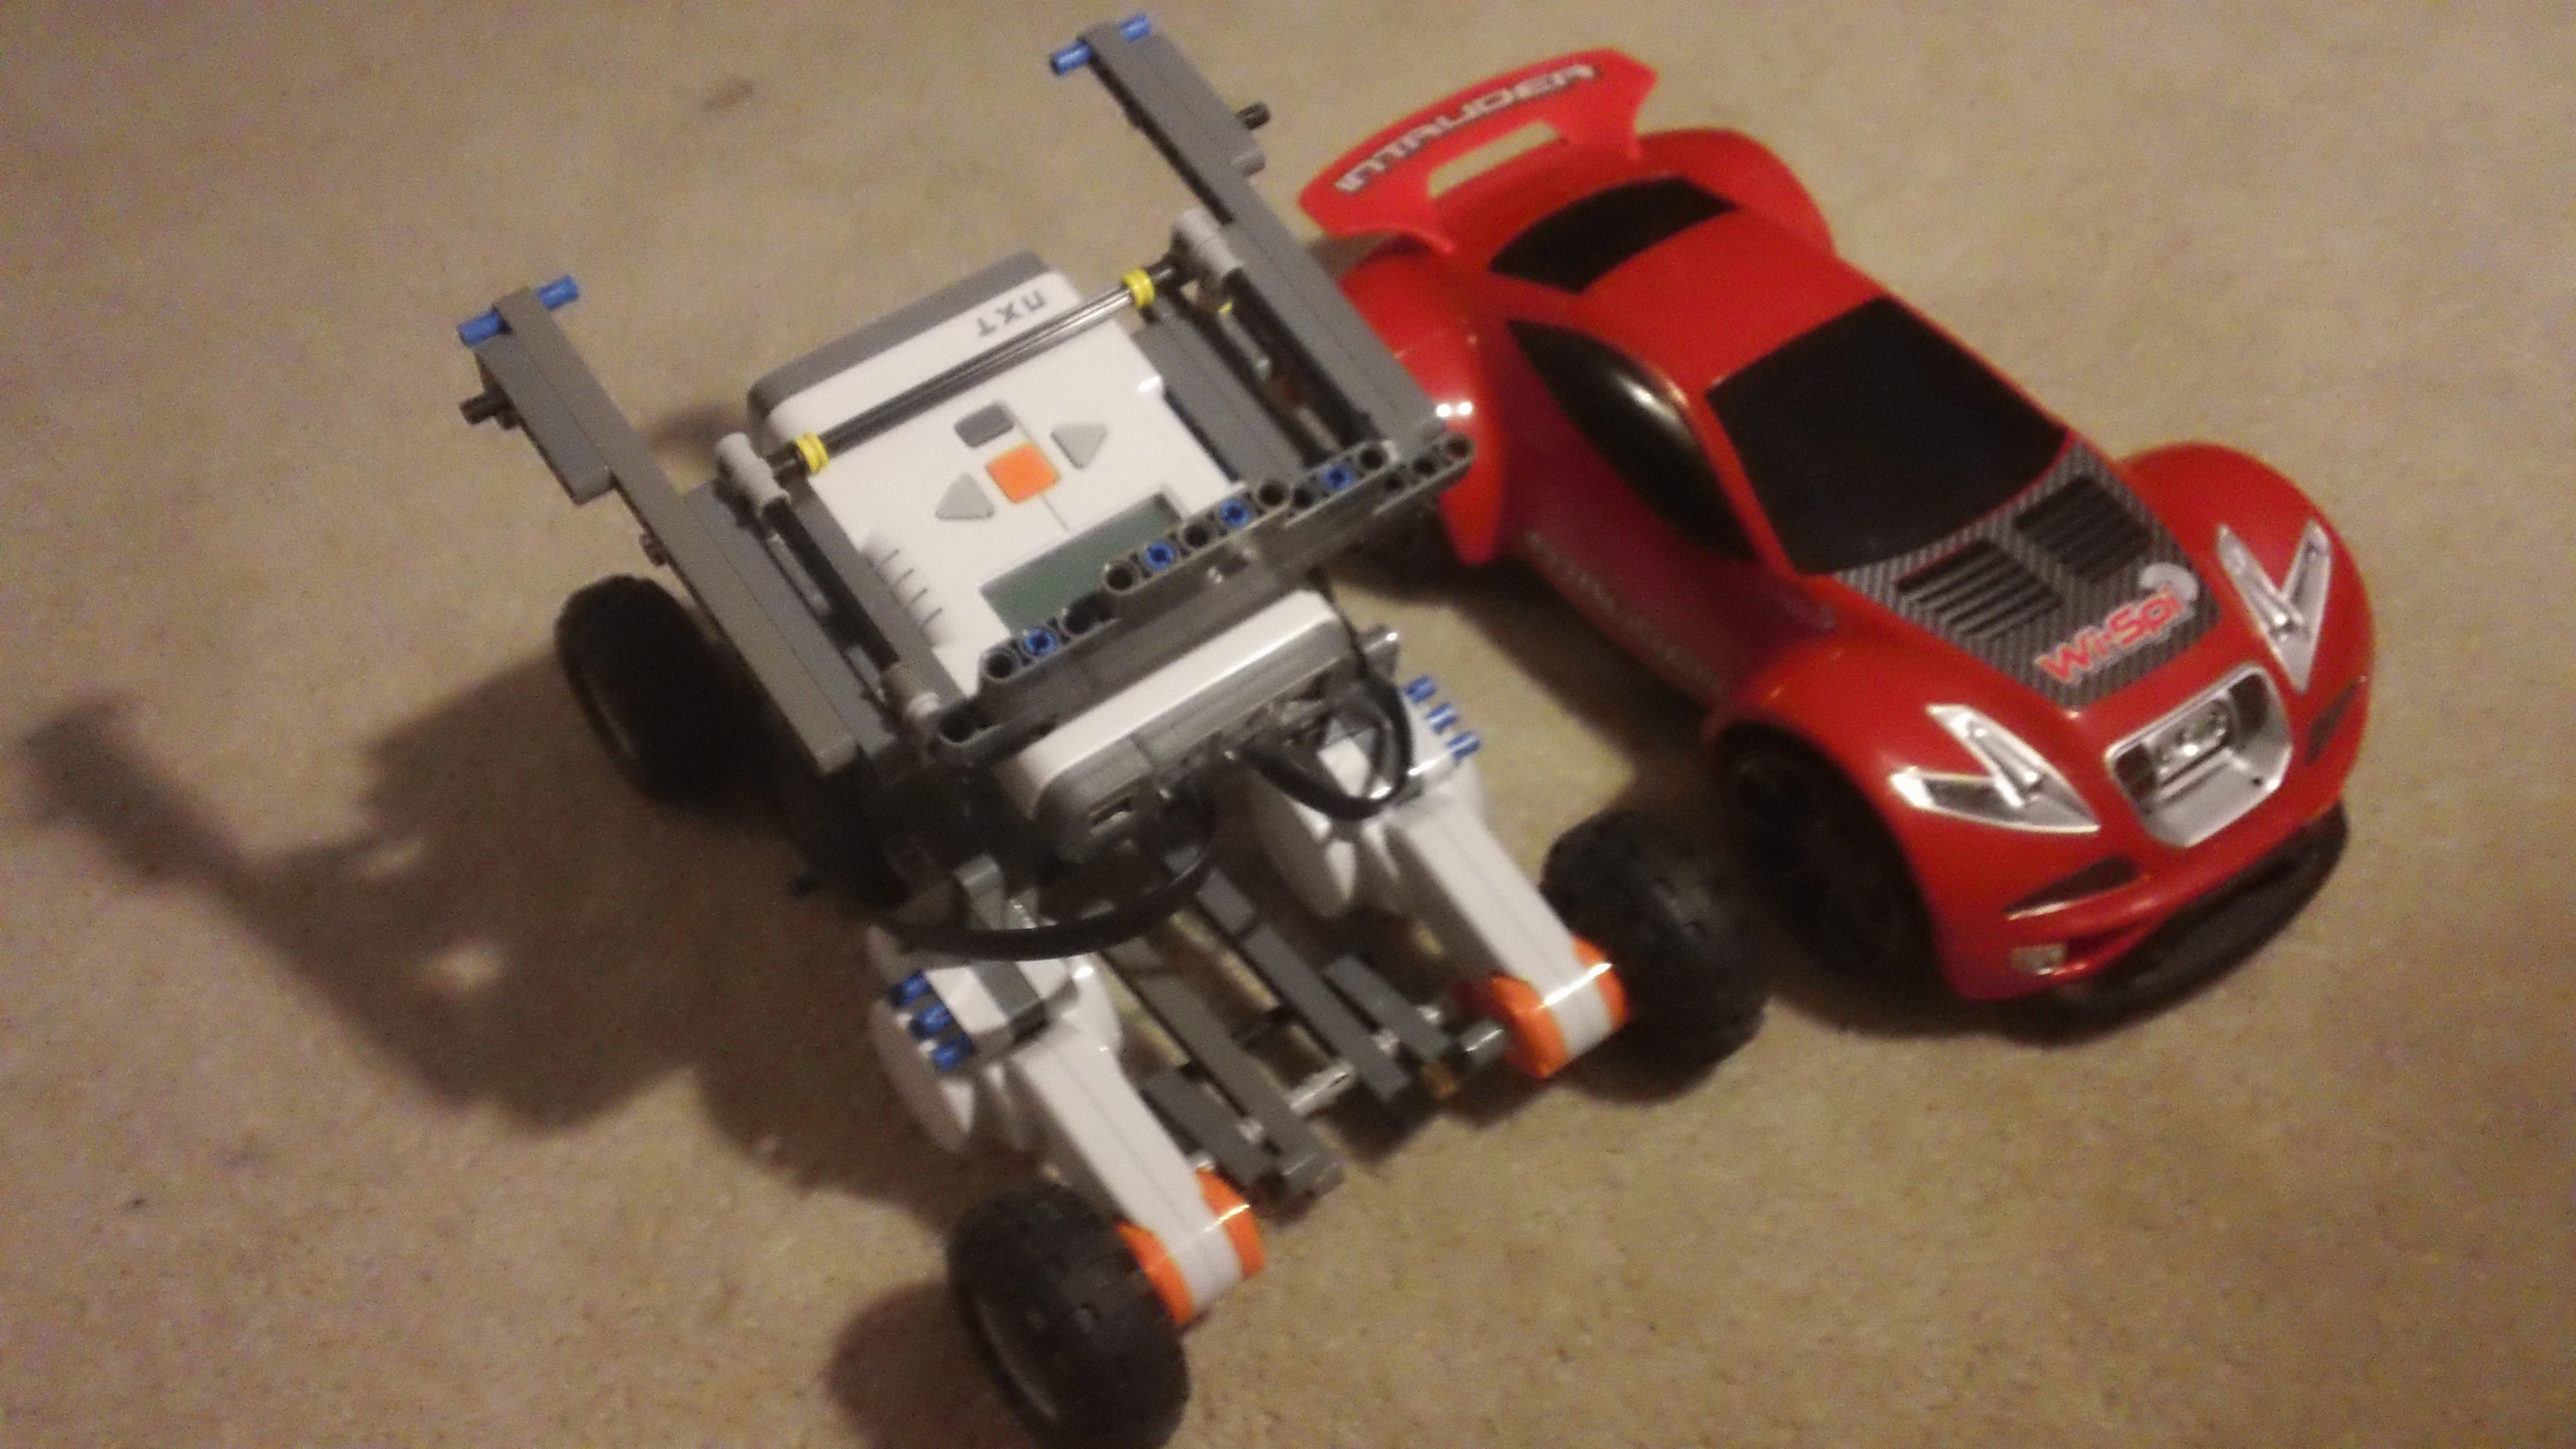
This instructable shows you how to create a movement and speech controlled car with a wifi camera and bluetooth controls. Continue to the next step for a parts list. I was inspired by a product seen here
Parts List

- Wispi Intruder
- Mindstorms NXT
- Wiimote
- Safety Goggles
- Infrared LEDs X3
- One Regular LED (Green)
- Wire
- Computer Programs (More info on later steps)
- Wifi
- Microphone (I'll show you how to build one) and headphones
- Bluetooth Dongle
- 15 ohm resistor (Brown, Green, Black)
- 9V battery
Build the NXT Device (Part 1)
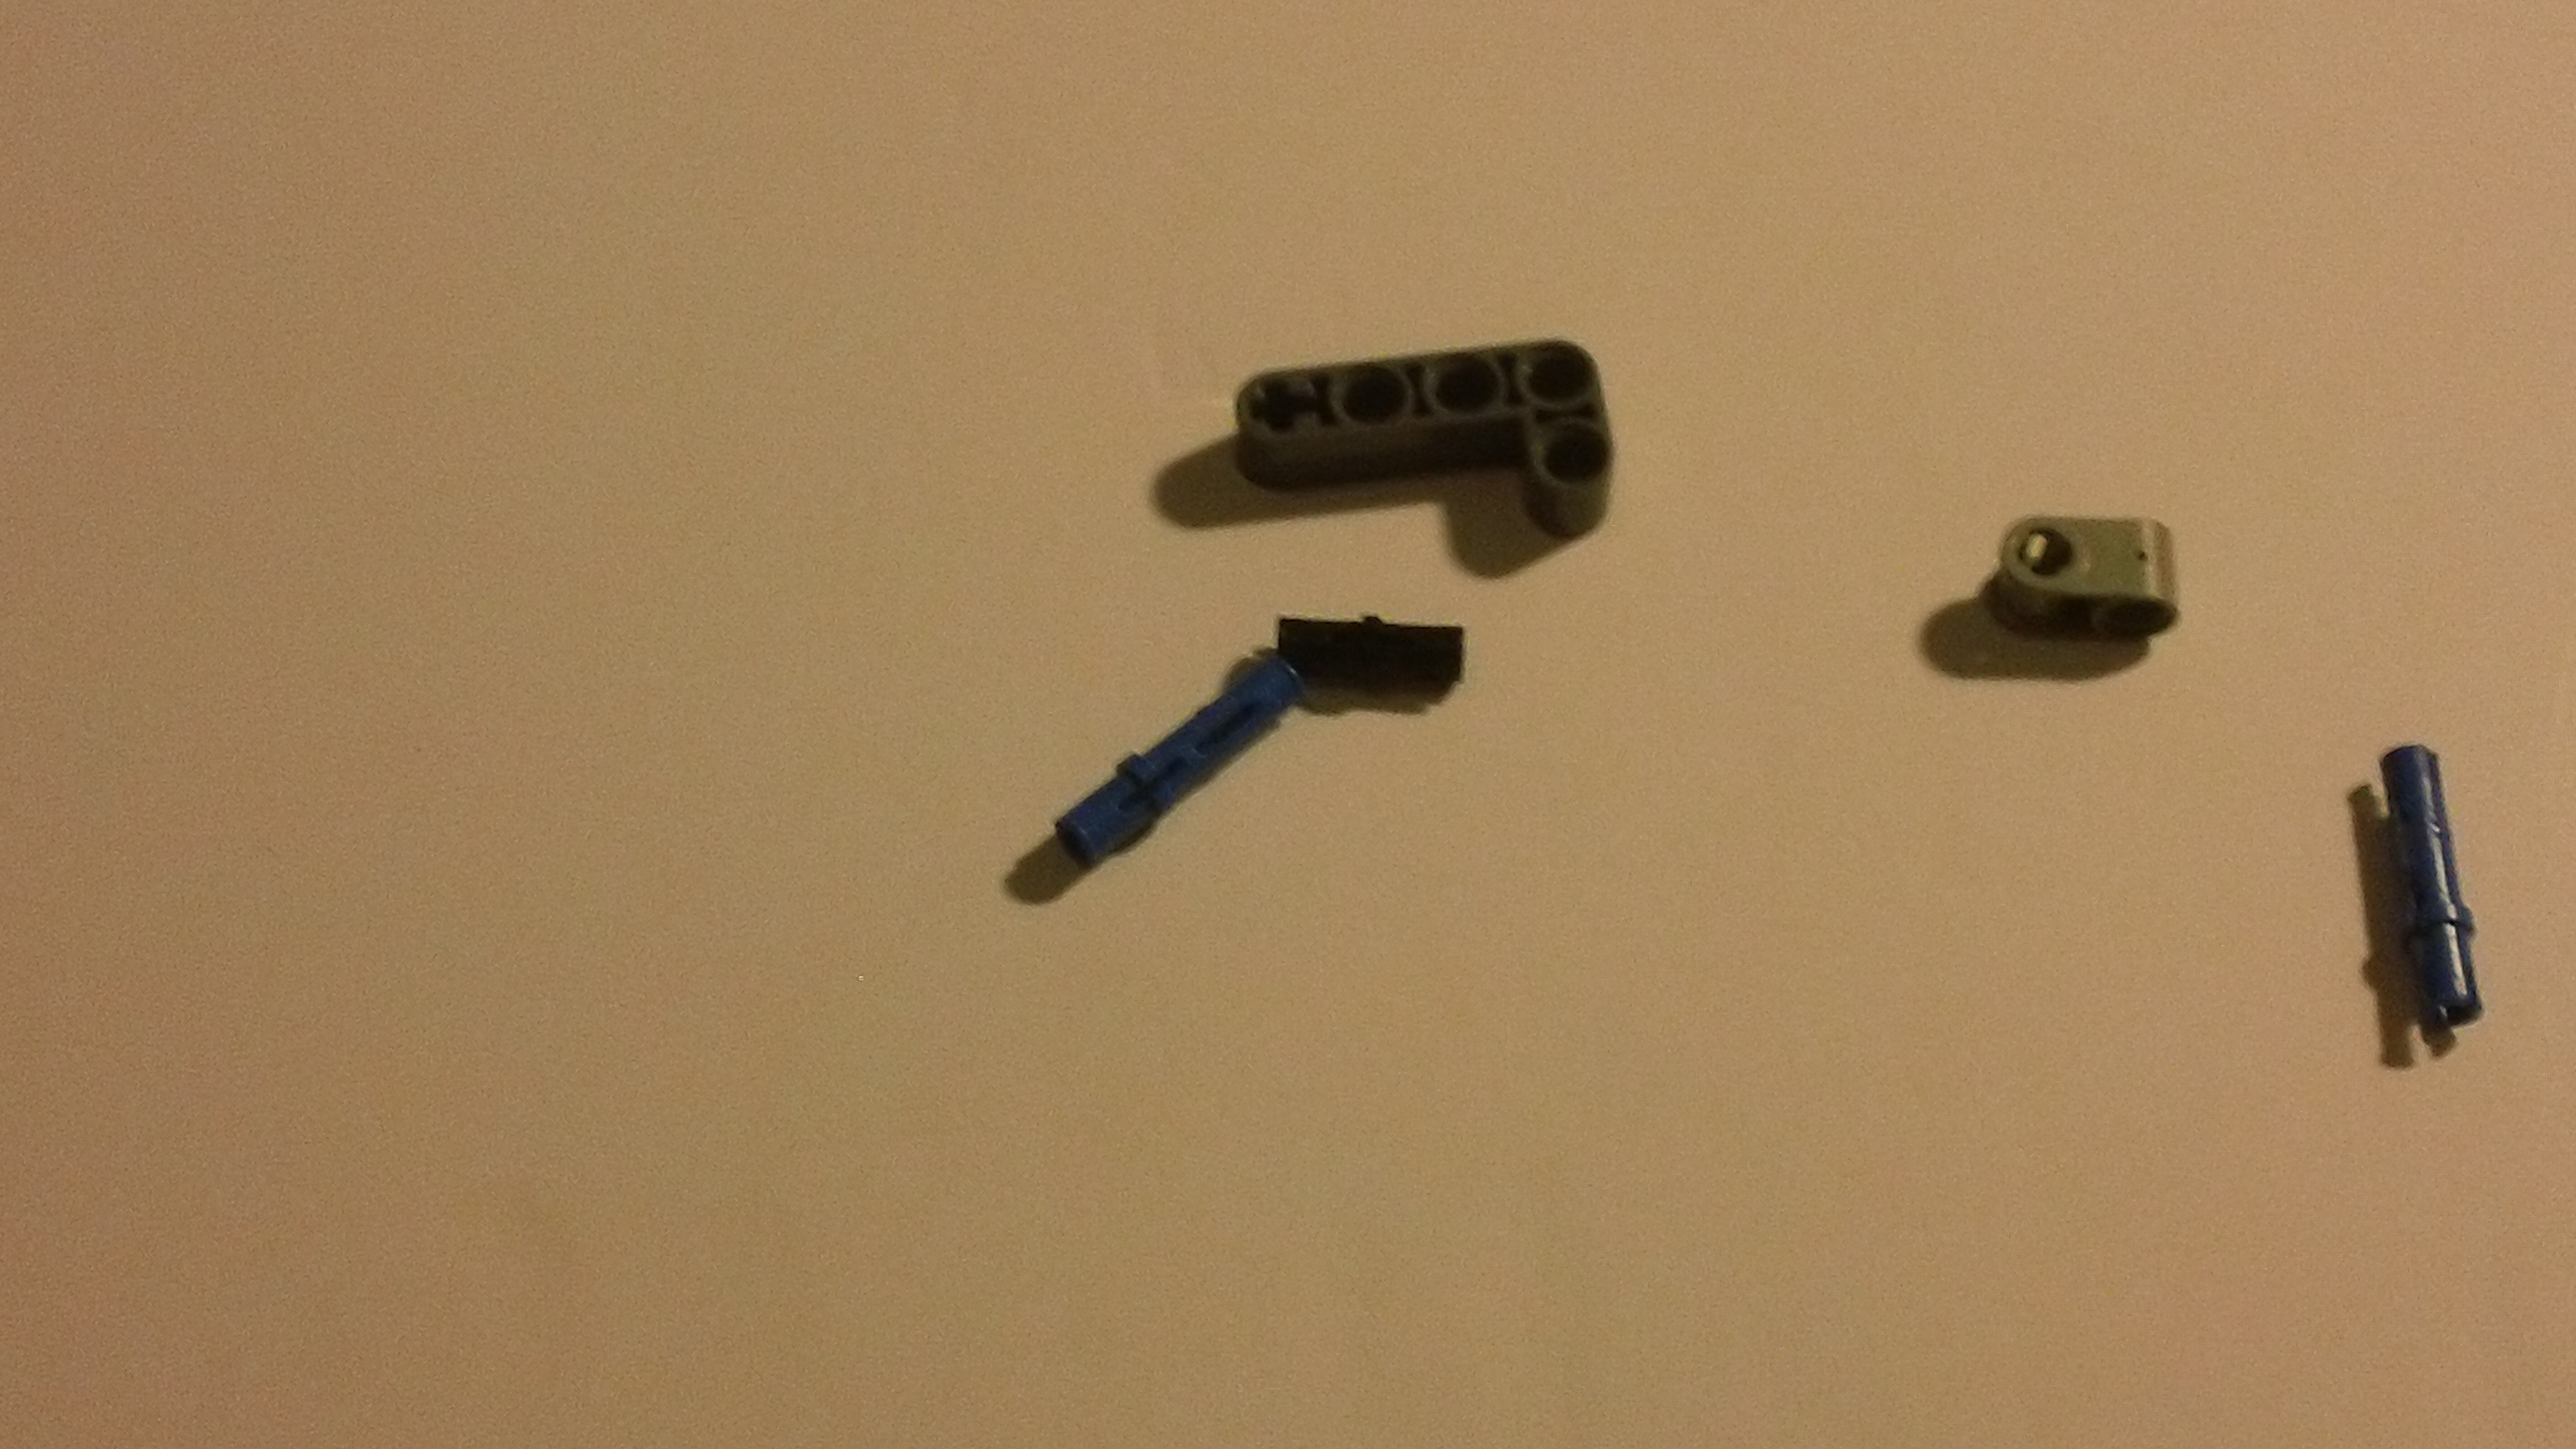
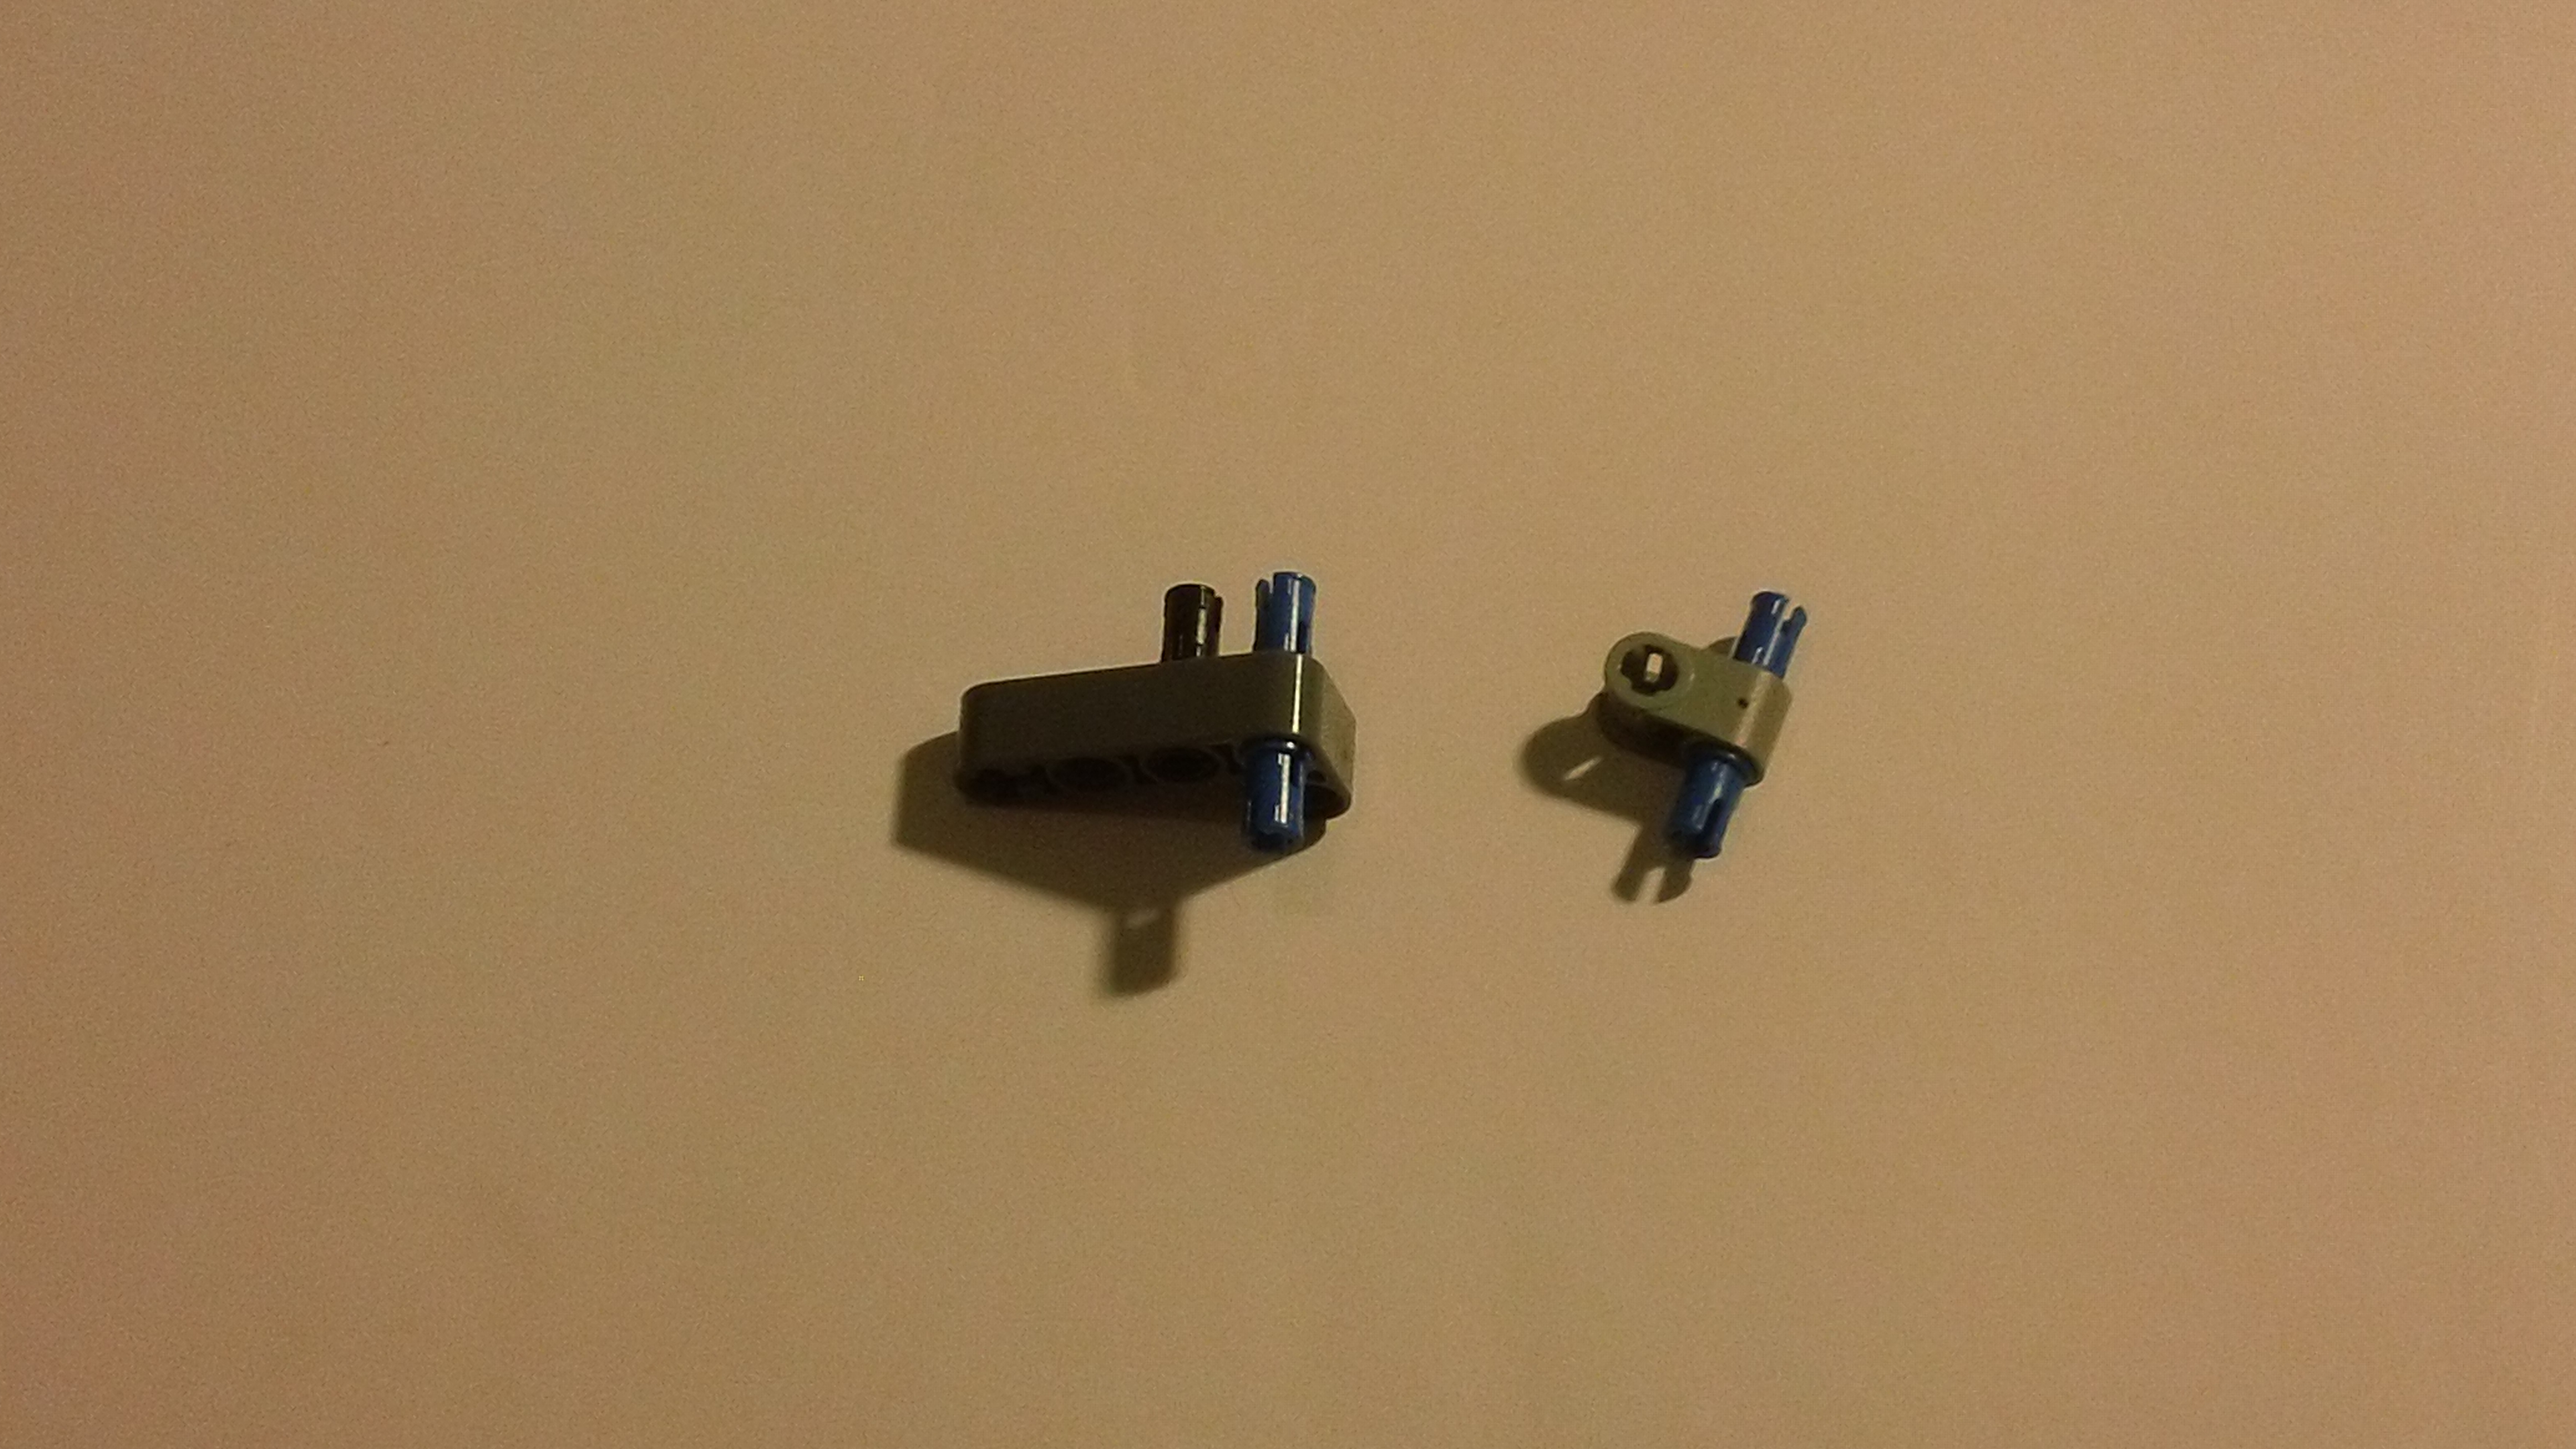
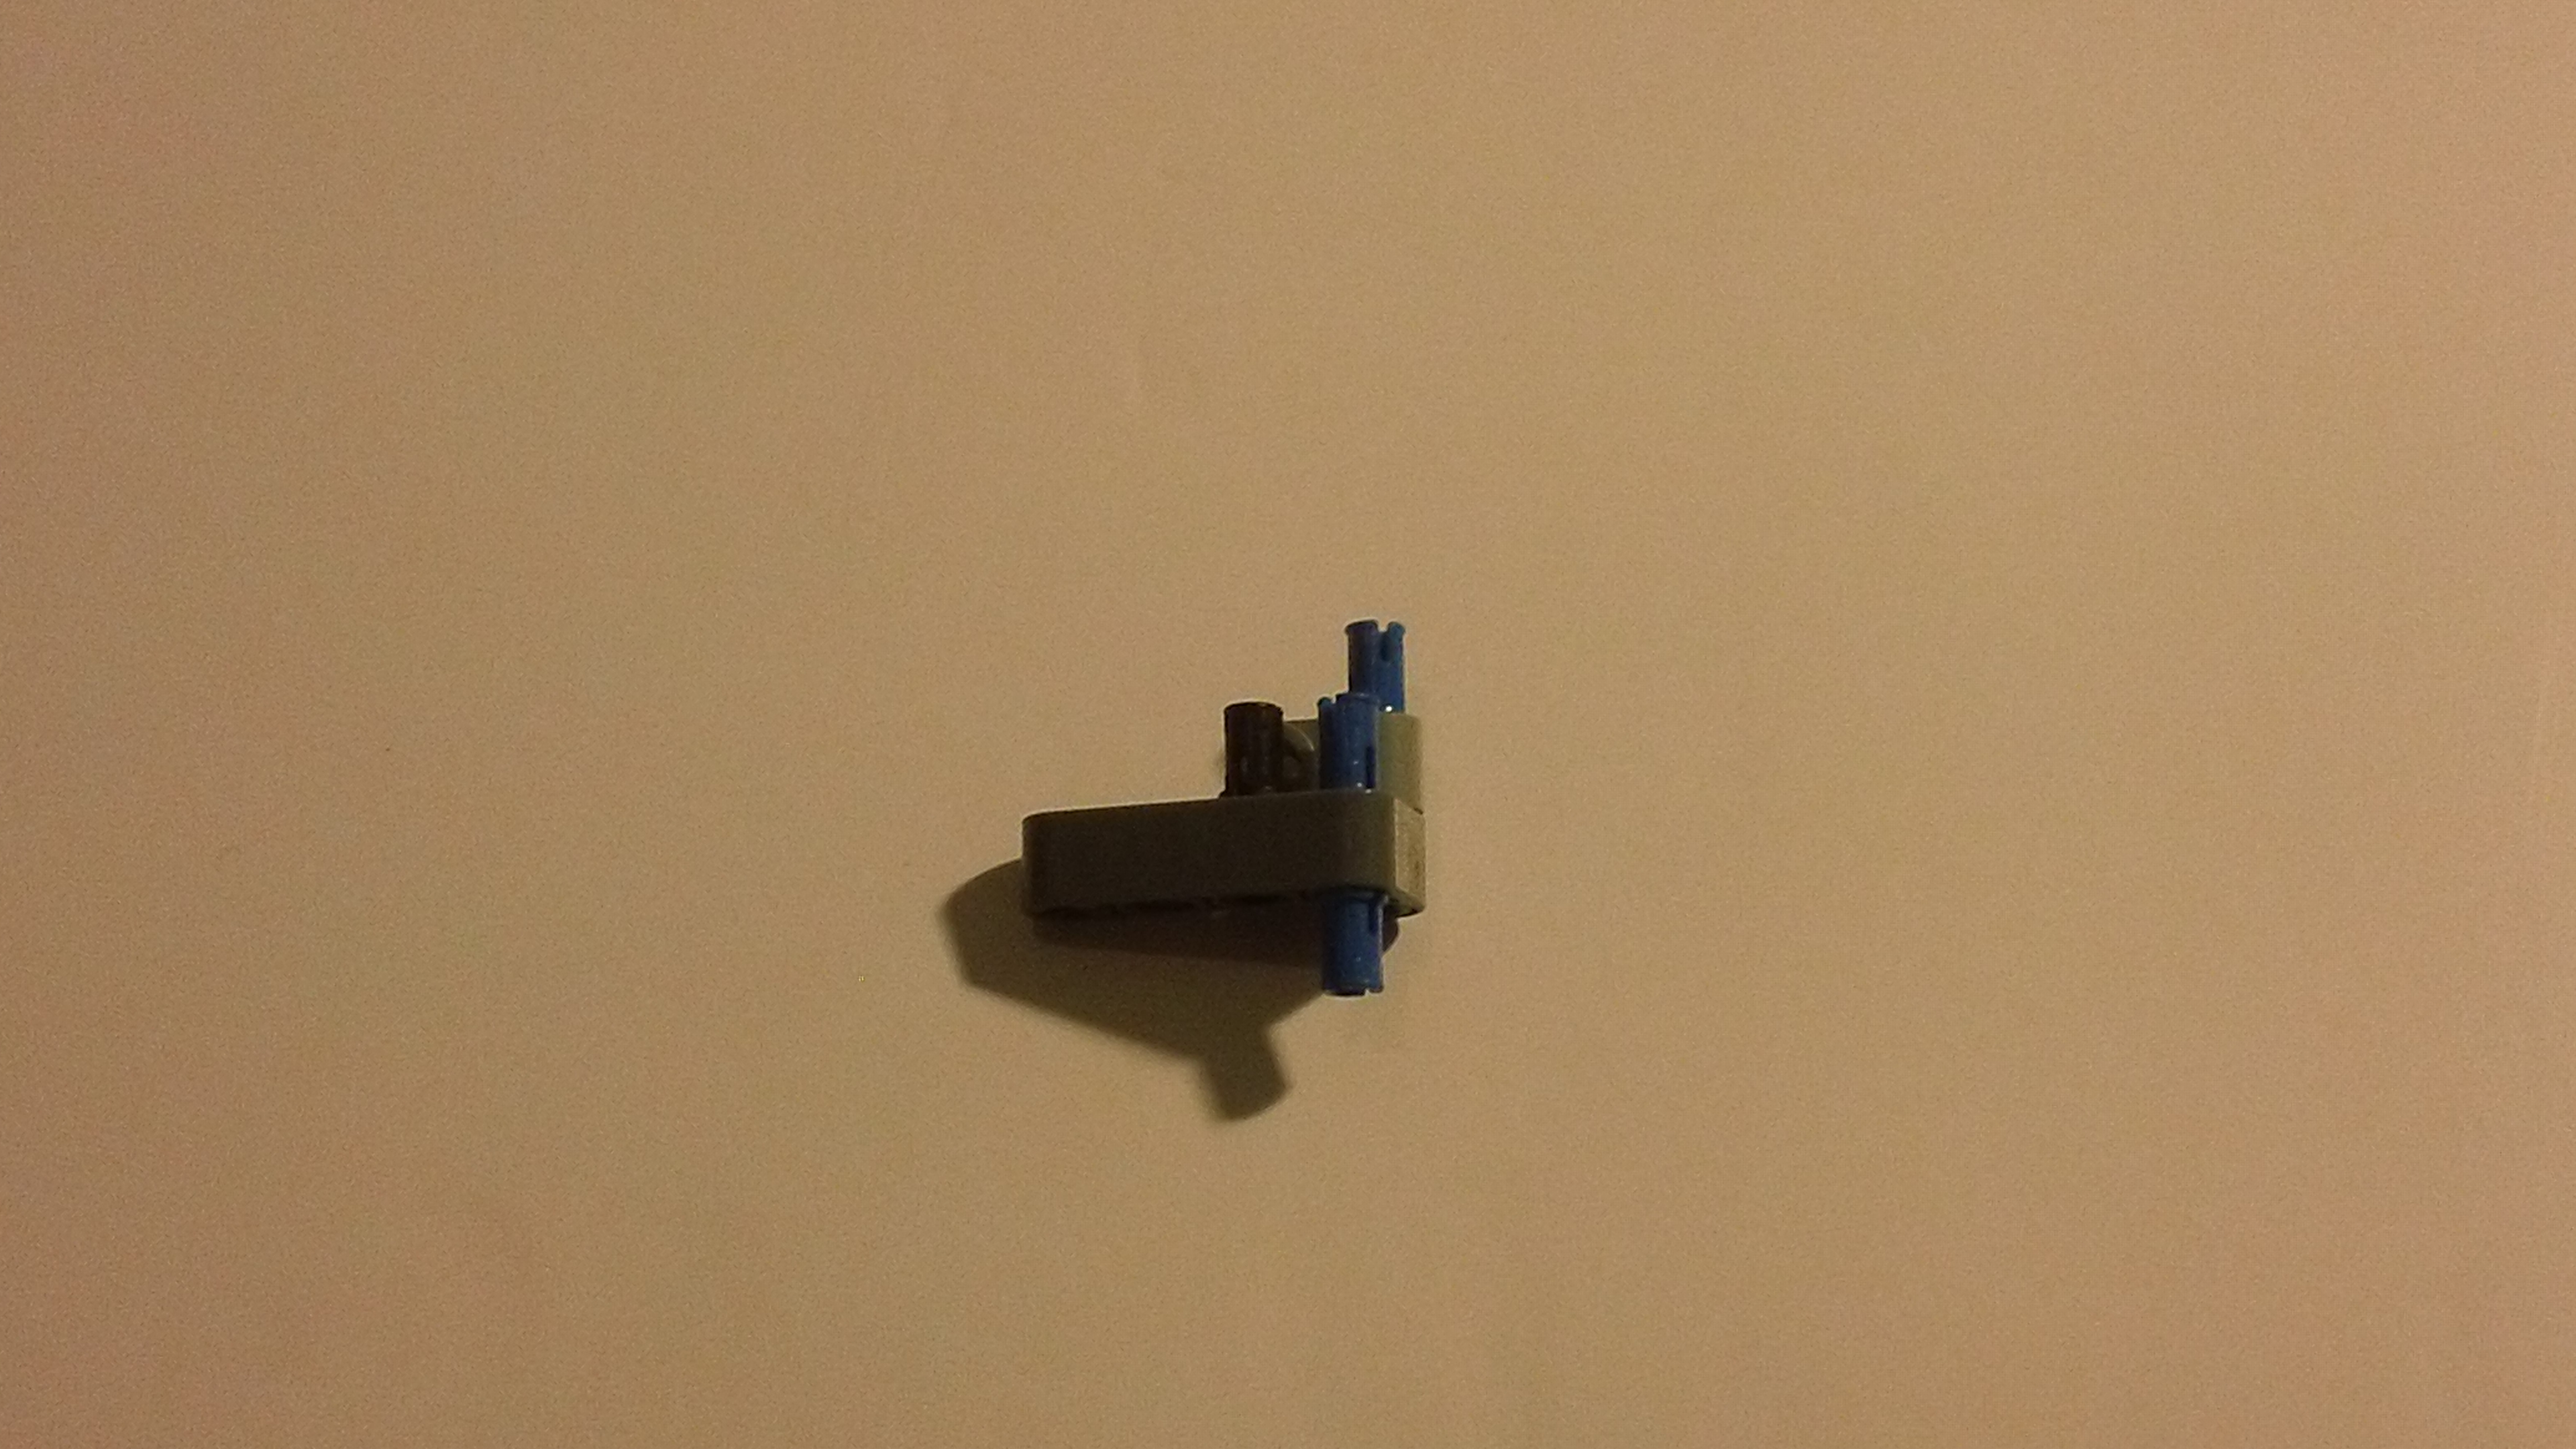
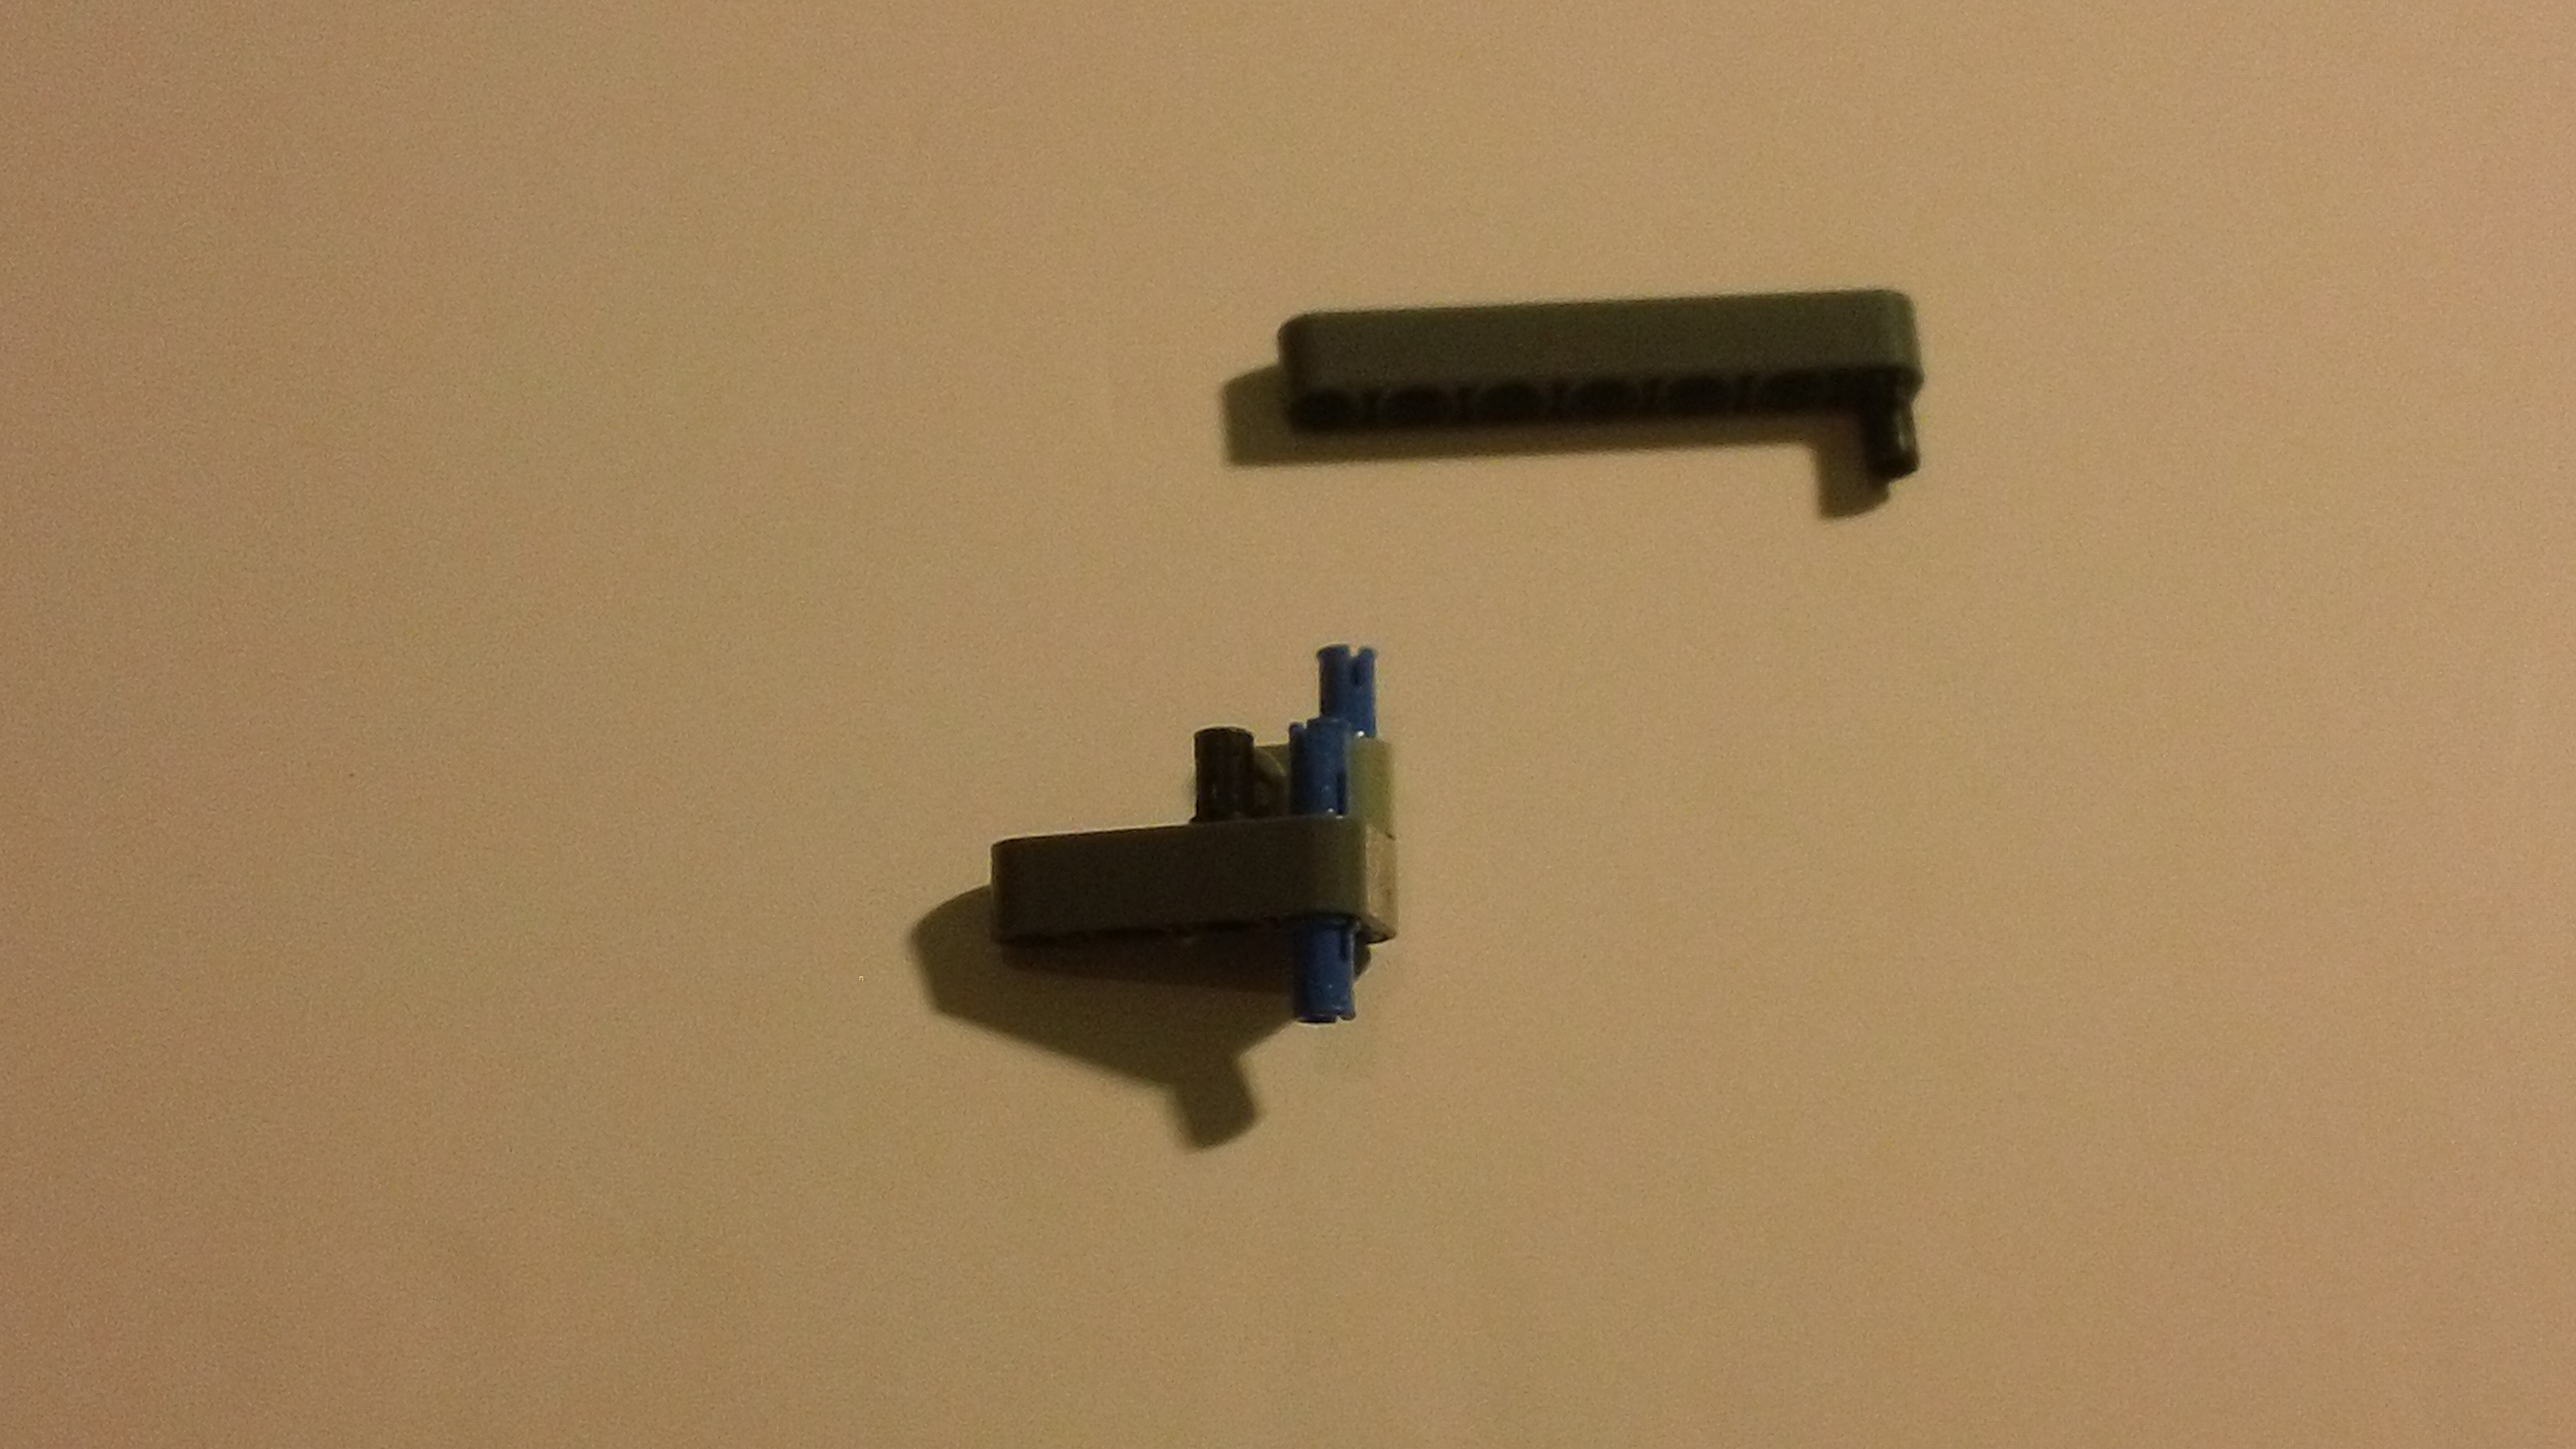
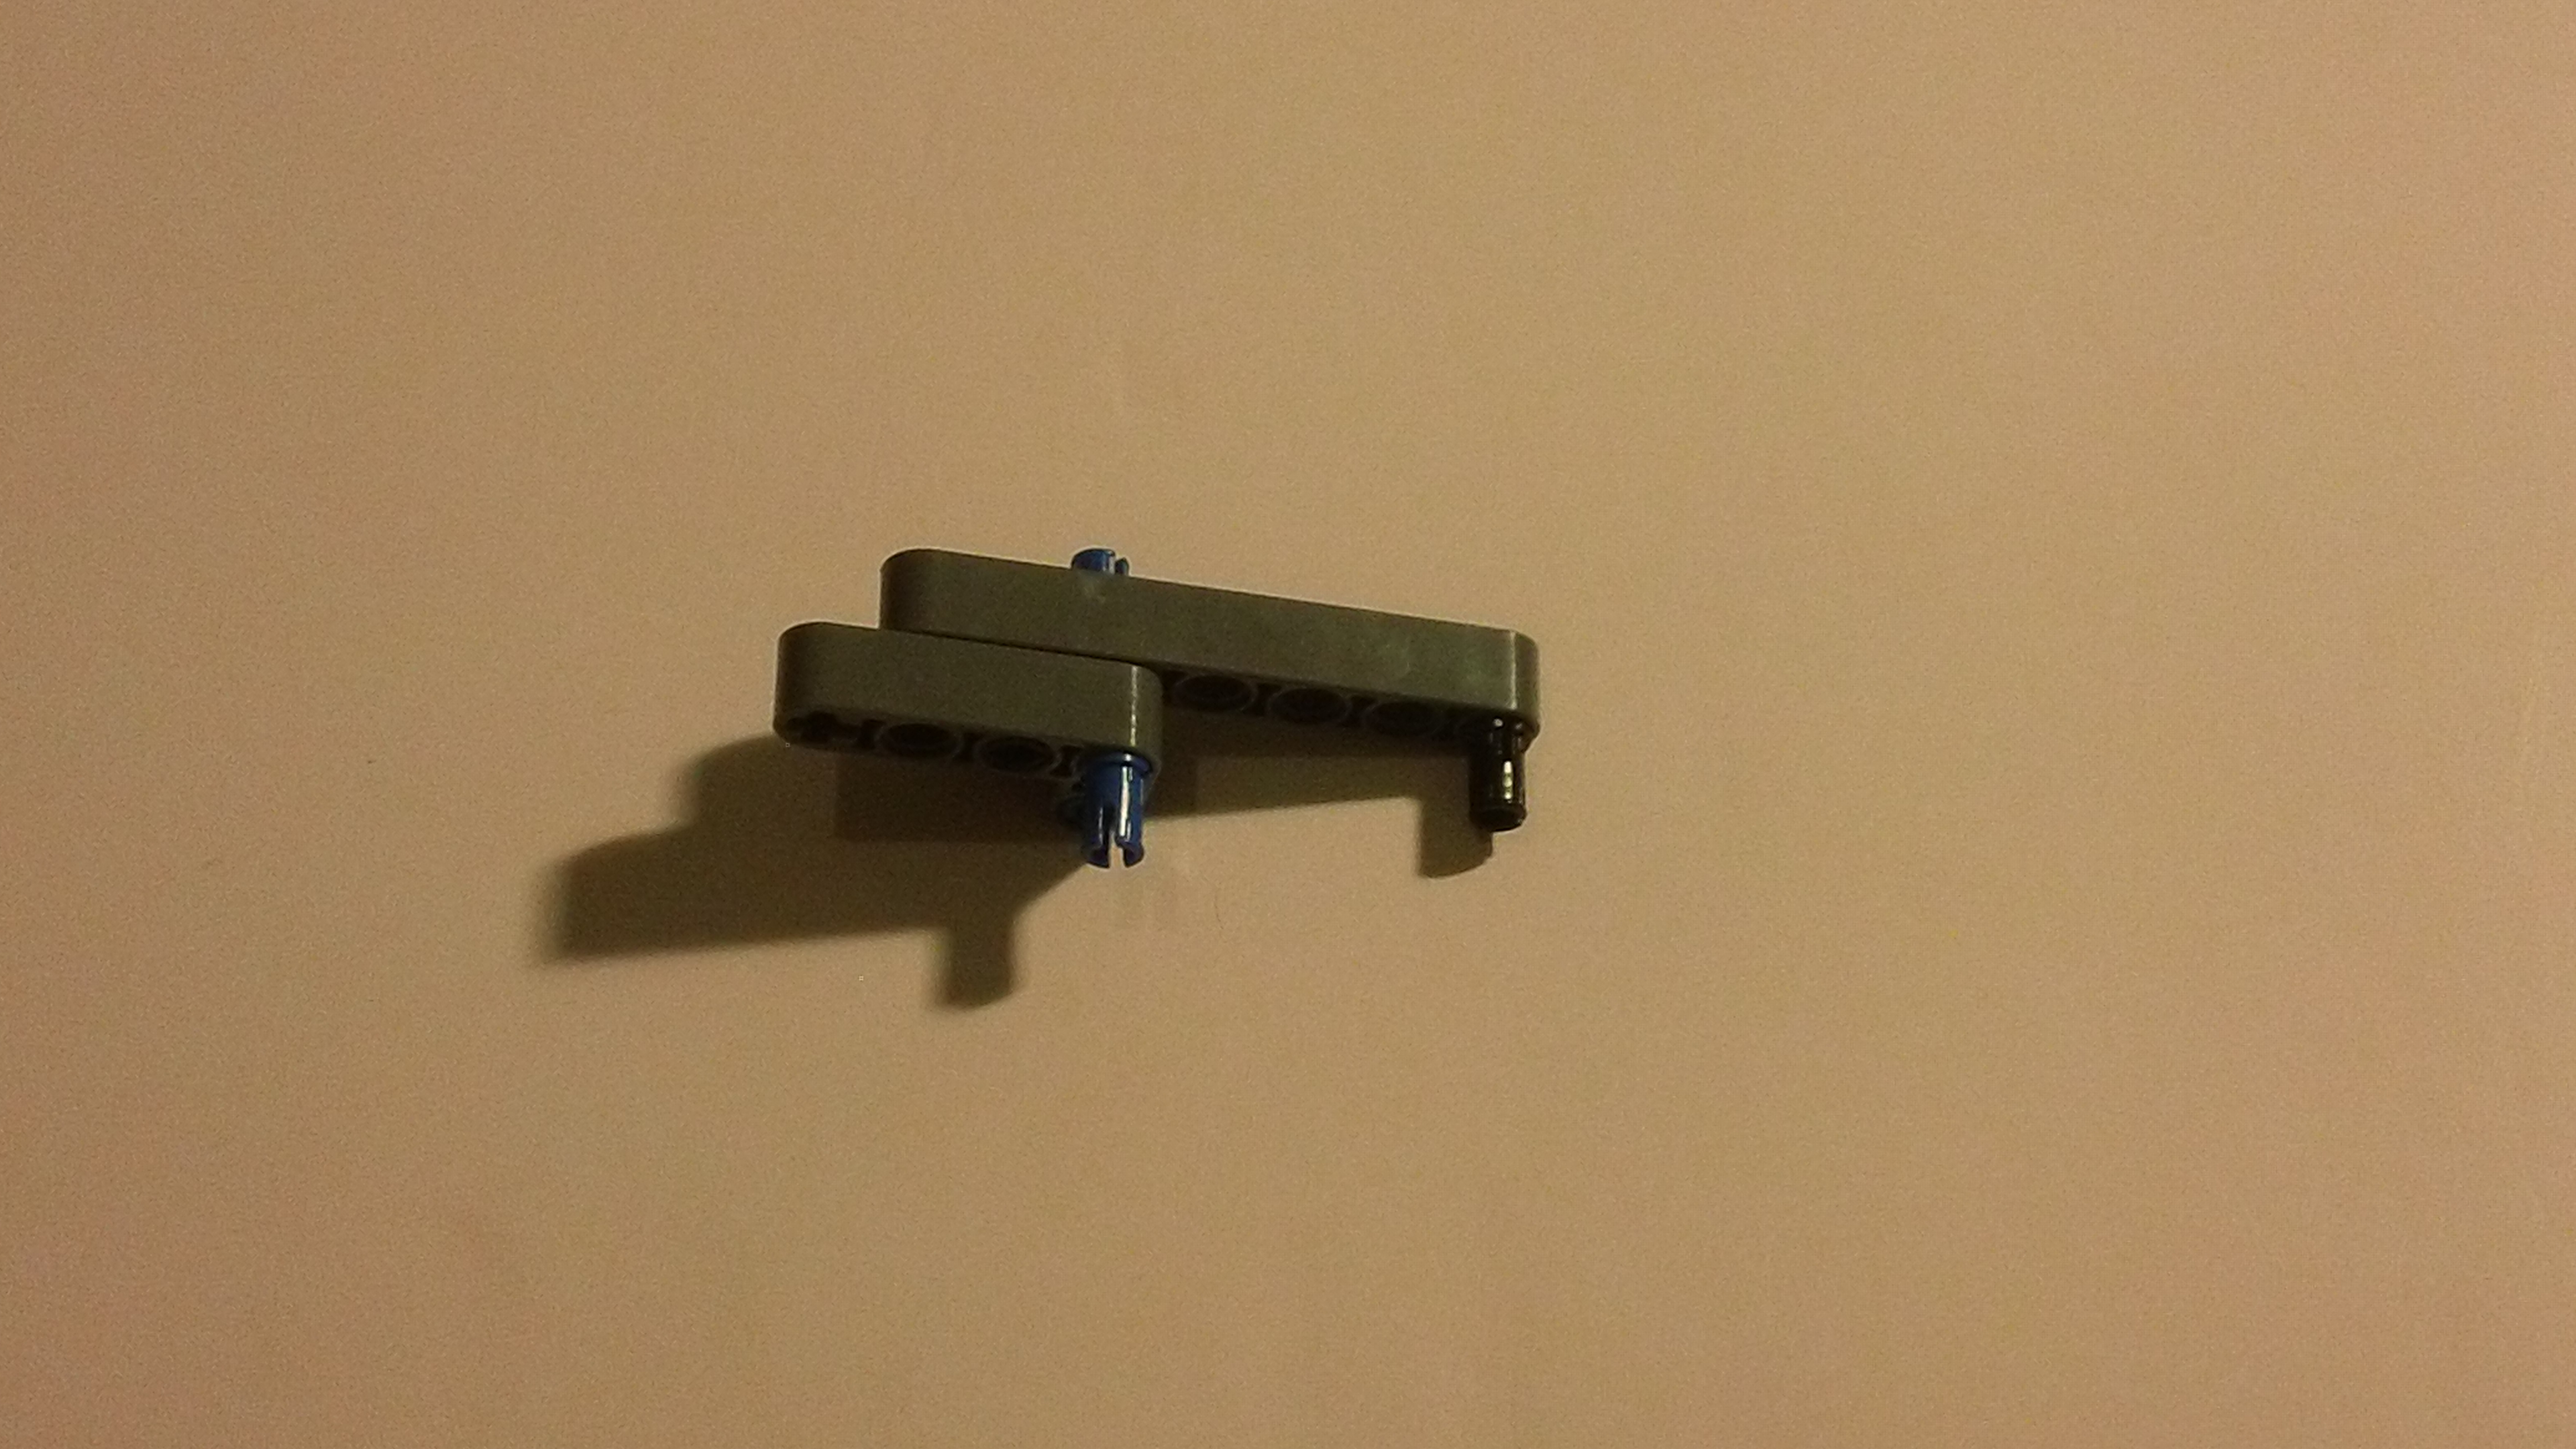
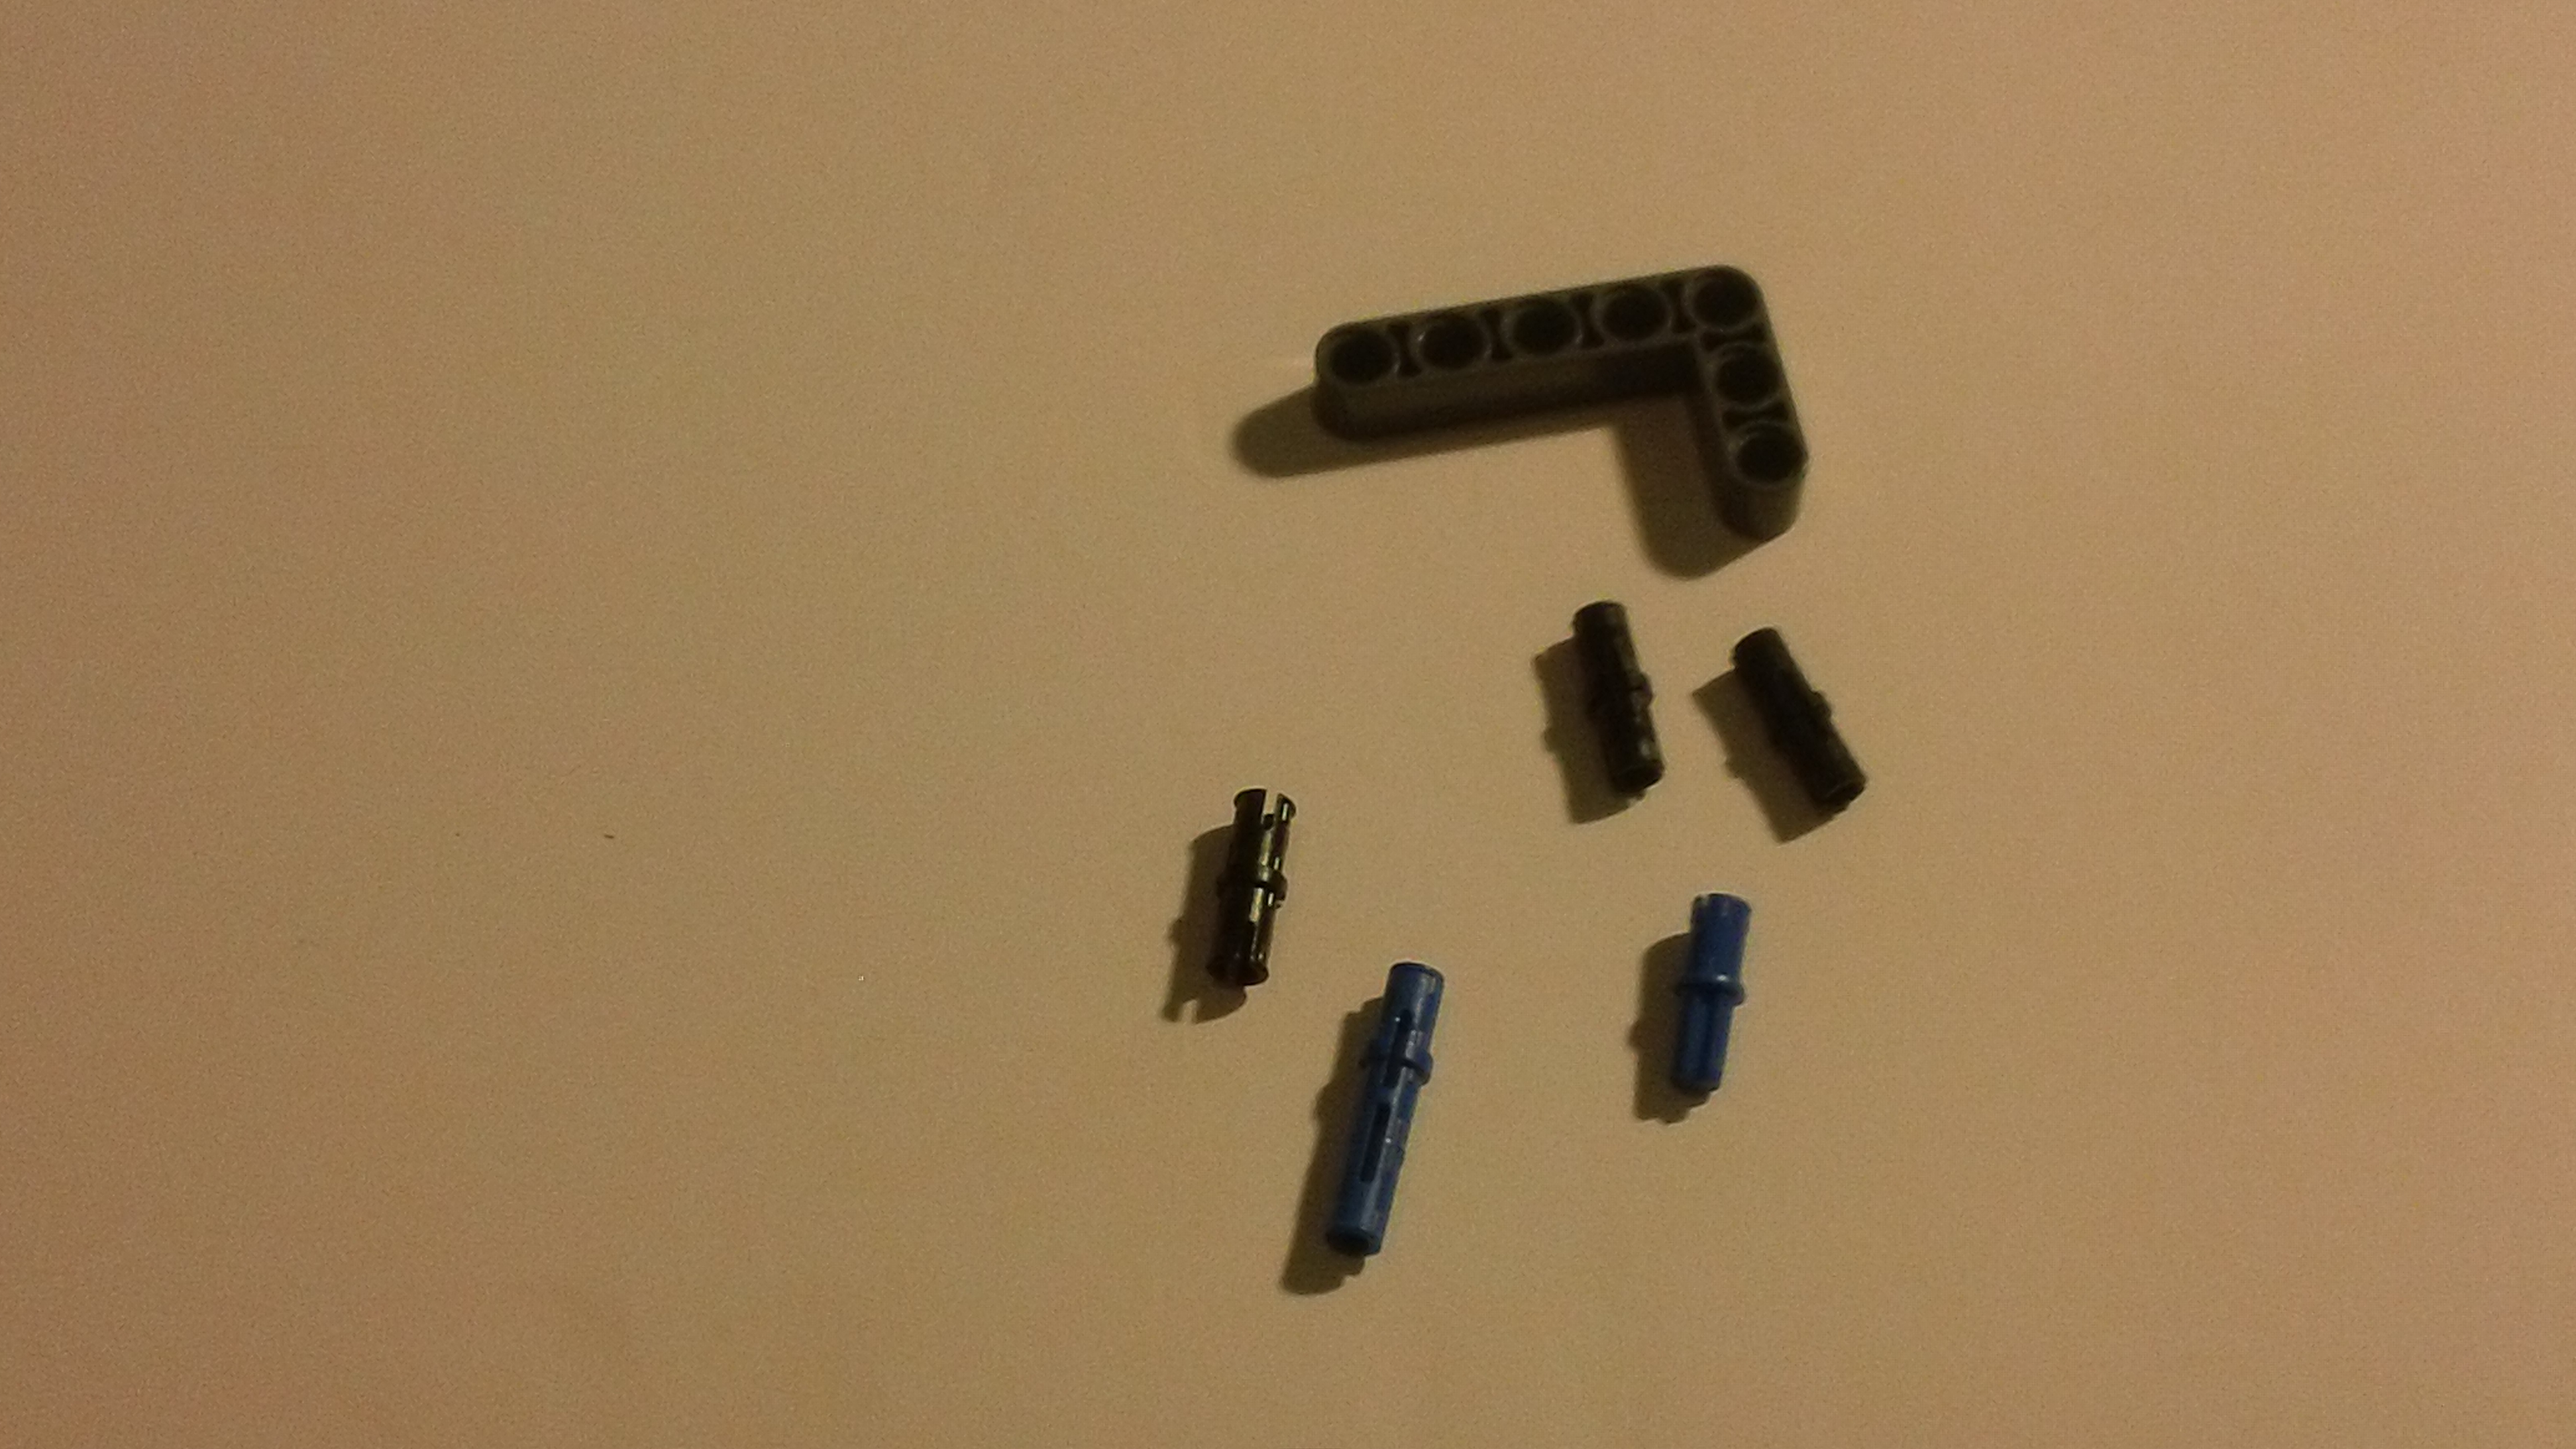
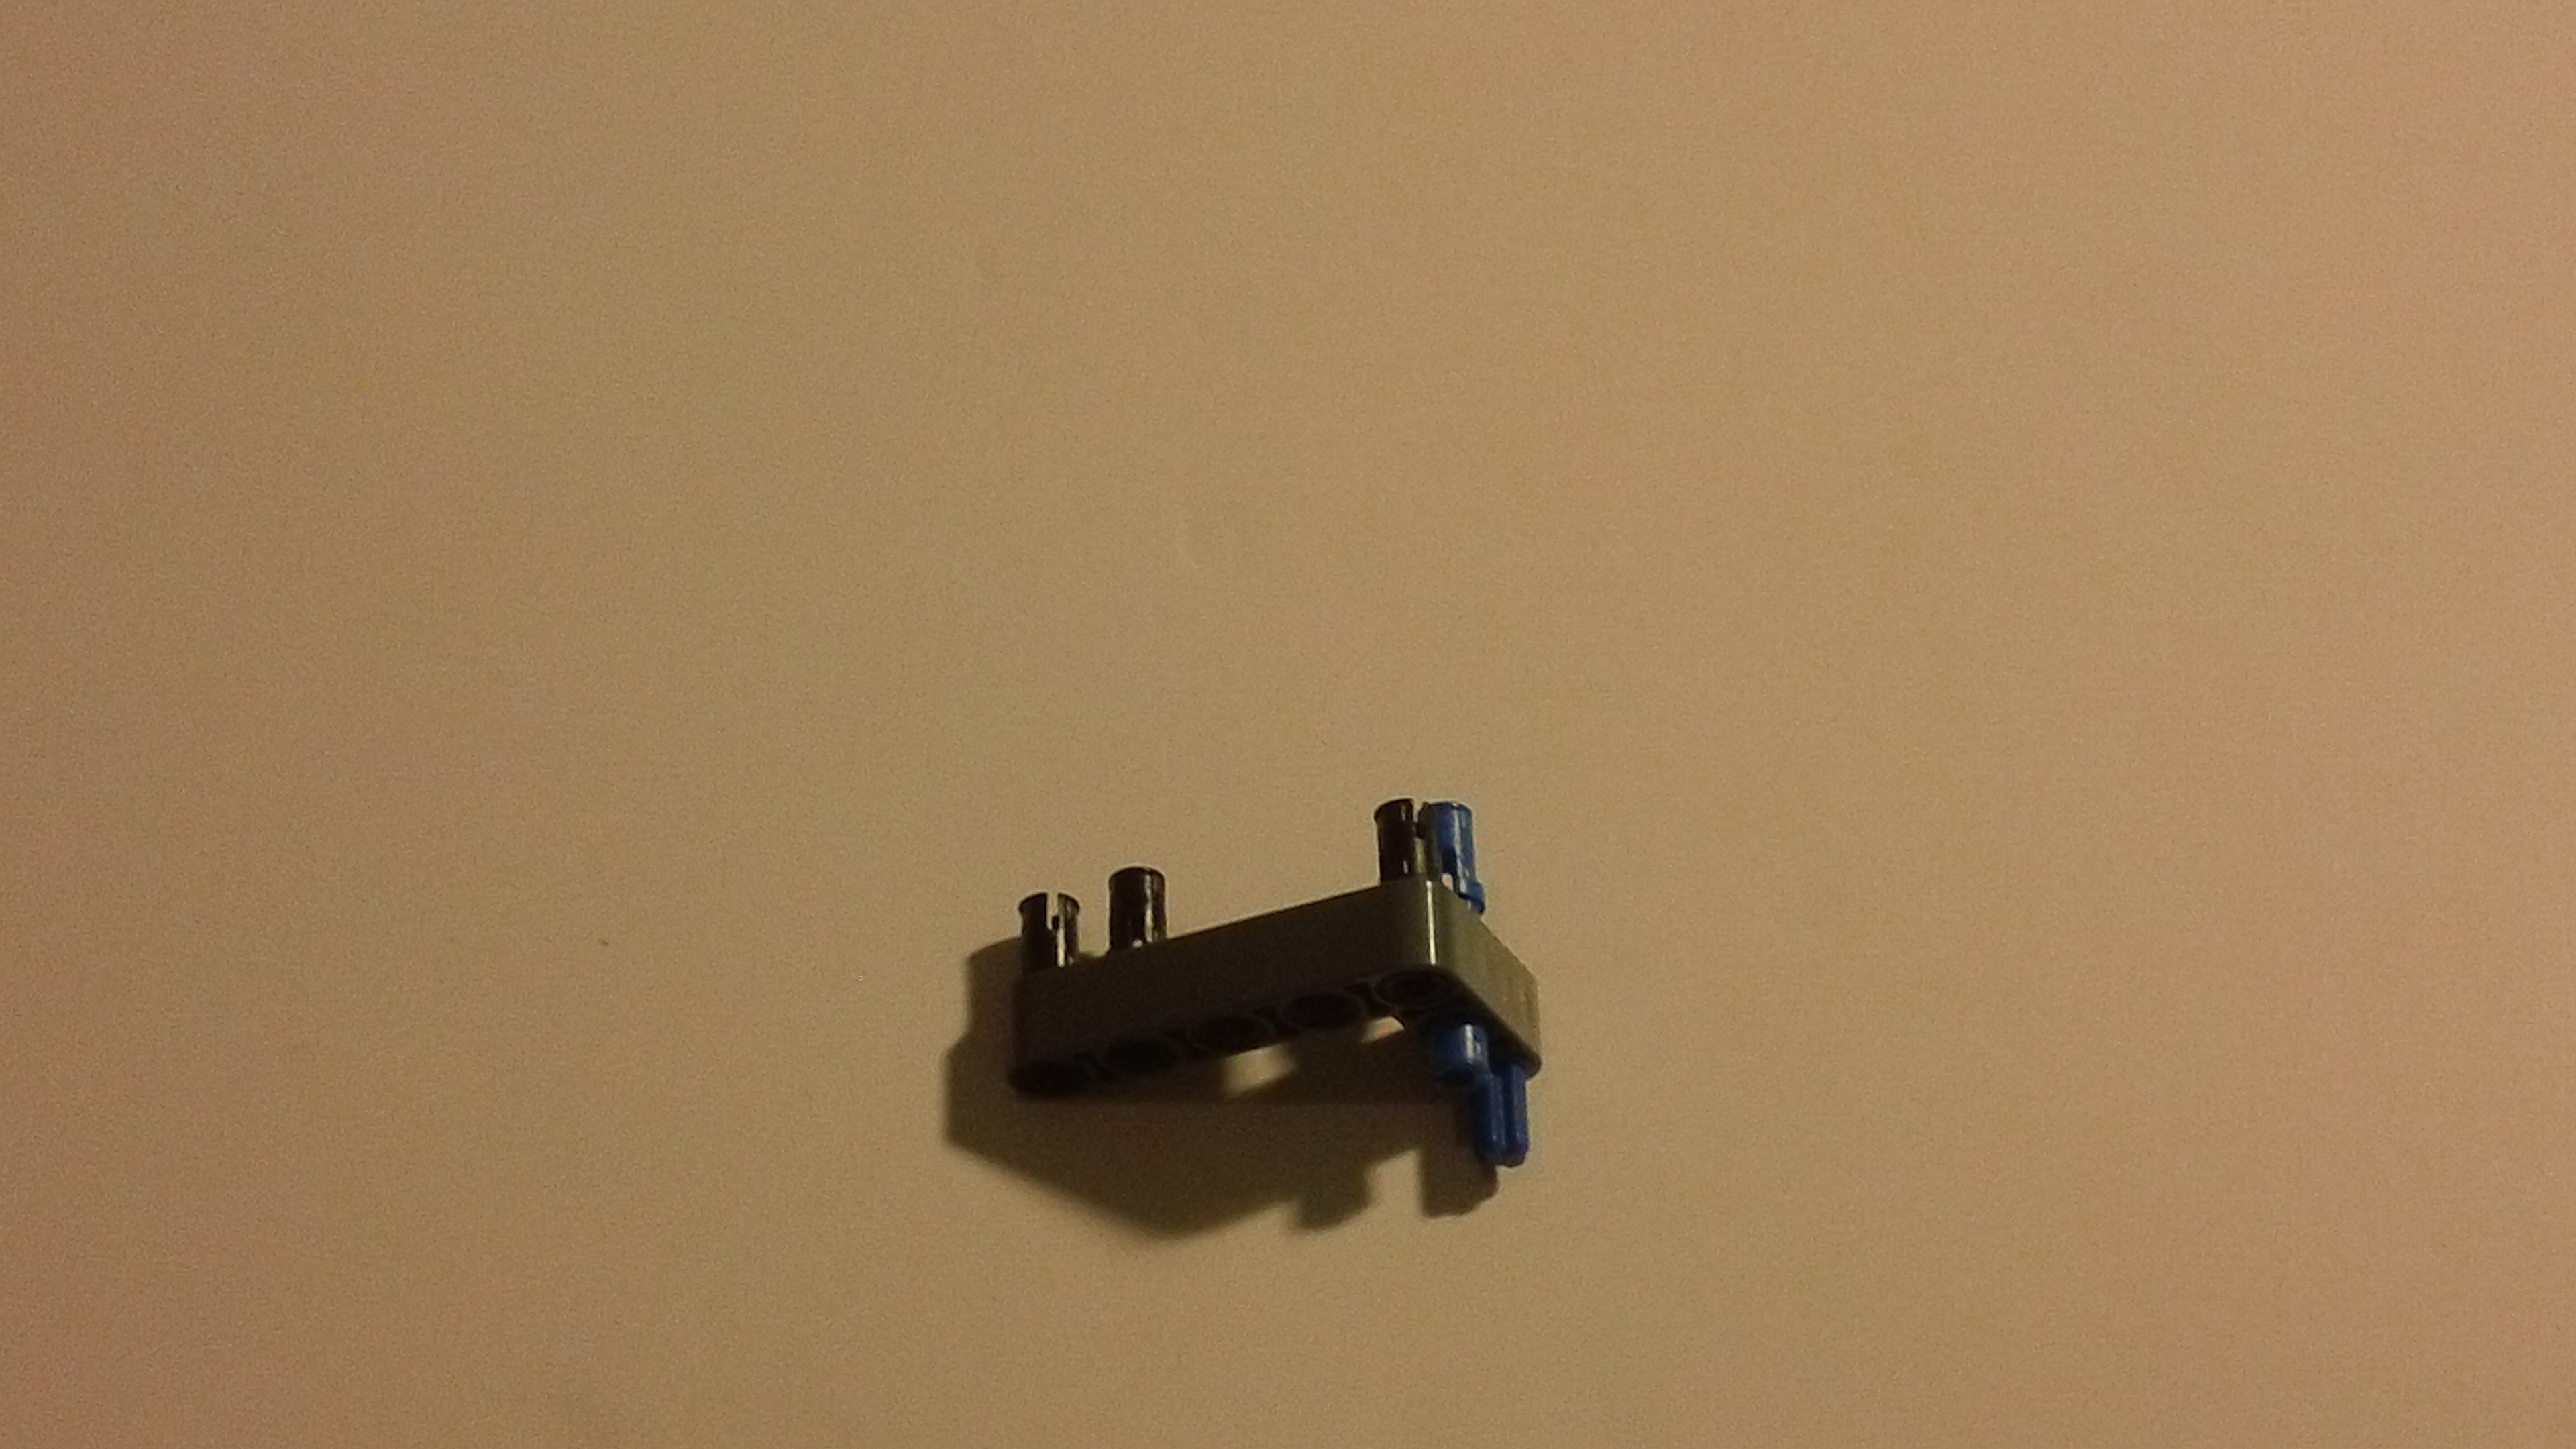
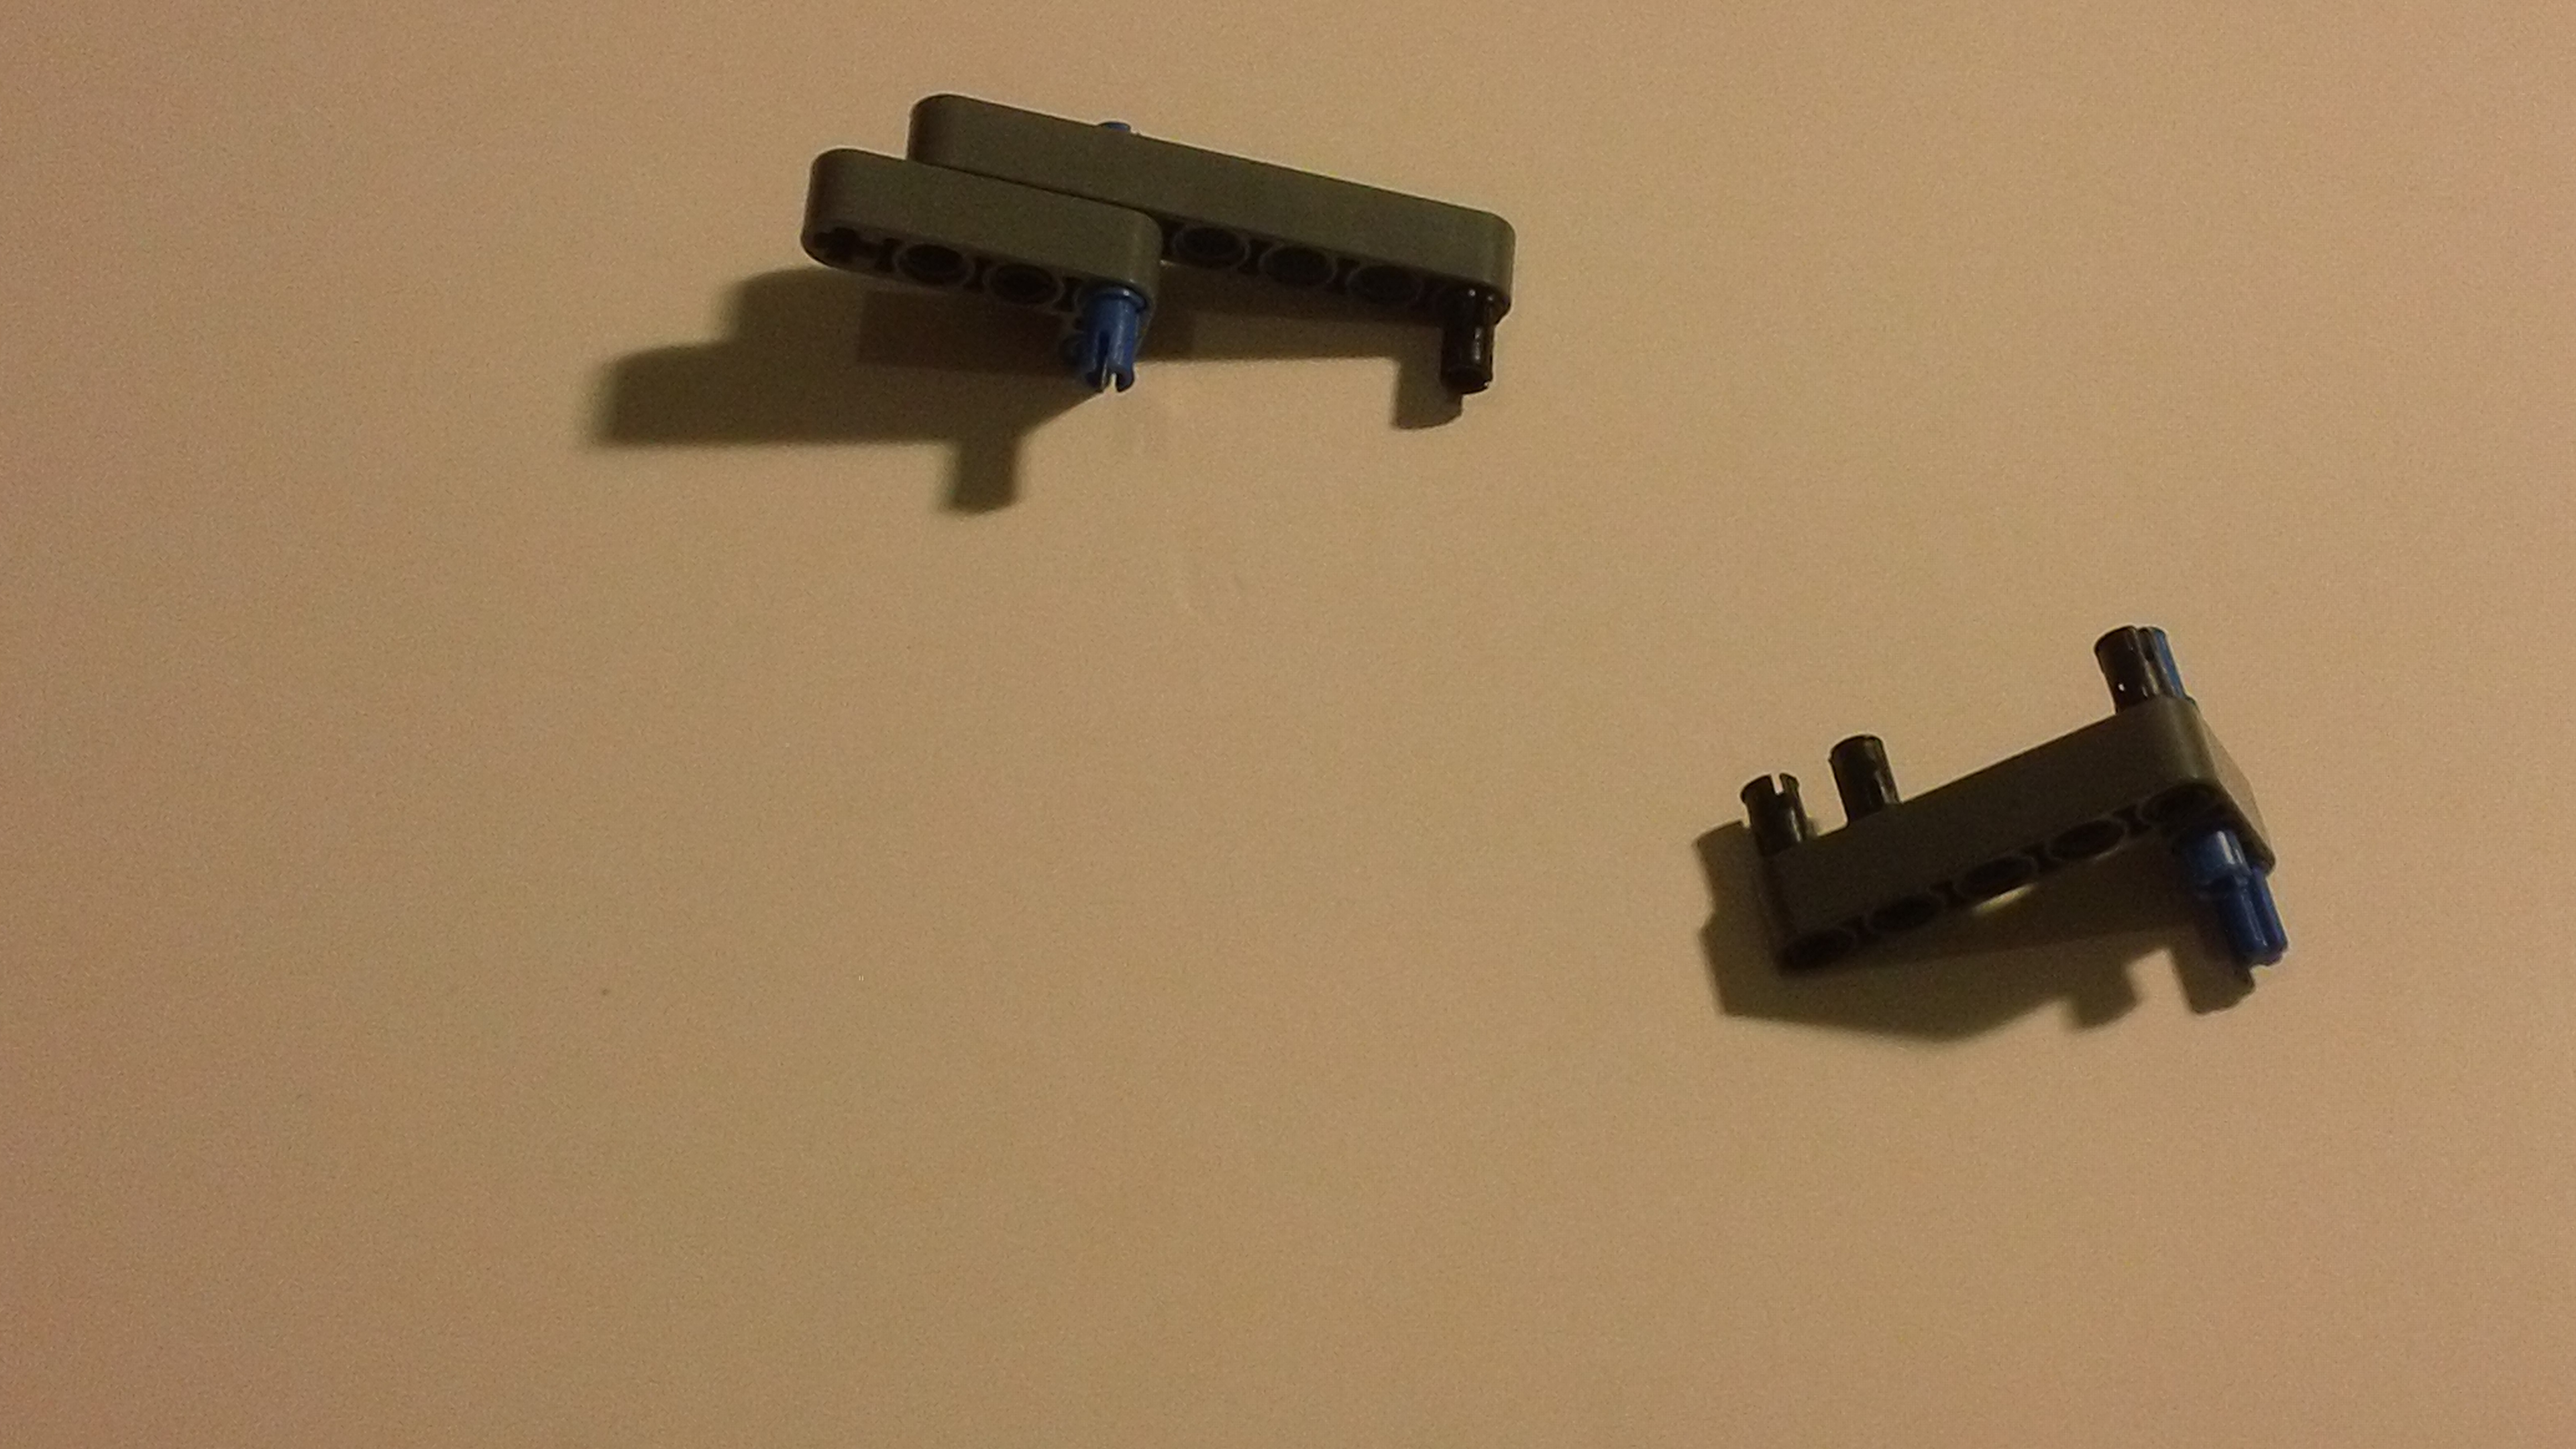
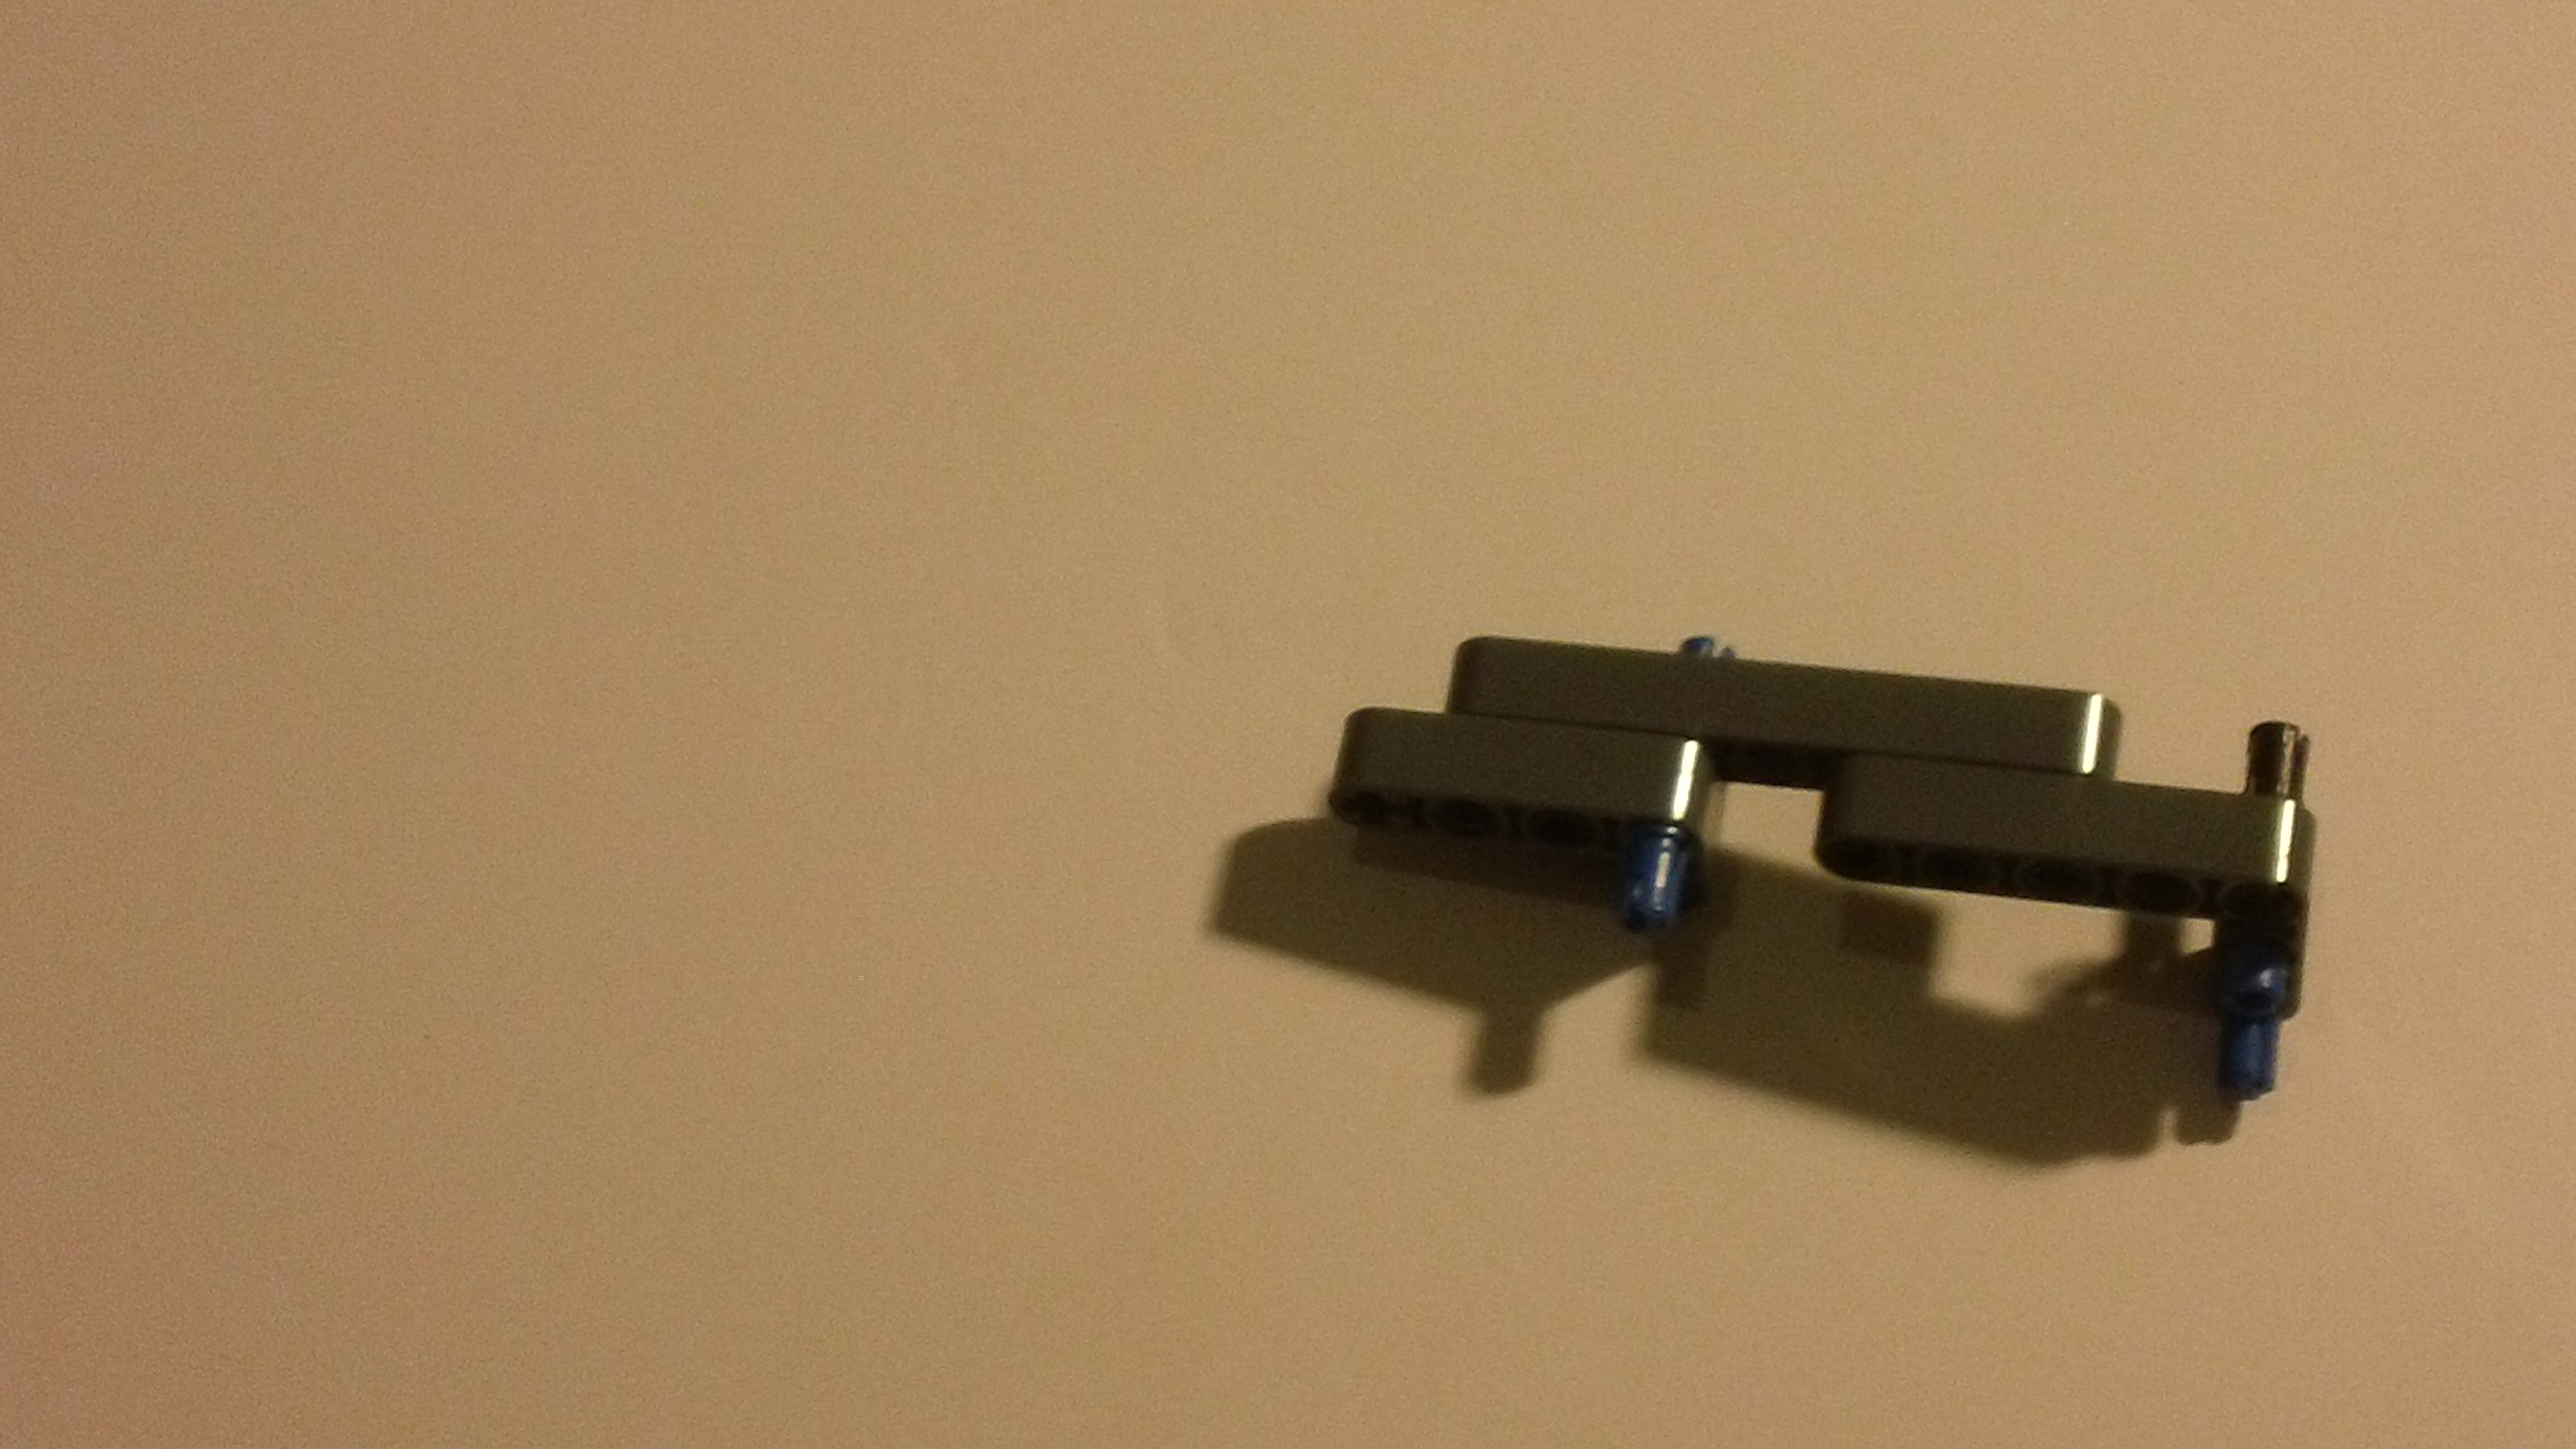
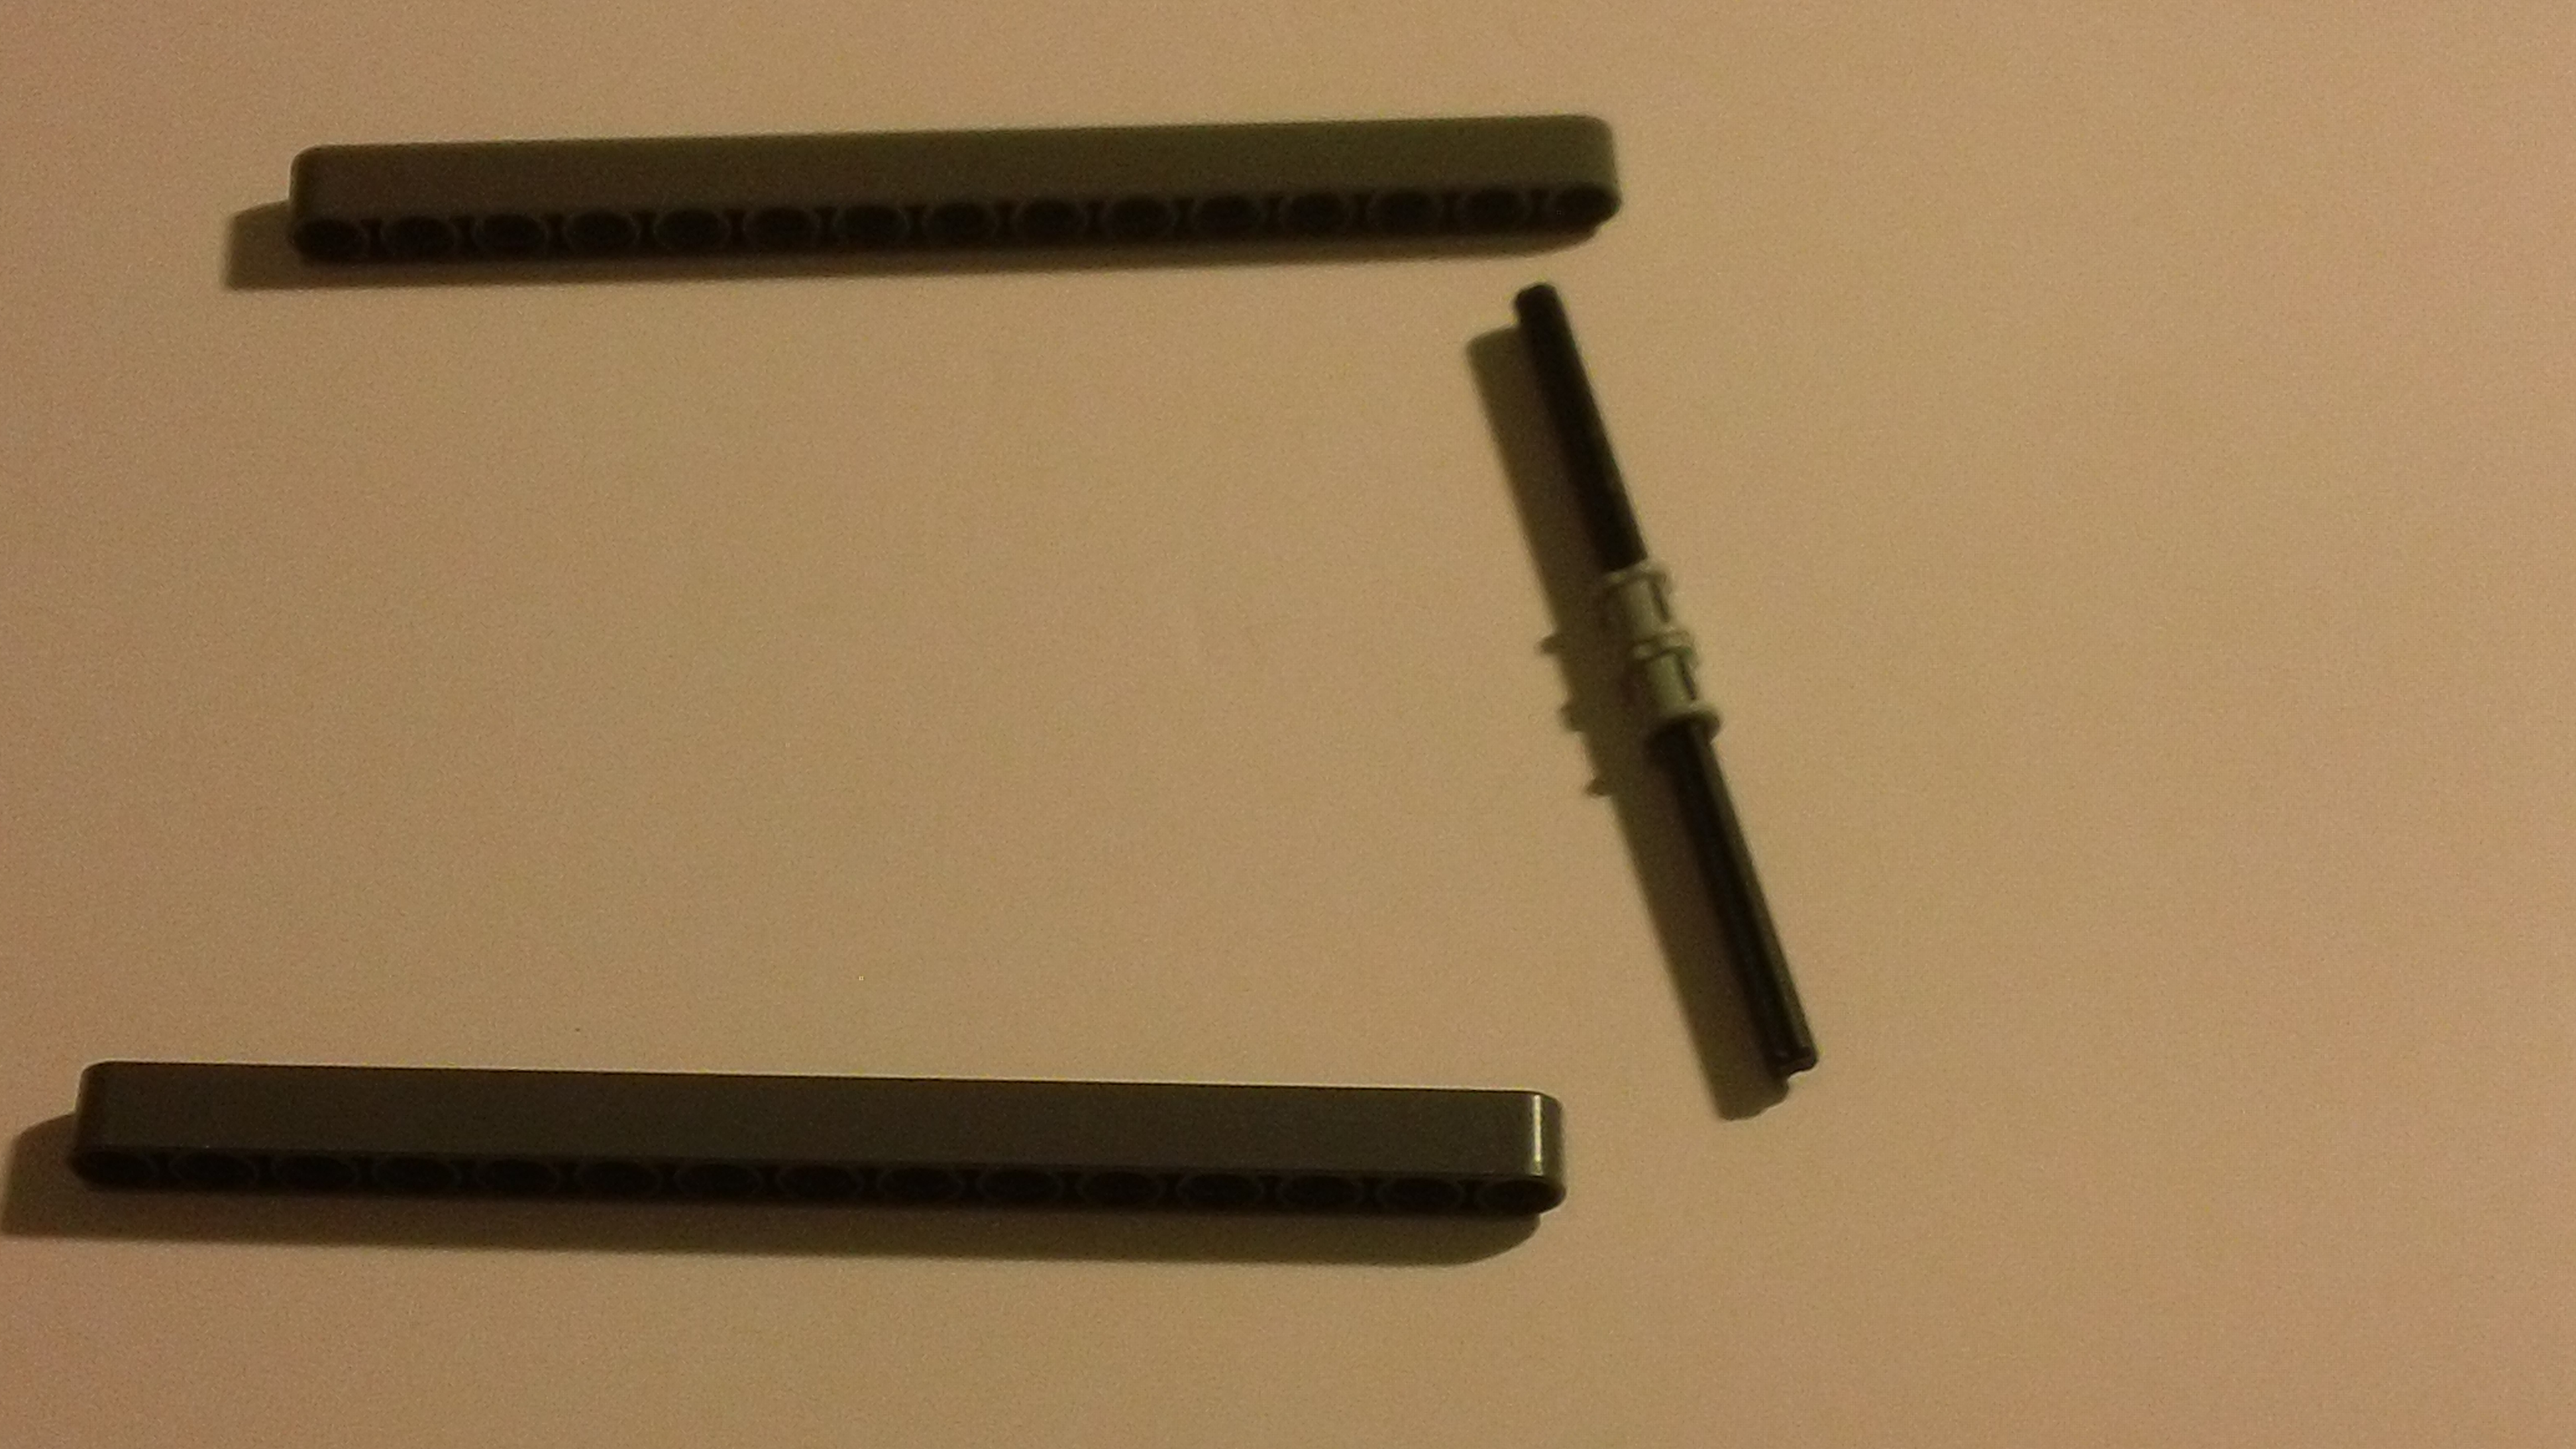
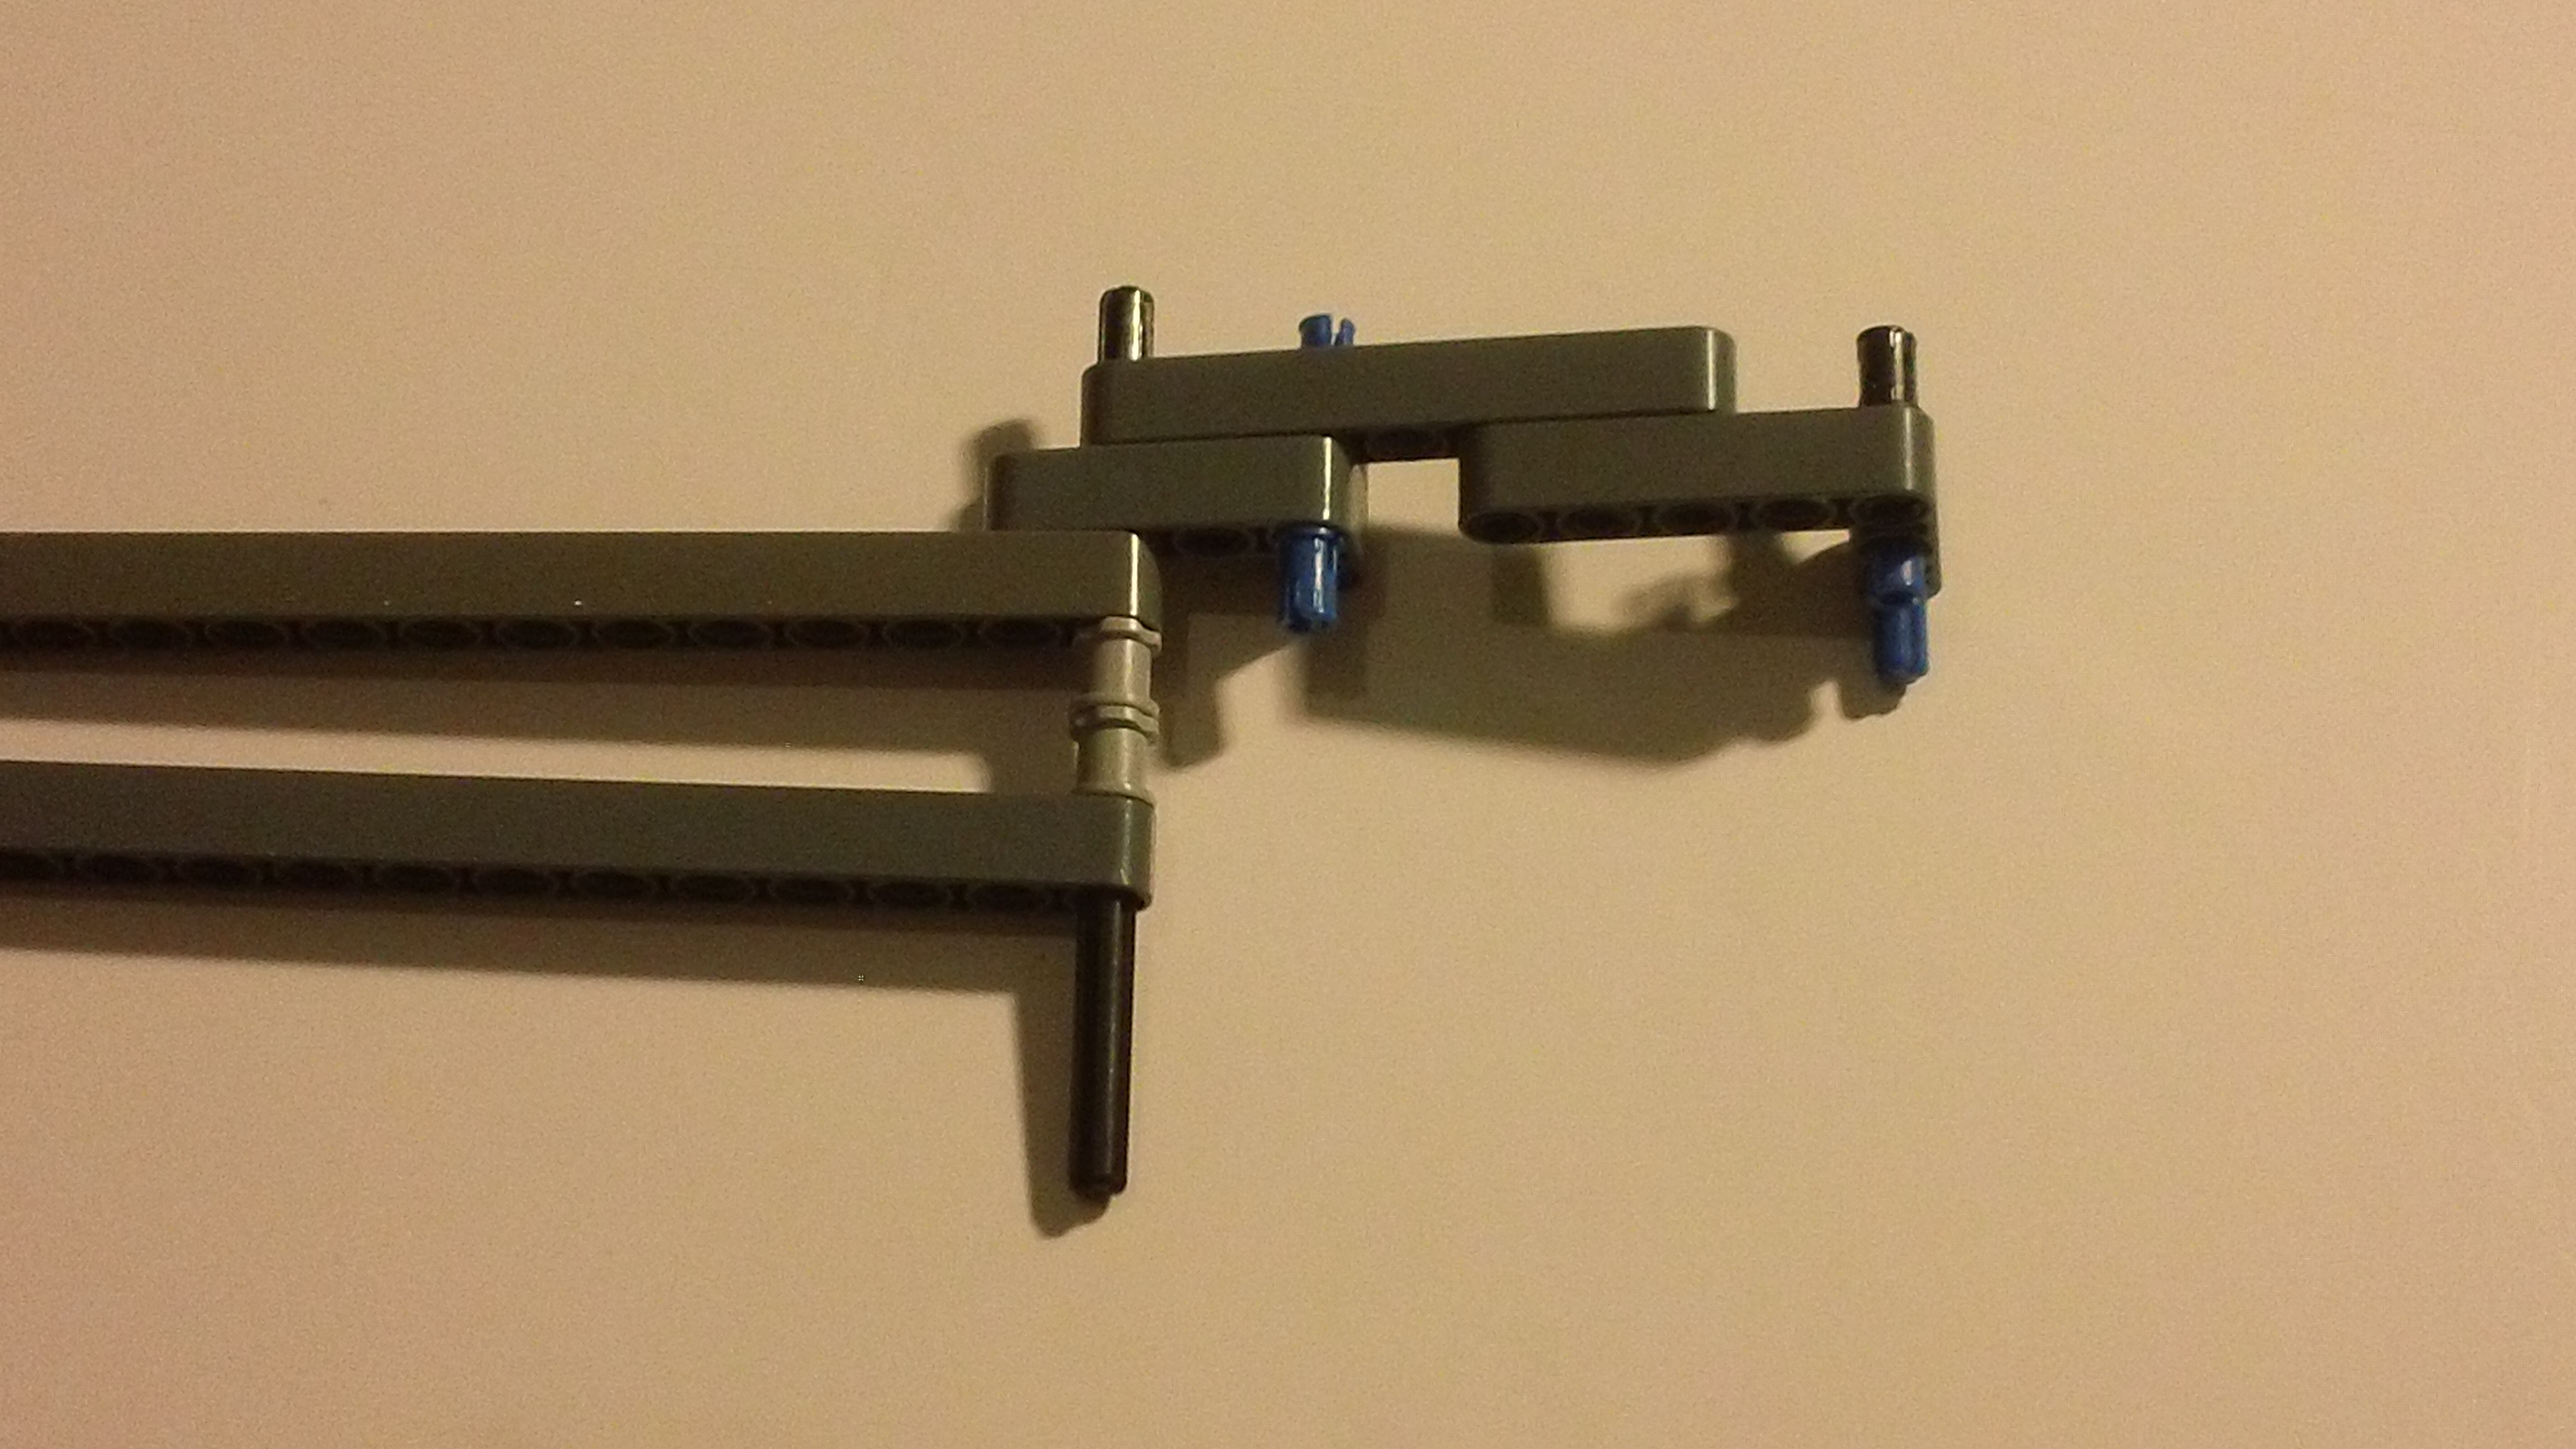
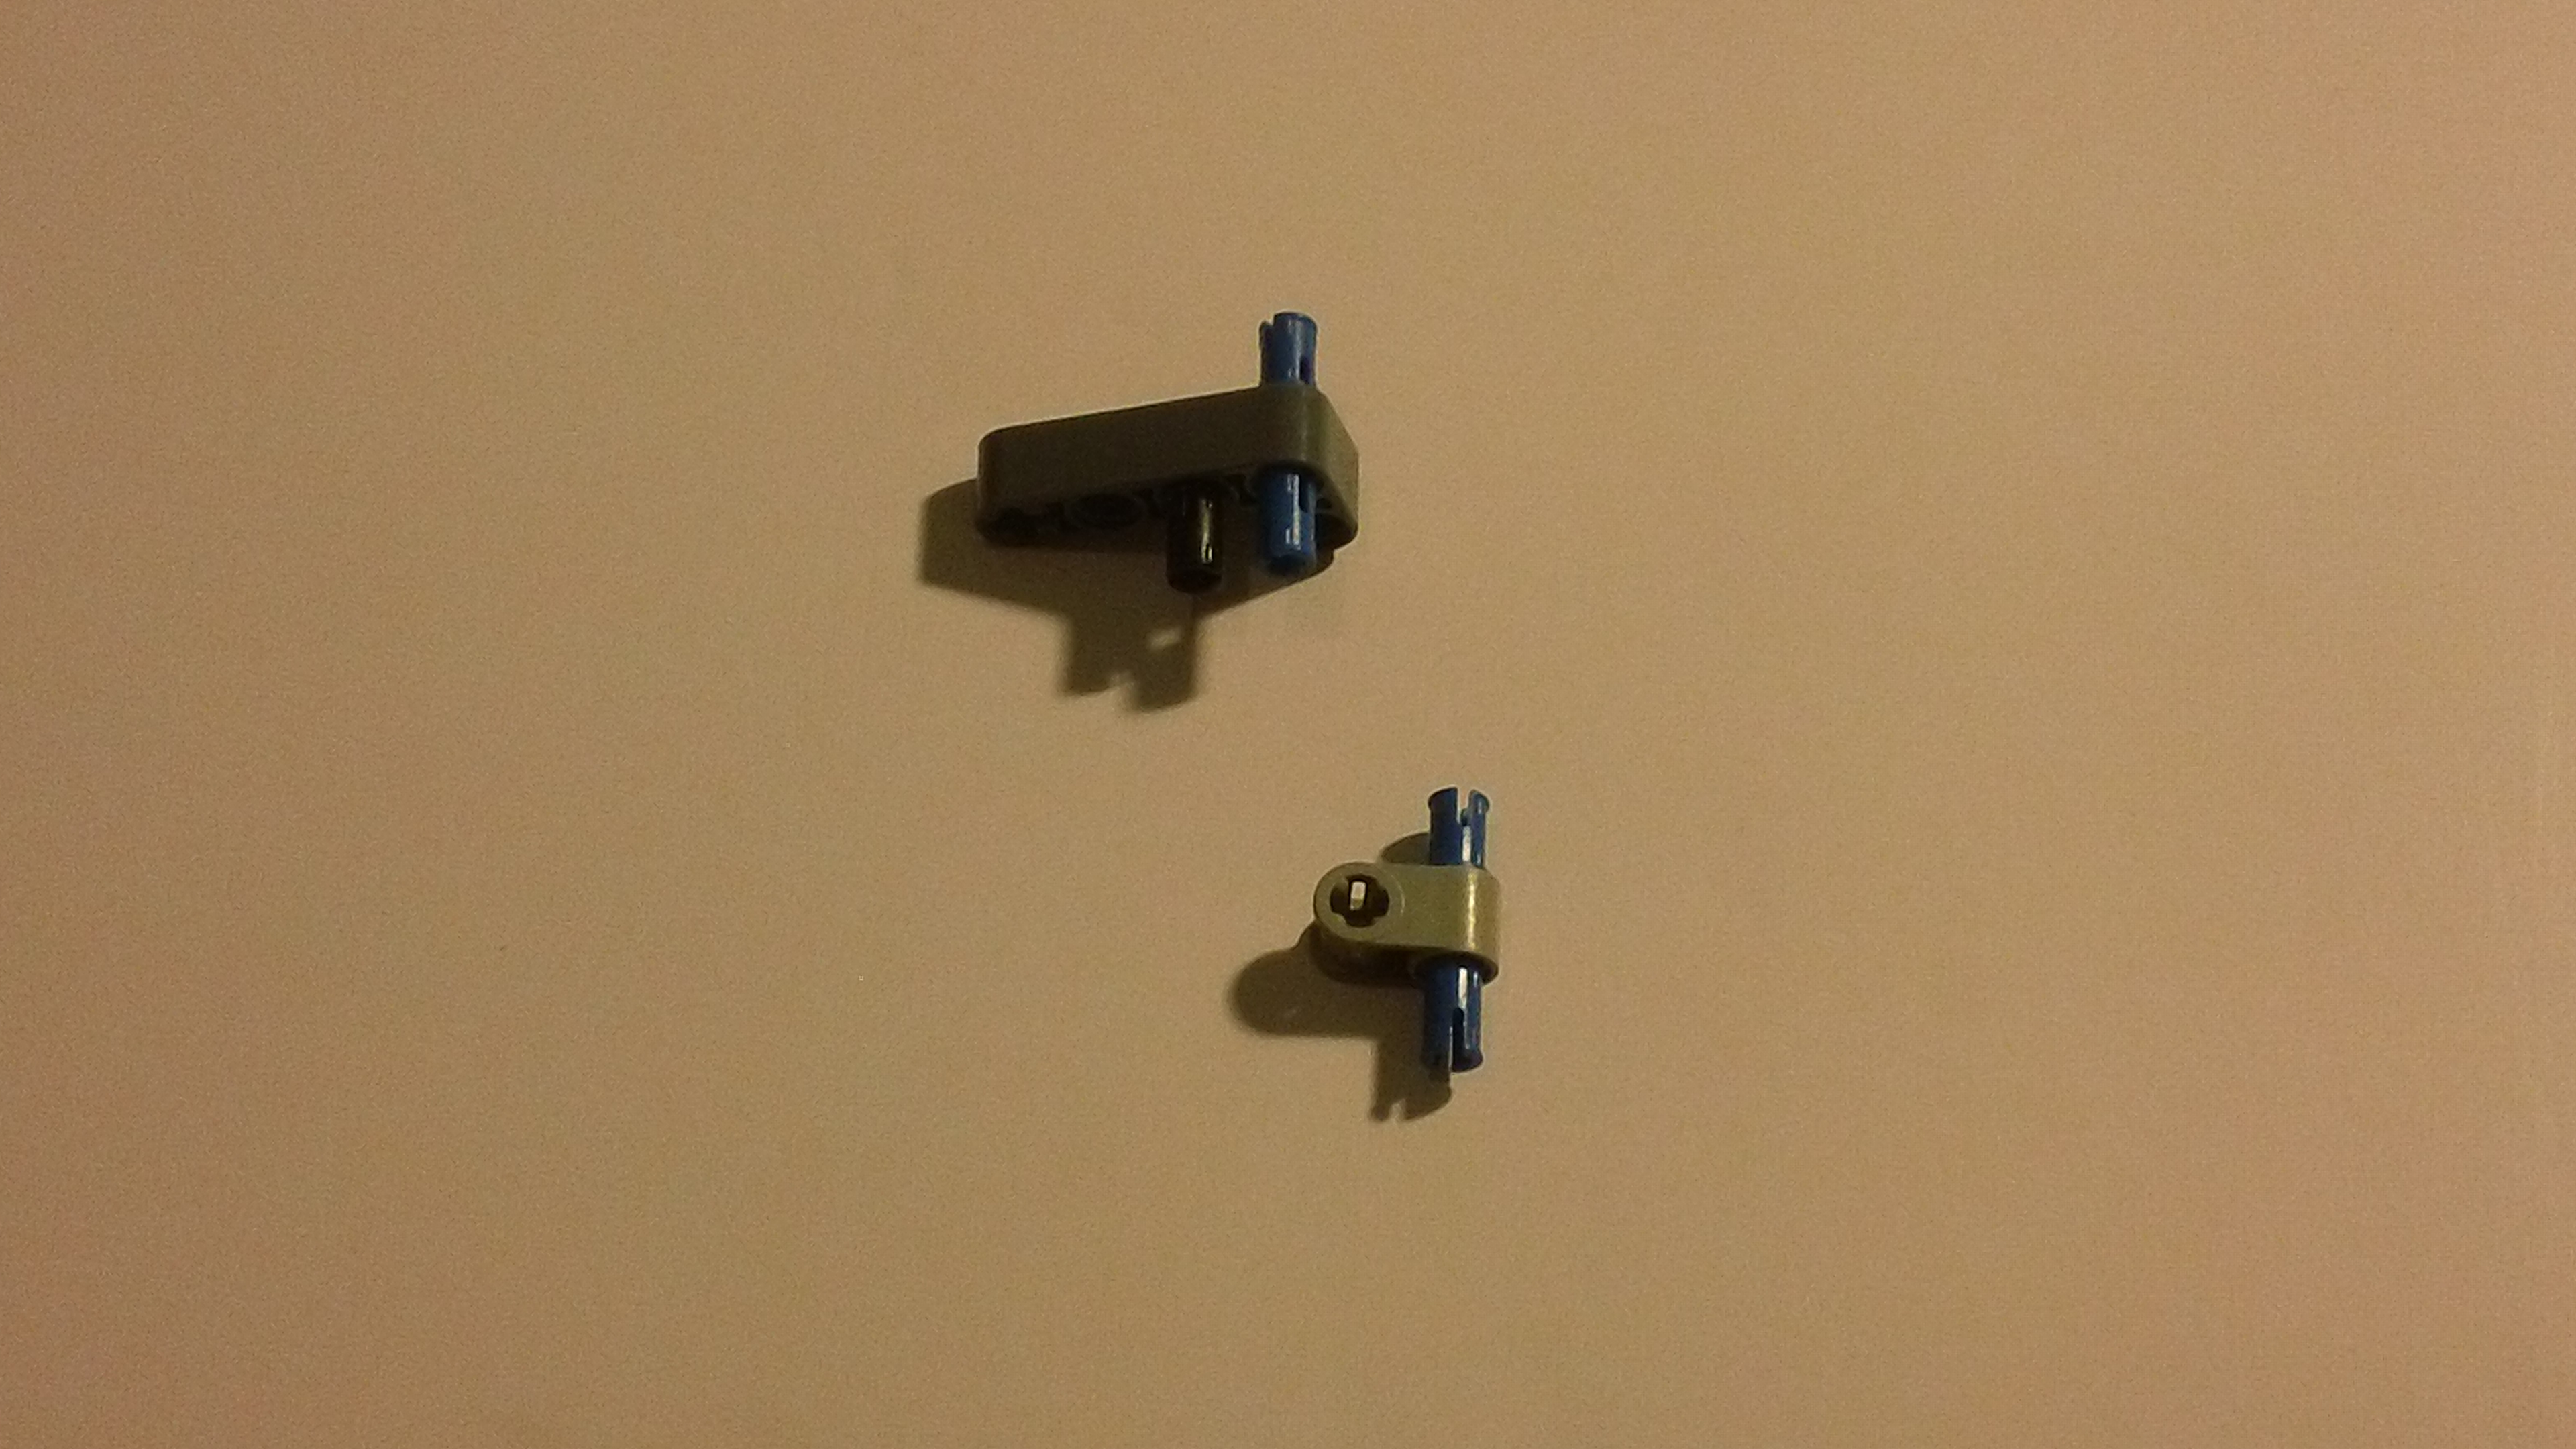
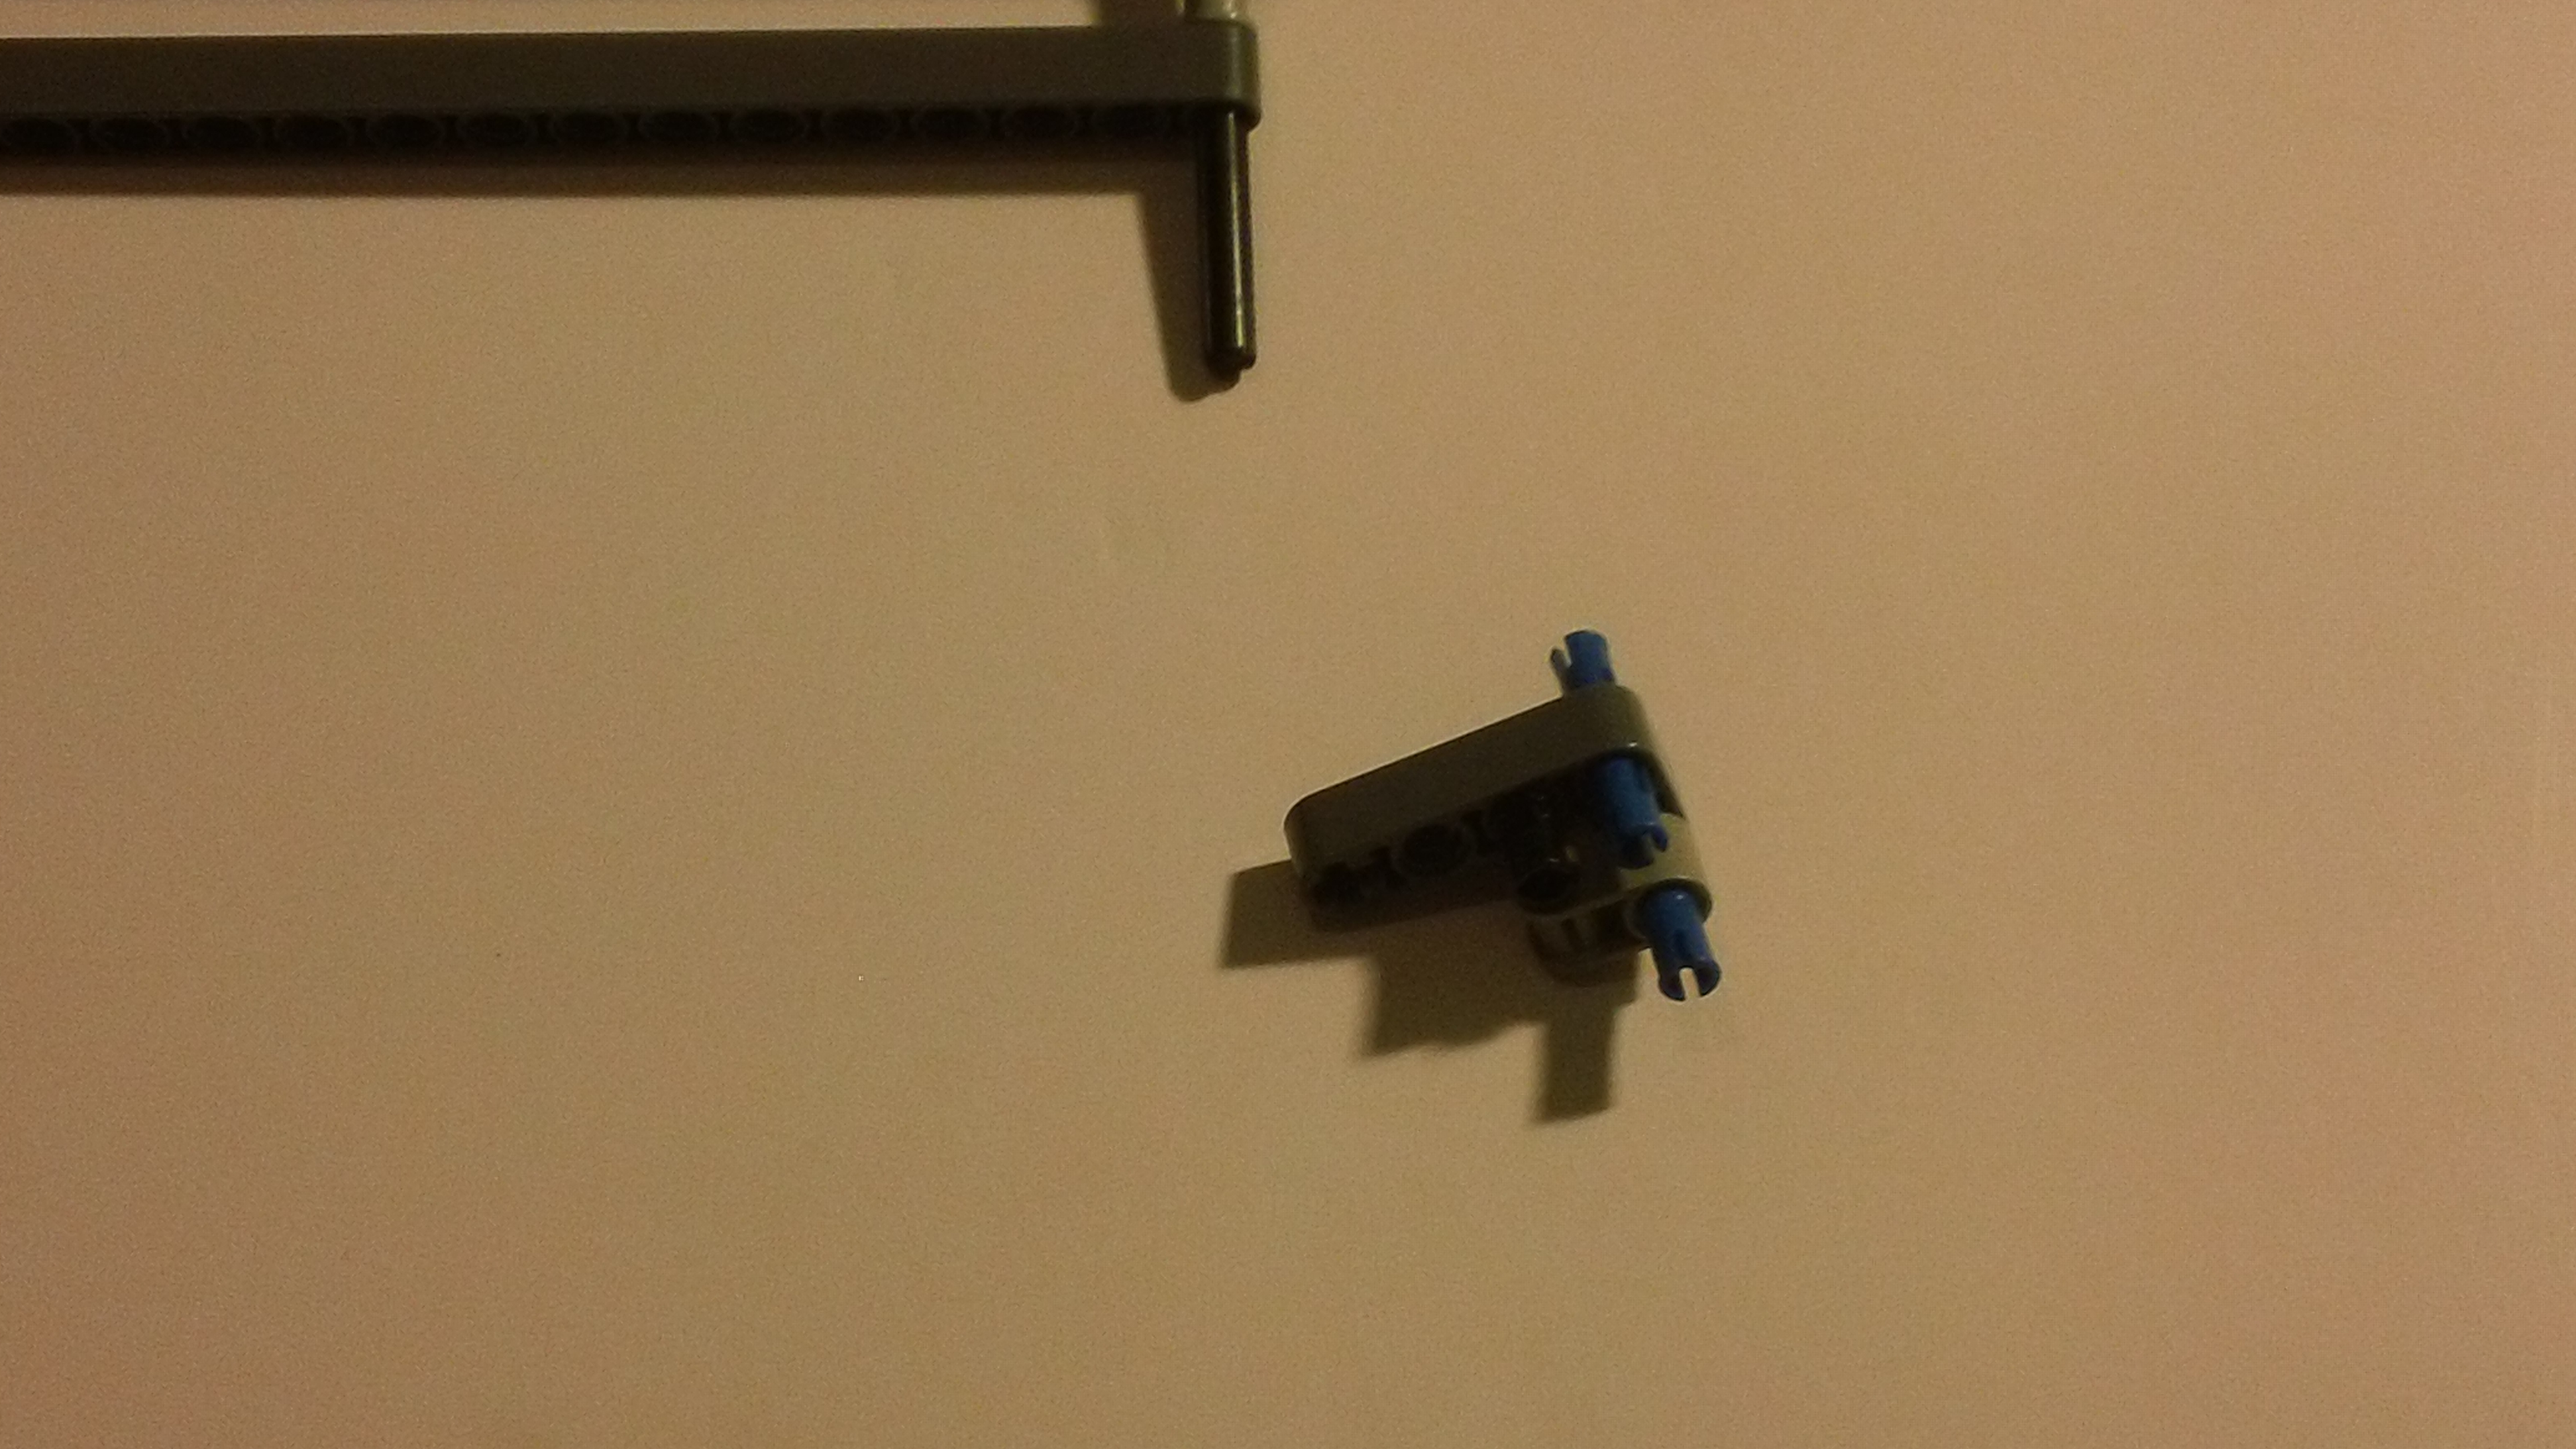
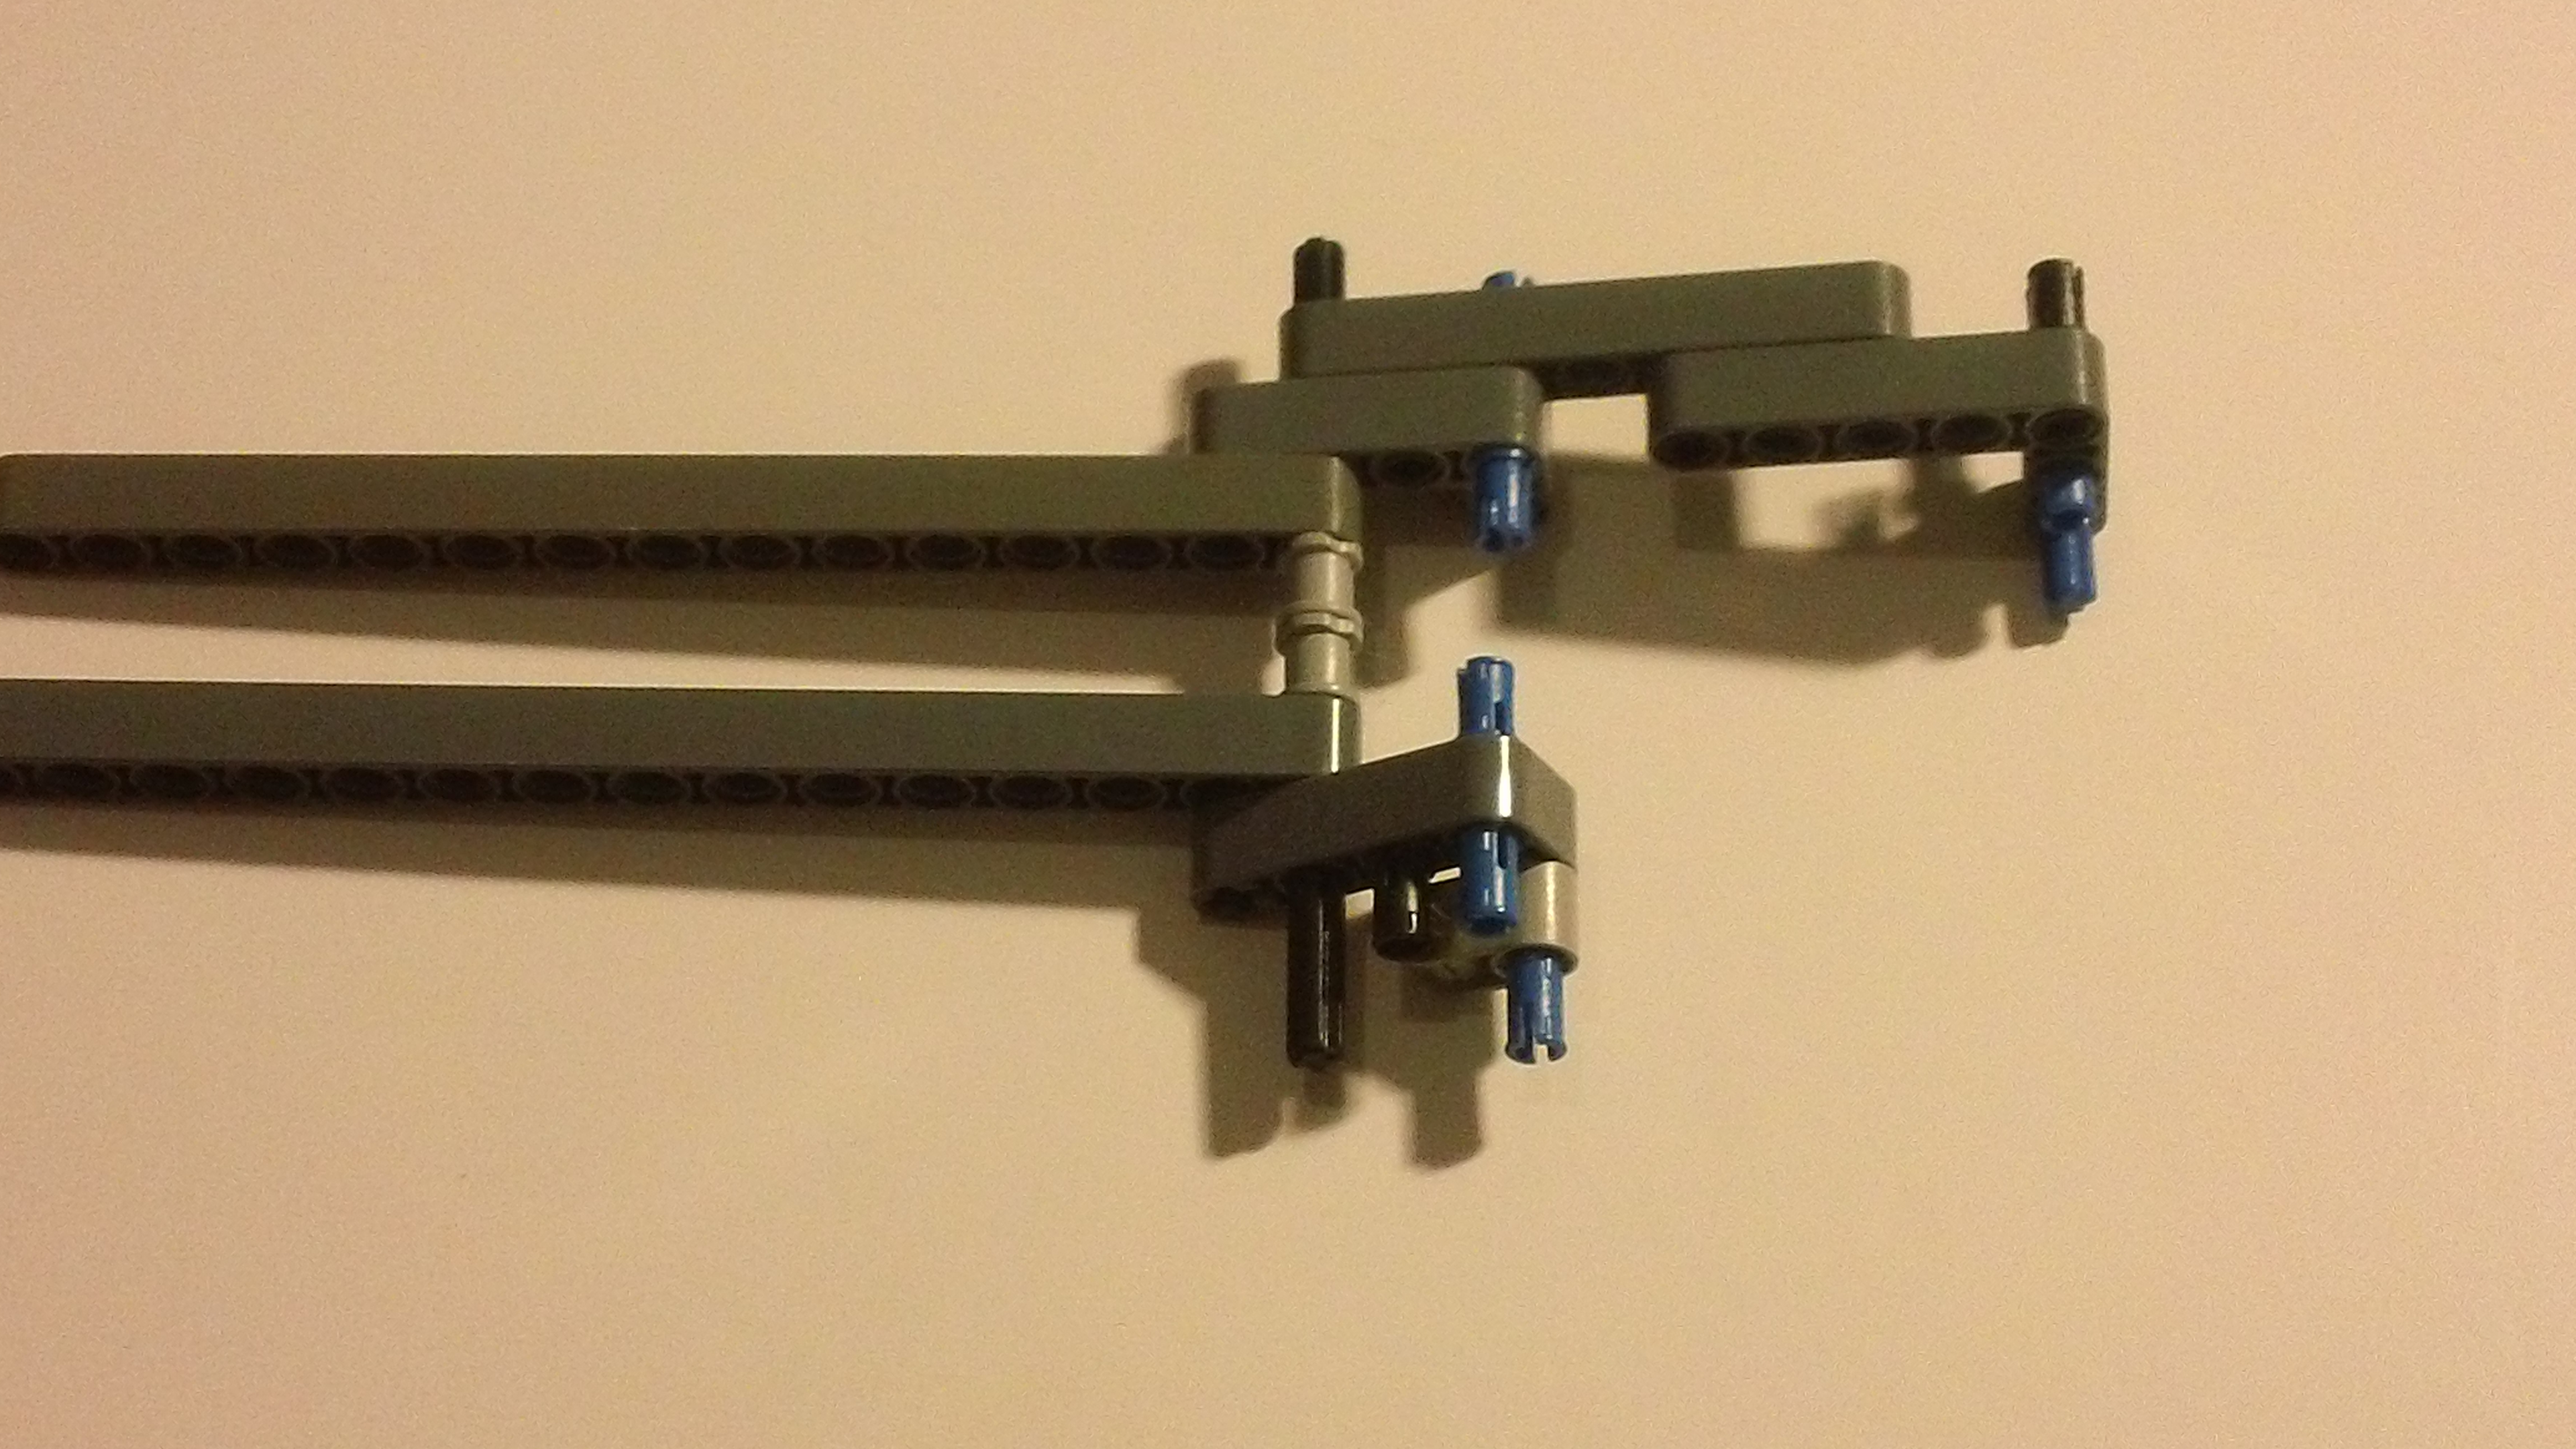
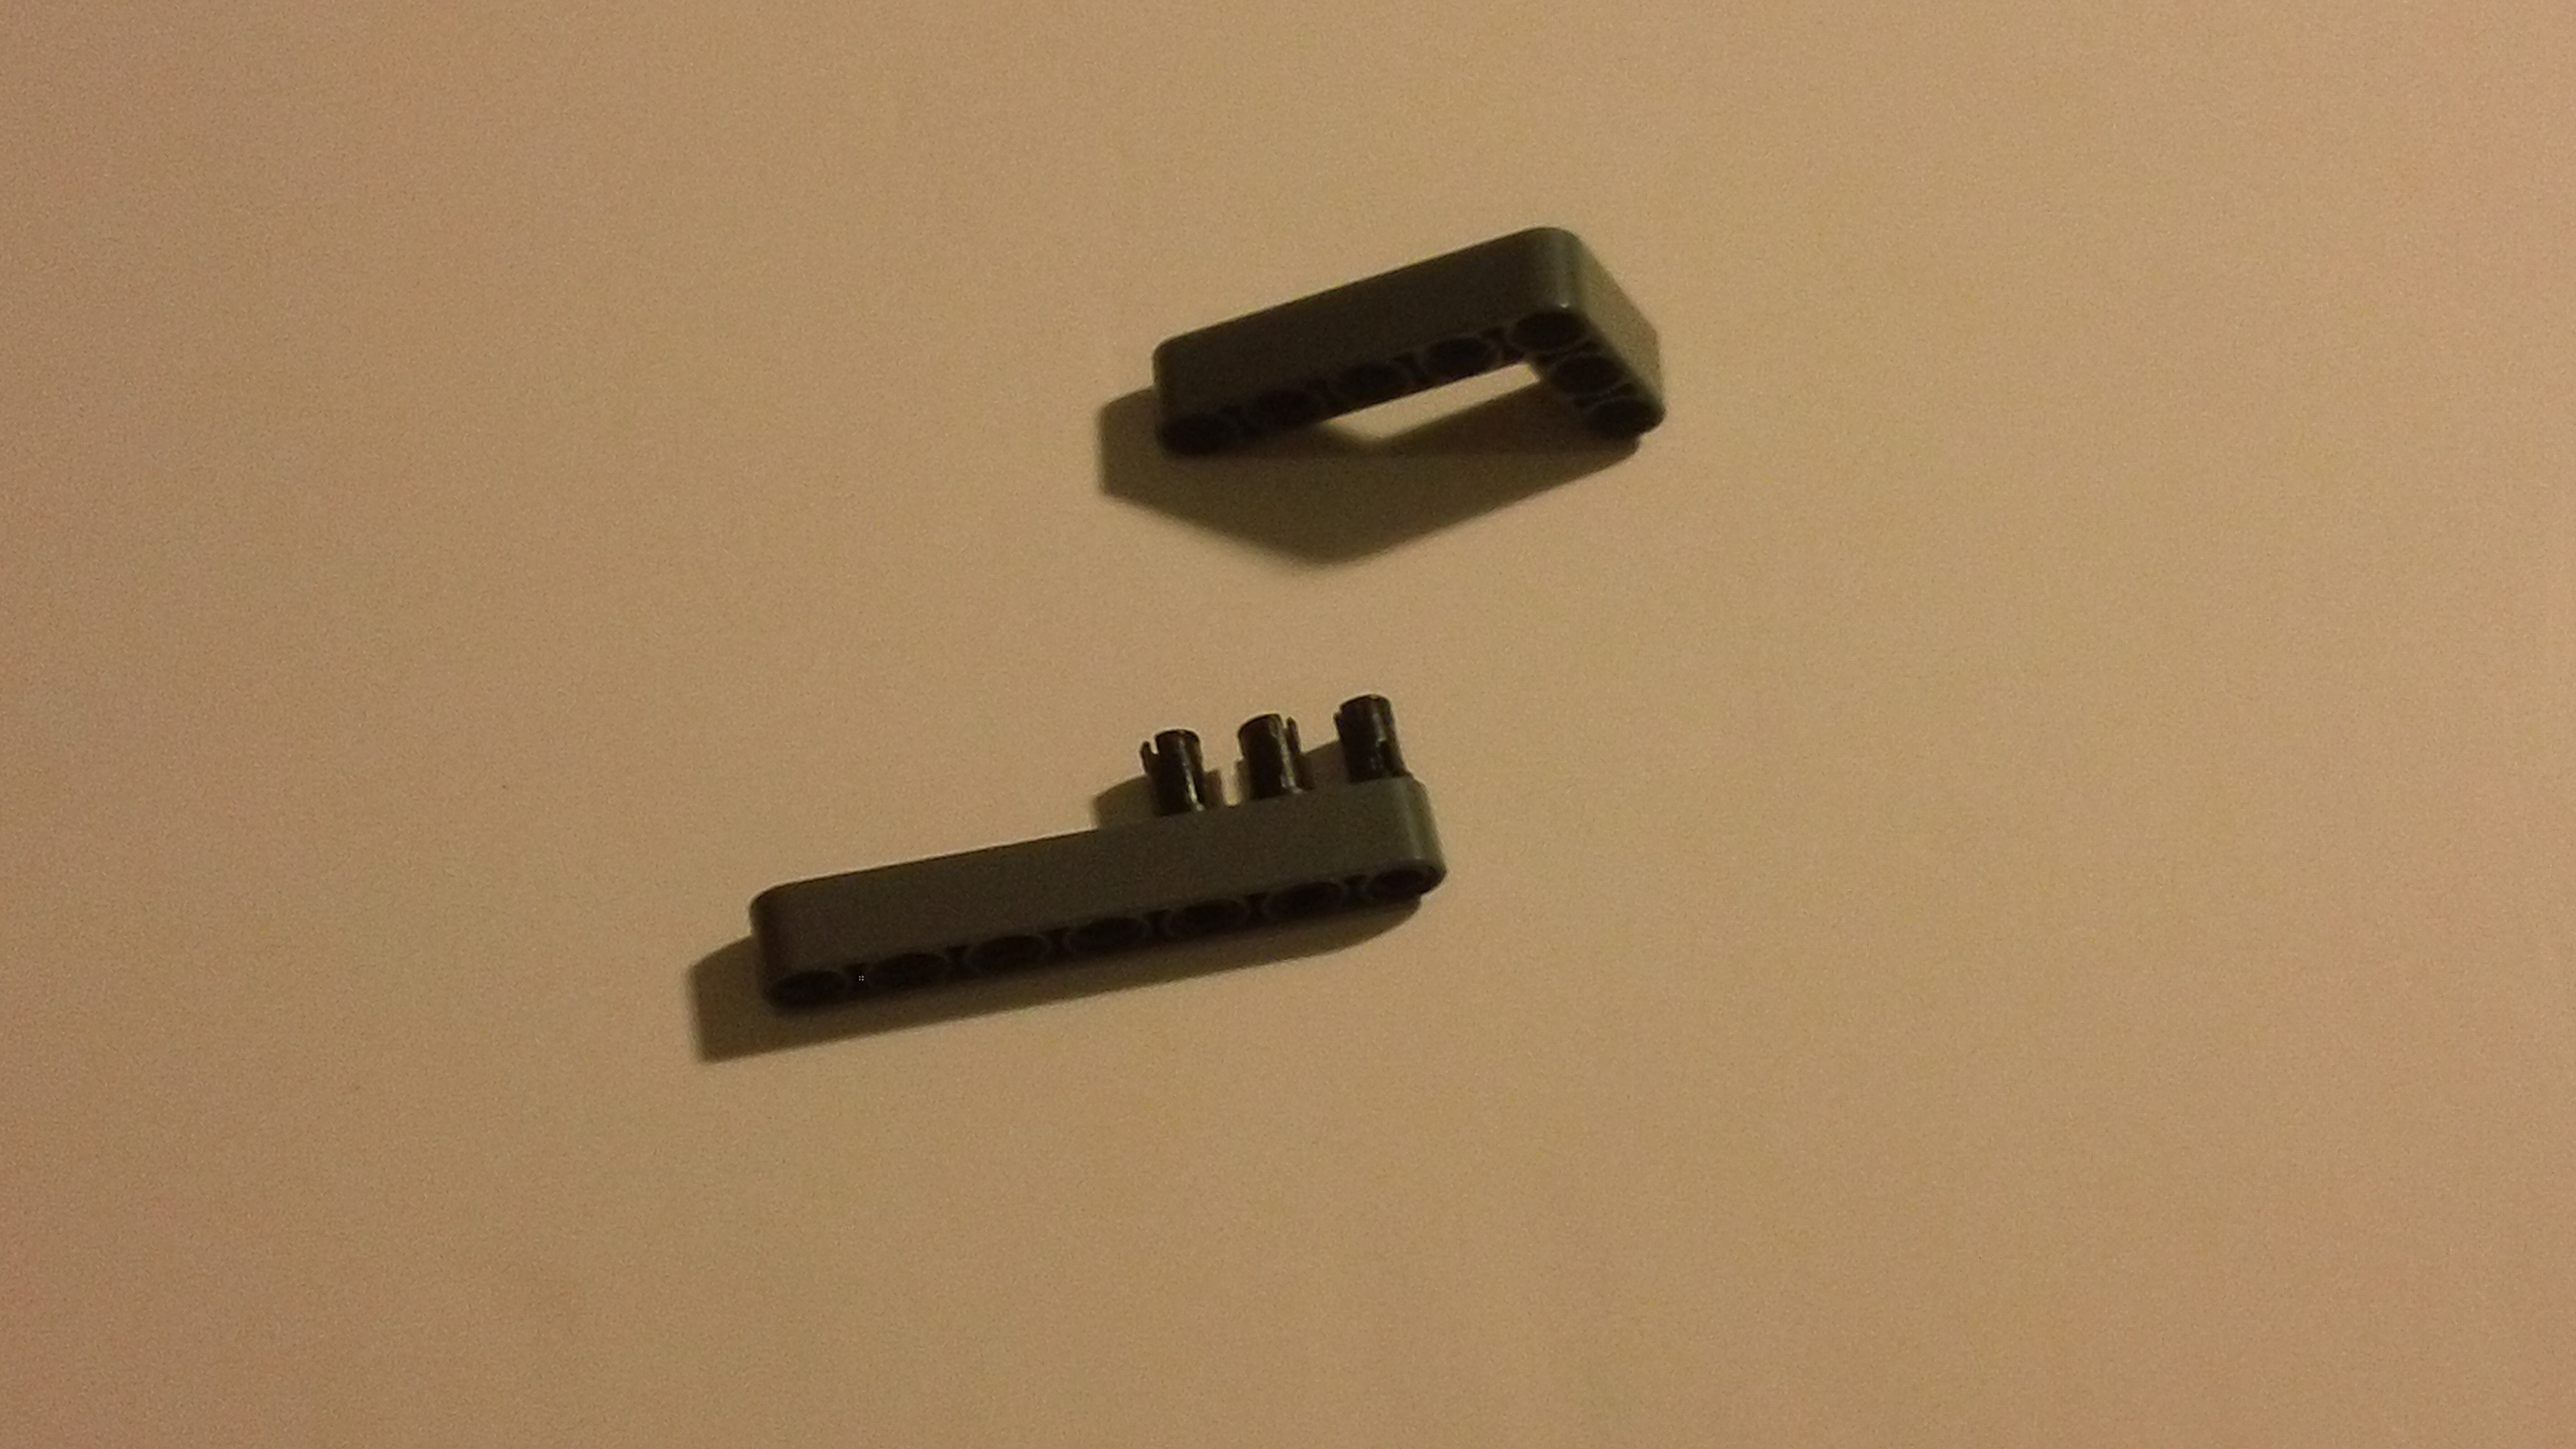
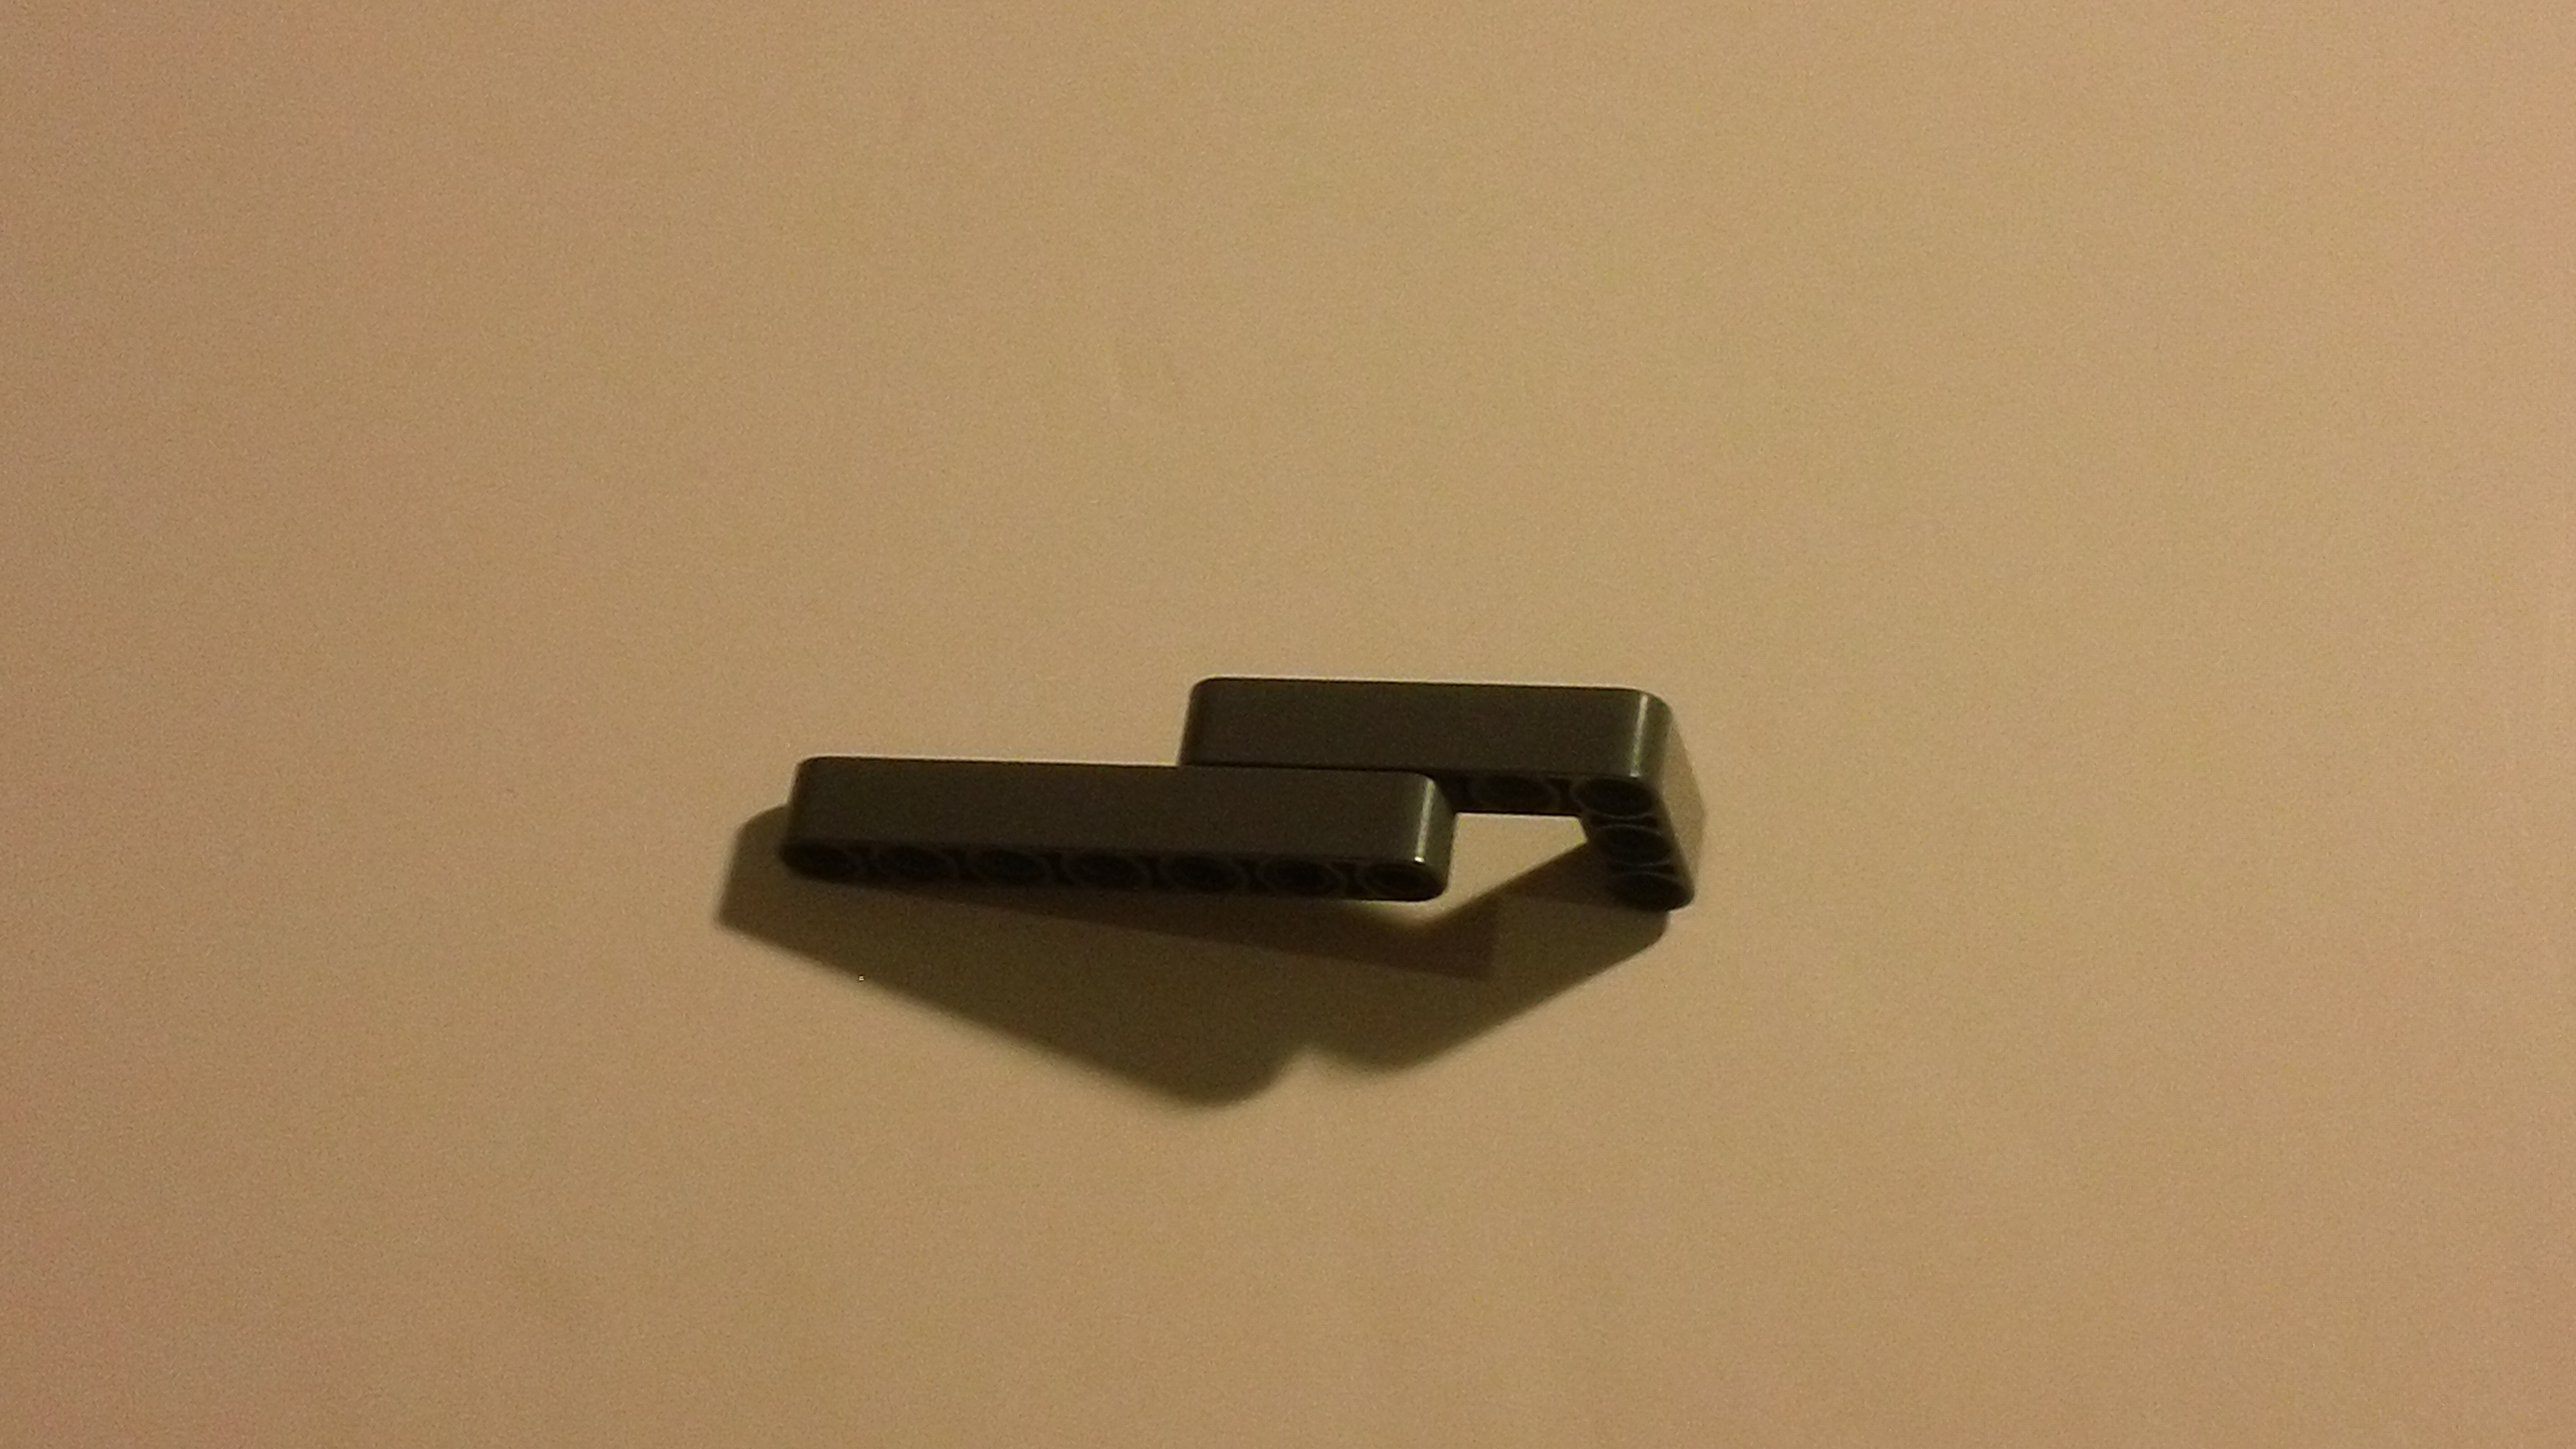

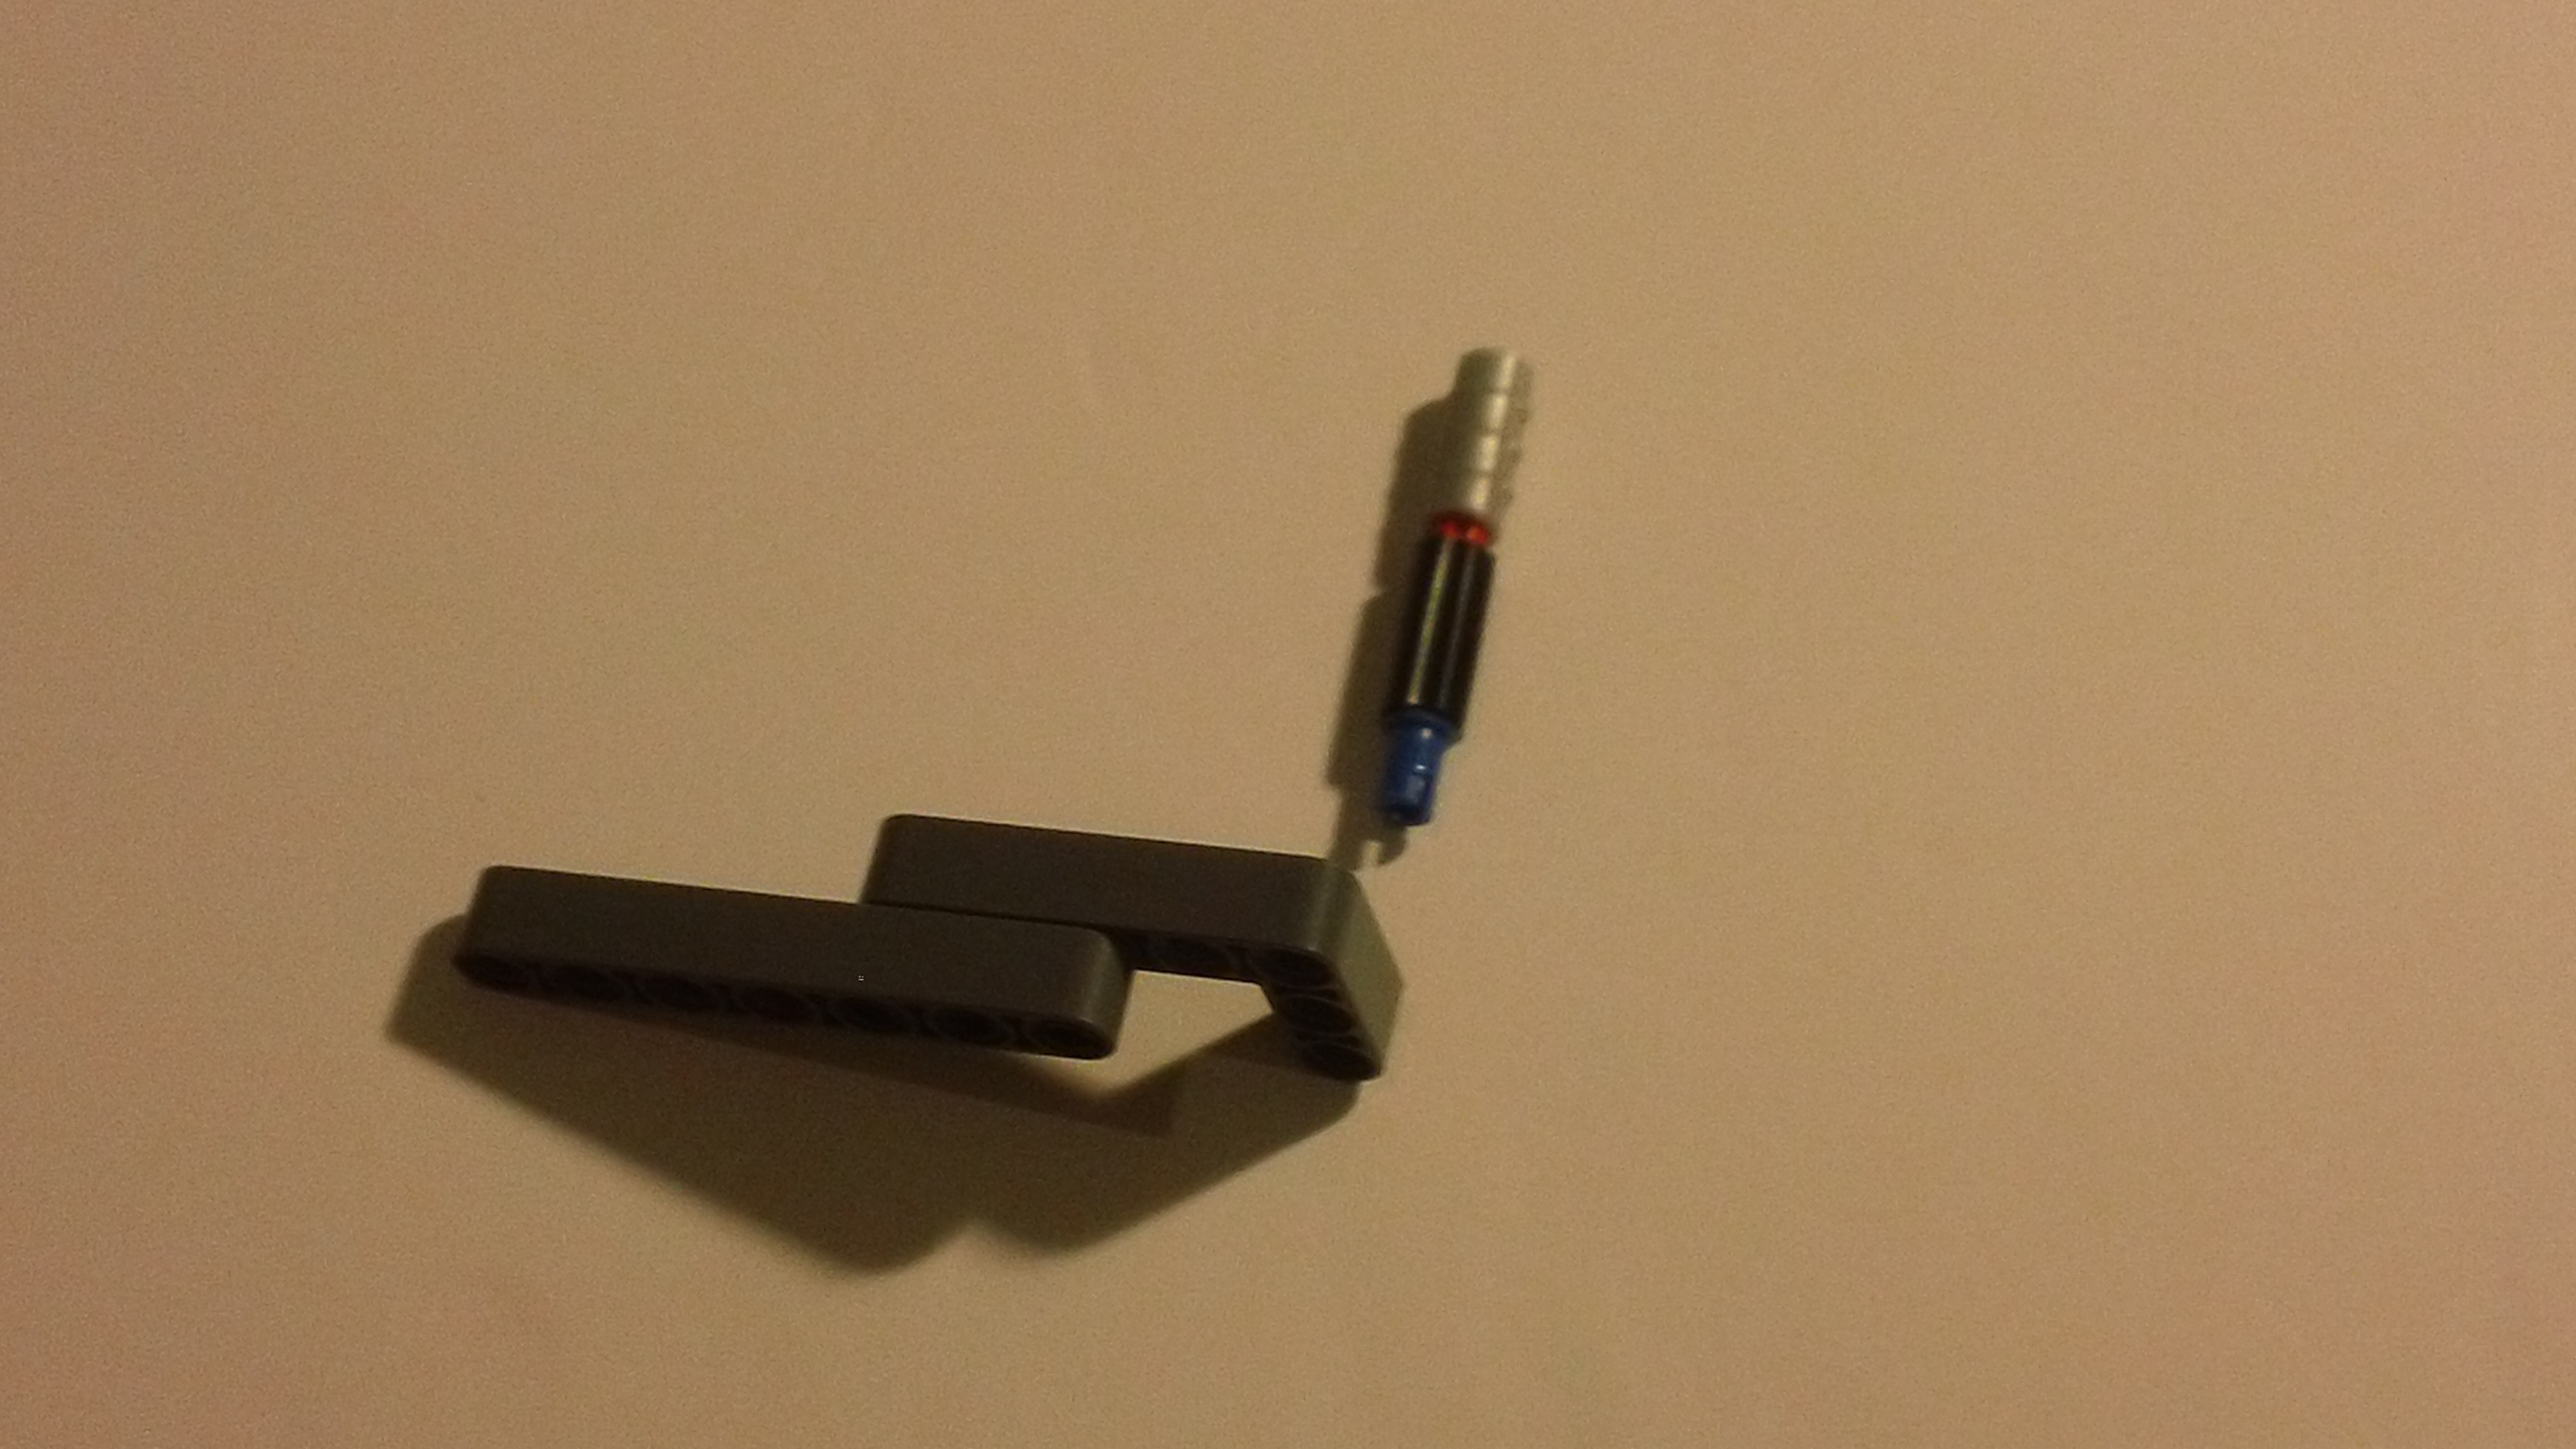
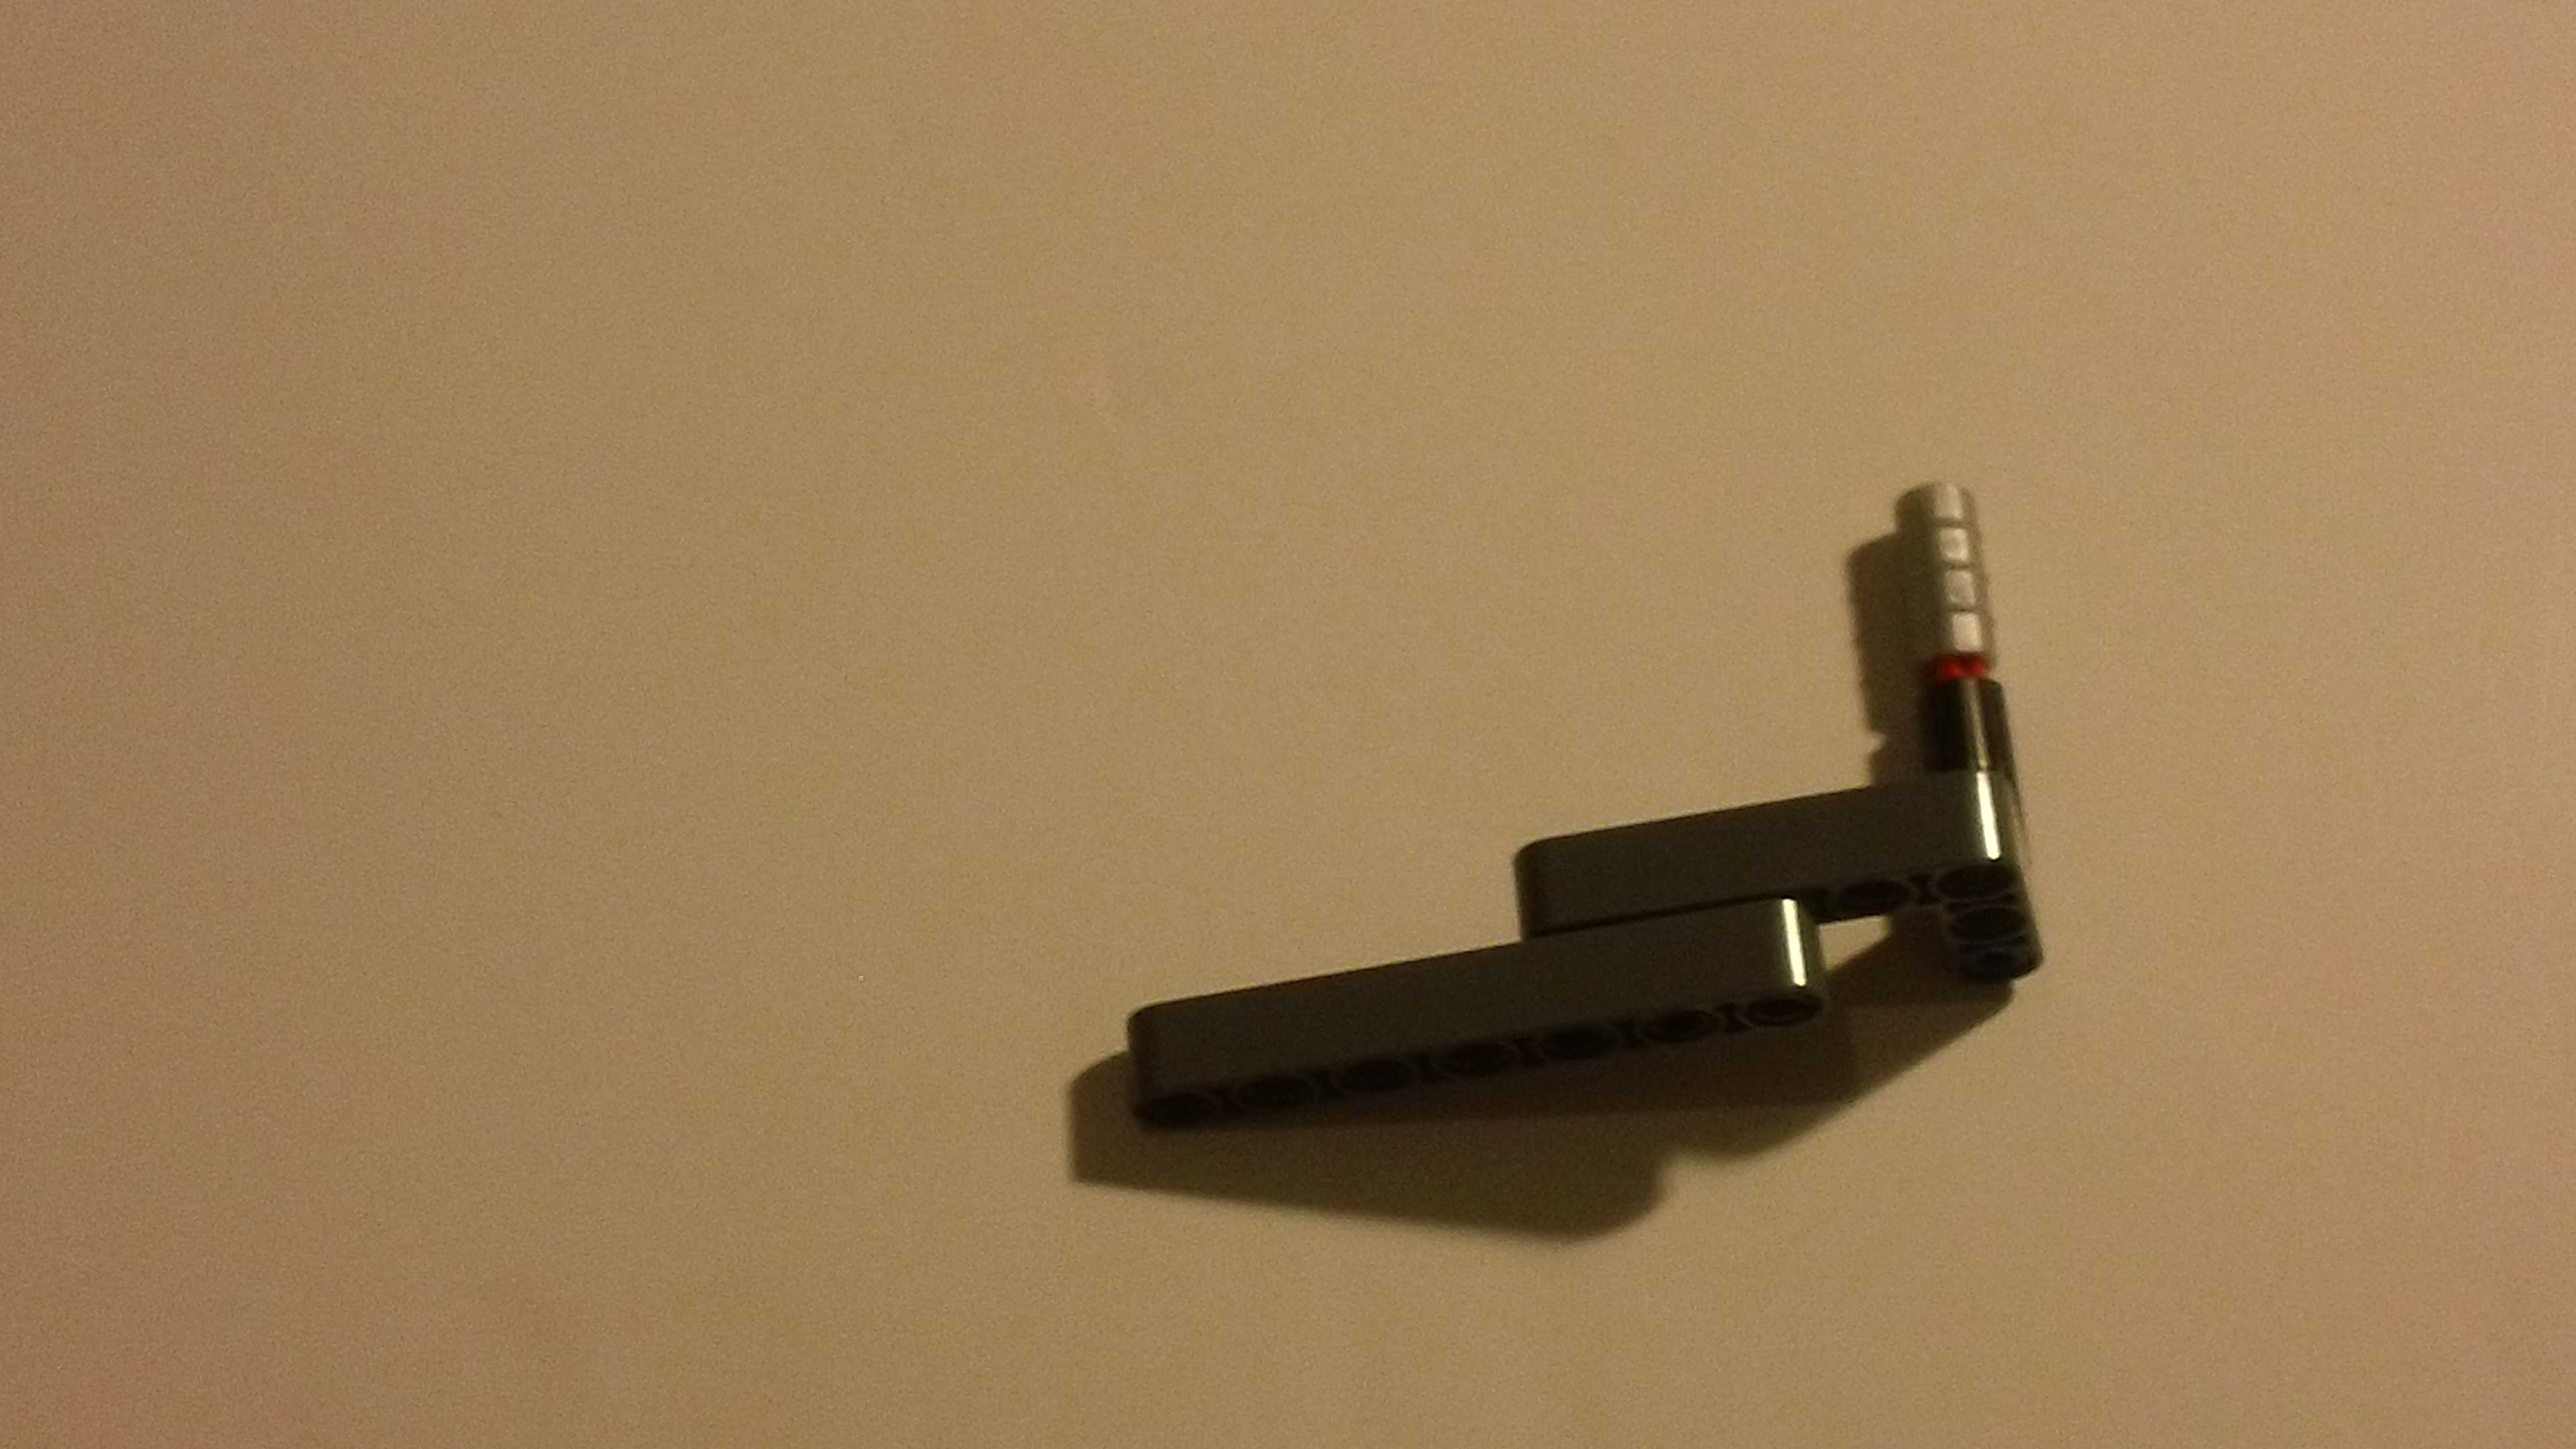
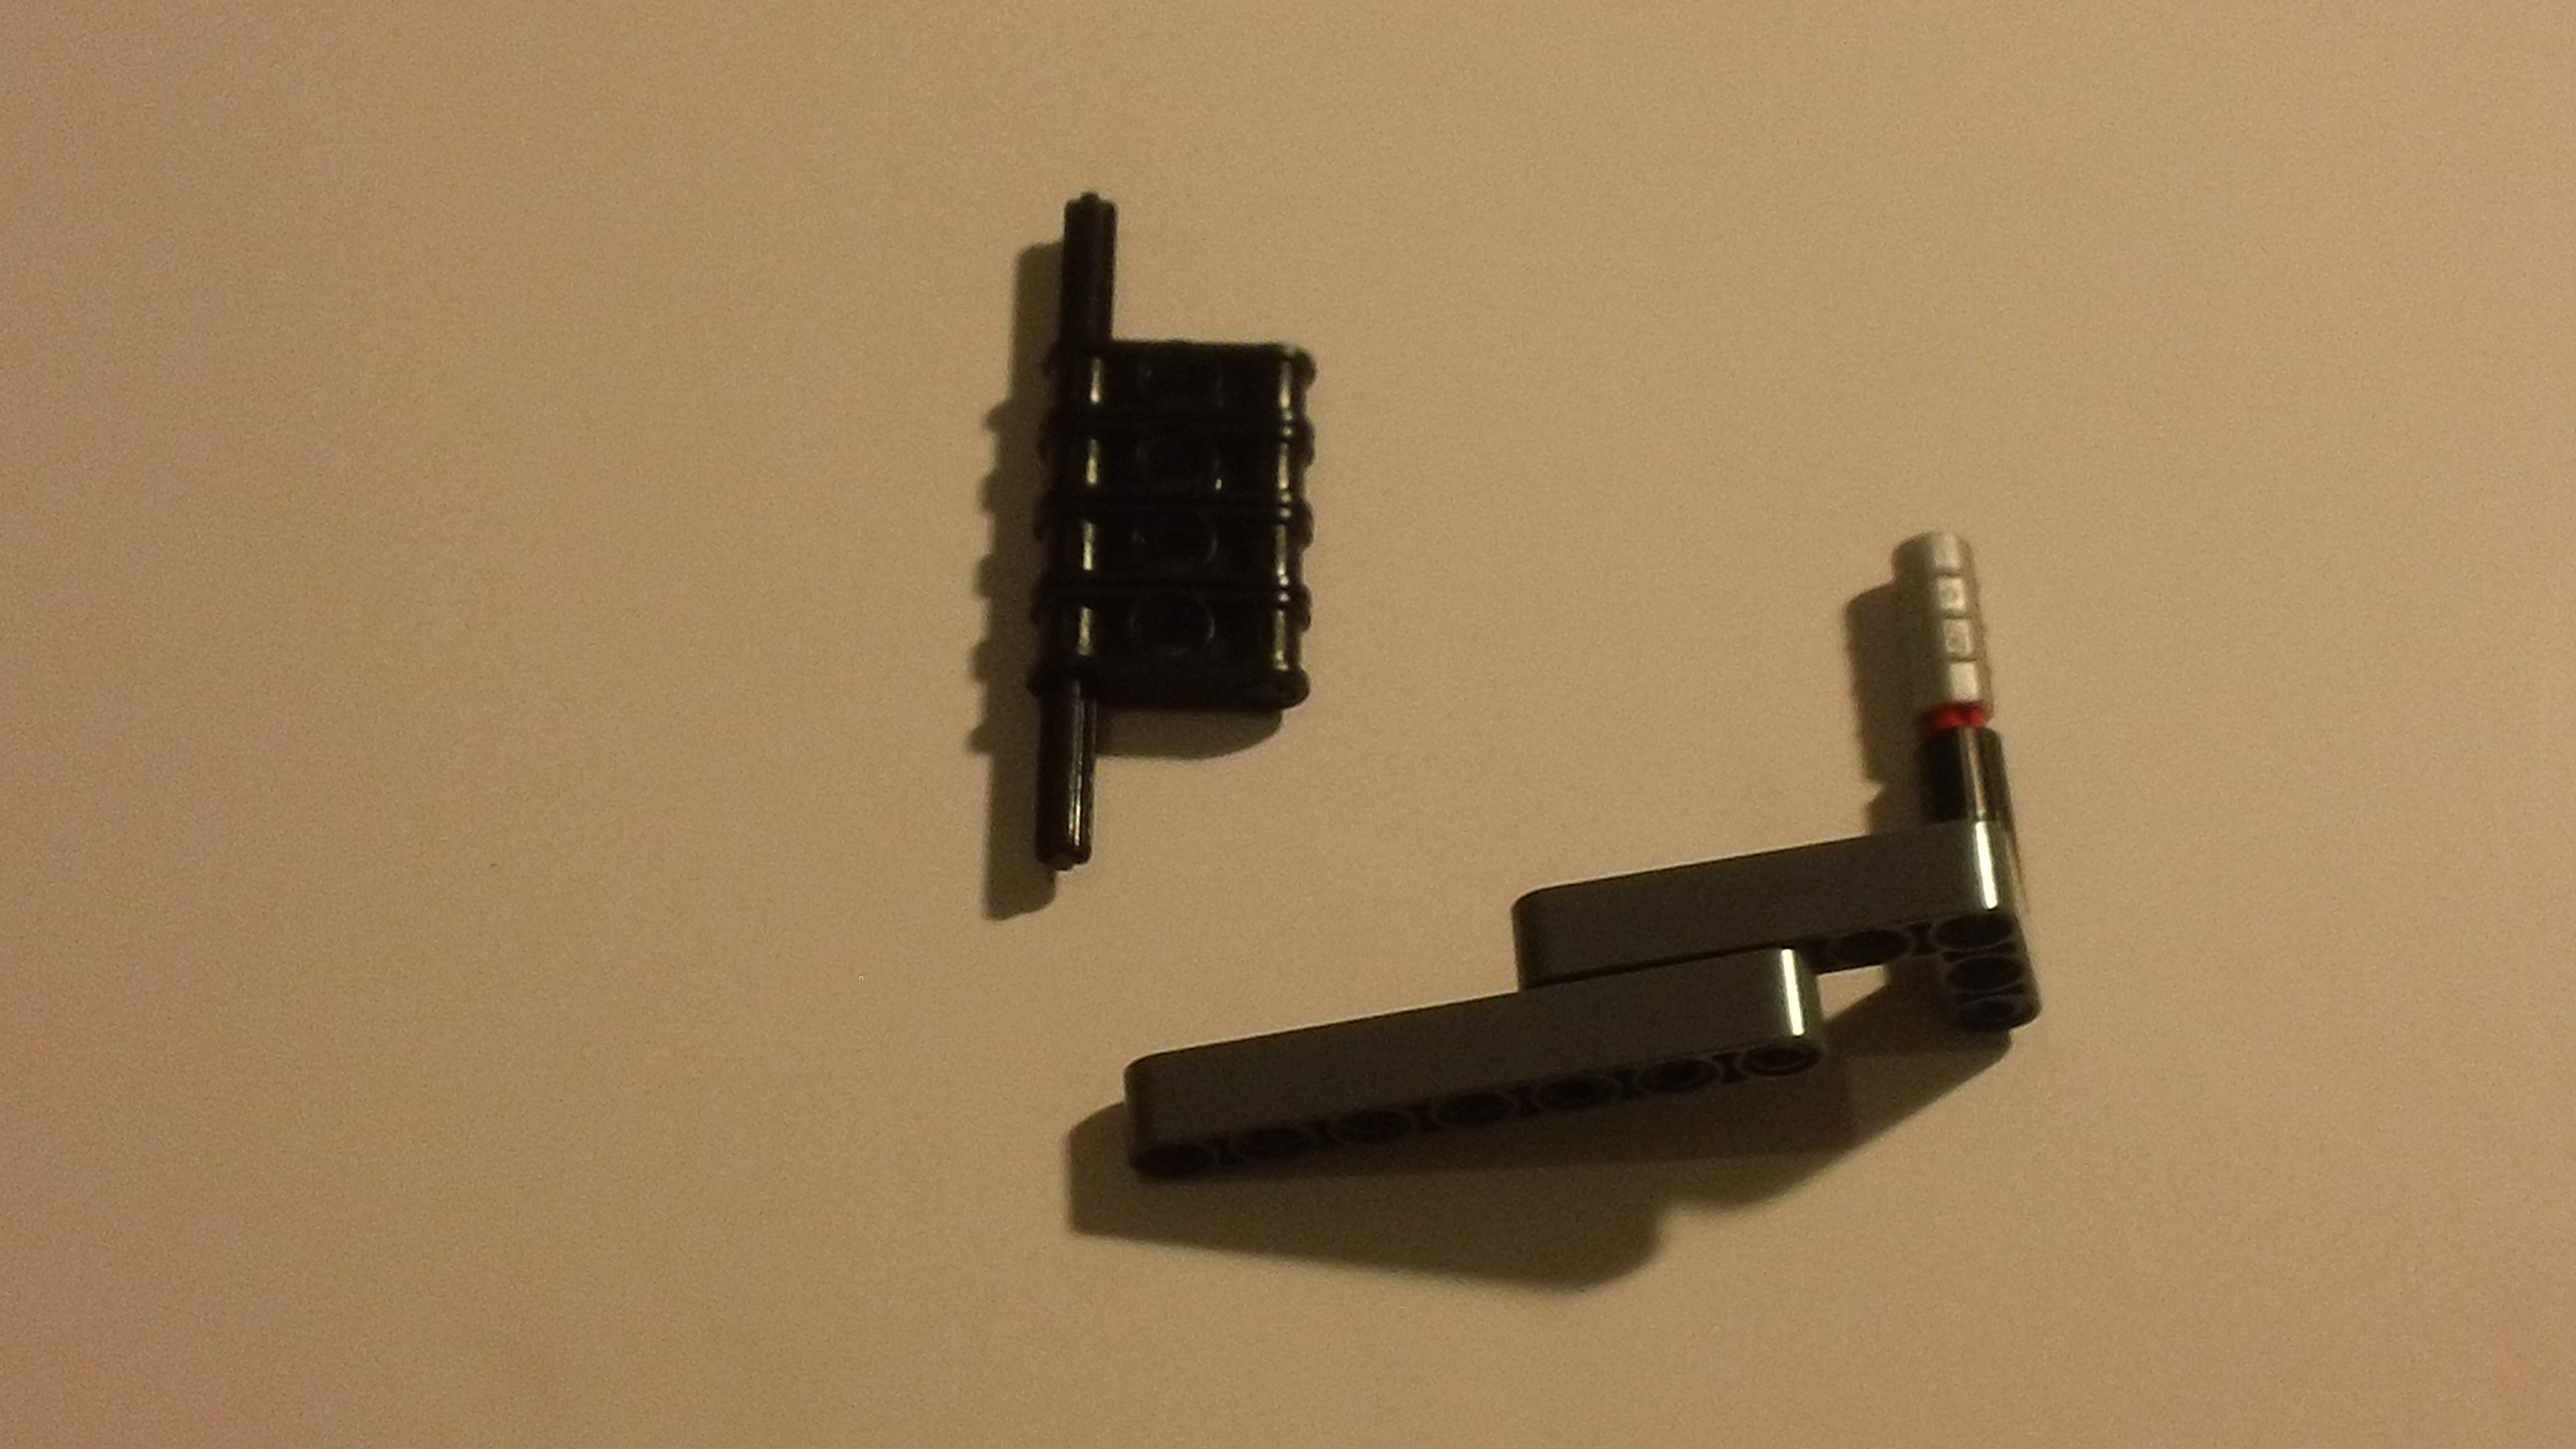
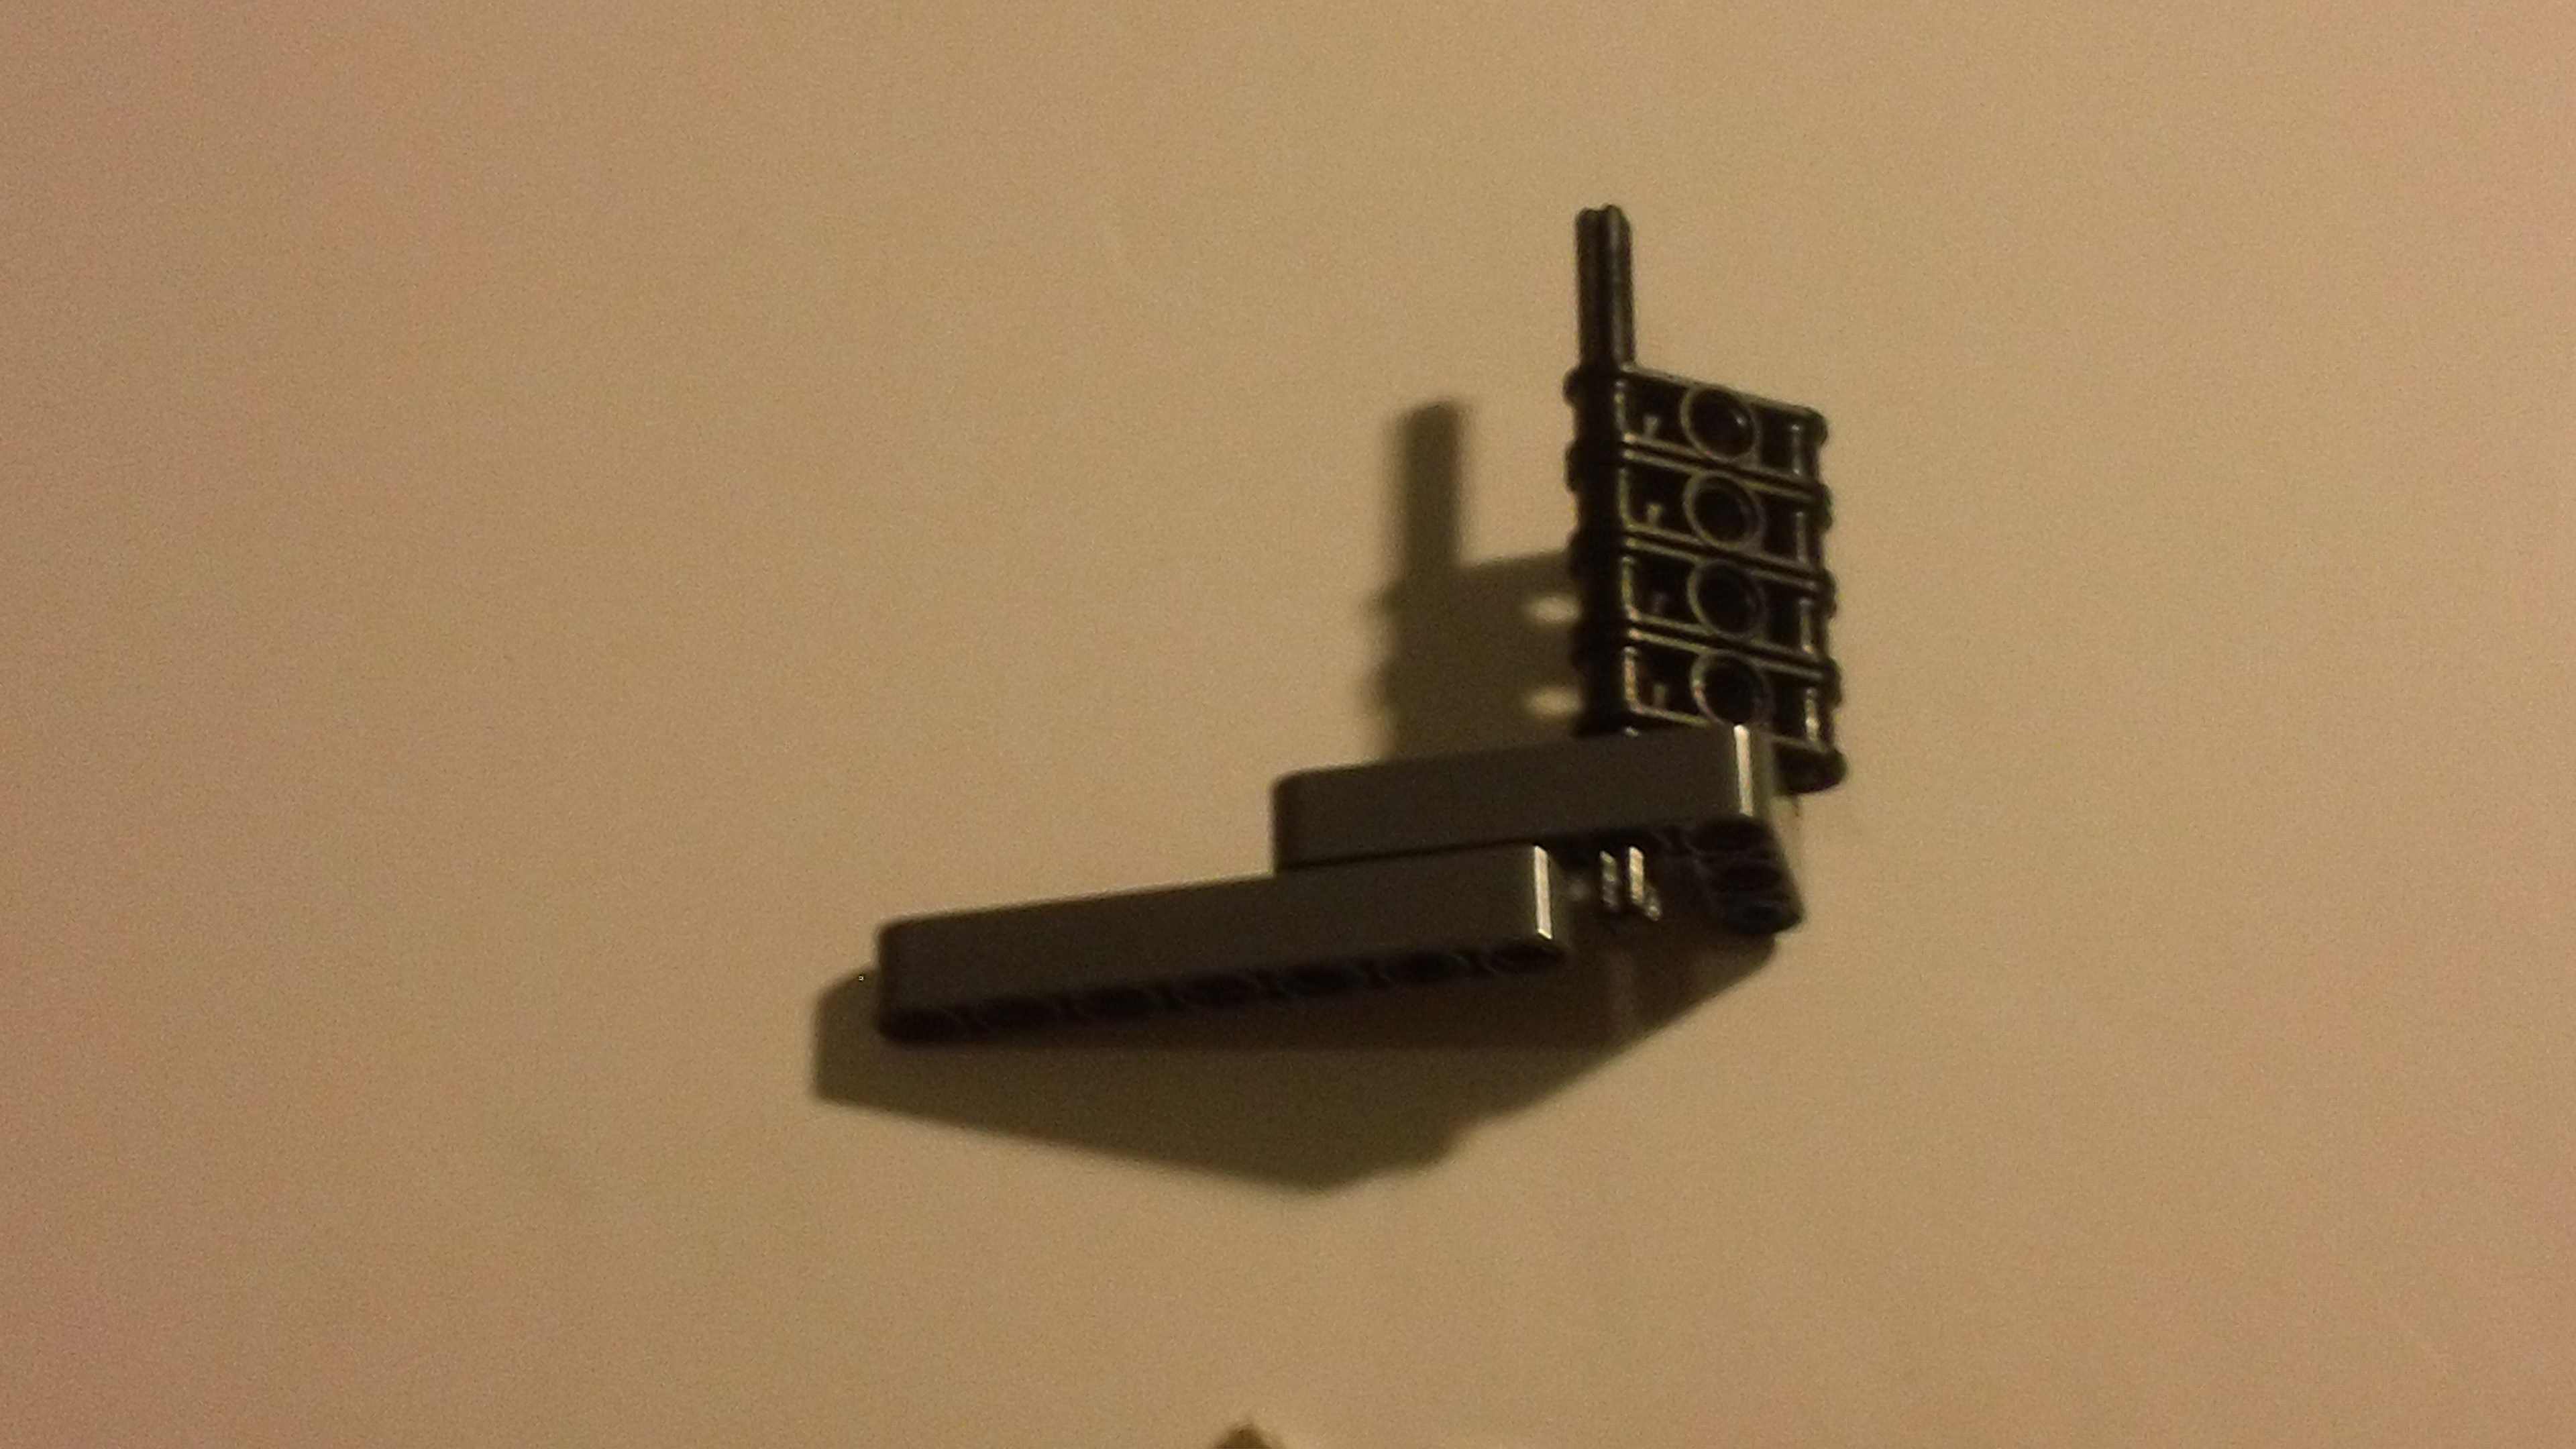
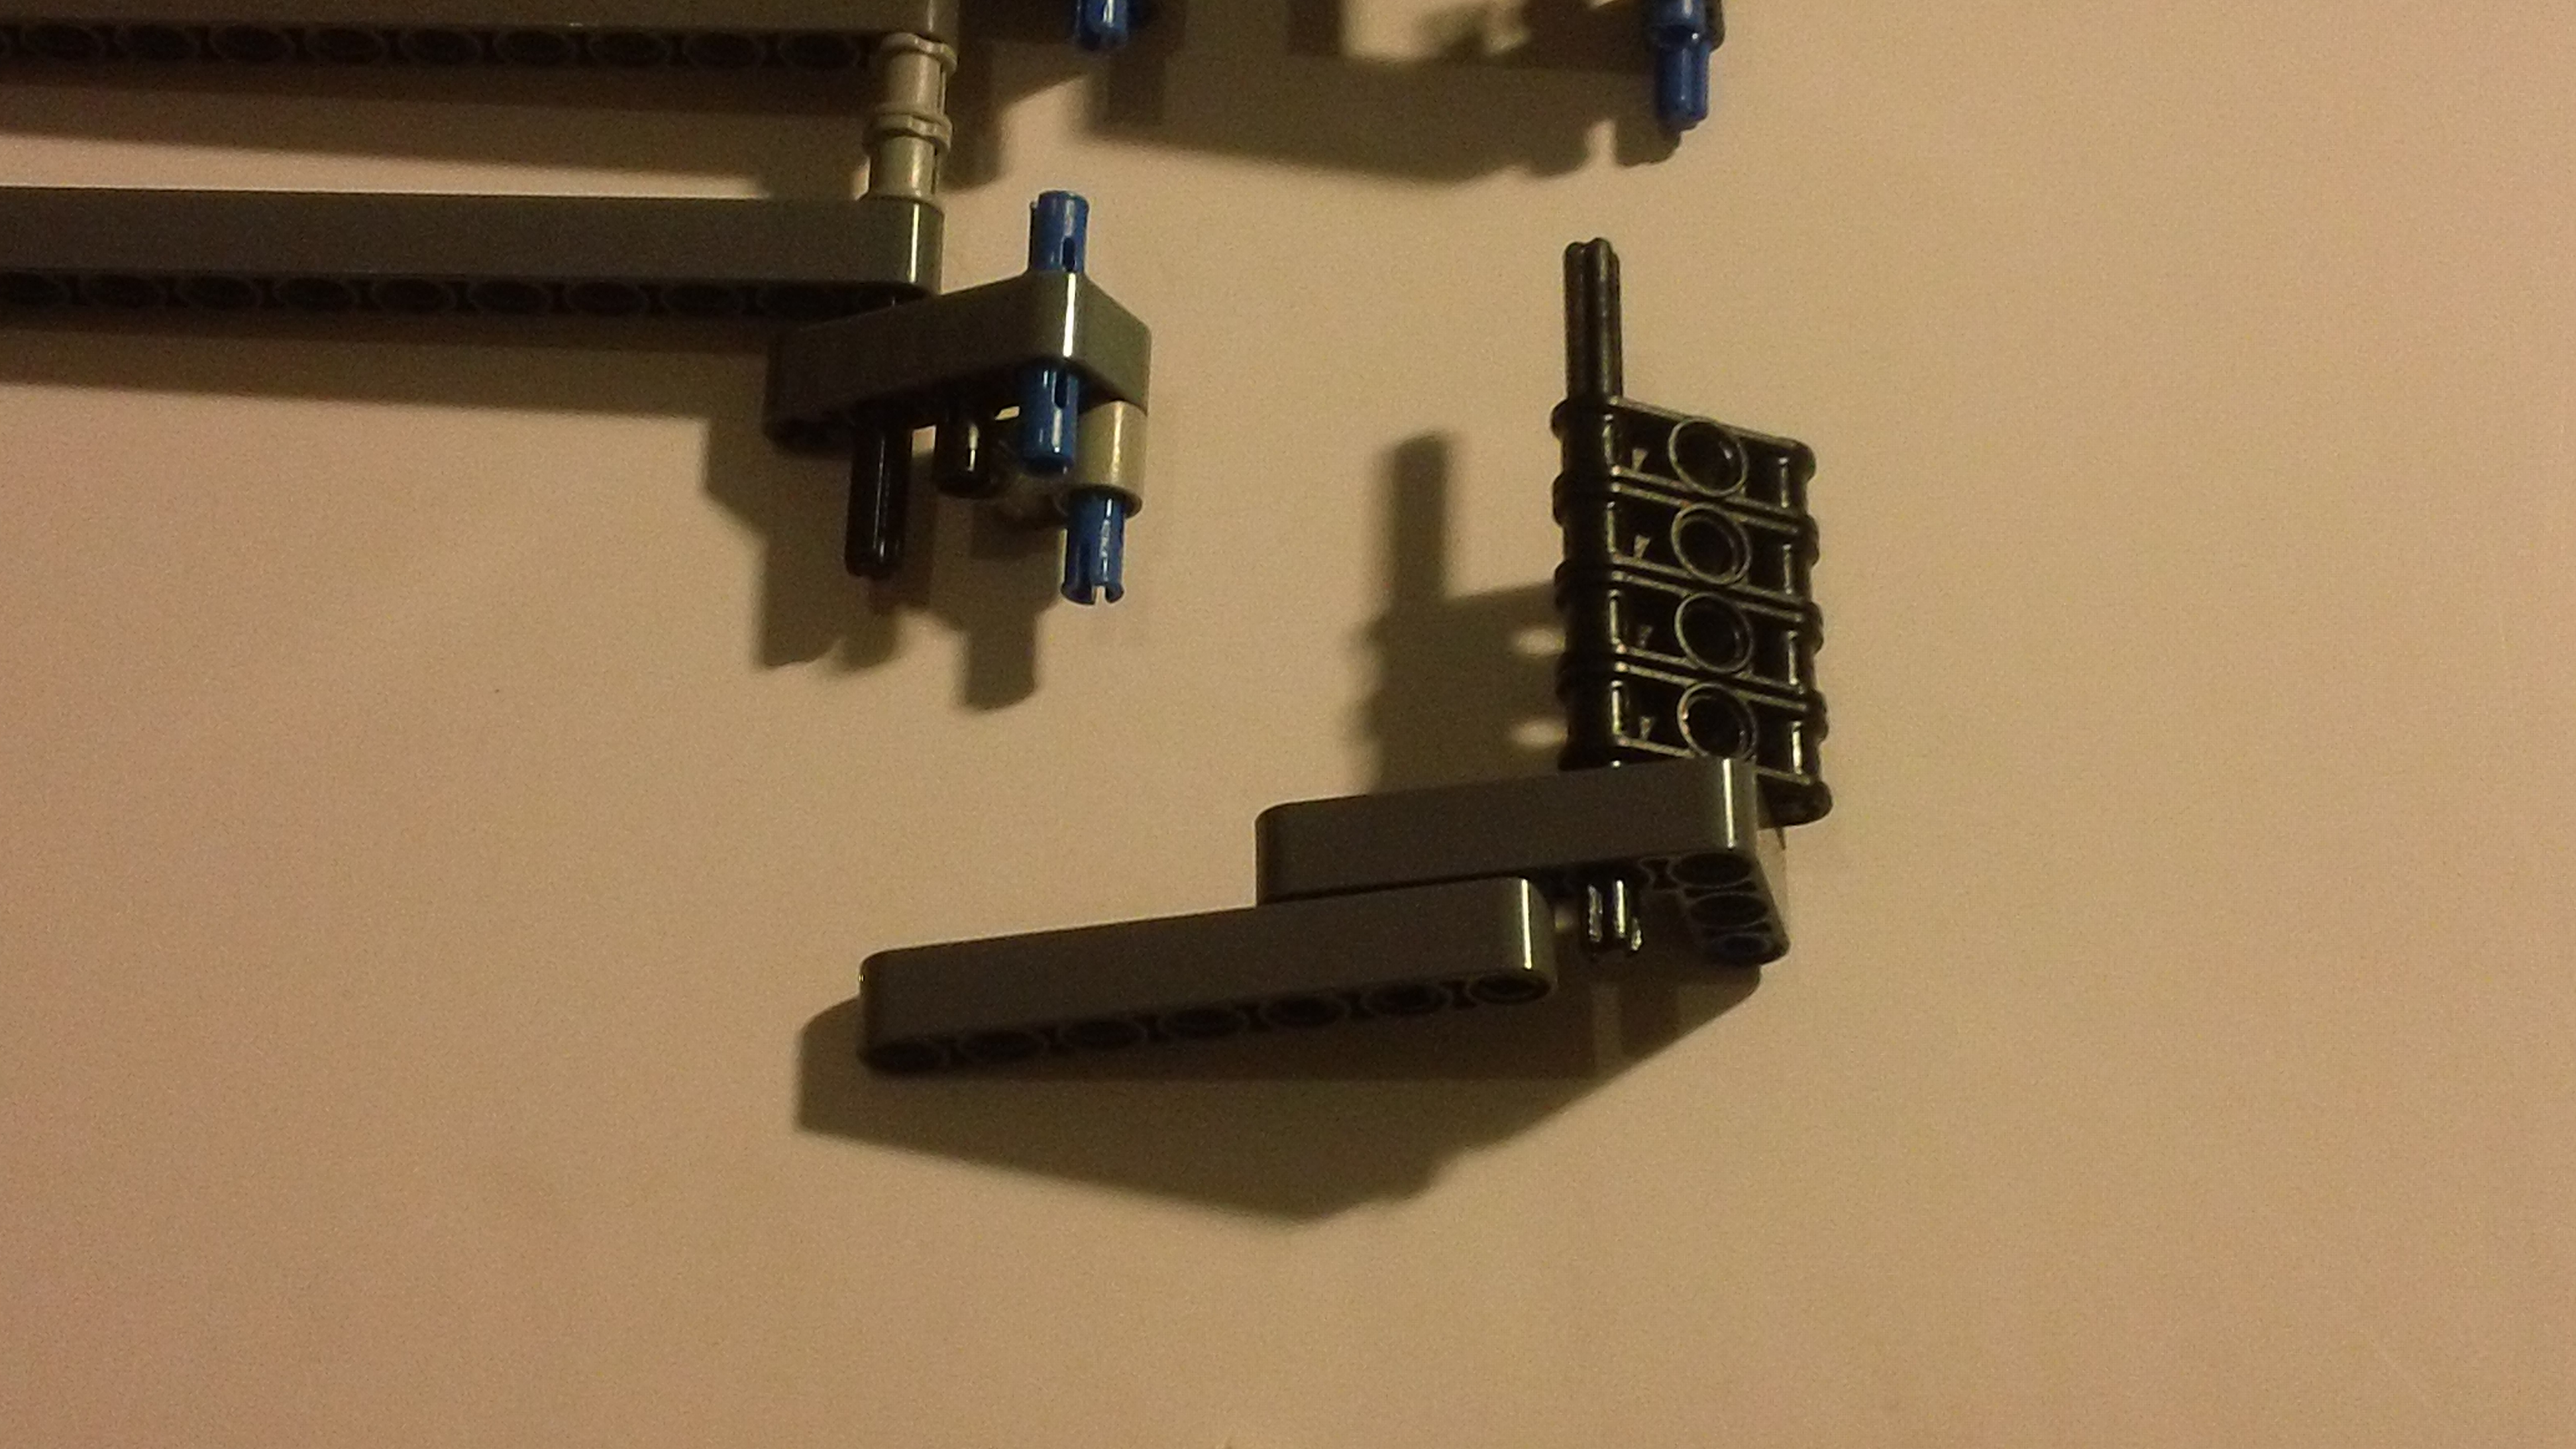
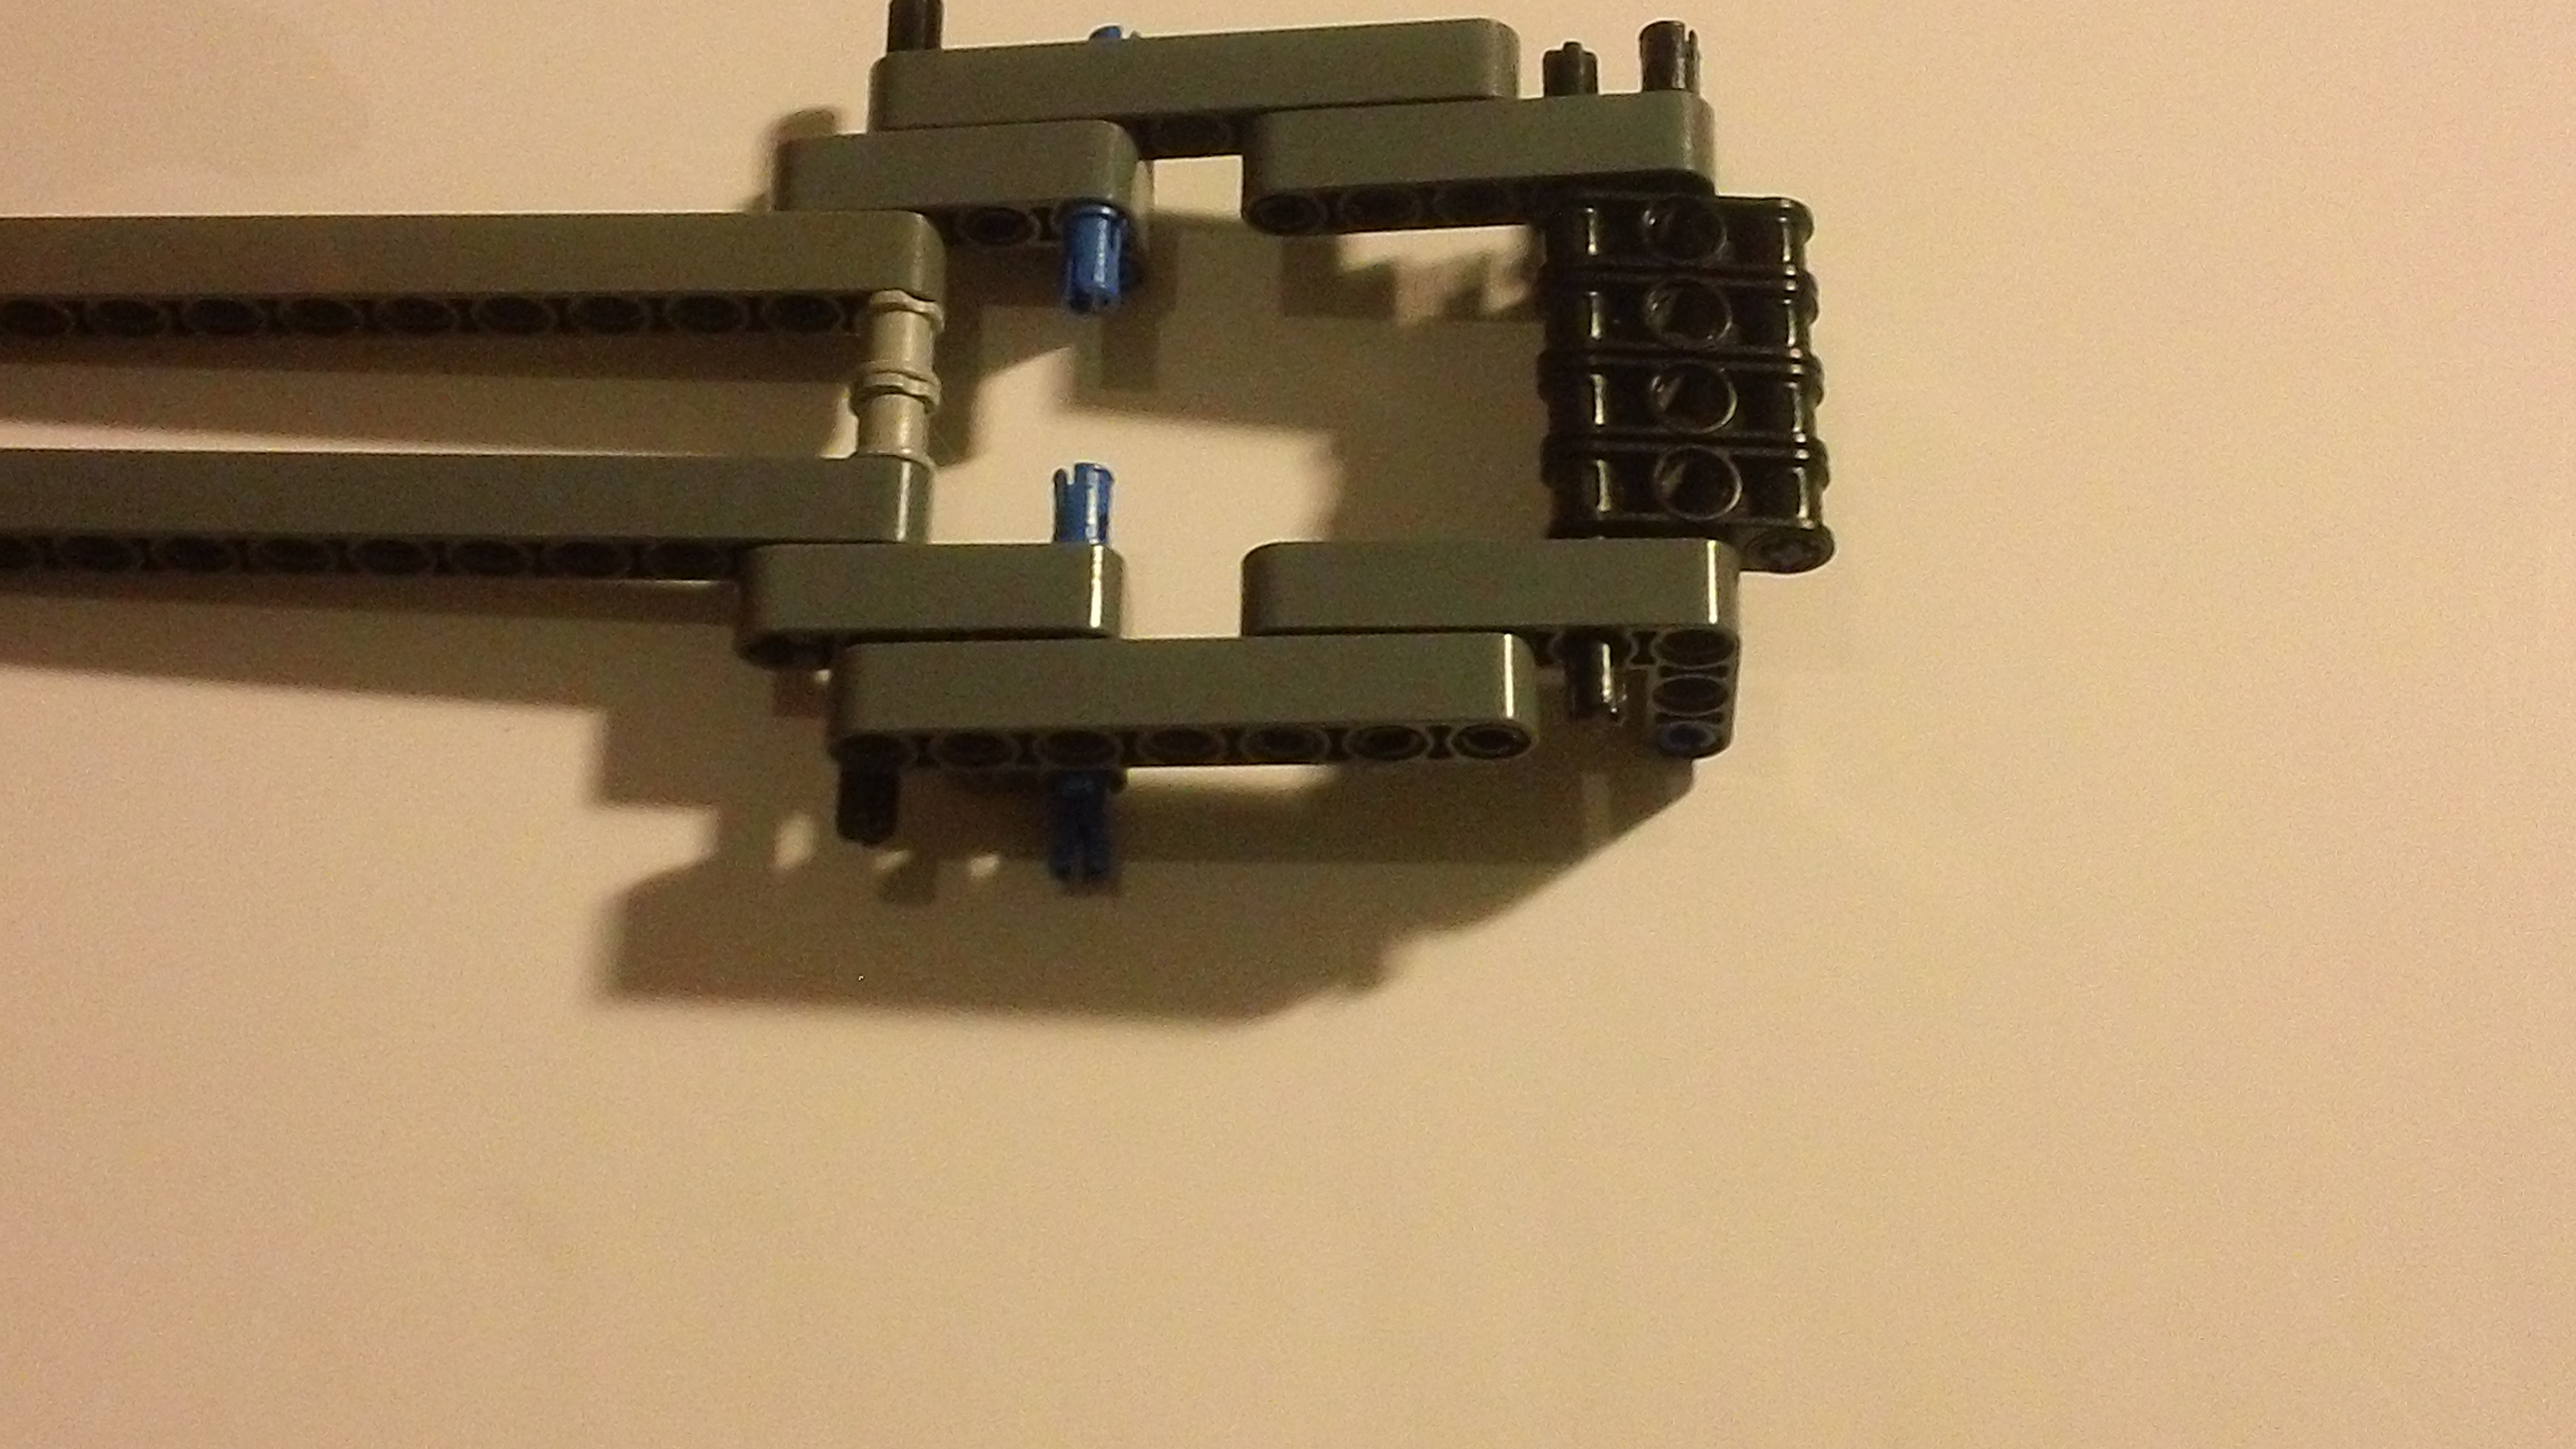
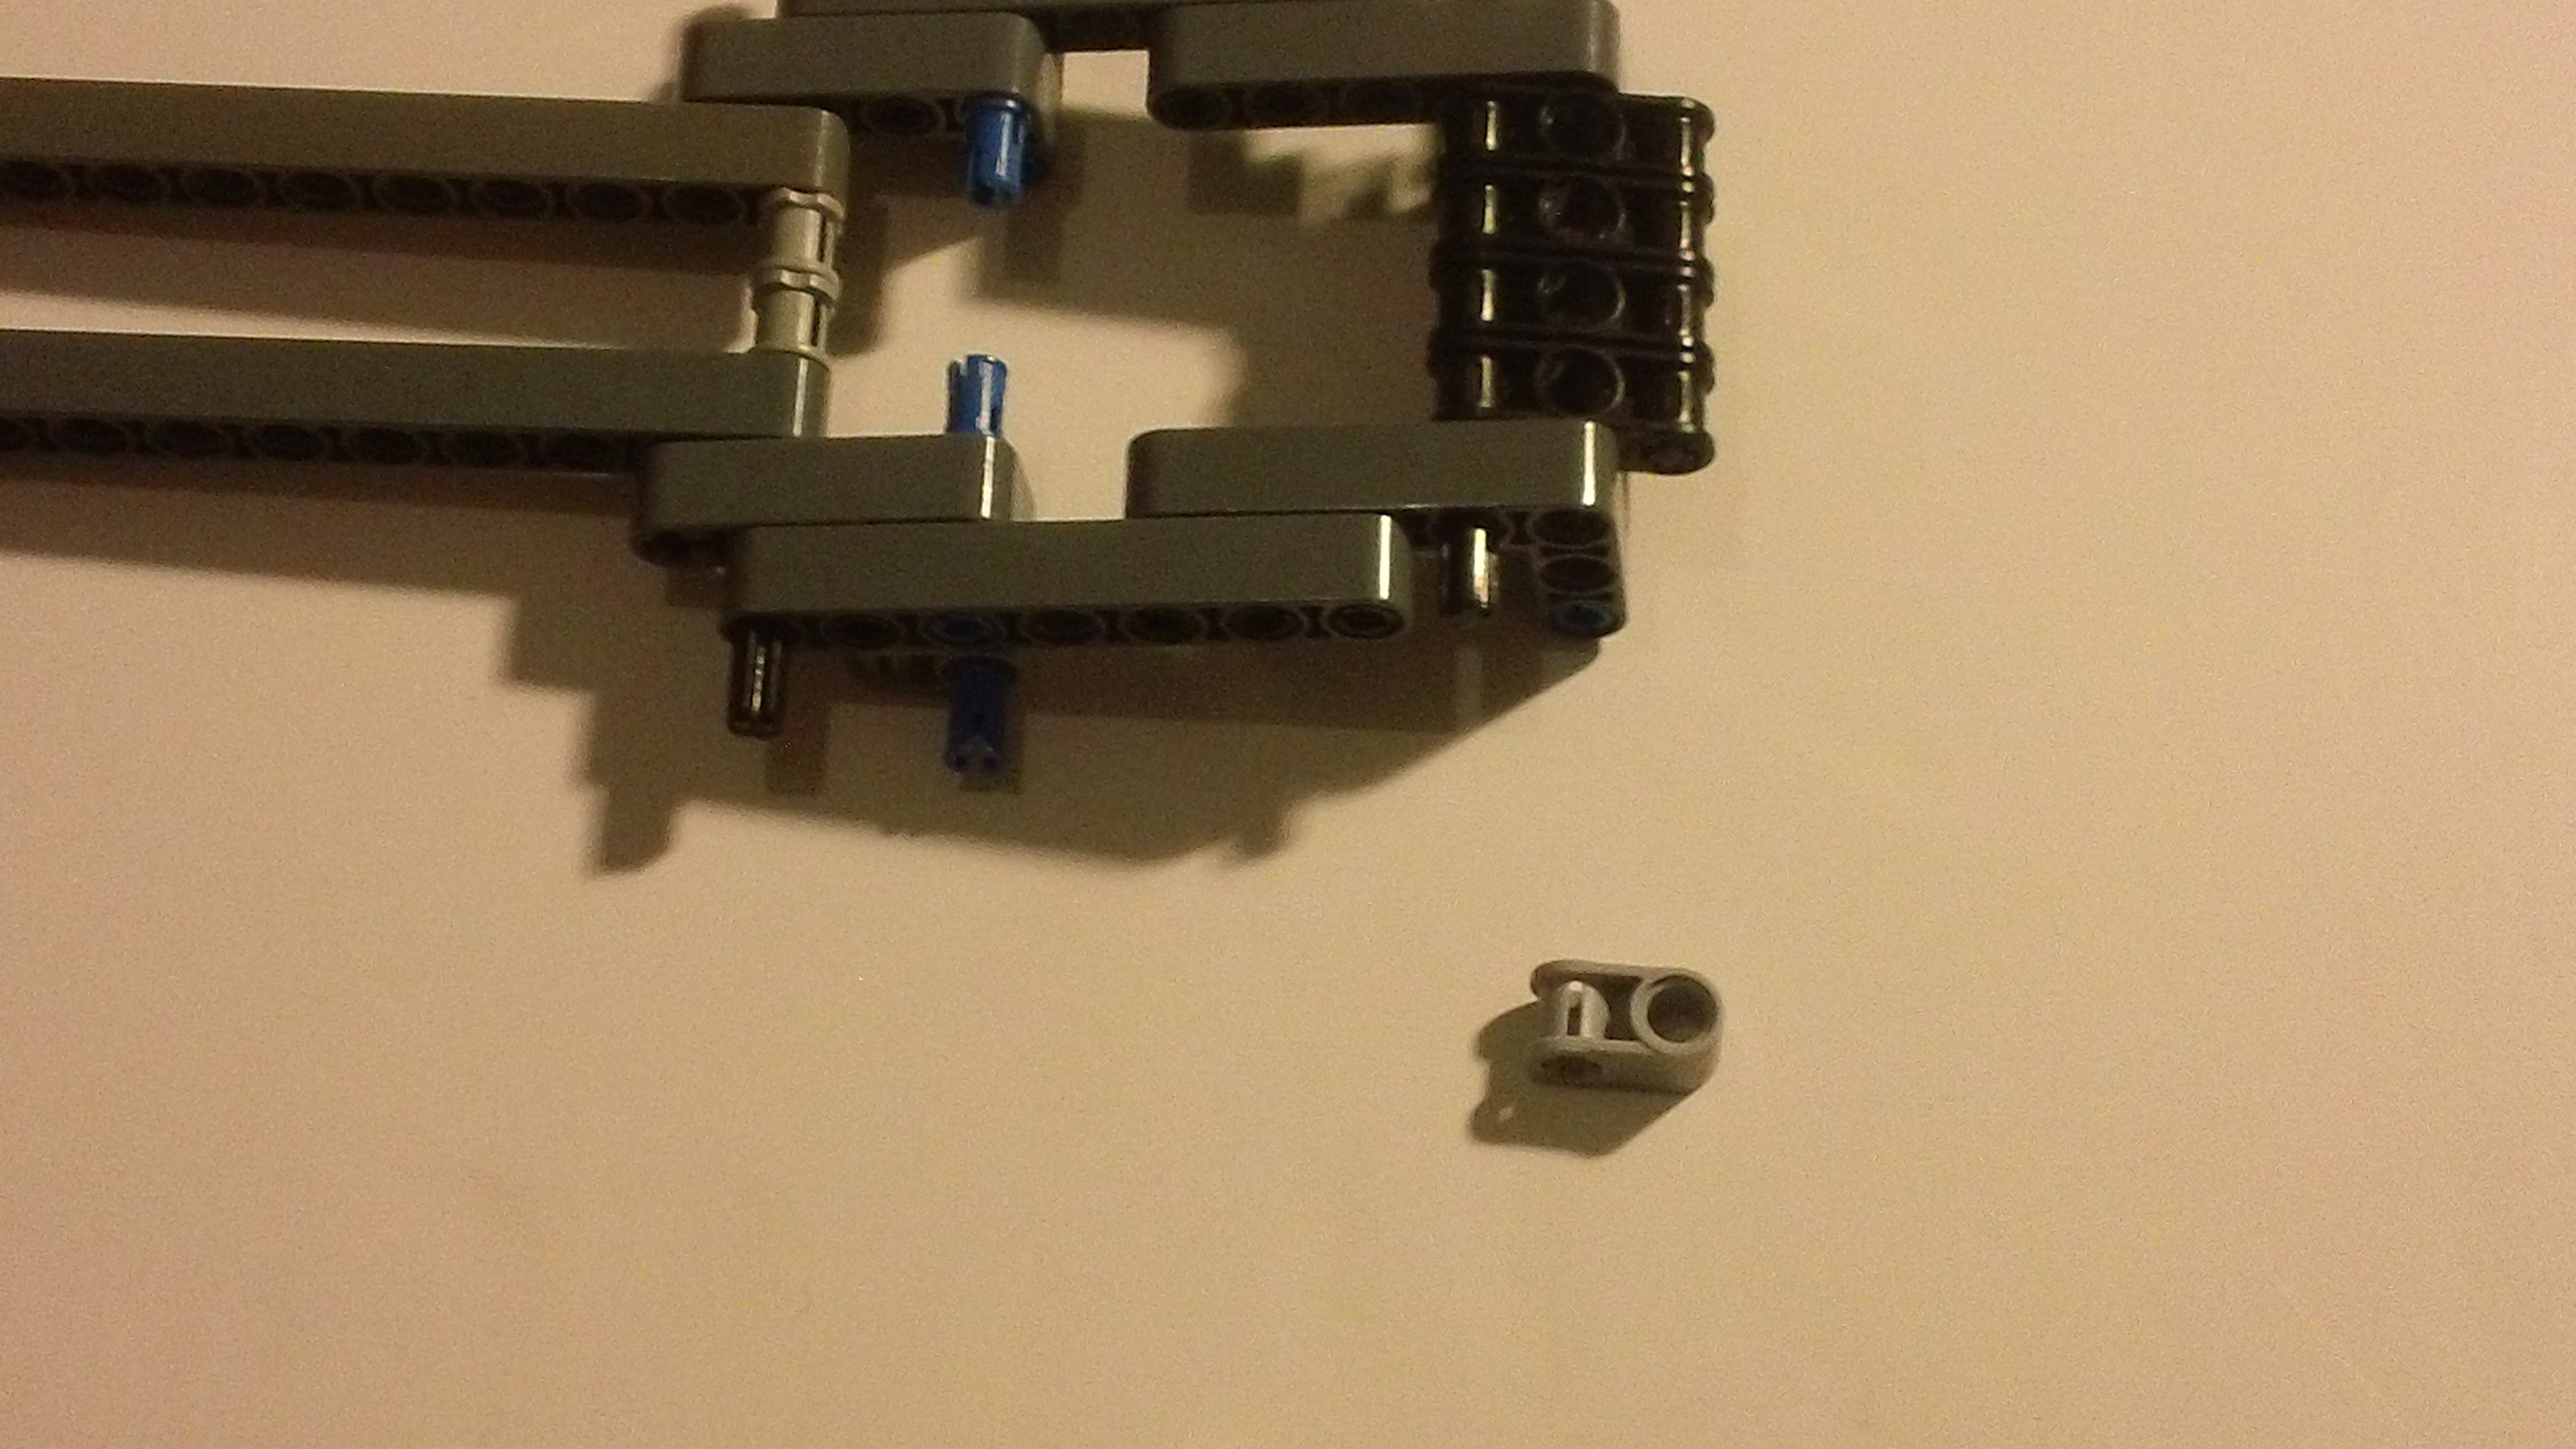
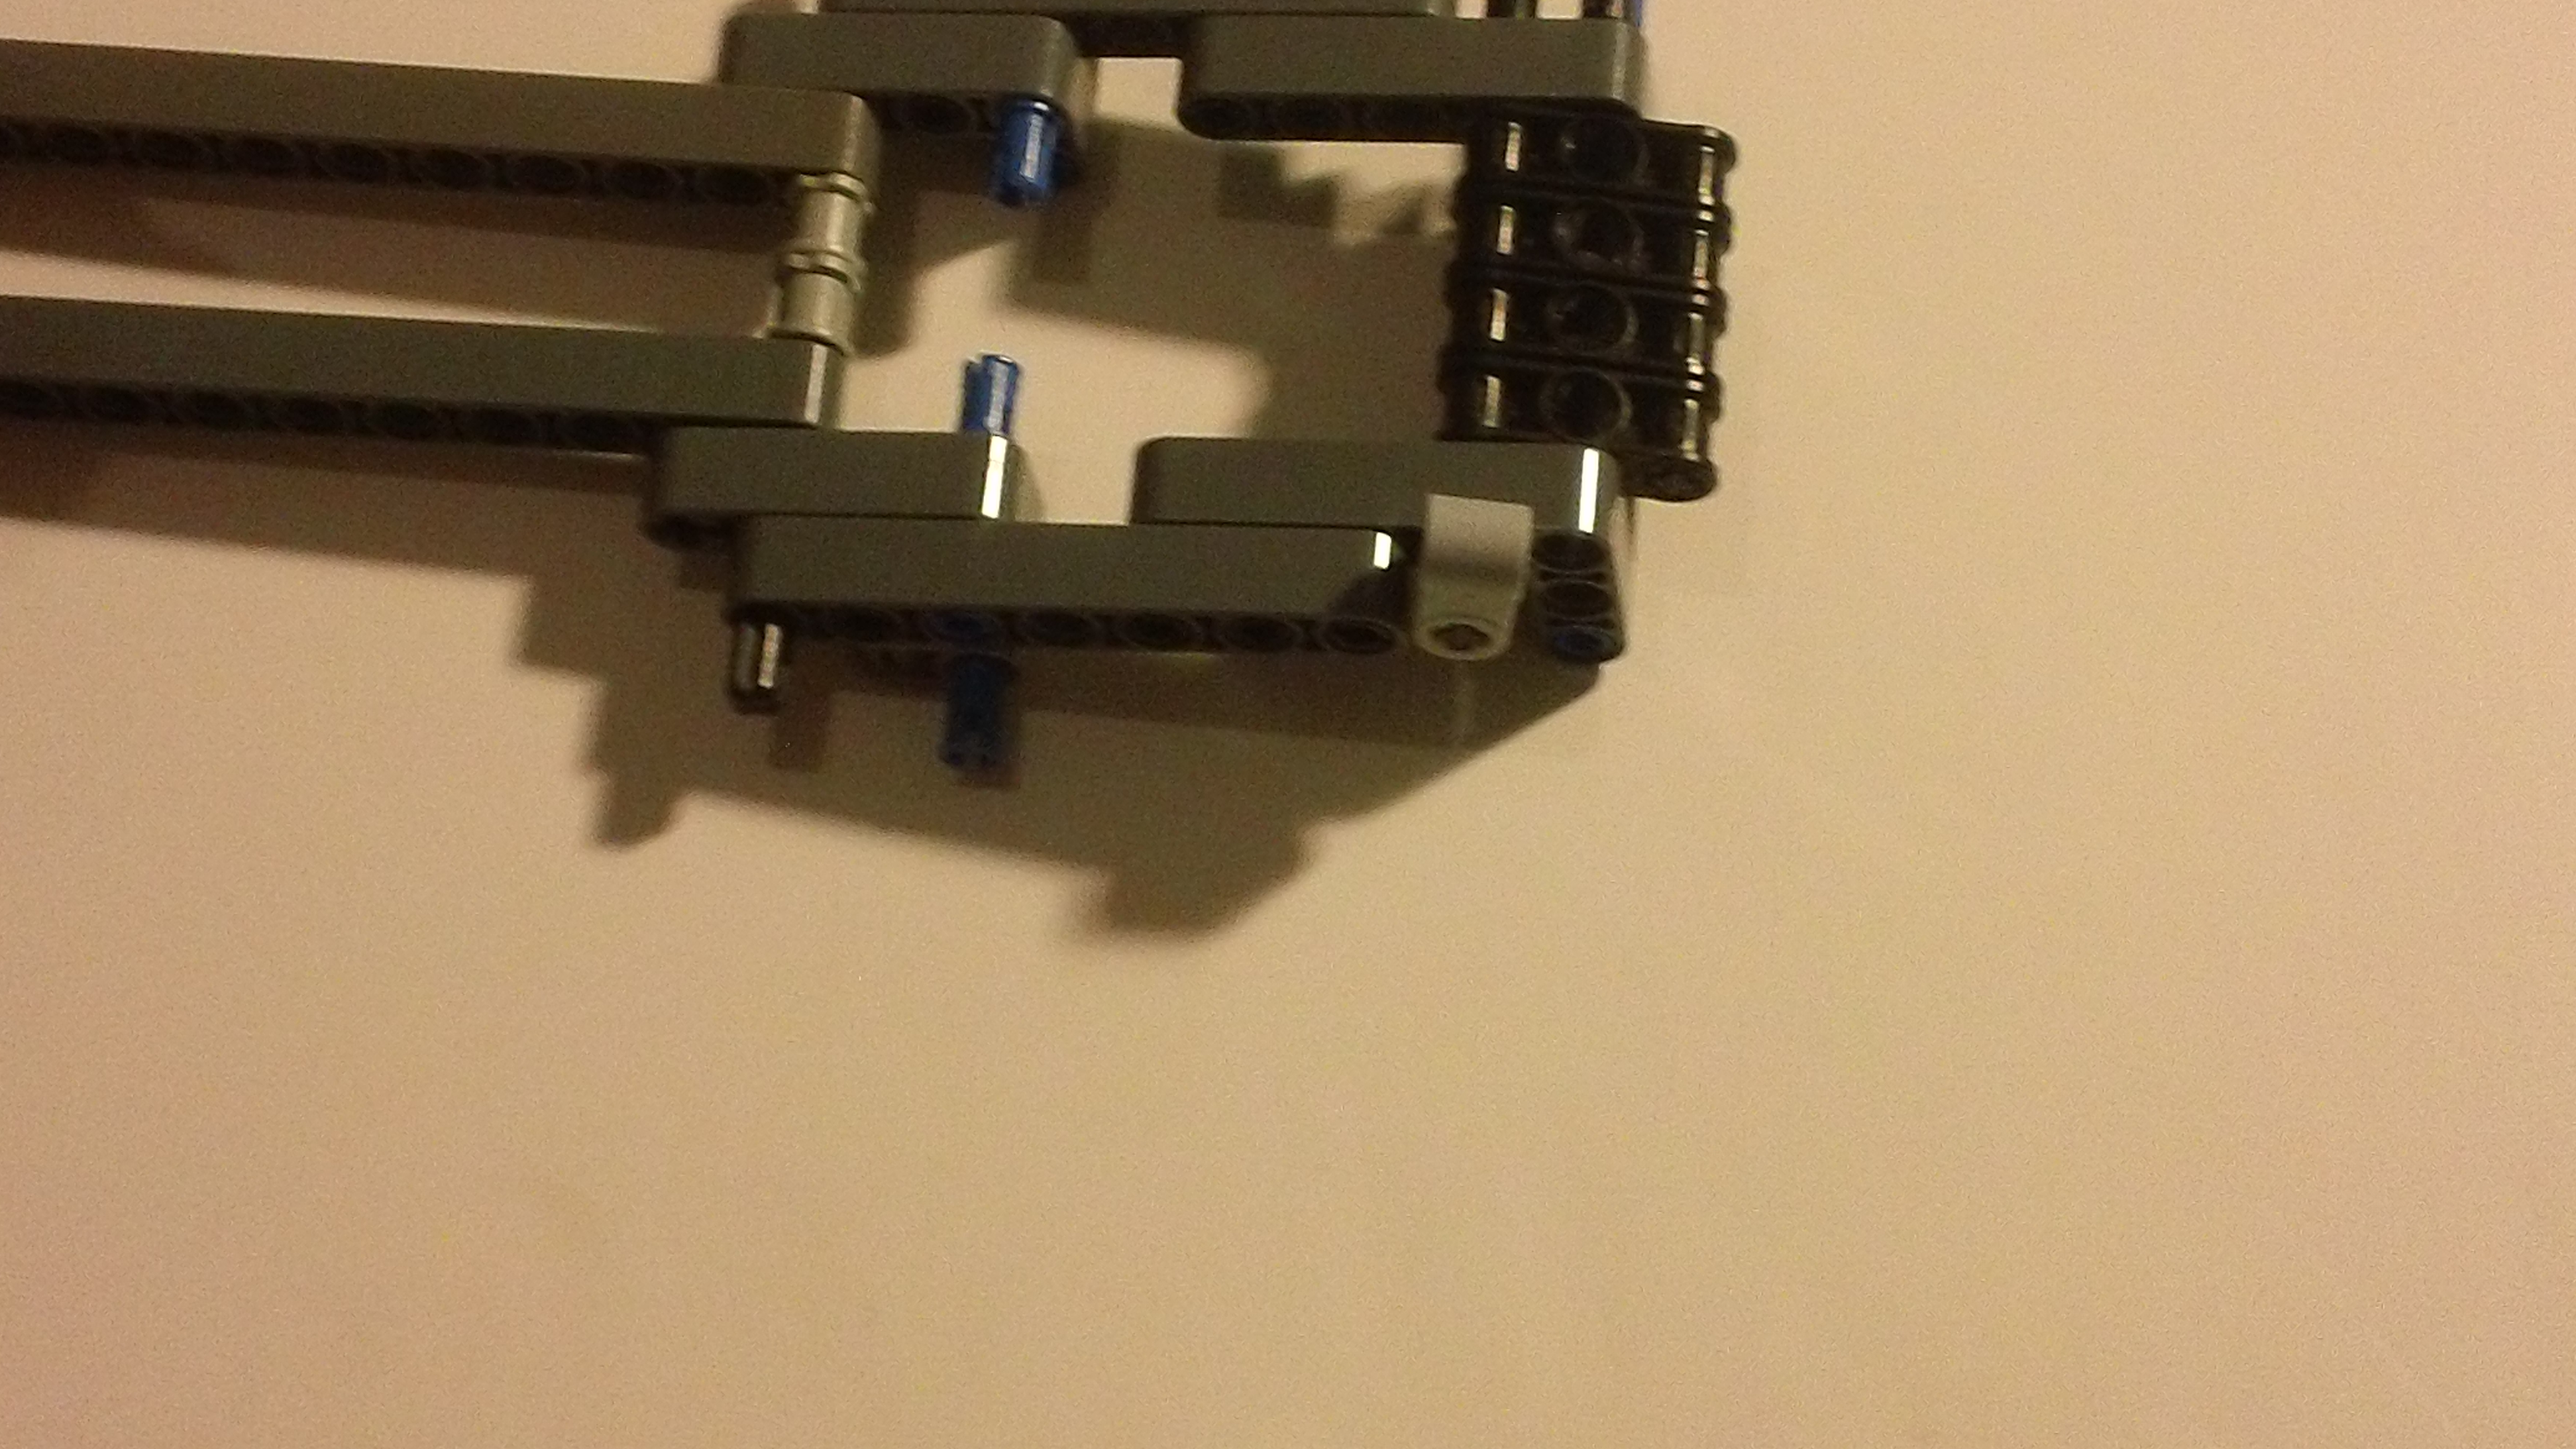
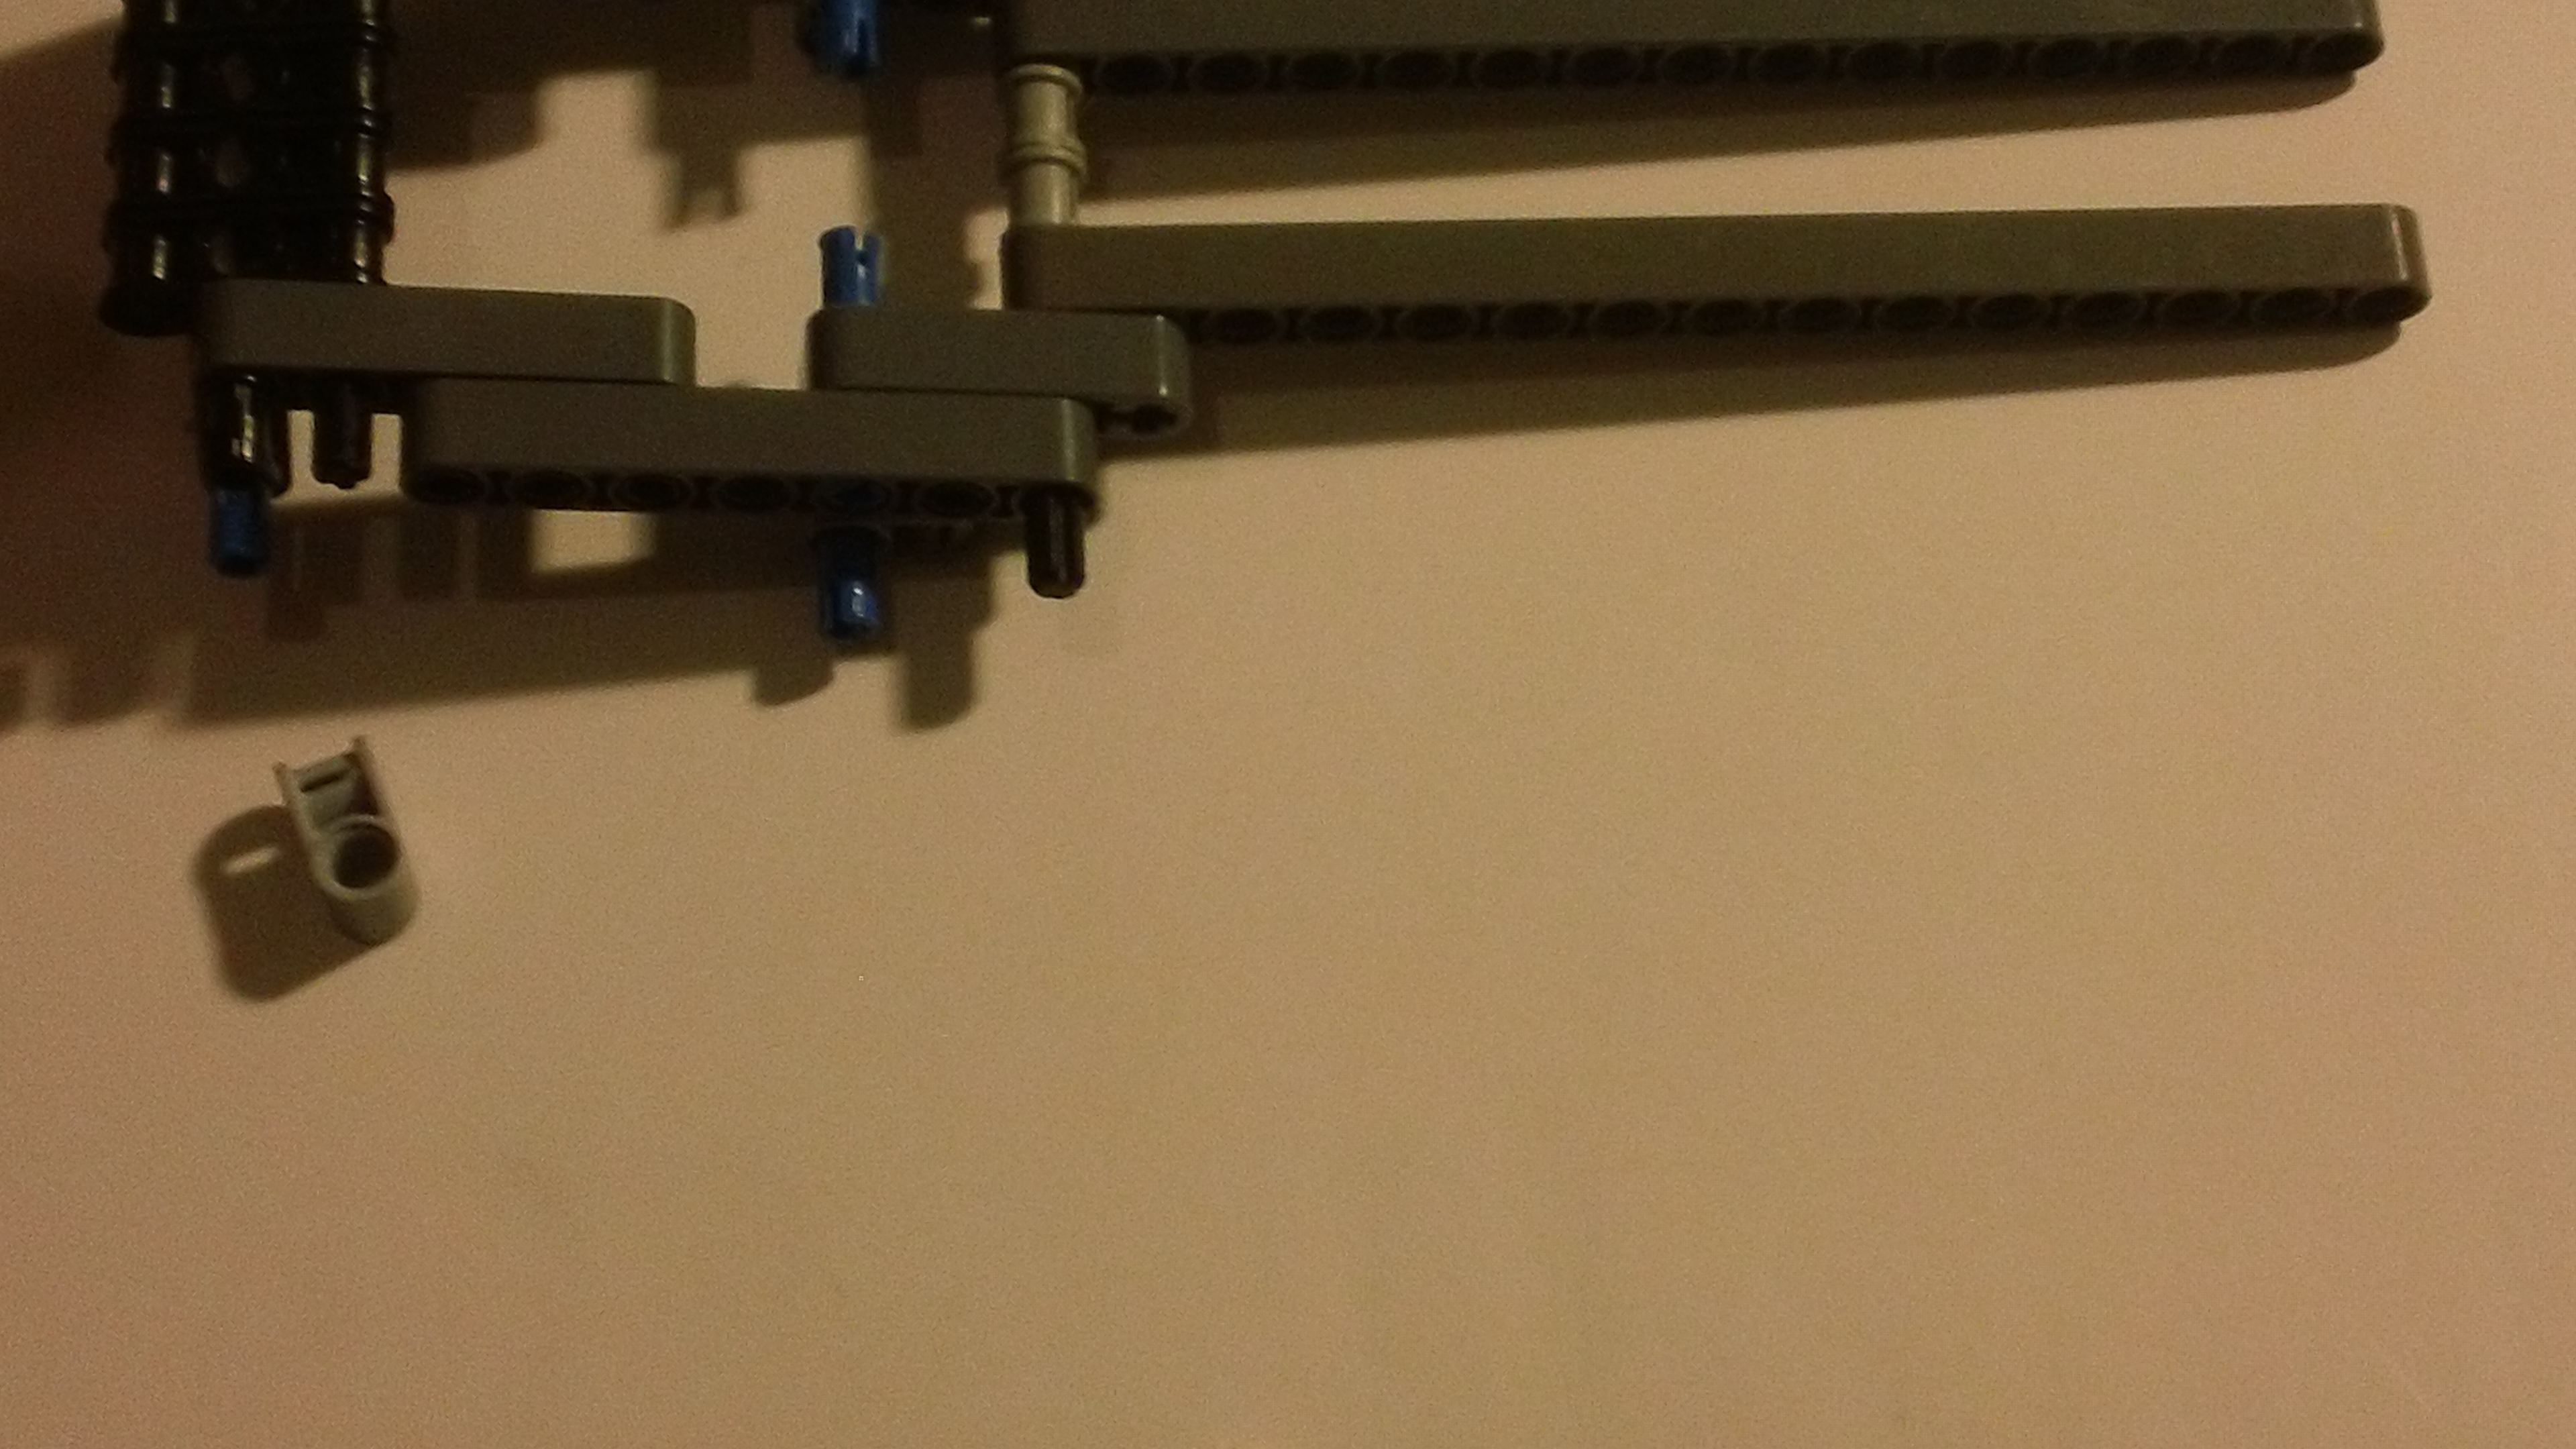
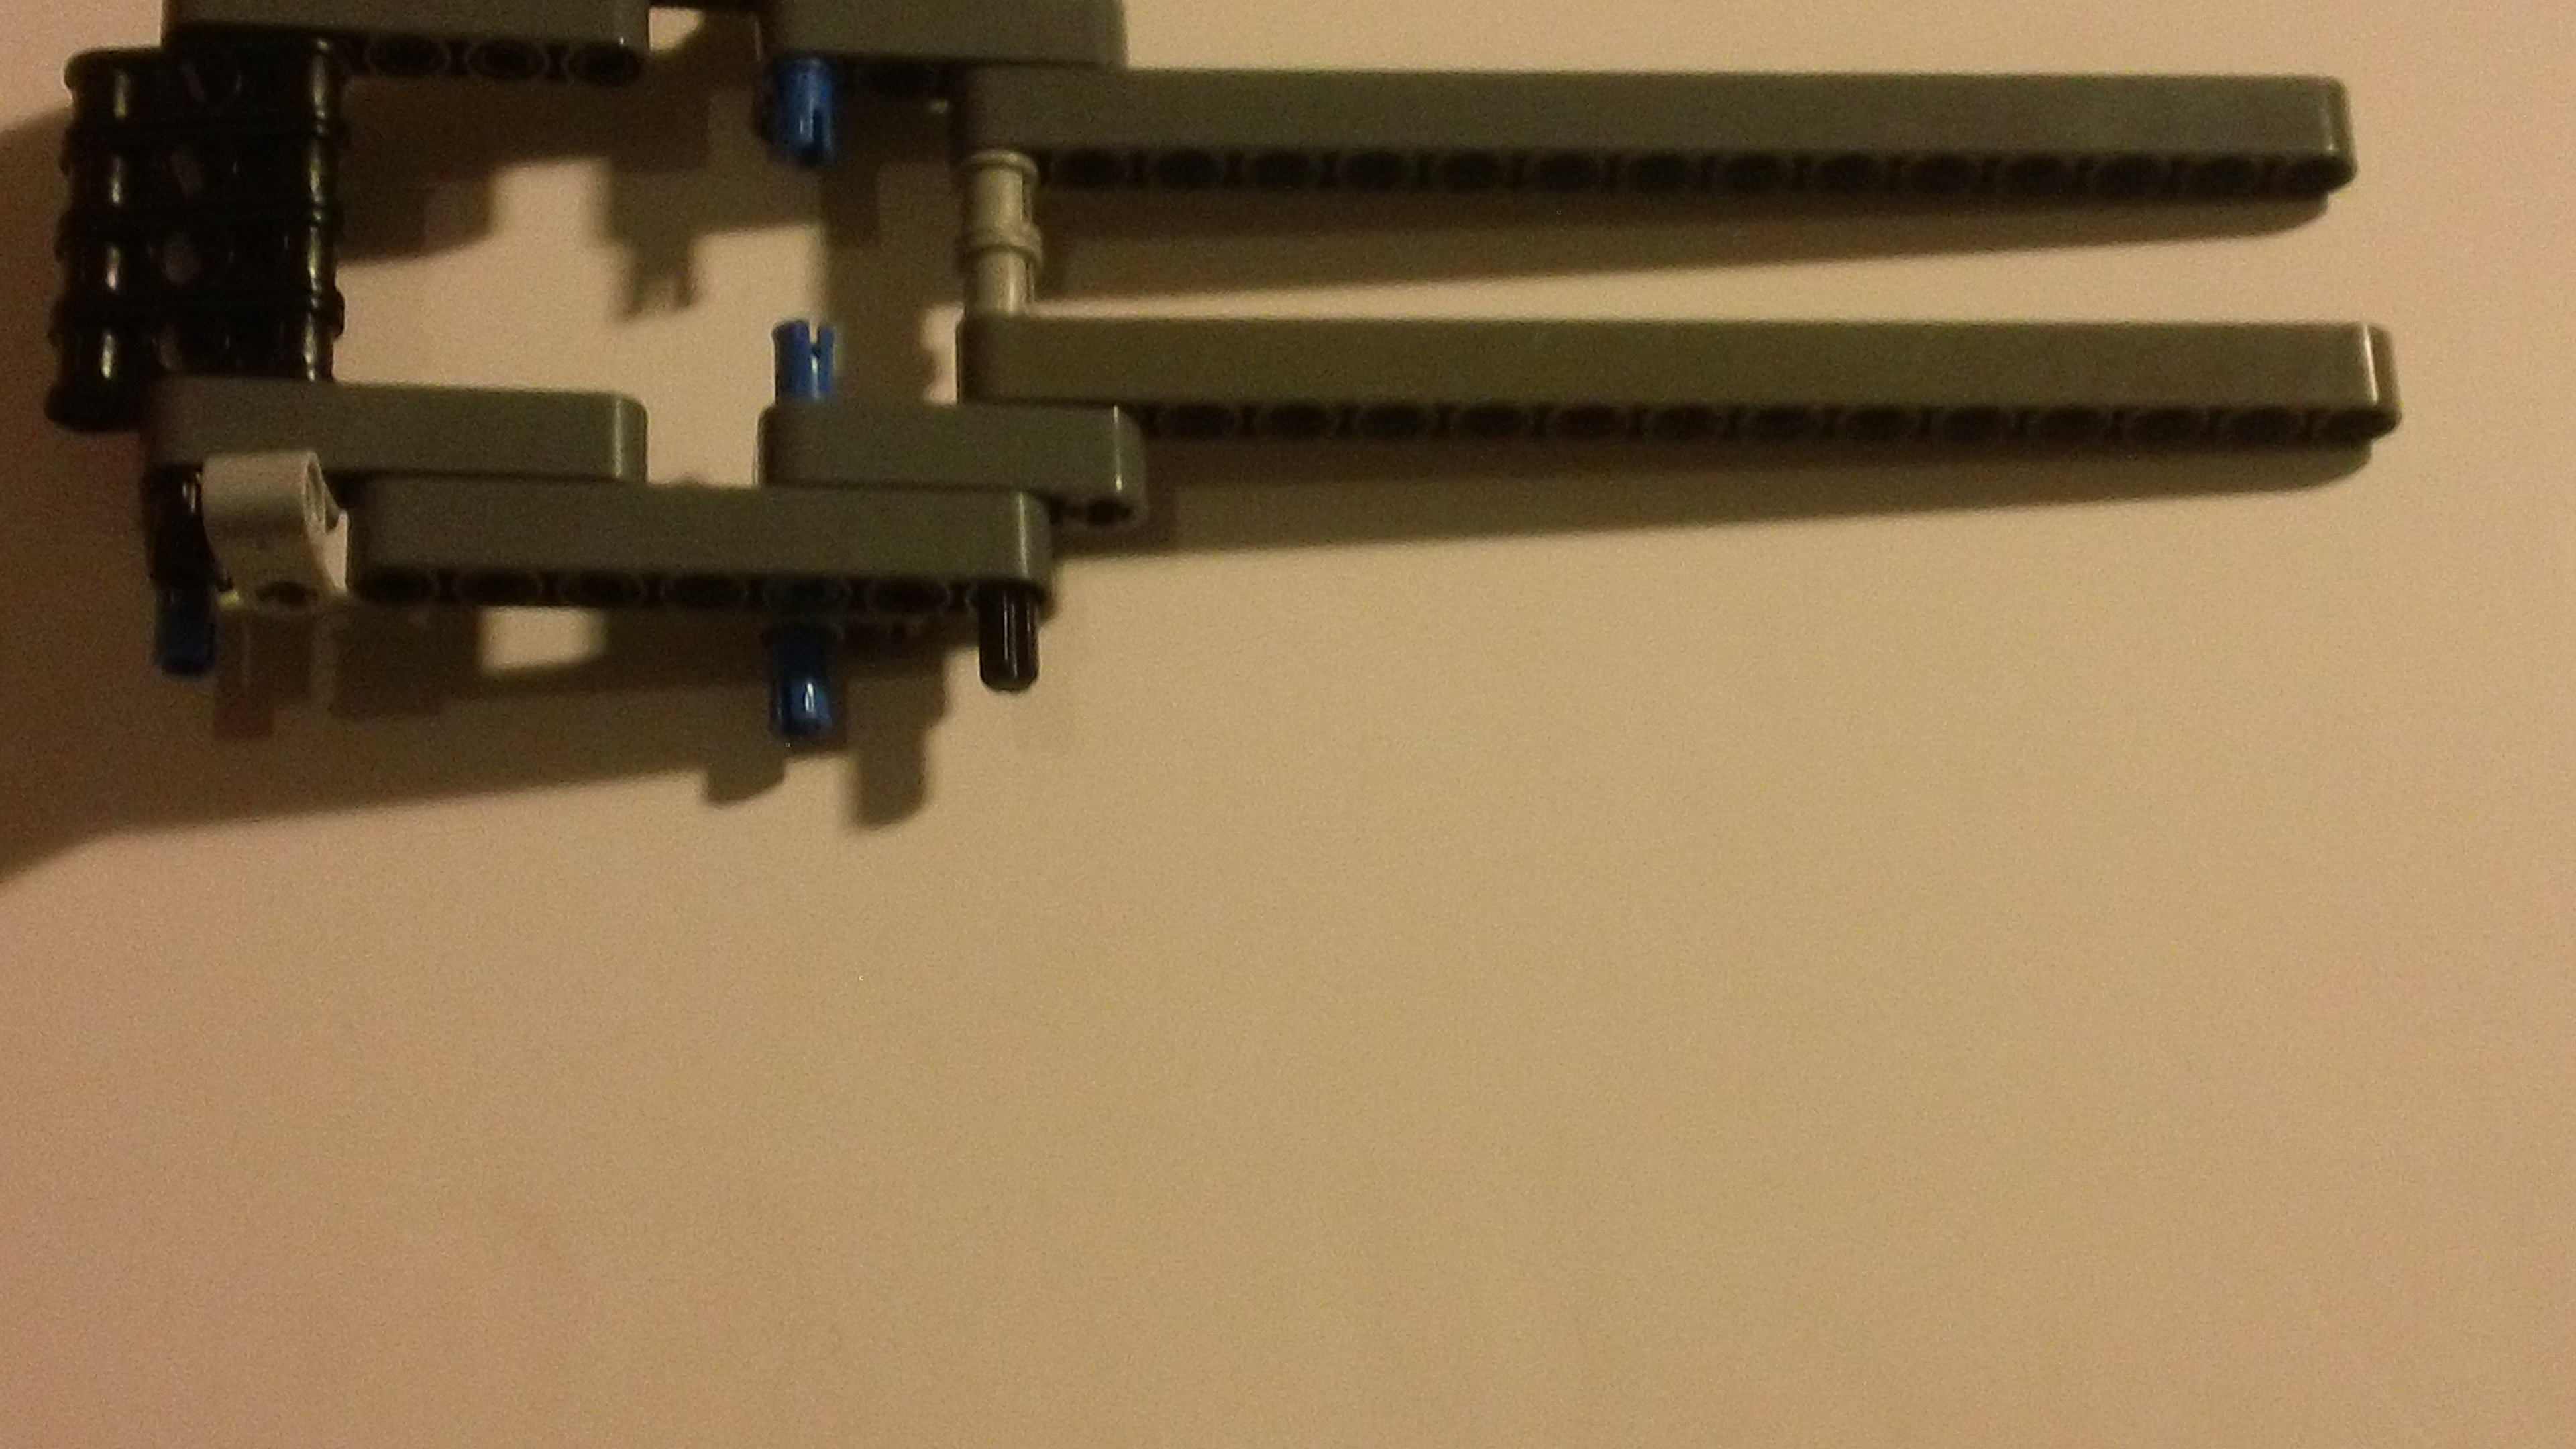
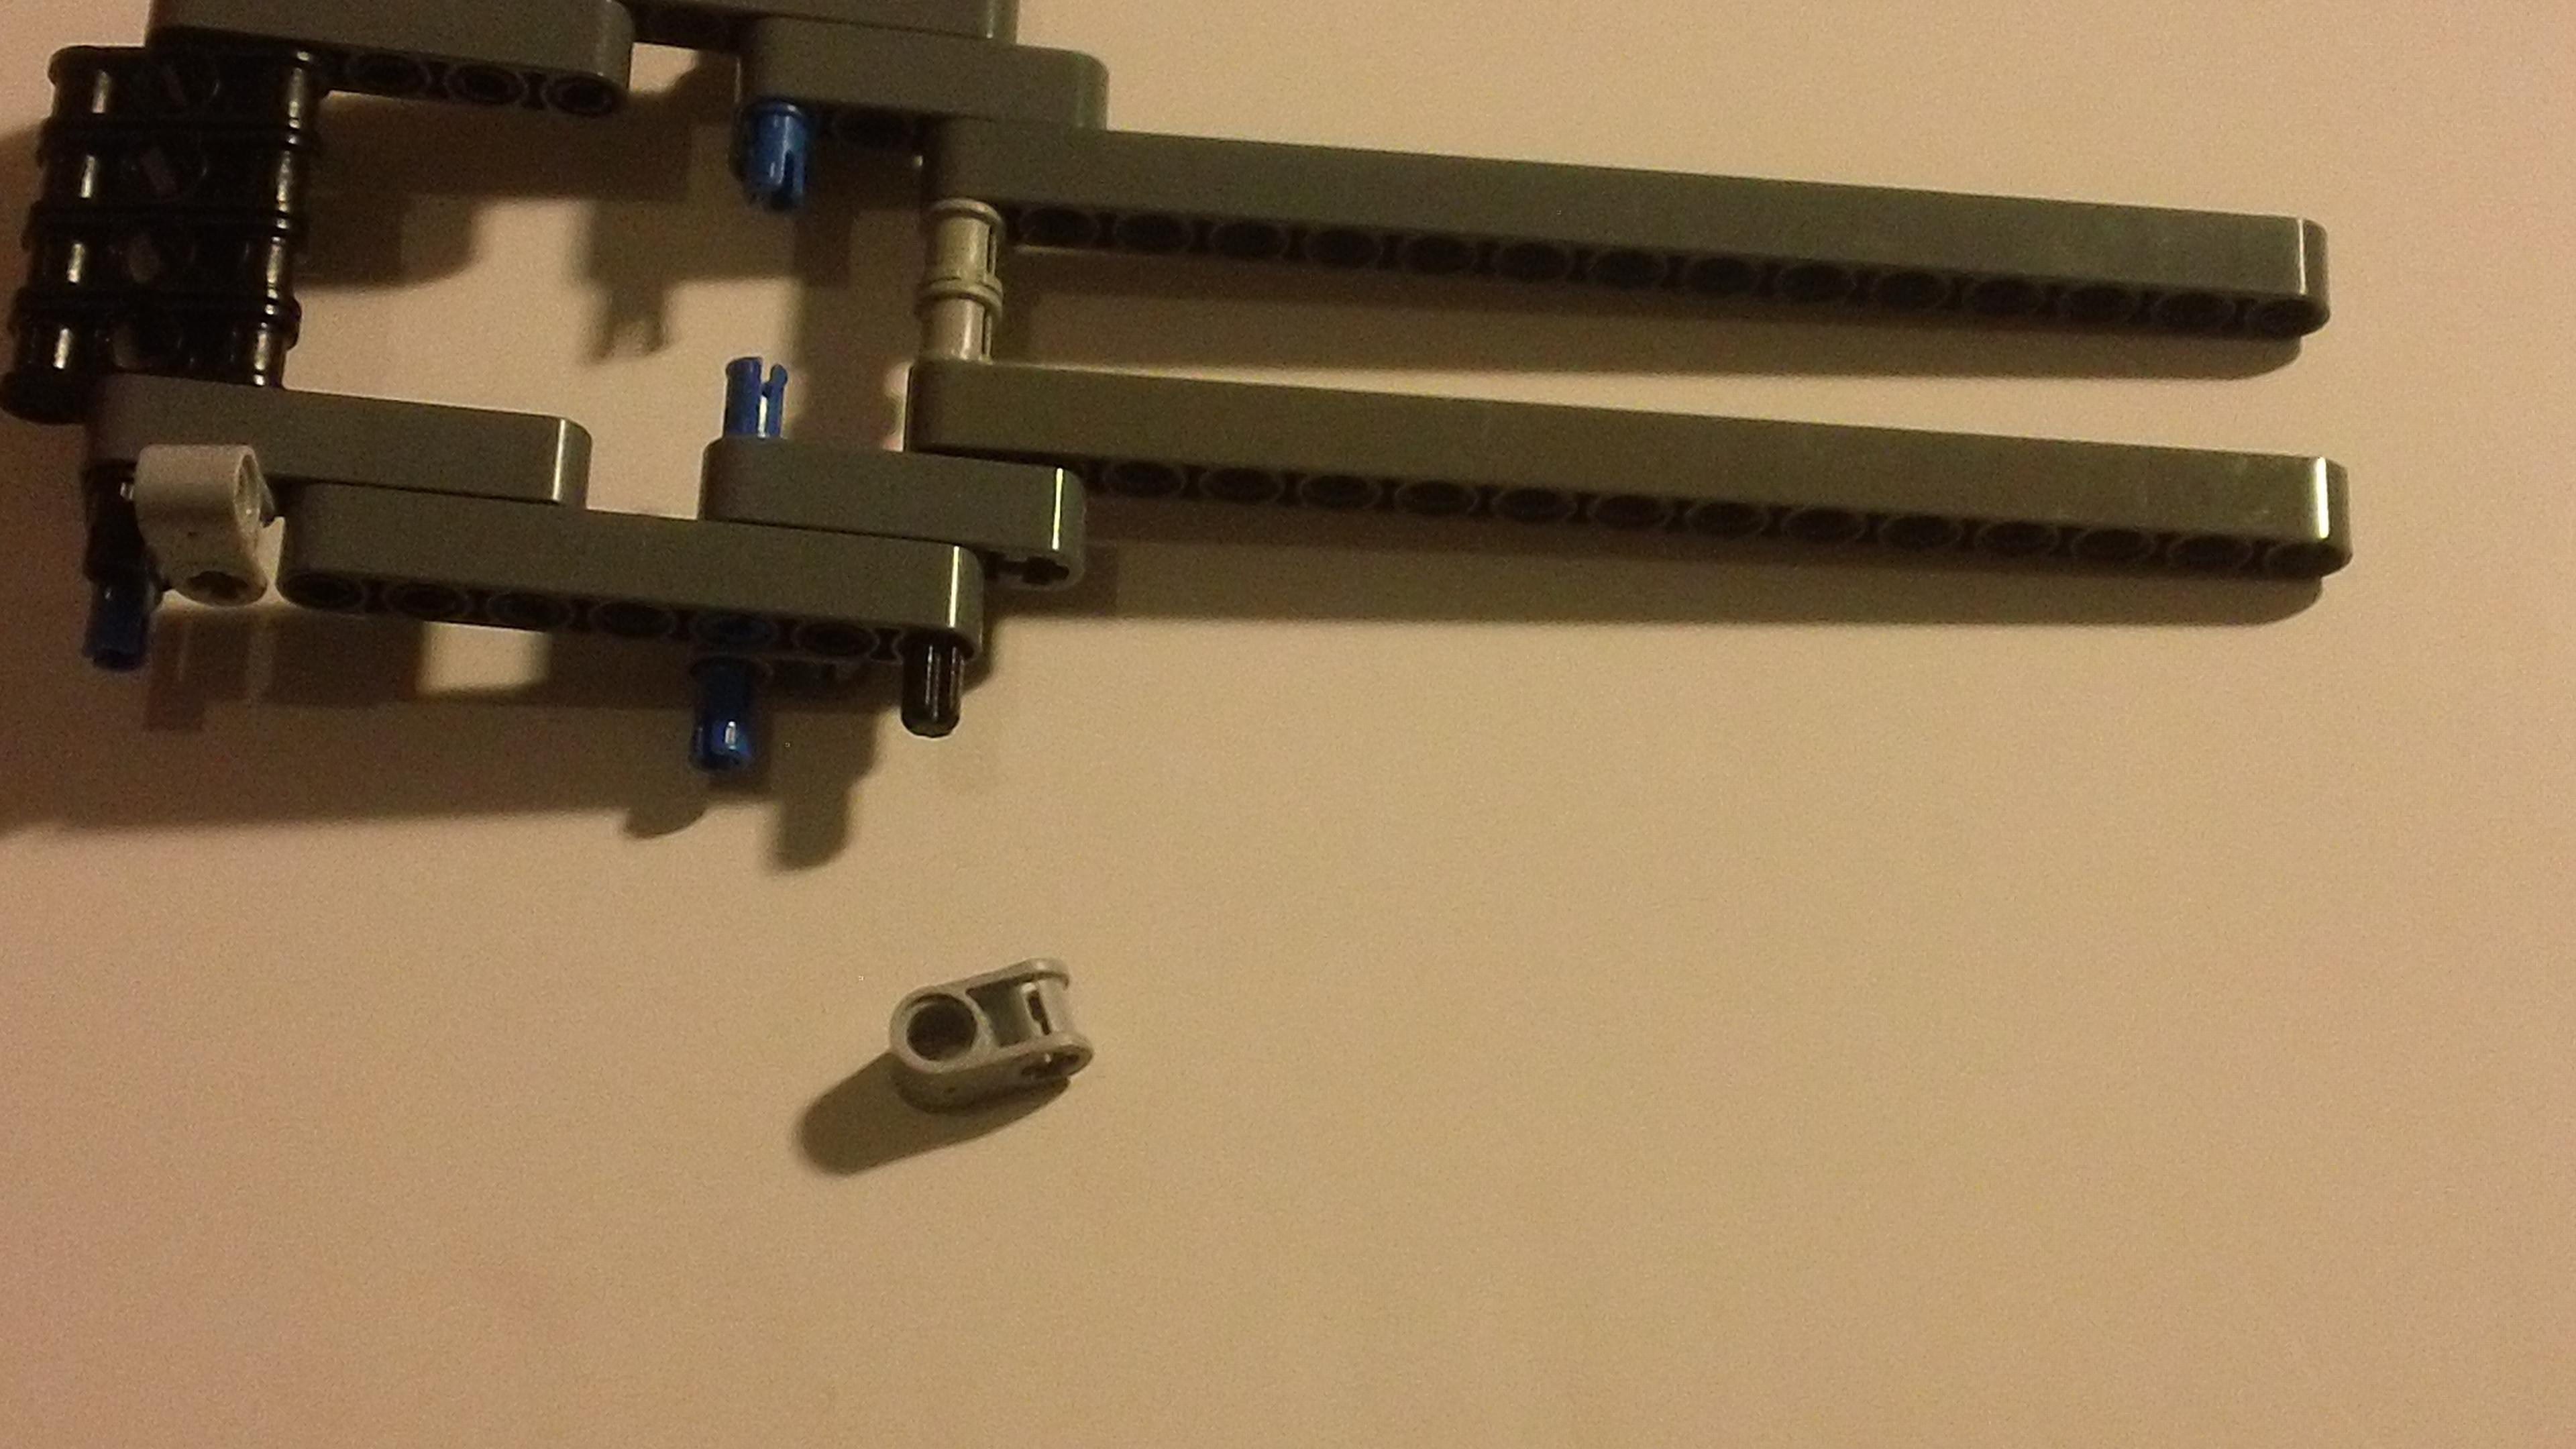
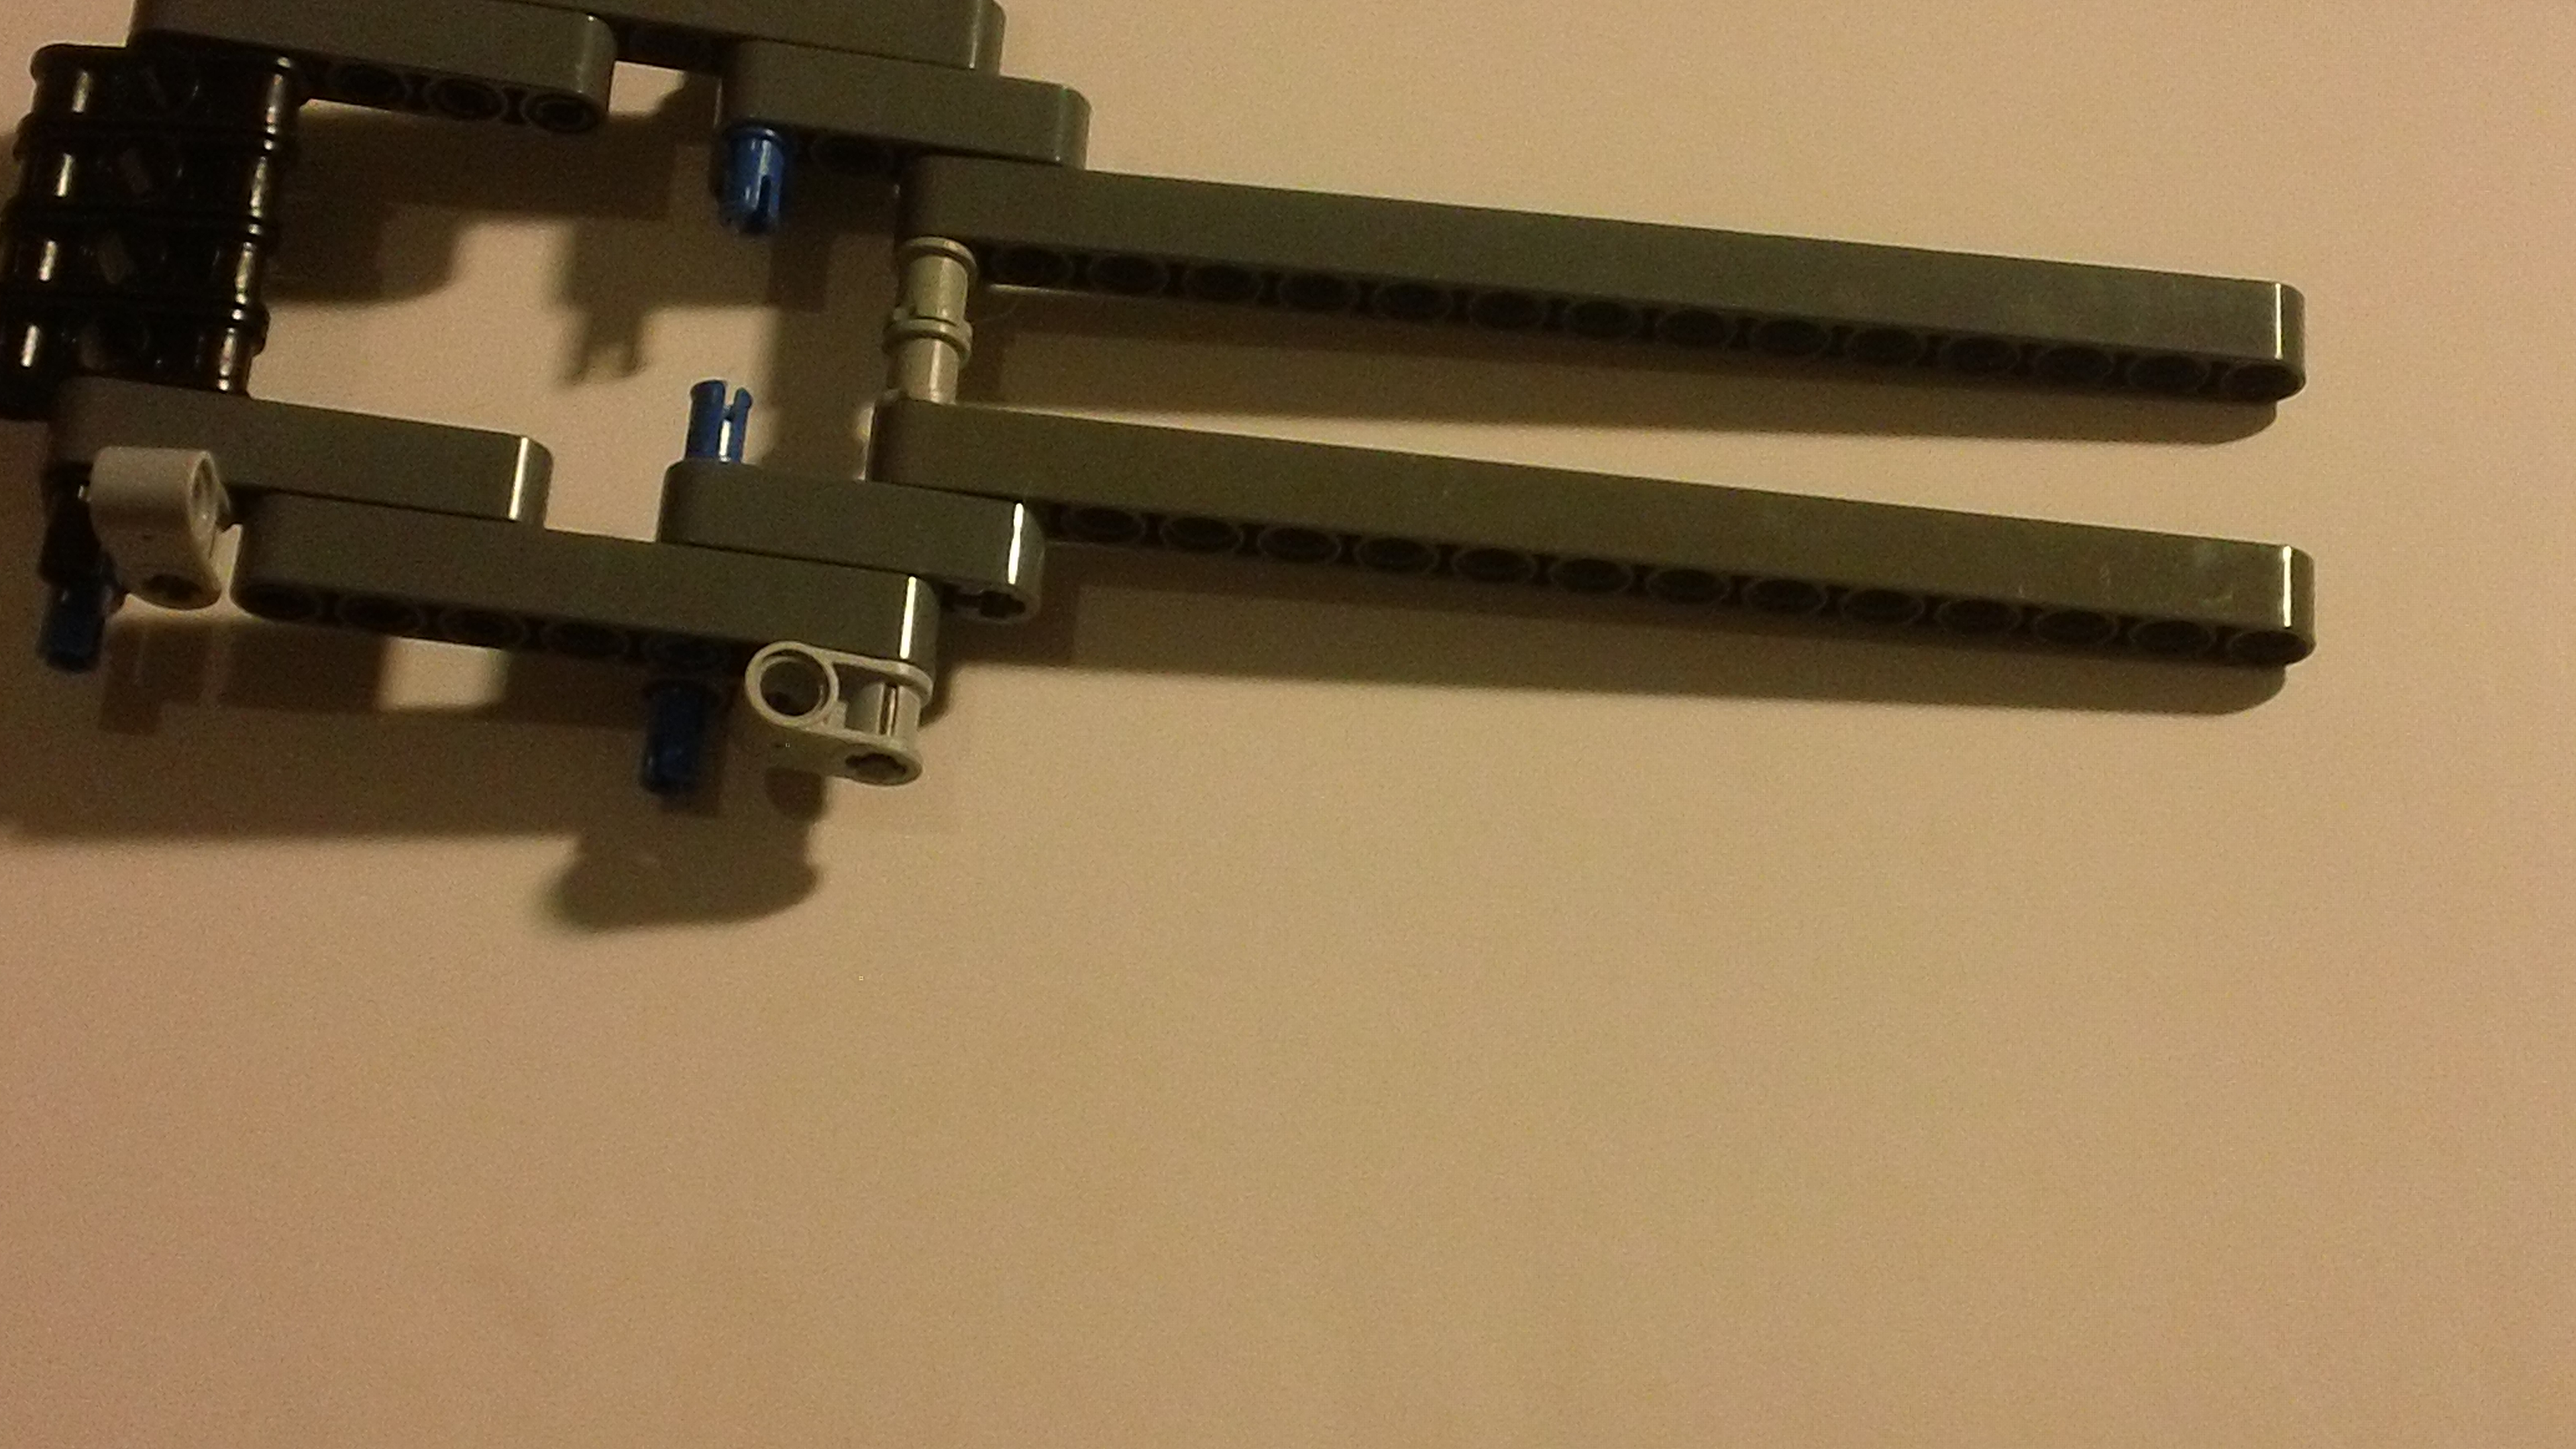
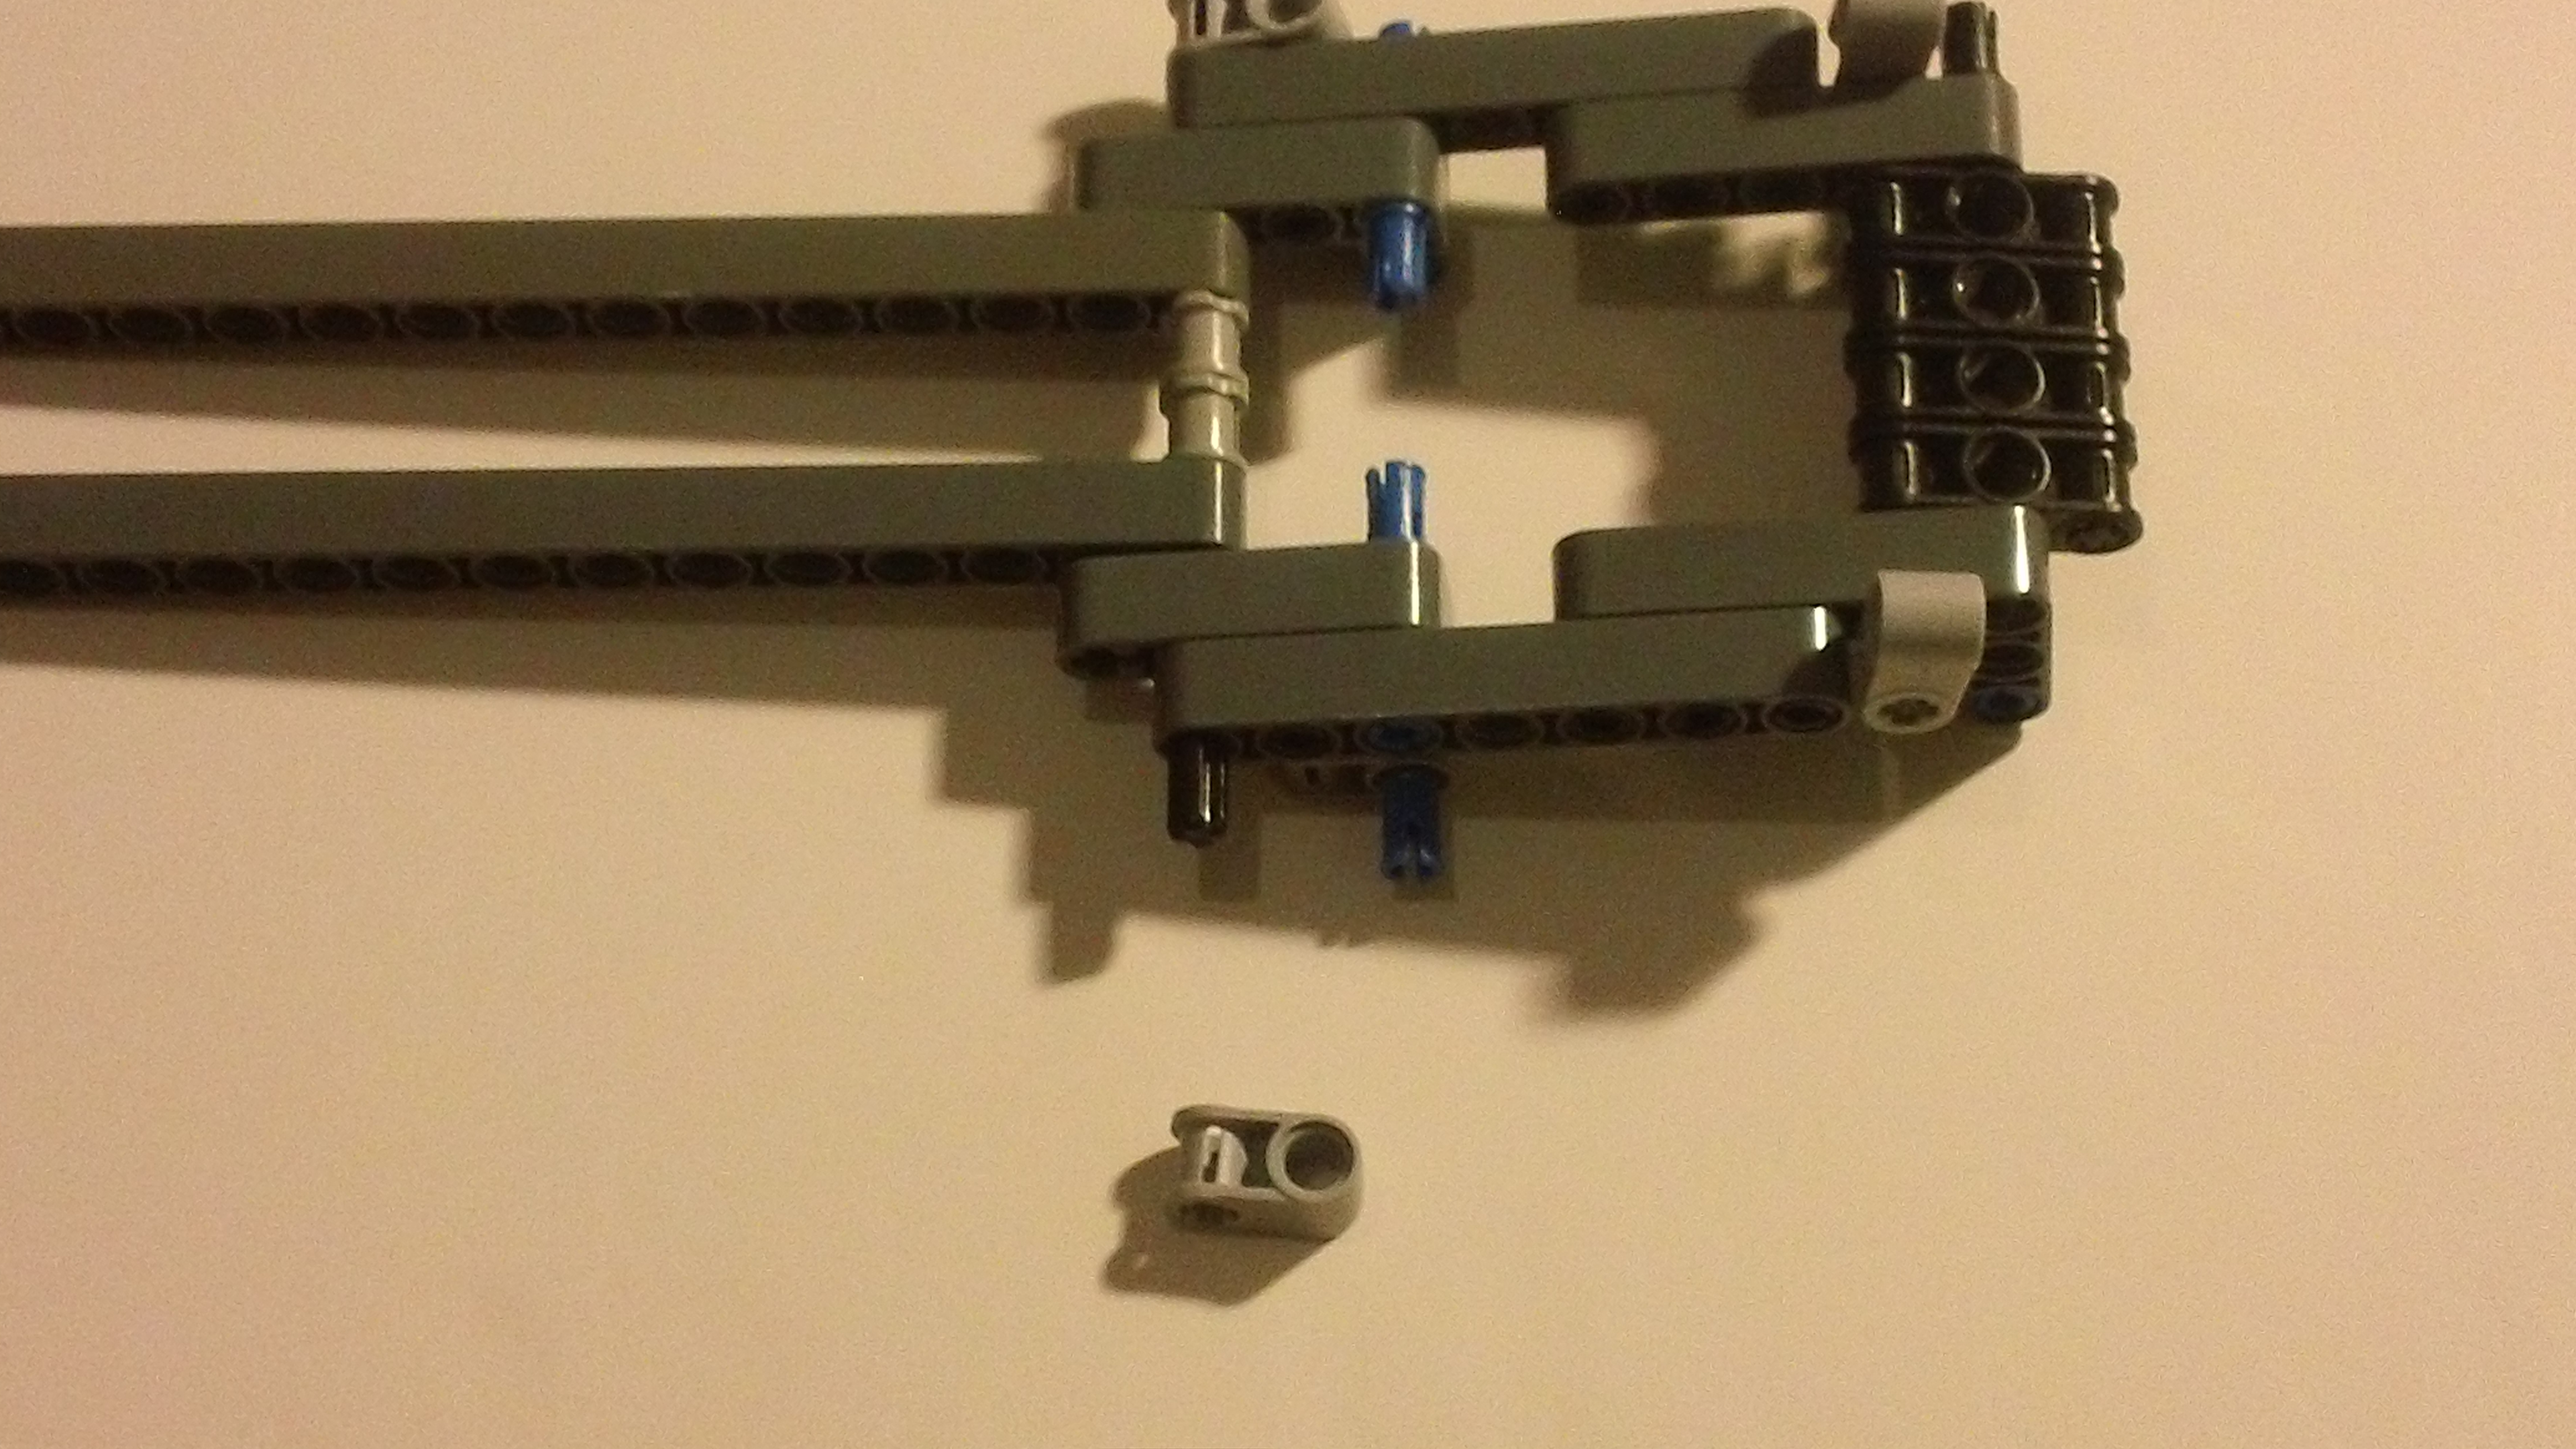
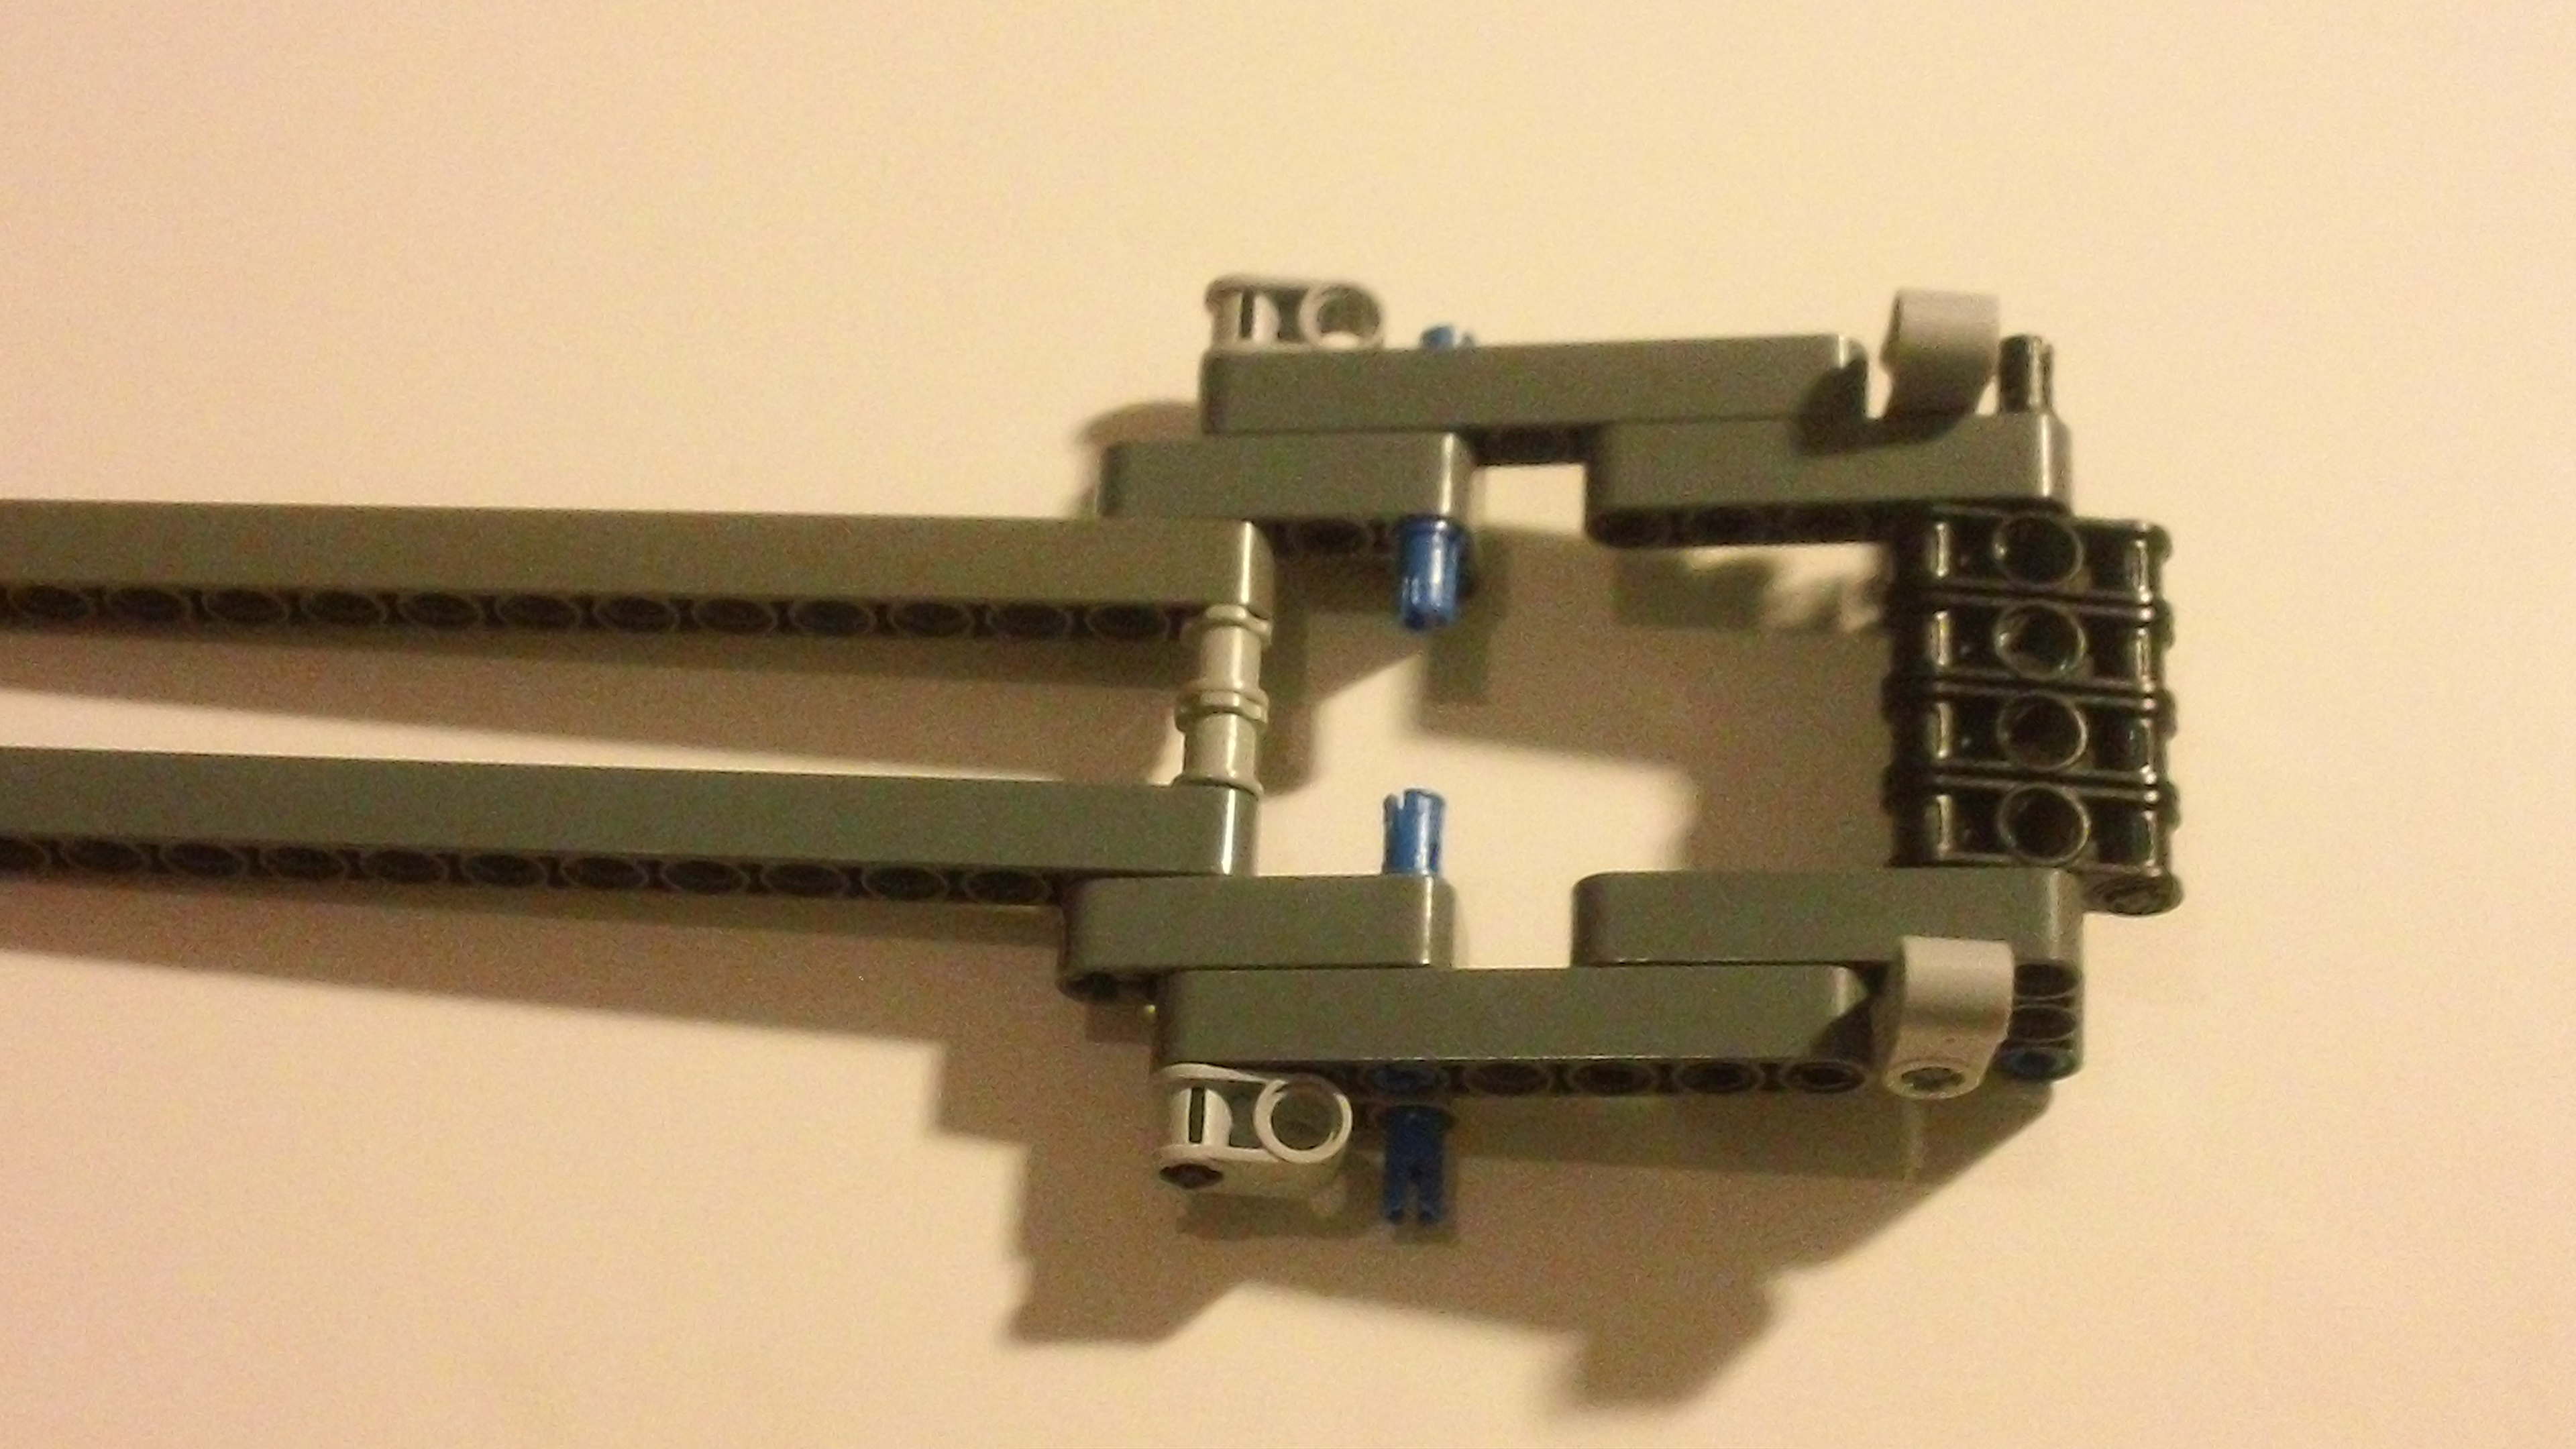
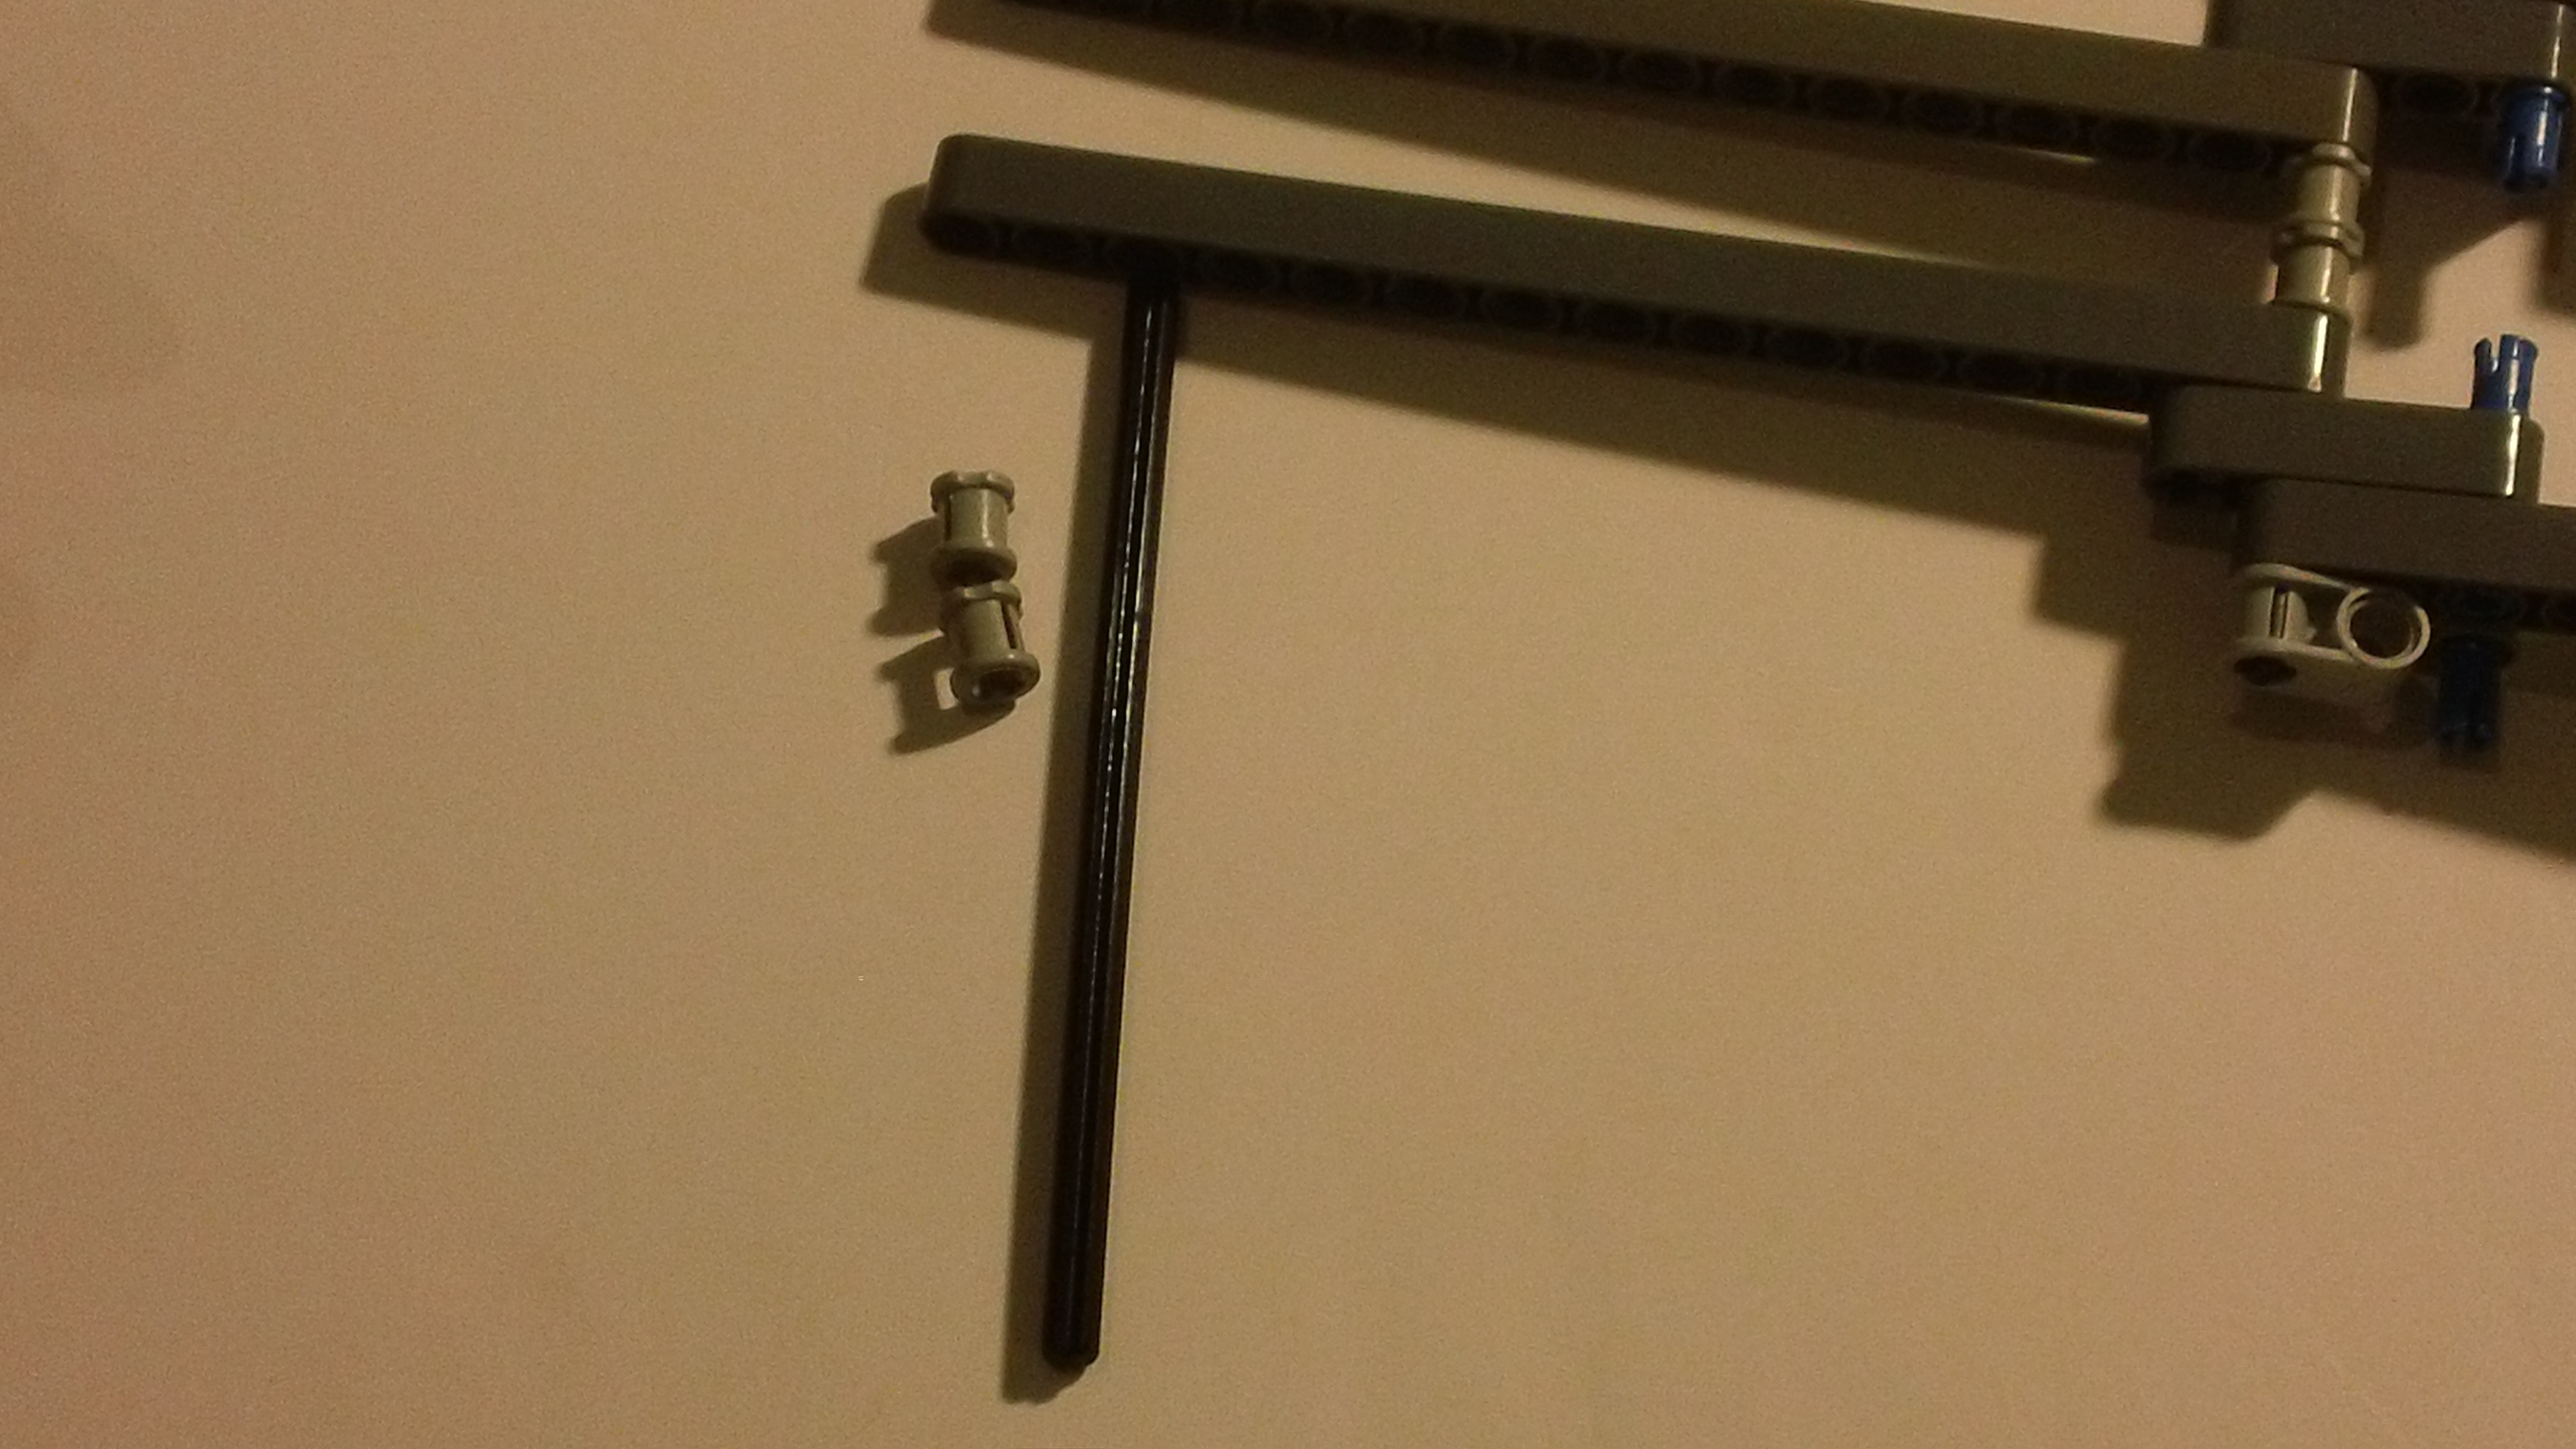
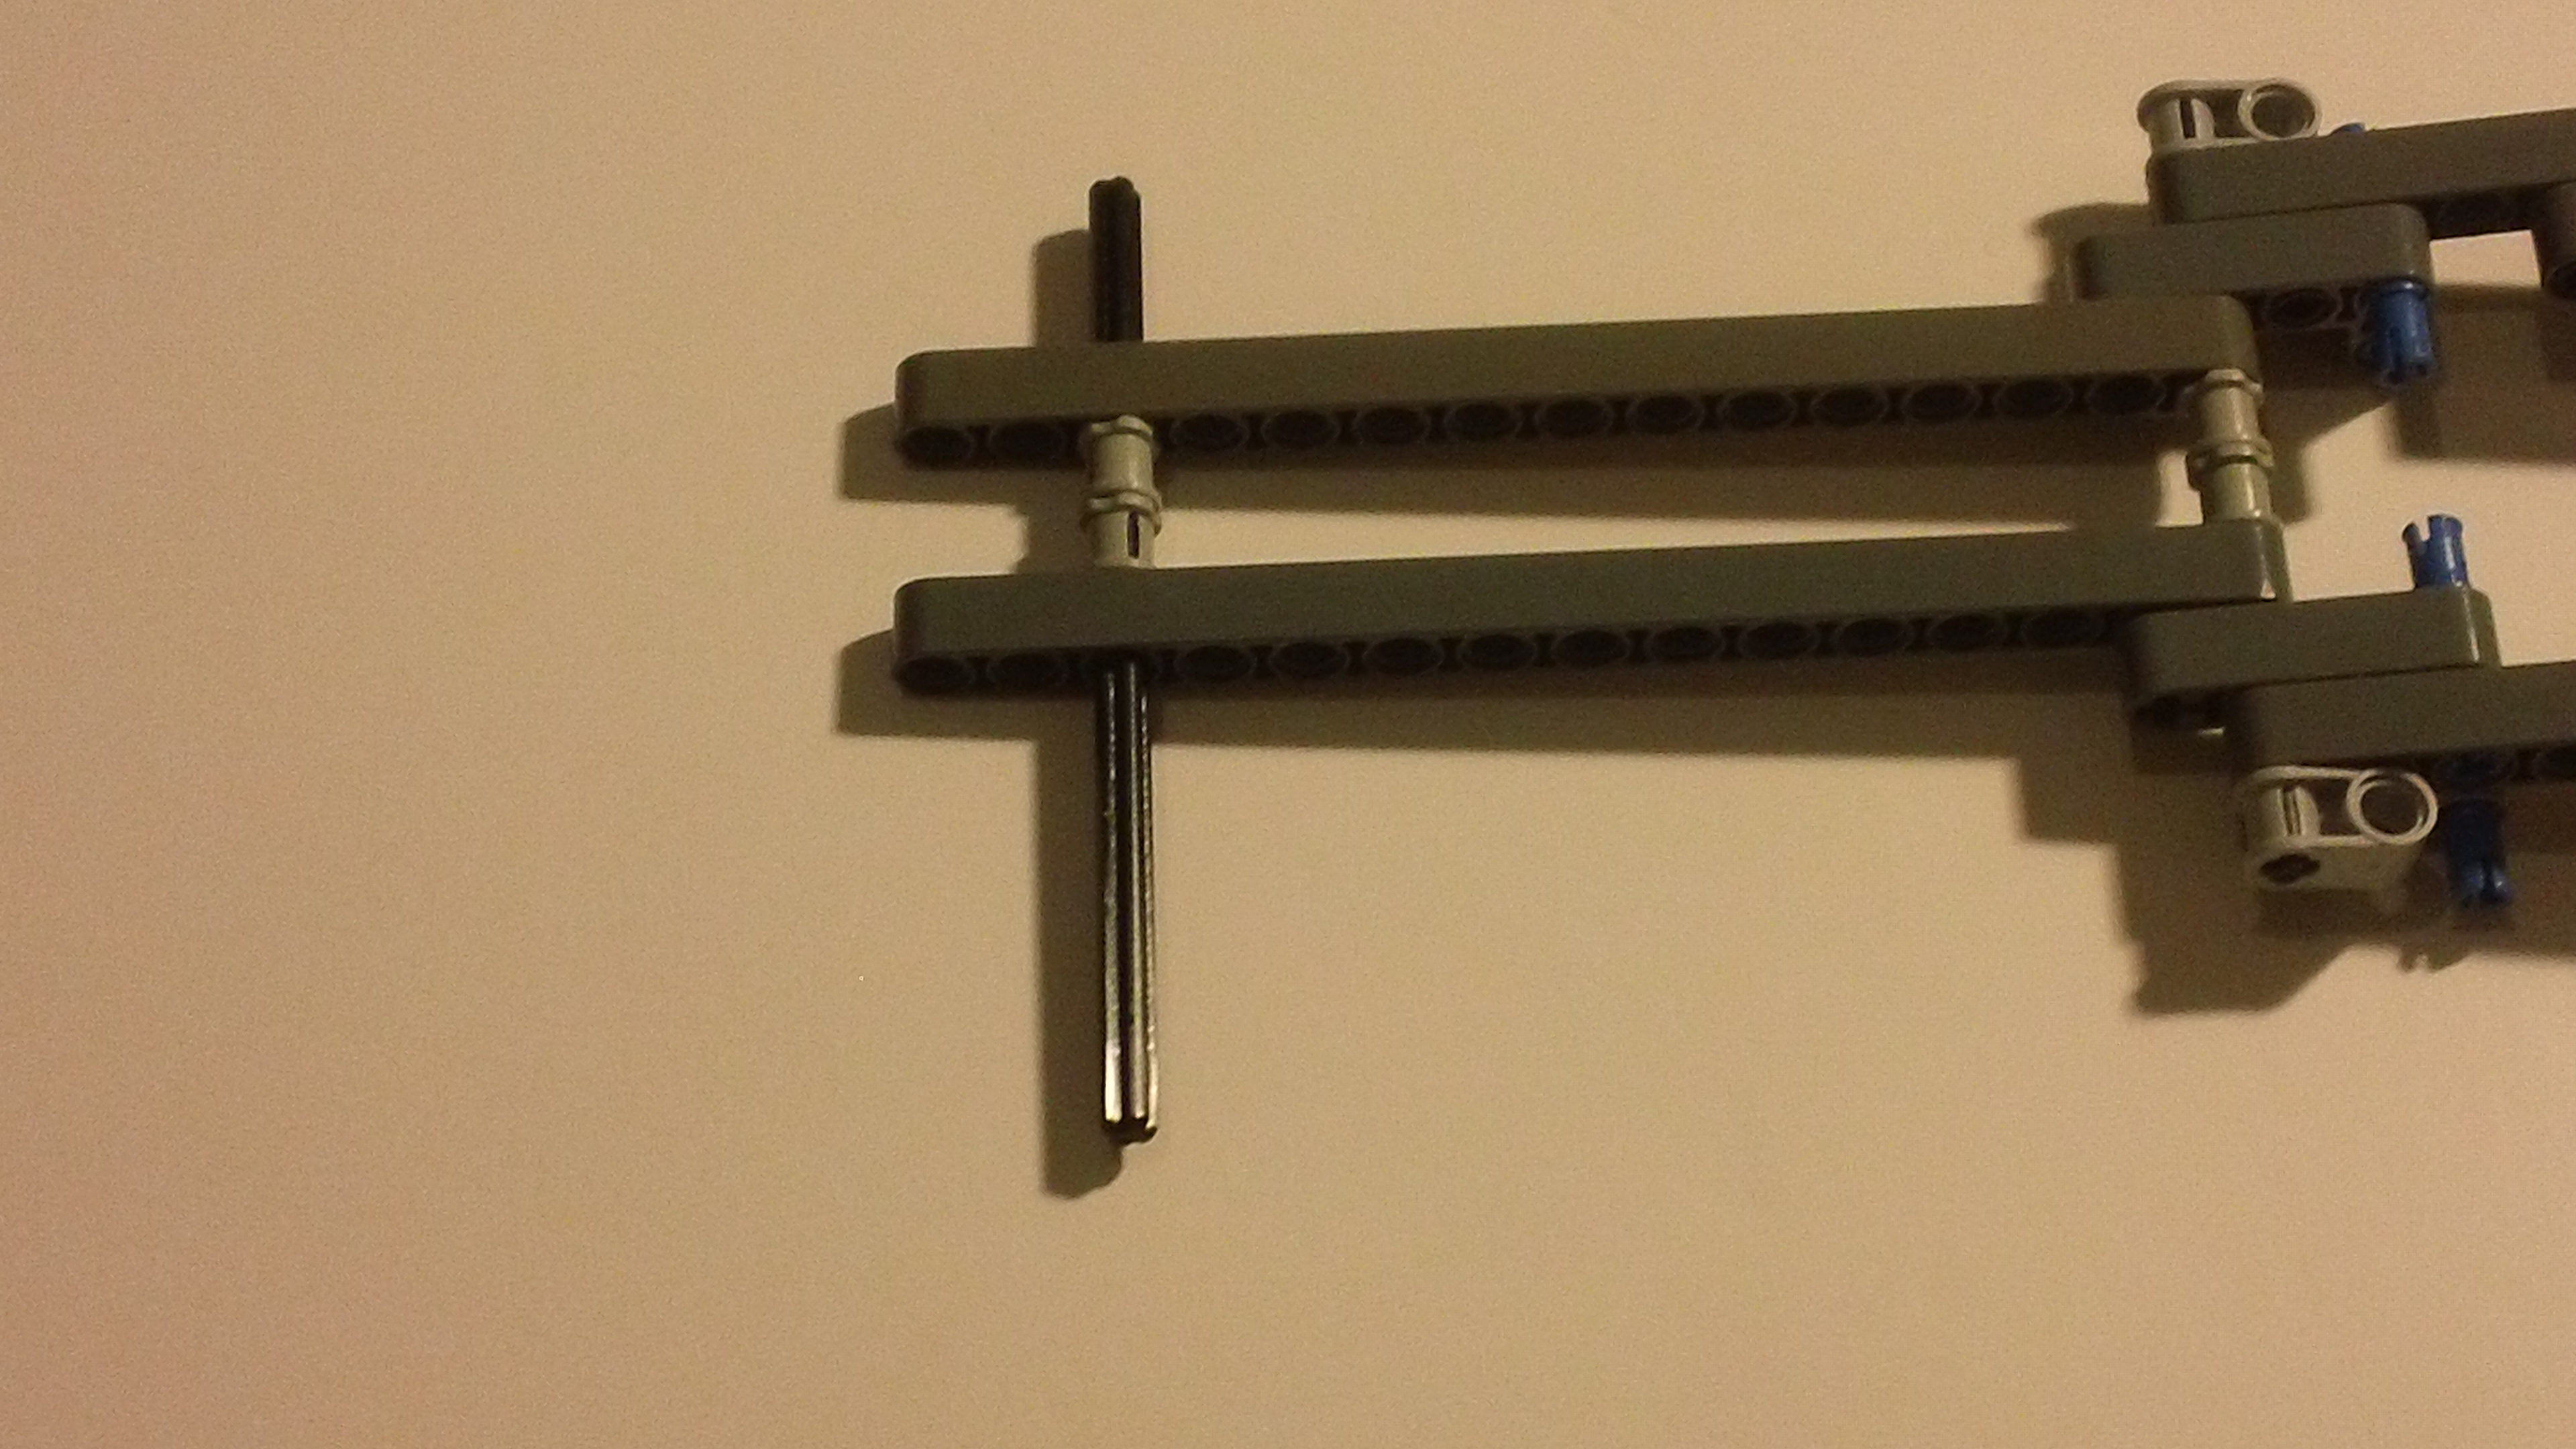
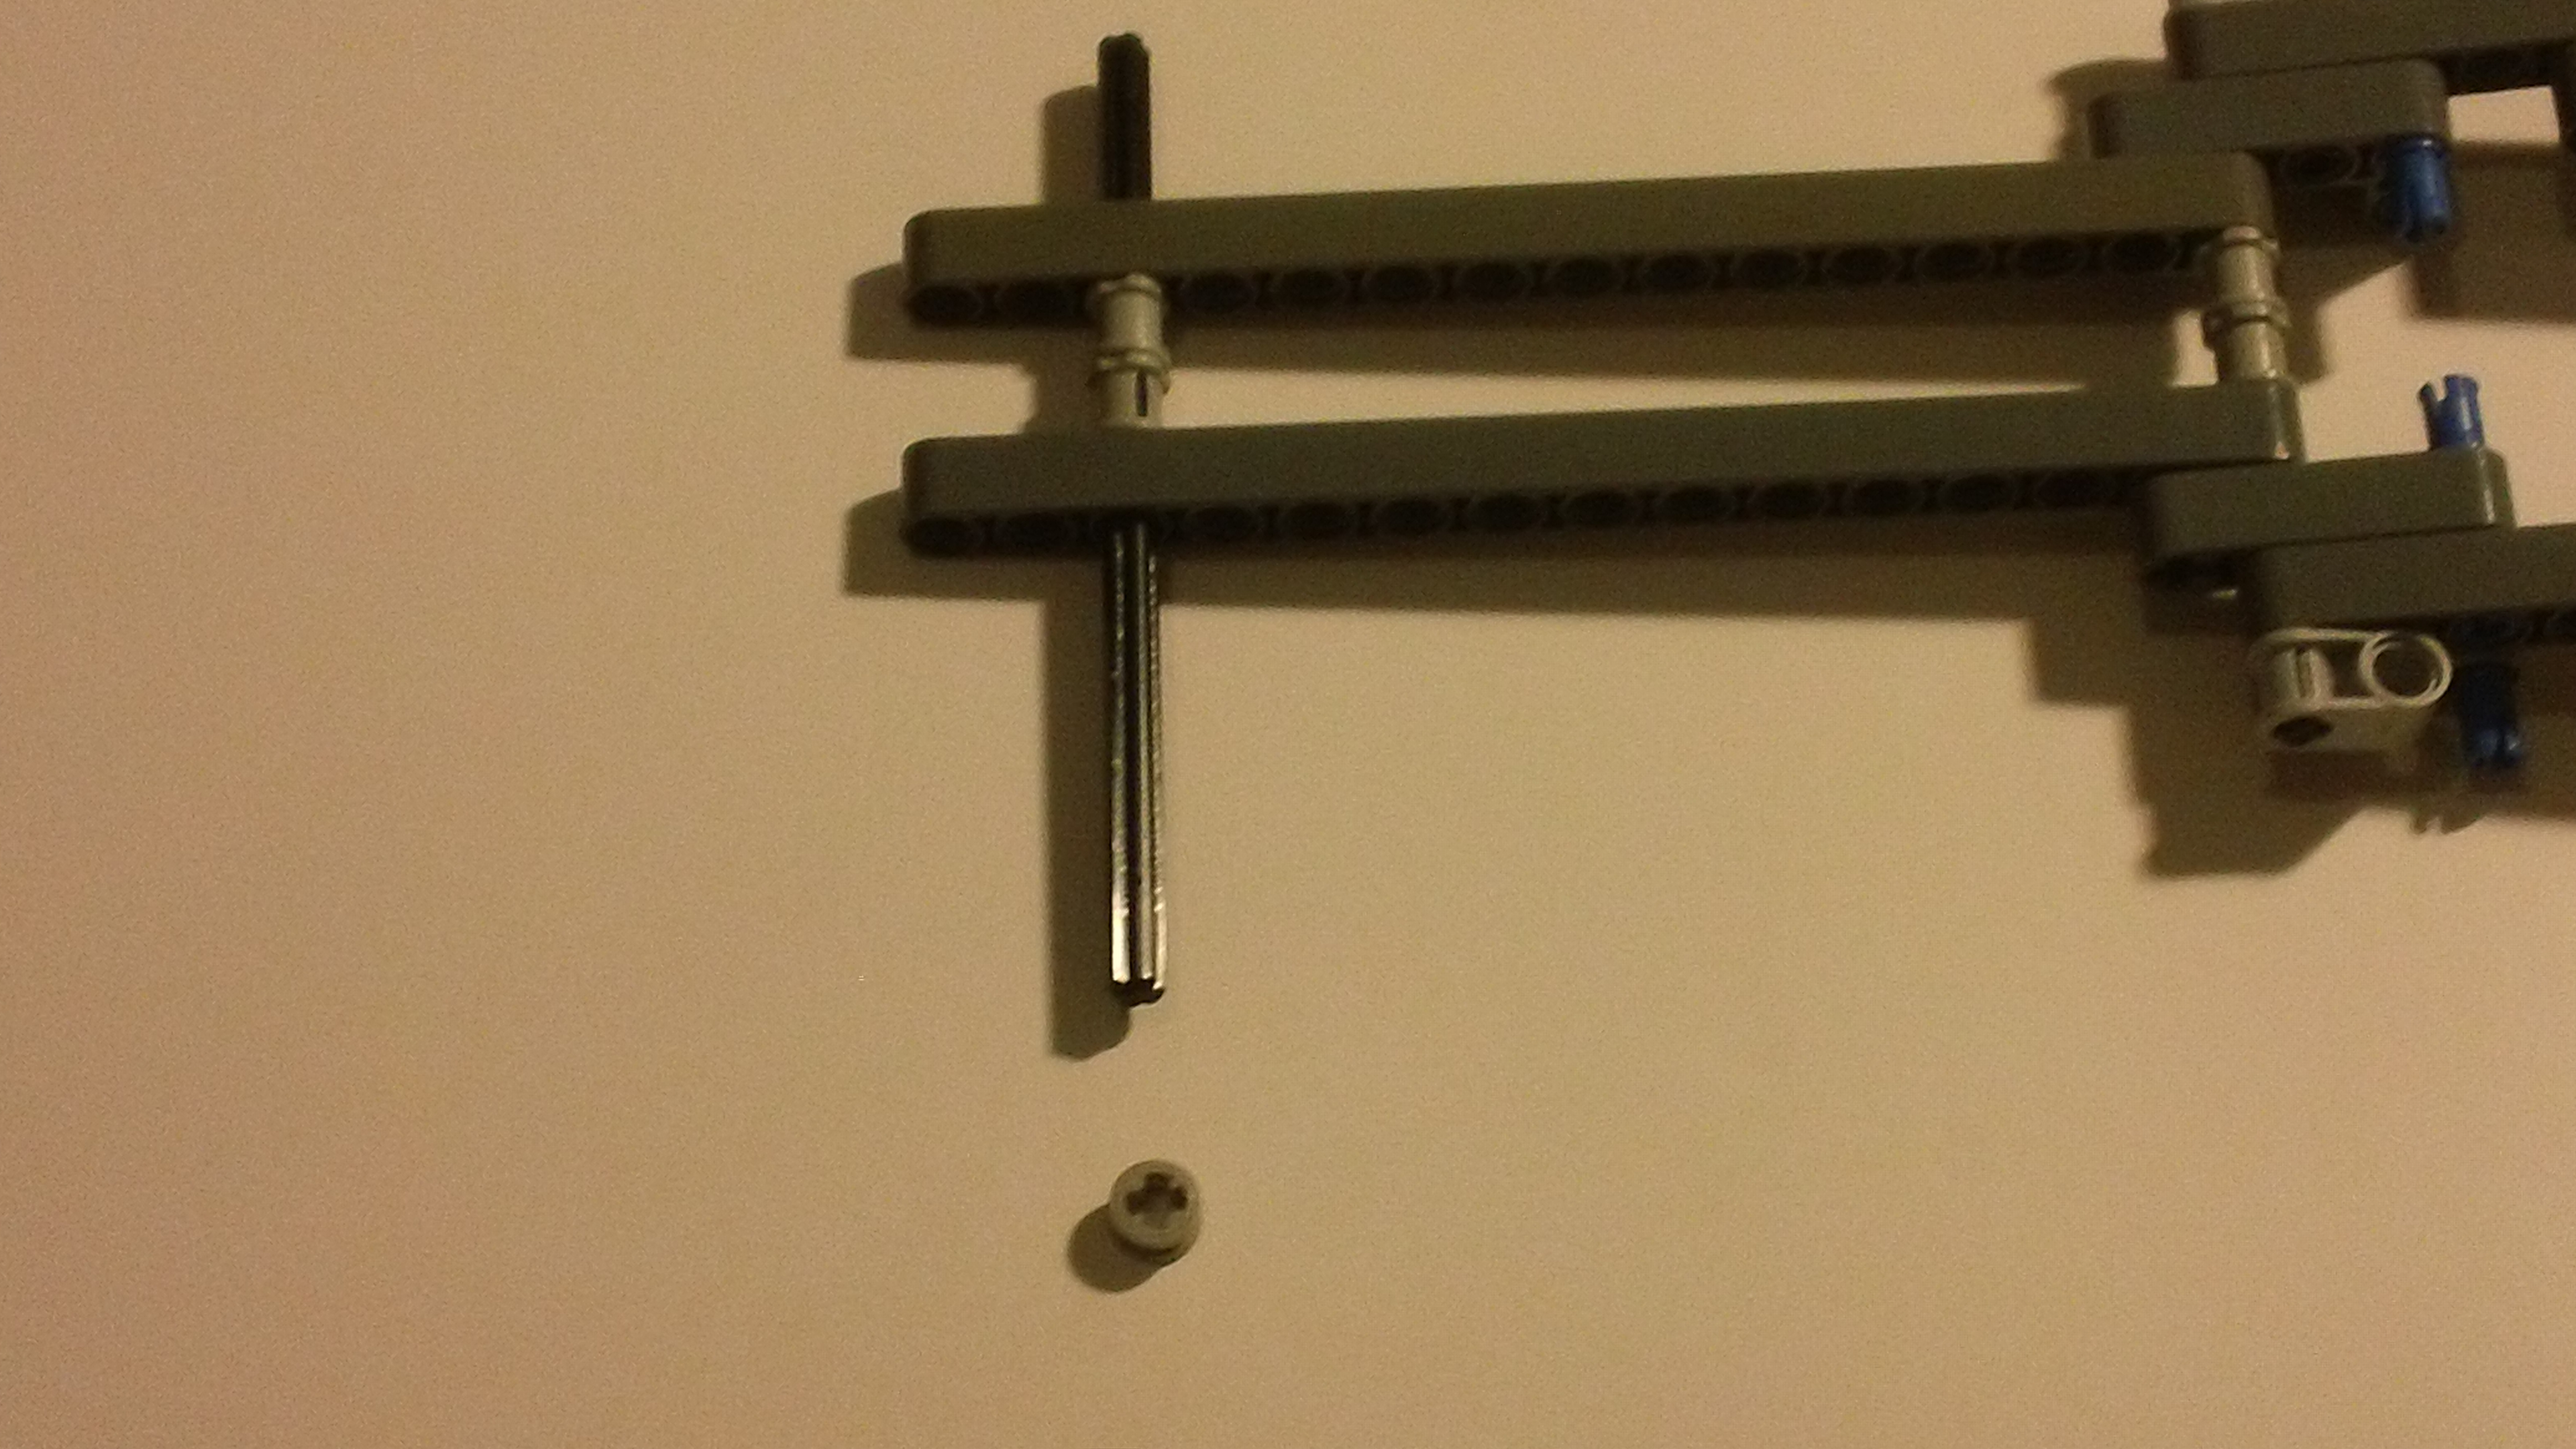

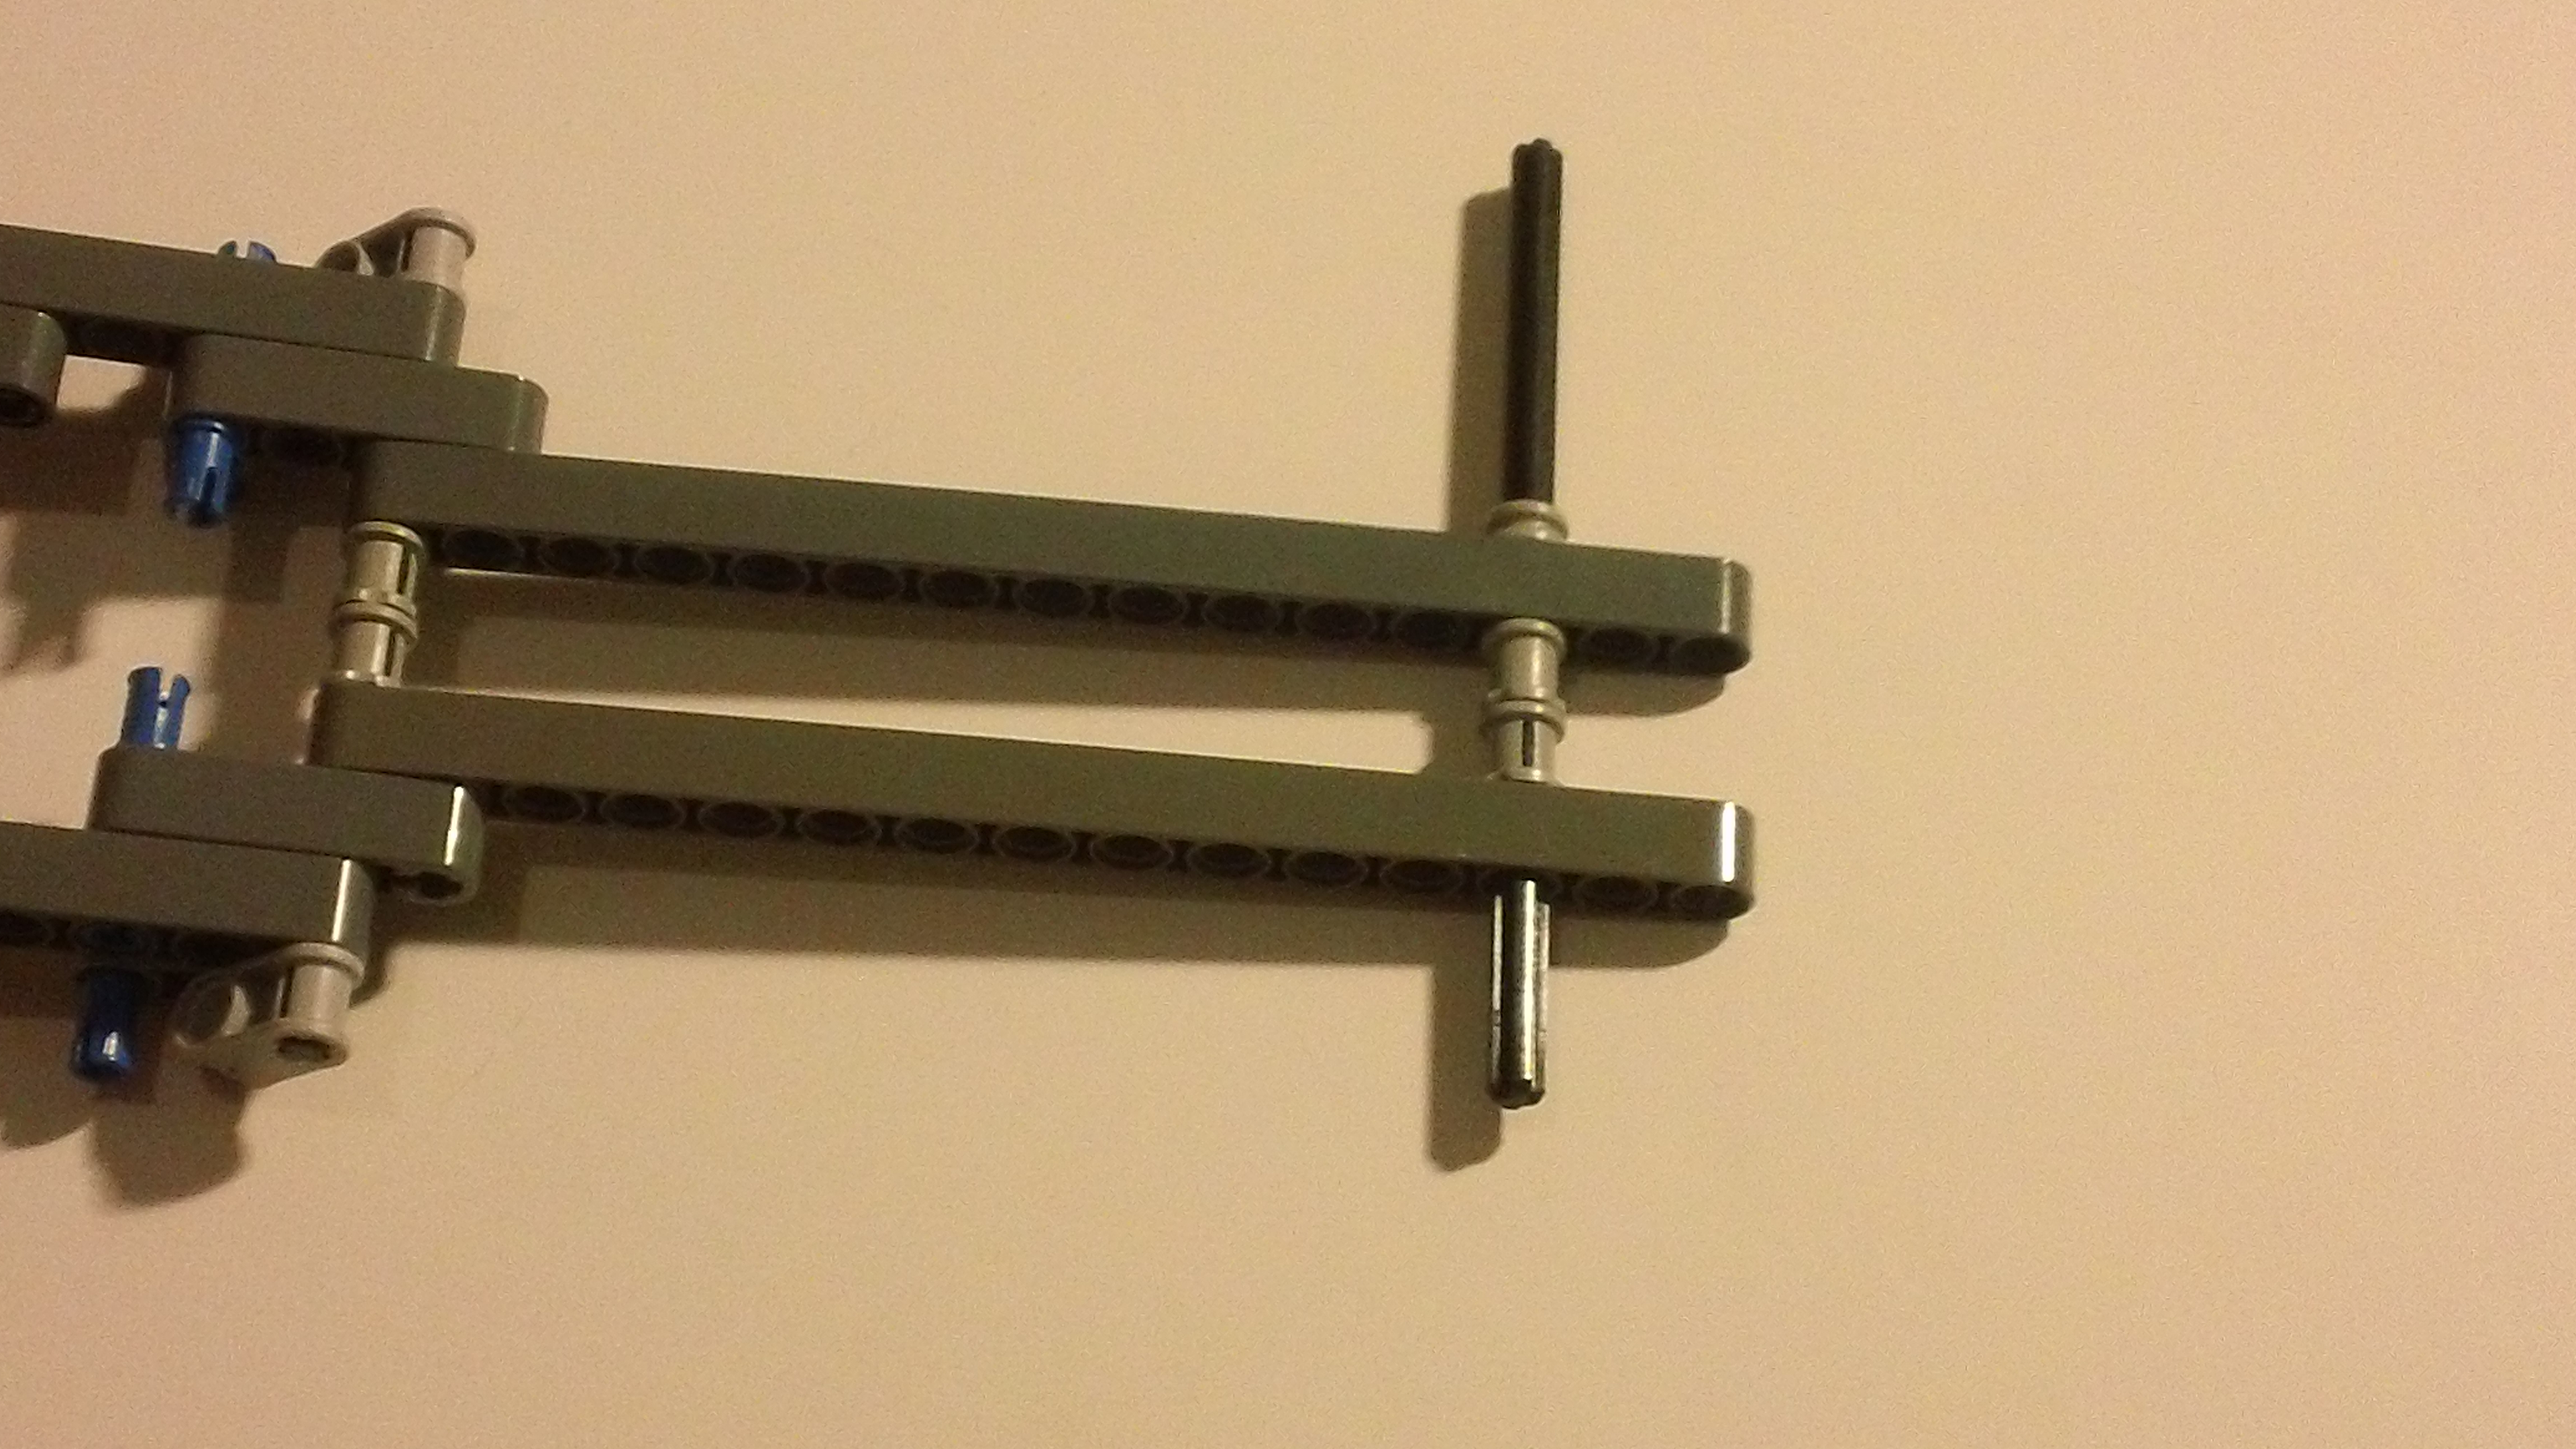
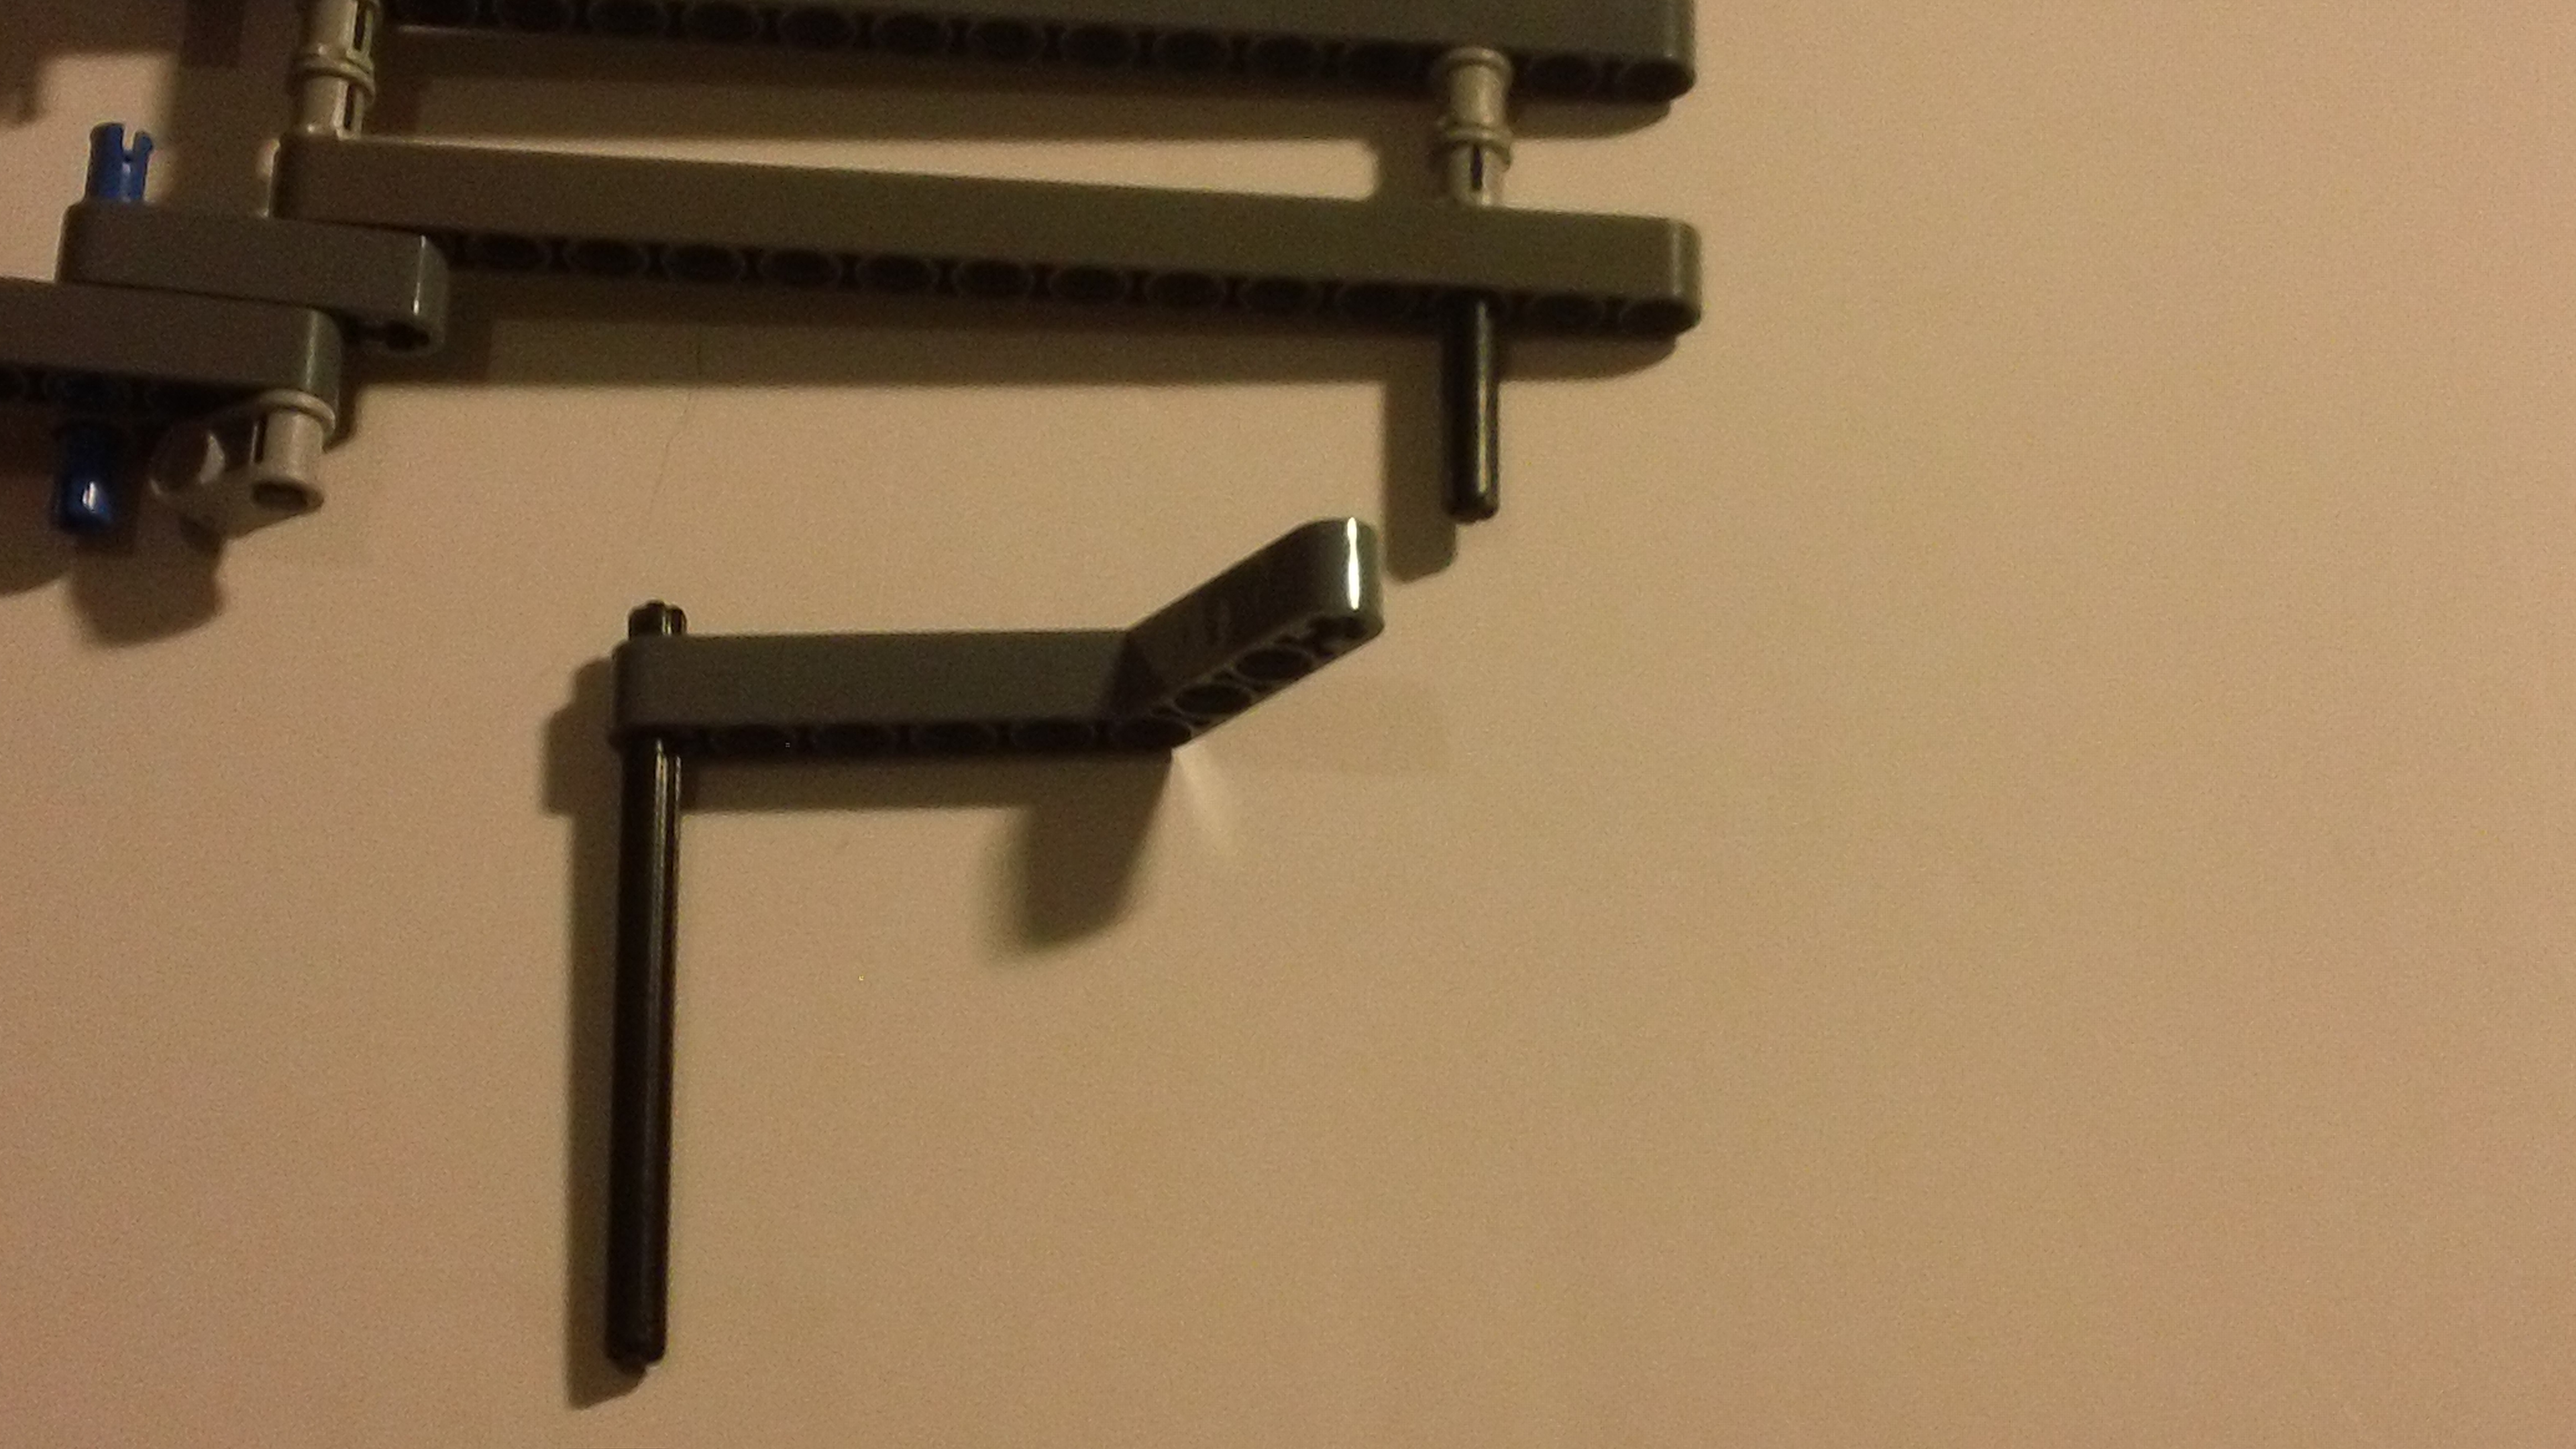
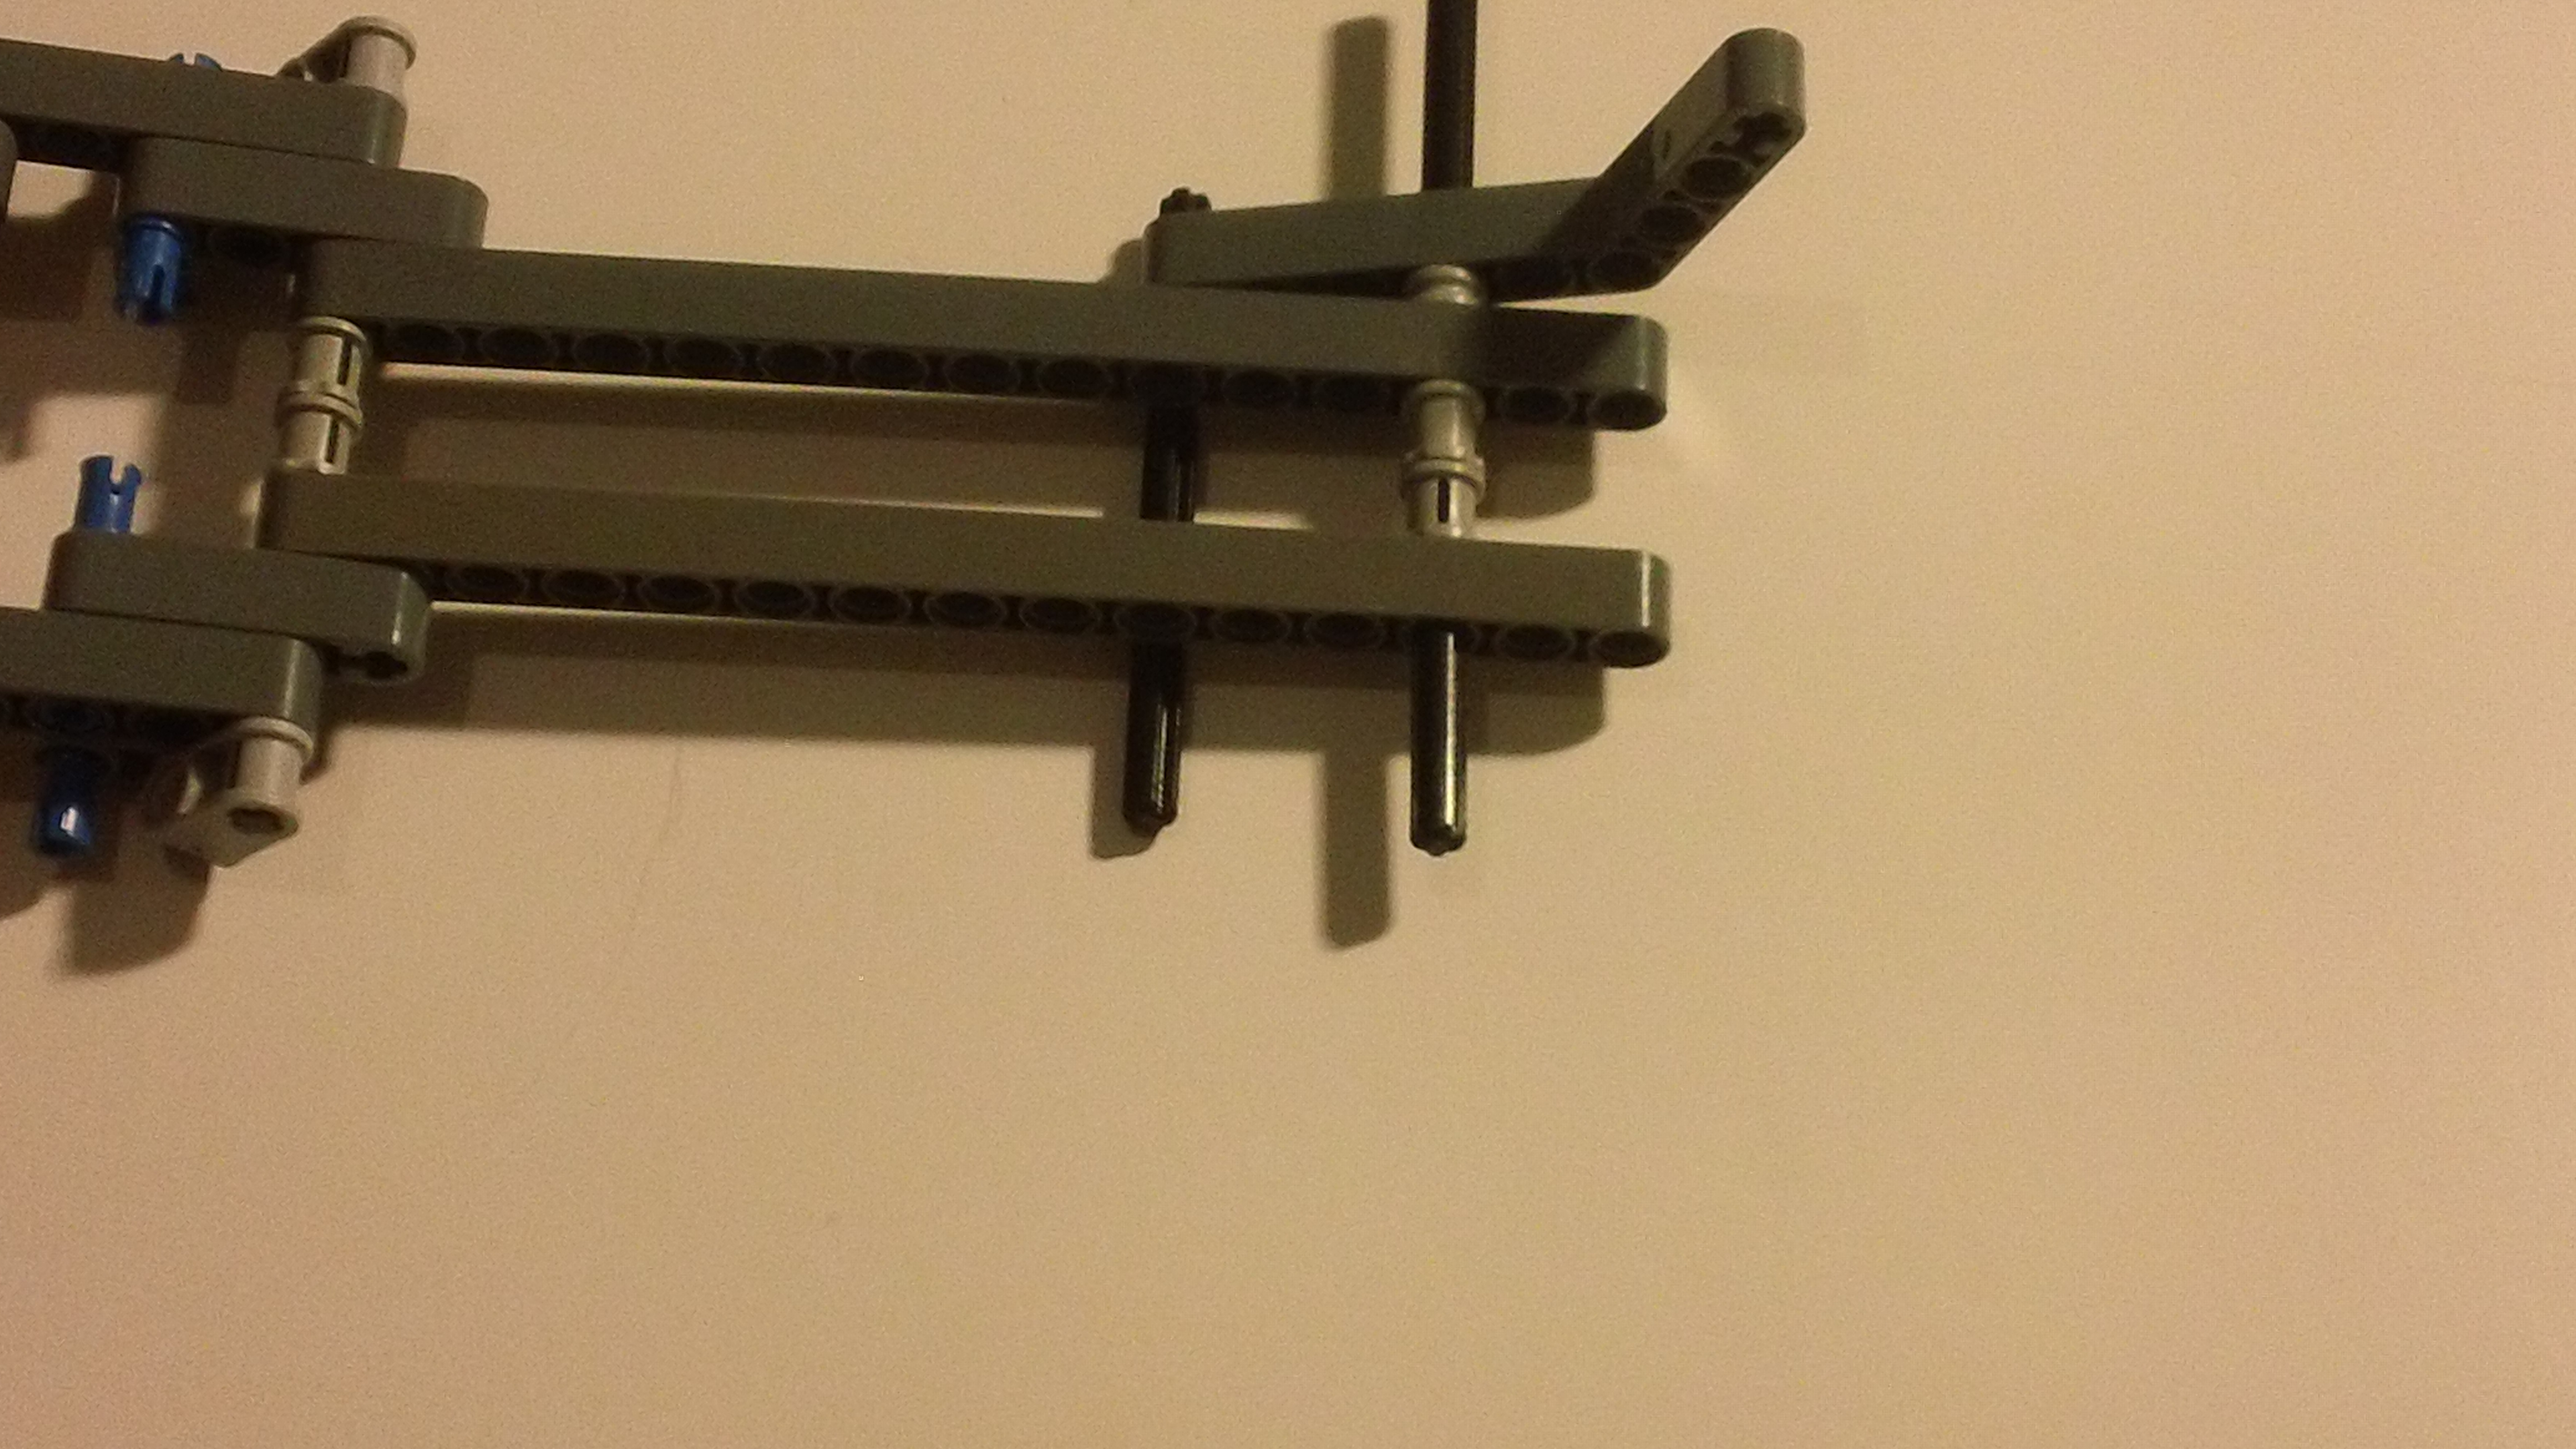
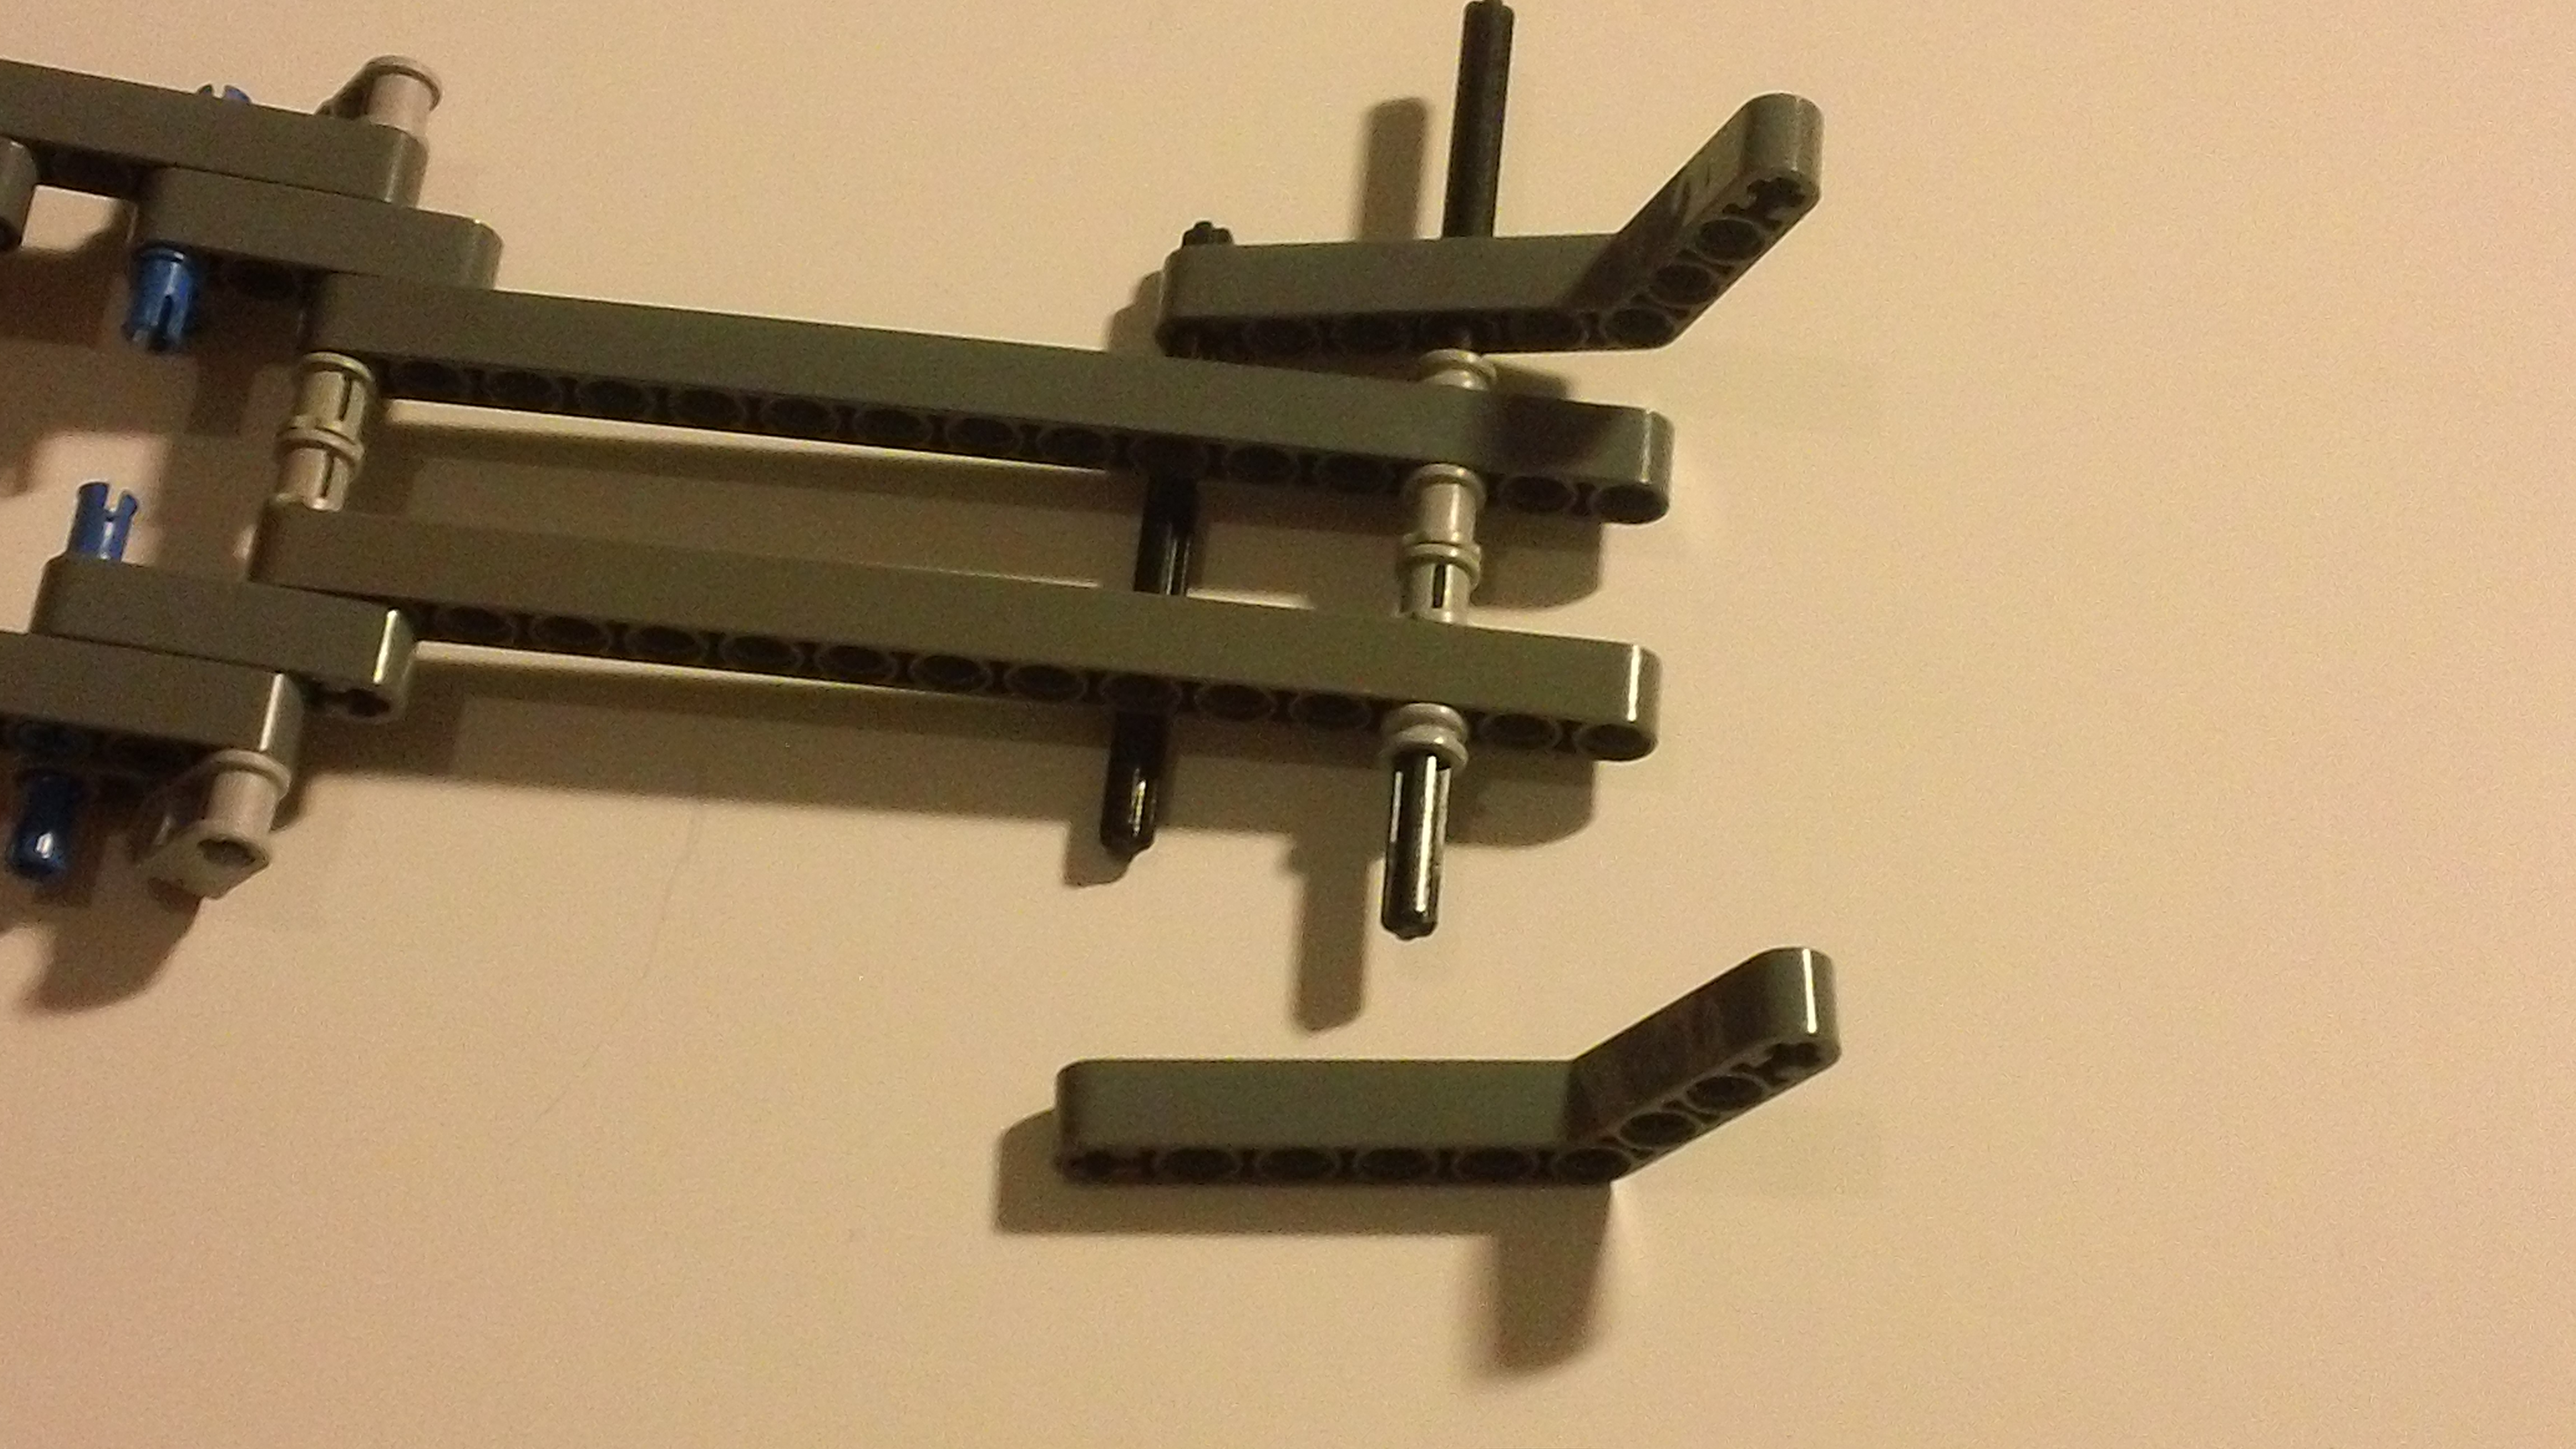
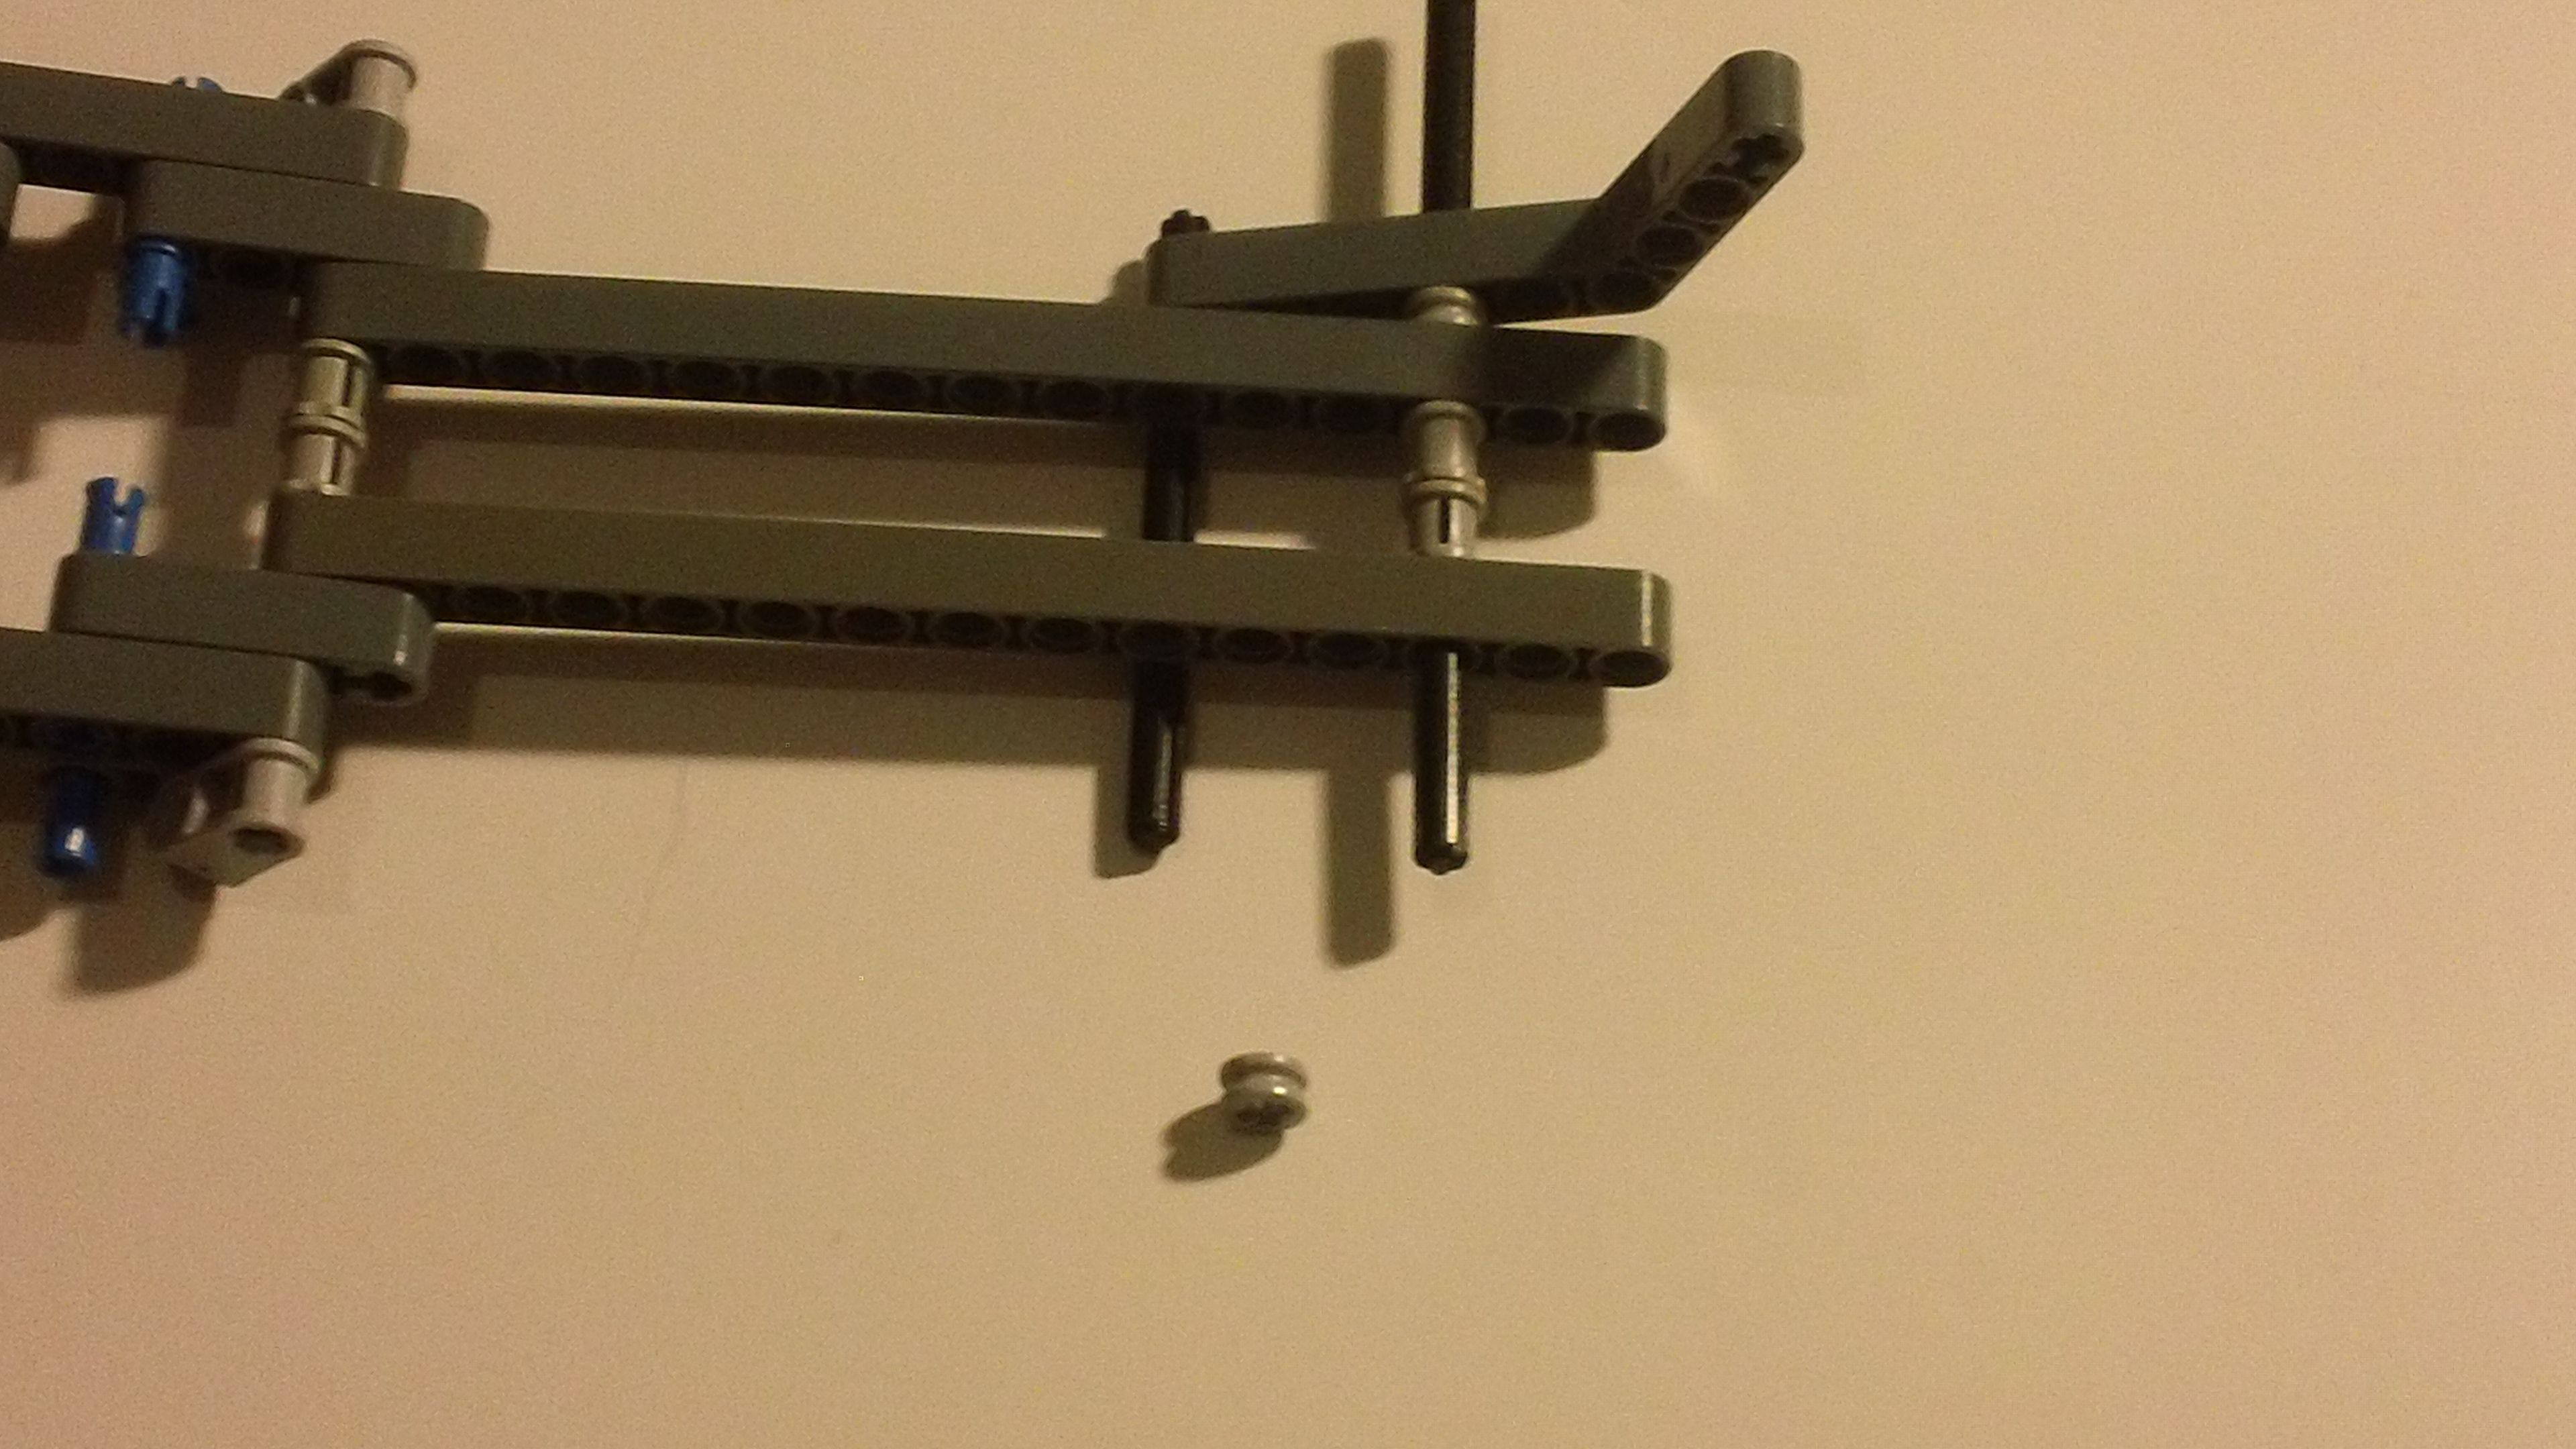
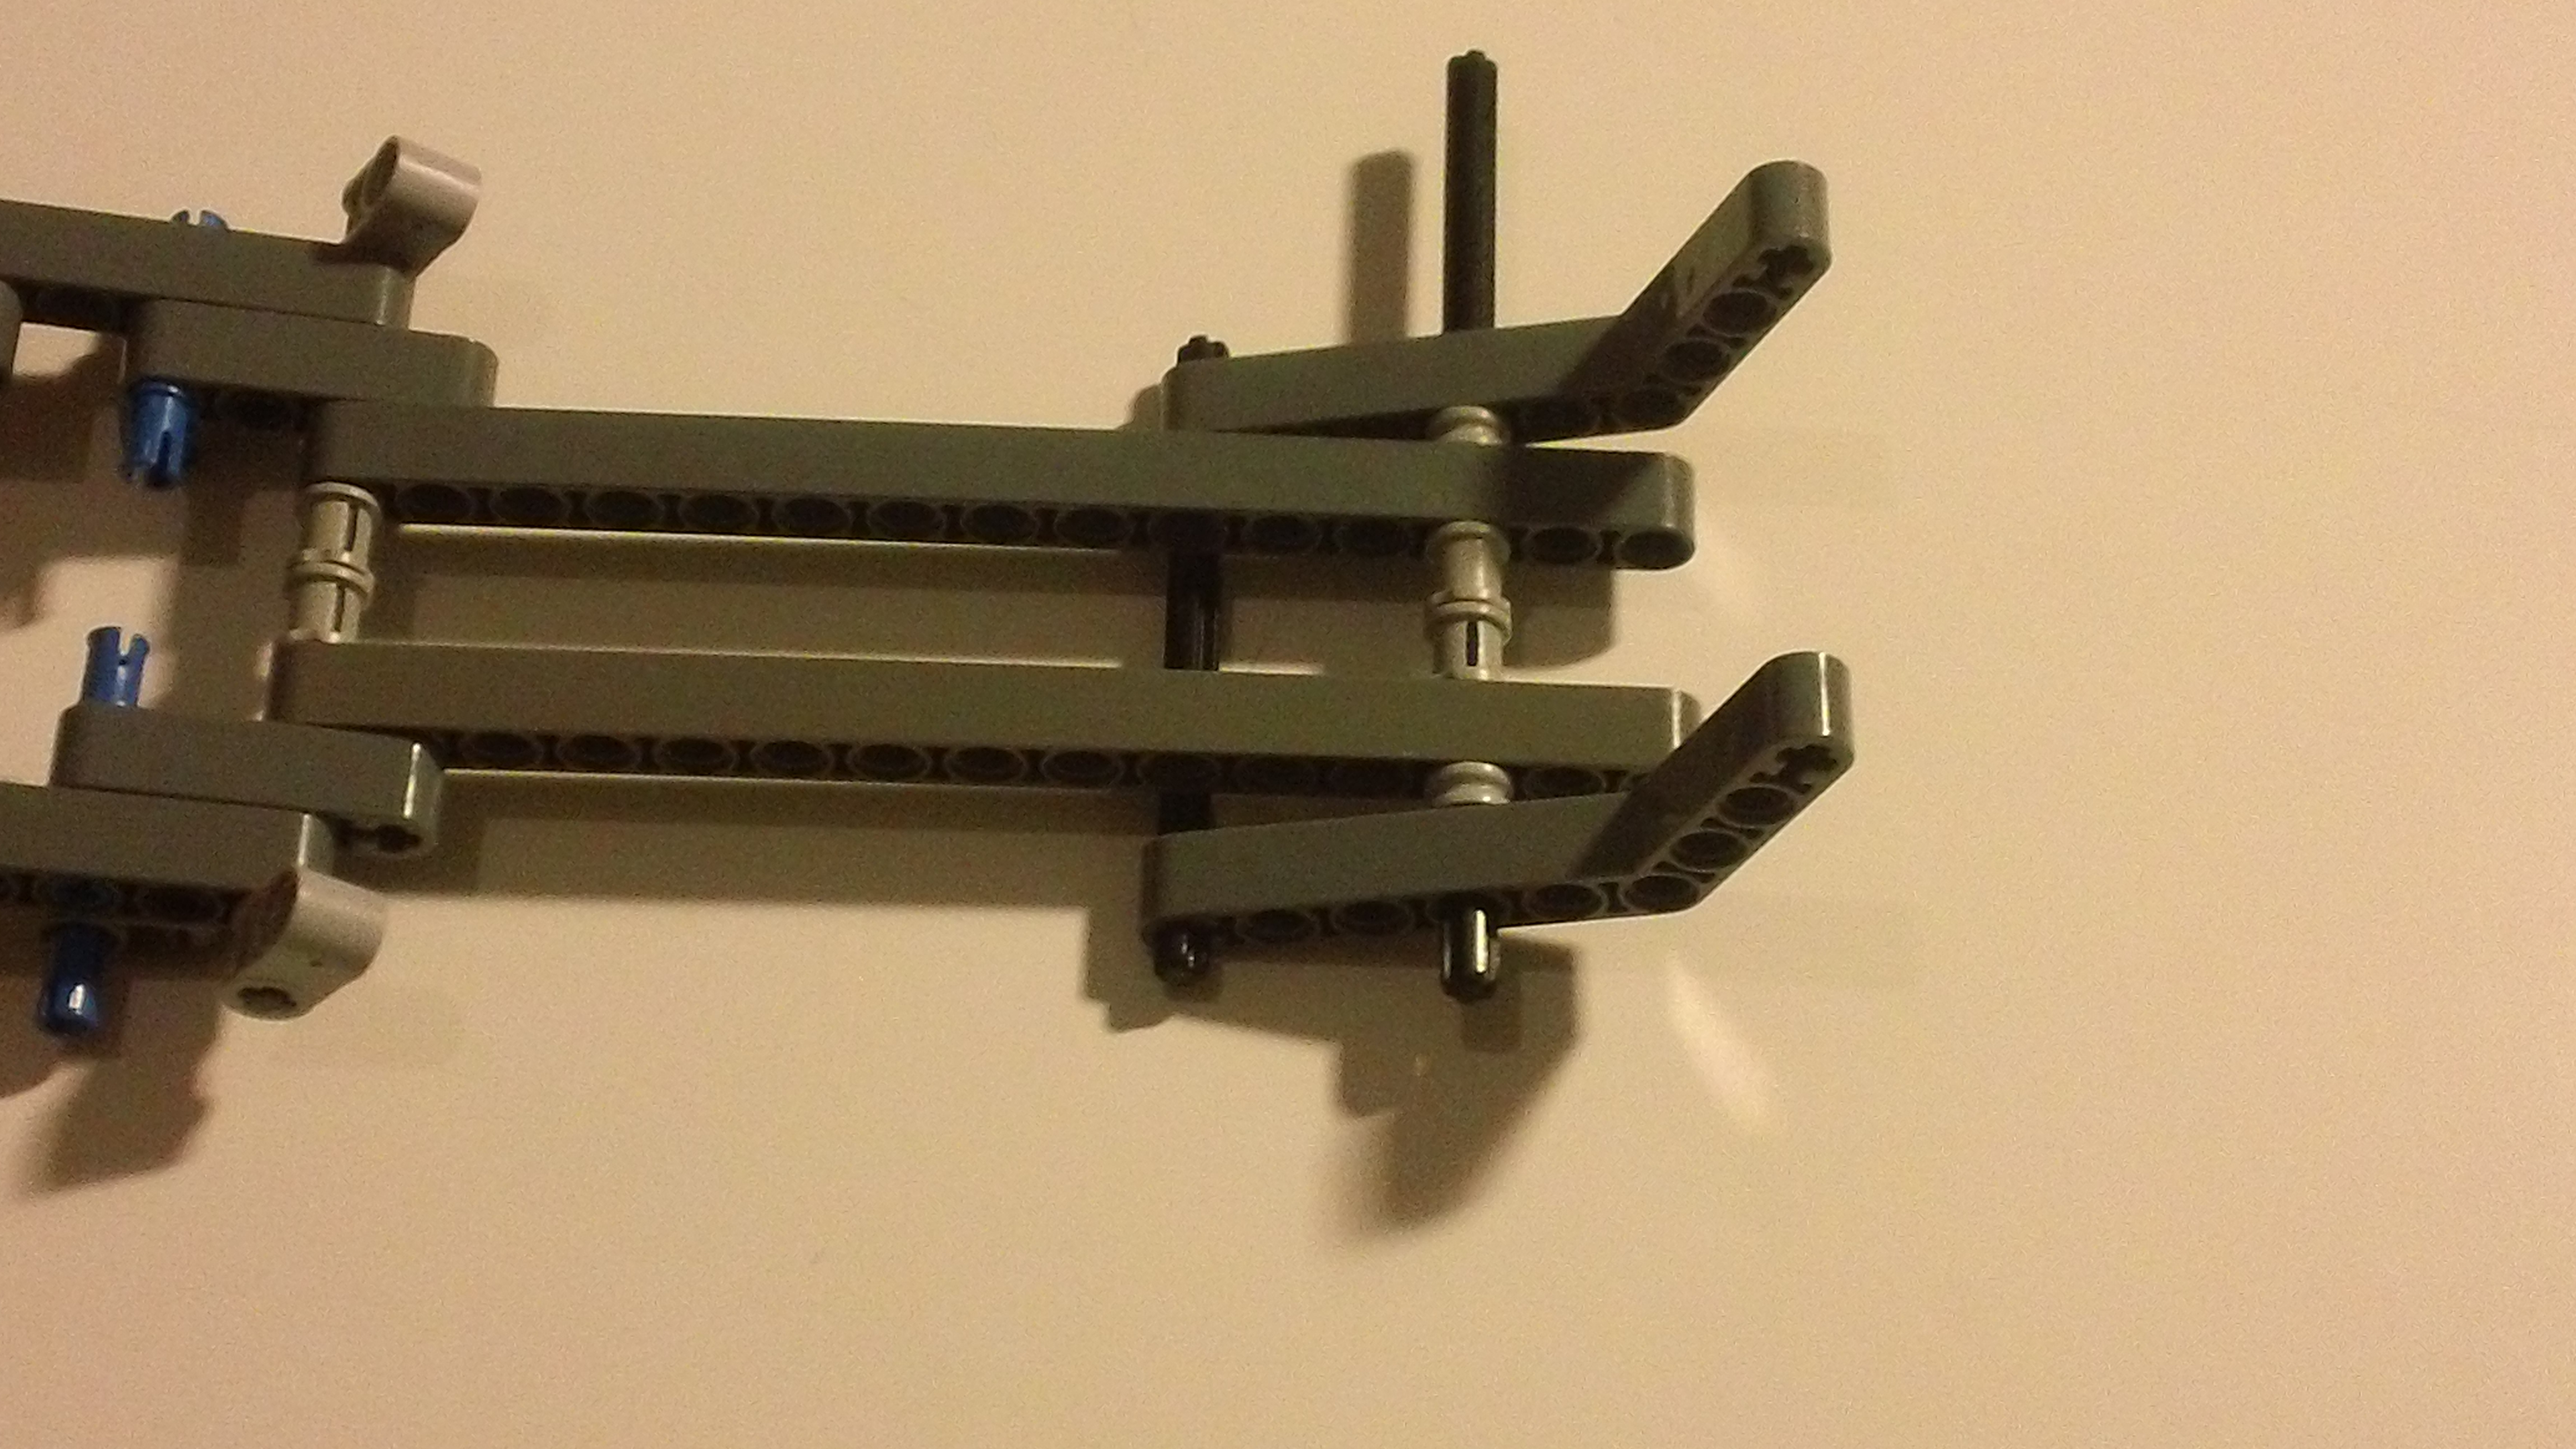
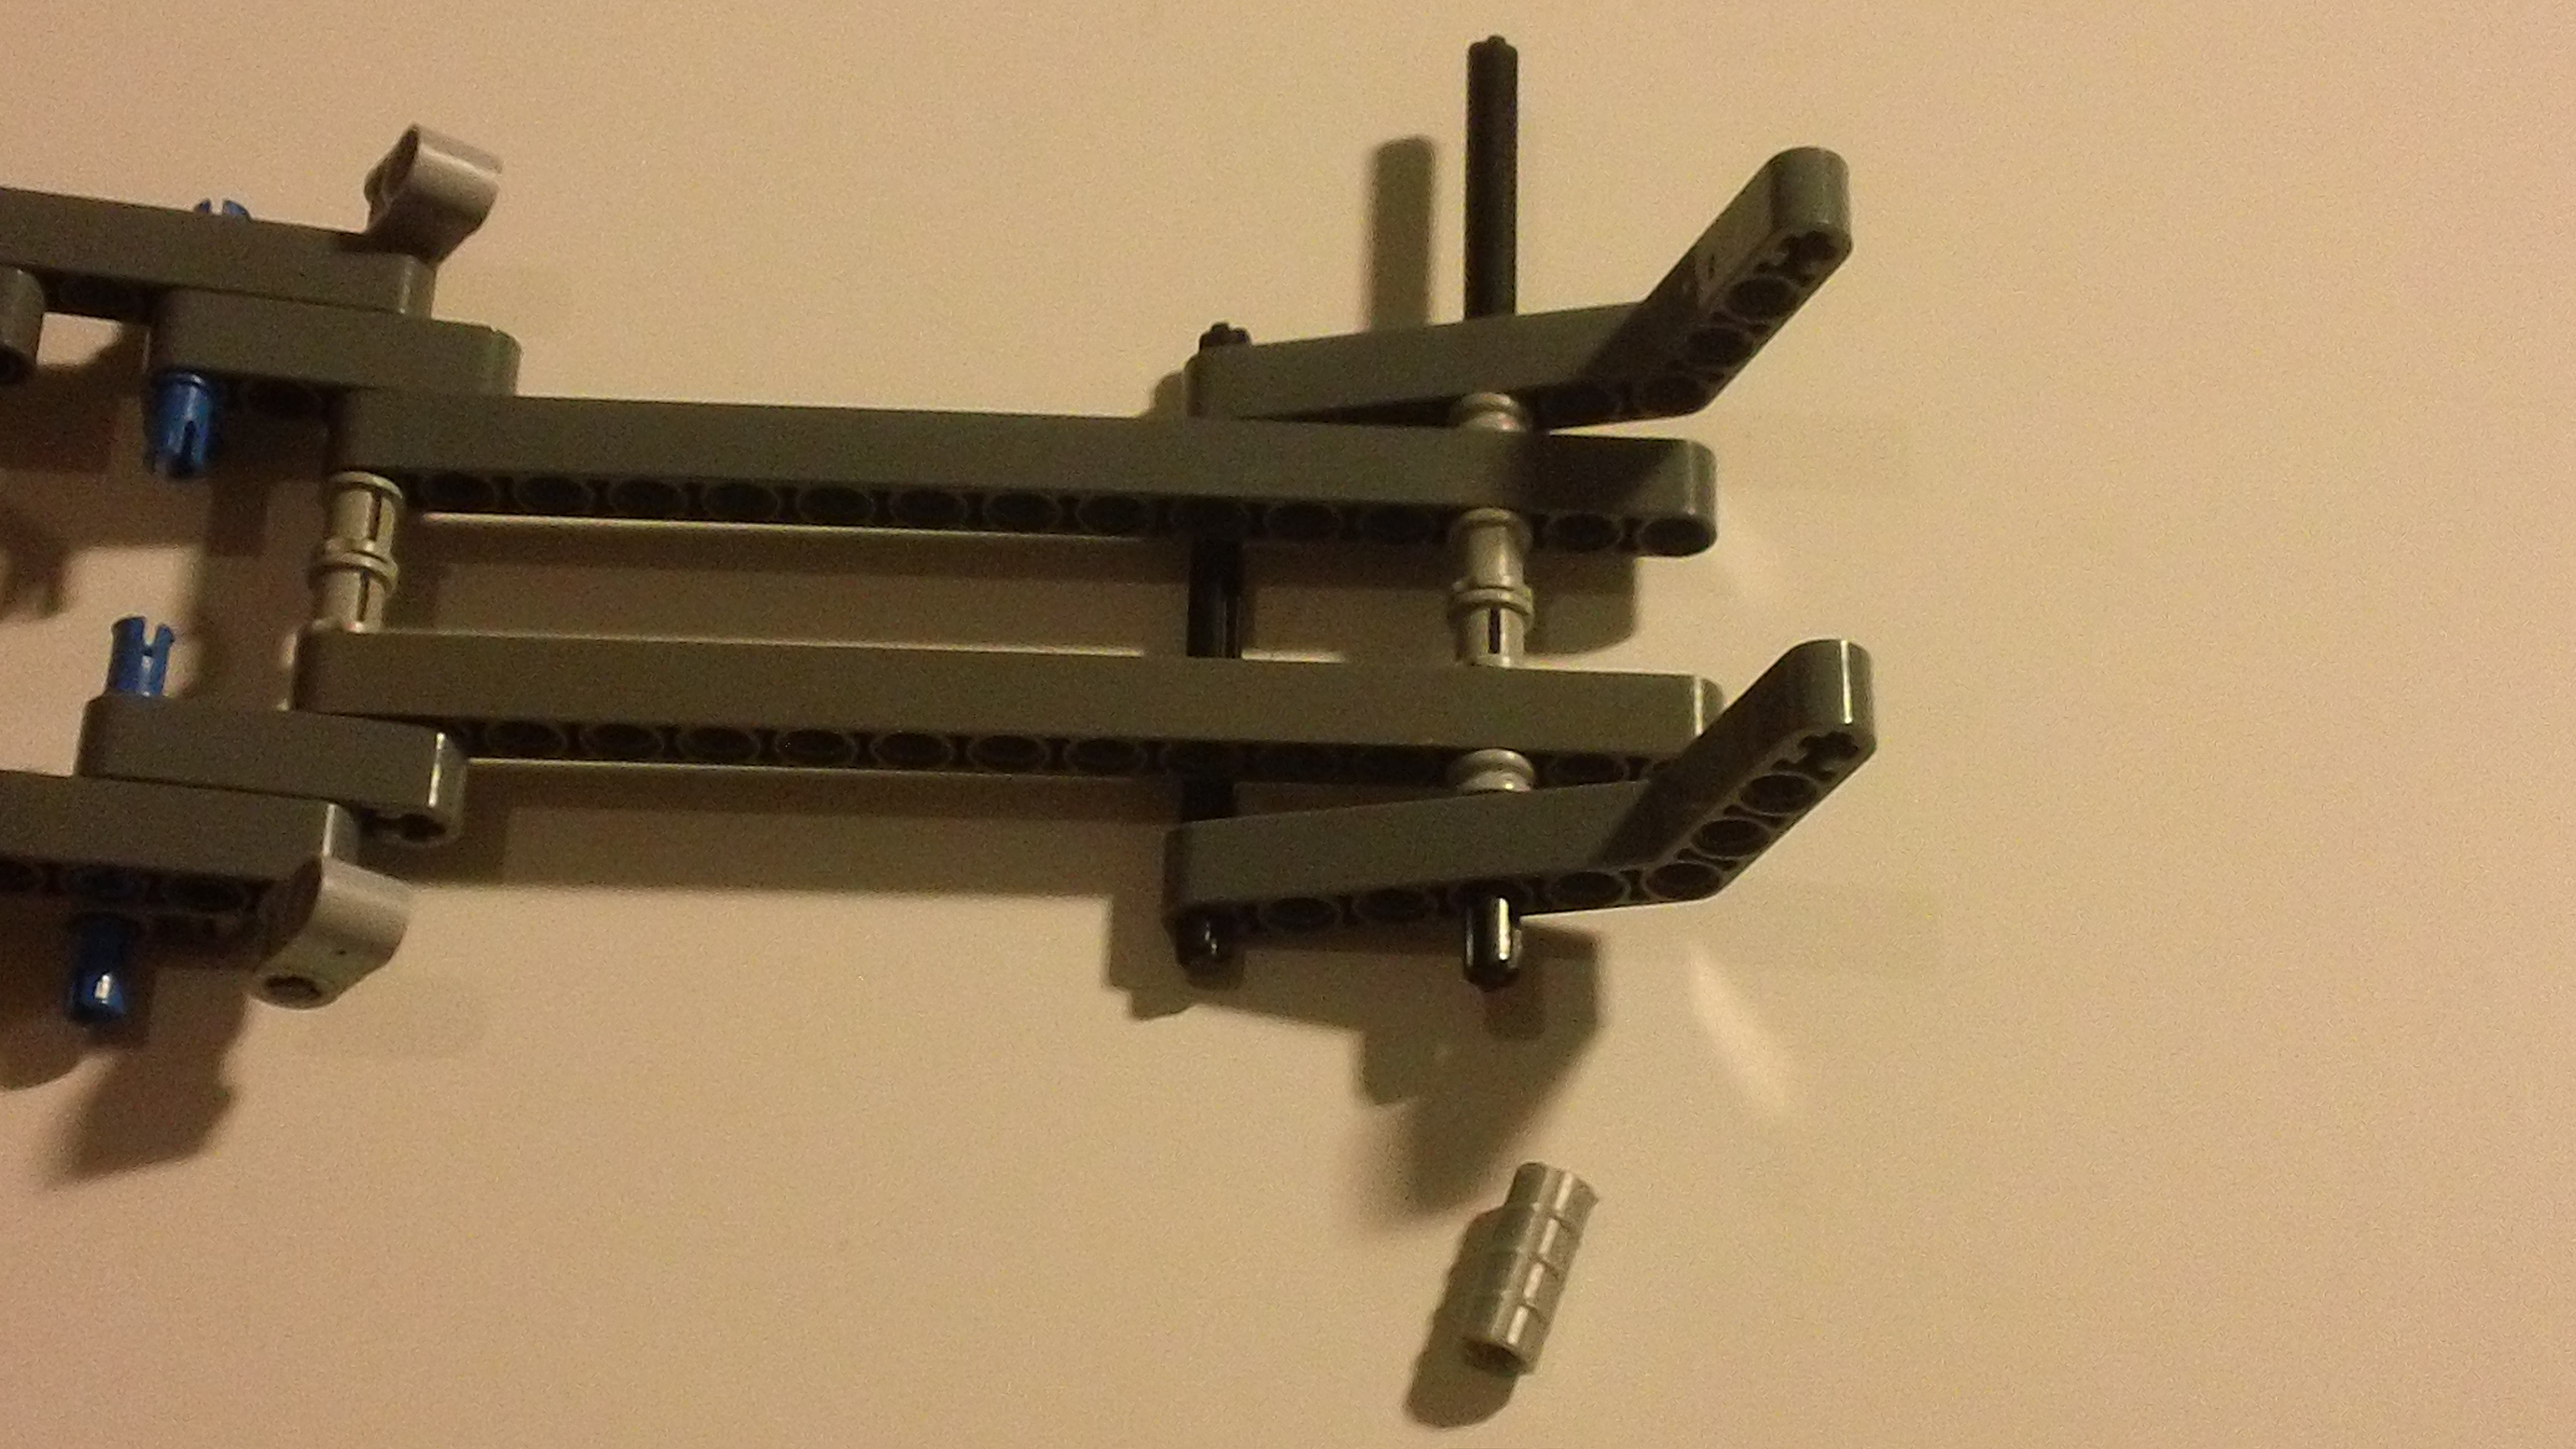
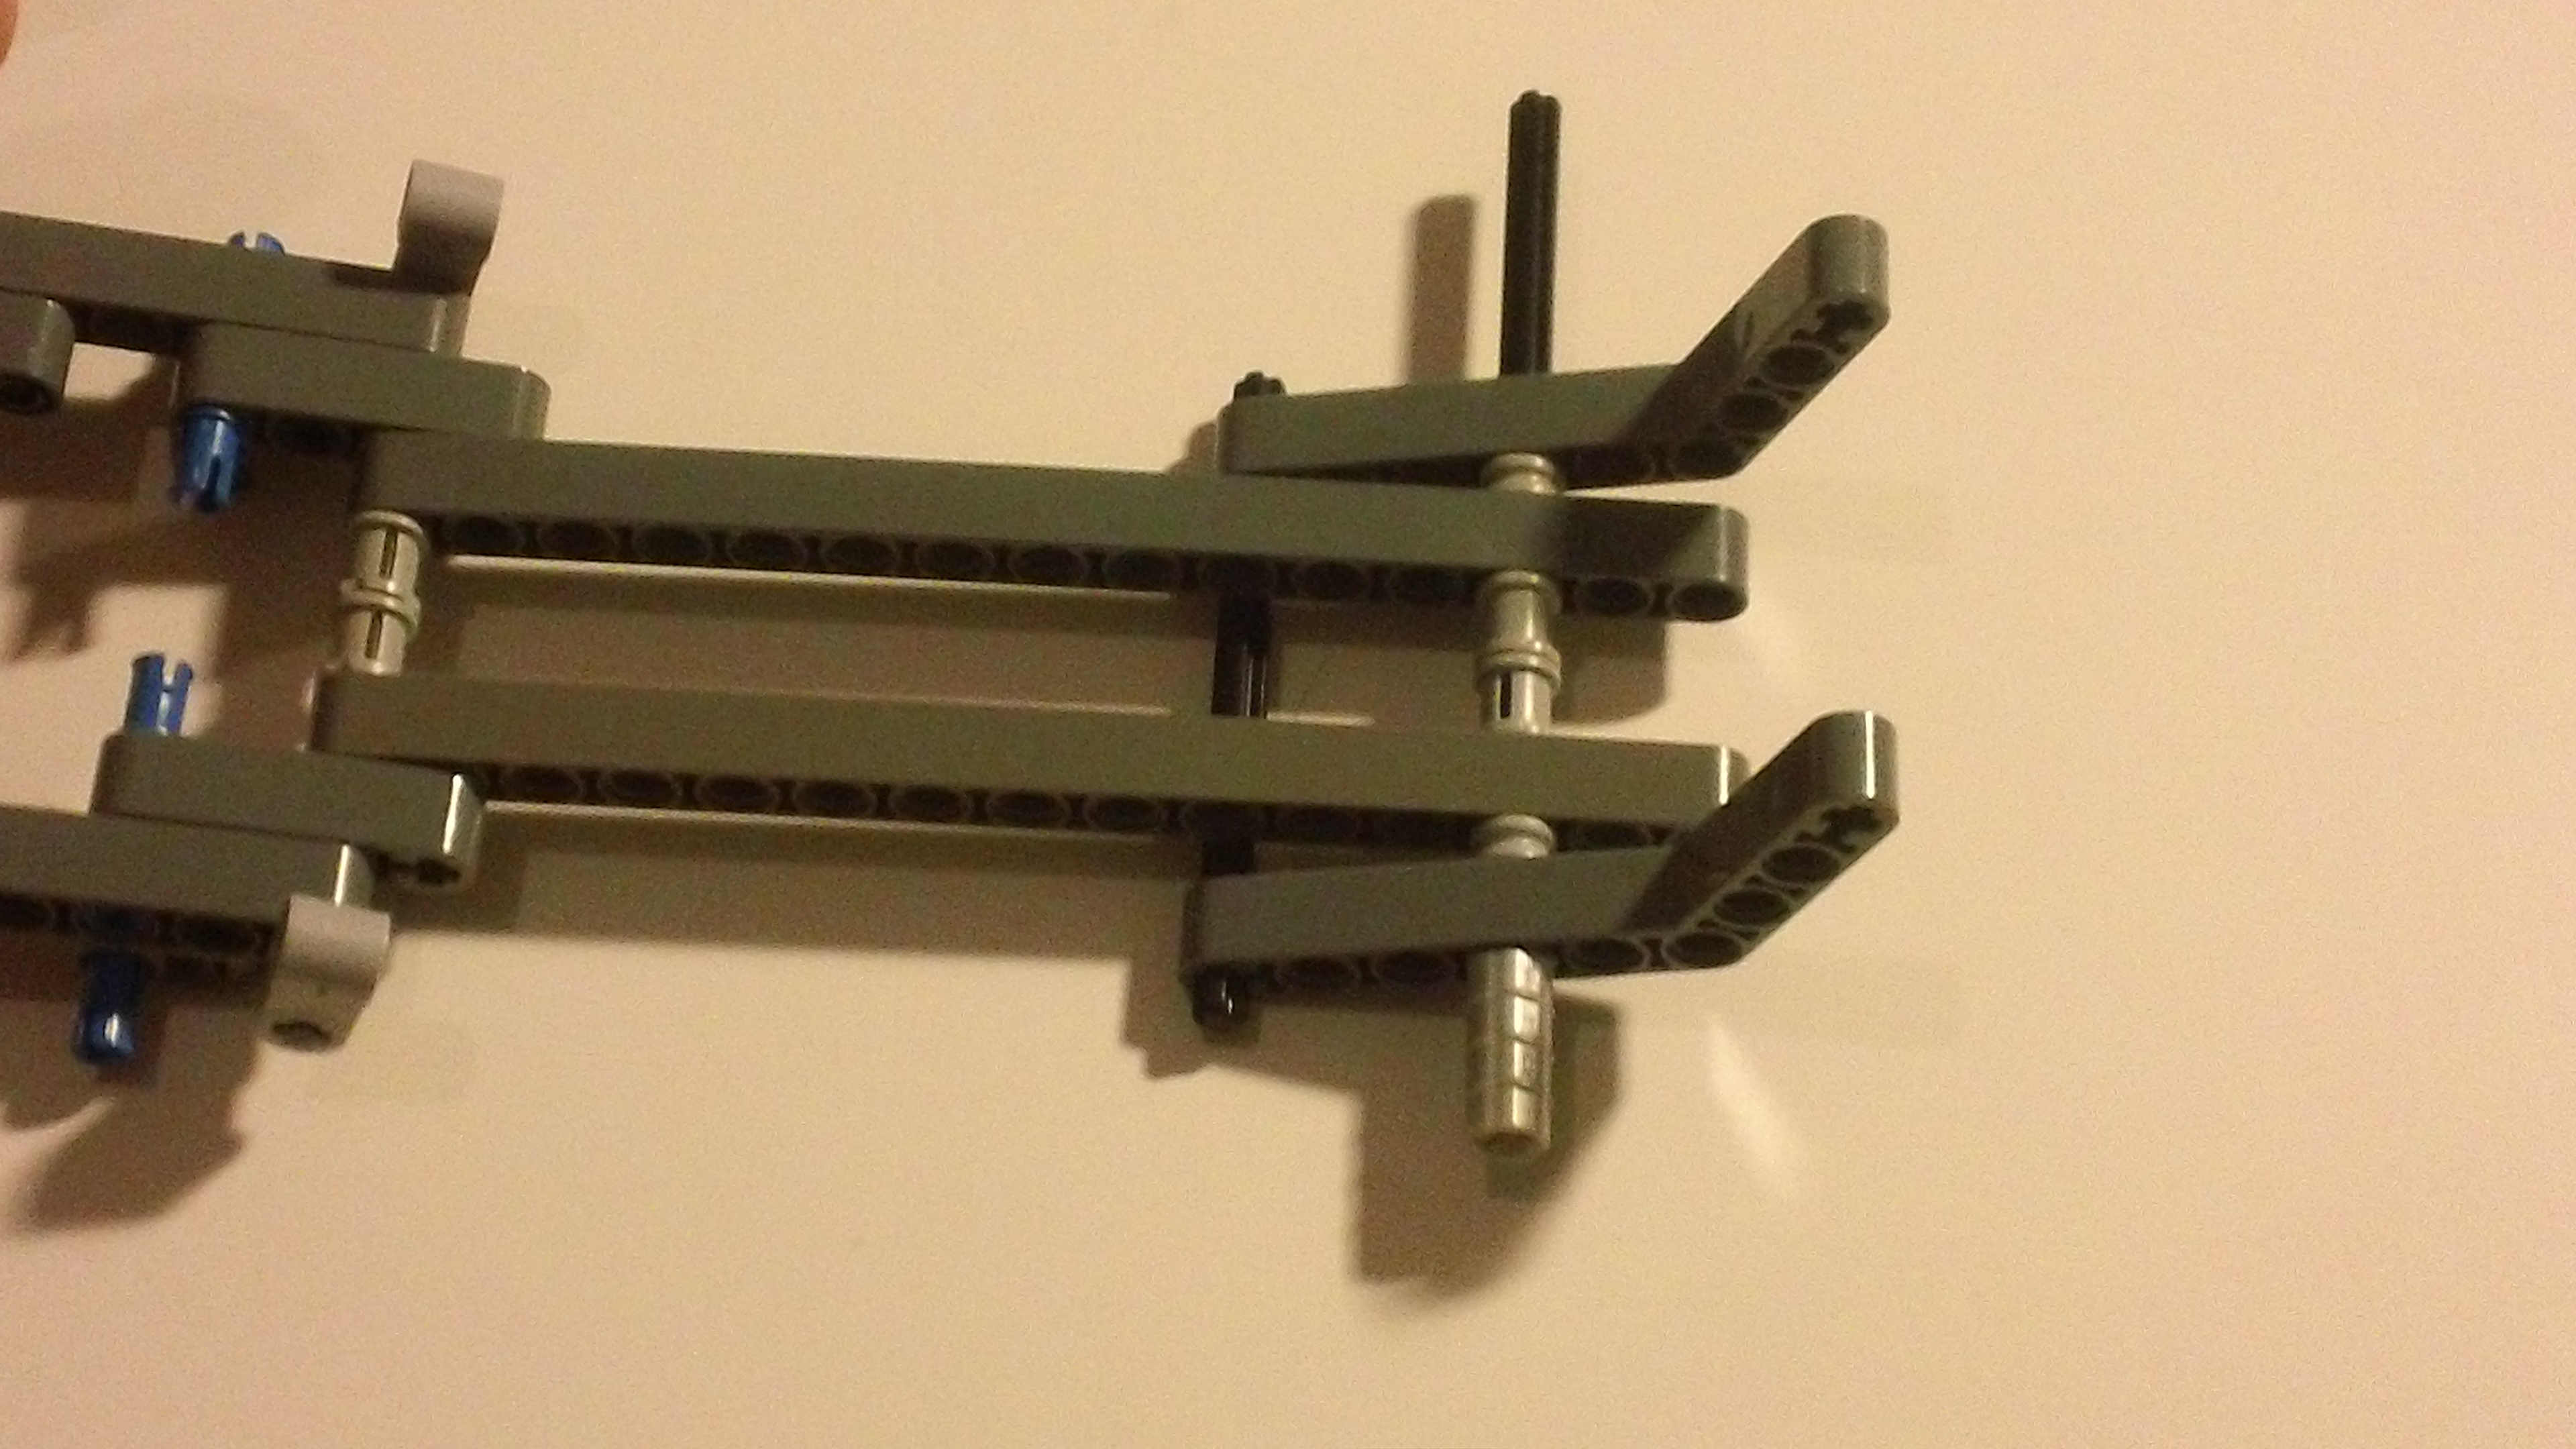
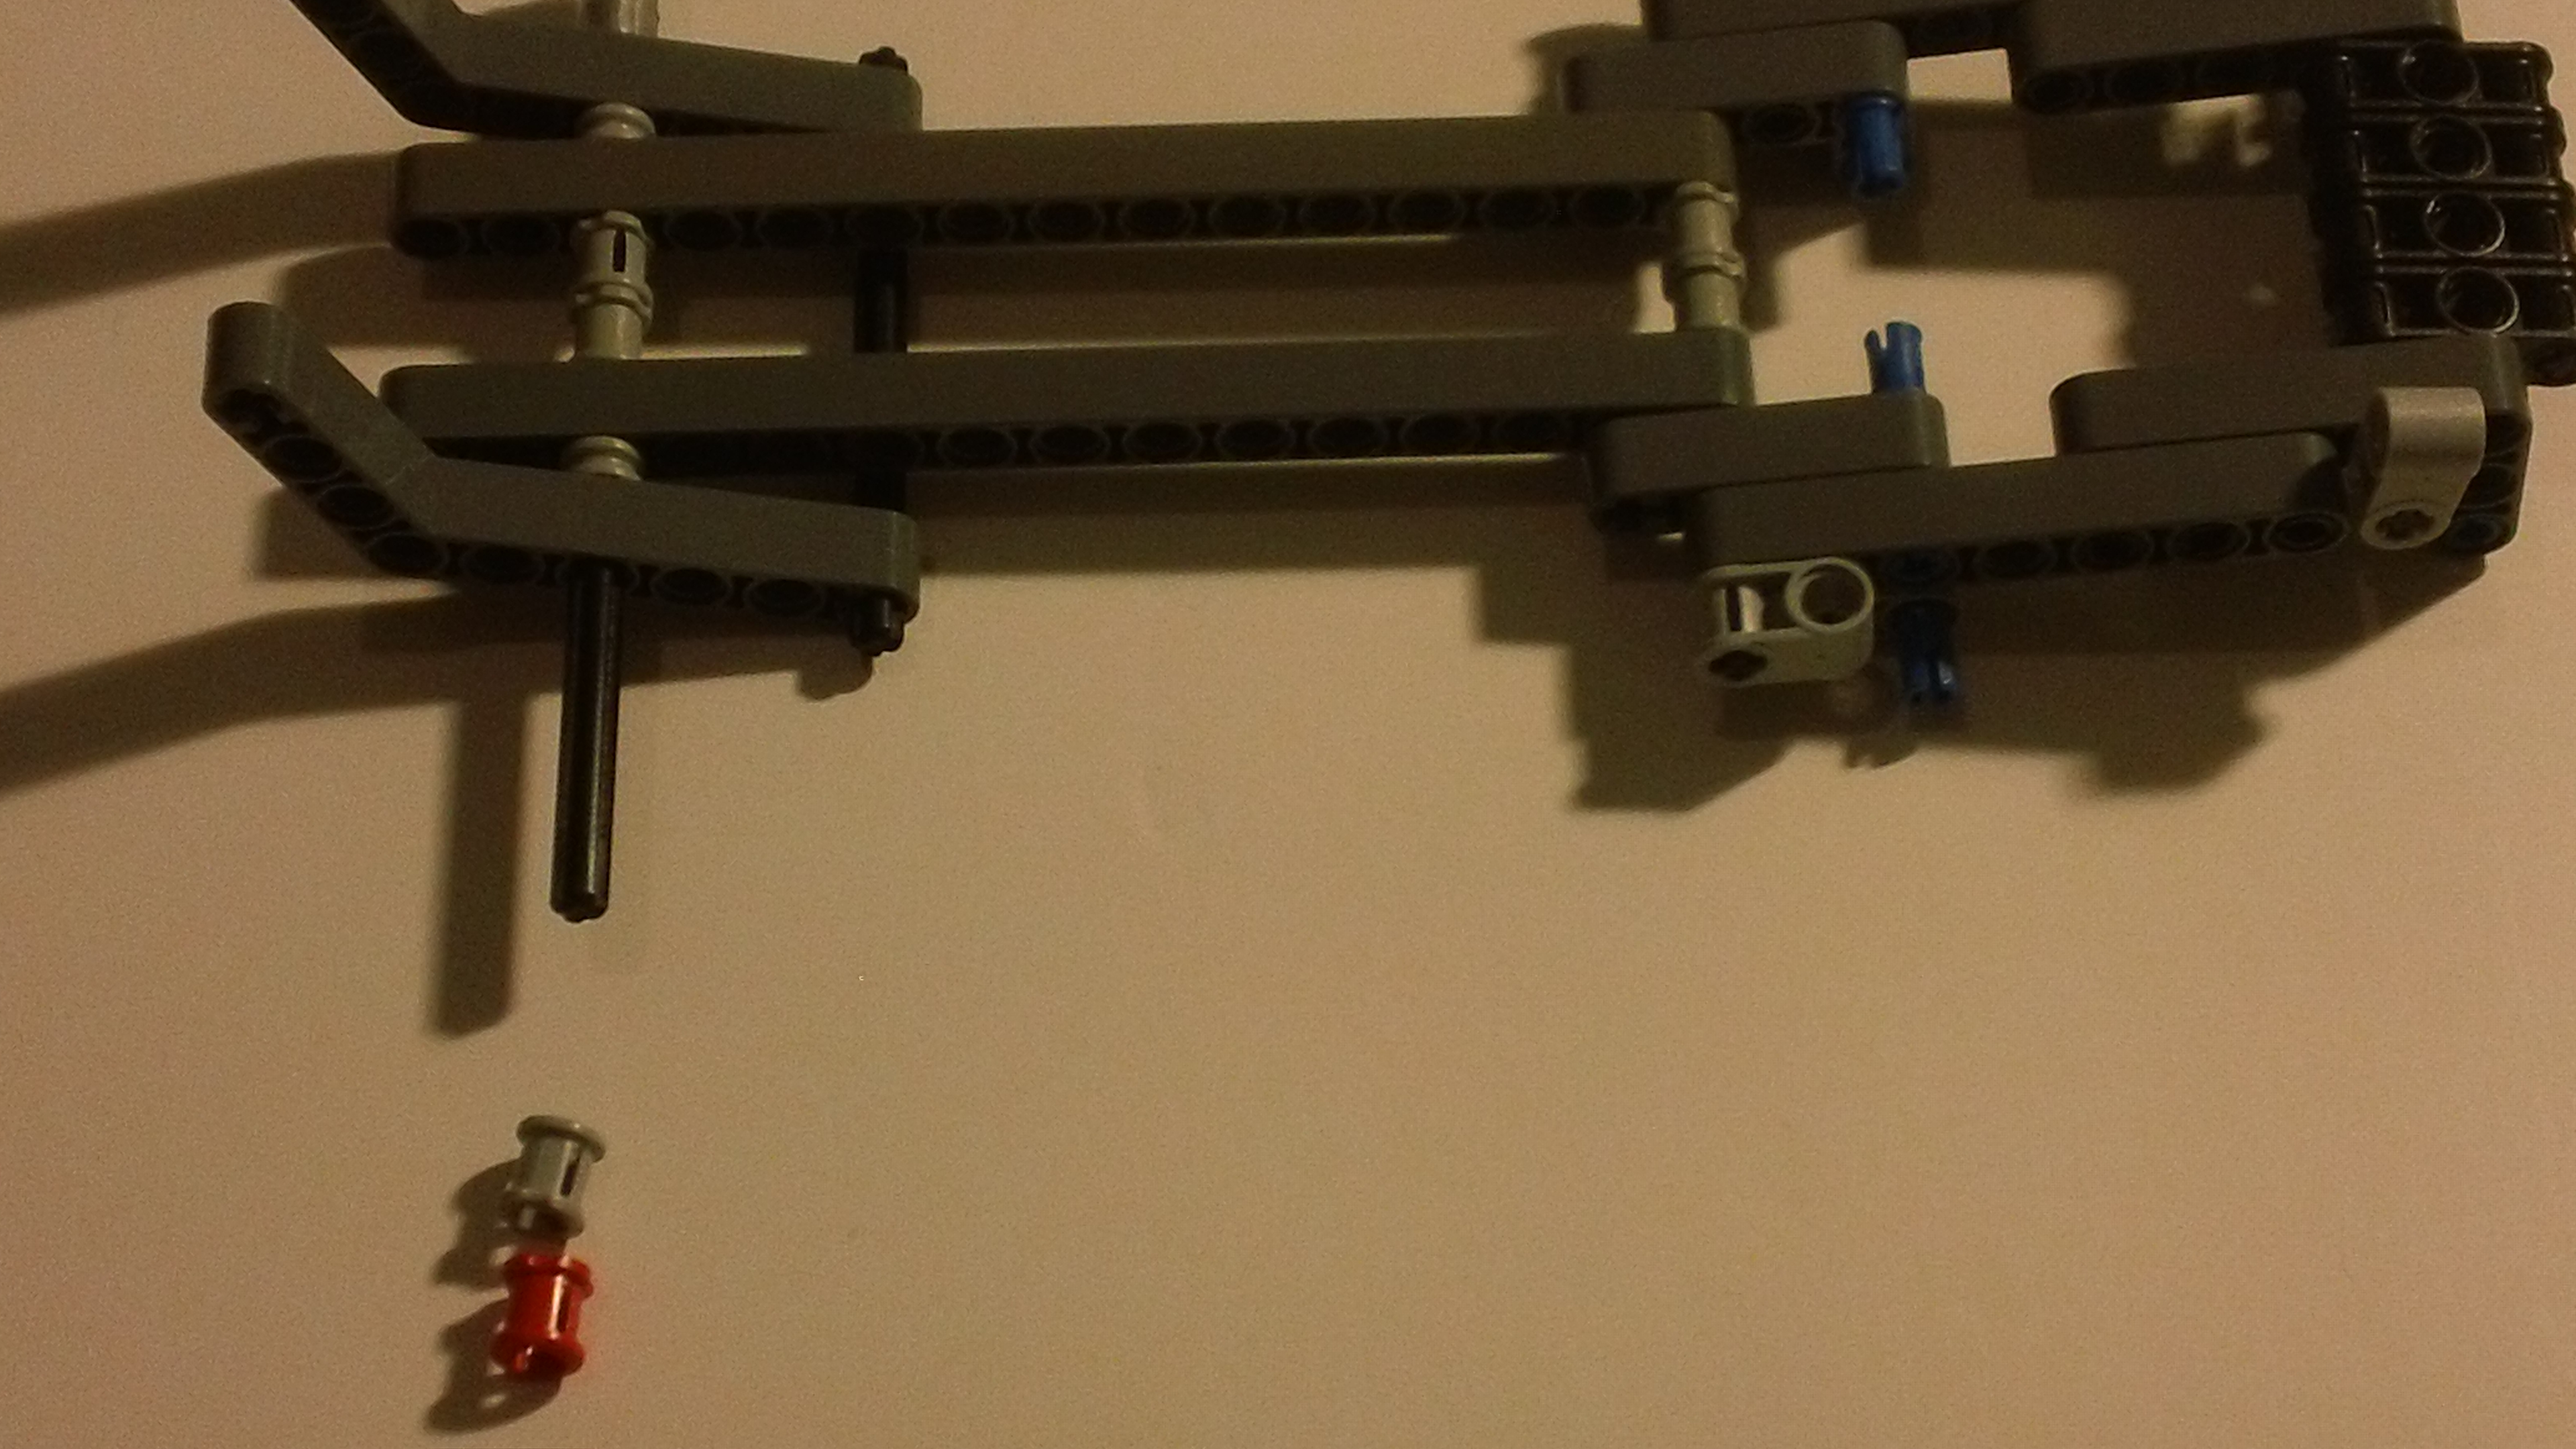
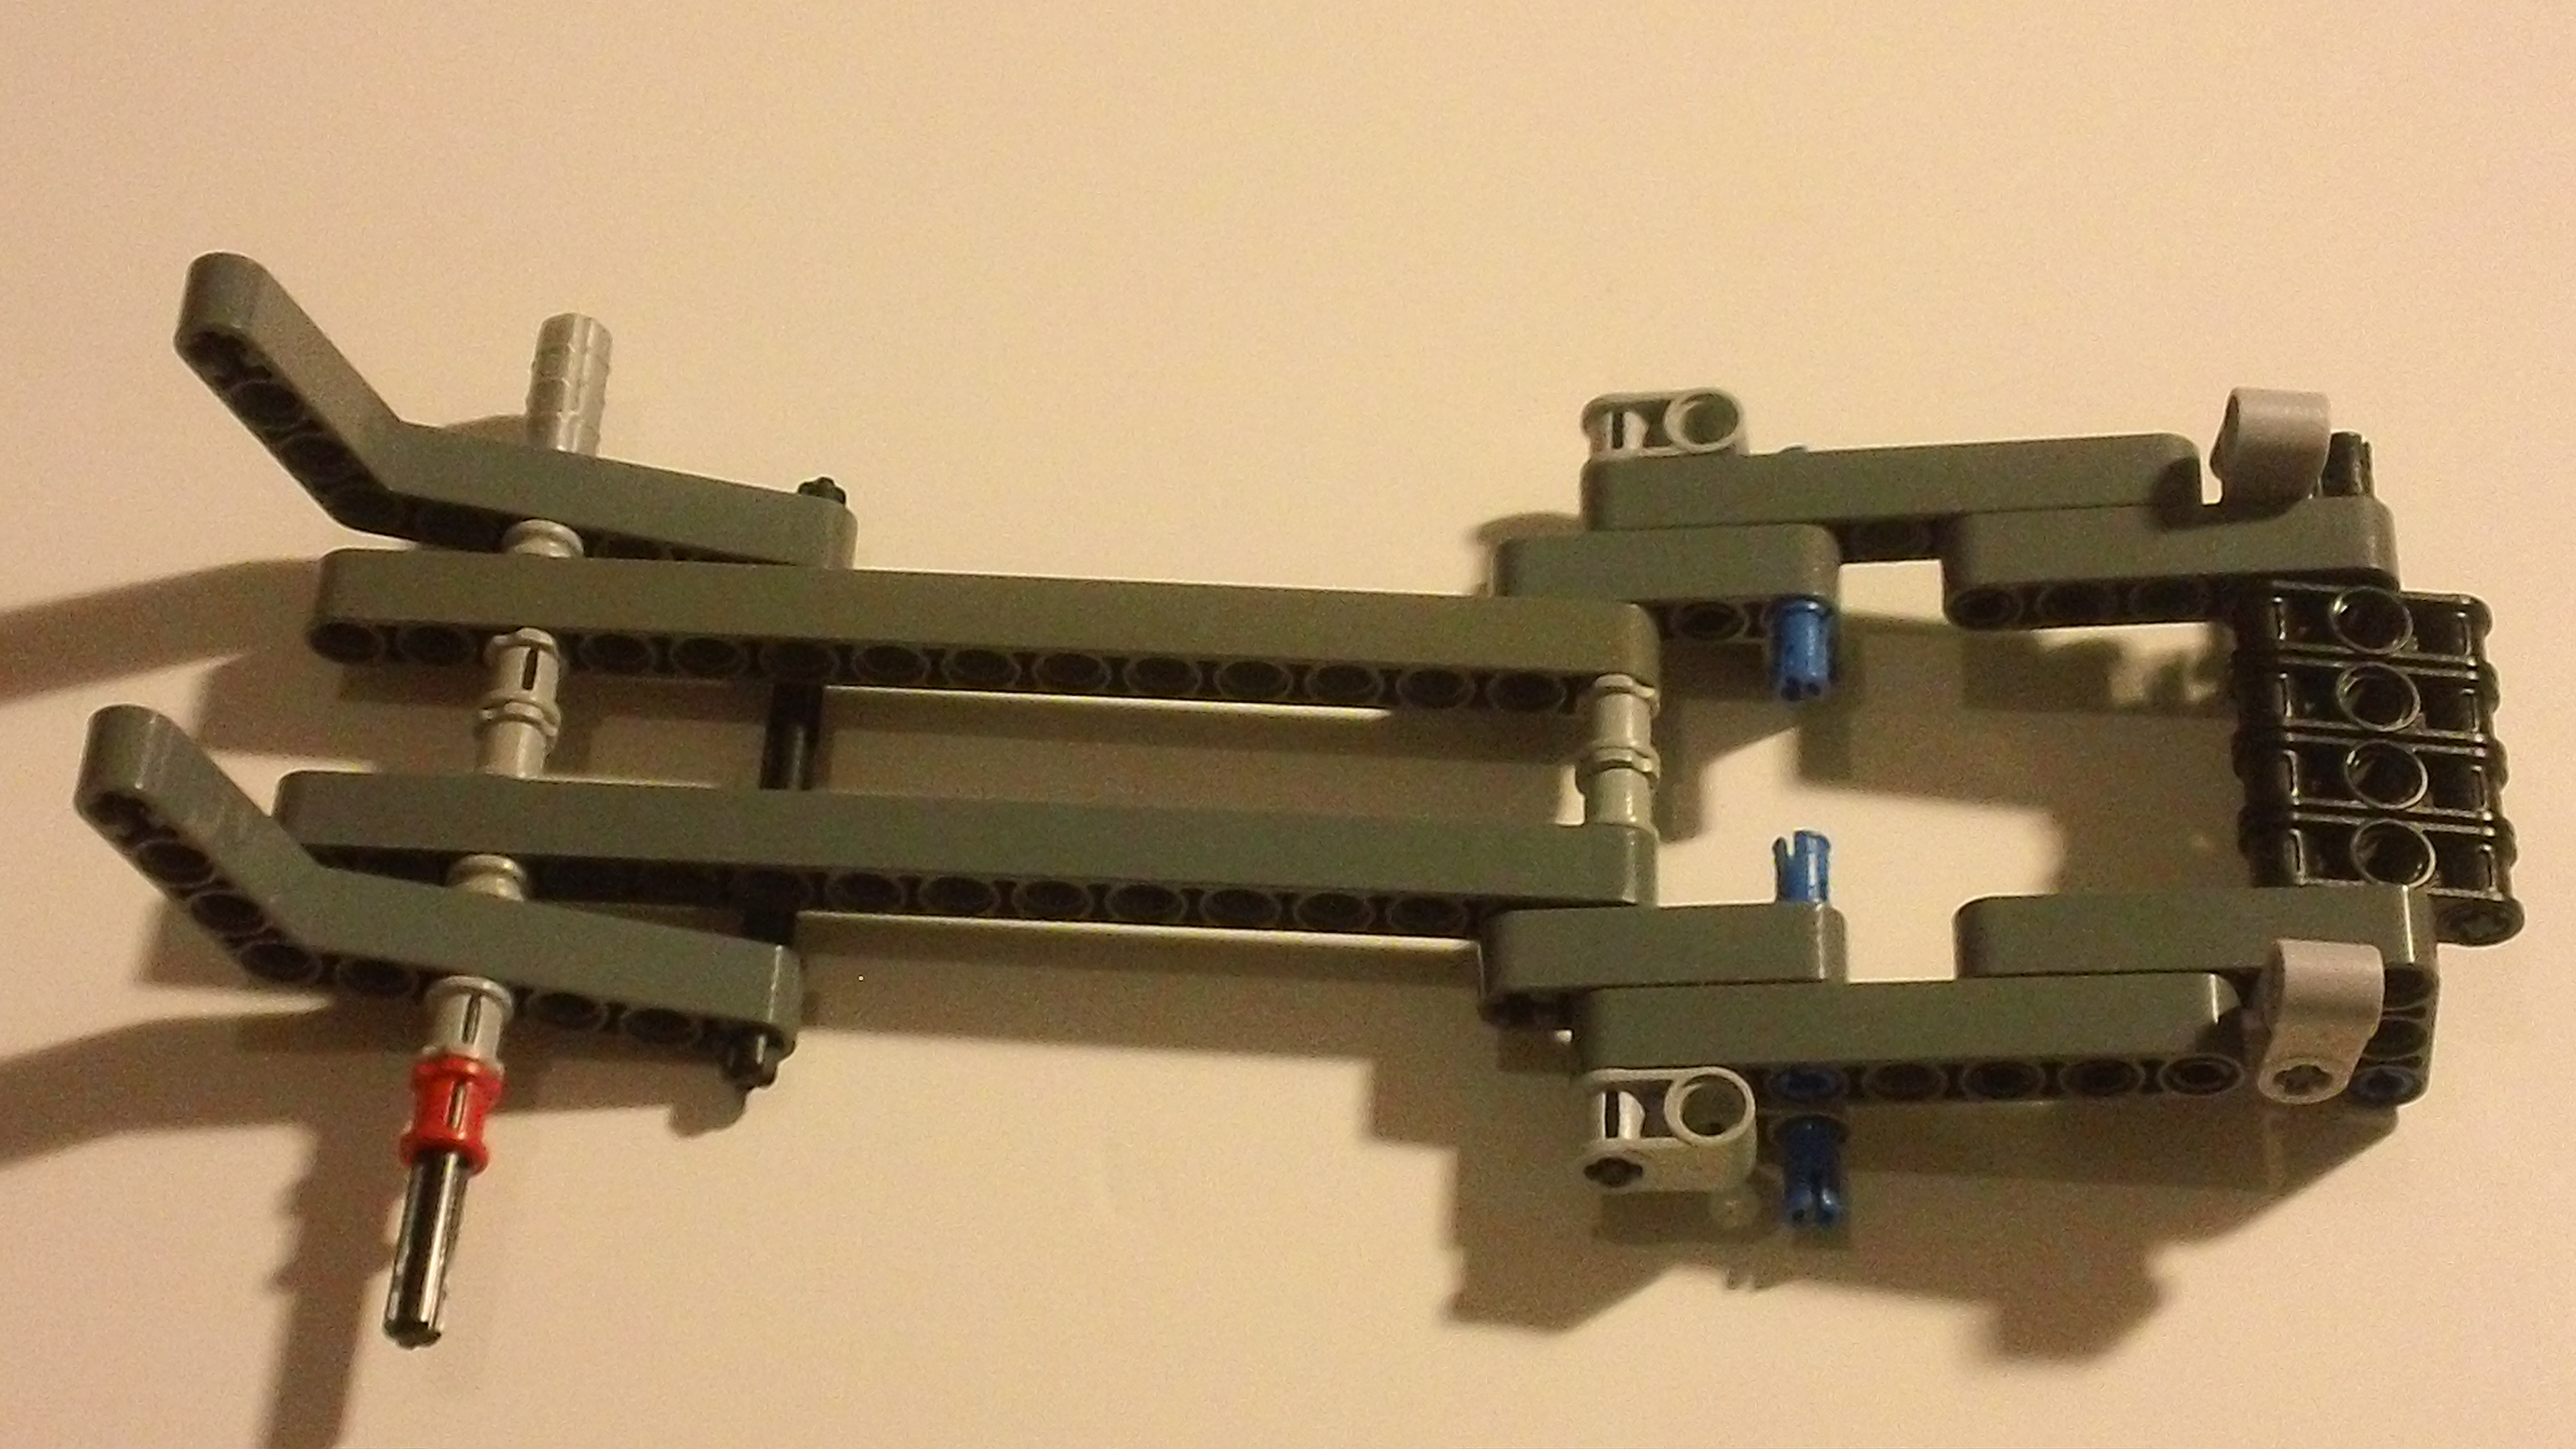
Follow the pictures and build the NXT Driver. This will take approximately 2 hours.
Build the NXT Device (Part 2)
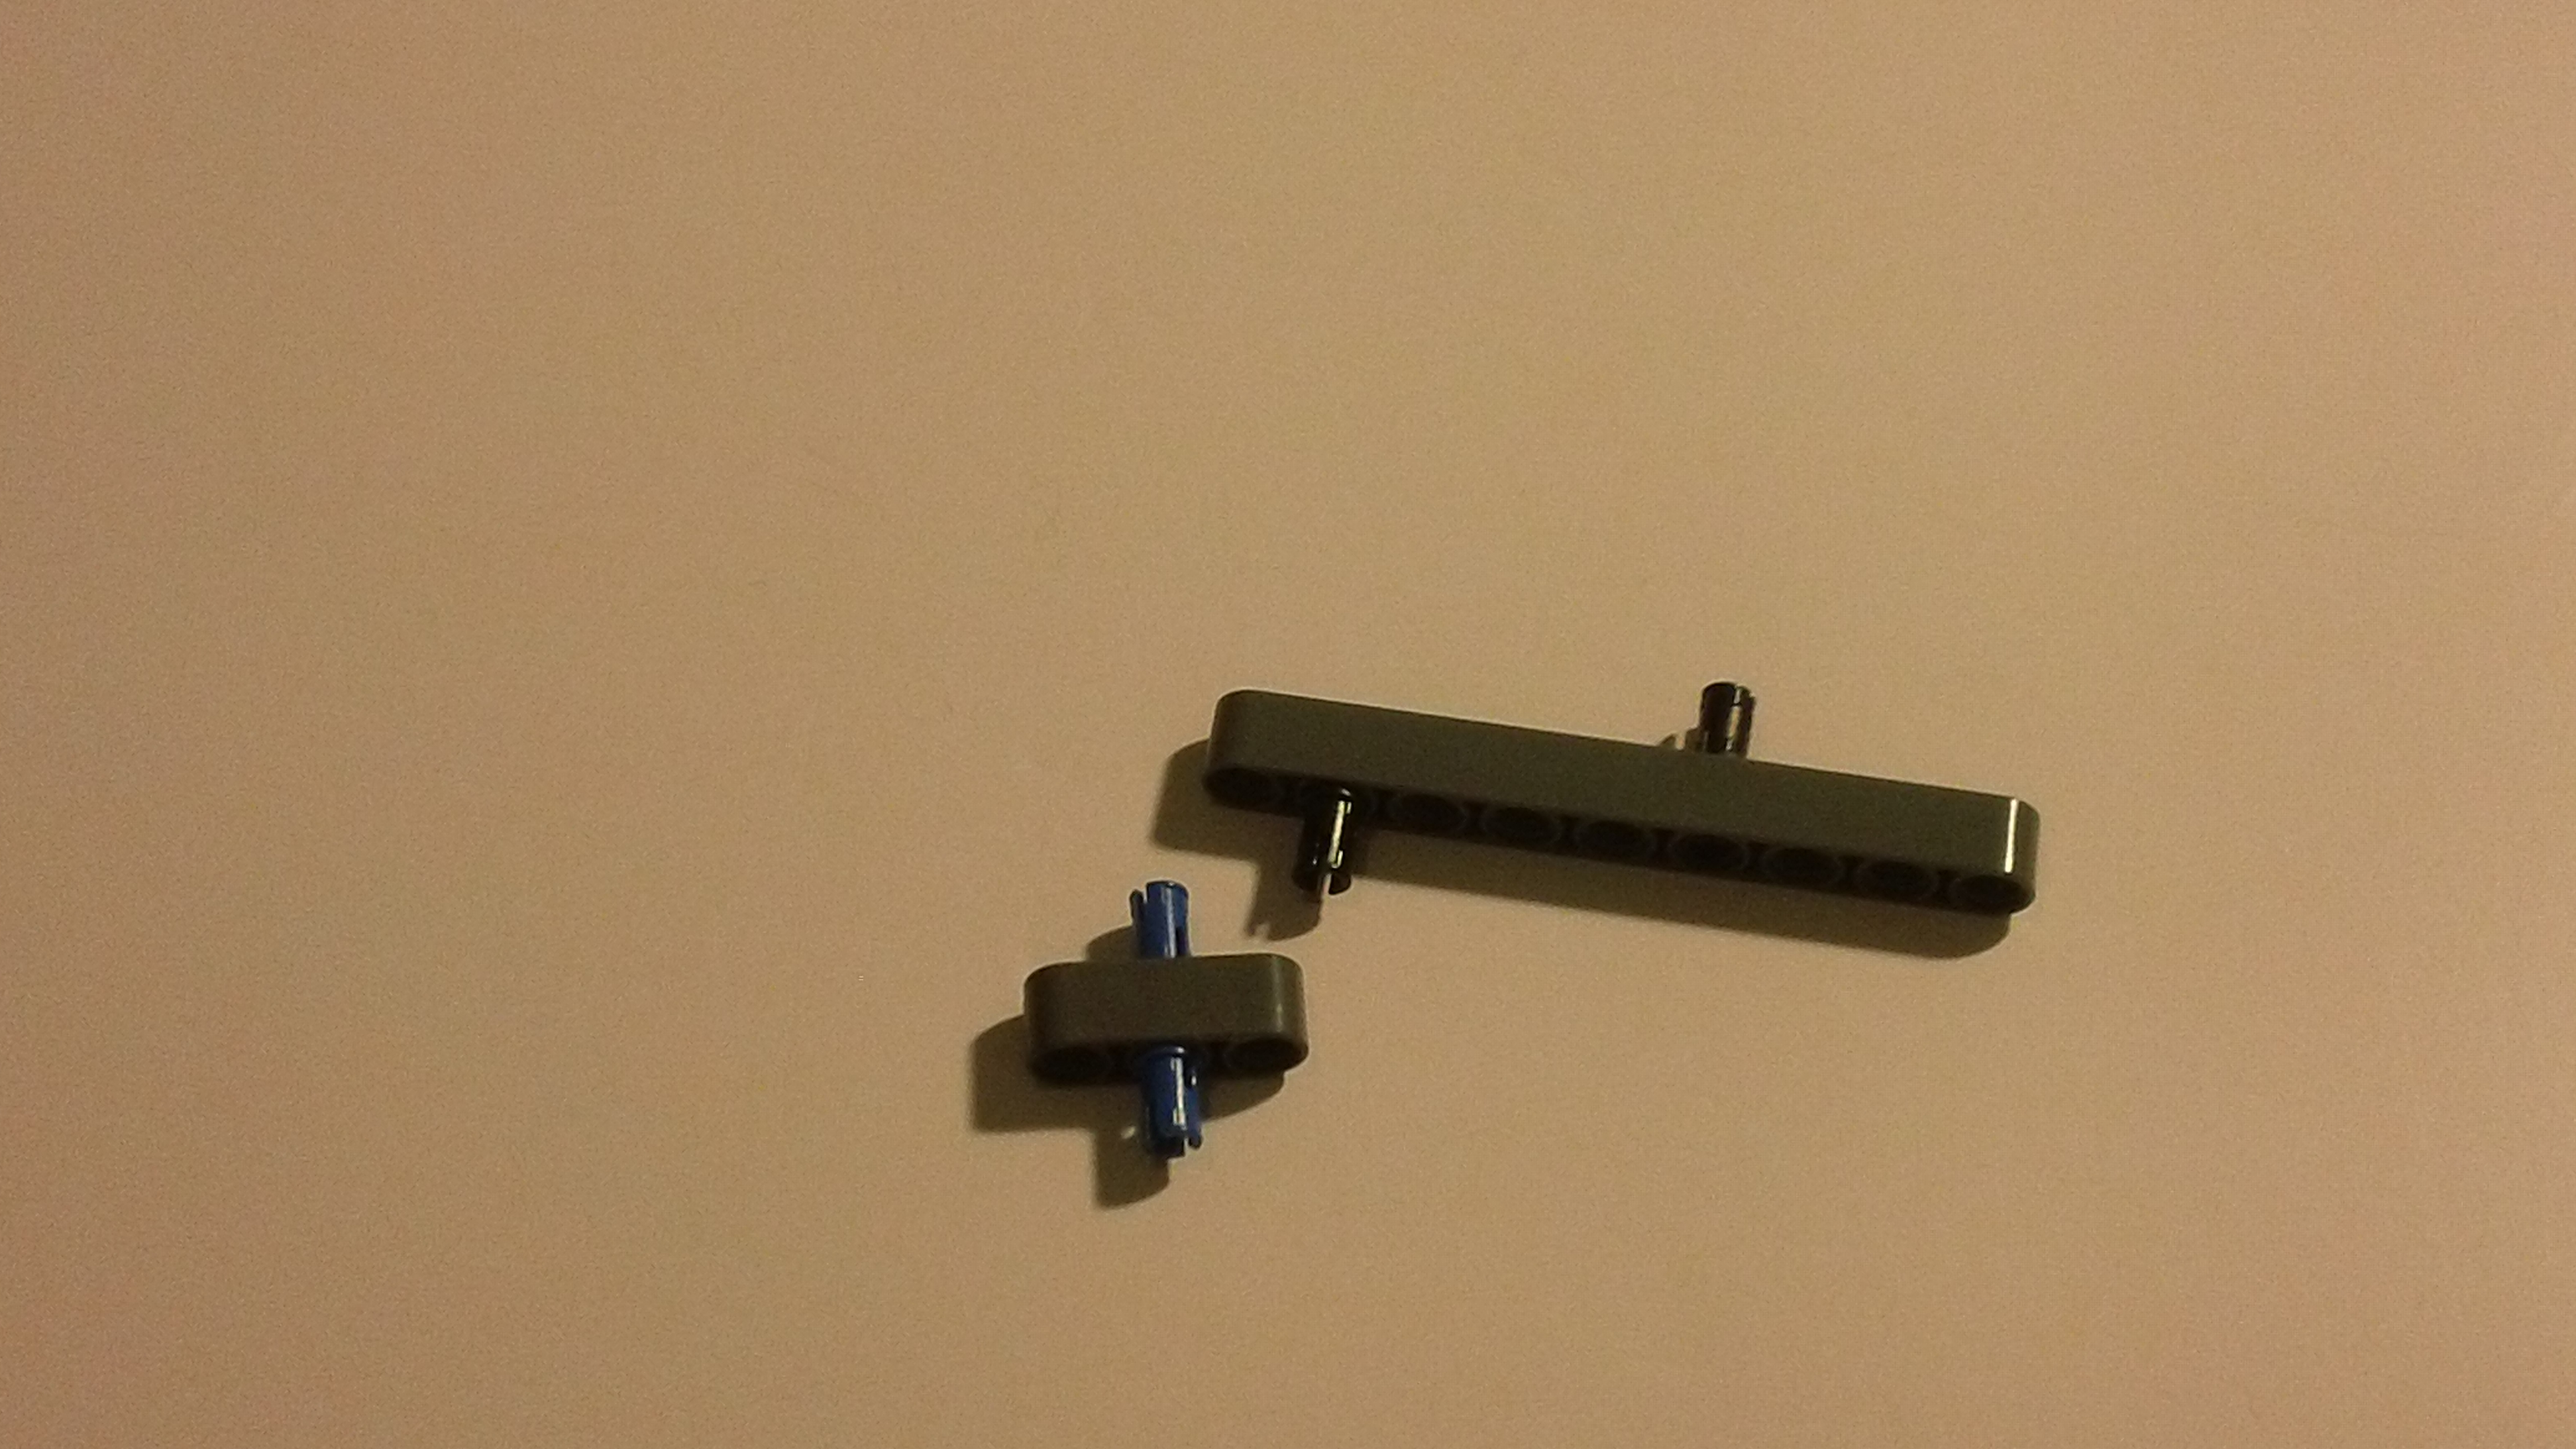
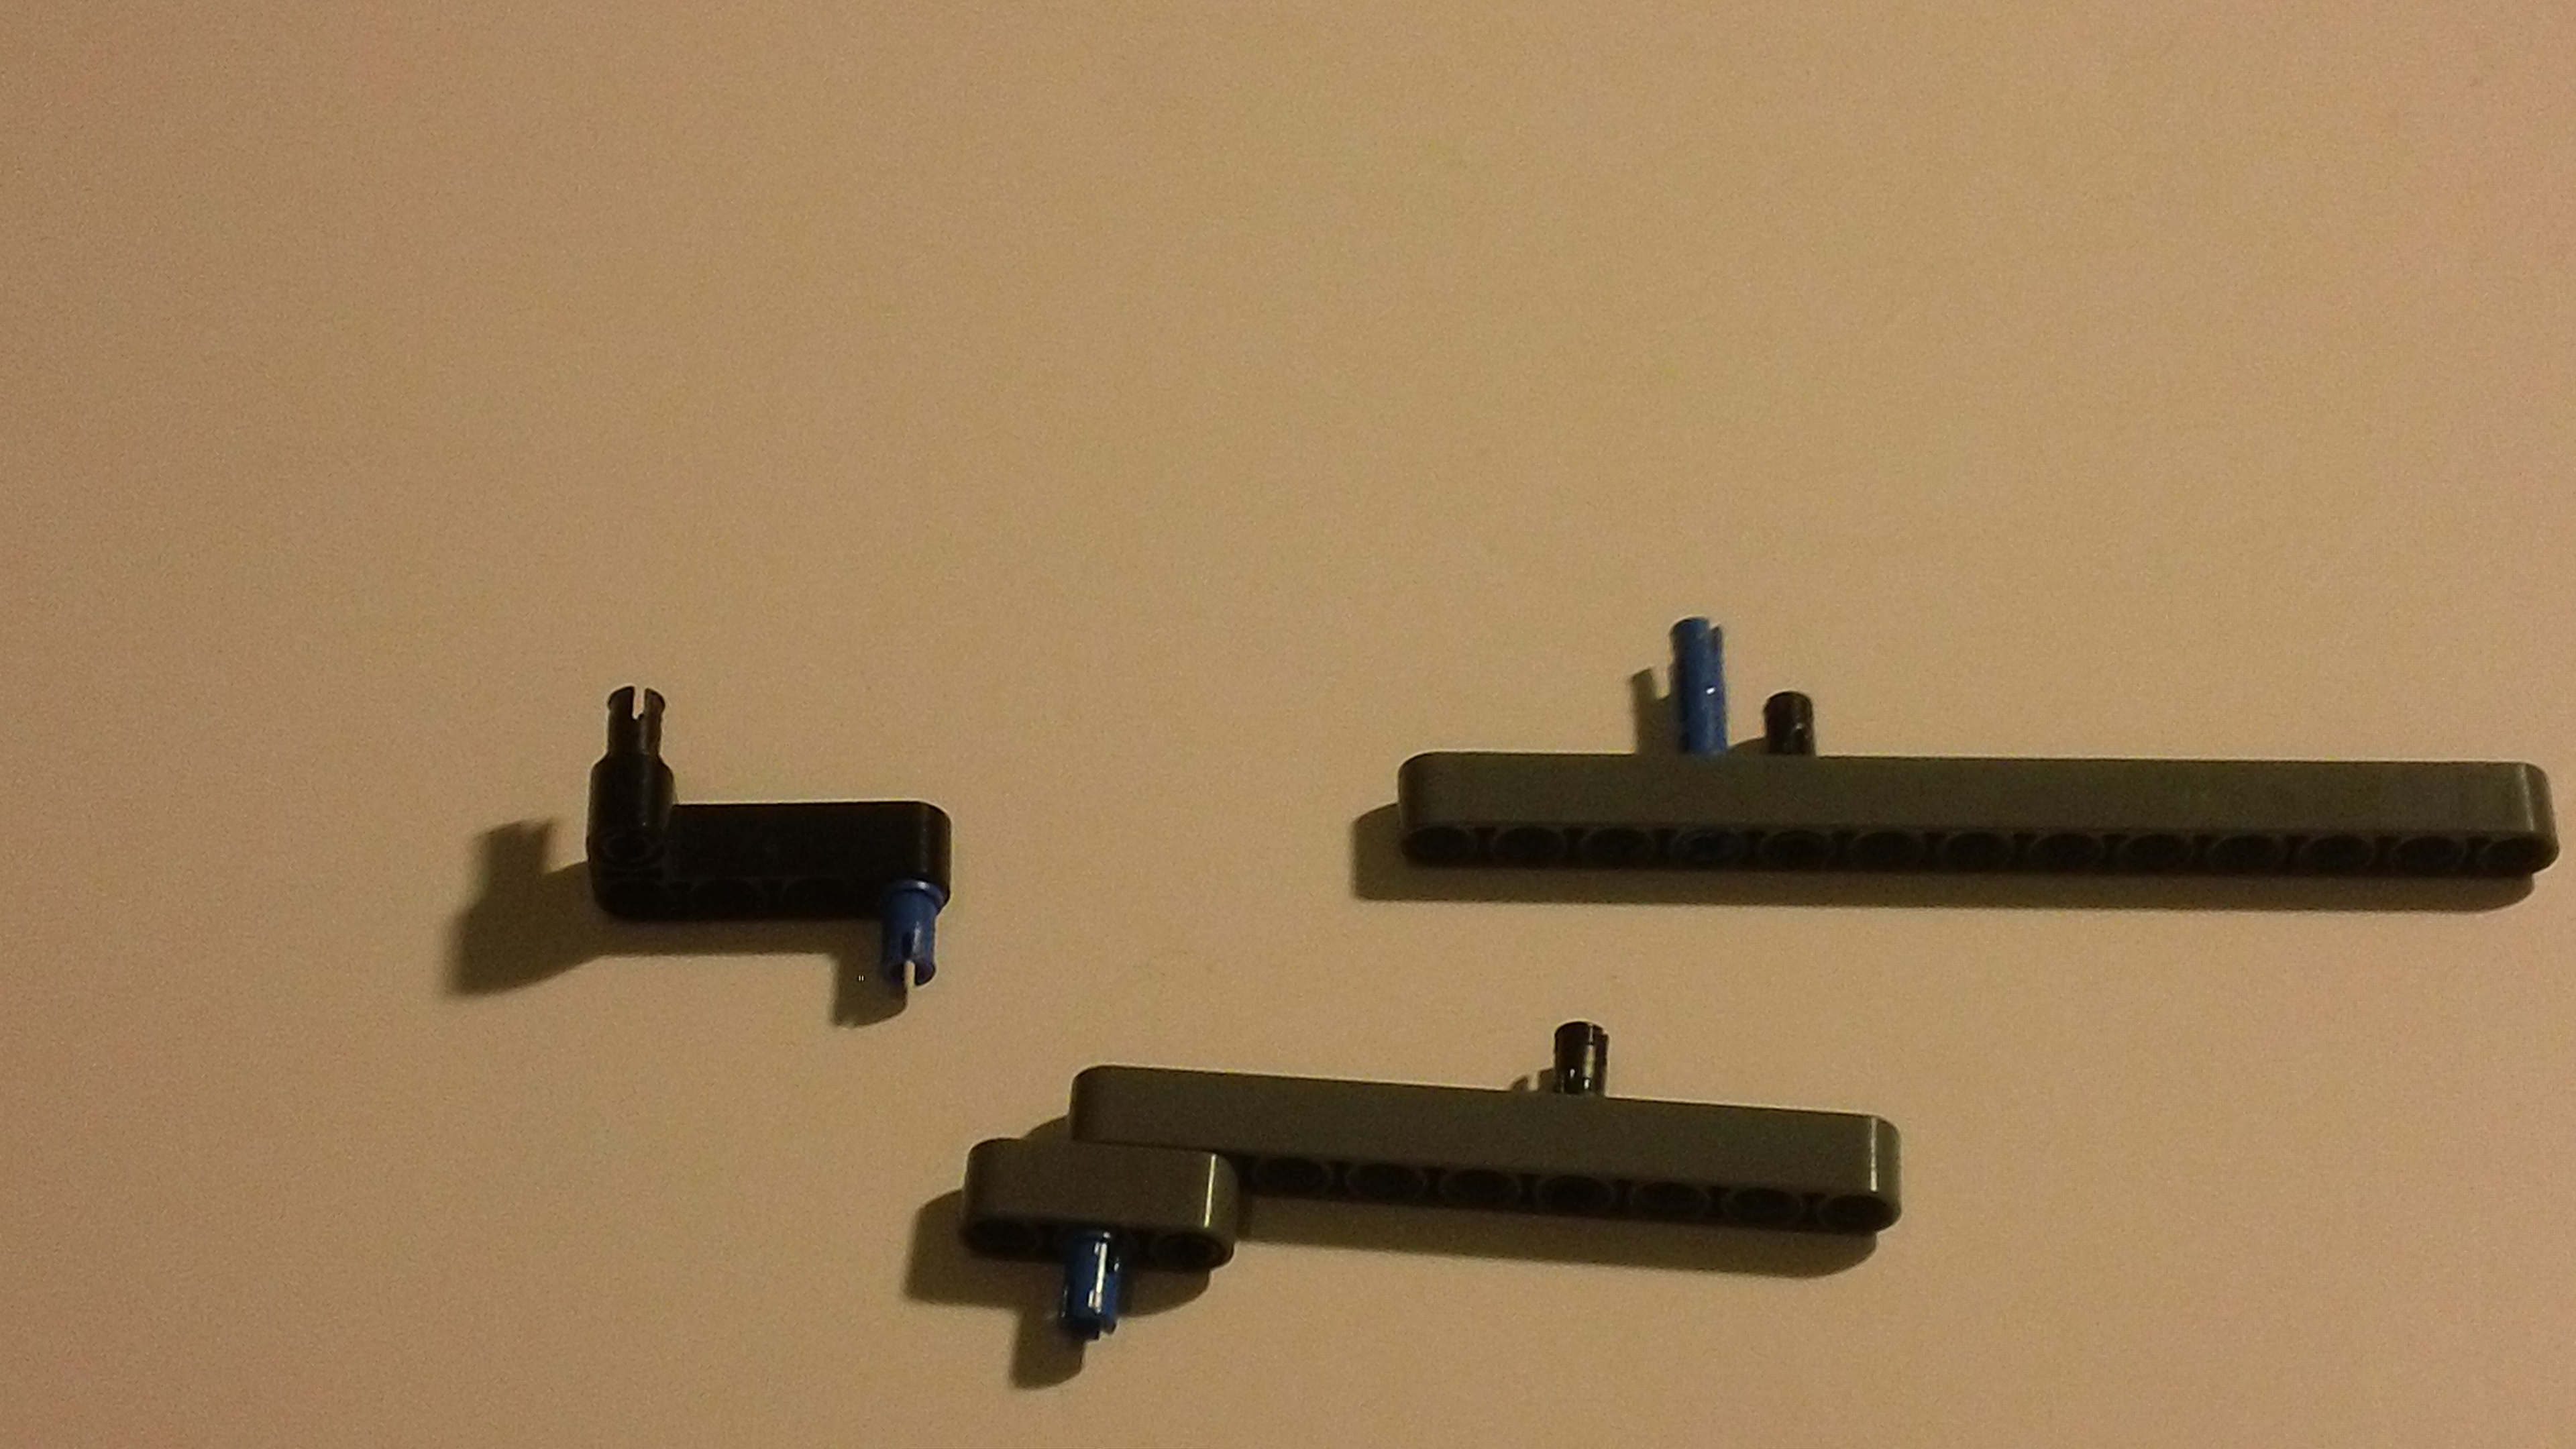
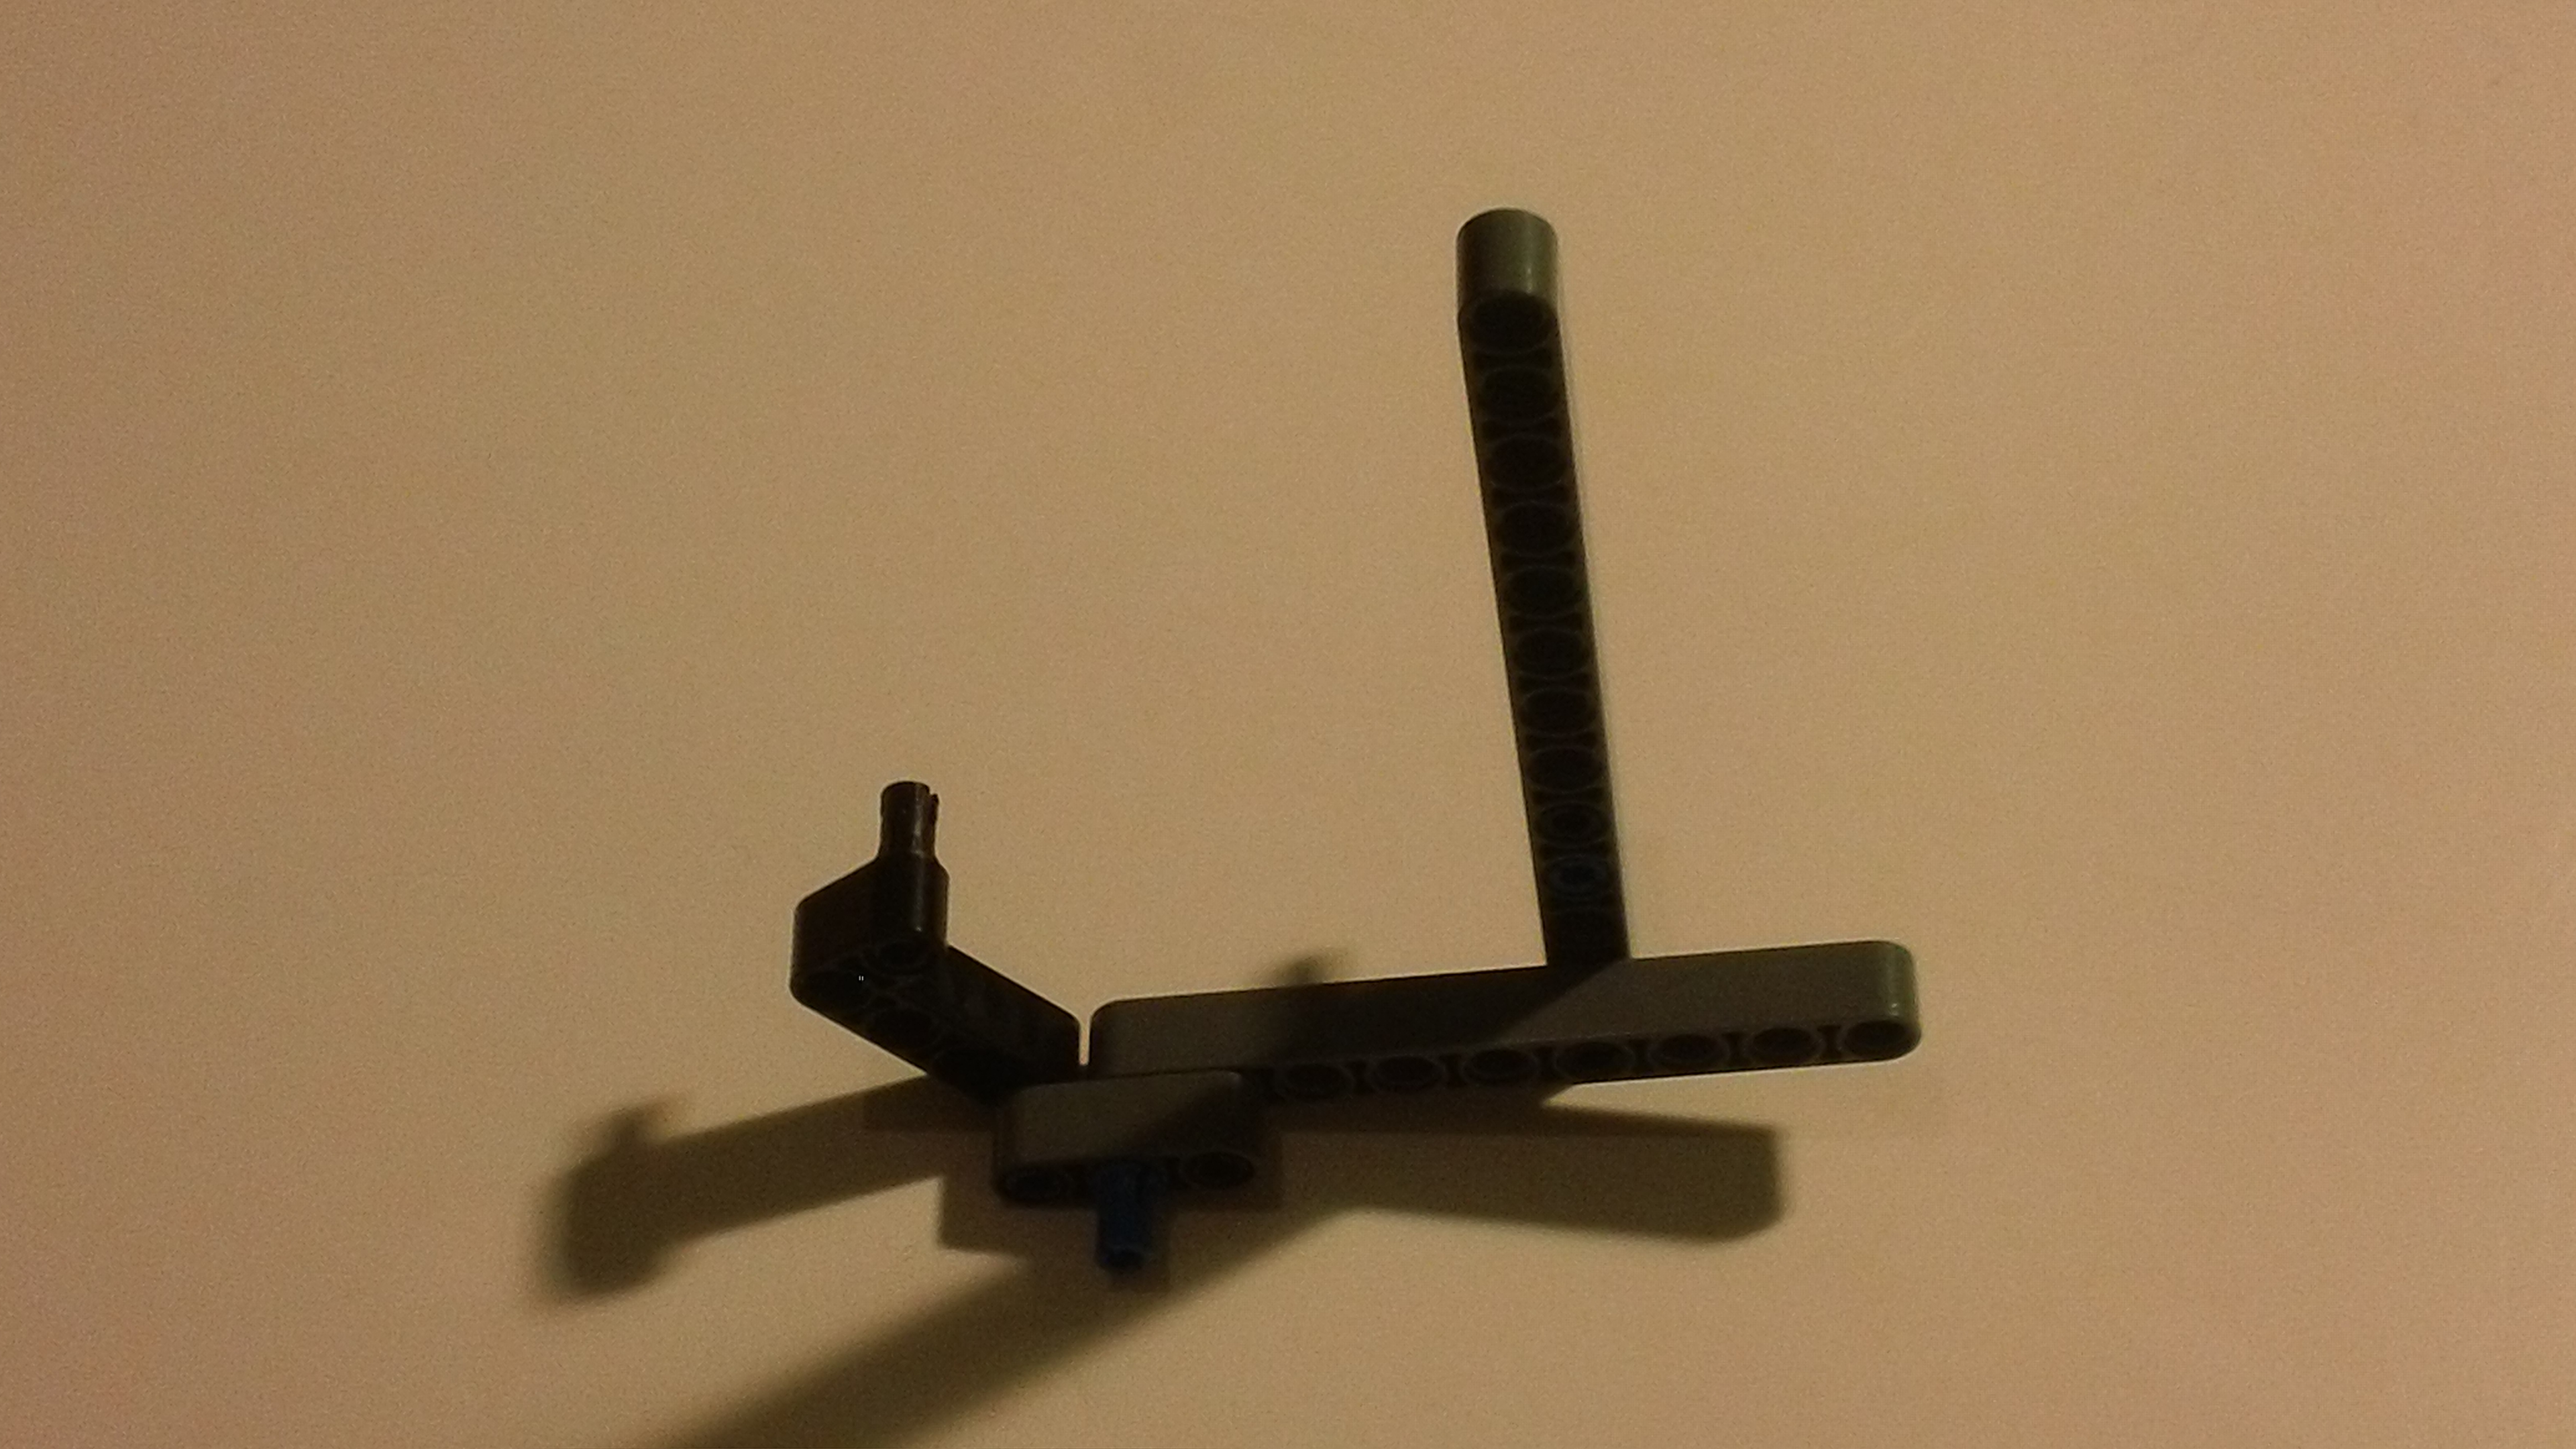
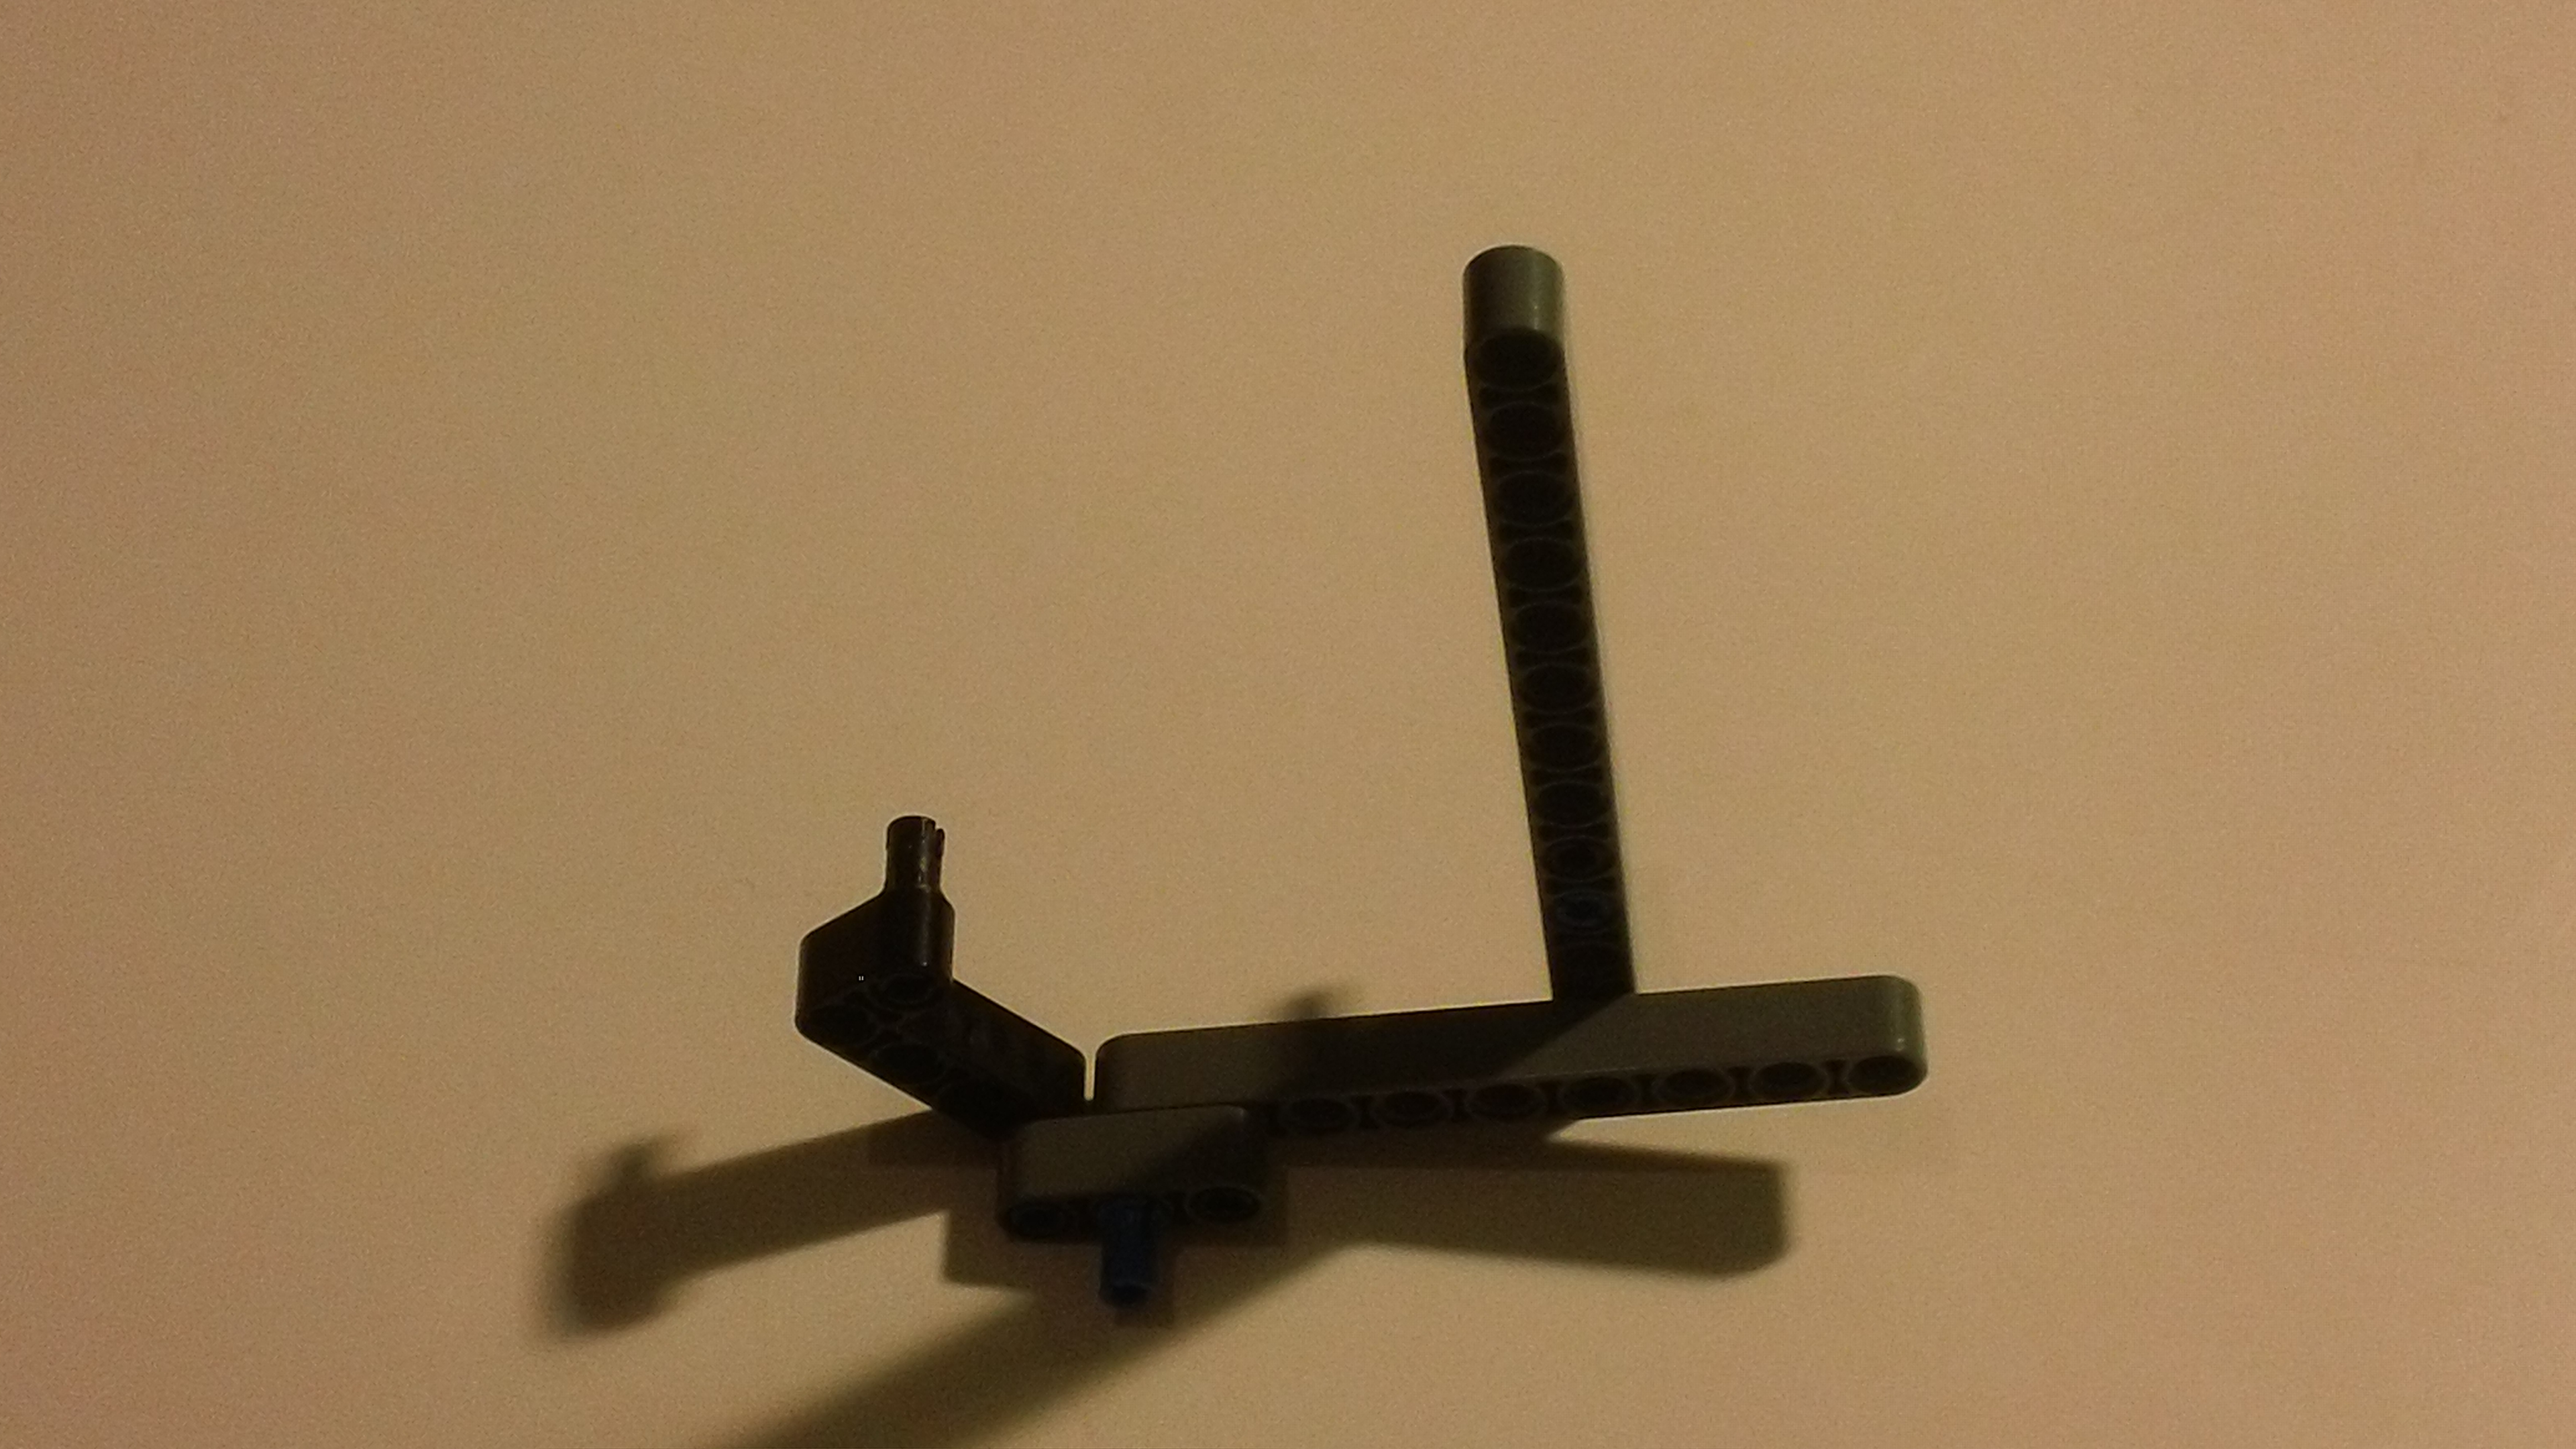
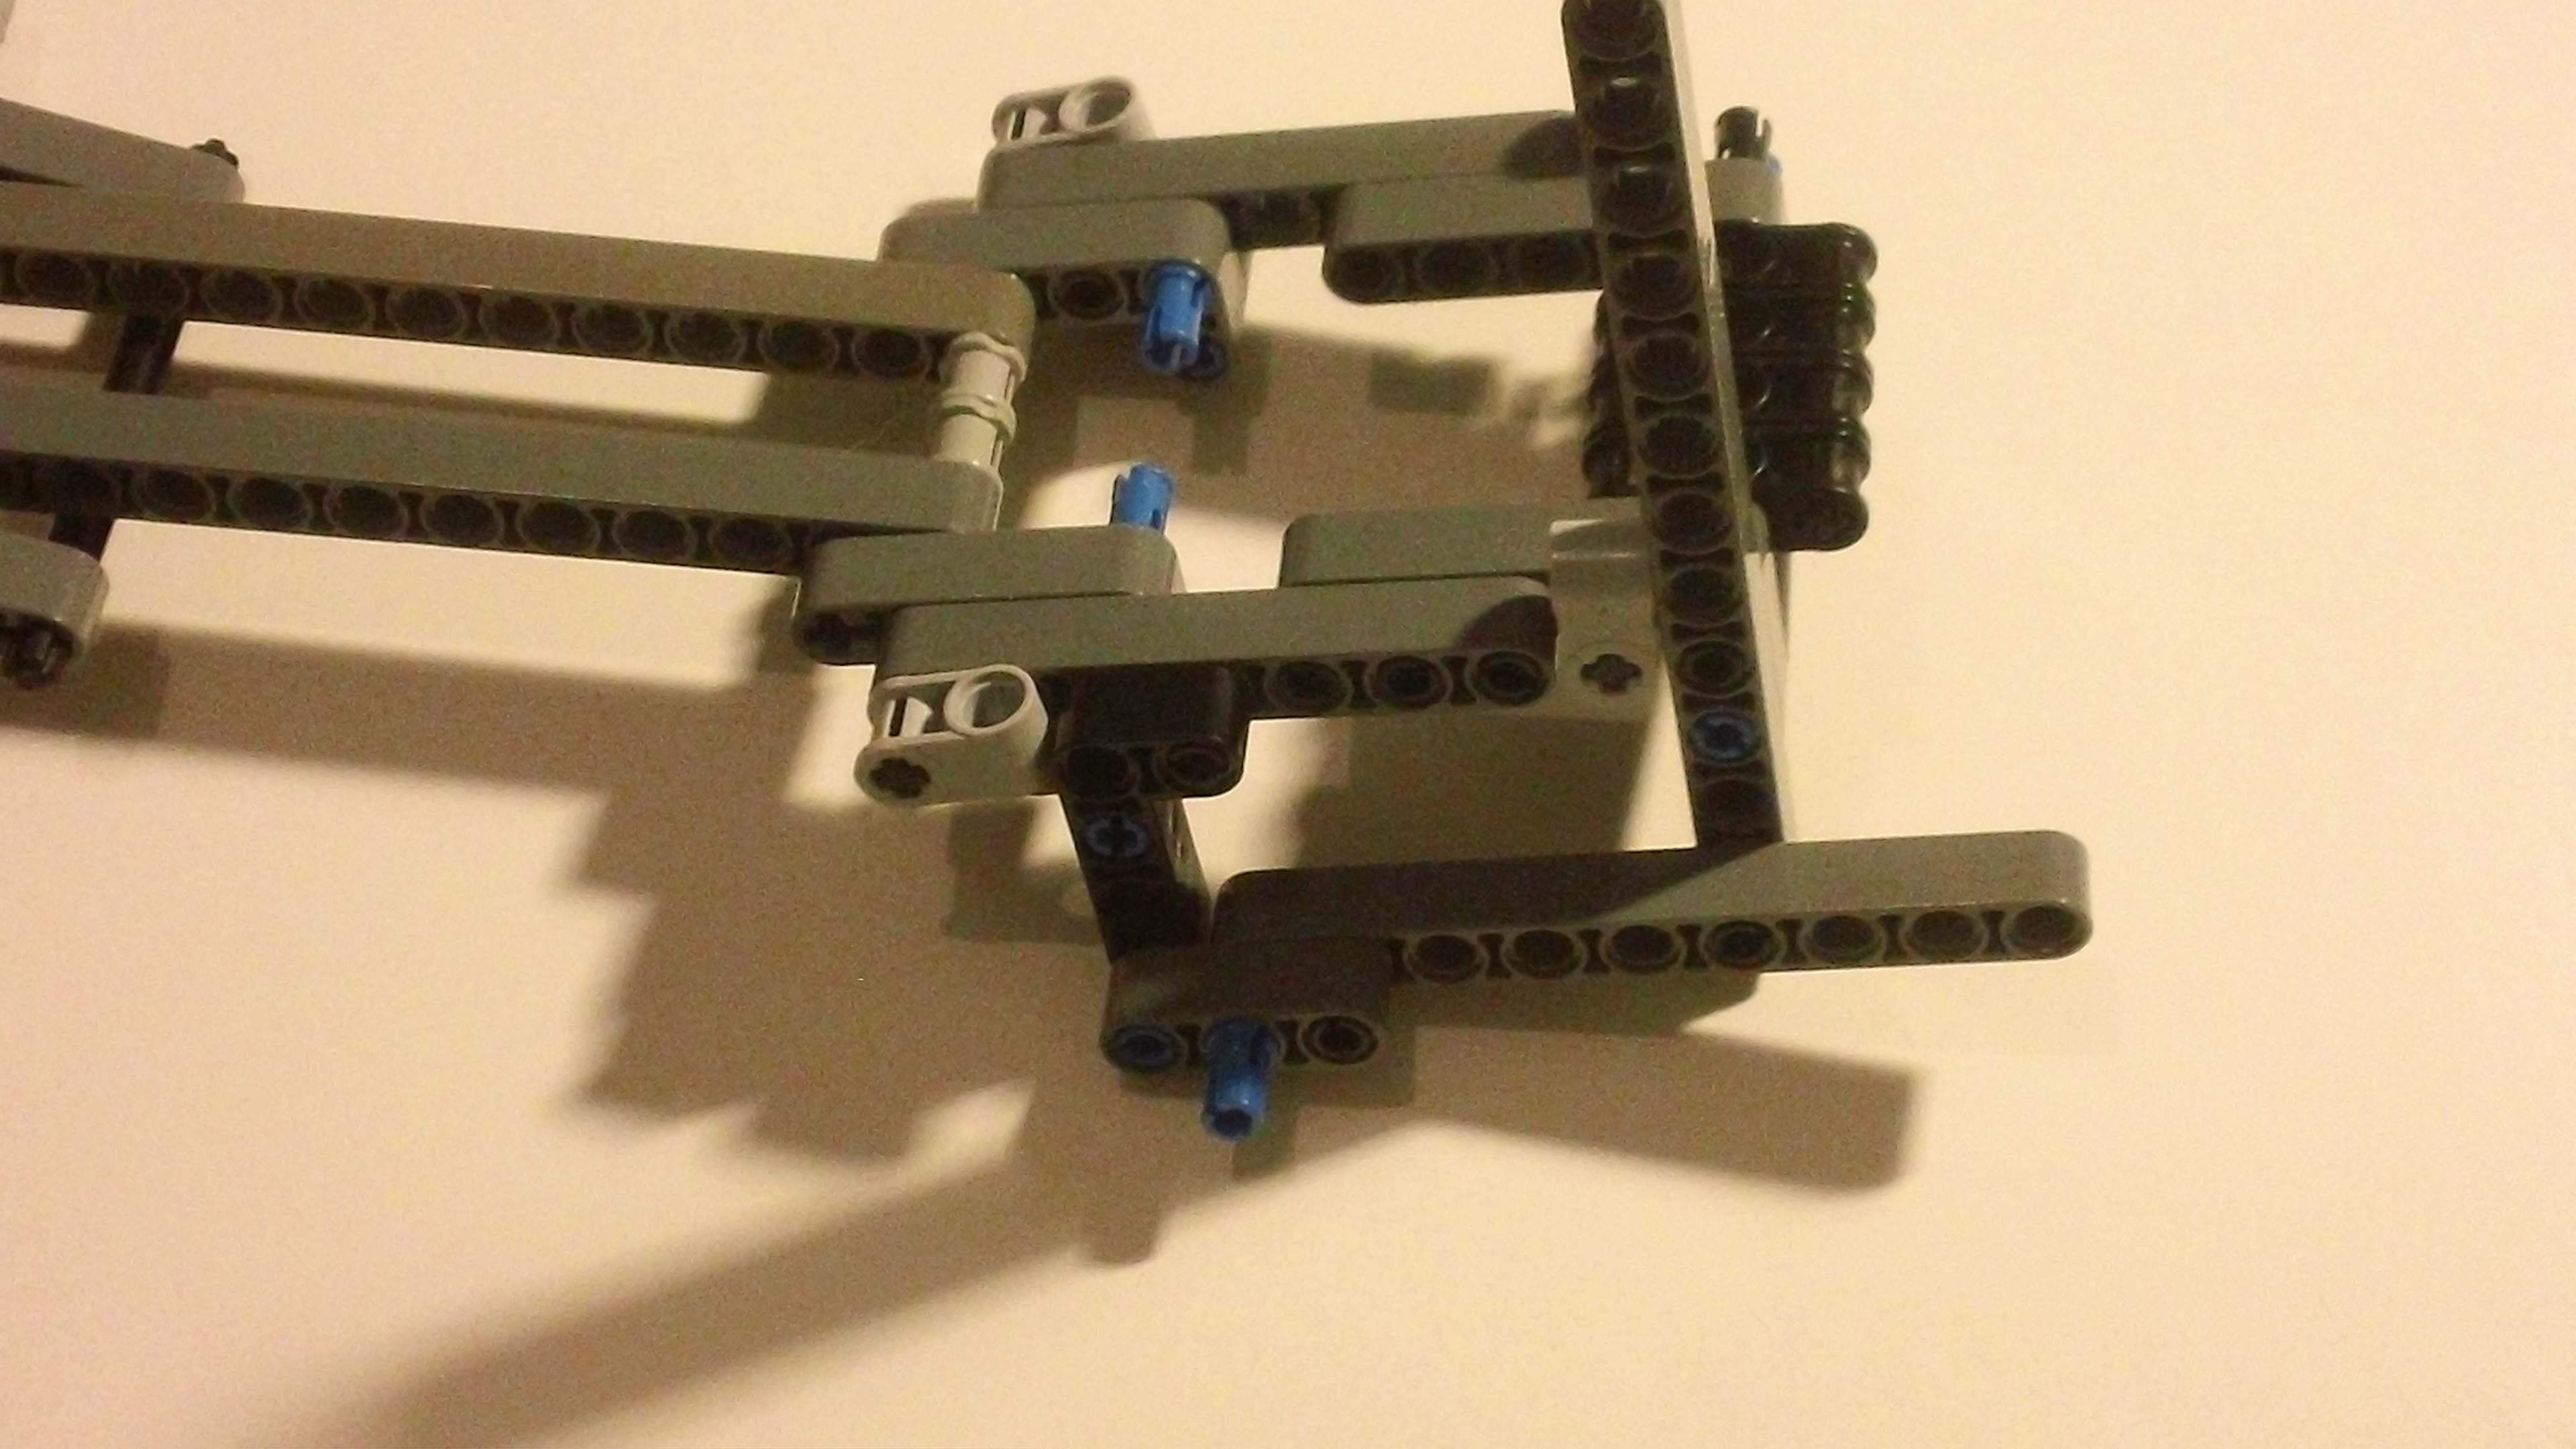
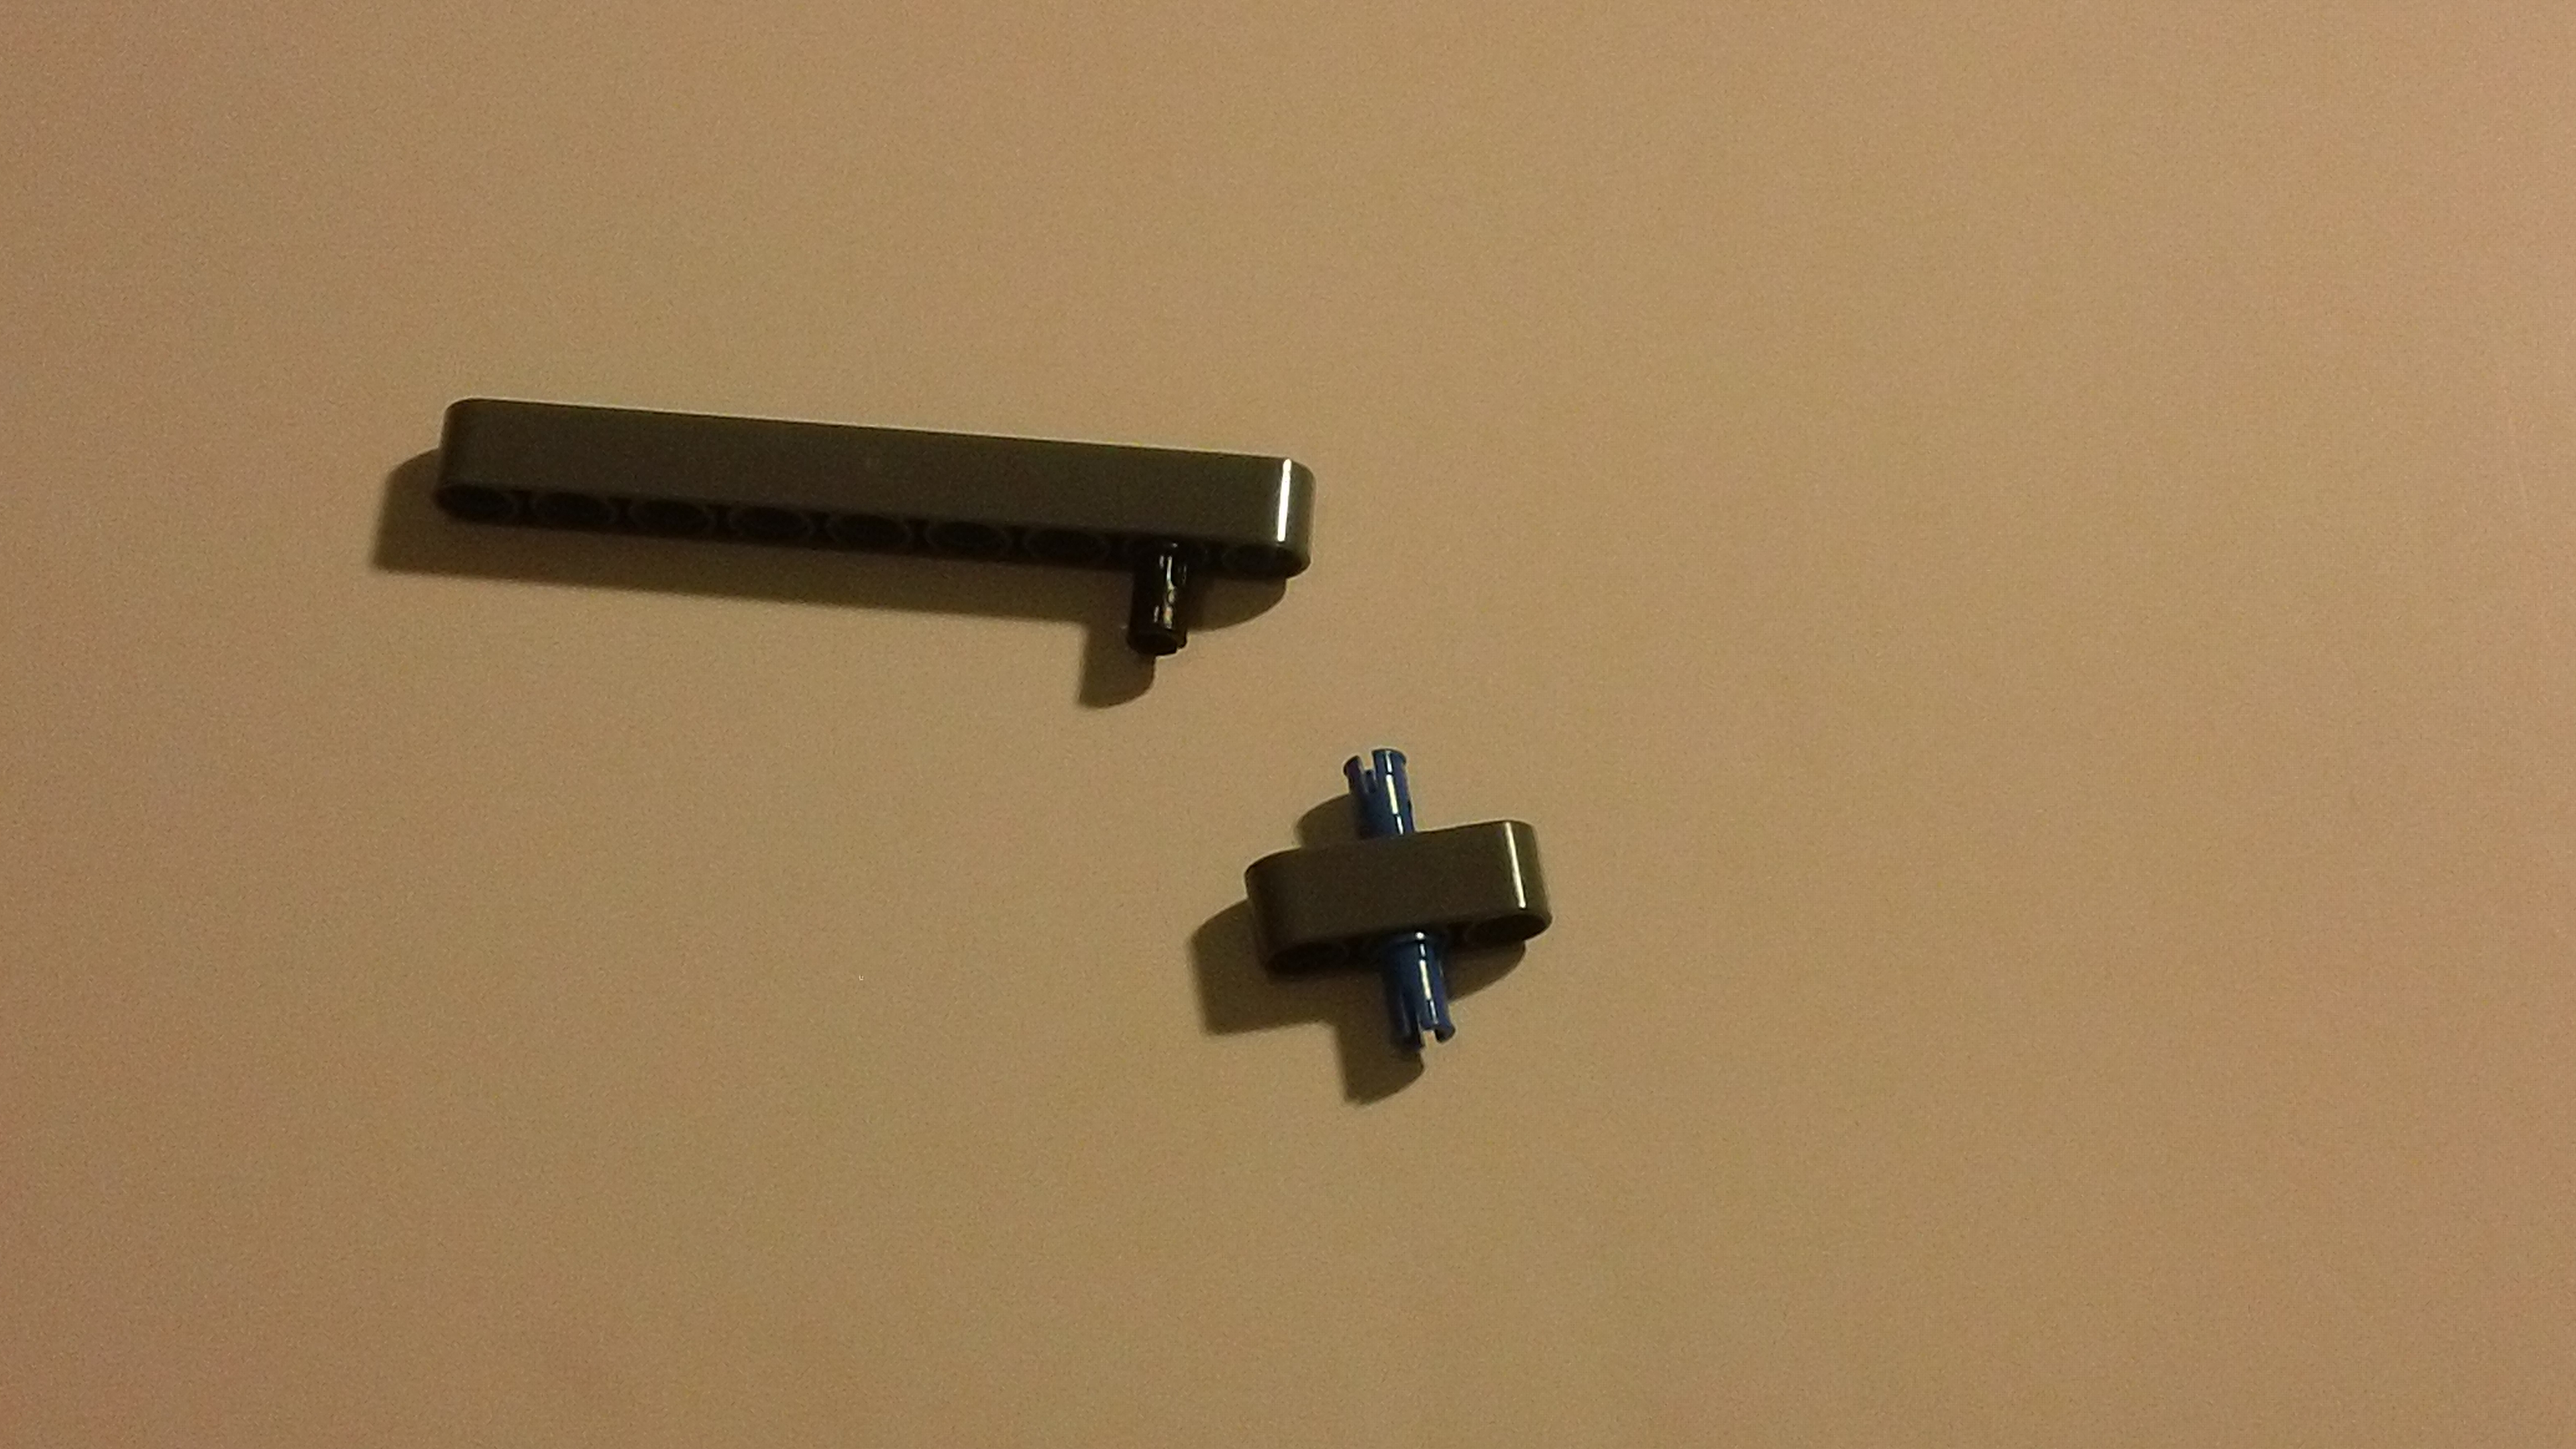
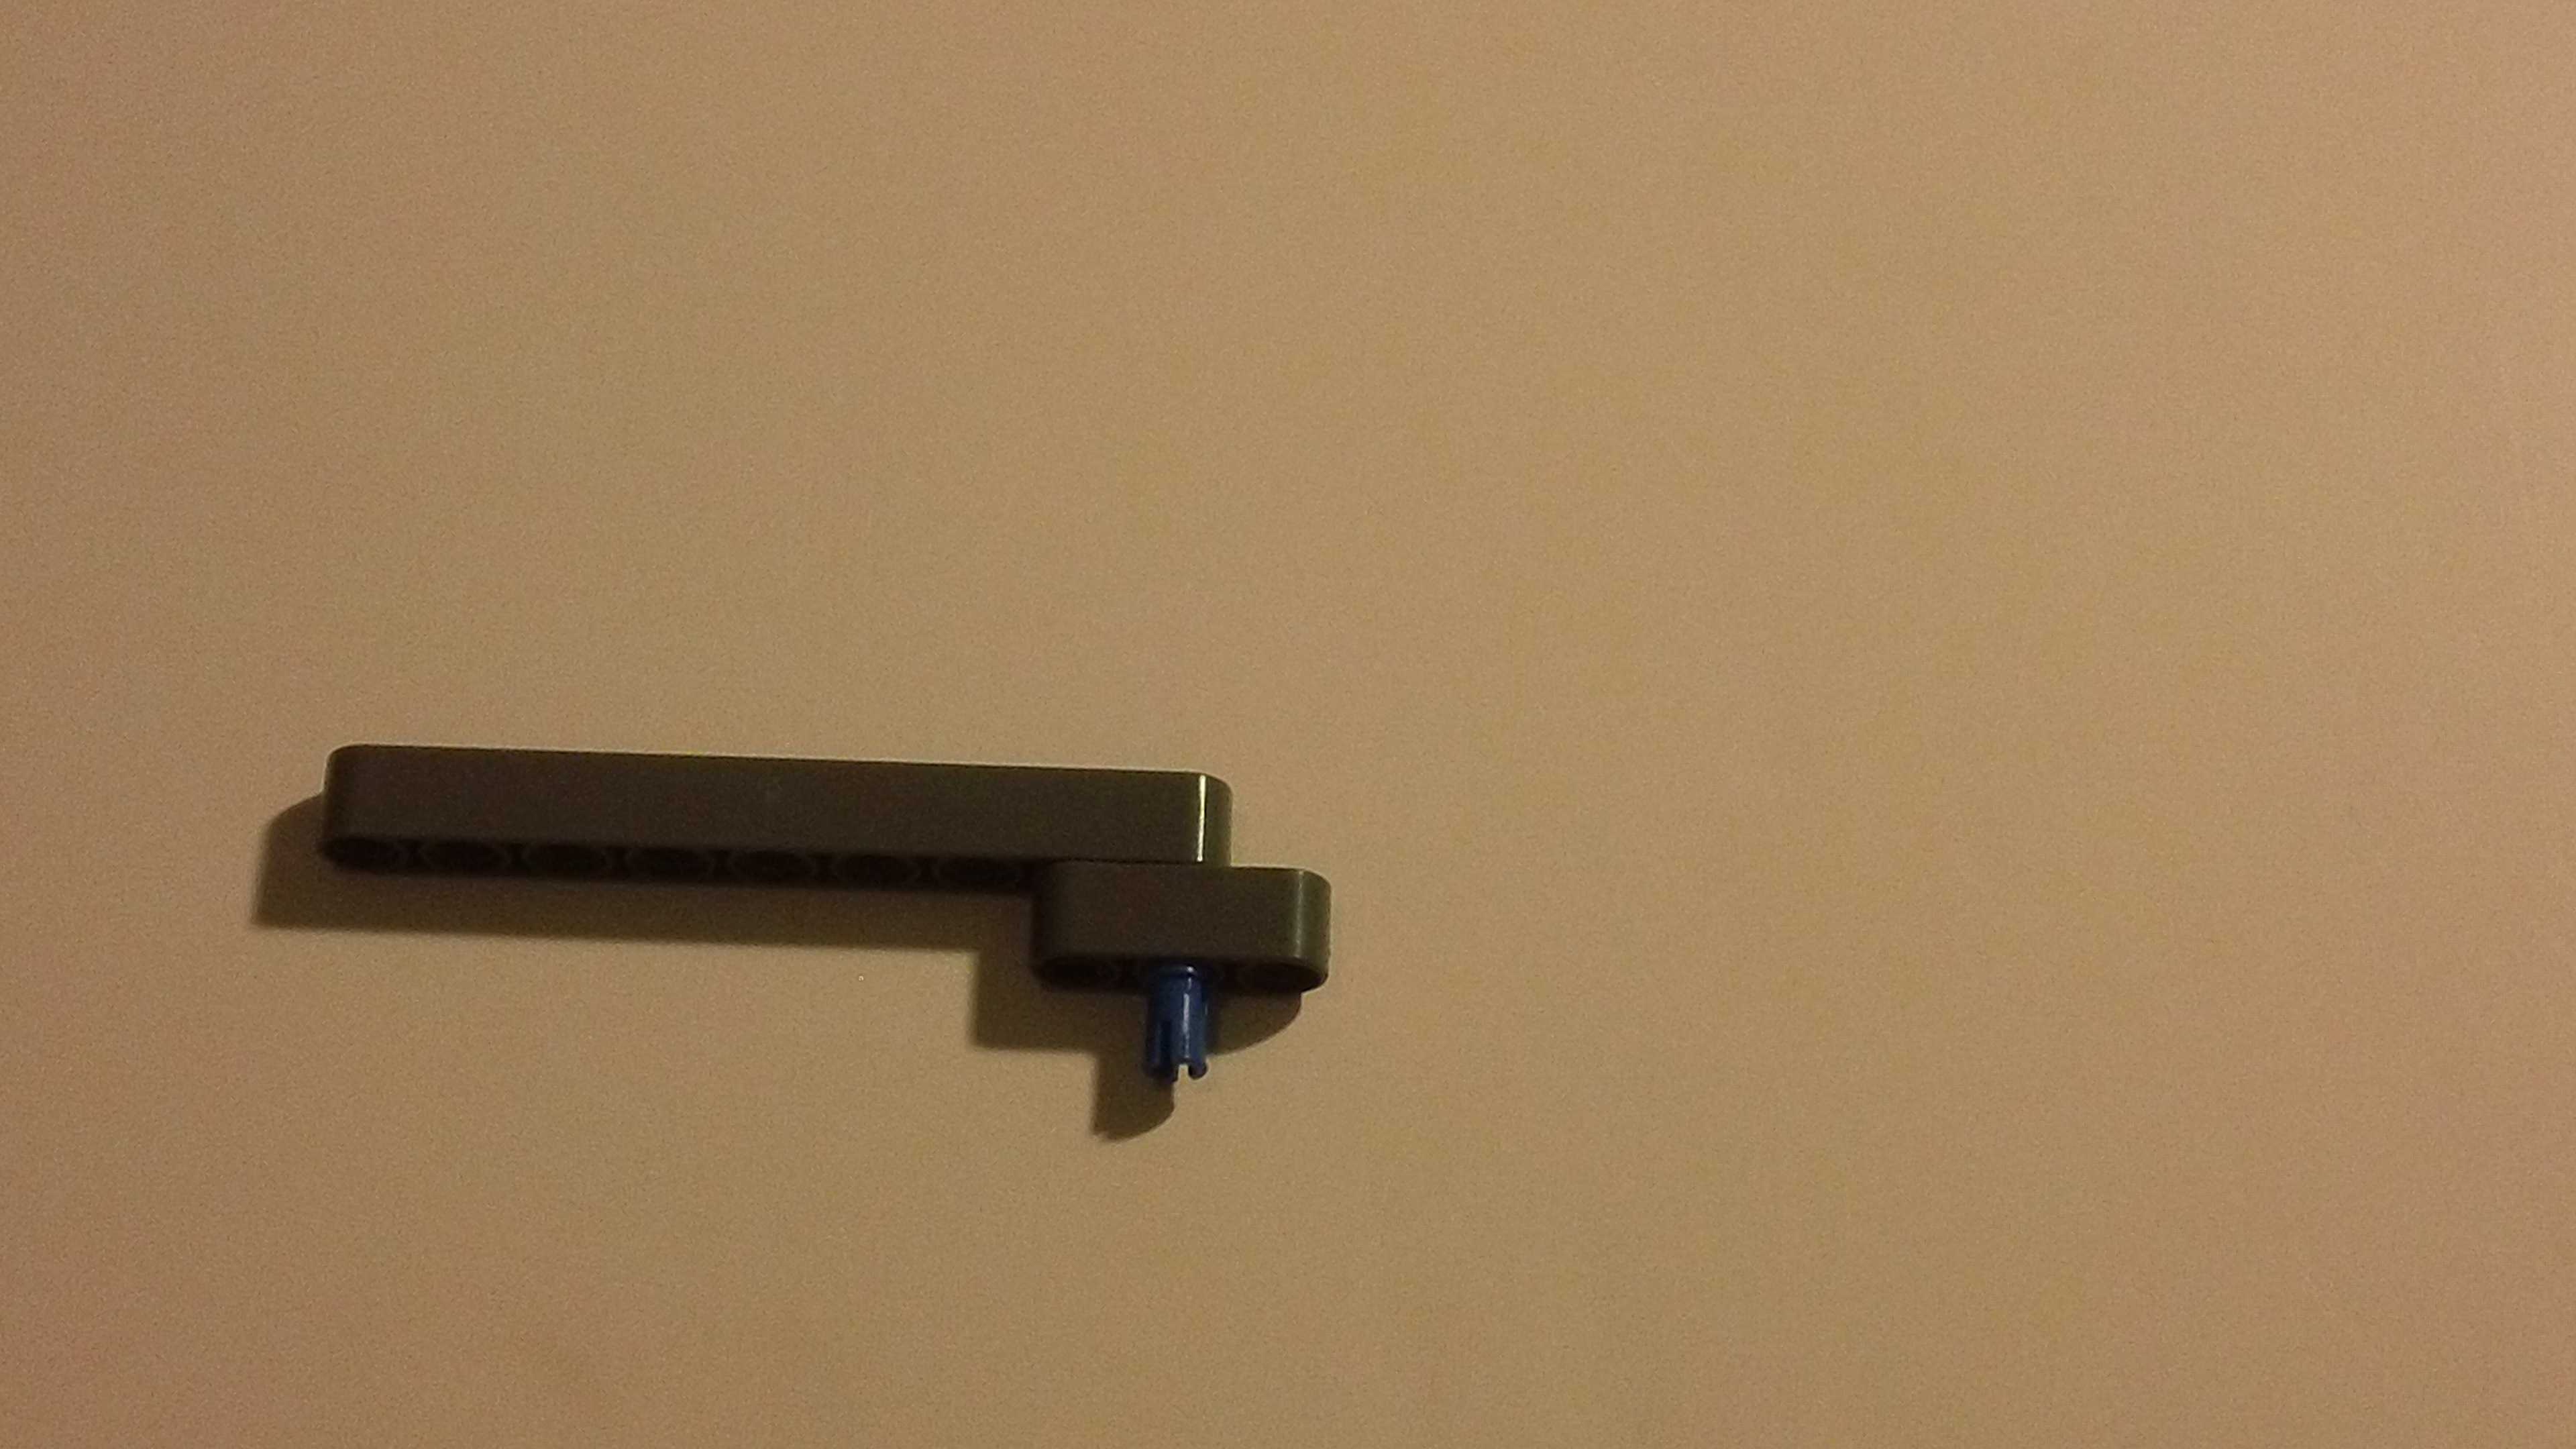
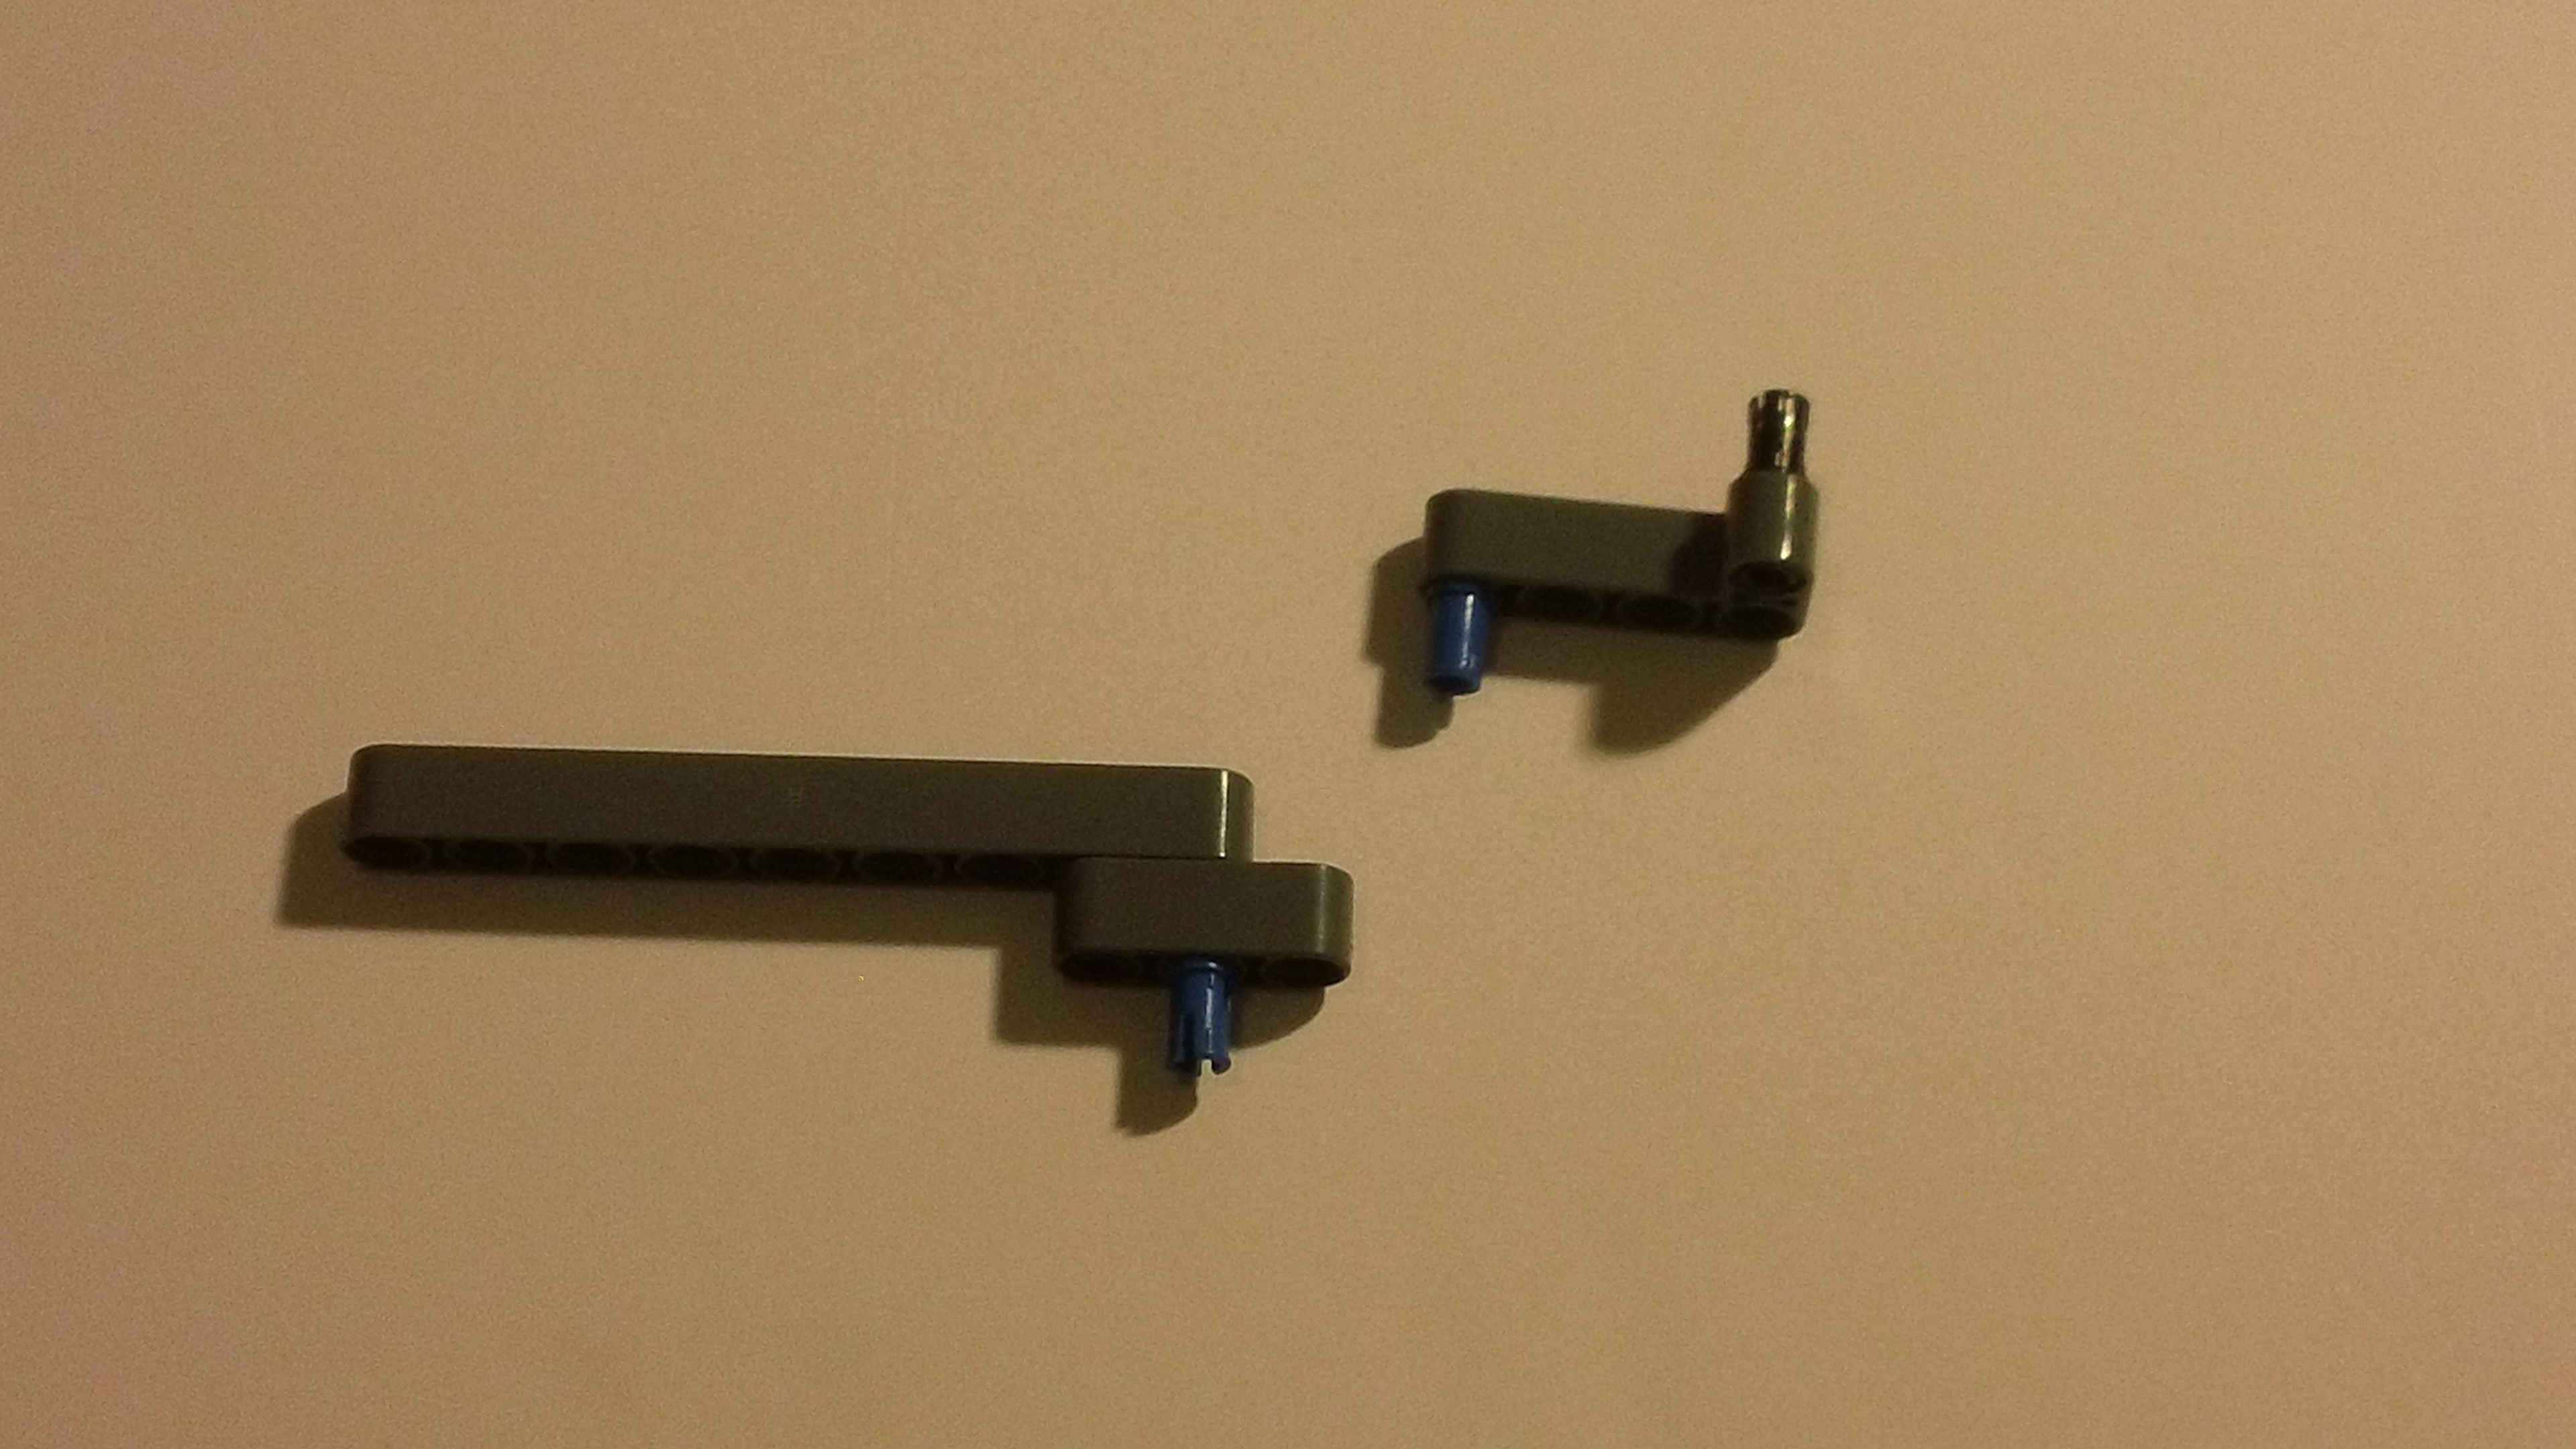
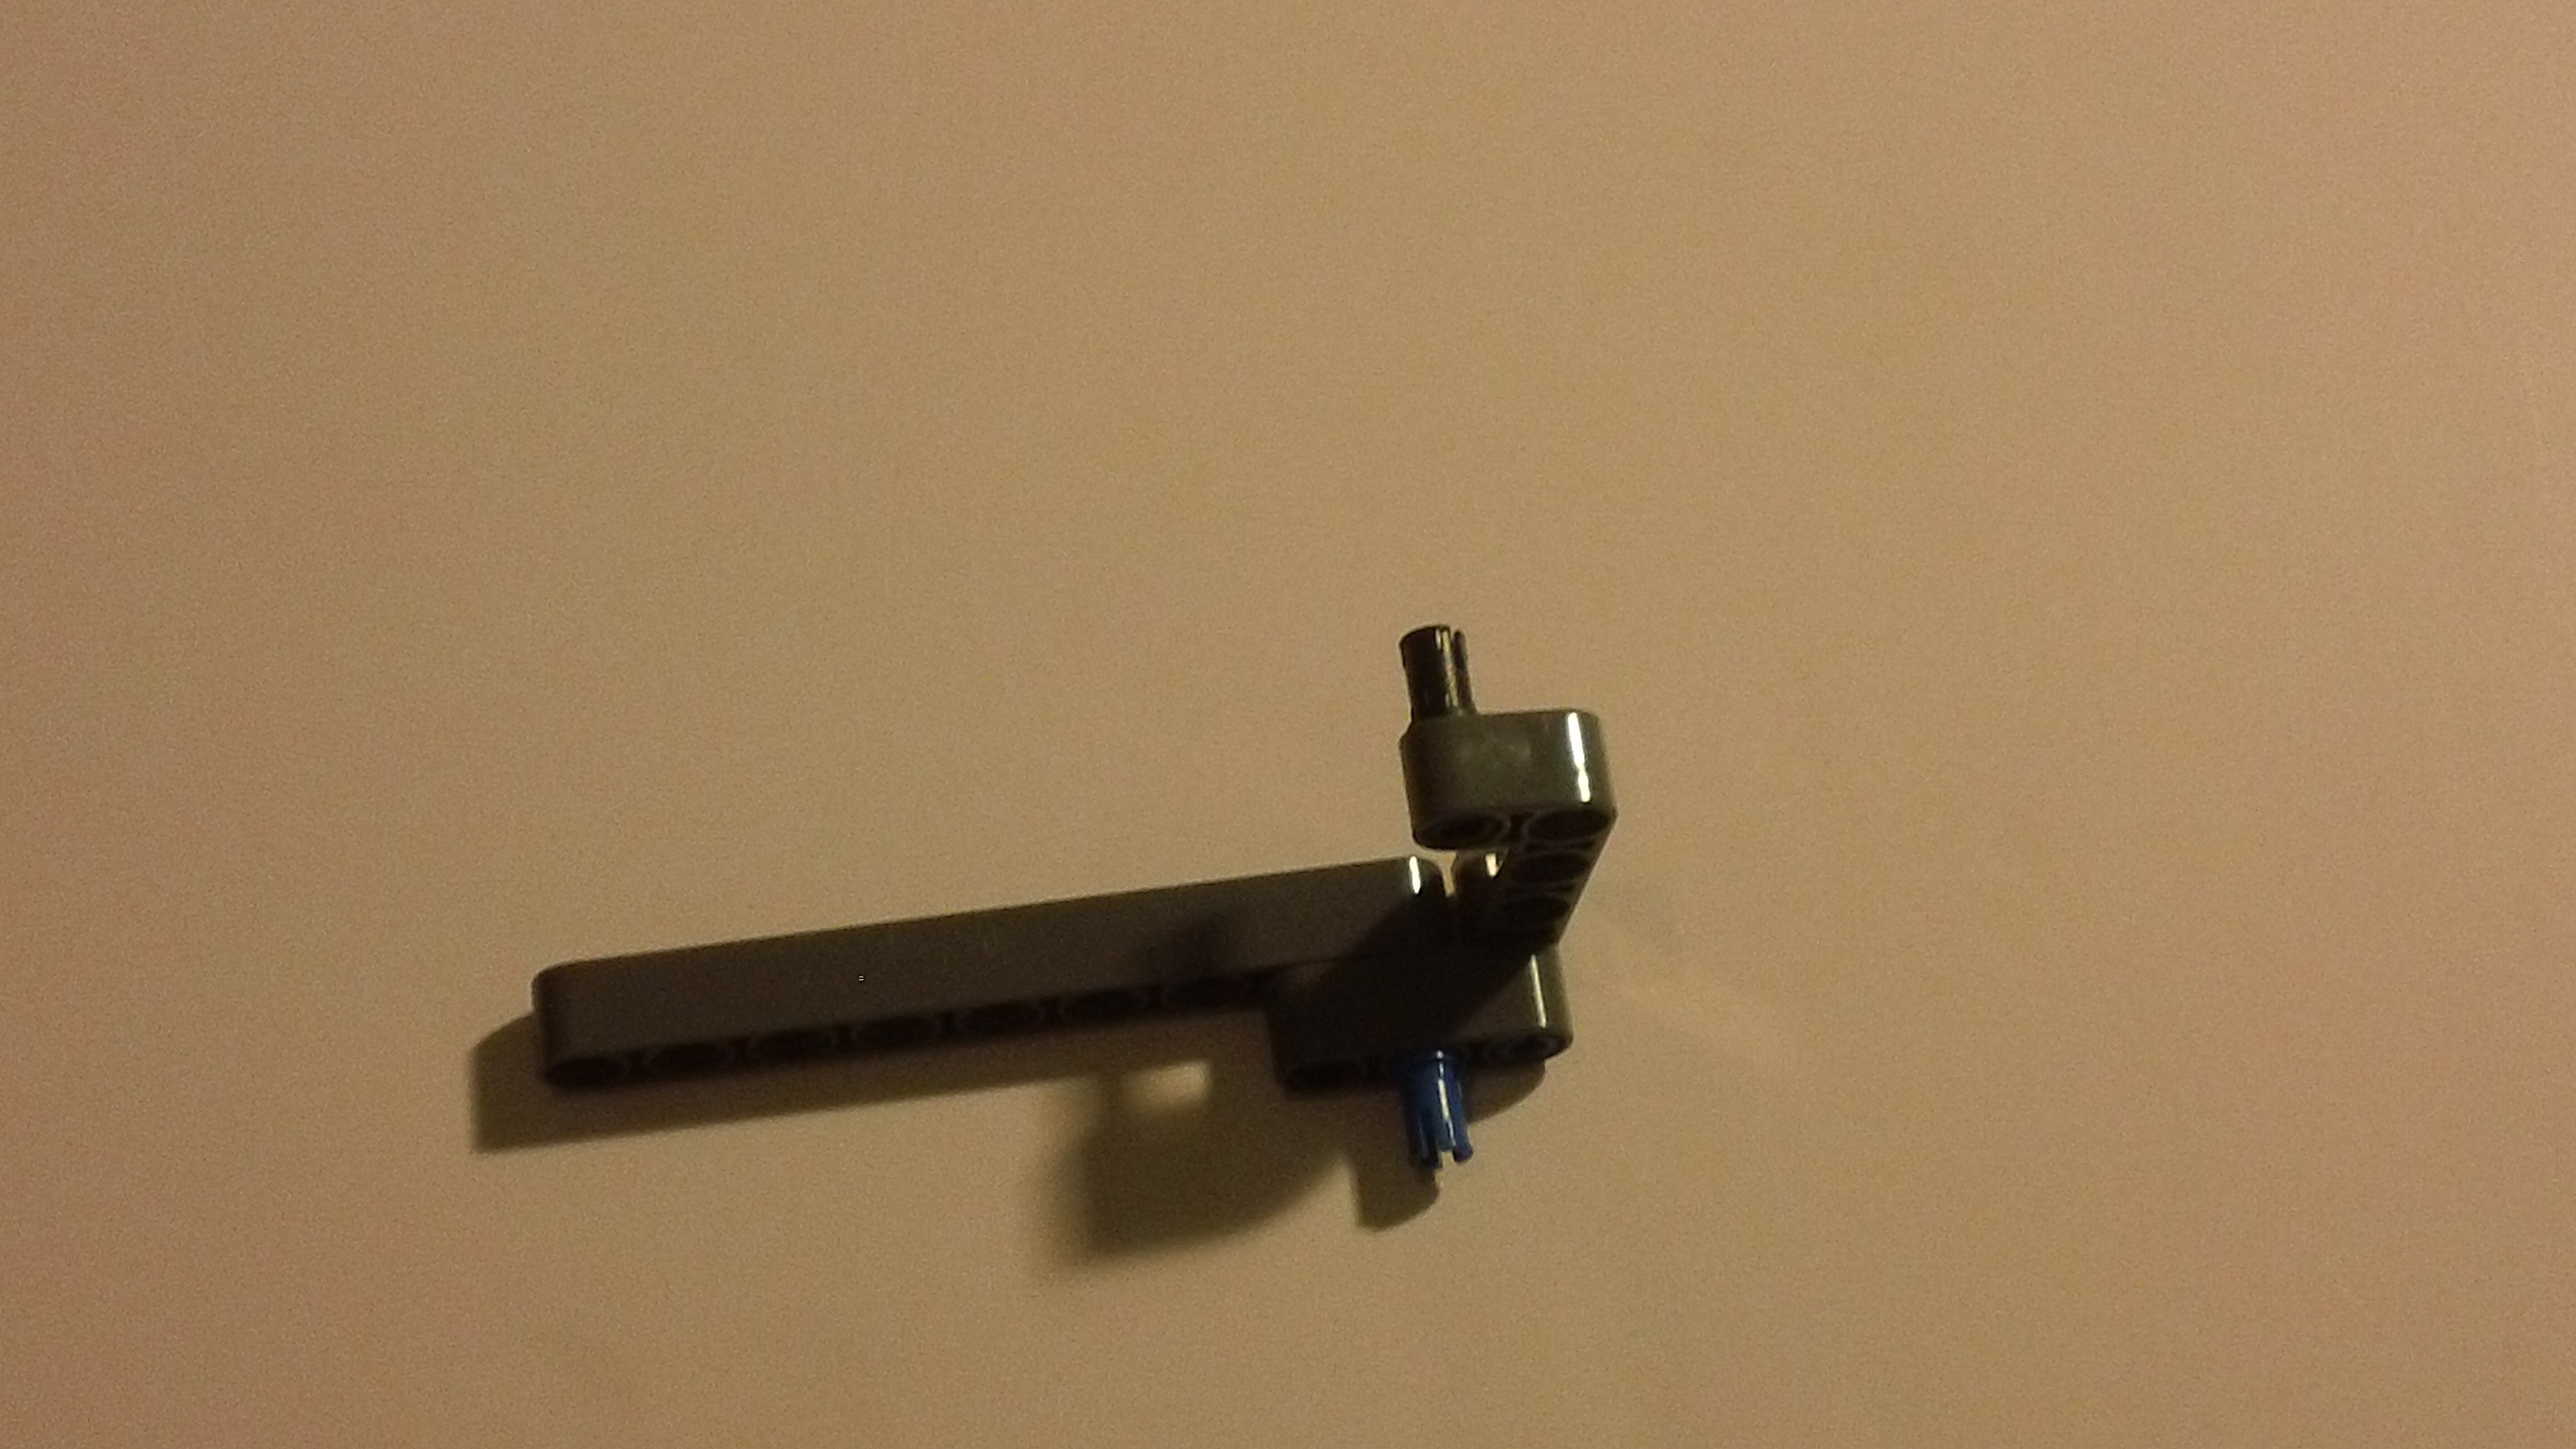
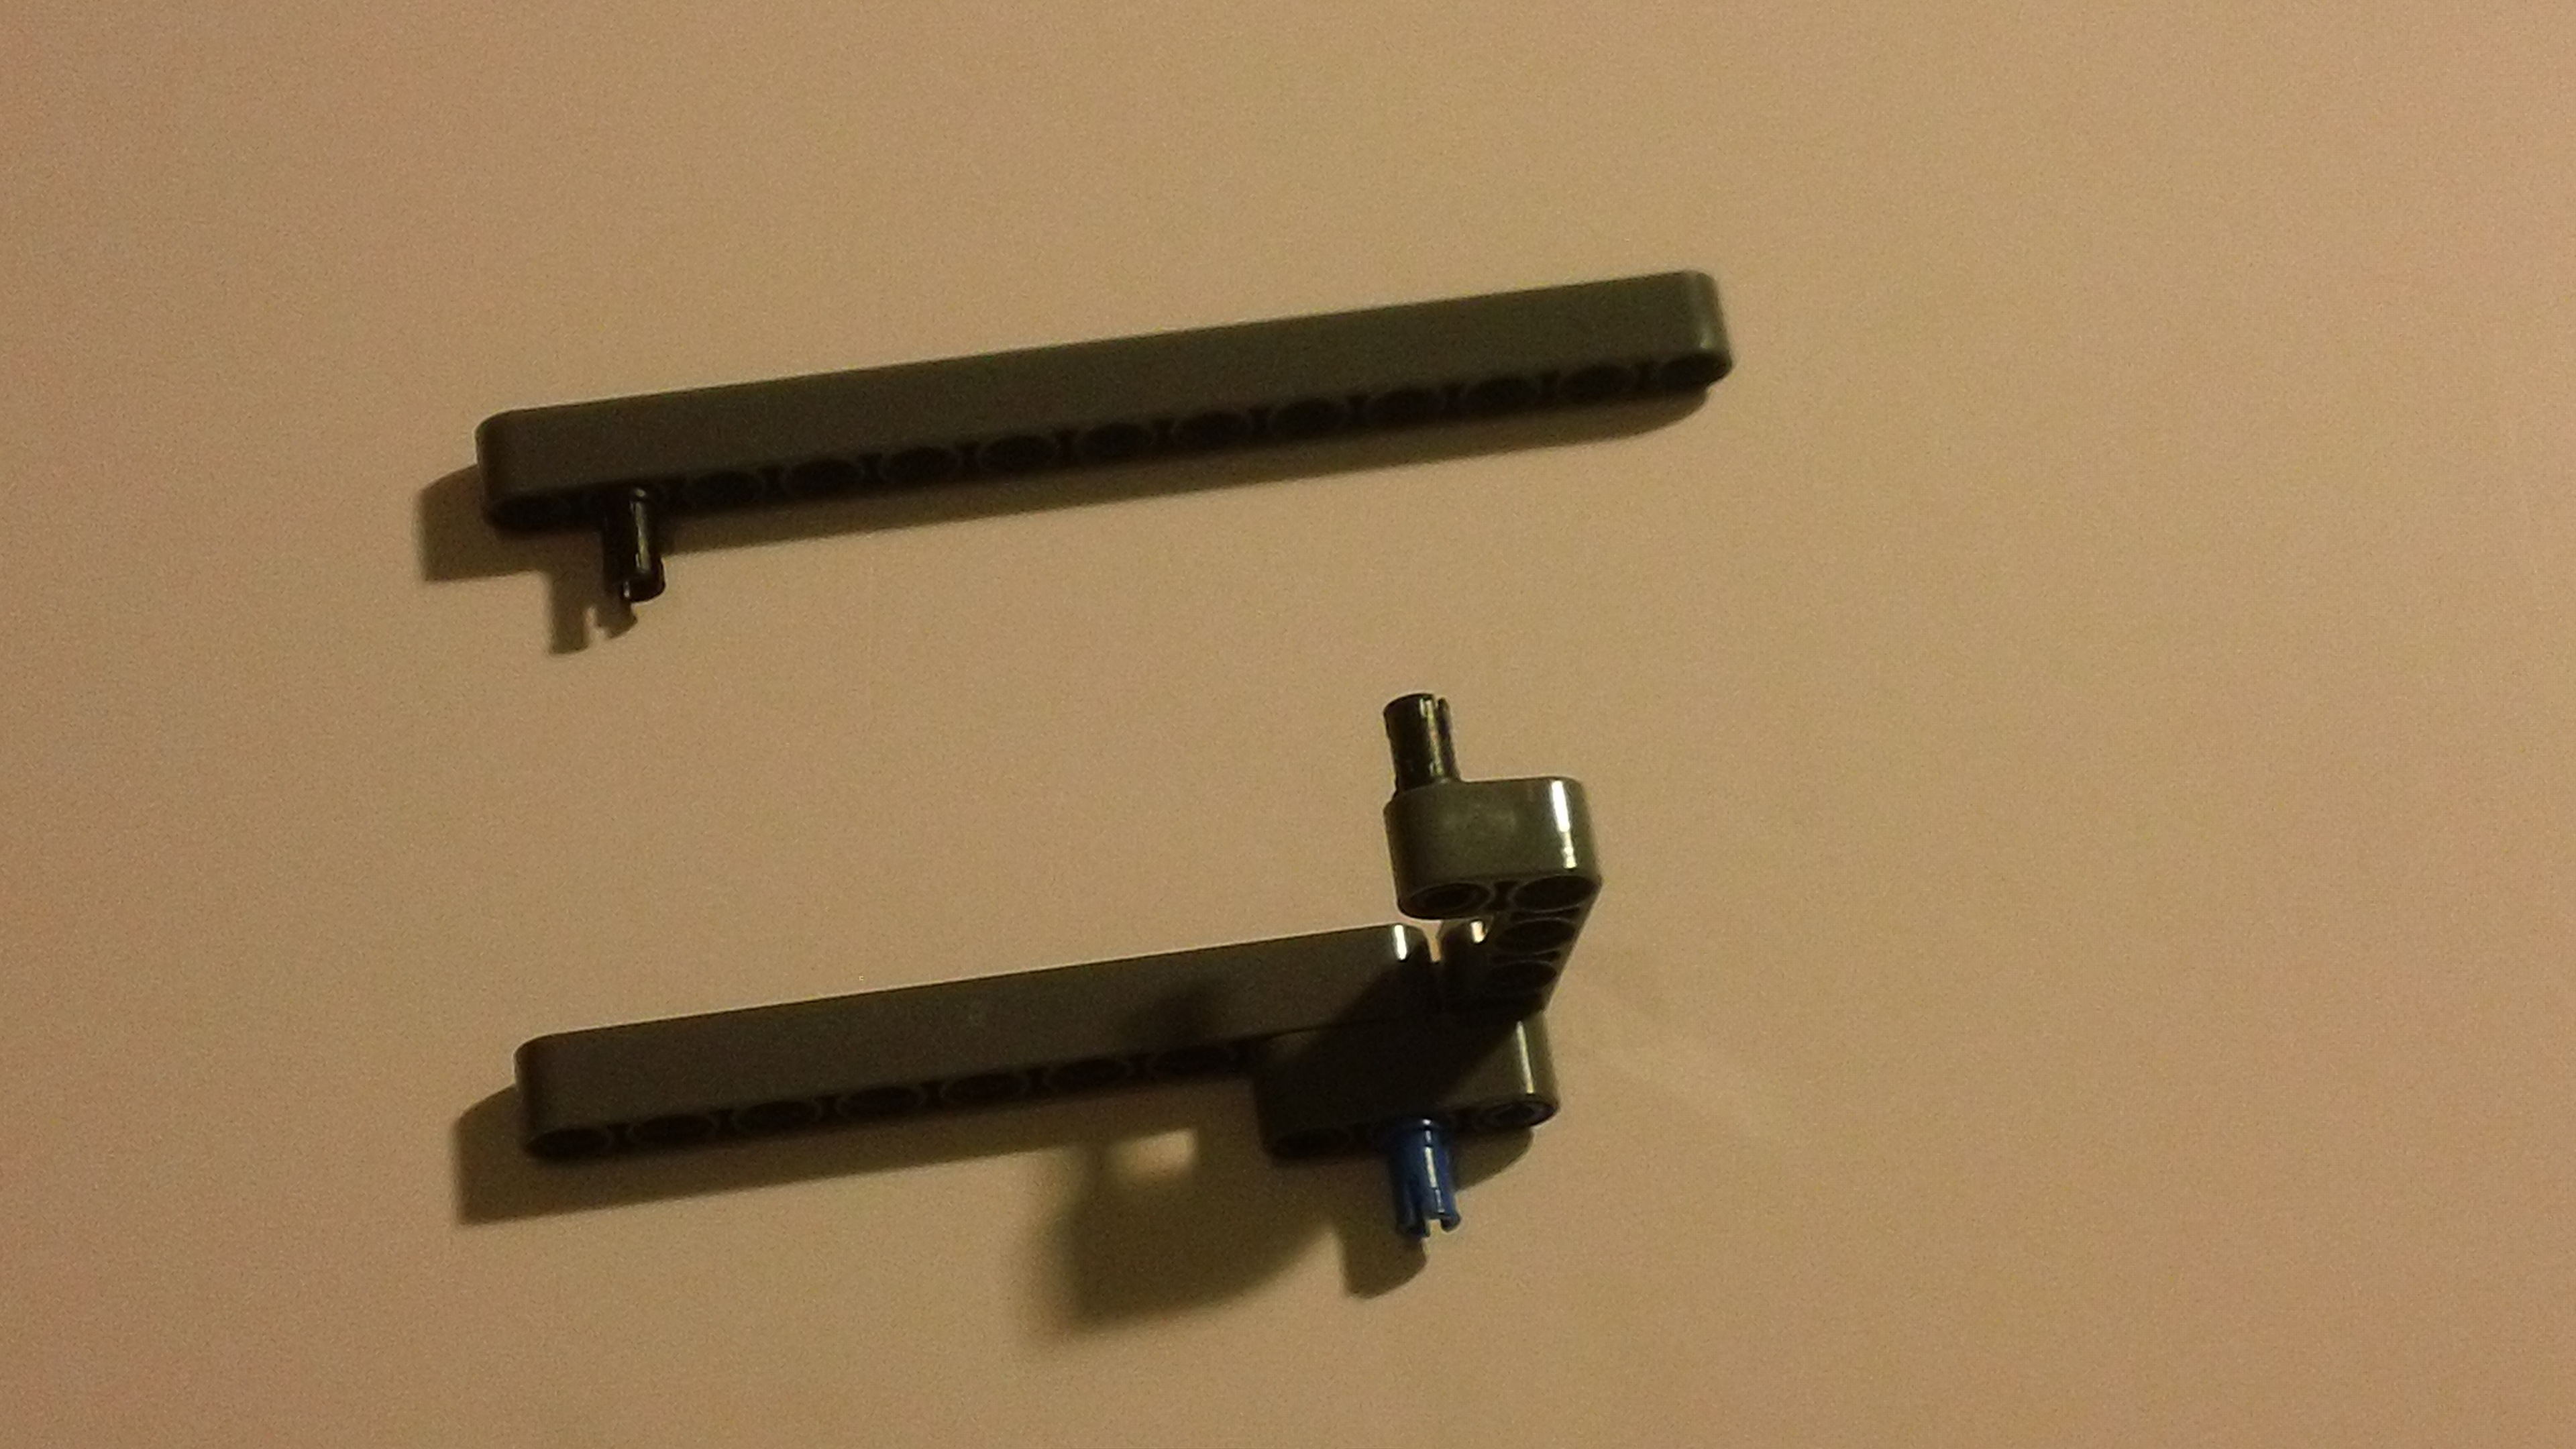
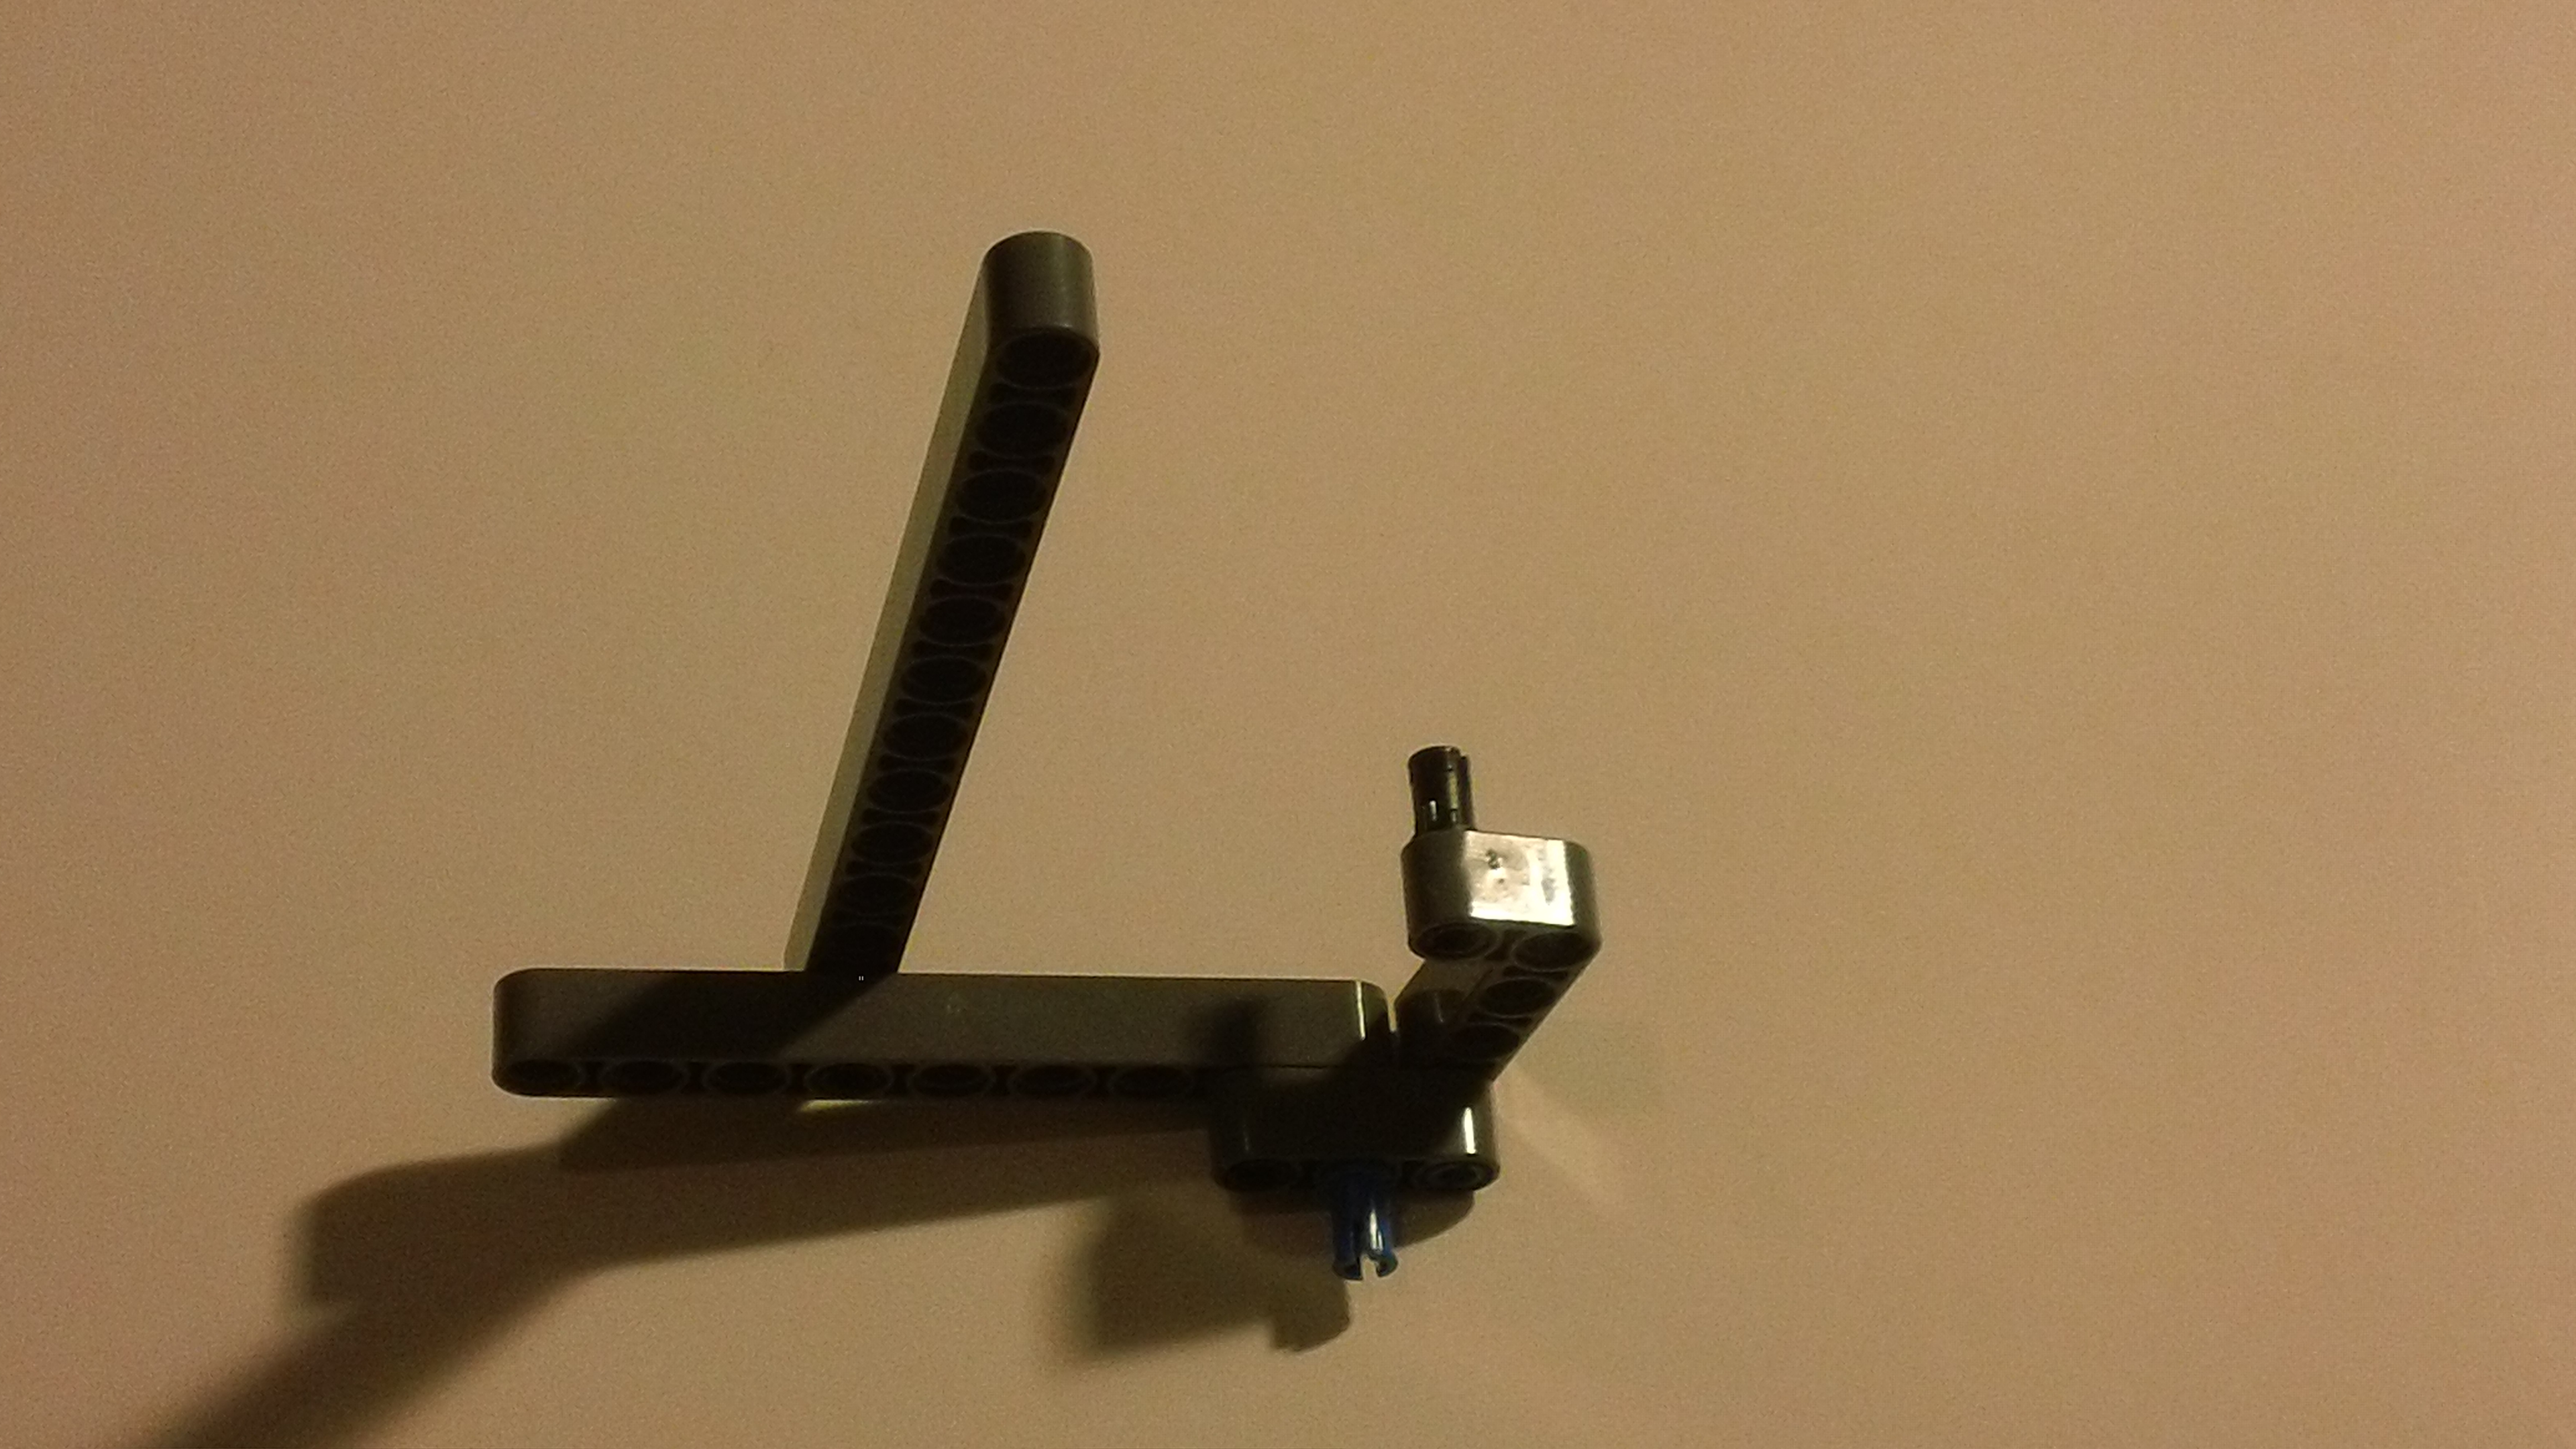
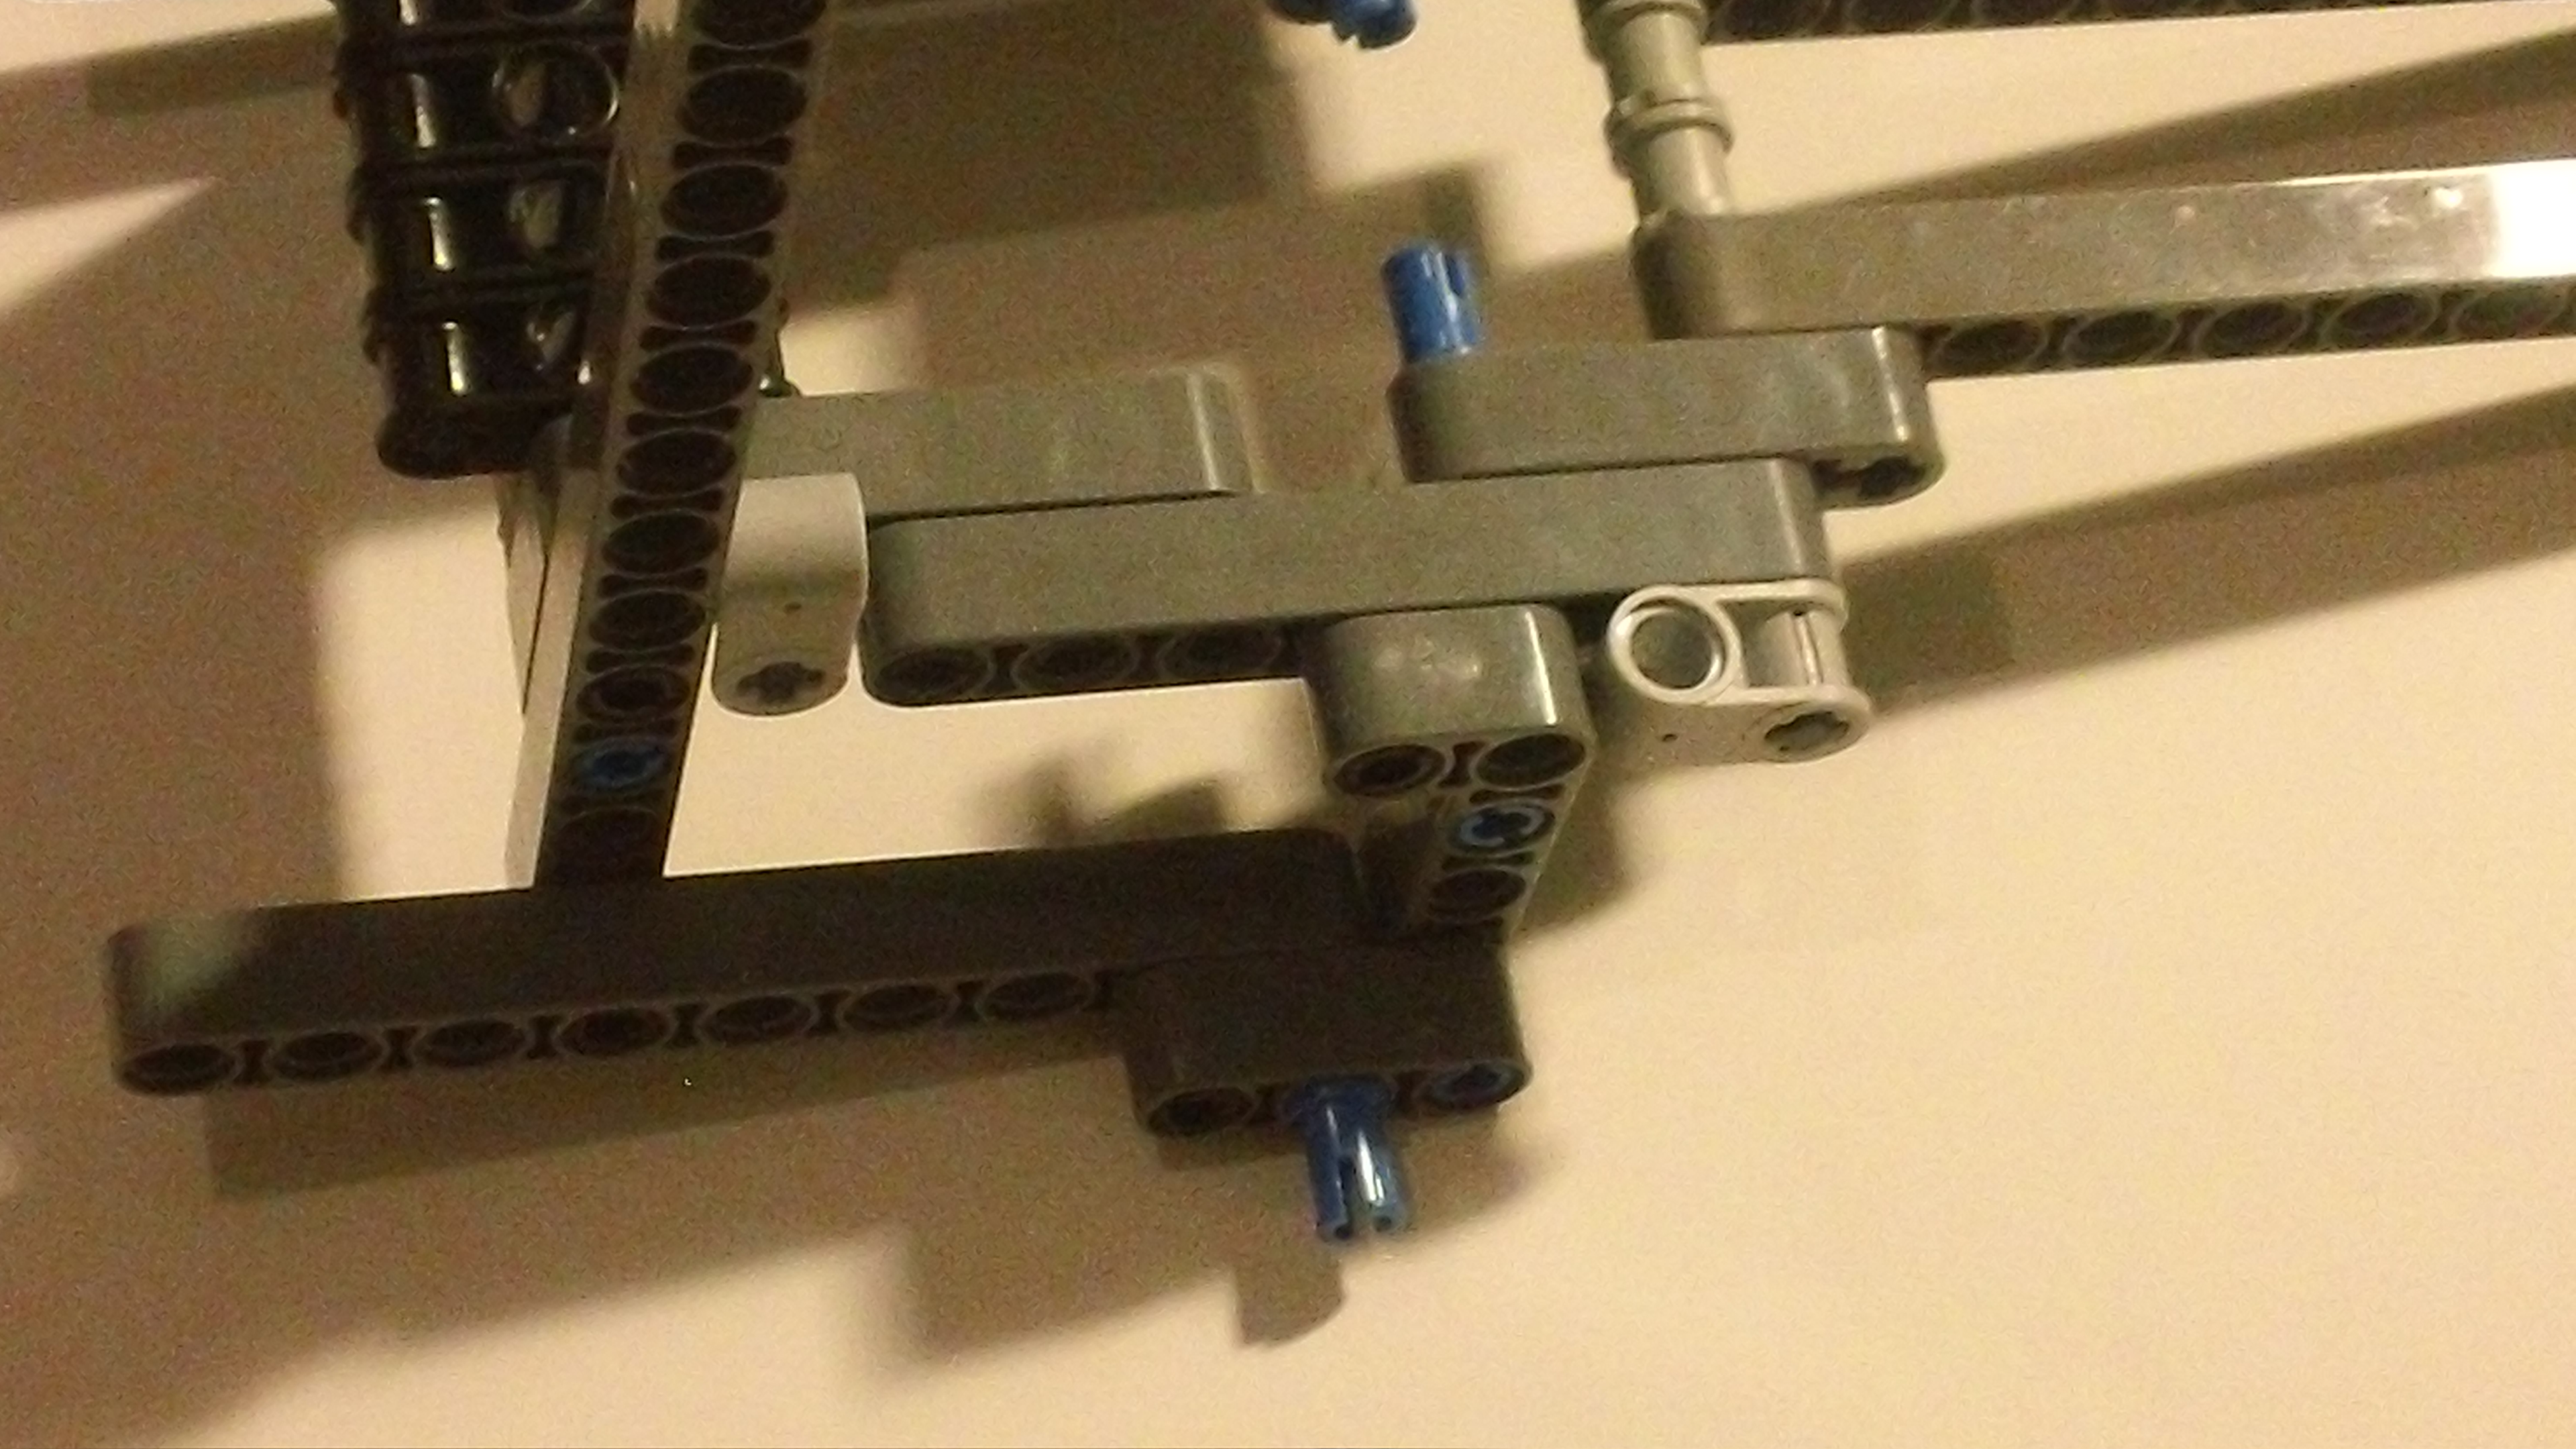
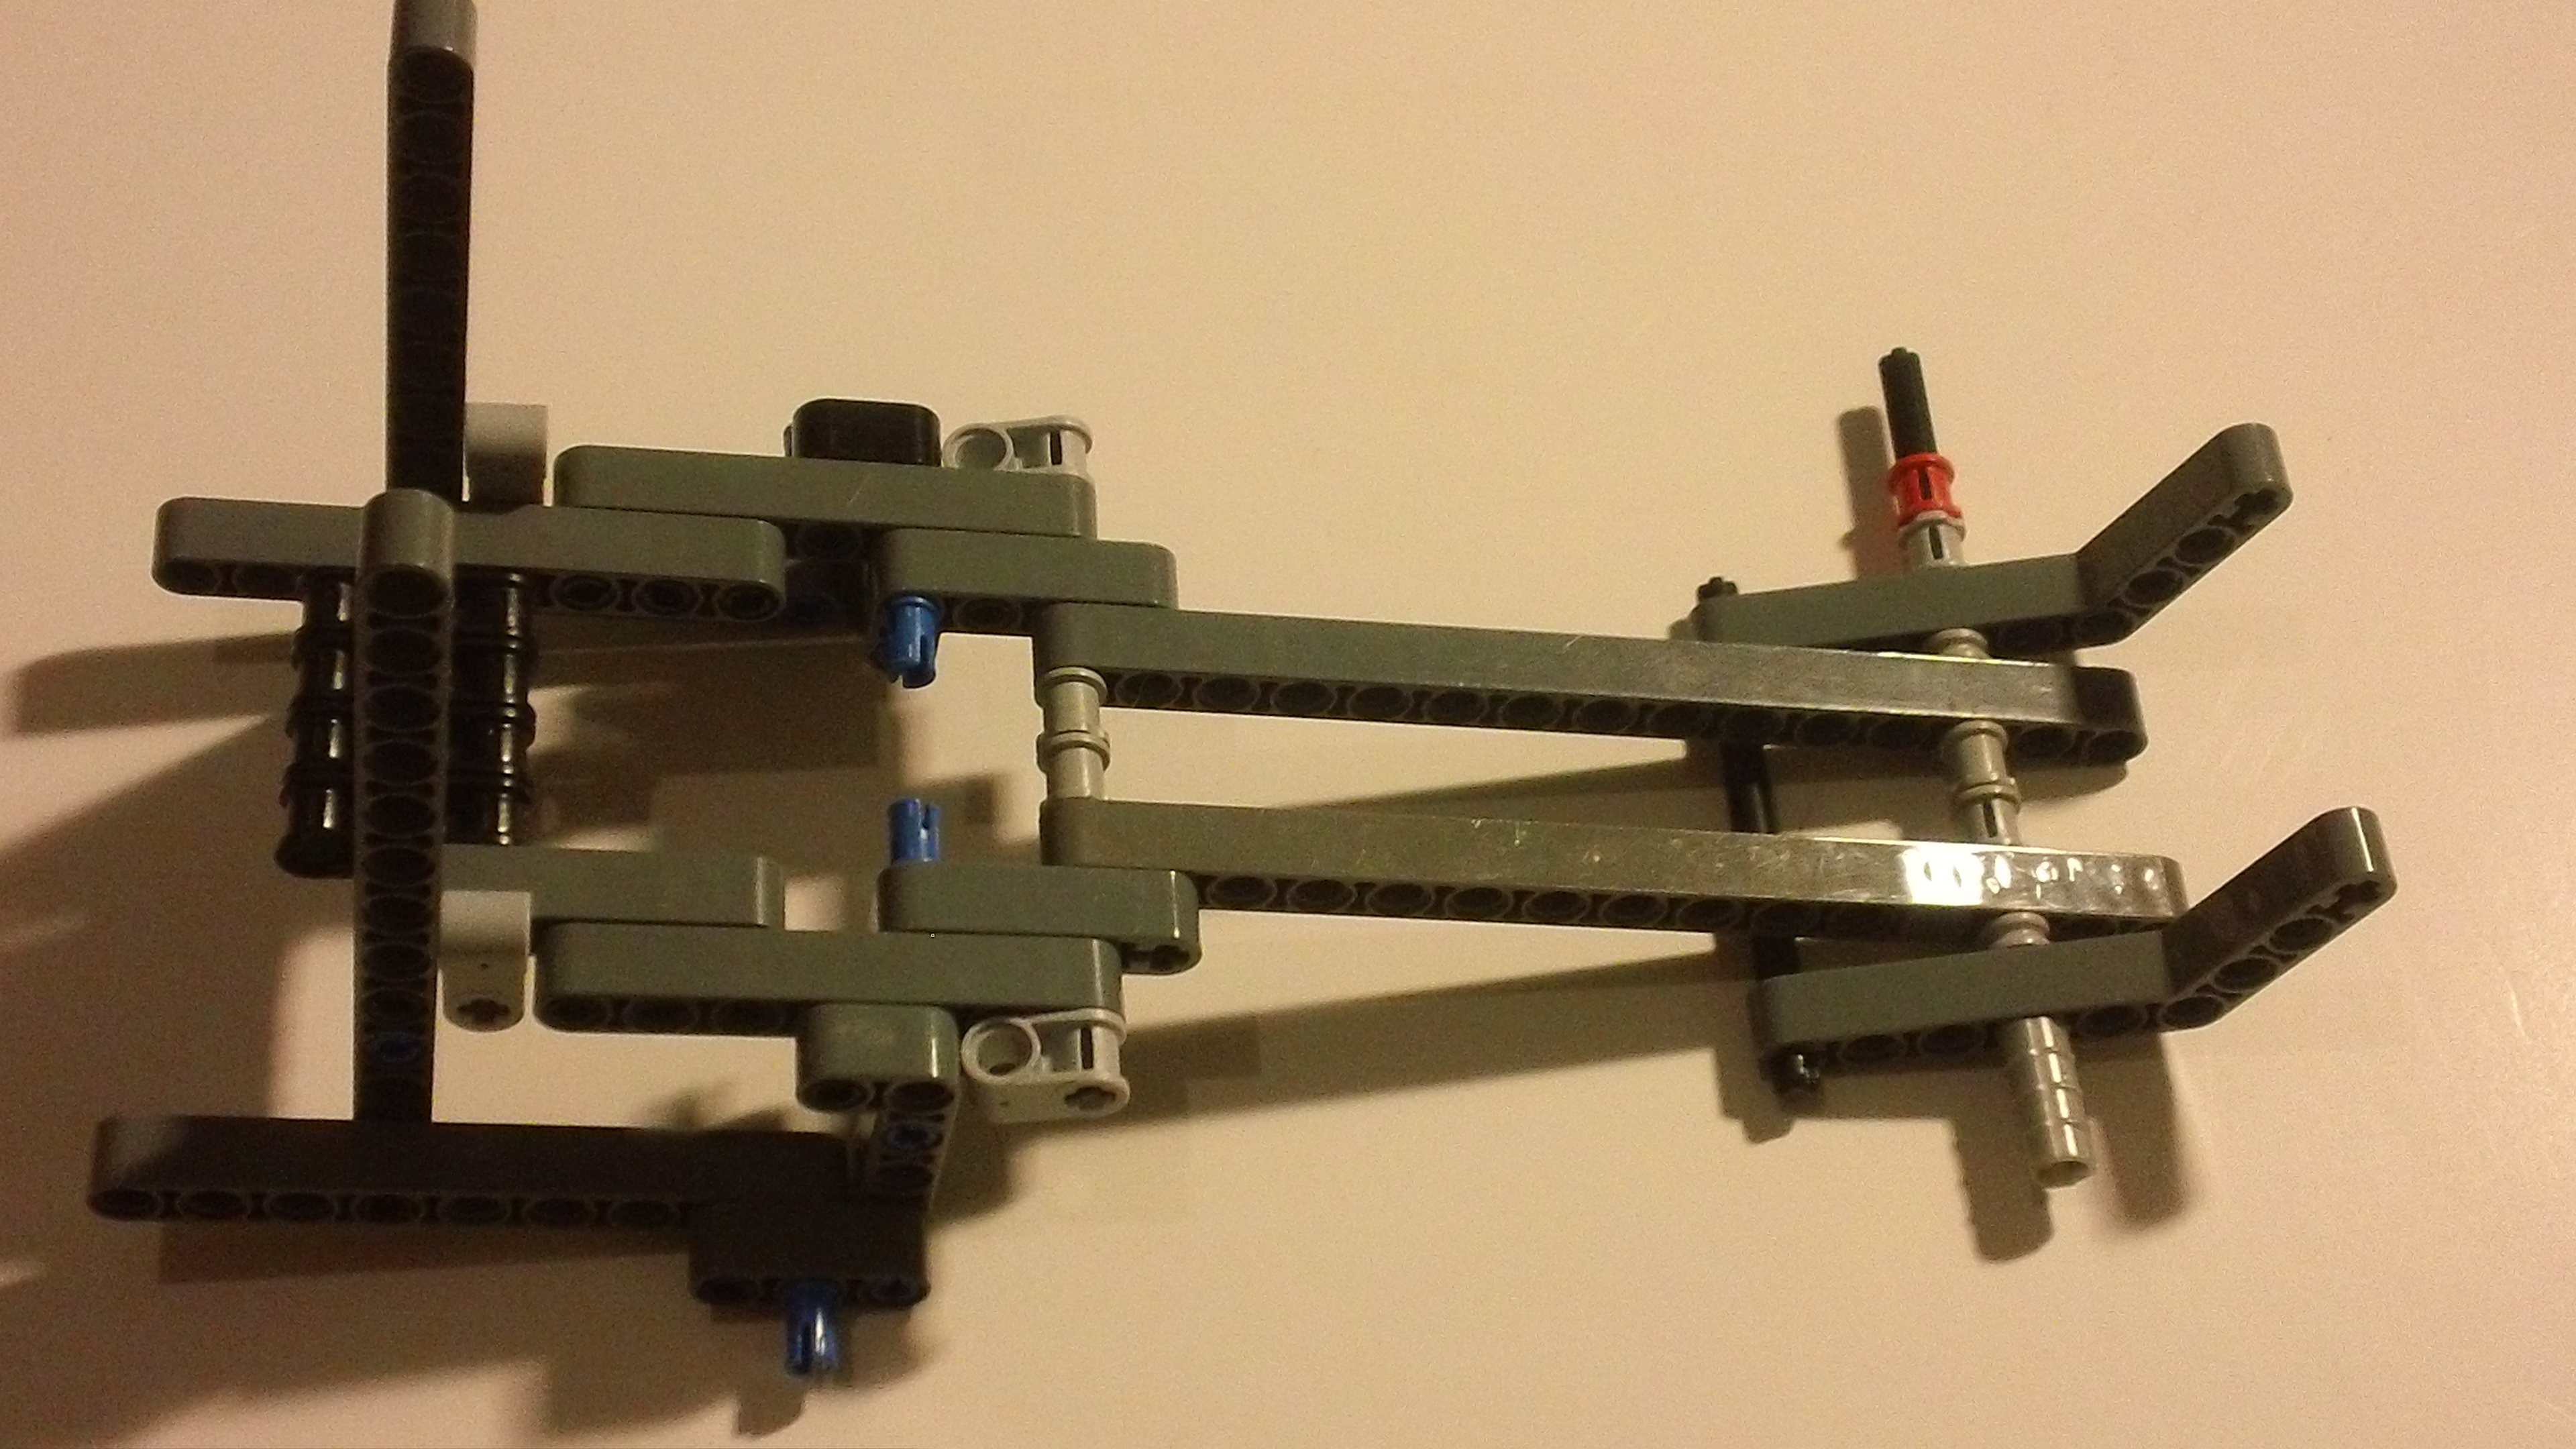
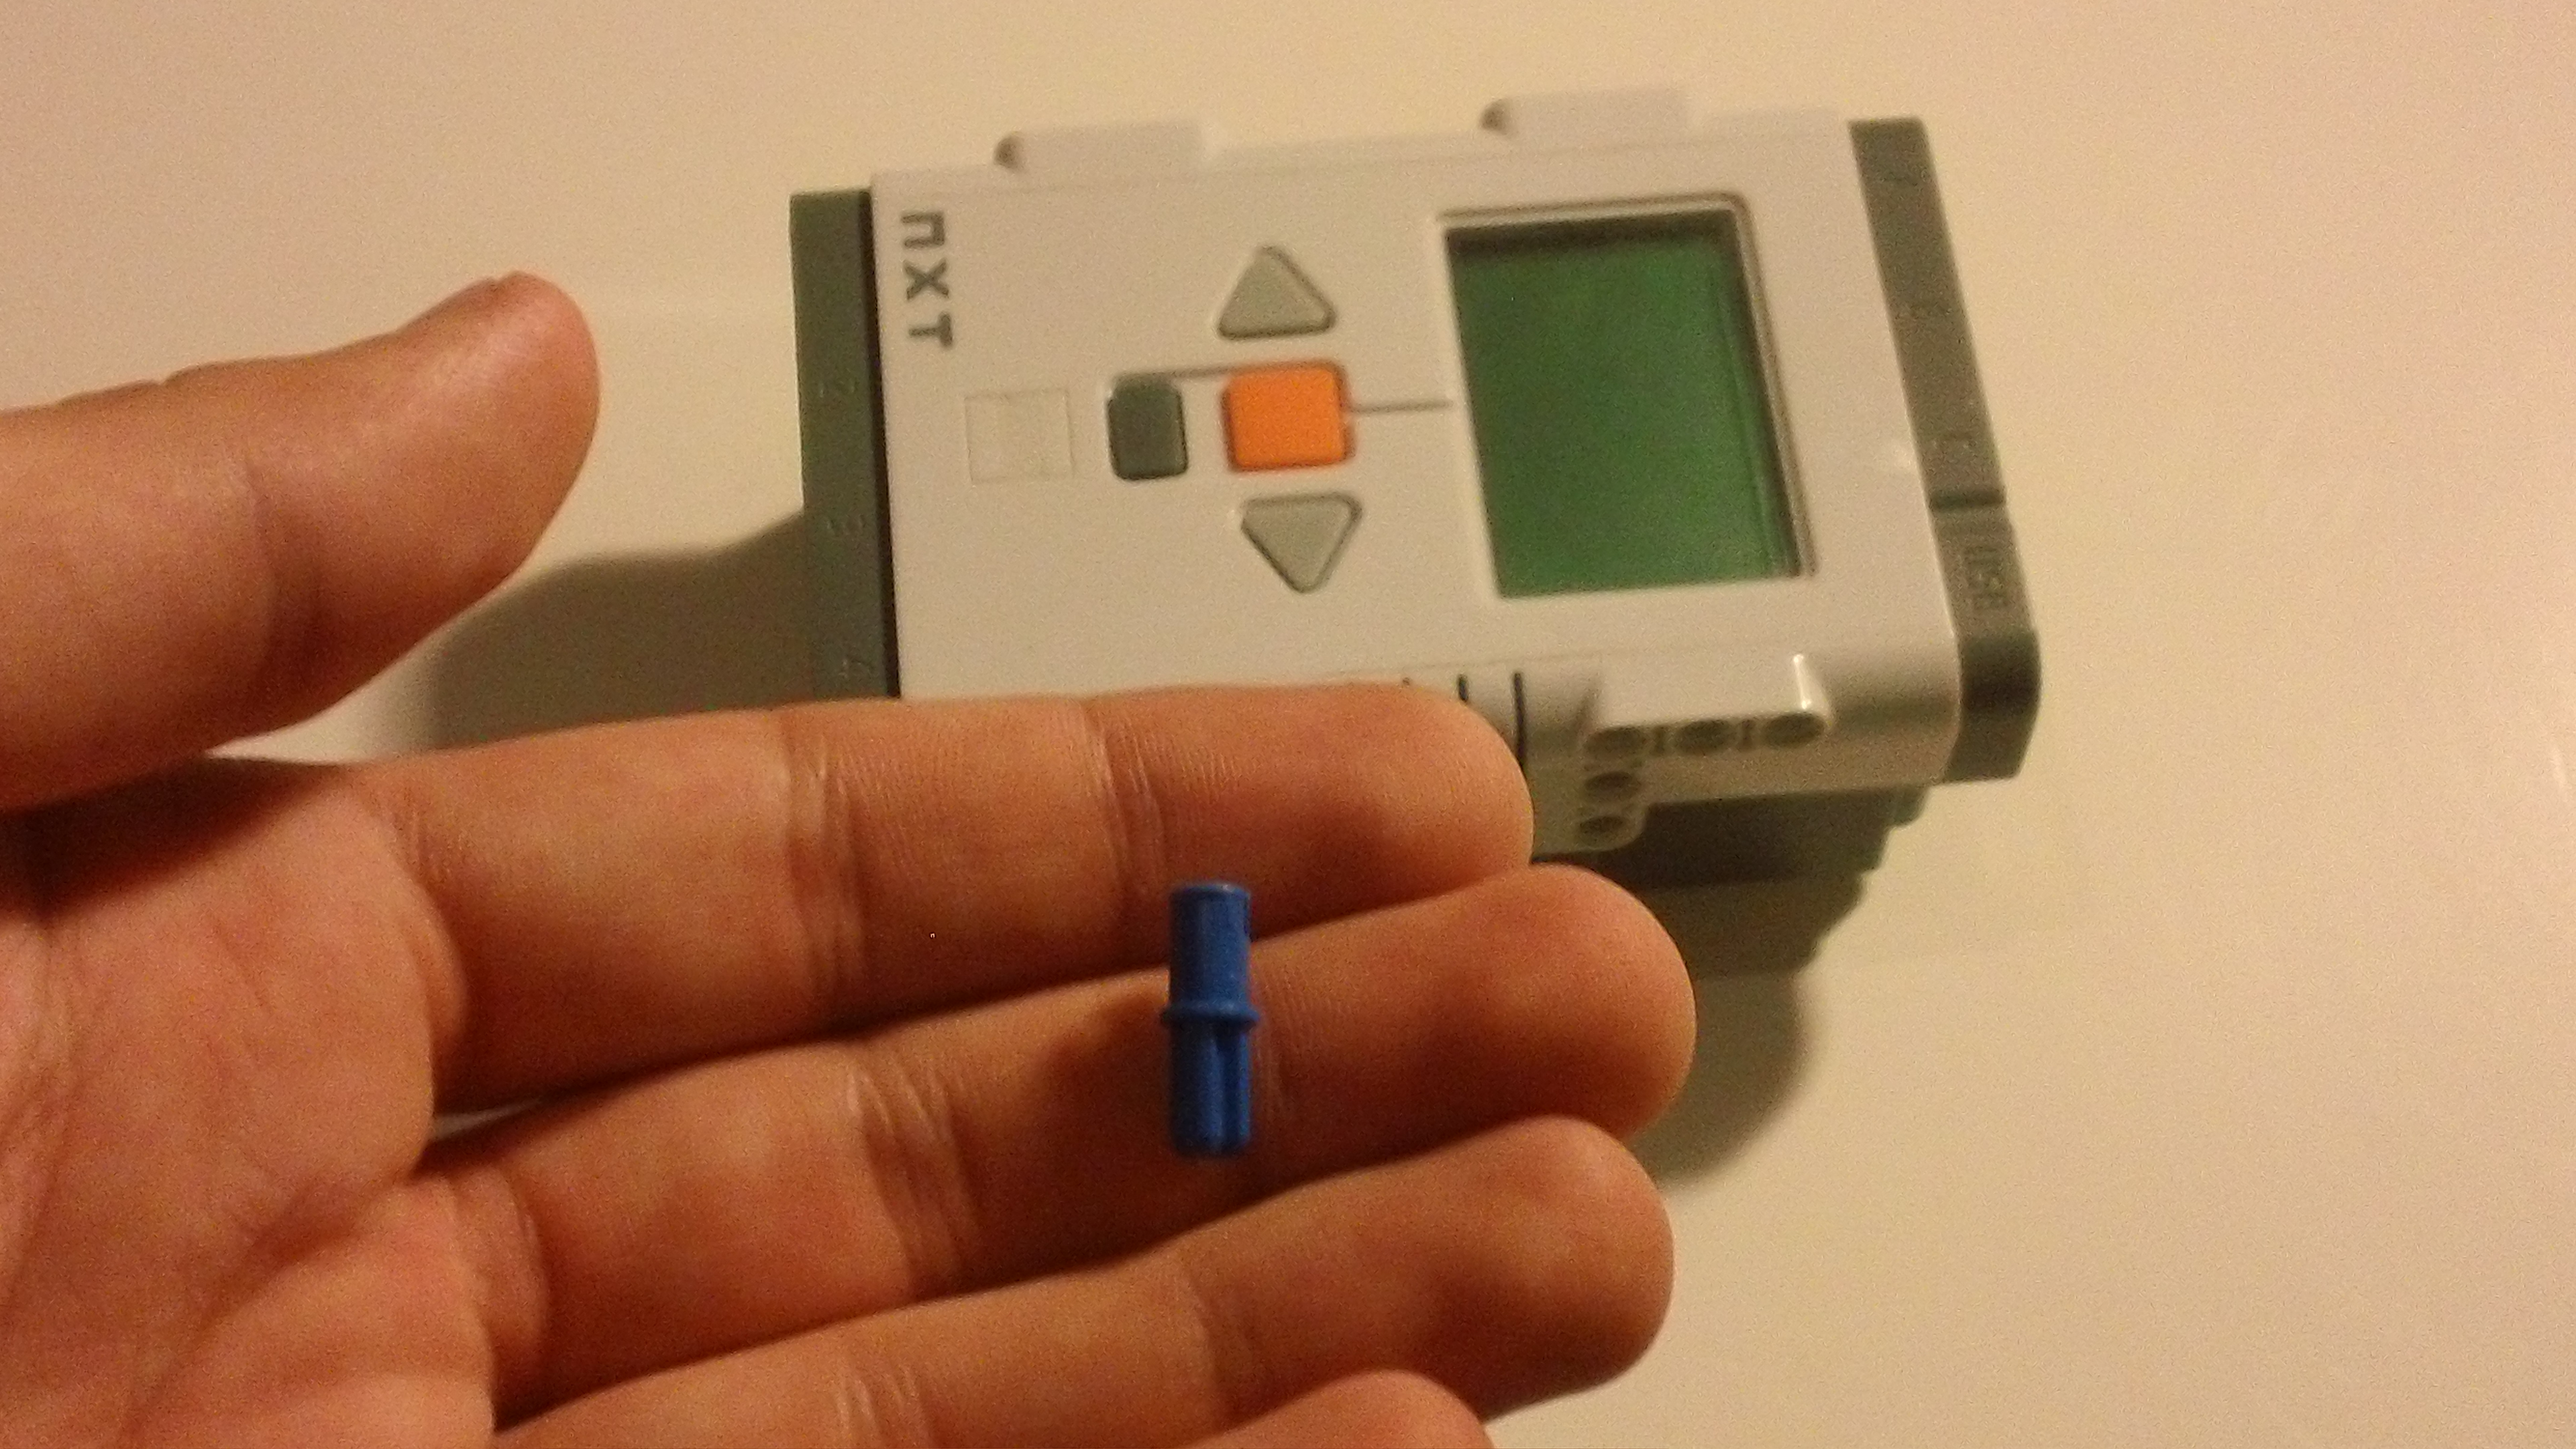
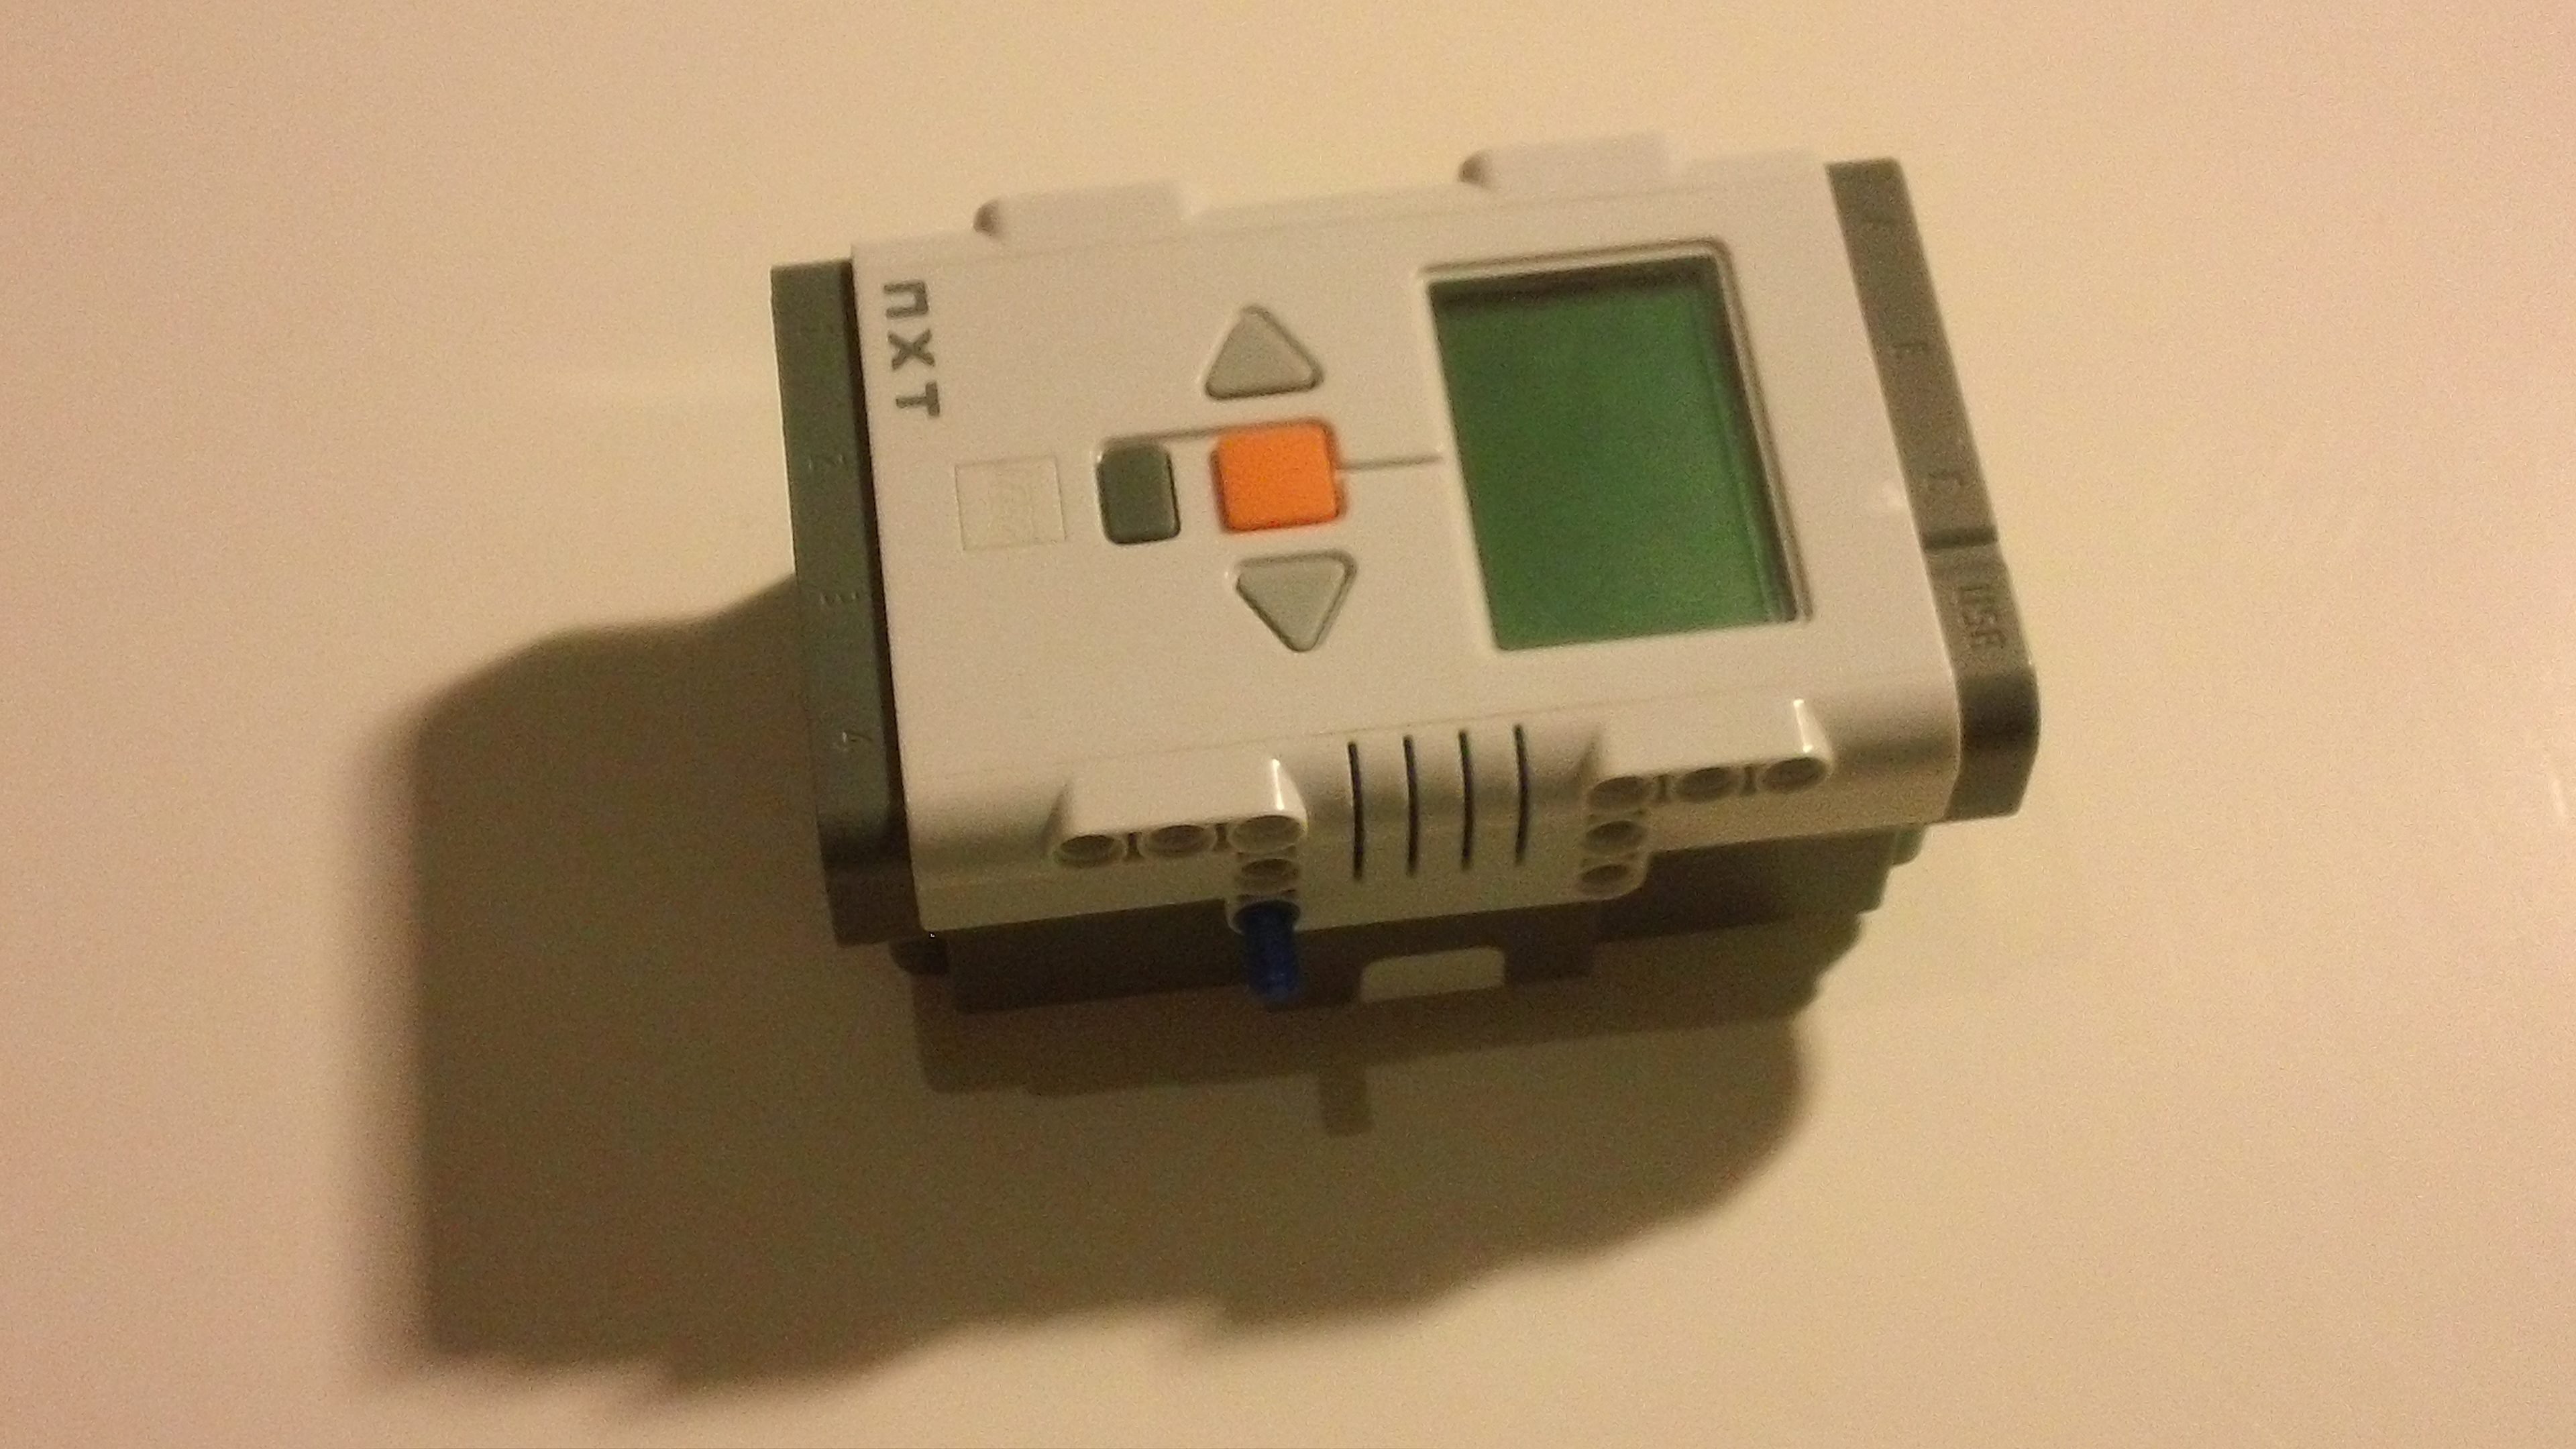
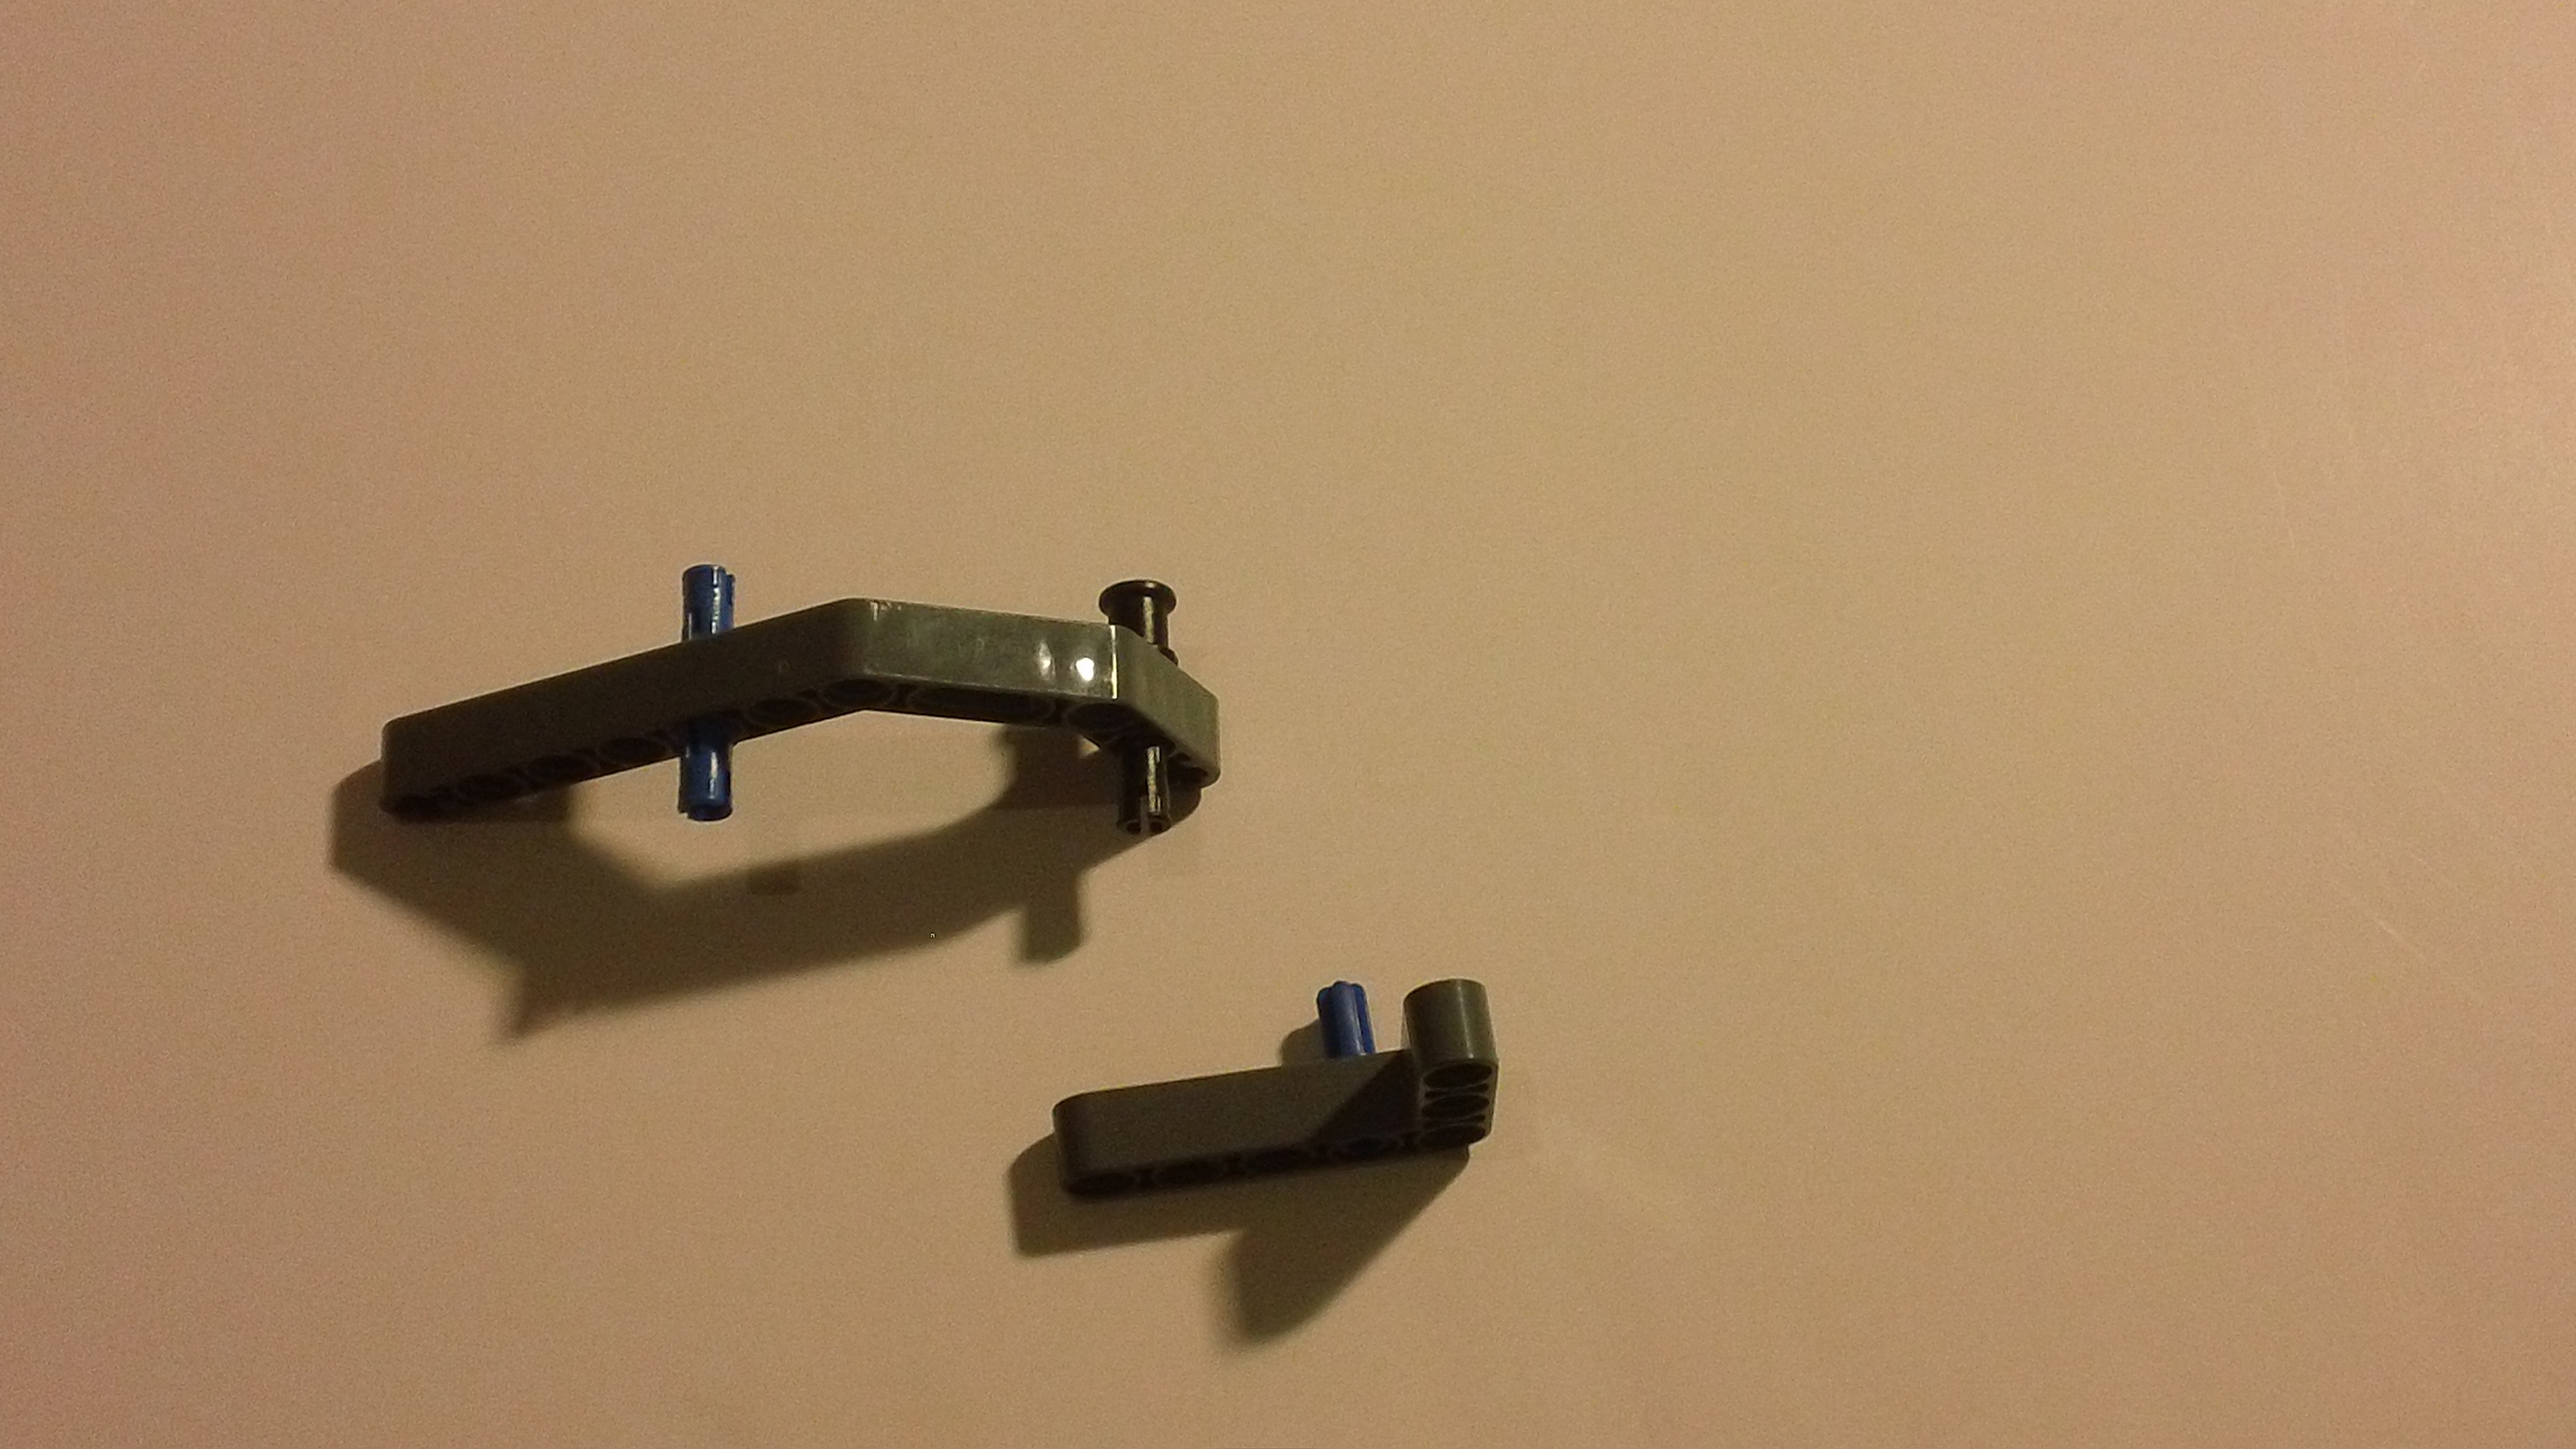
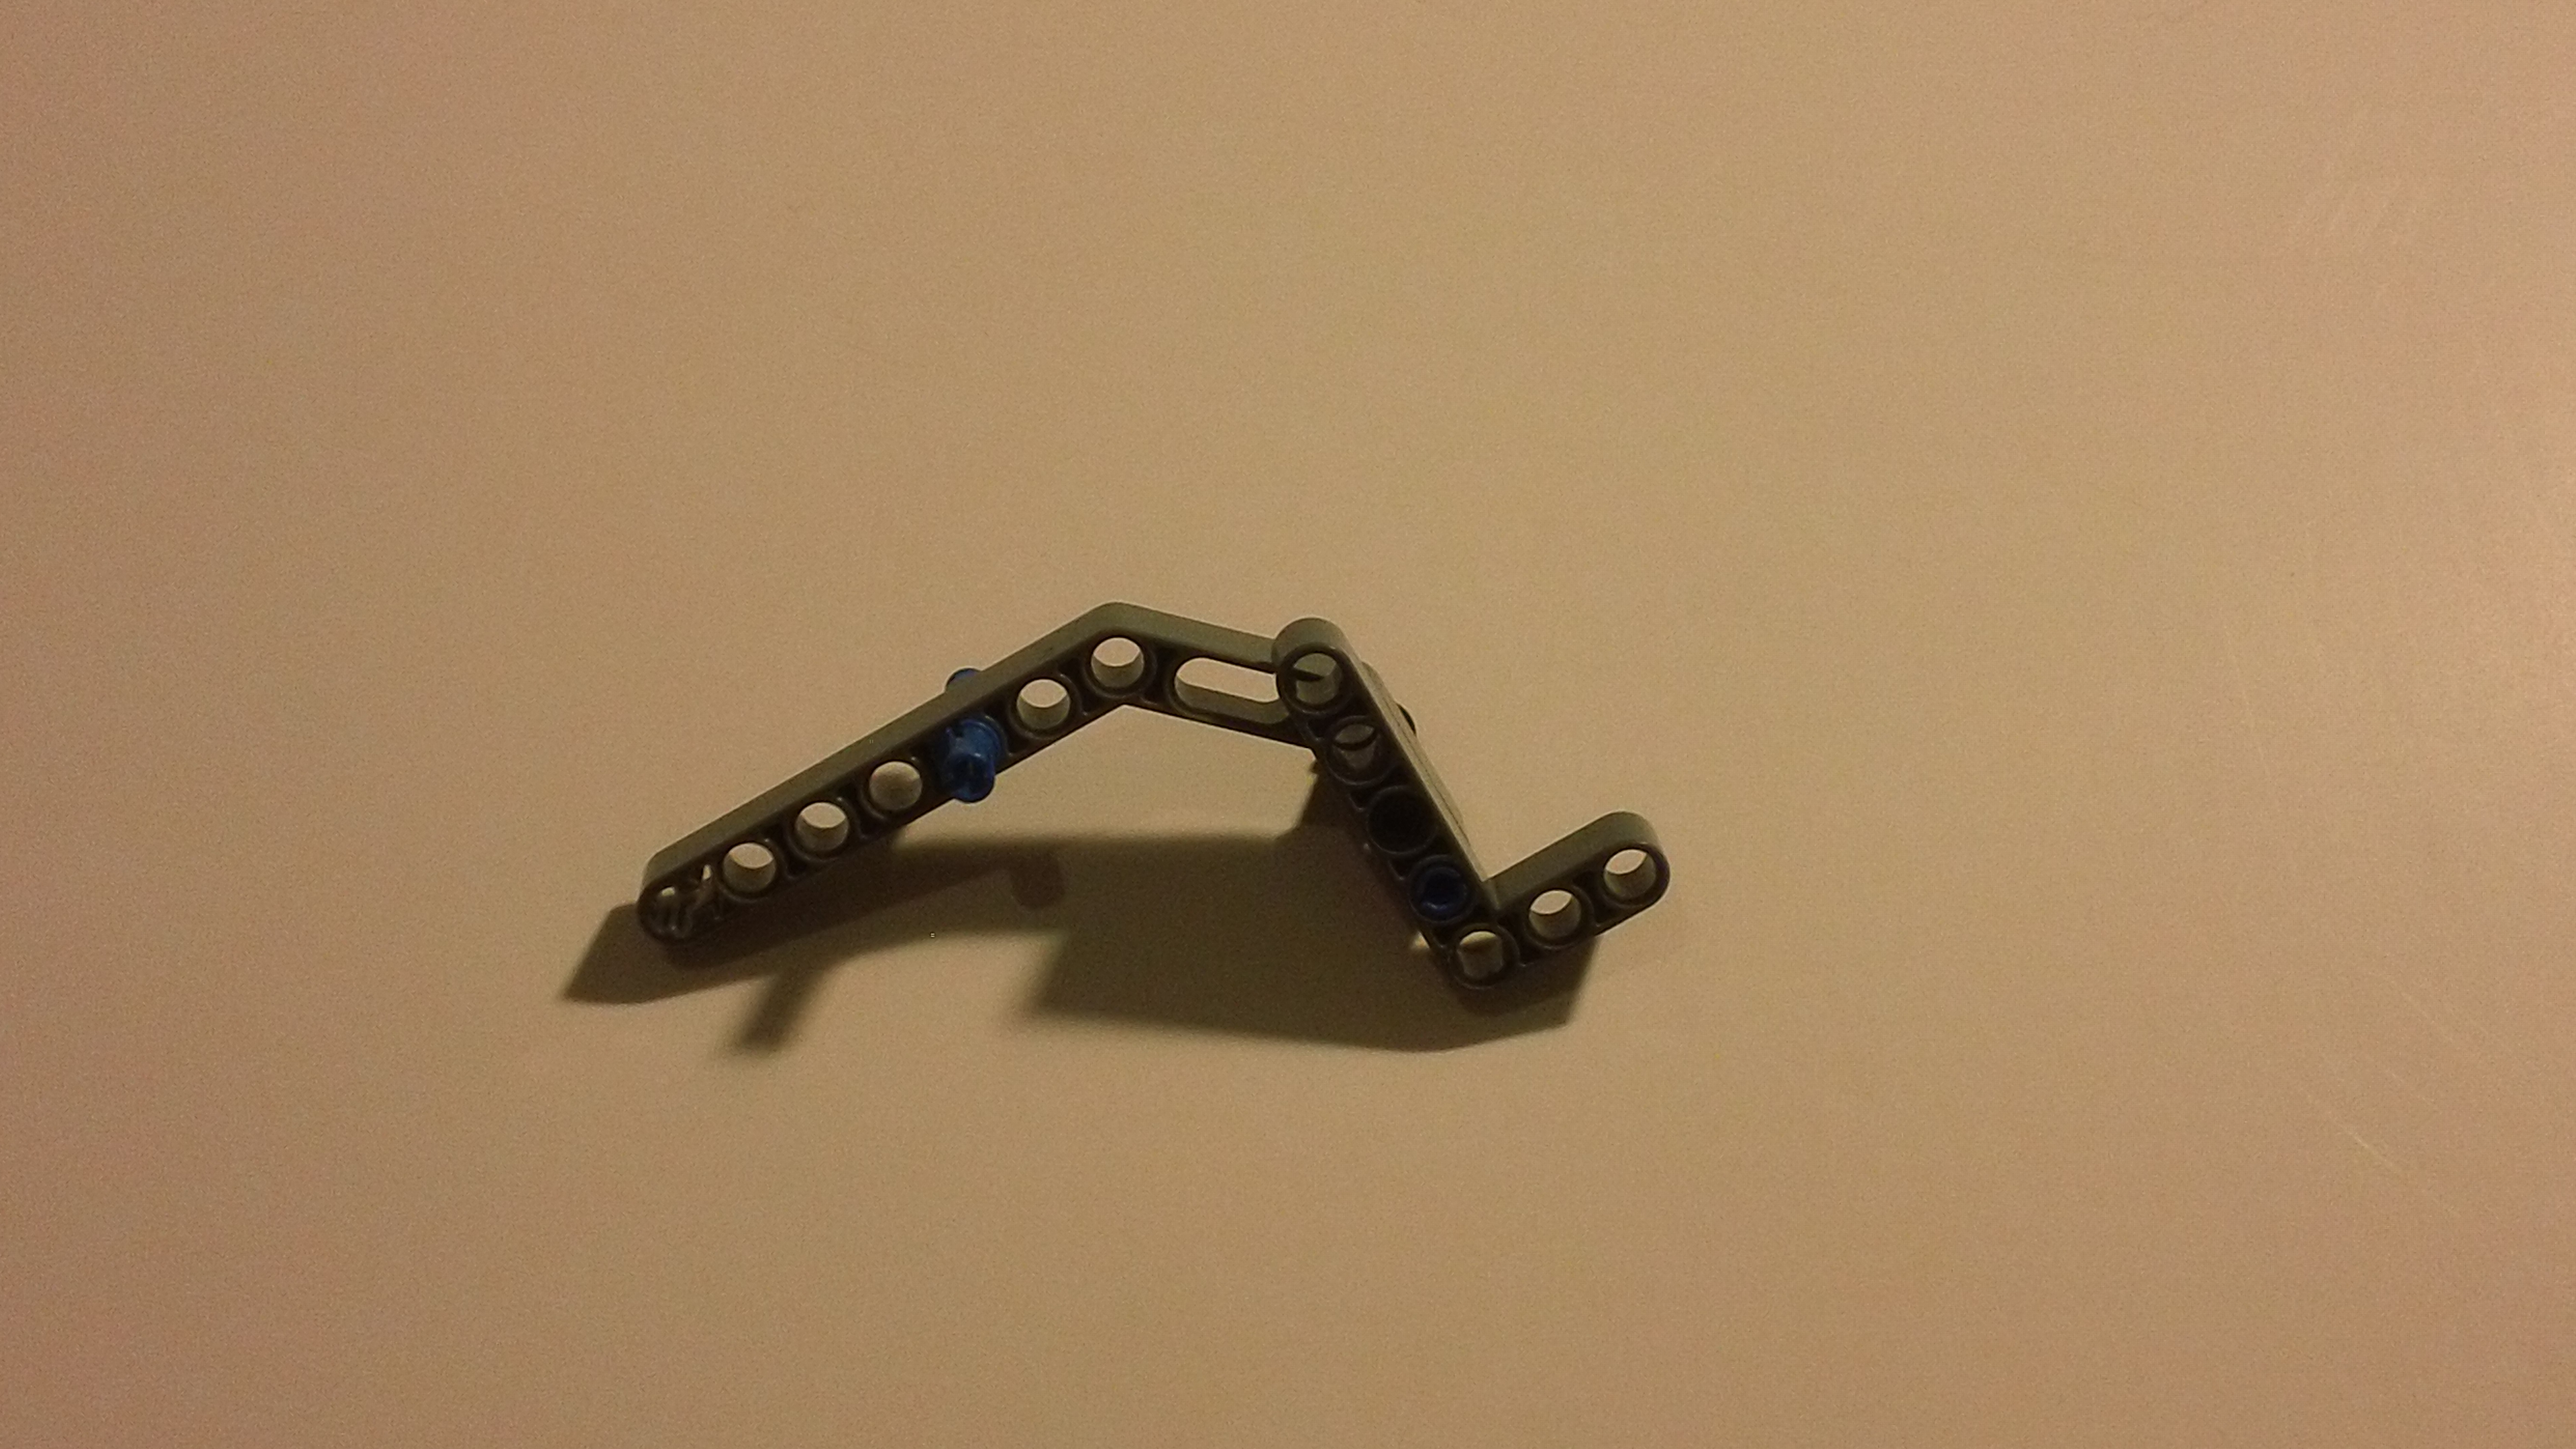
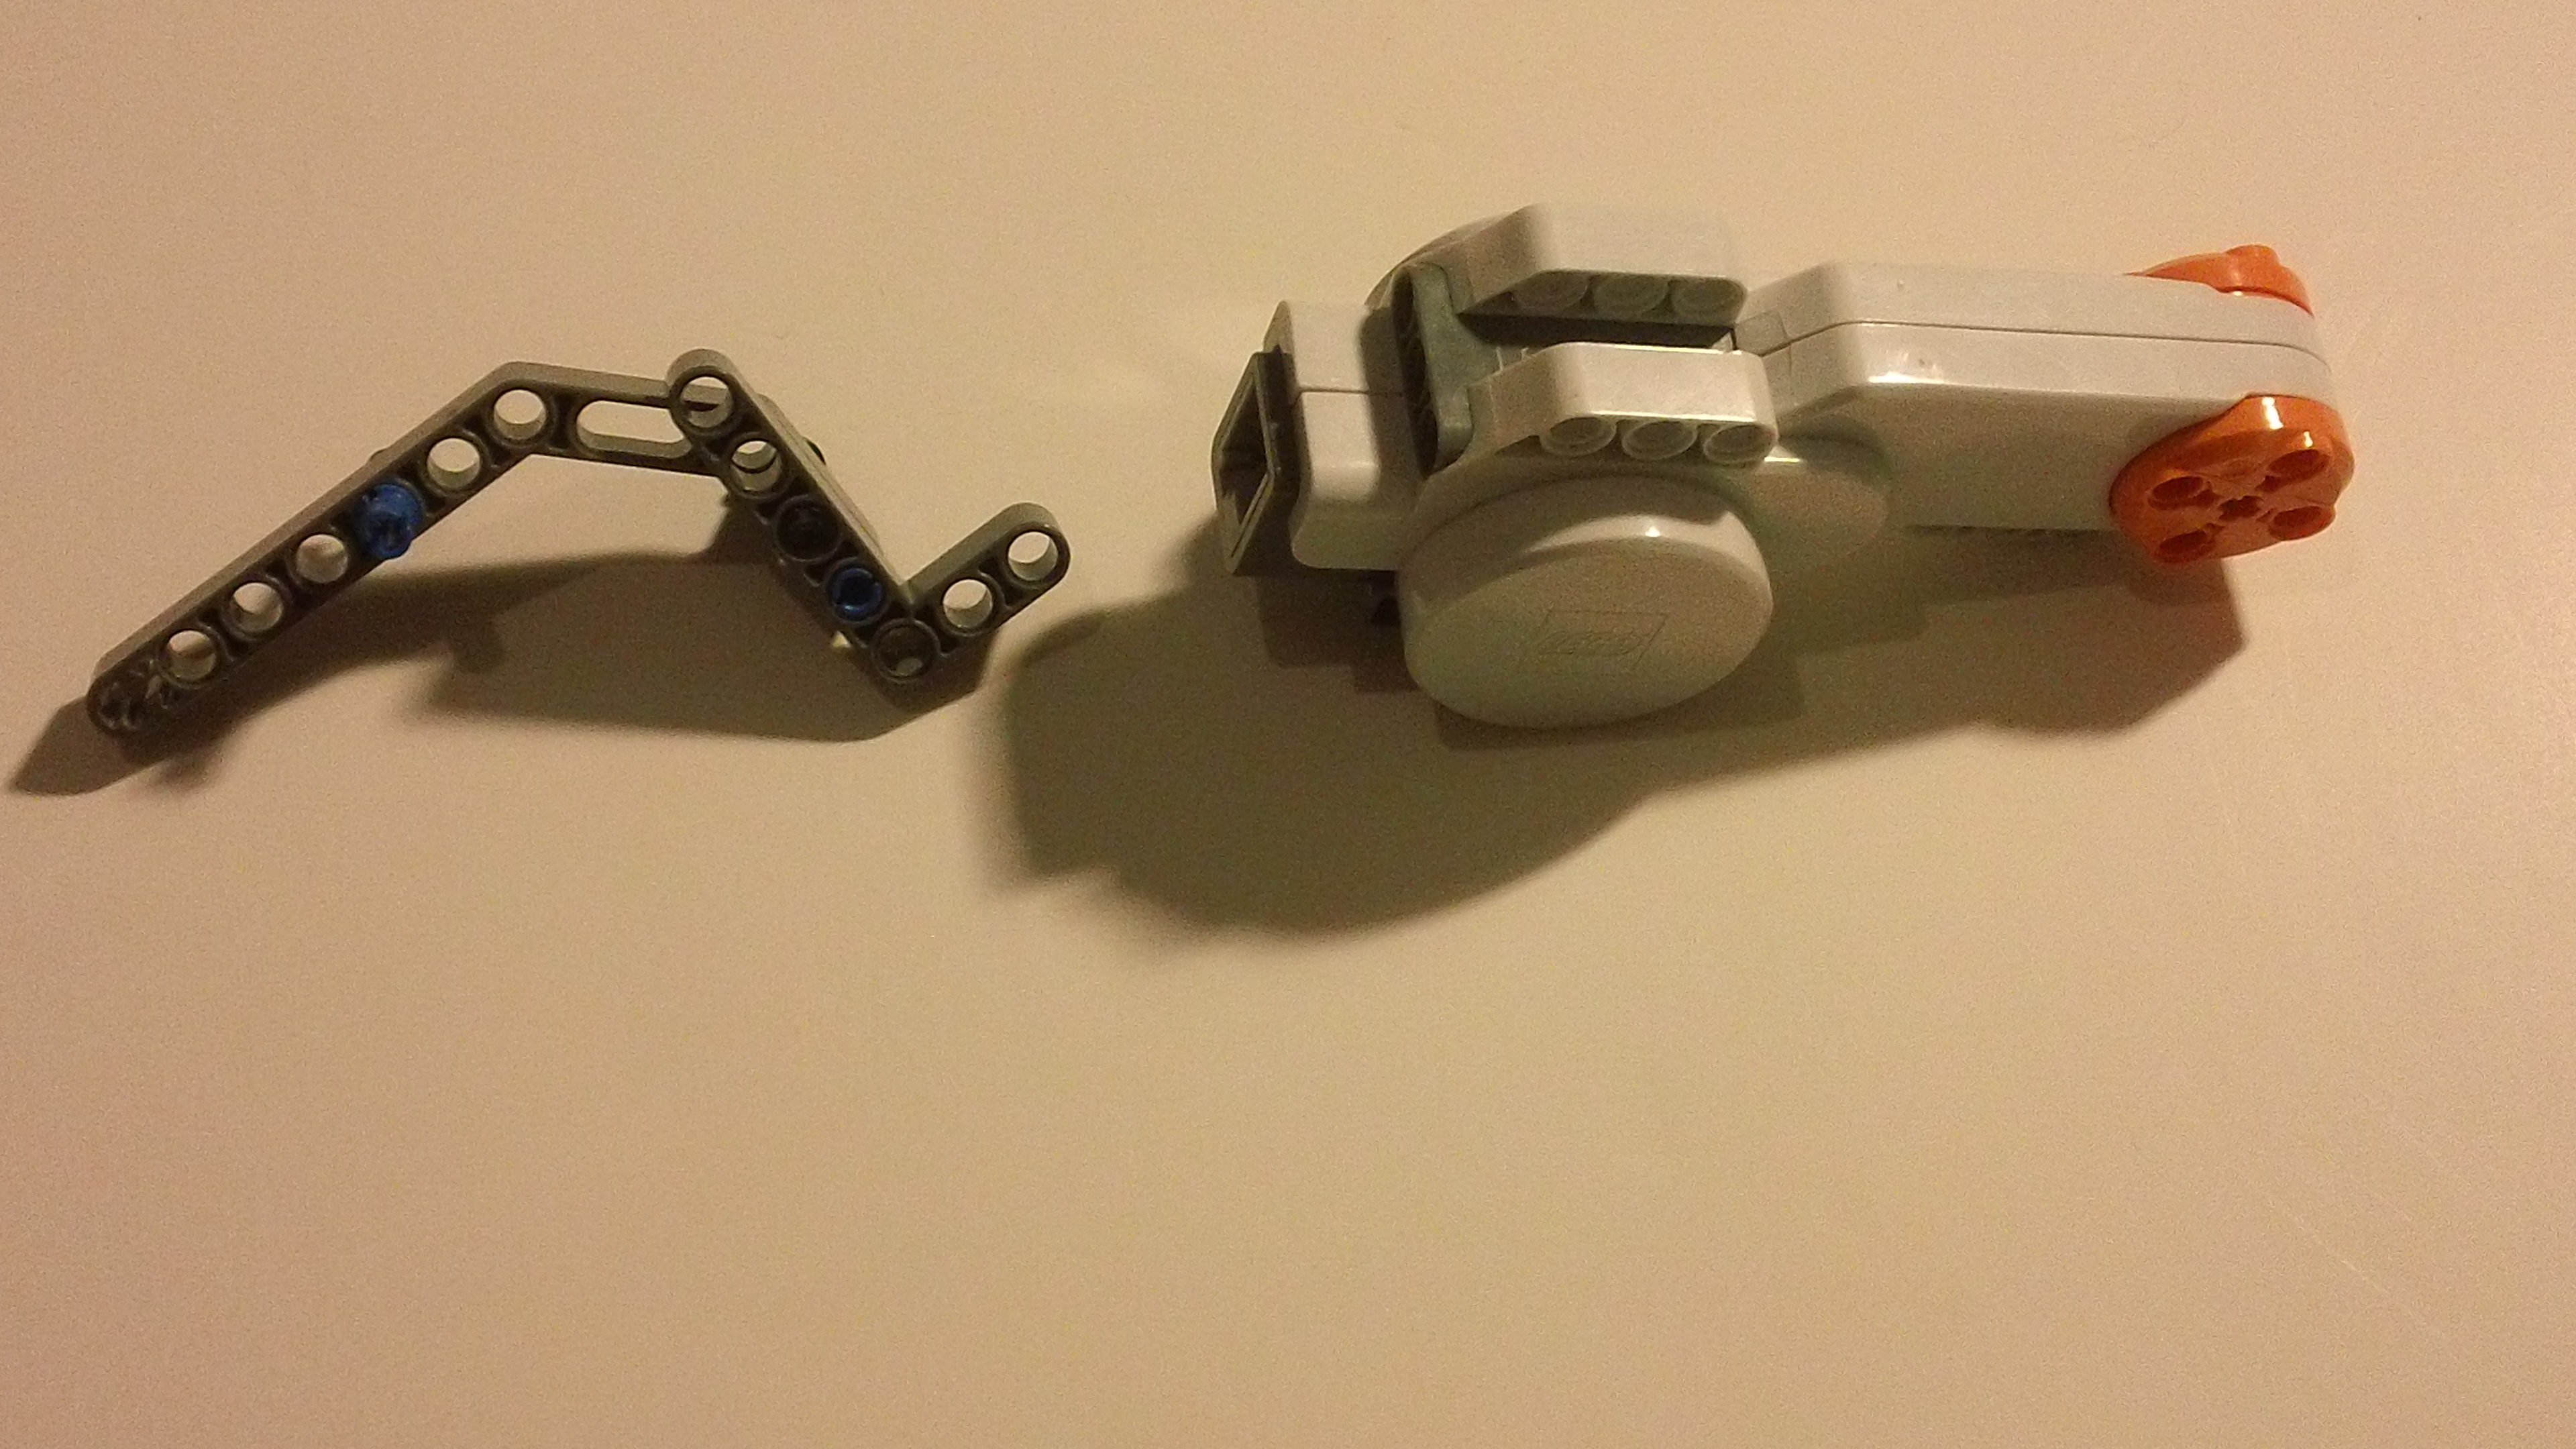
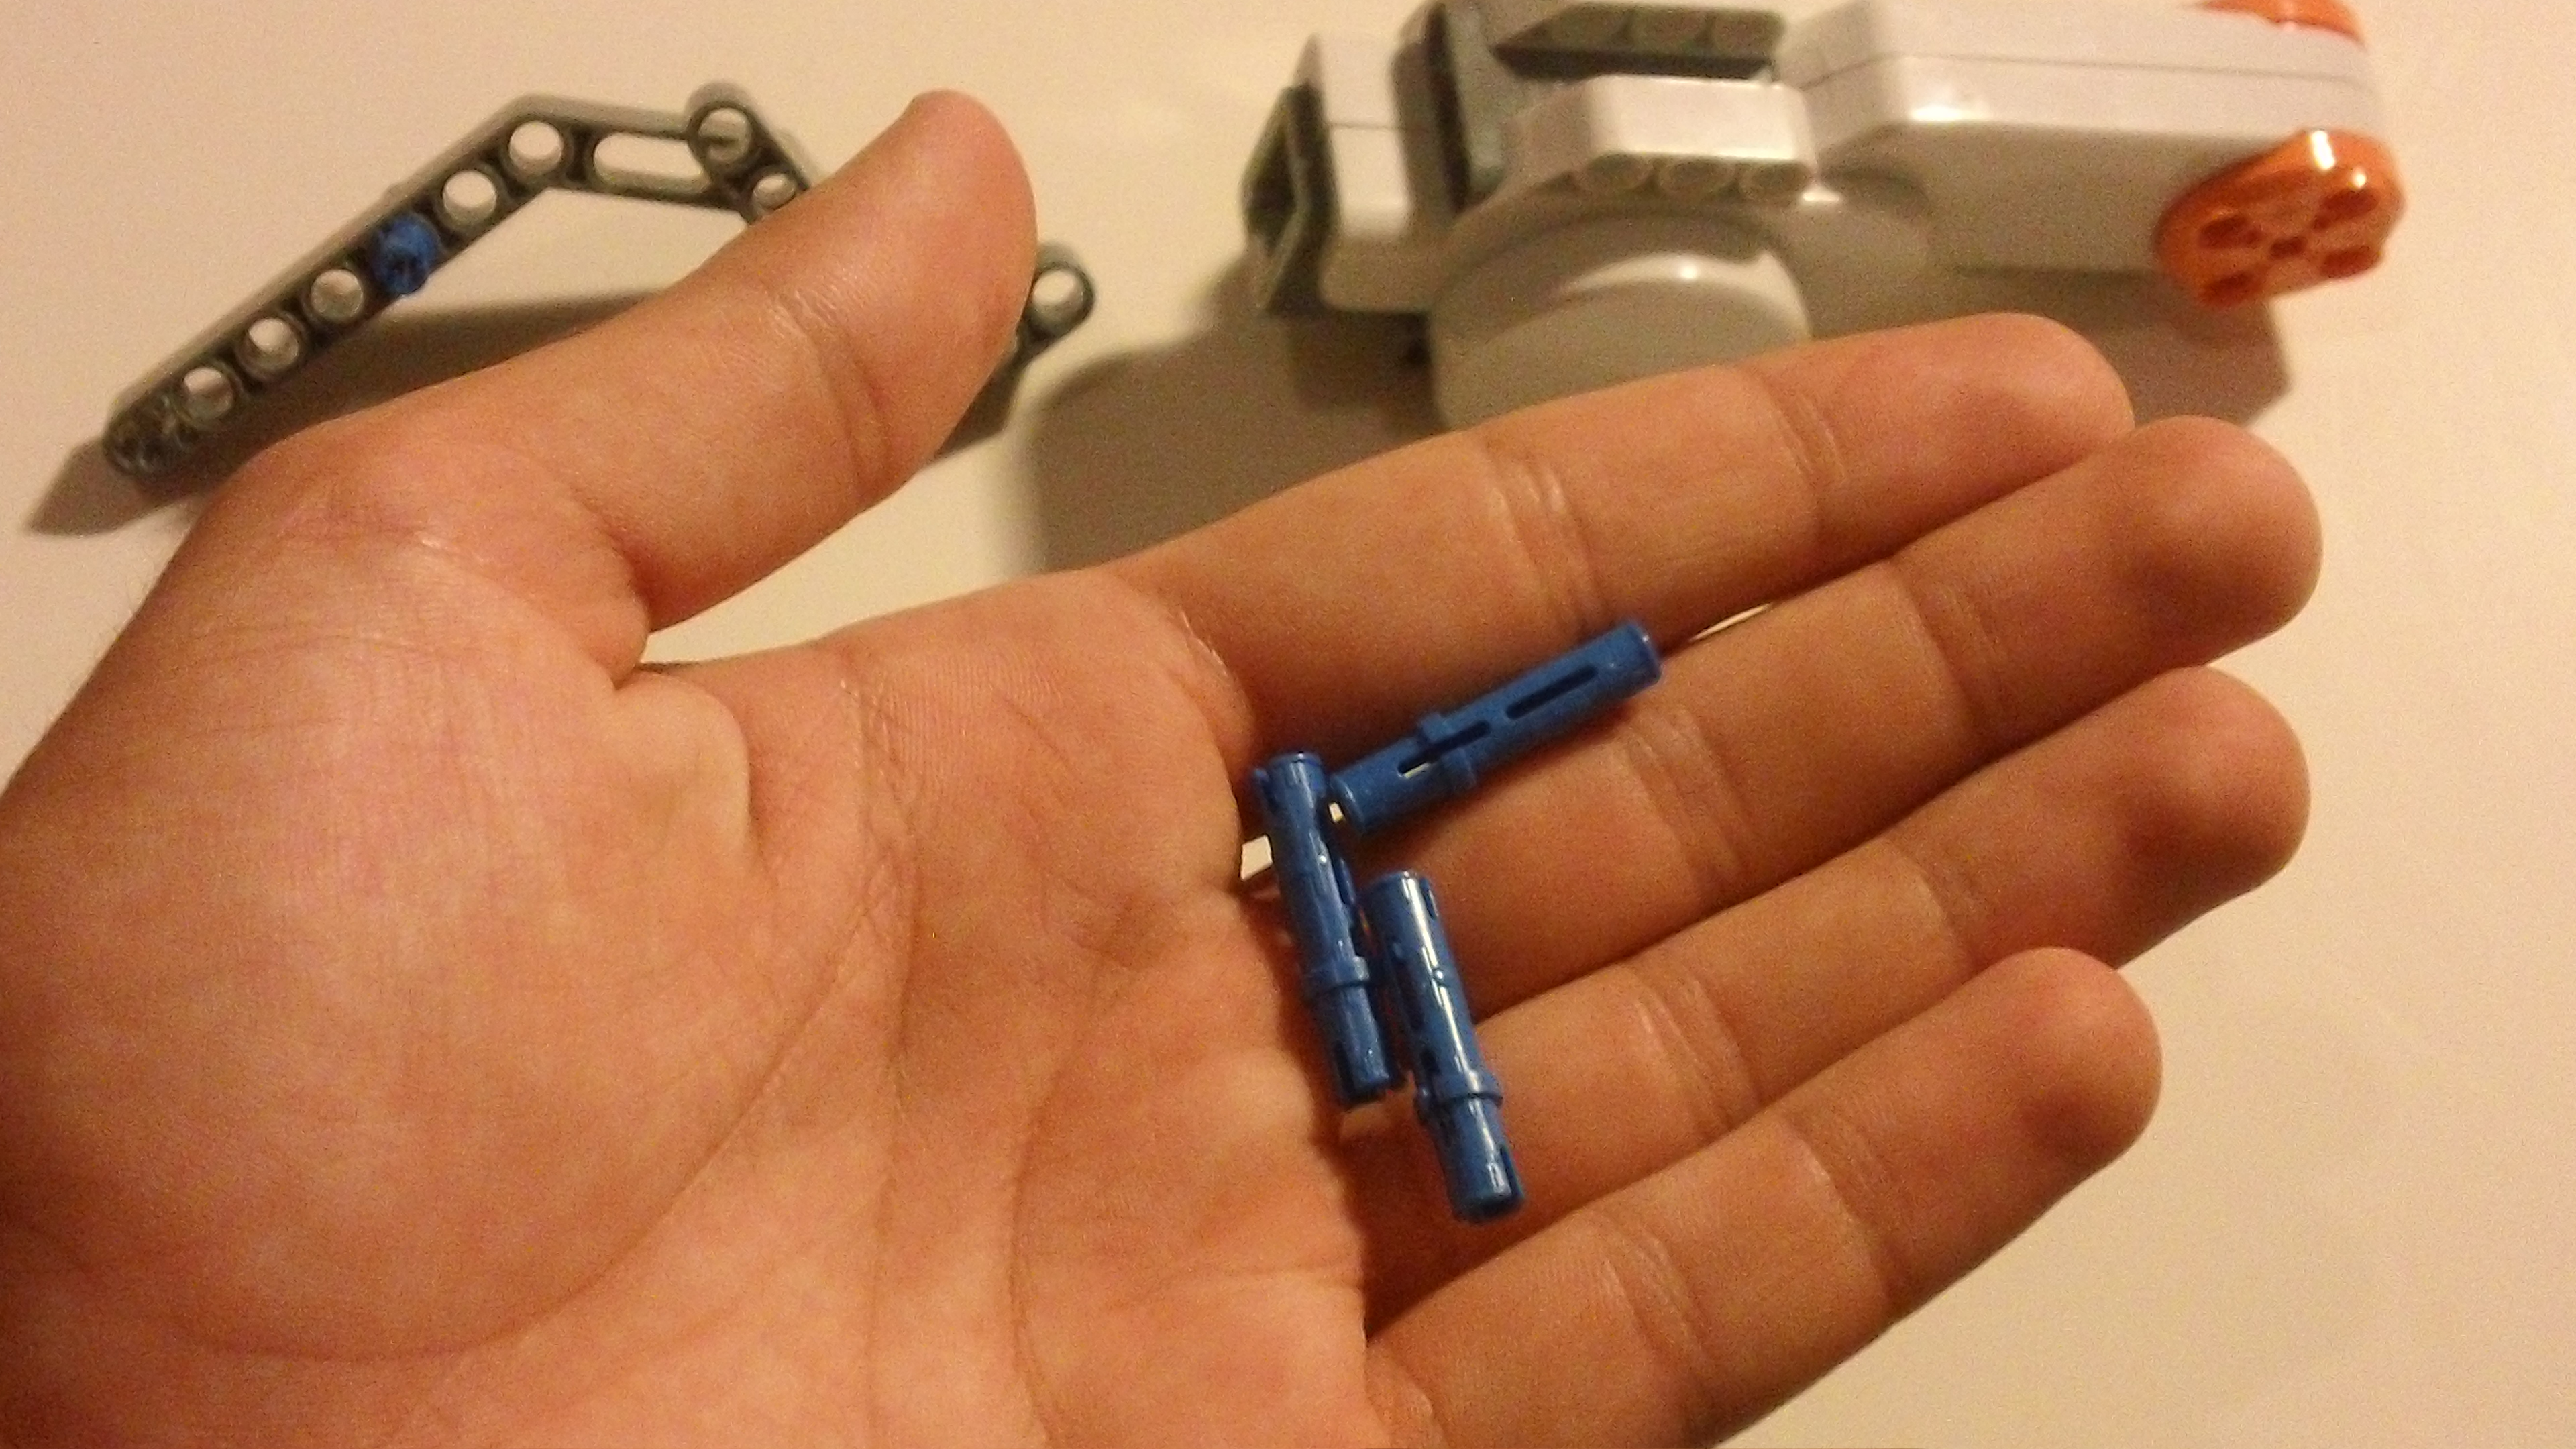
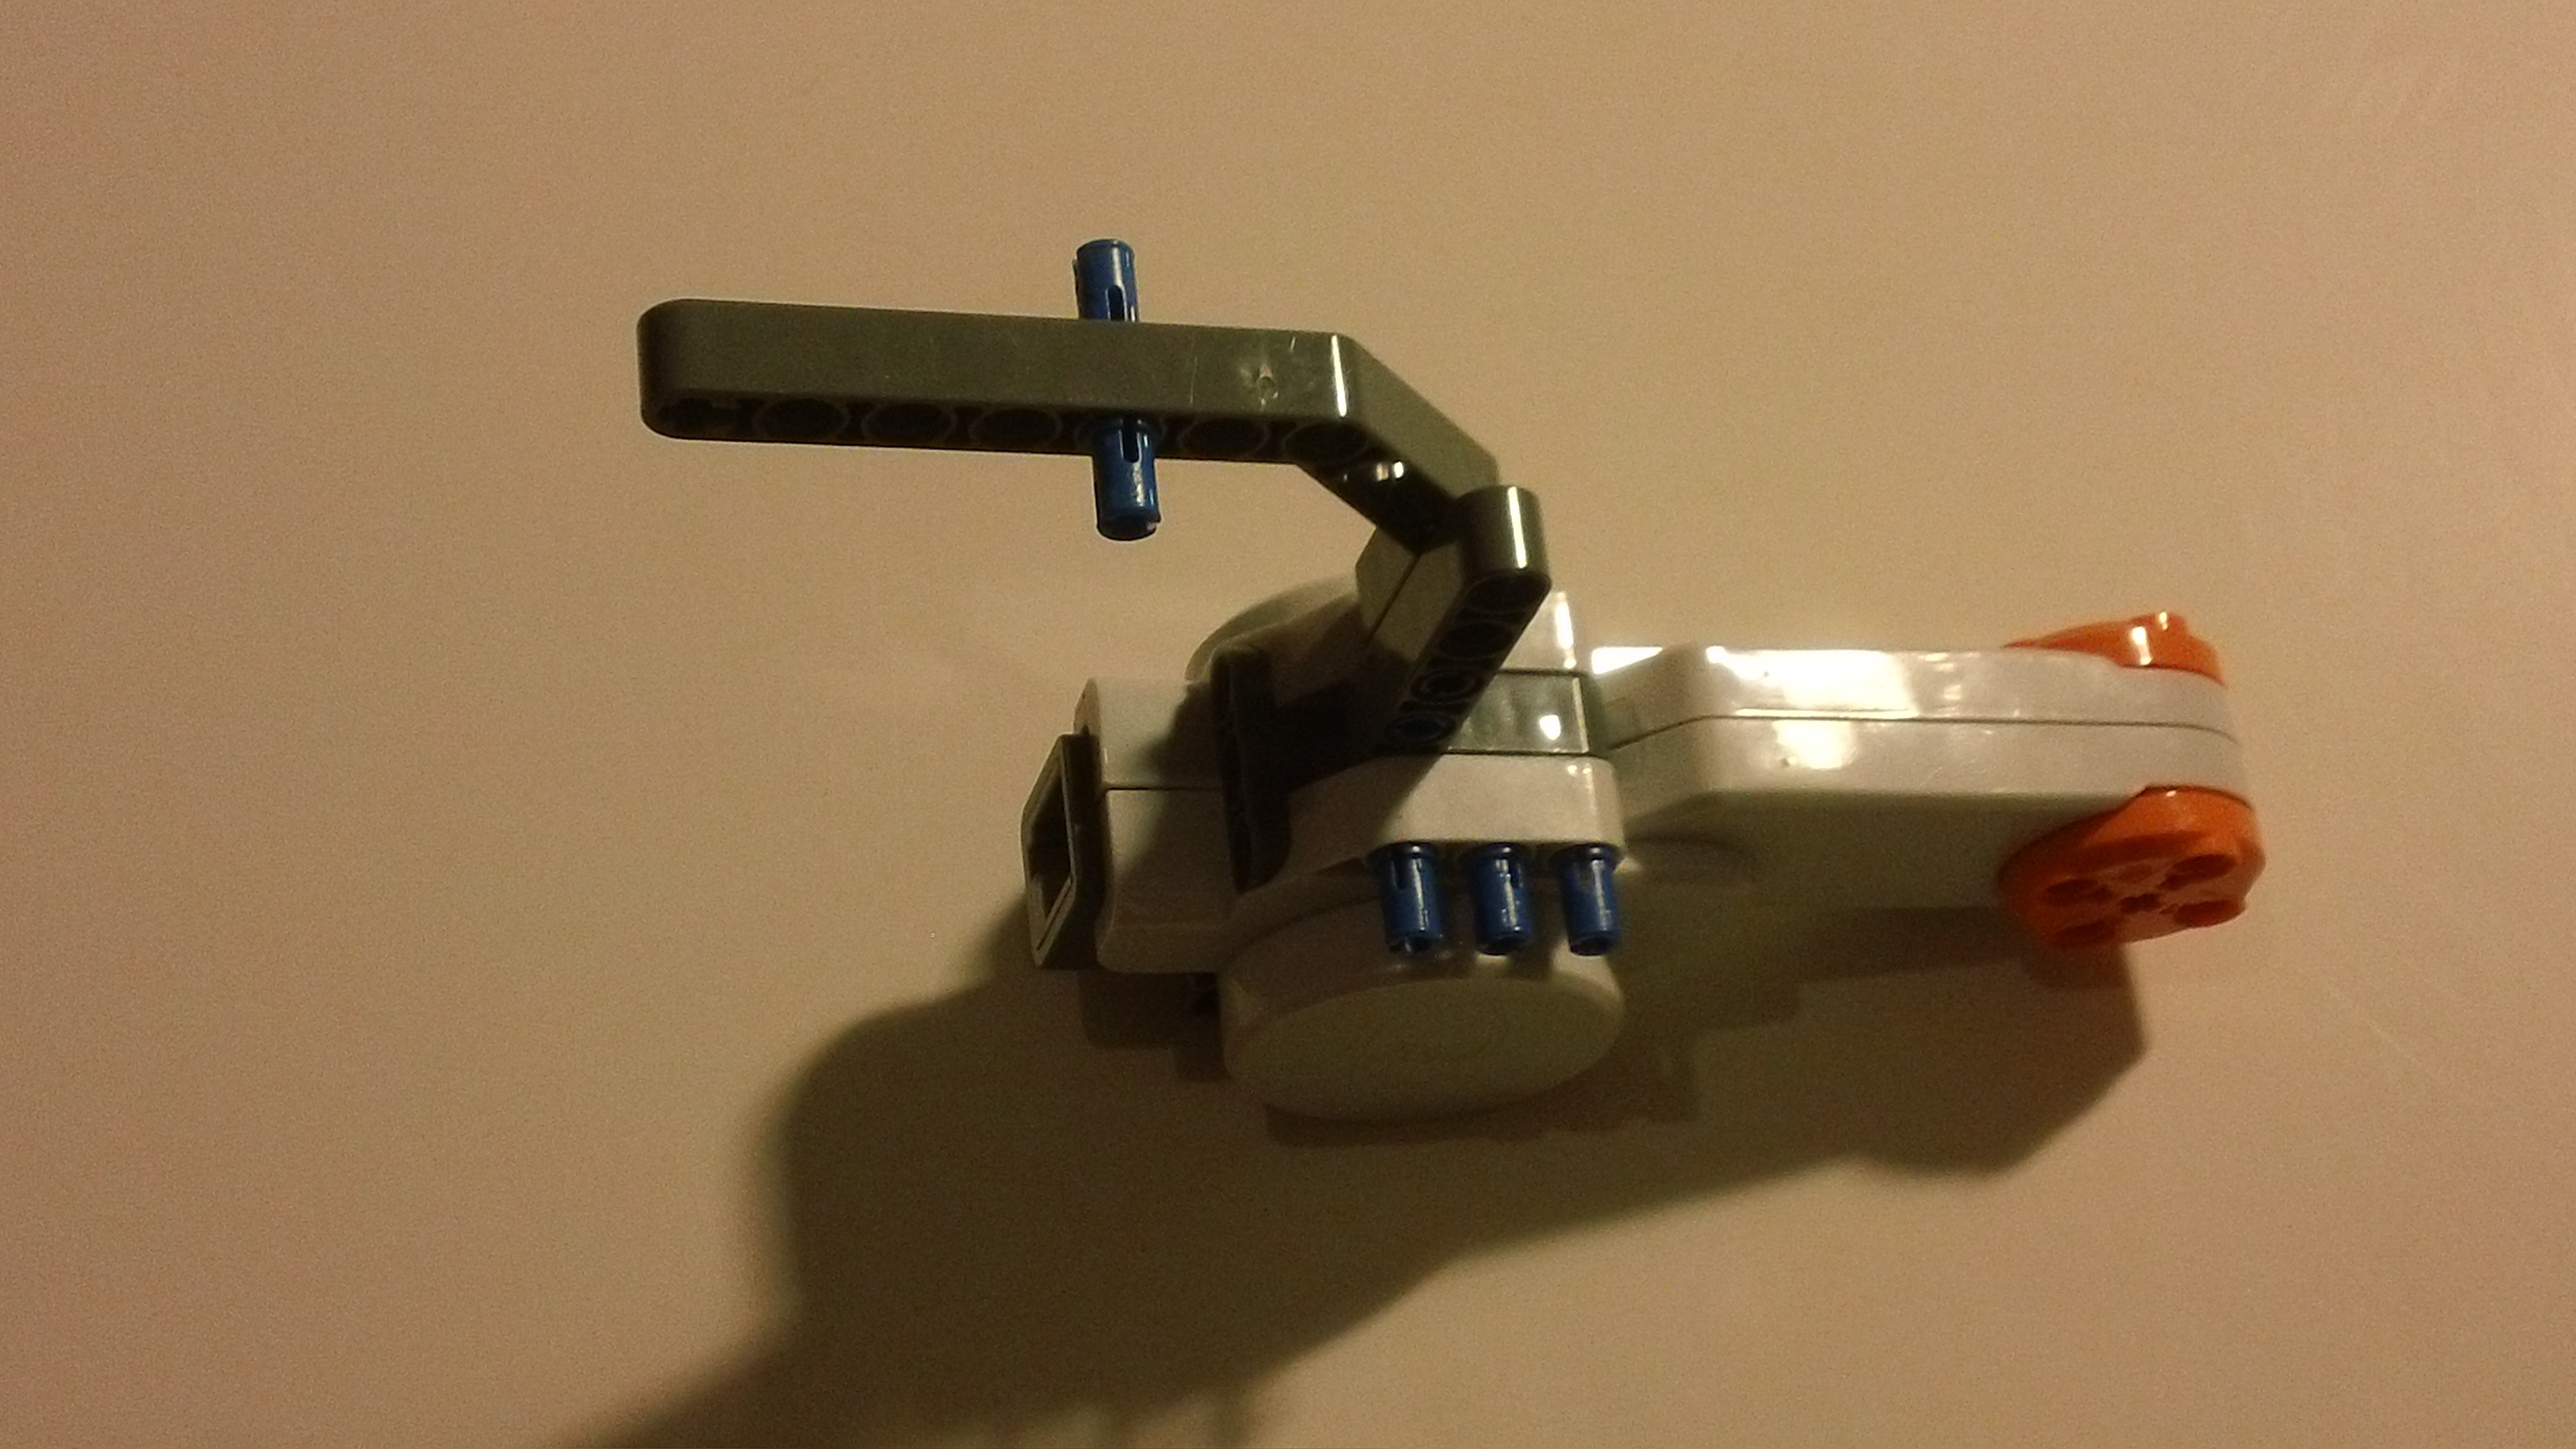
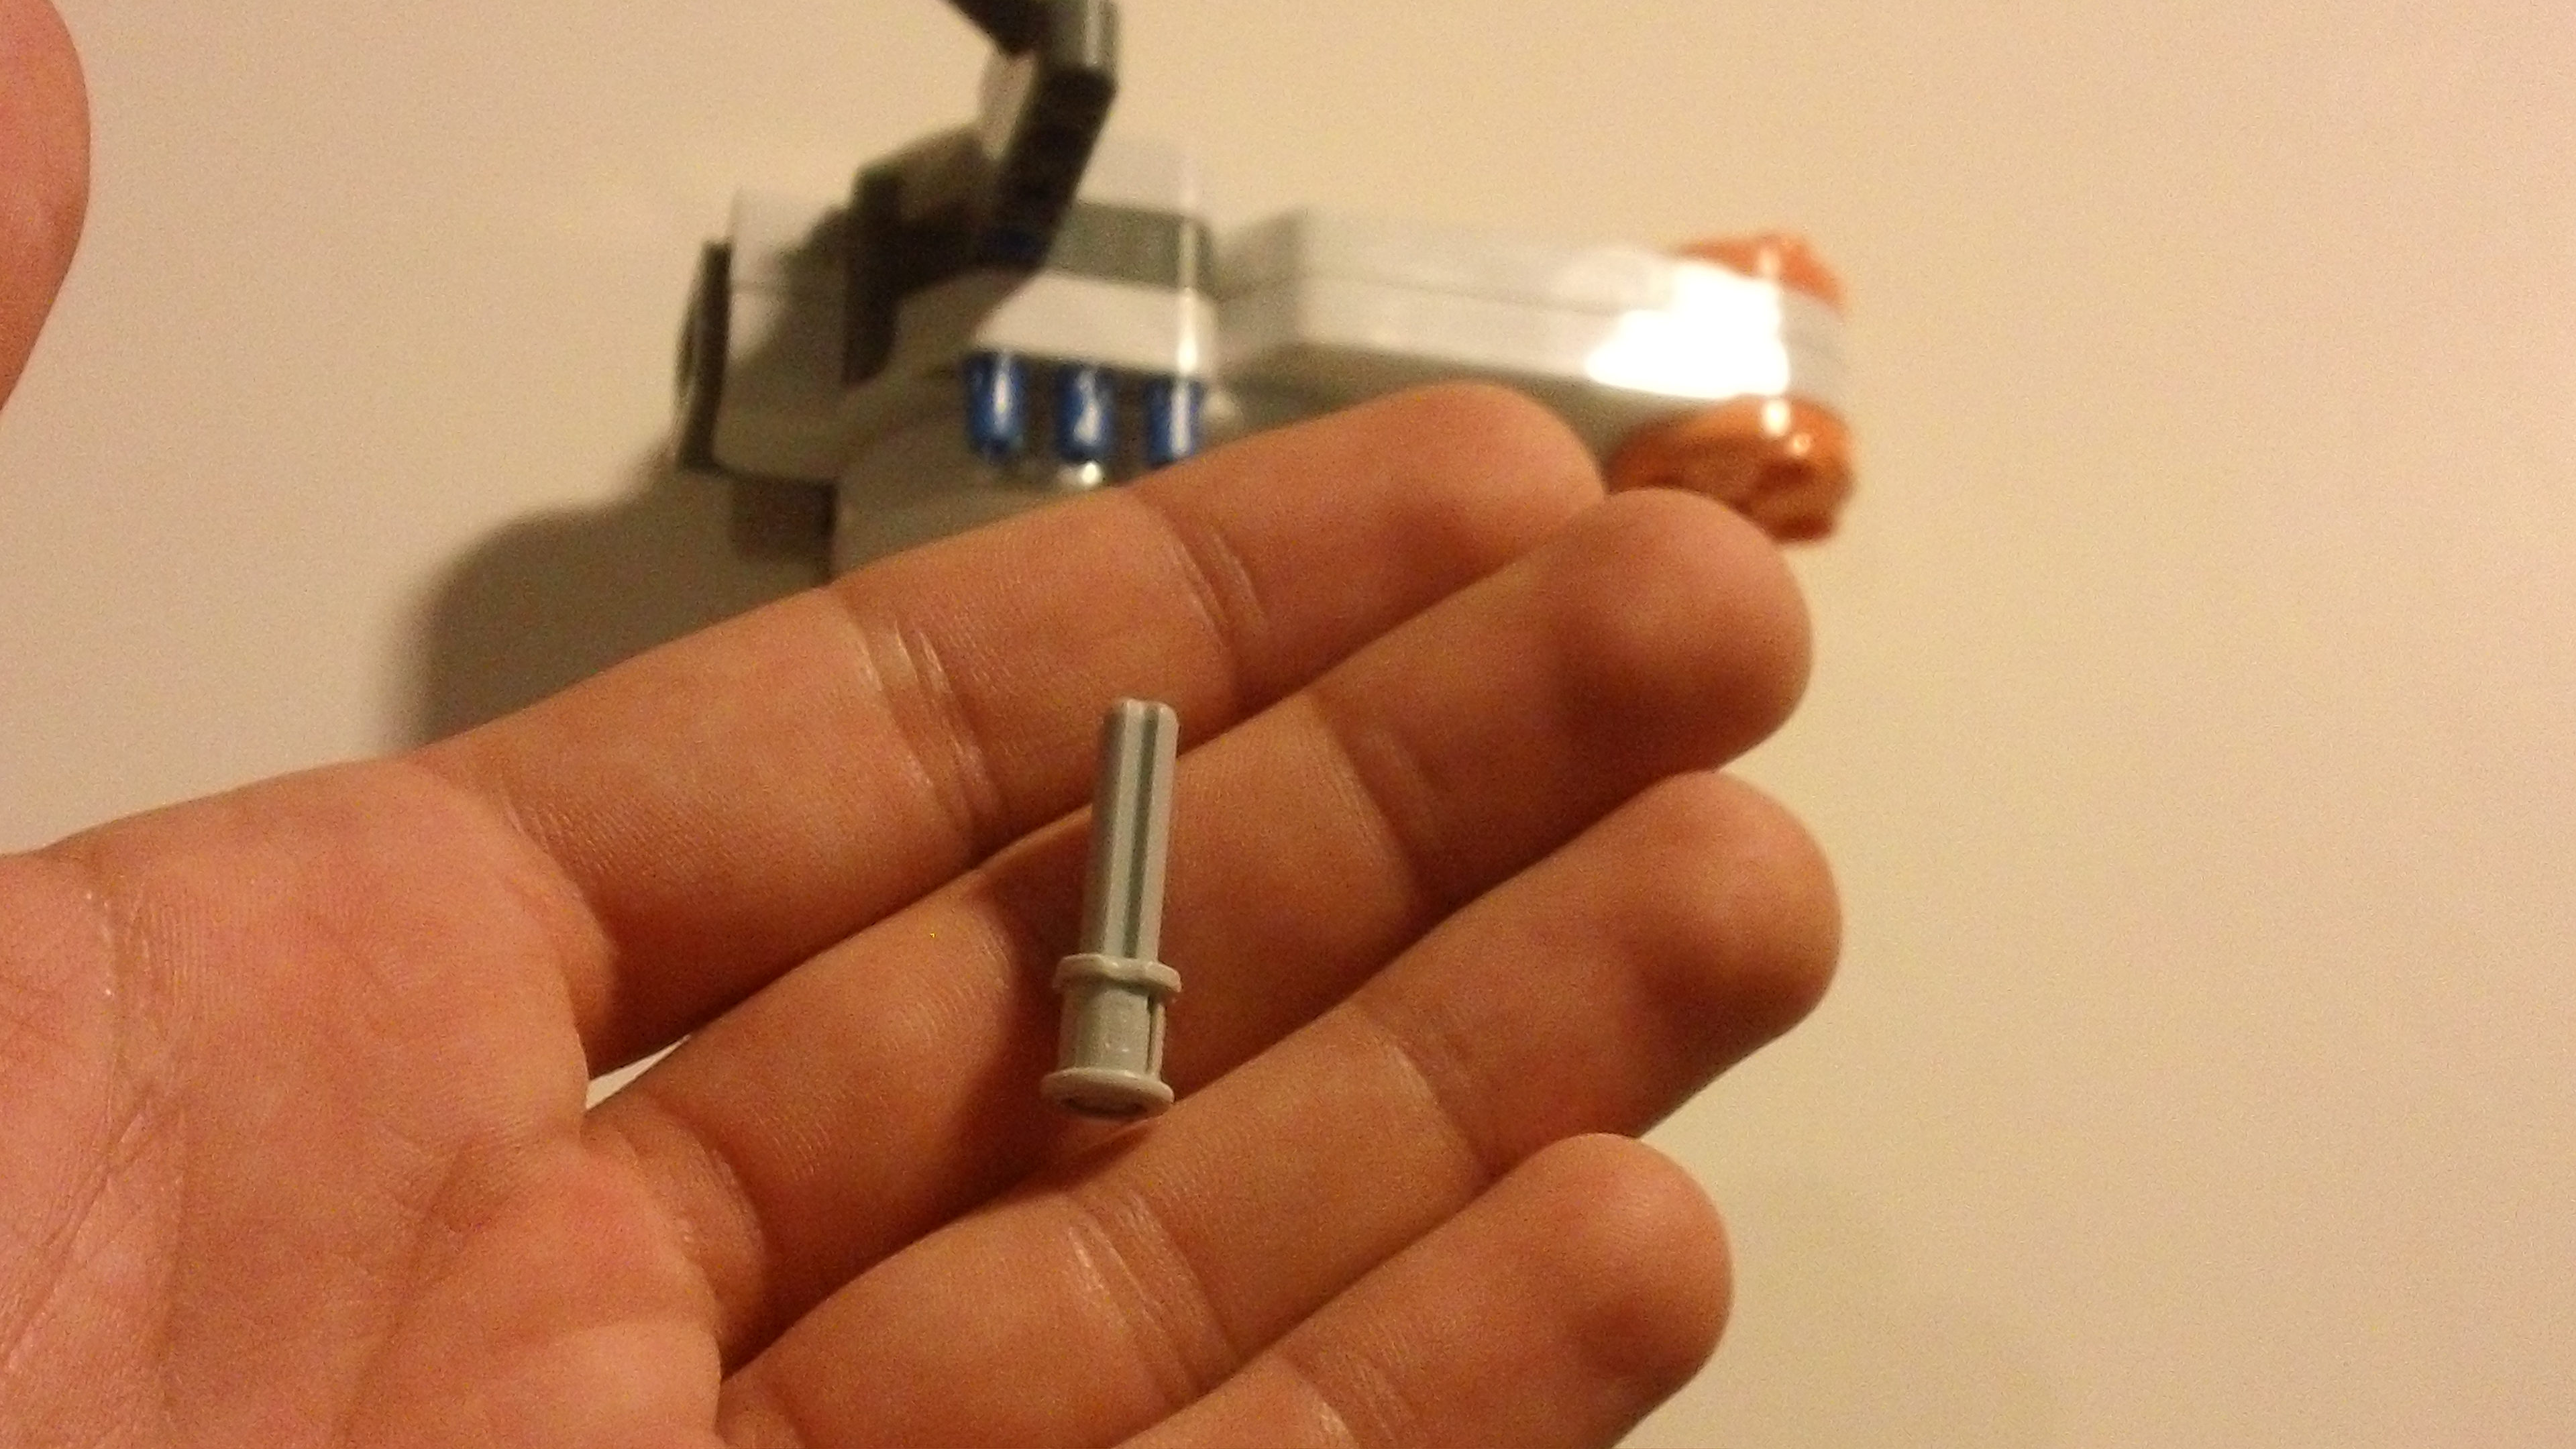
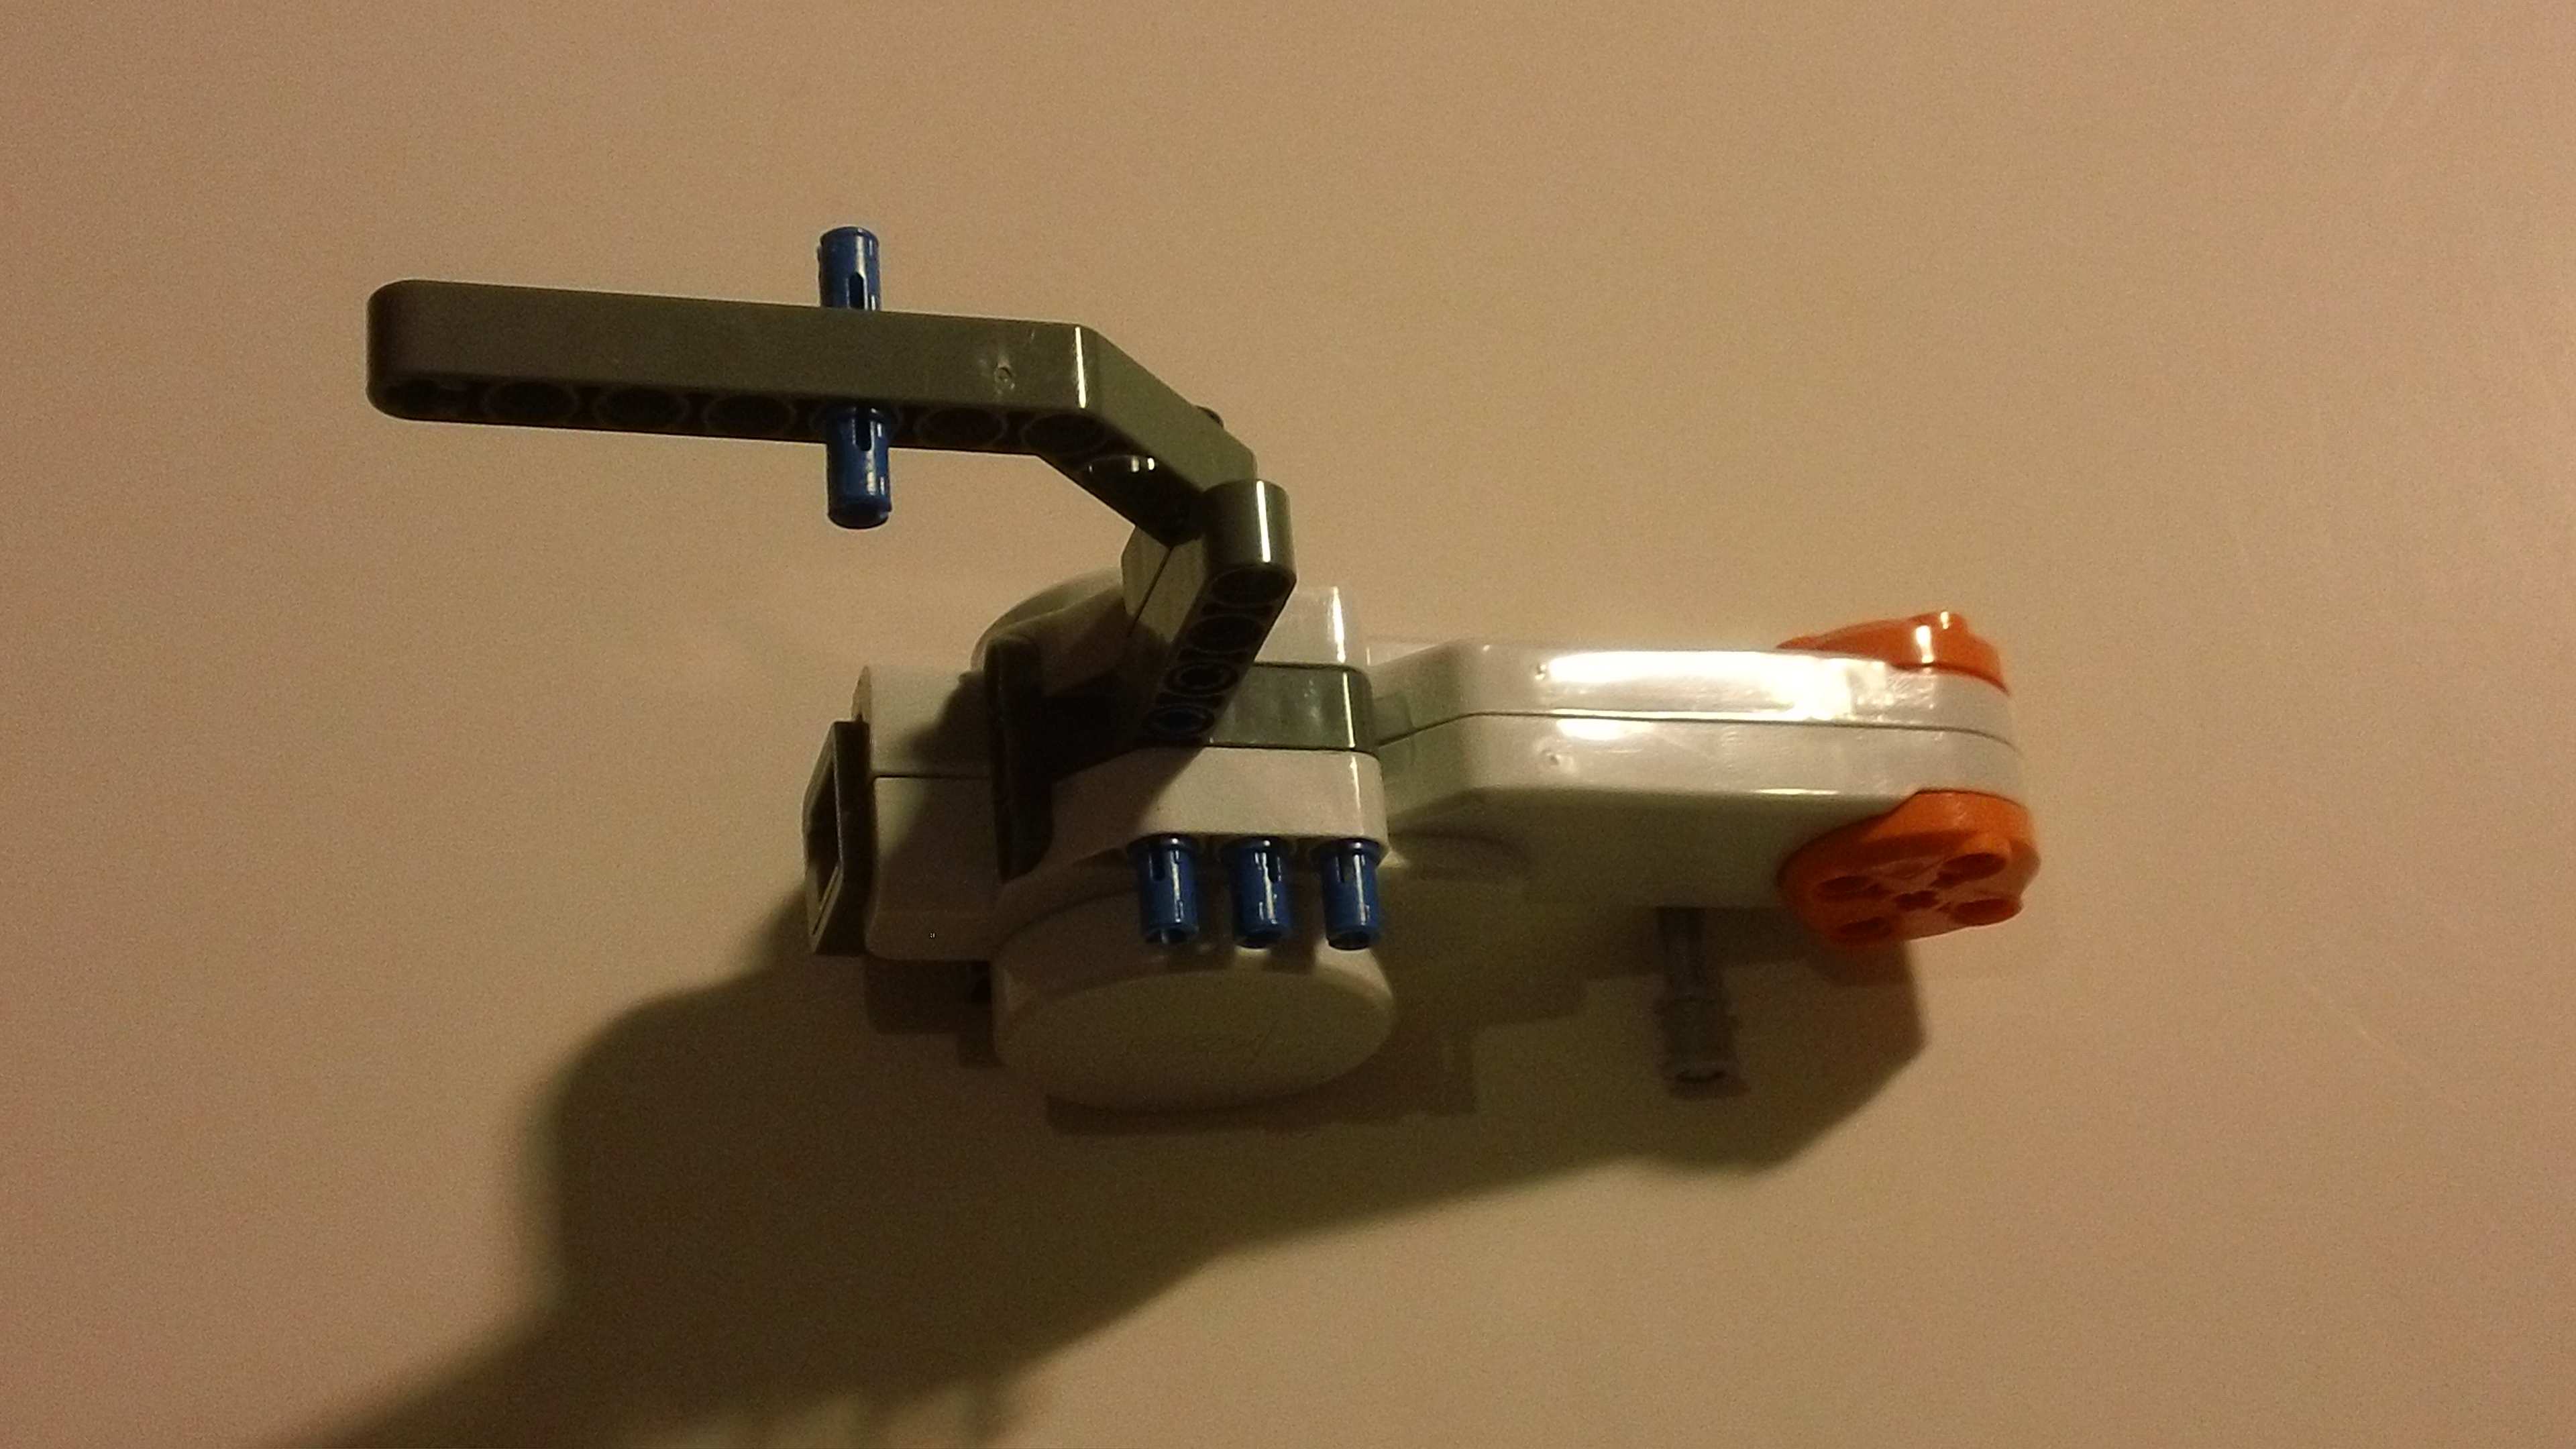
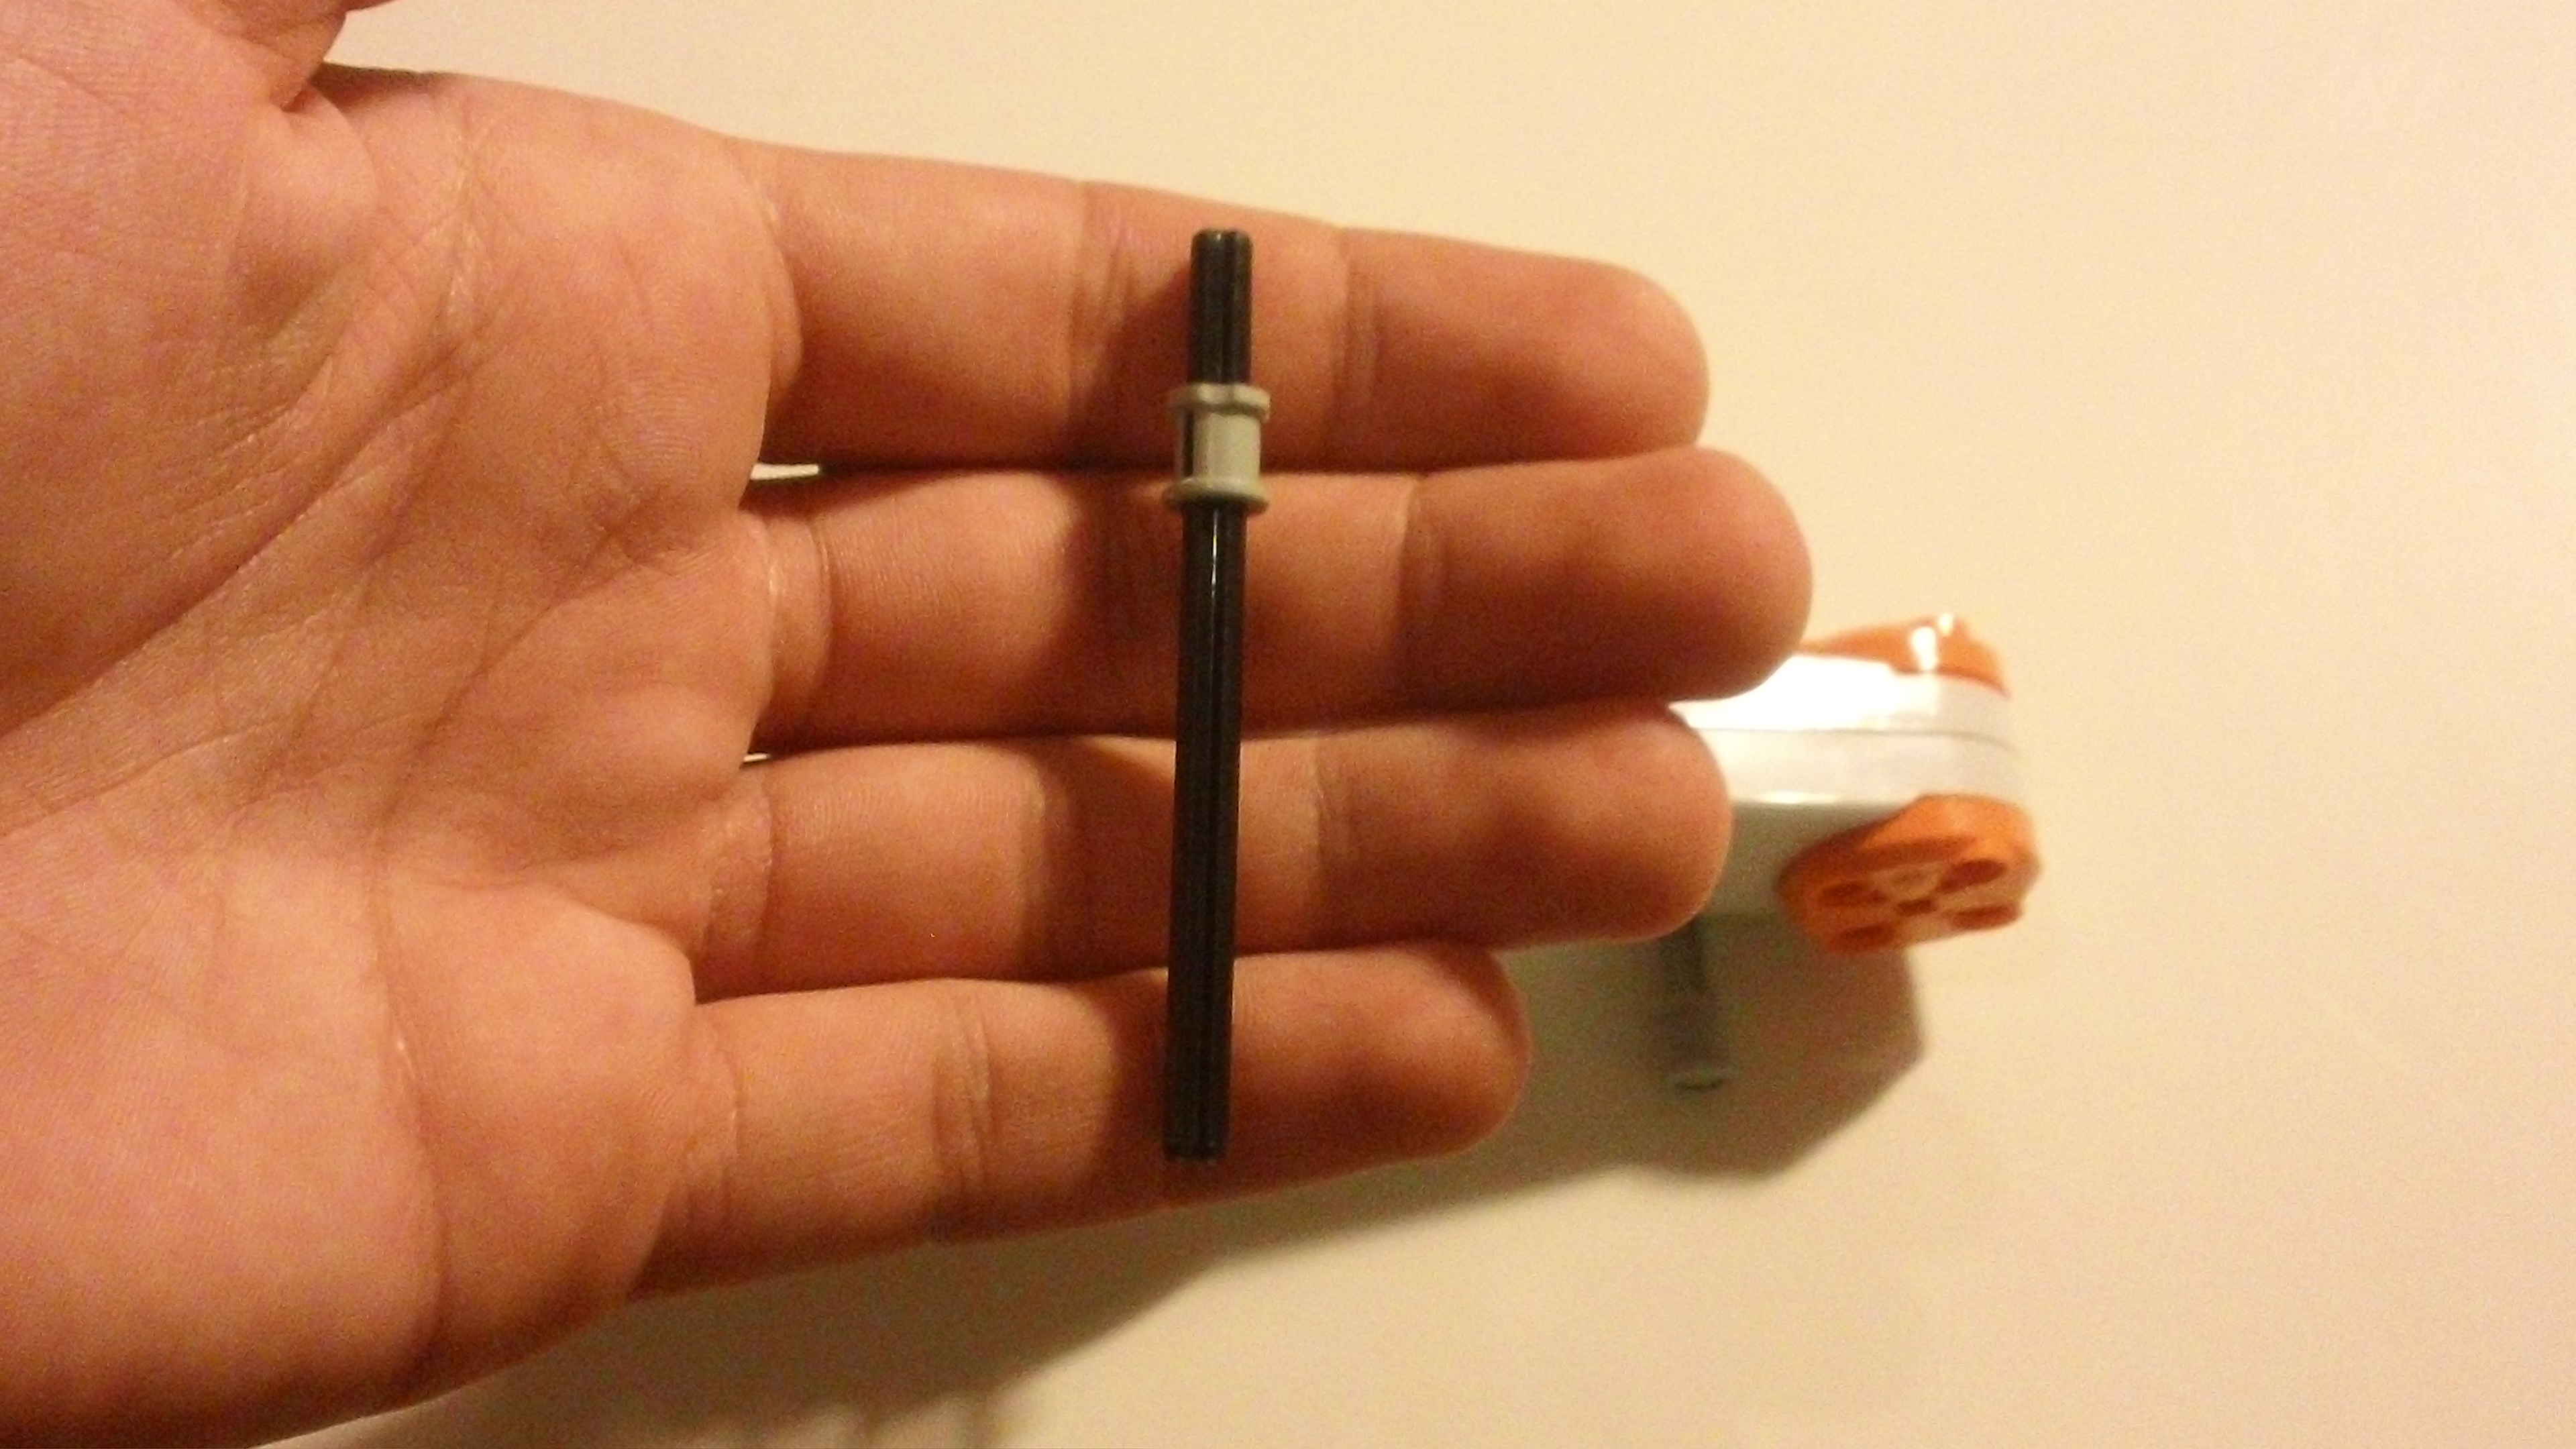
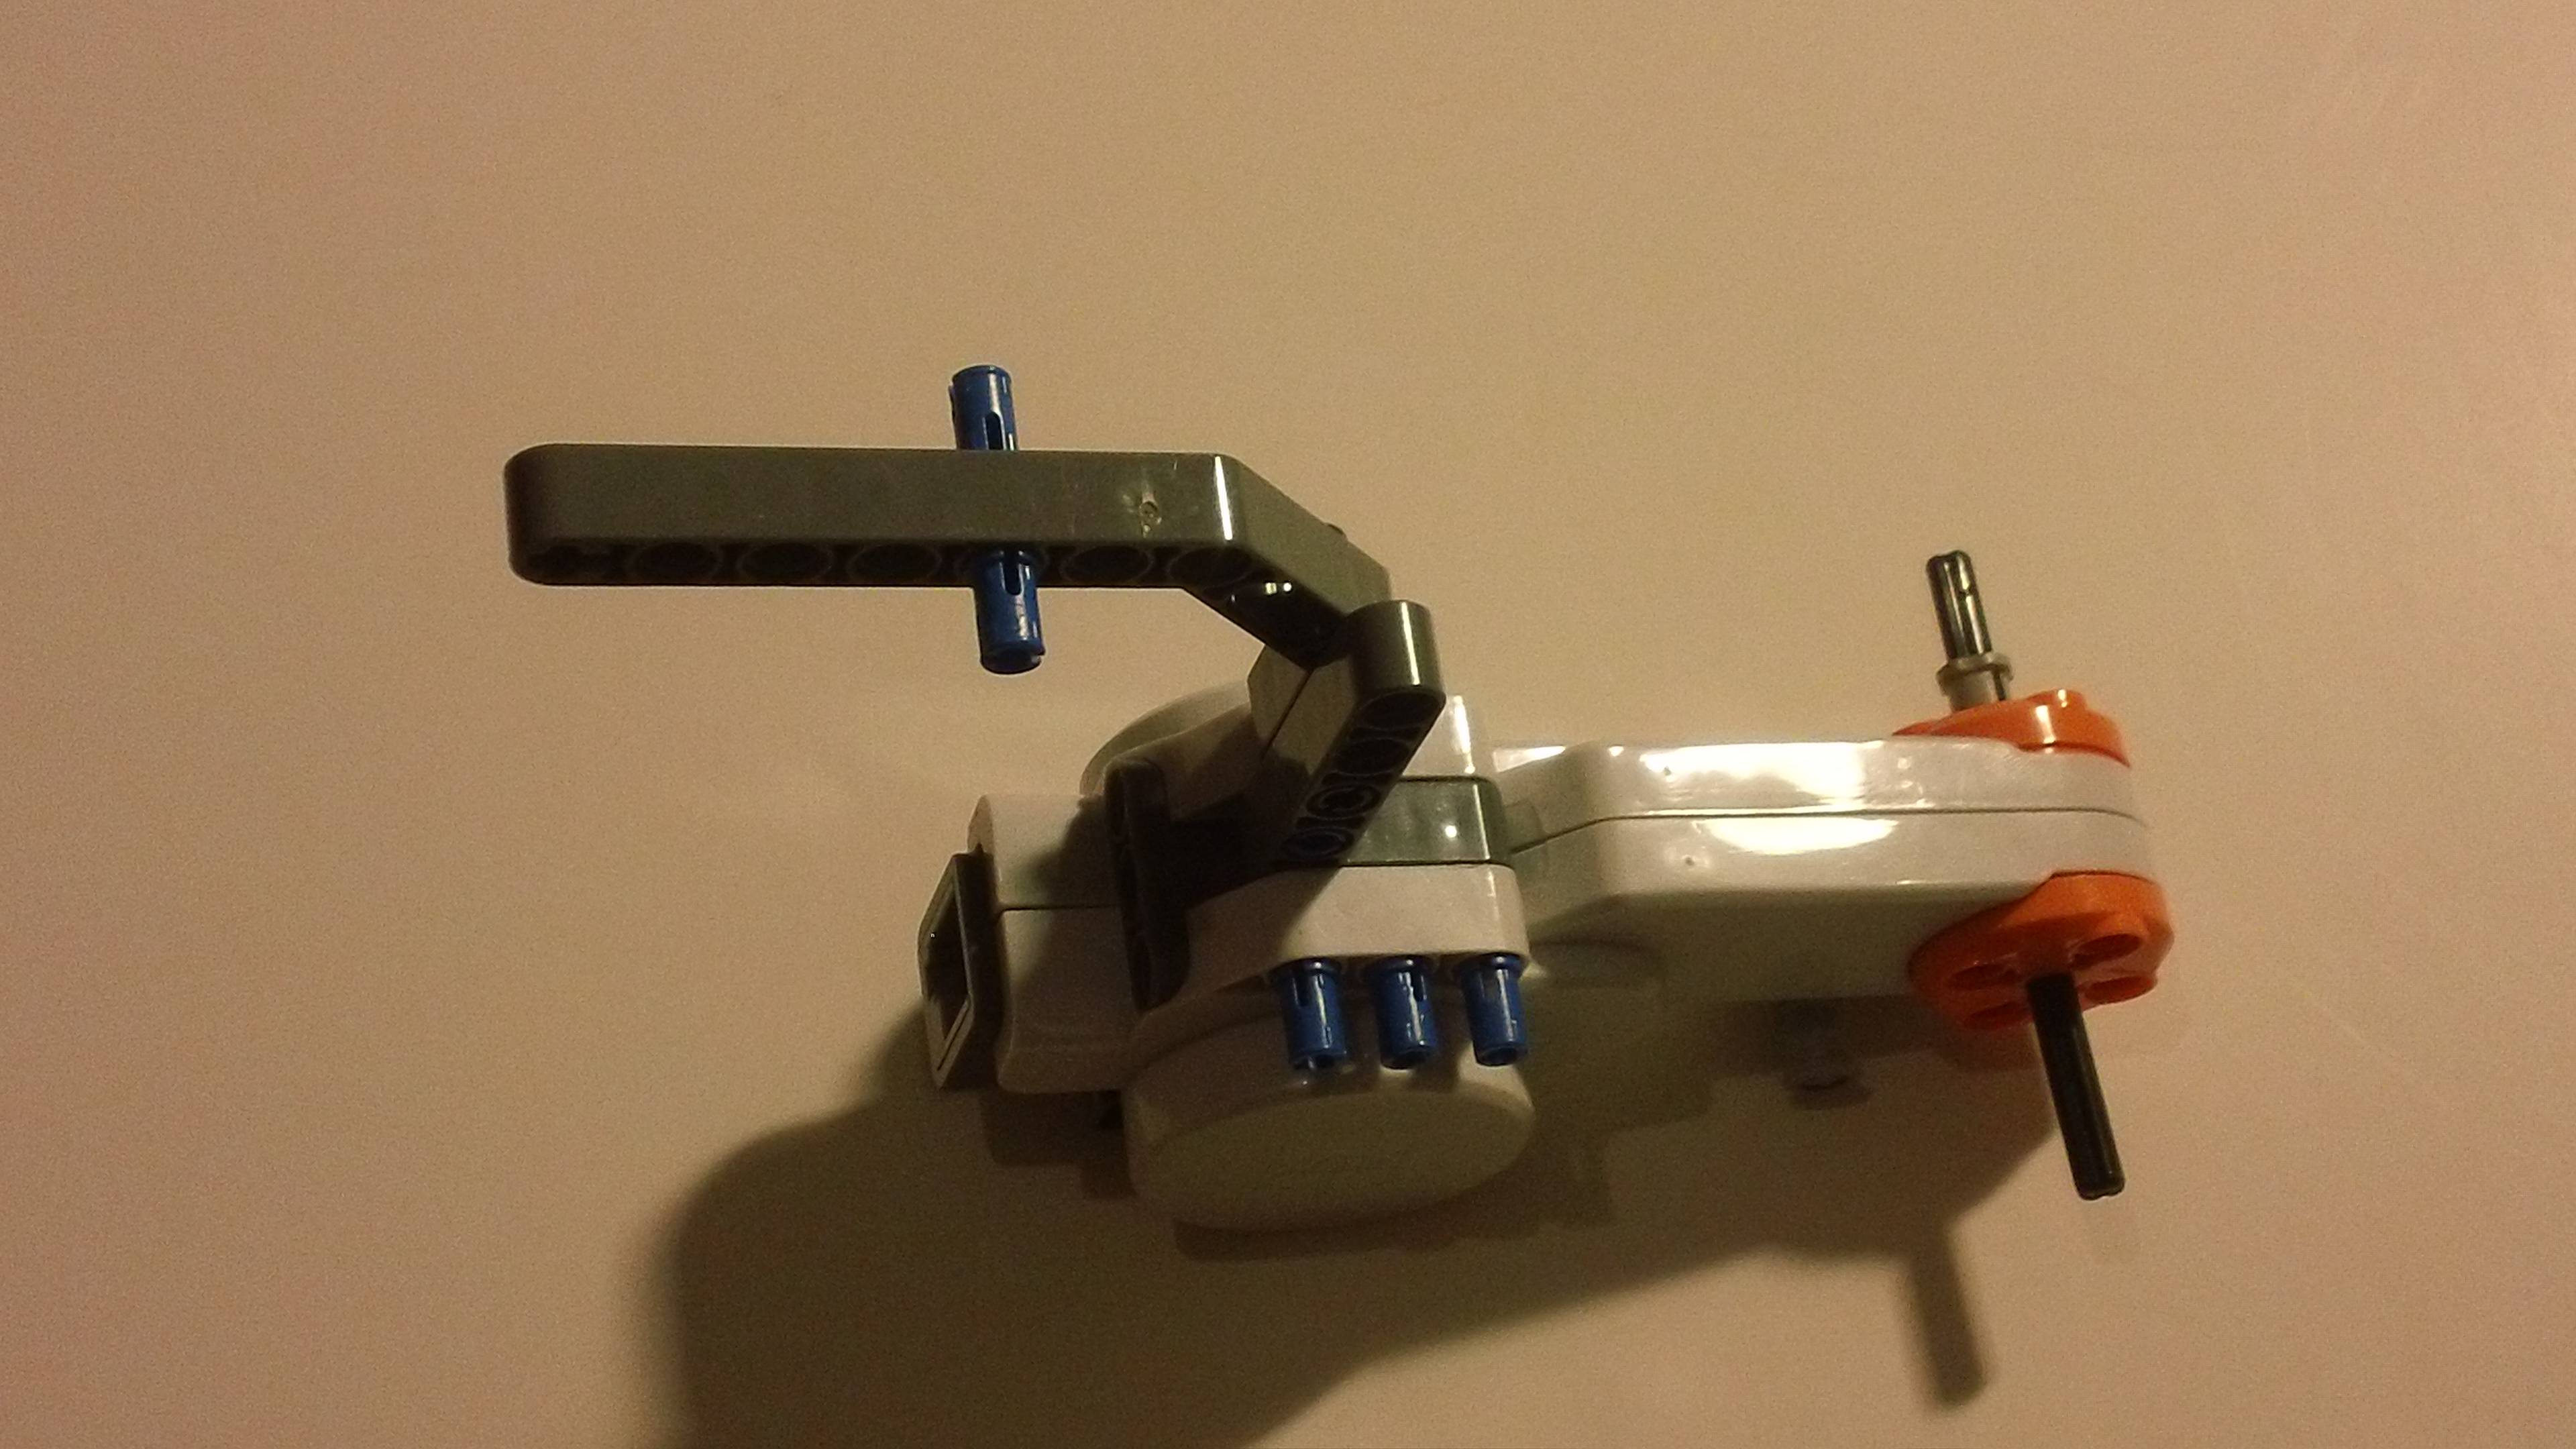
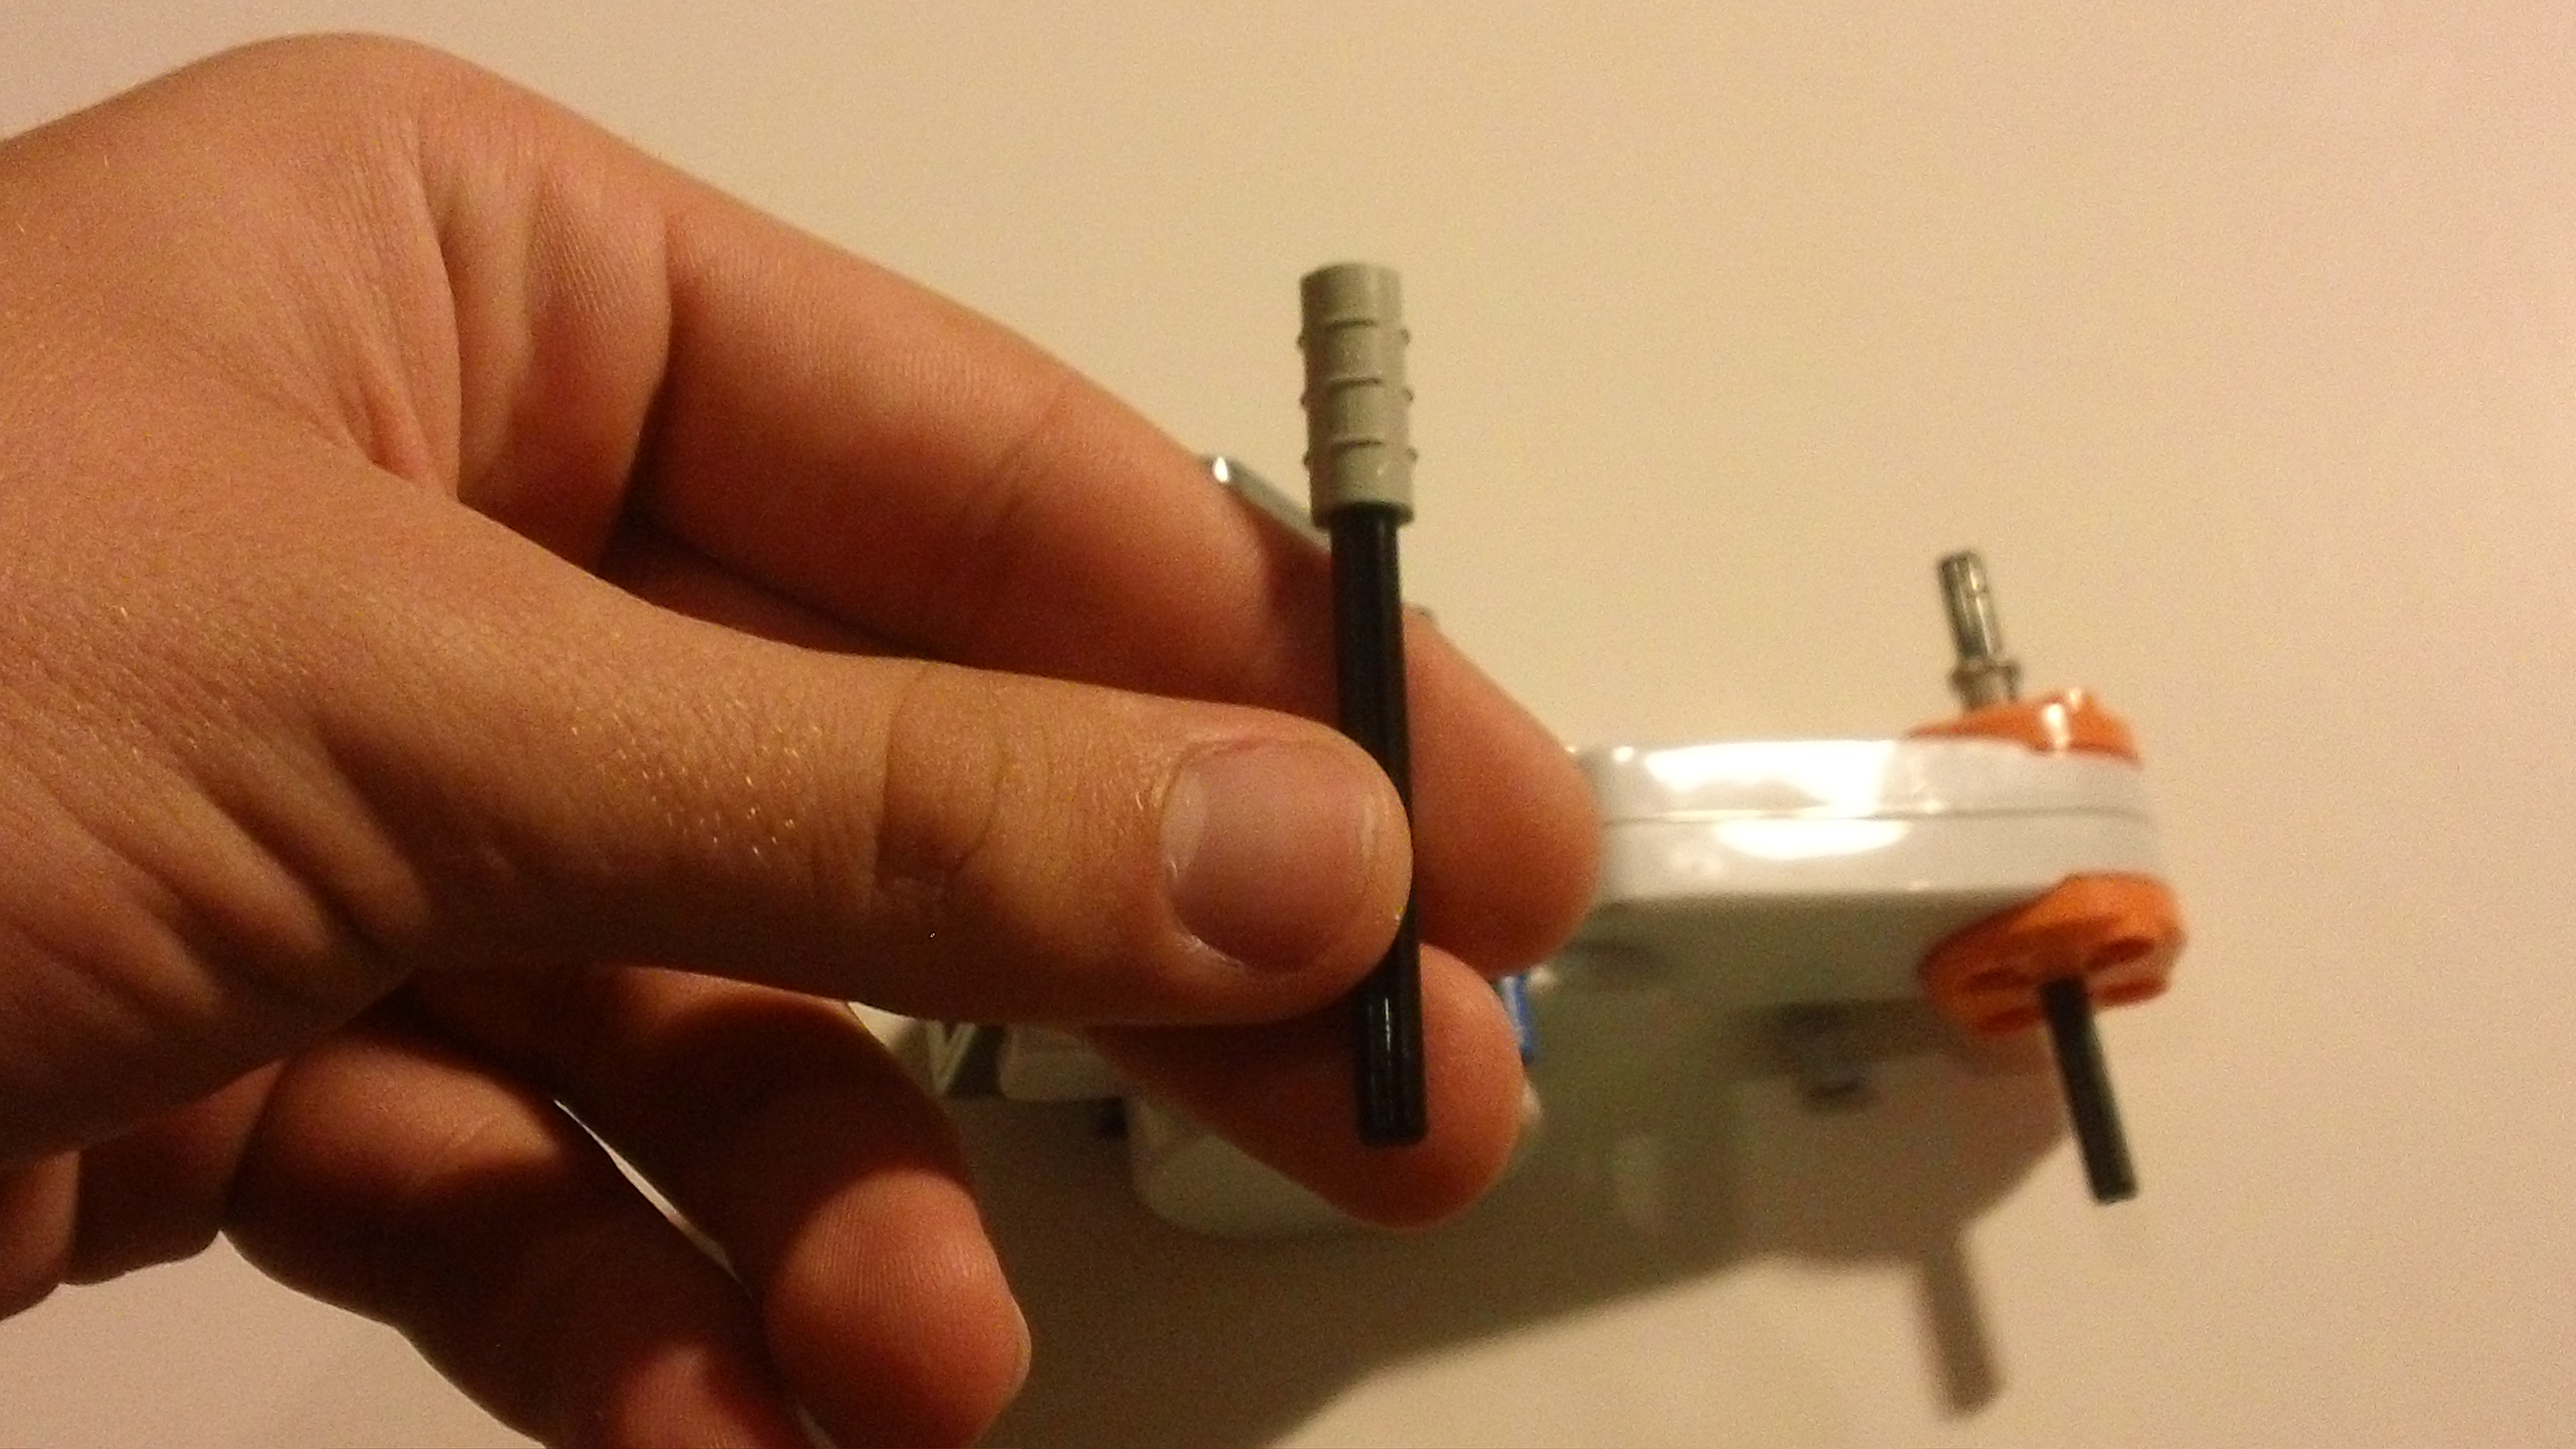
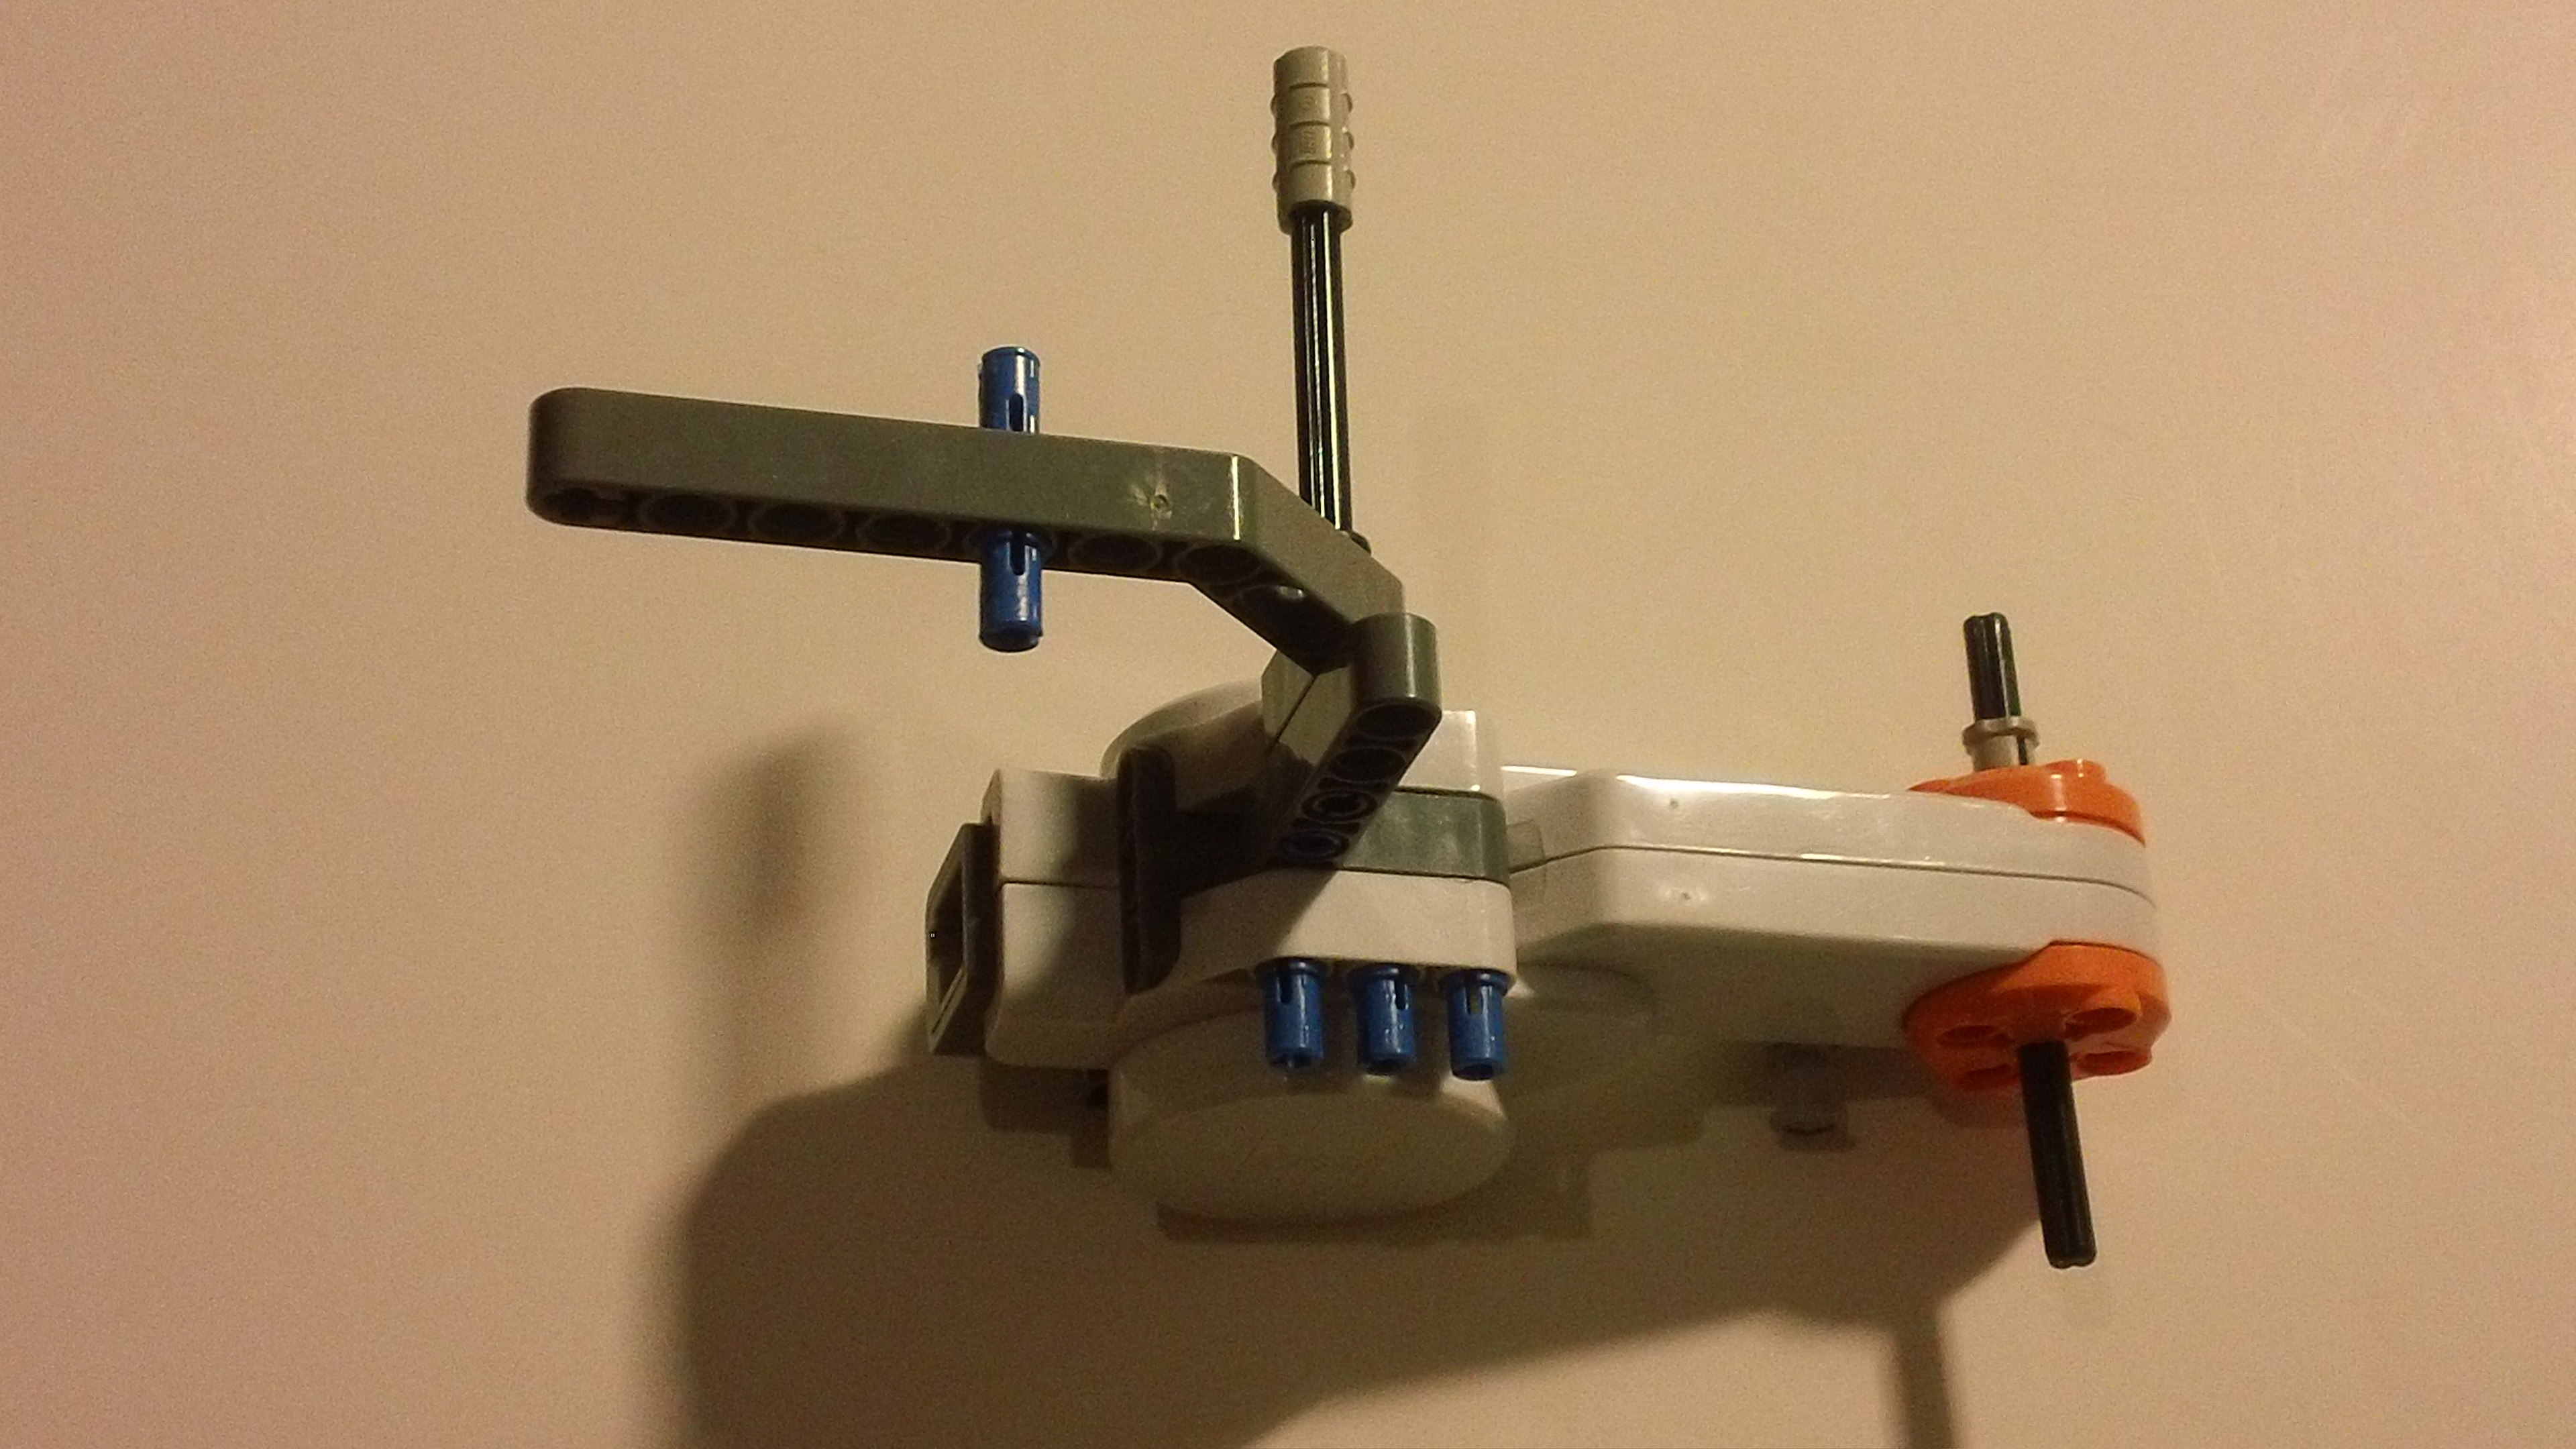
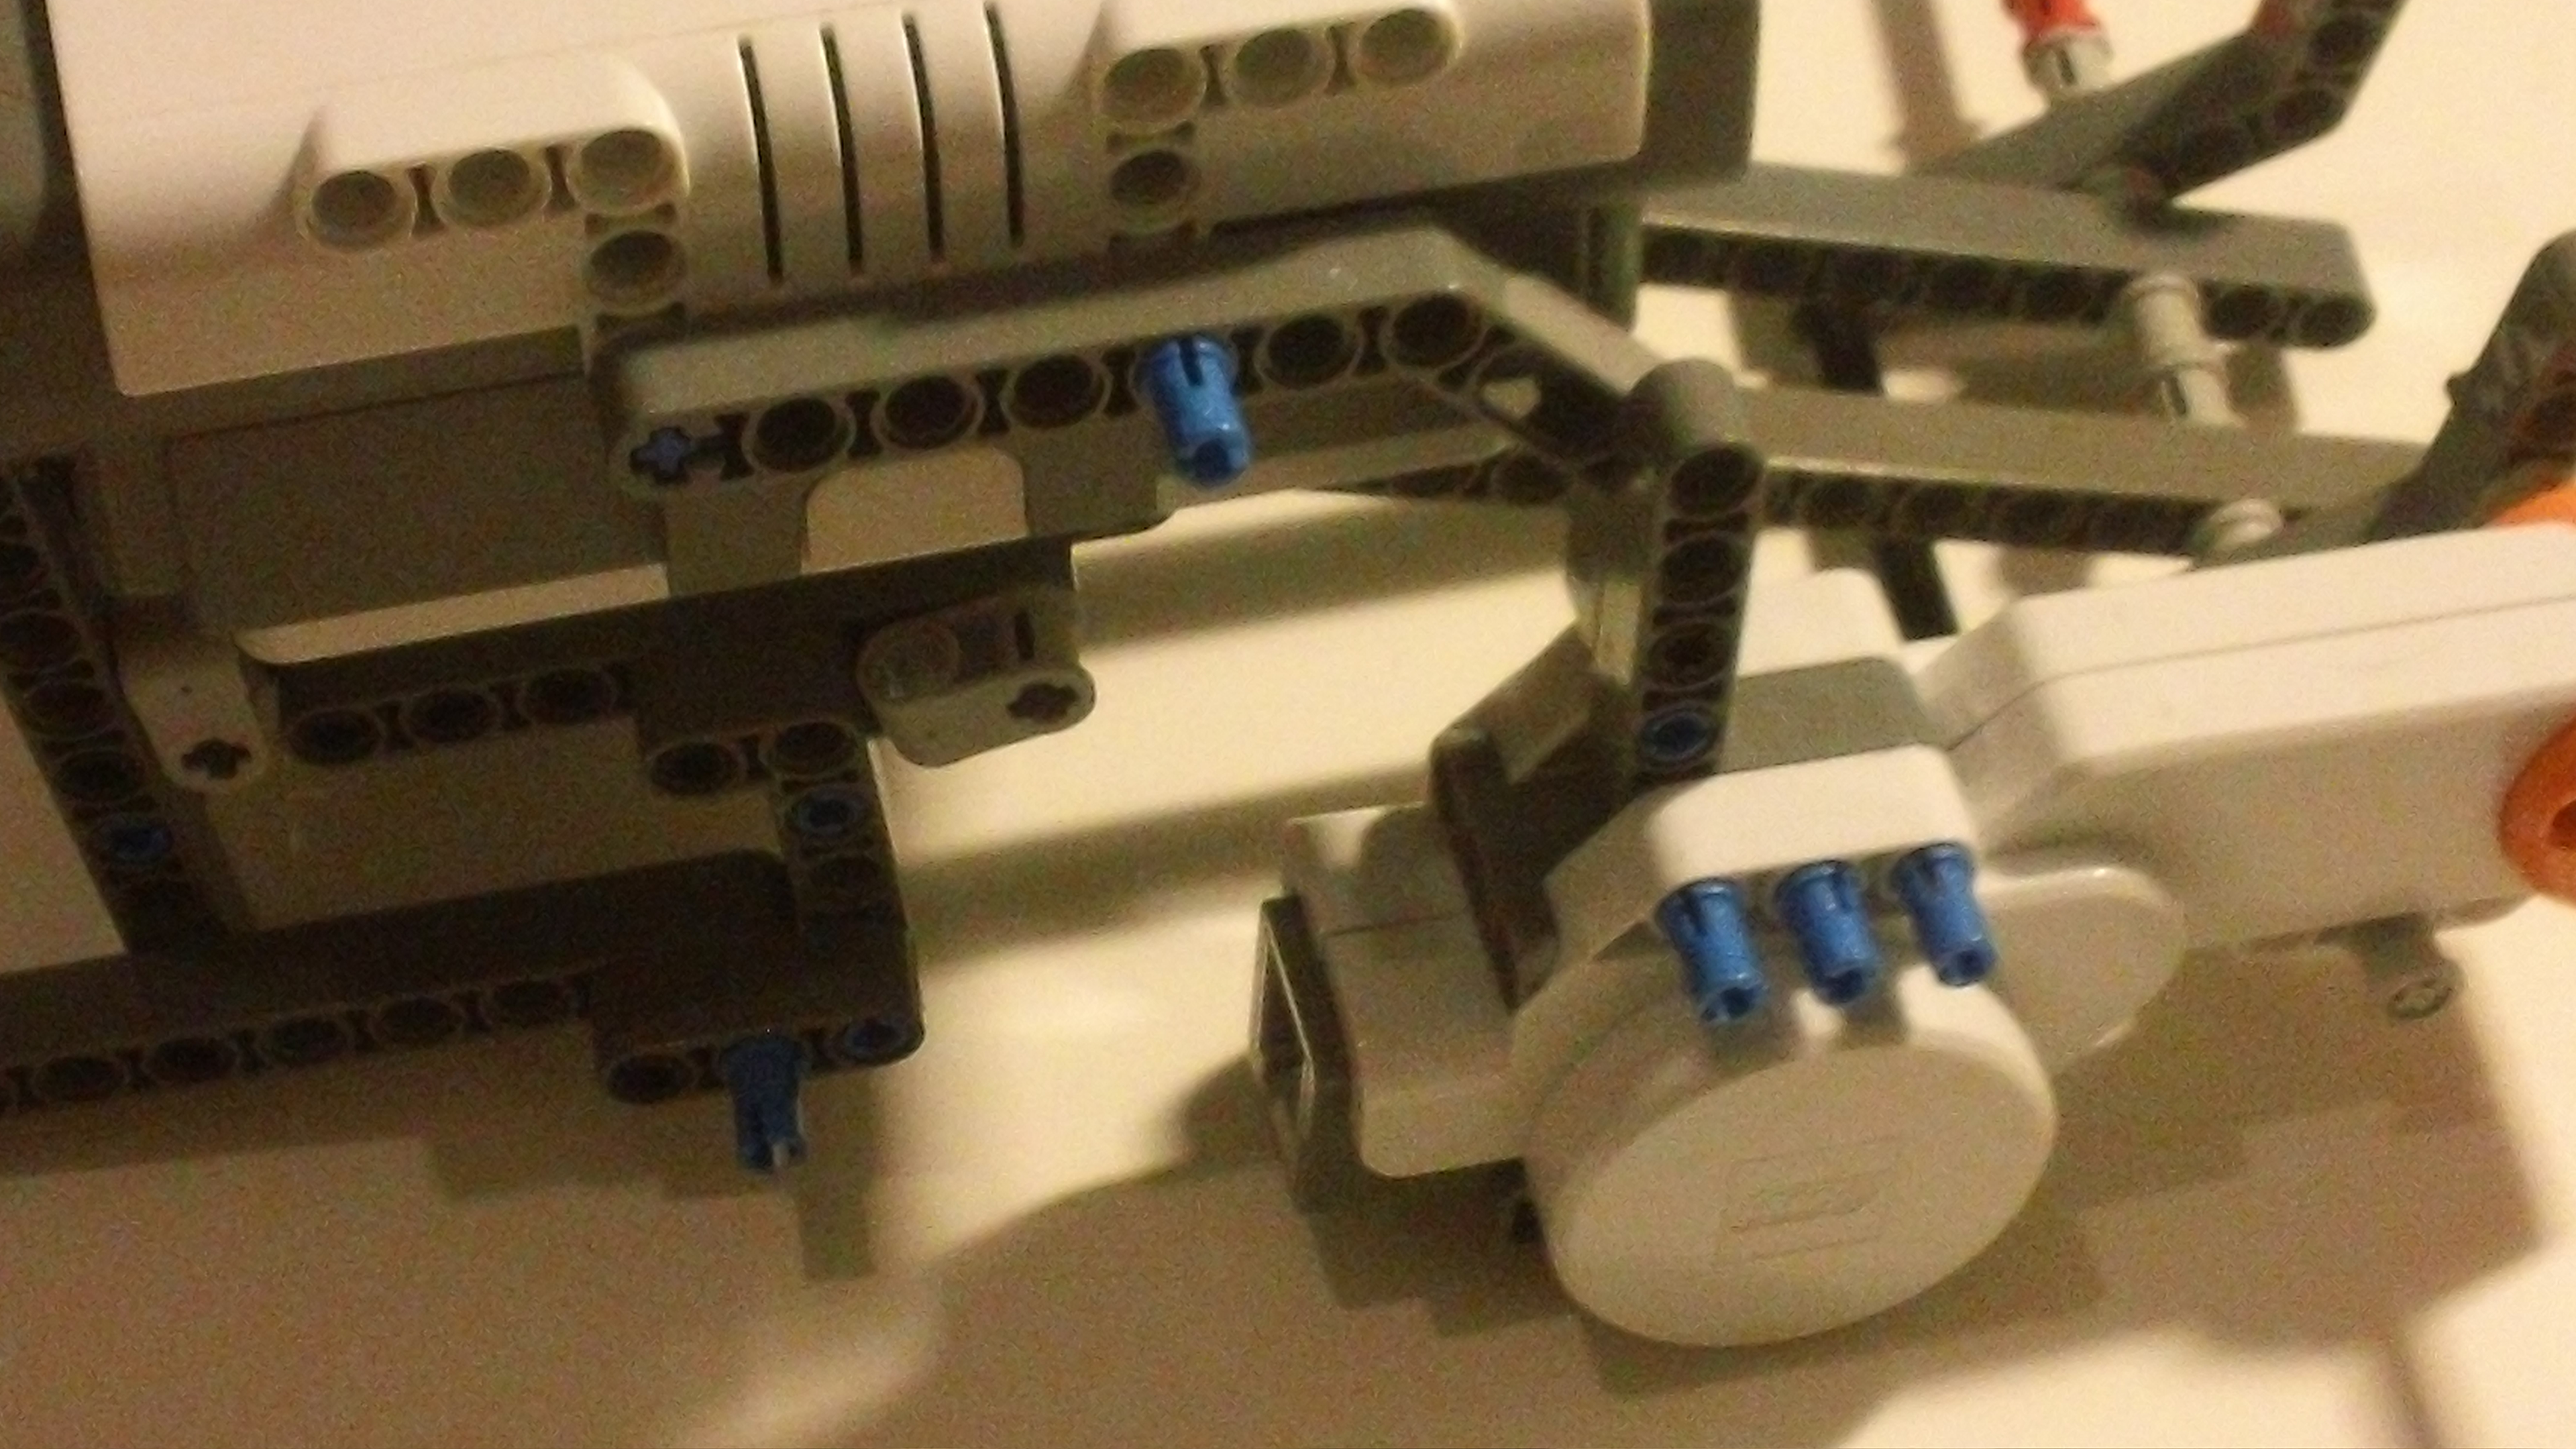
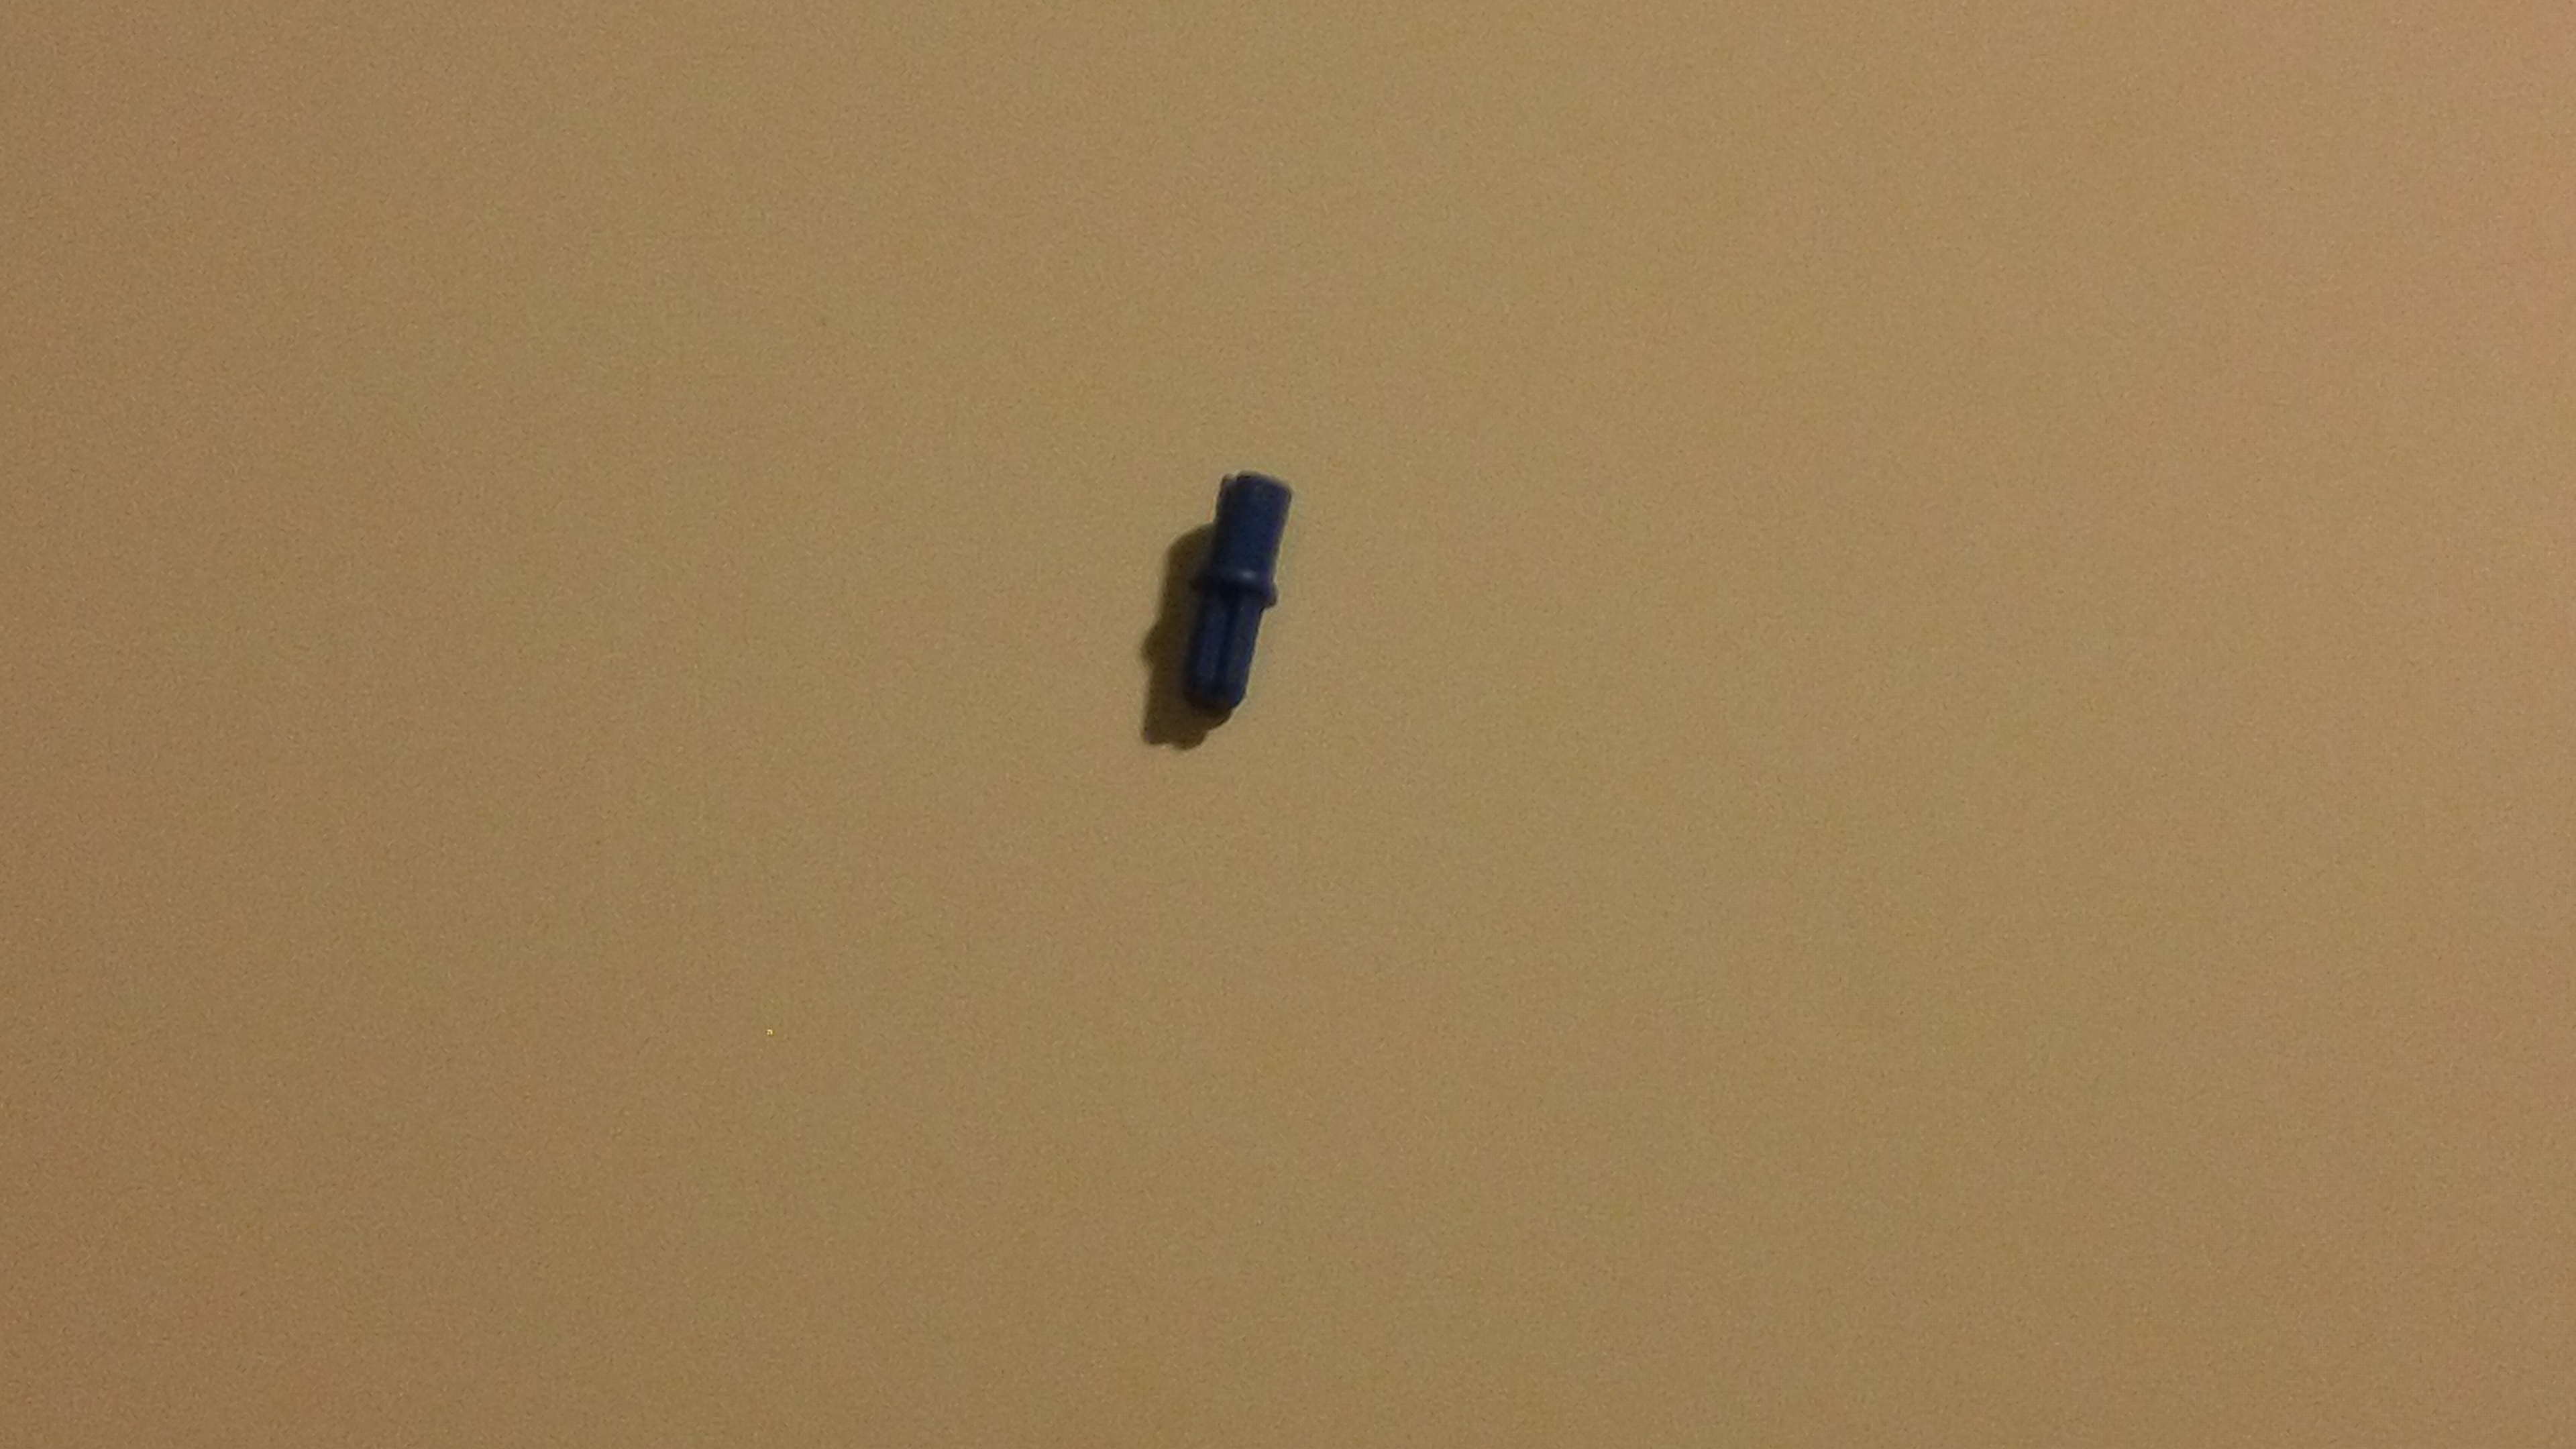
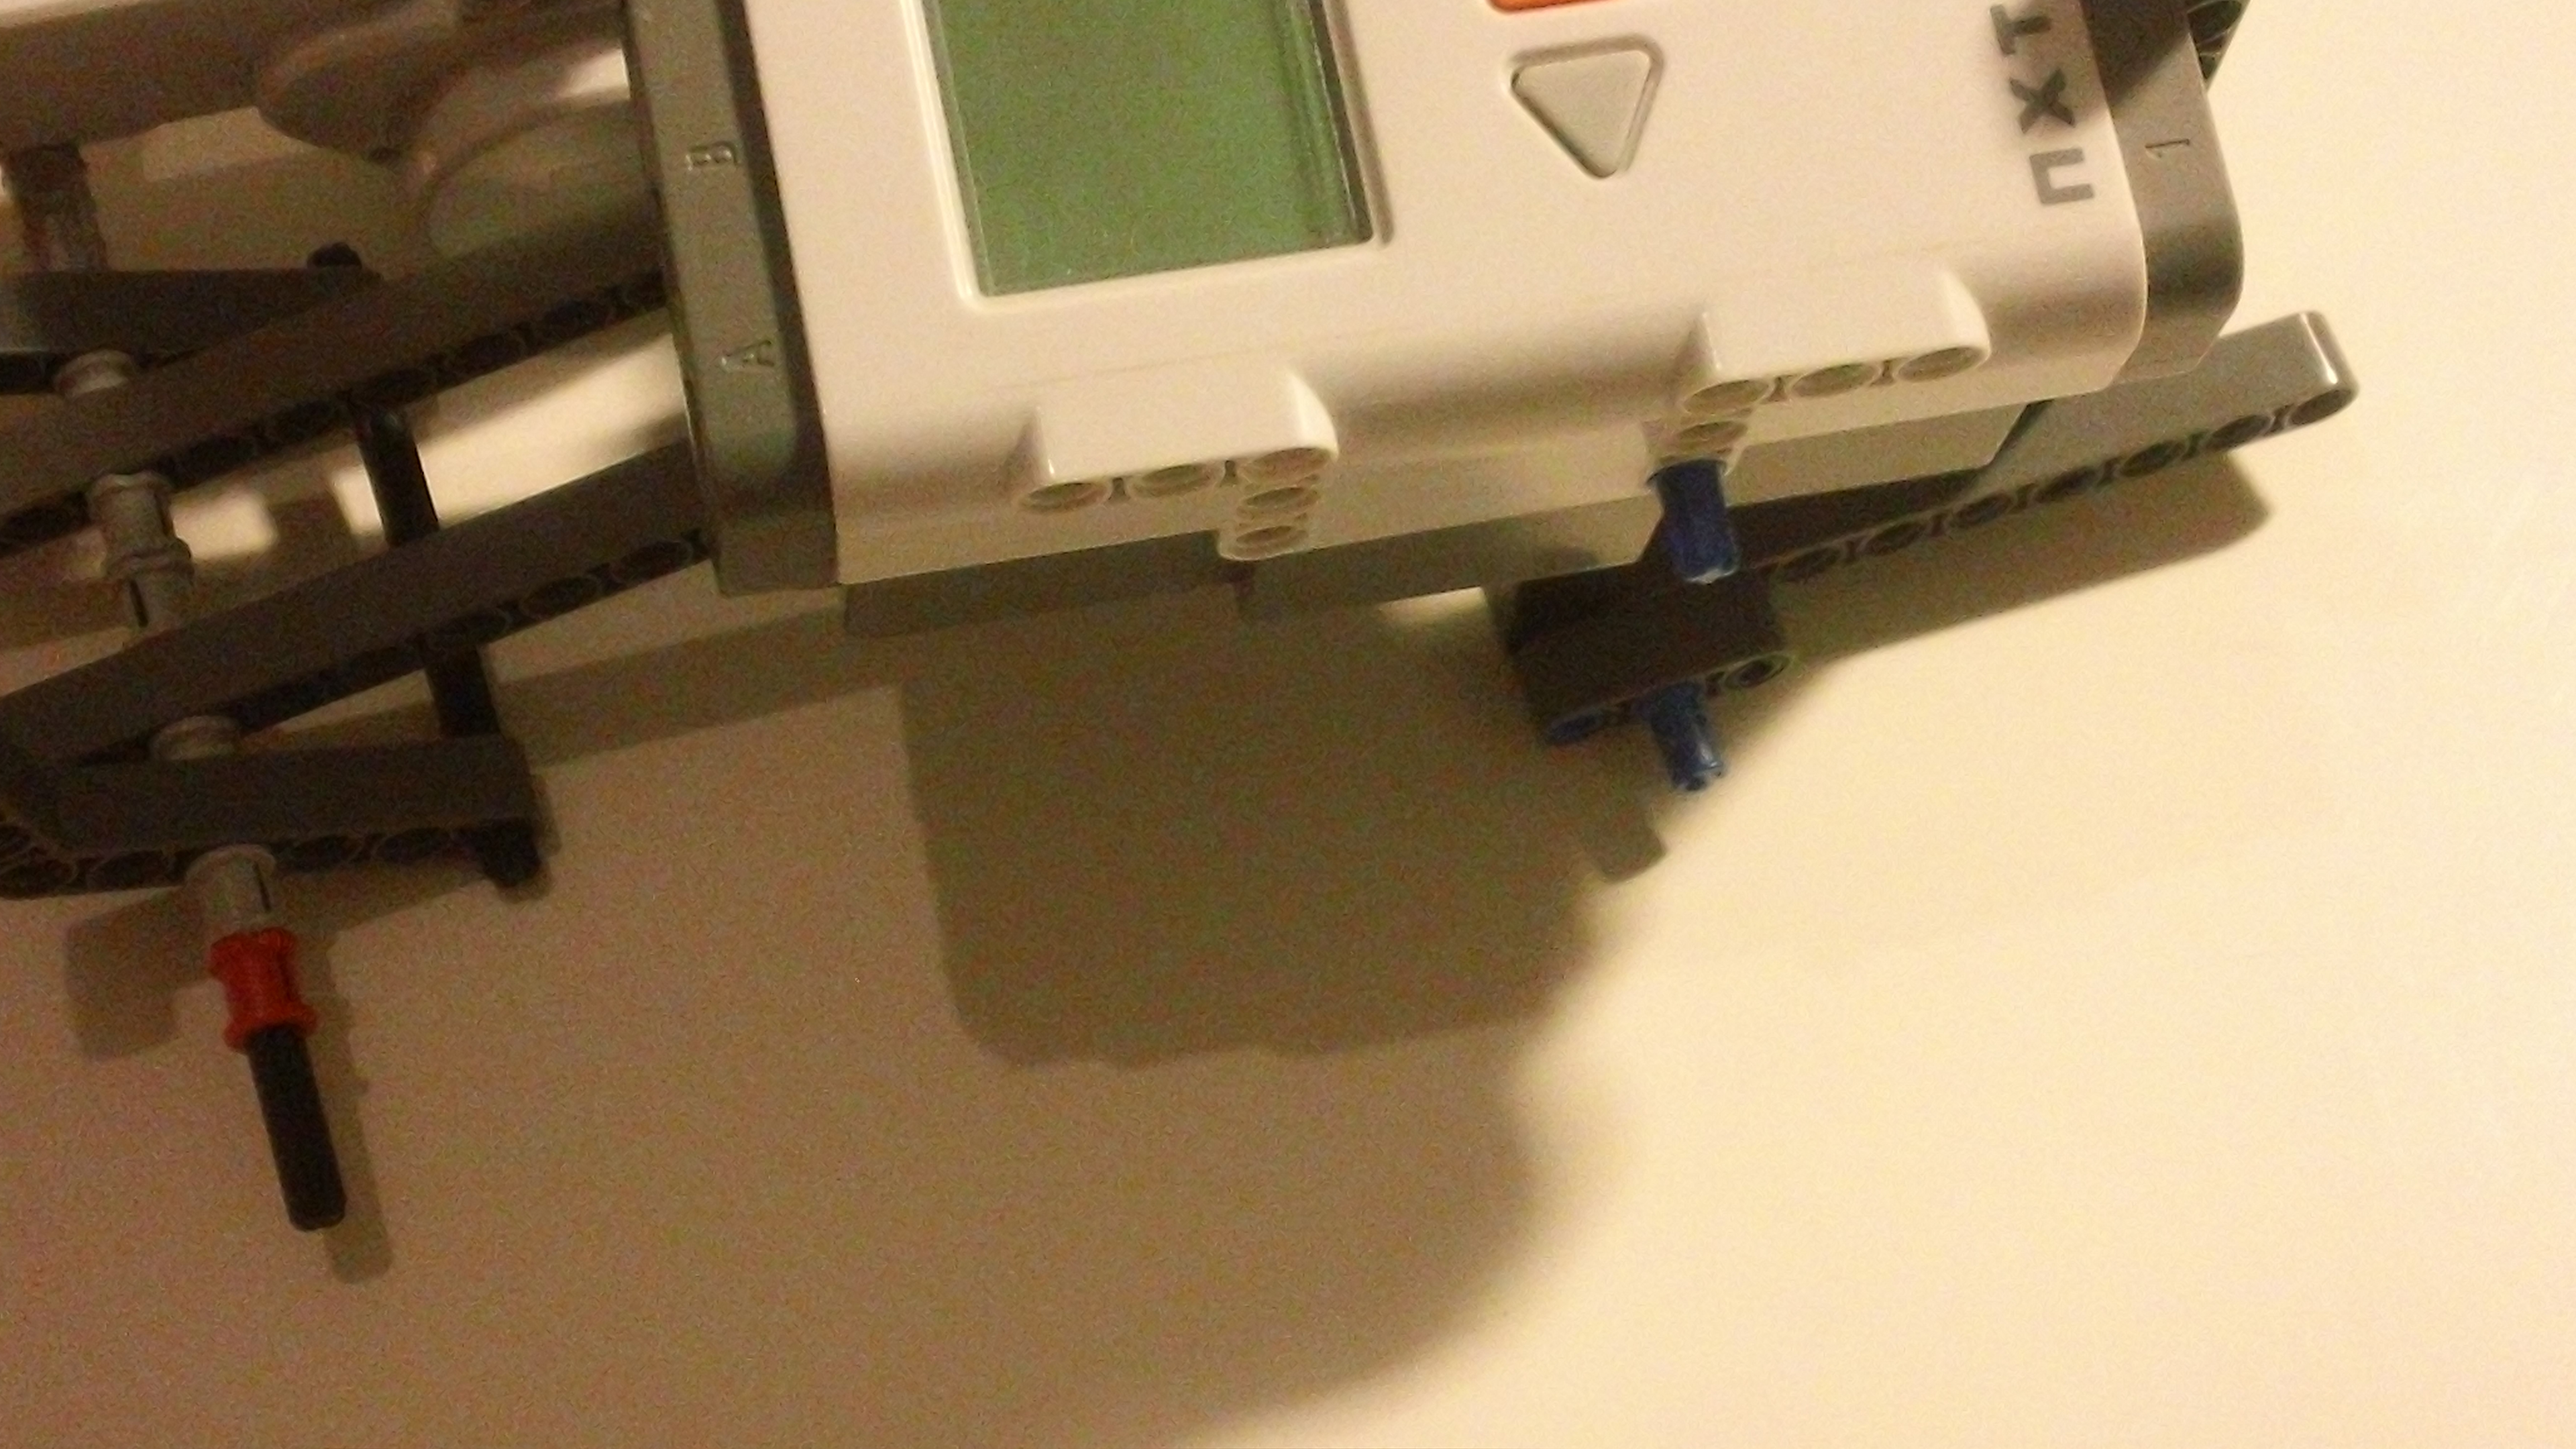
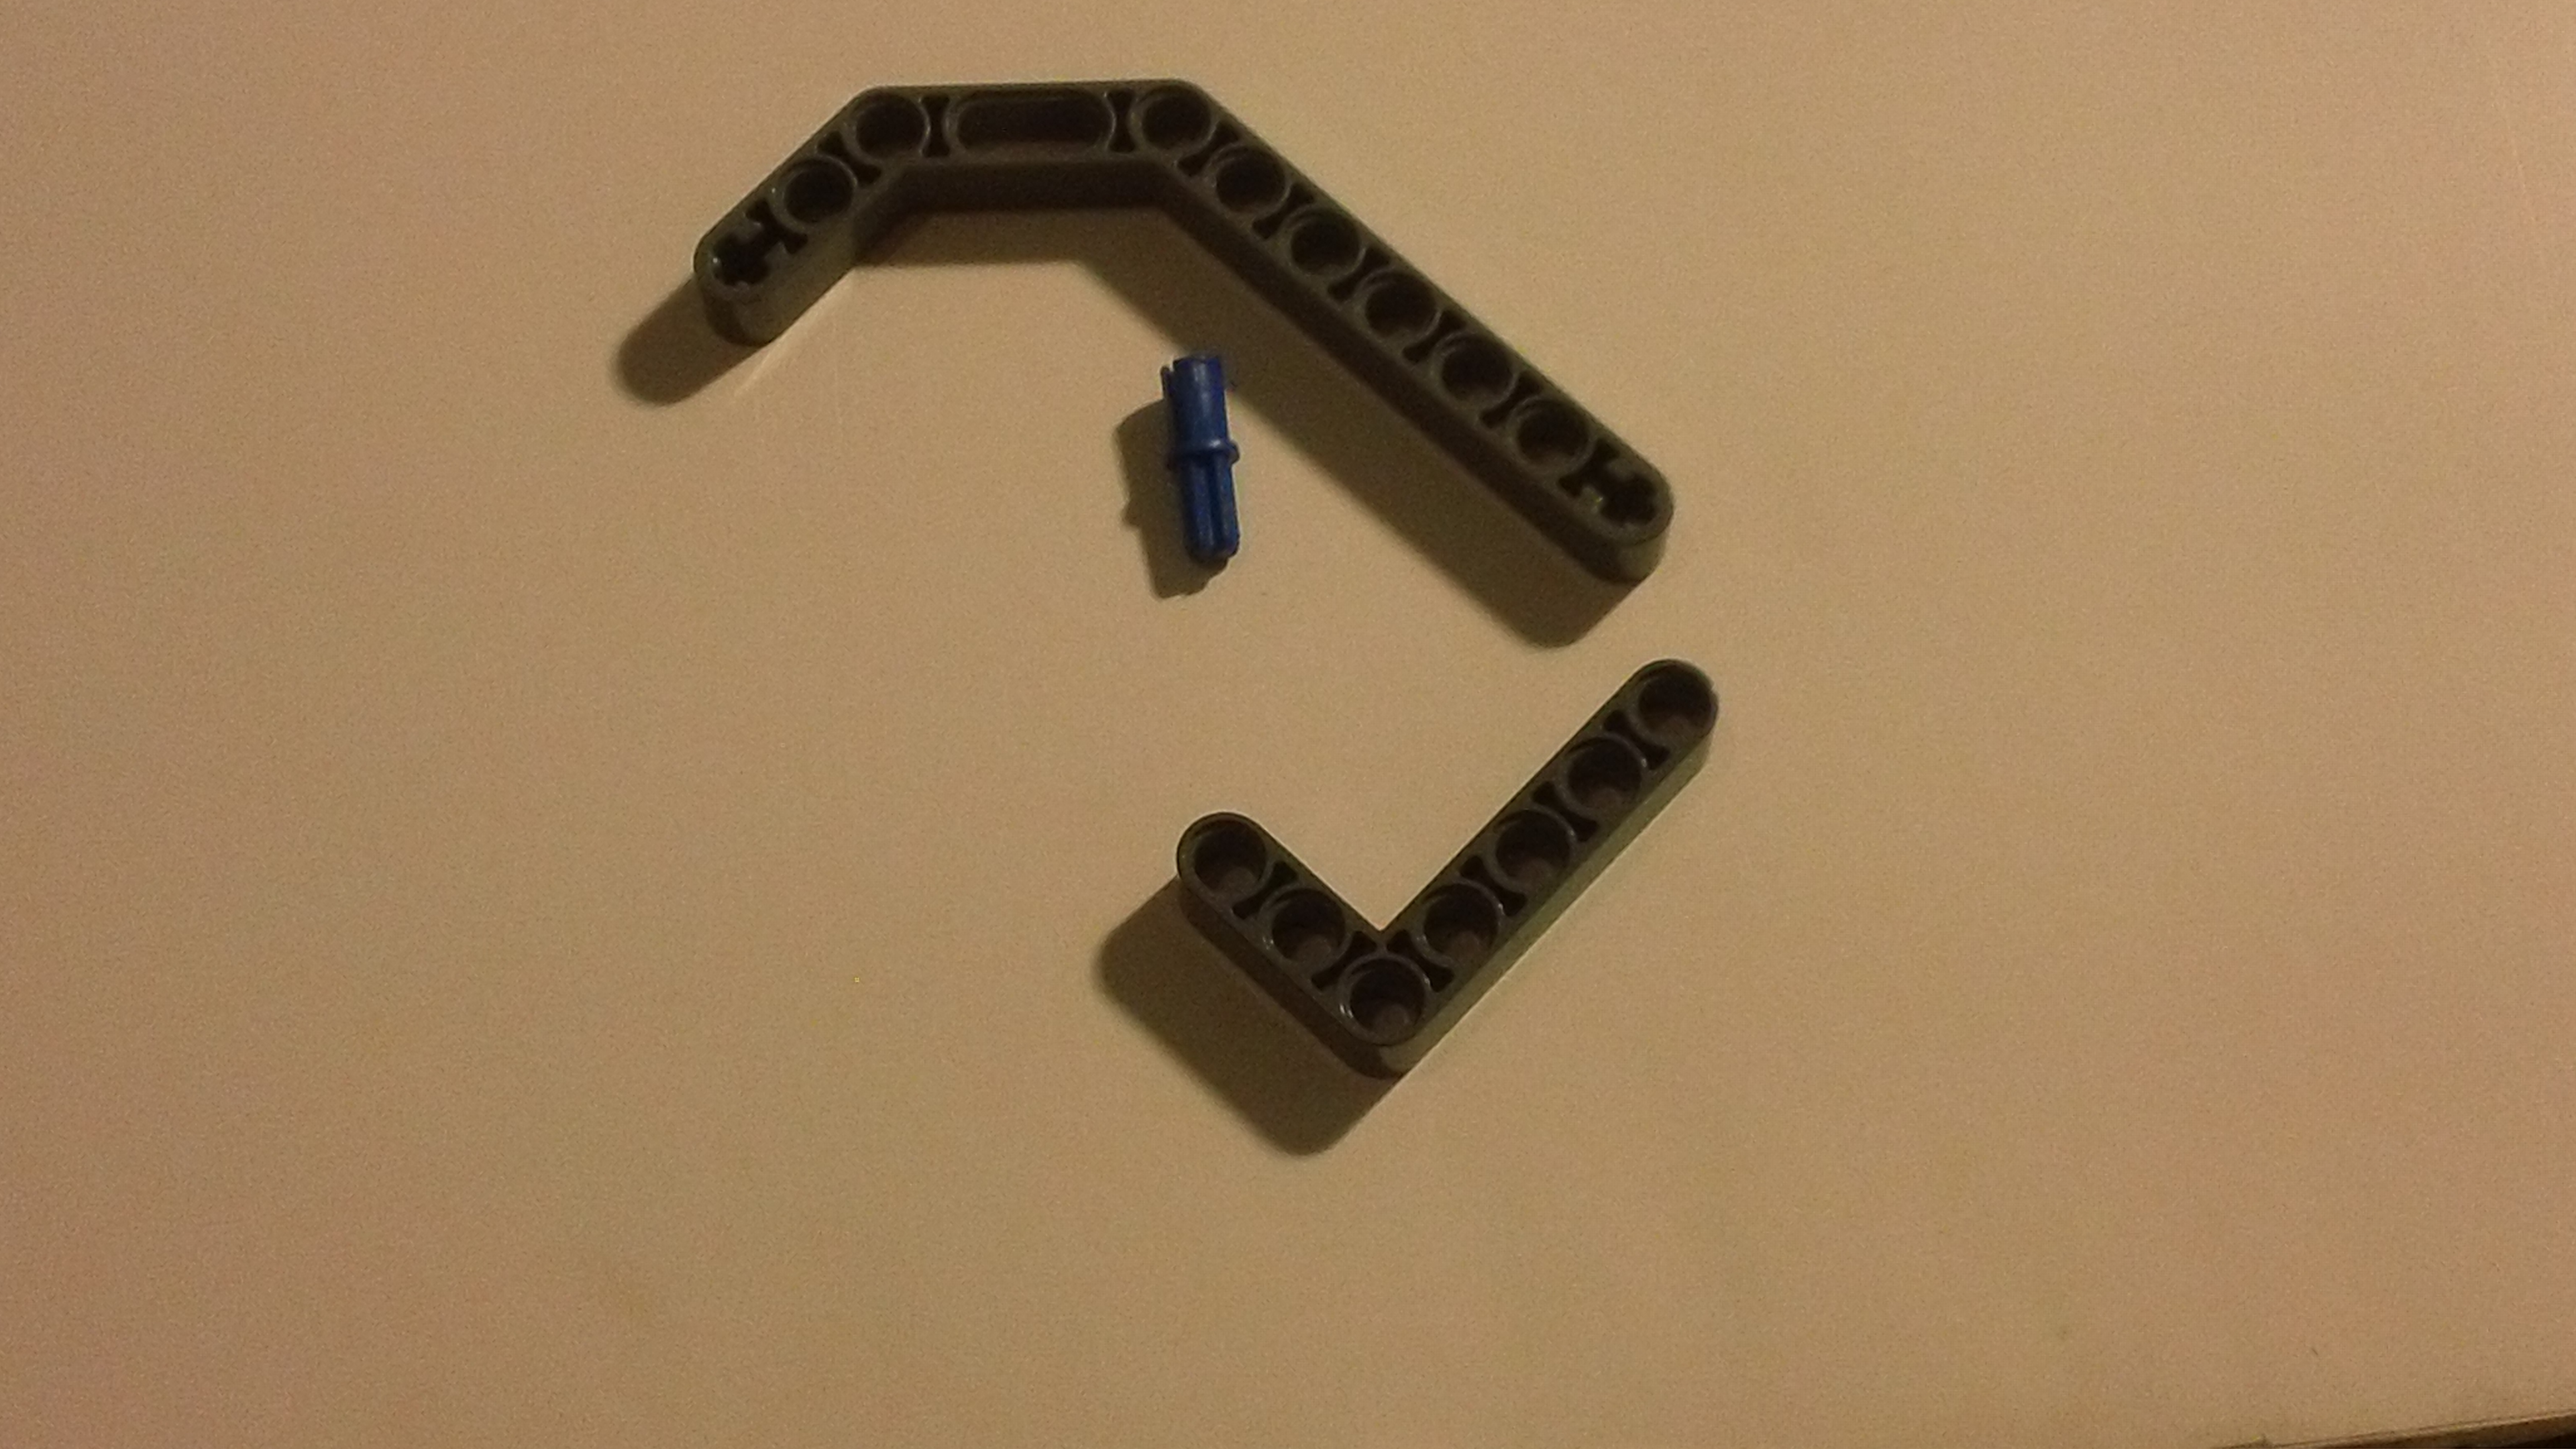
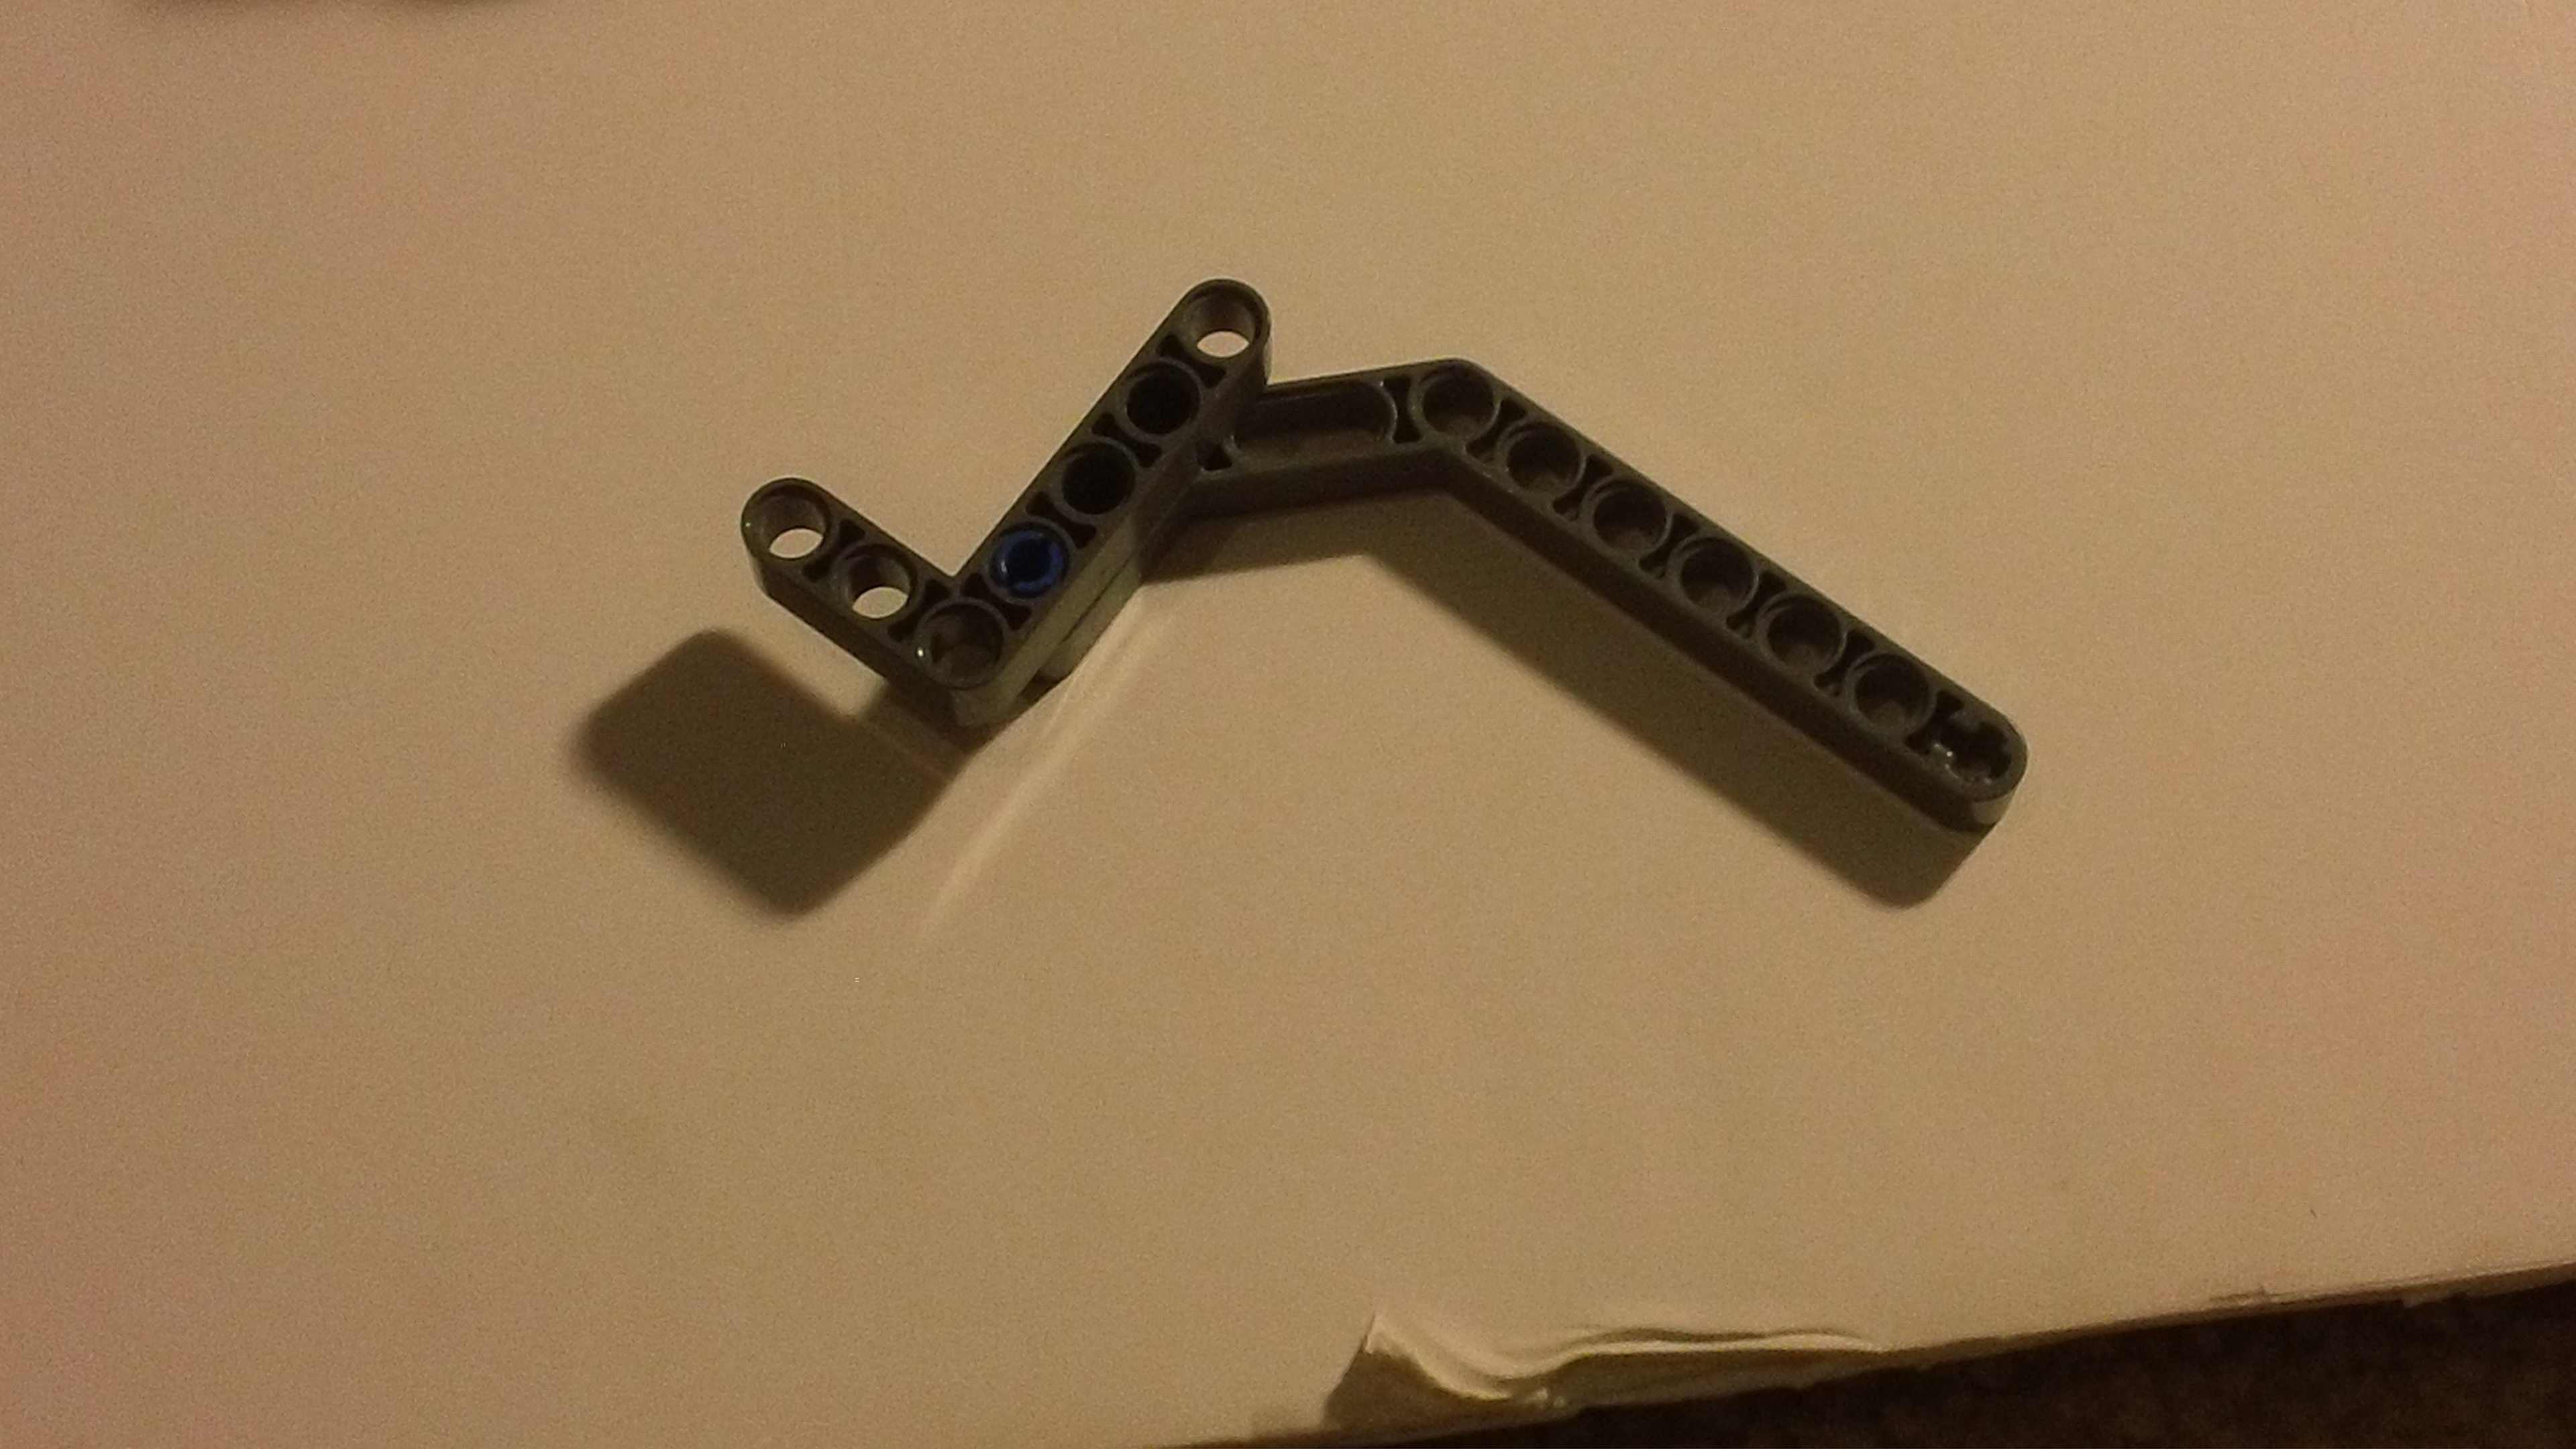

Continue Building
Build the NXT Device (Part 3)
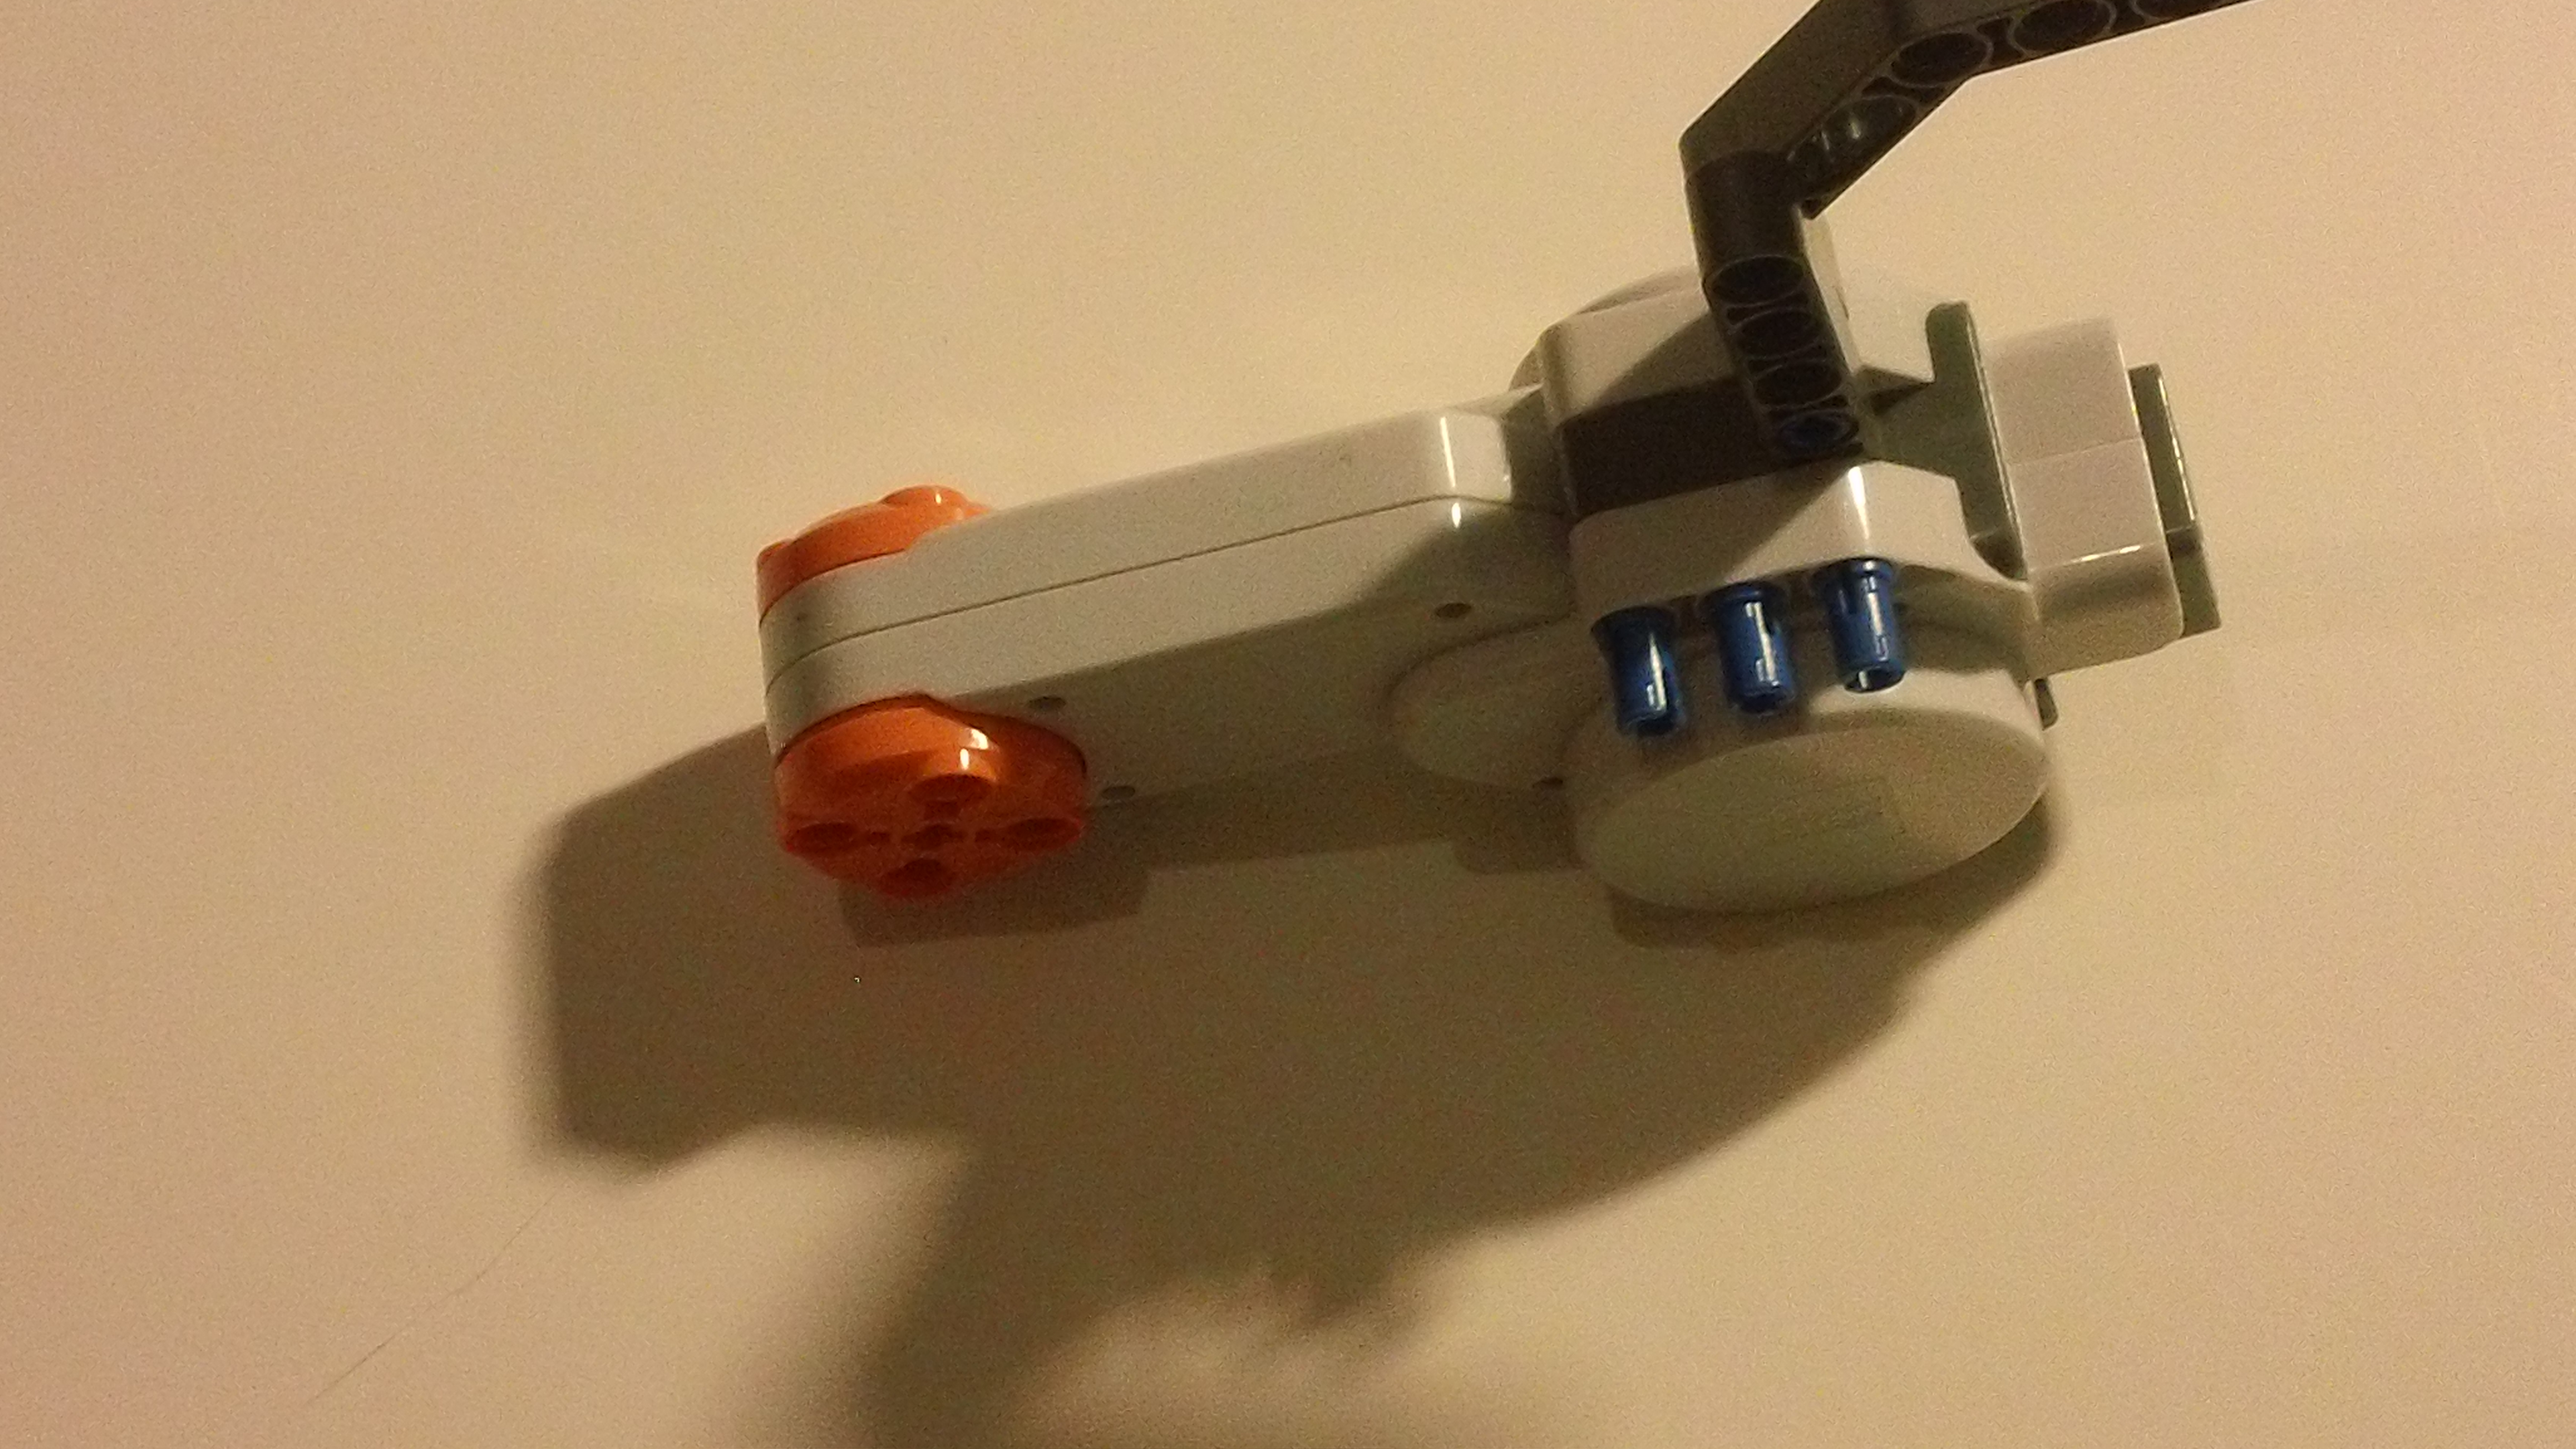
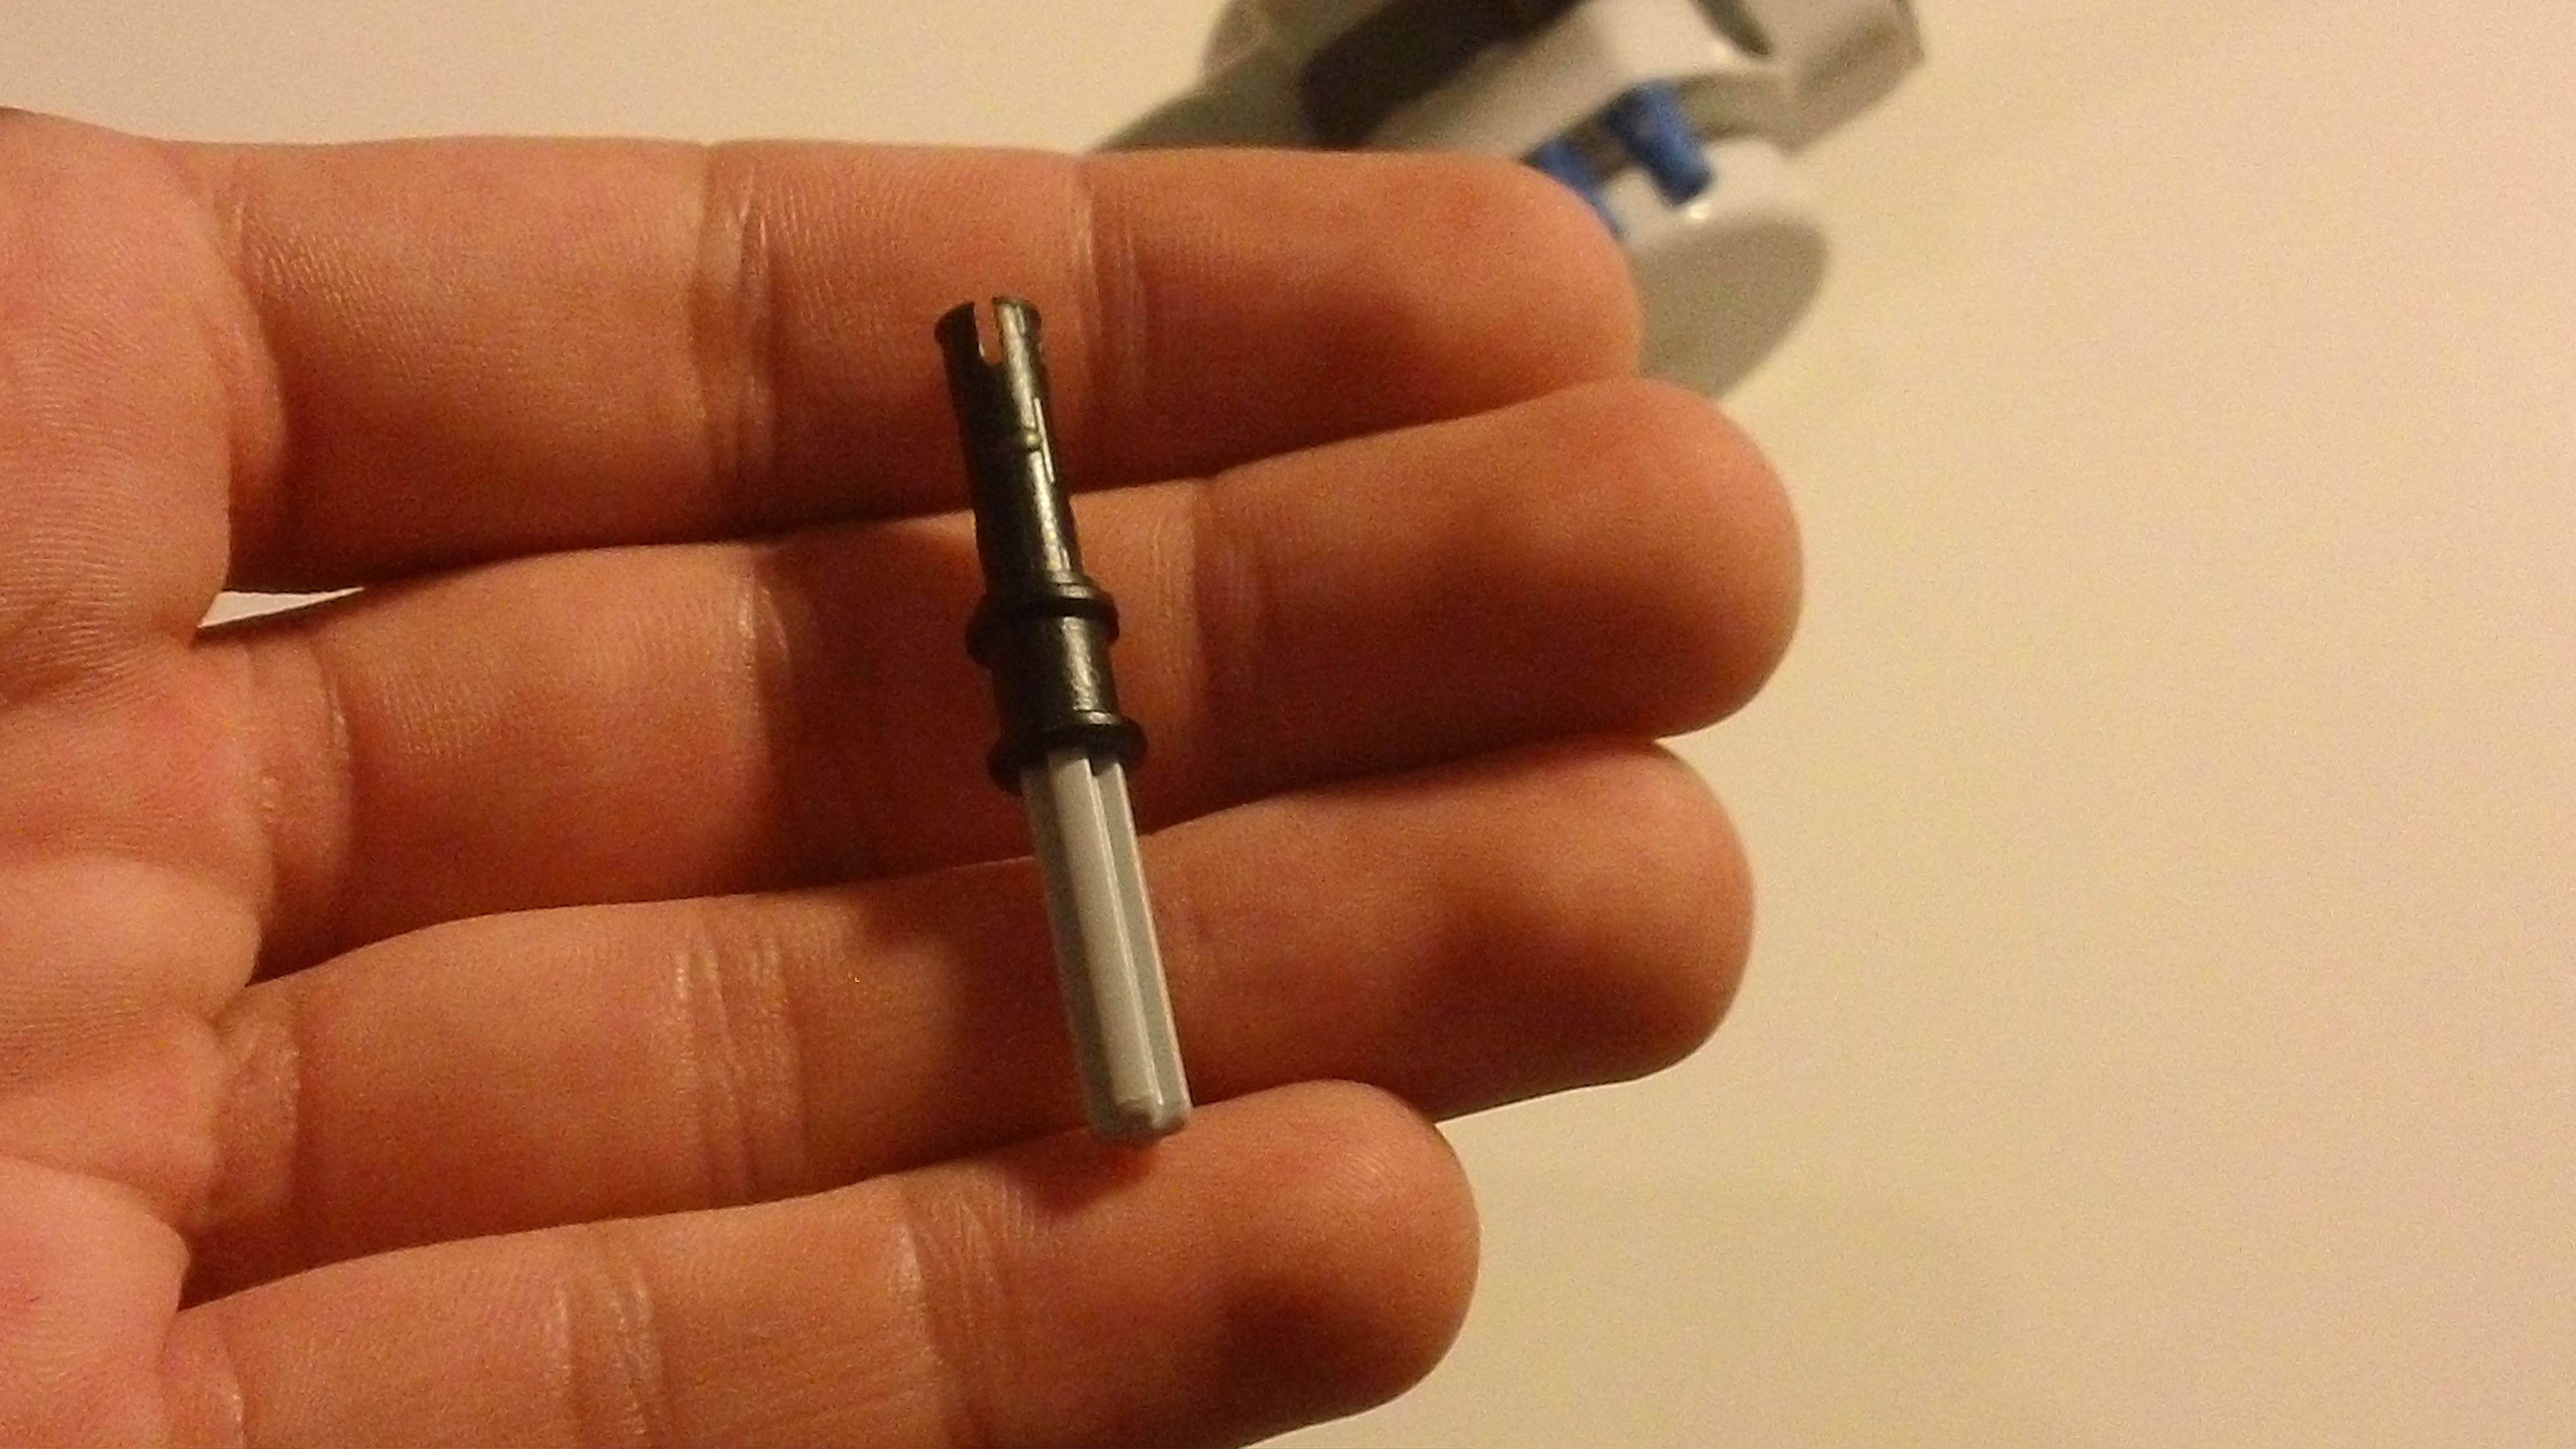
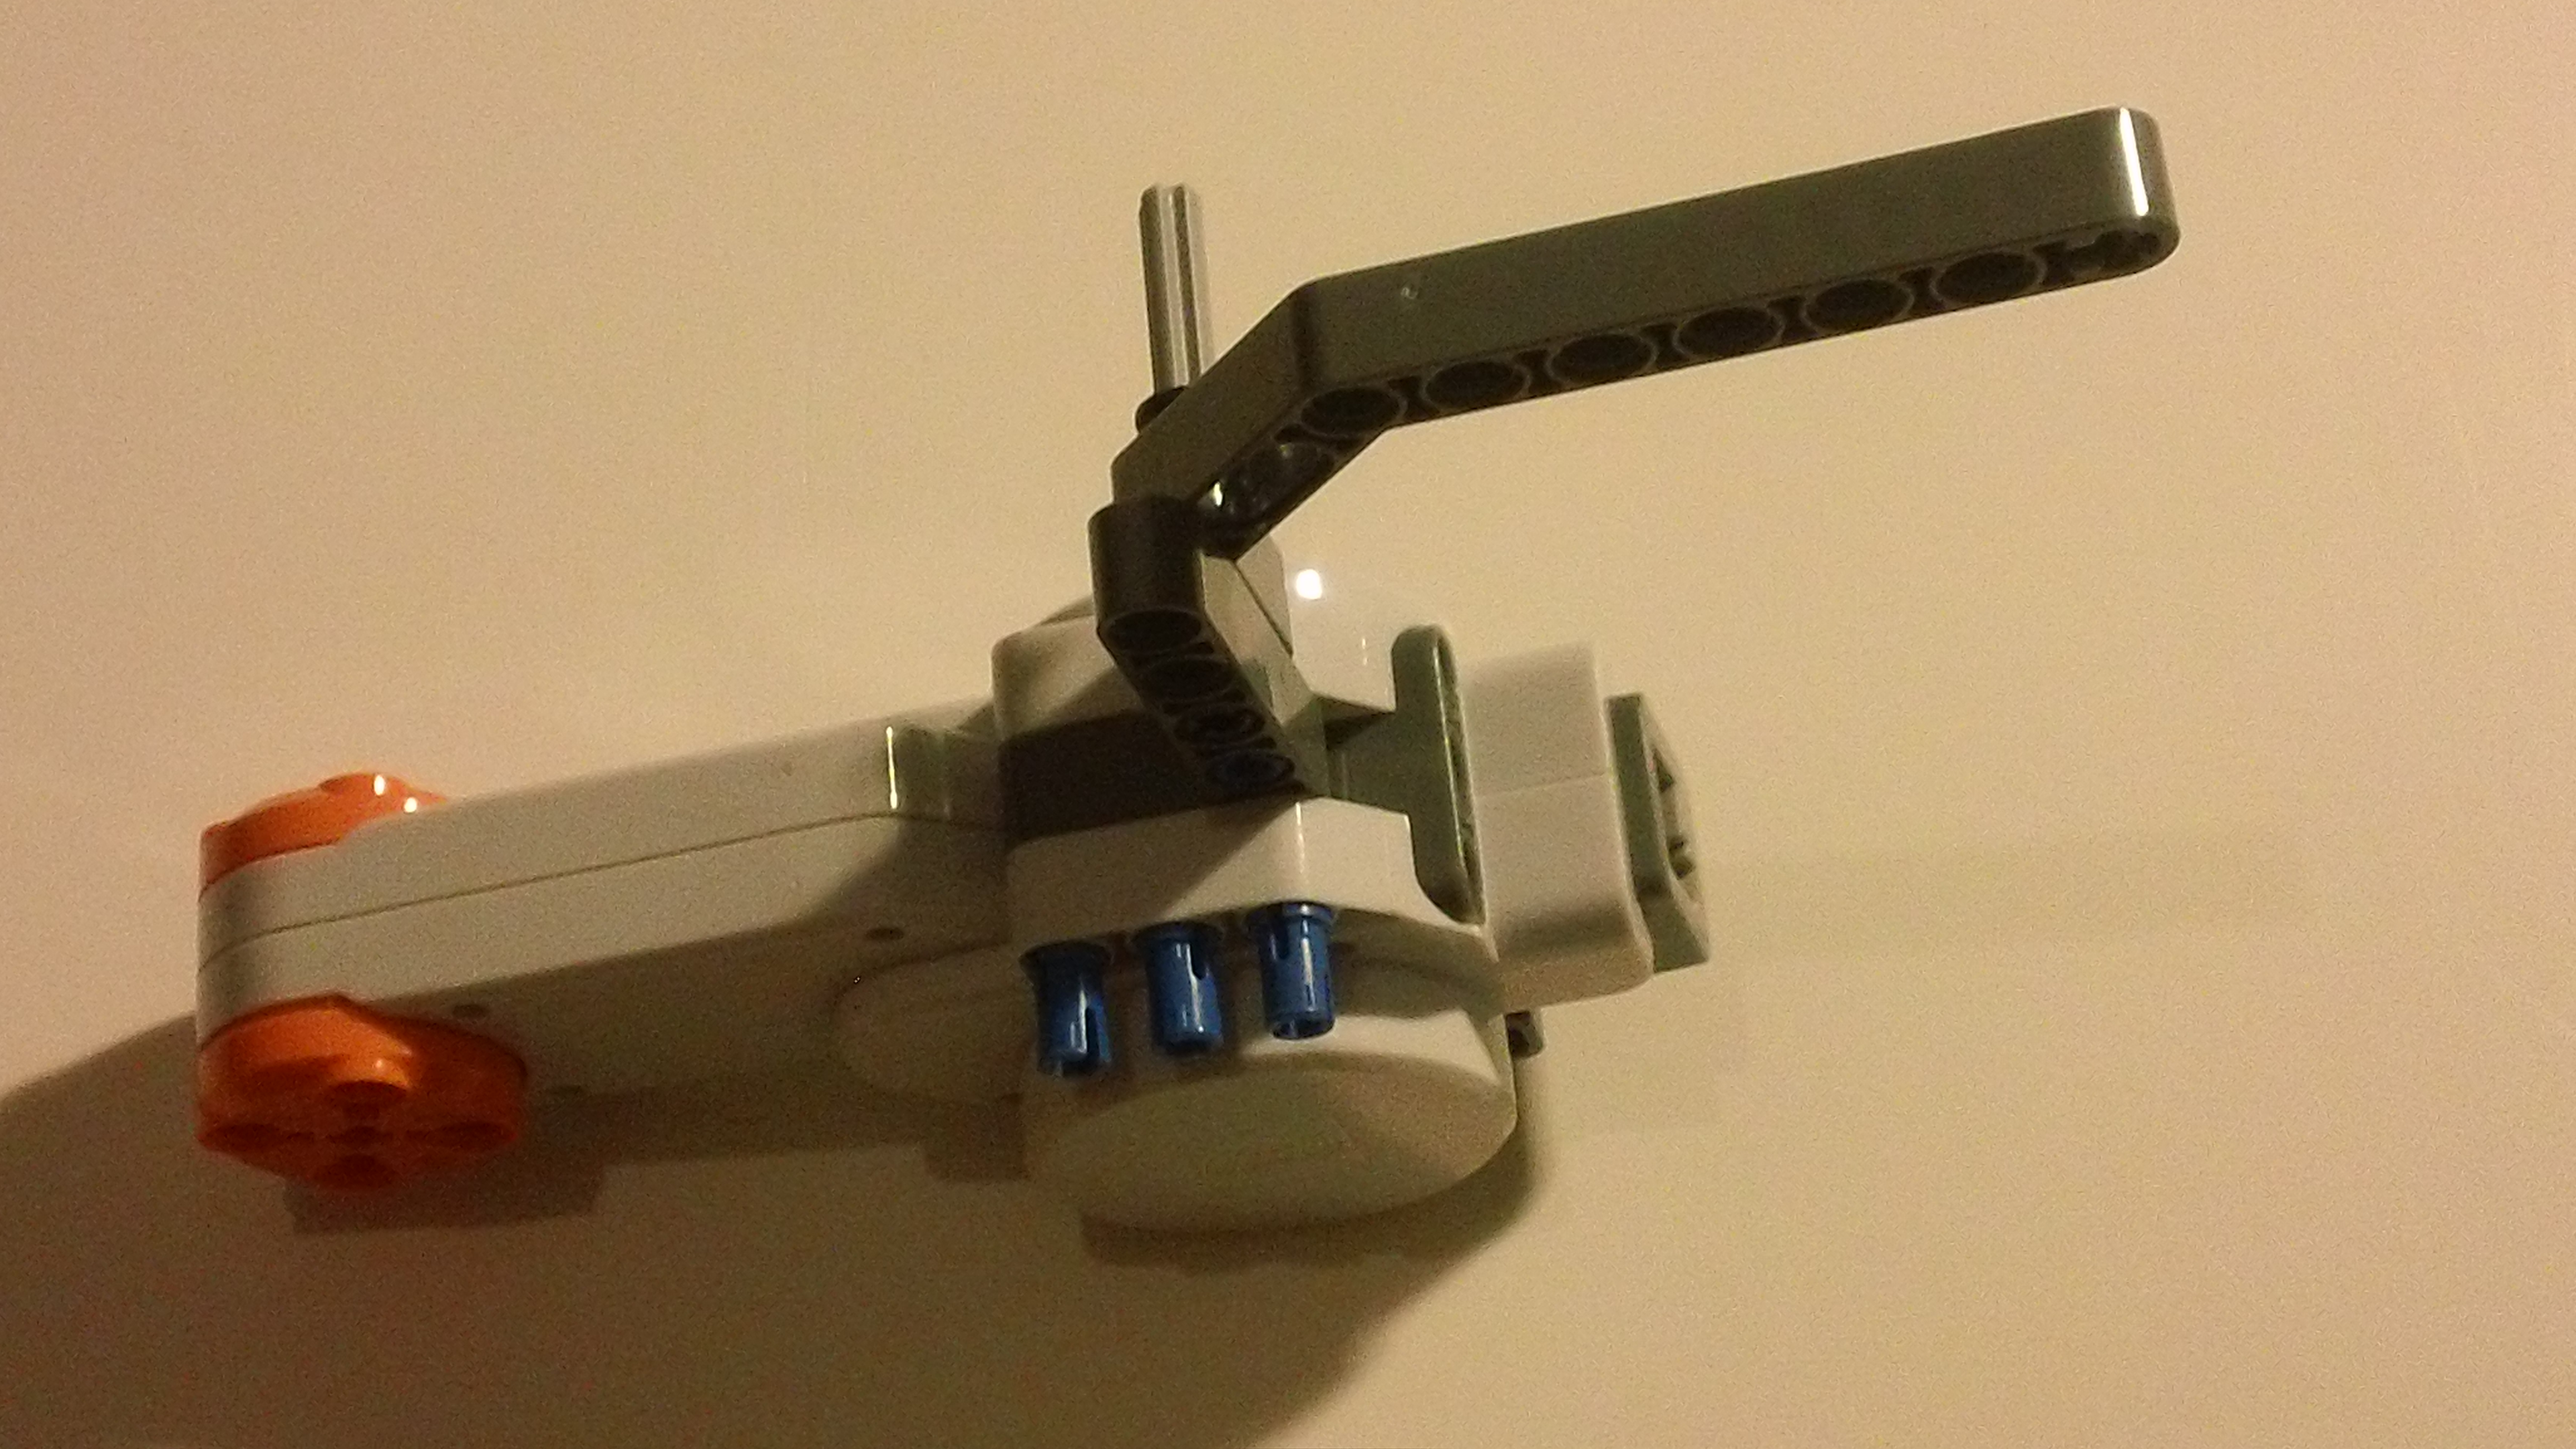
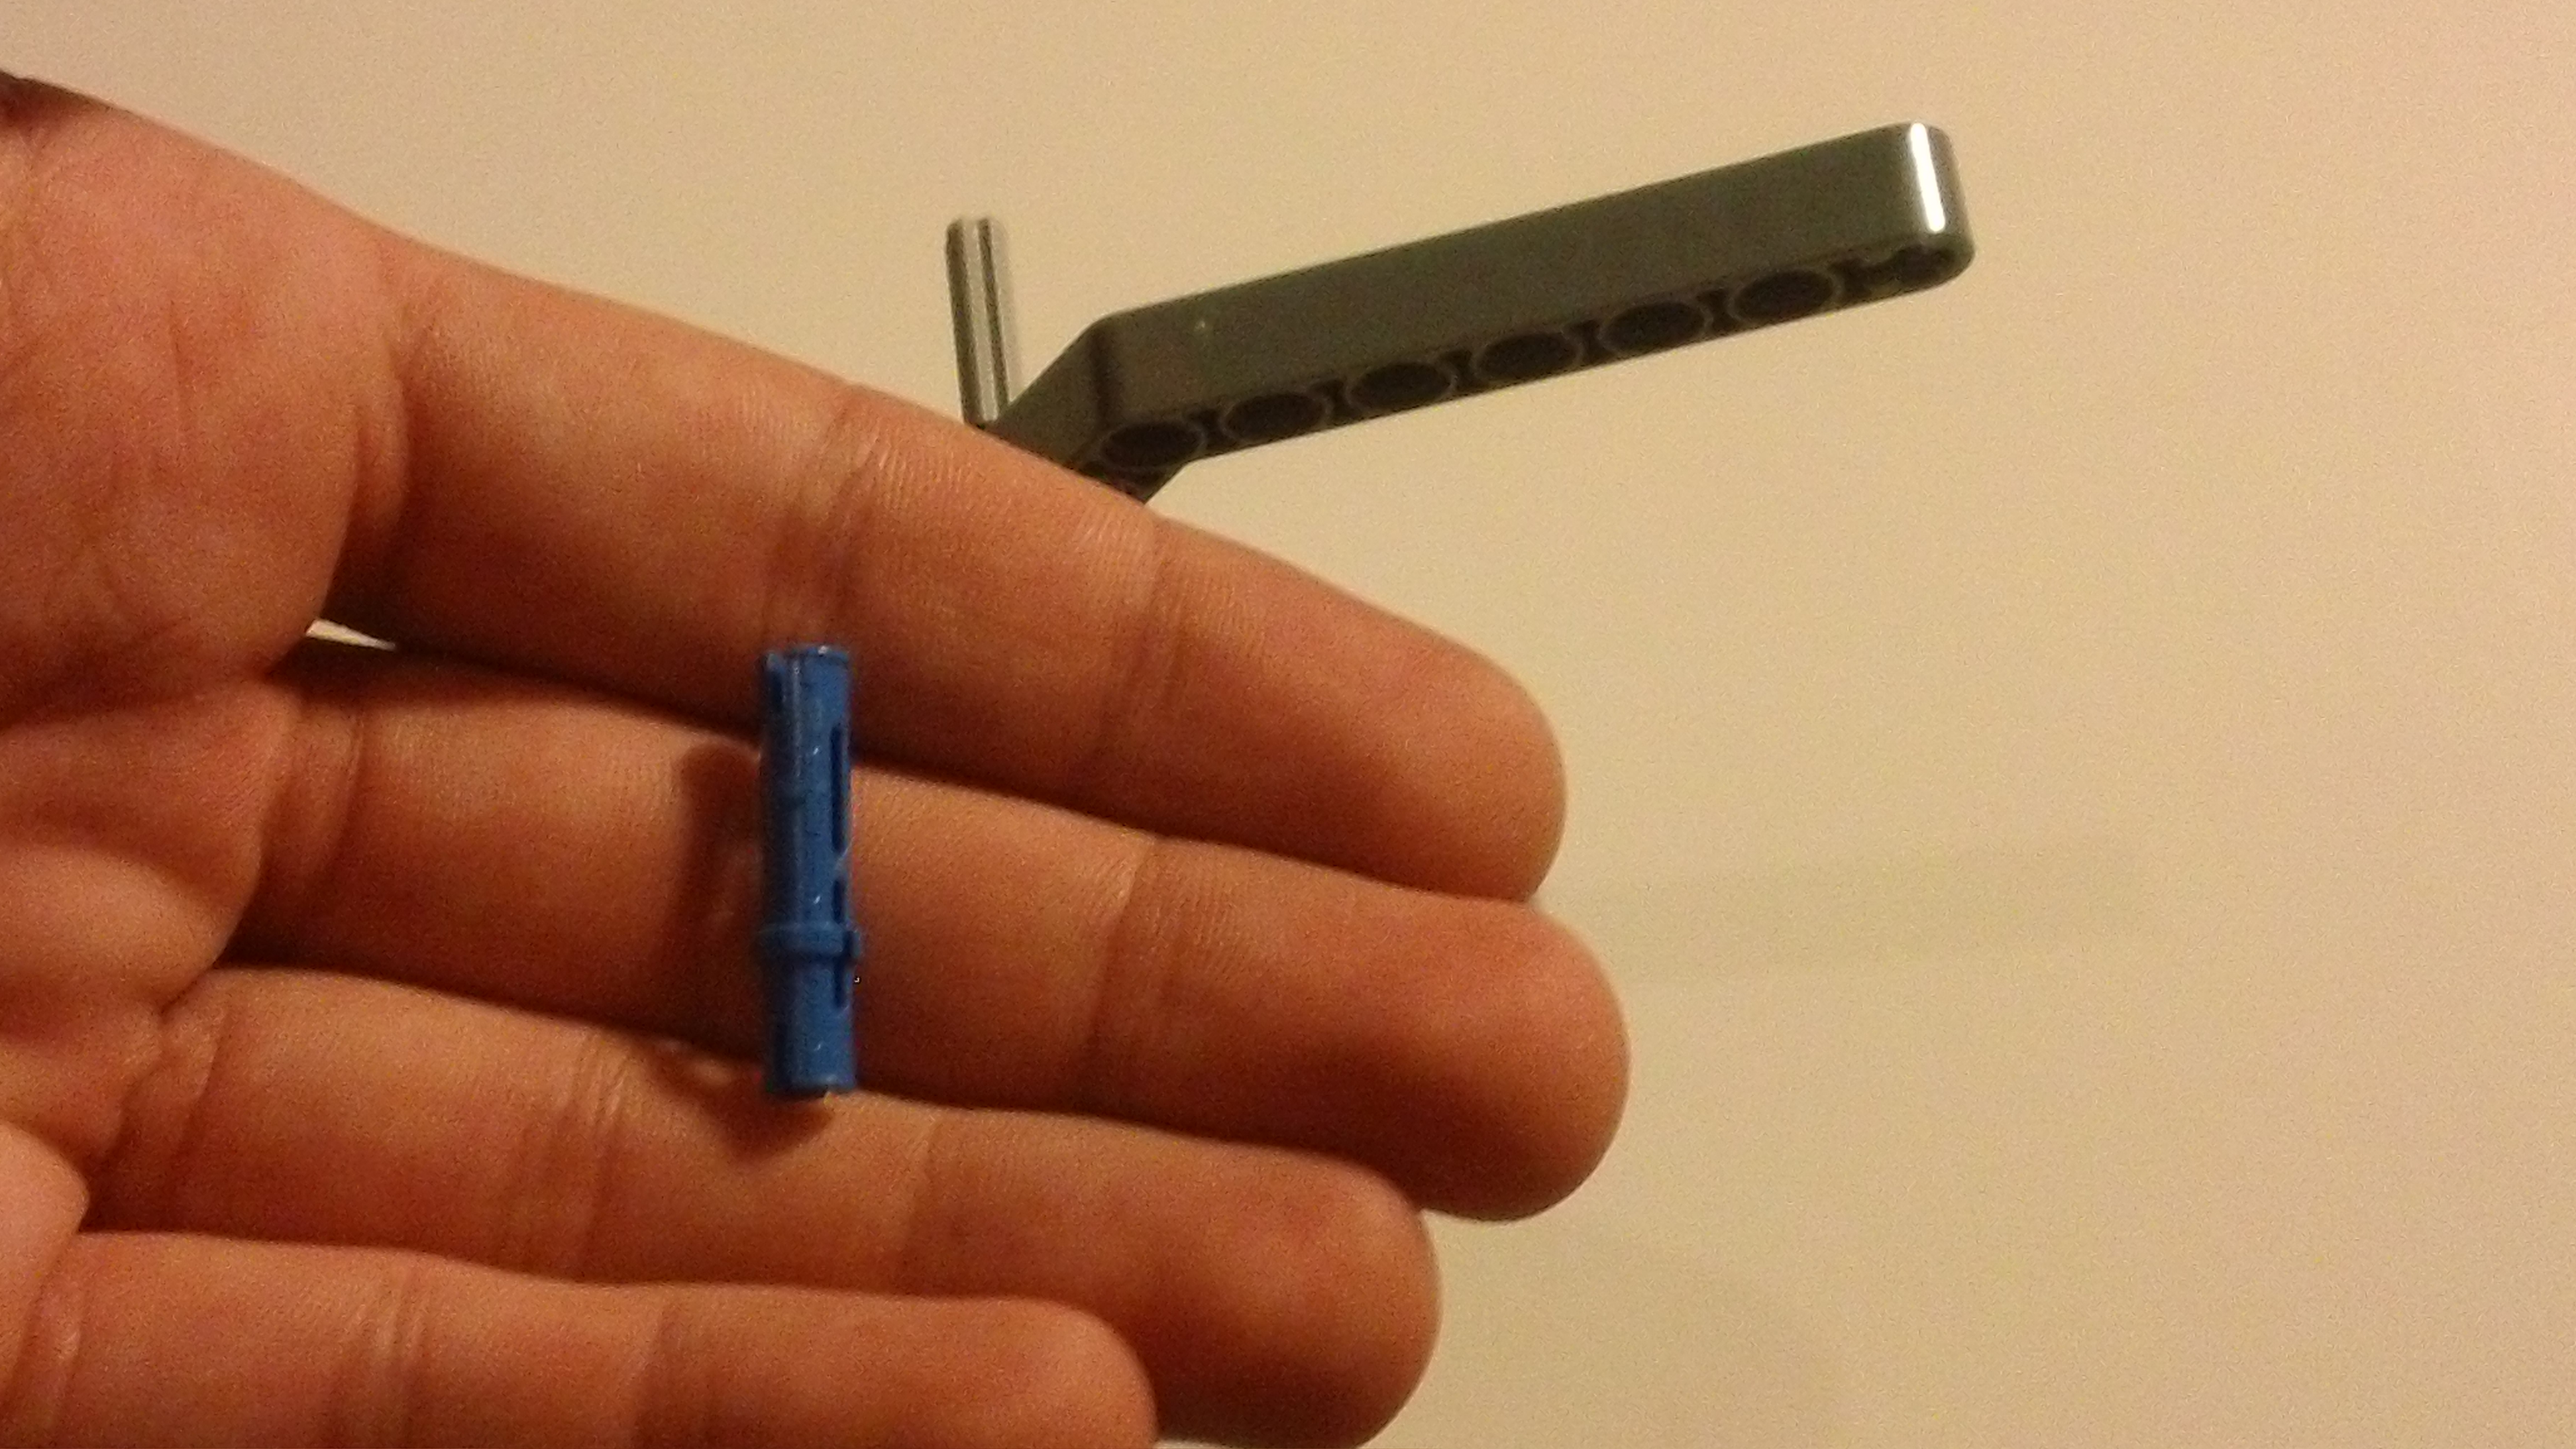
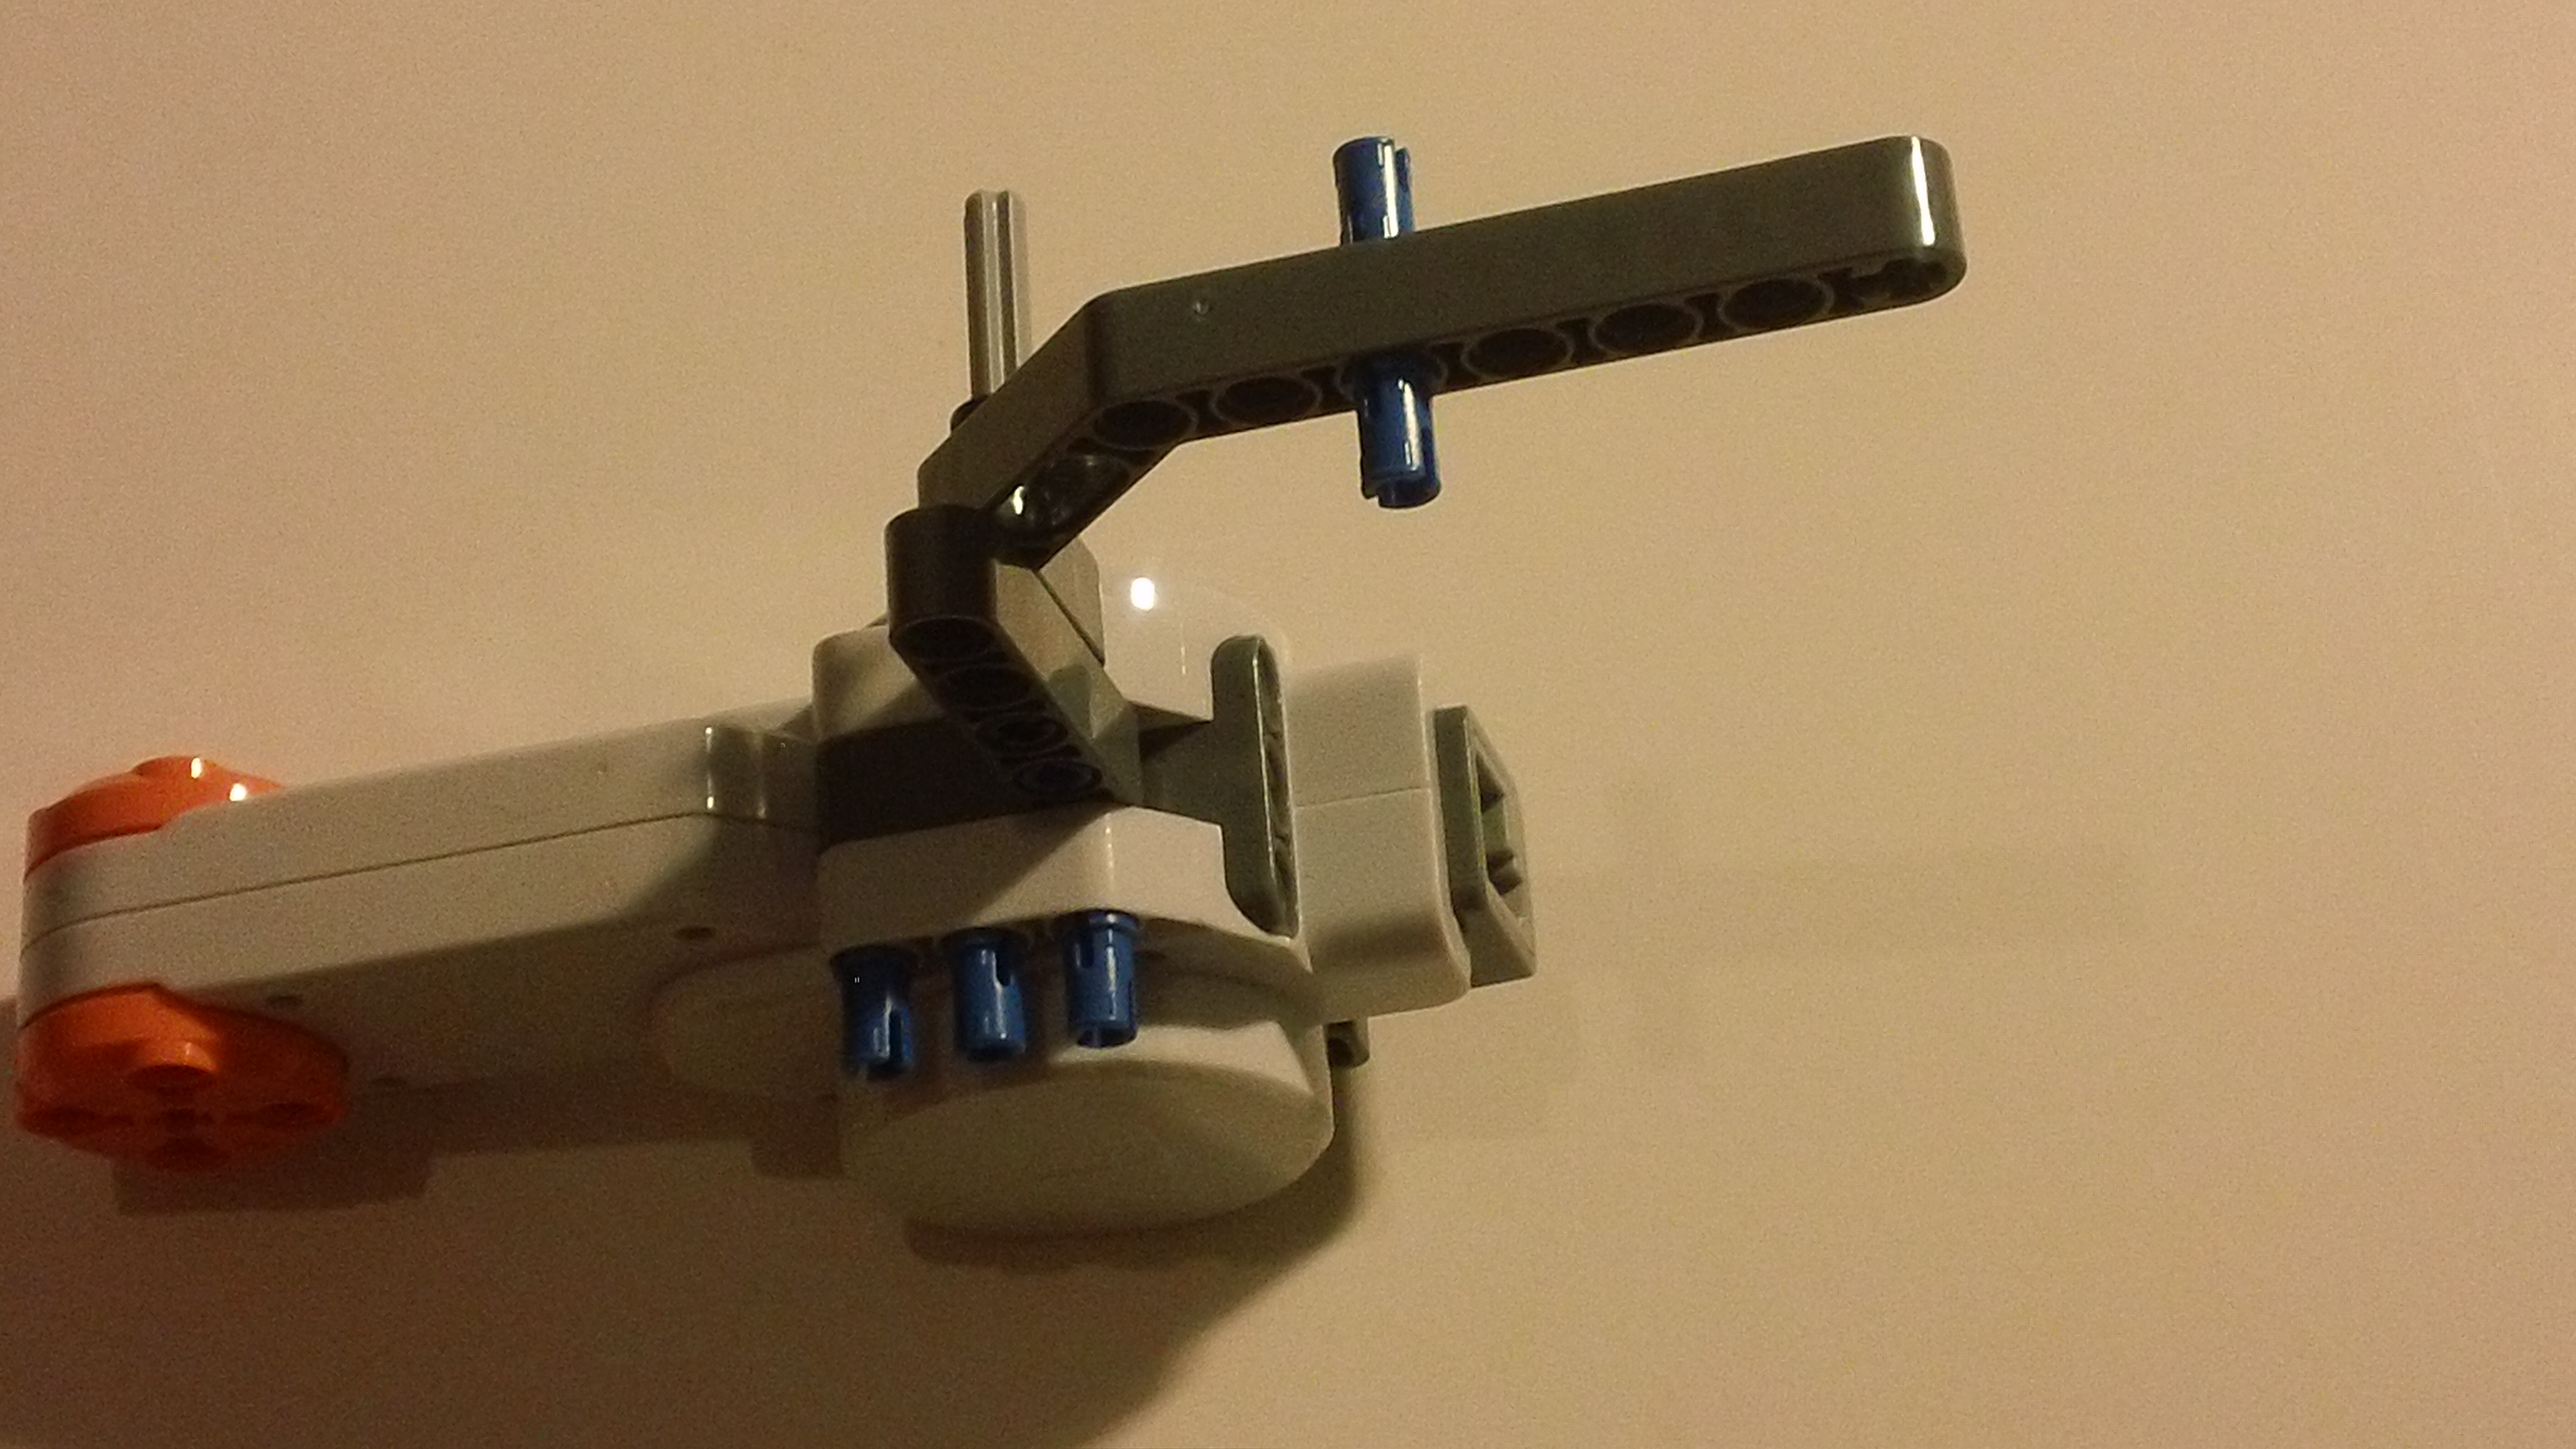
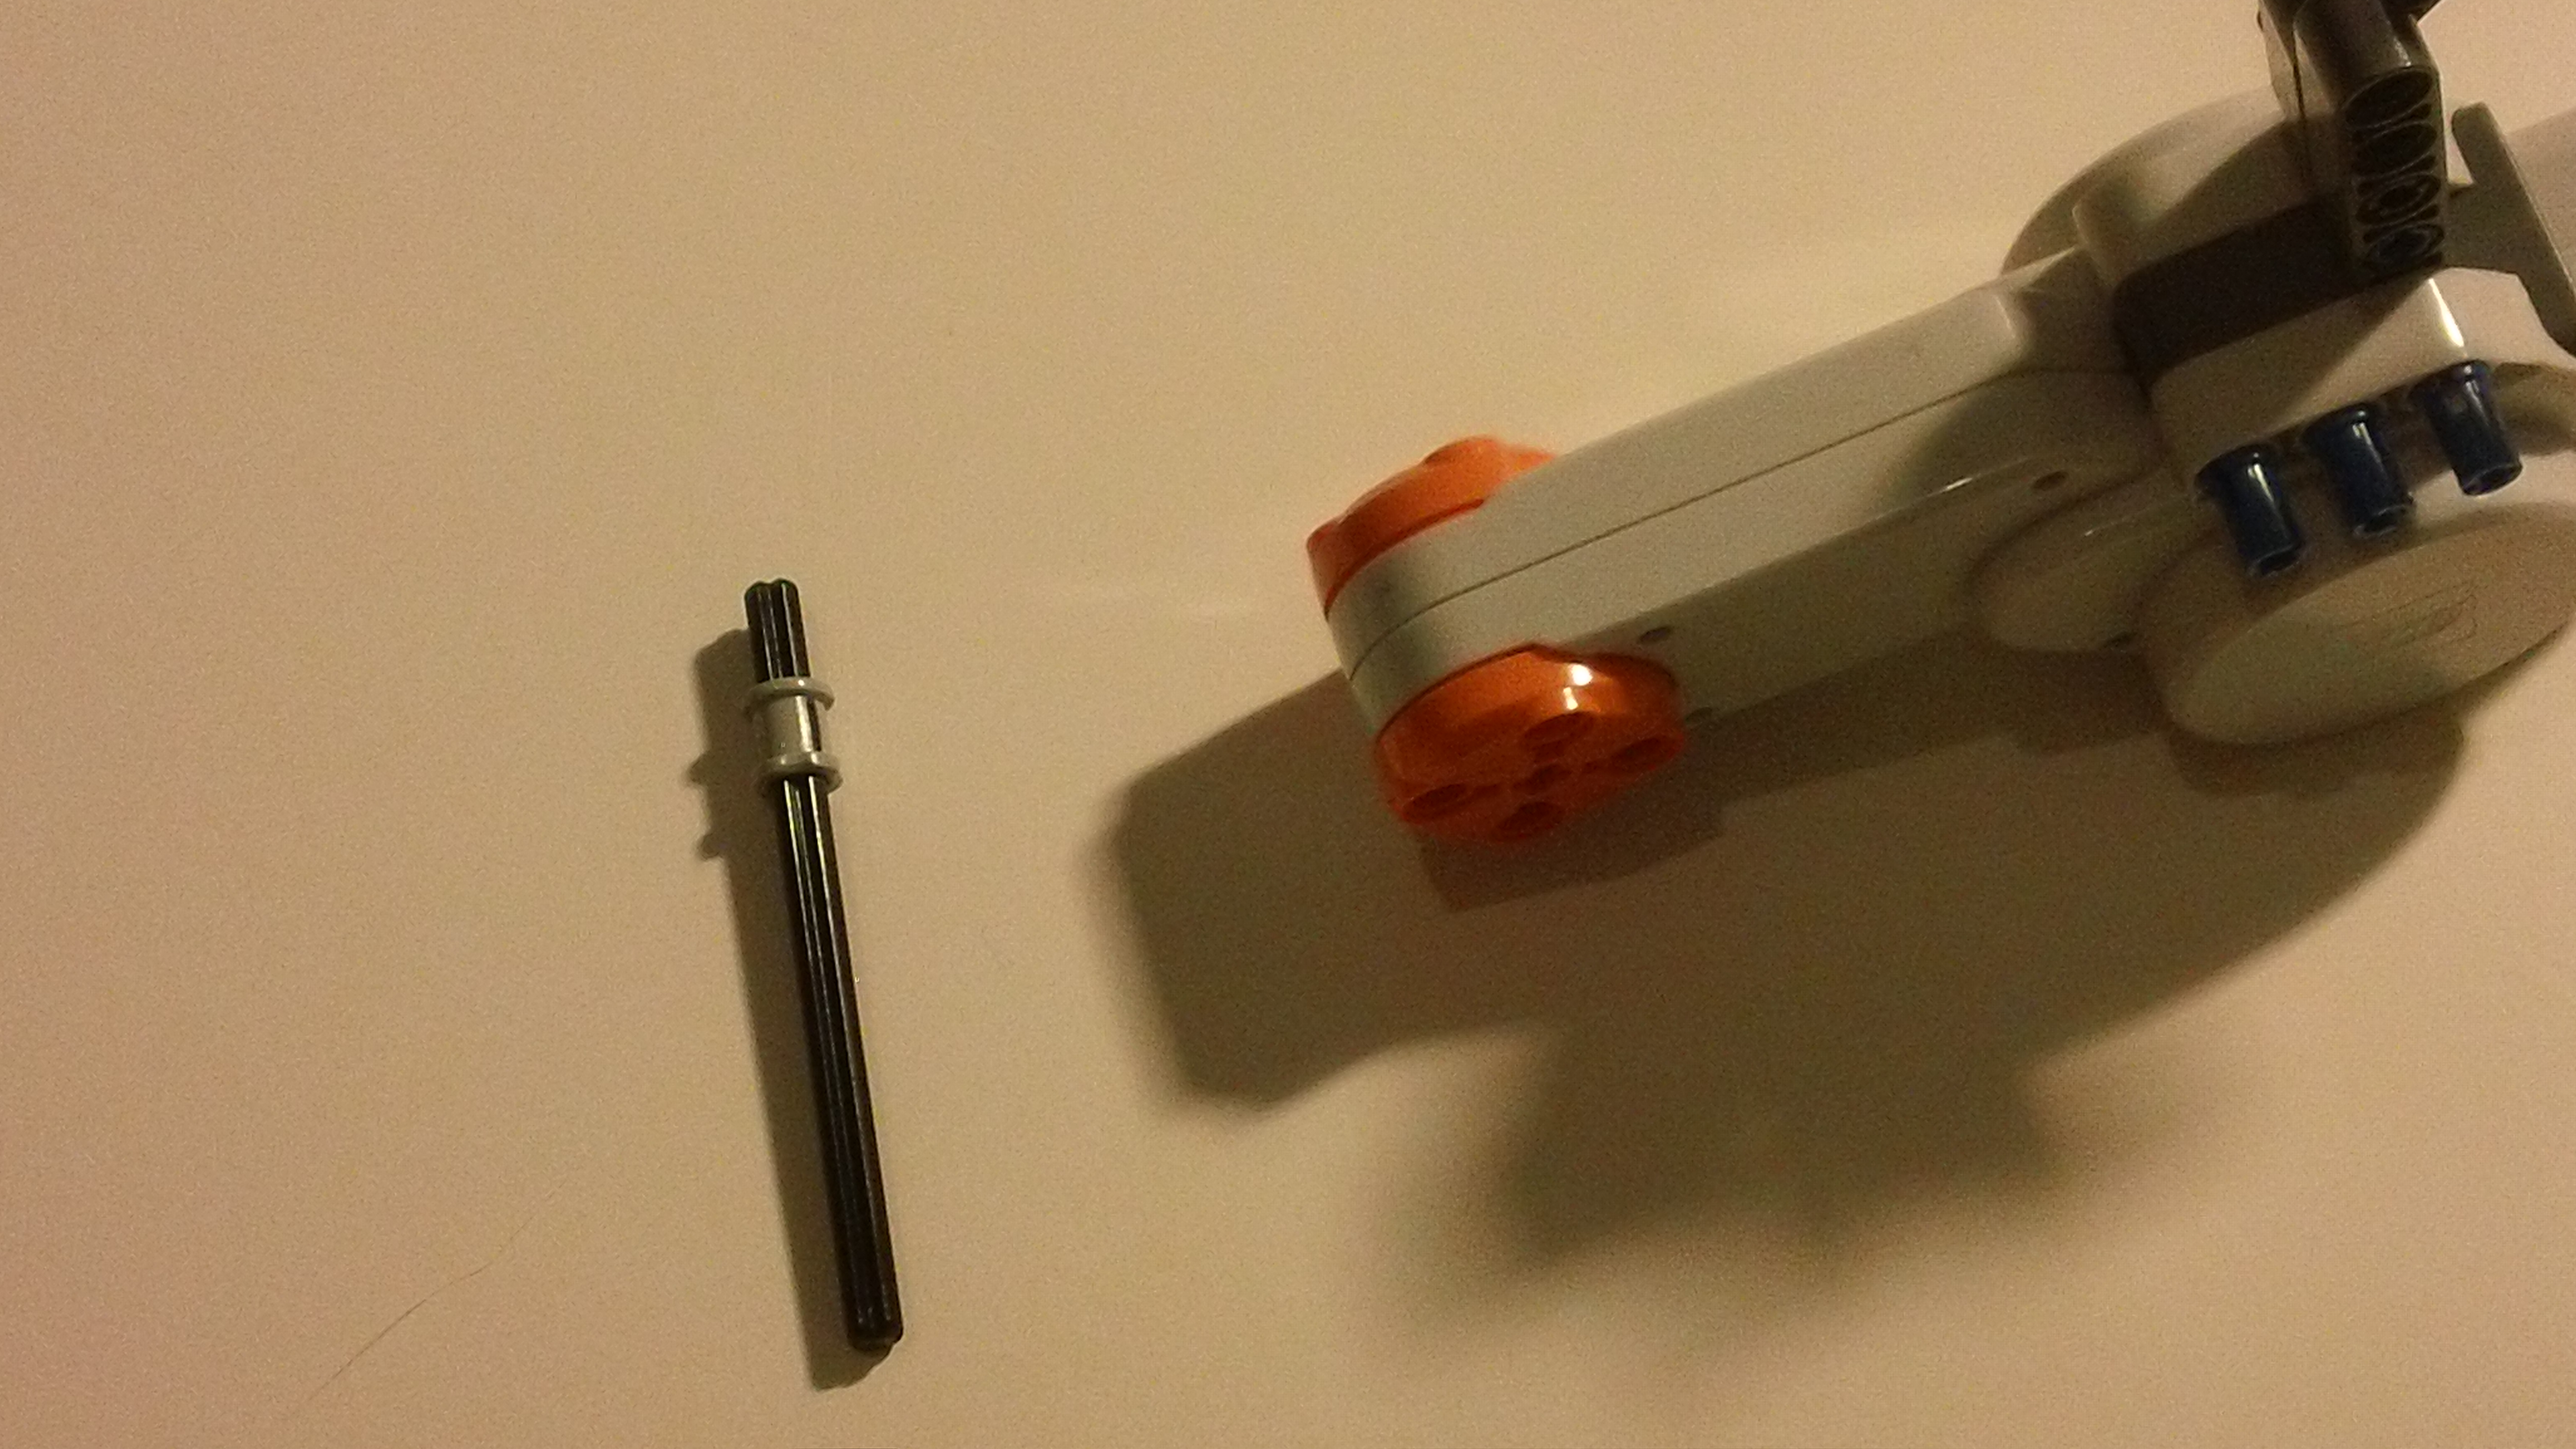
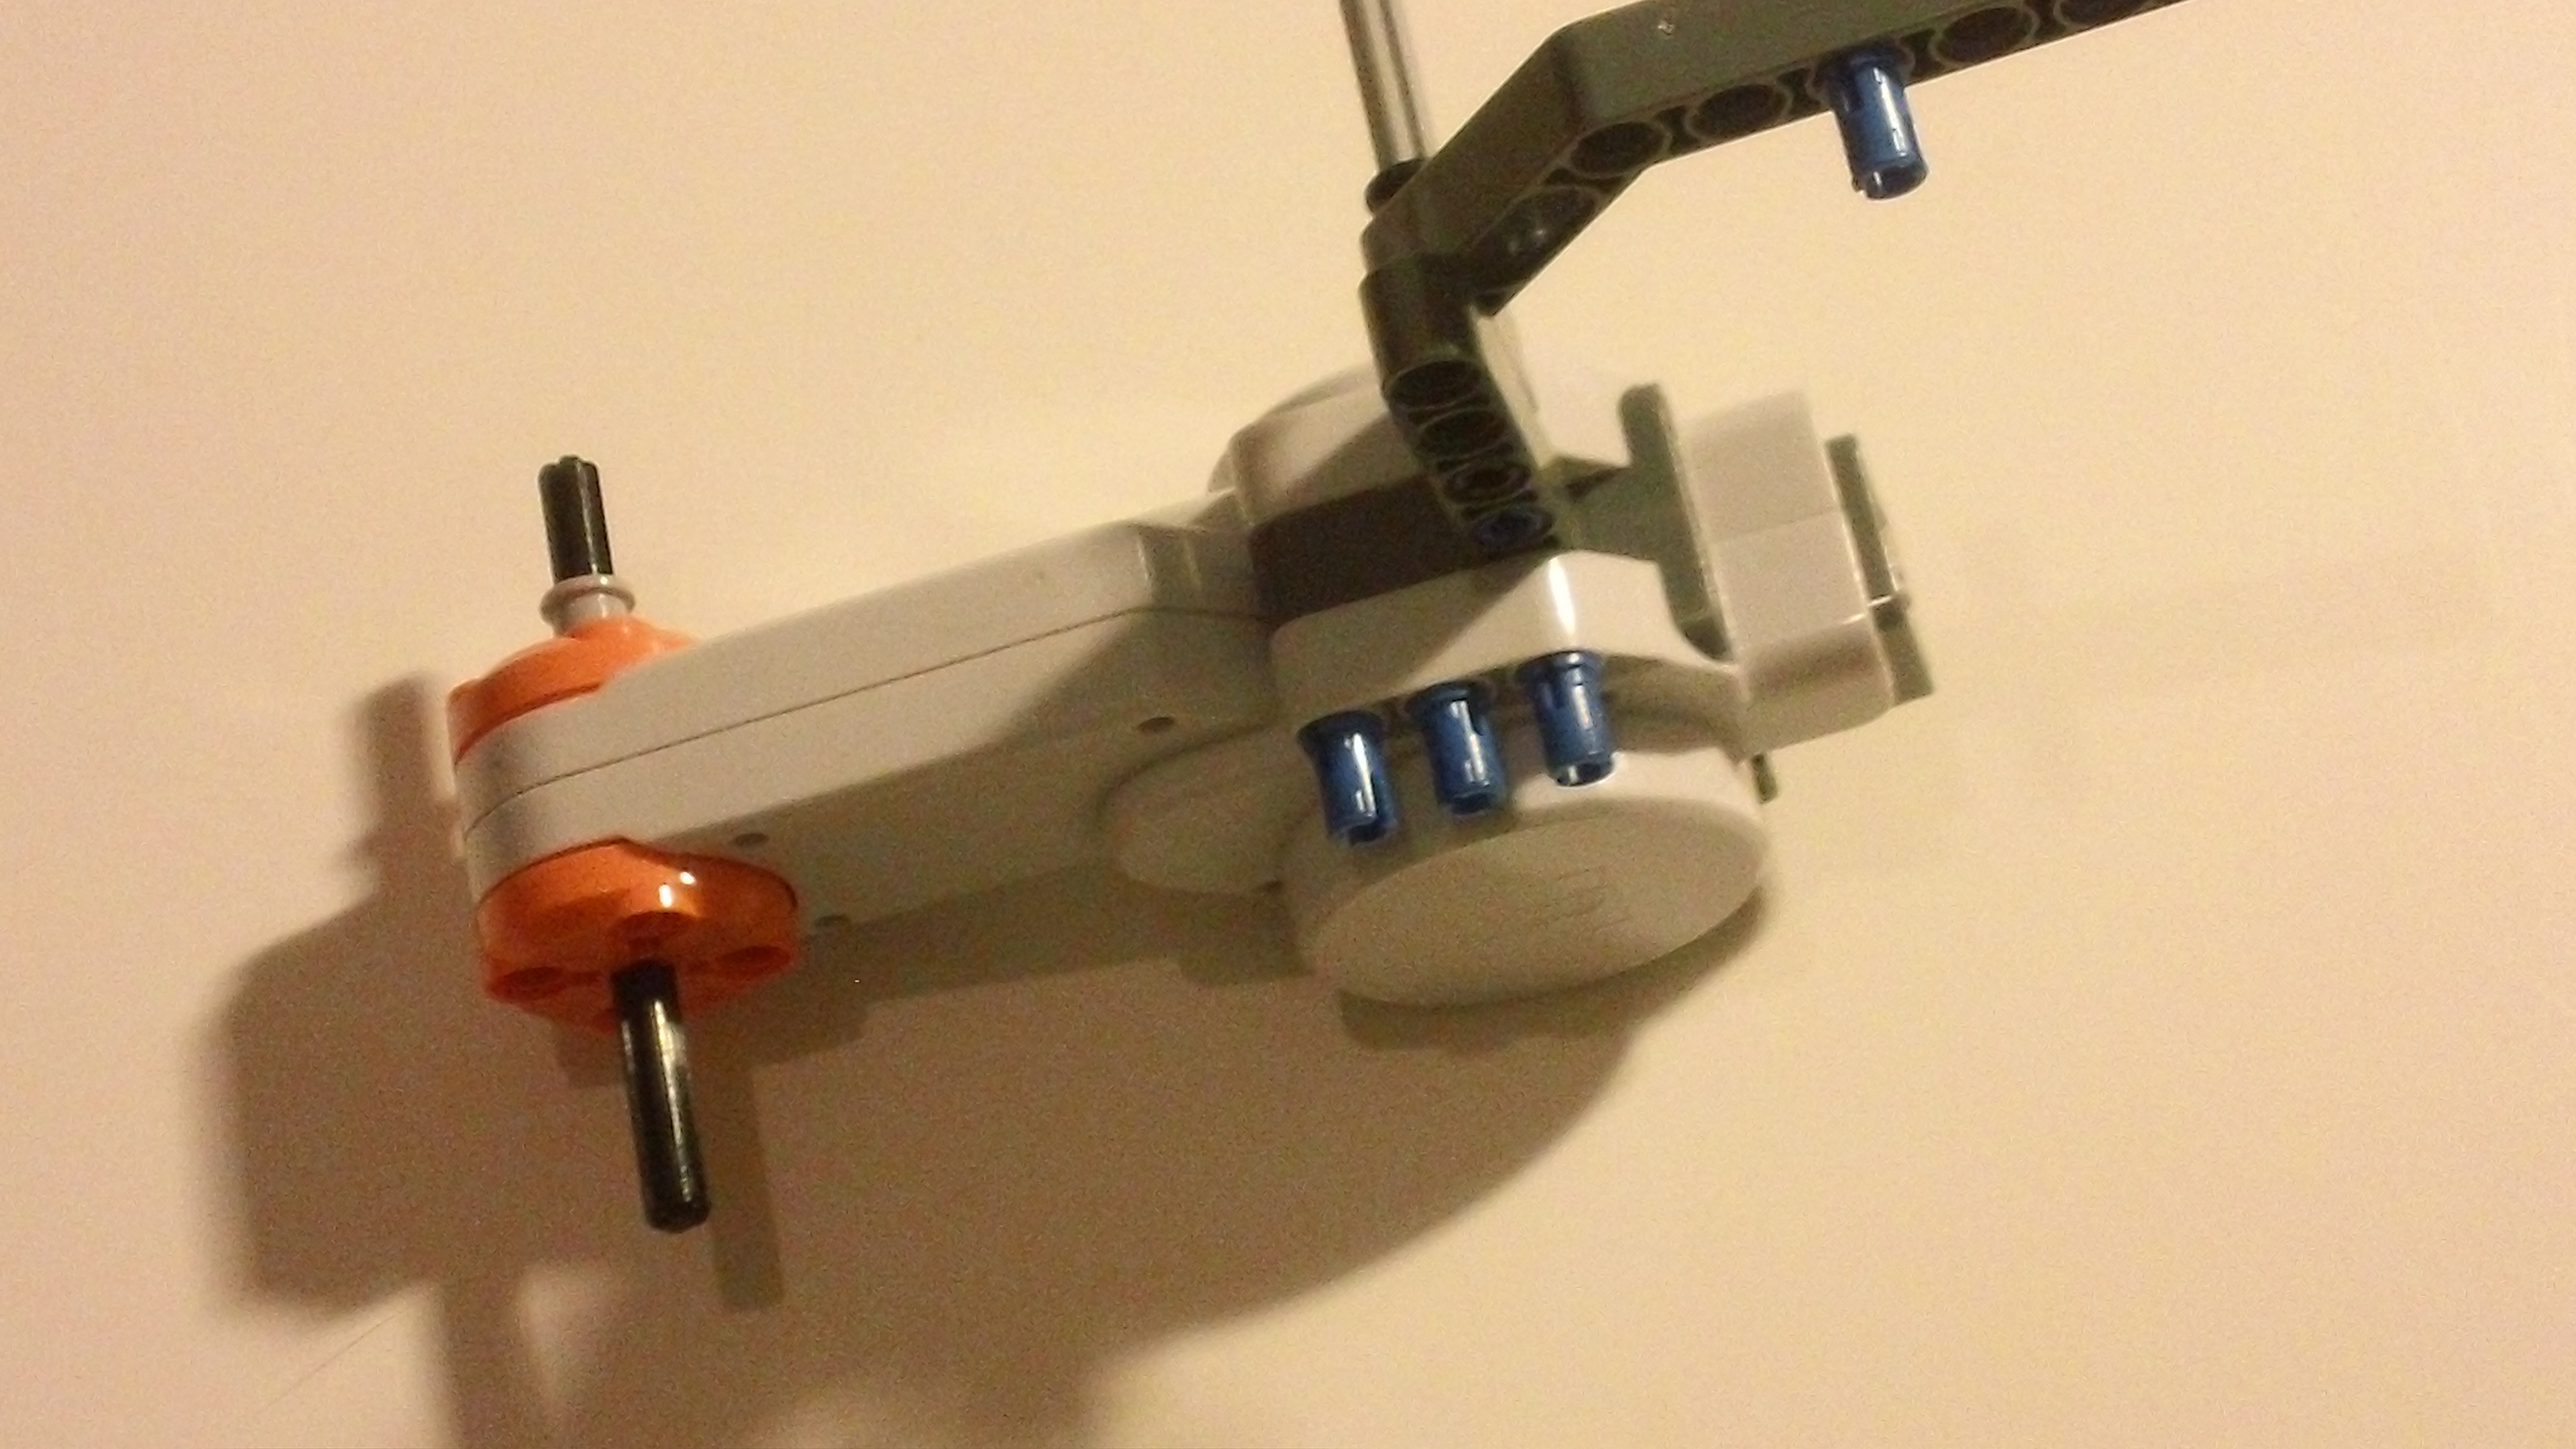
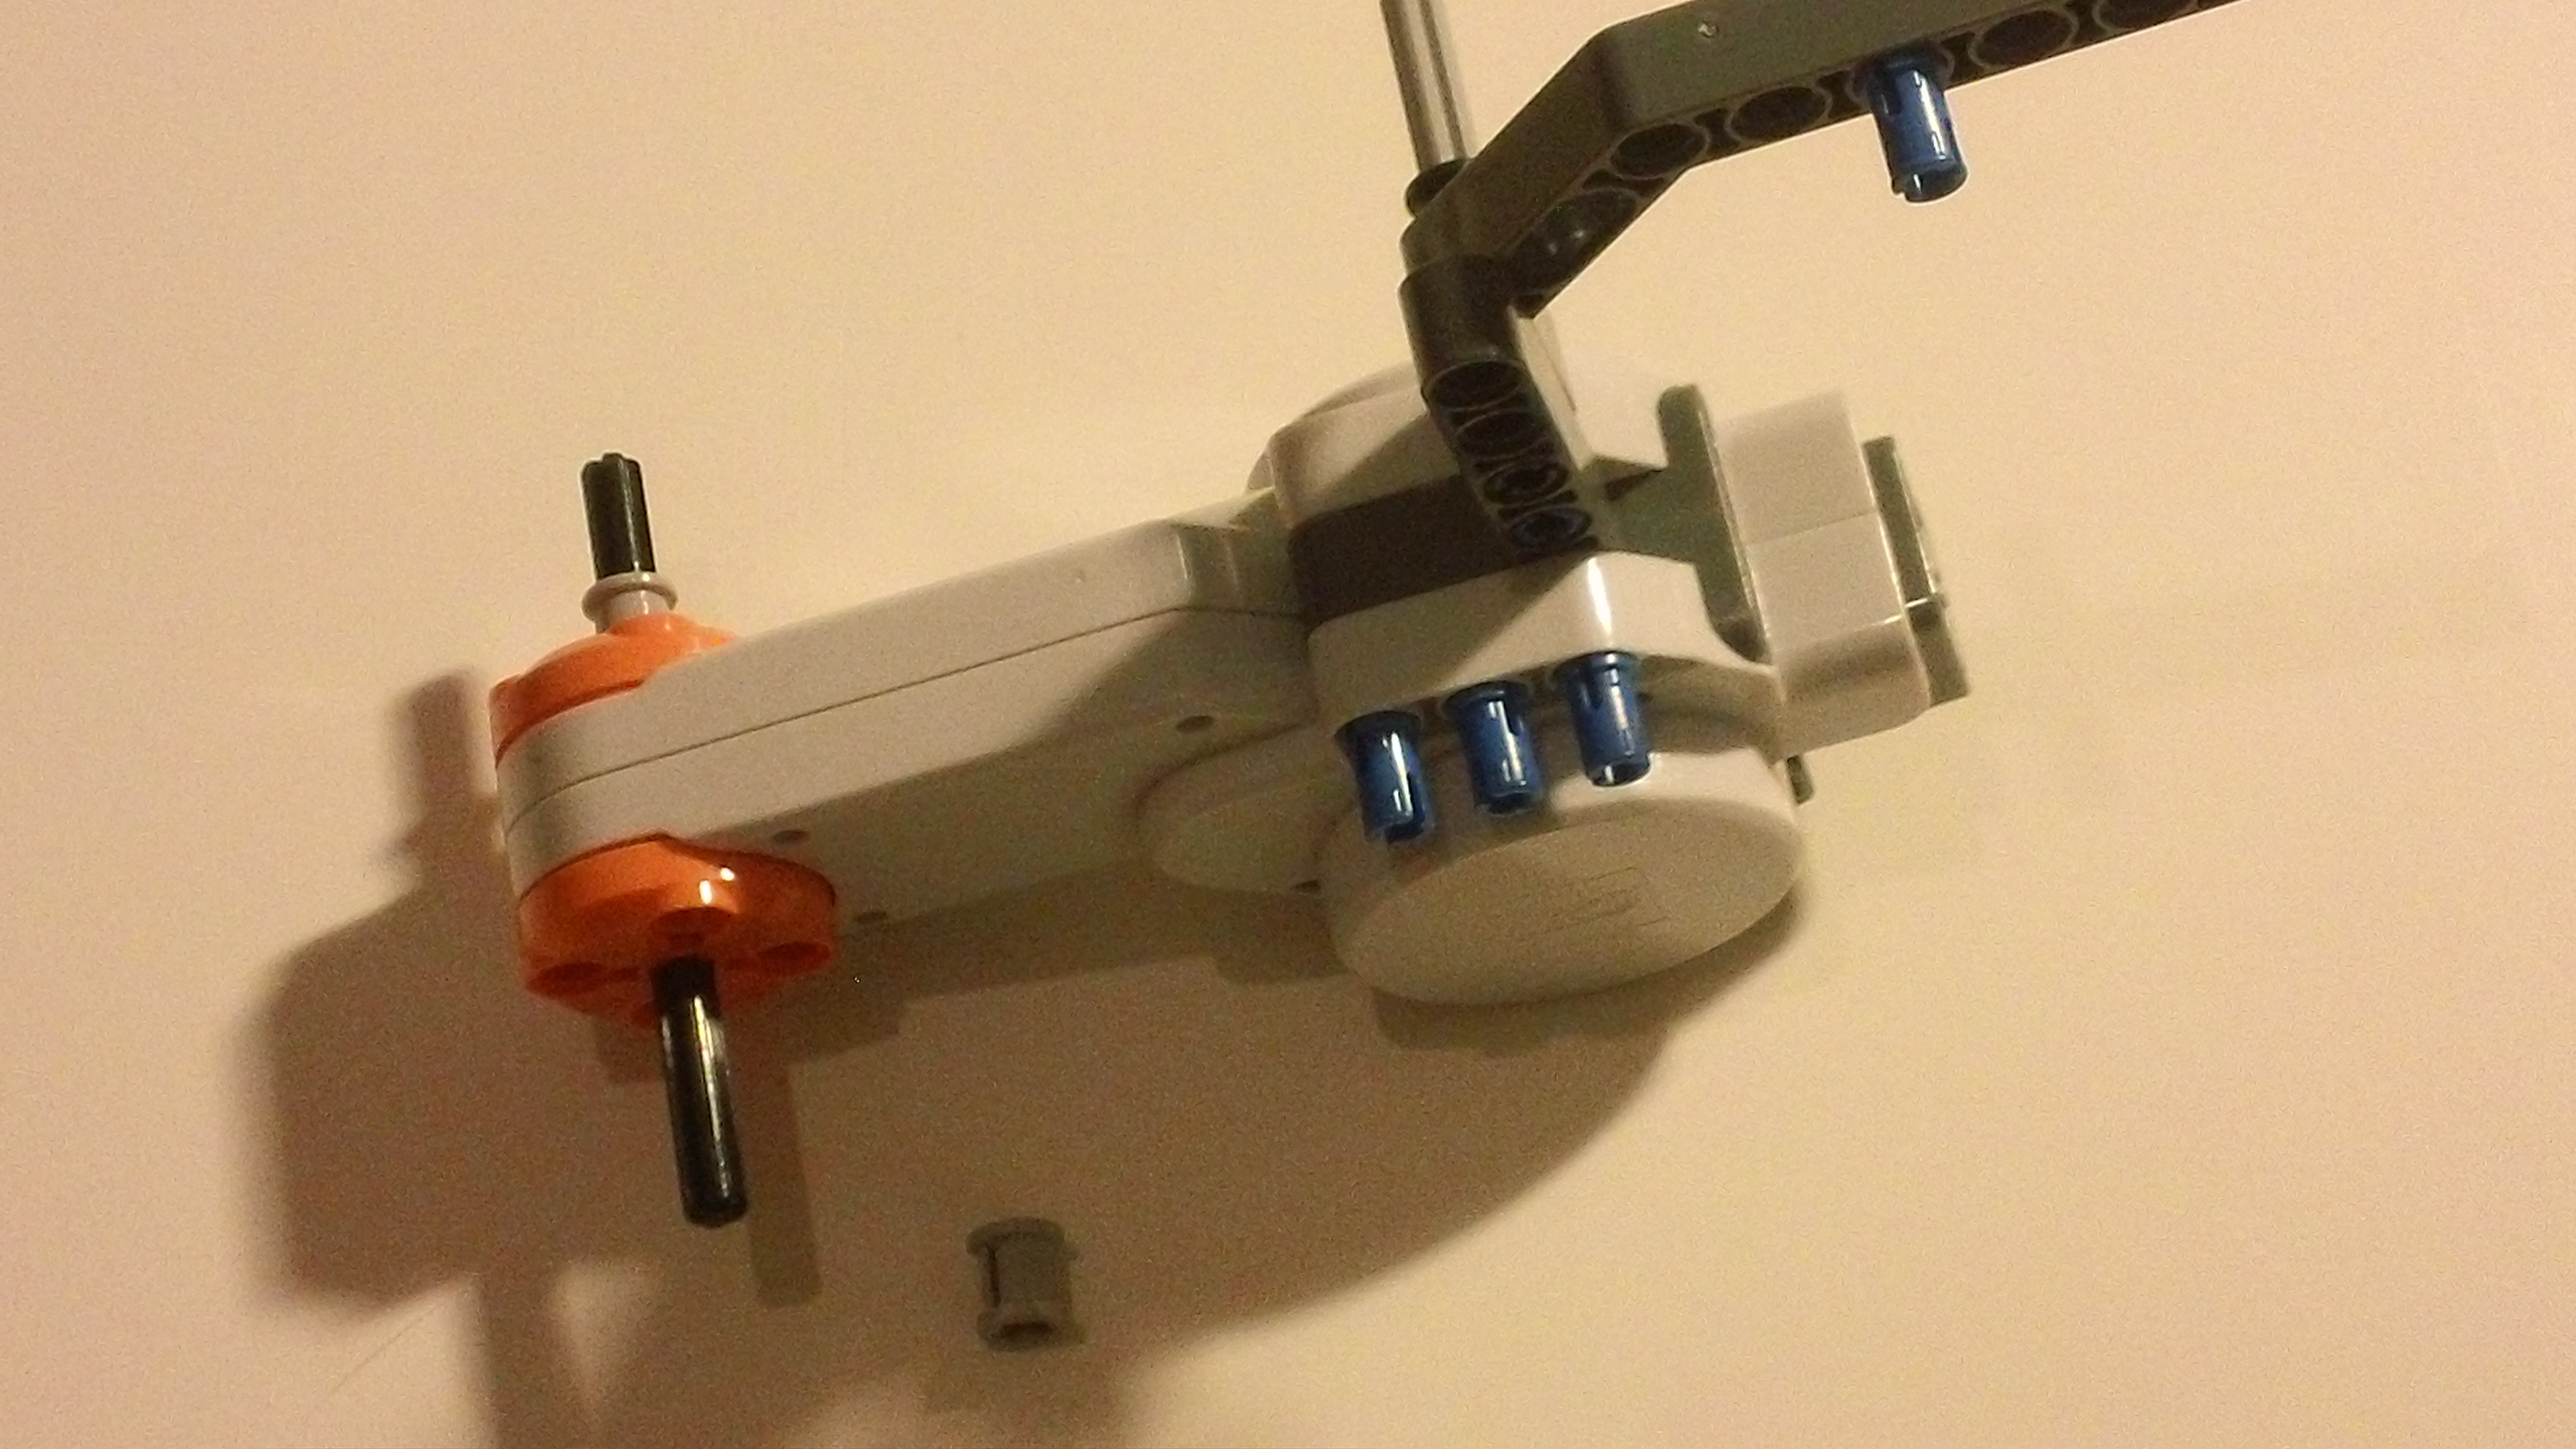
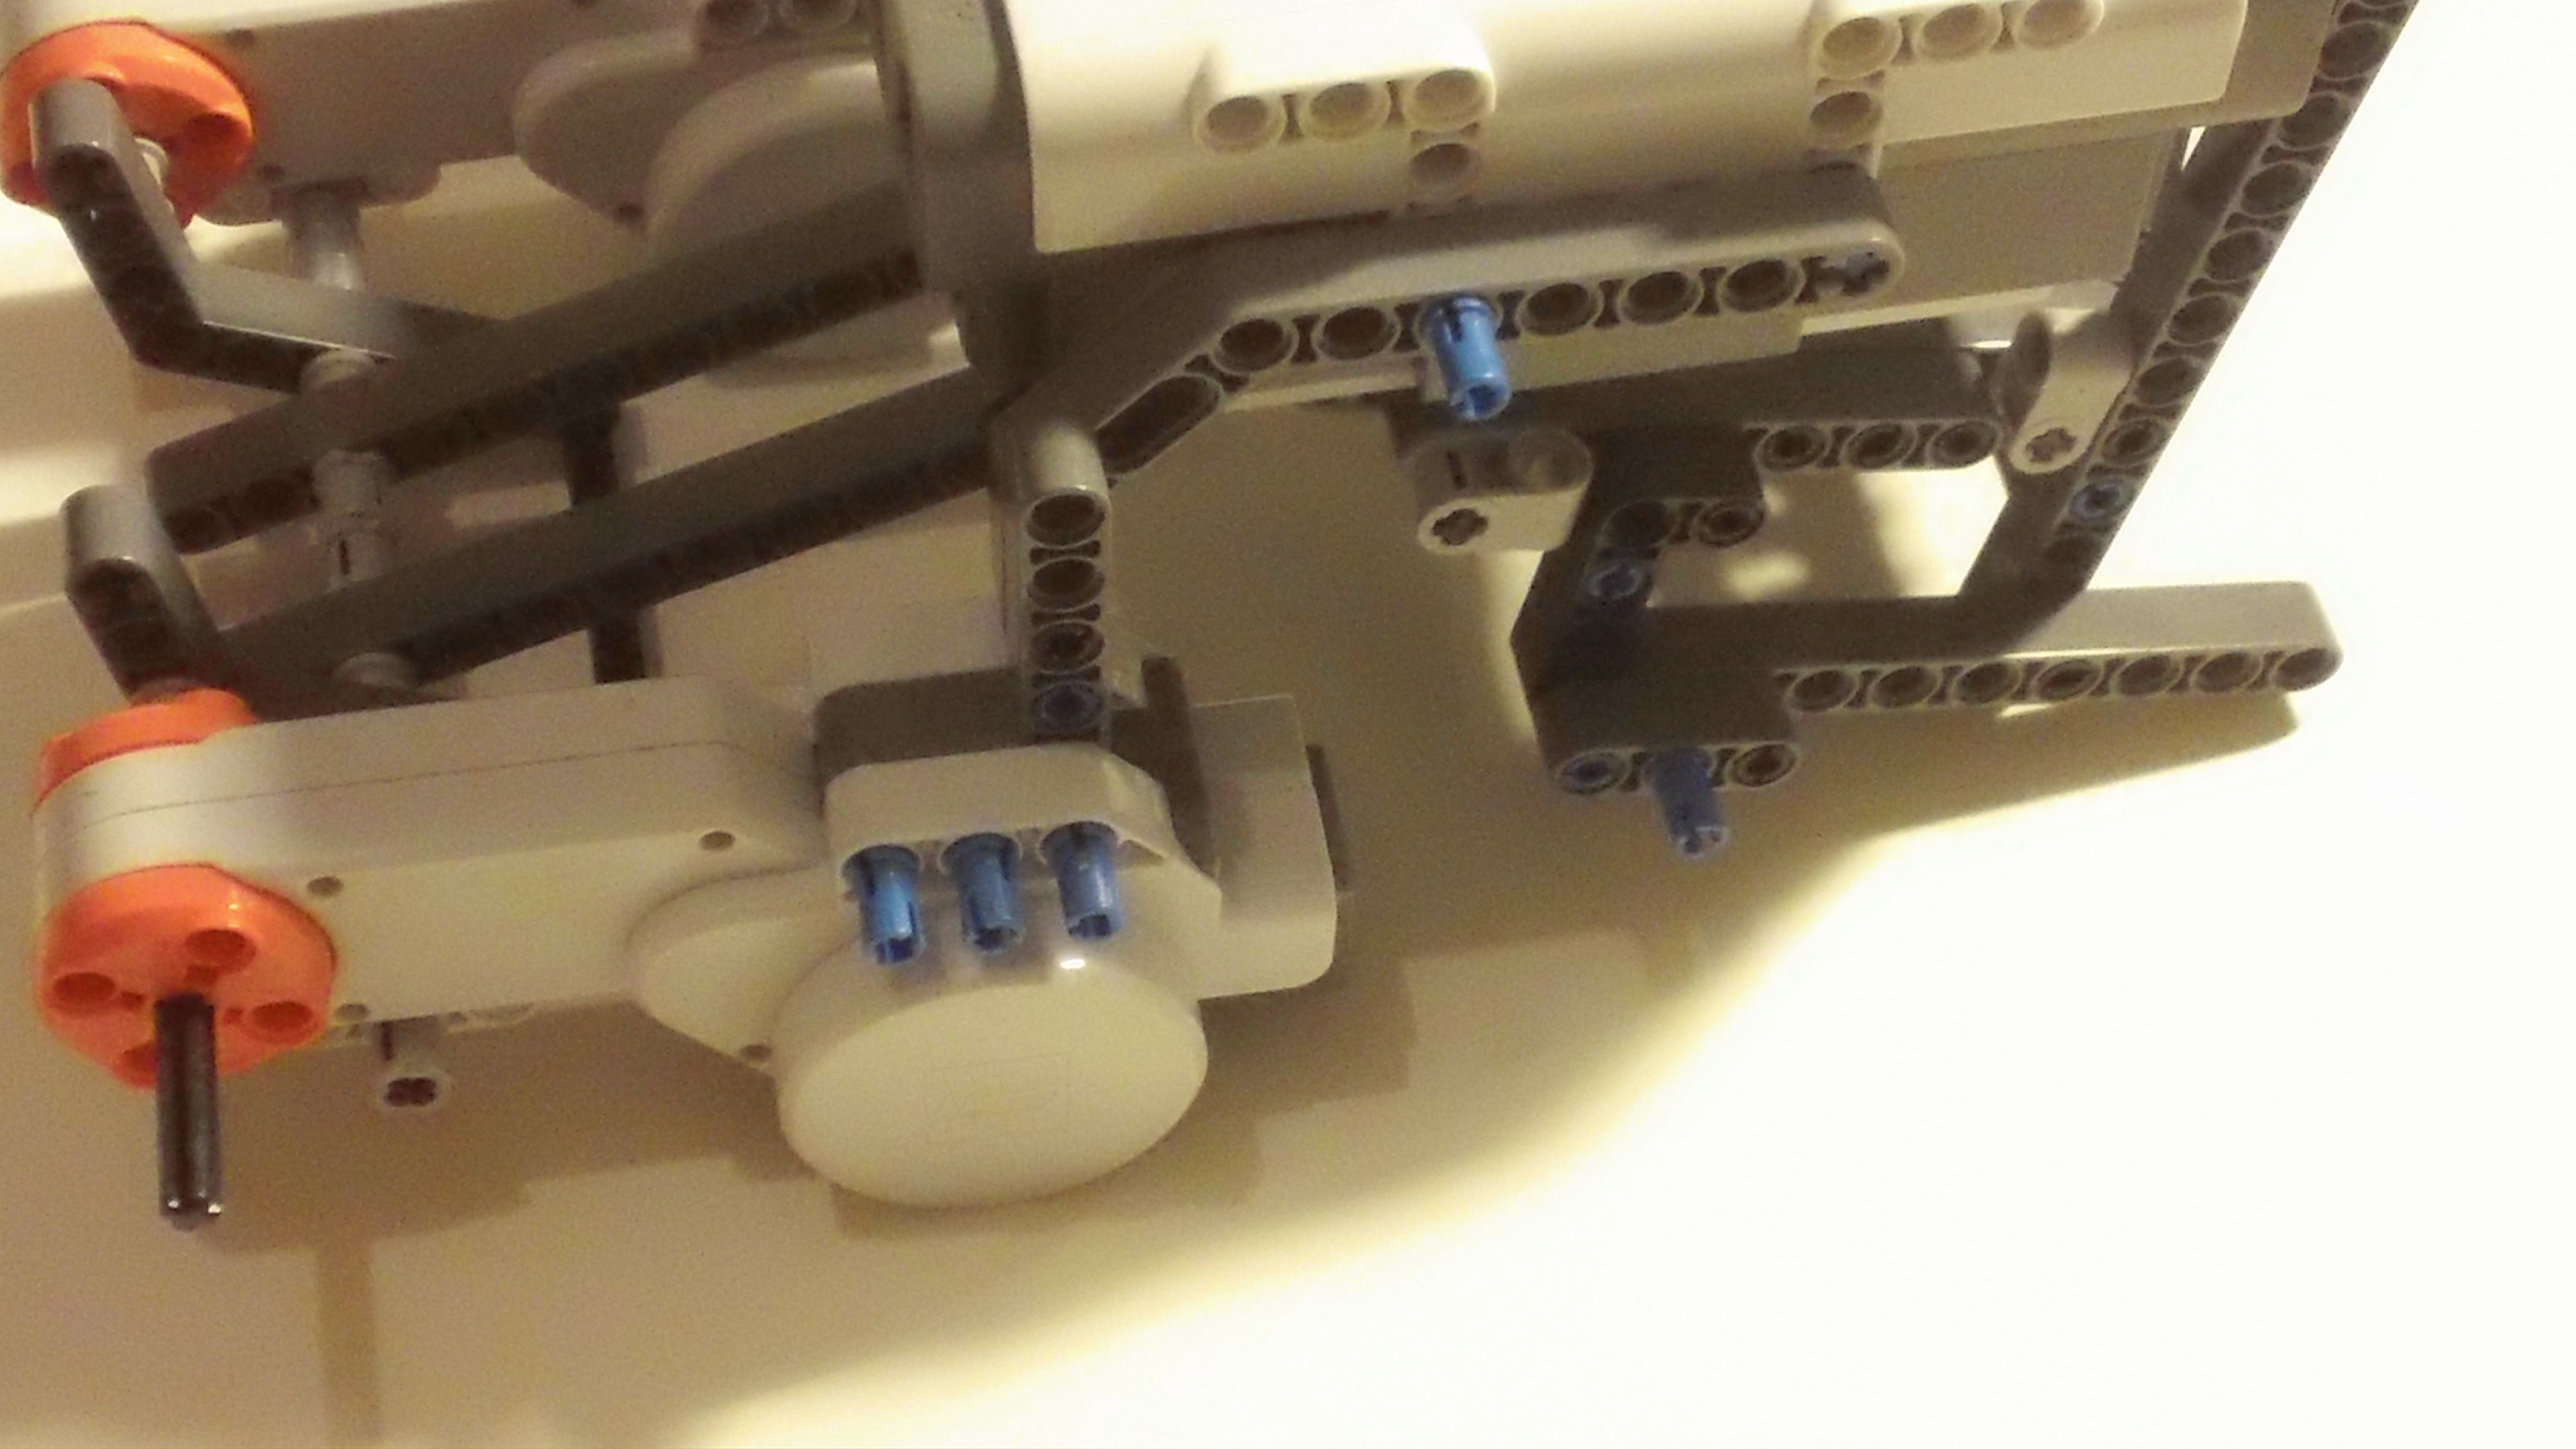

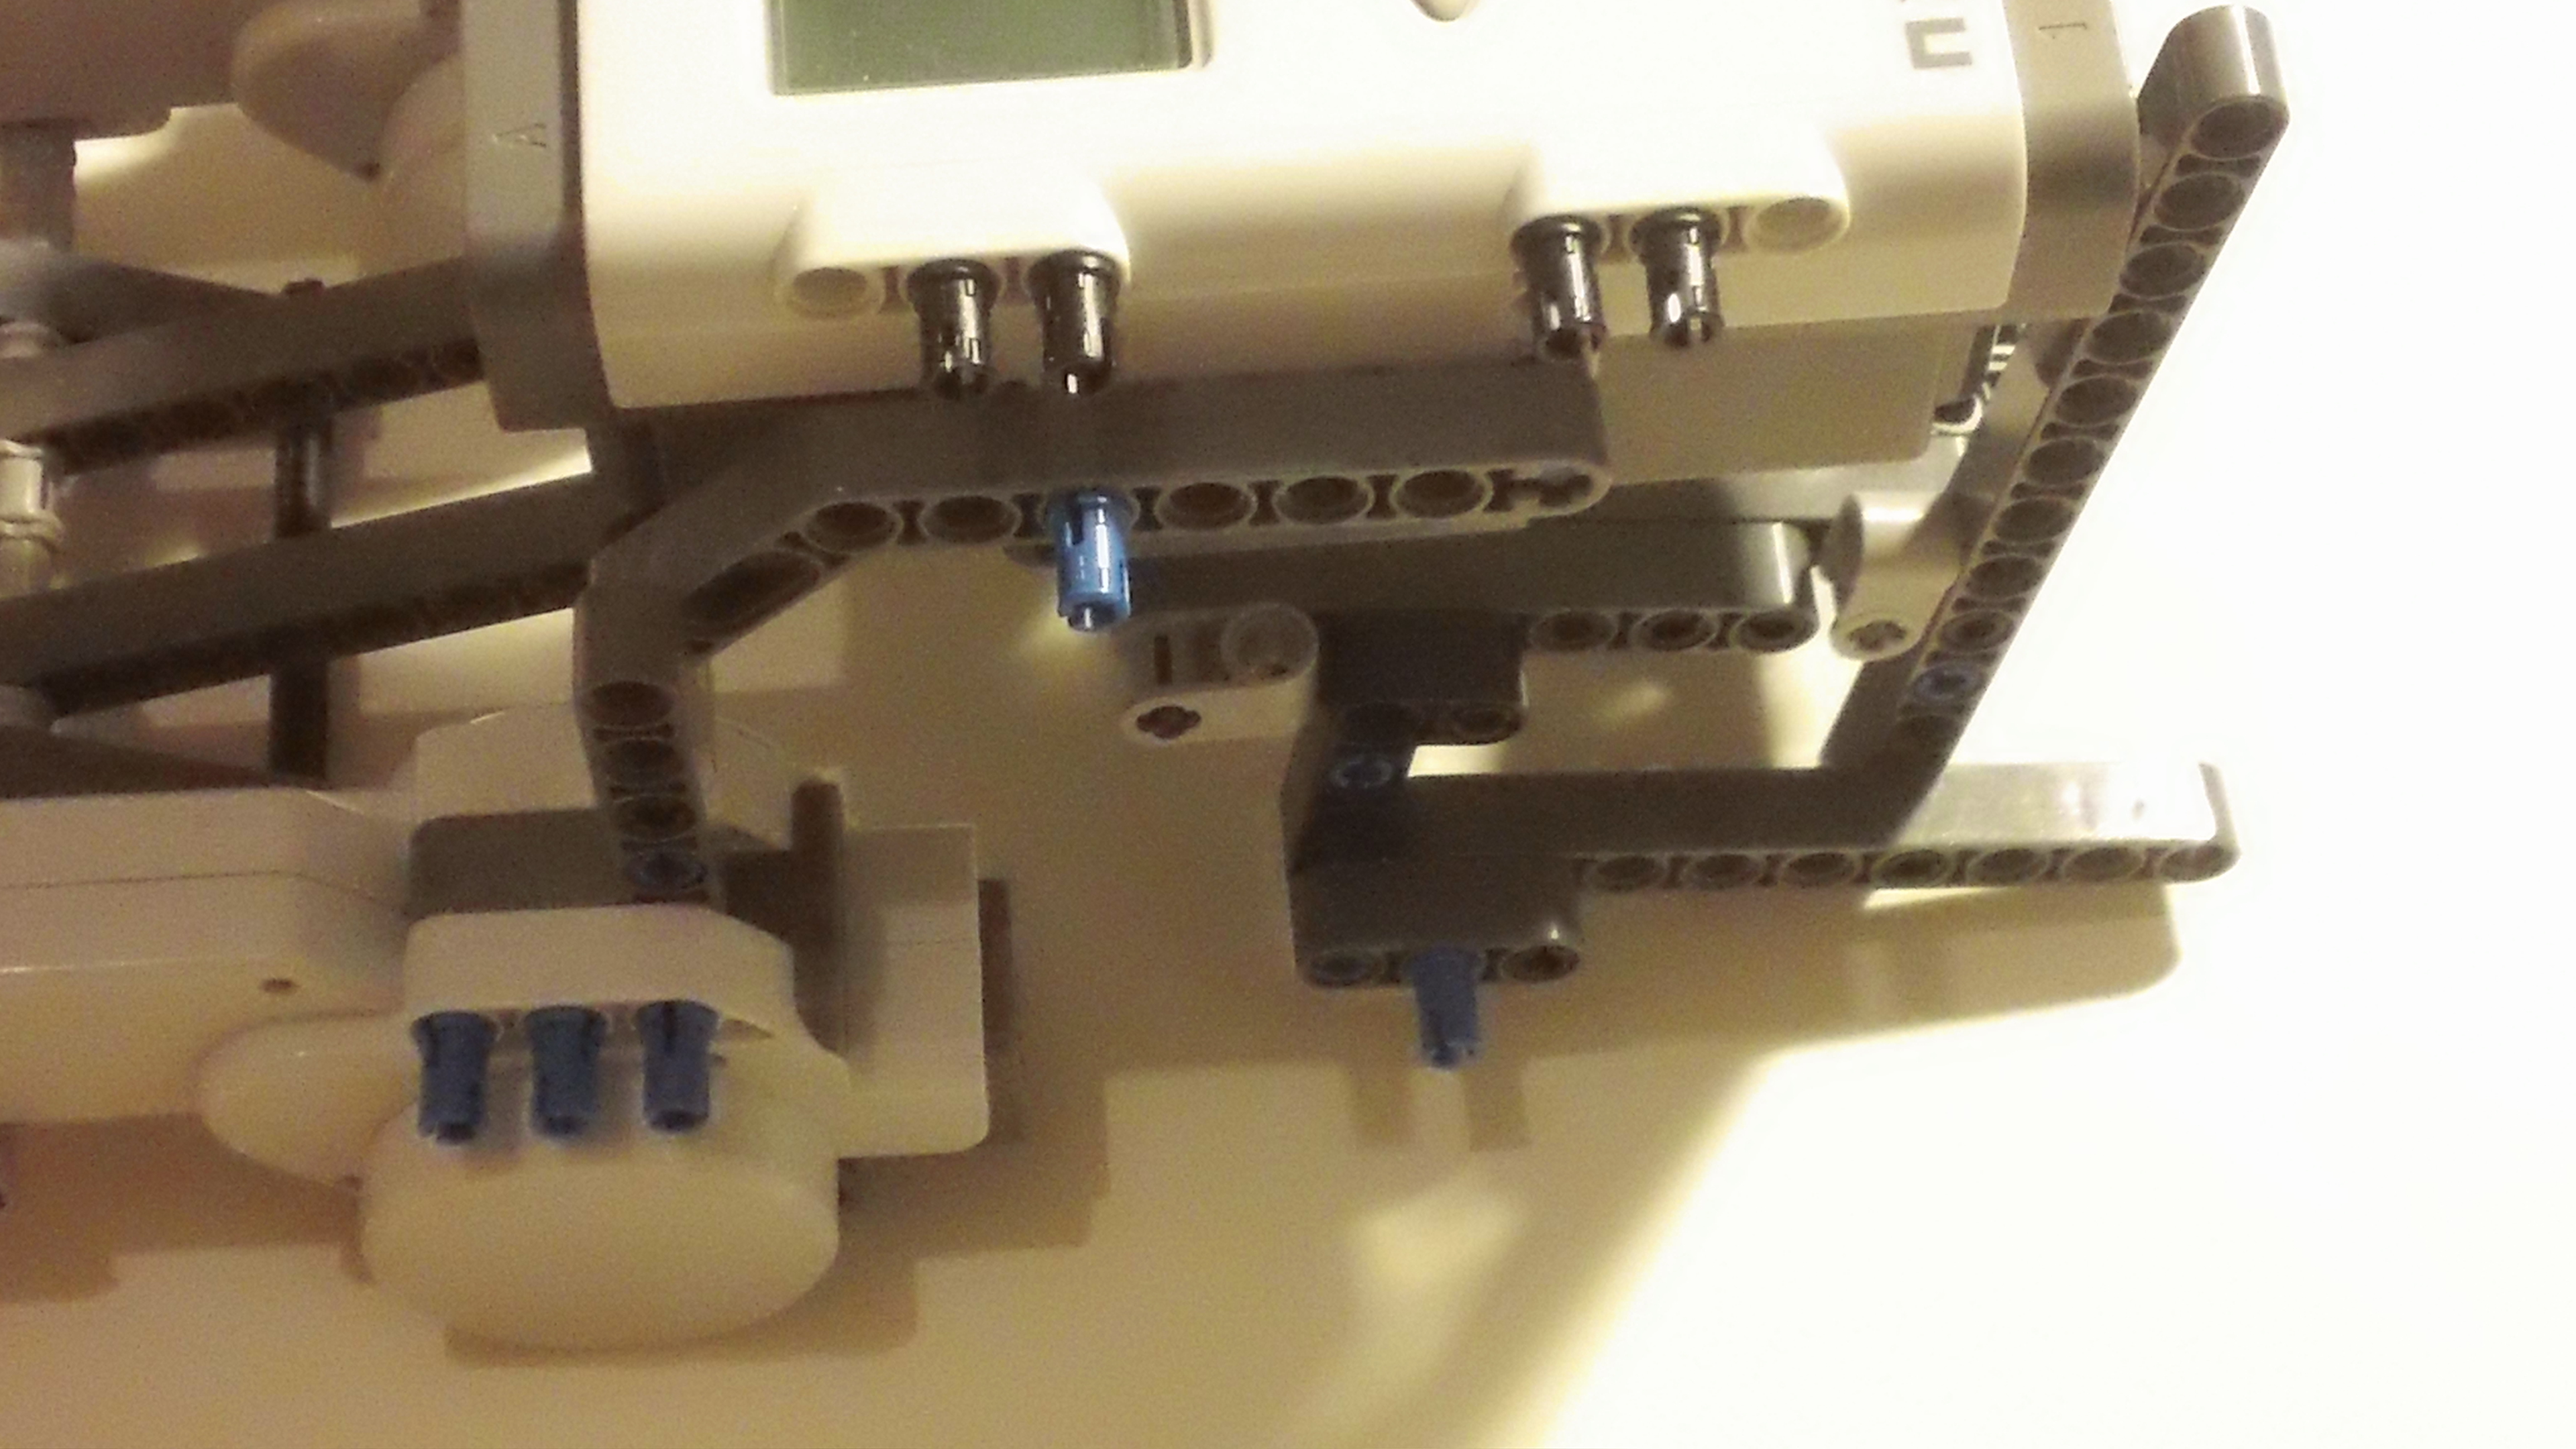
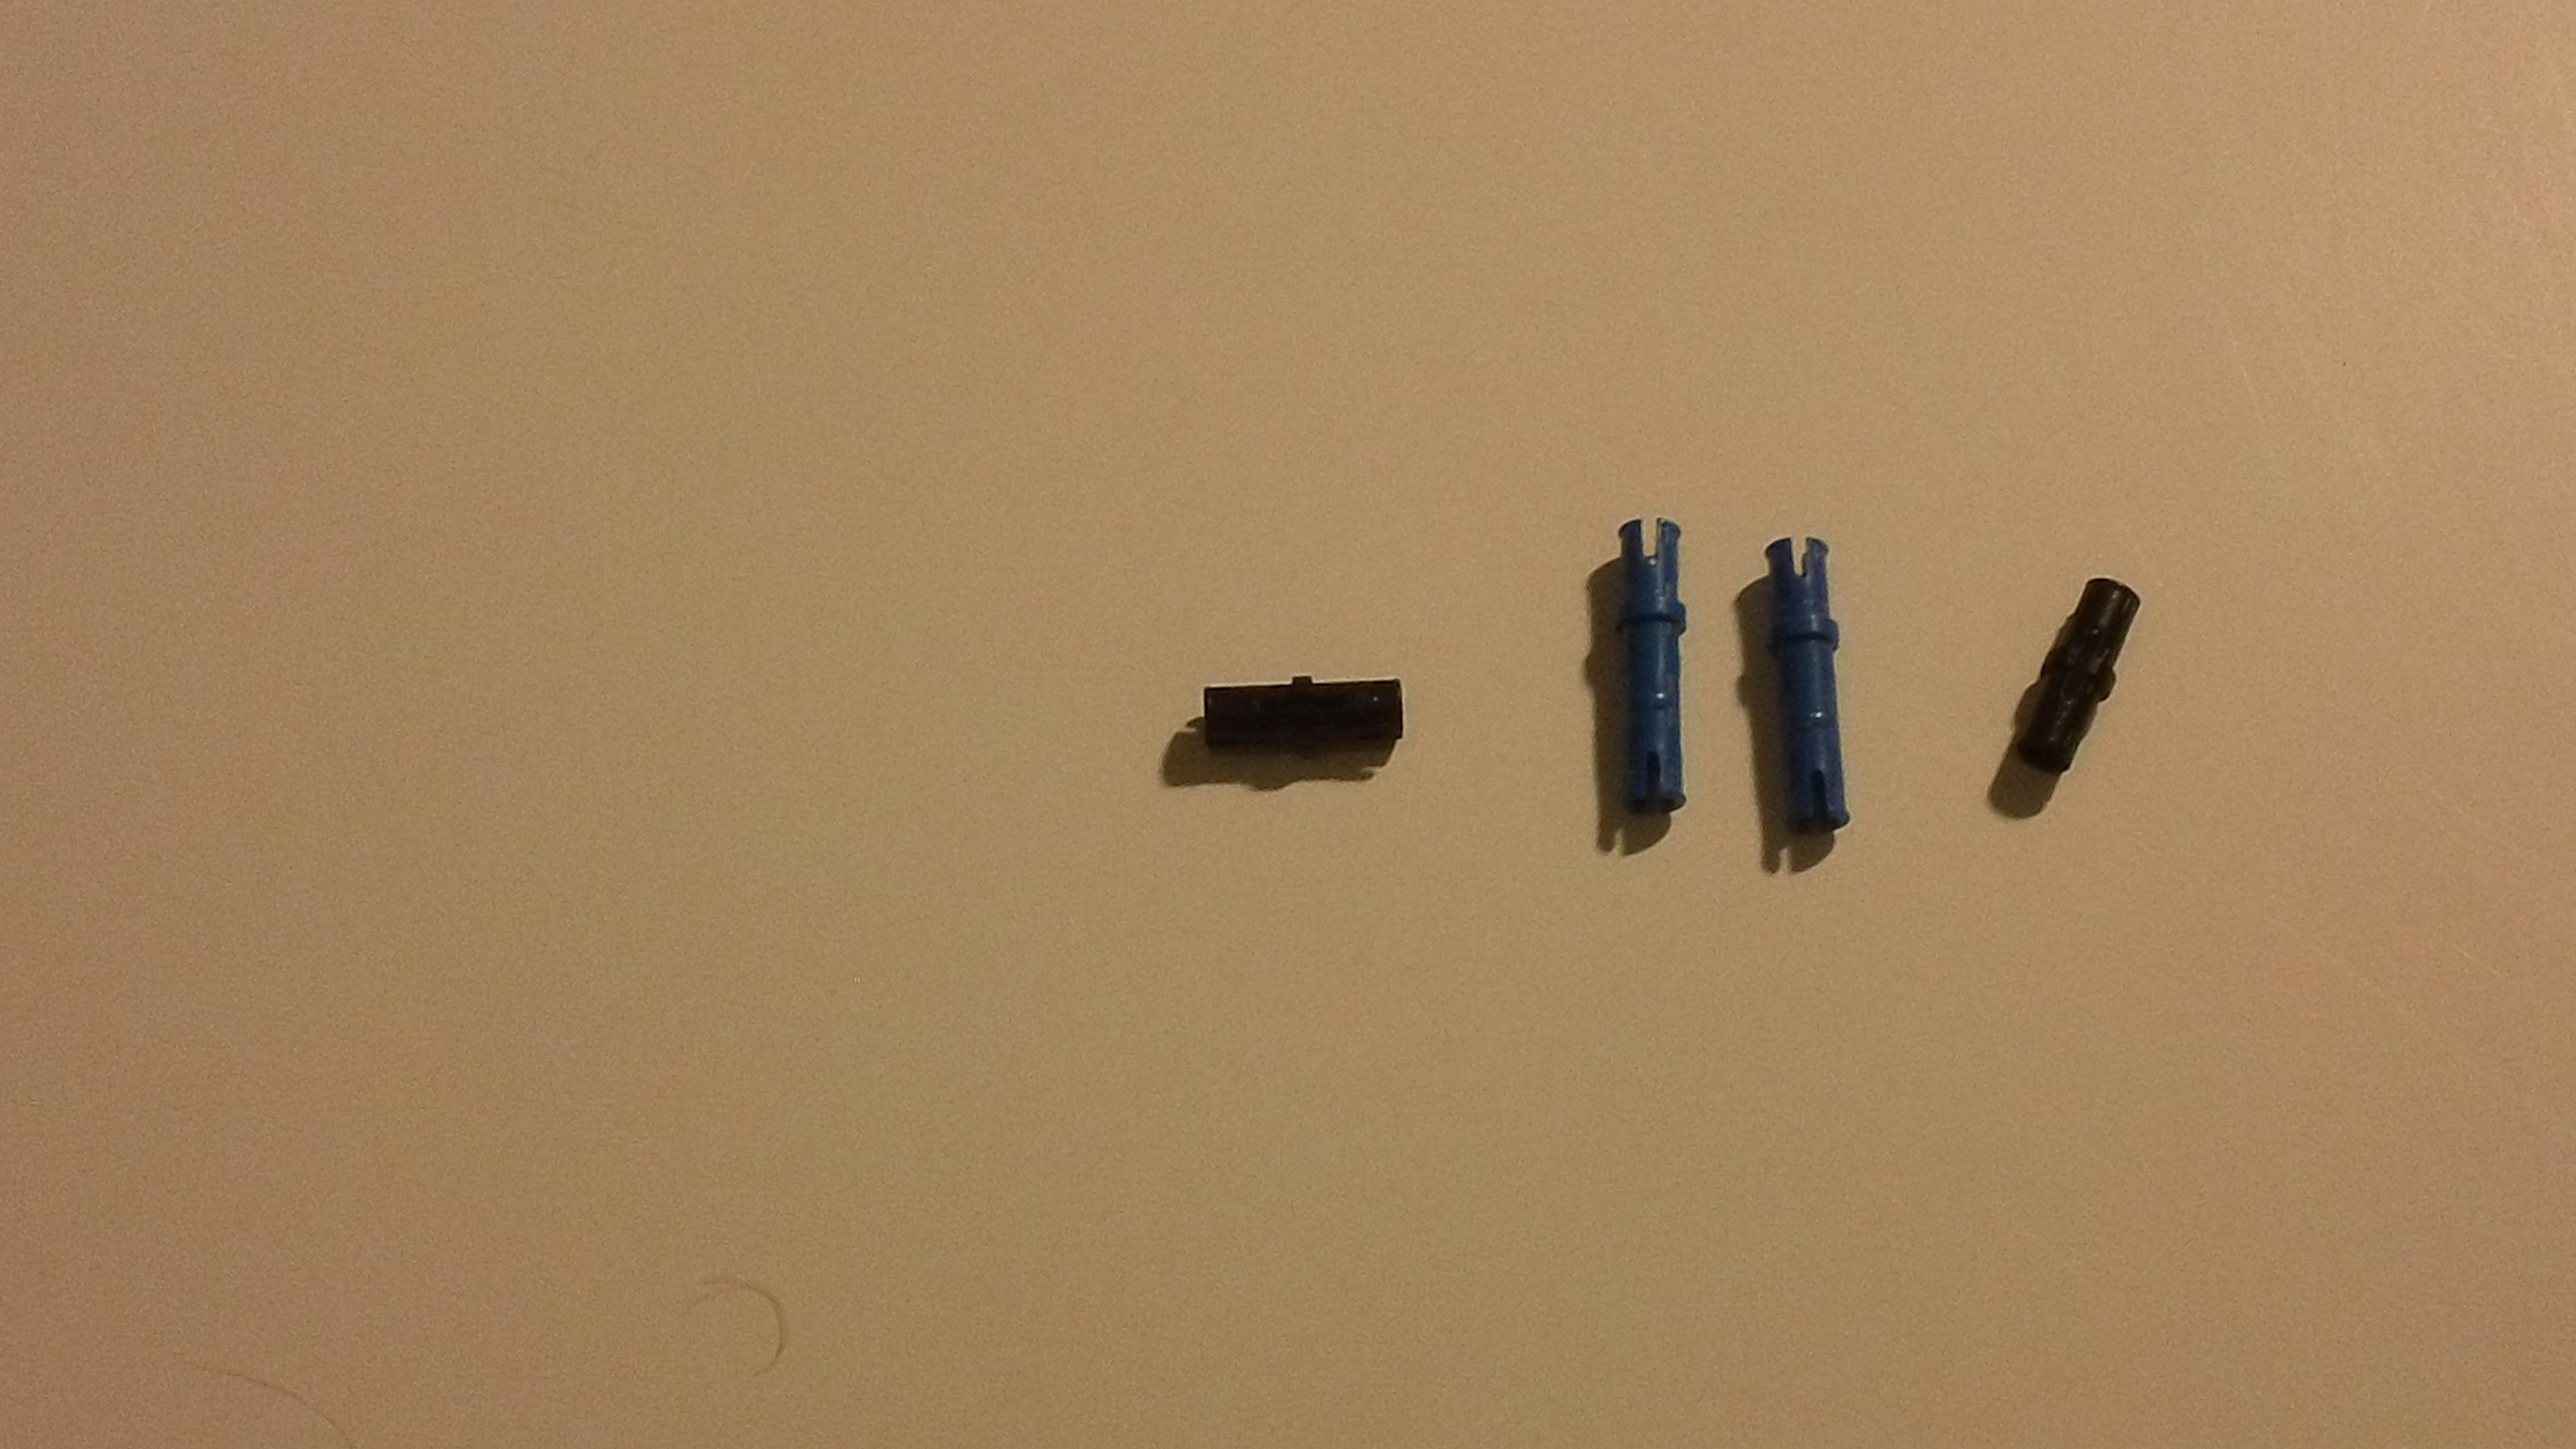
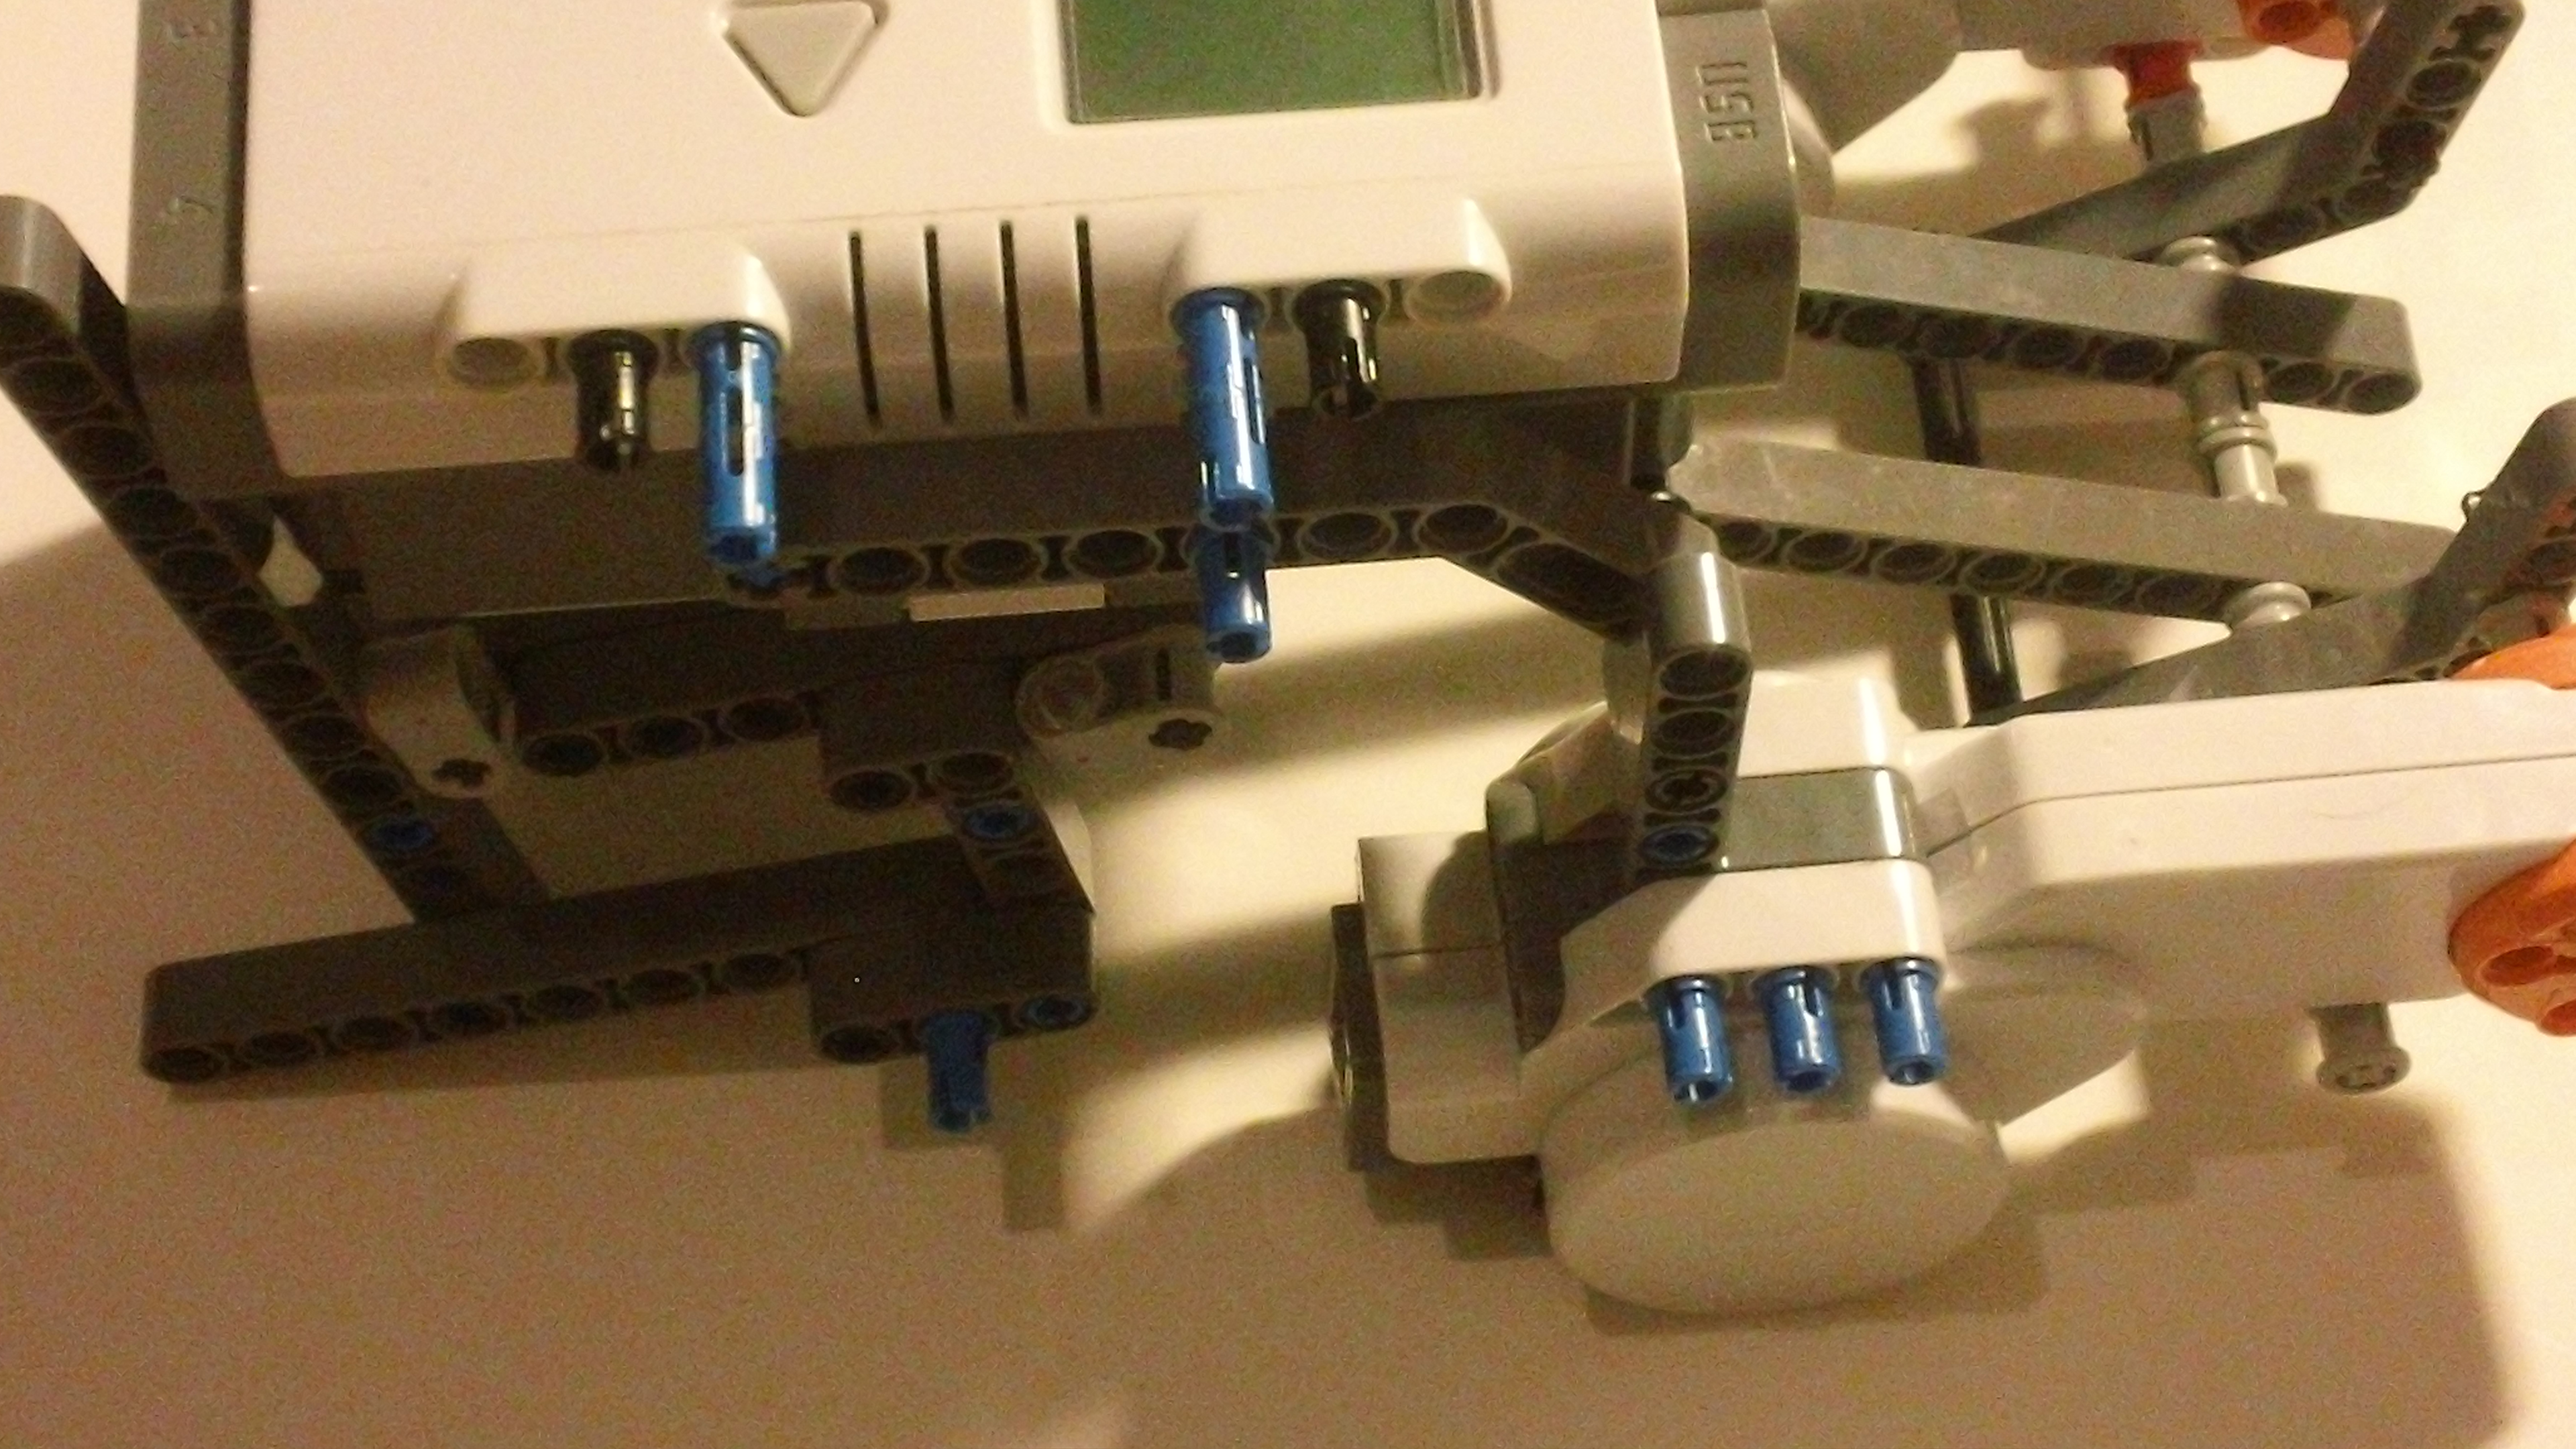
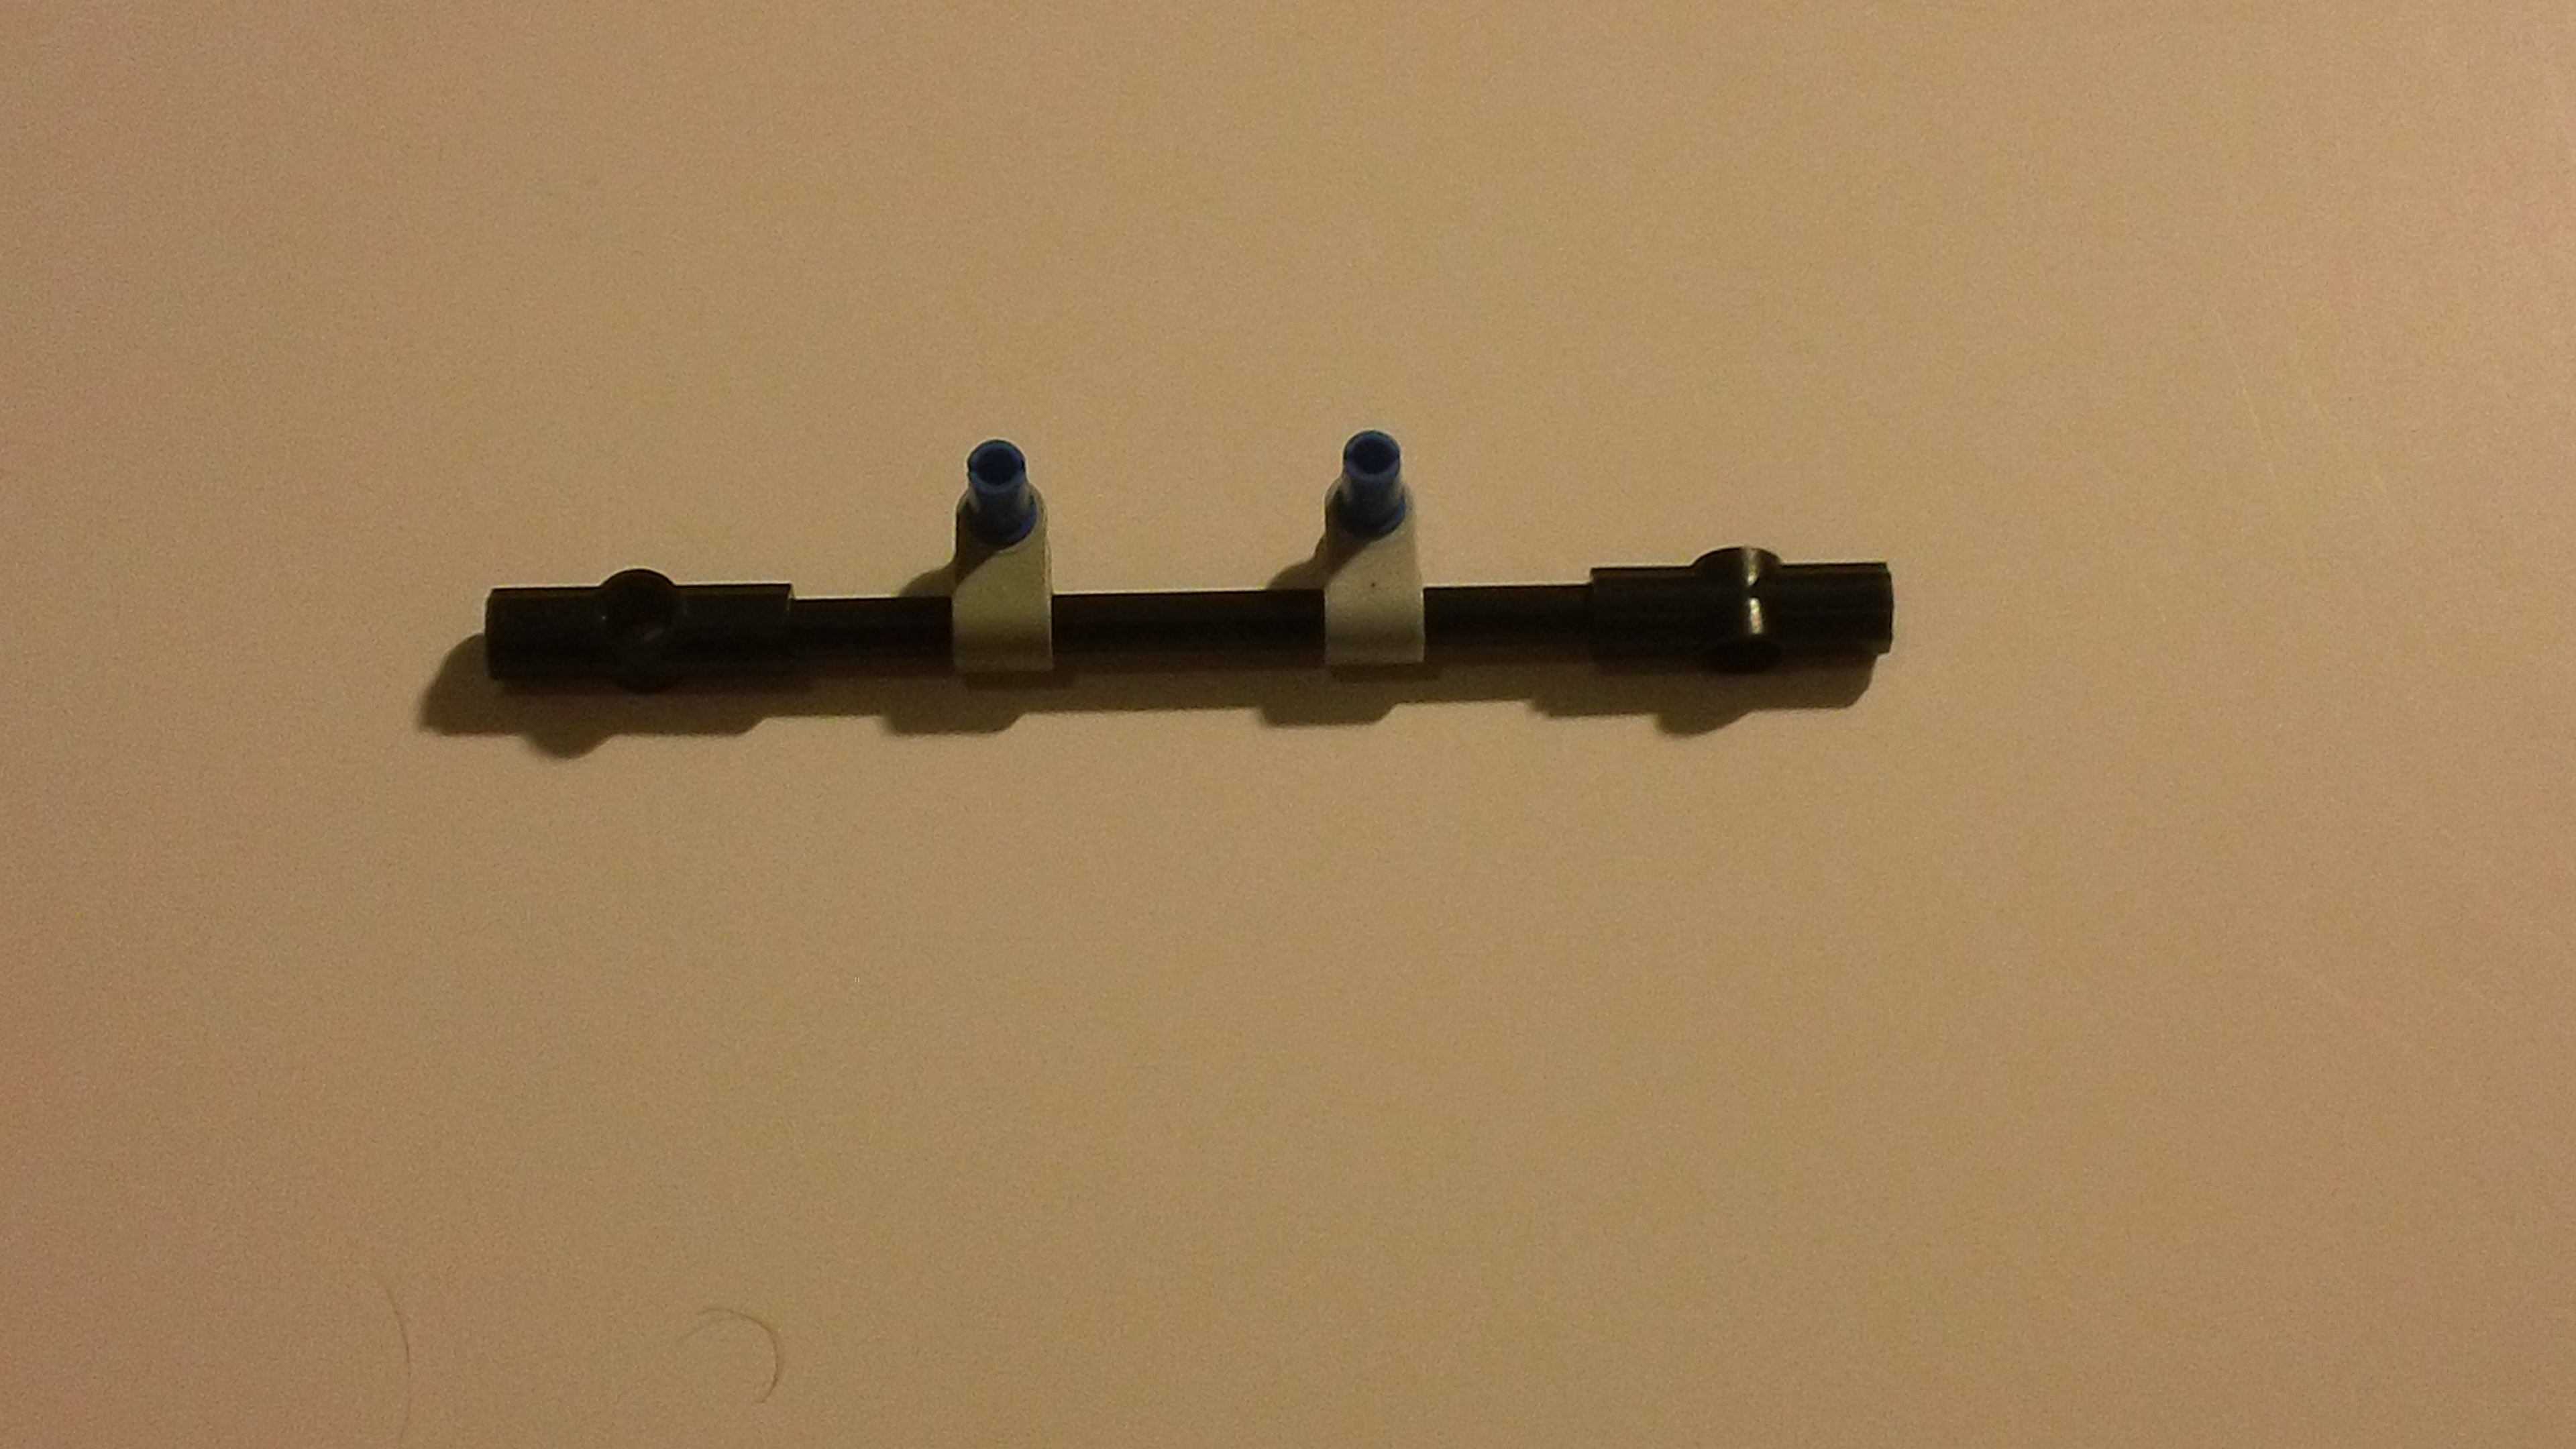
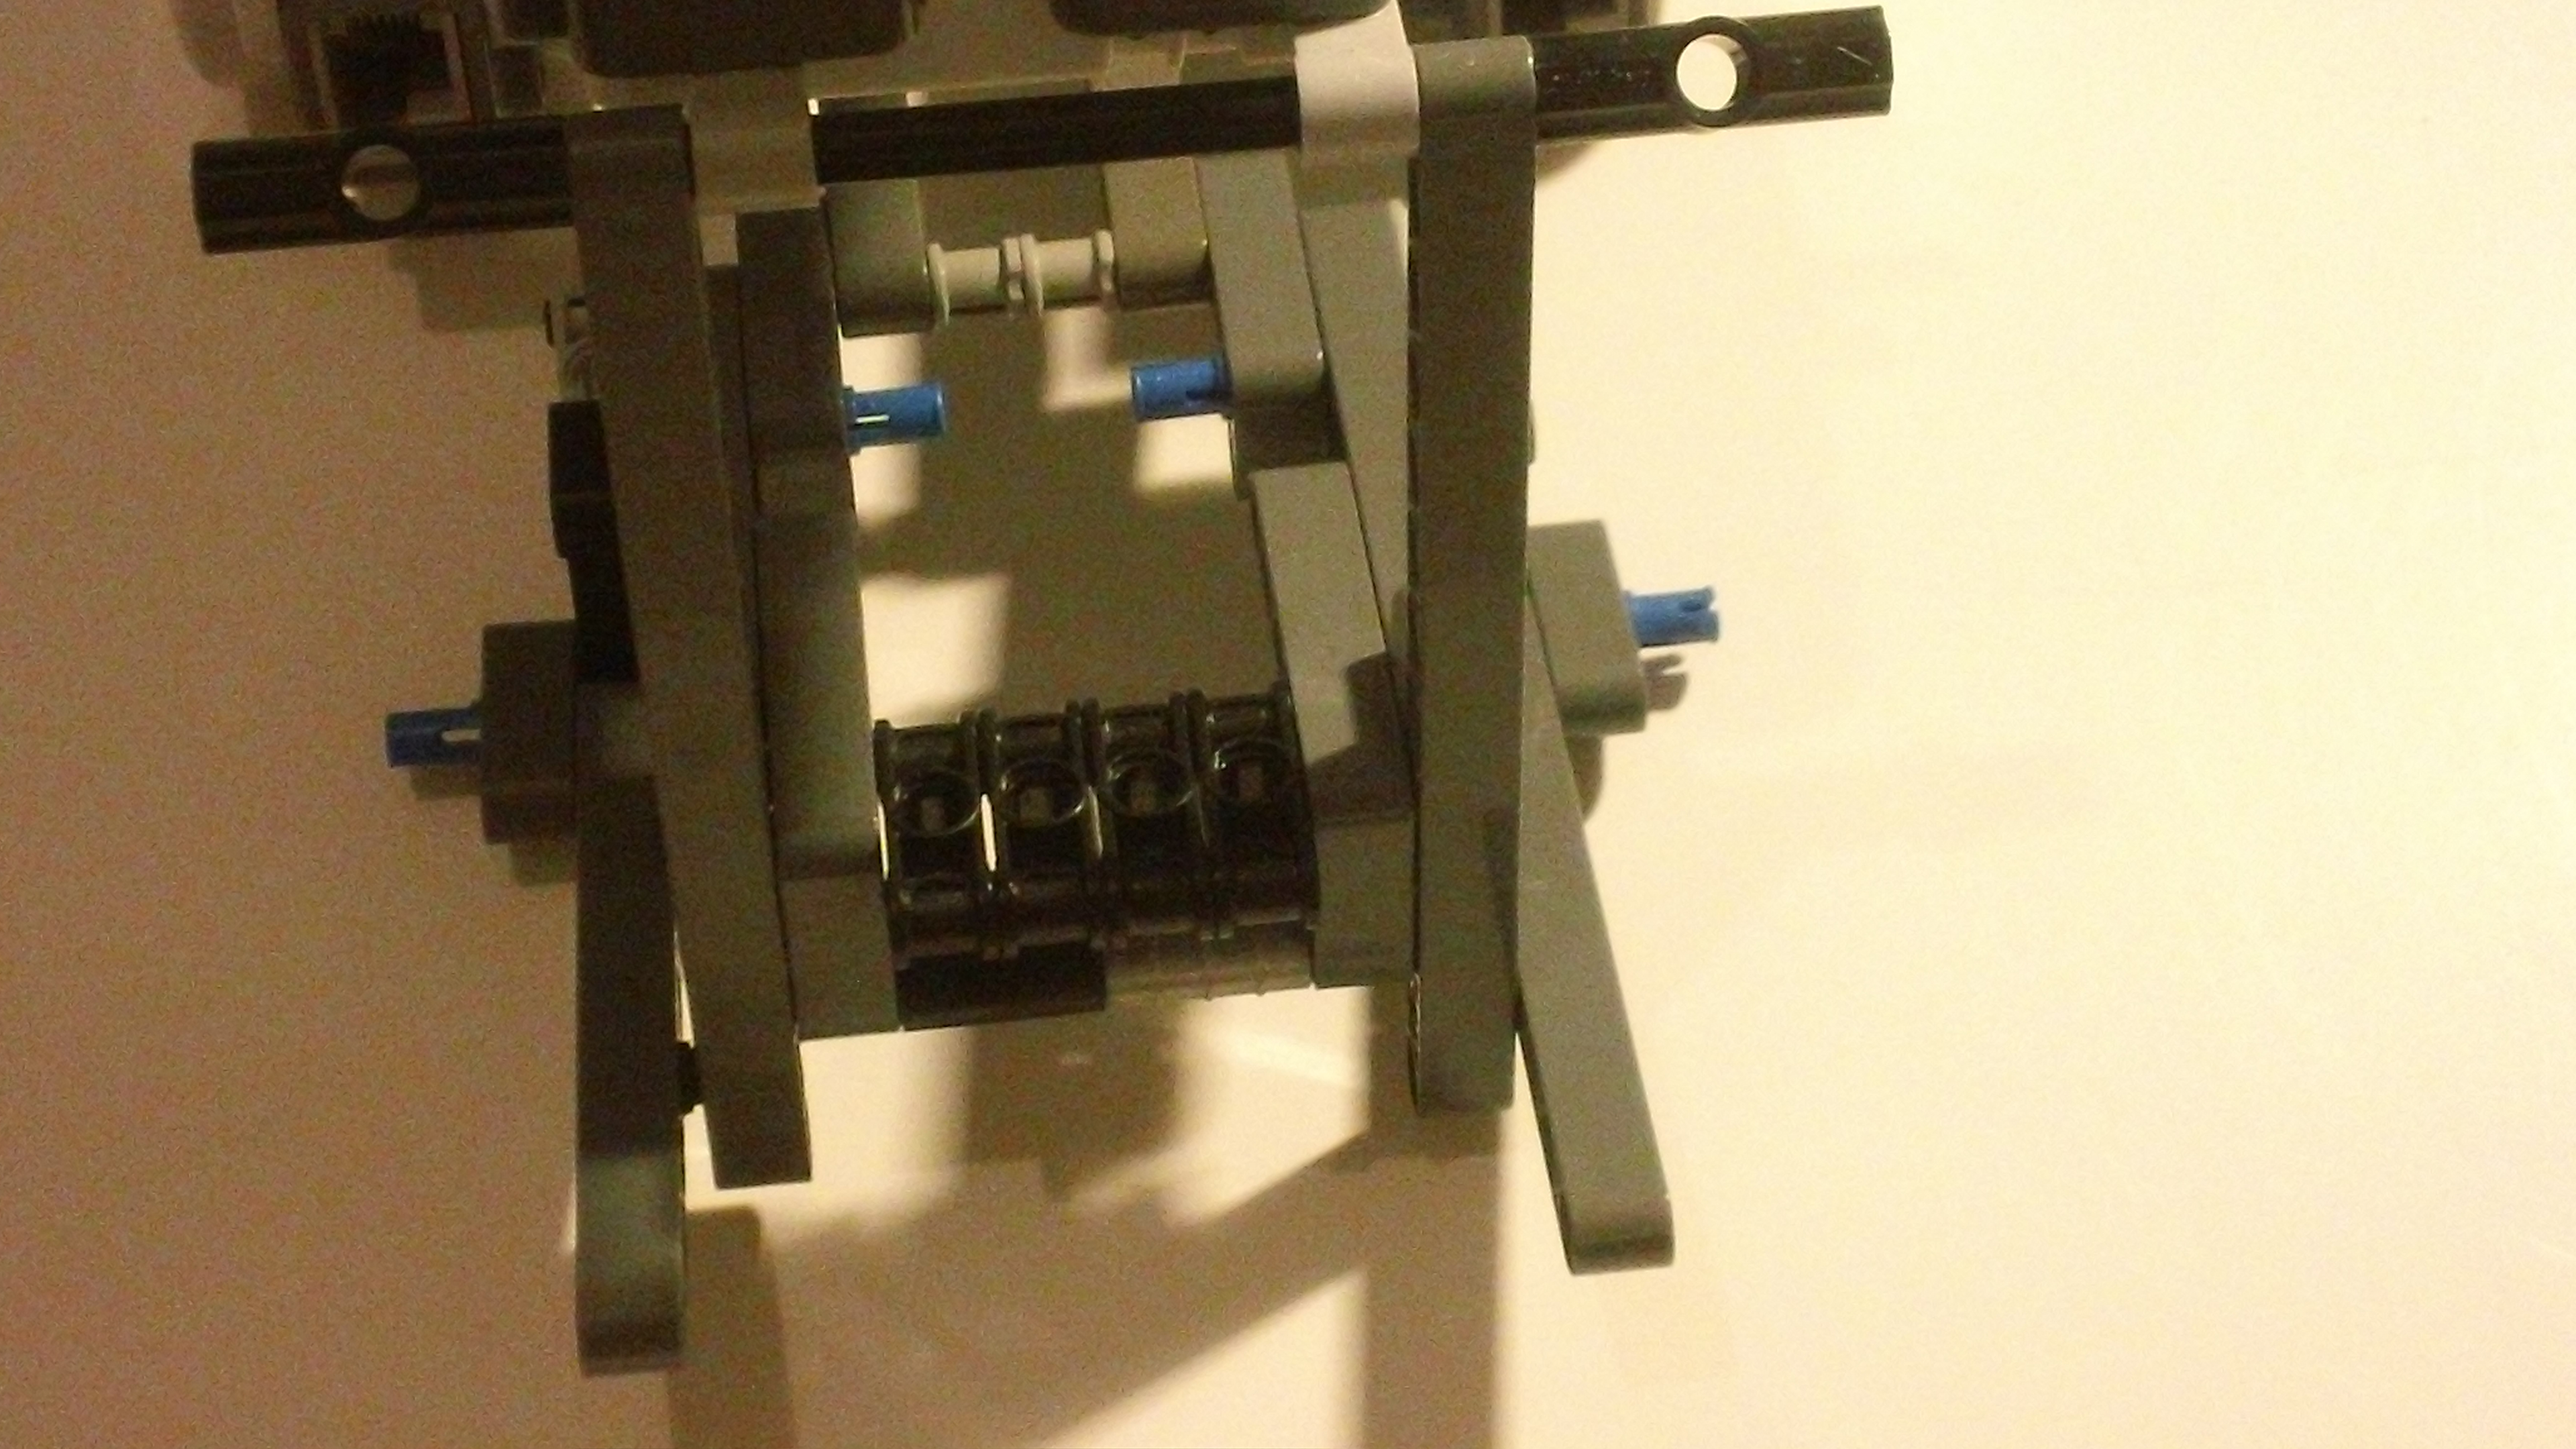
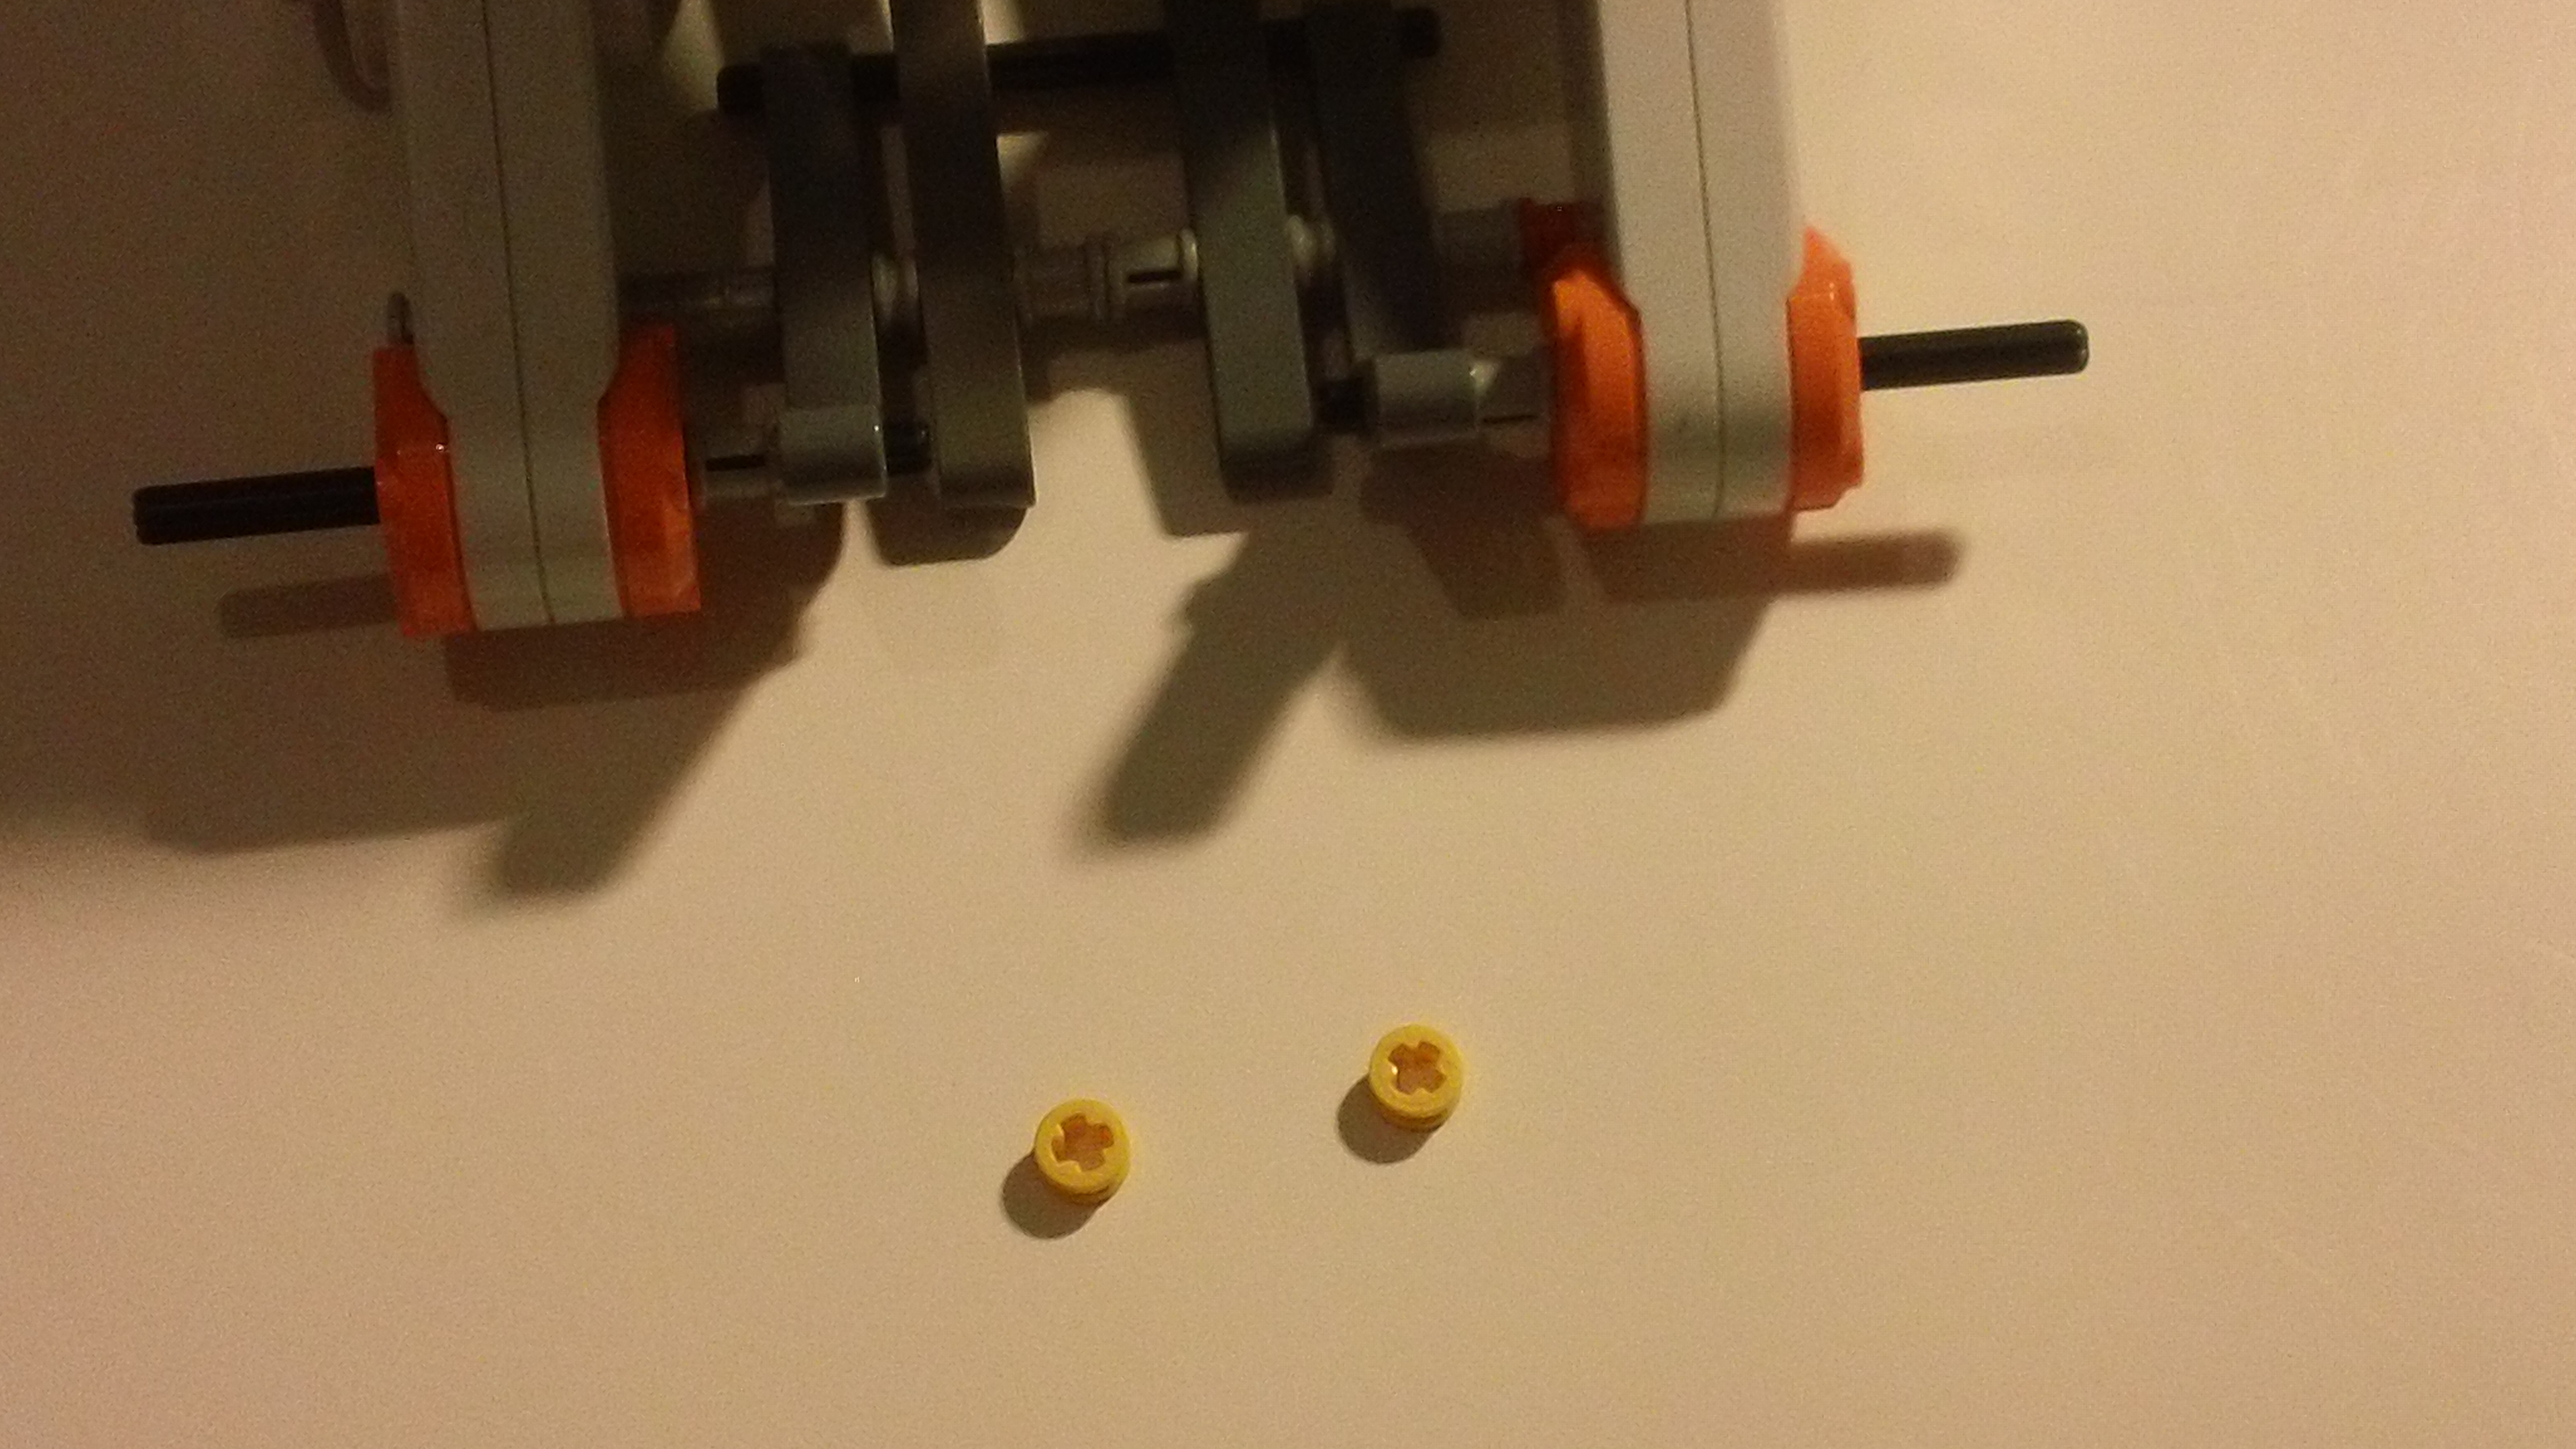
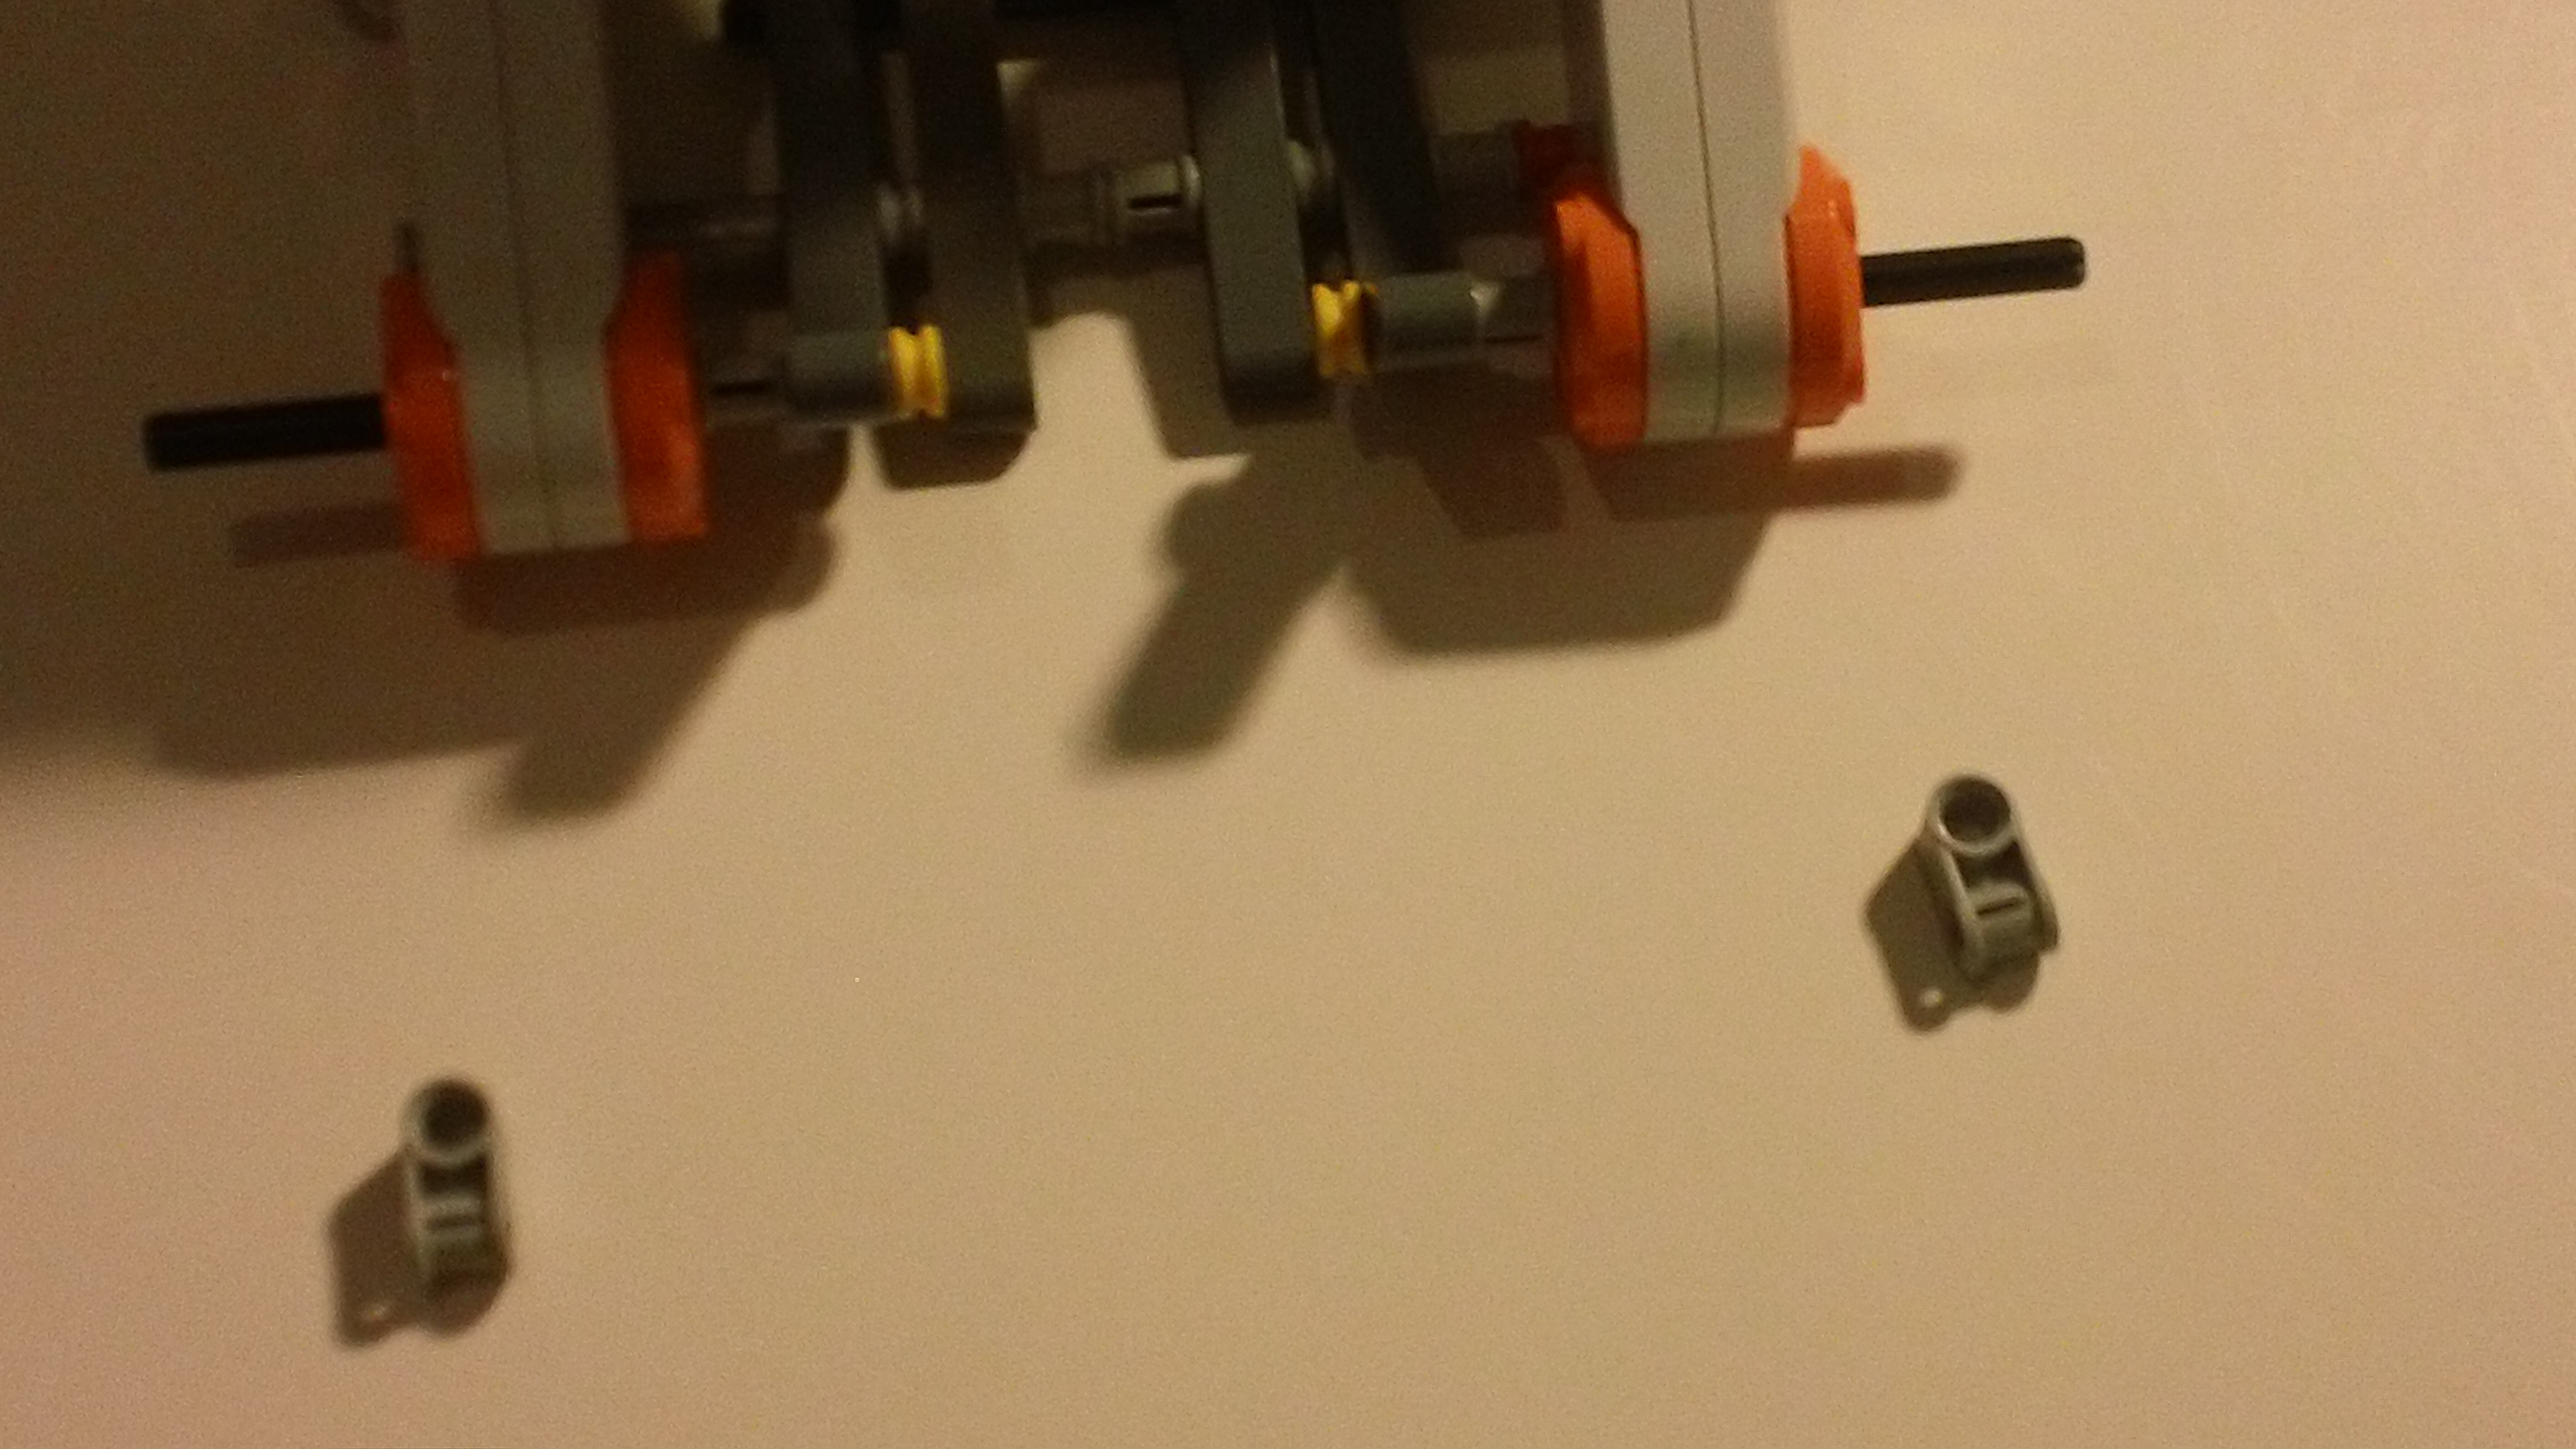
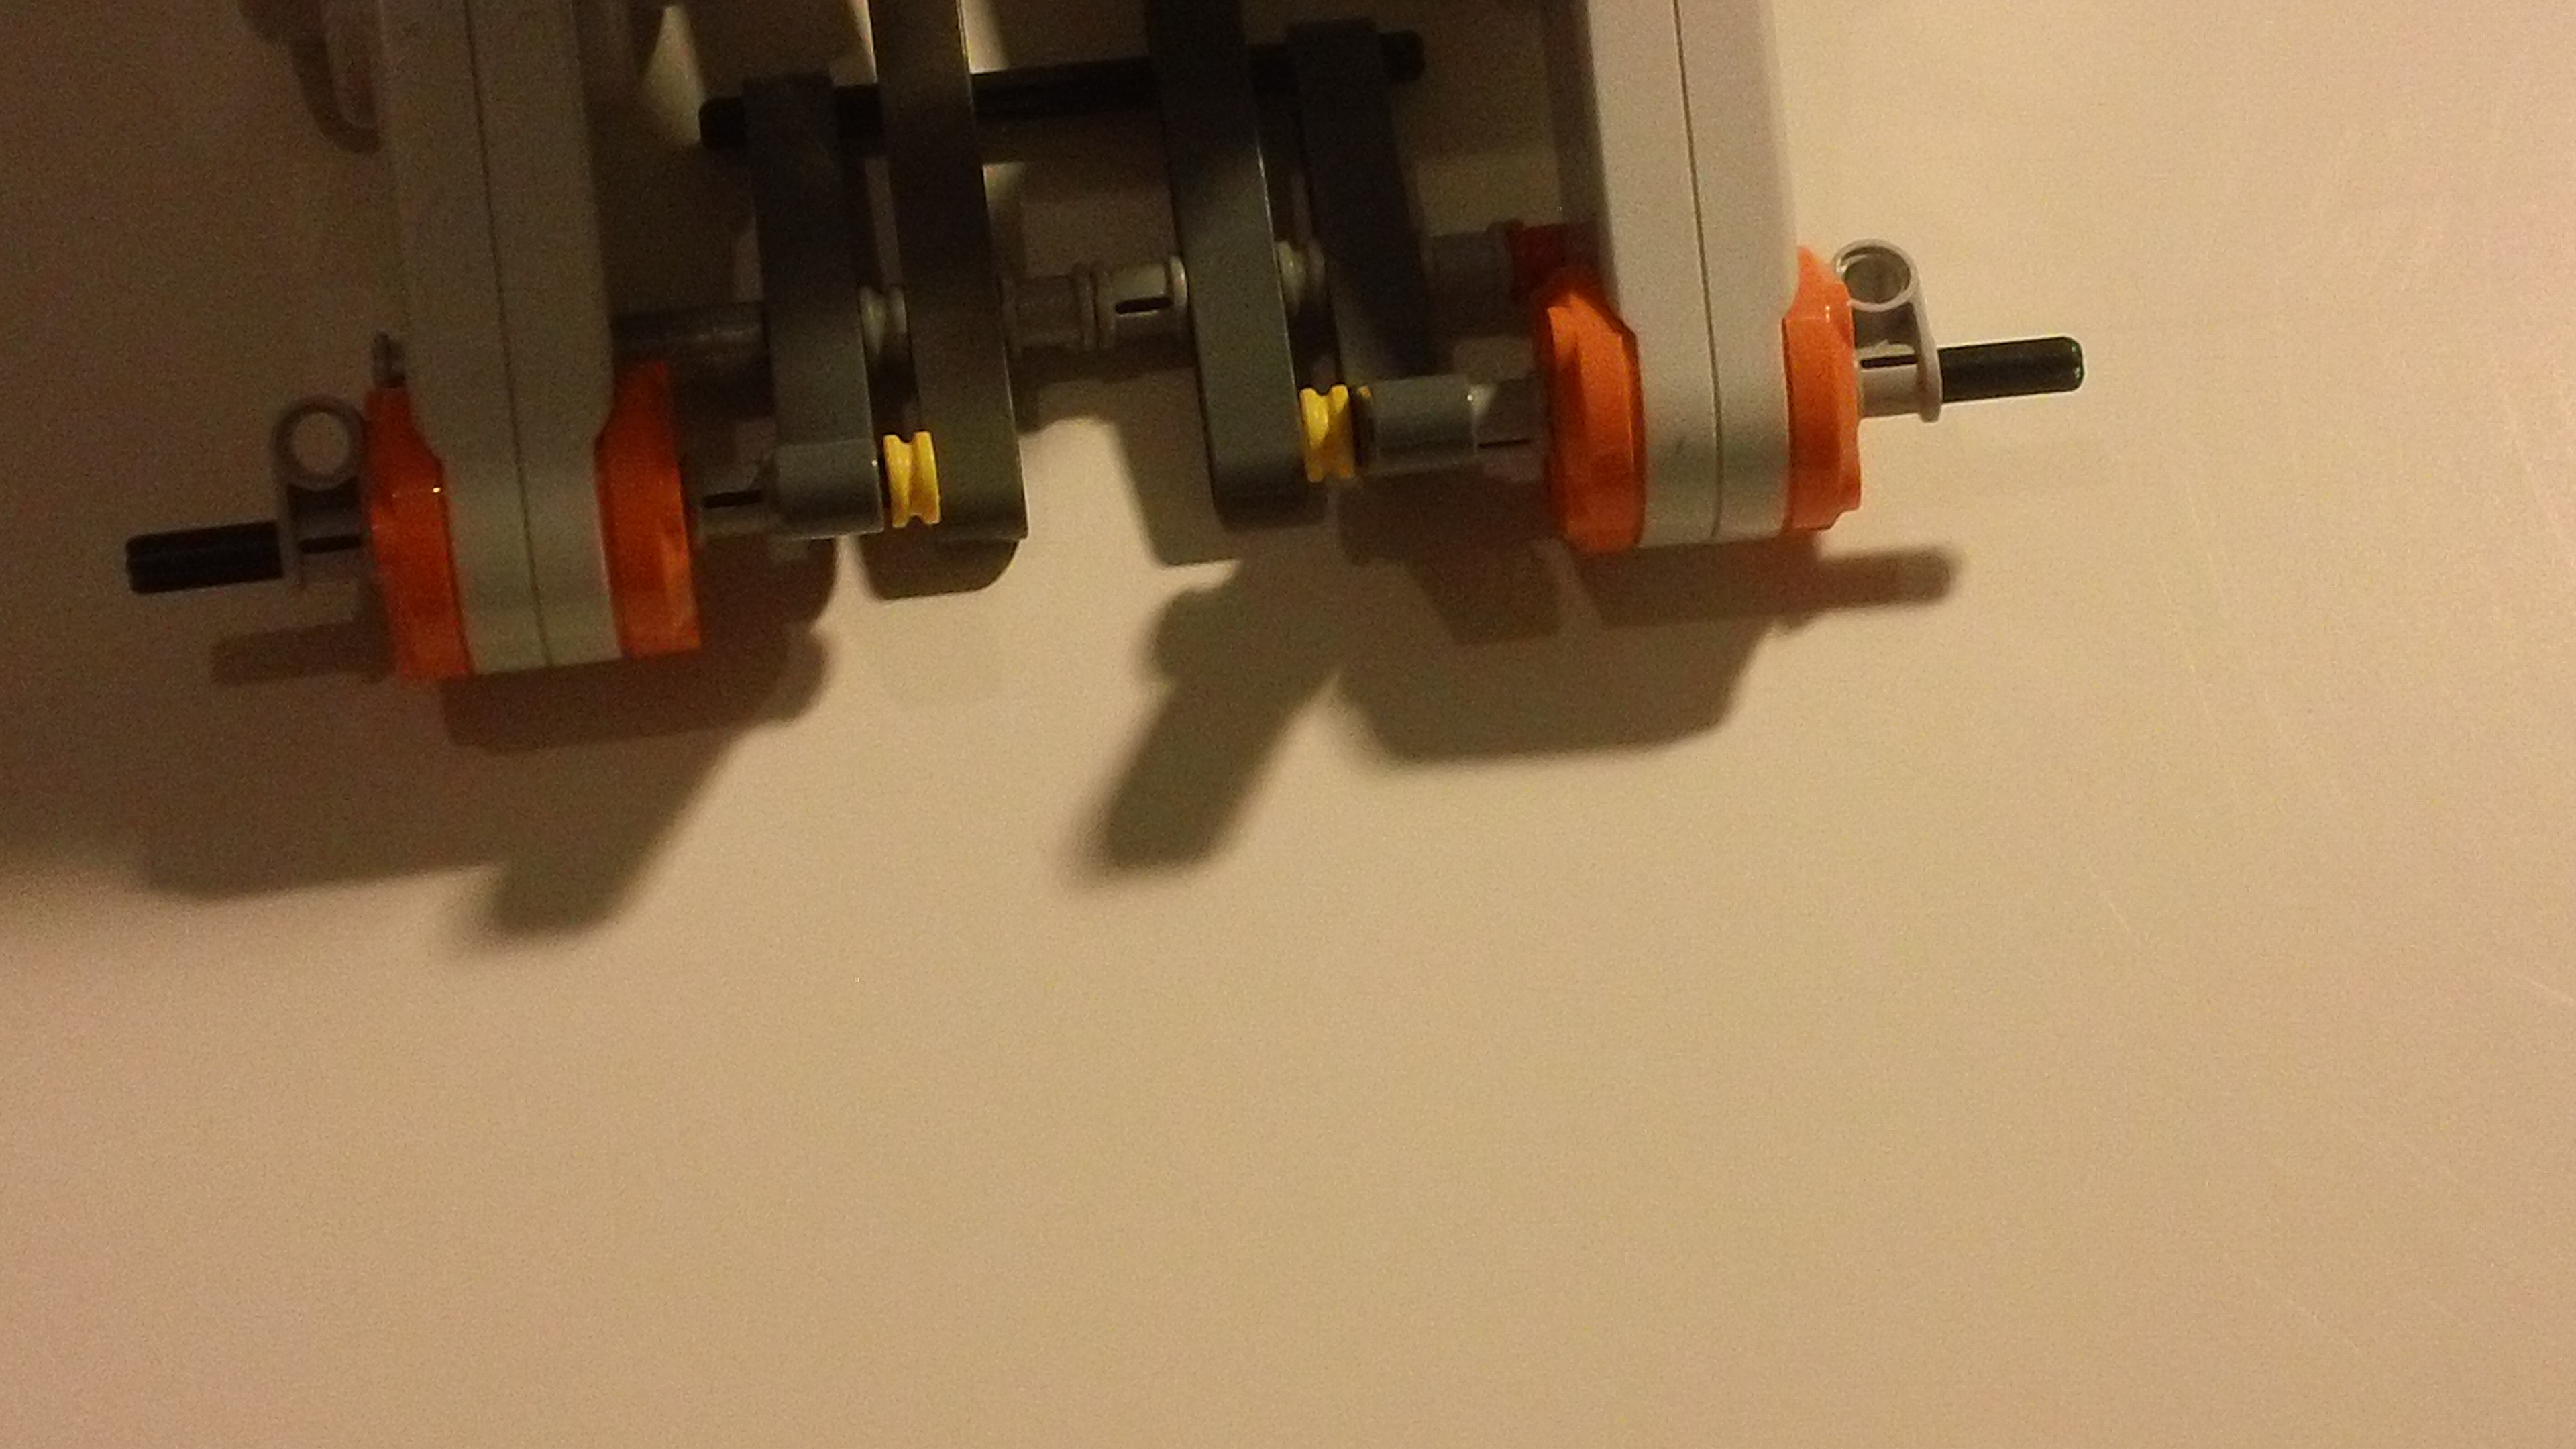
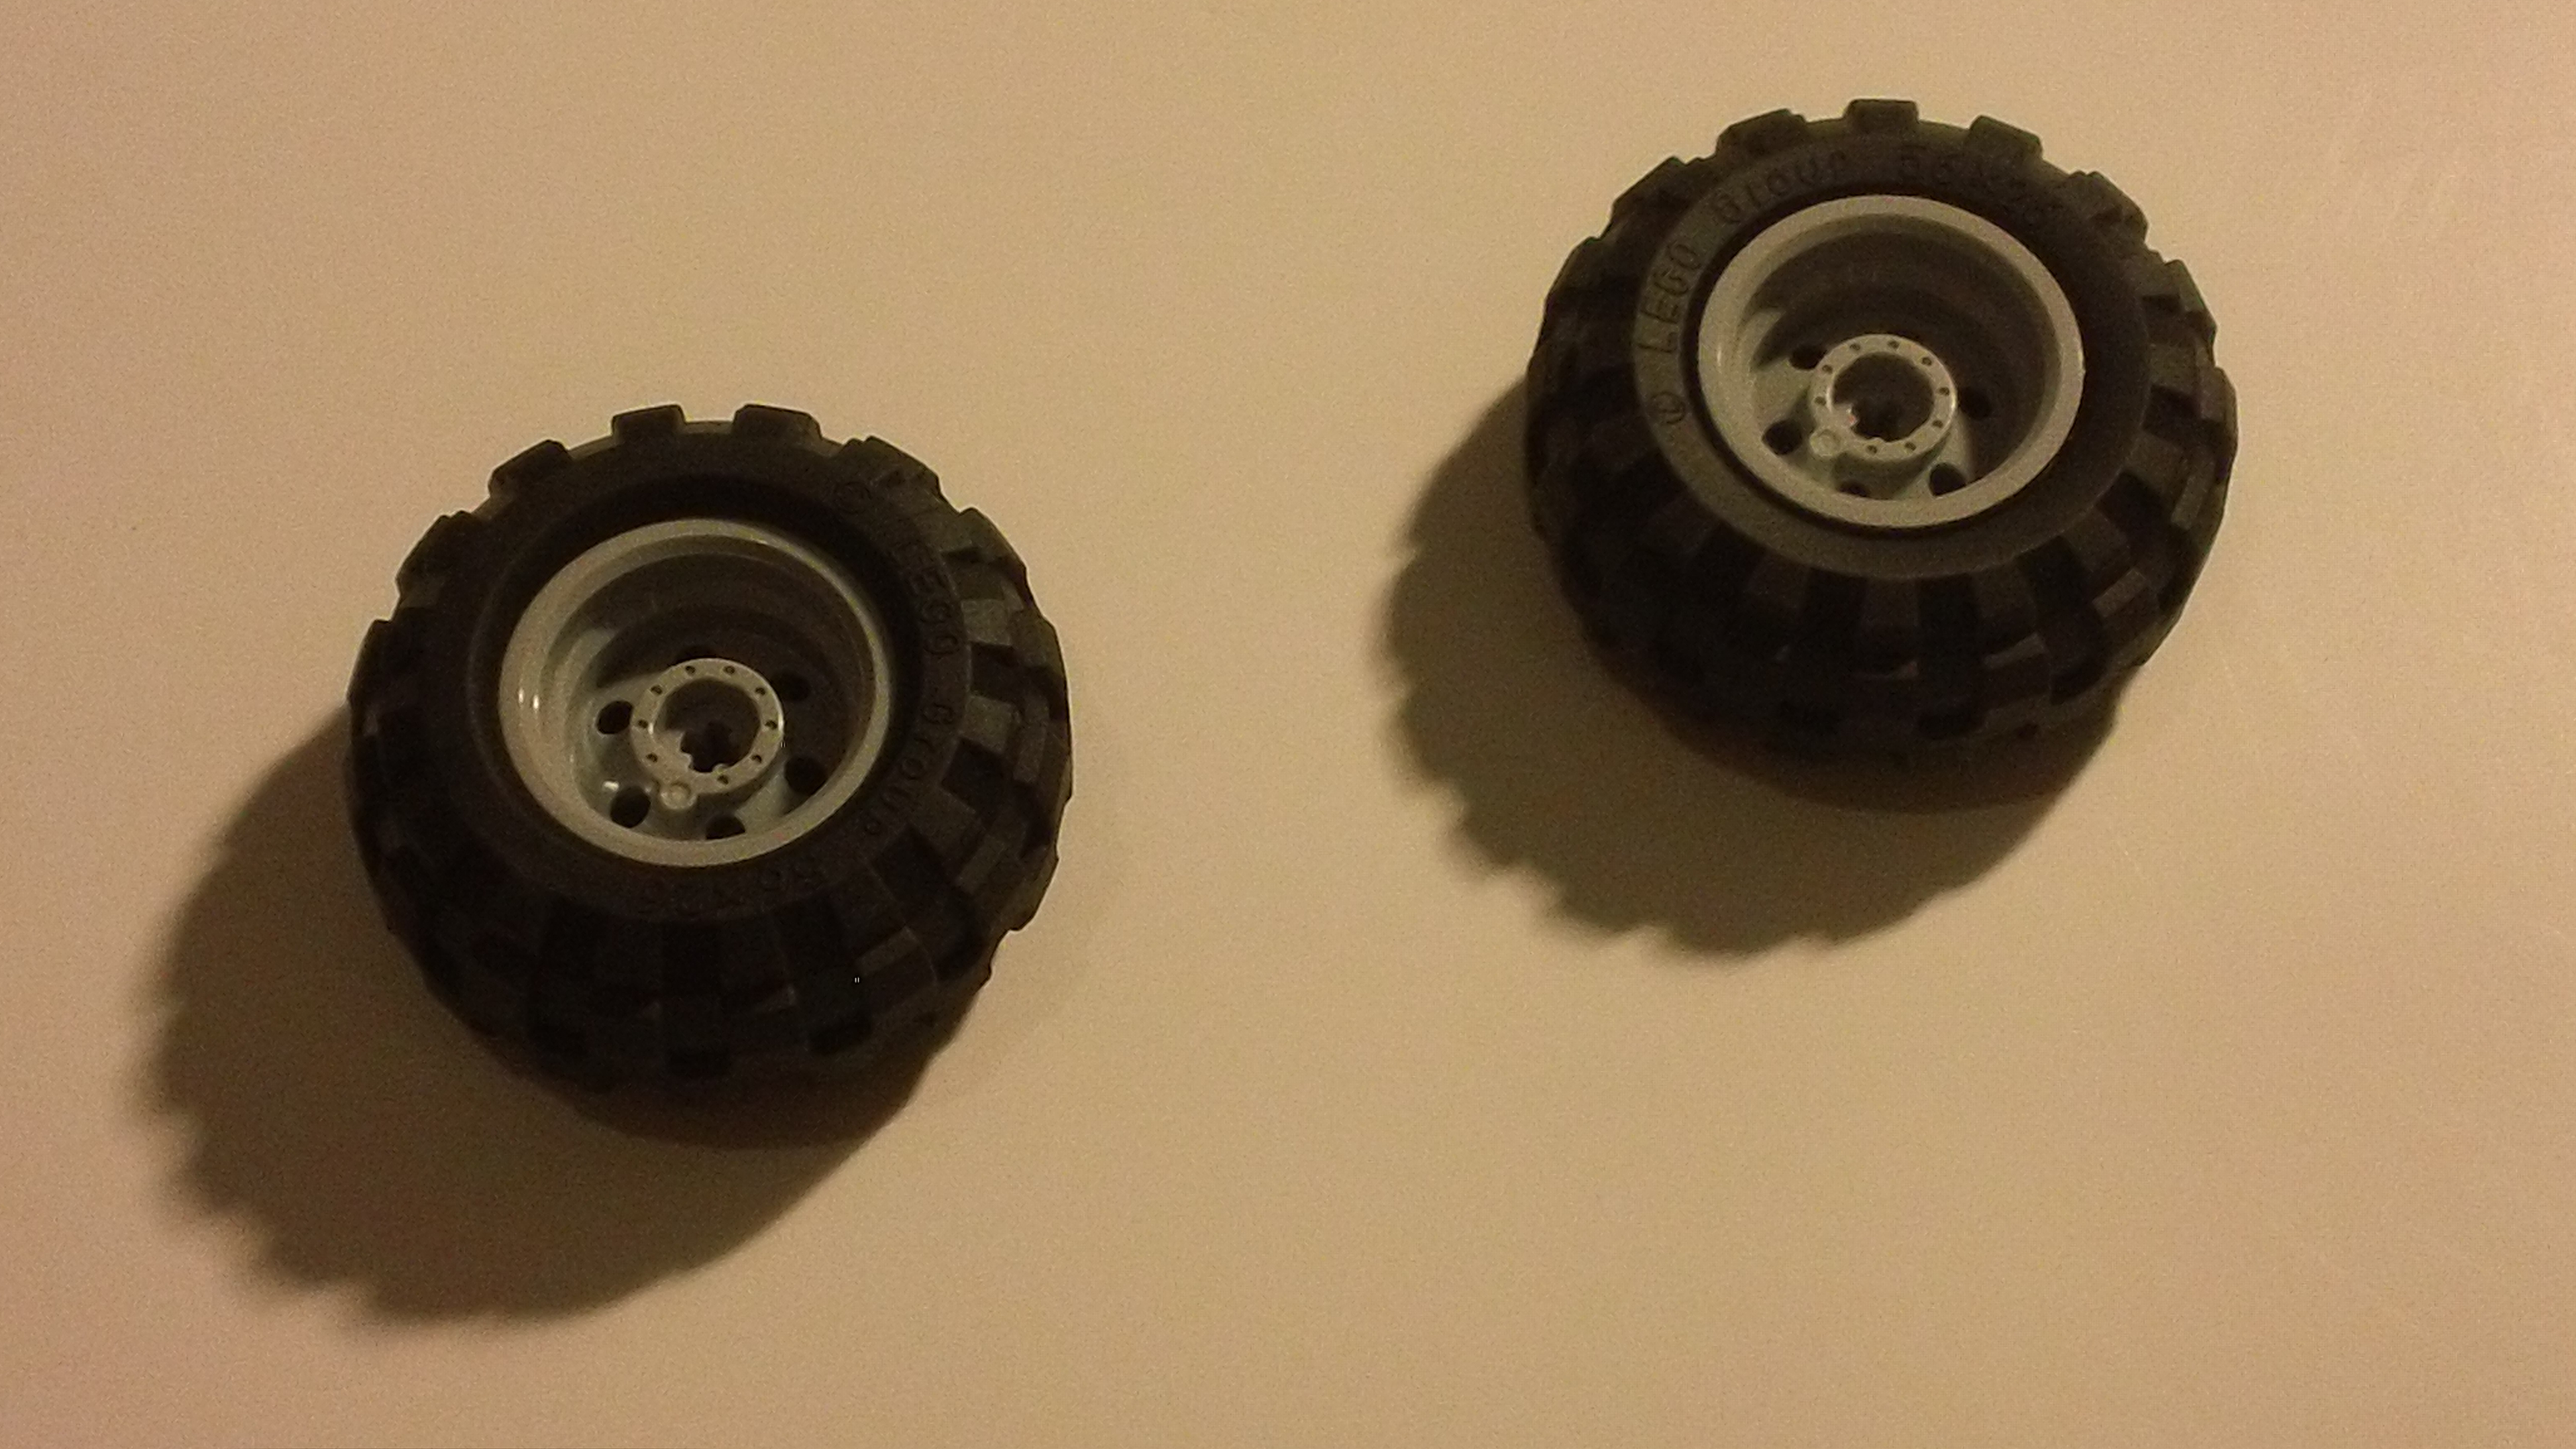
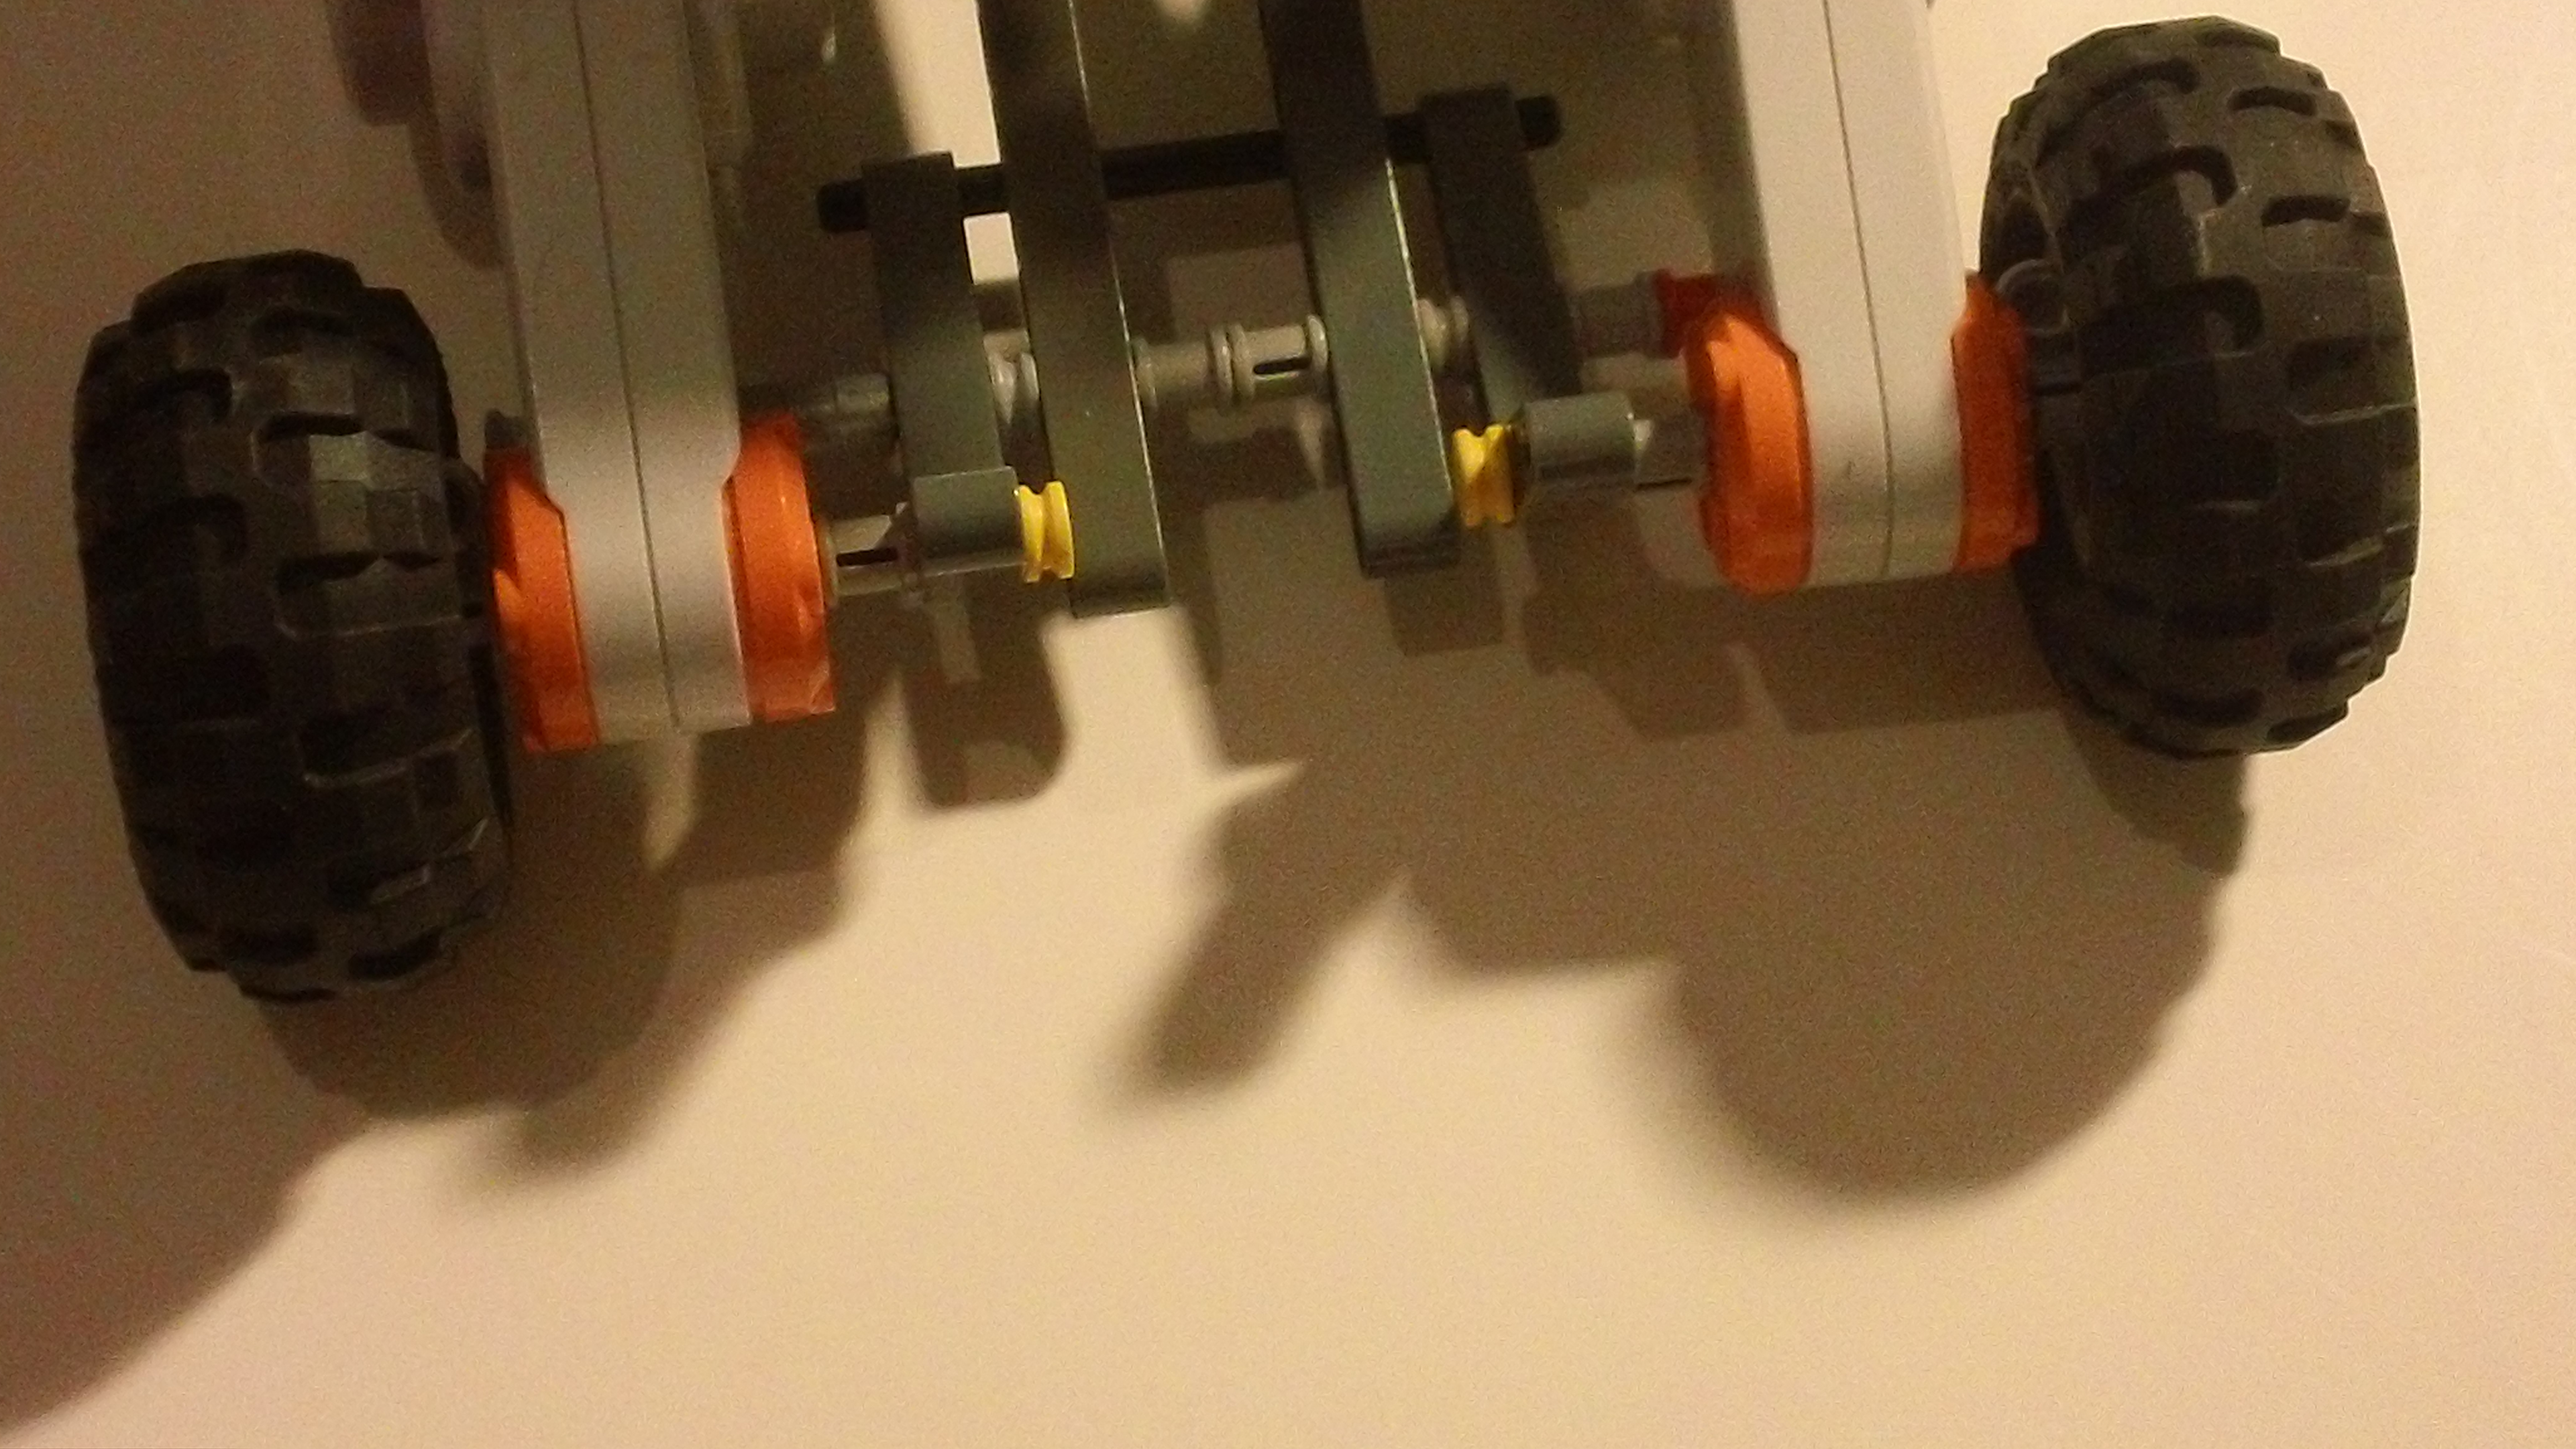
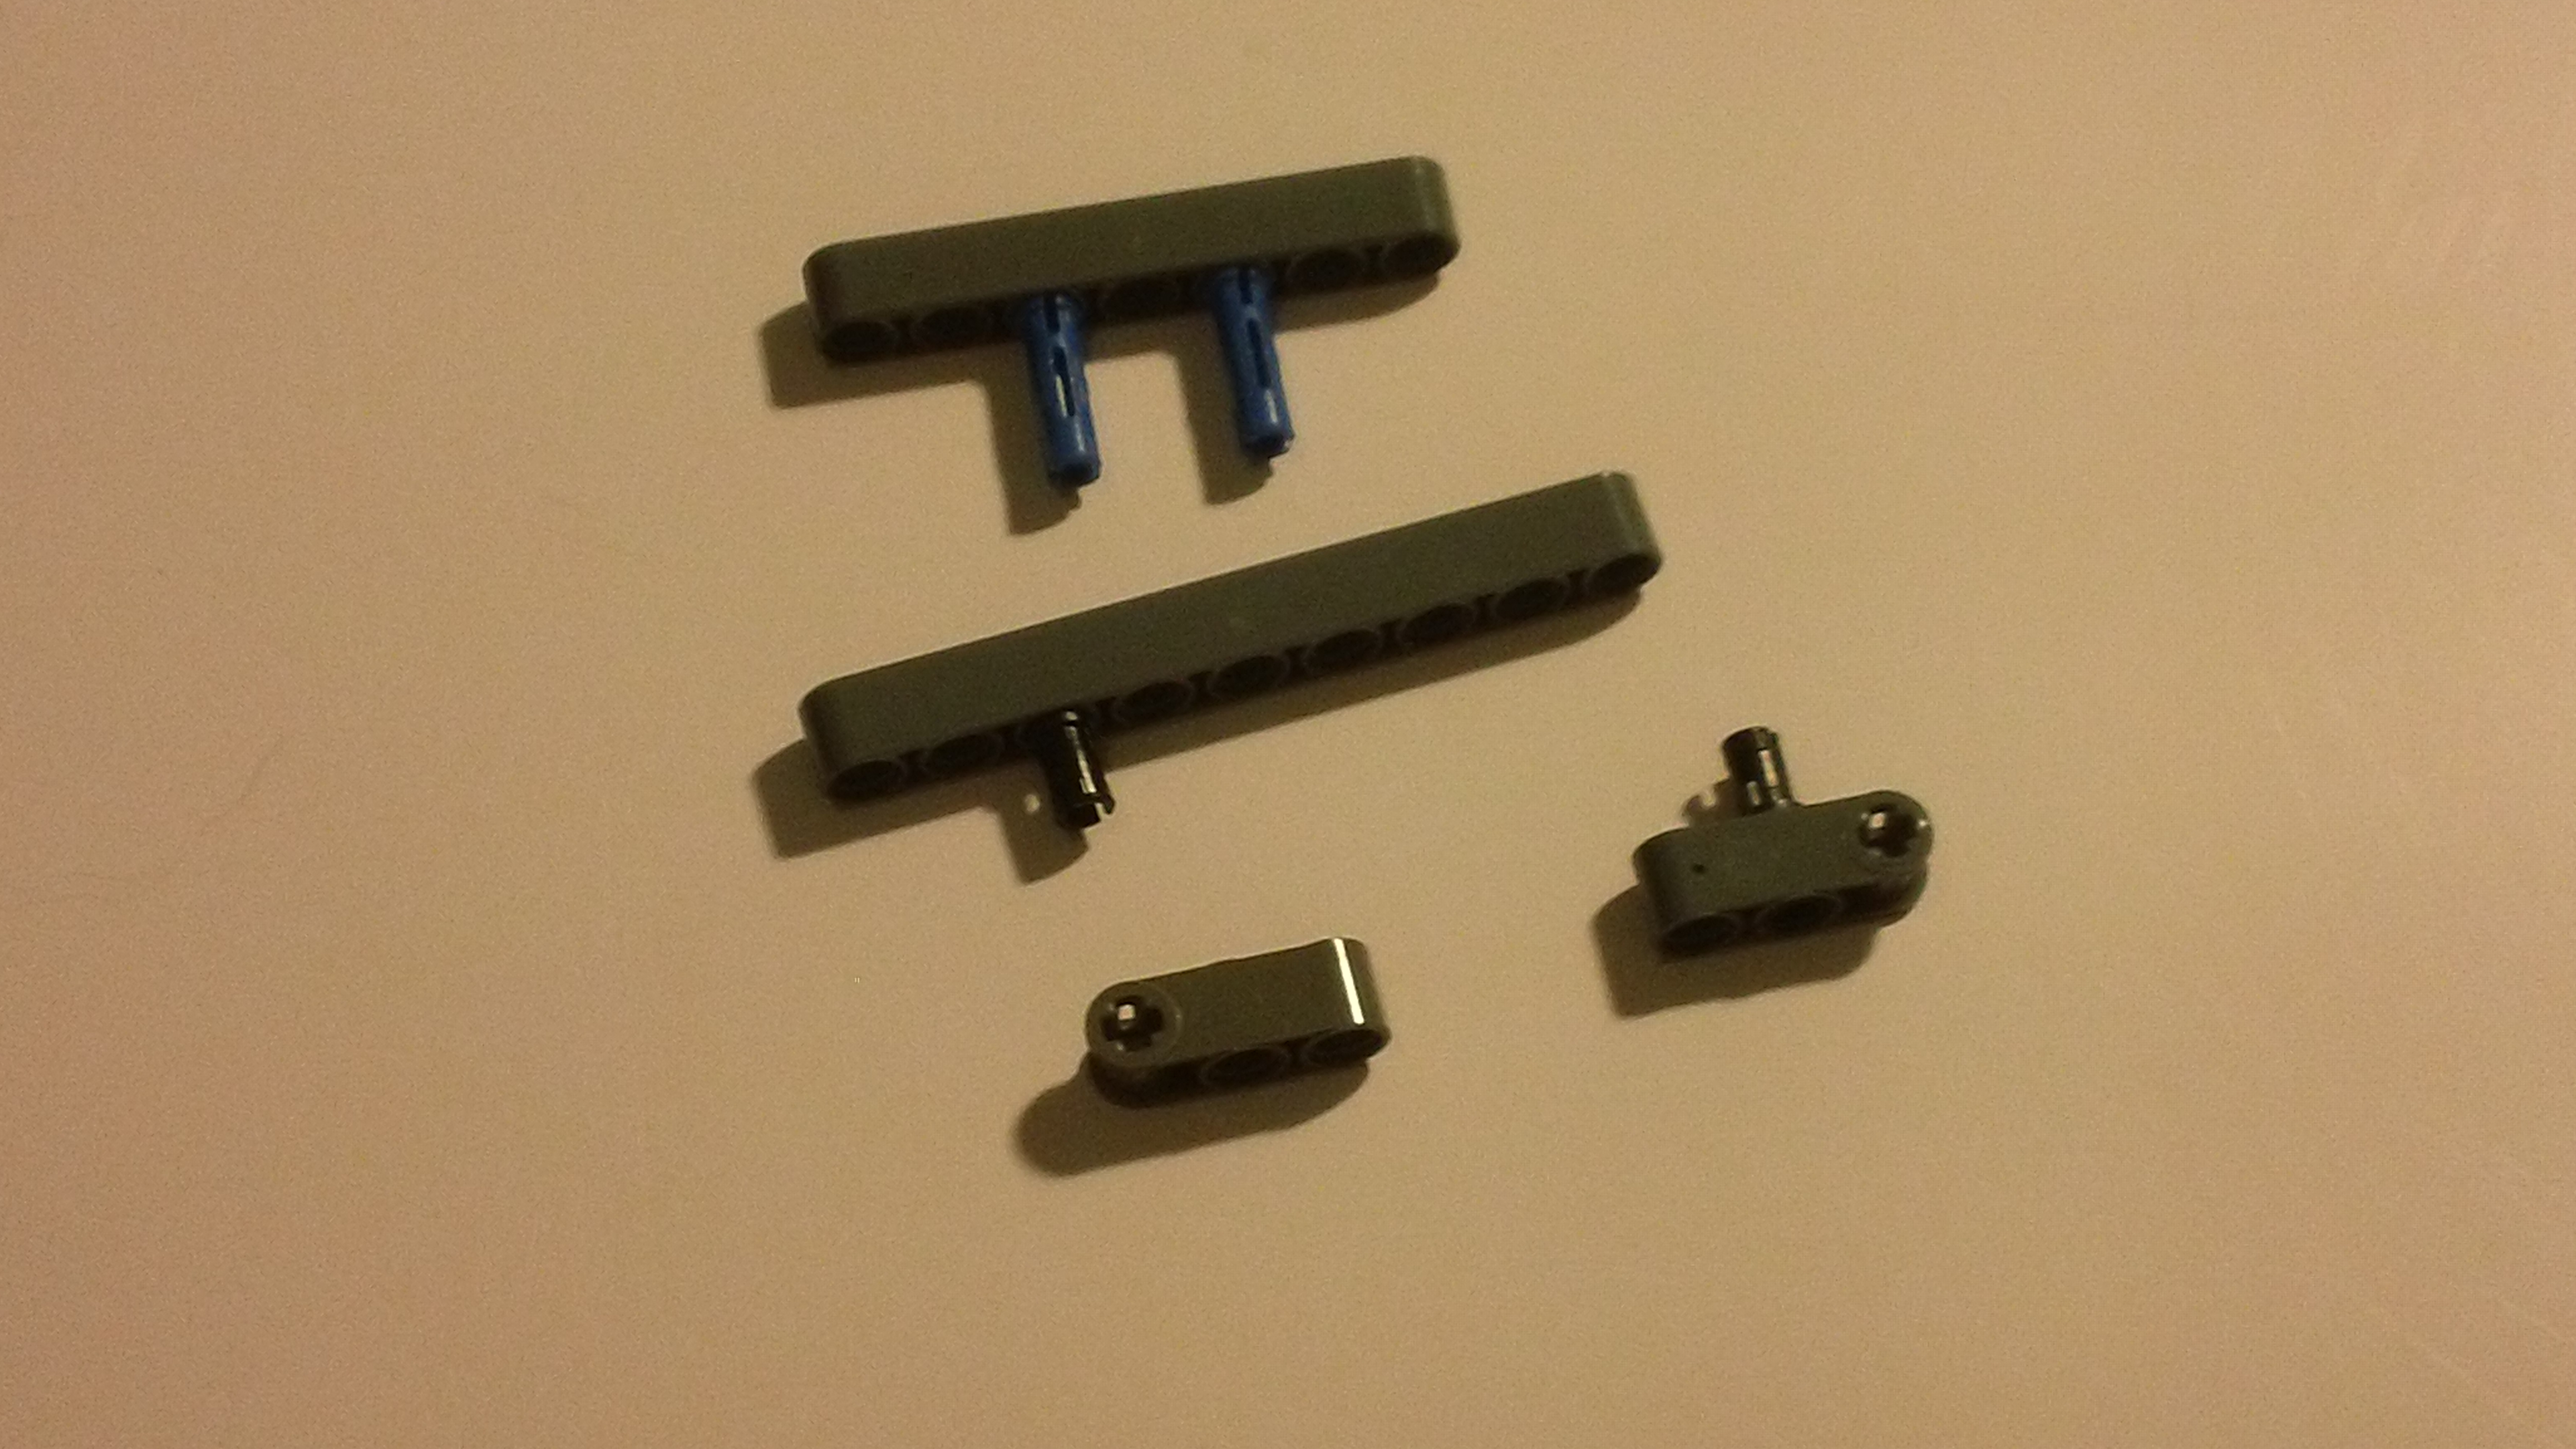

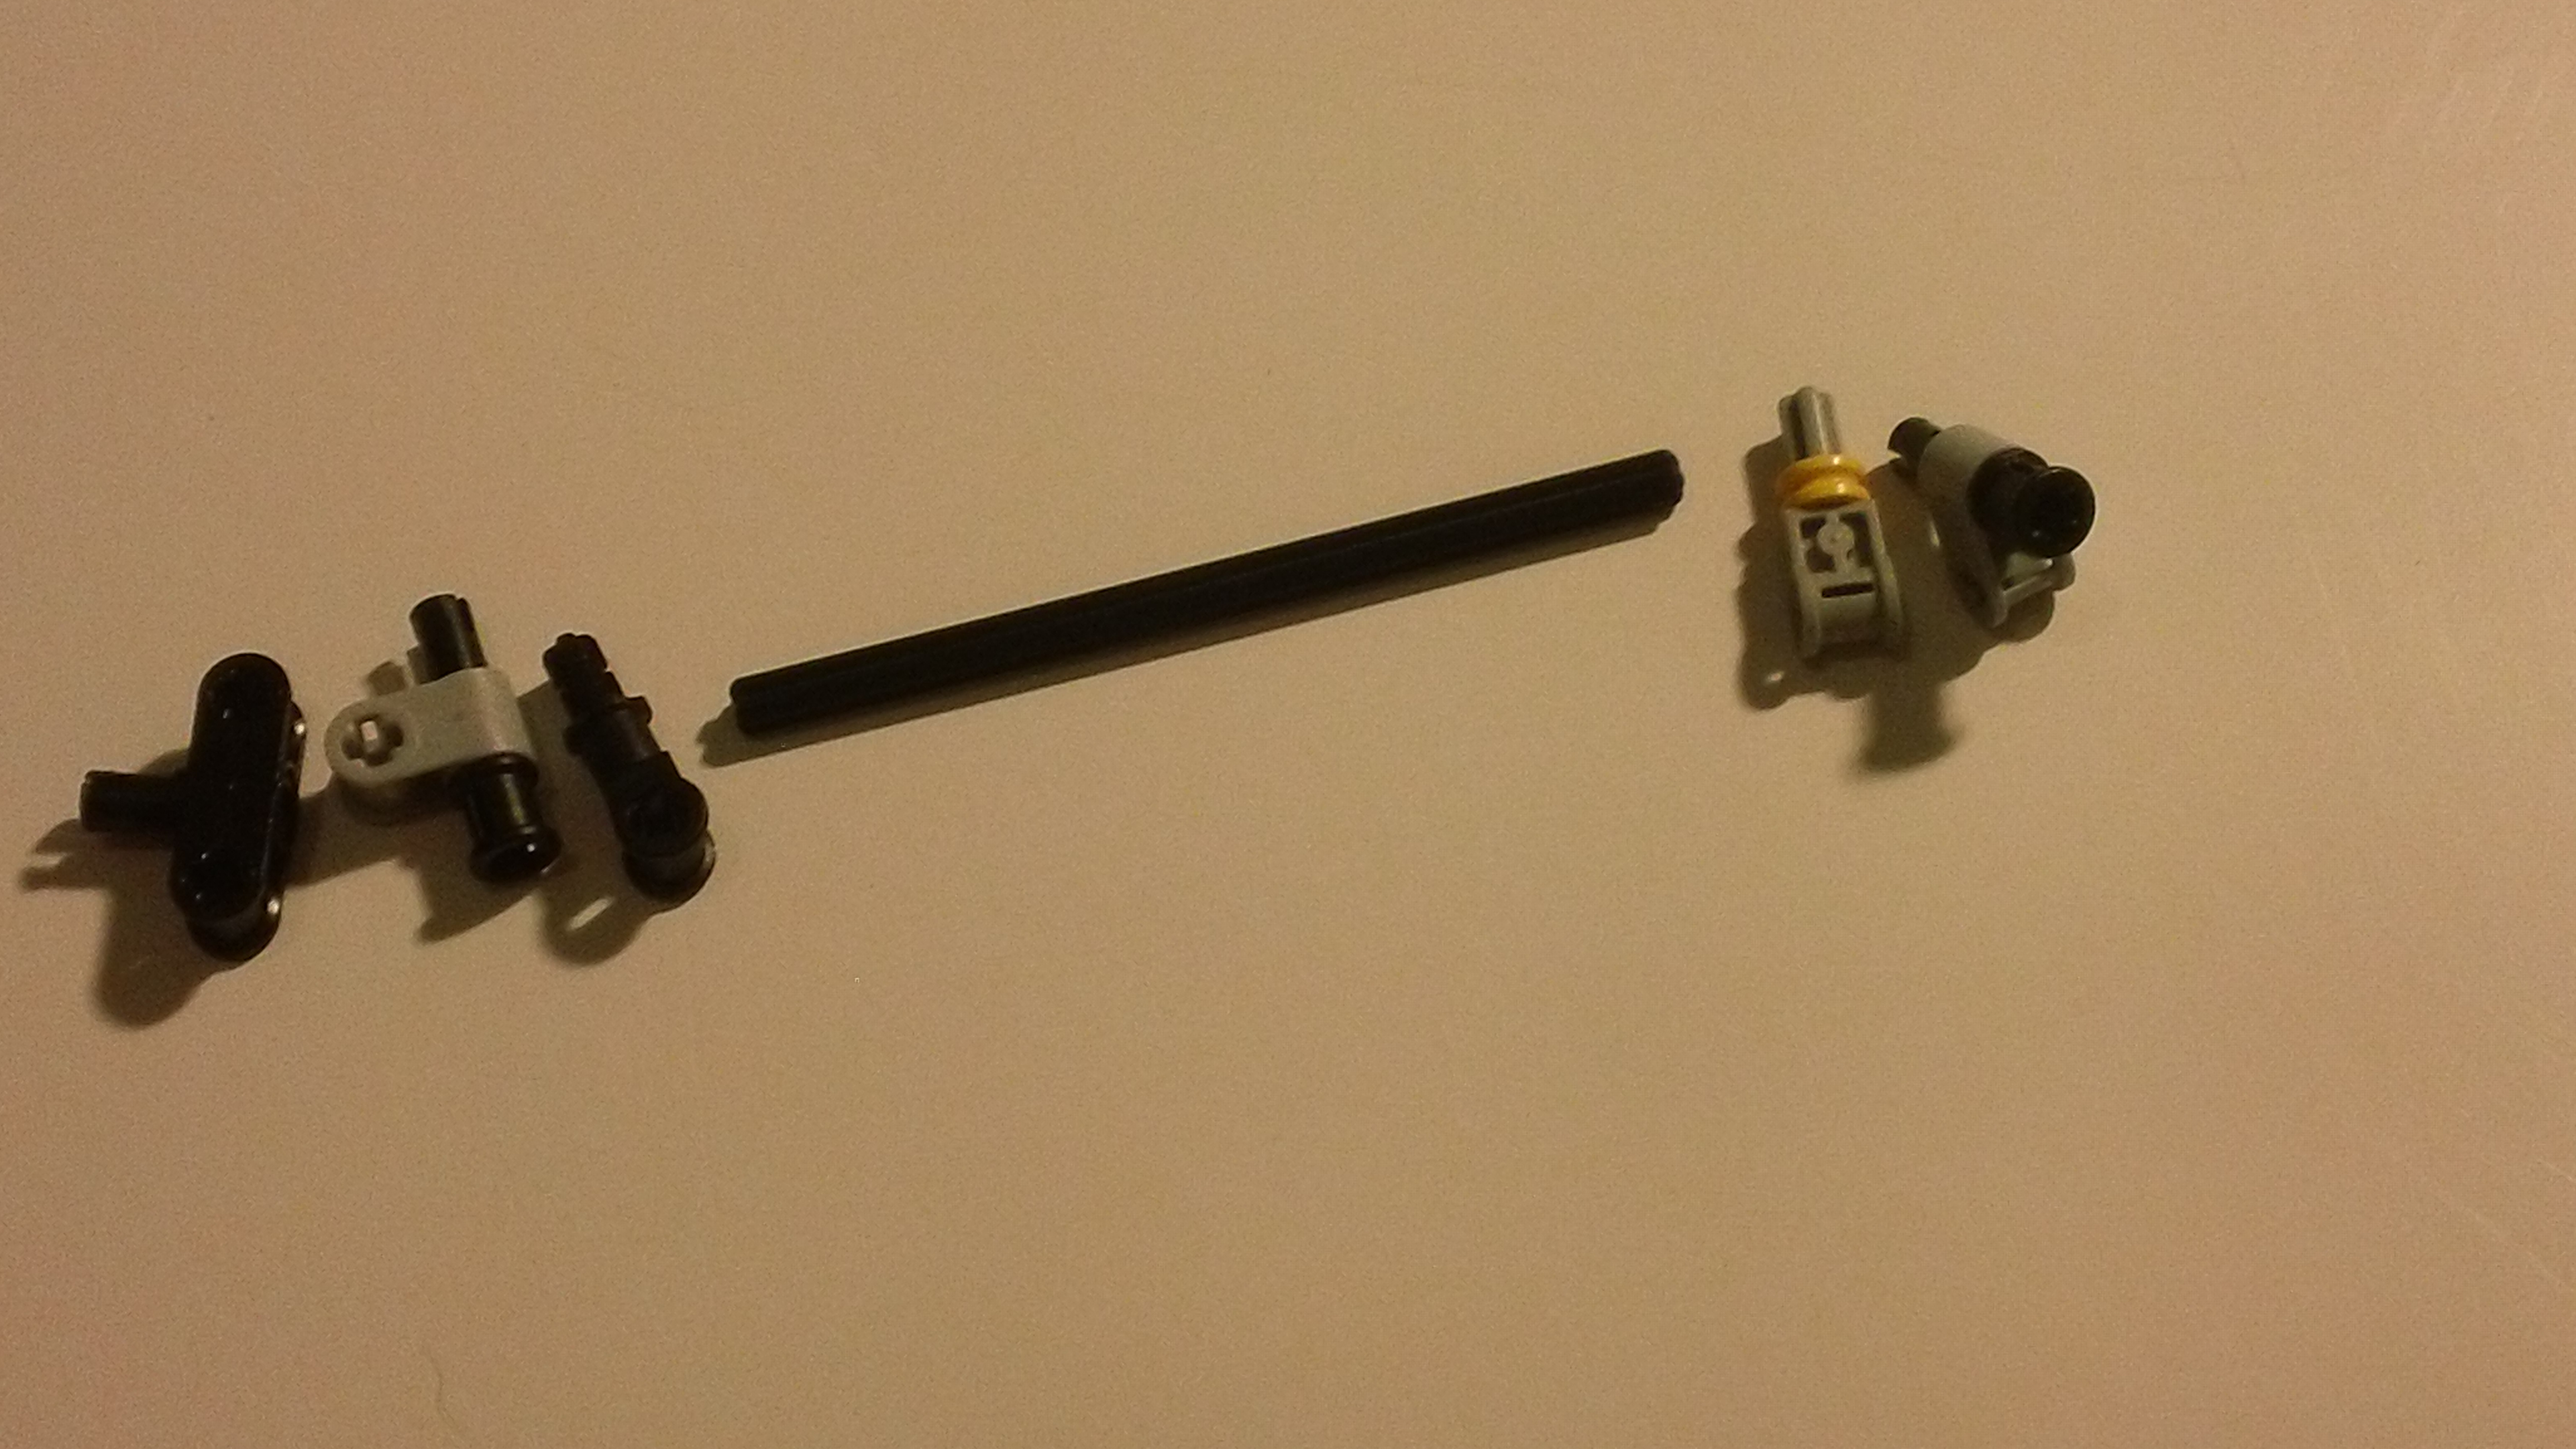
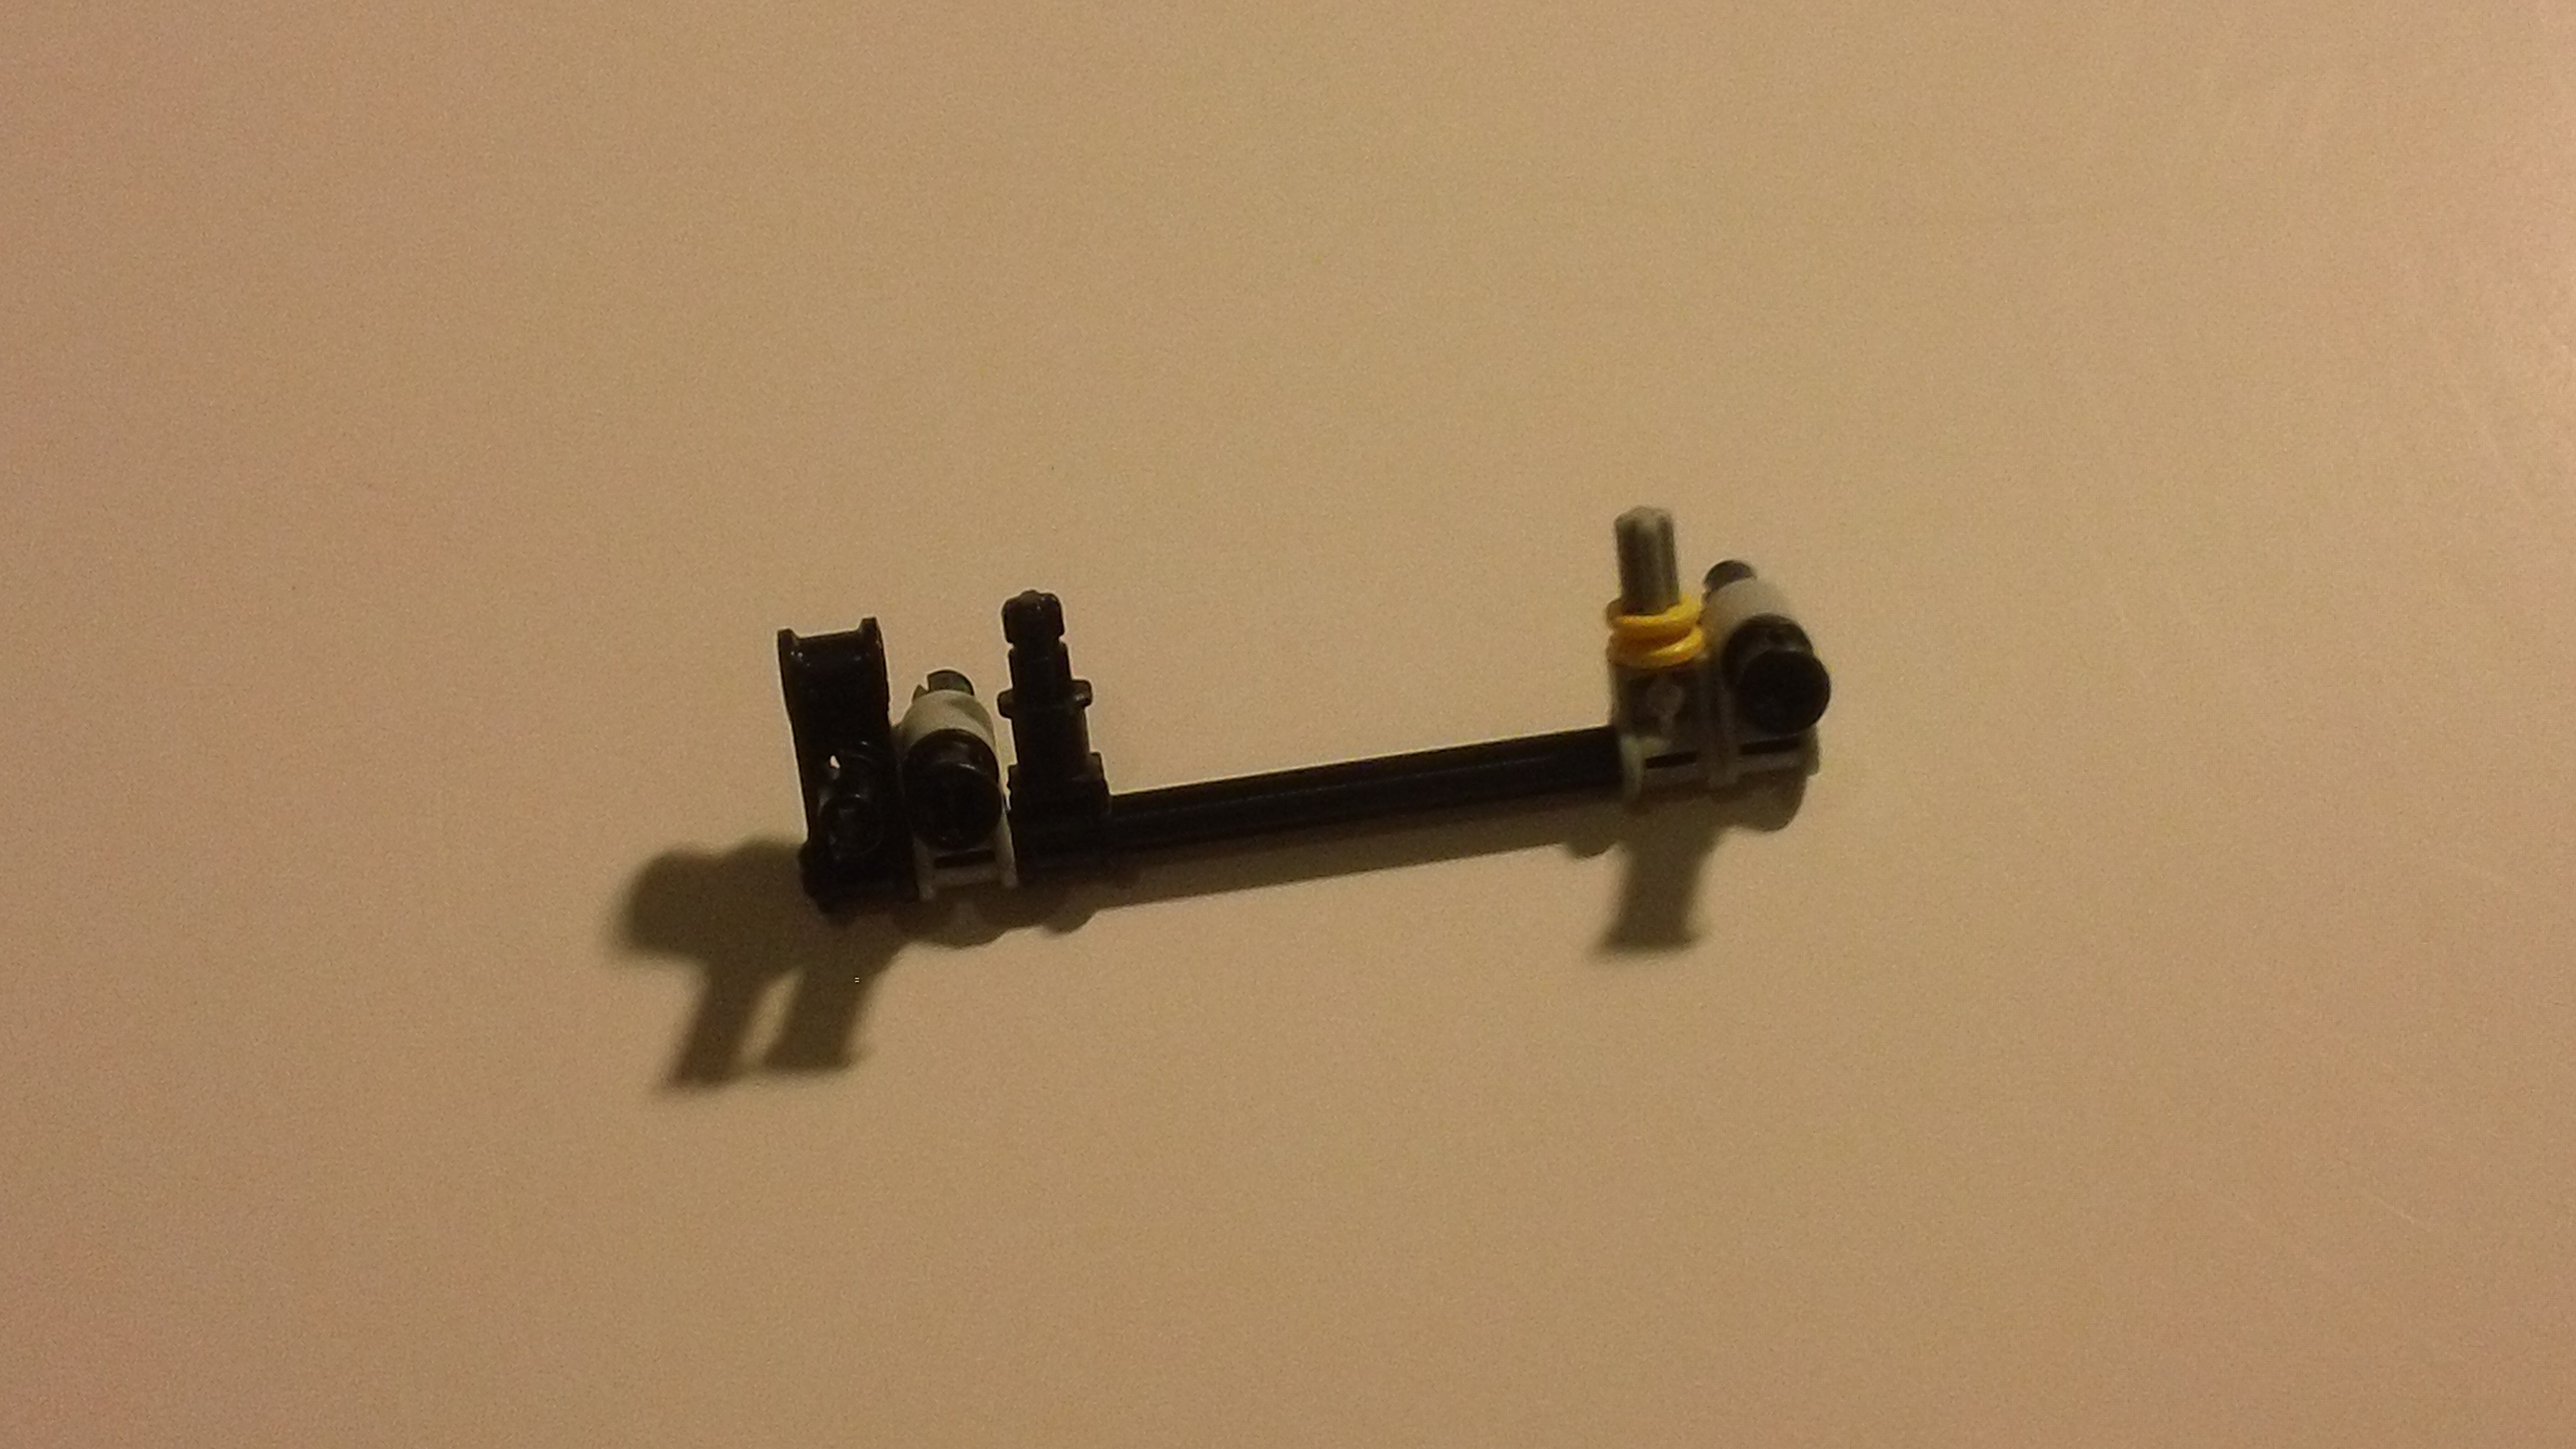
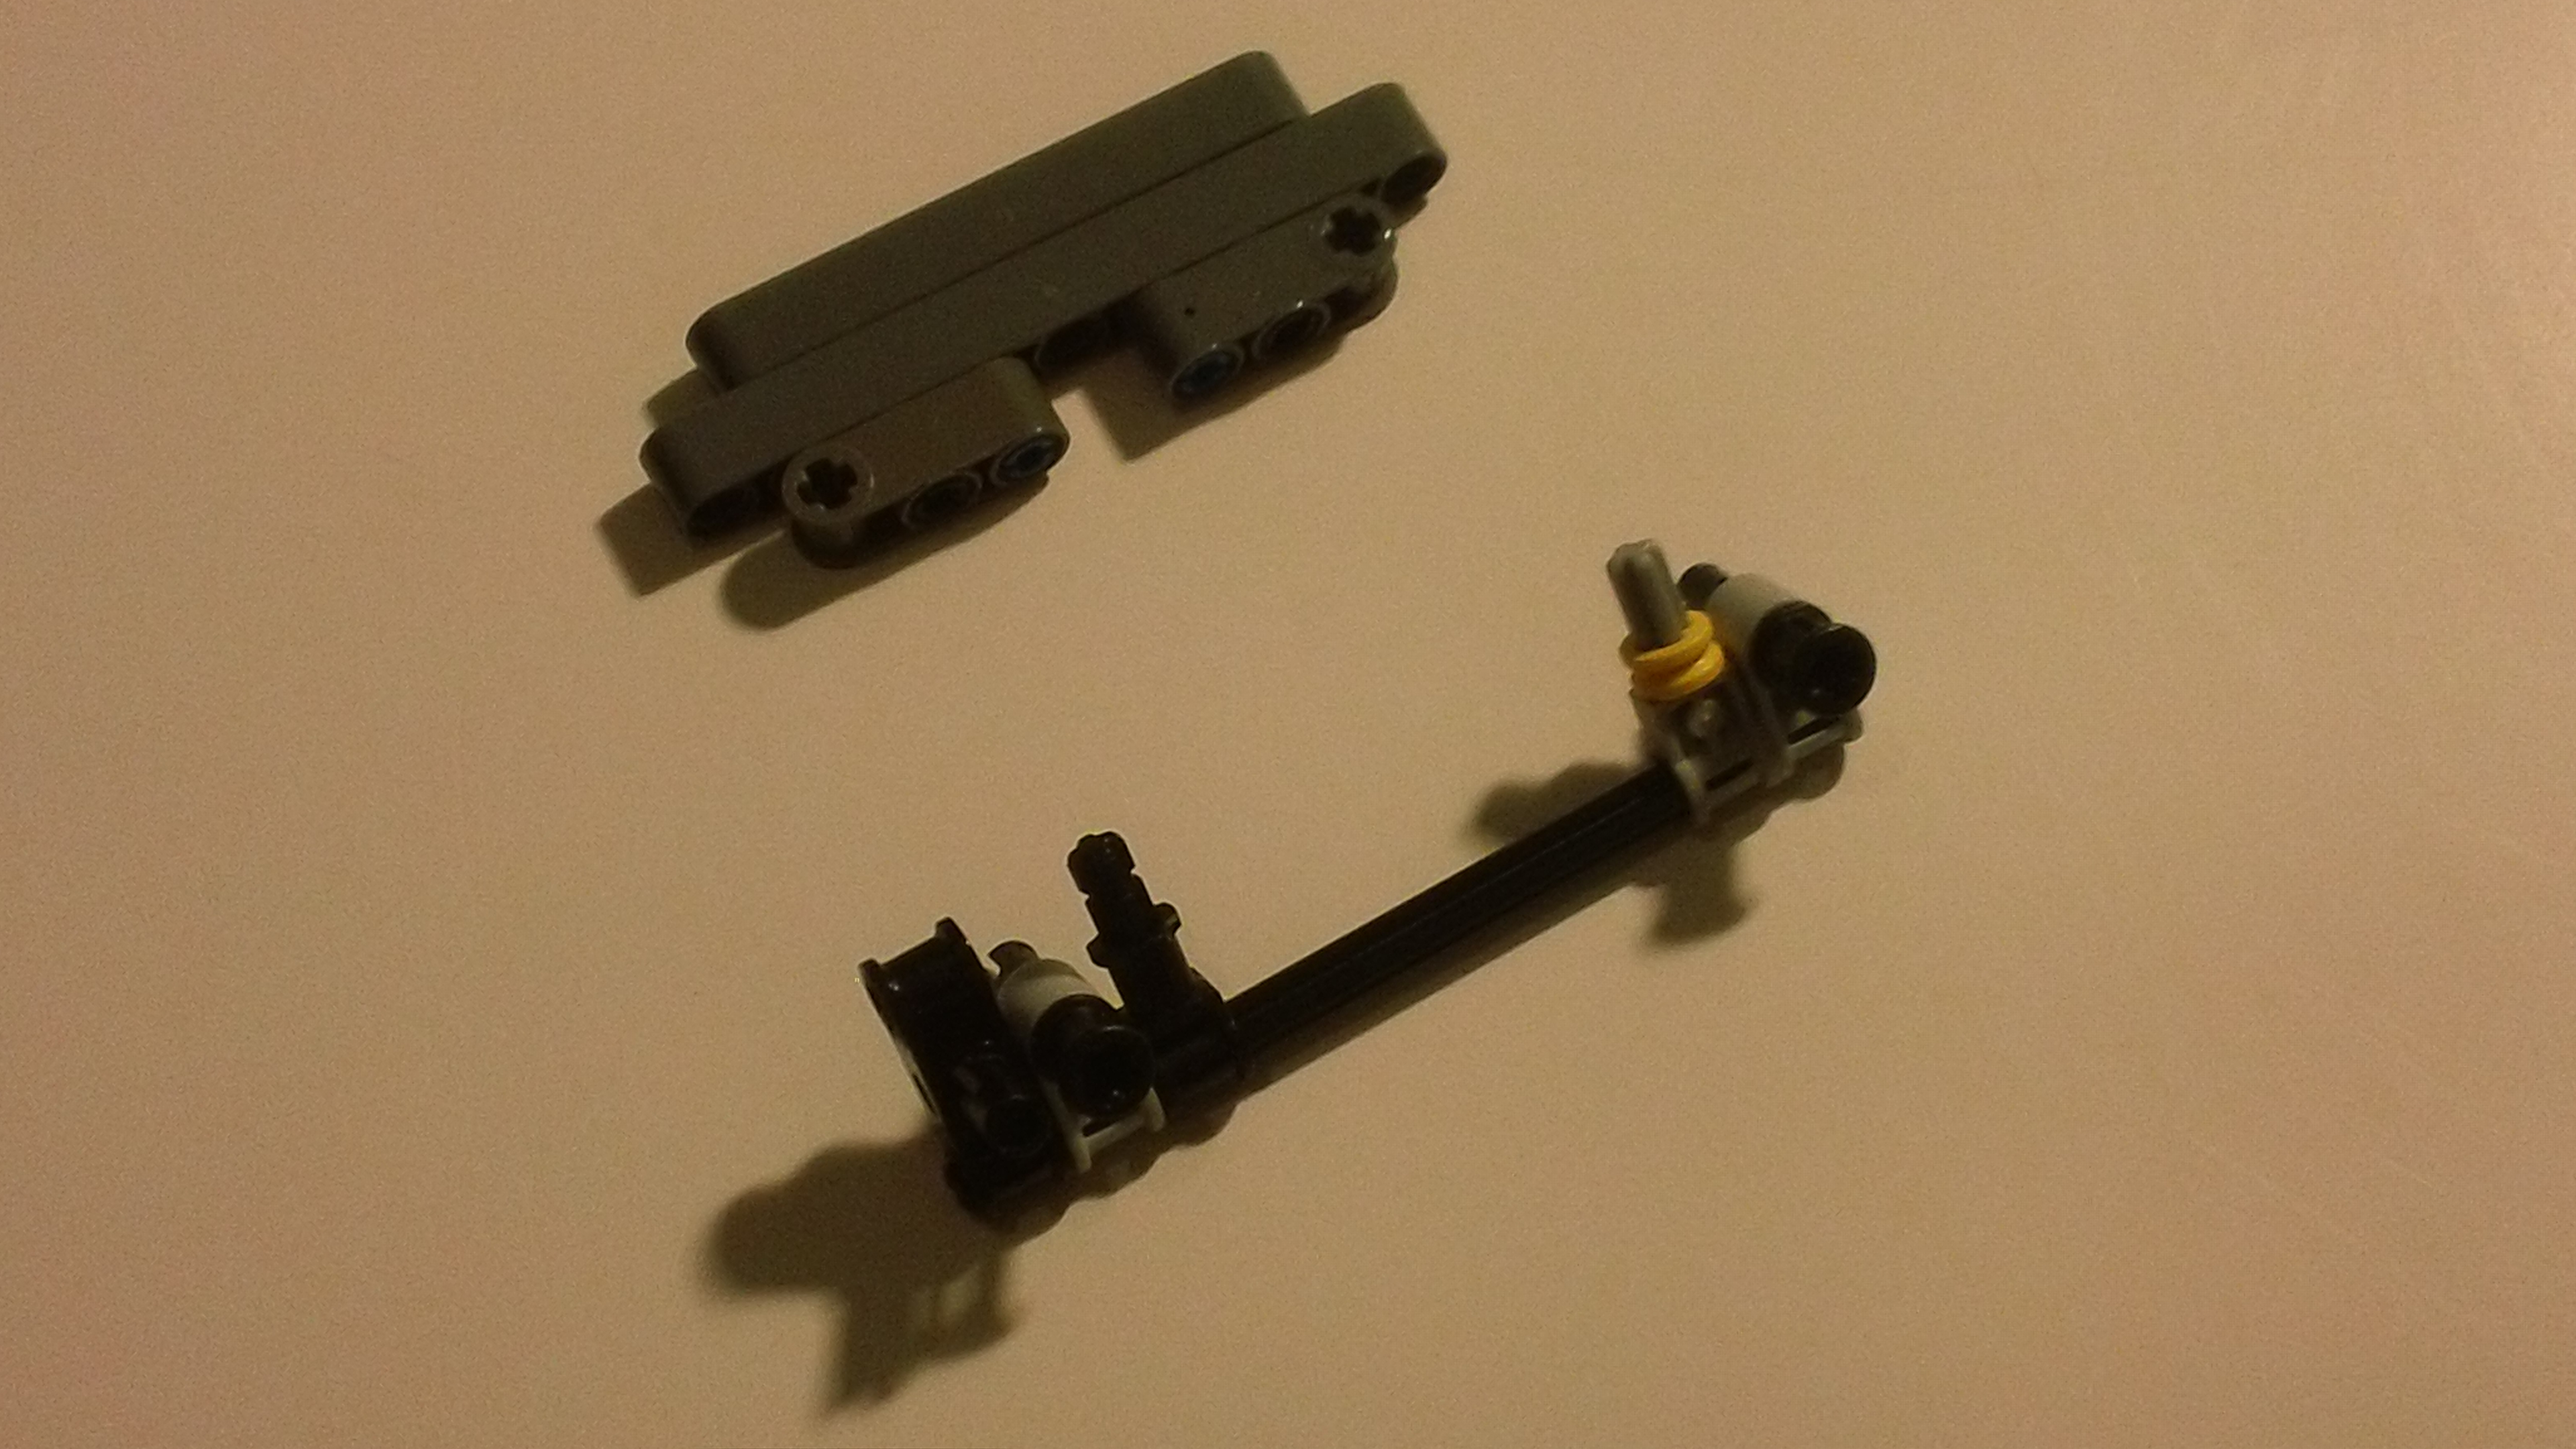
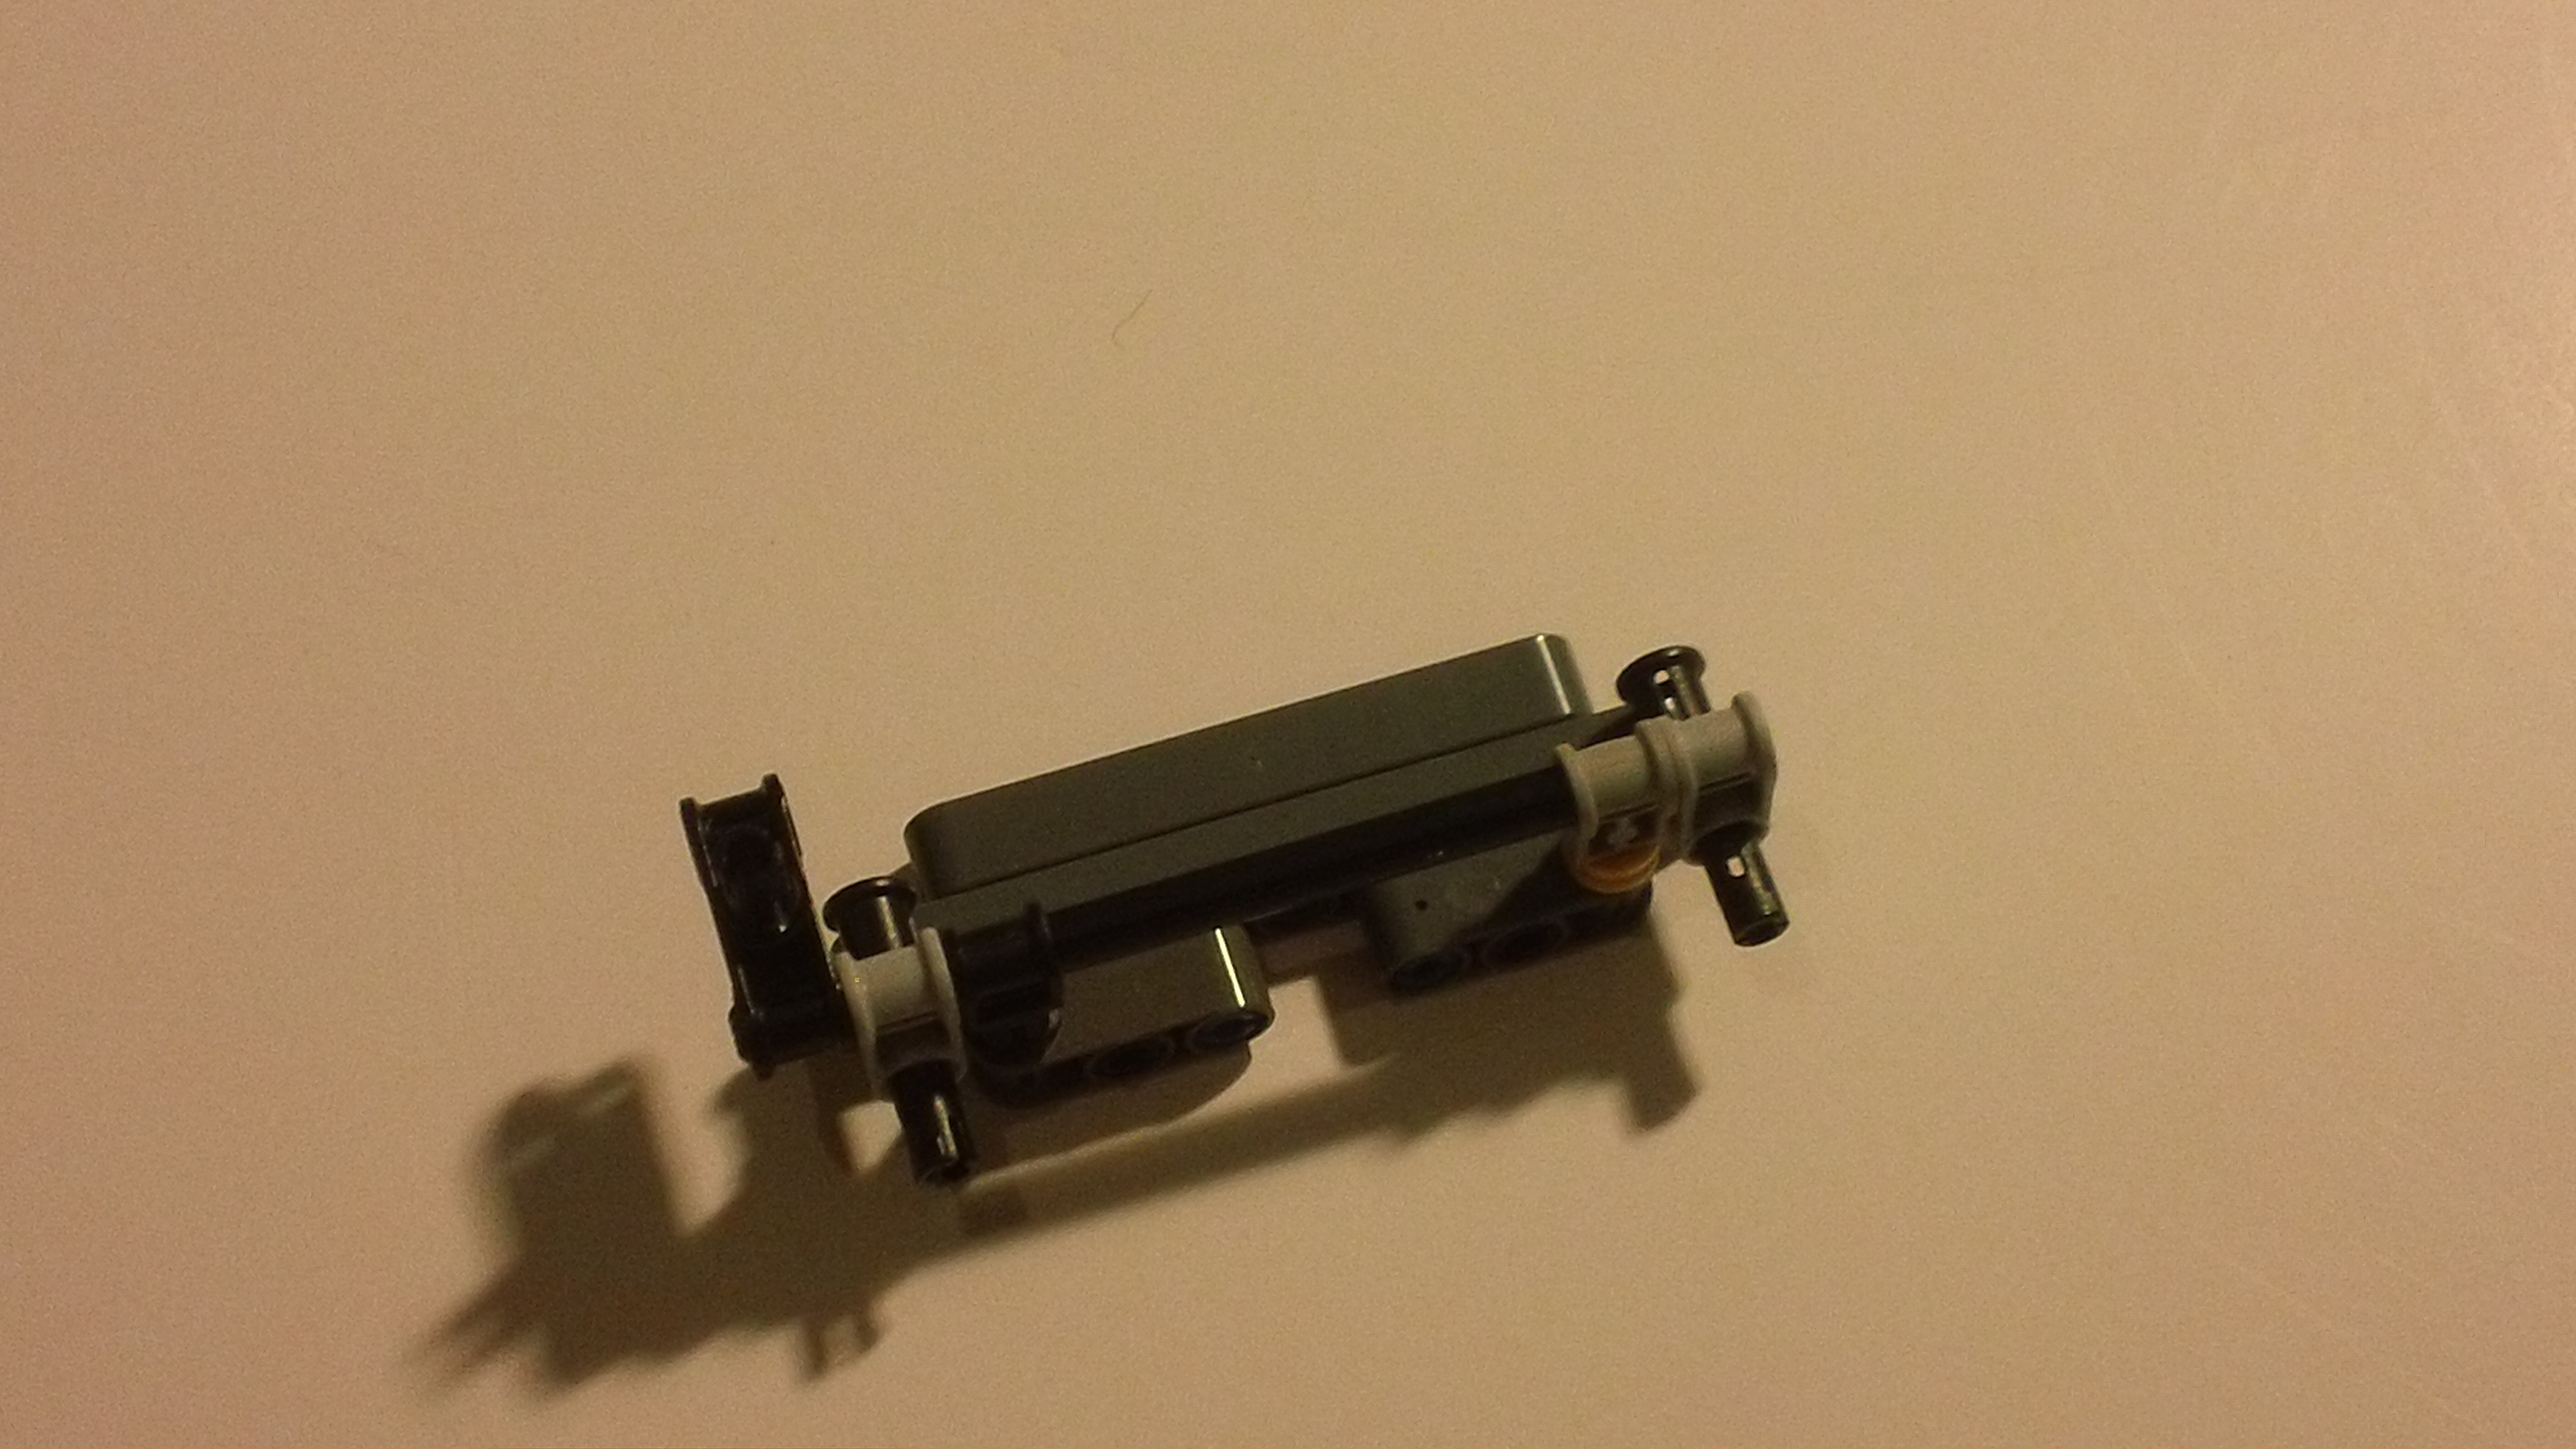
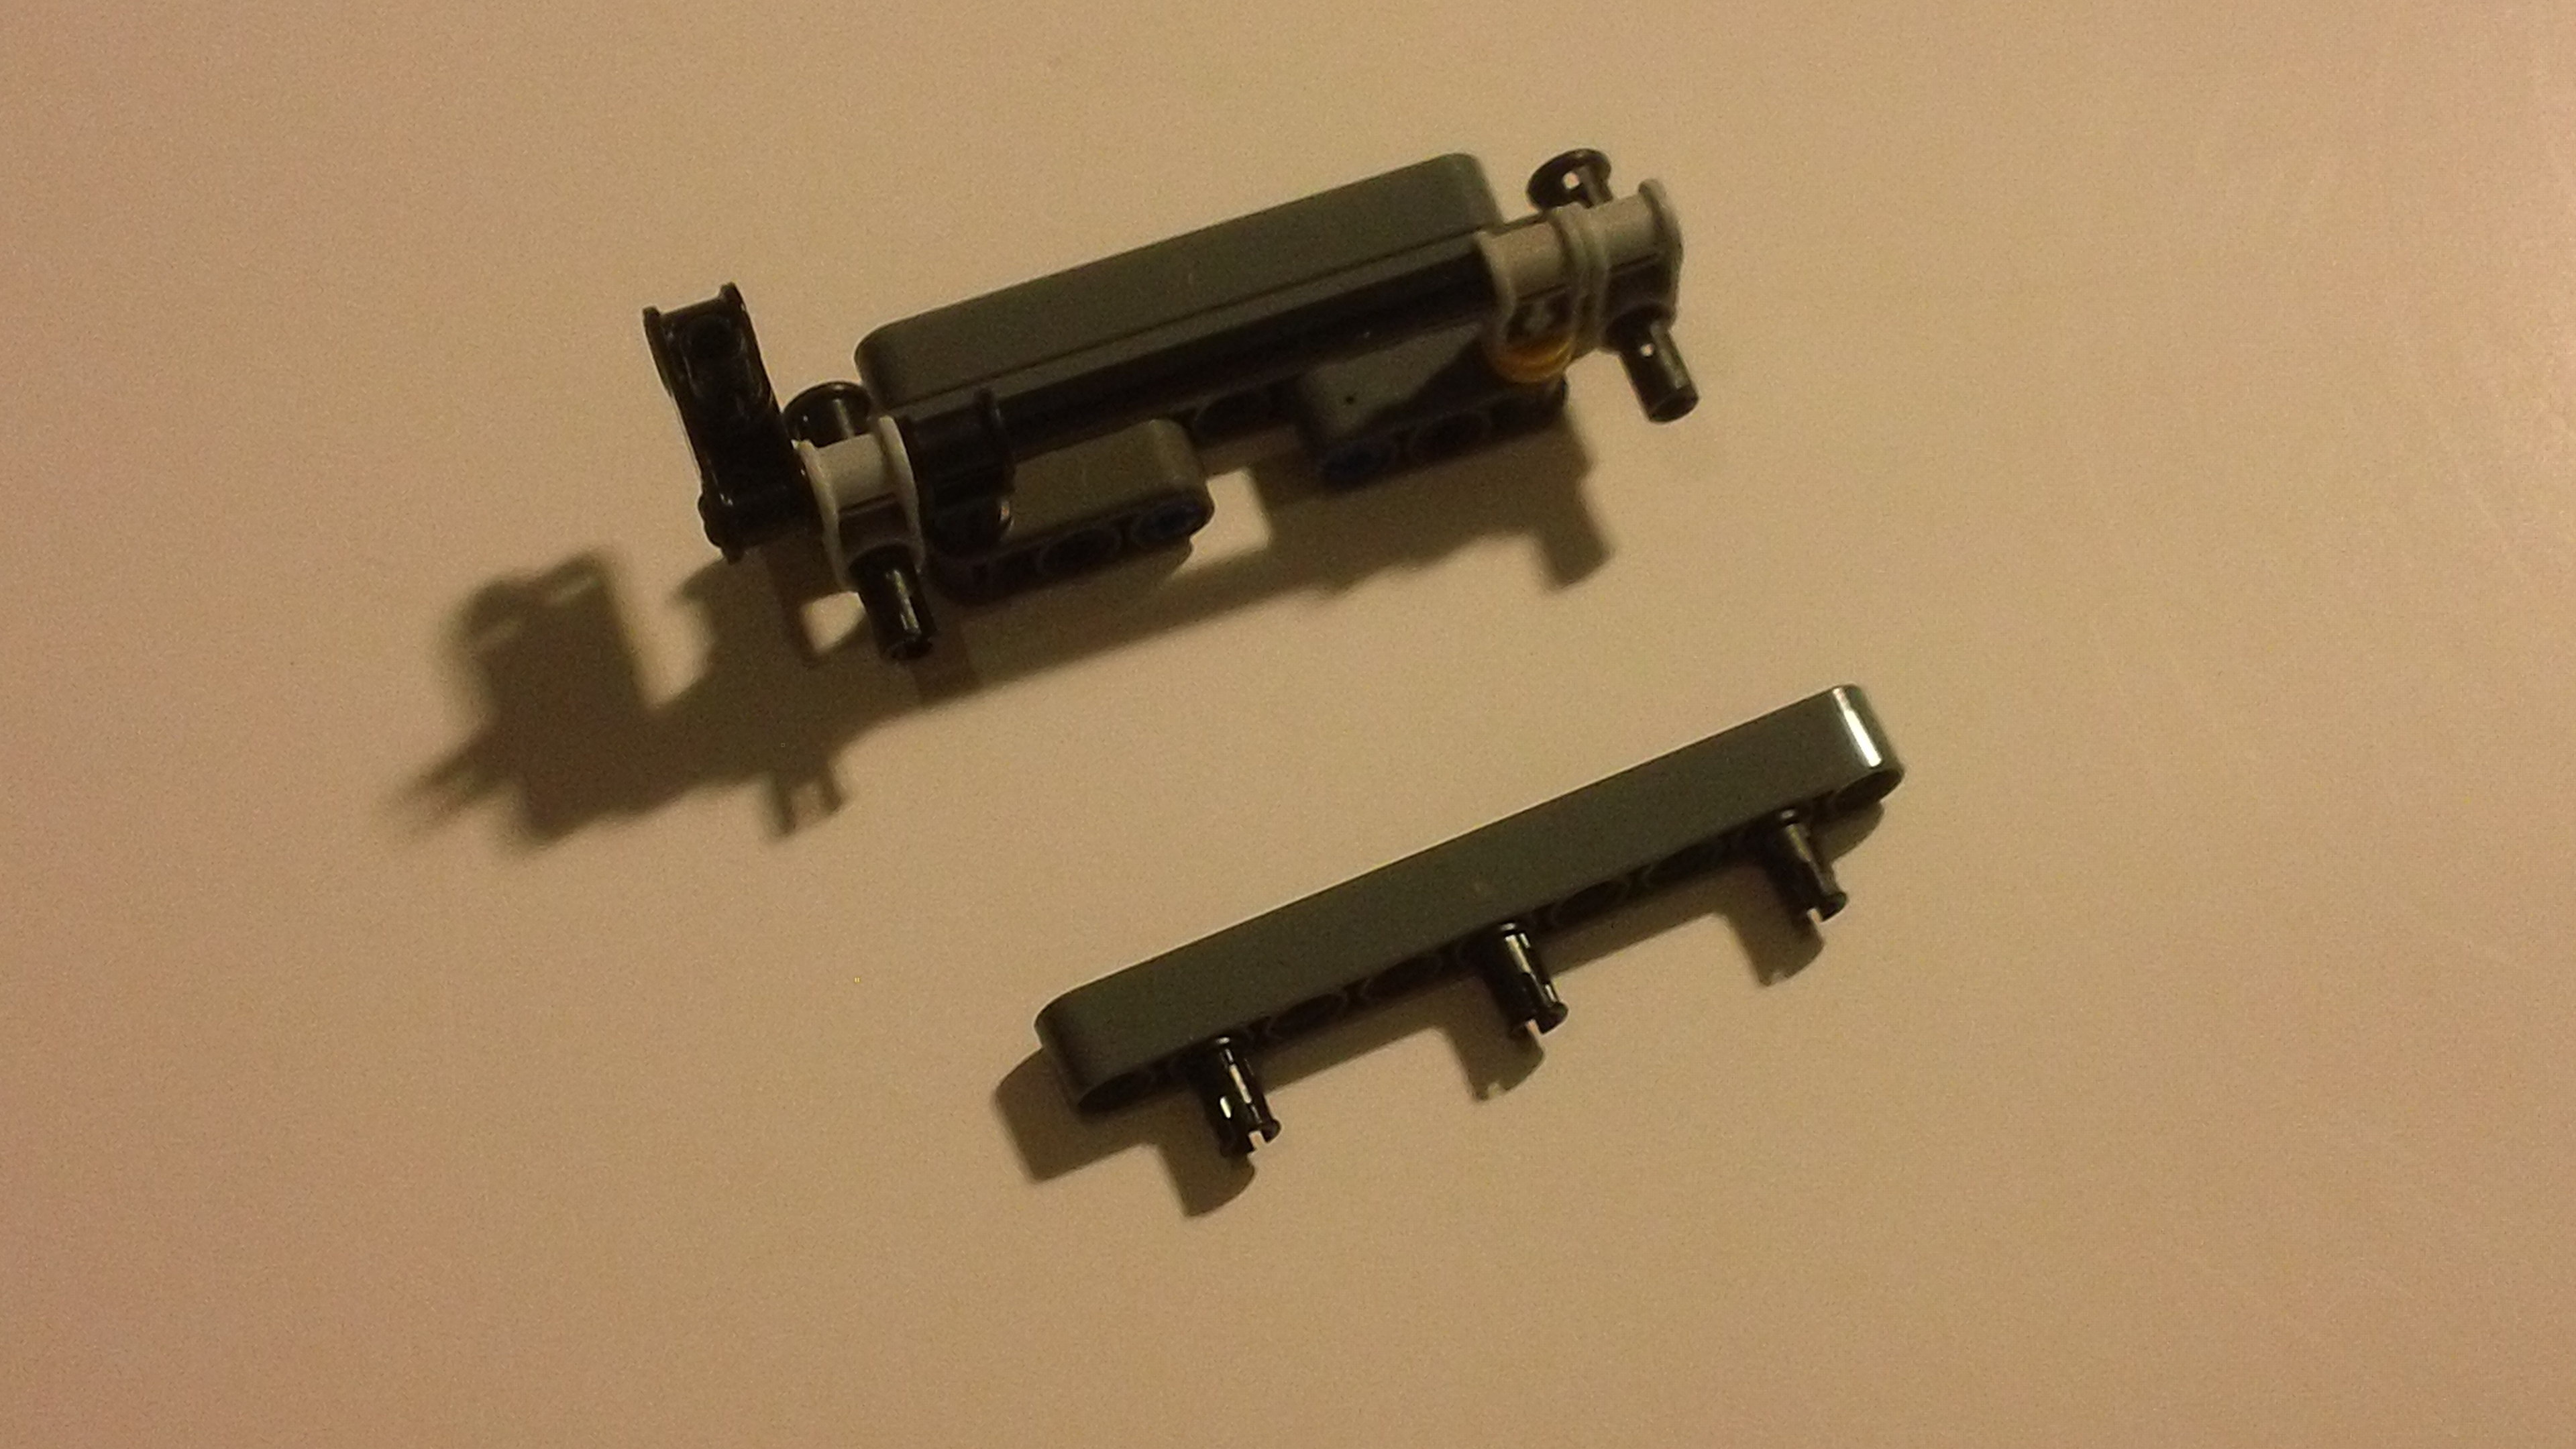
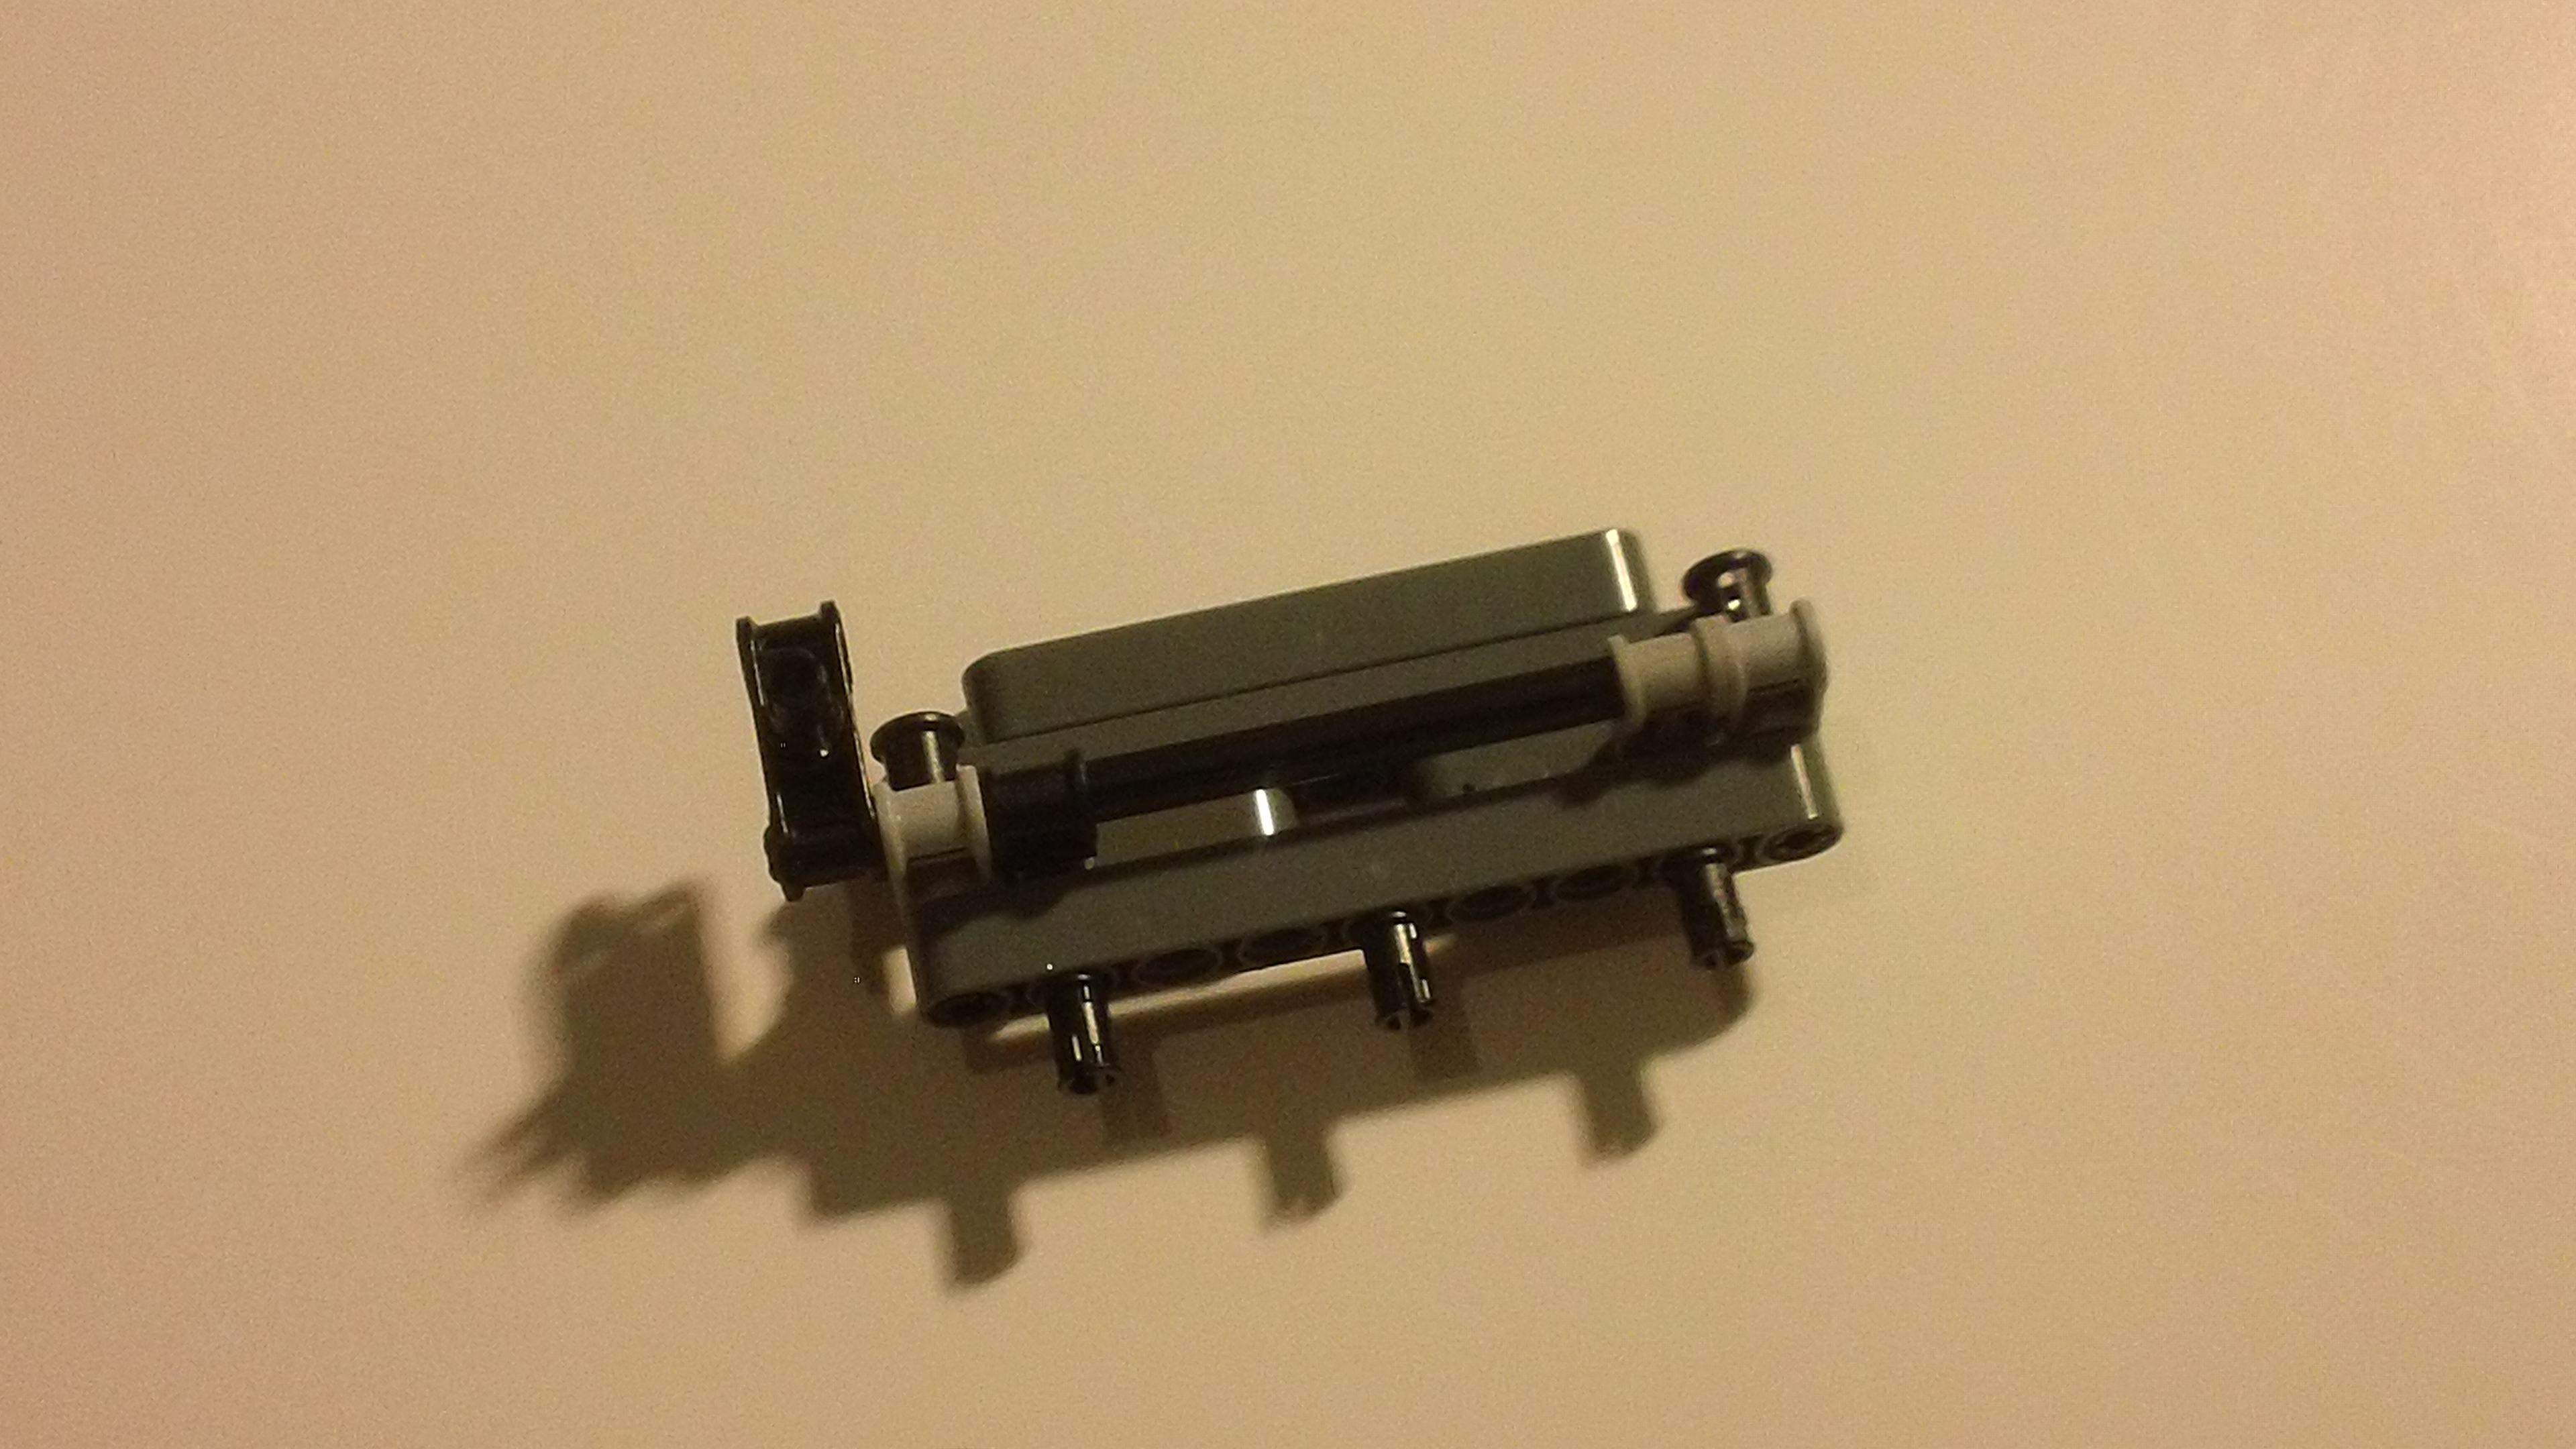
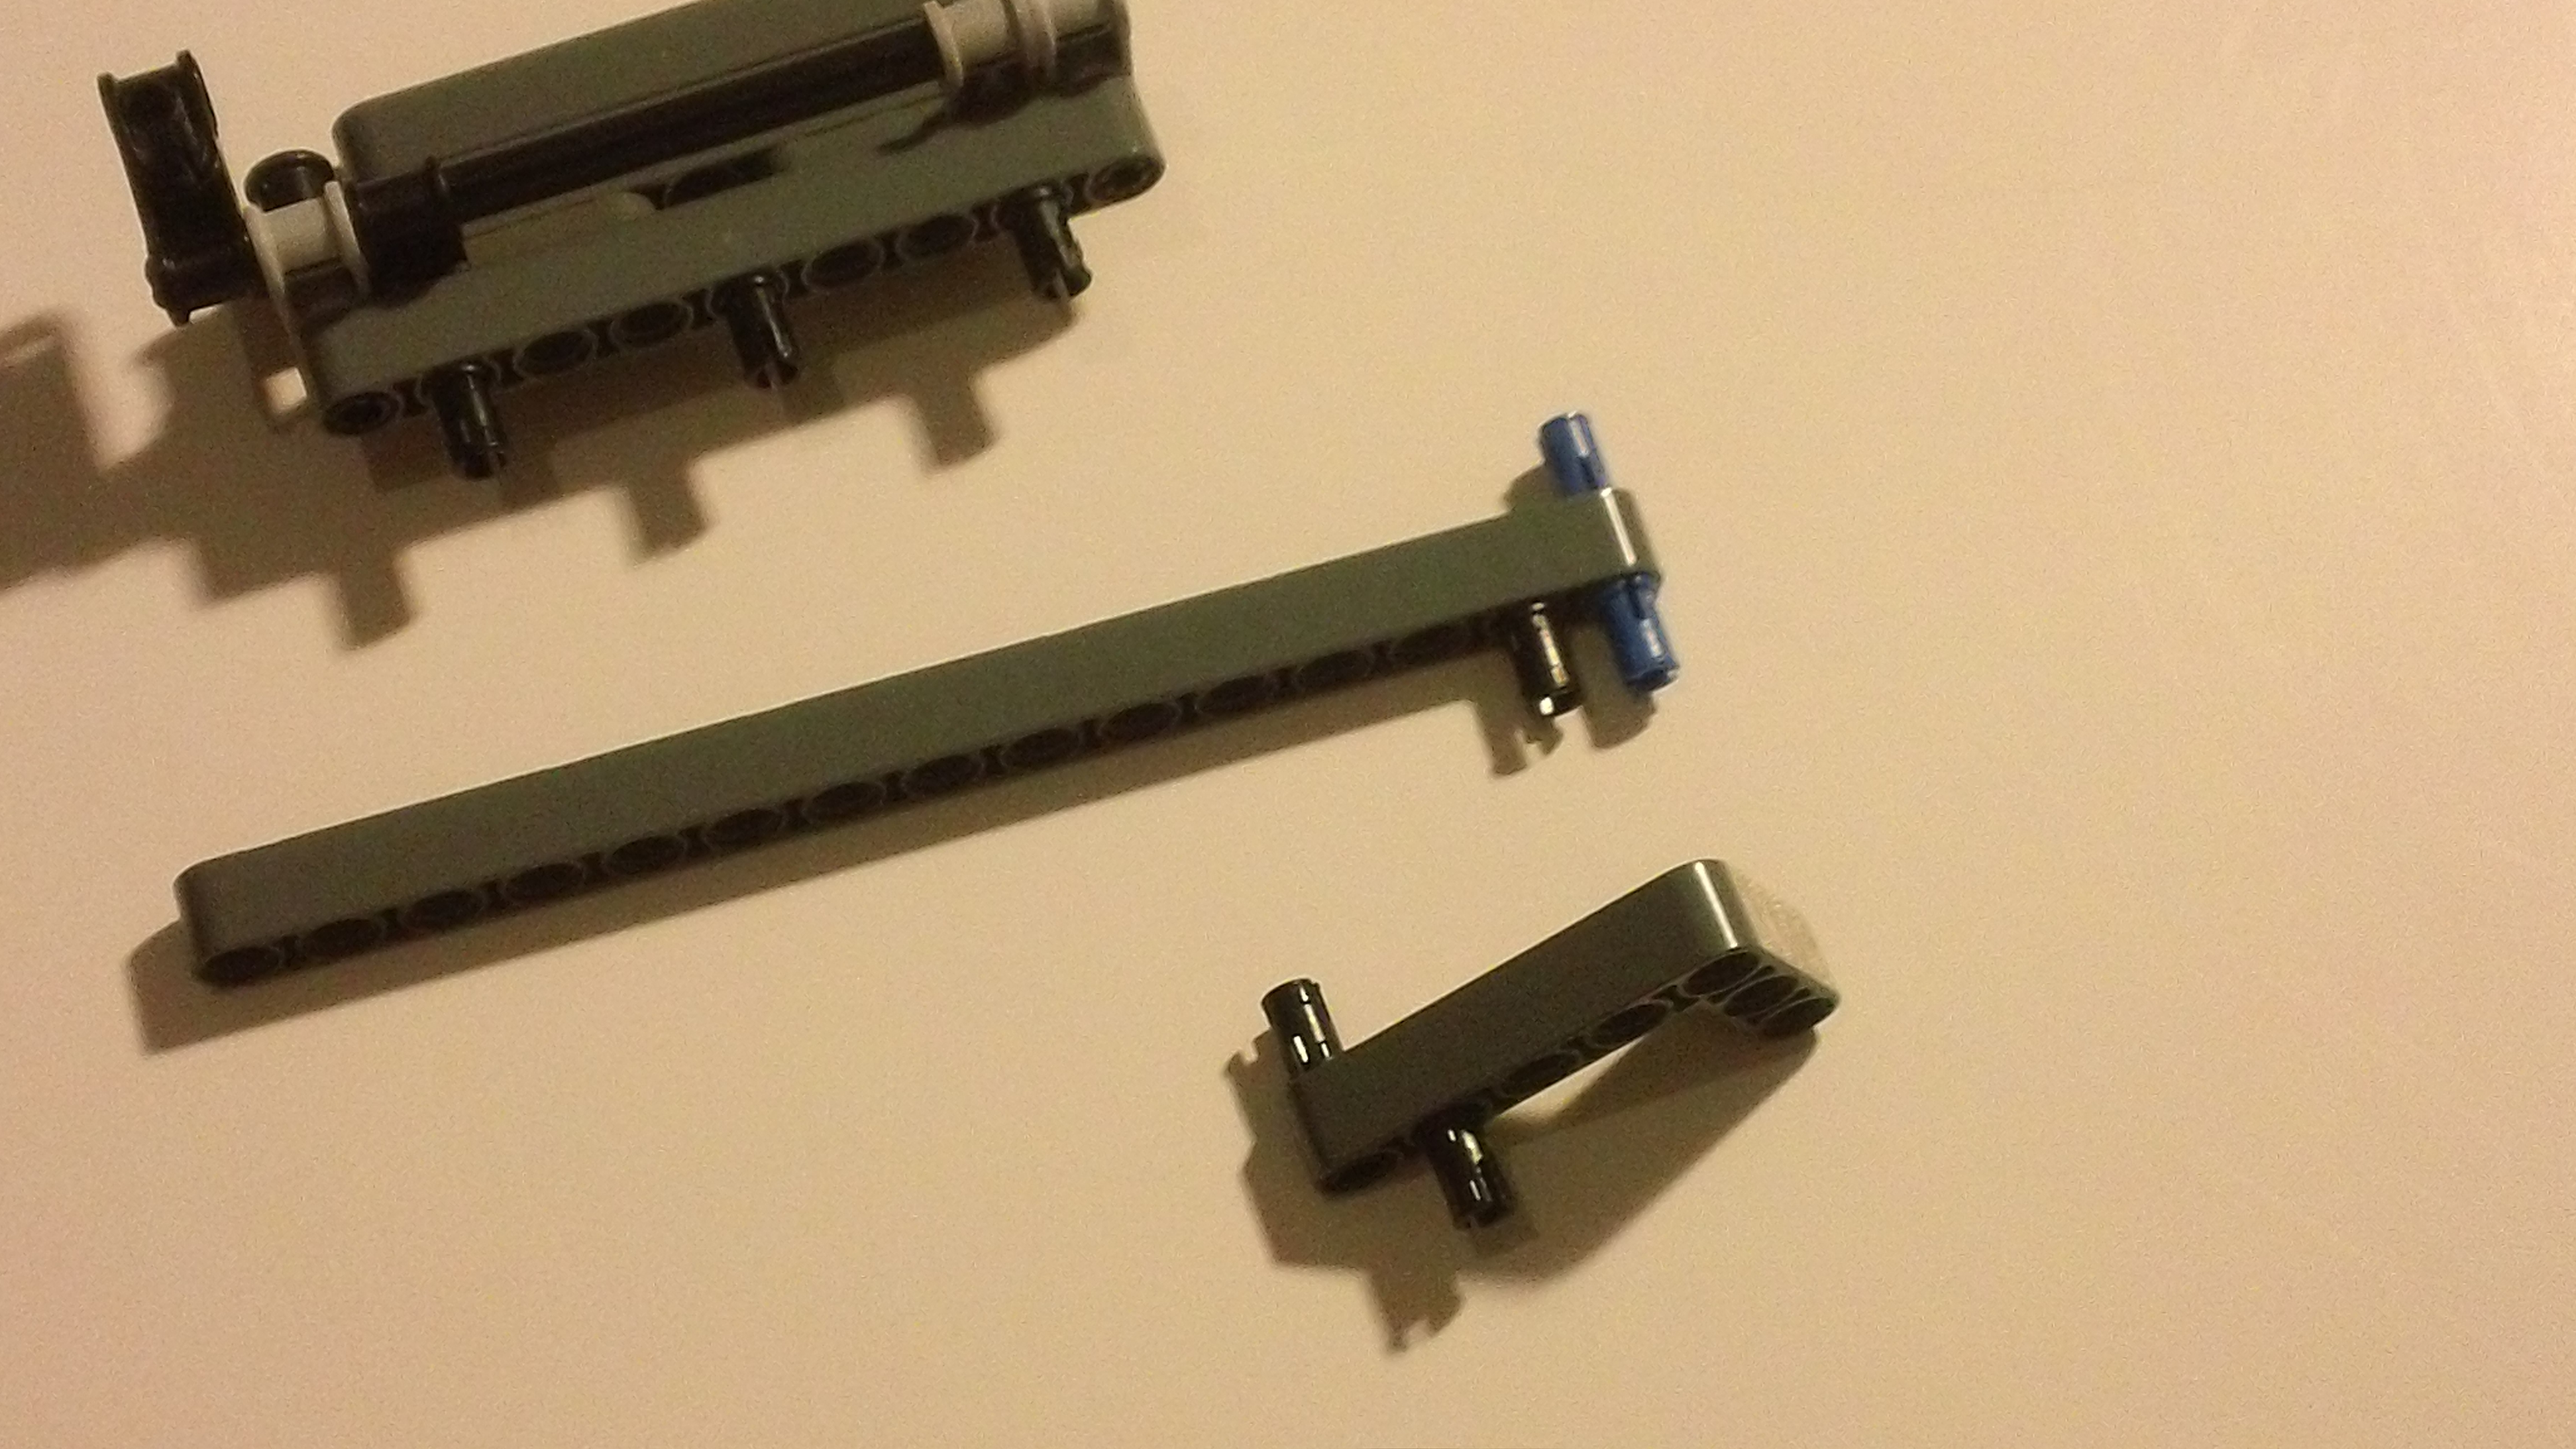
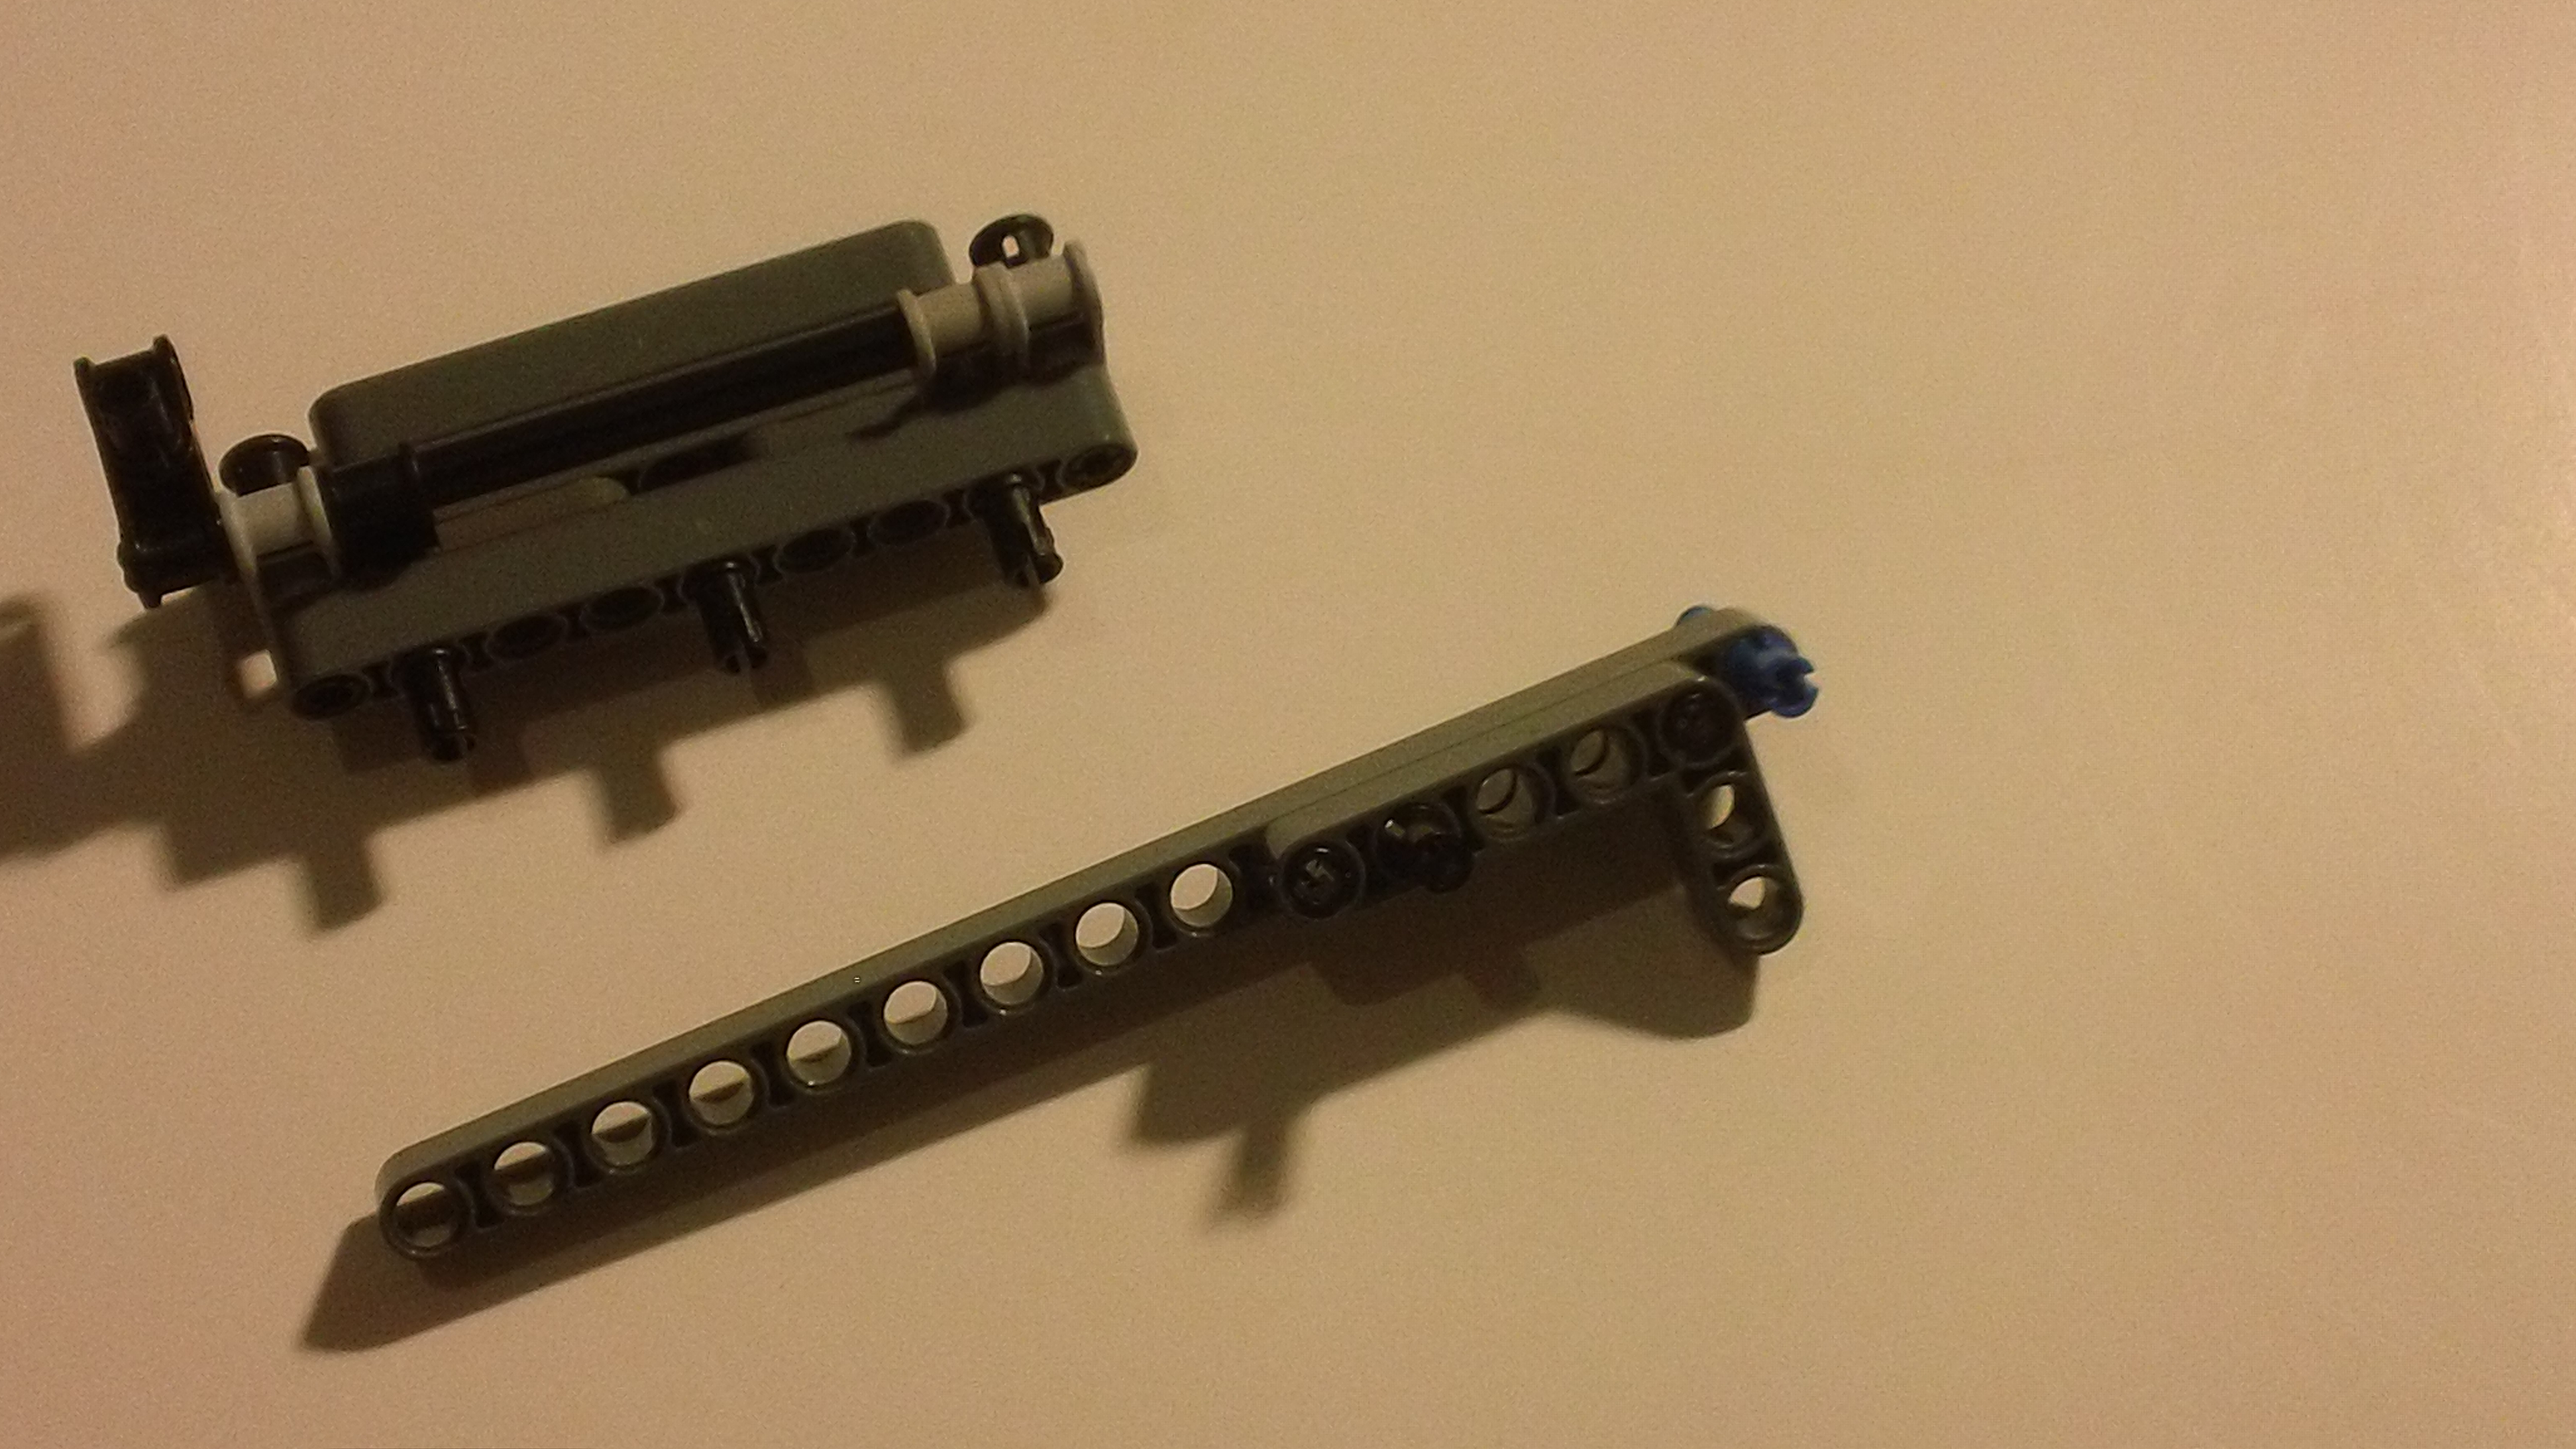
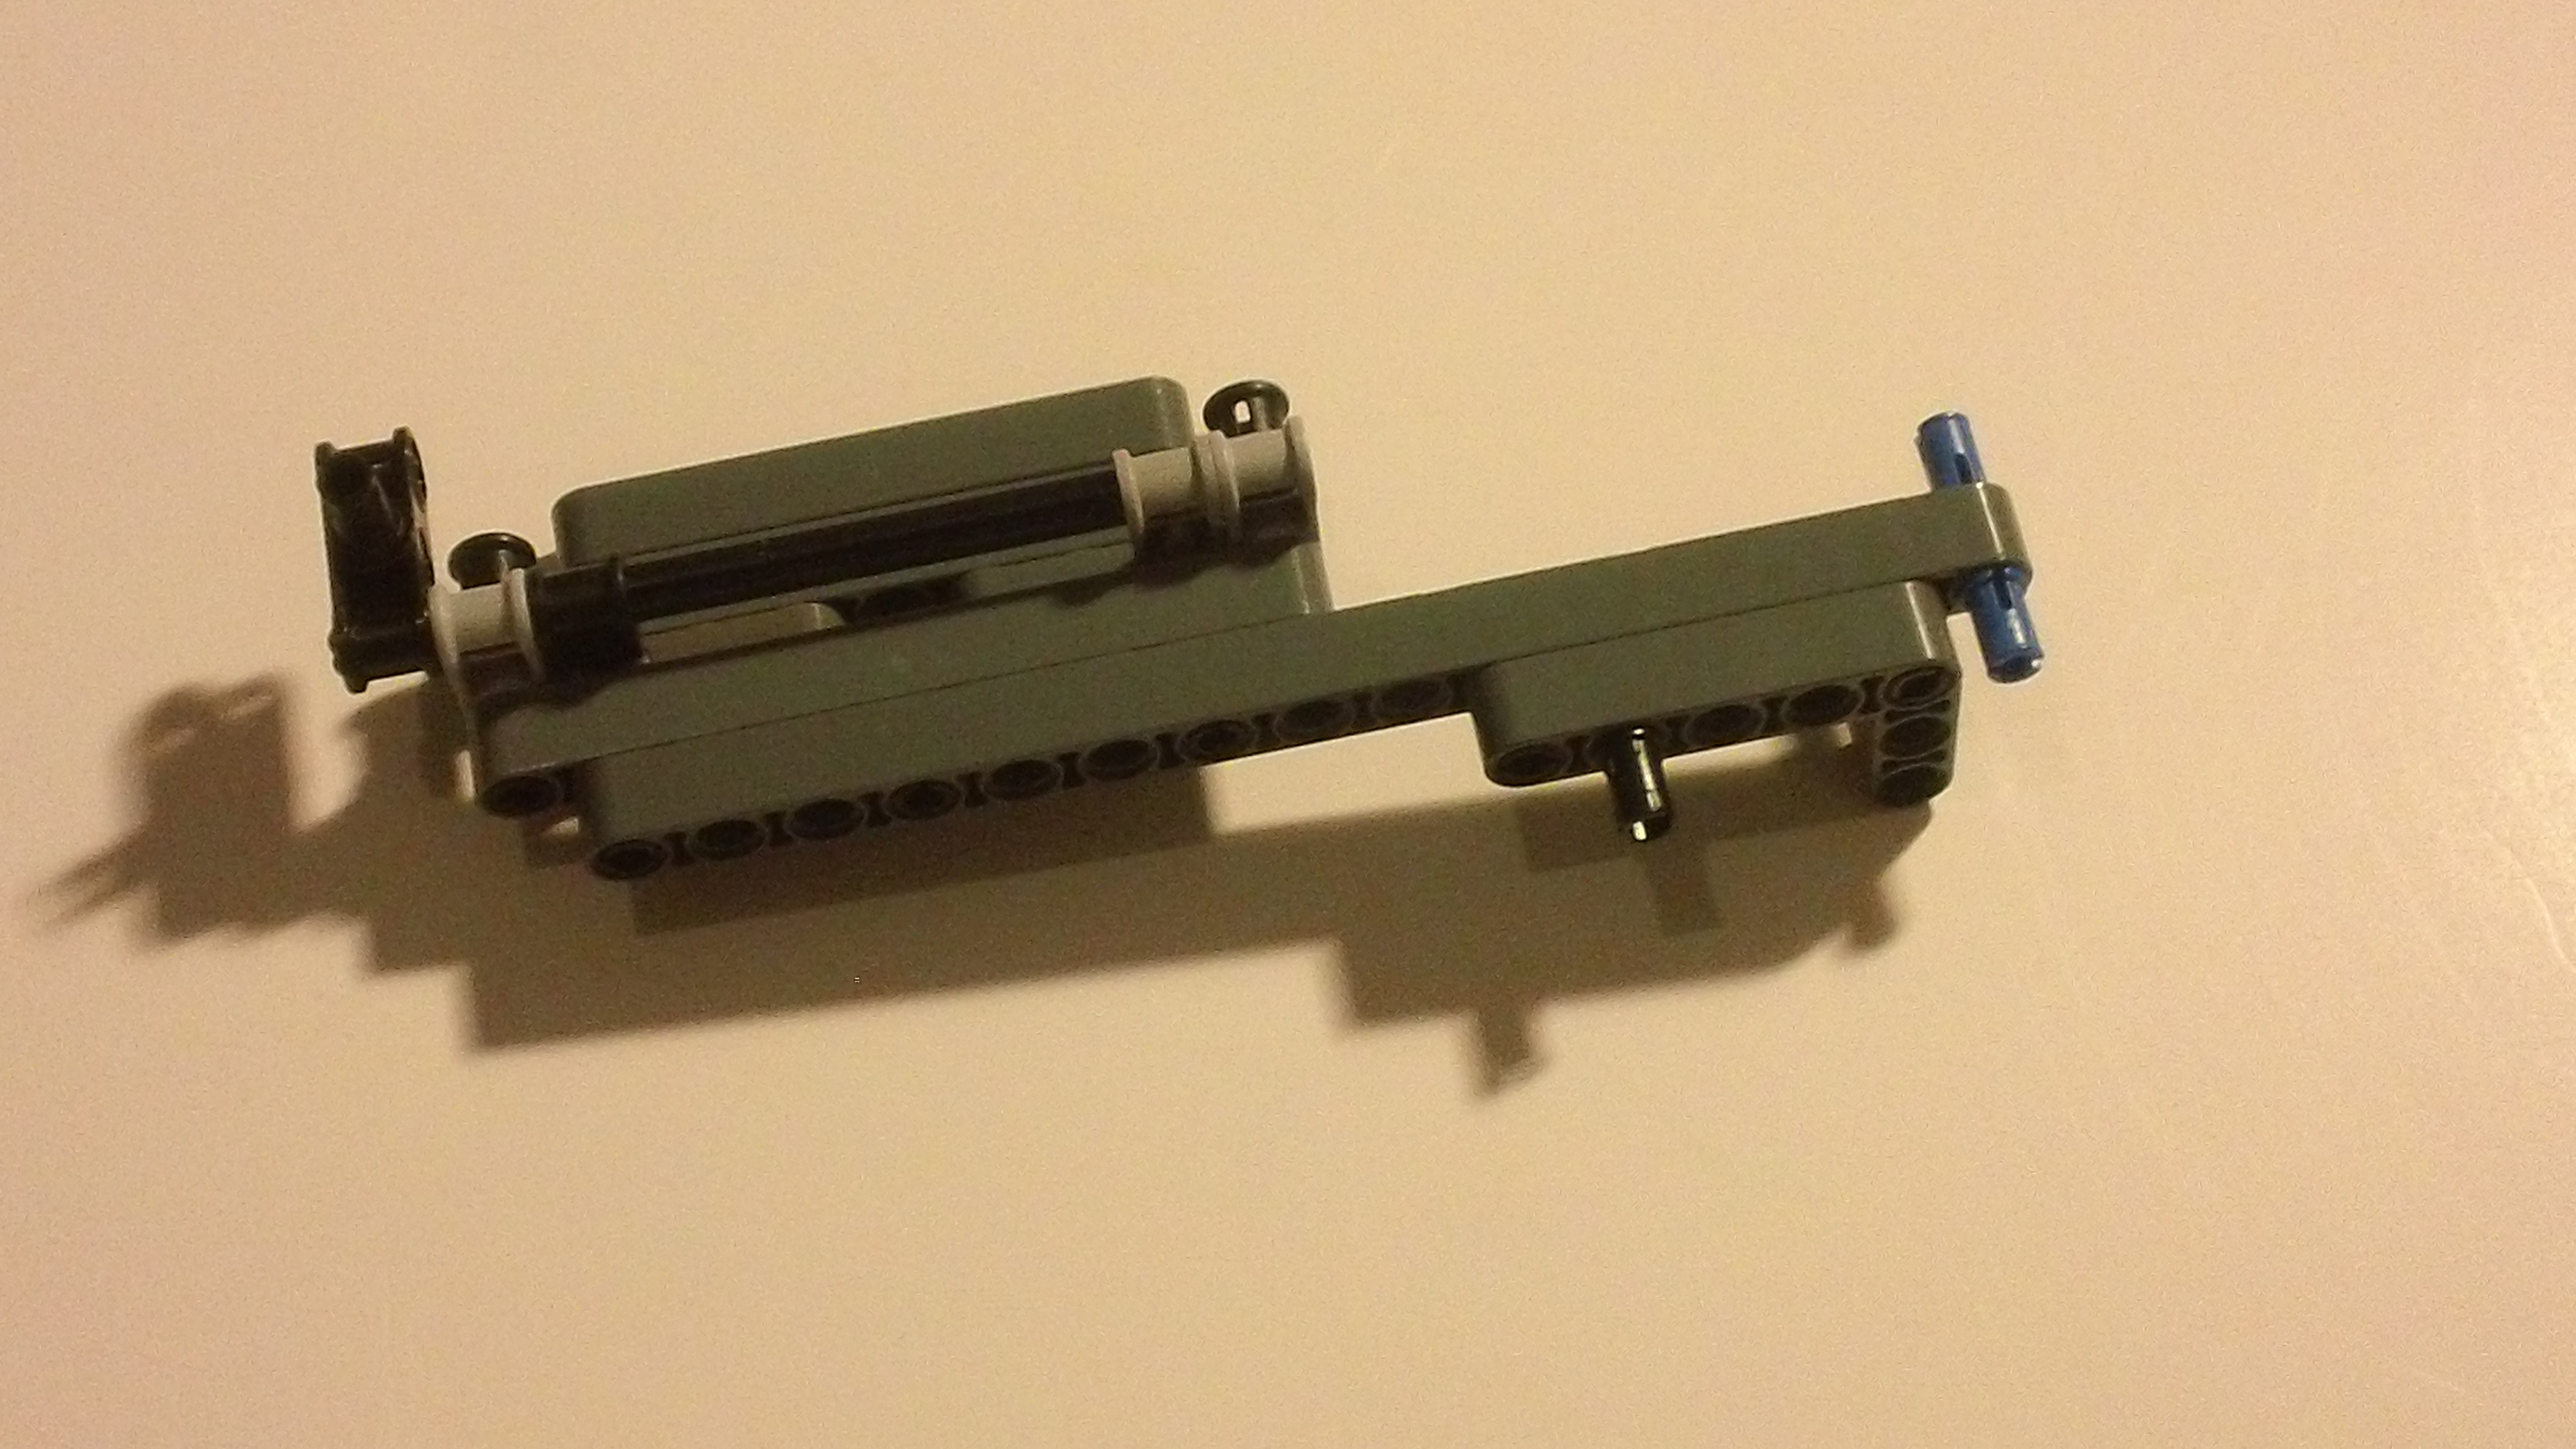
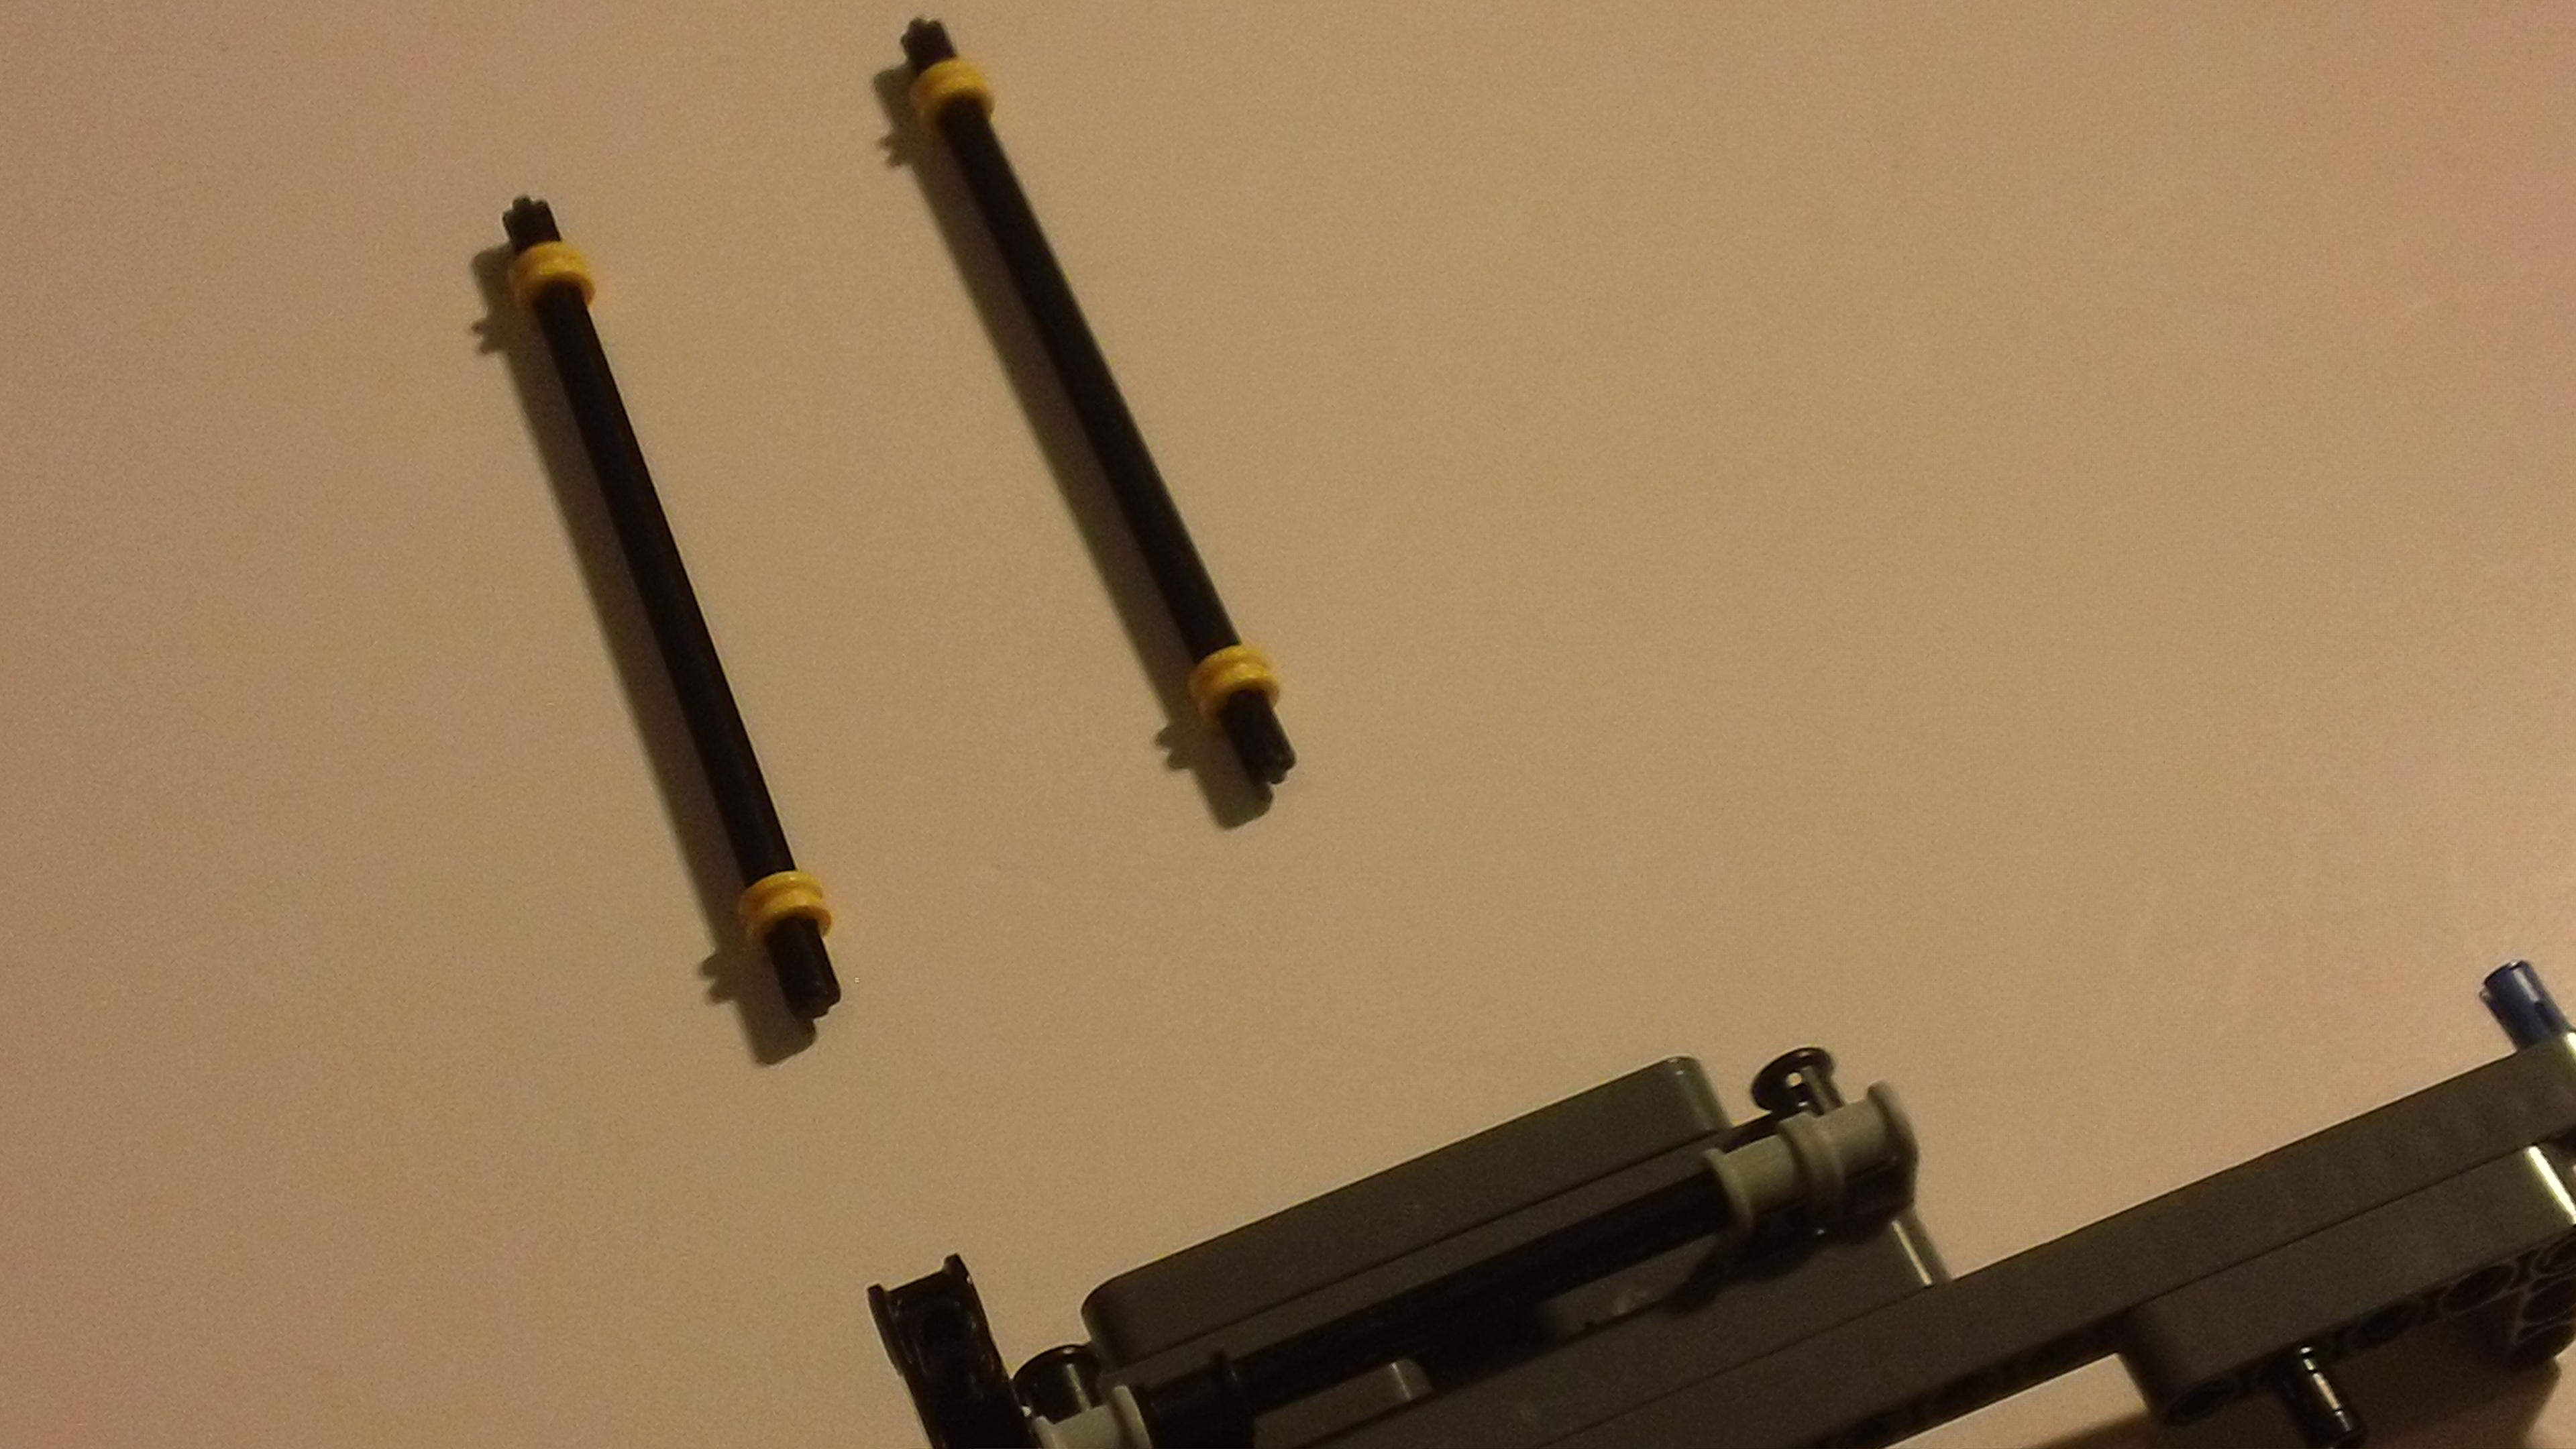
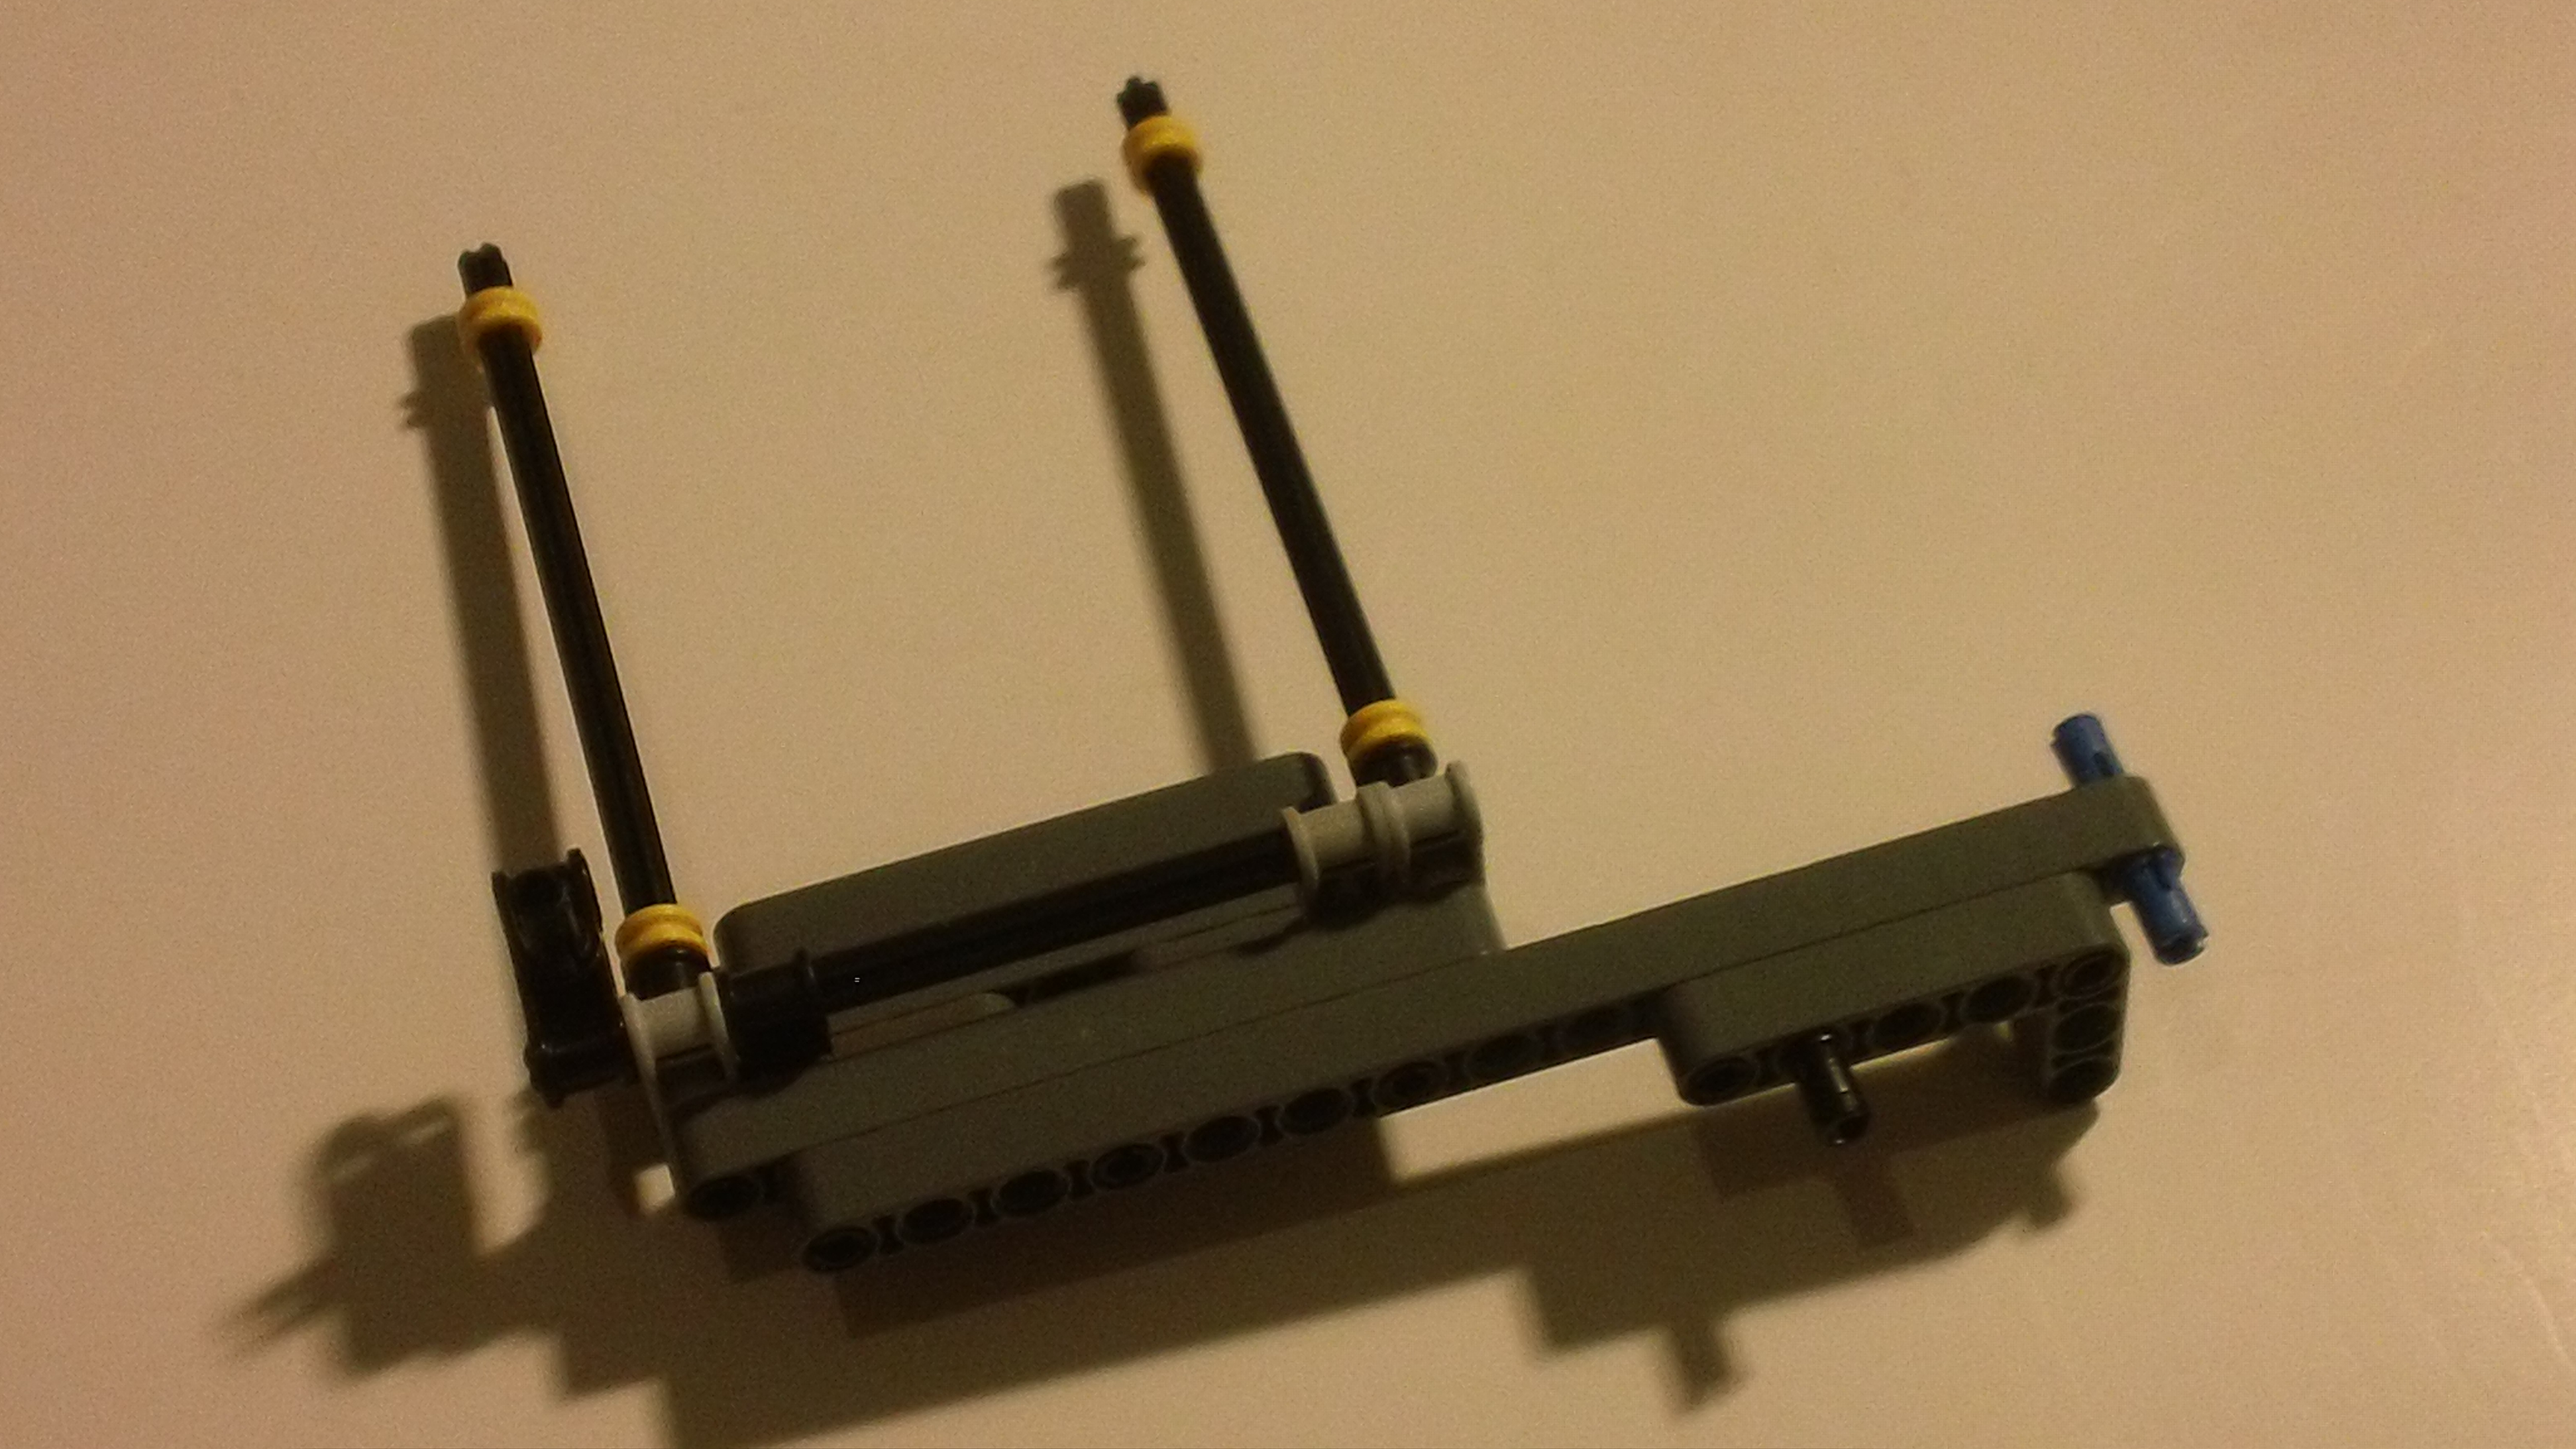
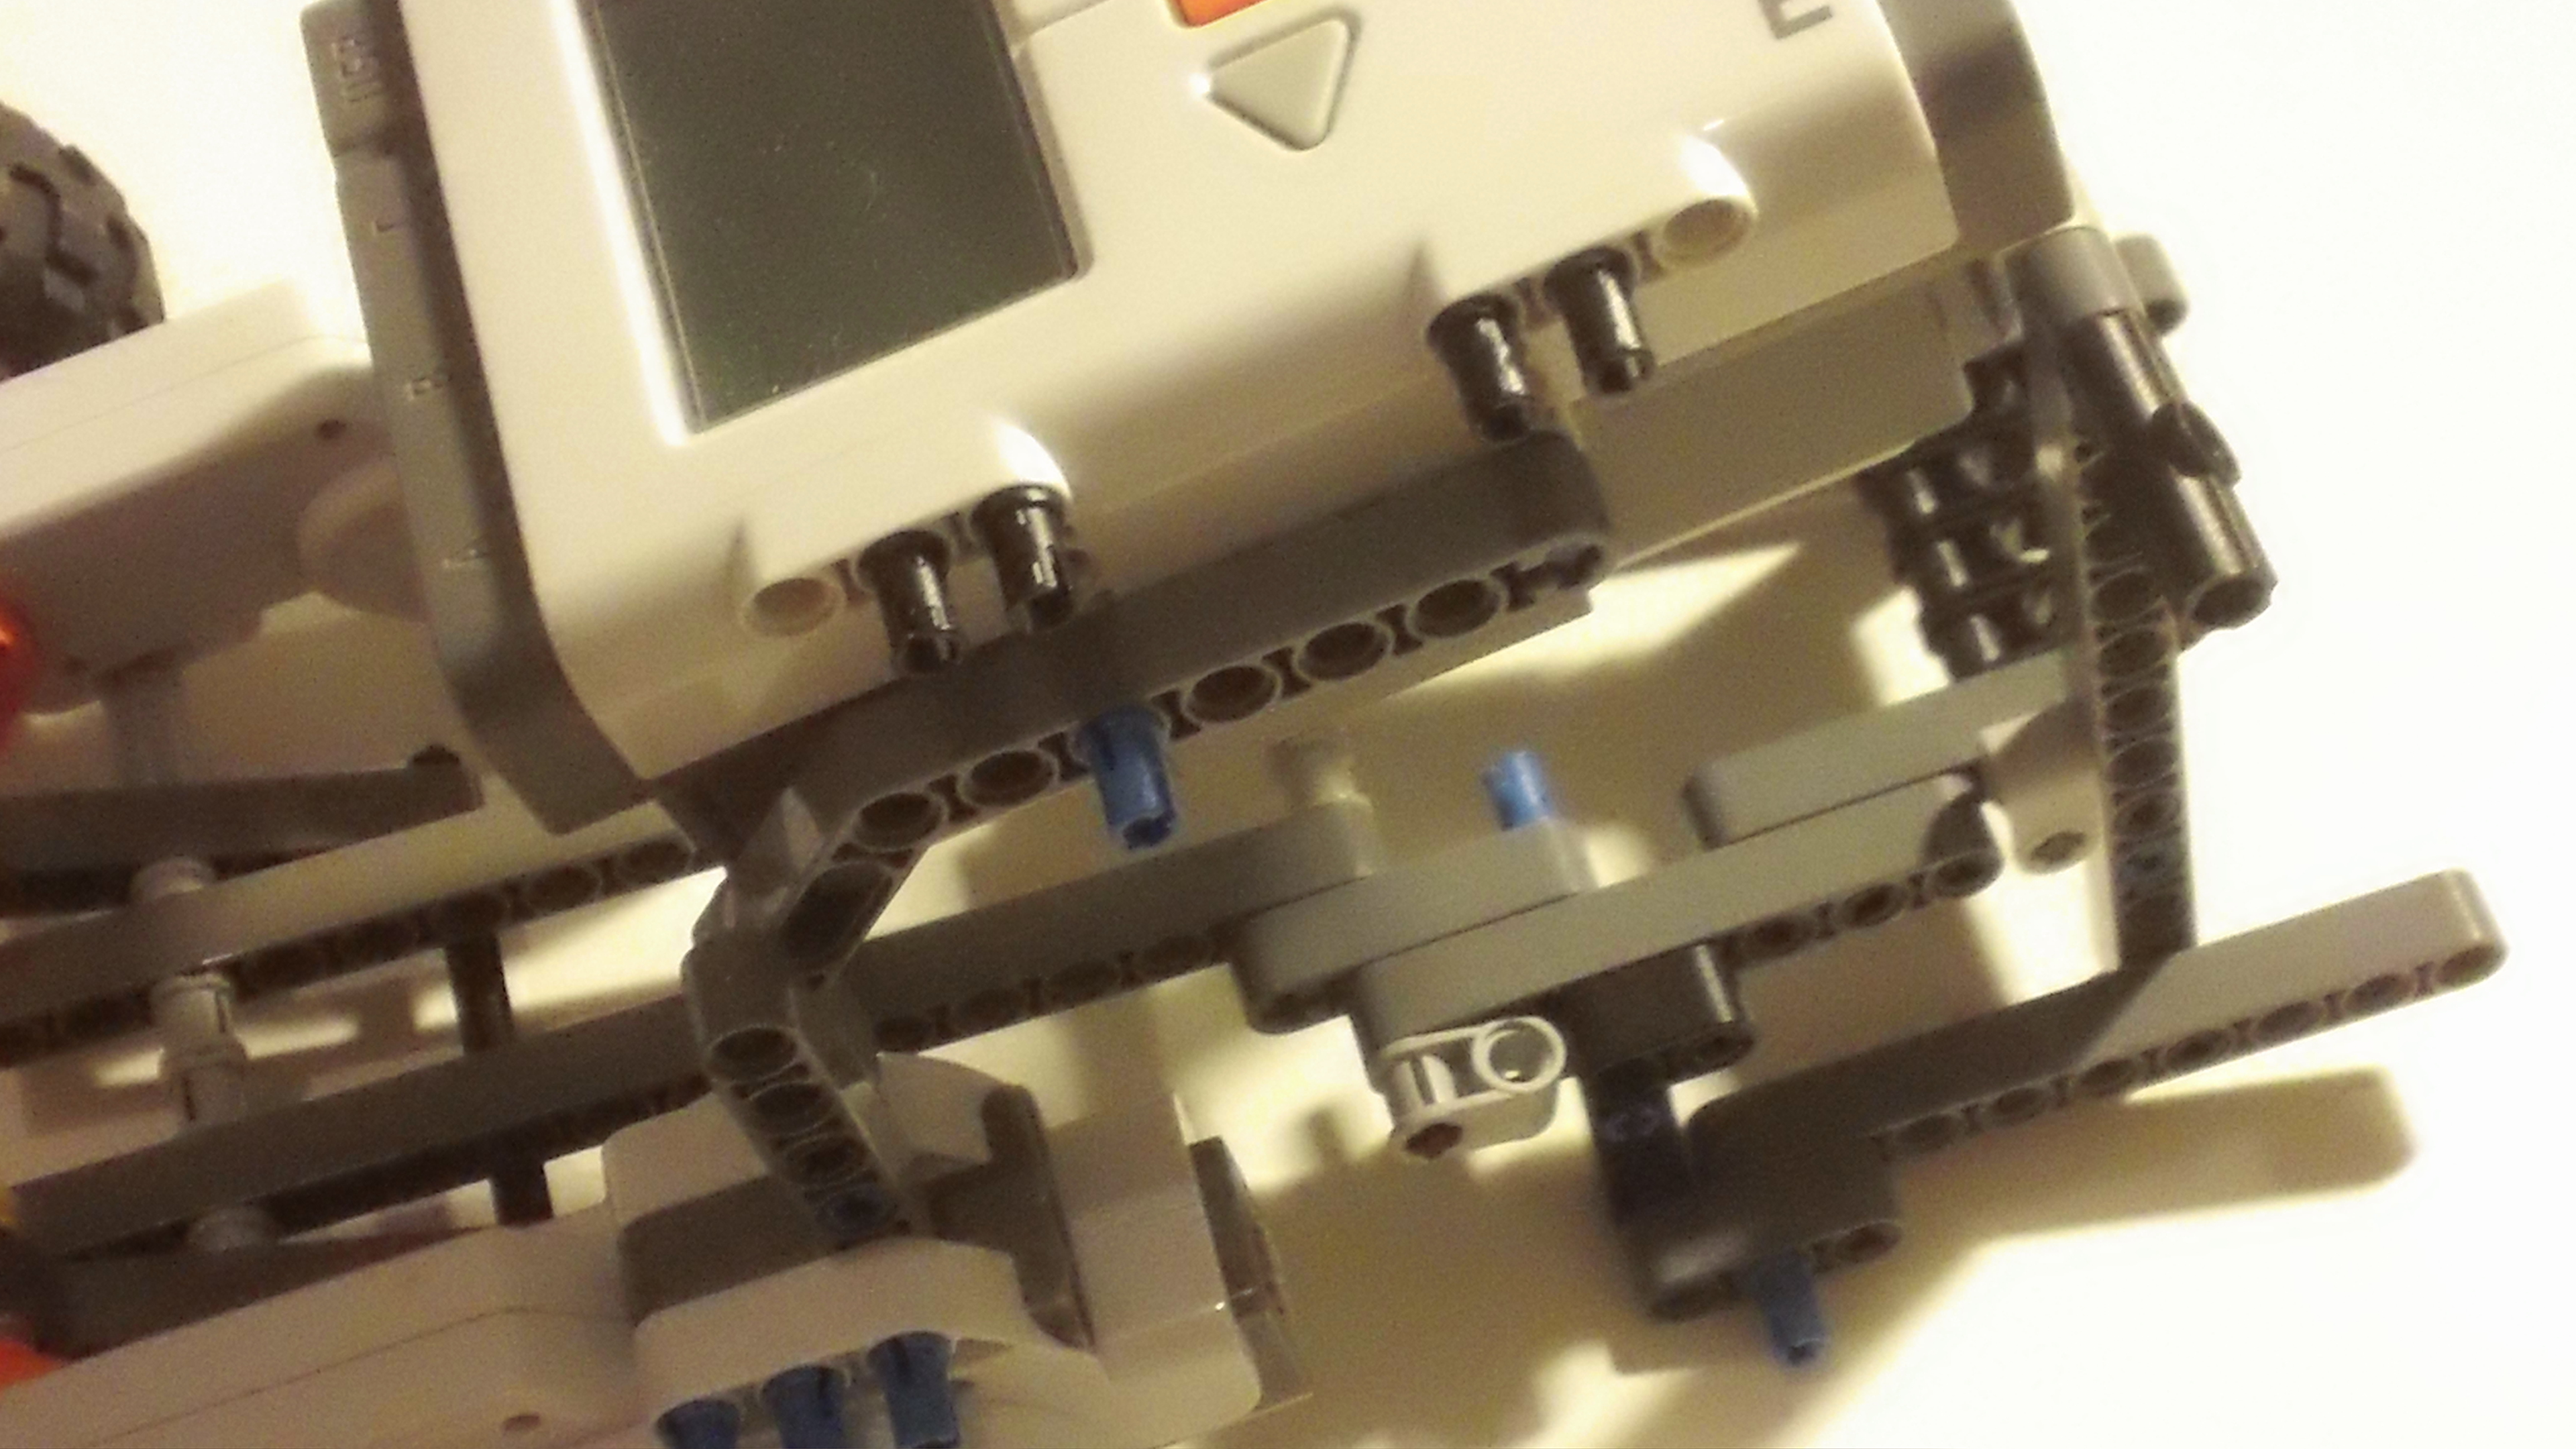
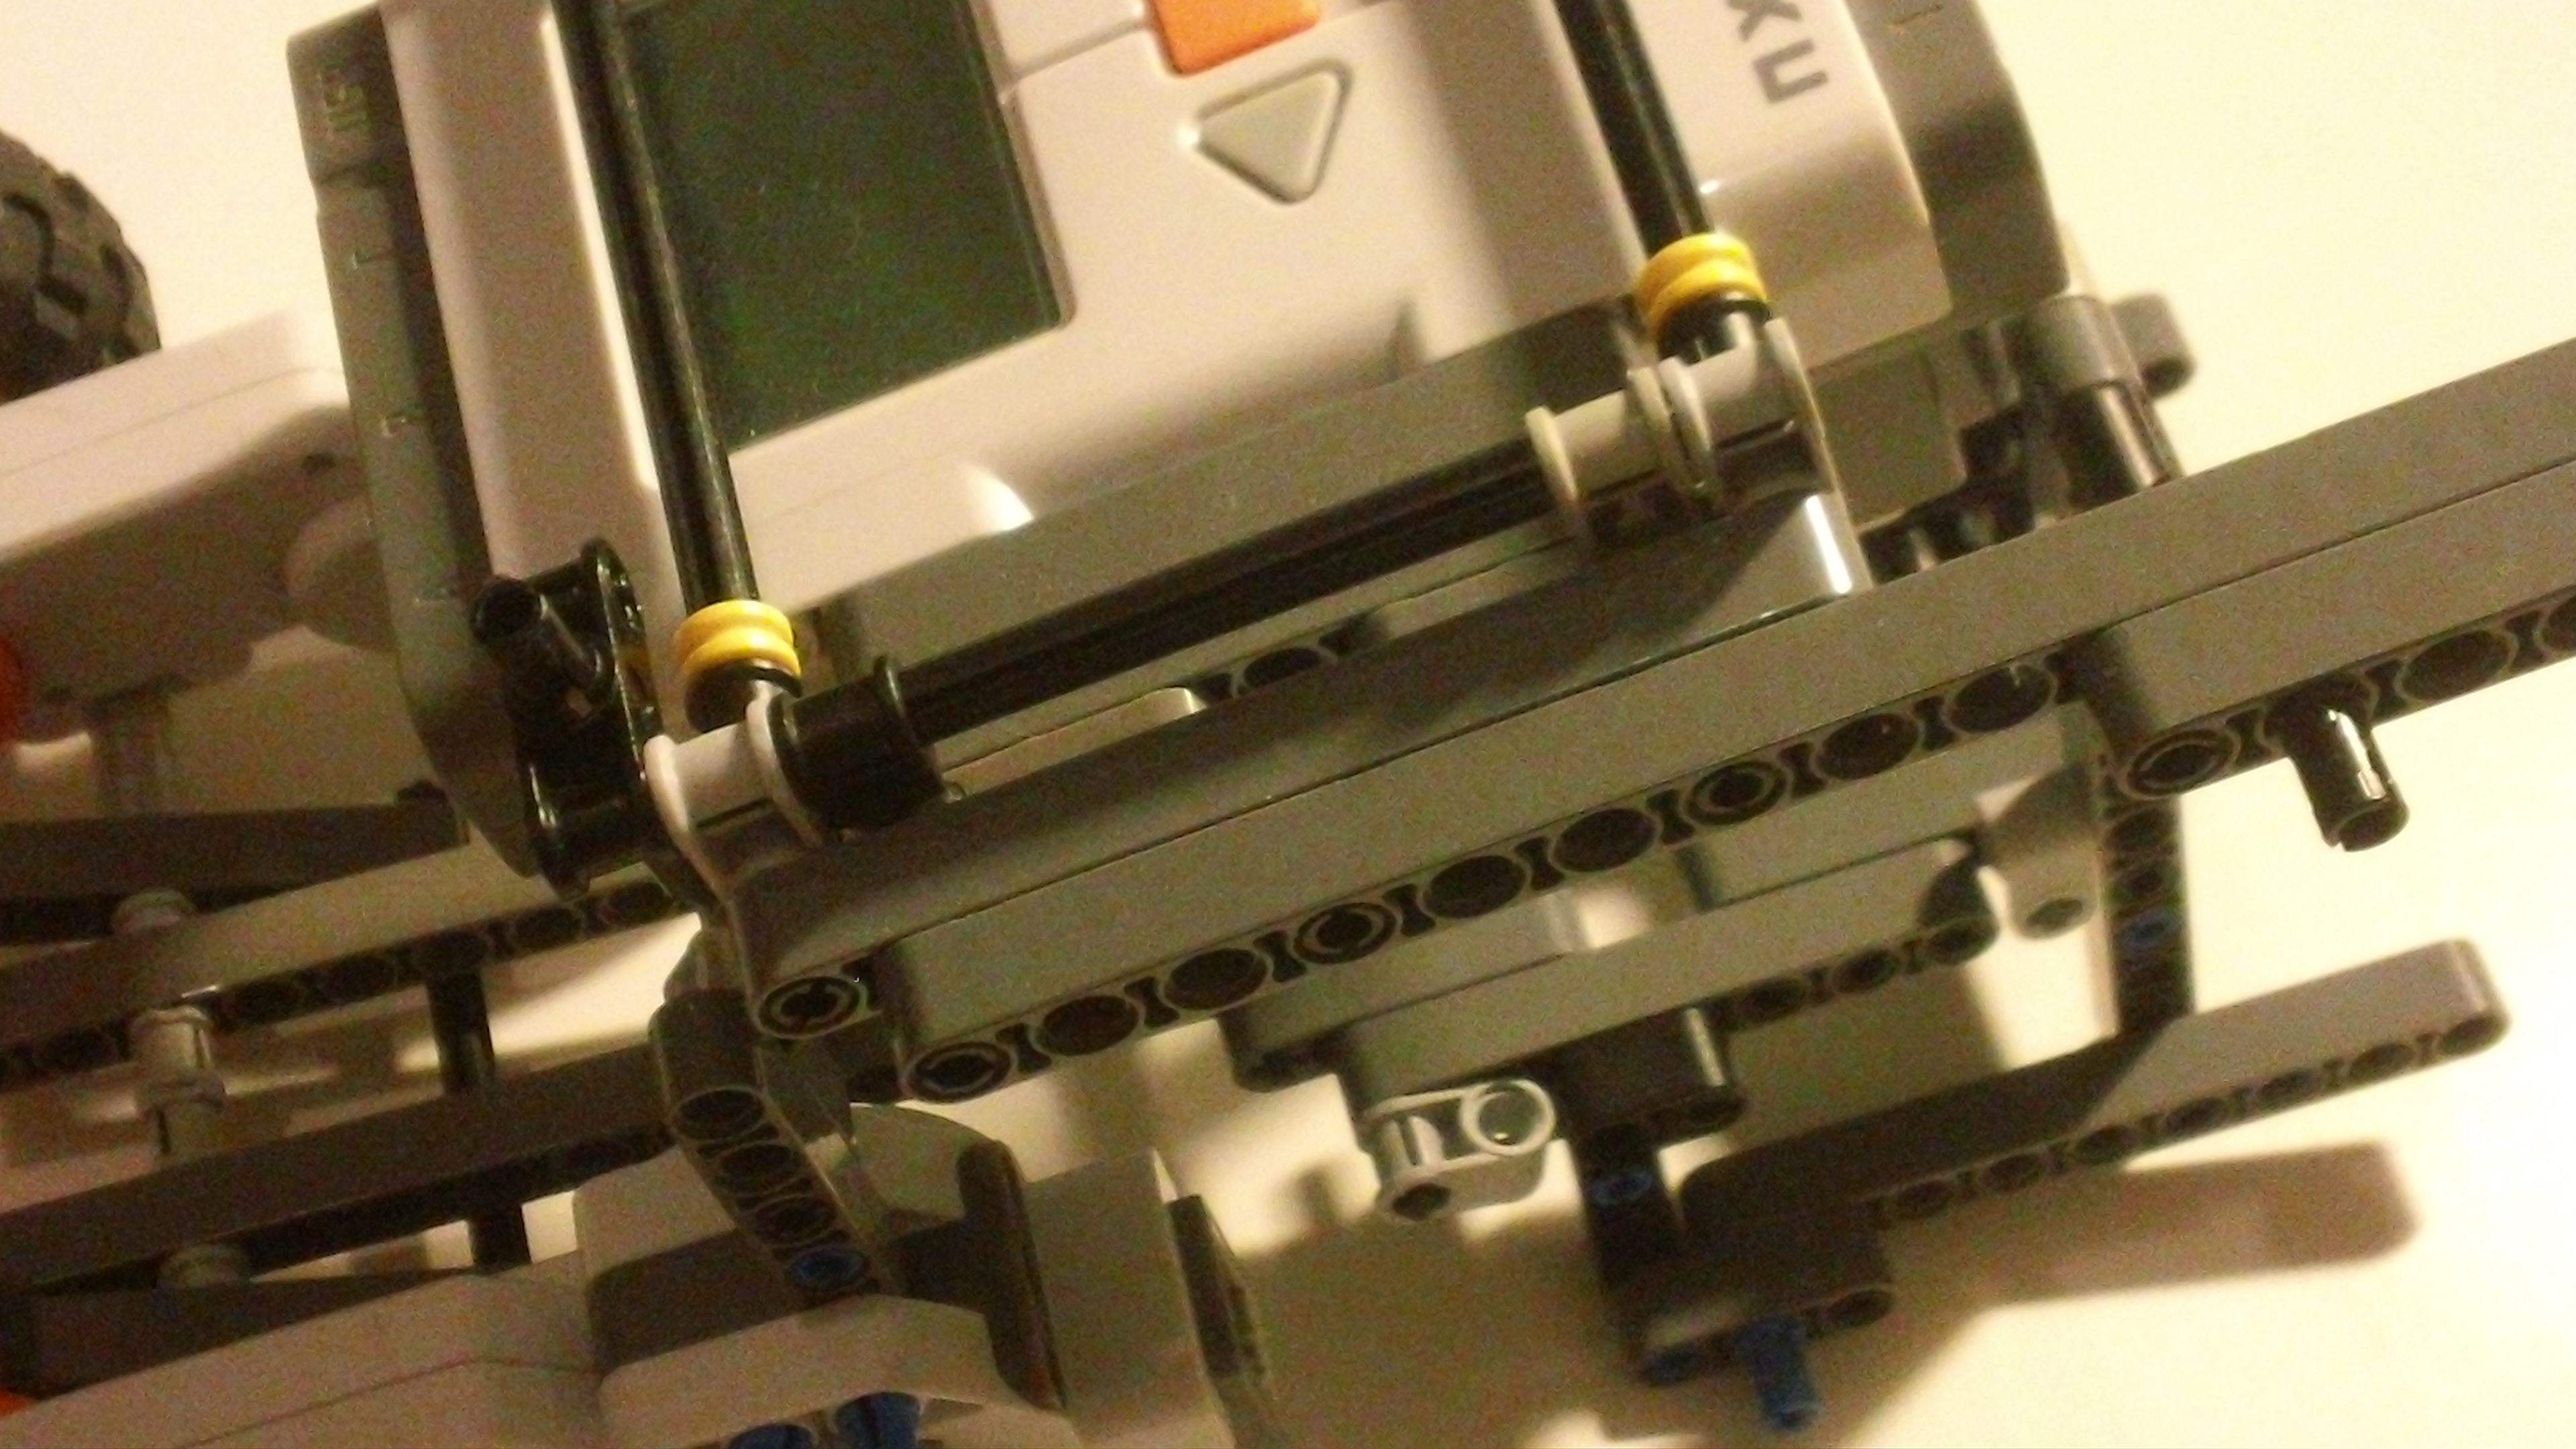
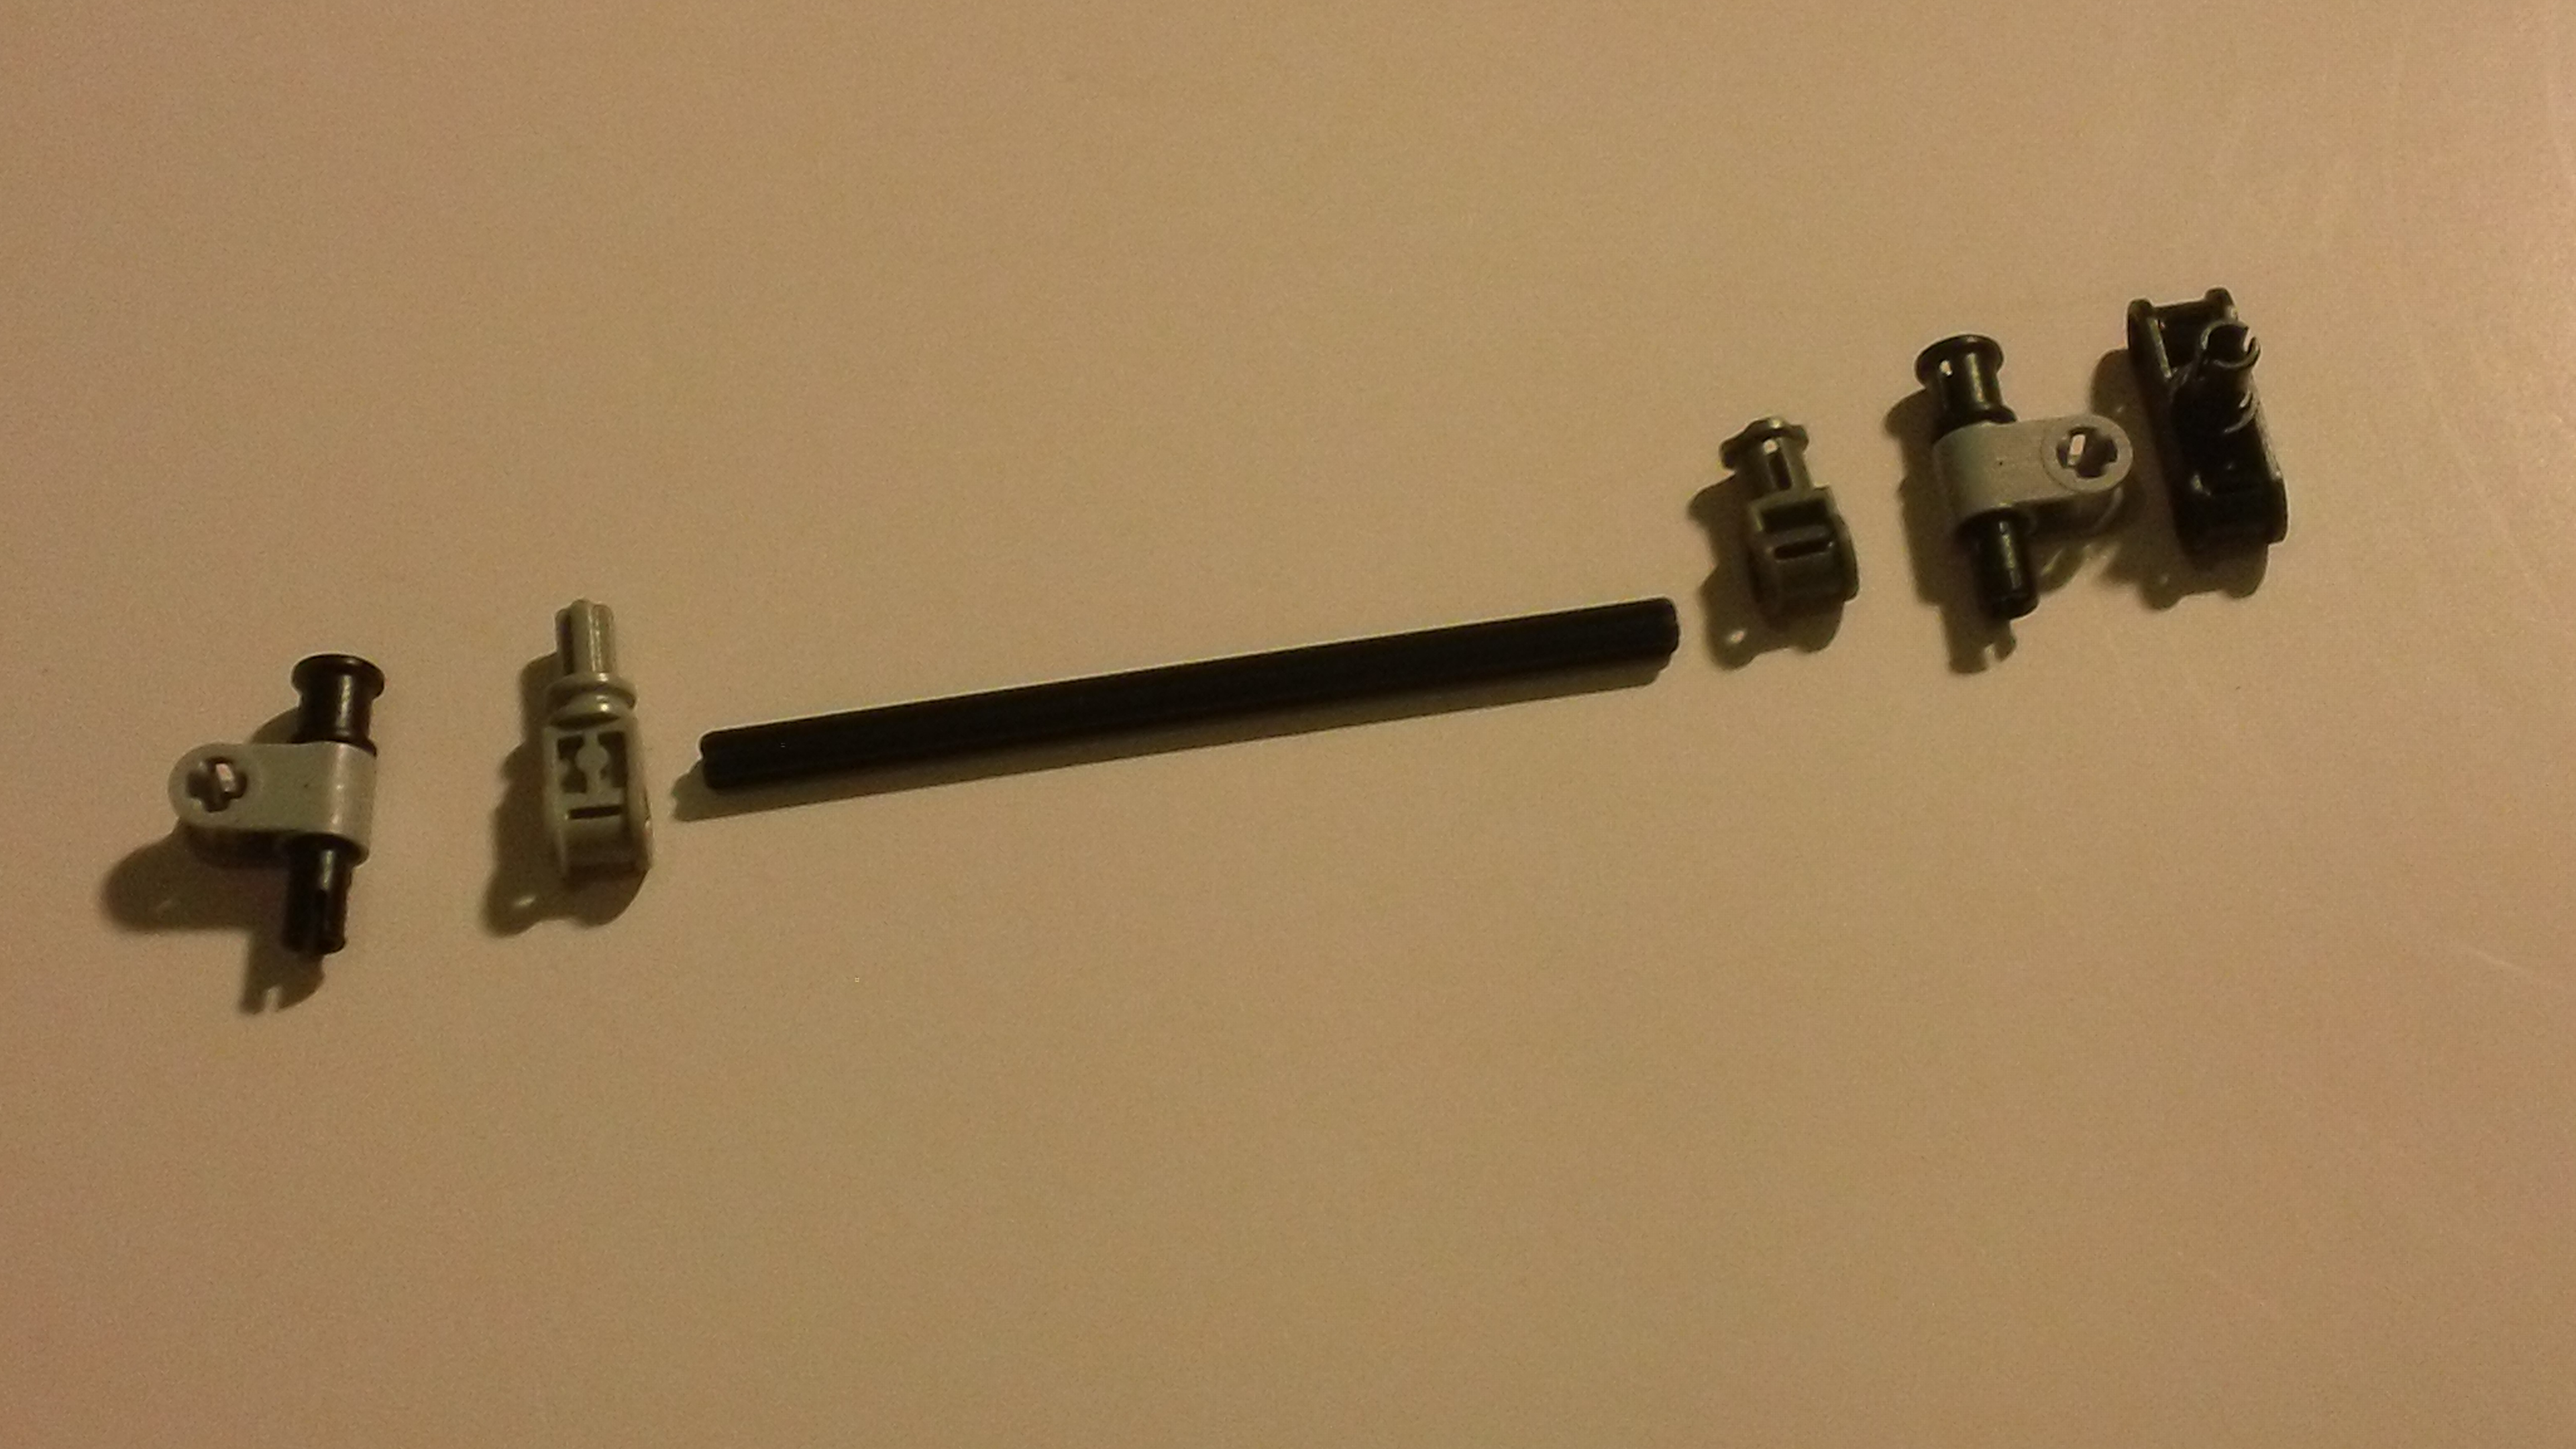
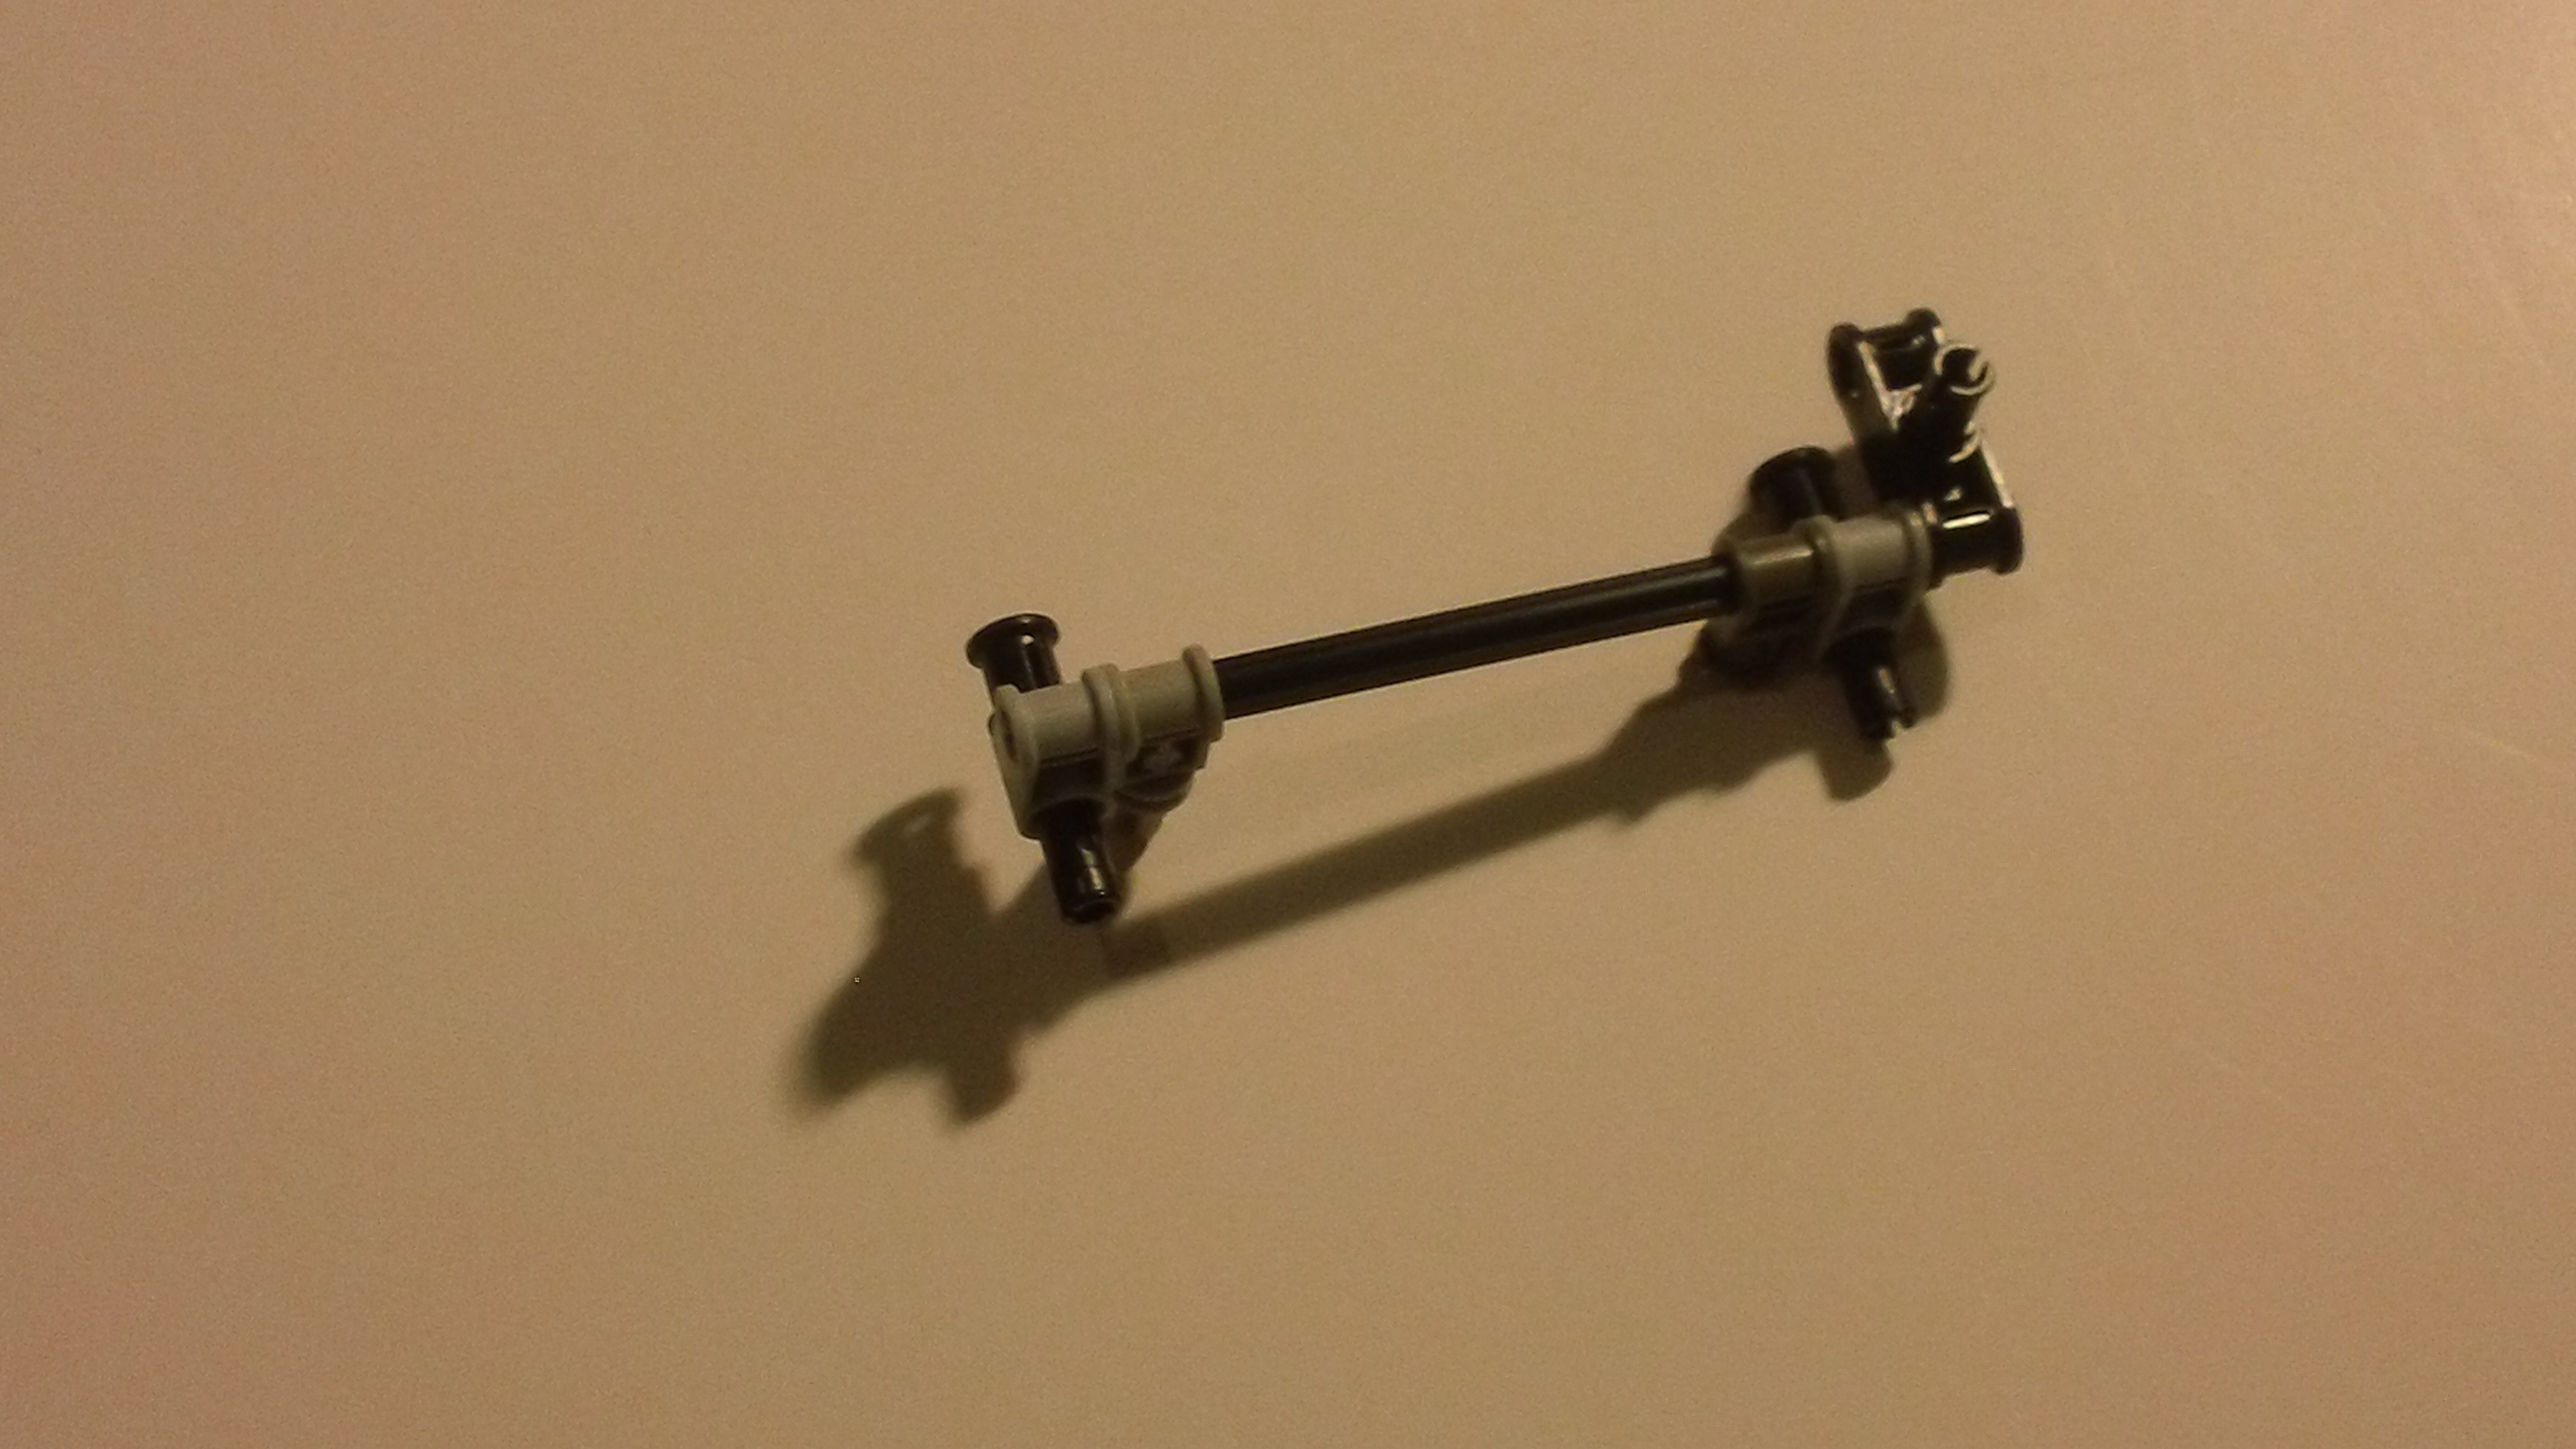
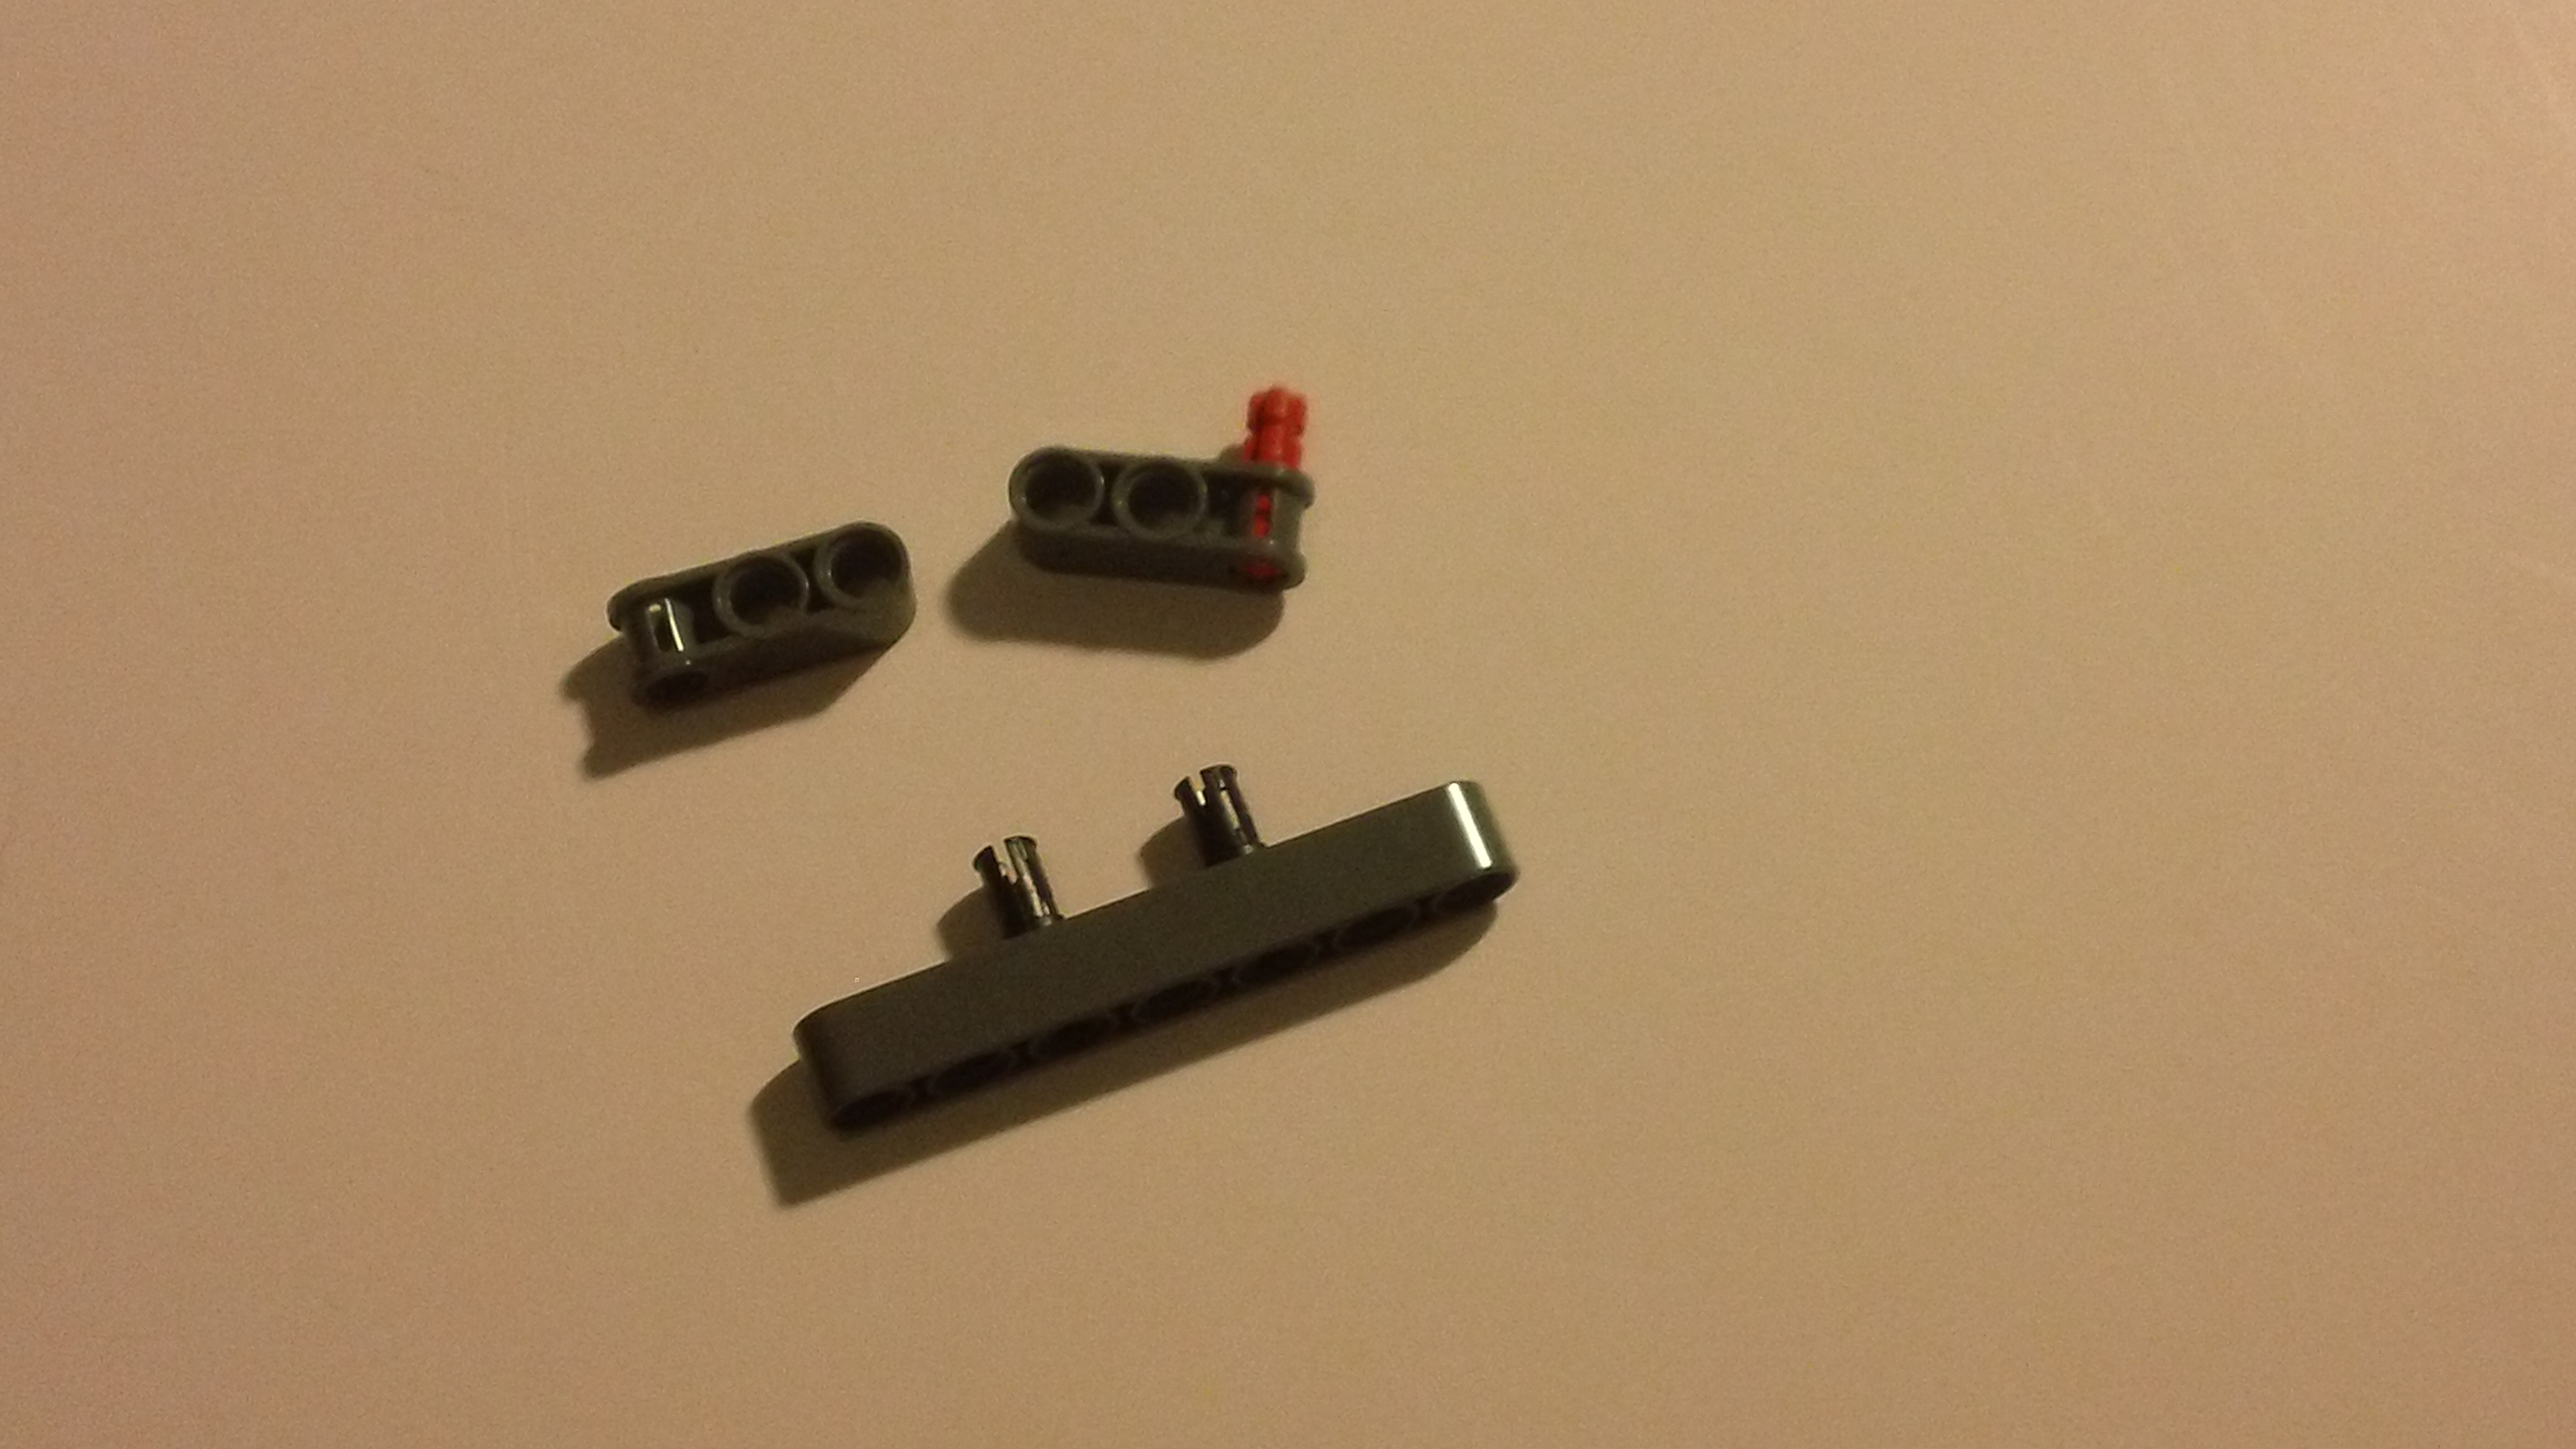
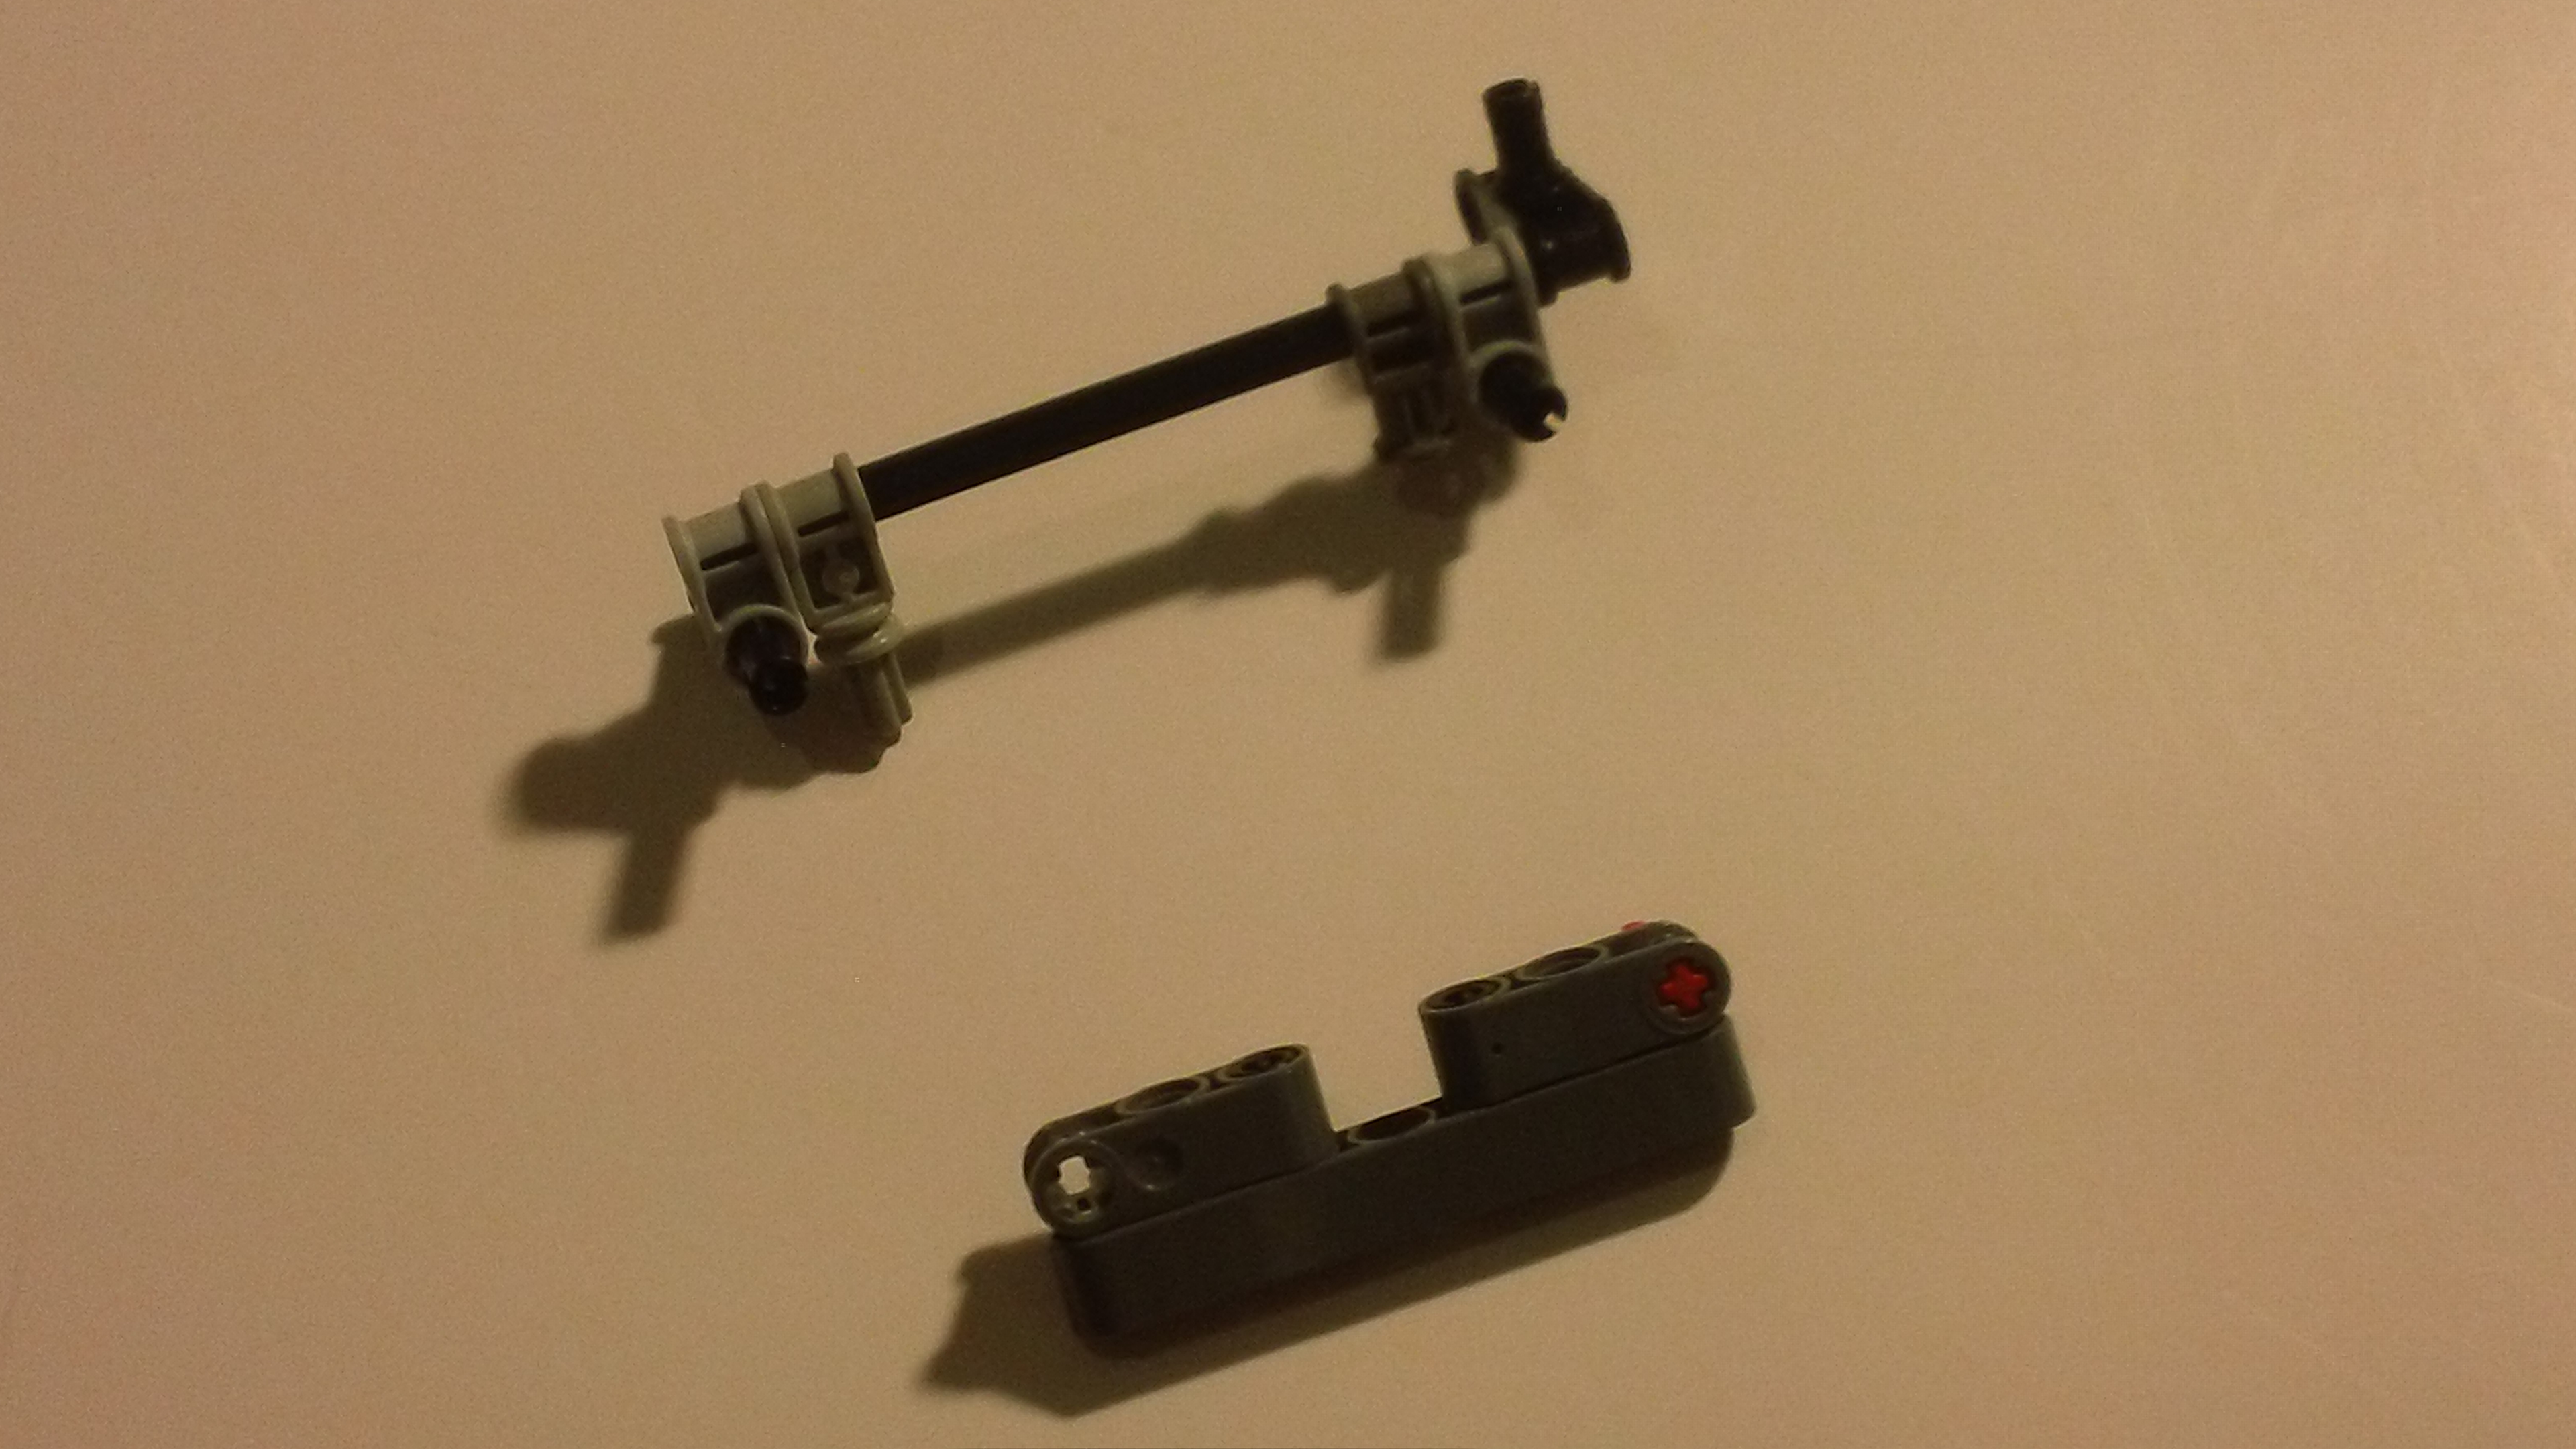
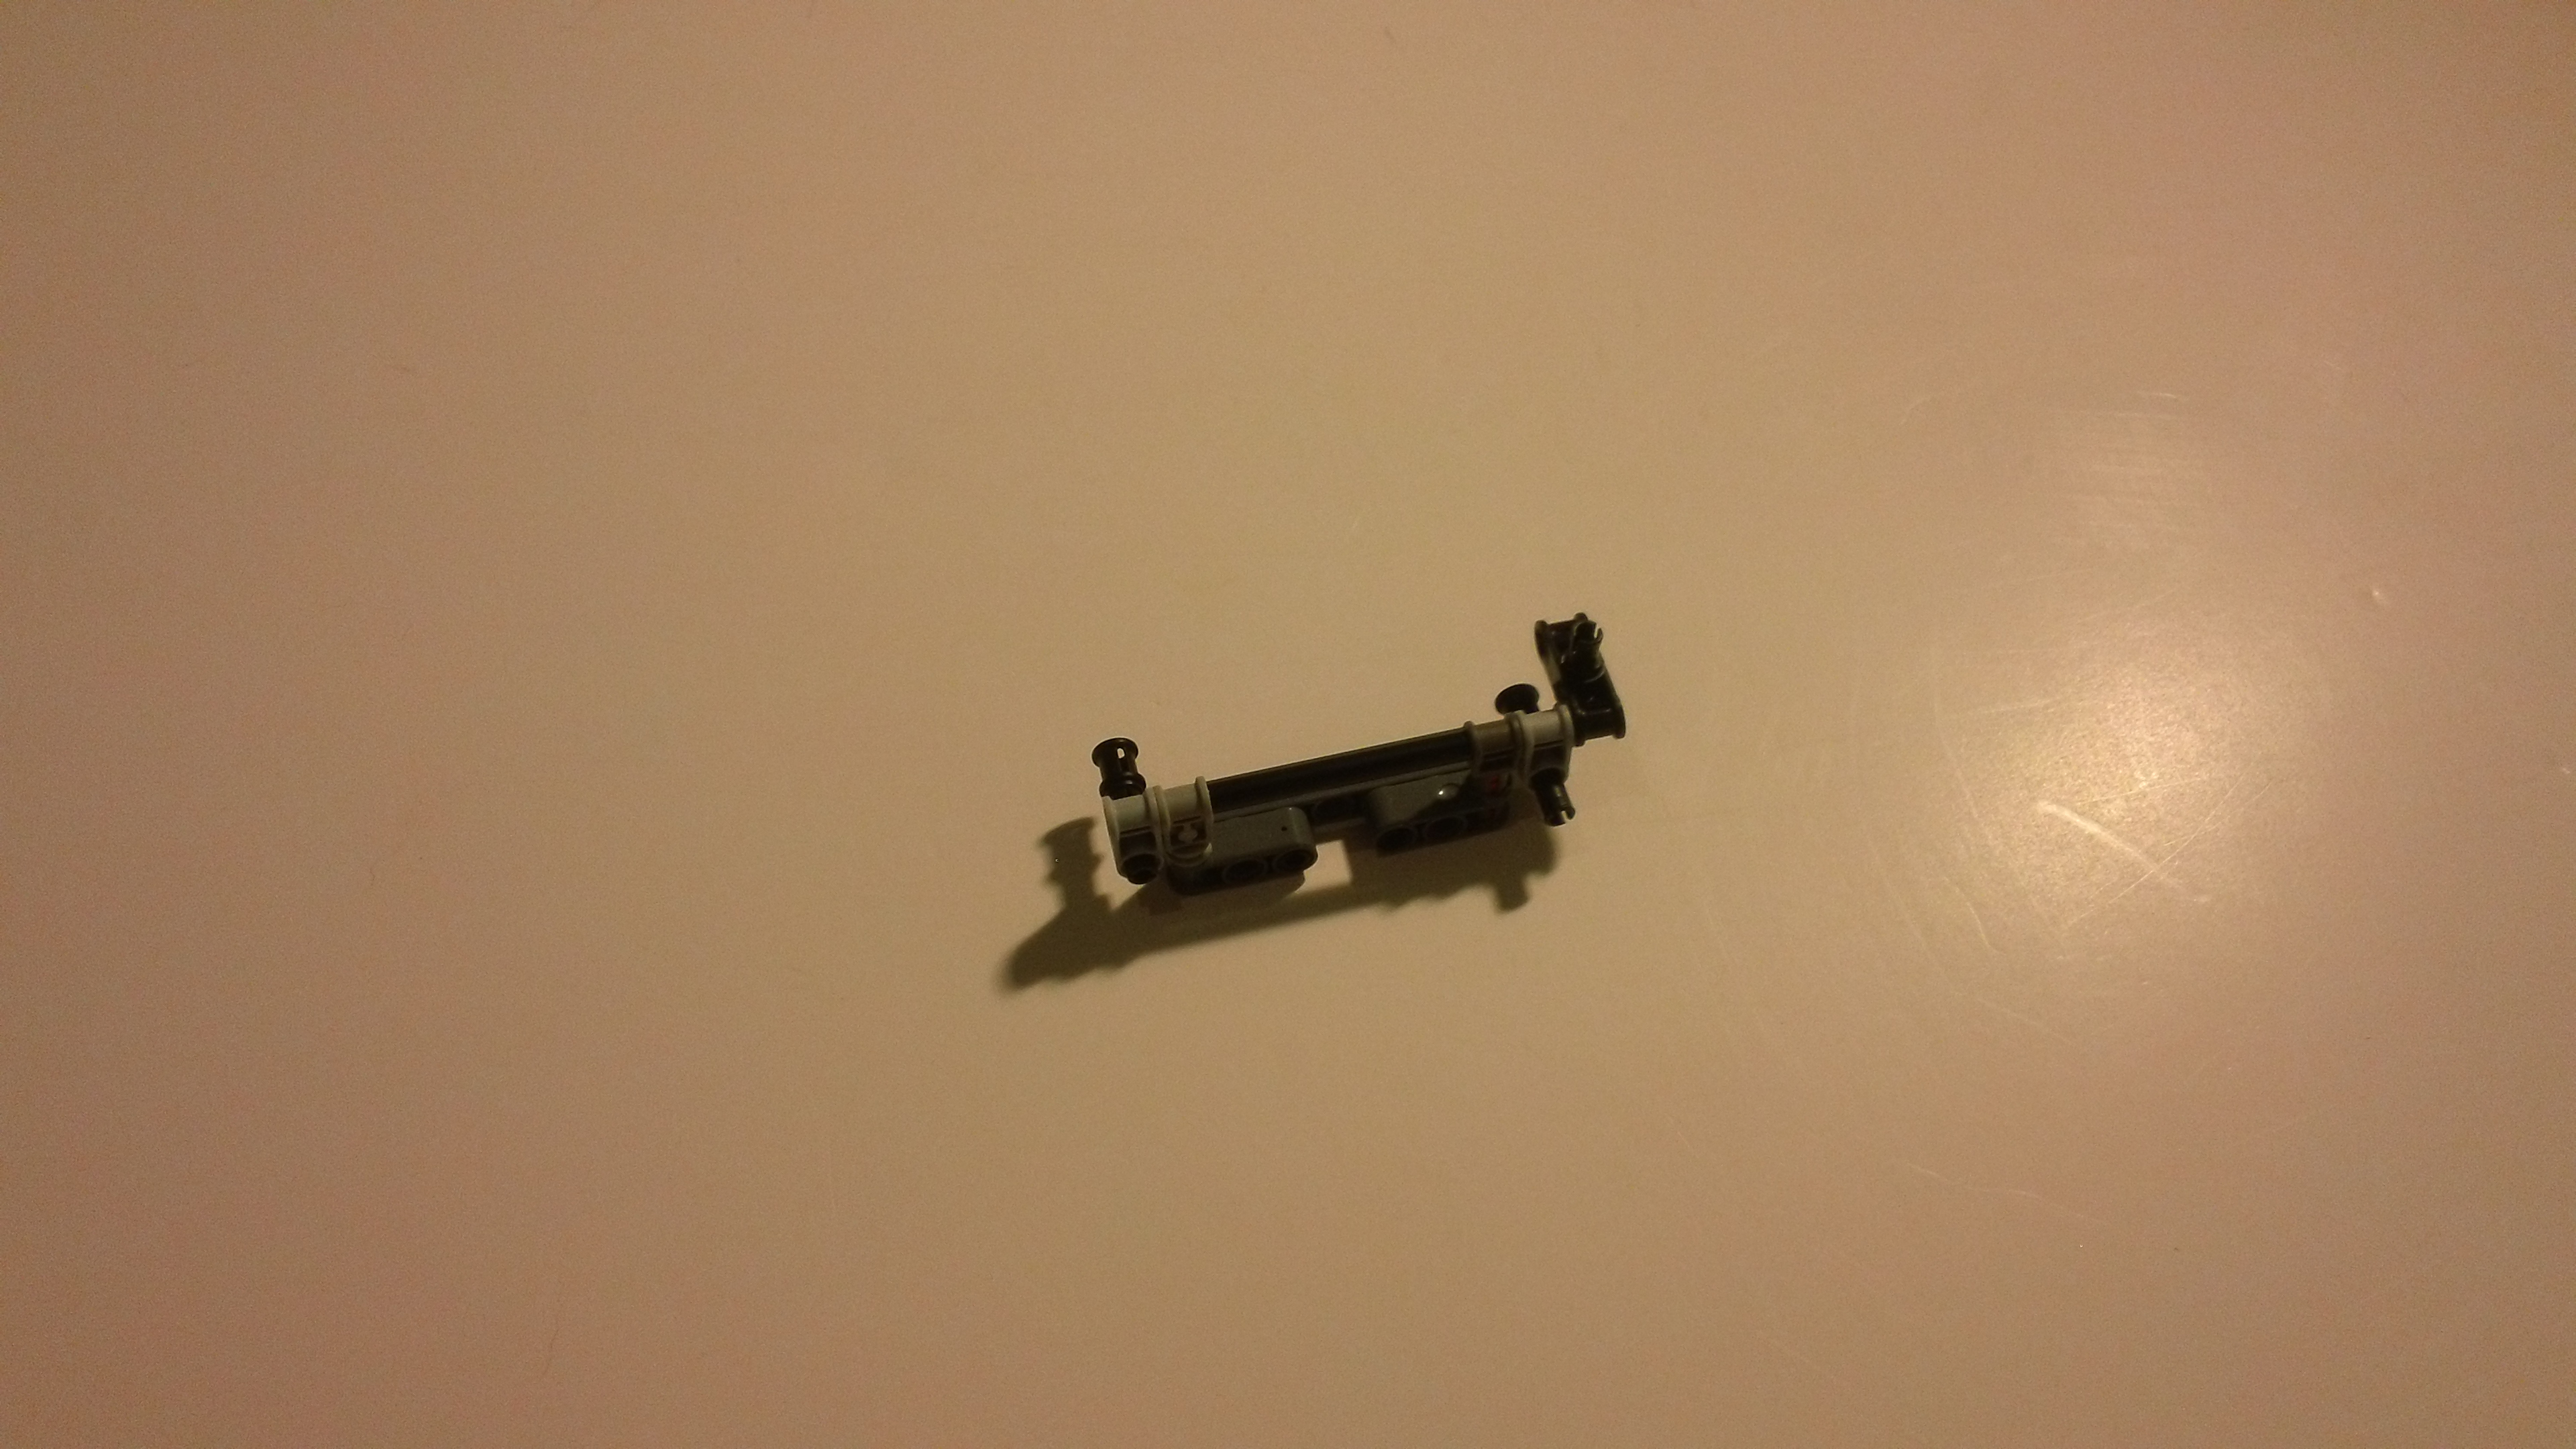
Almost done, keep going!
Build the NXT Device (Part 4)
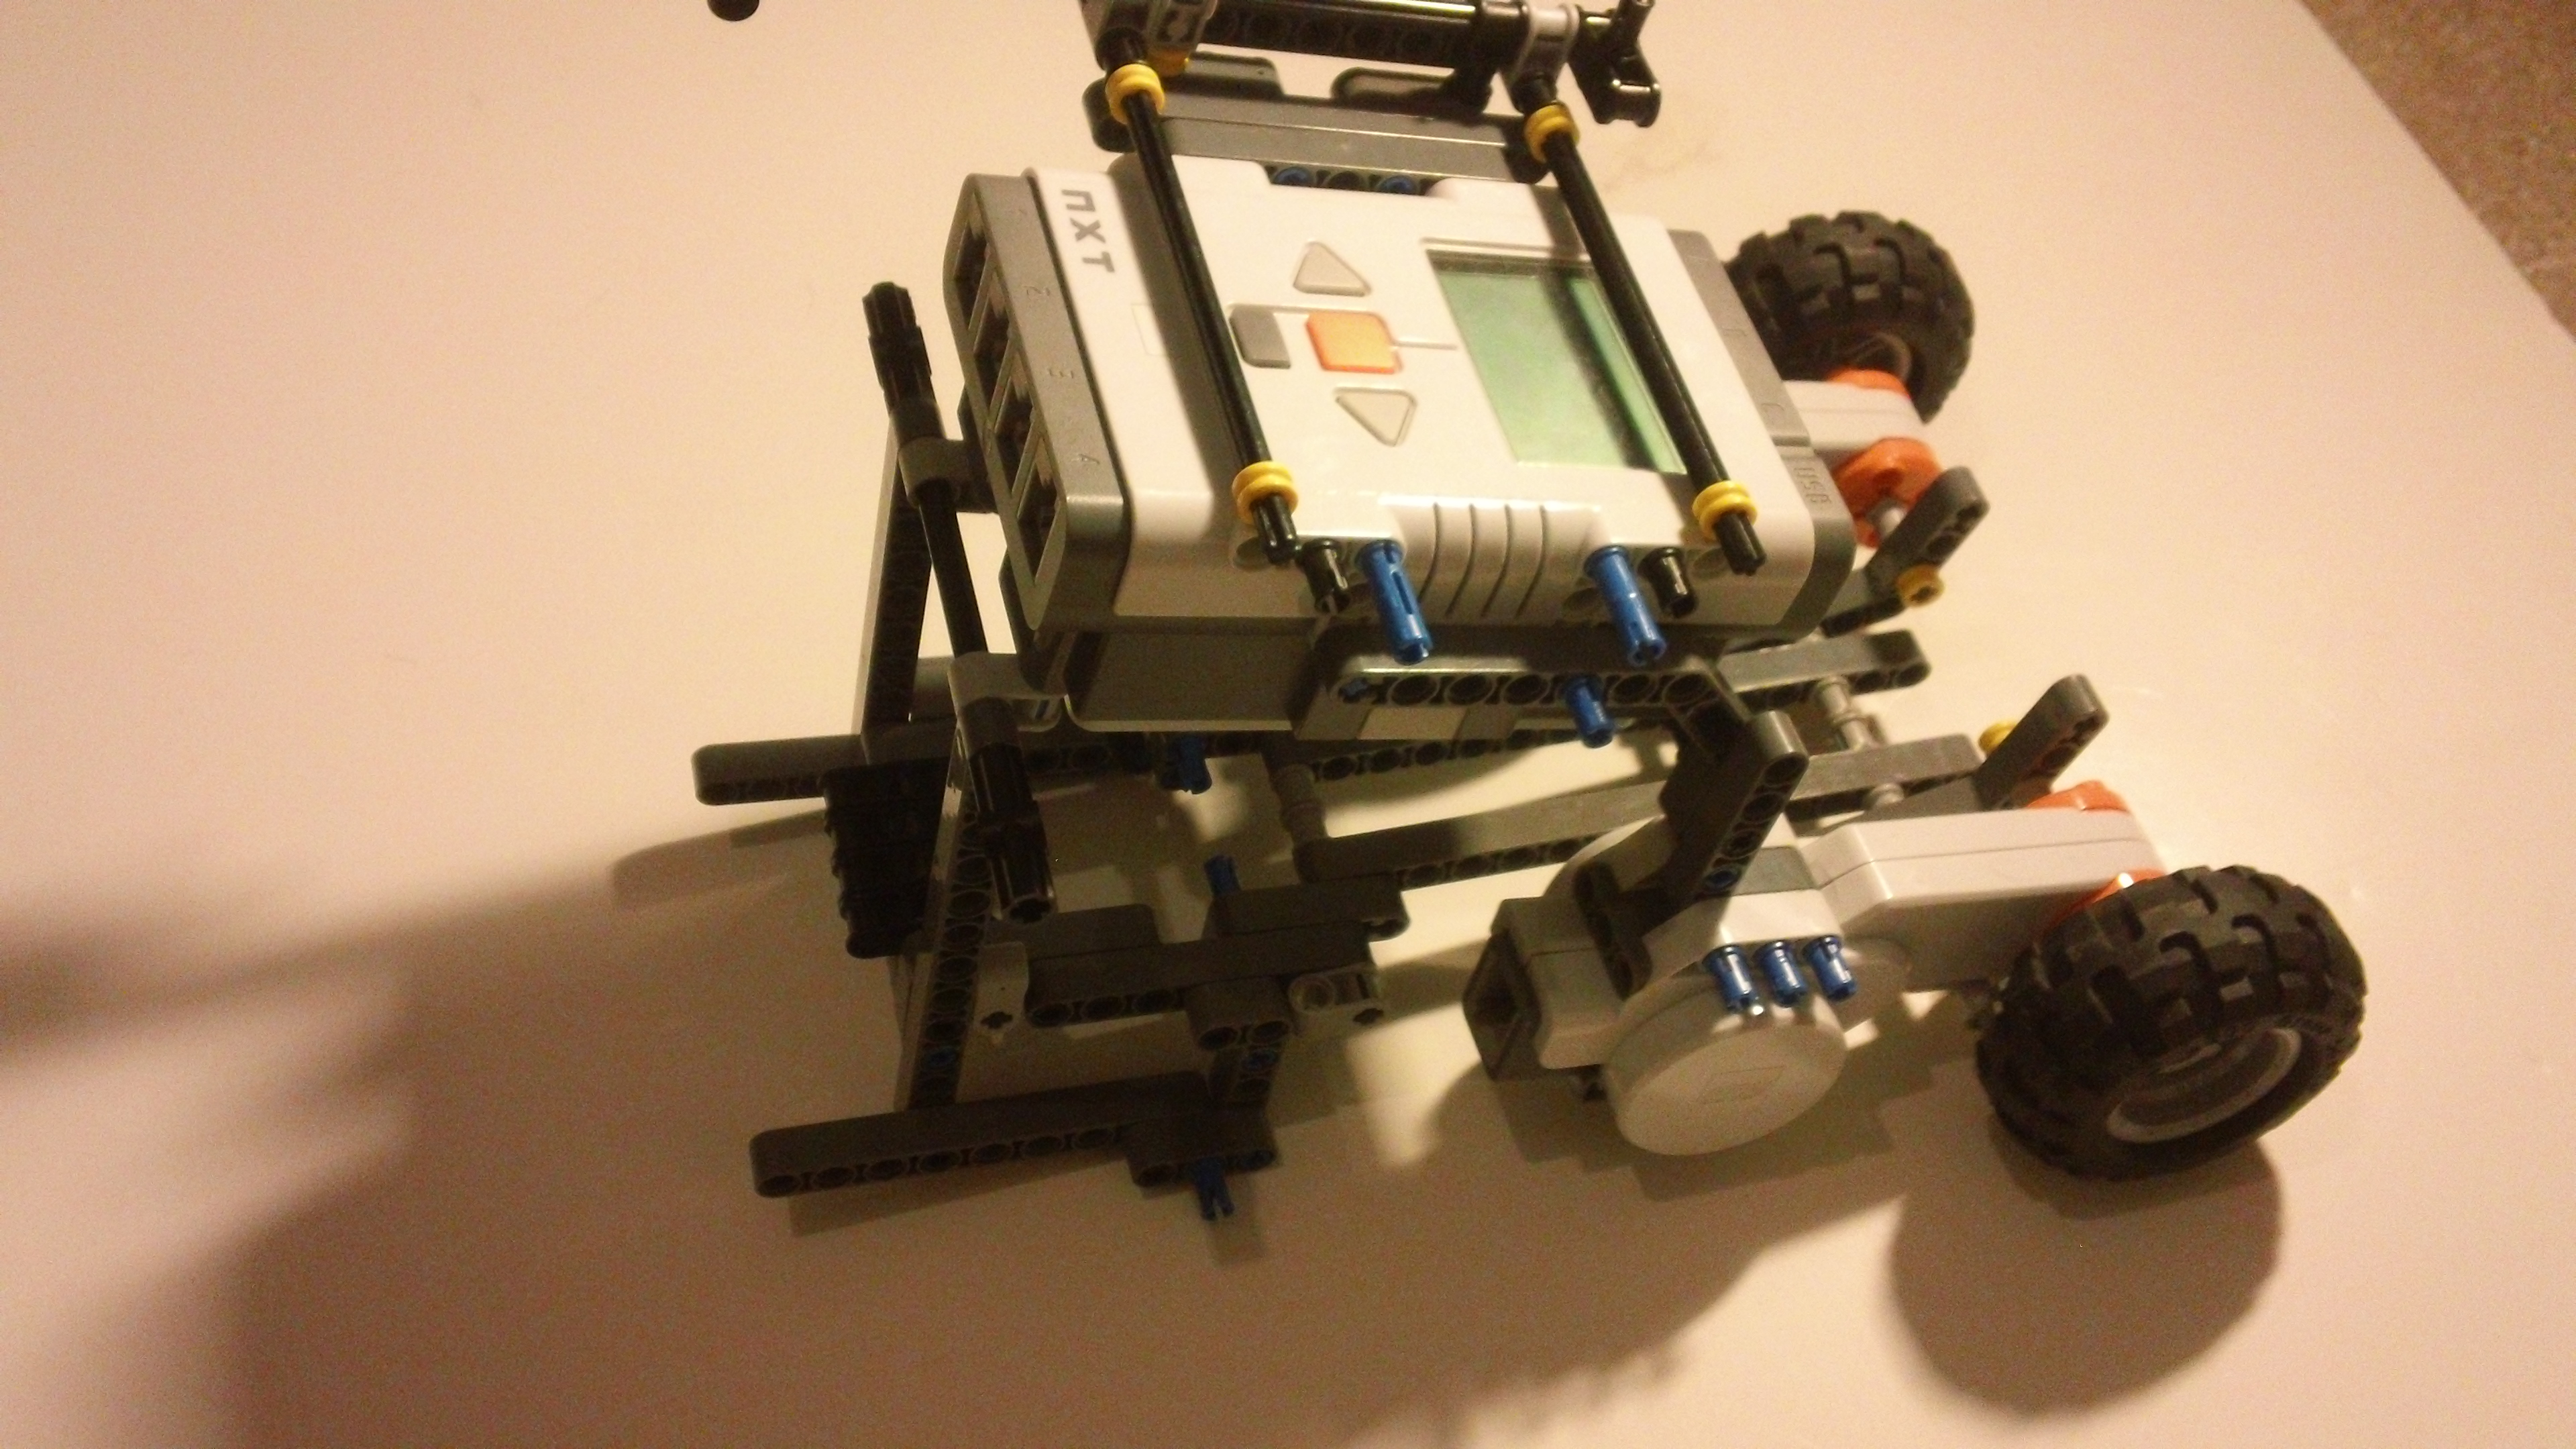
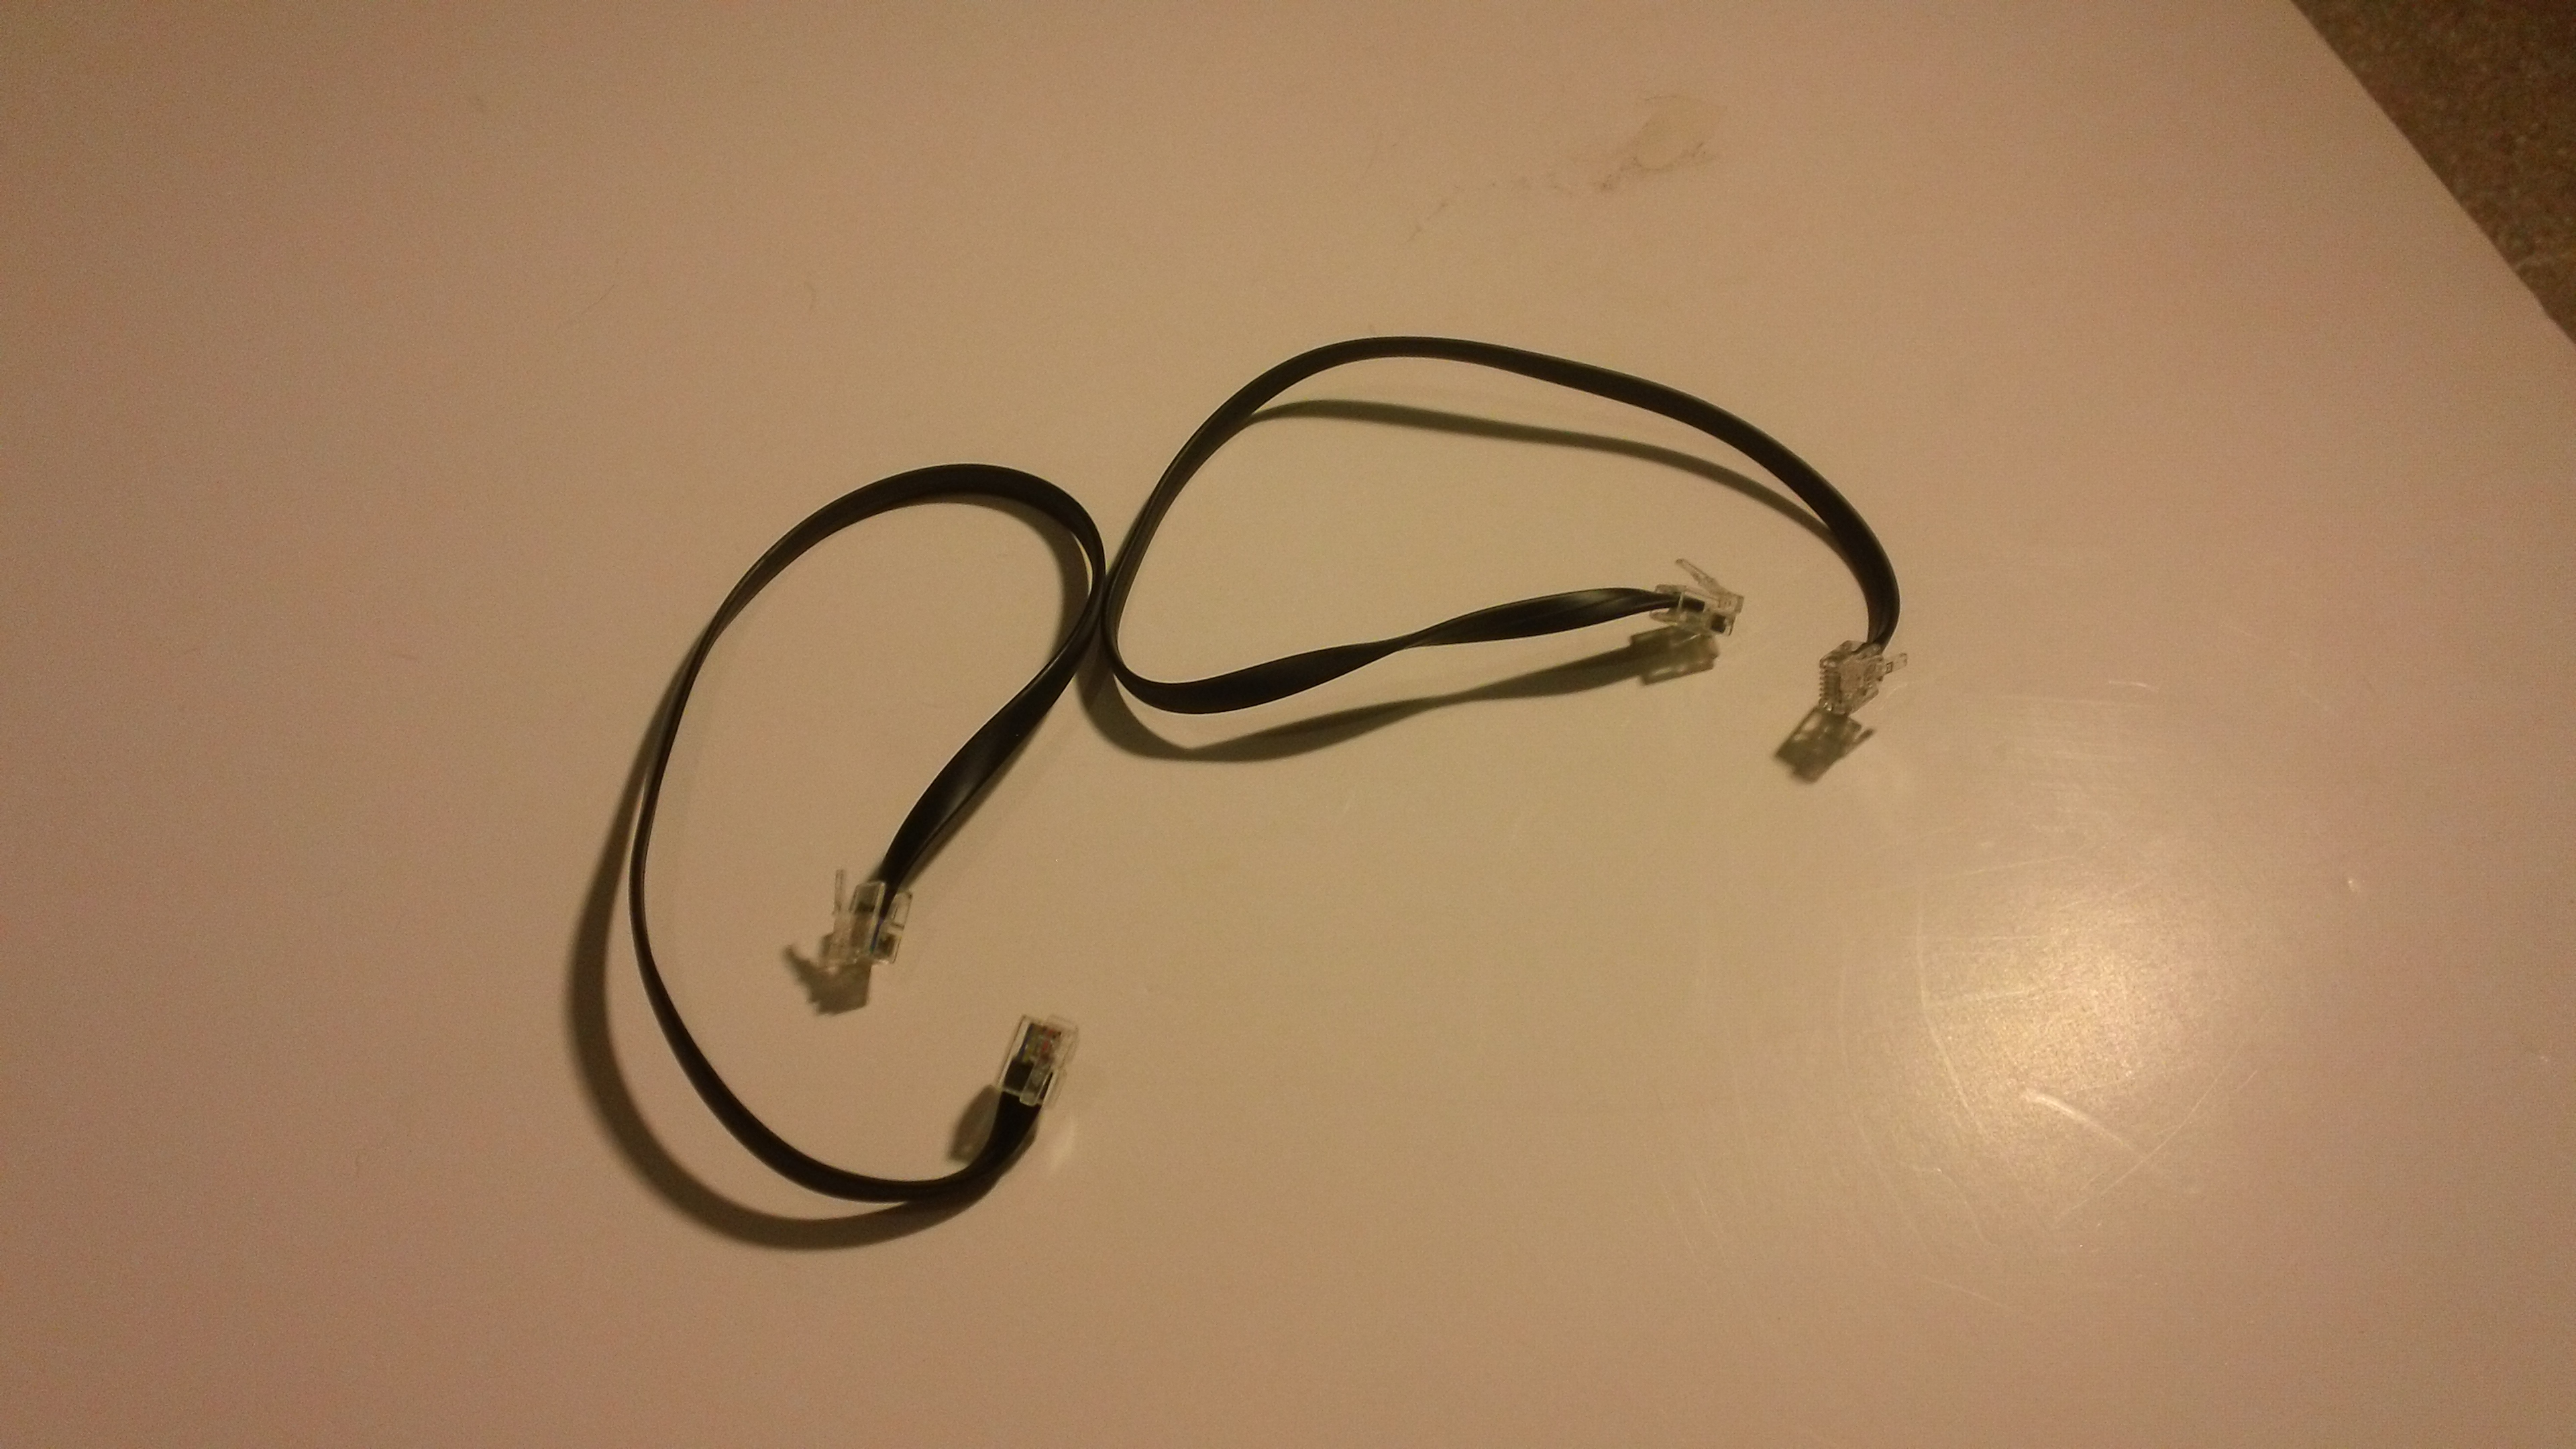
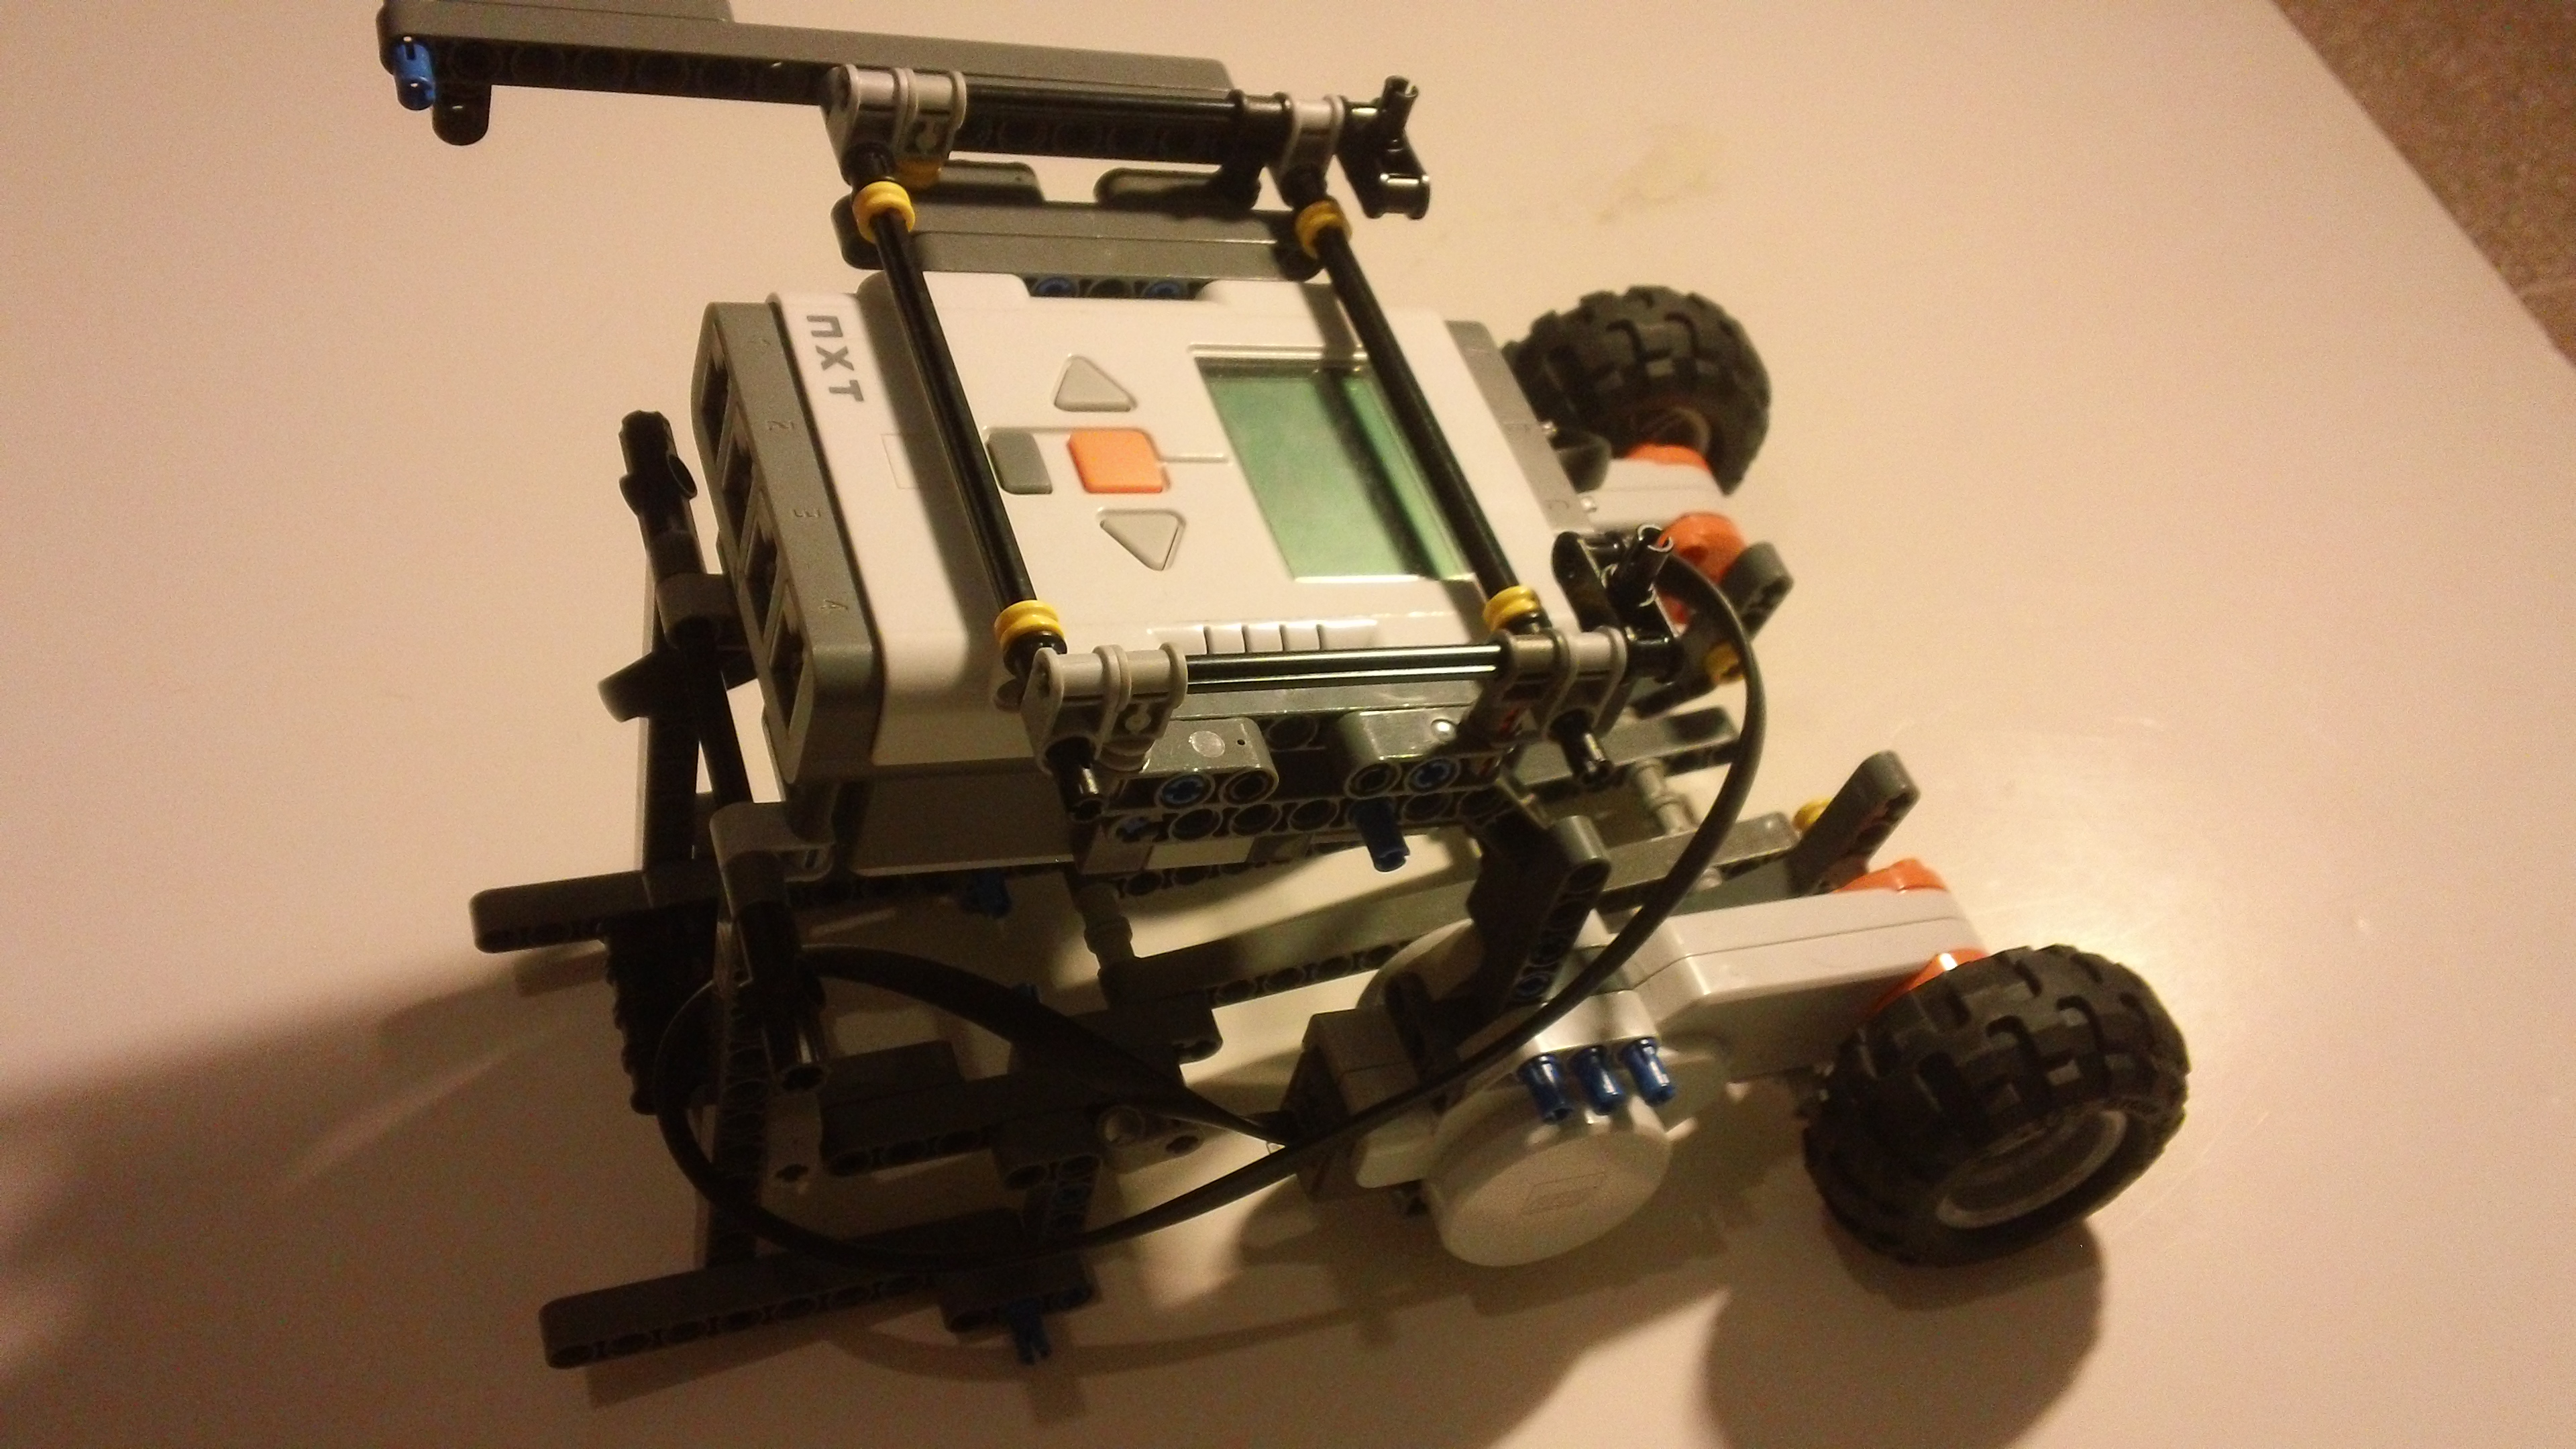
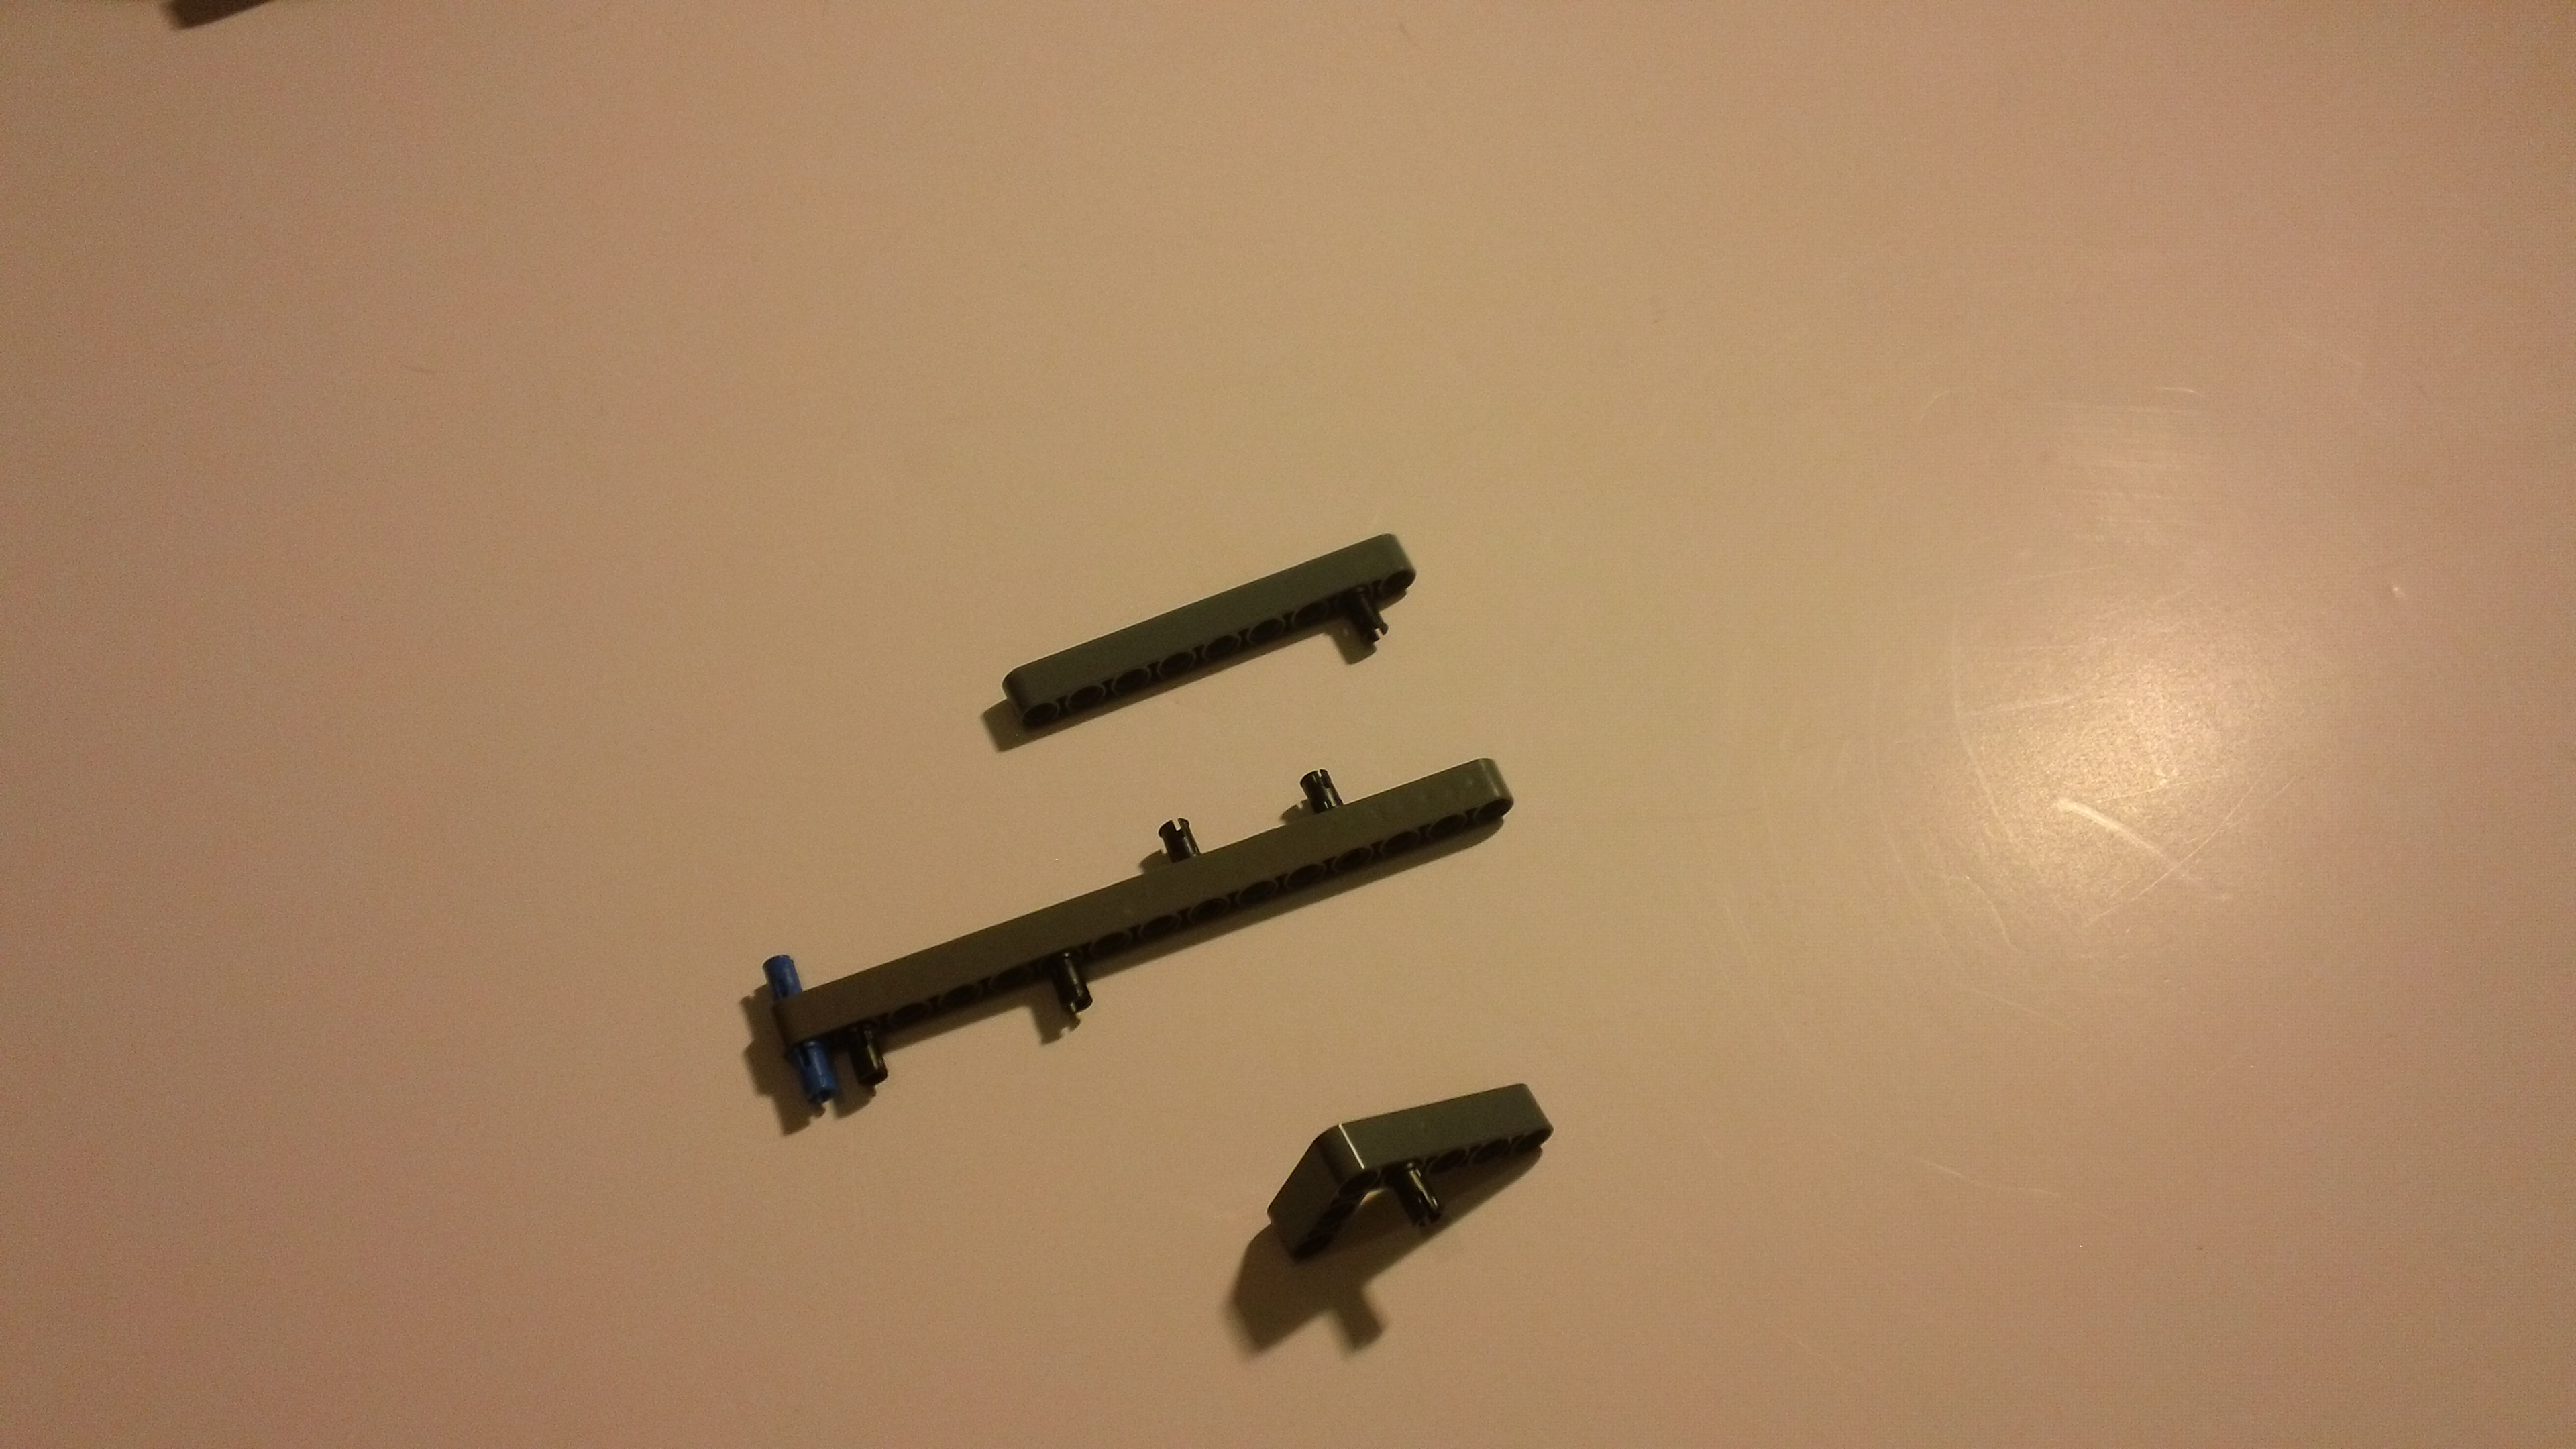
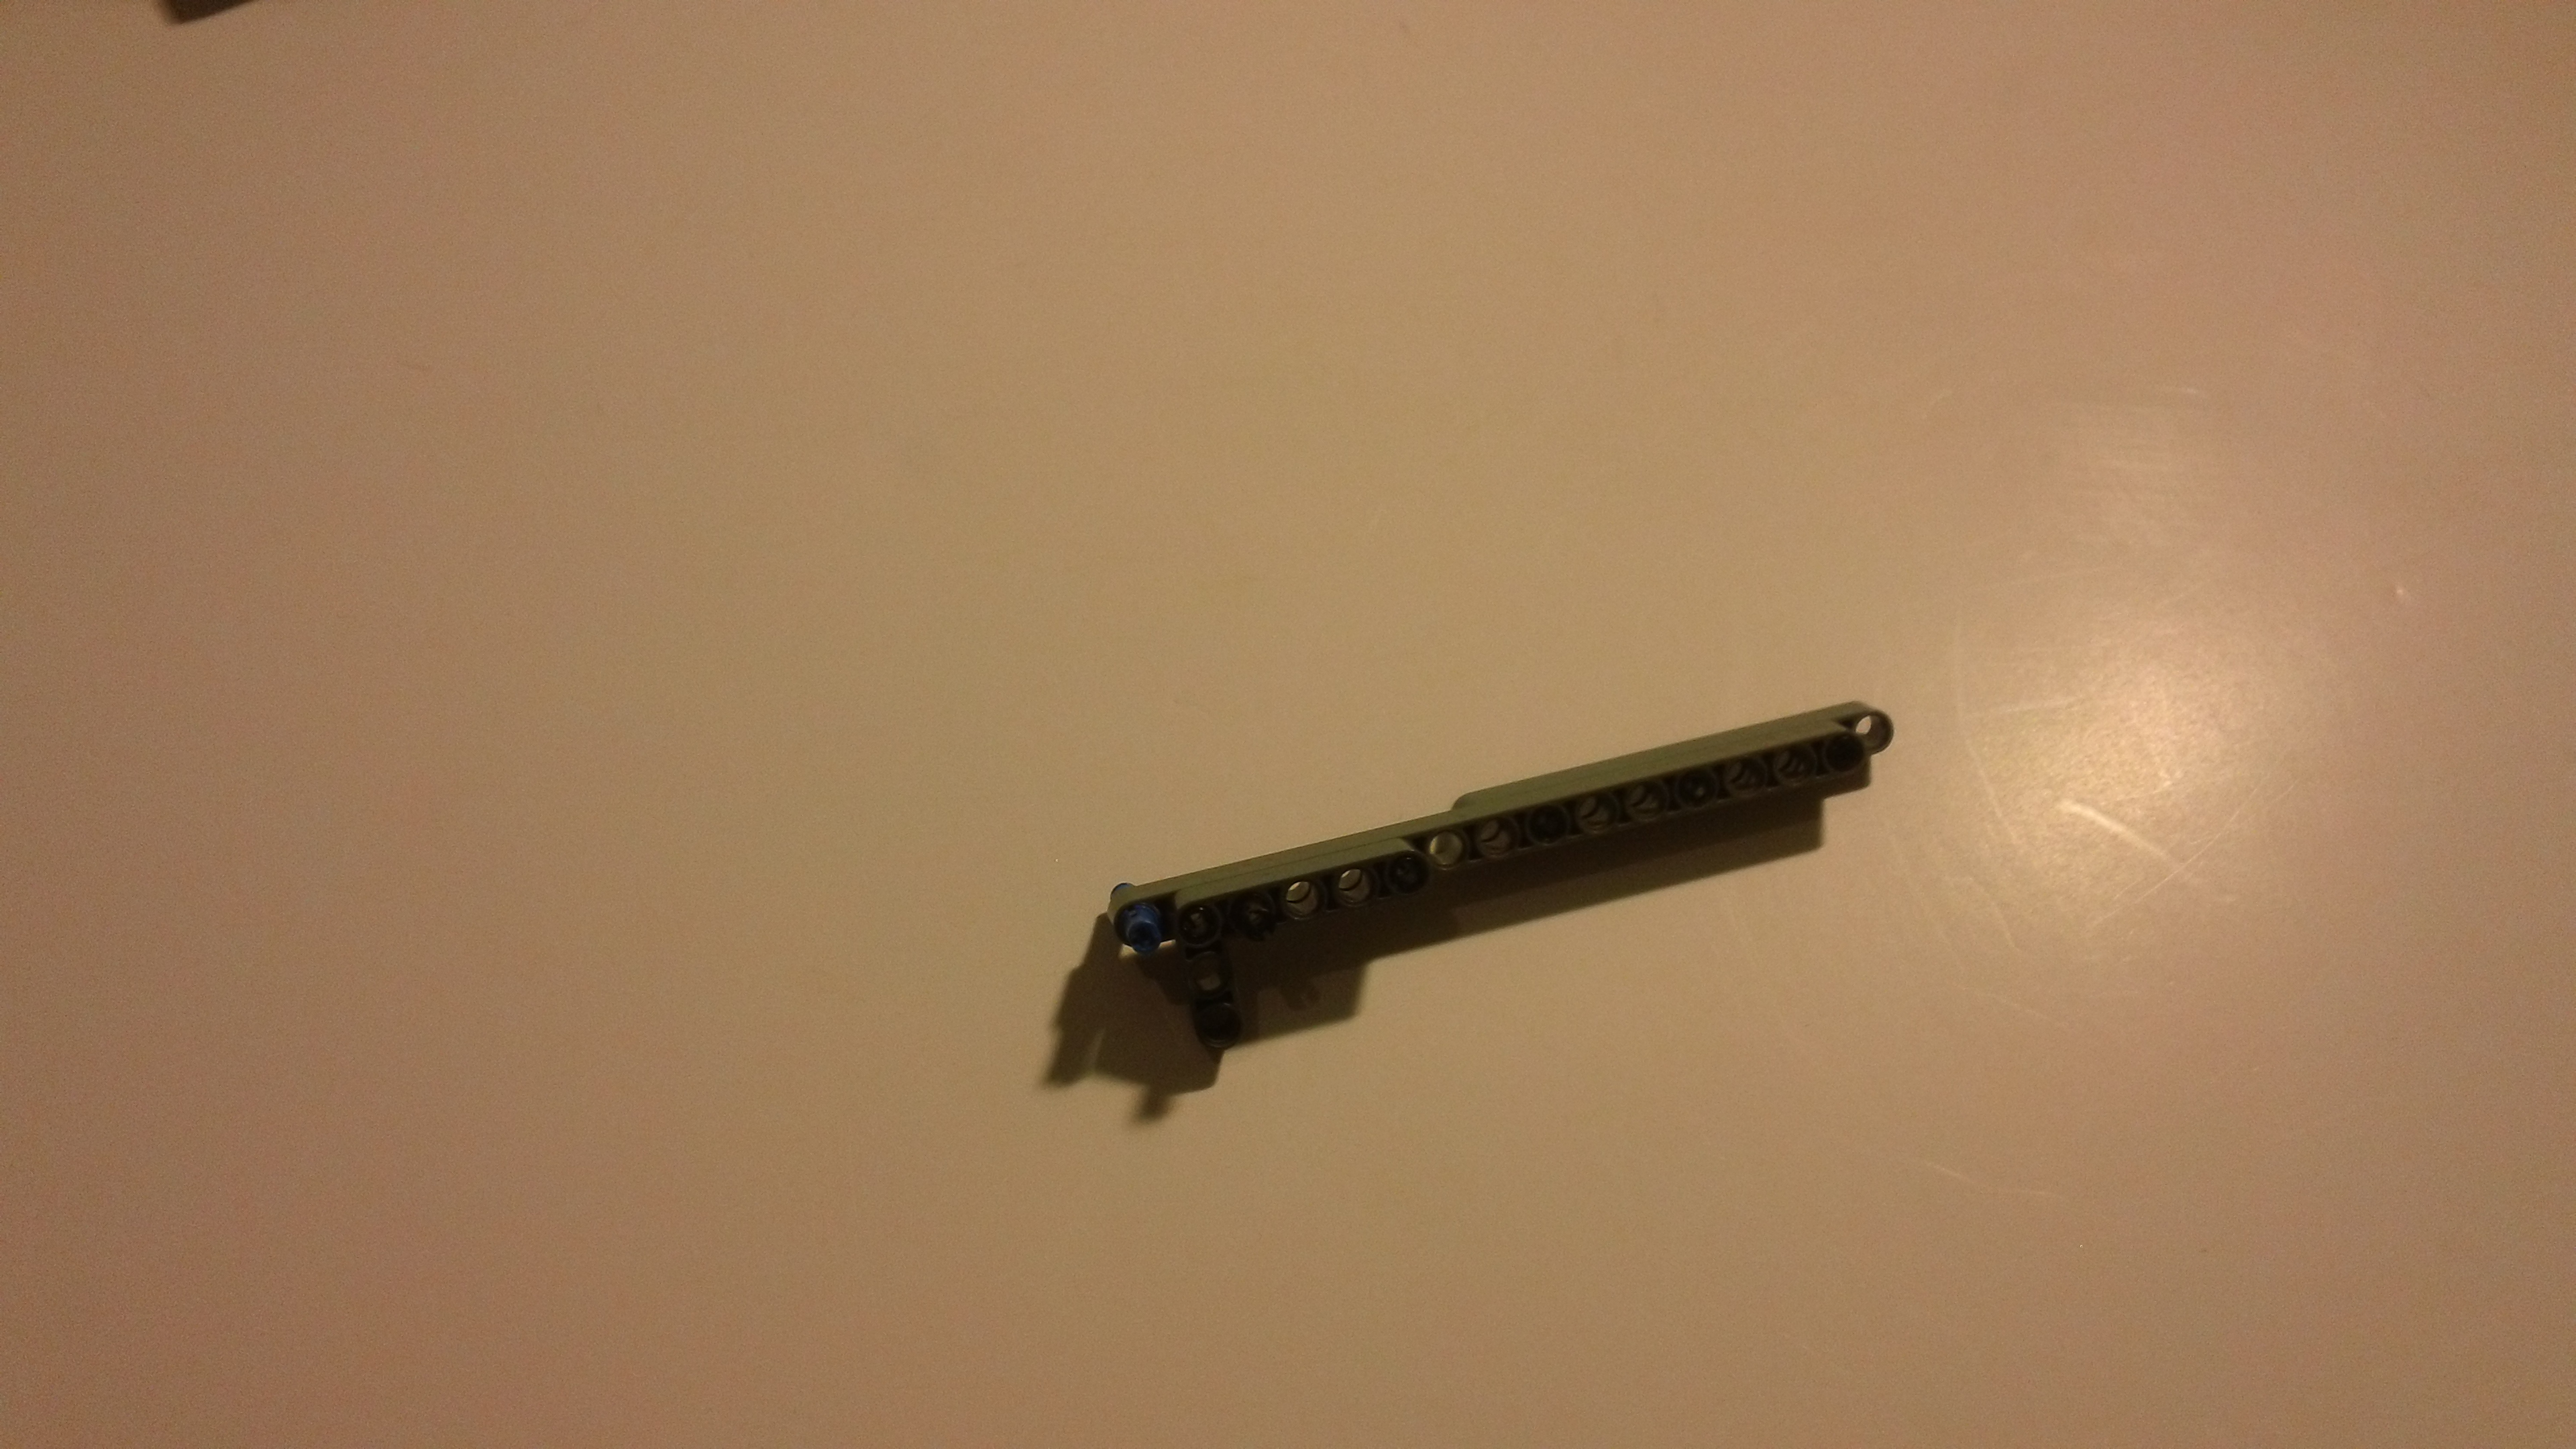
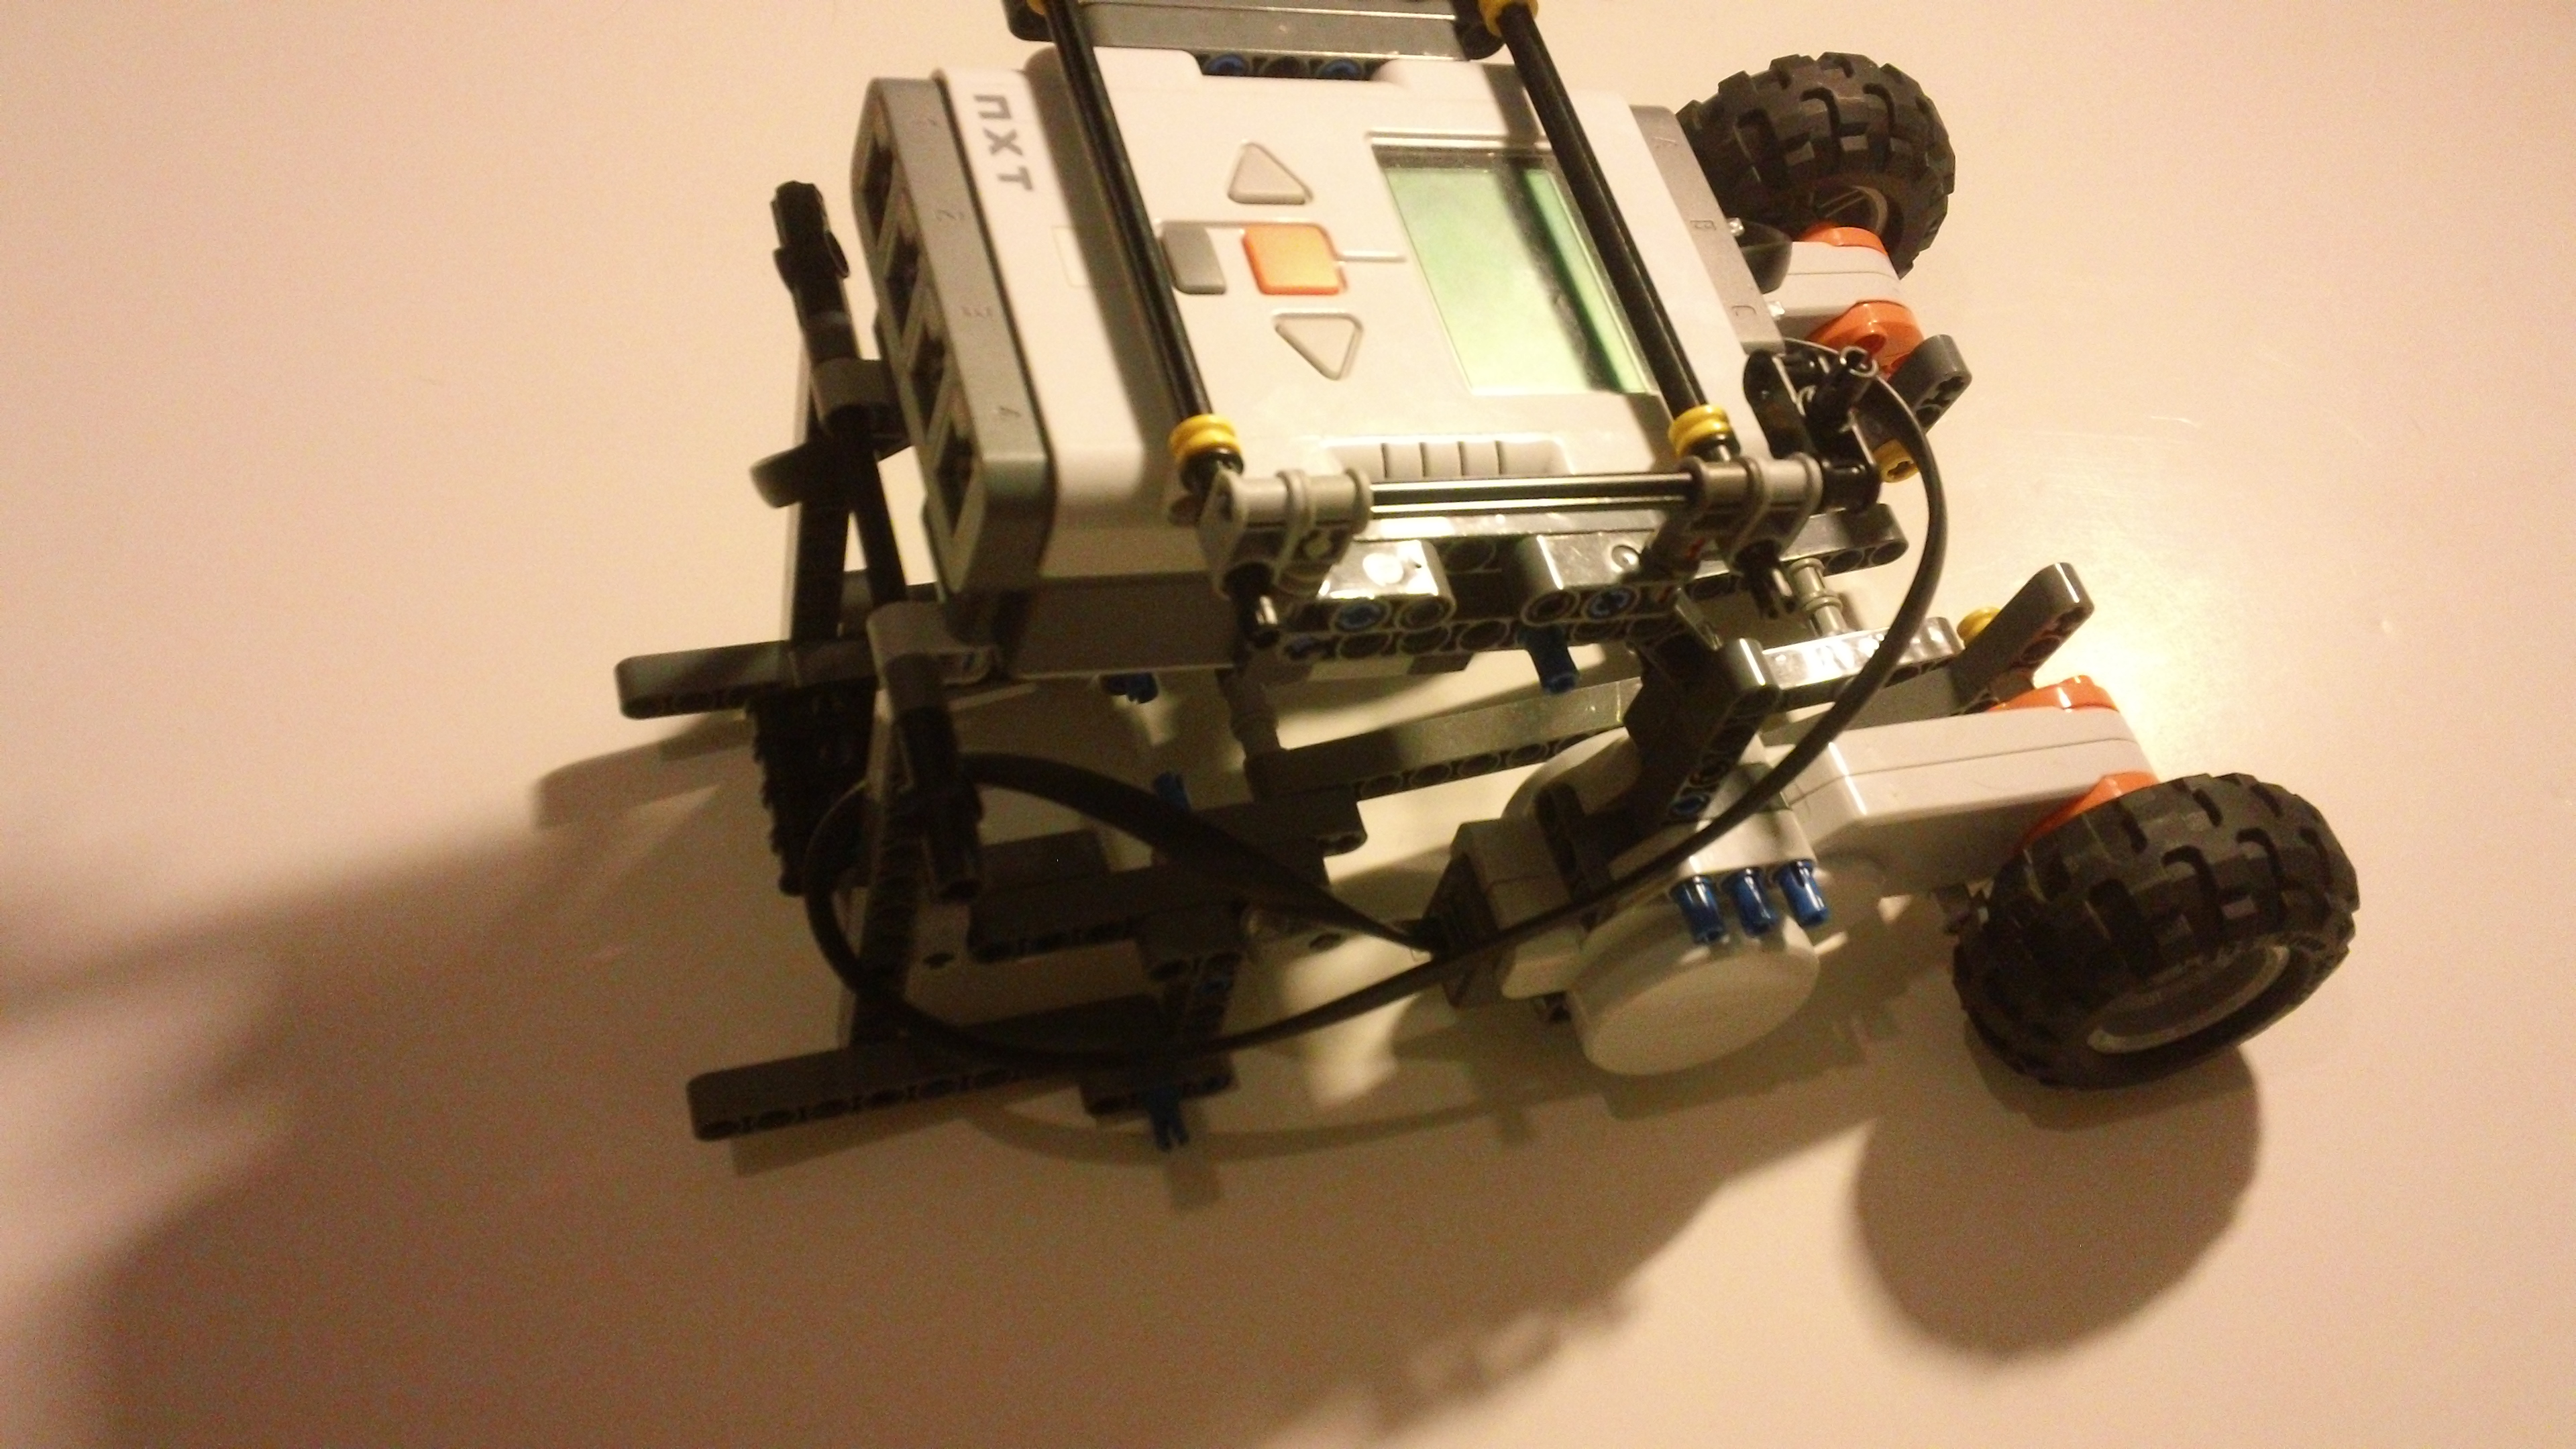
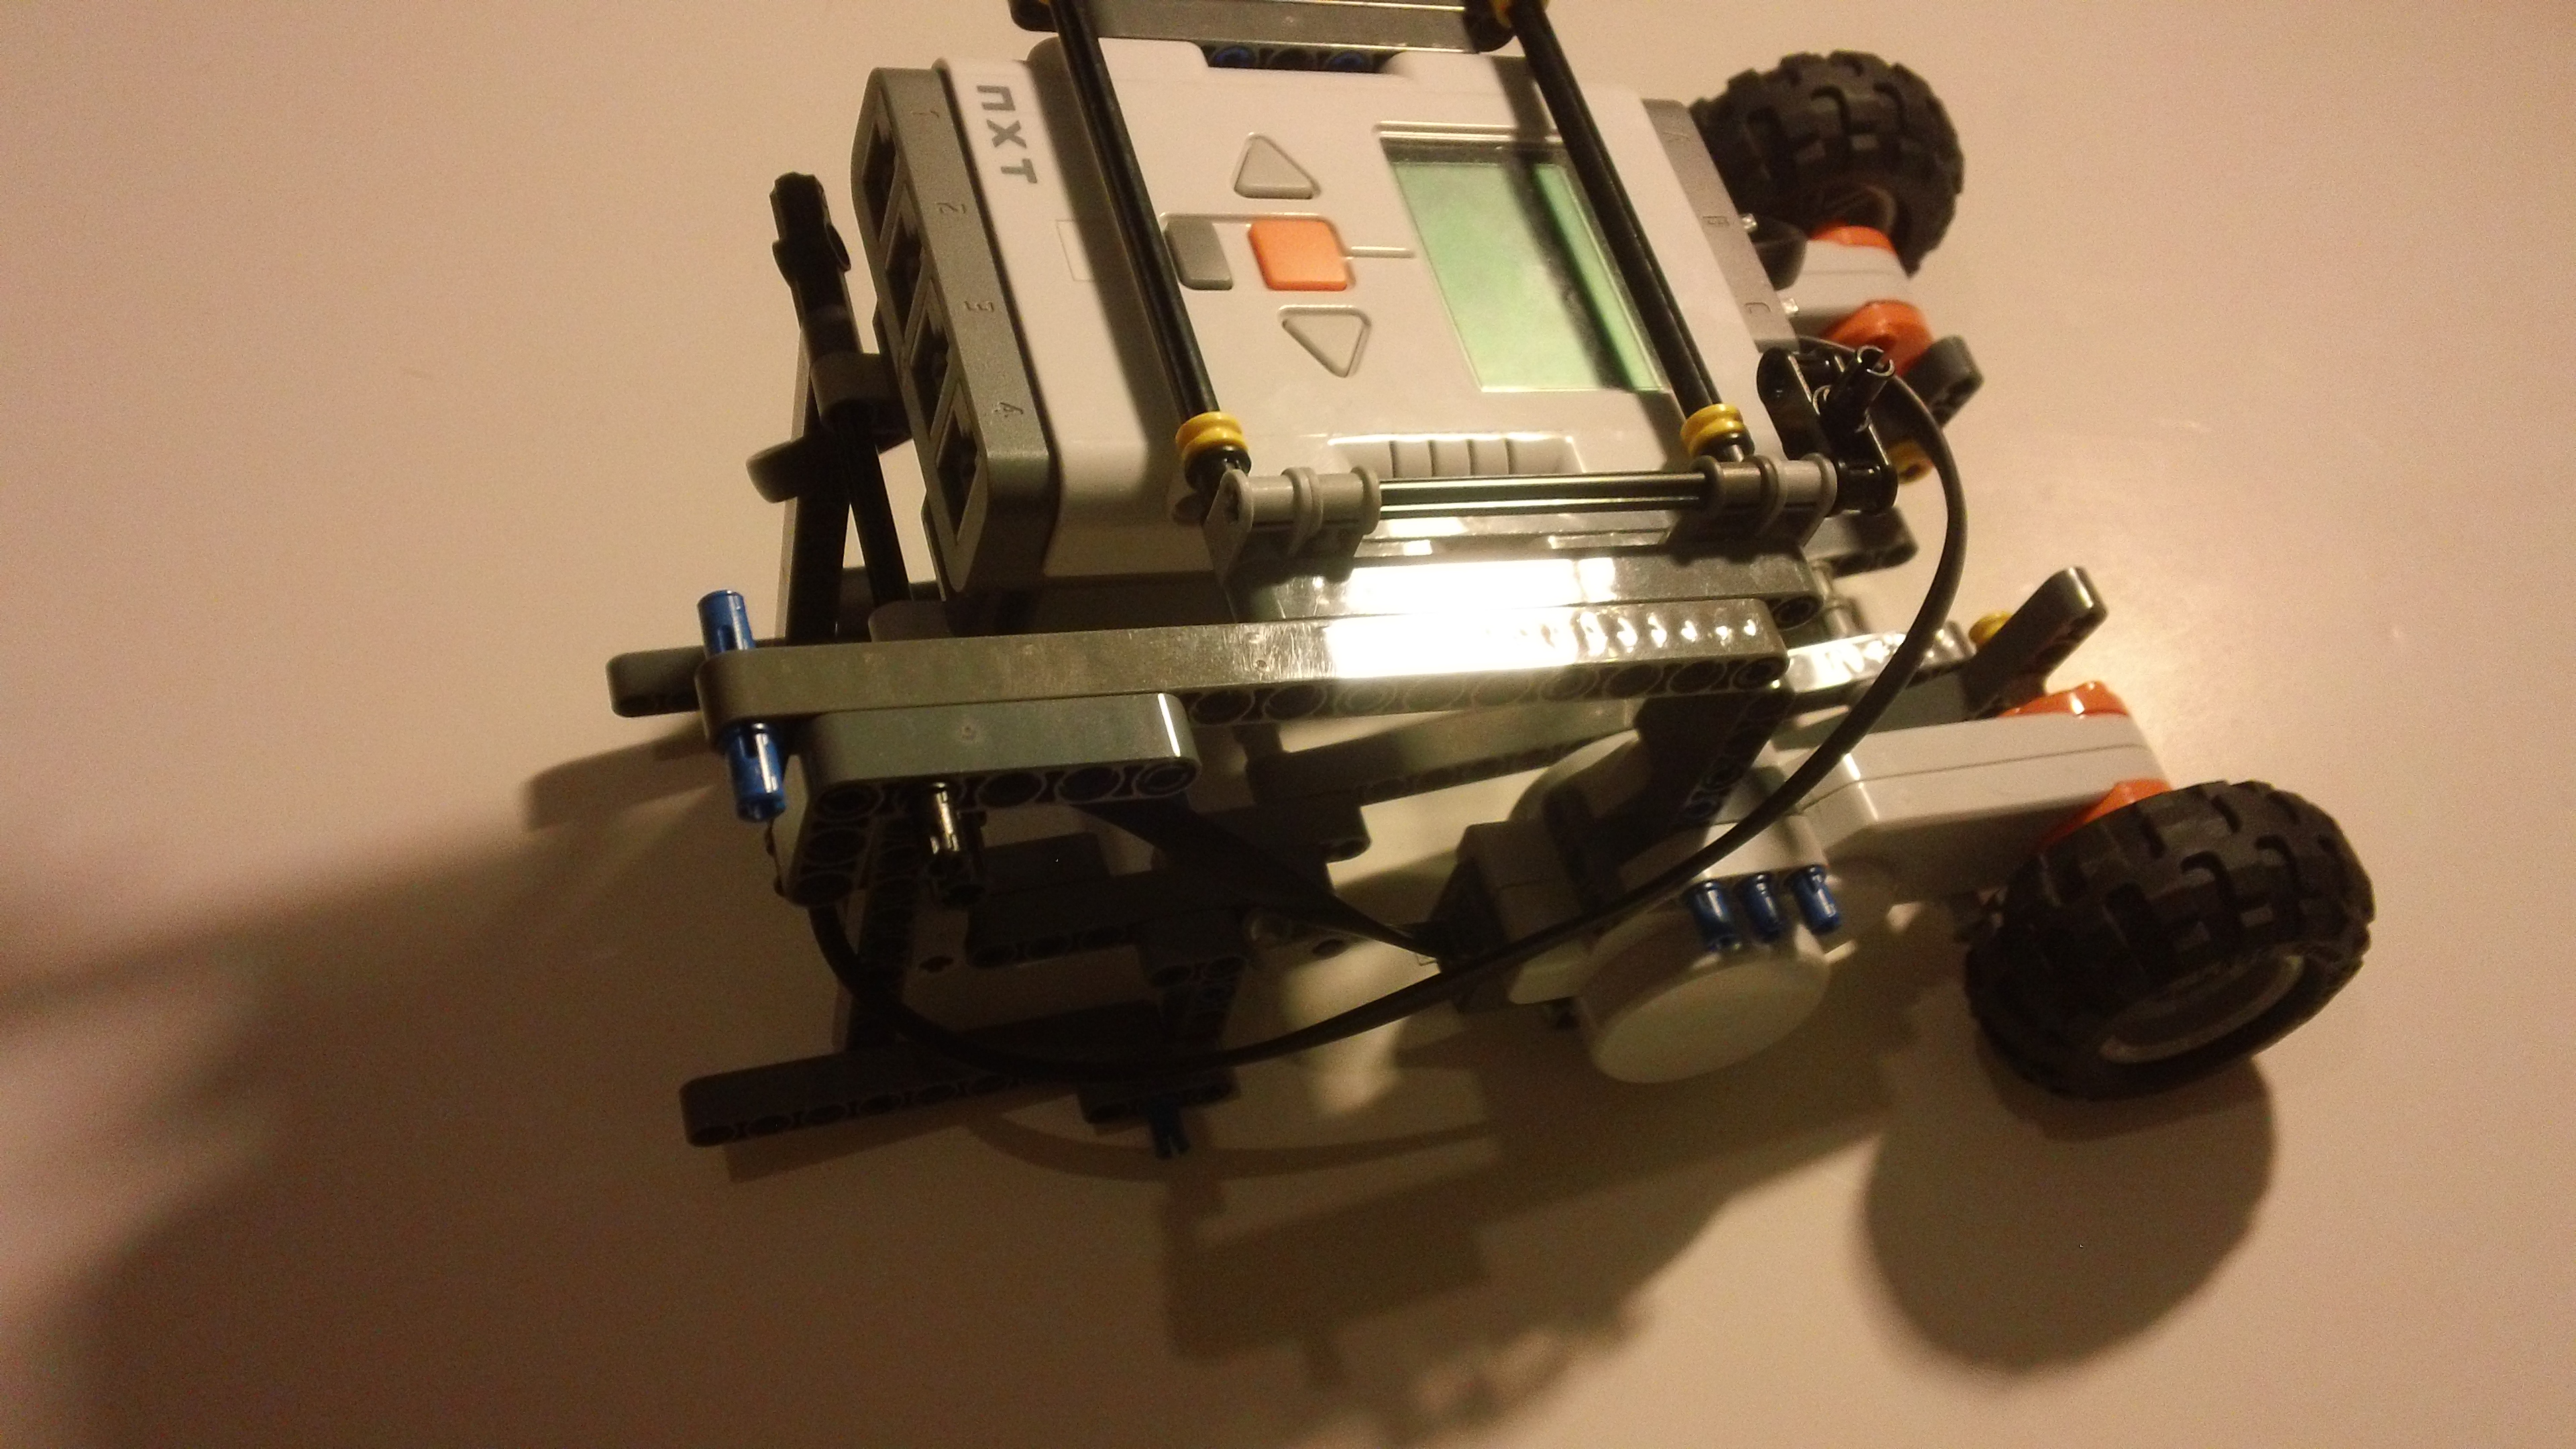
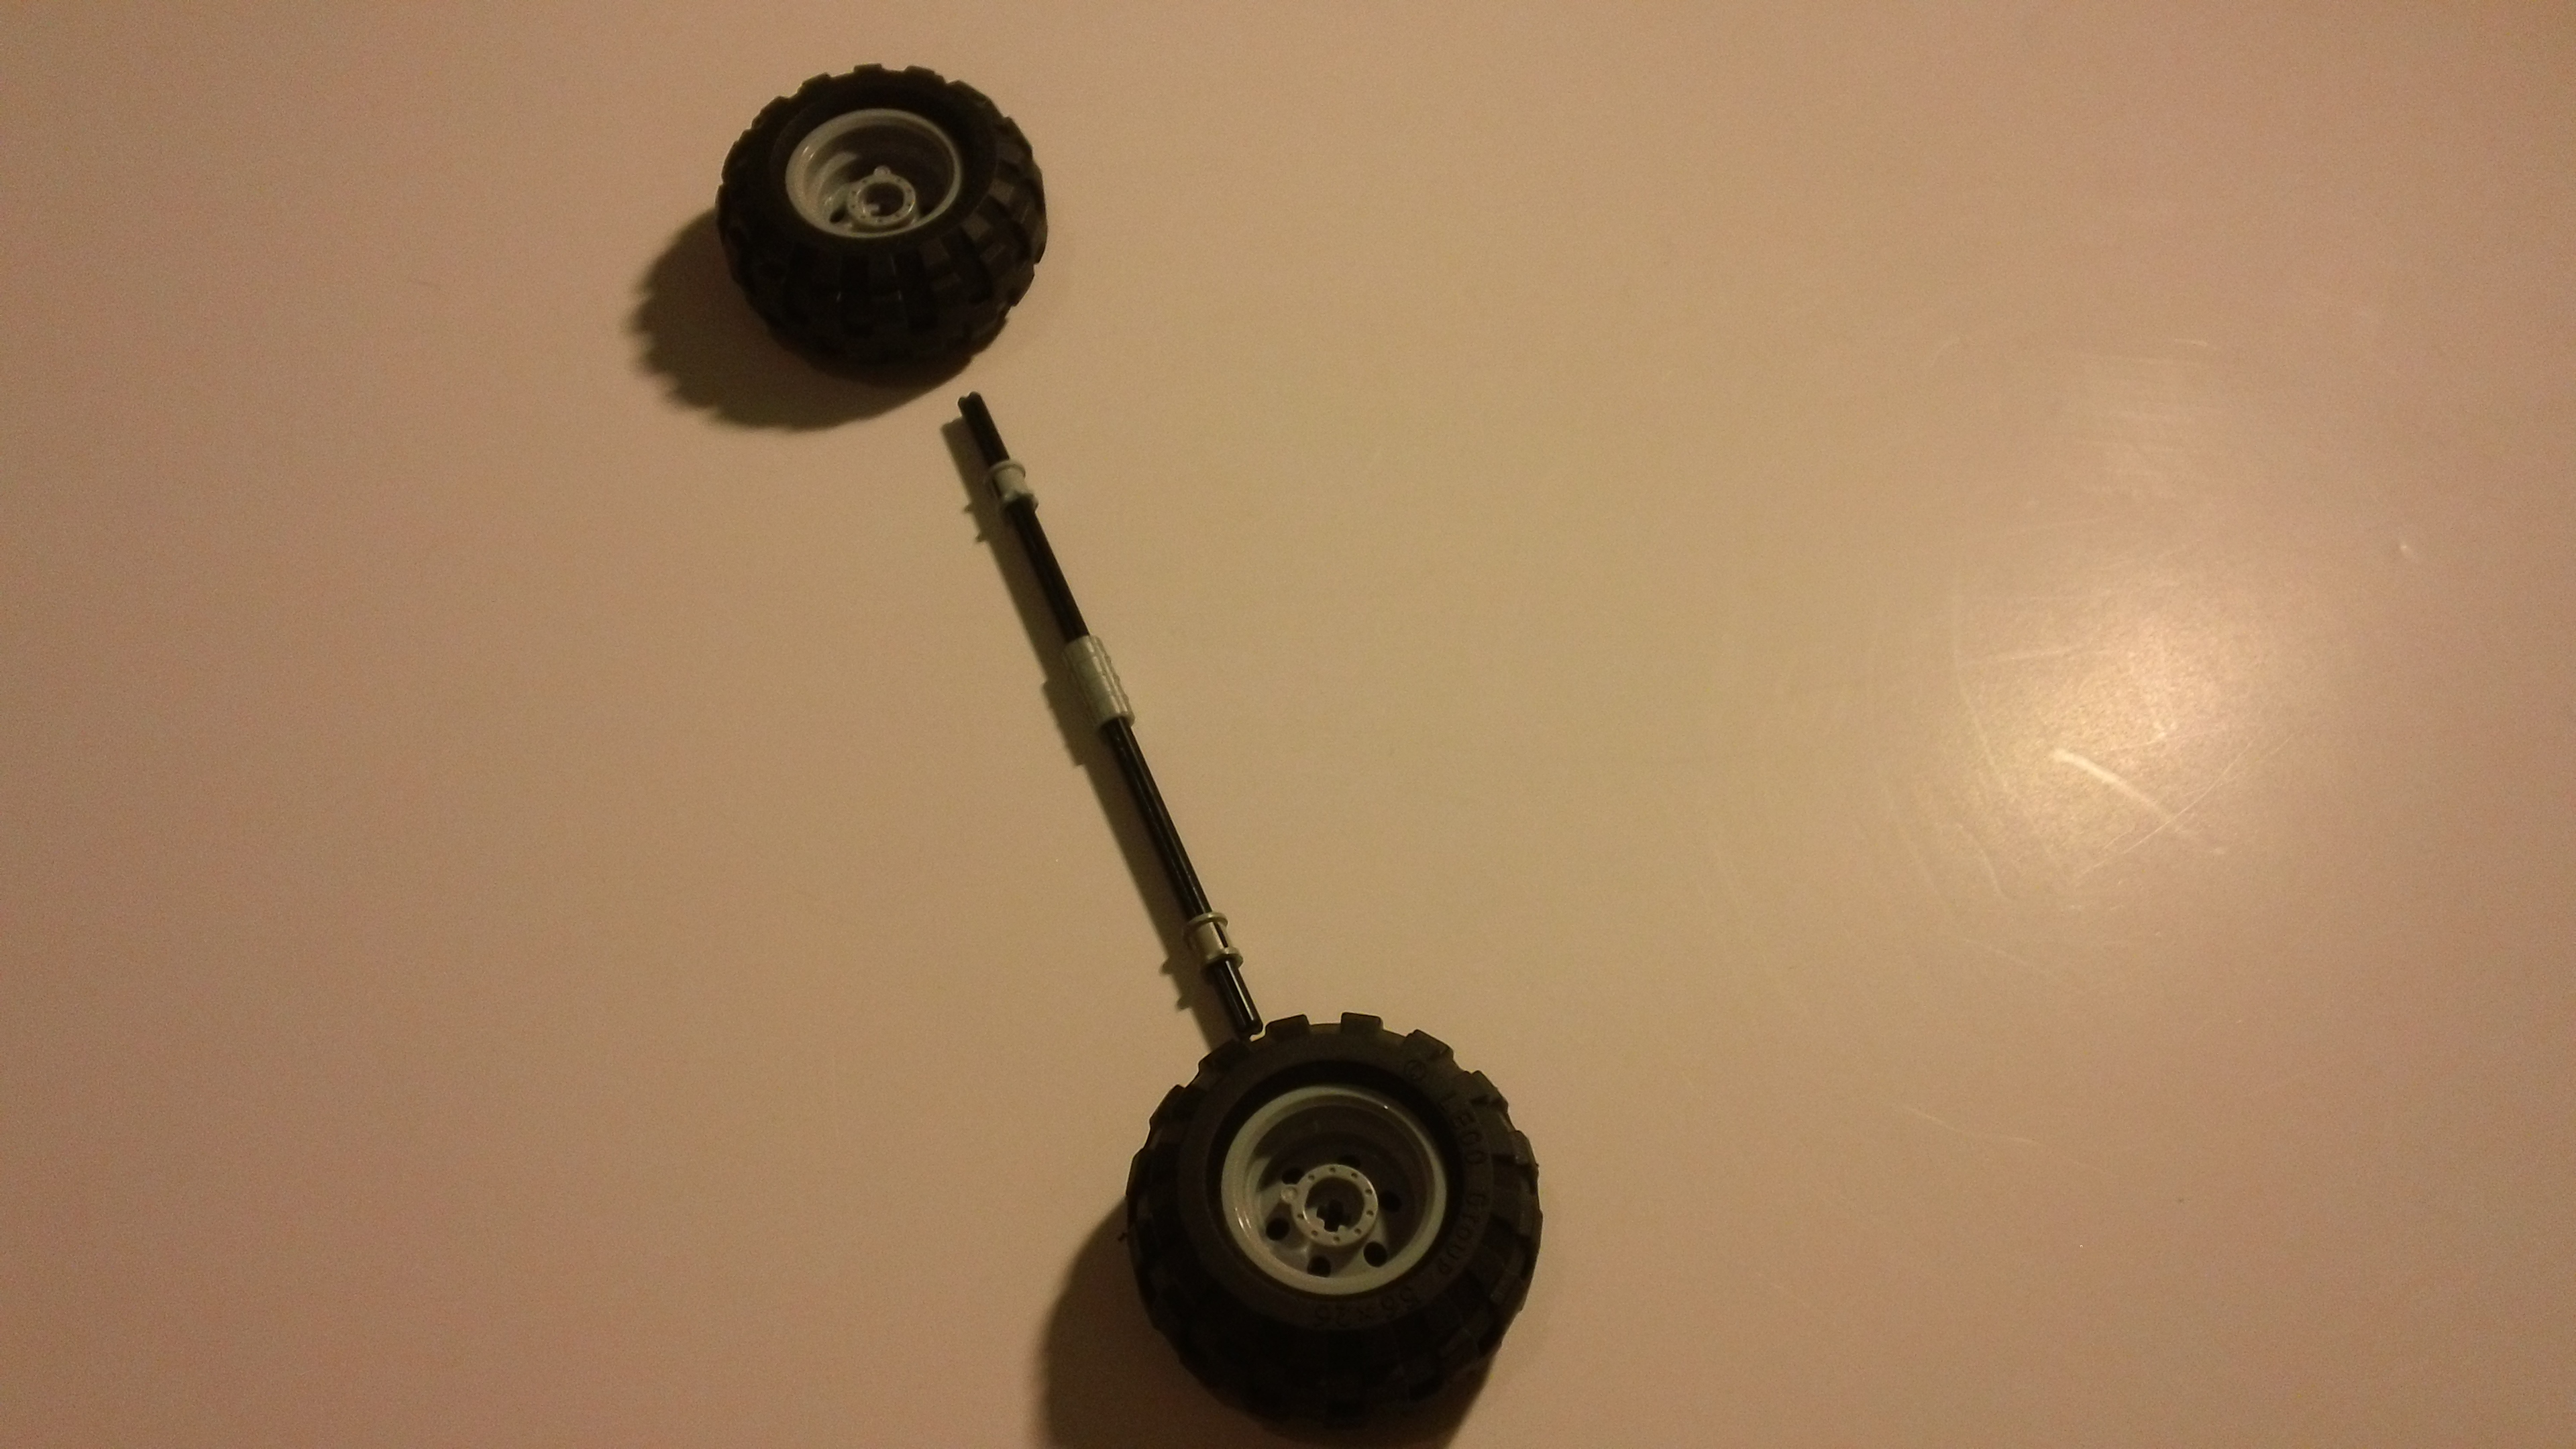
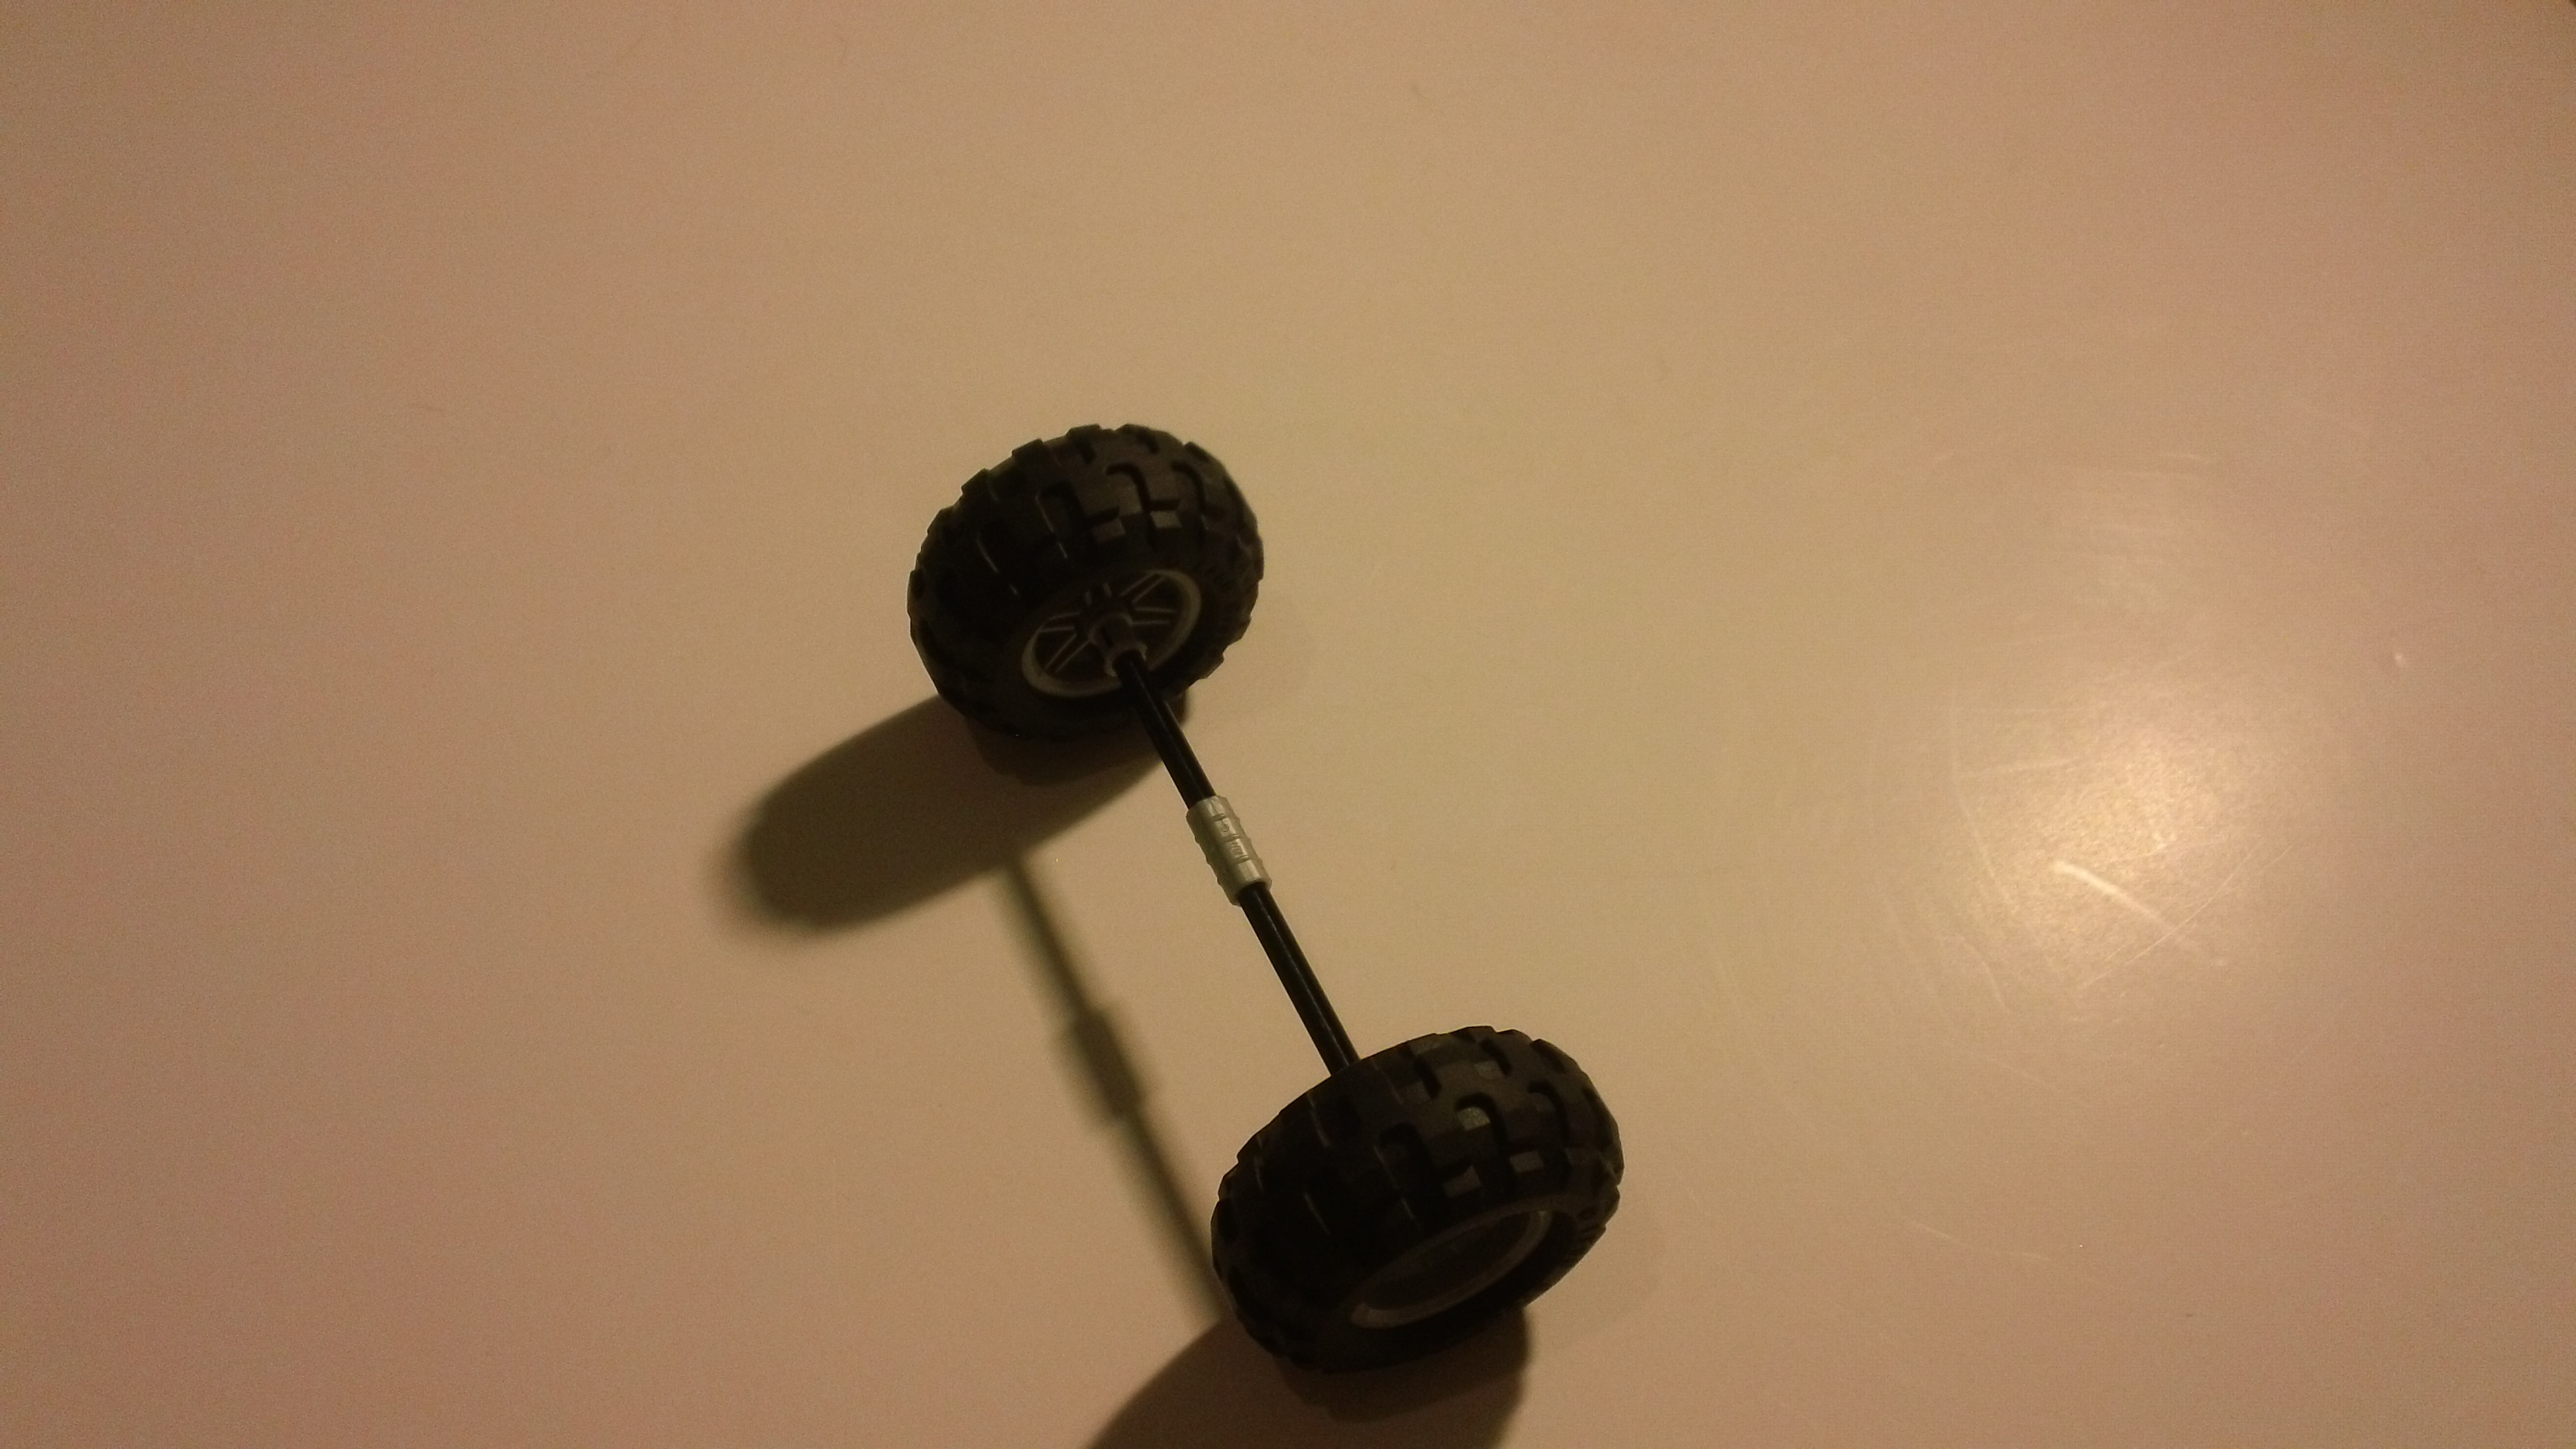
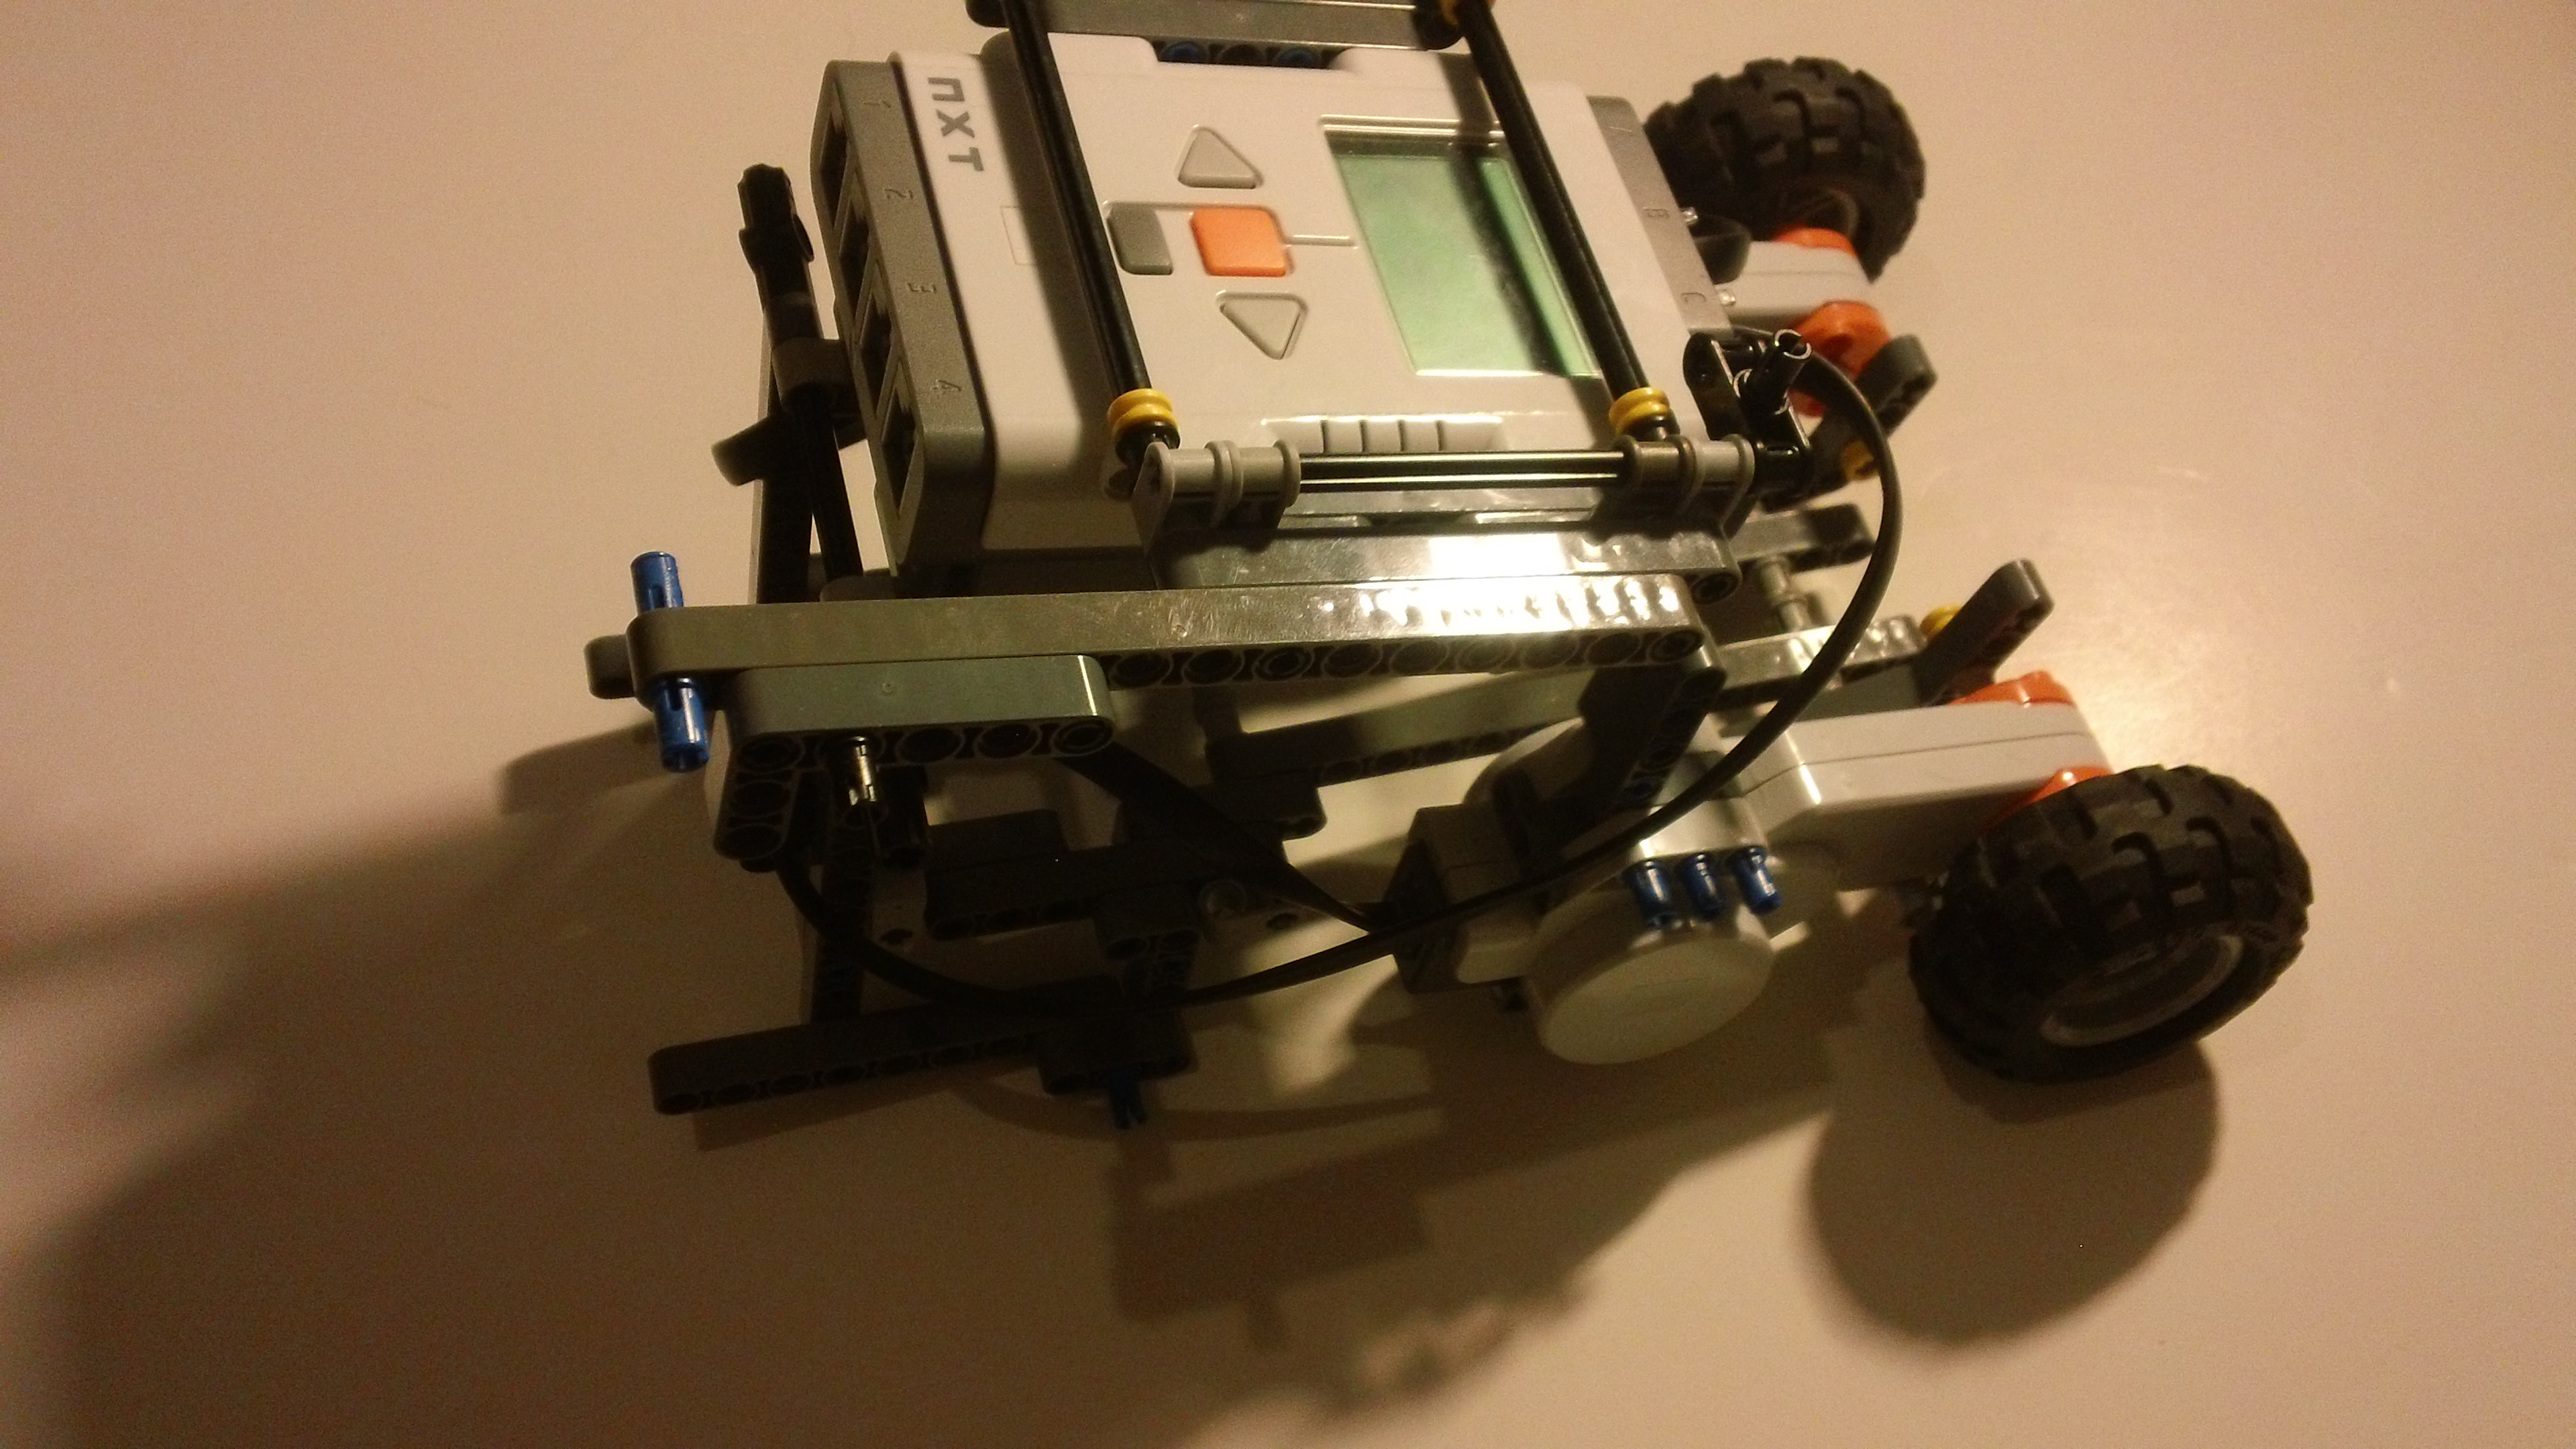
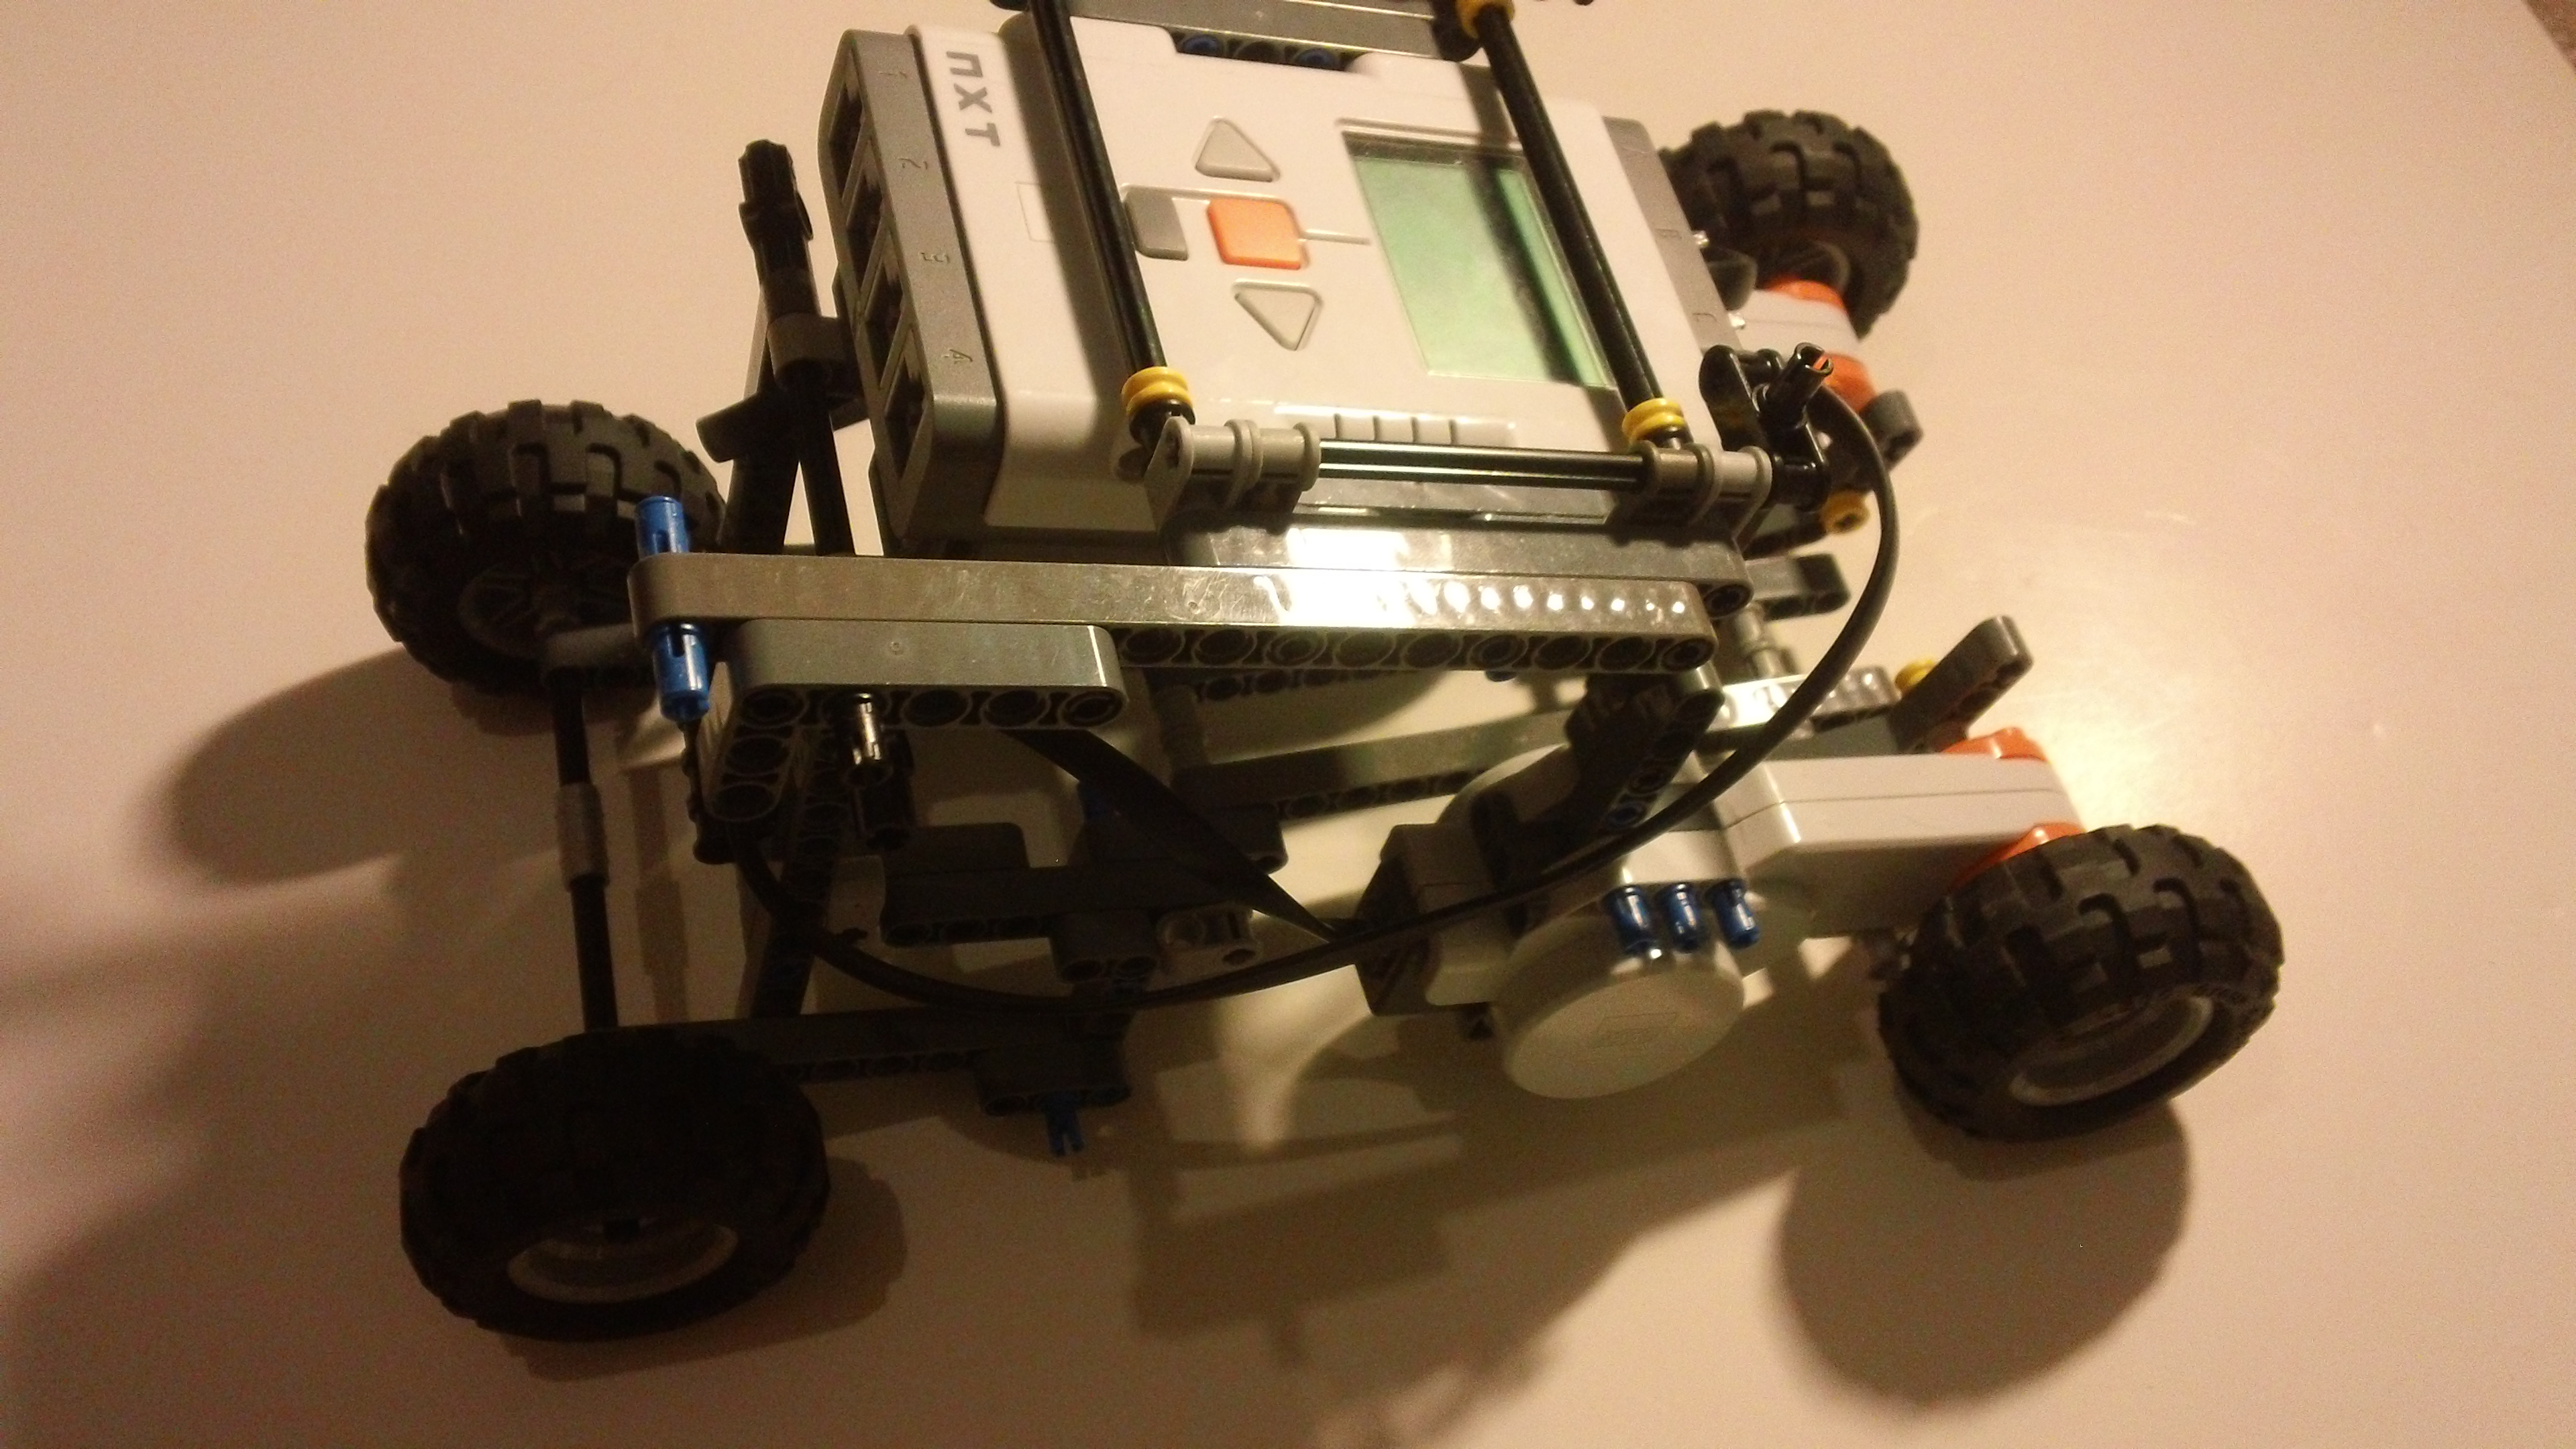


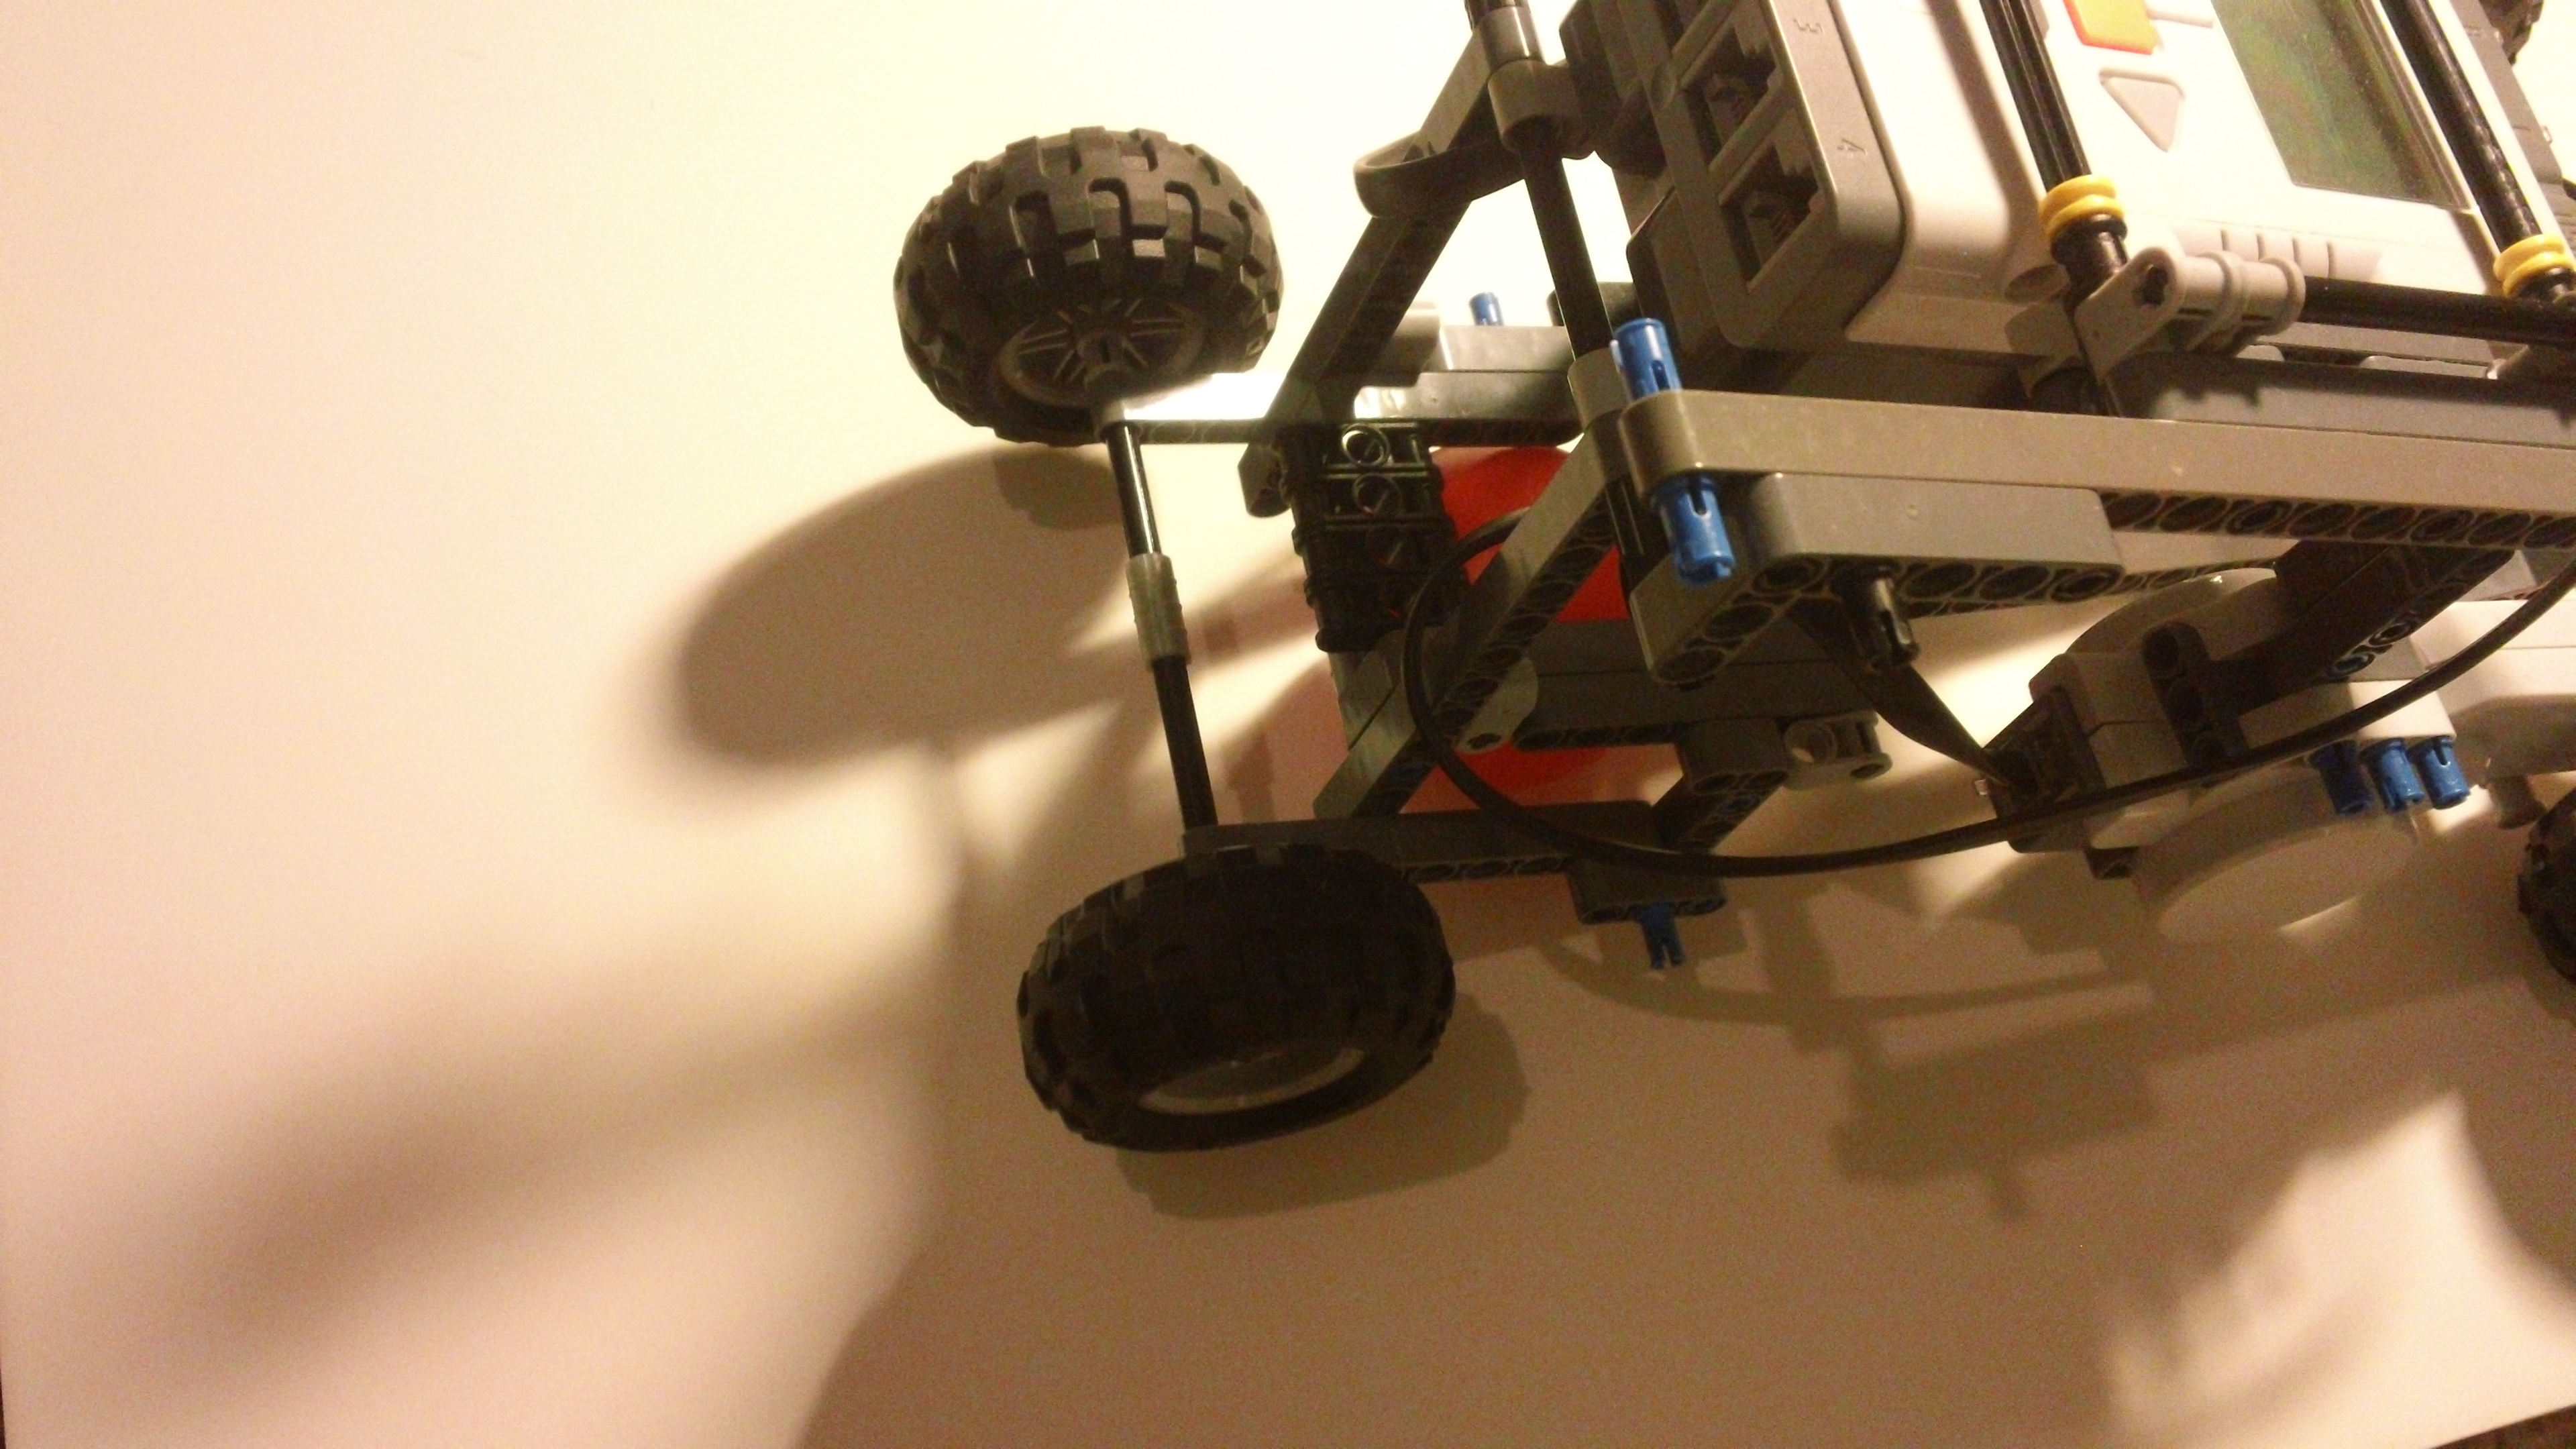
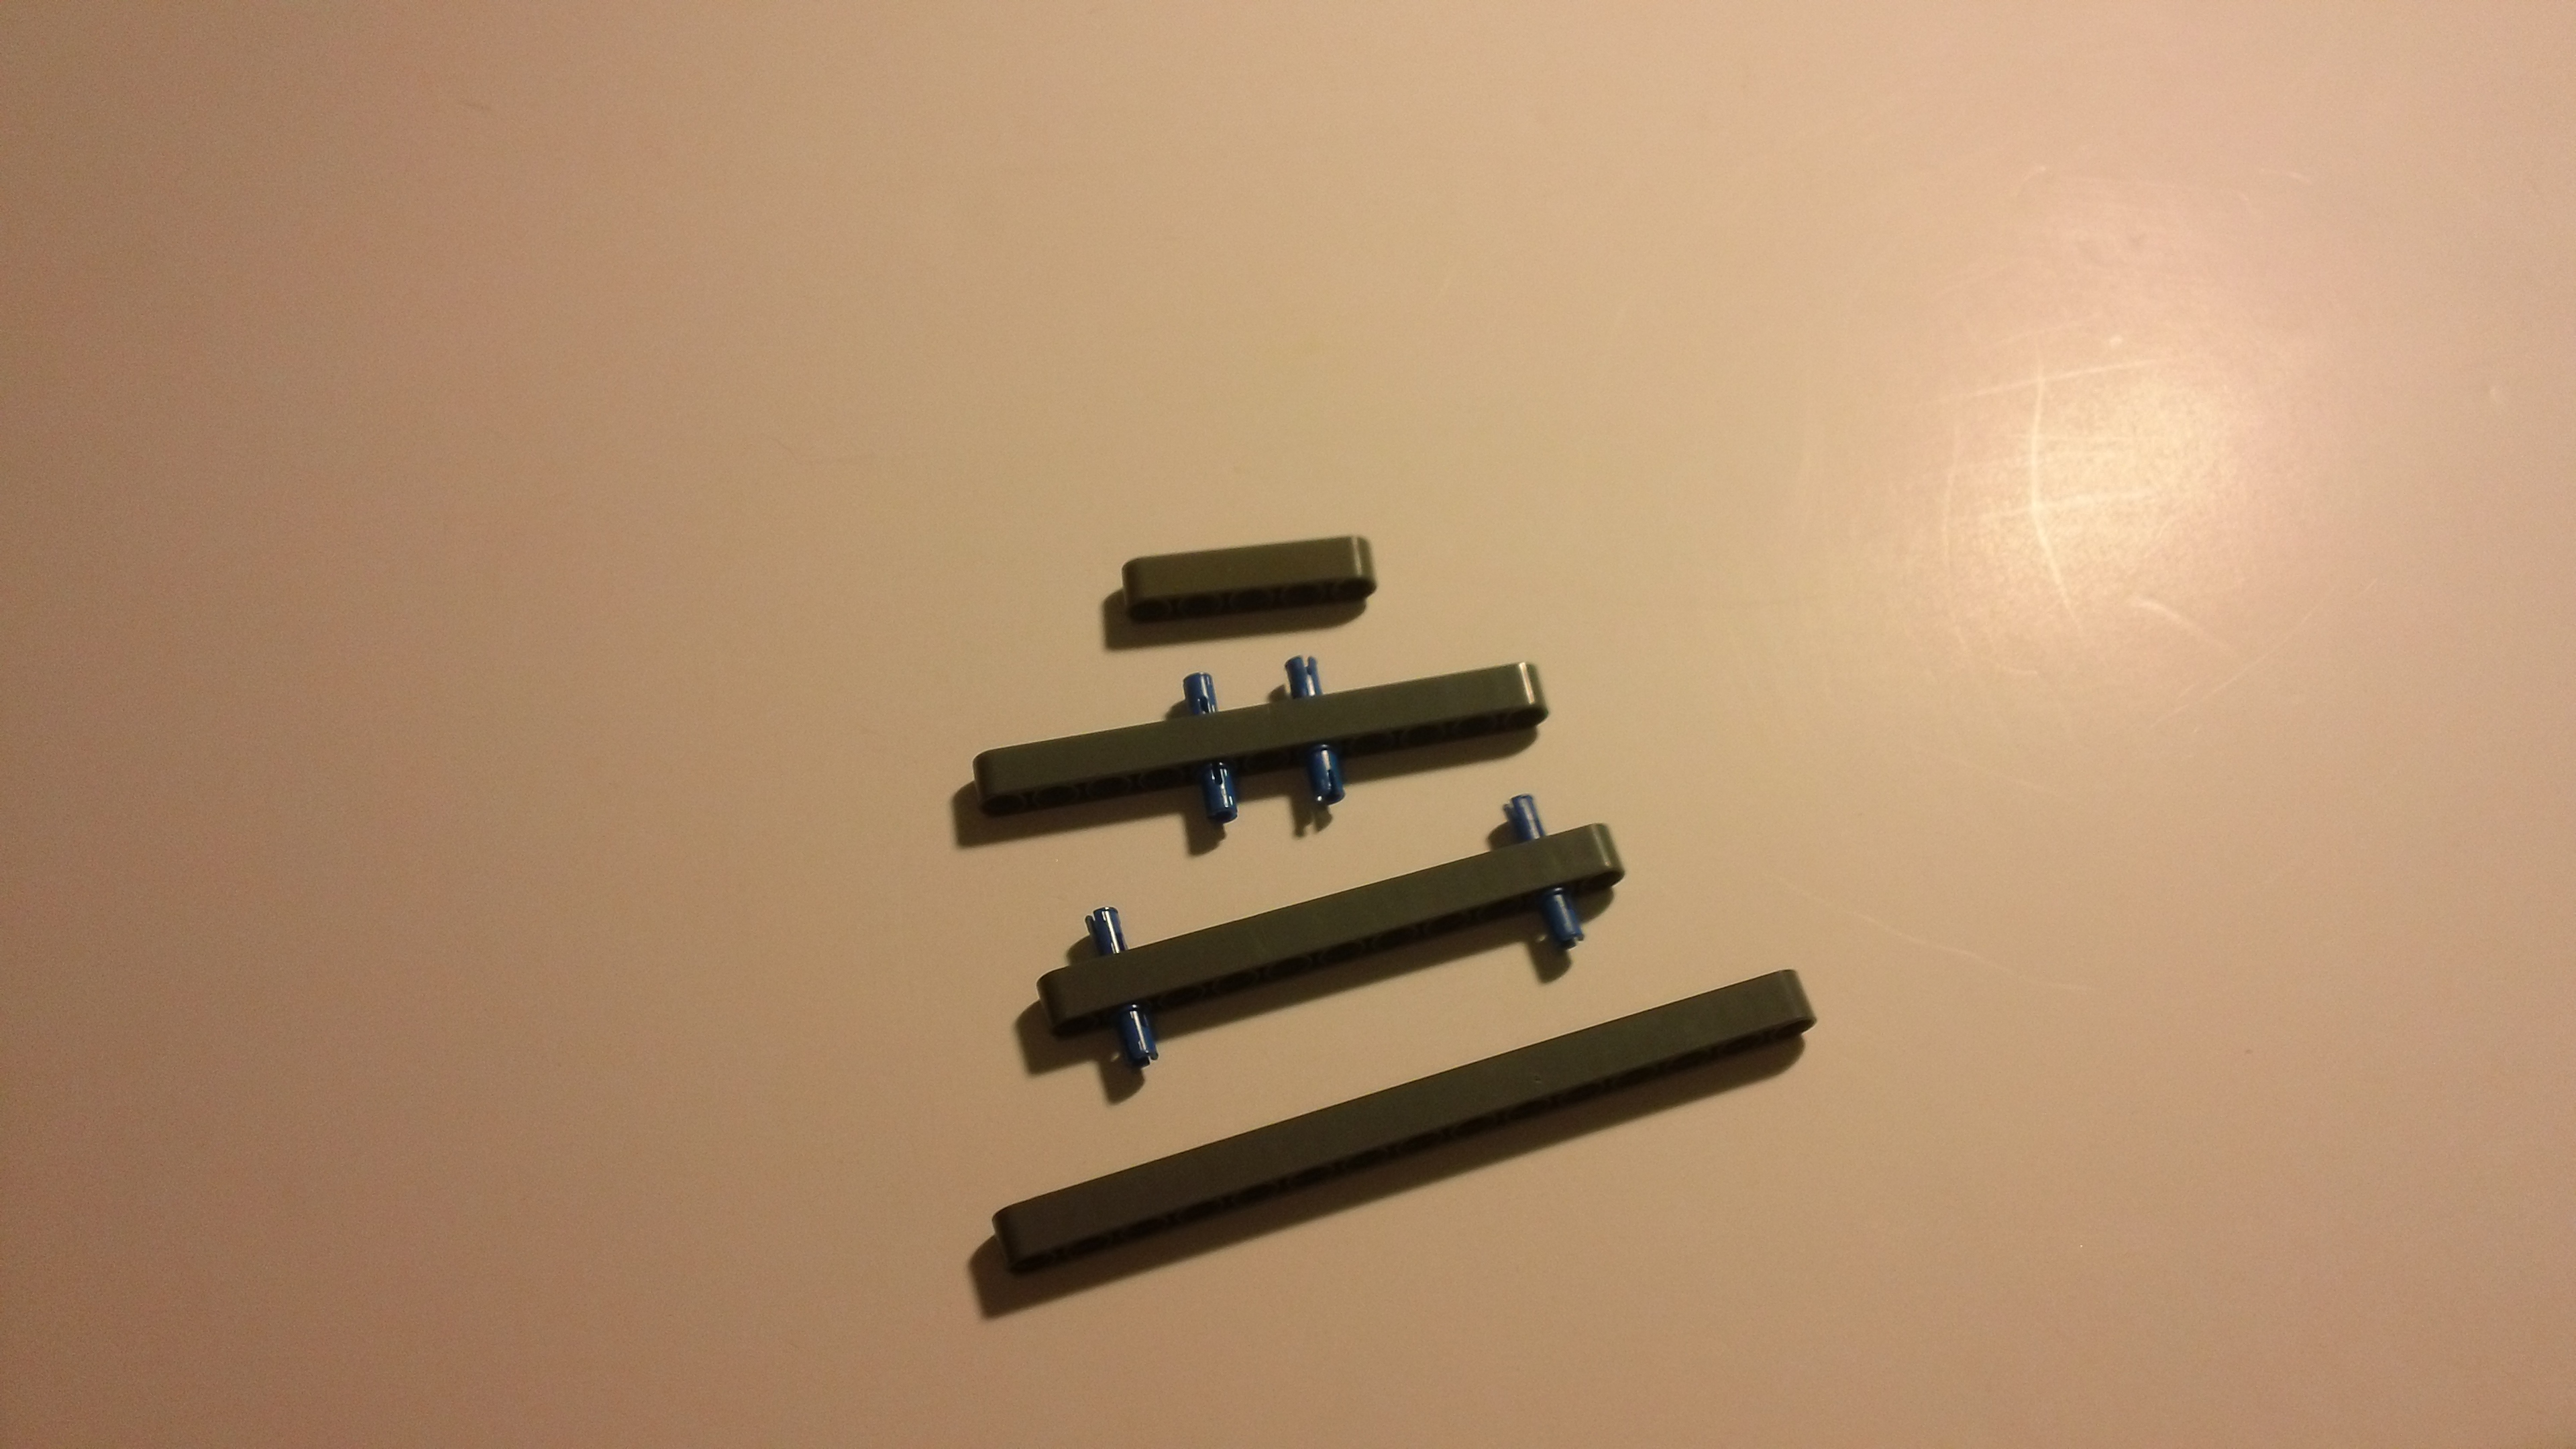
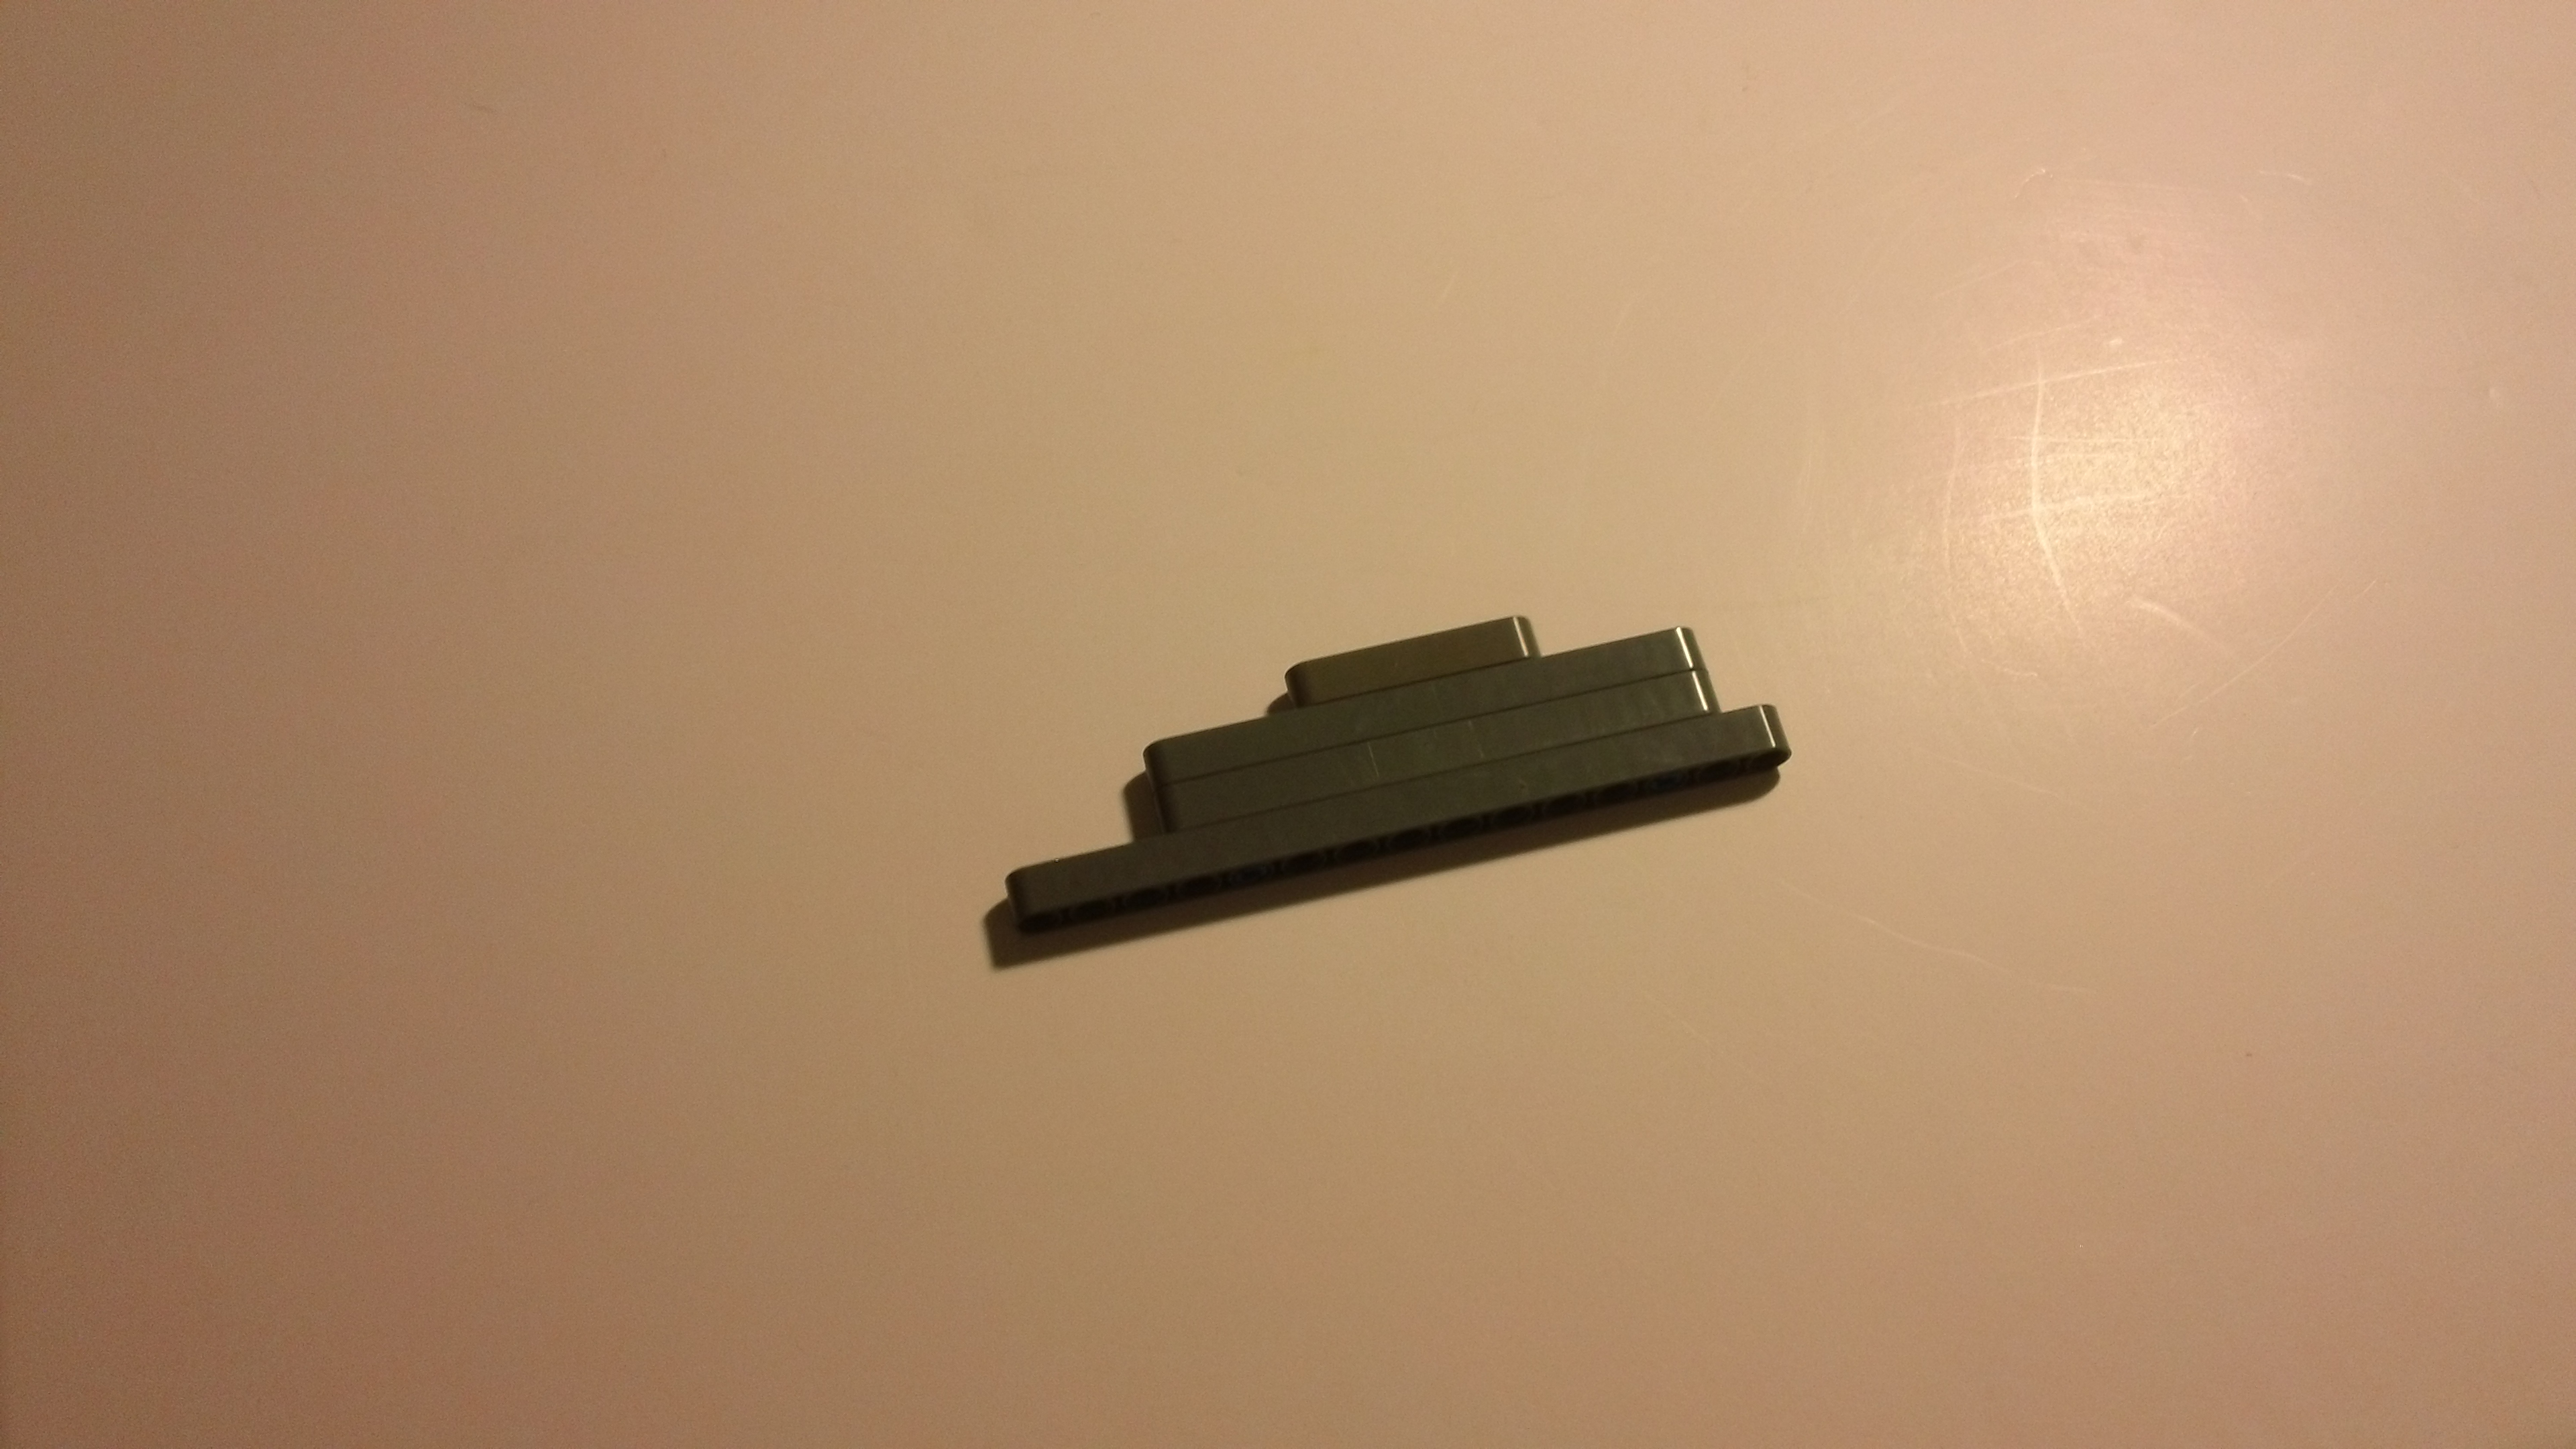
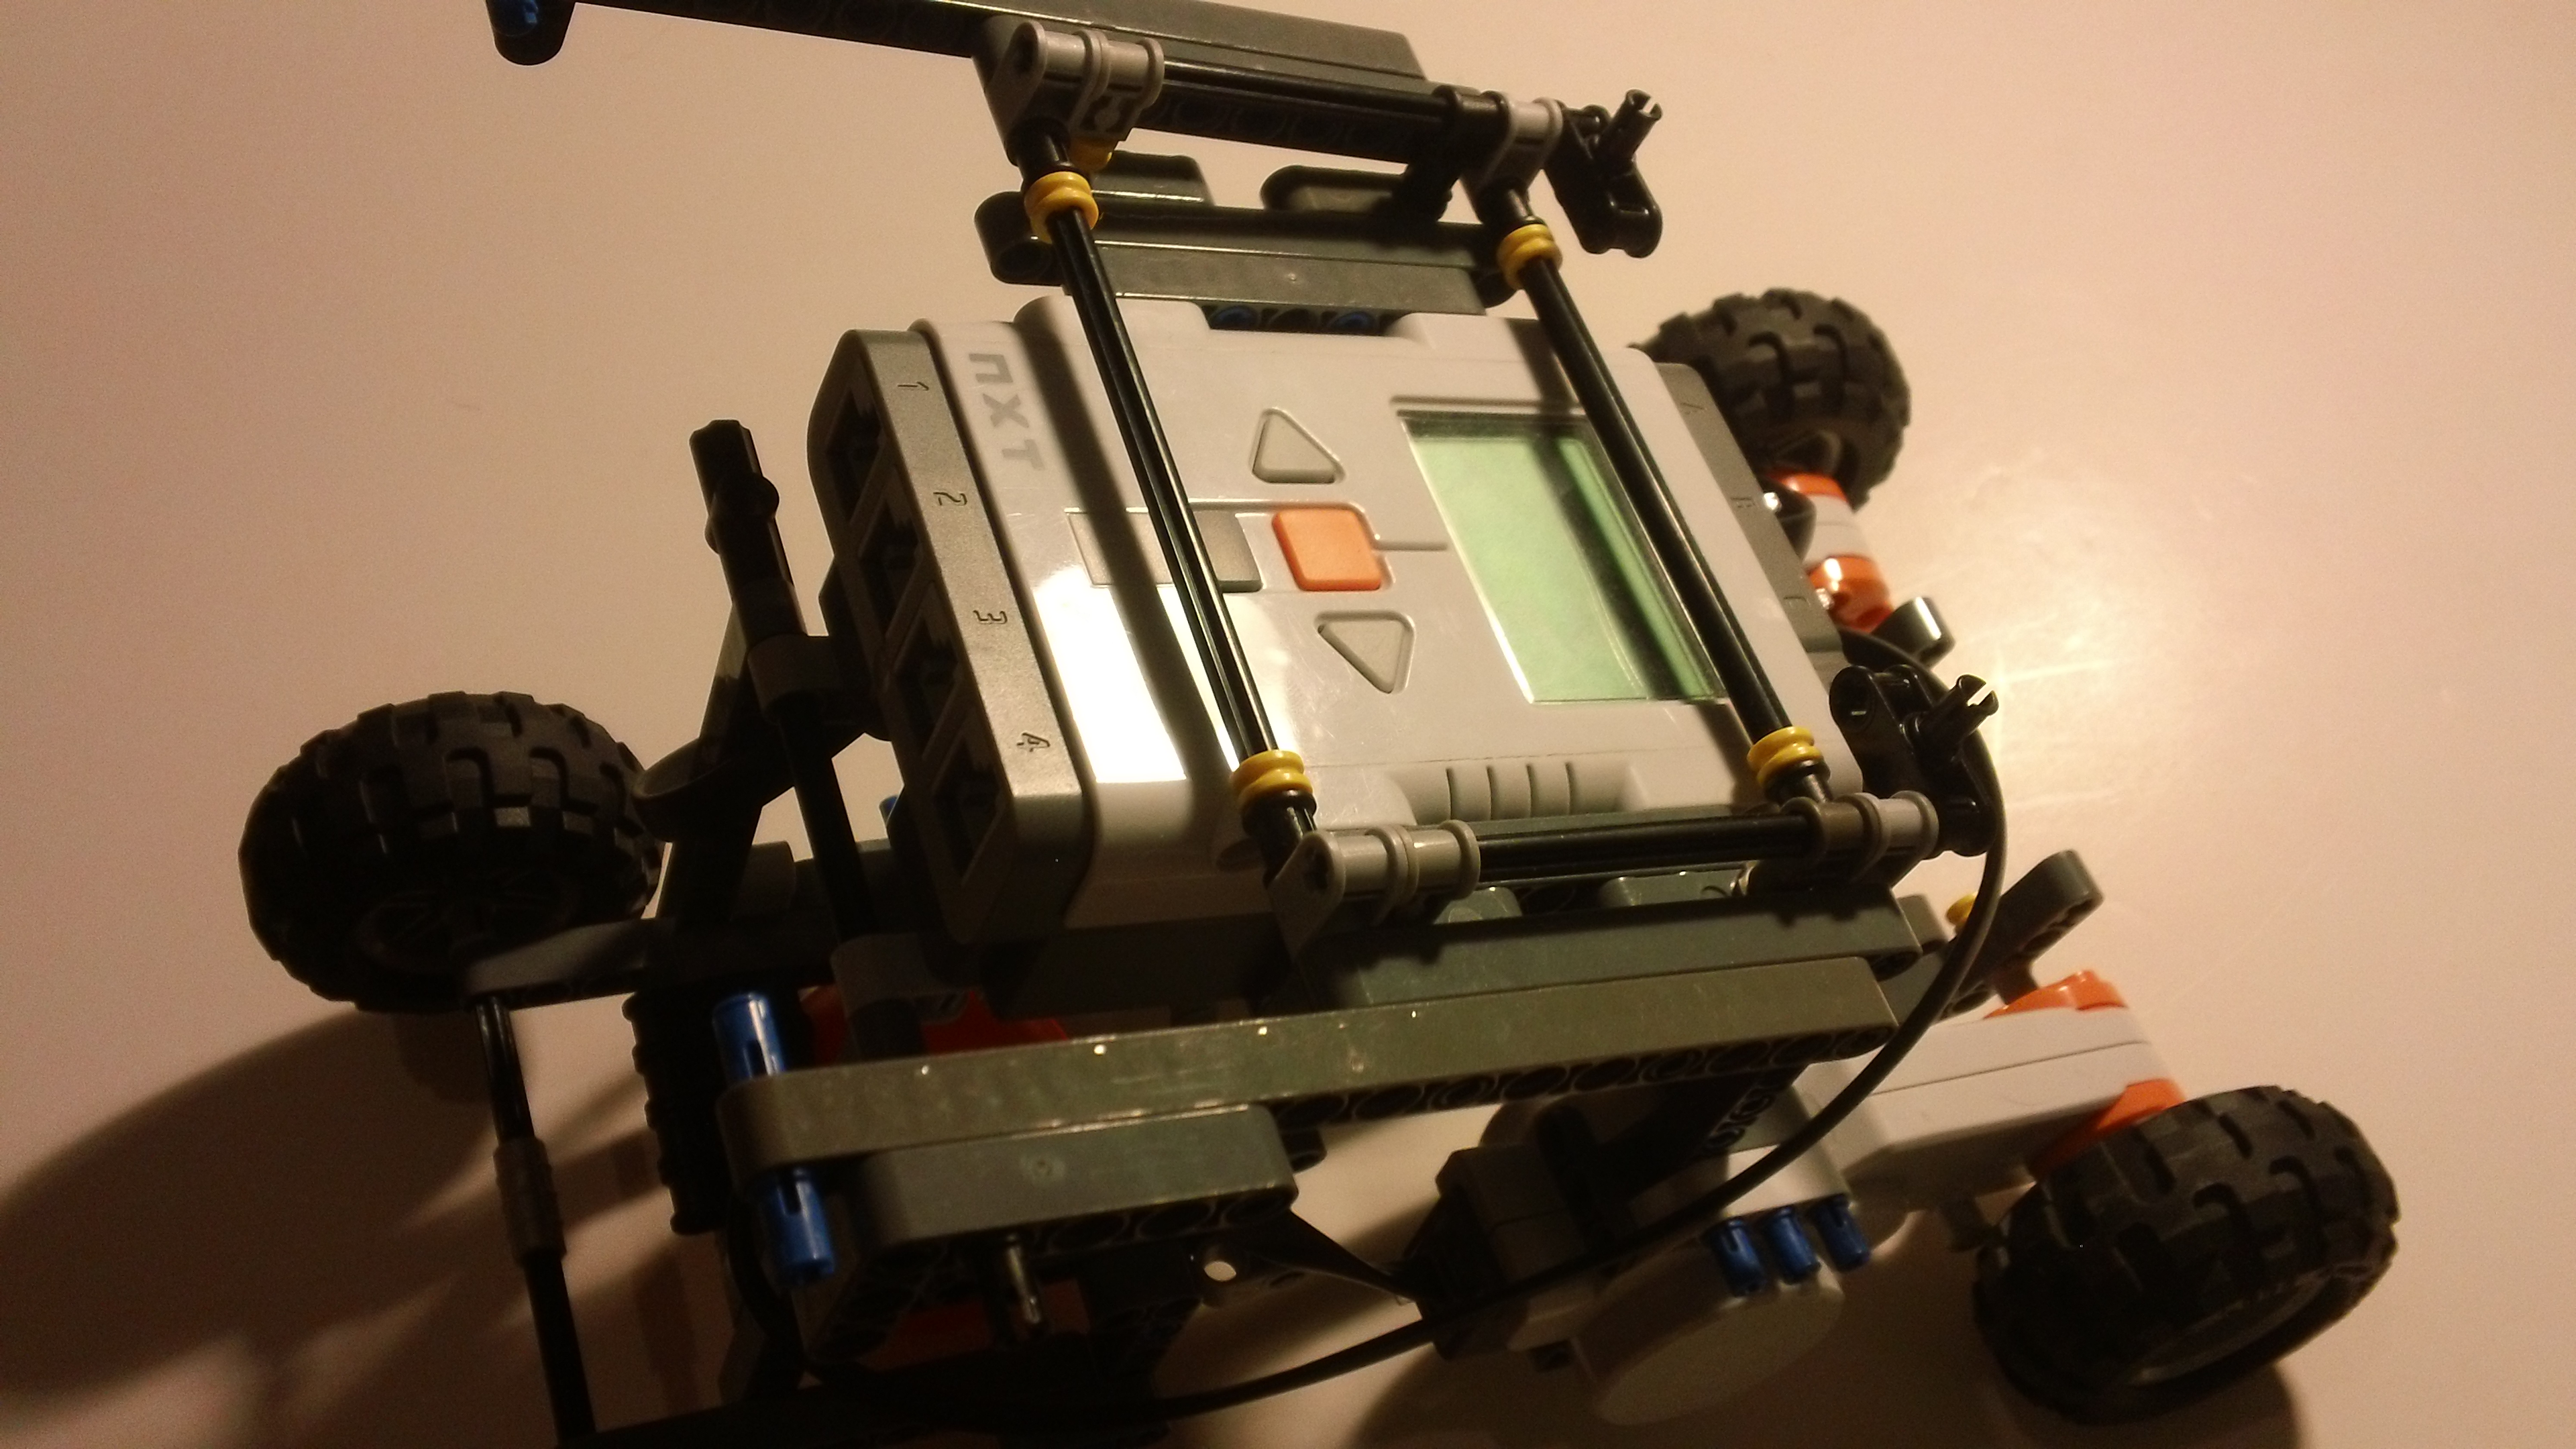
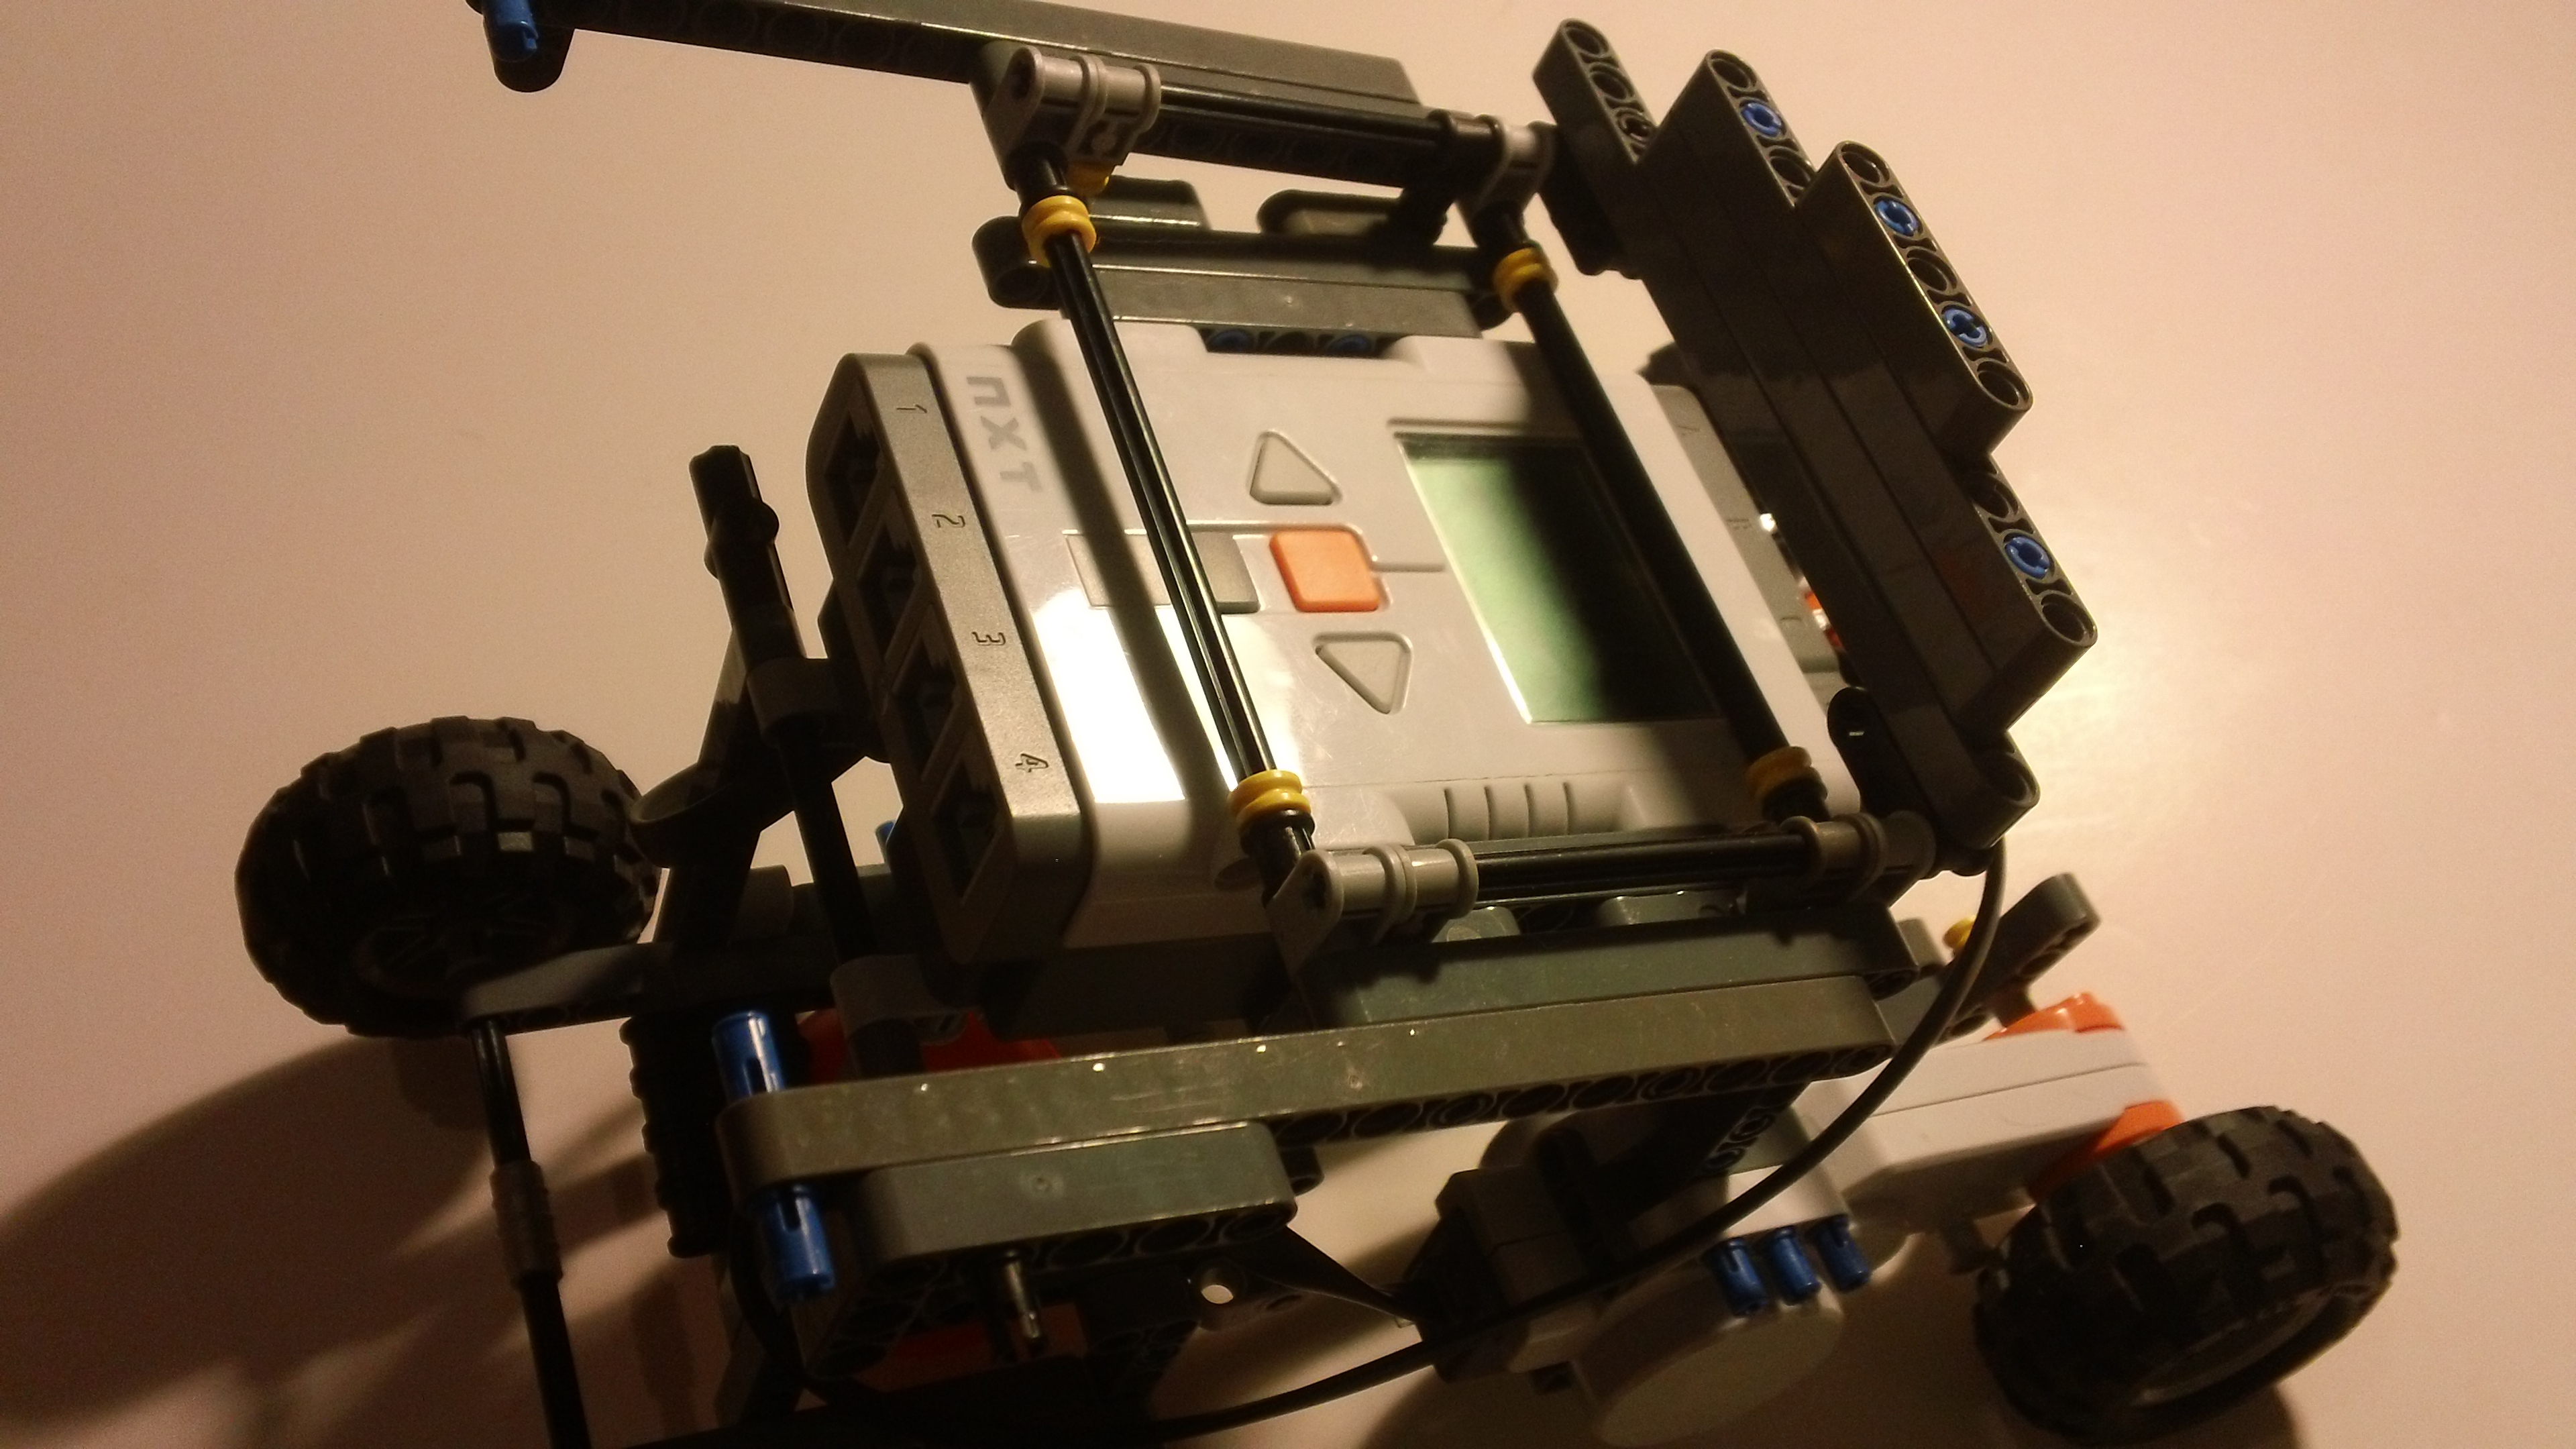
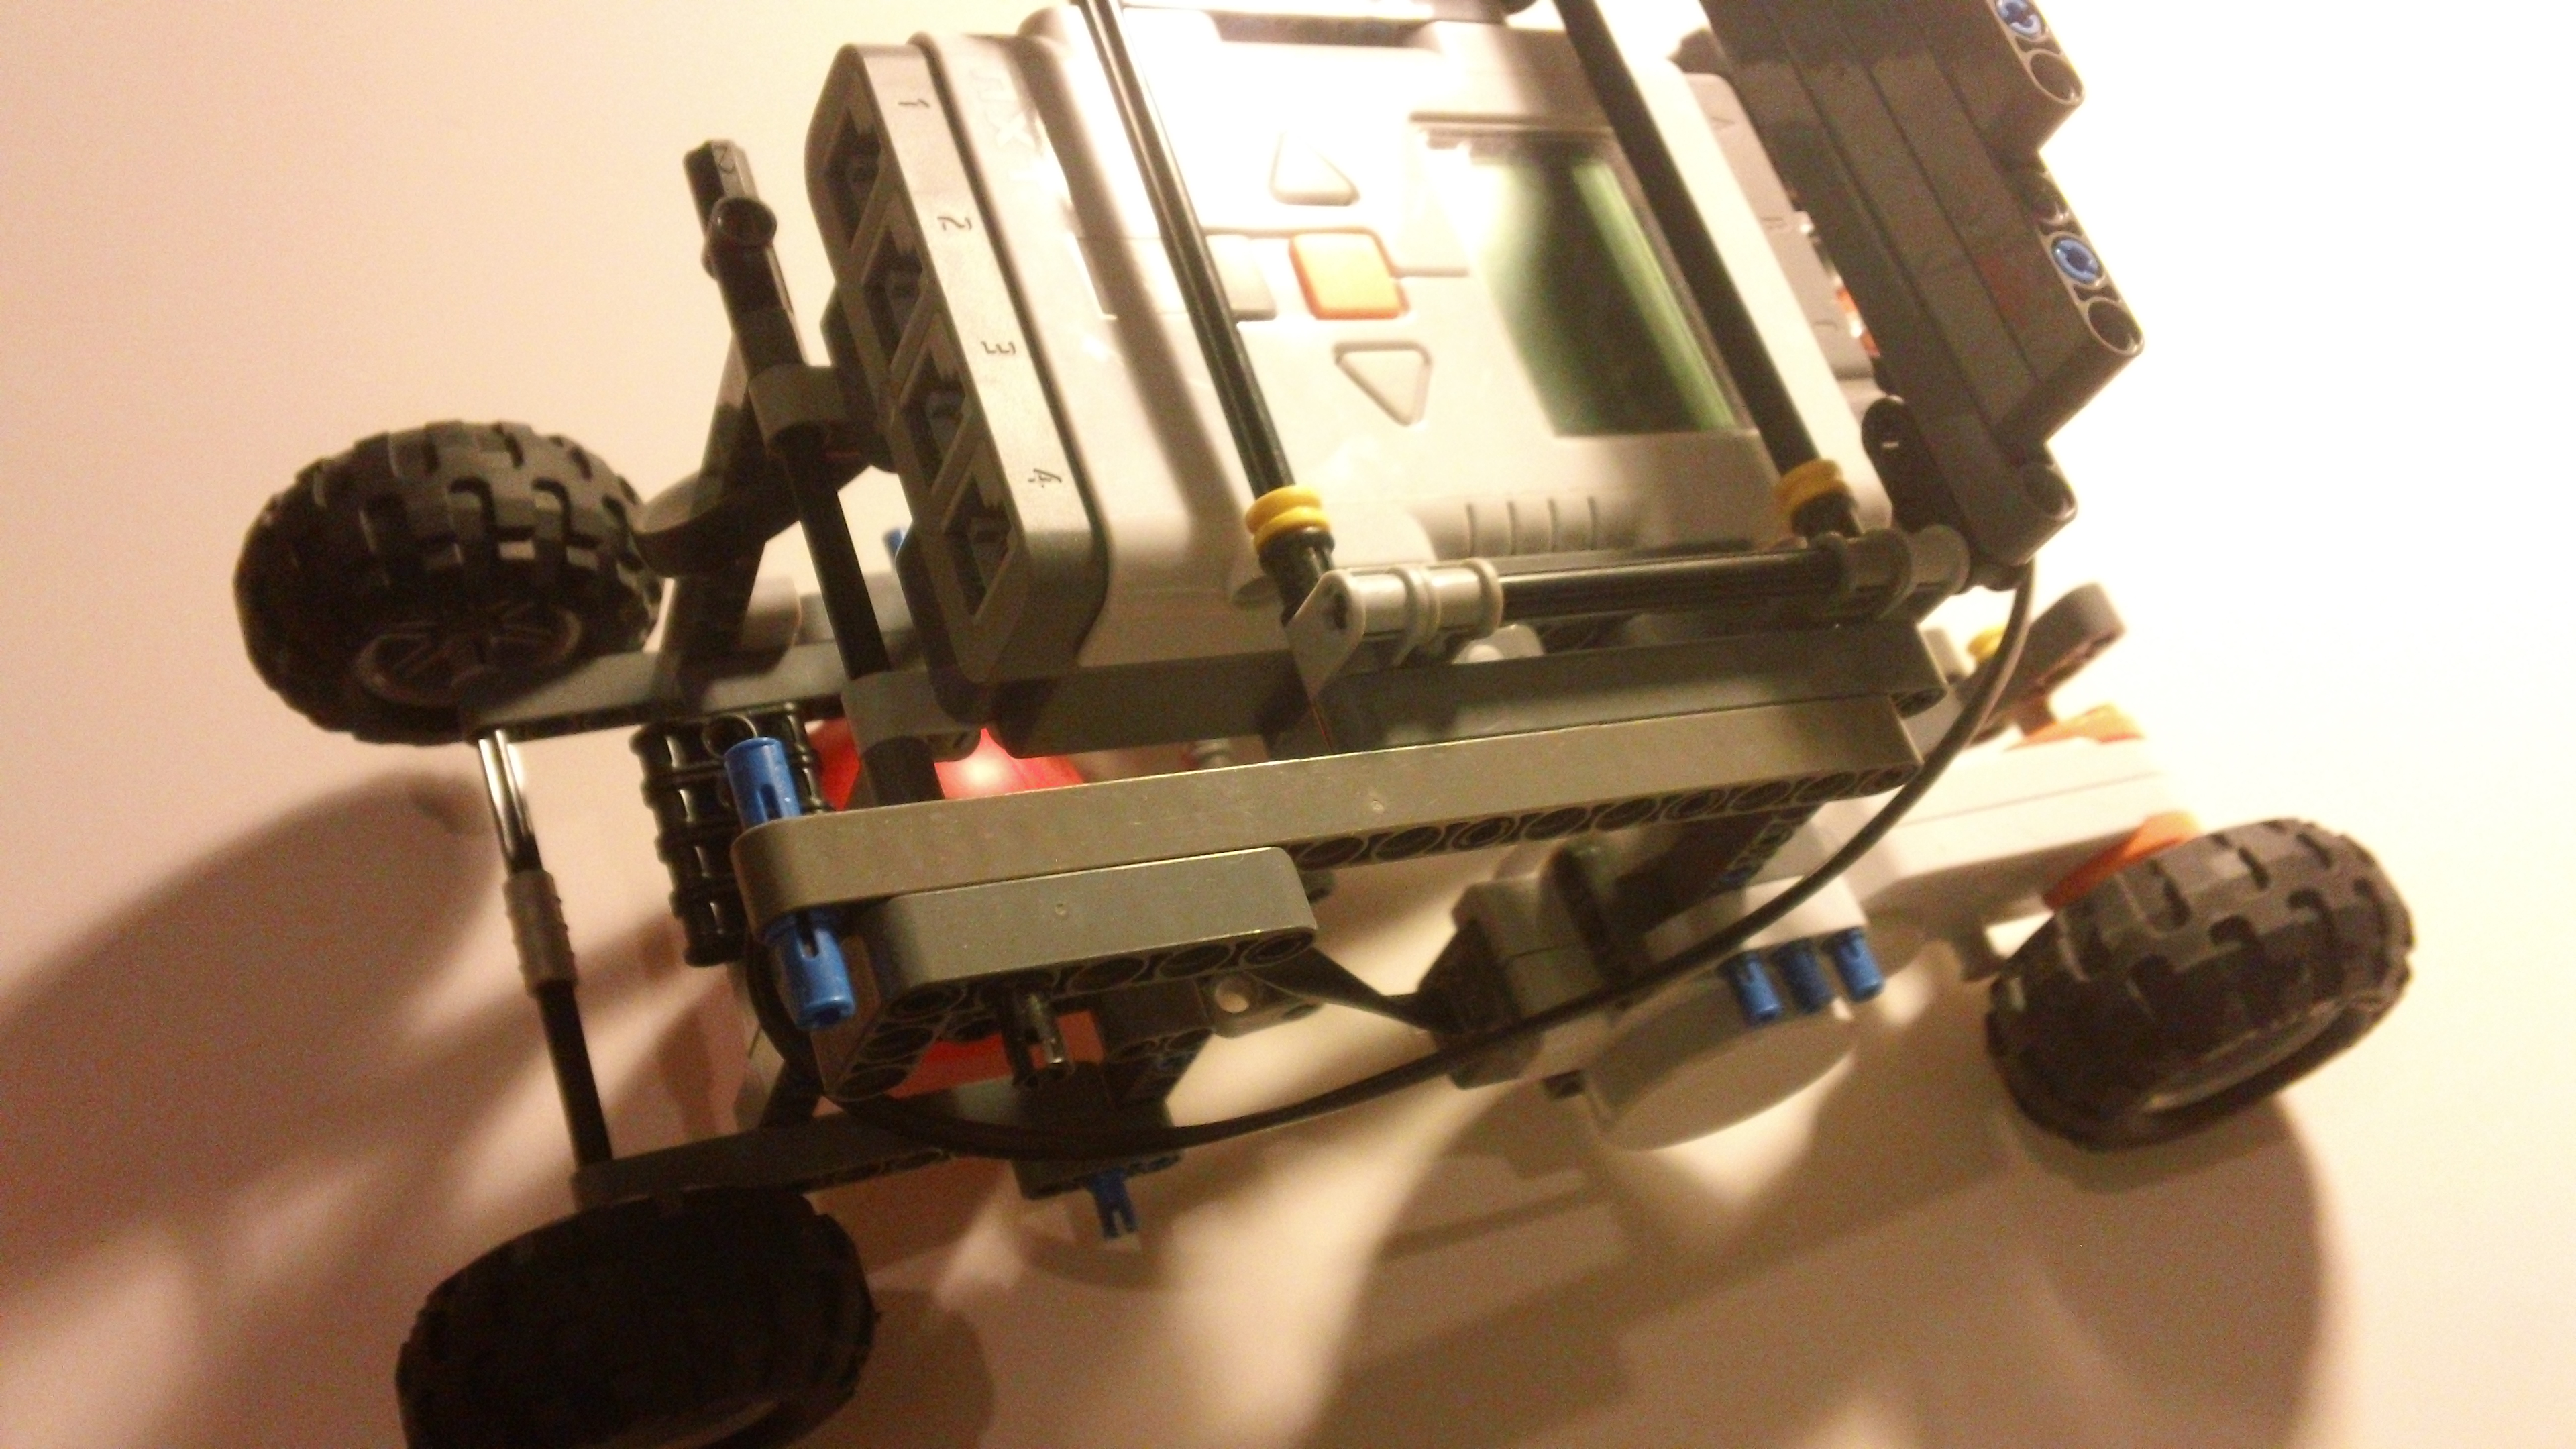
FINISHED!!!!!
Bluetooth Configuration


Turn on your bluetooth and connect to the wiimote. The name should be Nintendo RVL-CNT-01. After that, connect to the NXT by enabling bluetooth on the NXT. Then you will need to go into the properties of the NXT once connected on the computer and find which Serial Port it is connected to. In my case I am connected to COM5. Minimize the bluetooth settings and continue to the next step.
Computer Programs

IF YOU HAVE TROUBLE FINDING OR USING ANY OF THESE PROGRAMS EMAIL ME AND I WILL SEND YOU ALL THE FILES YOU NEED NEATLY PACKED INTO A ZIP FILE
You need the following programs:
You need the following programs:
Configuring the Programs (Bluestacks)

First you need to install Bluestacks. This is an android emulator that we will be using to see the wifi camera. Once installed, open and search for the application called intruder controller and download the application. Minimize Bluestacks and continue to the next step.
Configuring the Programs (nxt-remote)
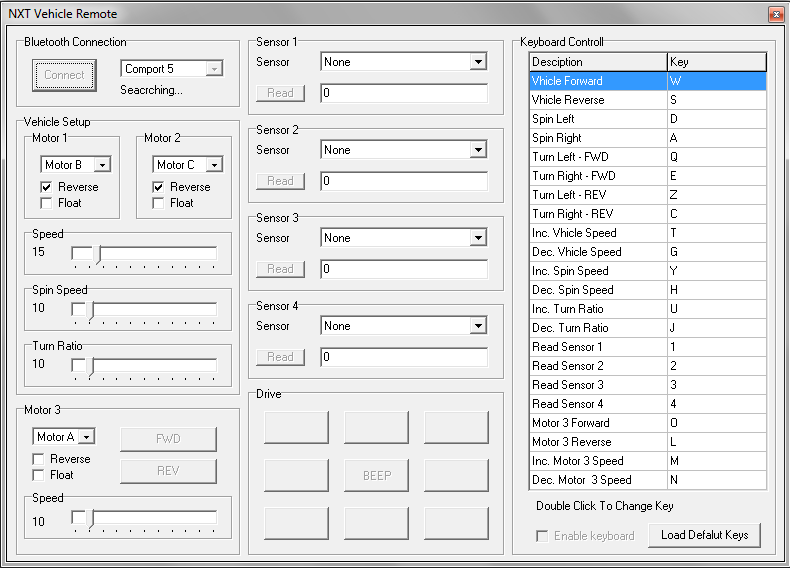
Open nxt-remote and make all of your settings the same as the picture. When you finish connecting to your Serial Port (Seen in the upper-left corner of the picture) click "enable keyboard" (bottom-right). After you have done all of this, minimize this program and continue to the next step.
Configuring the Programs (Glovepie)
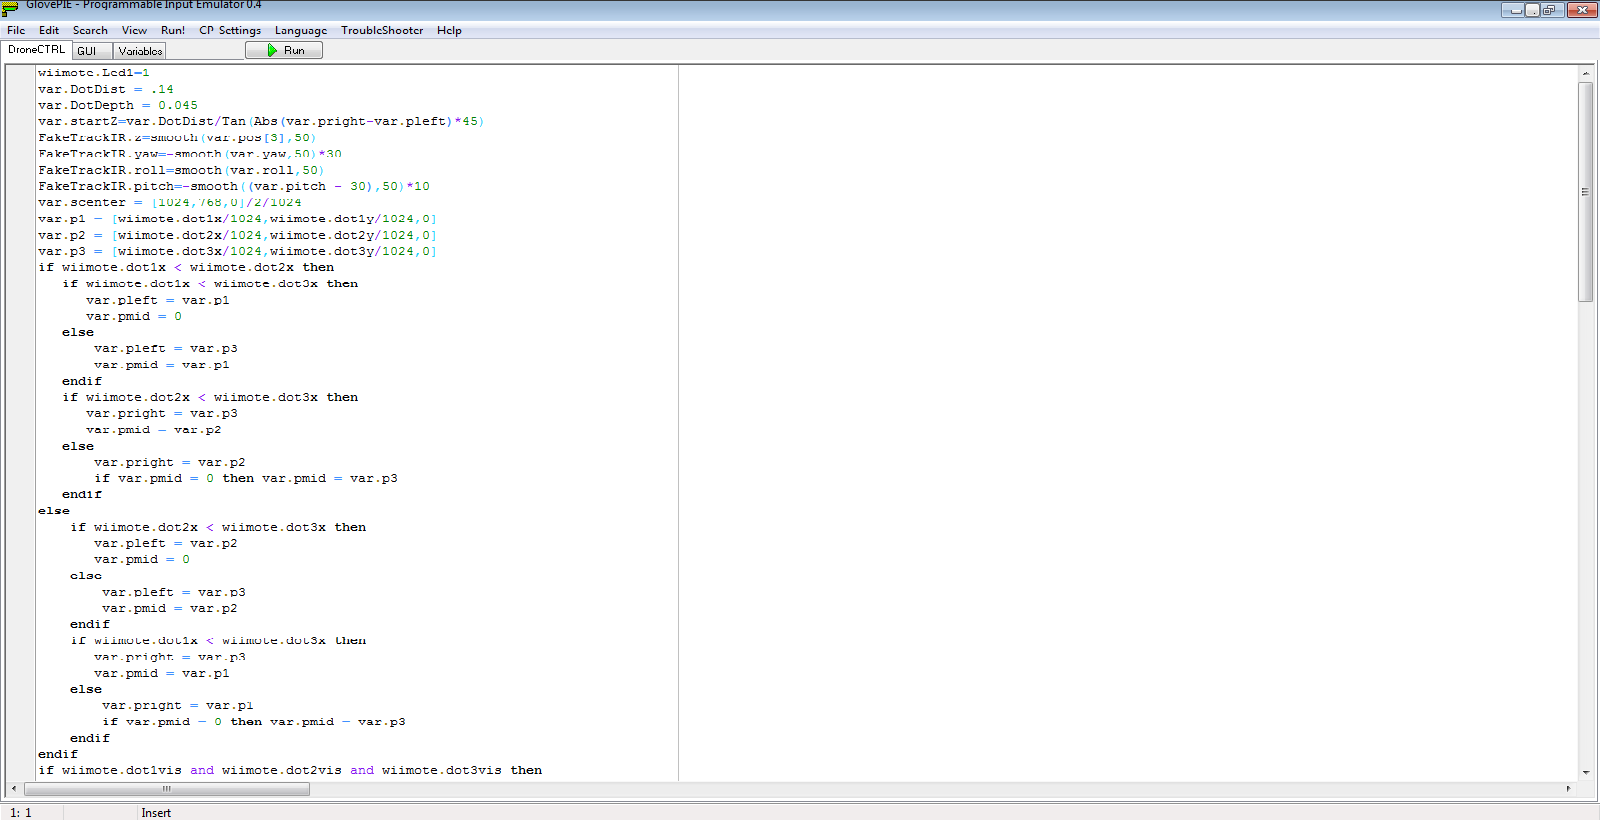
Glovepie is where we will be programming the NXT to do voice commands and to interact with the nxt-remote.
Open Glovepie and copy the following script into it, then save it as whatever you want (Minimize when done):
wiimote.Led1=1
var.DotDist = .14
var.DotDepth = 0.045
var.startZ=var.DotDist/Tan(Abs(var.pright-var.pleft)*45)
FakeTrackIR.z=smooth(var.pos[3],50)
FakeTrackIR.yaw=-smooth(var.yaw,50)*30
FakeTrackIR.roll=smooth(var.roll,50)
FakeTrackIR.pitch=-smooth((var.pitch - 30),50)*10
var.scenter = [1024,768,0]/2/1024
var.p1 = [wiimote.dot1x/1024,wiimote.dot1y/1024,0]
var.p2 = [wiimote.dot2x/1024,wiimote.dot2y/1024,0]
var.p3 = [wiimote.dot3x/1024,wiimote.dot3y/1024,0]
if wiimote.dot1x < wiimote.dot2x then
if wiimote.dot1x < wiimote.dot3x then
var.pleft = var.p1
var.pmid = 0
else
var.pleft = var.p3
var.pmid = var.p1
endif
if wiimote.dot2x < wiimote.dot3x then
var.pright = var.p3
var.pmid = var.p2
else
var.pright = var.p2
if var.pmid = 0 then var.pmid = var.p3
endif
else
if wiimote.dot2x < wiimote.dot3x then
var.pleft = var.p2
var.pmid = 0
else
var.pleft = var.p3
var.pmid = var.p2
endif
if wiimote.dot1x < wiimote.dot3x then
var.pright = var.p3
var.pmid = var.p1
else
var.pright = var.p1
if var.pmid = 0 then var.pmid = var.p3
endif
endif
if wiimote.dot1vis and wiimote.dot2vis and wiimote.dot3vis then
var.posZ = var.DotDist/Tan(Abs(var.pright-var.pleft)*45)
var.pmidoff = Abs((var.pright-var.pleft) cross (var.pmid-var.pleft))/Abs(var.pright-var.pleft)^2
var.pmidcent = ((var.pright-var.pleft) dot (var.pmid-var.pleft))/Abs(var.pright-var.pleft)^2
var.turn = aTan((0.5-var.pmidcent)/(var.DotDepth*Cos(var.pitch)/var.DotDist))
debug=var.turn
if (var.turn< (-2)) then
key.D=true
end if
if (var.turn>5) then
key.A=true
end if
if (var.turn>-2) && (var.turn<5) then
key.A=false
key.D=false
end if
endif
if said("listen", 5 )then
var.listen = true
say("voice recognition enabled")
end if
if said("goodbye", 5) or said("stop listening") then
var.listen = false
say("voice recognition disabled")
end if
if var.listen = true
if said("close") or said("exit")
press Keyboard.Alt
press Keyboard.F4
wait 100ms
release Keyboard.F4
release Keyboard.Alt
say("closing")
end if
if said("forward", 5) or said("move forward", 5) or said("walk", 5) or said("move", 5) then
key.W=true
key.S=false
say("moving forward")
end if
if said("back", 5) or said("backward", 5) or said("backwards", 5) or said("move back", 5) or said("move backward", 5) or said("move backwards", 5) then
key.S=true
key.W=false
say("moving backwards")
end if
if said("stop", 5) then
key.W=false
key.S=false
say("stopping")
end if
end if
CONTINUE TO THE NEXT STEP
Build the Hardware (Goggles)
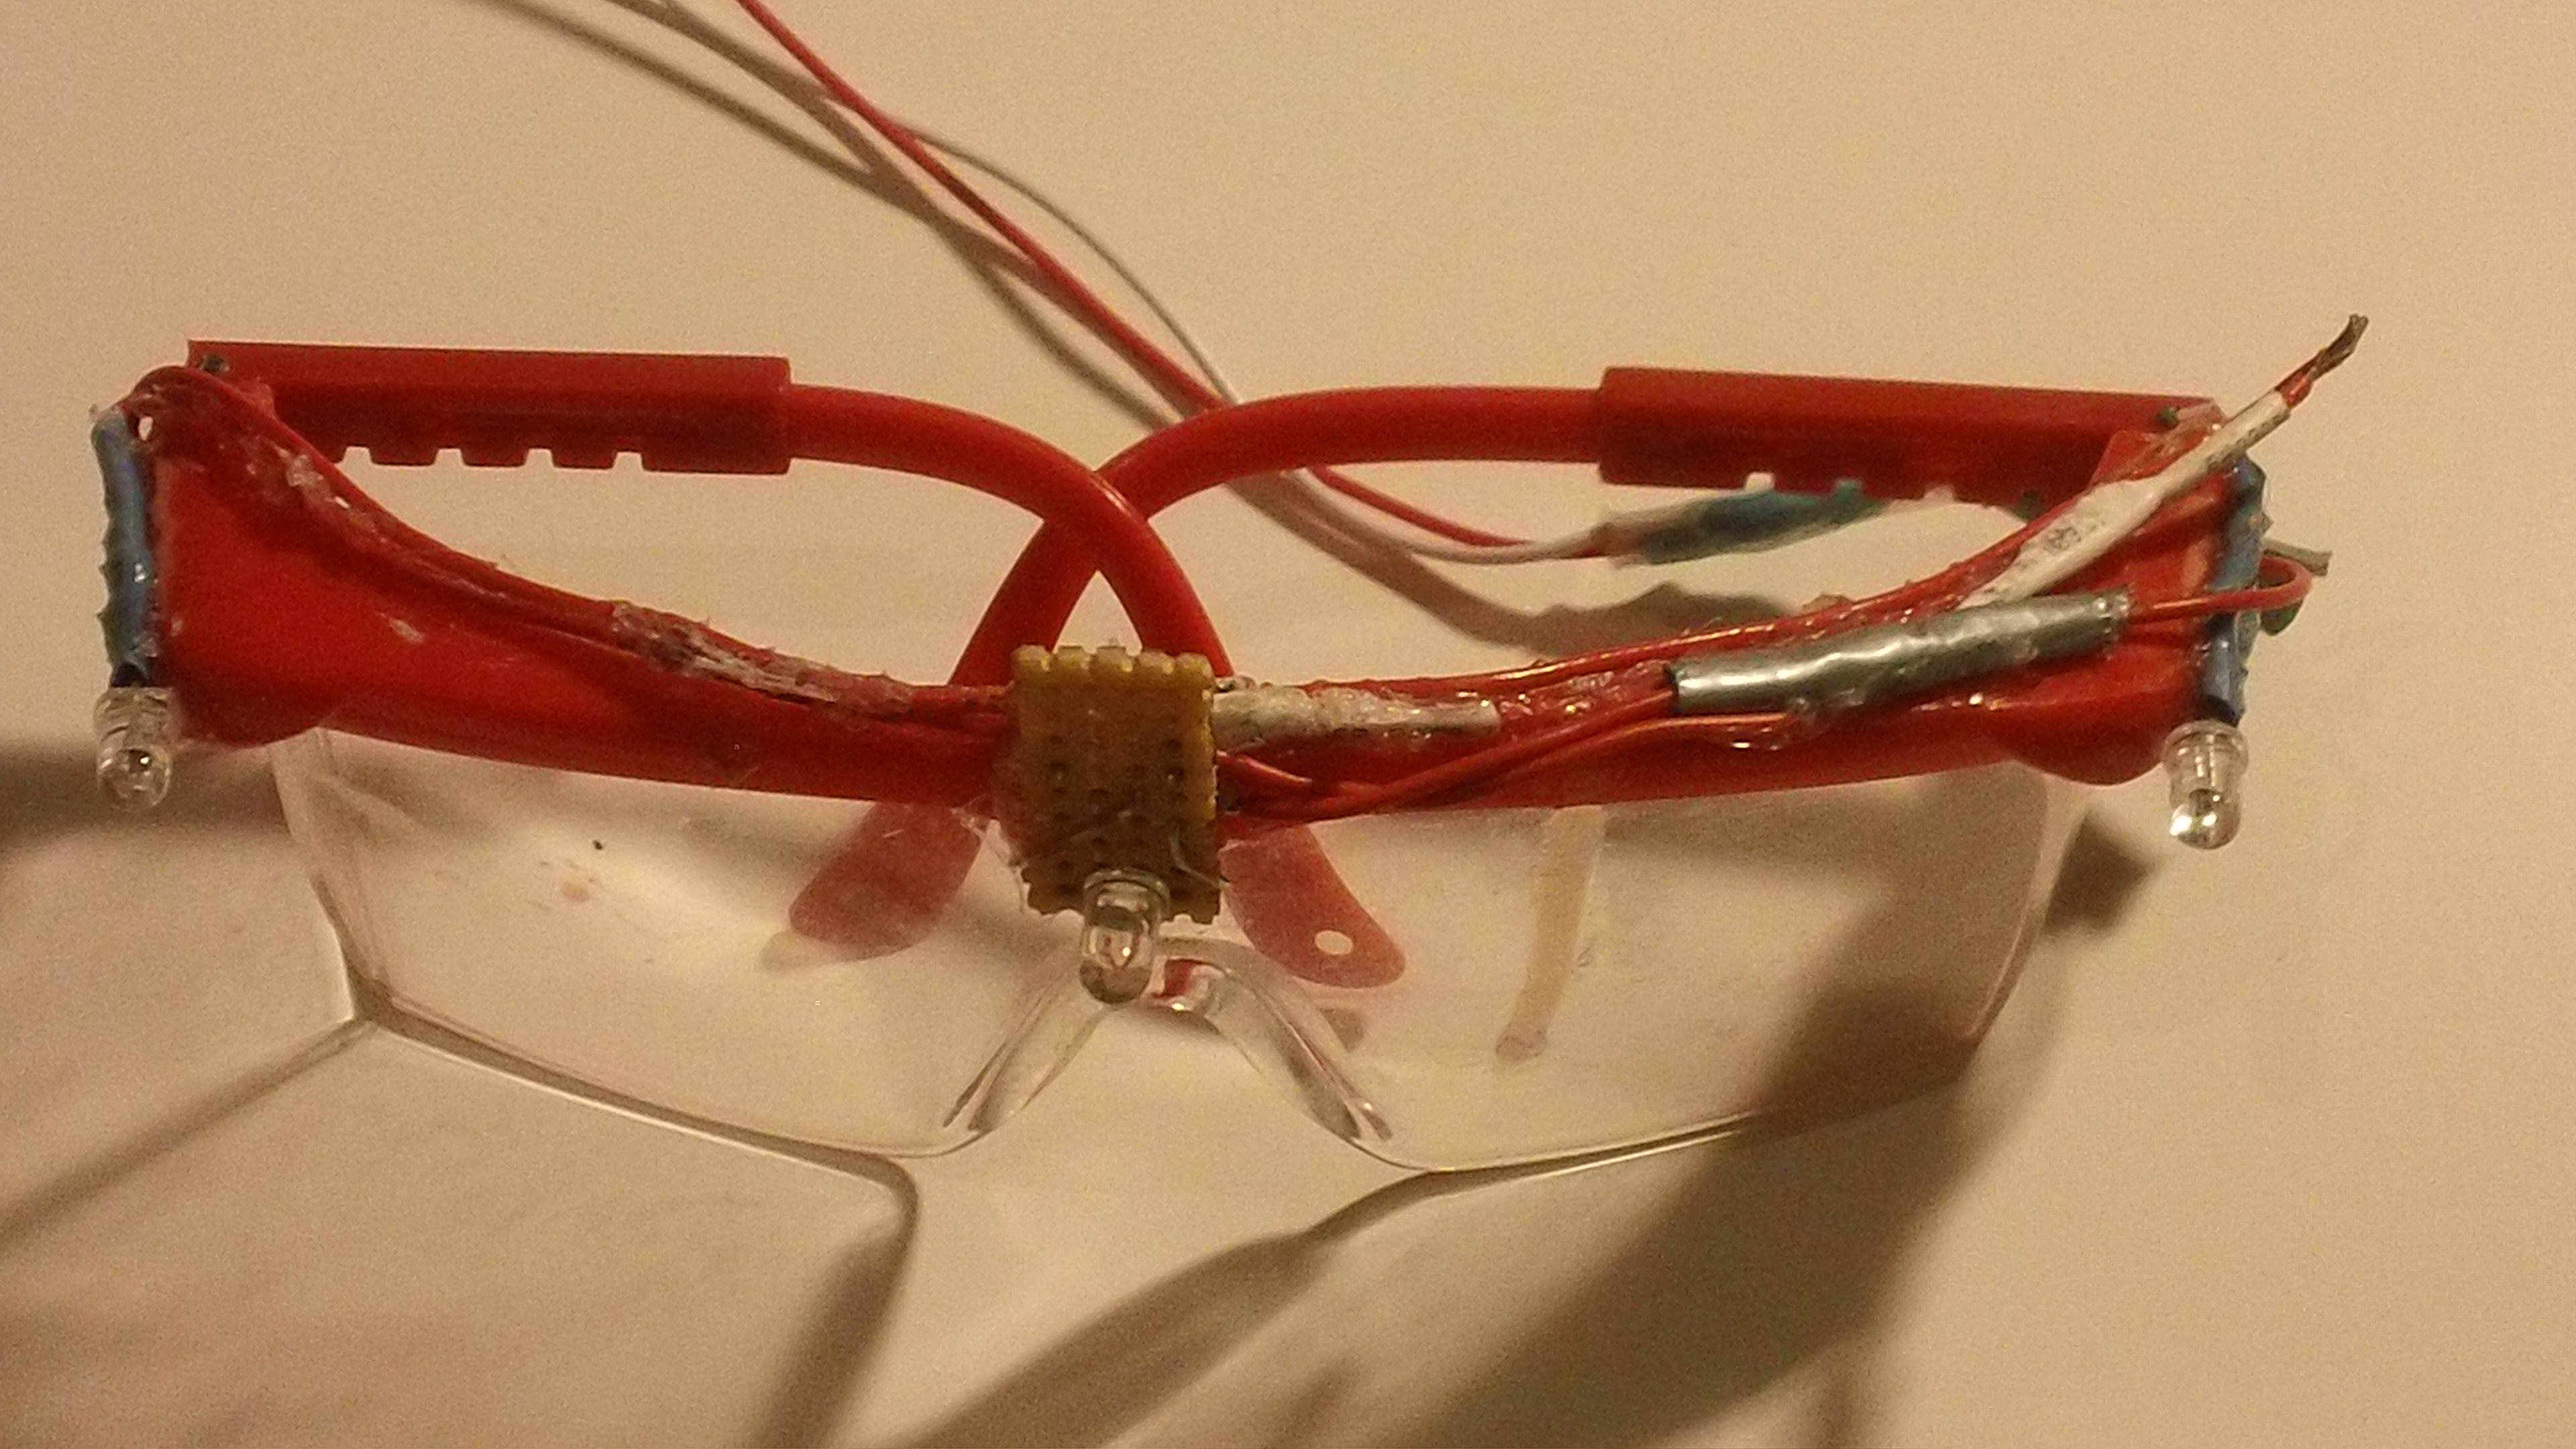
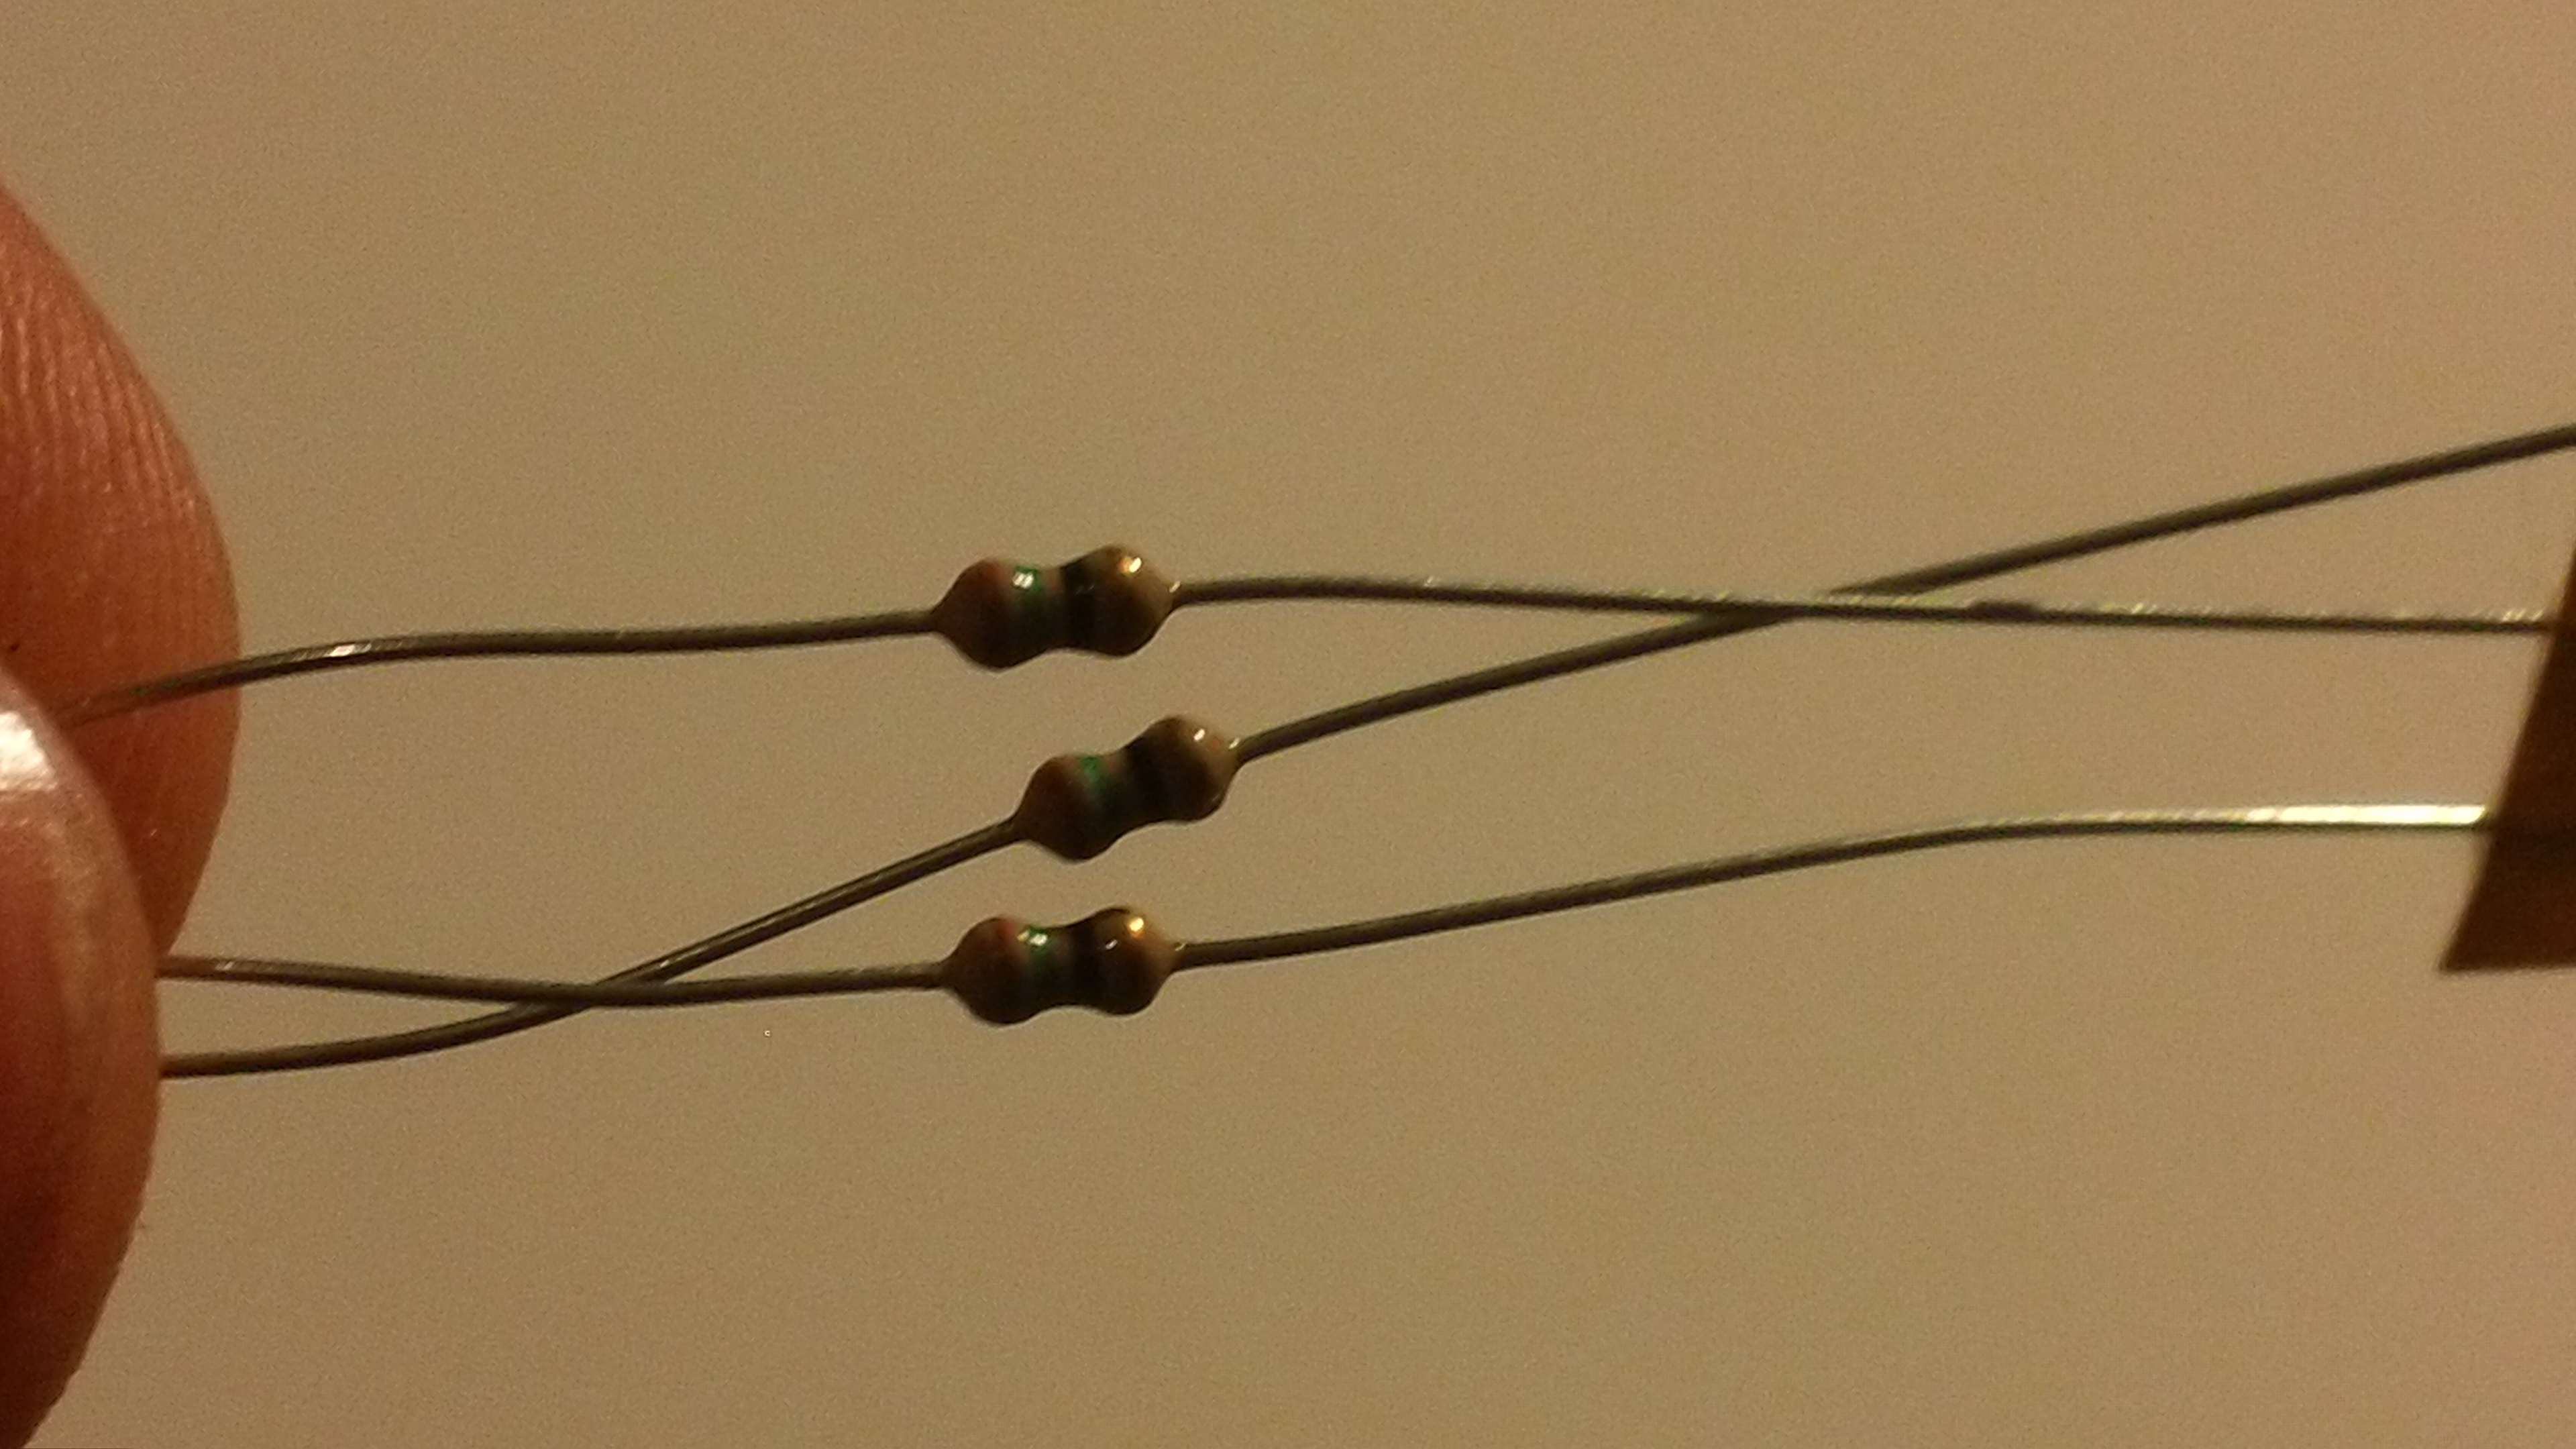
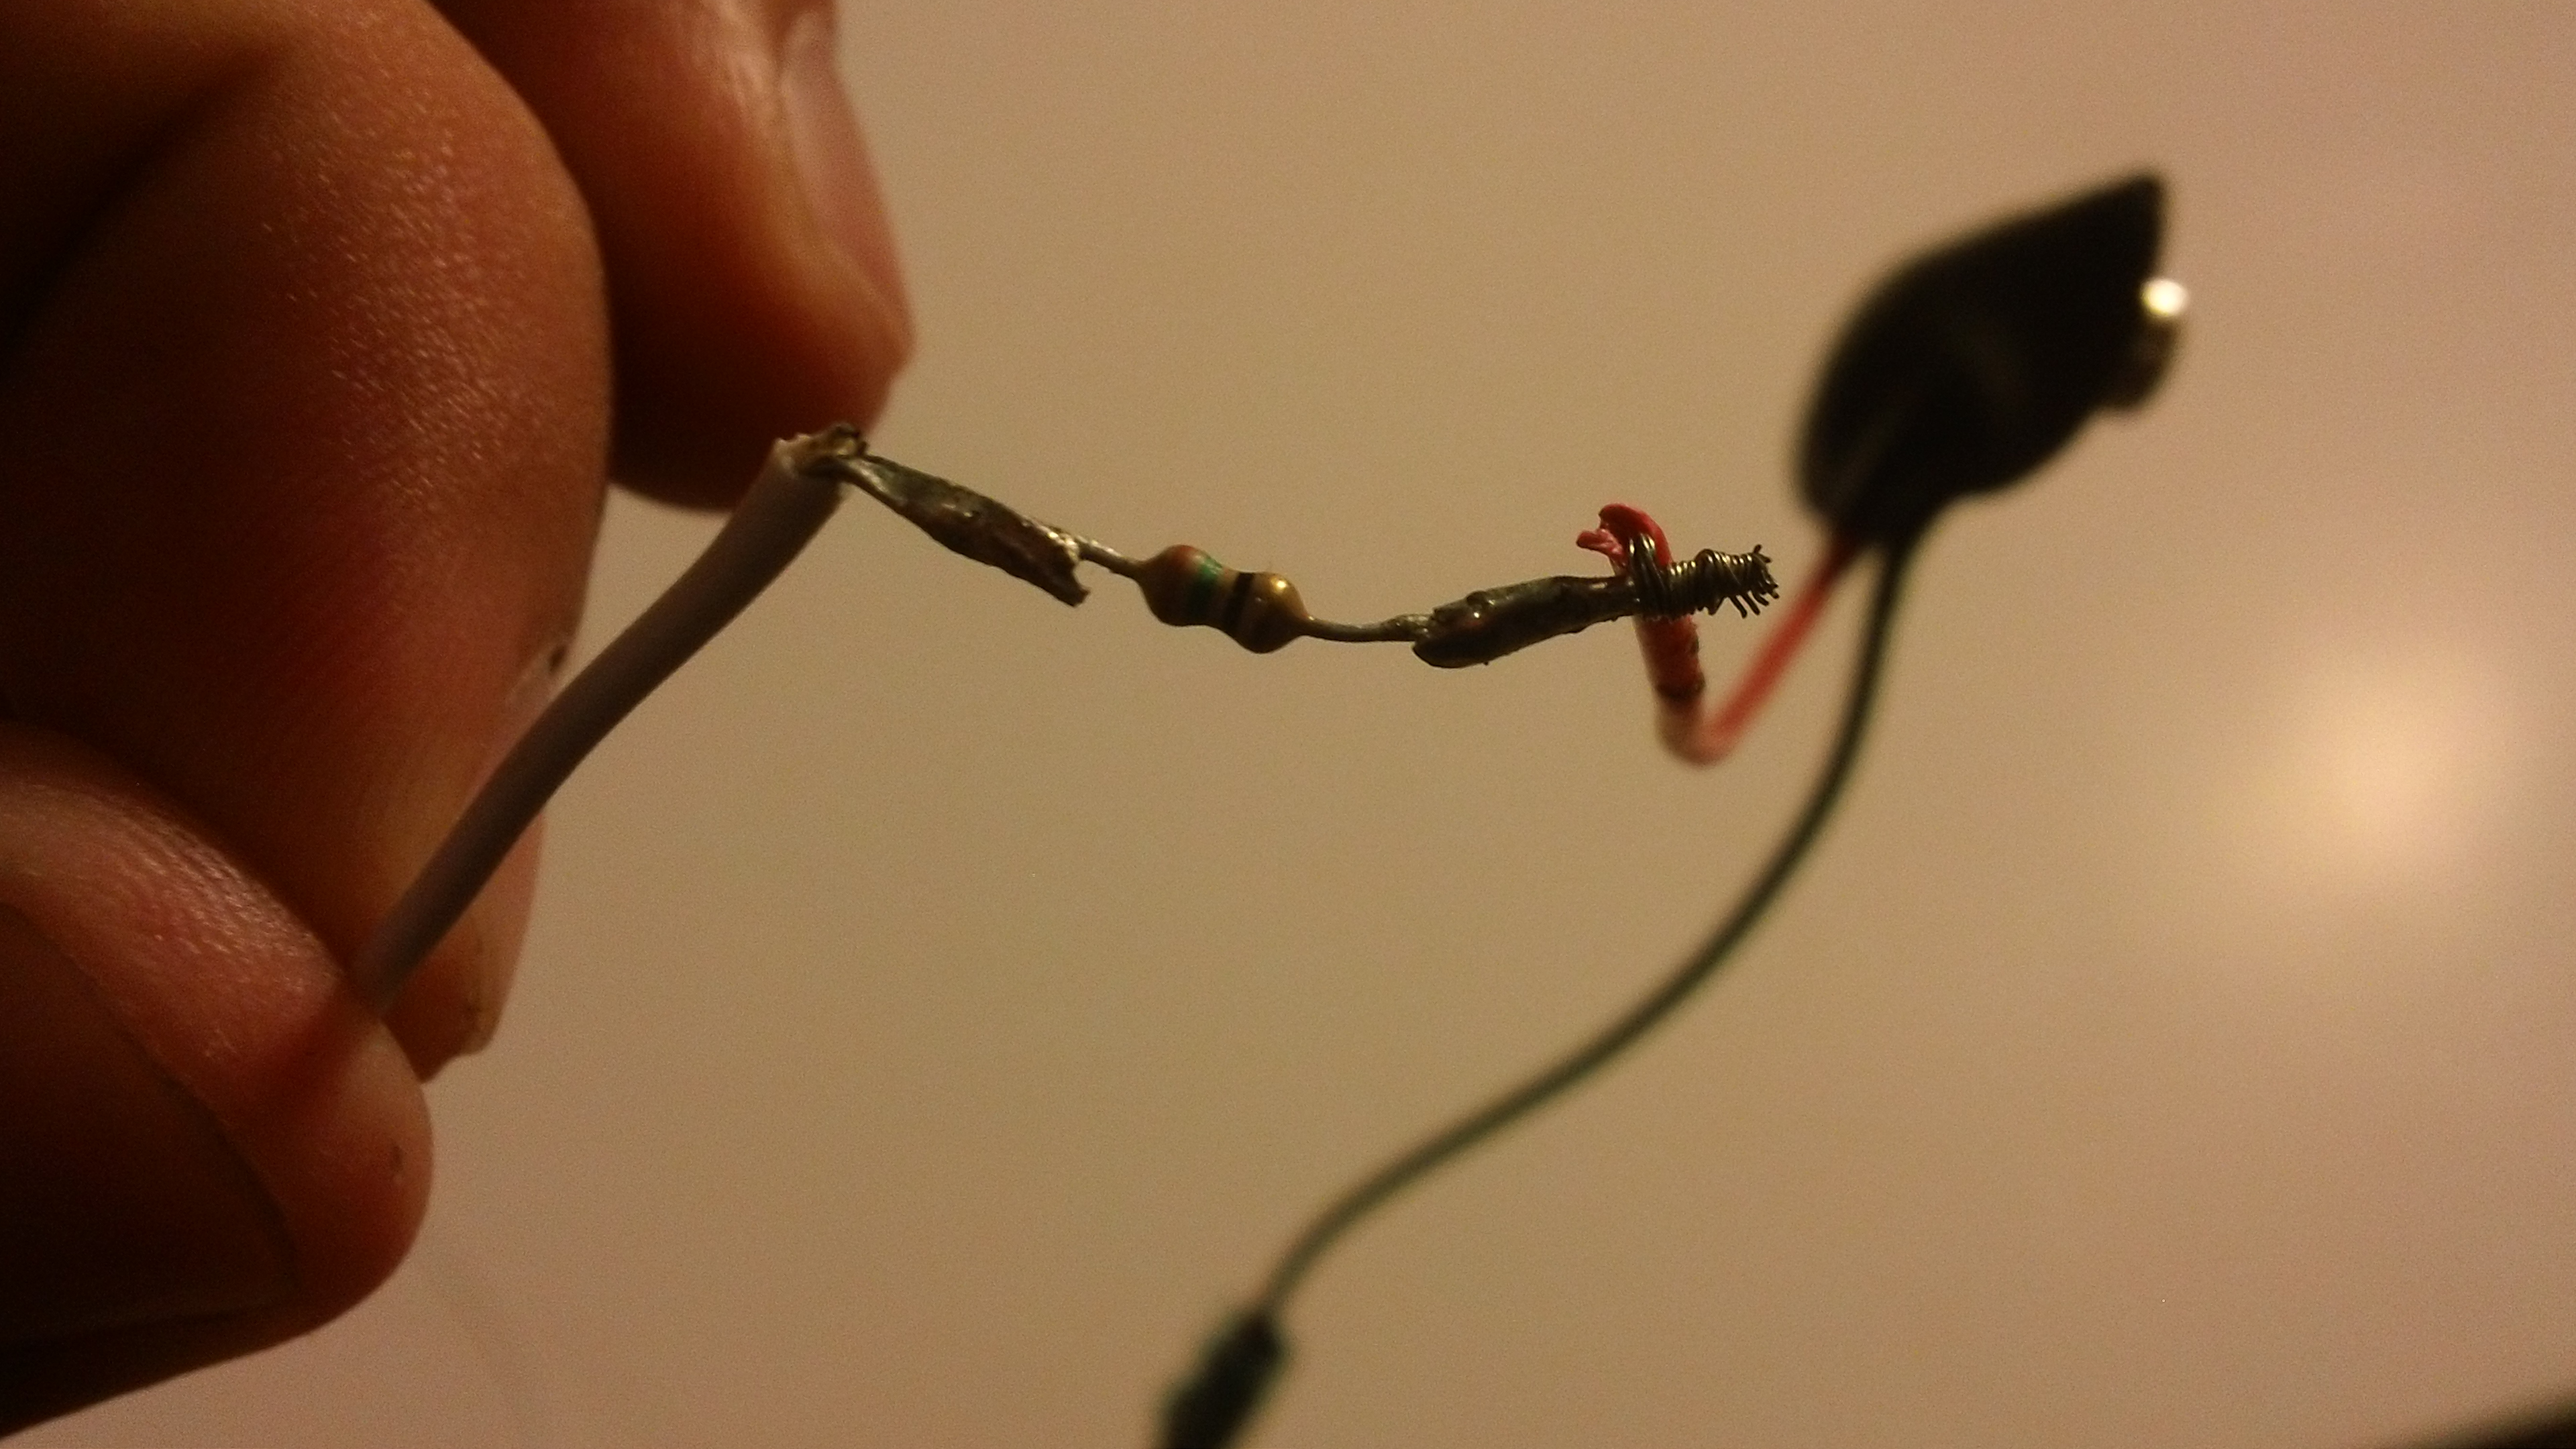
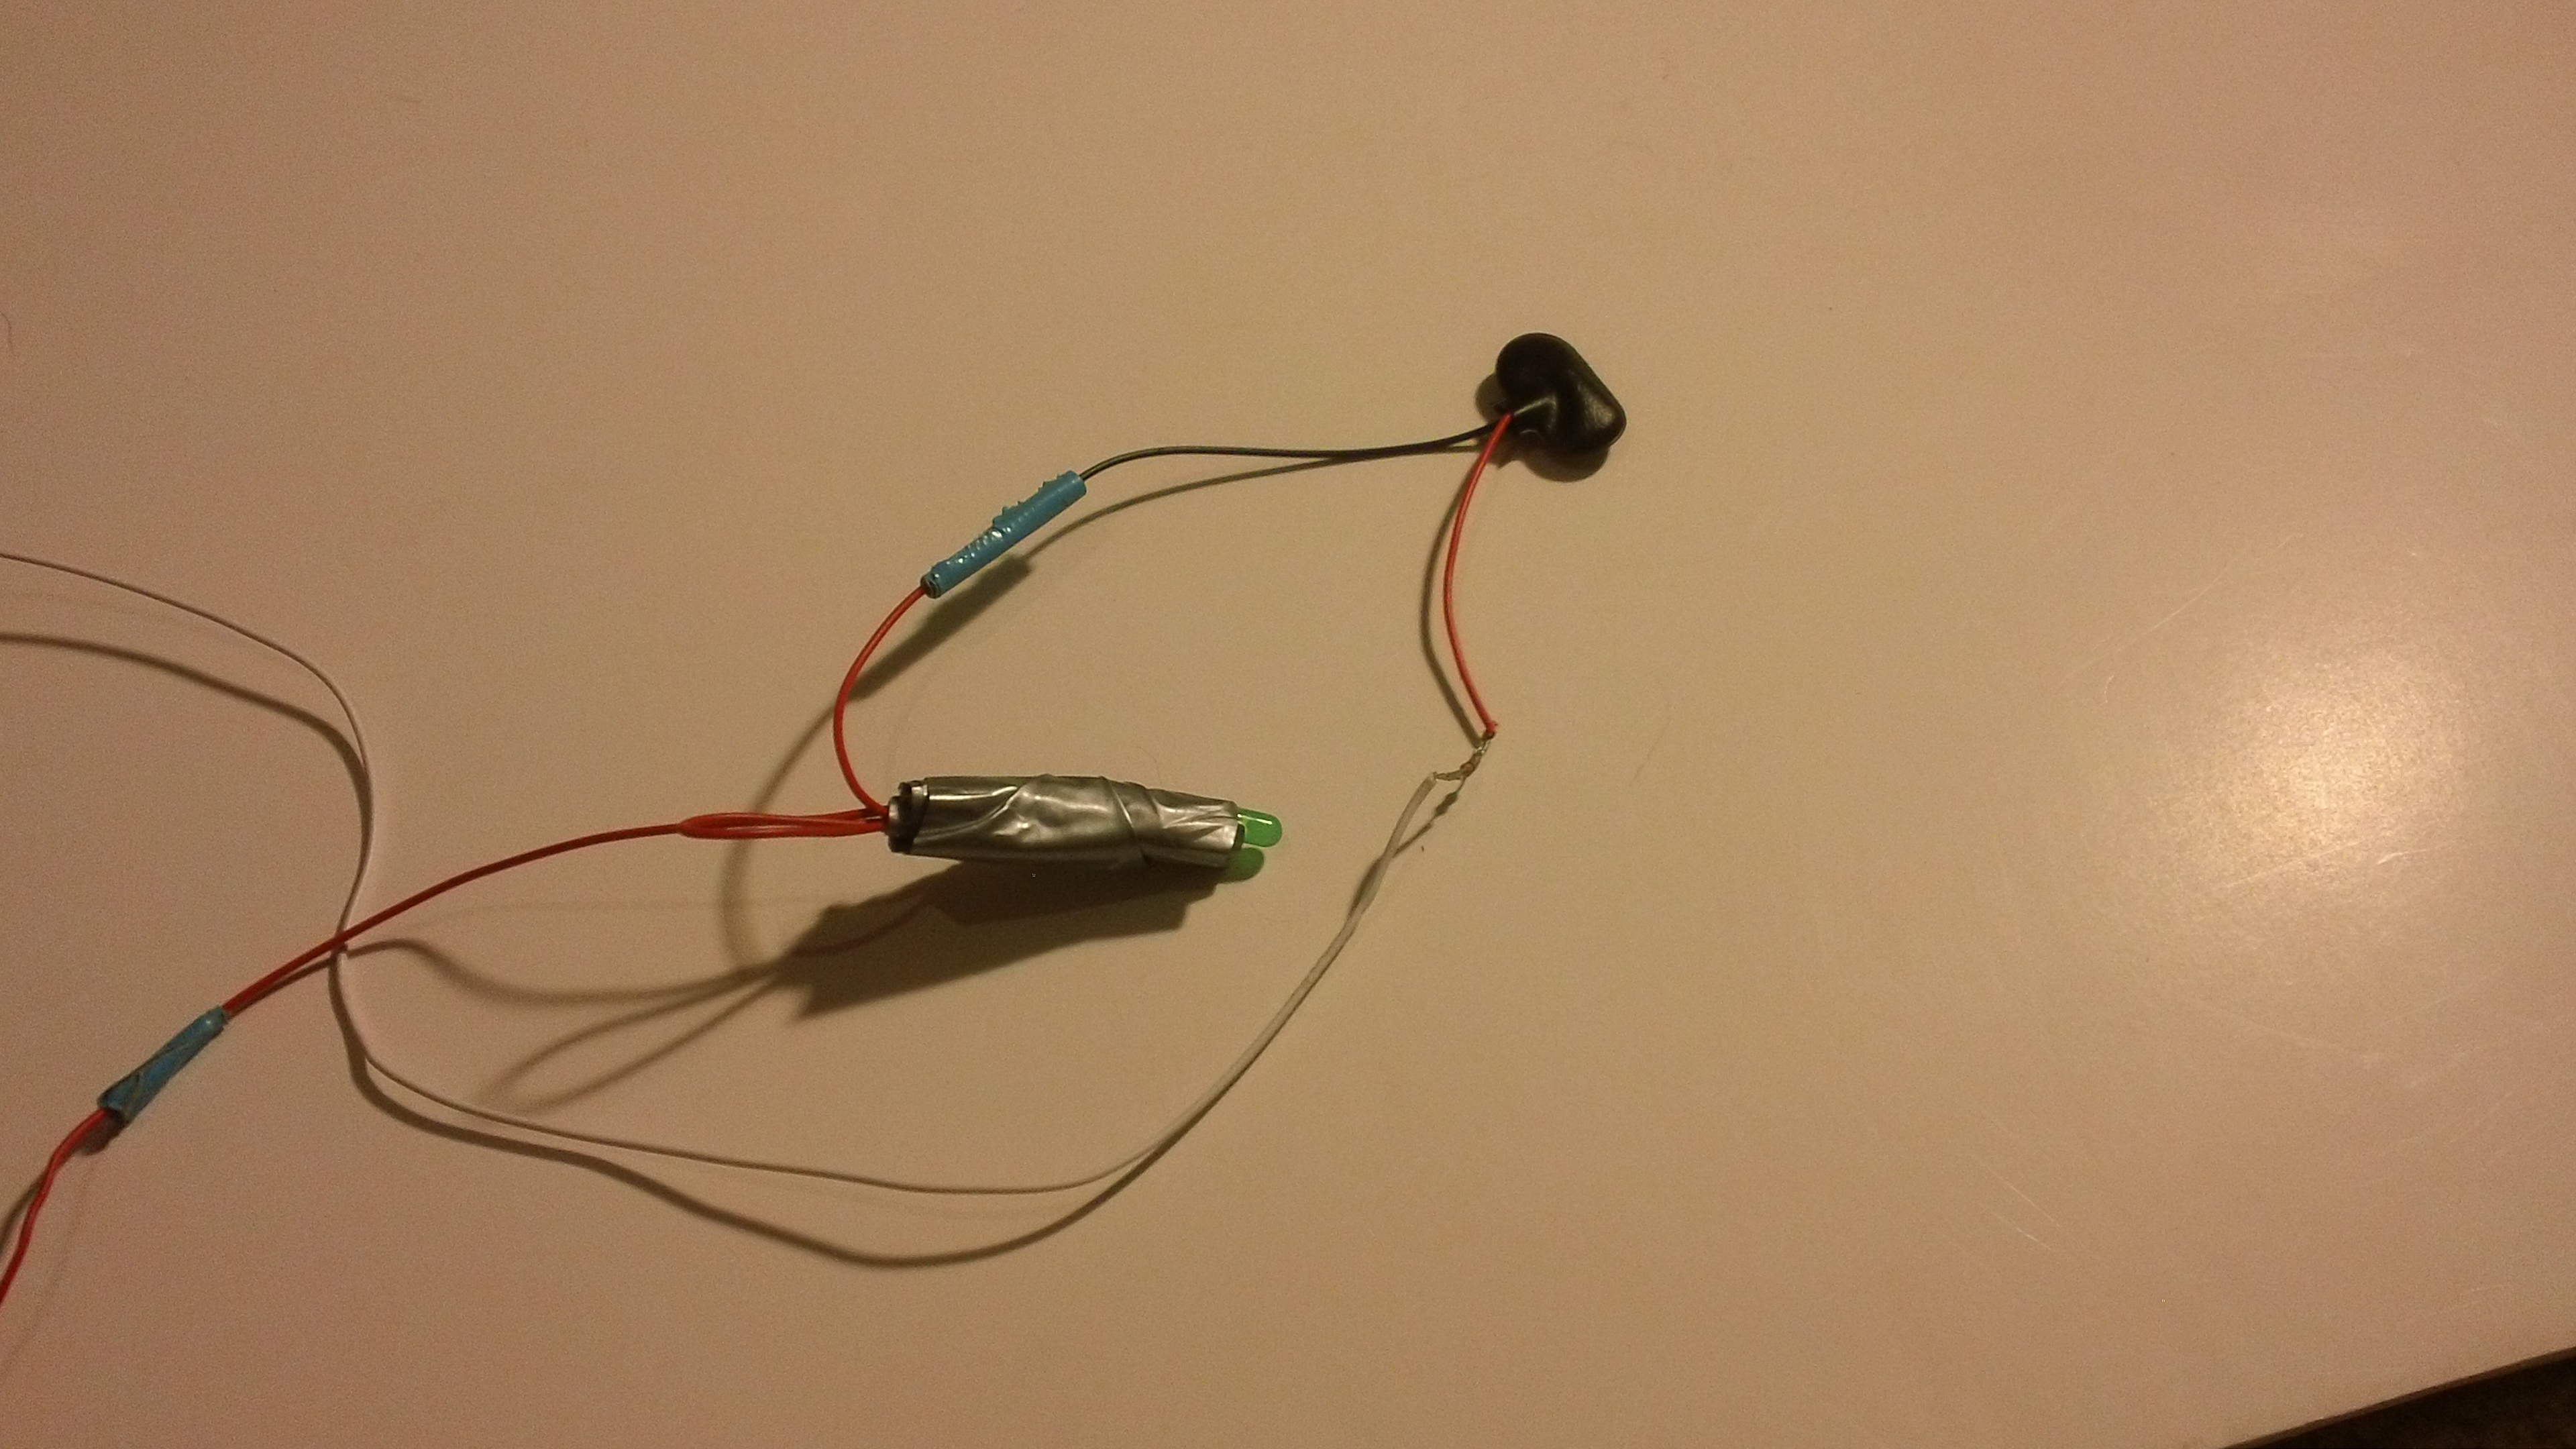
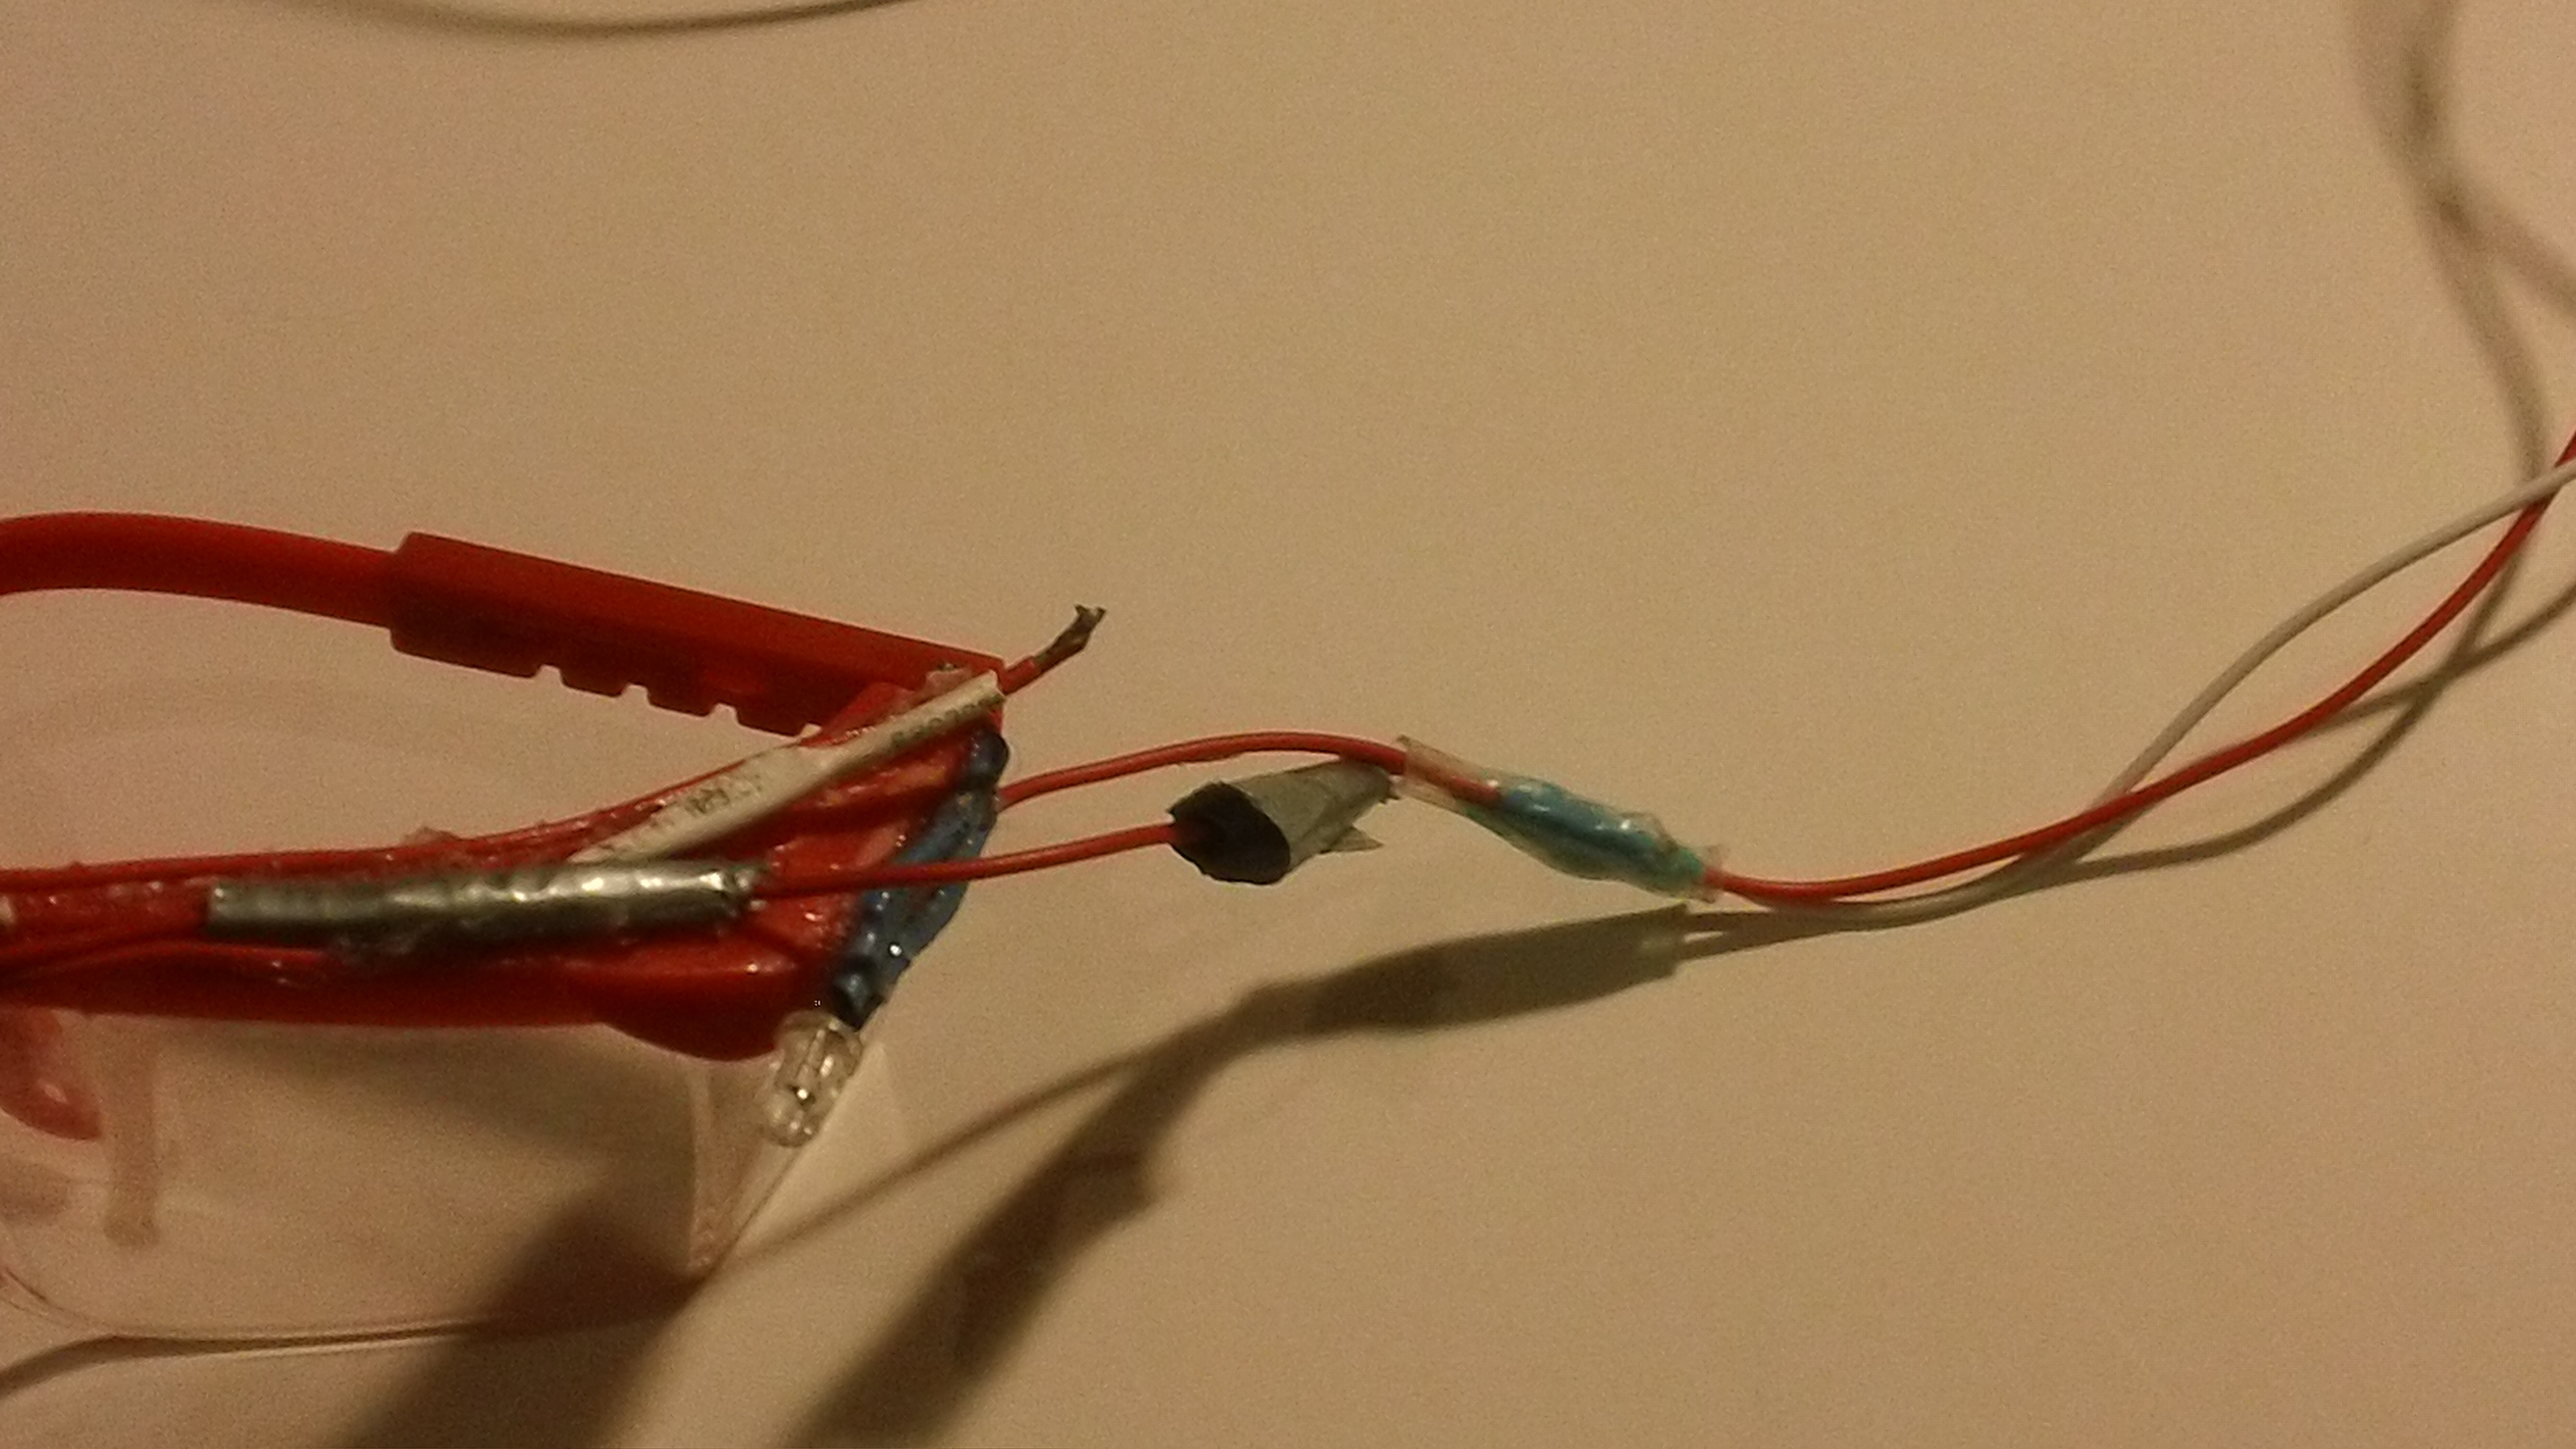
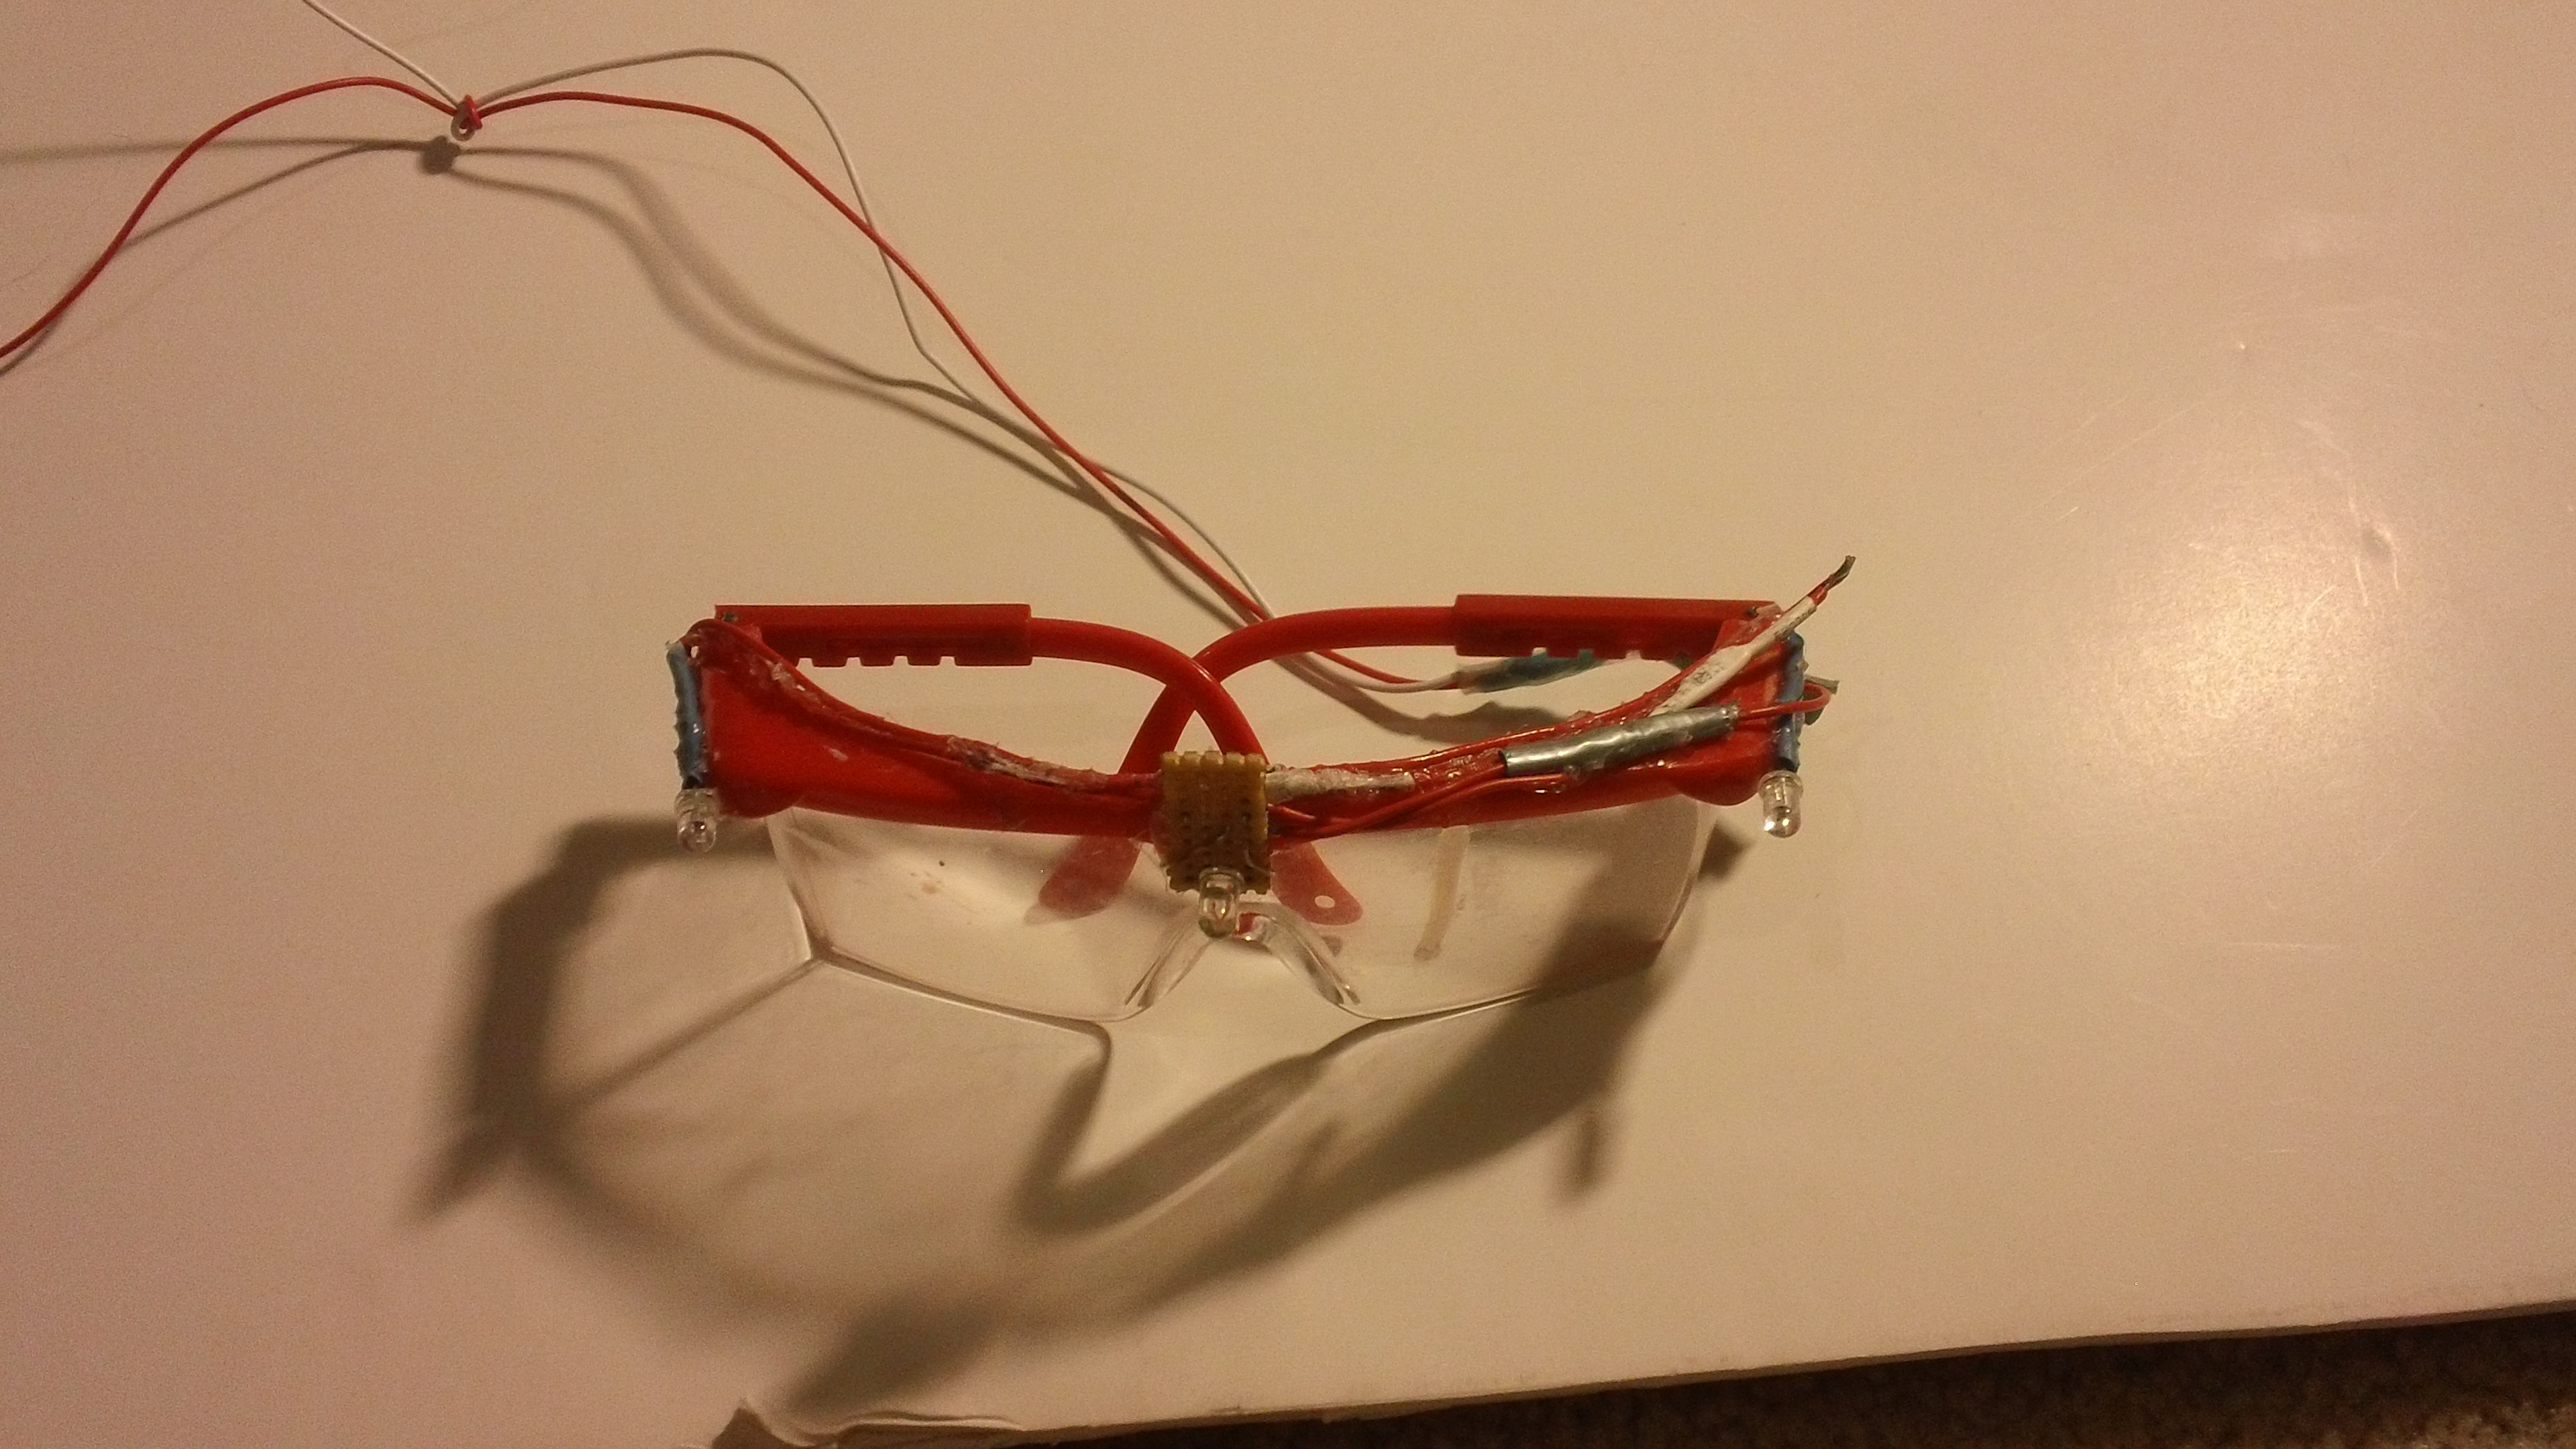
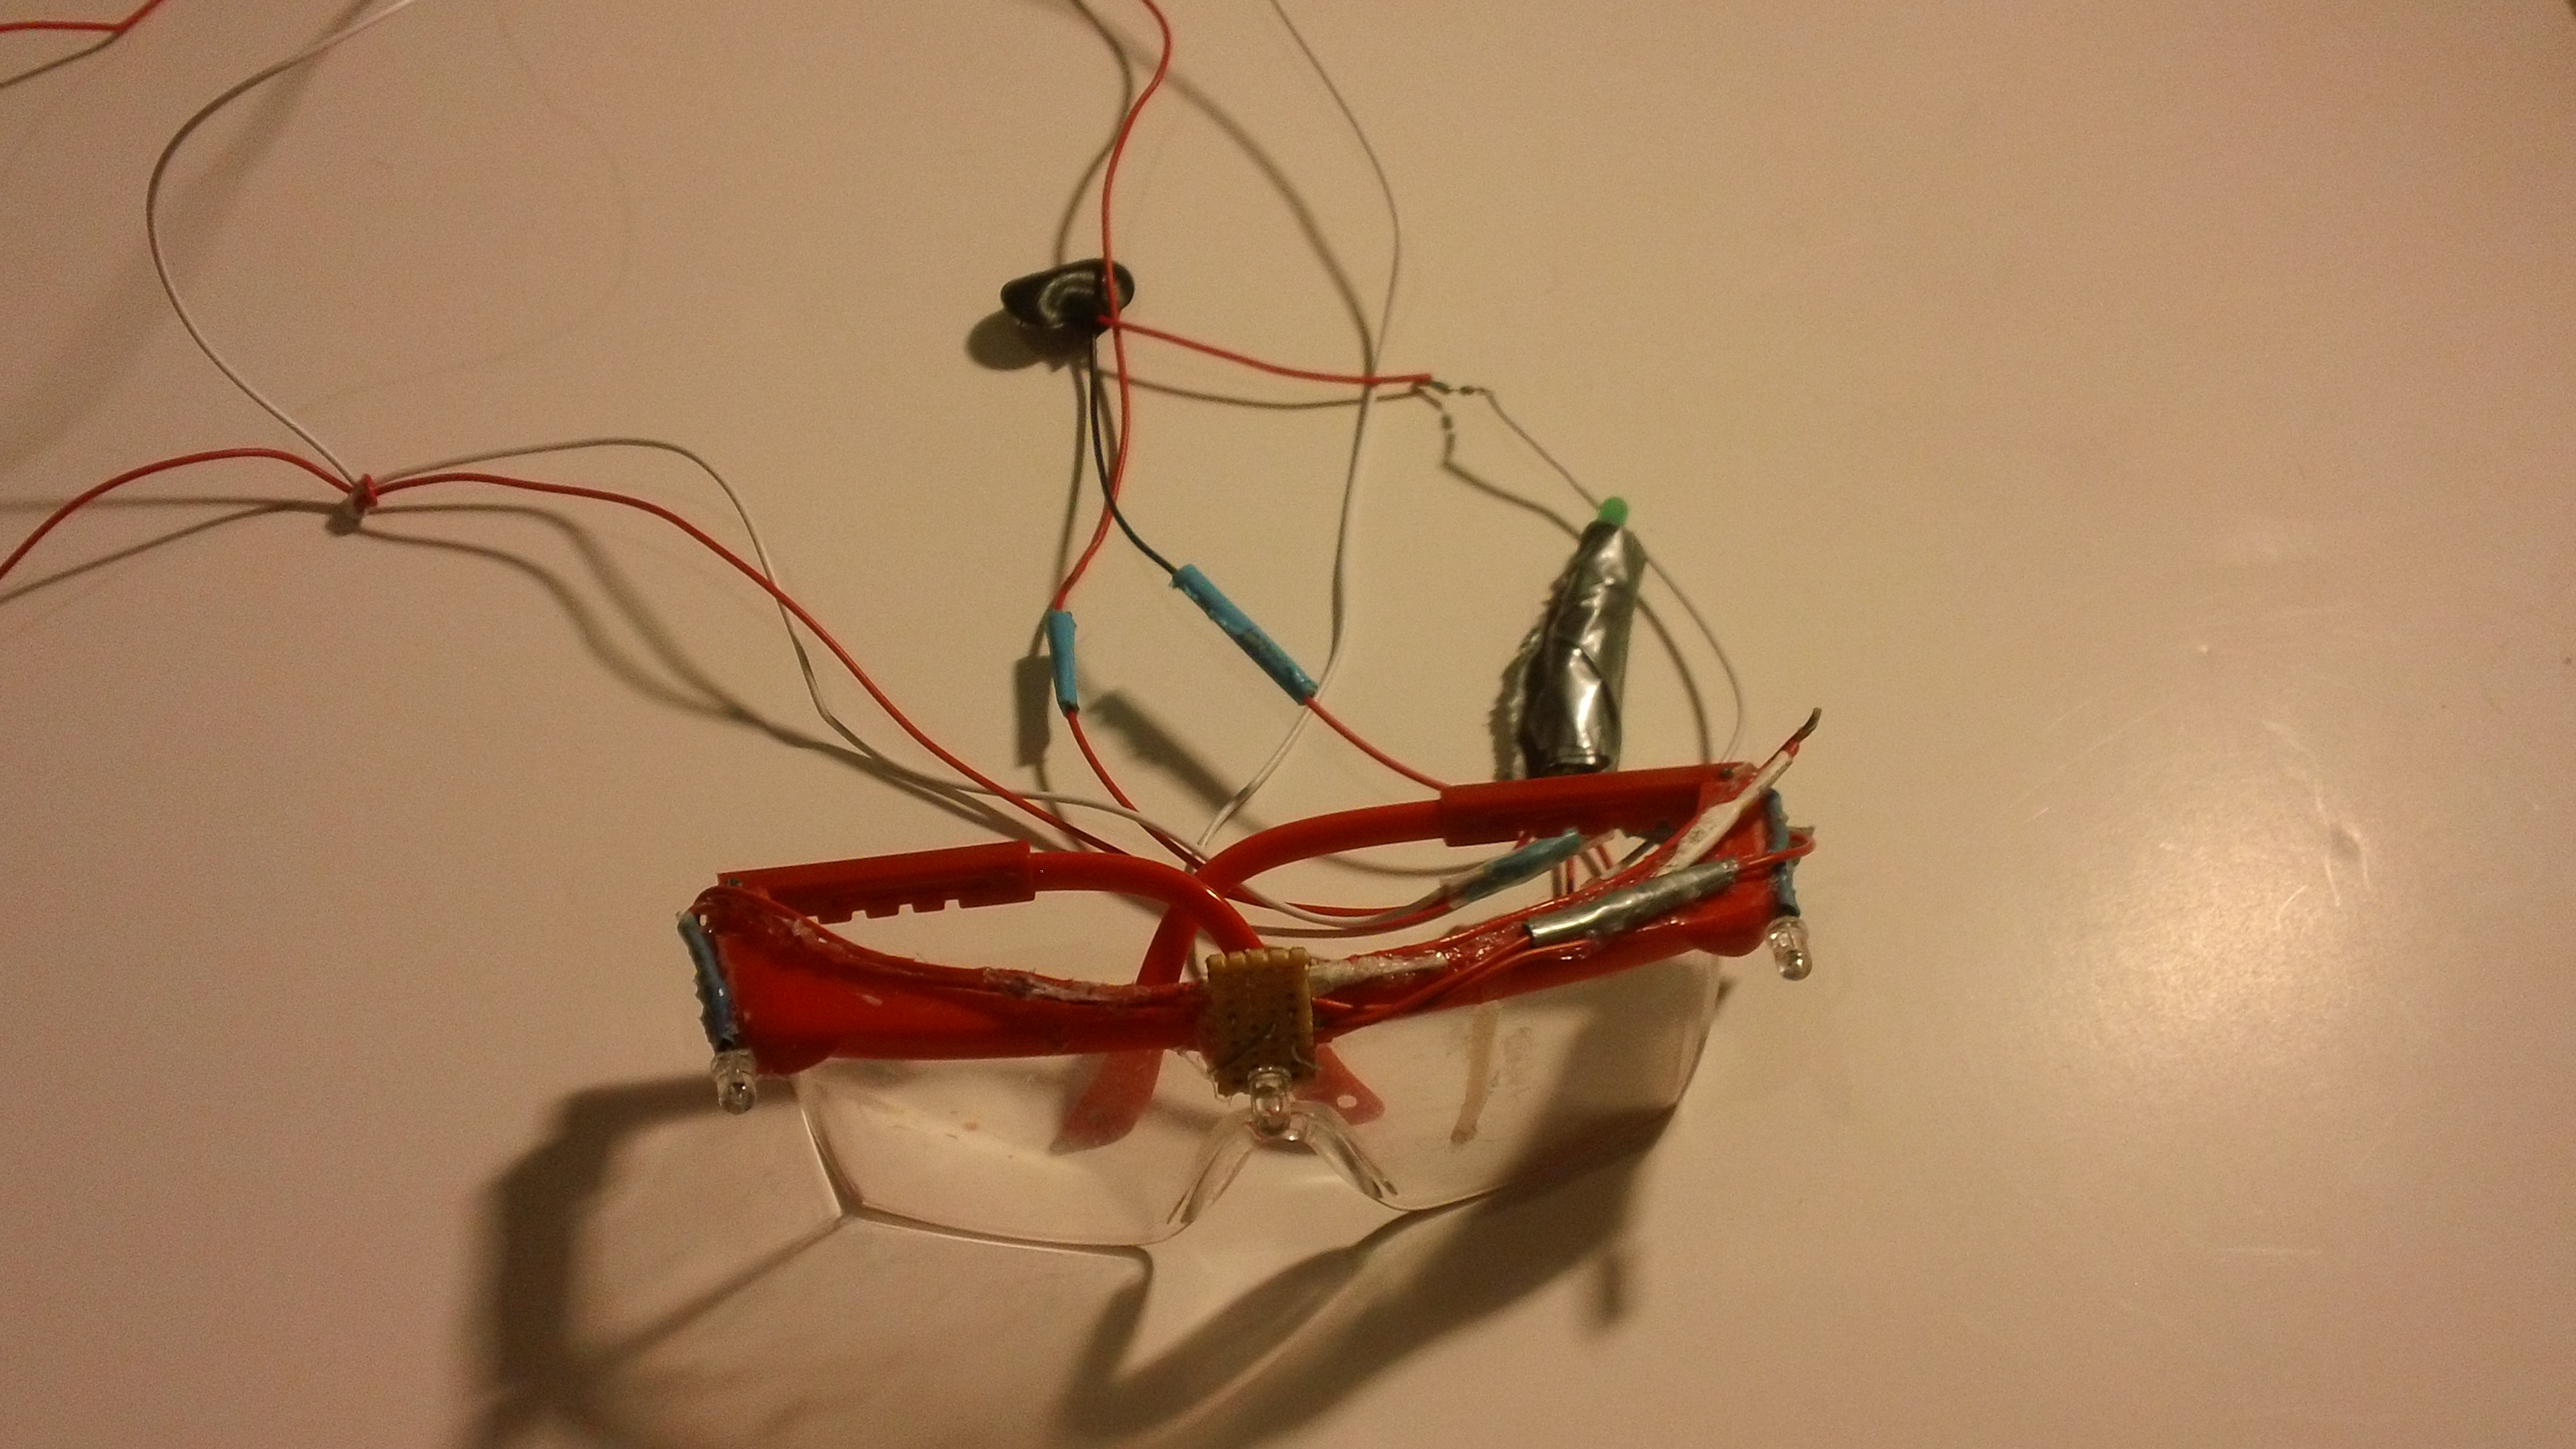
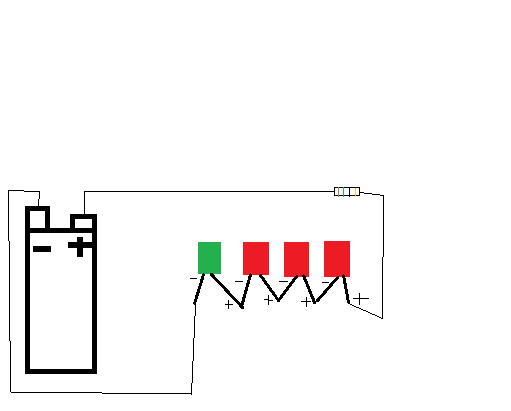
Mount two LEDs on either side of the goggles and one in the middle.
Follow the circuit diagram to make sure that you don't over-power the LEDs. Don't forget to use a 15 ohm resistor.
Follow the circuit diagram to make sure that you don't over-power the LEDs. Don't forget to use a 15 ohm resistor.
Build the Hardware (Microphone)
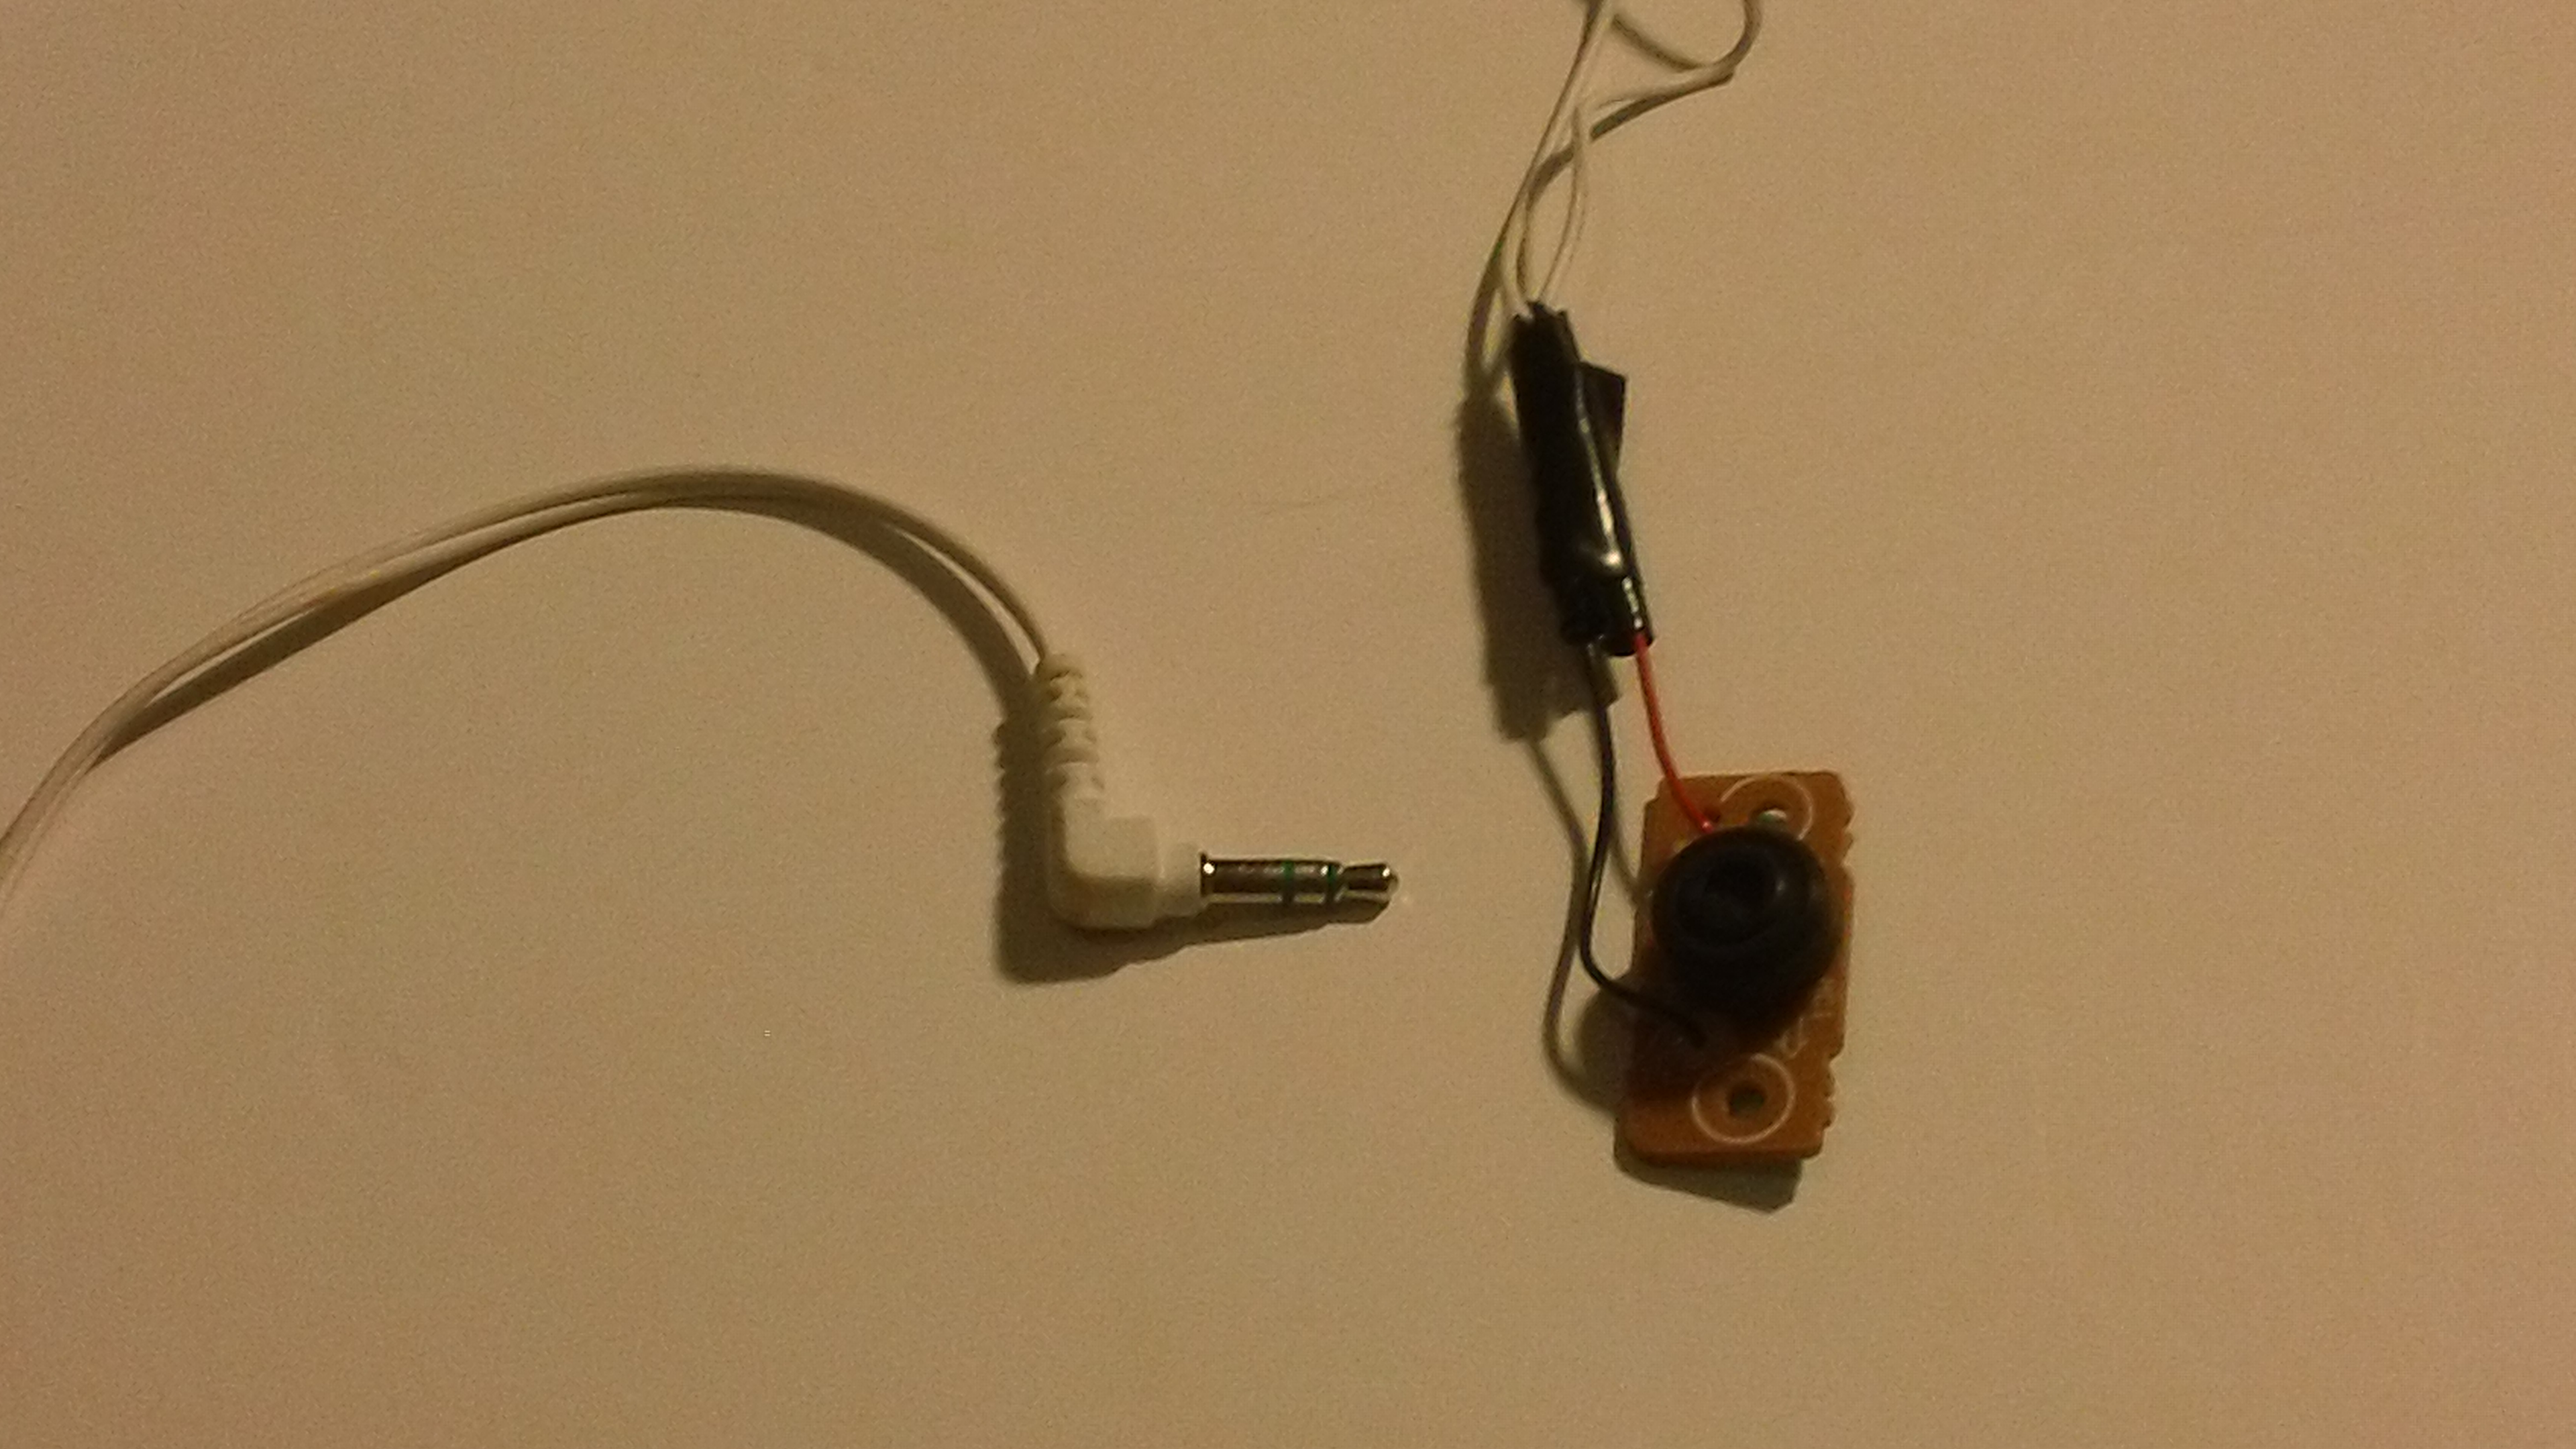
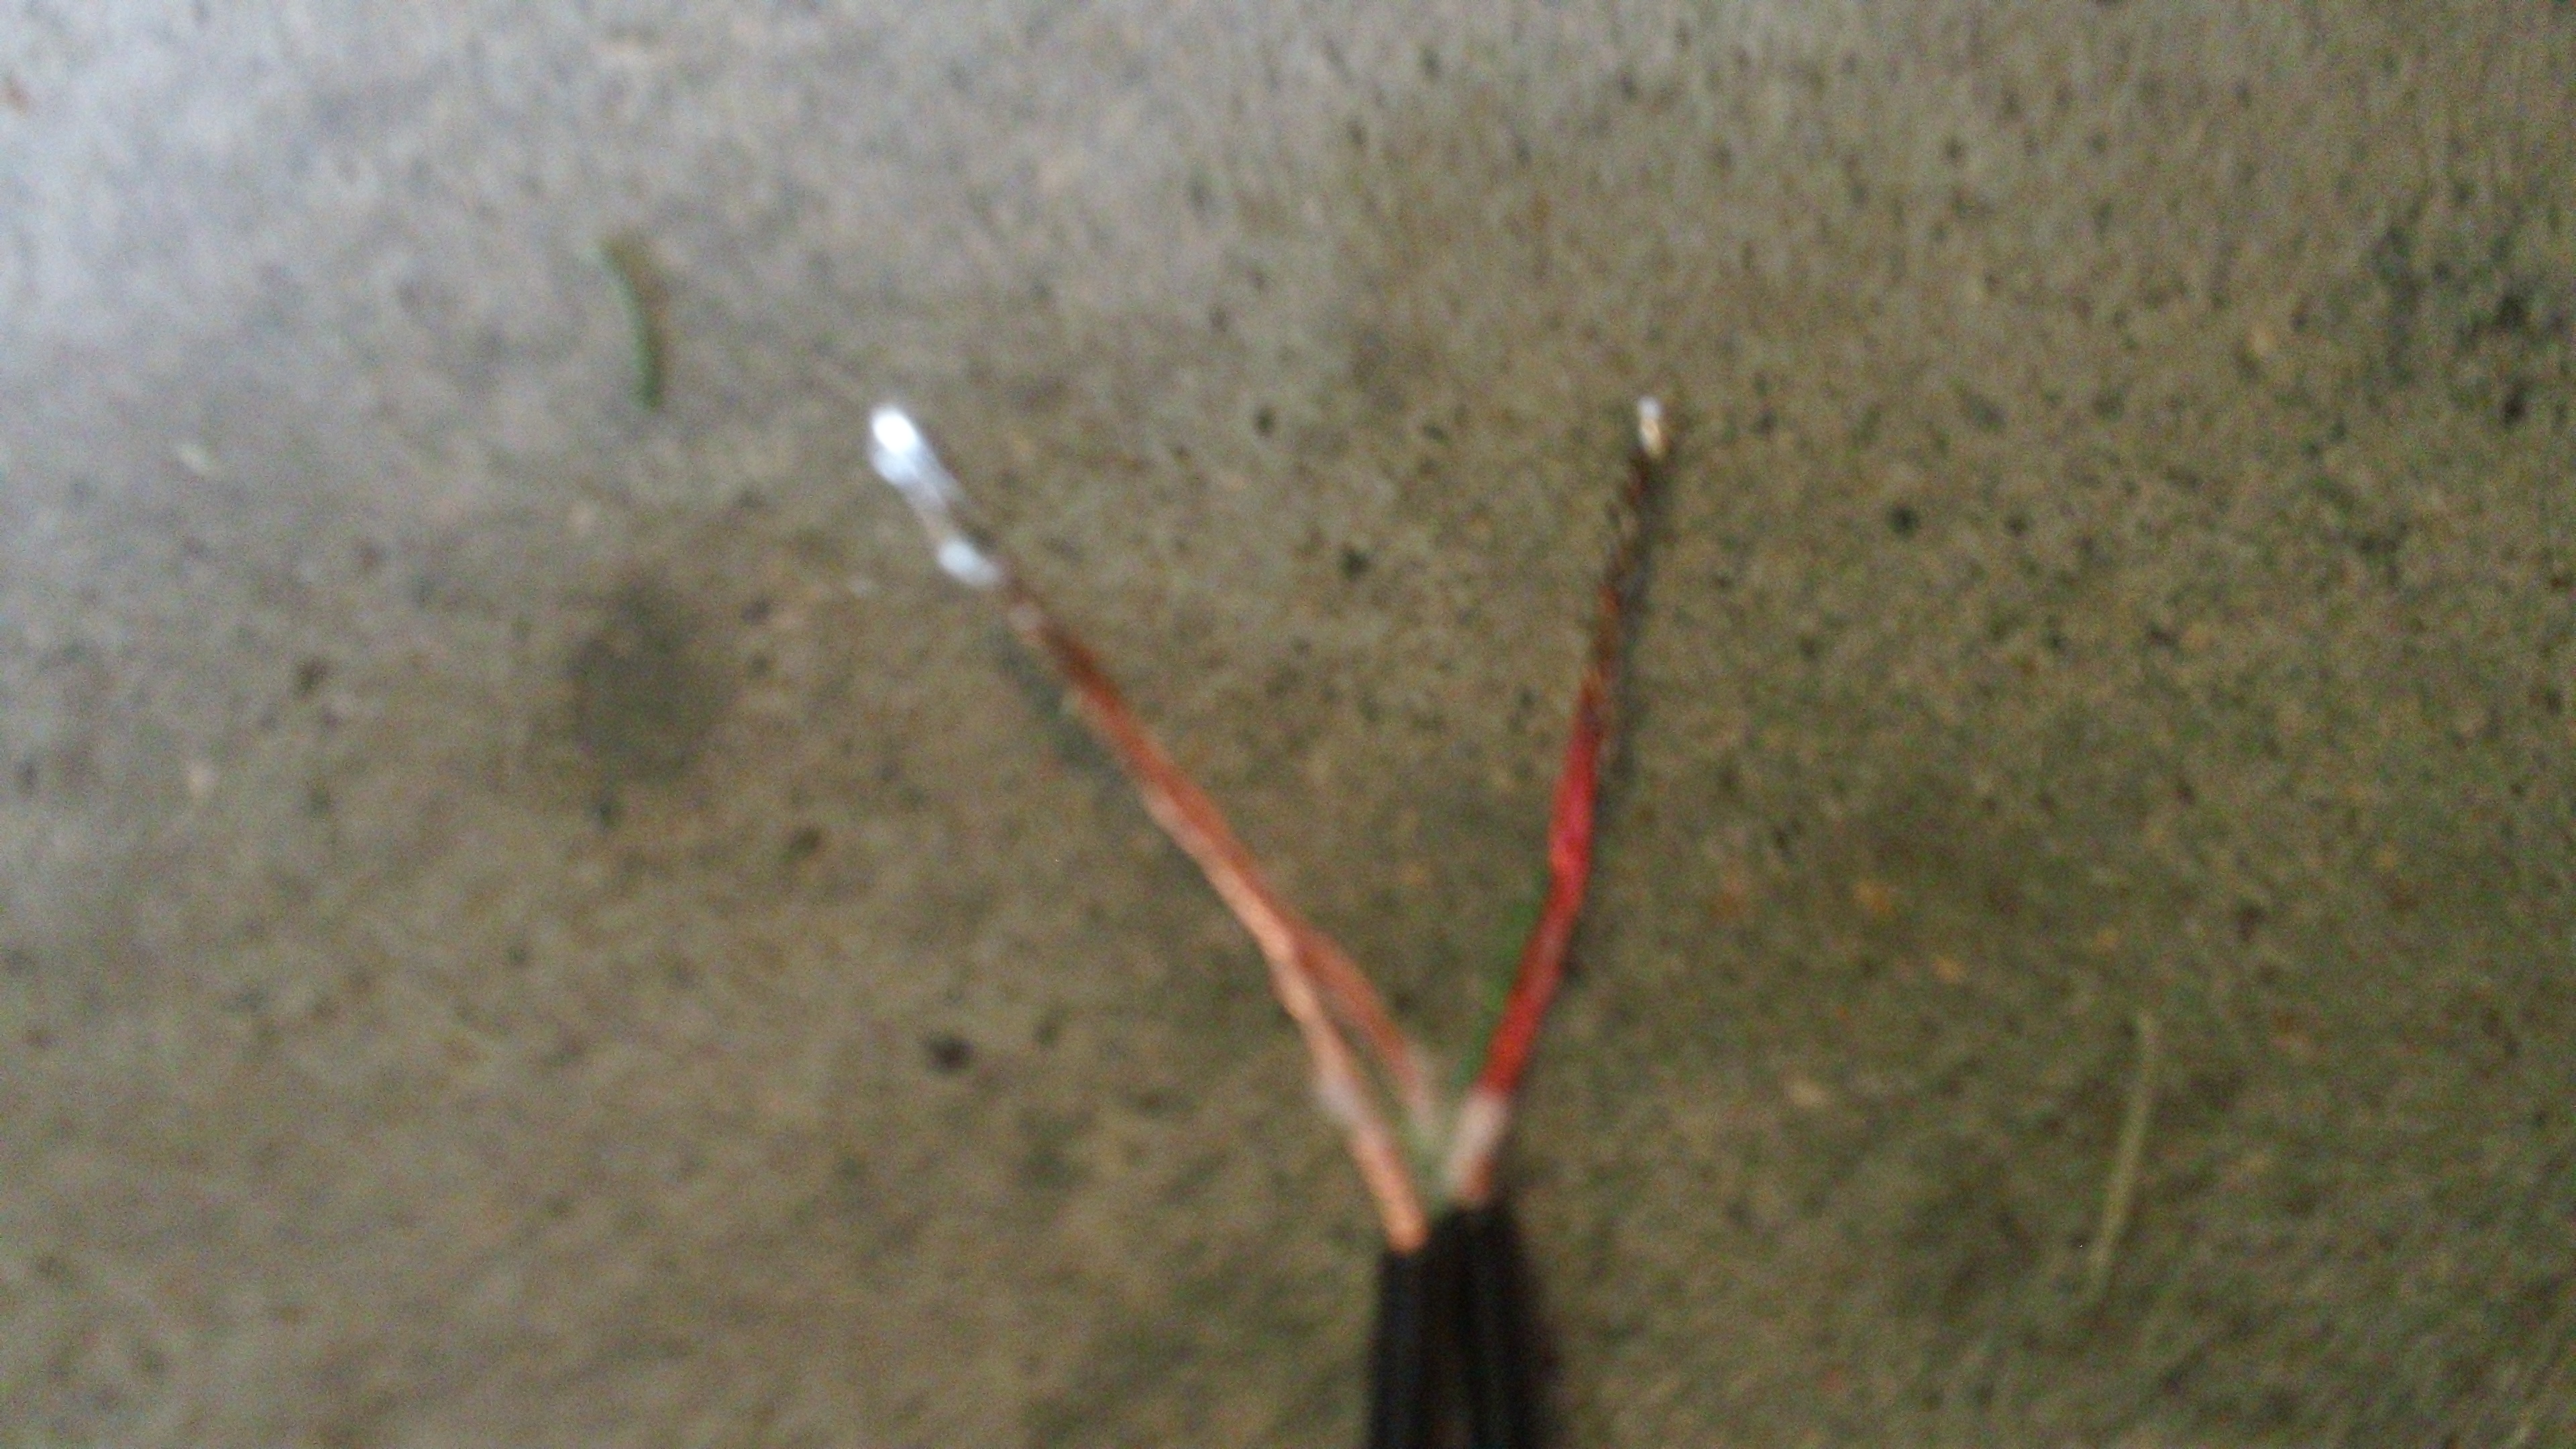
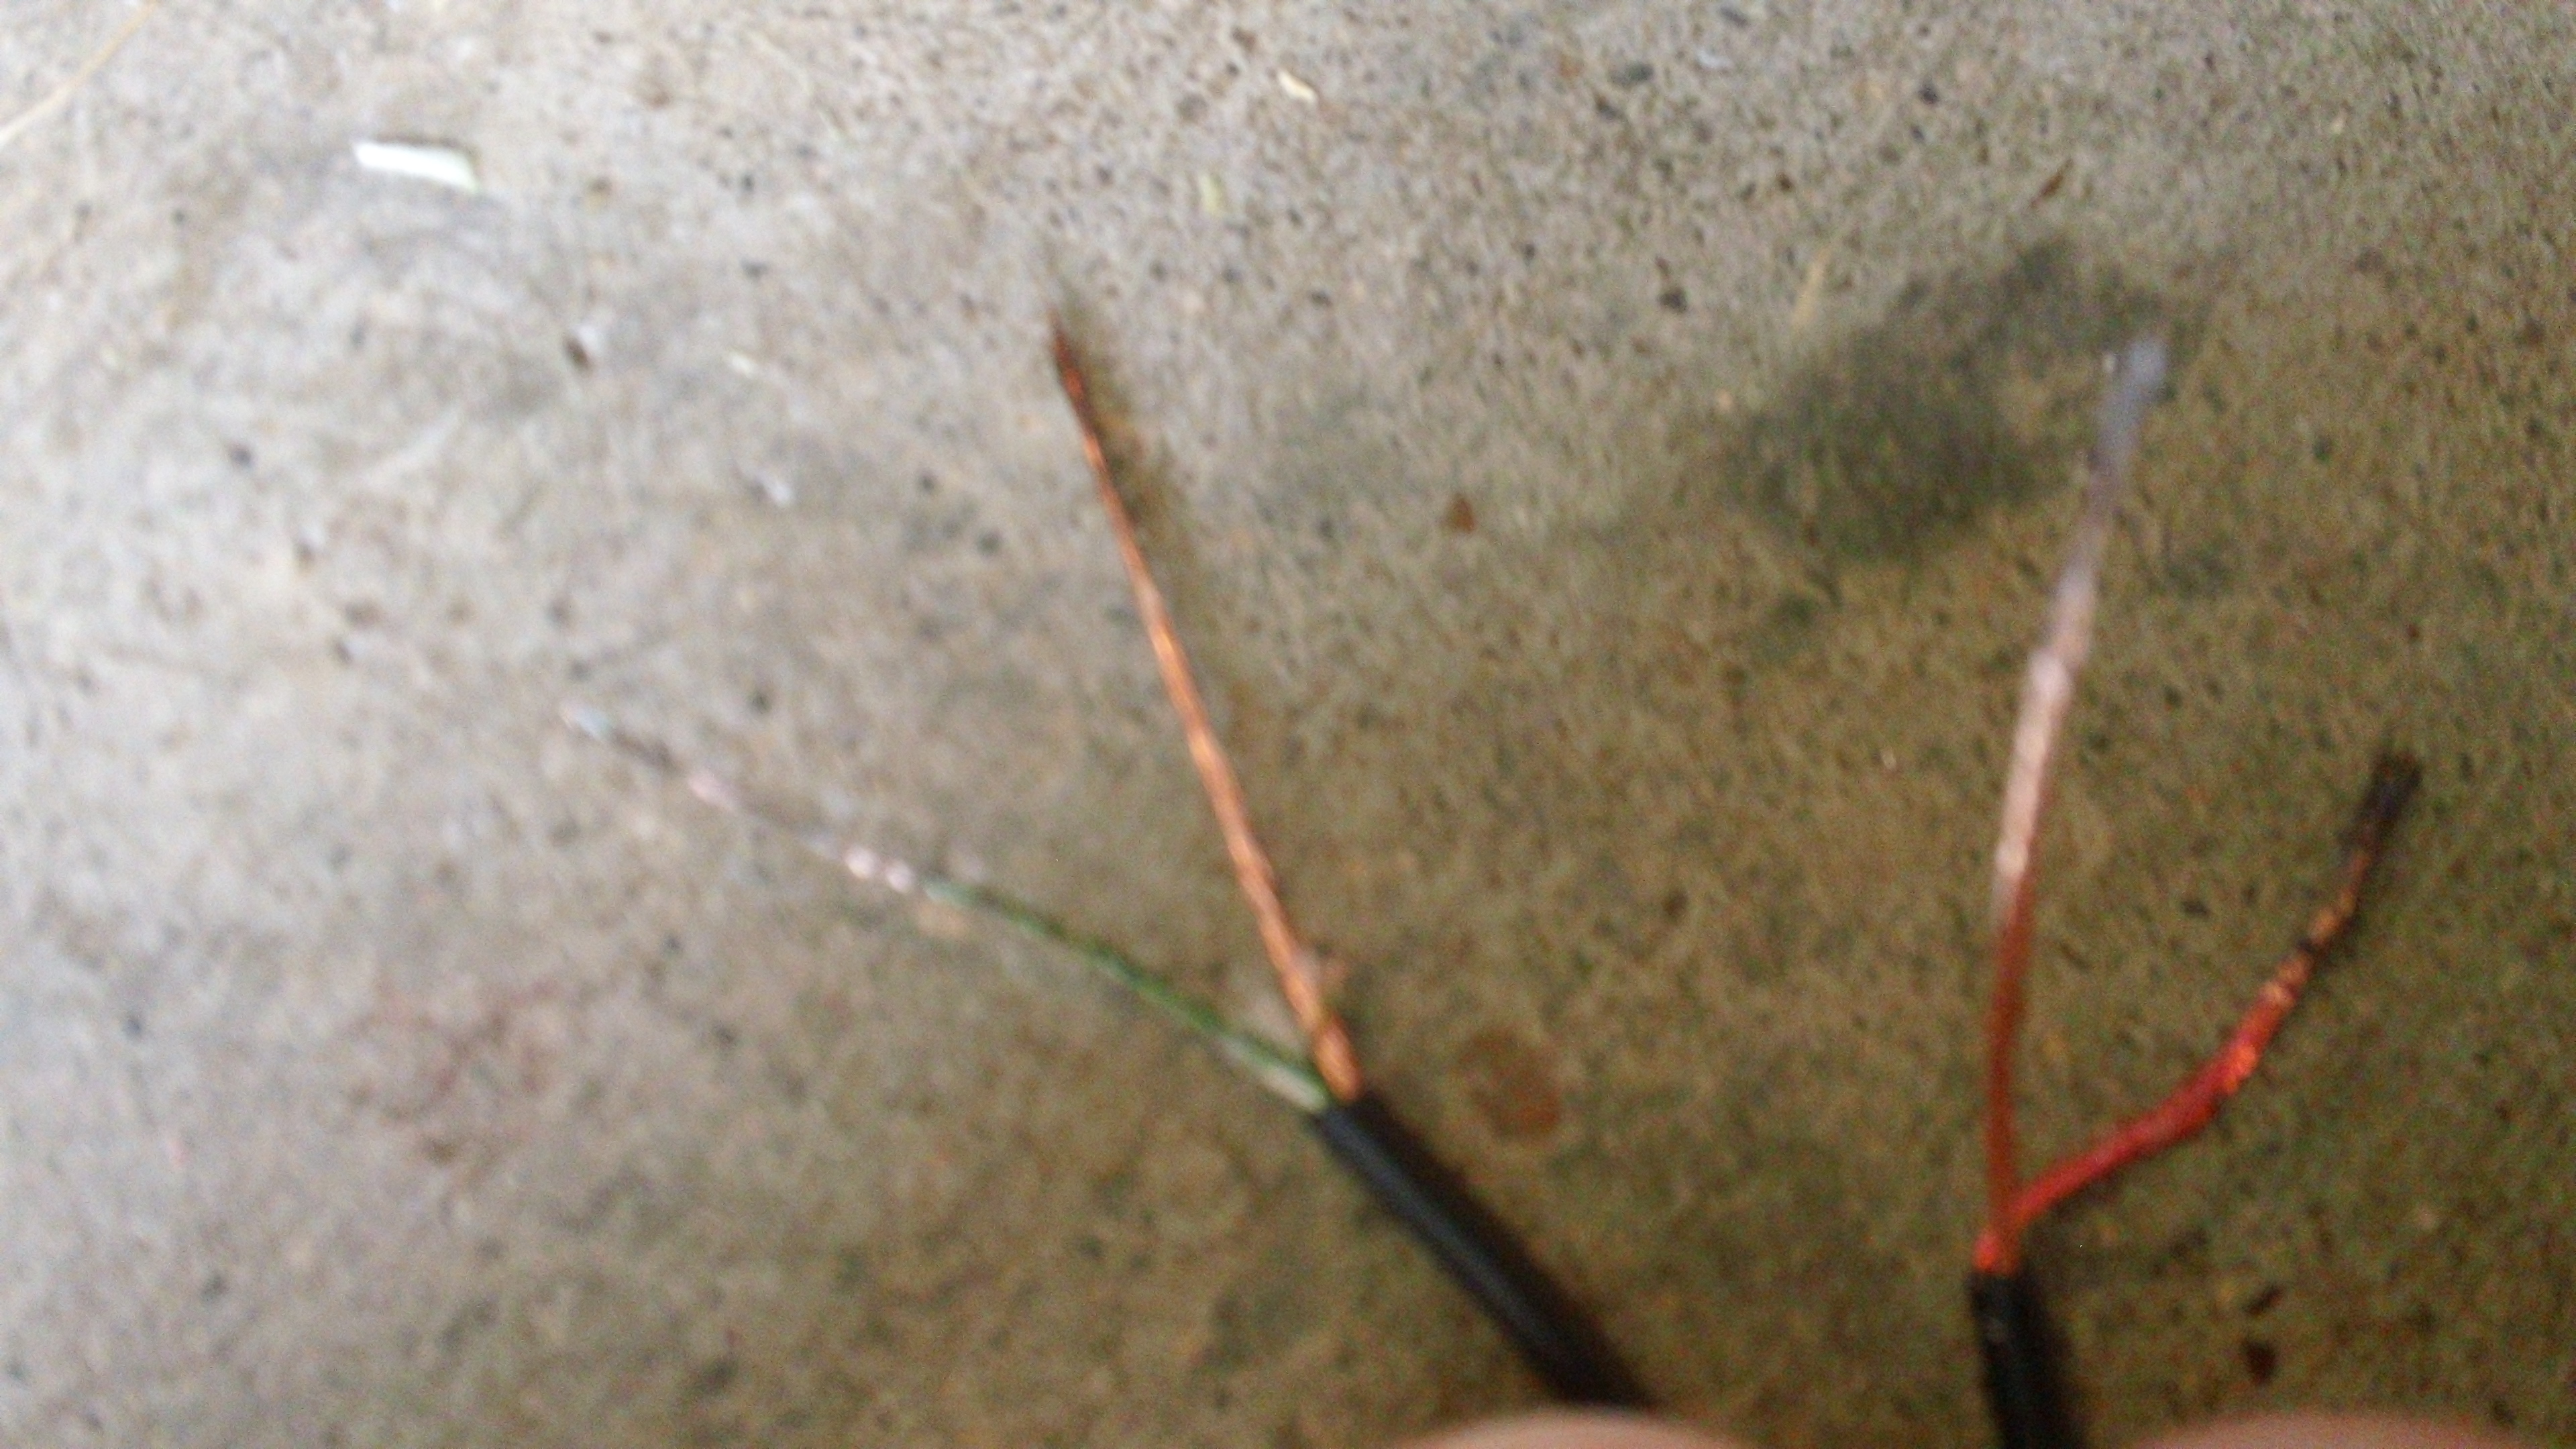
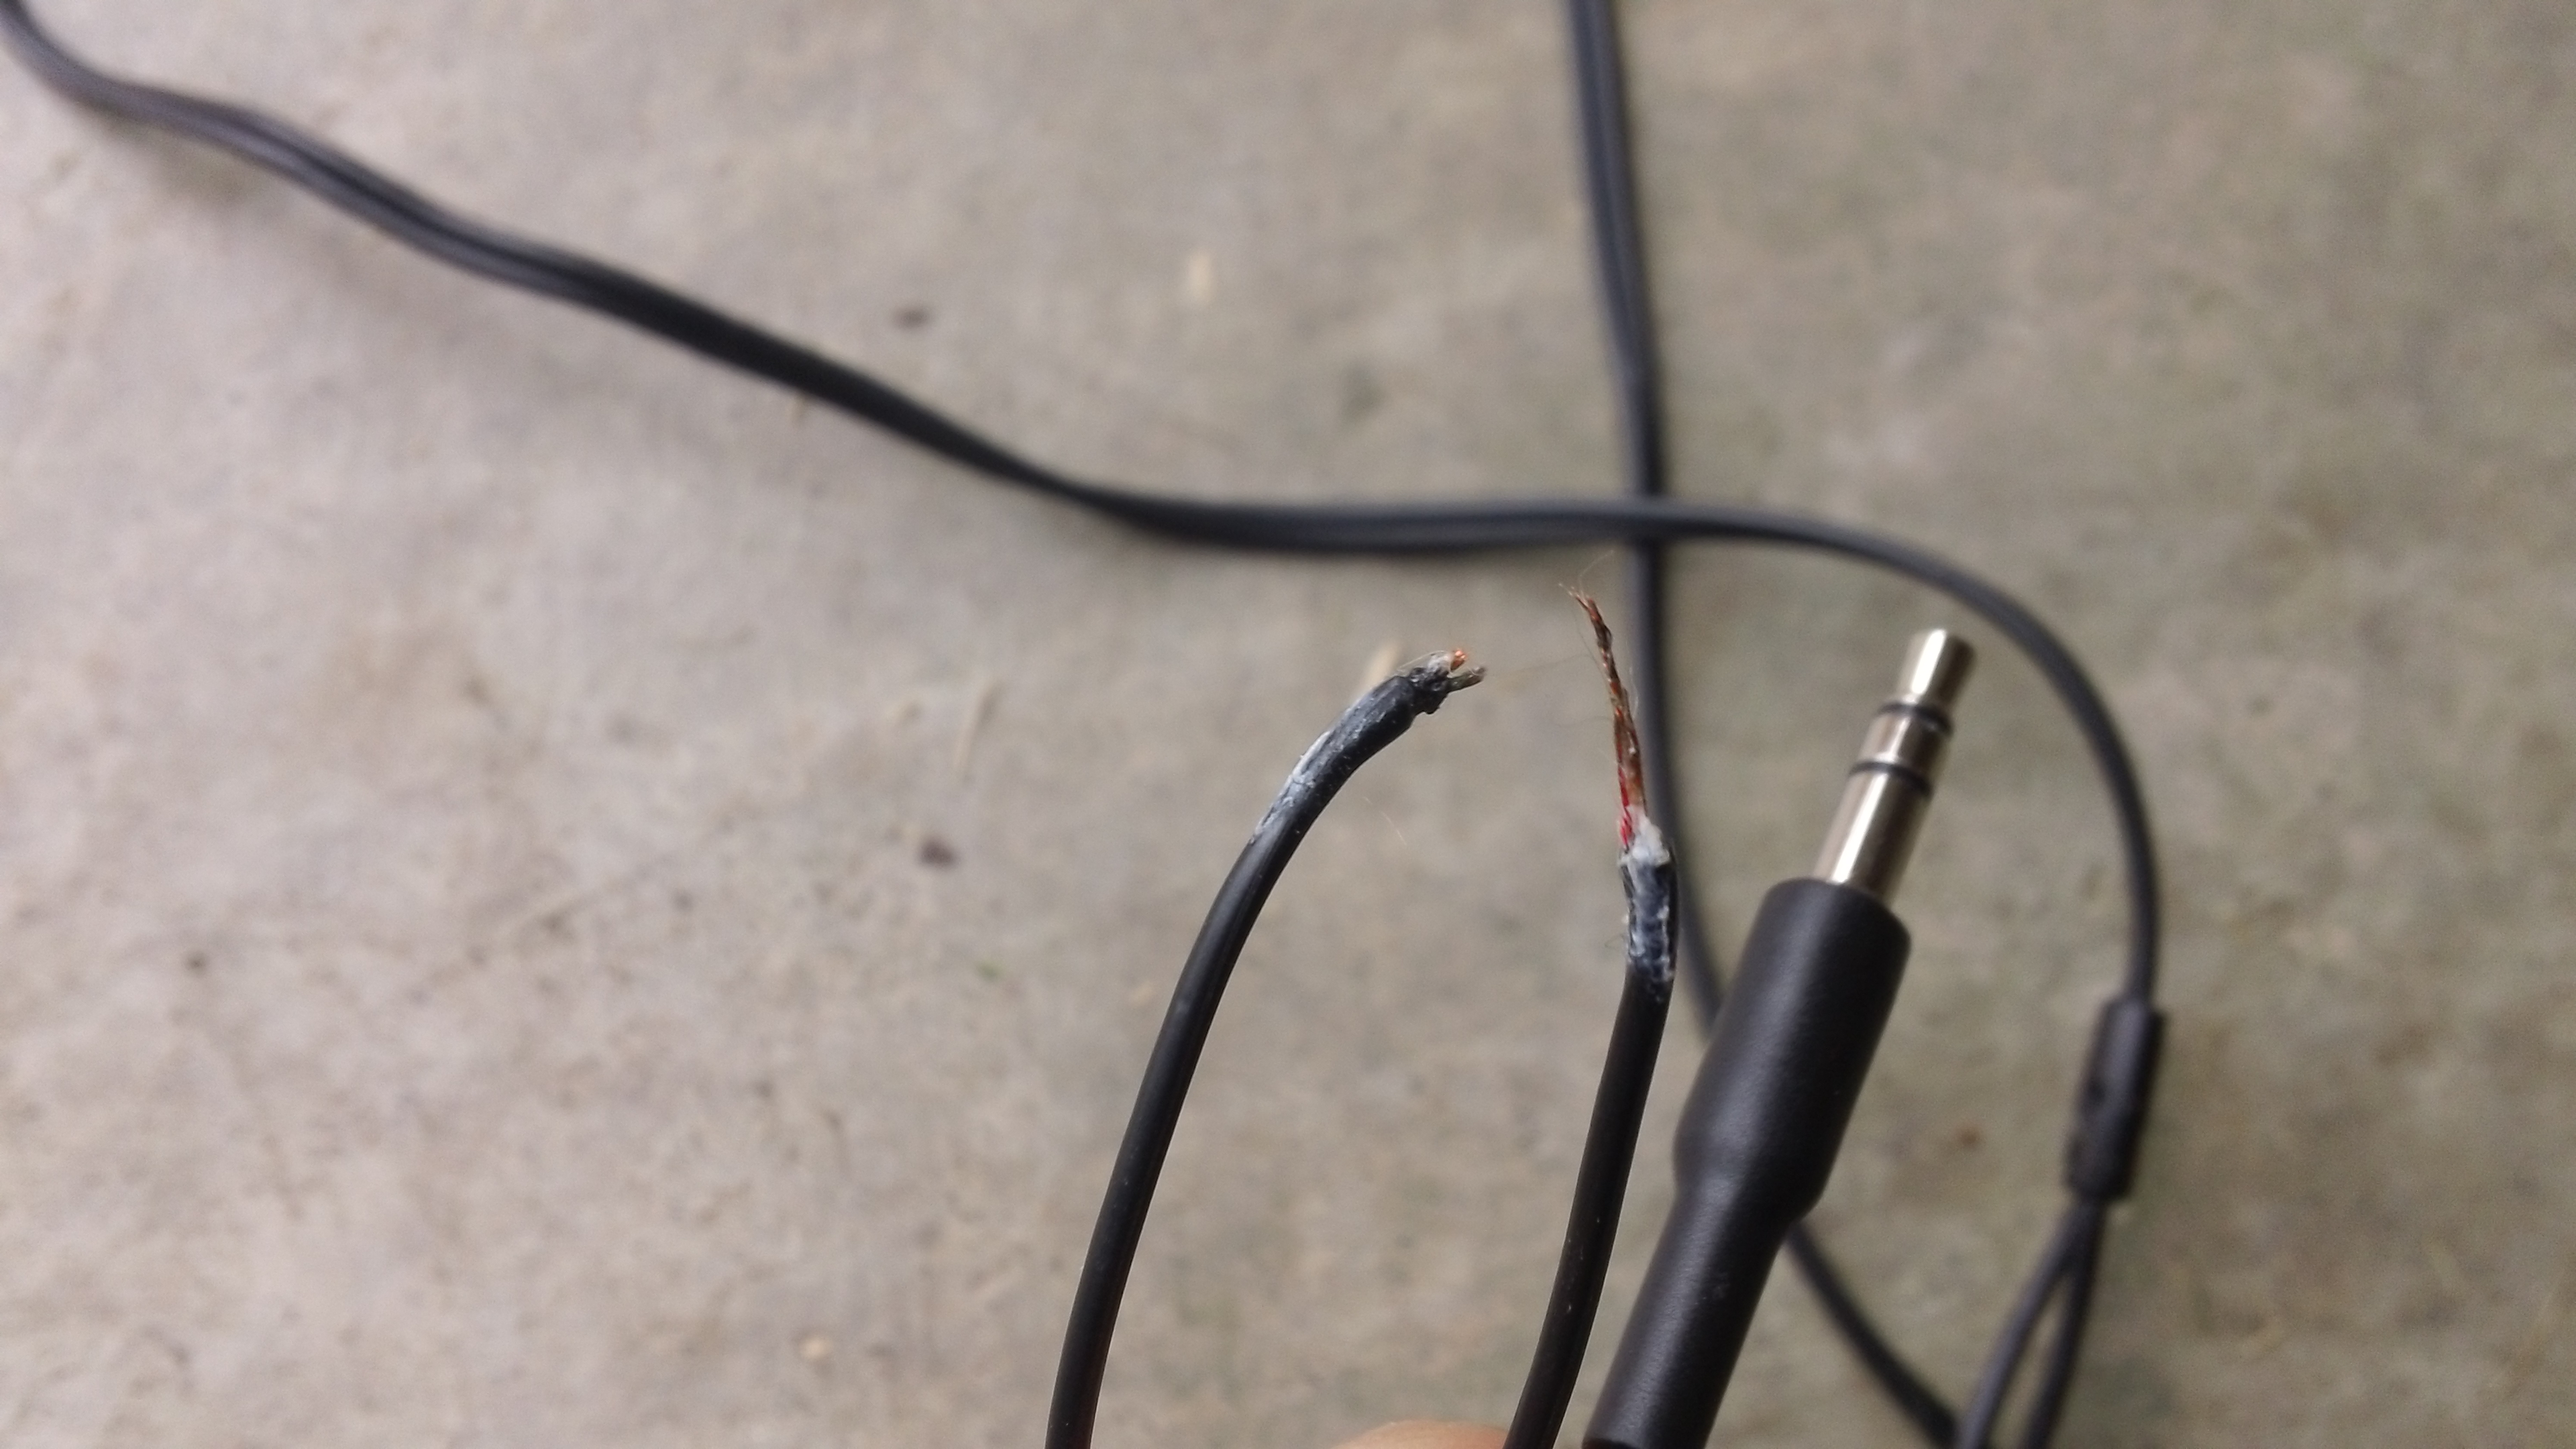

Preparing the headphones can be a little tricky. You need to find a pair of headphones that you don't mind destroying first. After that cut off the ear buds and remove about 1 inch of the plastic cover from the ends. You should have two wires protruding from each side. On one wire, you will have a copper-colored wire and a blue/green wire. On the other you will have a copper-colored wire and a red wire. Twist the copper wires together and then twist the red wire with the blue/green one. Burn off the ends to reveal the inner wire and solder the twisted groups together. Refer to the pictures. Then connect the two wires to either sides of the microphone.
Now you have to make sure your computer recognizes the microphone. Search and find the program in the control panel called "set up a microphone" and follow the steps it gives you to set up the device as a microphone.
Now you have to make sure your computer recognizes the microphone. Search and find the program in the control panel called "set up a microphone" and follow the steps it gives you to set up the device as a microphone.
Connect the Intruder to the PC
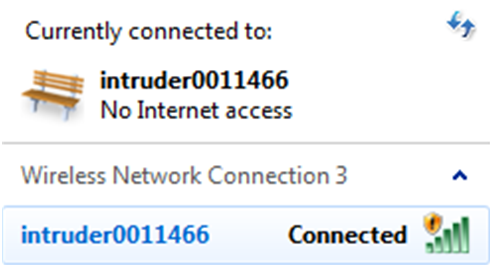

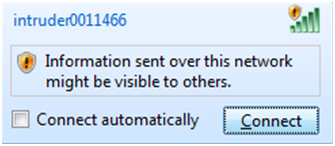
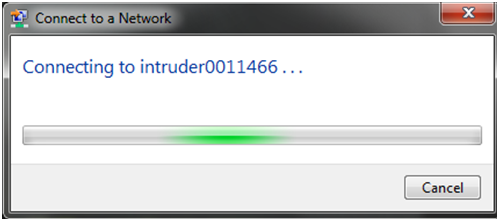
First turn on the intruder. Then go into your wifi settings and find the one that has intruder listed on it. Connect to that network and go to the next step.
Getting Everything Up and Running

Open every file that you had minimized. On Bluestacks, run the intruder controller app and press connect. After a few seconds, you should see a live video feed from the camera on the car. Next you need to put on the safety goggles and position the wiimote at a 45 degree angle facing right at you. Now, keeping your head very still and looking straight ahead, open and run the Glovepie program. now, still keeping your head still, select the nxt-remote program and enable keyboard input. This program will always need to be selected for this to work so have Bluestacks running at a smaller size so that the nxt-remote can be selected right next to it.
Go to the next step for lessons on controlling the car.
Go to the next step for lessons on controlling the car.
Controlling the Car

Enable voice control: say "listen"
Disable voice control: say "stop listening" or "goodbye"
Close the program: say "exit" or "close"
Move the car forward: say "forward", "move forward", "walk", or "move"
Move the car backwards: say "back", "backward", "backwards", "move back", "move backward", or "move backwards"
Stop the car from moving: say "stop"
Turn the car left: look left
Turn the car right: look right
HAVE FUN!!!!!!!!