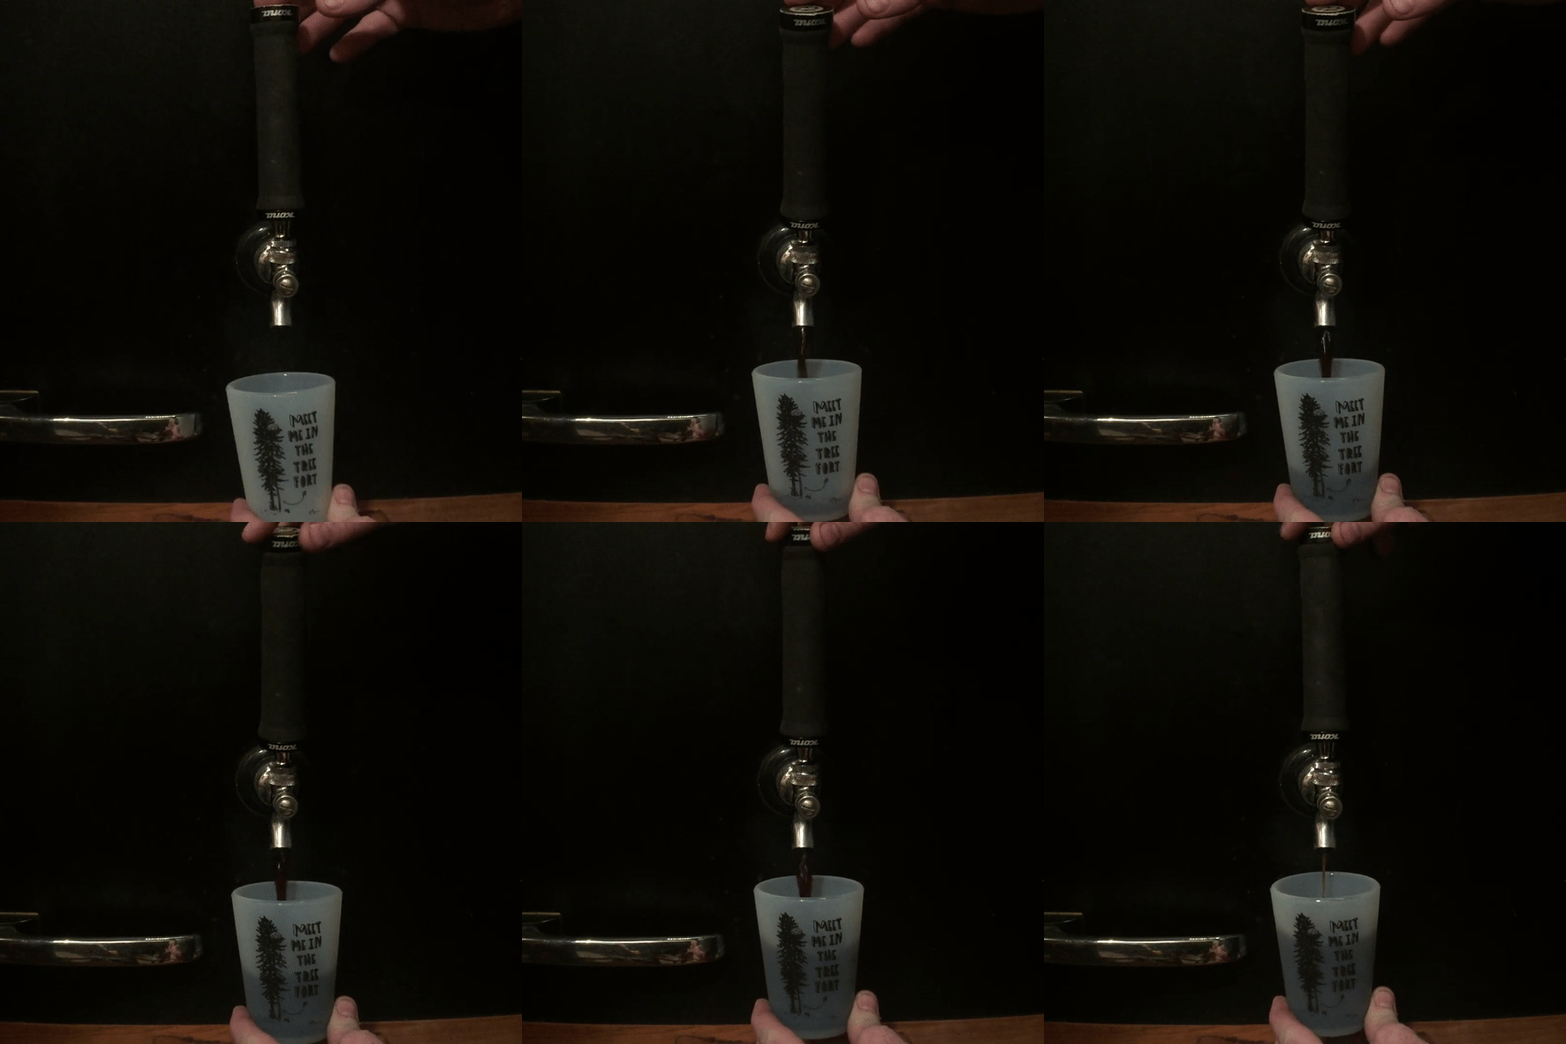
Mountain Bike Grip Tap Handle
by peterbrazil in Cooking > Homebrew
2915 Views, 5 Favorites, 0 Comments
Mountain Bike Grip Tap Handle


This Instructable is about how to repurpose an old or new set of mountain bike grips into a tap handle (or car shift knob).
There are a couple companies out there that make an adapter for putting a bike grip onto a car's shift knob or a camera gimbal. So while I was working on the tap handle, I put together a shift handle, too. The concept is exactly the same; the only difference is the threading of the nut.
Procuring Parts


There aren't many parts needed for this, but thread size, diameter, and material are pretty critical.
Parts List:
- Bike grips
3/8-16 Flanged Nut
Steel Handlebar or Tubing
Tool List:
- Marking/Measuring Tools
- Pipe Cutter (or hacksaw)
- Welder*
*in lieu of a welder, you can use two part epoxy, like JB Weld. Details below.
I went with RaceFace Half Nelson grips. Their topographic tread match the theme in the treehouse that my kegerator lives in. I got them on Amazon where everything's on sale and shipping is free.
The standard Beer Tap thread is 3/8-16. The tap itself is male and usually about 9/16" long. European taps are metric, but incredible rare in America.
If you're wanting to replace your car's shift knob with a bike grip, the threading is a bit more complicated. First of all, a standard nut only has about 1/4" of thread engagement, so adding a 5" long lever arm to a 1/4" long contact point is asking for a failure when you're jamming gears. Using a coupling nut increases the thread engagement and will make a much high quality shift knob. I have a 2000 Jeep Wrangler which has a metric shift knob thread of M10-1.5. This isn't an automotive standard, so every car model is different. The mass produced aftermarket knobs usually just provide you with a cheap plastic adapter with 3 or 4 different thread options.
Bike Handlebars have a few standards. I'm using mountain bike handlebars, because I can put lock-on grips on them, which are incredible easy to swap out by just loosening/tightening an allen screw. Road bars are a smaller diameter, so this style of grip isn't going to fit them. For the most part, every mountain bike from a disposable Wal-Mart bike to a carbon fiber race bike has the same diameter bar at the grip. They vary where they clamp onto the fork stem (which is irrelevant here) and what material they're made out of. Less expensive bikes usually use steel; higher end bikes use aluminum or carbon fiber.
If you're going to weld the nut to the handlebars, you'll need a set of steel handlebars. Before you go out and buy a $20 set from amazon, you could just use steel tube from online metals. 7/8" ODx 0.065" wall will suffice. You only need about 5" per grip, so a 10"-12" random will be enough to do 2.
If you don't have a welder, you can use JB weld. Steel handlebars are still the best option here, but you can JB weld aluminum, too. Tips and Tricks on that in the next step.
Mark, Cut, Dry Fit, Weld


Marking and Cutting are pretty easy and straightforward. Really, you don't even need to measure anything.
I recommend sliding the grips onto the handlebars and marking where they stop with a pencil. (This also verifies your grips fit your handlebars before it's too late).
On this one, I didn't want the weld showing when I assembled it, so you can see in the photo that I cut the tube about 1/8" shorter than where I marked it.
If you're going to weld this, you can just hit the tube end with a sander to clean it up a bit. But if you're going to JB weld this, it requires an extra step here. Trying to JB weld together two smooth surfaces (the inside of the tube and the outside of the nut) doesn't give the epoxy much of an opportunity to bond to the surfaces. To get a good bond, you need to scuff up the inside of the tube and outside of the nut with a file or sand paper. This increases the metal's surface area by creating little intrusions that the epoxy can work its way into. It also removes any nickel finish on the nut. Clean surfaces with alcohol before adding epoxy. Helpful hint: put a piece of masking tape over both thread openings of the nut. You'll never get epoxy out of the threads if you drop ANY in there.
Once it's cool (or dry), check fit. If it's too long, remember you can always just cut the other end of the tube. If it's too short, just don't tell anyone. They'll never know
Sit Back and Enjoy


Finally! Time to sit back and enjoy a brew.