Motorized Halloween Ring
![motorized24.jpg](/proxy/?url=https://content.instructables.com/F4S/HG32/H742IJUO/F4SHG32H742IJUO.jpg&filename=motorized24.jpg)
![motorized02.jpg](/proxy/?url=https://content.instructables.com/FUI/VH47/H742ZKGC/FUIVH47H742ZKGC.jpg&filename=motorized02.jpg)
Print the hollow back shell.
![motorized05.jpg](/proxy/?url=https://content.instructables.com/FTN/C9NO/H742YOSV/FTNC9NOH742YOSV.jpg&filename=motorized05.jpg)
![motorized04.jpg](/proxy/?url=https://content.instructables.com/FEN/WTC2/H742YOSU/FENWTC2H742YOSU.jpg&filename=motorized04.jpg)
Print the face. Note the depression in the back of the face for the motor.
![motorized03.jpg](/proxy/?url=https://content.instructables.com/F8S/LQCX/H7434MSD/F8SLQCXH7434MSD.jpg&filename=motorized03.jpg)
Print the ring/holder.
![motorized01.jpg](/proxy/?url=https://content.instructables.com/FNU/54VY/H742YOSN/FNU54VYH742YOSN.jpg&filename=motorized01.jpg)
Print the battery holder and push it onto the motor shaft.
![motorized07.jpg](/proxy/?url=https://content.instructables.com/FYV/KVPH/H742LROV/FYVKVPHH742LROV.jpg&filename=motorized07.jpg)
Glue (superglue) the ring to the hollow shell. Leave space for the tape that will join the halves together.
![motorized08.jpg](/proxy/?url=https://content.instructables.com/FGS/TMAP/H742ZKGD/FGSTMAPH742ZKGD.jpg&filename=motorized08.jpg)
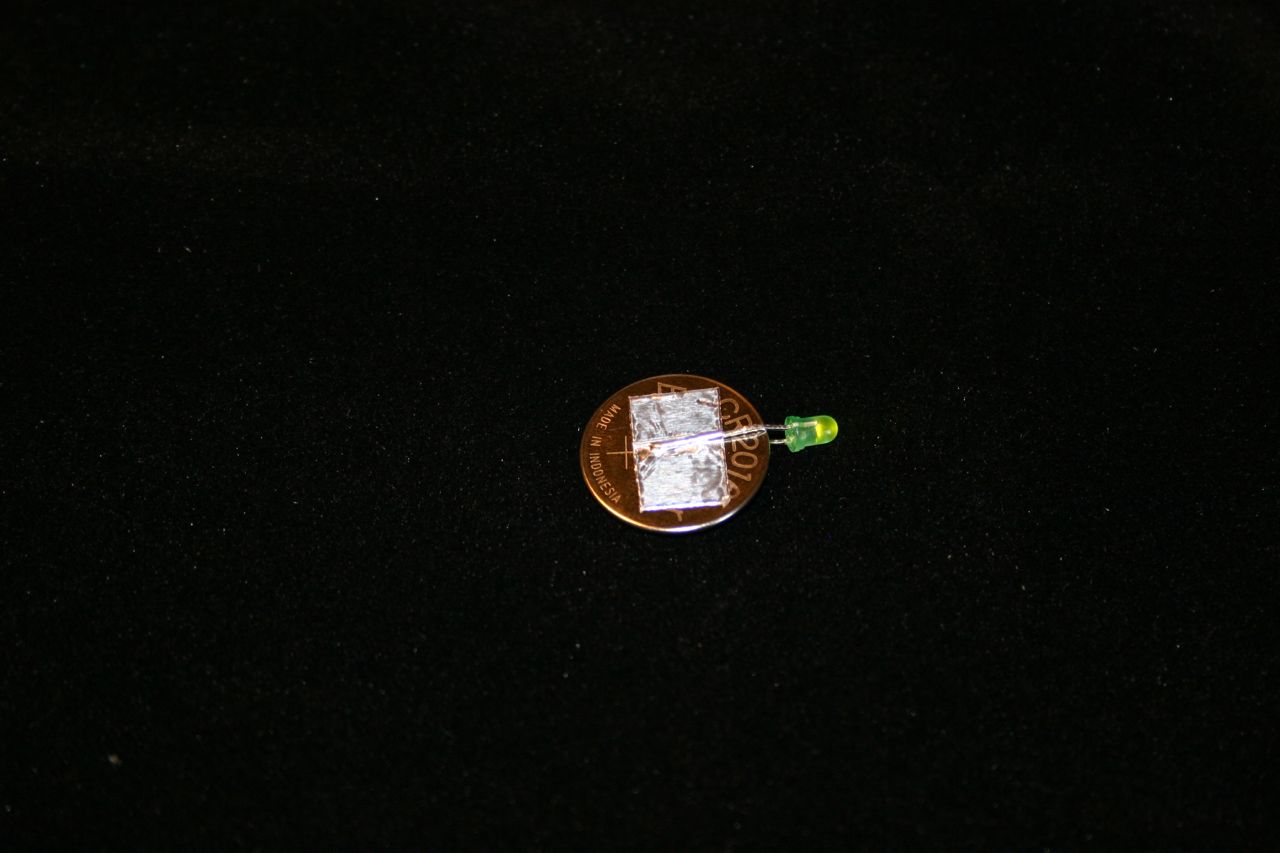
Attach a small led to the 2016 battery using the metal tape.
![motorized06.jpg](/proxy/?url=https://content.instructables.com/FFV/CTVL/H74325VS/FFVCTVLH74325VS.jpg&filename=motorized06.jpg)
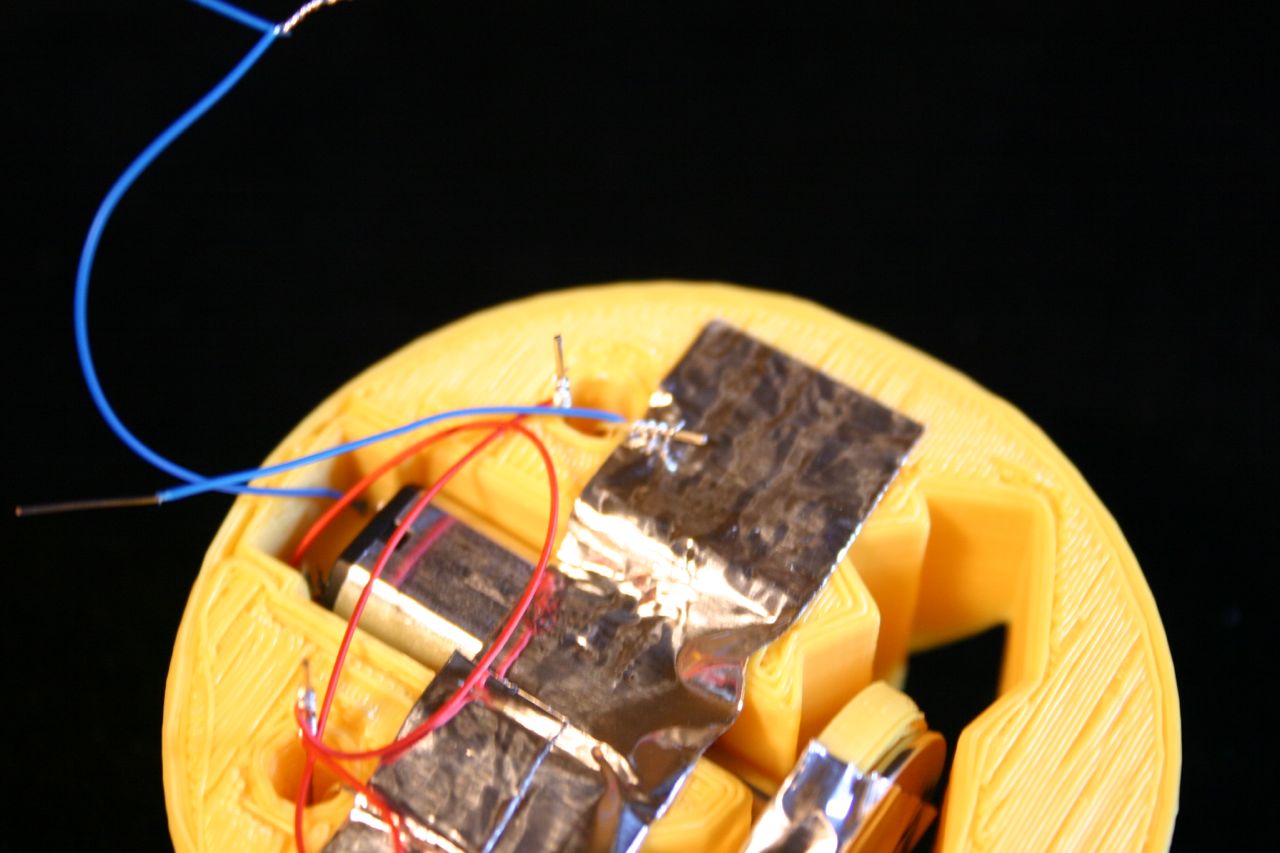
Solder wire wrap wires to the motor terminals.
![motorized09.jpg](/proxy/?url=https://content.instructables.com/FER/W4HC/H742IJUM/FERW4HCH742IJUM.jpg&filename=motorized09.jpg)
Tape the led/battery assembly to the motor assembly. The led is on, so battery drain has begun.
![motorized10.jpg](/proxy/?url=https://content.instructables.com/FDM/GVM5/H7434MSF/FDMGVM5H7434MSF.jpg&filename=motorized10.jpg)
![motorized11.jpg](/proxy/?url=https://content.instructables.com/FAL/OT45/H742ZKGR/FALOT45H742ZKGR.jpg&filename=motorized11.jpg)
Place the motor/led assembly into the face.
![motorized12.jpg](/proxy/?url=https://content.instructables.com/FFE/TS7V/H74325VT/FFETS7VH74325VT.jpg&filename=motorized12.jpg)
Secure the motor assembly with tape.
![motorized13.jpg](/proxy/?url=https://content.instructables.com/F10/QH65/H74325VU/F10QH65H74325VU.jpg&filename=motorized13.jpg)
Insert a led through one of the eye holes.
![motorized14.jpg](/proxy/?url=https://content.instructables.com/FIP/43ZL/H742P4Y1/FIP43ZLH742P4Y1.jpg&filename=motorized14.jpg)
Bend the short lead from the led (negative from the battery will go here).
![motorized15.jpg](/proxy/?url=https://content.instructables.com/FCJ/ZDOX/H74325VV/FCJZDOXH74325VV.jpg&filename=motorized15.jpg)
Do the same with the other eye.
![motorized16.jpg](/proxy/?url=https://content.instructables.com/FQ4/XIUZ/H742YOT9/FQ4XIUZH742YOT9.jpg&filename=motorized16.jpg)
Connect the positive (long lead) of the led's together.
![motorized17.jpg](/proxy/?url=https://content.instructables.com/FG0/LI0V/H742YOTA/FG0LI0VH742YOTA.jpg&filename=motorized17.jpg)
Attach a wire wrap wire to the led (I used blue for negative, red for positive).
![motorized18.jpg](/proxy/?url=https://content.instructables.com/F9D/EDDQ/H742YOTB/F9DEDDQH742YOTB.jpg&filename=motorized18.jpg)
Put tape over the negative led leads and connect all the blue wires together.
![motorized20.jpg](/proxy/?url=https://content.instructables.com/FO3/ORV7/H742YOTE/FO3ORV7H742YOTE.jpg&filename=motorized20.jpg)
Connect a red wire to the red (long lead) wires on the led's.
![motorized21.jpg](/proxy/?url=https://content.instructables.com/FW2/5UQV/H742ZKGS/FW25UQVH742ZKGS.jpg&filename=motorized21.jpg)
Place the 2032 battery in plastic.
![motorized22.jpg](/proxy/?url=https://content.instructables.com/FRR/OJGC/H742FABK/FRROJGCH742FABK.jpg&filename=motorized22.jpg)
Tape the red wire to the positive side of the battery--blue to the negative. Secure the assembly in the plastic bag.
![motorized26.jpg](/proxy/?url=https://content.instructables.com/FFZ/XKMK/H7434MSL/FFZXKMKH7434MSL.jpg&filename=motorized26.jpg)
Push the plastic bag into the hollow shell--where it doesn't impede the movement of the mouth led. Tape the halves together.
![motorized25.jpg](/proxy/?url=https://content.instructables.com/FIQ/WYCO/H742FABL/FIQWYCOH742FABL.jpg&filename=motorized25.jpg)
Now you have a motorized lighted ring.
This will run for about two hours--but the led's on the eyes will go out in about 15 minutes. I would suggest putting the eyes on a separate battery.