Motion Triggered LED Mirror Back Light
by poblocki1982 in Circuits > Arduino
5714 Views, 62 Favorites, 0 Comments
Motion Triggered LED Mirror Back Light
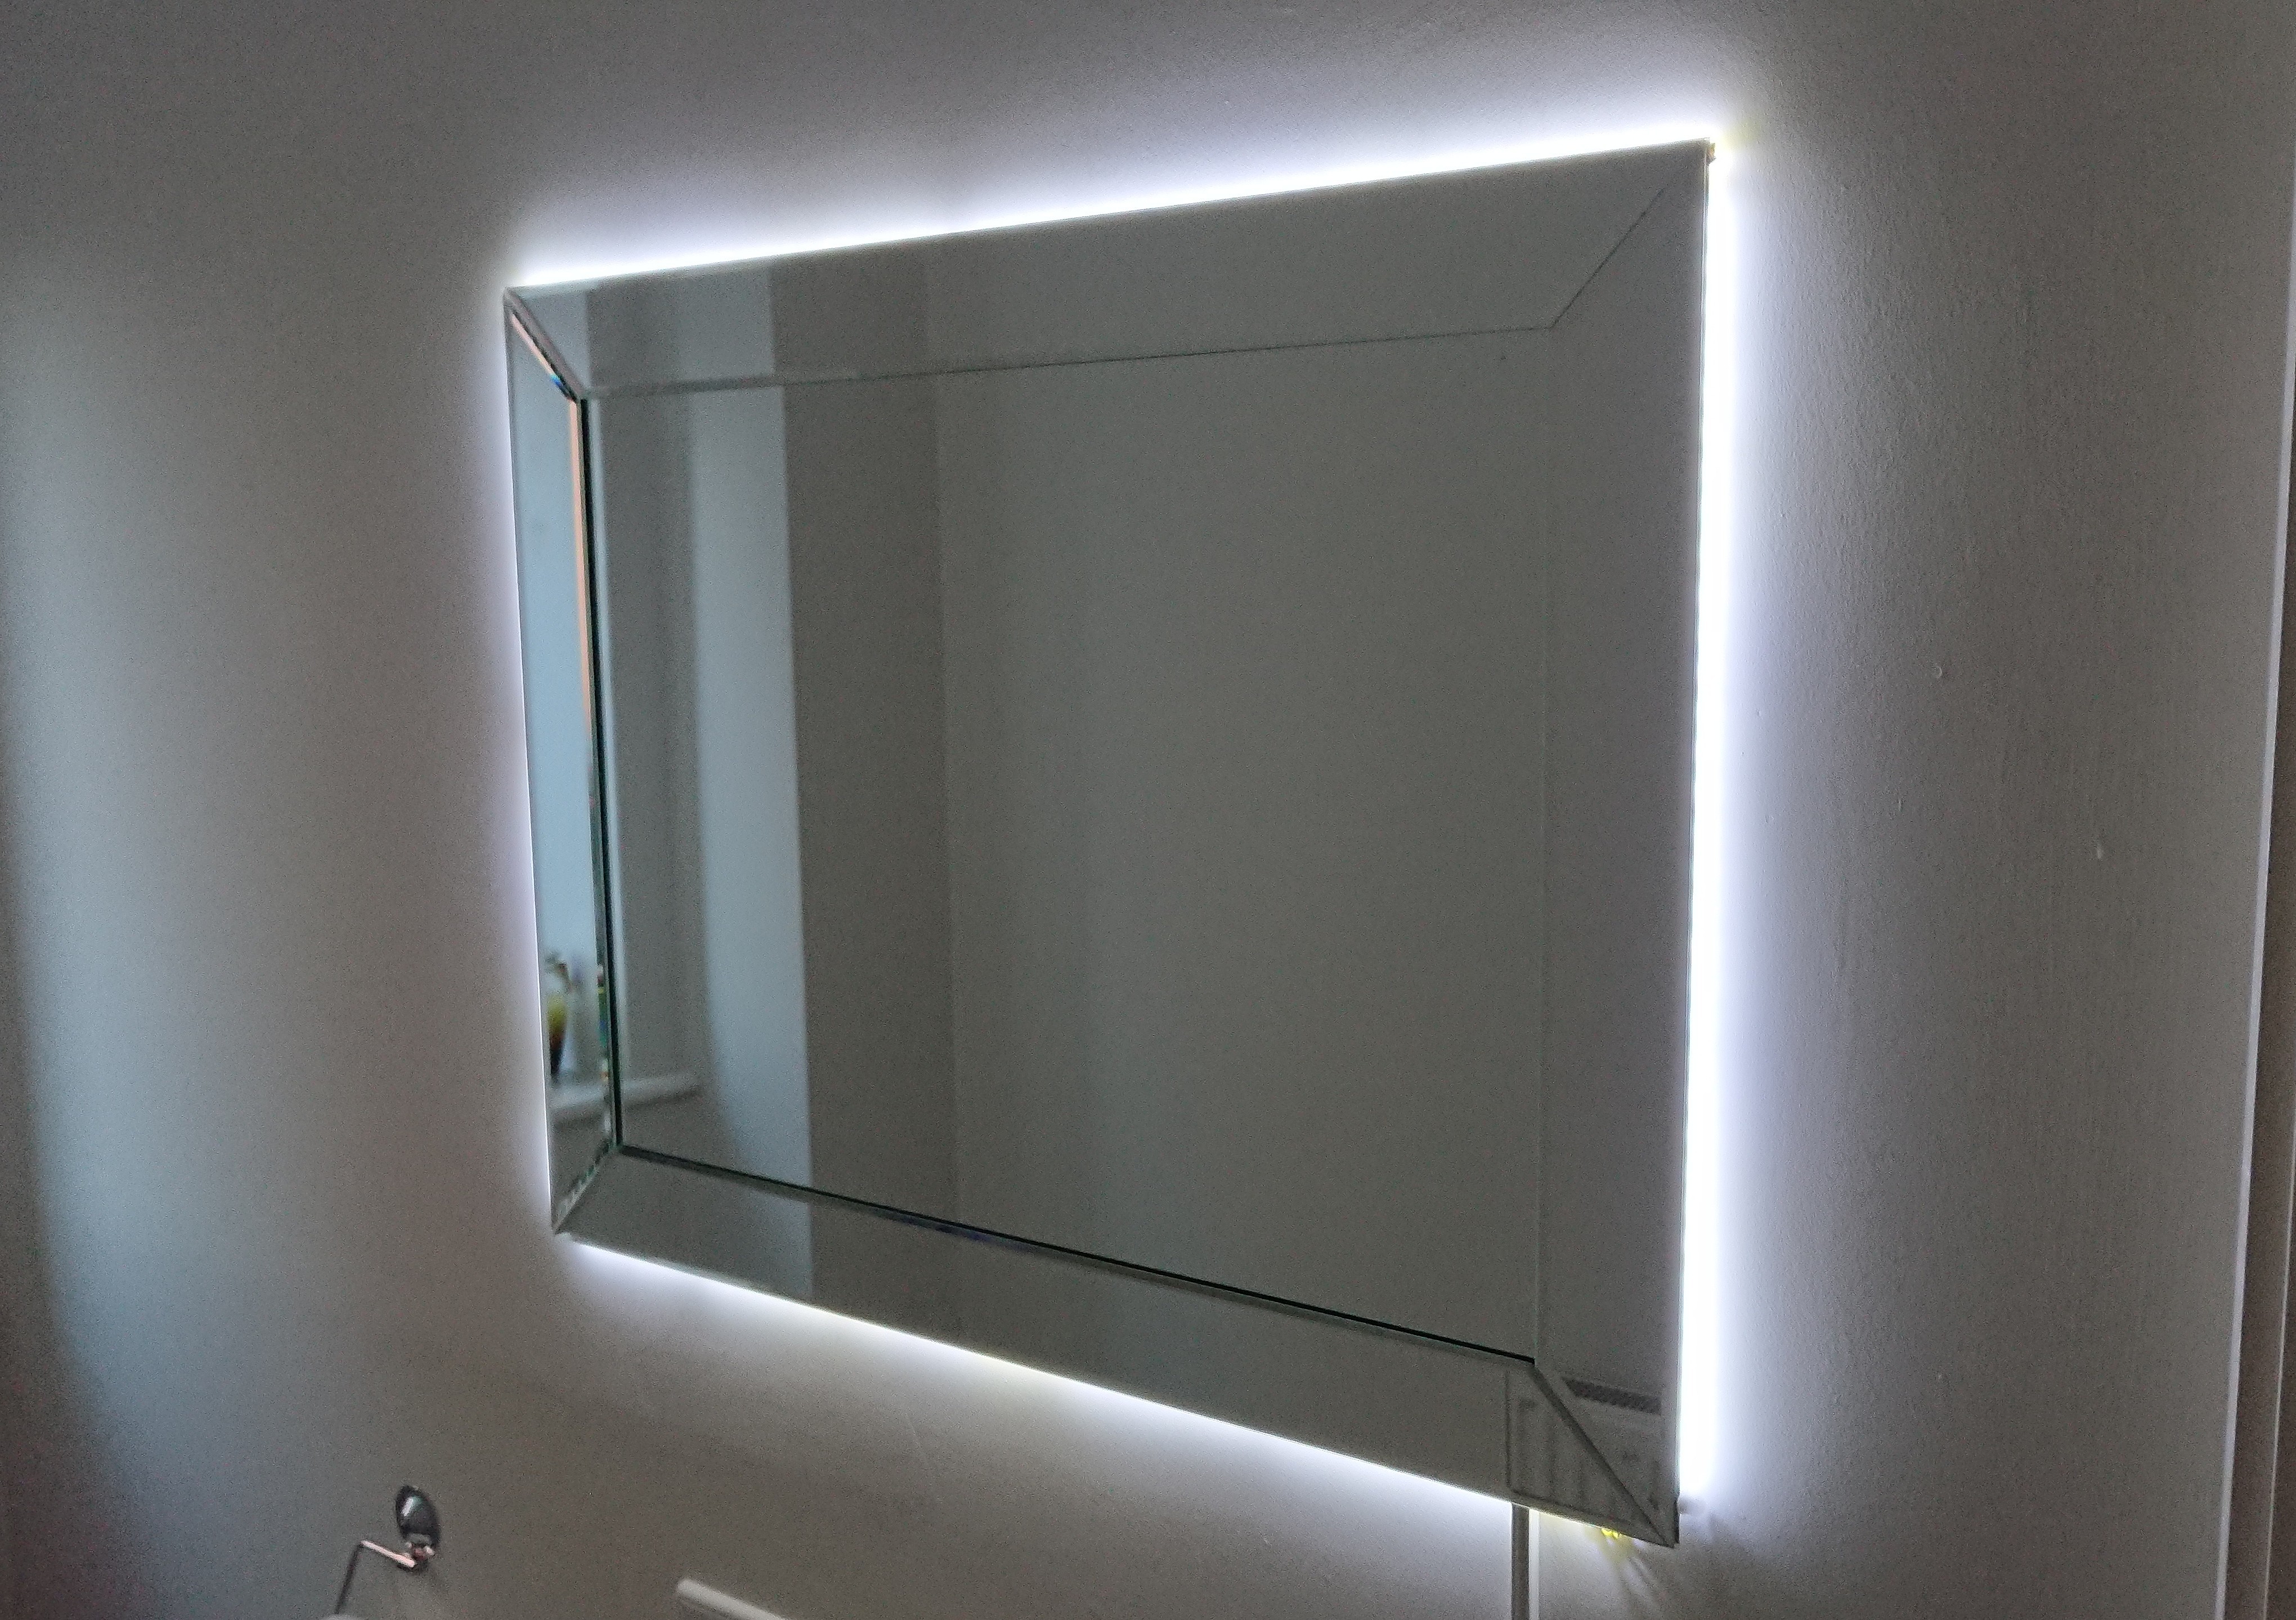
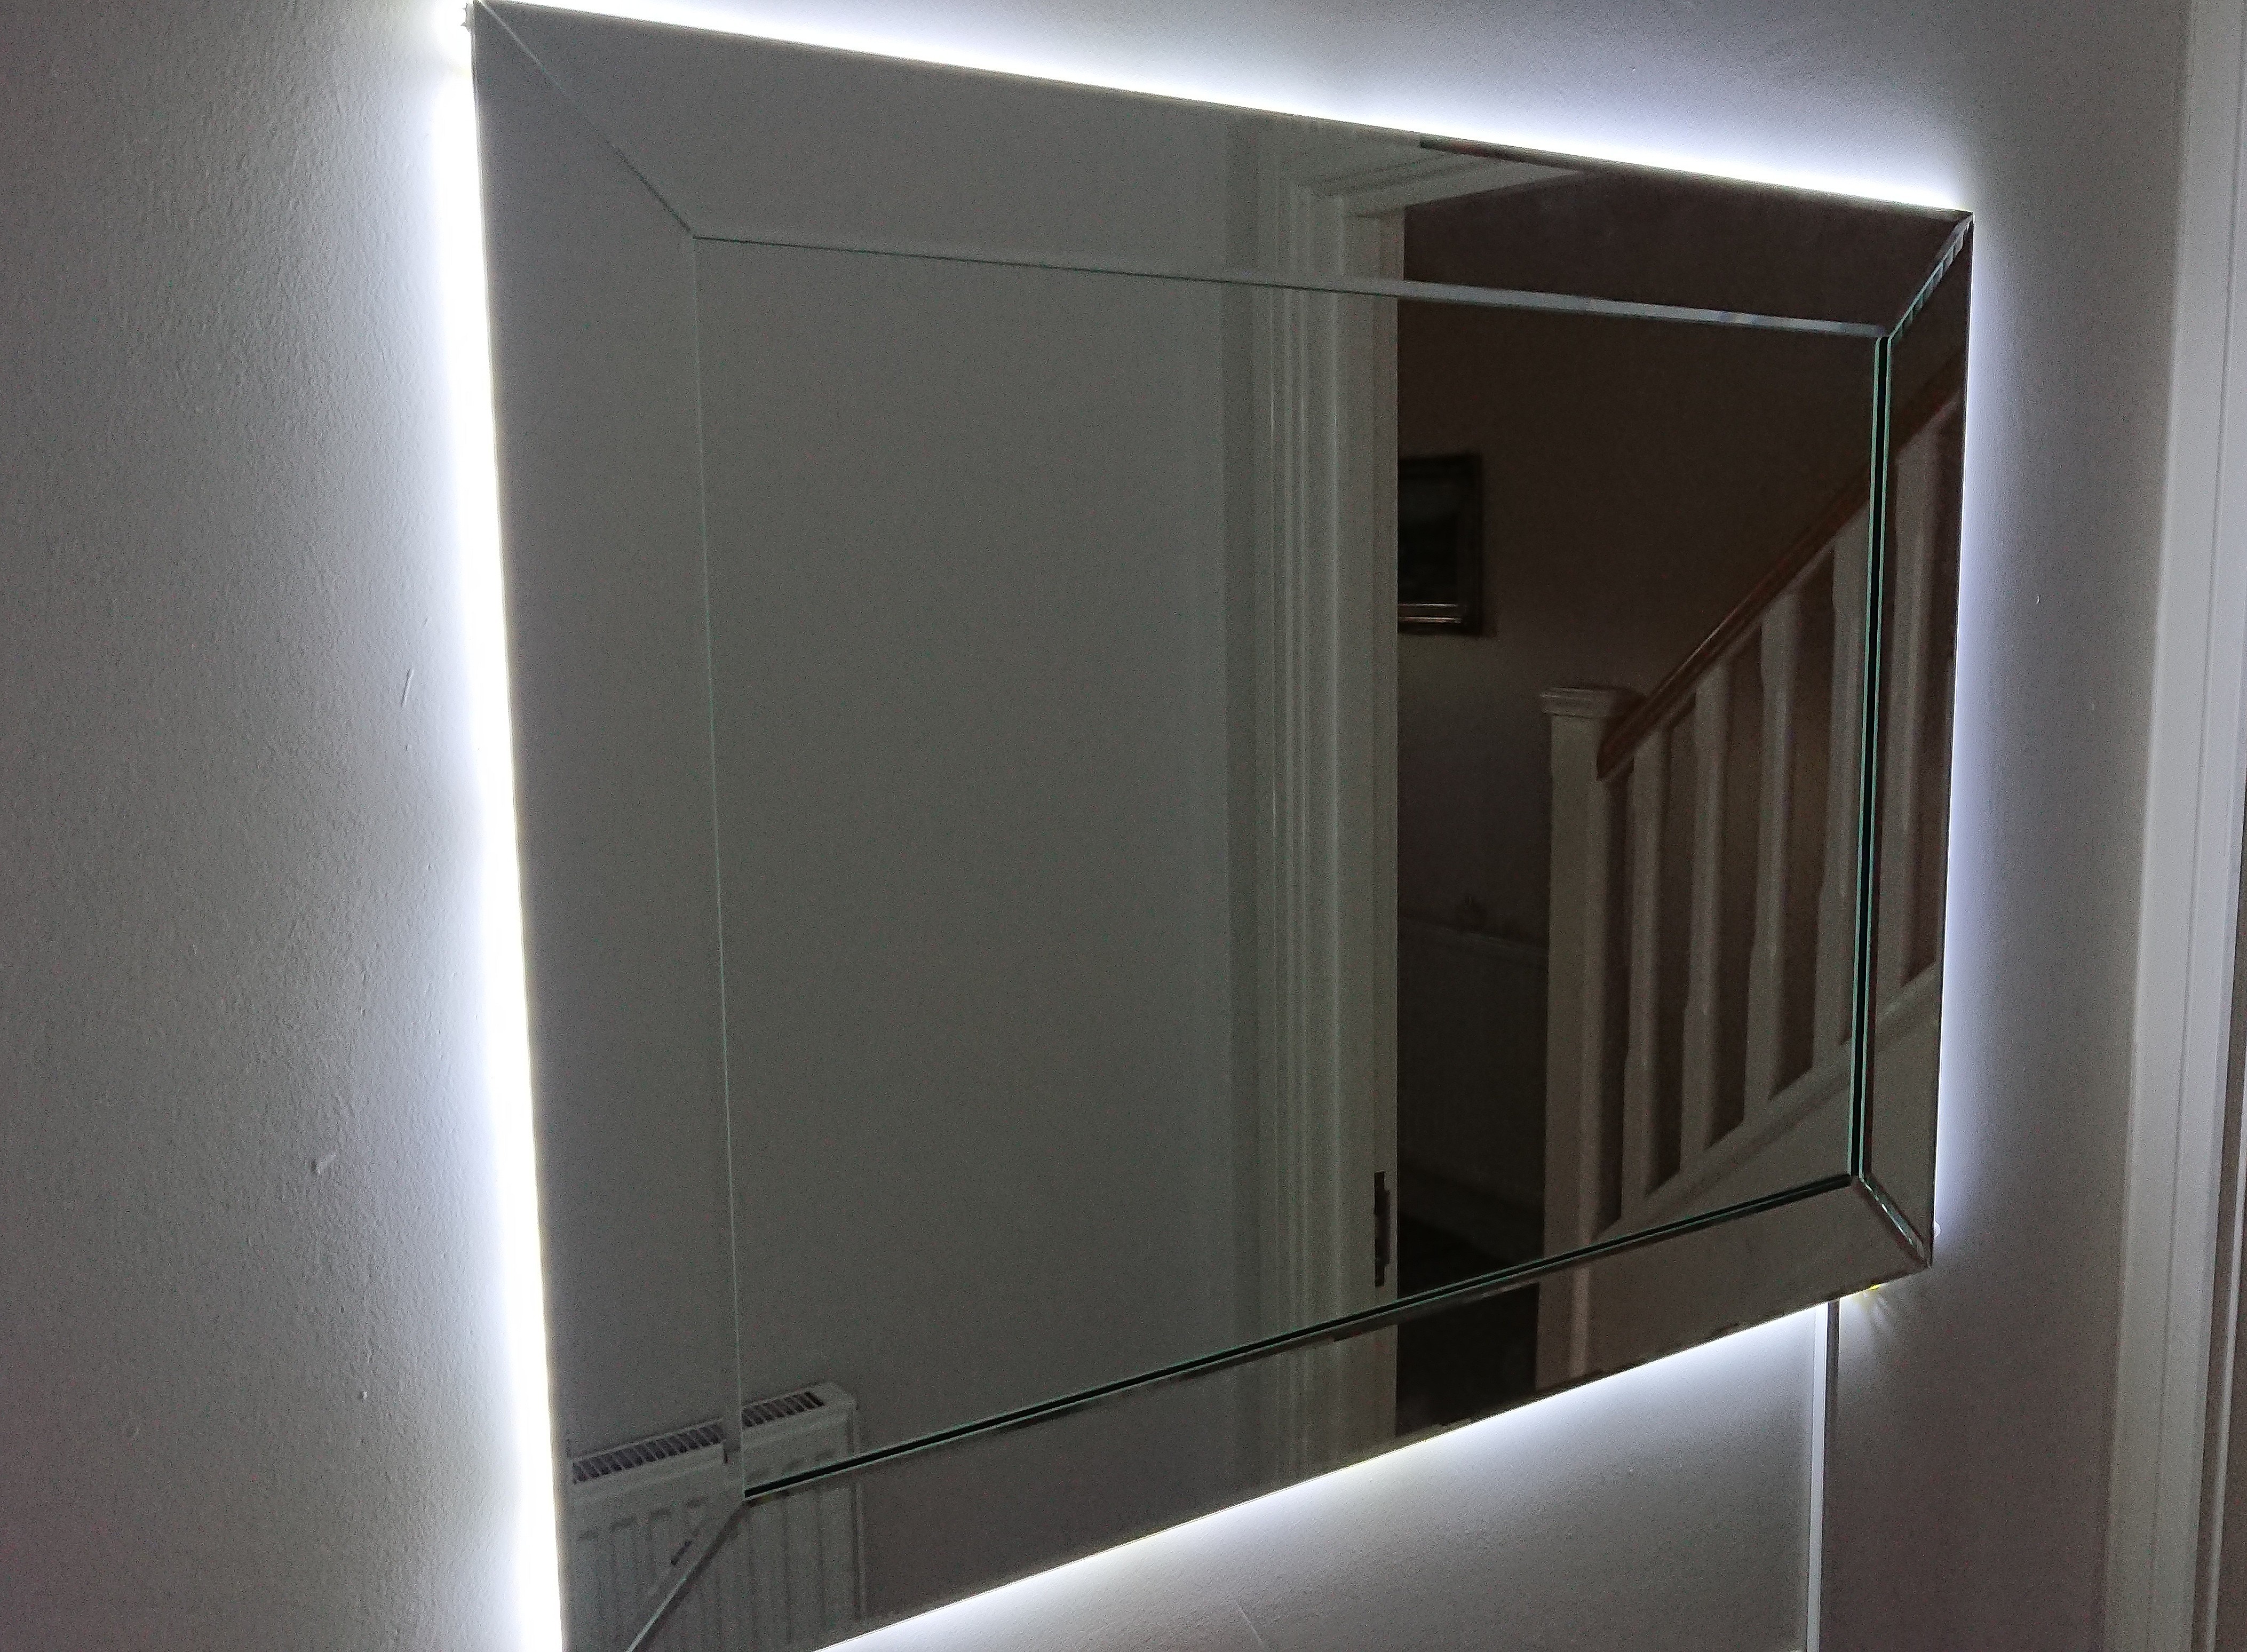
Few weeks ago my wife asked me if it would be possible to add LED back light to our mirror in bathroom that is triggered by motion sensor, and I said yes. Next day I started to collect all the necessary materials and because I'm a huge fan of Arduino I decided to use in this project too. Couple days after the mirror was ready and working in our bathroom :)
I hope you will enjoy this little project :)
Supplies
- 12V LED strip (length depends on the size of your mirror, I used about 4 meters)
- 10mm PVS self adhesive cable trunking
- PLA (optional to 3D print case for electronics)
- Solder
- Wire
Tools:
- Soldering iron
- Wire cutters
- 3D printer (optional)
Software:
- Arduino IDE [https://www.arduino.cc/en/main/software]
- Cura (optional) [https://ultimaker.com/software/ultimaker-cura]
Assembly Step 1 - Electronics
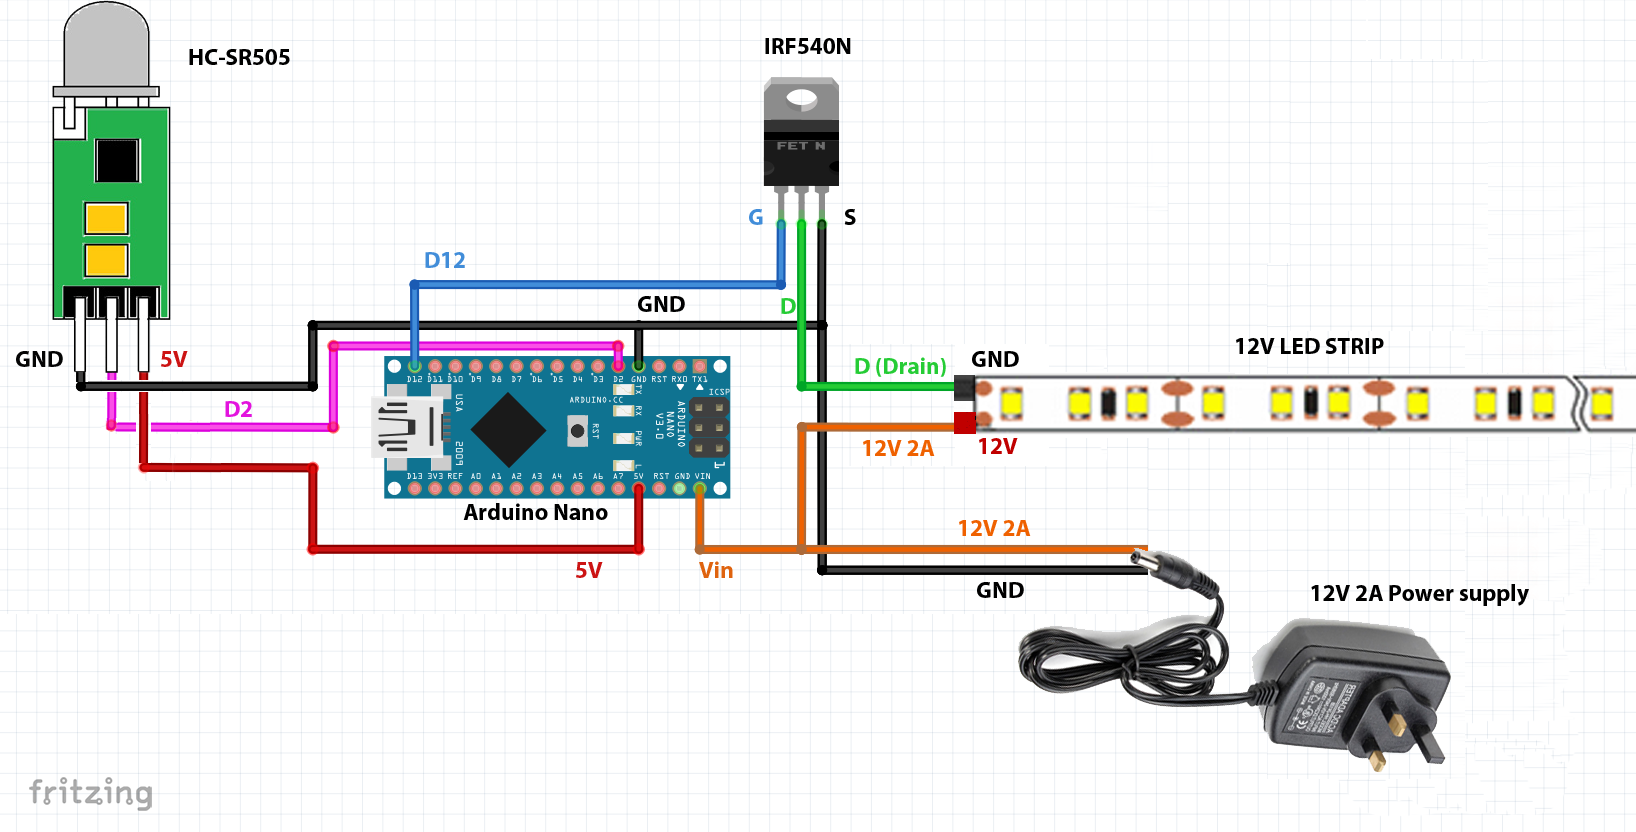
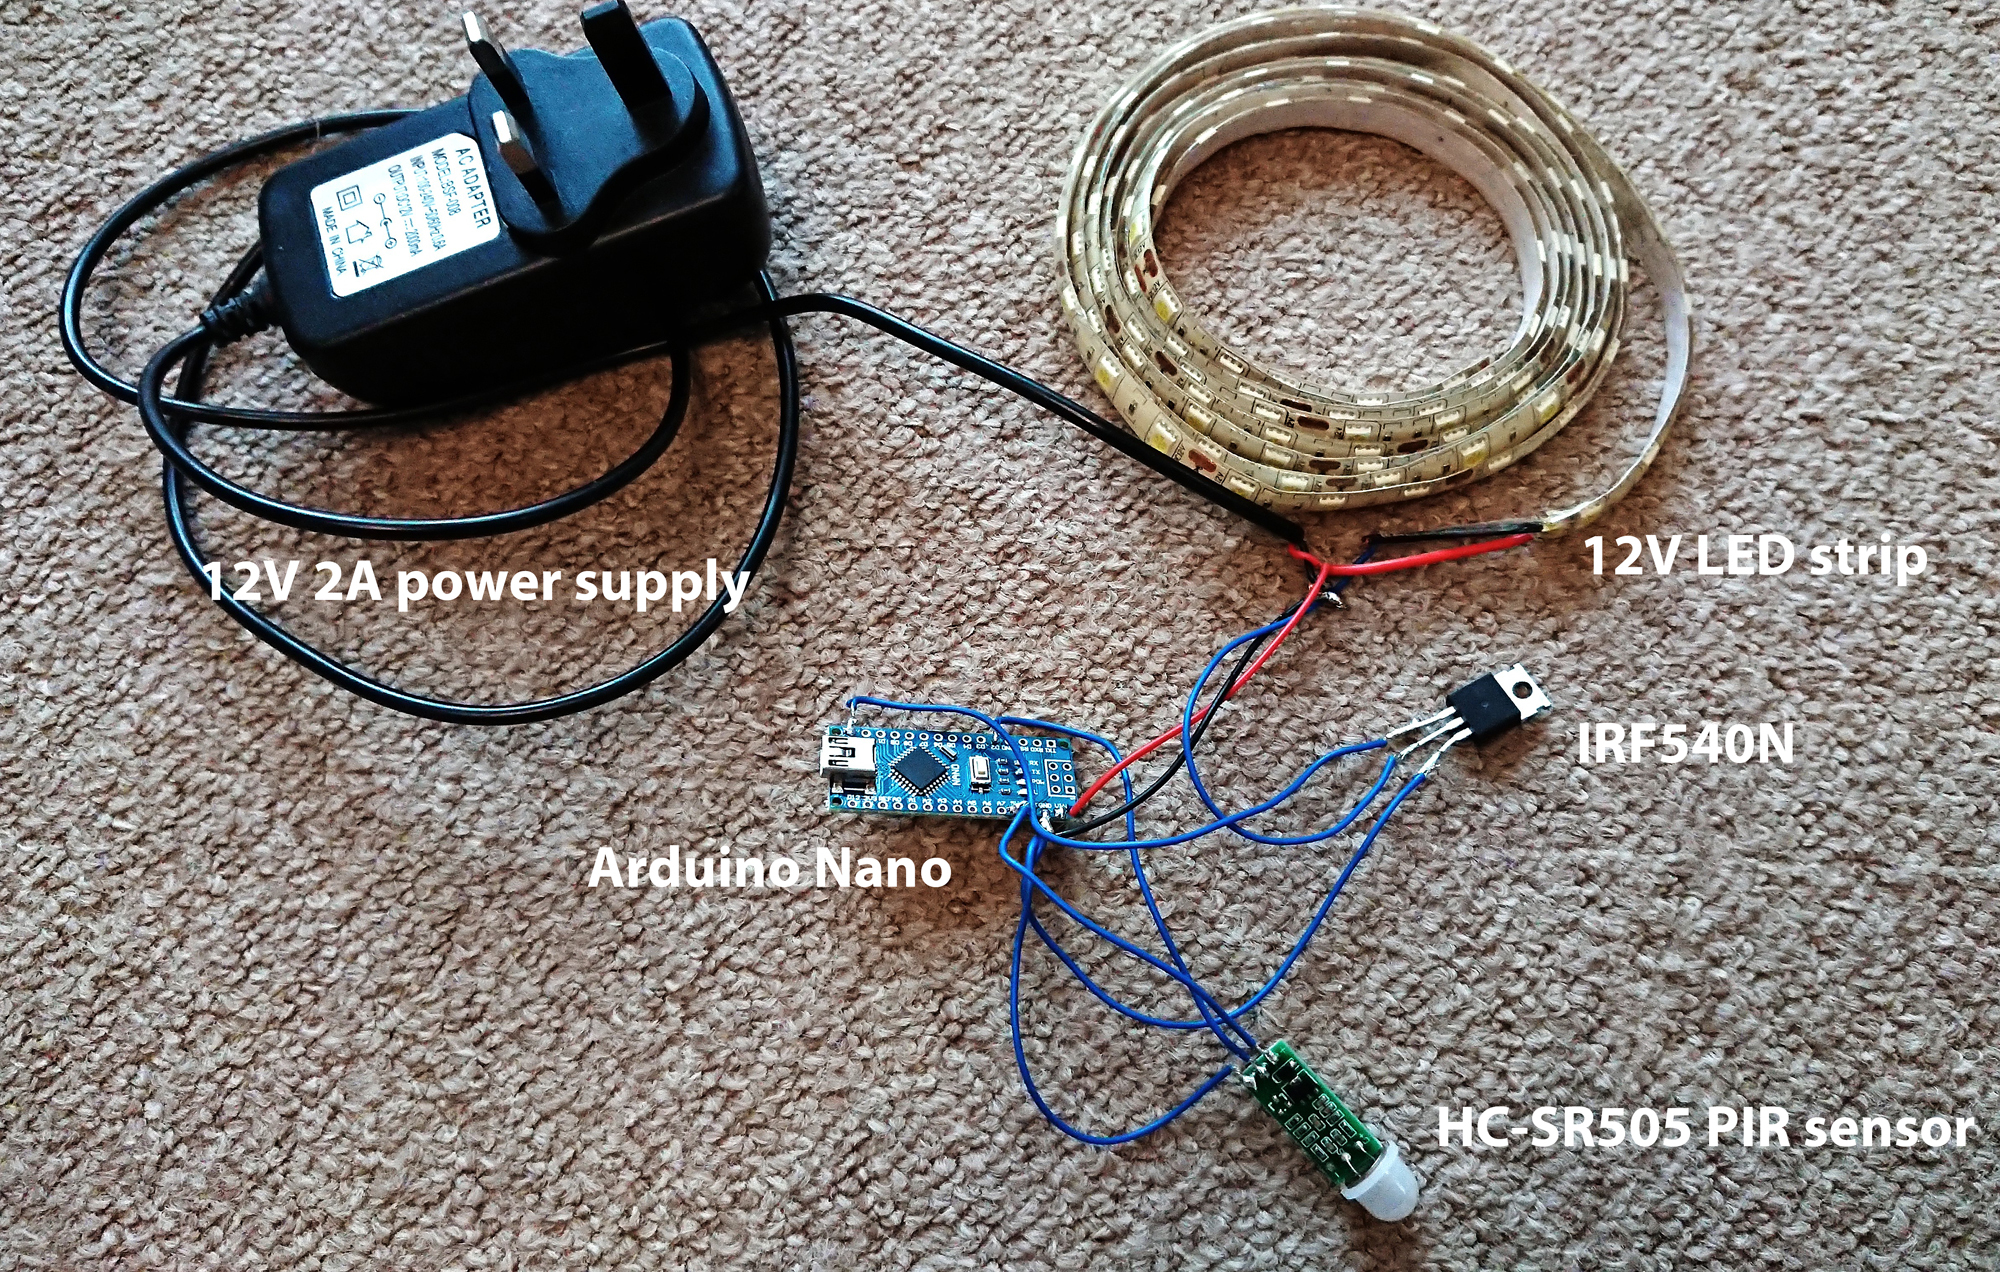
First we need to put our circuit together. Please follow the connection on the diagram above and solder all components to Arduino Nano.
Please remember to solder power supply and then measure the length of wire needed to reach the mirror in your bathroom (or other location you intend to install it). You will need 5 wires with exactly same length, 2 for LED strip (12V and GND) and 3 for SR505 PIR motion sensor (5V, Signal, GND) that will be attached in the corner of the mirror.
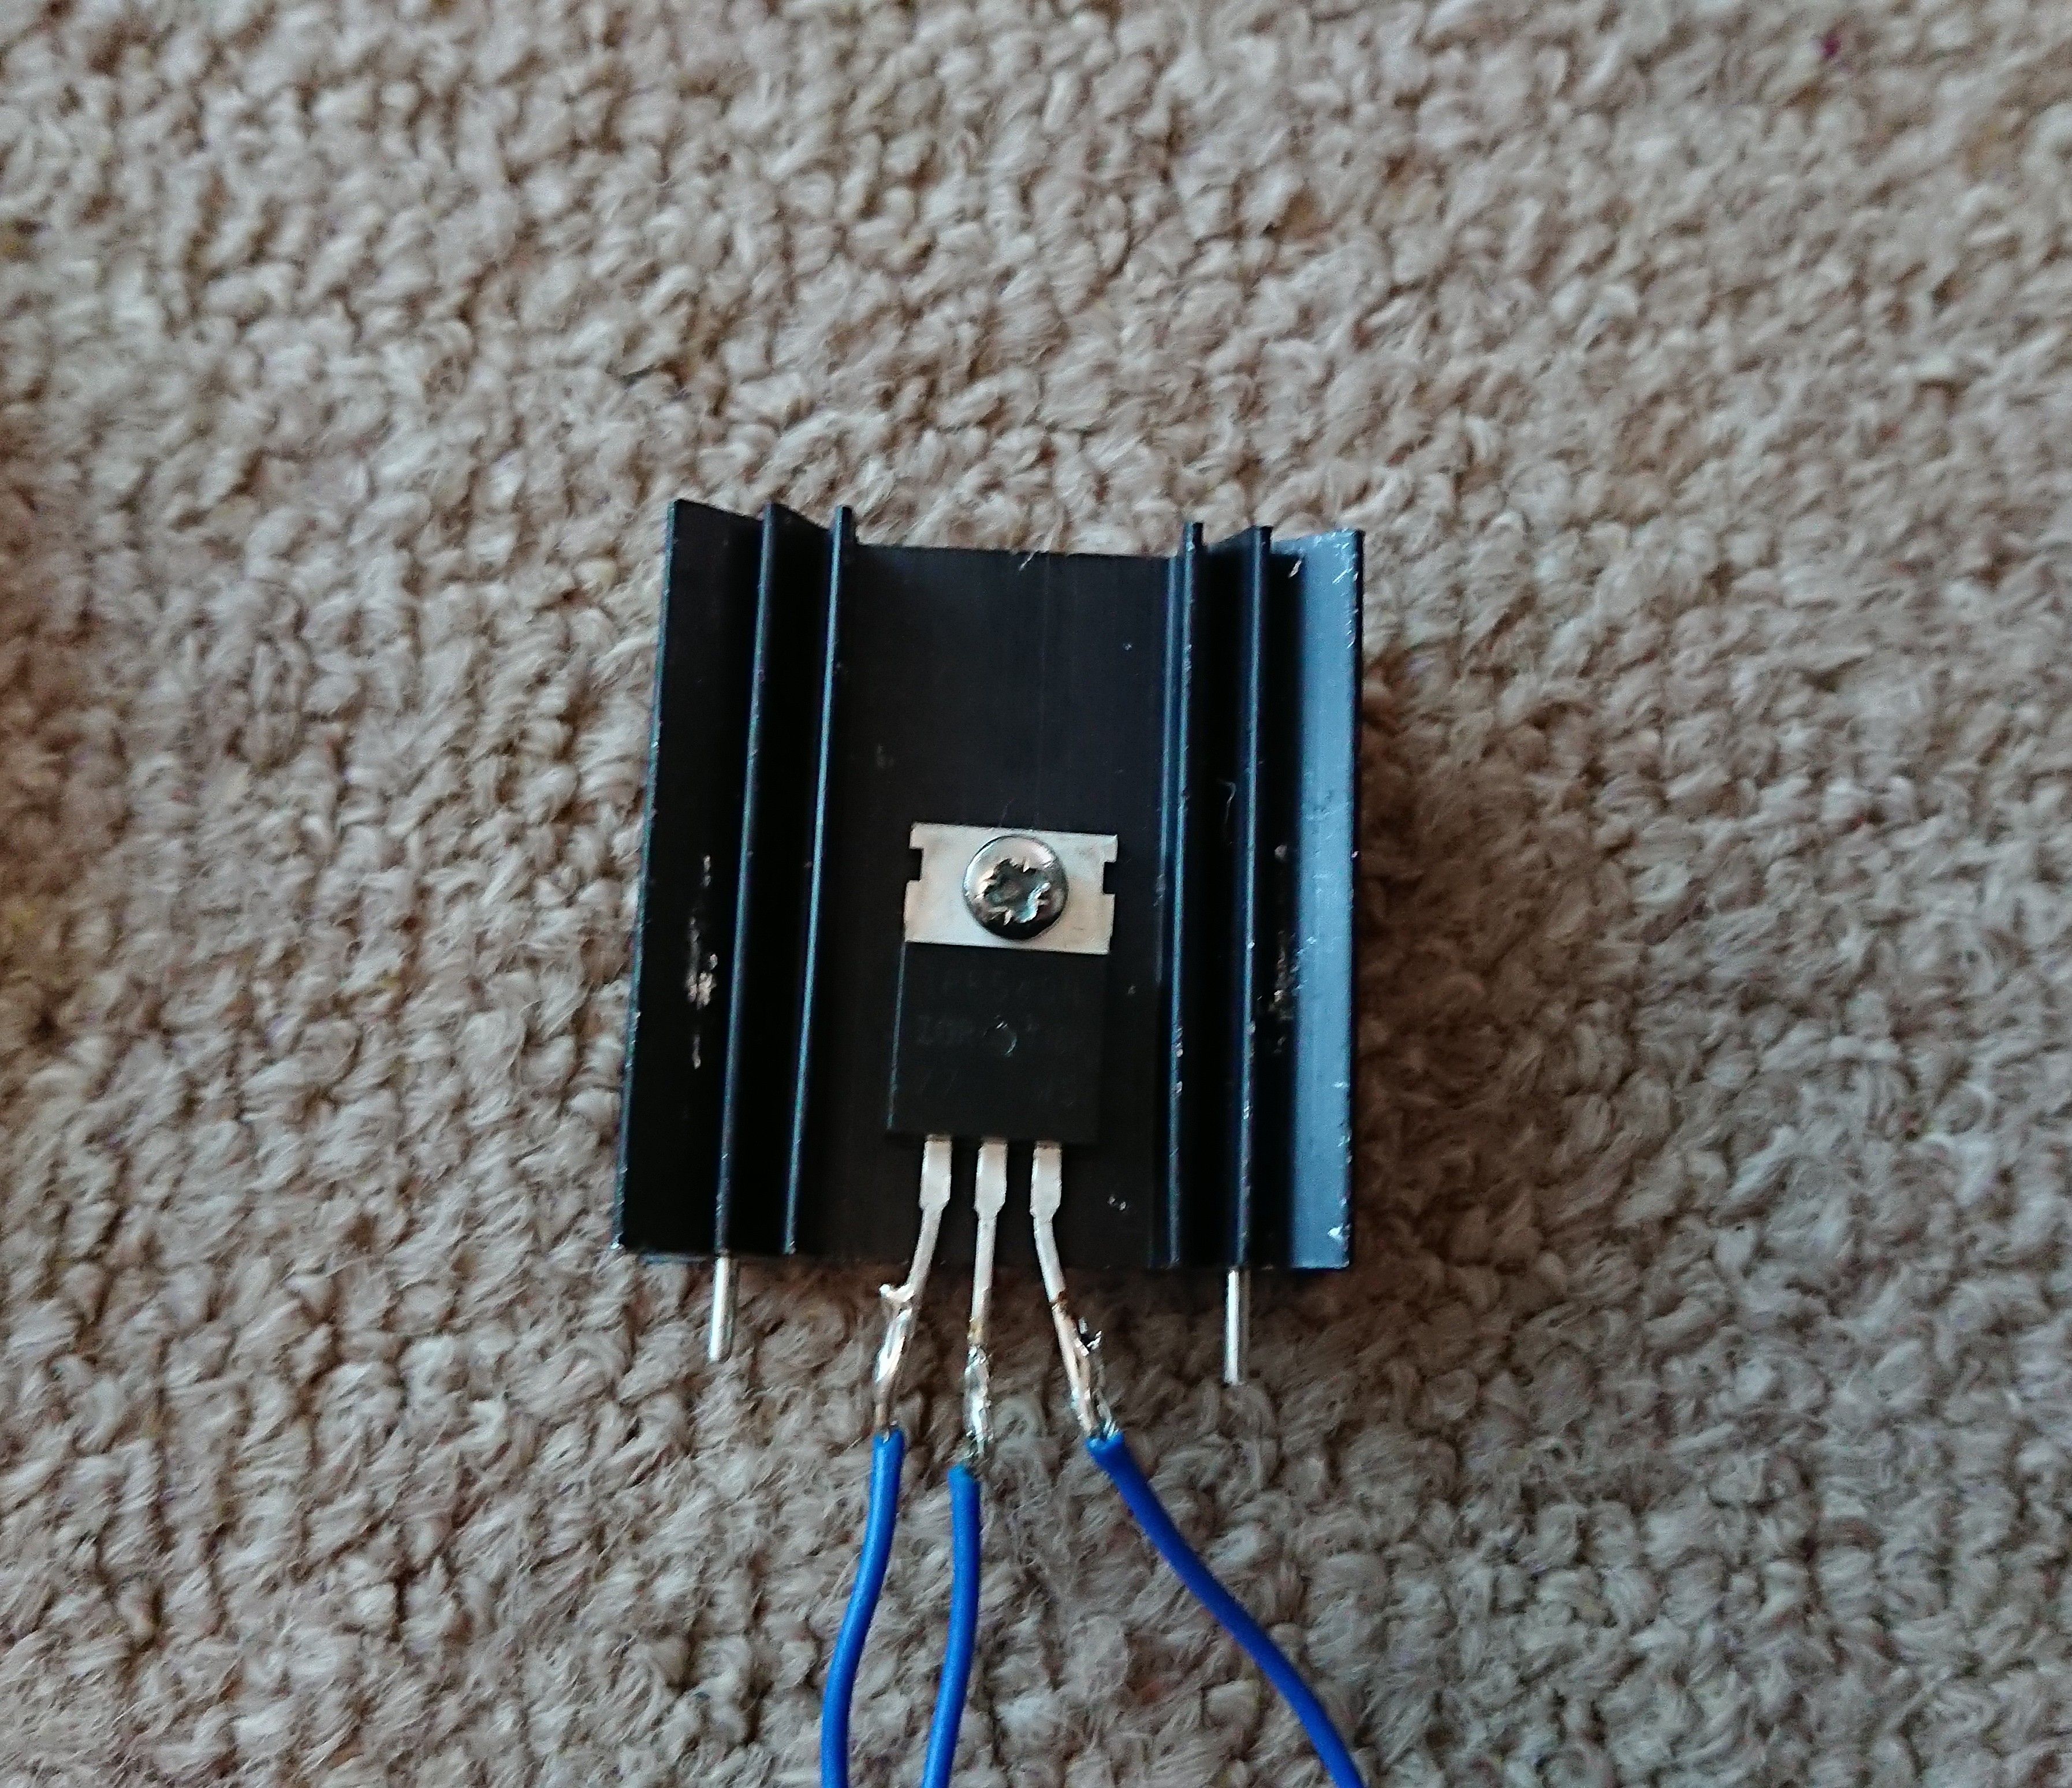
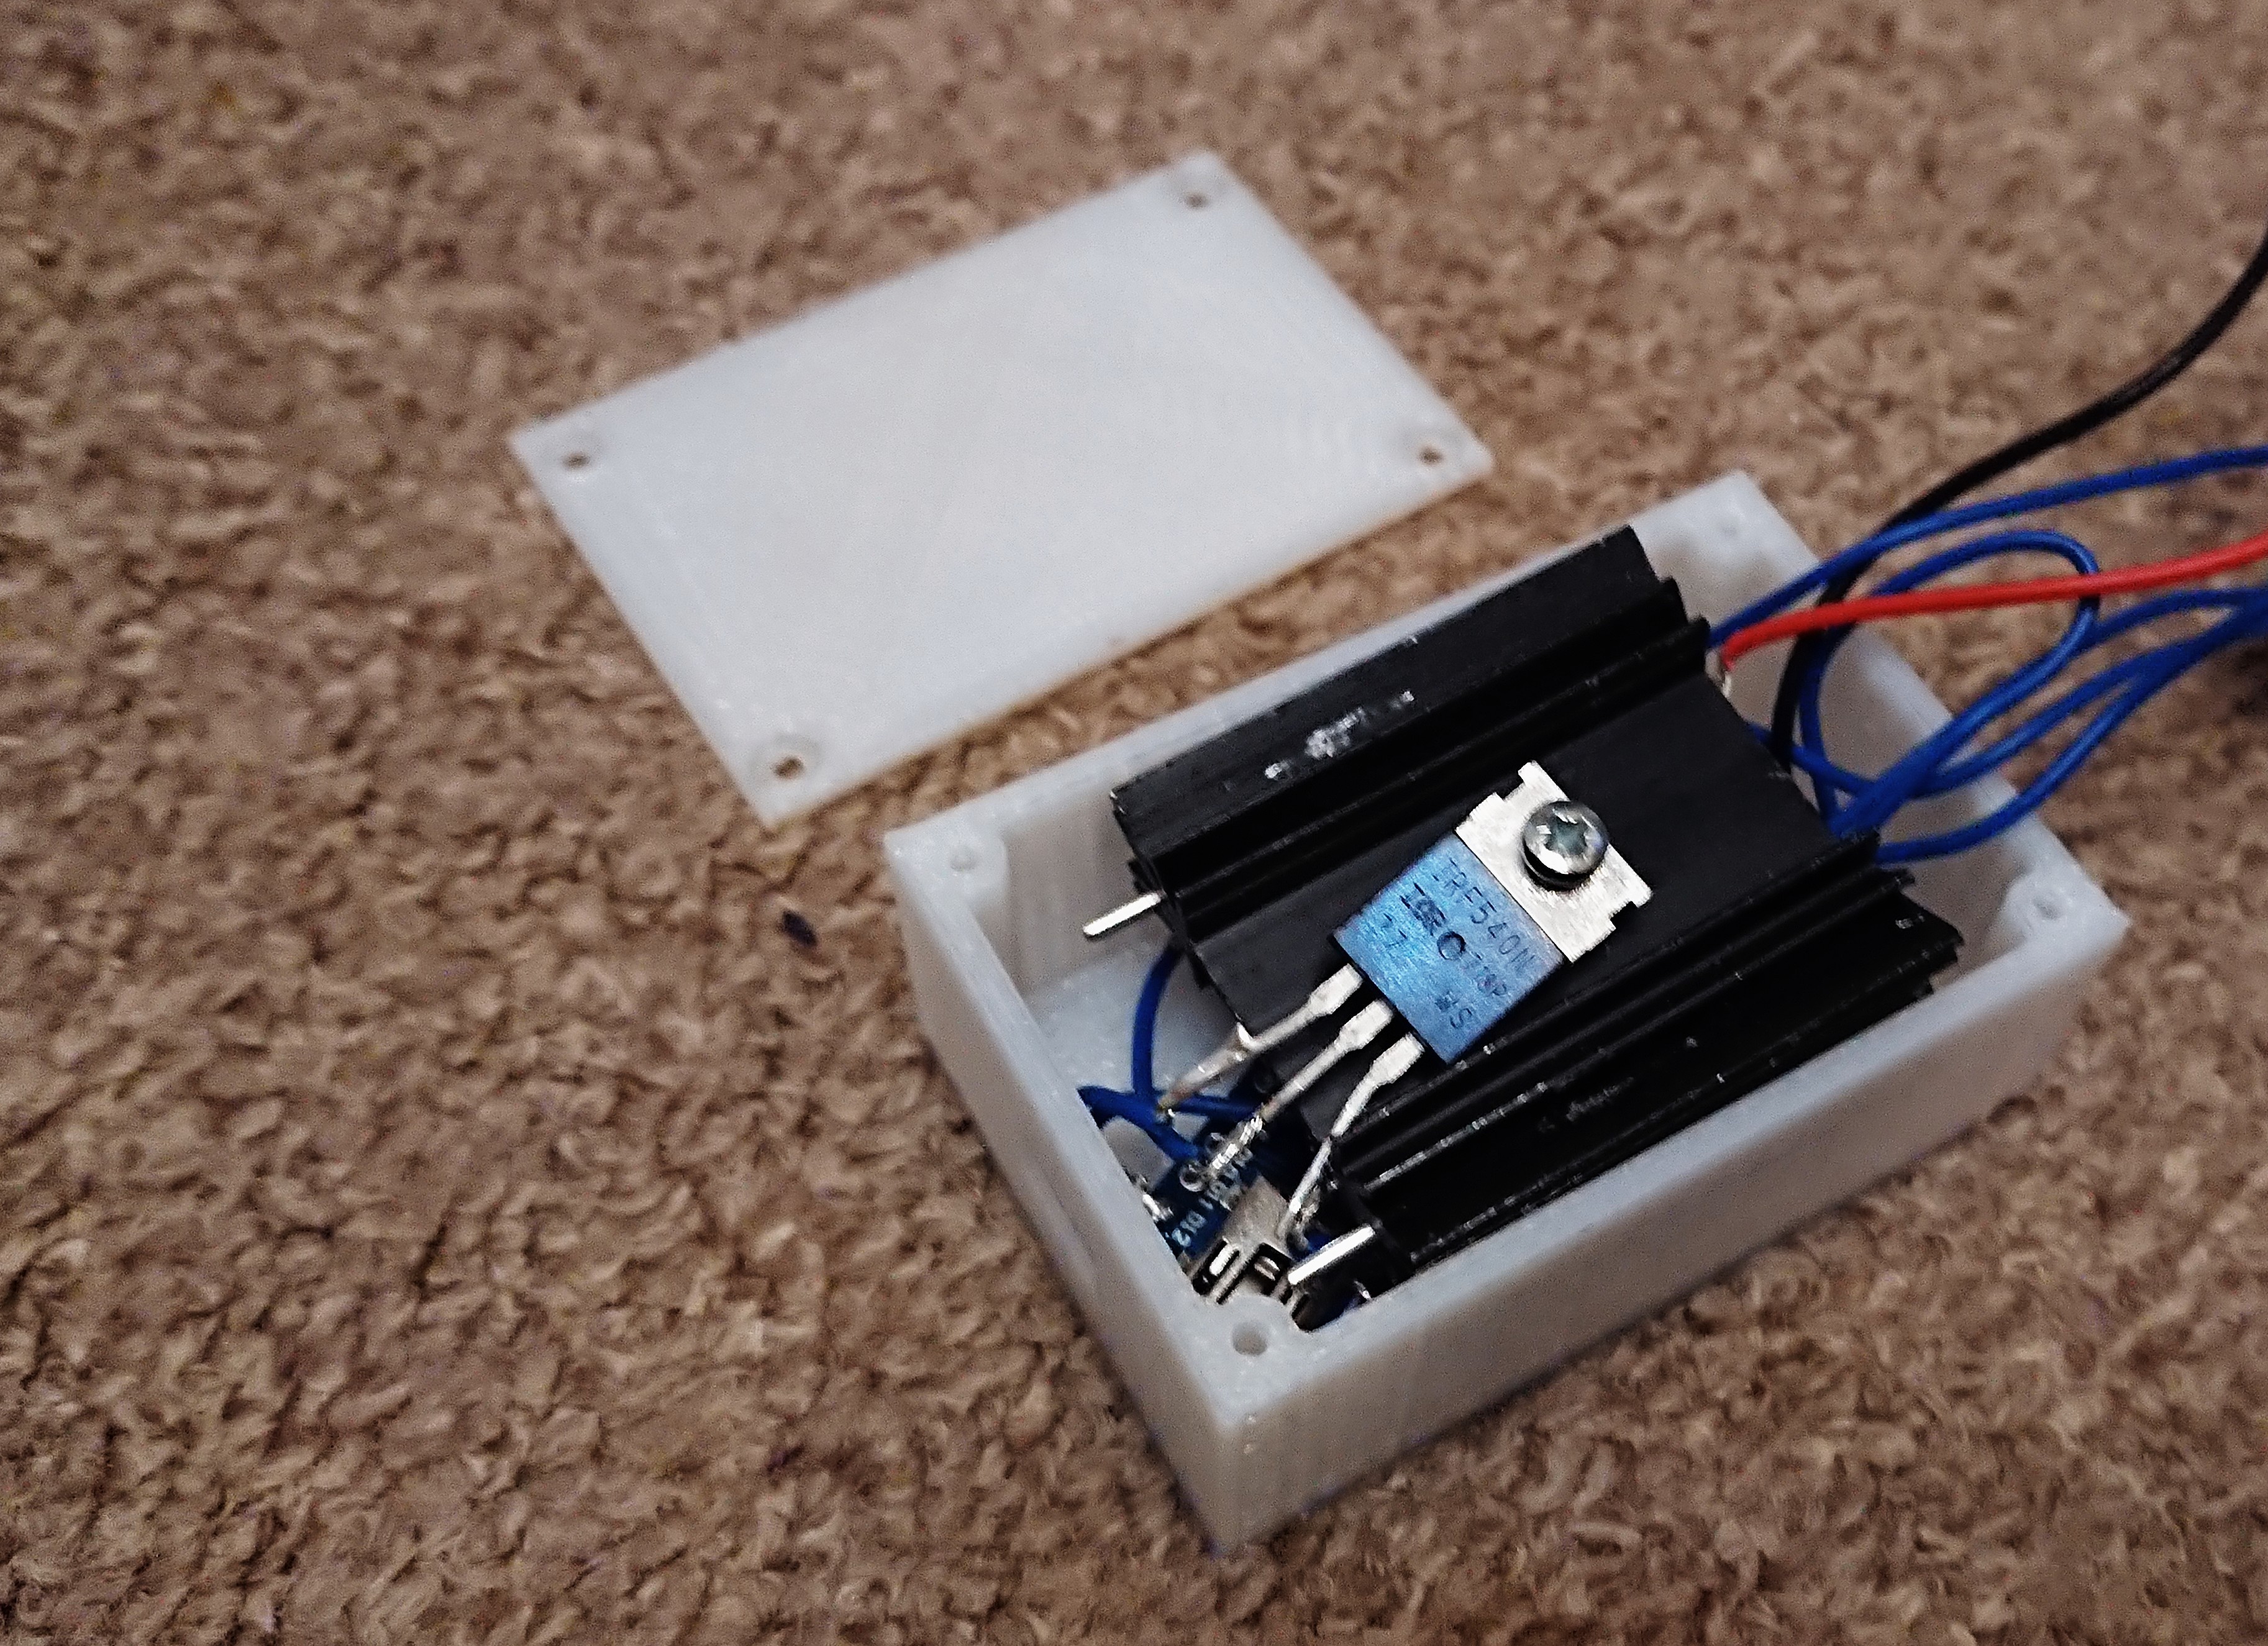
Once you soldered everything according the diagram, add a little bit of thermal paste to the IRF540N mosfet and install heatsink (see picture above). It's not absolutely necessary, but I would recommend it to reduce temperature of the mosfet.
Optional: You can find an stl file for the case for electronics. If you have access to 3D printer you can print the box preferably in white PLA so it will be same colour as cable trunking. There is enough room for Arduino Nano and MOSFET with heatsink.
Assembly Step 2 - Arduino Code
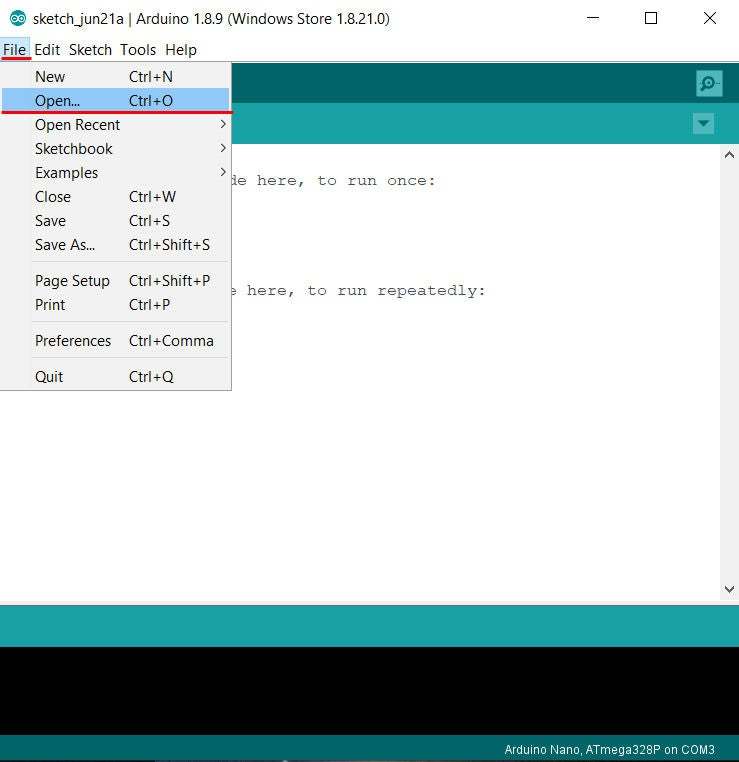
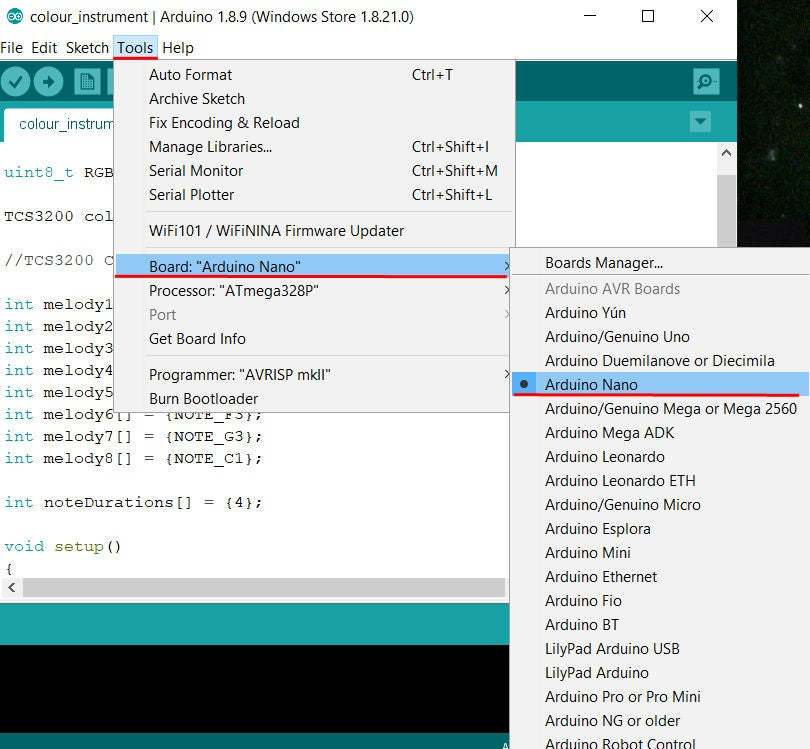
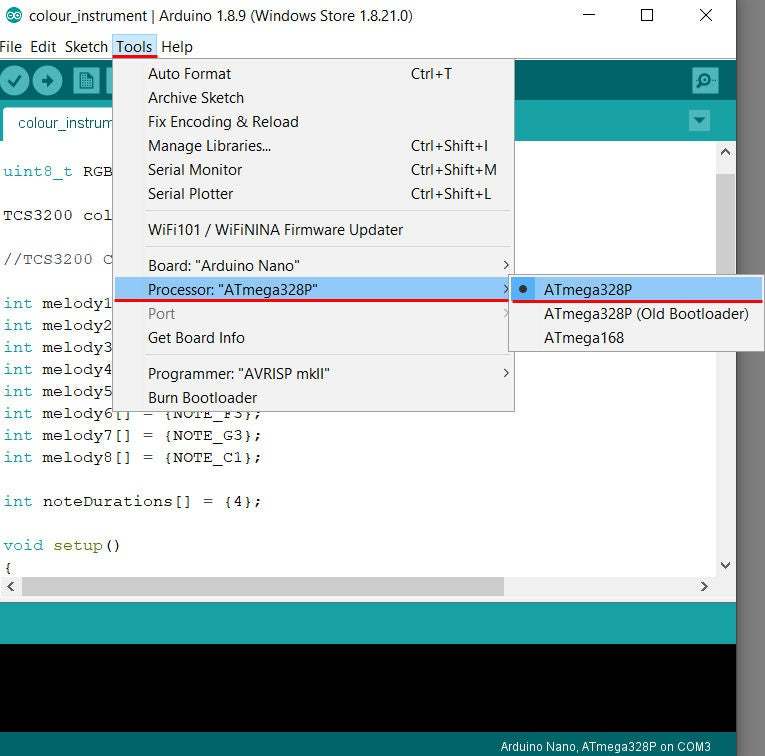
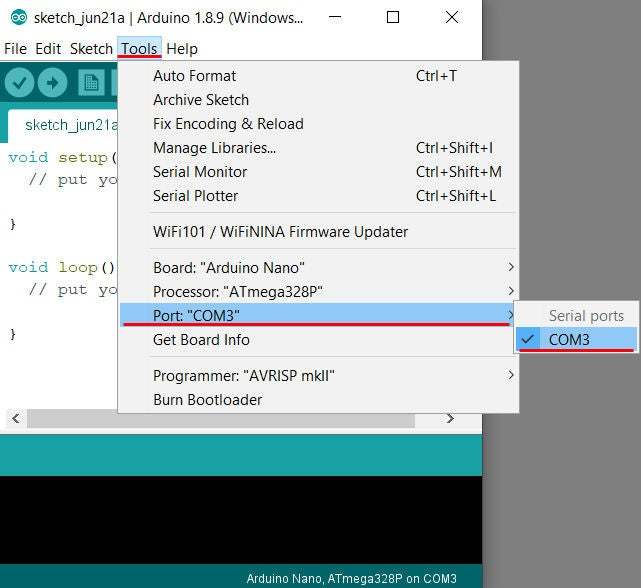
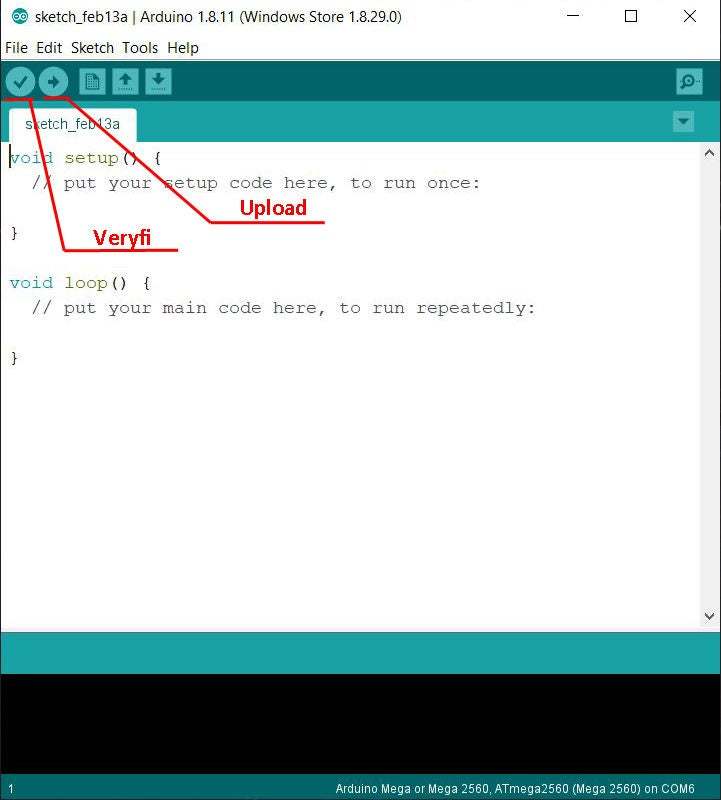
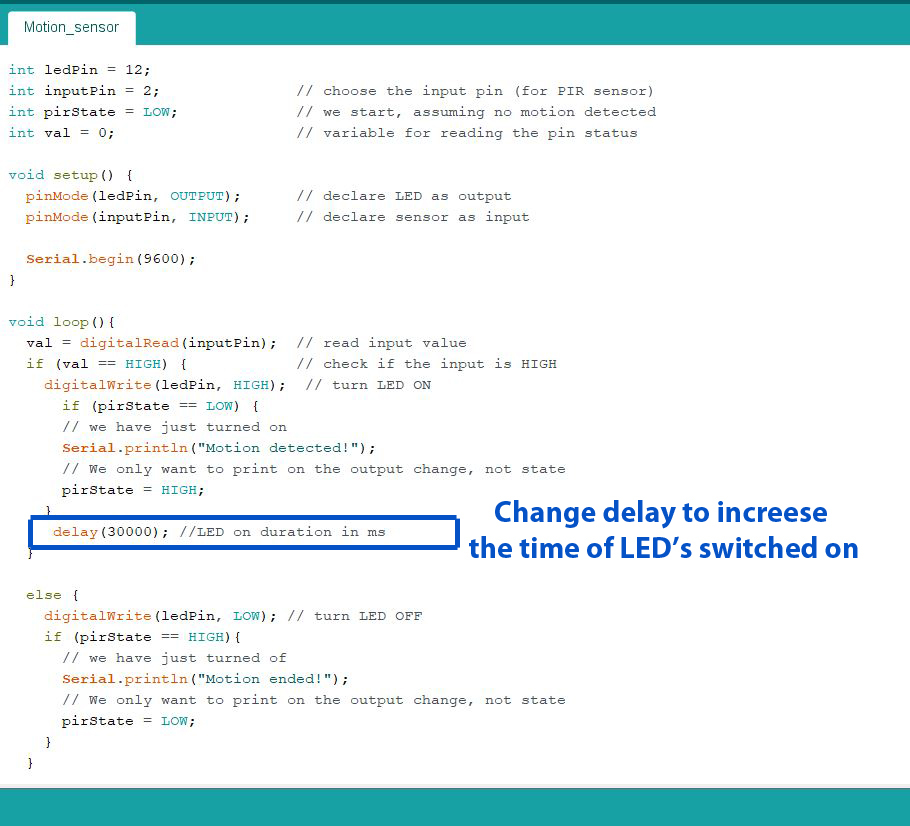
Here is the code that you have to upload using Arduino IDE and instructions how to do that.
- Open Arduino IDE
- Open the code [File -> Open -> Motion_sensor.ino]
- Connect Adruino Nano to PC/Laptop using USB cable
- Choose COM port [Tools -> Port “…” -> COM…]
- Choose Arduino board type [Tools -> Board: “…” -> Arduino Nano]
- Choose Arduino Nano processor type [Tools -> Processor: “…” -> ATmega328P] [It is possible that you will need to change it to ATmega328P (Old Bootloader) depending on Arduino Nano]
- Verify the code
- Upload
Note: You might have to change the value in delay(); to adjust the time of LED's being switched on. I set it to 30 seconds, but you can reduce or extend that time should you wish.
Downloads
Assembly Step 3 - LED Strip Installation
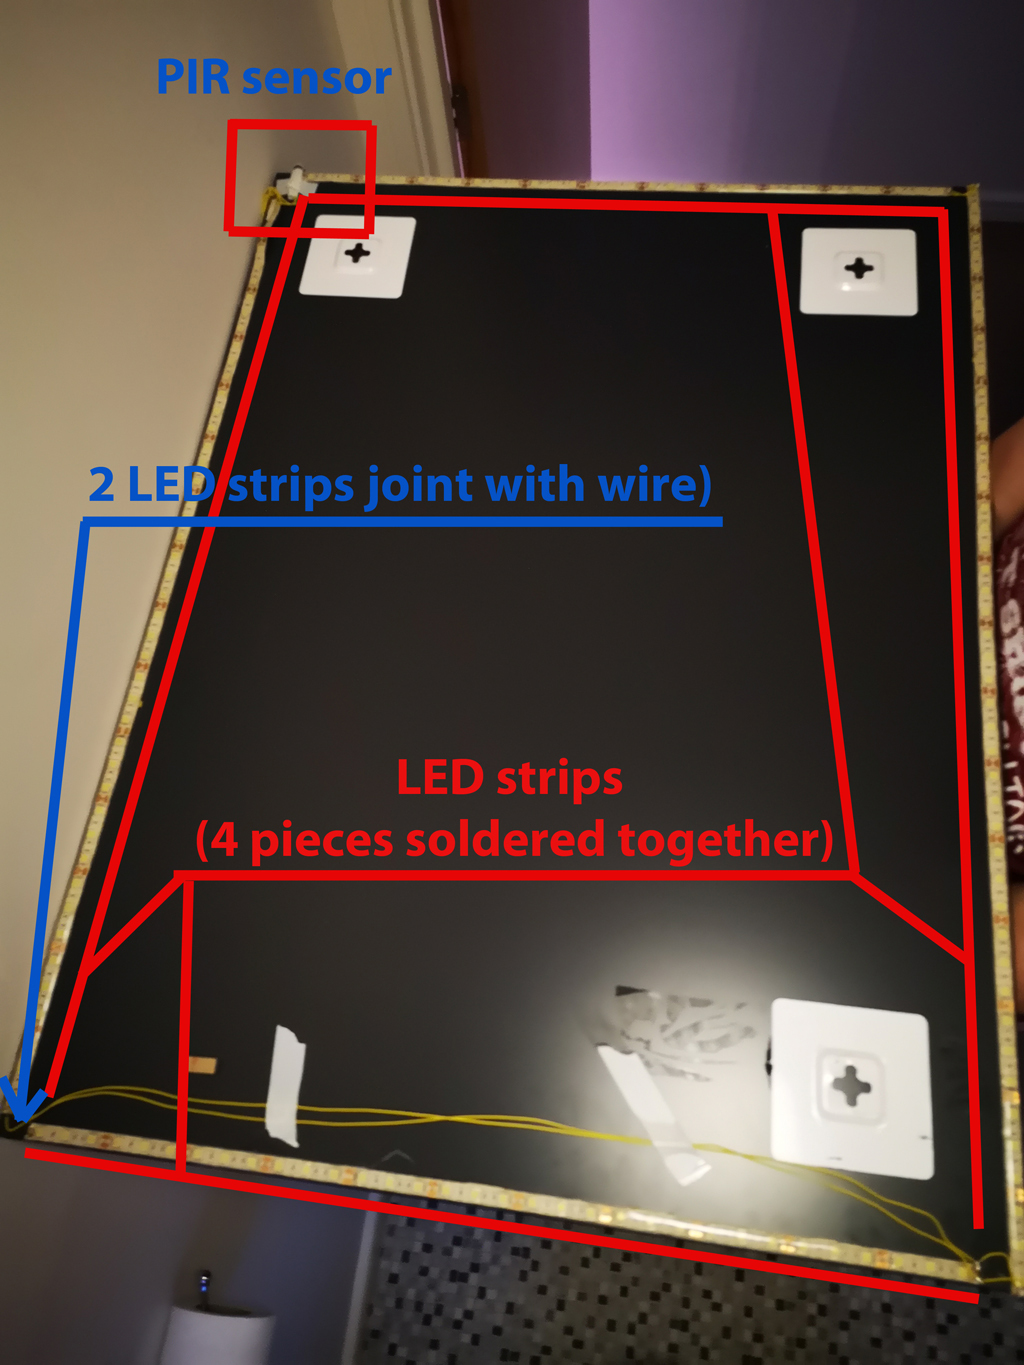
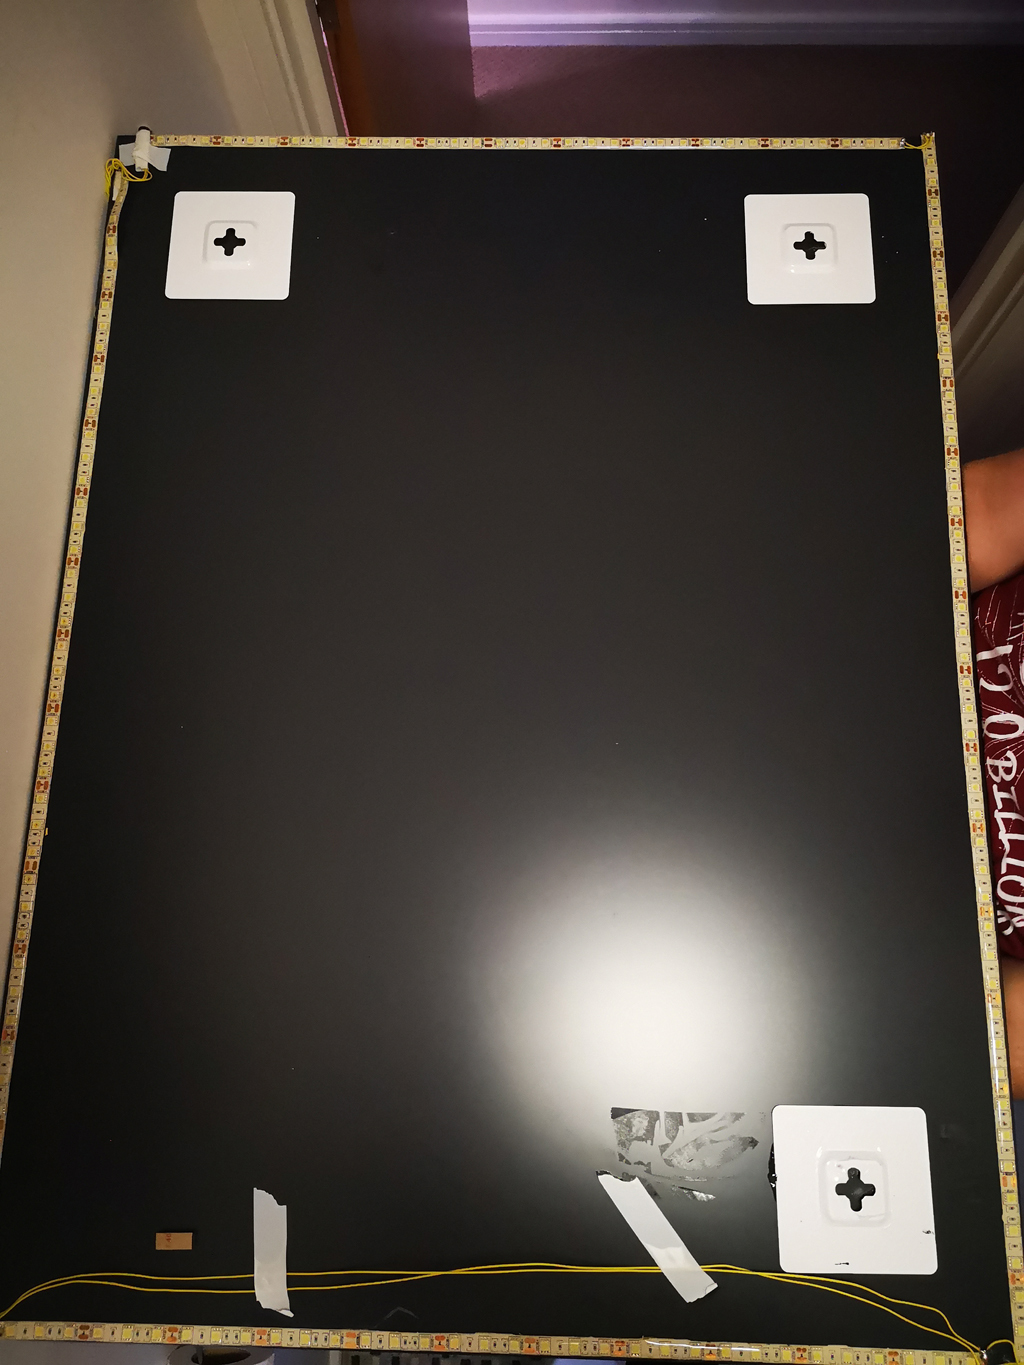
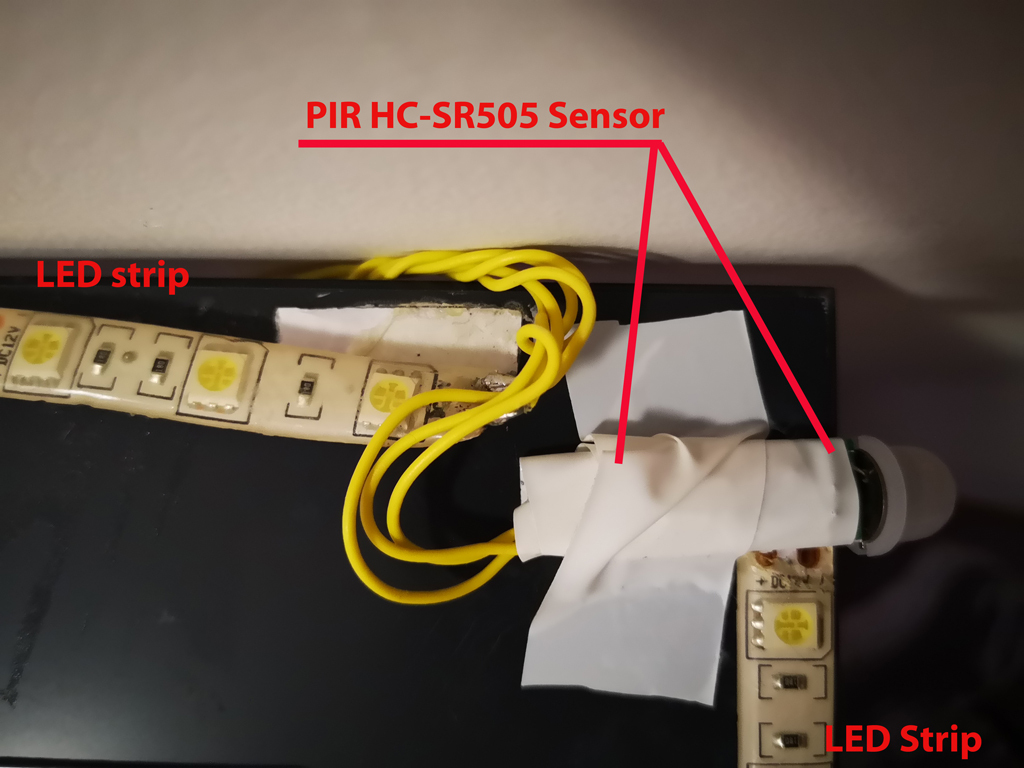
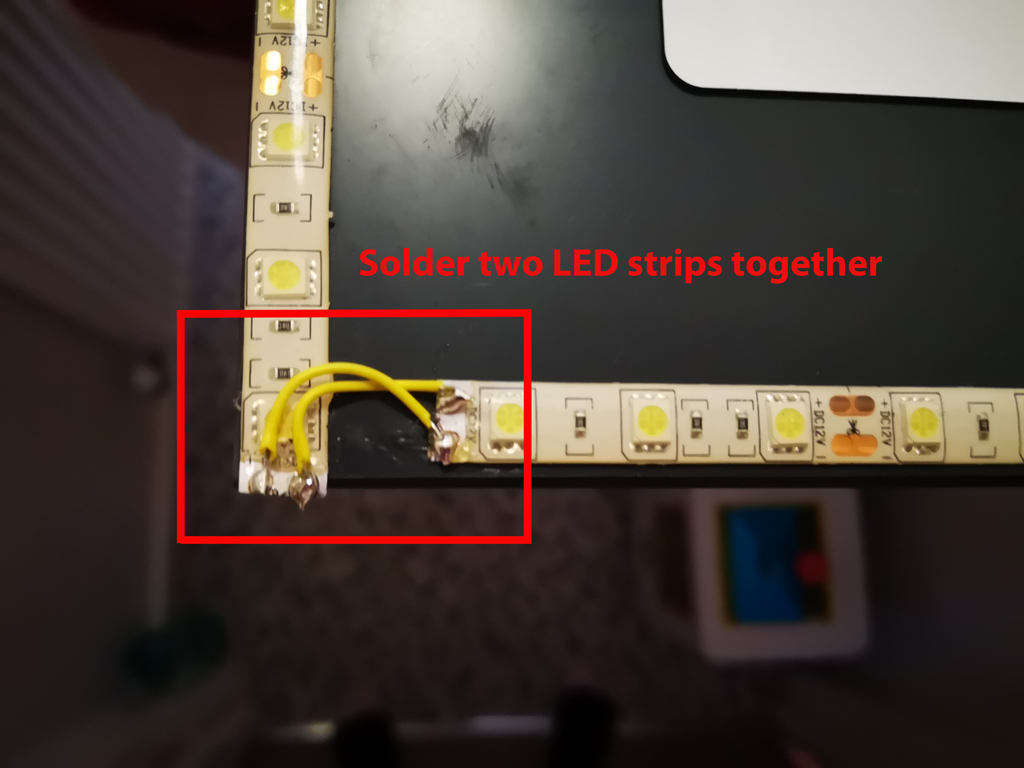
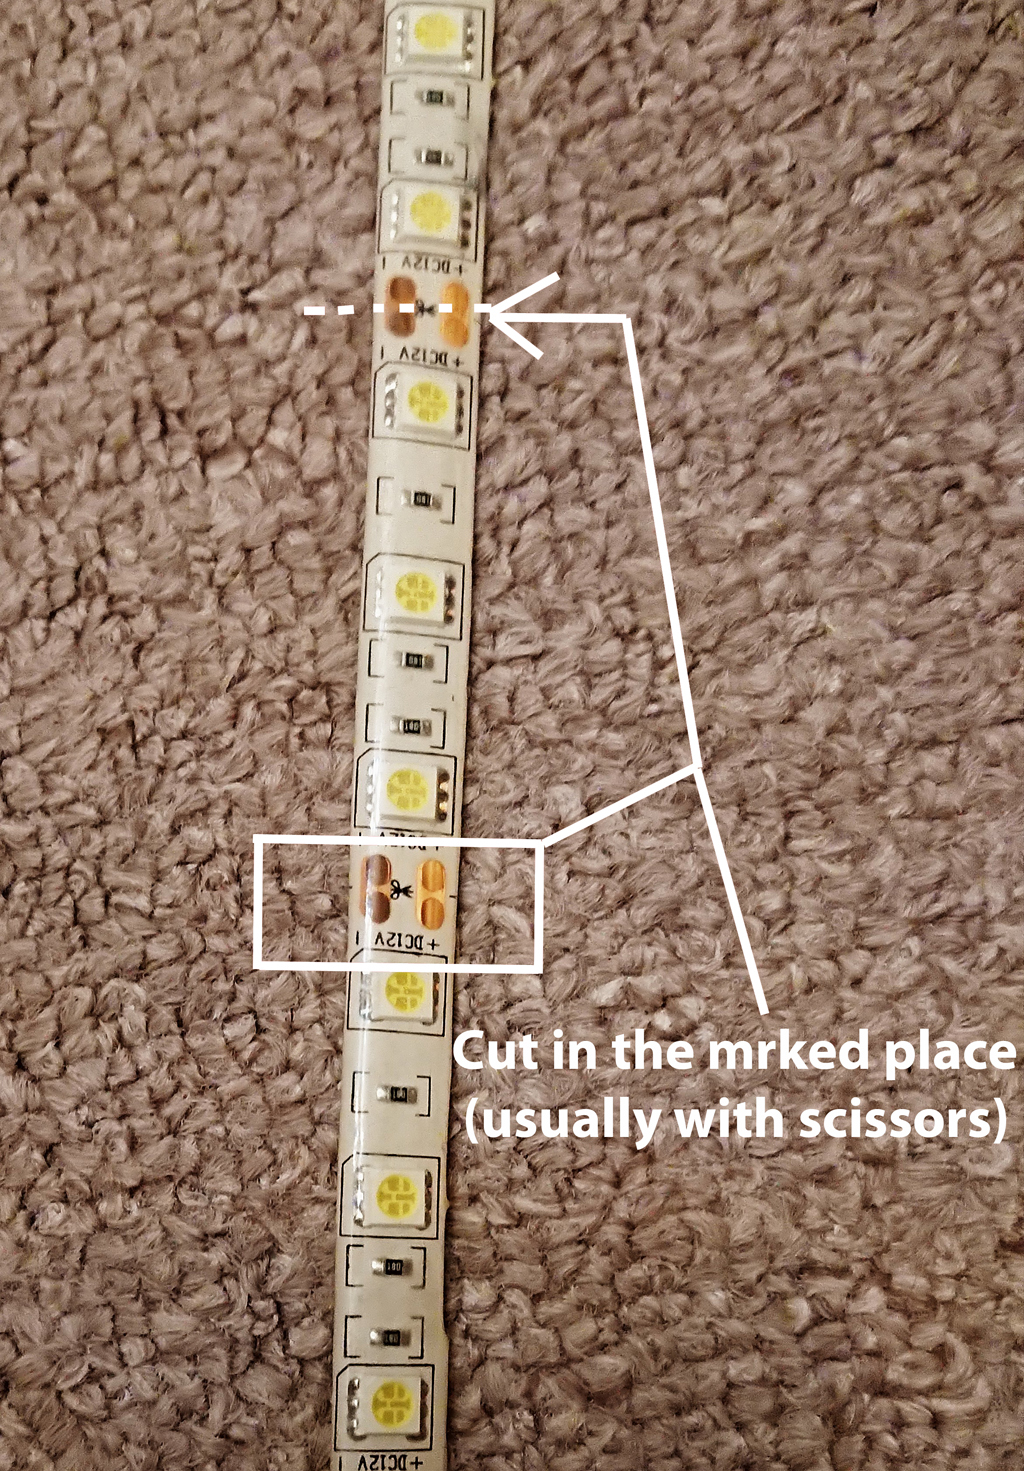
Now it's time to put LED strip around the back of the mirror.
First cut LED strip into 4 pieces that correspond to the length of the mirror edges. The reason for that is that it's much easier to install 4 separate pieces rather than bending LED strip. Please remember to only cut in the marked places, usually with the scissors symbol (see picture above).
Glue the LED strips around the mirror. If you have self adhesive strip I would recommend to use a little bit of superglue to make sure it will stick properly. If you don't have self adhesive strip then use superglue on entire length. Please make sure LED strip is installed in the correct direction. Once you cut one piece carry on from that end and so on.
After LED strips are glued to the mirror, solder short cables to connect the corners. Please make sure you connect positive with positive and negative with negative (see picture above).
Finally glue the SR505 PIR sensor to the bottom corner of your mirror. Make sure it's the corner that is exposed to movement. I placed mine pointing the doors so when someone open the doors to bathroom the sensor will switch the LED's on.
Assembly Step 4 - Cable Trunking
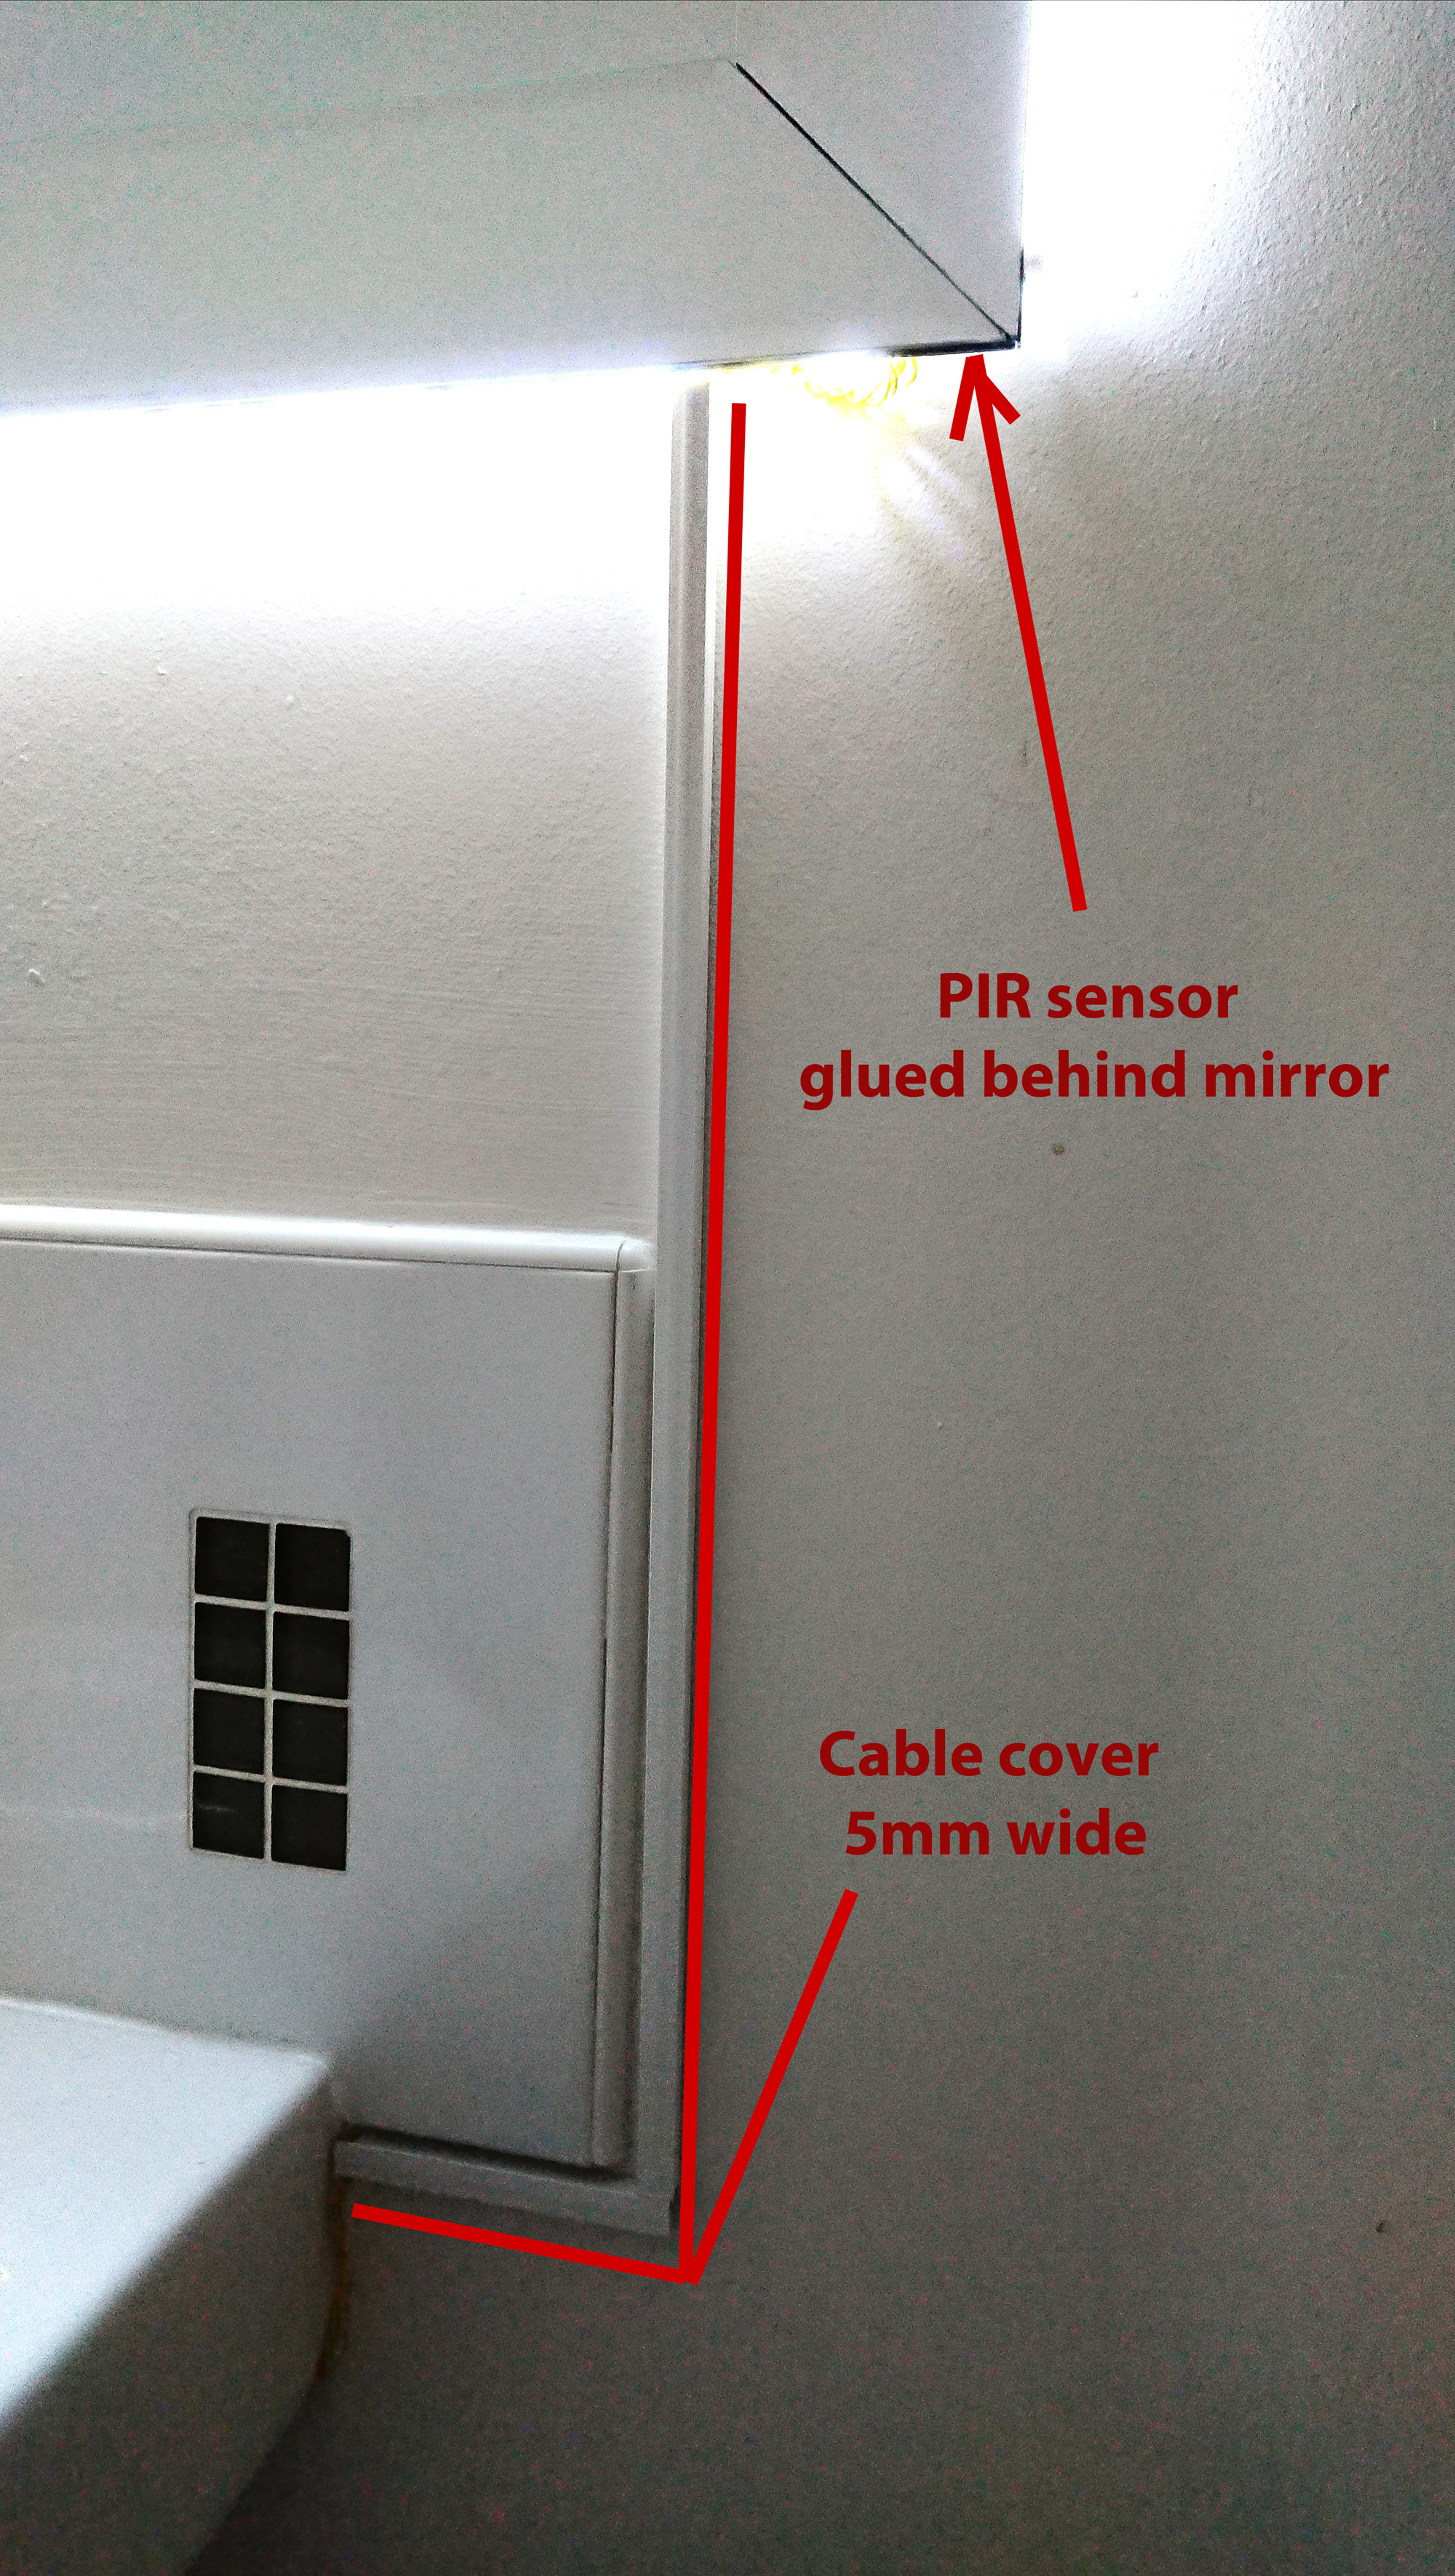
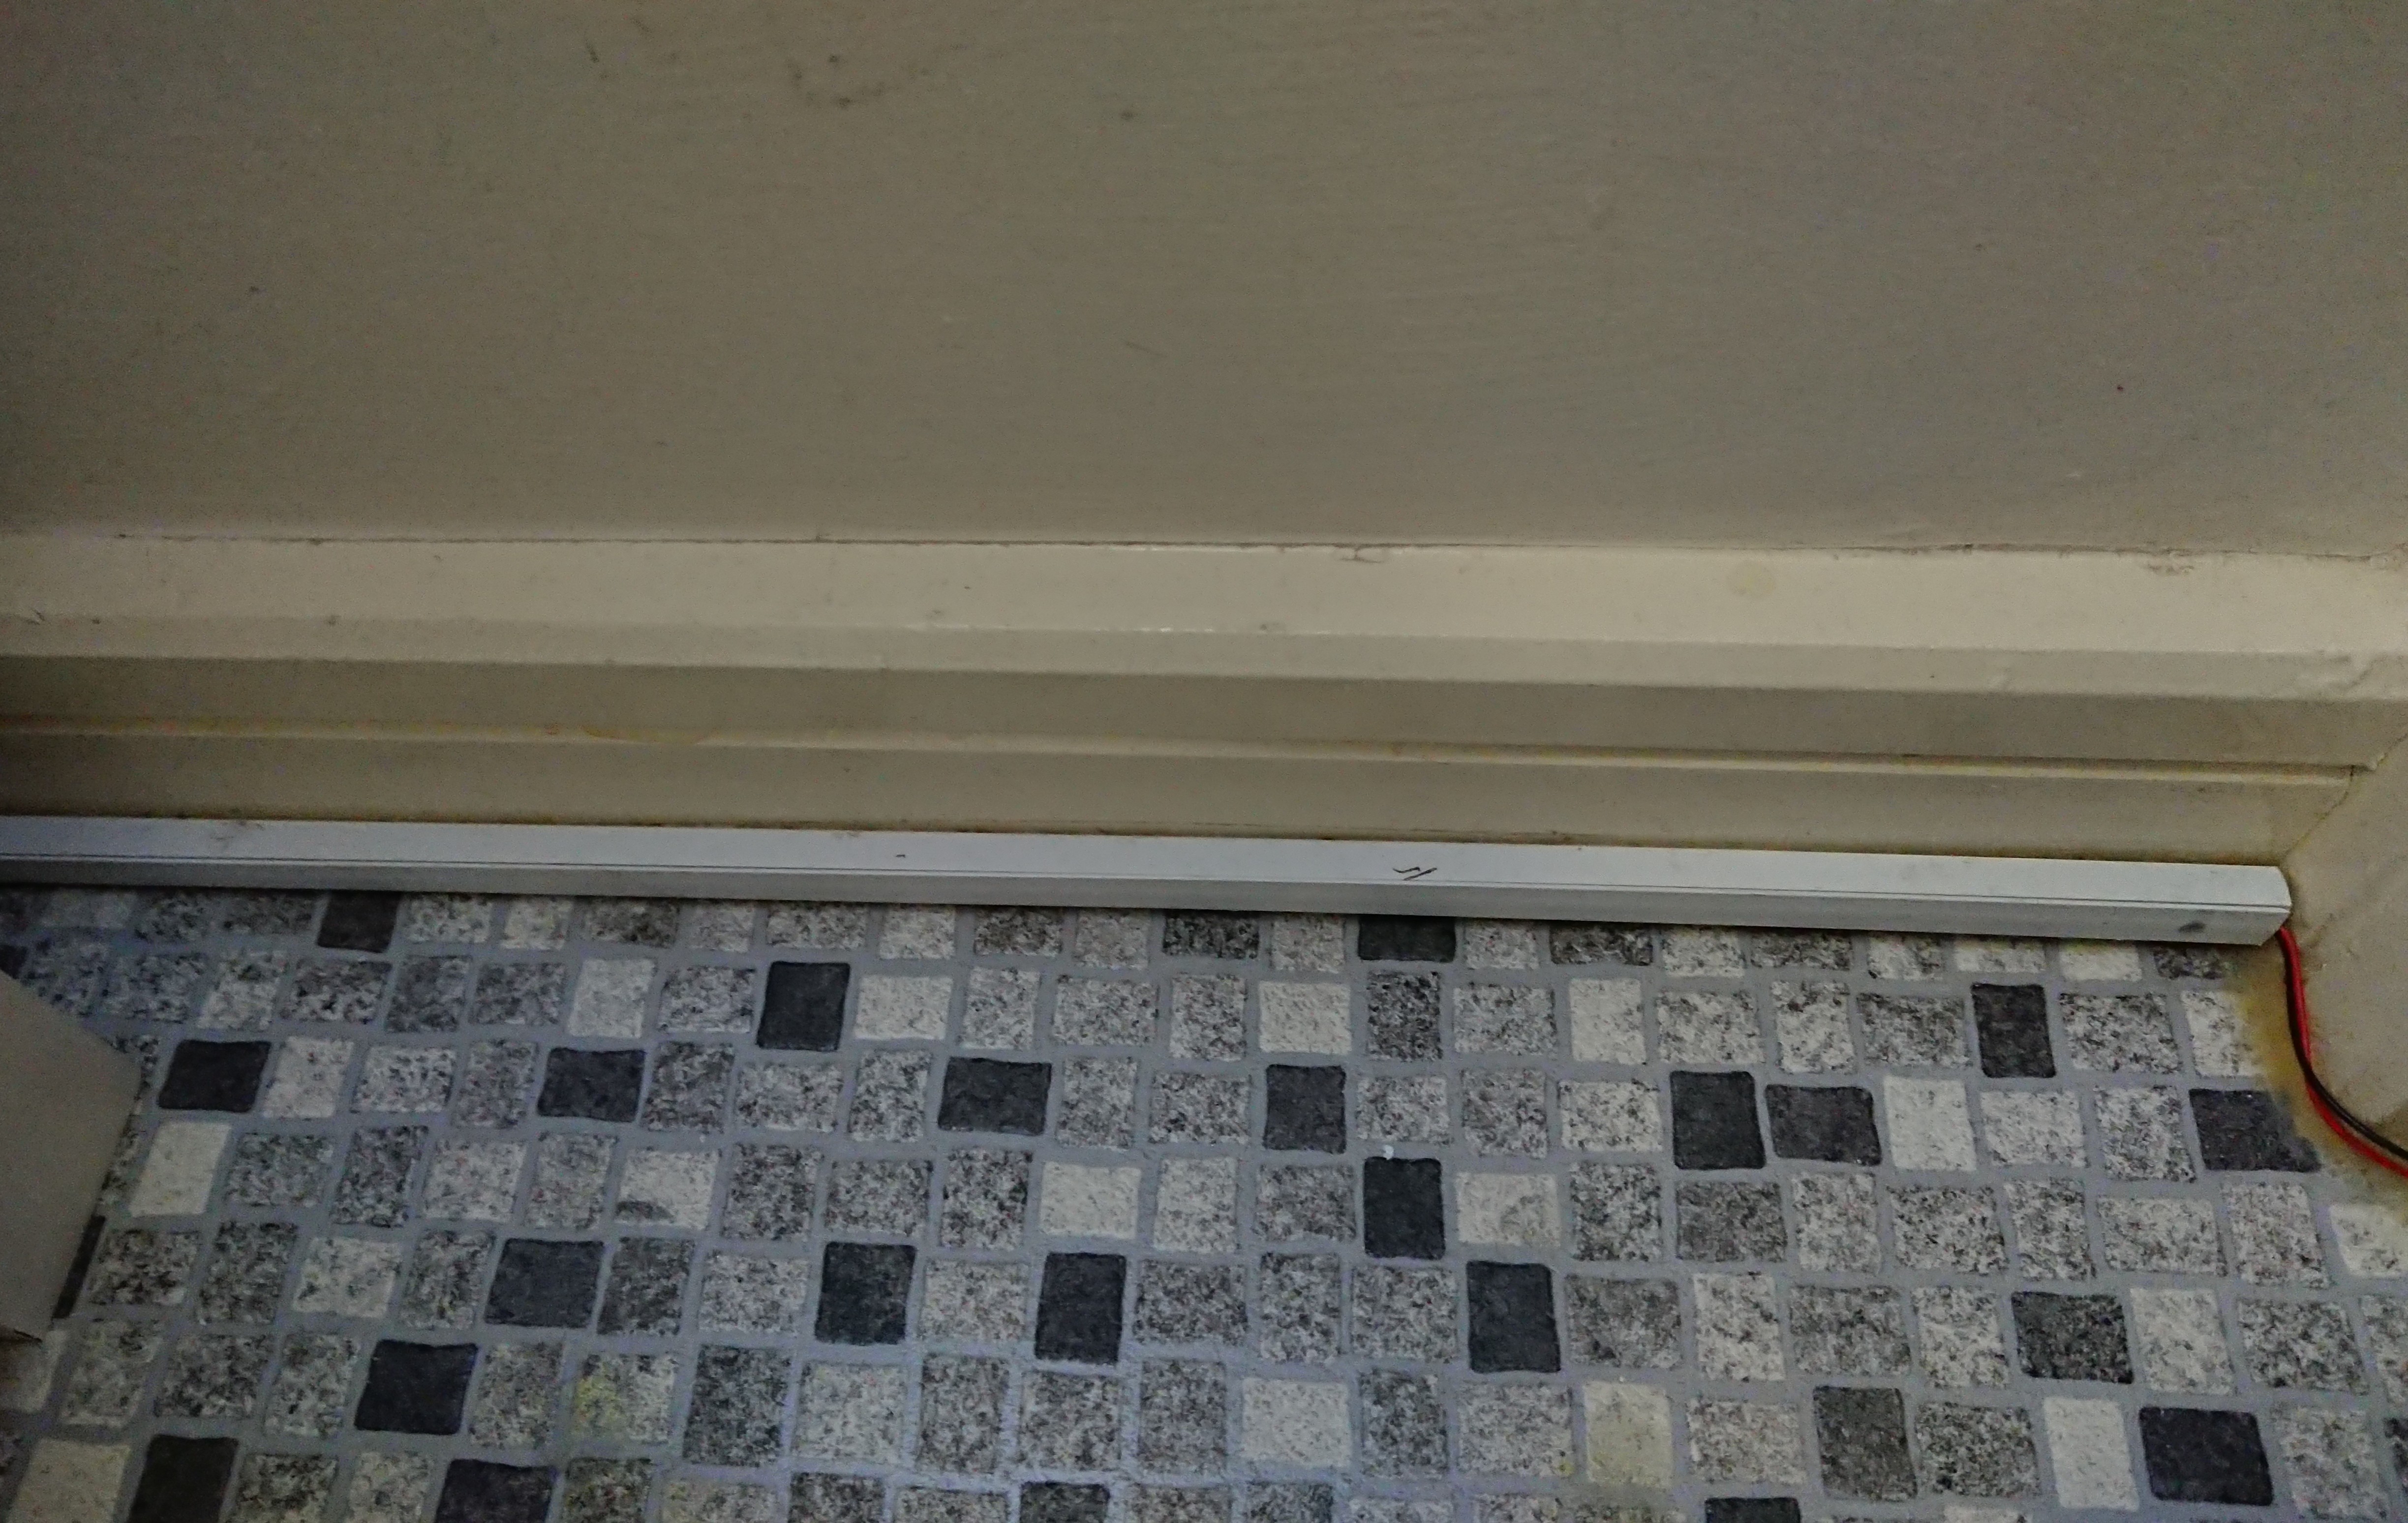
Now you have to hide the cables from the PIR sensor and LED strip.
Carefully measure the length and cut the cable trunking as necessary in your bathroom. Above there is picture of my setup.
I fed the cable abound the tiles and behind the sink right to the floor and then to my living room where I have a mains socket for power supply.
The sensor has been working for 24/7 for couple of weeks without any problems.
Here is a video demonstrating how the PIR sensor works:
Note: You can use multi colour LED strip and change the Arduino code to trigger different colour each time or program LED strip to project various patterns.