Motion Controlled Timelapse
by indoorgeek in Circuits > Electronics
16855 Views, 161 Favorites, 0 Comments
Motion Controlled Timelapse
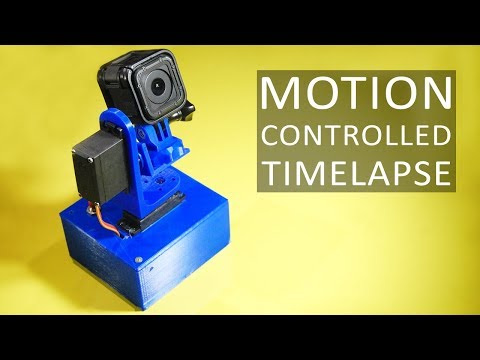
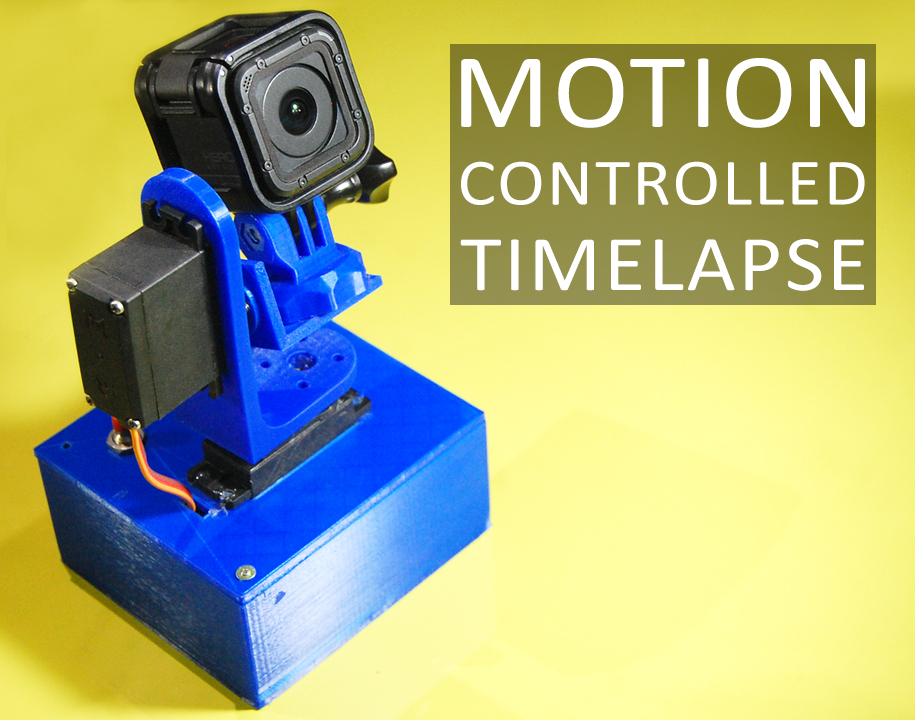
Timelapses are great! They help us take a look into the slow-moving world which we might forget to appreciate the beauty of it. But sometimes a steady timelapse video can be boring or there are so many things happening around that just one angle isn't sufficient. Let's spice it up!
In this Instructable, I will show you how I made a device which will add motion to your timelapse. Let's get started!
The Plan
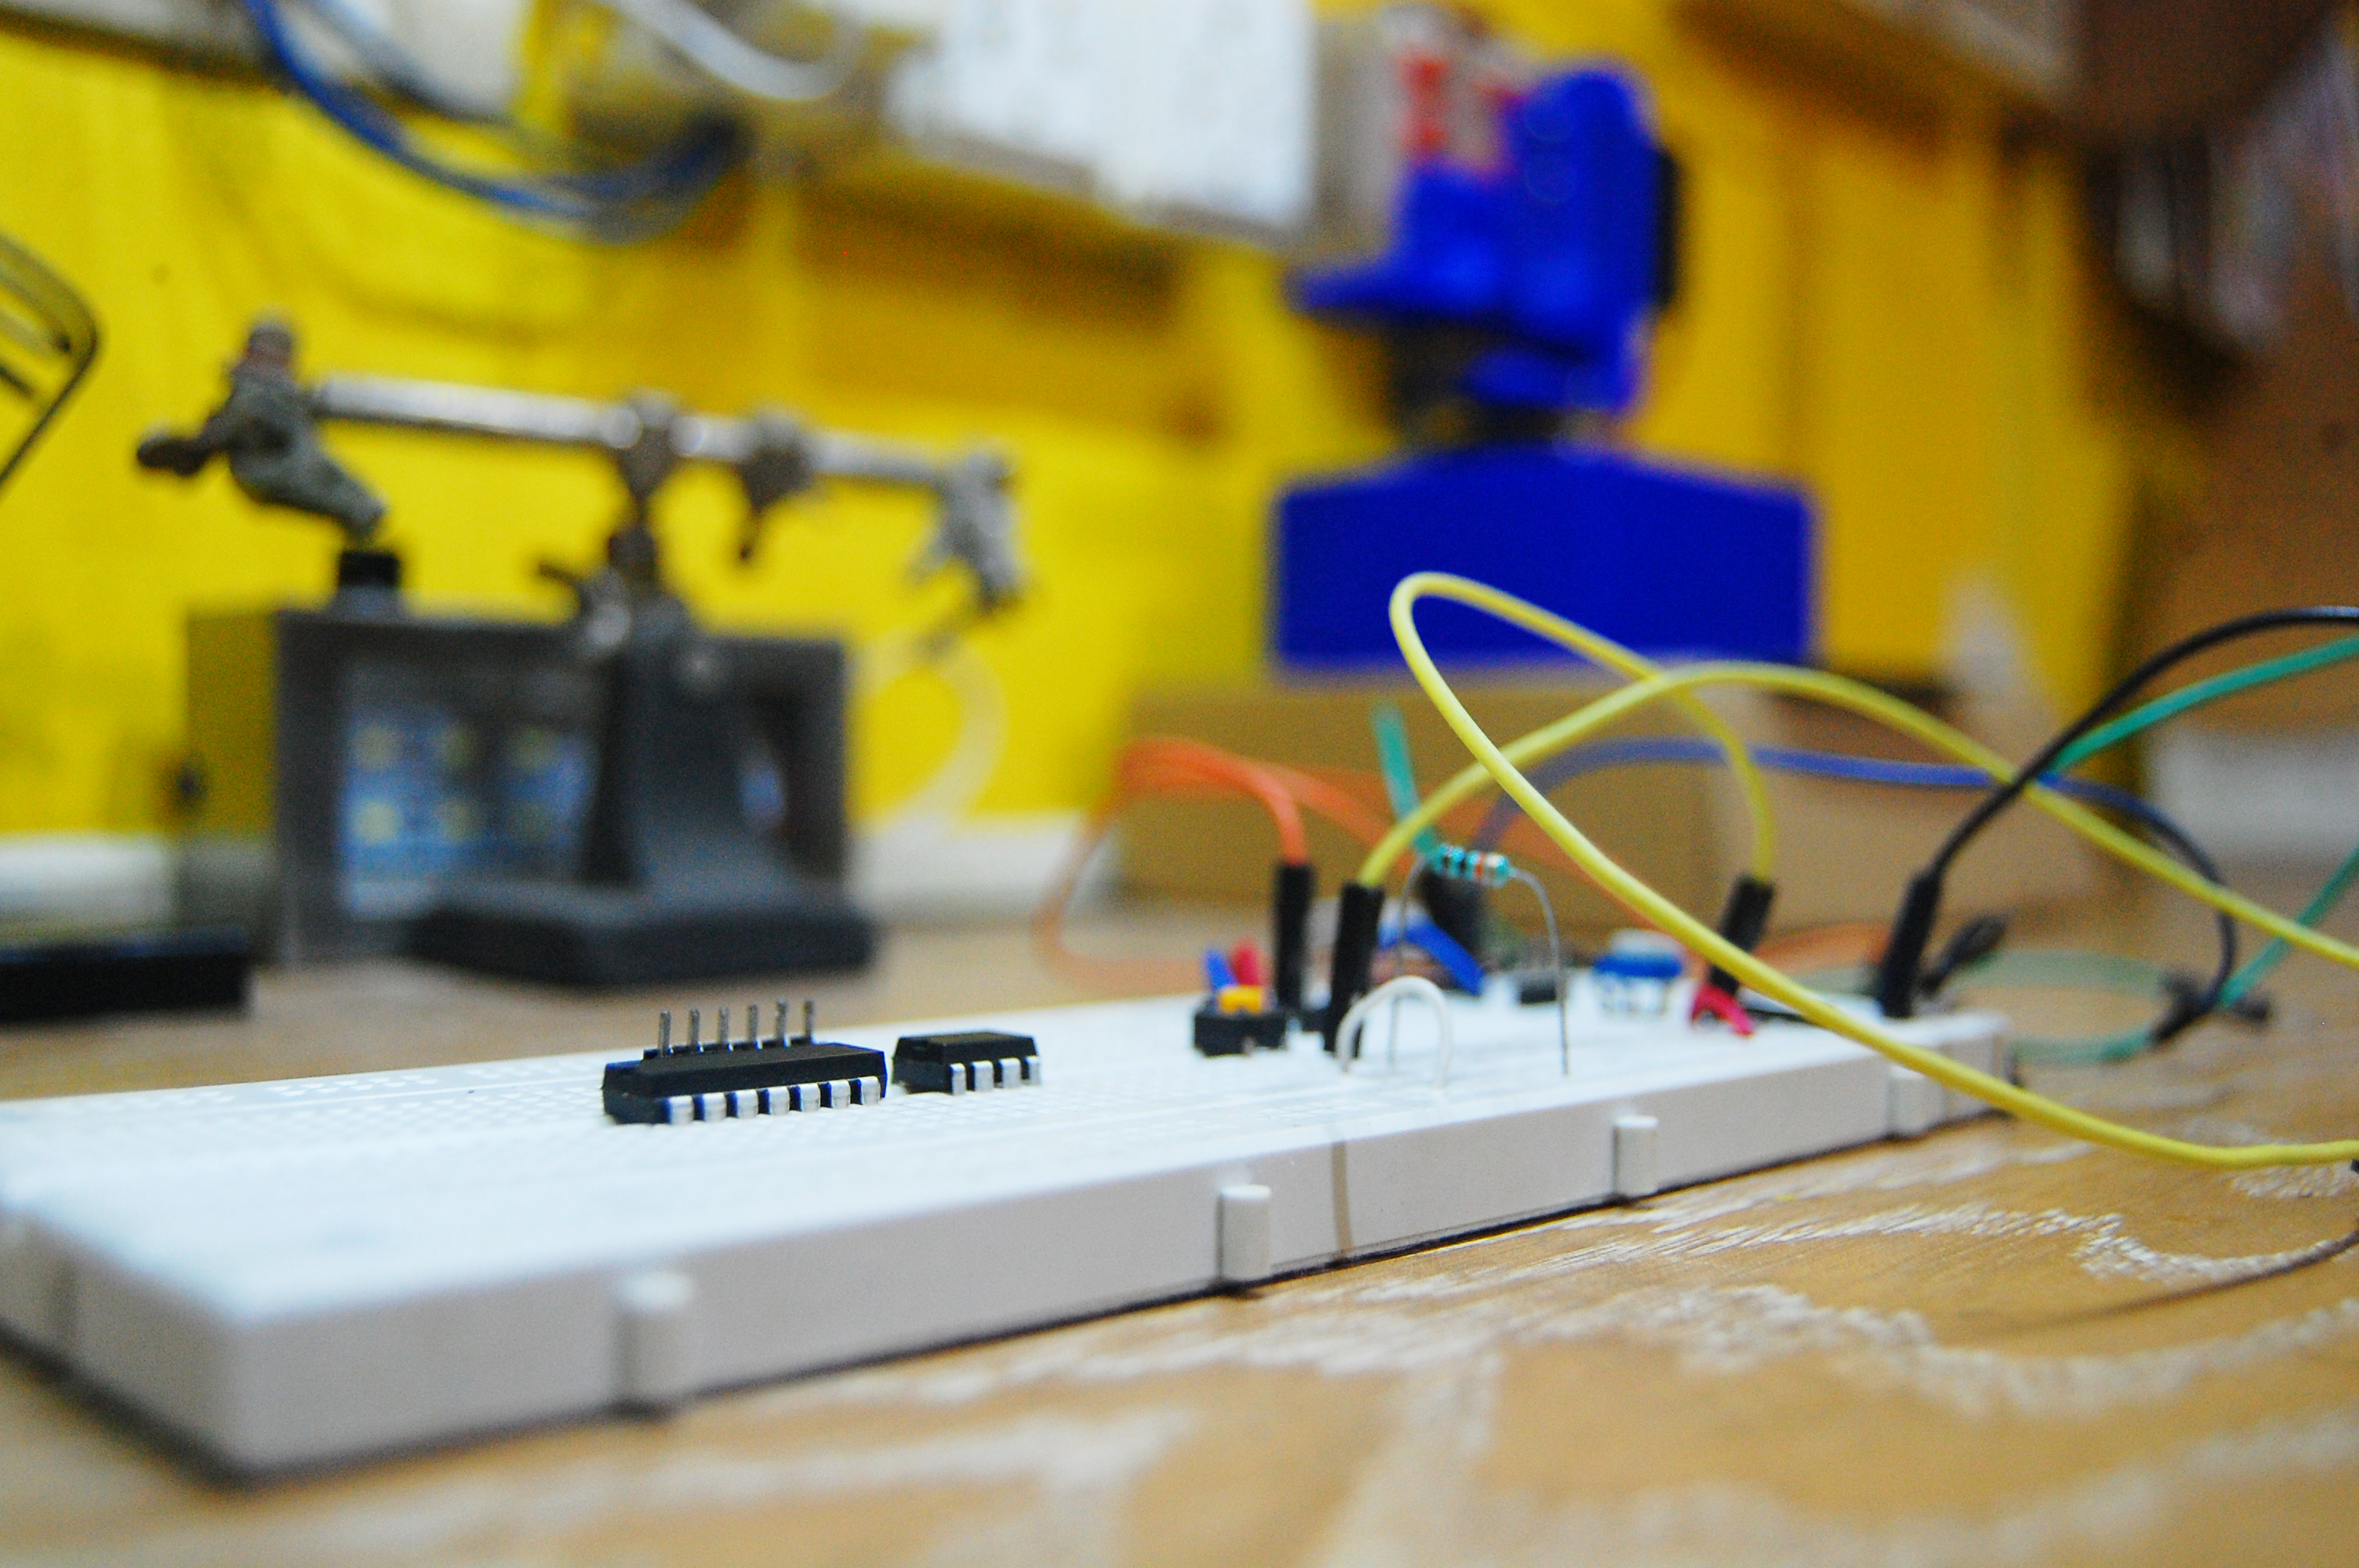
I wanted the camera to move in two directions i.e. in horizontal(X) and vertical(Y) axis. For that, I will be needing two motors.
We should be able to choose the start and stop position for both the axes.
The movement of the motors would be such that after each photo the axes should turn by 1 degree.
To get such precise control, I will be using Servo Motors.
Also, we should be able to set the time interval.
I wanted it to be portable so I decided to run it on a LiPo battery which means that charging and boost circuit will be required.
And lastly, the brain to control all this will be Arduino. ATMega328p will be used as a standalone microcontroller.
I went with a GoPro camera as it is small and making timelapses with it is easy. You can go with any other small camera or your mobile phone.
List of Components
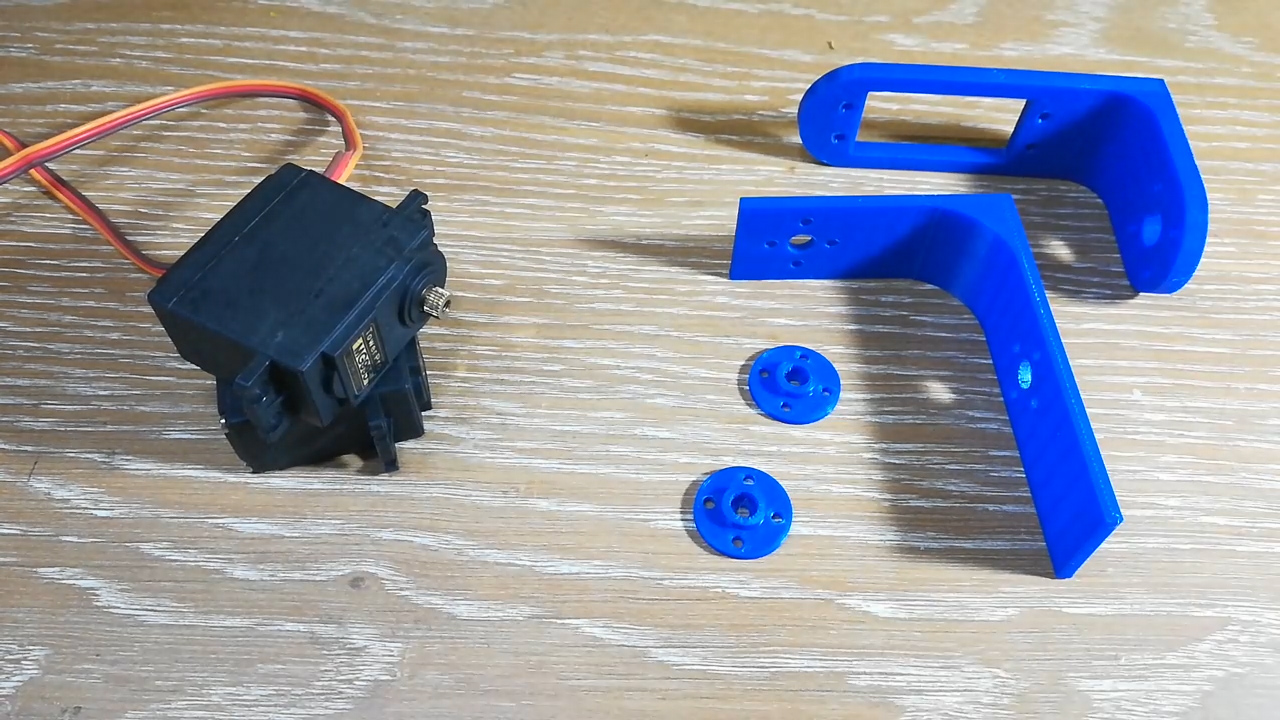
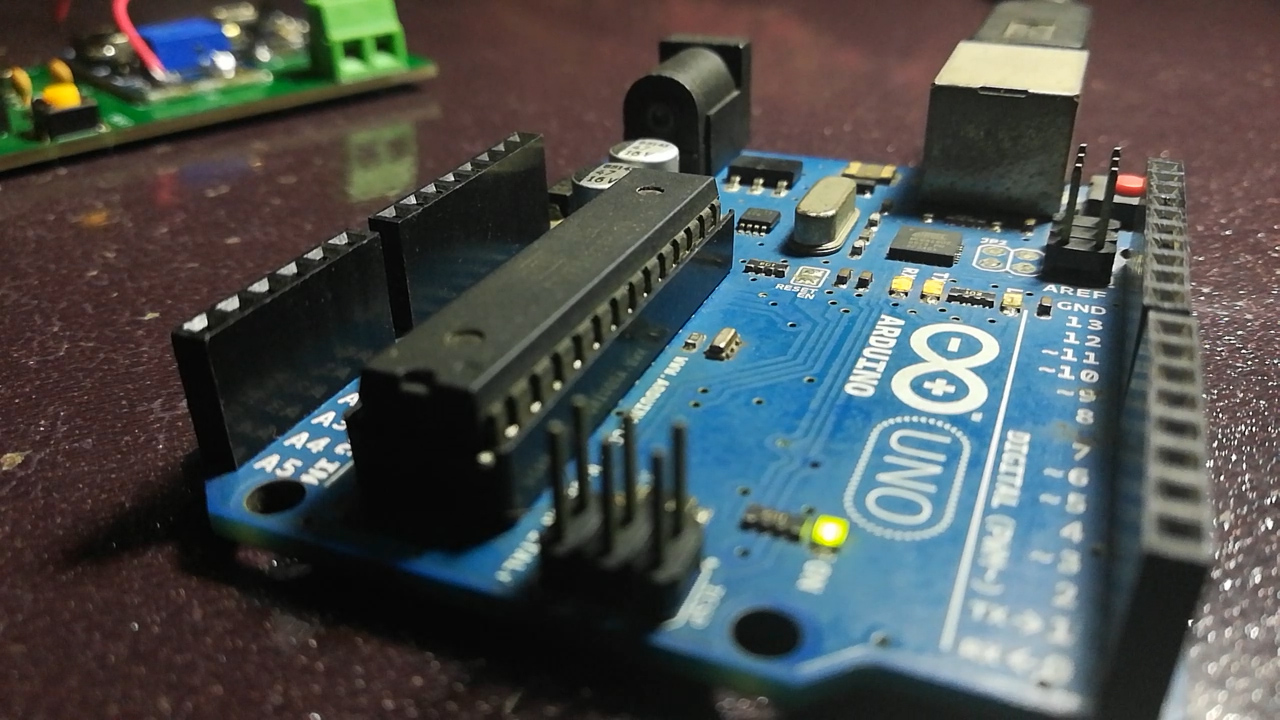
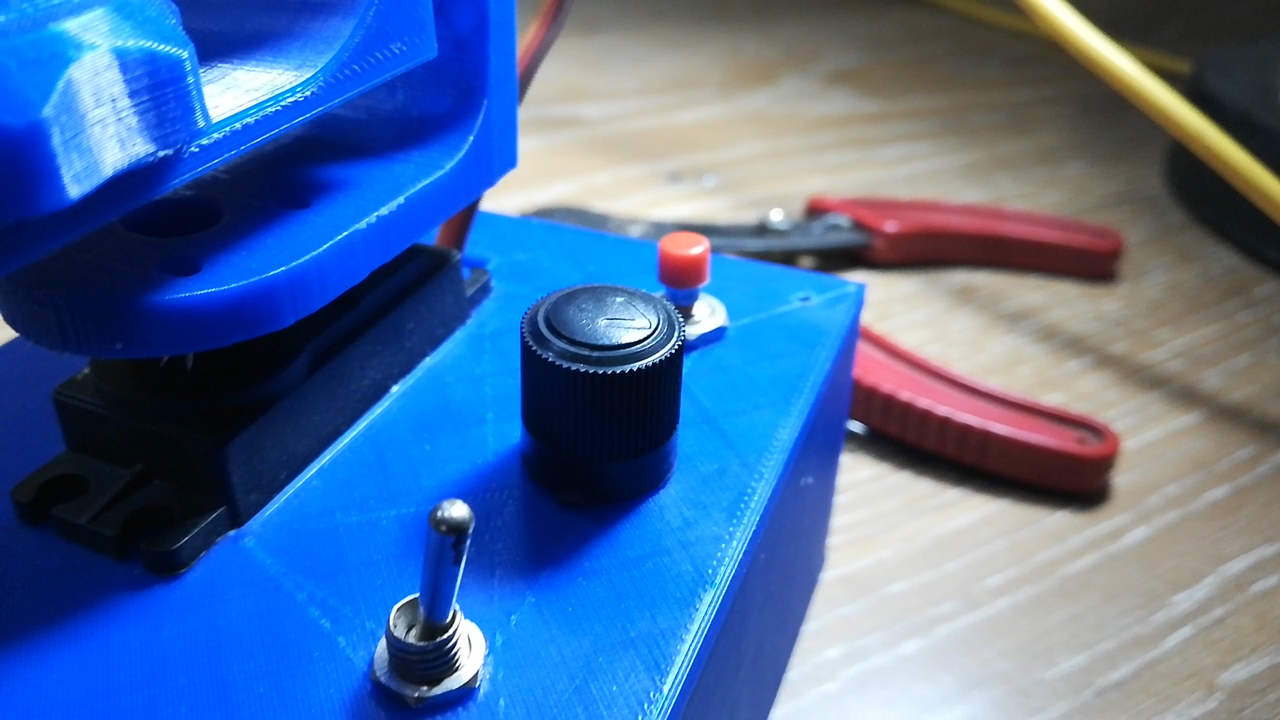
1x ATmega328p (with Arduino bootloader)
2x MG995 Servo Motor
1x MT3608 Boost Converter
1x TP4056 LiPo Battery Charging Module
1x SPDT Switch
1x 16 MHz Crystal
2x 22pF Capacitor
2x 10k Resistor
1x Potentiometer (any value)
1x Push Button (Normally Open)
Optional:
3D Printer
Designing the PCB
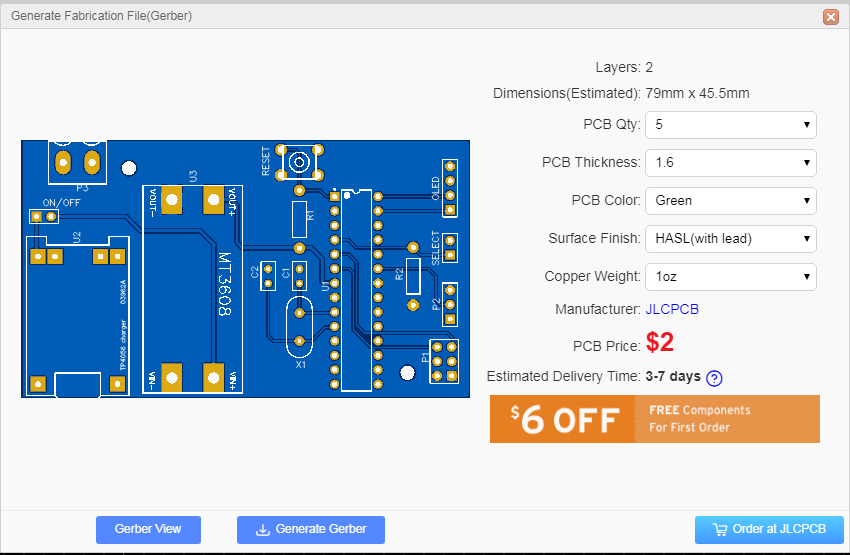
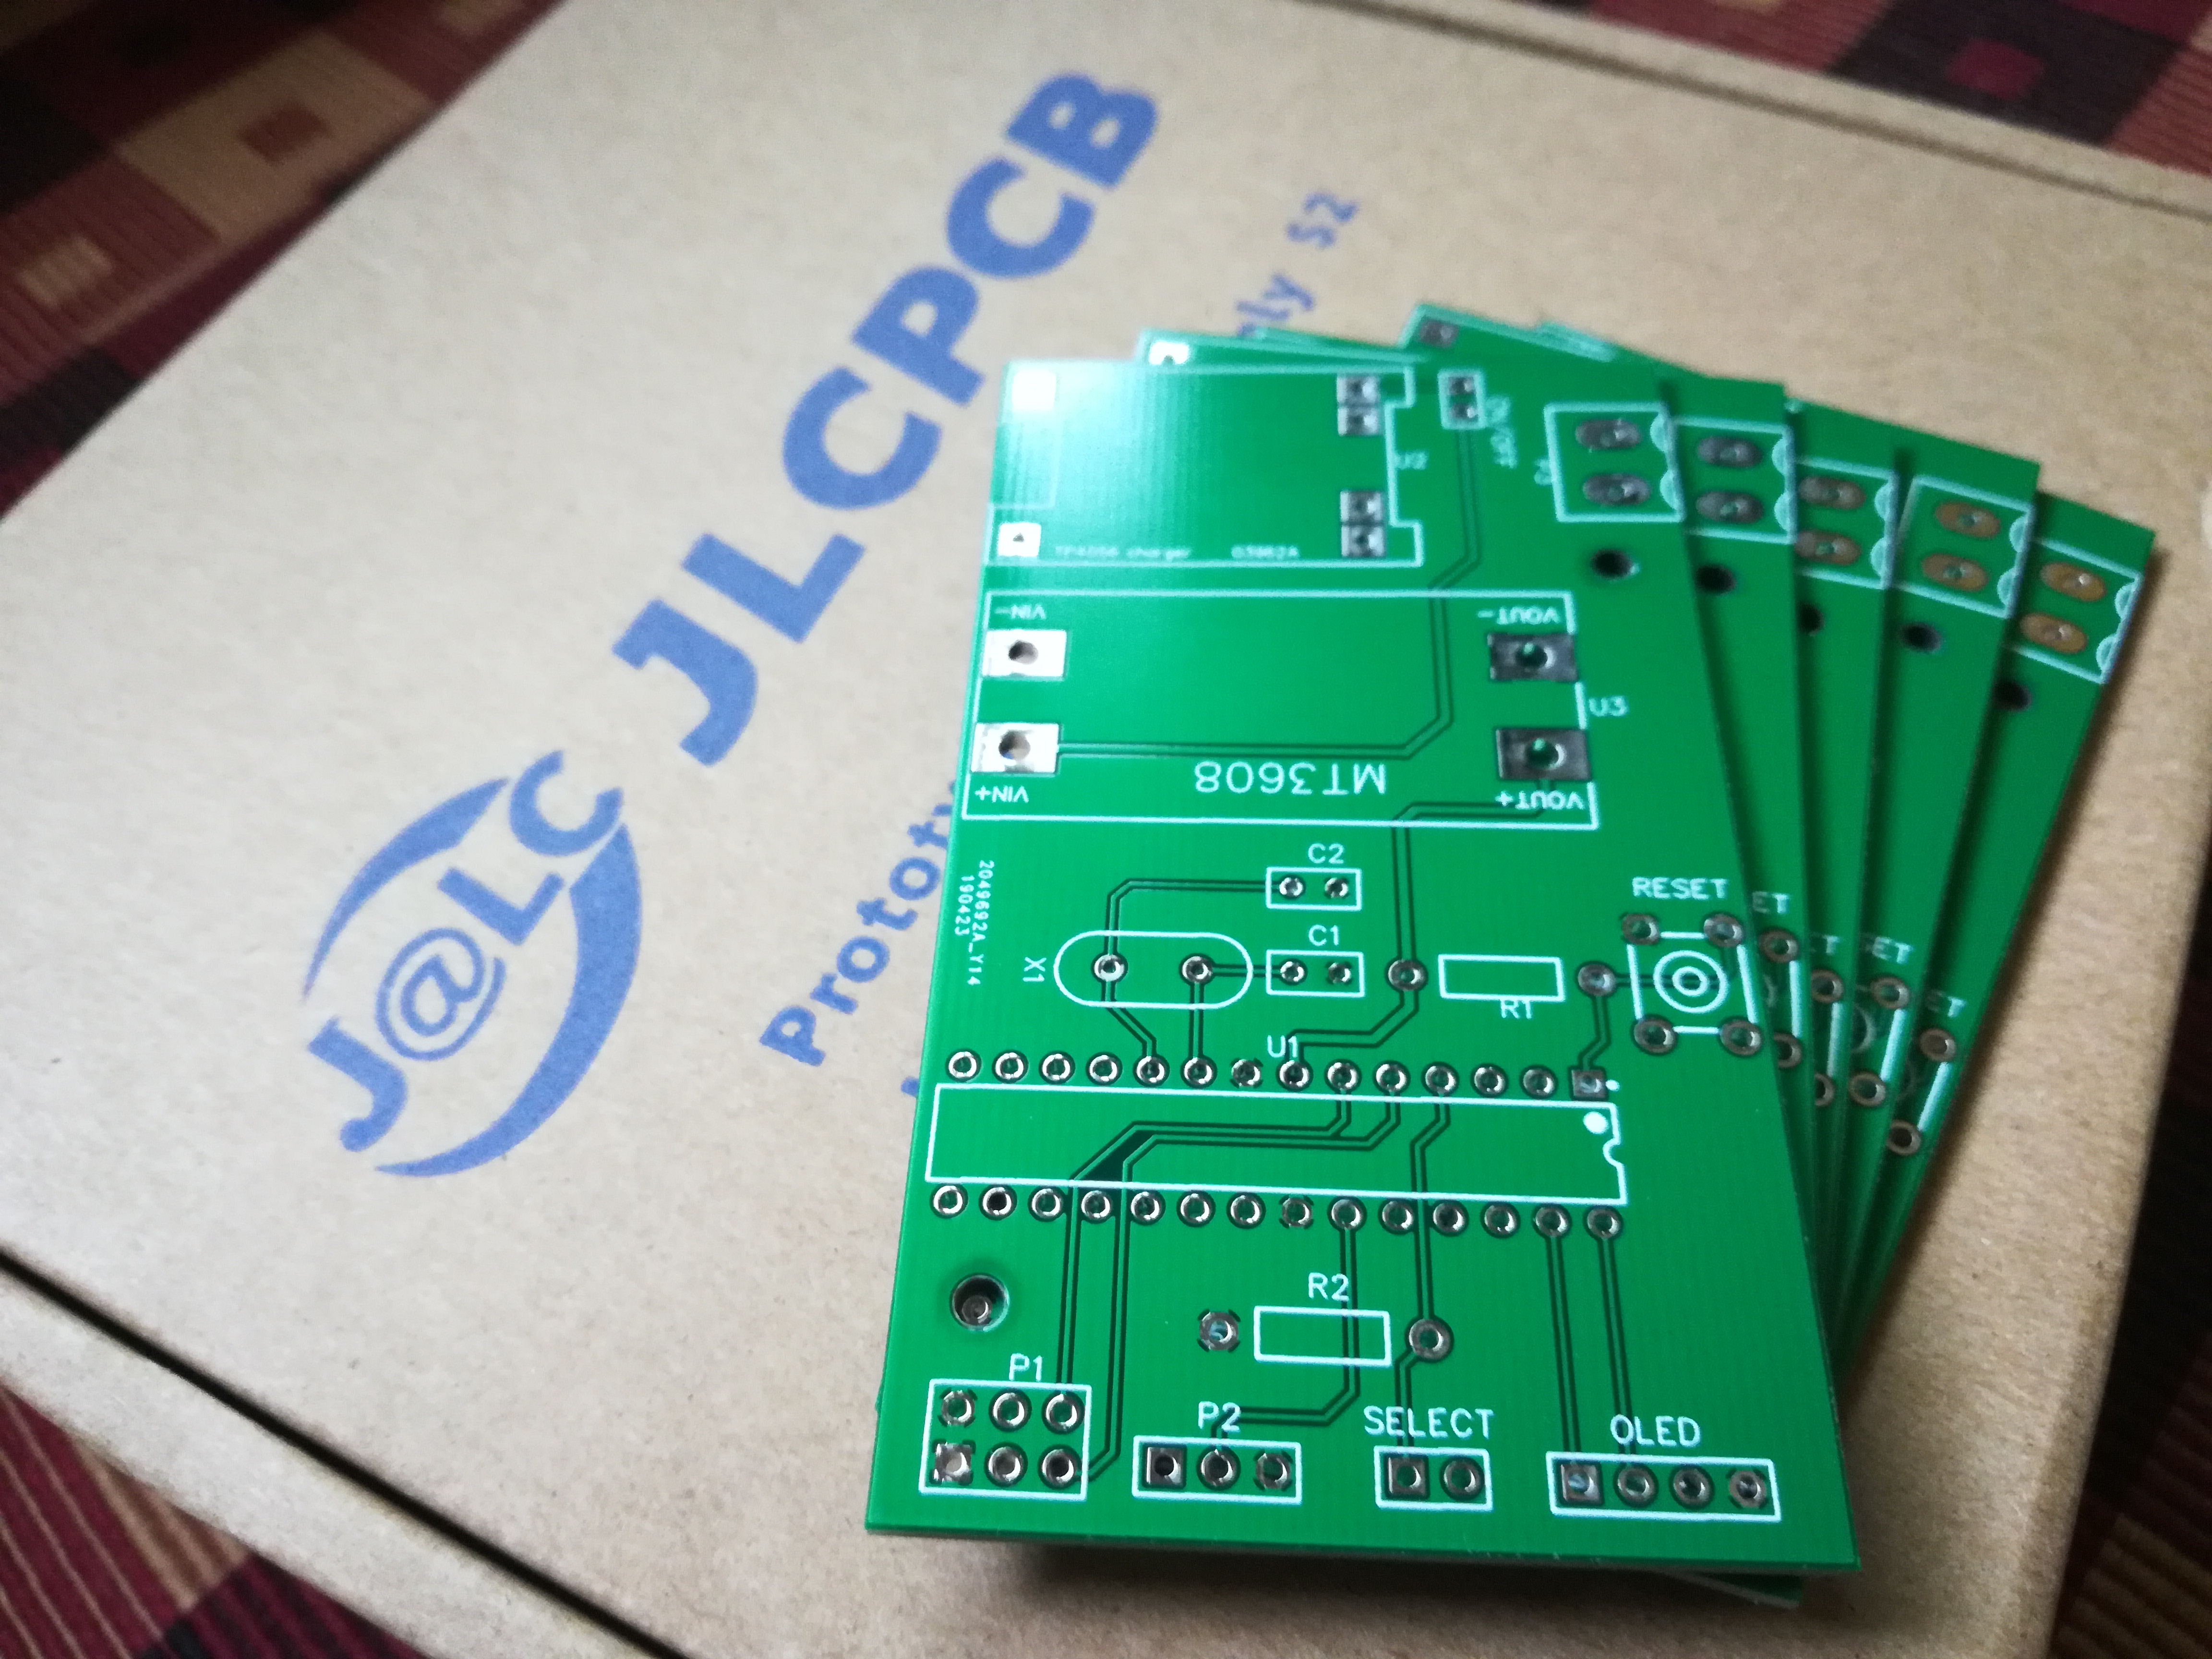
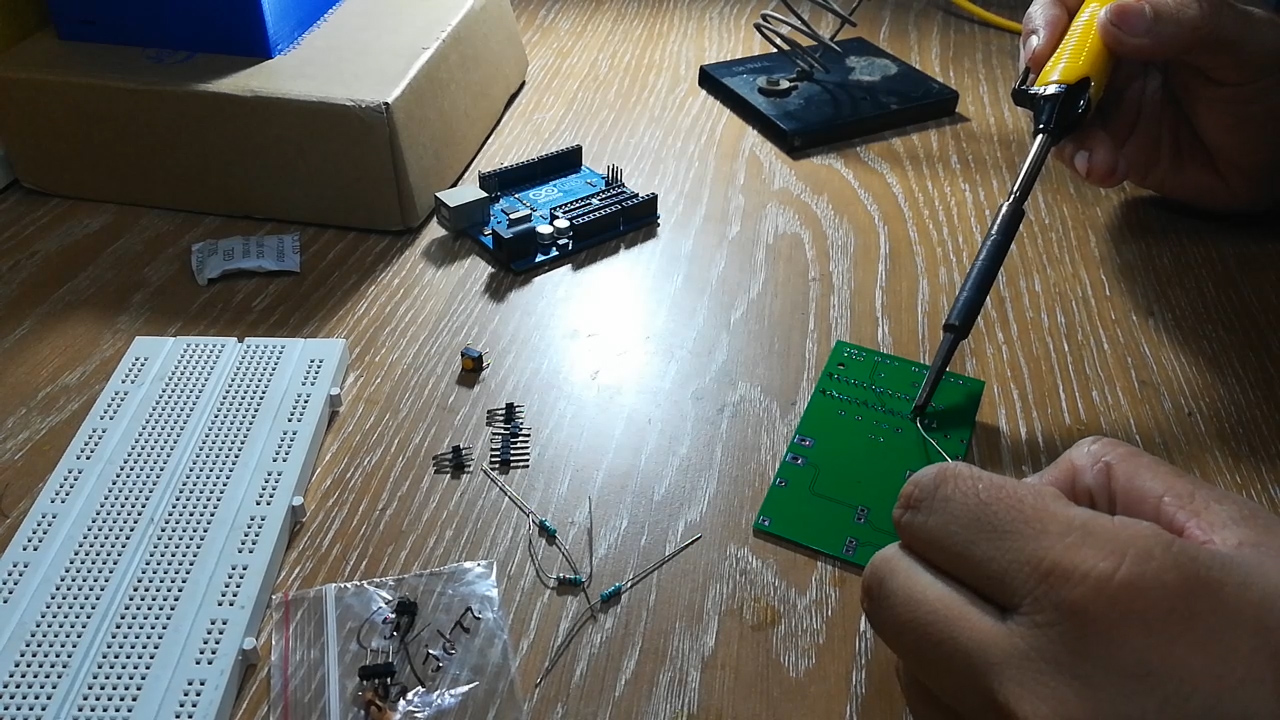
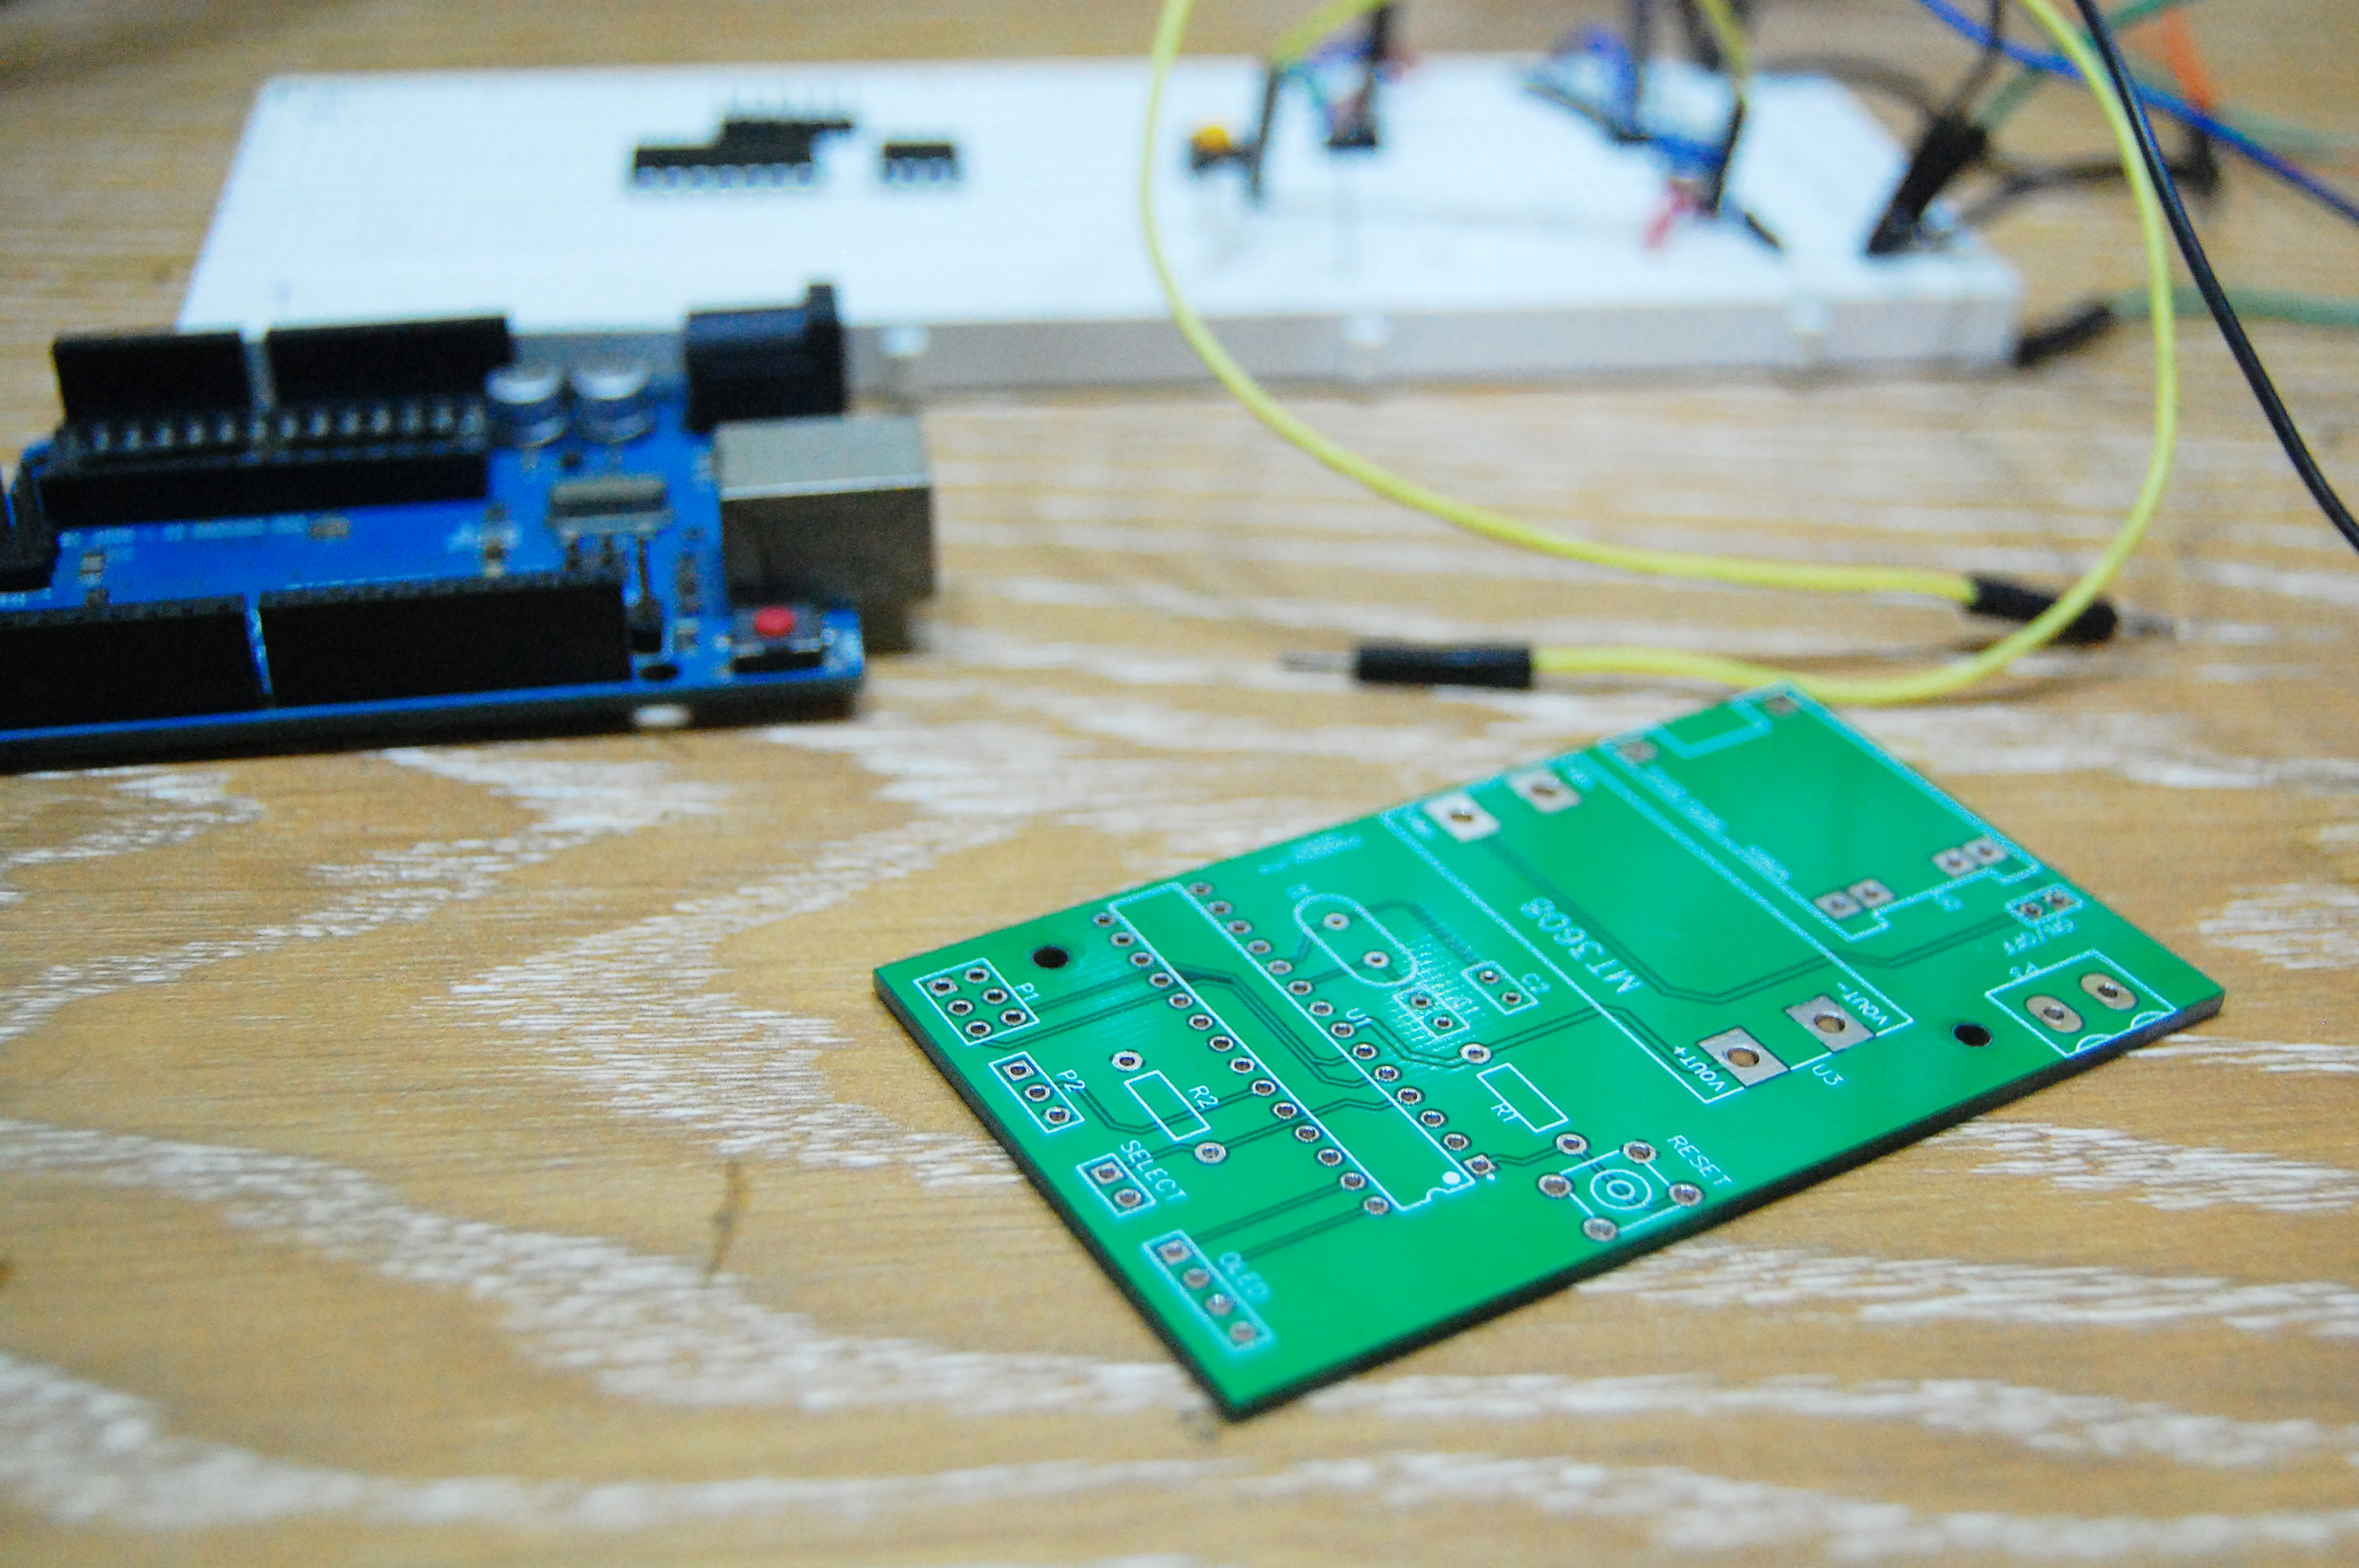
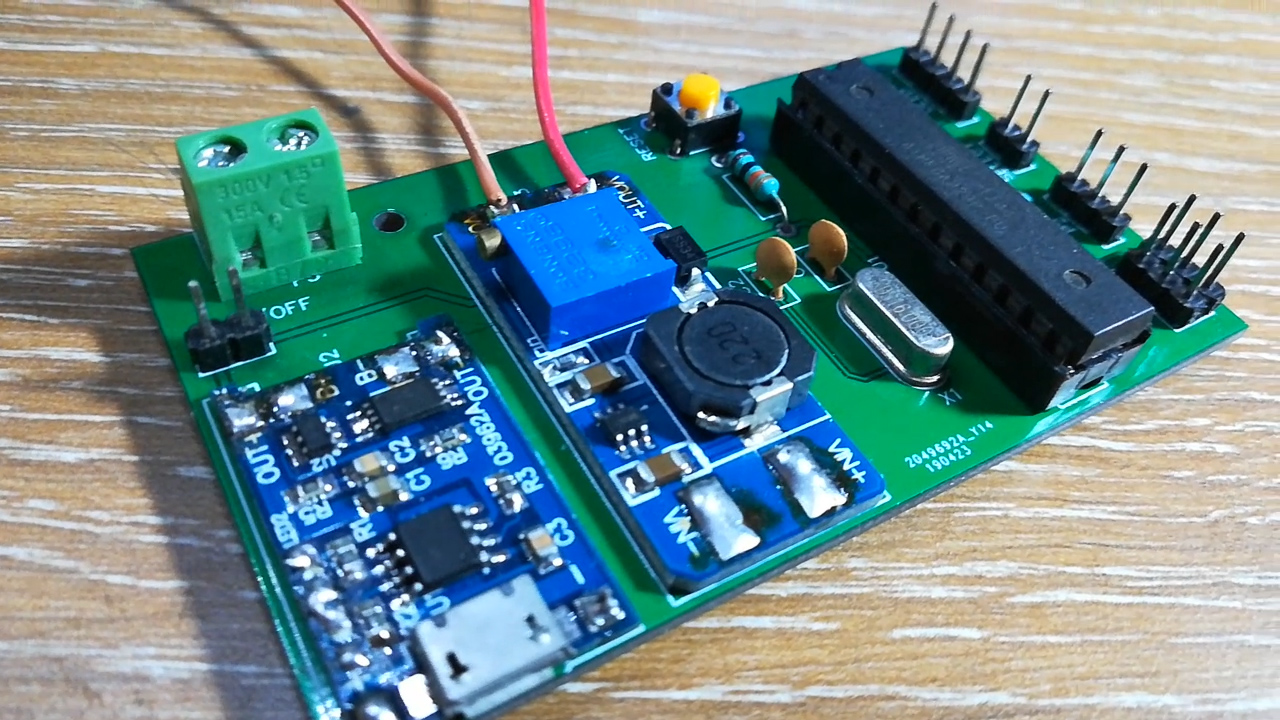
To make the circuit as small as possible, I went with a printed circuit board. You can etch the board yourself at home or let the professionals do the hard work for you and that is what I did.
When everything is working right on the breadboard, we can start with the PCB designing process. I chose EasyEDA for designing as it makes things easy for beginners like me.
Check, check and check! Make sure you didn't miss anything out. Once you are completely sure, click on Generate Fabrication File to download the Gerber files or you can directly order it from JLCPCB for just 2$ using the option given below.
Once you receive/make your PCB, it's time to populate it. Keep your circuit diagram ready and start soldering the components as per the silkscreen marking.
Clean the PCB after soldering with Iso Propyl Alcohol to remove the flux residue.
Putting Things Together
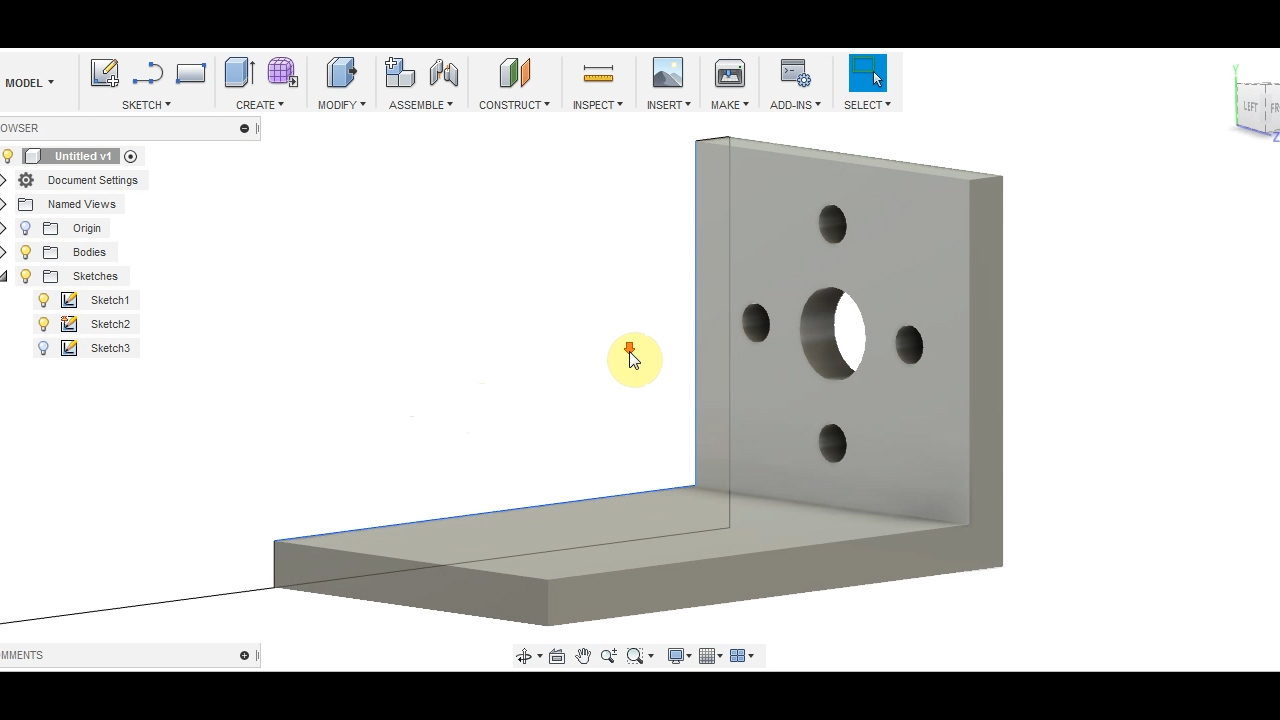
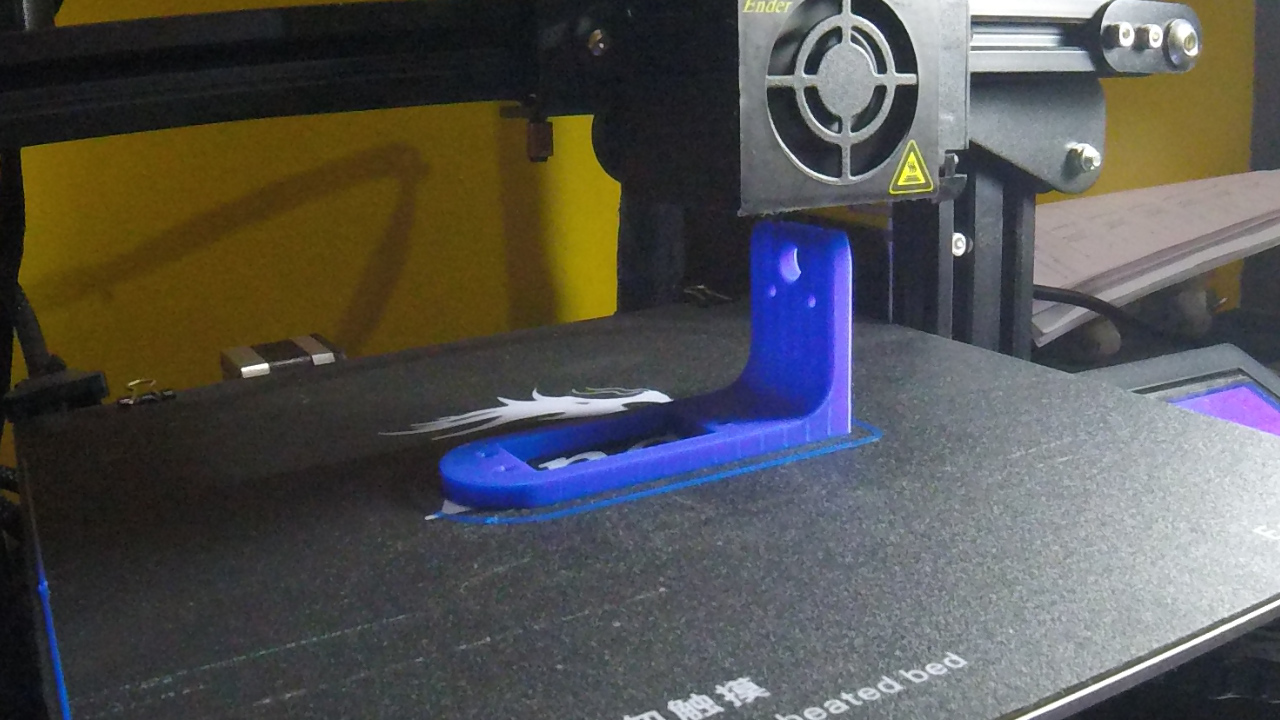
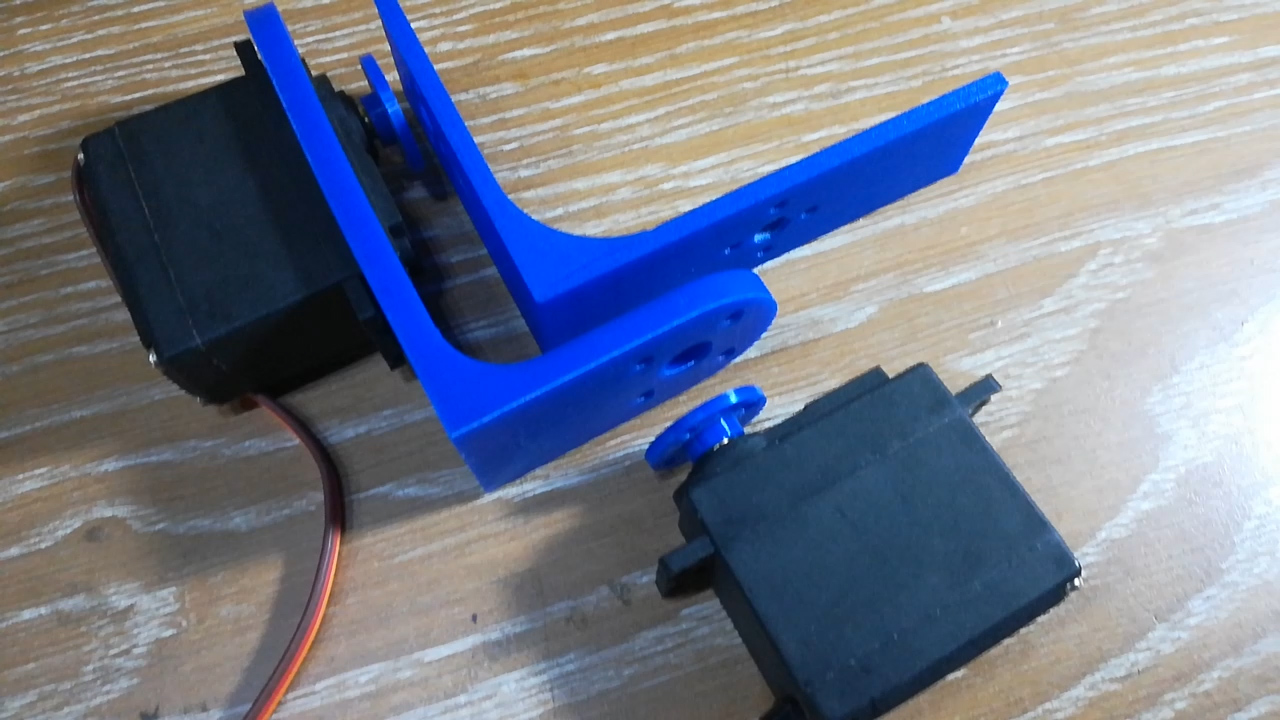
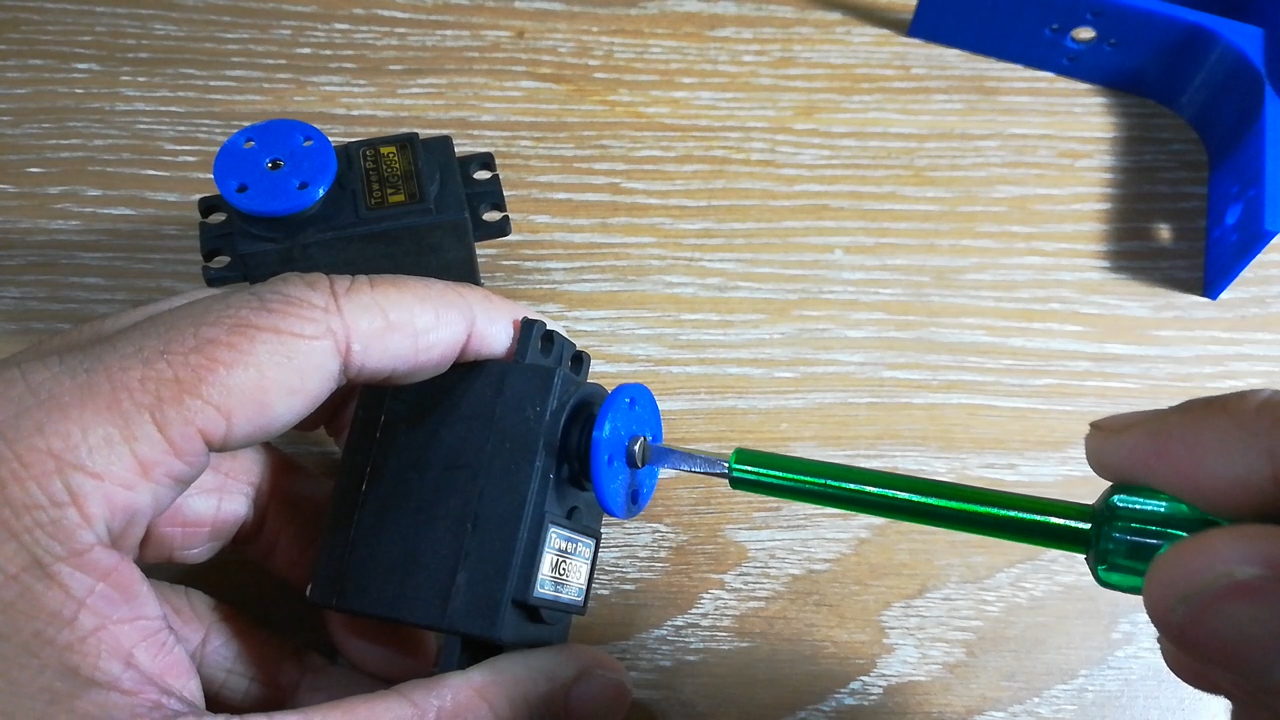
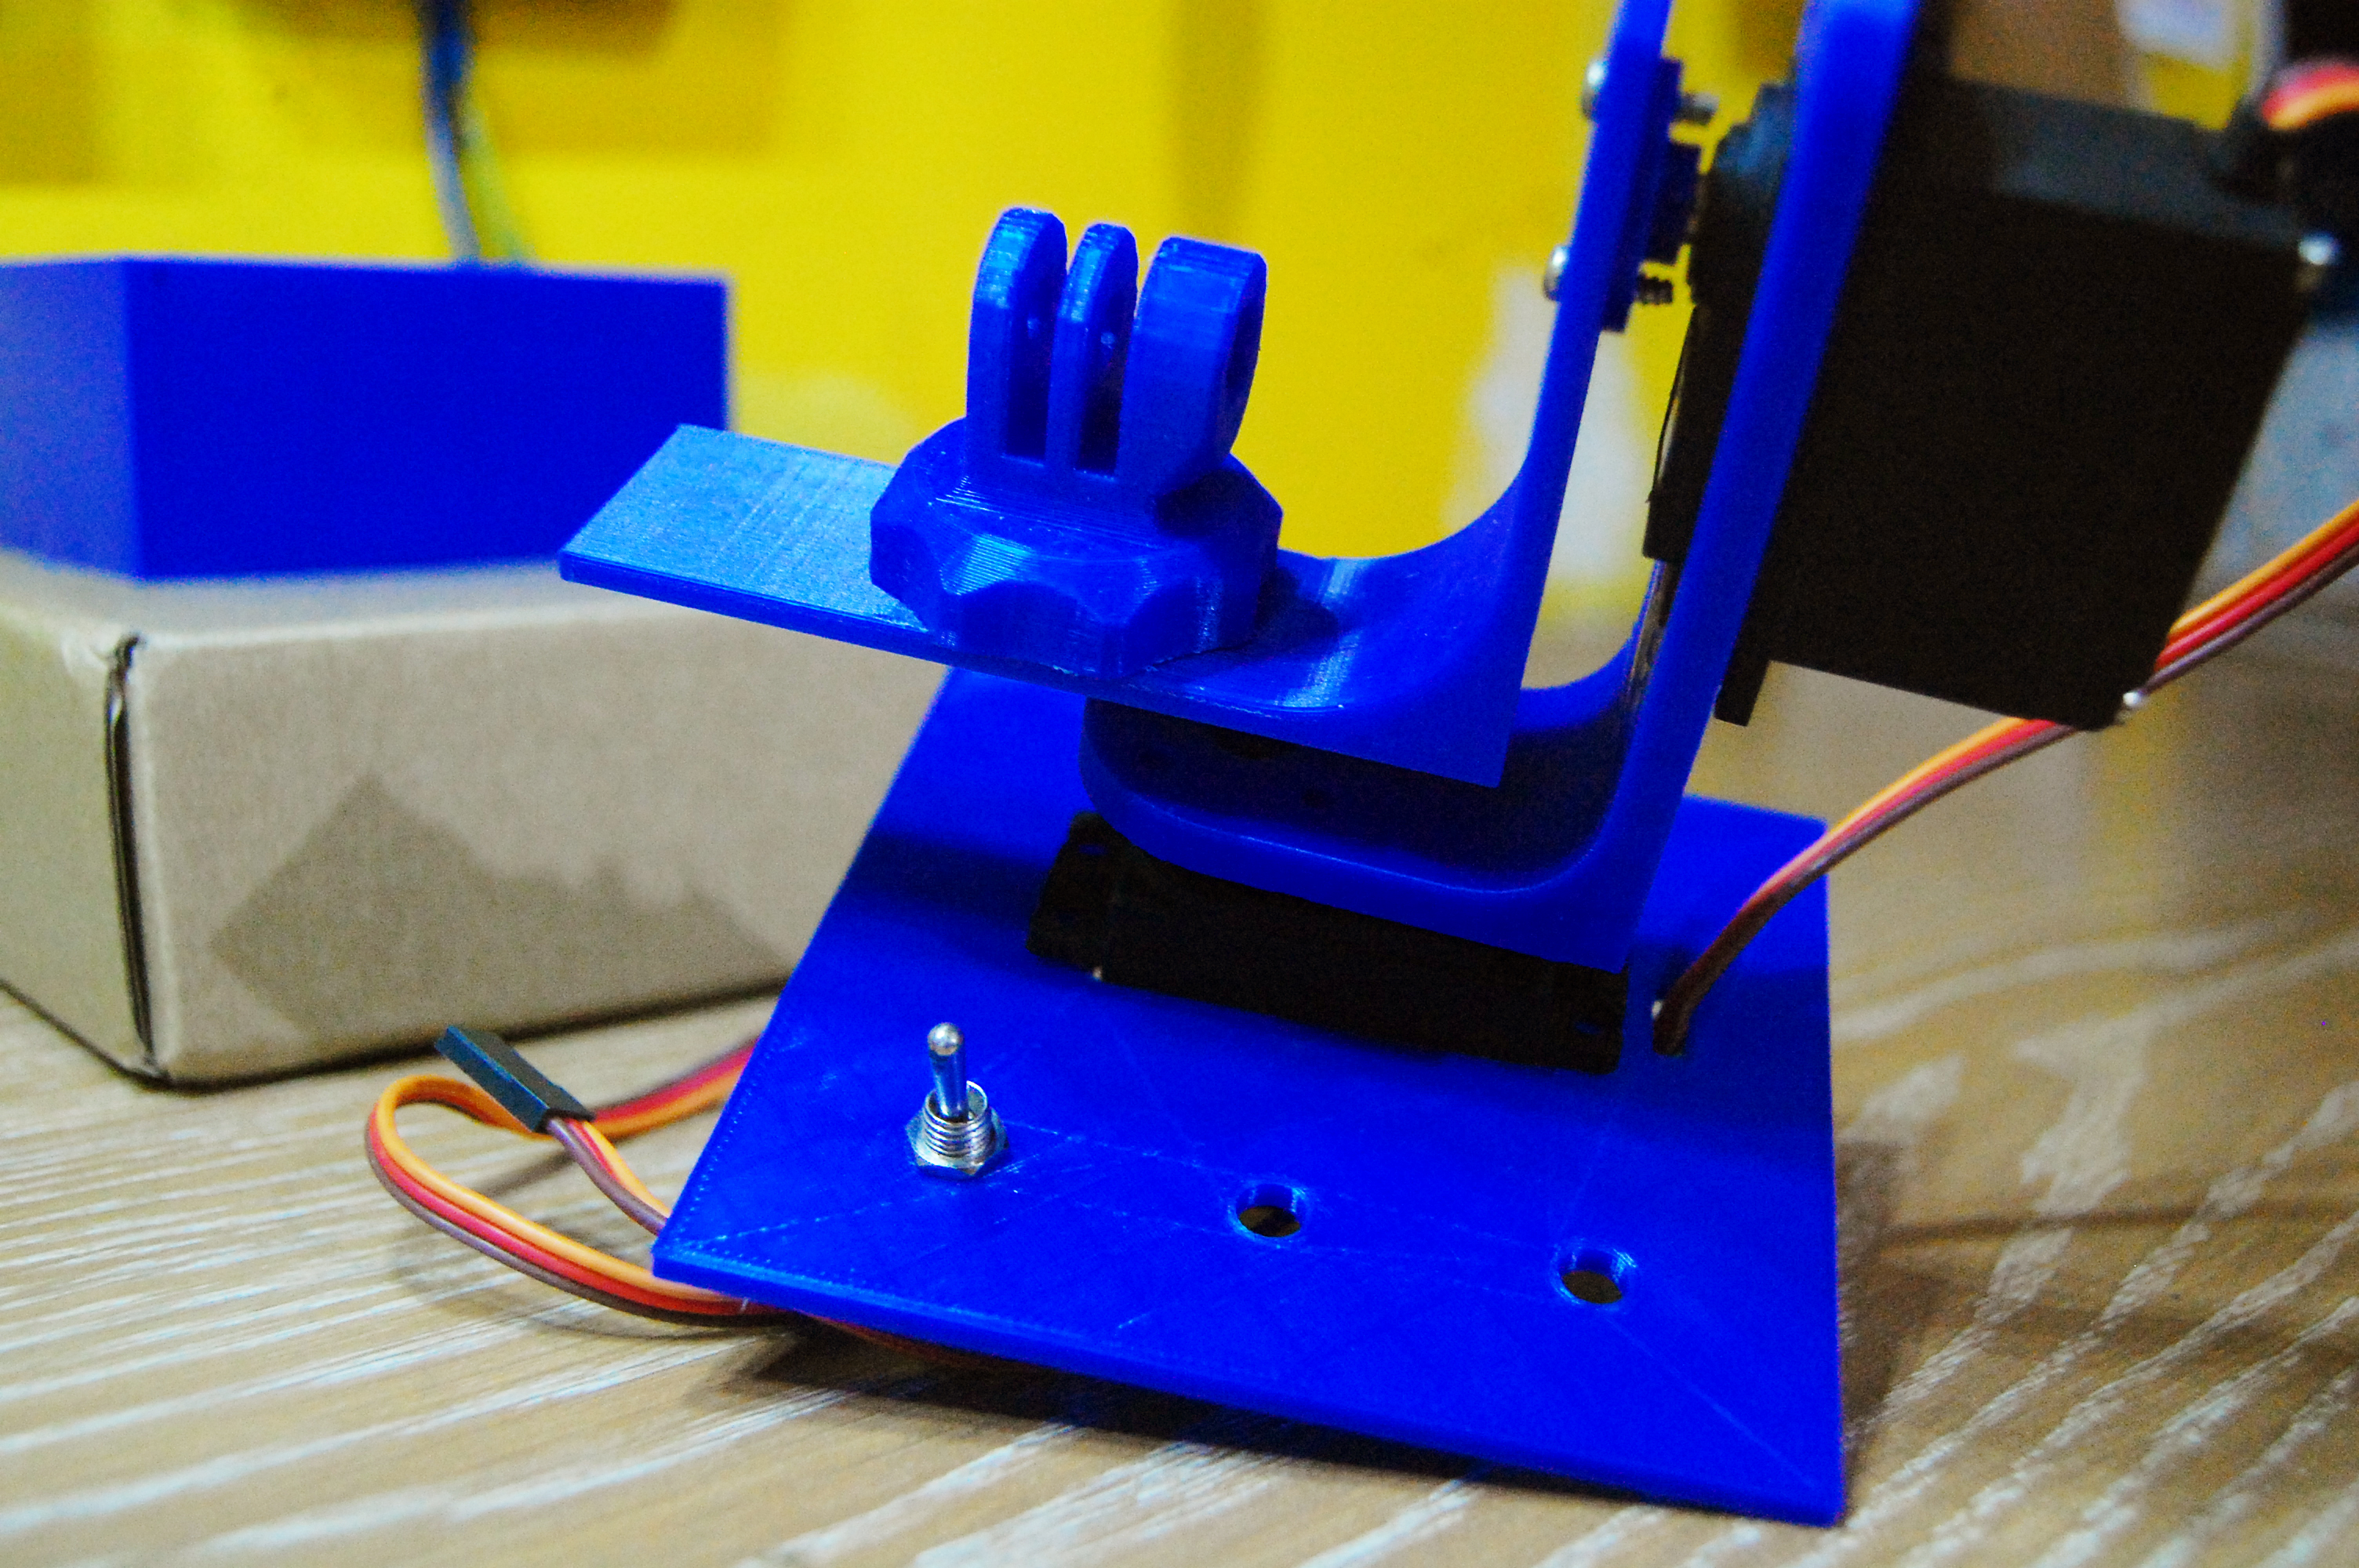
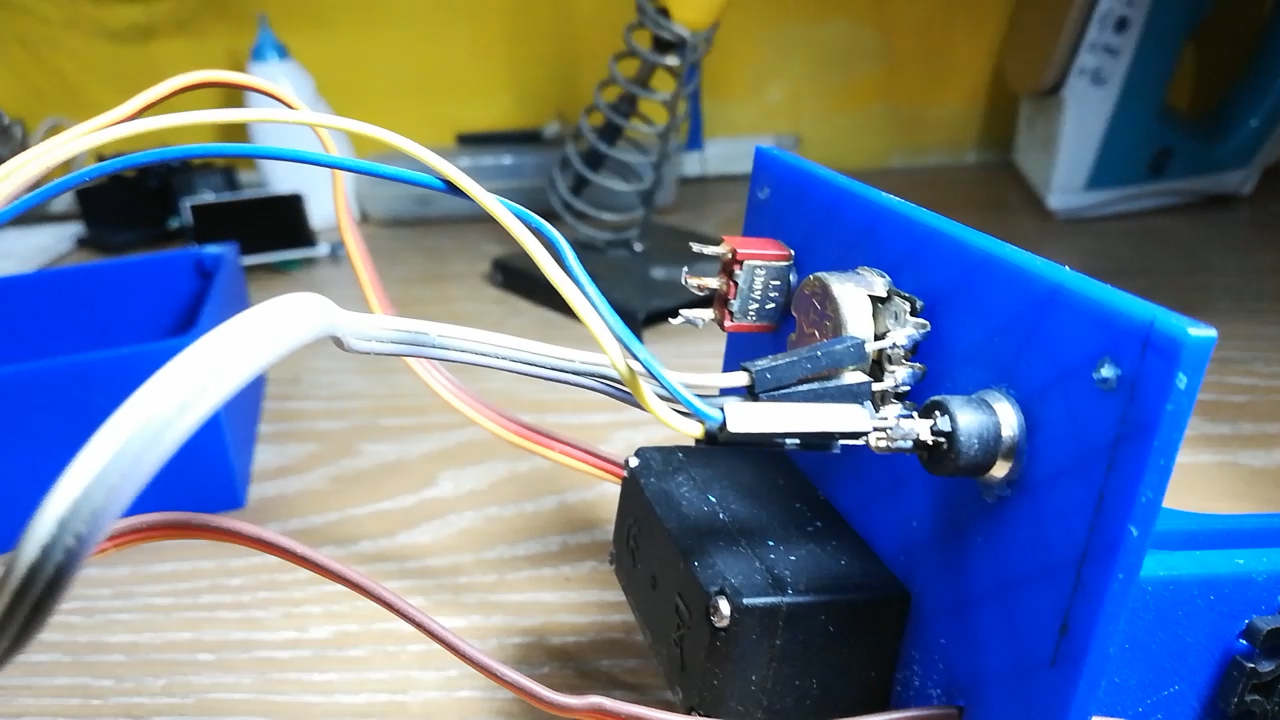
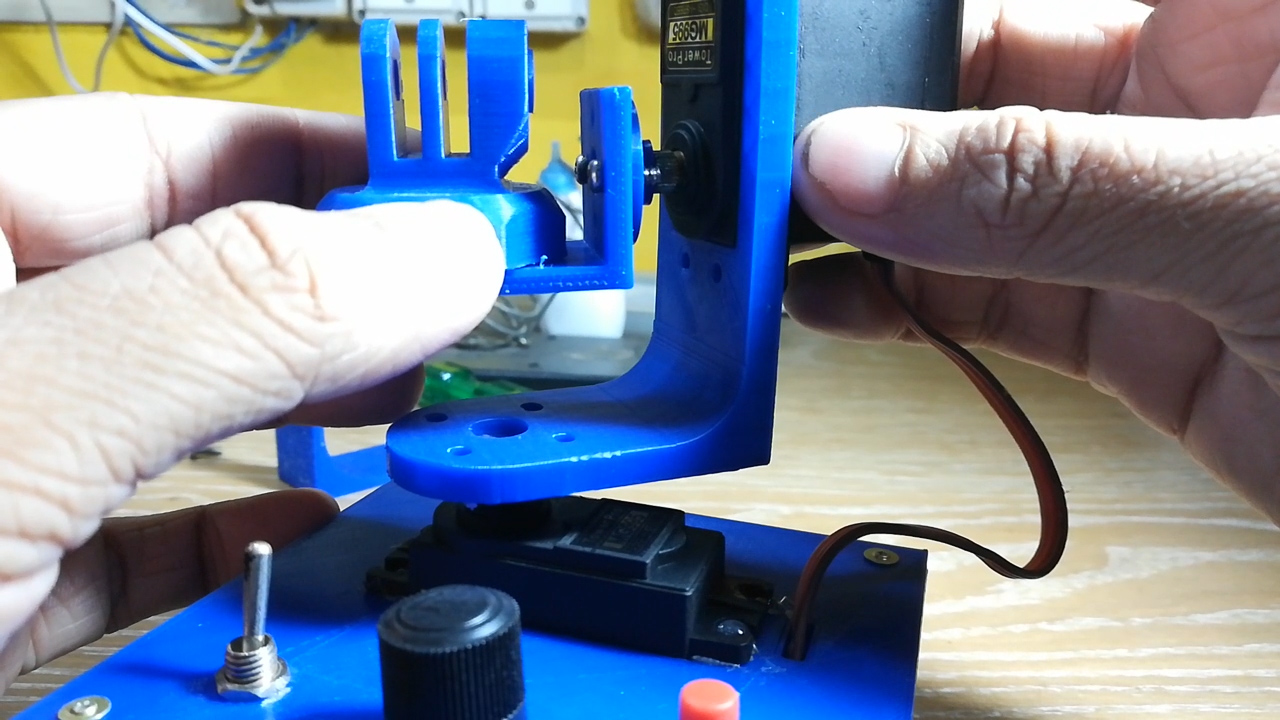
You won't be needing a fancy 3D Printer. The parts can be built very easily with proper tools. I recently got a 3D printer and was eager to use it in my project. I found some of the parts from Thingiverse.
GoPro Mount: https://www.thingiverse.com/thing:53680
Servo Horn: https://www.thingiverse.com/thing:2794688
Solder wires to the Power switch, Pot and Push button with female headers and connect them to the male headers on the PCB.
Download and open the attached file in Arduino IDE and upload the code to your Arduino. After uploading the code, remove the IC from the Arduino board and insert it on your PCB.
/*
Author : IndoorGeek YouTube : www.youtube.com/IndoorGeek Thank you for downloading. Hope you like the project. */#include
Servo xServo; Servo yServo;
int potPin = A0; int val,xStart,xStop,yStart,yStop; int button = 2; unsigned long timeInterval;
void setup() { pinMode(button, INPUT); xServo.attach(3); yServo.attach(4); }
void loop() { xAxis(); delay(1000); xStart = val; yAxis(); delay(1000); yStart = val; xAxis(); delay(1000); xStop = val; yAxis(); delay(1000); yStop = val; setTimeInterval(); delay(1000); timelapseStart(); }
void xAxis(){ while(digitalRead(button) != HIGH){ val = analogRead(A0); val = map(val, 0, 1023, 0, 180); xServo.write(val); } }
void yAxis(){ while(digitalRead(button) != HIGH){ val = analogRead(A0); val = map(val, 0, 1023, 0, 180); yServo.write(val); } }
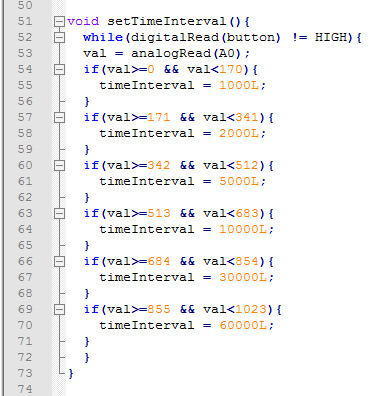
void setTimeInterval(){ //Change the time intervals according to your camera's timelapse settings while(digitalRead(button) != HIGH){ val = analogRead(A0); if(val>=0 && val<170){ timeInterval = 1000L; } if(val>=171 && val<341){ timeInterval = 2000L; } if(val>=342 && val<512){ timeInterval = 5000L; } if(val>=513 && val<683){ timeInterval = 10000L; } if(val>=684 && val<854){ timeInterval = 30000L; } if(val>=855 && val<1023){ timeInterval = 60000L; } } }
void timelapseStart(){ unsigned long lastMillis = 0; xServo.write(xStart); yServo.write(yStart); while(xStart != xStop || yStart != yStop ){ if(millis() - lastMillis > timeInterval ){ if(xStart < xStop){ xServo.write(xStart); lastMillis = millis(); xStart++; } if(xStart > xStop){ xServo.write(xStart); lastMillis = millis(); xStart--; } if(yStart < yStop){ yServo.write(yStart); lastMillis = millis(); yStart++; } if(xStart > xStop){ yServo.write(yStart); lastMillis = millis(); yStart--; } } } }
Downloads
Working
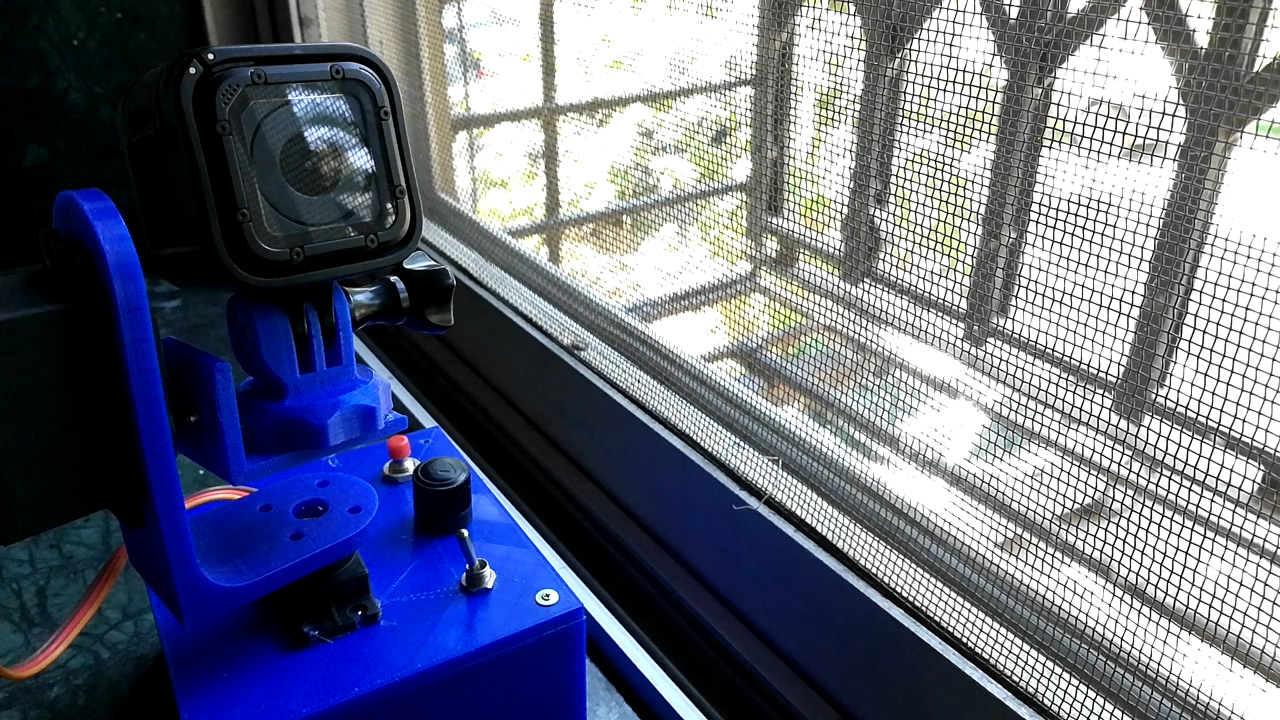
Turn ON the main switch.
X-axis will be active. Turn the pot to the position from where you want to start the timelapse. Press the Select push button to confirm the start position. After that, the Y-axis will be active. Do the same to select the Y-axis Start position.
Repeat the above procedure for the X and Y axis Stop position.
Now, using the pot, select the time interval between each shot. The rotation of pot is divided into 6 parts for intervals 1 sec, 2sec, 5sec, 10 sec, 30 sec and 60 sec. You can change the intervals in setTimeInterval() function as shown in the picture. Press the Select push button to confirm it.
The servos will get to their start position and will move by 1 degree after the time interval.
Sequence:
- Set X-axis Start position
- Set Y-axis Start position
- Set X-axis Stop position
- Set Y-axis Stop position
- Set the time interval
Future Upgrades
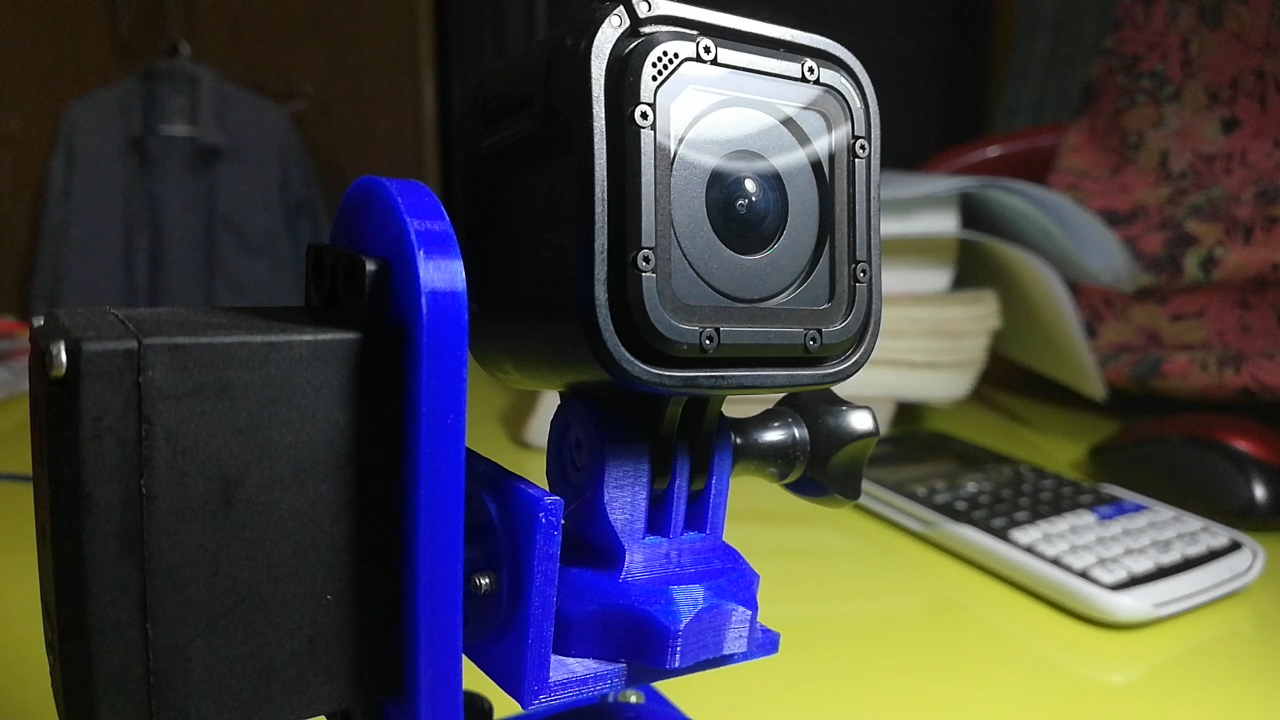
1) Currently, due to 1 shot/degree, the most number of photos which we can get is 180 as servos can rotate from 0 to 180 degrees. Adding gears will increase the resolution. Thus we will have more shots and hence, smooth timelapses. I am quite comfortable with electronics but not so much with mechanical stuff. Looking forward to improve it.
2) The potentiometer can be replaced by Rotary encoder.
3) Wireless control, maybe?!
There's a lot to learn!
Enjoy!
Thank you for sticking till the end. Hope you all love this project and learned something new today. Let me know if you make one for yourself. Subscribe to my YouTube channel for more upcoming projects. Thank you once again!