Sketchbook Made From Scrap Materials.
by Snotflower in Design > Art
9163 Views, 221 Favorites, 0 Comments
Sketchbook Made From Scrap Materials.
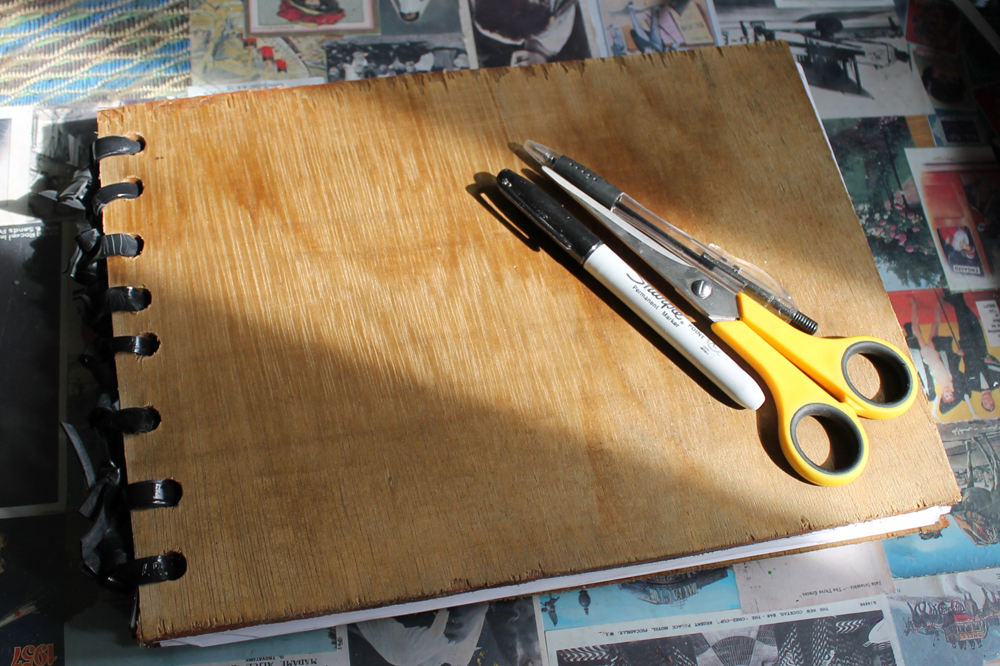
This is how I made a sketchbook entirely out of scrap materials lying around the house.
If you are a clumsy artist like myself, you need a sketchbook that will be able to endure a few knocks.
I want a tough drawing pad, that looks tough and acts tough.
You will need:
If you are a clumsy artist like myself, you need a sketchbook that will be able to endure a few knocks.
I want a tough drawing pad, that looks tough and acts tough.
You will need:
- Scrap paper.
- Wood.
- Dead bicycle inner tube.
- Scissors.
- Woodsaw.
- Drill.
- Varnish.
Select Your Paper.
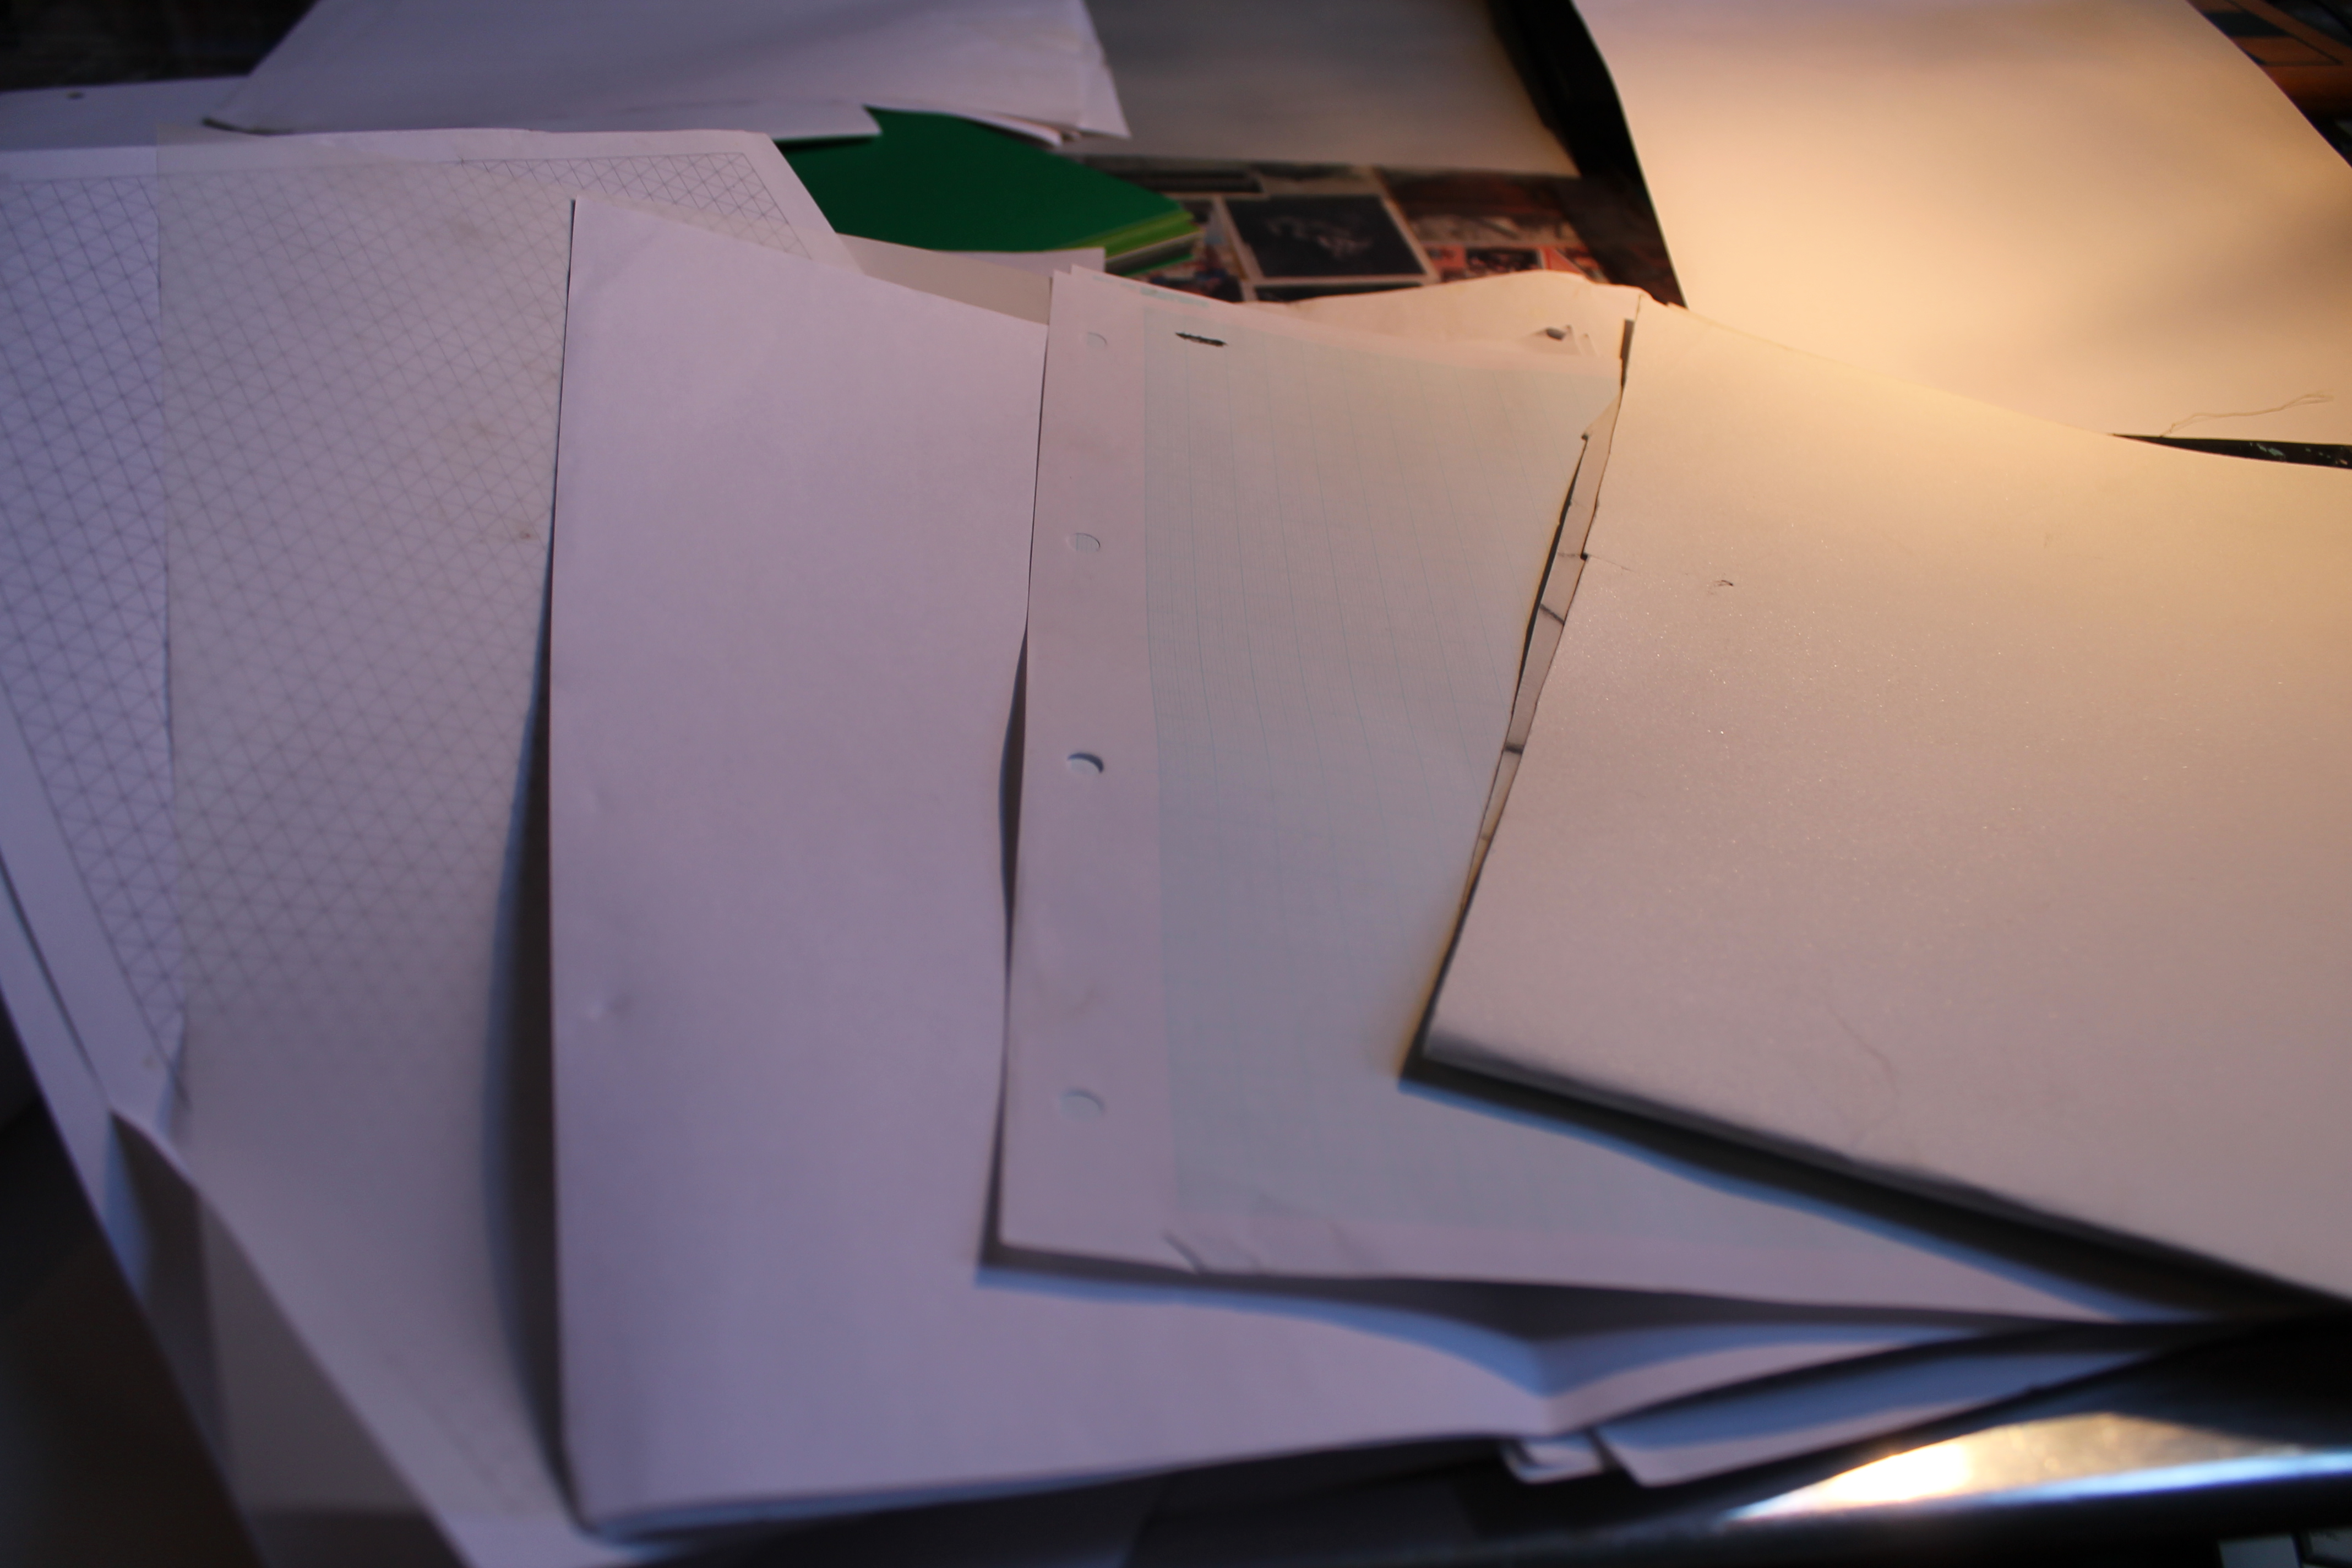
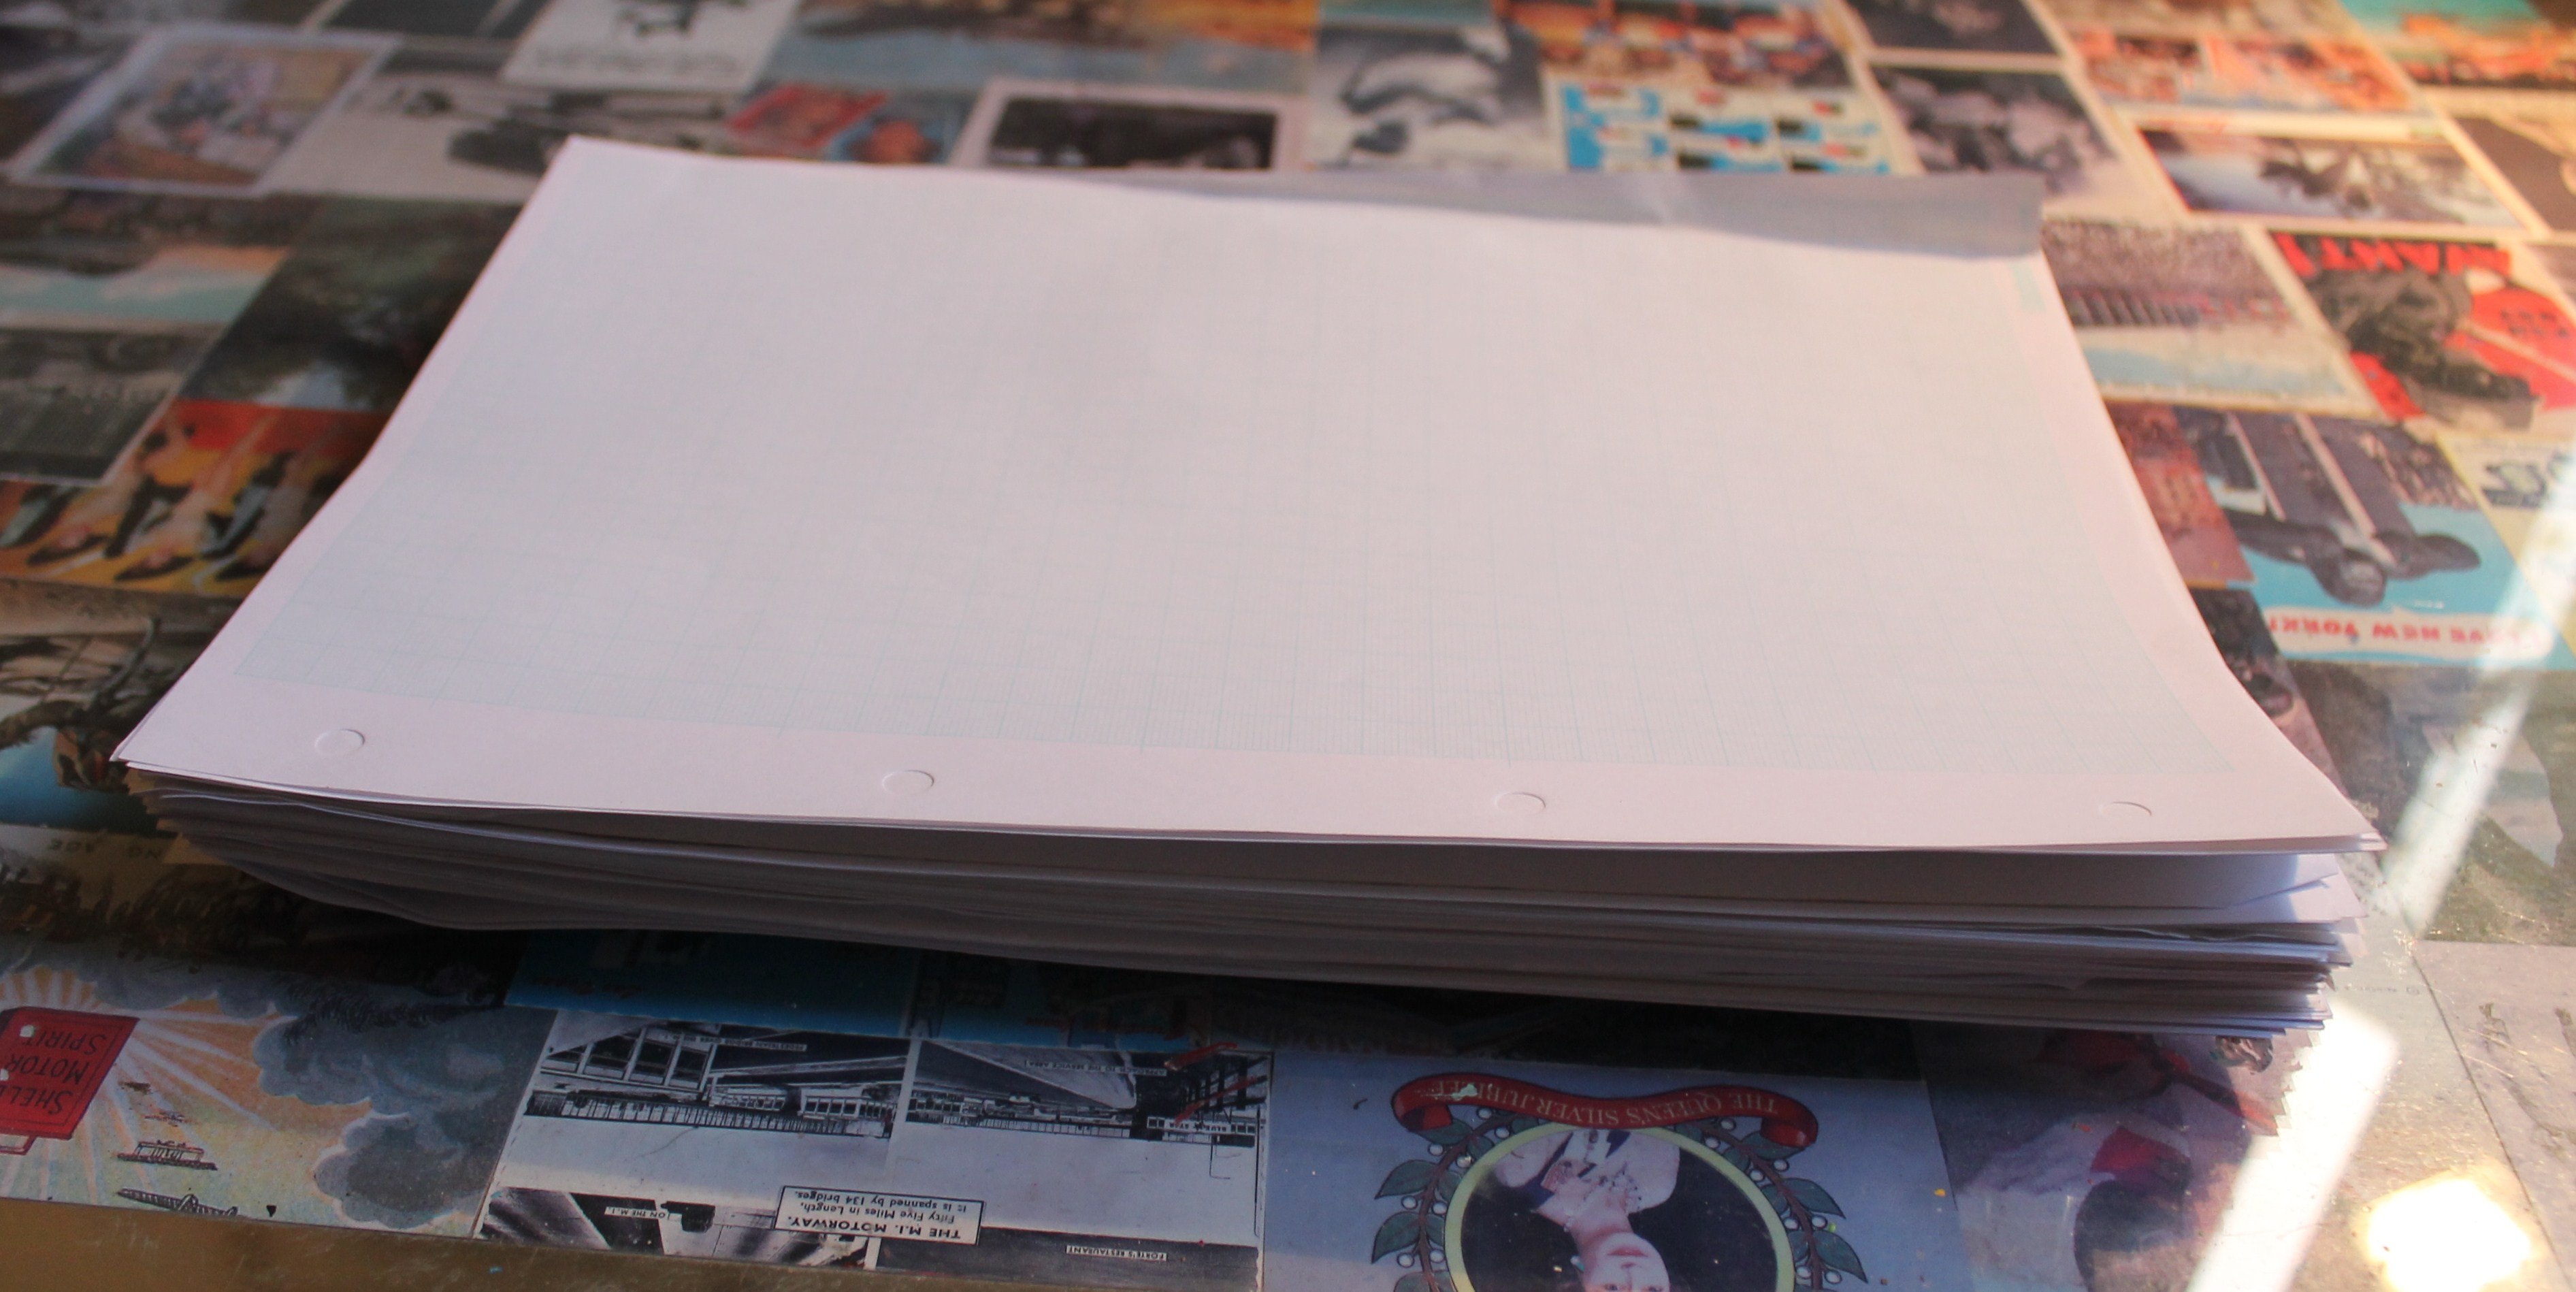
I am using scrap paper for my sketchpad because:
I am using a mix of graph, tracing and printing paper for my book, all of which happen to be A4 size, but you can make your book whatever size you like from the paper you have, to suit your needs. (Pocket sized, maybe?)
I have shuffled it all around into no particular order of pages, and made a neat pile.
- This saves money.
- Recycles existing paper into something useful.
- Tidies up my house.
- Most importantly for me, I sometimes find completely blank white pages in a sketchbook a bit daunting, I don't want to make the first mark. I find it easier to draw on a grubby surface.
- This sketchbook is about being non-precious- I'm planning on getting rained on and beer splattered and getting out there to do some lovely messy urban sketches, so old unloved paper is perfect.
I am using a mix of graph, tracing and printing paper for my book, all of which happen to be A4 size, but you can make your book whatever size you like from the paper you have, to suit your needs. (Pocket sized, maybe?)
I have shuffled it all around into no particular order of pages, and made a neat pile.
Cut Wood to Make the Sketchbook Cover.
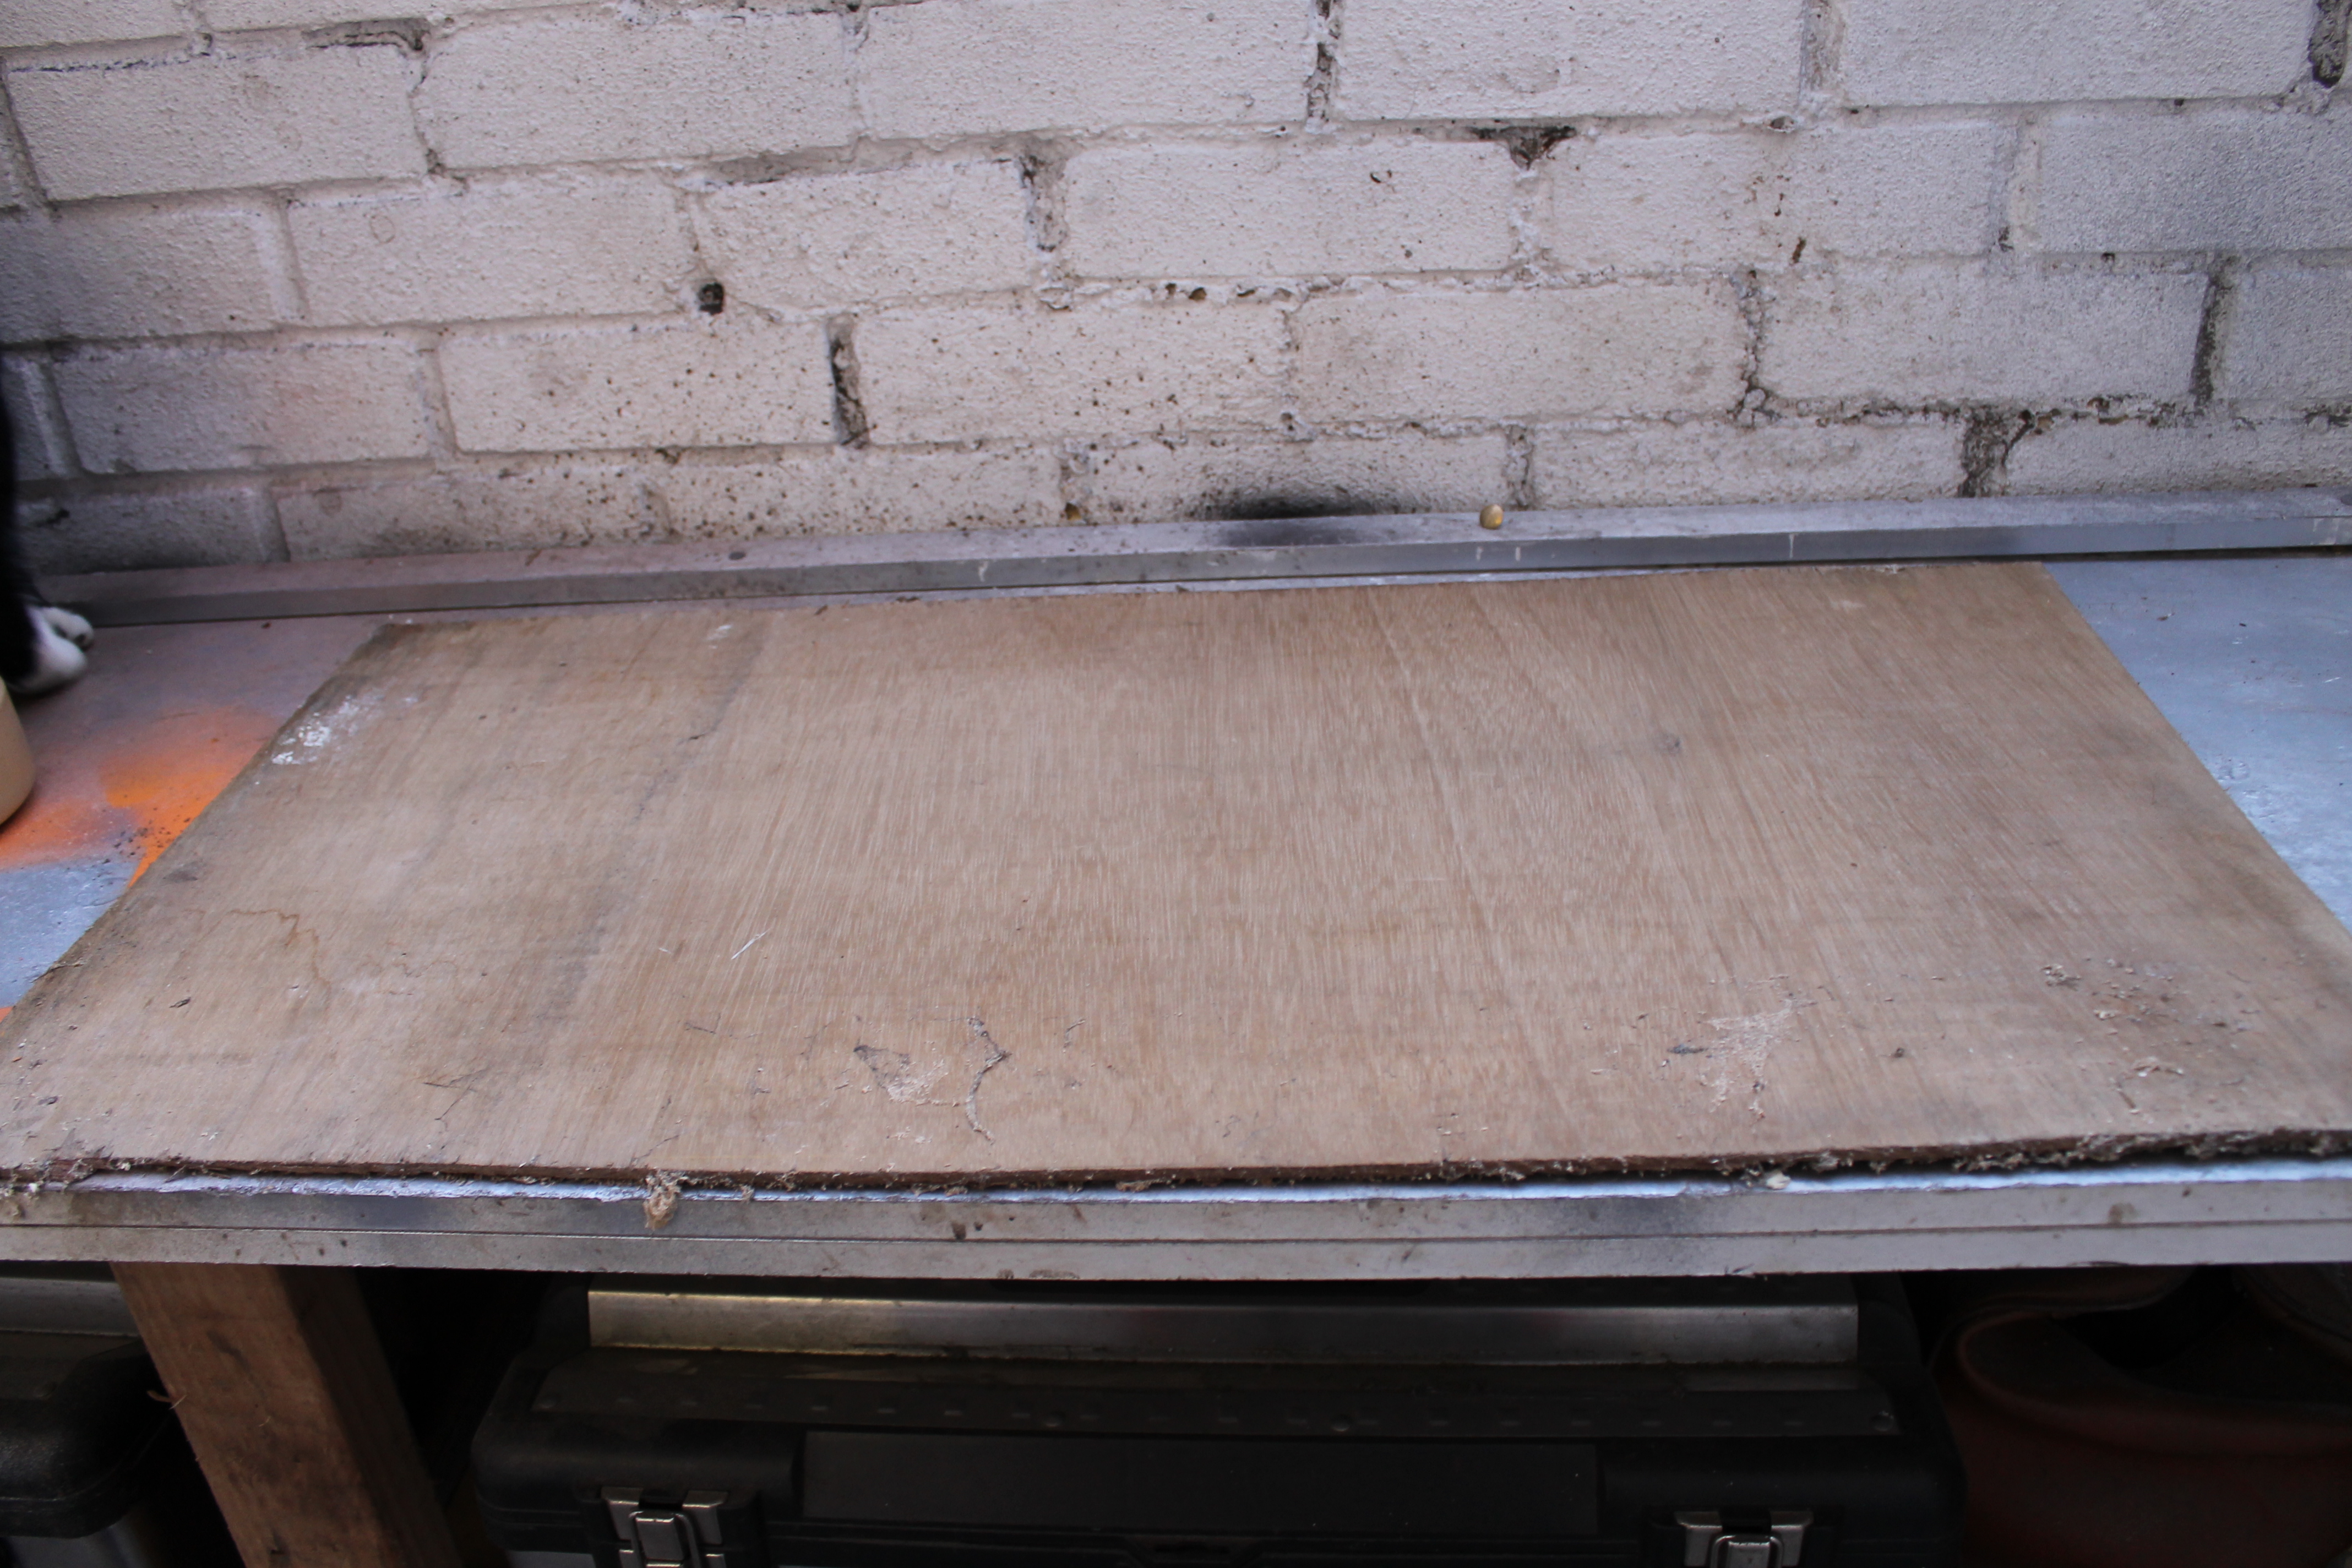
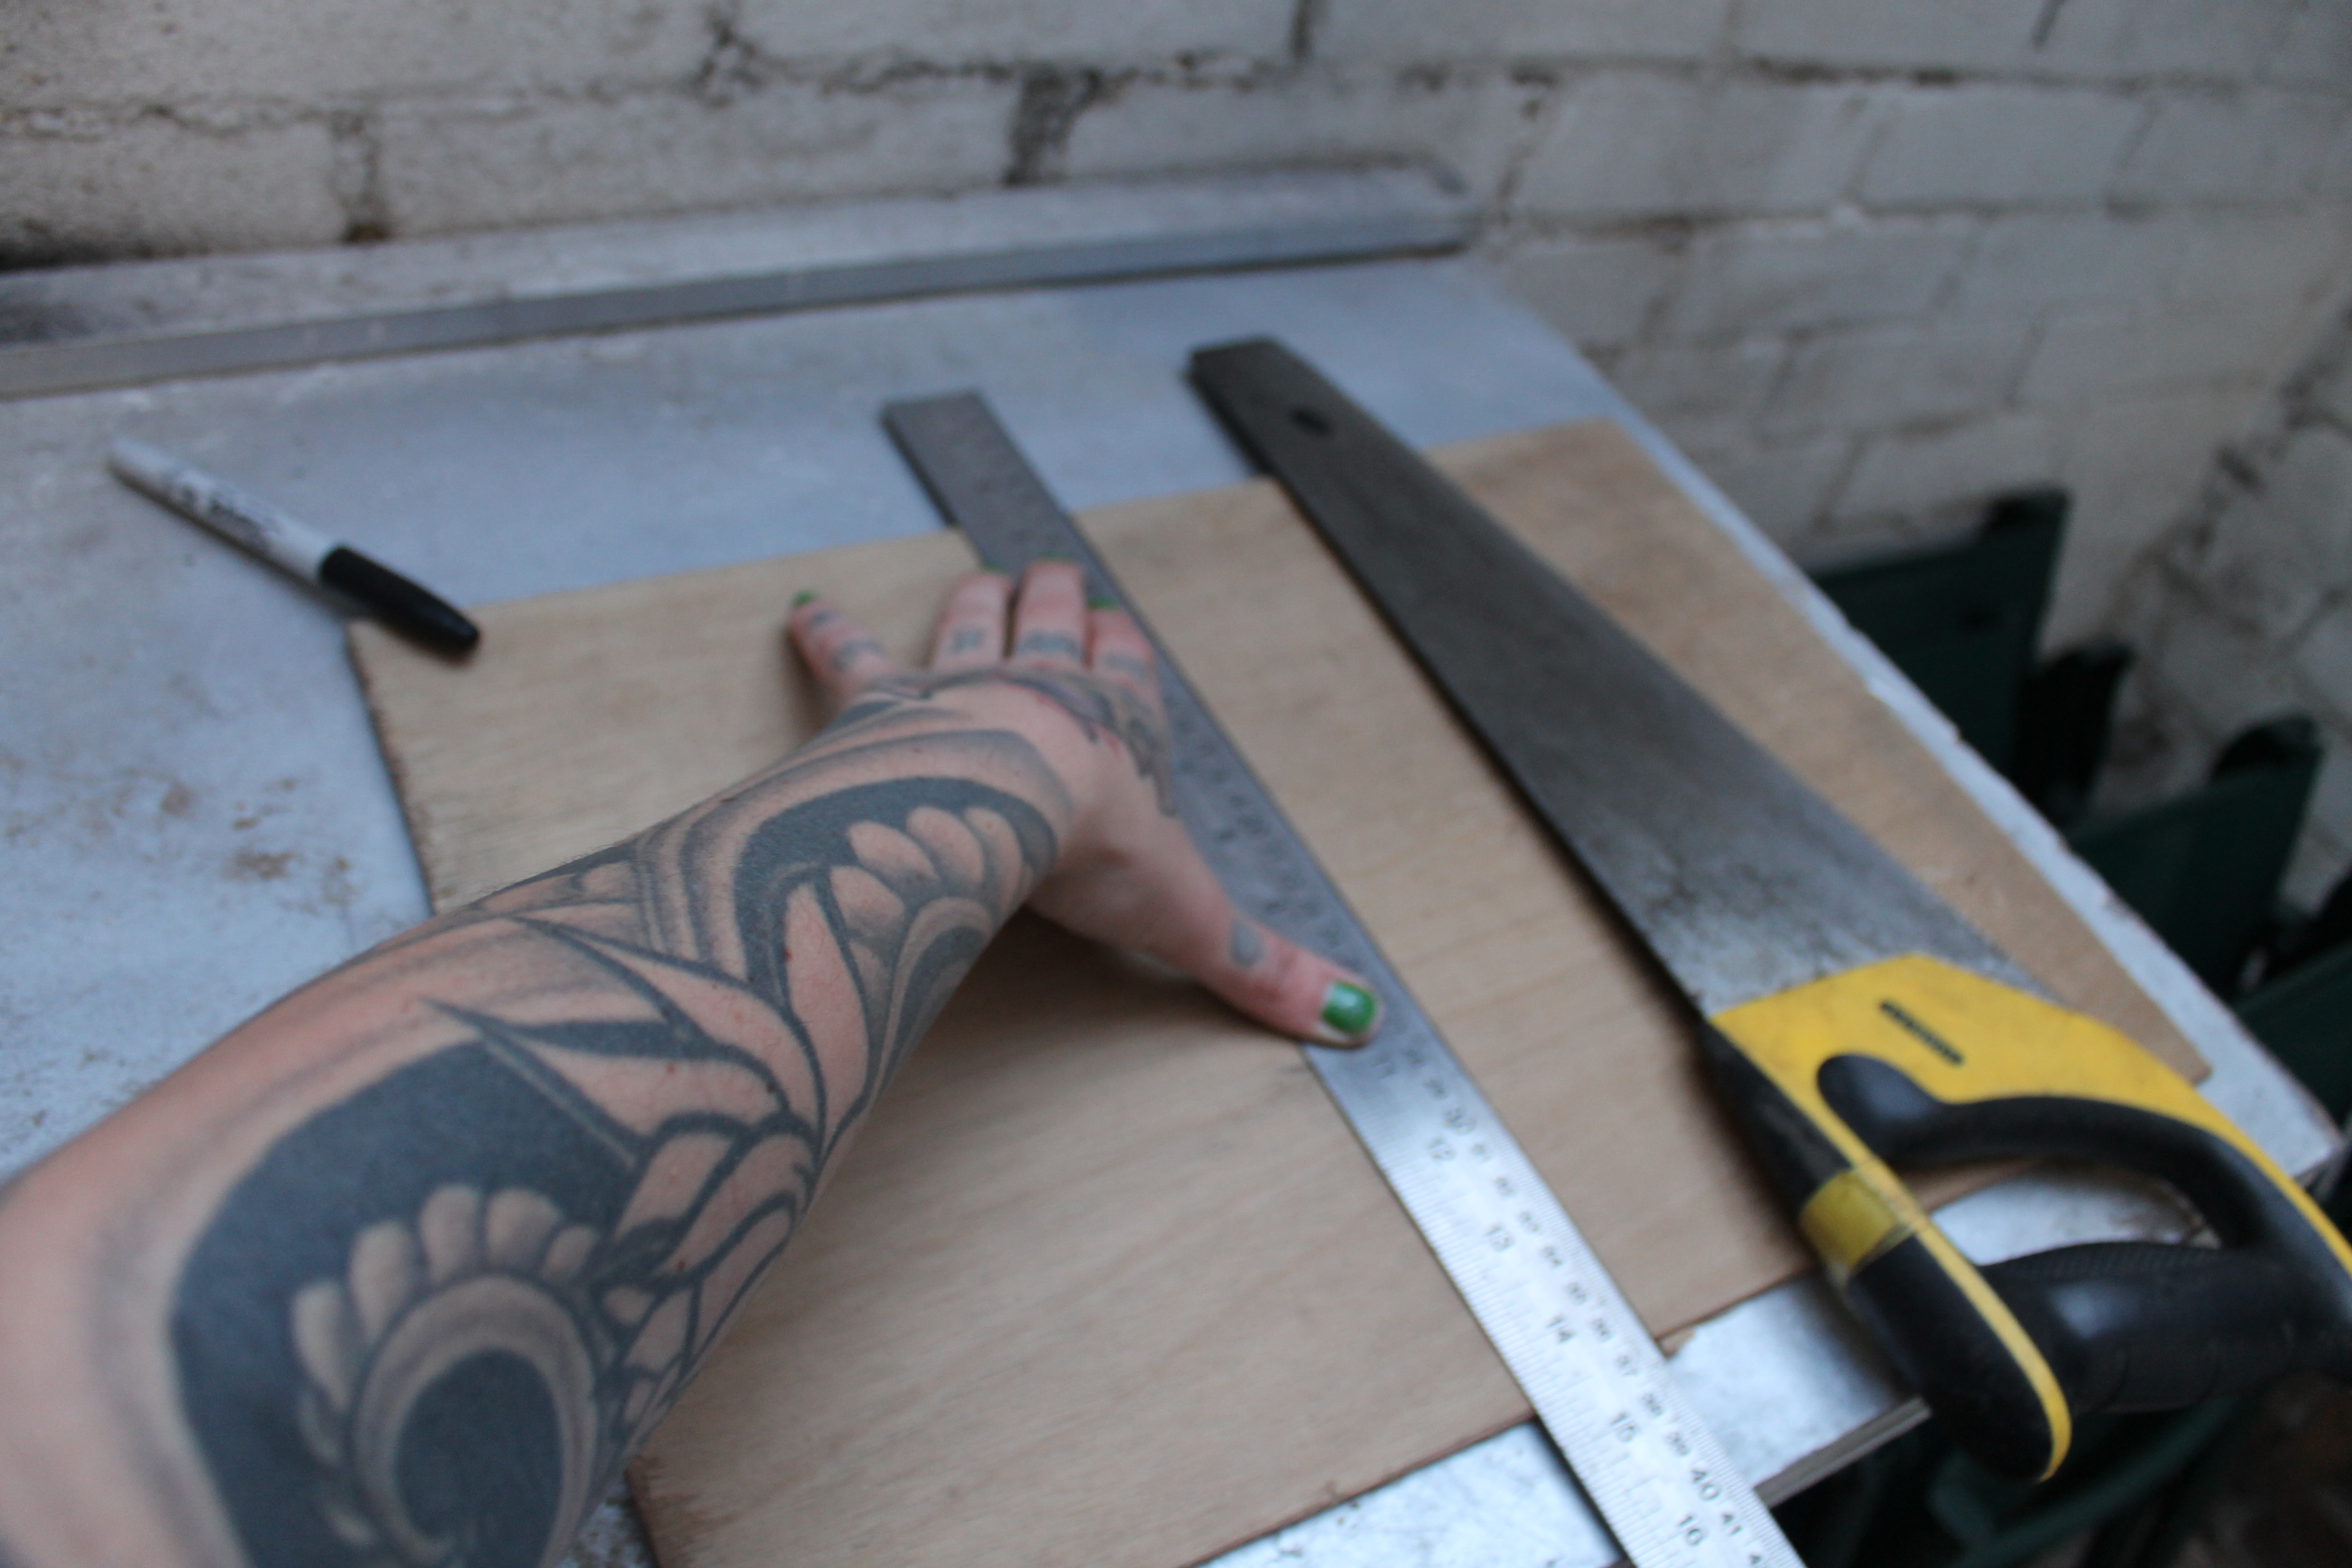
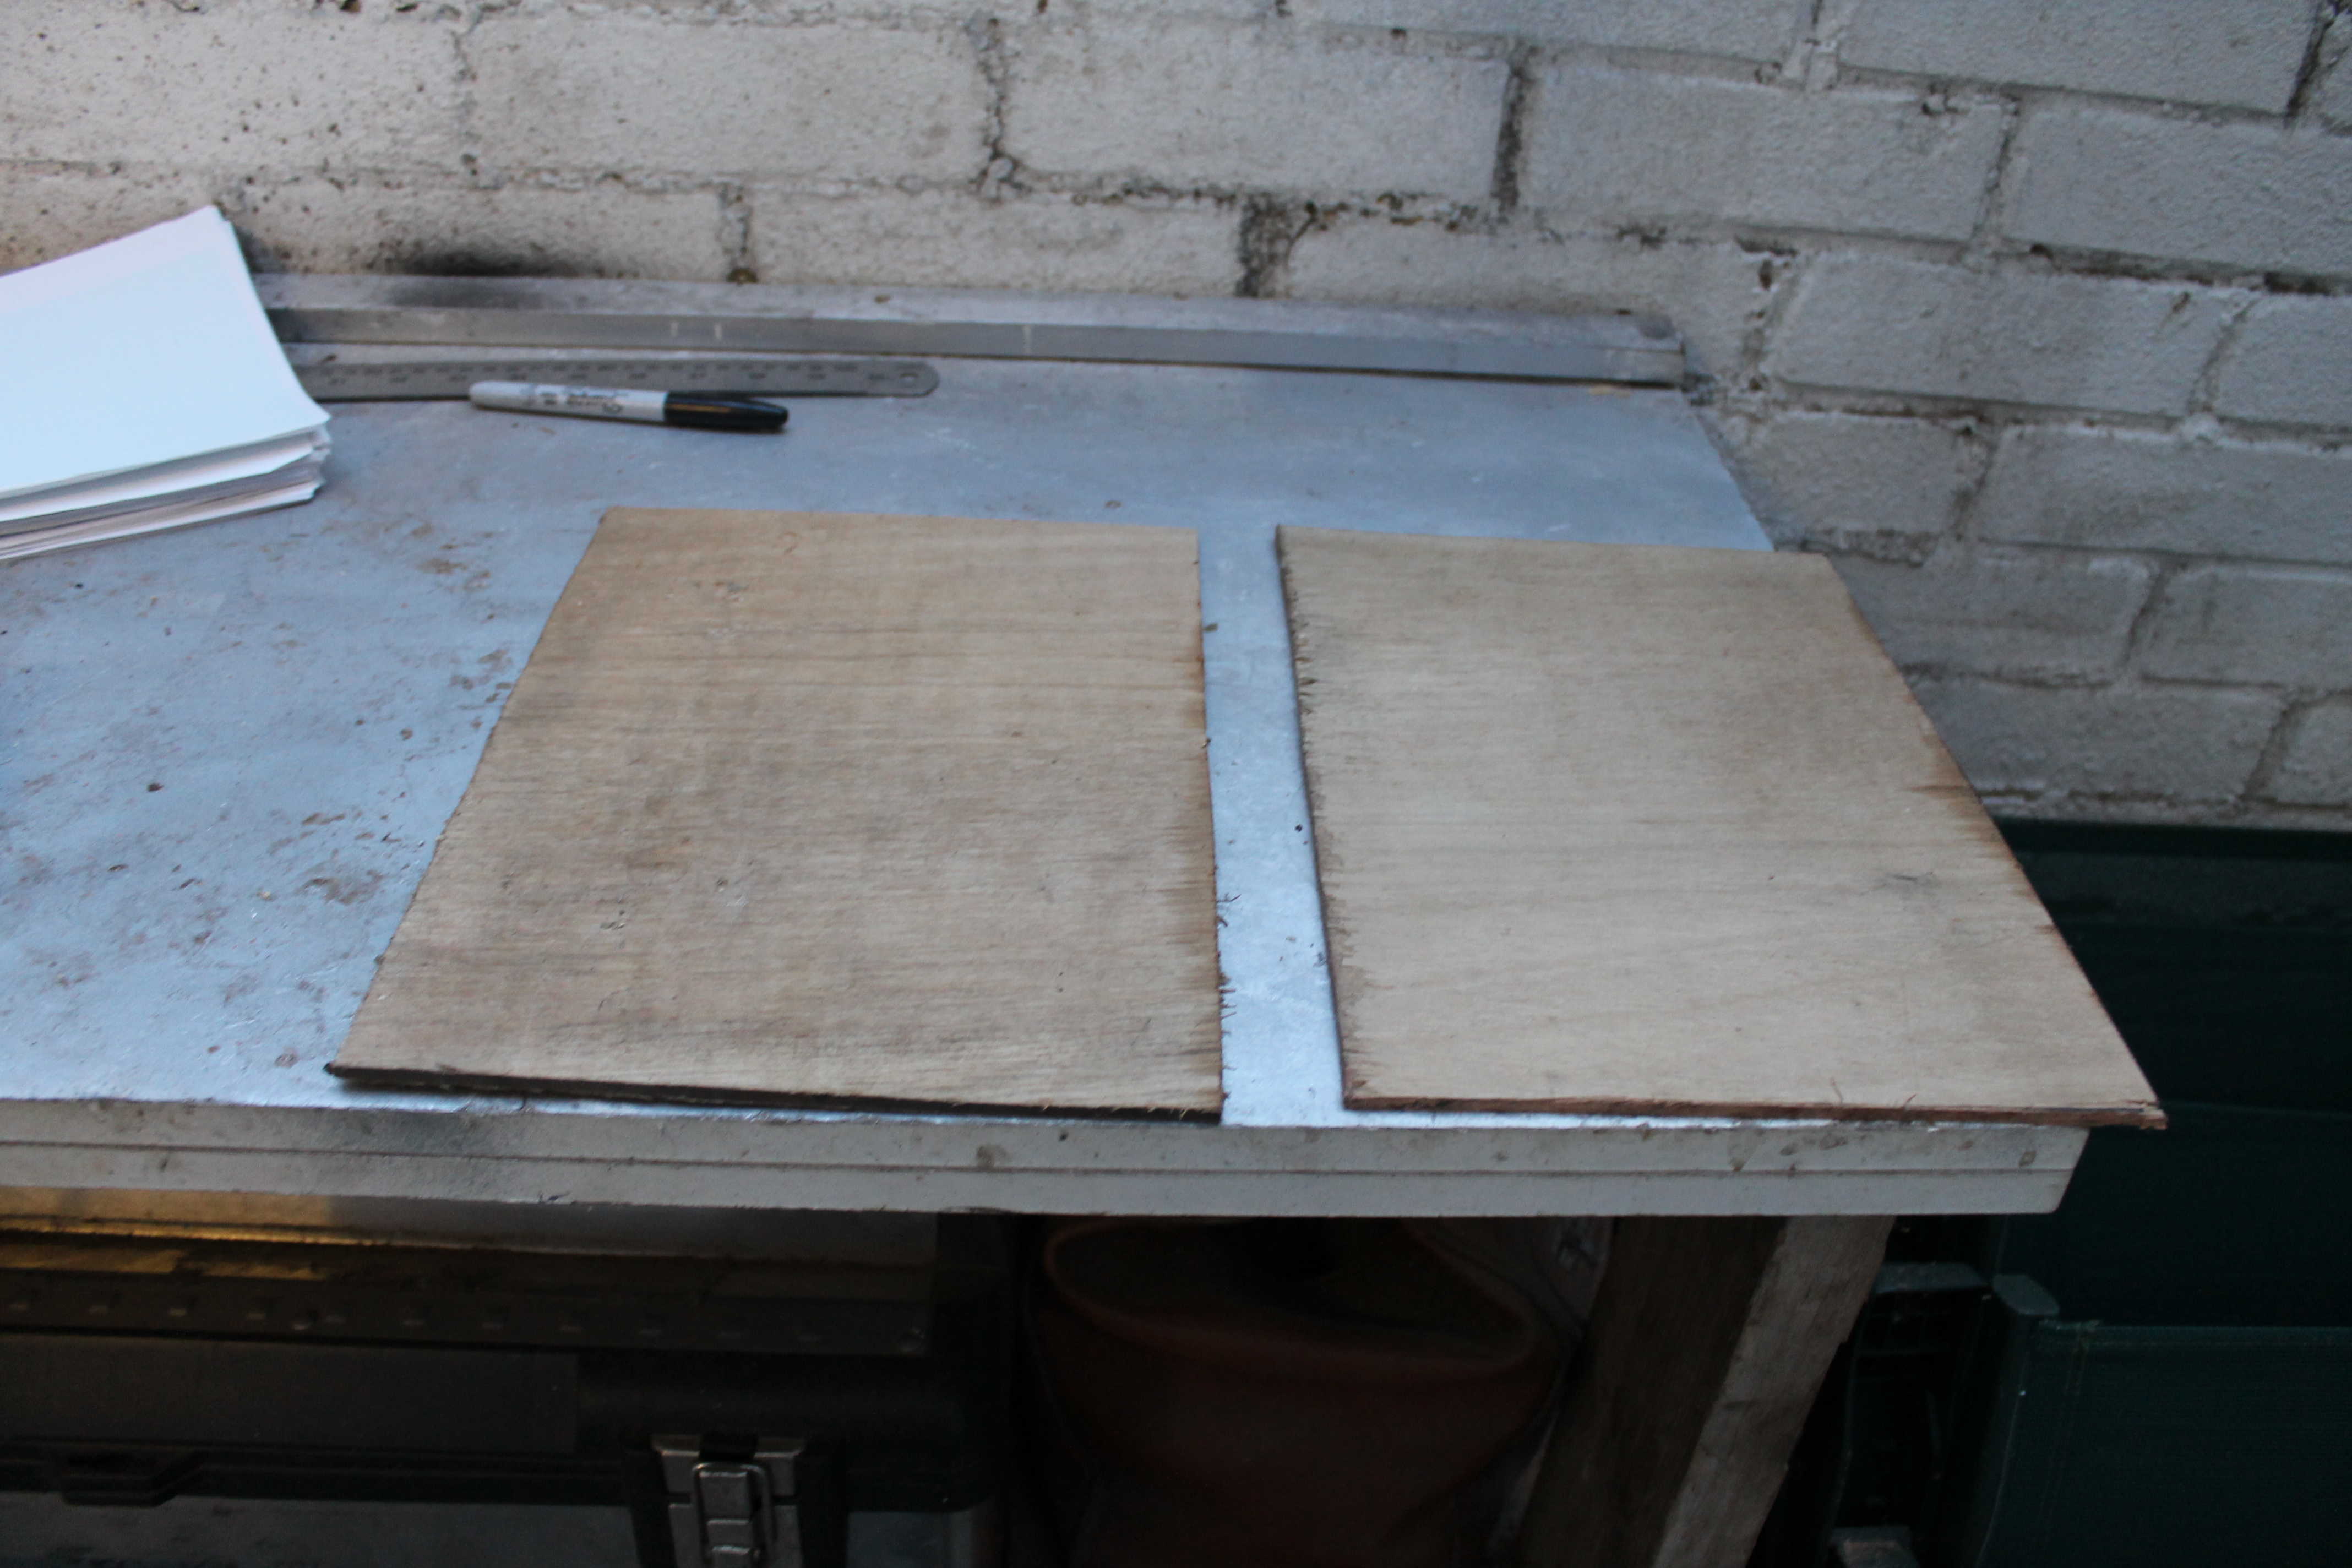
Find some wood.
Cut it to the same size as your paper pile.
I am using a thin sheet of wood.
I have cut it roughly, I'm not a big fan of measuring or straight lines- but I have made sure that the 2 pieces for the front and back pad covers are the same size. You decide how neat you want yours to be.
Cut it to the same size as your paper pile.
I am using a thin sheet of wood.
I have cut it roughly, I'm not a big fan of measuring or straight lines- but I have made sure that the 2 pieces for the front and back pad covers are the same size. You decide how neat you want yours to be.
Assemble Your Sketchpad and Drill Holes Down the Side.
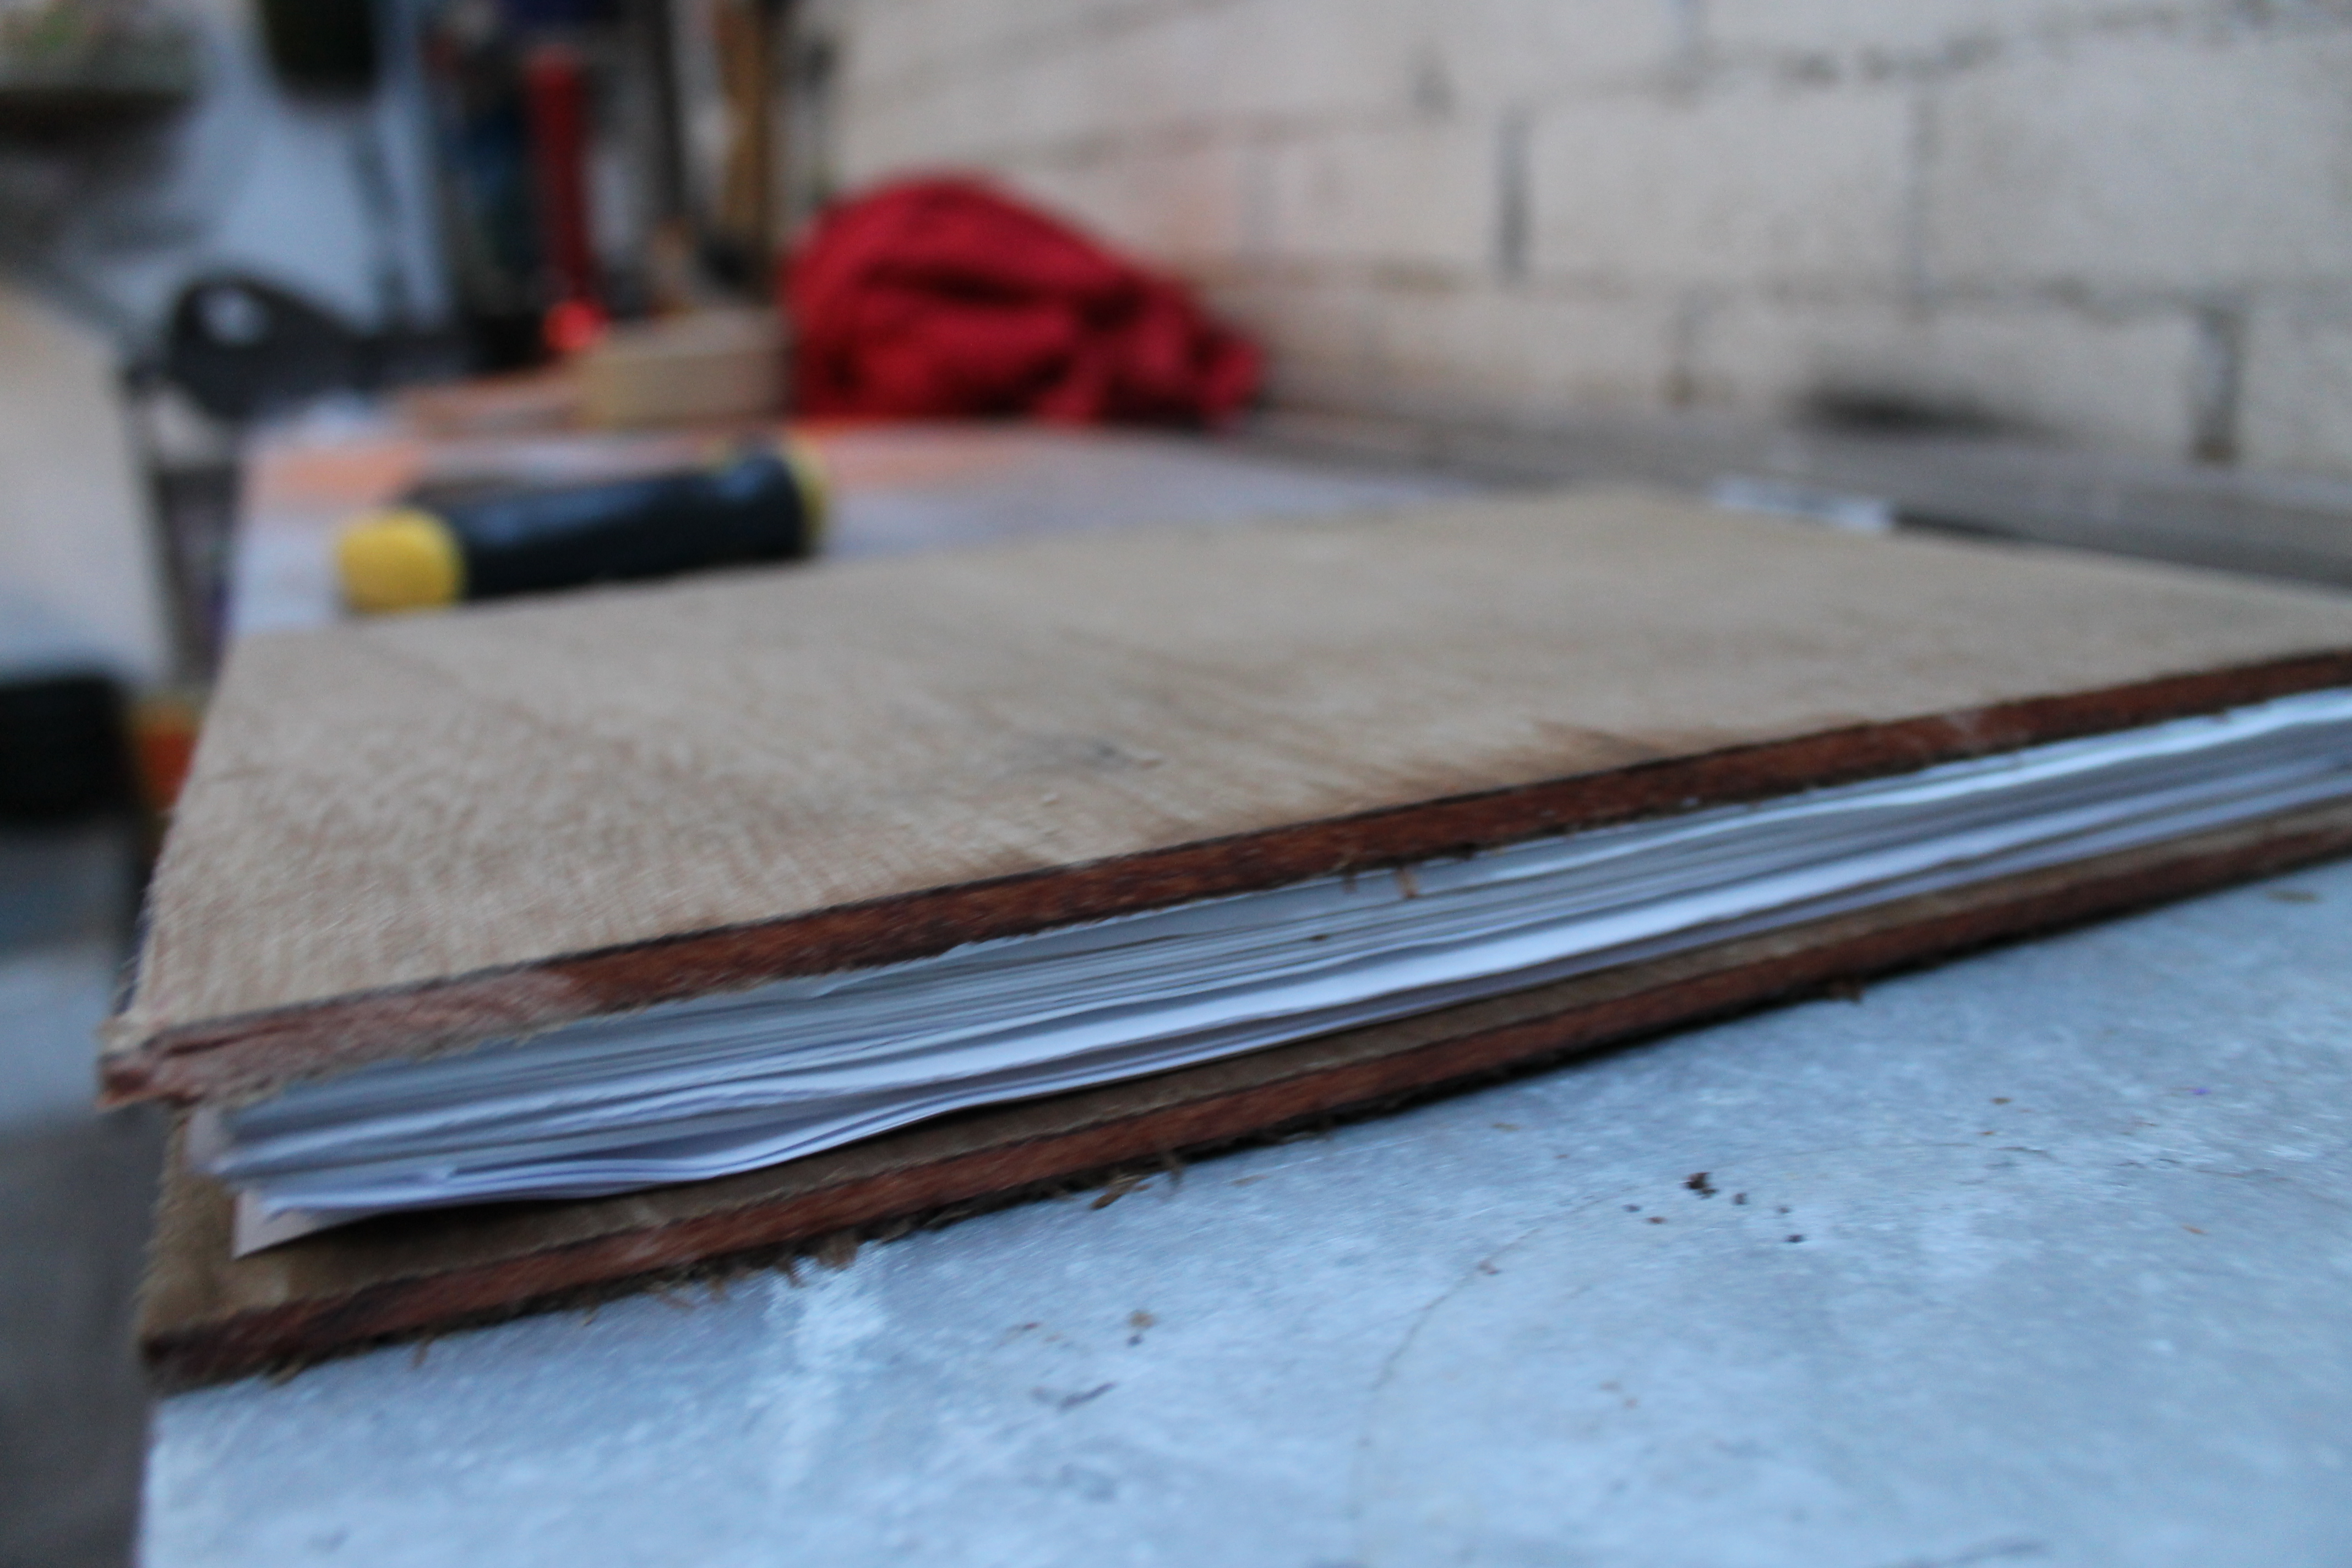
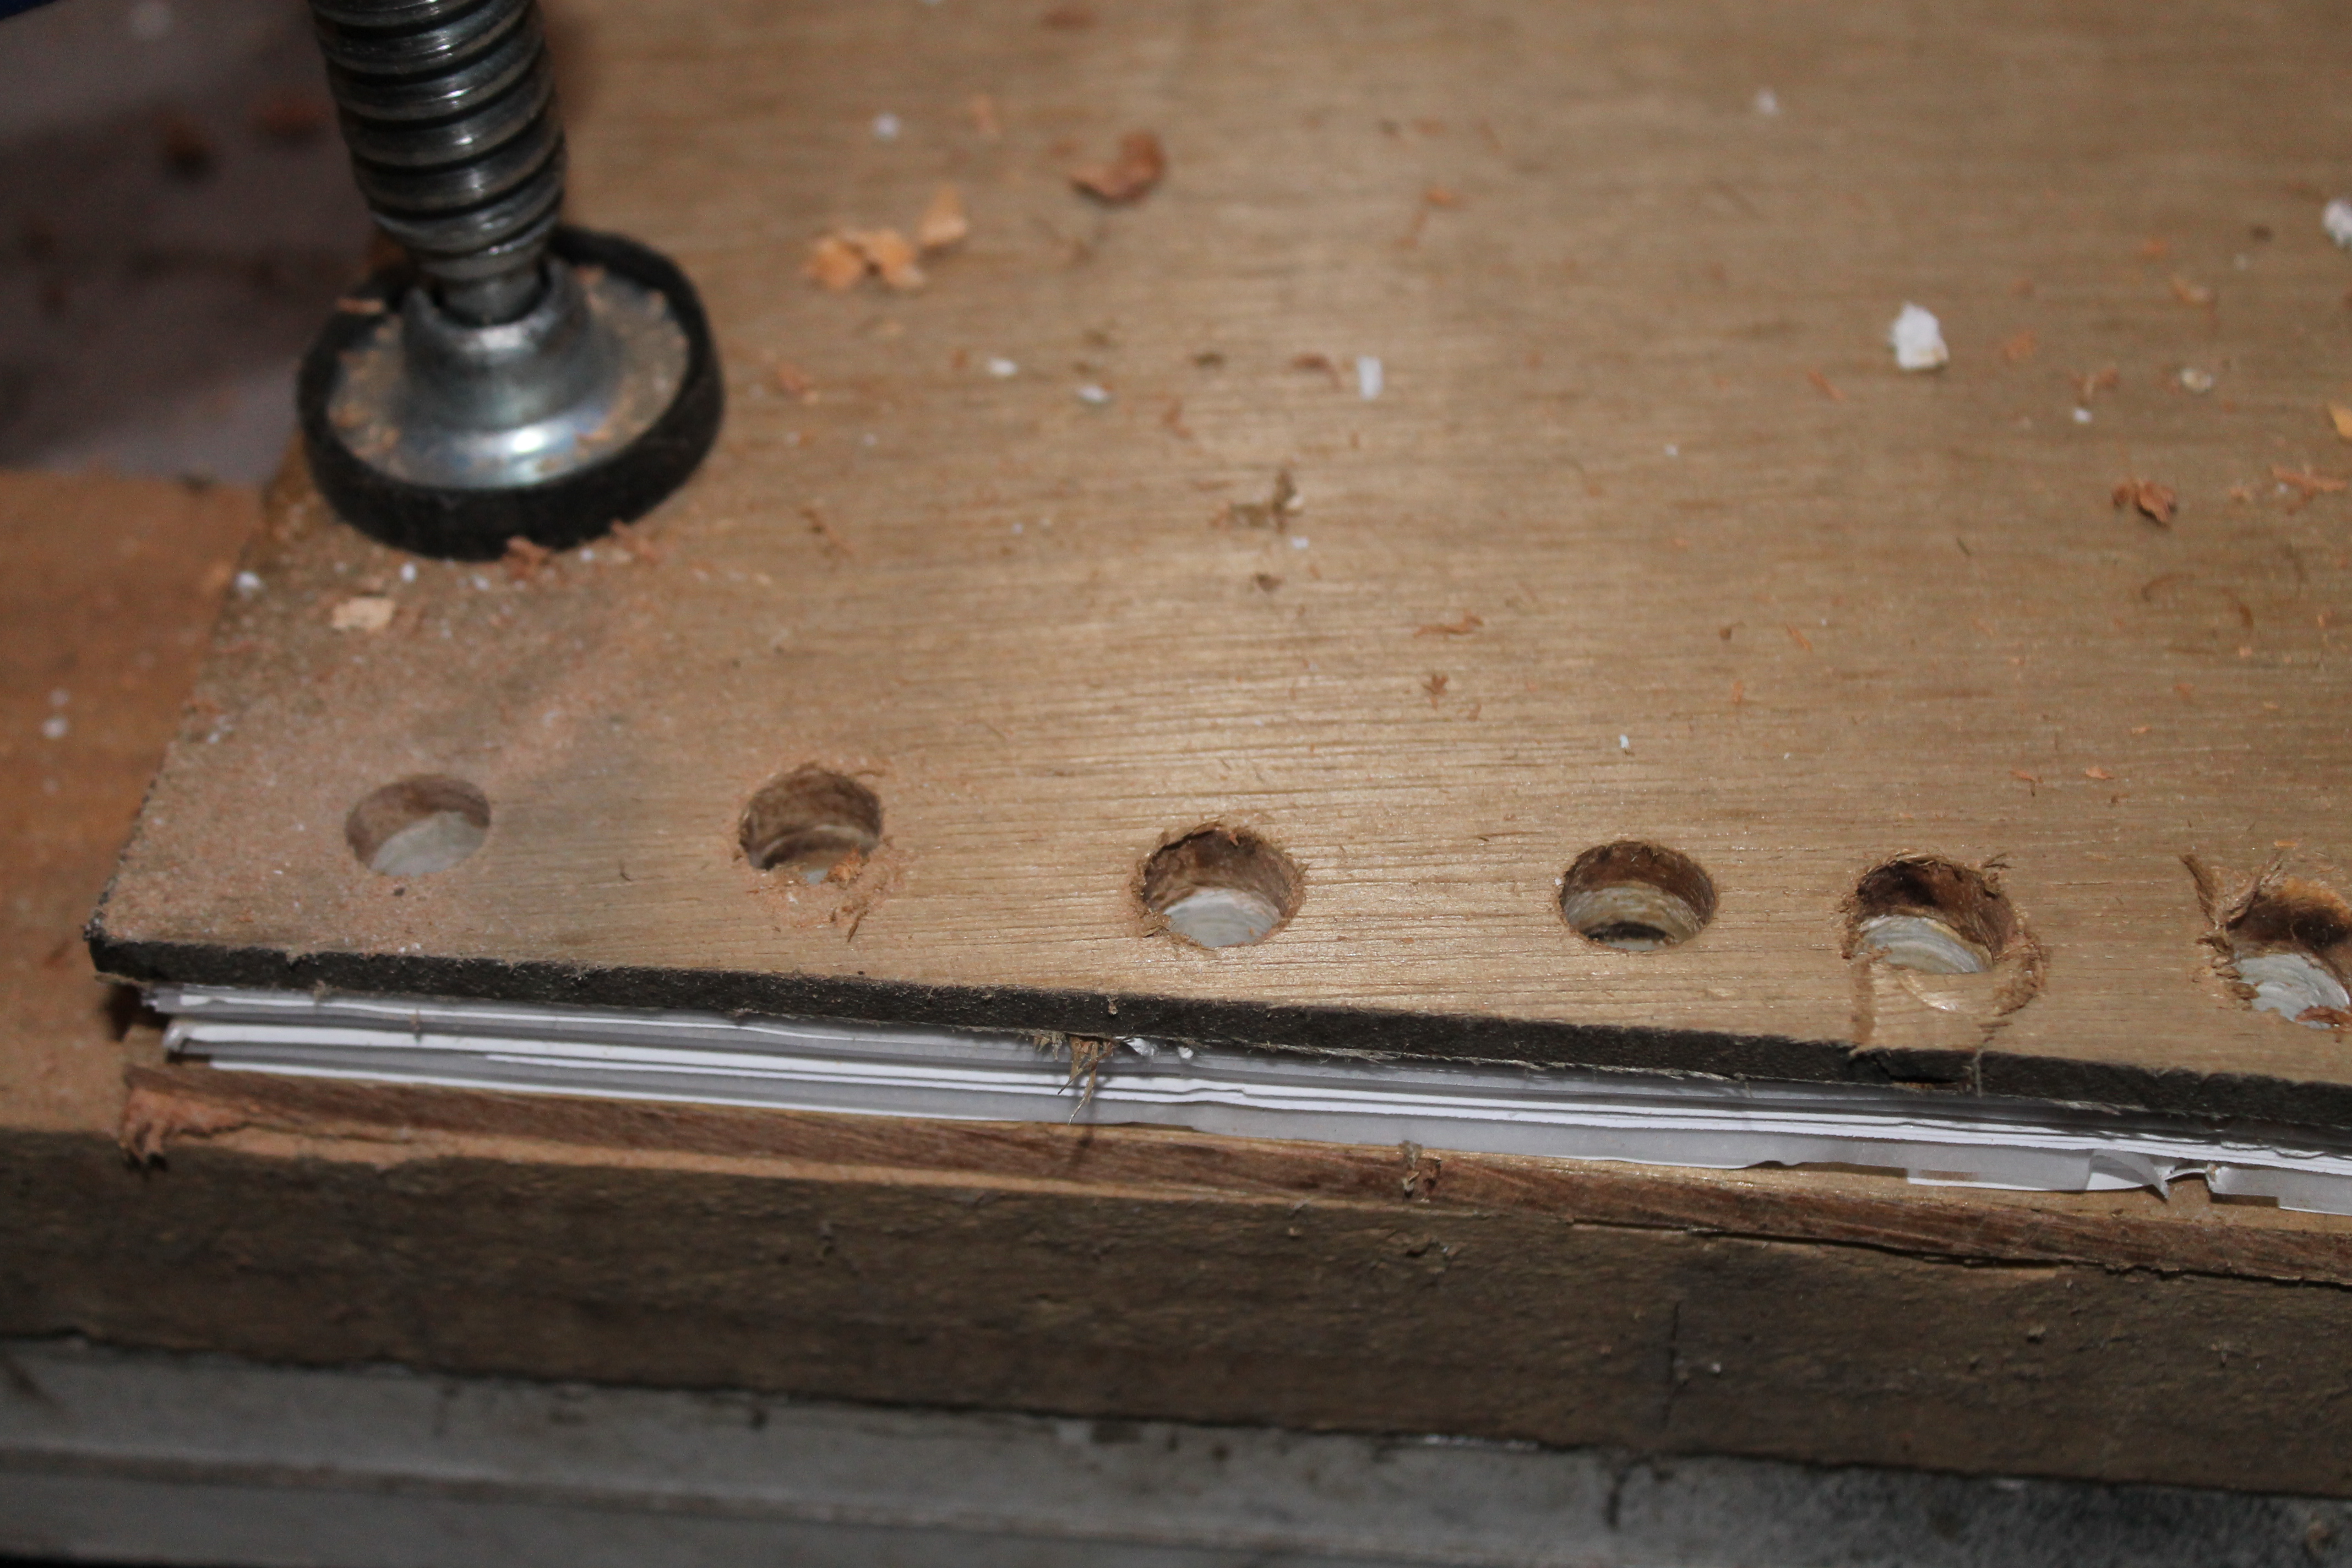
Put your paper pile in between the two wooden covers, like a delicious wood sandwich.
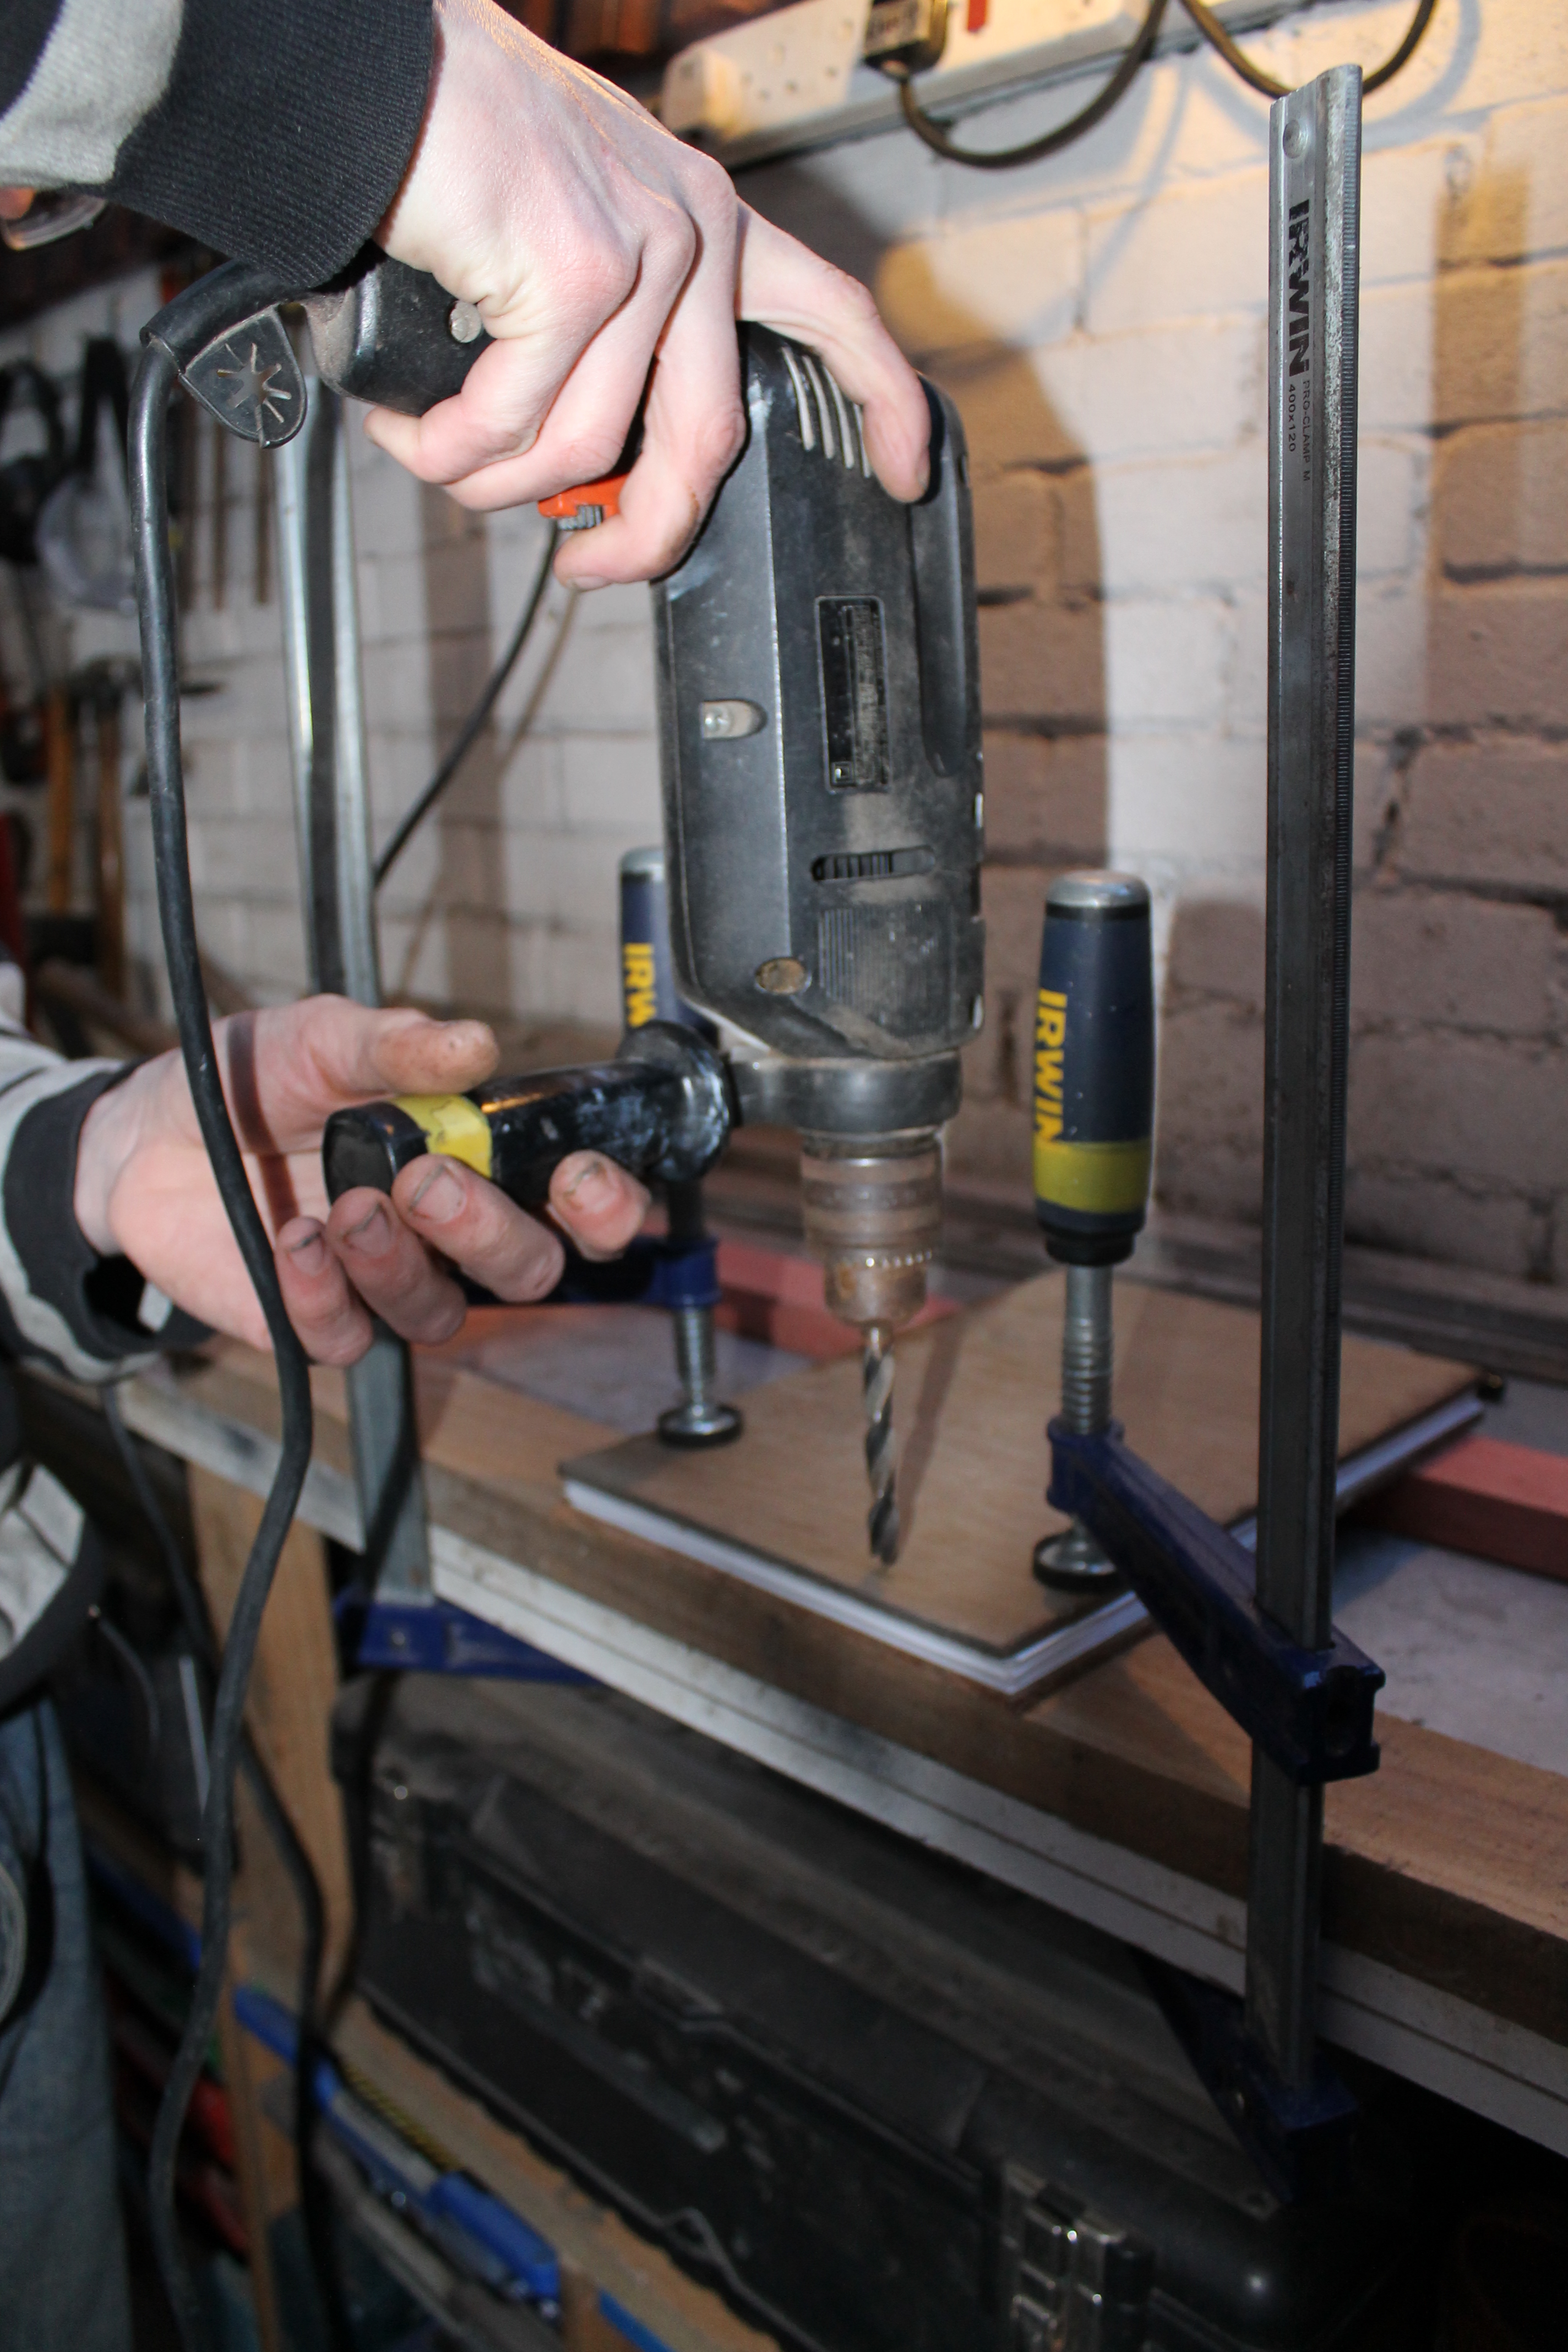
Mine is a landscape horizontal sketchbook so I have drilled holes for binding down one short side.
If you want a portrait vertical sketchbook, drill the holes down one of the long sides.
Drilling.
I drilled the holes in the side by resting the book on top of two planks of wood, and clamping them in place, as in picture 2 of this step. It is better to drill through the book into another wooden surface.
I used the fattest drill bit I had, fitting in with this chunky punky design of the book, and also to make threading the innertube through easier in the next step.
As I drilled through the paper sheets, a lot of heat and a little smoke was created, so I stopped drilling regularly, cleaned the drill bit and hole from sawdust, and continued slowly and steadily.
My holes are wonkey! I've said it before and I'll say it again, measuring is really not my thing. You decide how neat you want your own sketchbook.
Bind Your Sketchbook With Inner Tube Thread.
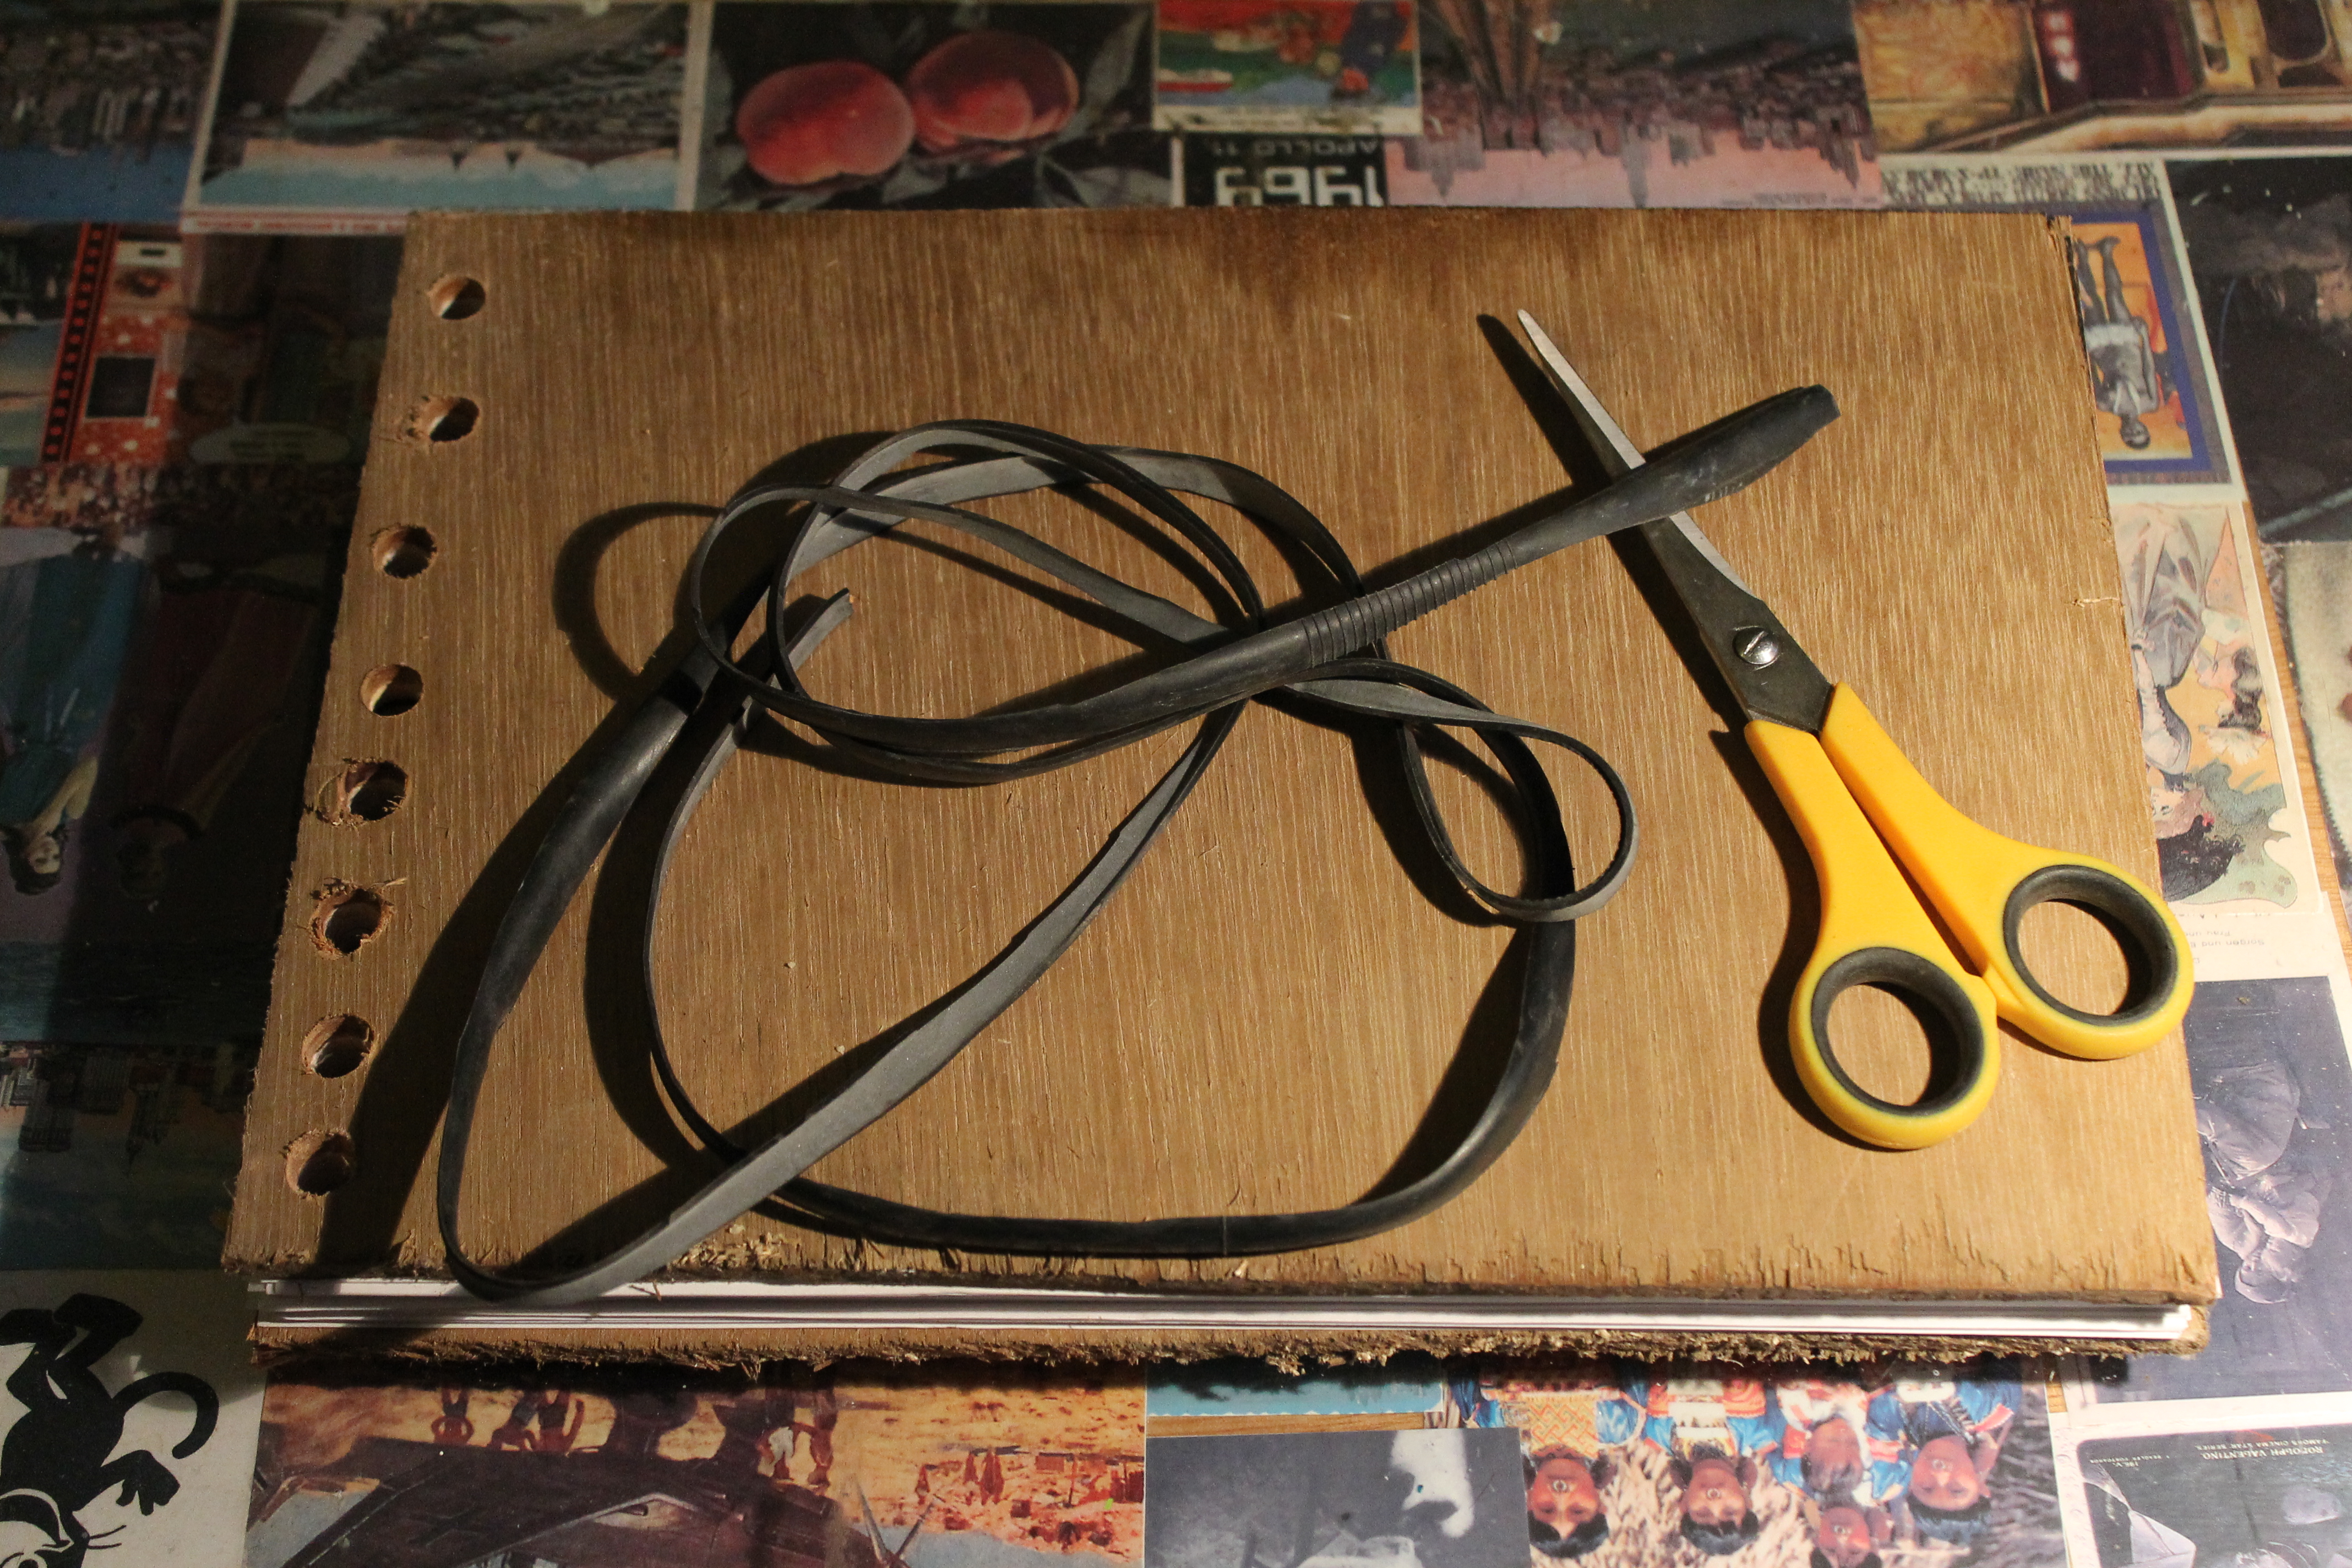
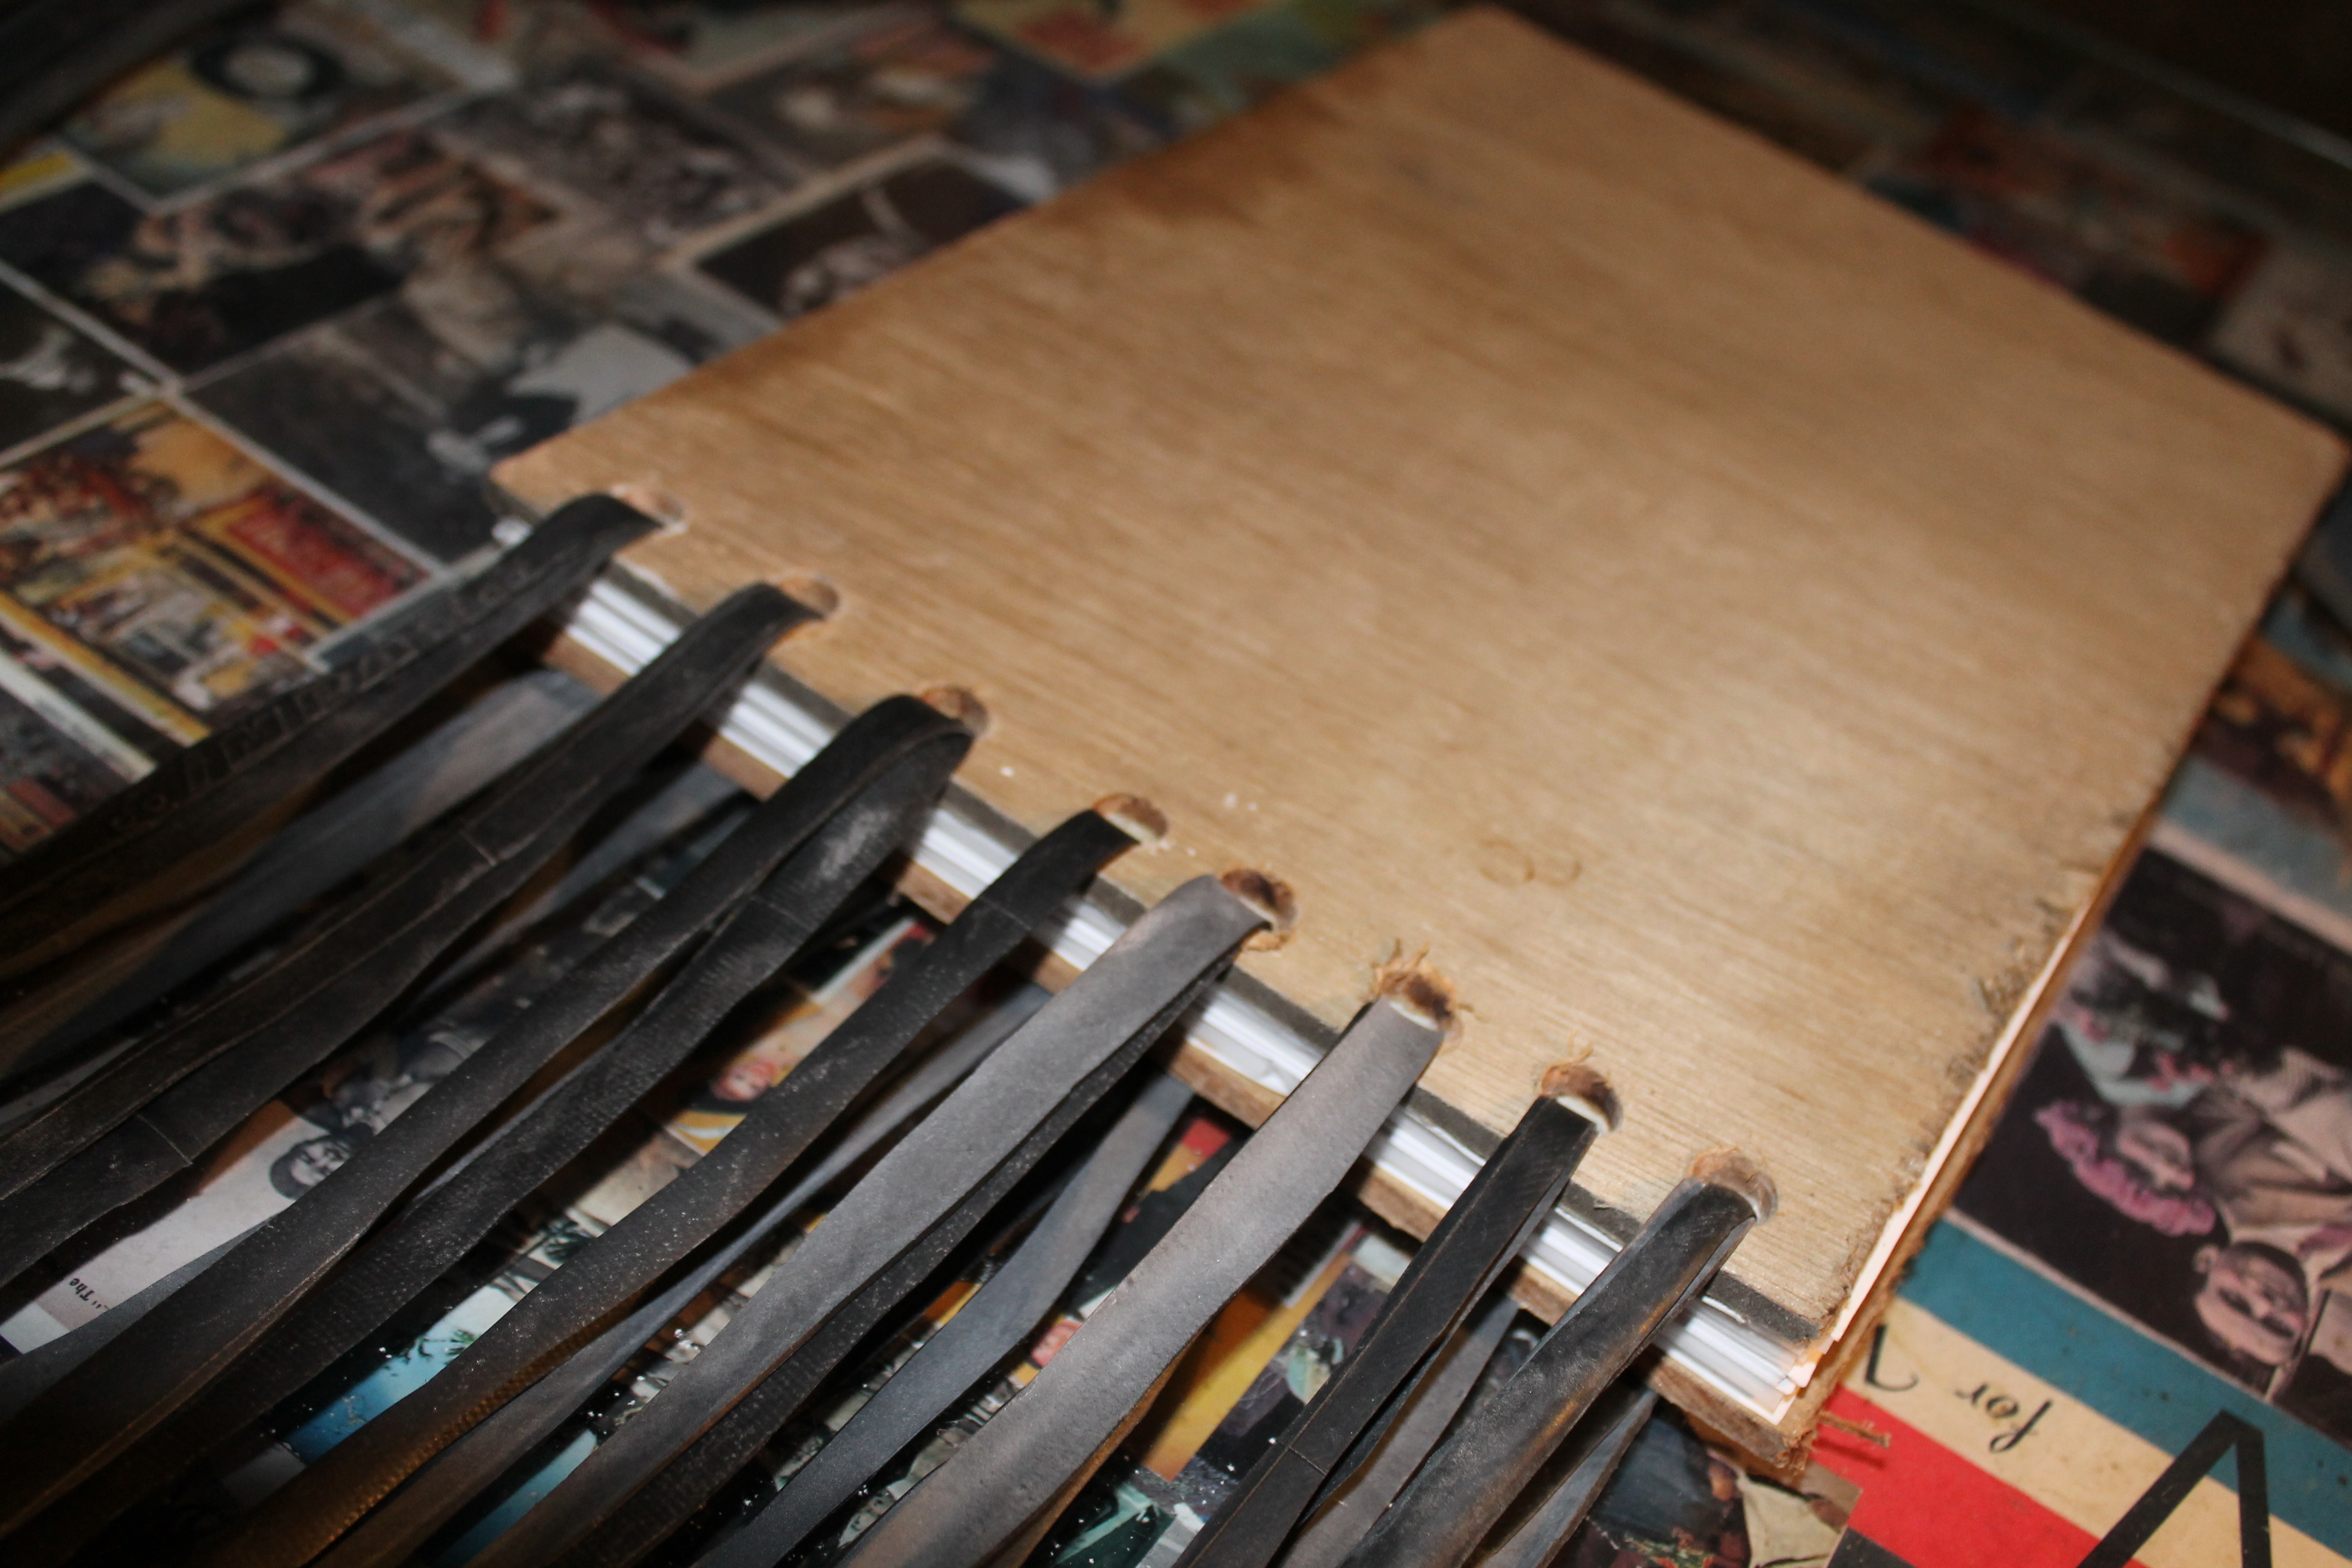
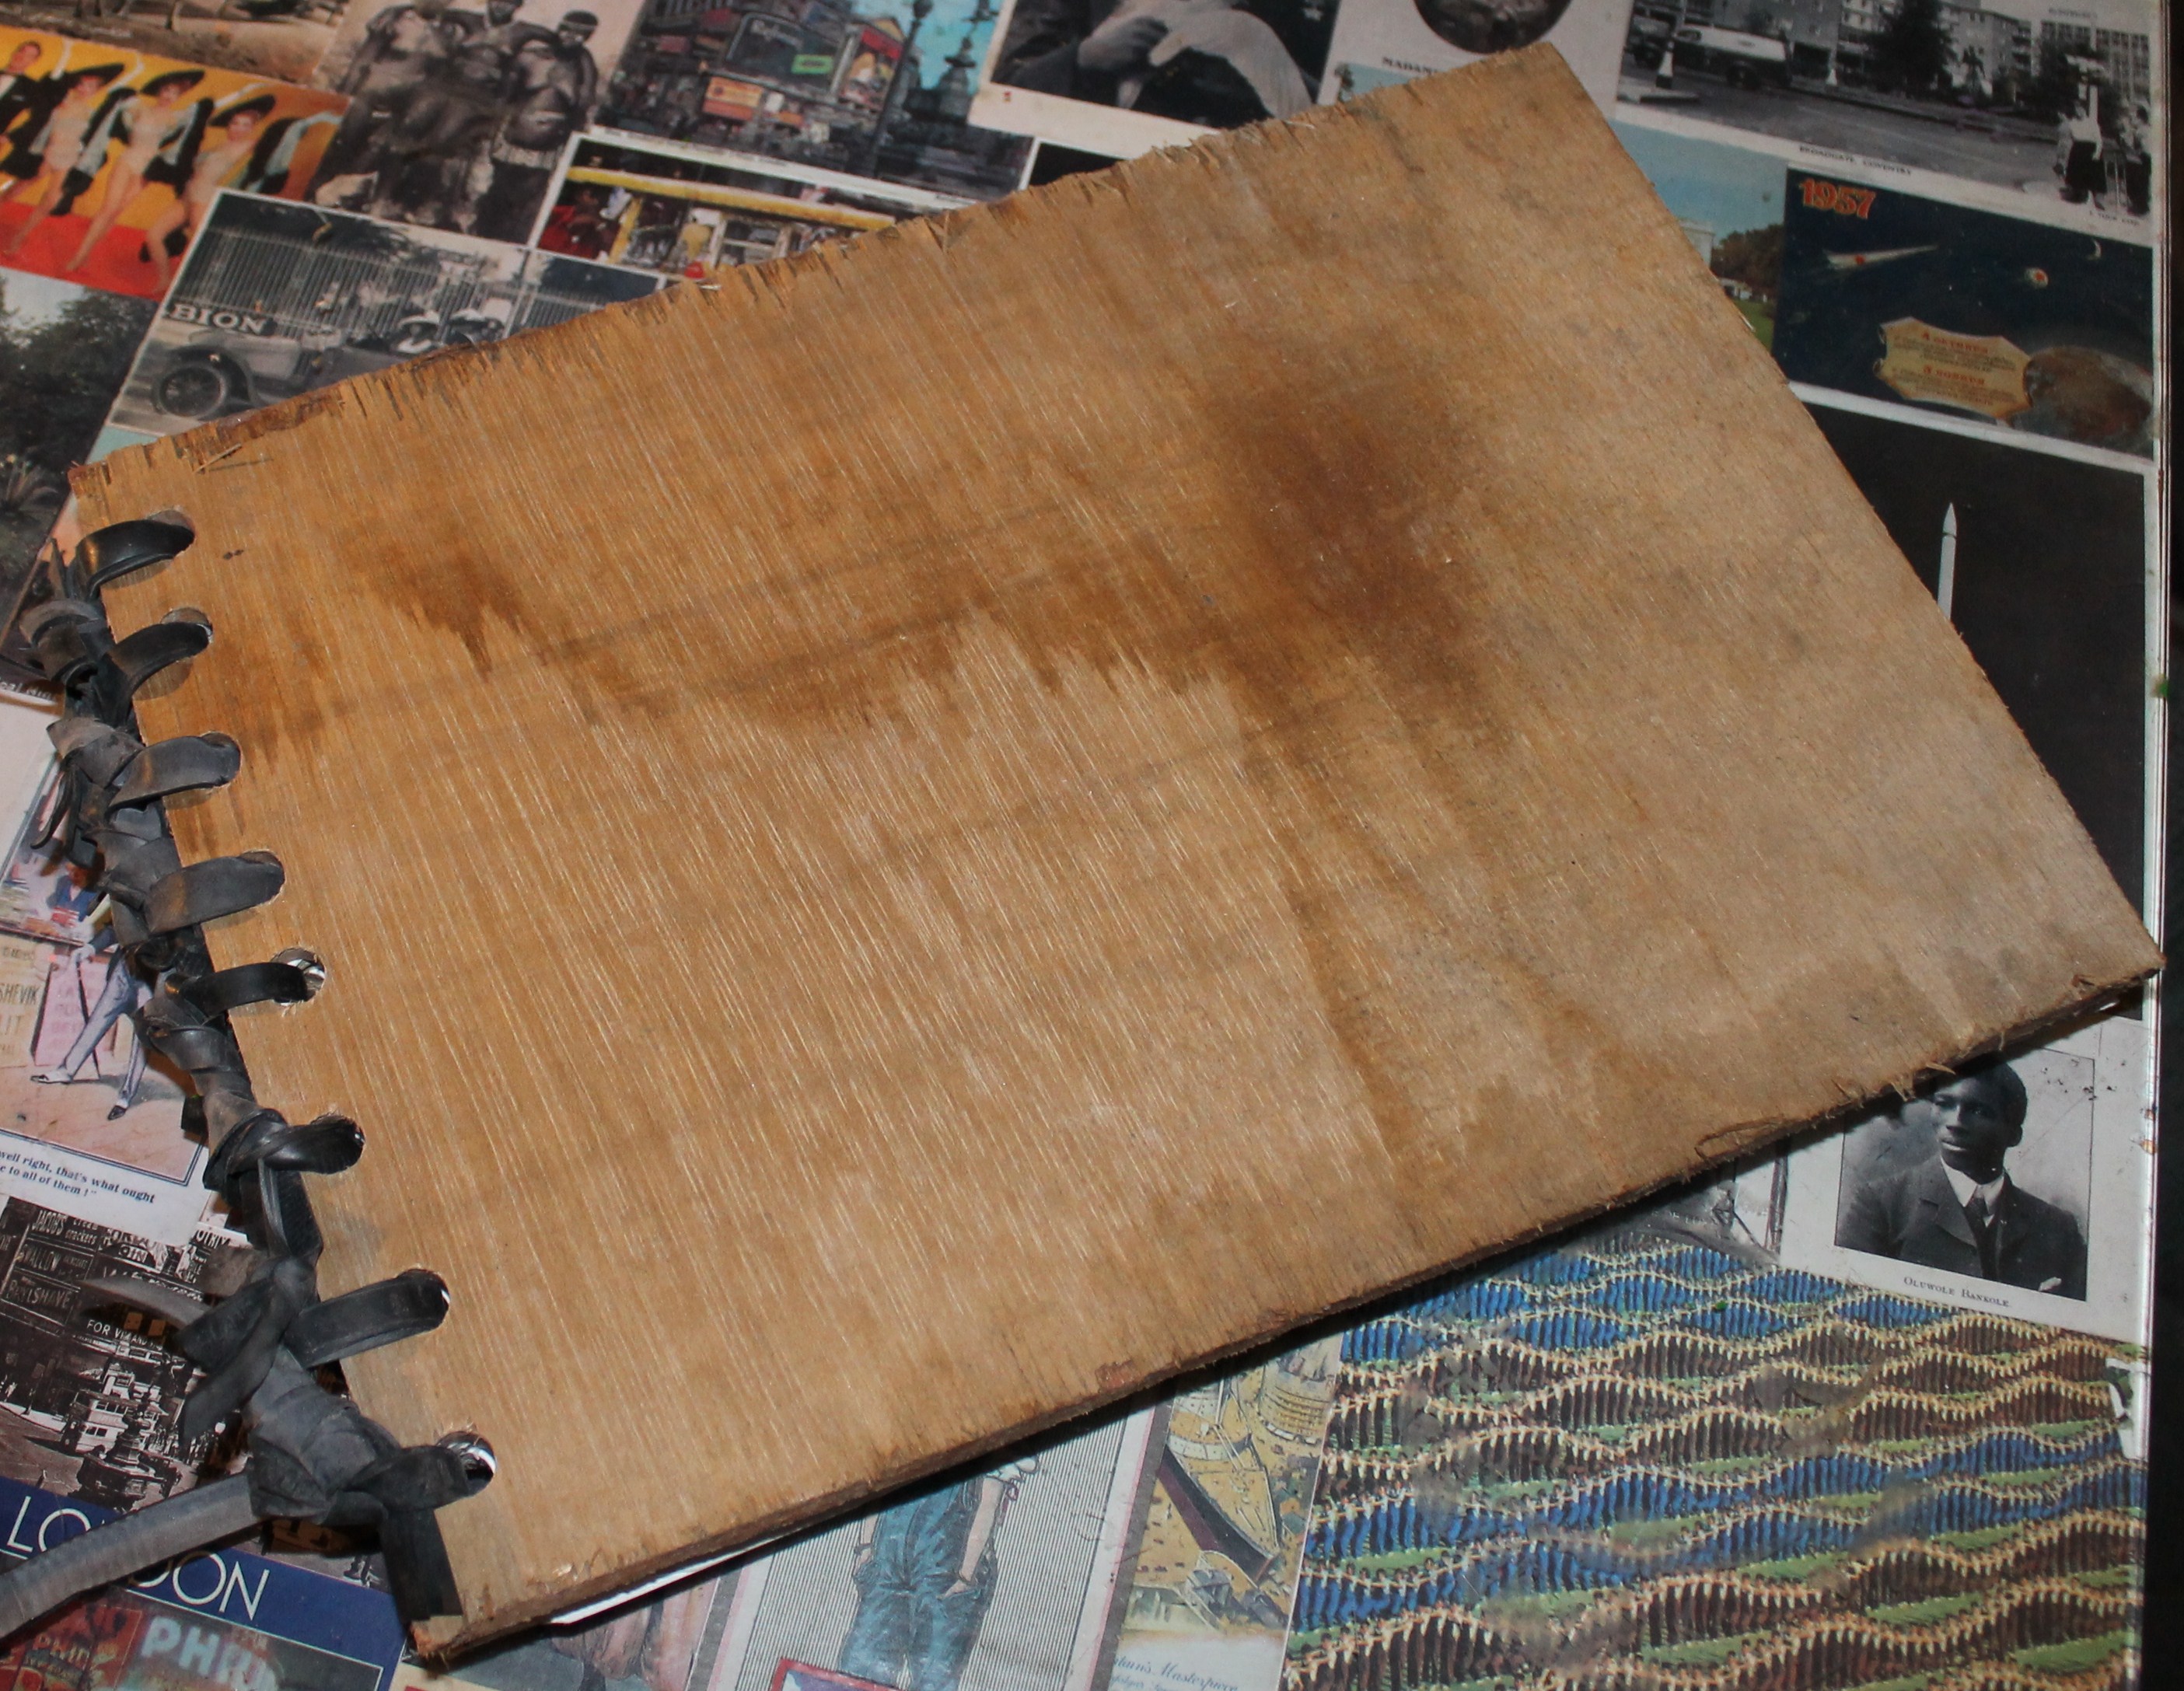
My all time favourite Instructable is this one by MarcellaHella showing how to make thread from inner tube. https://www.instructables.com/id/KNIT-WITH-INNER-TUBE-THREAD/
Follow those instructions and make some inner tube thread, and thread it through the holes in your book, to keep the pages in.
I threaded two strands through each hole and tied them off and trimmed the tails. You might use a different method of threading.
The stretchiness of the rubber gives the paper room to move when turning the pages, but keeps them in their pile nice and tight.
Finishing Touches.
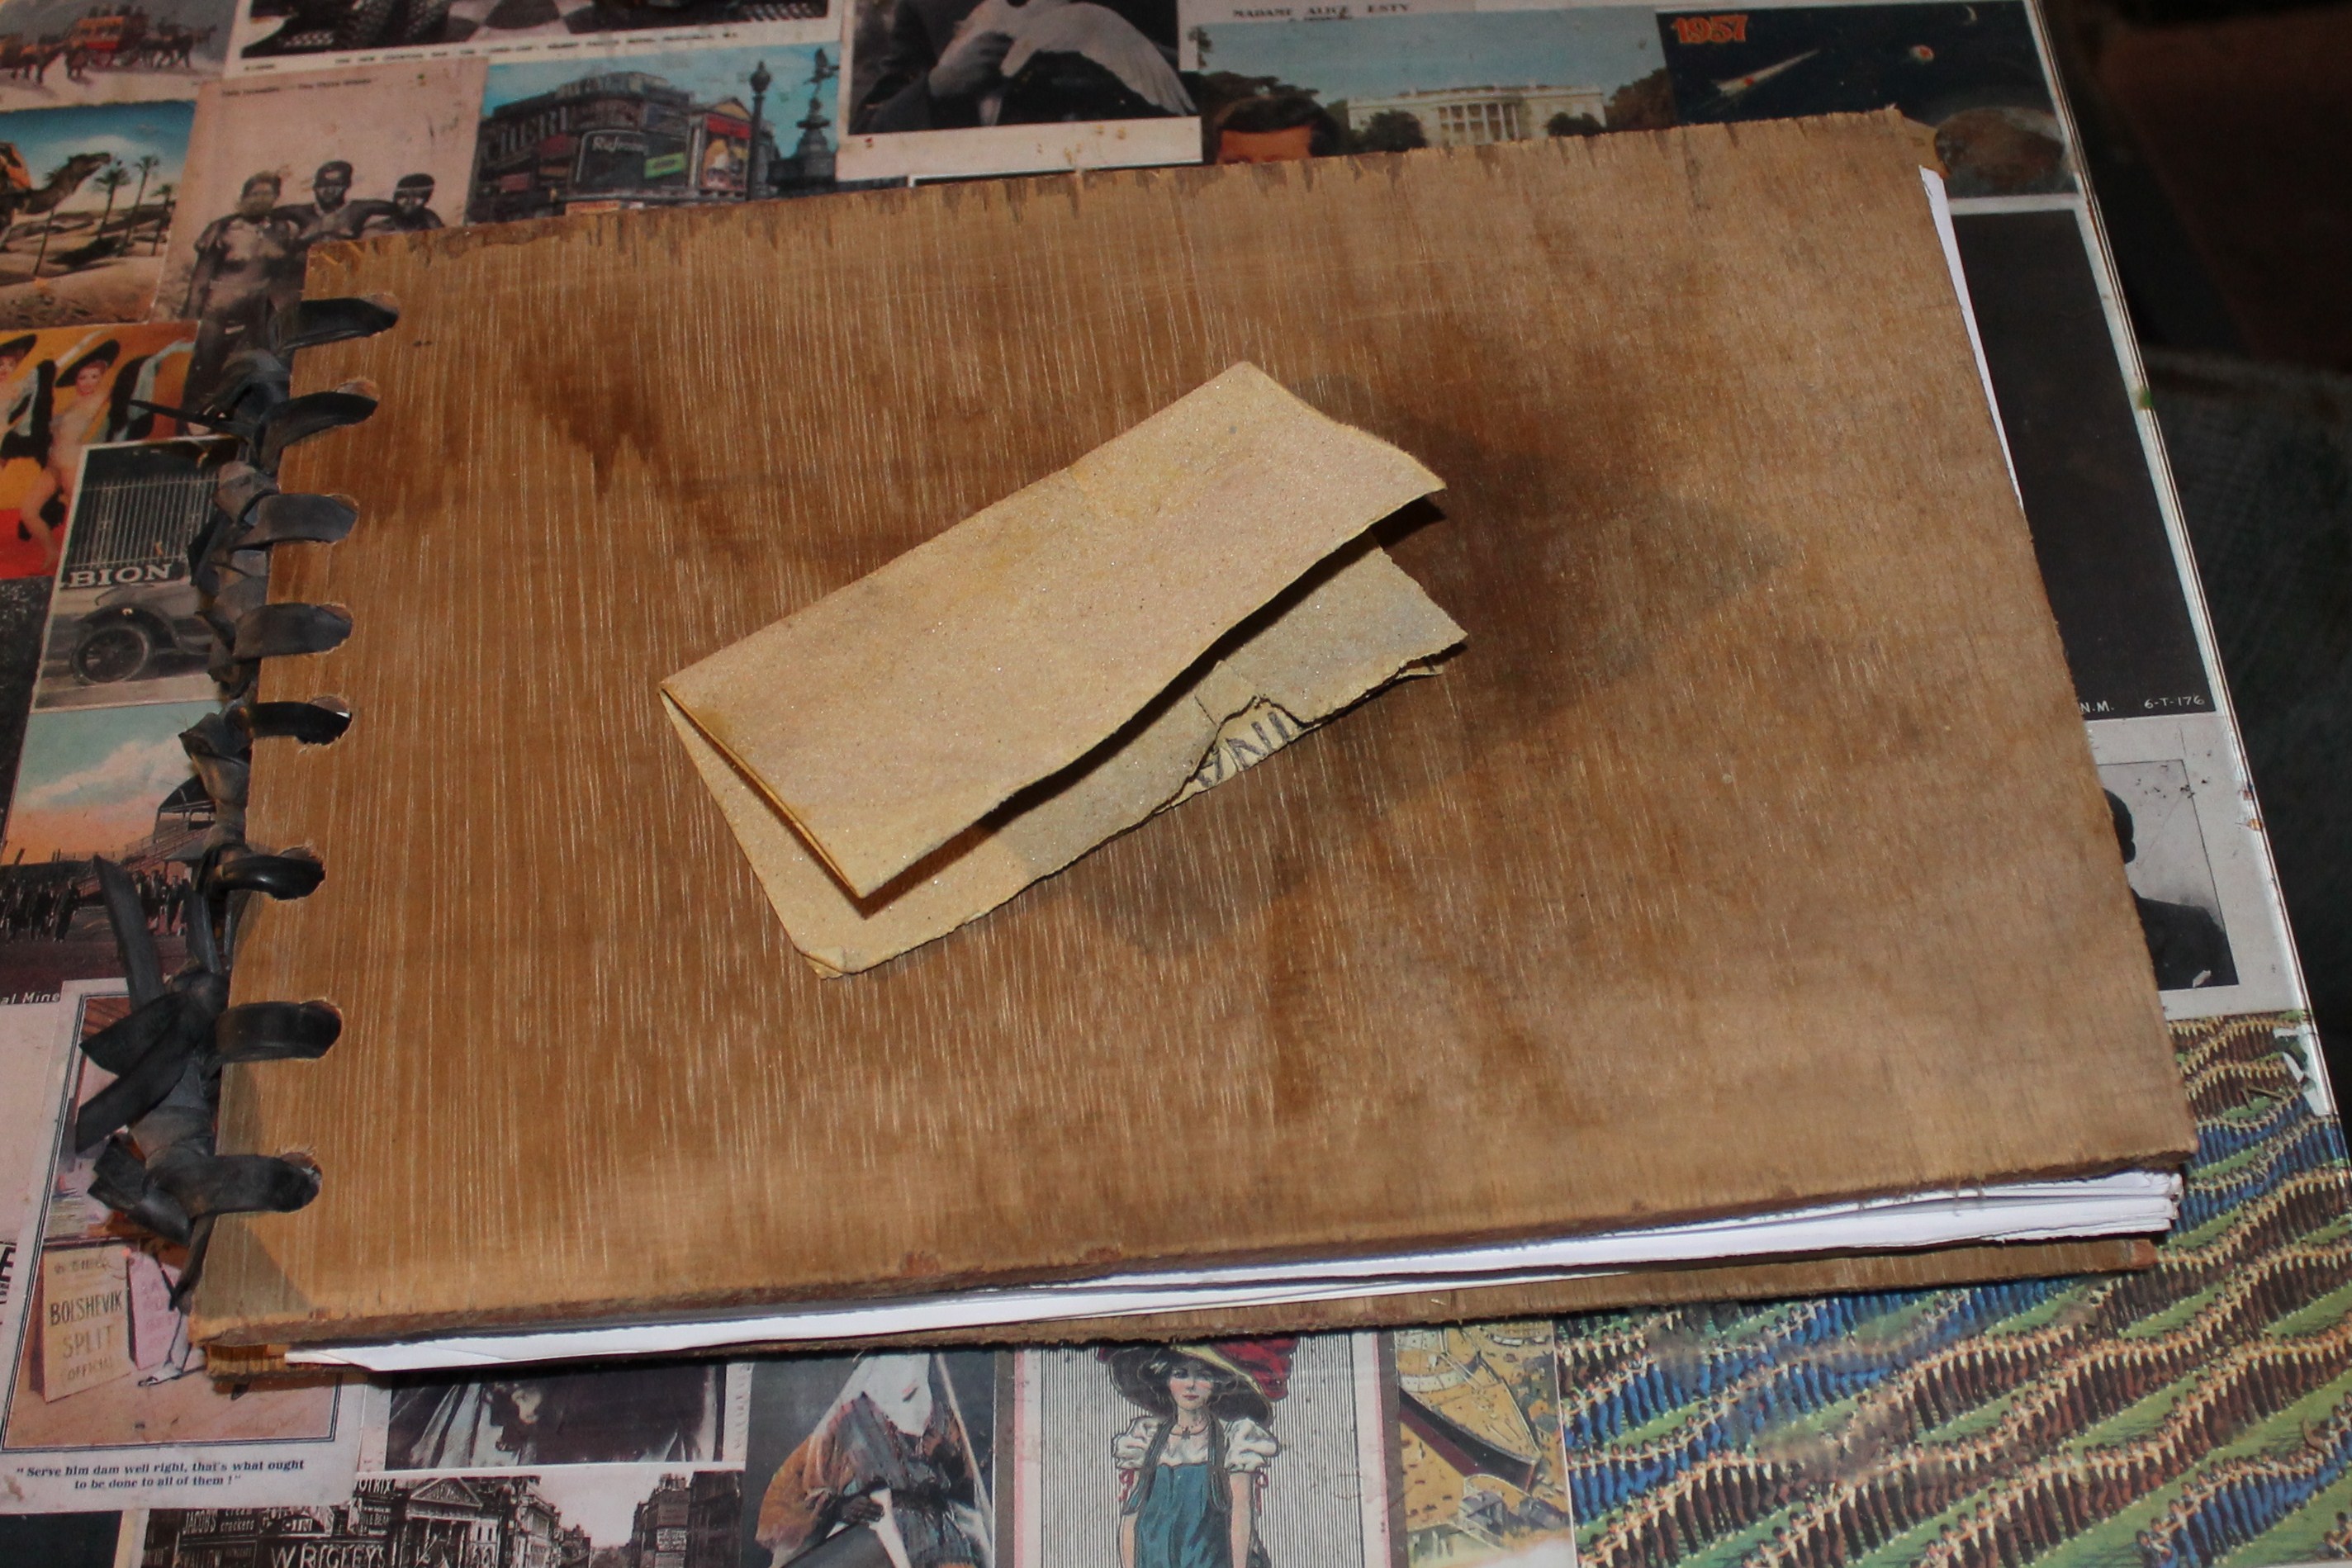
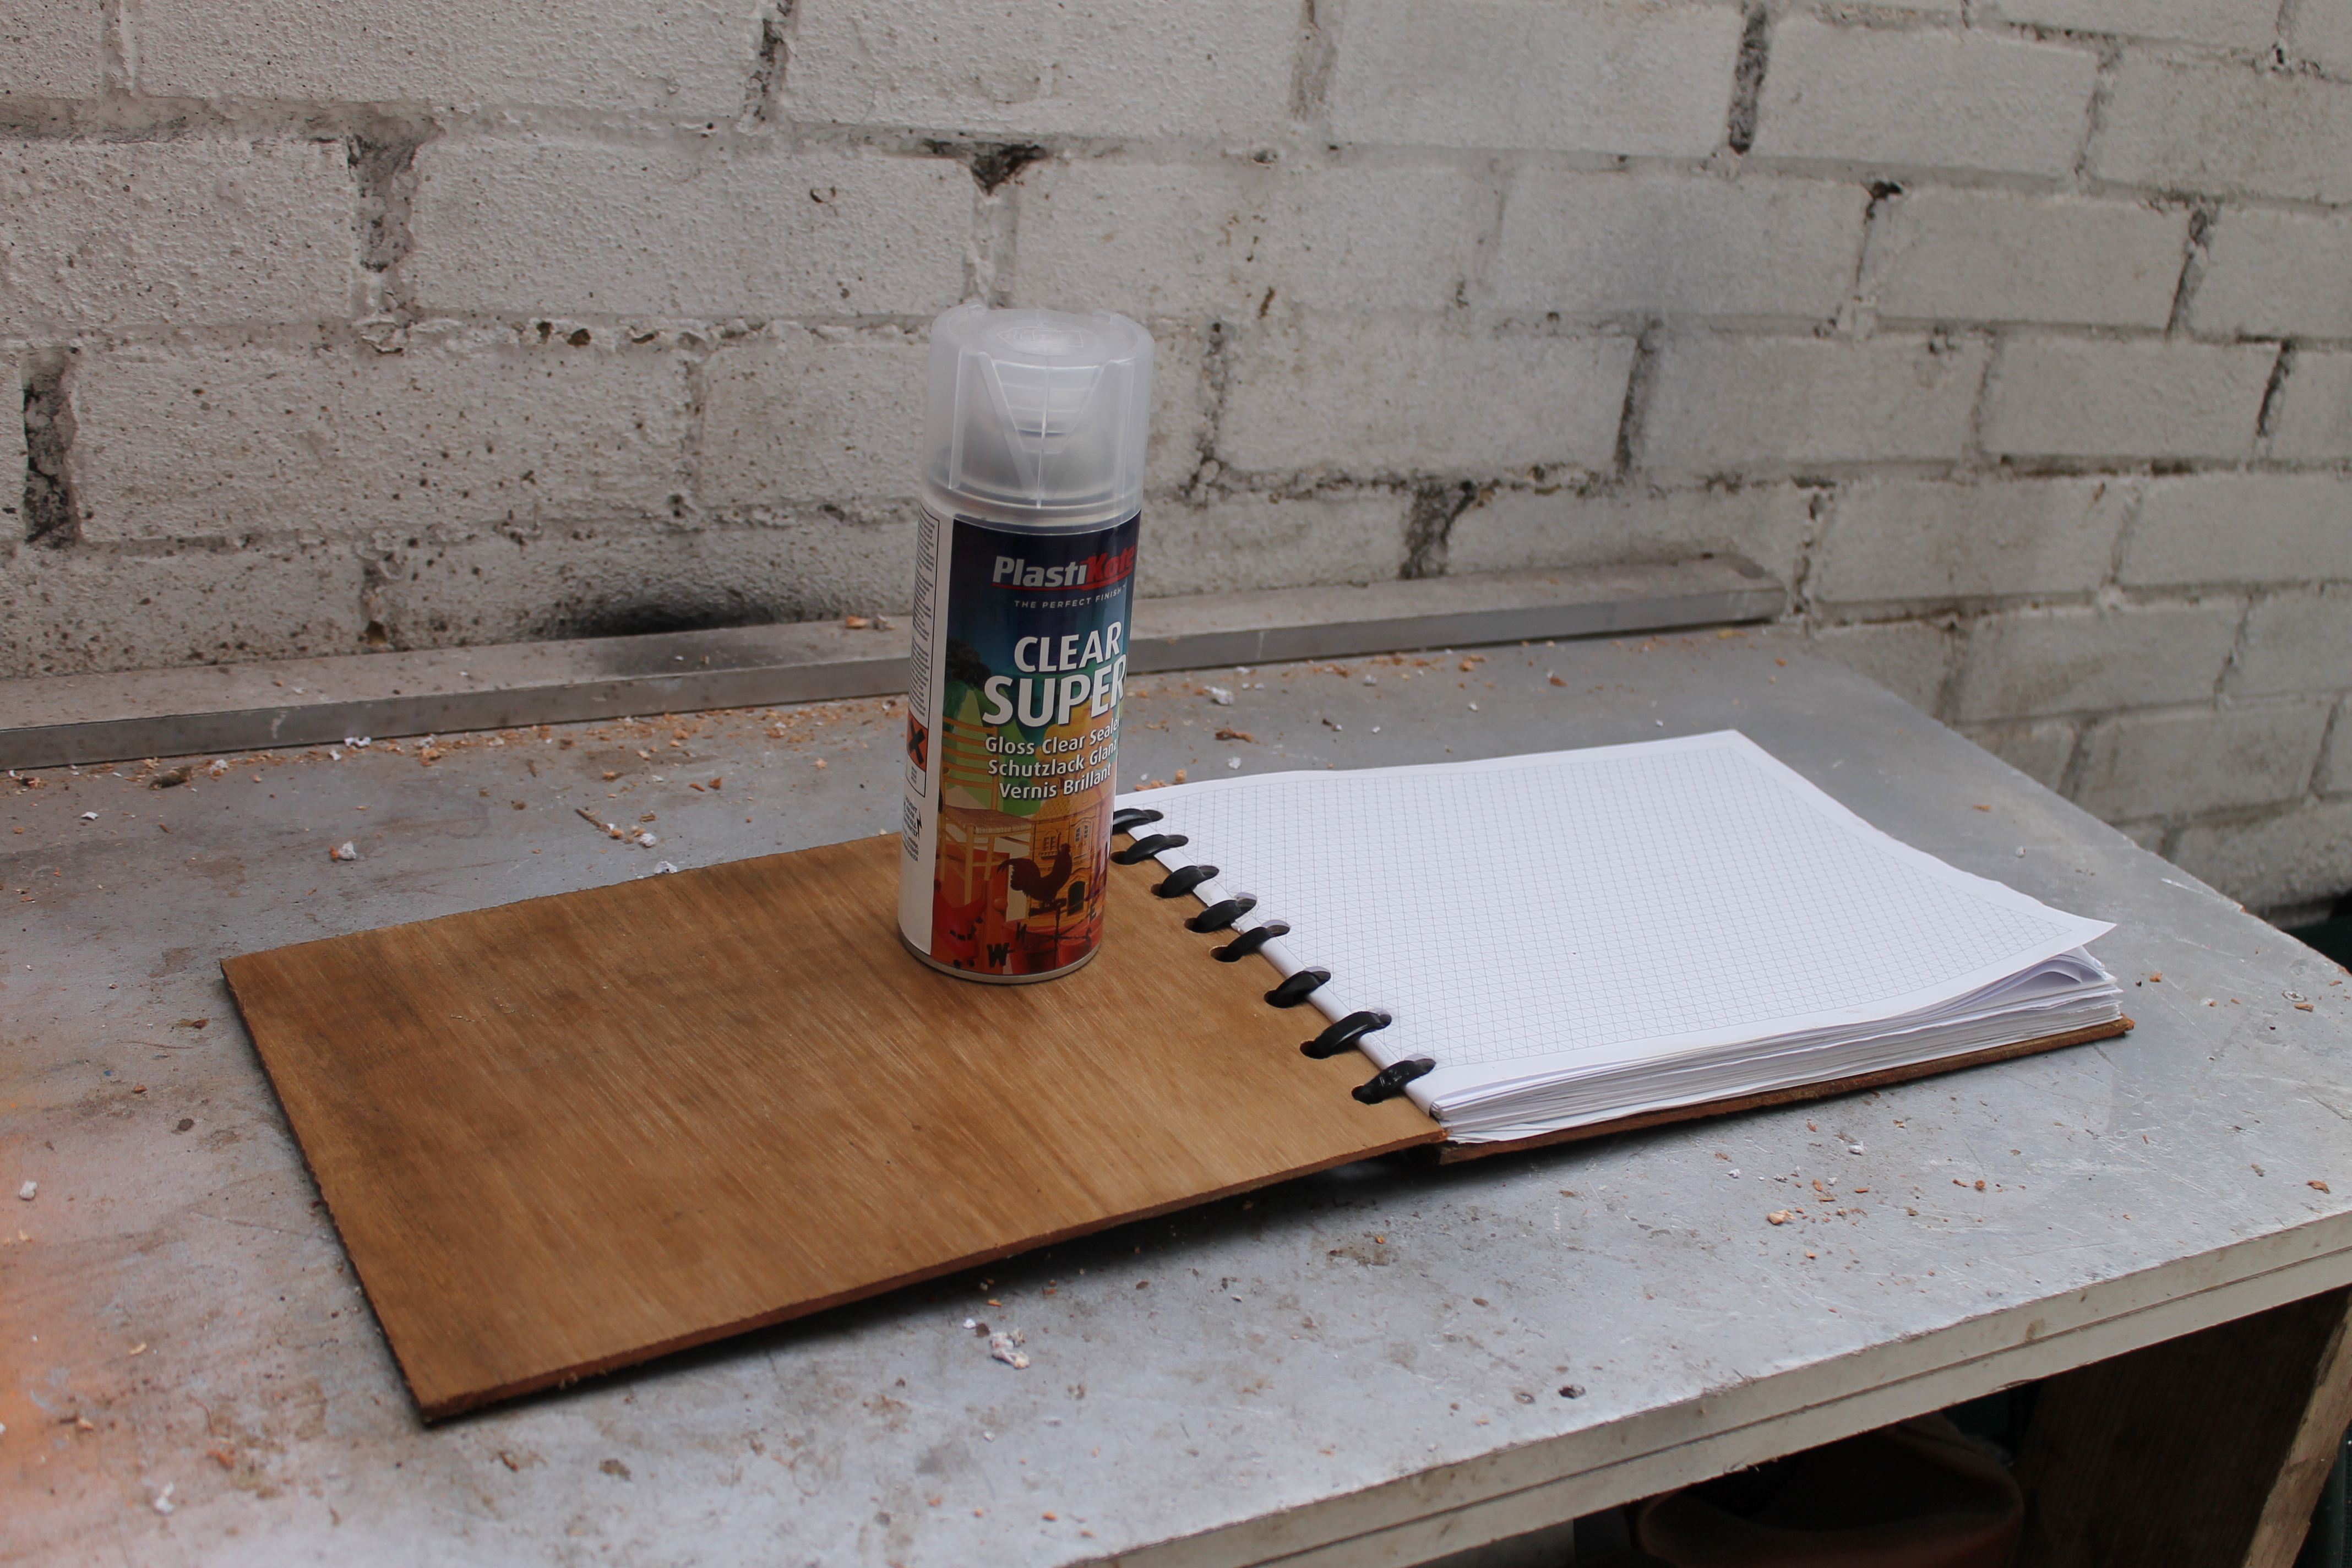
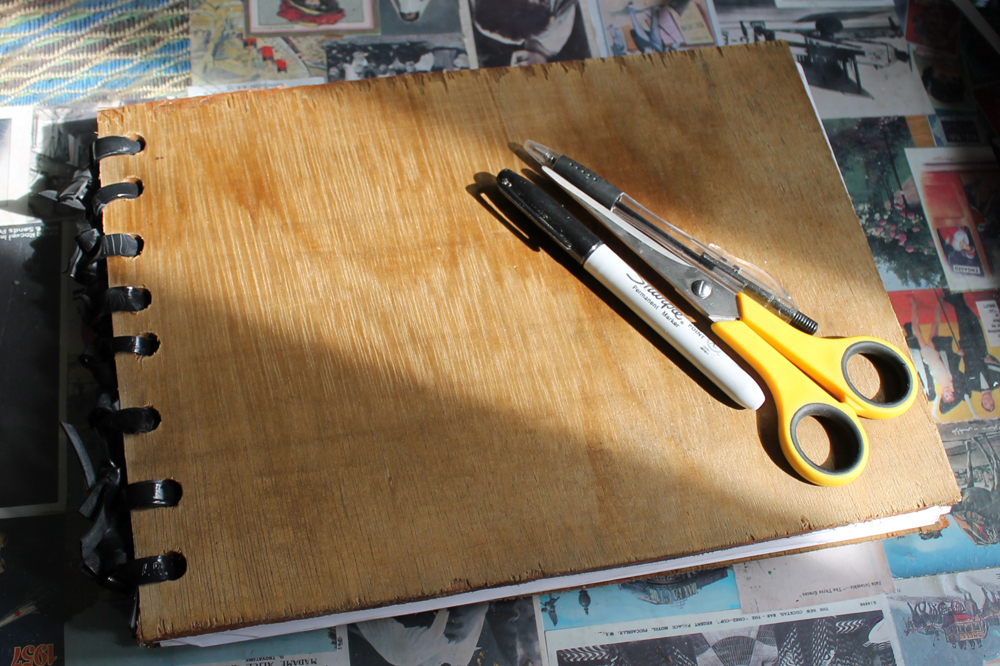
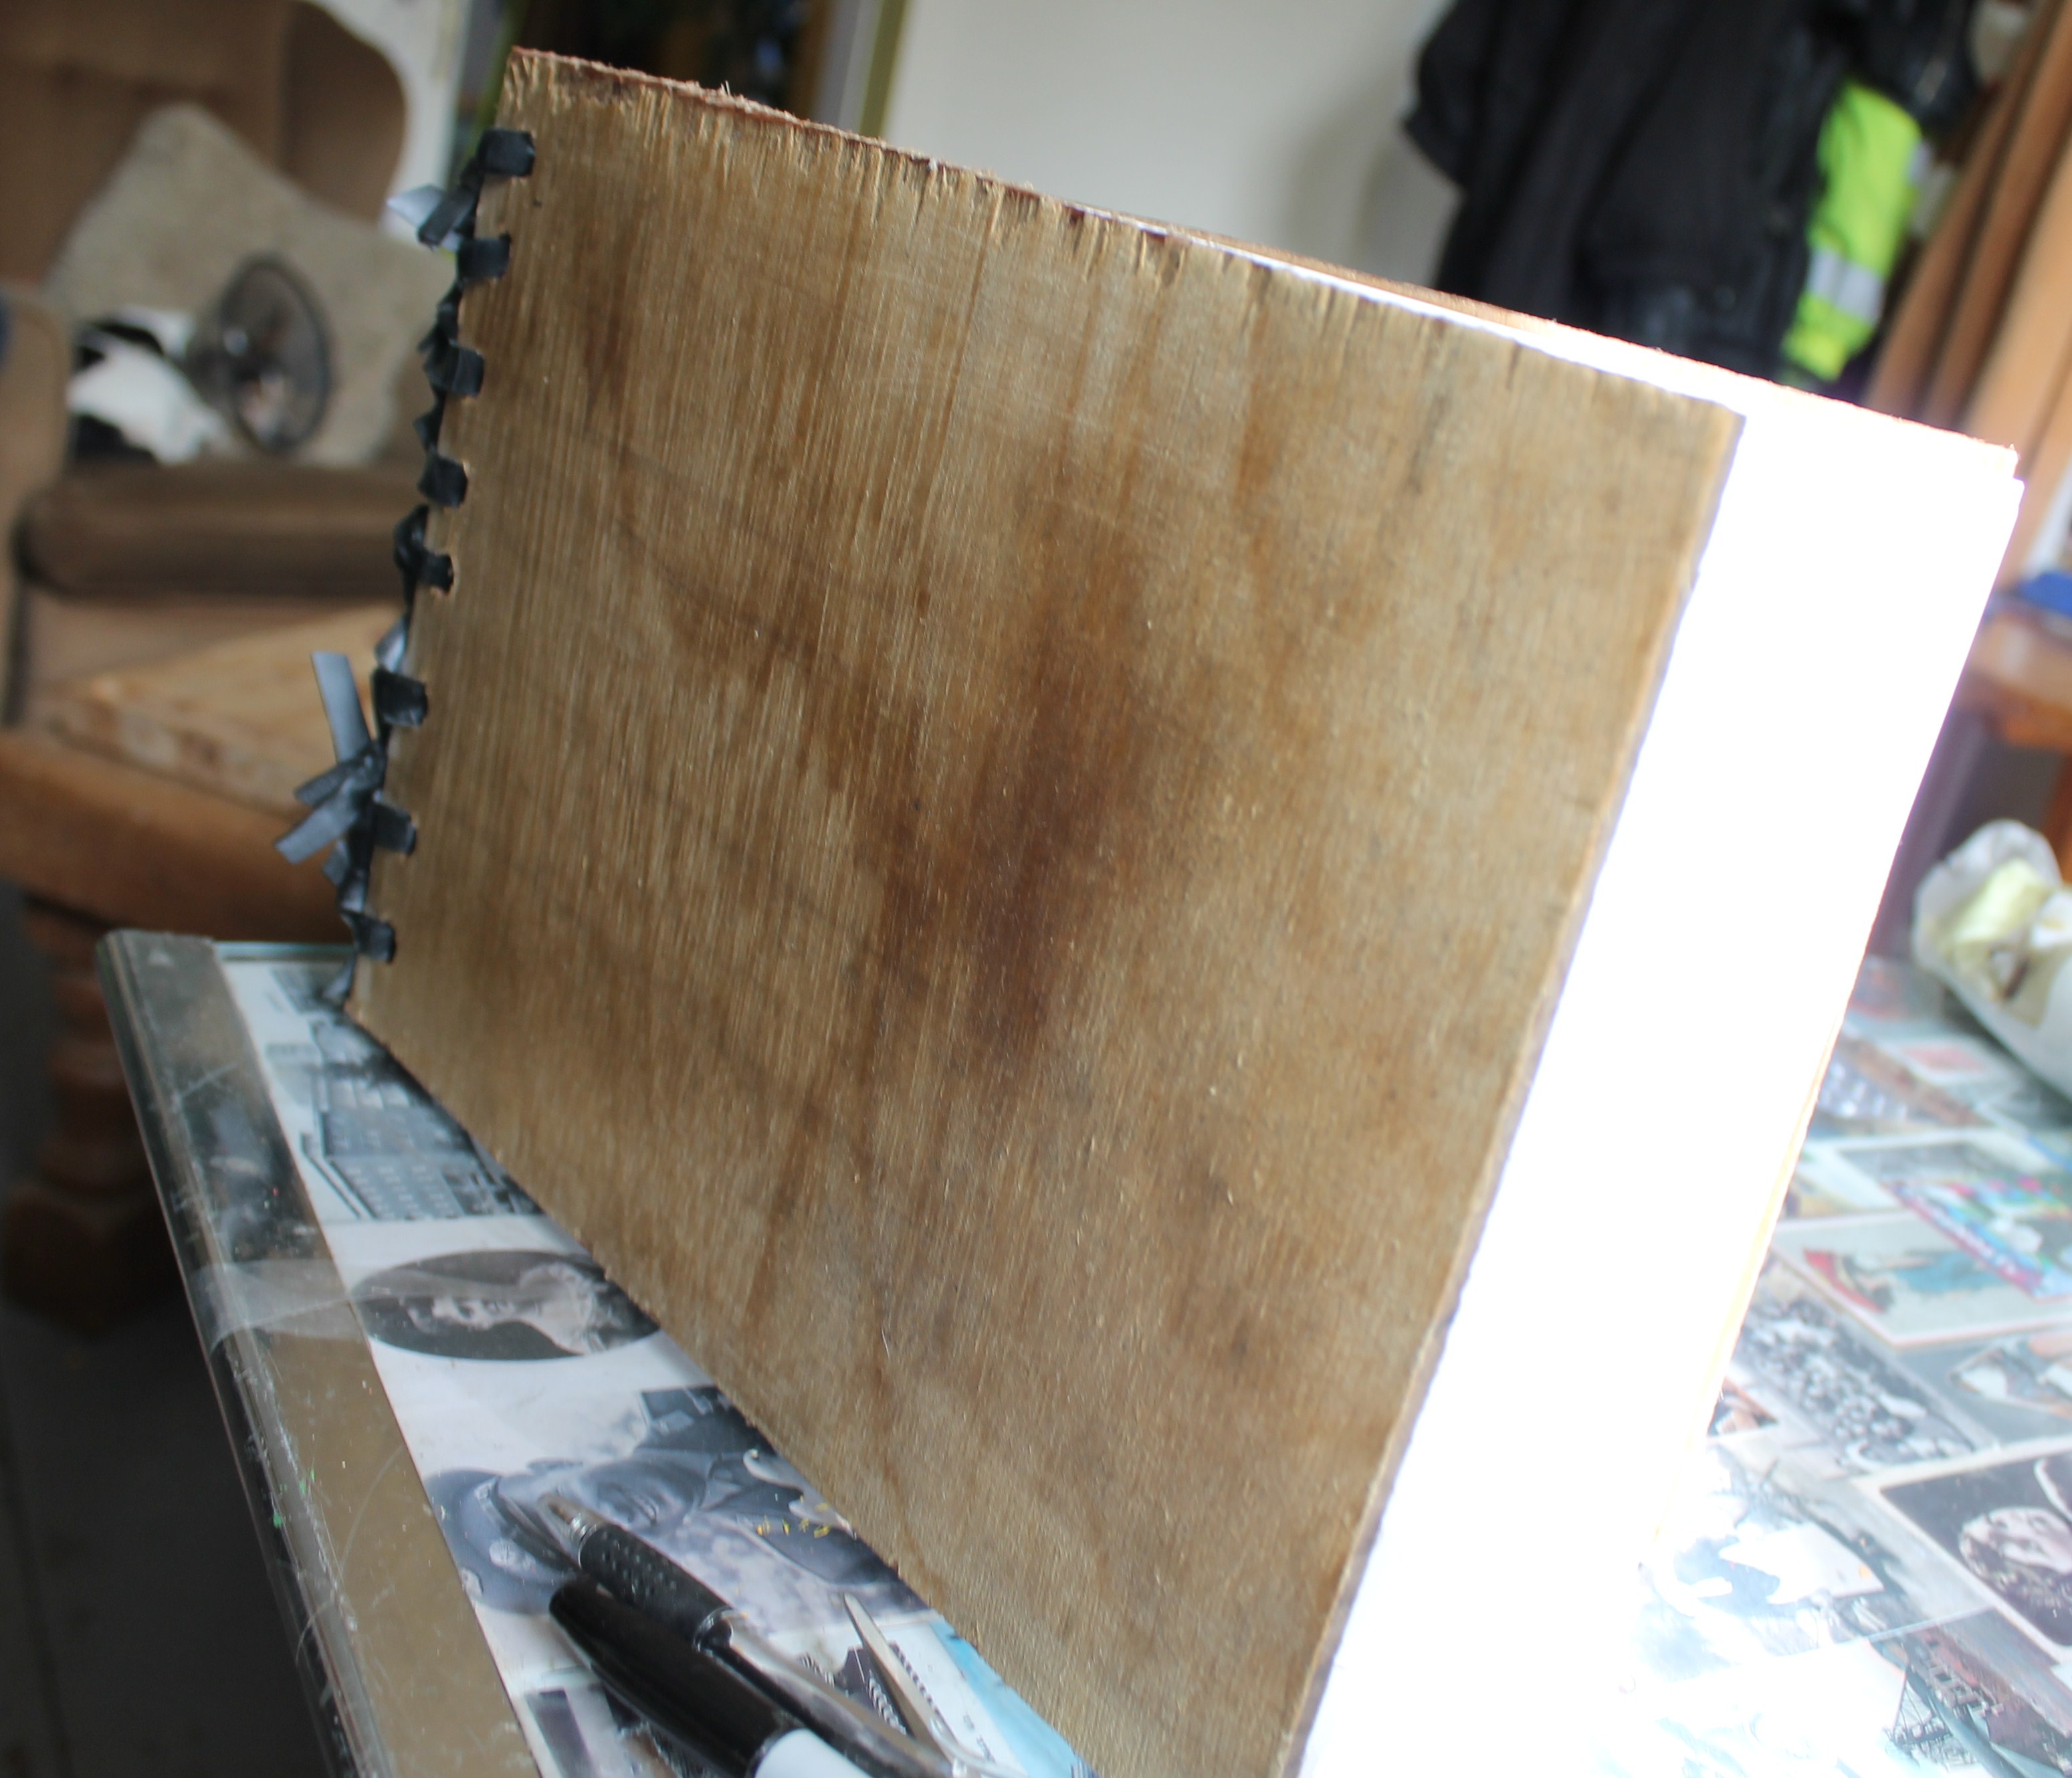
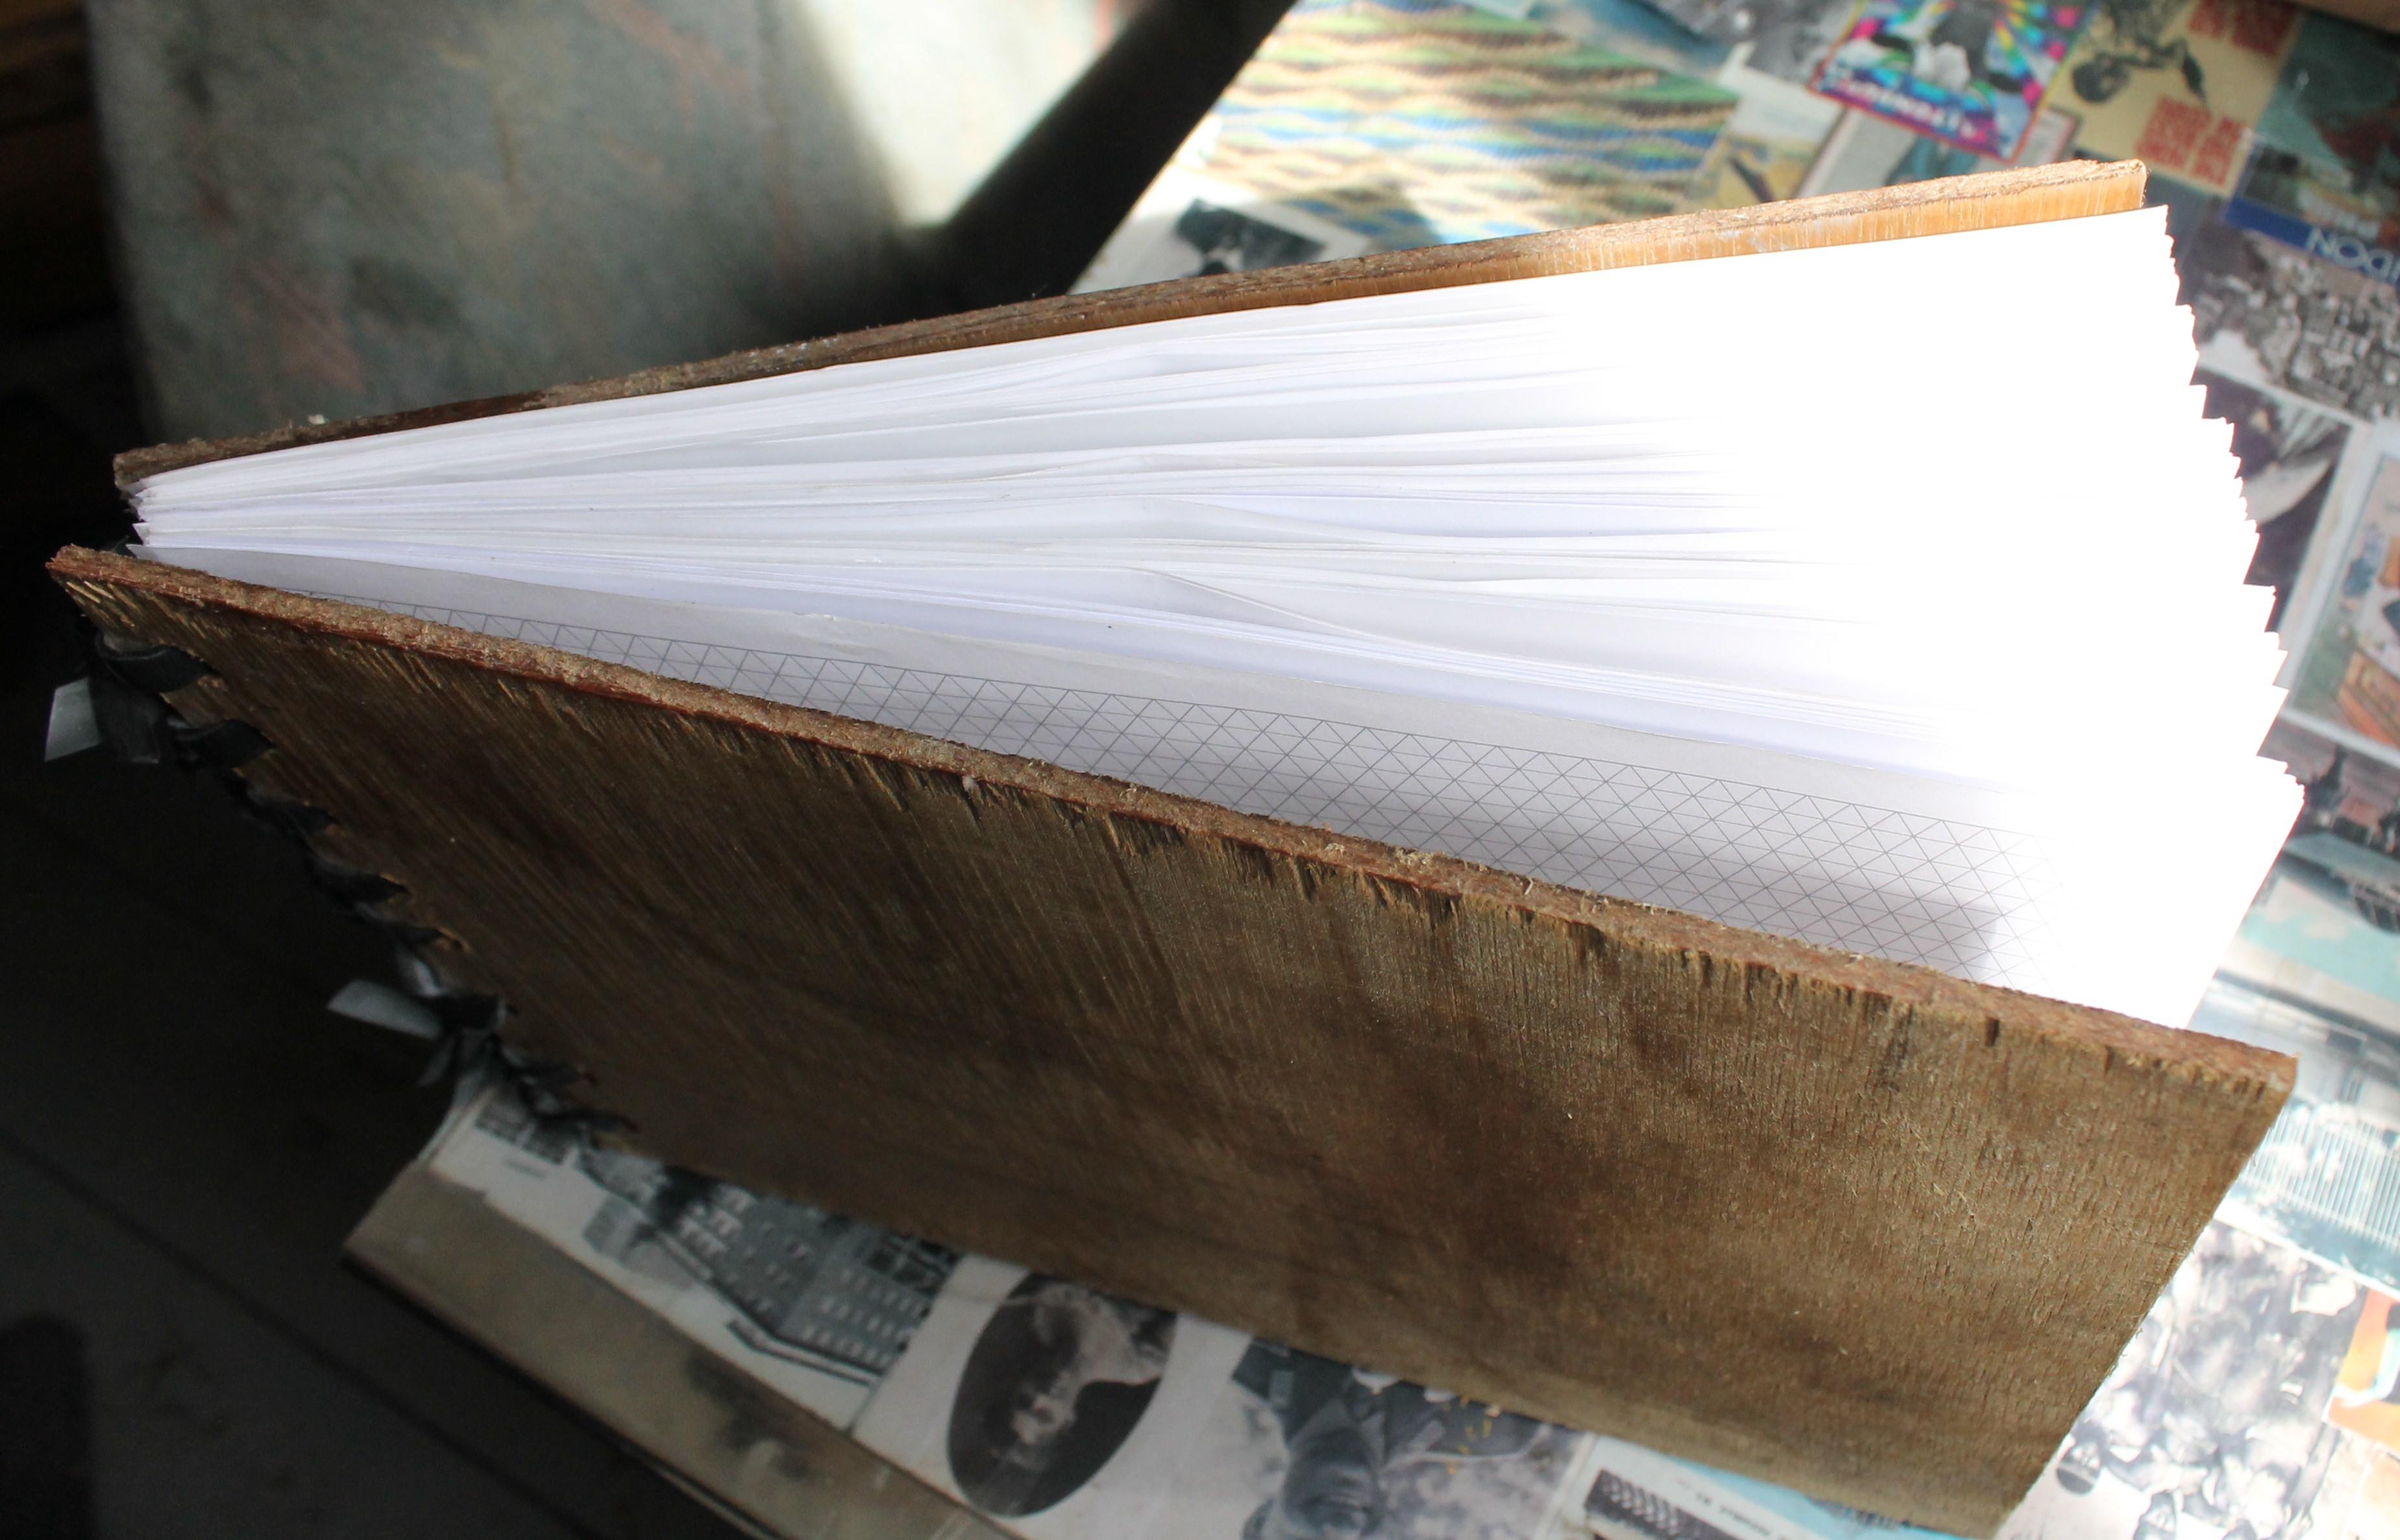
I sanded off the rough edges and varnished the covers.
You may wish to cover, paint or in some other way embelish your finished book... I prefer the rough and ready look!
You may wish to cover, paint or in some other way embelish your finished book... I prefer the rough and ready look!